Papa
-
Posts
1,305 -
Joined
-
Last visited
Content Type
Profiles
Forums
Gallery
Events
Everything posted by Papa
-

AVRO Lancaster by Papa - FINISHED - Airfix - 1/72
Papa replied to Papa's topic in Non-ship/categorised builds
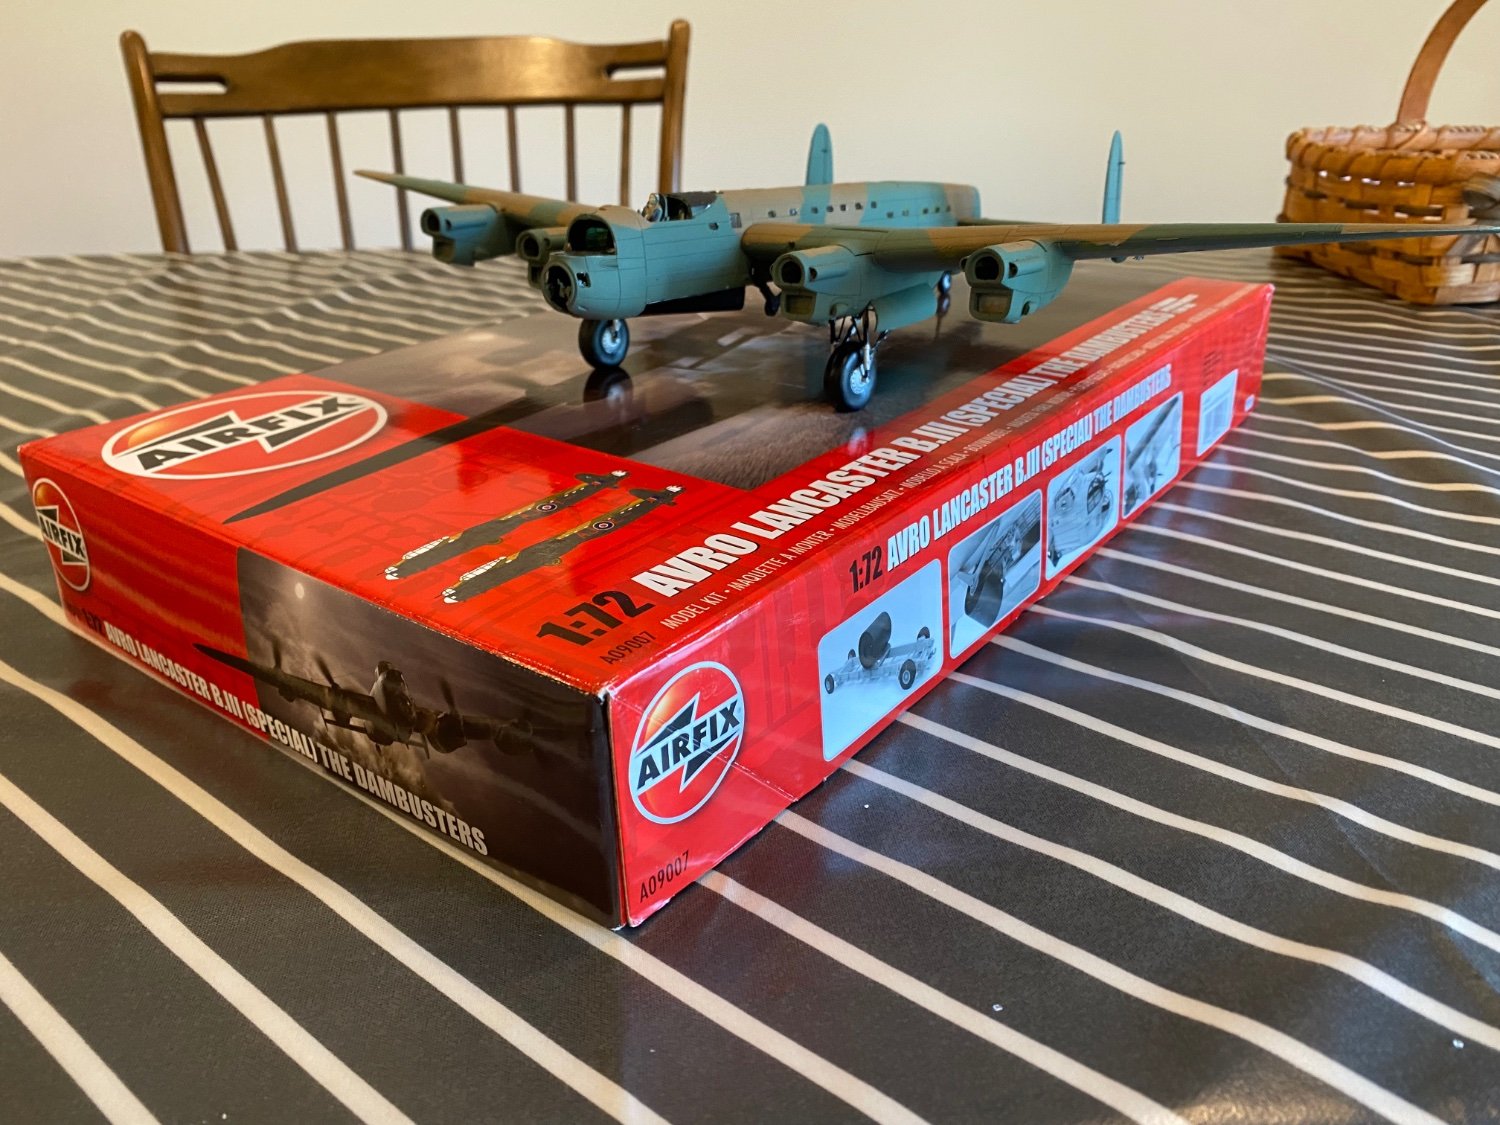
She looks real mean sitting on her landing gear. I am not looking forward to painting the canopies 😬. I am going to see if some commercial masks are available.
-
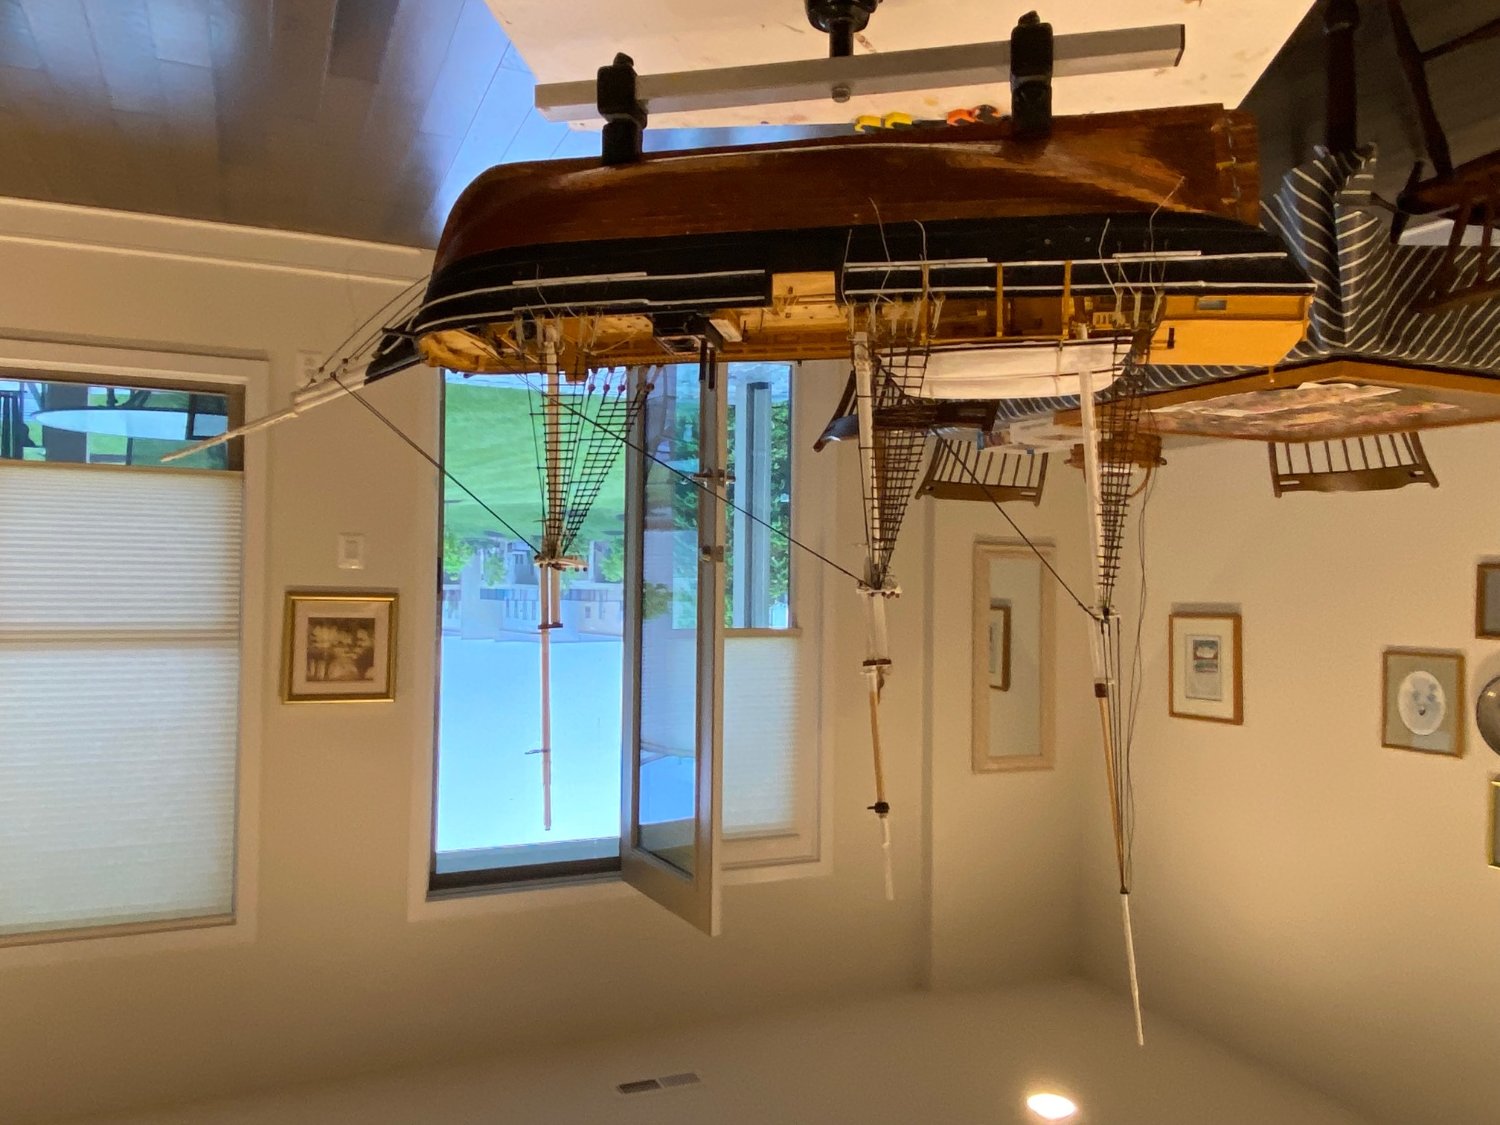
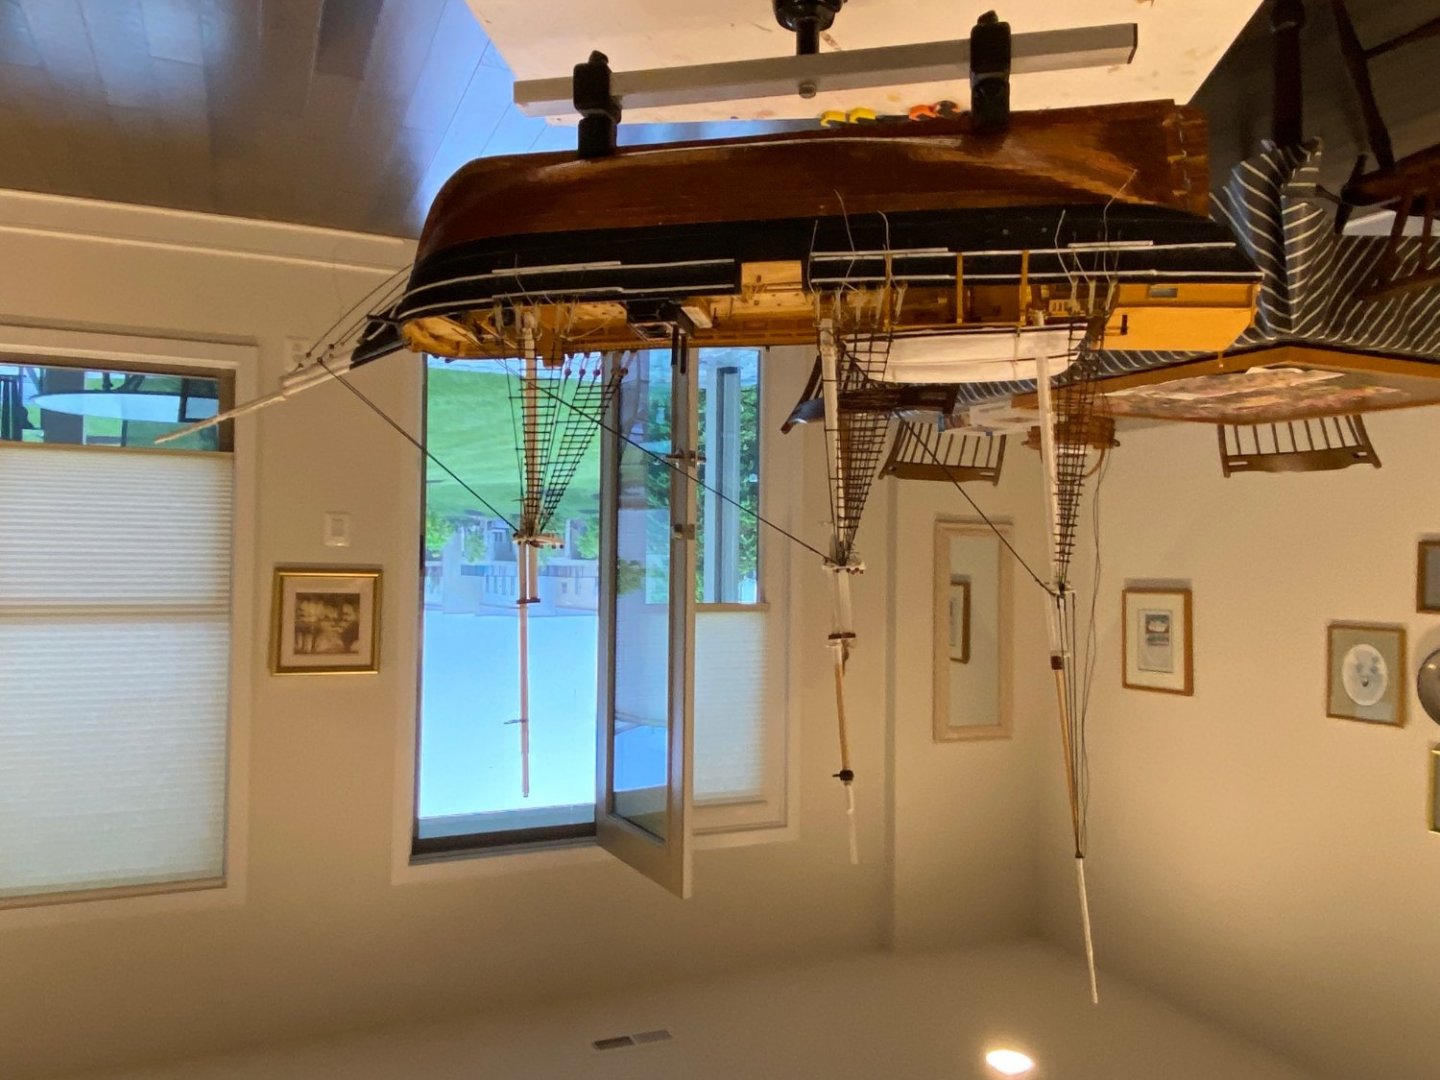
Seems that only iPhone pics upload inverted.
-
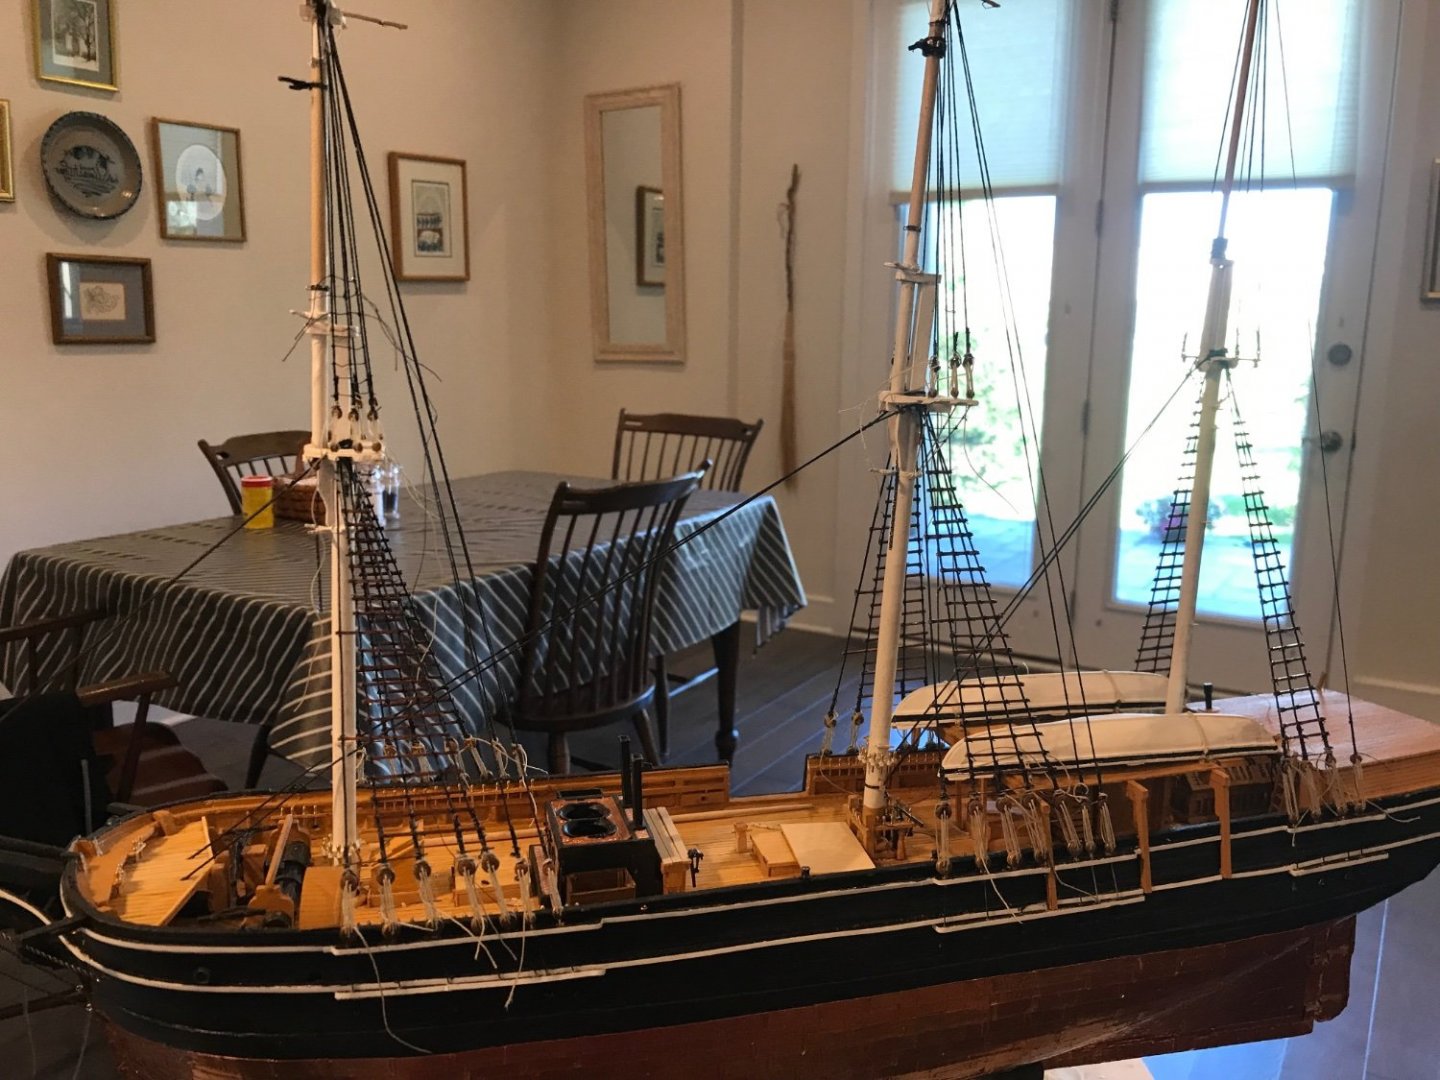
Top mast shrouds are in place and the backstays. Now i have to tie another bazillion ratlines
- 294 replies
-
- 7
-

-
- charles w morgan
- model shipways
- (and 1 more)
-
AVRO Lancaster by Papa - FINISHED - Airfix - 1/72
Papa replied to Papa's topic in Non-ship/categorised builds
😁 -
Damn. Upside down again🤬
-
Current status on my Morgan. Finished the top mast shrouds. Almost done with topmast back stays. I am going to have to hire a new rigging crew. The current crew is a bit lazy. They install 2 or 3 shrouds and then quit for the day. You just can’t get good help these days.
- 294 replies
-
- 1
-
-
- charles w morgan
- model shipways
- (and 1 more)
-
AVRO Lancaster by Papa - FINISHED - Airfix - 1/72
Papa replied to Papa's topic in Non-ship/categorised builds
Thanks -
AVRO Lancaster by Papa - FINISHED - Airfix - 1/72
Papa replied to Papa's topic in Non-ship/categorised builds
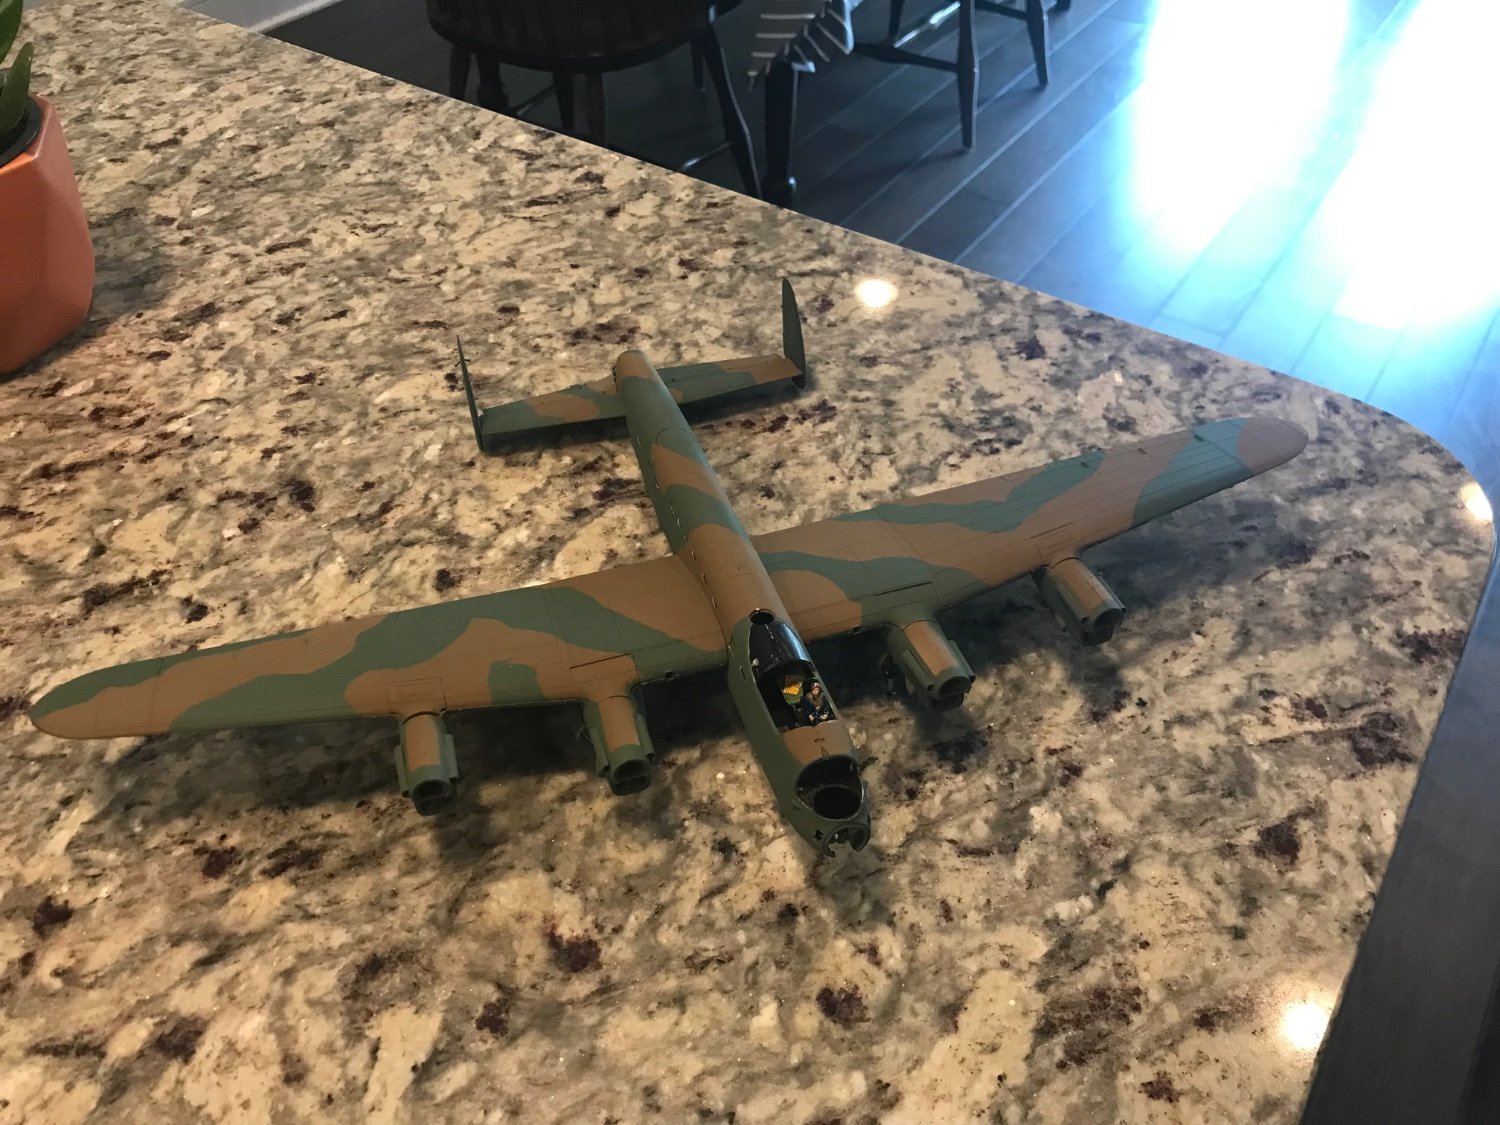
My first attempt at camouflage of this sort. It needs a bit of touch up around the windows but other than that i think it came out pretty good. Masking tape and rattle cans.
- 41 replies
-
- 13
-
-

-
AVRO Lancaster by Papa - FINISHED - Airfix - 1/72
Papa replied to Papa's topic in Non-ship/categorised builds
Installed the landing gear struts. Very finicky.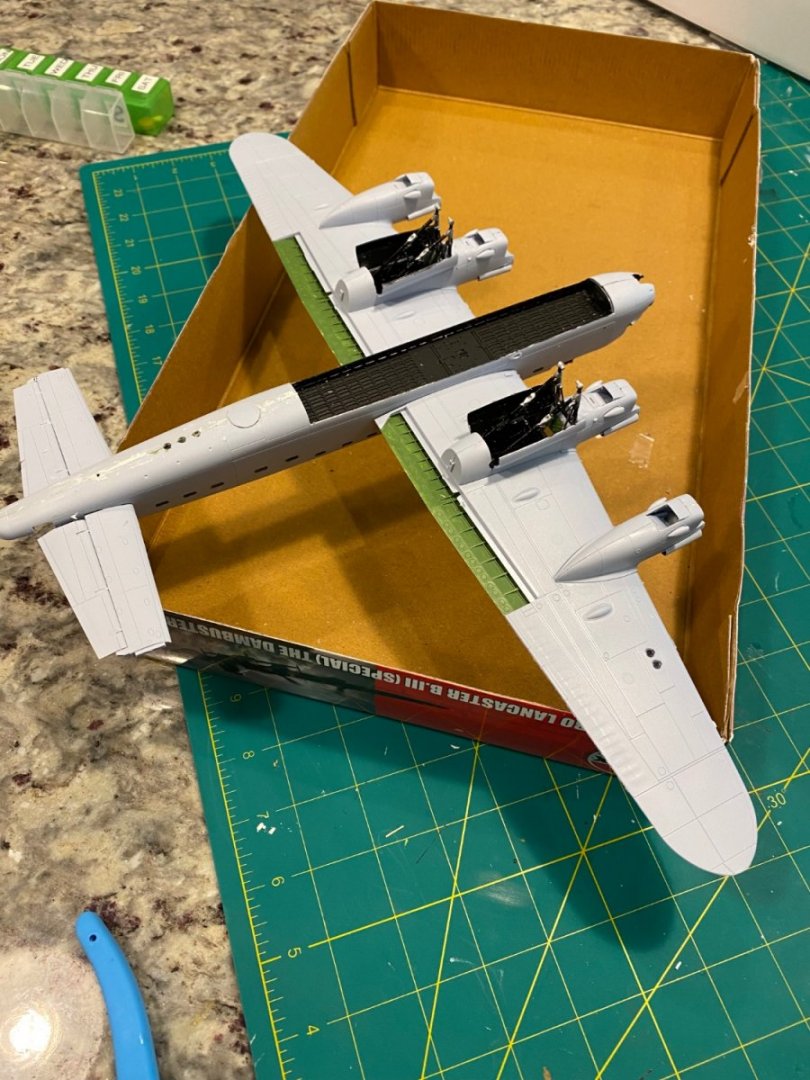
- 41 replies
-
- 11
-
-
Fantastic job on the coach. I am impressed with the intensity of the yellow. I have found that every brand of yellow paint I have used, including house paint, will not cover without a nearly infinite number of coats! What is you trick for getting that great yellow?
-
AVRO Lancaster by Papa - FINISHED - Airfix - 1/72
Papa replied to Papa's topic in Non-ship/categorised builds
Photo of the wing problem i was trying to explain. I had to remove the round thing, cut off the part that would be exposed and glue in place after attaching the wing.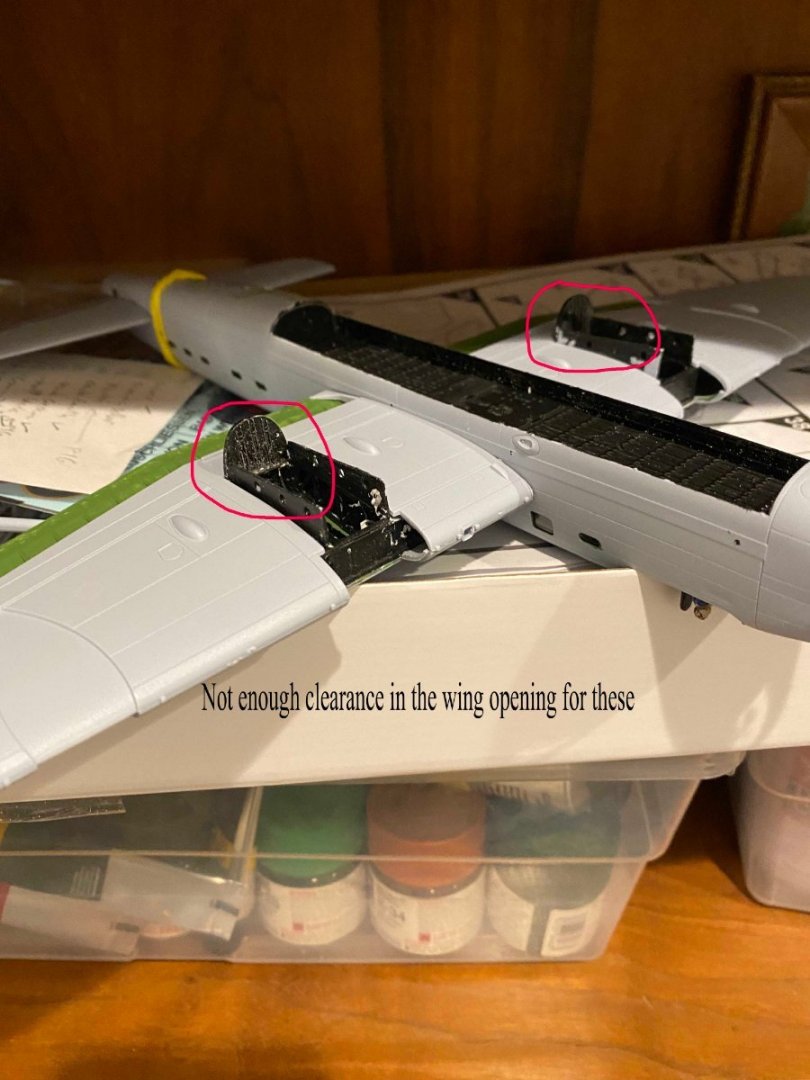
-
AVRO Lancaster by Papa - FINISHED - Airfix - 1/72
Papa replied to Papa's topic in Non-ship/categorised builds
S Scalemates does not show this exact box, but nearly identical was retooled in 2012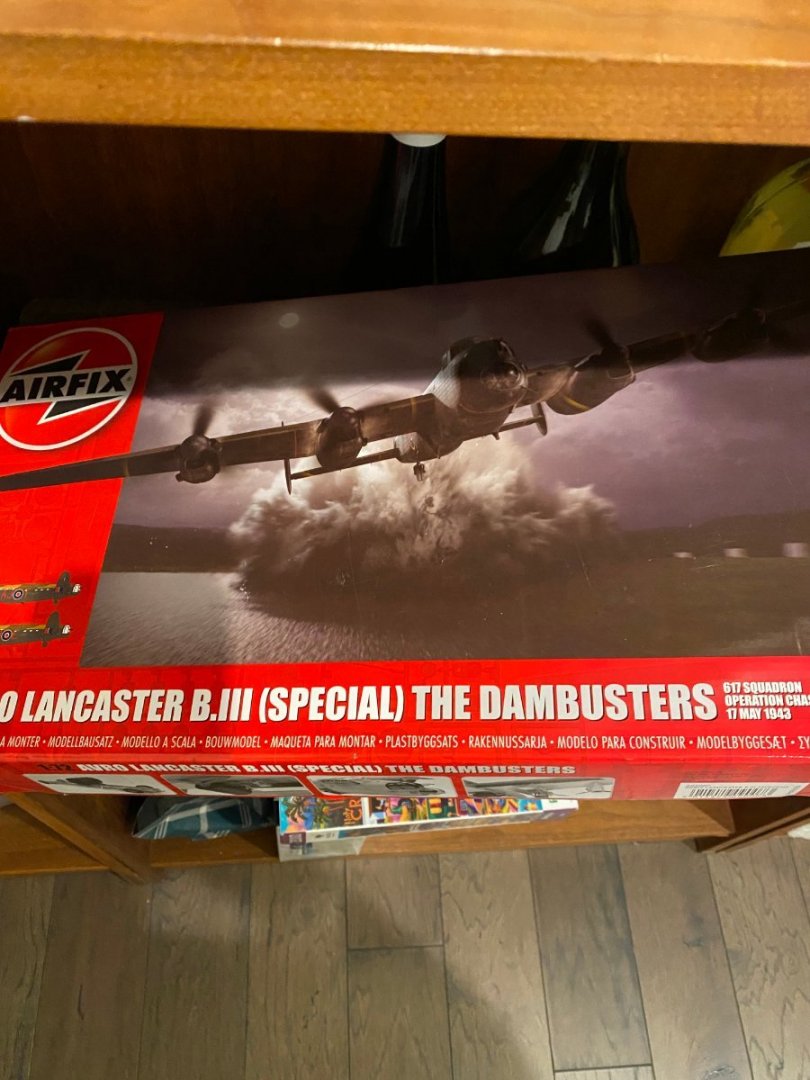
-
AVRO Lancaster by Papa - FINISHED - Airfix - 1/72
Papa replied to Papa's topic in Non-ship/categorised builds
That works a step at a time, and i do it. But dry fitting multiple steps isn’t practical. That many pieces will not stay together. I have the sense that the kits have zero tolerance. If a few pieces are just a tiny bit off, like the thickness of a glue joint or paint something further down the line isn’t going to fit. I’ve been building plastic kits for over 70 years and I think most of them have gone together fairly well. But every once in a while one hits a real devil of a kit. A few years back i had a Lockheed Electra kit i was building as Amelia Earhart’s version. That was a nightmare every step of the way. -
AVRO Lancaster by Papa - FINISHED - Airfix - 1/72
Papa replied to Papa's topic in Non-ship/categorised builds
I have no idea? How does one determine this? -
AVRO Lancaster by Papa - FINISHED - Airfix - 1/72
Papa replied to Papa's topic in Non-ship/categorised builds
The desire to trash this kit and give up resurfaced yesterday when i tried to assemble the wings. Lower pieces went on easily but the upper halves were not going to fit. There was not enough clearance to allow a part that forms the rear of the engine nacelle to fit in the opening provided. Once i determined that was the issue, i removed it and the wing then went on smoothly. I then removed the lower part of this whatever it is, and glued the upper part where it belongs. I should have taken some pictures. The next step was assembling the elevator halves. The instructions here had the part numbers wrong. They said glue B6 and B7 for one side and then An and Am (don’t have instructions in front of me) for the other side. Wrong. The B parts just had alignment holes. While the A parts both had pins. One needed to match a B and an A. Fortunately I discovered the problem before the glue had set on the joined B parts. I thought it was strange the there were no pins for the holes. I should have looked at the next step right away. One wonders if someone actually tried to build this kit from the instructions before release. -
AVRO Lancaster by Papa - FINISHED - Airfix - 1/72
Papa replied to Papa's topic in Non-ship/categorised builds
I was certainly tempted to toss the whole box in the trash. But sanity prevailed -
AVRO Lancaster by Papa - FINISHED - Airfix - 1/72
Papa replied to Papa's topic in Non-ship/categorised builds
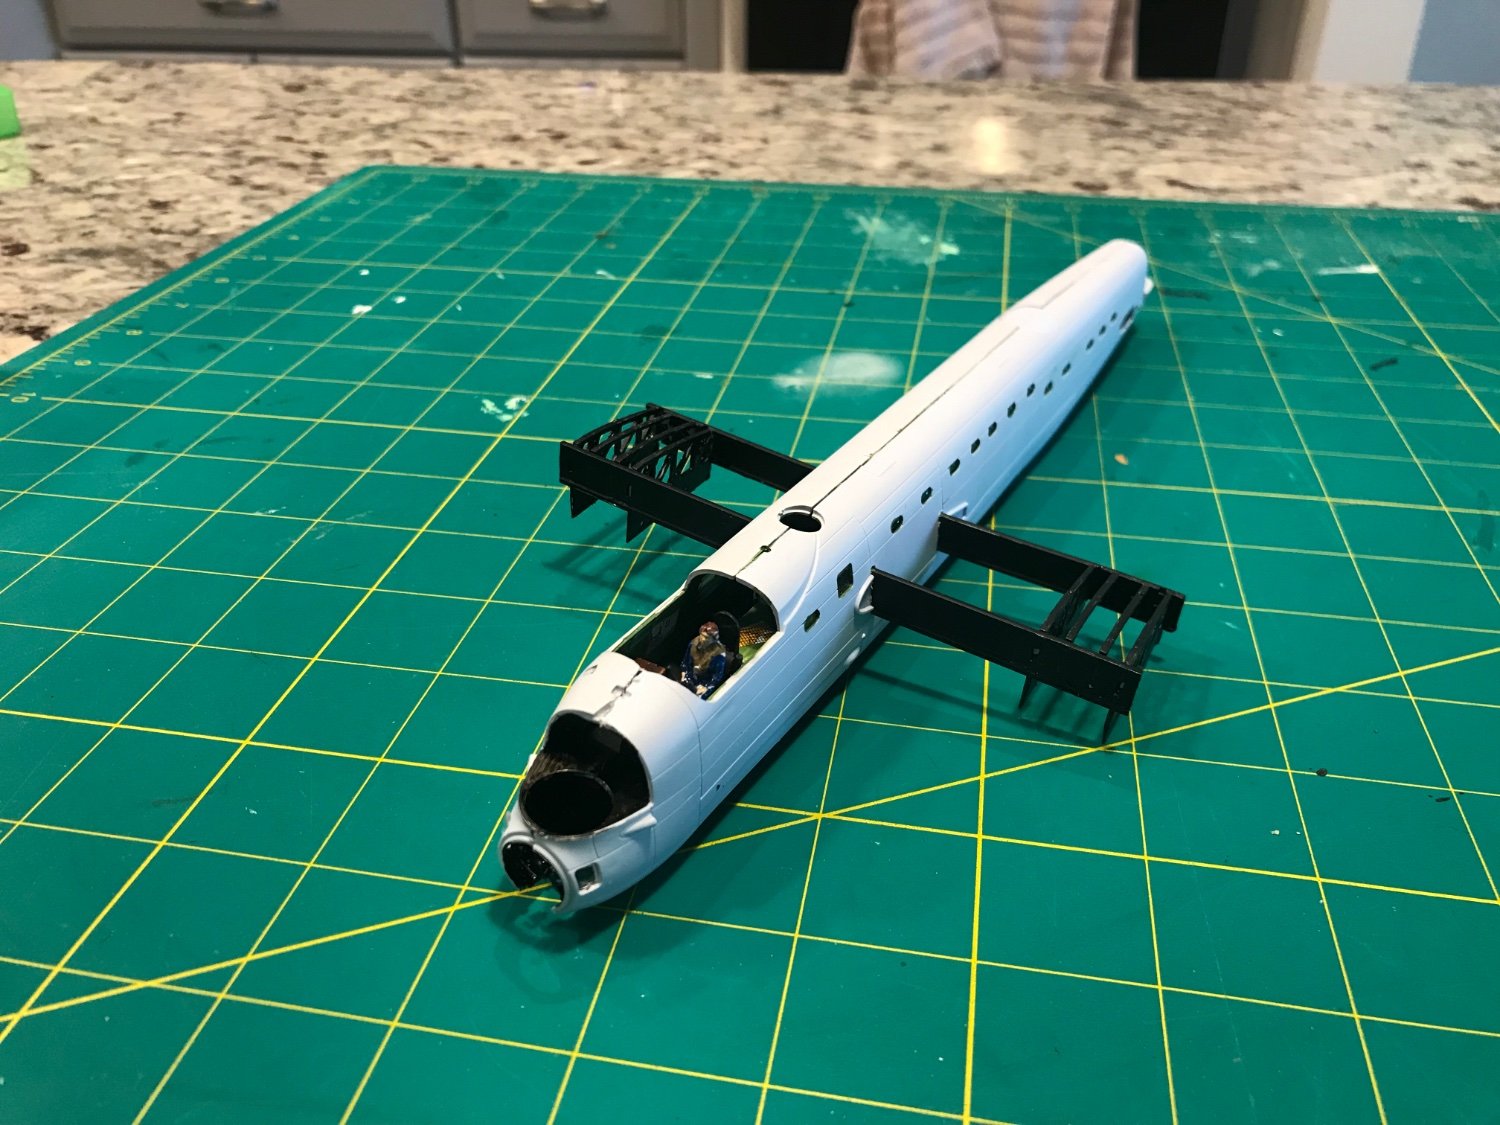
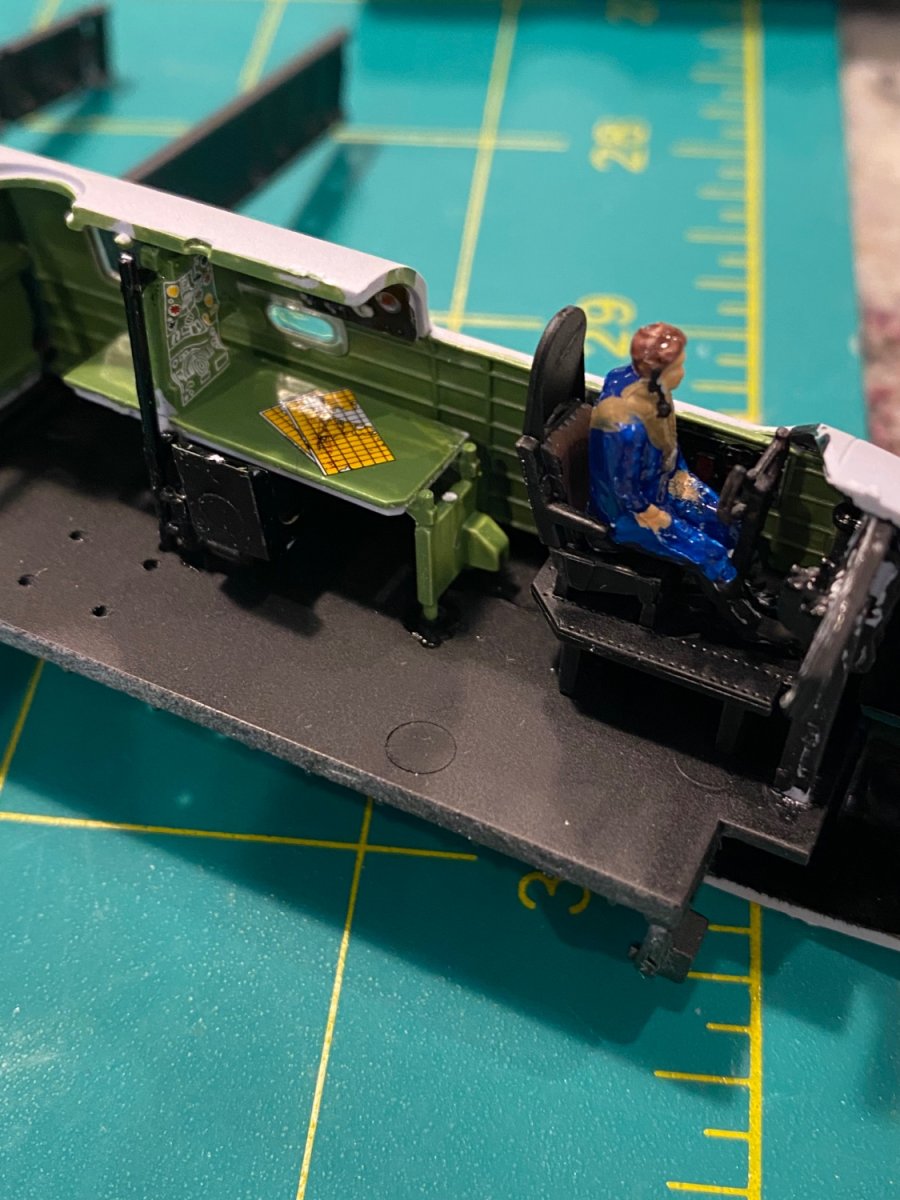
I had a heck of a time putting the fuselage halves together. Just could not get the seam to close tightly. I am going to need plenty of filler😬. During my test fitting the windows started popping out and the map table came apart. Re-glued all that and filed and fussed and fumed and used several naughty words 👿 . It didn’t help the fit. And a newly purchased bottle of Tamiya flat black paint dries glossy! 😝 fortunately i still had some older flat black. So here we are today. Now i am going to tie some more battens on the C W Morgan. I am almost finished with that step; on the mizzen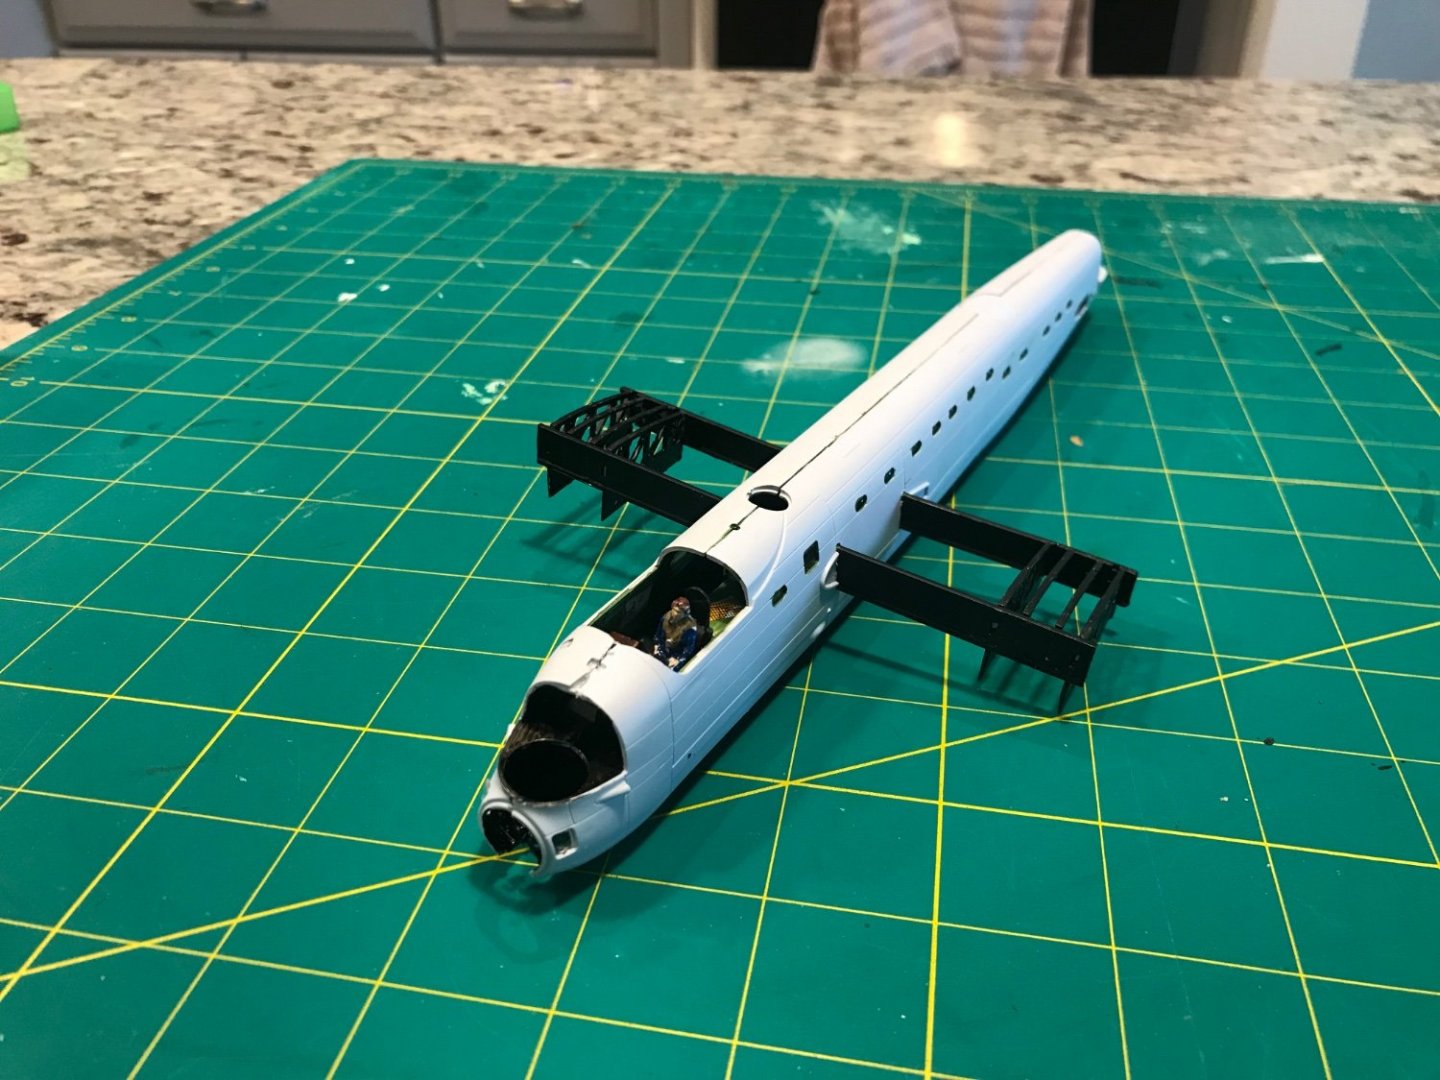
- 41 replies
-
- 13
-
-
AVRO Lancaster by Papa - FINISHED - Airfix - 1/72
Papa replied to Papa's topic in Non-ship/categorised builds
The kit has some nice interior detail that, unfortunately, won’t be visible once the fuselage is together.
- 41 replies
-
- 13
-
-
AVRO Lancaster by Papa - FINISHED - Airfix - 1/72
Papa replied to Papa's topic in Non-ship/categorised builds
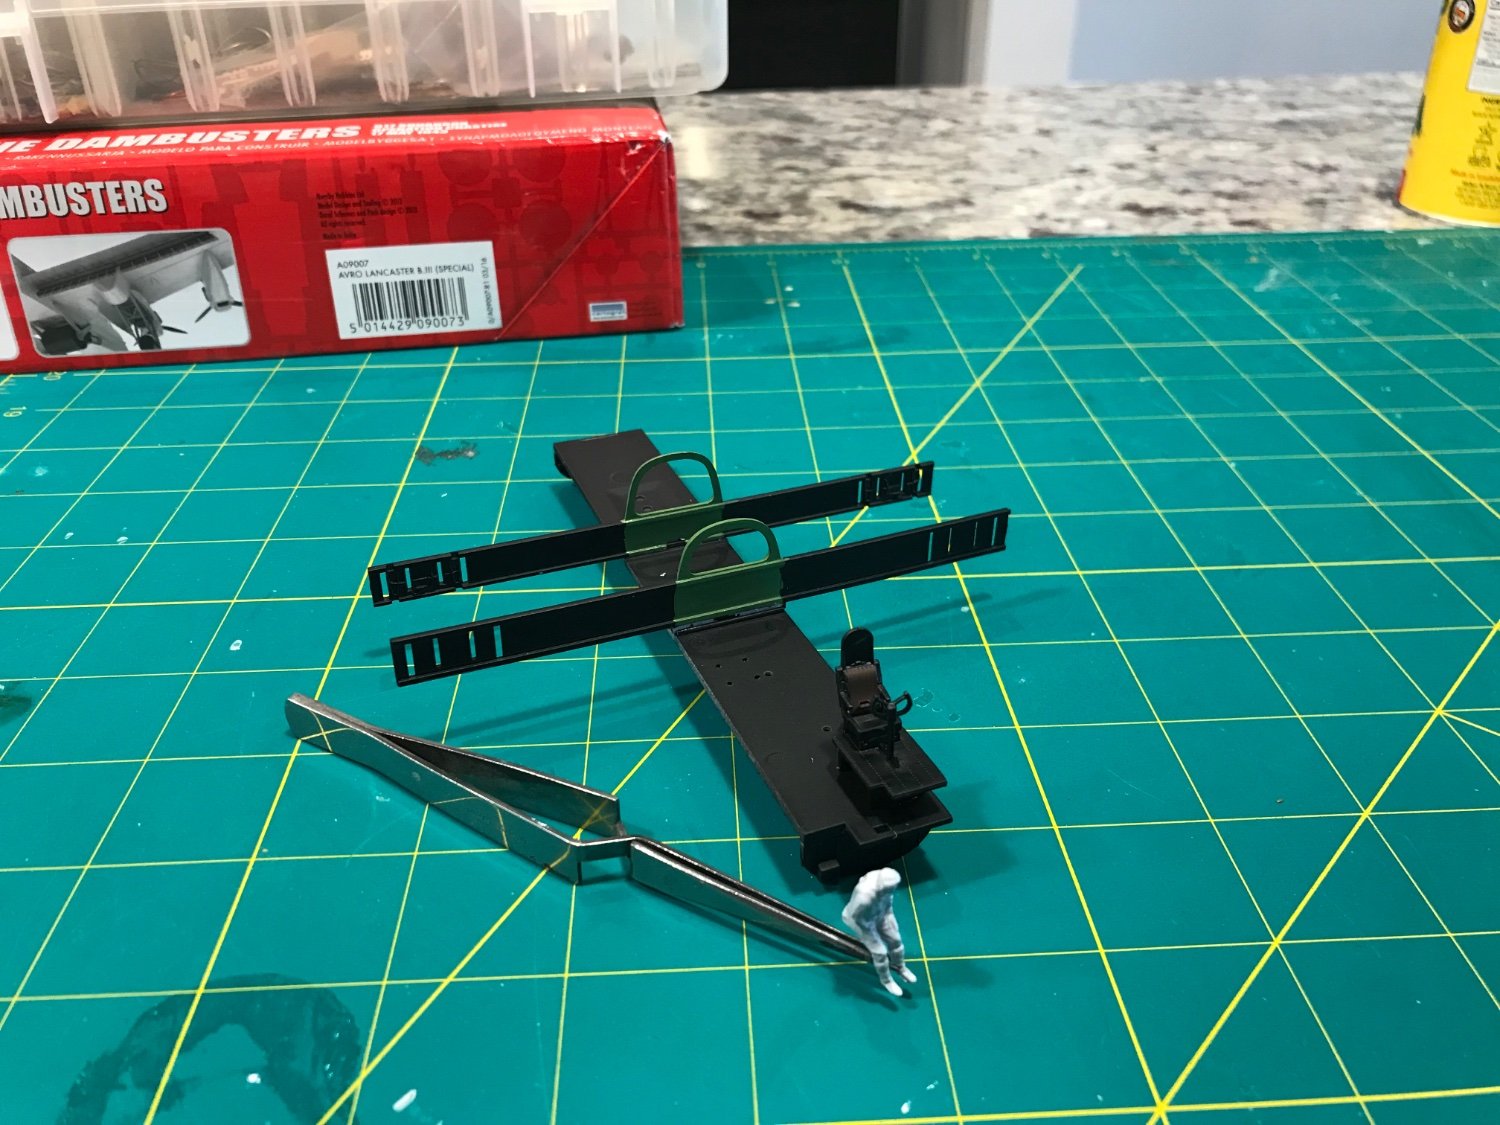
Better angle to see hands free
- 41 replies
-
- 12
-
-
AVRO Lancaster by Papa - FINISHED - Airfix - 1/72
Papa replied to Papa's topic in Non-ship/categorised builds
Pilot flying “no hands”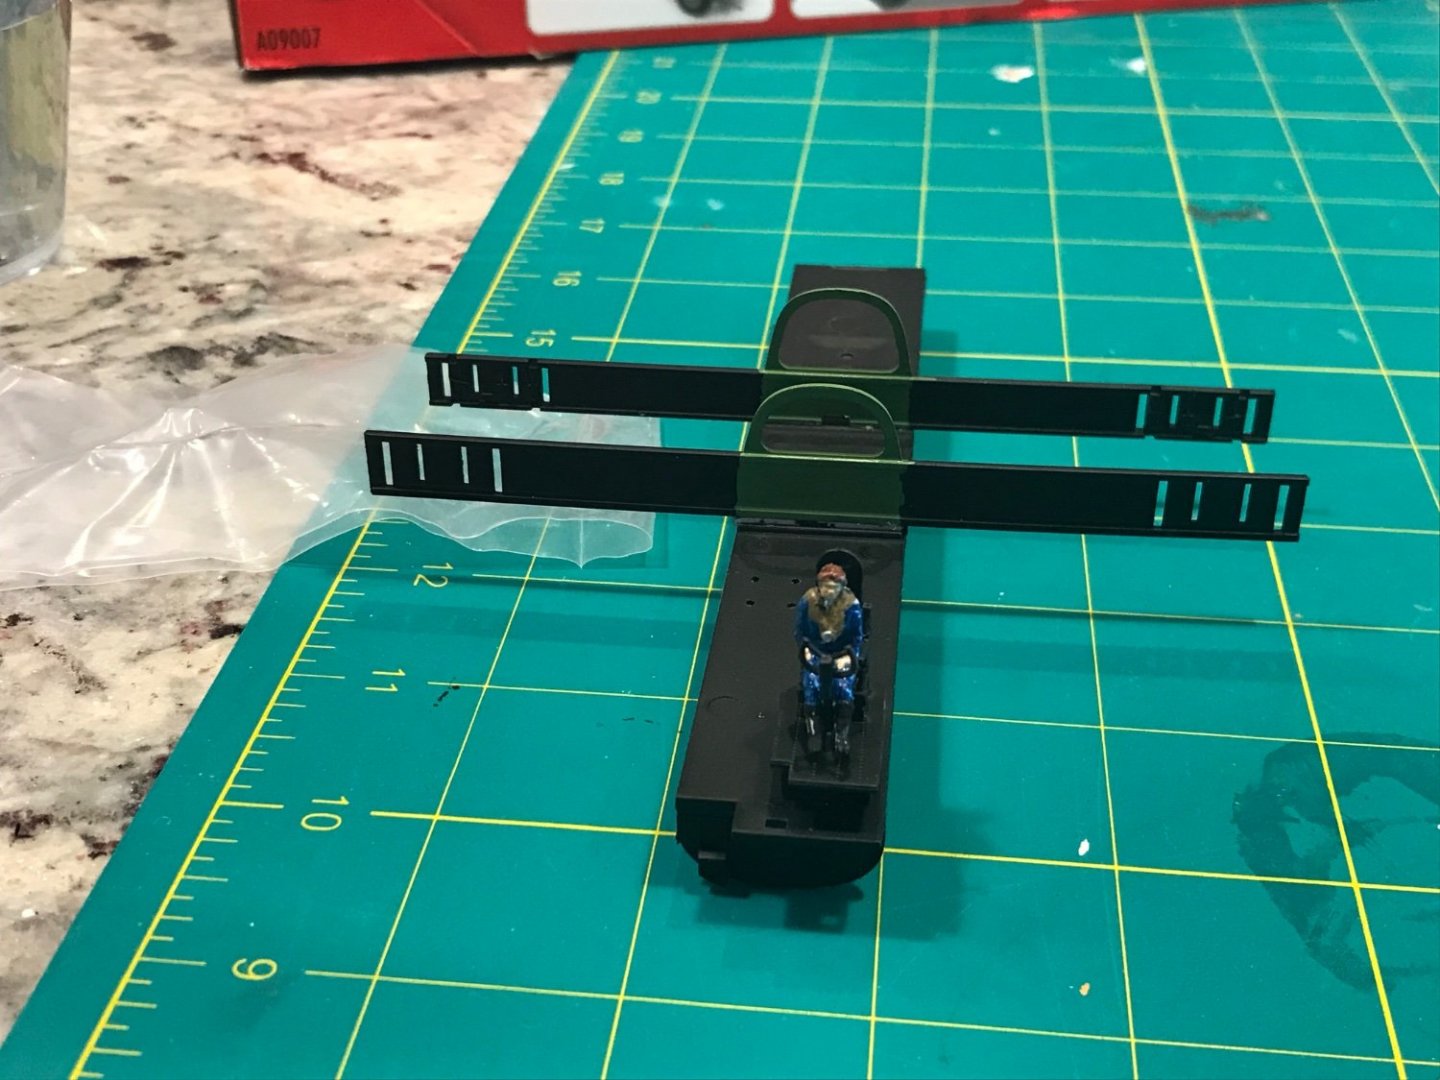
-
AVRO Lancaster by Papa - FINISHED - Airfix - 1/72
Papa posted a topic in Non-ship/categorised builds
I needed something to break up the tedium of tying ratlines on my C W Morgan so i started this Lancaster from the Dambusters mission that I’ve had on the shelf for a few years. There are 7 gray sprues and one with the clear parts. The quality is excellent. And the few pieces I’ve assembled so far have very positive positioning locators. The pilot in the photo has been primed and is ready for painting.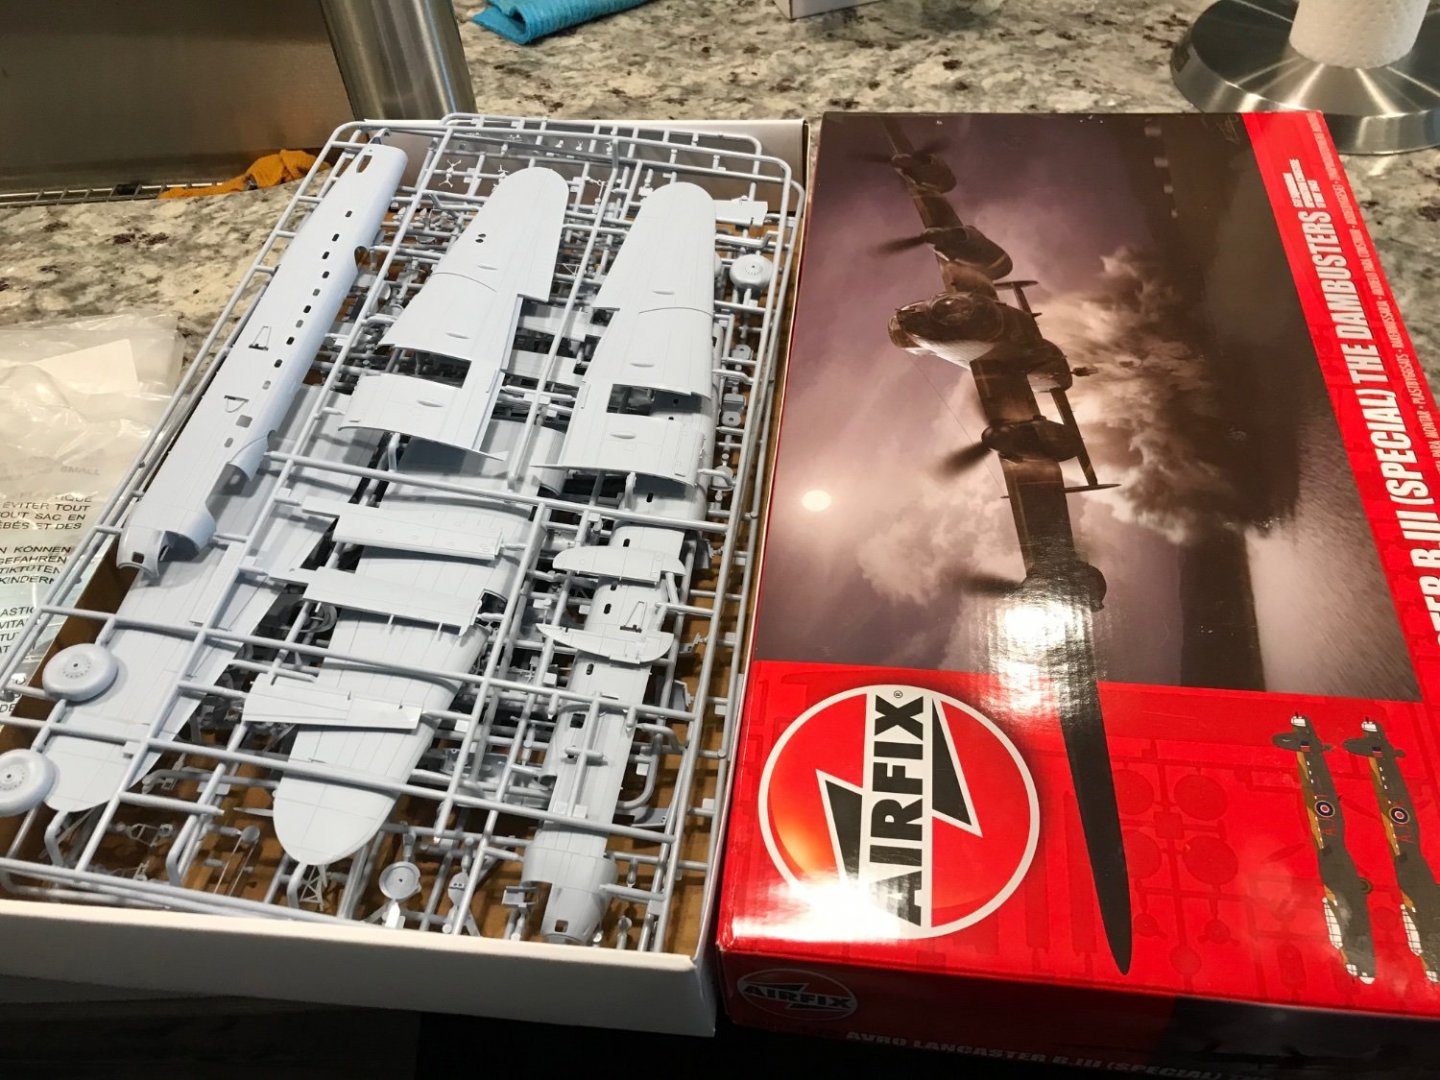

- 41 replies
-
- 15
-
-
I spent the first 20 years of my life living less than 10 miles from the USS Constitution and never once visited. Why not? I have no idea. For that matter, I was 15 before i even ventured into the City of Boston.
-
Thanks for the info.
-
And thanks for the complement.