

JerryC
-
Posts
71 -
Joined
-
Last visited
Content Type
Profiles
Forums
Gallery
Events
Posts posted by JerryC
-
-
I’m still not moving forward. I’m in a bit of despair. I still cannot fit the bow and stern can’t frames to fit. I just joined jup with the South Bay Model Shipwrights. I’ll take the kit with me to the next meeting on the 13th. Hope to get back on track. I haven’t given up yet, but I’m disappointed with the way things,are going at the moment.
- thibaultron and Chuck Seiler
-
 1
1
-
 1
1
-
-
I’m still wrestling with the cant frames. It’s slow going. It’s all put there together, take them apart, rinse and repeat.
I’m learning as I go, which is a good thing since my order for the osberg ship is in the mail. The lessons I have learnt should make that assembly much easier.
I also have been cleaning up a pair of Altec lancing voice of the theater speakers. Much more forgiving.- Ghost029, Chuck Seiler and thibaultron
-
3
-
The can’t frames are still giving me grief. I’m thinking about dismantling the frames and sticking them into the jig and touching them with a little CA.
-
A little progress made. A couple of frames are still in the clinic.

- JeffT, sirdrake, Chuck Seiler and 6 others
-
9
-
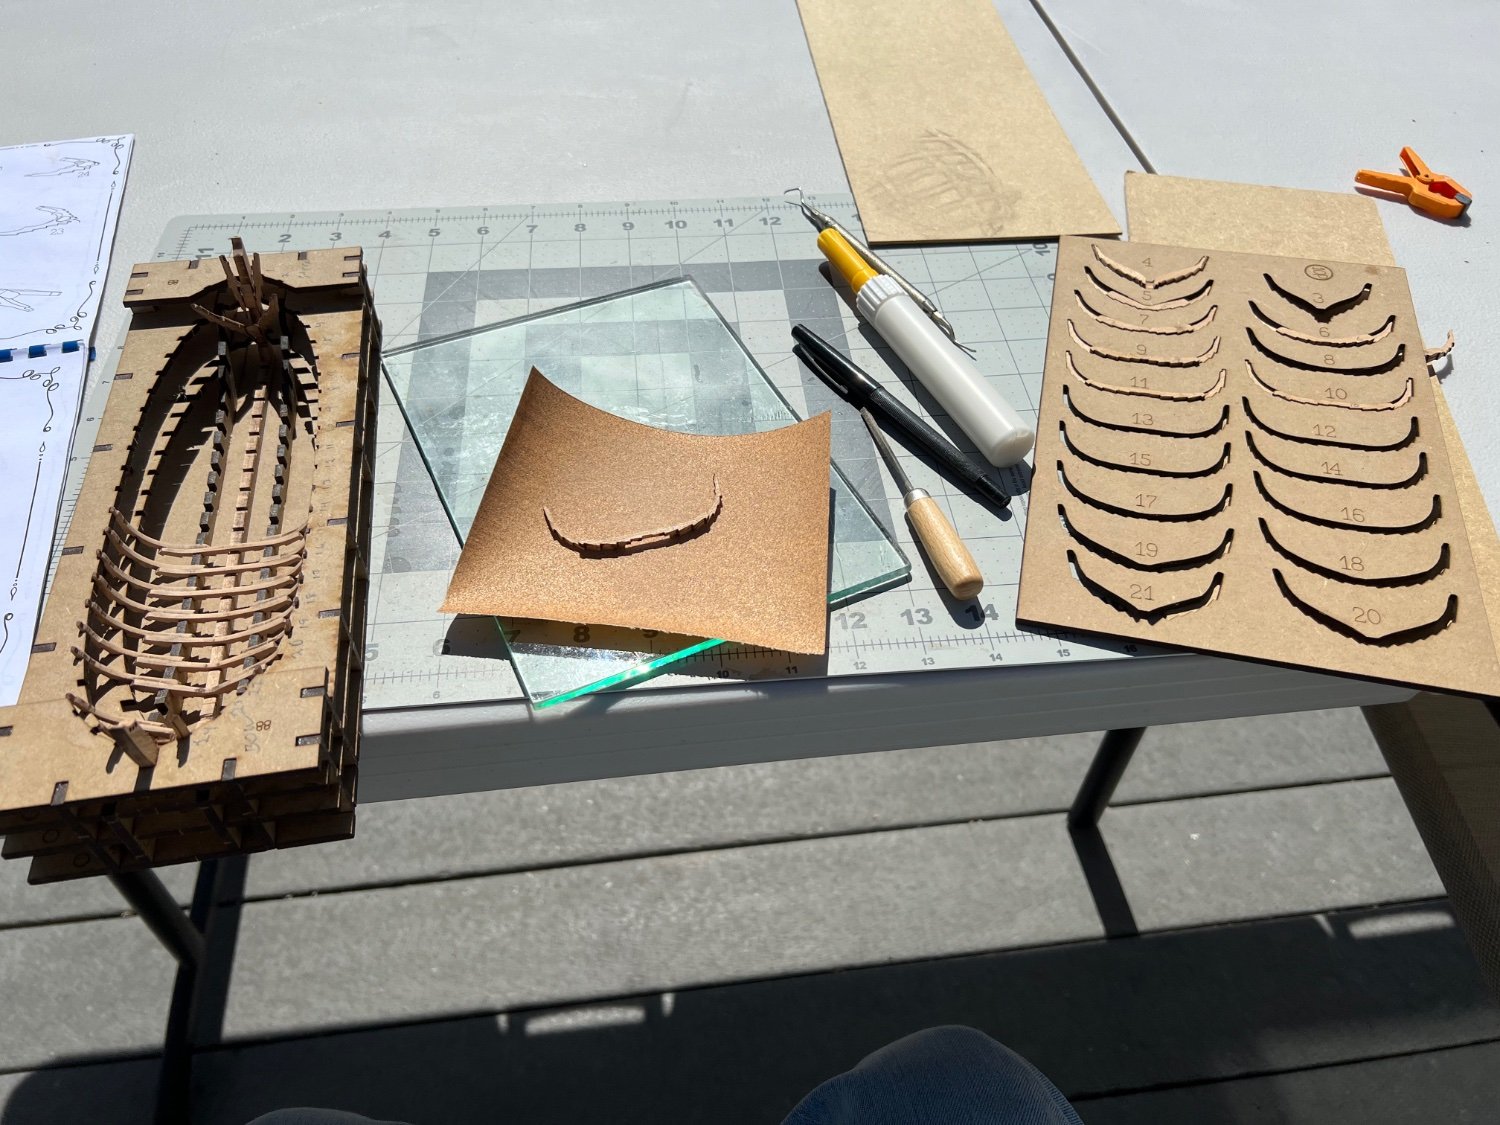
The replacement parts are looking good.
there will be a bunch of thickness sanding to do.
The clearances are tight. I noticed it on the jig and now I’m seeing it on the frames To the jig.

- Hartron, mtaylor, Dsmith20639 and 2 others
-
5
-
-
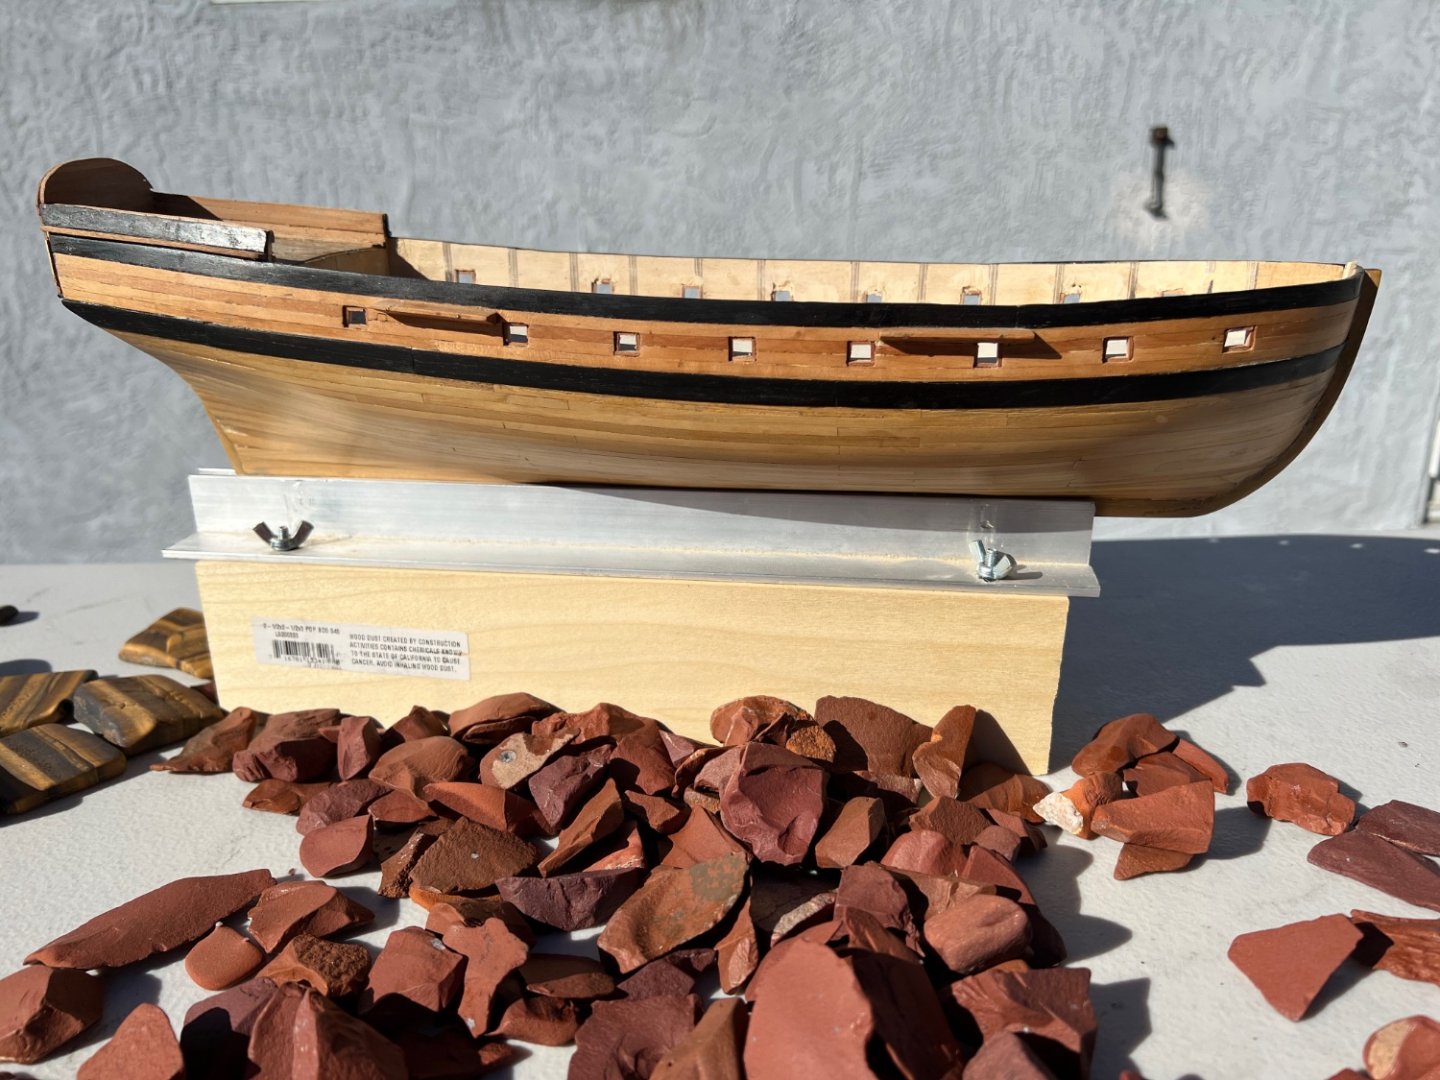
My replacement parts for the shallop arrived today. Time to get my nose down to the grindstone again. The break gave me some time to move forward with the clay Feldman/lumberyard Lexington.
- thibaultron and mtaylor
-
2
-
That sounds like different colors to me!
- Keith Black and mtaylor
-
2
-
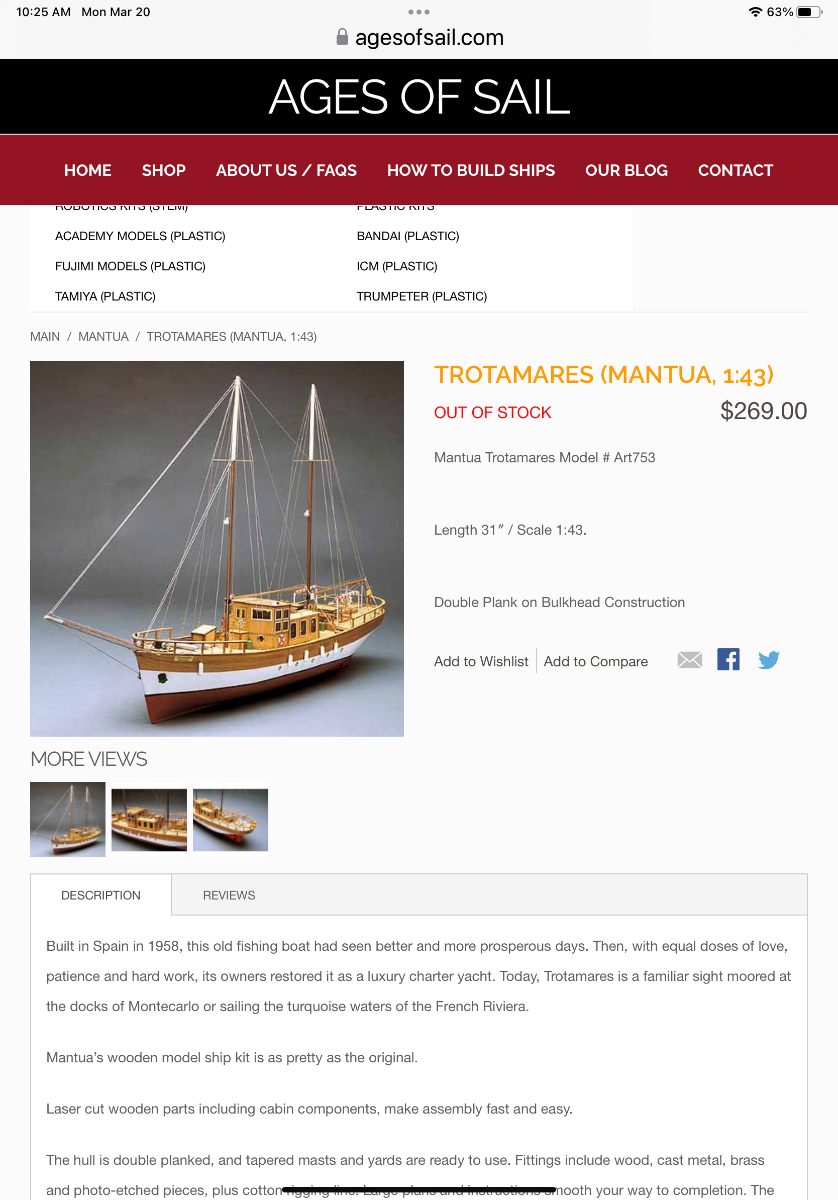
Personally, I like treenails. I have a set of vanda lay treenail making tools and have spent many hours making sawdust while producing a bunch of treenails. I used a bunch on the hull planking of the mantua Trotamares, which I then painted. Can’t see them, but I know they are there.
-
-
-
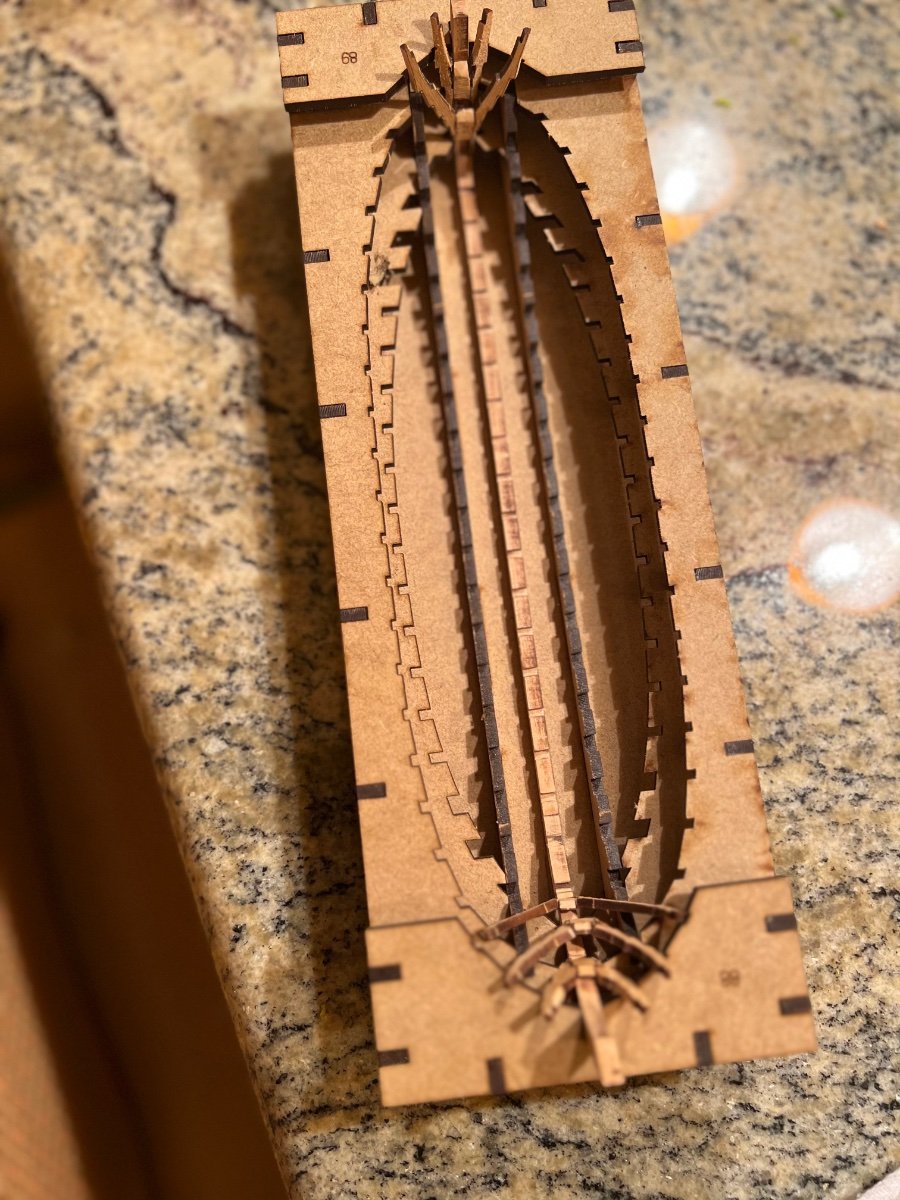
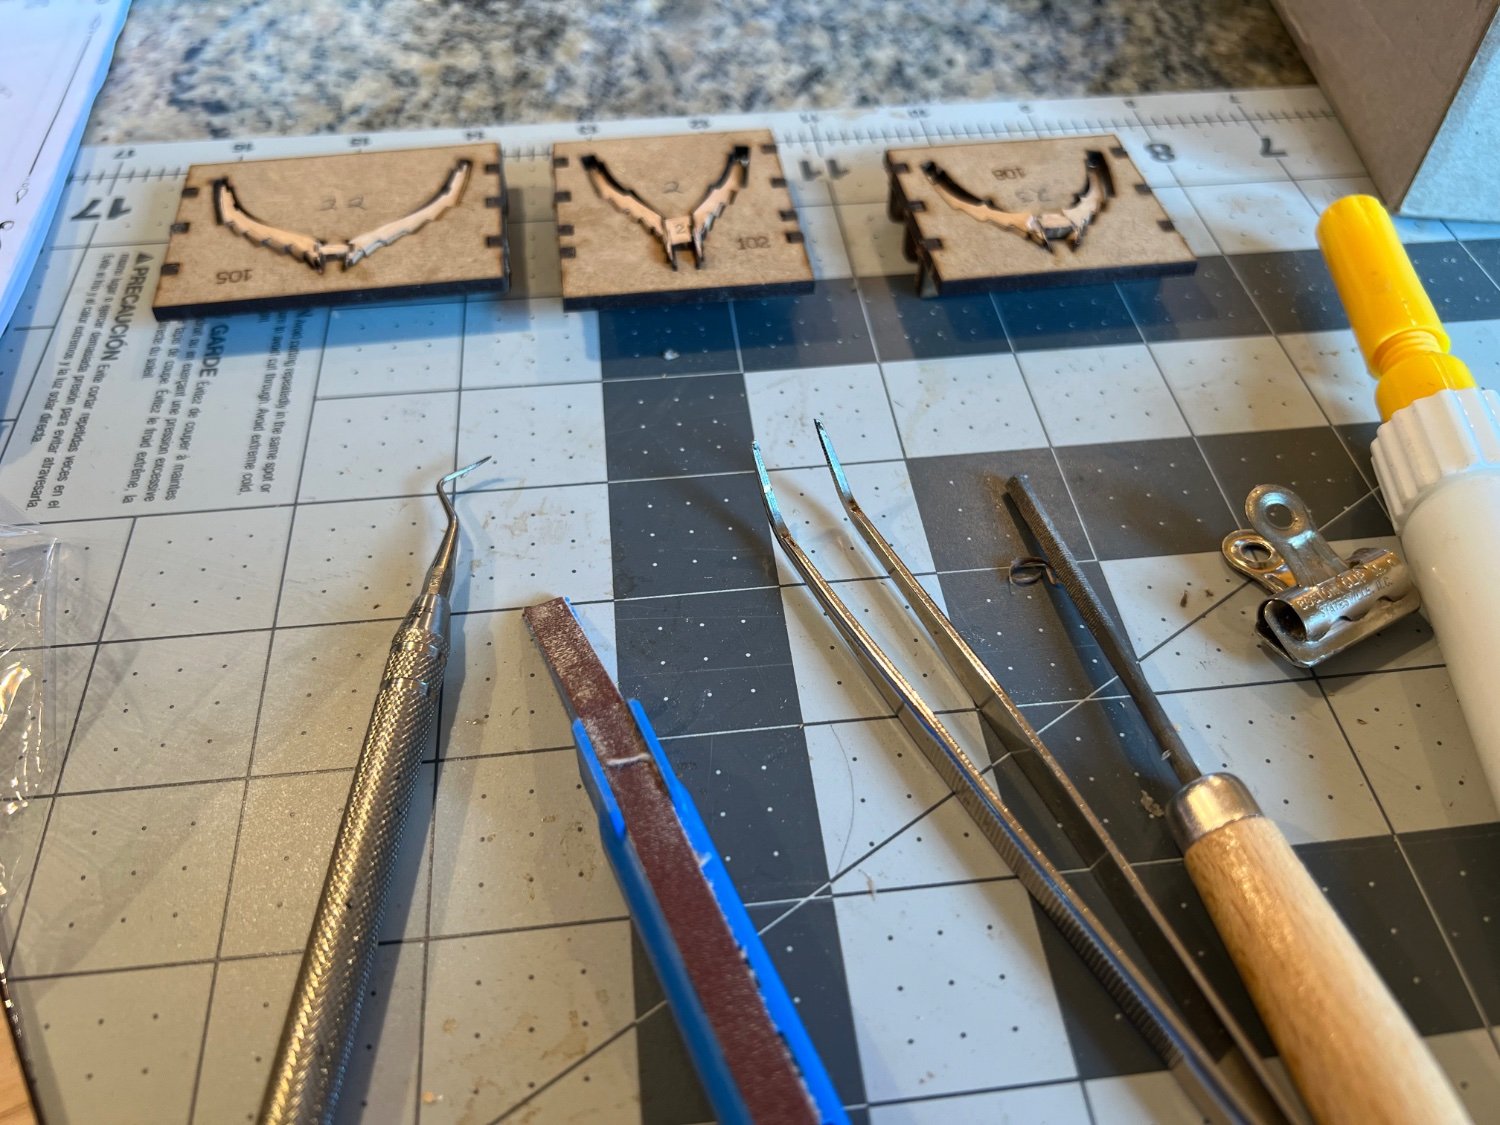
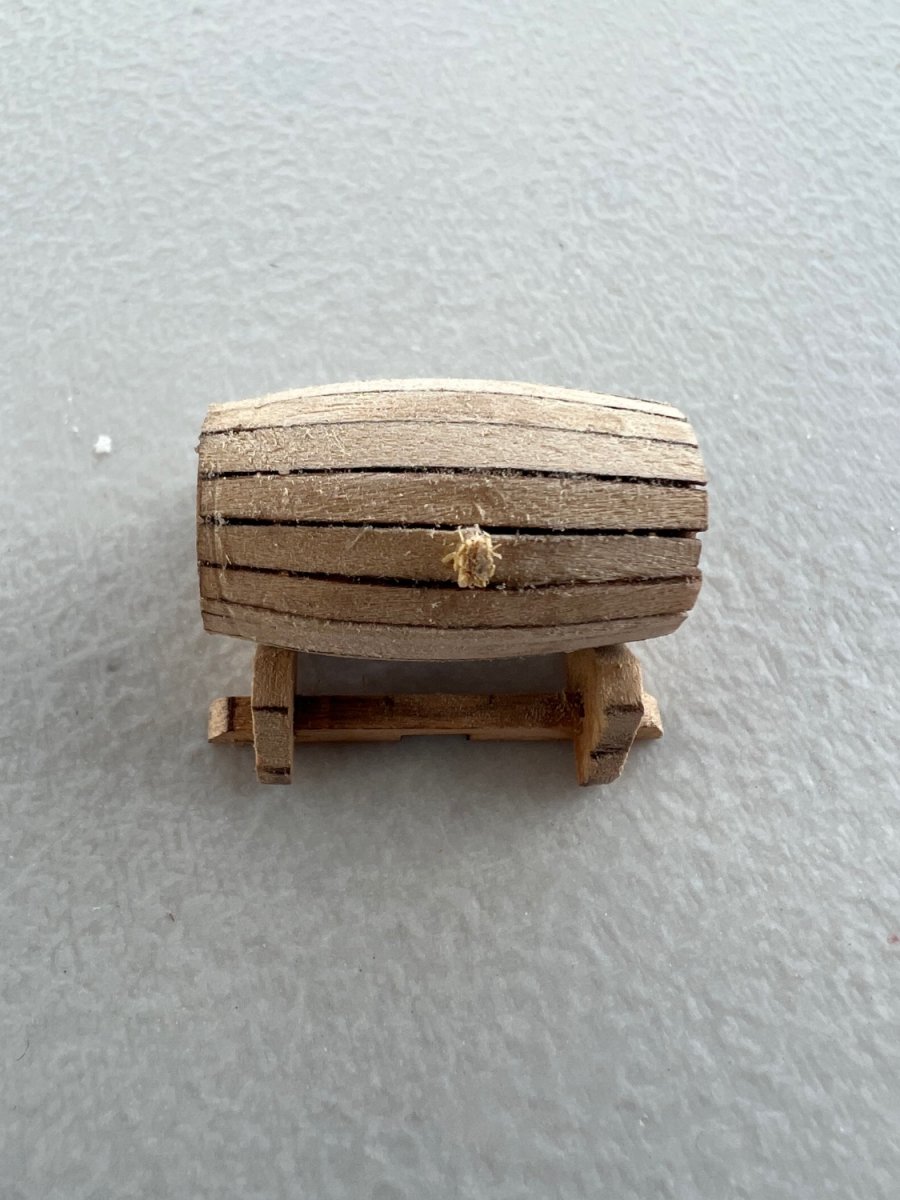
While waiting for frame parts, I’m assembling some other stuff. I’m getting the hang of it. There are a lot of subtle locating notches that require attention
 I had disassemble this one twice i was aligning the pieces at the top and losing the notches.
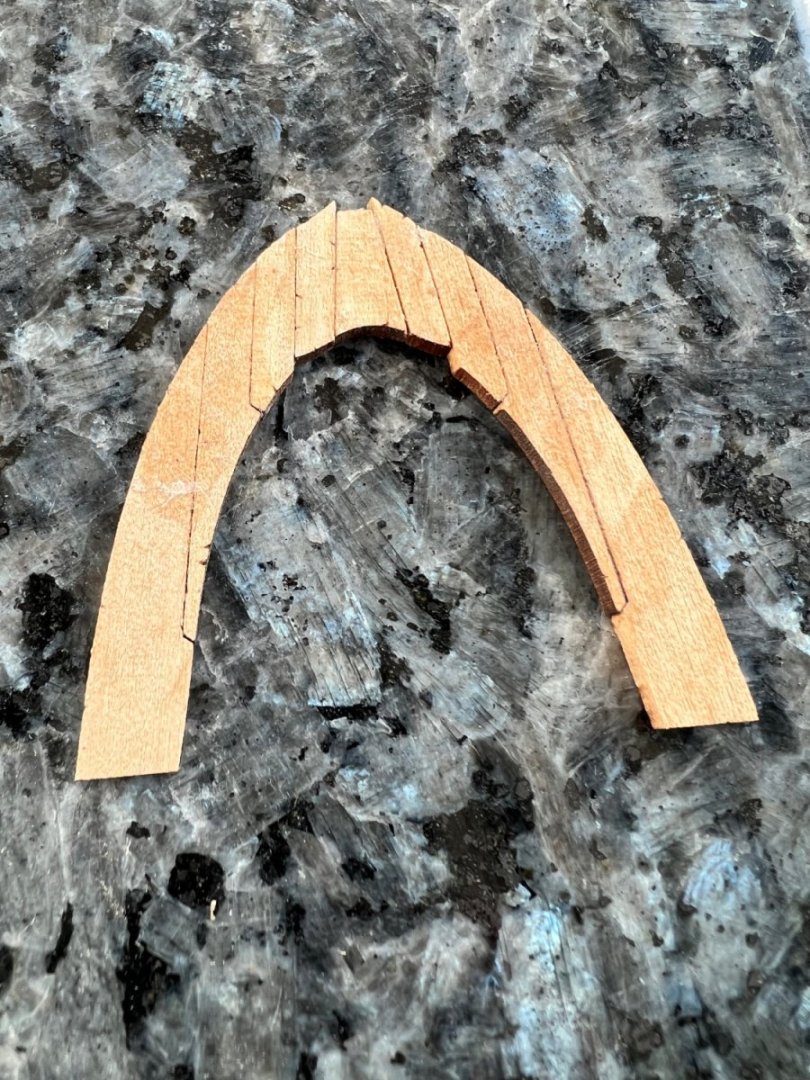 this one needed to be fixed three times
 this one still needs to be cleaned up and the hoops blackened and fastened. I think I’ll have to go and get some CA for that. I don’t think PVA is appropriate and epoxy would be too messy. I’m thinking of draining it walnut, only because I have a can of it sitting around.
- mtaylor, Chuck Seiler and thibaultron
-
3
-
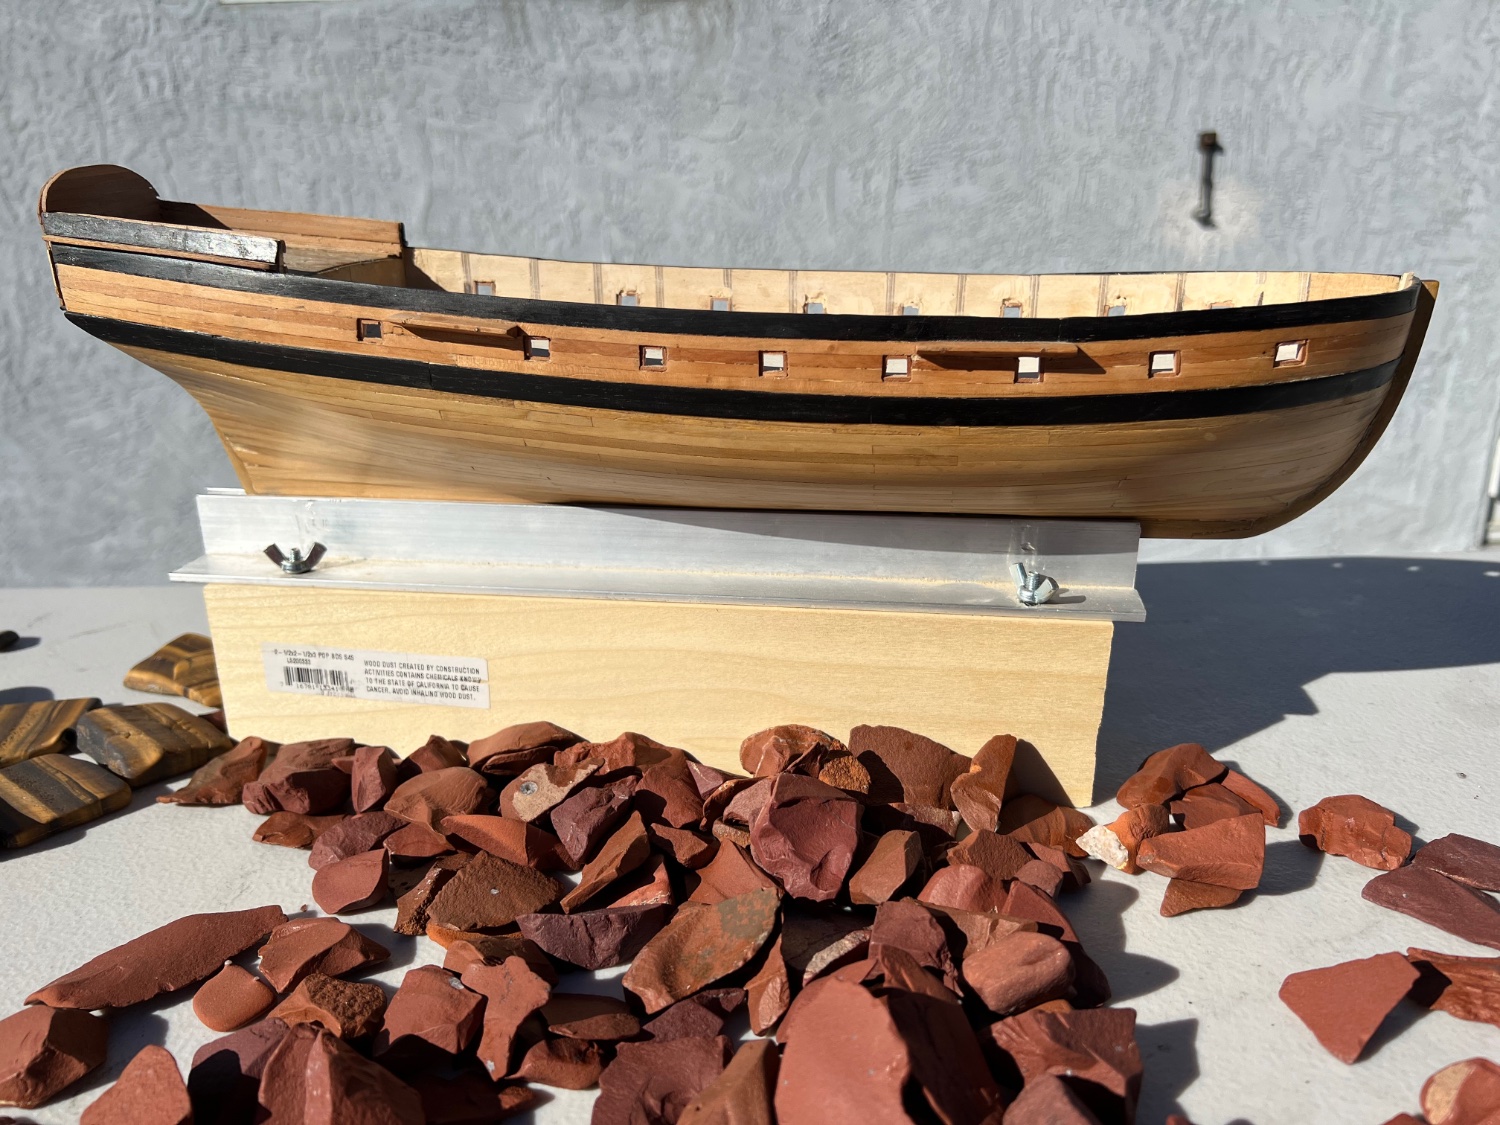
 I’m trying to assemble the Clay Feldman Lexington kit from Dlumberland.
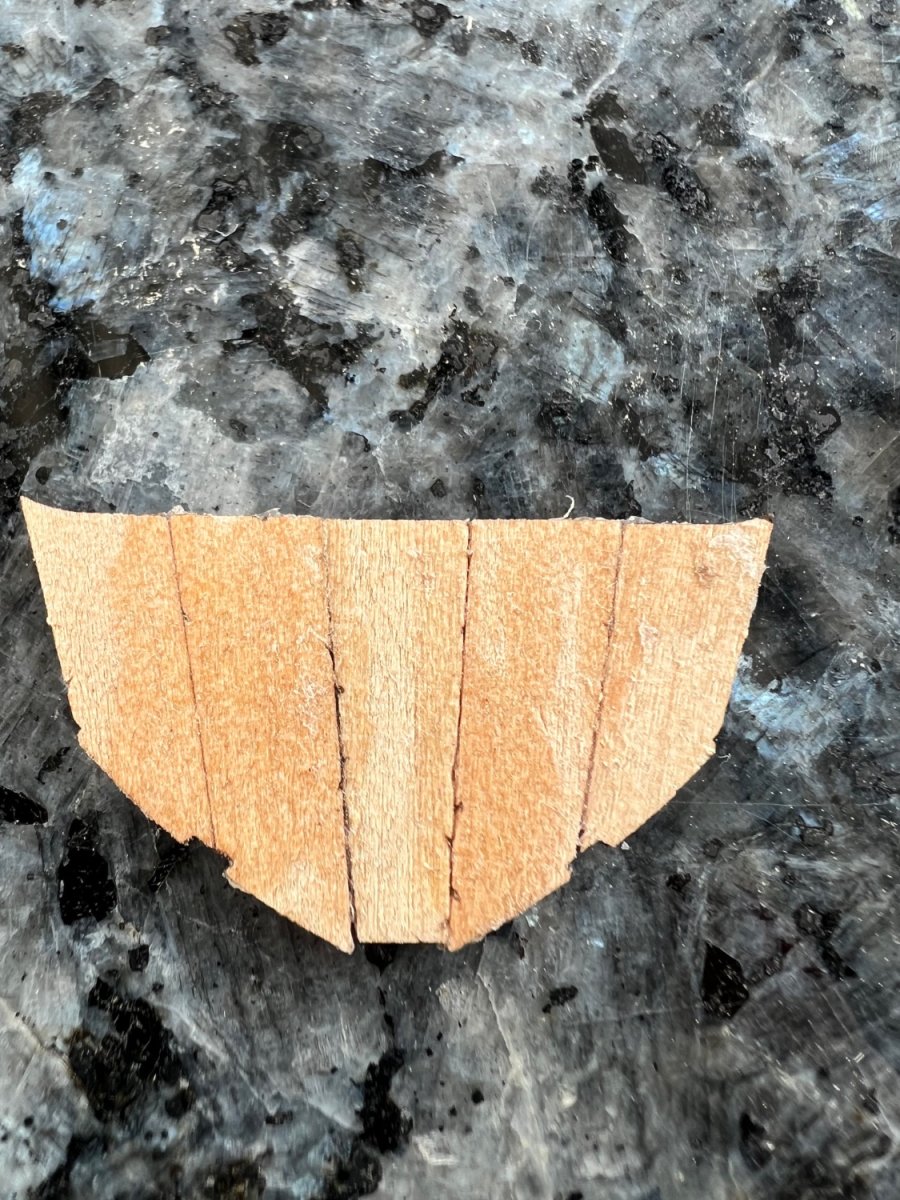
I’m working on planking the quarter deck and am stuck on the tapering.
I tried to do it with eyeballing the taper, but the results were not spectacular to say the least. I had to rip it all out and am starting over. Any suggestions for managing this operation?
I have my stock all ready, I’m just having trouble managing the tapering. I did one using a binder clip and sandpaper and it looks ok, but I can’t see doing that 24 more times.


-
You might try ironing it. You can always re-do it if that fails.
-
Regarding the faceting the model shipways whaleboat kit includes a piece of cove molding for cupping the planks
- mtaylor, oakheart and Keith Black
-
3
-
-
Yes, I did unglue them, but I was unclear about the process and tried to shape the pieces with files and sandpaper. I should have fixed the jig.
- Chuck Seiler, Richard44, mtaylor and 1 other
-
4
-
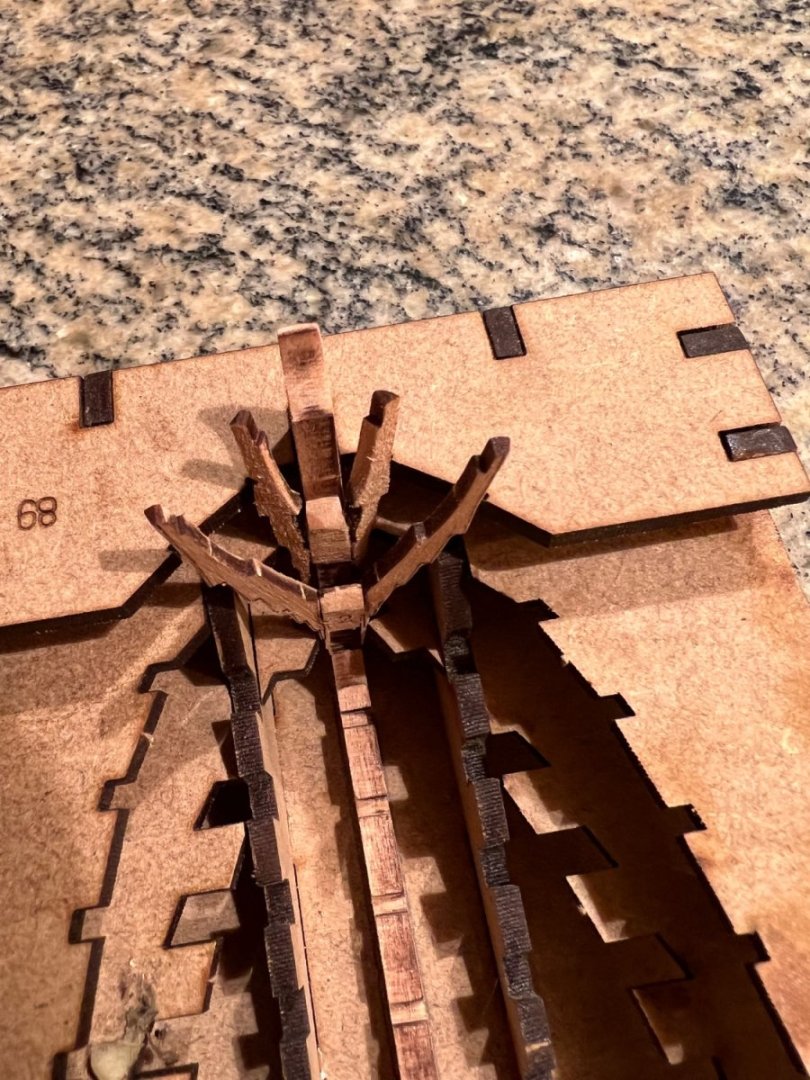
I figured out where I went wrong. When I put the main jig together, there was a tight fit between the tabs and the slots. Not a real problem, just required a little adjustment, mostly just sanding the tabs a little.
on the jigs for assembling the cant frames, the bottom narrow legs were too thick to fit in the form. So, I opened up the slots in the jig. Bad idea. With the legs fit into the jig, the frames didn’t line up with the center pieces.the legs were too low to mate with the center pieces. When the new pieces arrive, I’ll need to block up the slots in the jig.- mtaylor, Chuck Seiler, Hartron and 2 others
-
5
-
I emailed Pavel and he will send me the parts that I need to redo the cant frames. I only have to pay for shipping!
- KentM, thibaultron and mtaylor
-
3
-
I think it’ll be easier to deal with your misspellings that most of the substitutions spell check throws in there!
- thibaultron, hollowneck and Obormotov
-
1
-
 2
2
-
Well, I’m stuck now. I sent an email to Pavel to see if I can get some new parts to fix my problems with the can’t frames. Until I hear back from him, I’ll be making barrels and decking and lee boards. Just a bump in the road!
- thibaultron, Chuck Seiler and mtaylor
-
2
-
1
-
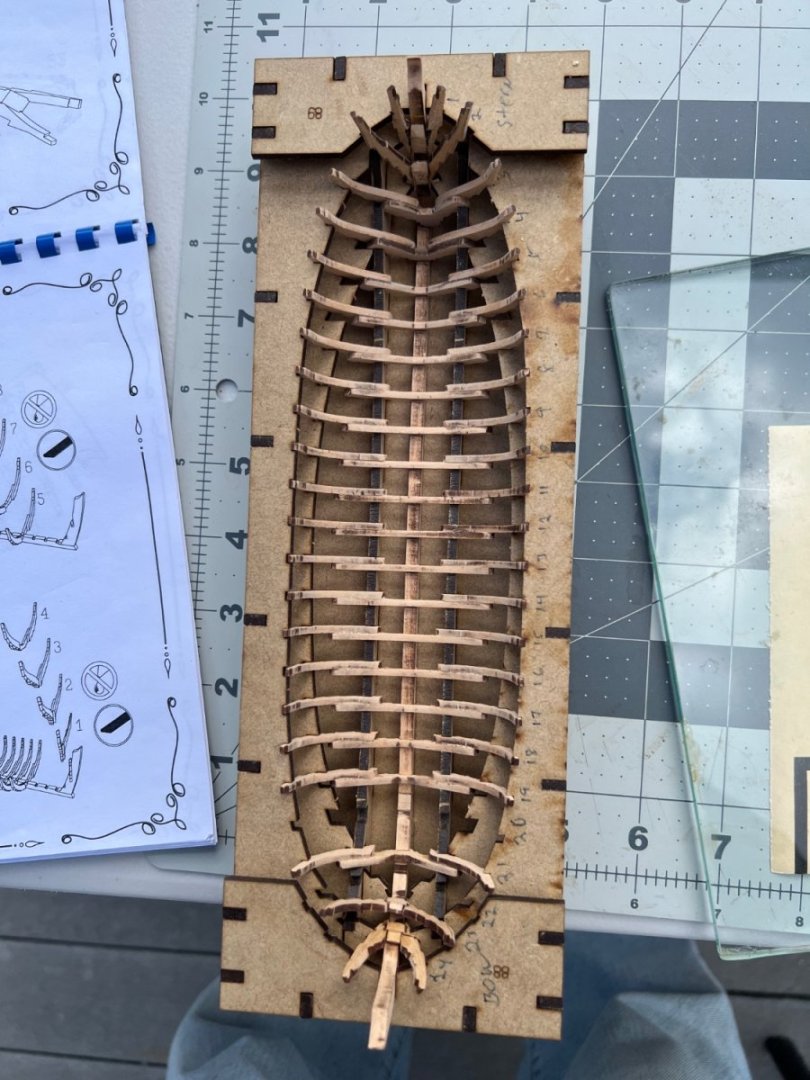
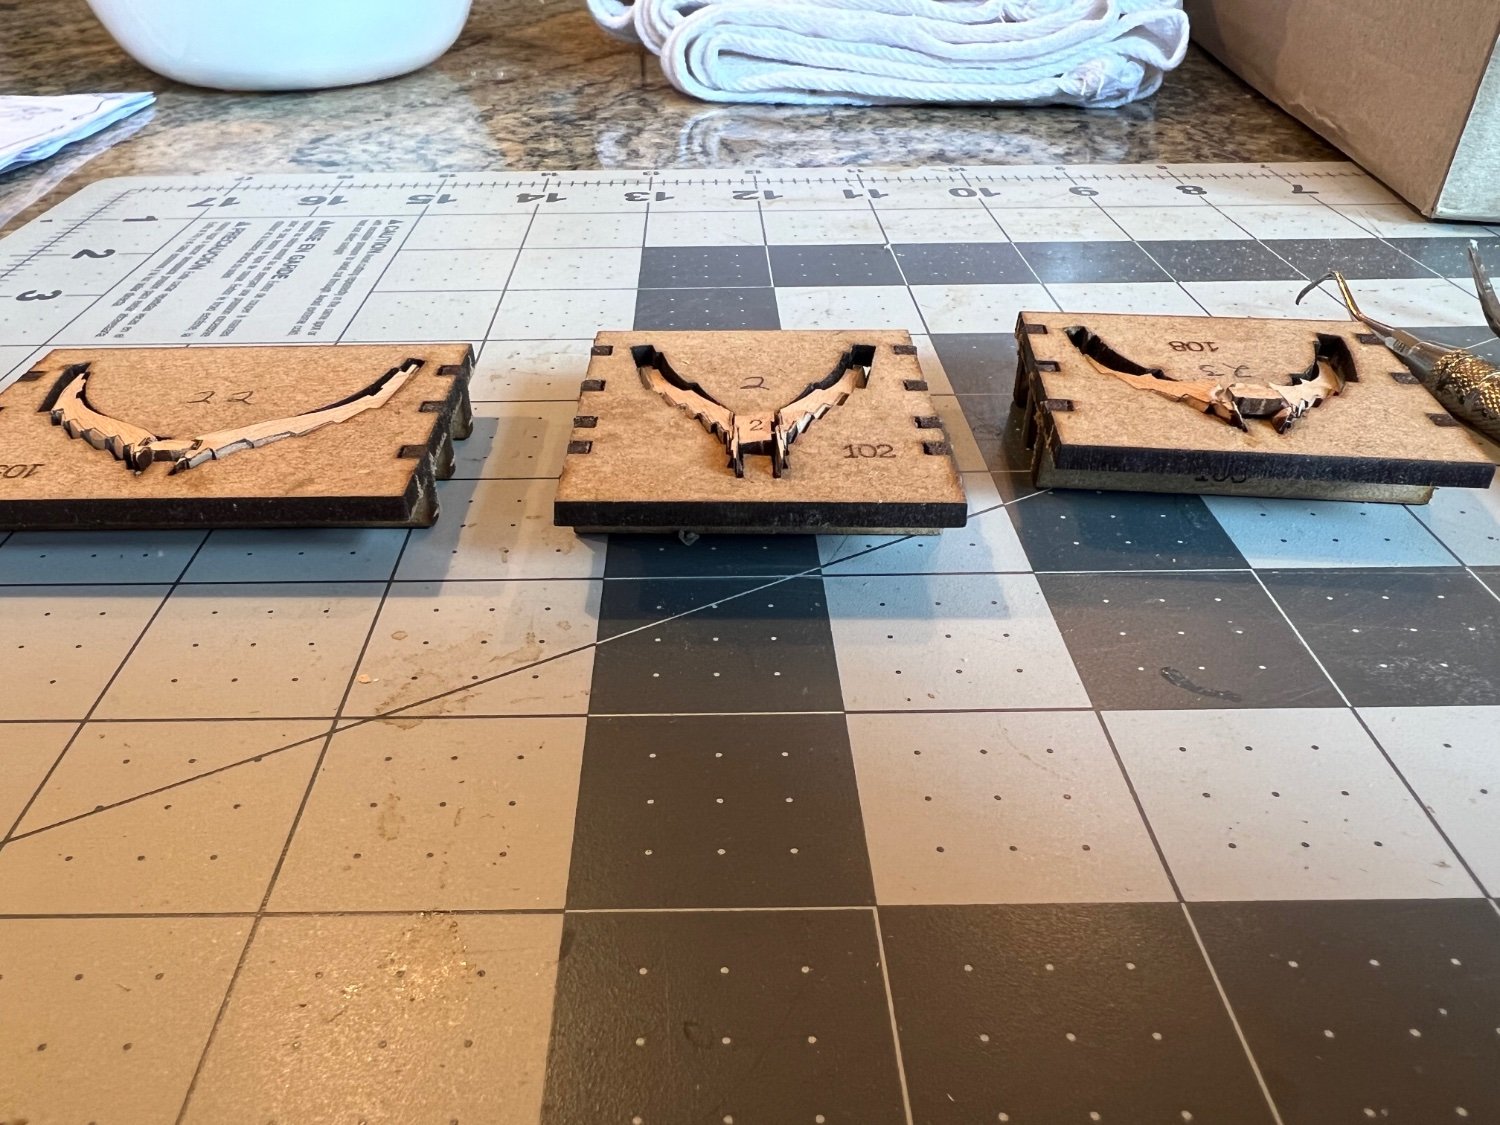
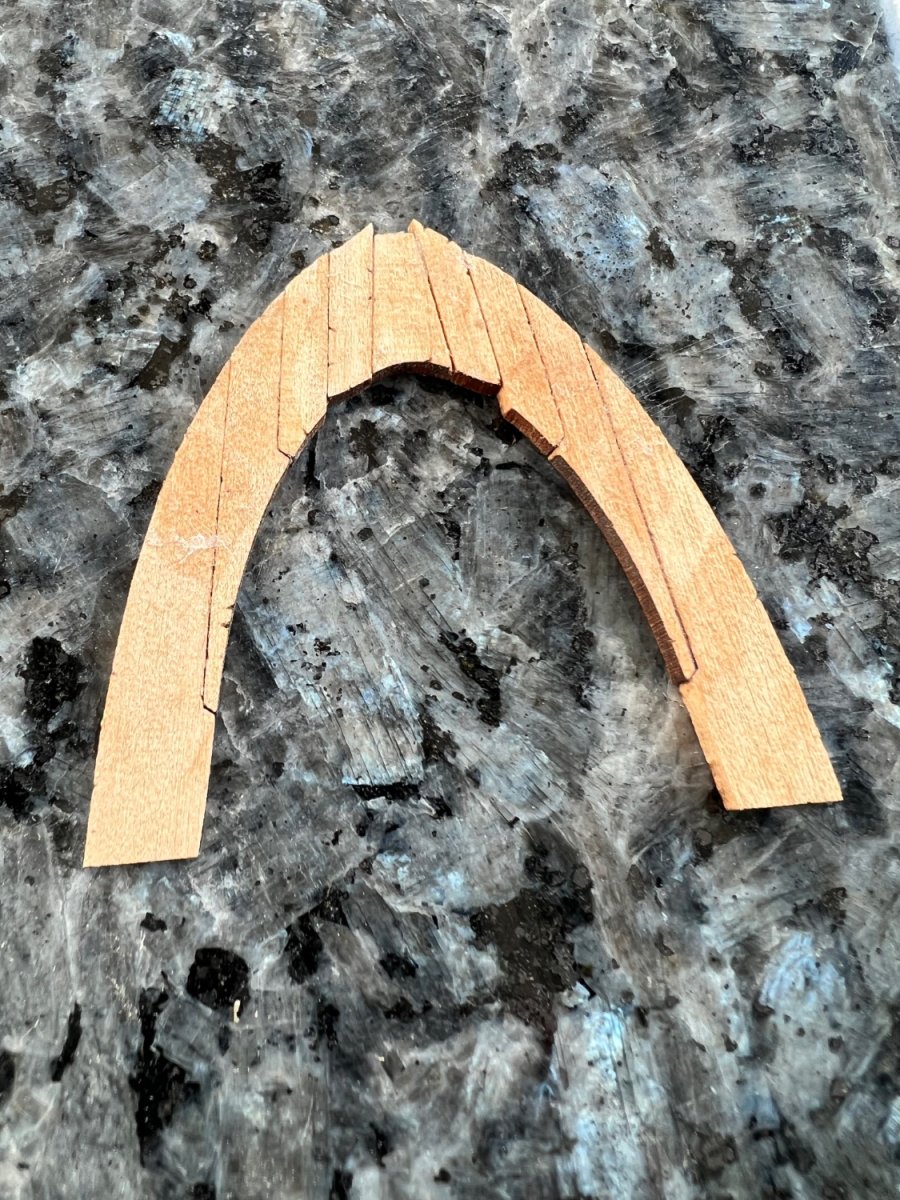
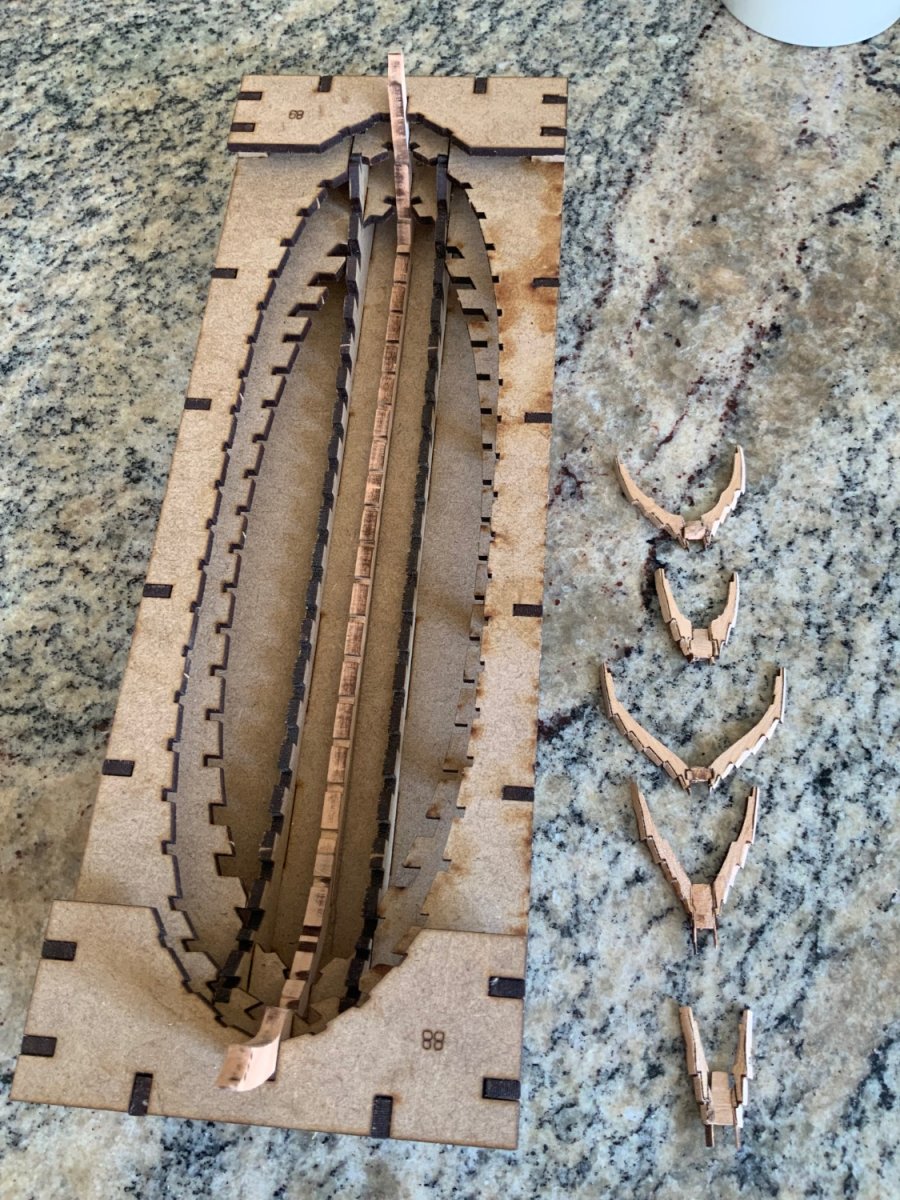
There’s trouble in river city, and I don’t mean pool. These frames just don’t have enough can’t to fit in the jig. All the rest of the frames look good. I’ll be doing some debonding and see if I can salvage them. I should have paid more attention to Ohla’s video, would have saved me the aggravation!

- Ryland Craze, James G, Chuck Seiler and 2 others
-
5
-
Chuck, good looking too, I hate her, or maybe I envy her, or ma,bye I love her. Regardless, I am impressed with her talent.
johnny, it’s a novel way to put these things together. It’s expected that you can figure out what’s depicted in the illustrations. With help from Chuck Seiler and others with common sense, and experience with the kit, it will be an easy and satisfying project. It’s a nice kit with good materials. I think you won’t be disappointed when you purchase the kit. U


1:22 Venetian Gondola - Amati
in REVIEWS: Model kits
Posted
I have an Amati gondola in progress, it is an ongoing adventure. I also purchased a Gilberto Penzo gondola that I’m looking forward to. I think the Penzo gondola will be a lot easier to assemble.