


Bill97
-
Posts
2,340 -
Joined
-
Last visited
Content Type
Profiles
Forums
Gallery
Events
Posts posted by Bill97
-
-
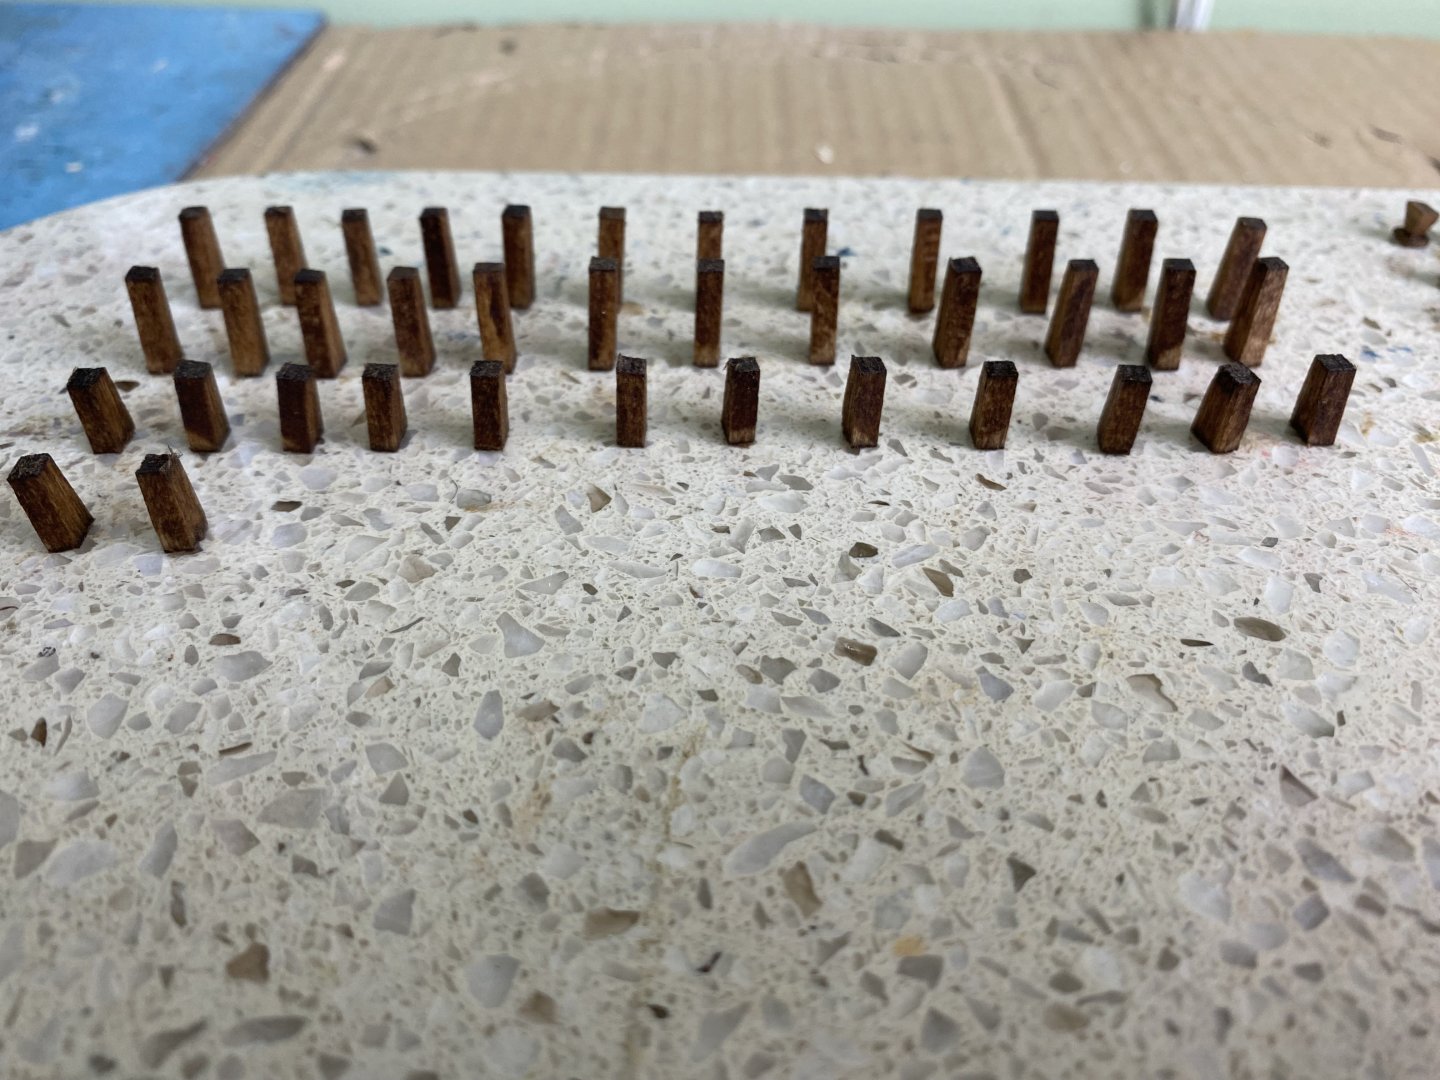
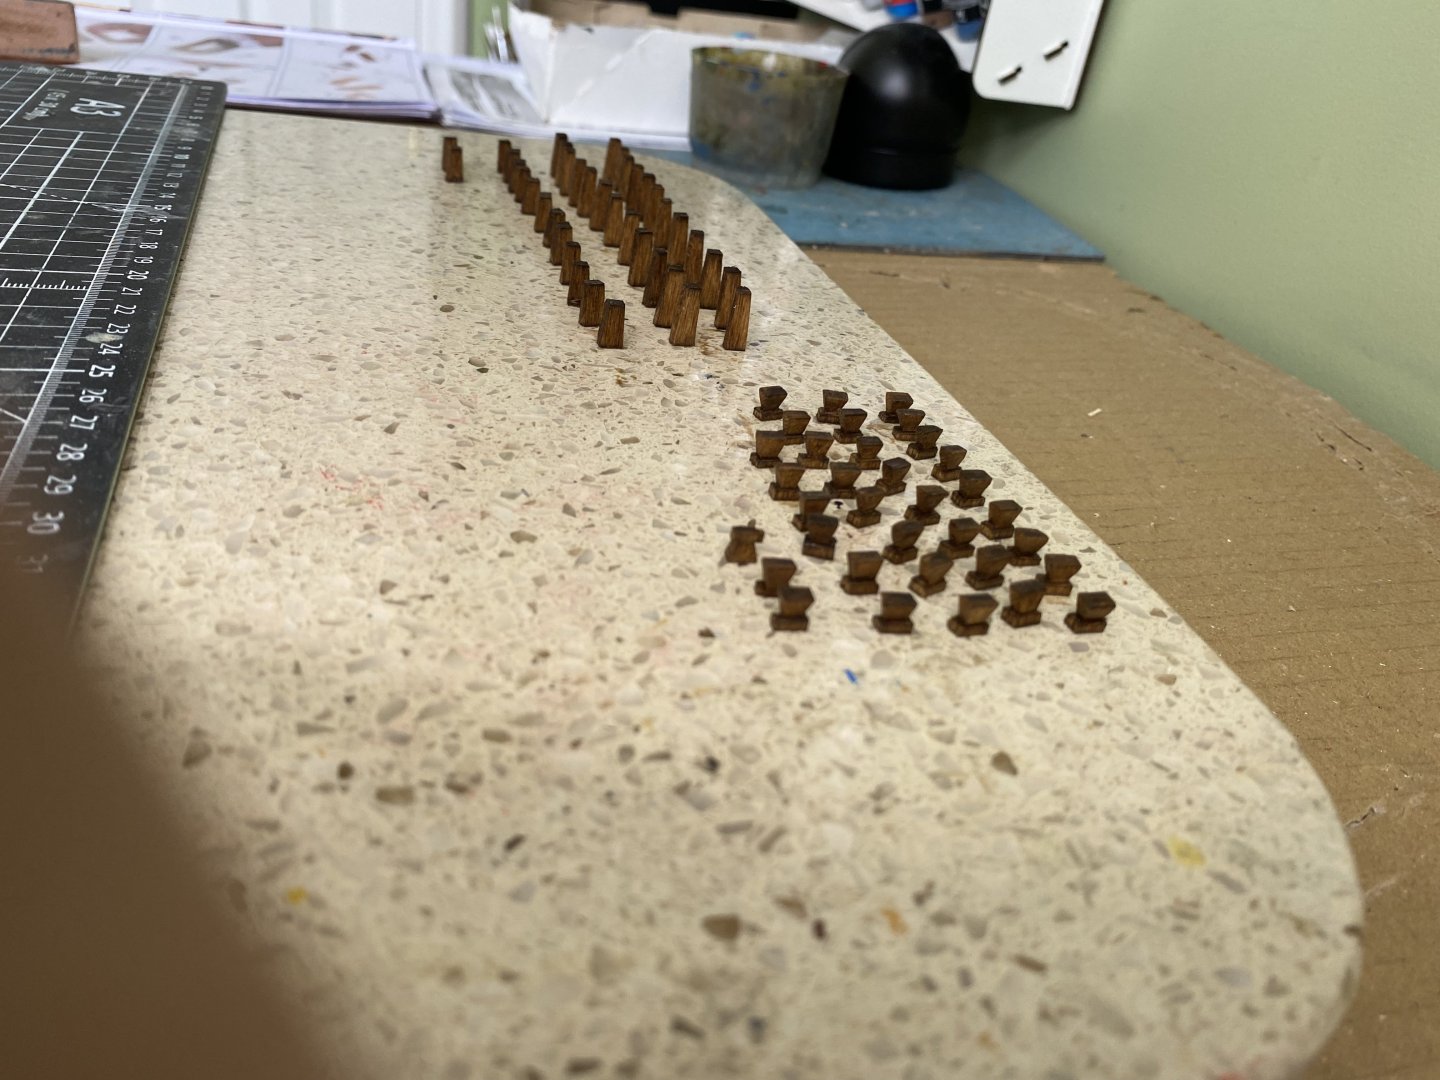
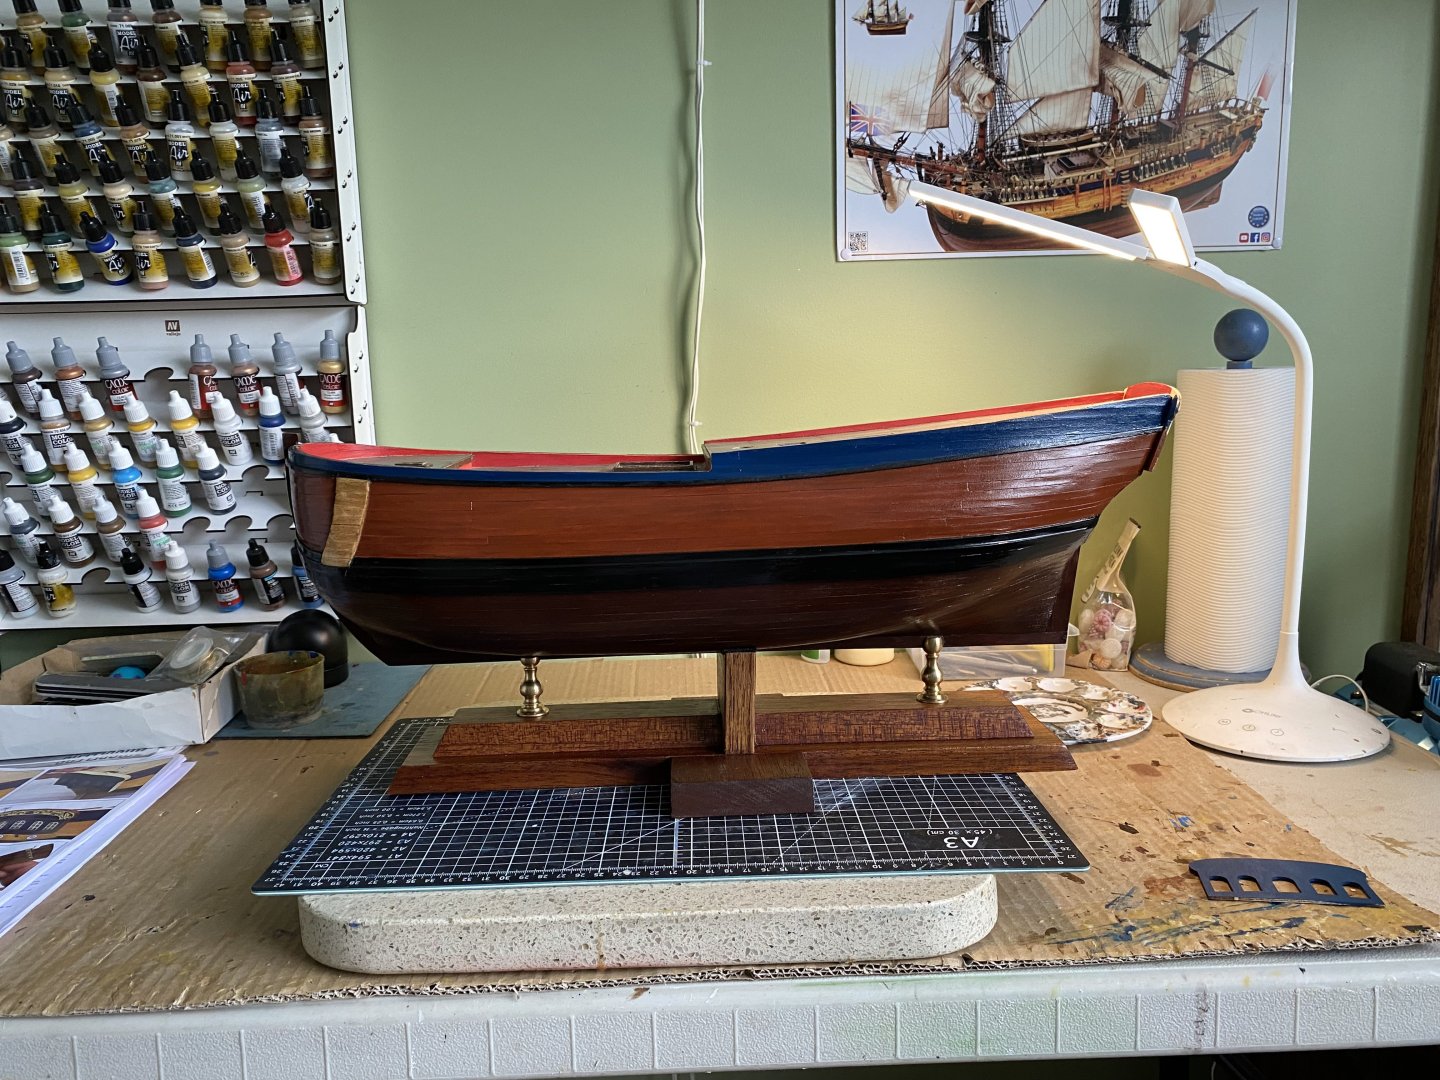
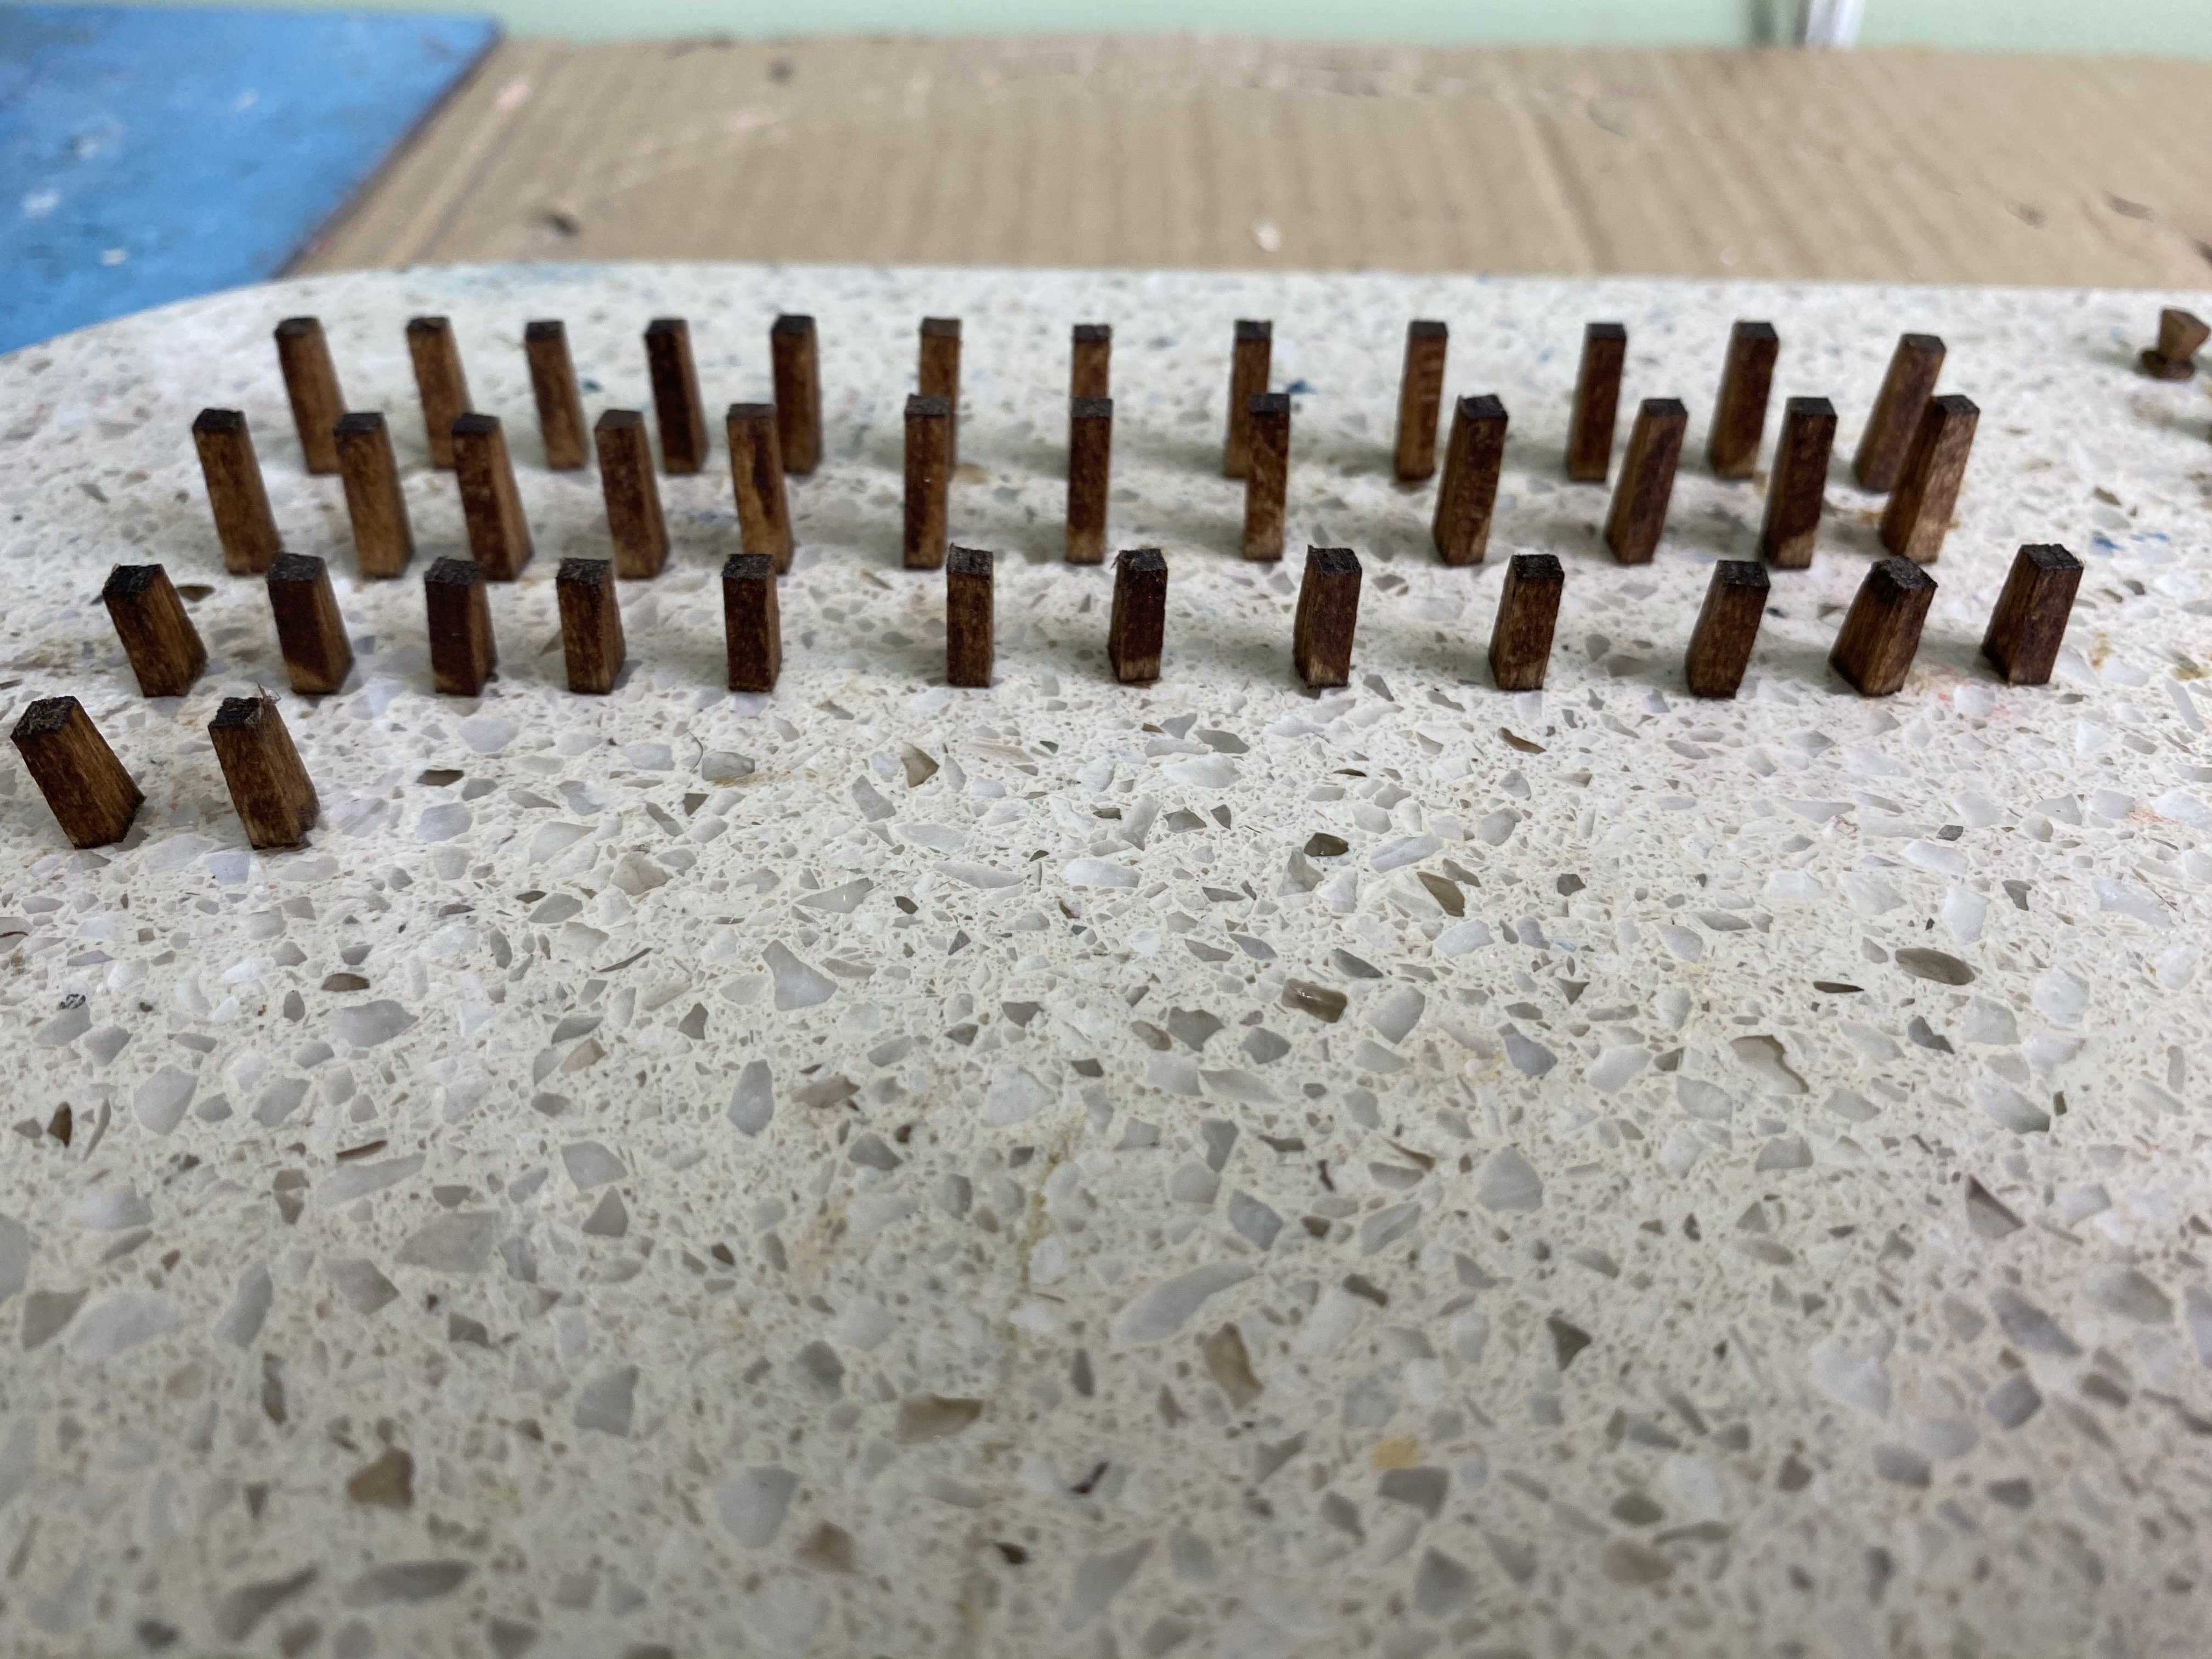
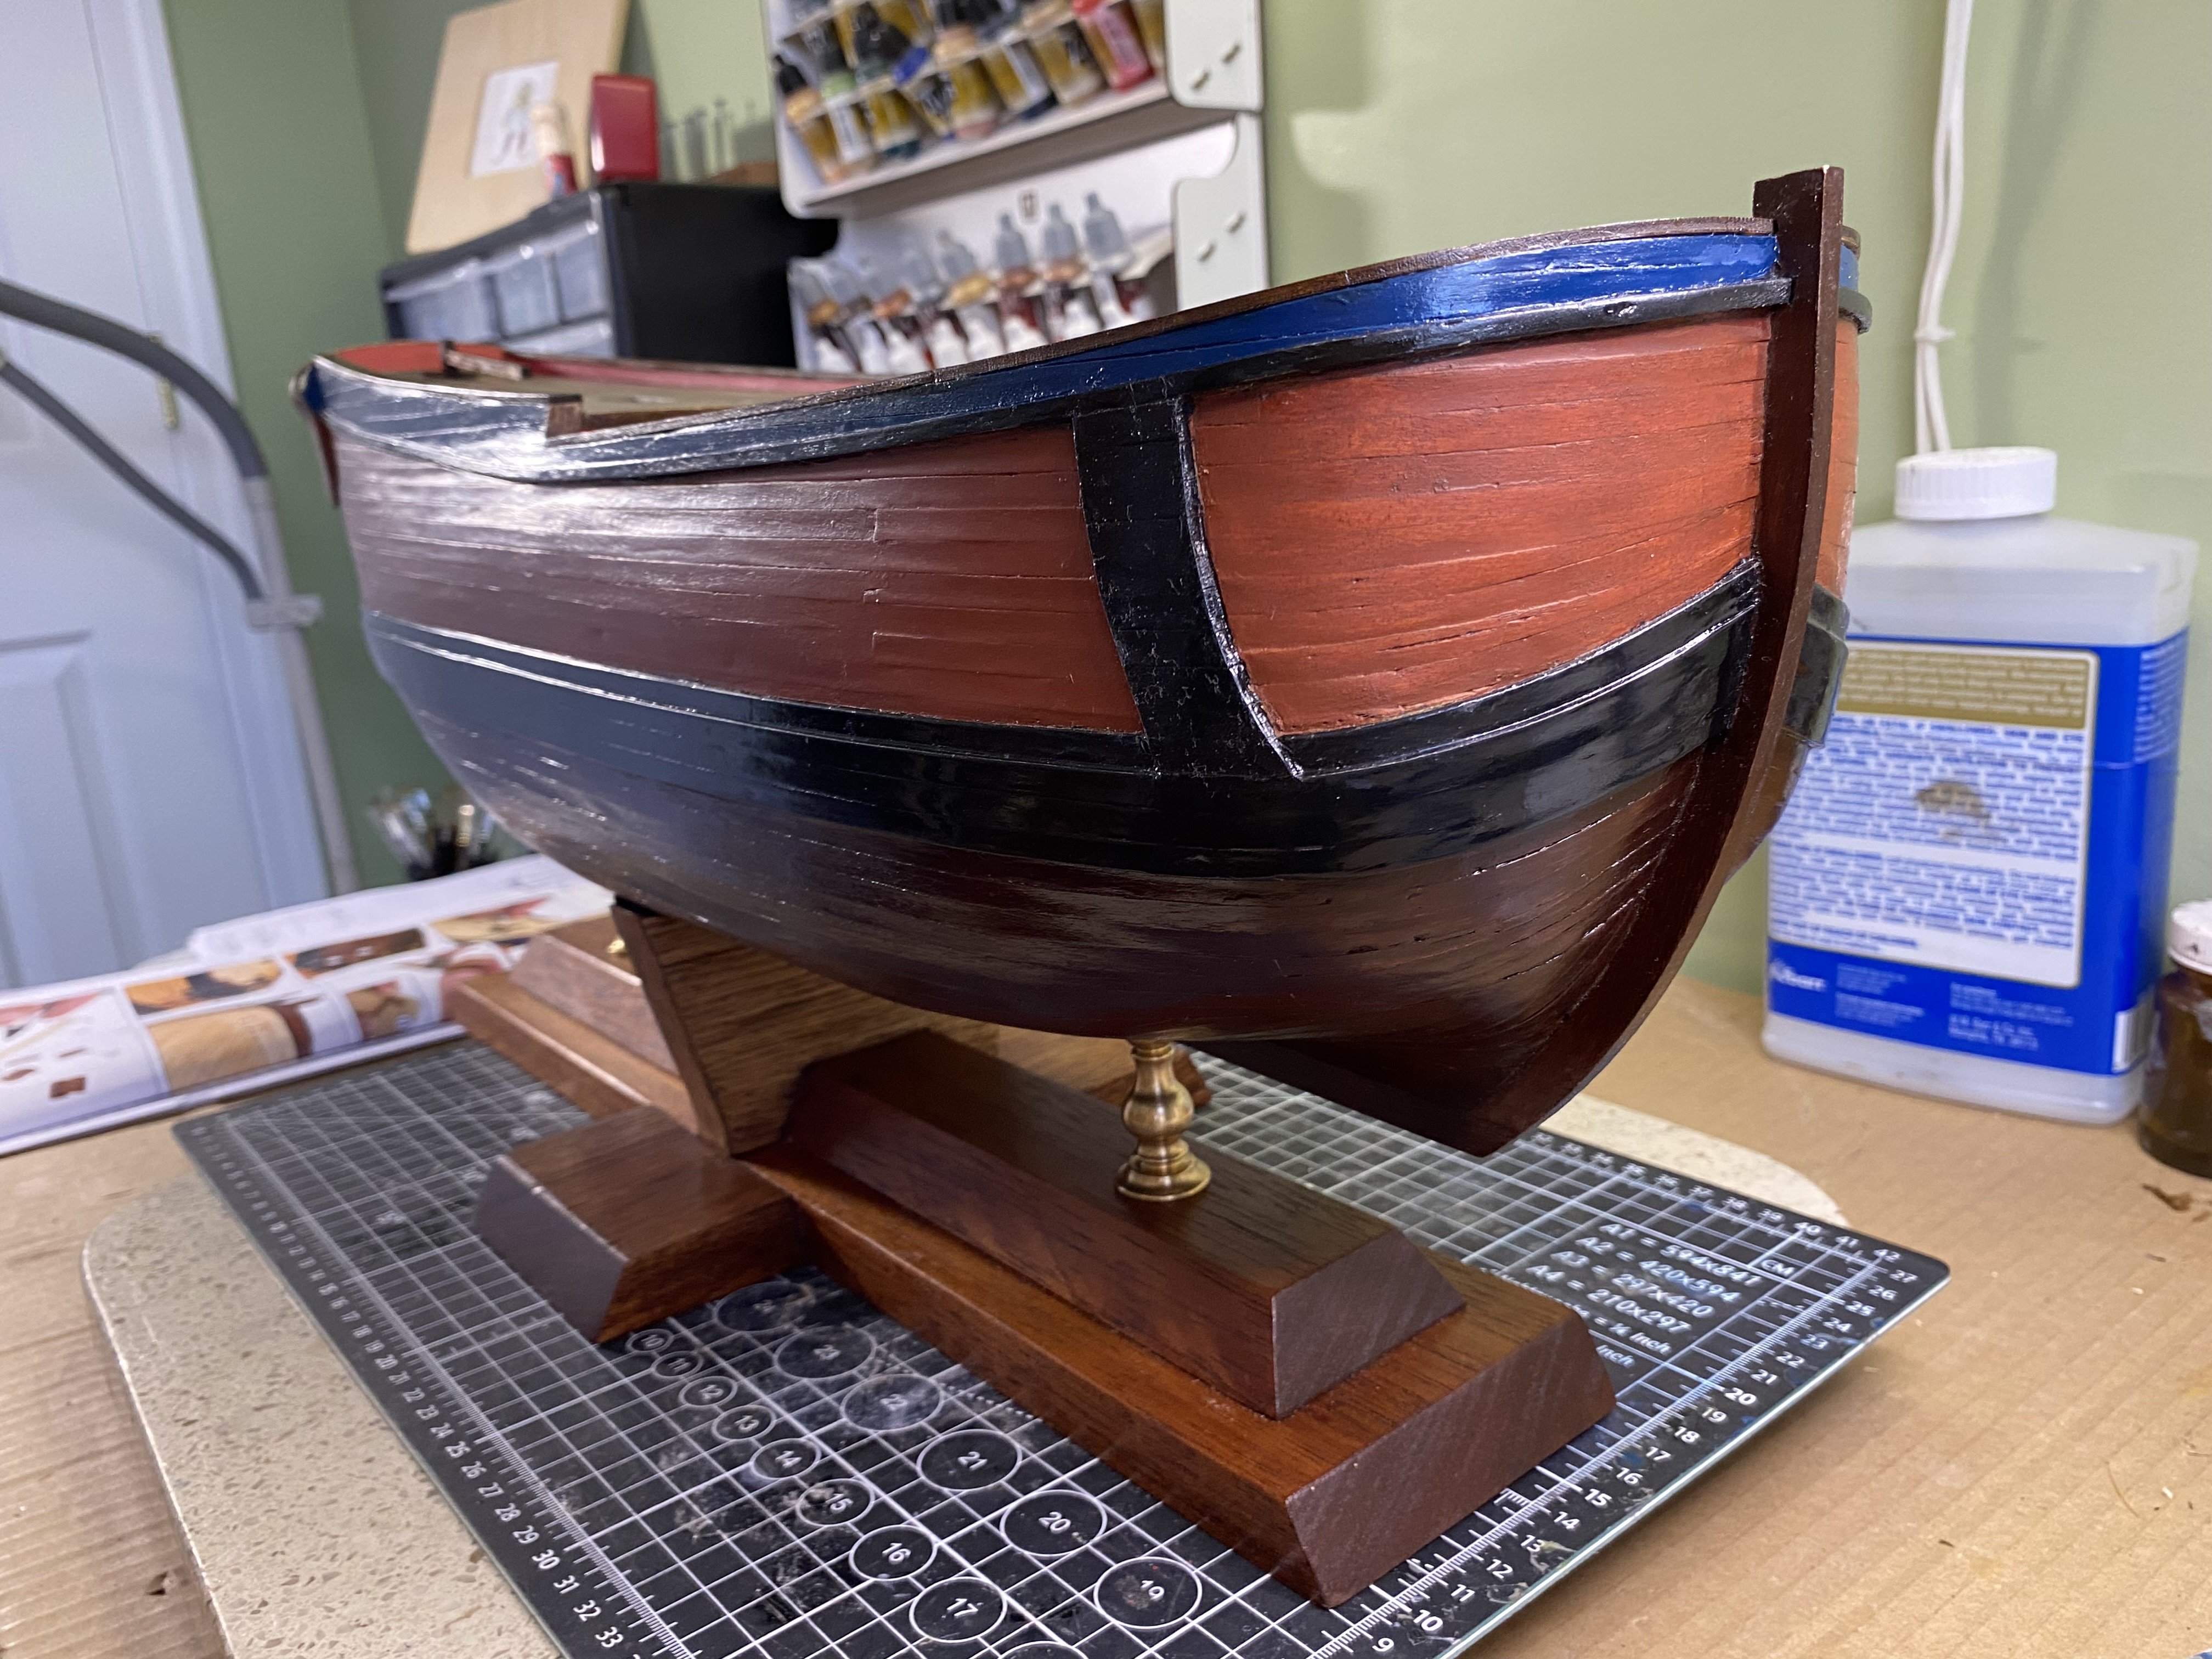
I have been not completely satisfied with the upper haul staining I did. I did not feel the grain in the planking showed as much as I had hoped. Finally I bit the bullet and decided to sand it down and redo it. After much work I got all stripped. I then stained the upper section again. It will still receive a satin clear top coat and I will genes to touch up the black on the wales. But I am much more pleased. I also added pins to the bottom of all the pieces I have made that will line the rails. The pin will hopefully reinforce the strength of the glue attachment.

- jpalmer1970, Ian_Grant, ccoyle and 1 other
-
 4
4
-
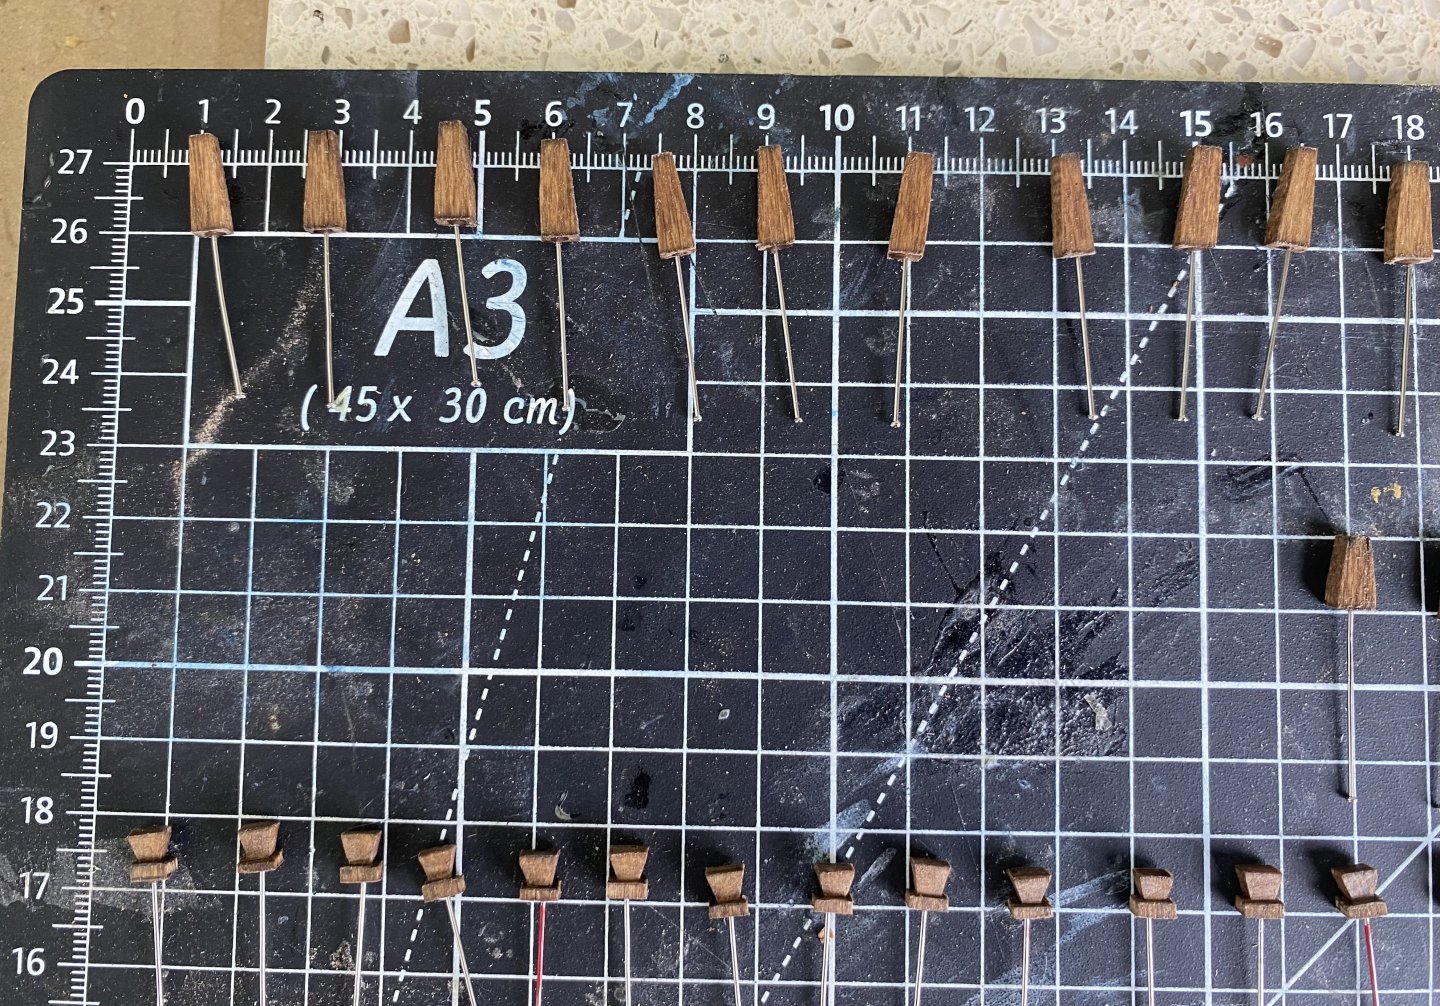
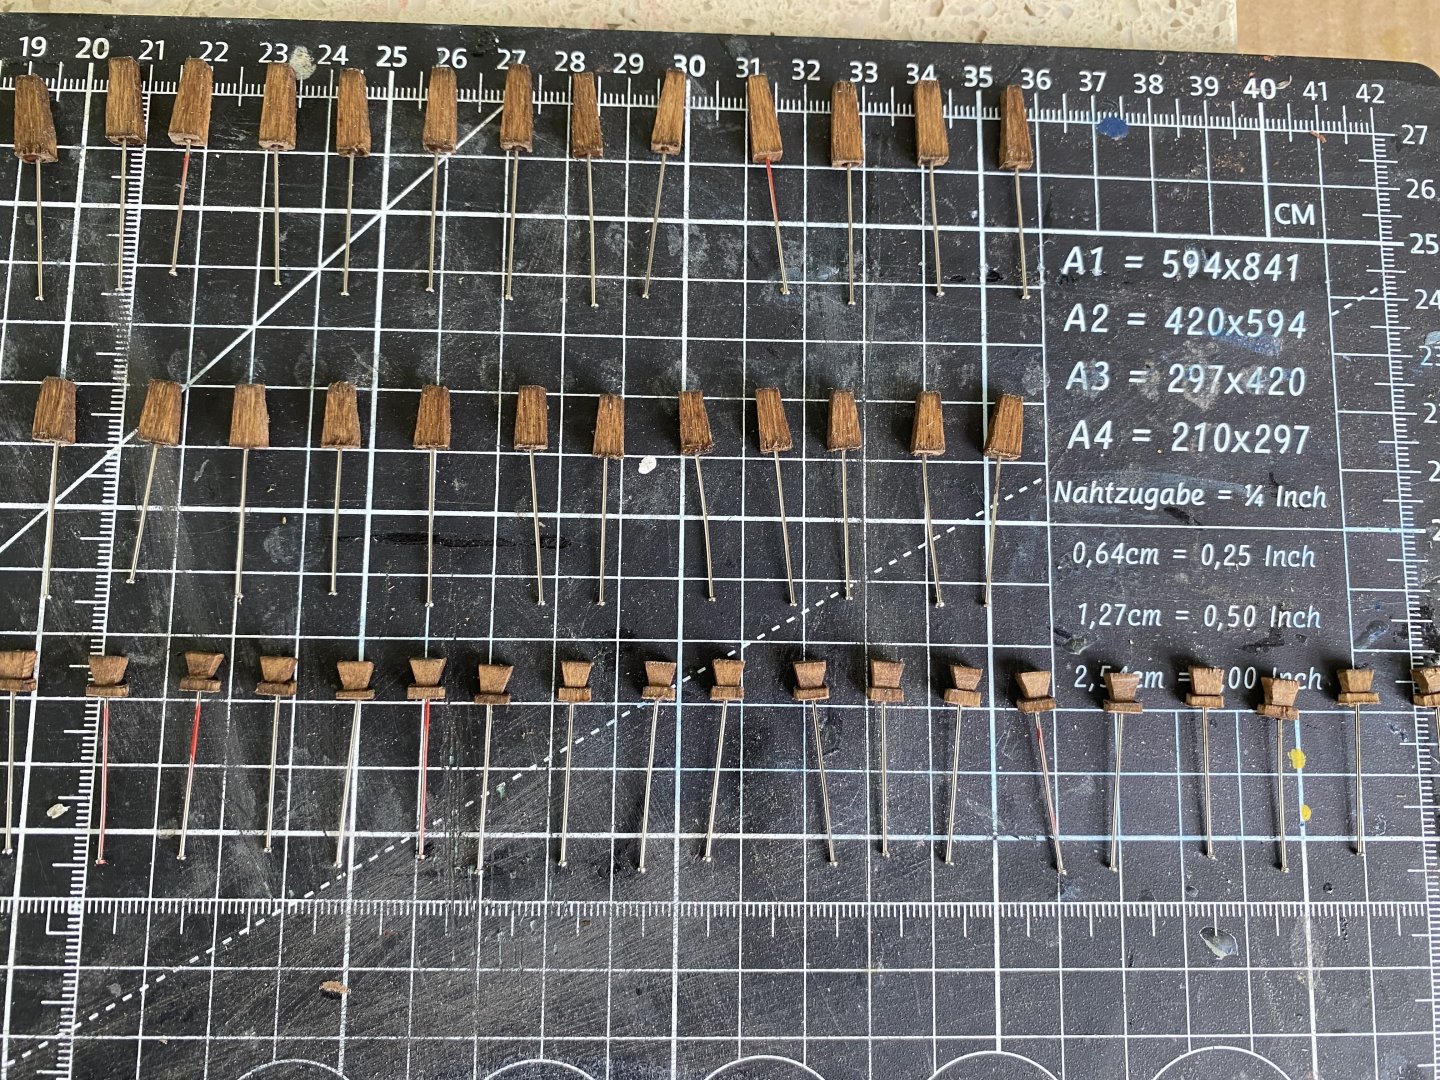
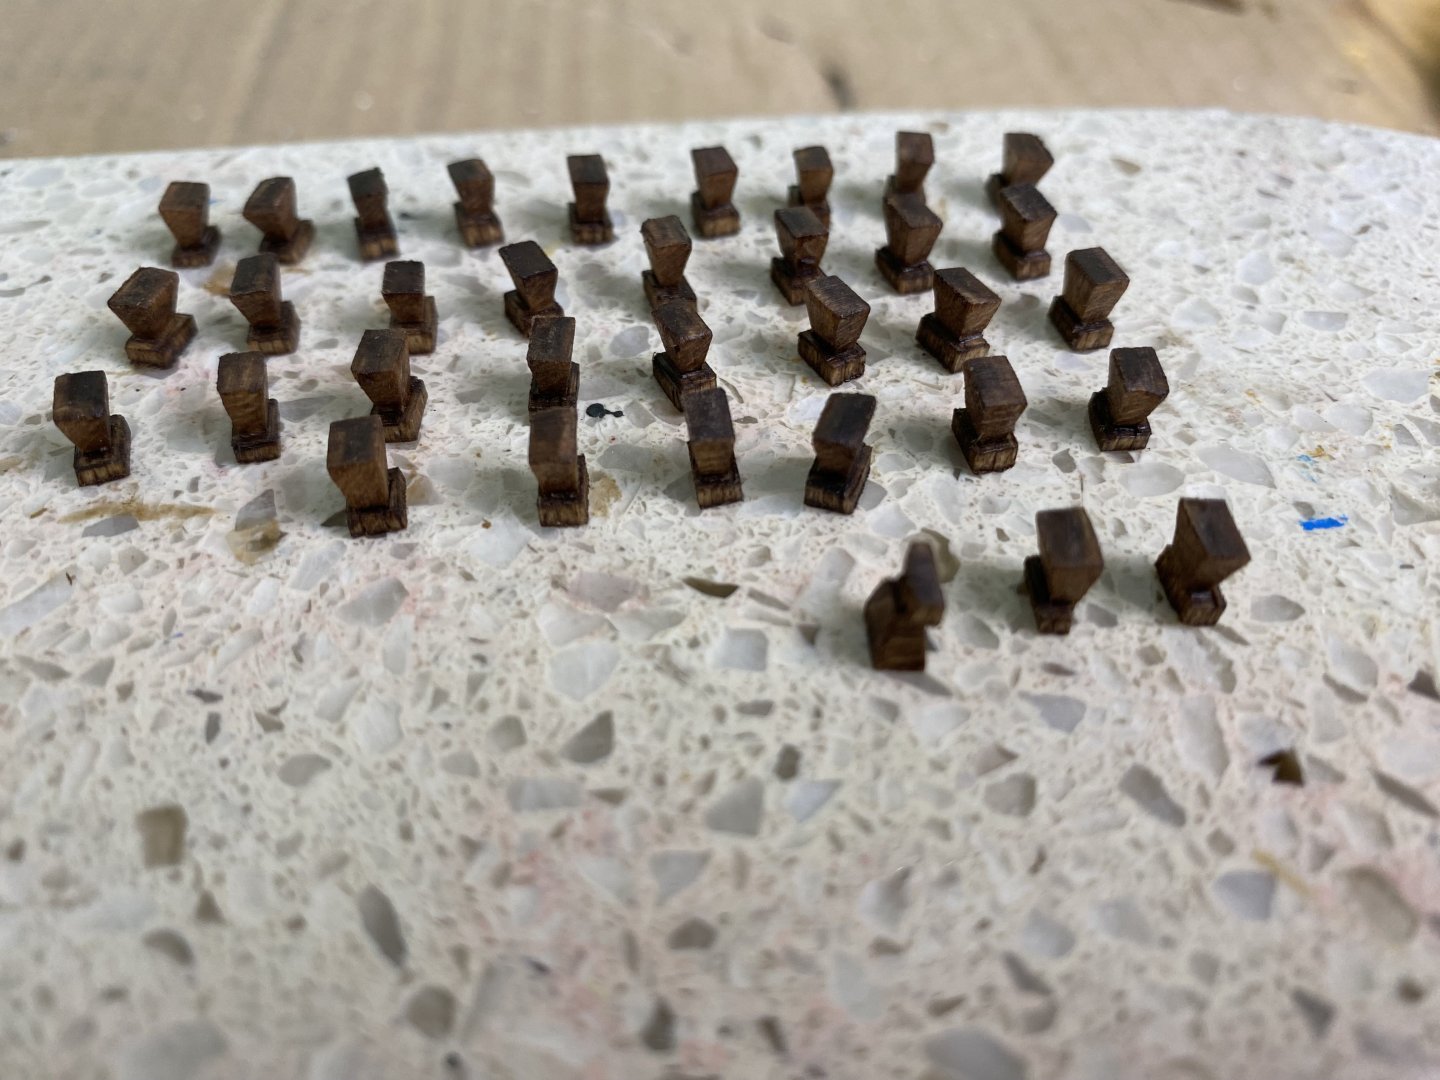
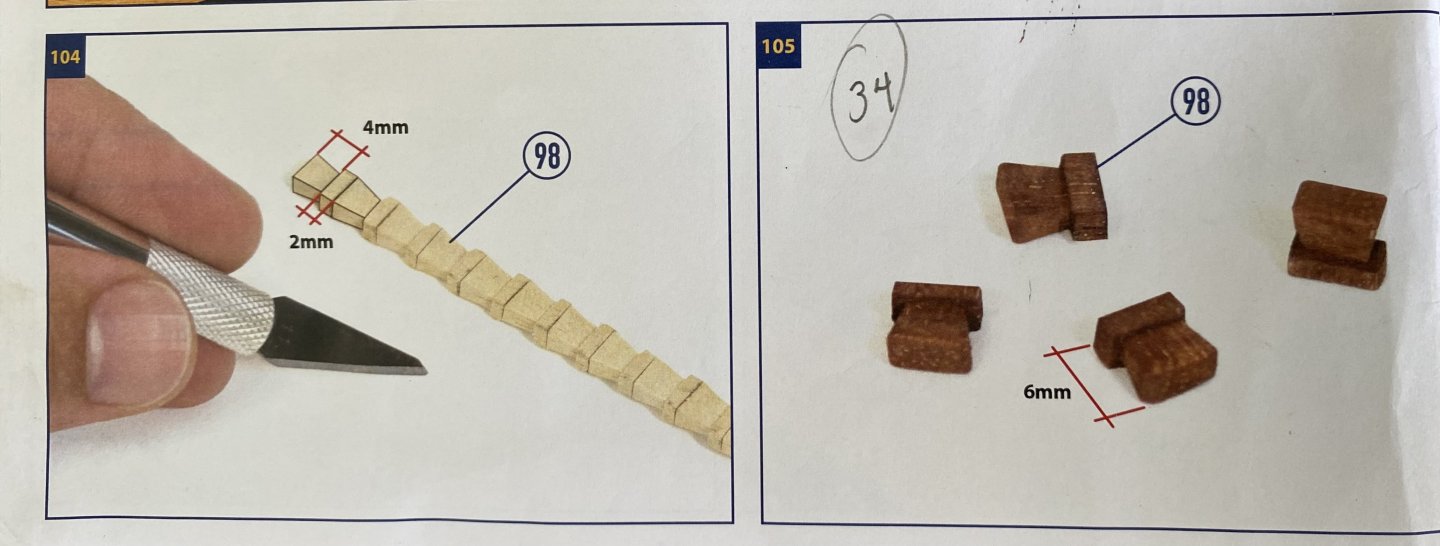
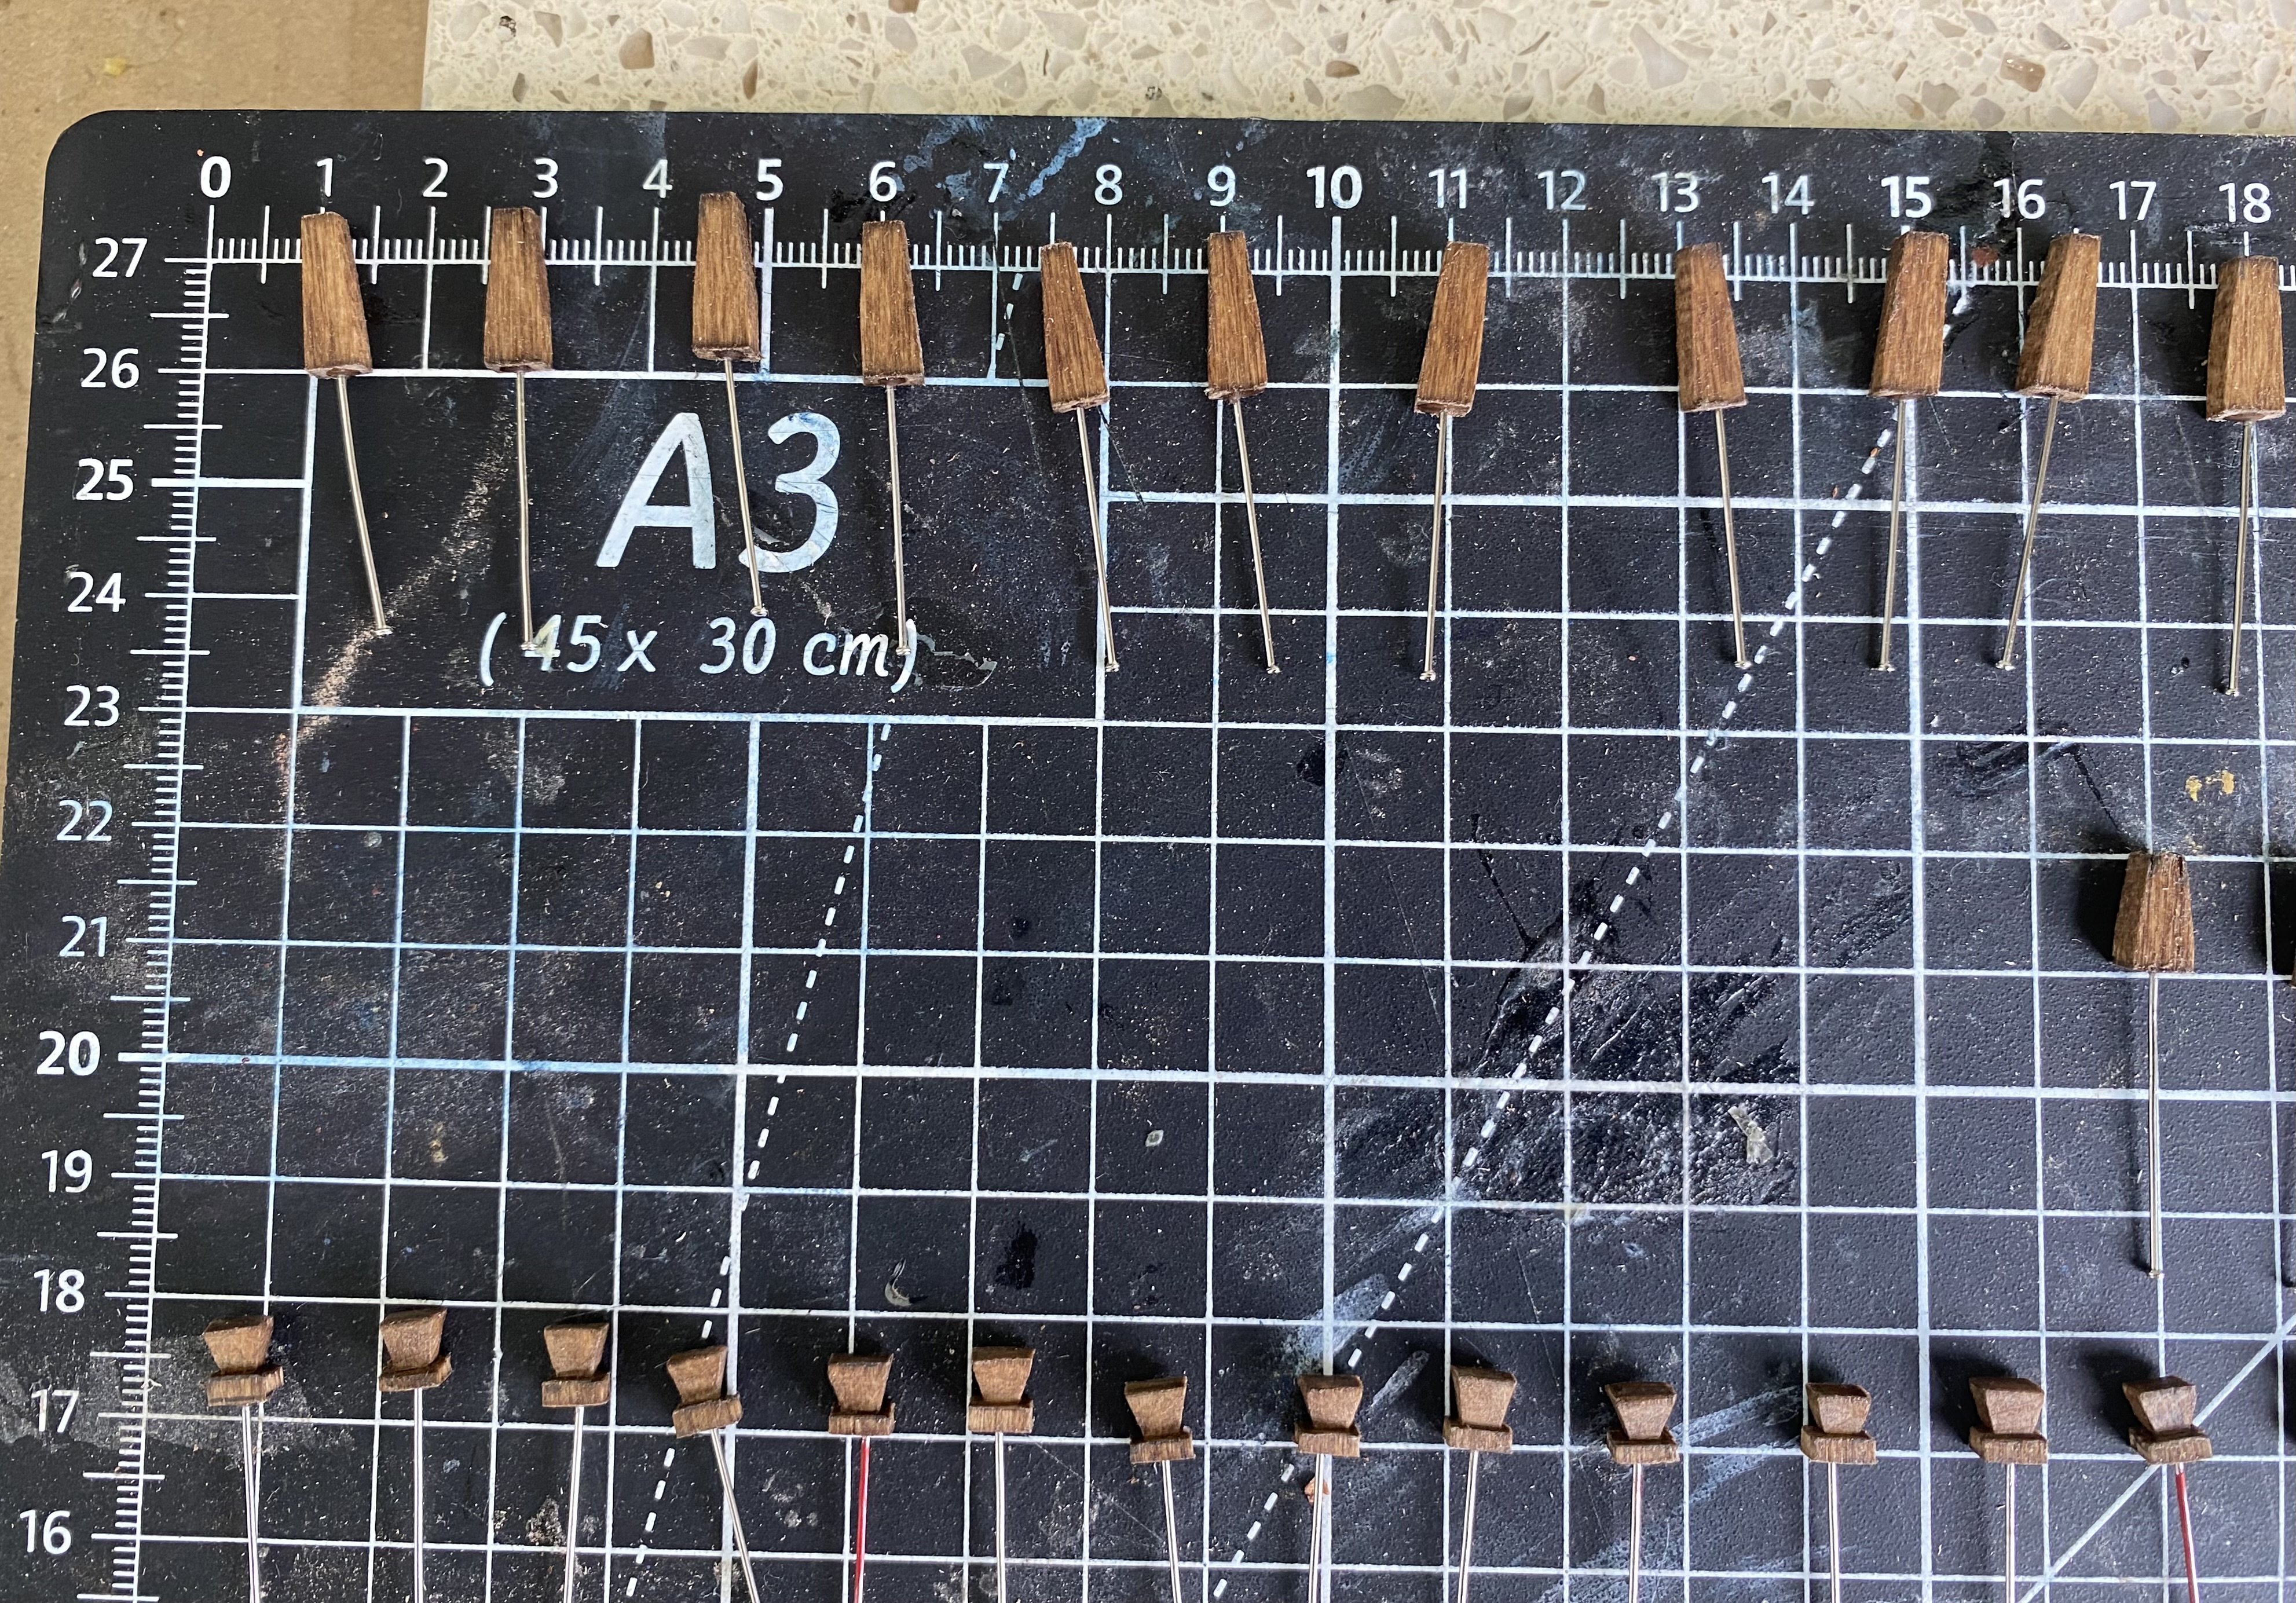
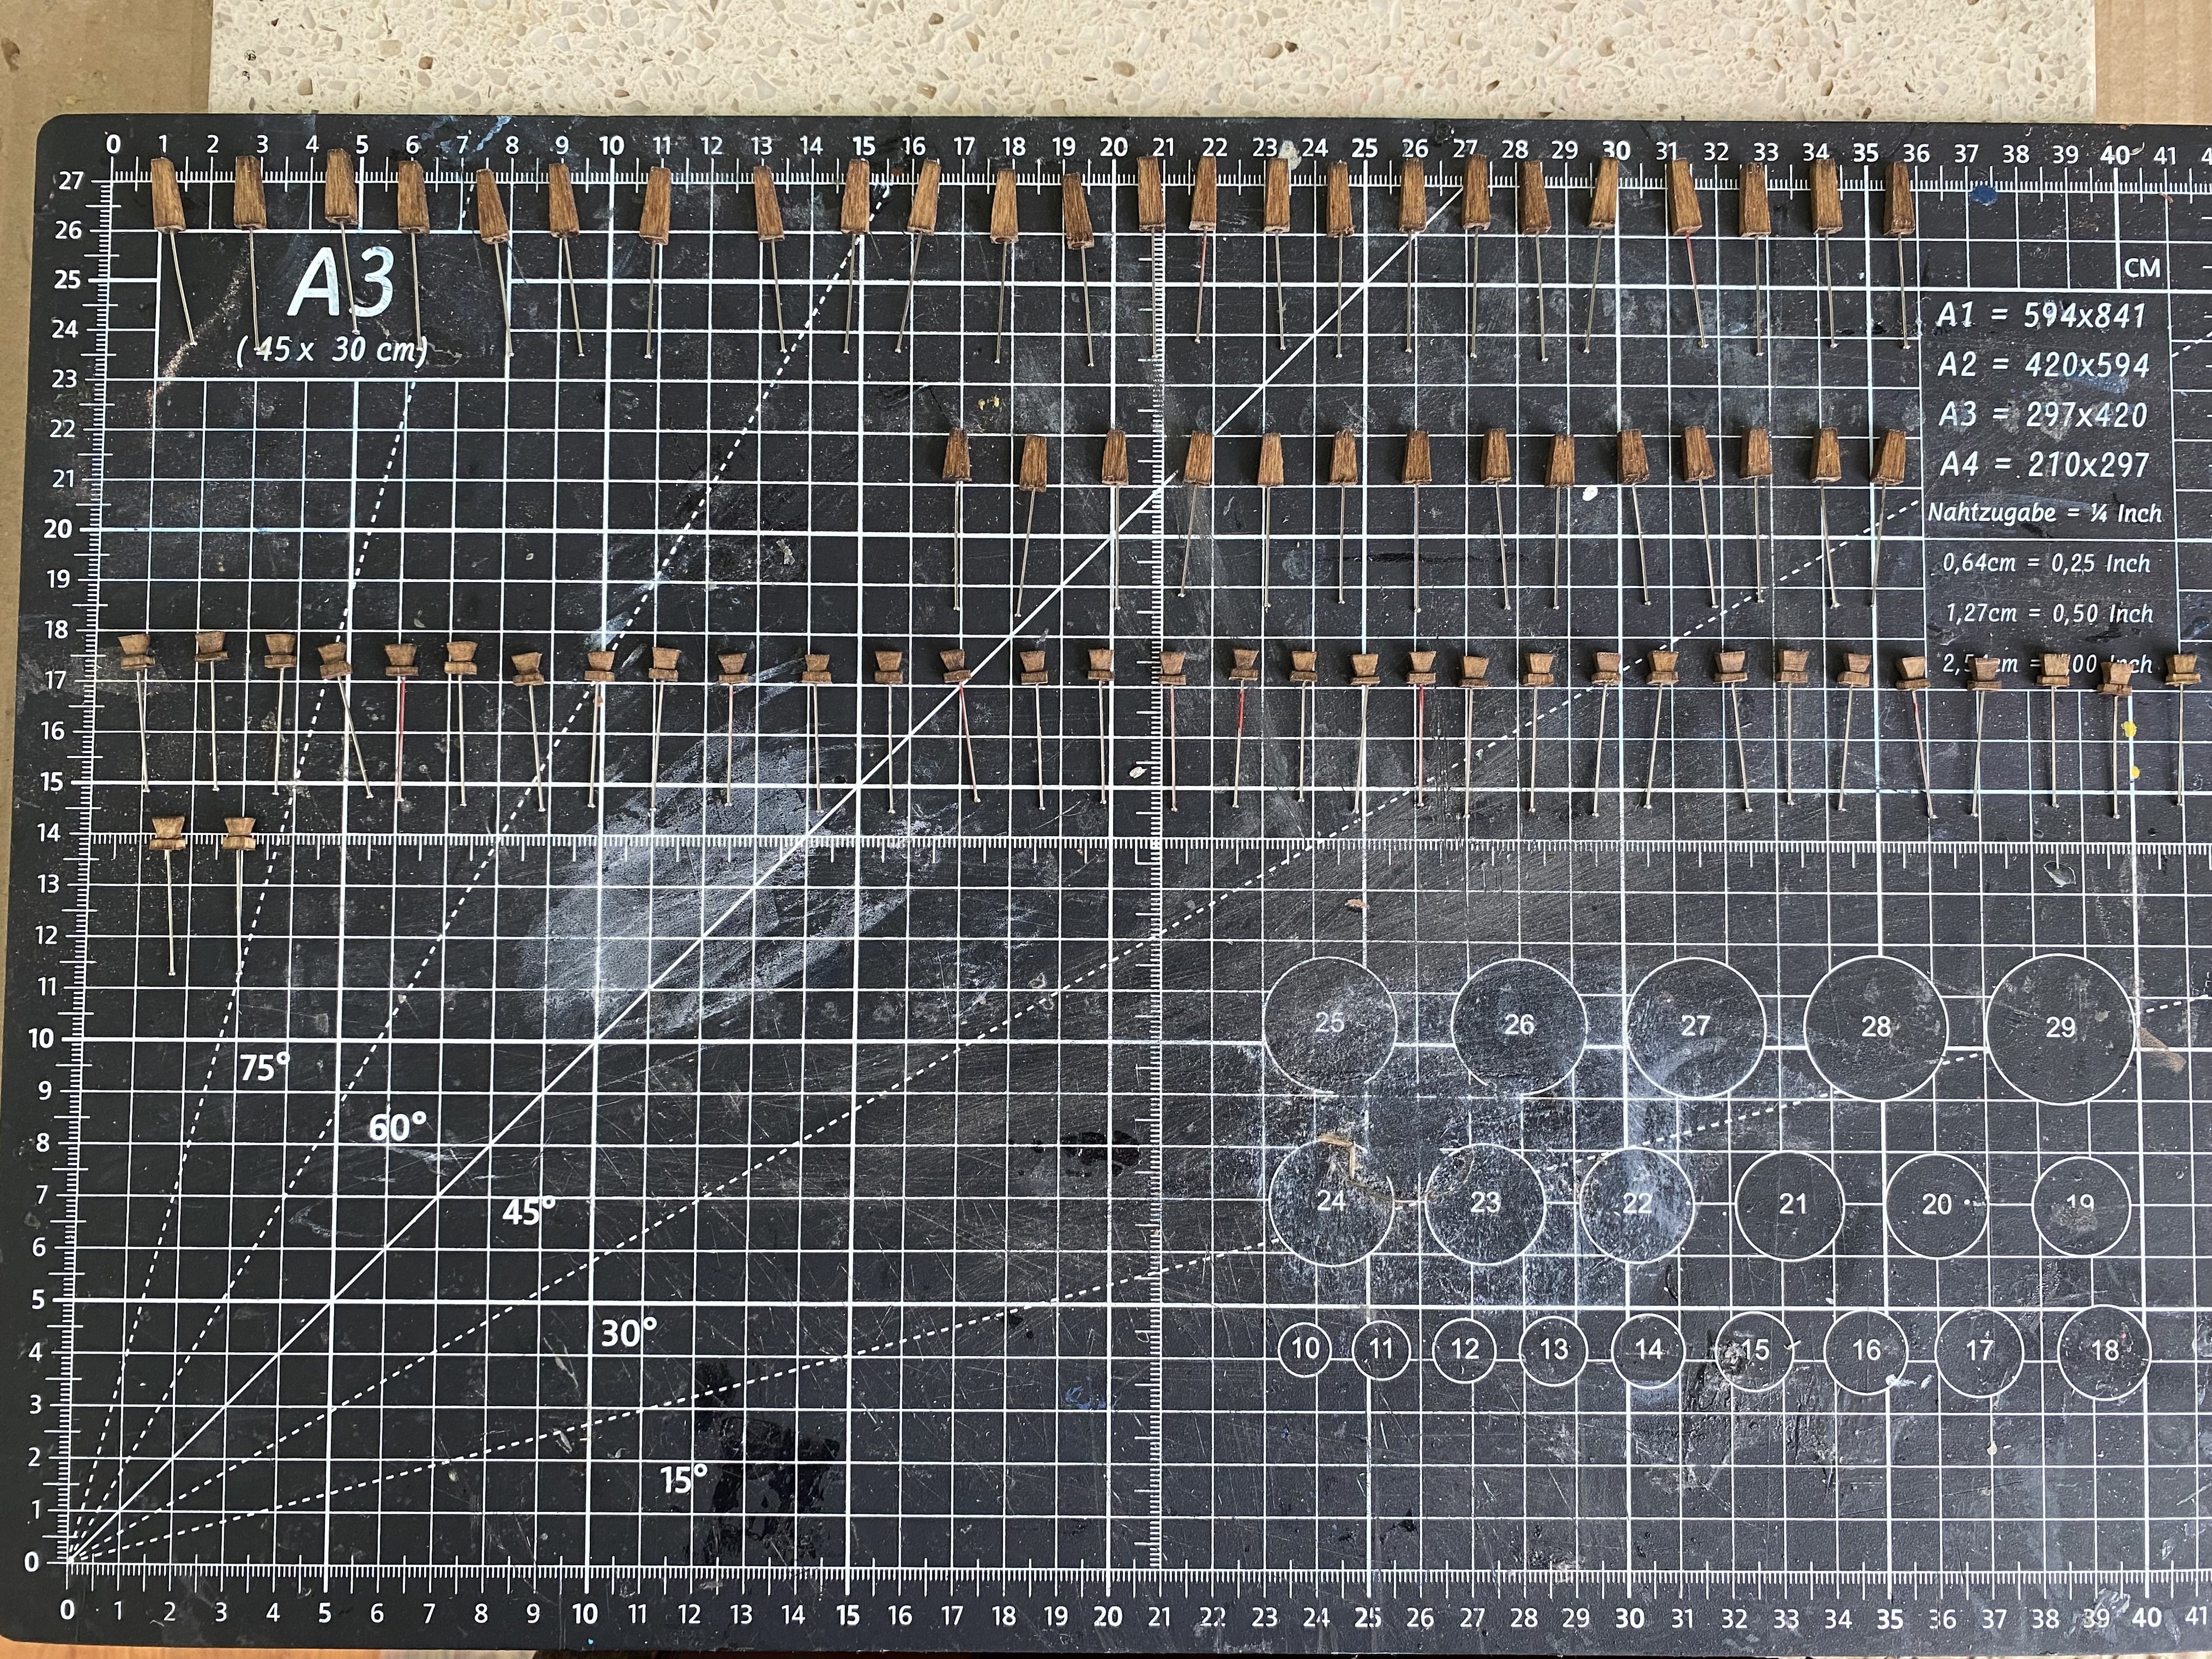
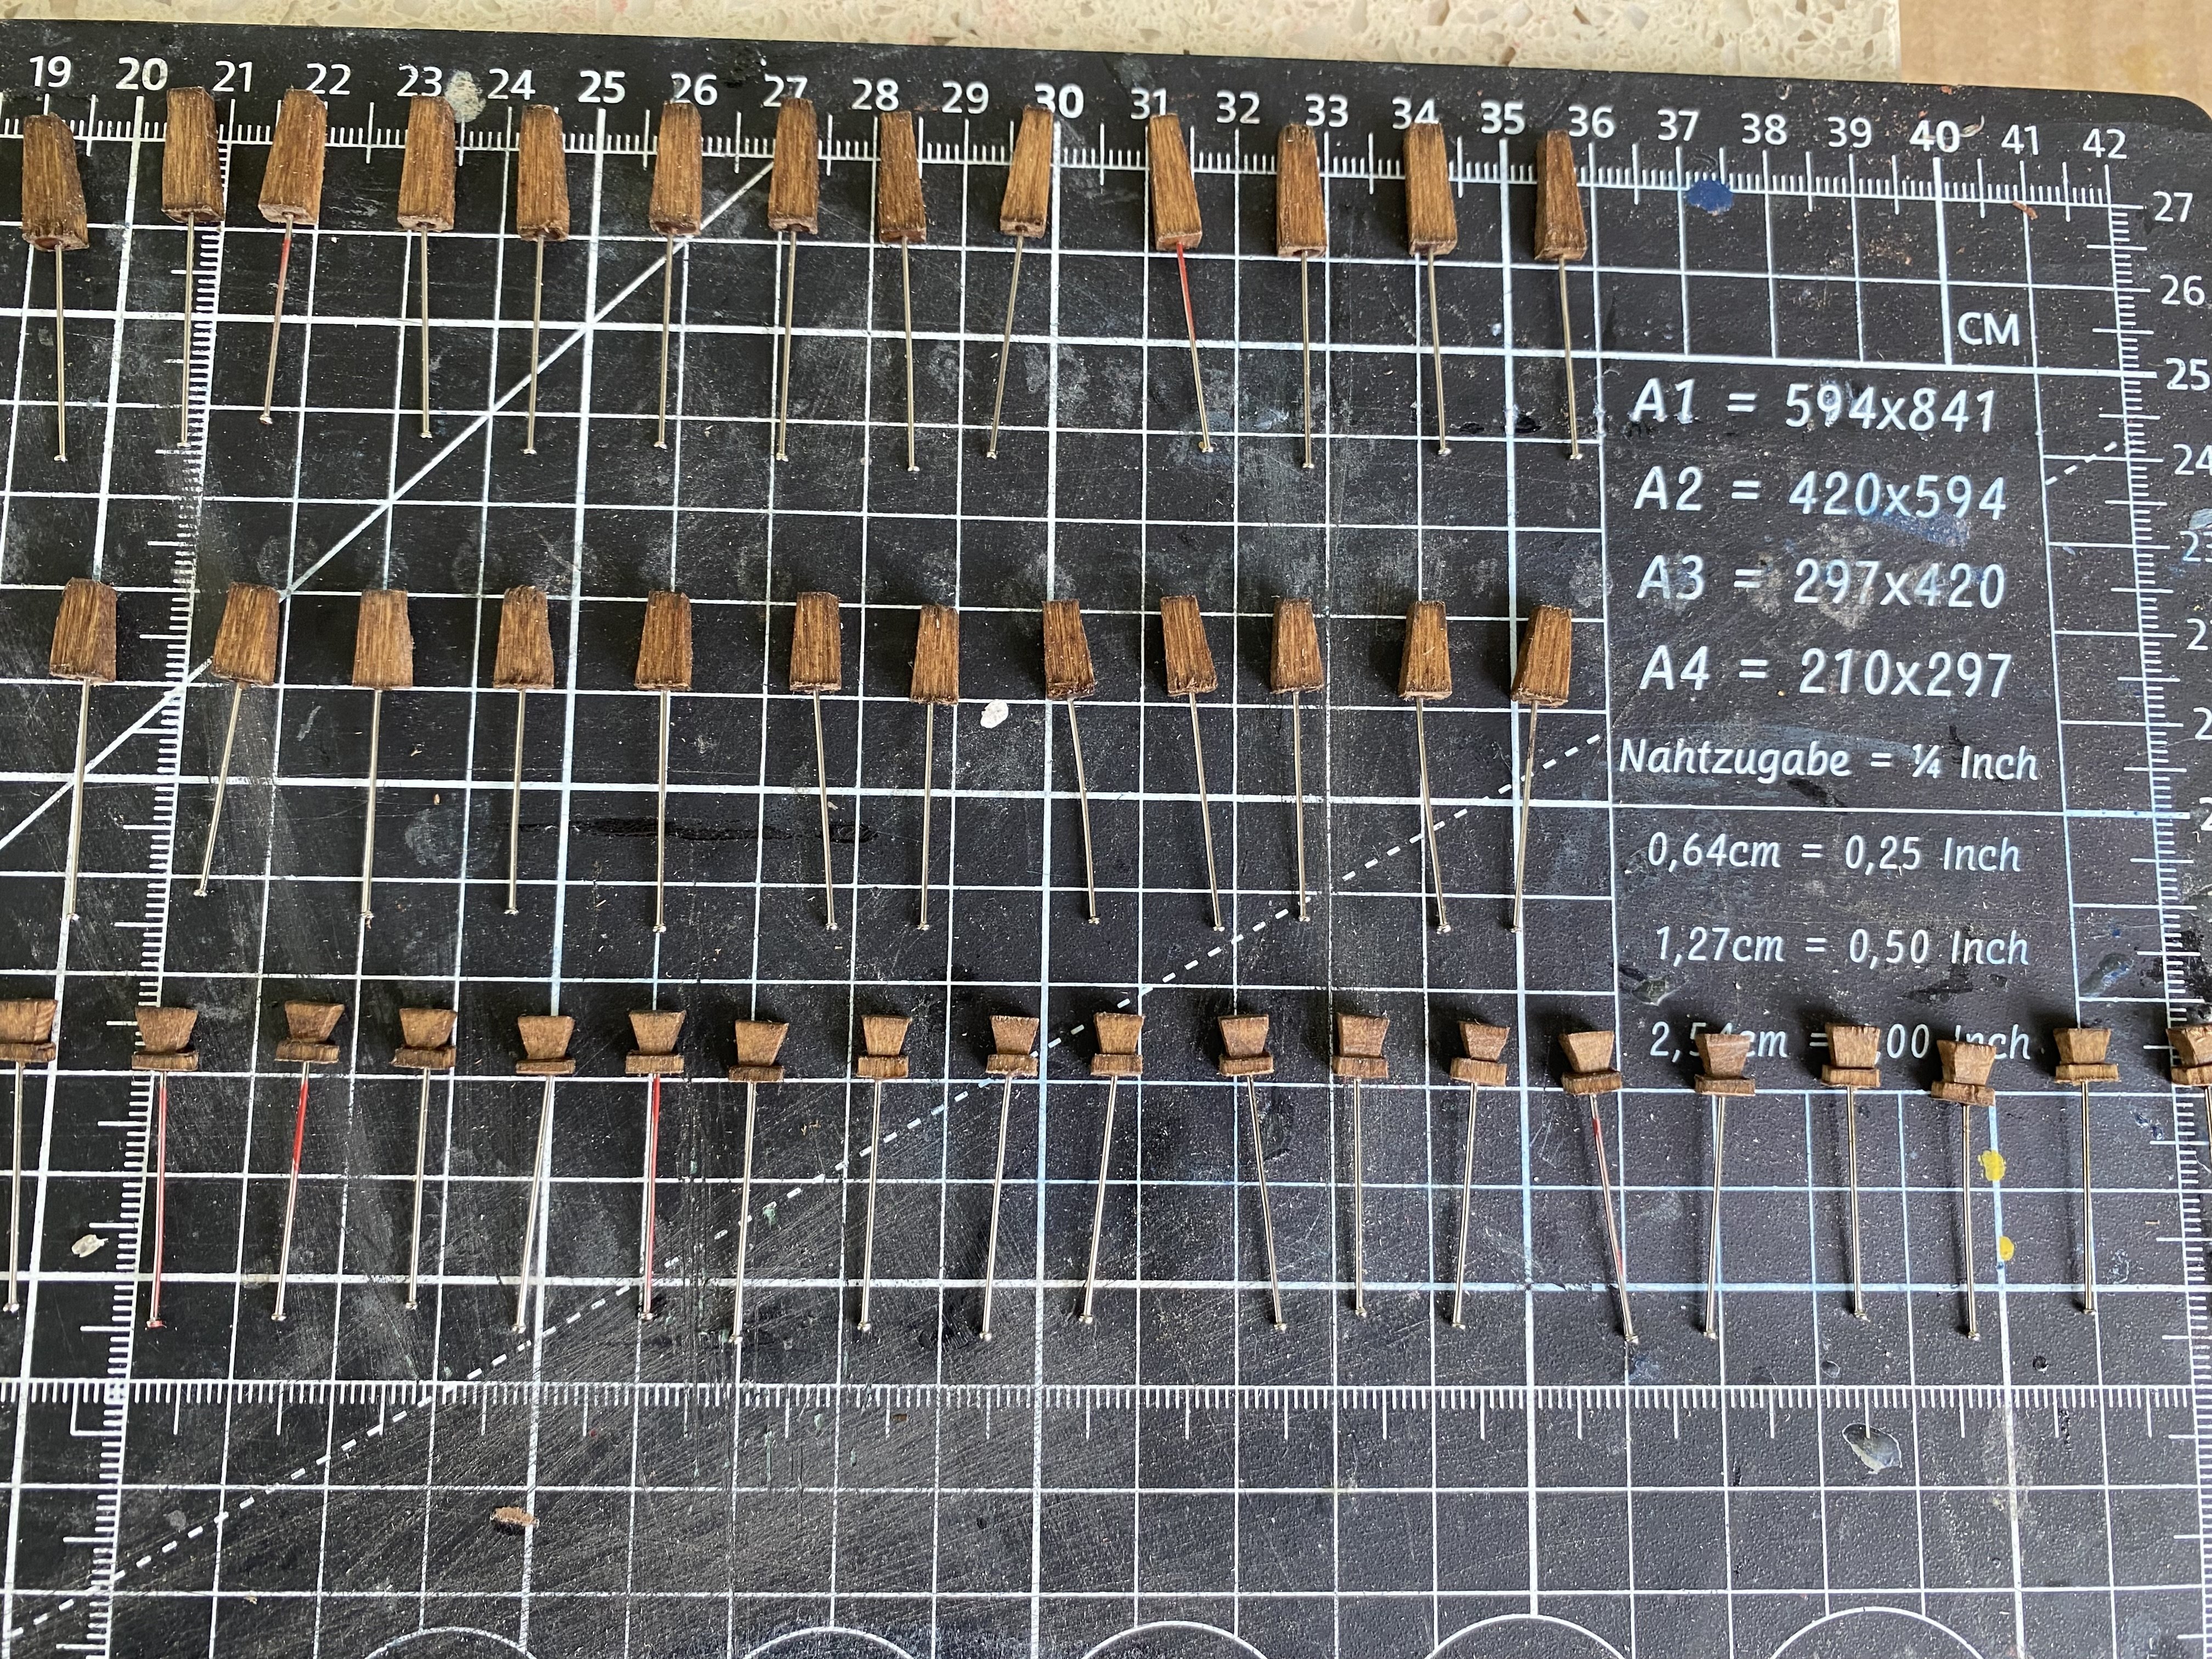
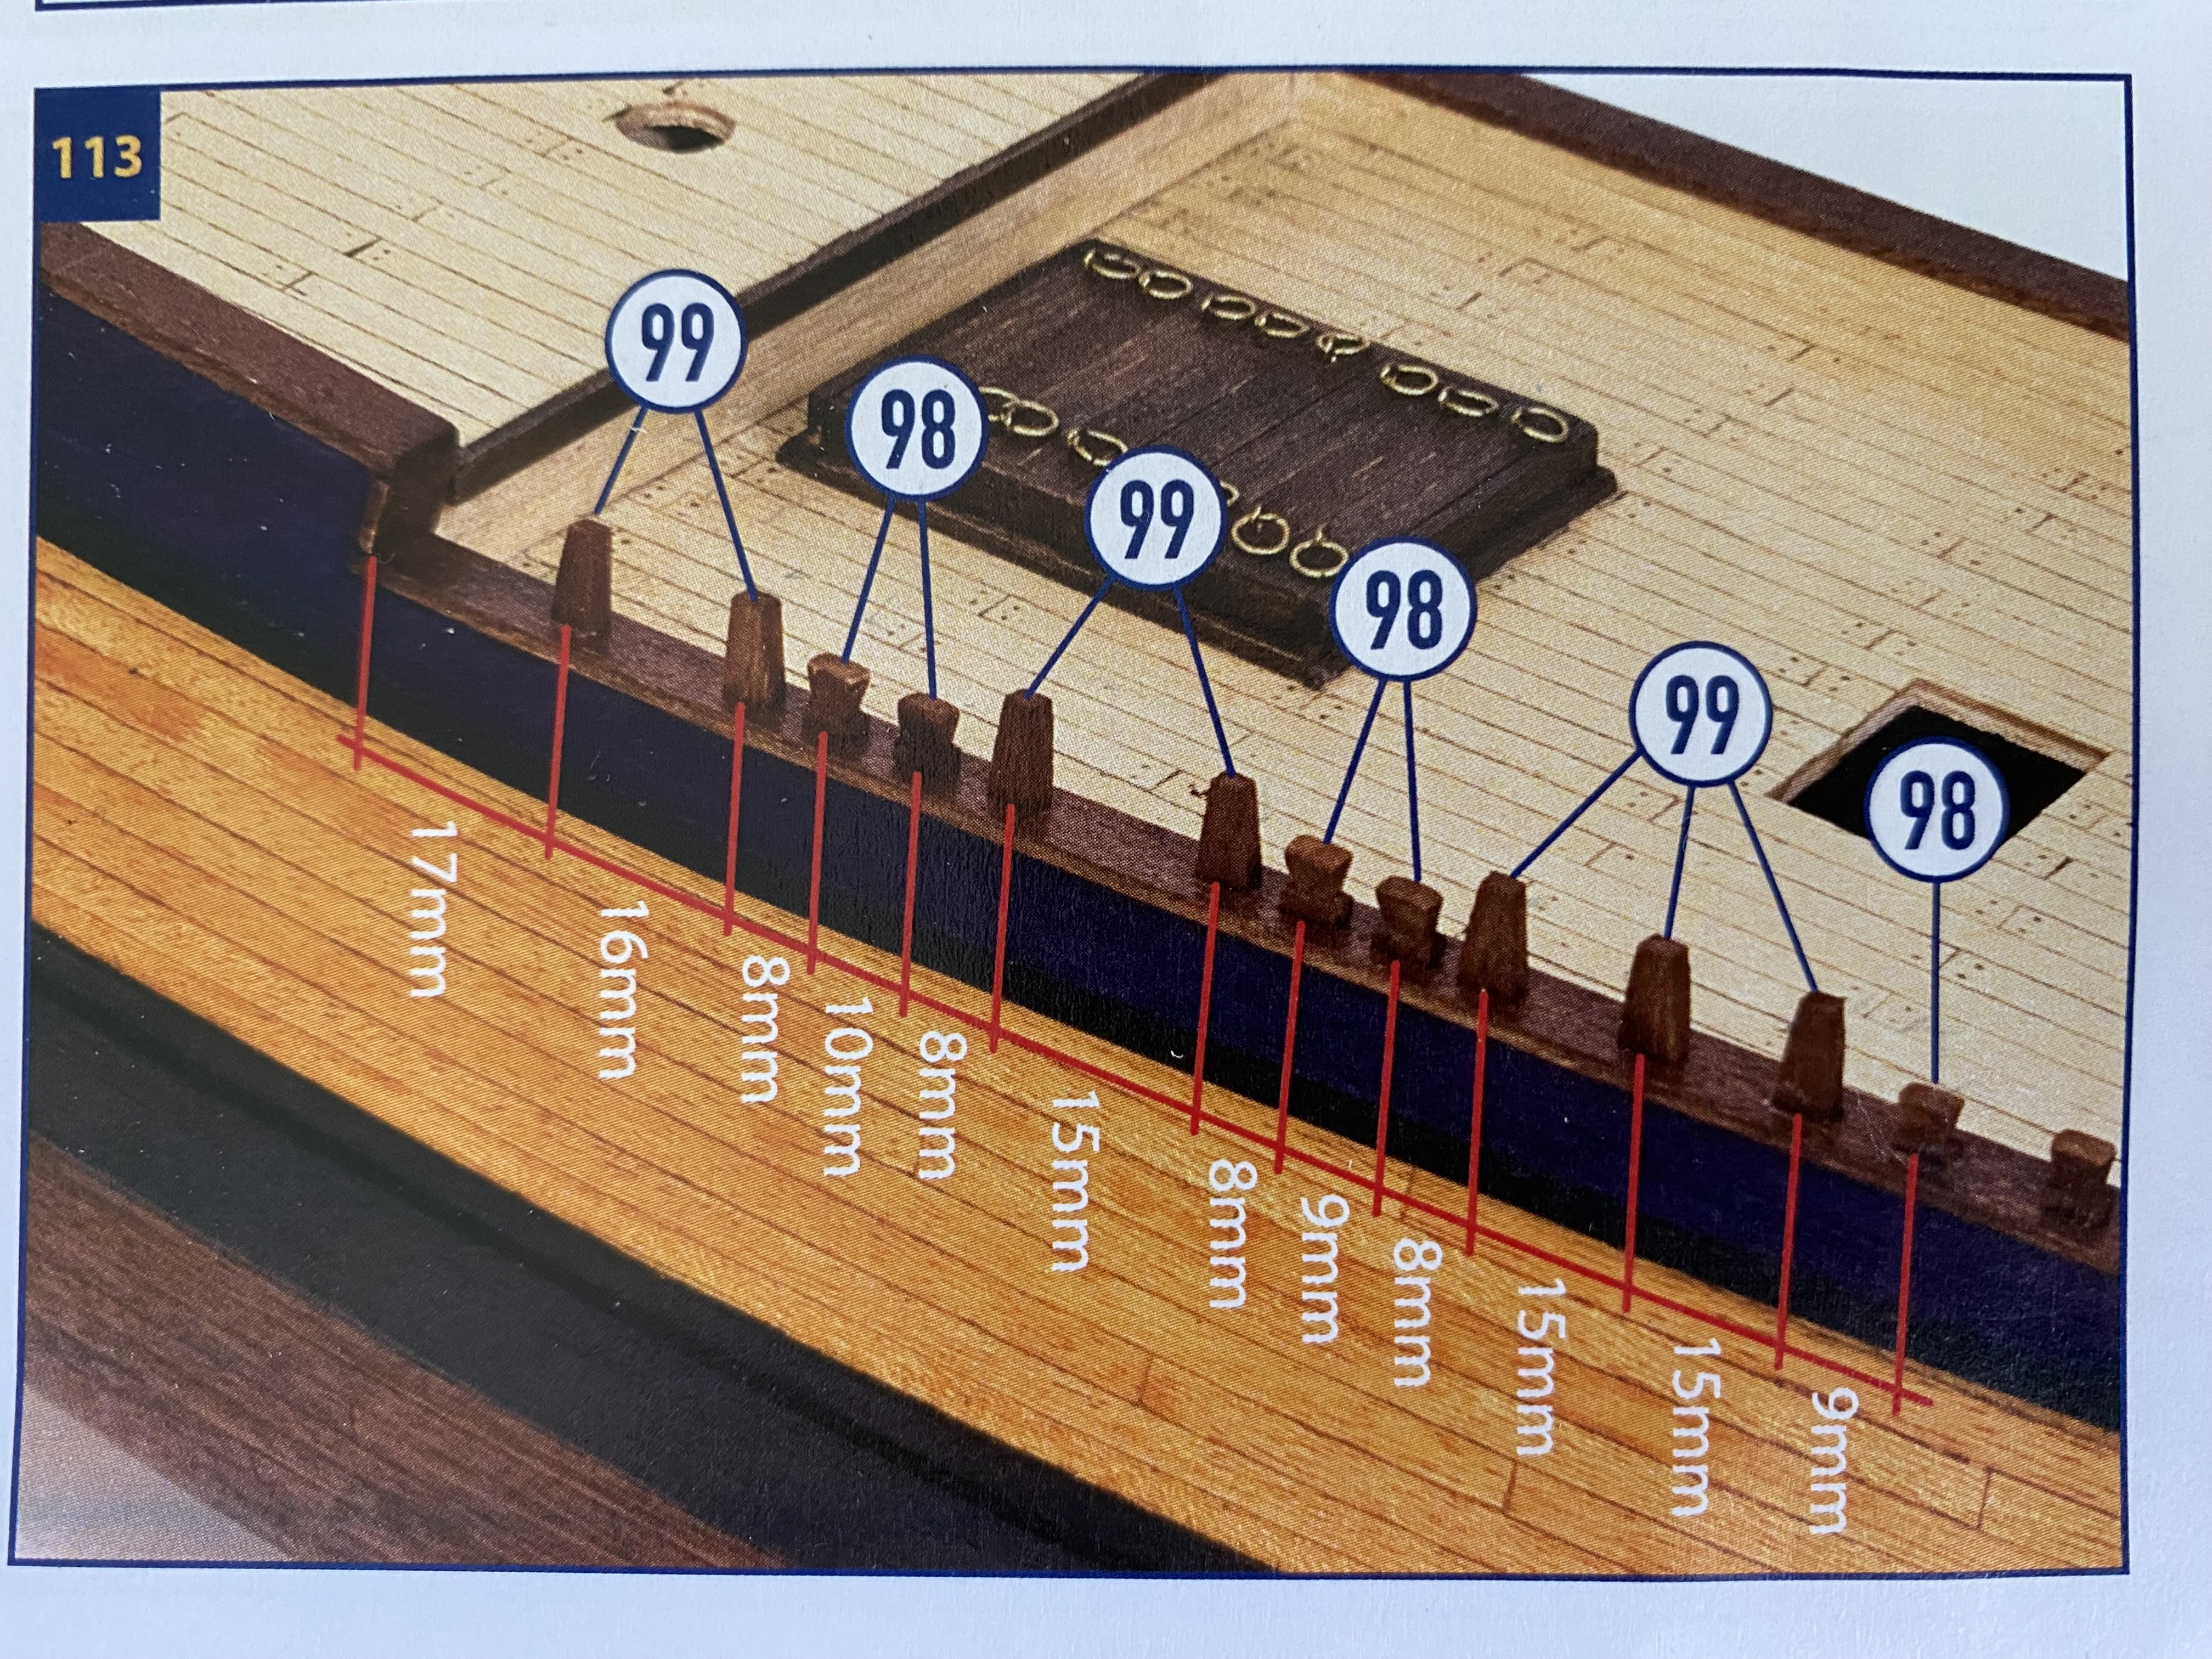
Carved and shaped and stained all the wooden Sampson post and rail columns. Different when one decides to build a wooden model vs a plastic is that there are very few molded or preshaped pieces. Most everything, except for very specific pieces, are left to the builder to carve and shape.

- jpalmer1970, Ian_Grant and wvdhee
-
3
-
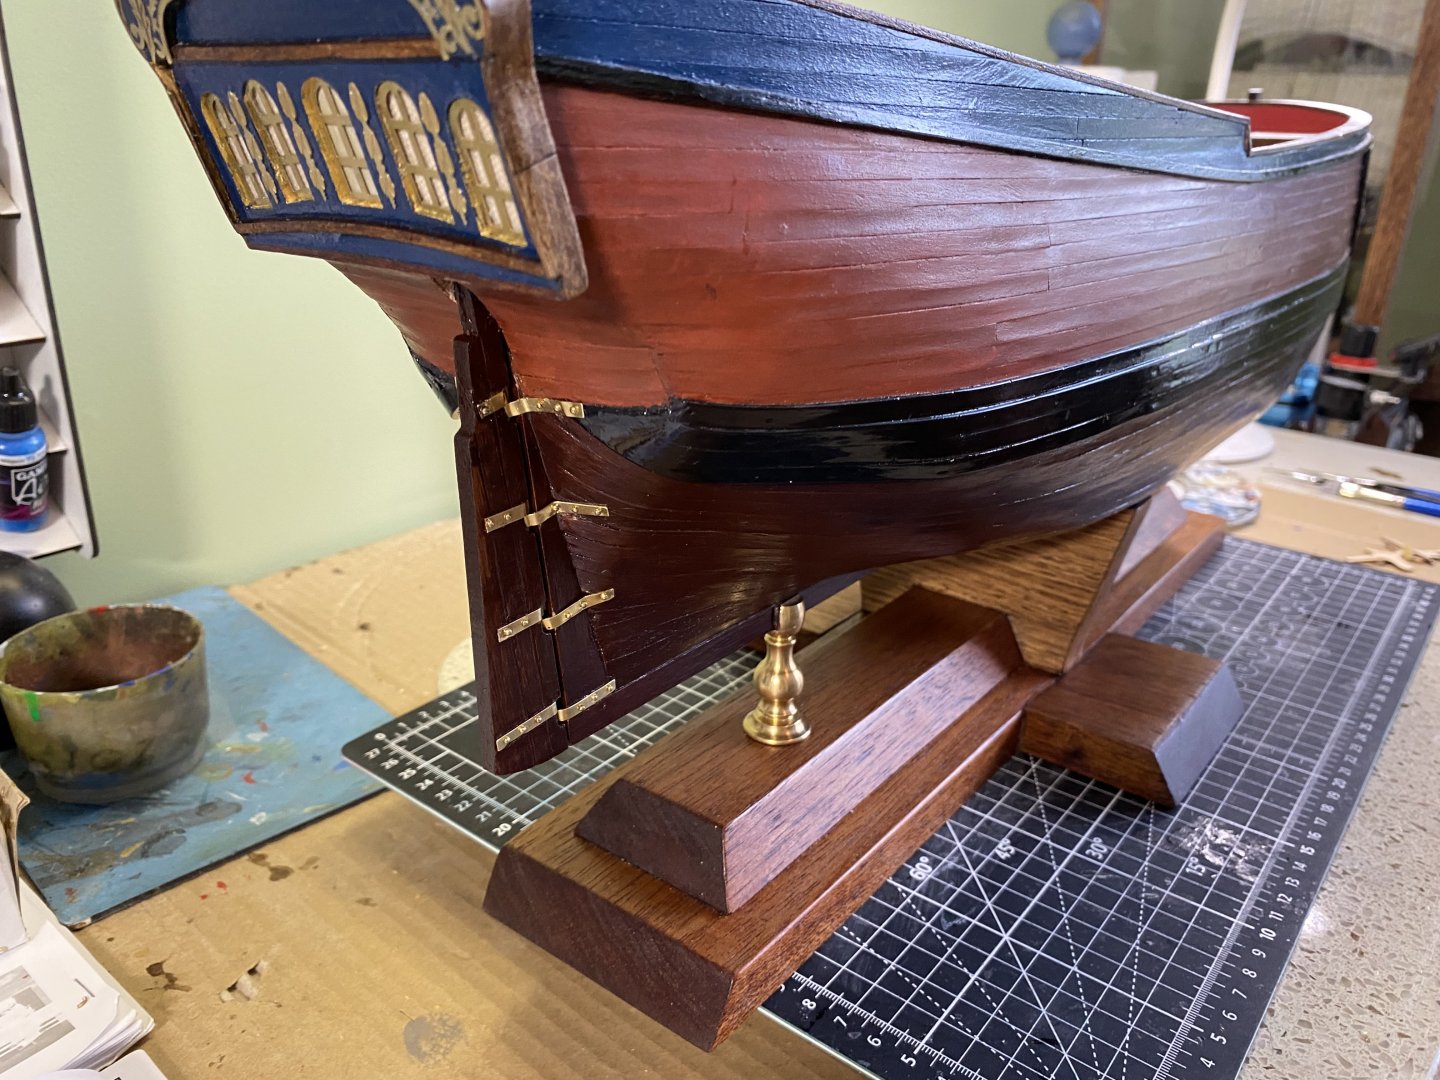
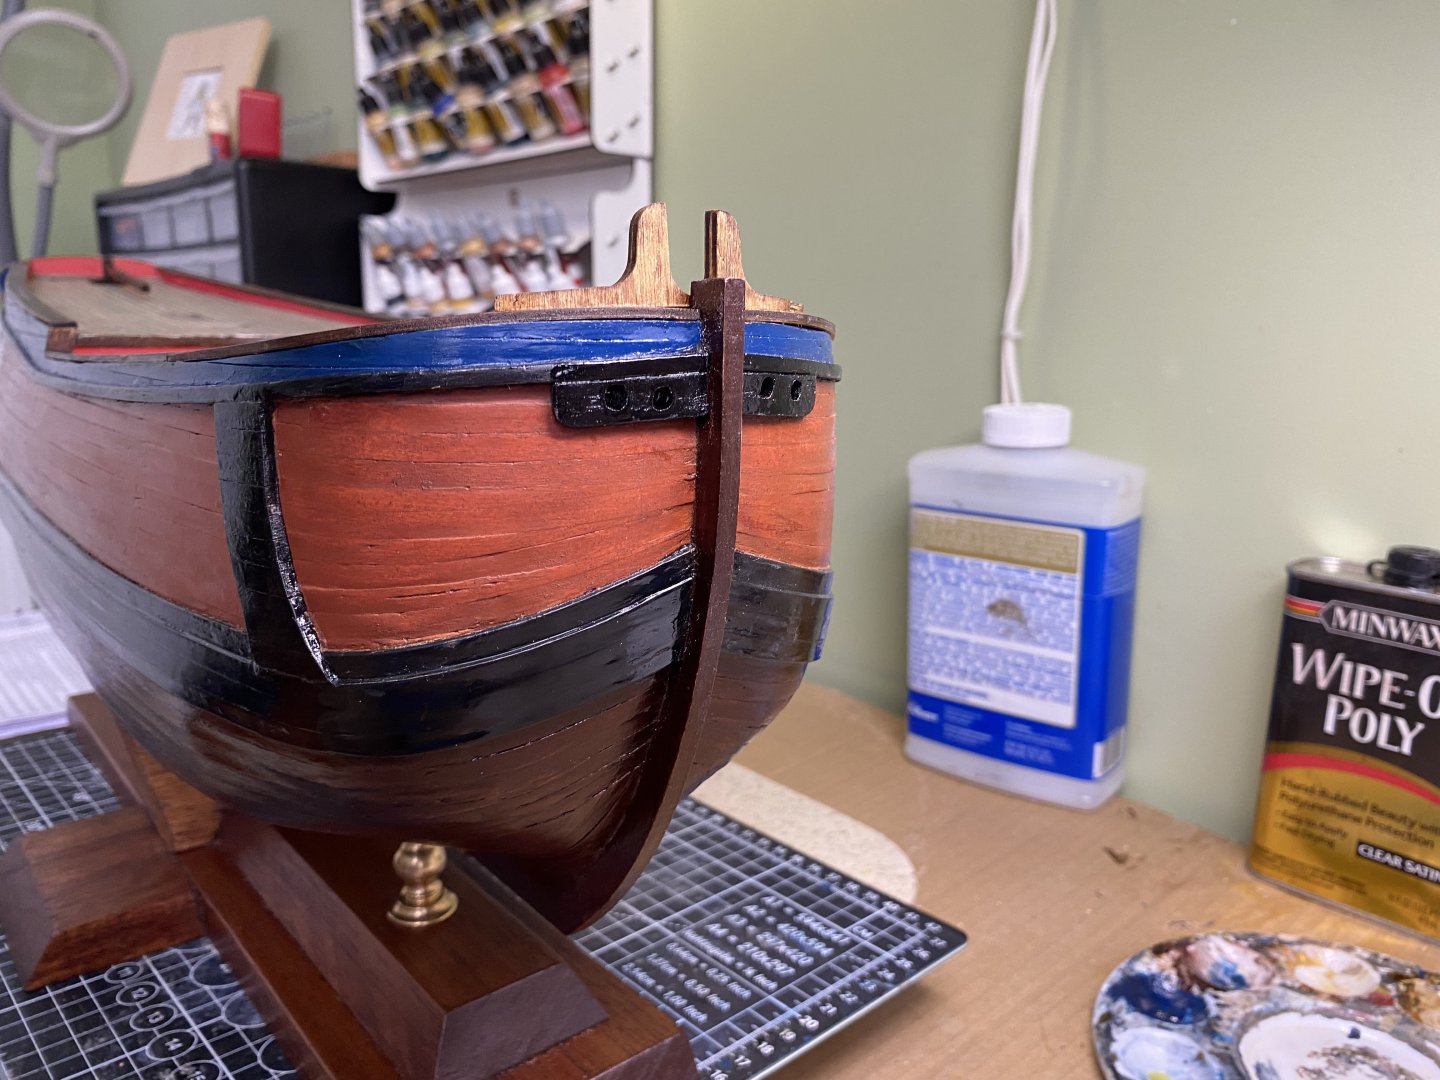
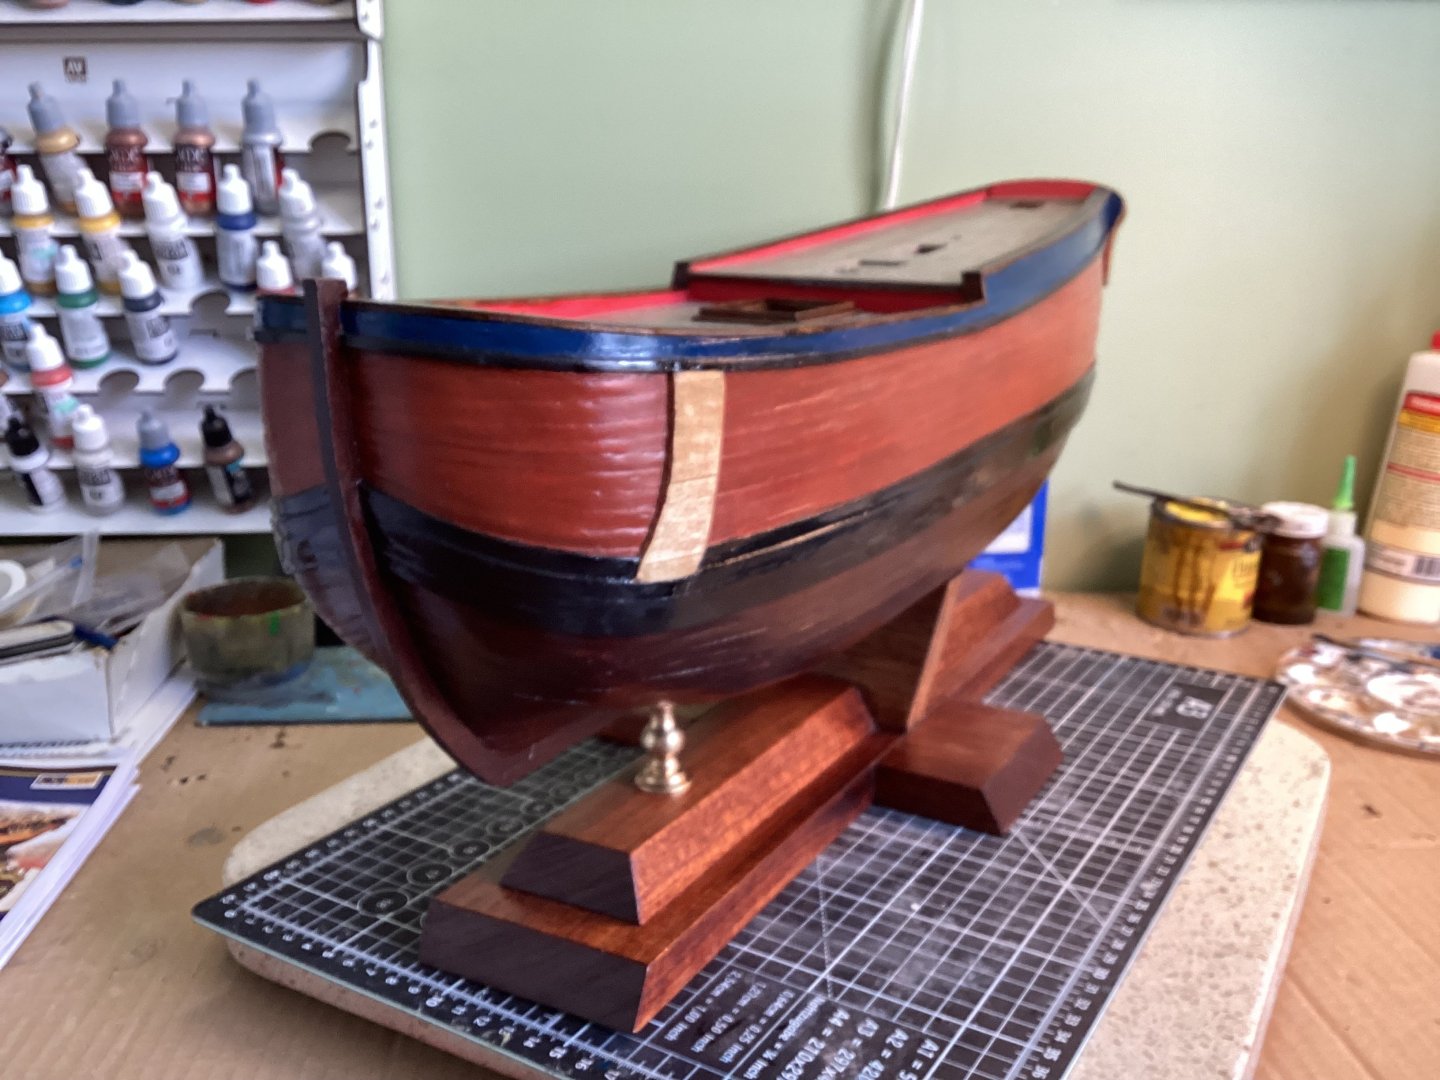
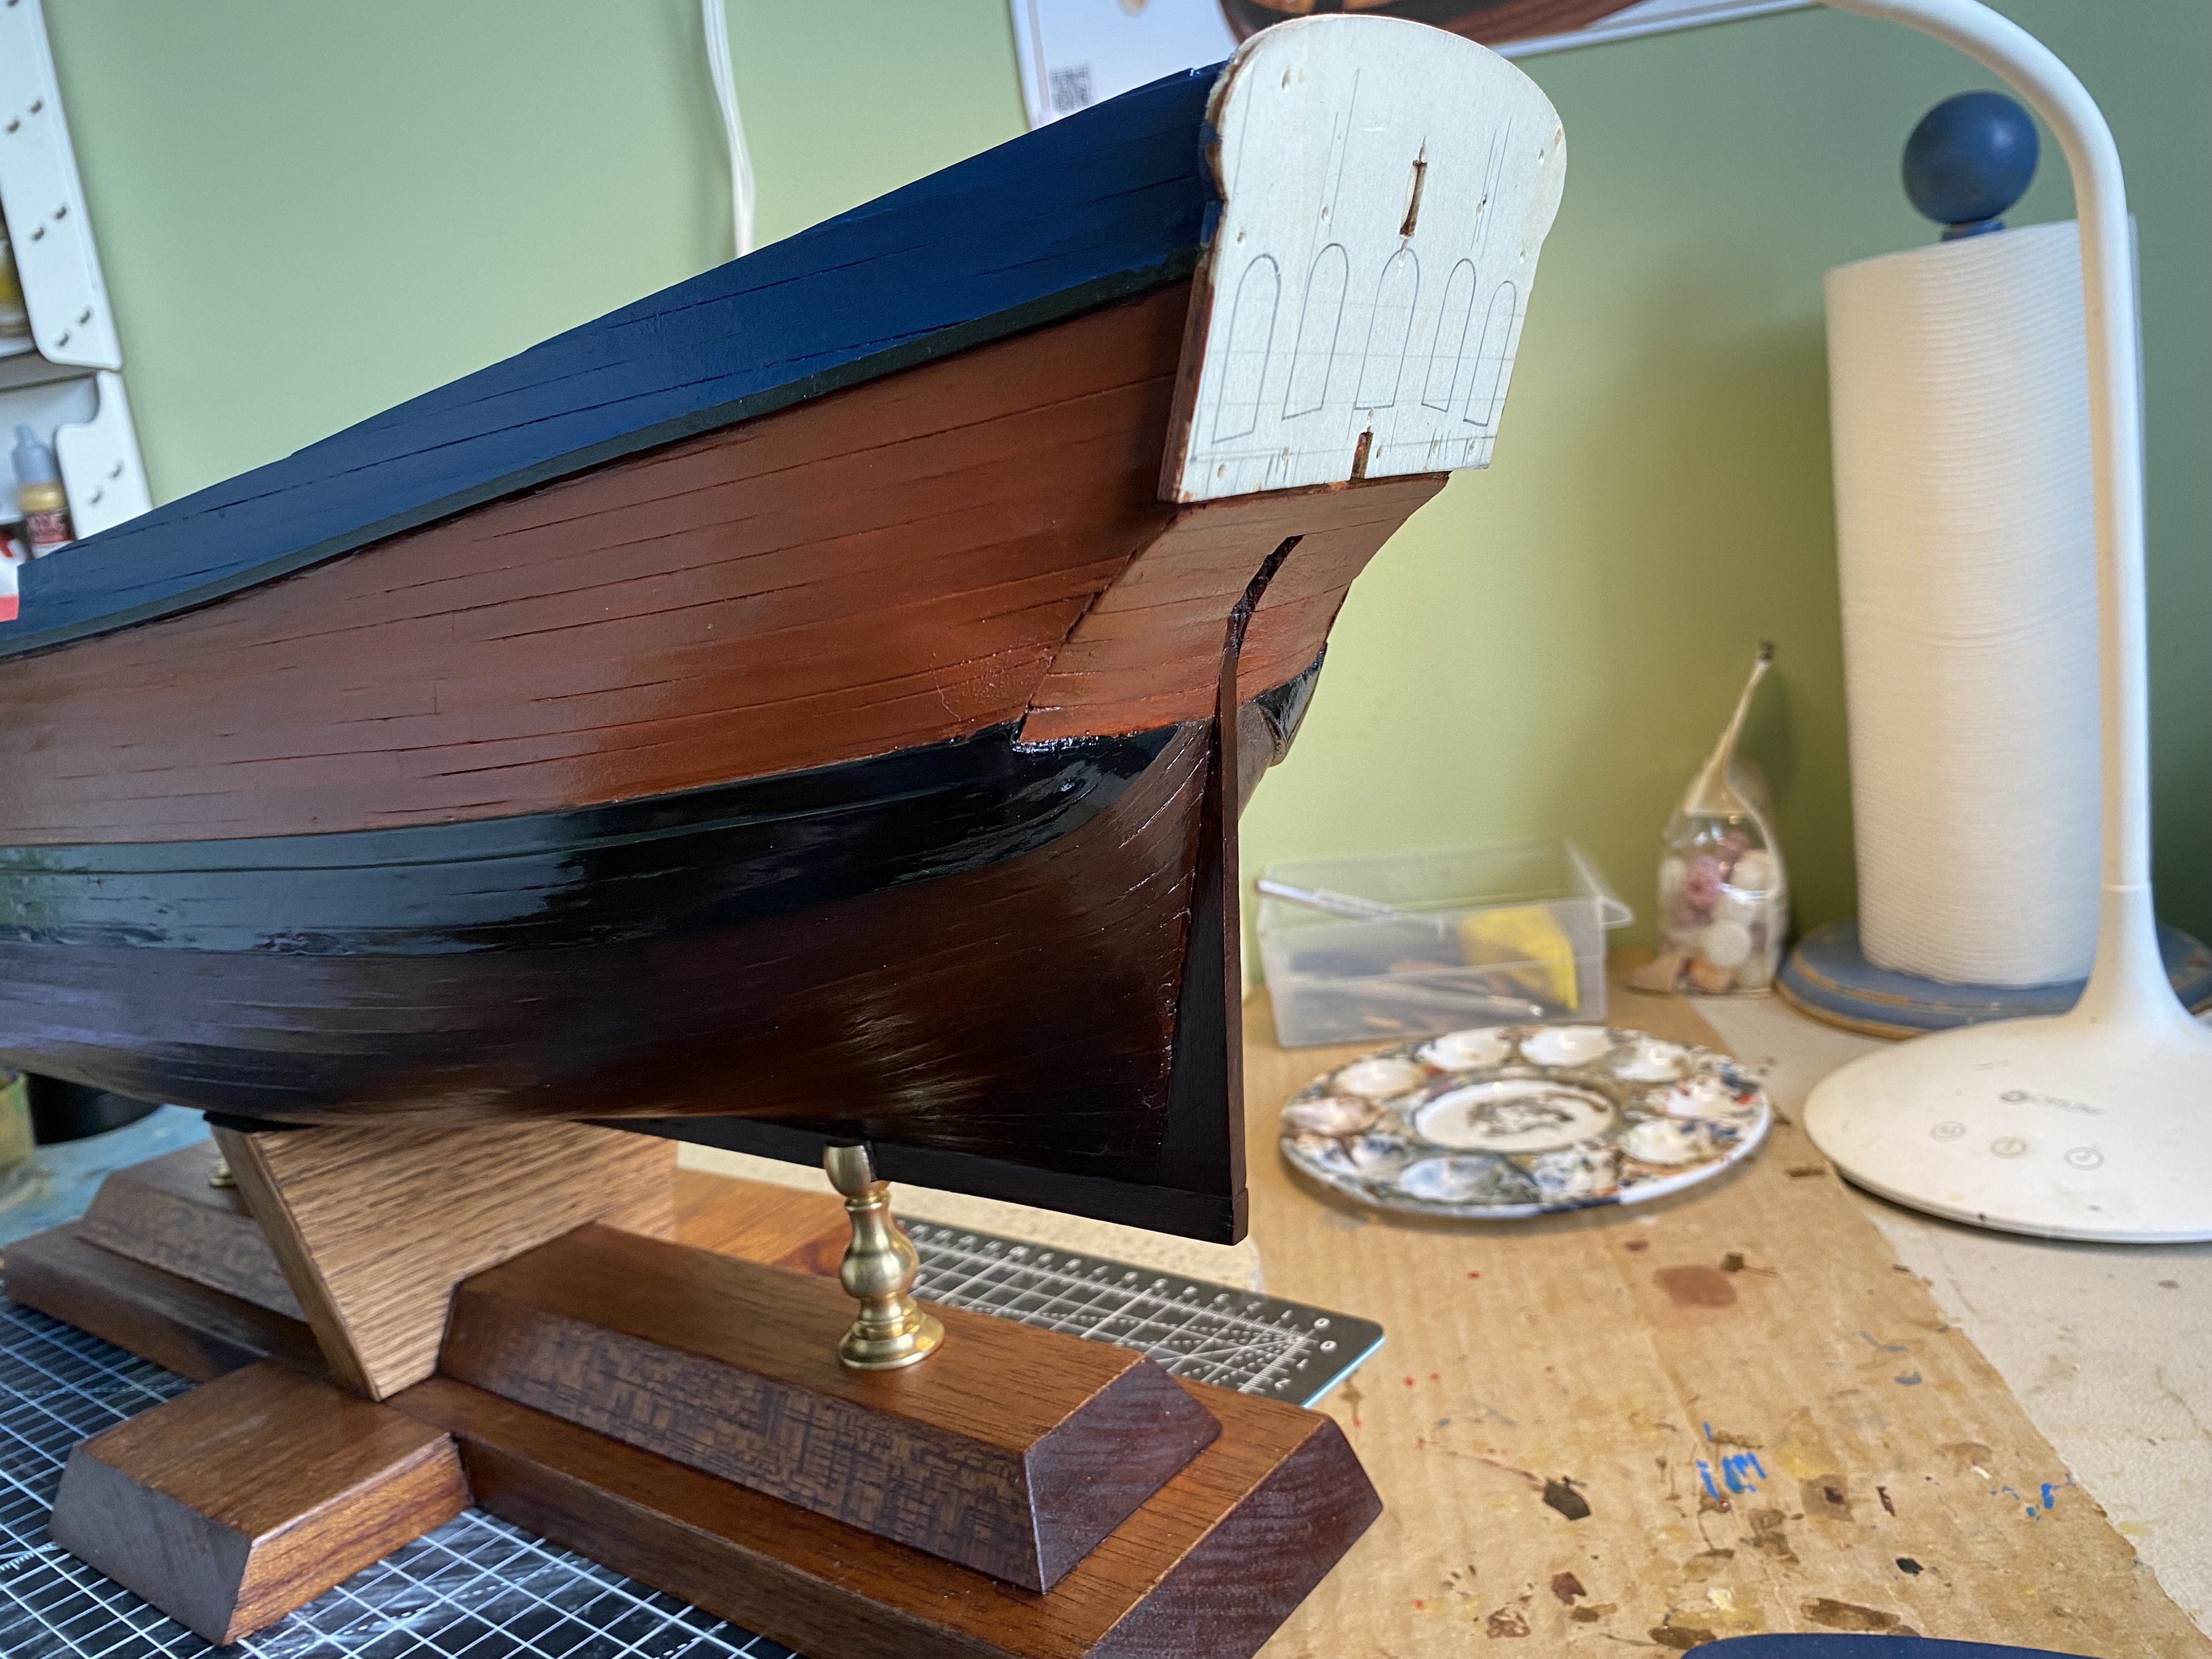
My Endeavour can now be steered with the addition of the rudder. Also added the hawse holes at the bow for the future anchor ropes. Since it has caused several questions, and I have no definitive answer, I decided to paint the rubbing strakes black instead of leaving them the natural wood they were. Slowly but surely I am completing the bow.


- jpalmer1970, ccoyle, wvdhee and 2 others
-
5
-
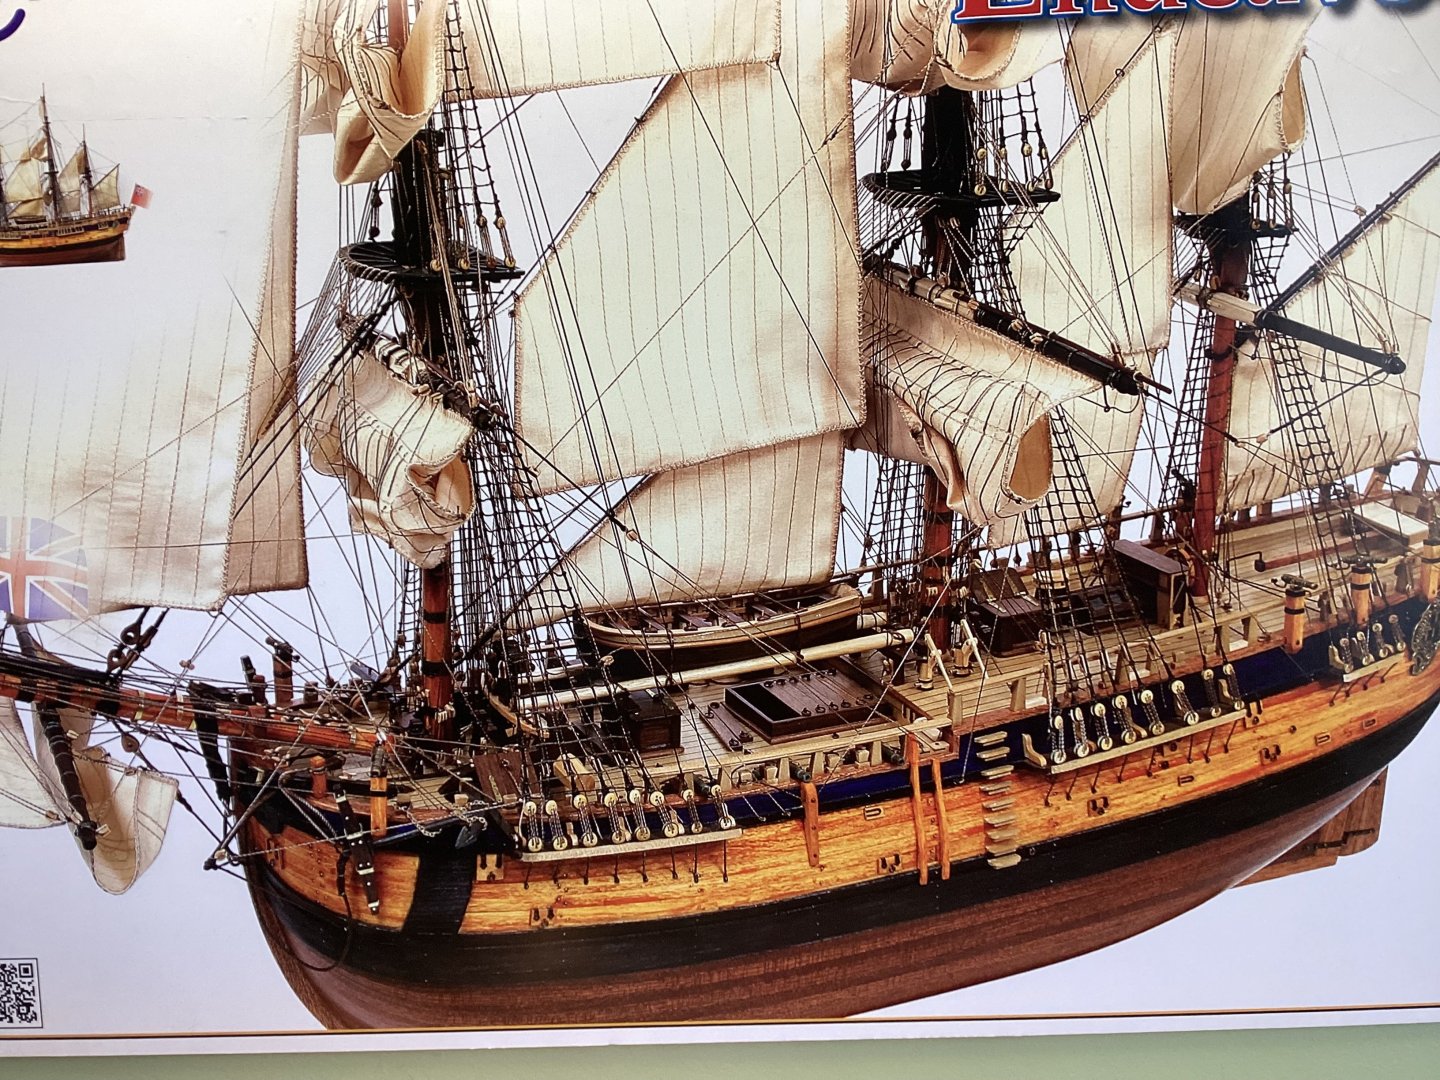
Question for you guys that are more nautical than me. The rubbing strakes at the side of the bow. The replica of the Endeavor in Australia shows the strakes as a natural color. The model photo and other builds show them black. A number of people viewing the progress of my model have asked what color I planned to paint the stakes. They assumed since the strakes were a lighter color wood I just had not painted them. I explain that the replica shows them a lighter wood. What is correct?
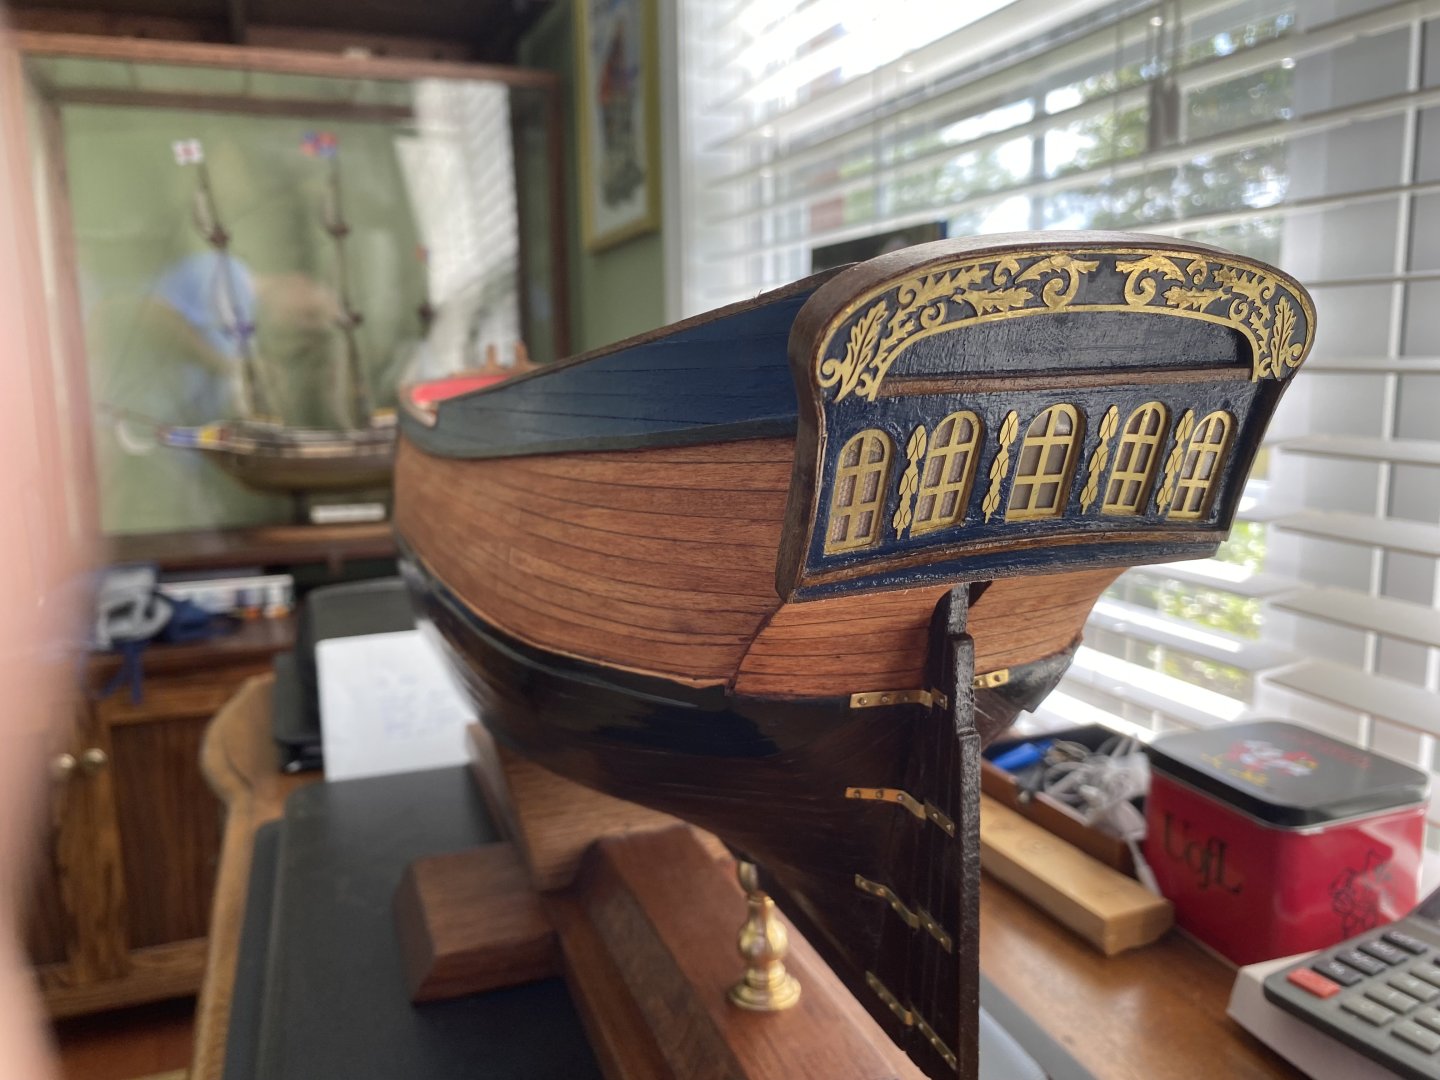
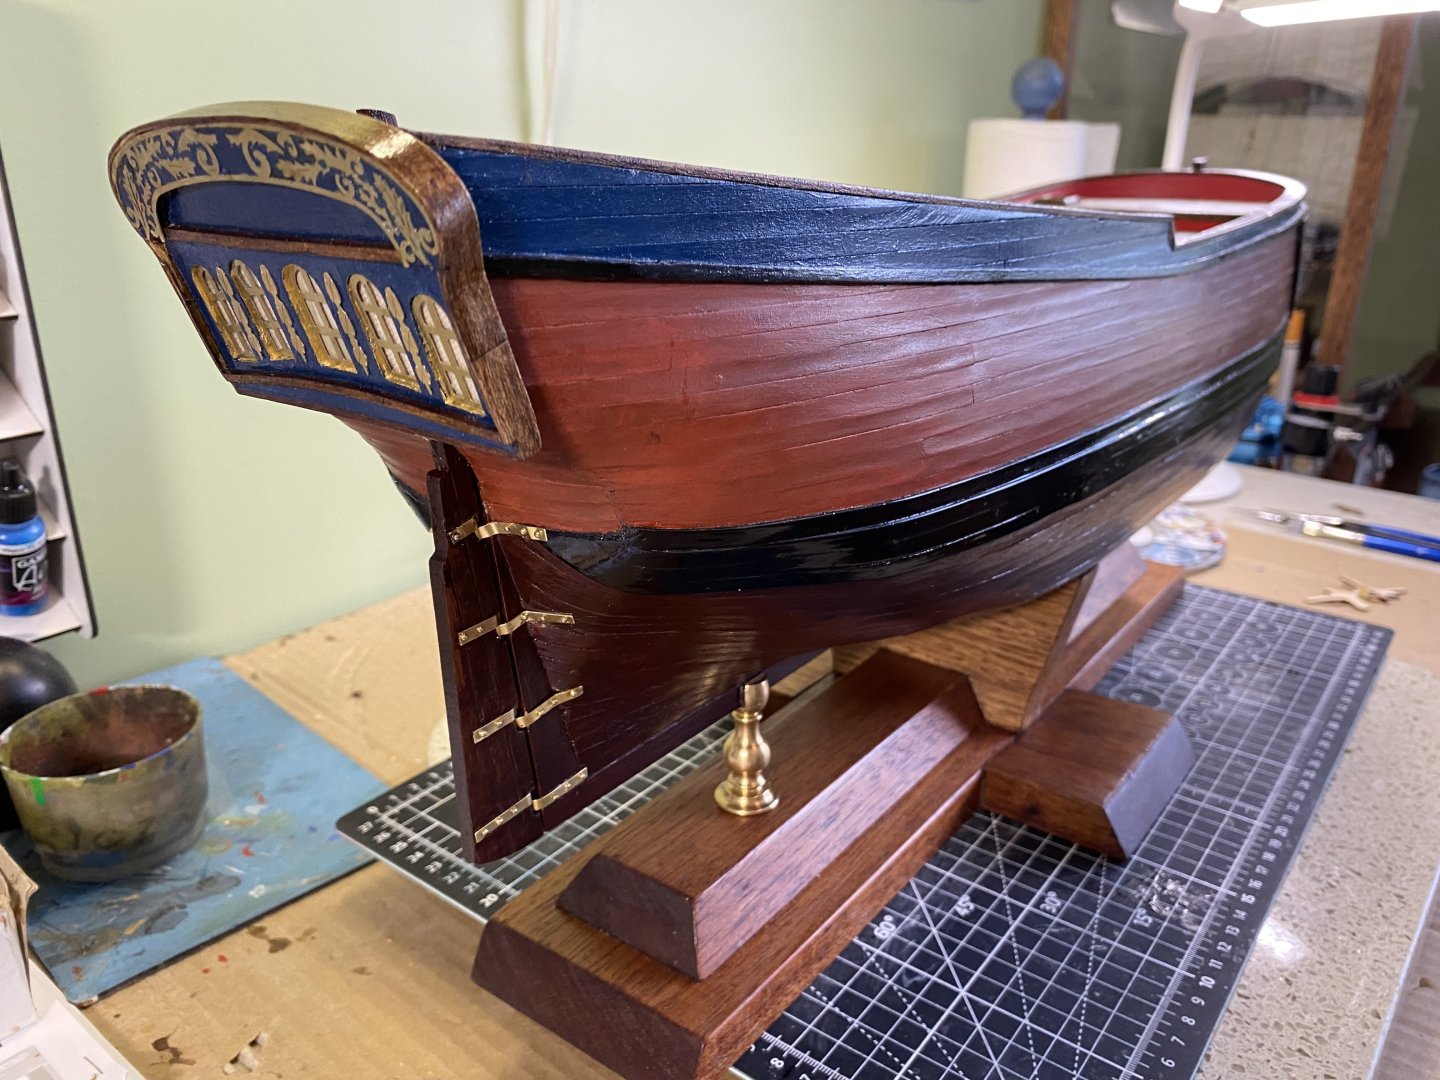
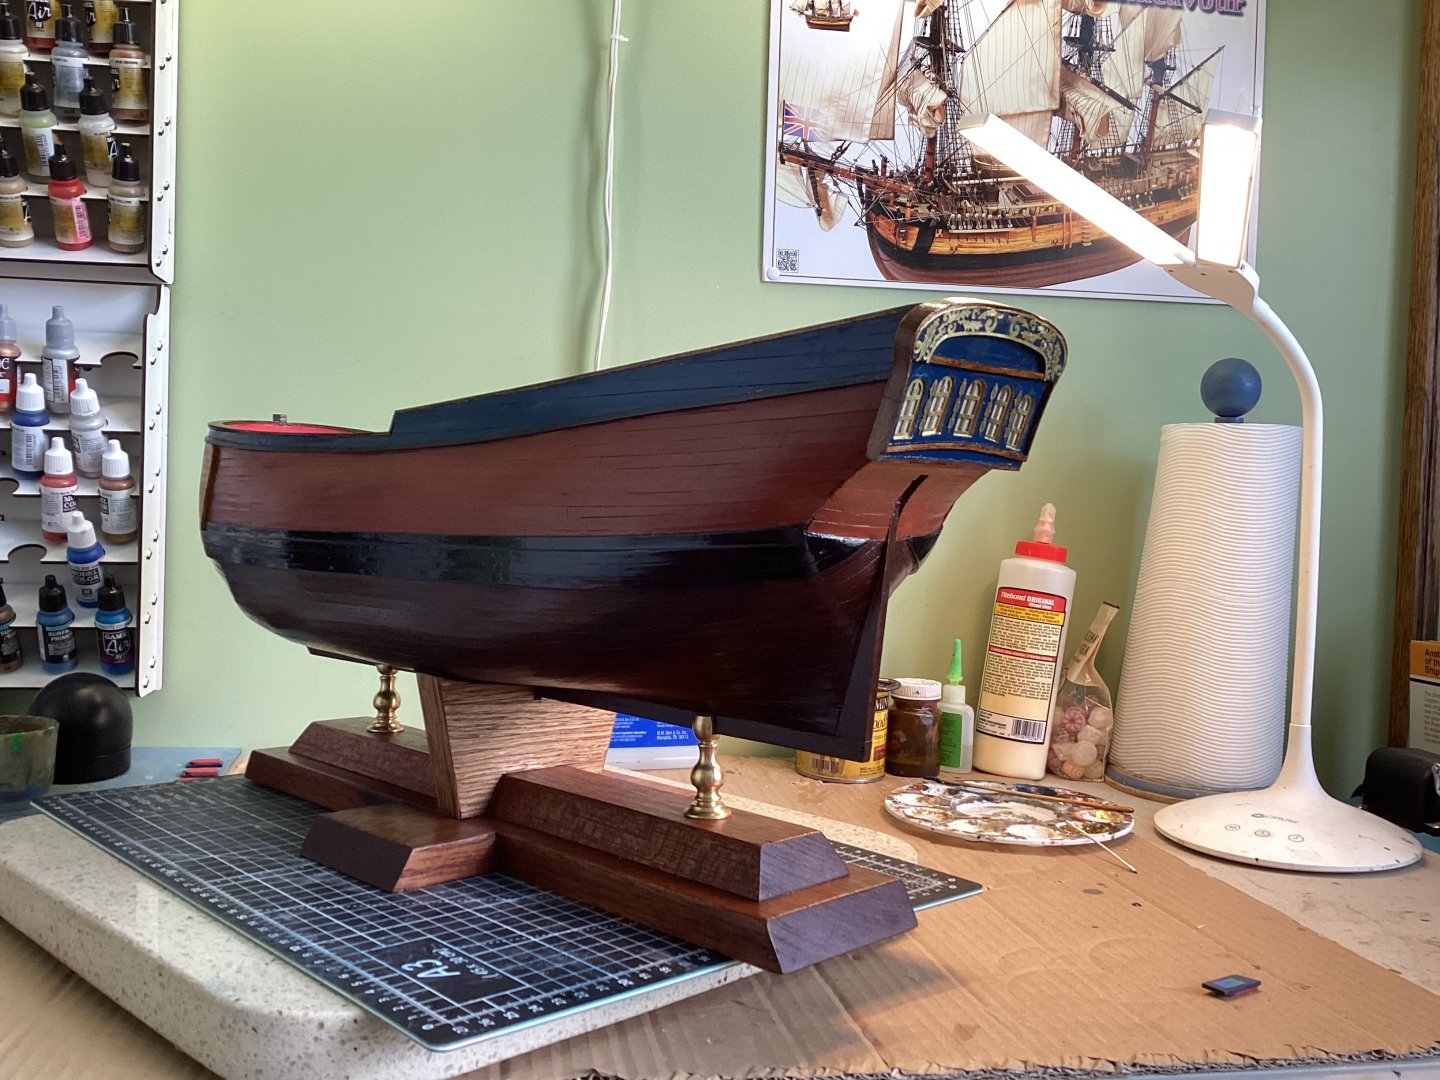
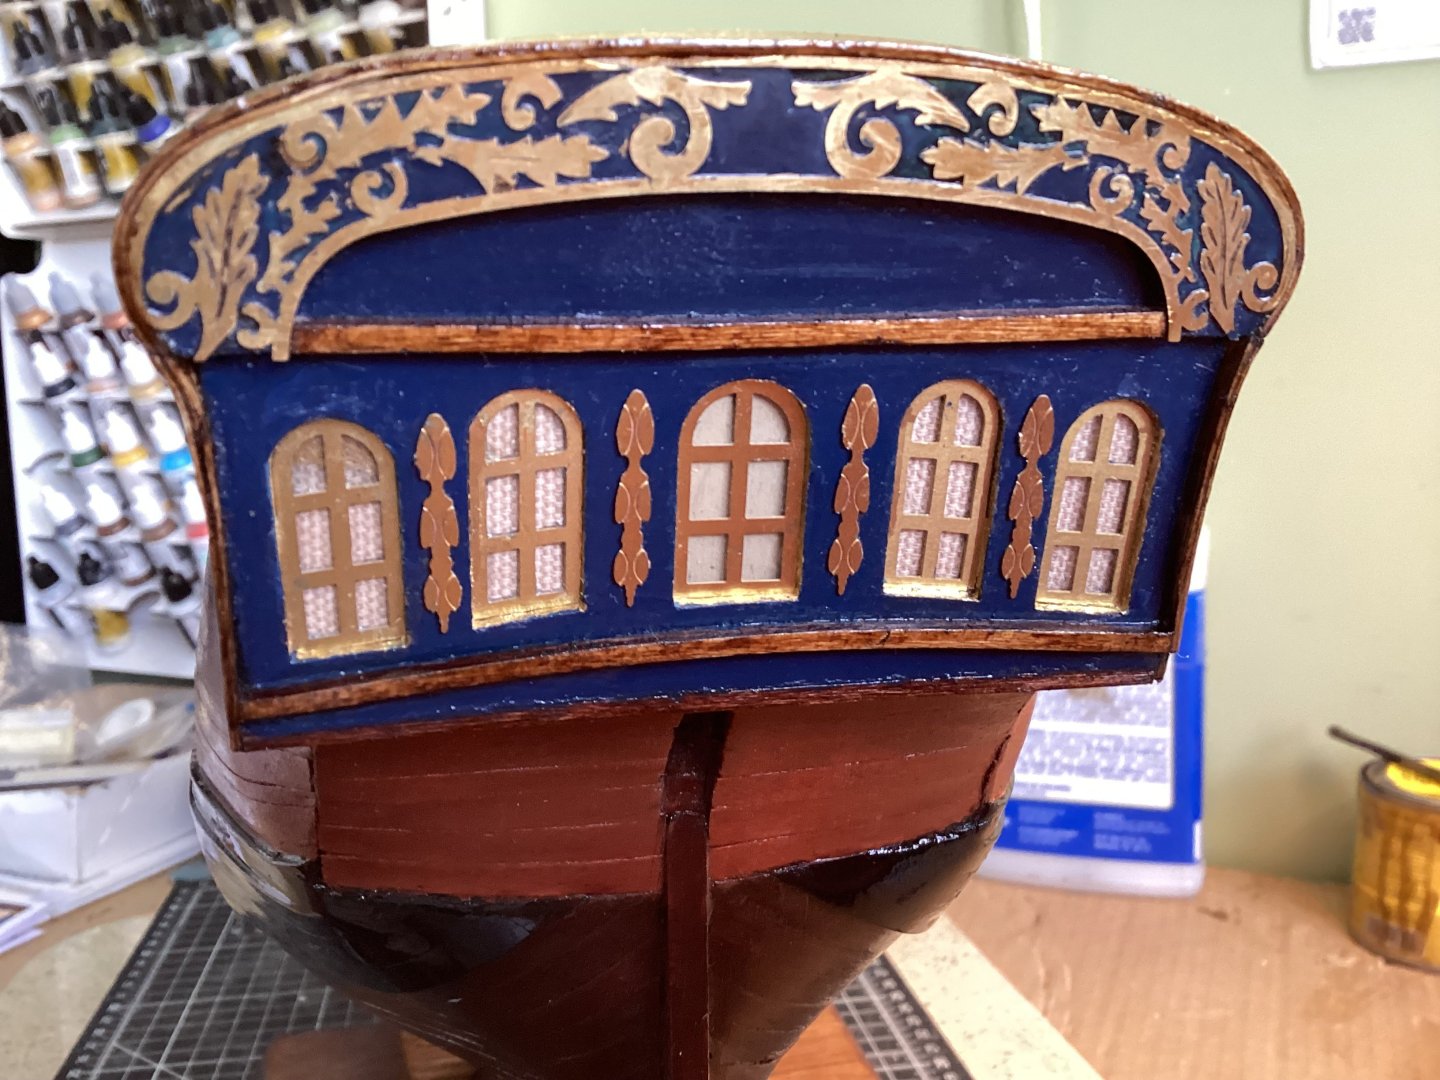
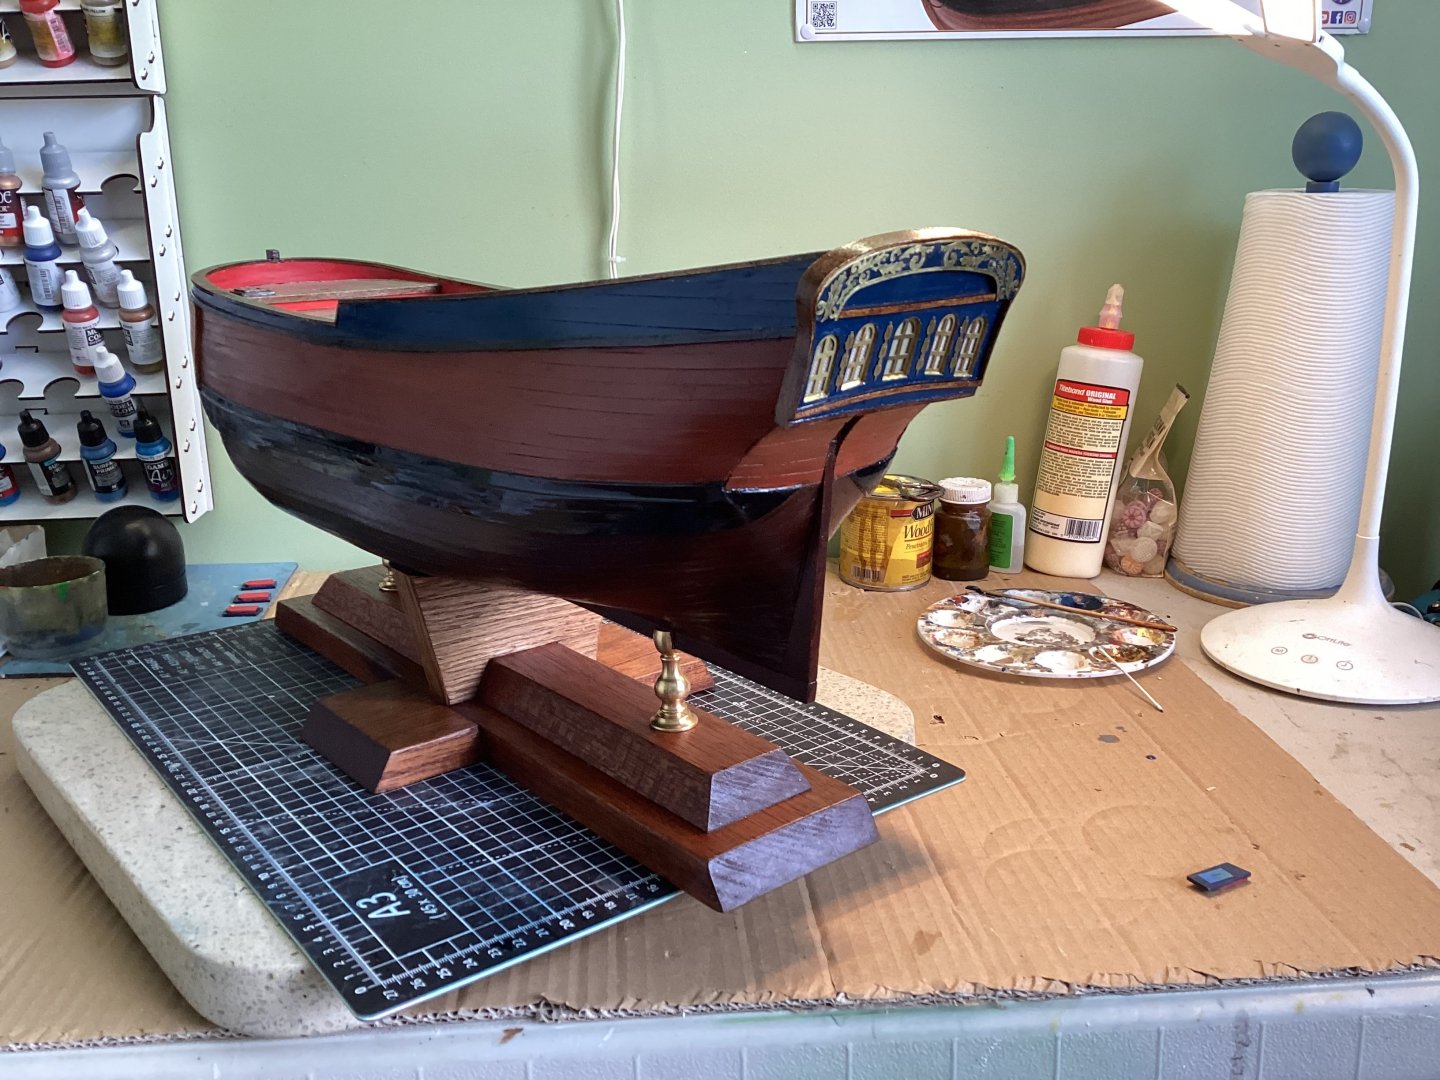
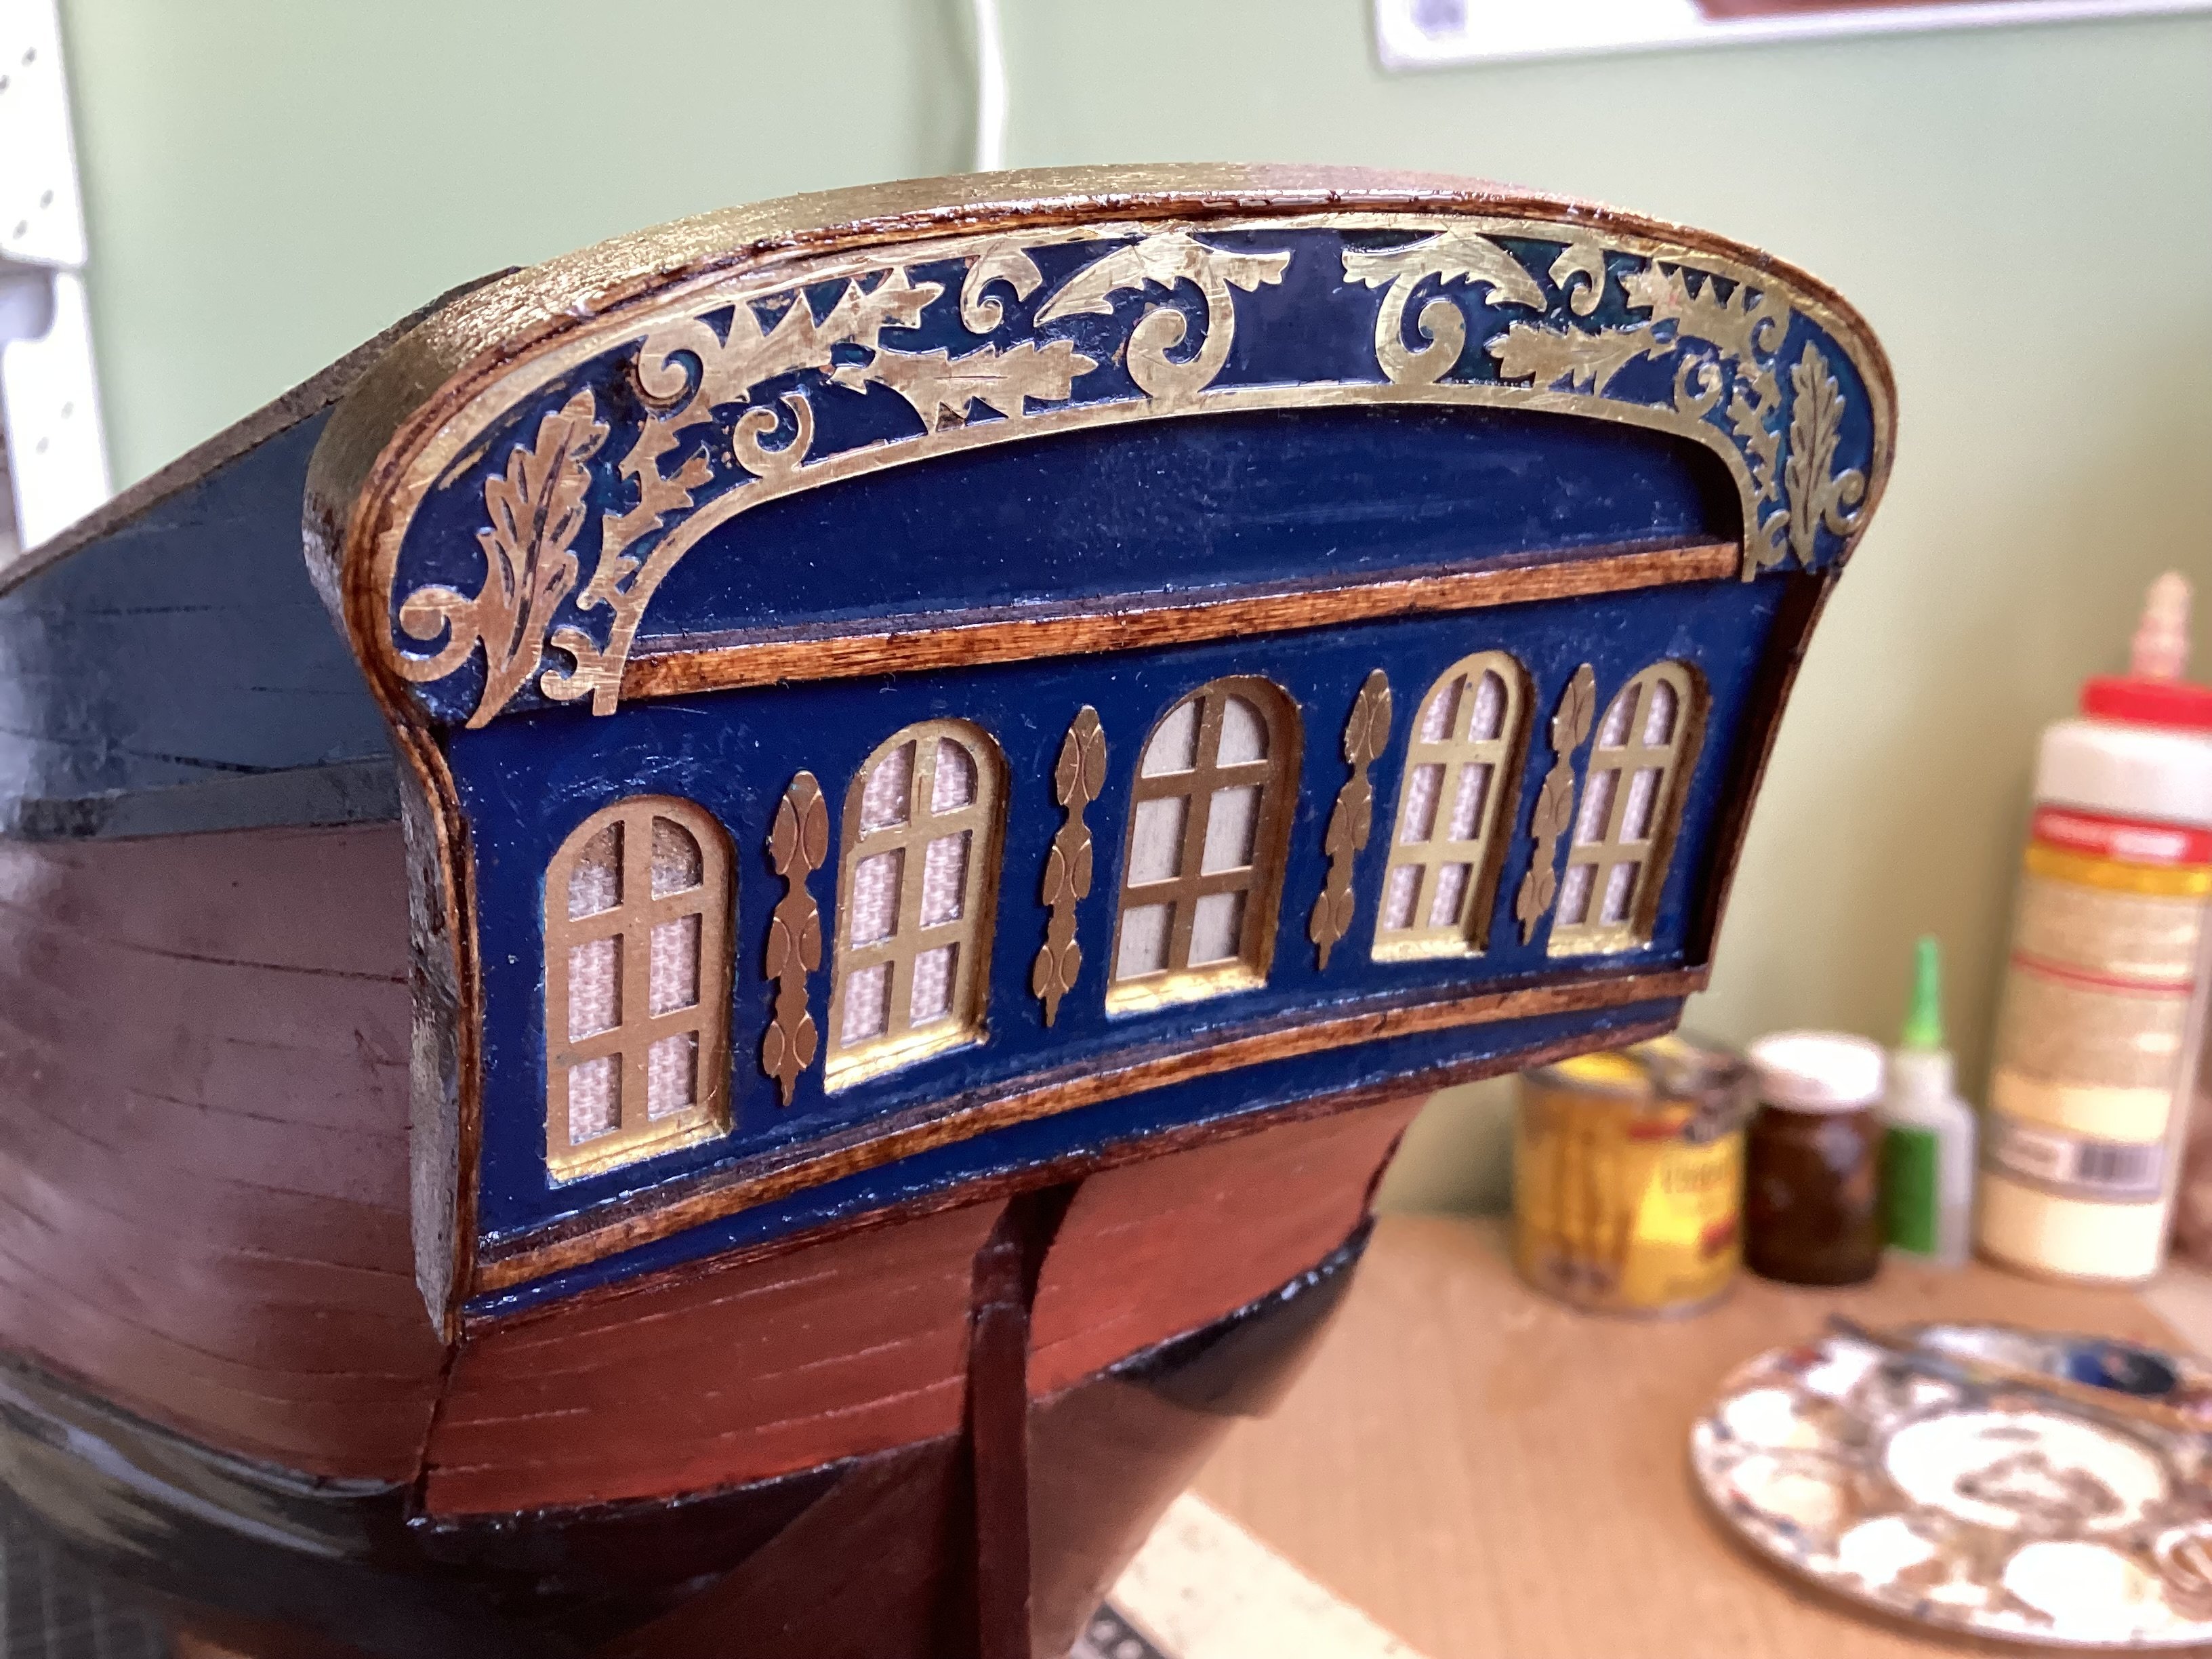
I have made a great deal of progress since my last update. Stern is complete. I added plastic windows behind the metal frames and drapes. No doubt CPT Cook at times wished for less sun light in the cabin. I made fold down shutters I have yet to decide if I am going to attach them or not. You may notice a little discoloration in the palladium part of the far port window. If you are like me you are sometimes your own worst enemy. I had the stern pretty much finished perfectly. But of course, as I am guilty of doing, I thought one little touch up would make it even better. I decided I needed to touch up a couple spots inside the window frames. And of course I got a small bit of gold paint on the top of the window plastic on that window 😫. My only recourse was to clean it up best I could. I think a bit got behind the plastic. As I said, sometimes my perfection is my enemy.


- jpalmer1970 and Ian_Grant
-
2
-
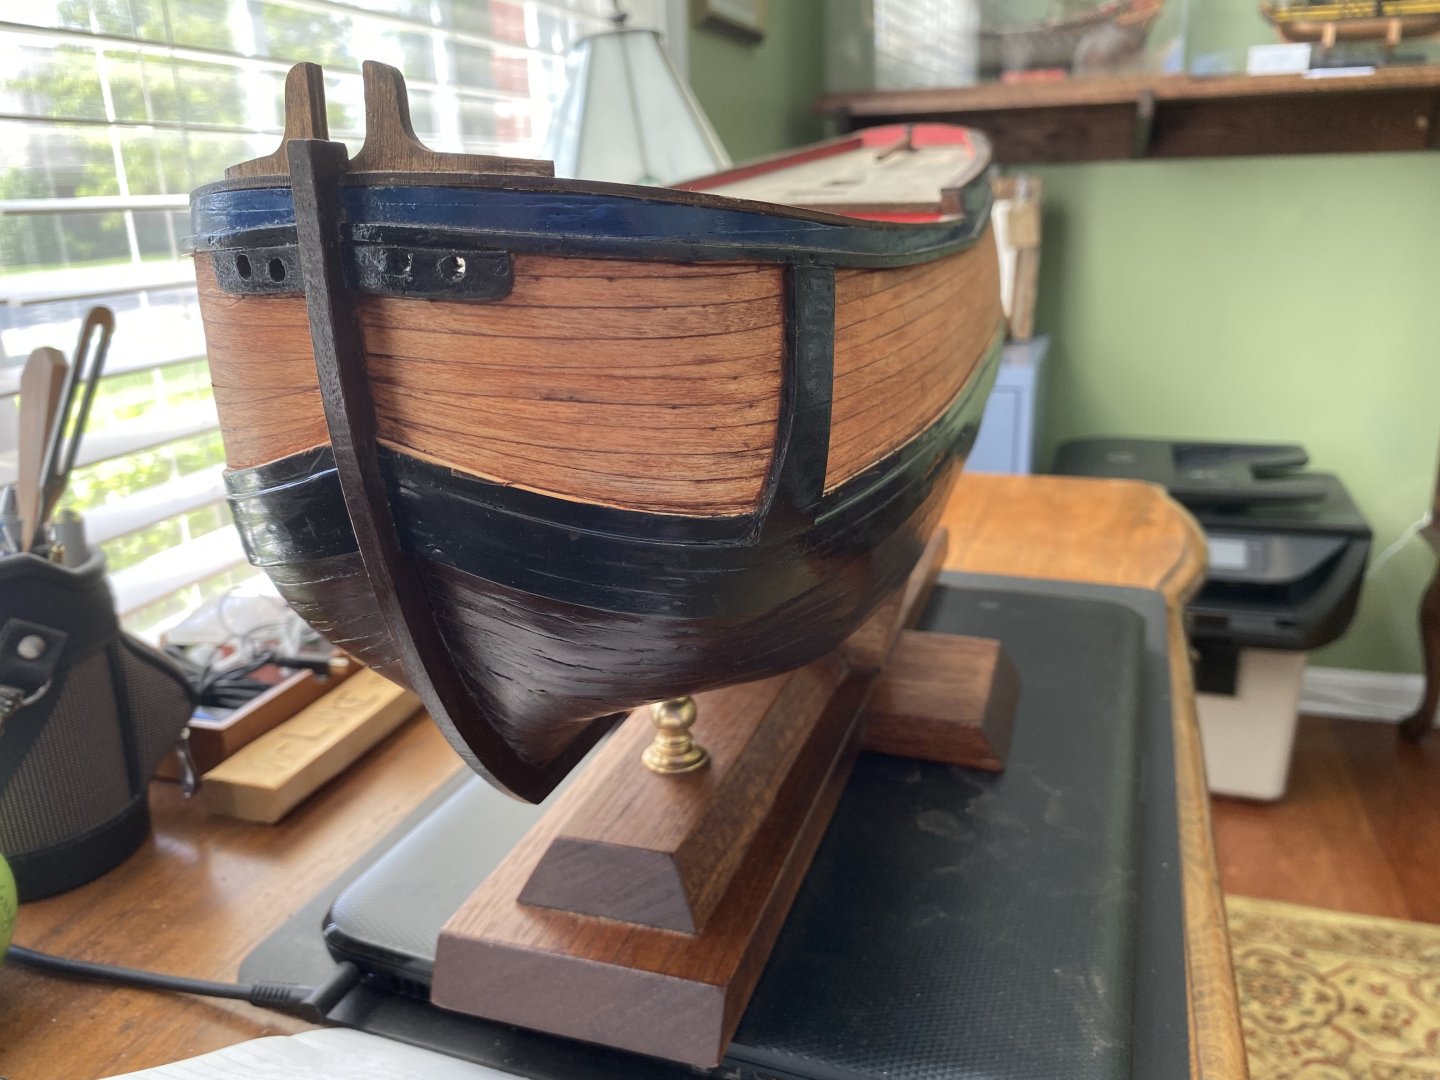
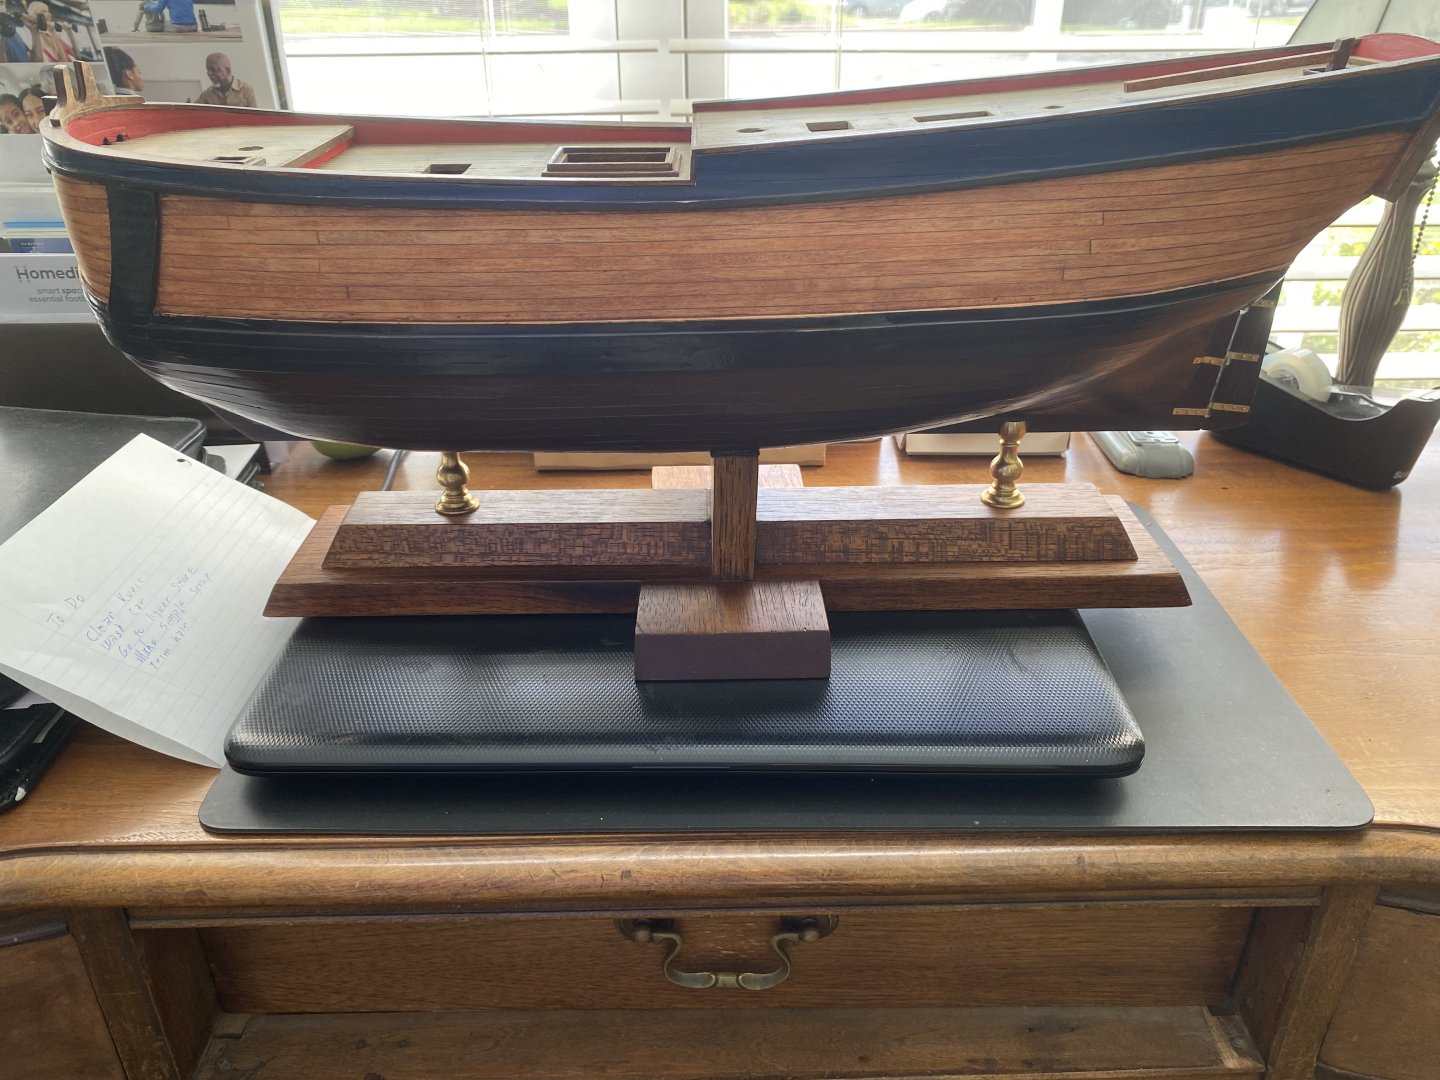
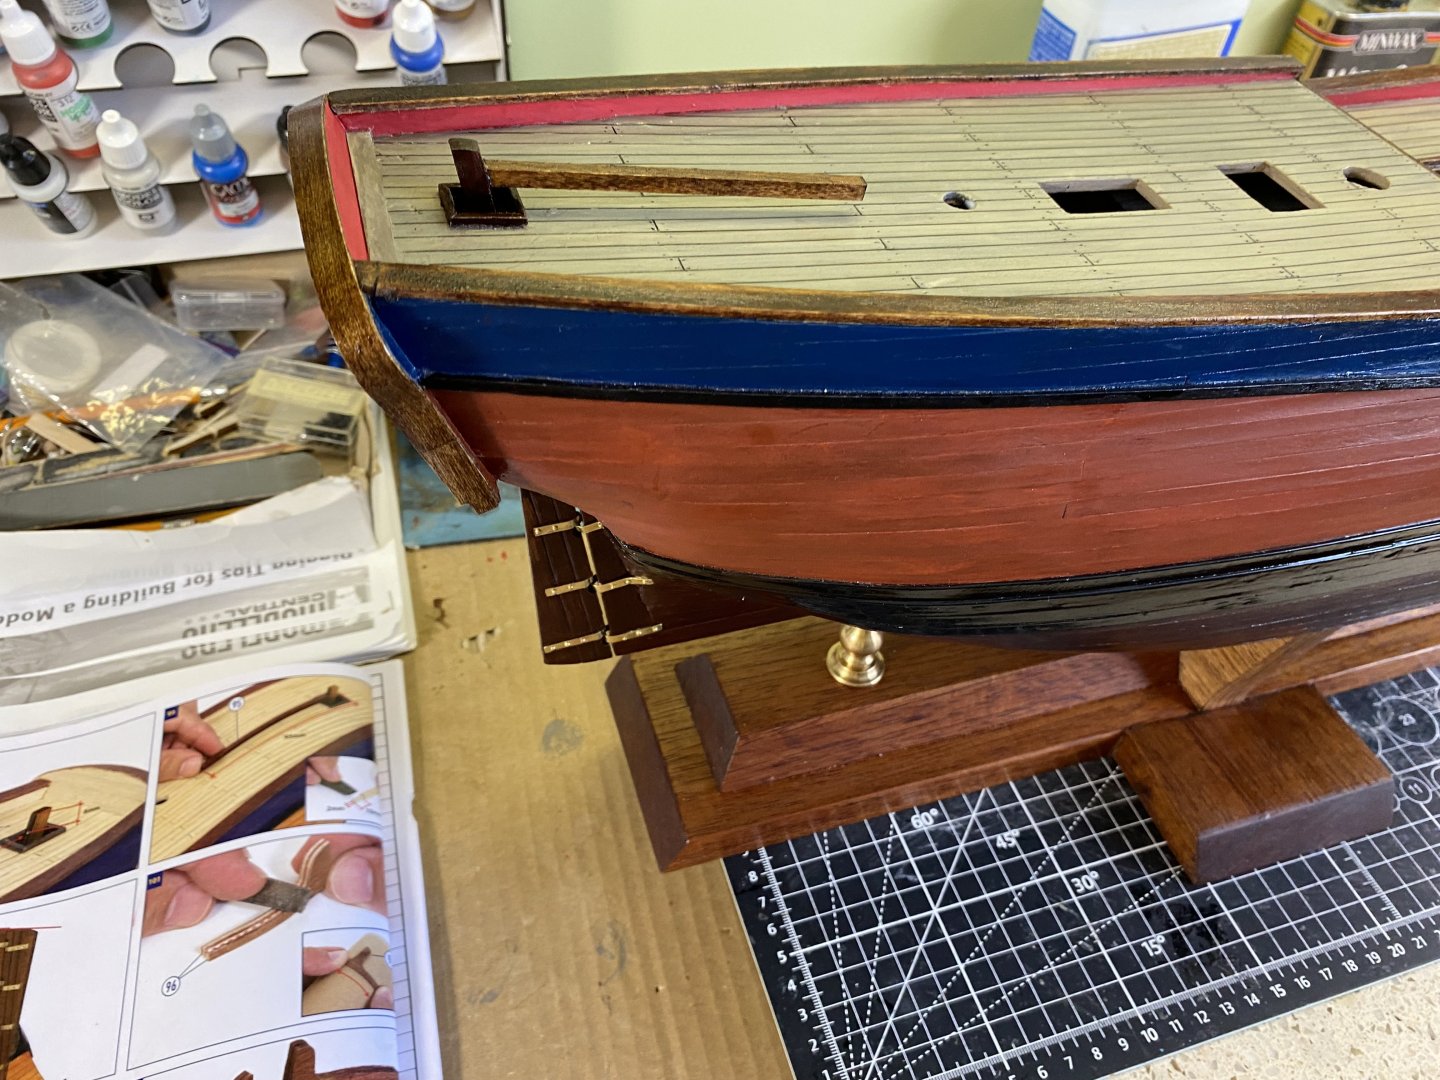
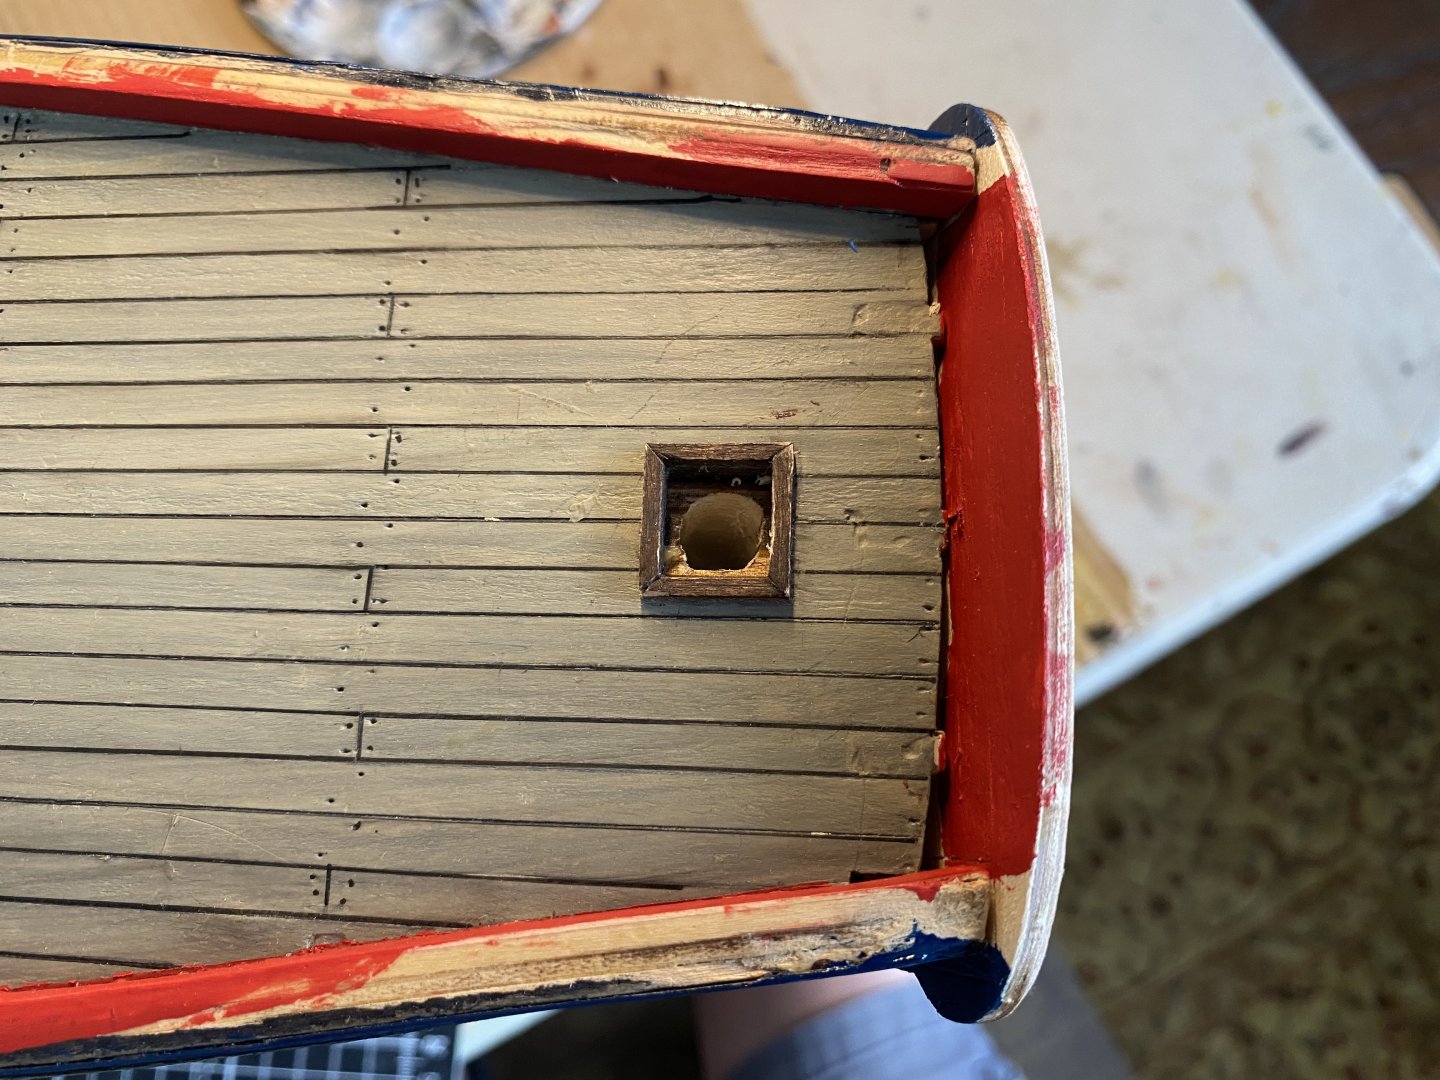
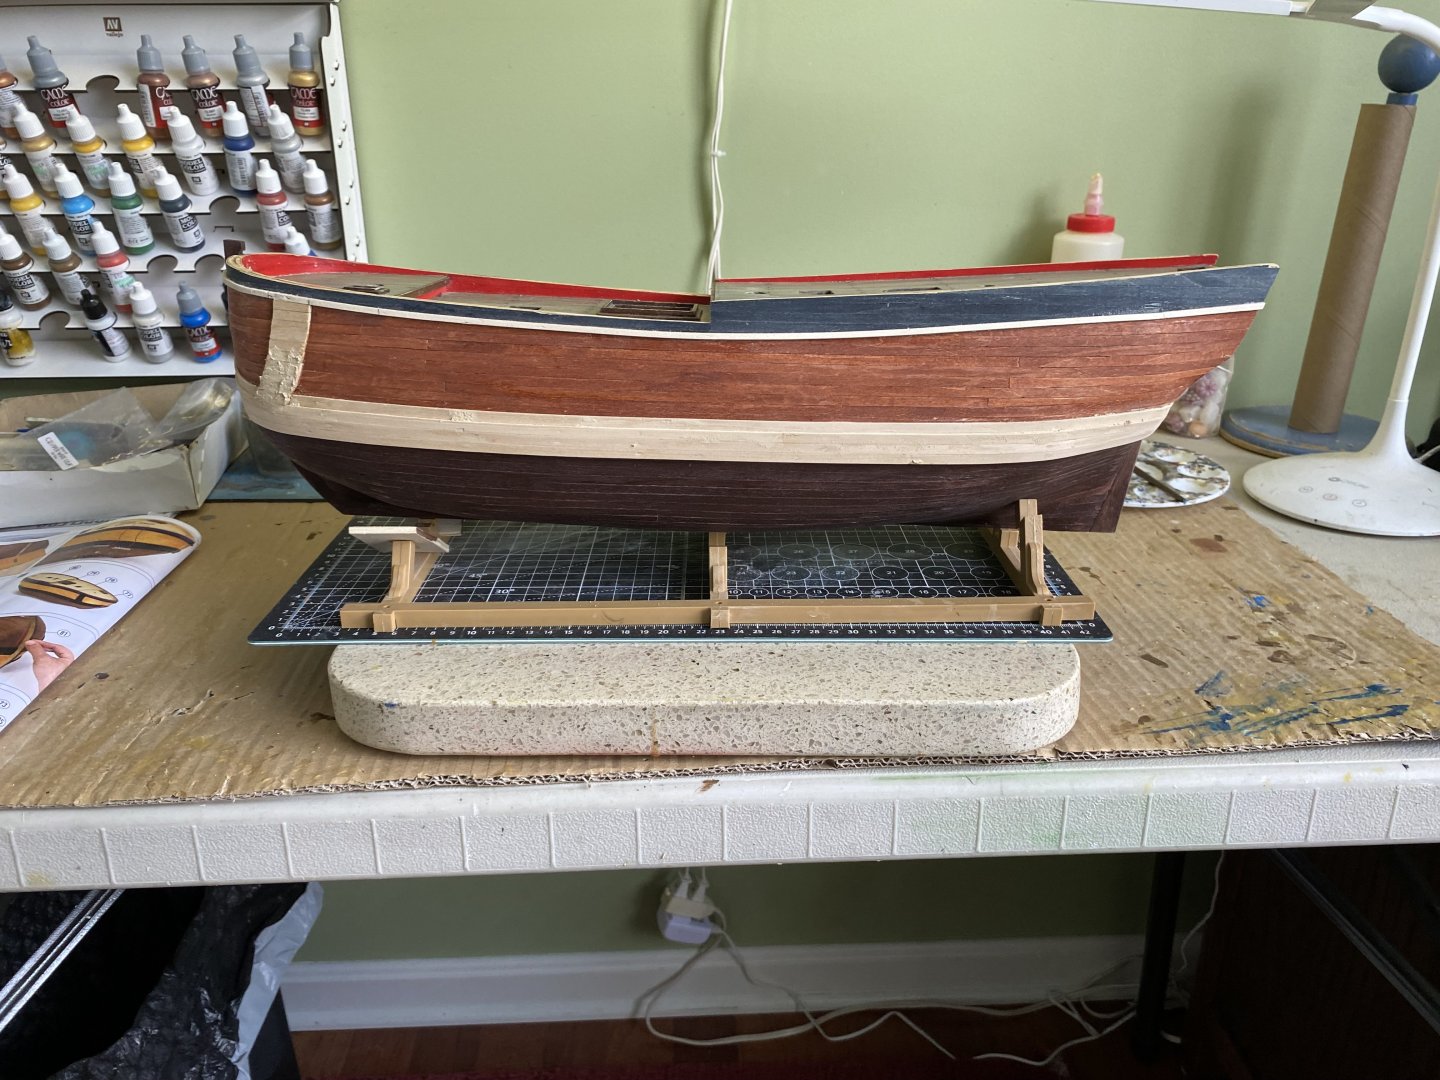
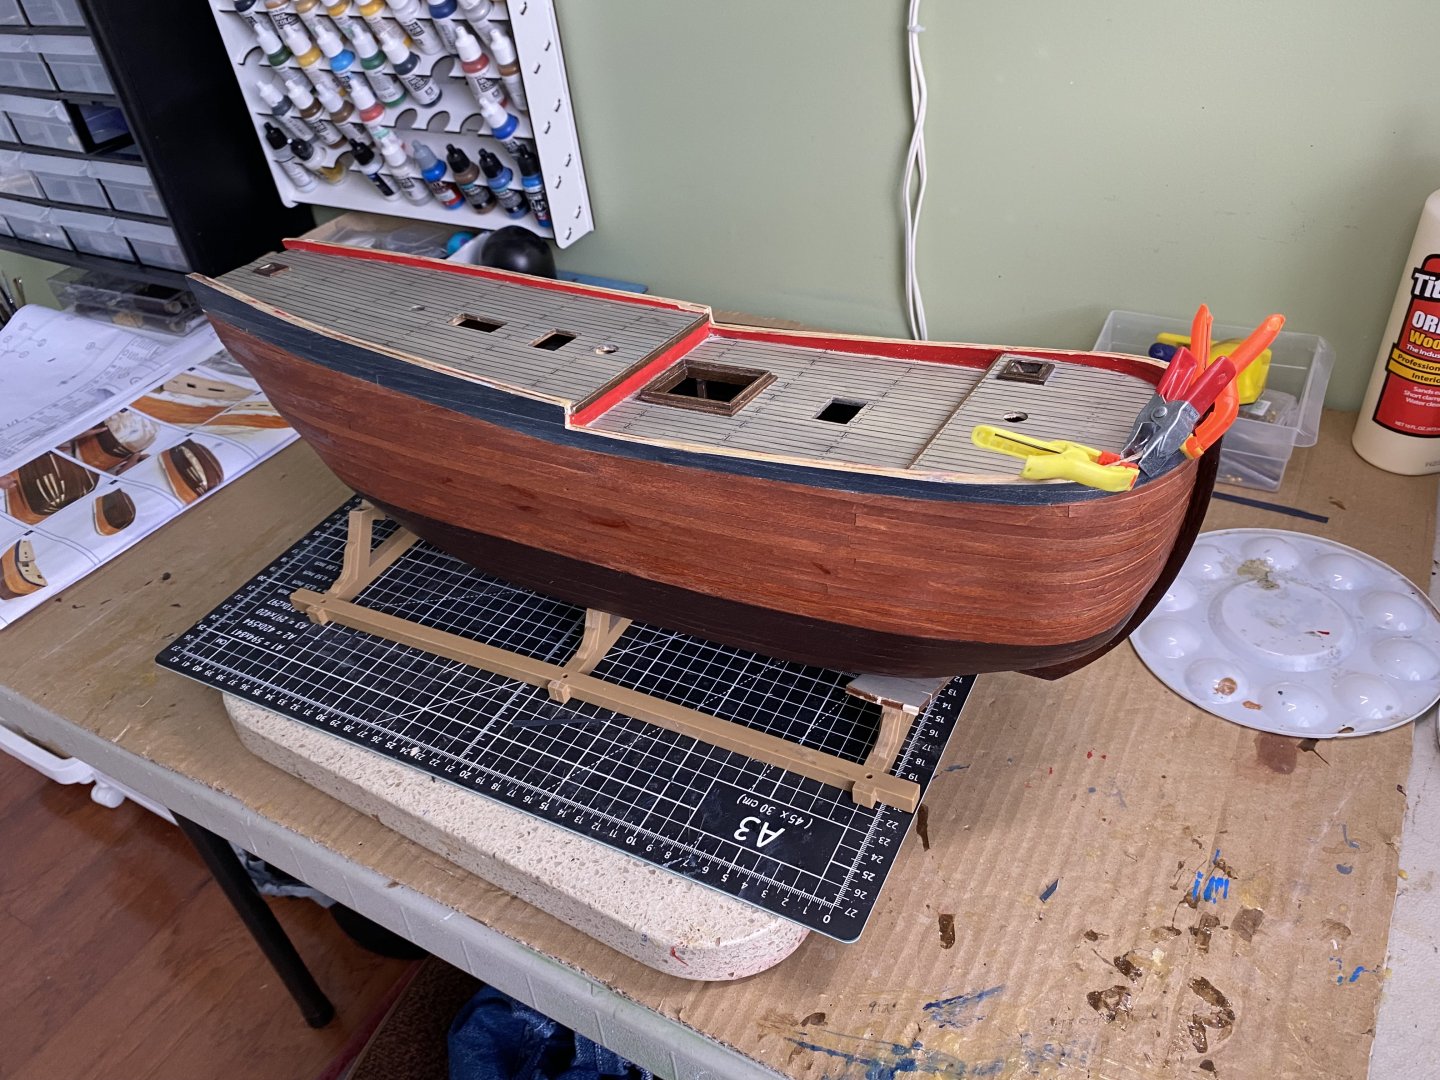
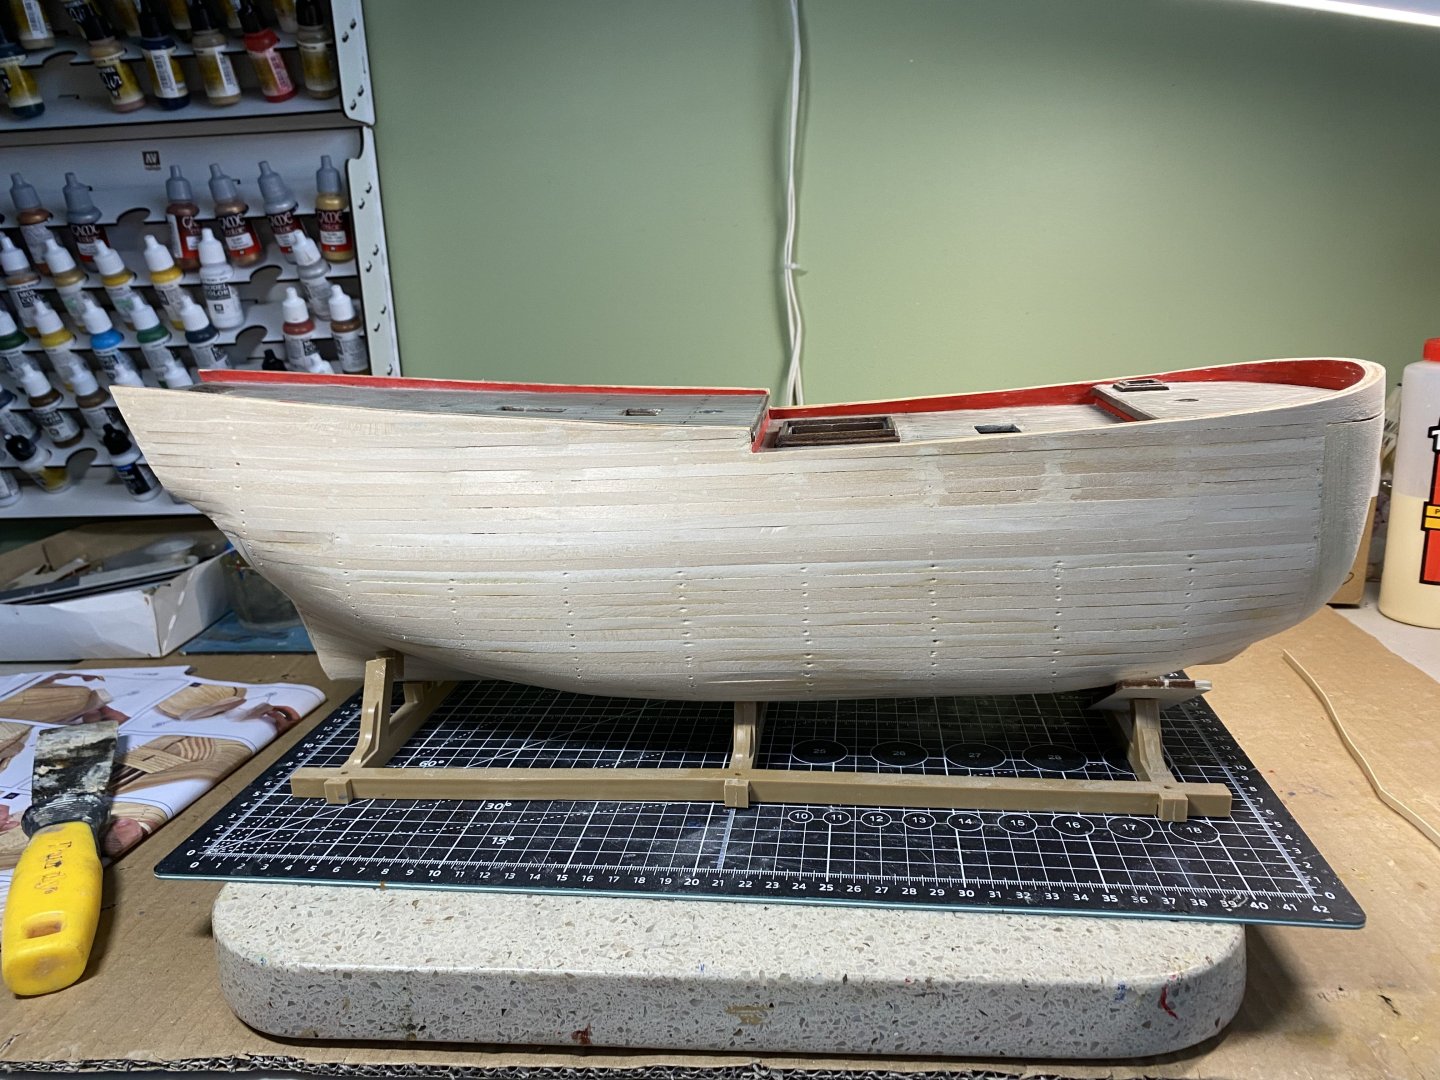
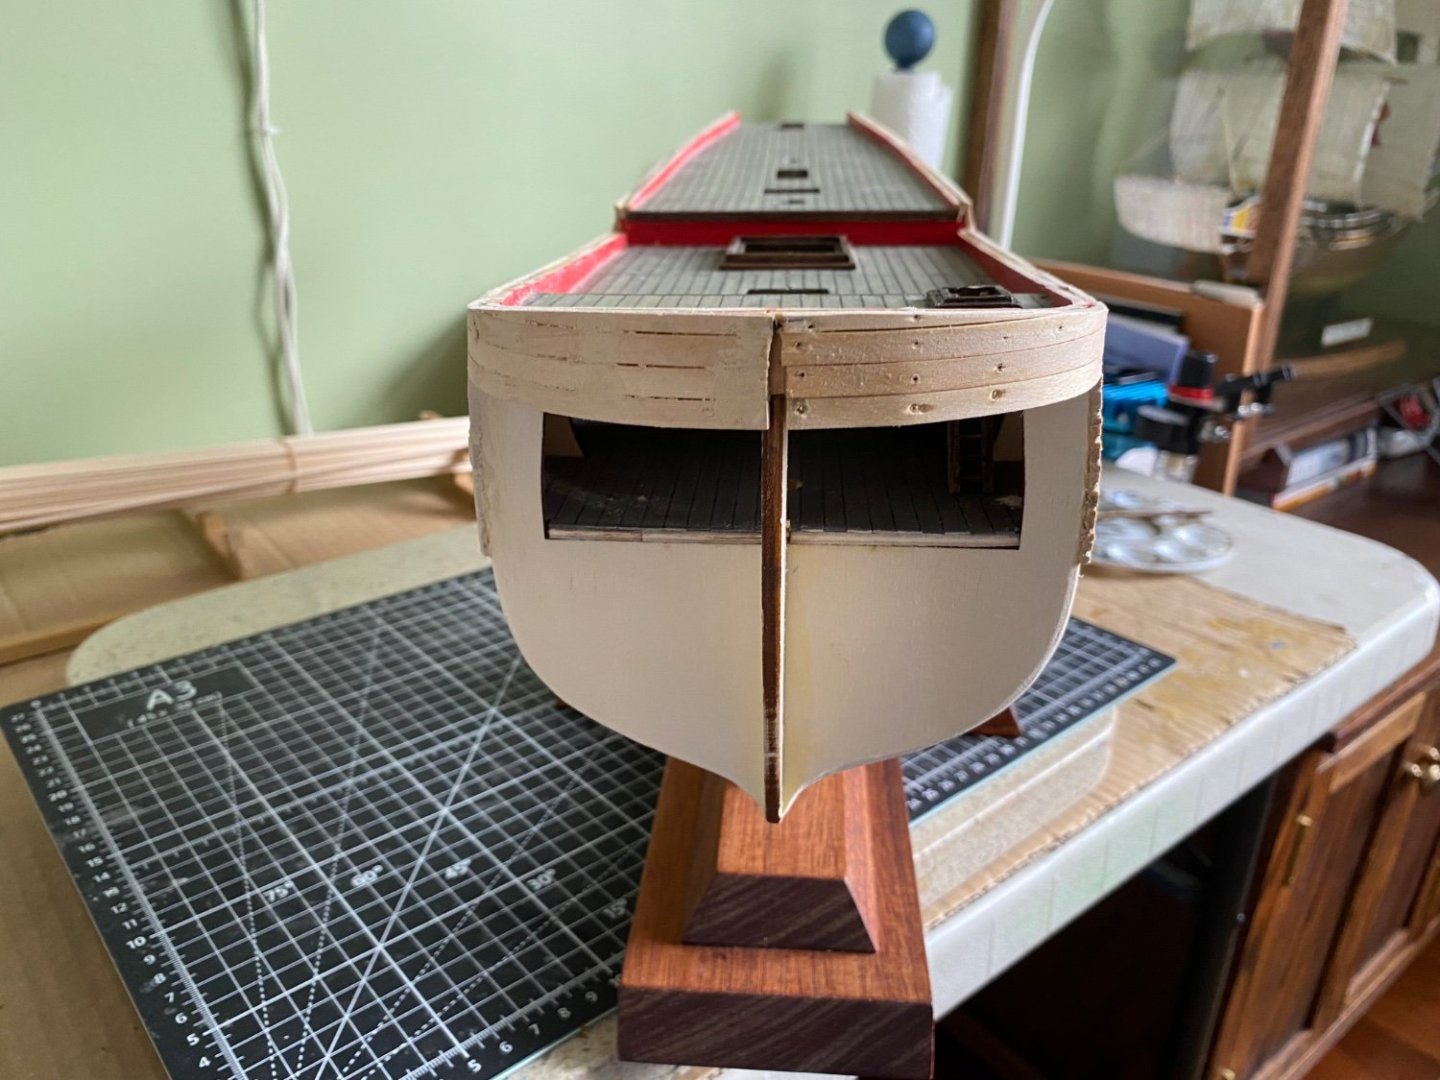
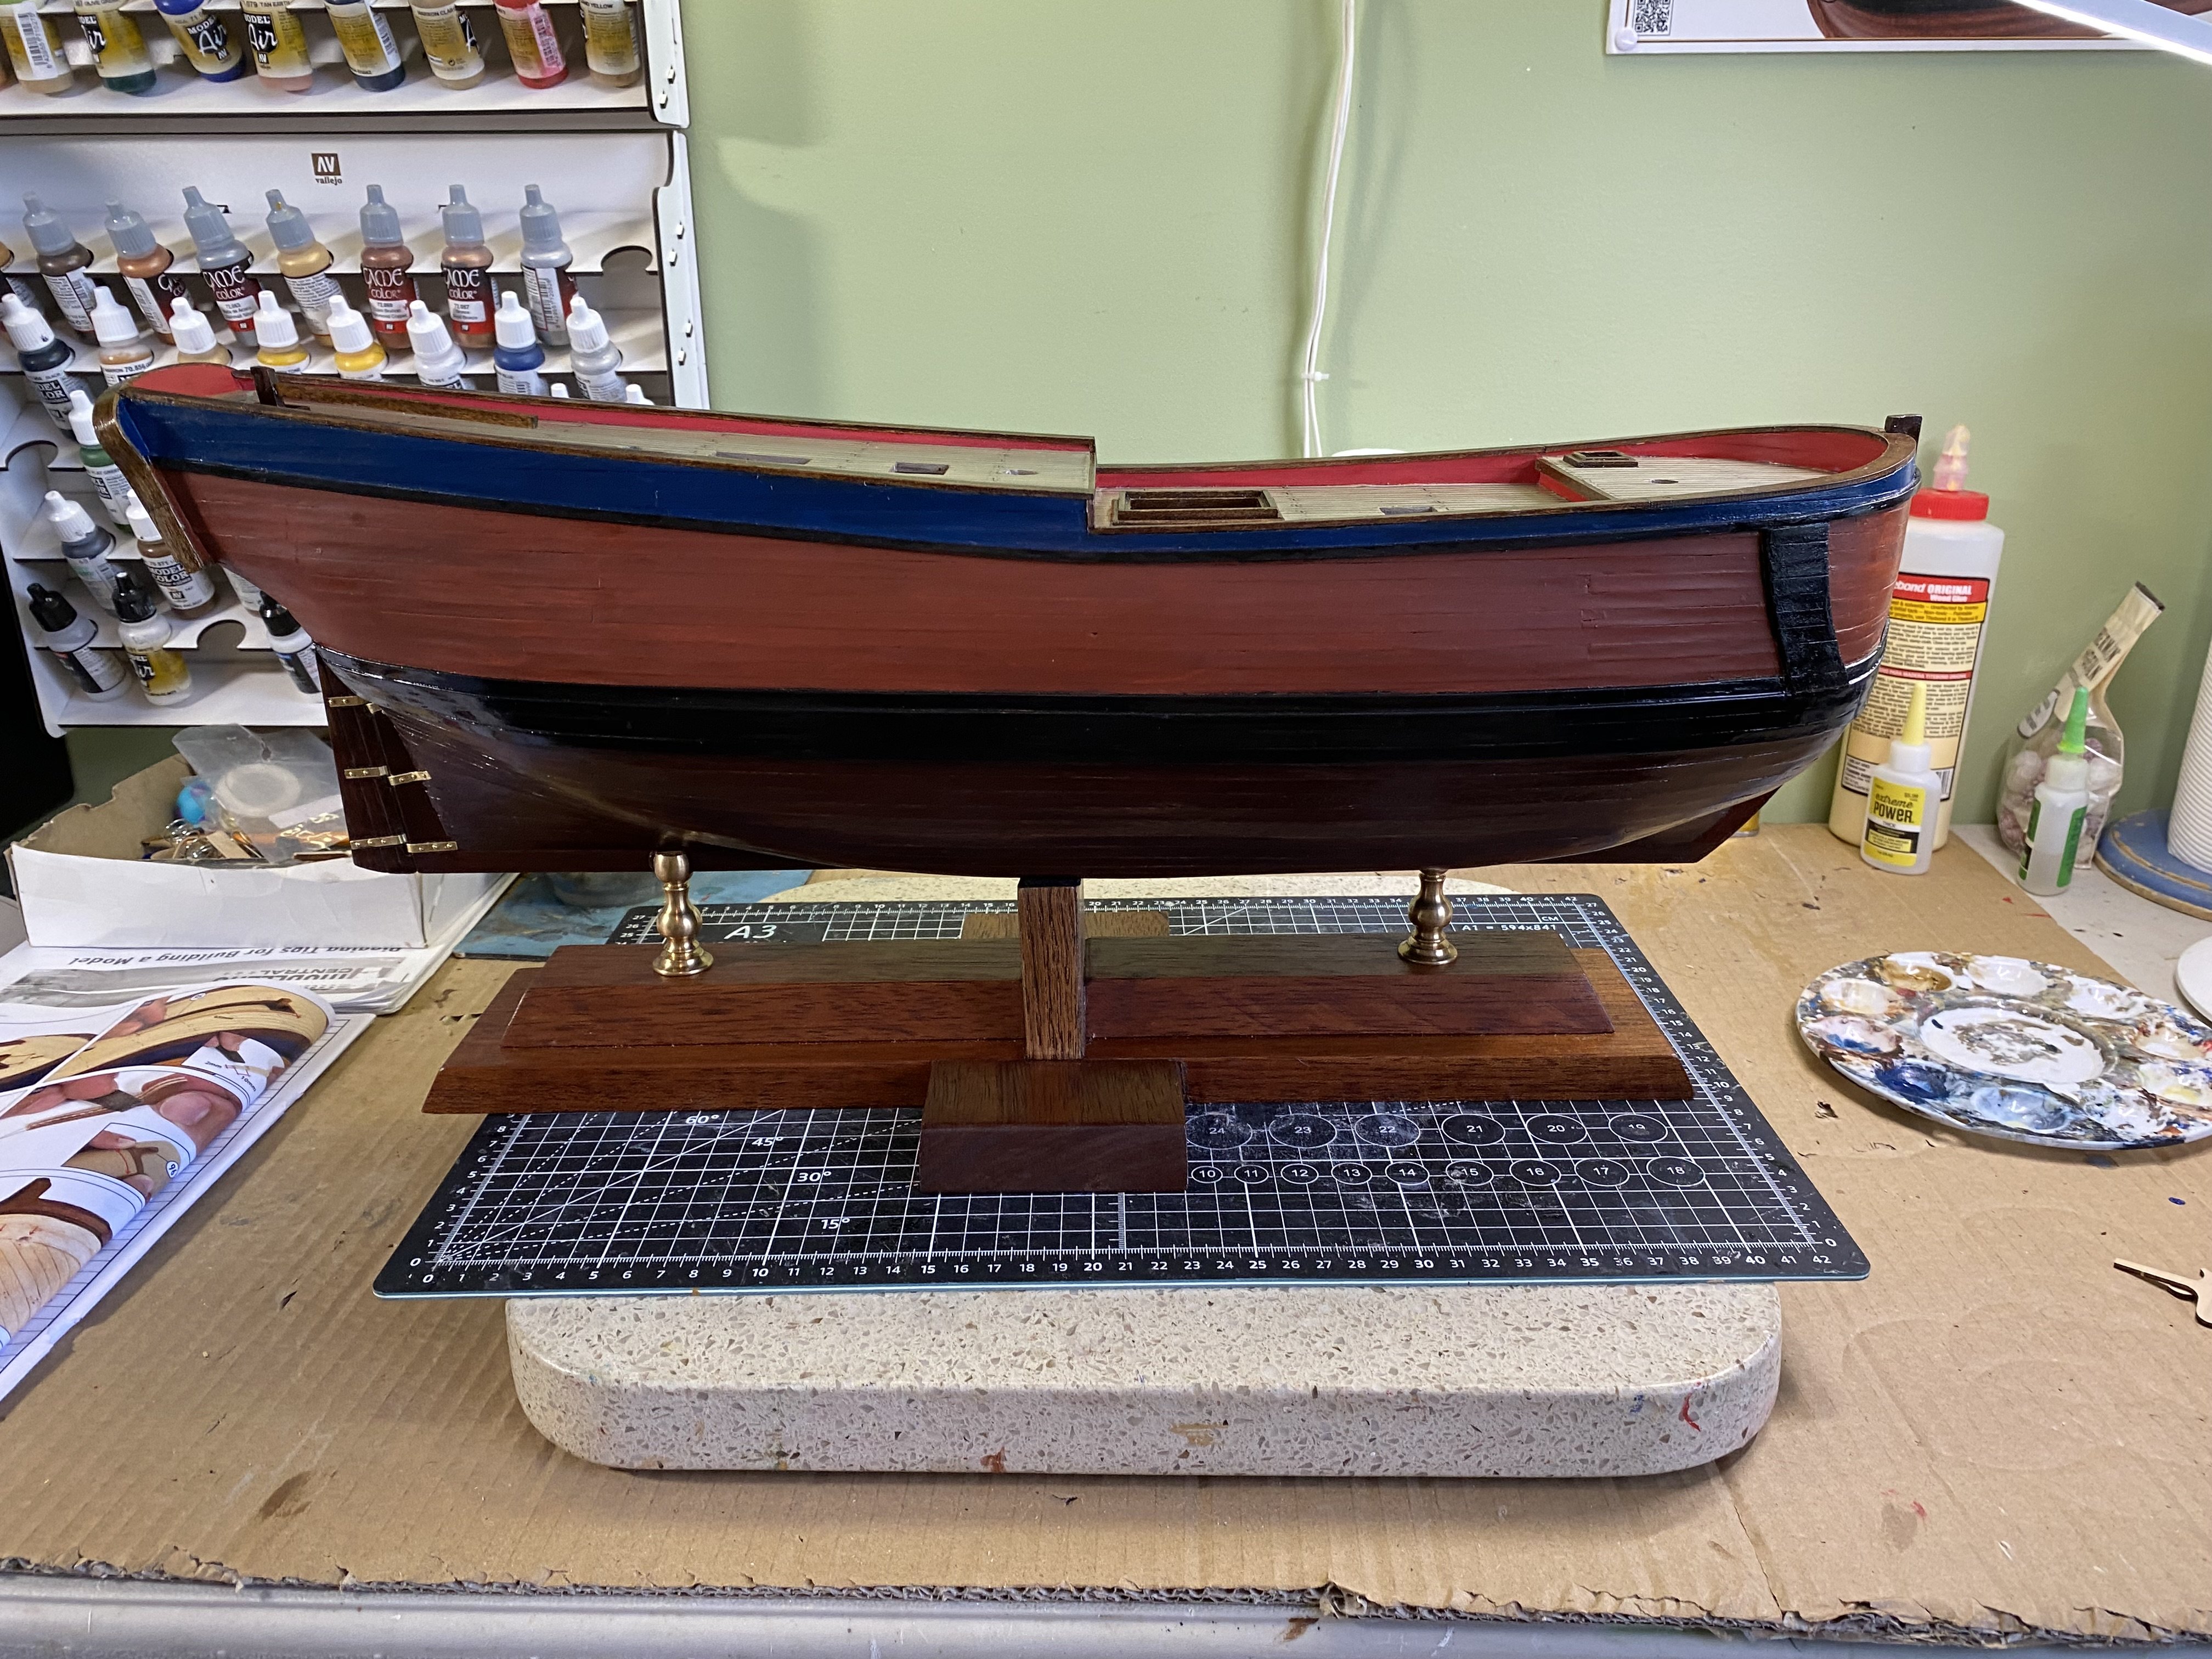
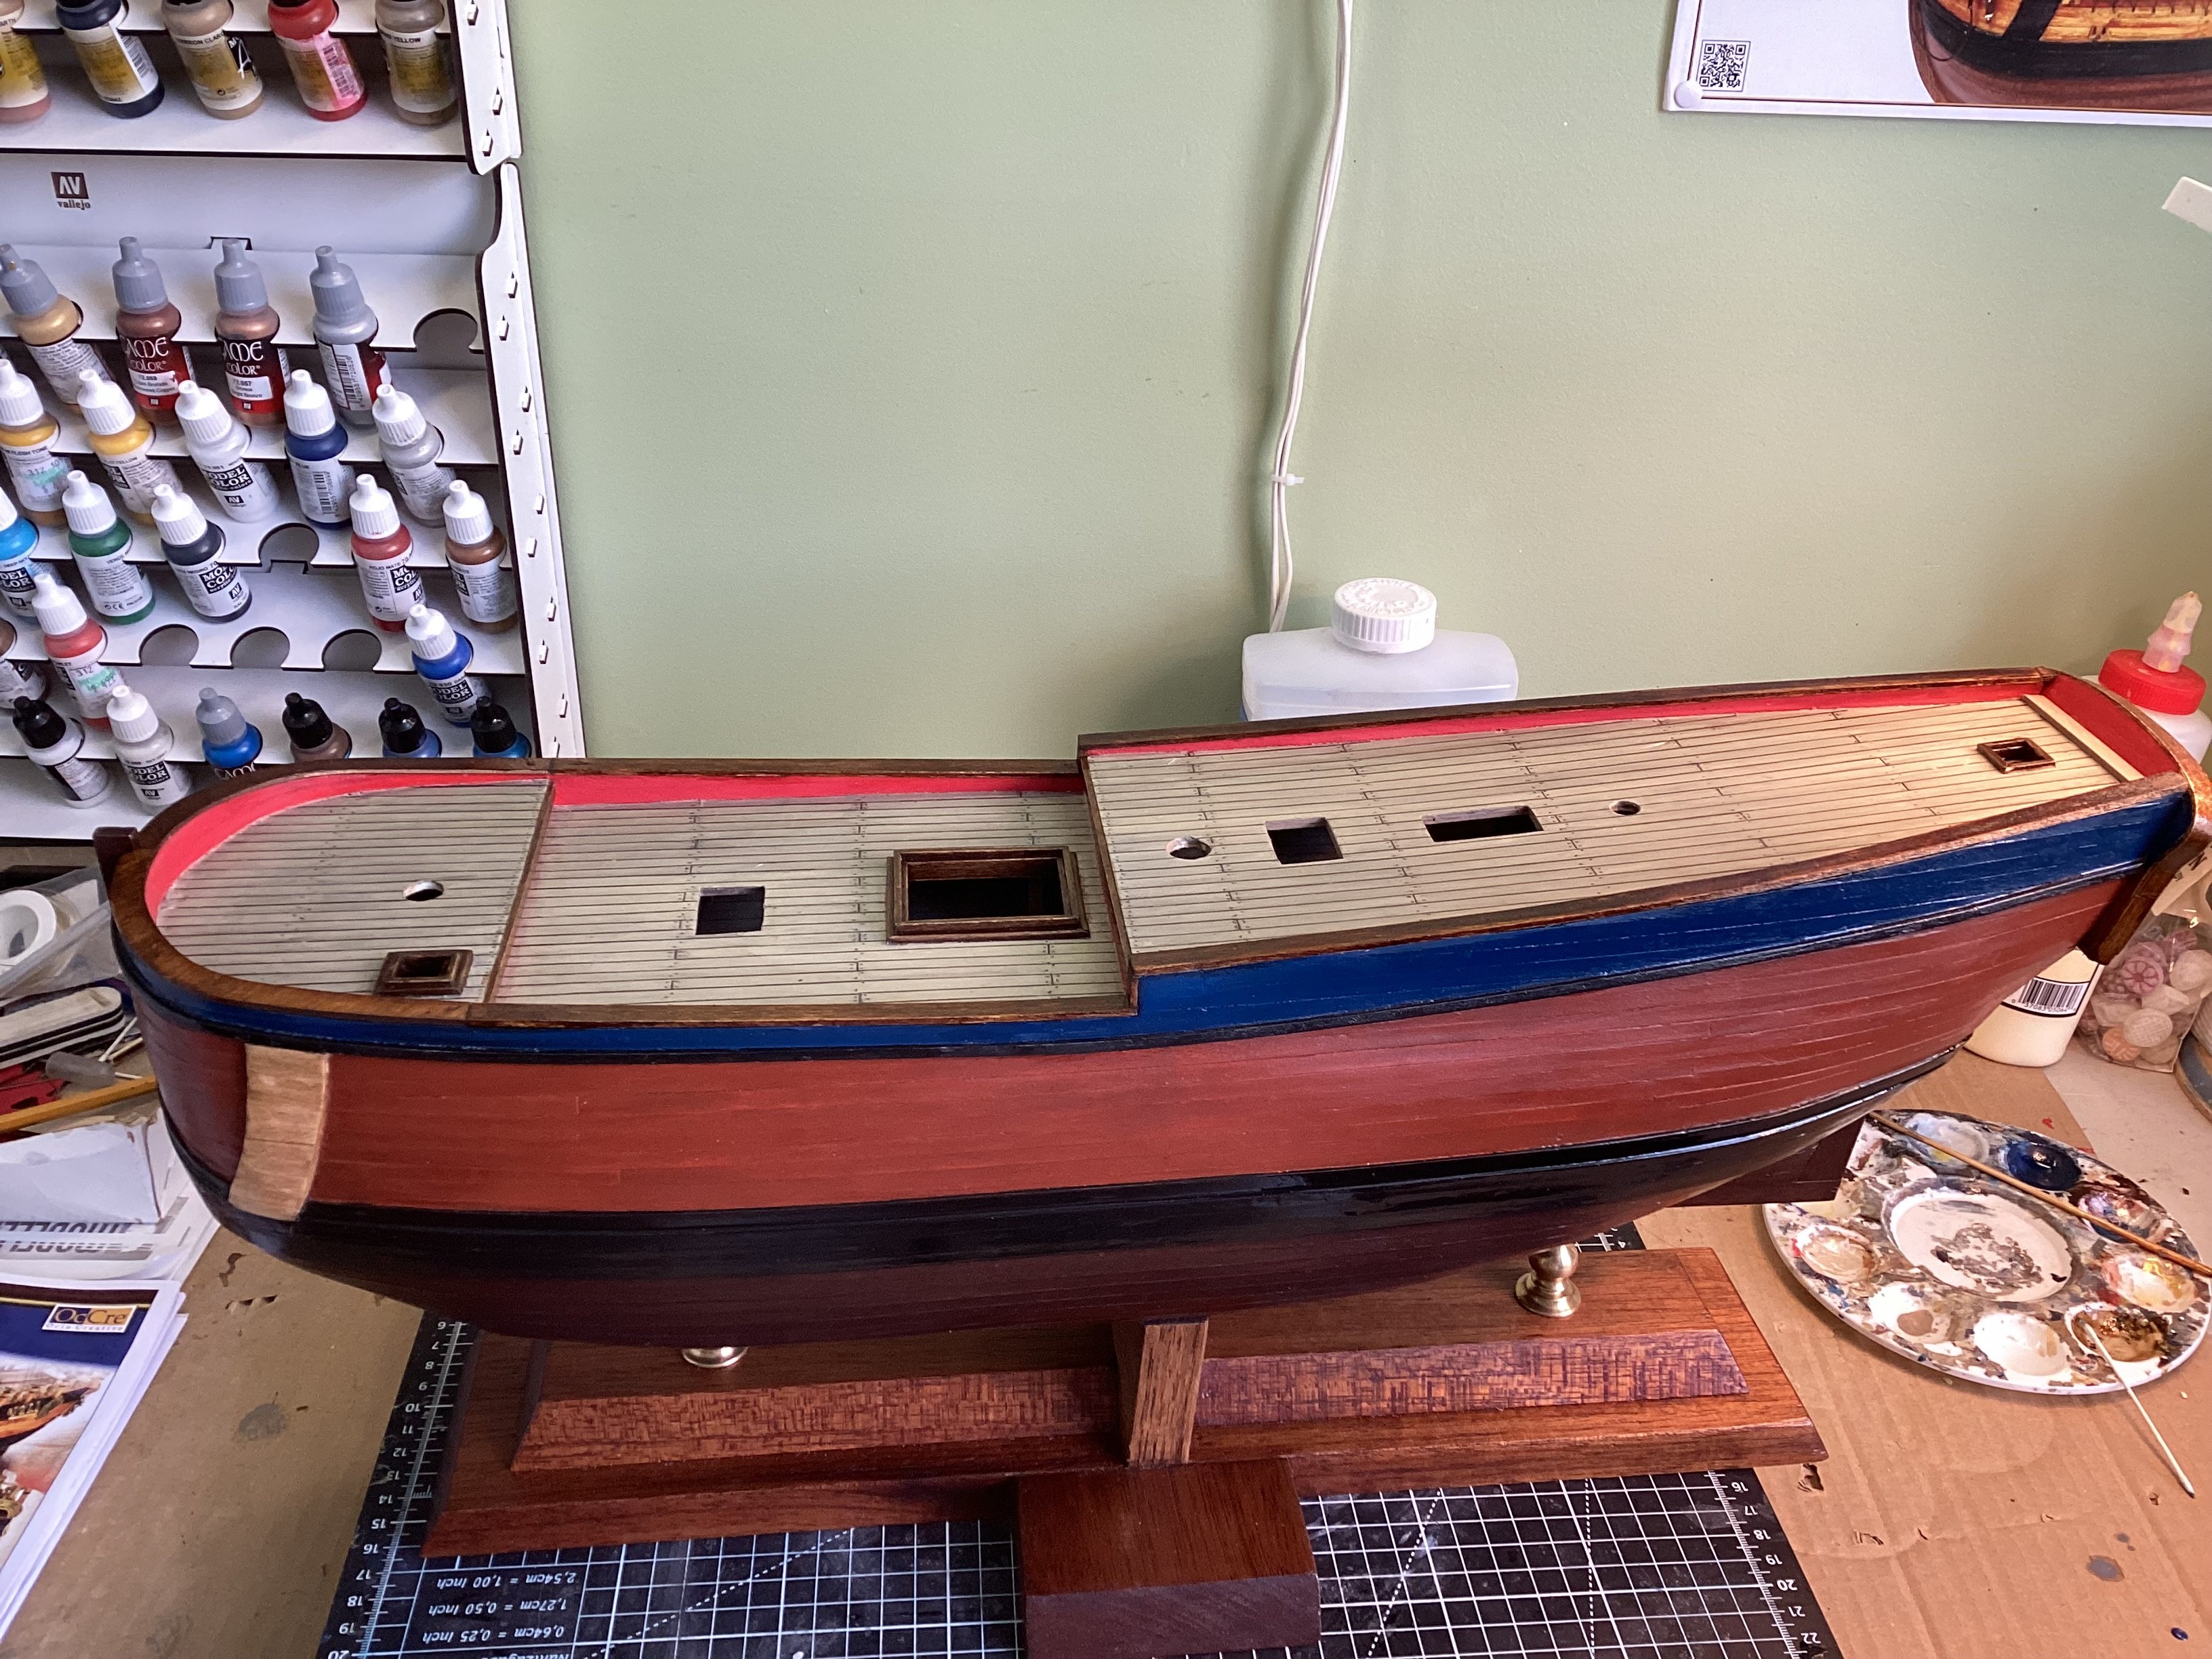
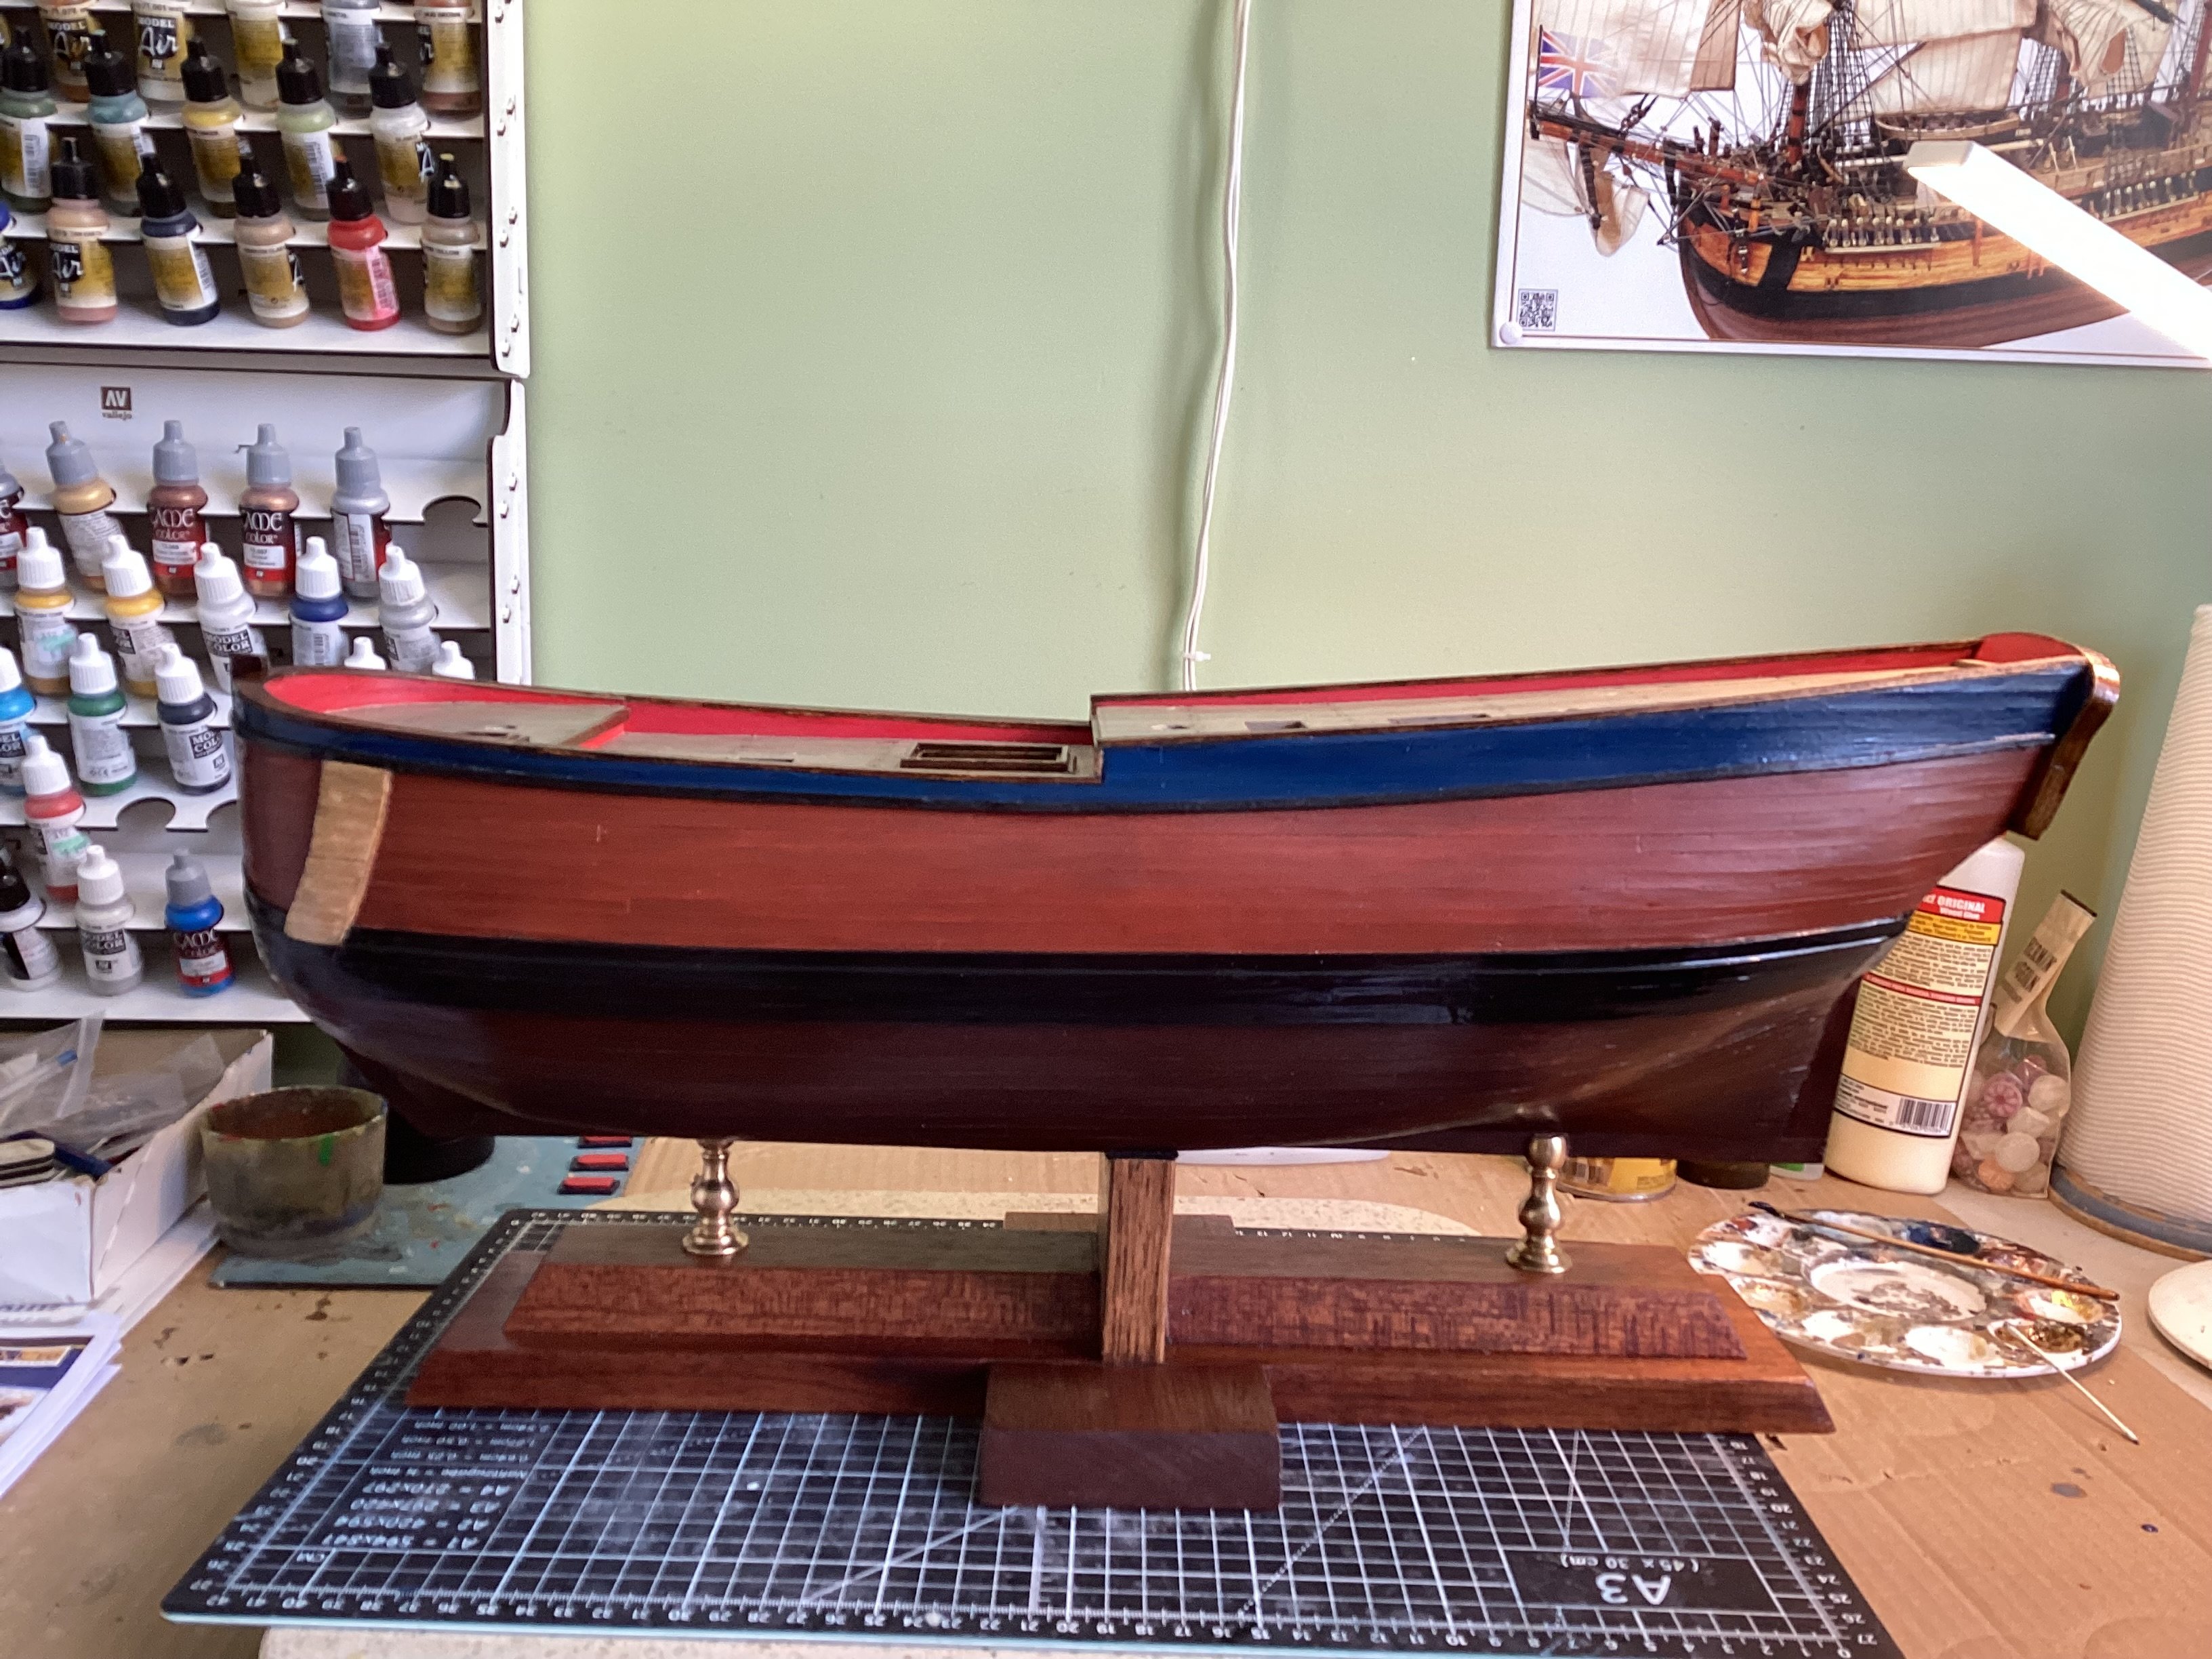
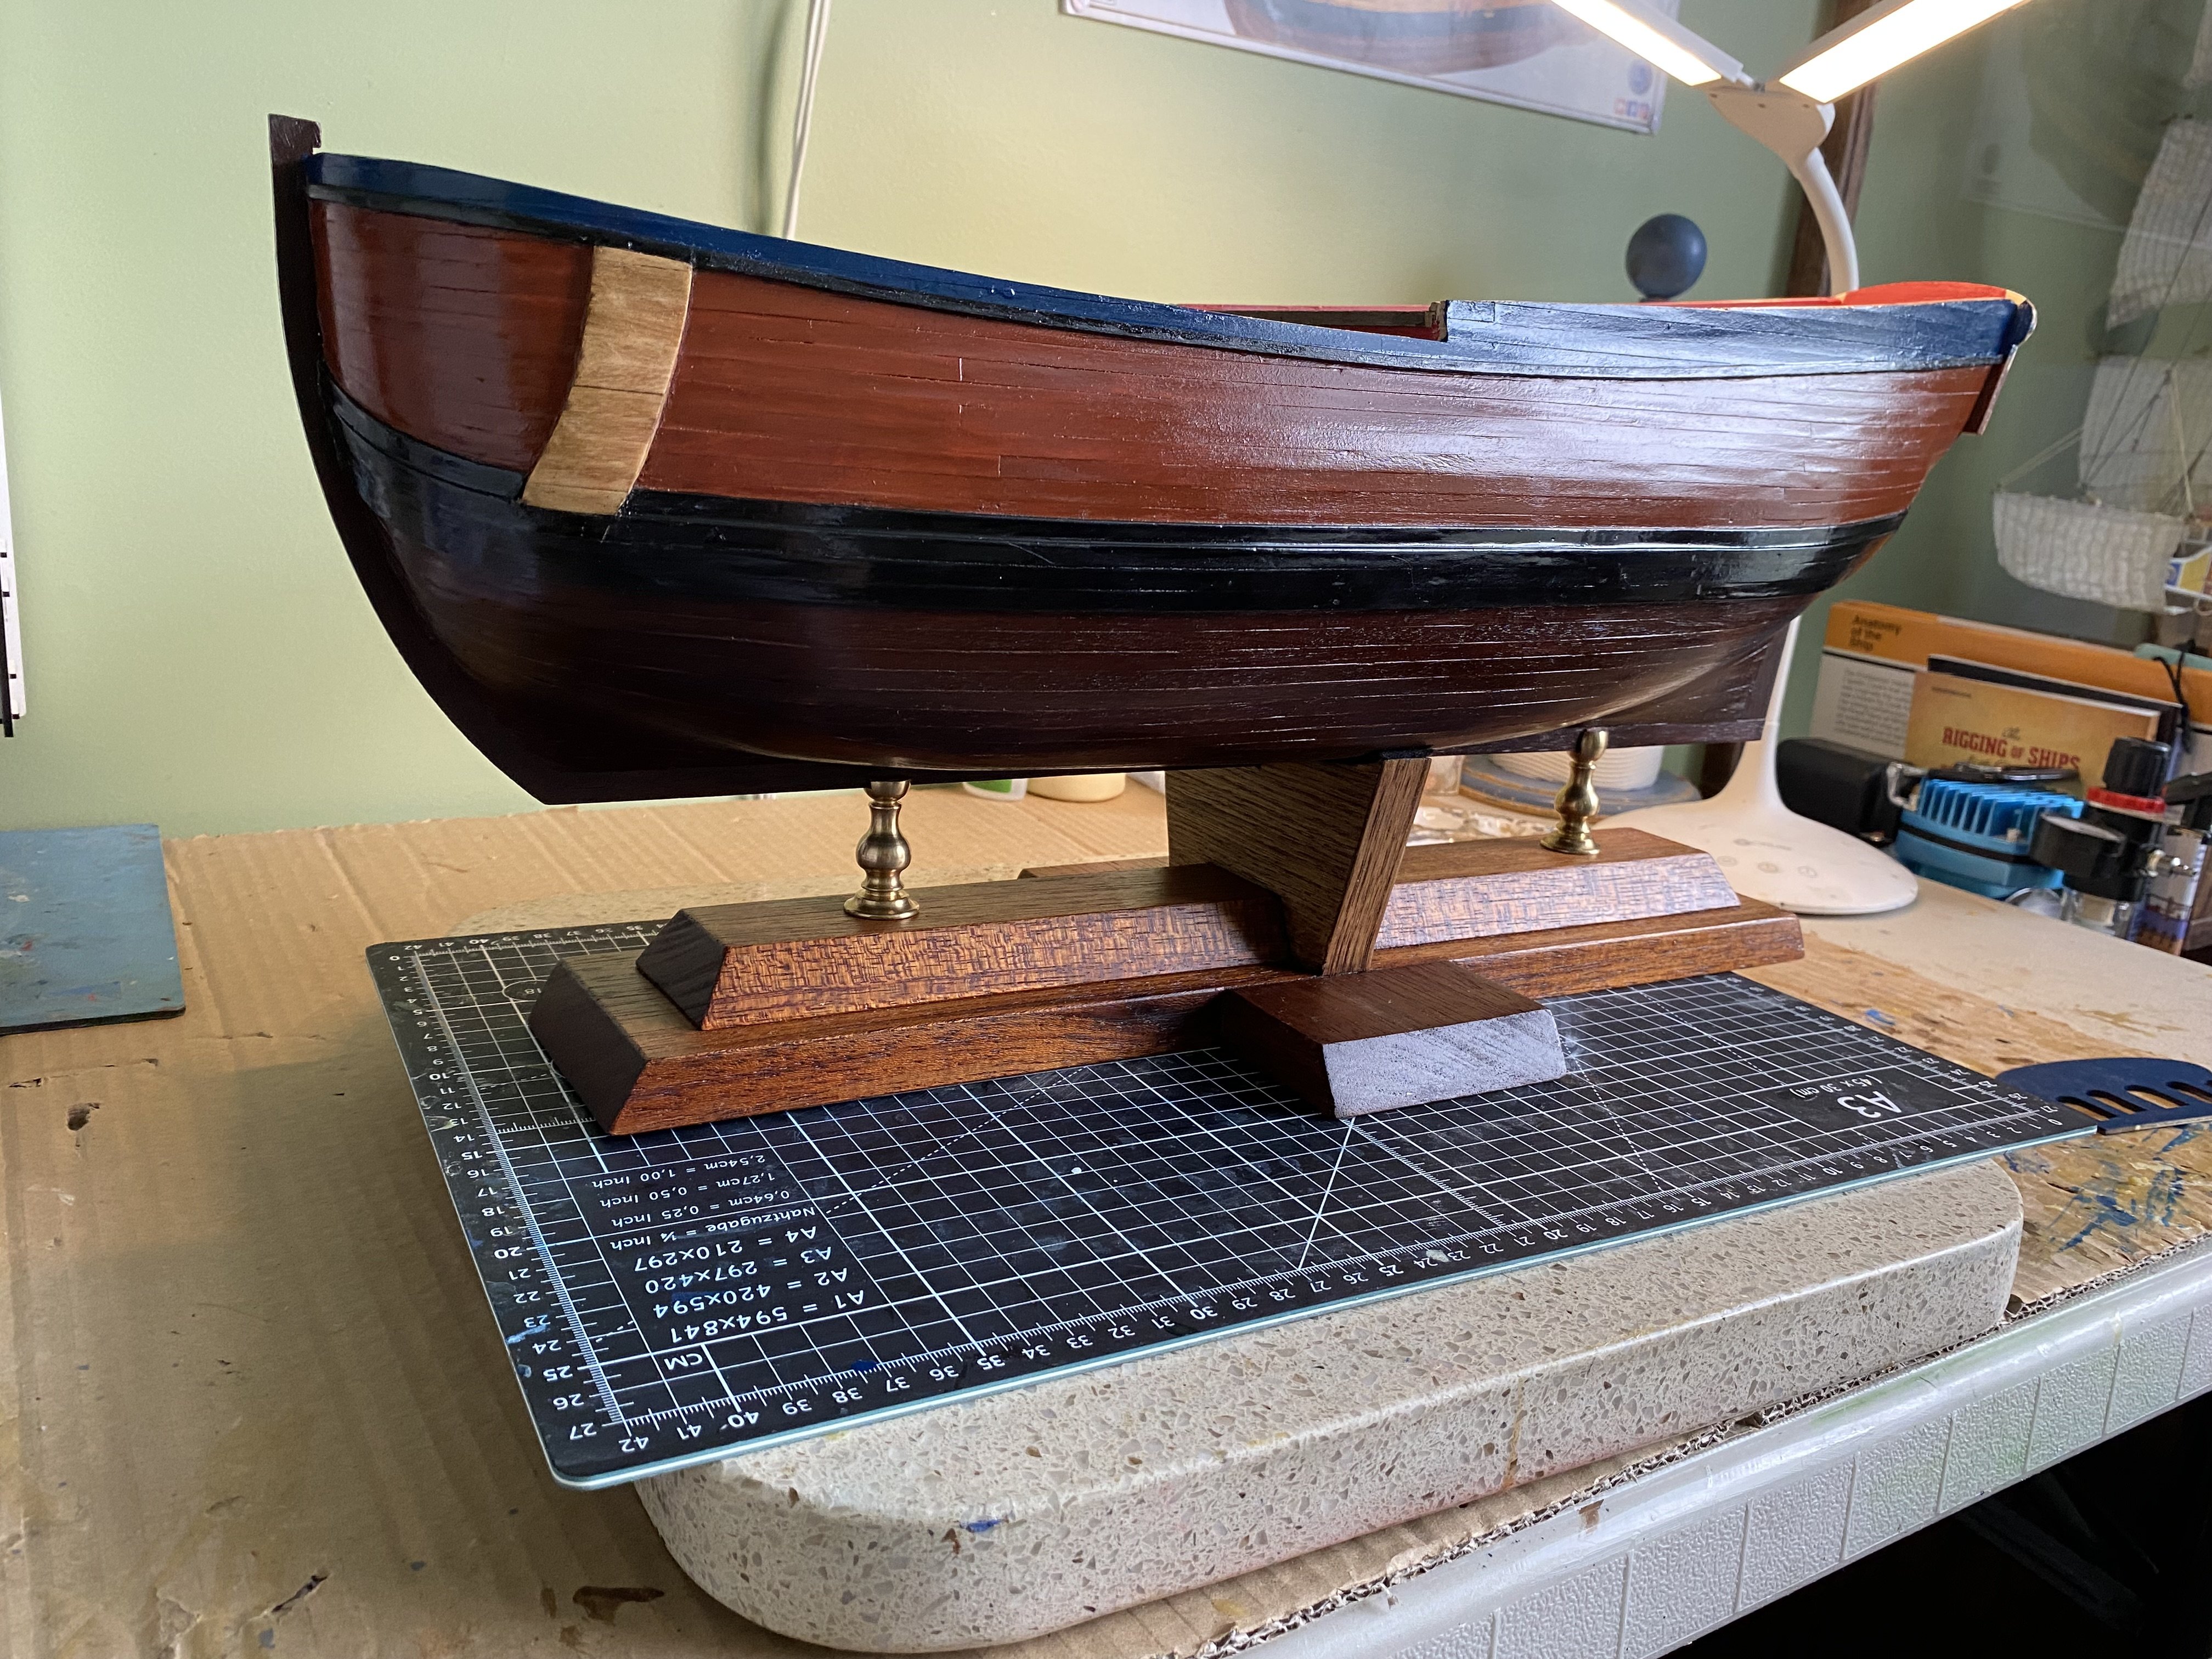
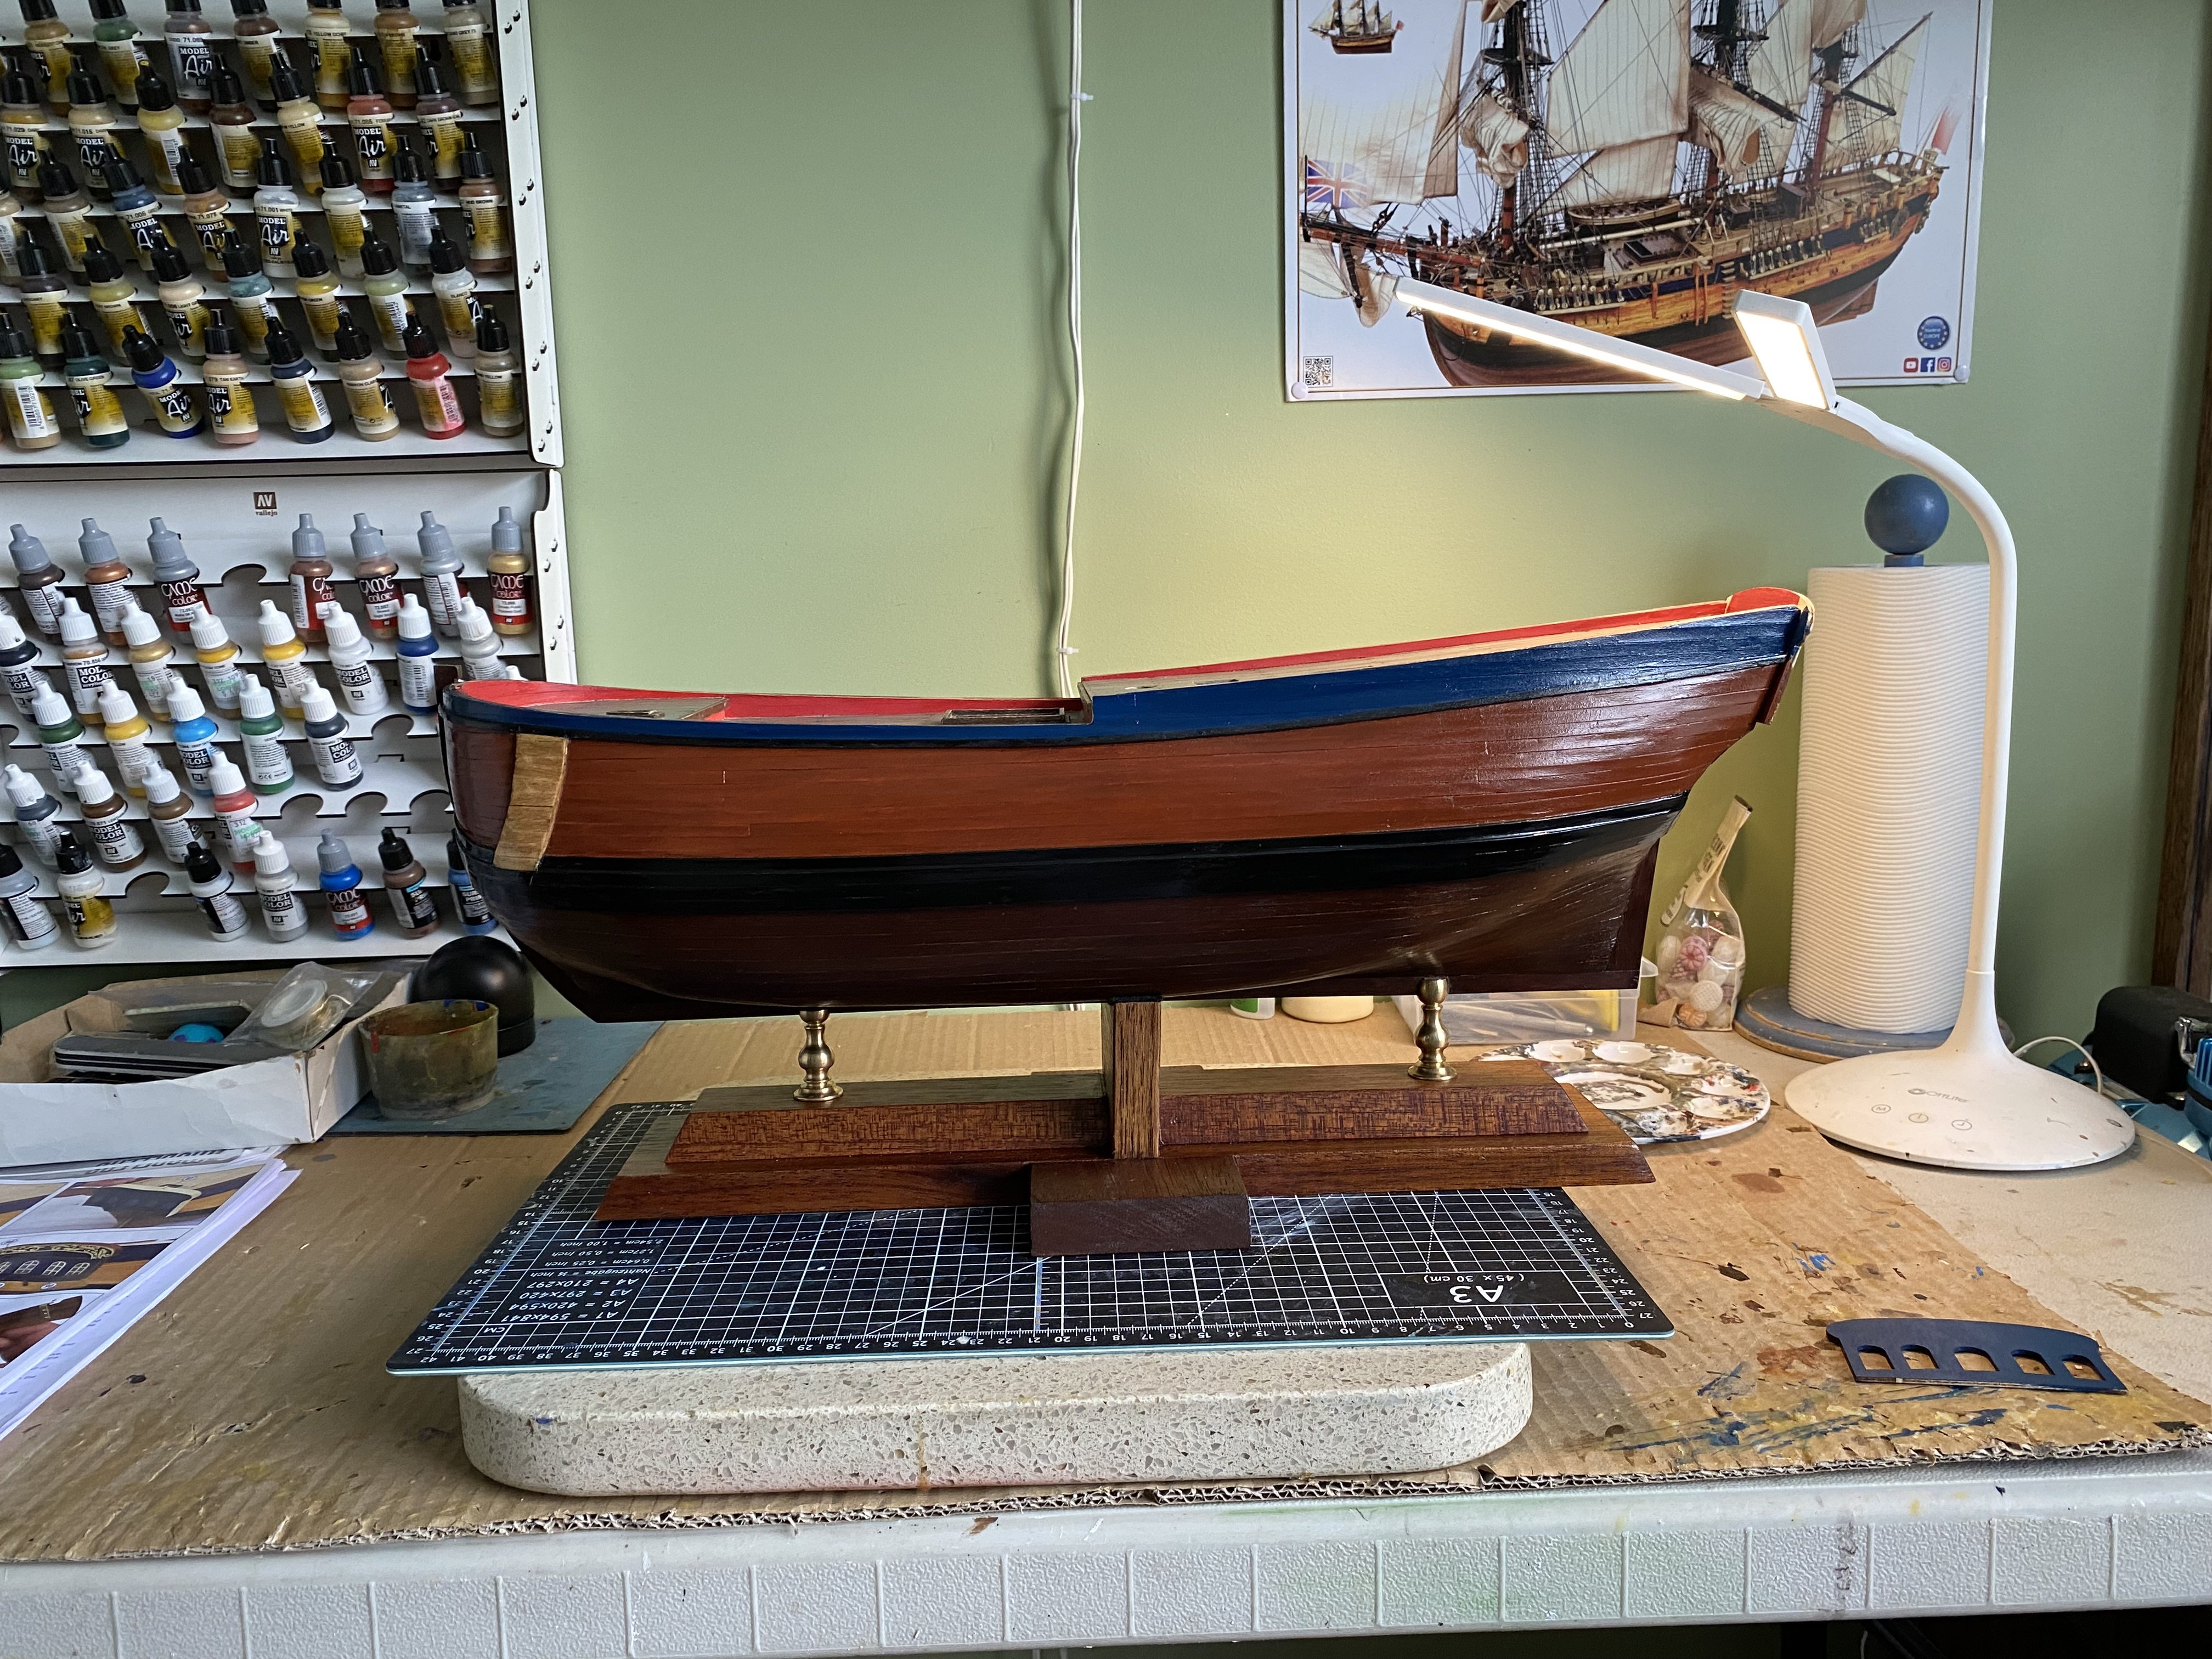
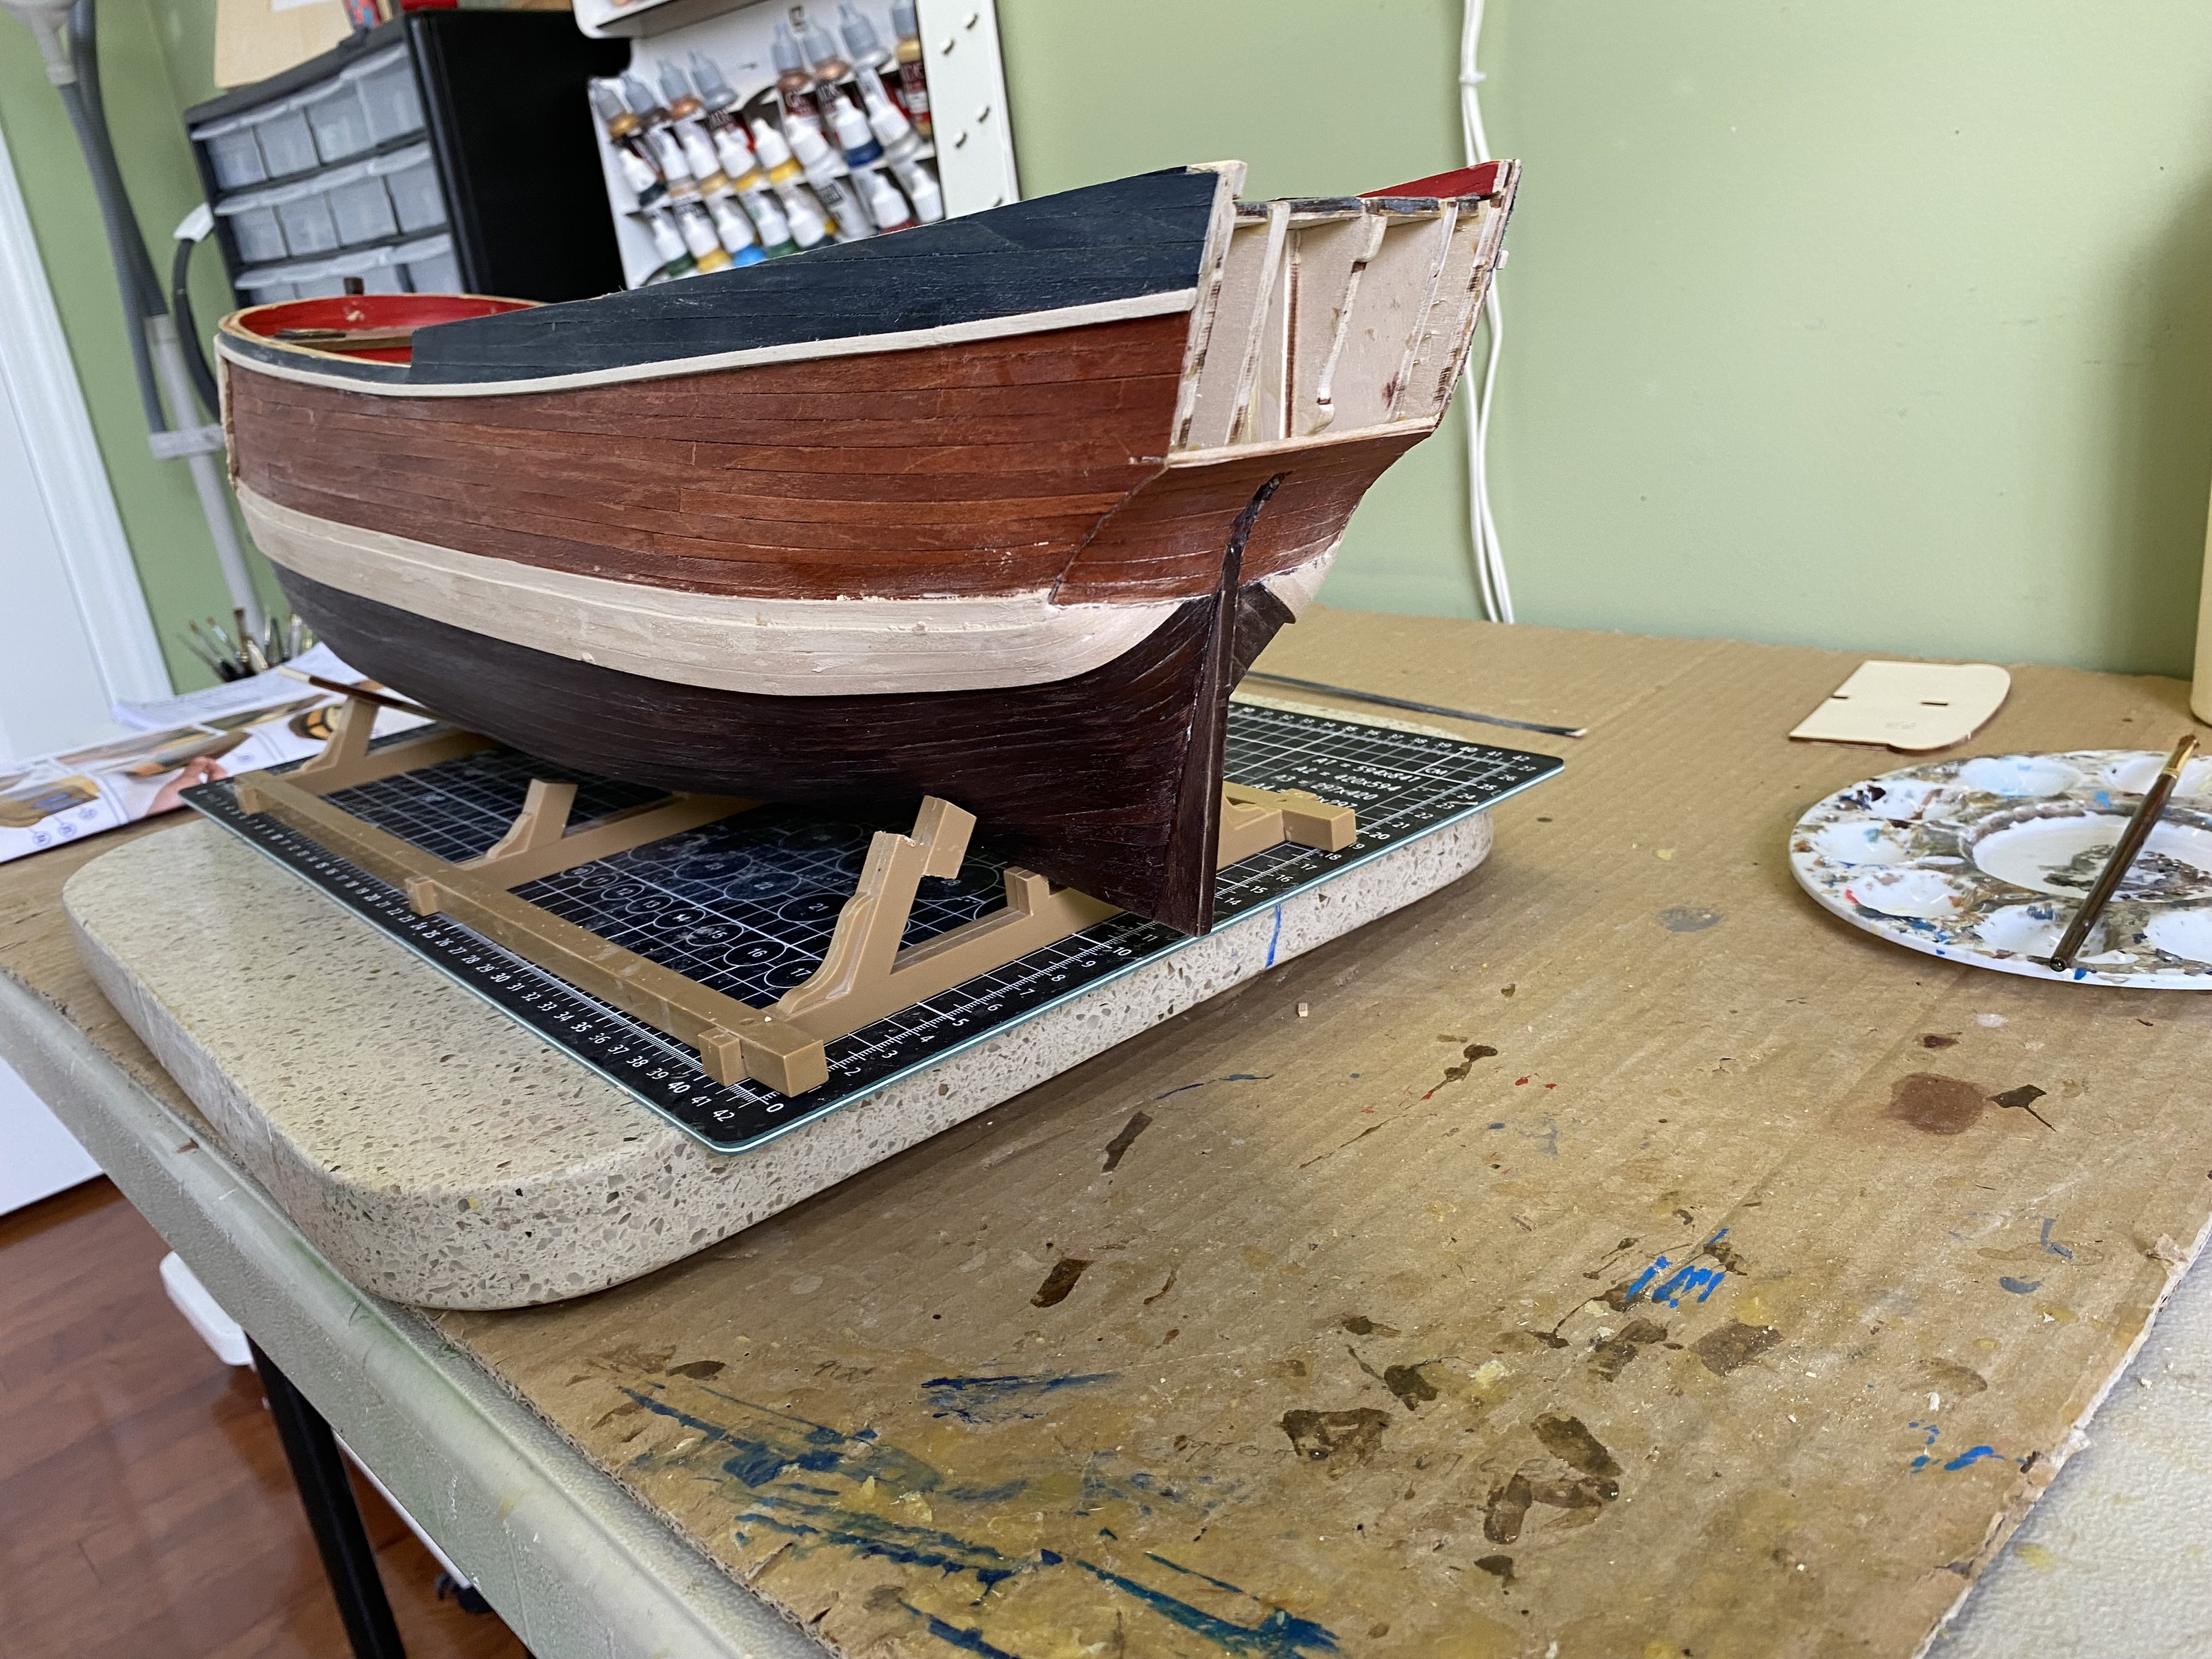
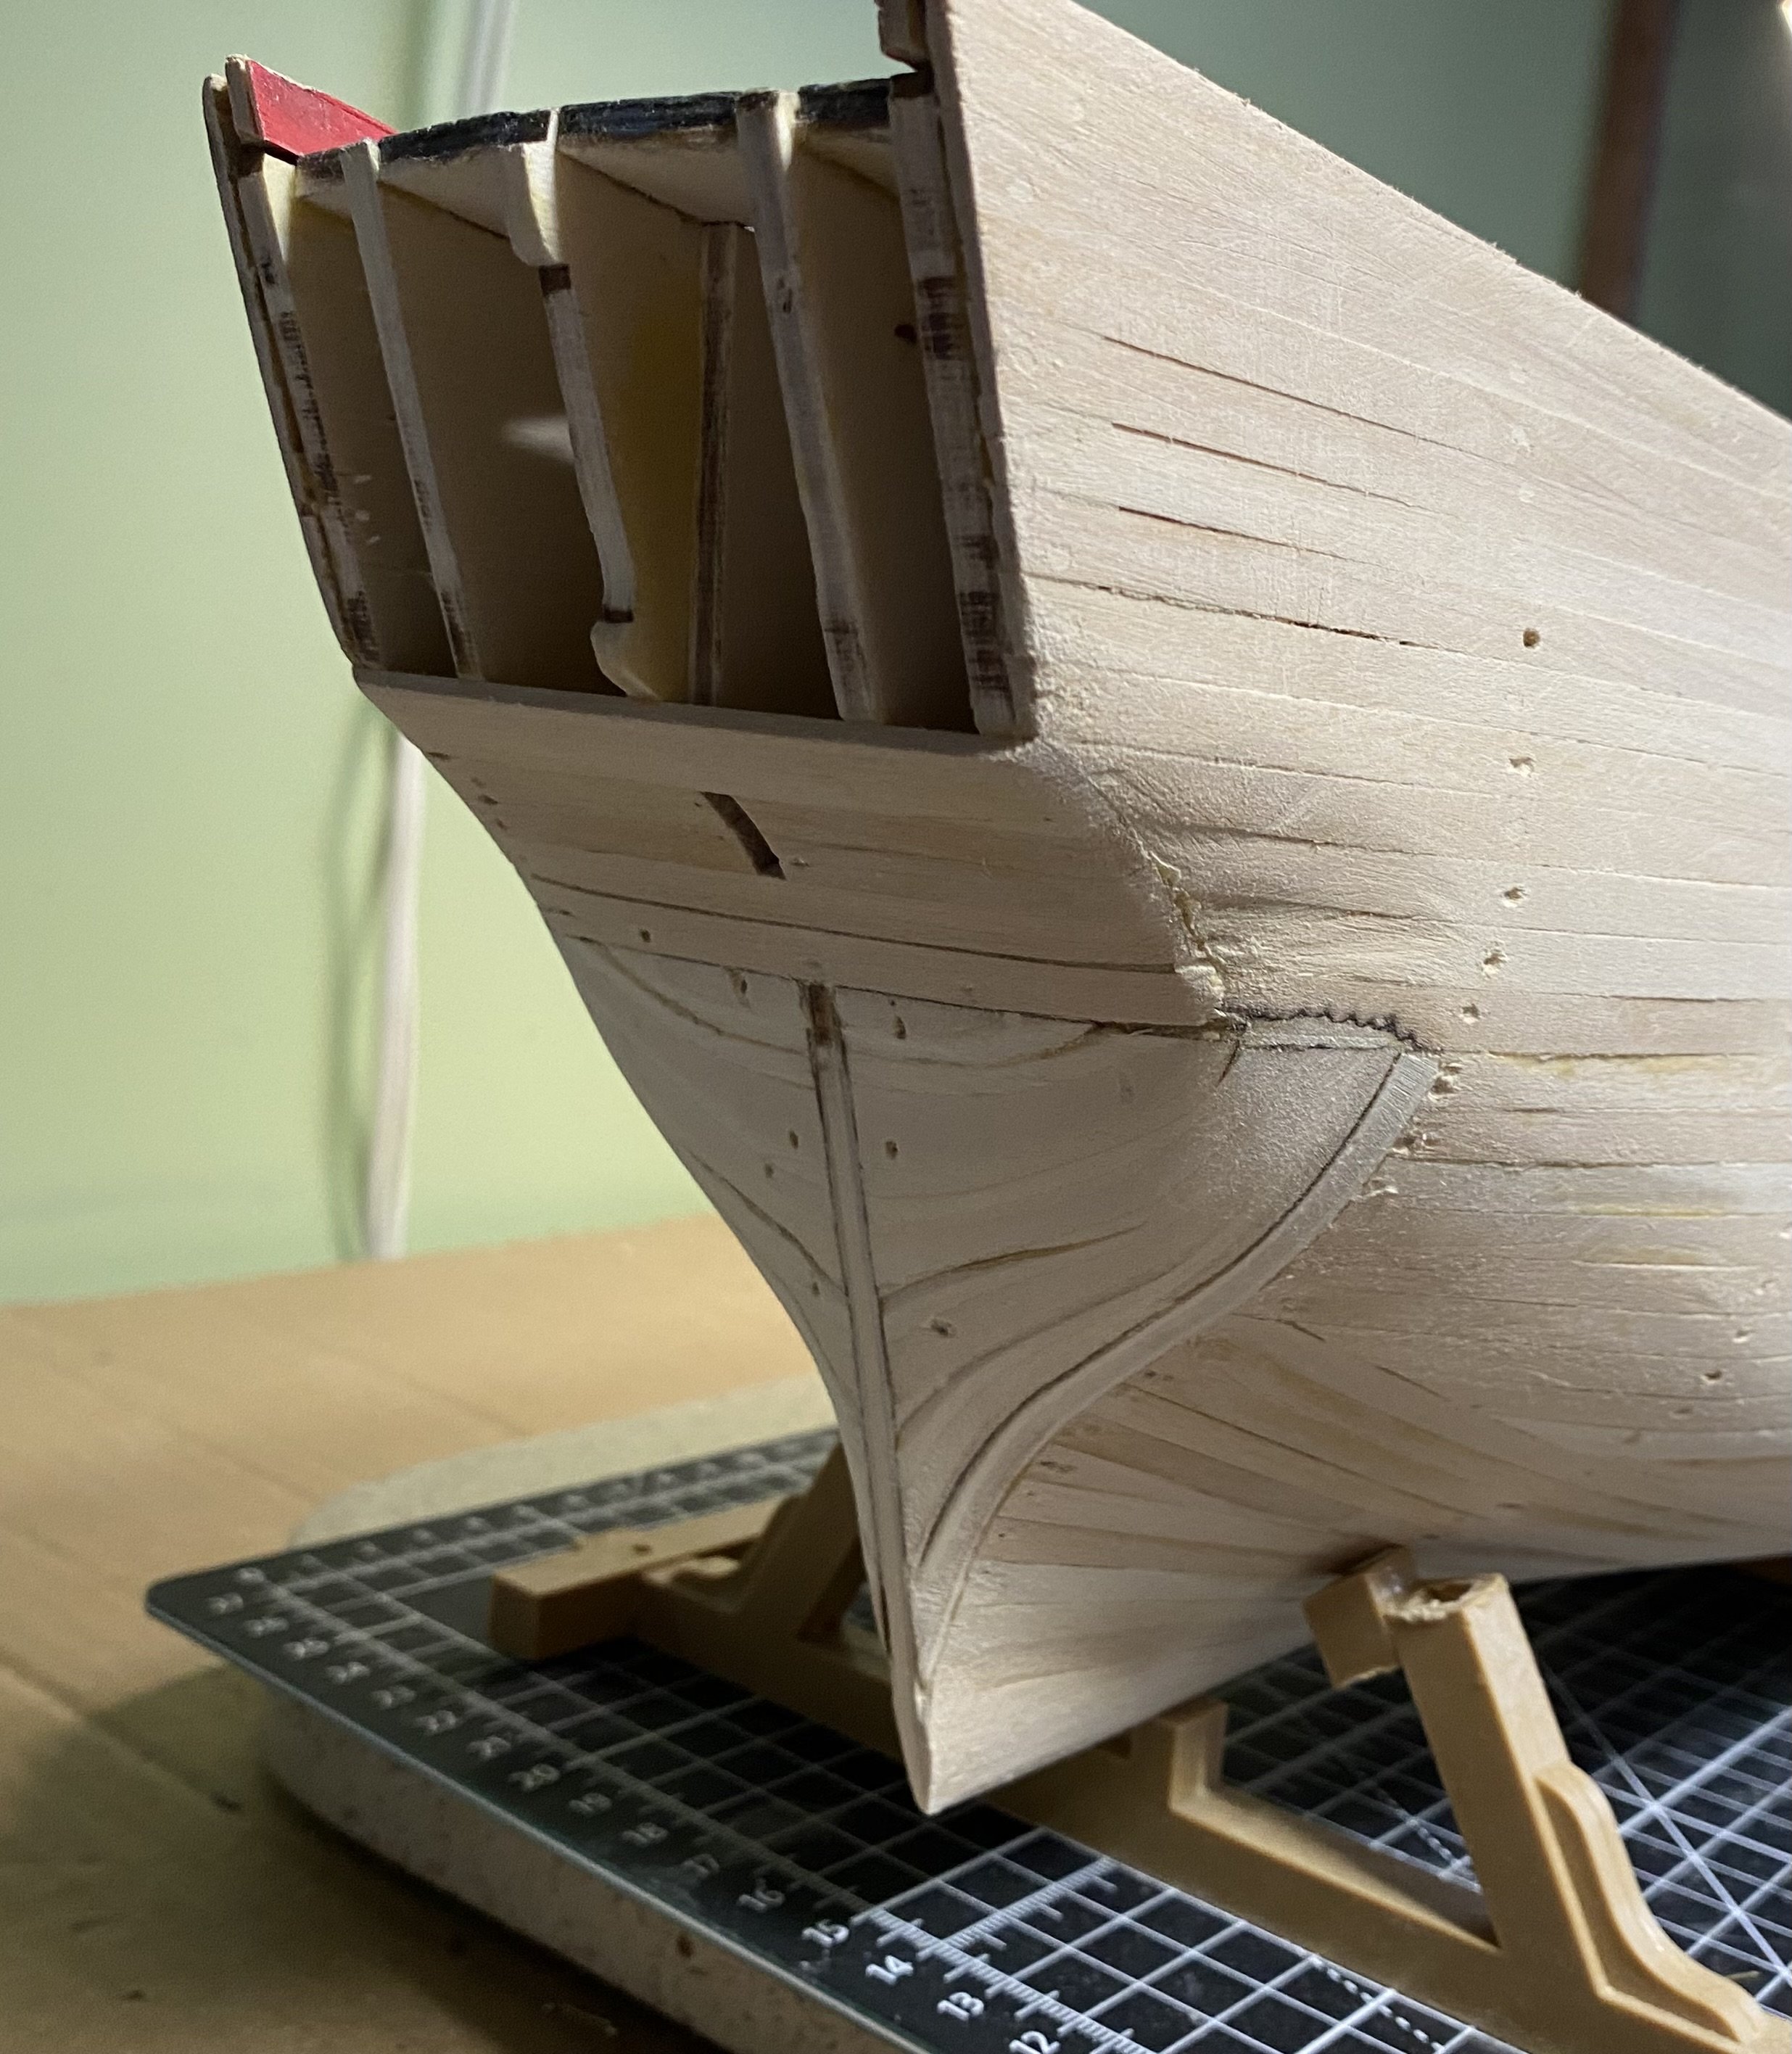
It has been about a week or so since my last update. Some nice progress since then. Completed the planking and painting. Then I repurposed the base I previously made for my Soleil Royal. Had to change out the center cradle since the Endeauvor has a much more flat bottom. I discovered one glitch, I guess, since I cannot see where I made a mistake fitting the decks. The upper deck does not meet flush with the stern plate. I assumed there was going to be a filler piece here but the instructions do not show such. Instruction picture show the inside of the stern flush to the end of the upper deck. Hope my upper deck is not off a bit in lining up the mast holes.


- wvdhee, Ian_Grant, Kevin-the-lubber and 2 others
-
5
-
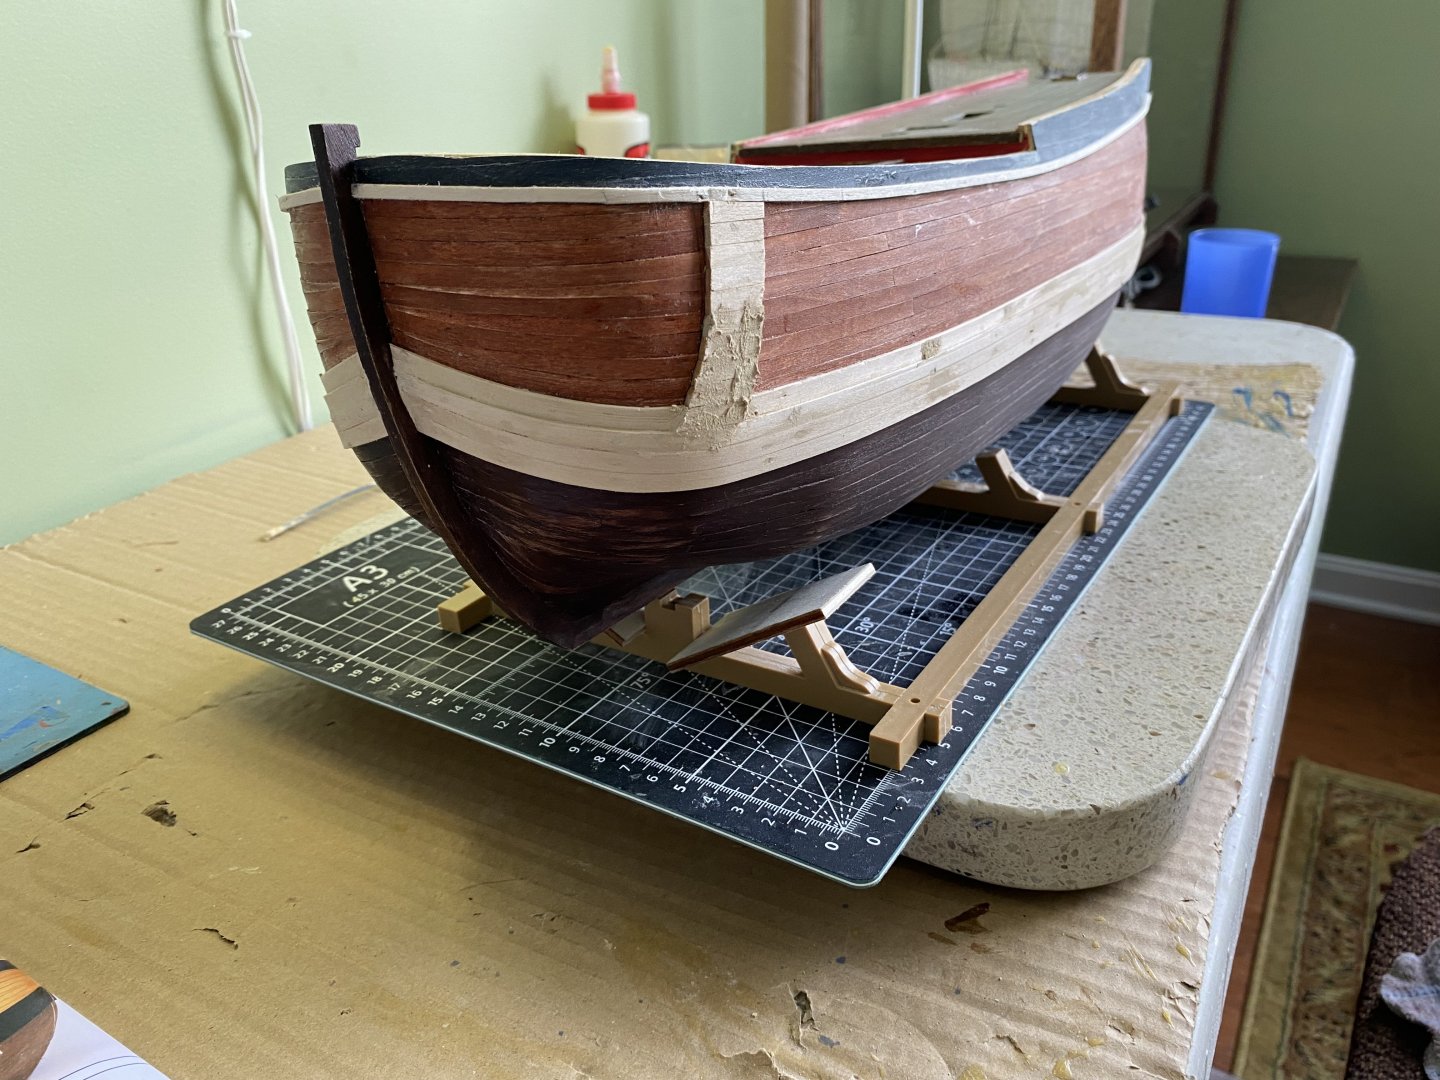
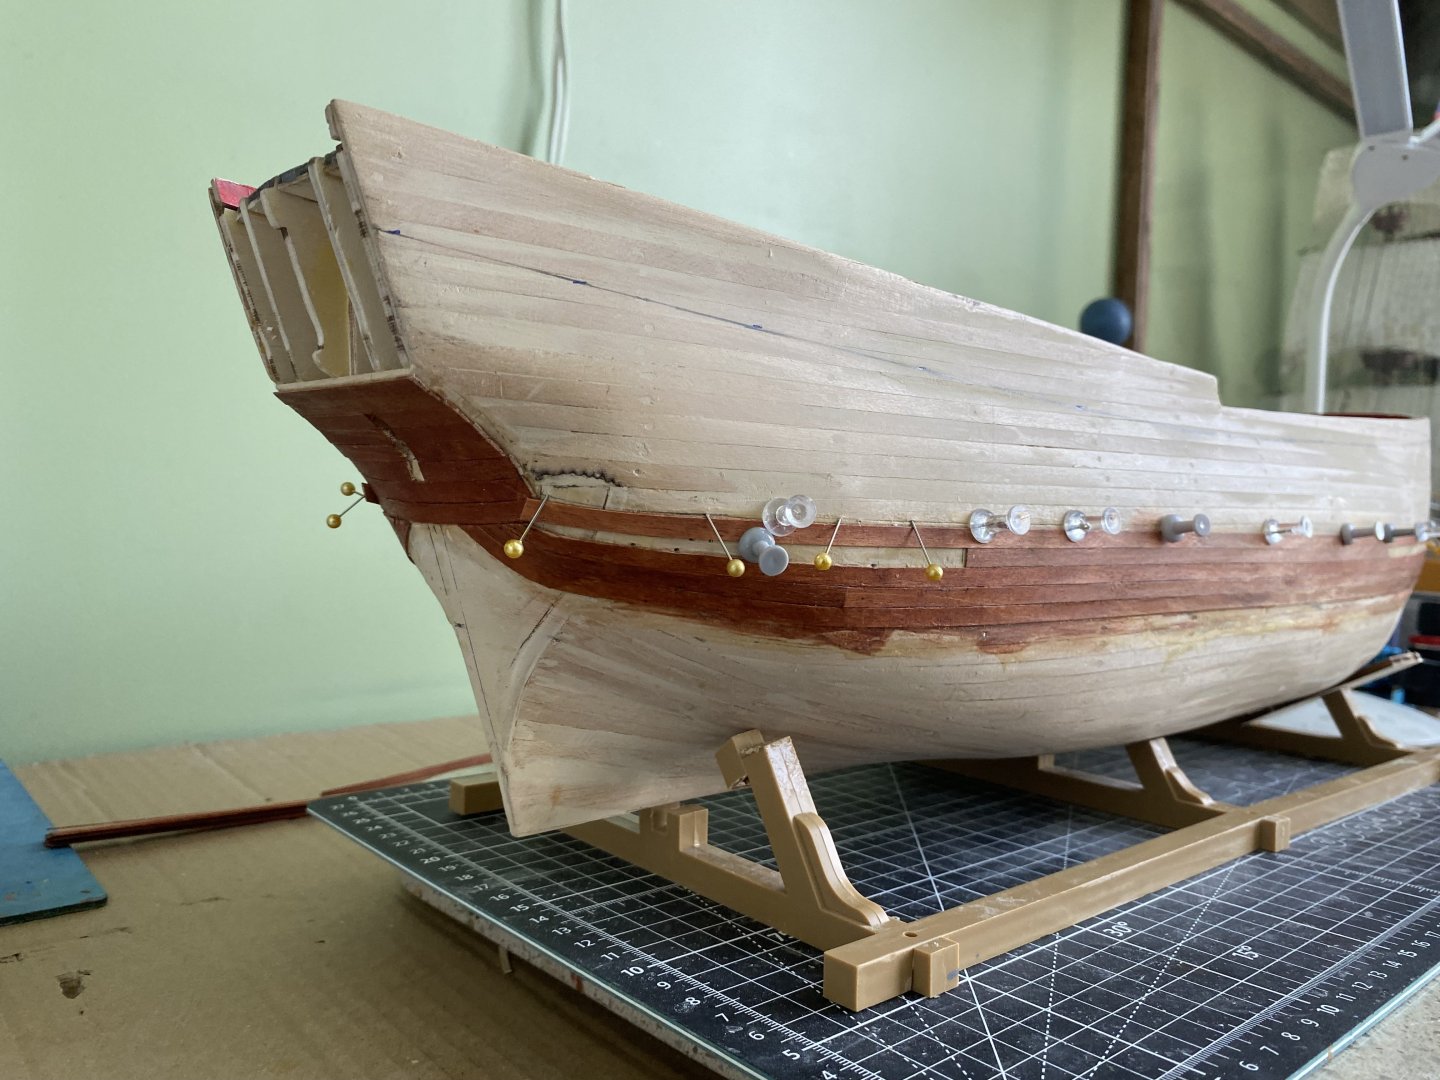
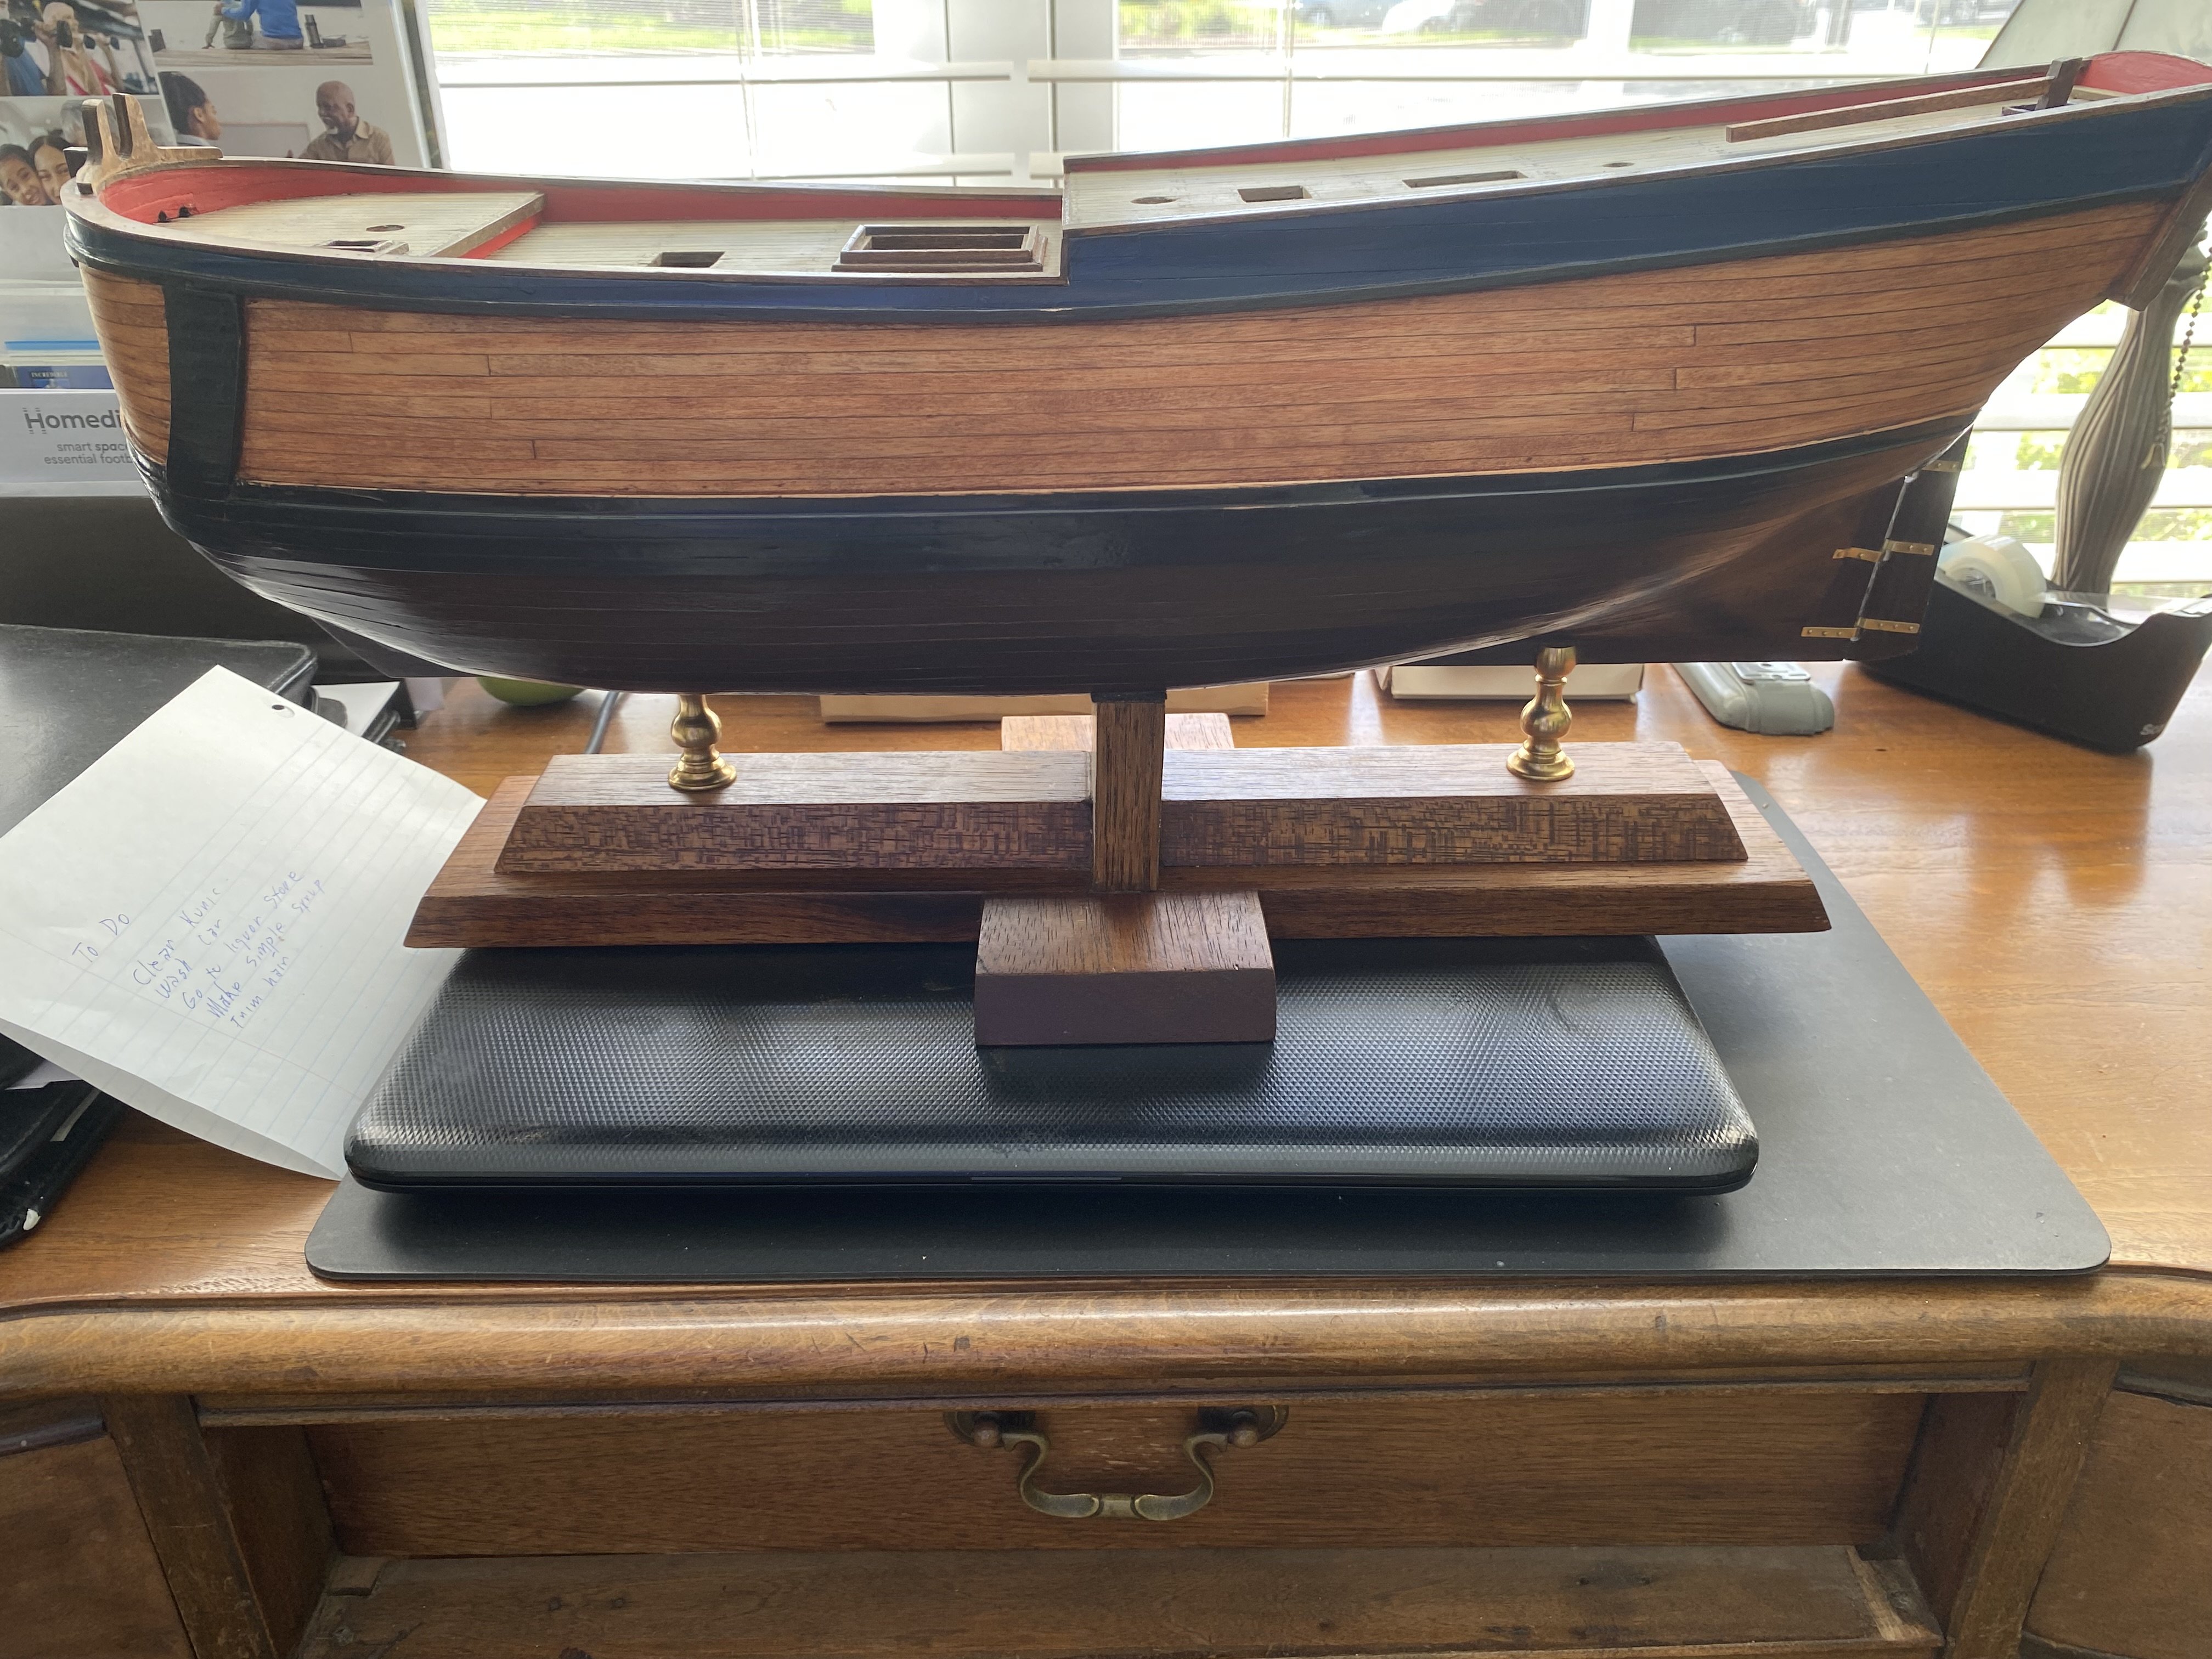
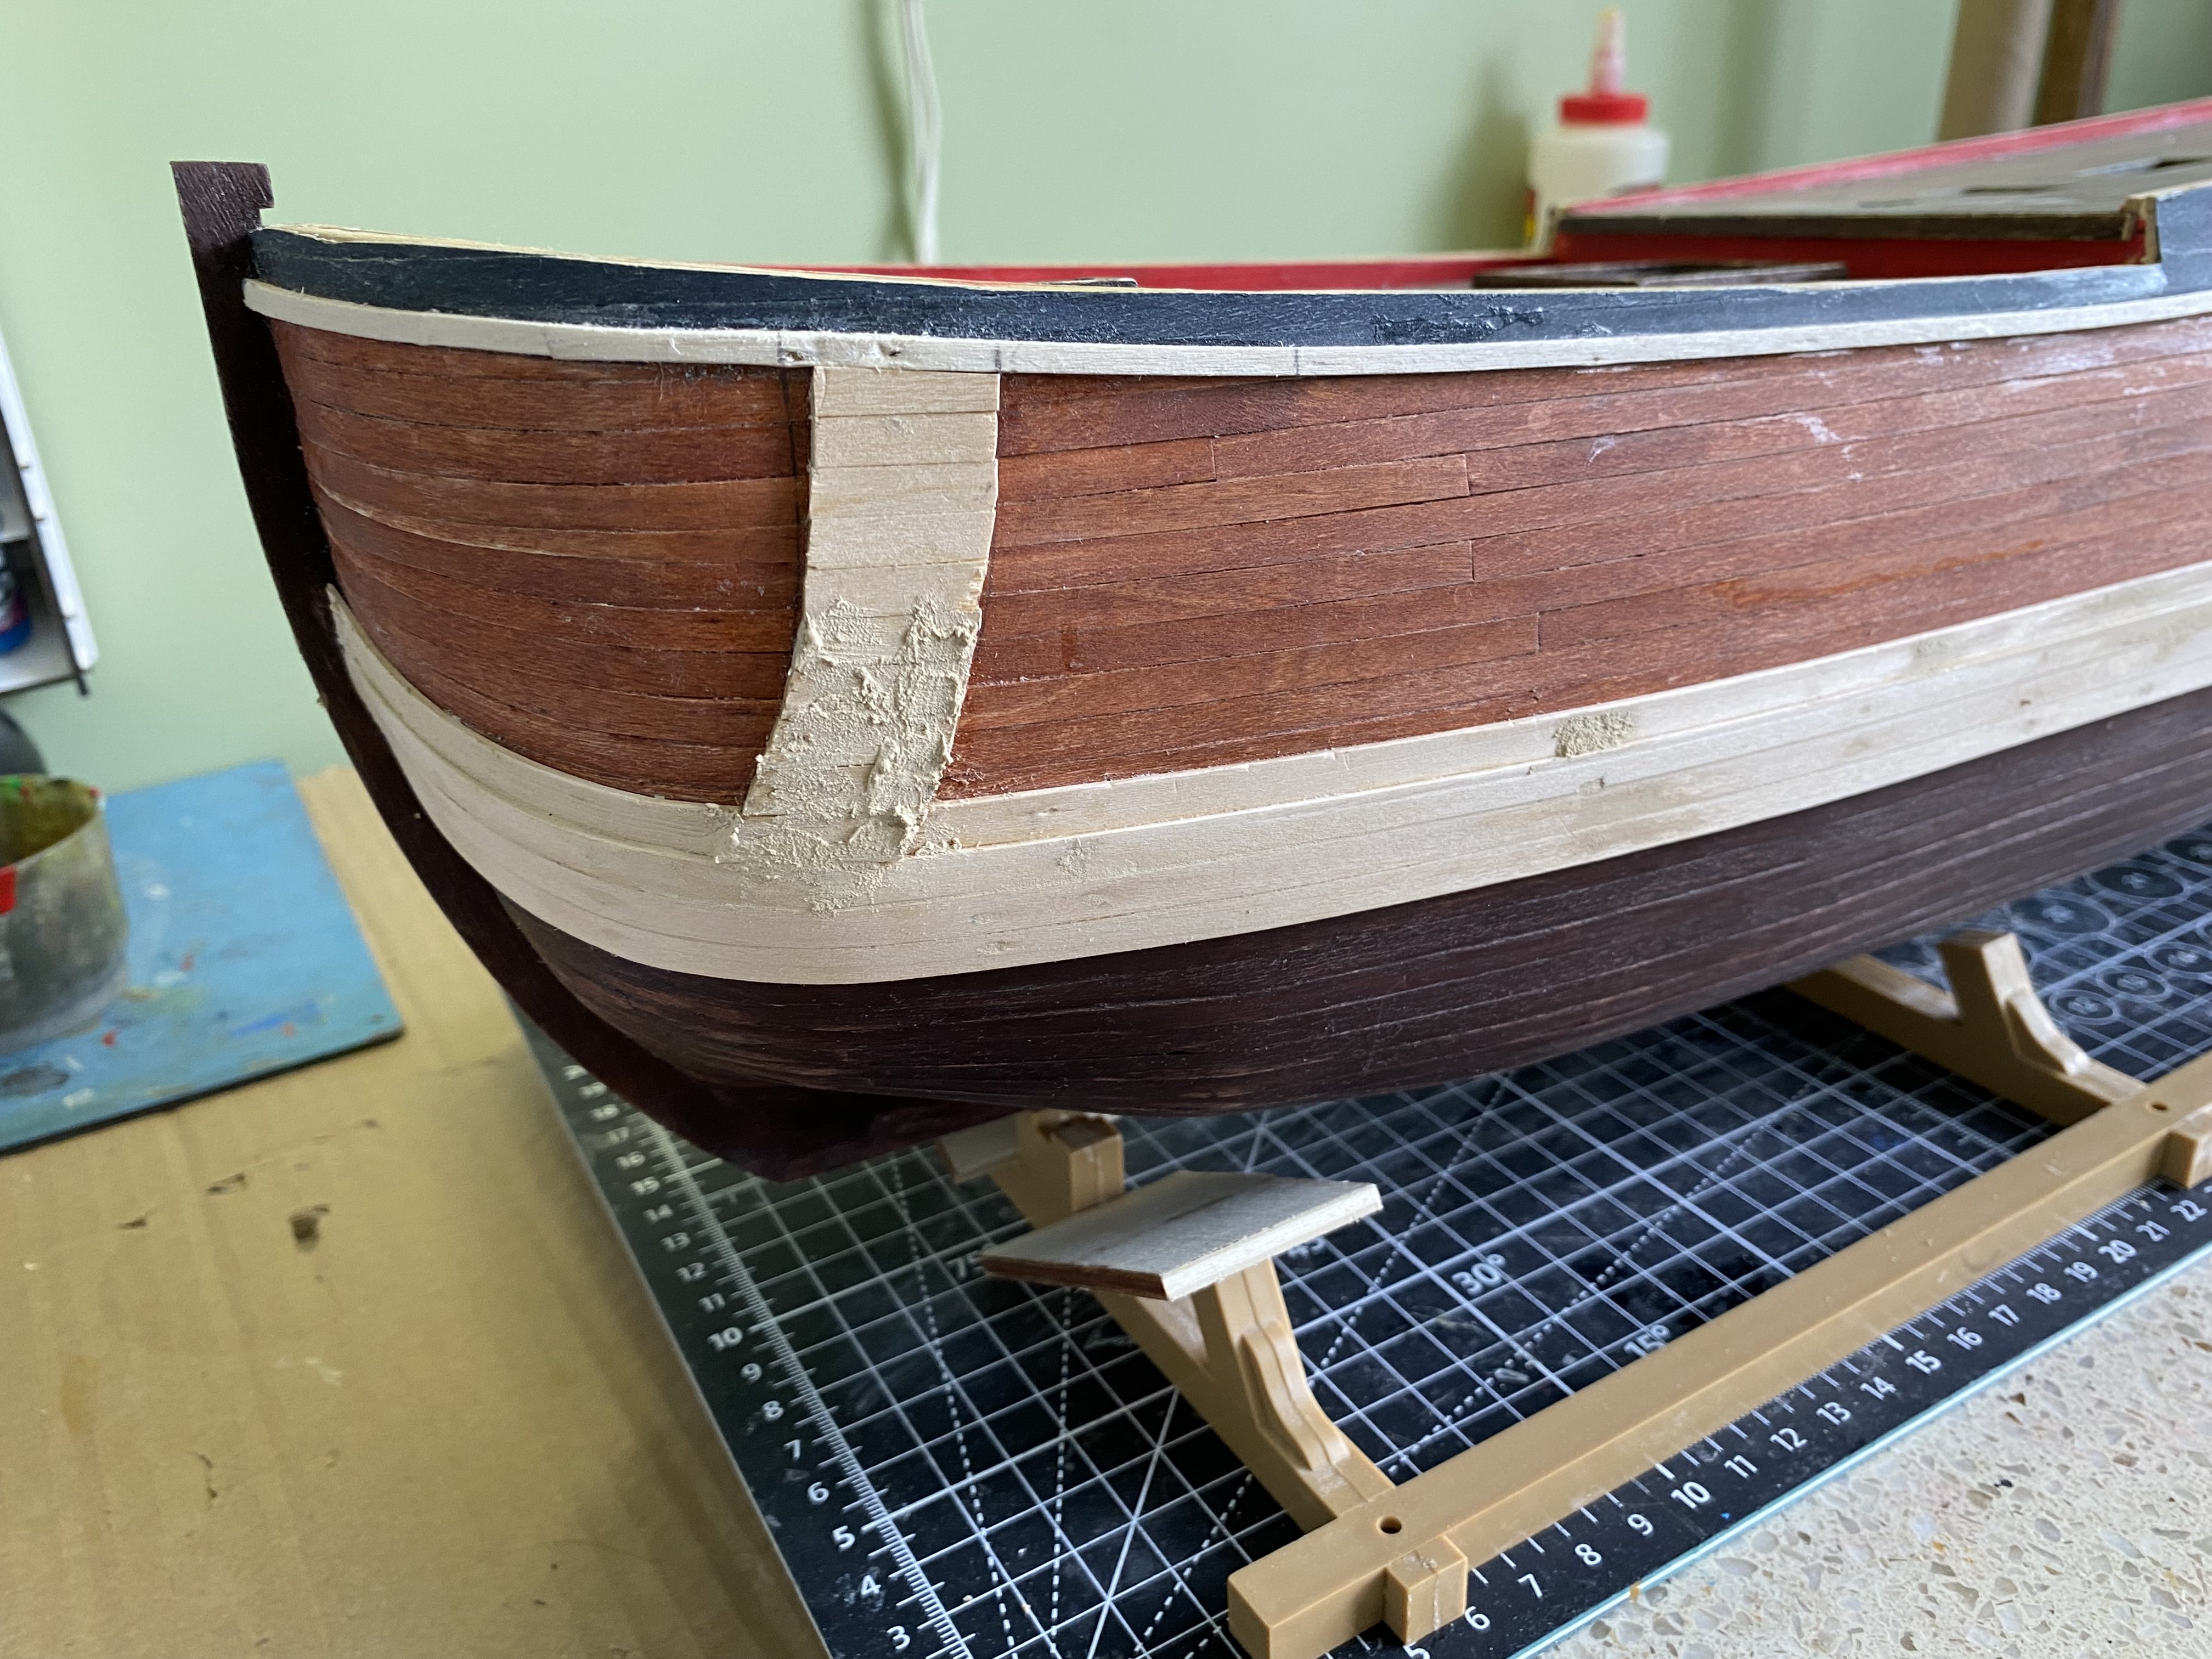
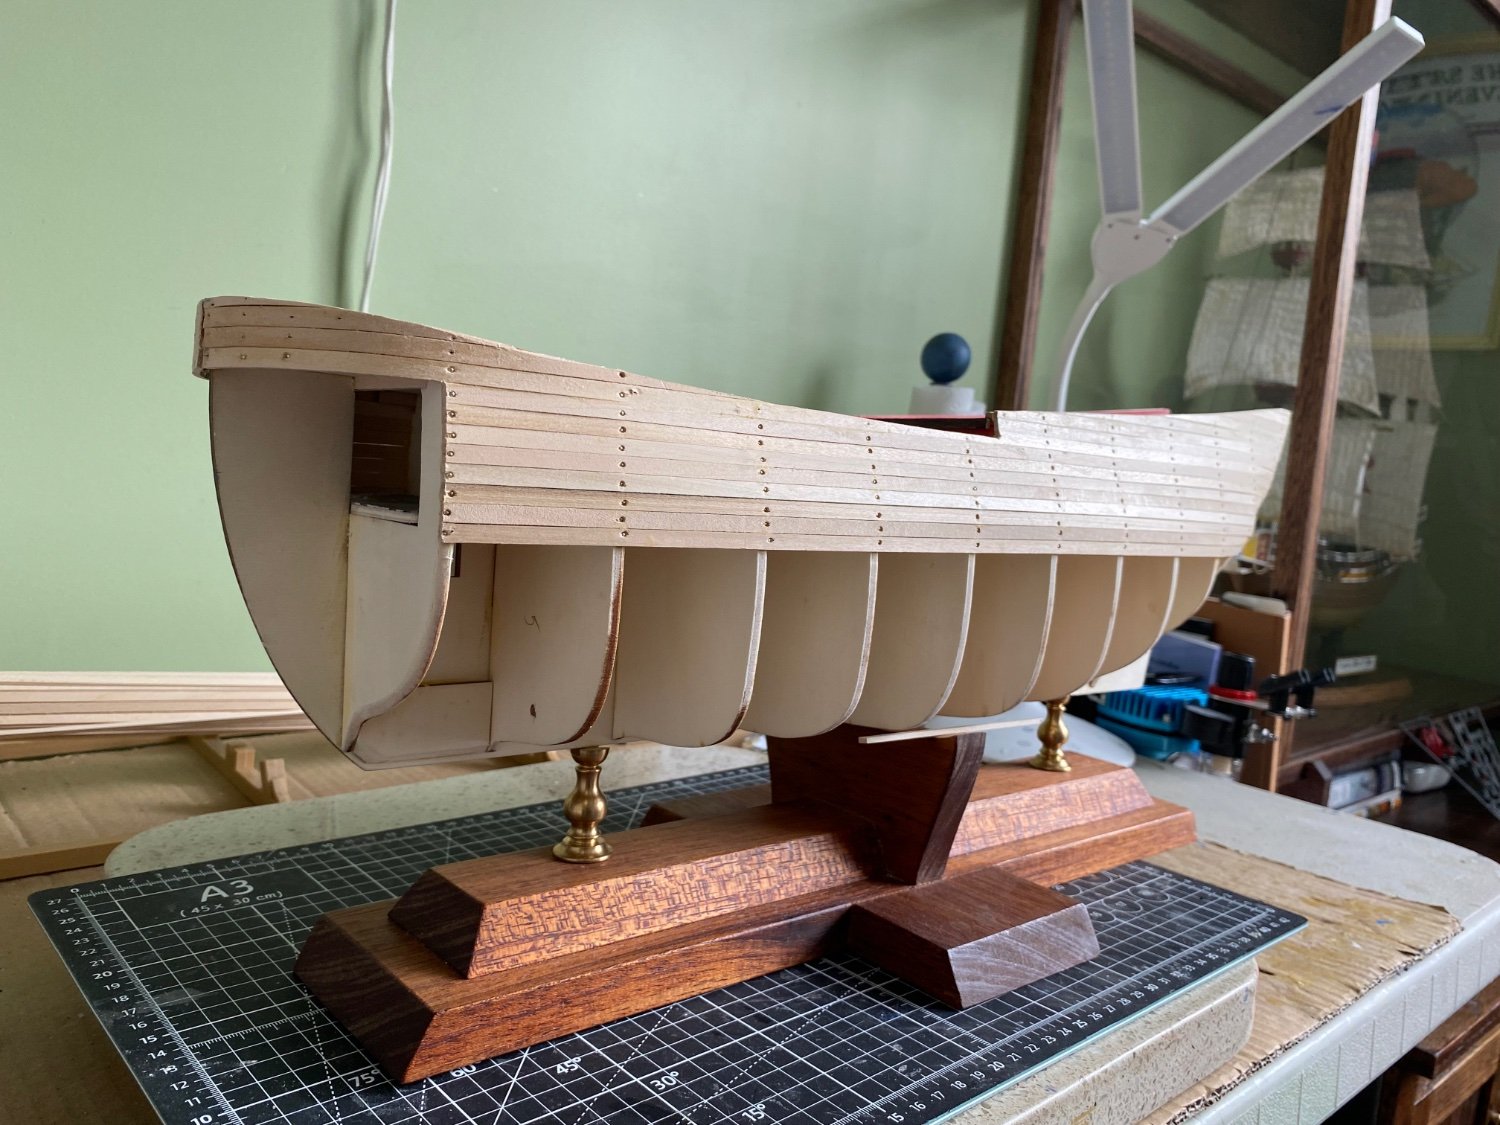
Continuing along with my OcCre Endeavour build. Finished the second planking and working on the rubbing strakes. The 3 different stain colors will be touched up, the strakes painted black, and a semi gloss clear top coat of varnish will be added later.


-
Thanks Ian. It has actually been quite enjoyable employing my years of woodworking experience. There have truly been some challenges so far but I hope I have overcome them successfully. Now once I get into making everything that goes on the deck, and above the deck, we will see if I still feel the same!
-
Starting the addition of the blue stained planking that finishes the planking up to the top of the wales. Anxious to see how it will look once I add the semigloss topcoat which will further enhance the three colors.

-
Coming along great Jake. I do remember that extensive masking so well!
-
Thanks S.Coleman. I appreciate your comment. What will really be interesting is adding the timbers that I have stained blue. They will finish up to the top of the wales.
How is the bow shaped on your model?
Thanks again for following.
Bill
-
-
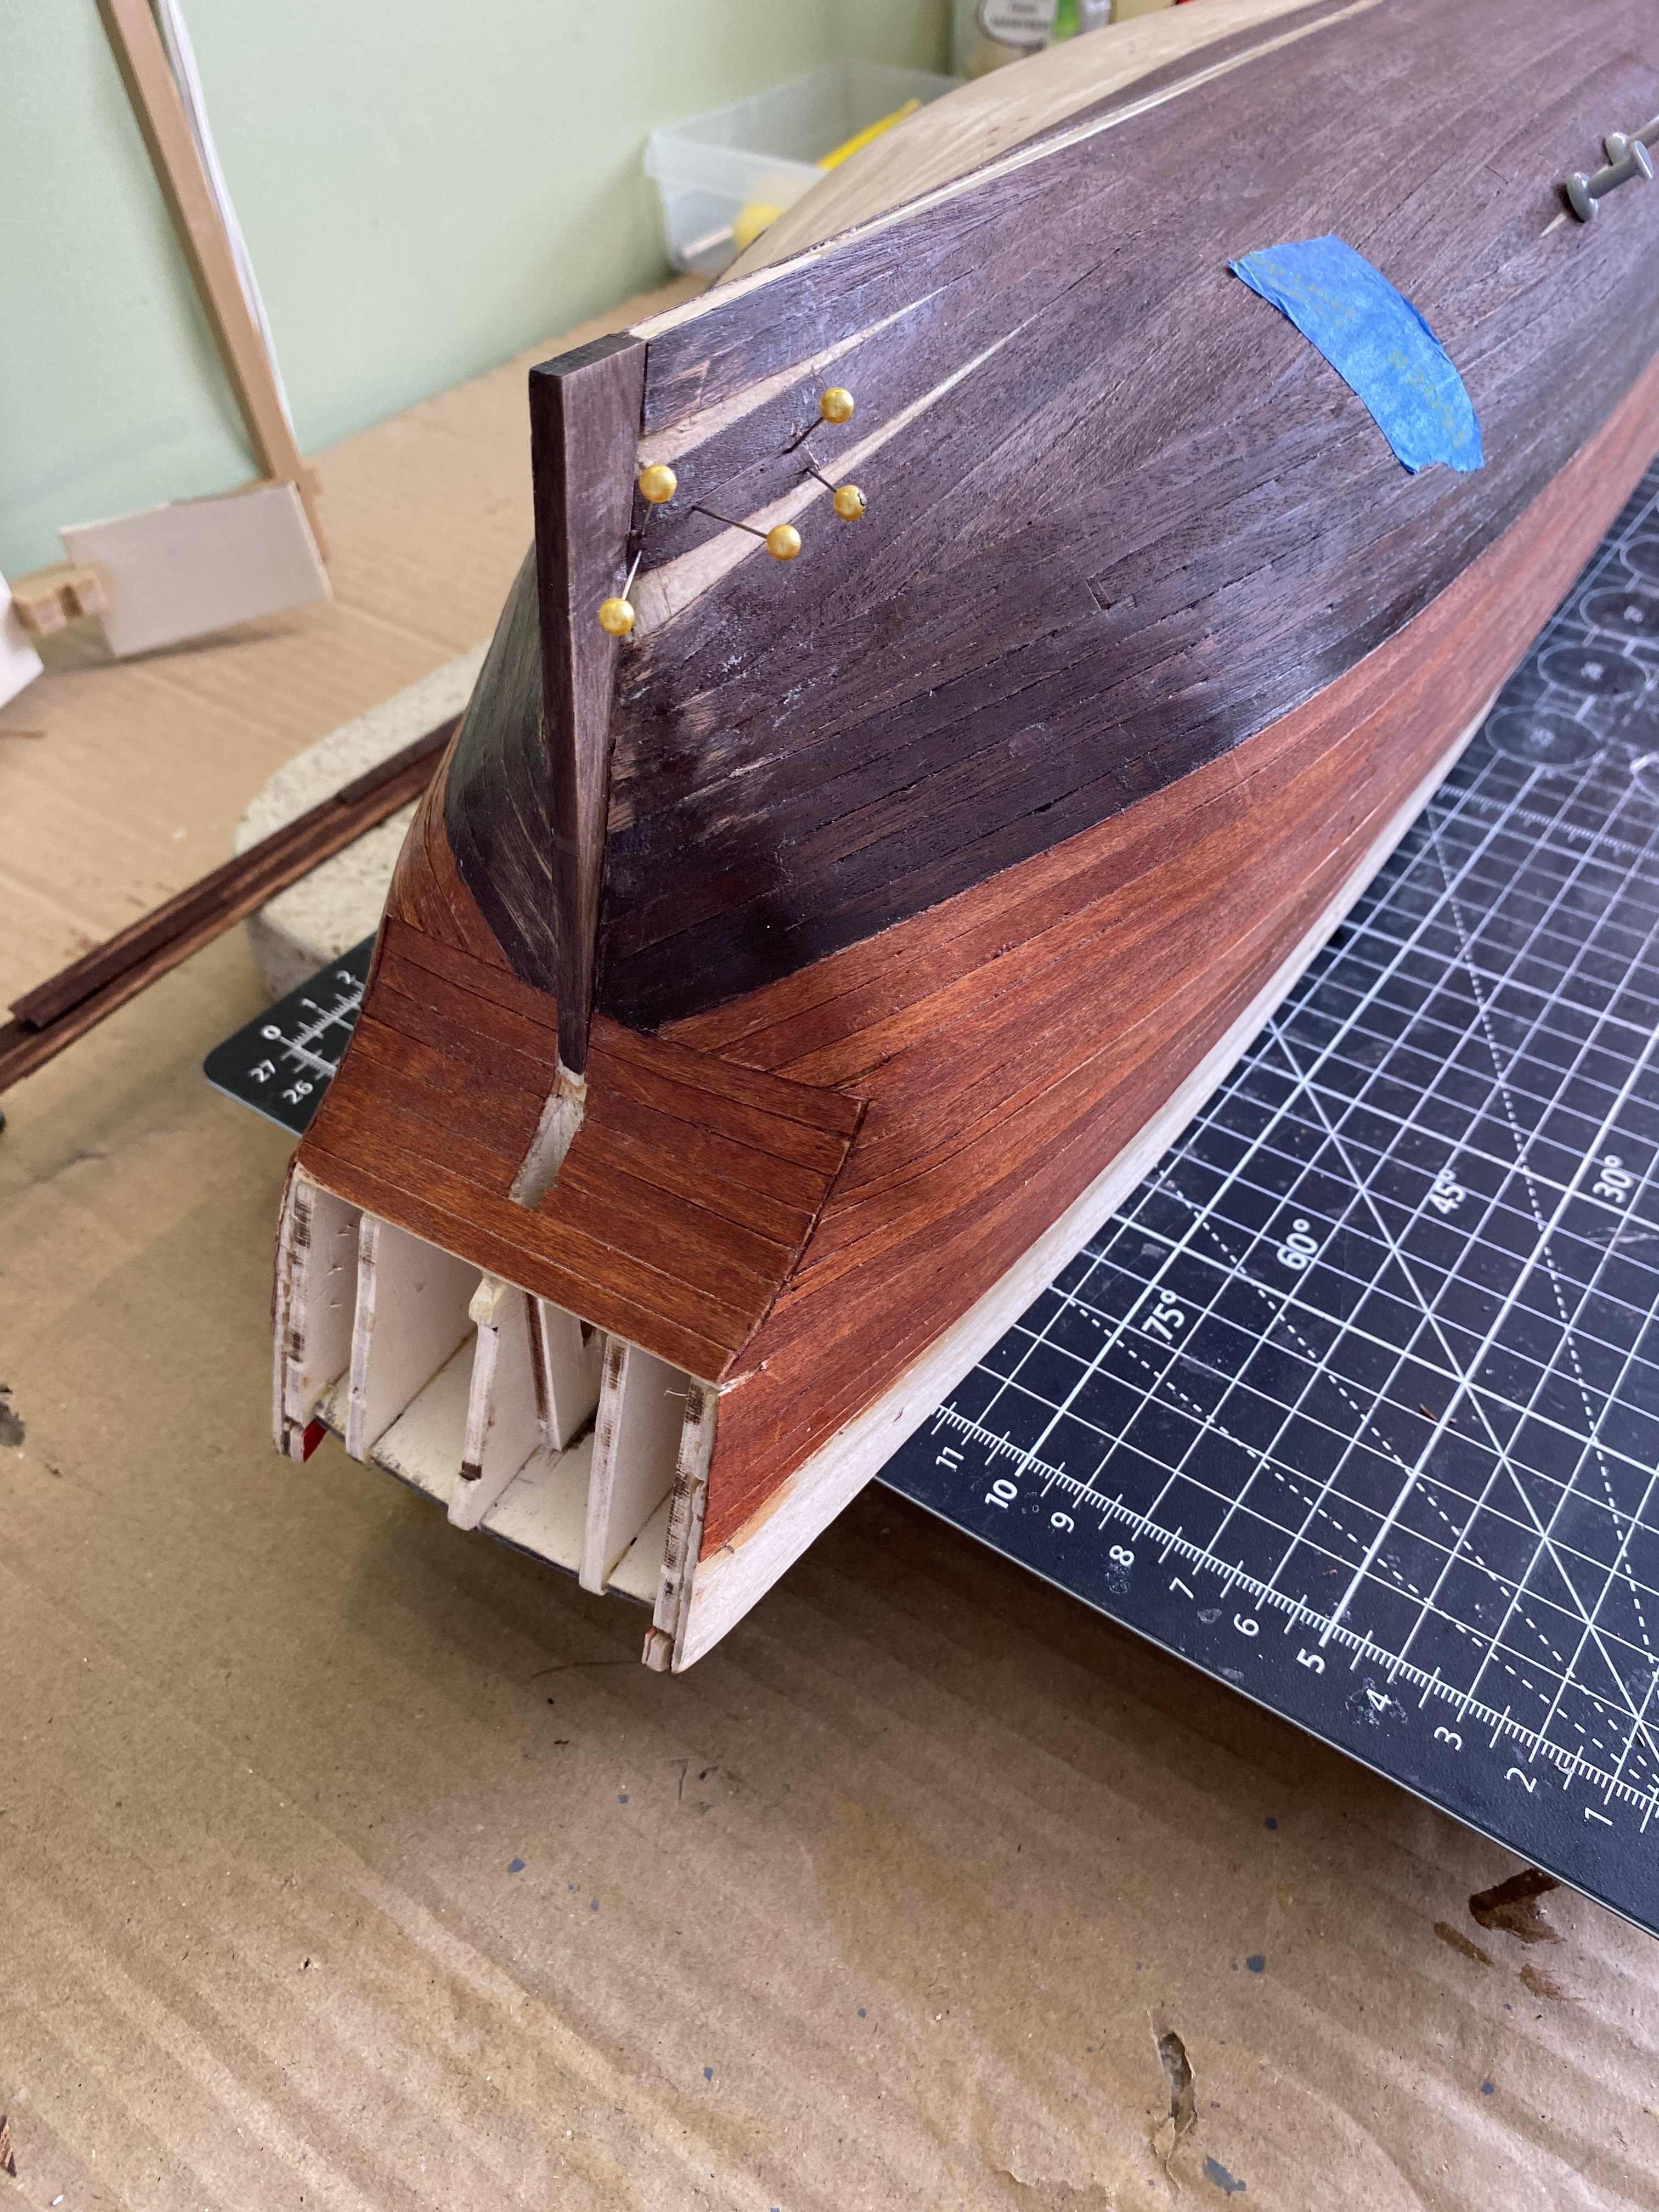
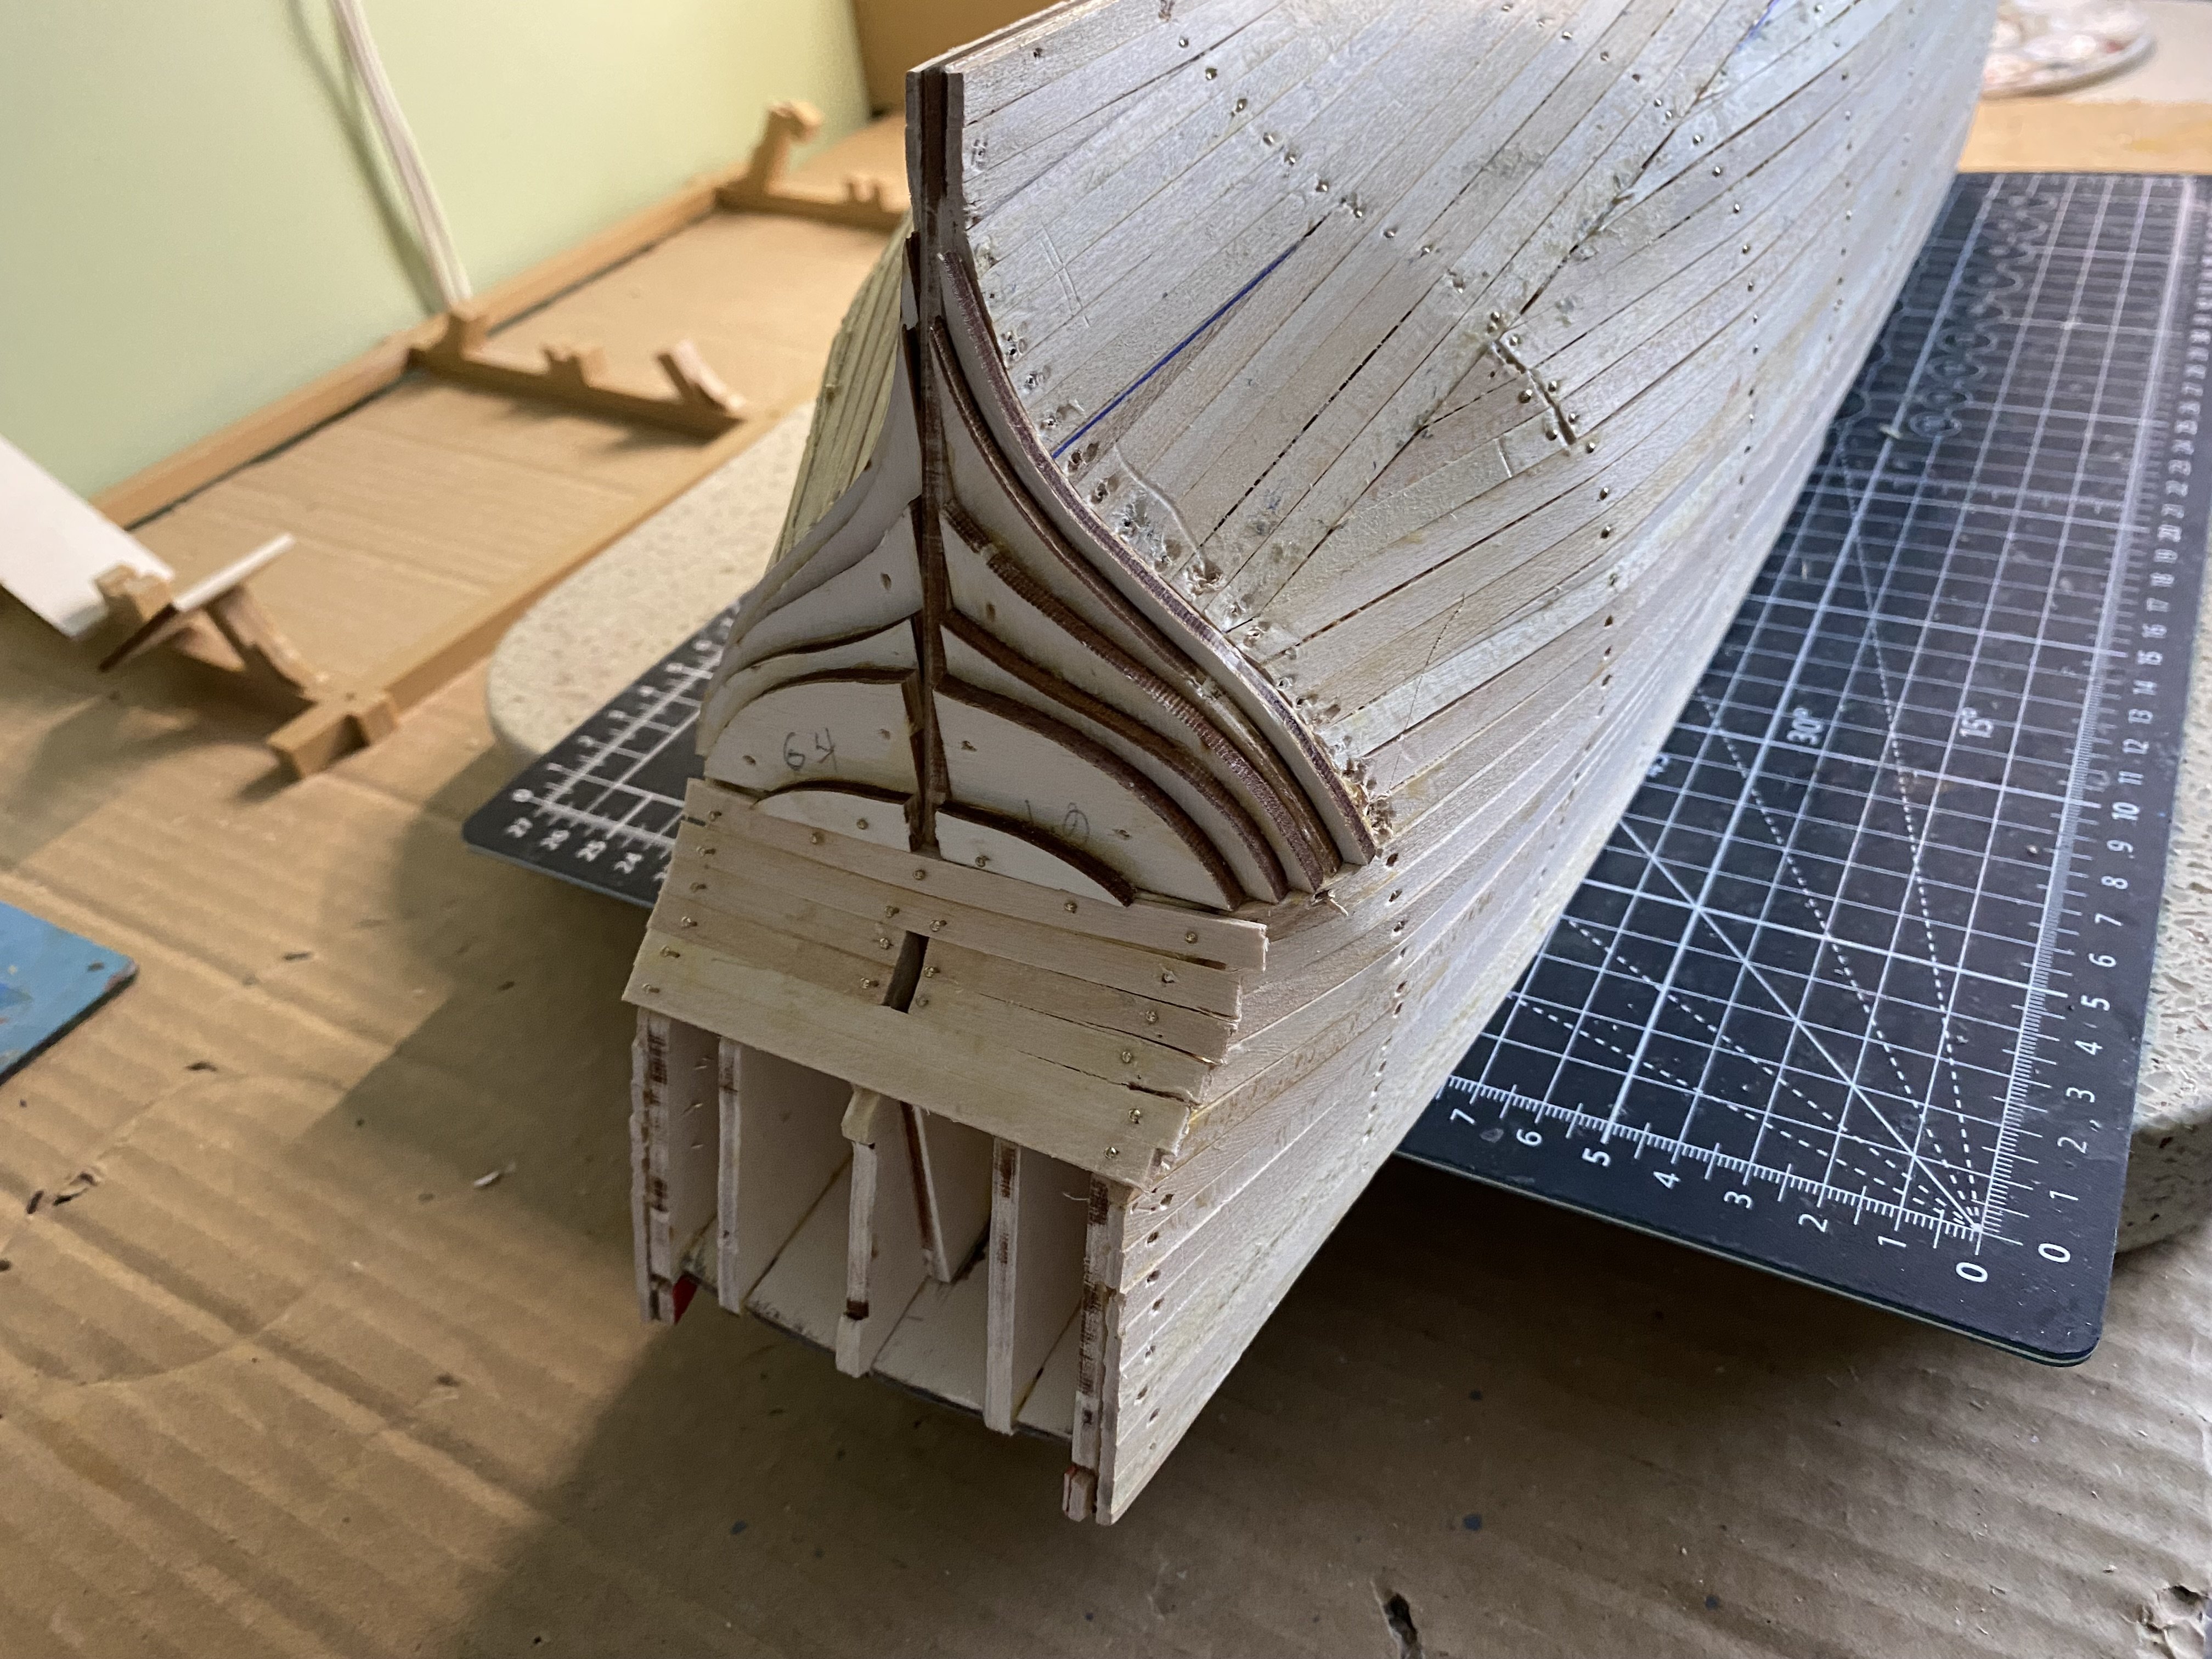
It has been a little over a week since my last update. I am continuing the second planking which is just a slow price of putting a jig-saw puzzle together and making the pieces at the same time. I decided to add the sections of the keel that goes down the front of the bow and behind the rudder early so that I could but the planking right up to those pieces. Instead of cutting and trimming the planking pieces later when I installed the keel sections as OcCre suggests.


-
Where I struggled when soldering my links was trying to trying to solder the the wire loop end to end. Eventually I had to overlap the wires just a bit then solder.
-
Marc I think they are looking fine. When I built my Victory I ordered Daniel’s (Dafi’s) chains. For my SR I decided to attempt to make my own as you are. I experienced the exact issues with finding the best spot to solder and when to attempt the crimp. It is frustrating. I think a fault I have in modeling that you don’t have, and I compliment you, is after a number of tries at perfection I give up and use my best attempt. Especially if it is an item I expect will not be that visible to others. Like chains under the channels. You however my friend, and again I compliment you, are an absolute perfectionist. You work truly shows it.
- FriedClams, mtaylor and Hubac's Historian
-
2
-
 1
1
-
It is really looking good Jake. Your client will be very pleased. That is an interesting subject I have thought about. My ship room is becoming overcrowded. Many times people who have viewed my ships have said “you should sell these”. I would have no idea what I would charge. Two of mine, the Heller HMS Victory and Le Soleil Royal, each took well over a year to build. How in the world do you put a price to that. And I would think it would be after it is completed that a client would offer to purchase it. Can’t imagine a client asking me to build a ship for them that may take a year or more to get. I have offered my Mayflower to my grandson’s school library. They study the subject in their history classes and he told me it would be cool to look at it in the library and brag to his classmates that his grandfather made it😊.
-
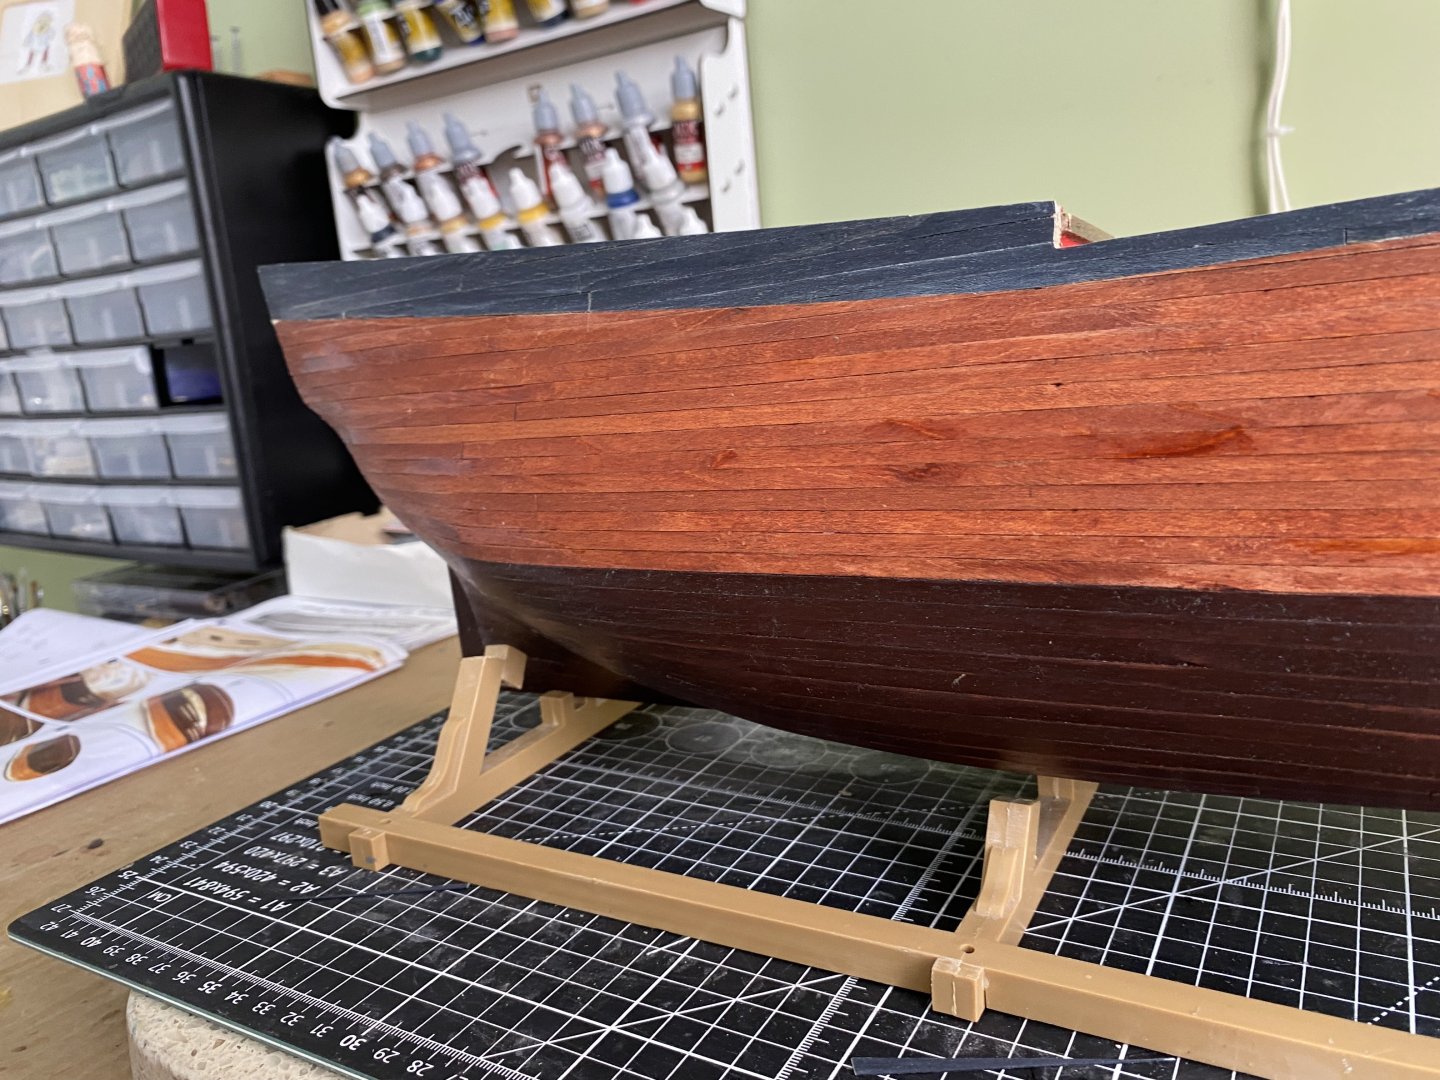
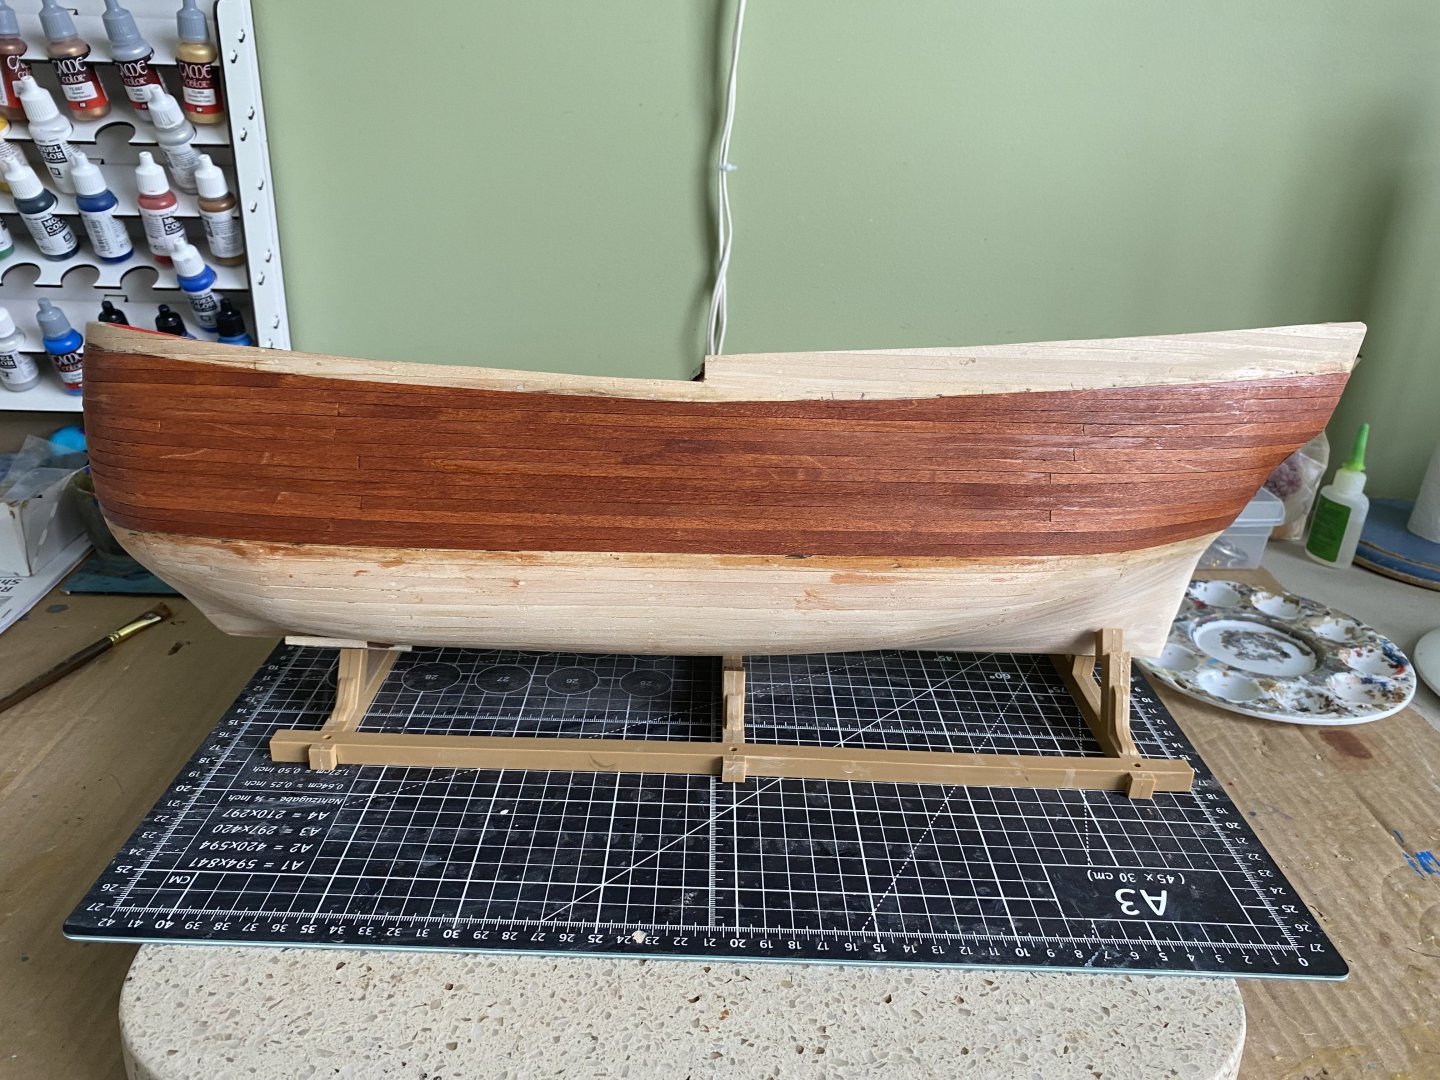
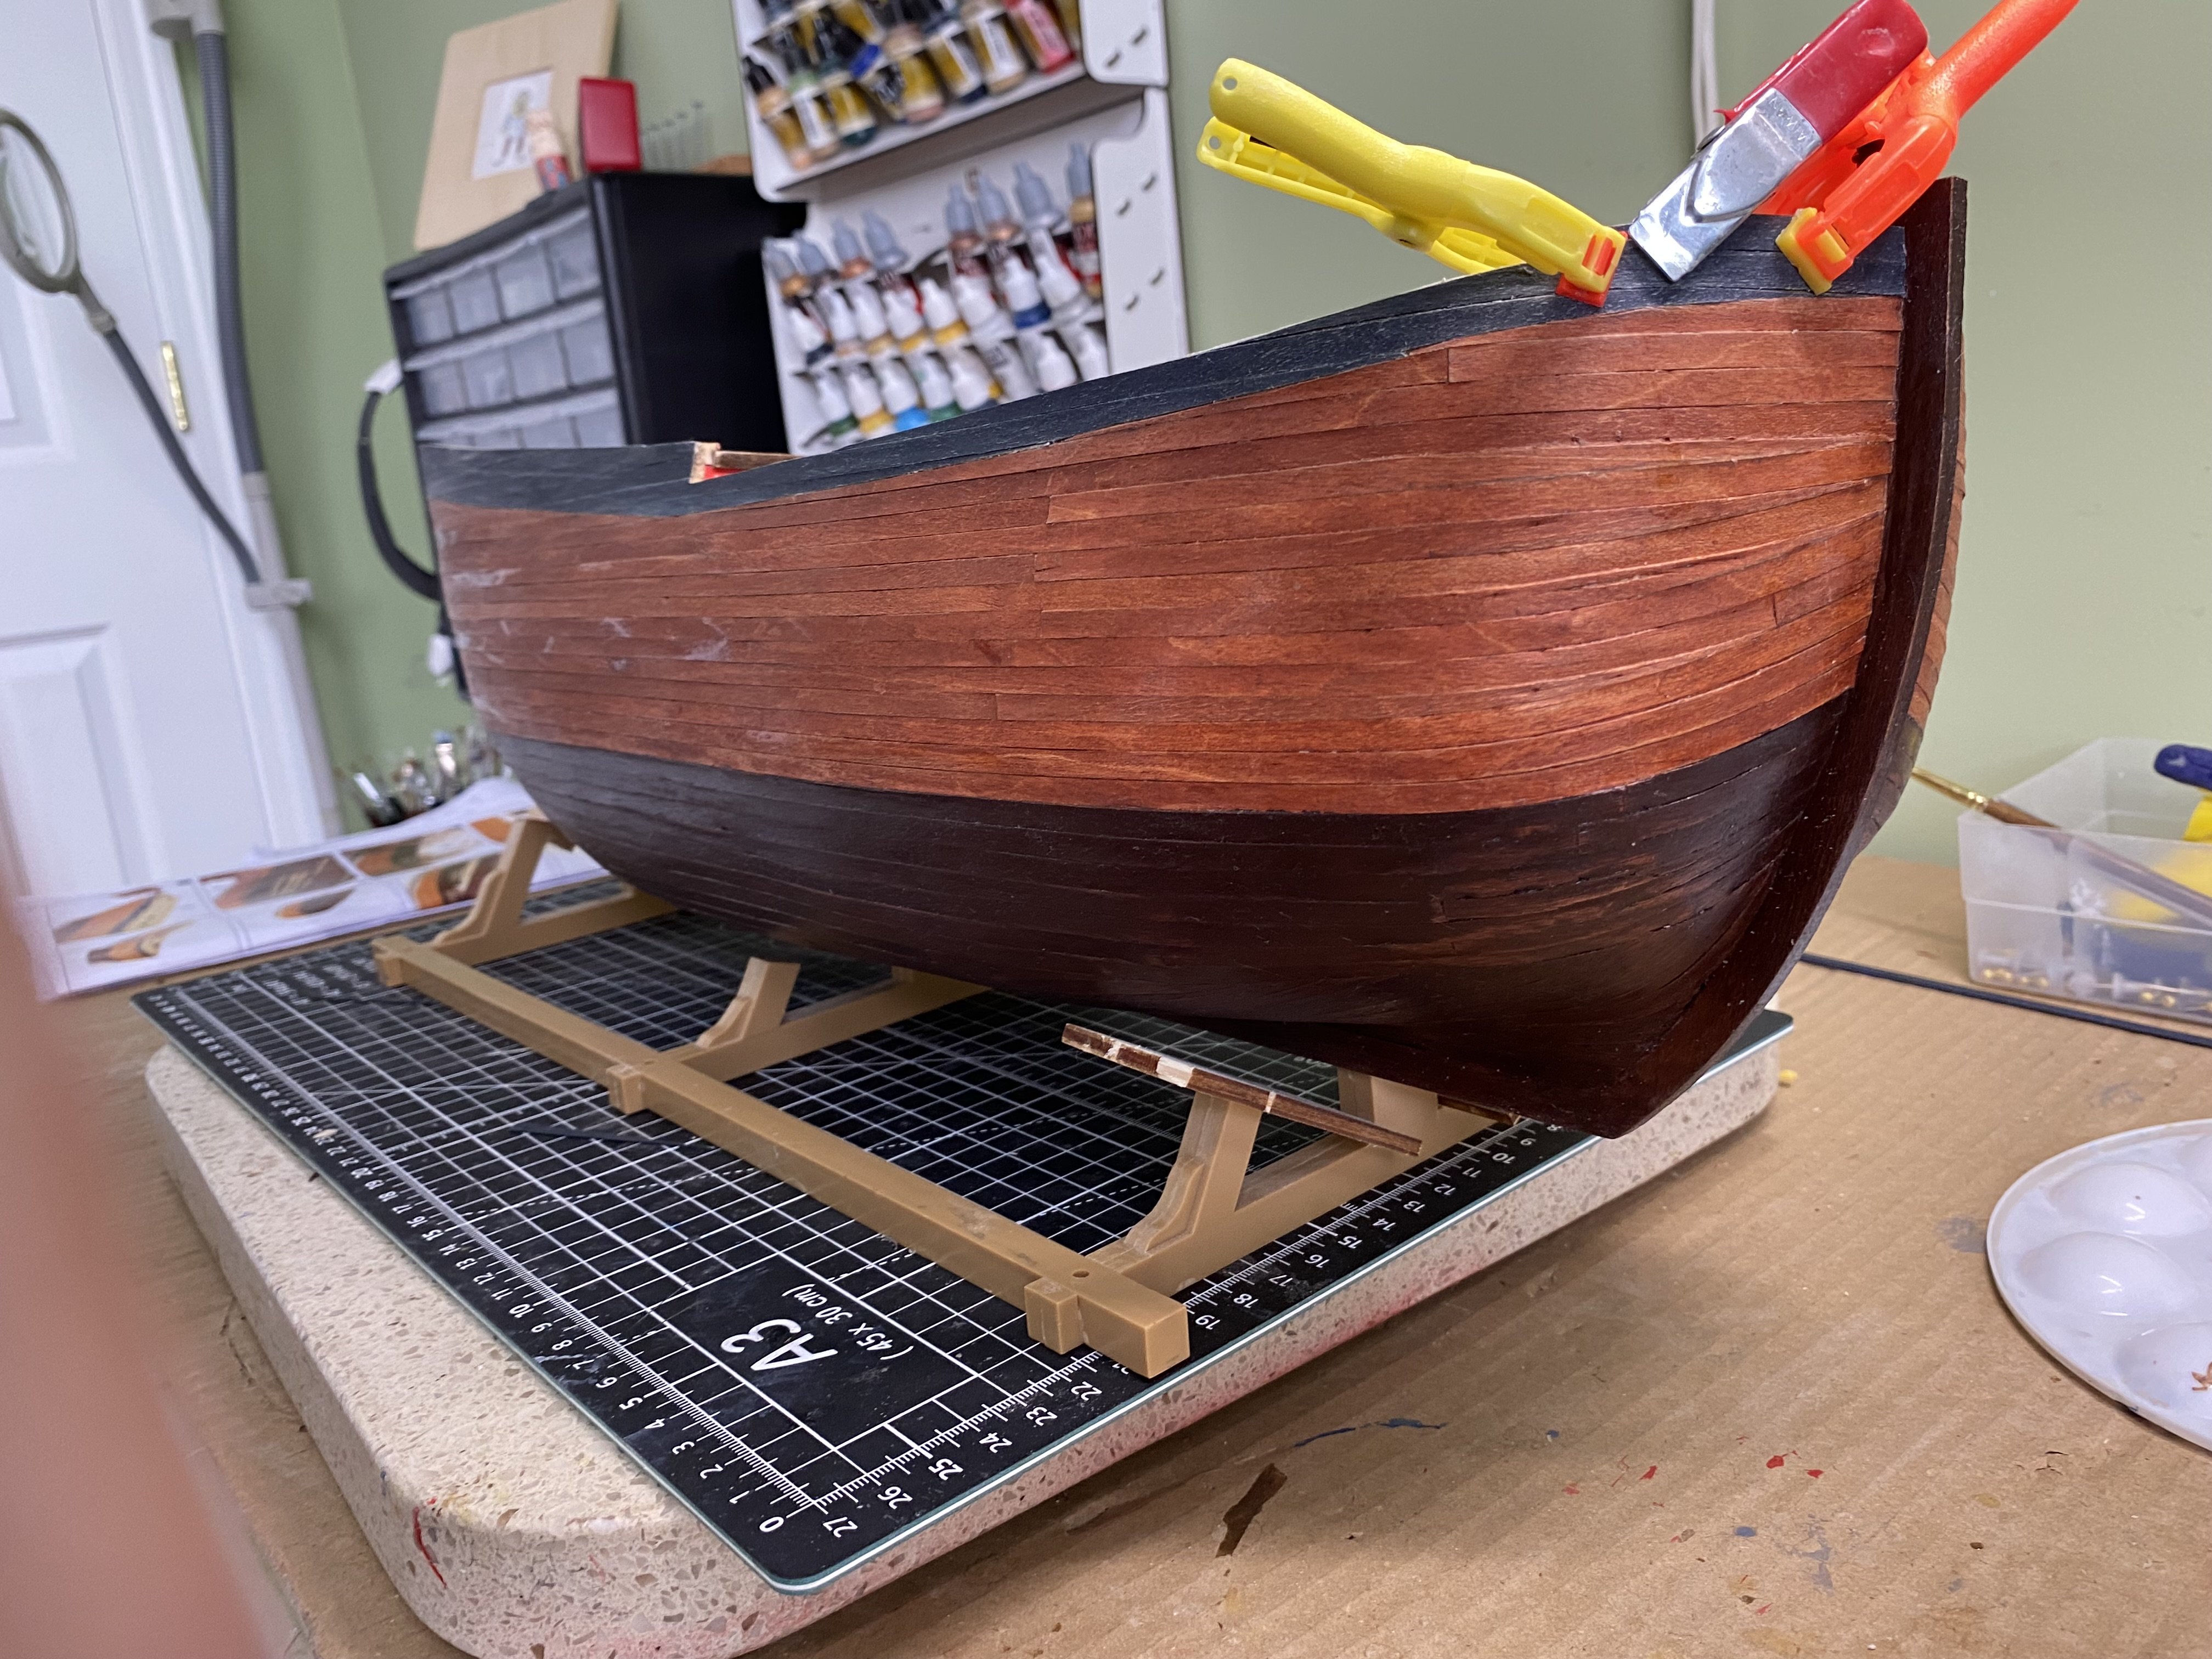
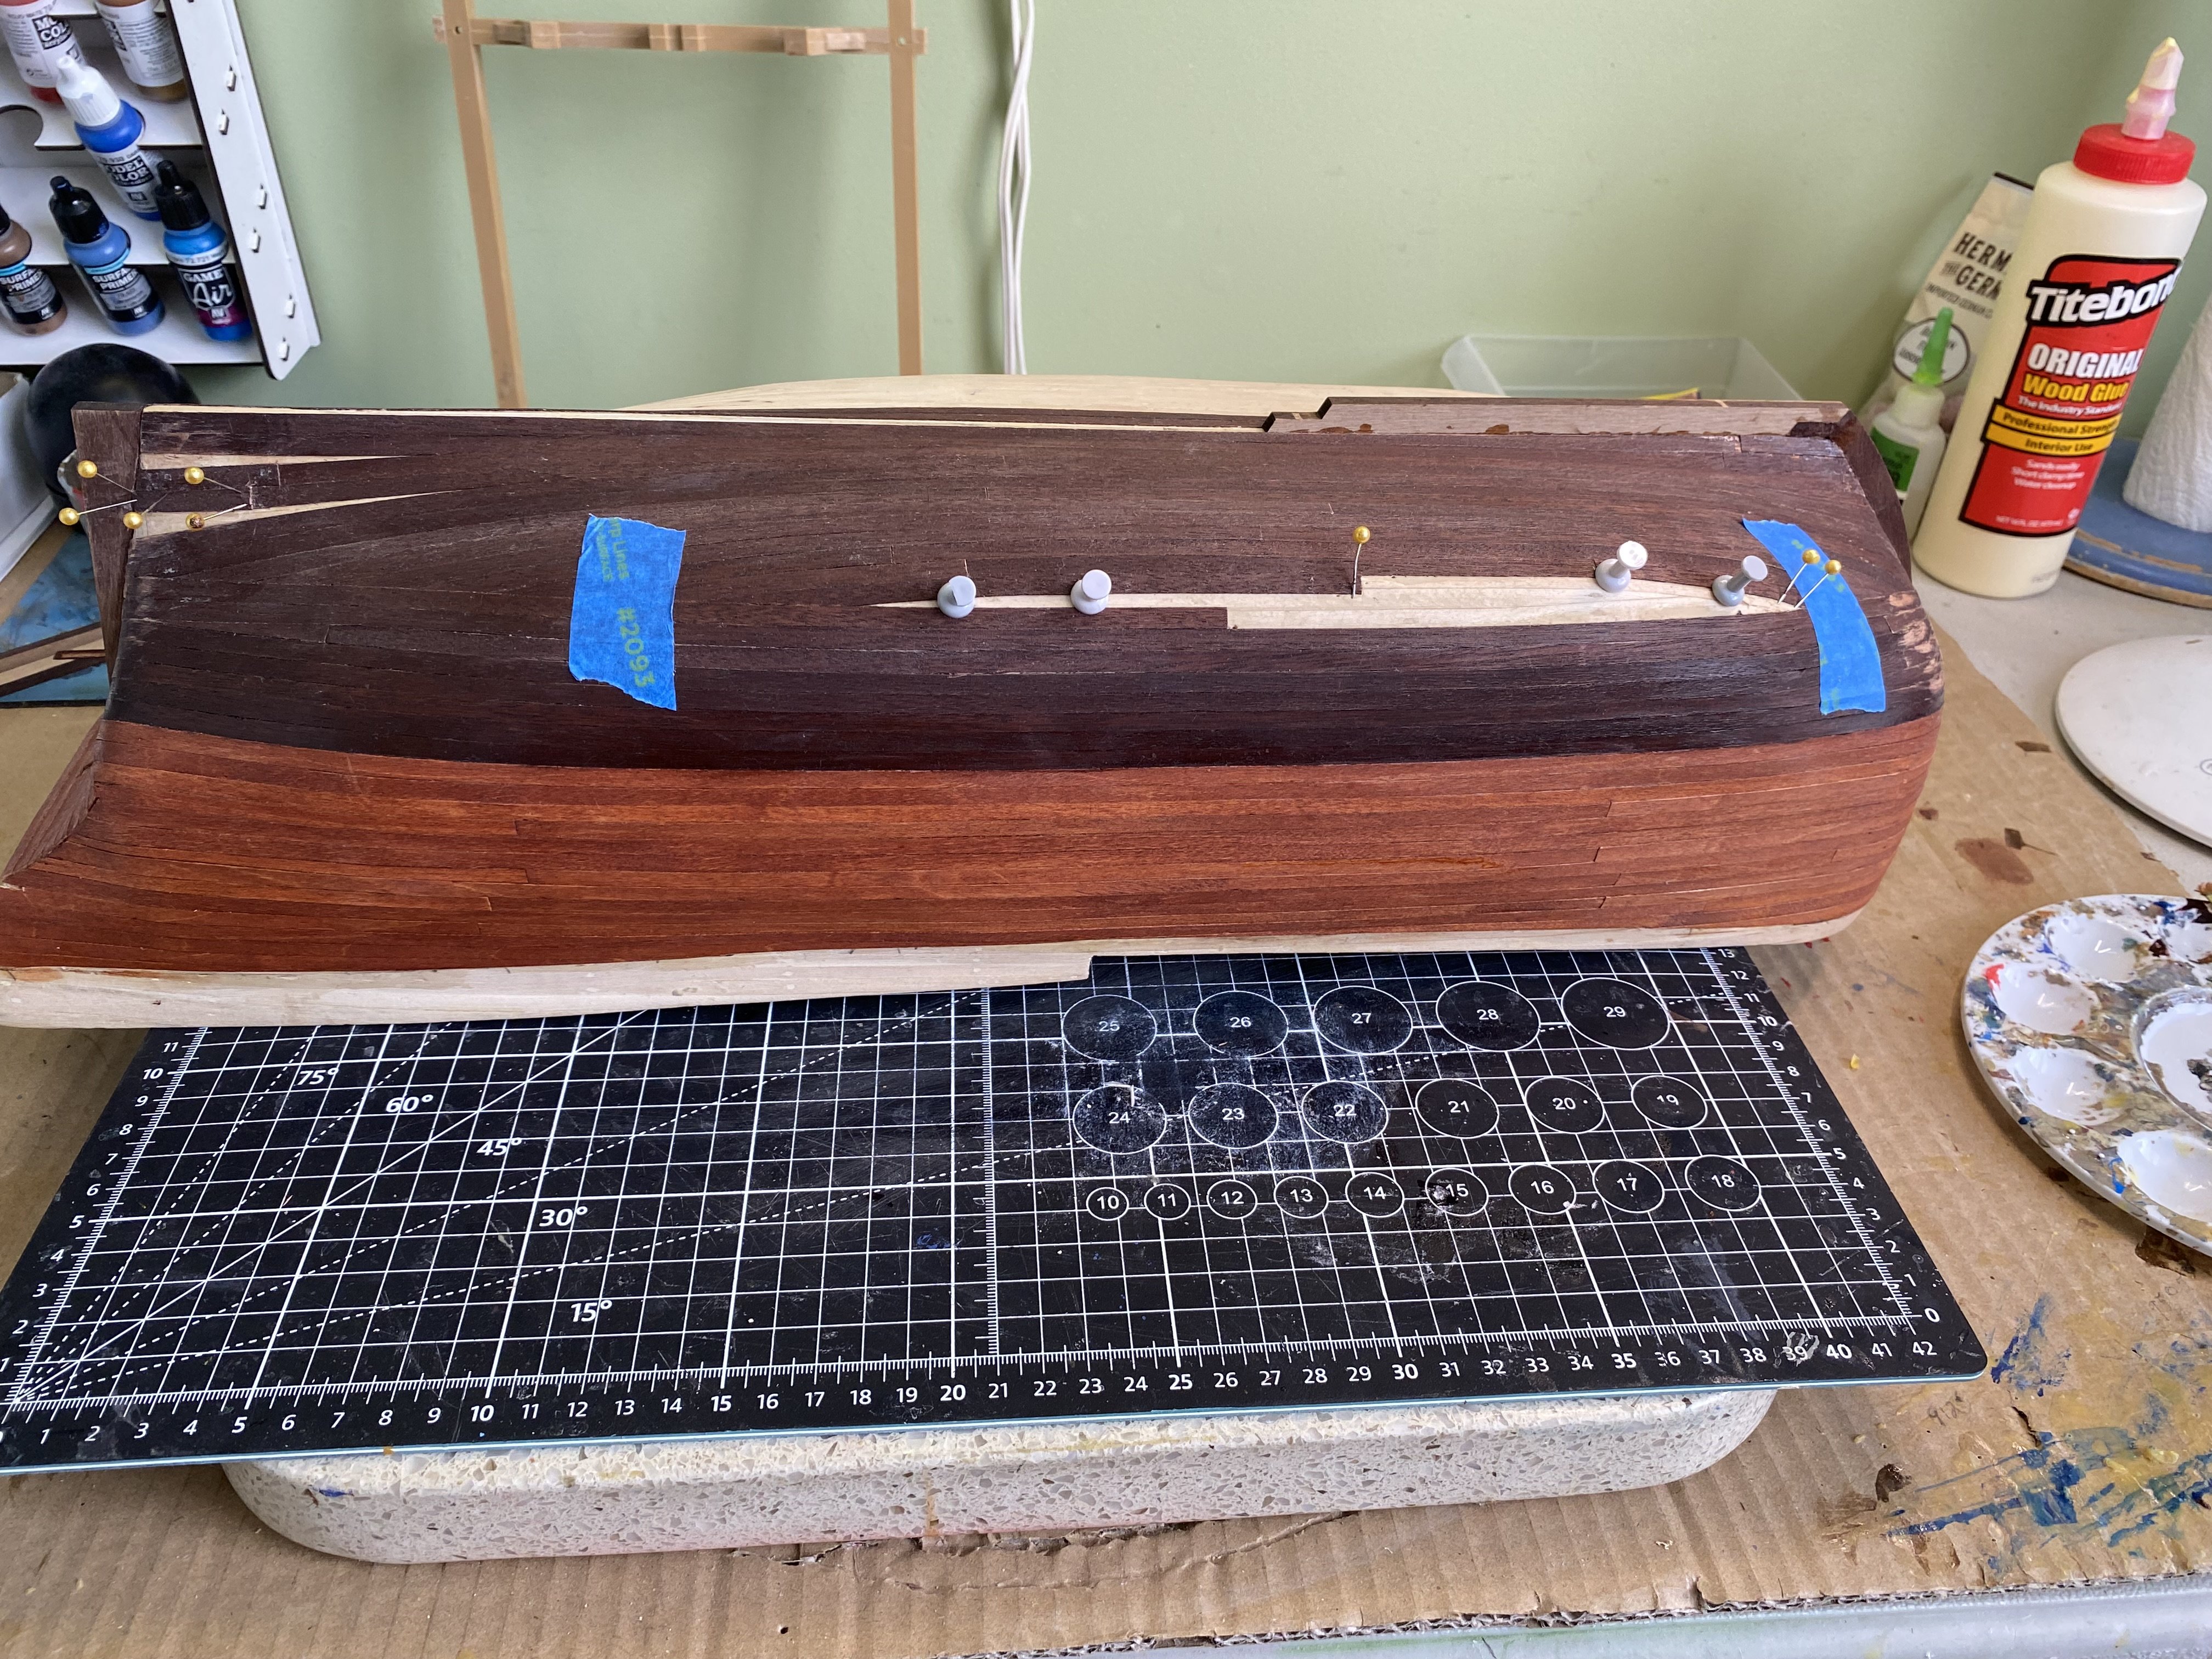
Finished the middle section second planking. A dark stained planking will go from the keel up to this planking and top area will be finished off with a dark blue stain.
-
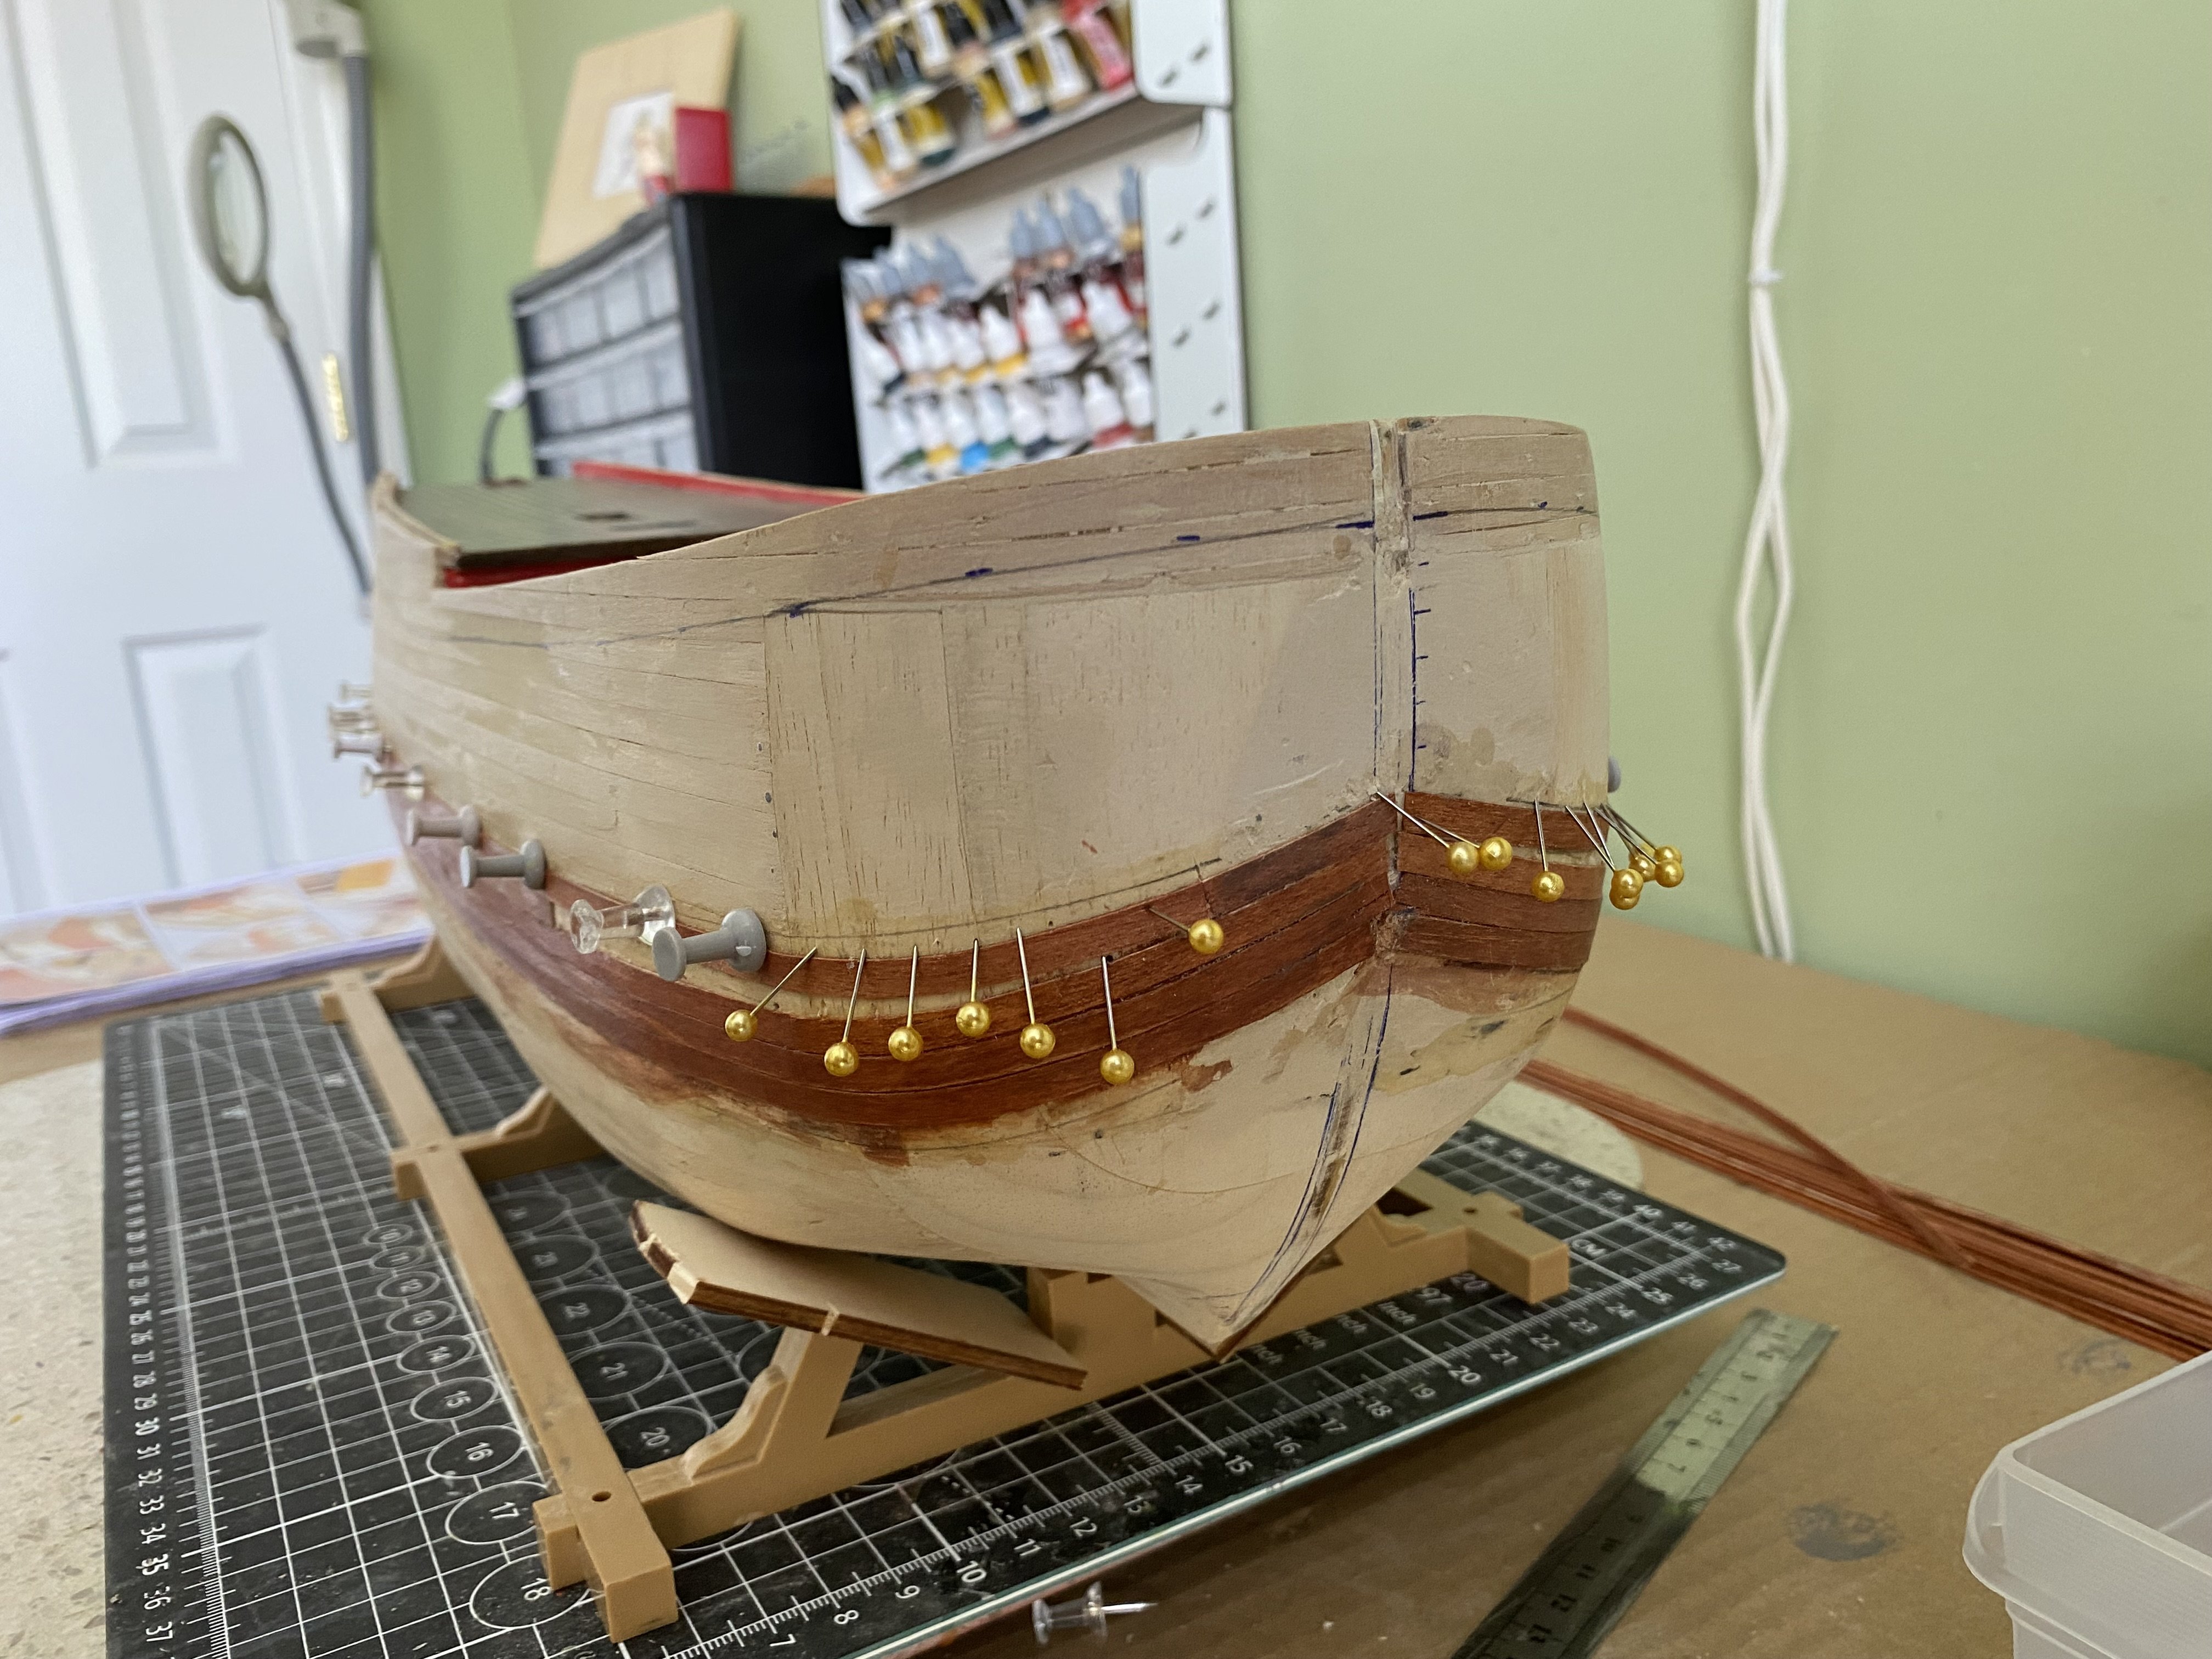
Second planking underway. Stained the planking strips. Following the OcCre instructions I established the starting position for these strips and began working upward toward the bulwarks. As with the 1st planking, various planks along the way will need to be custom cut to fill where a full plank is not used. I discovered after a few failed attempts and some non-church words I found push-pins to be the way to go.


-
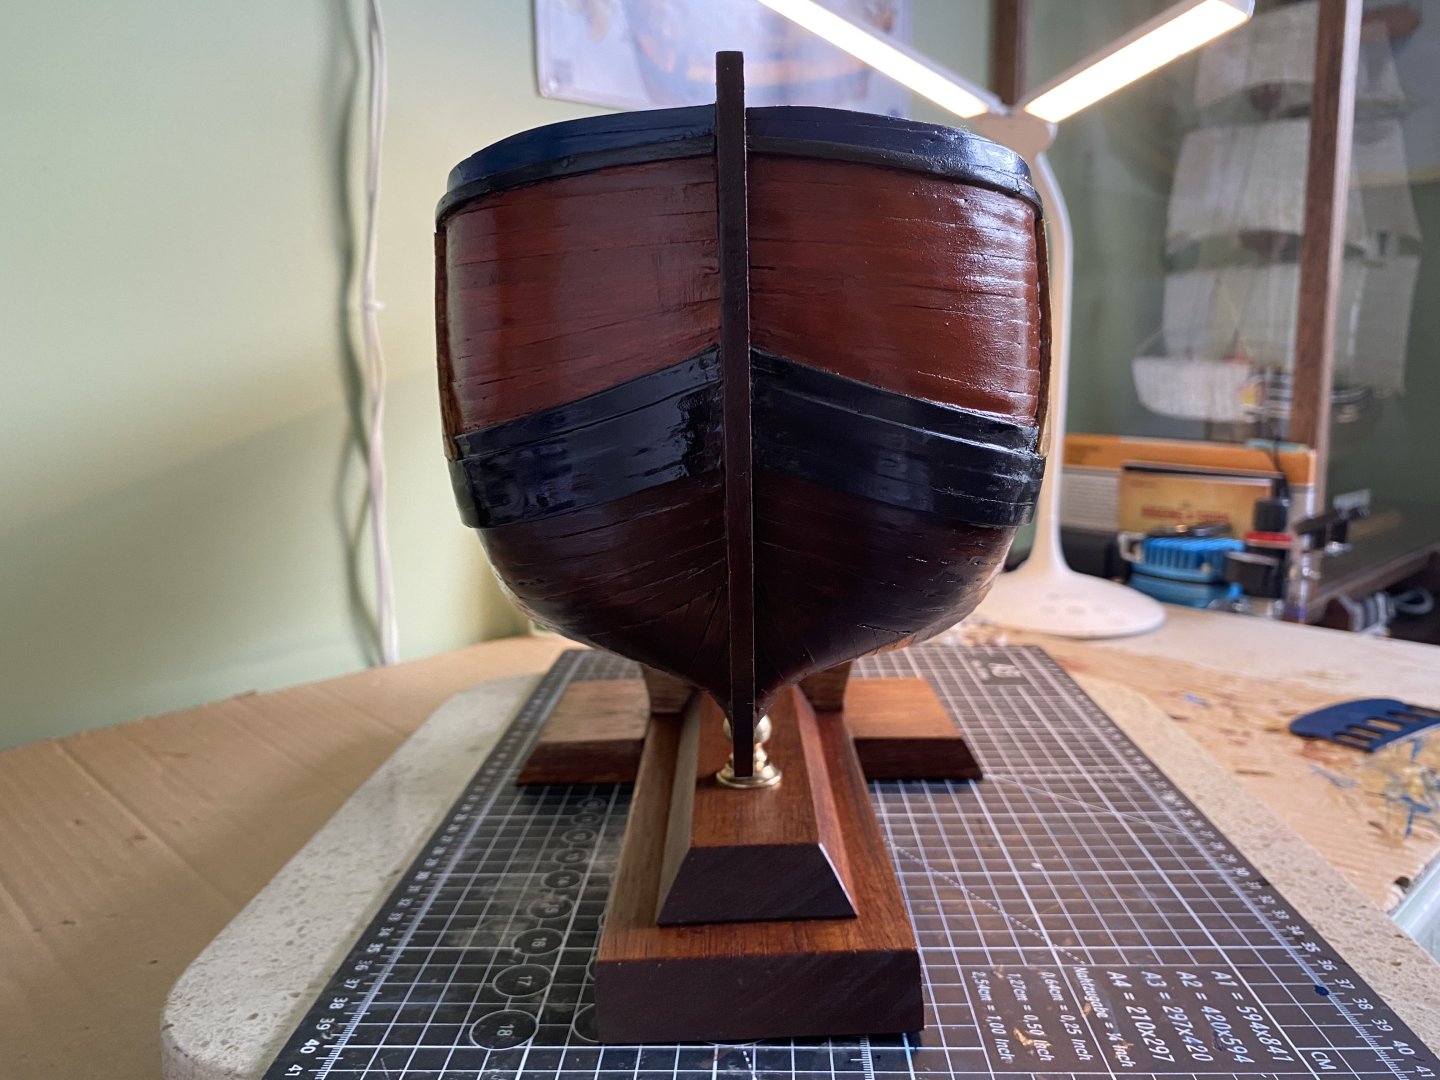
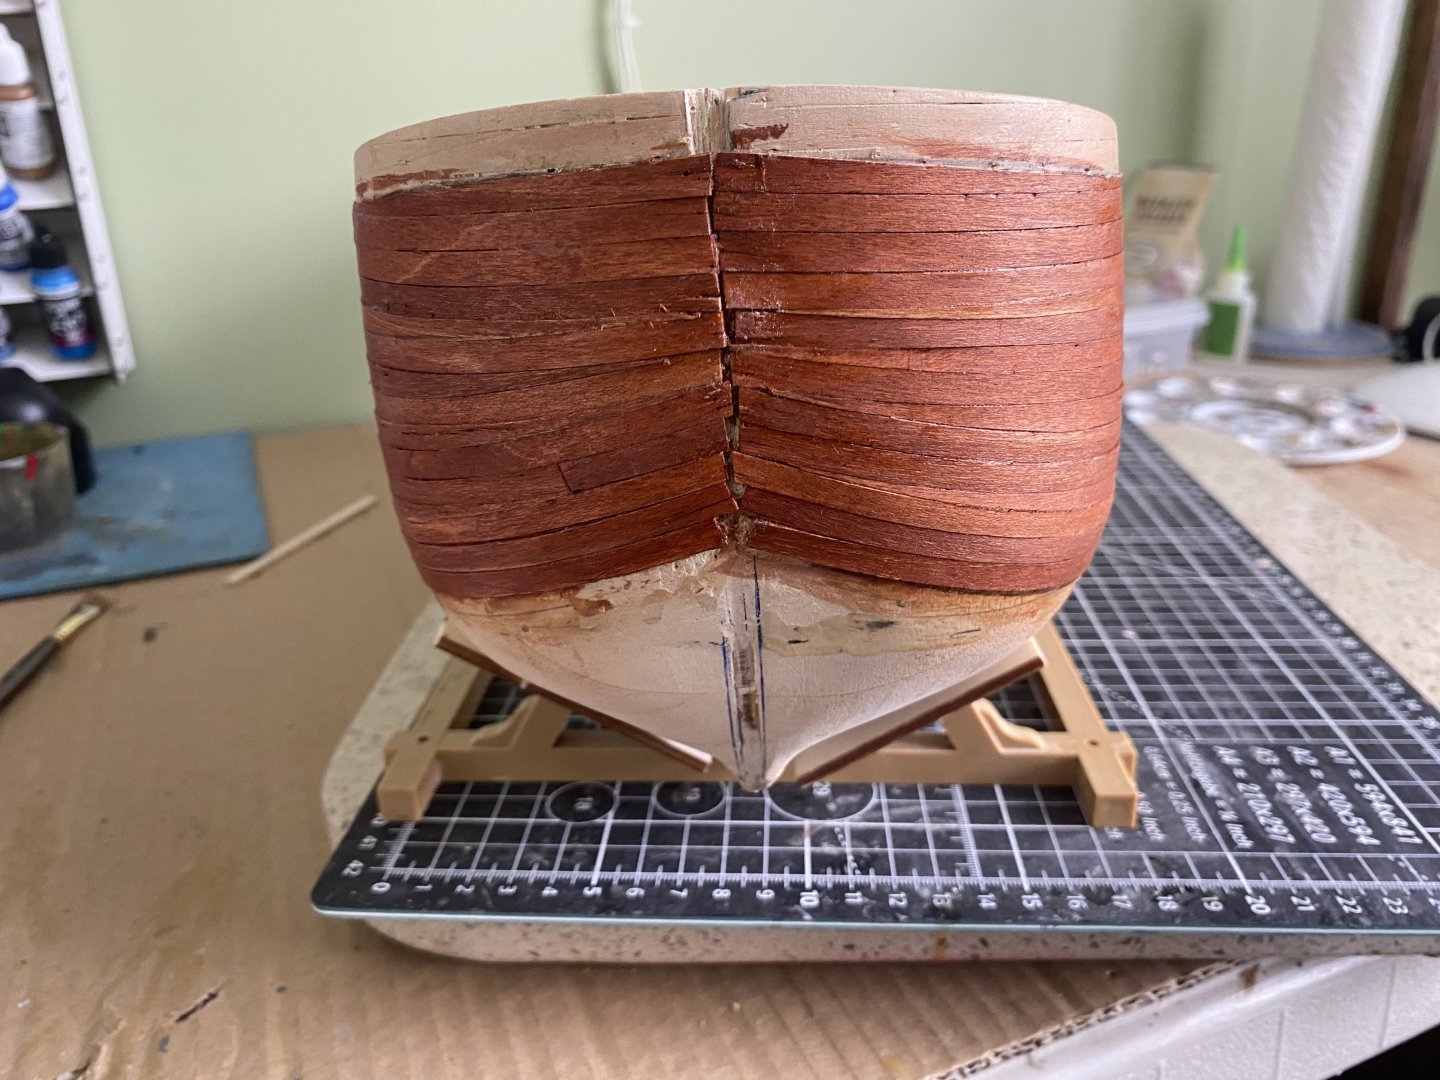
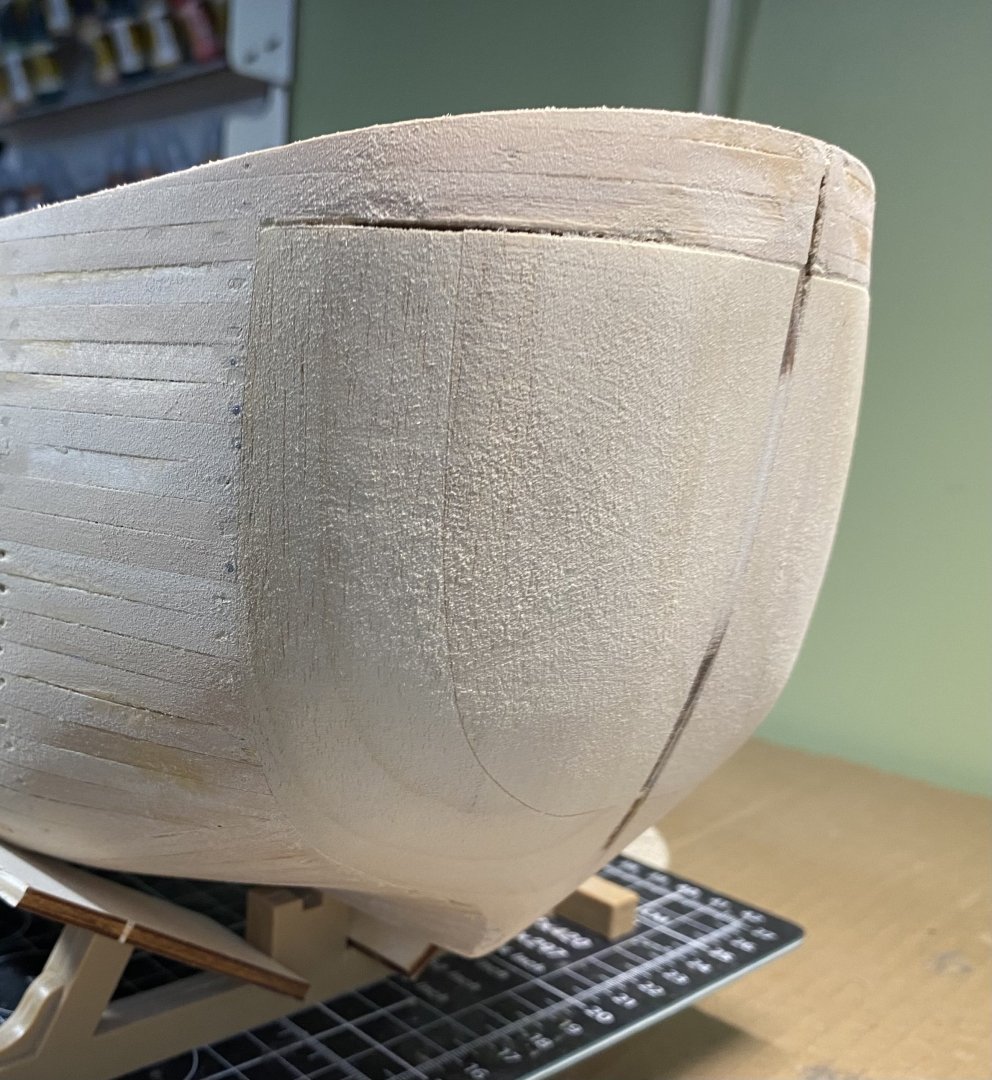
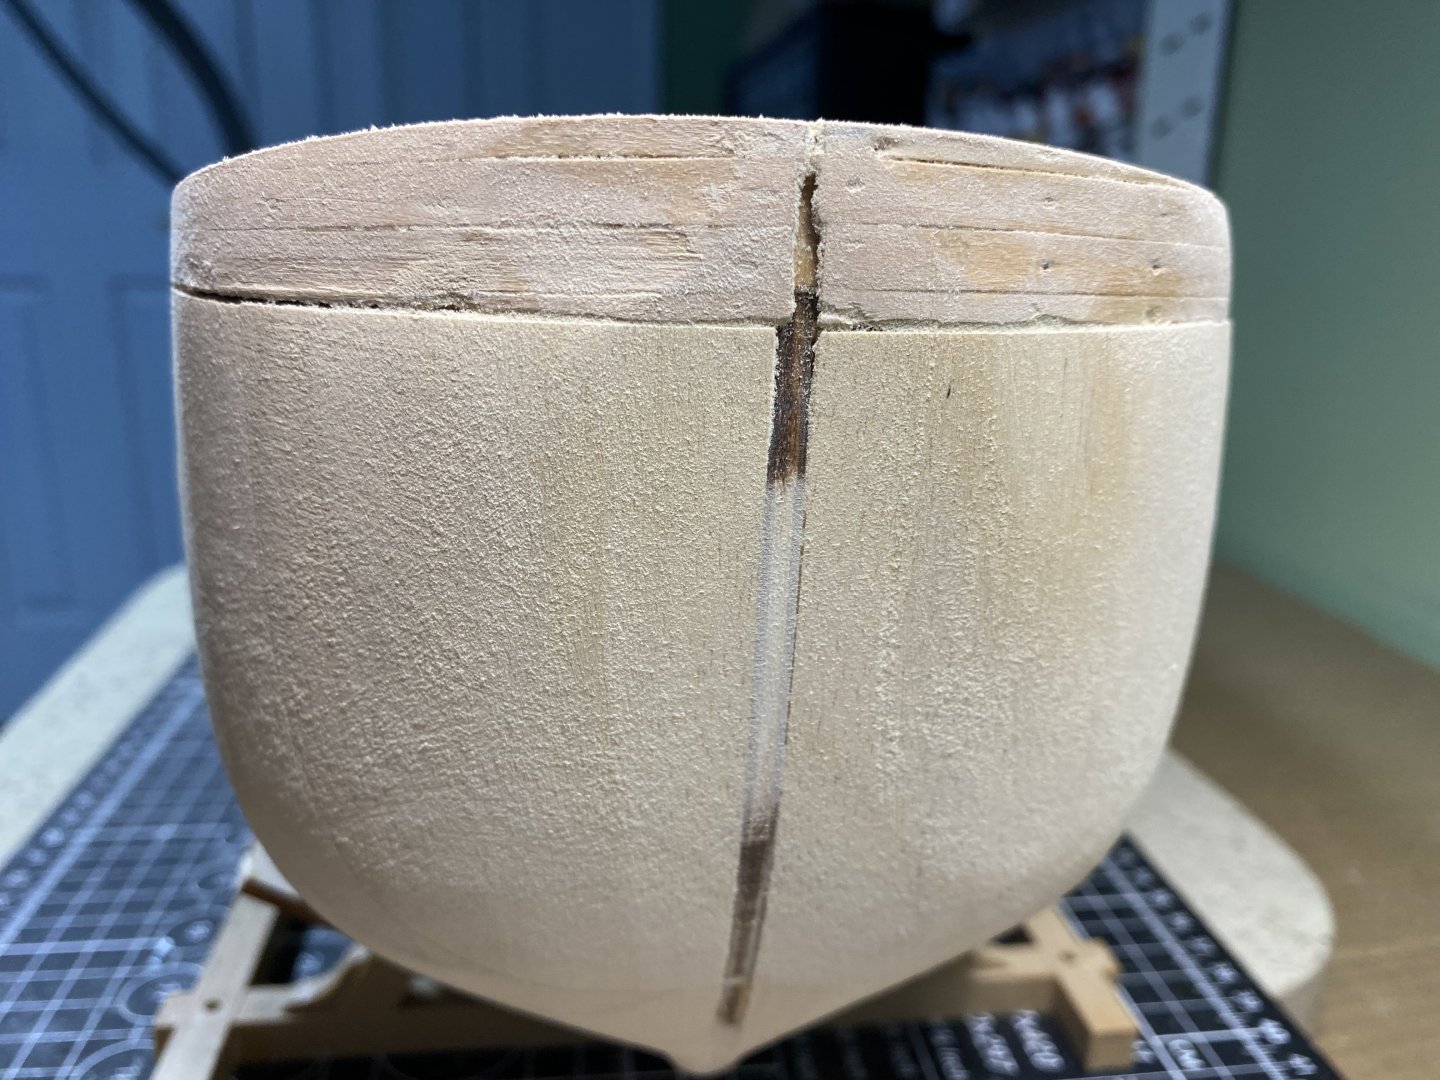
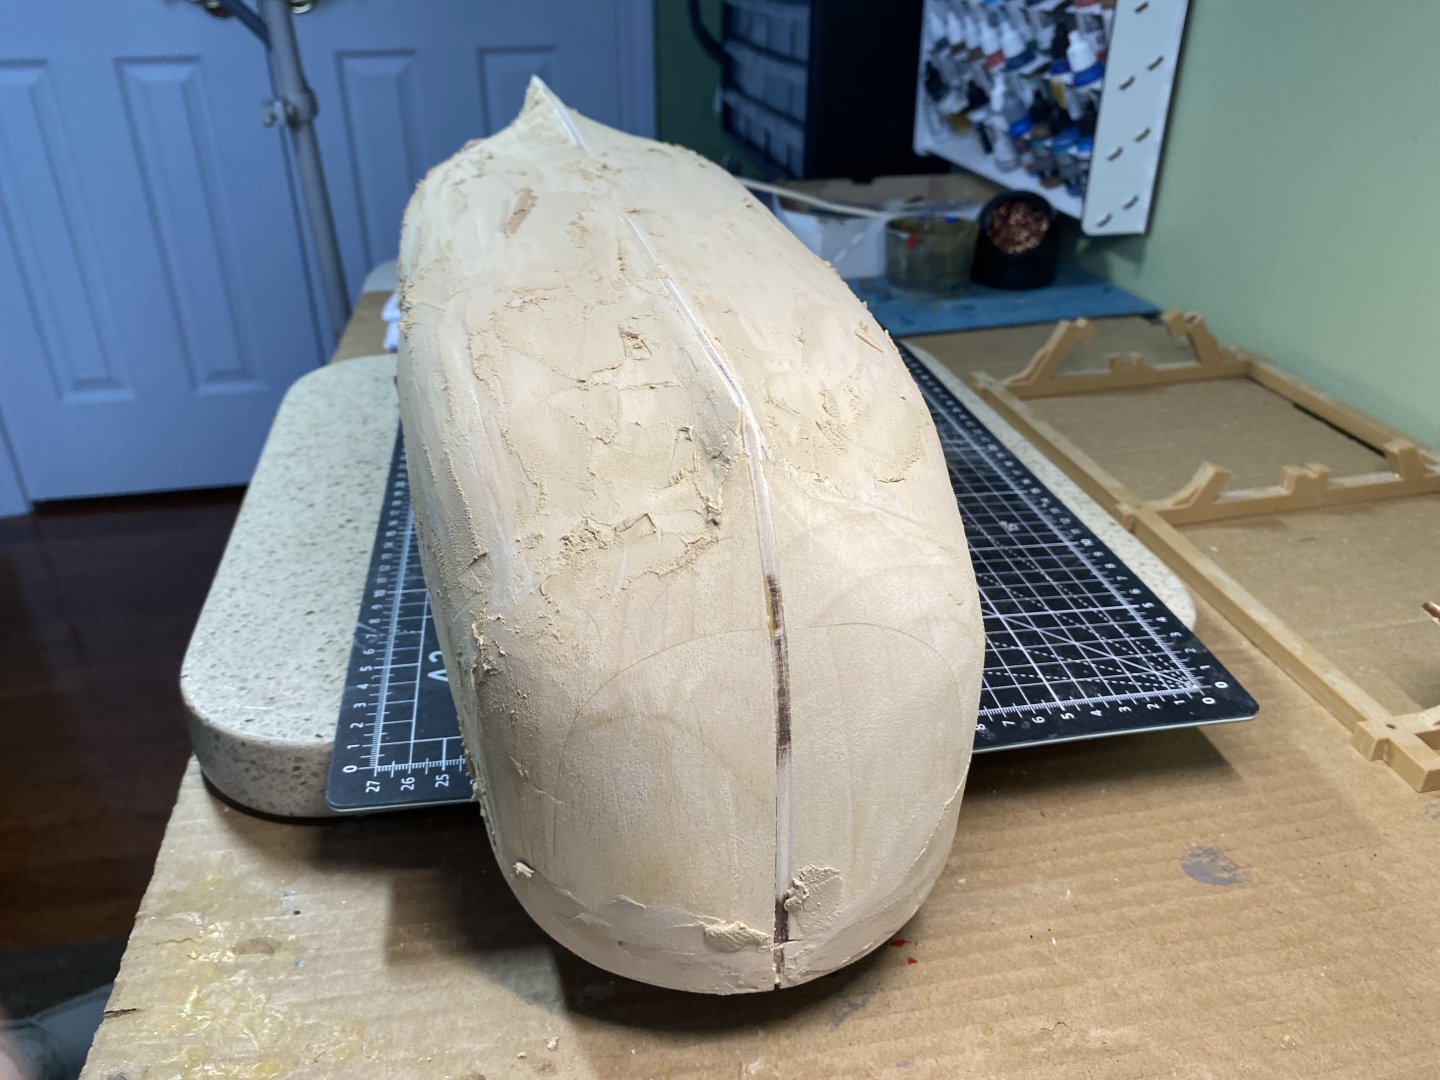
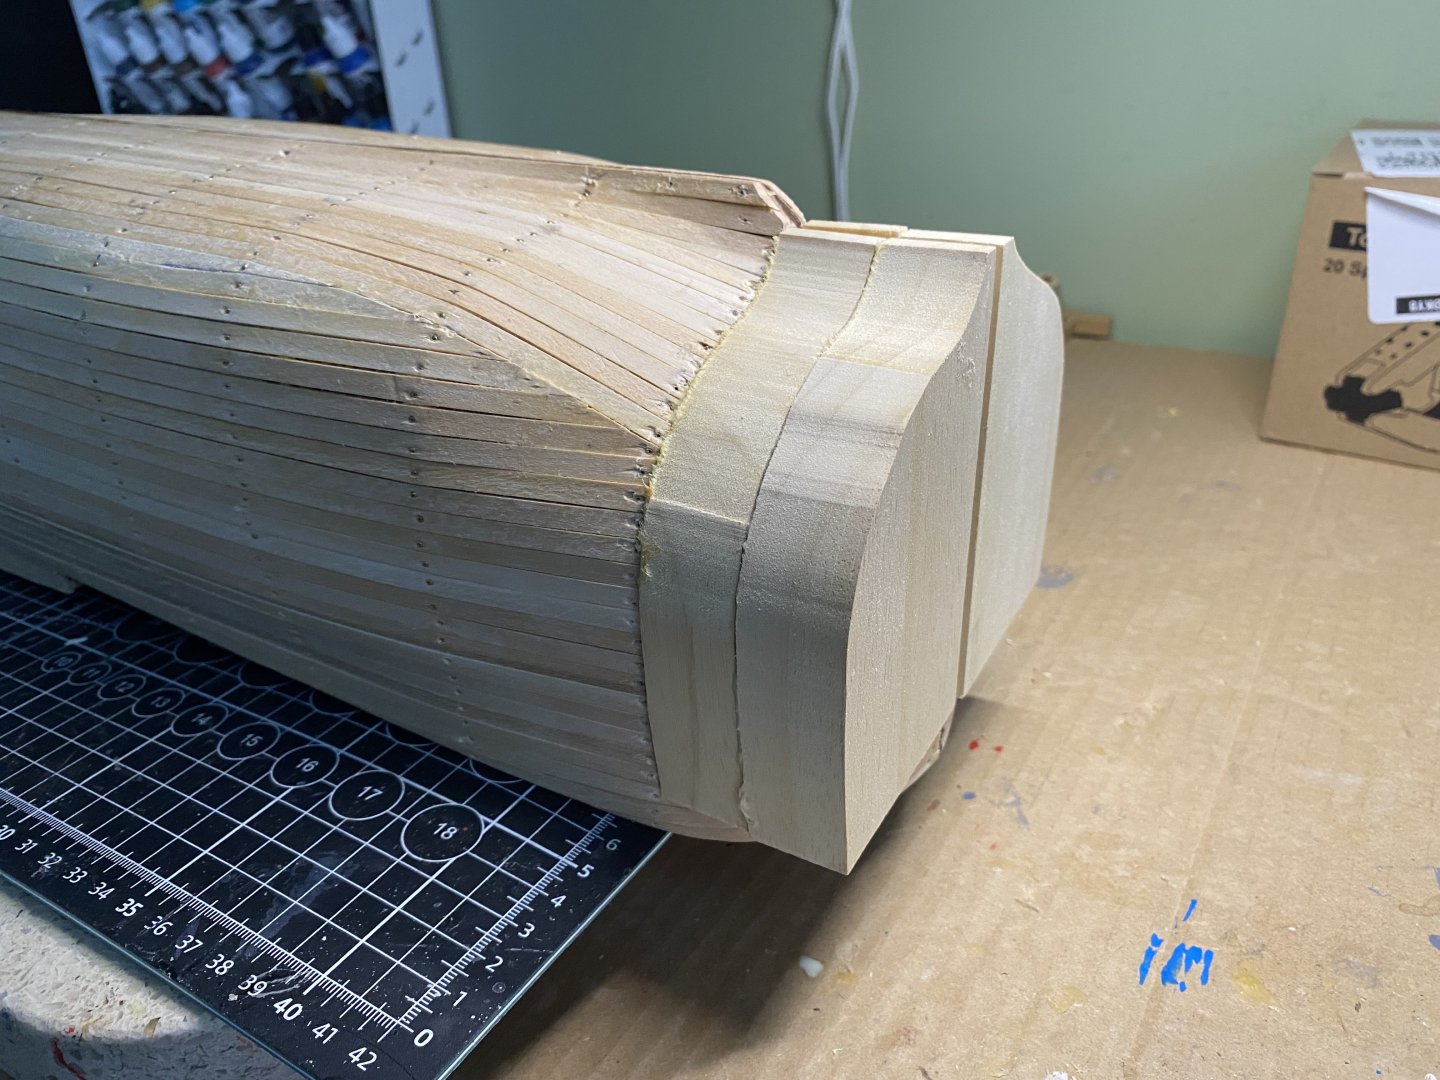
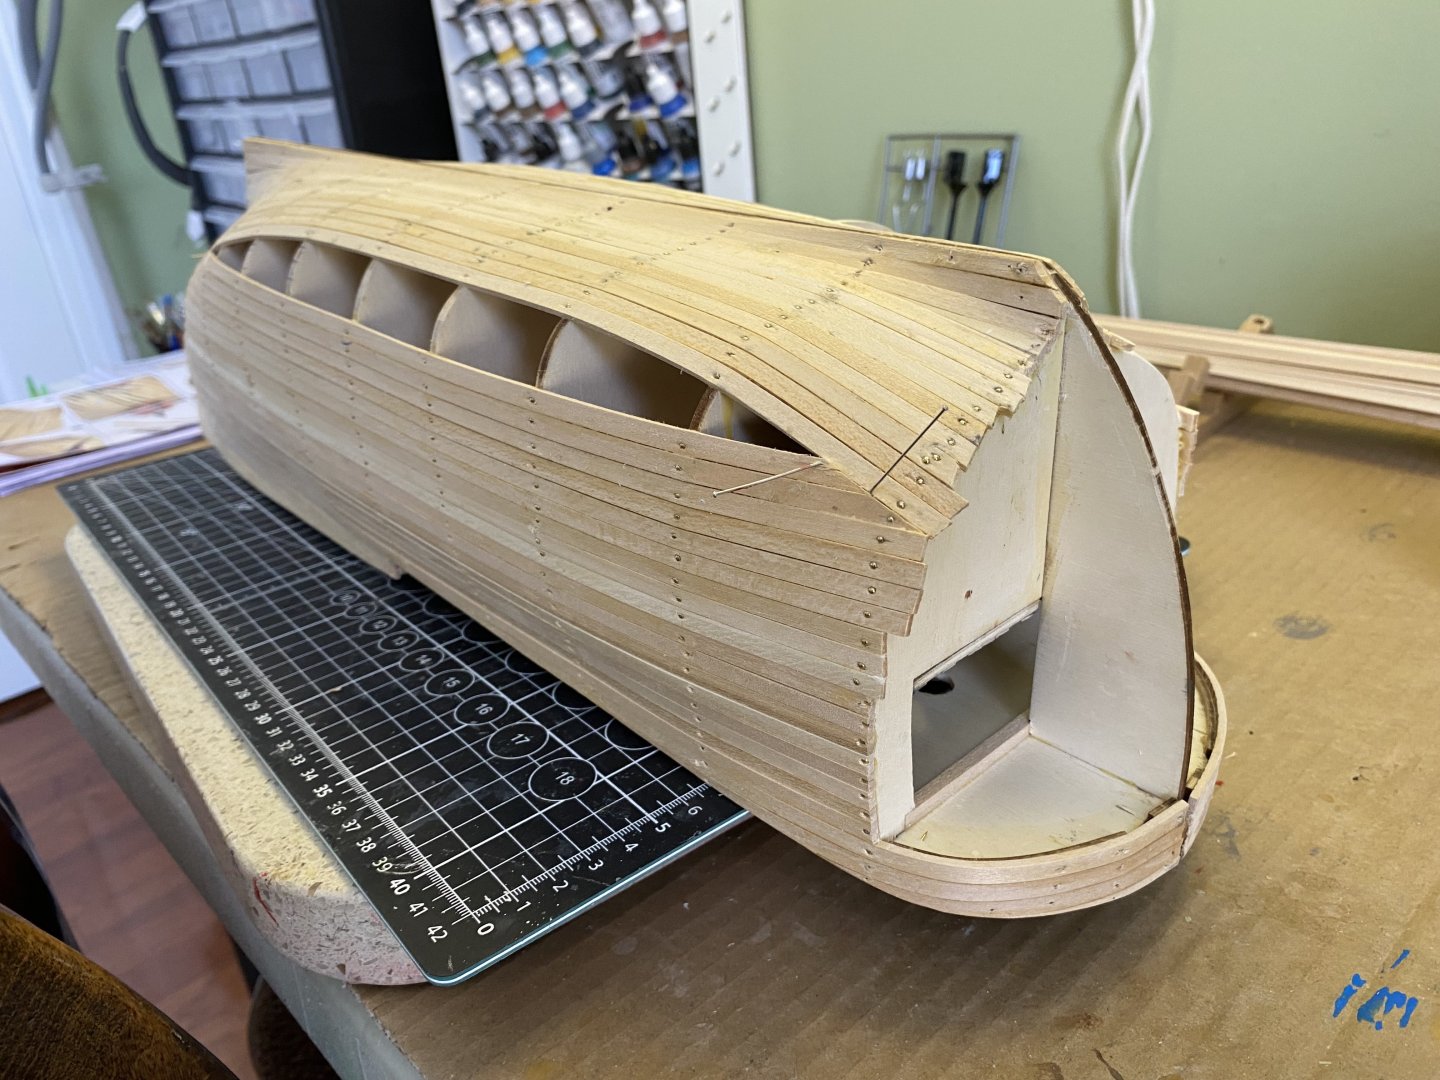
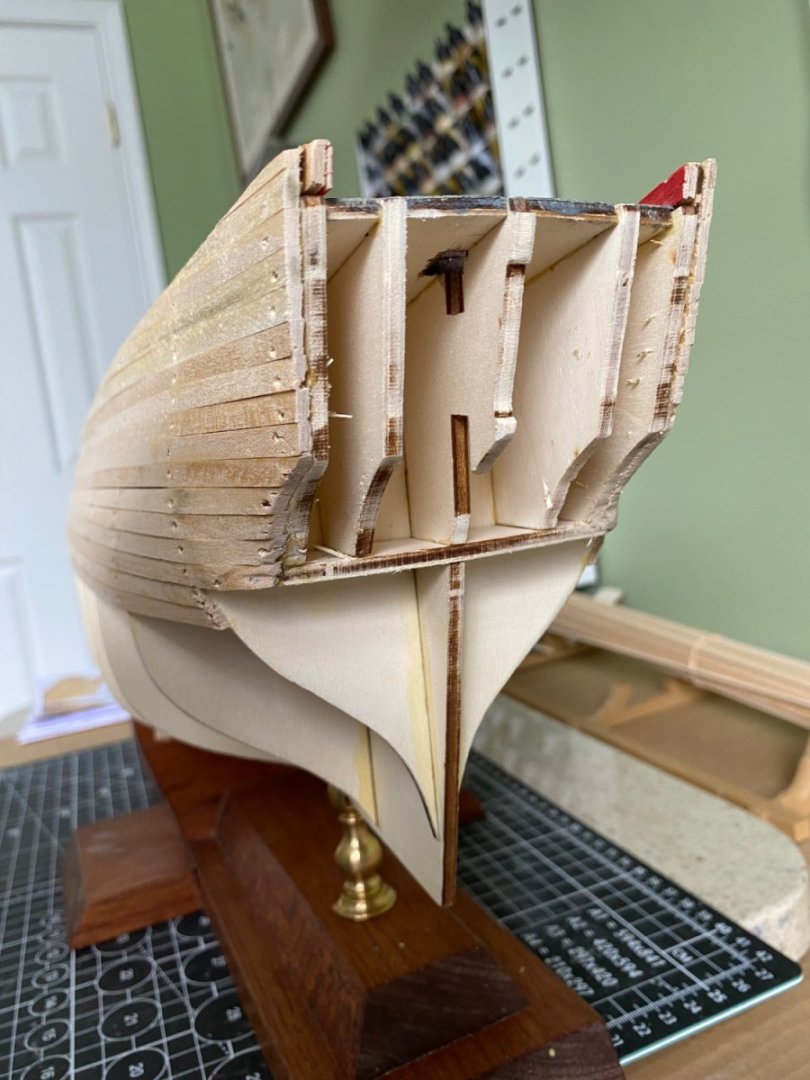
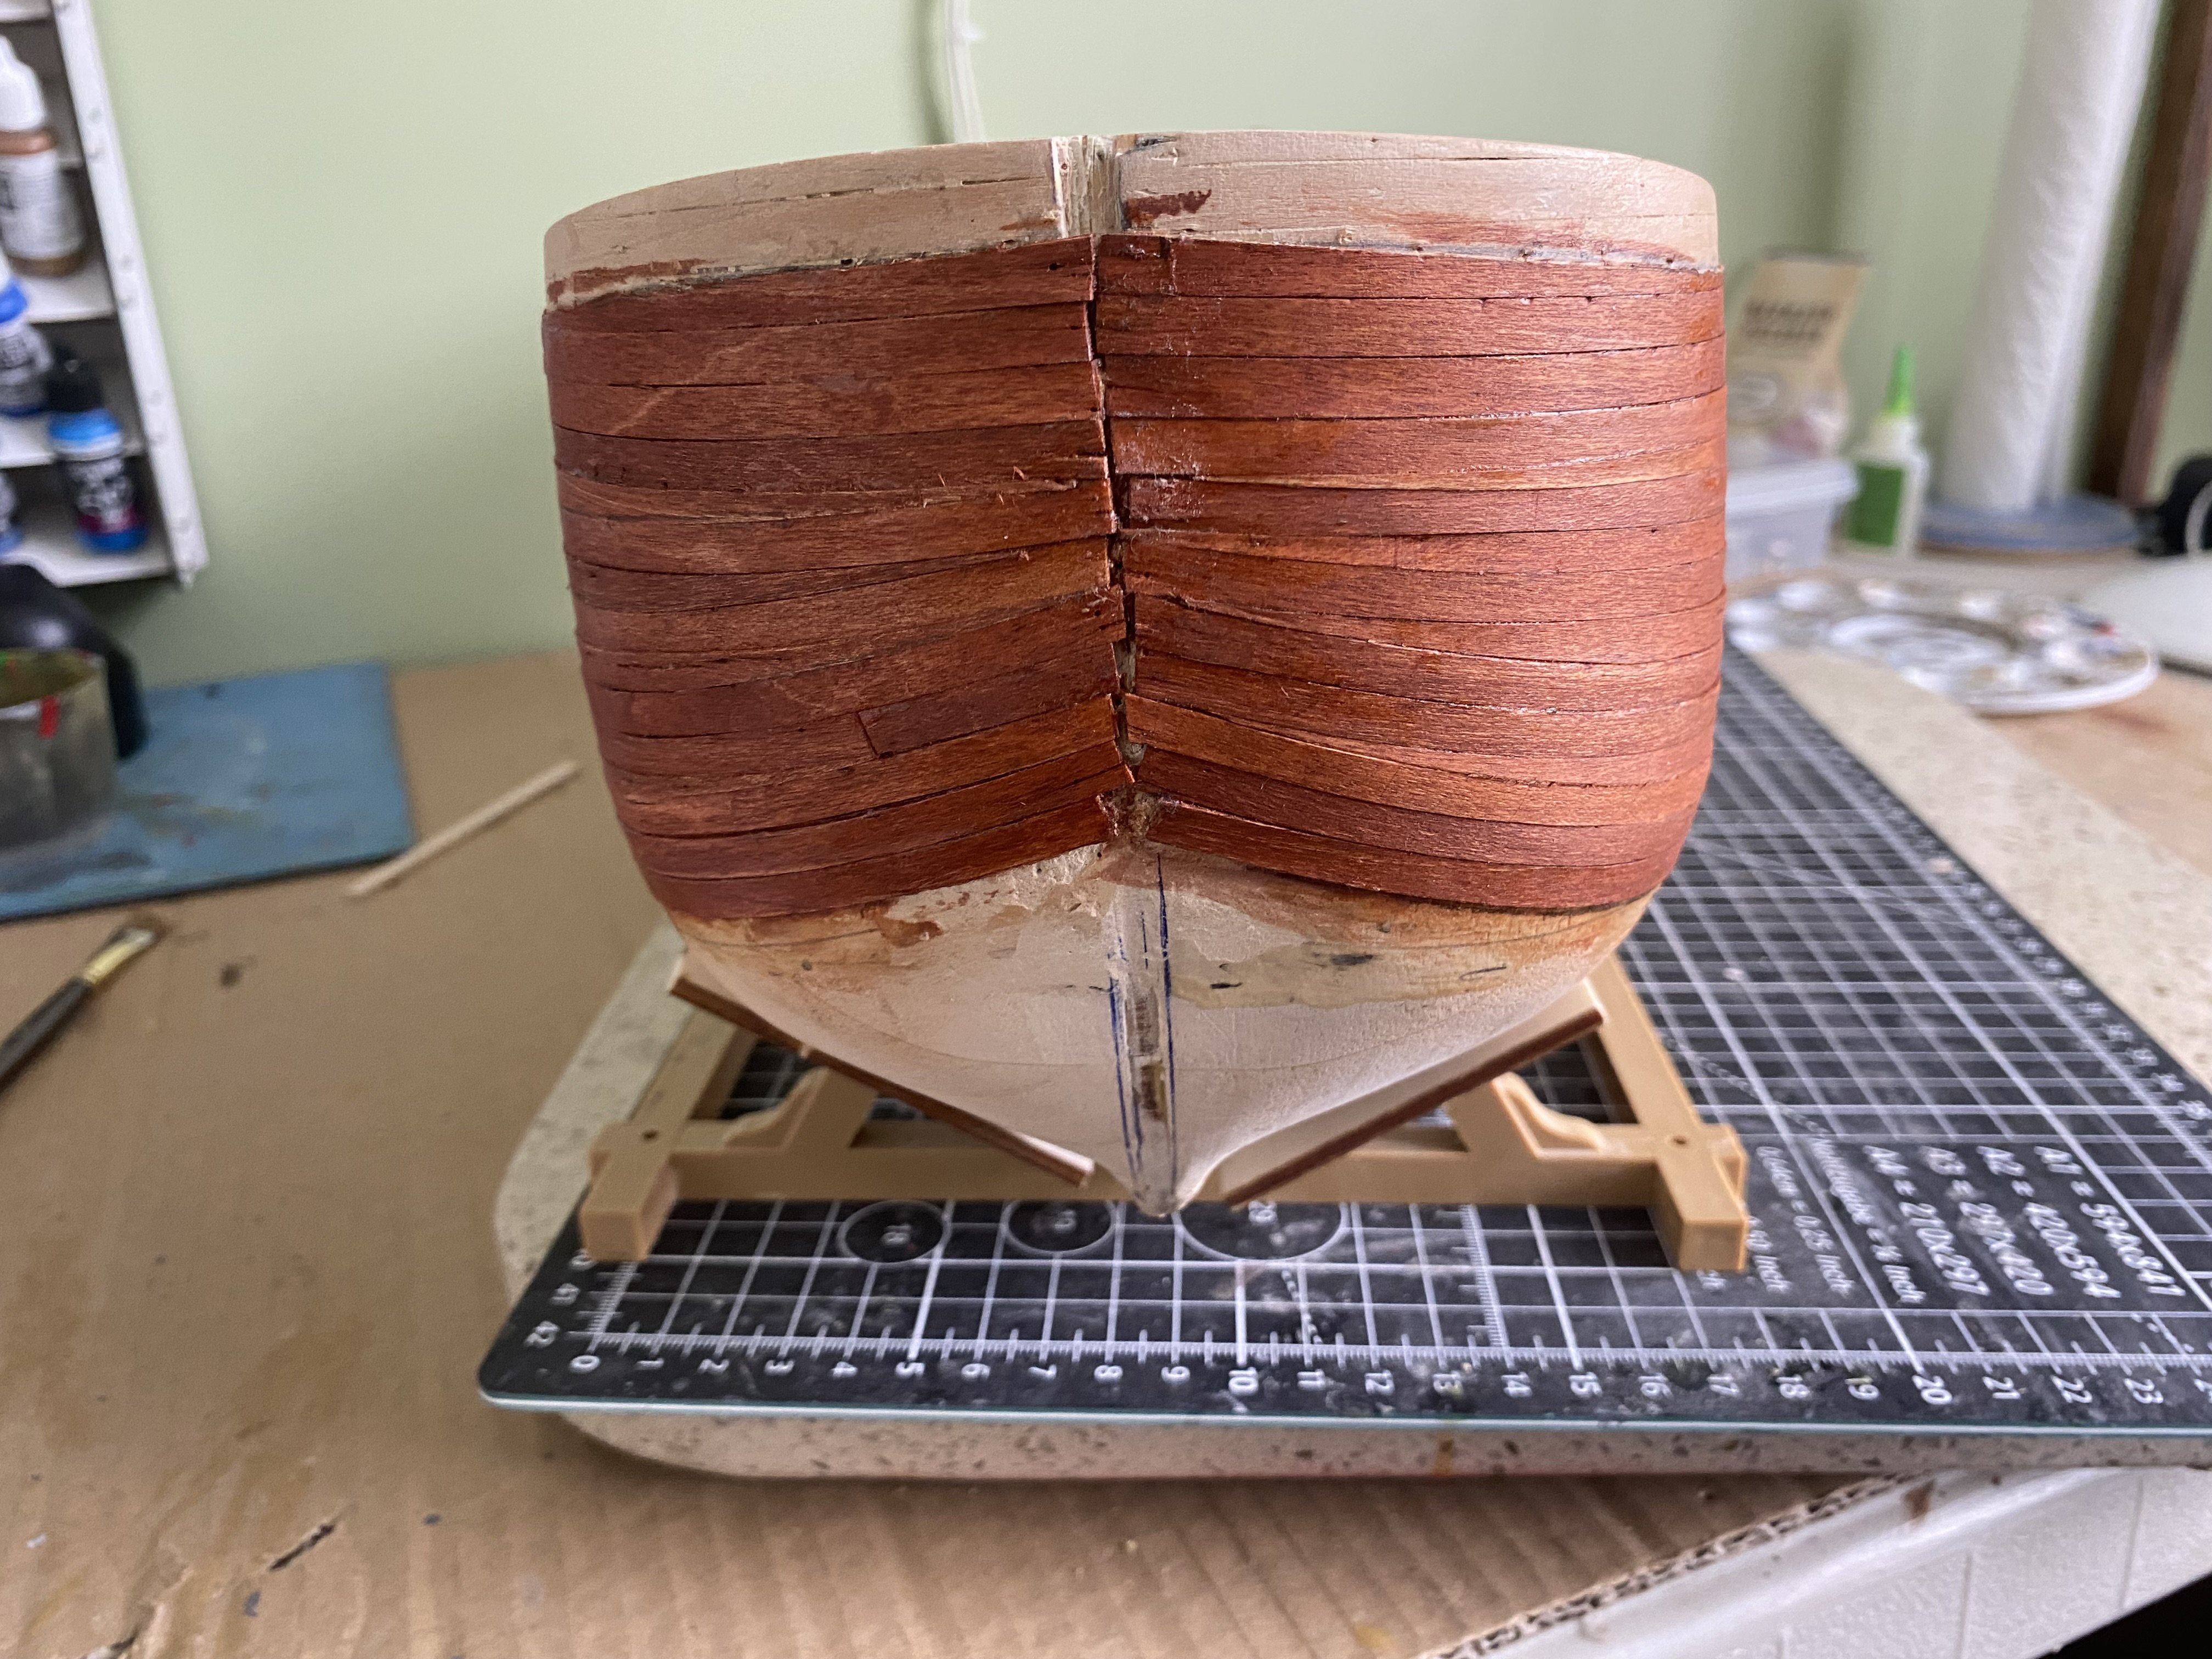
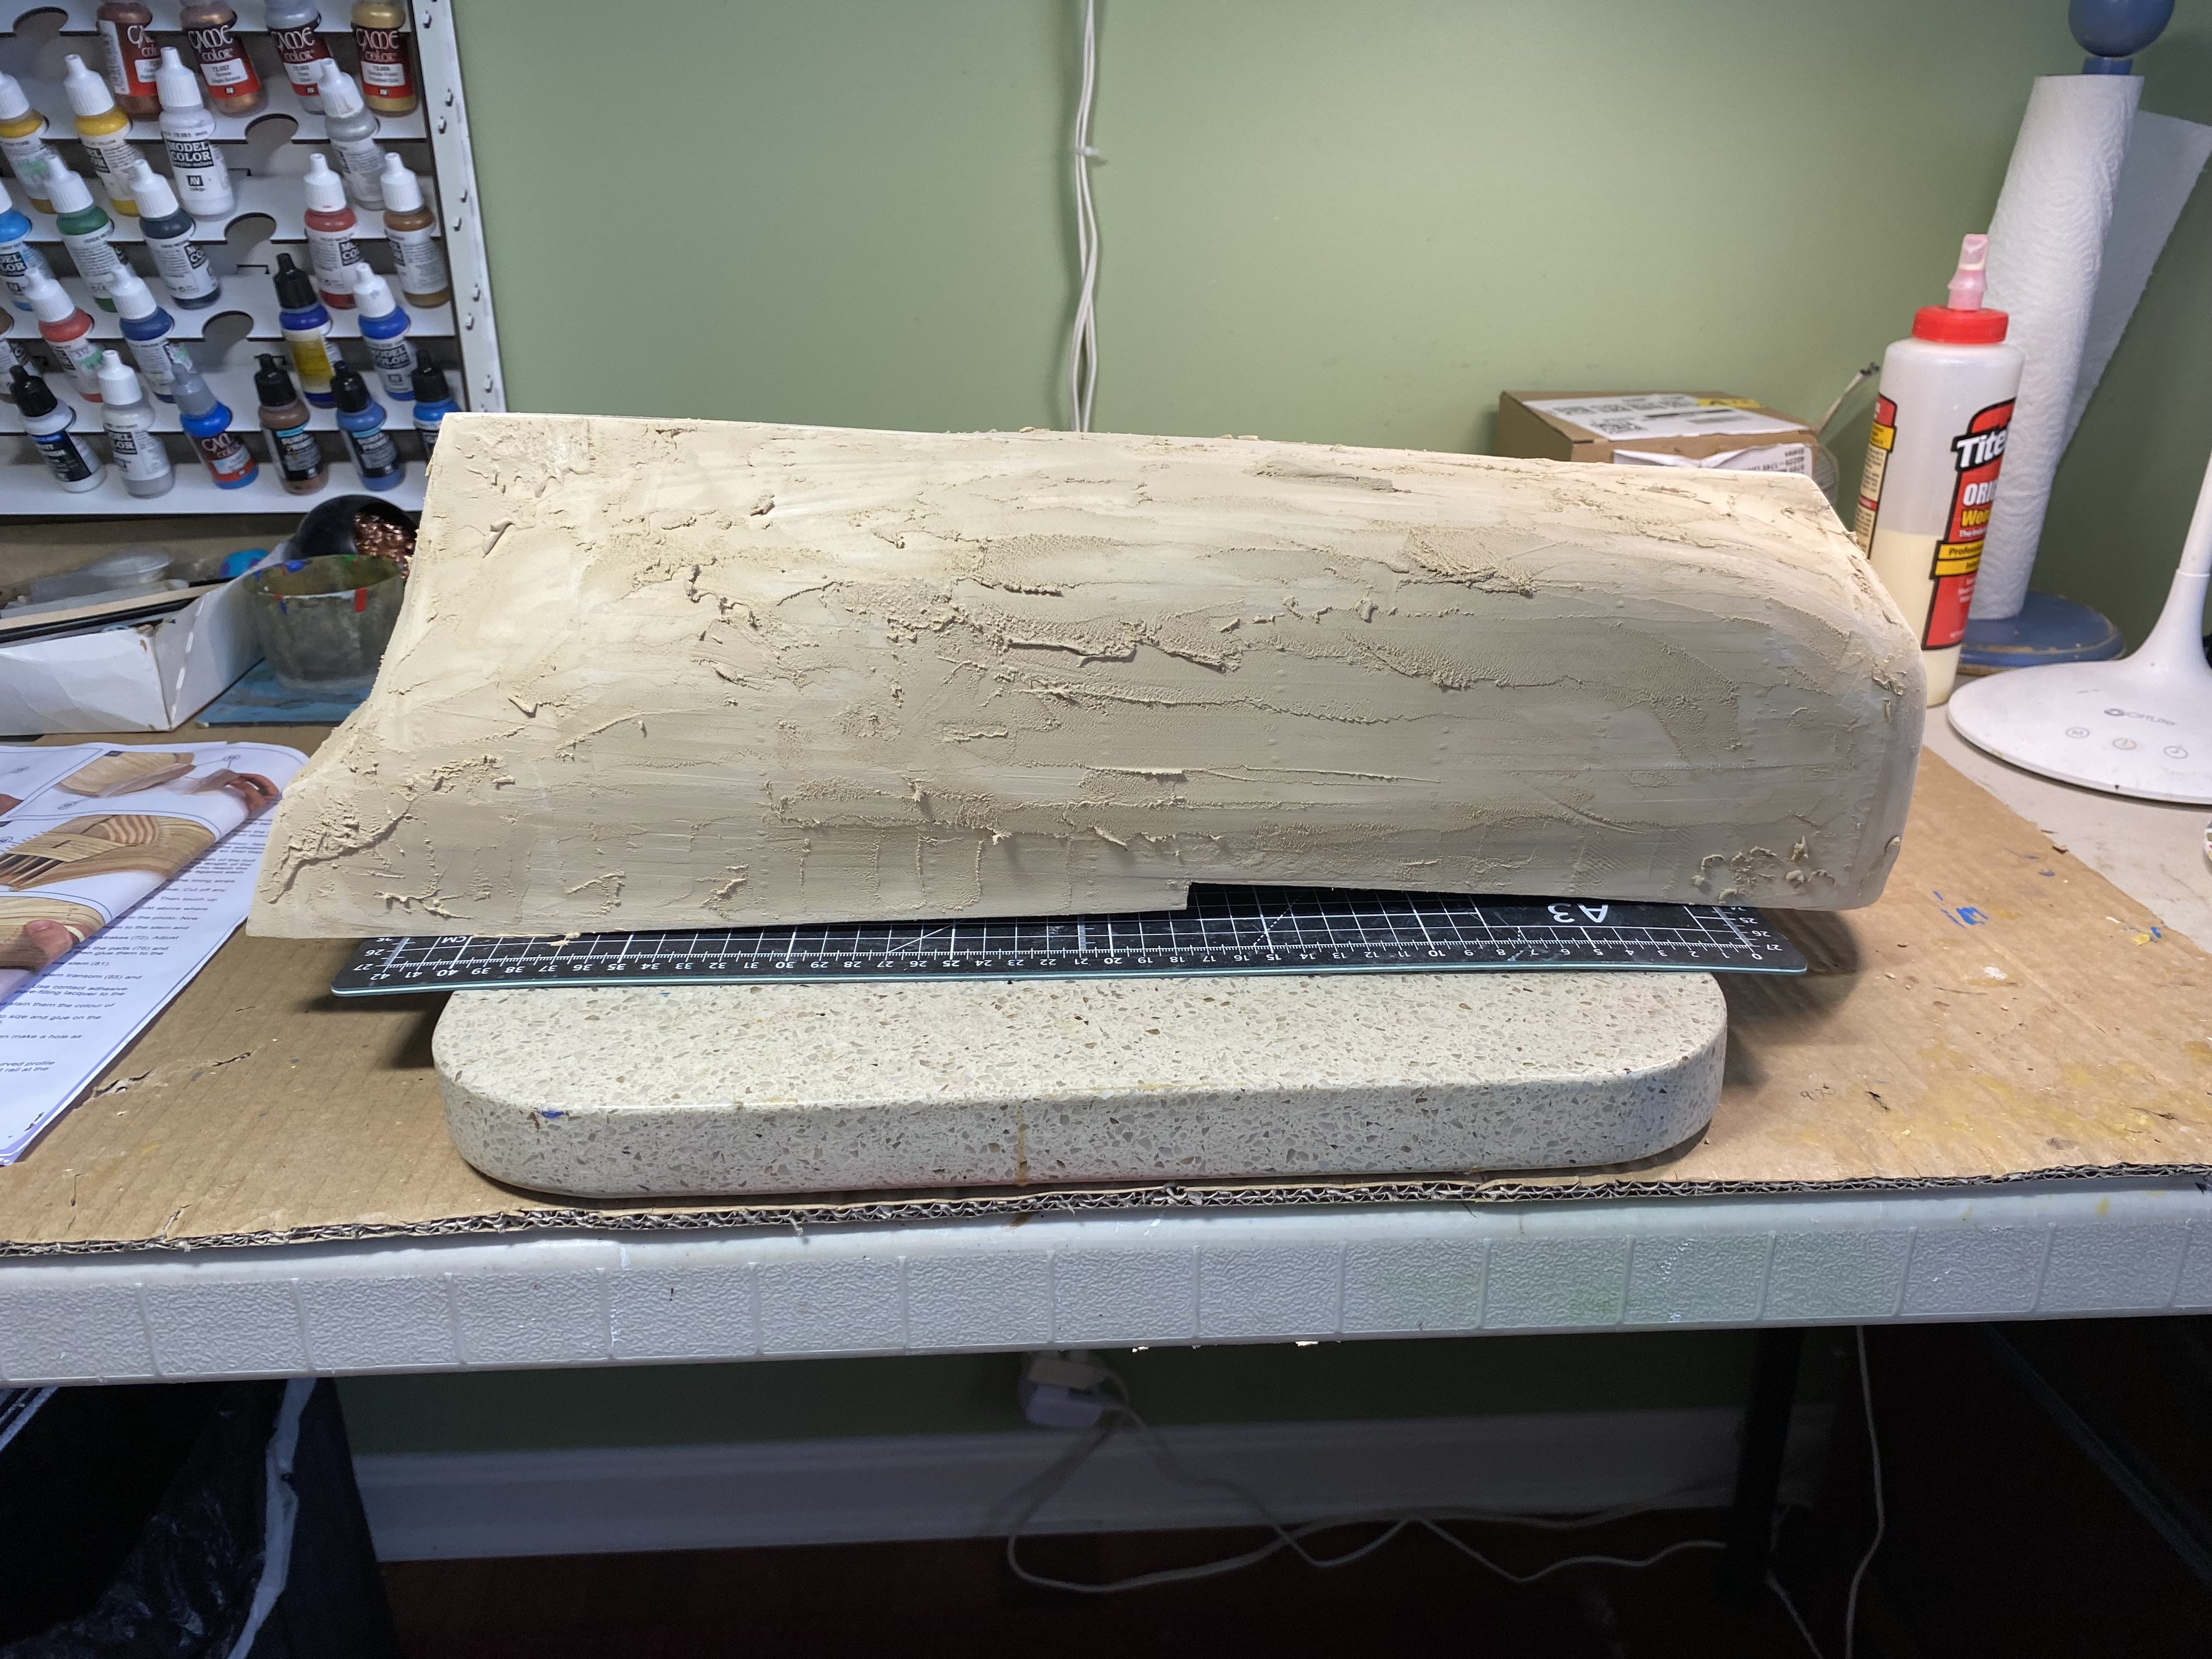
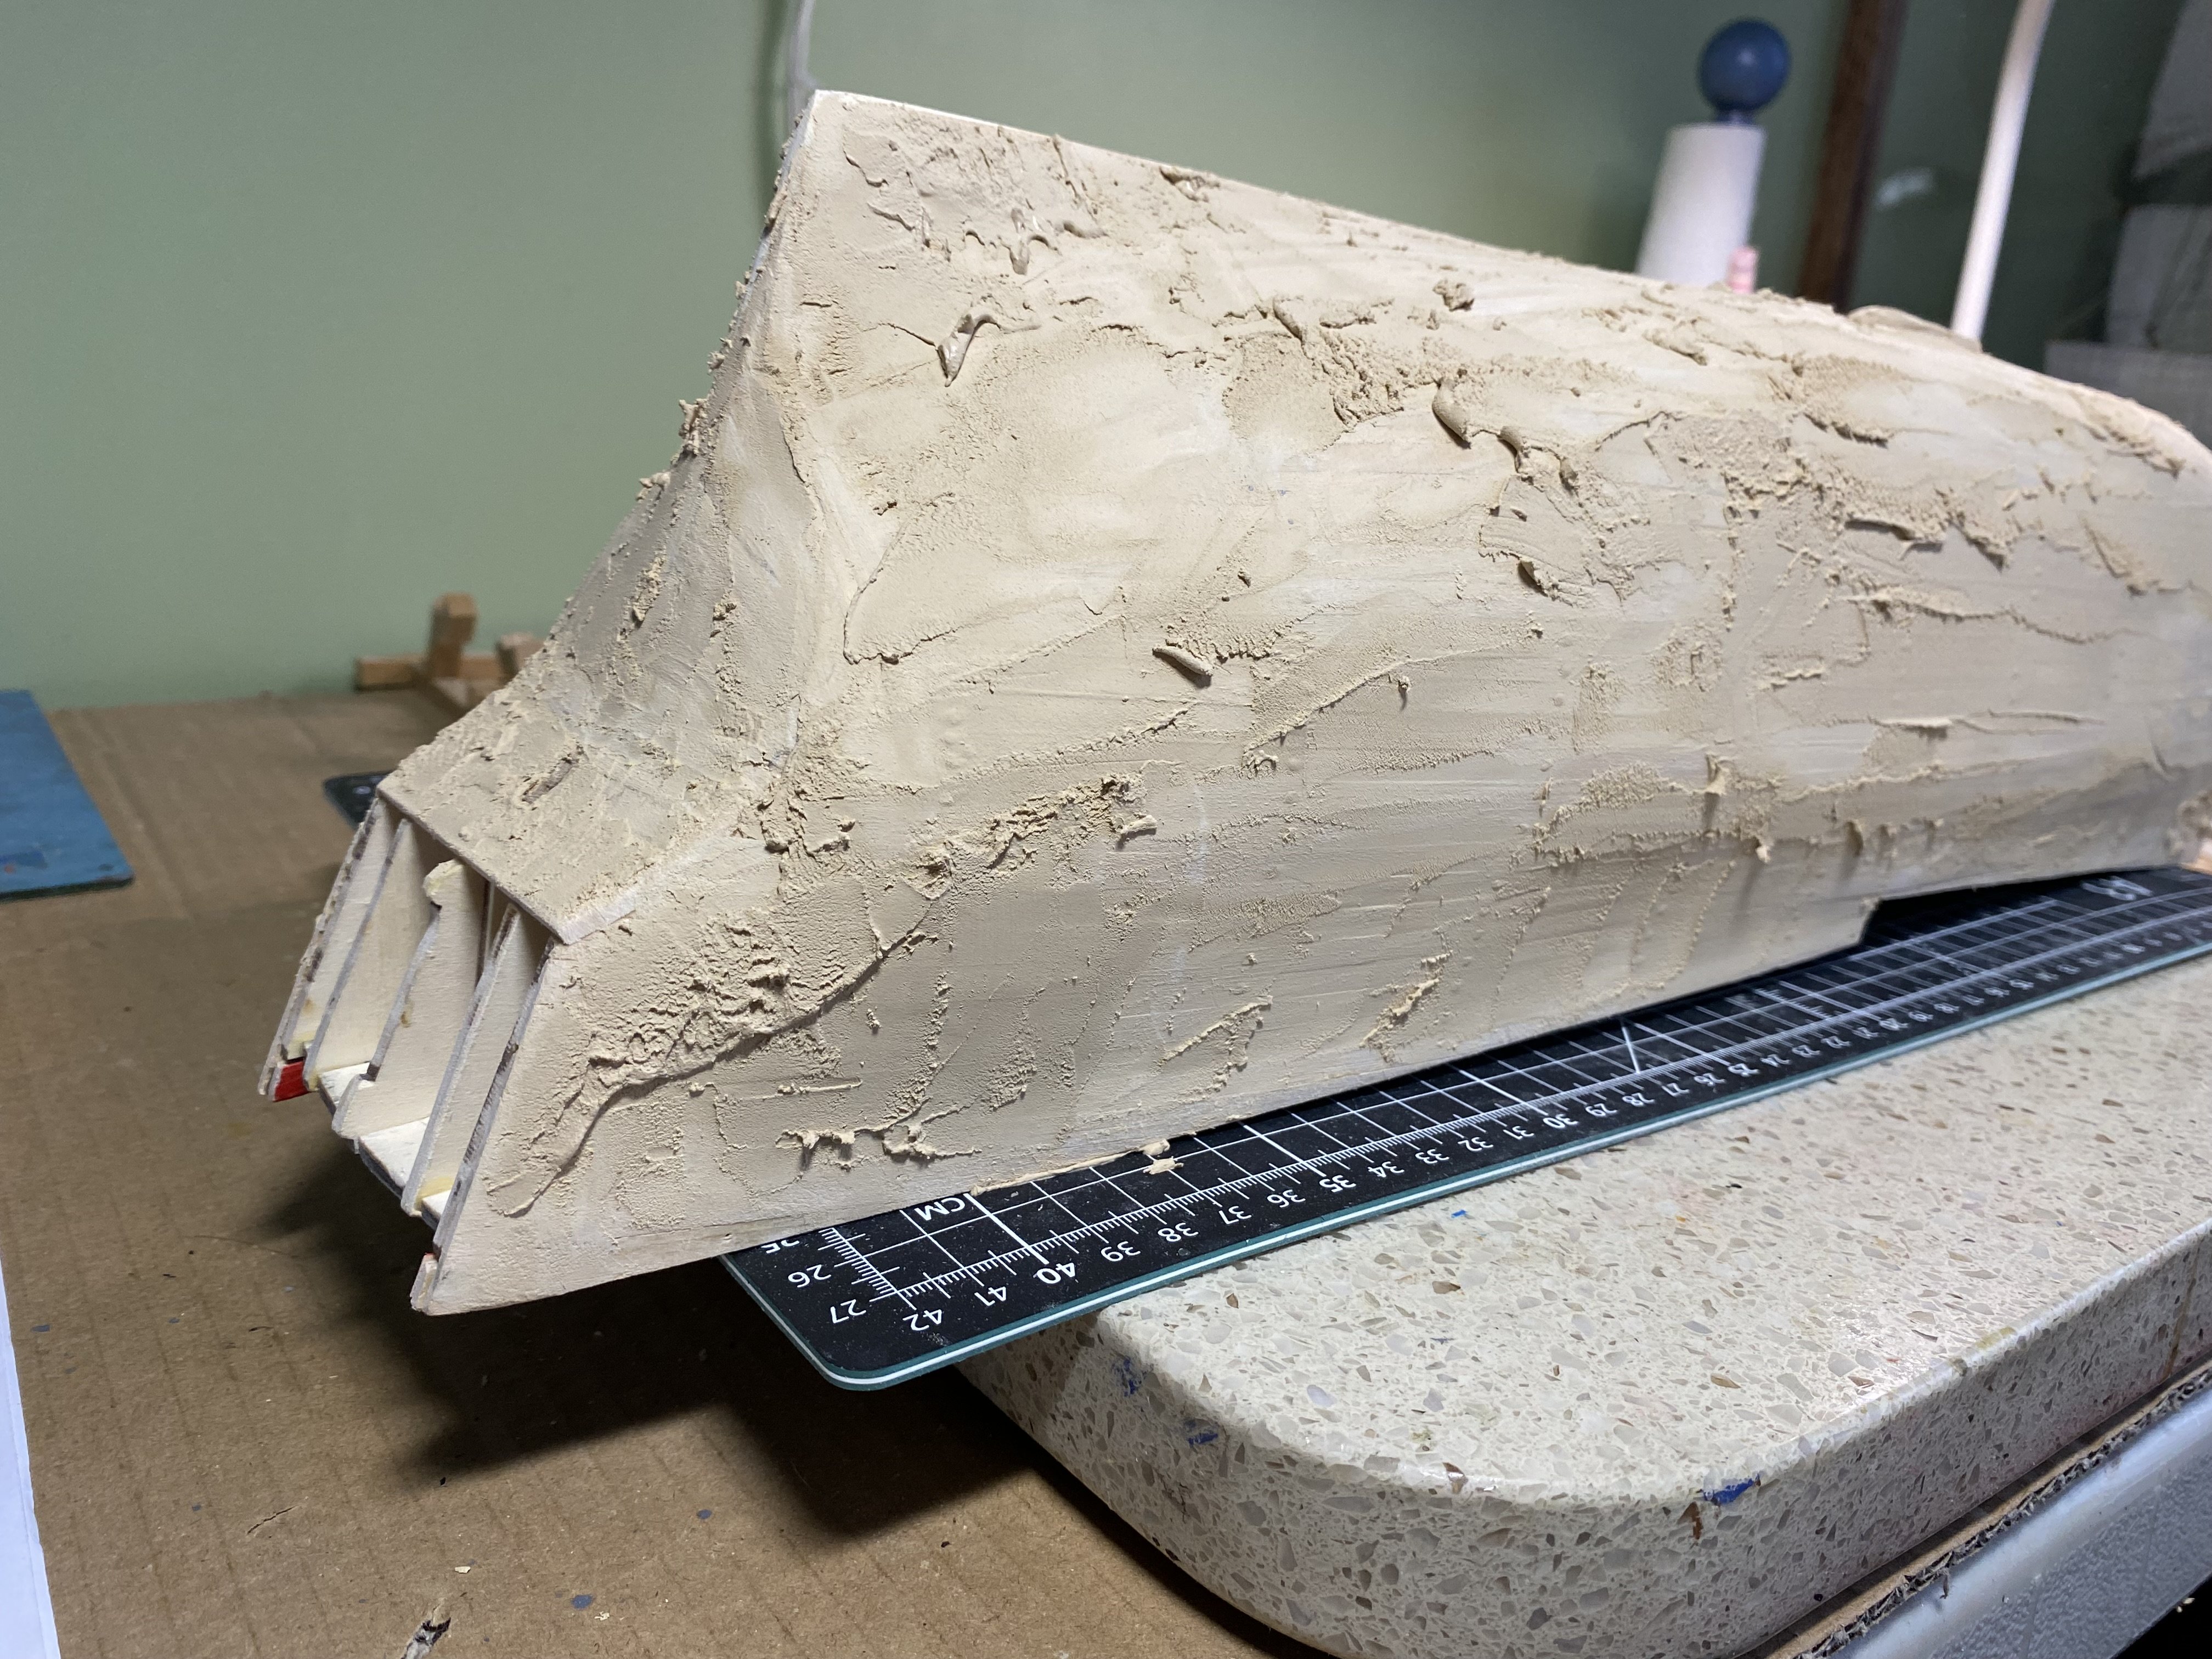
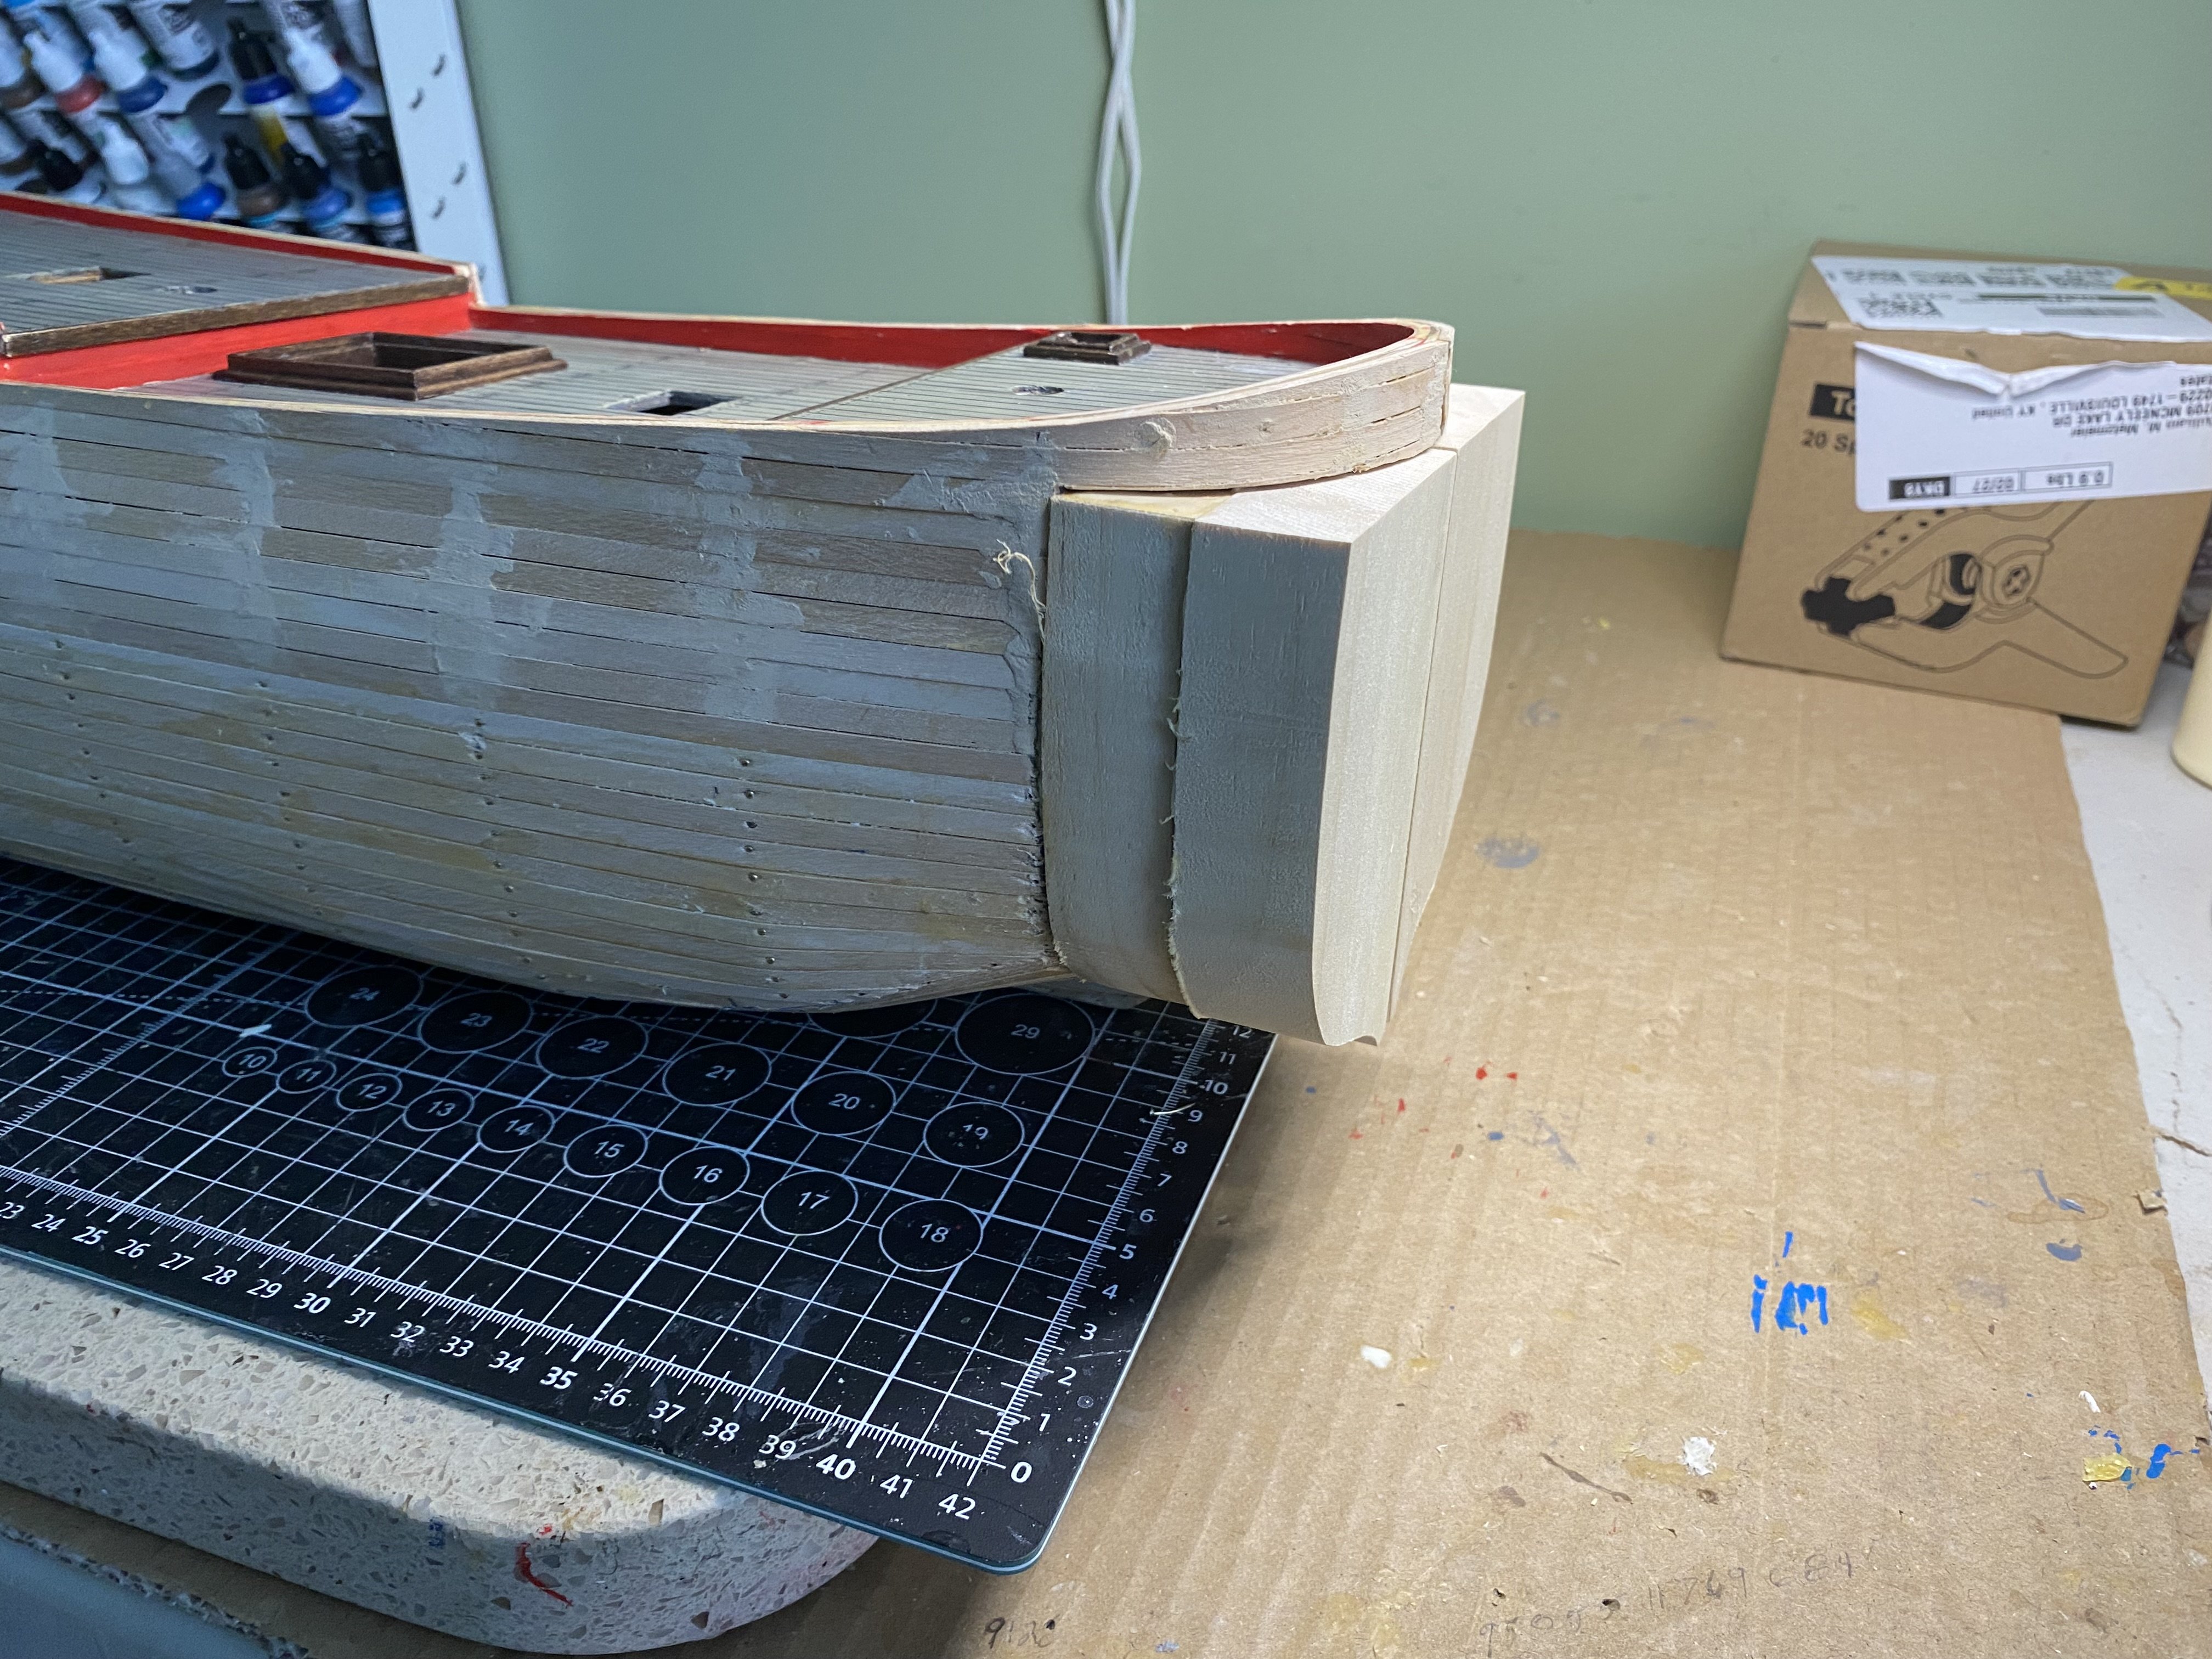
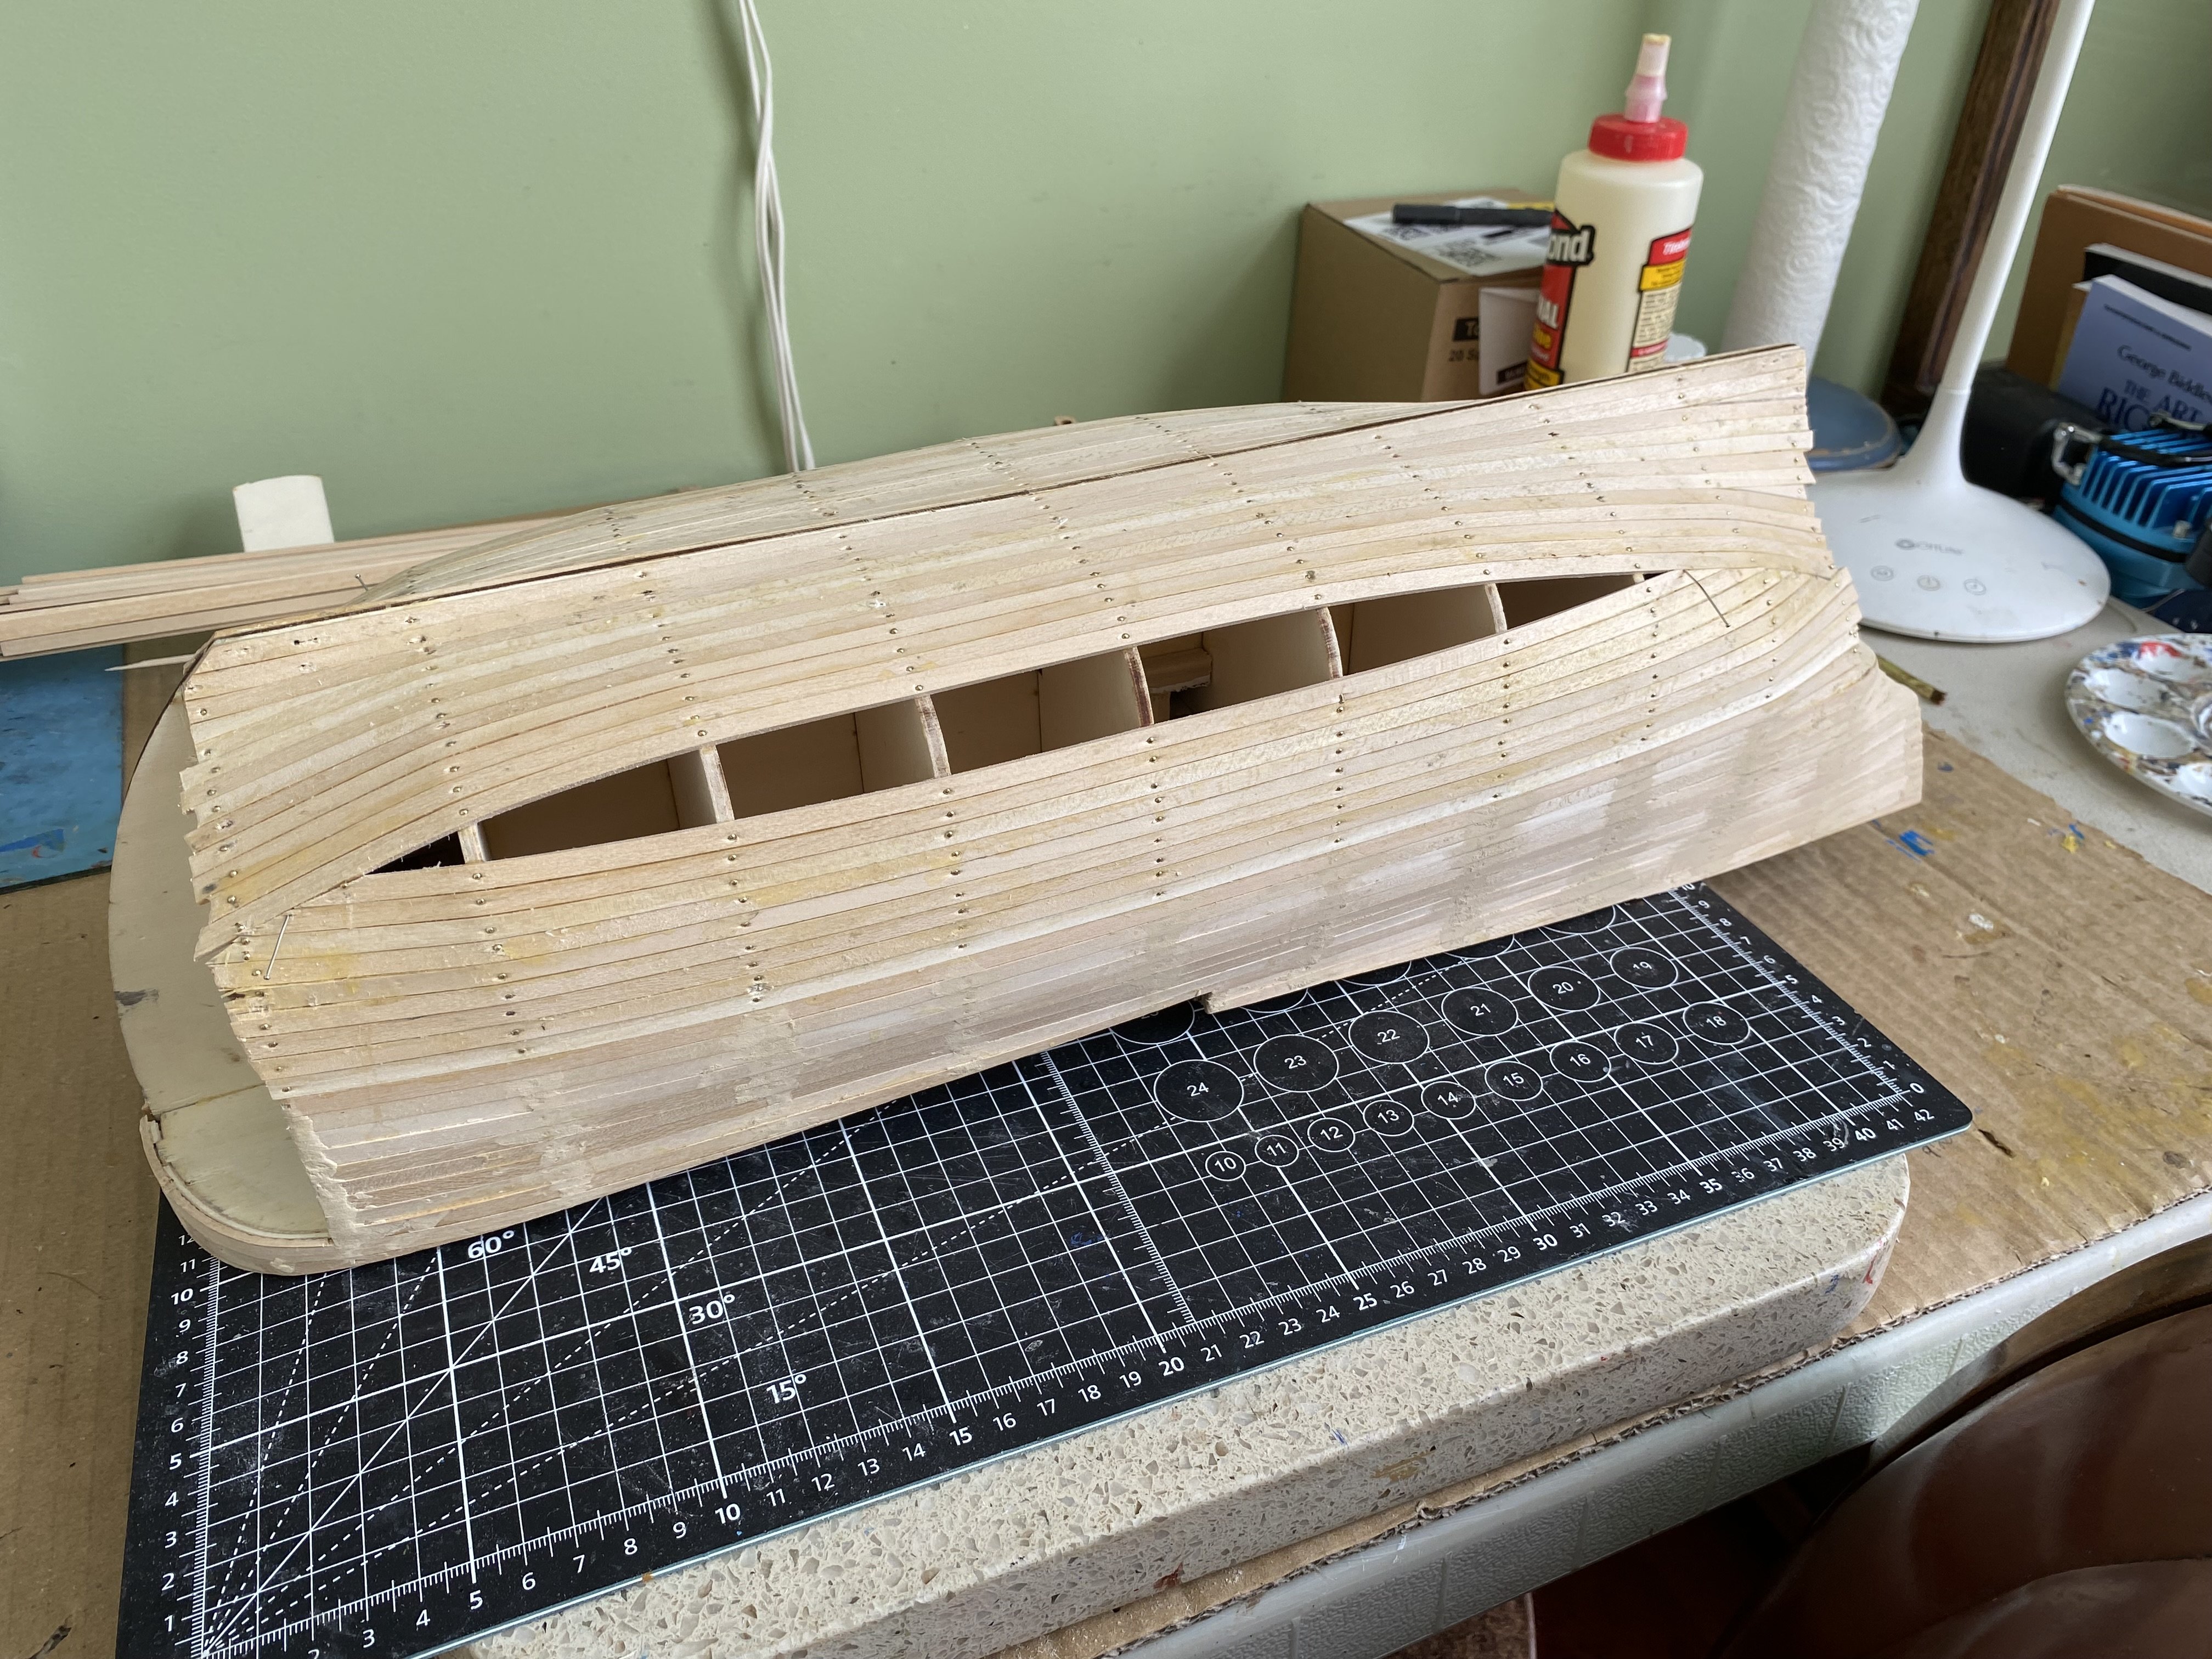
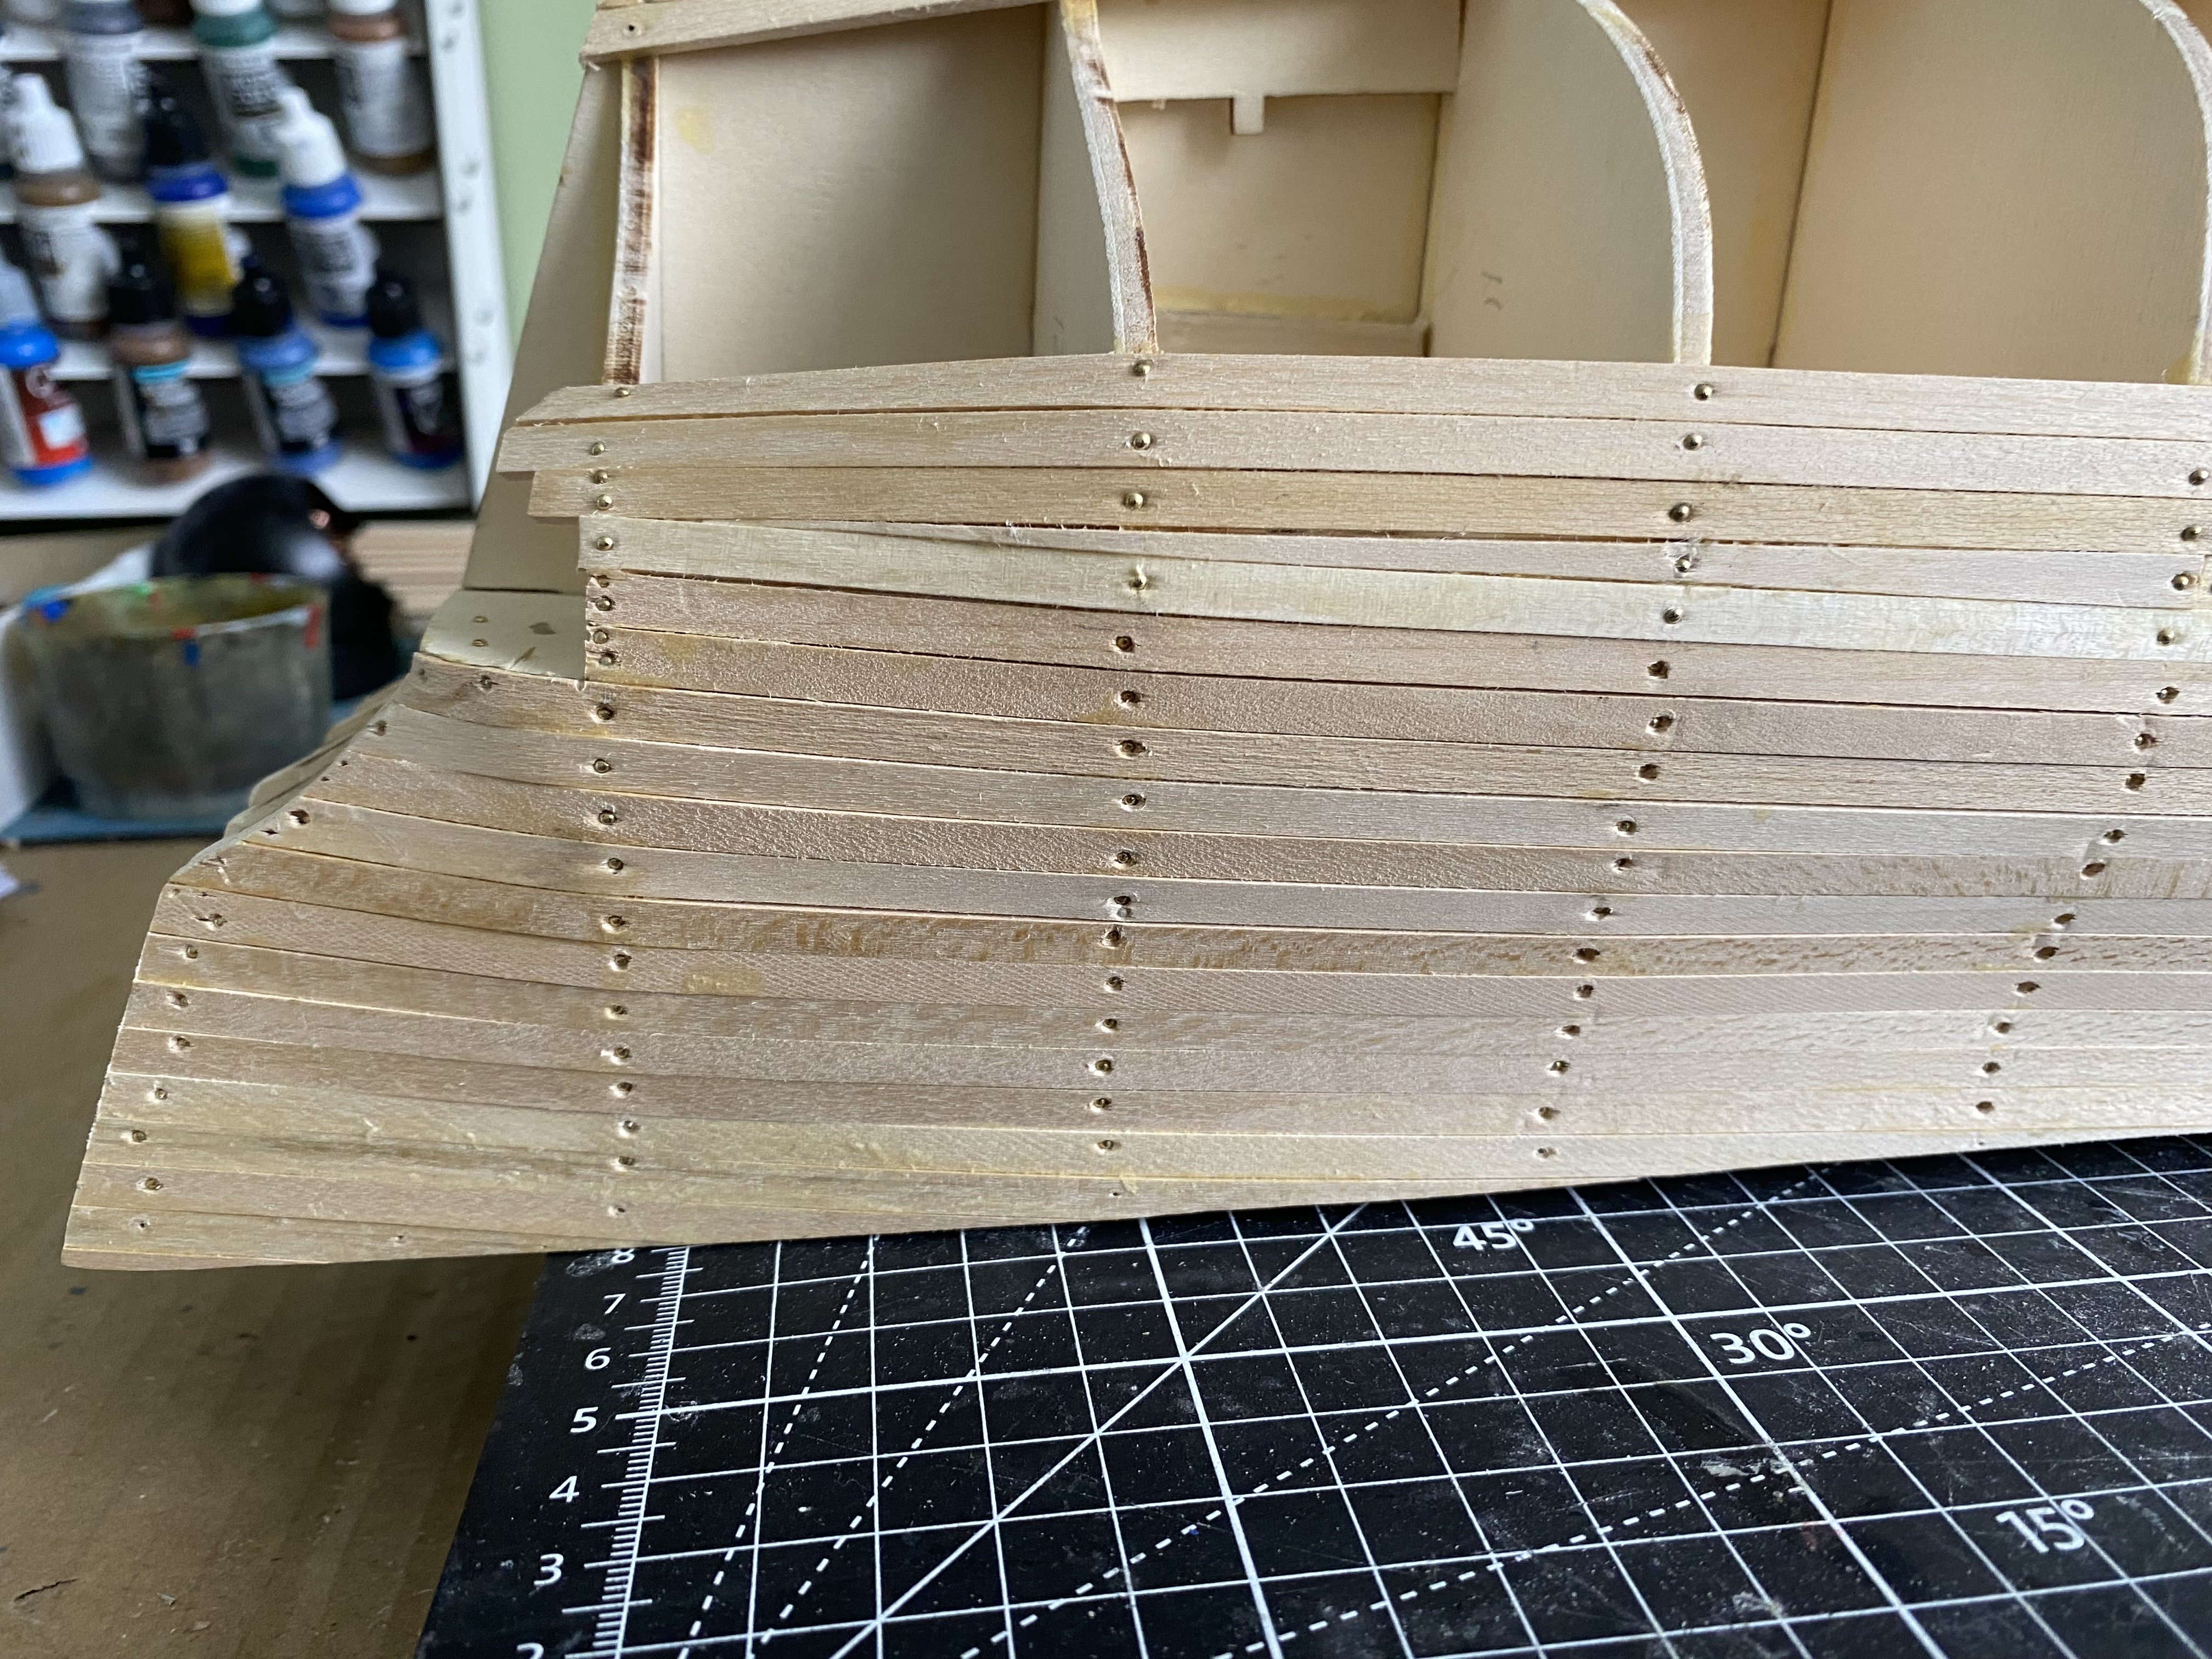
Bow and stern reinforcements sanded and shaped to make a smooth transition from the sides of the ship. Also sanded the planking to achieve a smooth surface keel to bulwarks. Let me advise anyone getting ready to do this to work outside or in a room you don’t care to get dusty. Wow sanding the two ends left a lot of sanding dust all over my workshop! Spent a little time with my ShopVac after I was finished. I then took a piece of the veneer strip and slid it over the two different reinforcements checking for any high or low spots that need some extra sanding. Once I was satisfied with the shape I coated the entire hull with wood filler putty to fill the nail holes and spaces between planks. Tomorrow after the wood filler drys and hardens I will sand the hull again with a fine grit sandpaper to remove the unnecessary dried putty.


-
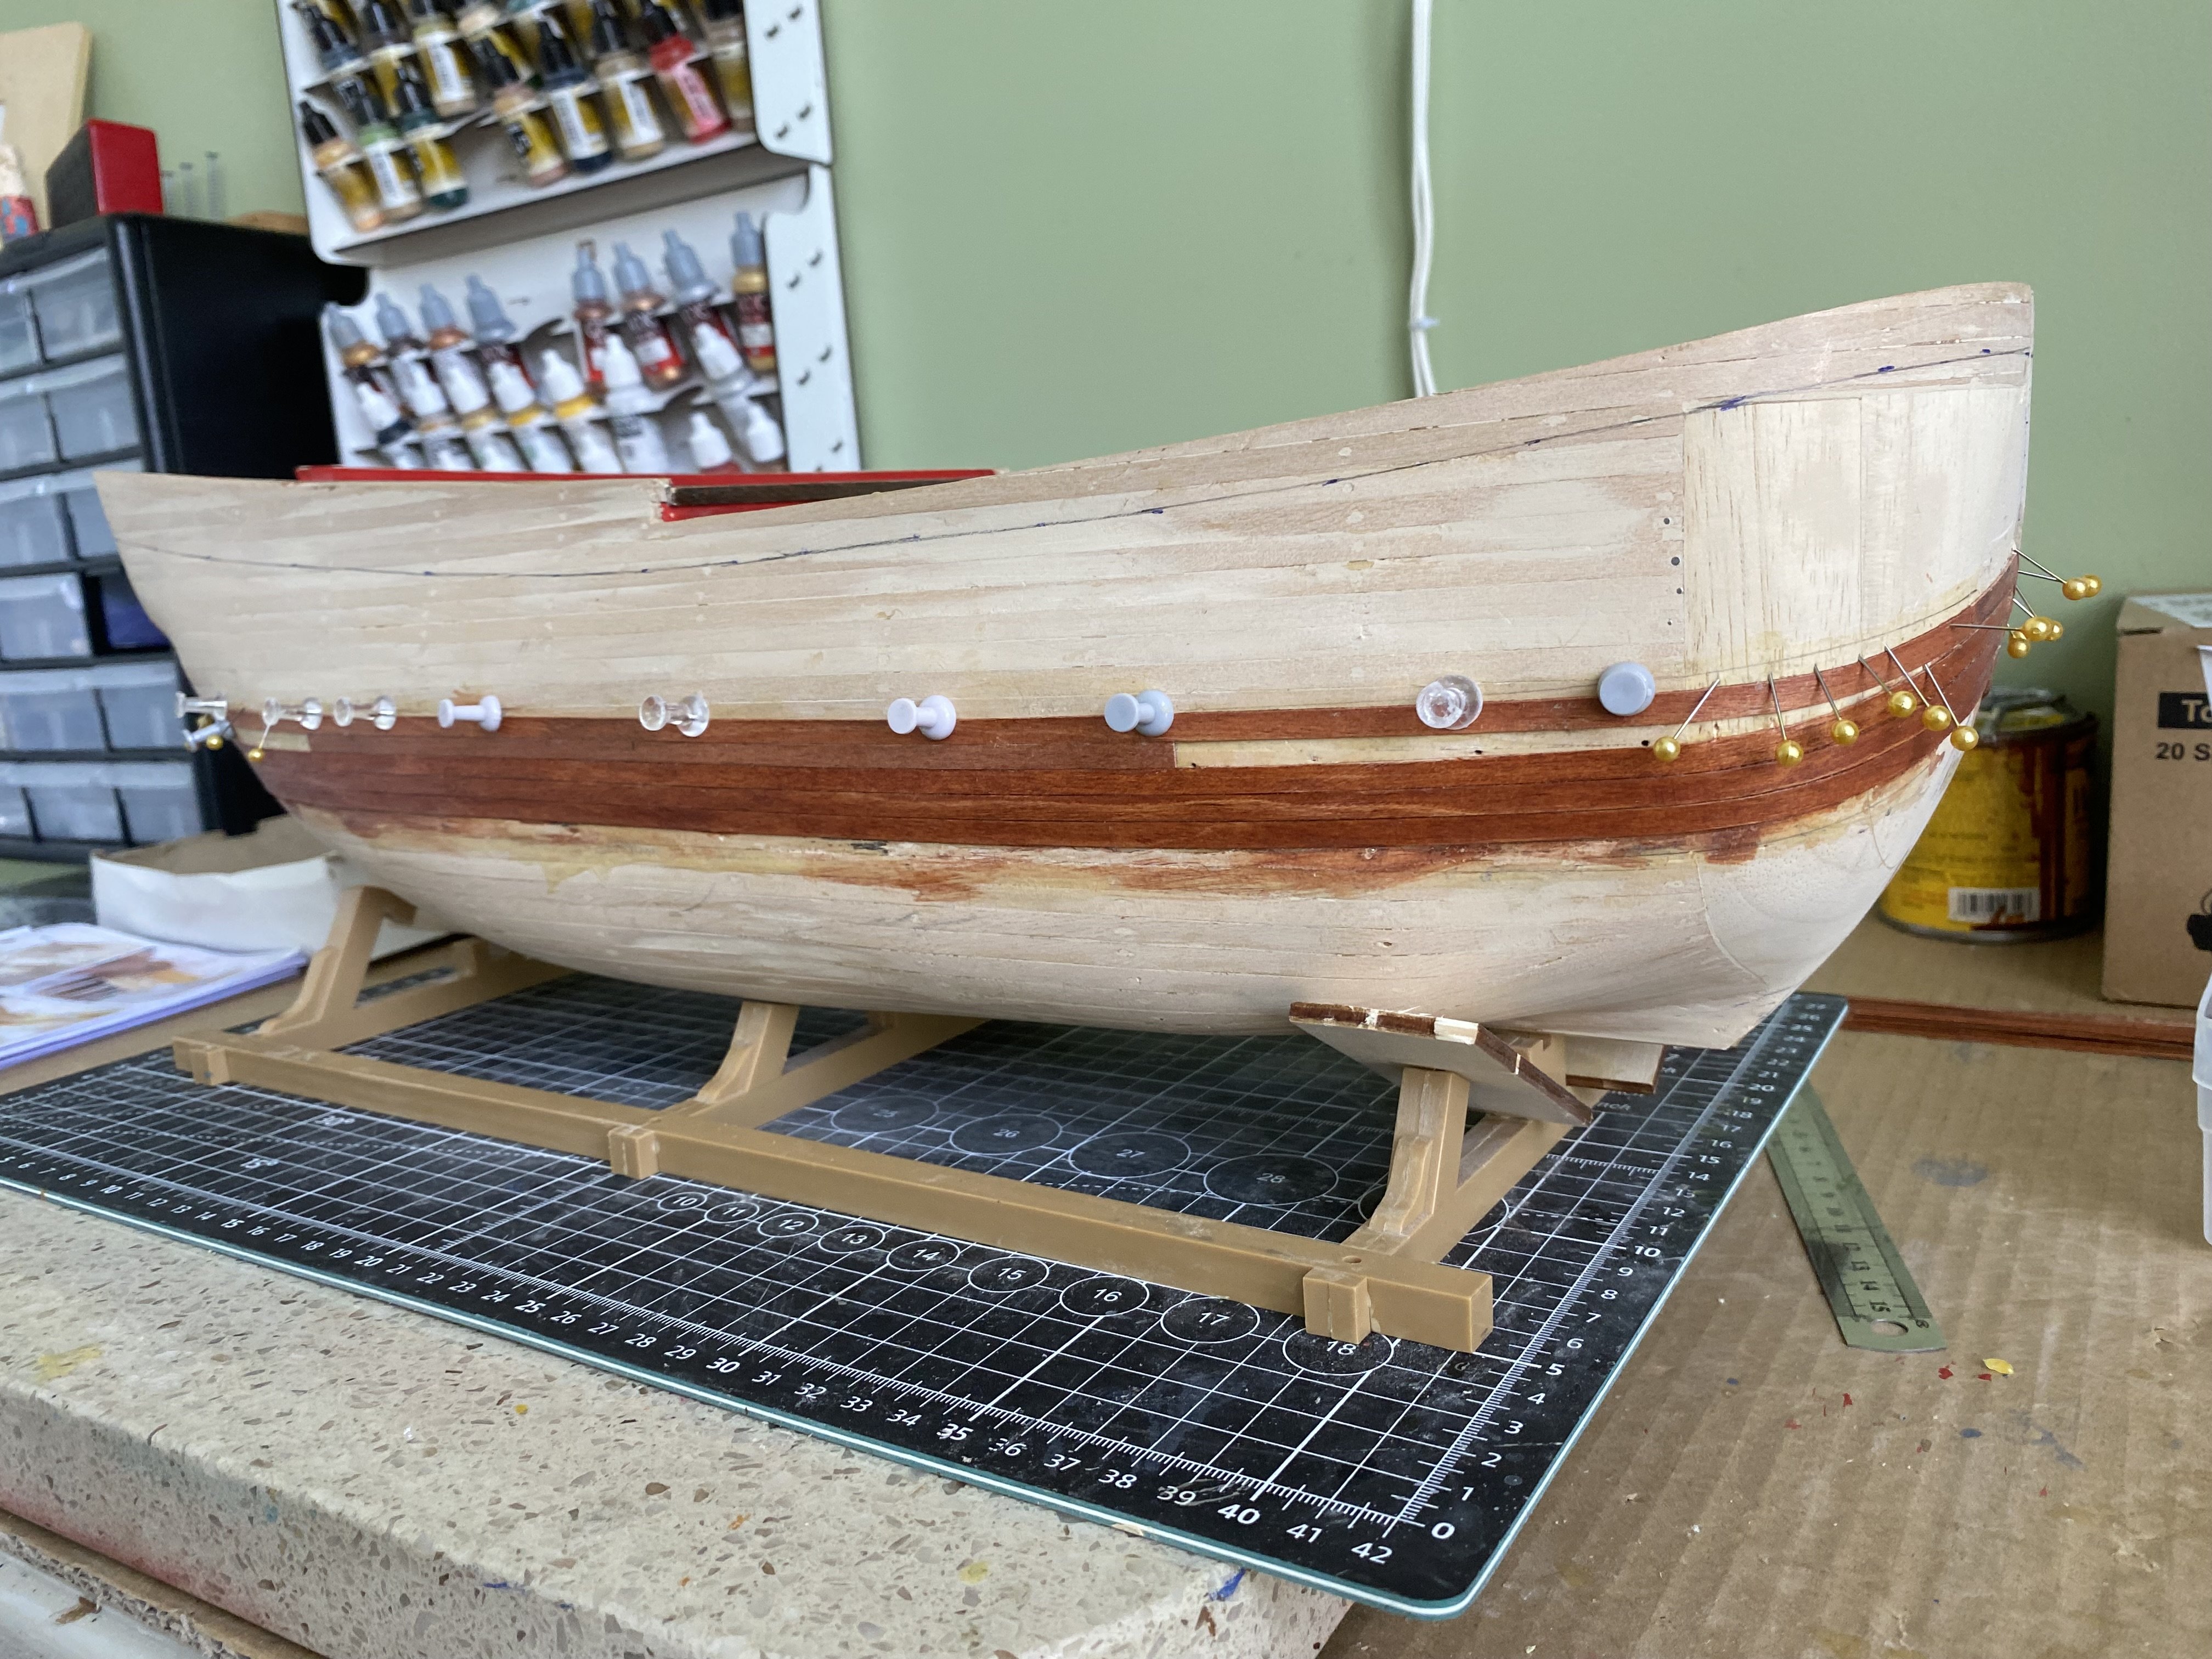
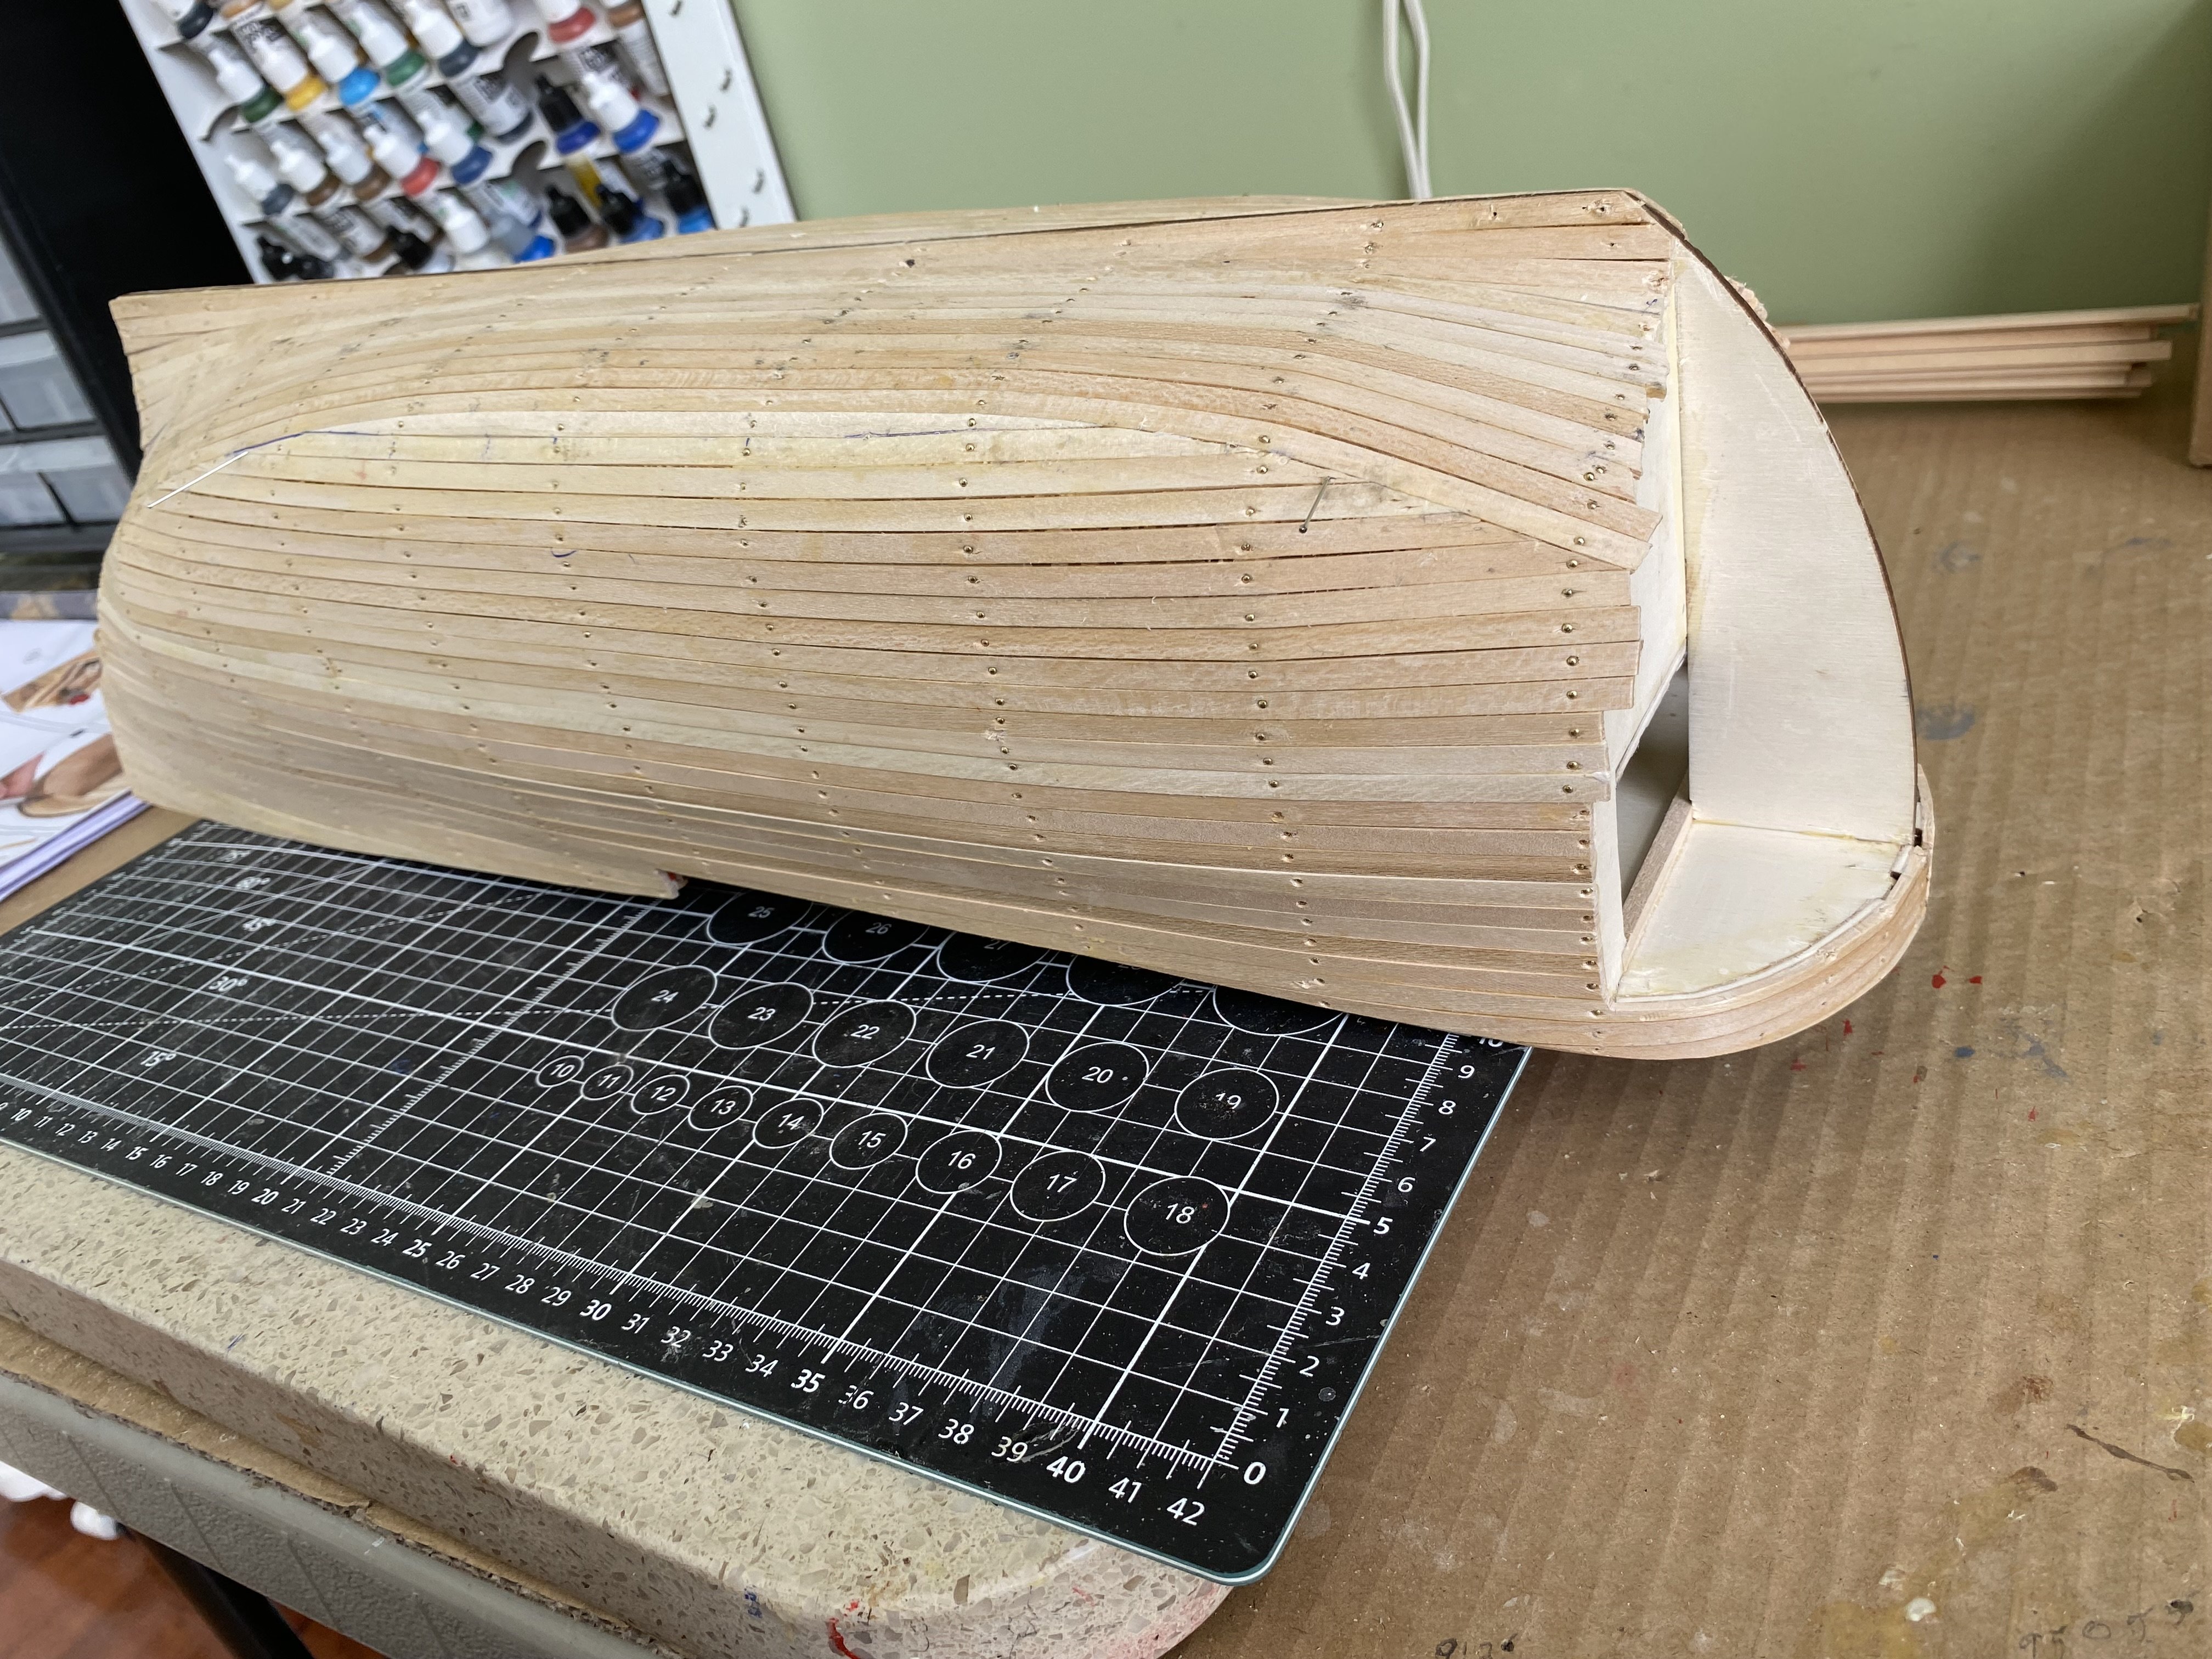
1st planking complete. Bow and stern reinforcements added. After allowing ample time for glue to dry I will begin the sanding process that will shape the hull. Wish me luck my friends .


- jpalmer1970, Ian_Grant, ccoyle and 1 other
-
4
-
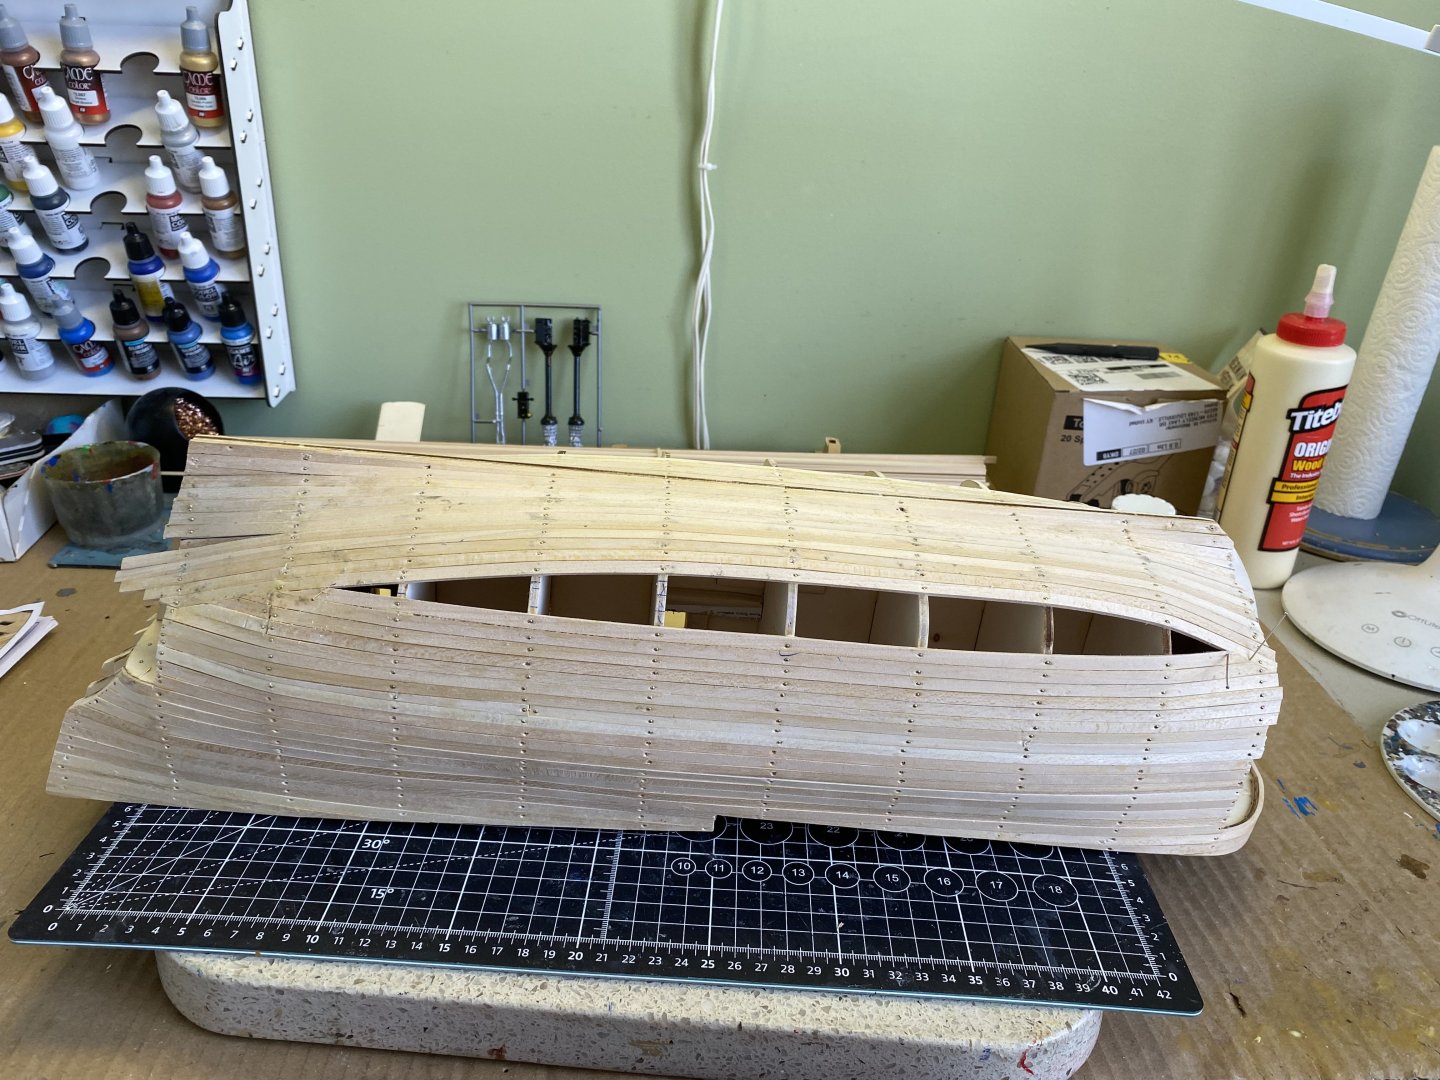
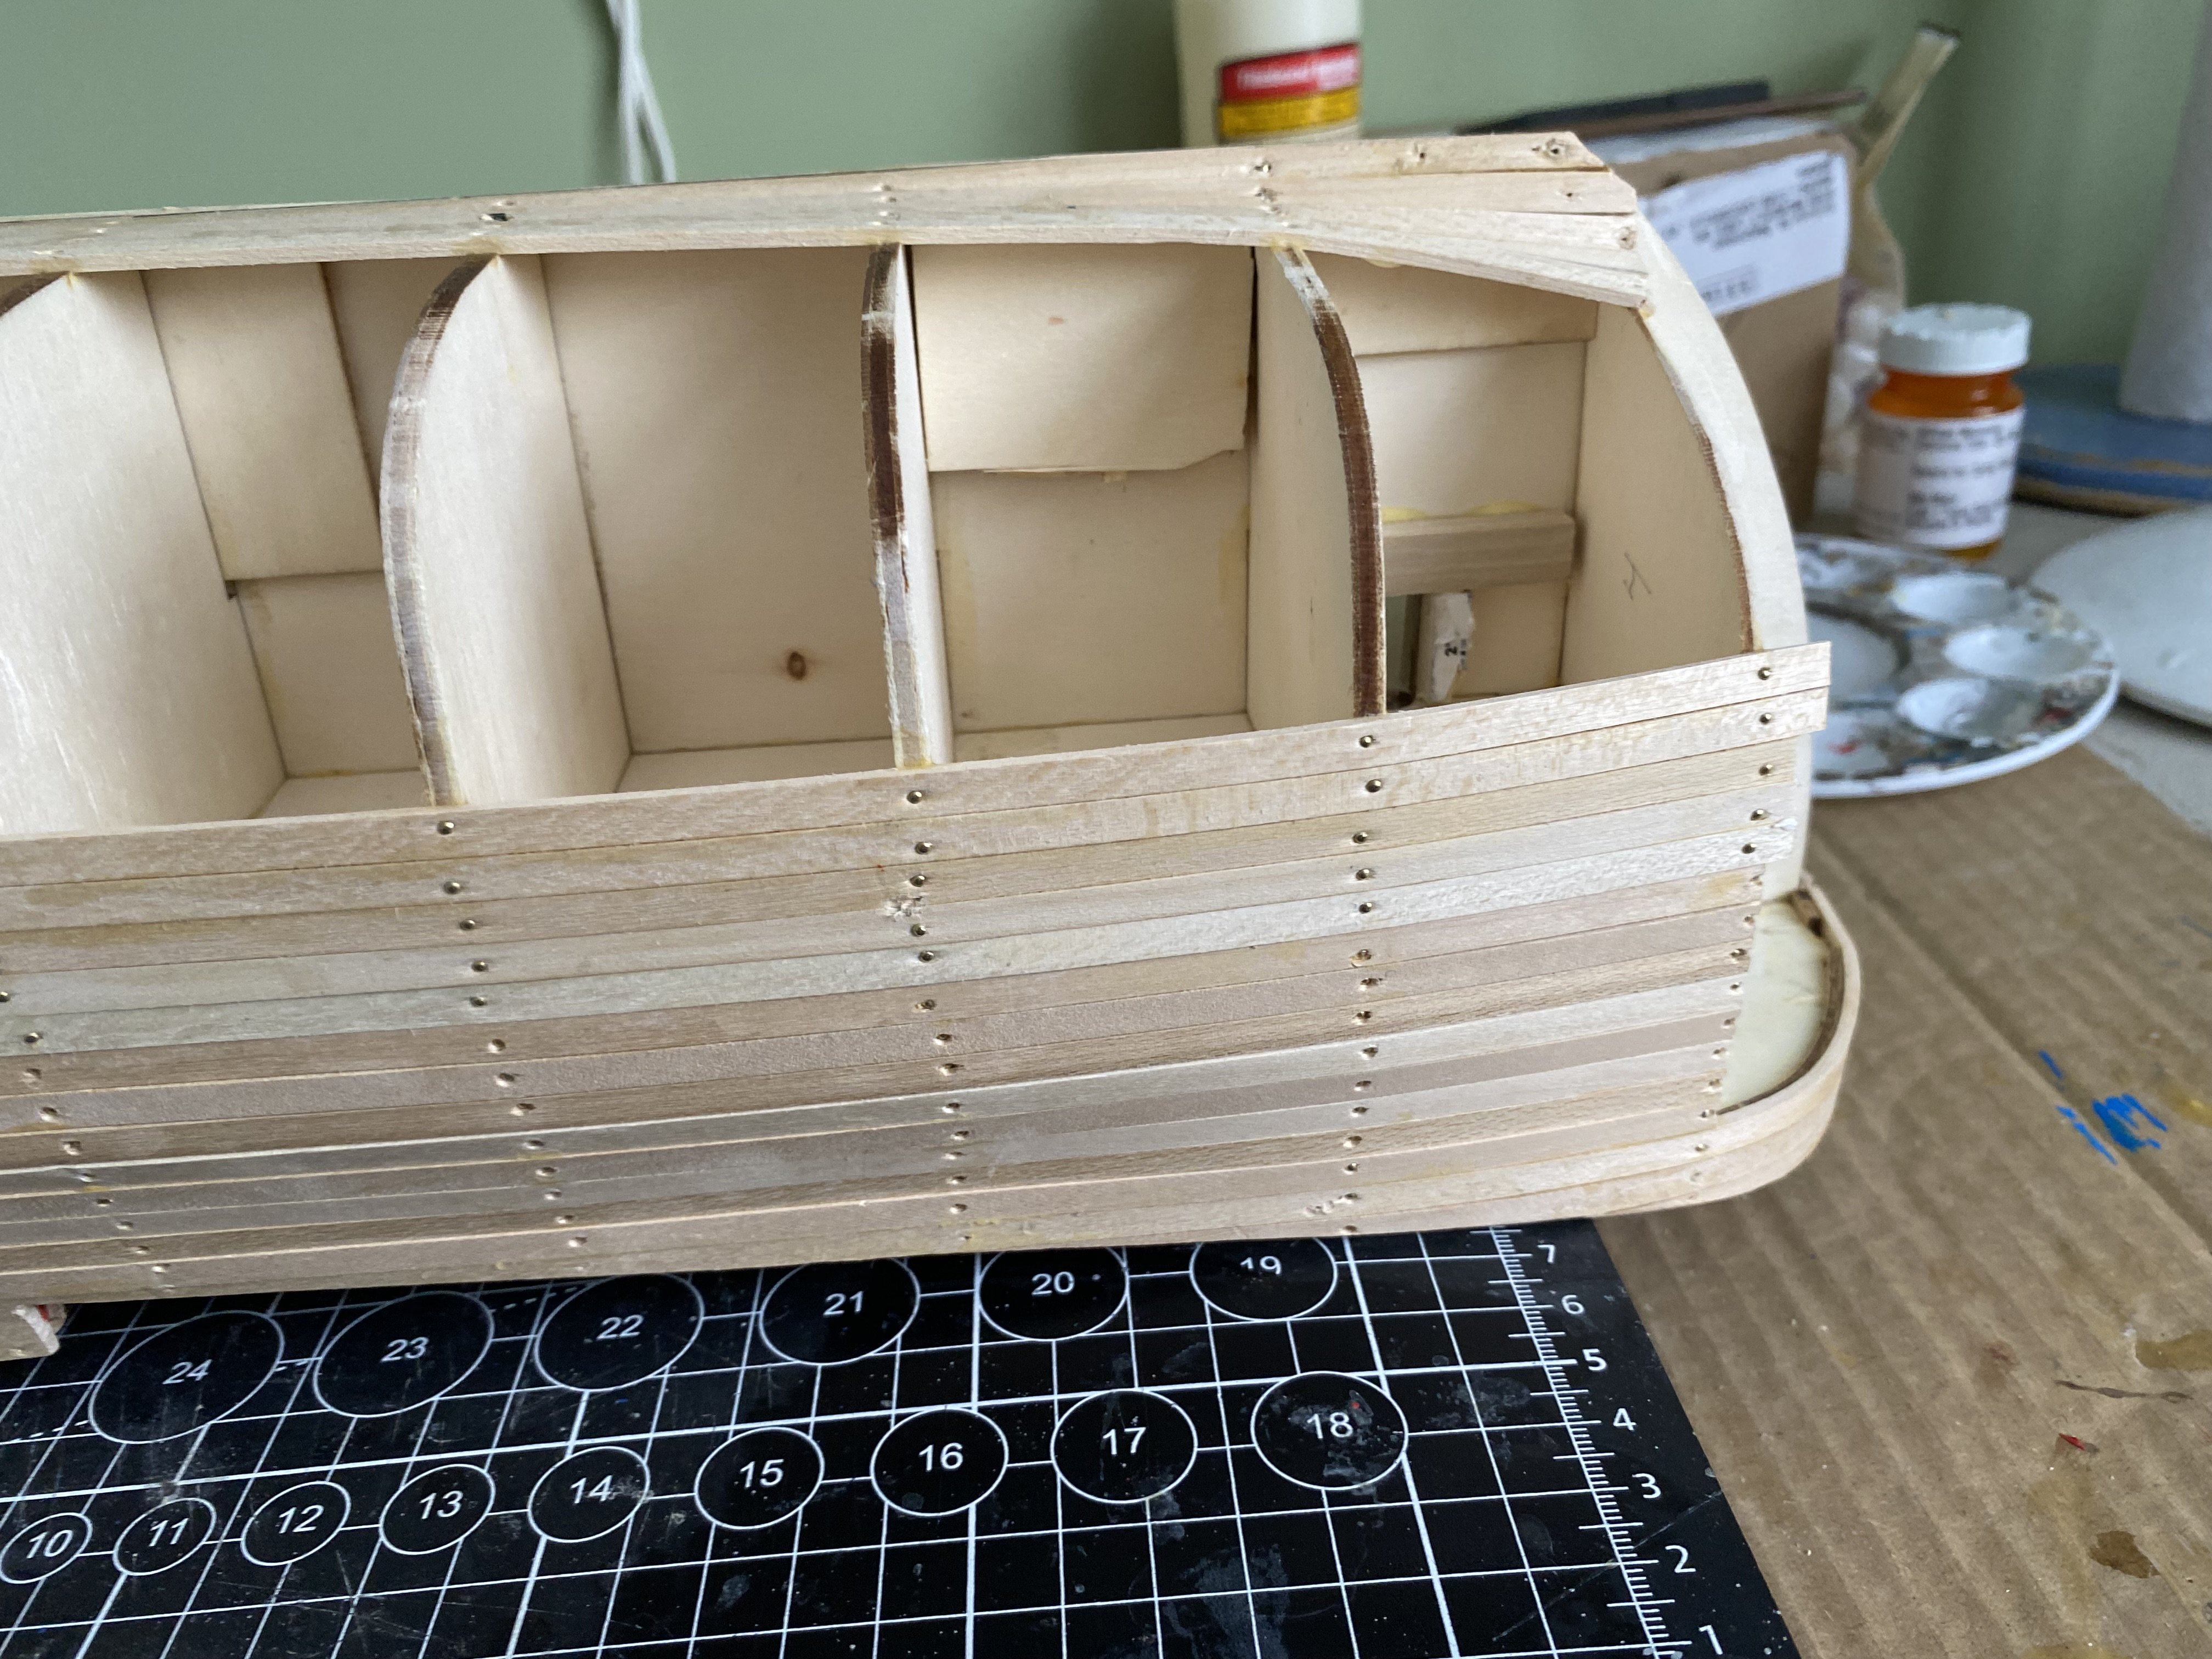
Port side of hull fully planked! About to close up the starboard side.


- jpalmer1970 and wvdhee
-
2
-
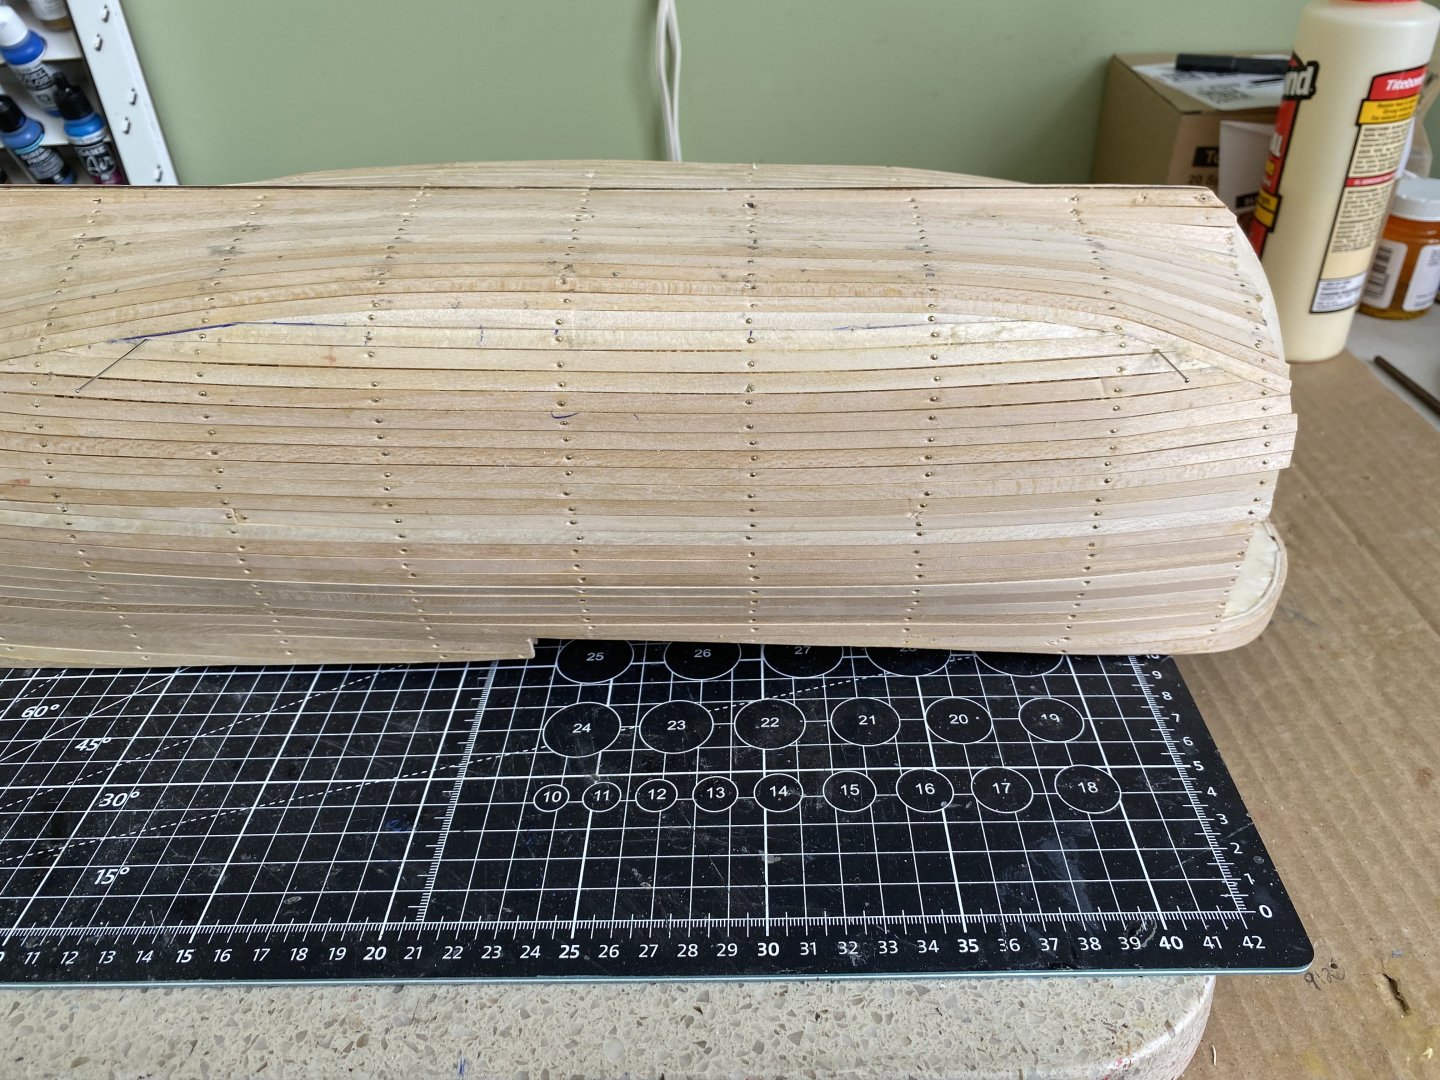
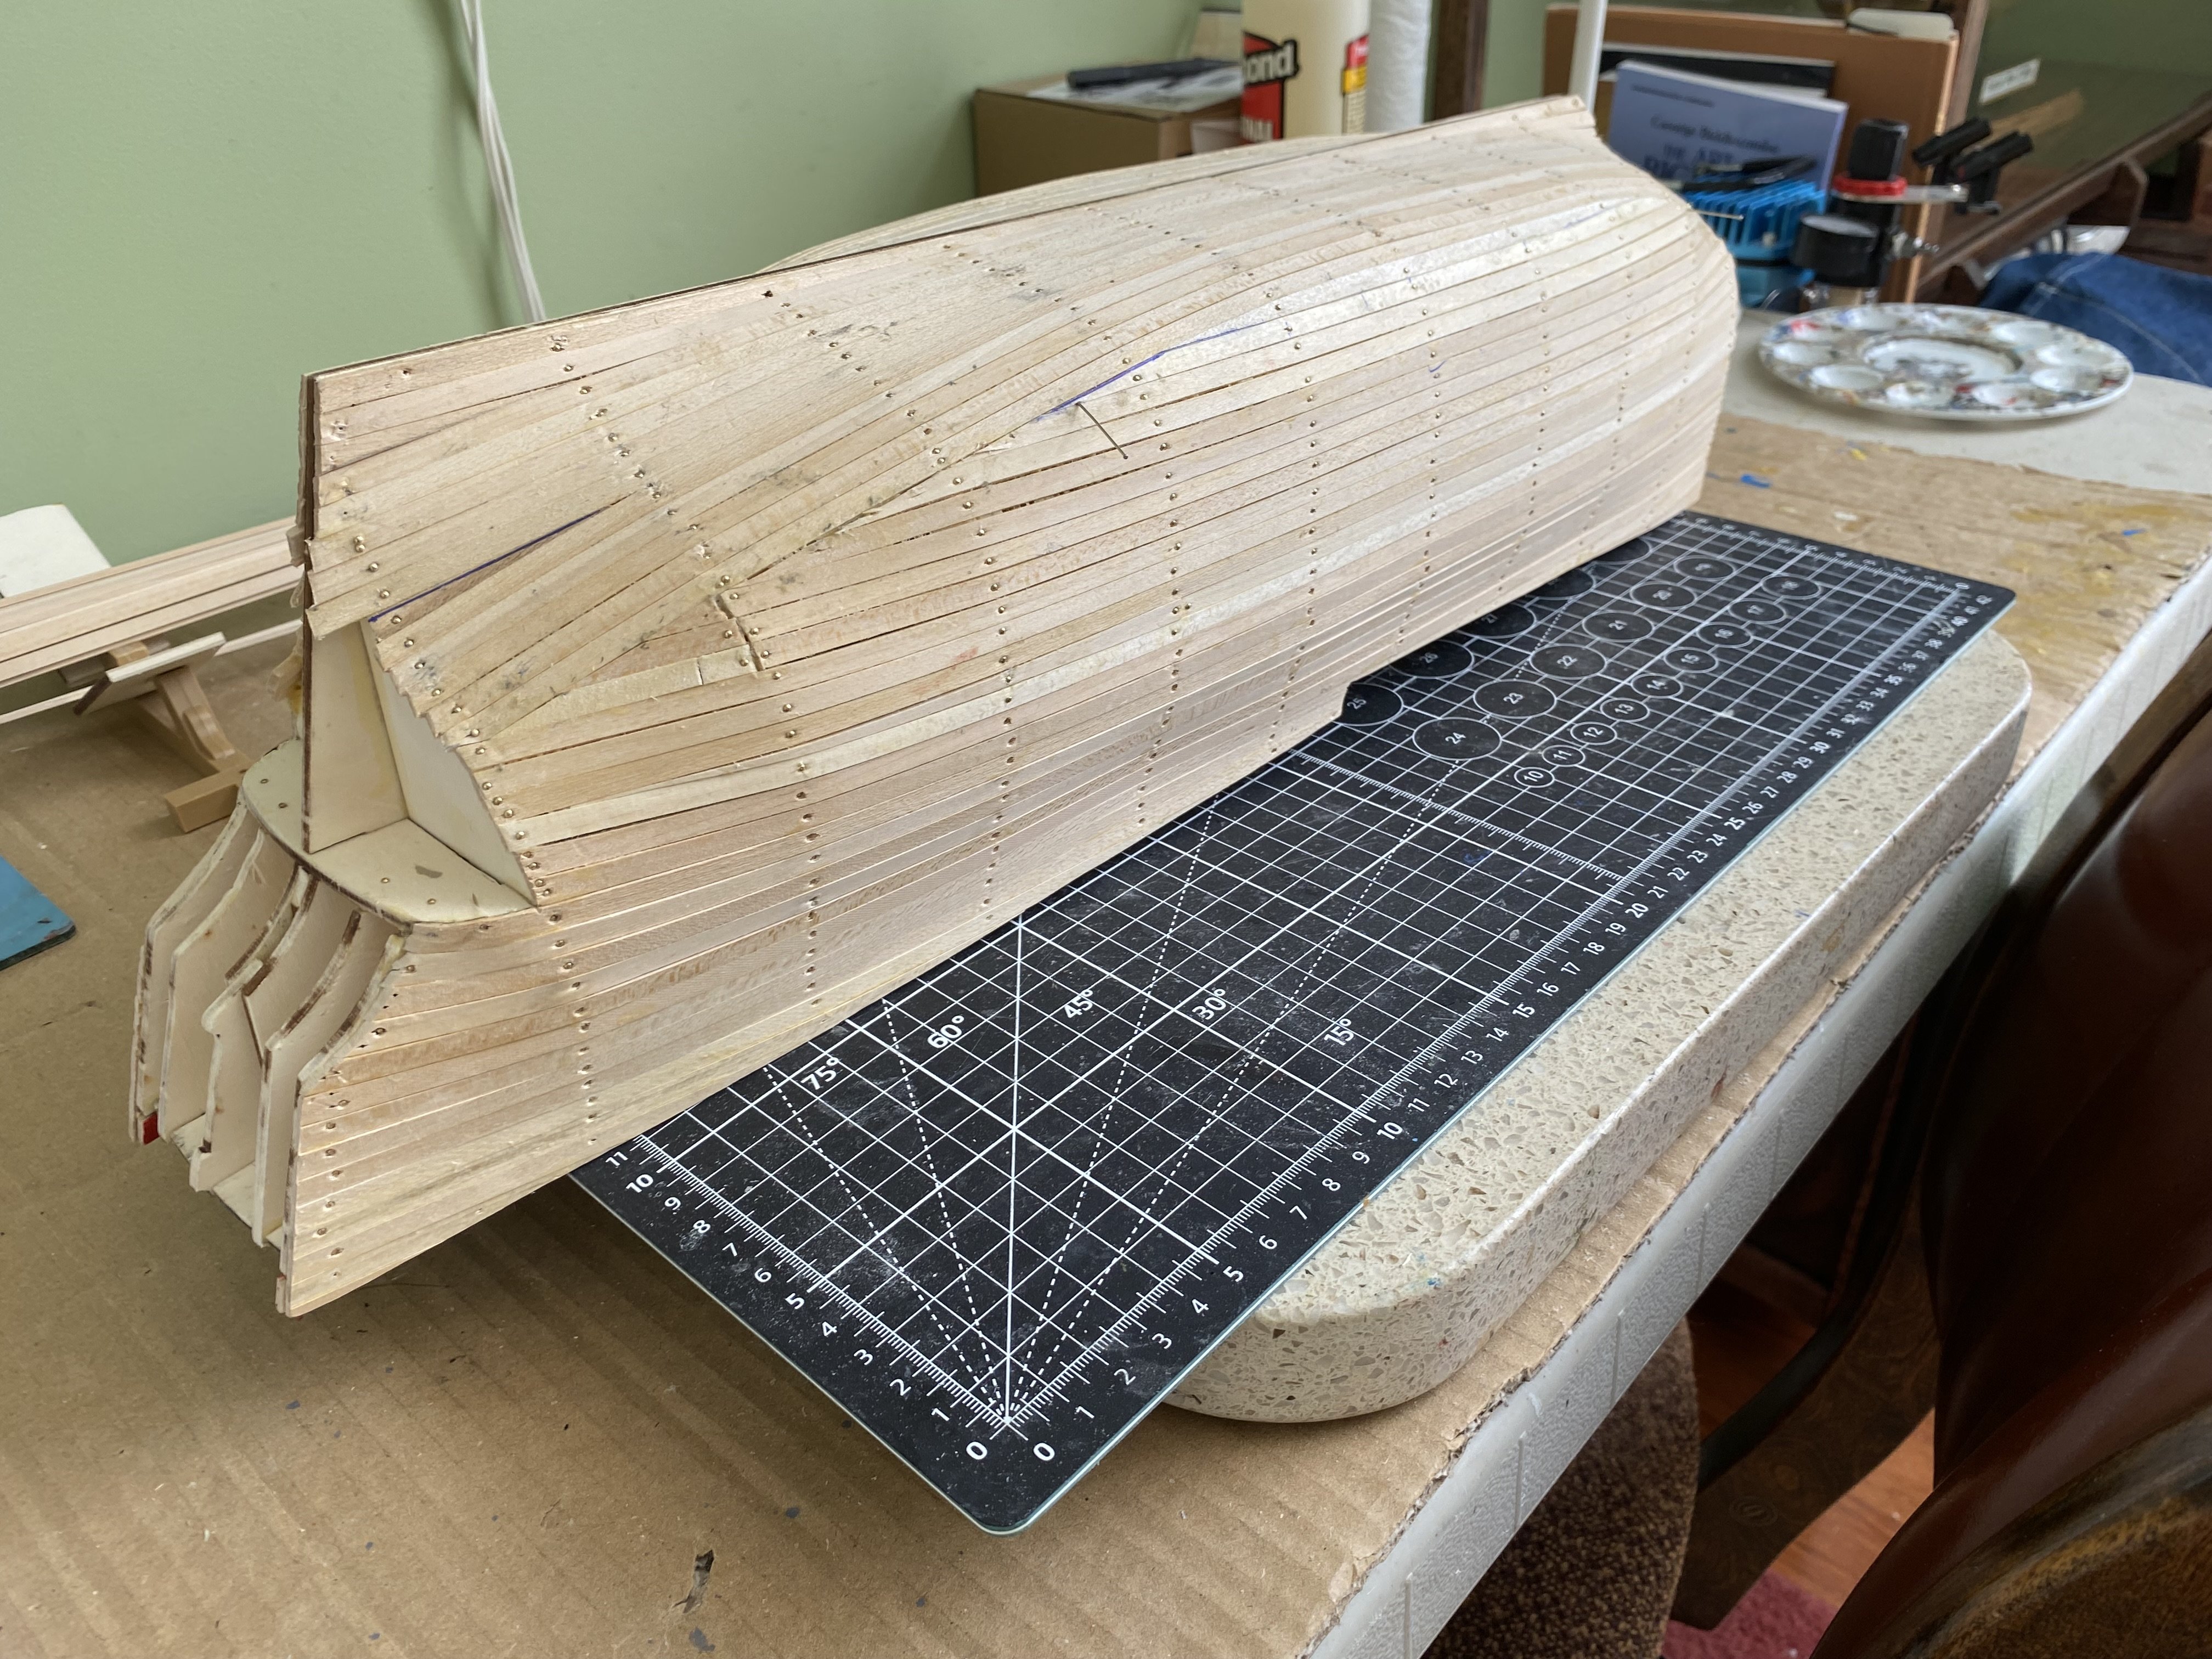
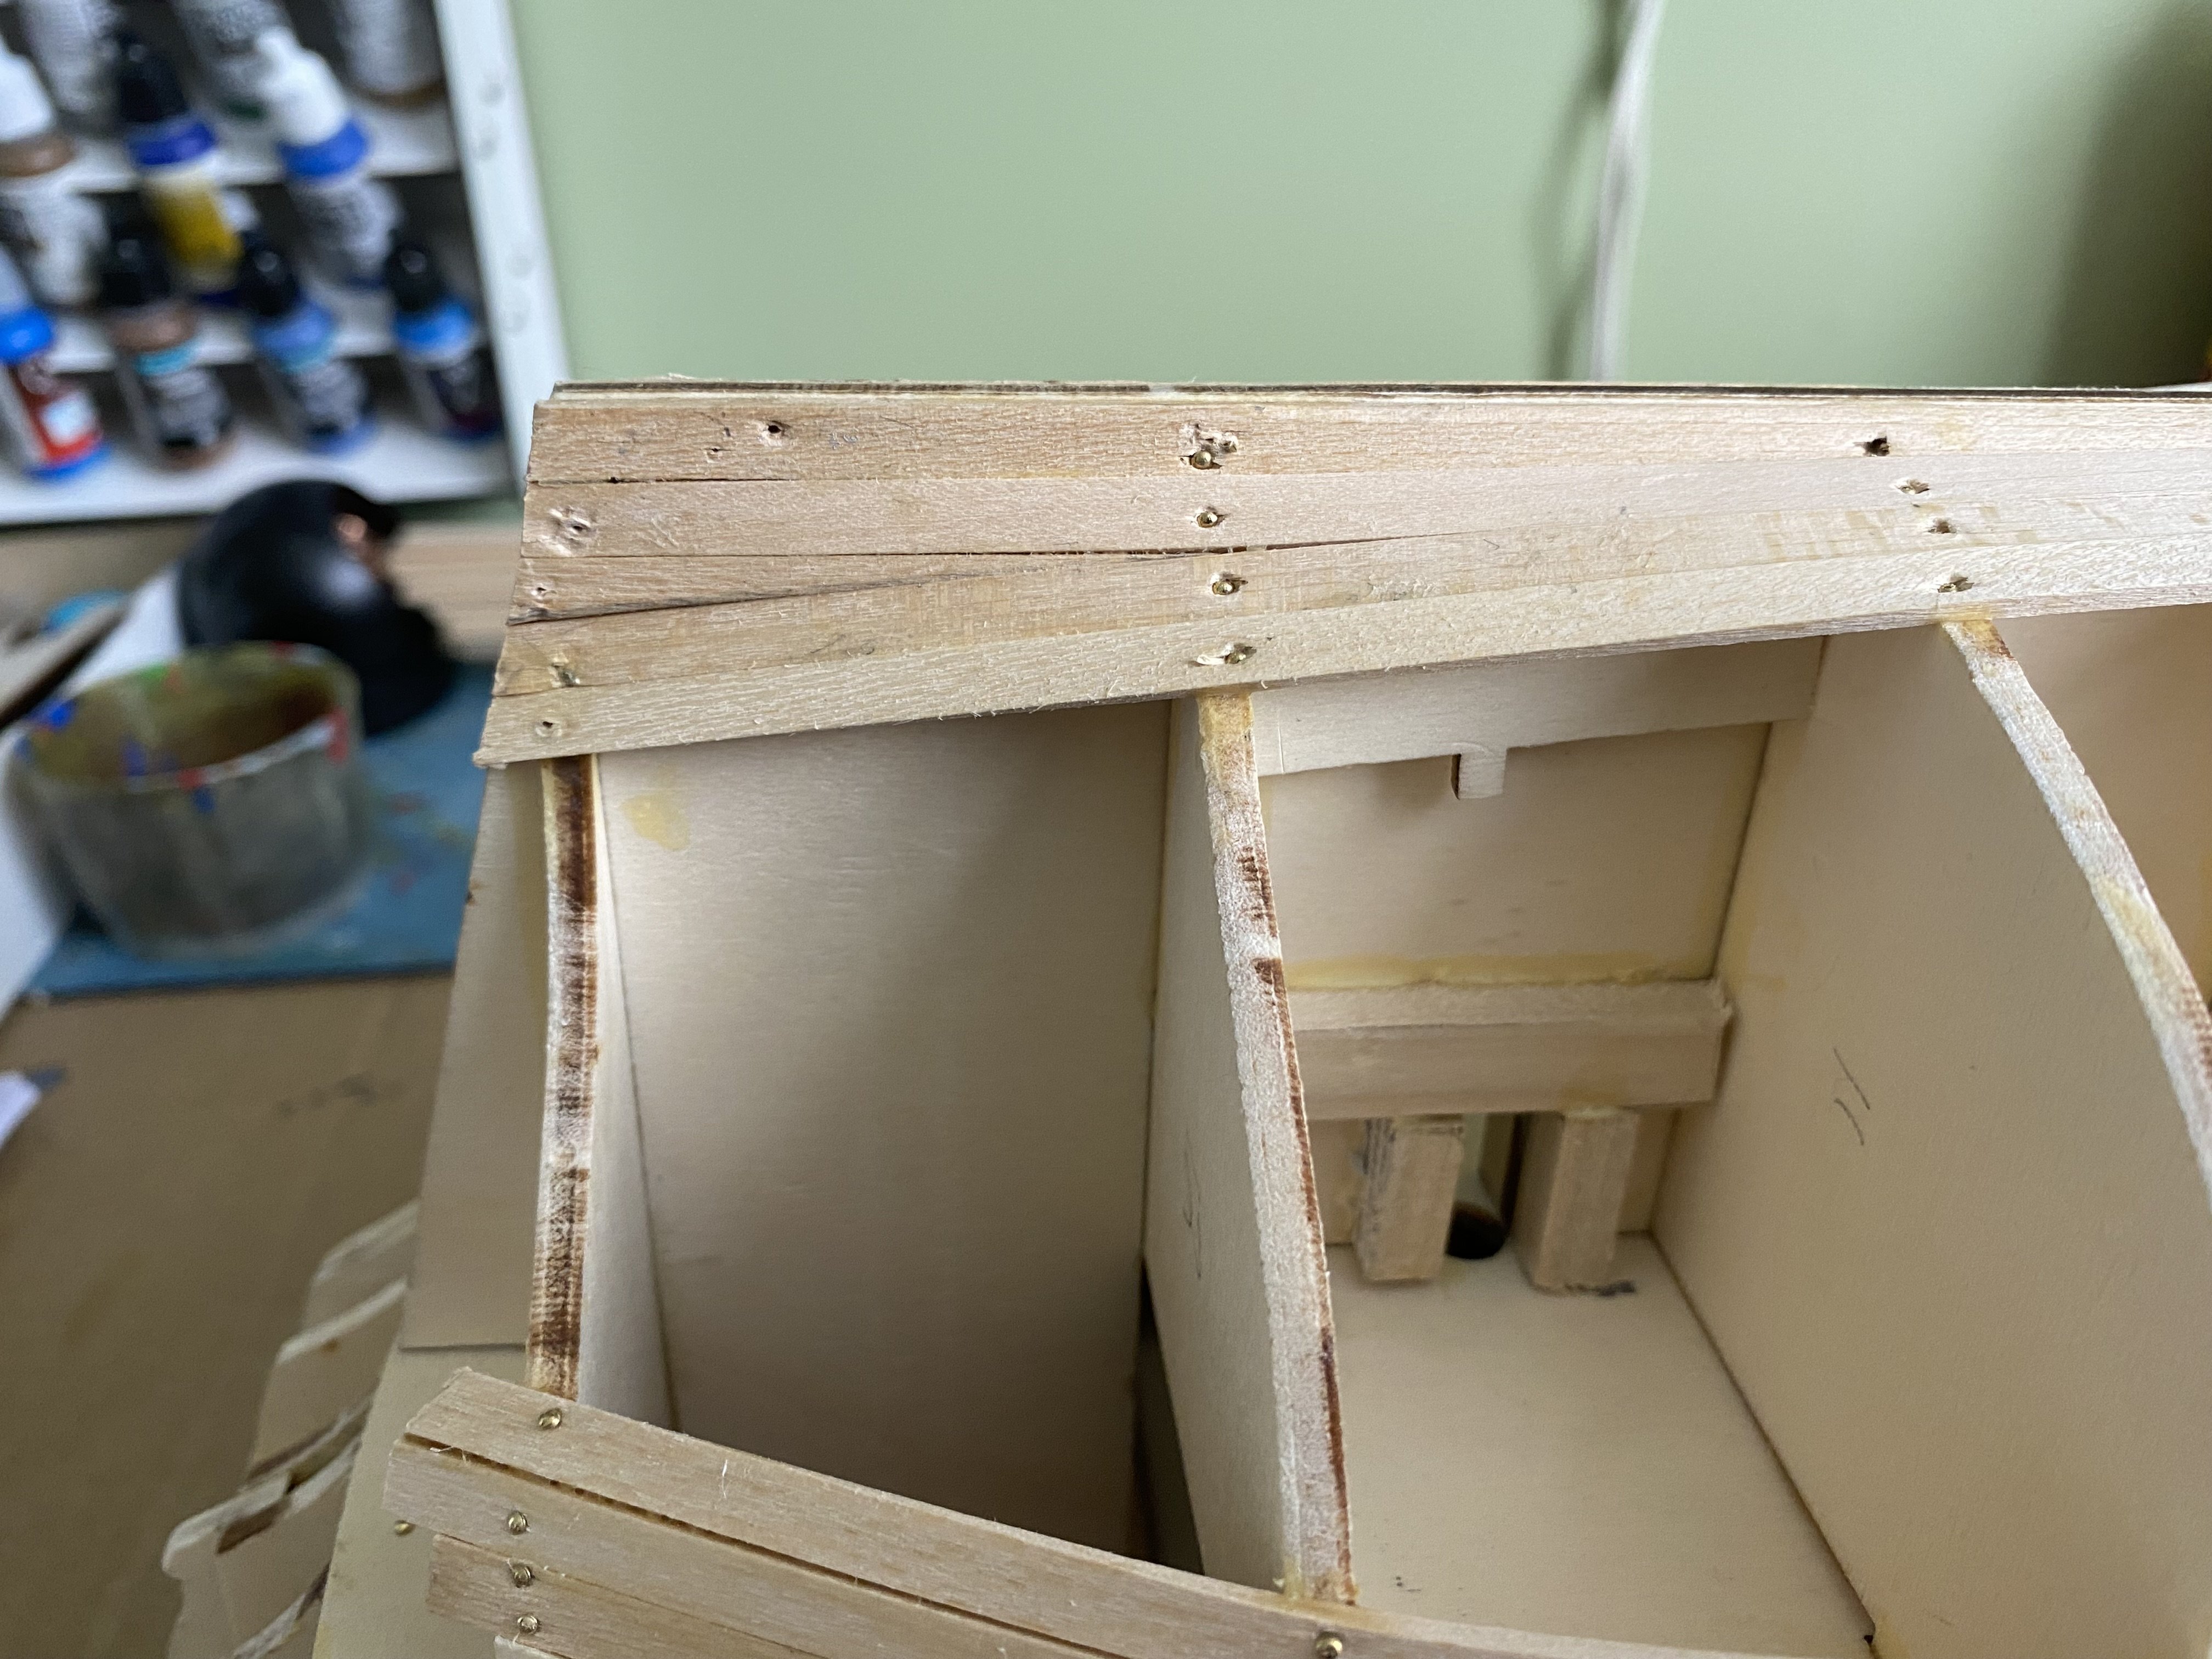
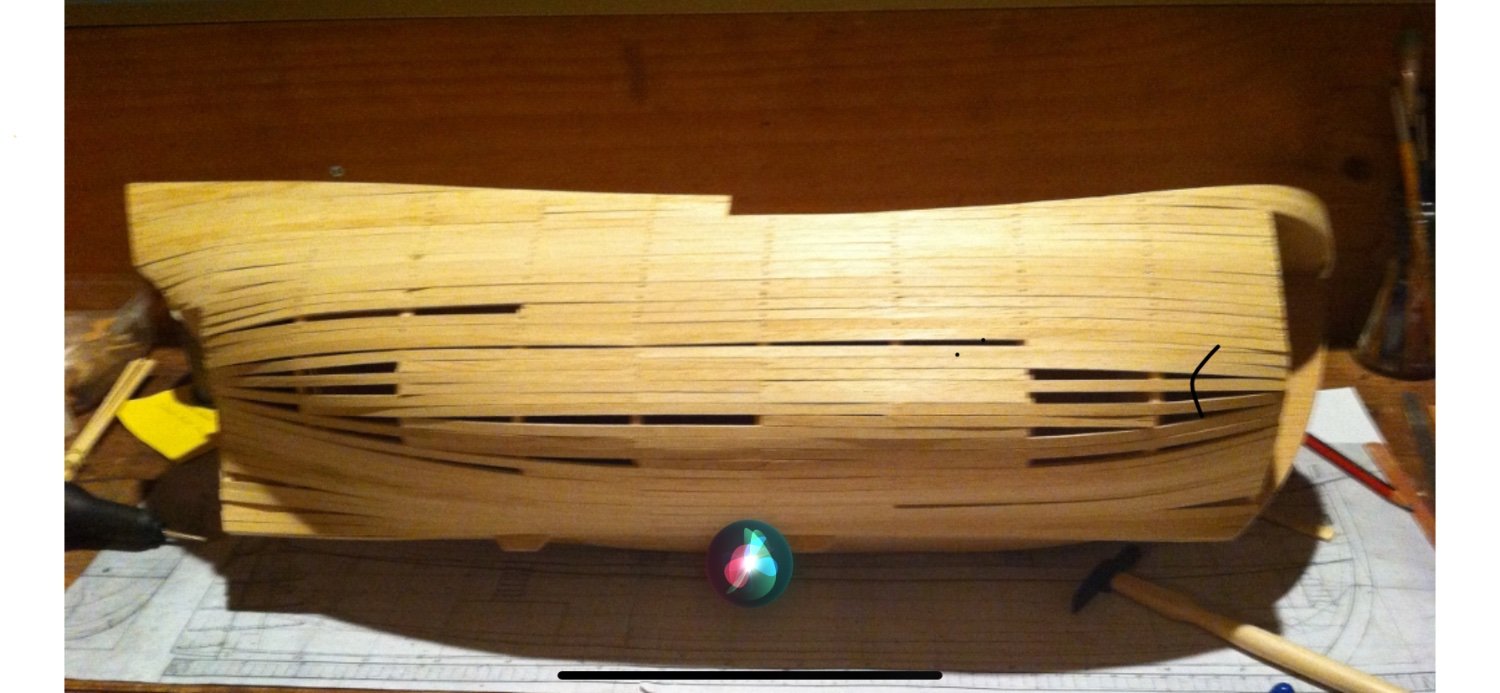
Little by little closing up the hull with the 1st planking!
-
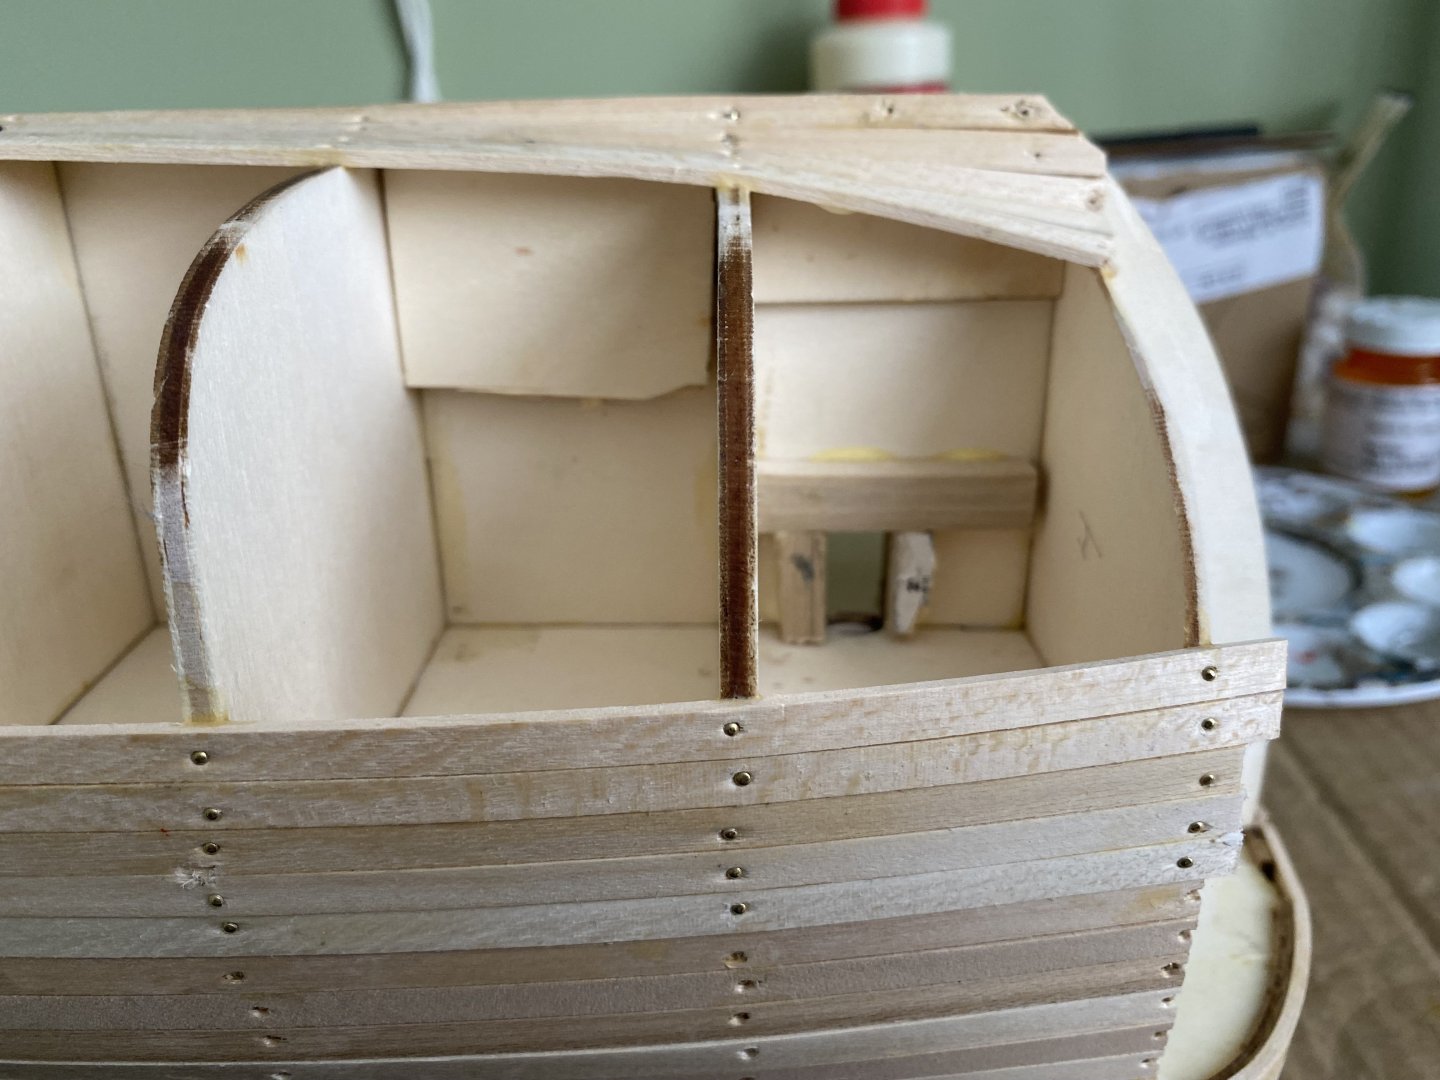
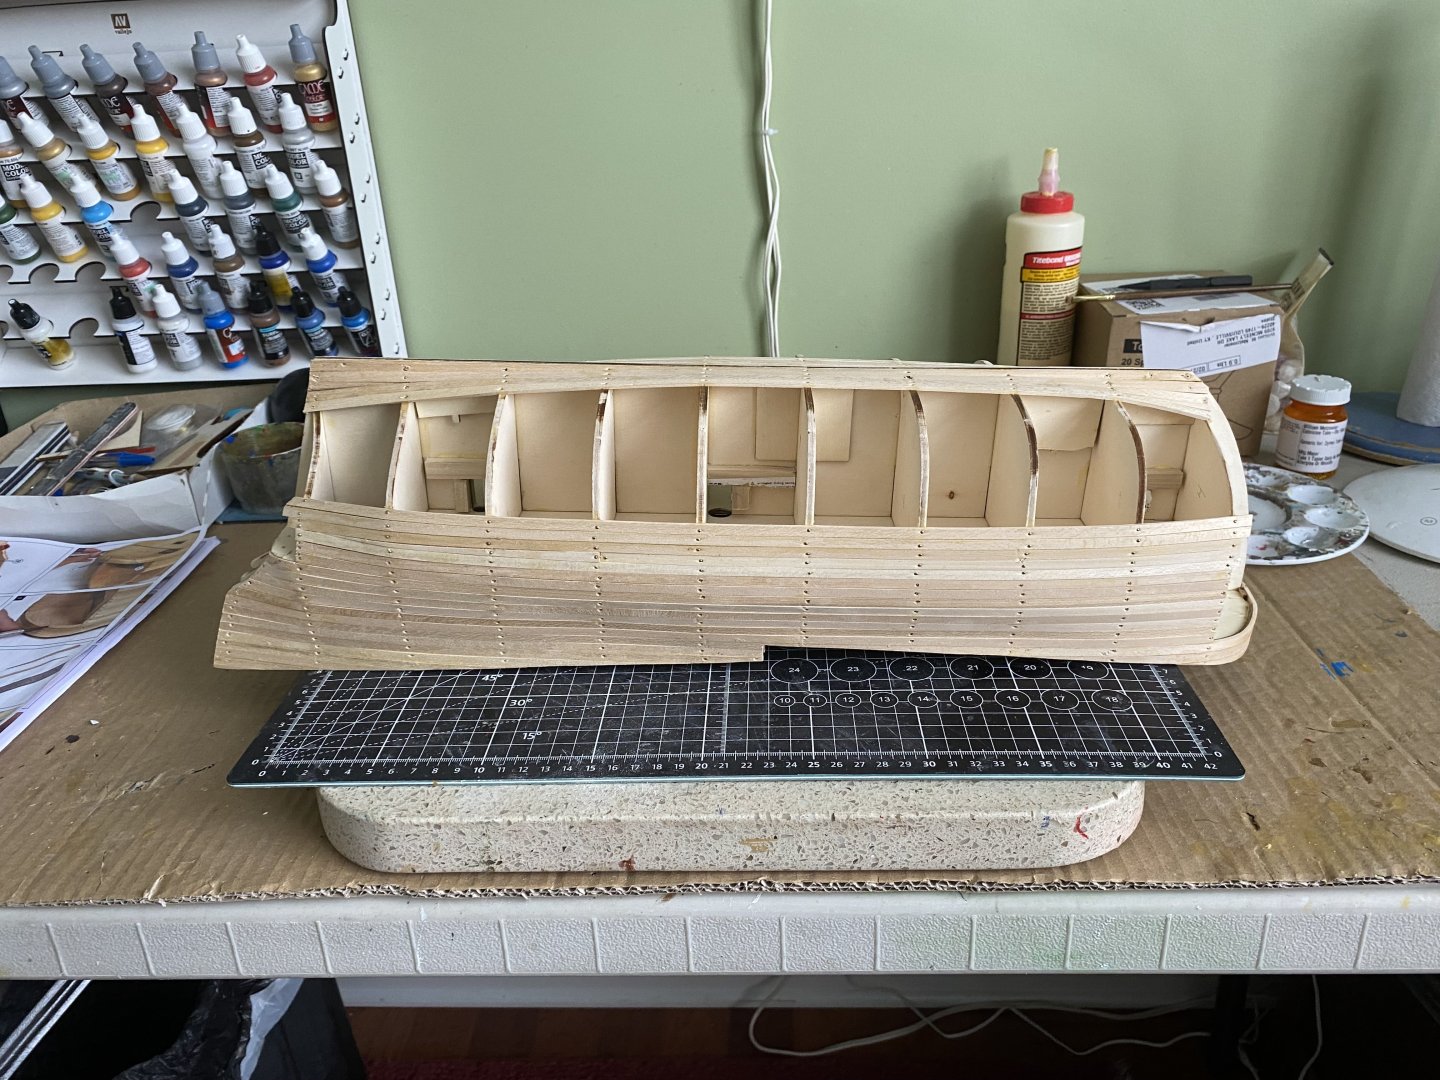
Progress continues on the planking. Pace is slower now that I am at the area where I need to put it together like a puzzle. Before I completely close up the hull I decided to use some scrap wood to reinforce the seat for the three masts also added some scrap material to widen the false keel where my the screws from my display stand will penetrate the keel up into the inner hull.


- jpalmer1970, Ian_Grant and wvdhee
-
3
-
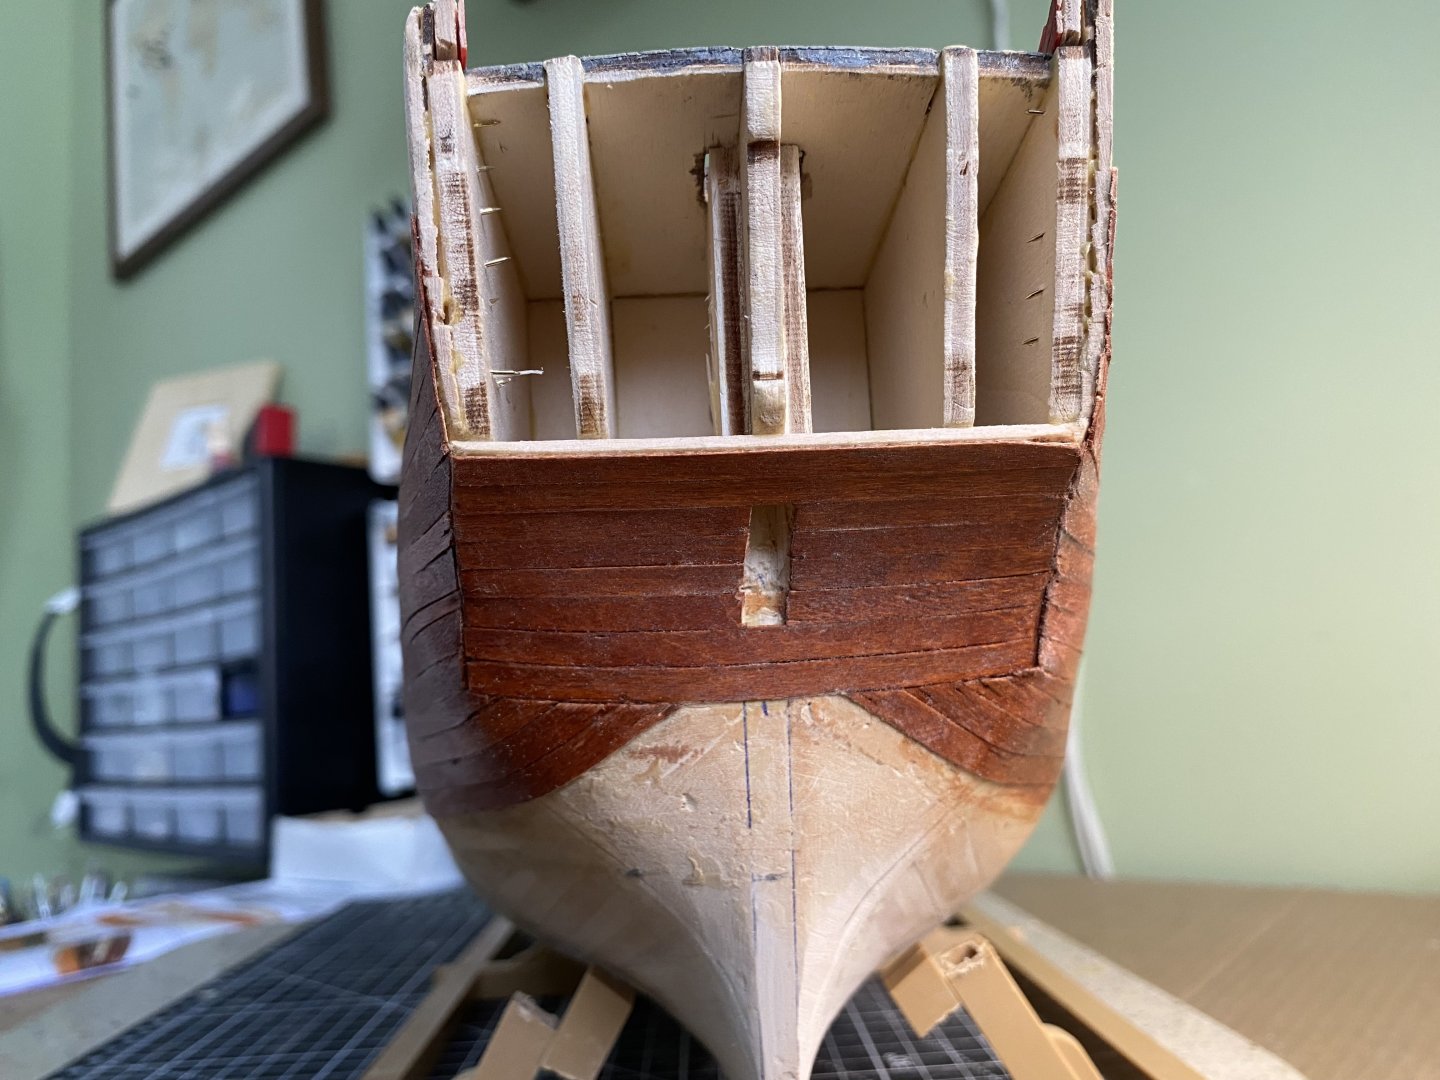
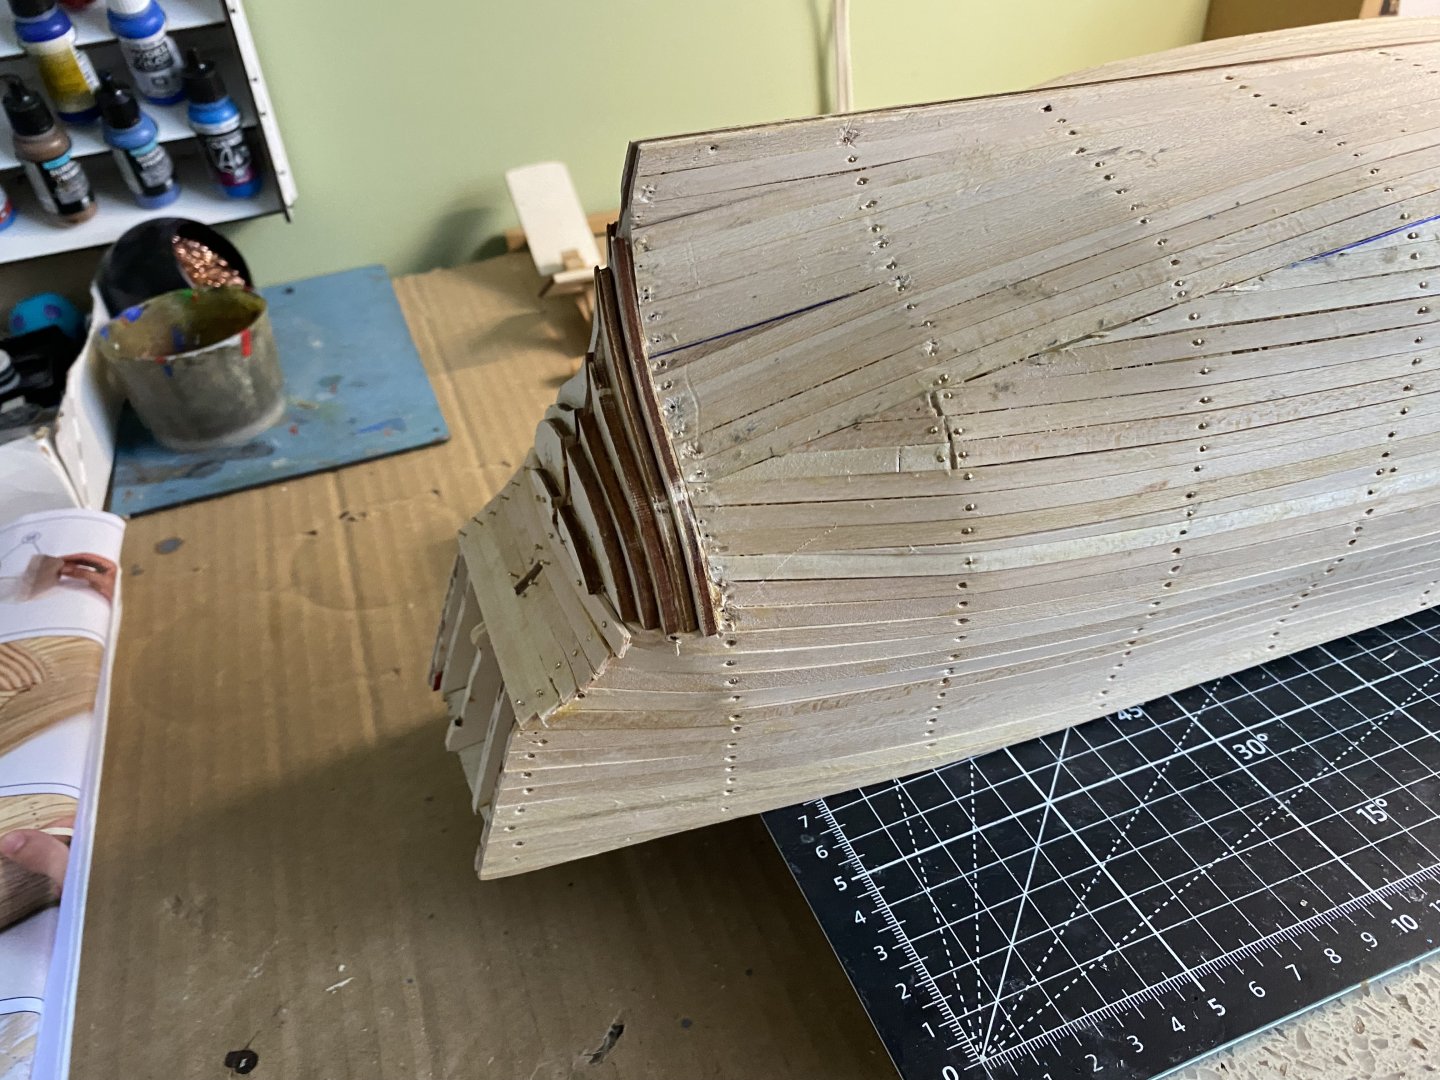
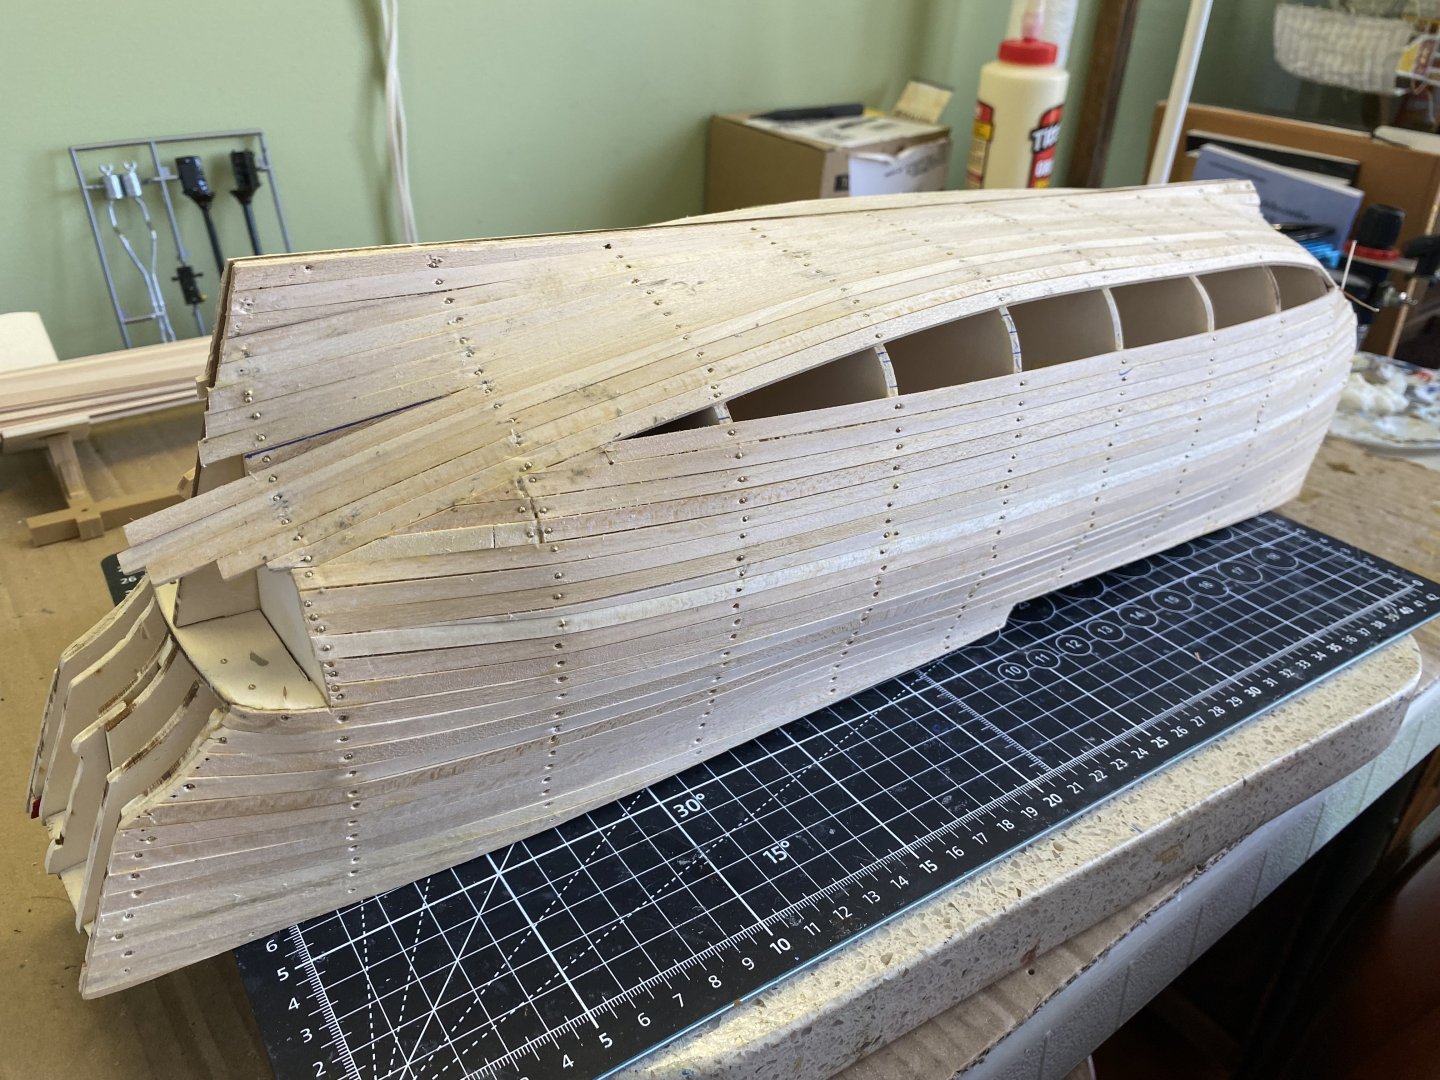
Finished the upper 1st planking on both sides of the ship now and will now start the bottom area. OcCre had me do the section from the lower deck up to the top of the bulwarks first and then start at the false keel and work my way up to meet. This next section will require numerous pie shaped pieces to fill in between planks as you can see in the last example photo. Looking to reuse, with modifications, the base I originally made for my Soleil Royal but now have in a diorama.


- jpalmer1970 and wvdhee
-
2
-
Yes Ian I have looked at them. They also hav a great line of street cars/trams.
I bought an airbrush kit on Amazon back when I started building the Victory. With a little practice you would have no trouble. I use Vallejo Model Air paints with it. They are designed especially for use with airbrushing.
- jpalmer1970 and Ian_Grant
-
2


Endeavour by maggsl_01 - FINISHED - OcCre - 1:54
in - Kit build logs for subjects built from 1751 - 1800
Posted
Maggs I don’t know if you are still out there some 8 years later. If so I want to tell you just how beautiful your Endeauvor is. I have your build bookmarked as my go to for pictorial advice and inspiration. I am building the the OcCre model as well (Bill or Bill97 on MSW) and am at the point of making all the deck decorations. I am seriously thinking of saving all your photos to an easy access file for easy reference. Again beautiful job.