Bill97
-
Posts
2,722 -
Joined
-
Last visited
Content Type
Profiles
Forums
Gallery
Events
Everything posted by Bill97
-
My thought as well Marc.
-
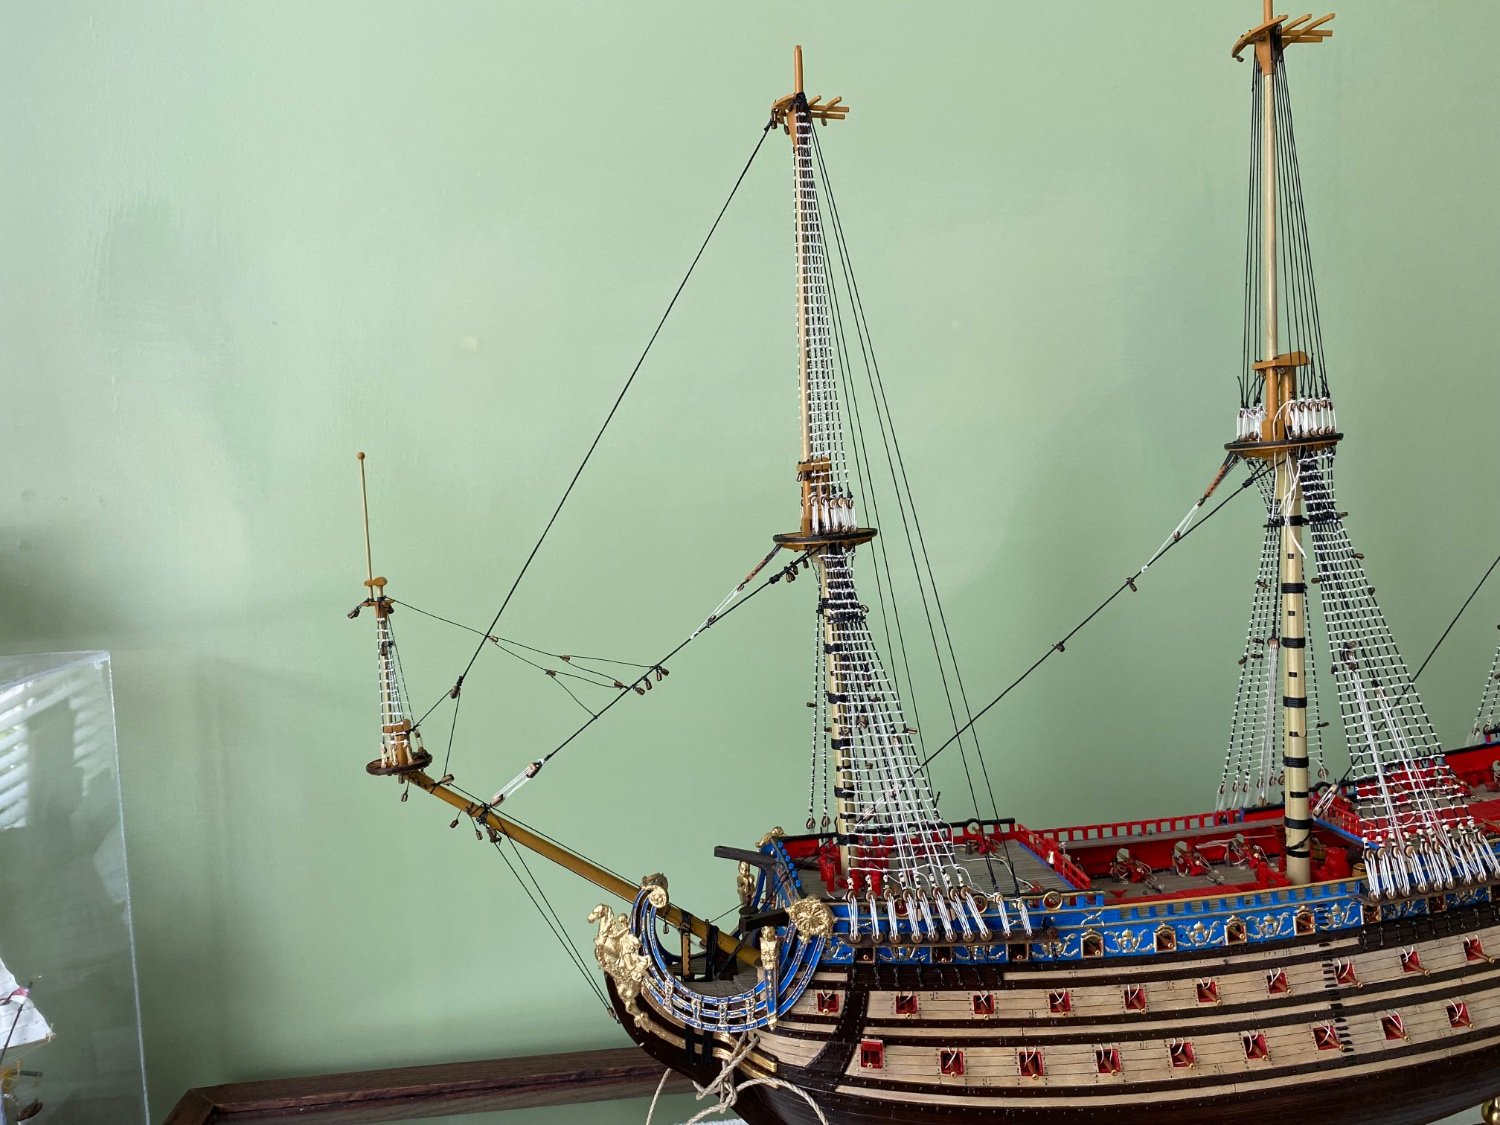
Ian looking at the card cutouts I did to represent the shroud spread which of the three topgallant heights look the best regardless of the area. I want to build my ship with a combination of both authenticity and visual appeal.
-
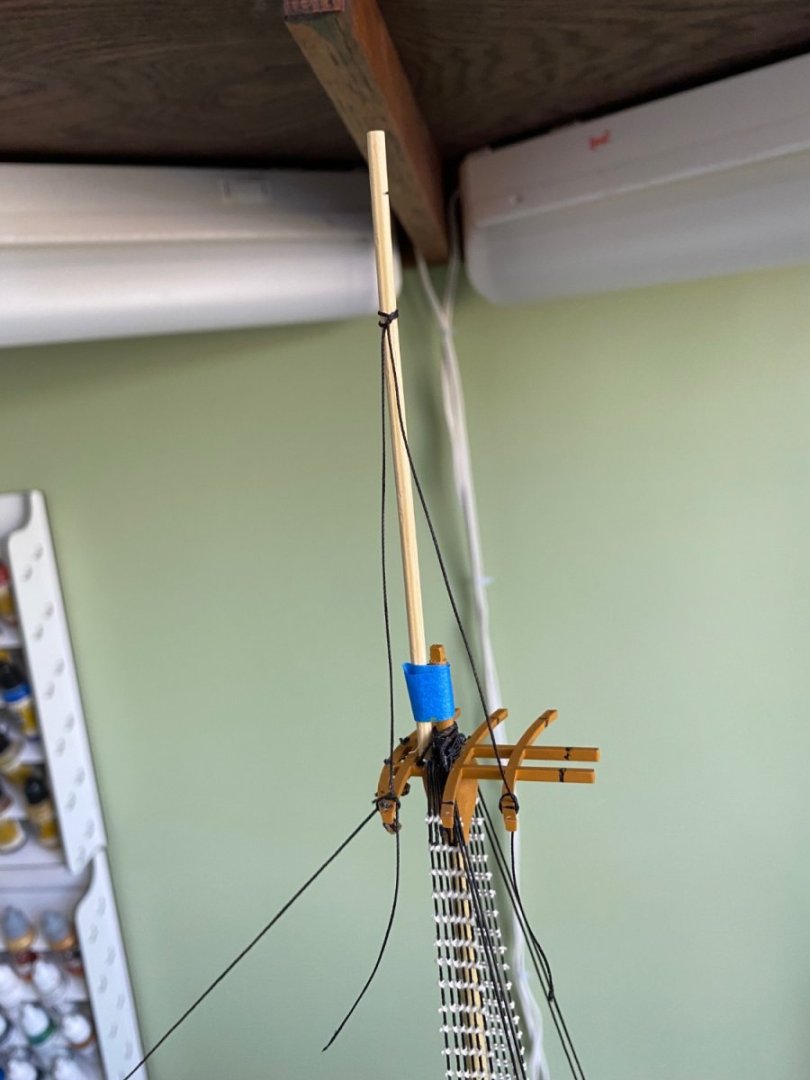
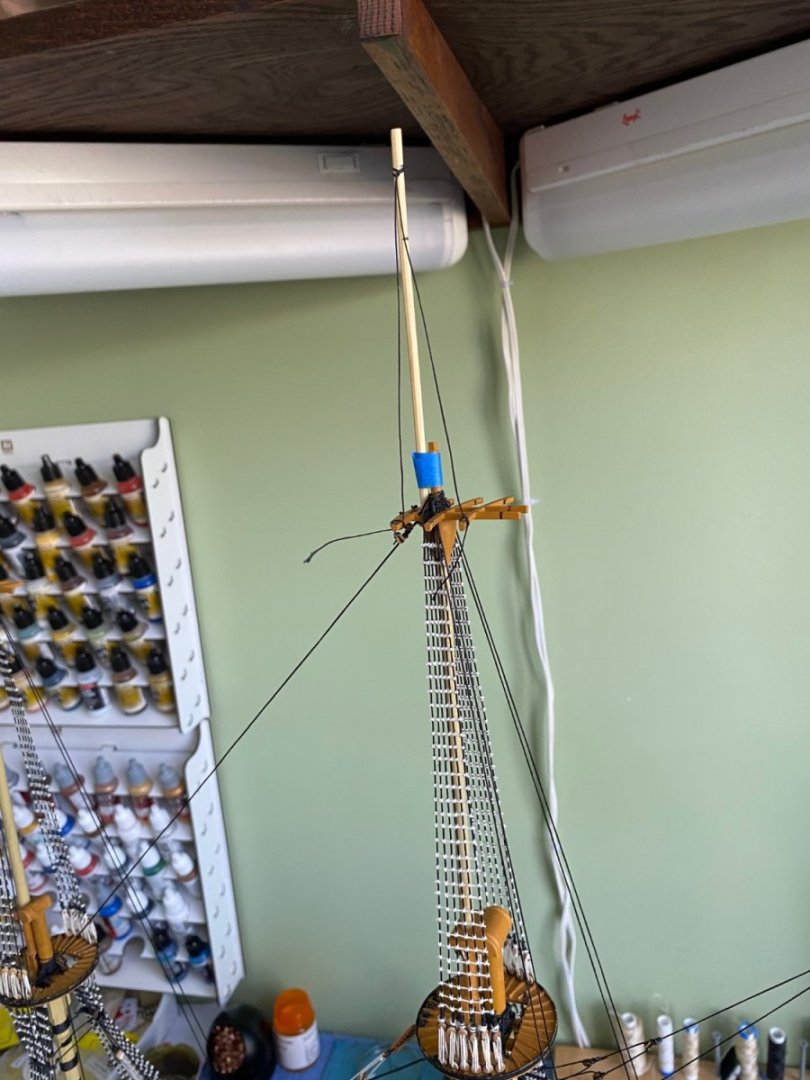
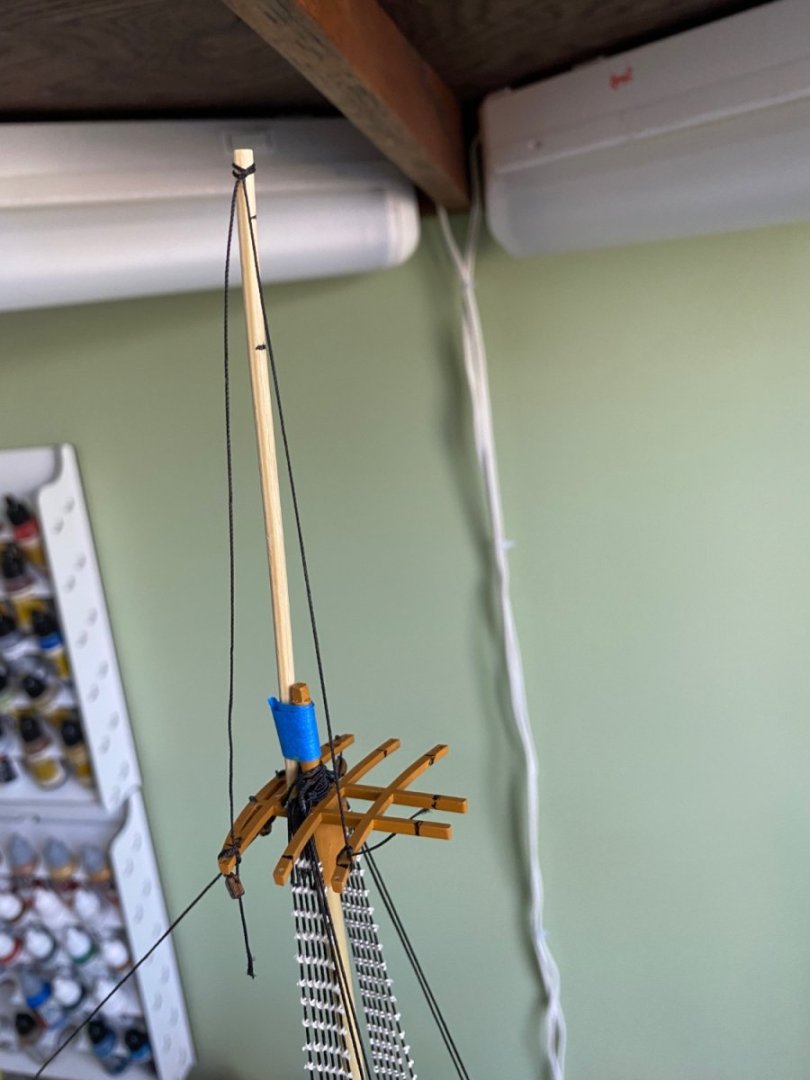
Marc see if this helps. I took card stock and cut out the shape of the shroud spread for the fore and main topgallant. All three have 1/8” cut off the cross trees. Photo 1 is with the topgallant unaltered from the kit size. Photo 2 is the topgallant at .5 of the top mast. Photo 3 is the topgallant at .4 of the top mast.

-
Will try to get such a shot.
-
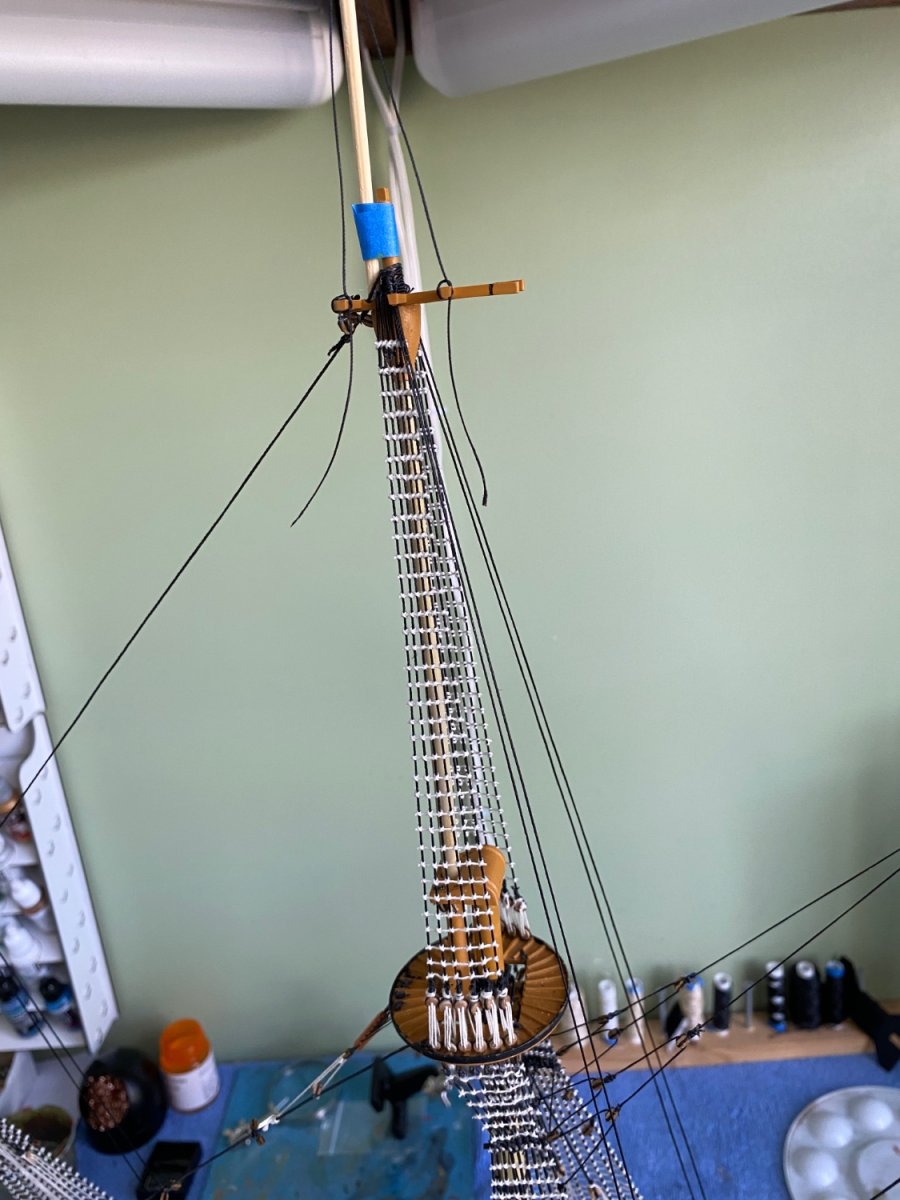
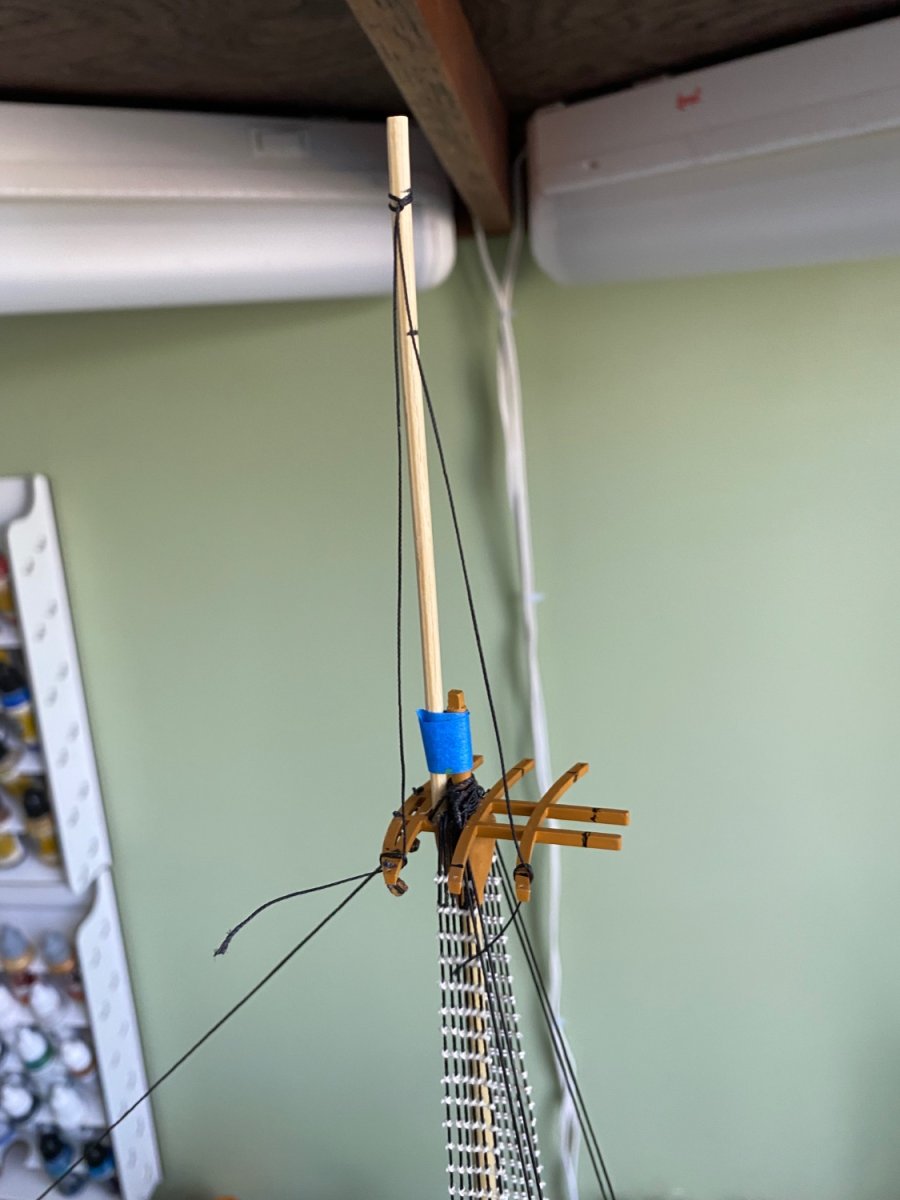
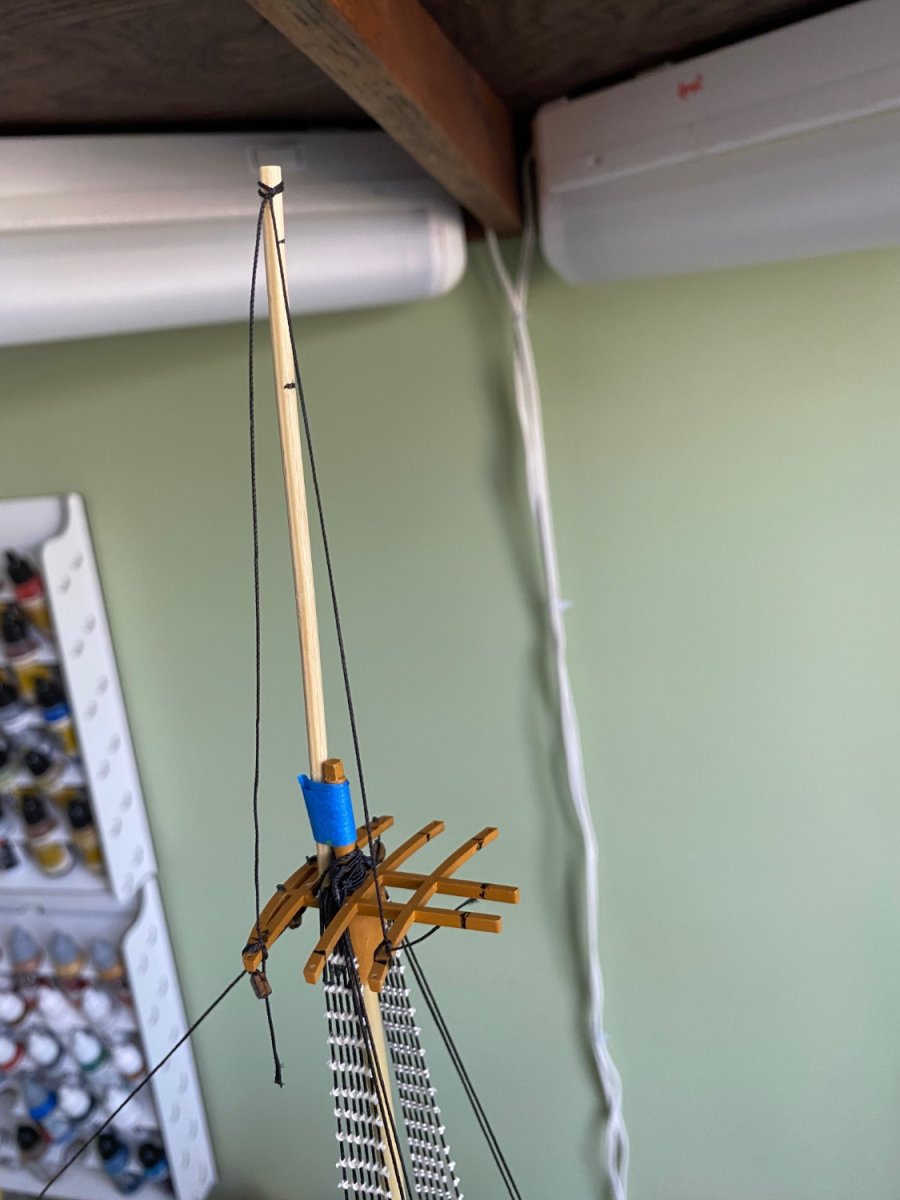
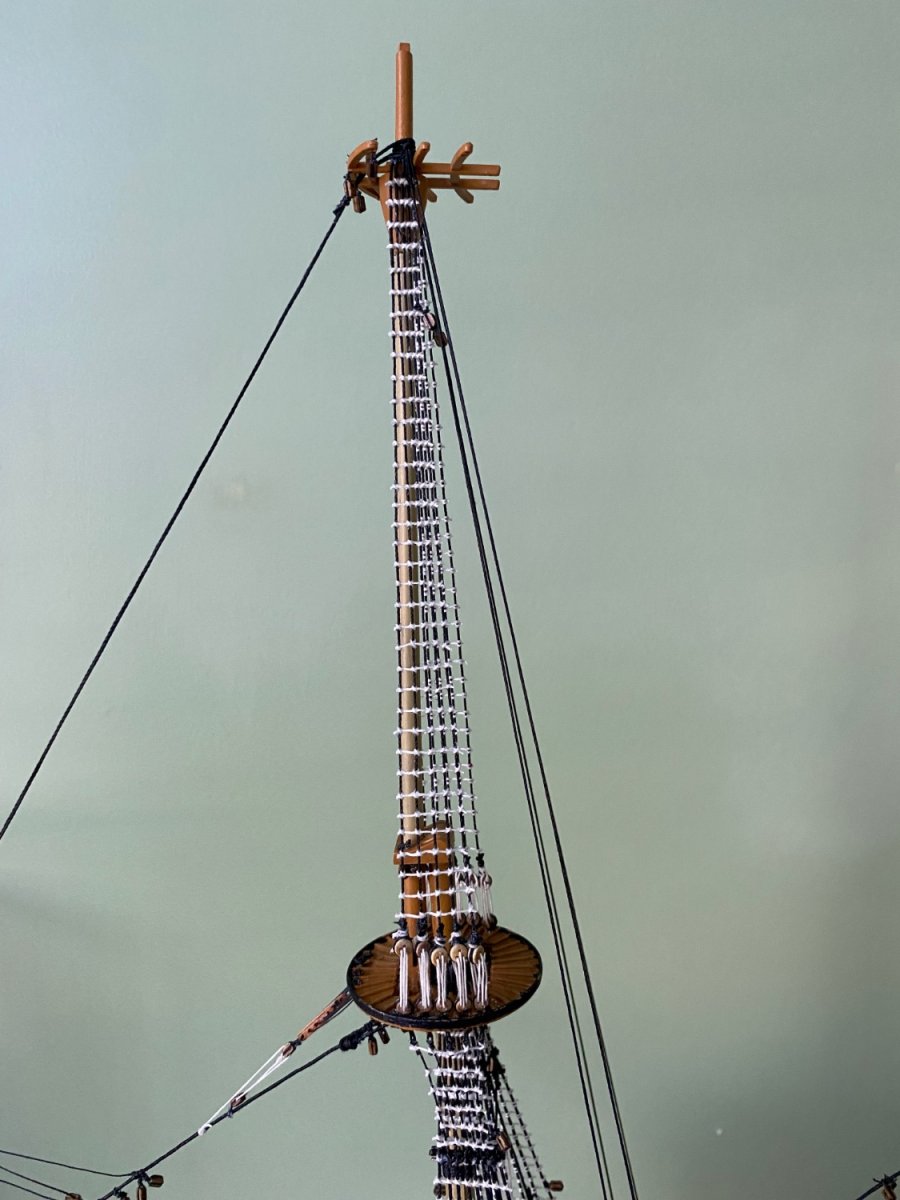
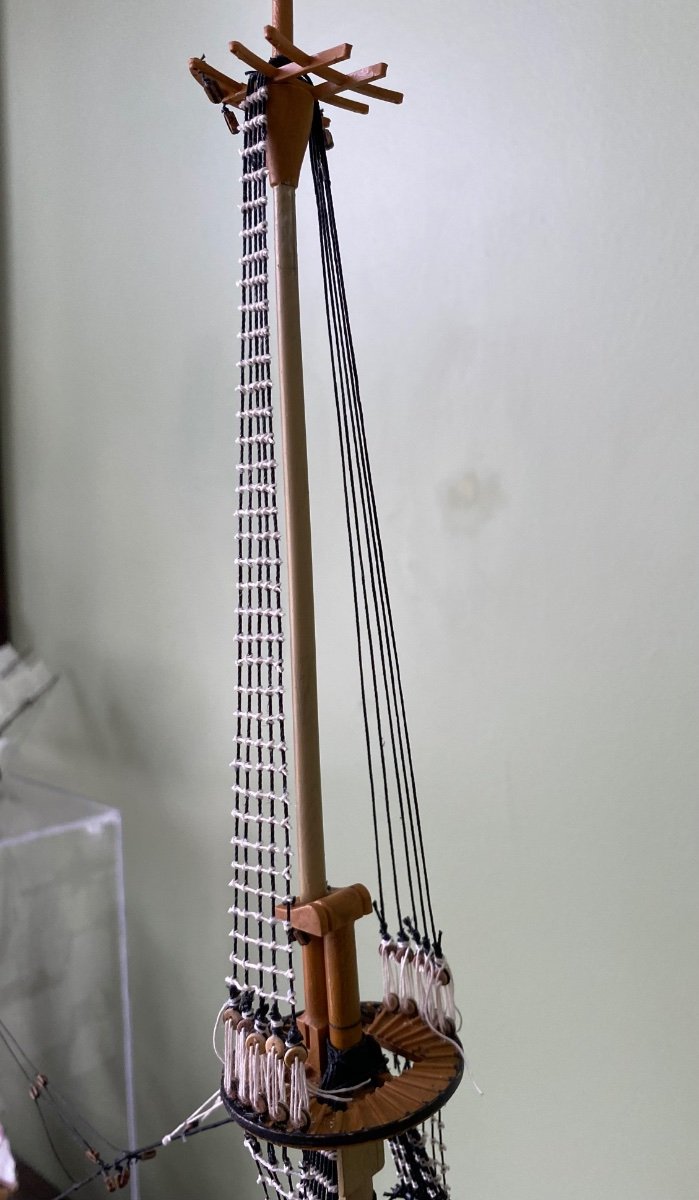
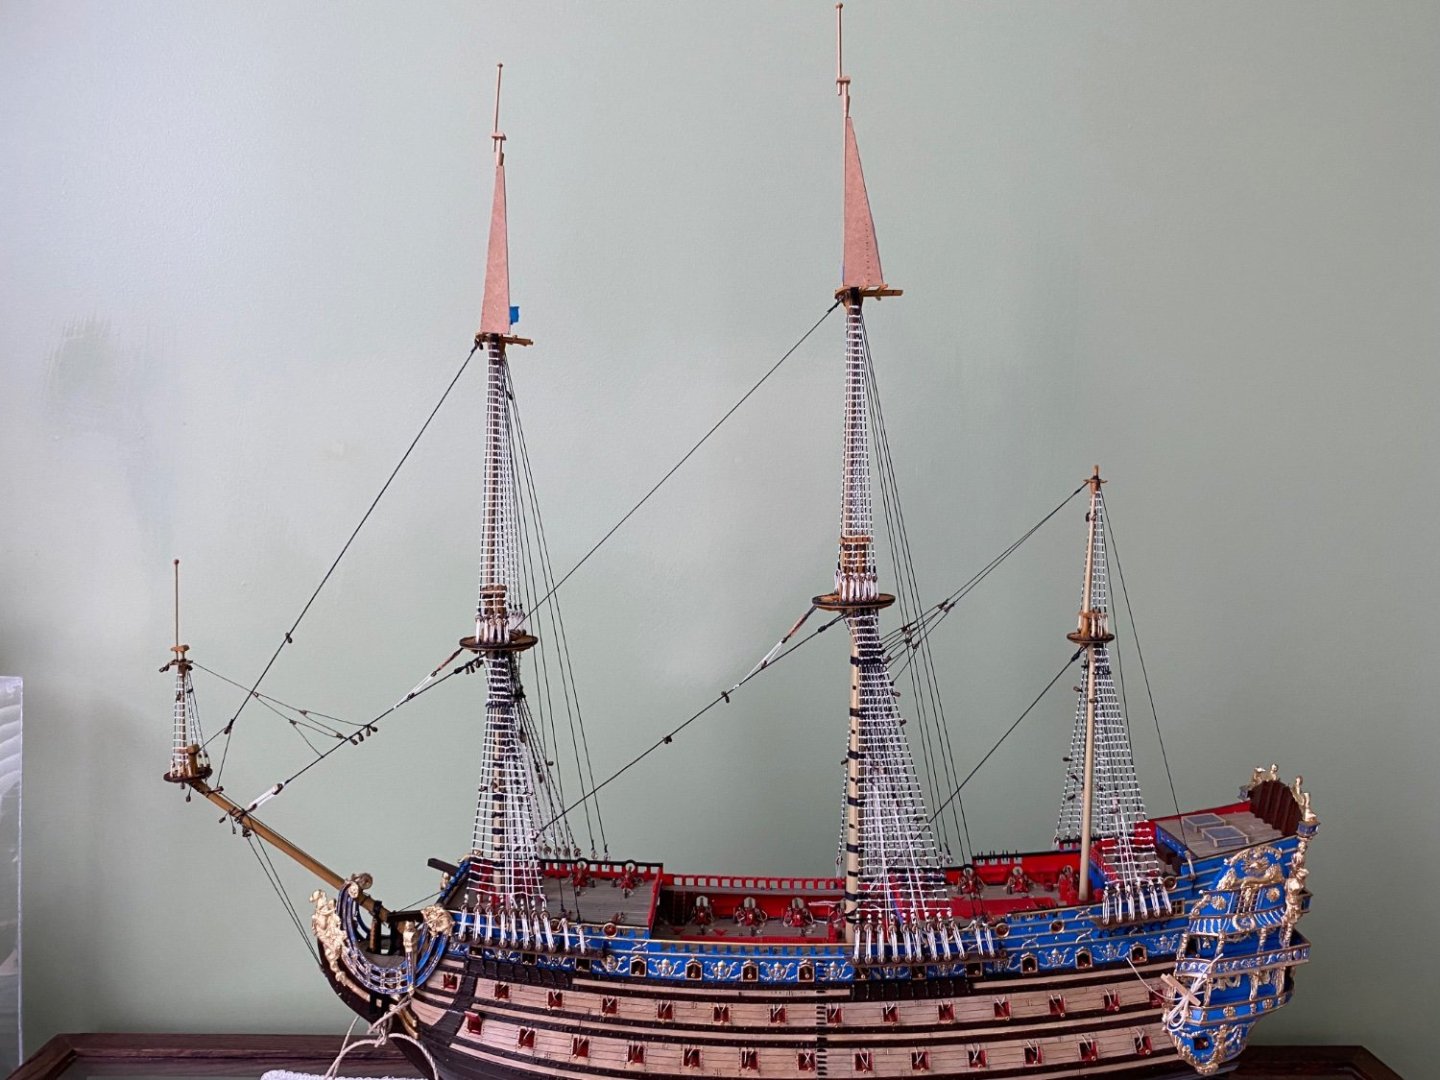
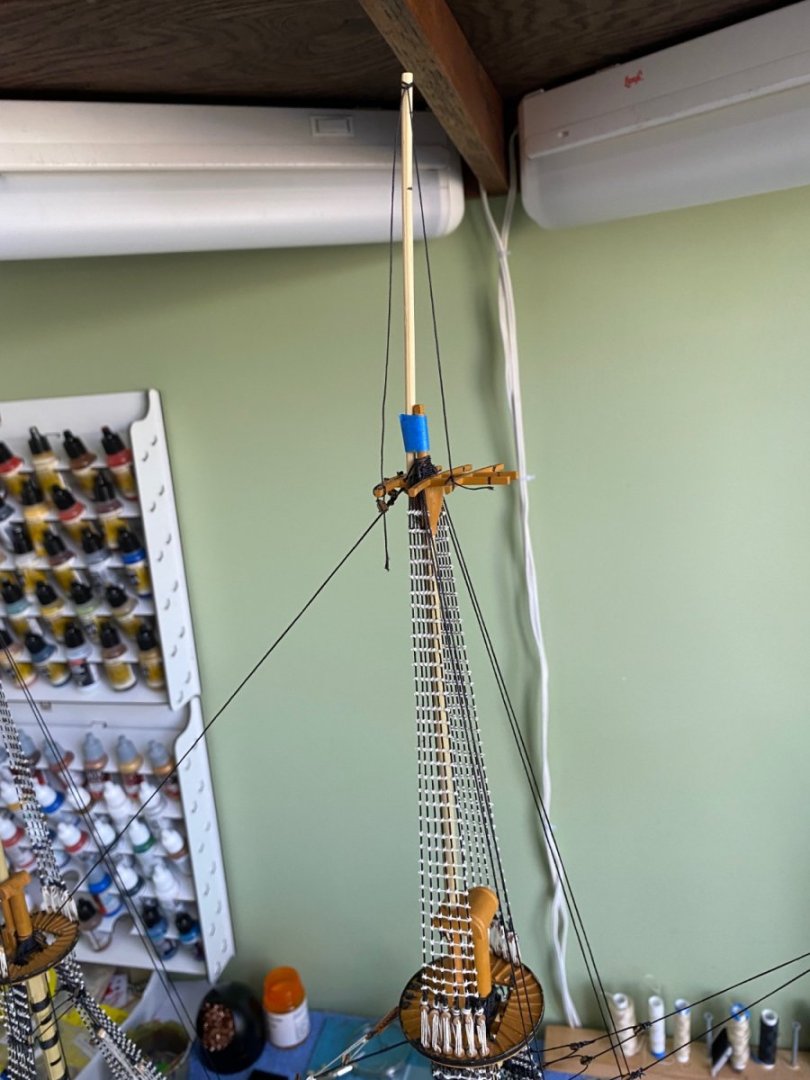
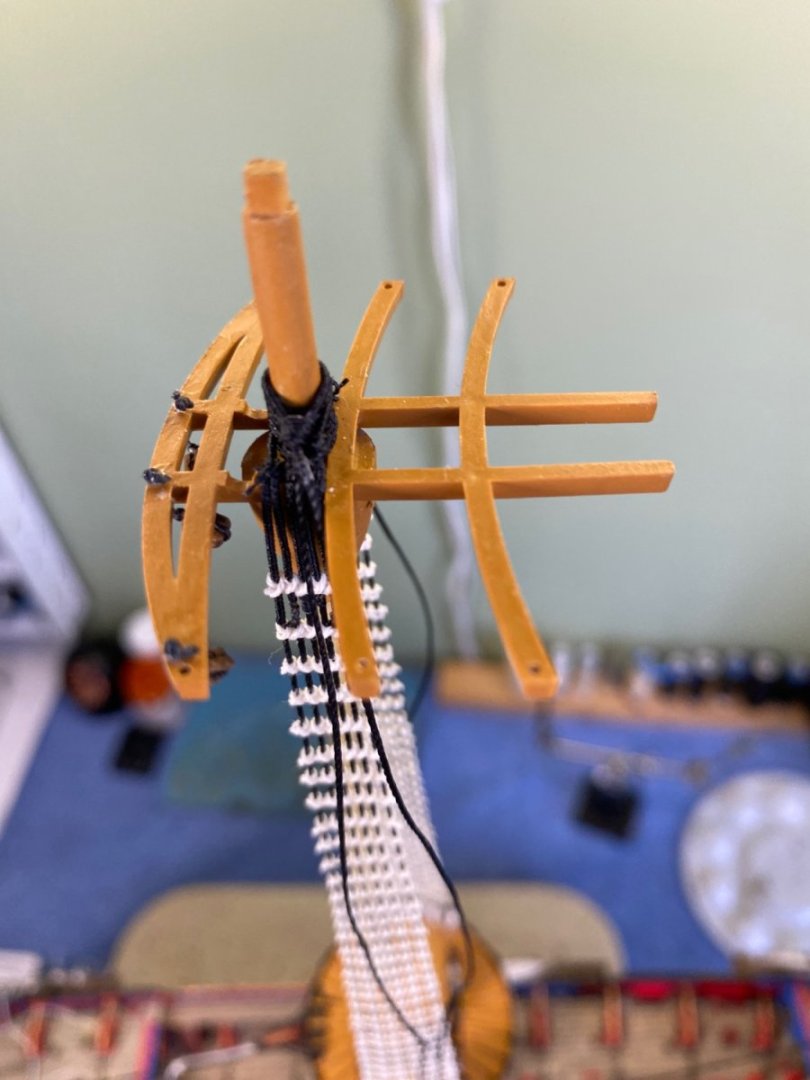
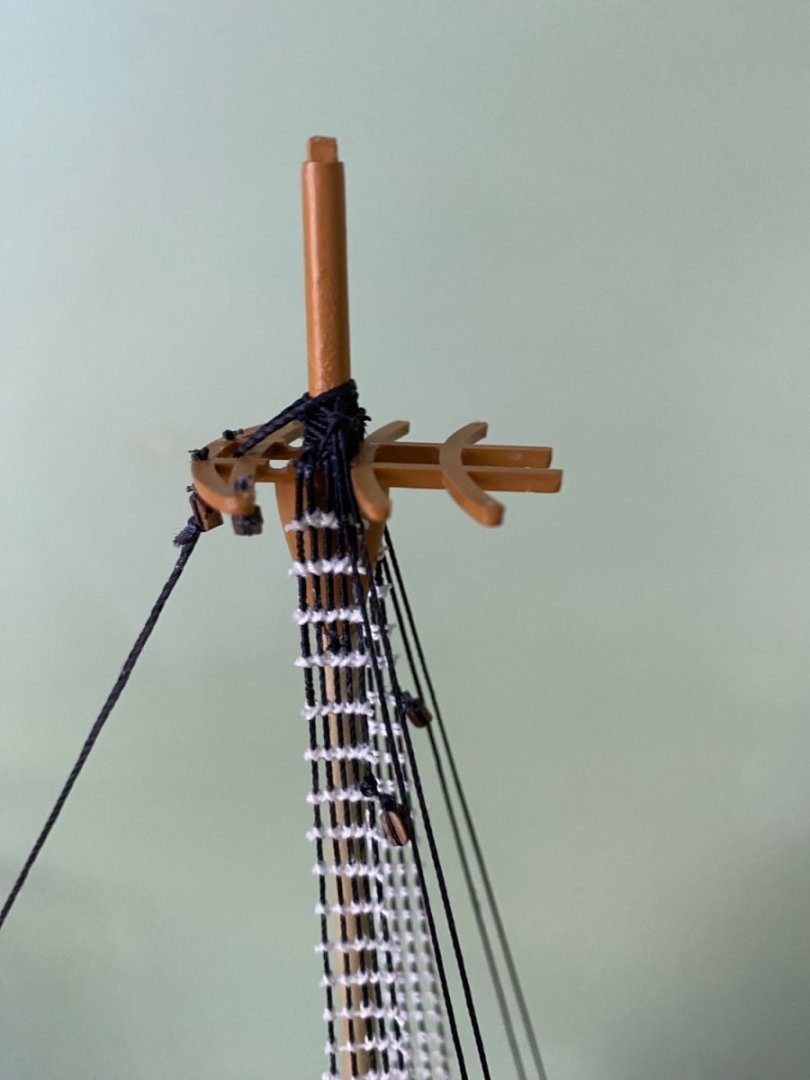
Ok thoughts, opinions, recommendations. Here is a mock up of the main topgallant mast height and the corresponding shroud spread. Also I am looking at an aggressive cut of 5mm off each side of the cross trees and the aft side of the trestle tree. That will be the same as the distance between the cross trees. Pictures 1 and 2 are using a 3 5/8” topgallant Pictures 3 and 4 are using a 4 1/2” topgallant Pictures 5 and 6 are the height of the Heller included topgallant of 5 1/4”. Thoughts and opinions. Do any of these seem satisfactory or go back to drawing board?


- 1,508 replies
-
- 1
-

-
- Le Soleil Royal
- Heller
- (and 1 more)
-
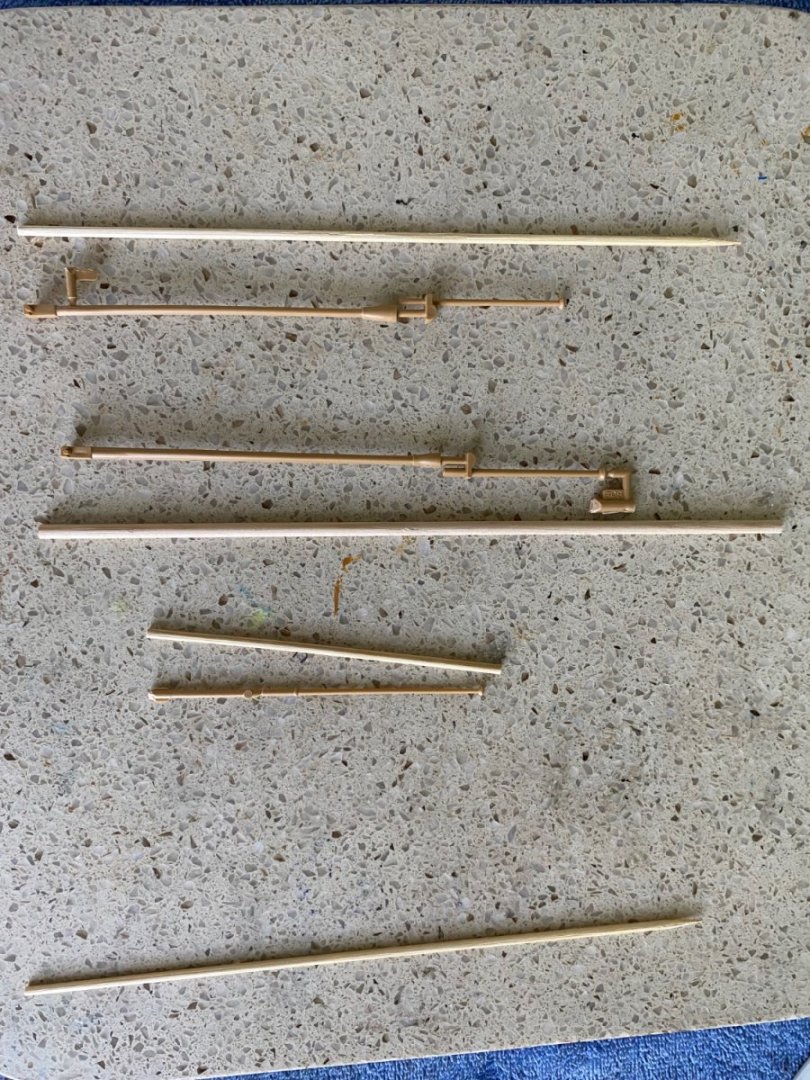
Now on to working with these topgallant masts and trestle trees. 🤔
-
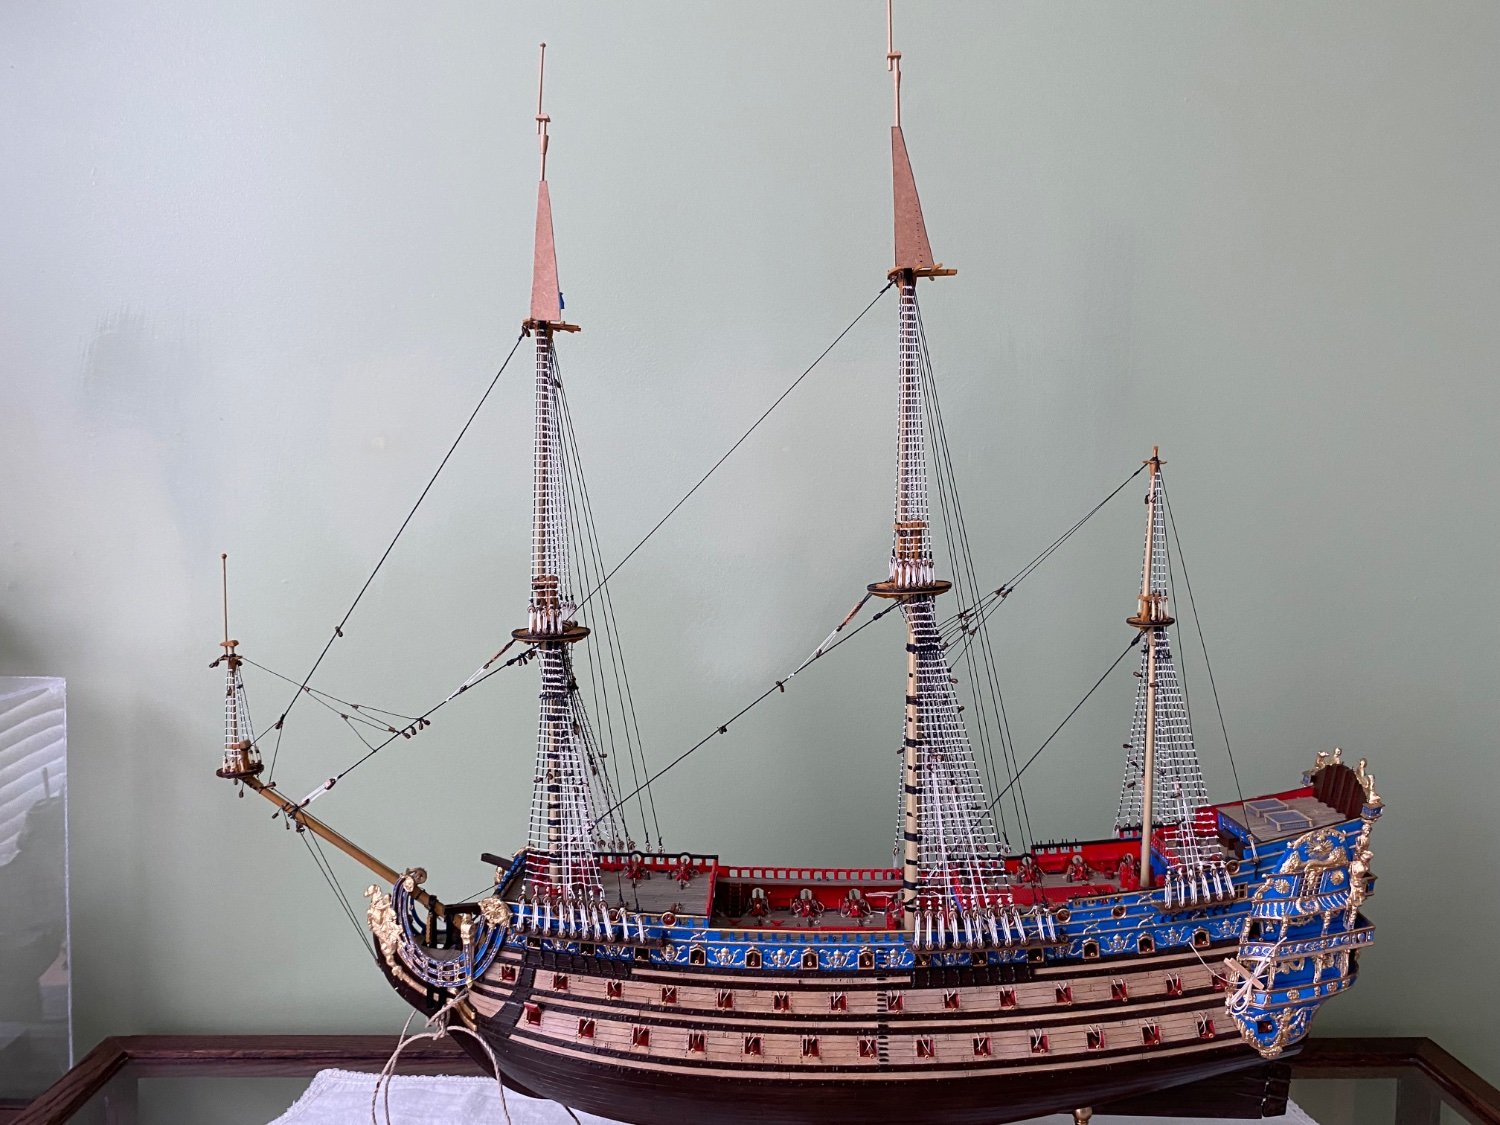
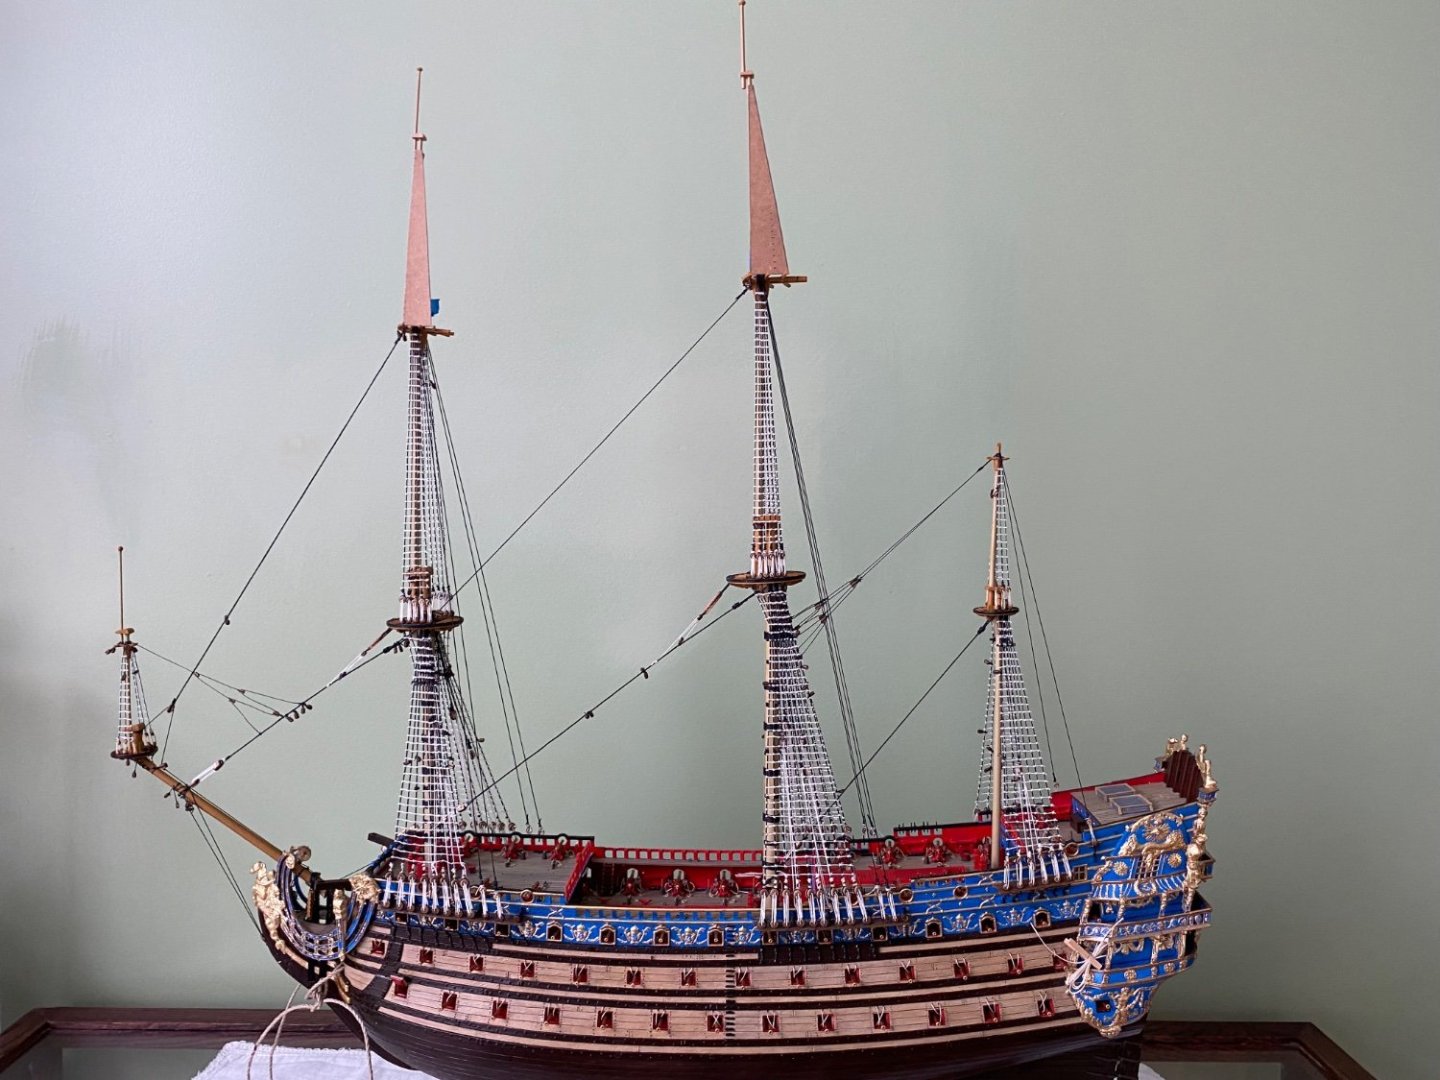
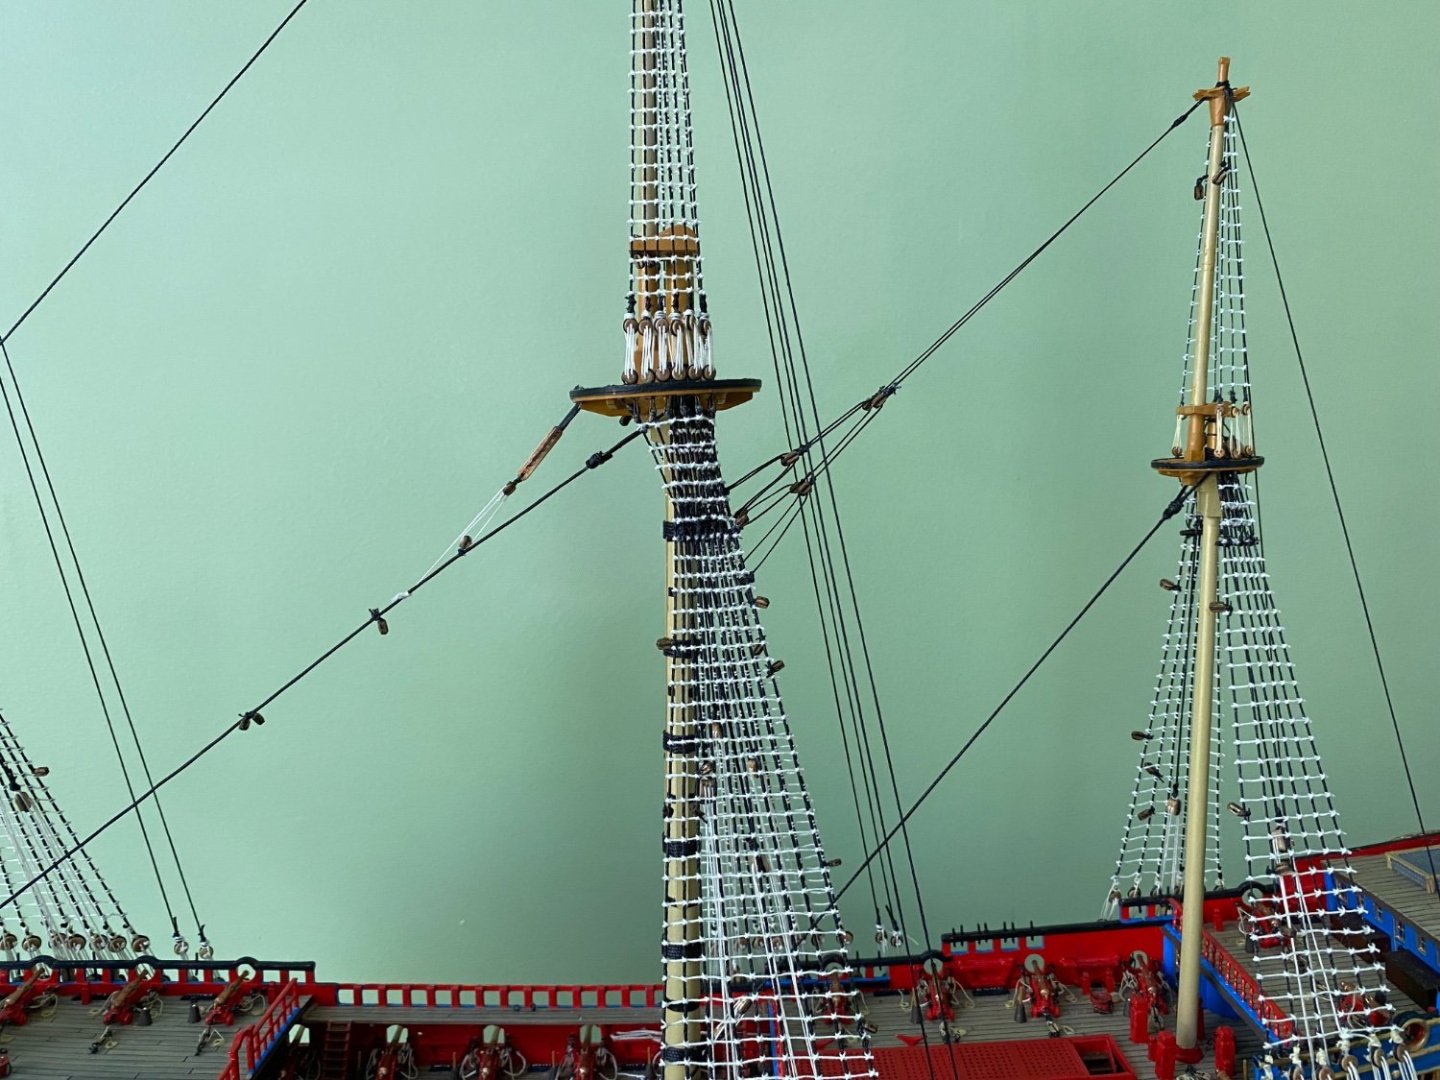
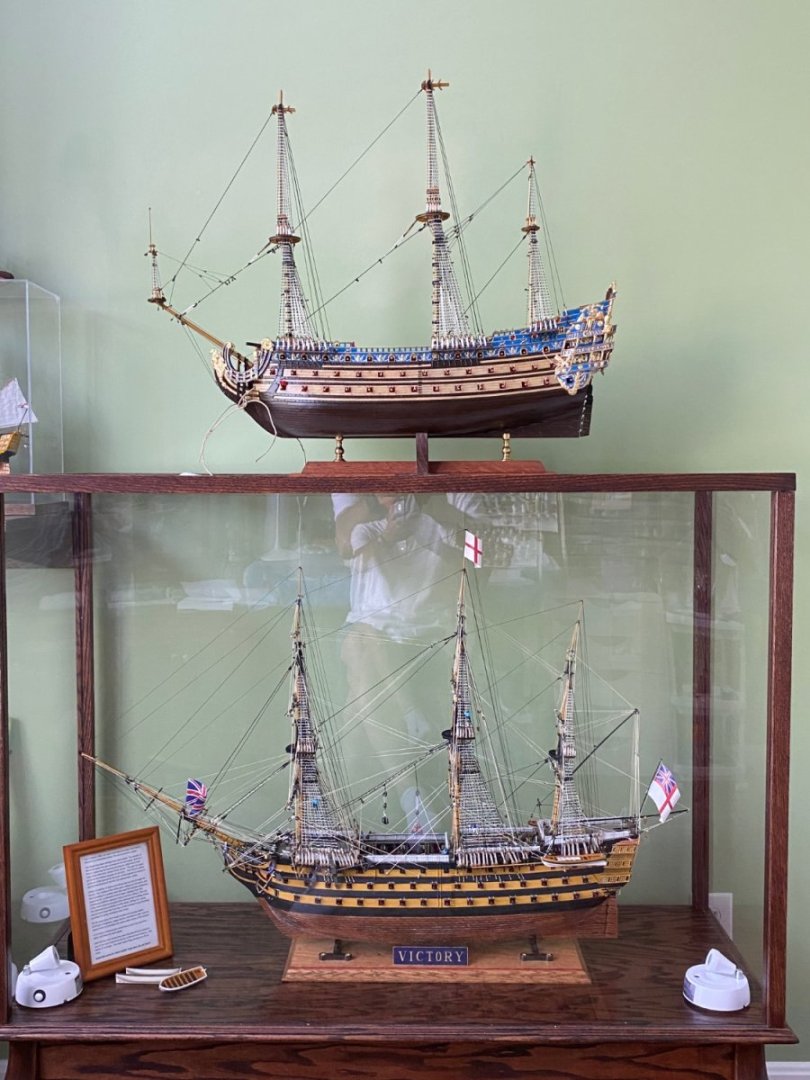
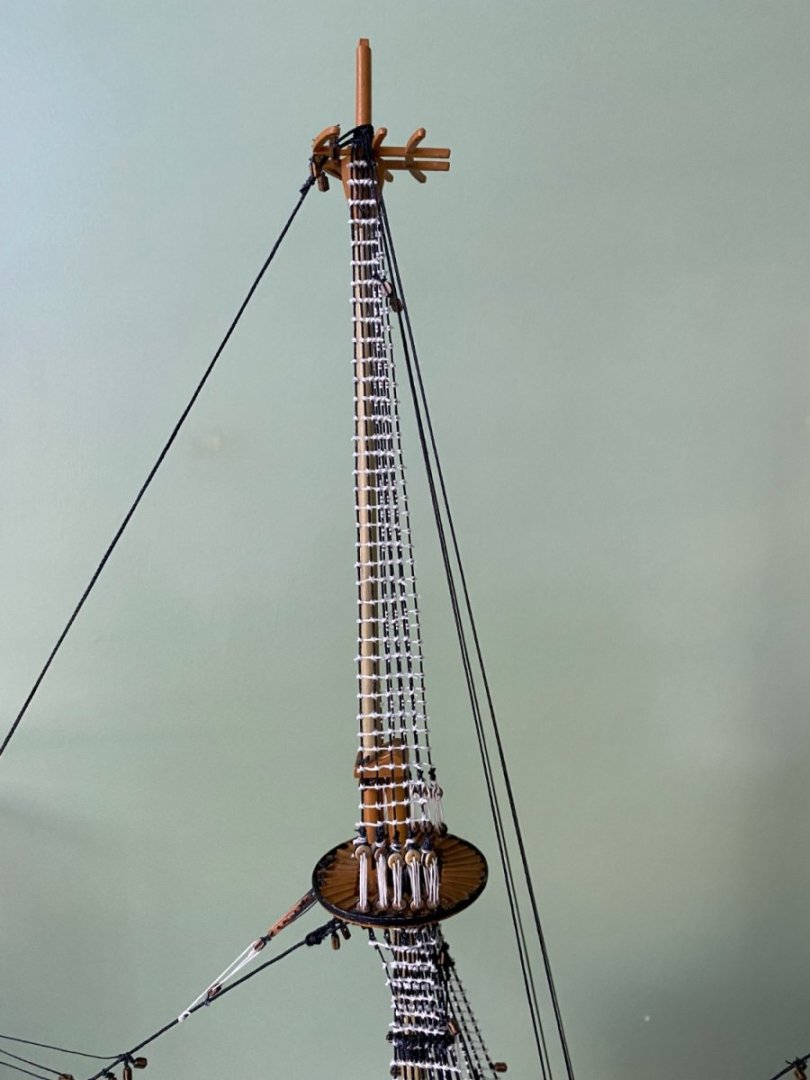
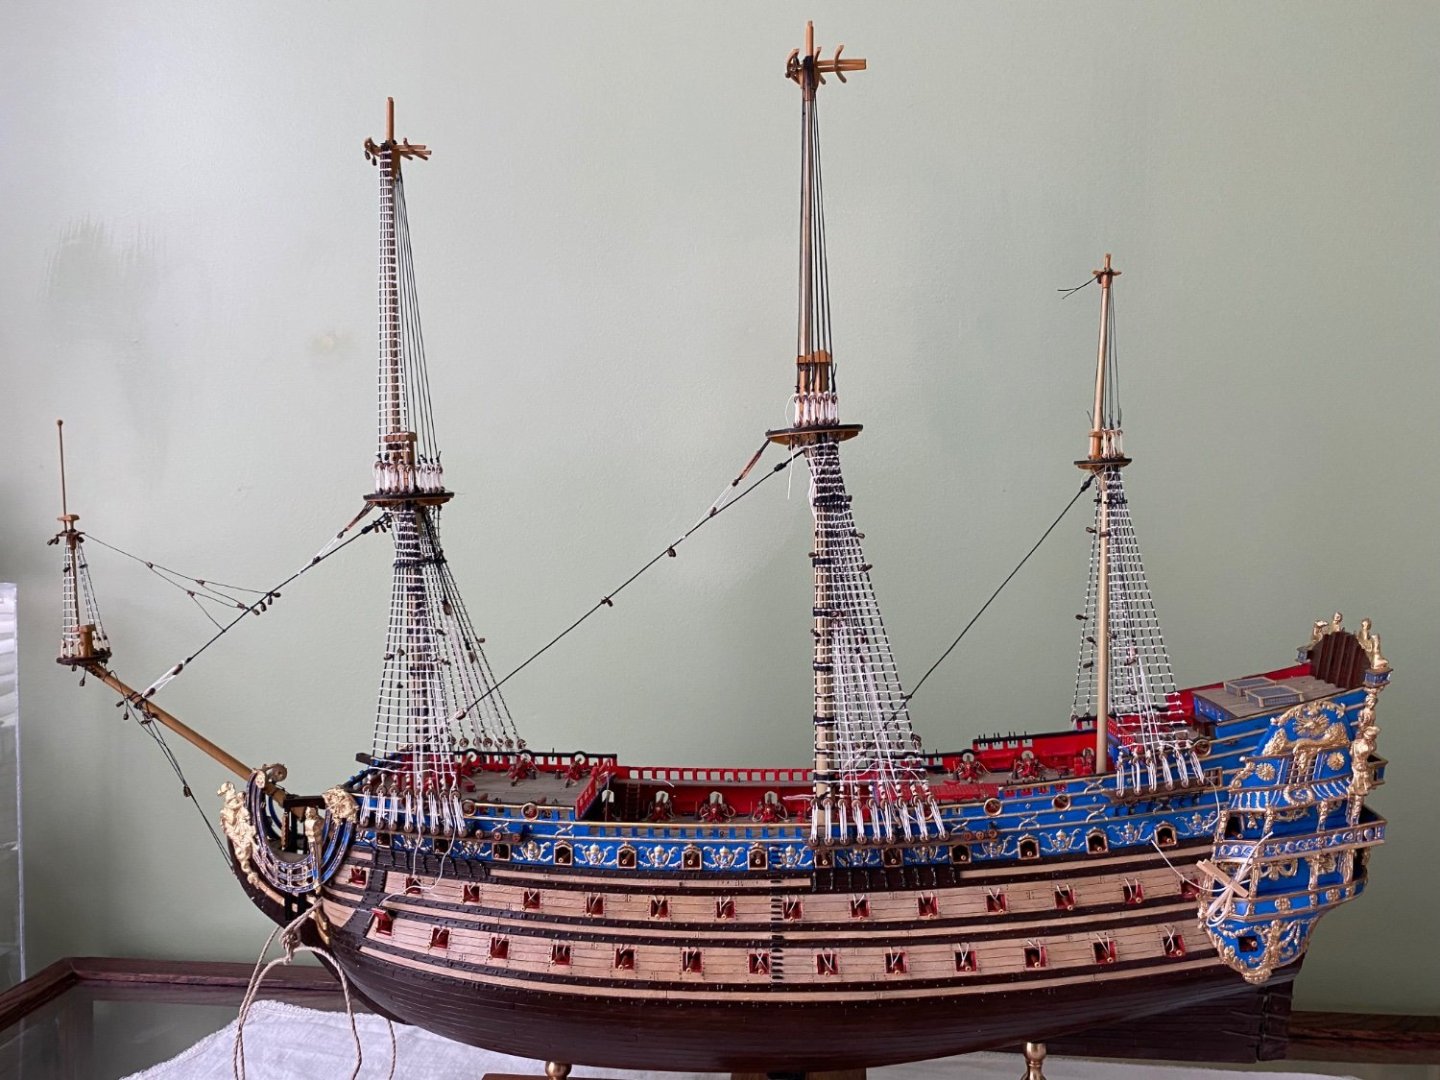
With the completion of the mizzenmast topmast stay and backstays I have completed the standing rigging up through the top masts. Interesting the at the mizzenmast topmast stays are a pair of crows feet that tie to the lower shrouds of the mainmast. Starting to catch up to my Heller HMS Victory cased below it.


- 1,508 replies
-
- 3
-
-

-
- Le Soleil Royal
- Heller
- (and 1 more)
-
Henry that is our favorite part of Scotland. There is a little town just a bit north of Inverness called Dornock that we have visited. Your trip sounds fantastic. Happy Anniversary. How many years?
-
Henry welcome back from your Scotland trip. I really enjoy visiting Scotland. Where did you visit Thanks for your reply. Looks like I am going to be trying my best to make a silk purse out of this pig’s ear already mounted on my mast. Of course I will also need to glance forward to the foremast which has its trestle tree already mounted and locked down as well. Or maybe my SR was reincarnated in the 1800’s 😊
- 1,508 replies
-
- 1
-
-
- Le Soleil Royal
- Heller
- (and 1 more)
-
I am definitely going to reshape the cross tree as close to the appropriate size as I can manage. Not sure exactly what I will do but that is my plan.
- 1,508 replies
-
- 2
-
-
- Le Soleil Royal
- Heller
- (and 1 more)
-
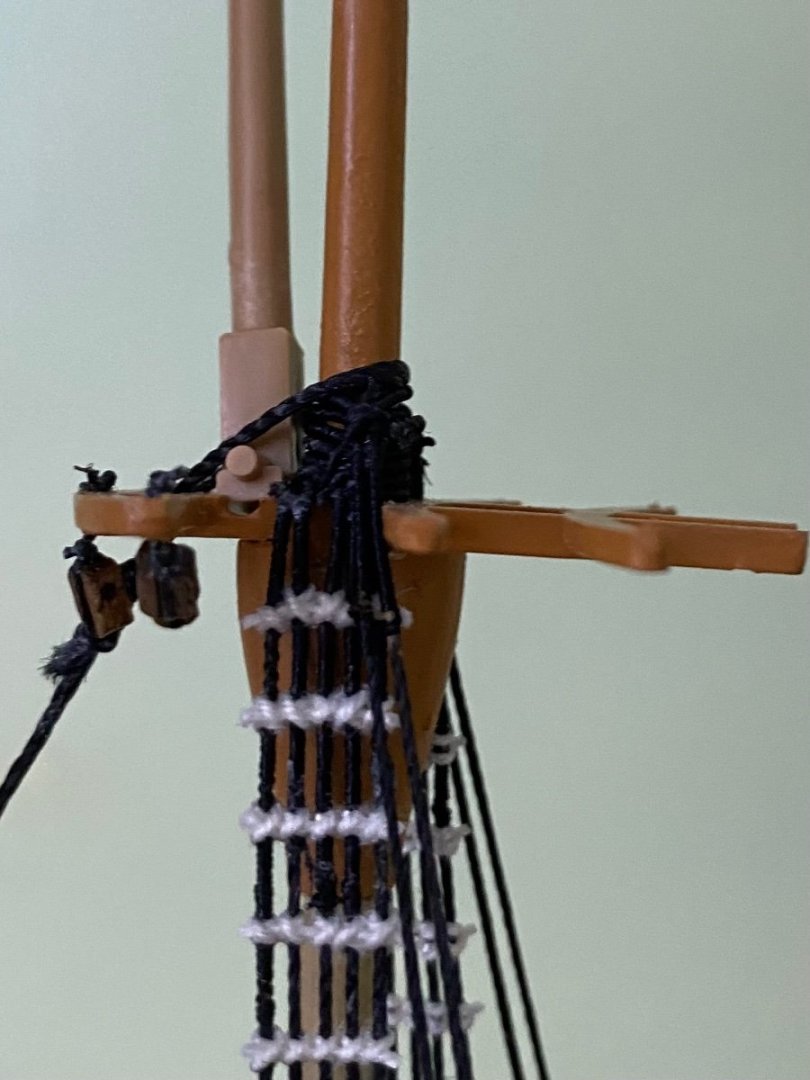
Oh Ok. That makes since. Simple triangle geometry. I am working on the main topmast stay and back stays right now. Looking at the cross tree and the mast top below I can see the cross tree/trestle tree is definitely too big. Would you shorten the aft end of the trestles a bit to make it look smaller? You definitely made the right decision making your own to proper scale. I am going to finish all the standing rigging for the topmasts and then give a good study to how make the topgallants look right. By the at I have finished all the ratlines for the topmast shrouds.

- 1,508 replies
-
- 1
-
-
- Le Soleil Royal
- Heller
- (and 1 more)
-
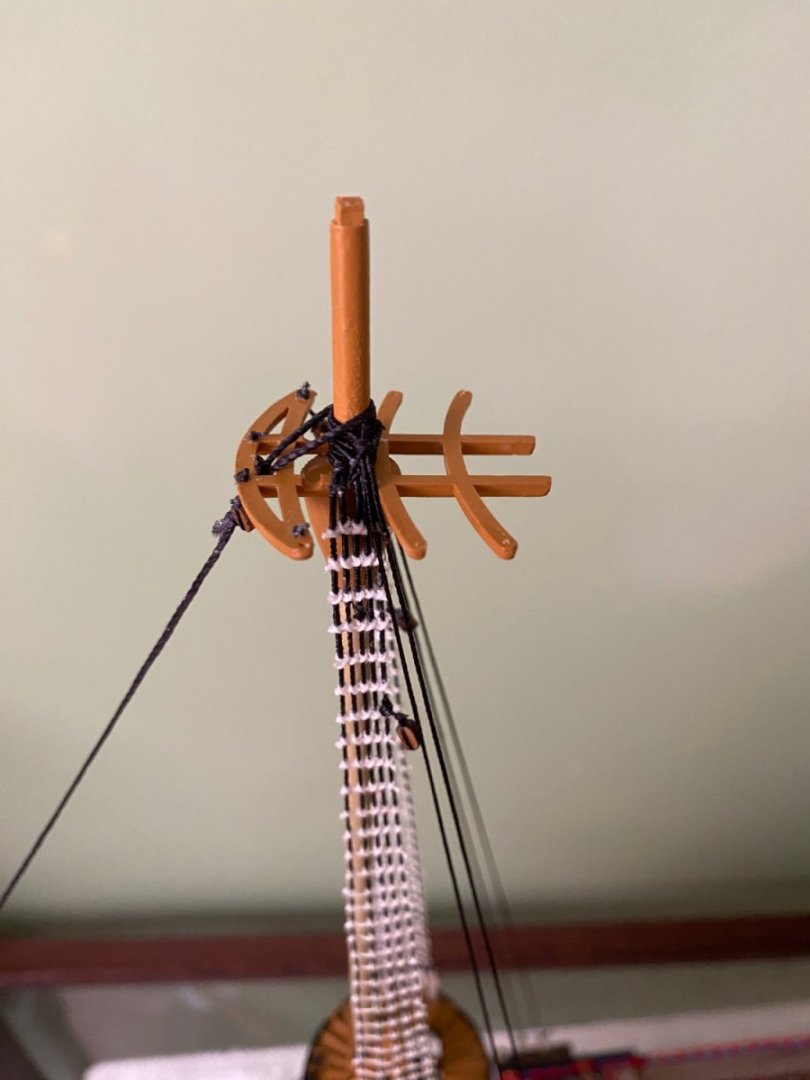
Gentlemen as I read through our current discussion and look closely at my ship, especially what I have already completed, I can see as you have pointed out errors in Heller’s design. Unfortunately some of these errors are in items it is to late to correct. The error now being the cross trees and trestle trees which are now permanently locked in position under the shrouds. My only hope is to do the best I can to make the model visually interesting and attractive despite the lack of accuracy. Ian you are absolutely correct the topgallant mast can not be struck with the trestle tree designed as it is. Marc I measured the width of the cross trees. They will have the topgallant shroud spread the same width as the topmast shroud spread. You mentioned shortening the cross trees. I don’t understand how this would change the spread. Henry have you reached this point? If so what did you do and how does it look?
-
Marc as usual you have given me a lot to think about. I had not thought about keeping the shroud spread appearance the same all the way up the mast. Will have to mock it up as you said to get a good feel. Thanks to you and Ian for your help today.
-
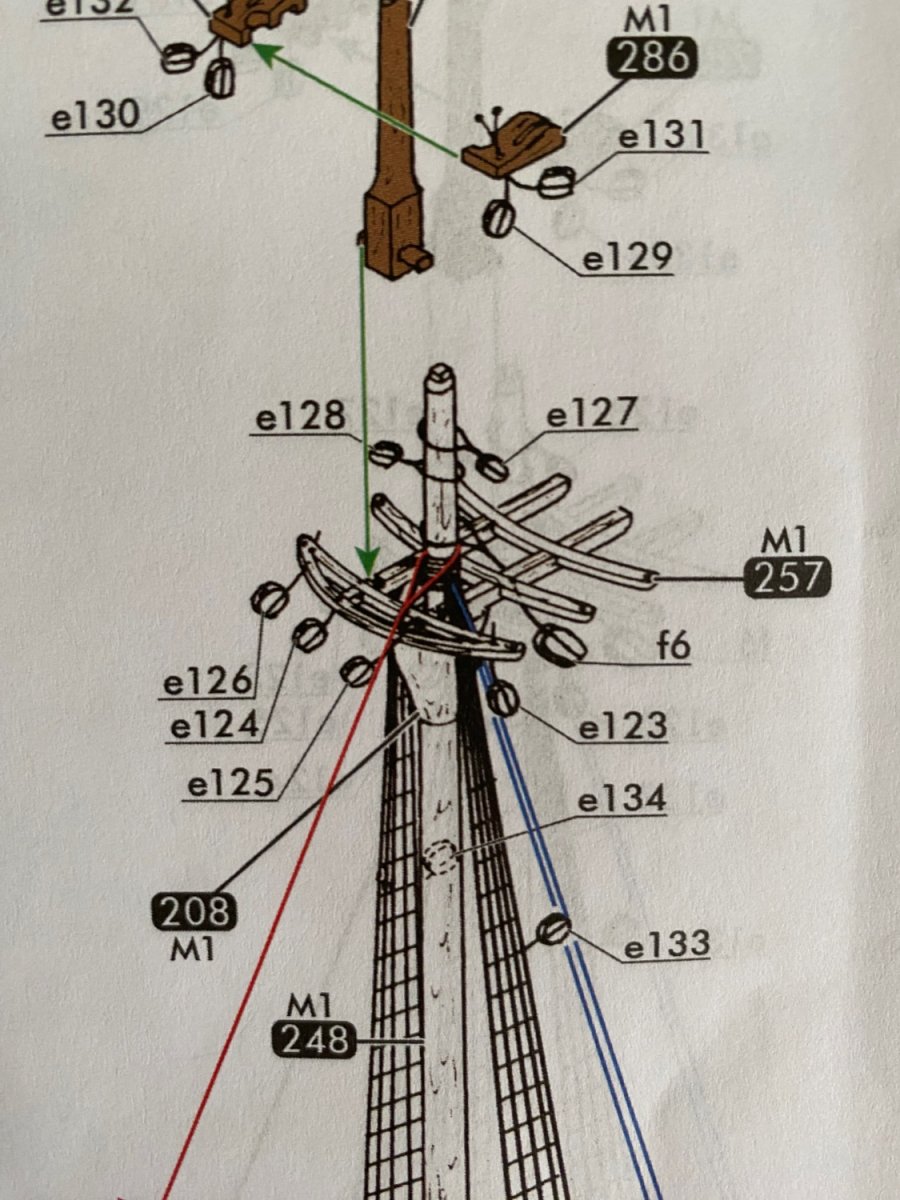
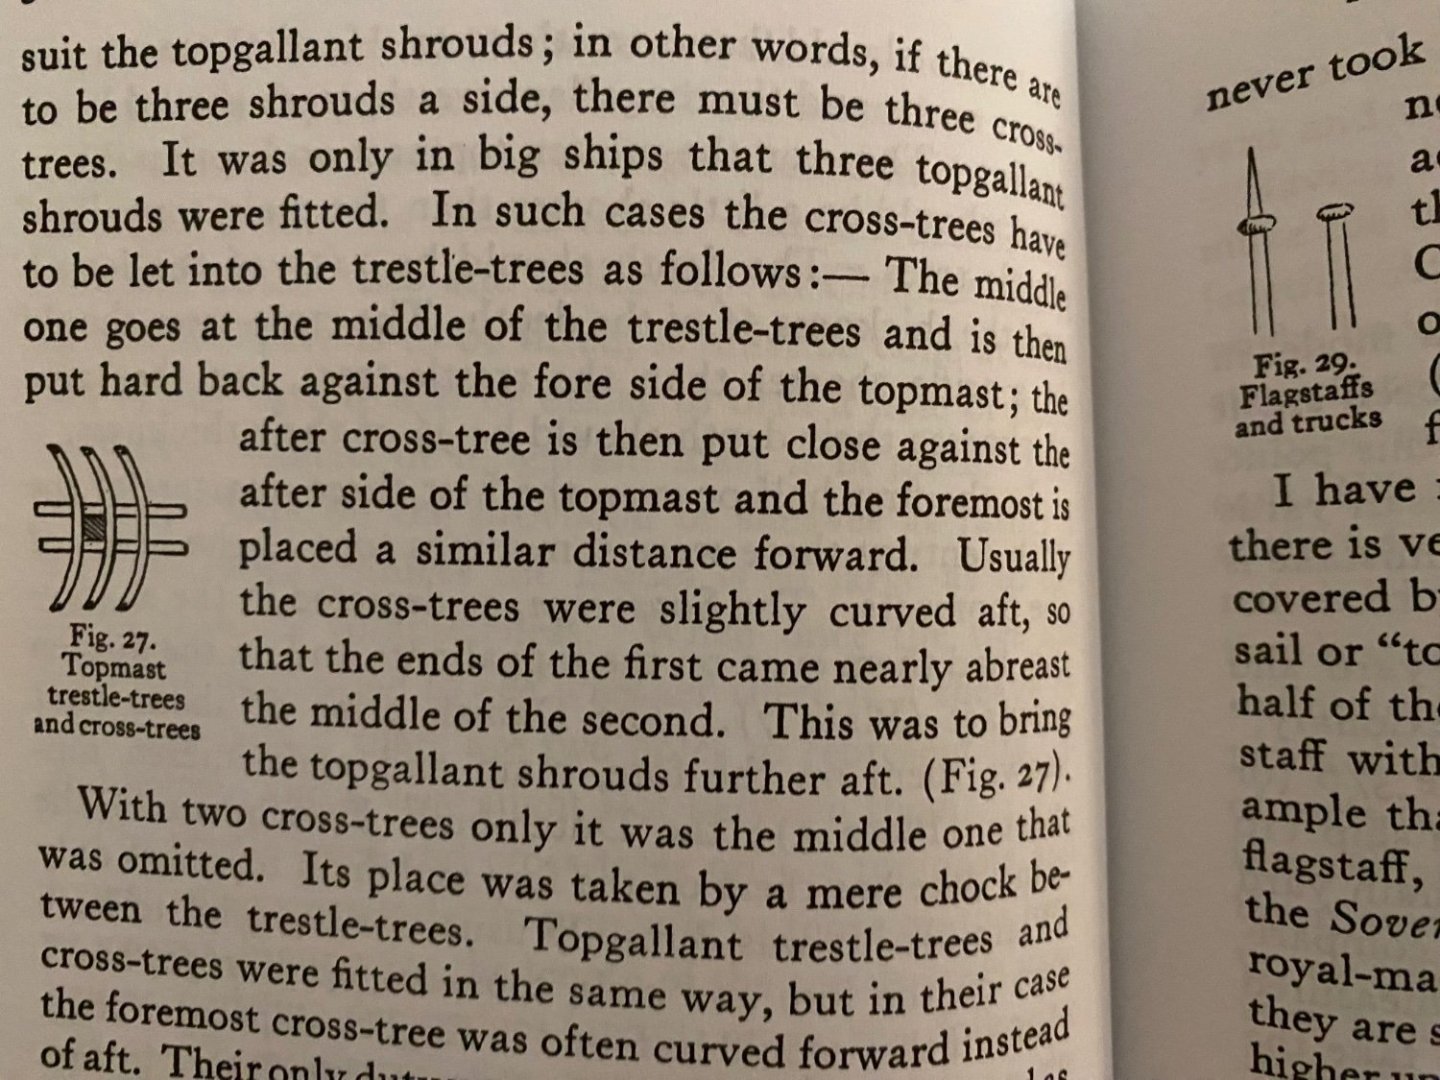
OK I know I am spending way to much time on MSW tonight discussing my ship with you guys! 😊 Ian I picked up my Anderson book to read through Chap 3 again after you referenced it above. I stumbled on something that concerns me. I hope you or Marc can shed some light on. On page 50 of Anderson’s book he explains the position of the topmast cross tree and trestle tree. He shows the third cross tree placed forward of the mast top. The Heller instructions, and the way I have already done it, is to have the third cross tree aft of the mast top. 😳

-
Marc and Ian just to confirm this as well. The 3 5/8” is measured from the cross tree on the topmast not from cap that is about an inch higher?
-
Oh OK Marc. You think a topgallant that tall would look the best? Basically cutting two inches off the height? Go from 51/2” to 3 5/8”? I will be making my own sails down the road a ways so this change will not cause a problem compared to if I had planned to use the kit supplied plastic sails.
-
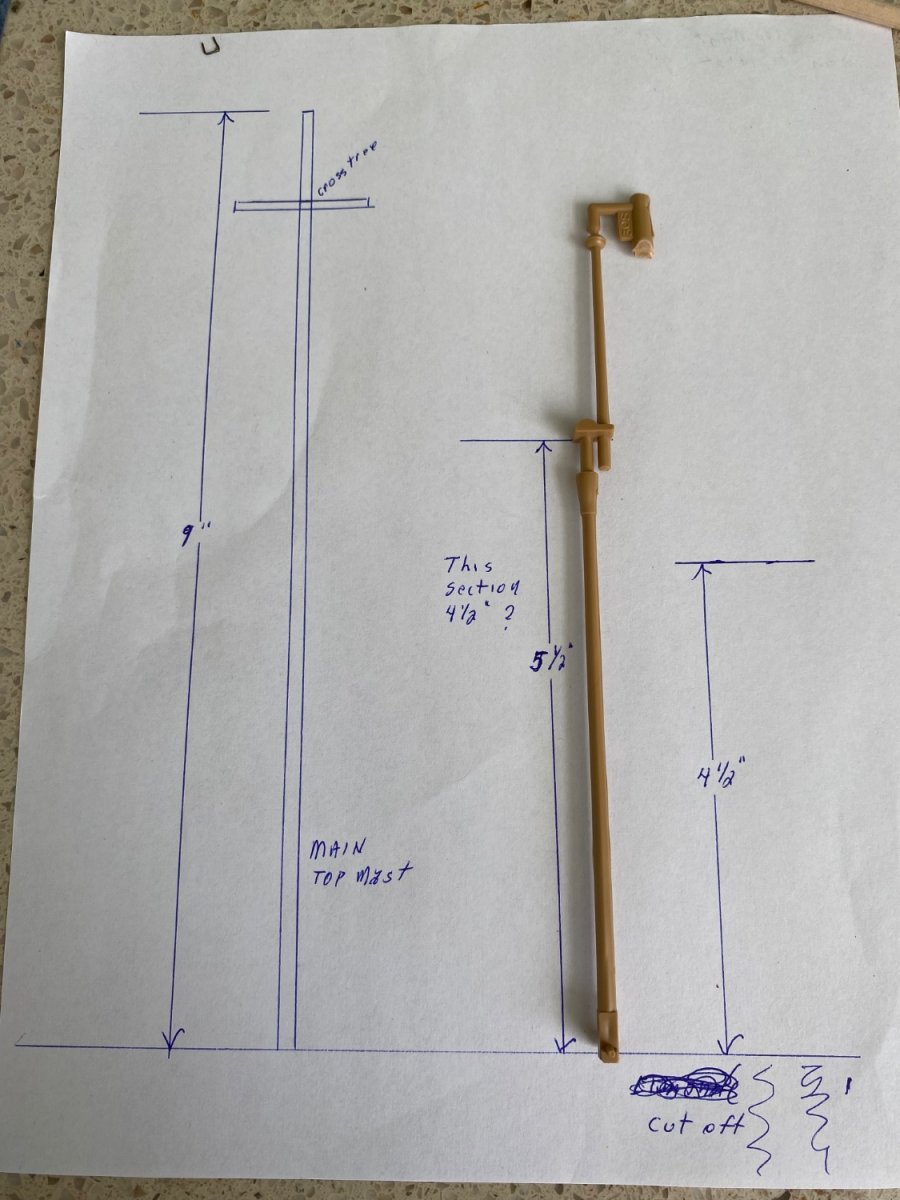
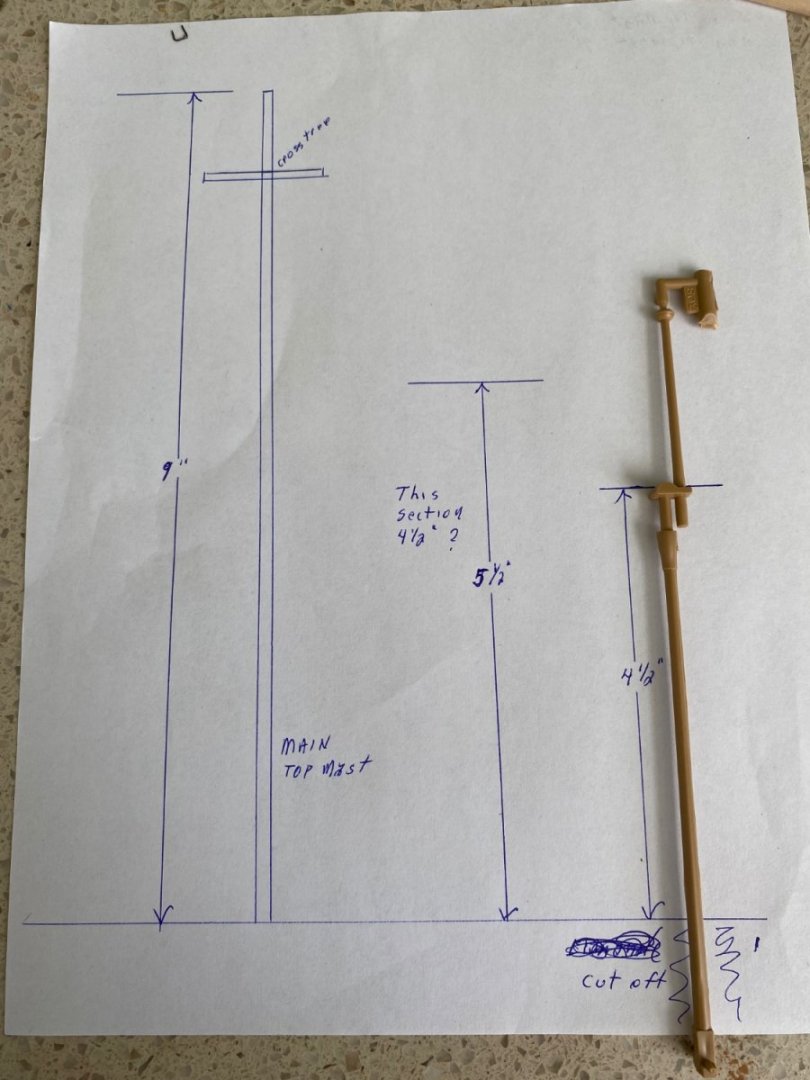
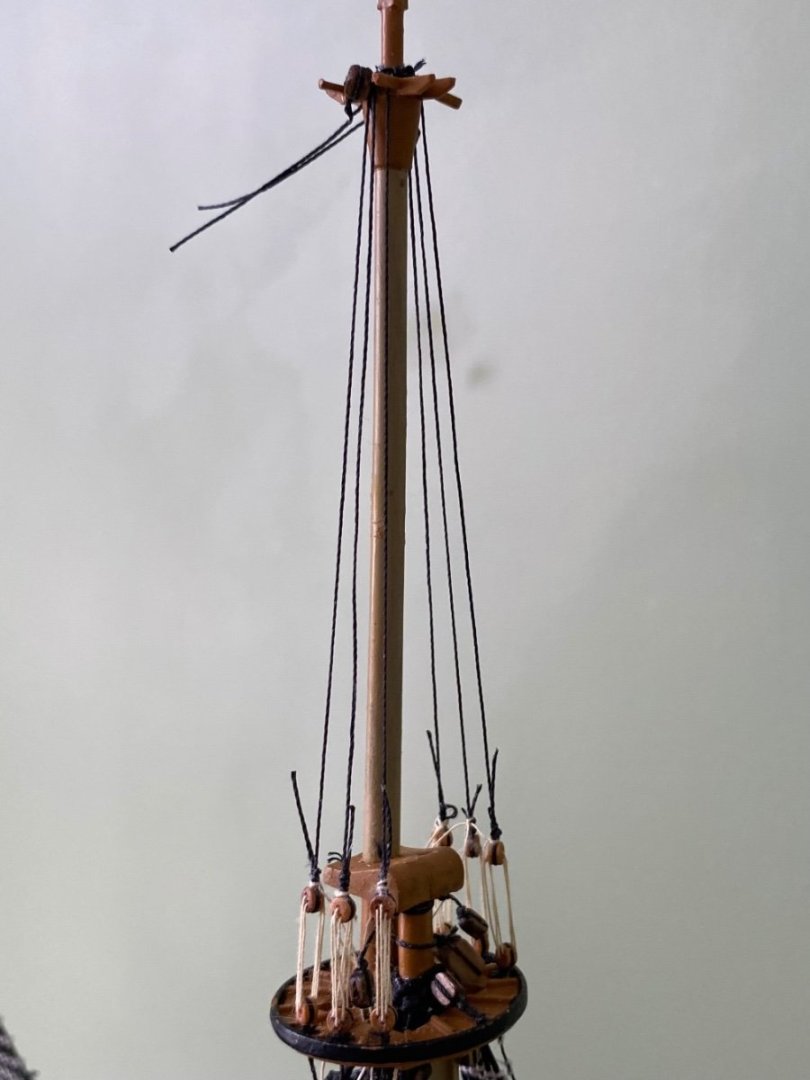
Thanks Marc and Ian. Tell me if I am right here. The main topmast is 9 inches tall. Ian based on your advice if I go with 0.5 of the topmast the topgallant mast would be 4.5 inches. I am guessing that is only to the topgallant mast top not the flag pole section? The area I have indicated in the first picture. The second picture is what the new length would look like.

- 1,508 replies
-
- 2
-
-
- Le Soleil Royal
- Heller
- (and 1 more)
-
So Marc the mast sections are all proportional to the section below?
- 1,508 replies
-
- 1
-
-
- Le Soleil Royal
- Heller
- (and 1 more)
-
“The mast sections which are really overlong are the t’gallants. Those I will make from scratch and shorten.” Marc you made this comment when we were discussing the mast section lengths. I am soon going to make my own topgallant masts. Before I start I am curious how much you will shorten the ones you make? I assume the section you shorten will be the bottom section below the tops?
- 1,508 replies
-
- 1
-
-
- Le Soleil Royal
- Heller
- (and 1 more)
-
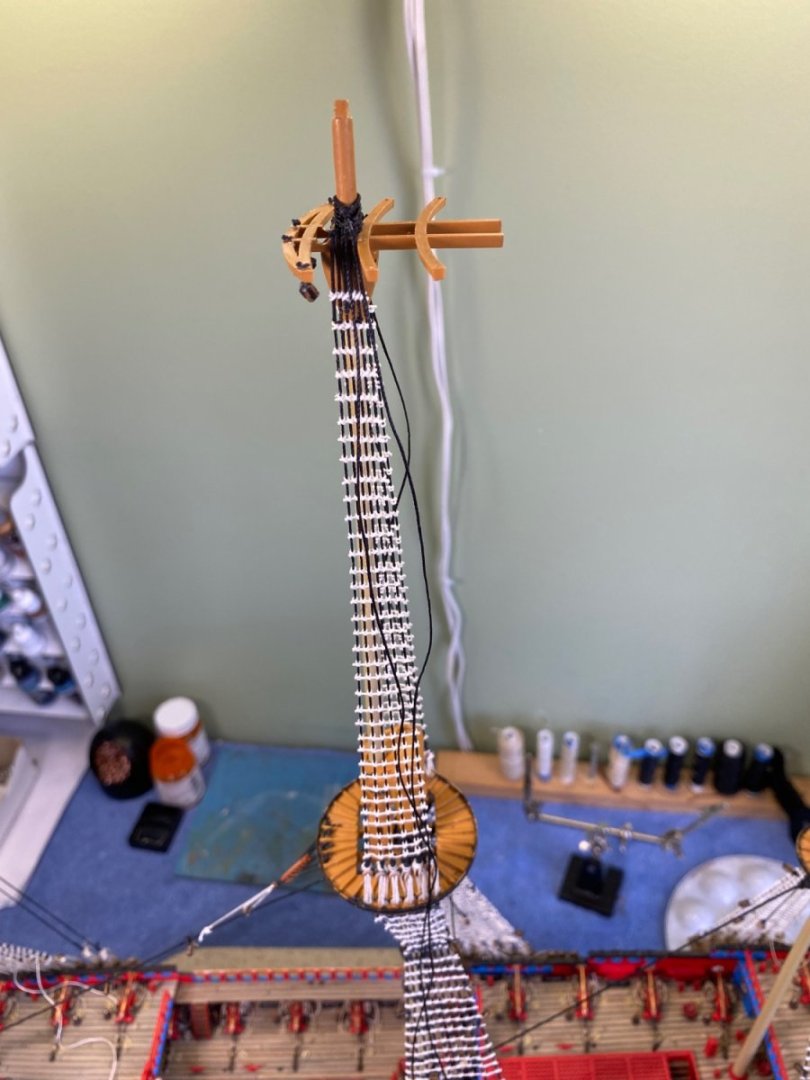
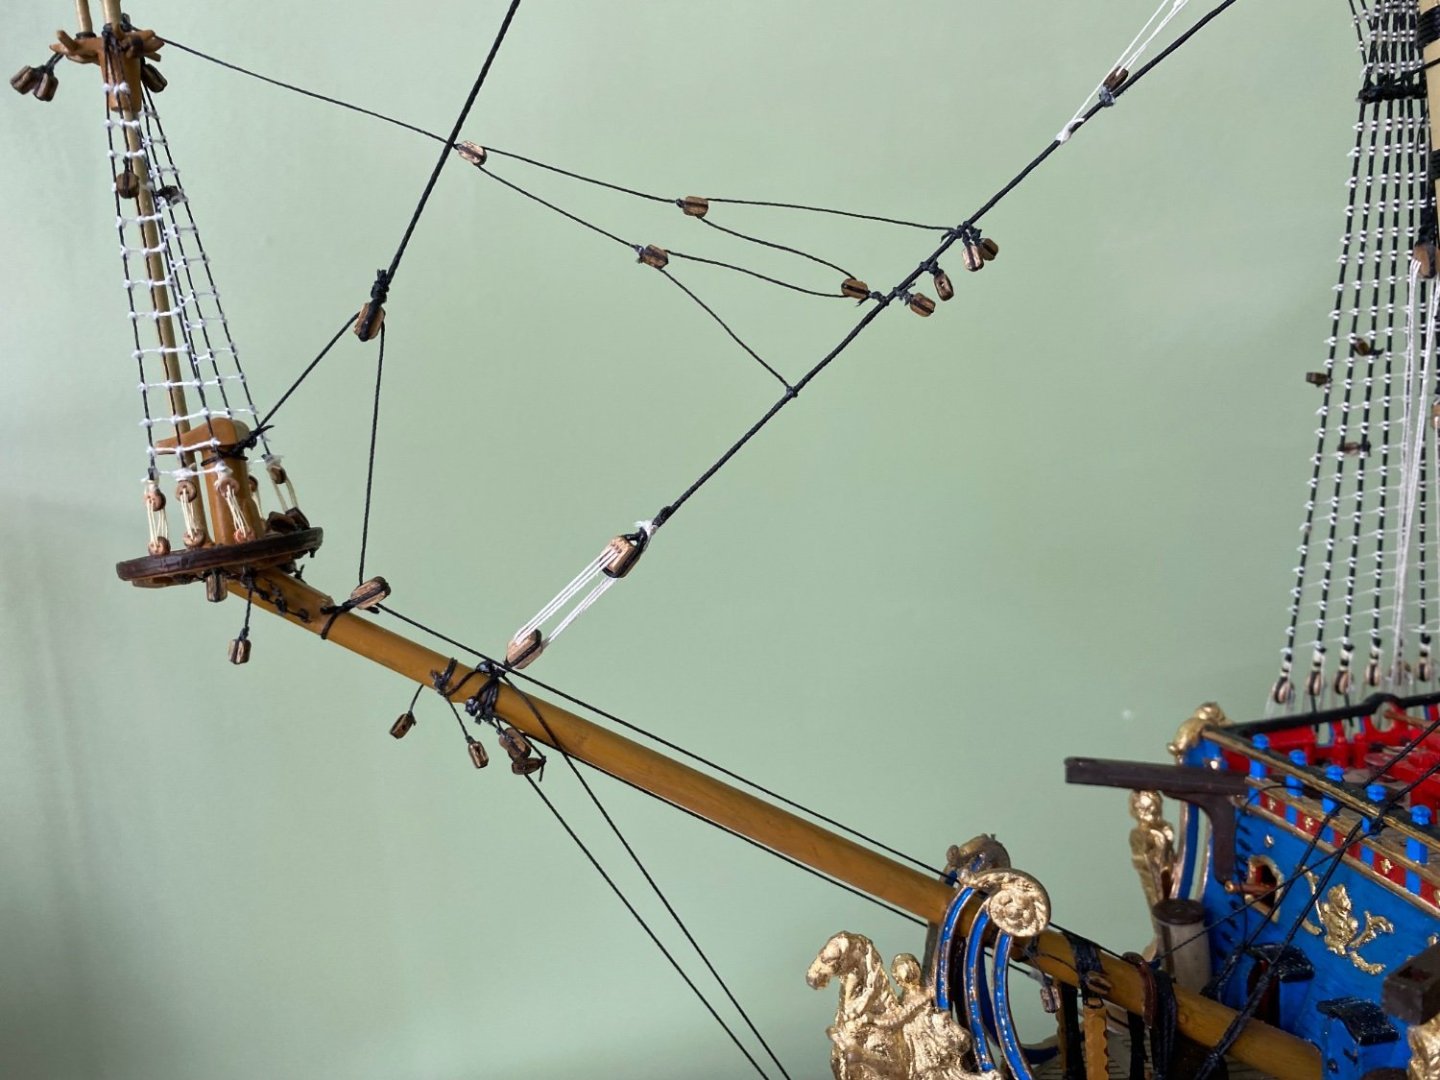
Finished the ratlines on the fore topmast. Added the backstays to the foremast and the fore topmast stay. A may redo the crows feet, maybe not. I got just a bit of slack in it when I added the stay. But even with the bobstay I added any more pull on the crows feet bows the stay at the bottom. Will probably just live with it. I am satisfied with my chains at the channel. Still have the topgallant stay to add later.


- 1,508 replies
-
- 3
-
-
-
- Le Soleil Royal
- Heller
- (and 1 more)
-
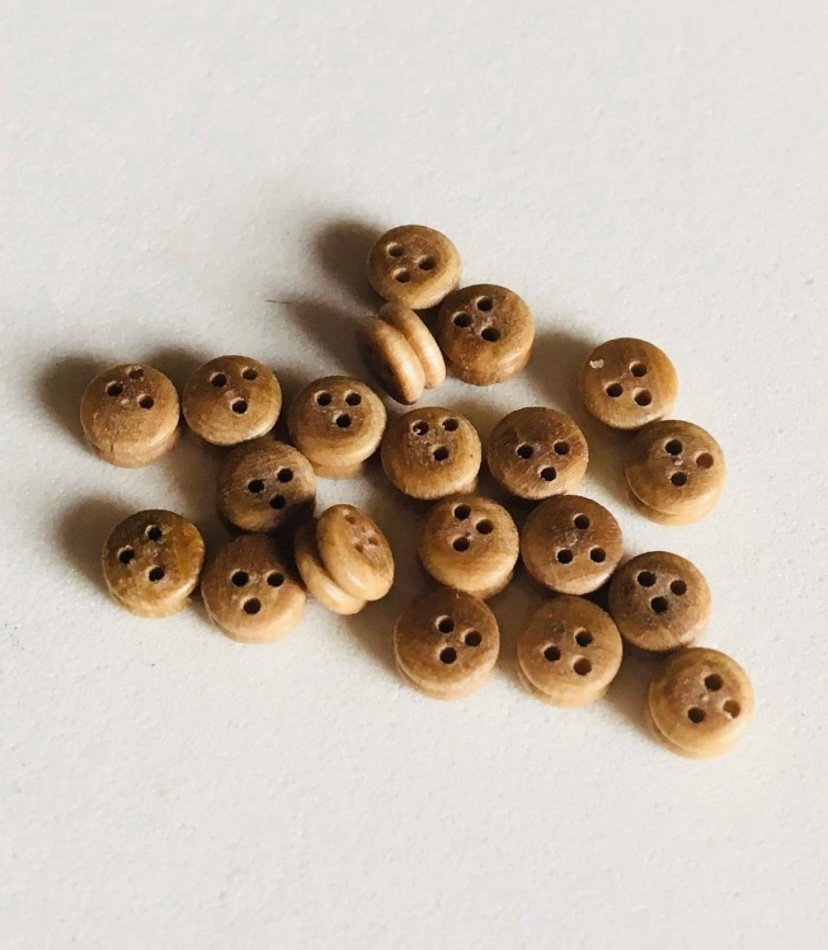
Marc I got them through ModelExpo. I buy most of my rigging stuff from them. You can sometimes find them on Amazon from ModelExpo. Here is the stock photo.
- 1,508 replies
-
- 2
-

-
-
- Le Soleil Royal
- Heller
- (and 1 more)
-
Marc the lower on the fore and main are 5mm, 4mm on the lower mizzen. Then 3.5mm on the fore and main tops and 2.5mm on the mizzenmast top and the spritsail topmast. I am thinking of using 4mm for the fore and main backstays.
- 1,508 replies
-
- 1
-
-
- Le Soleil Royal
- Heller
- (and 1 more)
-
Thanks Ian.
-
WANTED: Apprentice shipyard worker to tie ratlines the remainder of your life for minimum wage! 😀 All the topmast shrouds hung and rigged to the deadeyes. Ratlines done on the port side of the foremast. All the rest still to be done. Plan to alternate between tying ratlines and doing other tasks on the ship so as to avoid losing my mind.


- 1,508 replies
-
- 4
-
-
- Le Soleil Royal
- Heller
- (and 1 more)
-
Welcome John to the Heller Soleli Royal build family. Enjoying very much reading through your build. Your analysis, experimentation, and interpretations, are fun to witness. Beautiful job so far. Will be following along. I agree with you on the incredible sources and help on MSW like Marc and Henry. They have helped me immensely. I have been working on my SR and posting my build since last October. The moderators still have not included it in the index. Here is my link if you would like a view of one more 😊. https://modelshipworld.com/topic/33097-le-soleil-royal-by-bill97-heller-1100/page/19/
- 106 replies
-
- 2
-
-
- Soleil Royal
- Ship-of-the-line
- (and 2 more)