Bill97
-
Posts
2,722 -
Joined
-
Last visited
Content Type
Profiles
Forums
Gallery
Events
Everything posted by Bill97
-
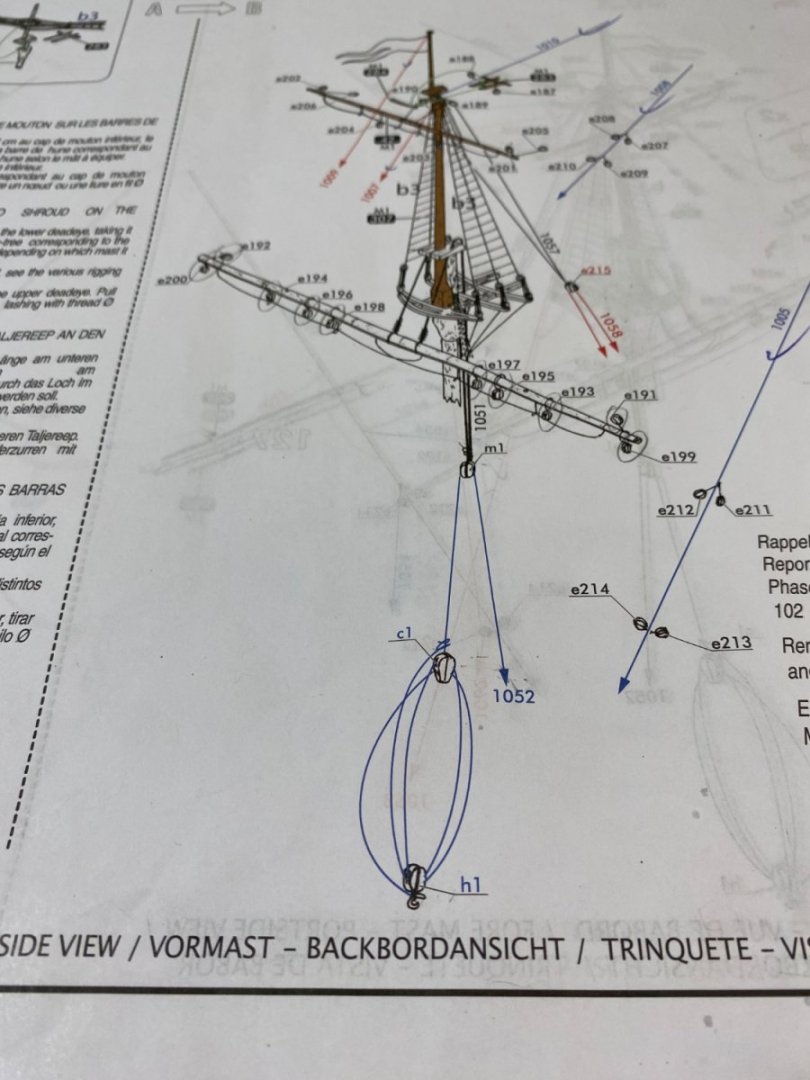
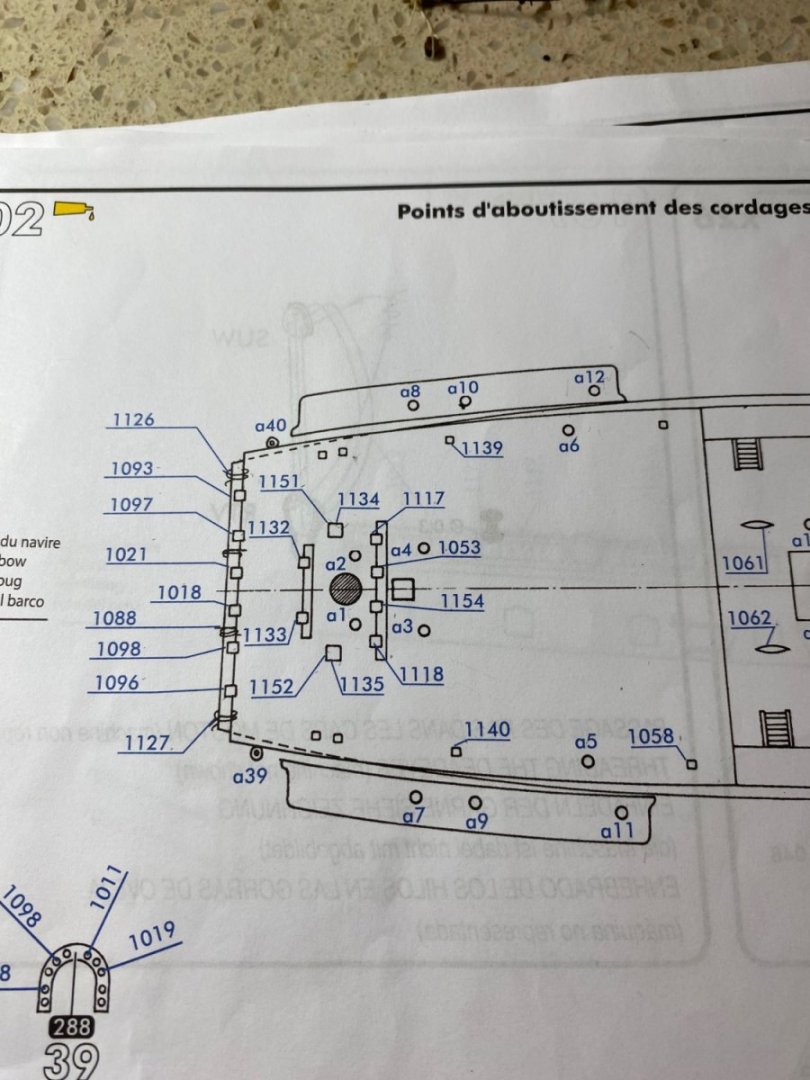
Ferrus I think we are close to seeing and saying the same thing. 1052 is the number of the rope. The arrow at the end indicates it is heading somewhere. Based on what you are saying and what I am reading I cannot determine if it is eyebolt a12 on the channel or a6 inside on the deck. I think what I am going to do is tie 1052 to eyebolt a12 on the starboard channel. Then on the opposite side of the ship I am going to attach block (h1) to eyebolt a11 on the port channel. Then instead of wrapping the fall around block (h1) I am going to tie it inboard on eyebolt a5. If later I find eyebolt a5 had another purpose I will just add another eyebolt. Baker I had the same thought as well. I will be tying the parral lines on the mast top.
- 1,508 replies
-
- 1
-

-
- Le Soleil Royal
- Heller
- (and 1 more)
-
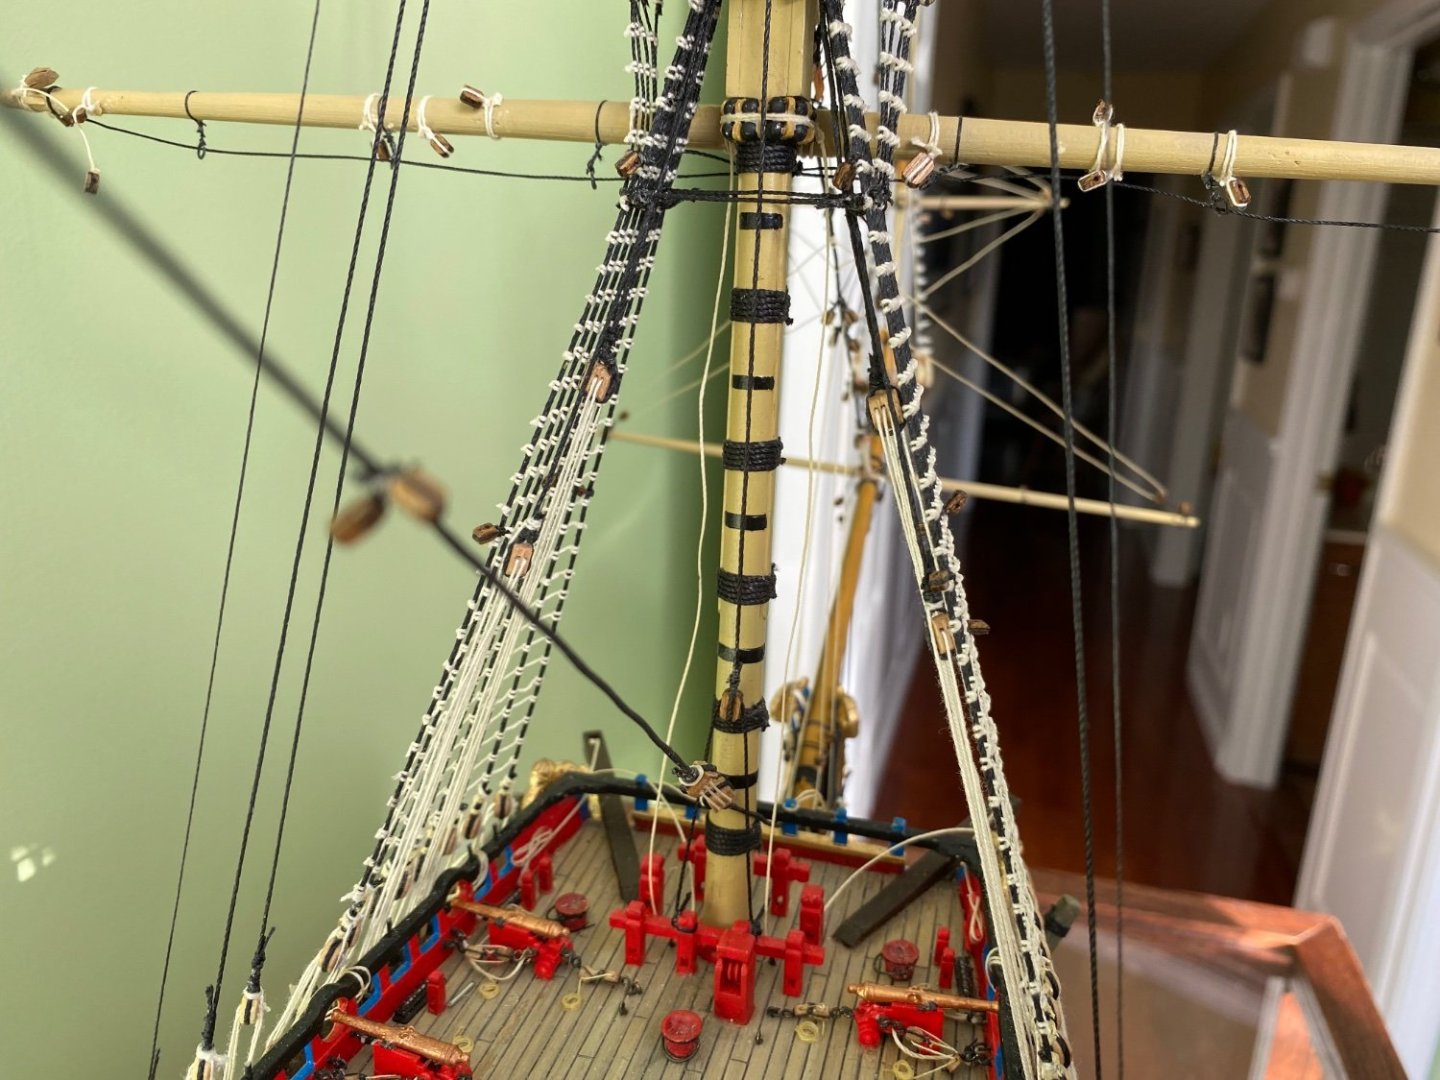
Guys I am striking out on determining the correct belay points for the Runner and Halliard for the fore topmast. I have read through the section in Anderson’s book and studied the rigging points plan with the kit and the old 1970s instructions. From what I can gather the block with hook (h1) attaches to an eyebolt on one side of the ship aft of the fore mast. The other end of line 1052 after passing through block (m1) attaches to an eyebolt directly across the ship on the other side. I am thinking it is points a11 and a12 on the aft ends of the channels. I think I read Anderson’s book to understand the points are to be on the inside of the bulwark. No where on the diagram can I find line #1052. What do you think?
-
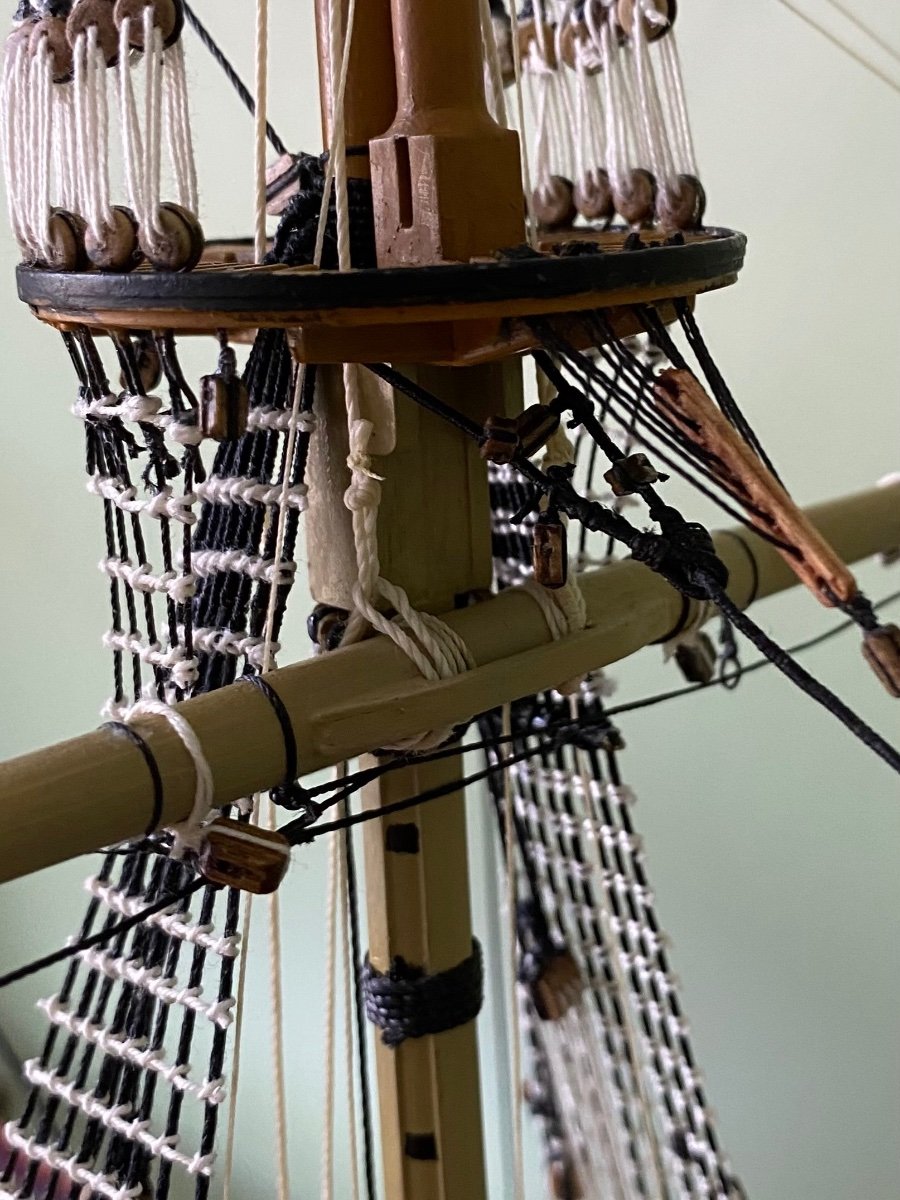
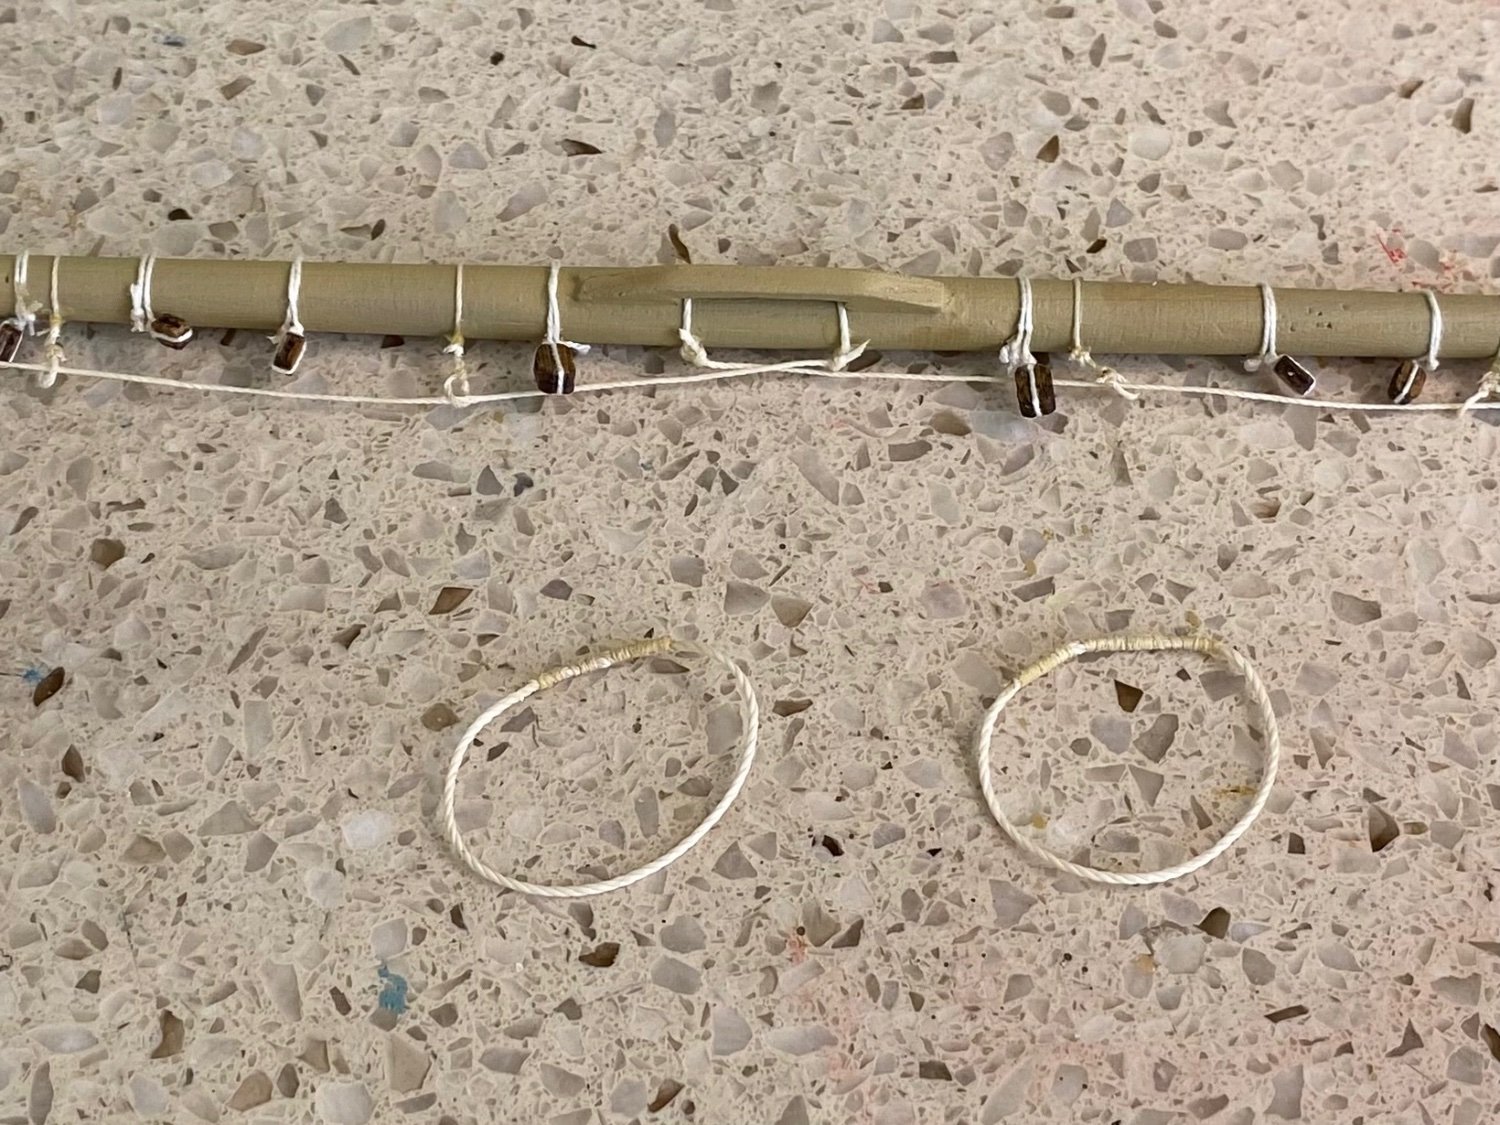
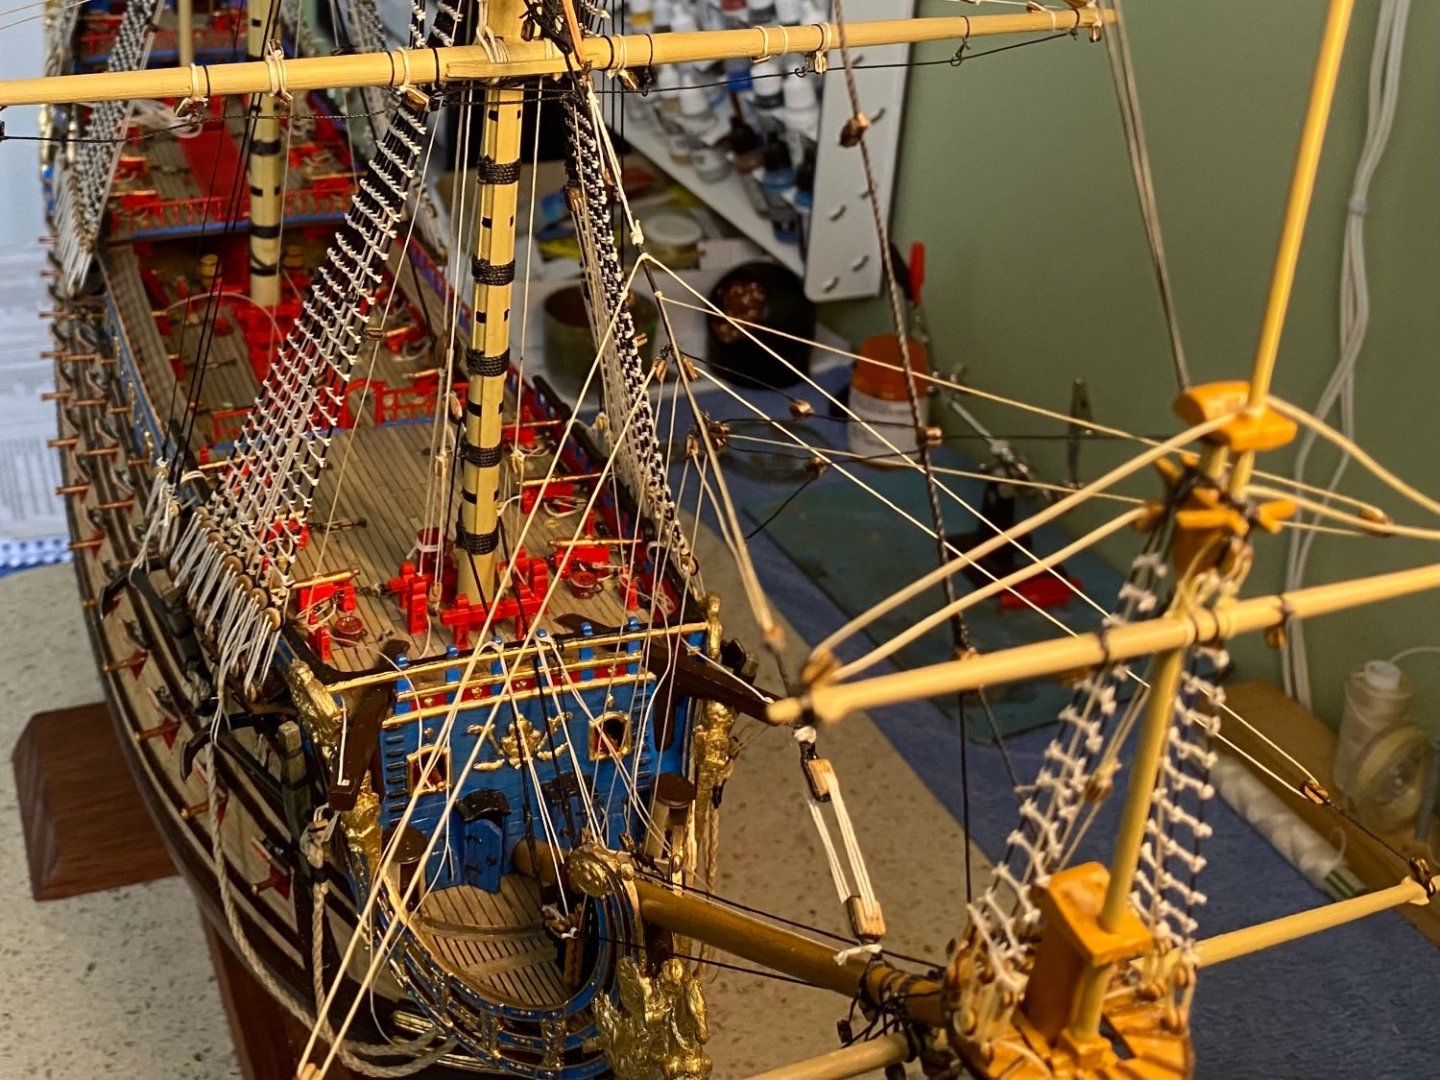
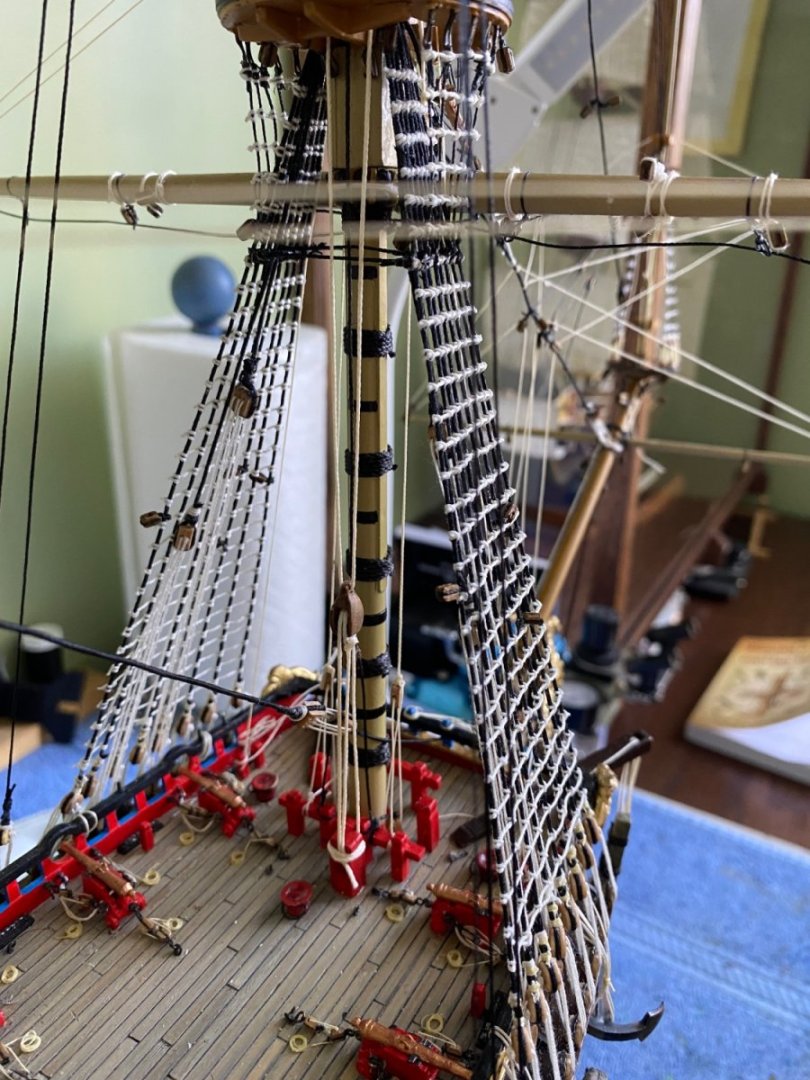
Foreyard with all it’s rigging including the tackles at the deck for the parral falls.


- 1,508 replies
-
- 6
-
-
- Le Soleil Royal
- Heller
- (and 1 more)
-
No Henry. In fact I am rigging that as we speak (text). 😊 Looking at your page 6 to see exactly how you attached the hitch to the selvage.
-
Ian you make it sound less if an “endeavor” than I thought.
- 1,508 replies
-
- 2
-
-
- Le Soleil Royal
- Heller
- (and 1 more)
-
Ian actually I am going to try my very first fully wooden ship. I purchased the OcCre Endeavour. Be a while before I open that box. Don’t have the electronics skills for RC , I don’t think😊
- 1,508 replies
-
- 1
-

-
- Le Soleil Royal
- Heller
- (and 1 more)
-
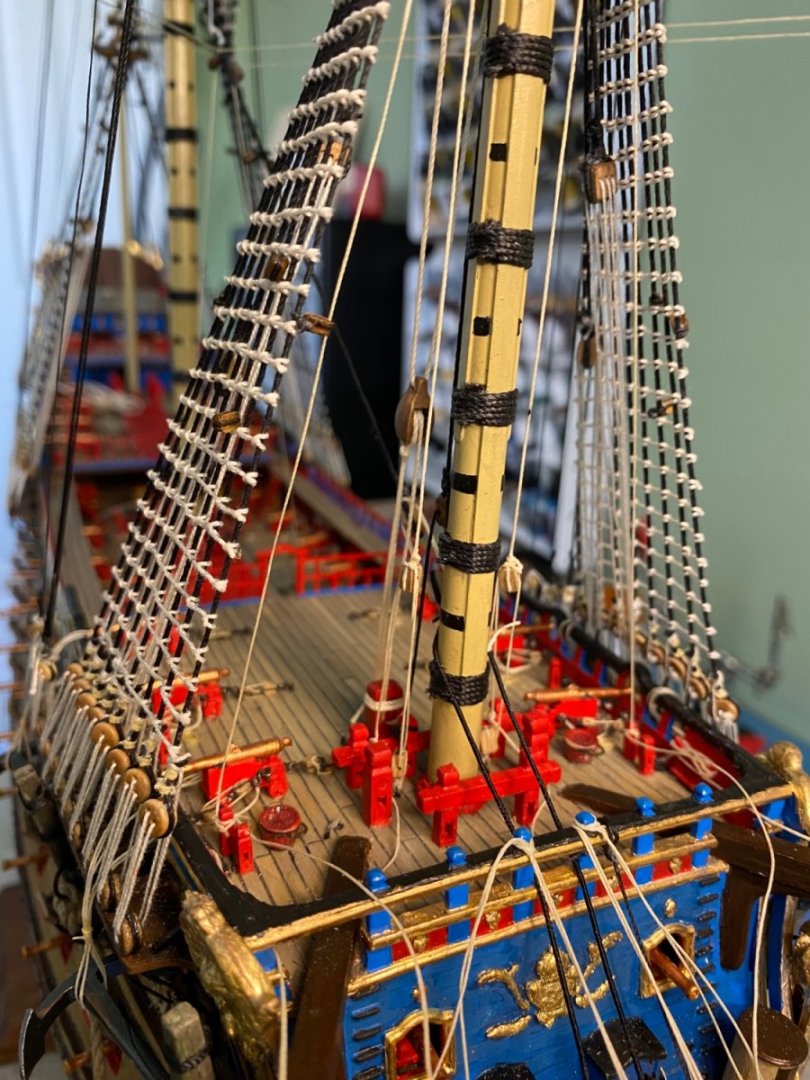
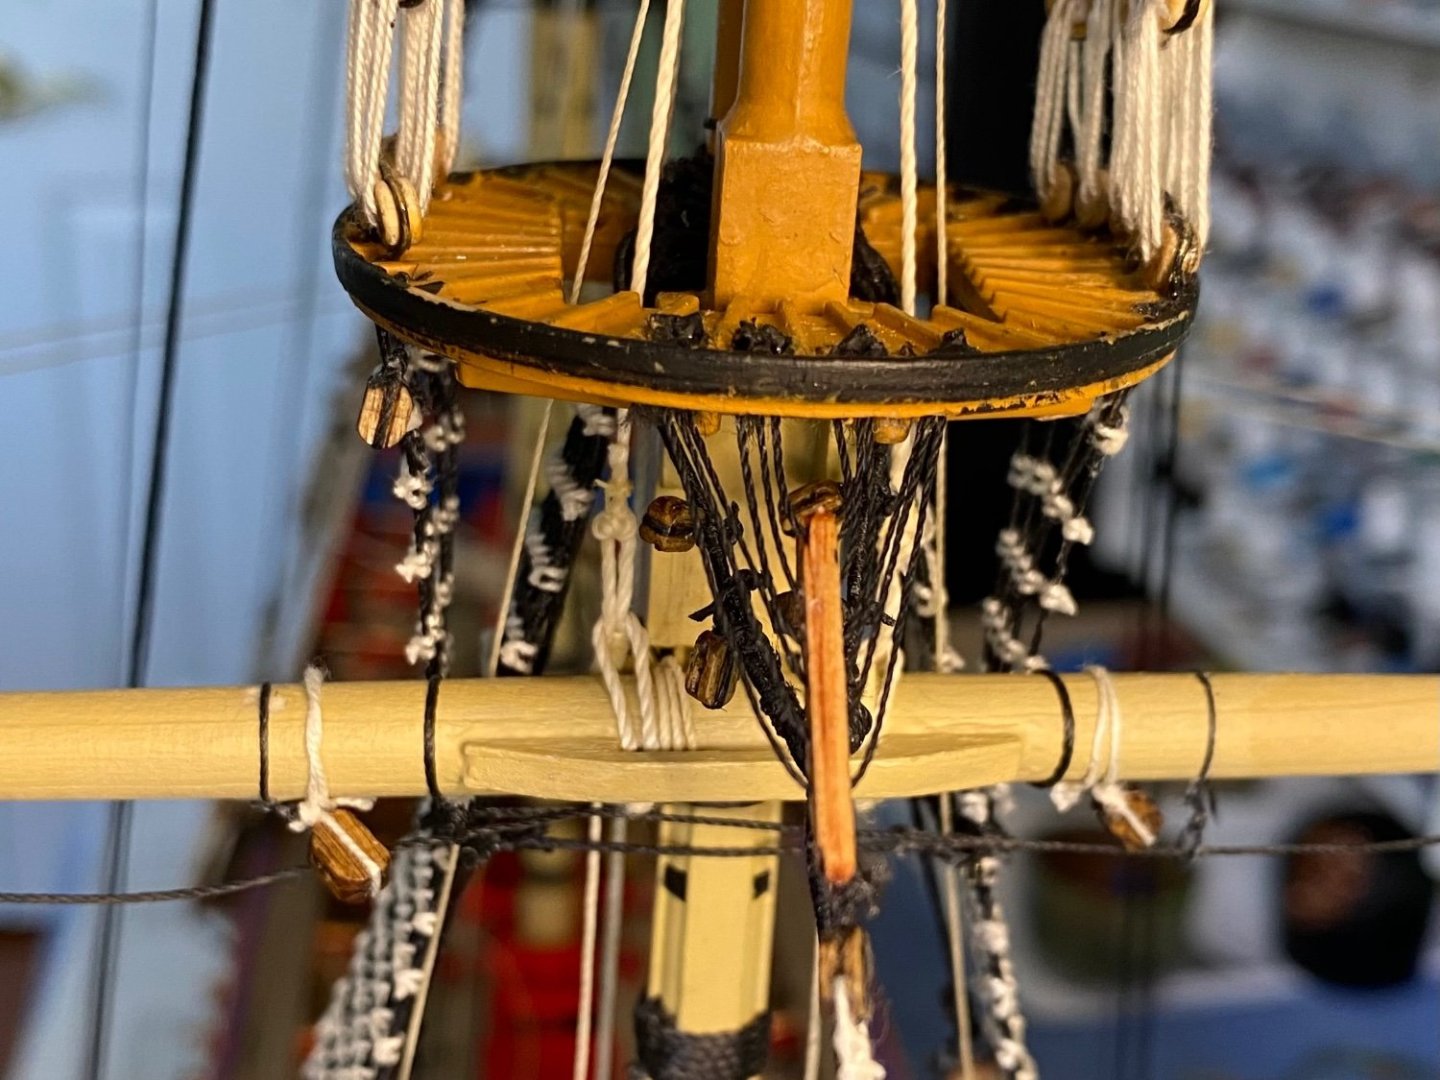
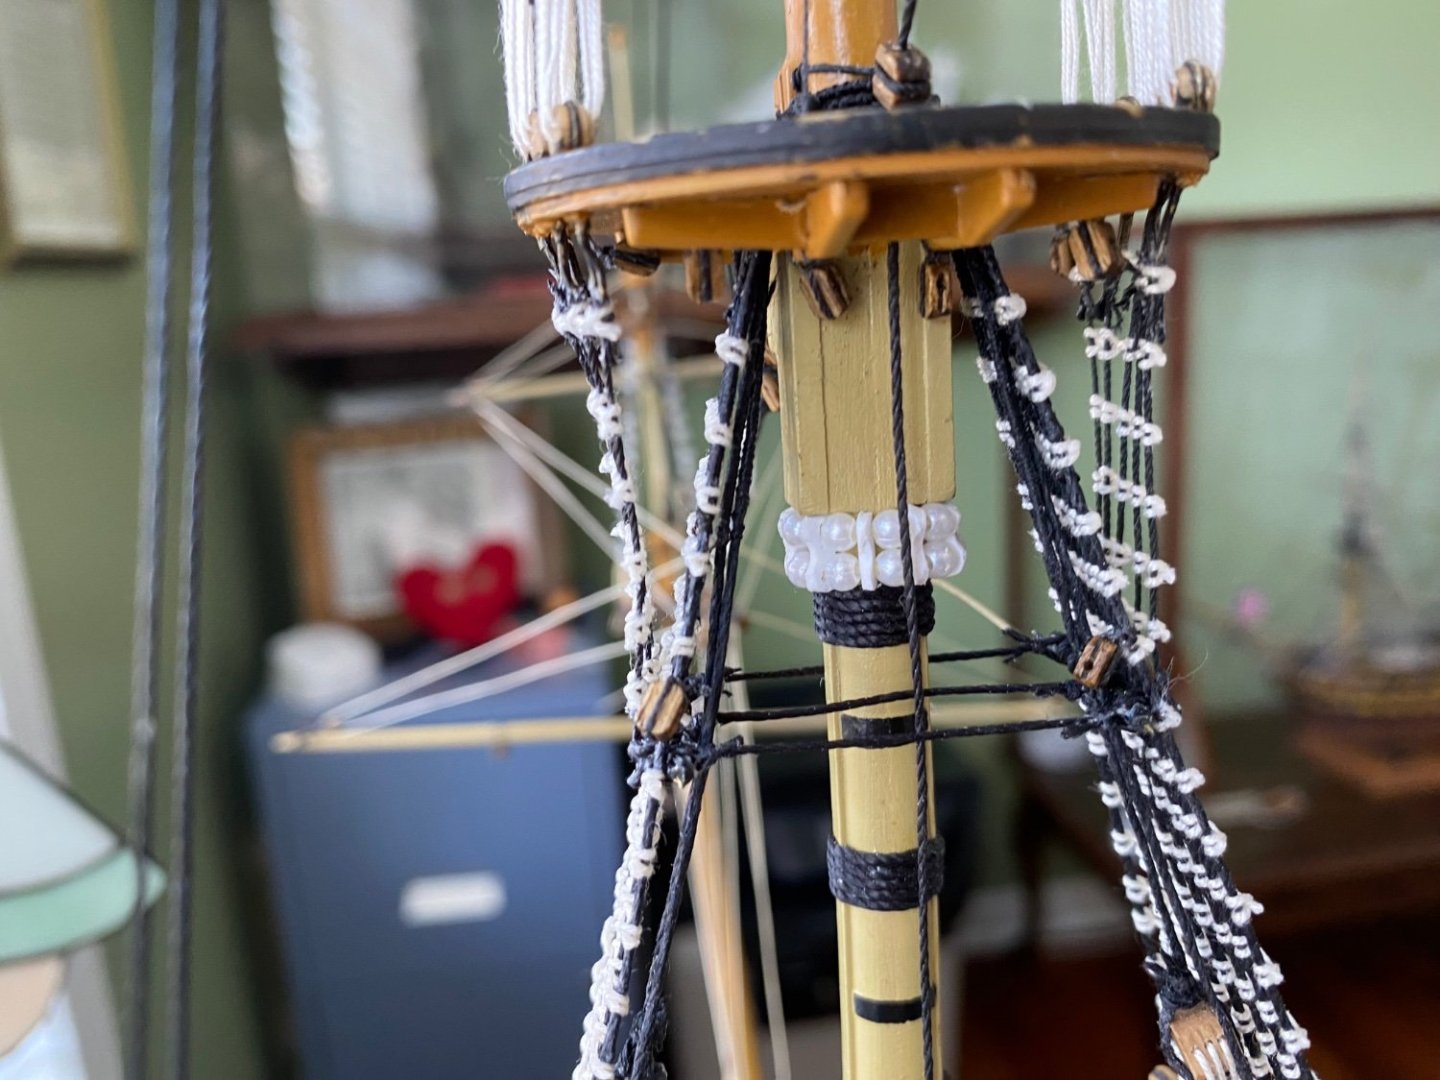
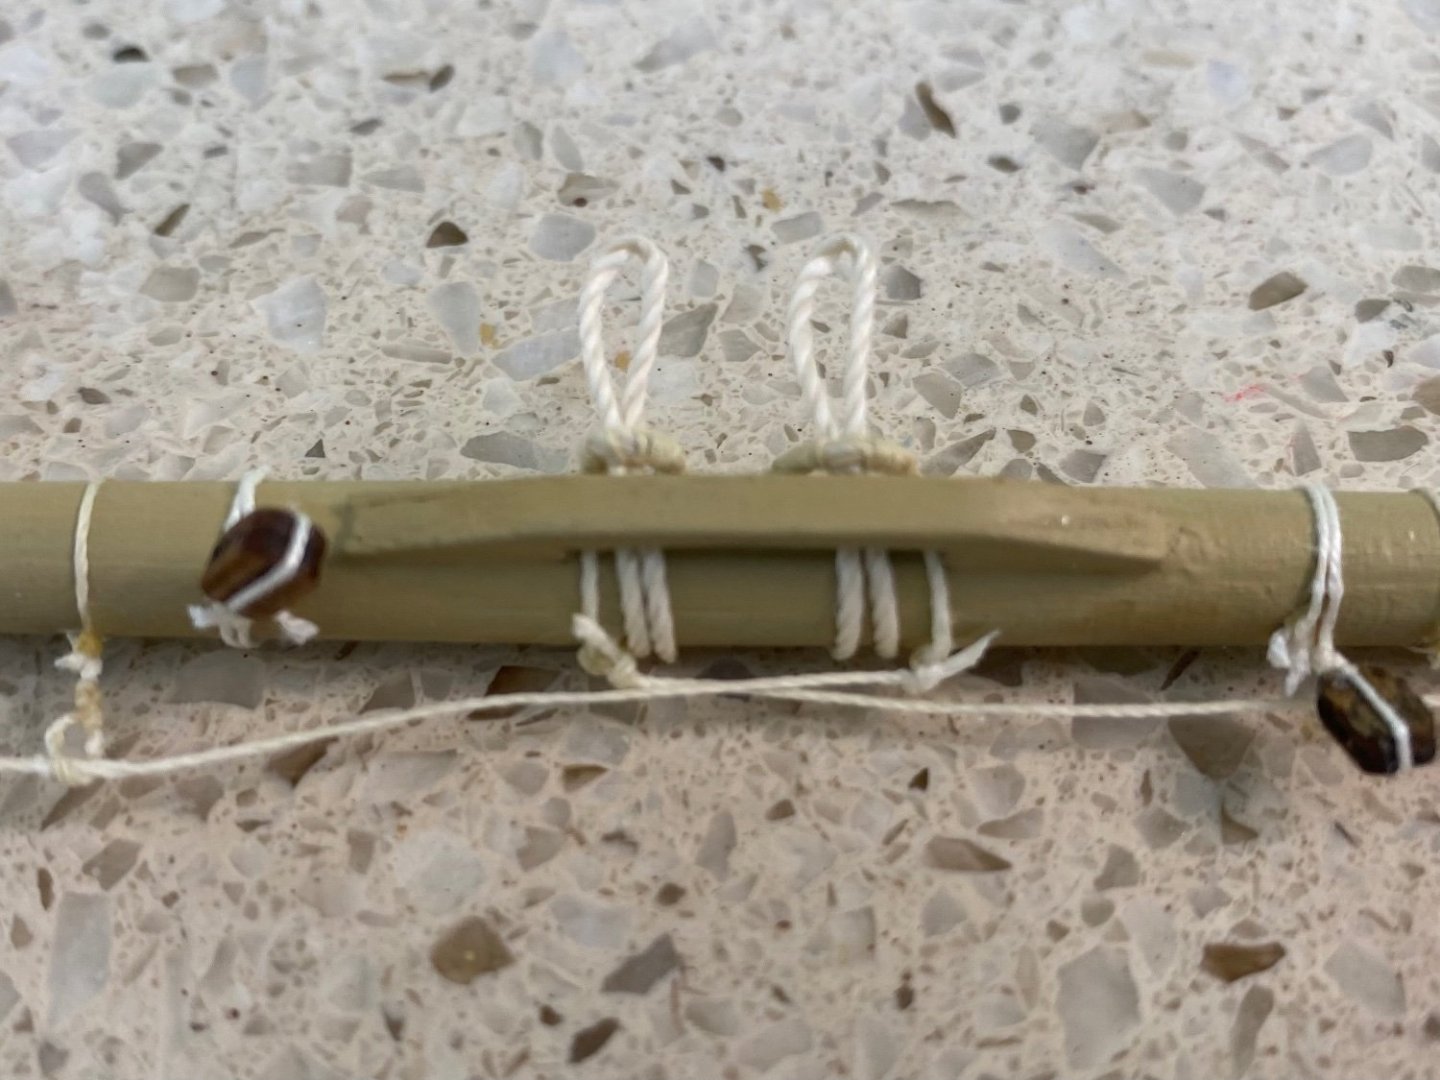
End of my shift at the ship yard. Two roll parral rigged. Falls leading down to the deck where I will add tackles next along wage rest of the yard rigging. Ferrus you may also notice foot ropes changed to black. After some research I see you are right.

- 1,508 replies
-
- 2
-
-

-
- Le Soleil Royal
- Heller
- (and 1 more)
-
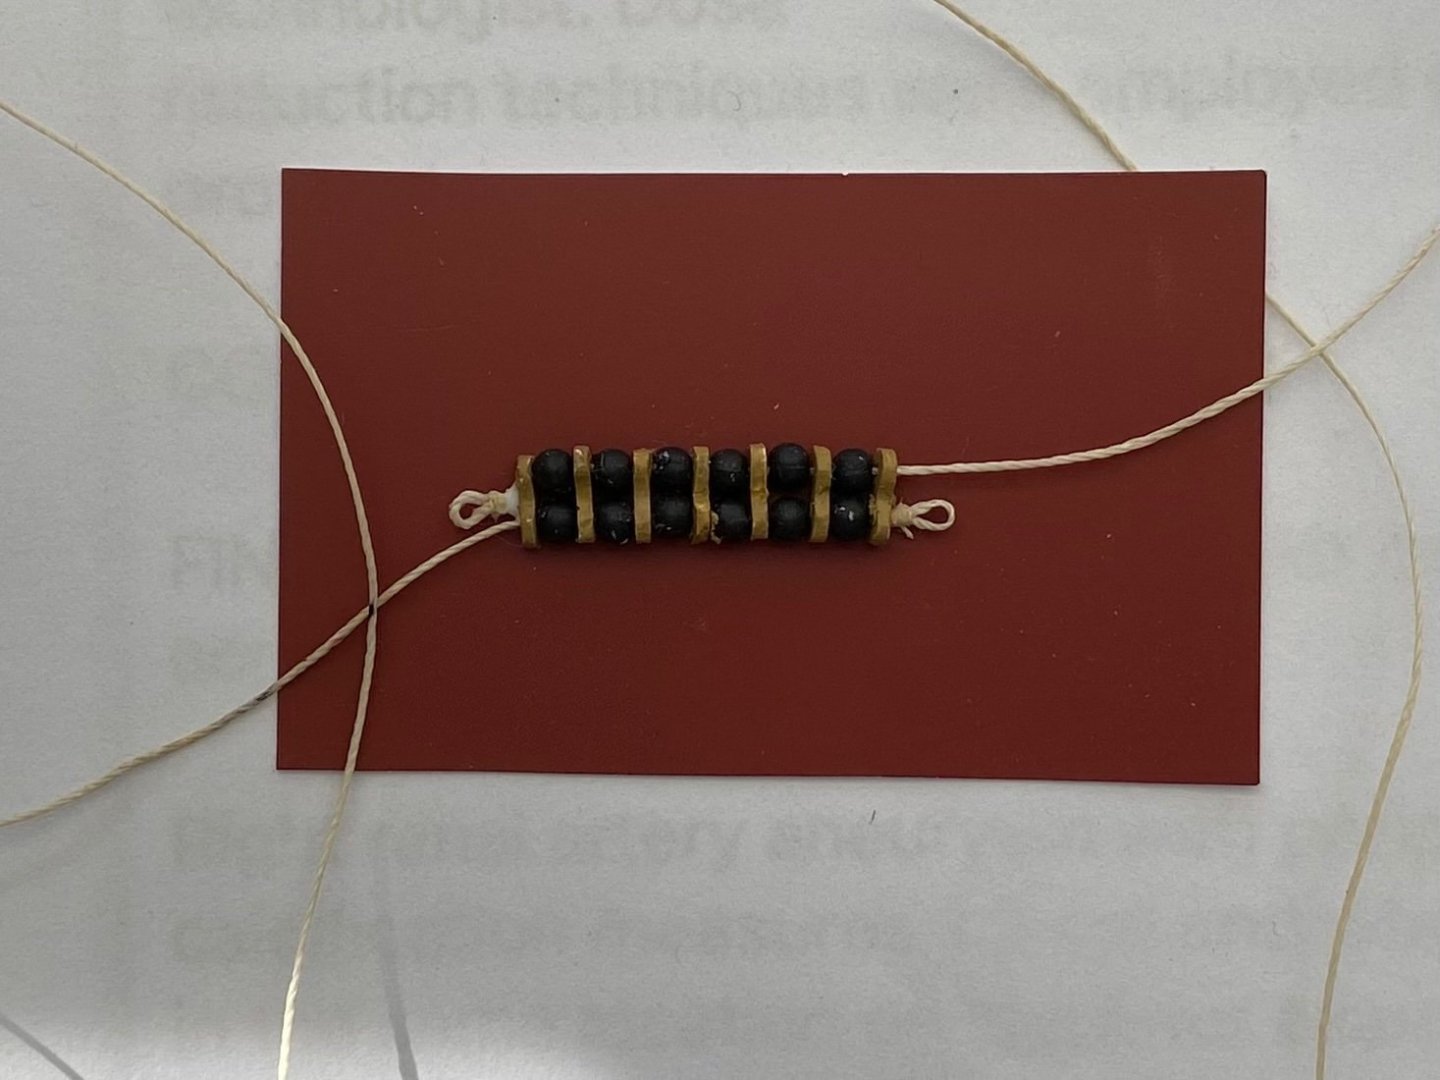
My two roll parral with falls that will go down to deck tackles
- 1,508 replies
-
- 3
-
-
- Le Soleil Royal
- Heller
- (and 1 more)
-
Ferrus I have several reference sources for how the parrals are rigged it is just with the space and the supplies I have two rolls looks better than when I tried 3 rolls. With 3 the bottom roll is up on the lashing and looks crooked. I am still going to rig the falls down to tackles at the deck level. Since I seriously doubt anyone that views my model in its display case will critique if I have two or three rolls of trucks on my fore yard parral I believe I will just live with it. I don’t know that I have ever on any of my numerous builds done the foot ropes in black lines. Interesting. You are probably right to protect them from the weather.
- 1,508 replies
-
- 2
-
-
- Le Soleil Royal
- Heller
- (and 1 more)
-
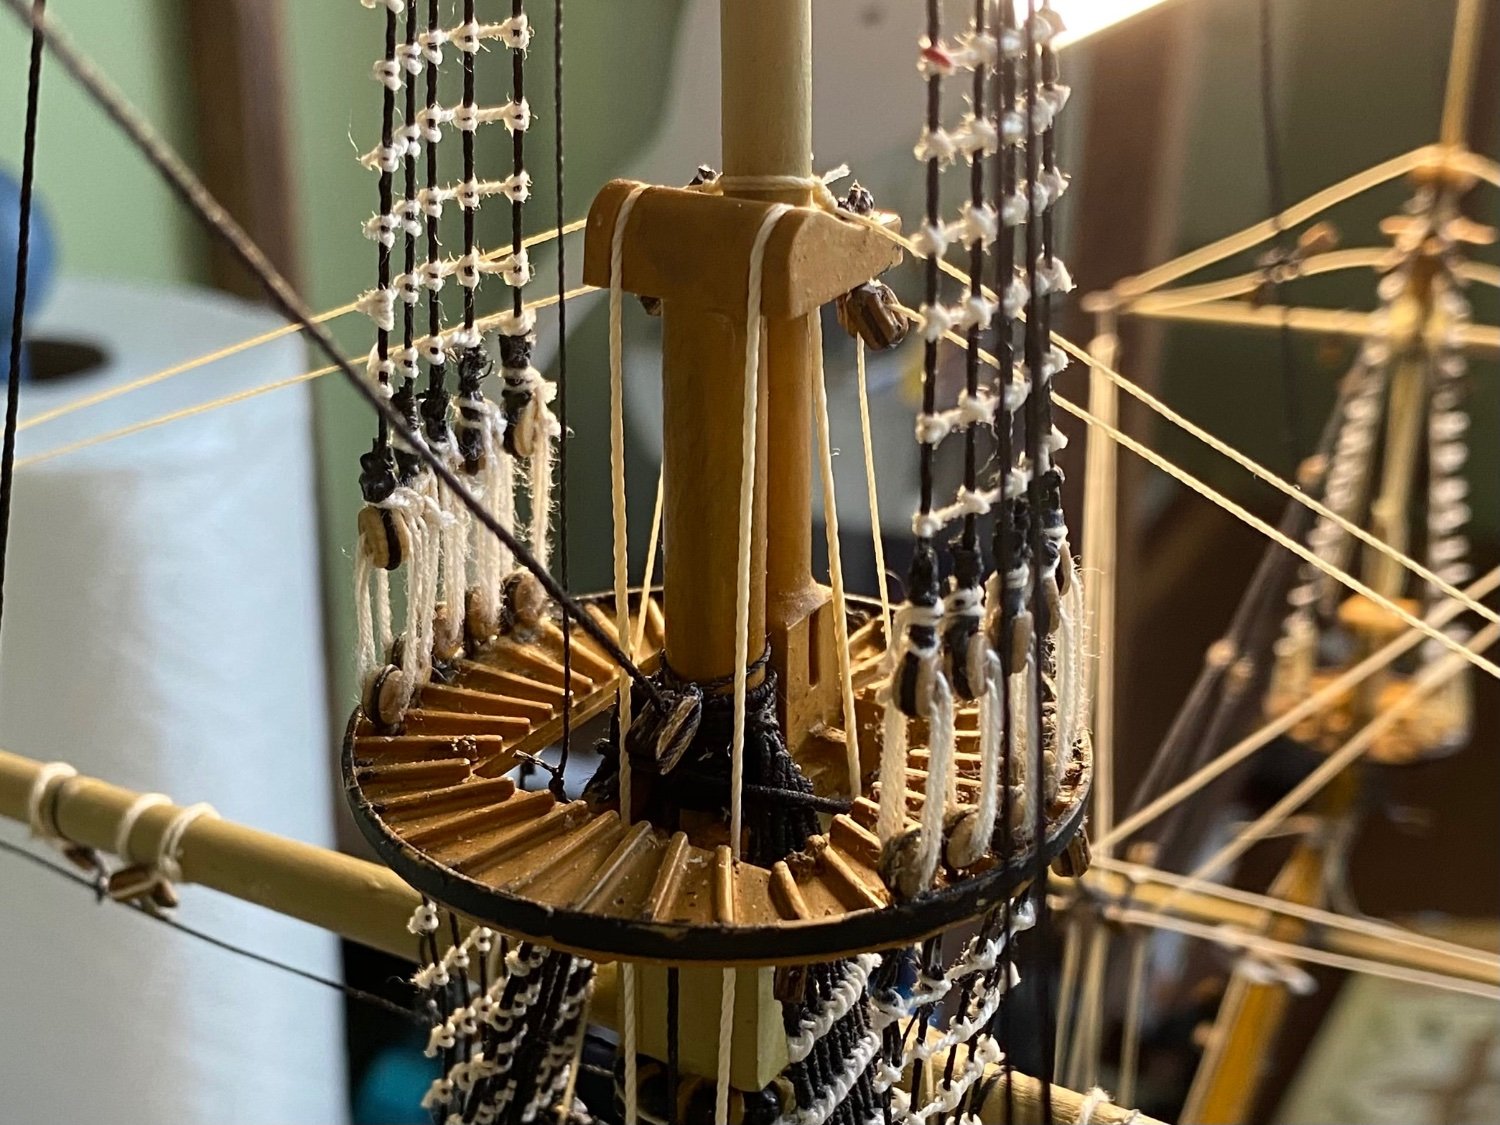
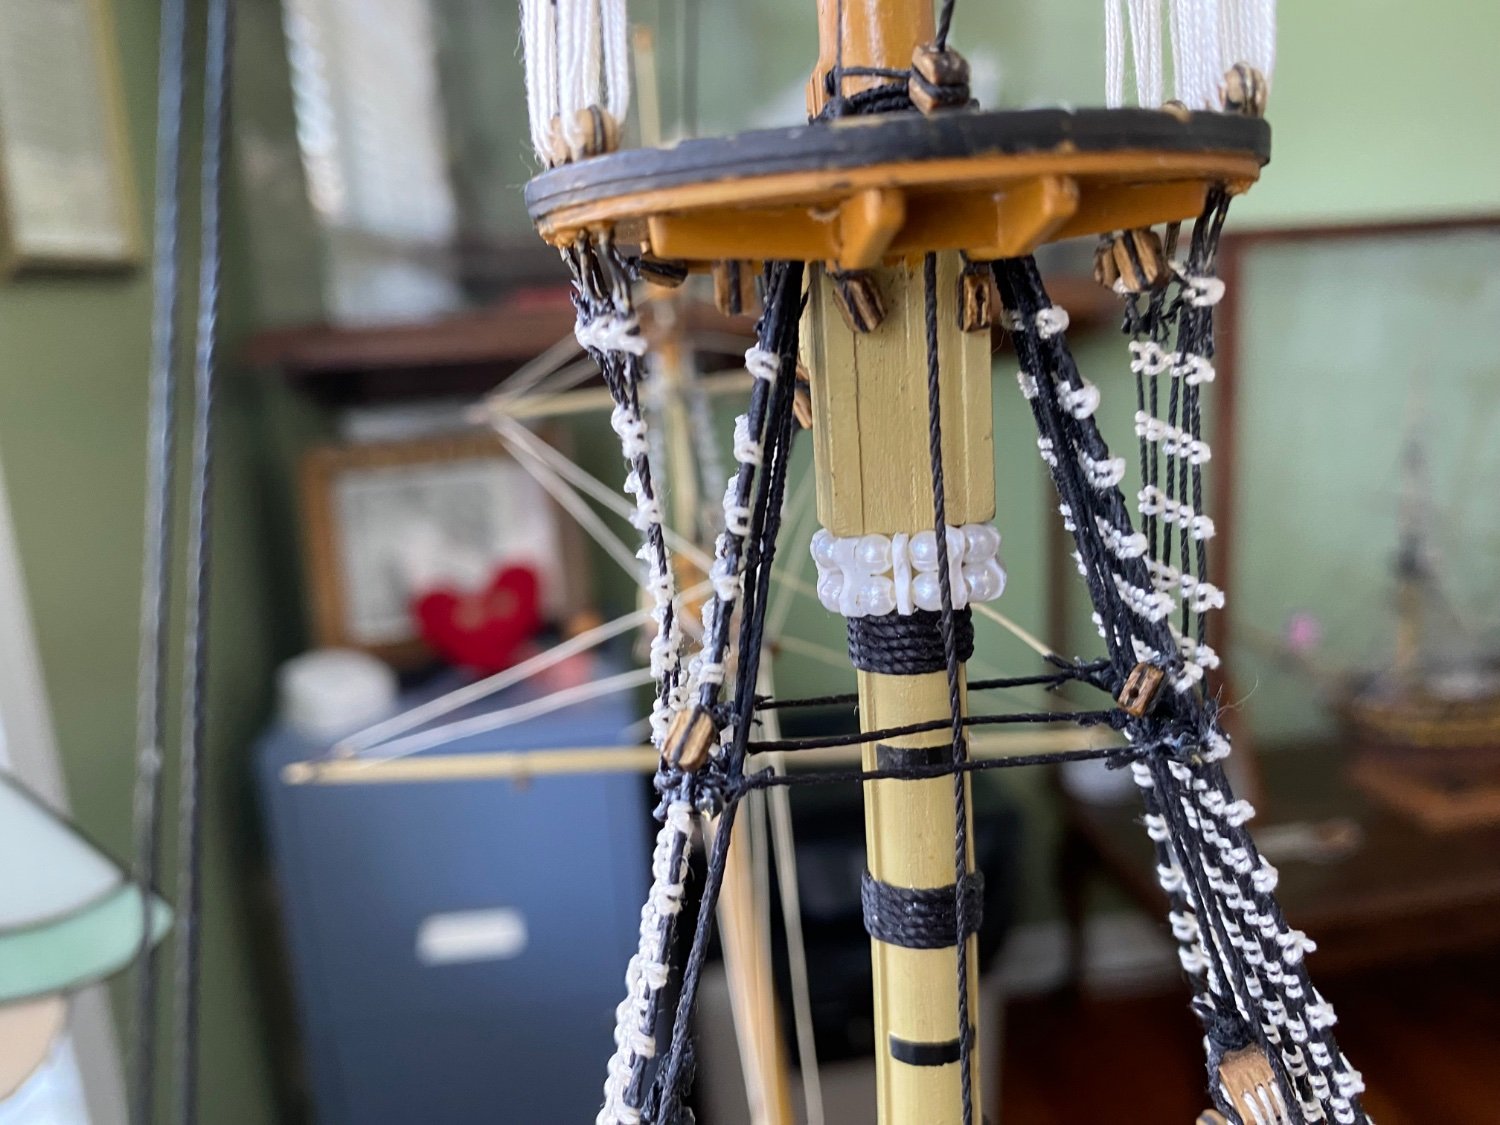
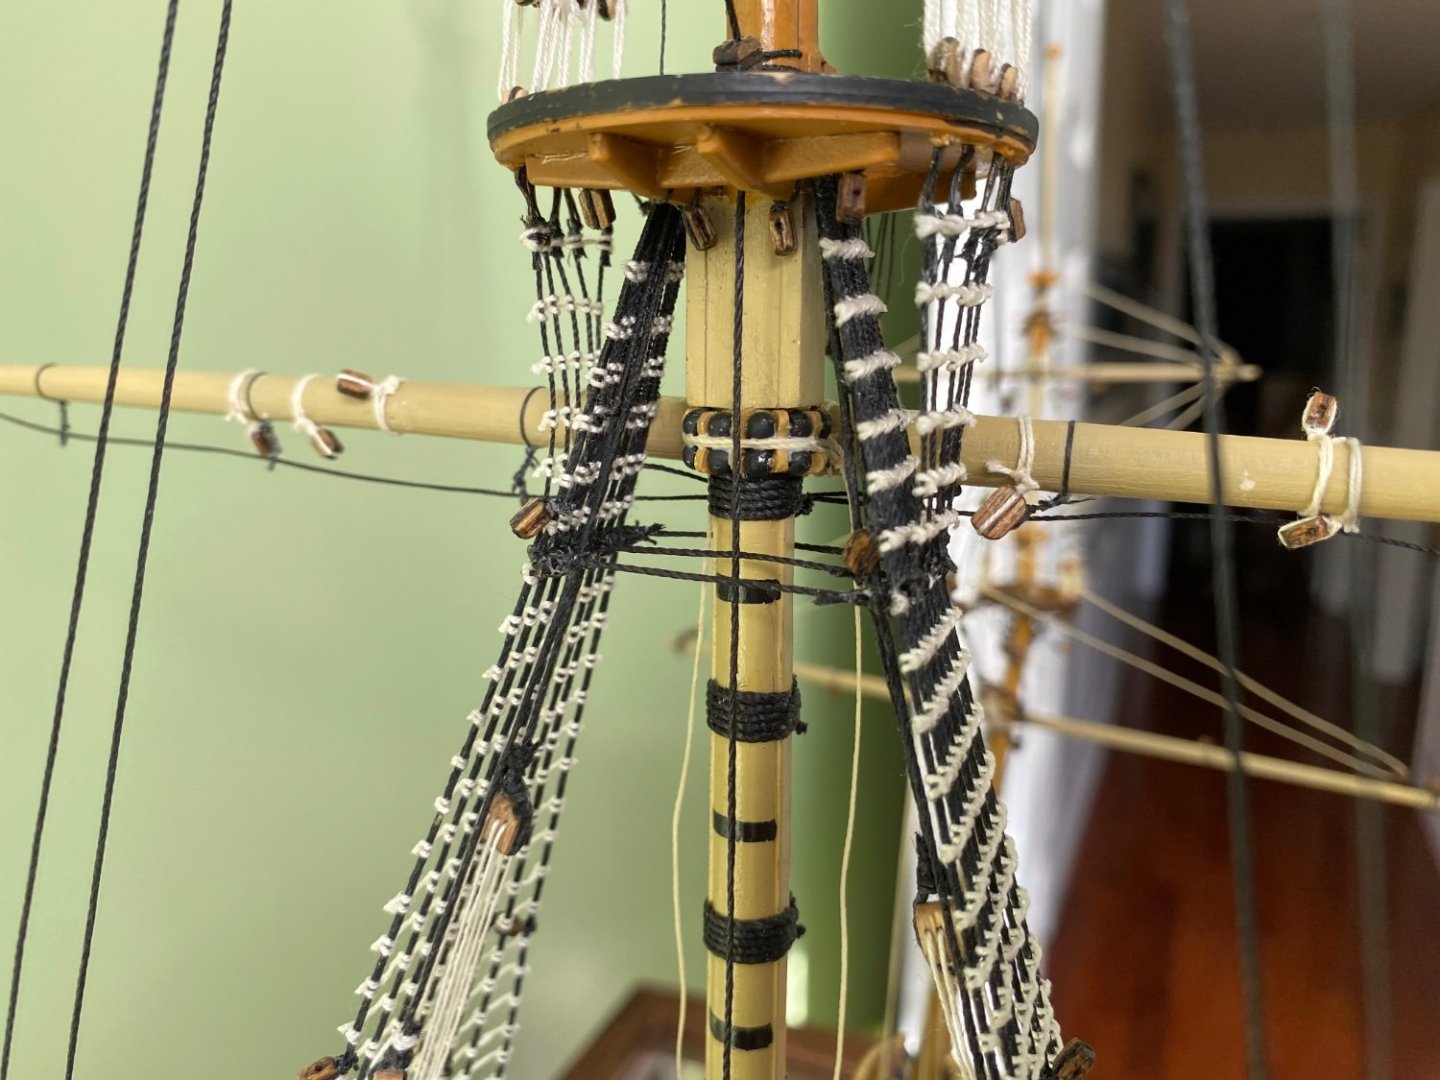
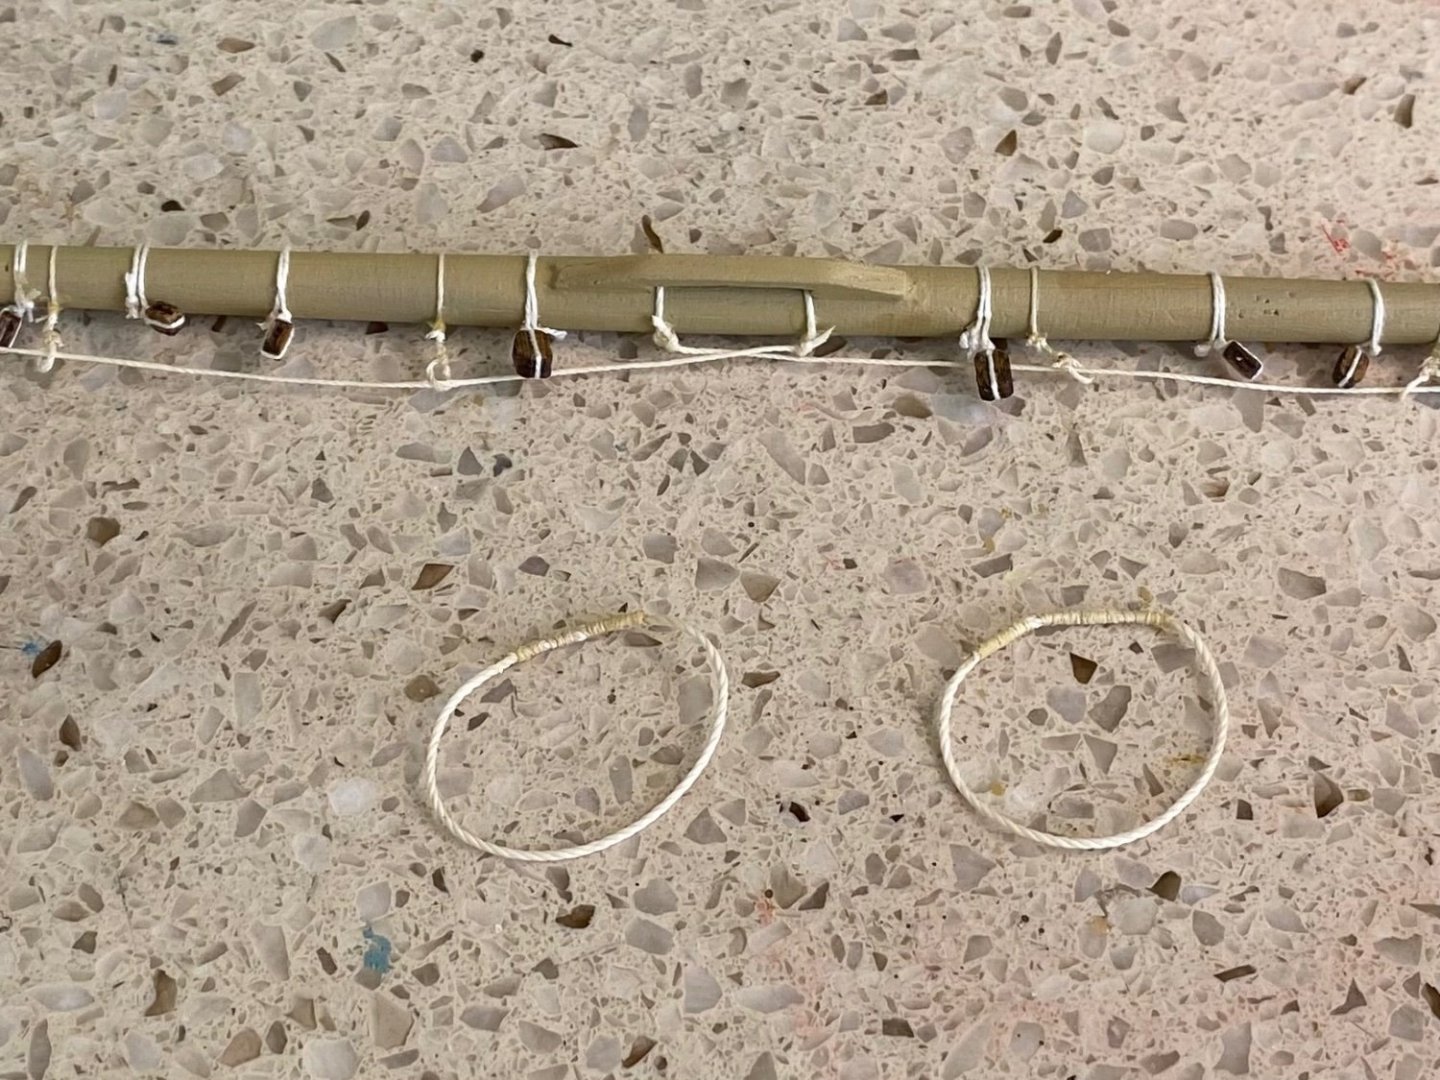
I have determined that as a result where I placed the lashings (Henry and hat is the natutical term) around the mast, and the size beads I am using, I can only fit a two roll parral on the fore mast to hold the fore yard. I will still put an eye at each end and rig as I would have a three roll. I know this is probably not completely correct but will represent the parral. Still needs painting of course.
- 1,508 replies
-
- 3
-
-
- Le Soleil Royal
- Heller
- (and 1 more)
-
No Ian. I have not. Where would I find it? Or I can just Google.
-
Do any of you have Amazon Prime Video? There is a great series on there. You have to either scroll of type in the search. It is titled “Worlds Greatest Ships”. There are episodes about a number of great English historical ships. So far I have watched the one on Golden Hinde, Endeavour, and HMS Victory. So very good and enlightening.
- 1,508 replies
-
- 1
-

-
- Le Soleil Royal
- Heller
- (and 1 more)
-
I went back again to my SR “bible”, R.C.Anderson’s book pages 152-154, to review the section on foot ropes. He does state that the history of foot ropes is obscure, at best. Horses were seen as early as 1642. Over the years the use of them varied as to which yards they were on. Some on the lower yards and some not. Some on top sail yards and some not. The French Royal Louis of 1692 had them everywhere except the crojack yard. With the SR being built about 20 years or so earlier, and the grandeur of it’s architecture, I am going to believe it proceeded the Royal Louis in having foot ropes everywhere except the crojack. It also adds a little extra visual interest to my model.
-
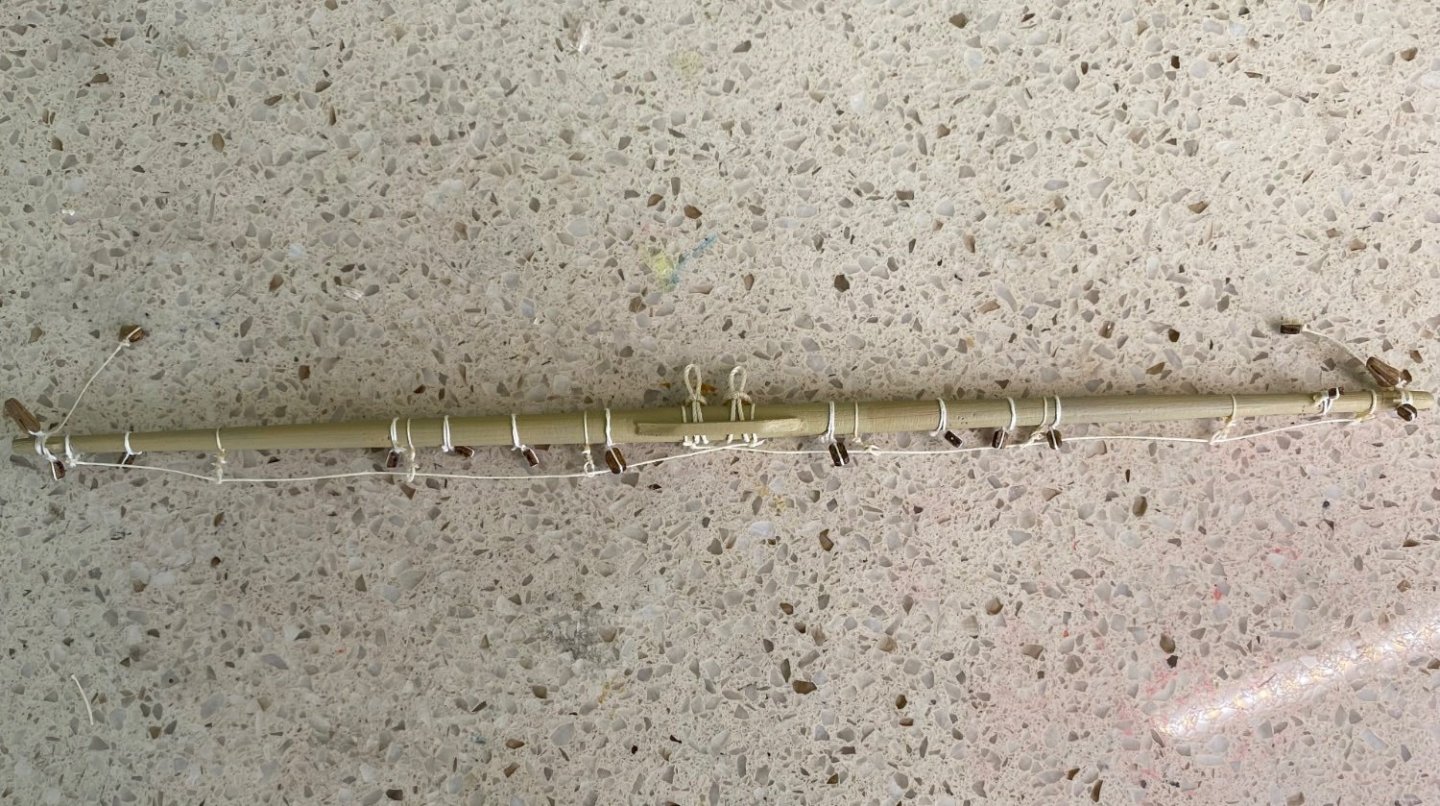
I just pretty much followed the Heller instructions for that feature. The instructions showed adding the foot ropes on fore and main yards. However did not show parrals. Go figure?
-
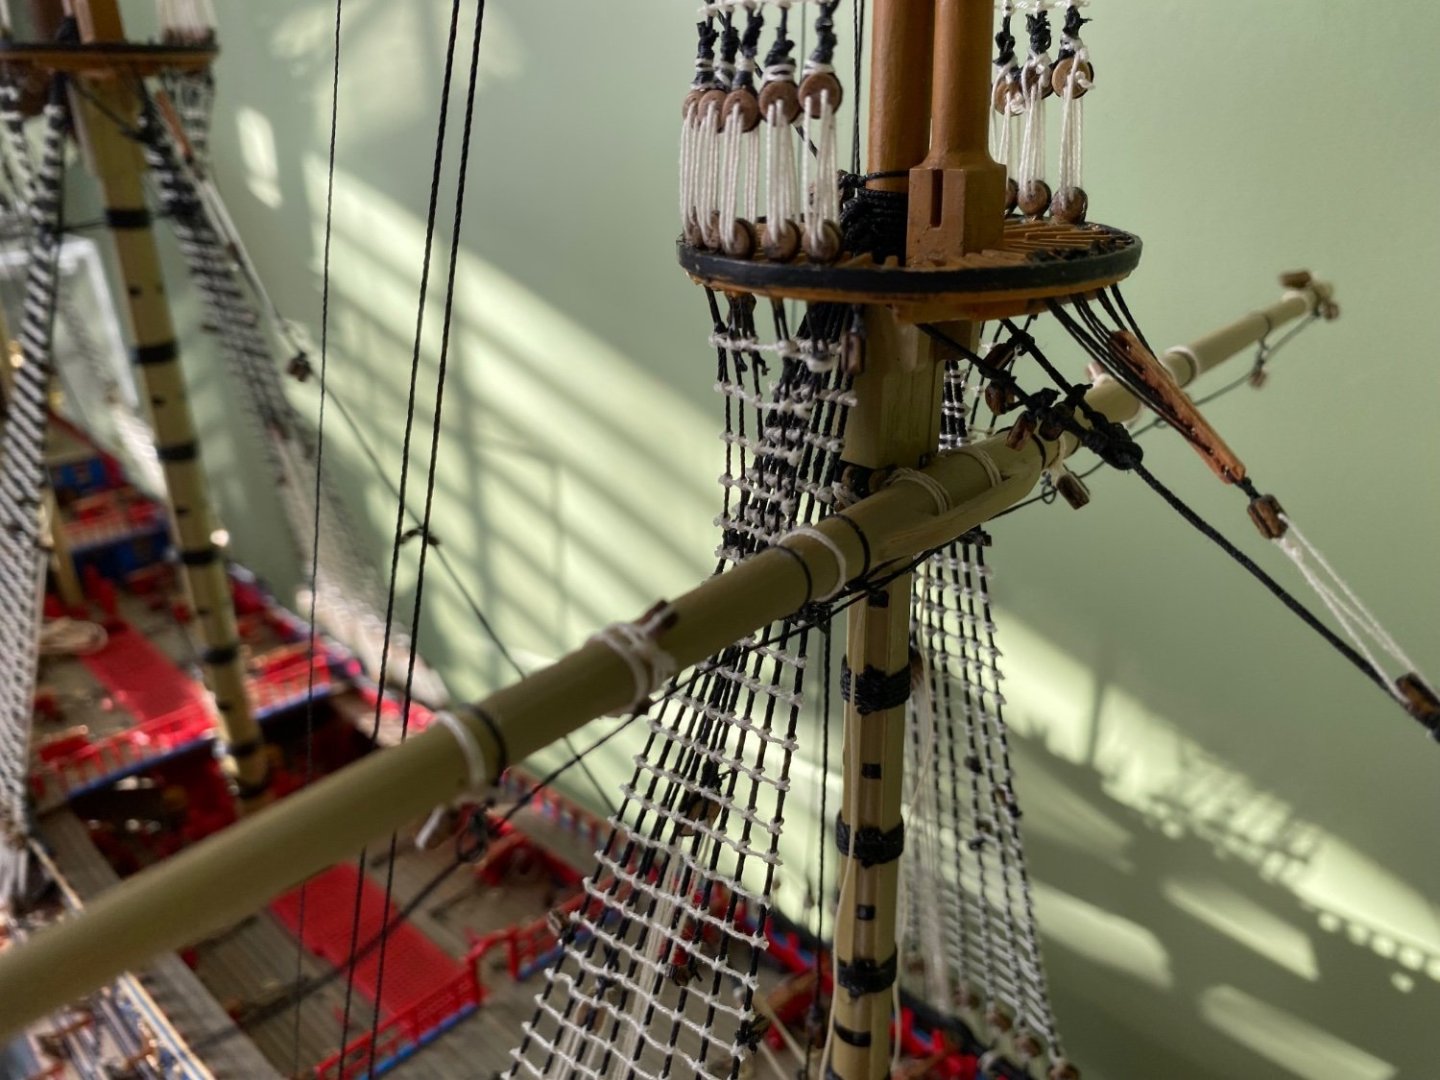
Ok every thing except the kitchen sink tied to the fore yard including the selvages I learned to make from Henry’s post. Dry fitted on foremast using a pin in back of yard into mast. Now to finally make the parral.

- 1,508 replies
-
- 3
-
-
- Le Soleil Royal
- Heller
- (and 1 more)
-
Thanks Henry. Just getting educated. But that is different for the Soleli Royal? By the way, I am using your photos to practice making the selvagees.
-
Spending my time now making and adding the rigging to the yards (foot ropes, blocks, etc). Of course while working on these my mind is on the future parrals we have previously discussed. I know I am going to need to make them and hopefully rig them with some bit of realism. I have read through the section in Anderson’s book and studied krill4’s diagram above. I also went back to my reference book for the HMS Victory (Longridge’s book). Interesting in the building of the Victory parrals were not used on the fore and main yards. Just the topsail yards and the topgallant yards.
-
Thanks Marc. If anyone would know it would be you. 😊
-
STUDSAIL/STAYSAIL/STUNSAIL Making a command decision here but will be wait to have my mind changed. Reading through Anderson’s Chapter 11, he is not a big fan of these spars on a model ship. According to him history shows they were just coming into use about the time the SR was built. Page 253 he states that he is not at all sure early stunsails dad yards. French drawings show the lower stunsails hoisted by the two corners. I plan to add sails to my model (probably furled) but not stunsails. With that in mind, reading through Anderson’s chapter, and realizing the difficulty of making and attaching the new spars vs the kit plastic, I have decided to leave these spars off of my yards. Your thoughts and/or opinion?
- 1,508 replies
-
- 1
-
-
- Le Soleil Royal
- Heller
- (and 1 more)
-
Thanks Henry.
-
Thanks Marc. Appreciate your compliment.
-
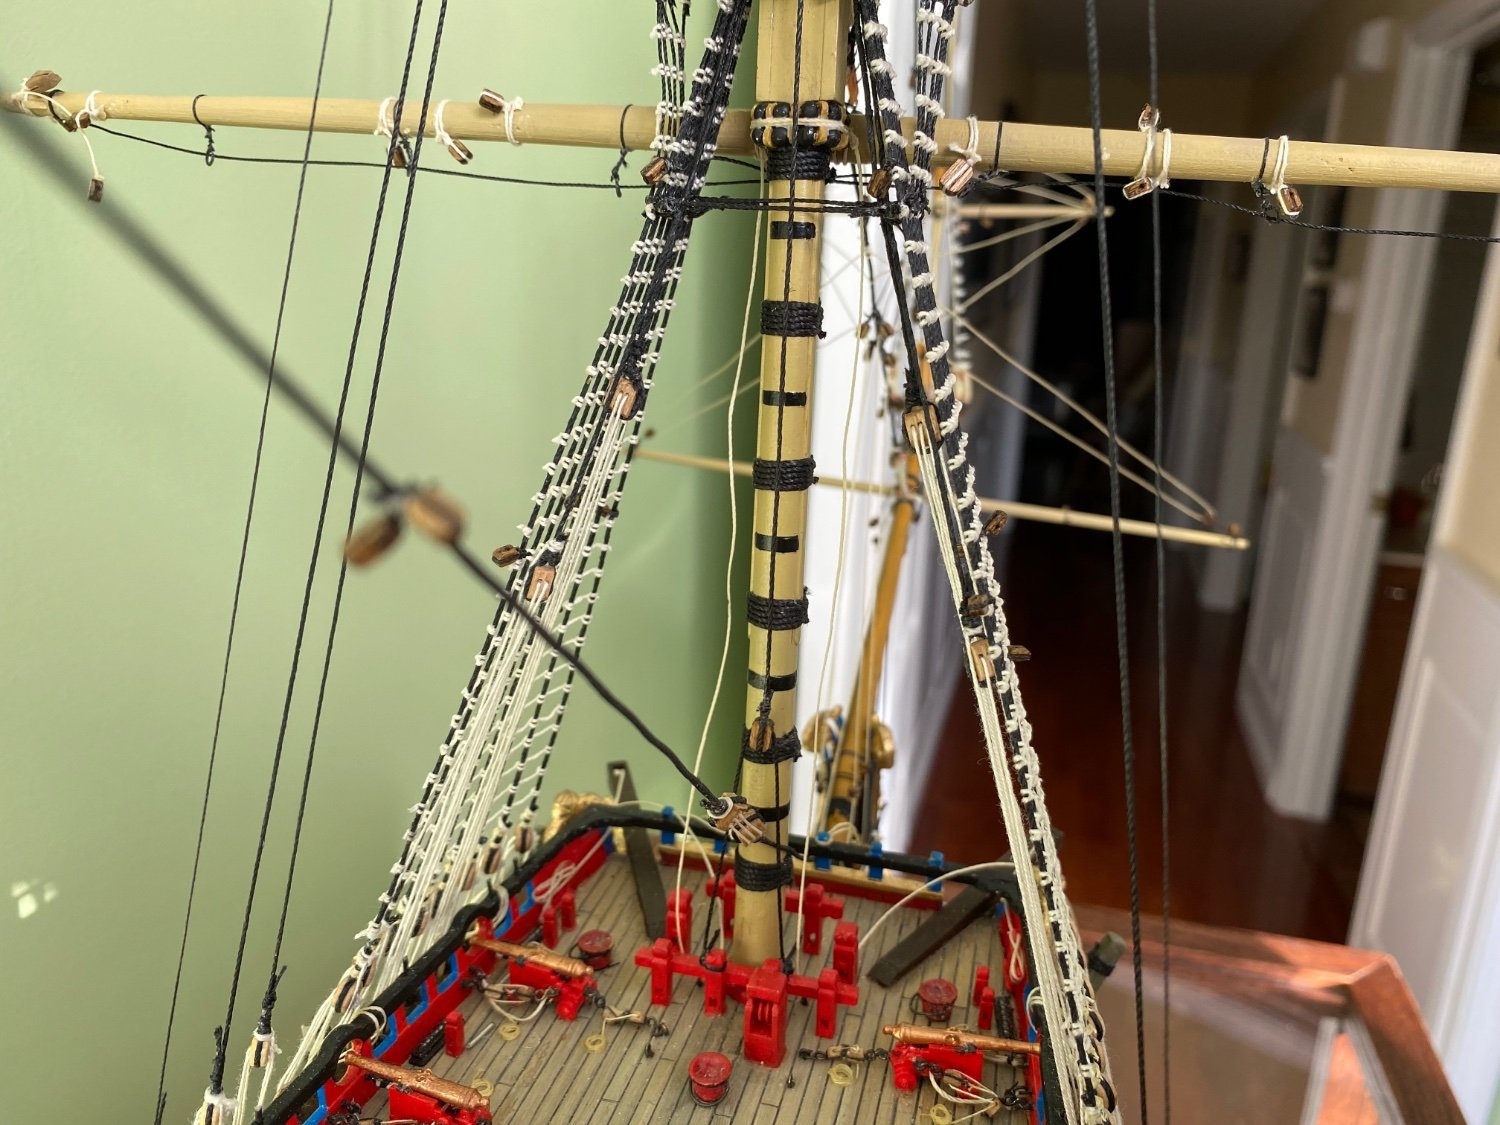
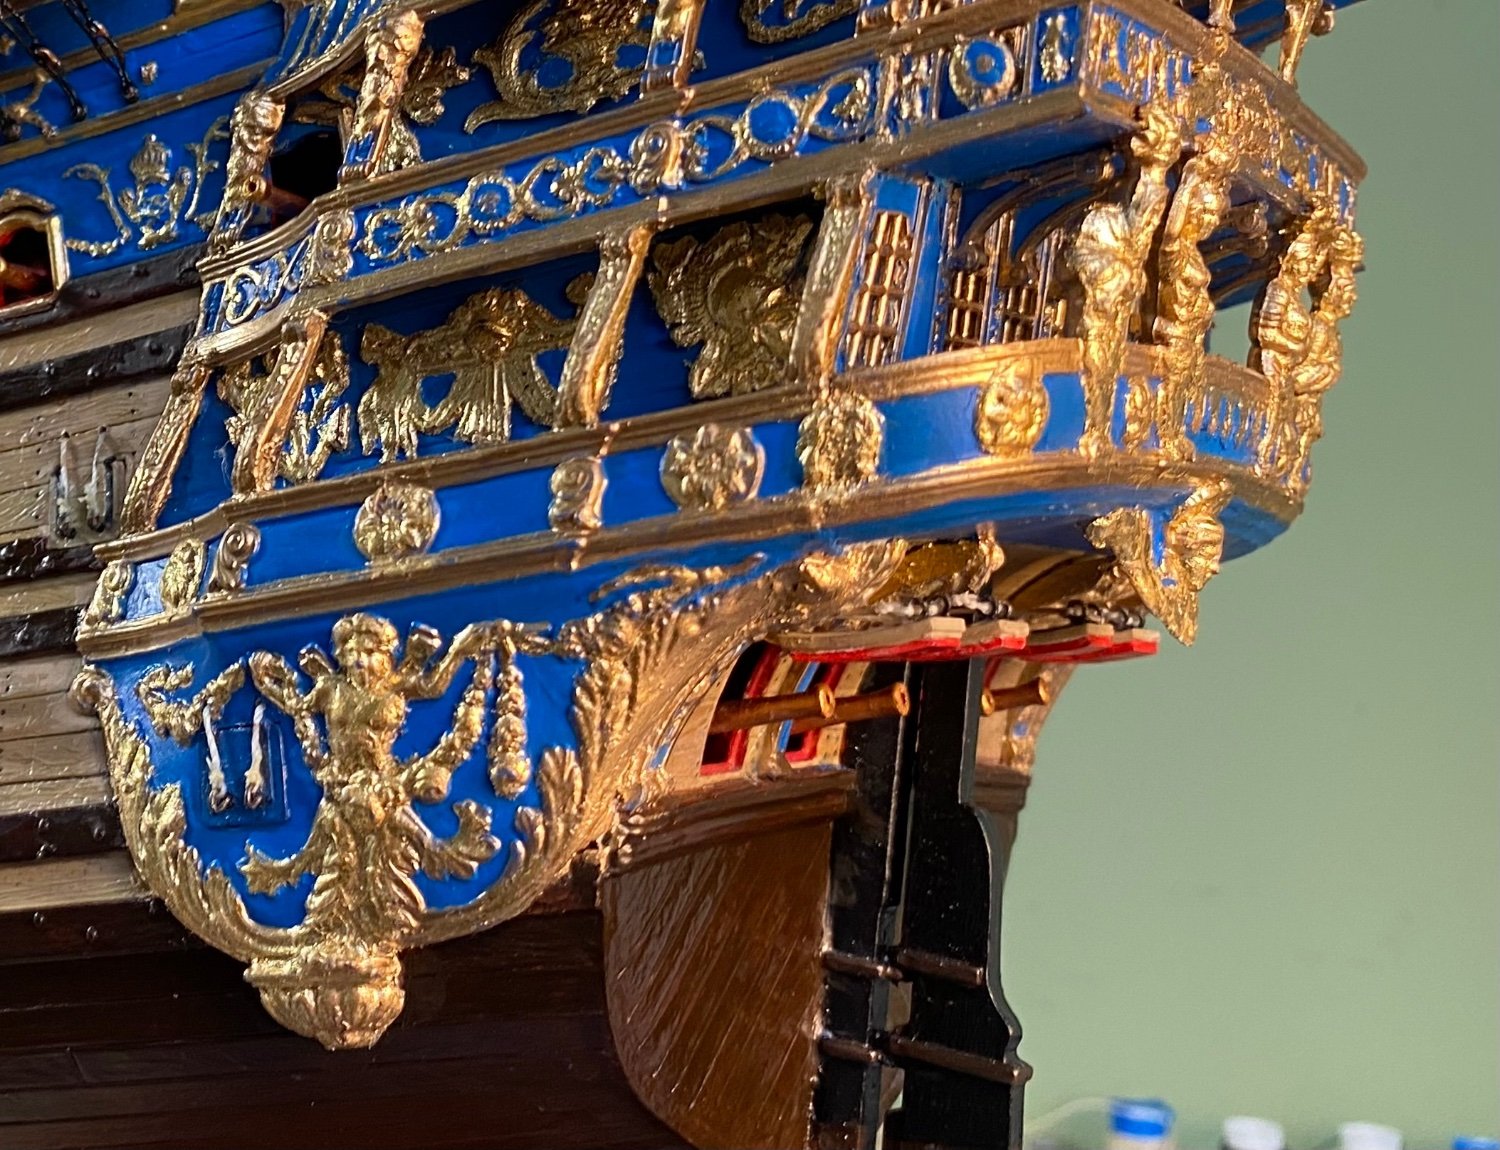
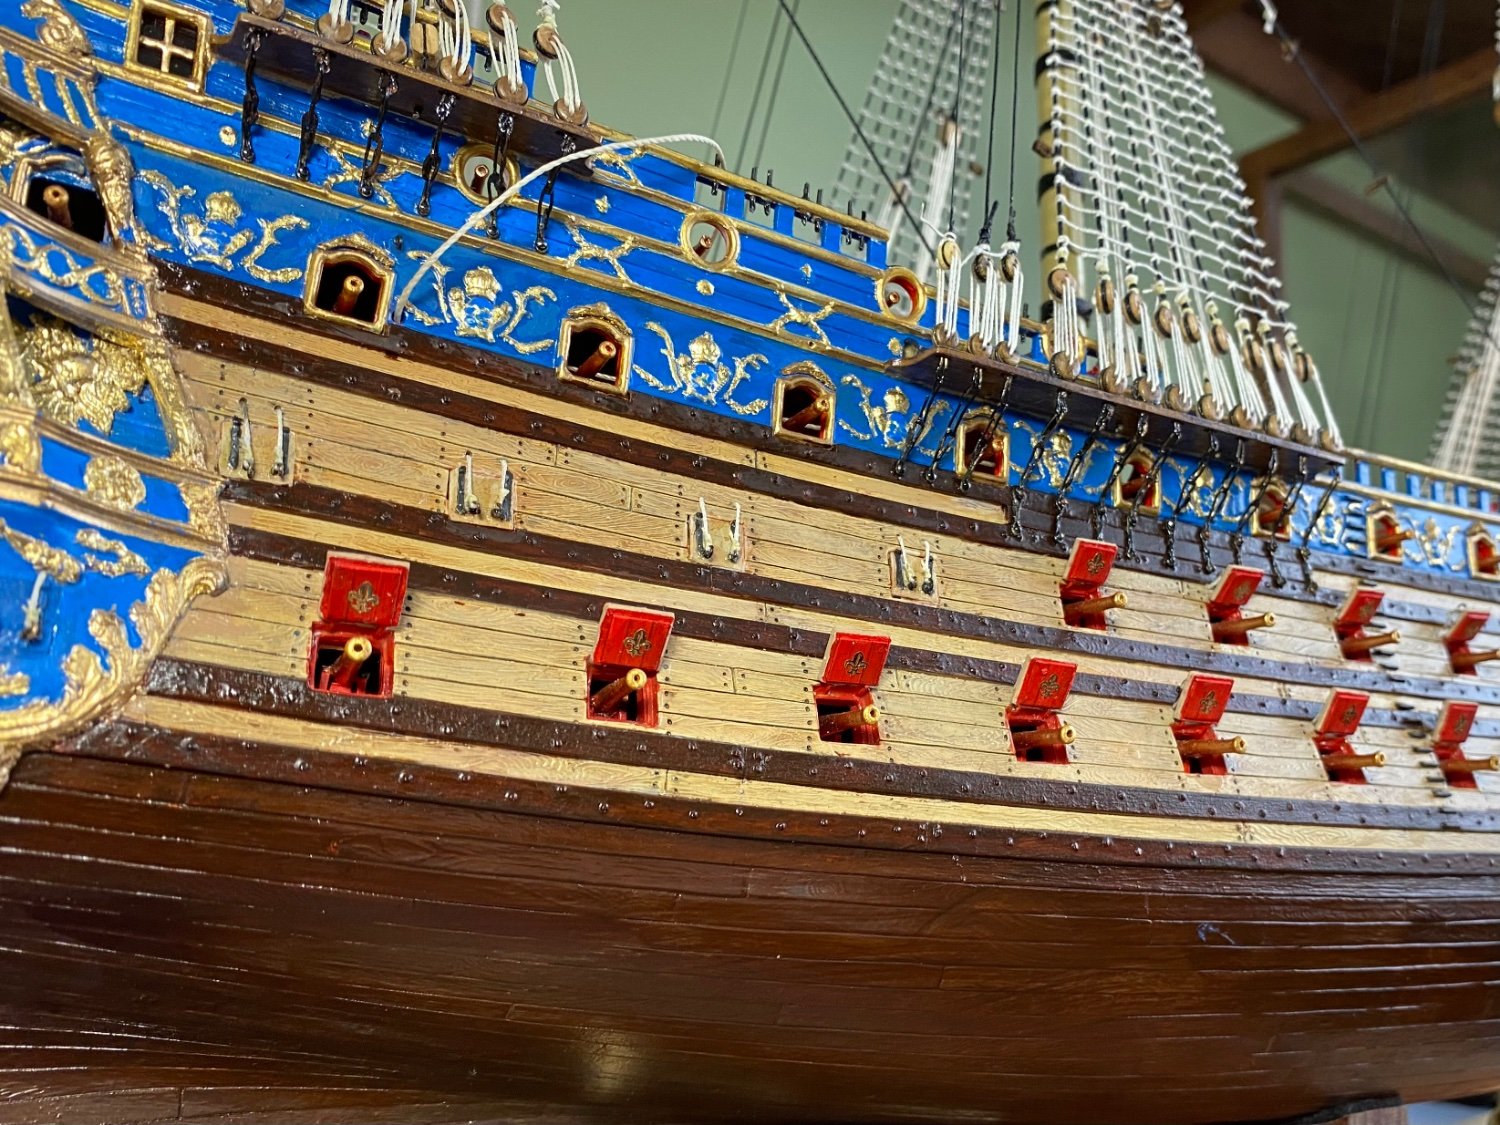
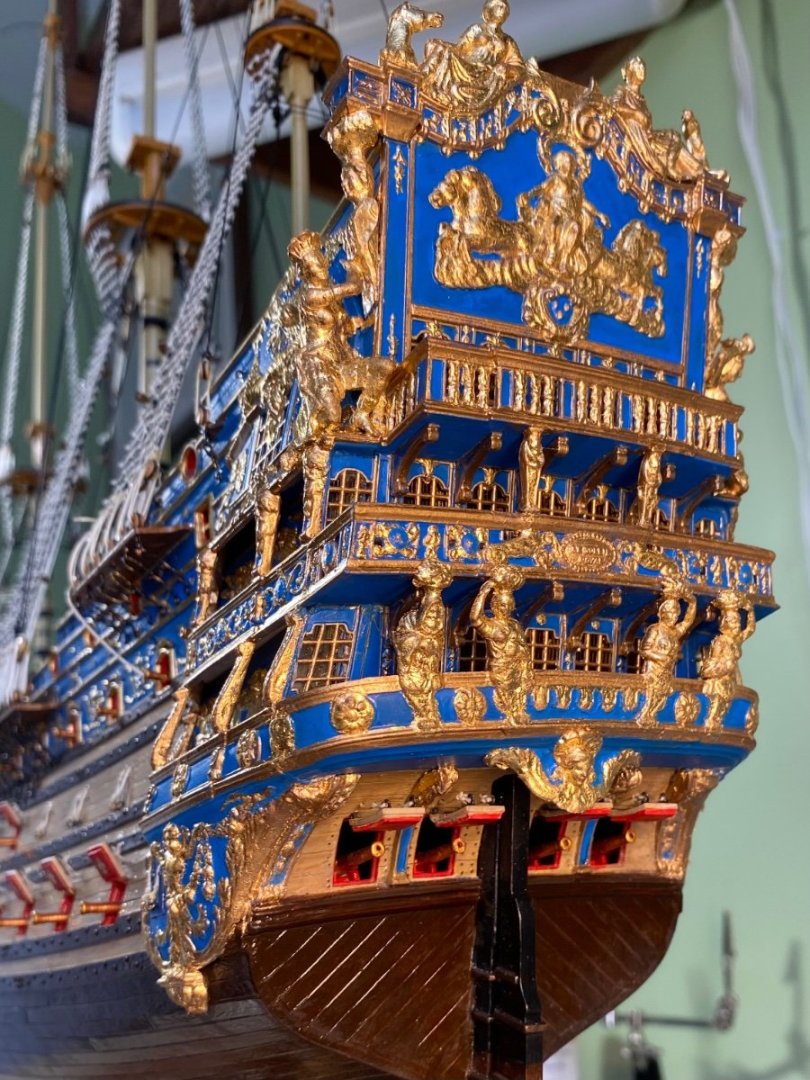
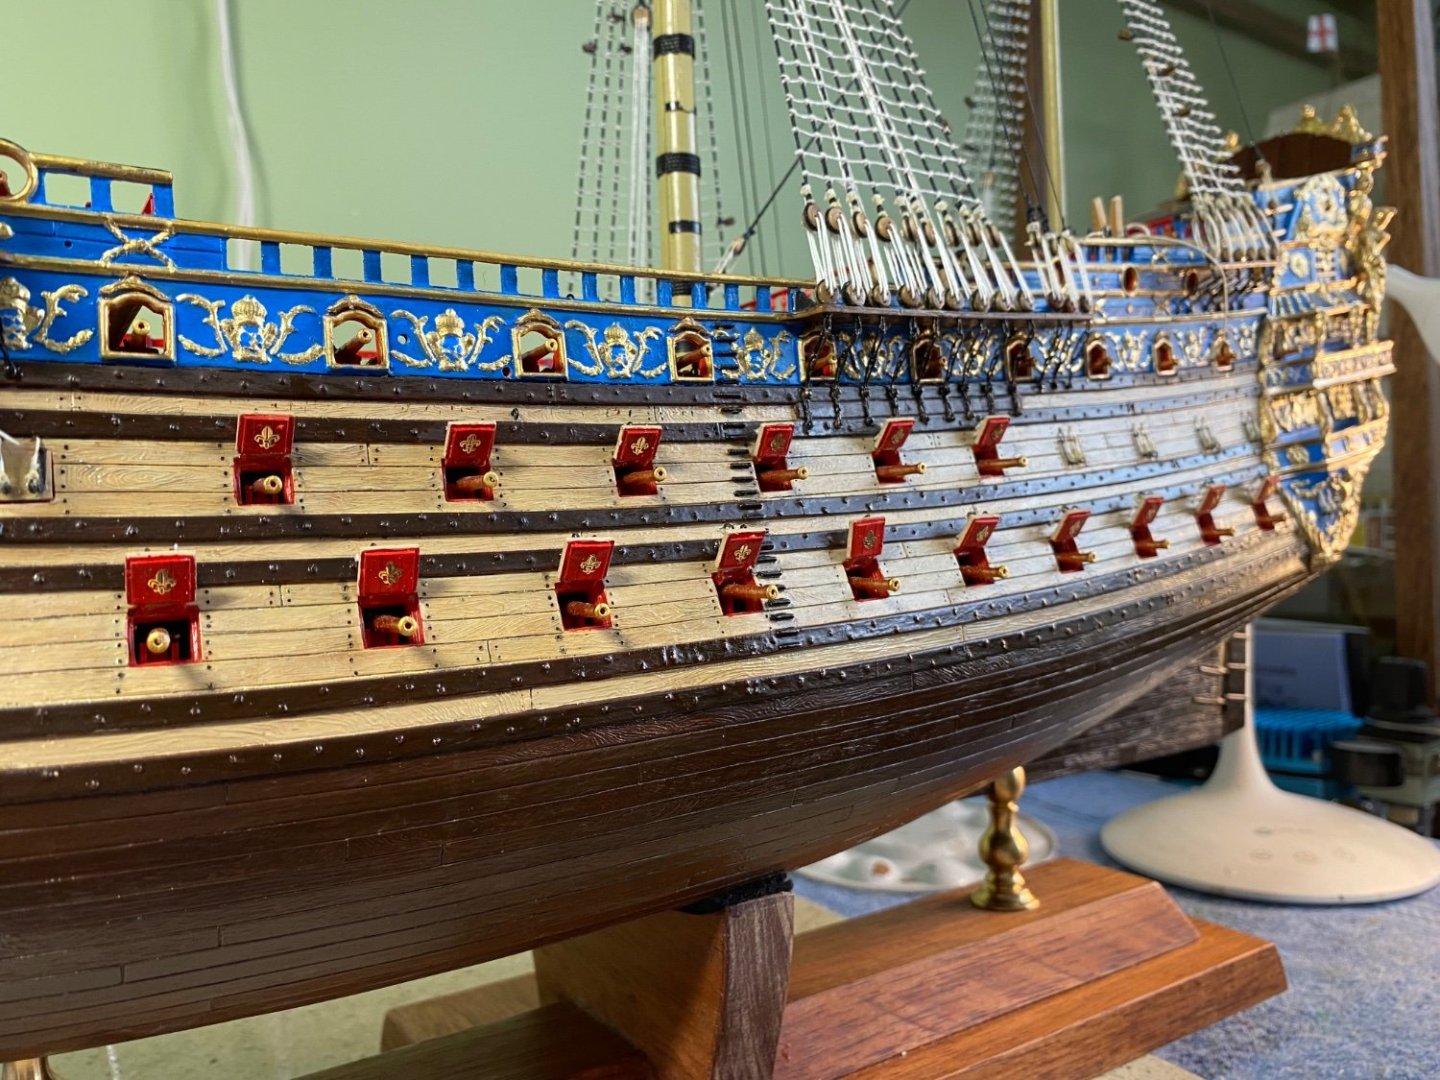
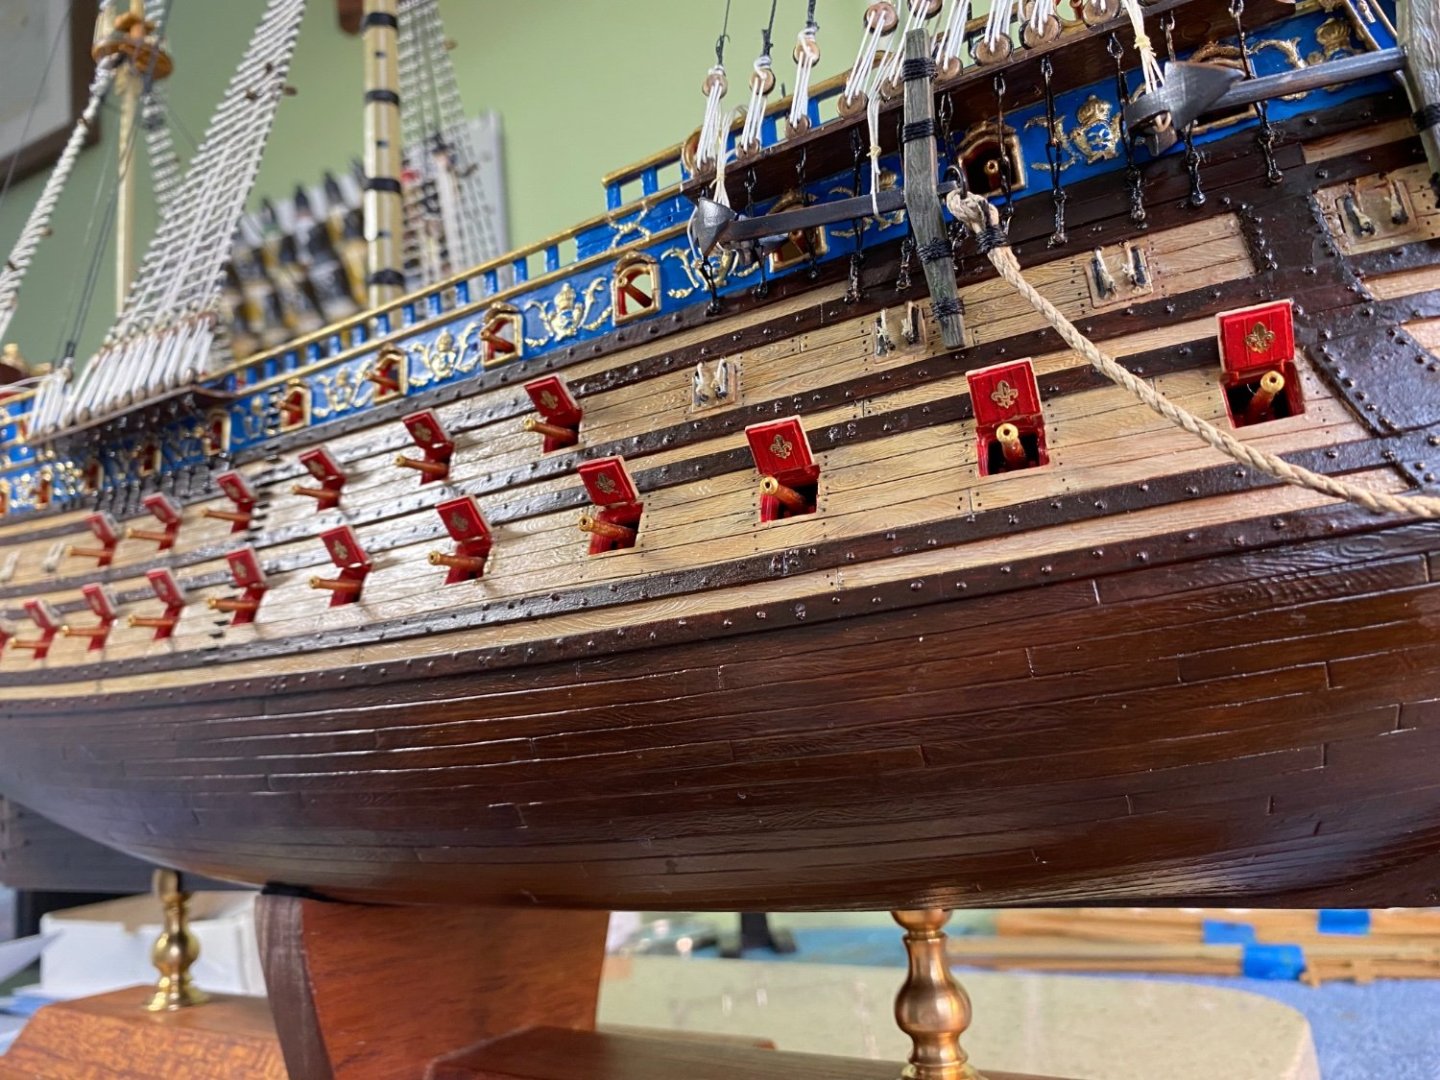
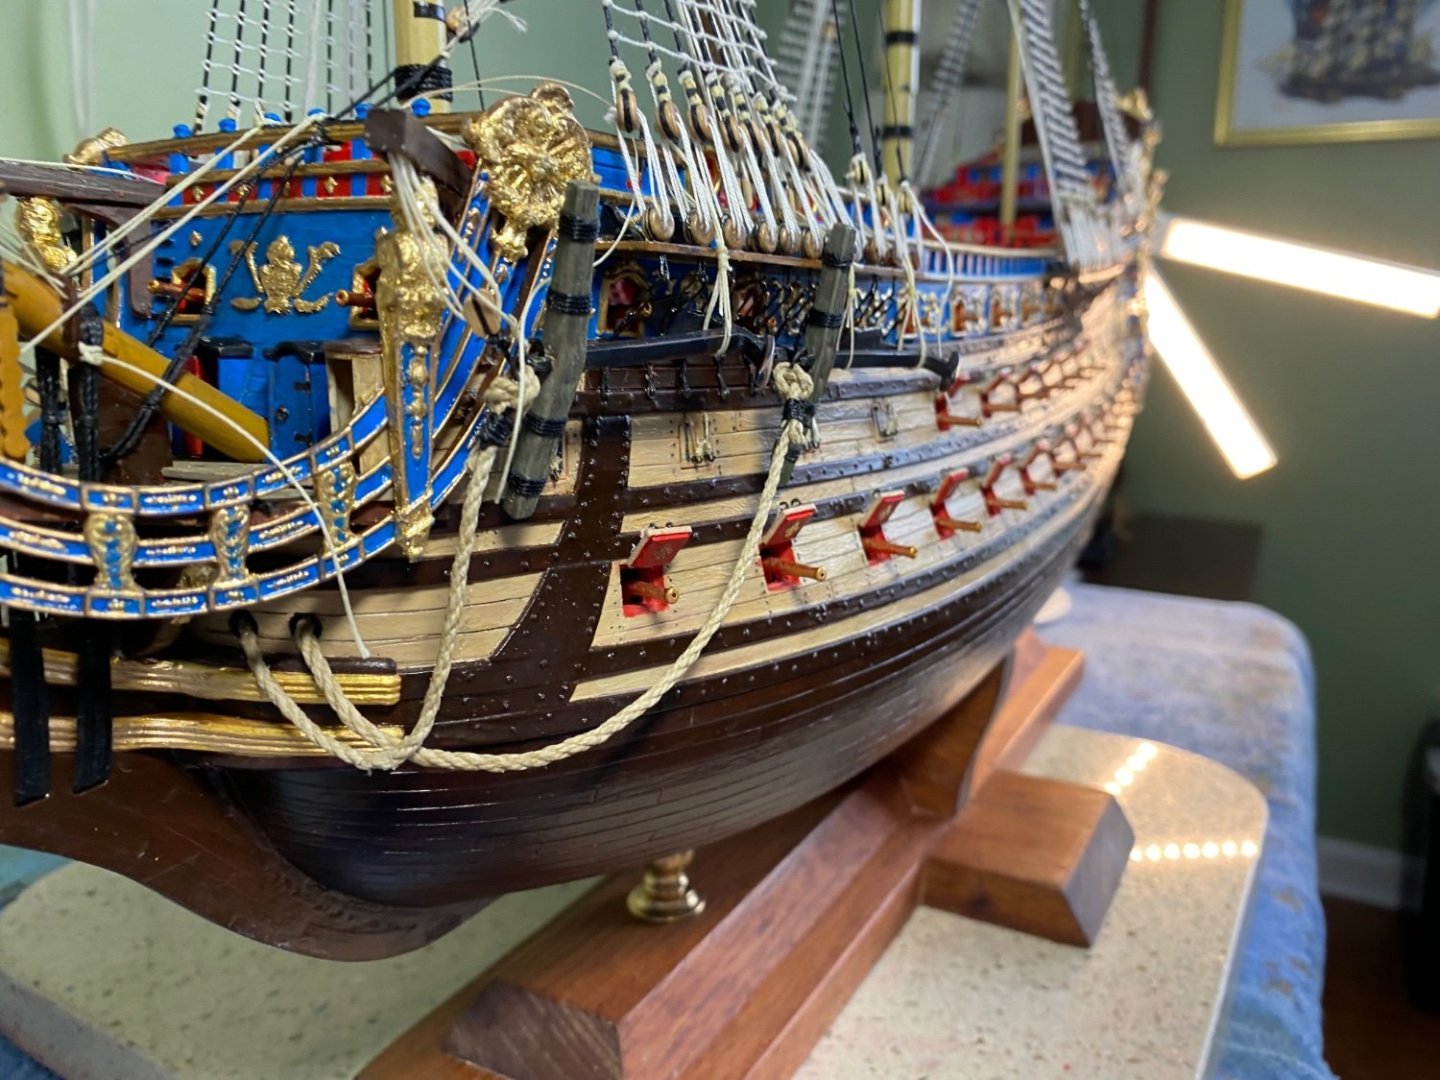
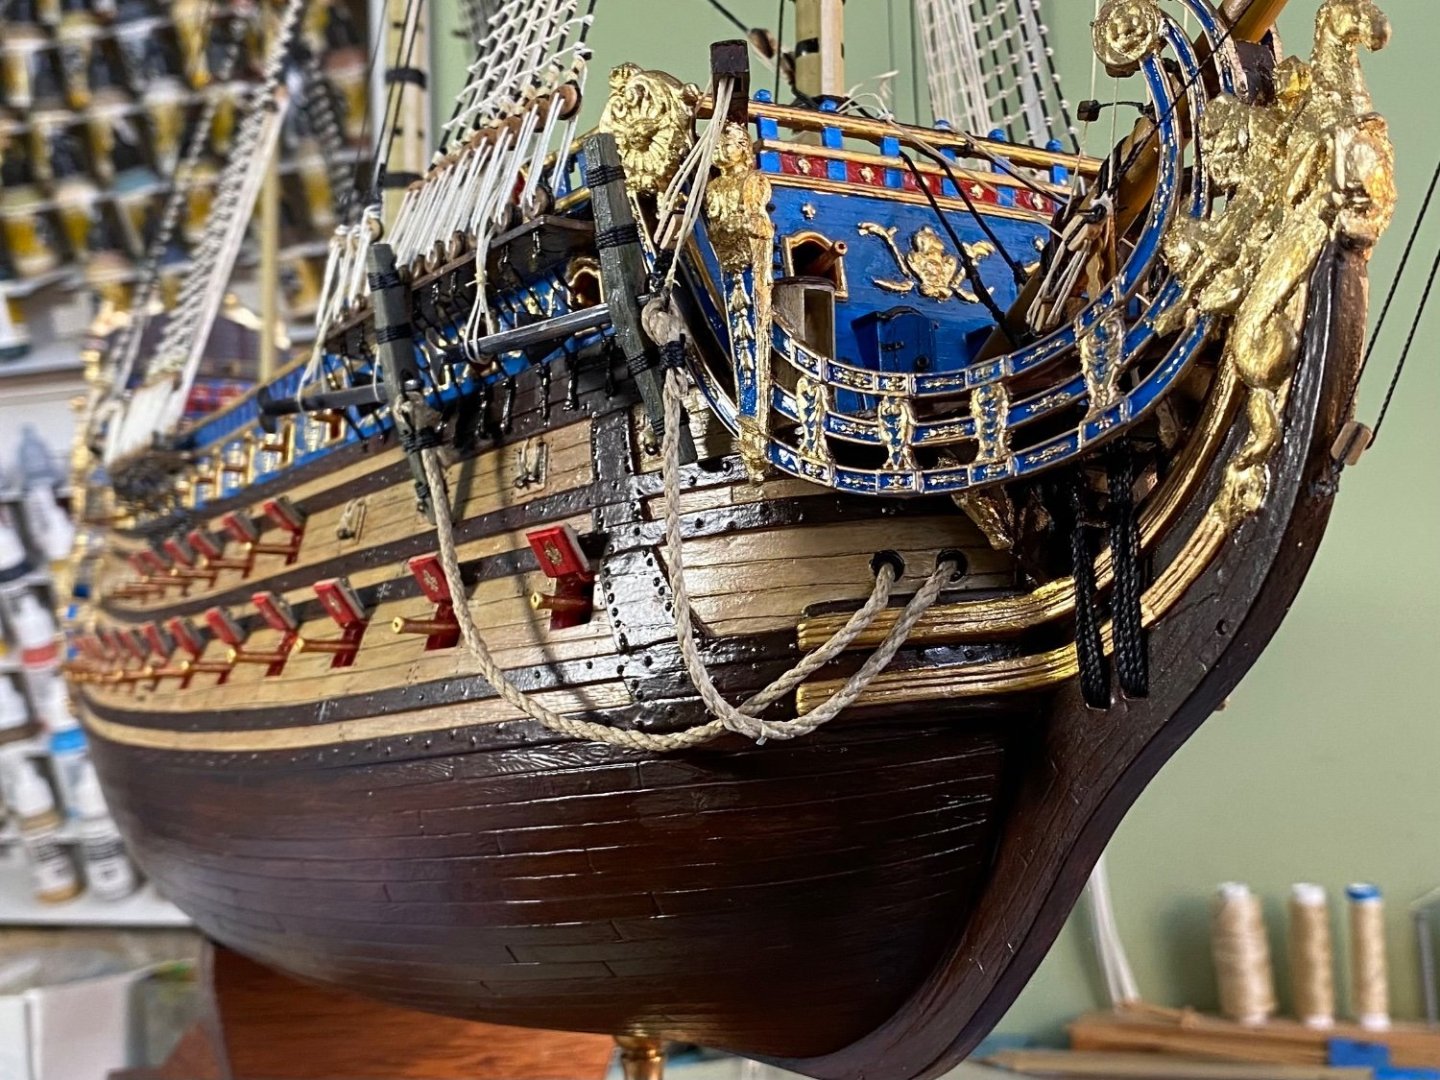
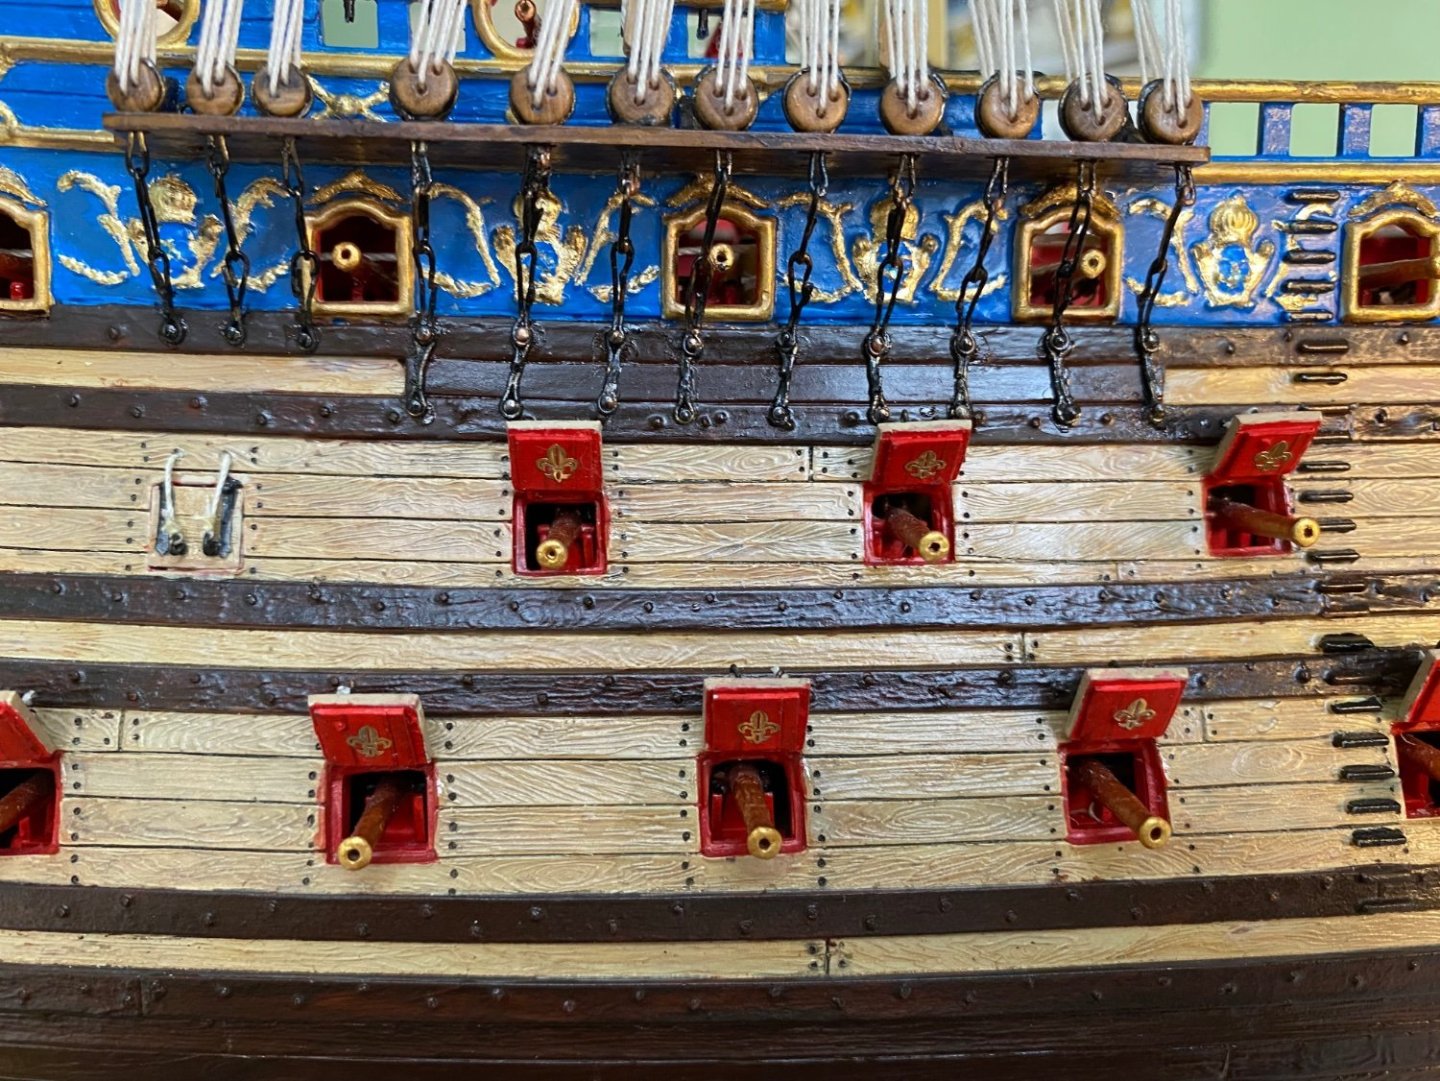
Finished the cannon hatch covers all around. Repeated the 4-6-4 layout on the starboard side as I did on the port side. Opened the four hatches on the stern. Making all the little metal eyebolts for all the hatches, and lashing the pair of lanyards for each cover (opened and closed), was right up there with tying ratlines. 😊. Also added the fleur-de-leis to each of the open hatch covers. Doing a little kit inventory. I know I still have the lanterns to add later. I would surly break them off if I added them now. From what I can tell I think I am primarily going to be working on the yards, sails, and rigging from now on.


- 1,508 replies
-
- 7
-
-
-
- Le Soleil Royal
- Heller
- (and 1 more)
-
Beautiful Ian. You guys doing your own 3D printing of parts are taking model building to a neighborhood I have never been too, nor does my GPS have any idea where it is! 😀
- 536 replies
-
- 4
-
-

-
- Quadrireme
- radio
- (and 1 more)
-
I am very happy with my Heller Victory I finished last year. I do have an OcCre kit in my stash that I will start after I complete my SR. It will be my first attempt at a wooden ship that I am looking forward to. I will watch for anyone that builds this ship though.
-
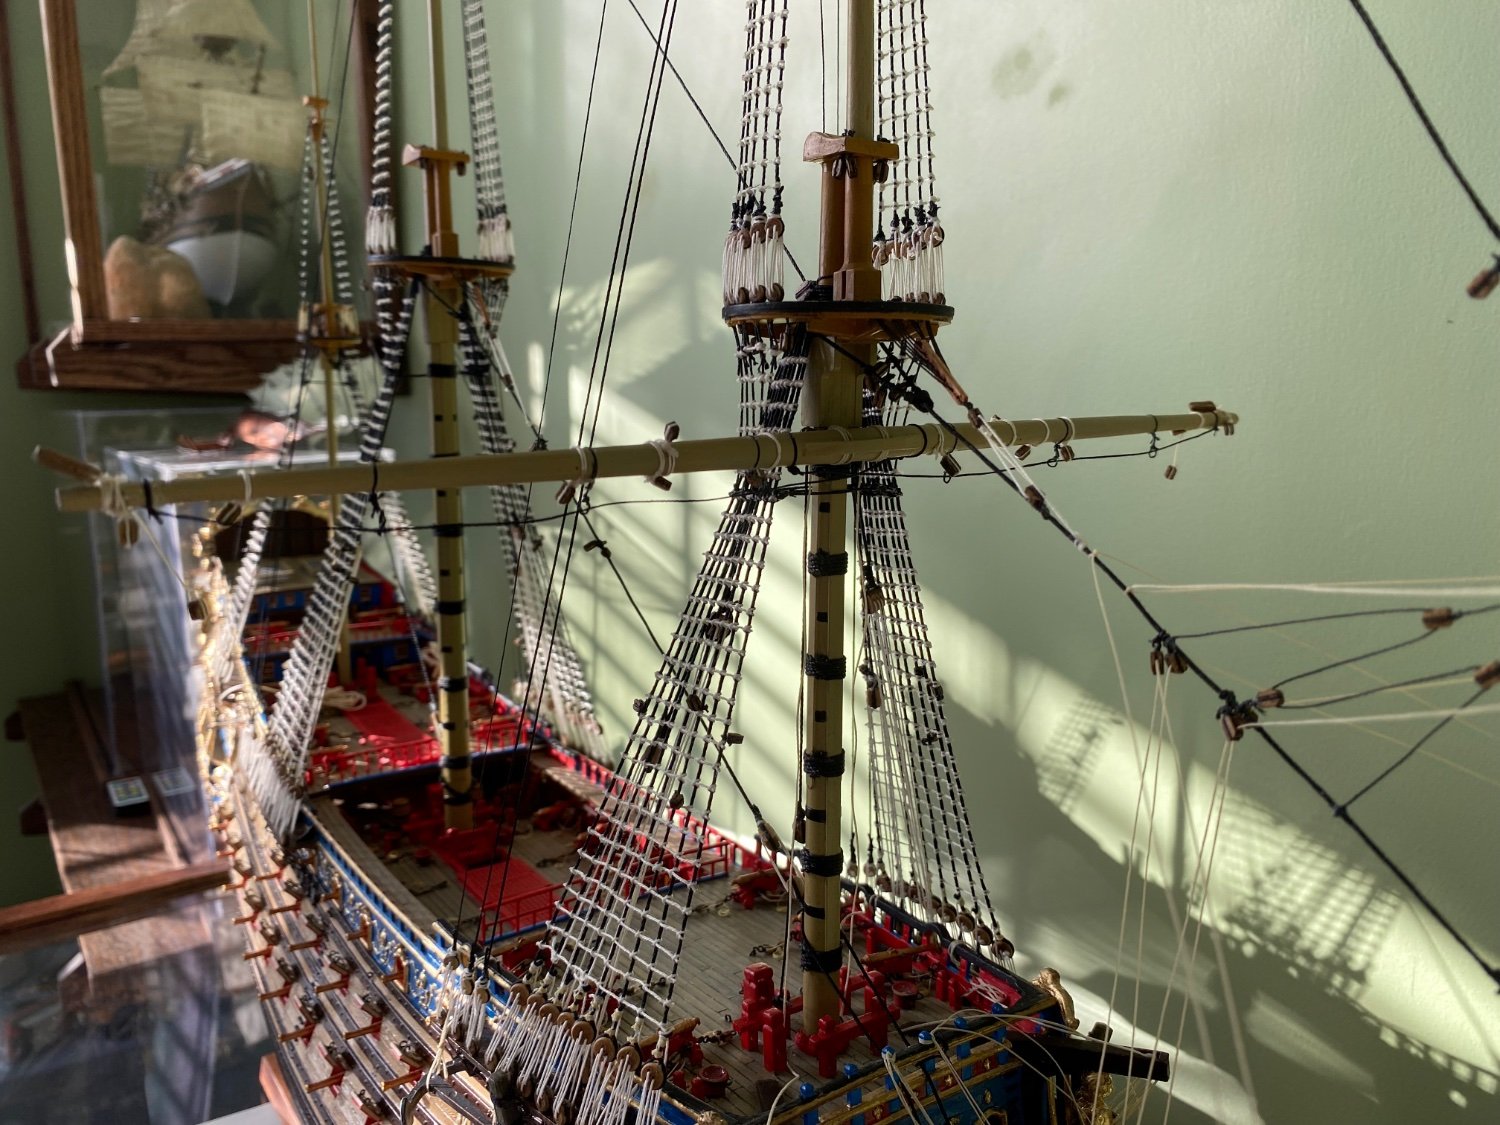
I started to go 5, 5, 4 but the ship profile looked more balanced and symmetrical with a 4, 6, 4 layout. On a side note, have any of you seen the newly released today limited addition OcCre wooden HMS Victory? If not, check it out. Absolutely incredible but way outside my budget.
- 1,508 replies
-
- 1
-
-
- Le Soleil Royal
- Heller
- (and 1 more)