Bill97
-
Posts
2,731 -
Joined
-
Last visited
Content Type
Profiles
Forums
Gallery
Events
Everything posted by Bill97
-
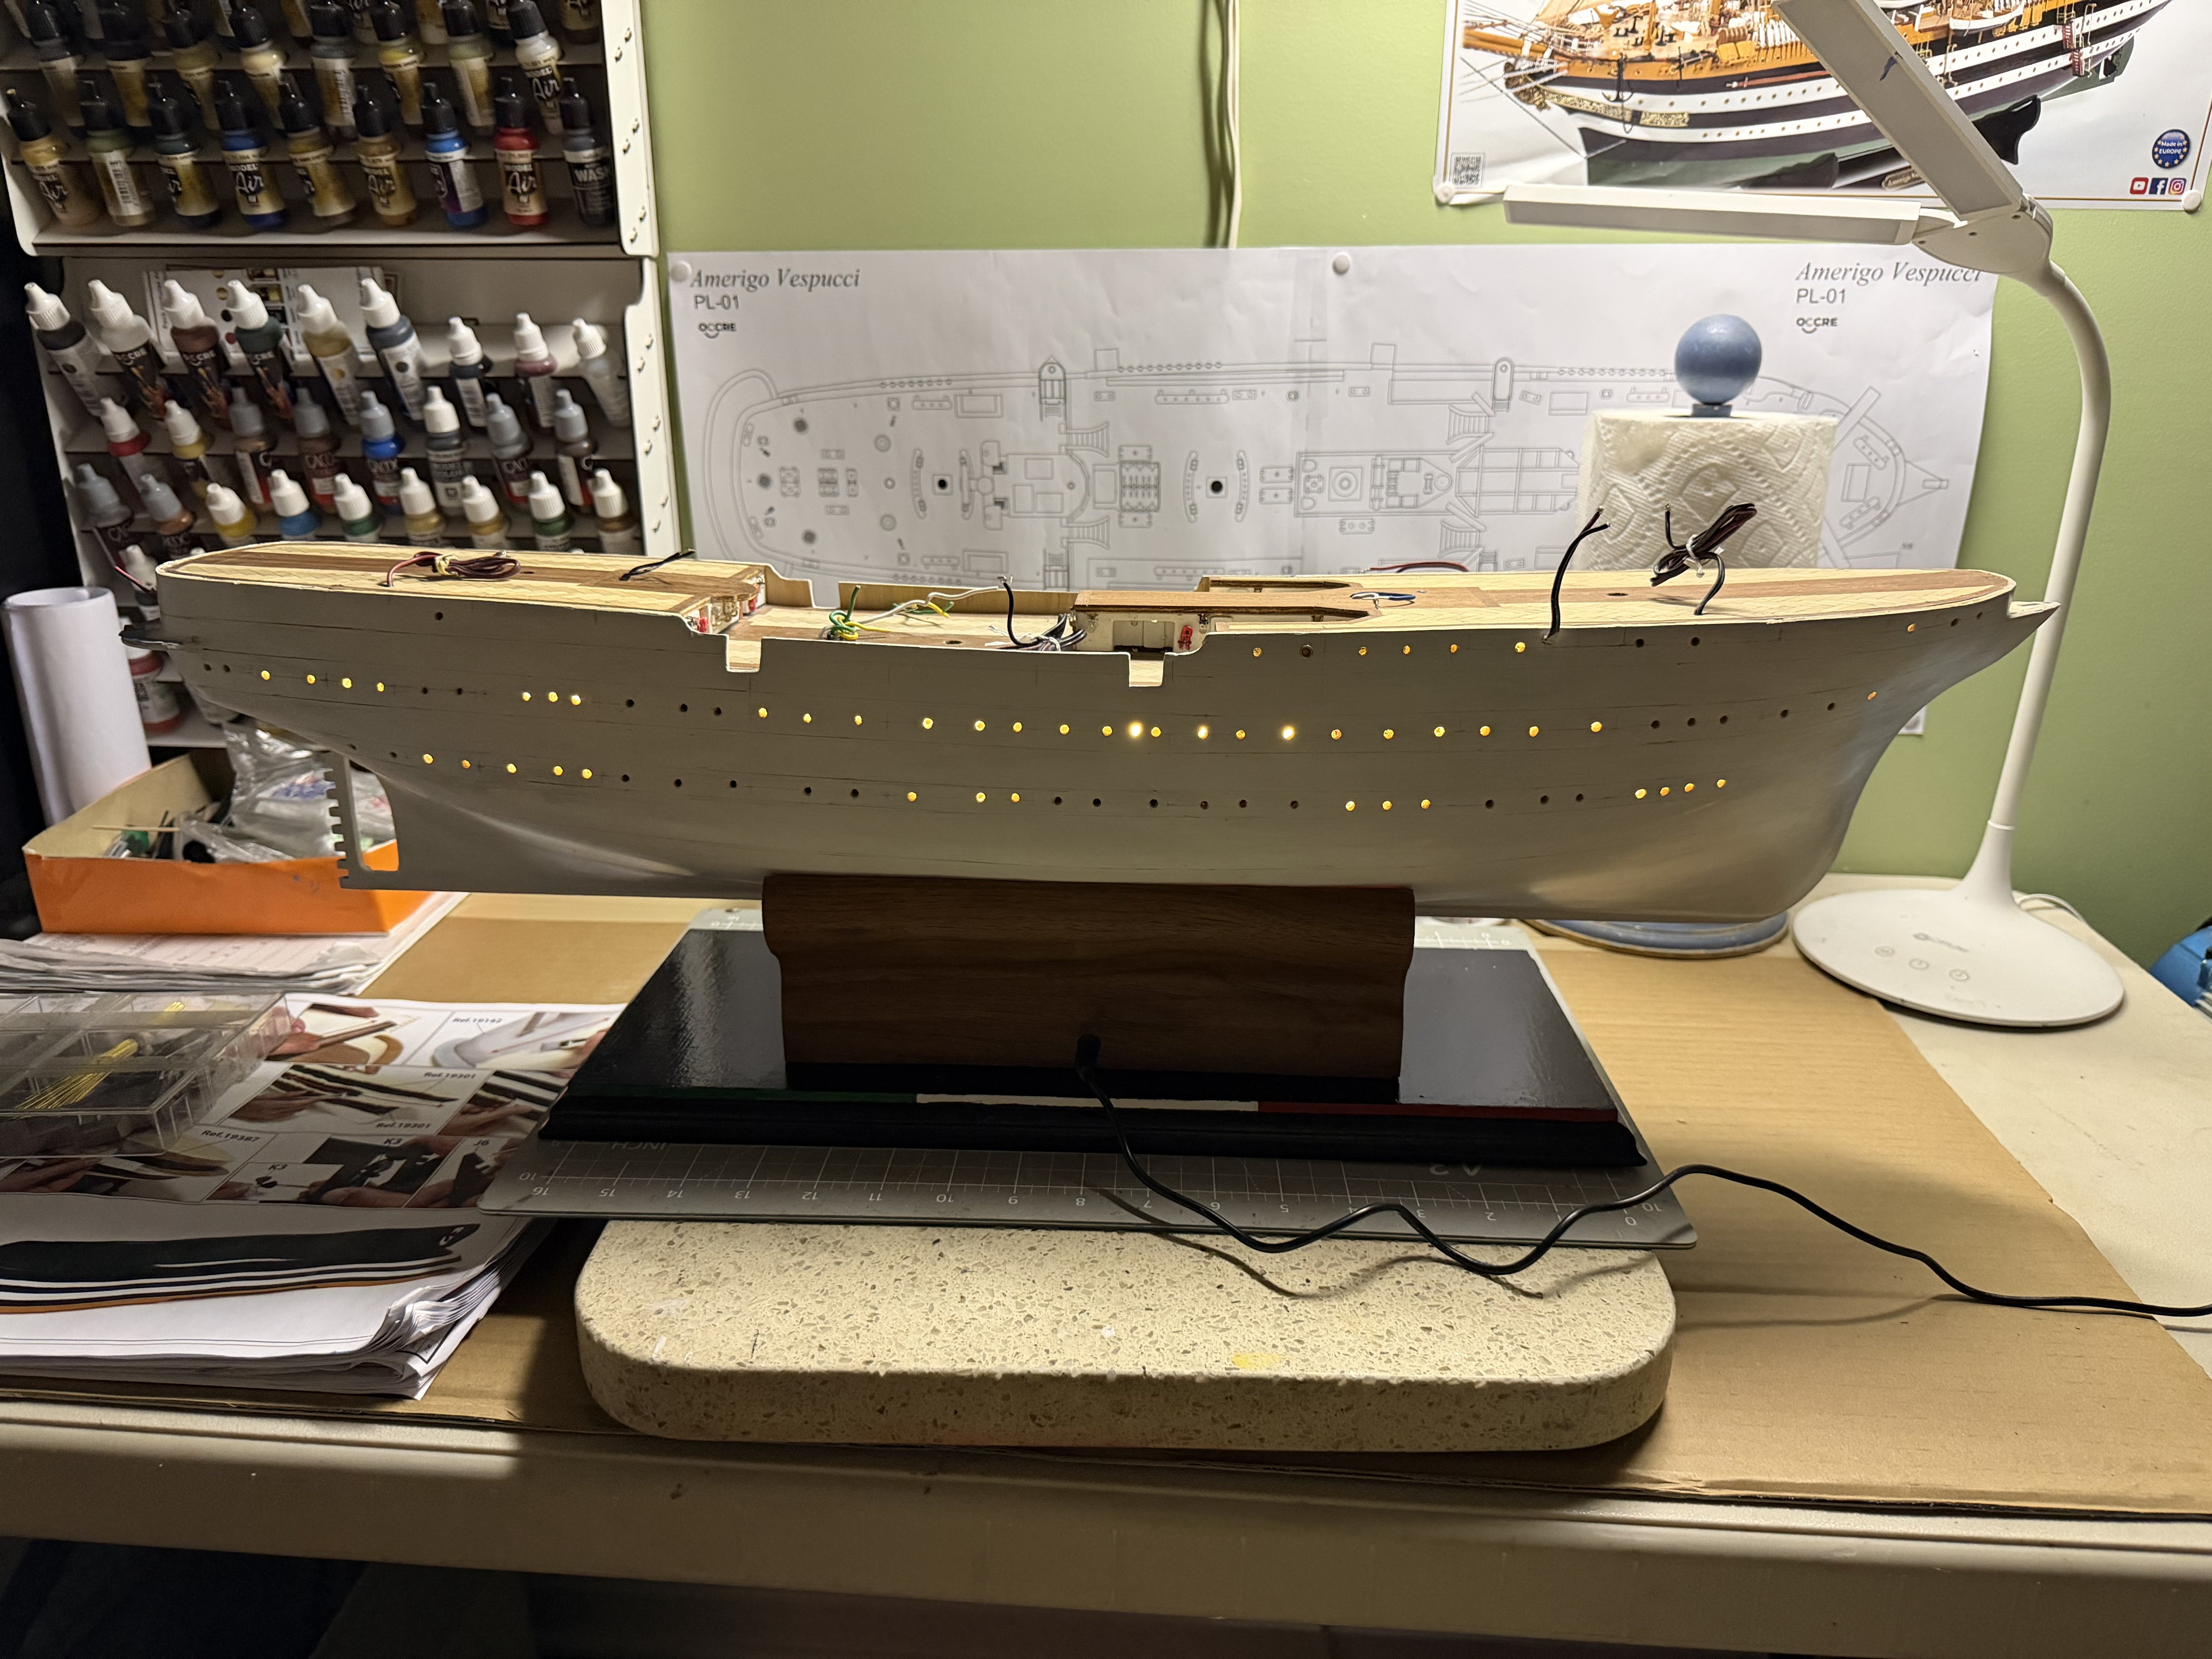
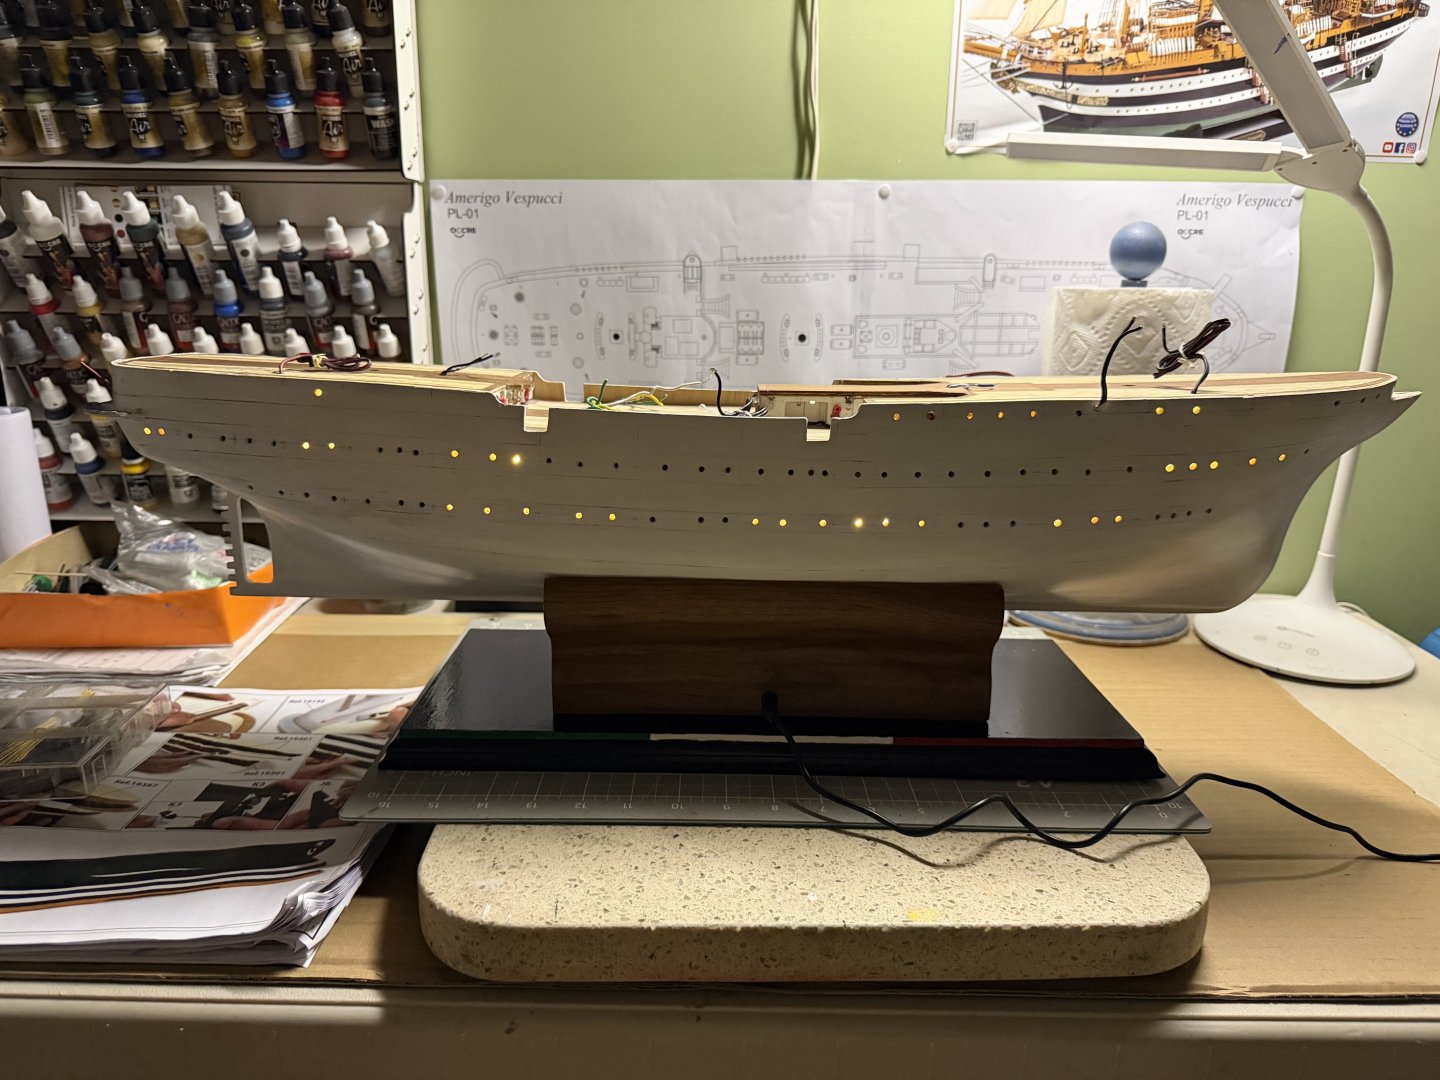
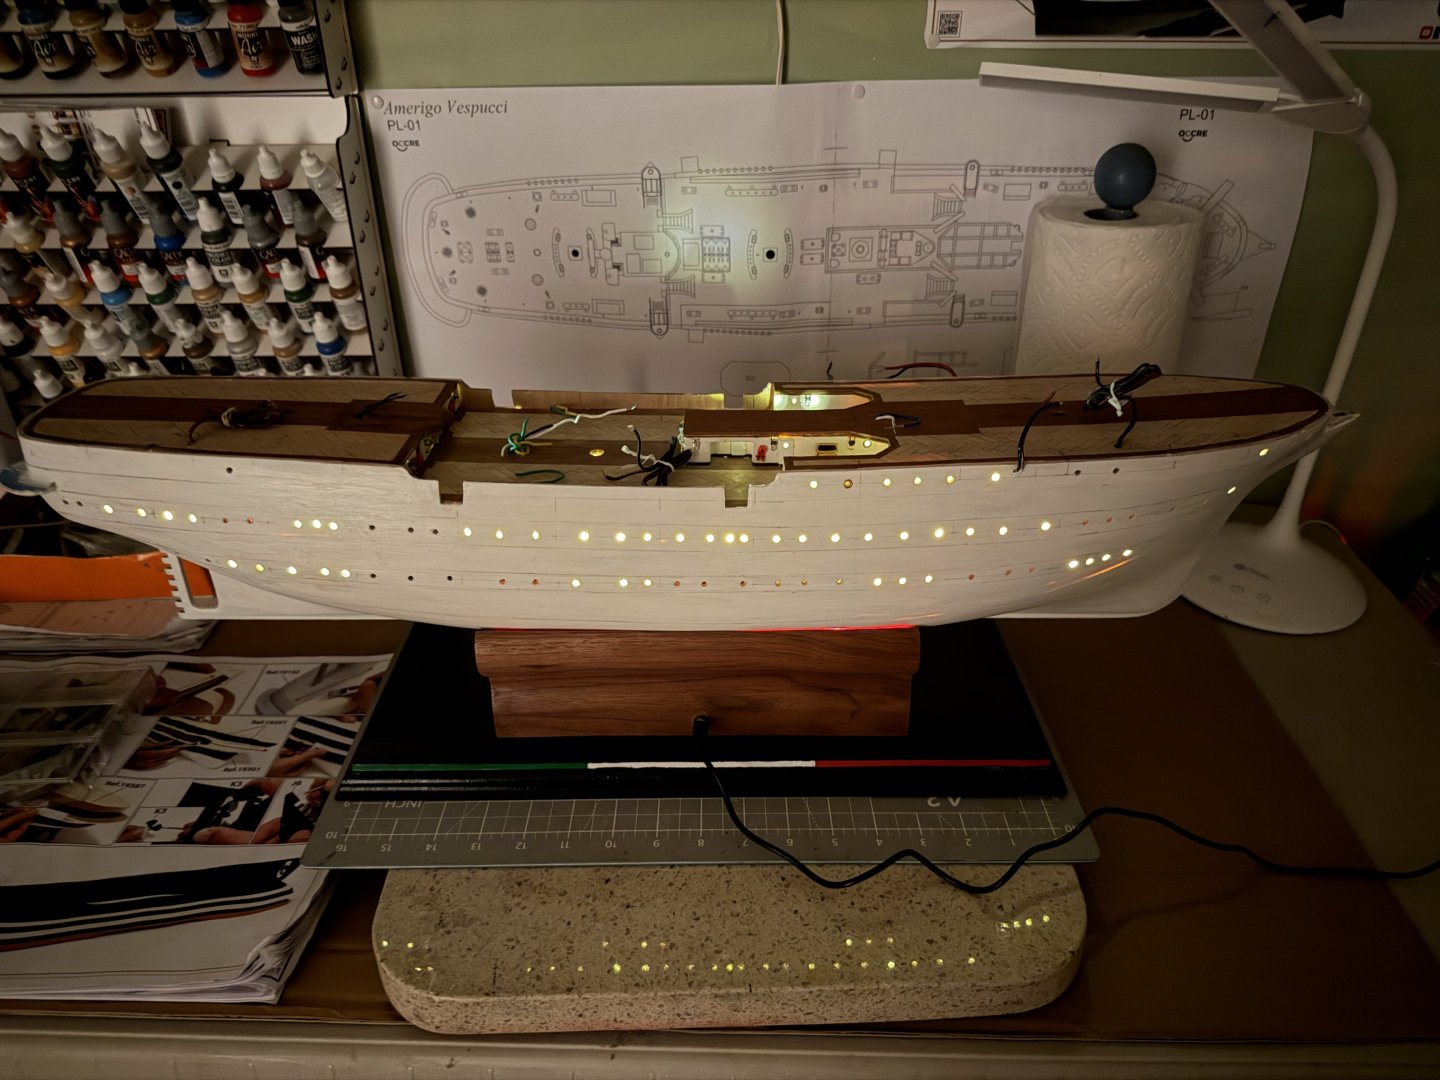
What do you think Professor Daniel? Your instruction got me this far. I put some of the little port hole metal pieces in some of the holes to show my wife how it will eventually look. I told her the plan was to paint them as on the actual ship (as you did). She said she really likes them brass instead of me painting them. She likes a little bling. I guess that is the way I will eventually go.
-
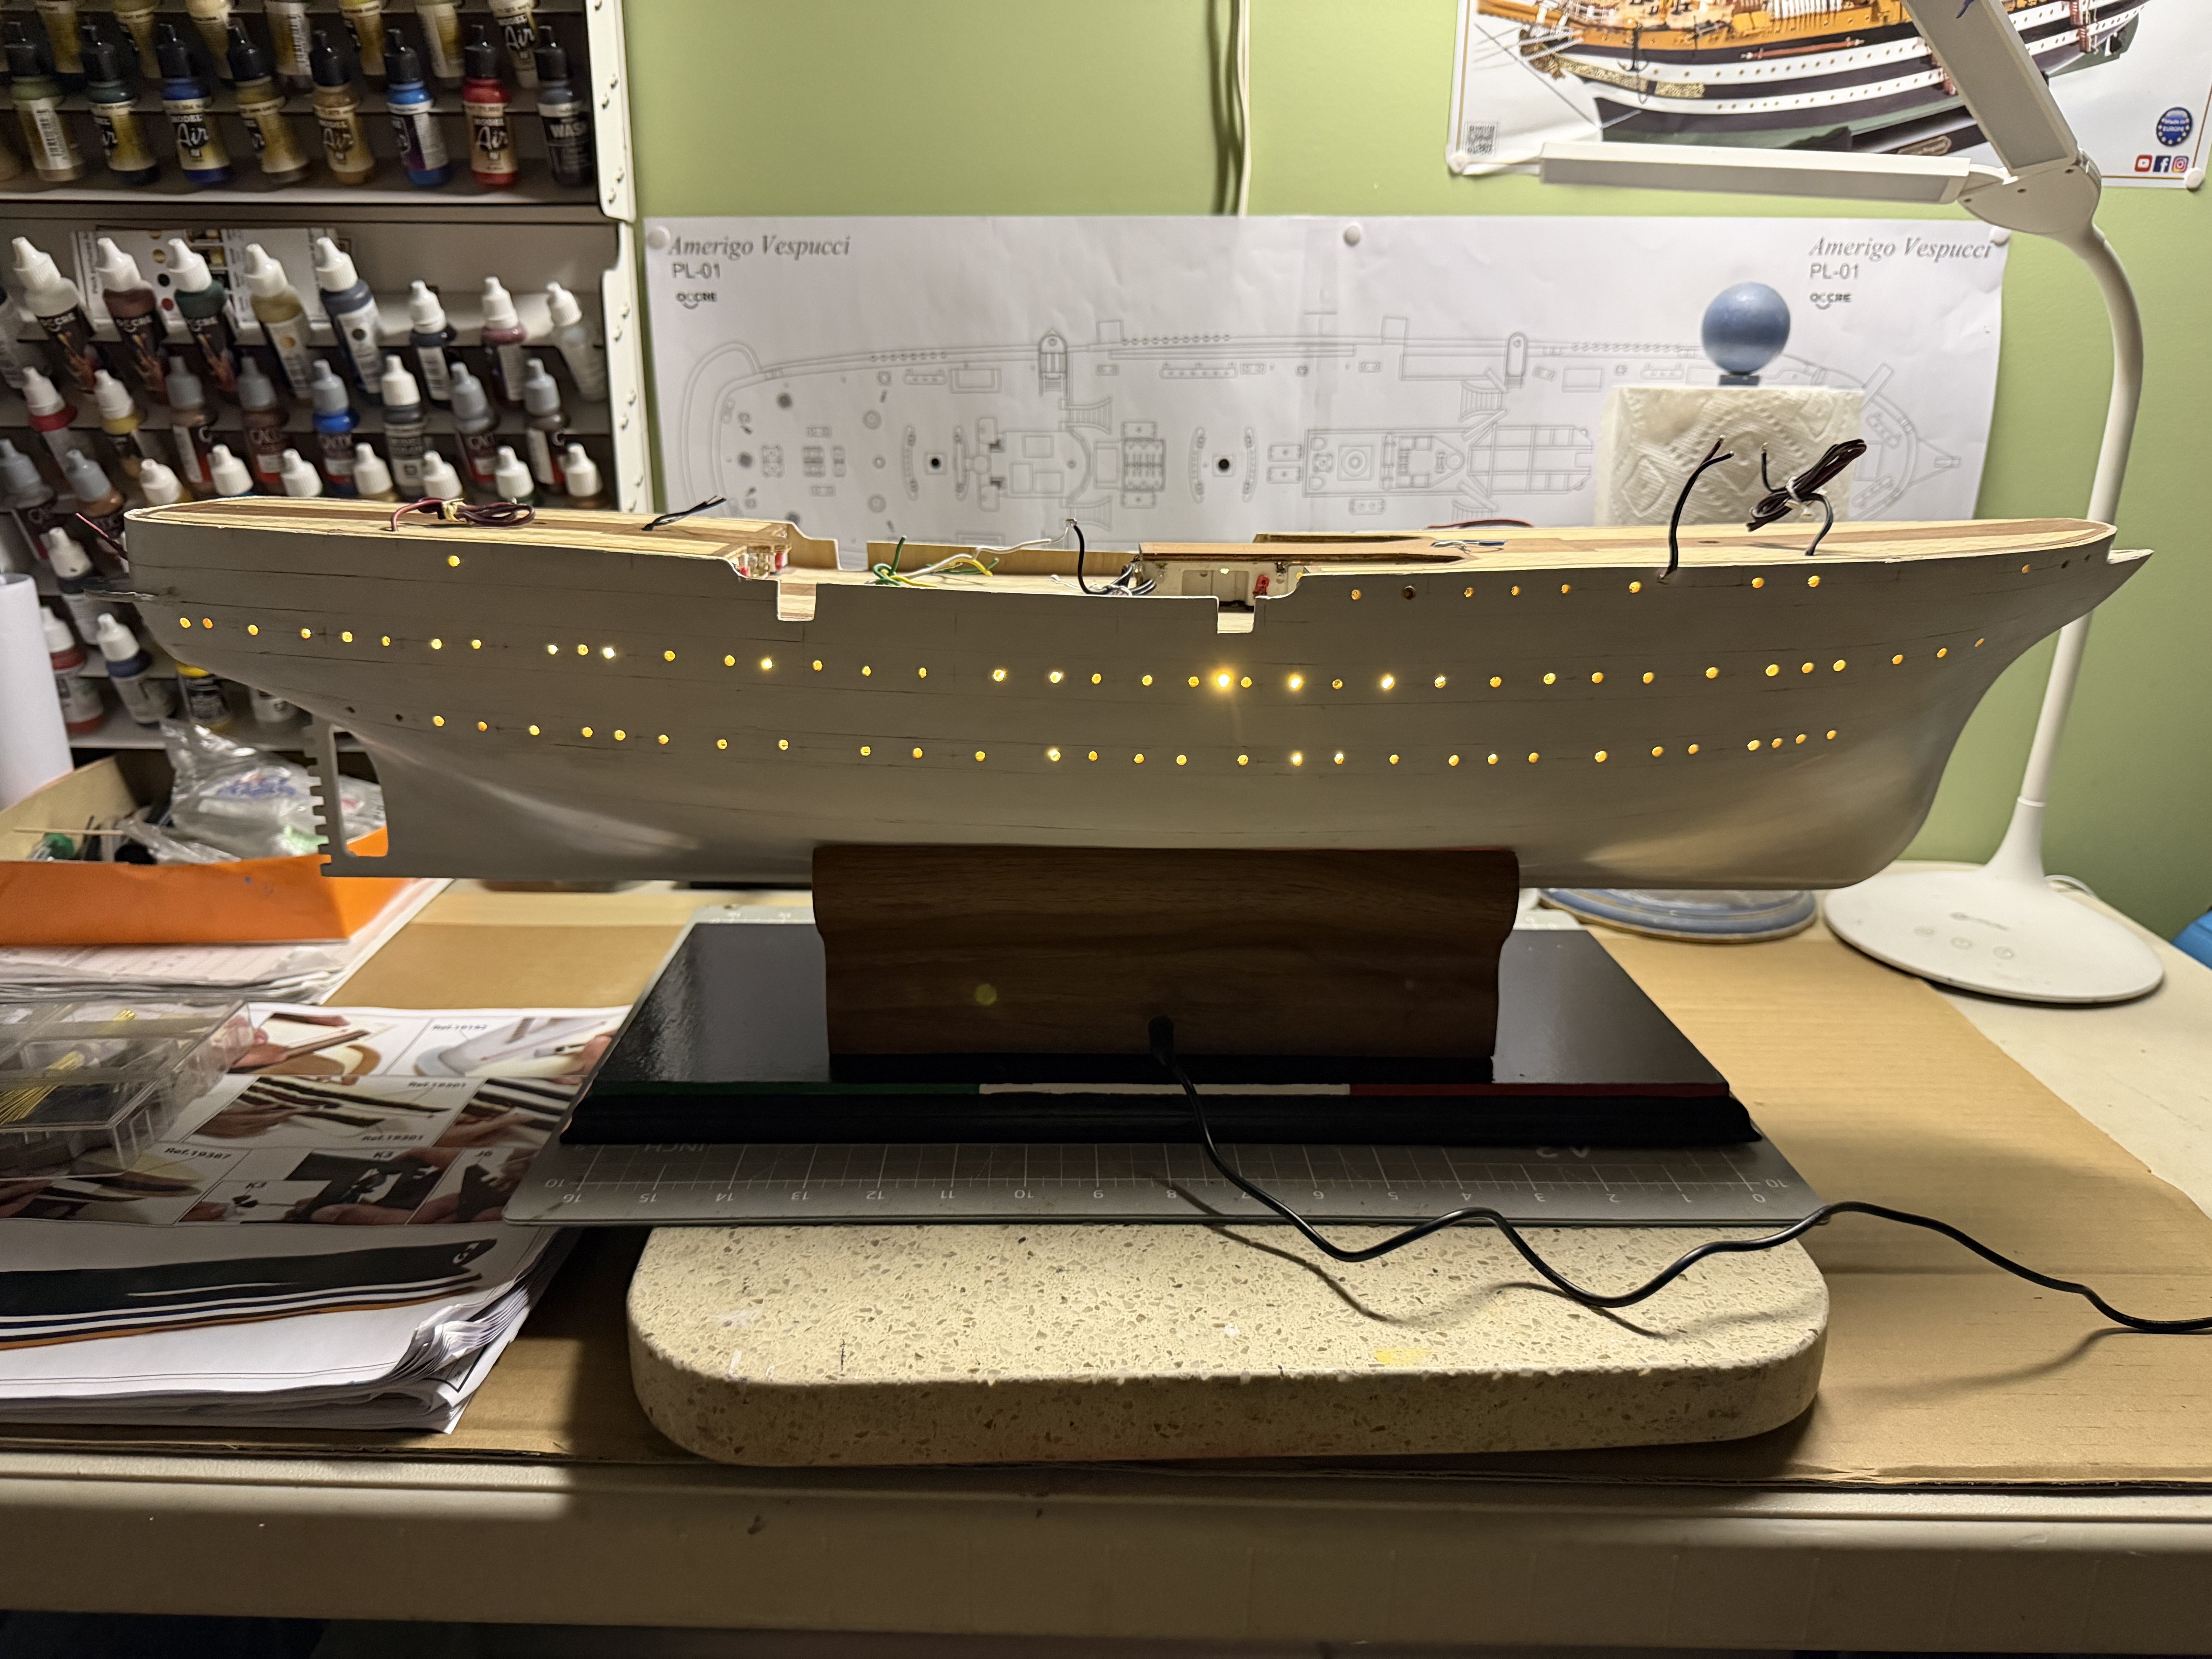
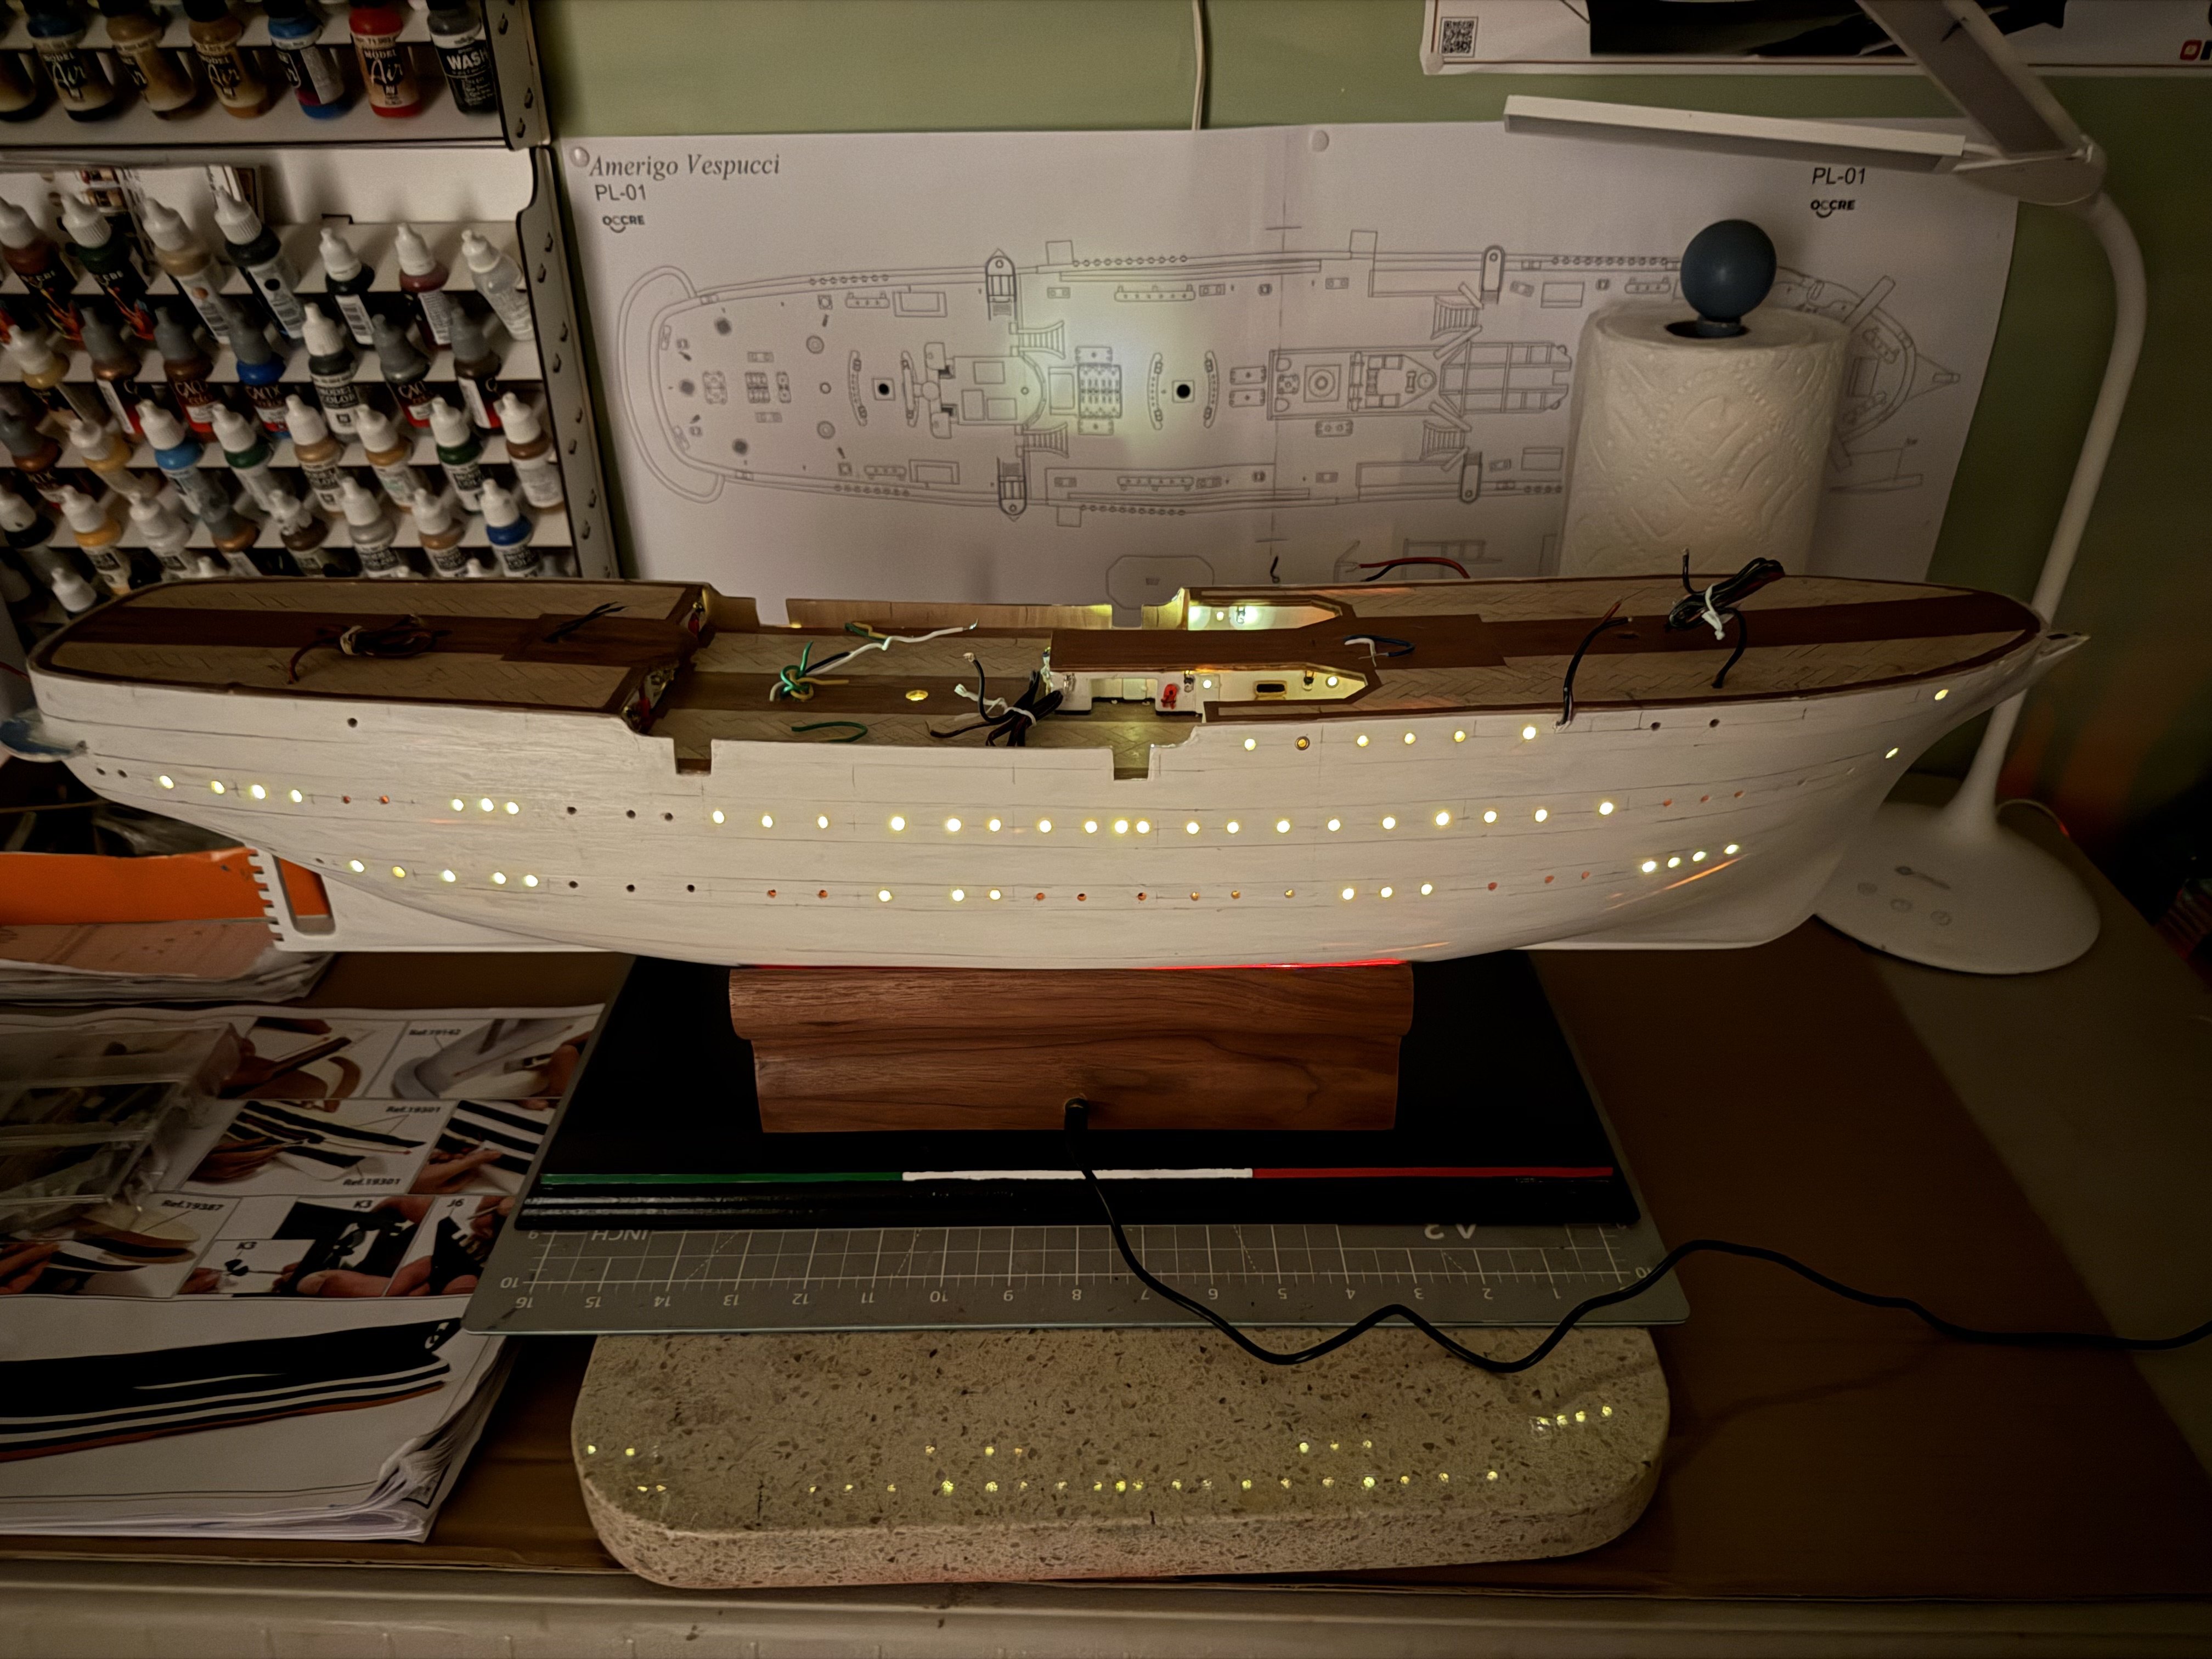
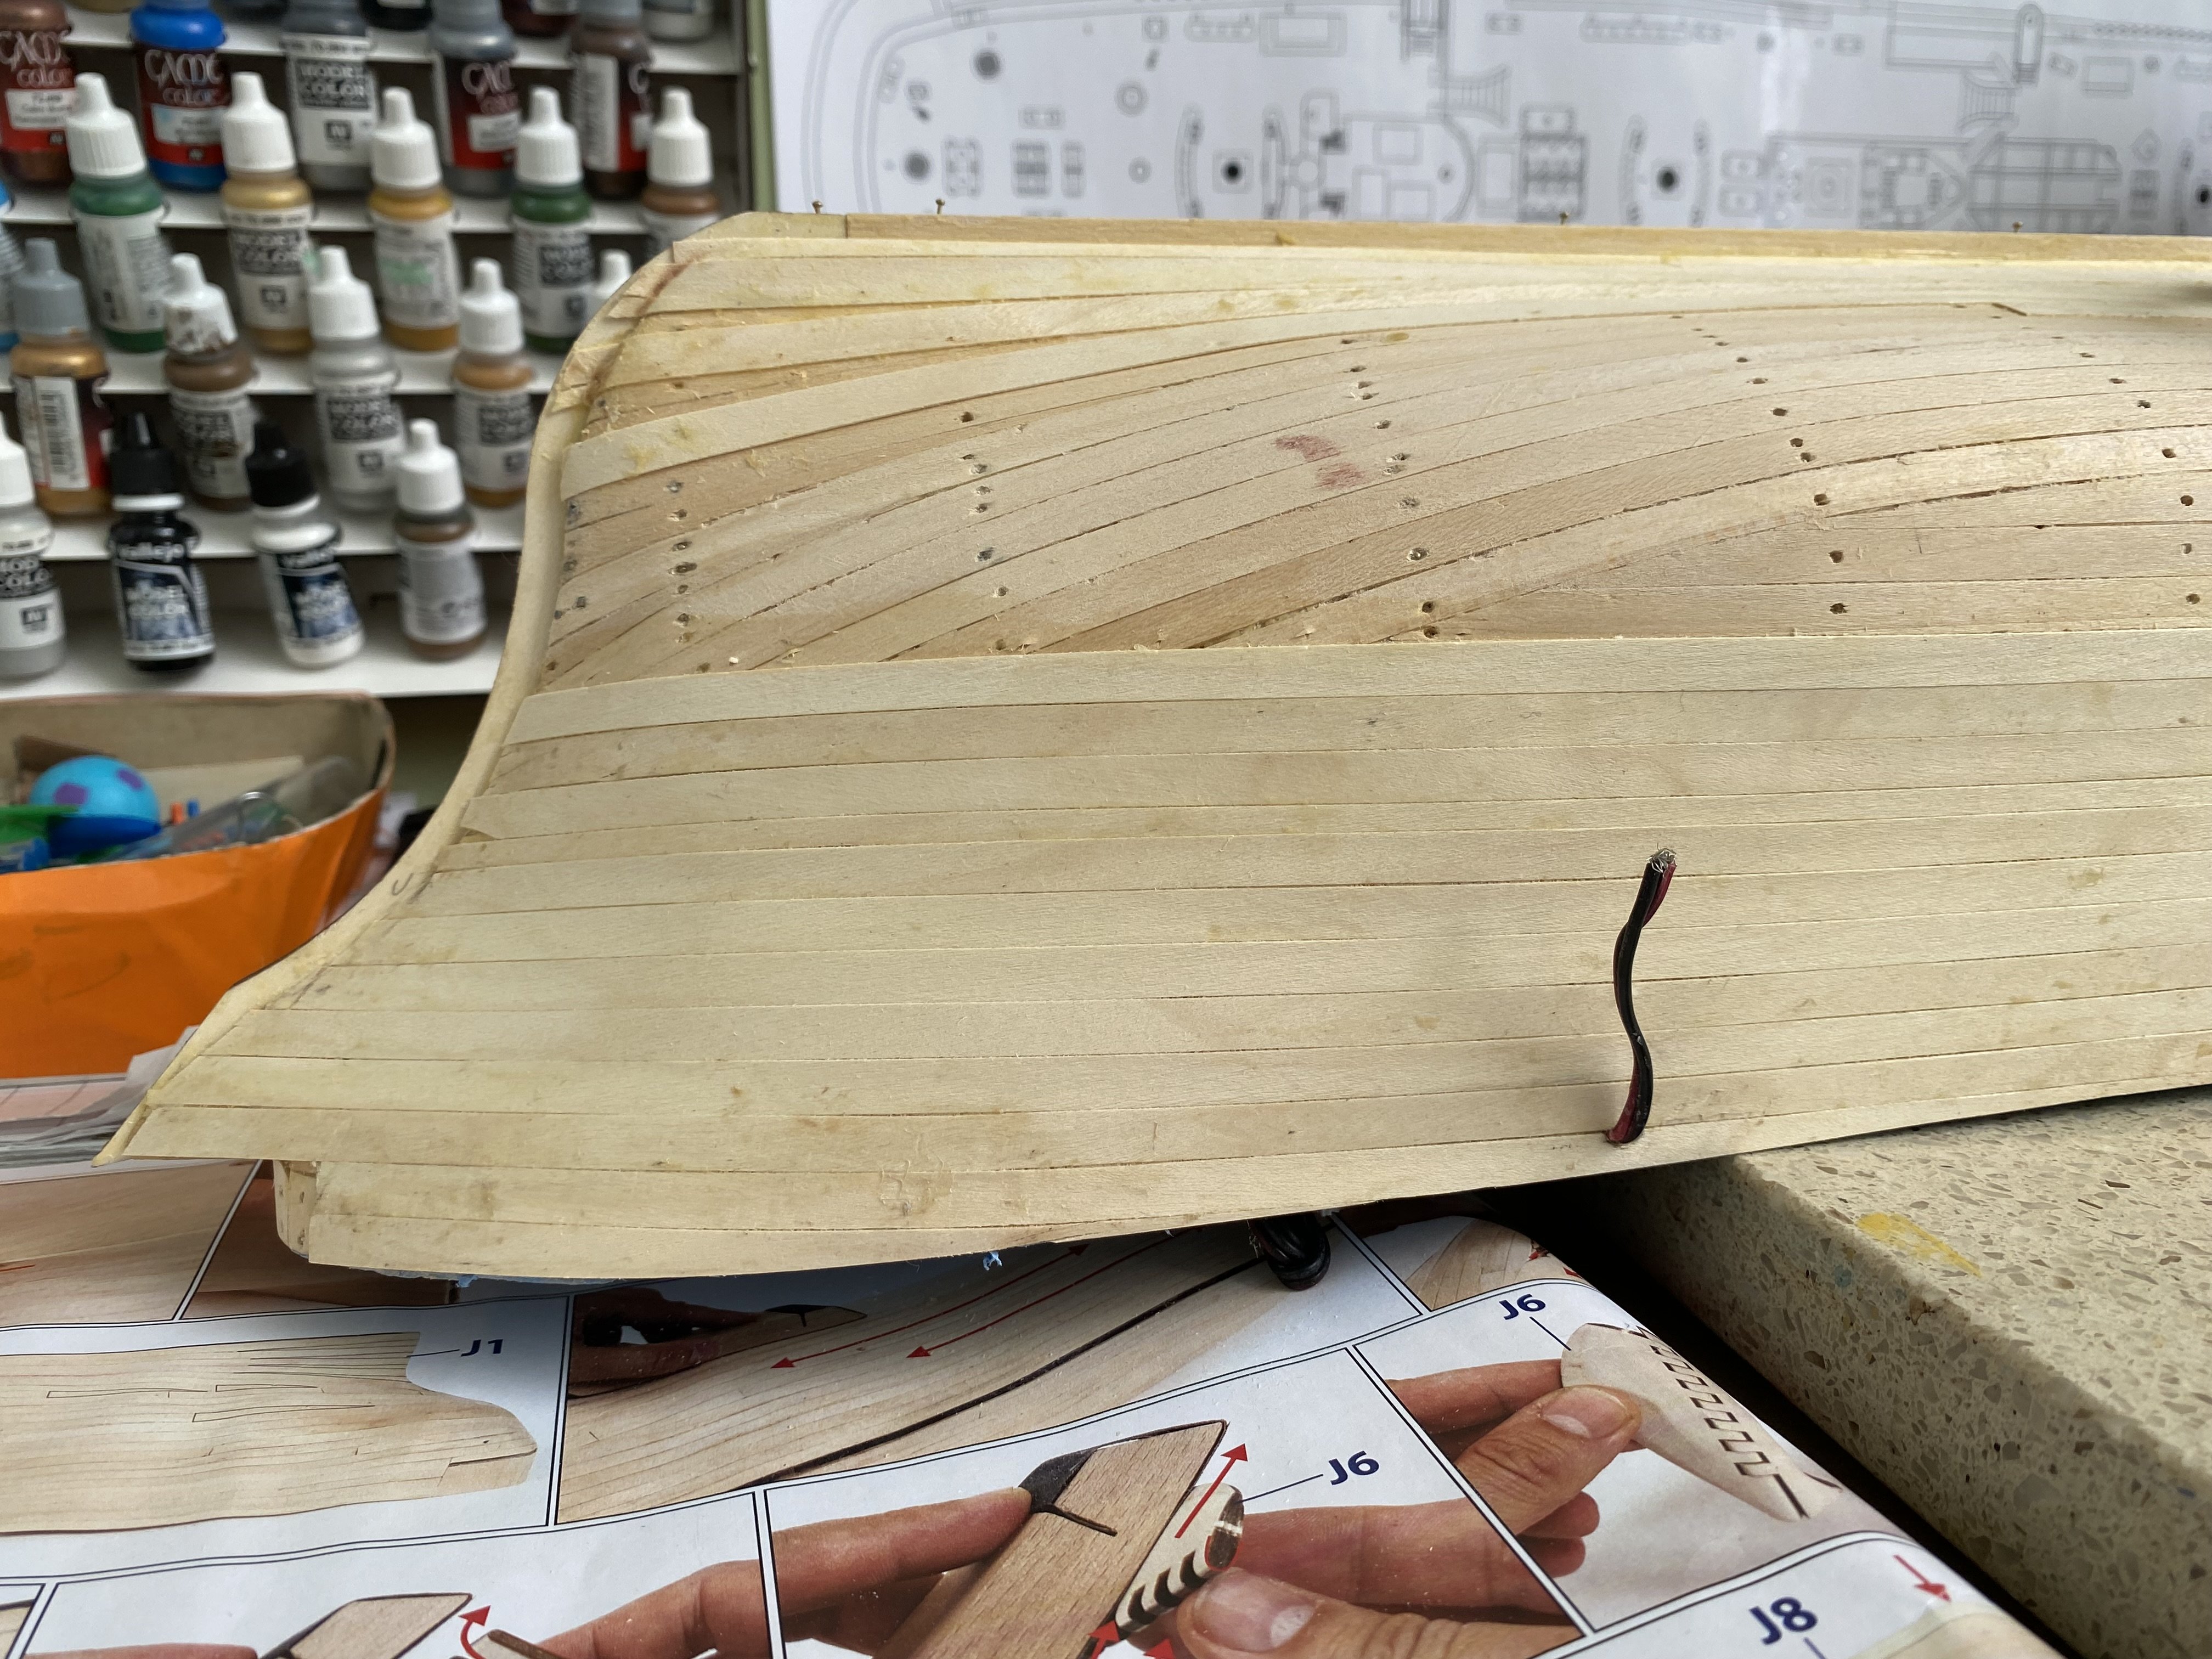
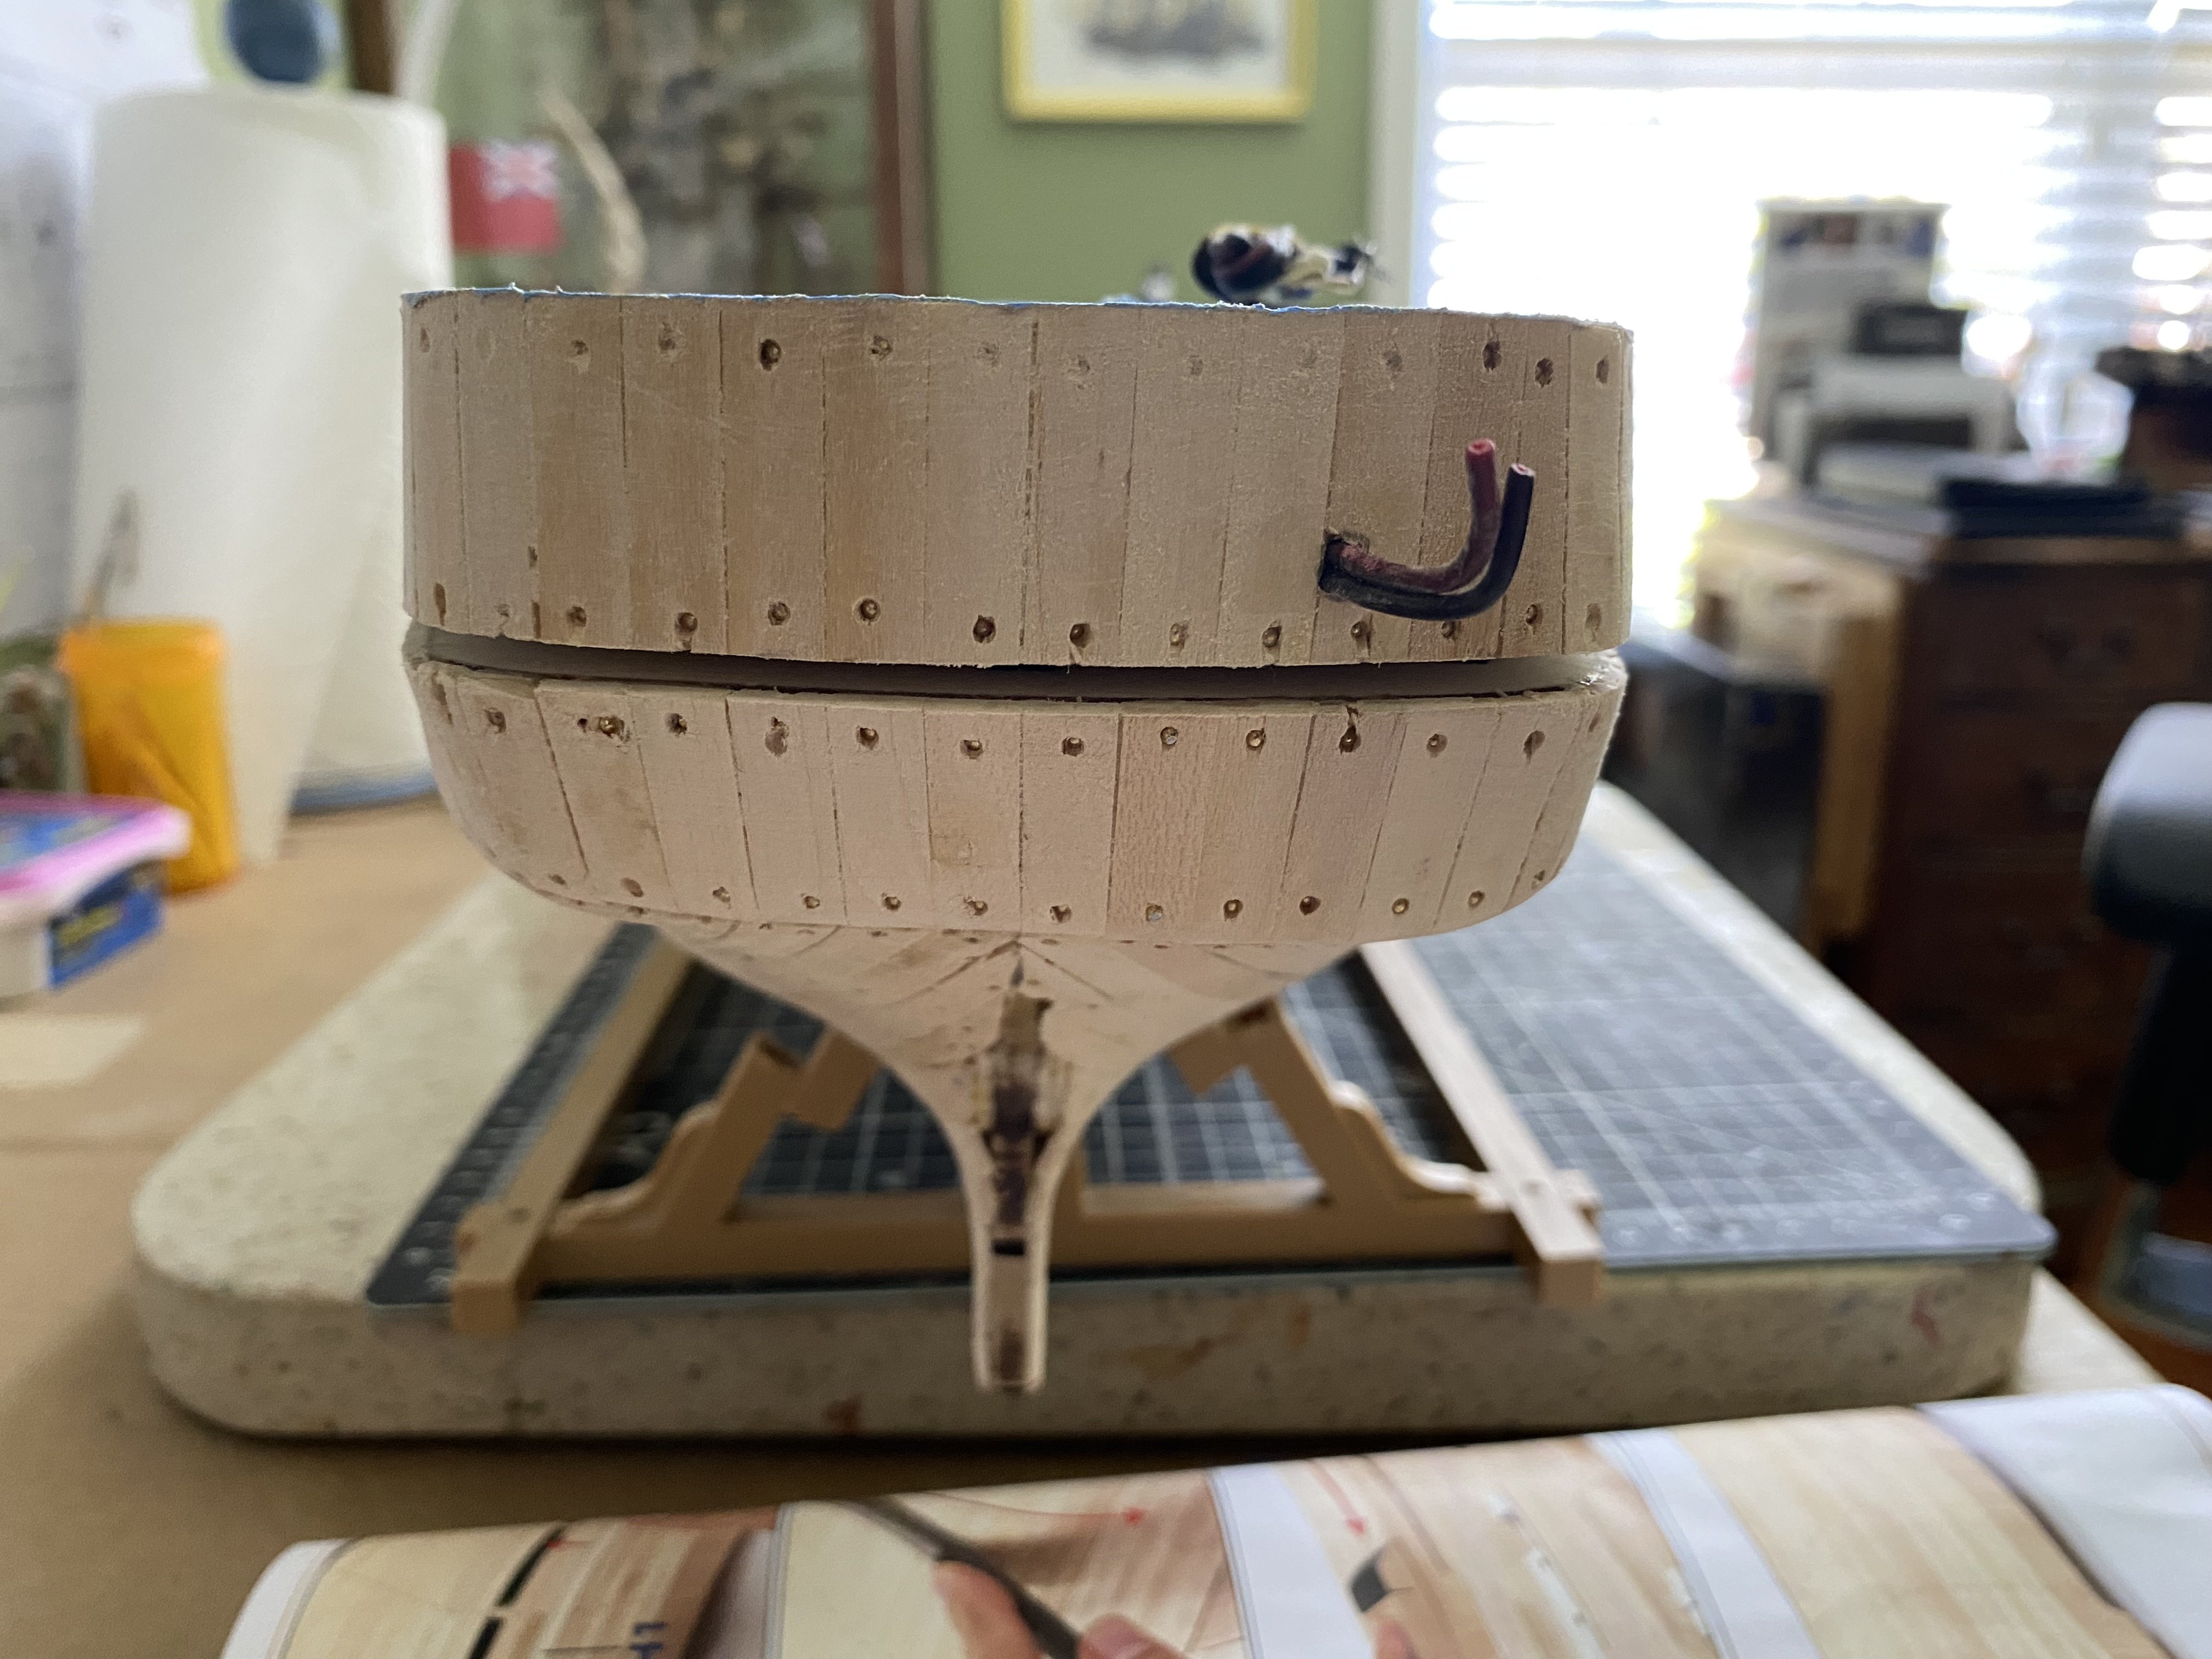
After all the double planking, sanding, priming, and drilling out the port holes it is great to see that all my electronics worked. After drilling the holes in accordance with the OcCre diagram i was really happy to see all my interior lights shine. No broken wires or bulbs. As i mentioned before I have two separate circuits for the port holes lights. One circuit has some of the lights on as the actual ship might look at night. The other circuit has the opposite lights on. So i can show either set or all the lights.


-
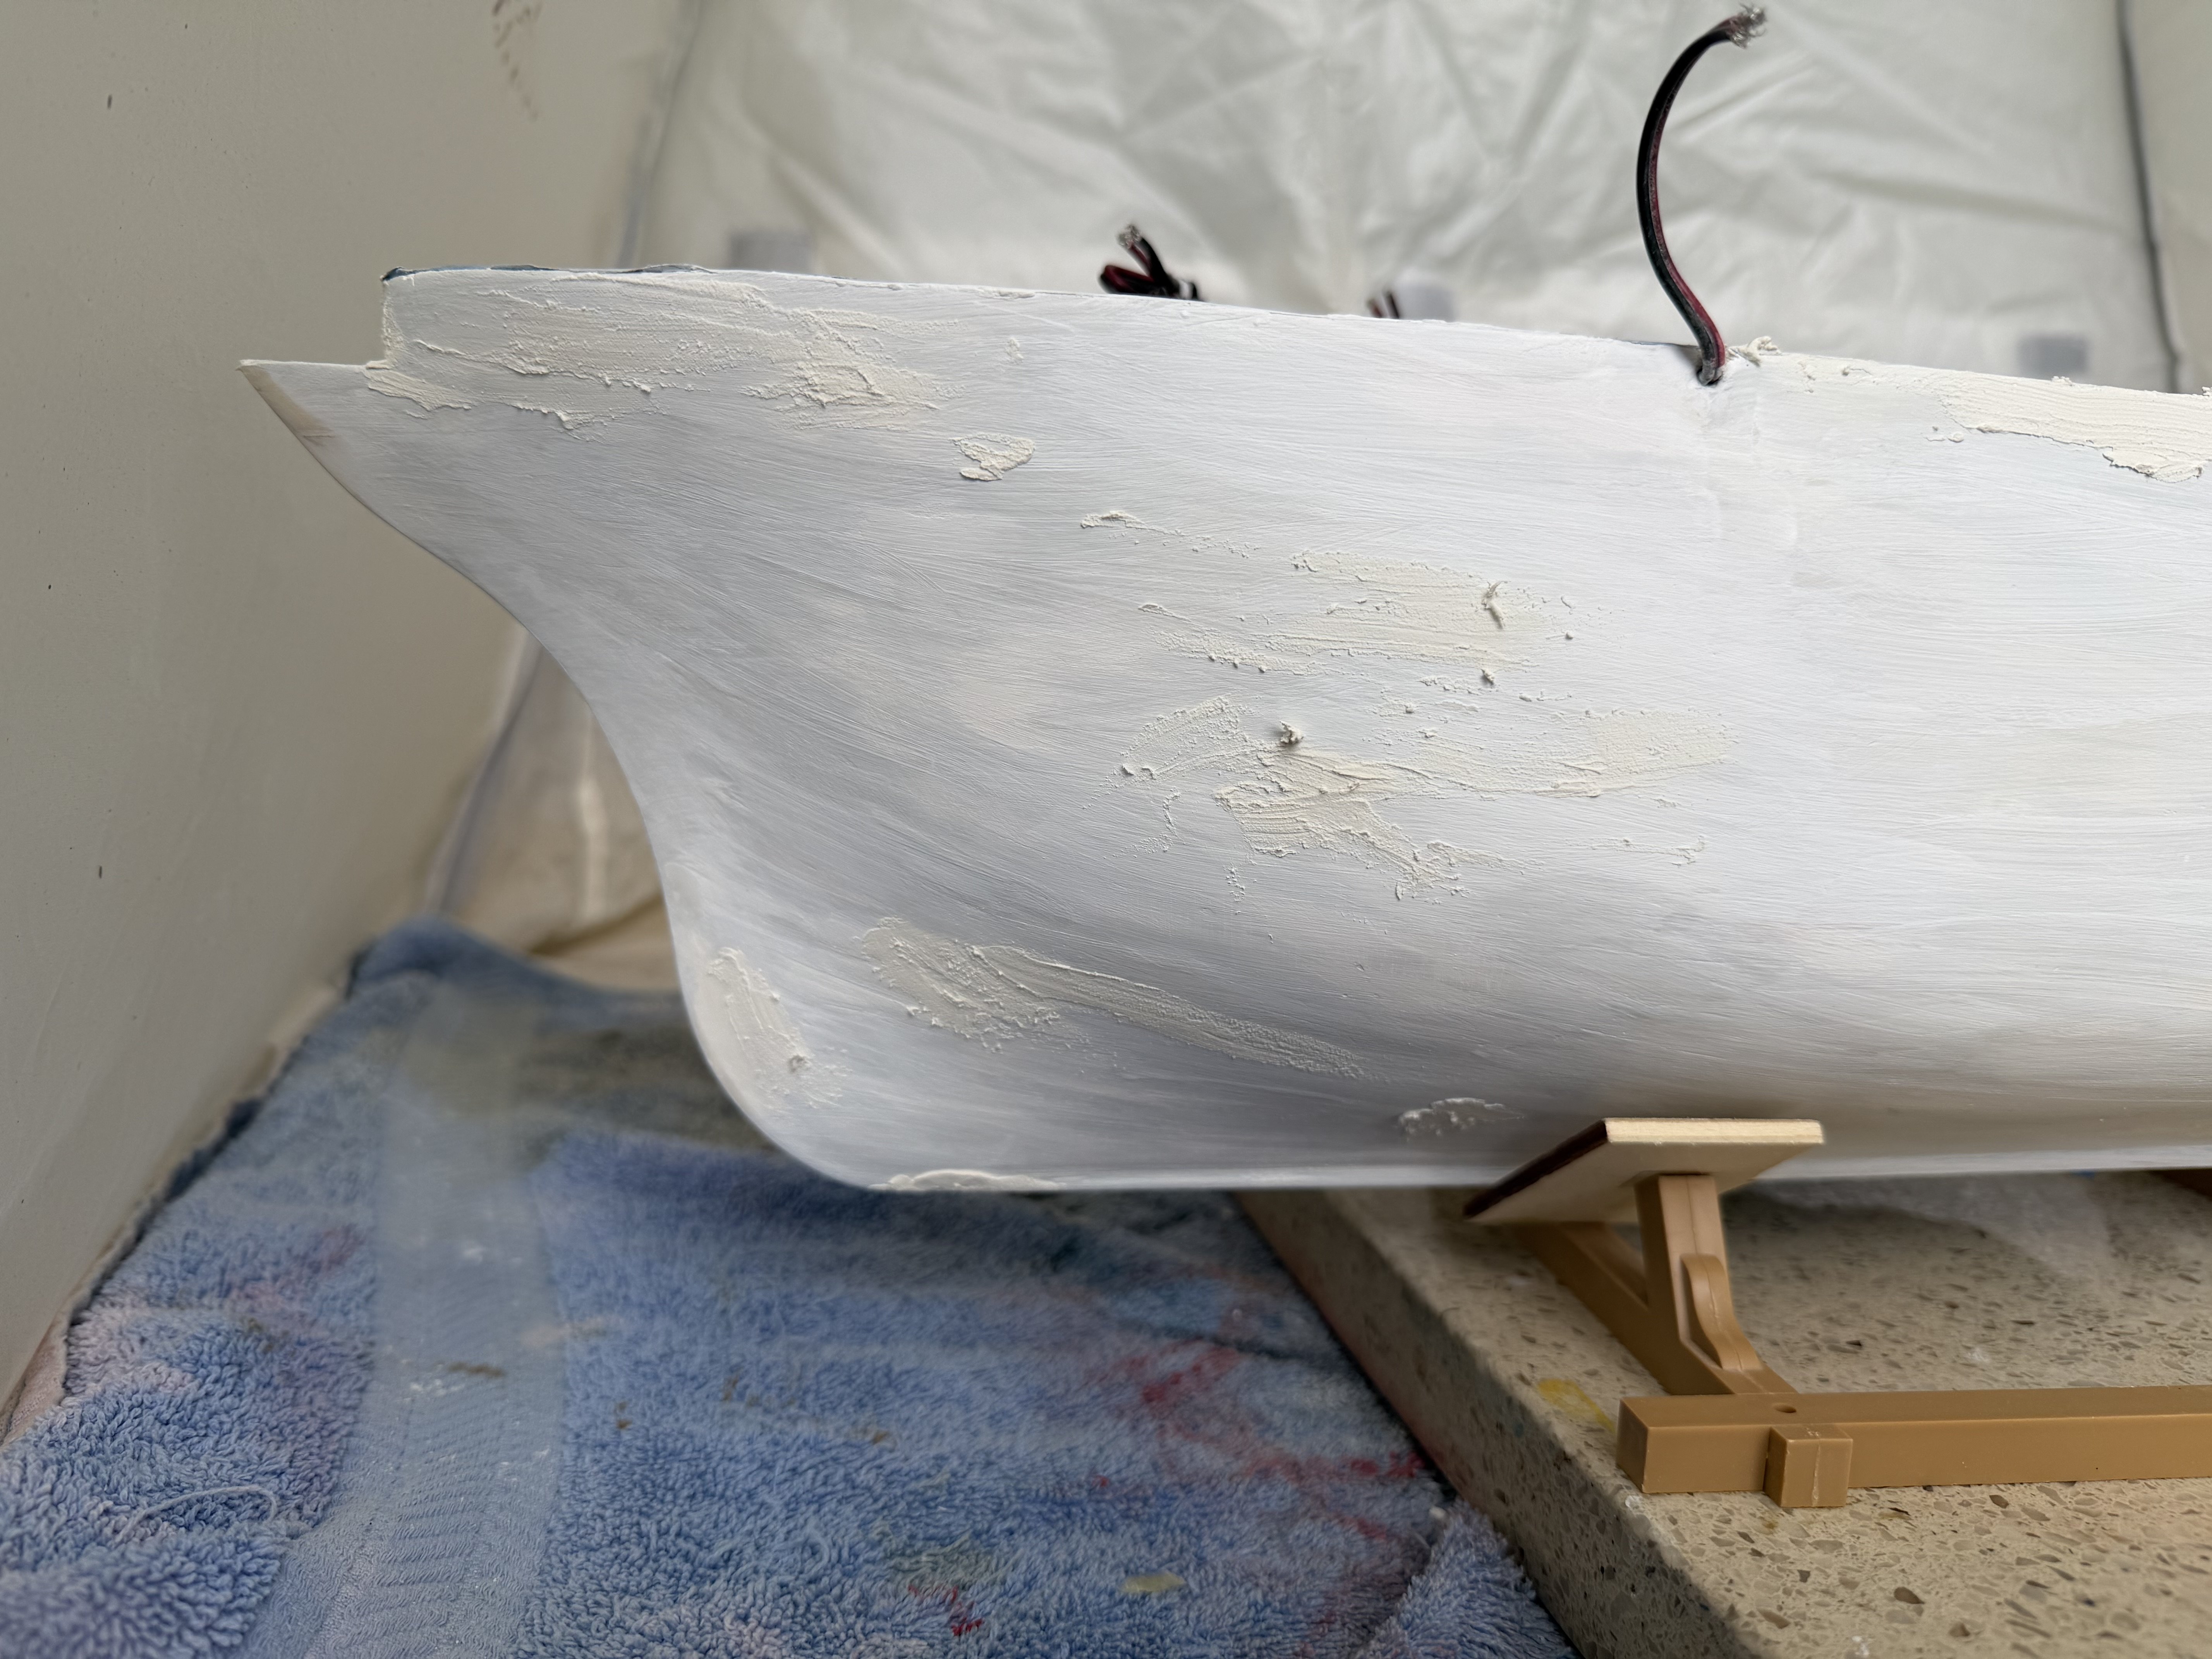
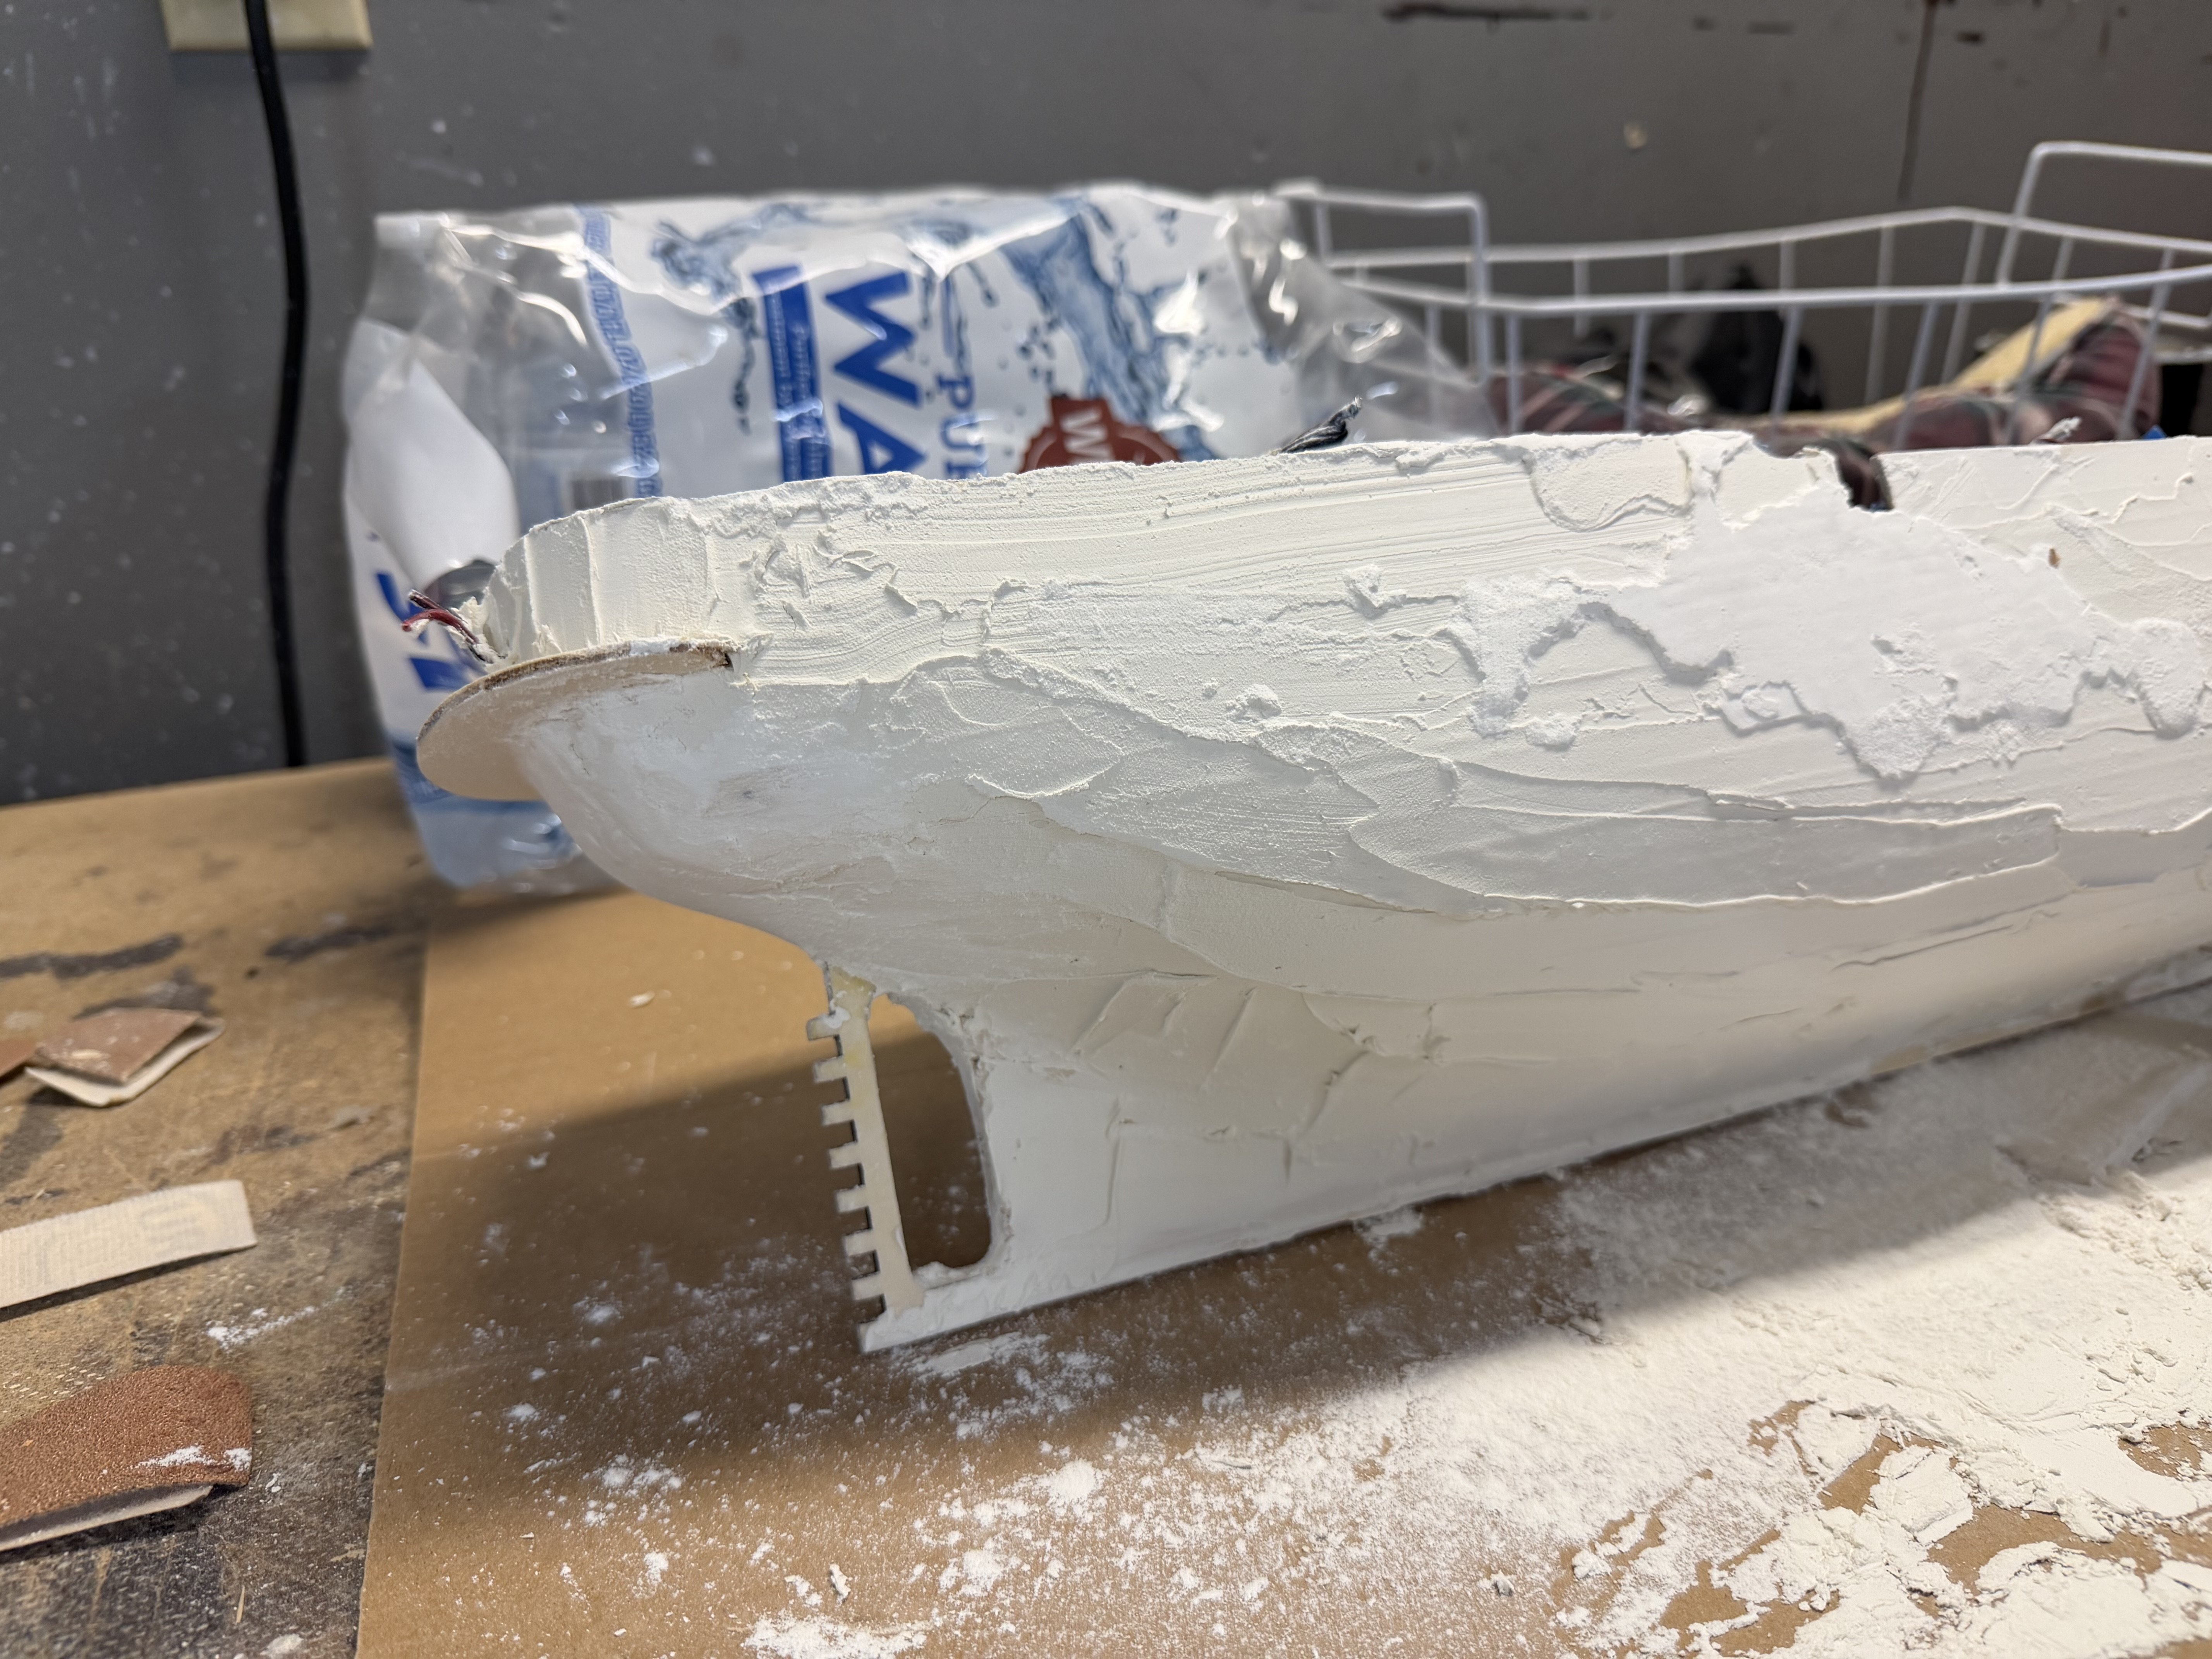
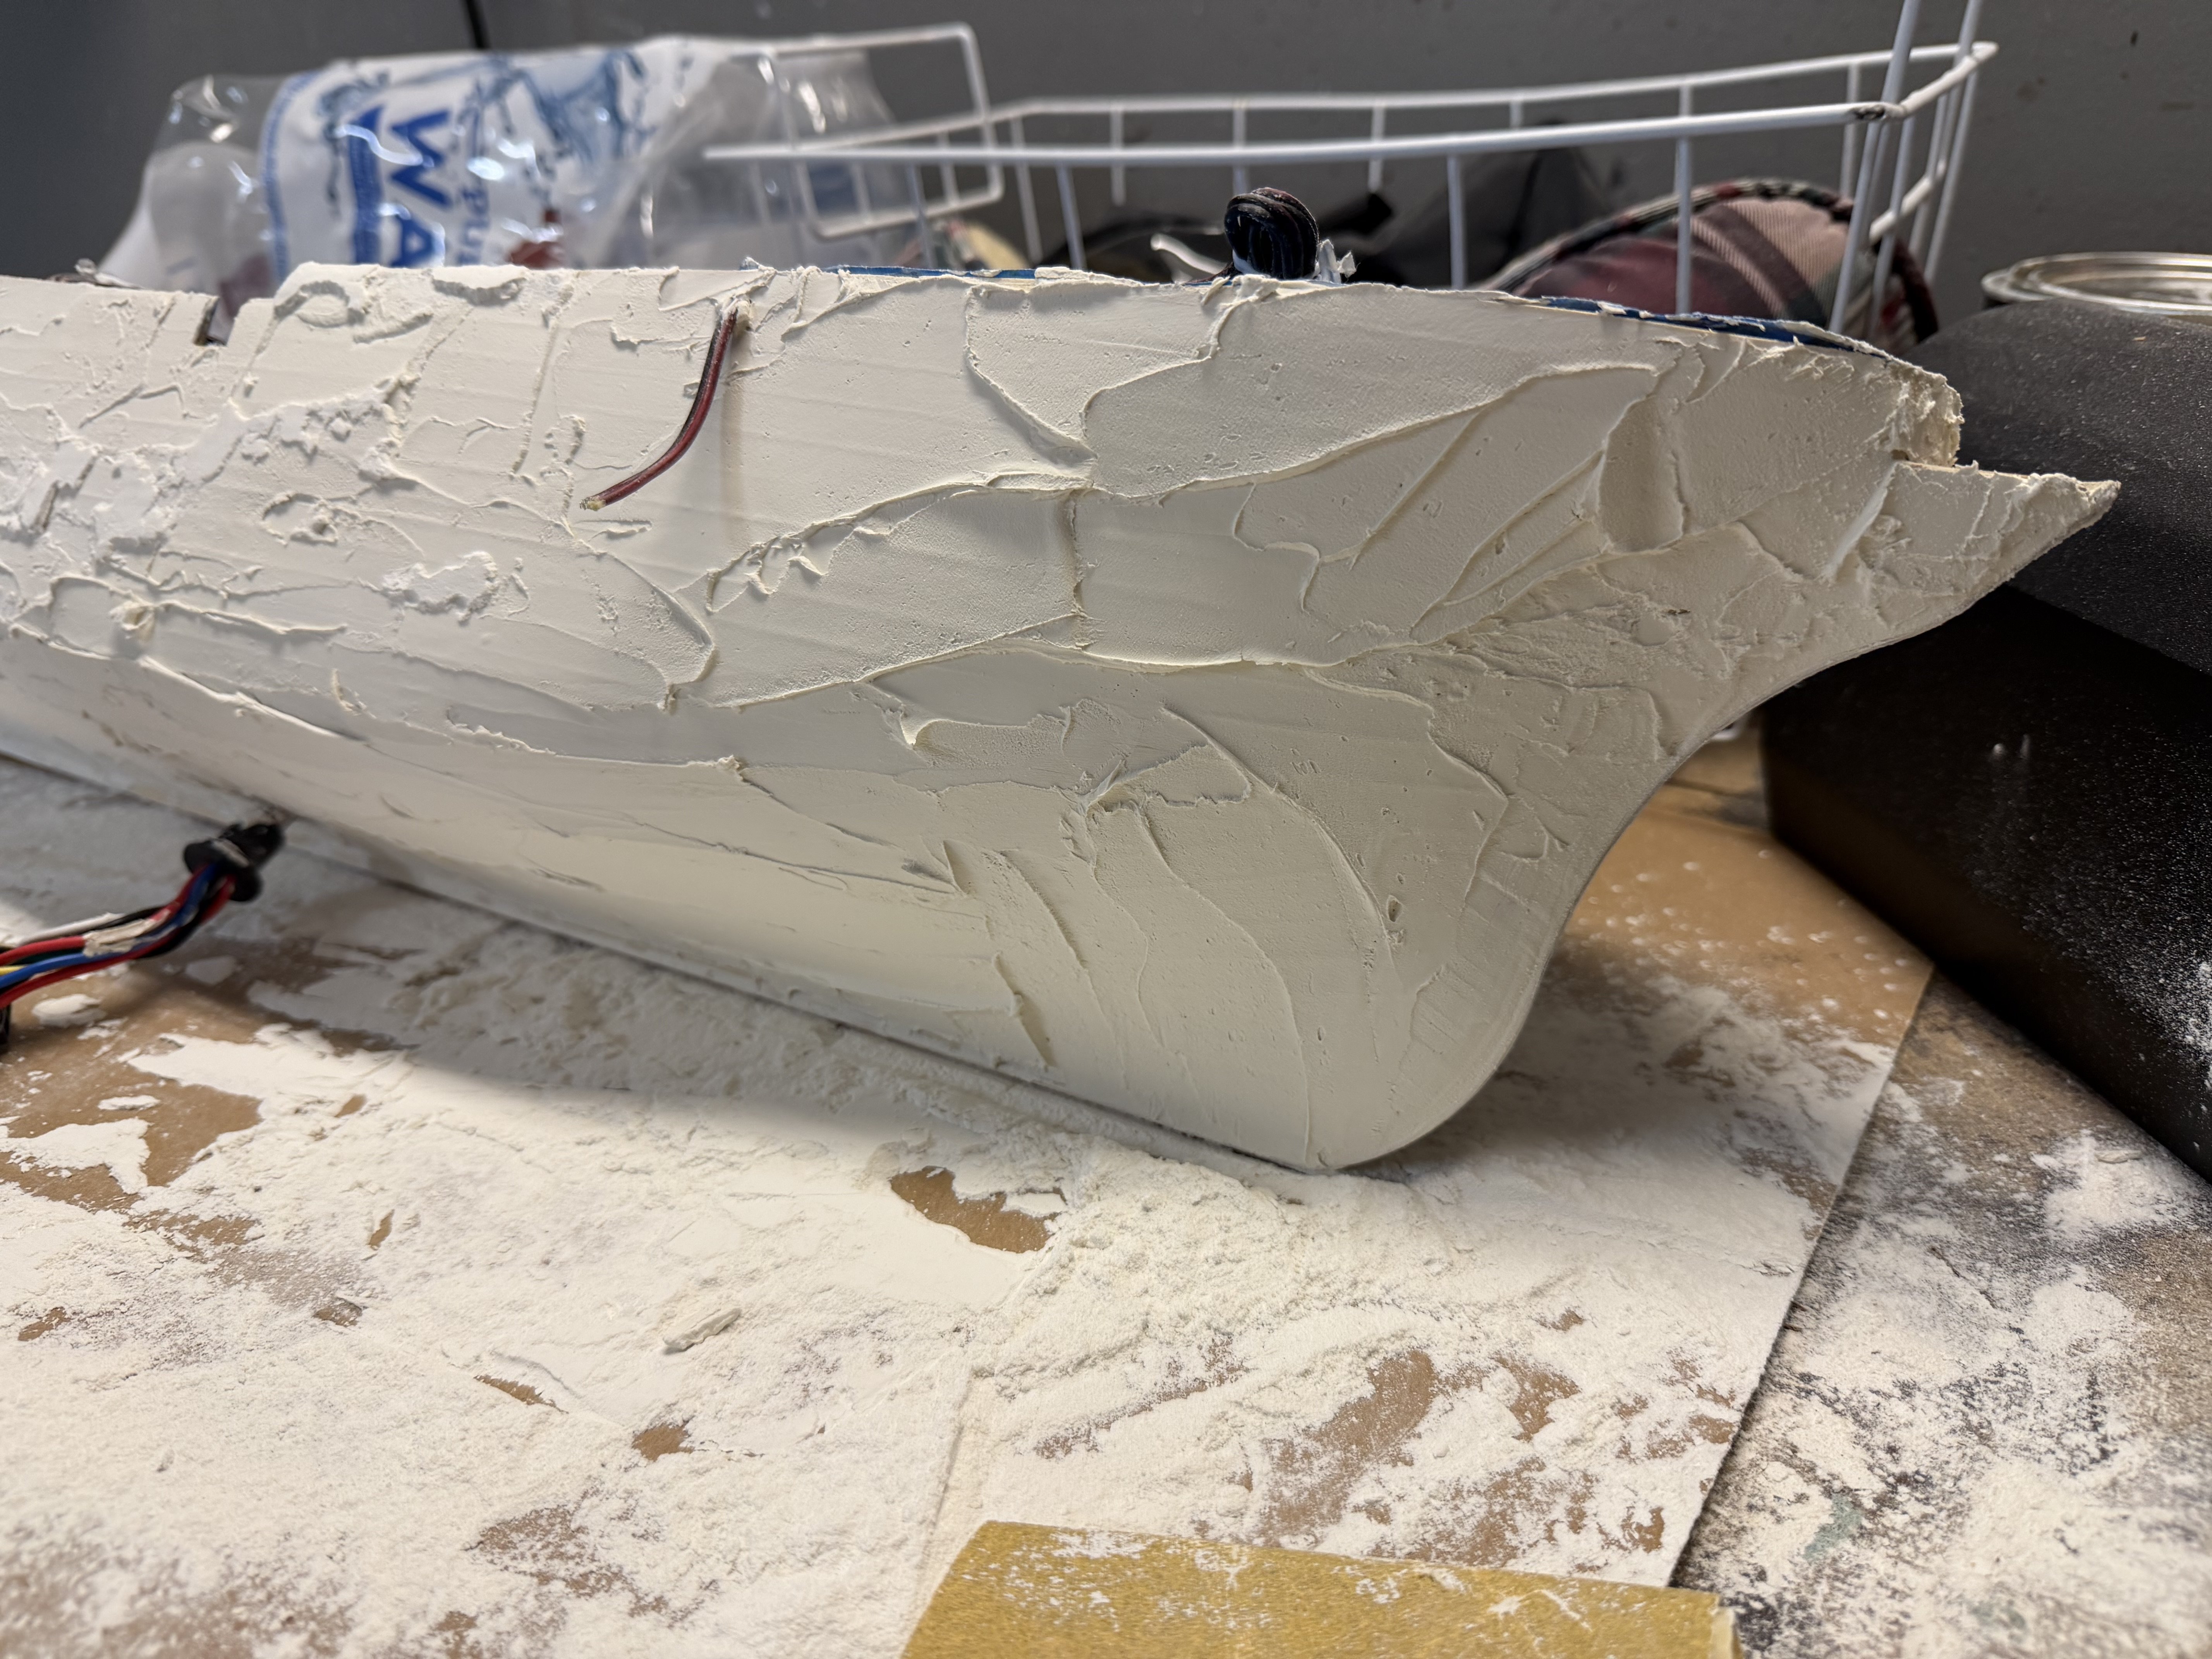
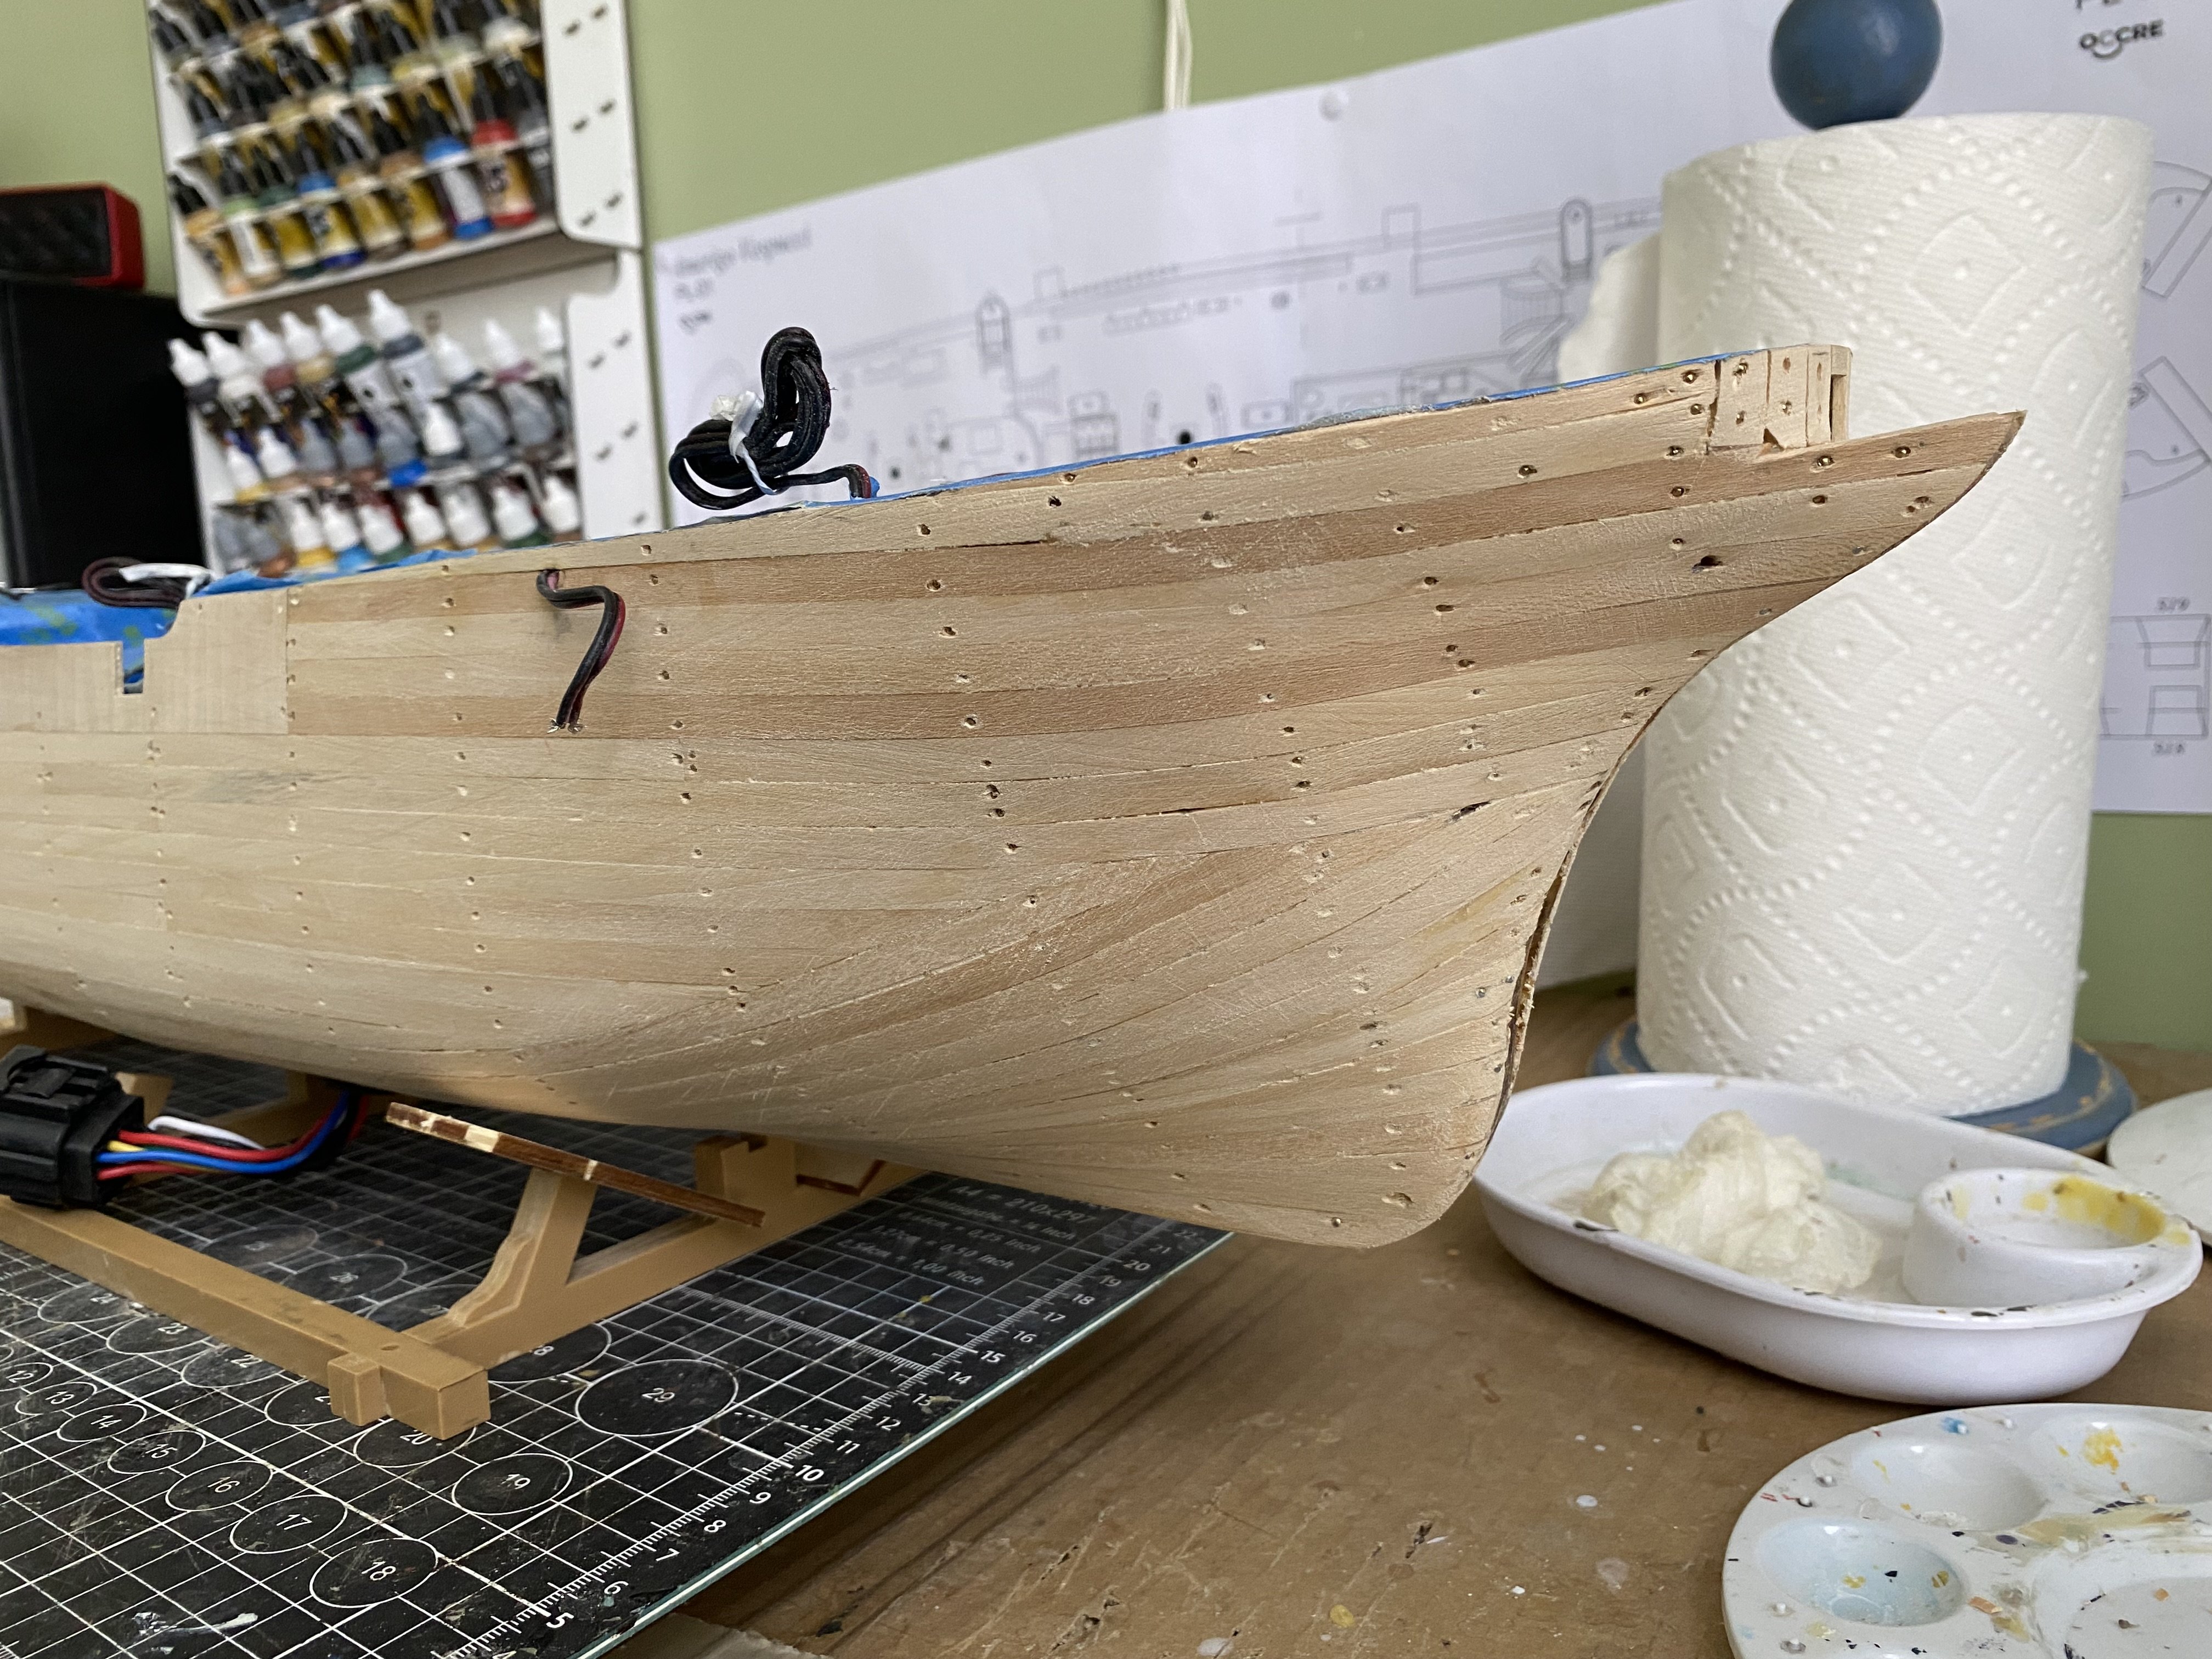
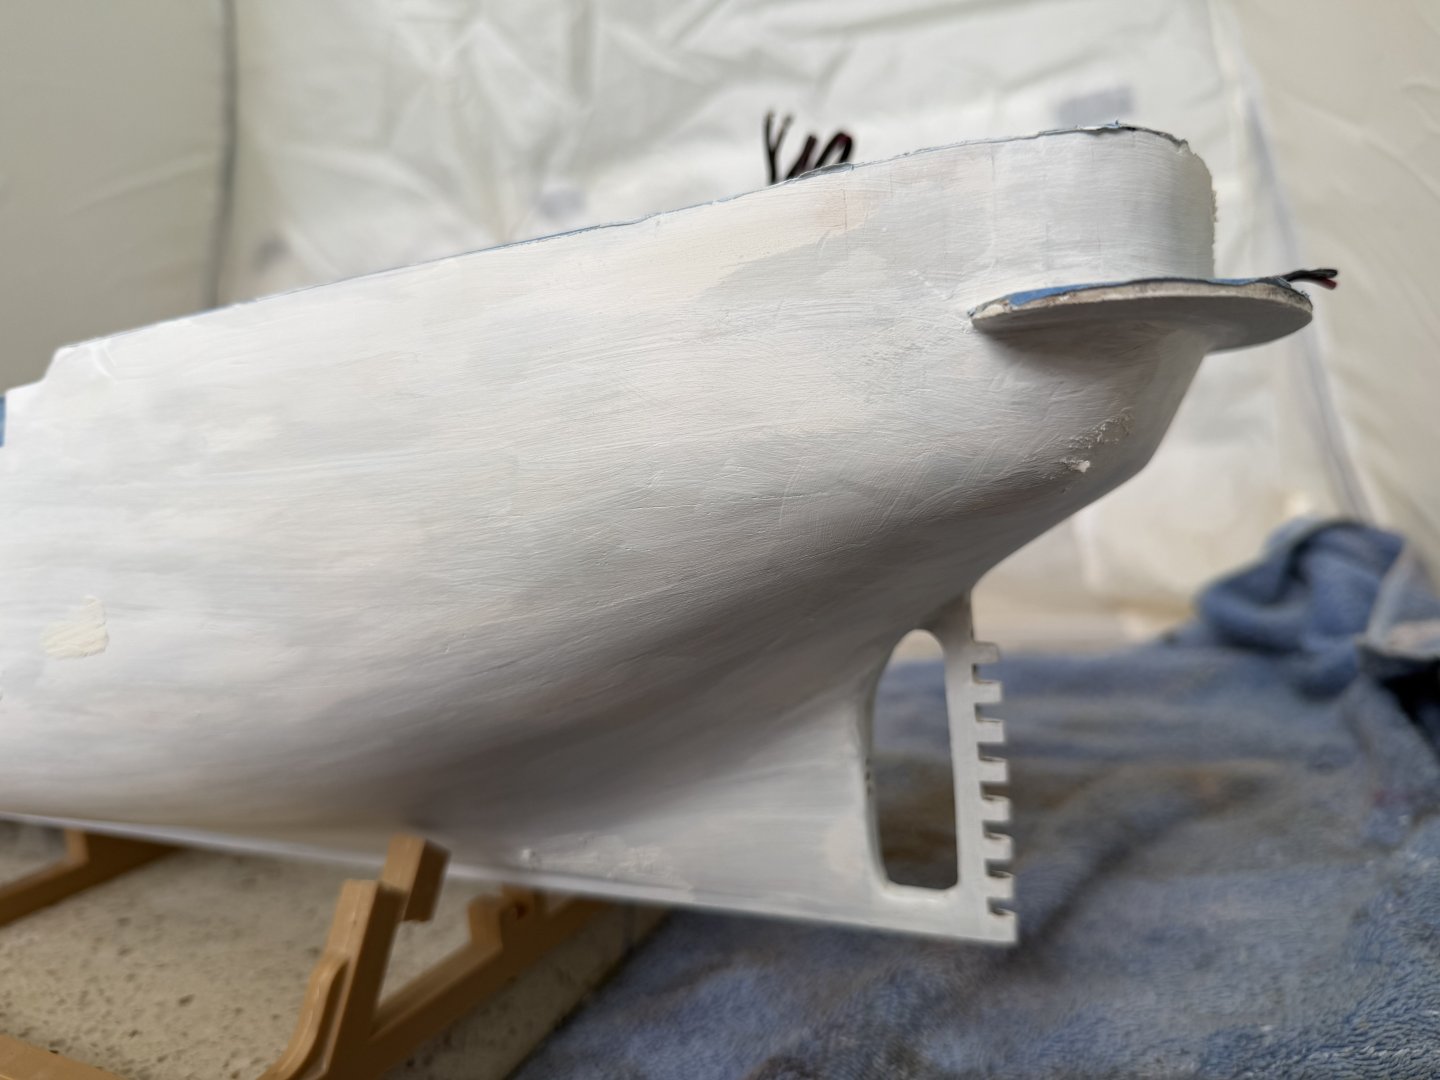
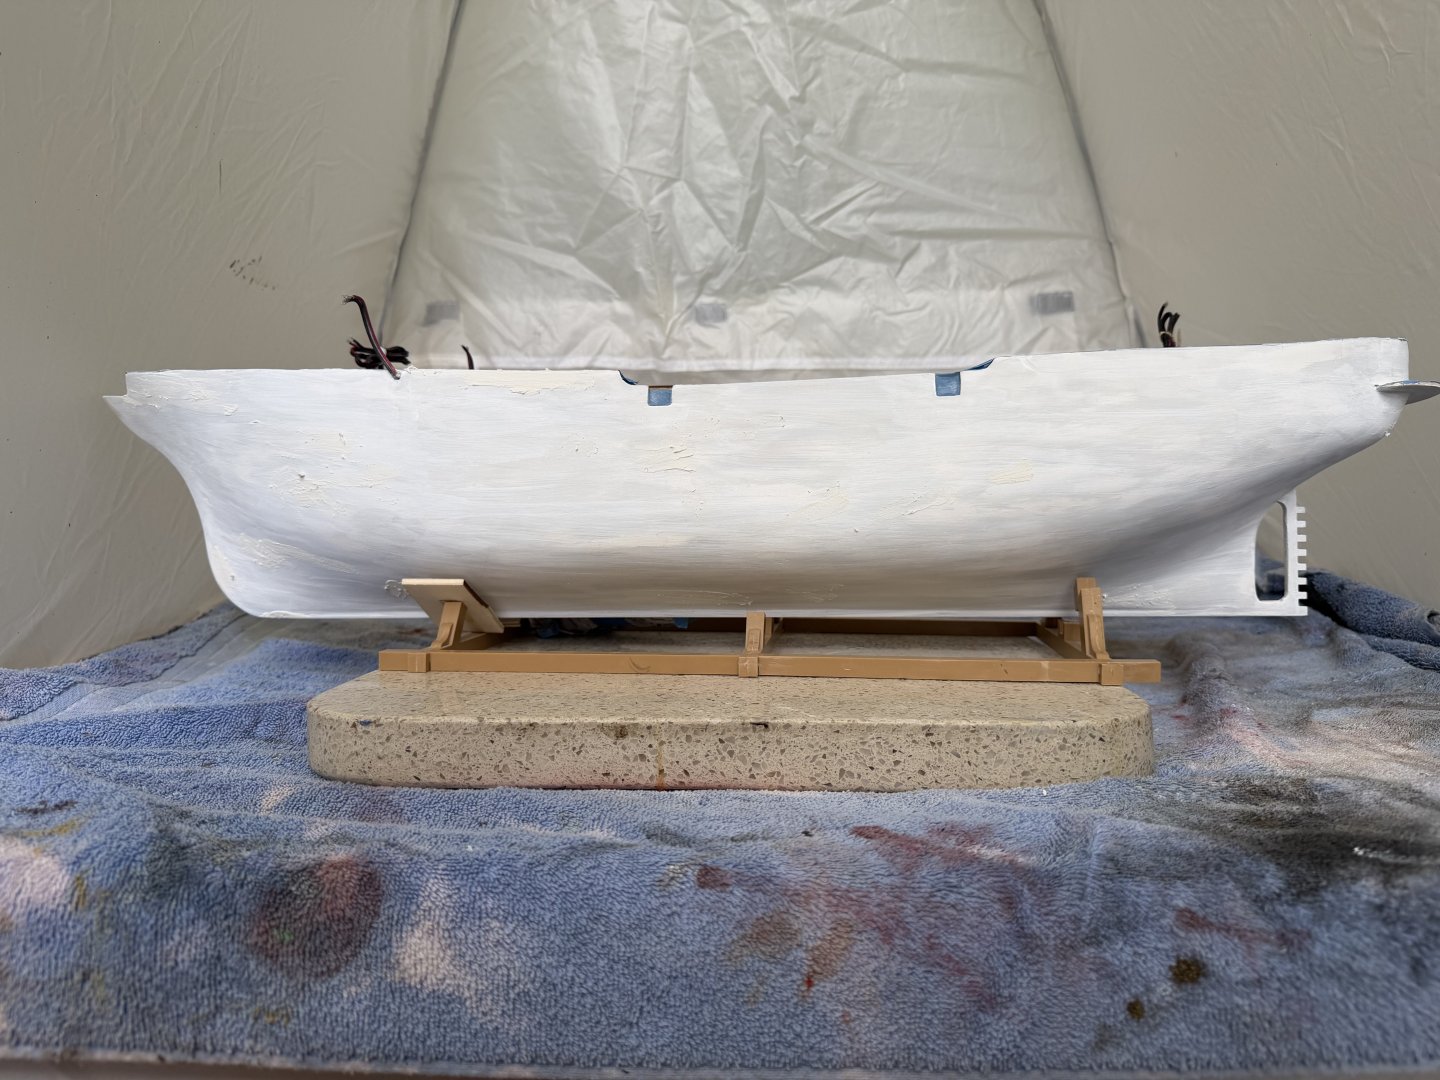
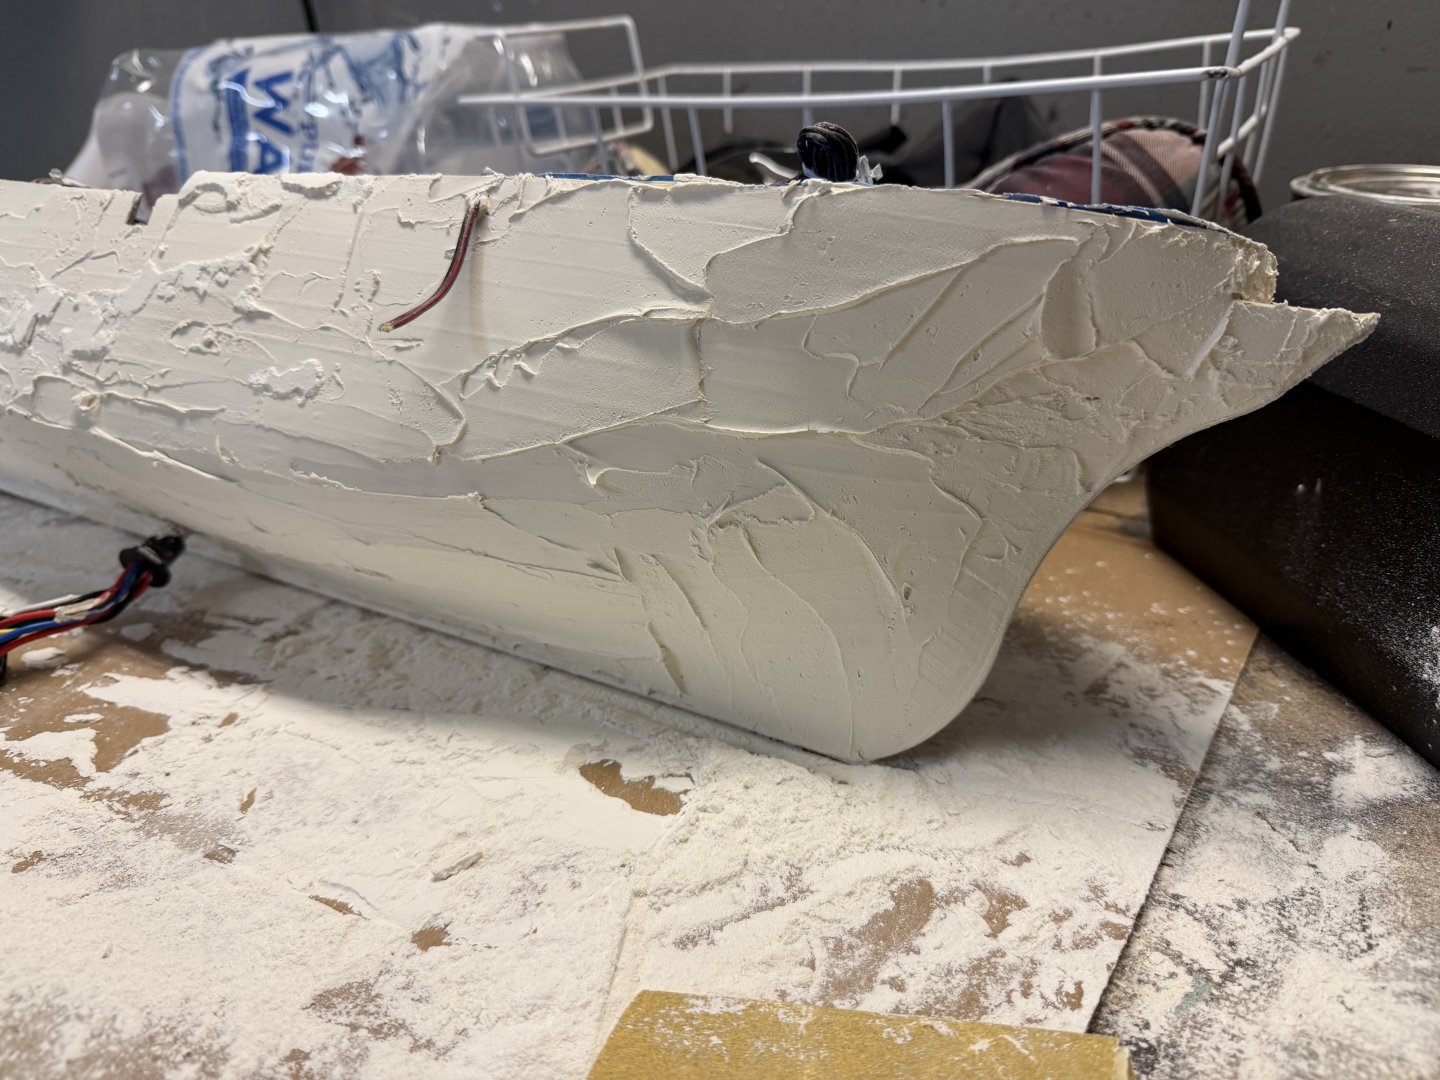
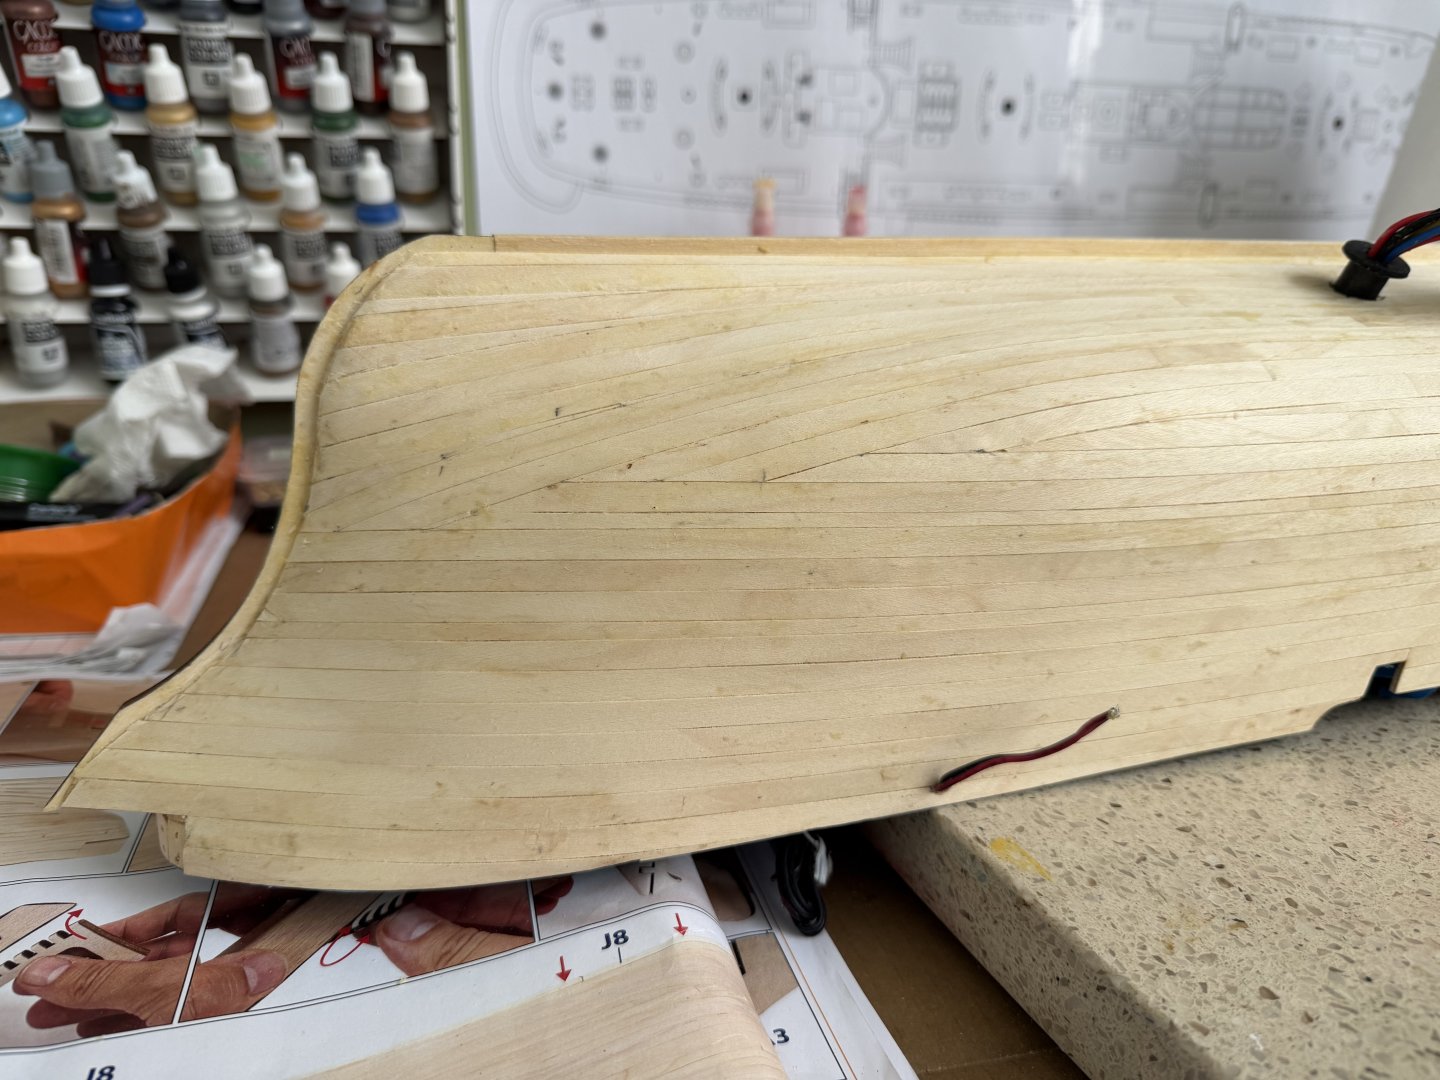
On my 3rd time through sanding, wood filler, sanding, primer, wood filler in shadow areas, sanding, primer, etc, etc, etc . Will eventually get that smooth blemish free surface over the entire hull.

-
So let the sanding of the wood filler begin!


-
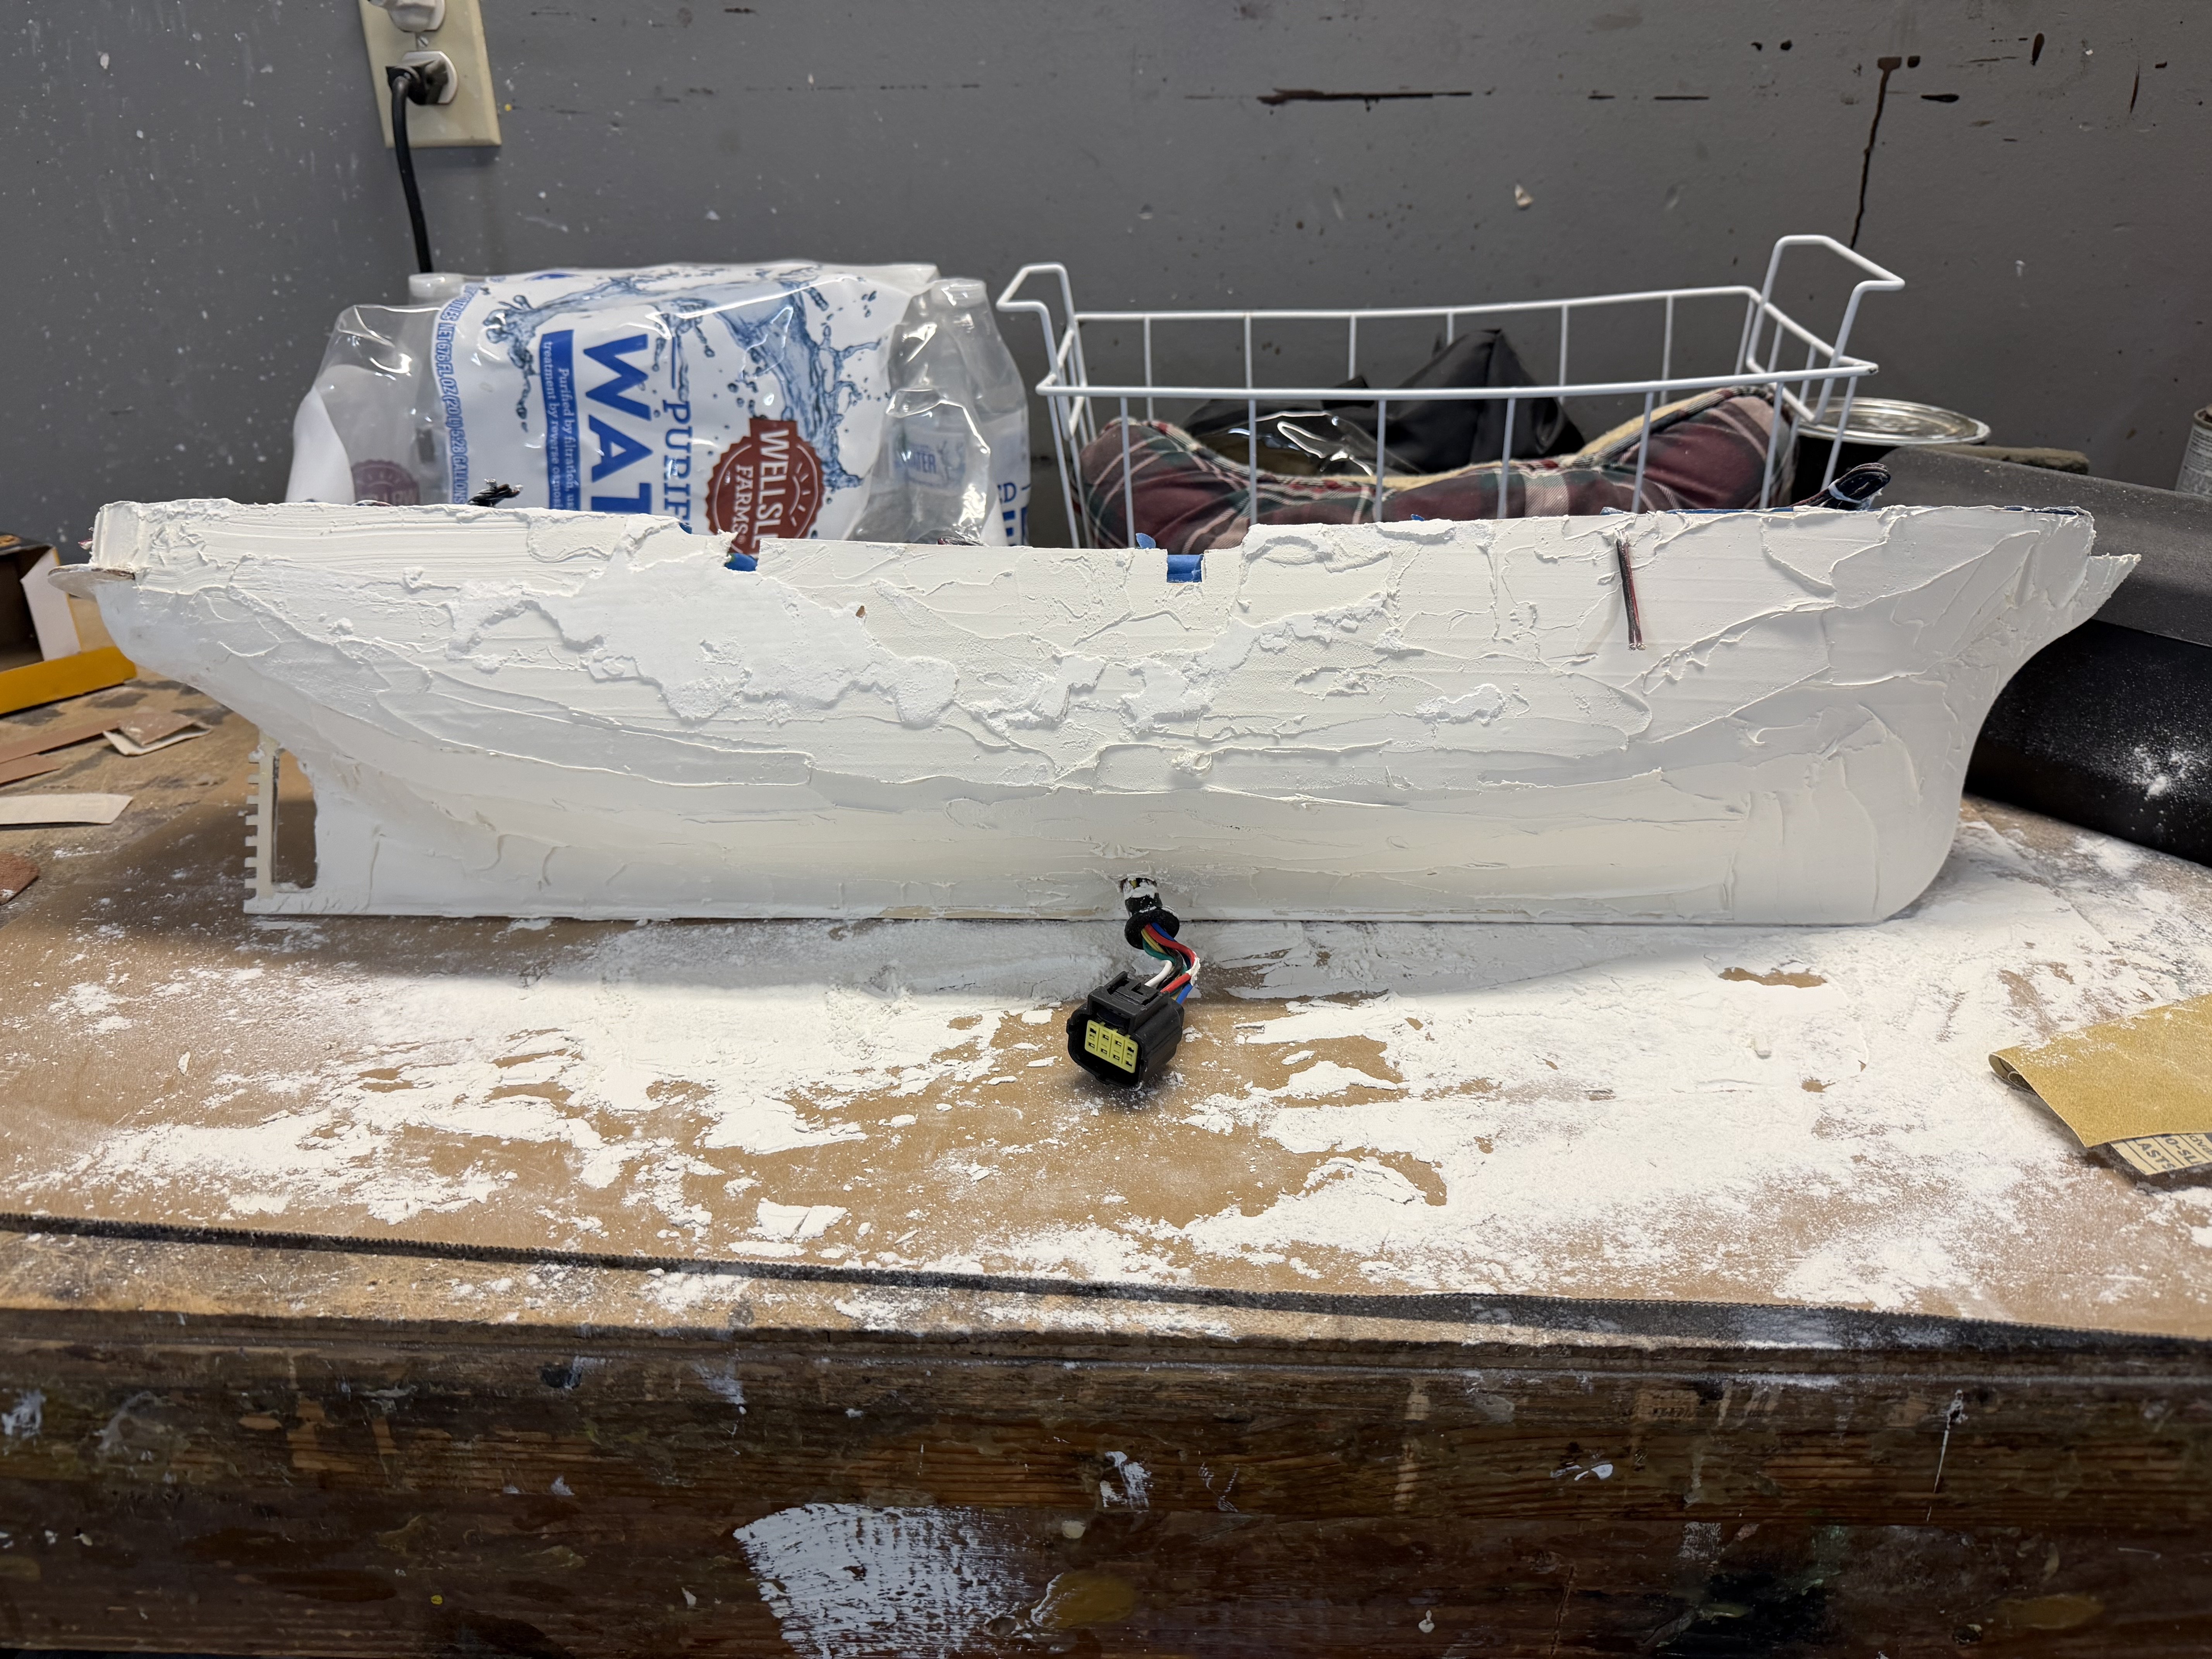
Well thank you Ian. I just saw this. I will except the honorary ring even if it is Canadian. Second planking finished and sanded smooth. Now ready to cover all this beautiful woodwork wood putty! 😢 Oh the horror of it all.


-
Yes Daniel that helps a lot. I looked back and saw the little rain gutters. So just spray the hull at an angle to the port holes will solve that problem. Great idea. Thanks Bill
-
Daniel I have another curiosity. I looked back to see if I previously asked you this. Seems like we already covered this but maybe not. I looked back in your build to the area where you did your second planking and primer. I was pleasantly surprised to see you did in fact drill out the port holes before painting the hull colors. This is opposite to what the OcCre directions show. I like this for a number of reasons. My curiosity is did you spray the colors are use a brush? How did you avoid paint going through the port holes (if you sprayed) and getting on the LED’s? I see that you painted the port hole inserts instead of leaving them brass.
-
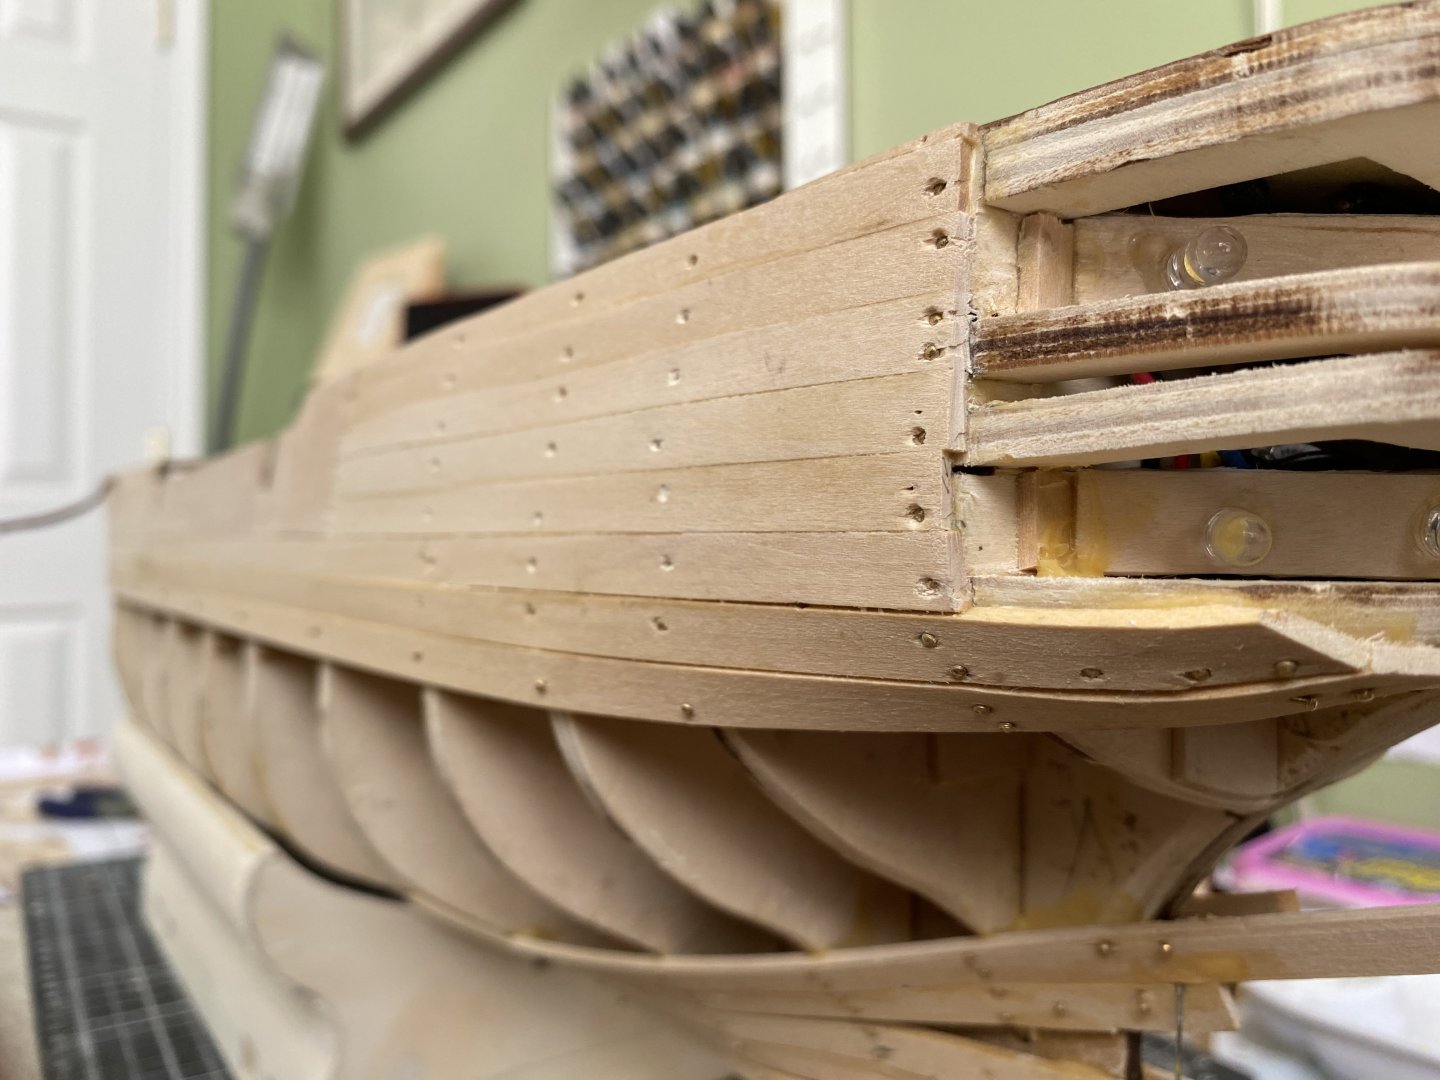
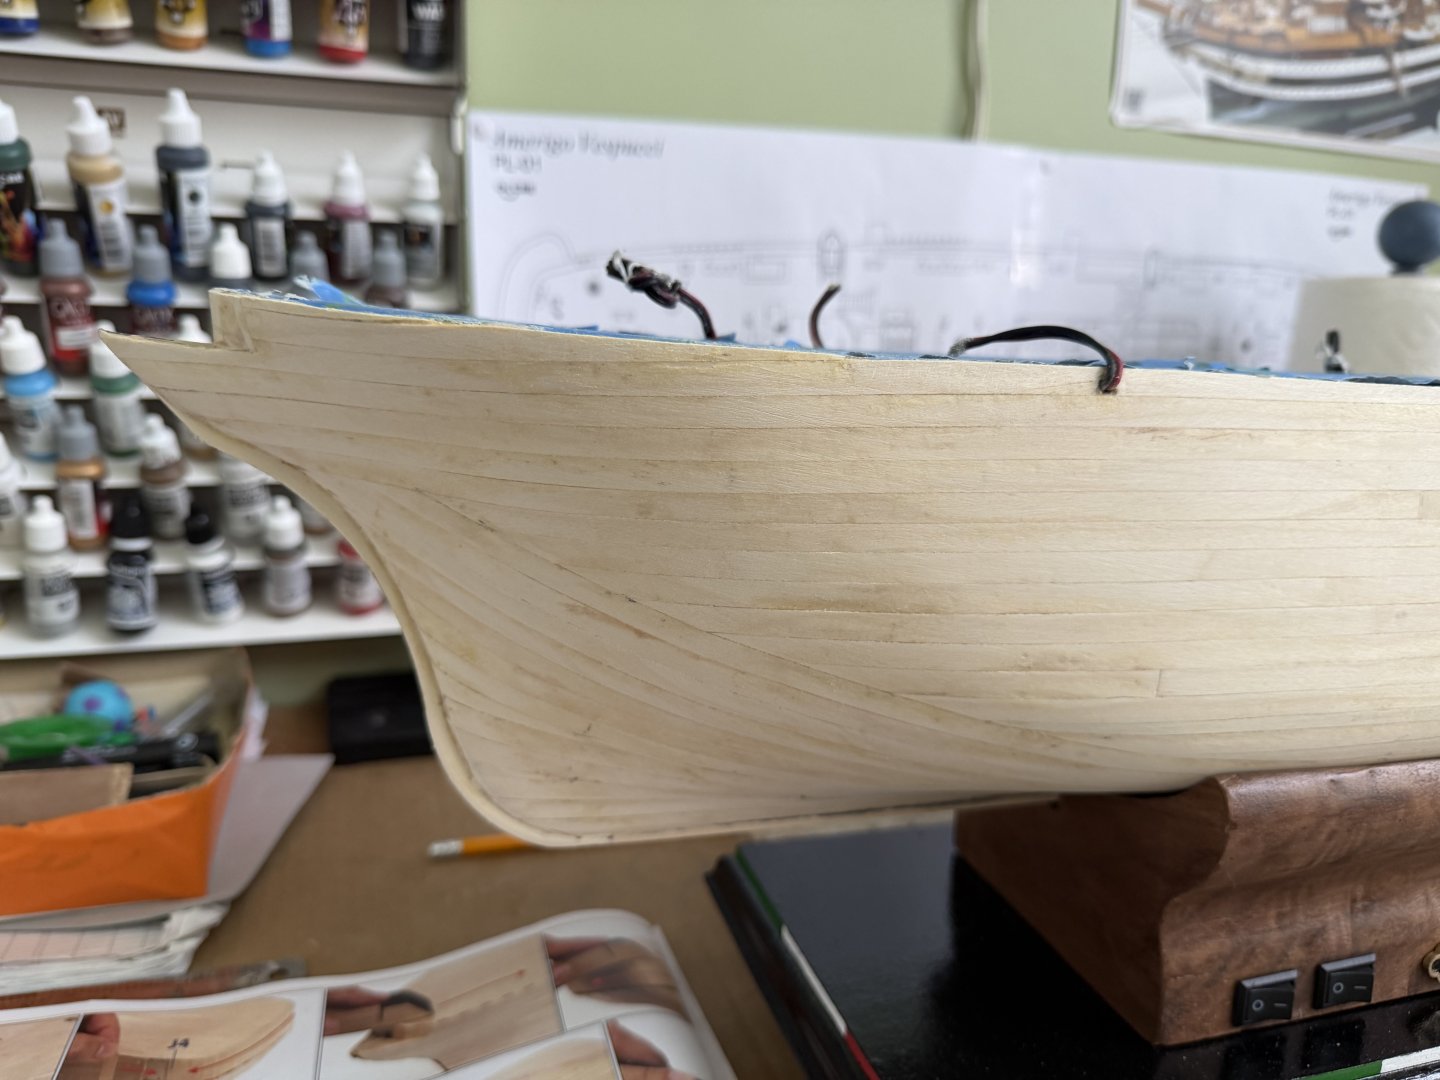
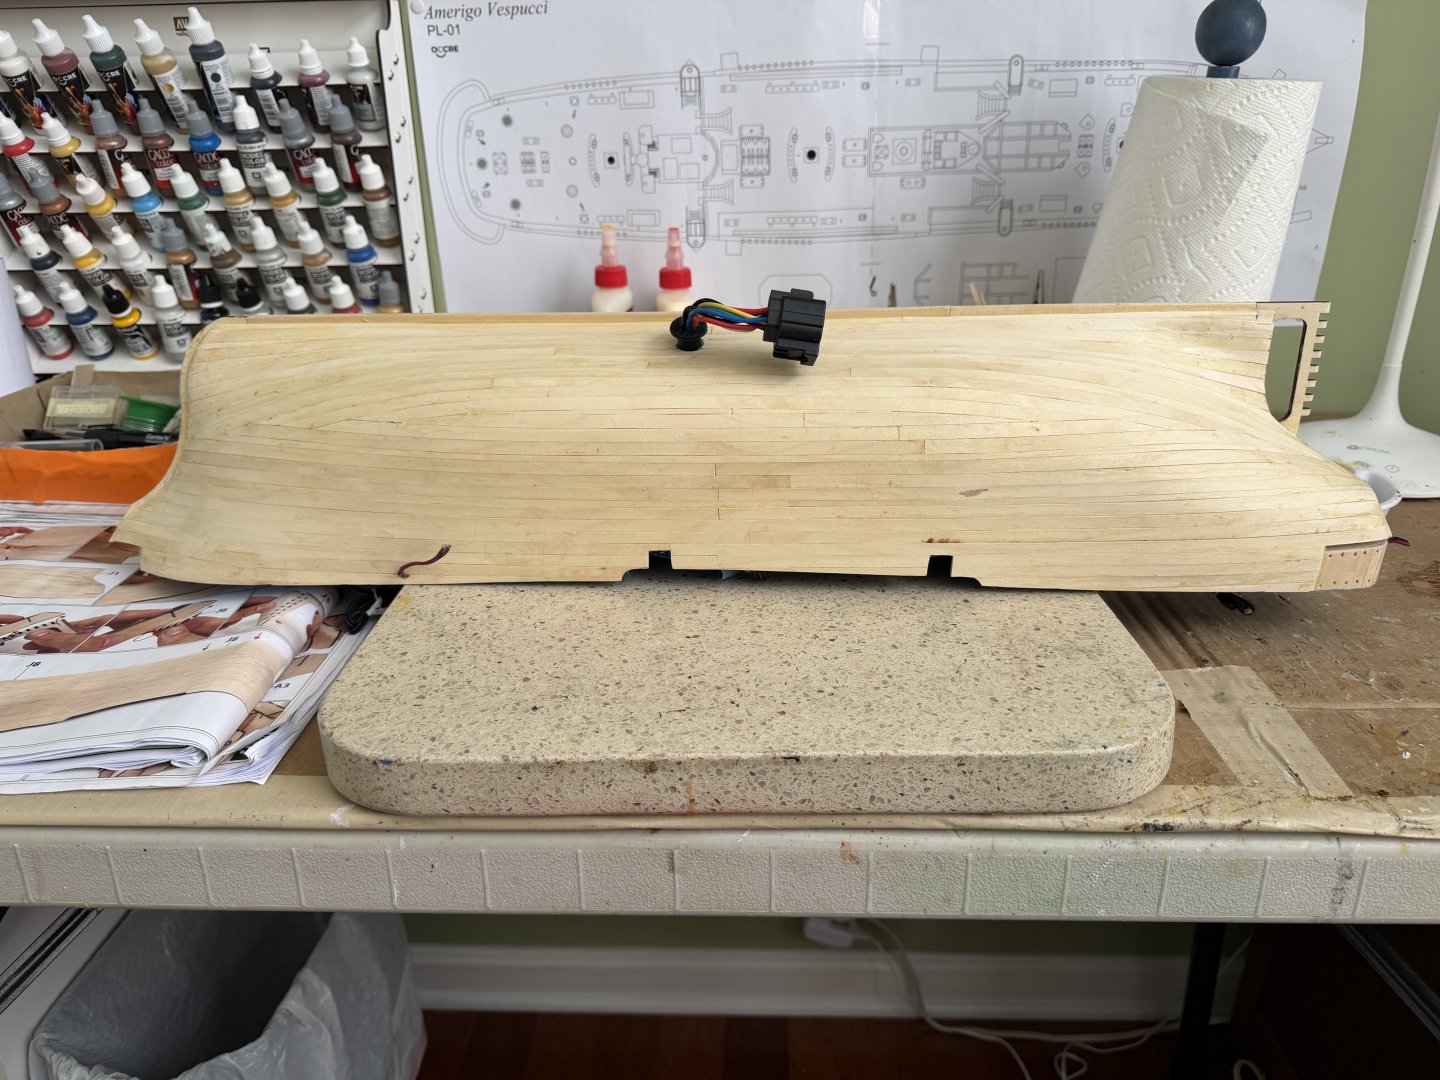
Second planking finished on starboard side. Now beginning the port side.
-
Second planking underway. Slow but steady.

-
Same here my friend. Impressed with what you are doing with your’s.
- 2,699 replies
-
- 1
-

-
- heller
- soleil royal
- (and 9 more)
-
Marc have you seen the new limited edition wooden ship OcCre is about to release? It is Soleli Royal. Looks impressive. A bit outside my budget. You could do a beautiful job with it.
- 2,699 replies
-
- 1
-

-
- heller
- soleil royal
- (and 9 more)
-
Planking disaster
Bill97 replied to sgrez's topic in Building, Framing, Planking and plating a ships hull and deck
Rather than file down or pull the nails I just use a nail head set tool to tap the heads down into the first planking.
-
Daniel I Googled Elmer’s Rubber Contact Cement but don’t find it. I find Elmer’s Rubber Cement but not a contact cement. The Elmer’s Rubber Cement does not read as if it is what you described. Hummmm🤔
-
Thanks Daniel. I will look into that. IAs I mentioned I used the wood glue on my Endeavour but wonder if OcCre’s recommendation to use contact cement for the second planking might be a better product to use. I have more positioning time with the wood glue but the flip side is I have to hold the planks in place with pins while it sets up a few minutes. The planks also tend to bow a bit as well.
-
Daniel what product did you use to attach your second planking? On my first OcCre ship, the Endeavour, I just used the same wood glue I used to build the ship. It required patience and pins to hold each plank in place until the wood glue held. I see in the OcCre videos they use some brand of contact cement to attach the second planking. I have read other places where contact cement is not a great option.
-
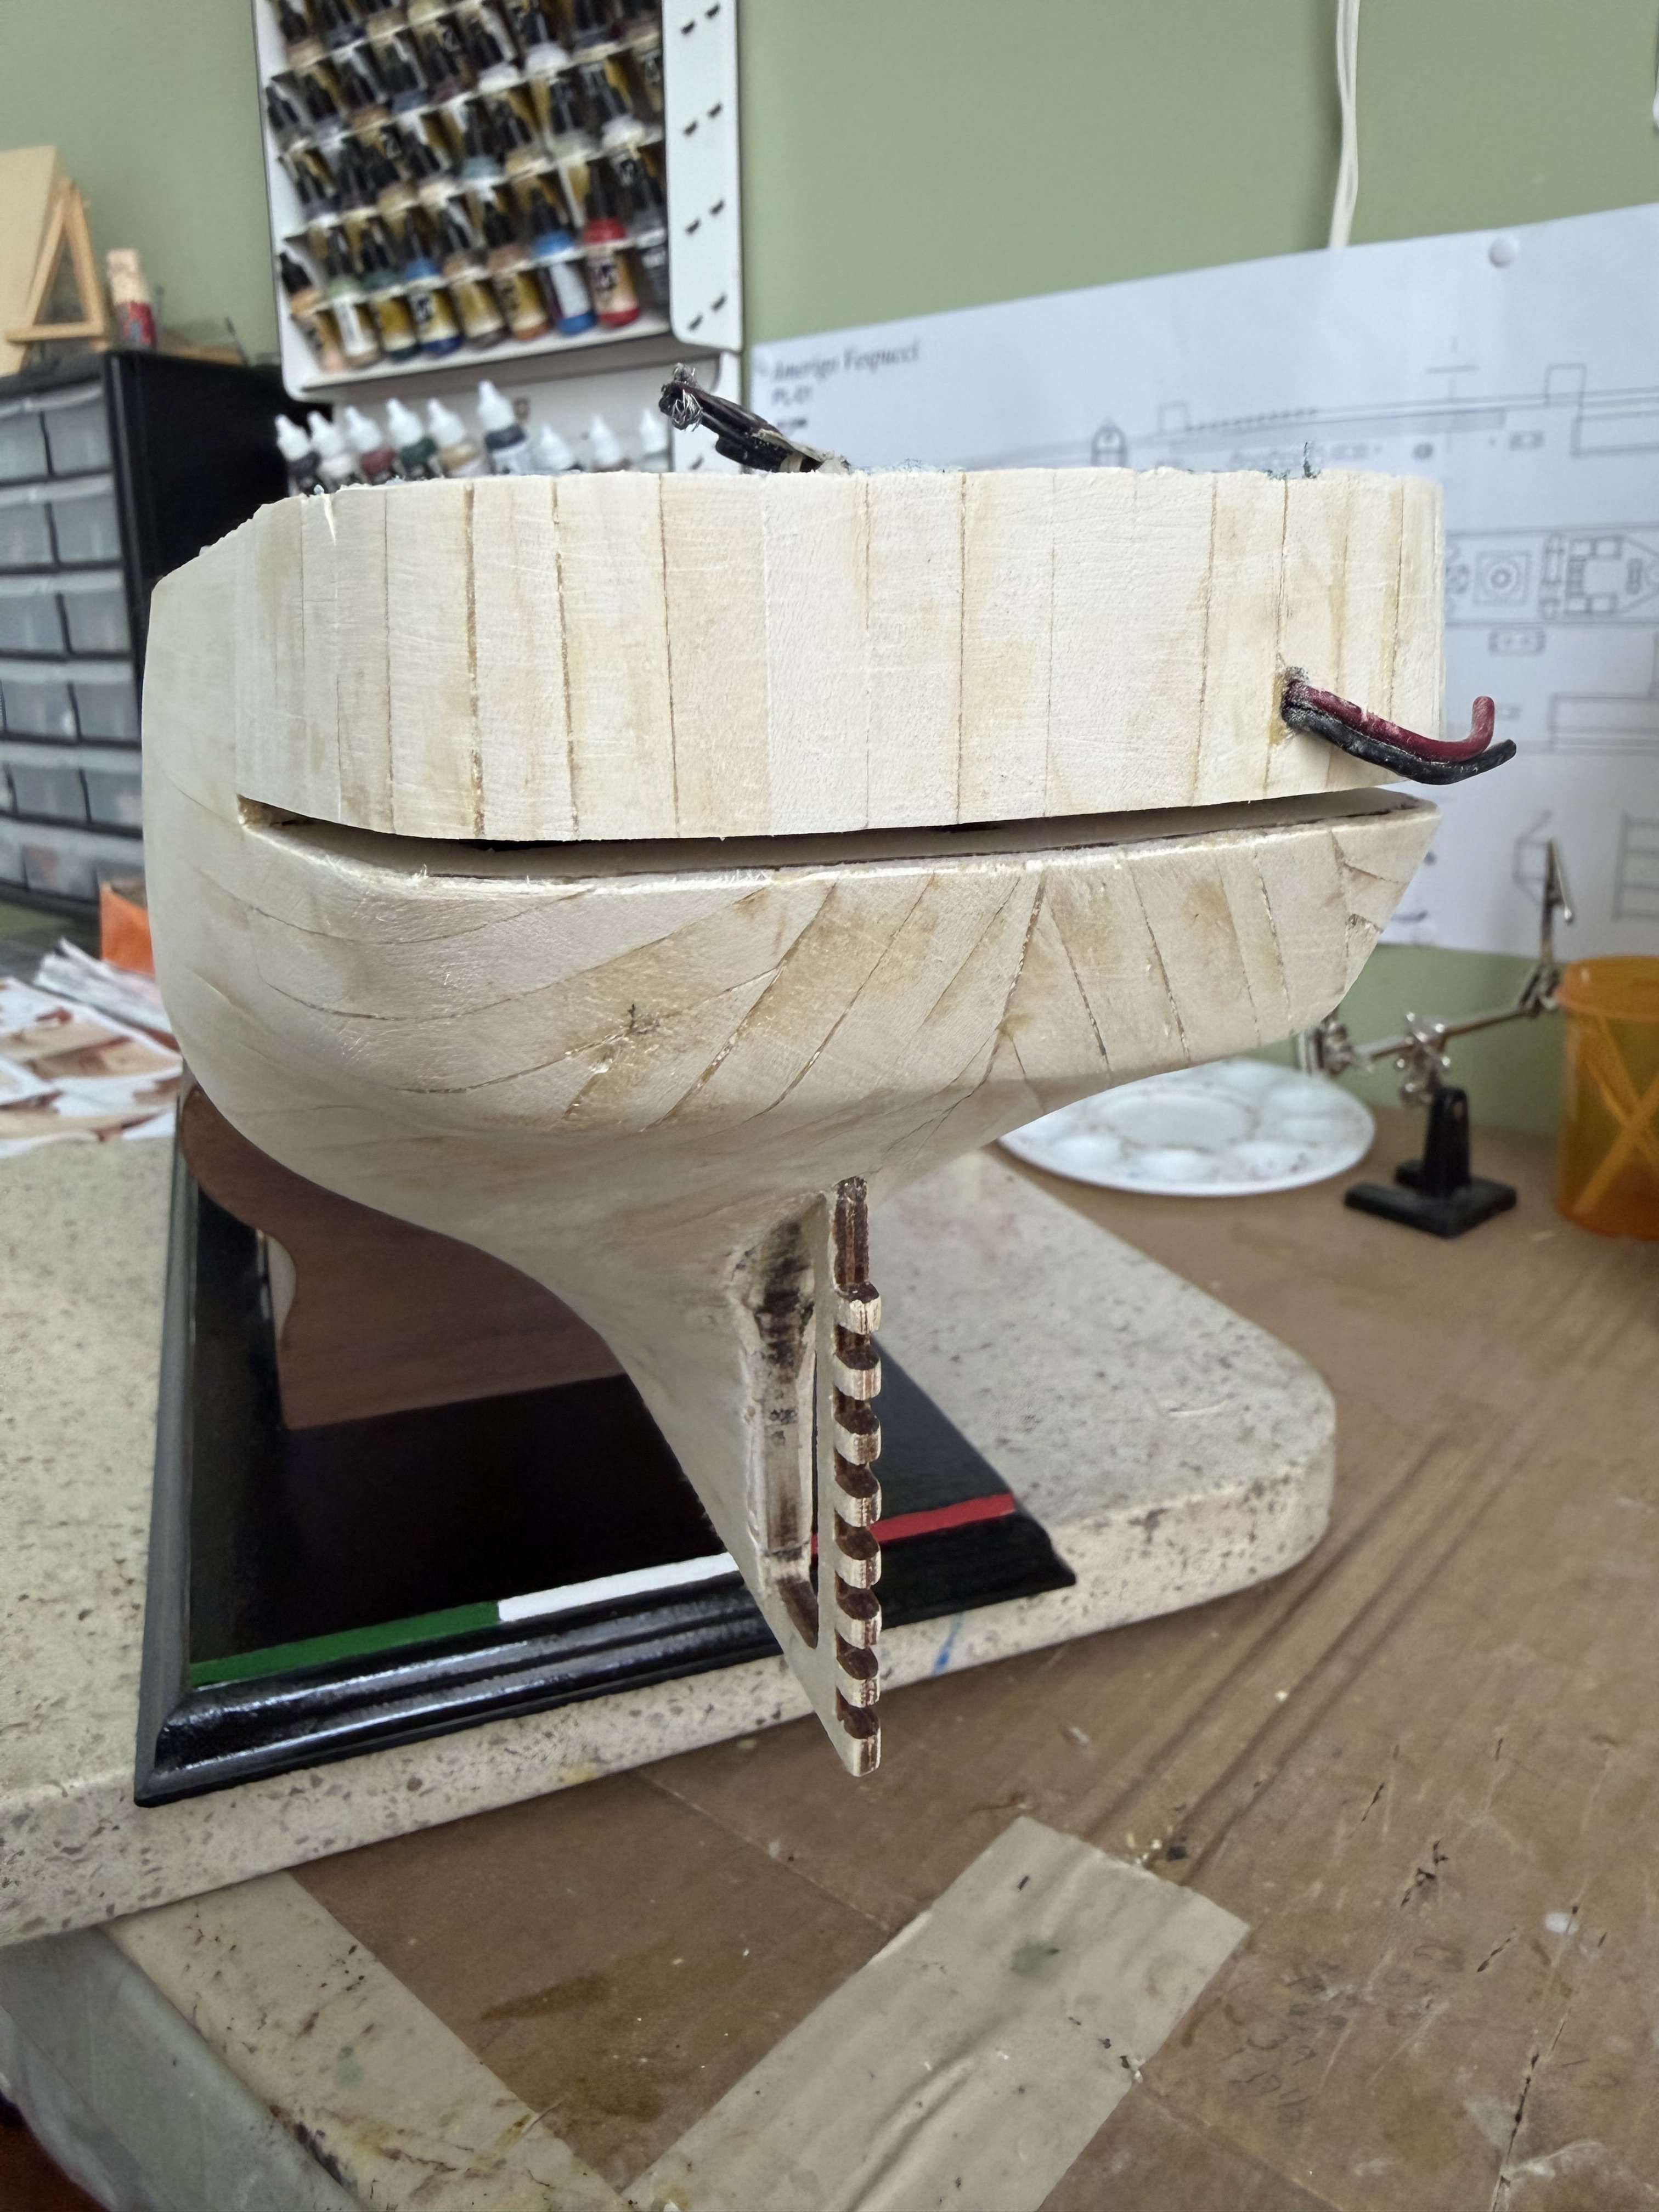
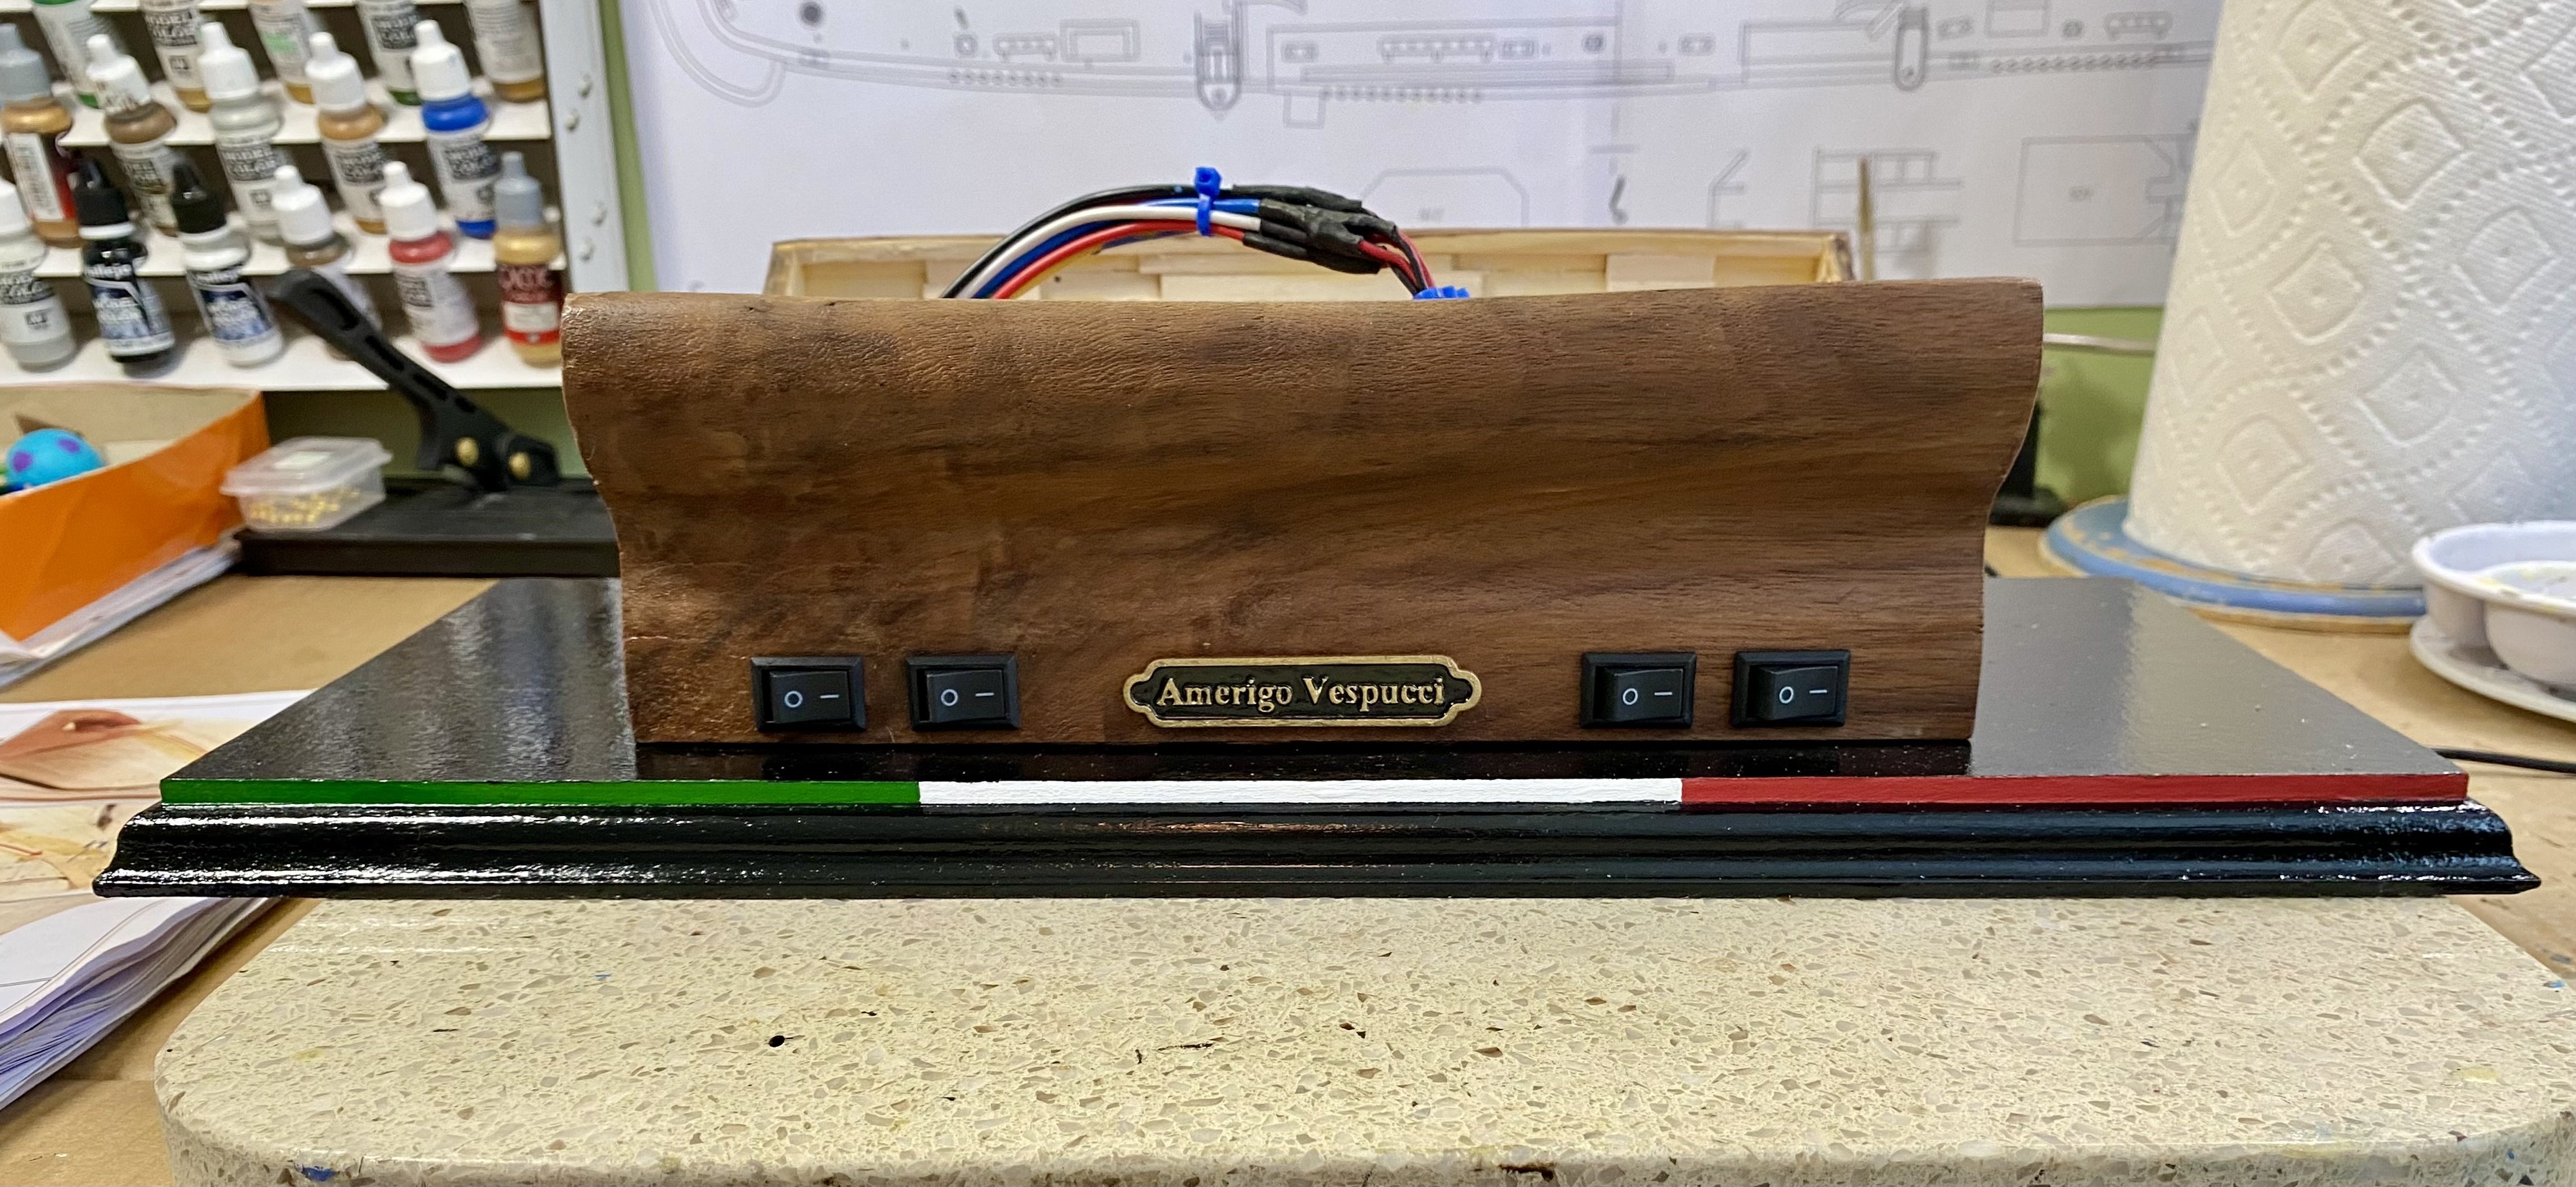
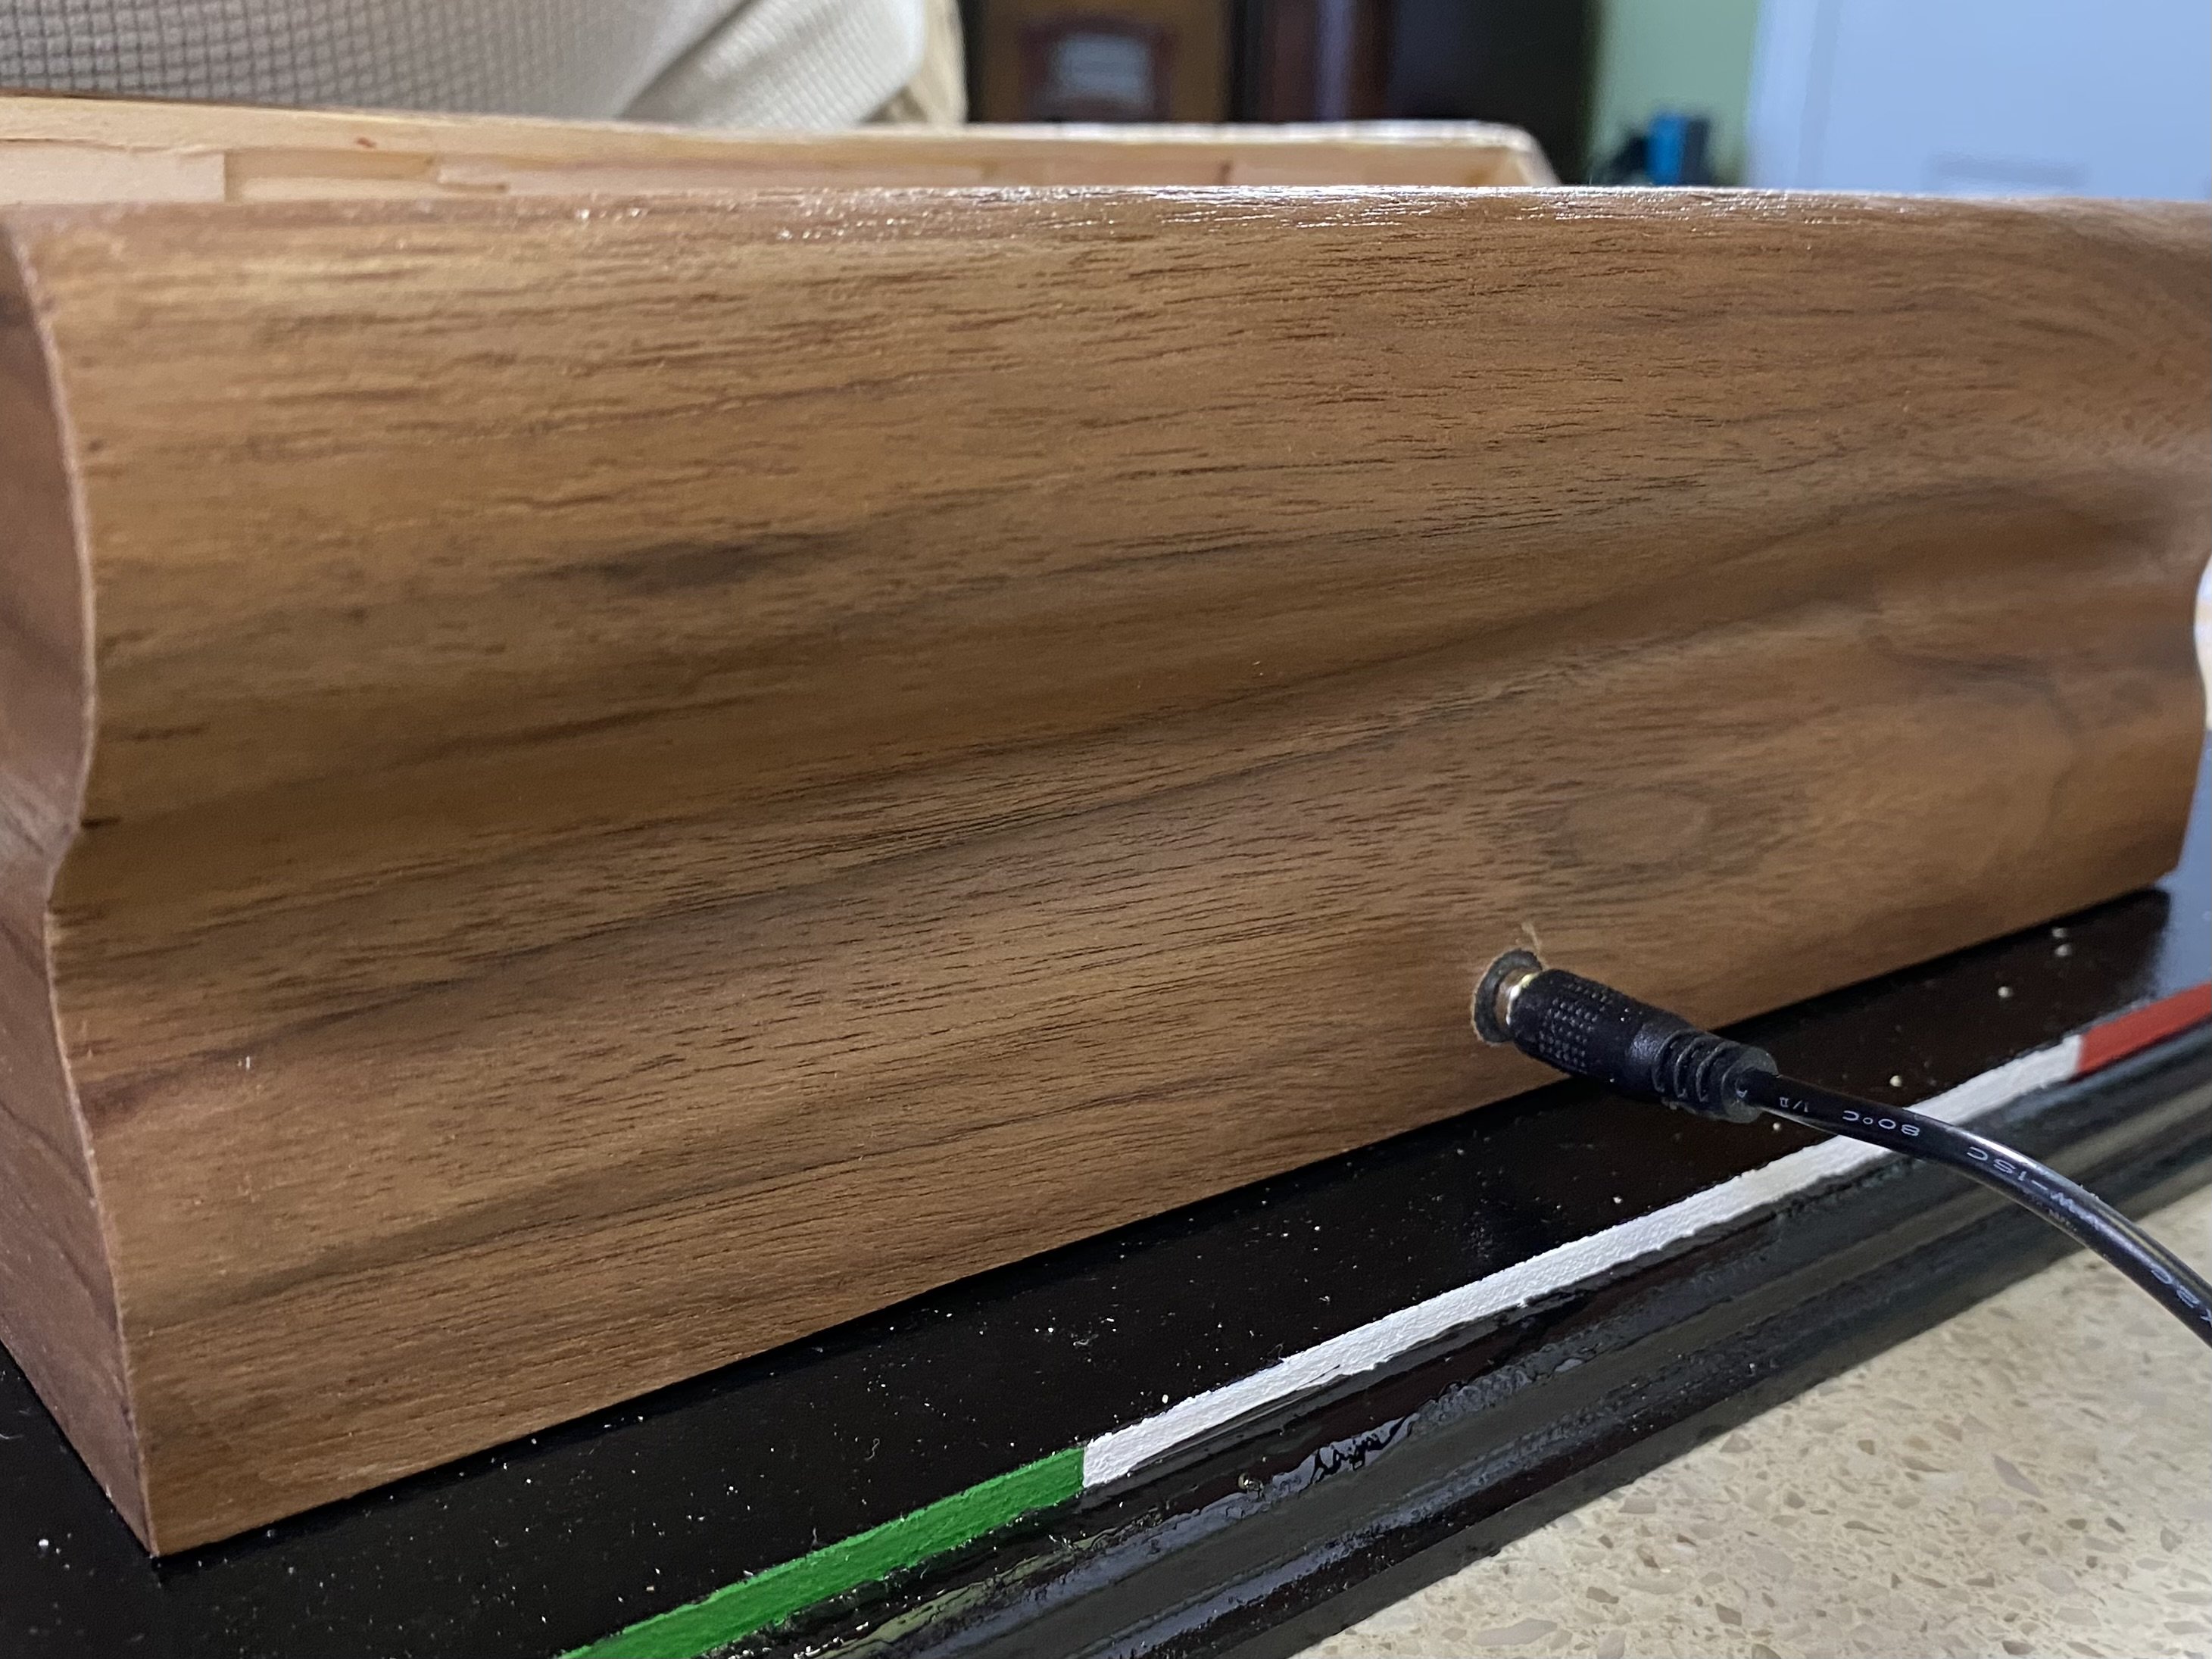
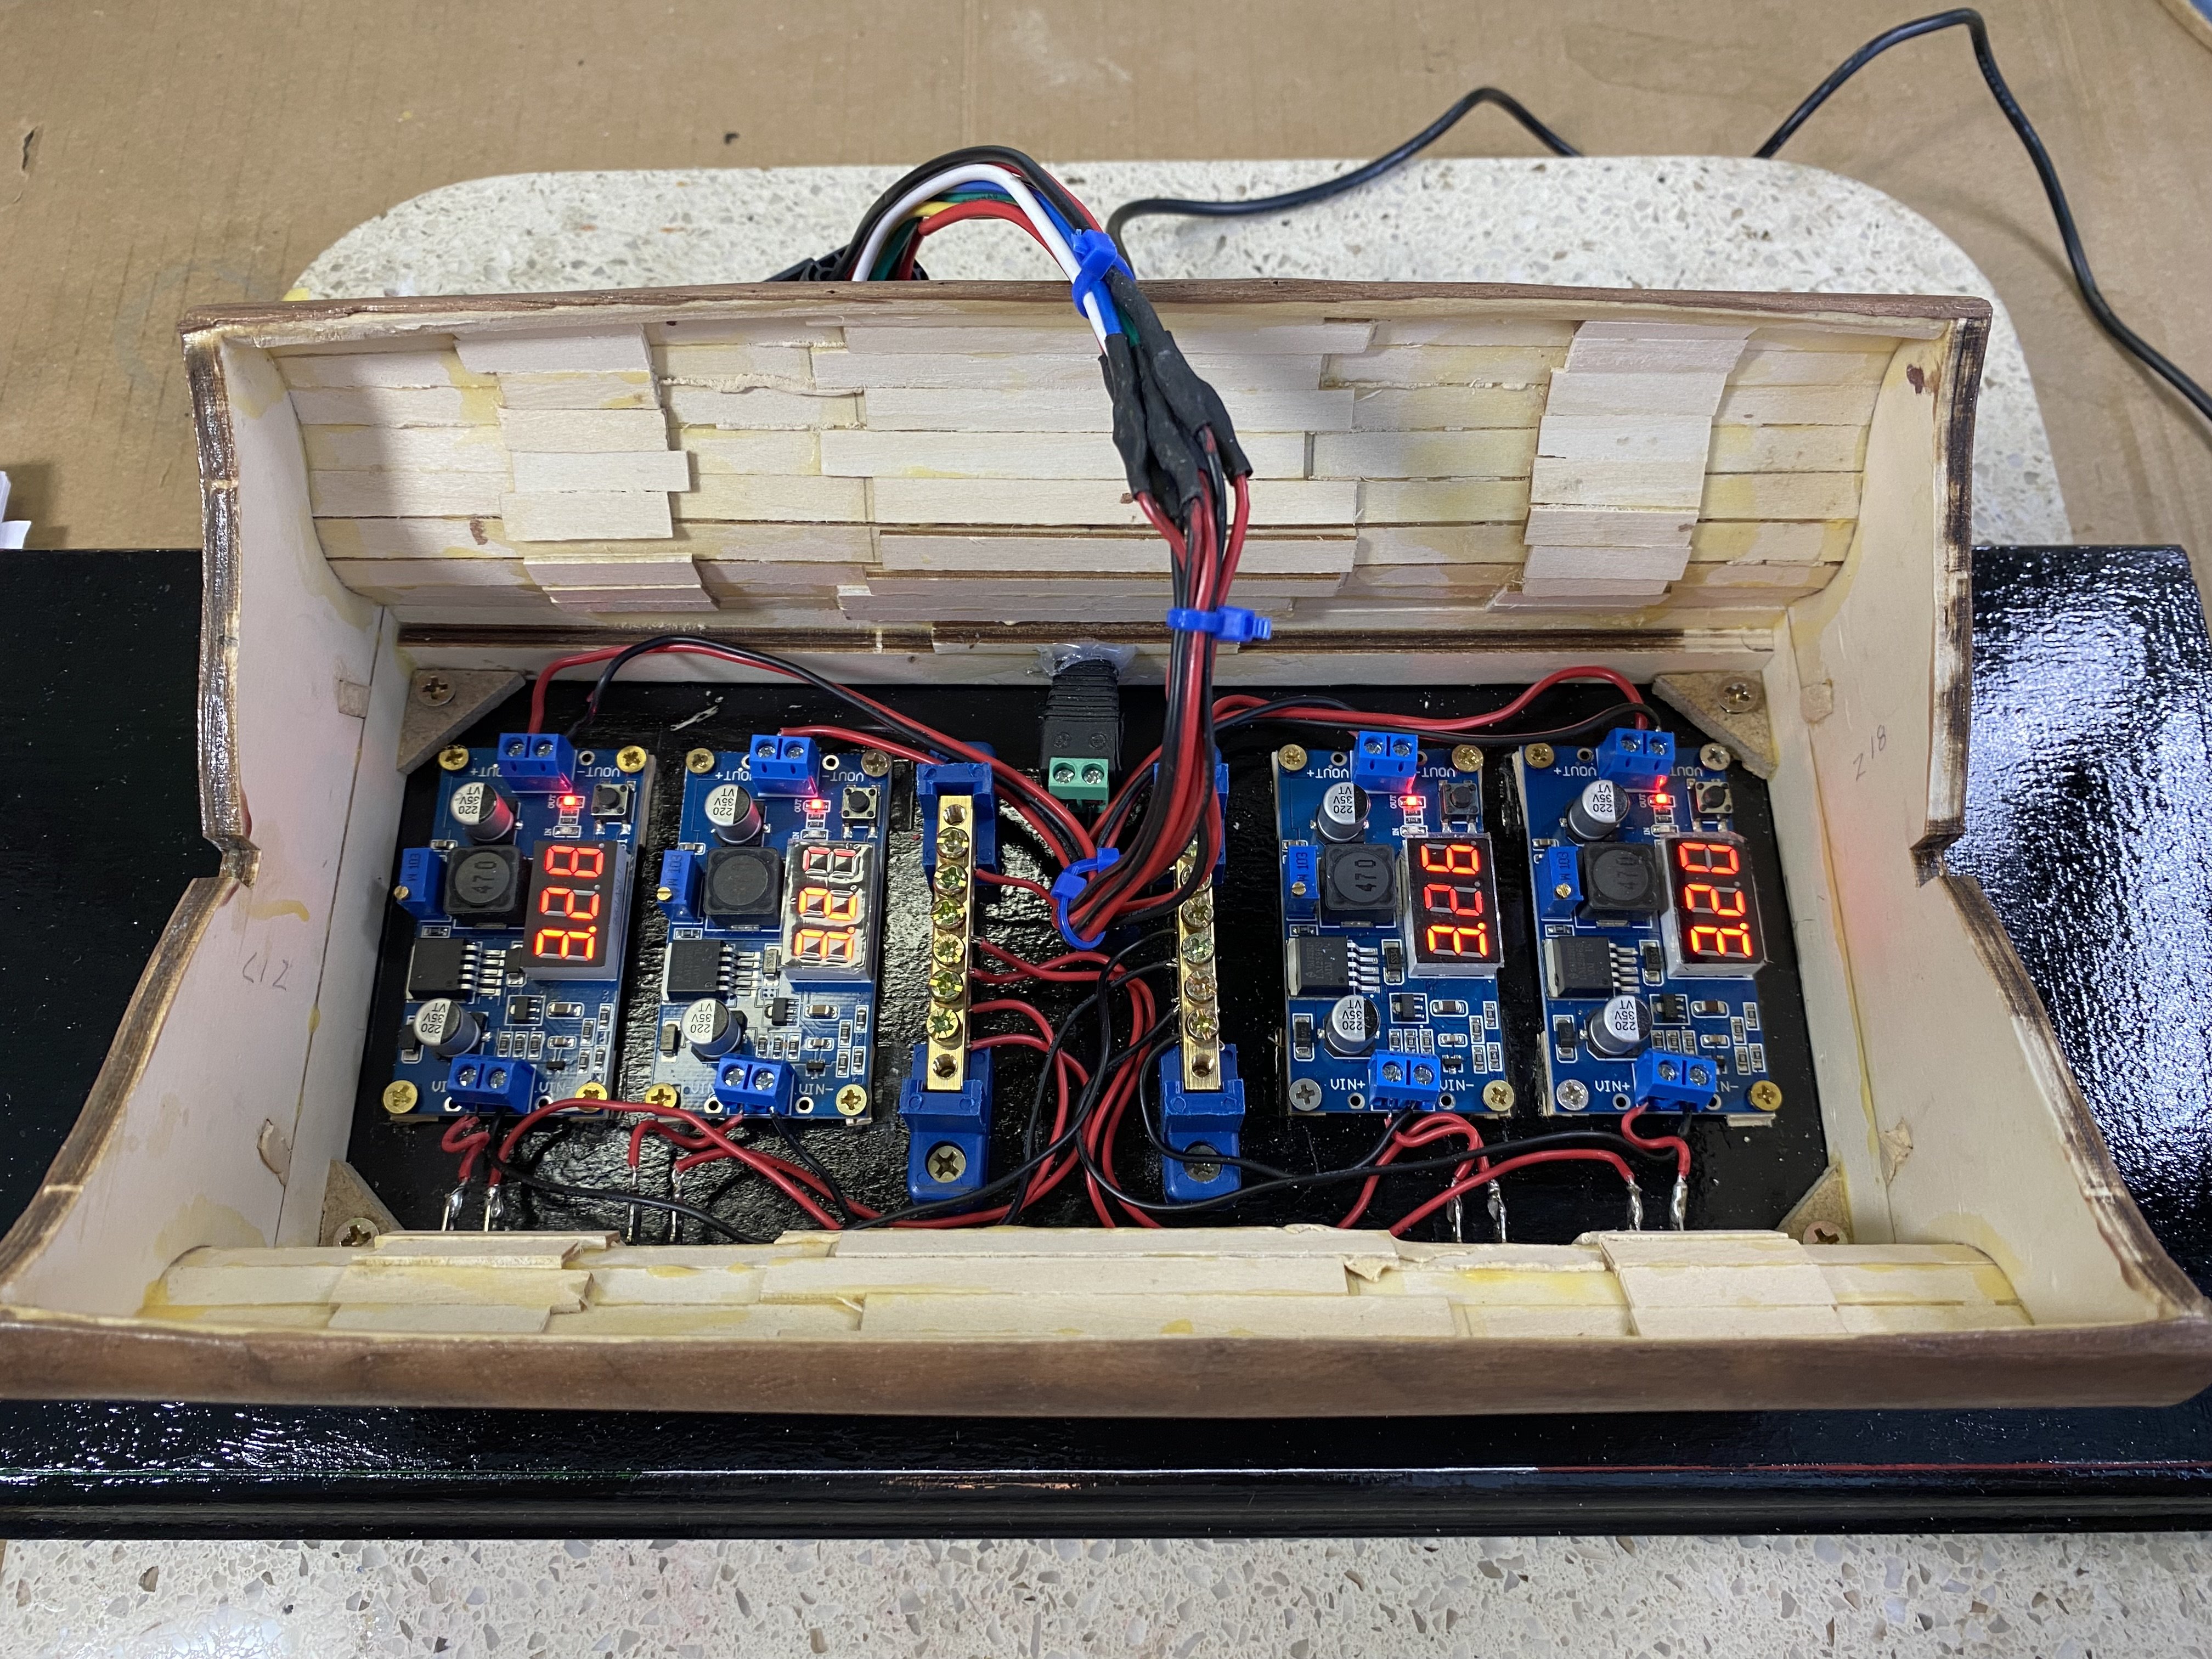
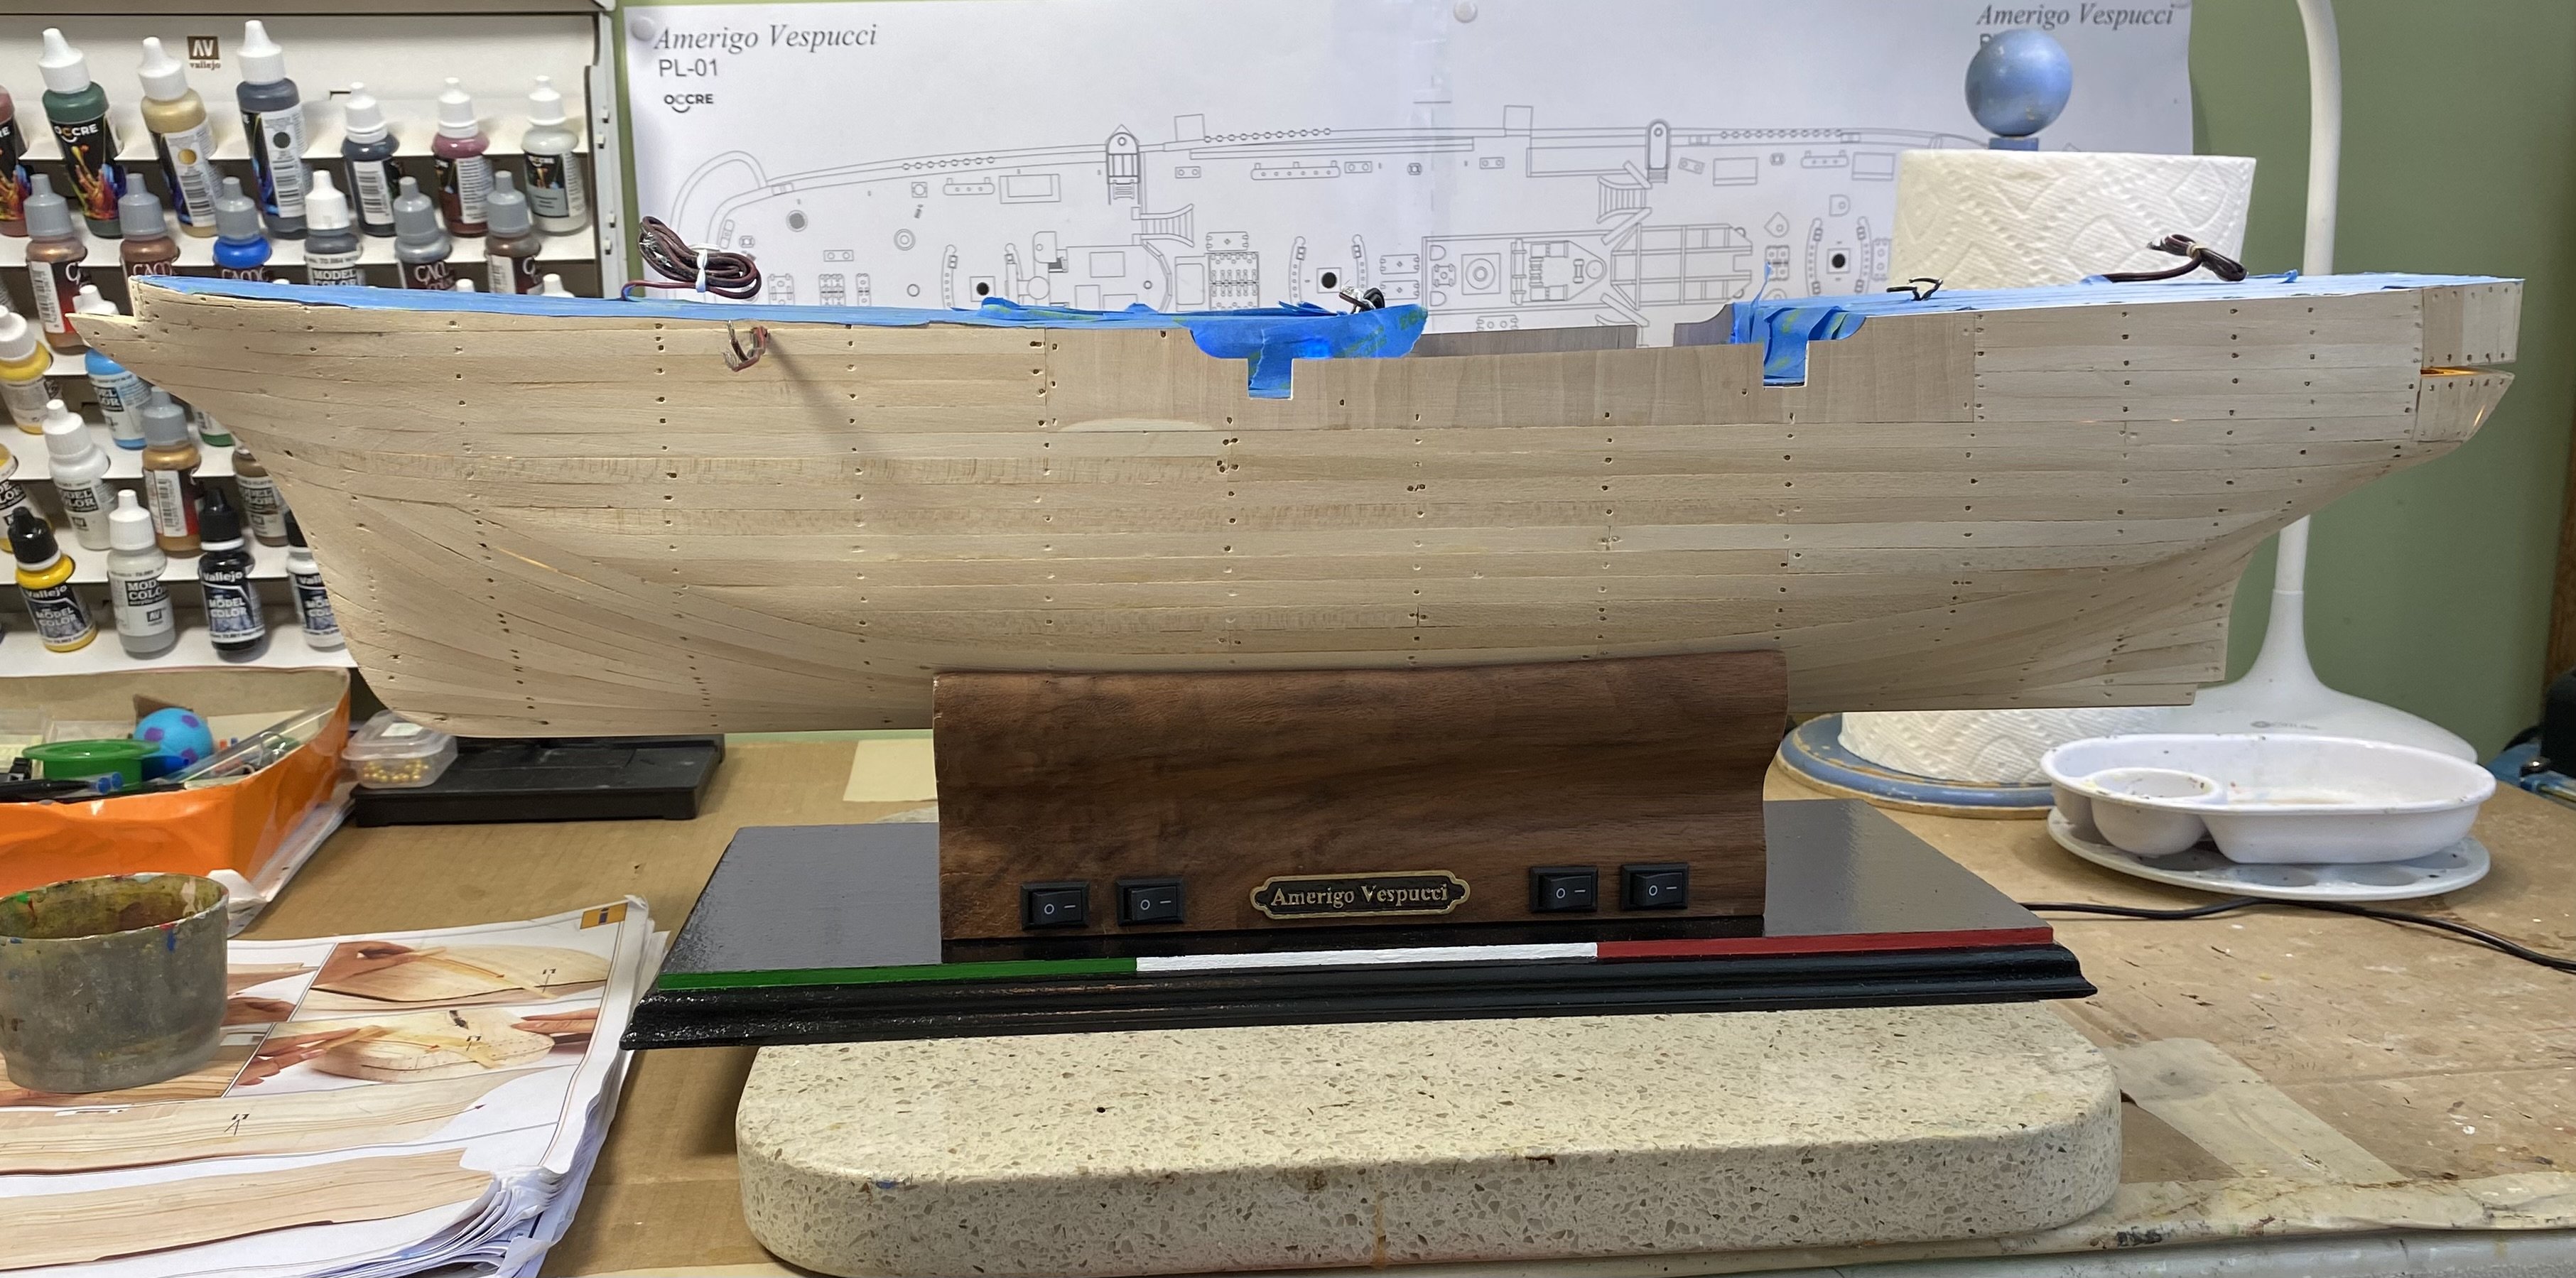
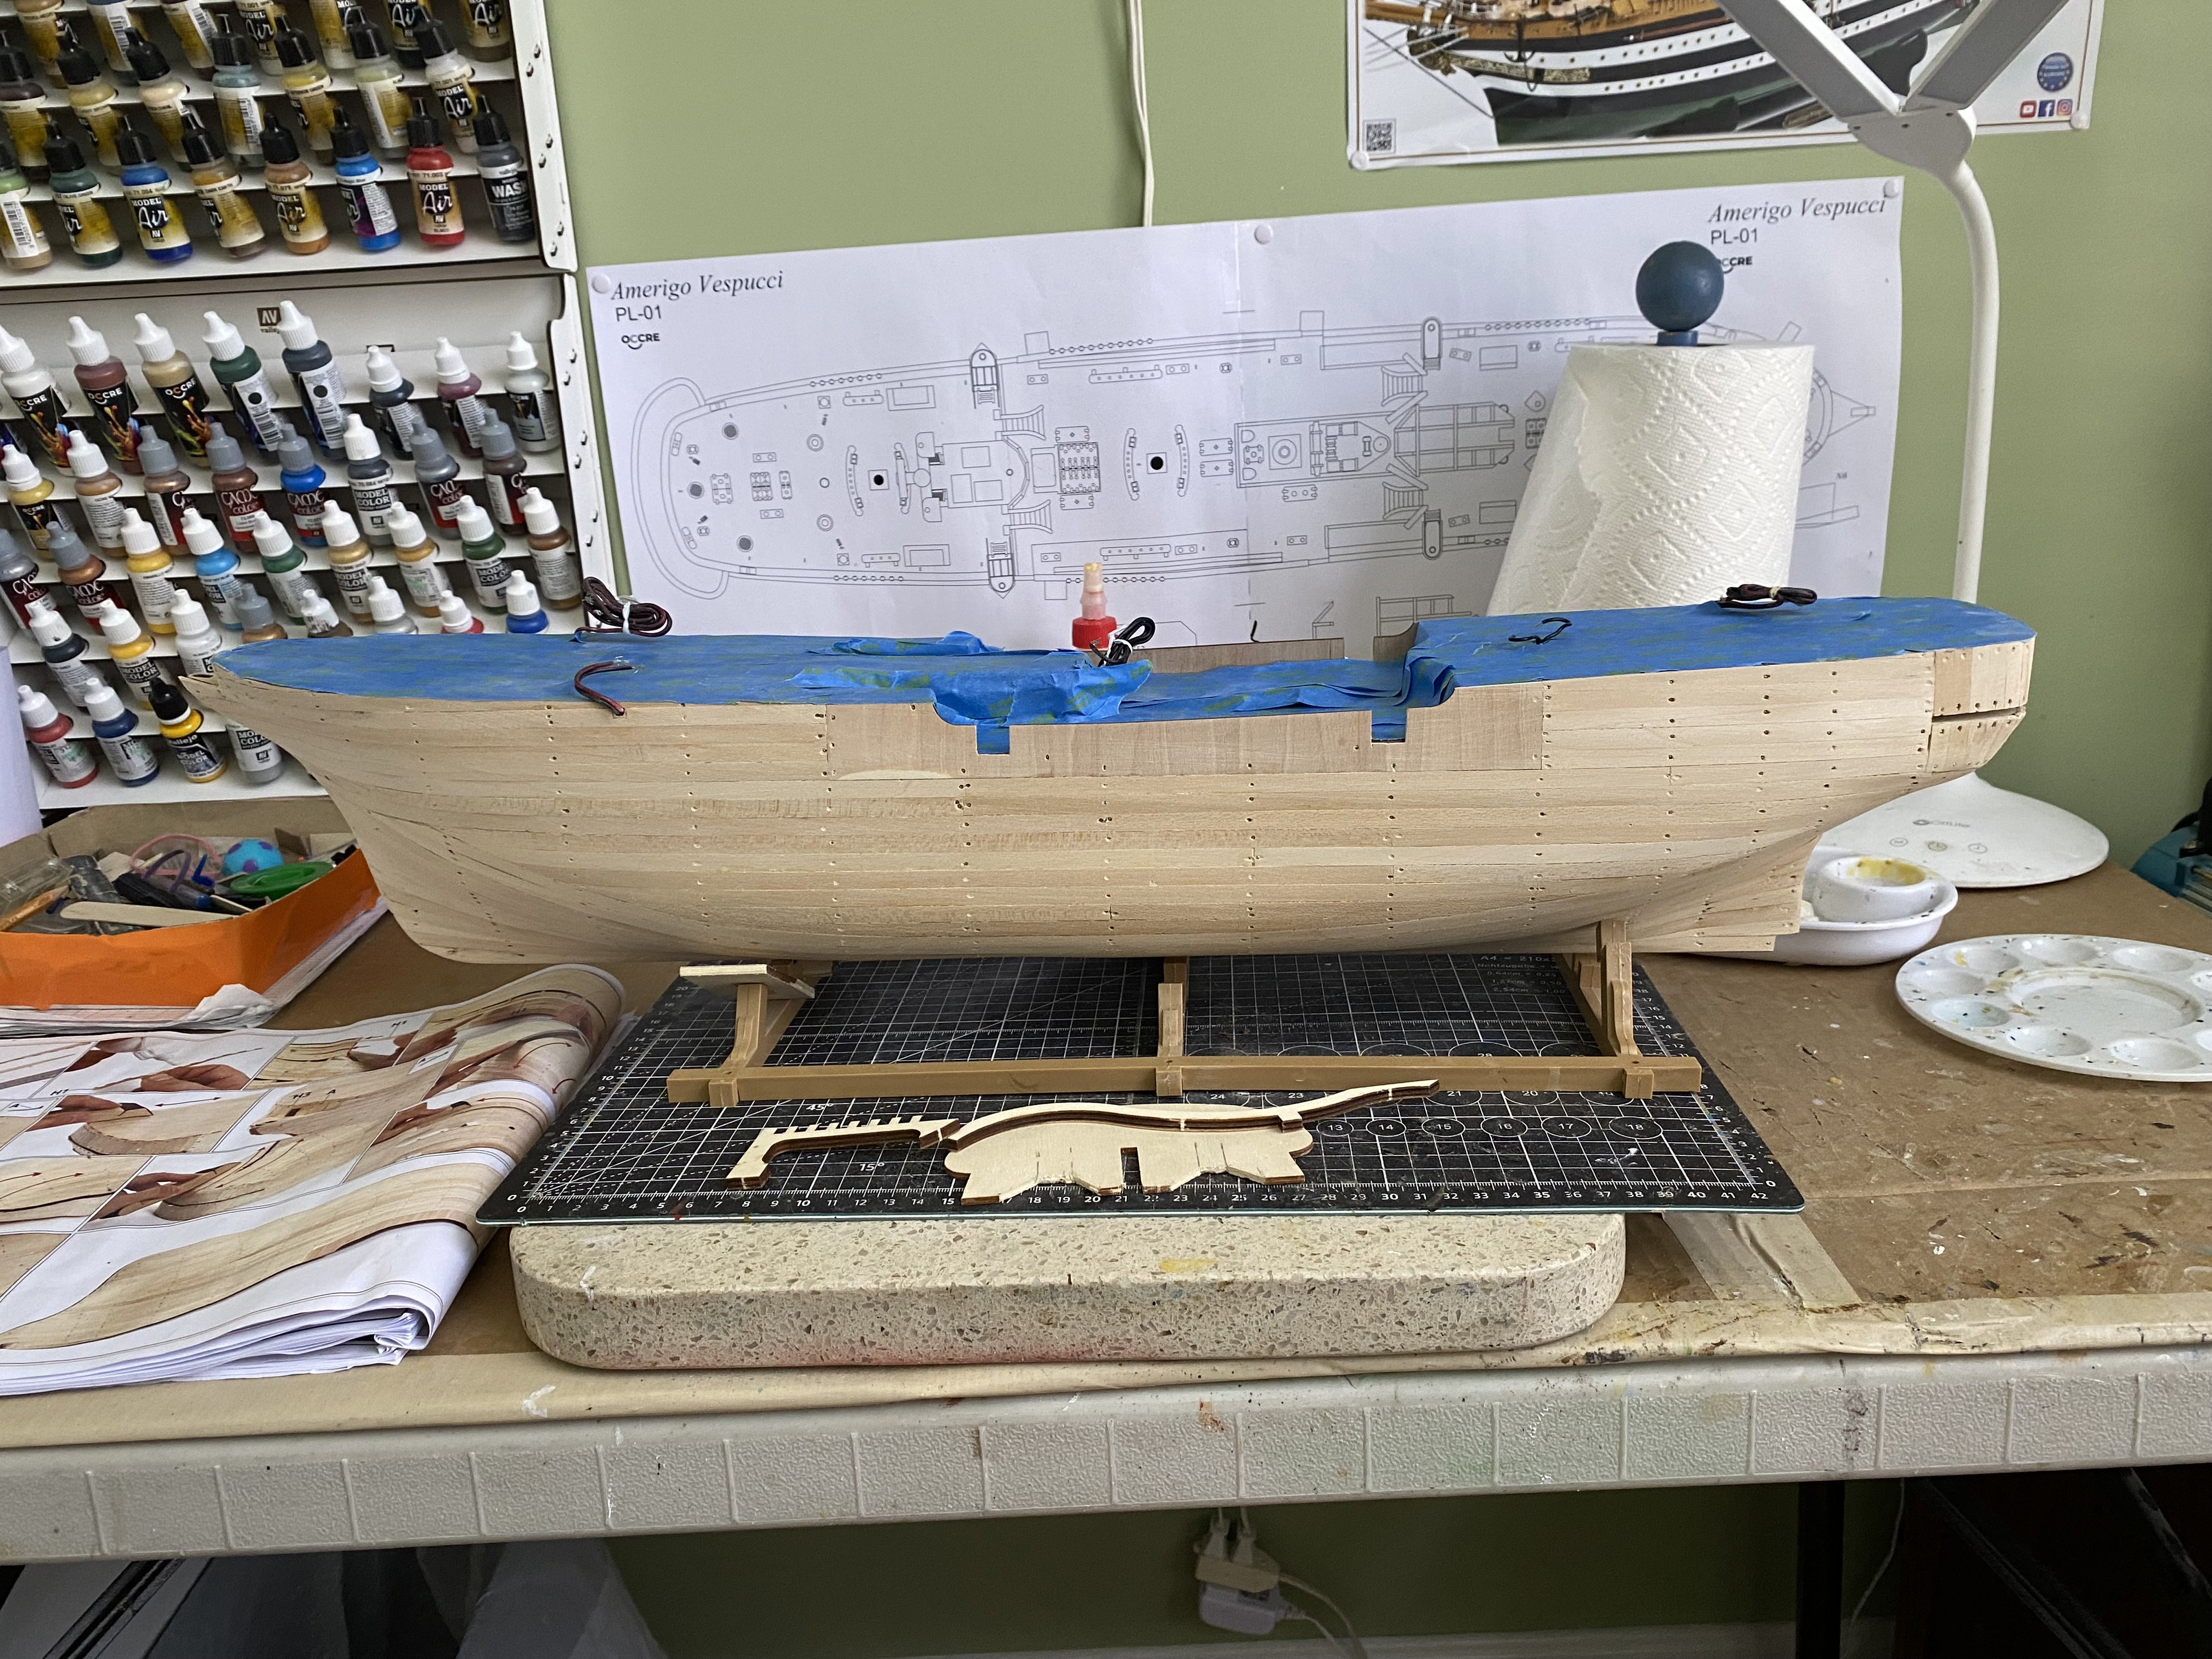
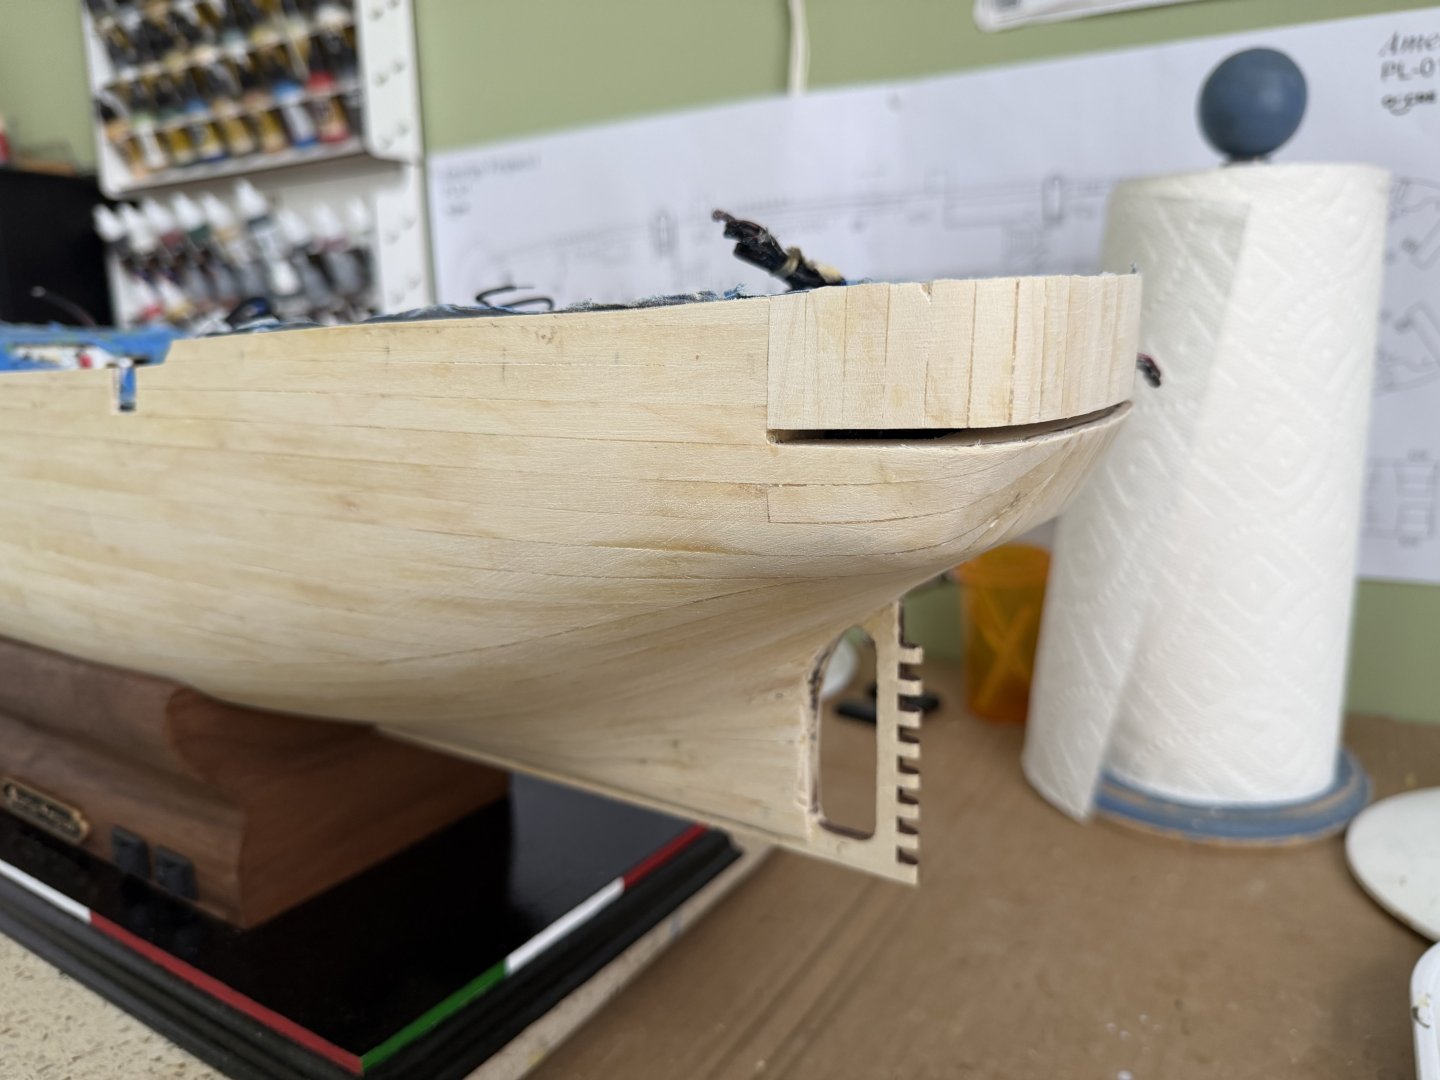
Sure Daniel. I owe you a bunch. Any questions let me know. I just happened to have some old sheet veneer from back in my woodworking days that used to cover the “box” I made. The base OcCre included was perfect to repurpose. I used the two end pieces that fit the shape of the hull and to gain some needed extra height I cut the 2 runners OcCre supplied and glued them to the bottom of the end pieces. That gave about another 1” in height. Prior to cutting the runners I put the stand together as OcCre designed and measured the distance between the ends so as to make my base the same length. Once I had that measurement I cut, glued, and nailed 1/4” strips of wood along both sides to make the shape. I used pieces of wood from simple wood tongue depressors joined at the middle to make them long enough. The veneer holds it all together. You can probably find sheets at a local wood craft store or cover your’s with anything you like. I further added triangles in the bottom corners to run screws through into the wood base. Cut out the places for the switches and wired it. One thing I did notice is that the hull bows out a little between the two ends. It is not a straight line. So that did require a little sanding and shaping. To accomplish that I added a 3/16” wood dial at the top on each side that I could shape. You can kind of see that in one or two of the pictures. You can also see the inside of the box to further understand what I did. Please feel free to ask anything Daniel. I am glad ti finally be able to help you. Thanks Mike and Eric. I appreciate your compliment. Bill
-
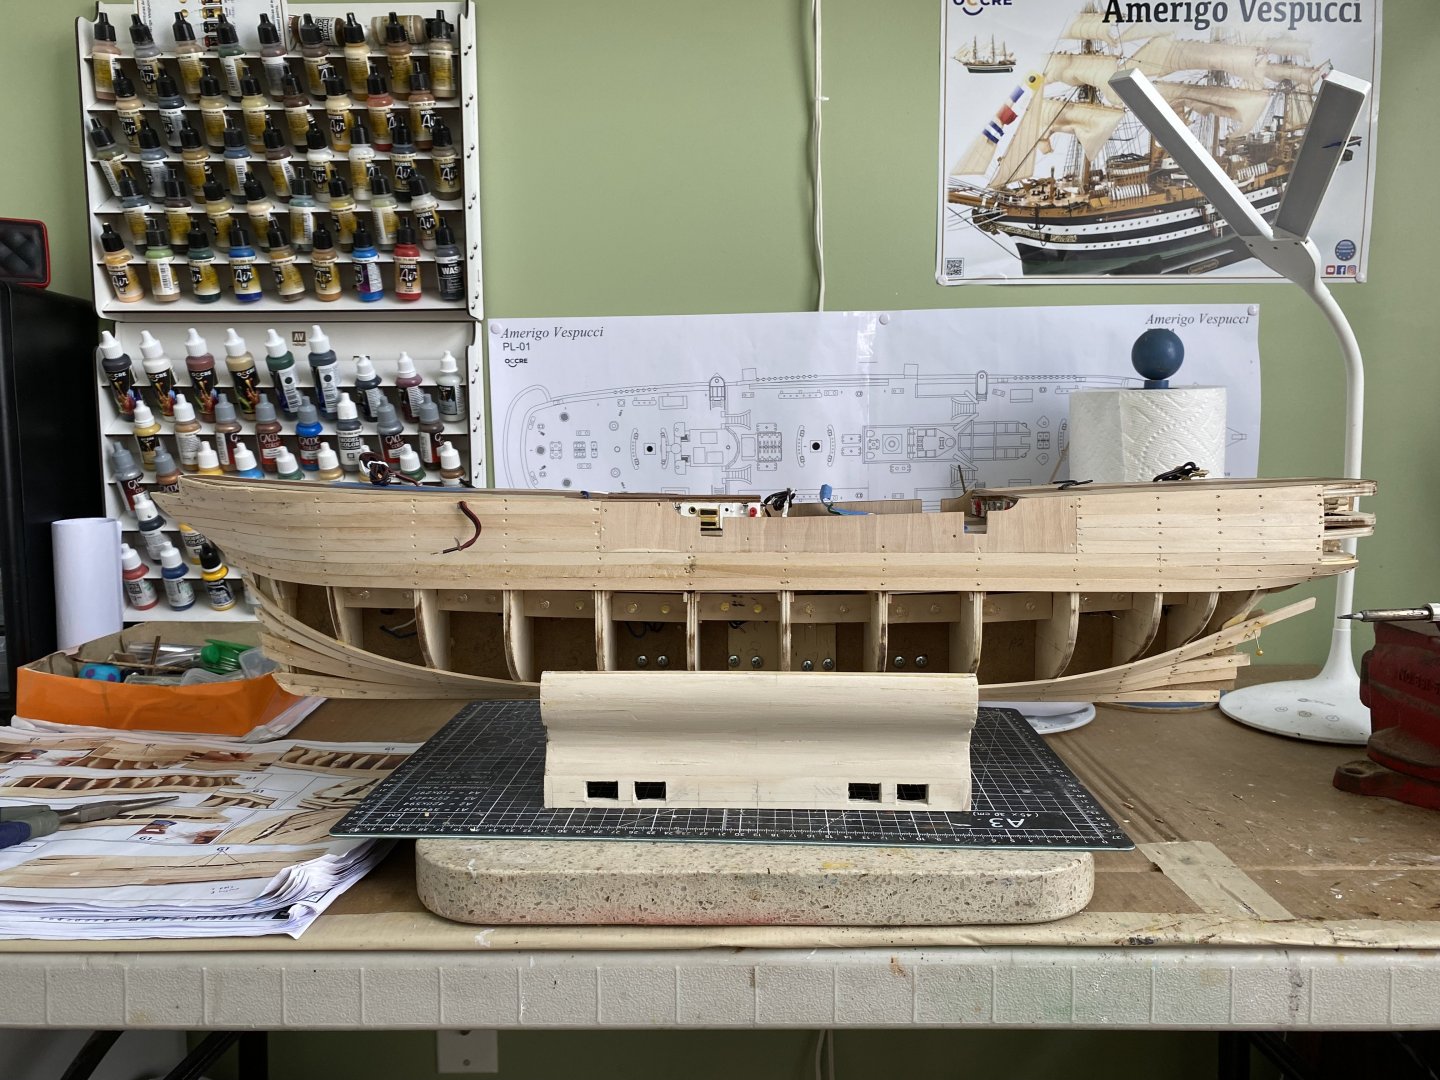
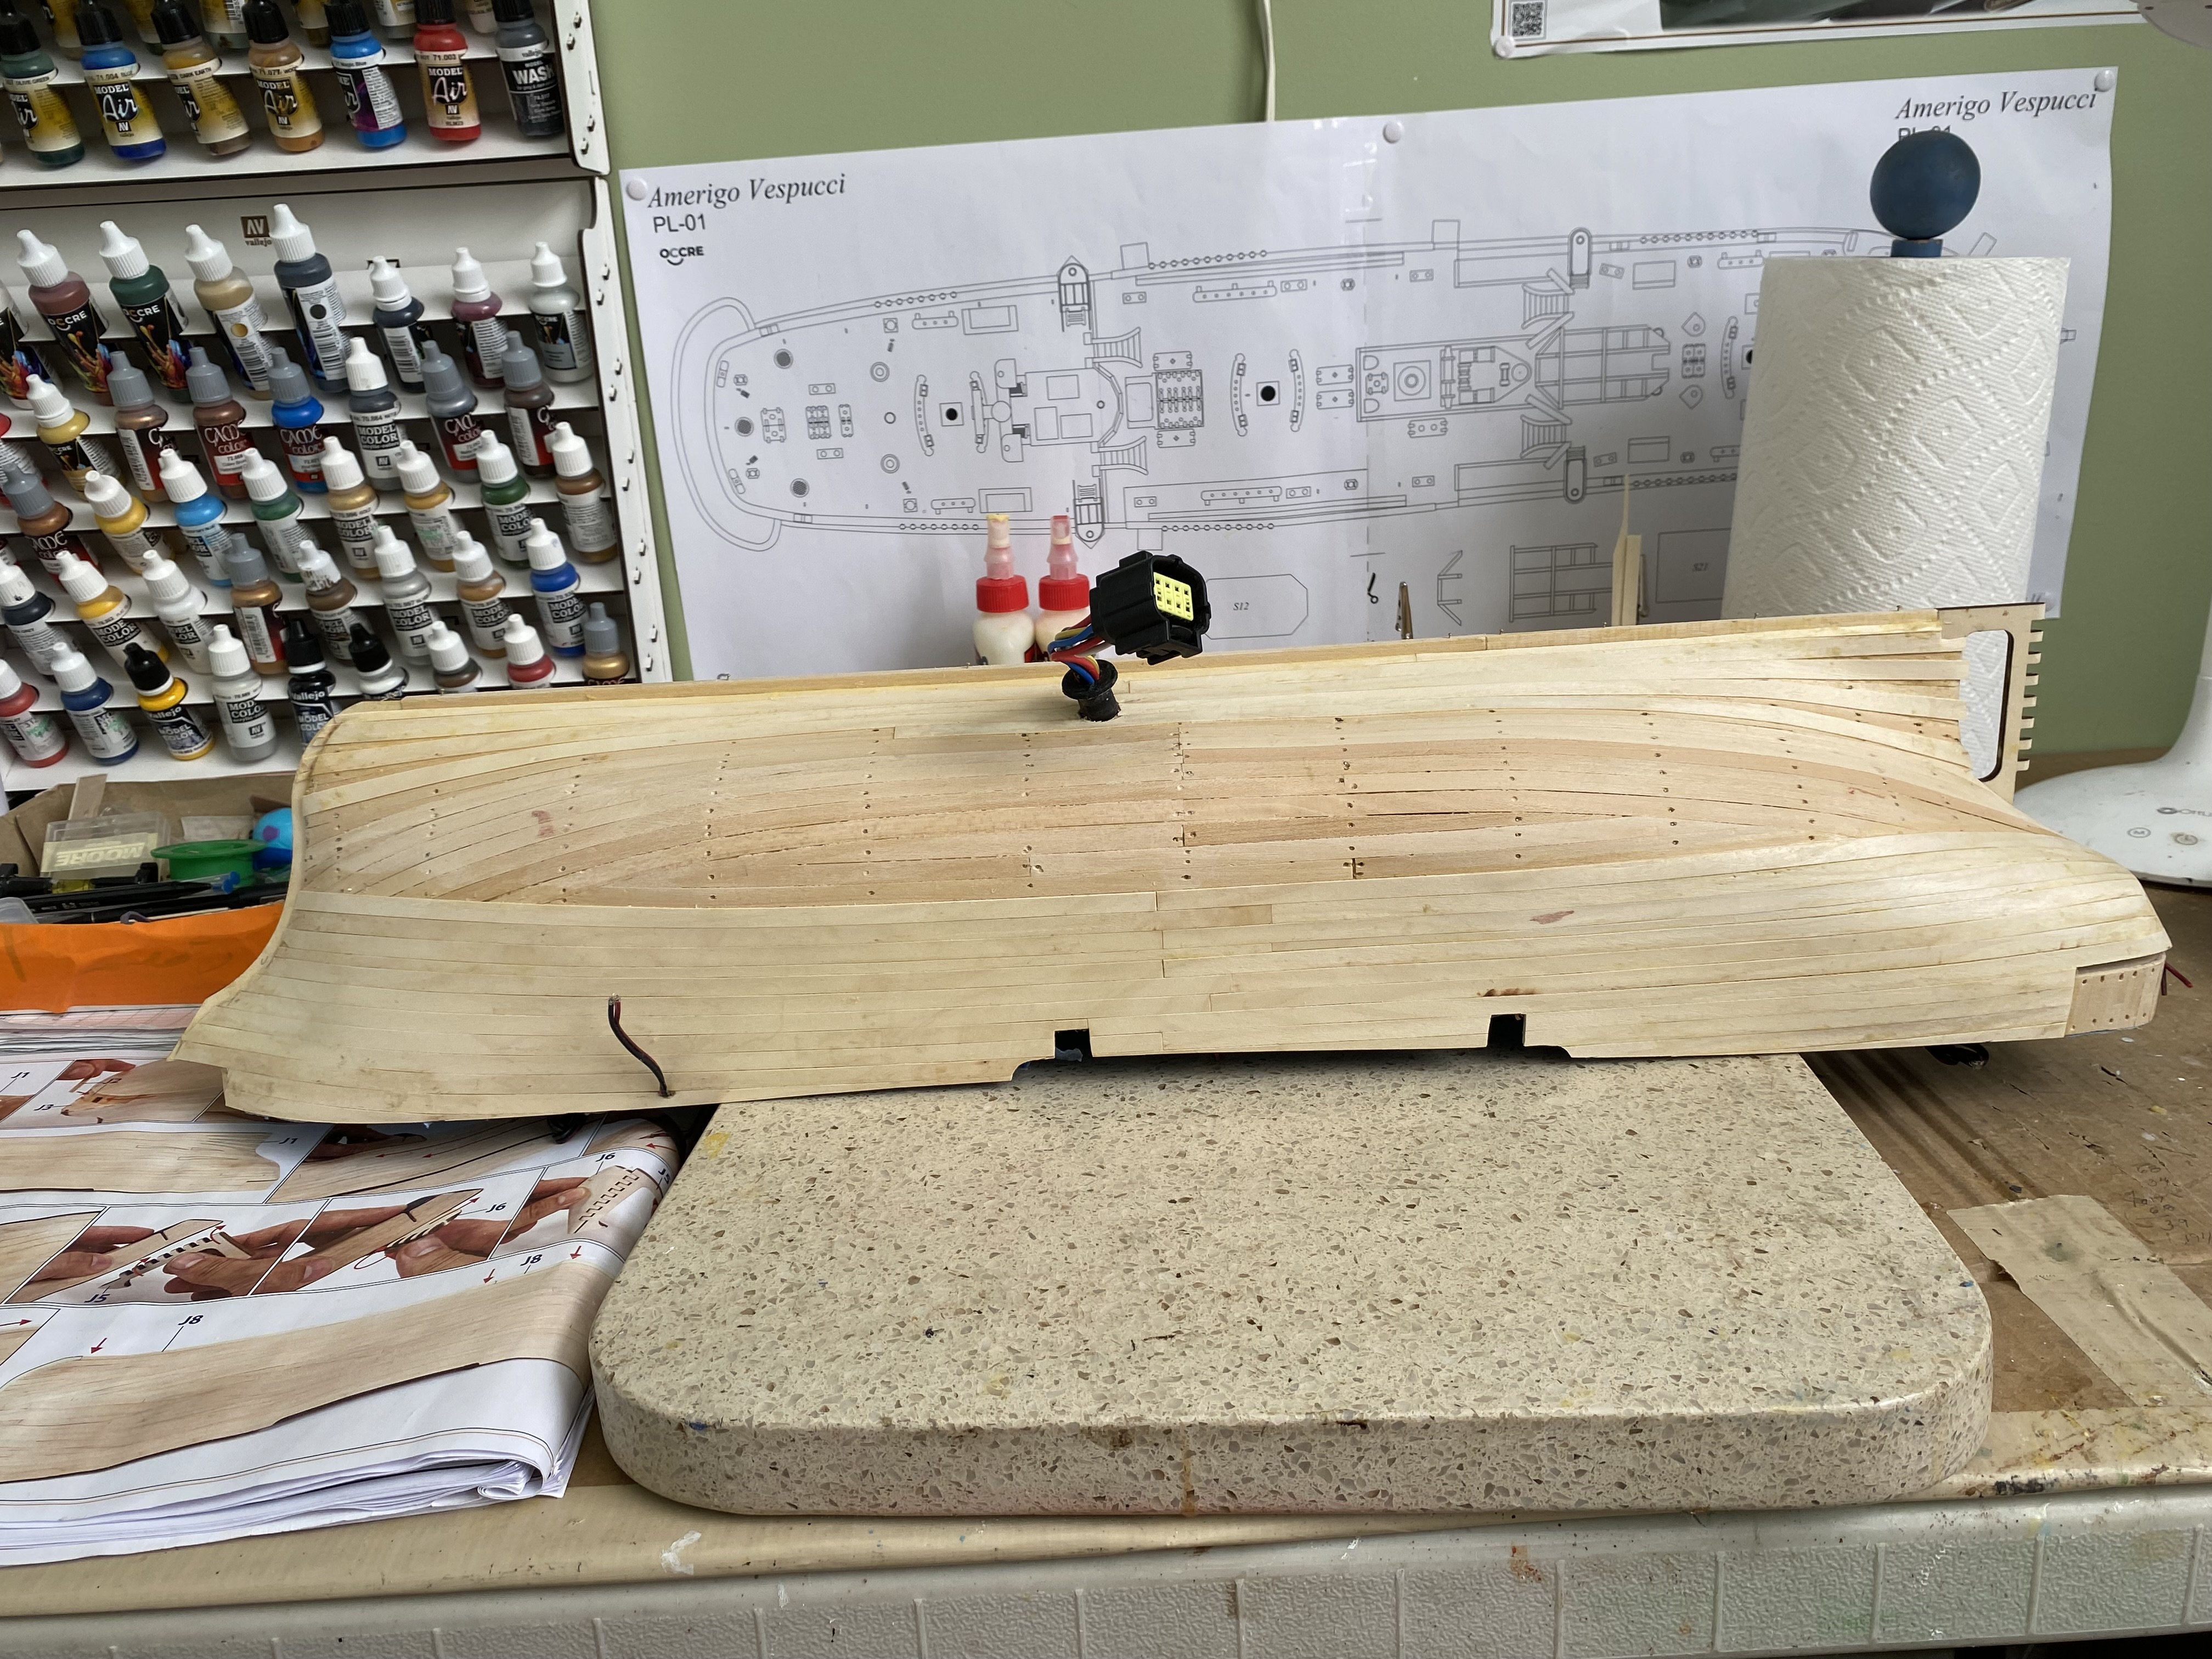
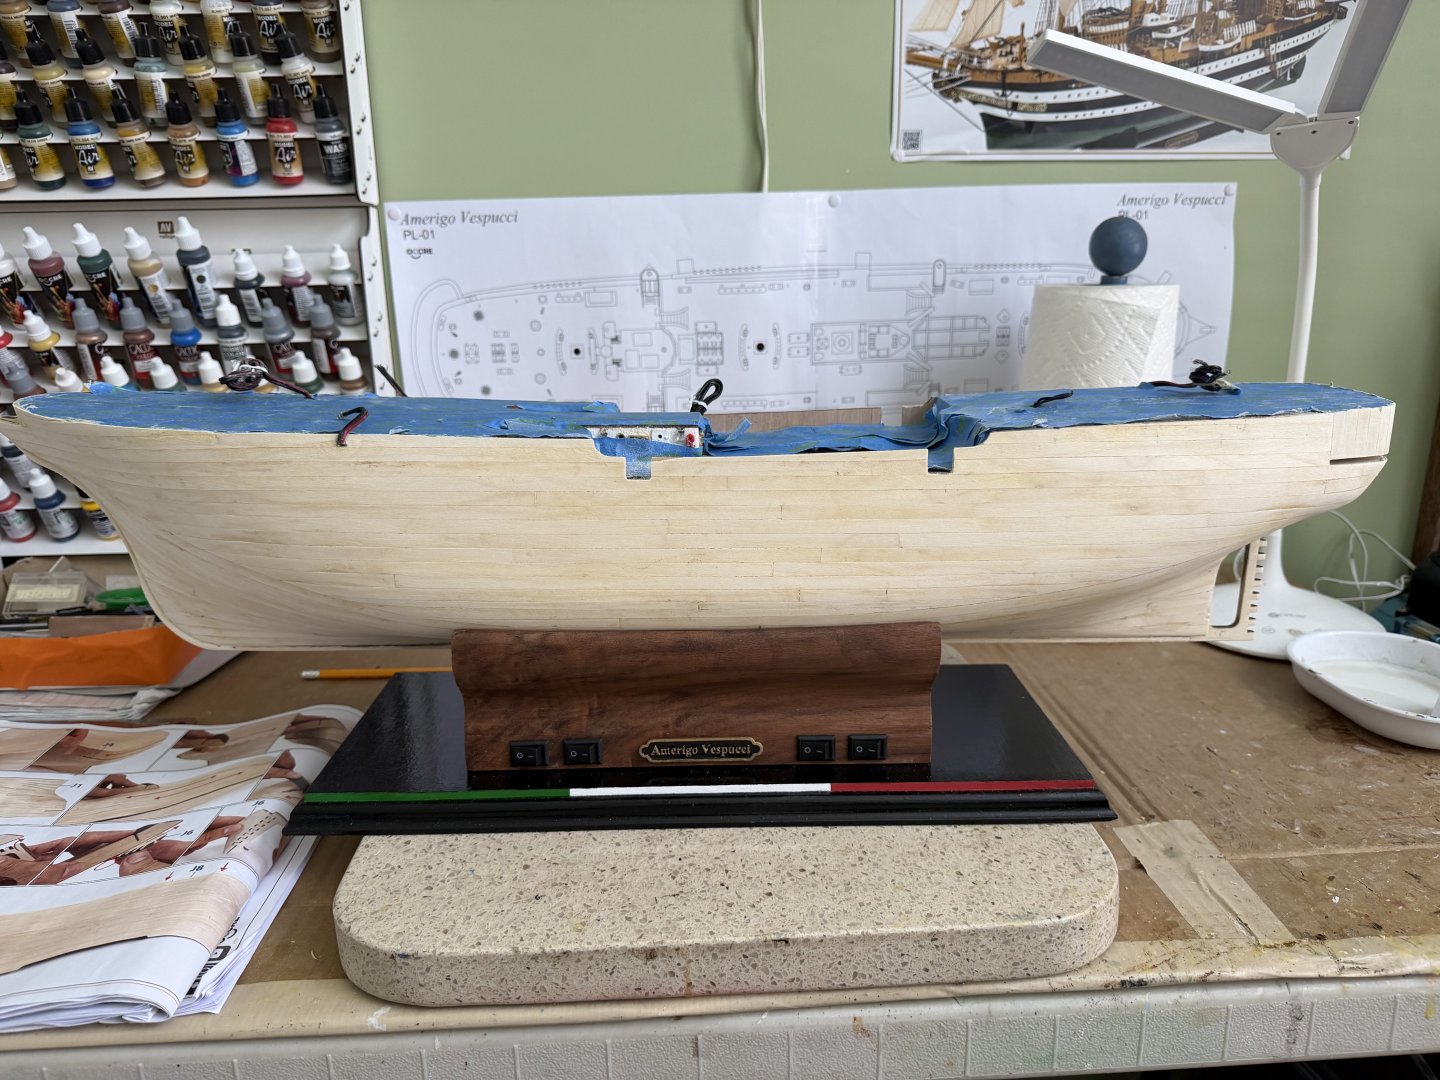
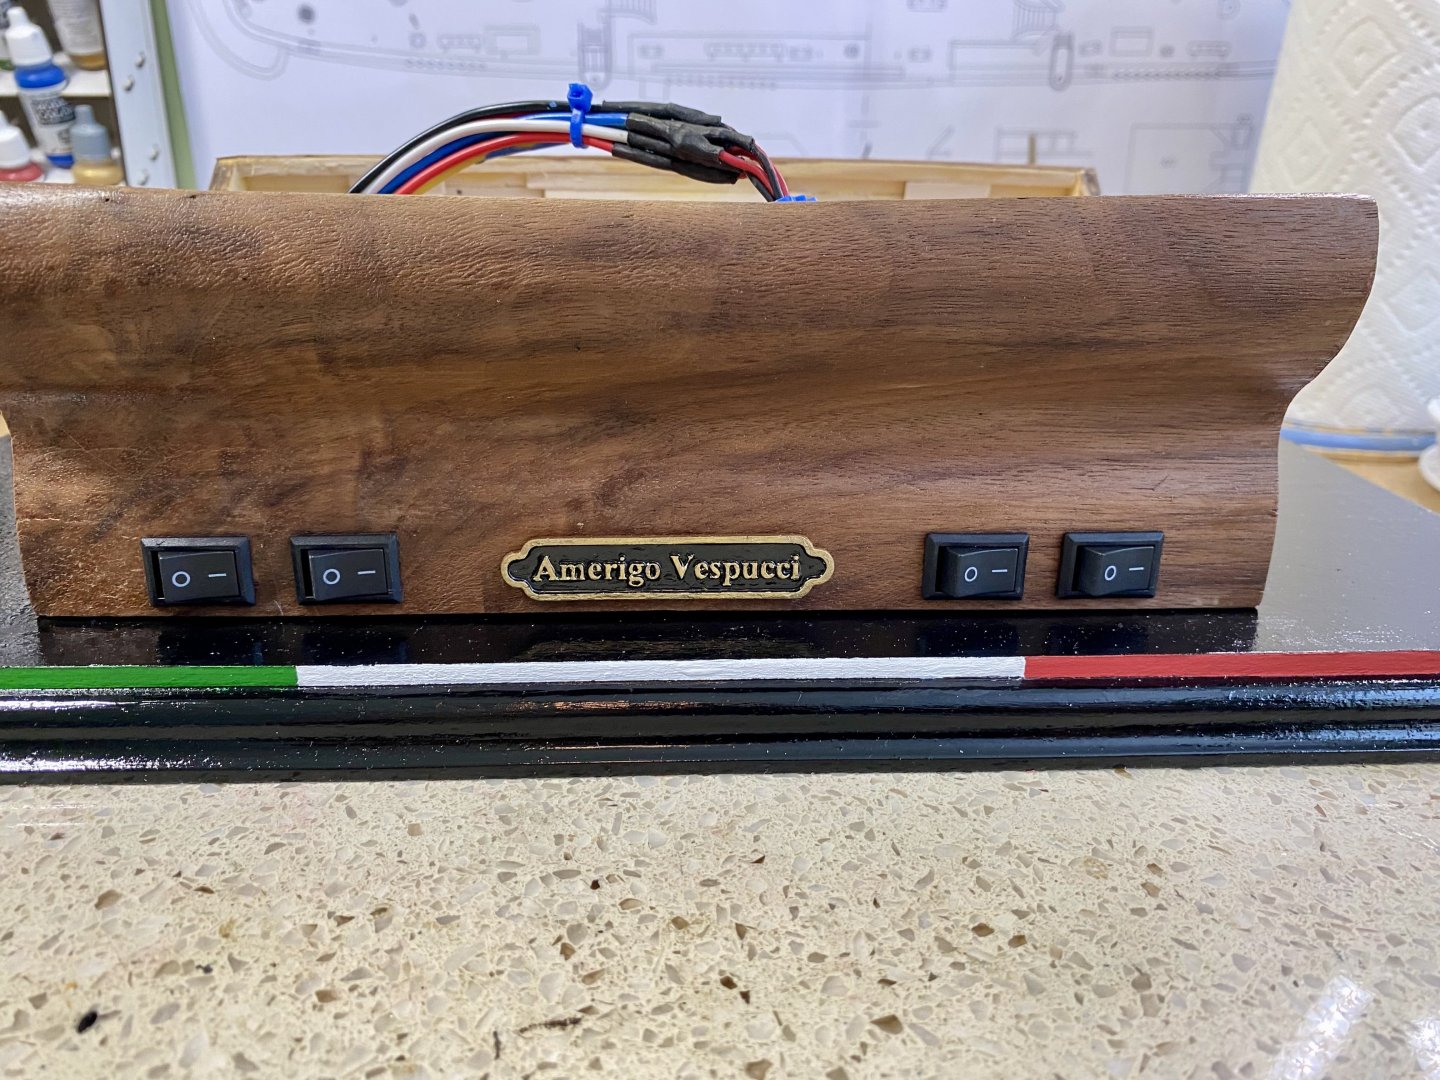
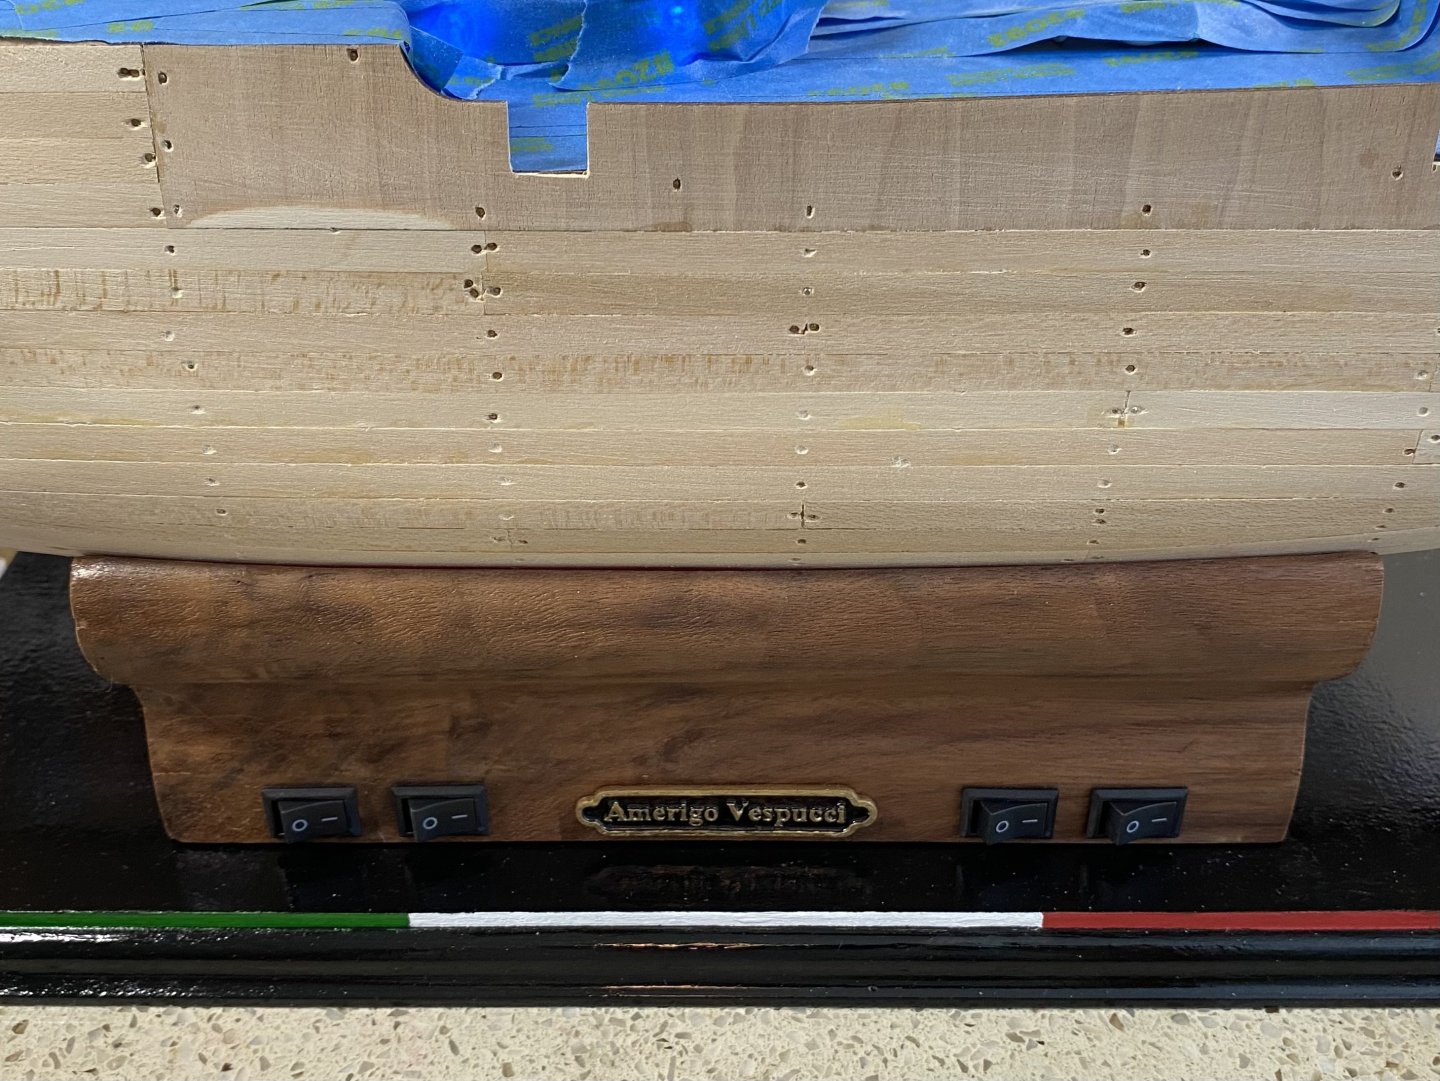
Finished the custom made base for my Amerigo Vespucci. I needed to design a base that would house all the electronics that will be used to light the model. There are four separate circuits running through the ship. So I have 4 voltage regulators, 2 bus bars, the connector that joins to two ends of the electrical system (one end coming out of the bottom of the hull and the matching end in the base. The power pack plugs into the back. I used the OcCre supplied base ends to obtain the needed shape for the bottom of the hull and joined them with planking then covered it with veneer. The bottom of the base I painted black and added accent line of the Italian flag.


-
First planking done and sanded smooth! Ready to start the second planking as soon as I get in the mood 😊. Also finishing up the base that the electronics will be housed in. Once I know for sure it is going to work I will post pictures.


-
Thanks Daniel. I really like what you are doing with your AV and follow your lead a lot. Did you just toss all this OcCre thread or do you expect someday to have a use for it? 😊 I have almost finished my first planking. Still have to add the pieces around the stern. Then sink all the nail heads and sand a little to get ready for the second planking. I have set it aside just for a bit while I build my base. I got an idea how I want to do it so I am running with it while it is fresh in my mind. Will add a few pictures to give you an idea what I am doing.
-
They look great Daniel. Is everything from the kit or did you freelance on some of it? I really like the white thread with black serving. Hate to trash can all the rigging thread that came in the kit but I really like what you did.
-
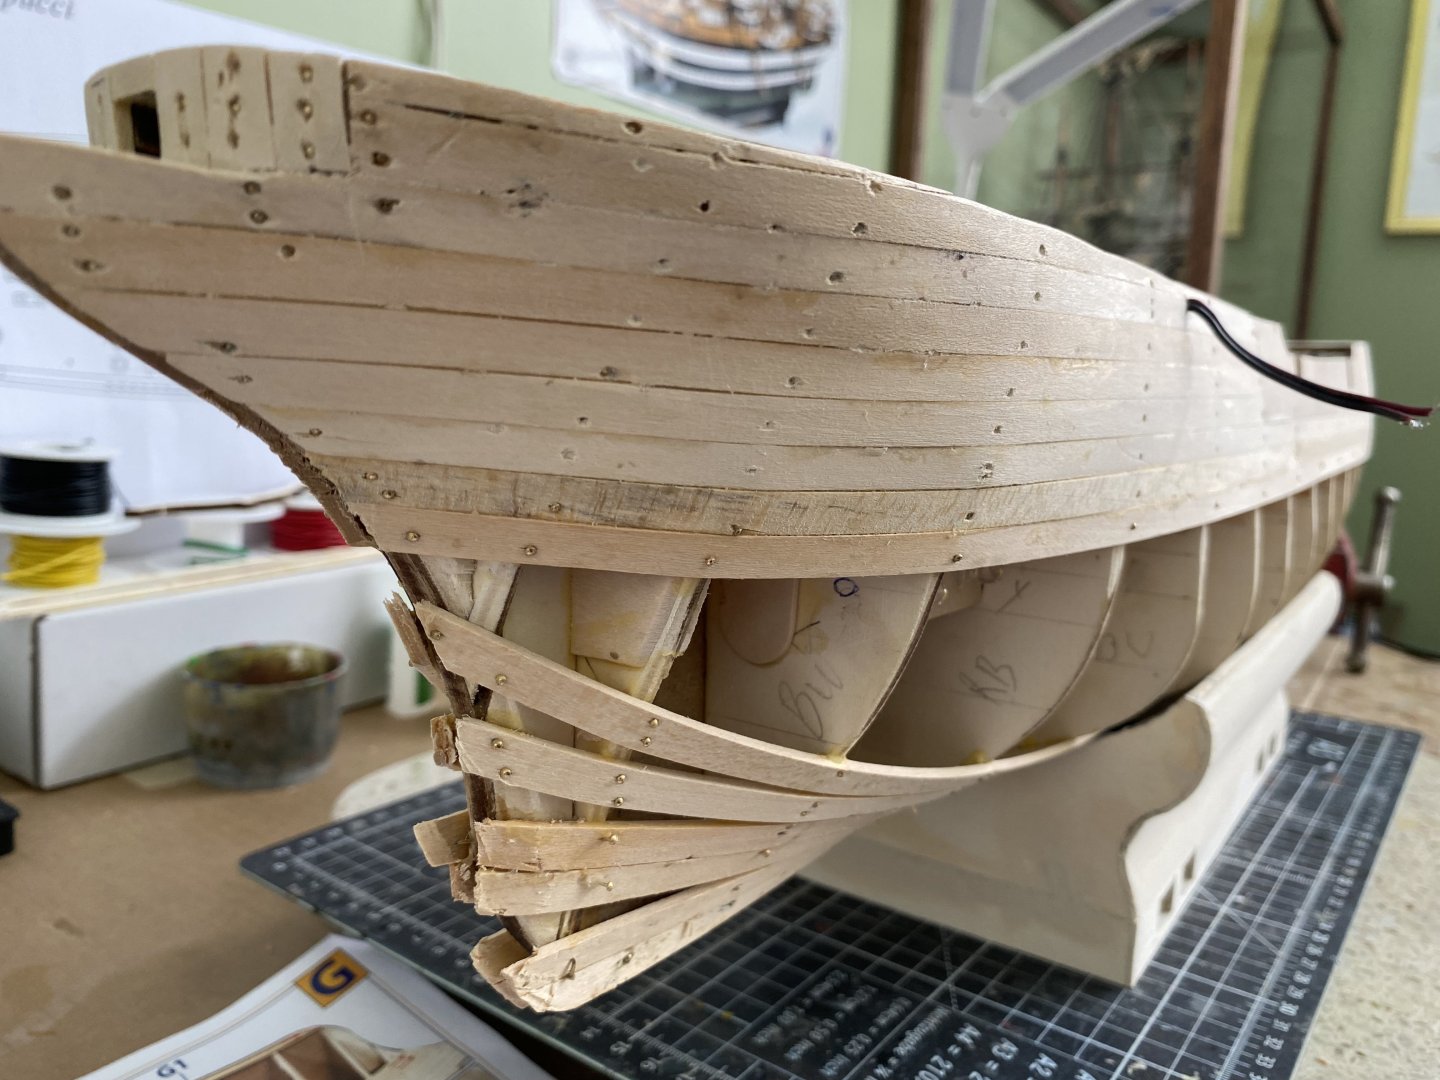
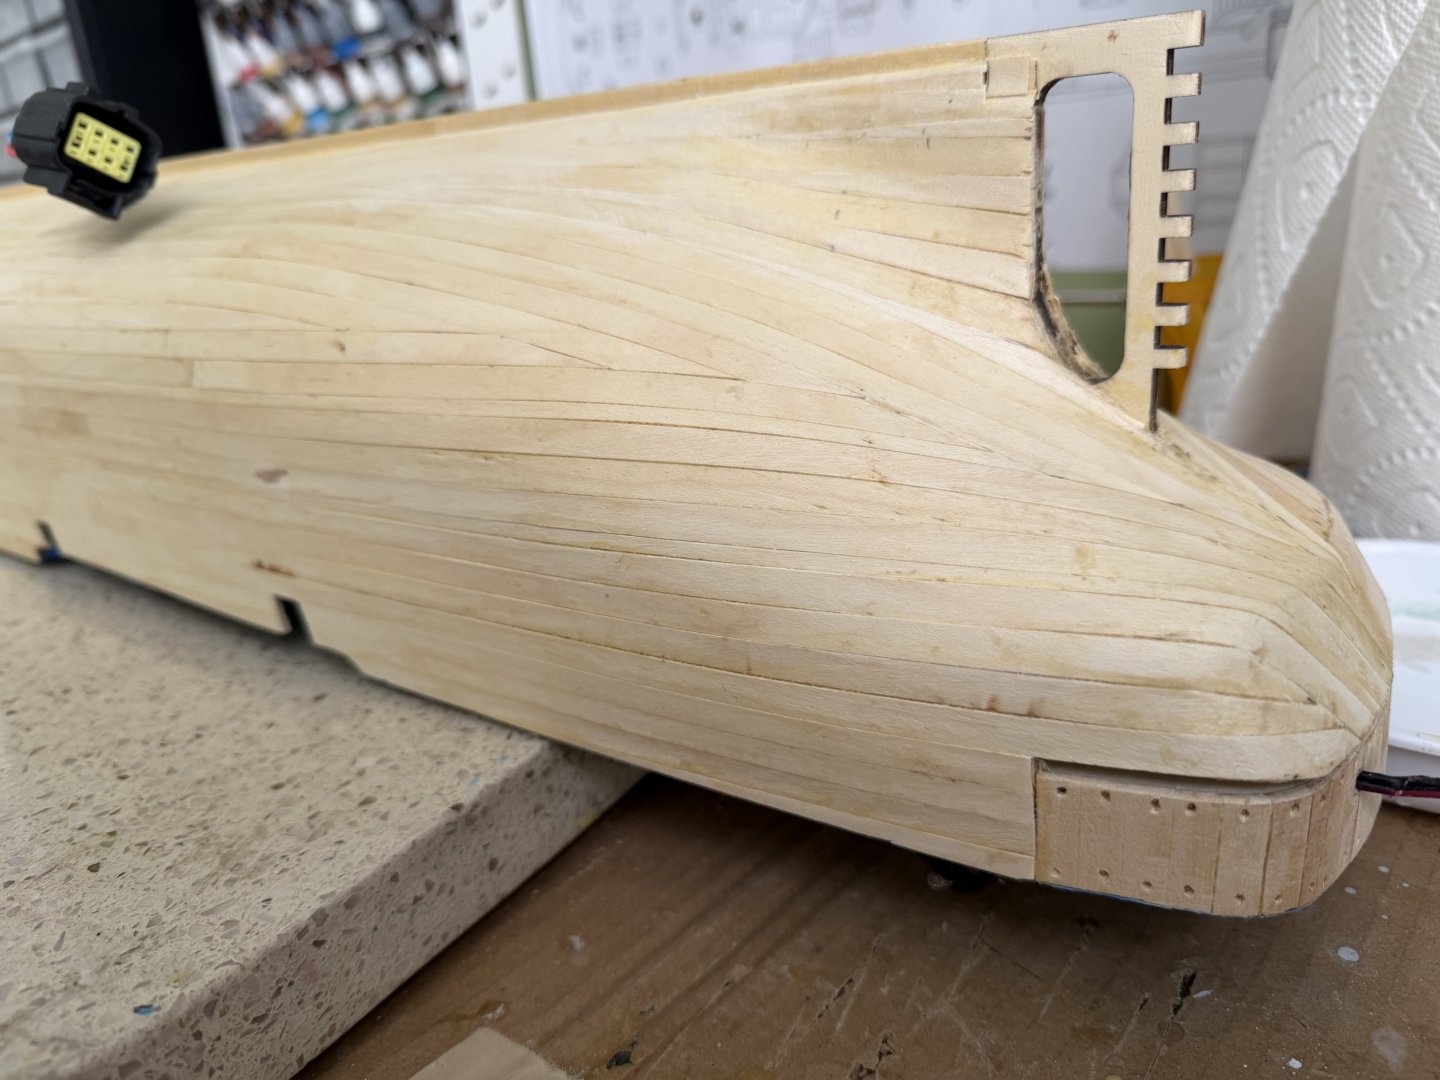
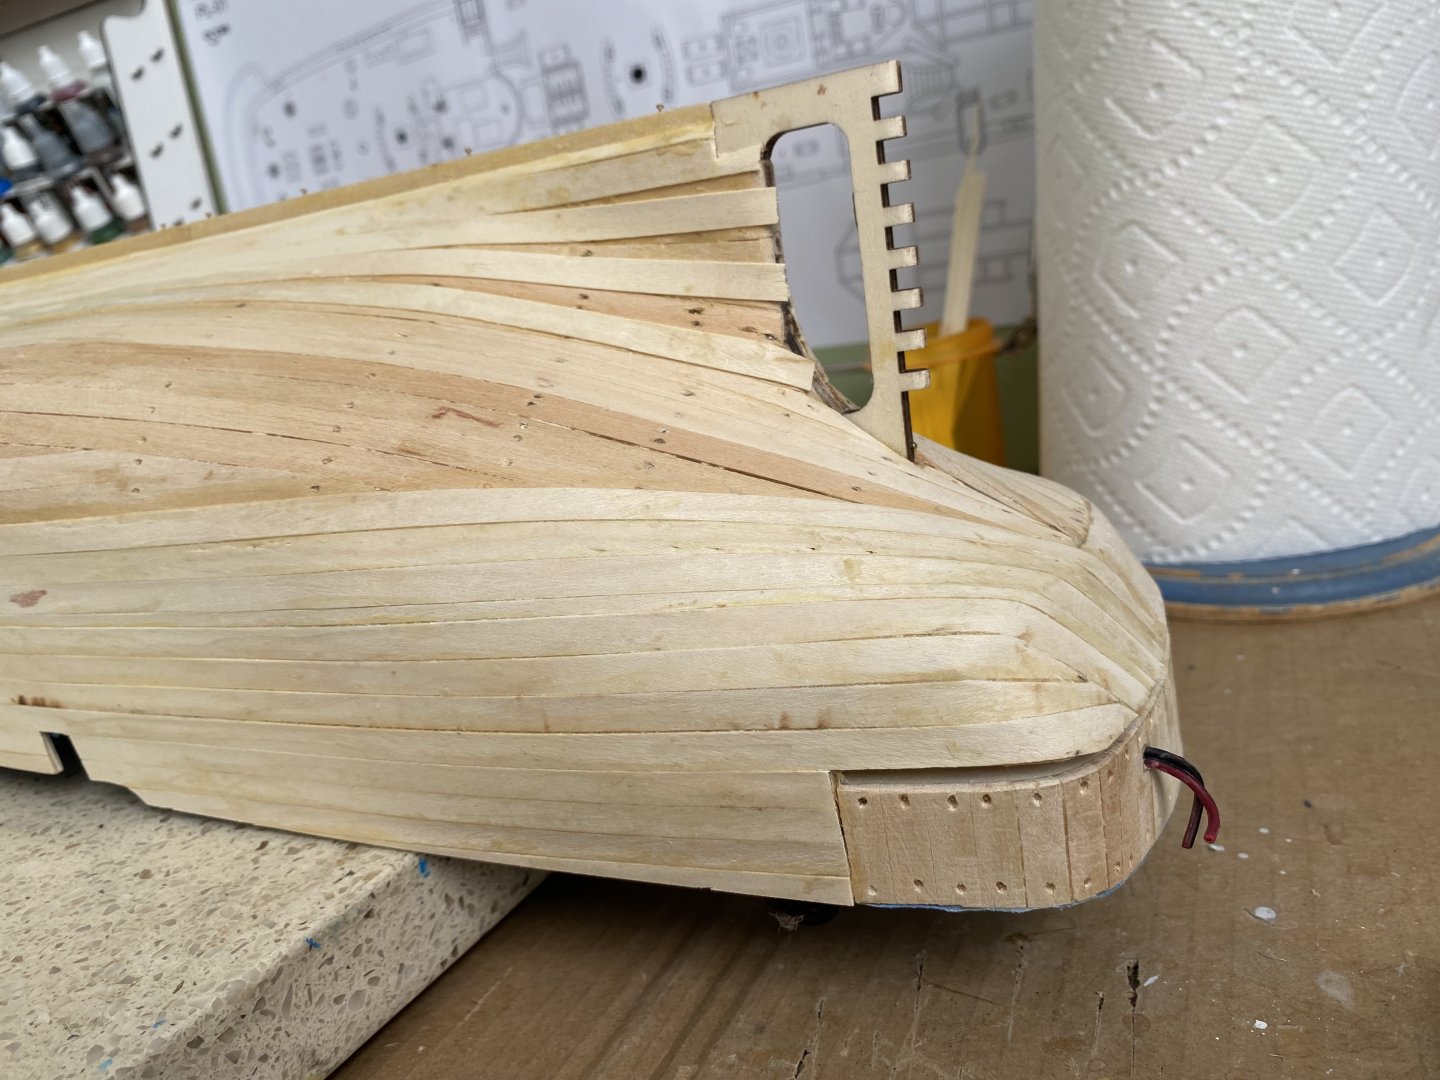
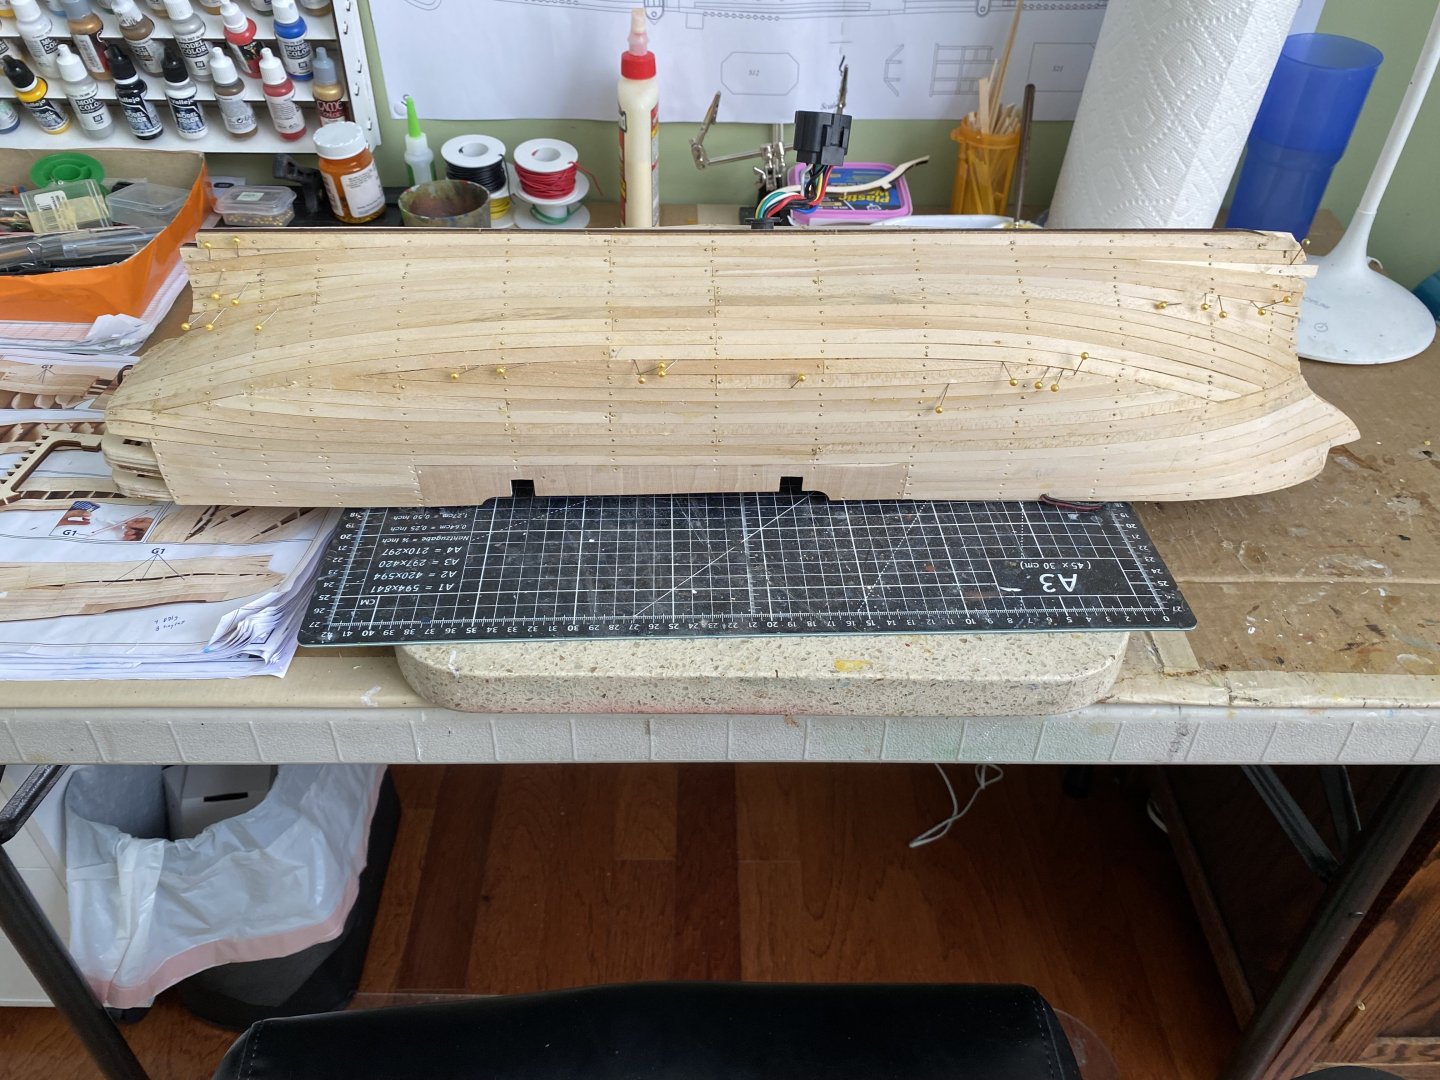
First planking on port side complete. The push pins you see here and there are used to bow a plank in or out along its route to match the plank next to it creating a tighter and smoother first planking surface. This will hopefully cut down on the amount of sanding needed prior to the second planking.
-
Thanks Marc. That herringbone is a labor of love pattern. Have used it a number of times during home remodeling but first timer on a model ship deck! I continue to debate with myself if I want to go back and put the impression of nails at both ends of each board. Might look more authentic for wood deck boards. Not sure if that would make it to busy or look even better. Can’t really test it since there are no places that would not show if I did not like it.
-
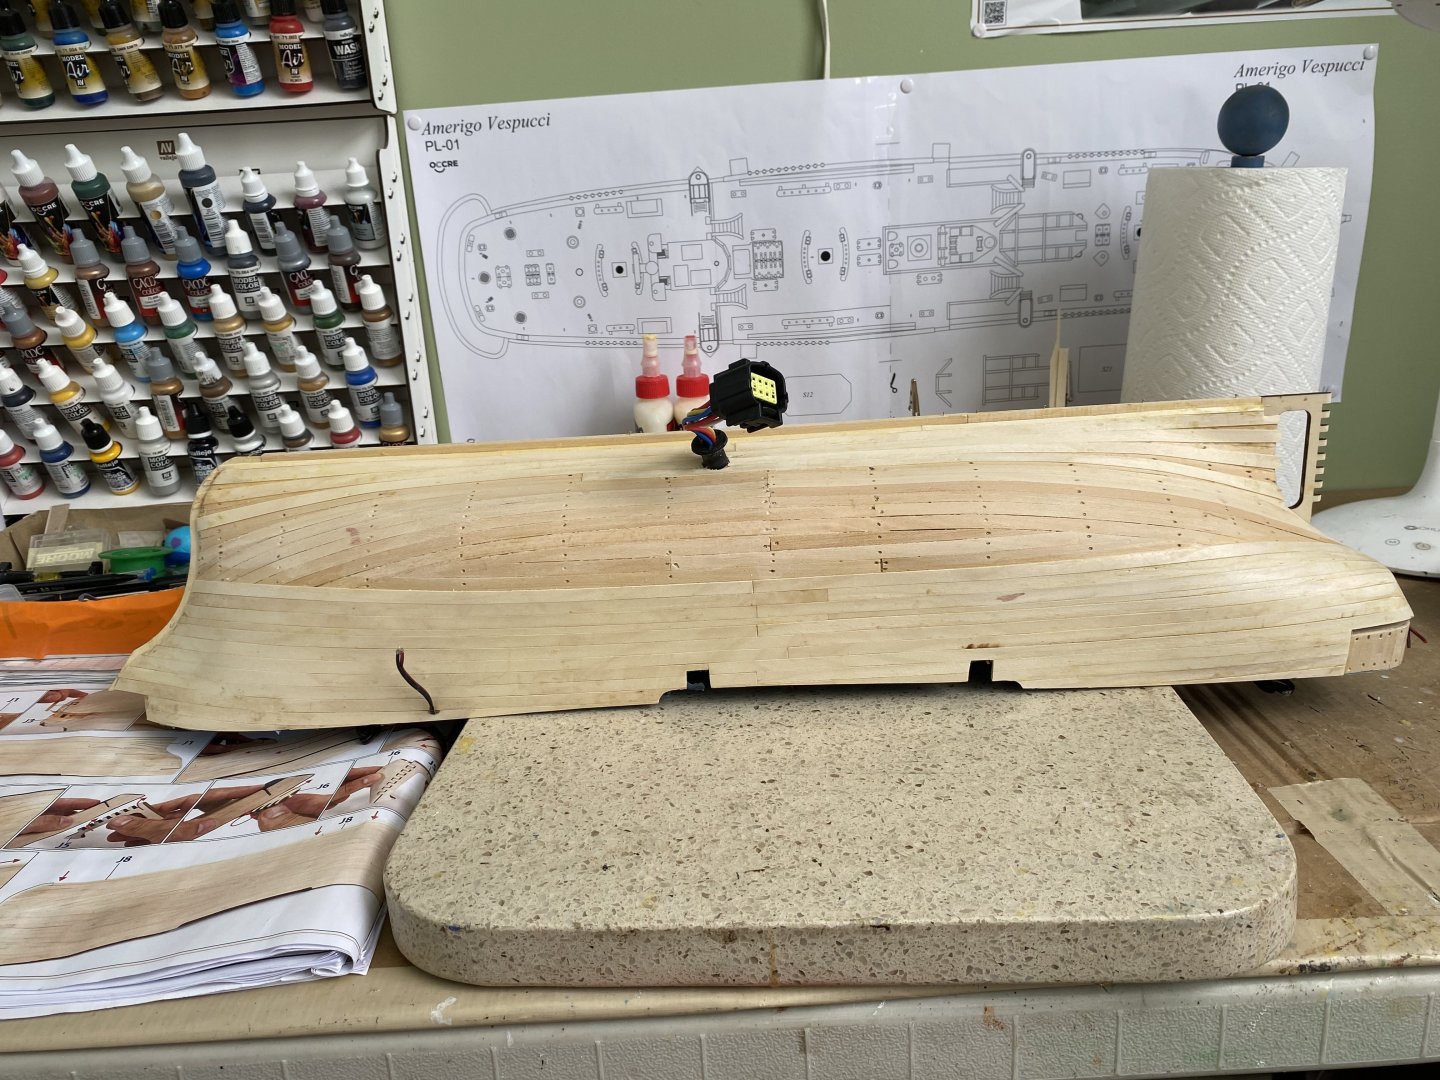
Continuing the first planking. Model setting in what will eventually be the finished base. I found during my build of the OcCre Endeavour the more patience and fine tuning I do with each of the first planks the better outcome I will get with the second planking.