
ChiefClanker
-
Posts
131 -
Joined
-
Last visited
Content Type
Profiles
Forums
Gallery
Events
Everything posted by ChiefClanker
-
 Recently a friend shared his woodworking shop was looking to reduce their inventory of table top drill presses. So, I bought a five-speed model. It works great! It is also great to be able to help each other. Attached is a photo.
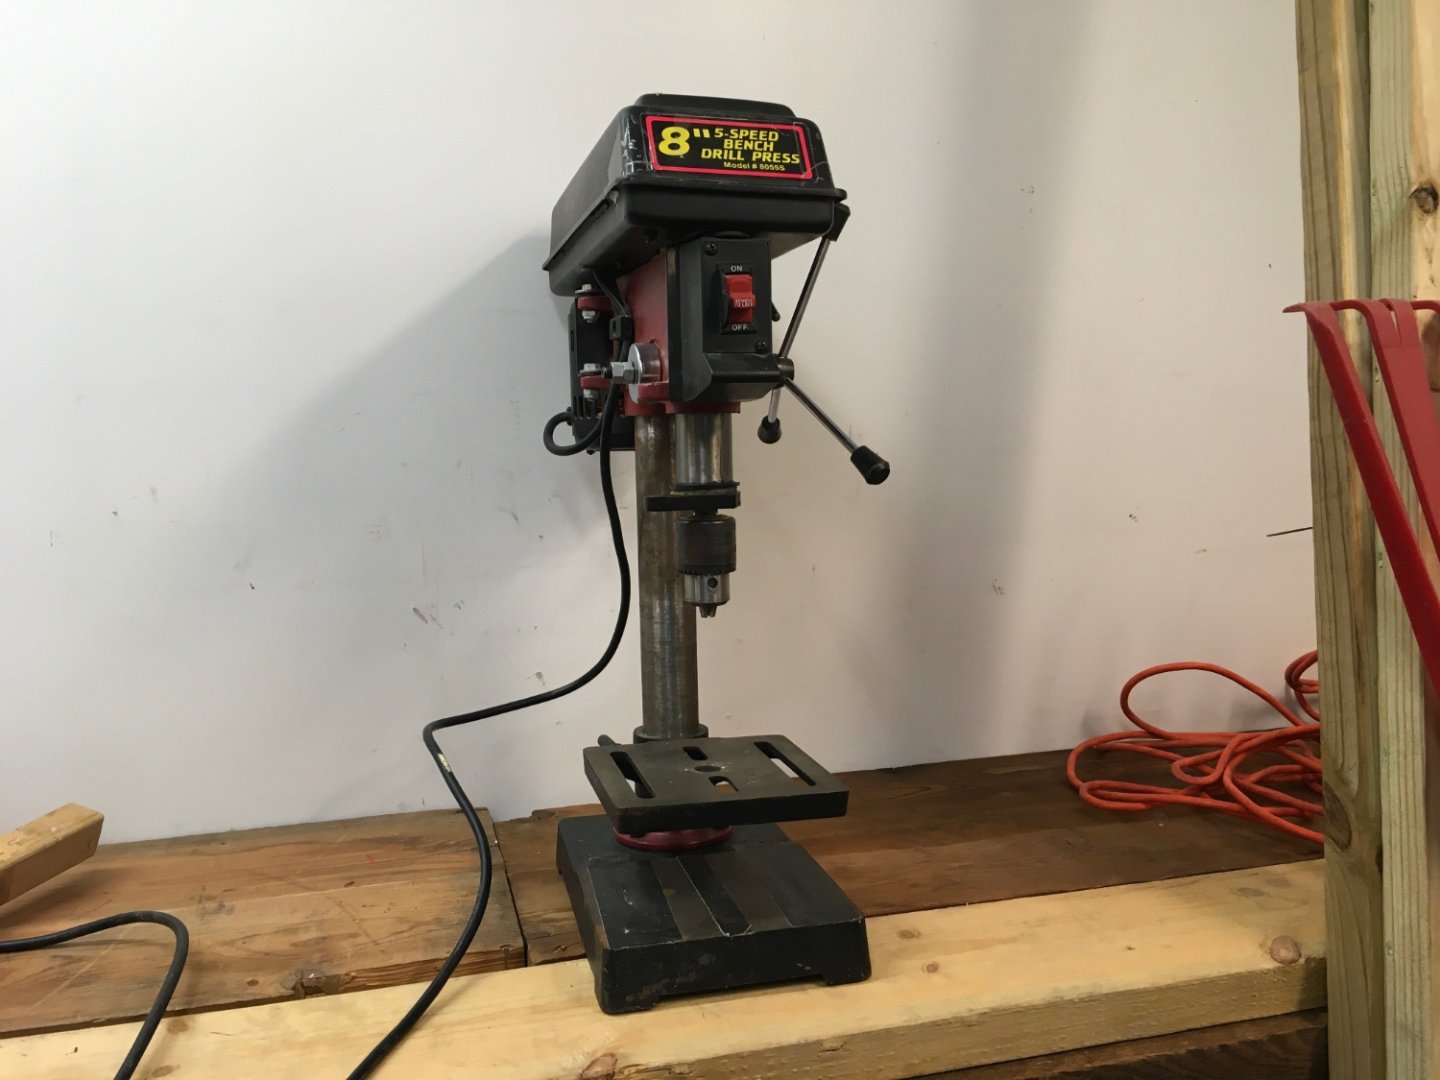
-
I am making progress on my workshop. My workbenches are almost designed. One will be for making the parts and the other for assembling the parts. In other words, one is the workshops and the other is the slipway.
-
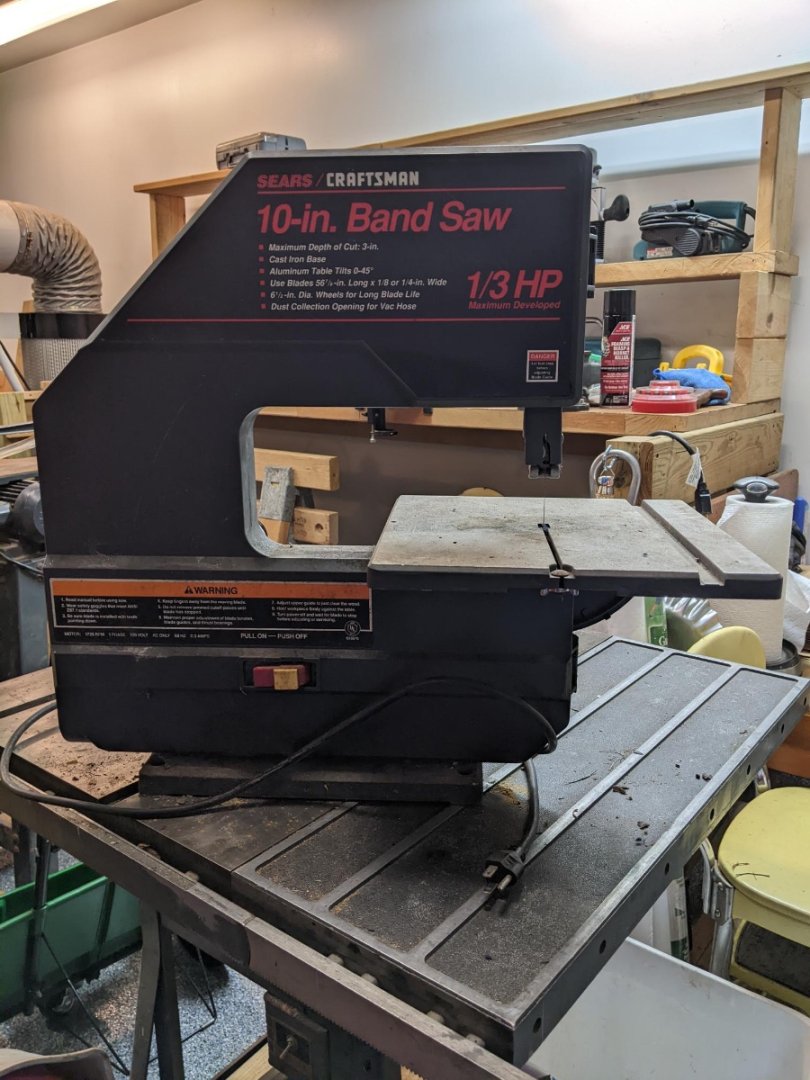
God provides. Yesterday a neighbor put a 10" band saw out for the garbage. She said it did not work. If I wanted to take it and get it to work, it is mine. It did not take much to make it run again. It will be helpful for building ship models.
-
Nice job, Steve! You did a great job of researching the vessel, carving the figures, and finishing your model. It is an inspiration to the rest of us to do our own 'due diligence' in research, persistence, and tackling new builds. Seeing your carved figures encourages me to try myself. Mark
-
Ahoy, Keith, We may find it difficult to recognize when God is giving us the emotional, mental, and spiritual strength to face what we must, but He does. Glad to hear this particular chapter is behind. Still, a parent should never have to bury a child. My prayers continue to go with you. Mark
-
Steve, It looks like a visit to a local auto store is in order. I have a small set of third hands with a magnifier, but glasses might be even better. My garage is getting much closer to being organized and cleaned out. I have a stack of wood which is not conducive to model ship building. Most of it will be consigned to the portable fit pit. The rest will either be put to use for my work bench or cut up and tossed. Mark
- 740 replies
-
- 3
-

-
- Tudor
- restoration
- (and 4 more)
-
Or, maybe, I didn't look at the last page of your build log!!! 🙃
-
Your long boat looks great! It looks like you haven't posted for quite a while. I hope you get back to it soon.
-
Great work, Steve! After seeing you with your glasses, I will have to investigate a pair for myself. Did you carve all the figures in your photos? At first when seeing the carved figures for you Nef, it seemed like a daunting task. Now, however, I am convincing myself to try. What suggestions do you have? Thank you, Mark
- 740 replies
-
- 3
-
-
- Tudor
- restoration
- (and 4 more)
-
My build is on hold for a bit. Family activities, vacations, and needing to clean and organize my garage and build my work benches is taking my time for a few weeks. Just to let you all know. I haven't lost heart, but am eager to get back at it. Consider this 'time off' as 'sharpening my ax.' Fair winds and following seas, Chief Mark
-
Peter, Great work! Your jig looks very impressive. I'm taking notes, for sure. Chief Mark
-
Steve, Oh, That is looking good! Keep up the great work! Chief Mark
- 740 replies
-
- 3
-
-

-
- Tudor
- restoration
- (and 4 more)
-
Keith, What a shock! Very sorry to hear about your sudden loss. What a terrible event to have to deal with. I will pray God will sustain you and your family through this ordeal. Chief Mark
-
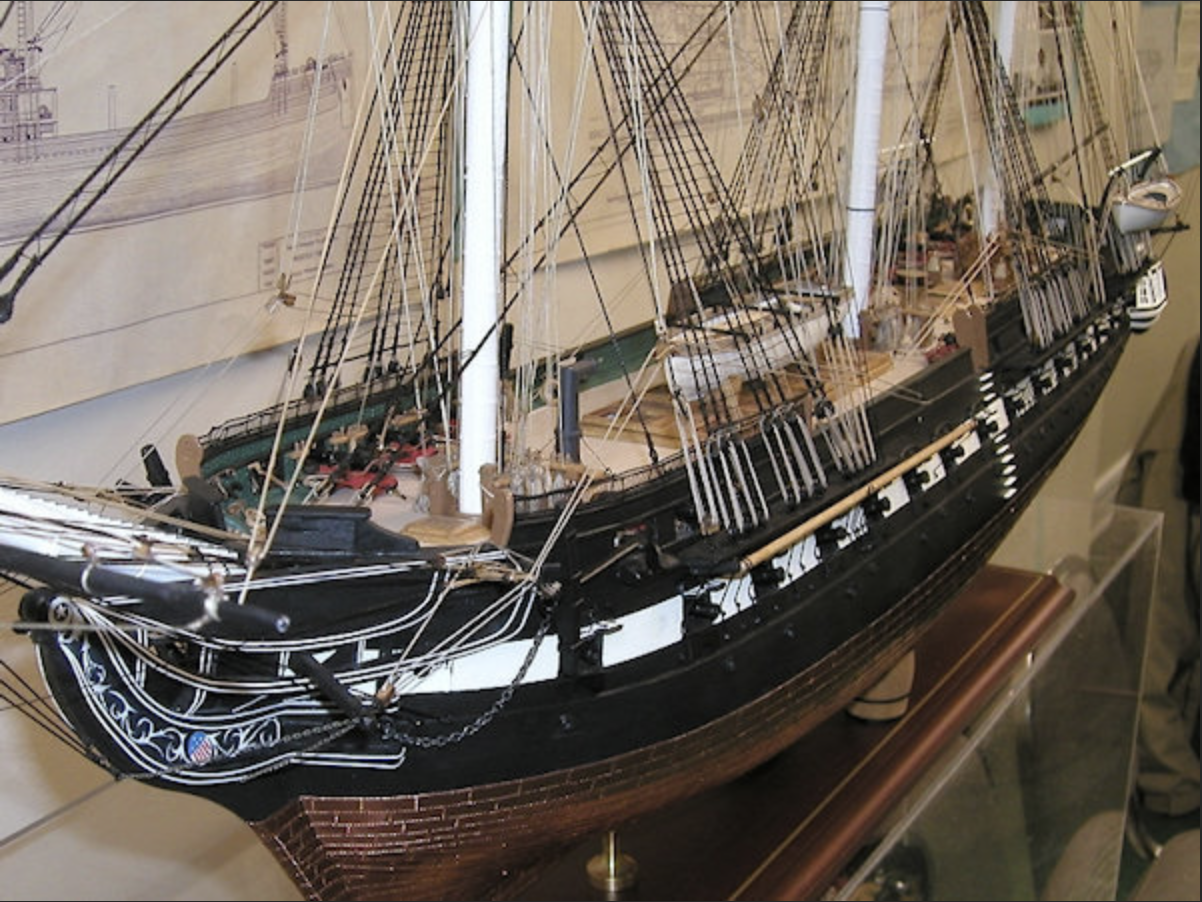
Thank you for bring back very fond memories of my two visits to 'Old Ironsides', the last one in July 2001. Keep up the good work on your model! You are an inspiration!
-
Your progress looks excellent, Keith. The photos and suggestions for how to do deadeyes are very helpful.
-
A friend volunteered to use his home build CNC laser to cut out my frames and keel. After mounting the frames on the keel, it became clear how off my frames are despite, what I thought, extreme care in making sure they were correct. Almost half the frames are off at the top. It is back to the drawing board. Literally. I won’t finish this first attempt as originally planned. Steve, thank you for the suggestions on jigs. I will take a look at them. When the keel and frames are cut out correctly, they ‘should’ be a ‘built-in’ jig. Abraham Lincoln once said if he were give eight hours to chop down a tree, he would spend six hours sharpening his axe. Thank you to all of you who sharpened your axes!!
-
Keith, Your craftsmanship and workmanship is an inspiration to the rest of us. Keep up the good work. Mark
-
After looking at Louie da Flies model of the Winchelsea Nef, it seems my beams are to thick. I will have to make some adjustments before going to much further, particularly the mast step. Also, looking at his Grace Dieu rebuild, I am taking better notice of how the wood grain runs when cutting out frames and futtocks. Also, I may have to make a different jig for attaching the frames to make sure they are squared up in three dimensions. A challenge to make the size of the parts as close to prototypical as possible. At the smaller scales, that is a bit more difficult. Besides building my model in 1:96, I was thinking of also building it in 1:160. And I’m saying to myself, “Good luck!” My model railroad is 1:160. Did they have nefs in the time of railroads?? On mine they did!
-
After making each frame, I will redraw the frame to how it was actually constructed. In terms of the hull planks, this current build is my ‘dry run’ as well. After each plank is made, I will trace it. This current build is also giving me ideas in how to draw and plan frames, futtocks, knees, deck deck beams, stem and stern posts, and keels and how to mark them as to where the frames attach.
-
That is correct.
-
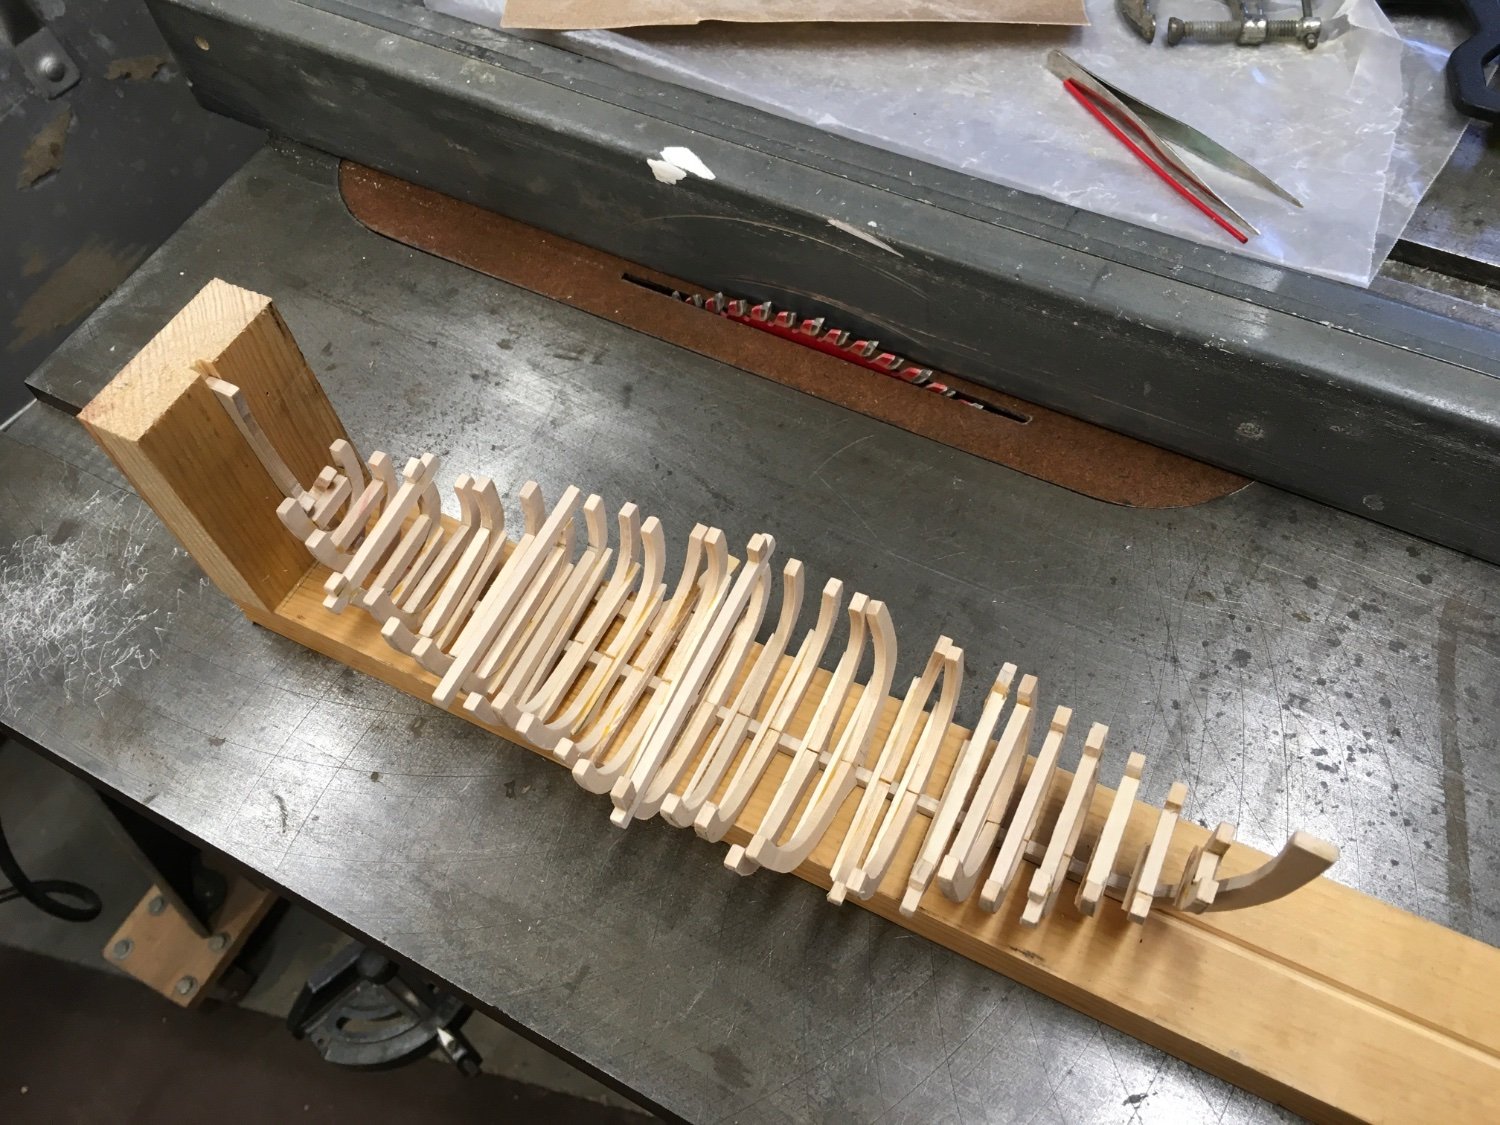
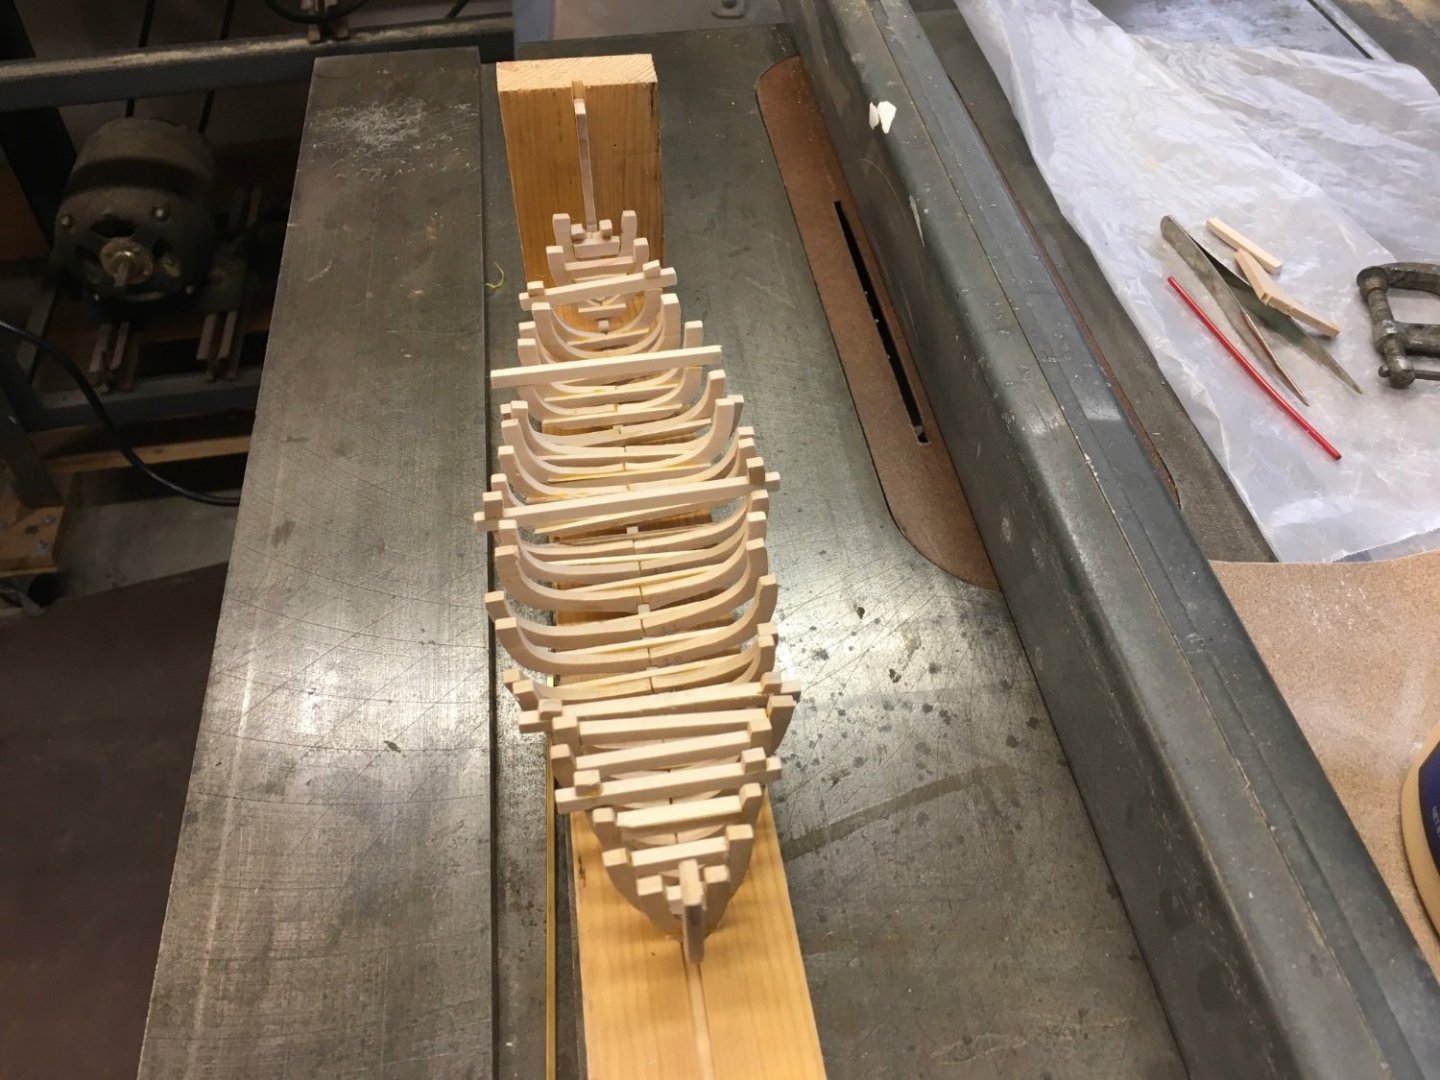
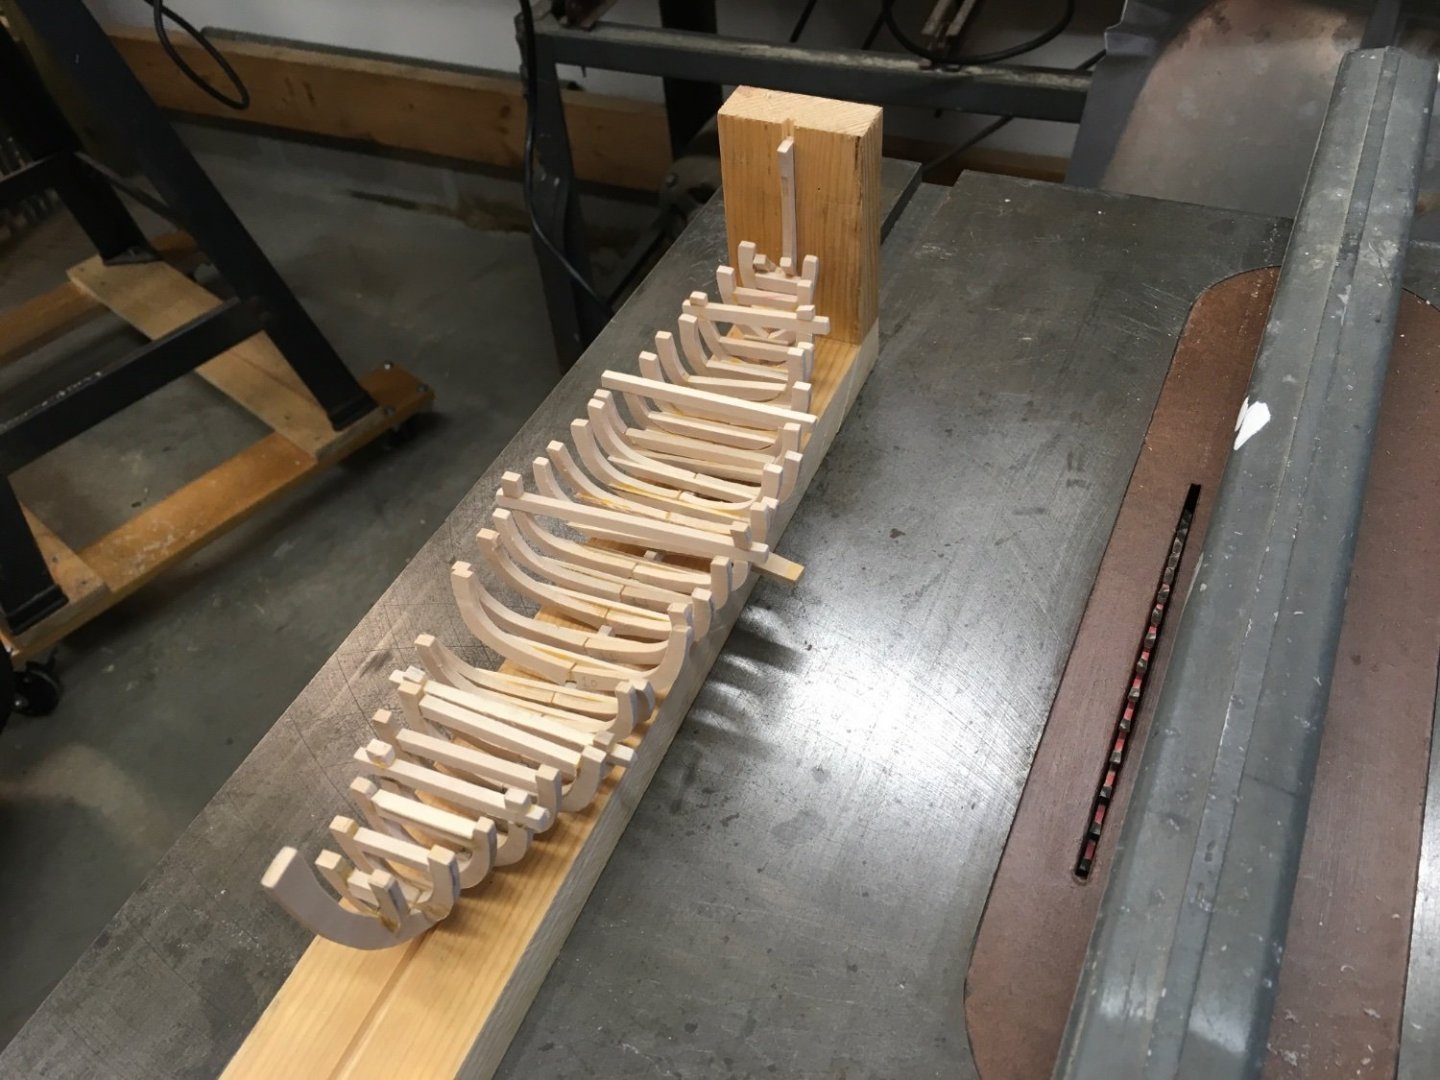
Attached are two photos of progress so far. I am making notes regarding refining my process as the building progresses. Even though early on I realized the wood is too thick, actually seeing the long-term results at each step of the way helps in improving the process. Even so, I am enjoying the process and the results. I am looking forward to my next effort! Not all the frames are complete; that will come over the next few days. Next is making a jig to make sure the three dimensions will be square before gluing the frames to the posts and keel. I need to be precise in marking where the frames are attached to the posts and keel. It is important to thinking about what comes after attaching the frames to make sure the frames are attached correctly.

-
Chuck, You confirmed my thinking is correct in that it is a 3-dimensional situation. Your jig looks greats. Thank you for the example. Mark
-
After working on frames before attaching them to the keel, your question is prompting me to rethink how I’m going to do this. Small levels might work just fine as will using either Lego blocks or, as I have done in the past for other projects, used small 1” x 1” pieces of squared off wood. What is your advise?
-
Untangling and rerigging or start from scratch?
ChiefClanker replied to Rgpracer's topic in Masting, rigging and sails
Start small, then work big.