Jerry Berenson
-
Posts
85 -
Joined
-
Last visited
Recent Profile Visitors
1,388 profile views


-
Thank you everyone for your kind words! Jerry
-
 JacquesCousteau reacted to a post in a topic:
HMS Bounty by Jerry Berenson - FINISHED - Corel - 1/130
JacquesCousteau reacted to a post in a topic:
HMS Bounty by Jerry Berenson - FINISHED - Corel - 1/130
-
Baker reacted to a post in a topic:
HMS Bounty by Jerry Berenson - FINISHED - Corel - 1/130
-
Ryland Craze reacted to a post in a topic:
HMS Bounty by Jerry Berenson - FINISHED - Corel - 1/130
-
 Ryland Craze reacted to a post in a topic:
HMS Bounty by Jerry Berenson - FINISHED - Corel - 1/130
Ryland Craze reacted to a post in a topic:
HMS Bounty by Jerry Berenson - FINISHED - Corel - 1/130
-
Jared reacted to a post in a topic:
HMS Bounty by Jerry Berenson - FINISHED - Corel - 1/130
-
AJohnson reacted to a post in a topic:
HMS Bounty by Jerry Berenson - FINISHED - Corel - 1/130
-
AJohnson reacted to a post in a topic:
HMS Bounty by Jerry Berenson - FINISHED - Corel - 1/130
-
AJohnson reacted to a post in a topic:
HMS Bounty by Jerry Berenson - FINISHED - Corel - 1/130
-
AJohnson reacted to a post in a topic:
HMS Bounty by Jerry Berenson - FINISHED - Corel - 1/130
-
AJohnson reacted to a post in a topic:
HMS Bounty by Jerry Berenson - FINISHED - Corel - 1/130
-
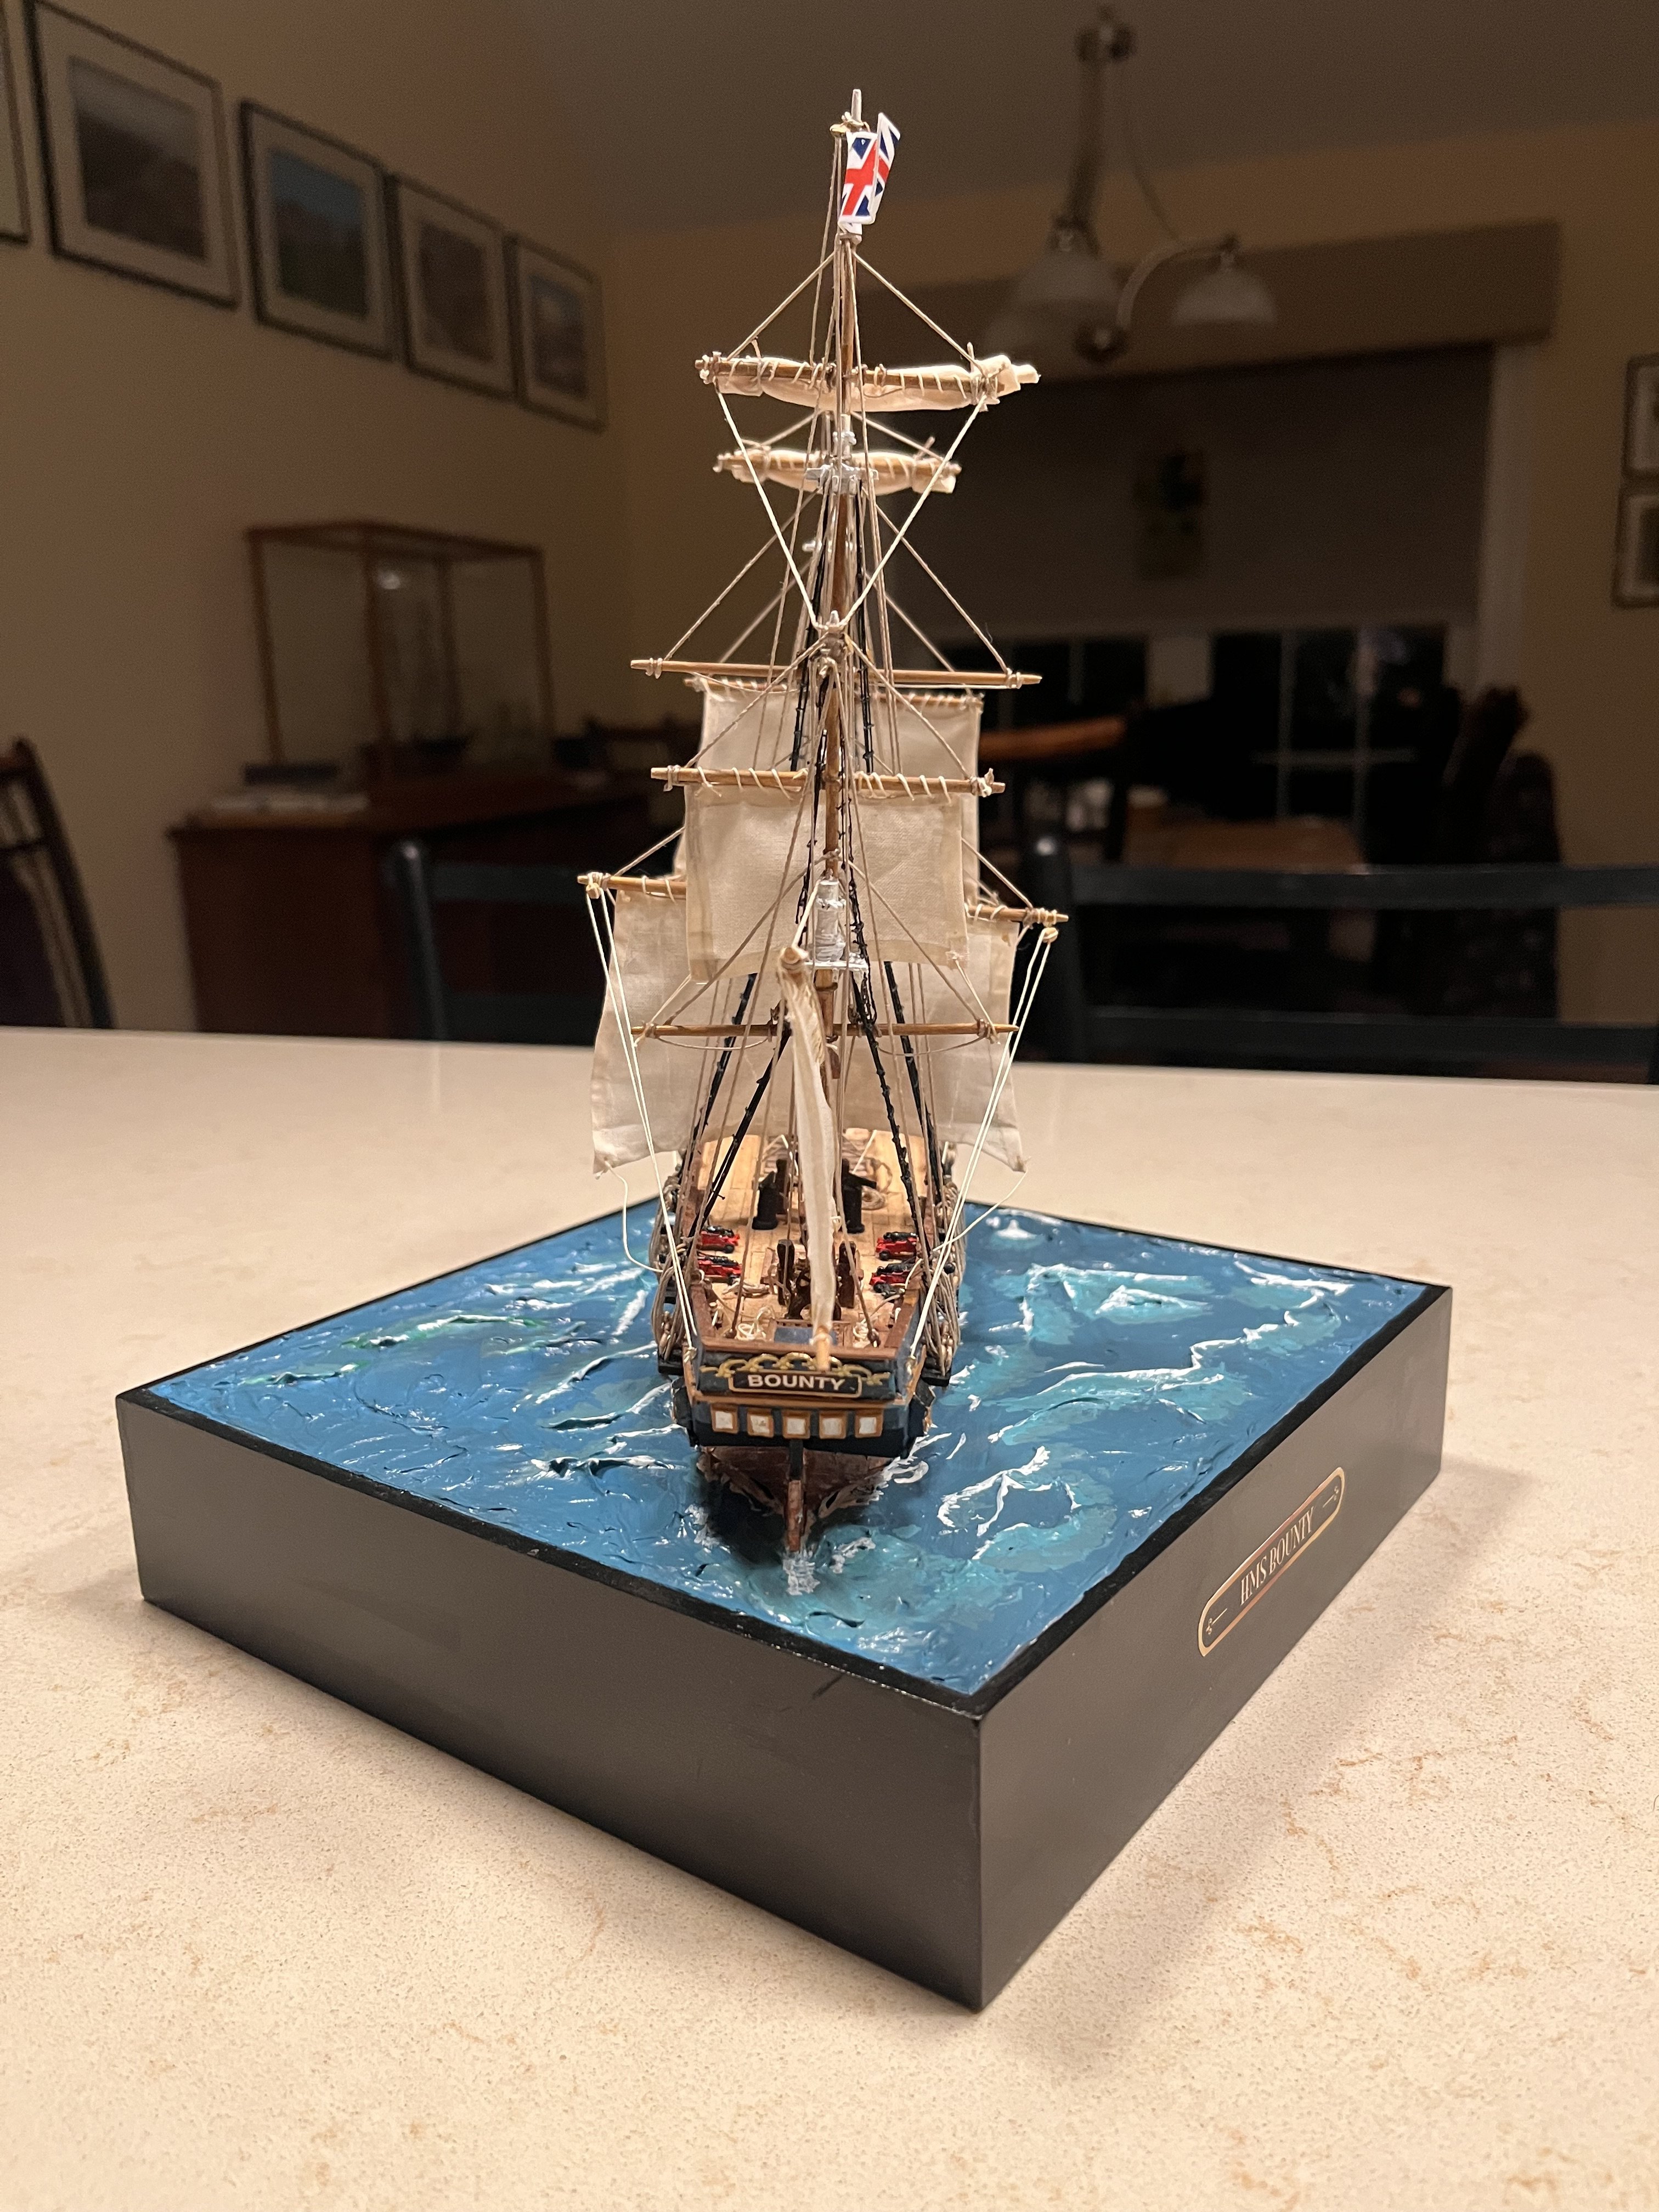
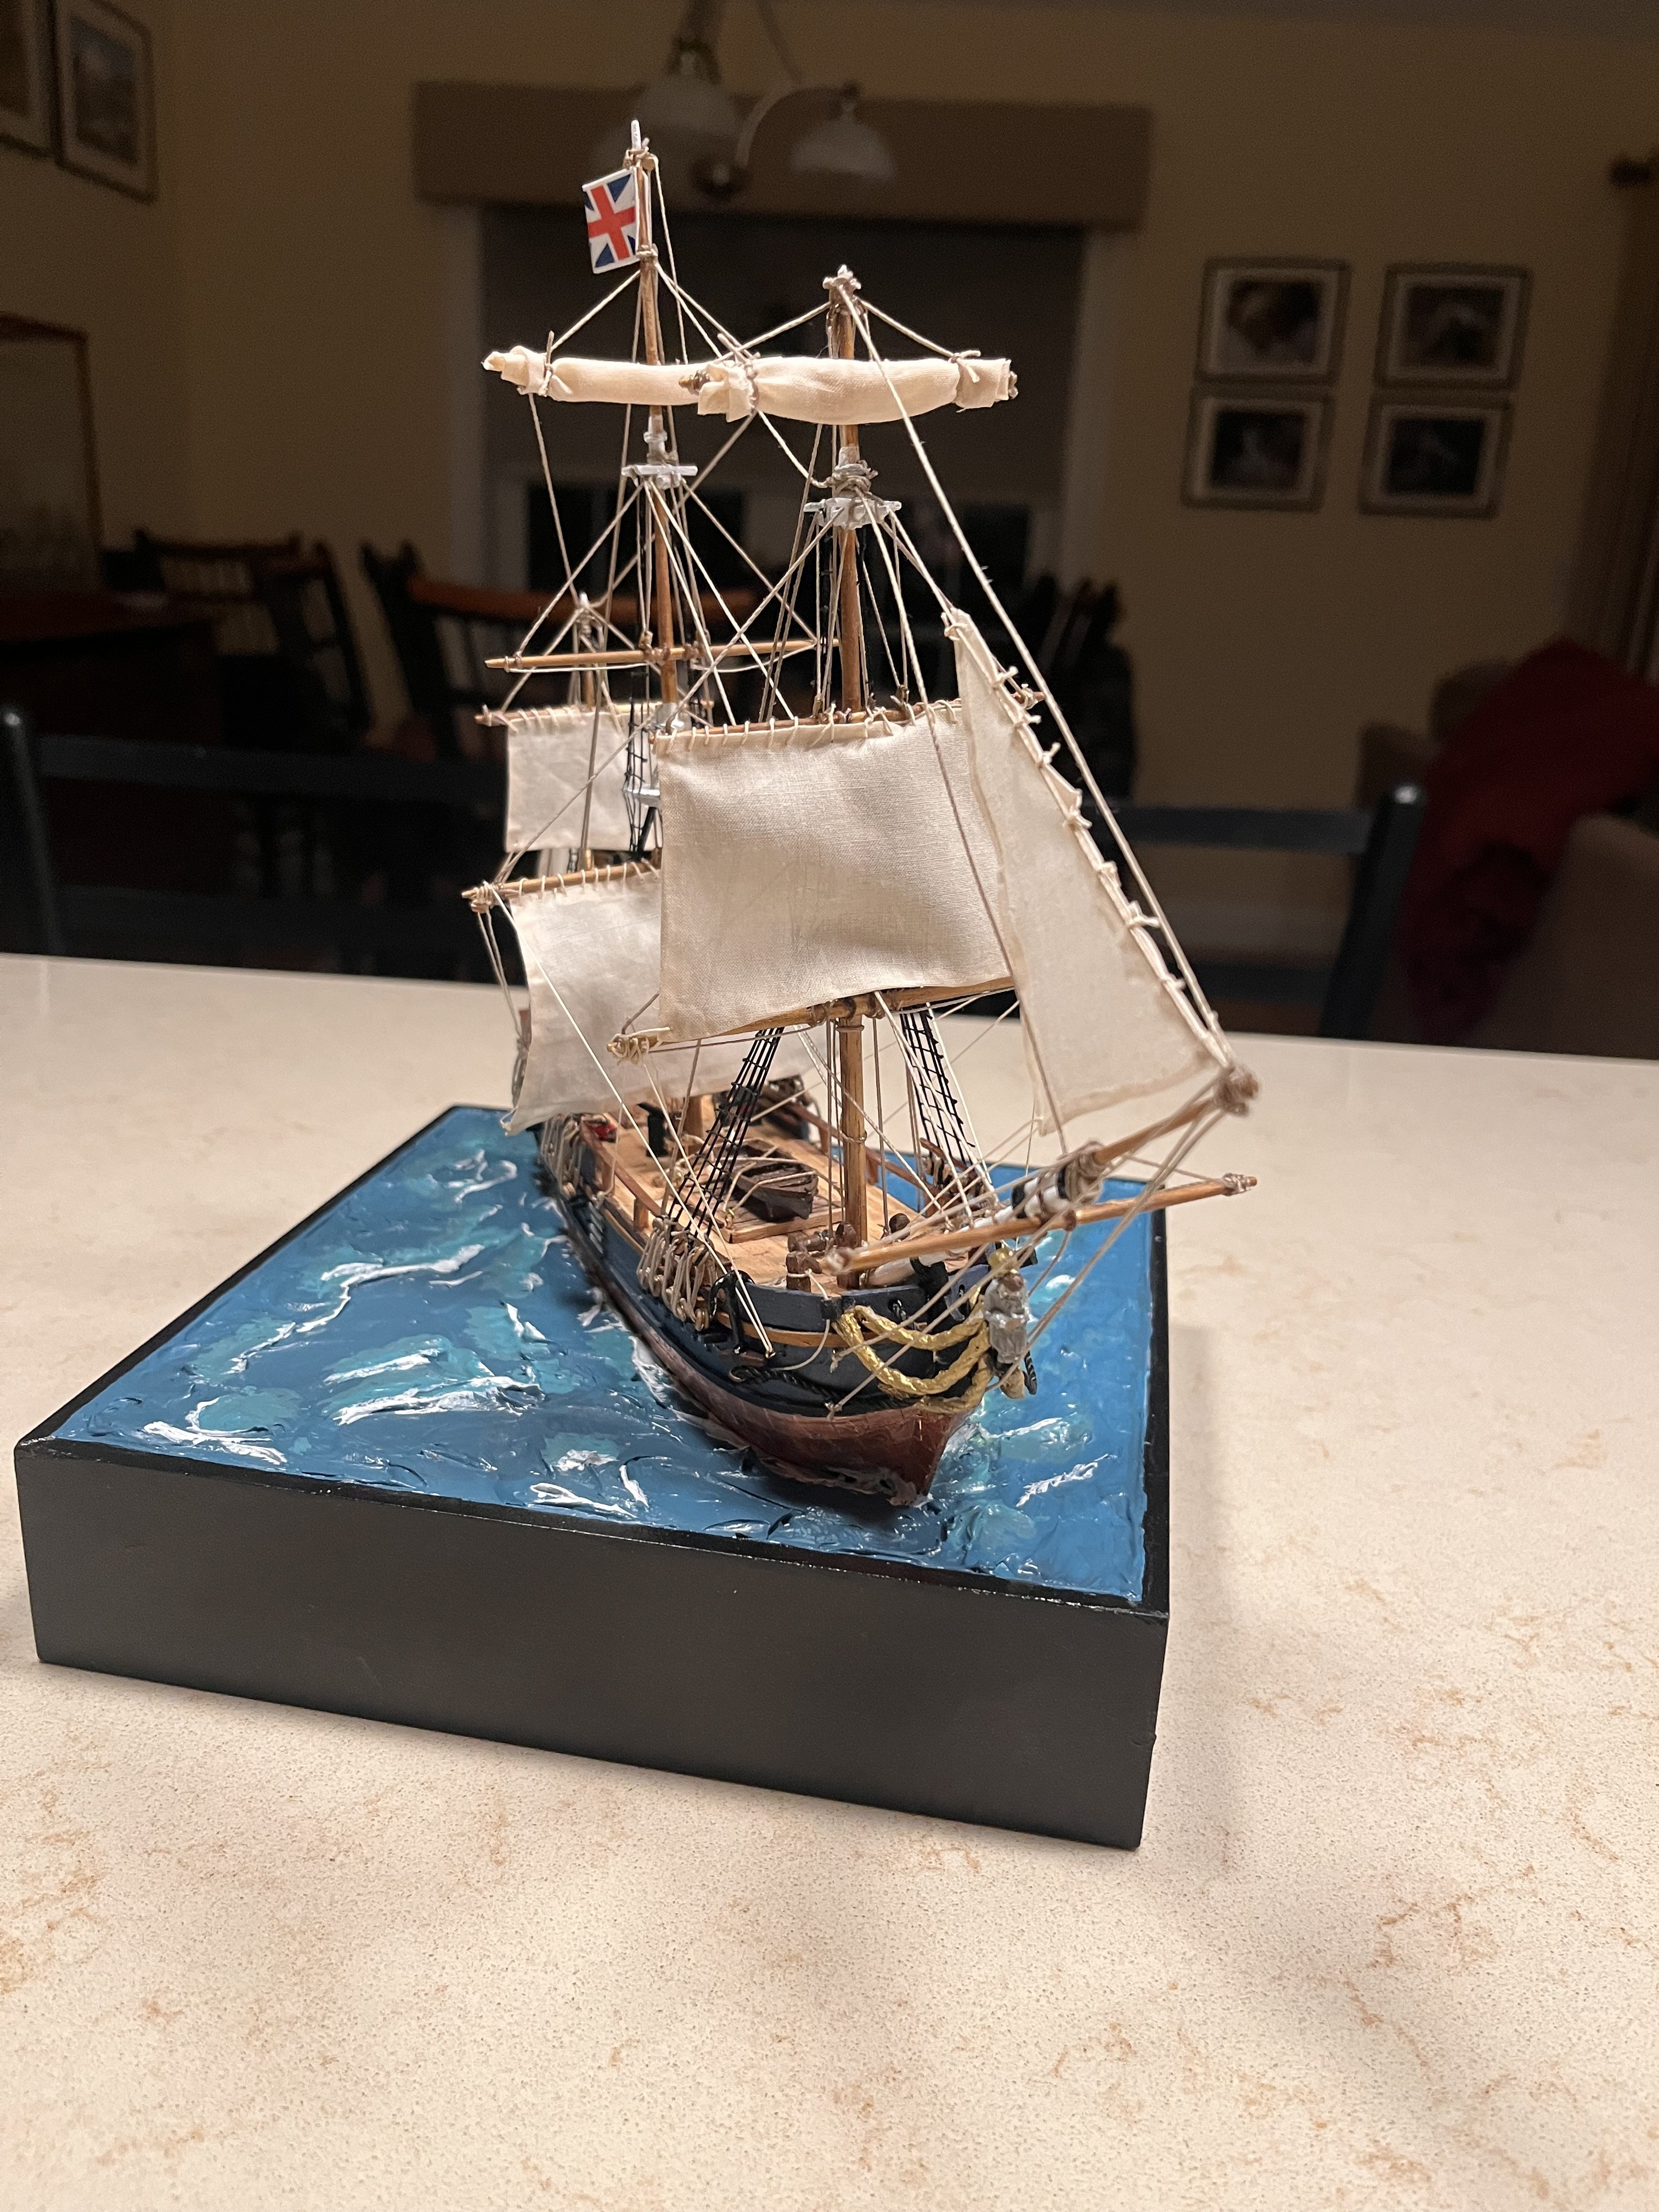
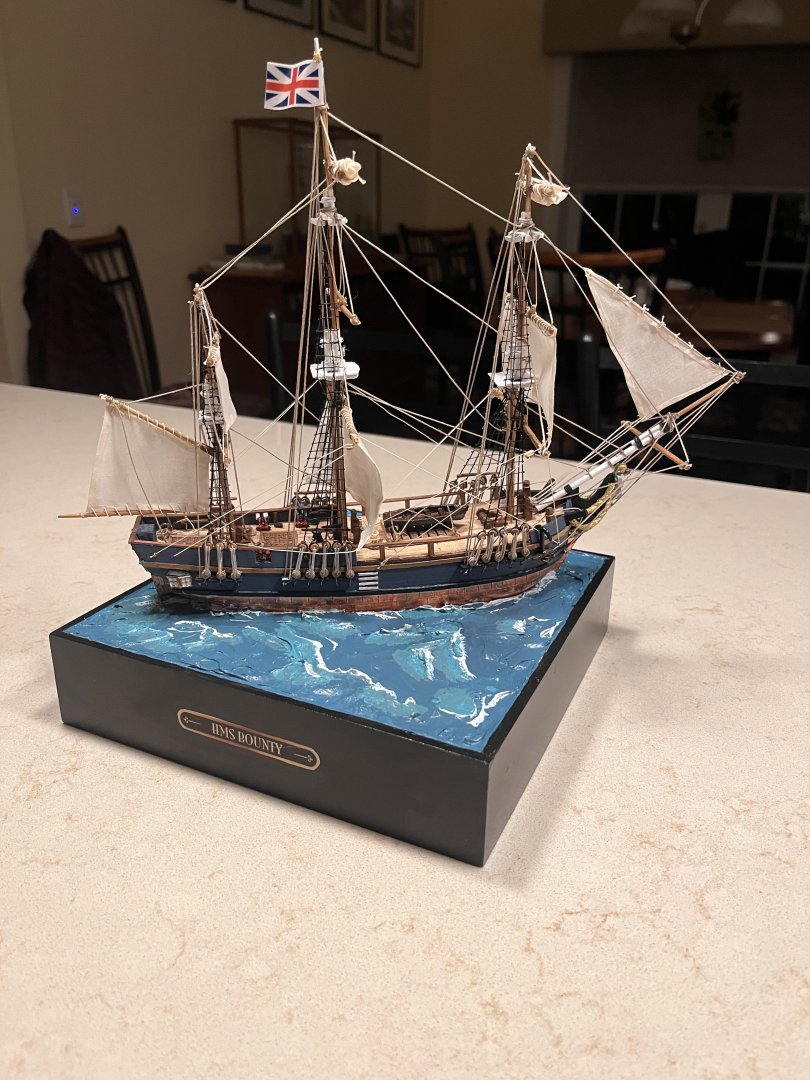
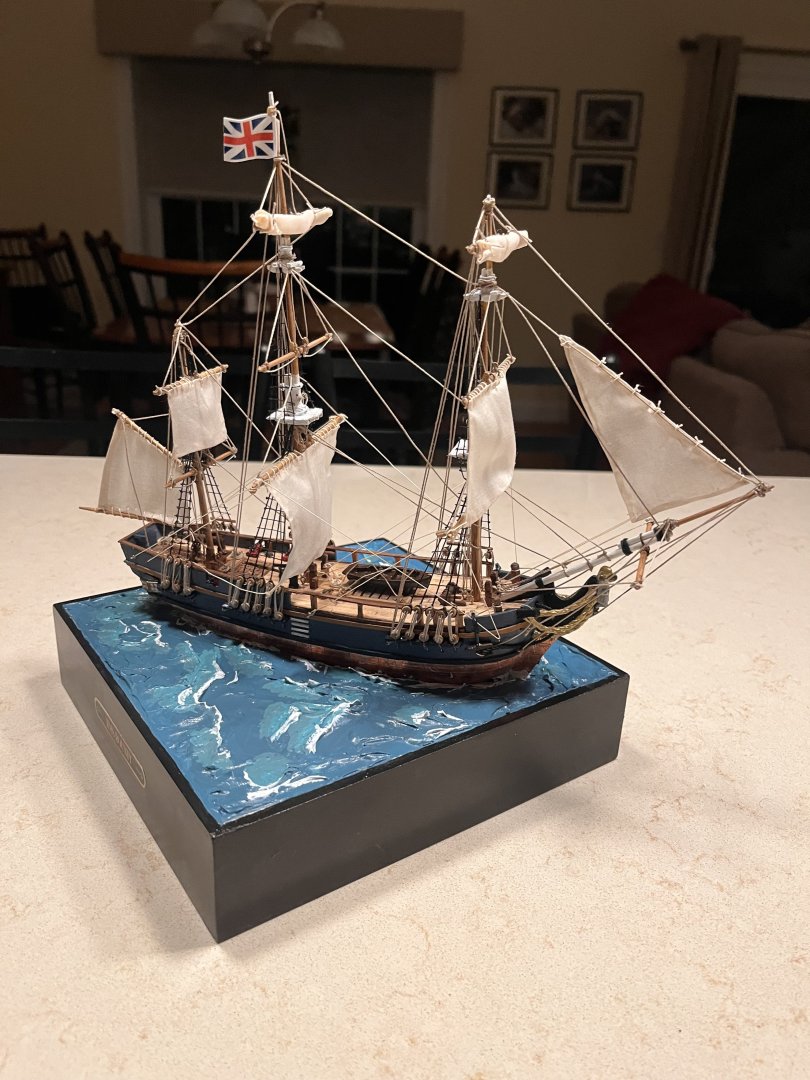
I completed the build this weekend ! Instead of a stand I decided to try to make a diorama. I purchased a small shadow box and cut out a piece of foam board and cut out a portion where the ship was to be placed. I then spread modeling paste on the board and simulated waves and rough sea. After drying, I painted the ocean with blue, green and black combinations to simulate deeper areas of water. I also tried to simulate the wave action with white areas. Overall I am happy with the results. Working with a small model was at times much more challenging than with a 1/50 or 1/75 model. Thanks for viewing. Jerry


-
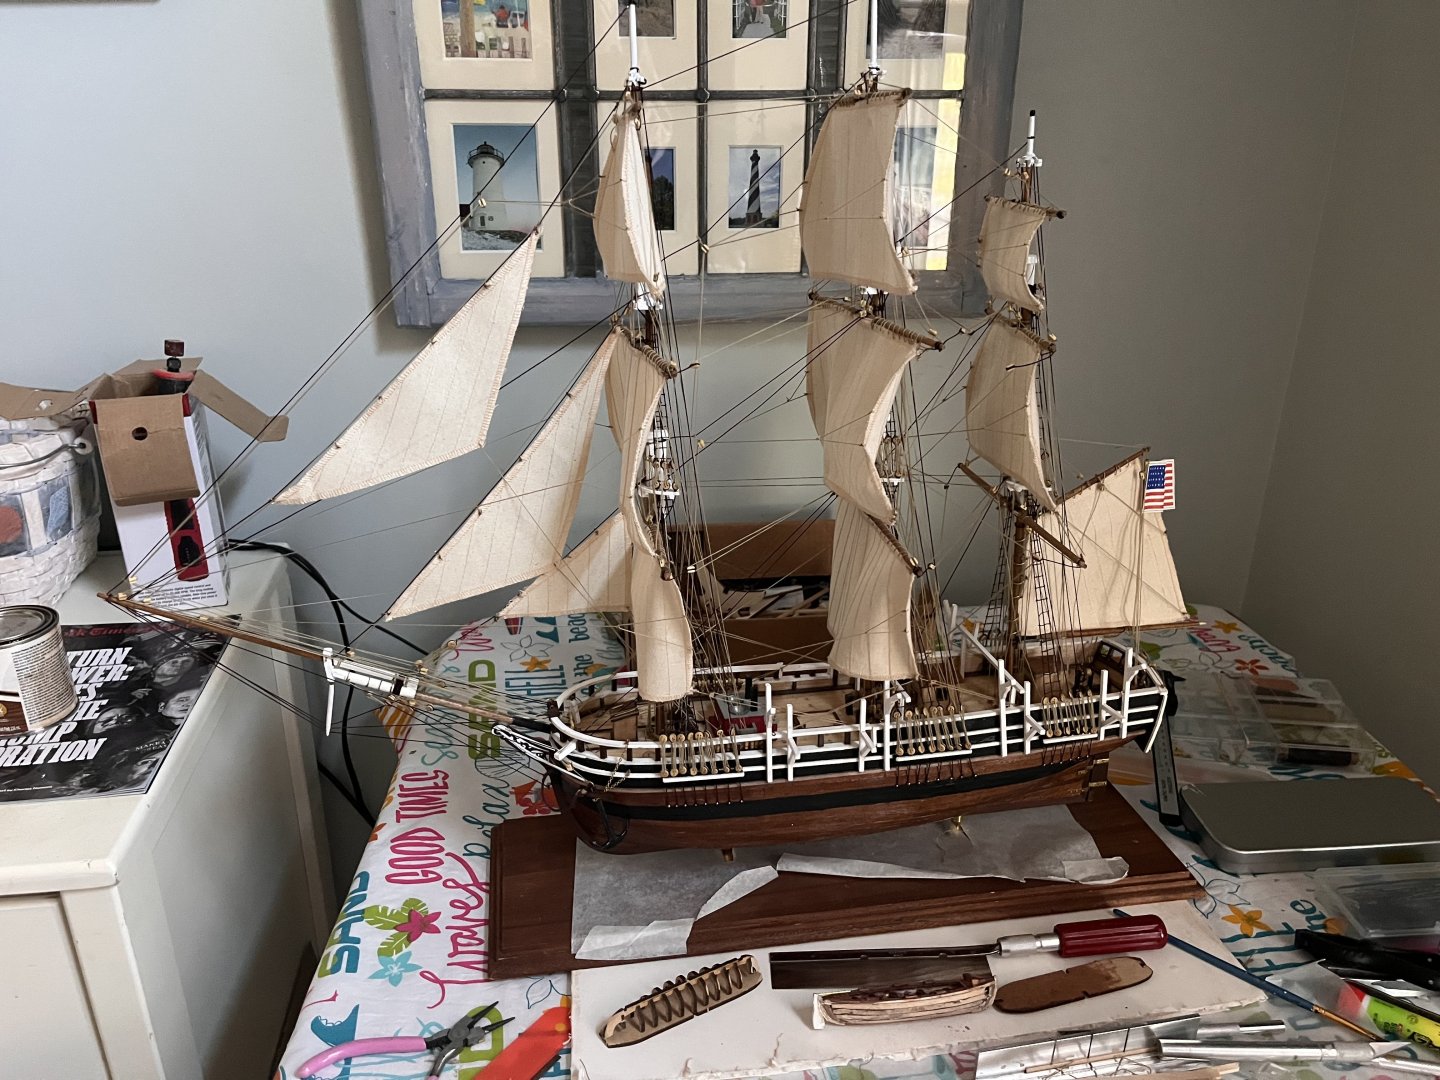
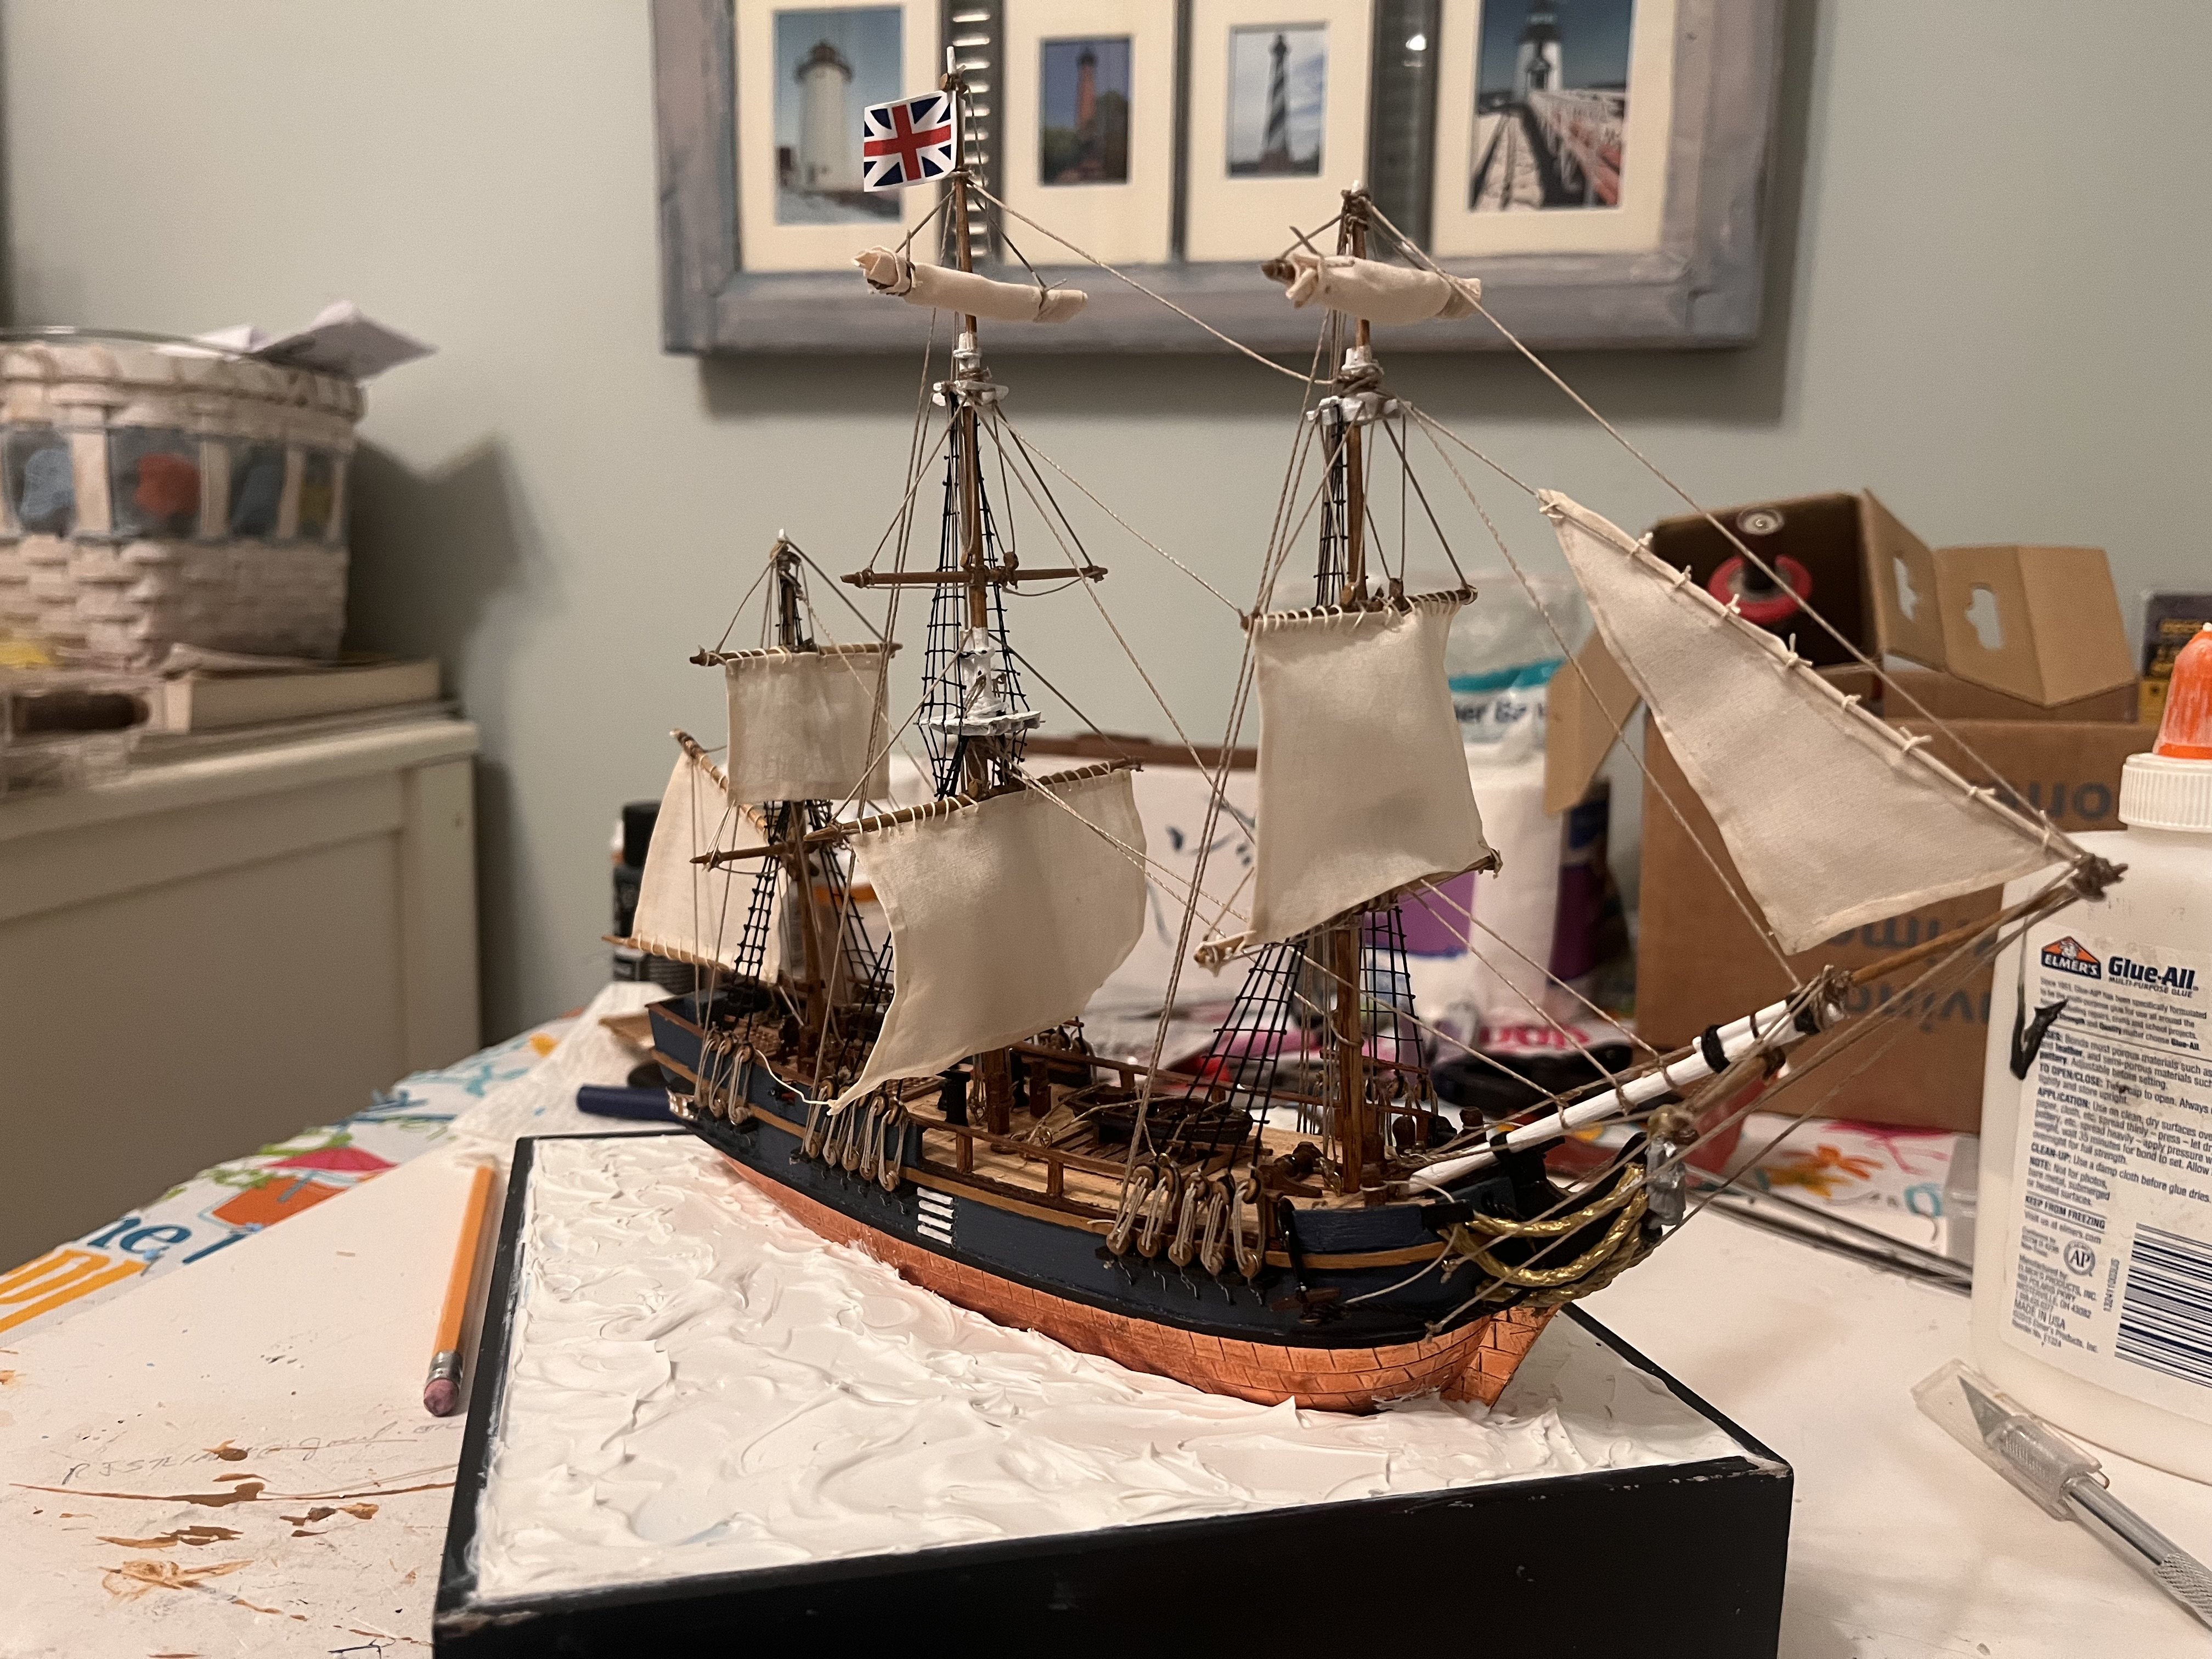
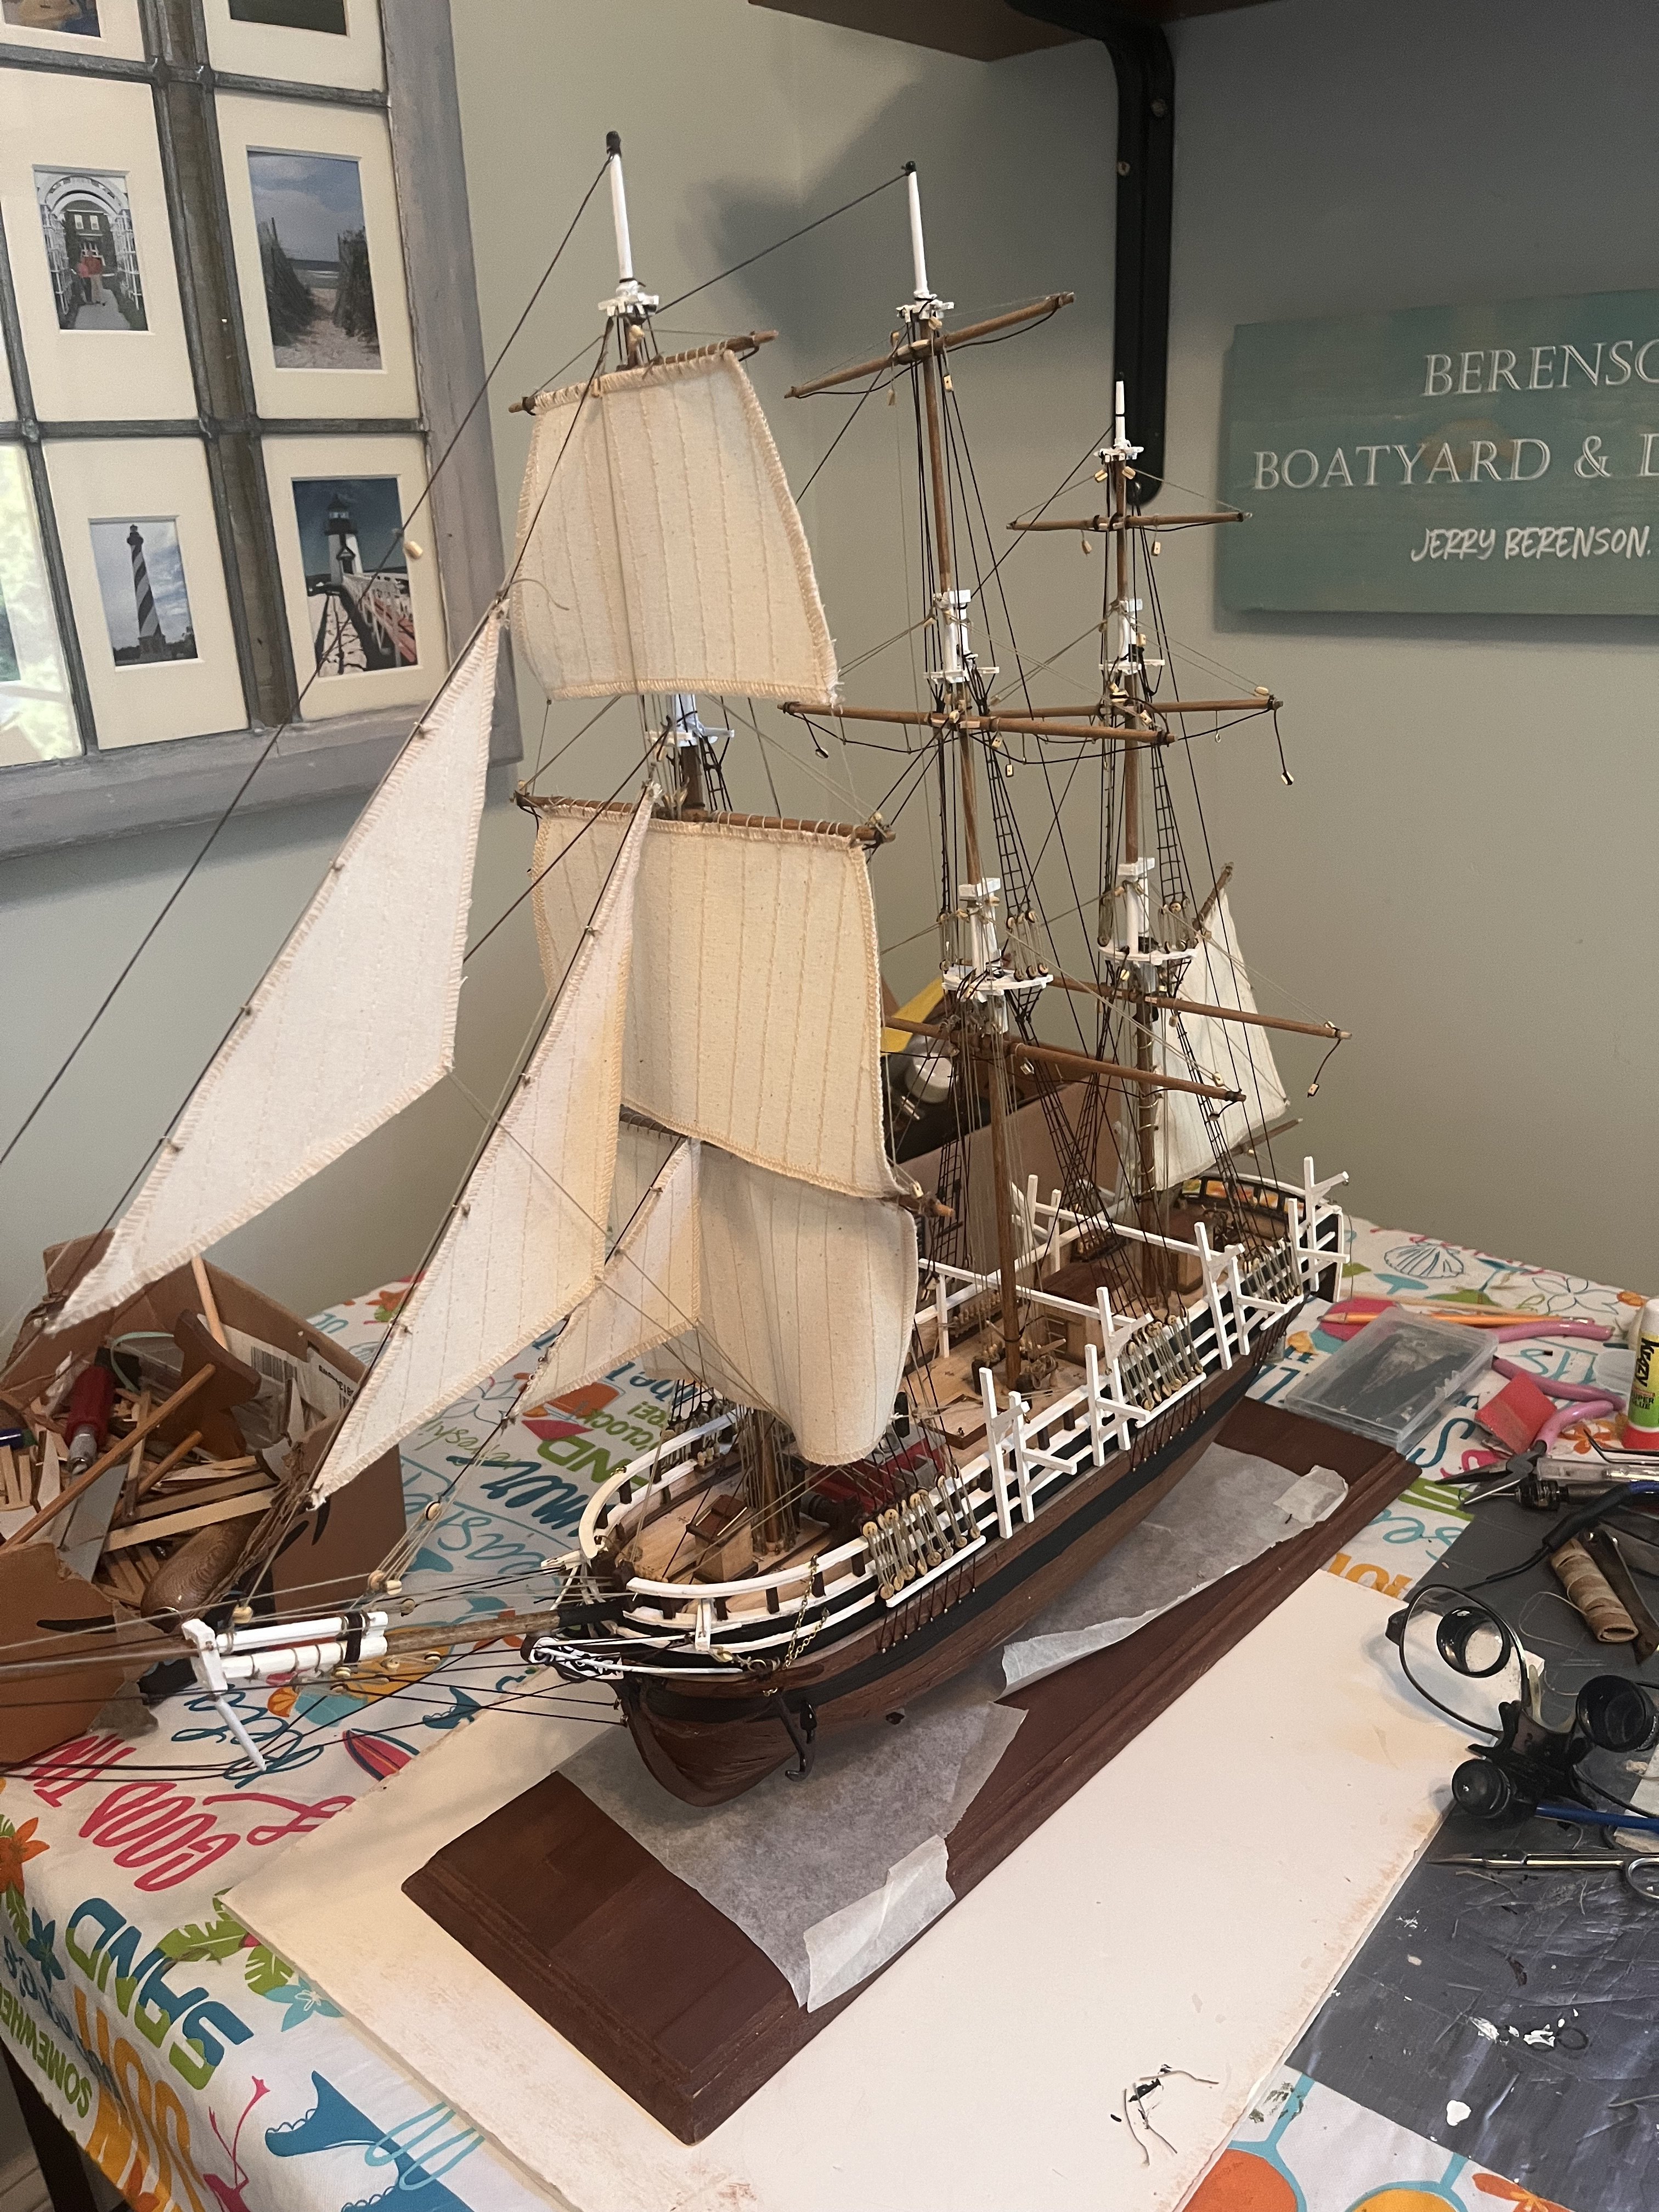
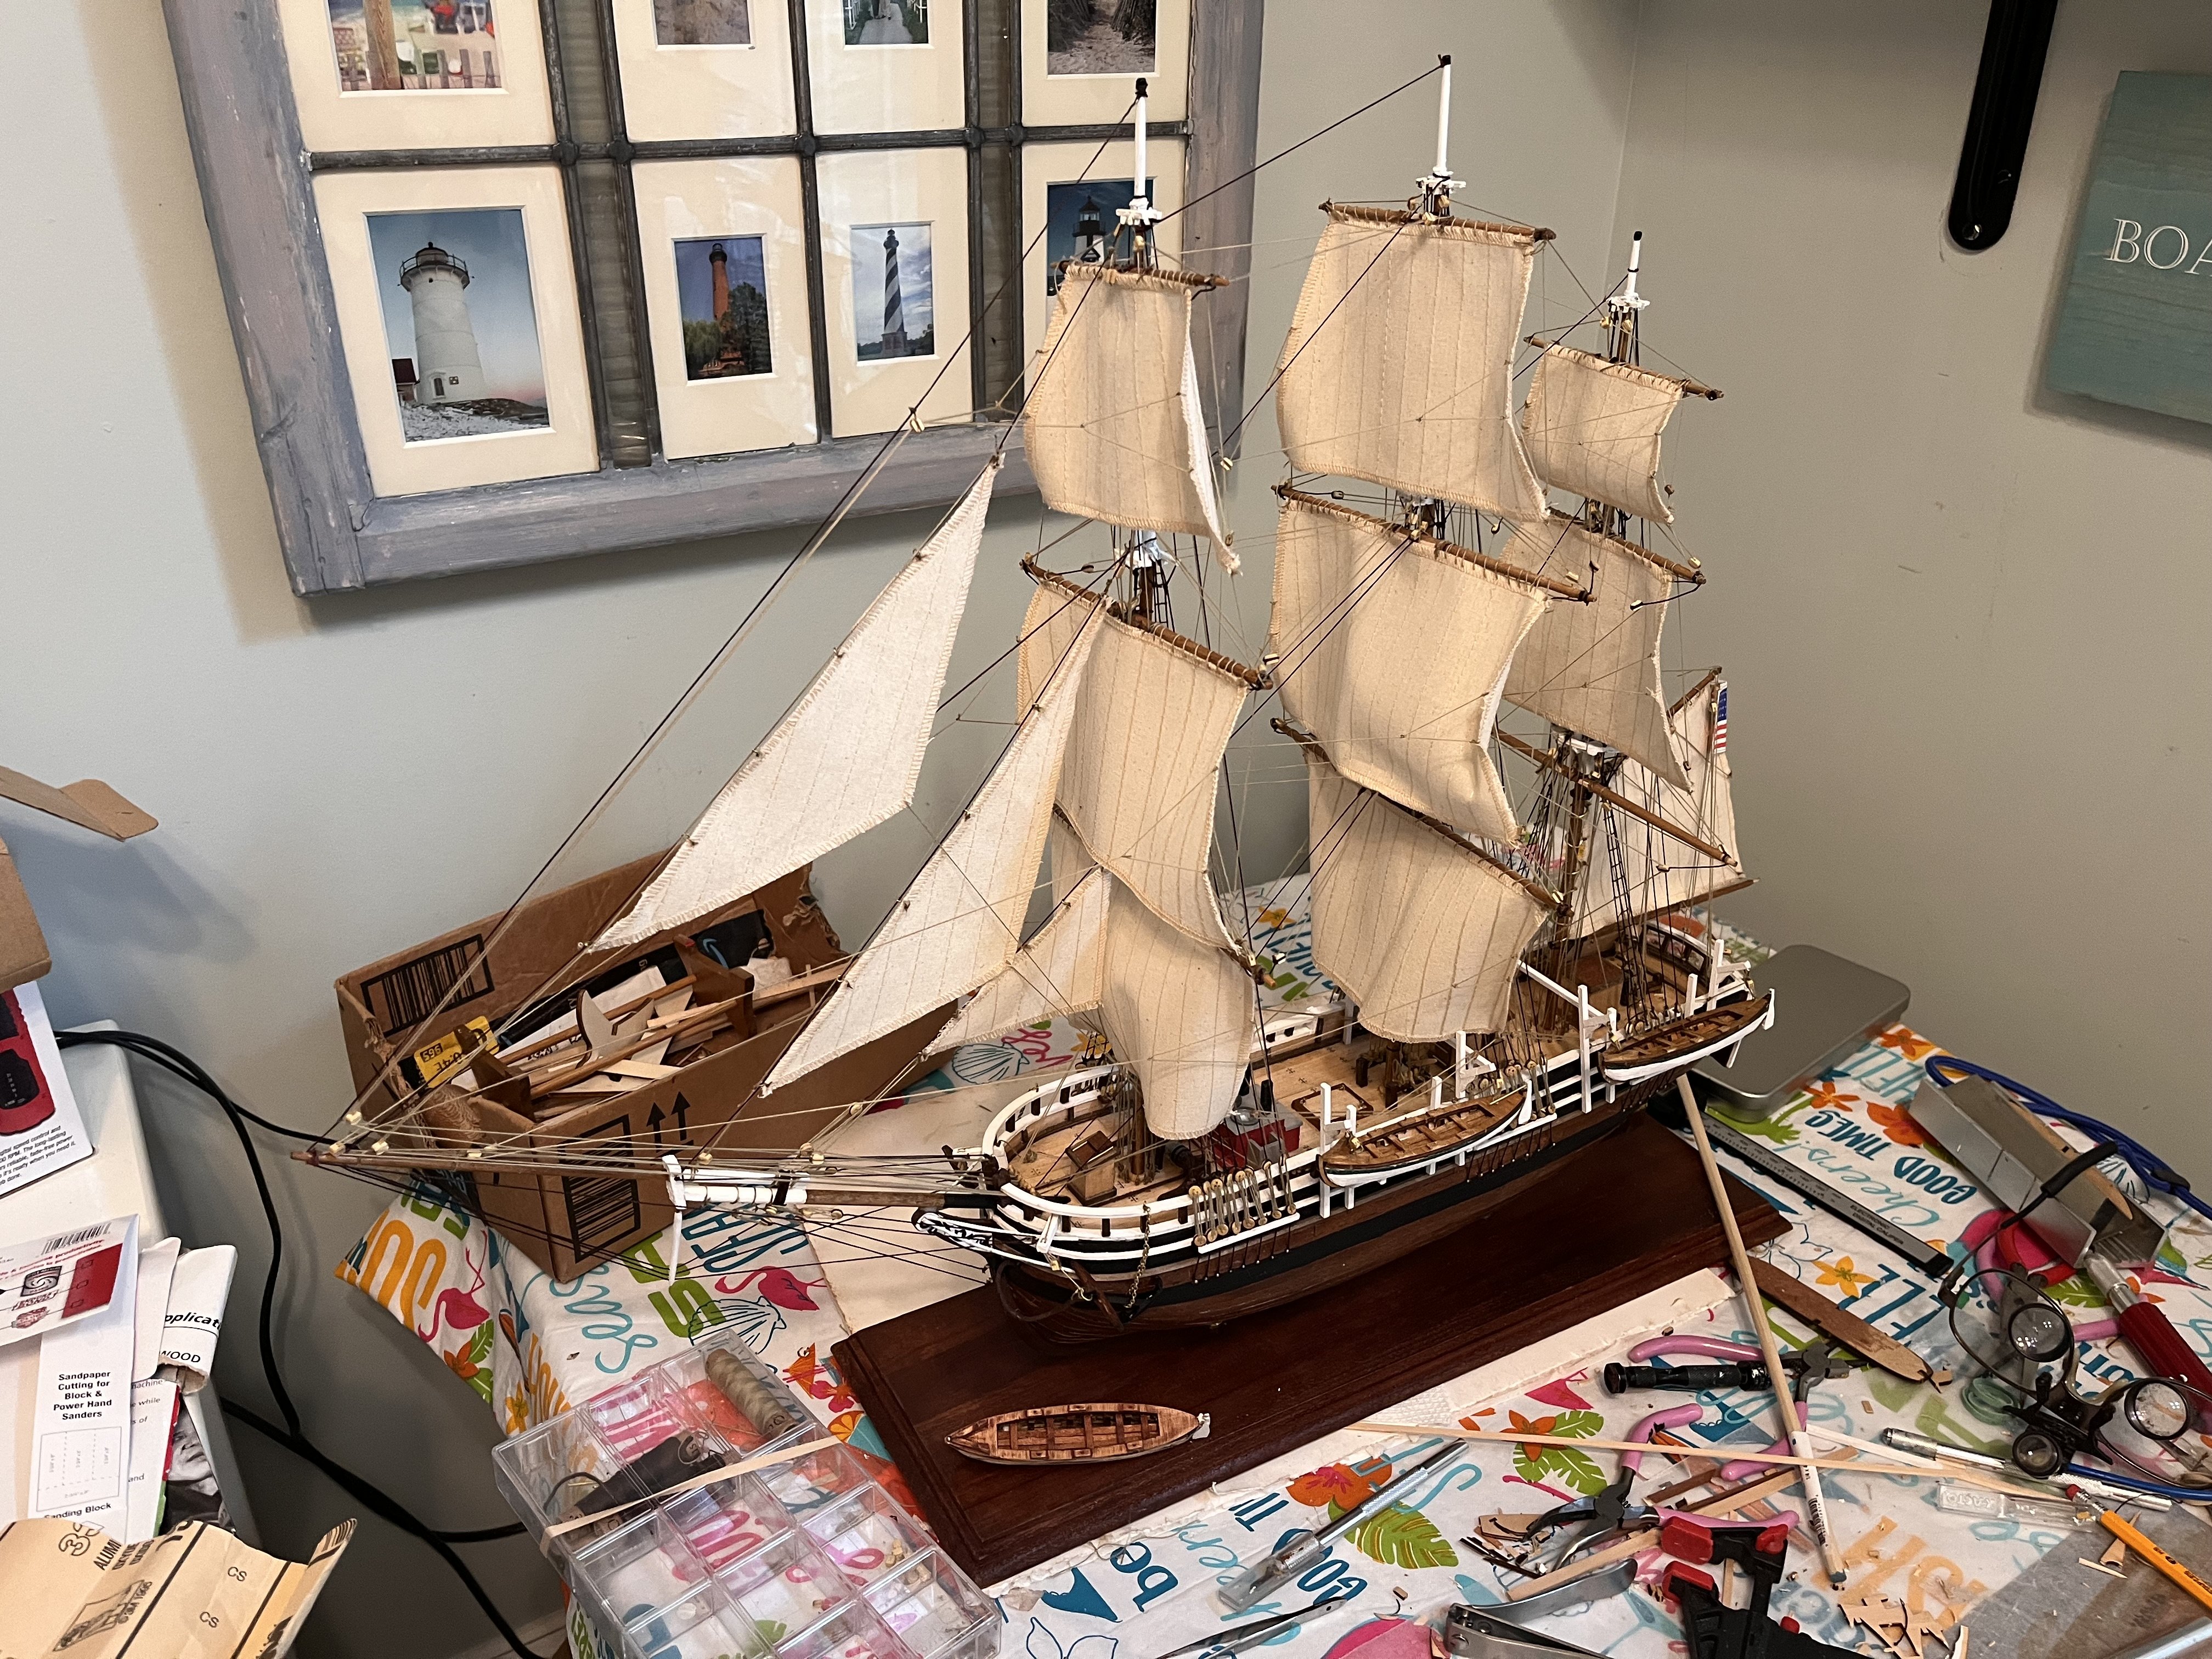
90% of rigging done. I had some sailcloth from another model. I soaked the white sailcloth in a bath of tea to age the sails and let it dry and ironed it to remove any wrinkles. I am presently cutting out the sails and furling some so the detail on the ship and masts can be seen. I am going to try to make an ocean diarama to place the eventual completed ship in. Stay tuned…I have never made one before.😄


-
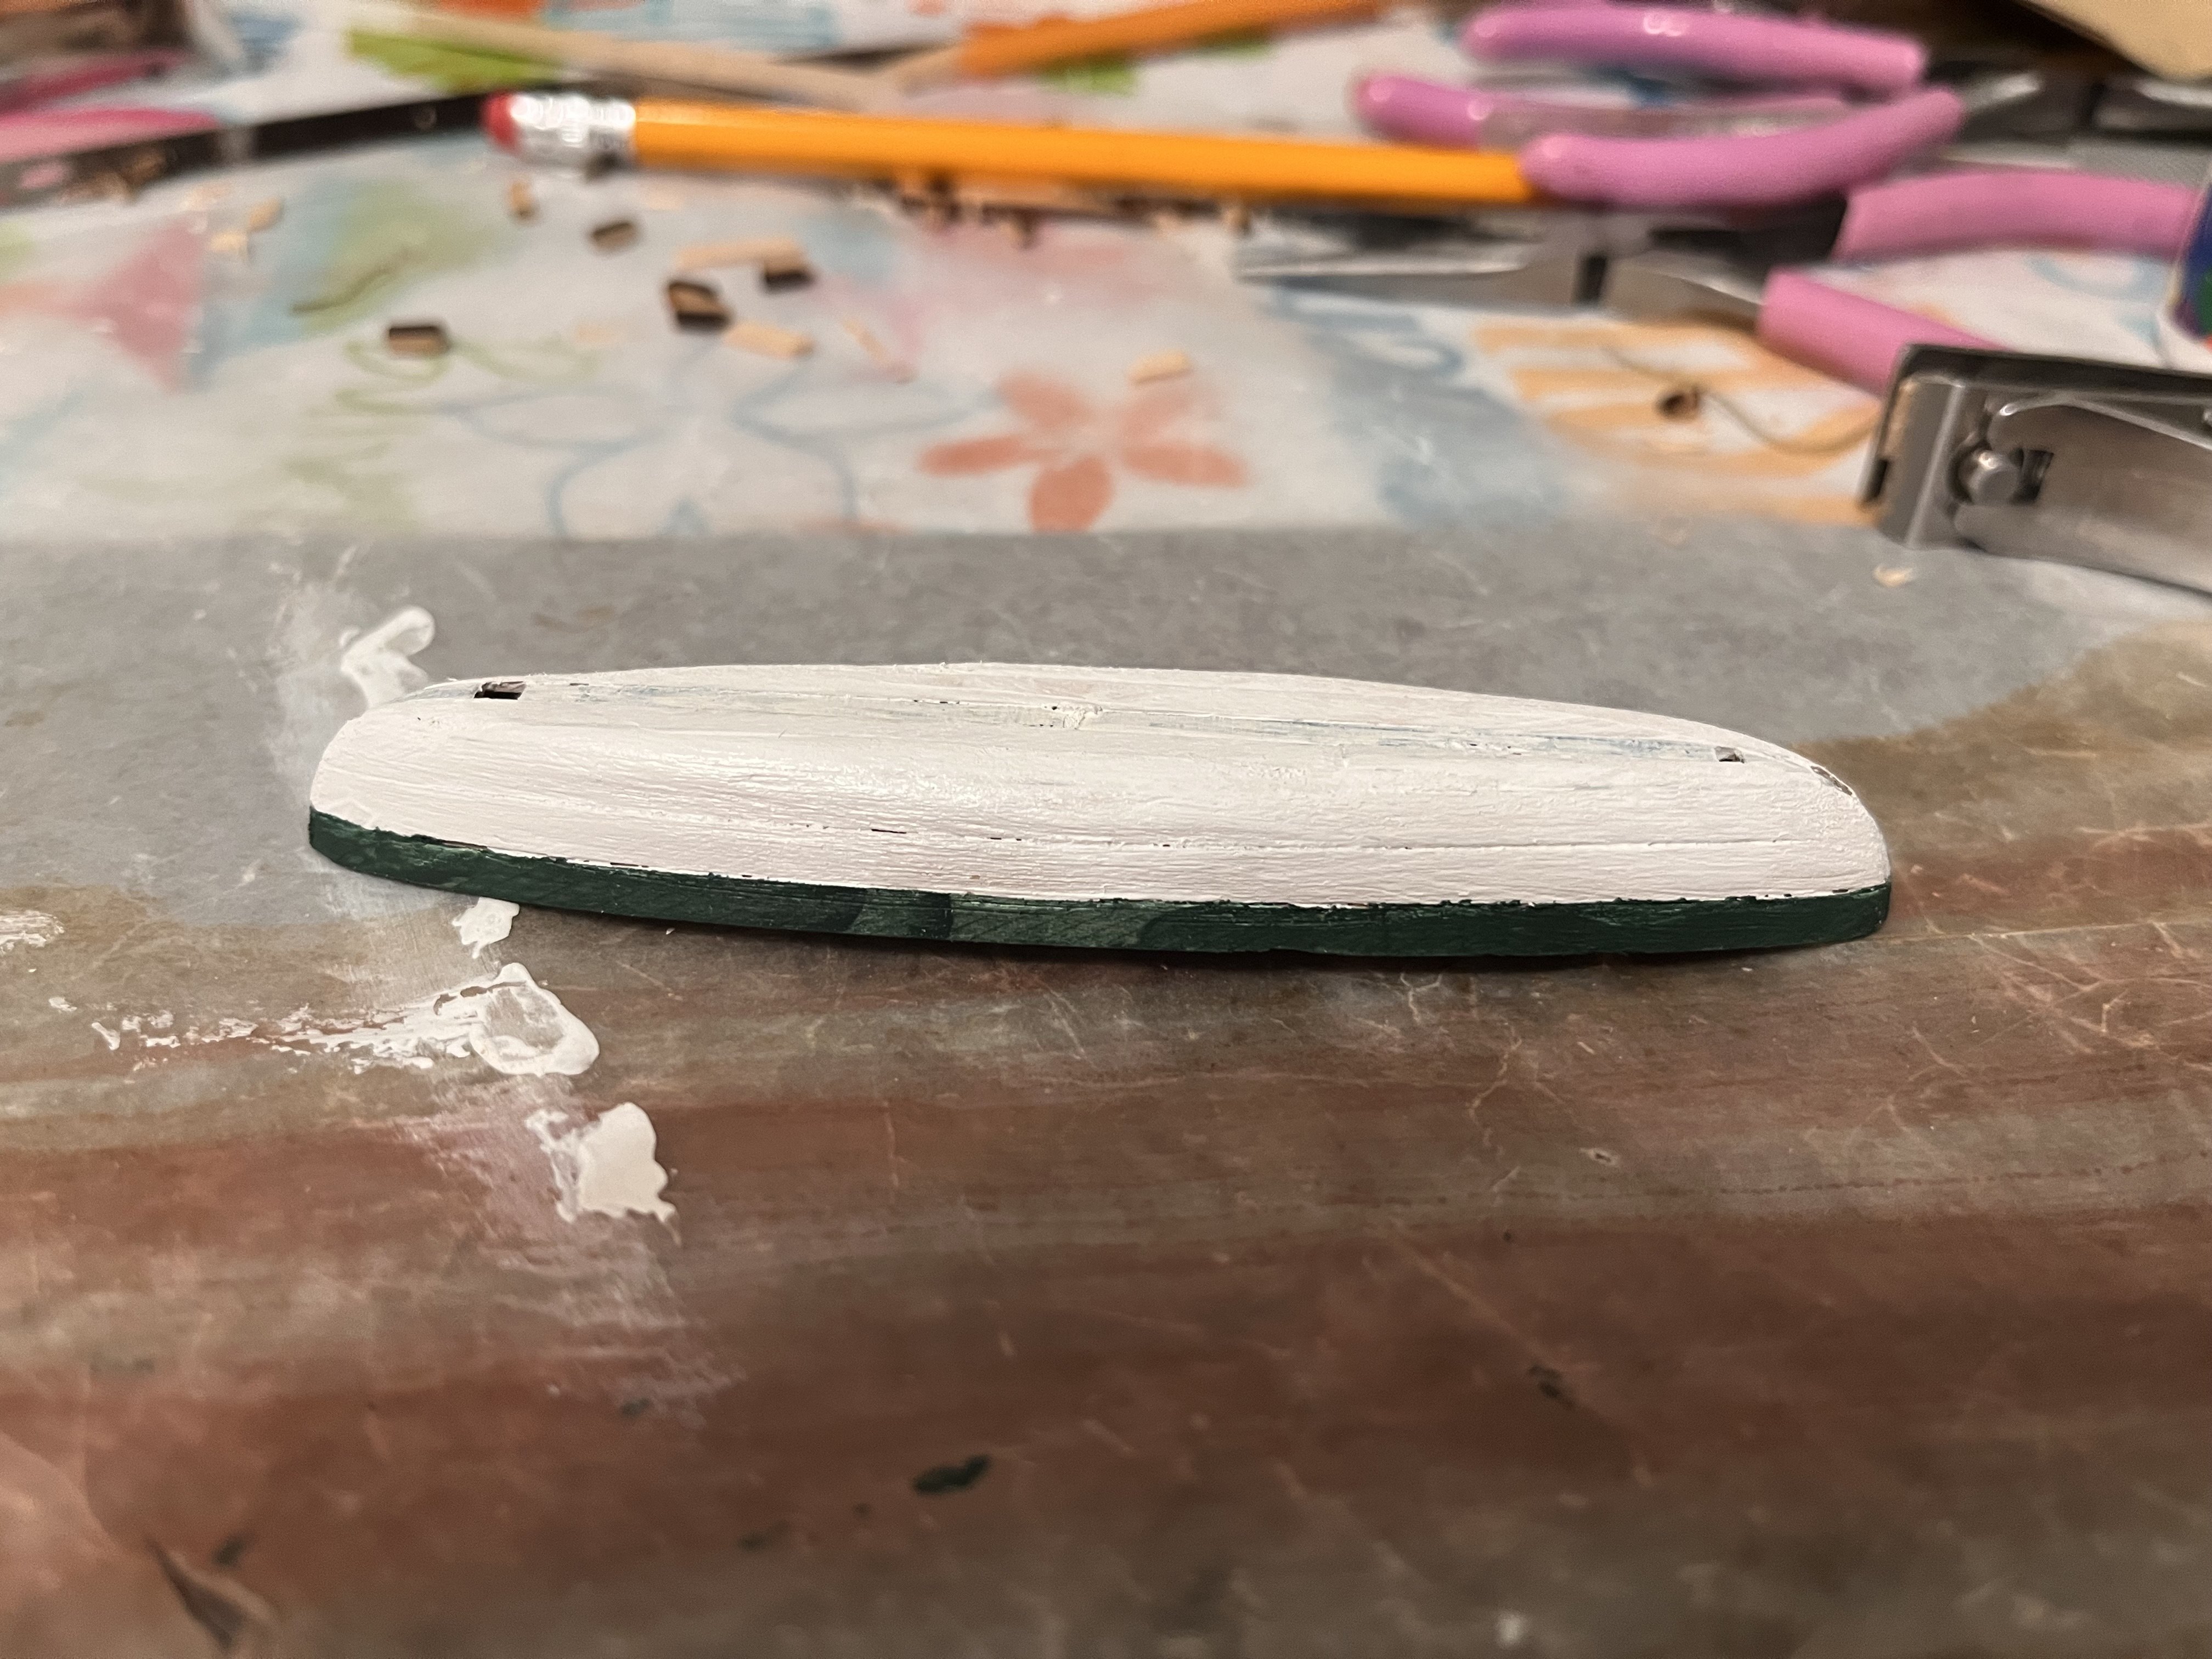
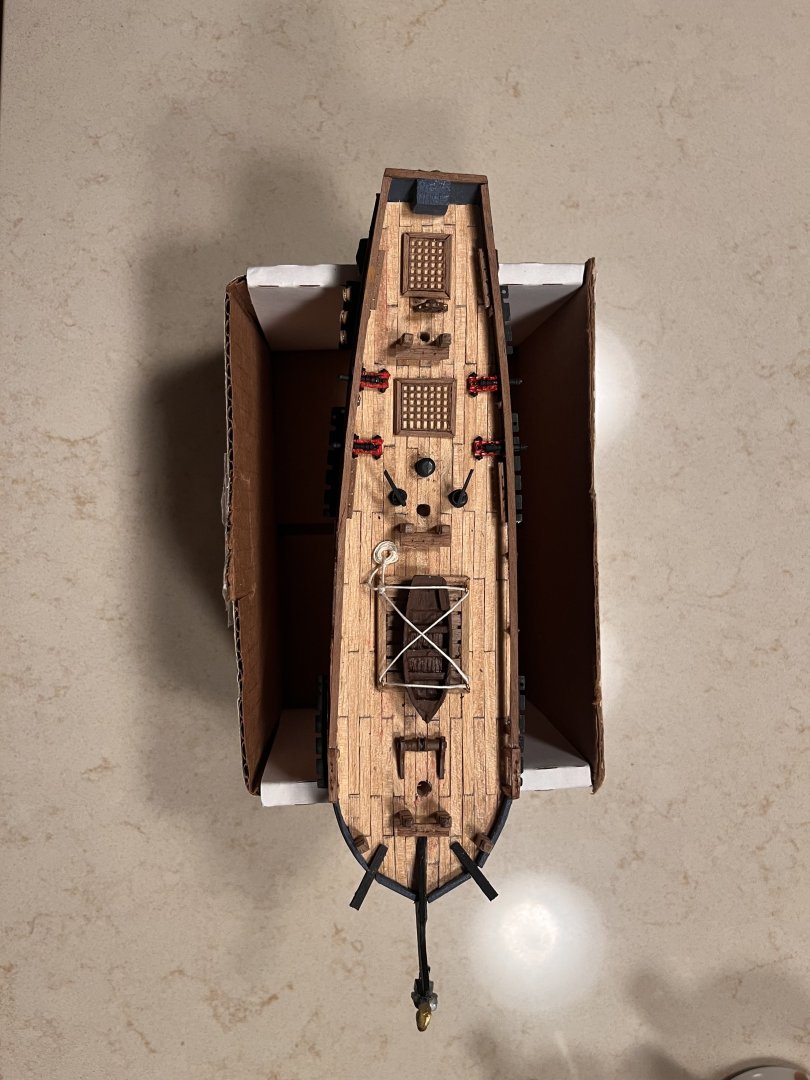
Yards made and secured to the masts. I stained the masts and yards with oak stain as well as the rope securing the lifeboat to make it look weathered. It is a small detail but looks much better than having a white rope securing the boat.I am starting the rigging as can be seen on the formast.

-
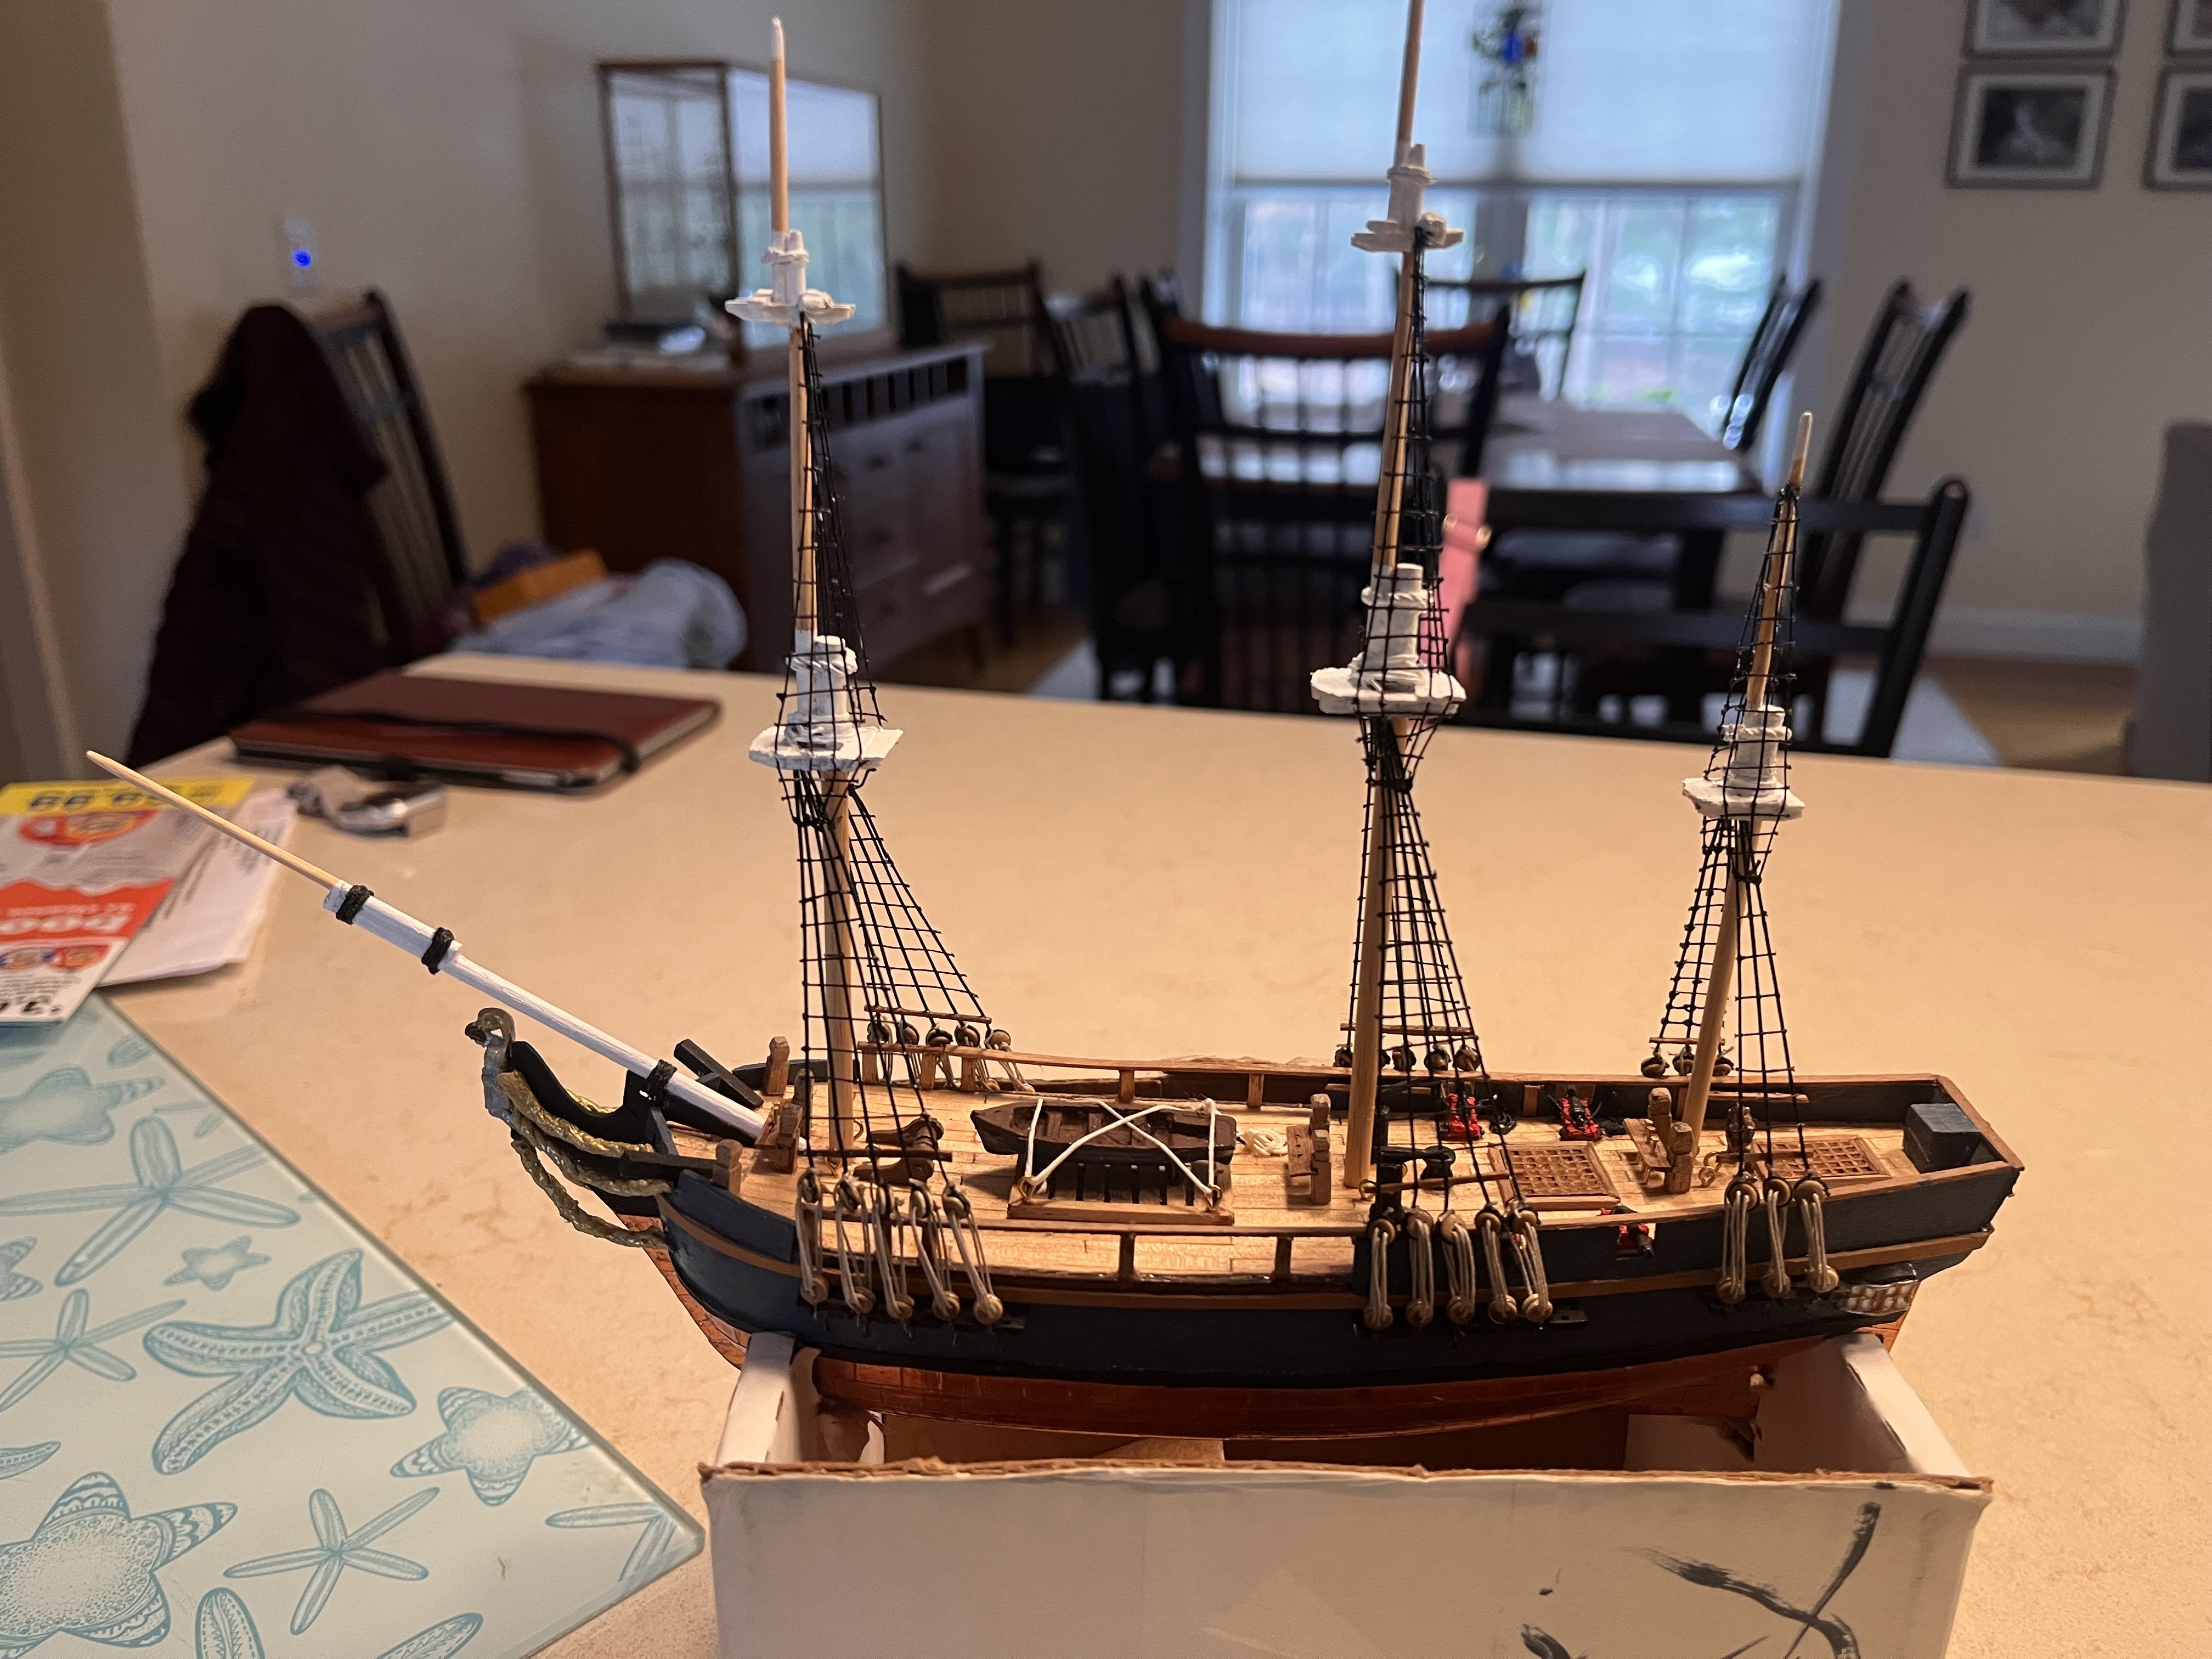
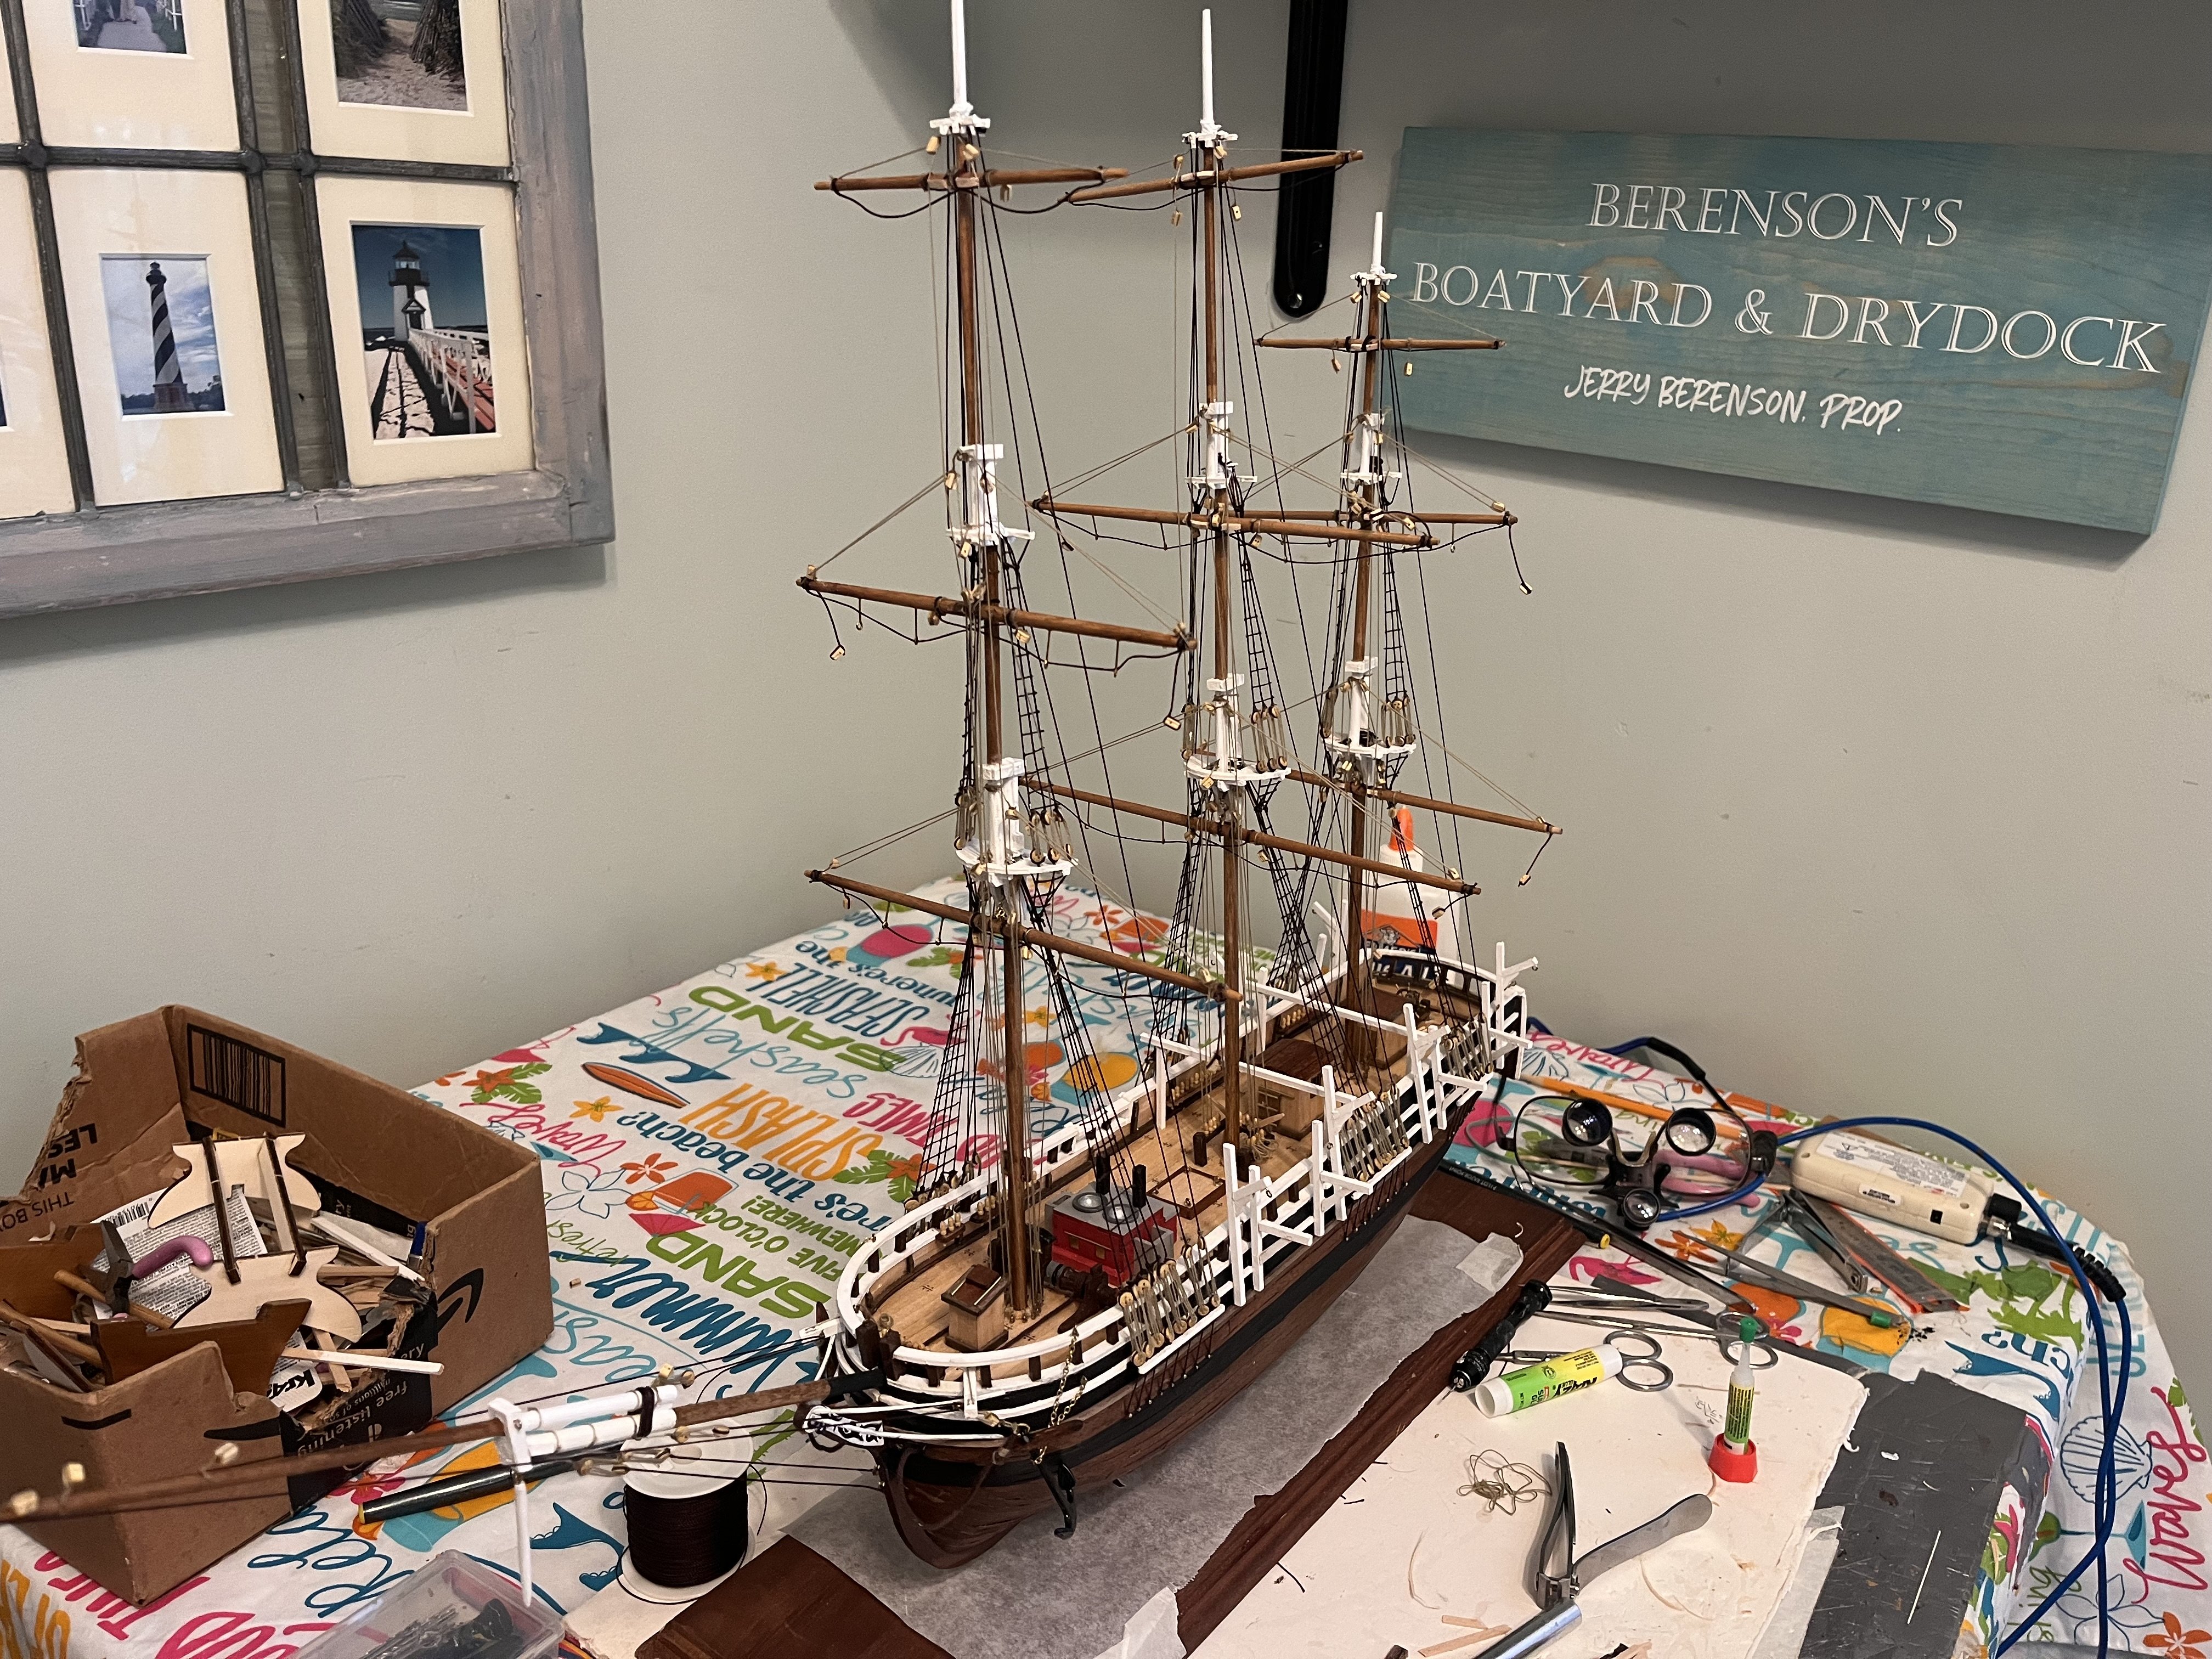
I built and erected the fore, main and mizzen masts along with their respective tops. I then completed the shrouds, deadeyes and ratlines on the starboard side of the model. Port side next after time off for the Thanksgiving holiday. Happy Thanksgiving to all! Jerry


-
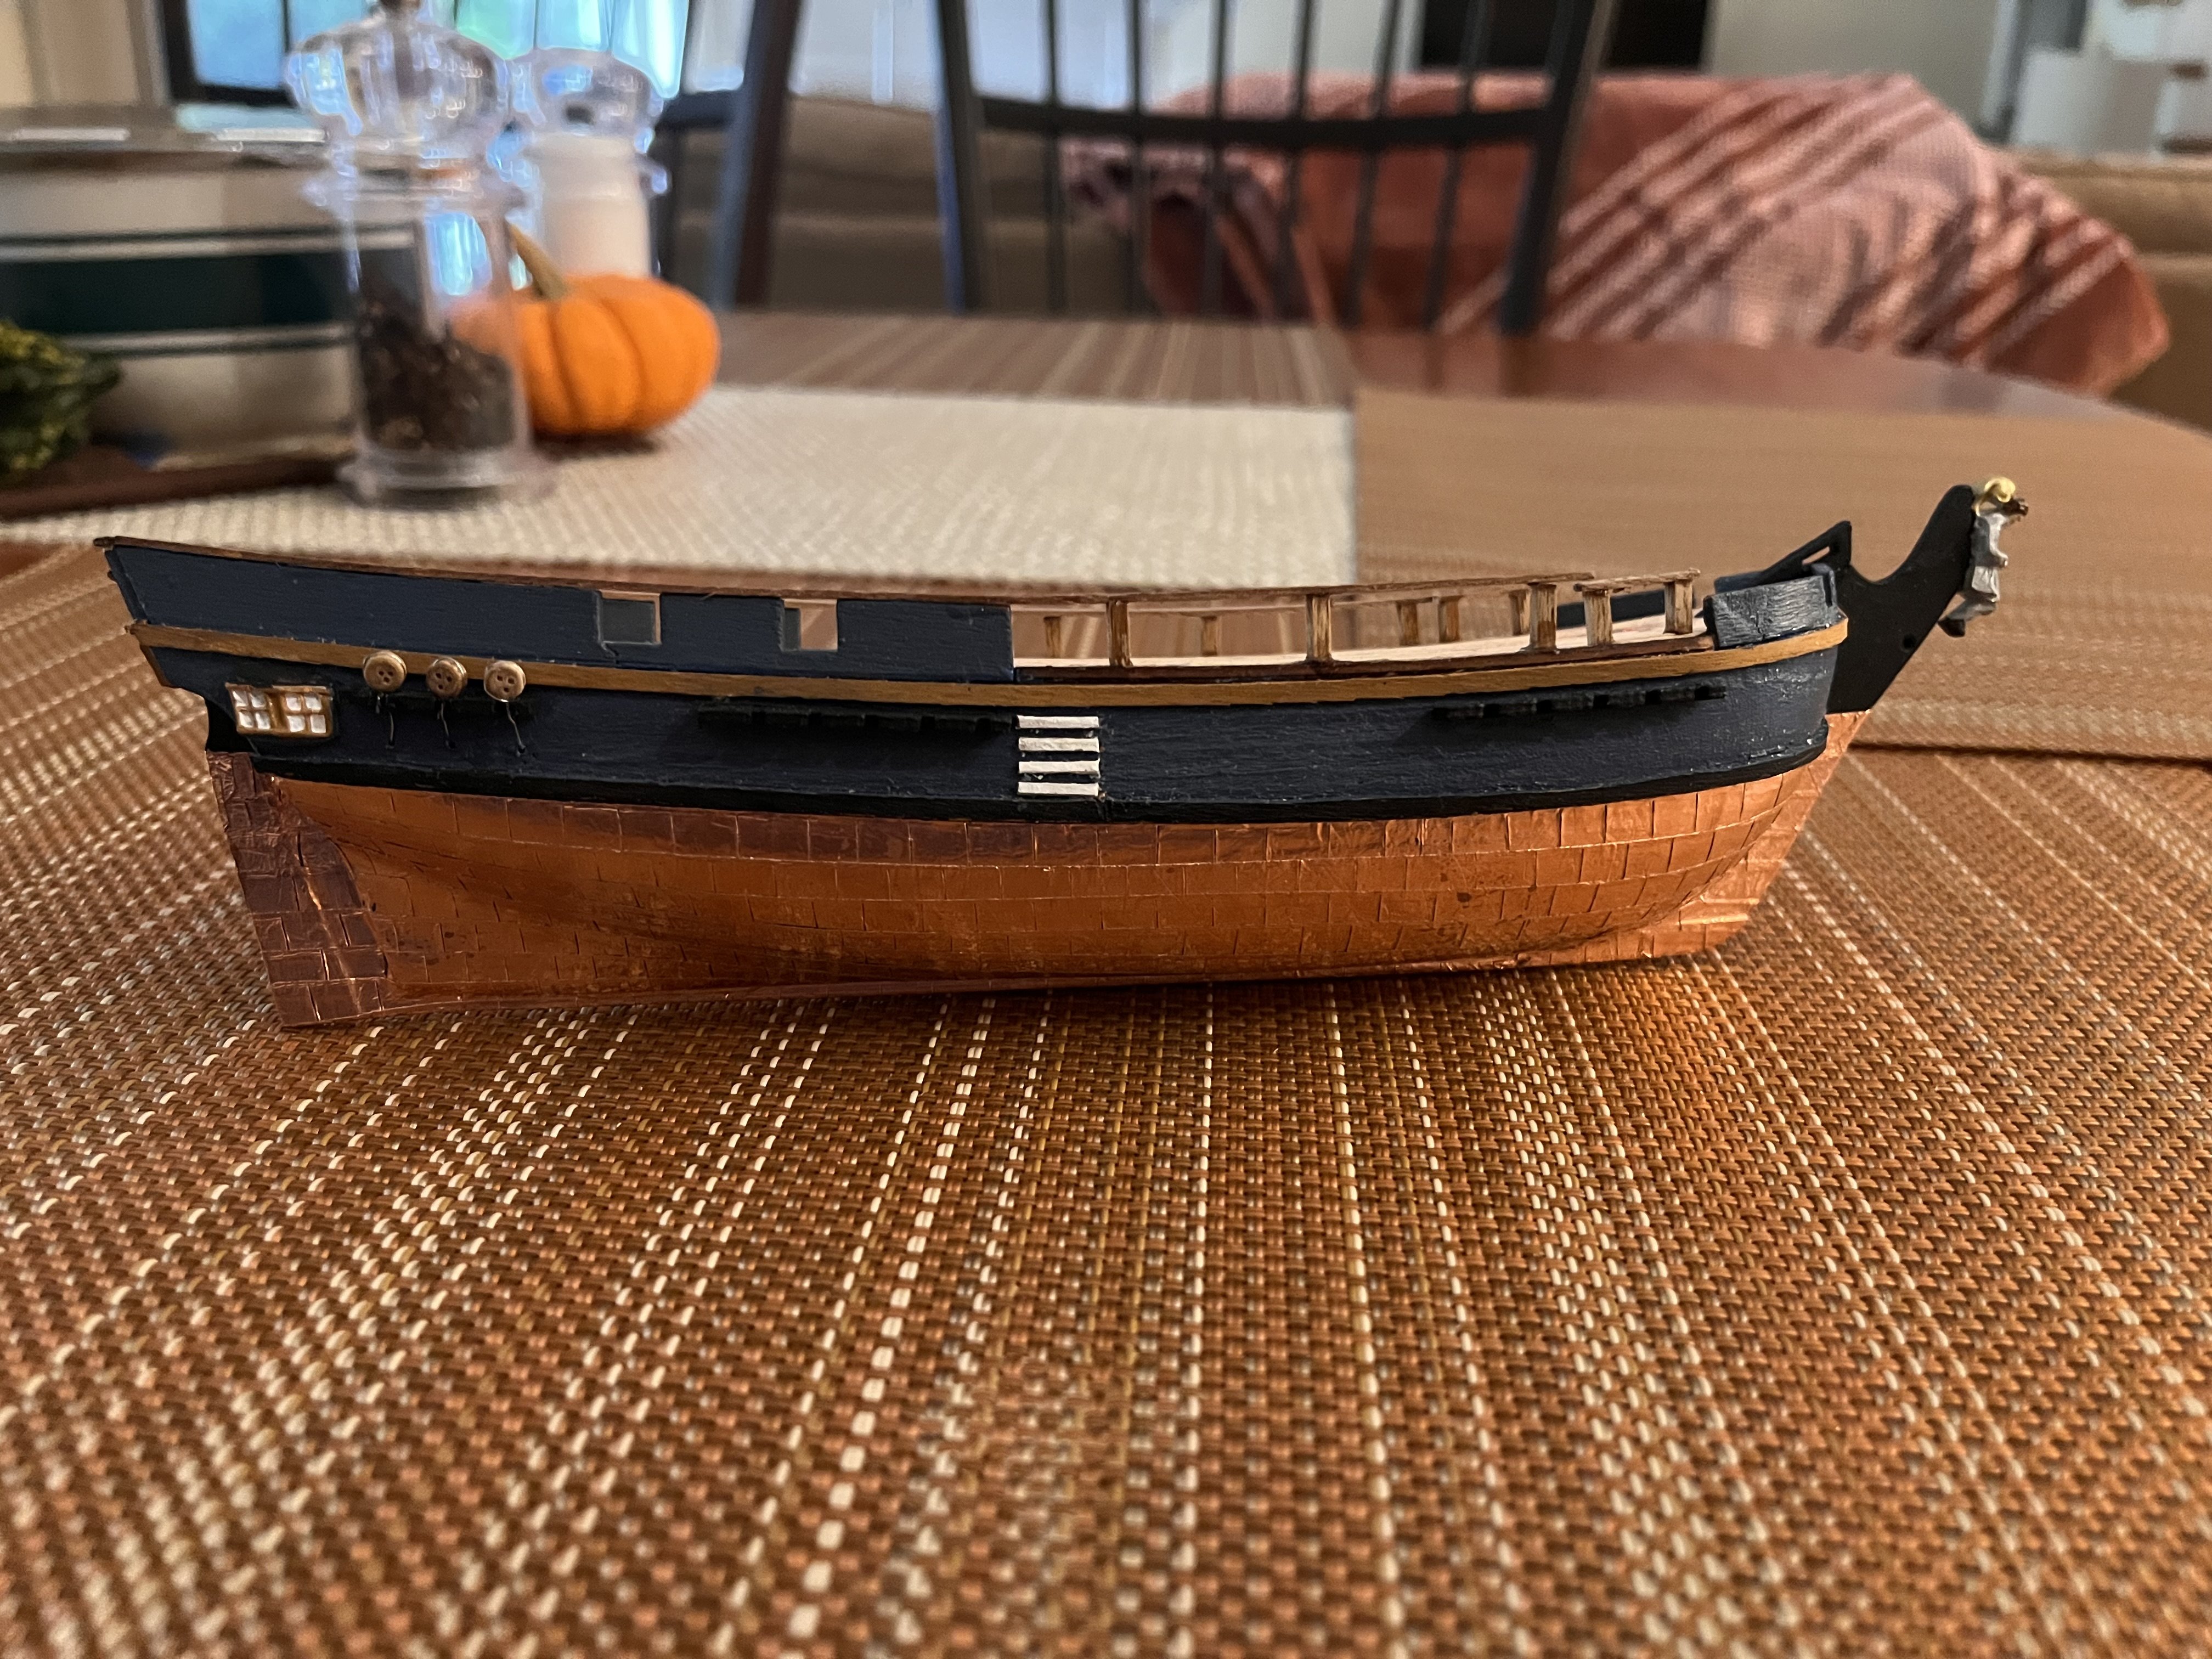
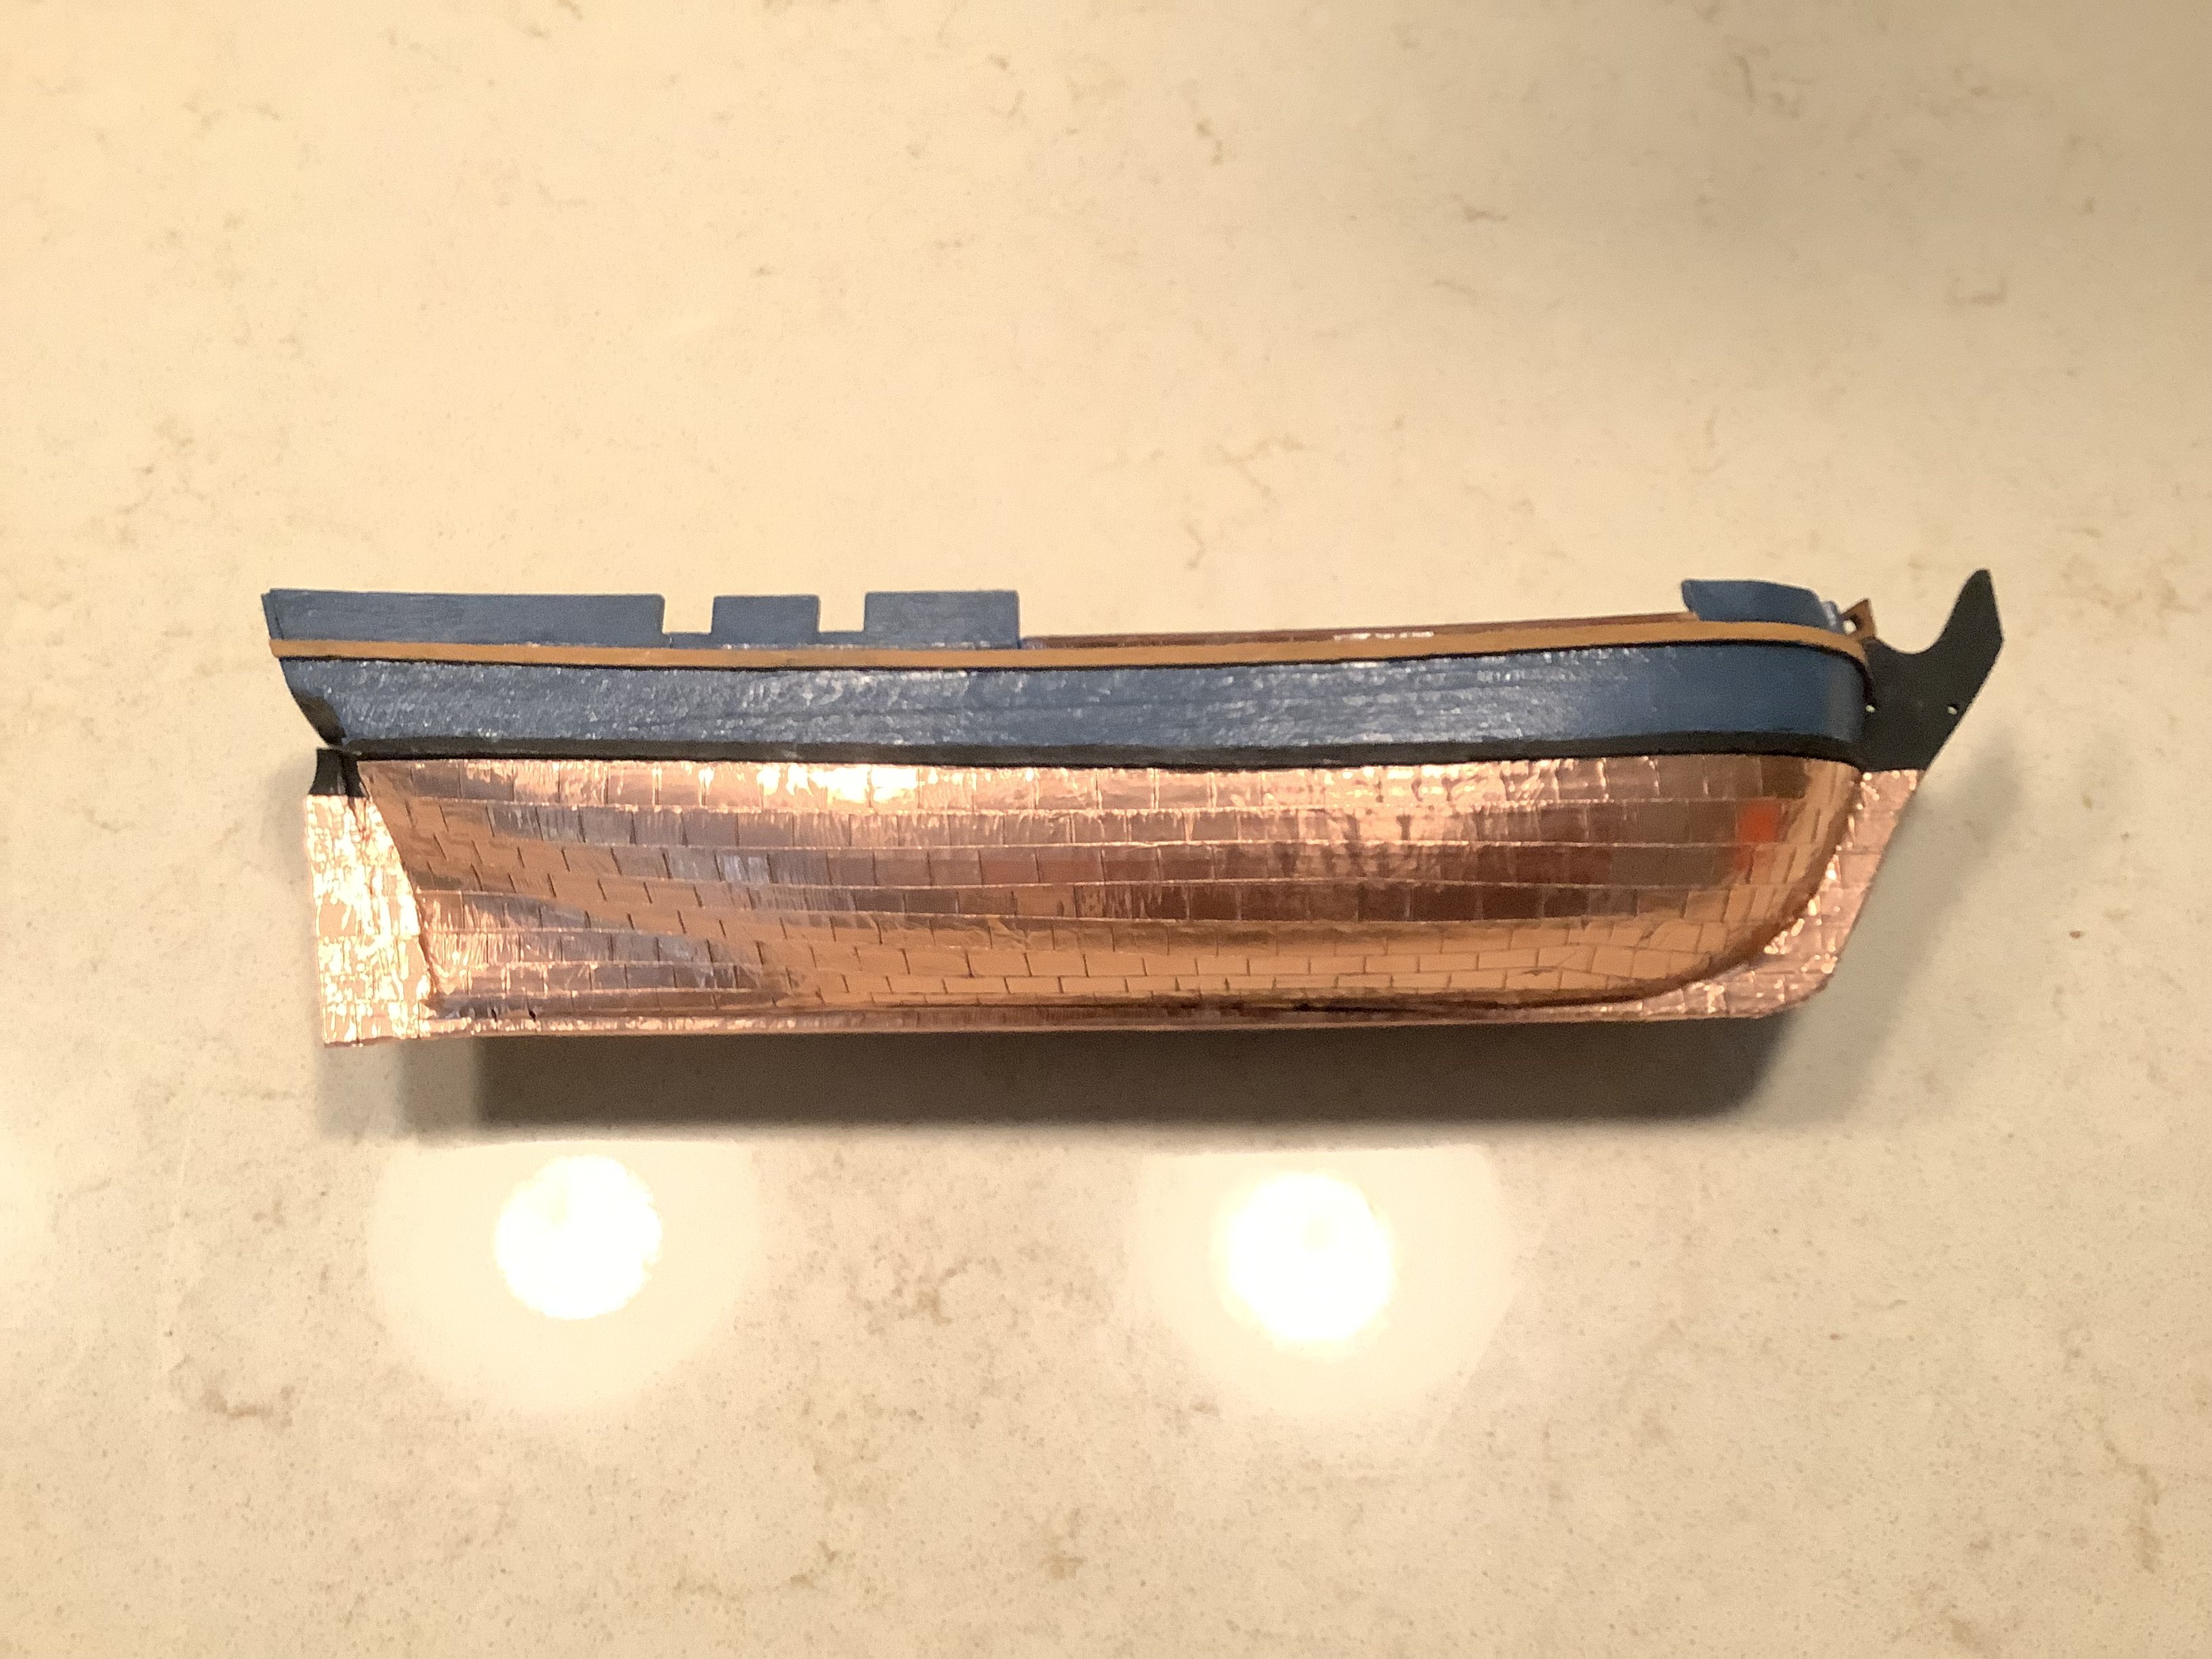
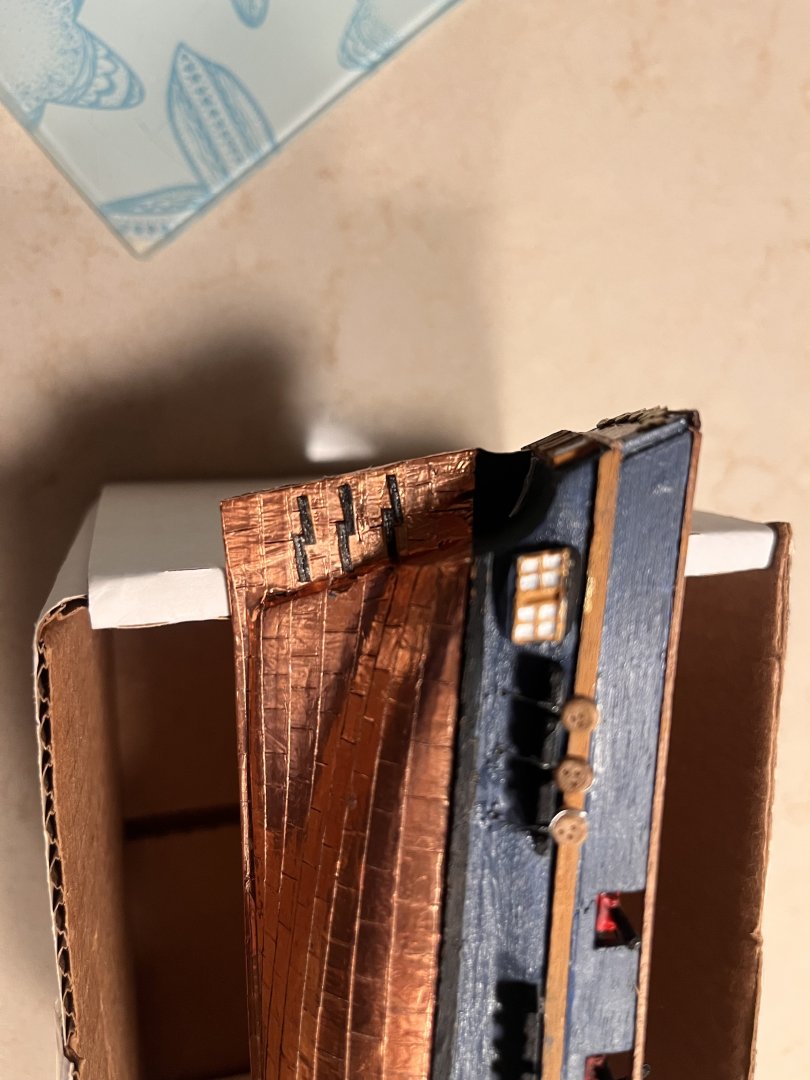
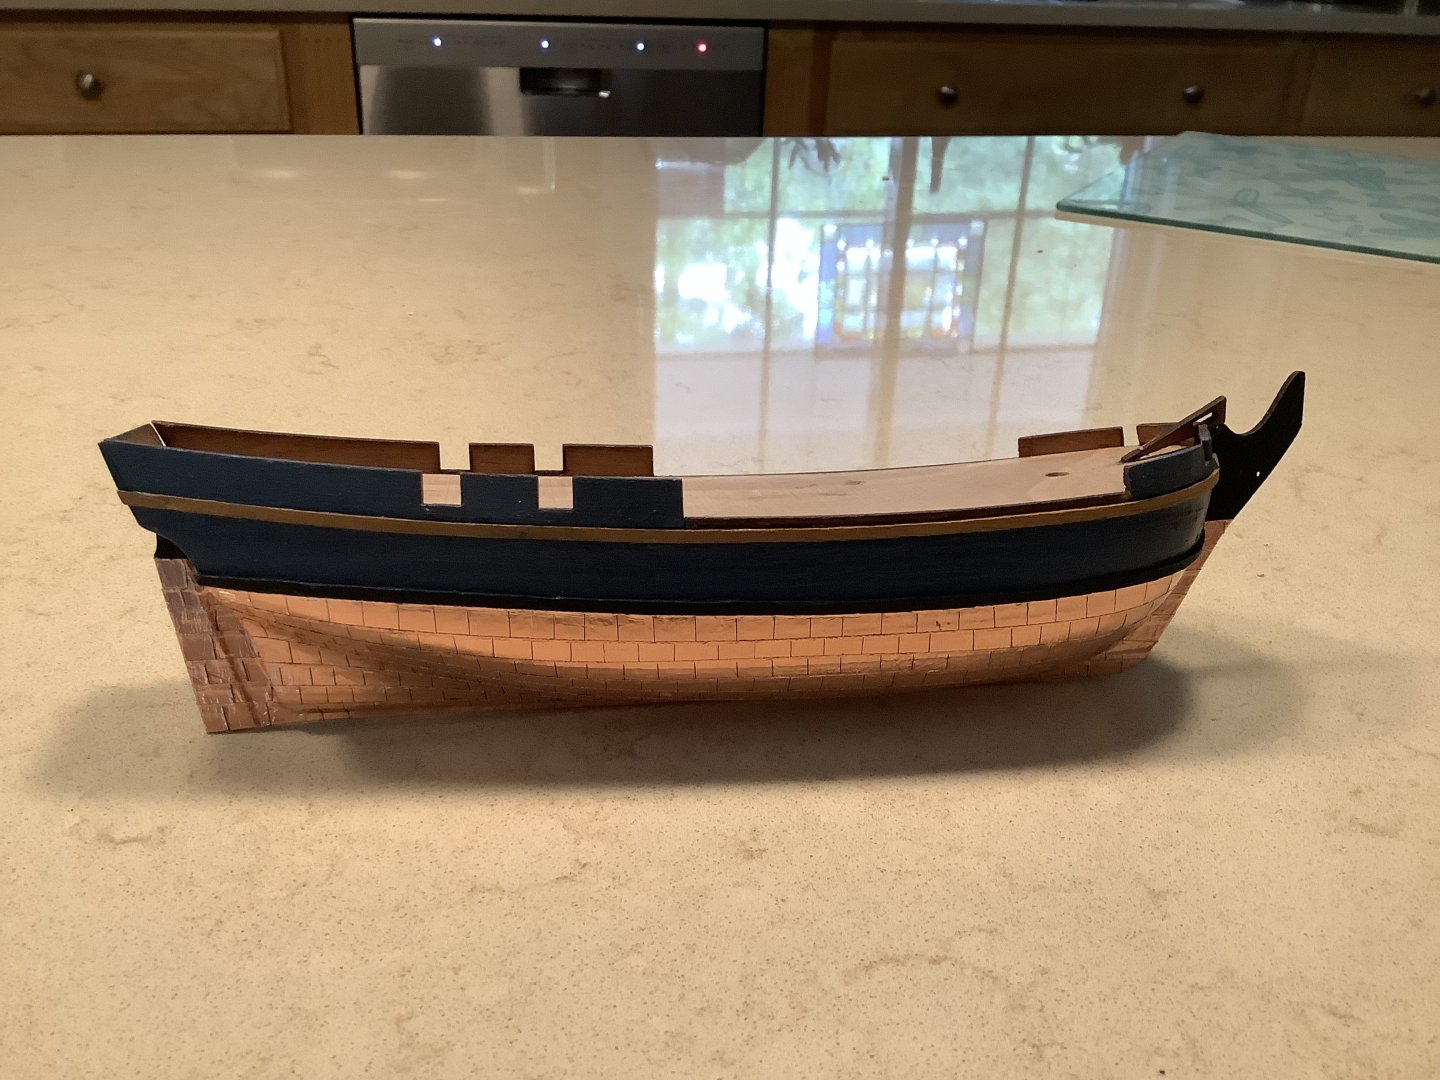
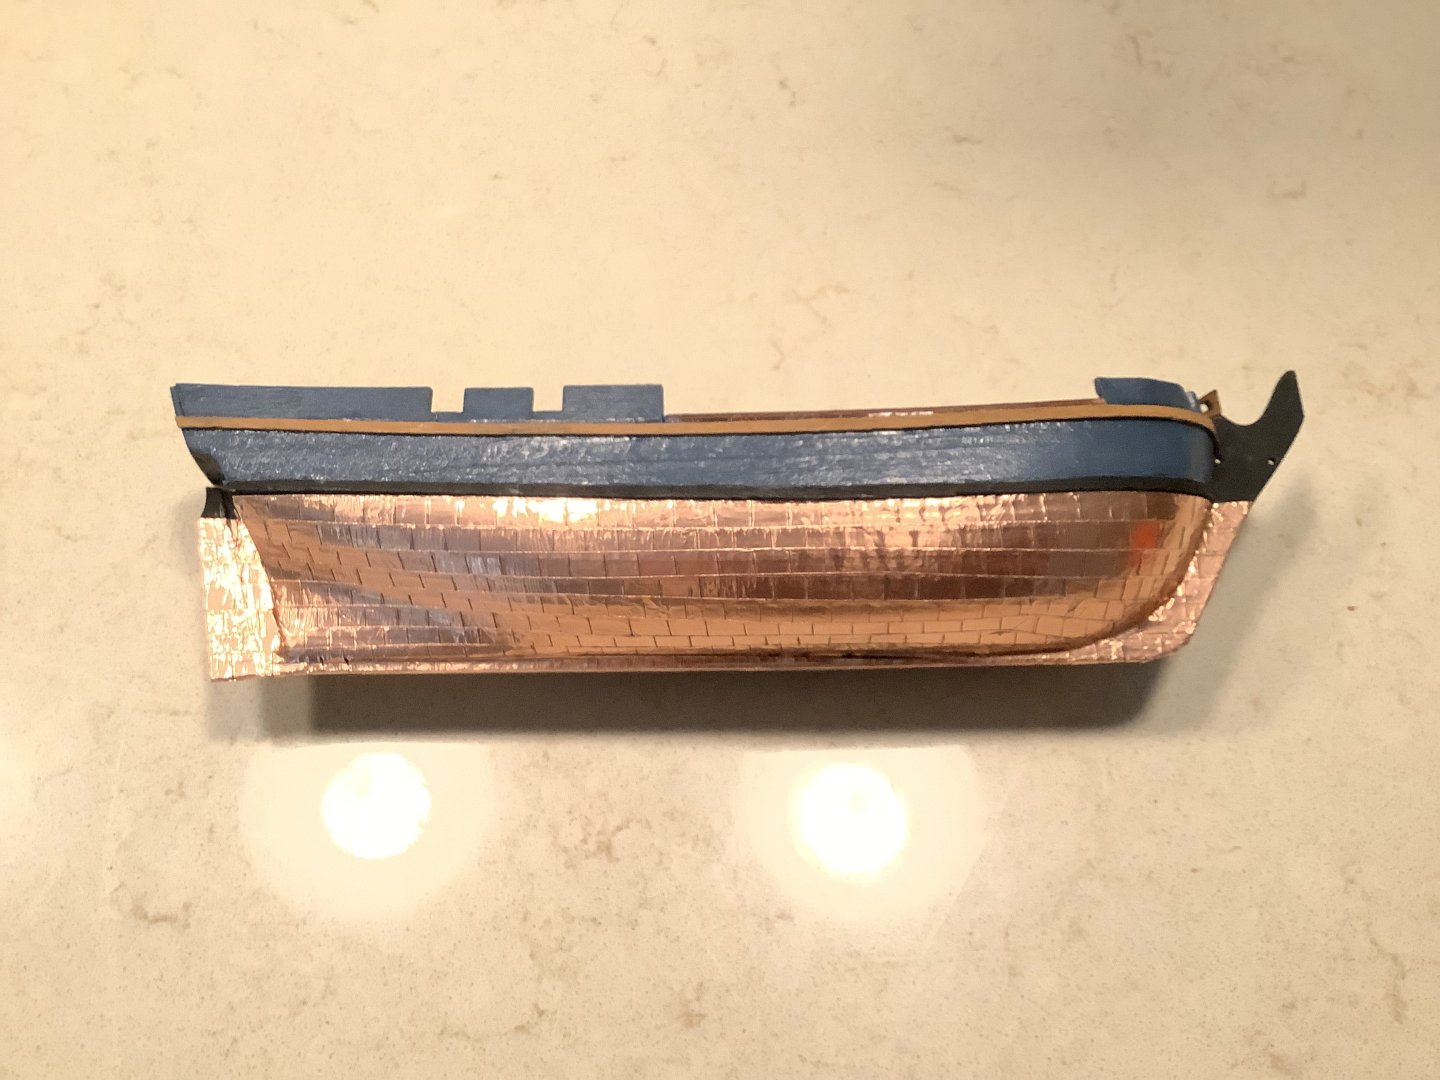
I secured the cannons, painted and added the headrails and completed the rudder. As I stated in my initial posting, I am trying to make the ship more authentic by securing the cannons , coppering the hull and painting the ship in its original colors which are not stated in the instruction sheets. Onto the masts , bowsprit and yards!


-
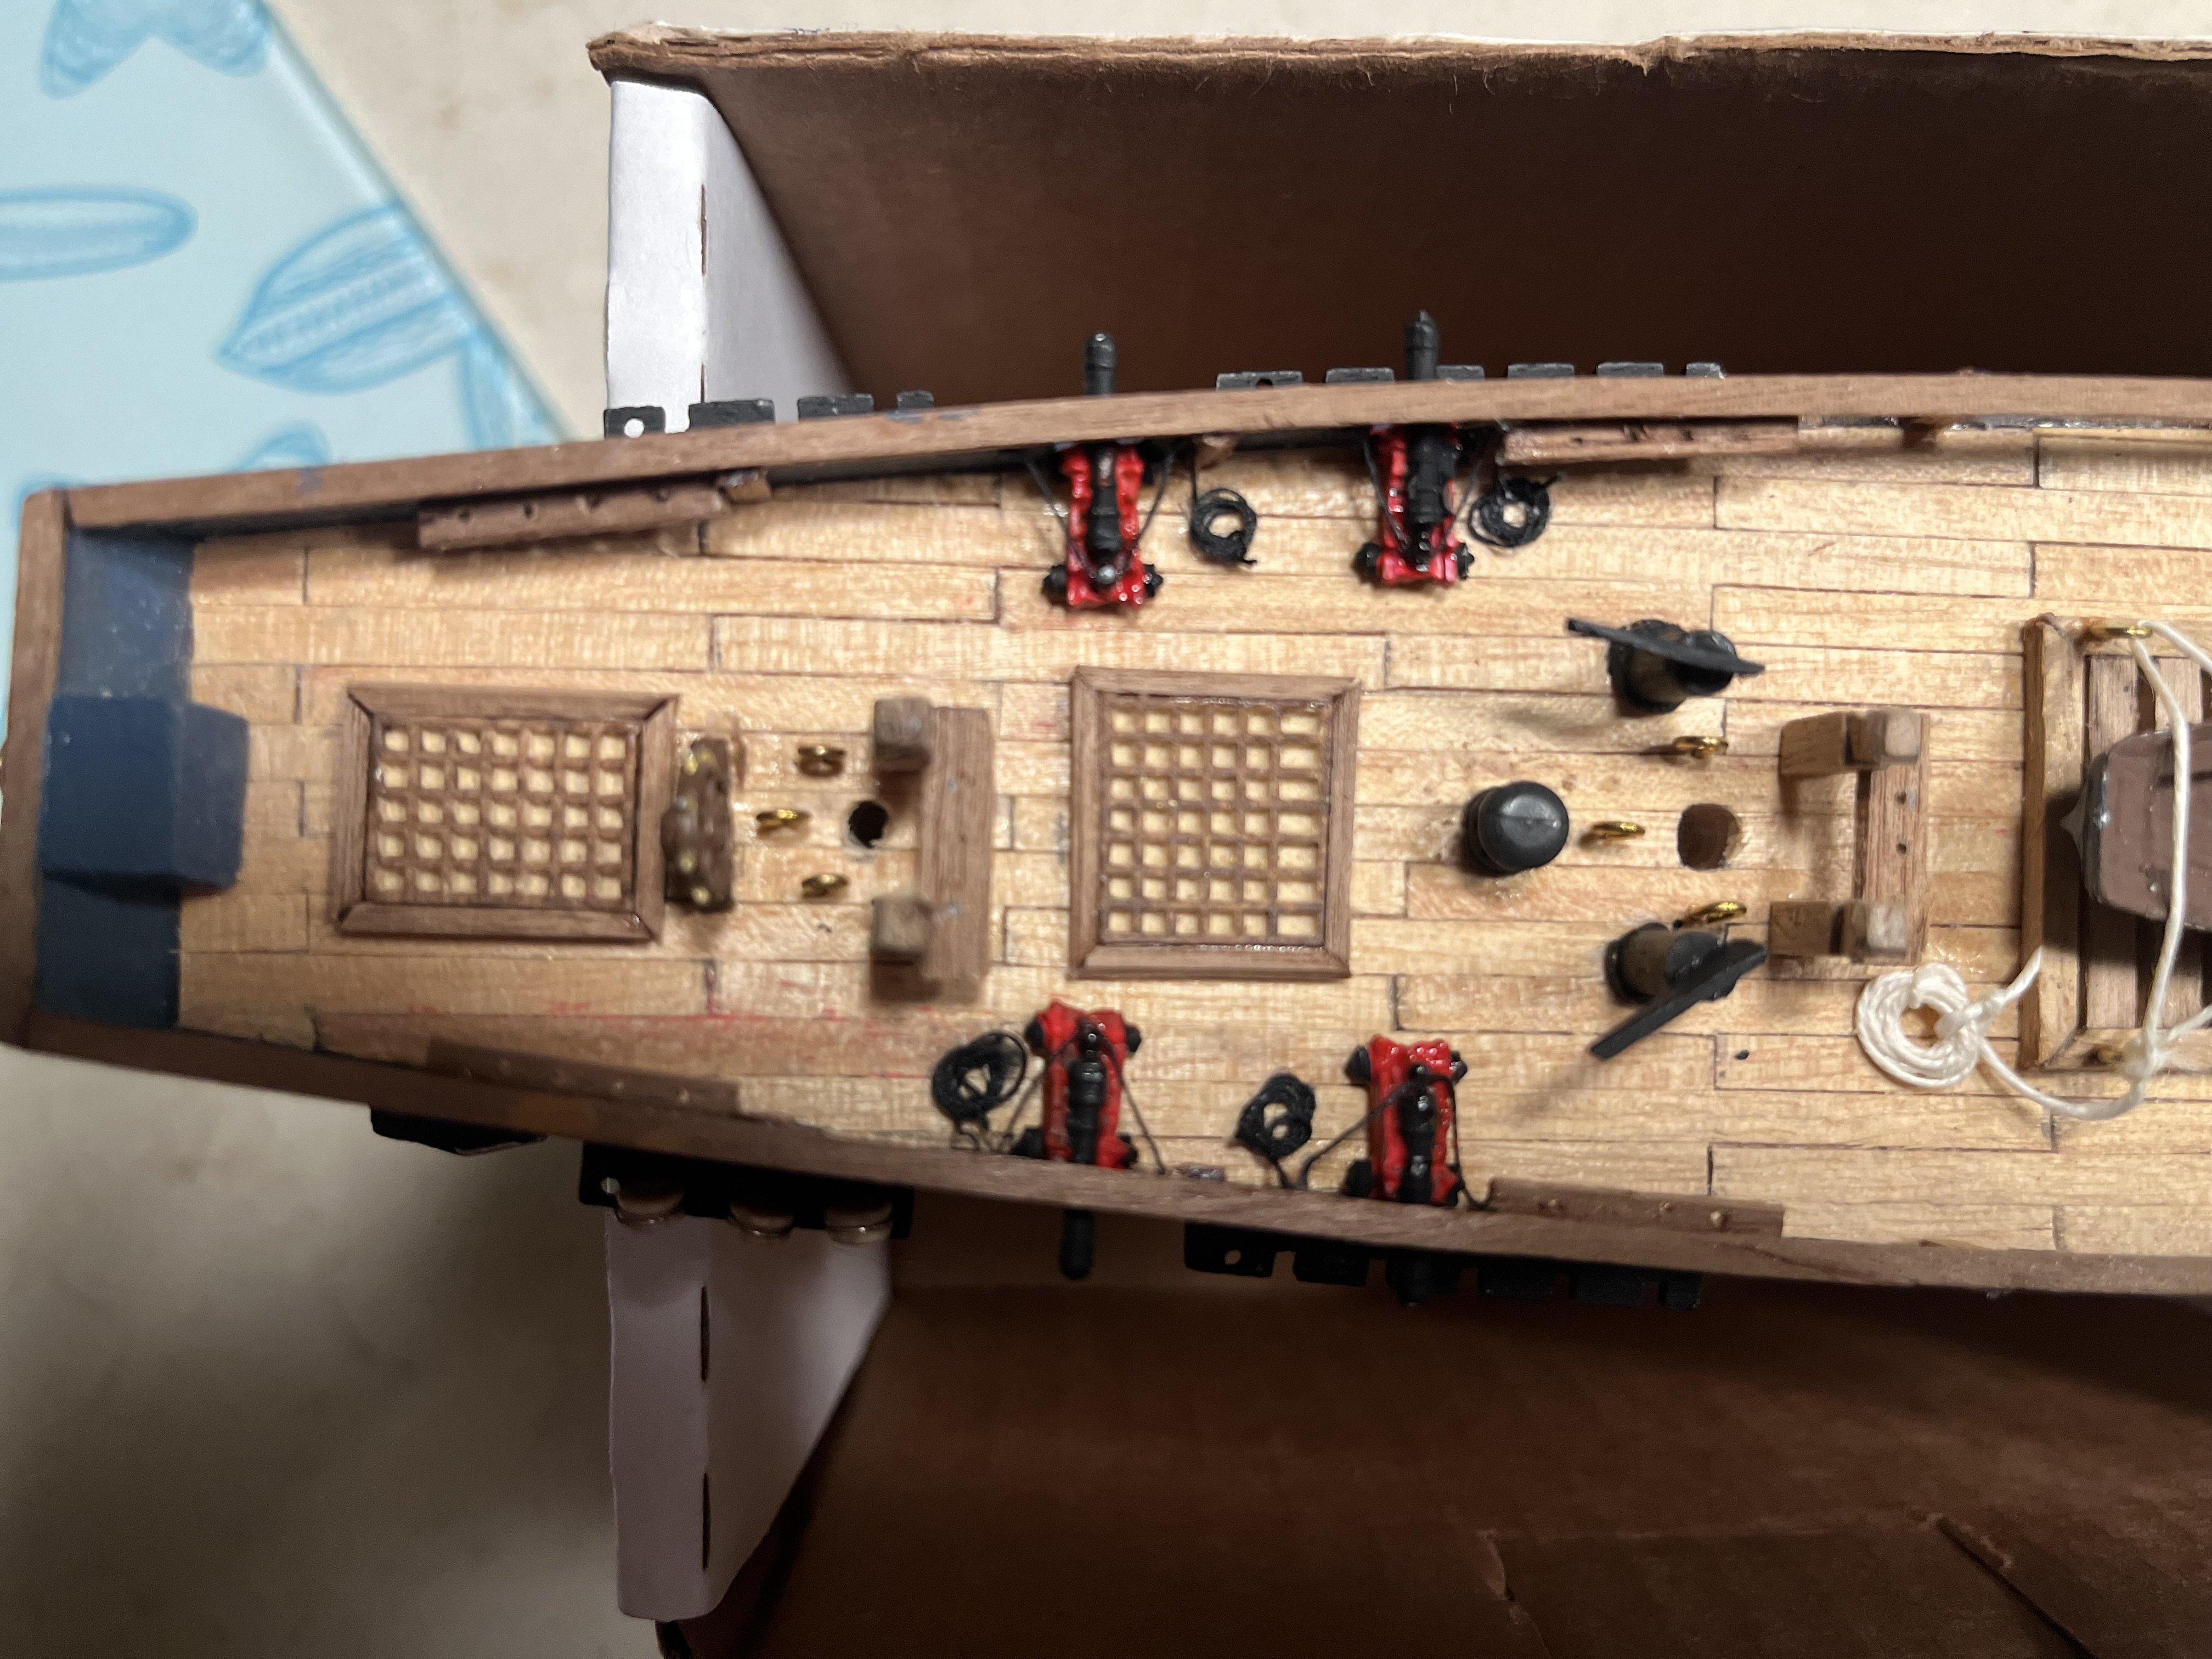
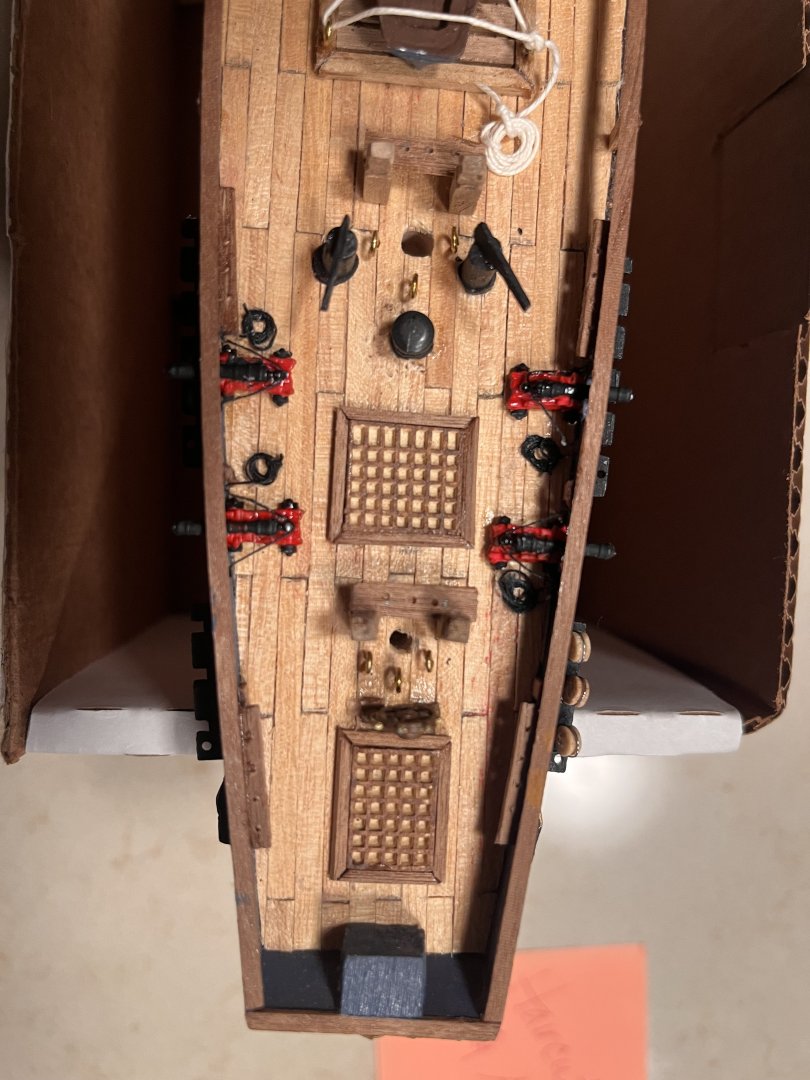
Many deck structures added. I framed the vents, made the pumps , built the belaying racks and painted the cannons and life boat among others.
-
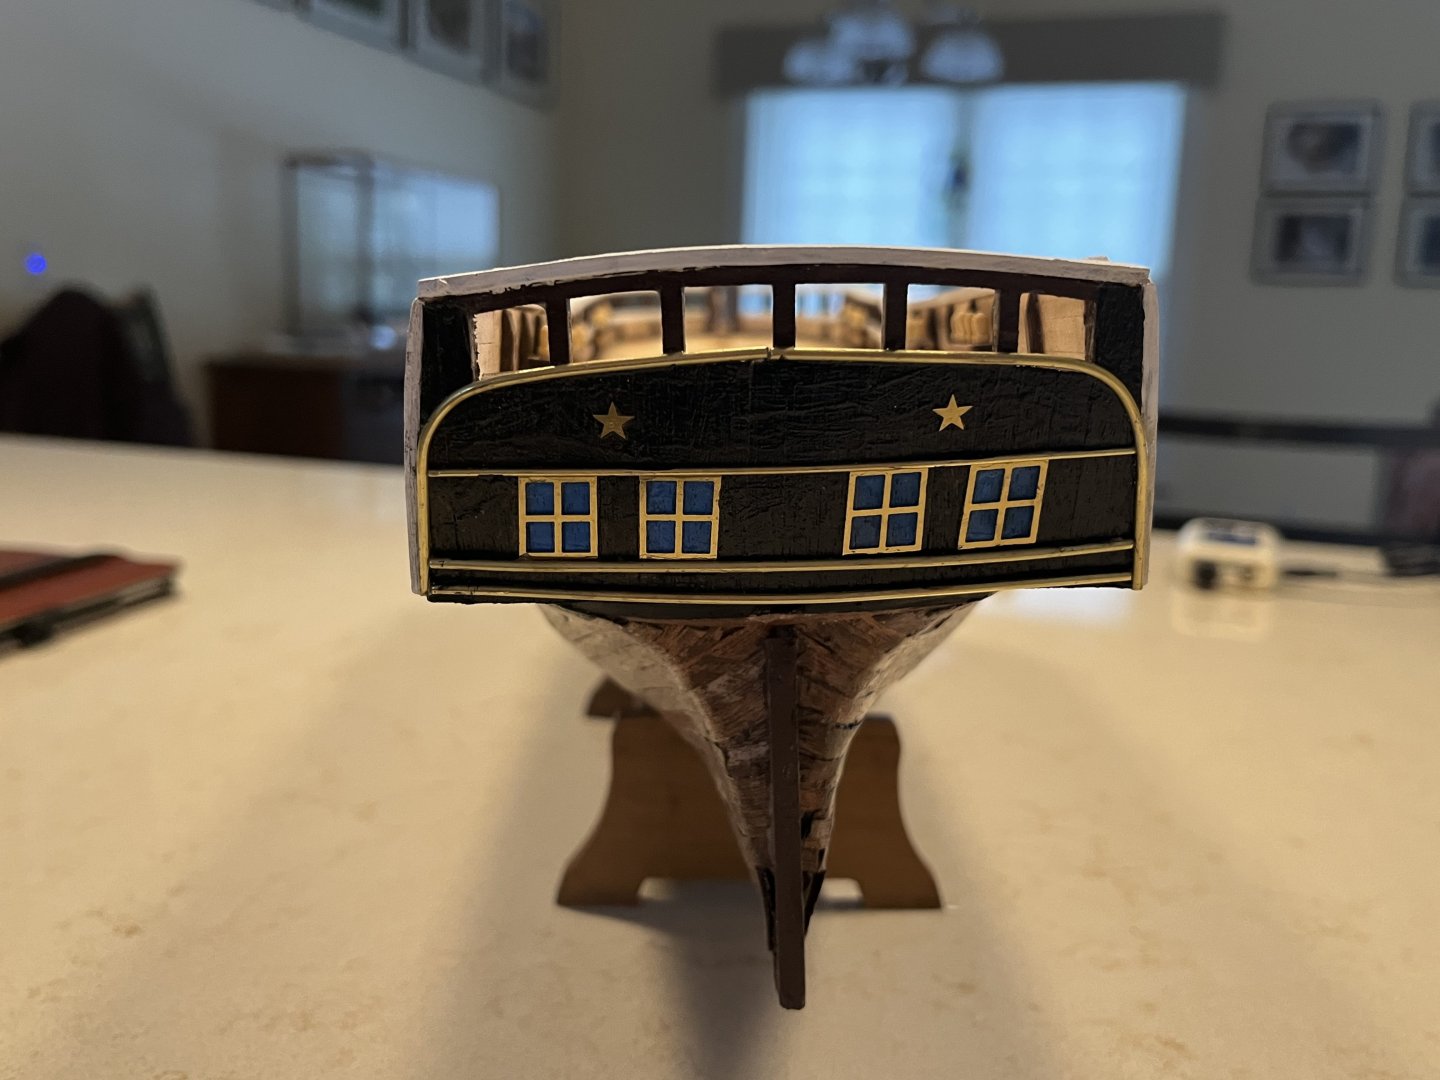
Deck planking done, ornamentation and cabin windows painted and placed on stern. Figurehead painted and installed on bow. I am using deadeyes instead of brass eyelets for the shrouds to make the model more authentic.
-
Thanks !
-
I started a build log a few weeks ago and wish to continue it by adding new updated pictures and dialogue. I have forgotten the protocol of adding to my blog. Do I just press comment? Thanks for any help!
-
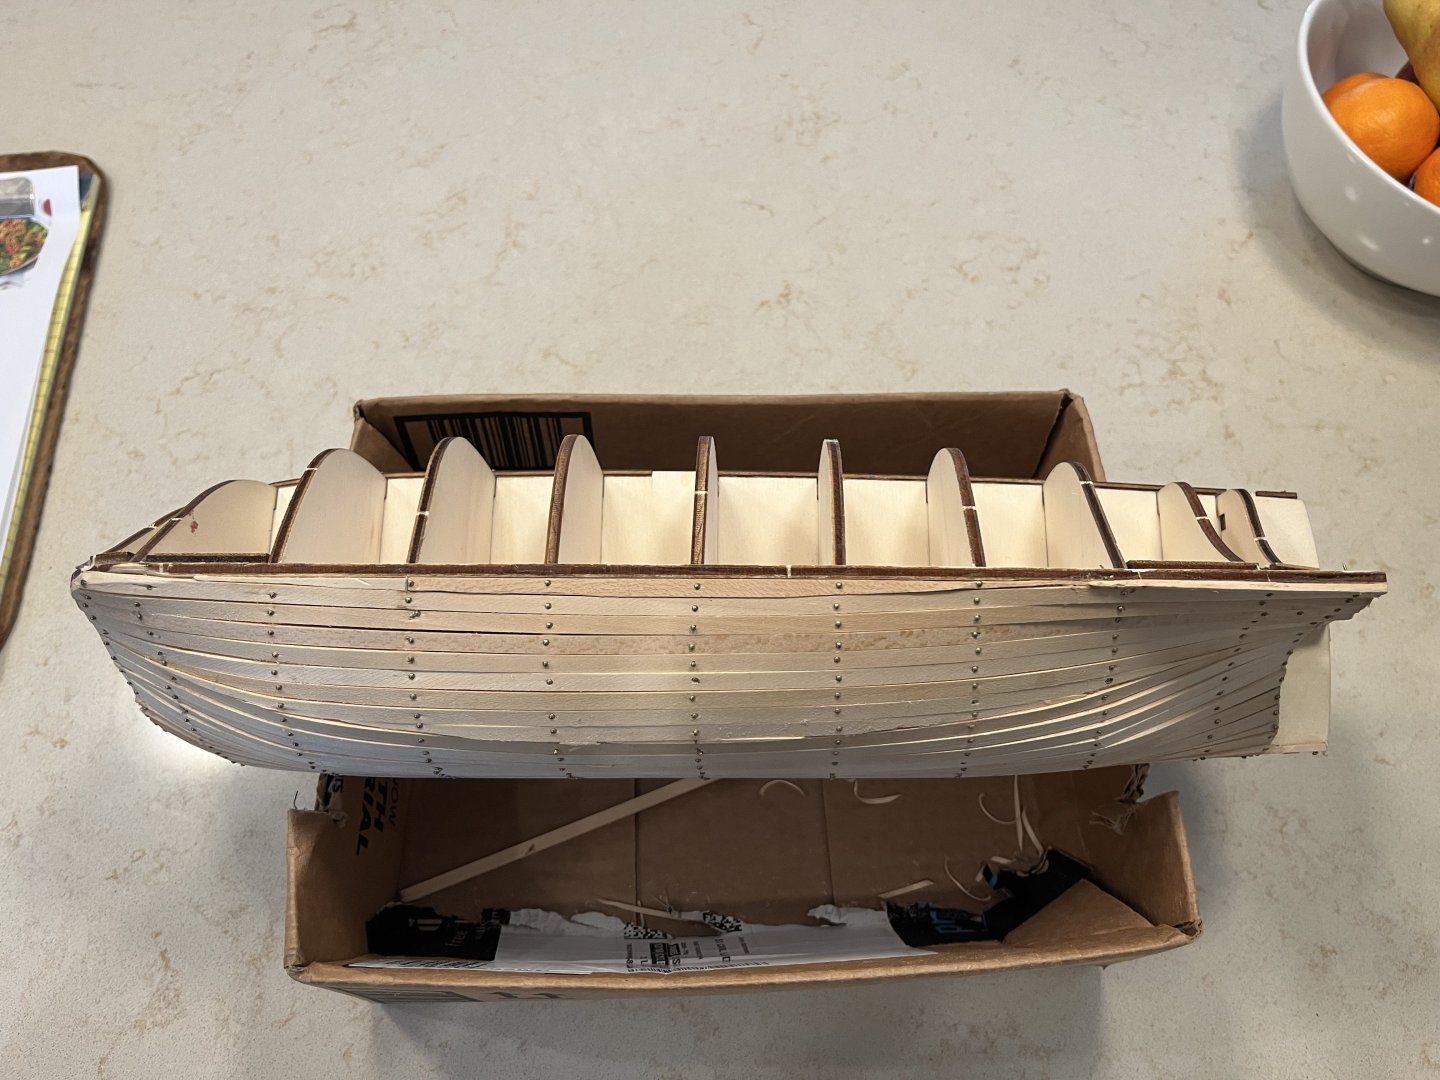
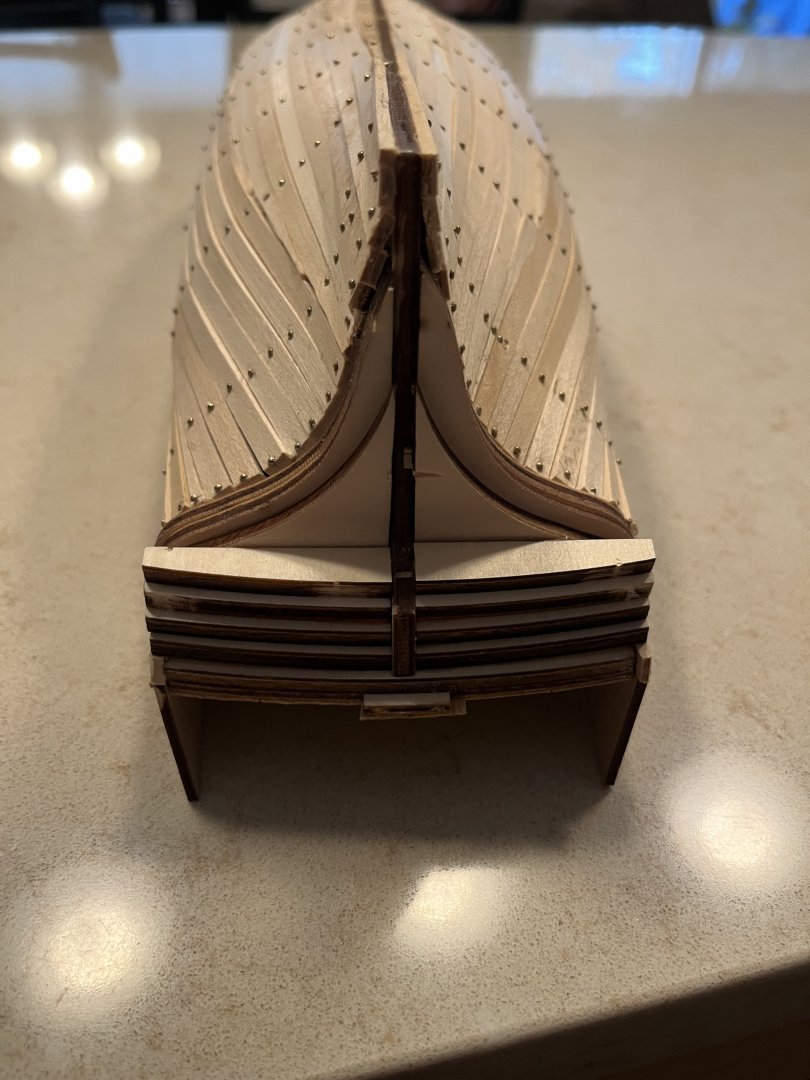
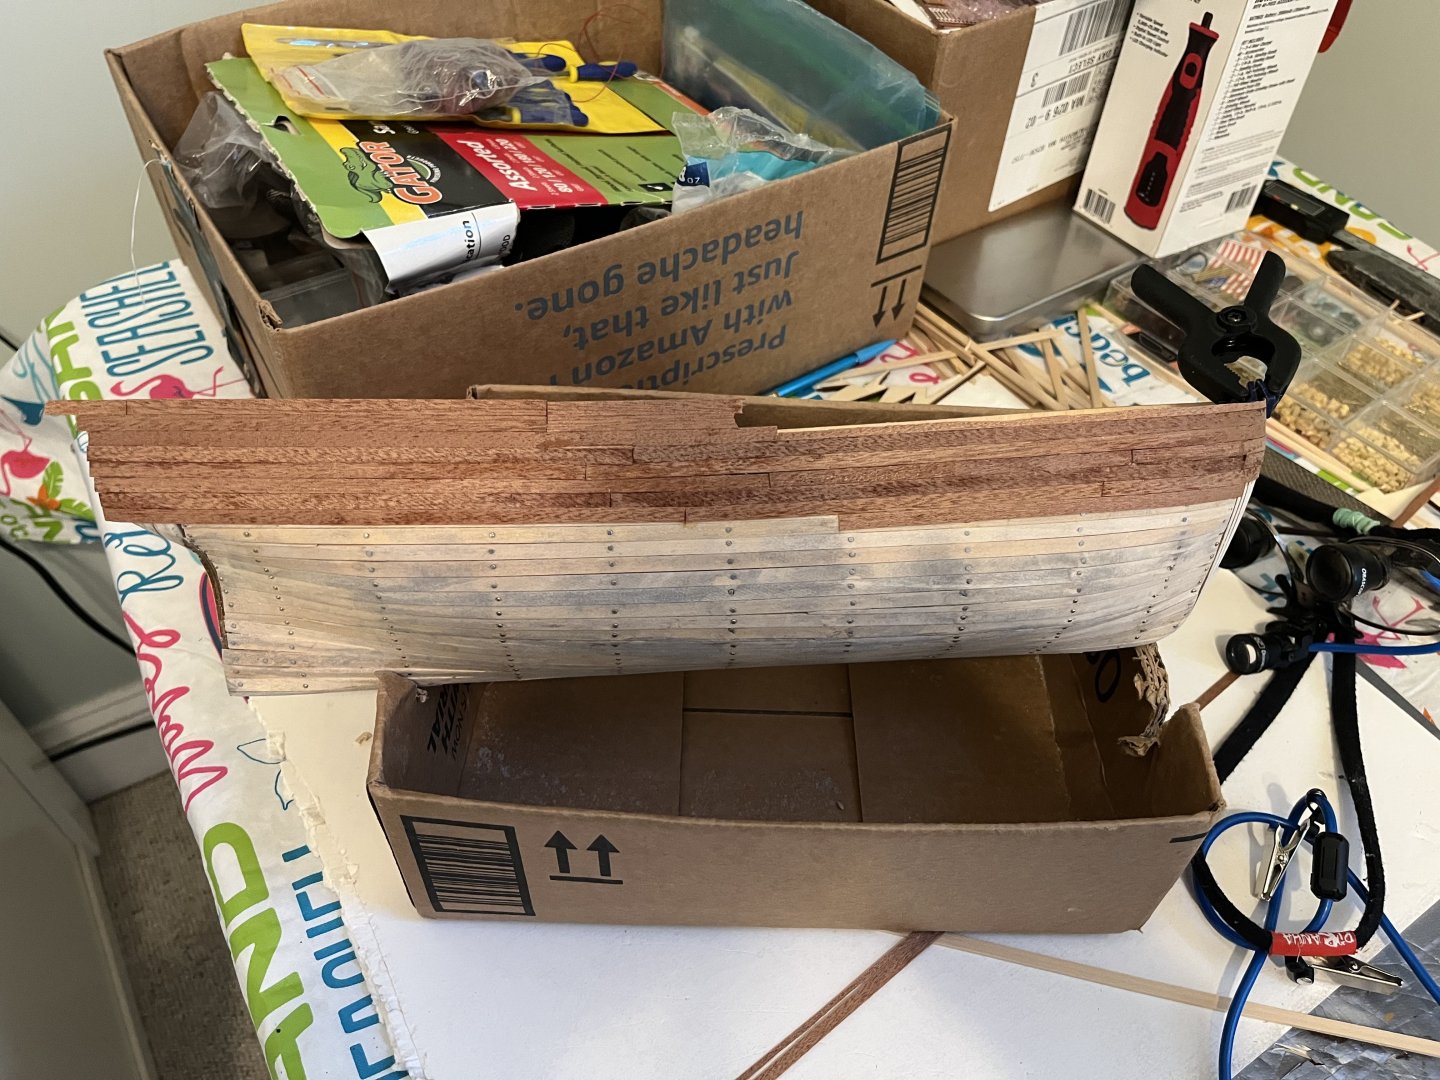
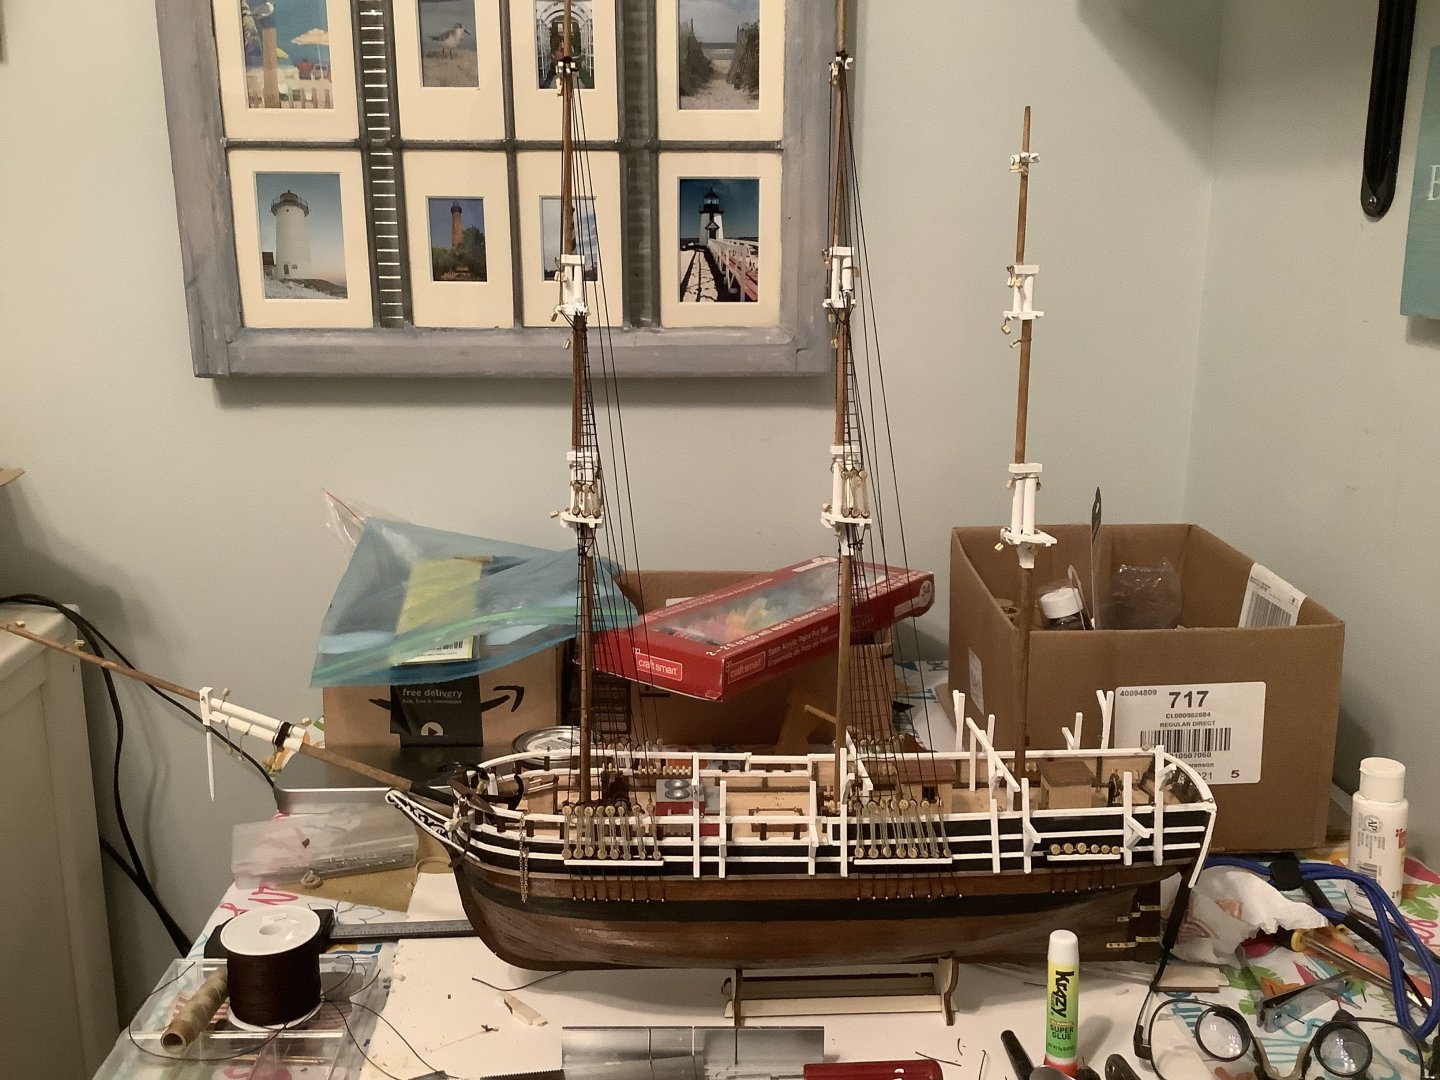
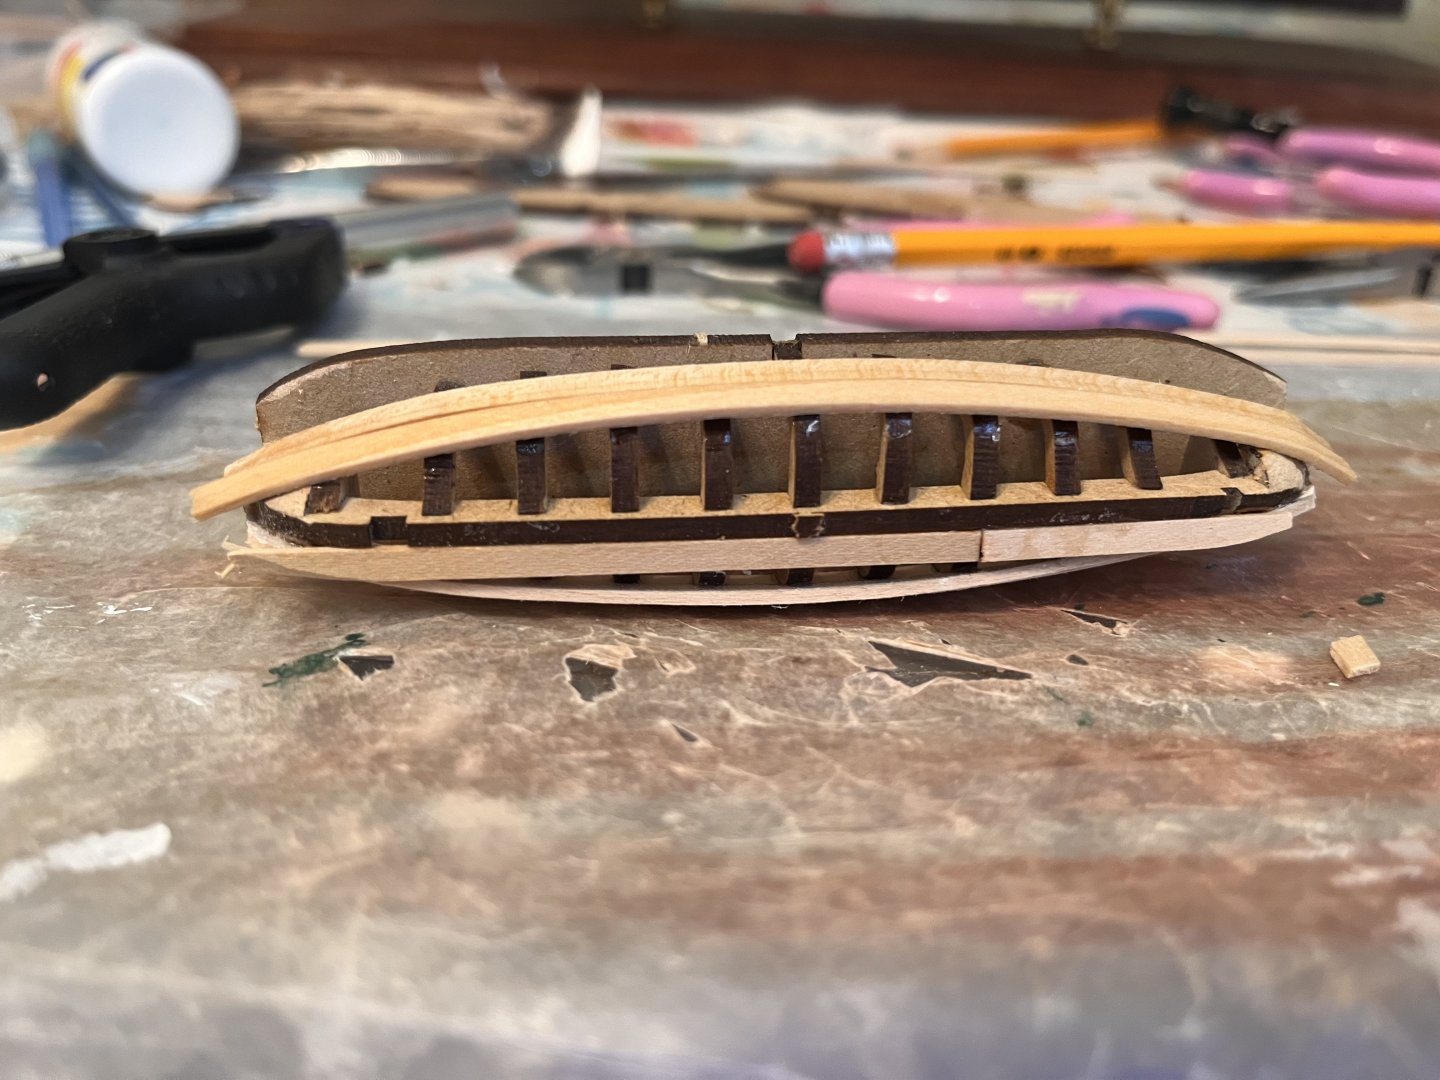
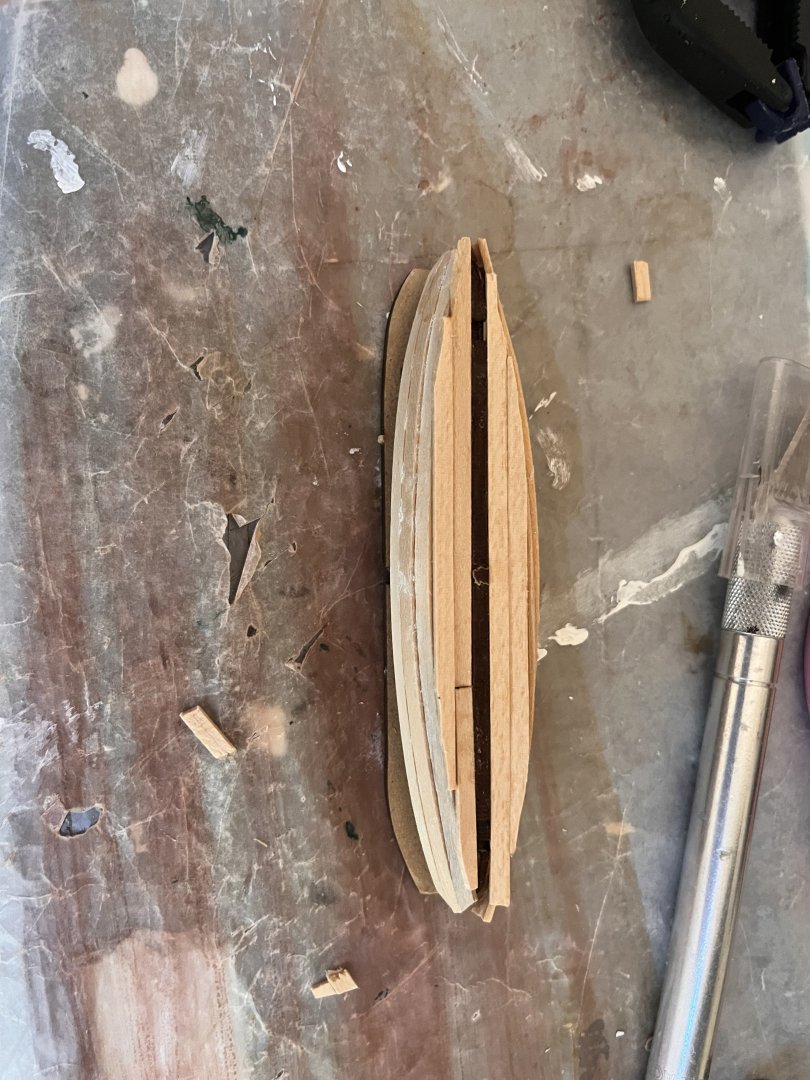
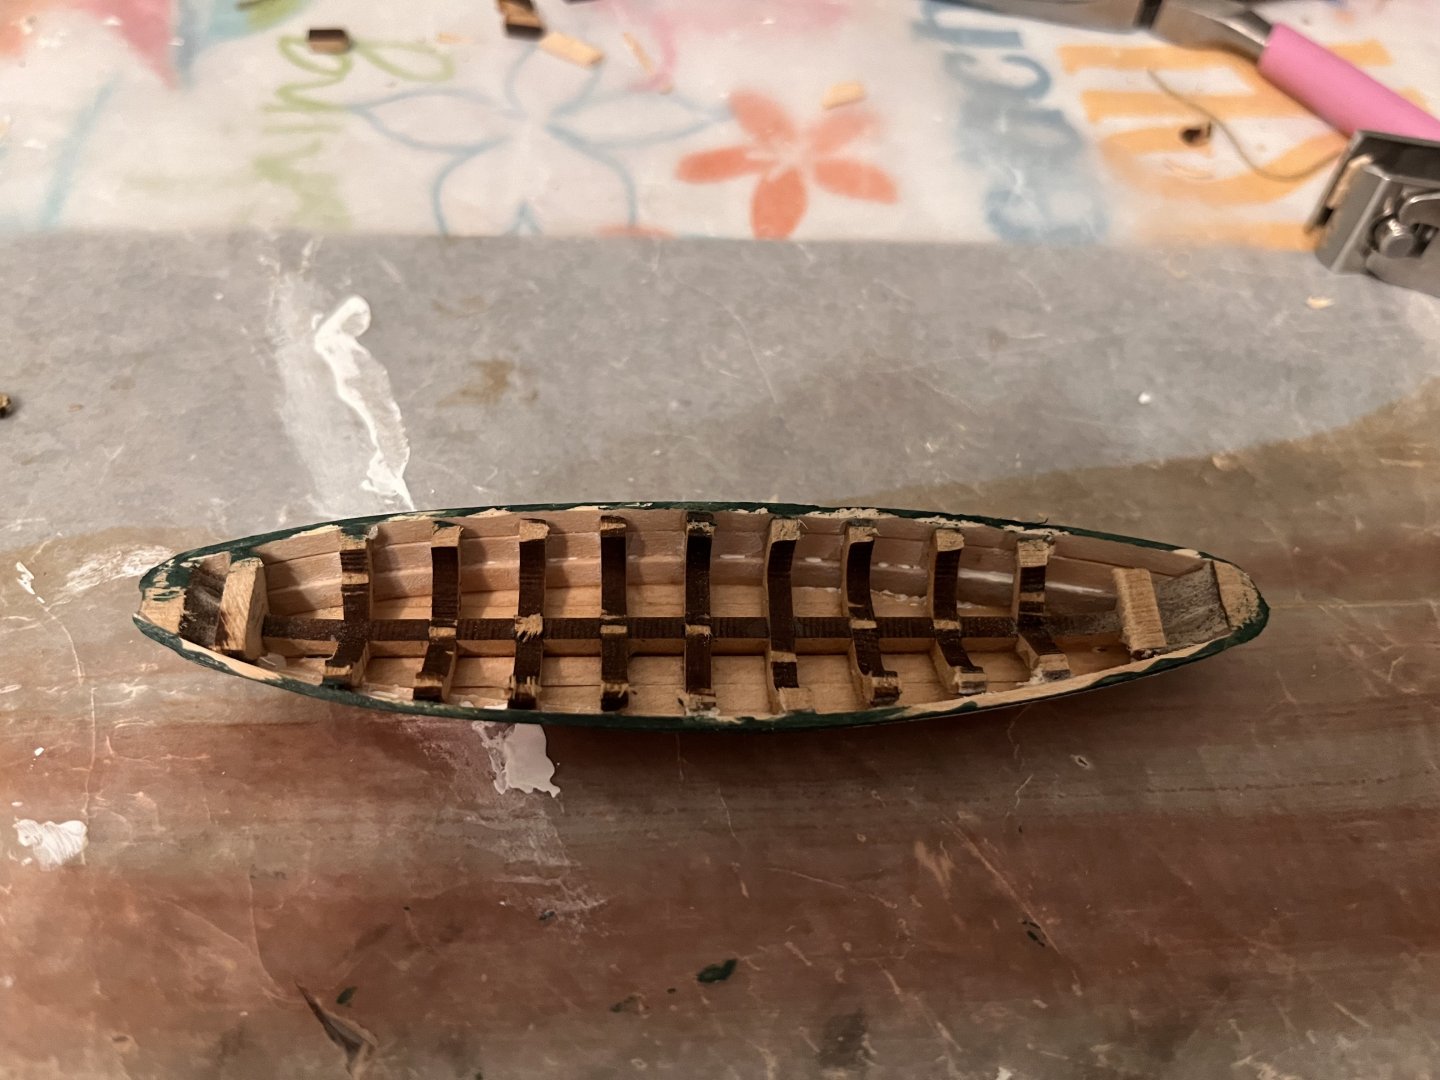
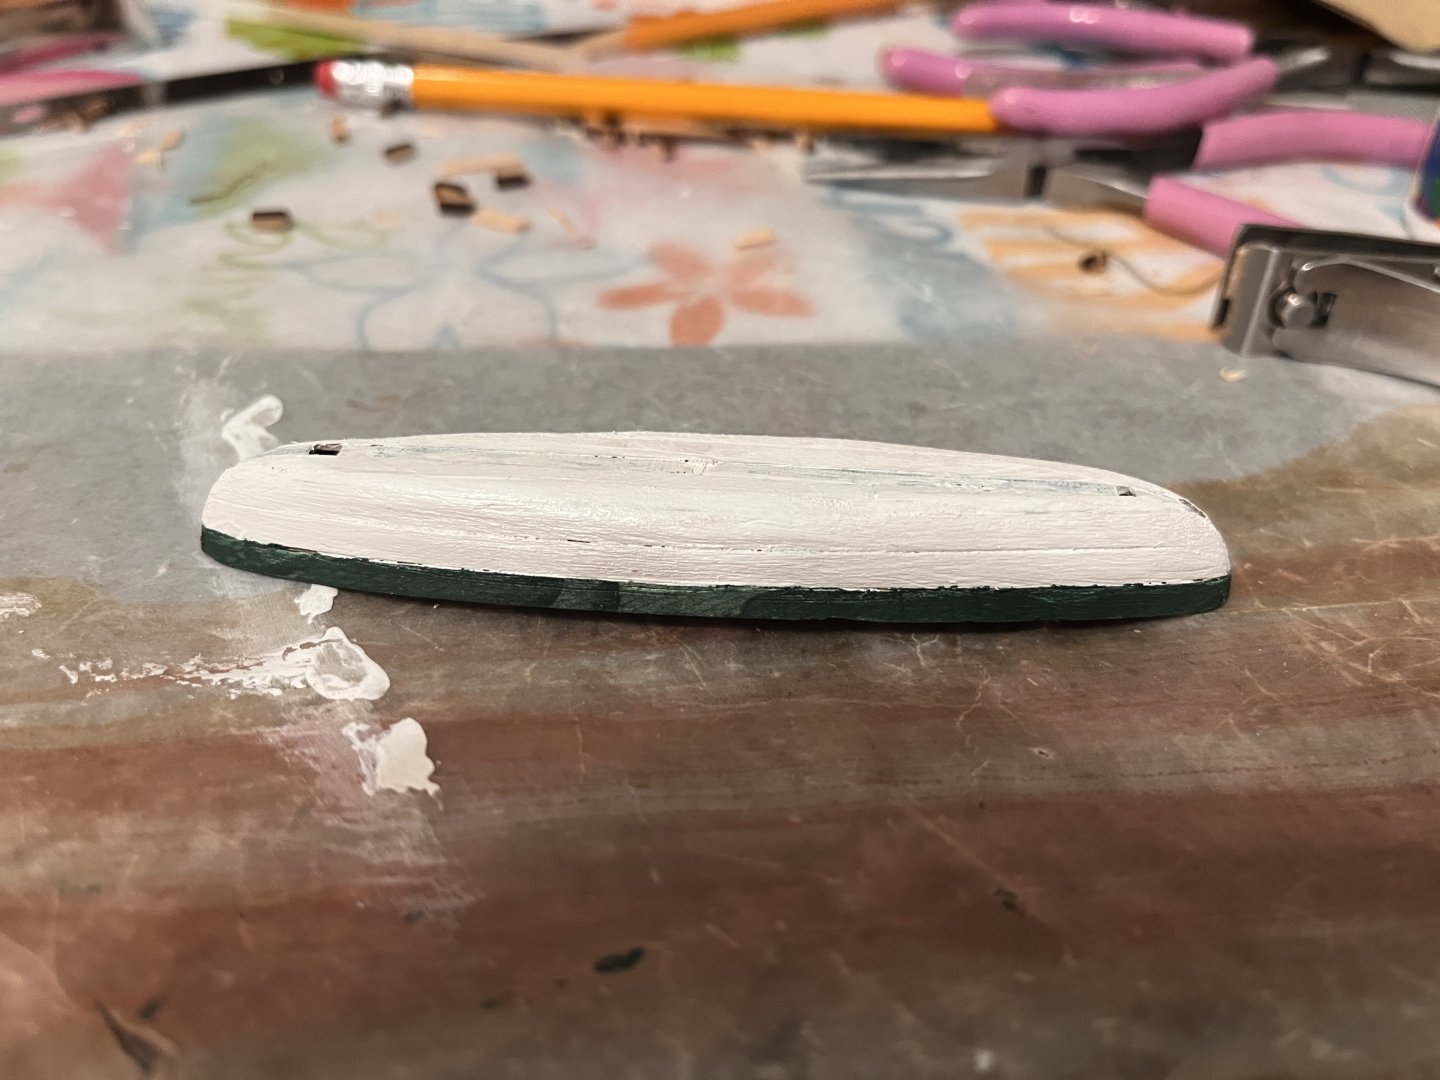
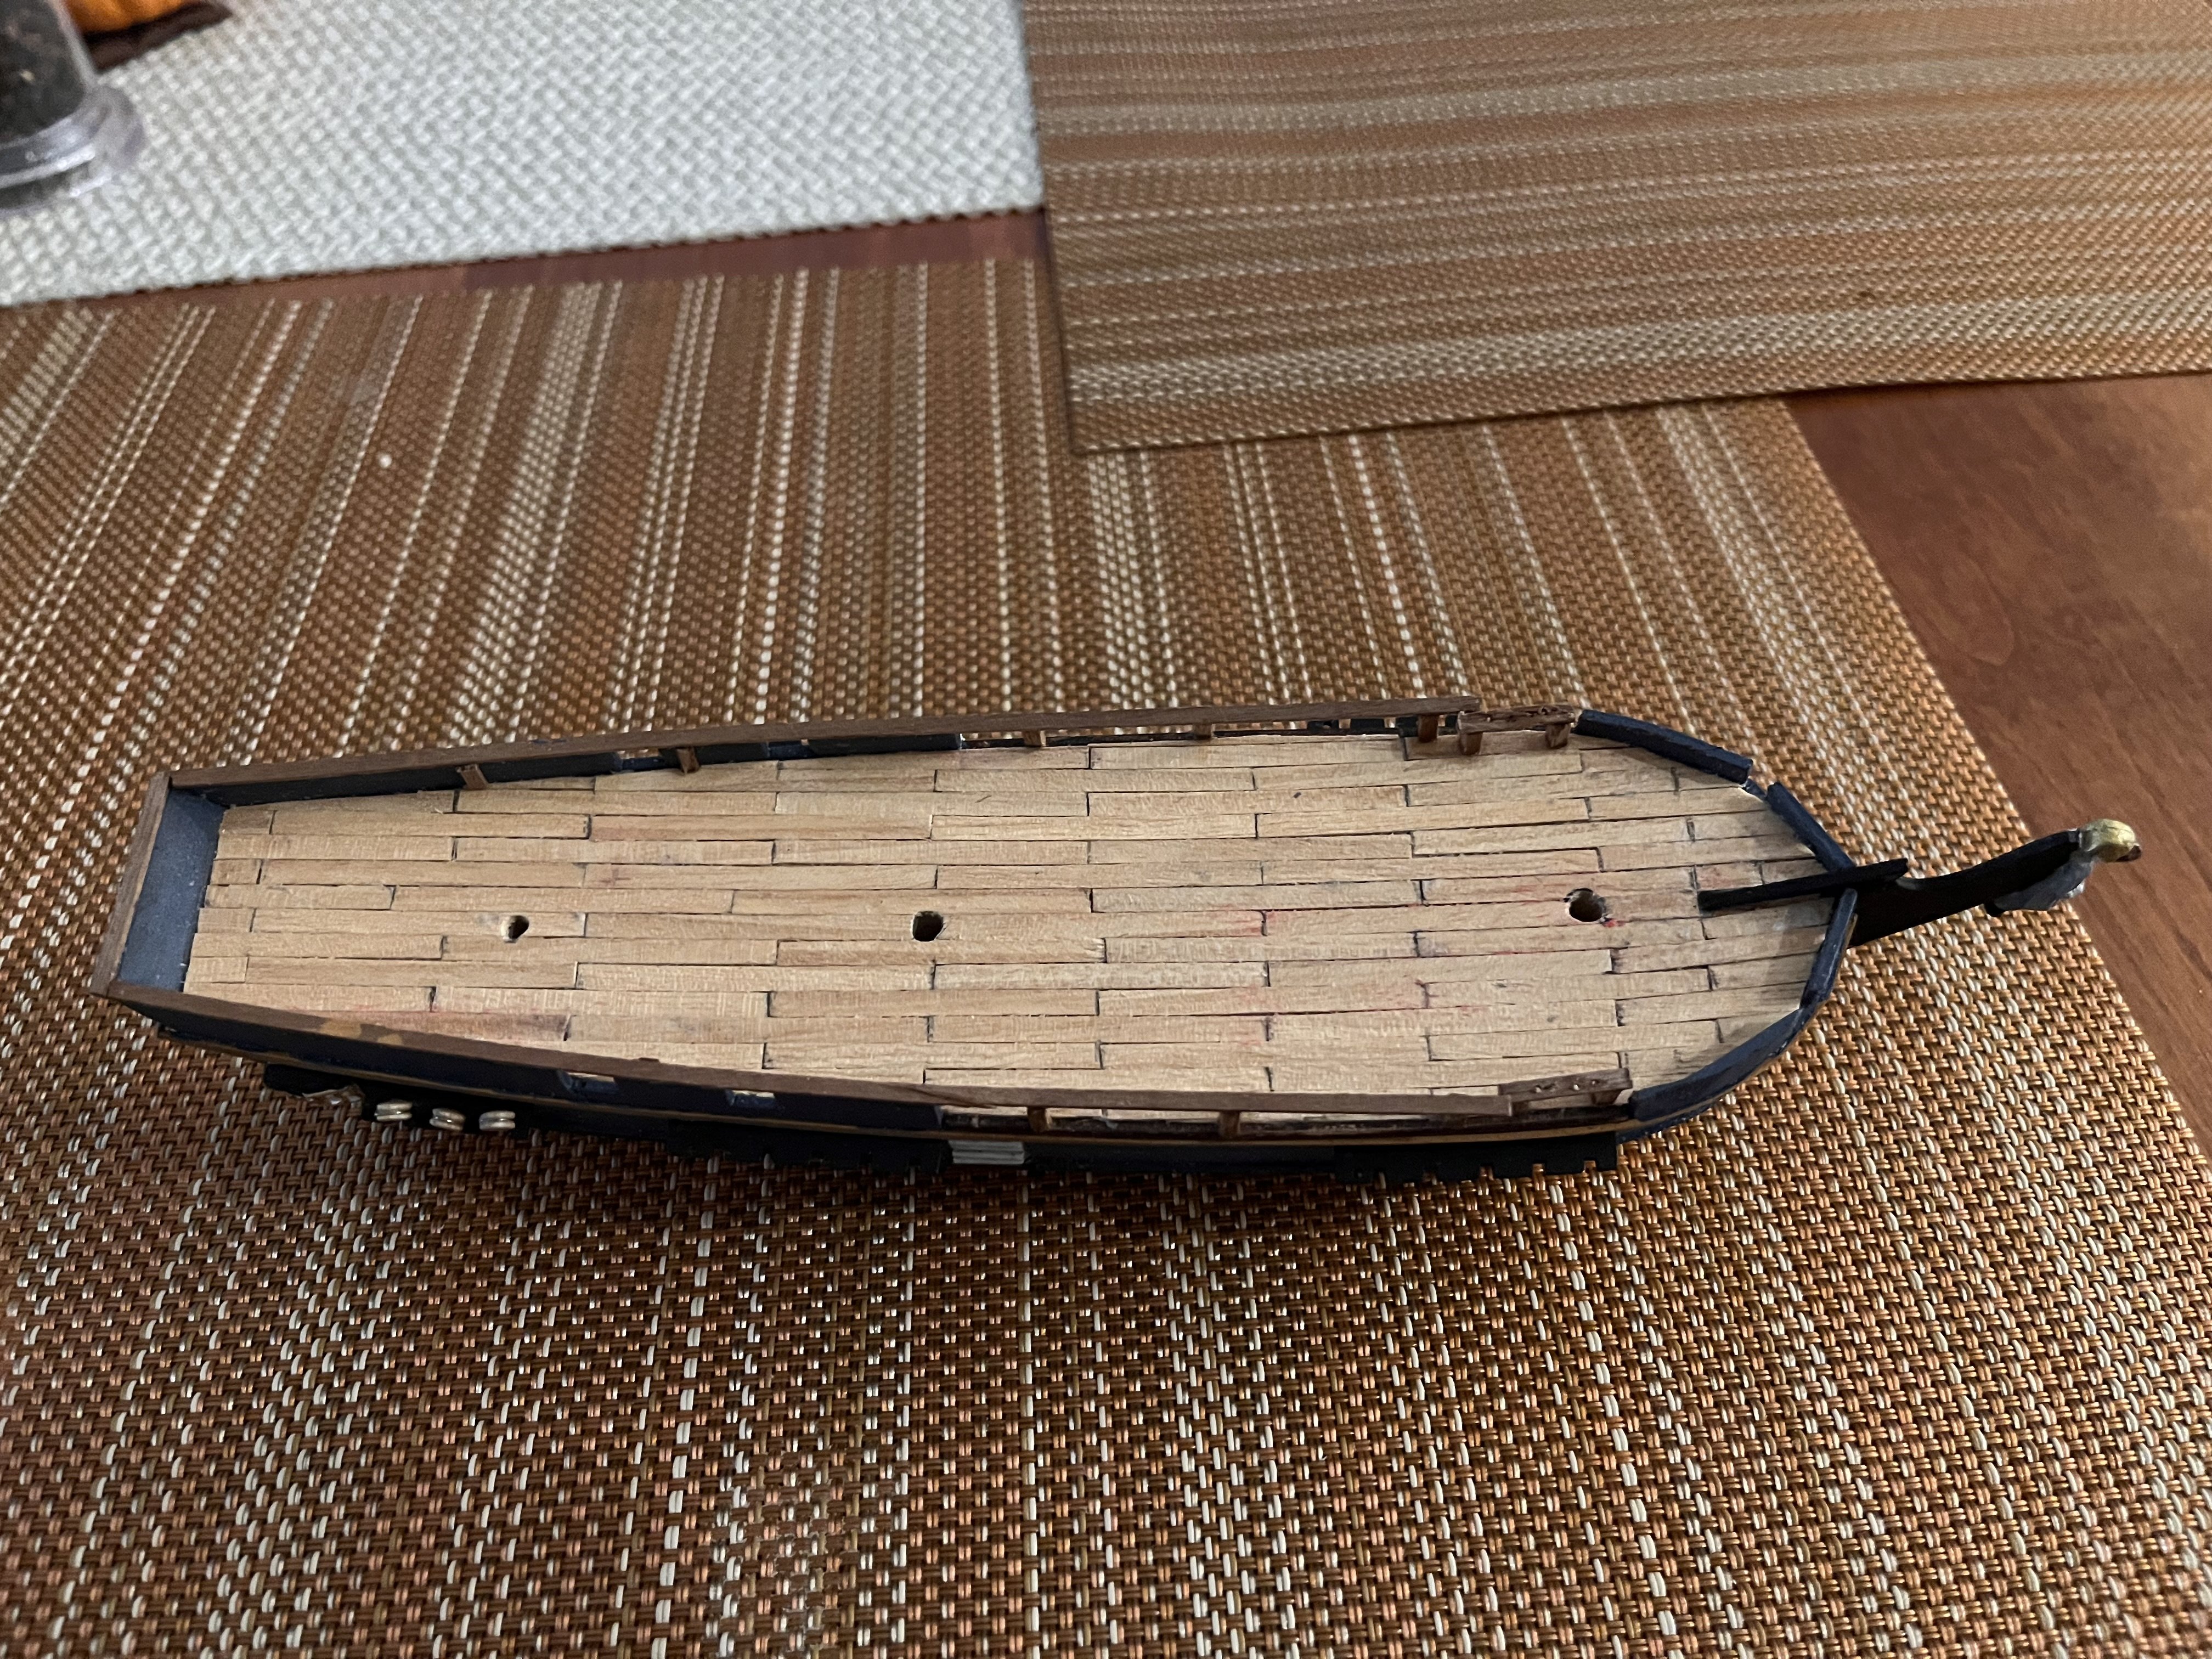
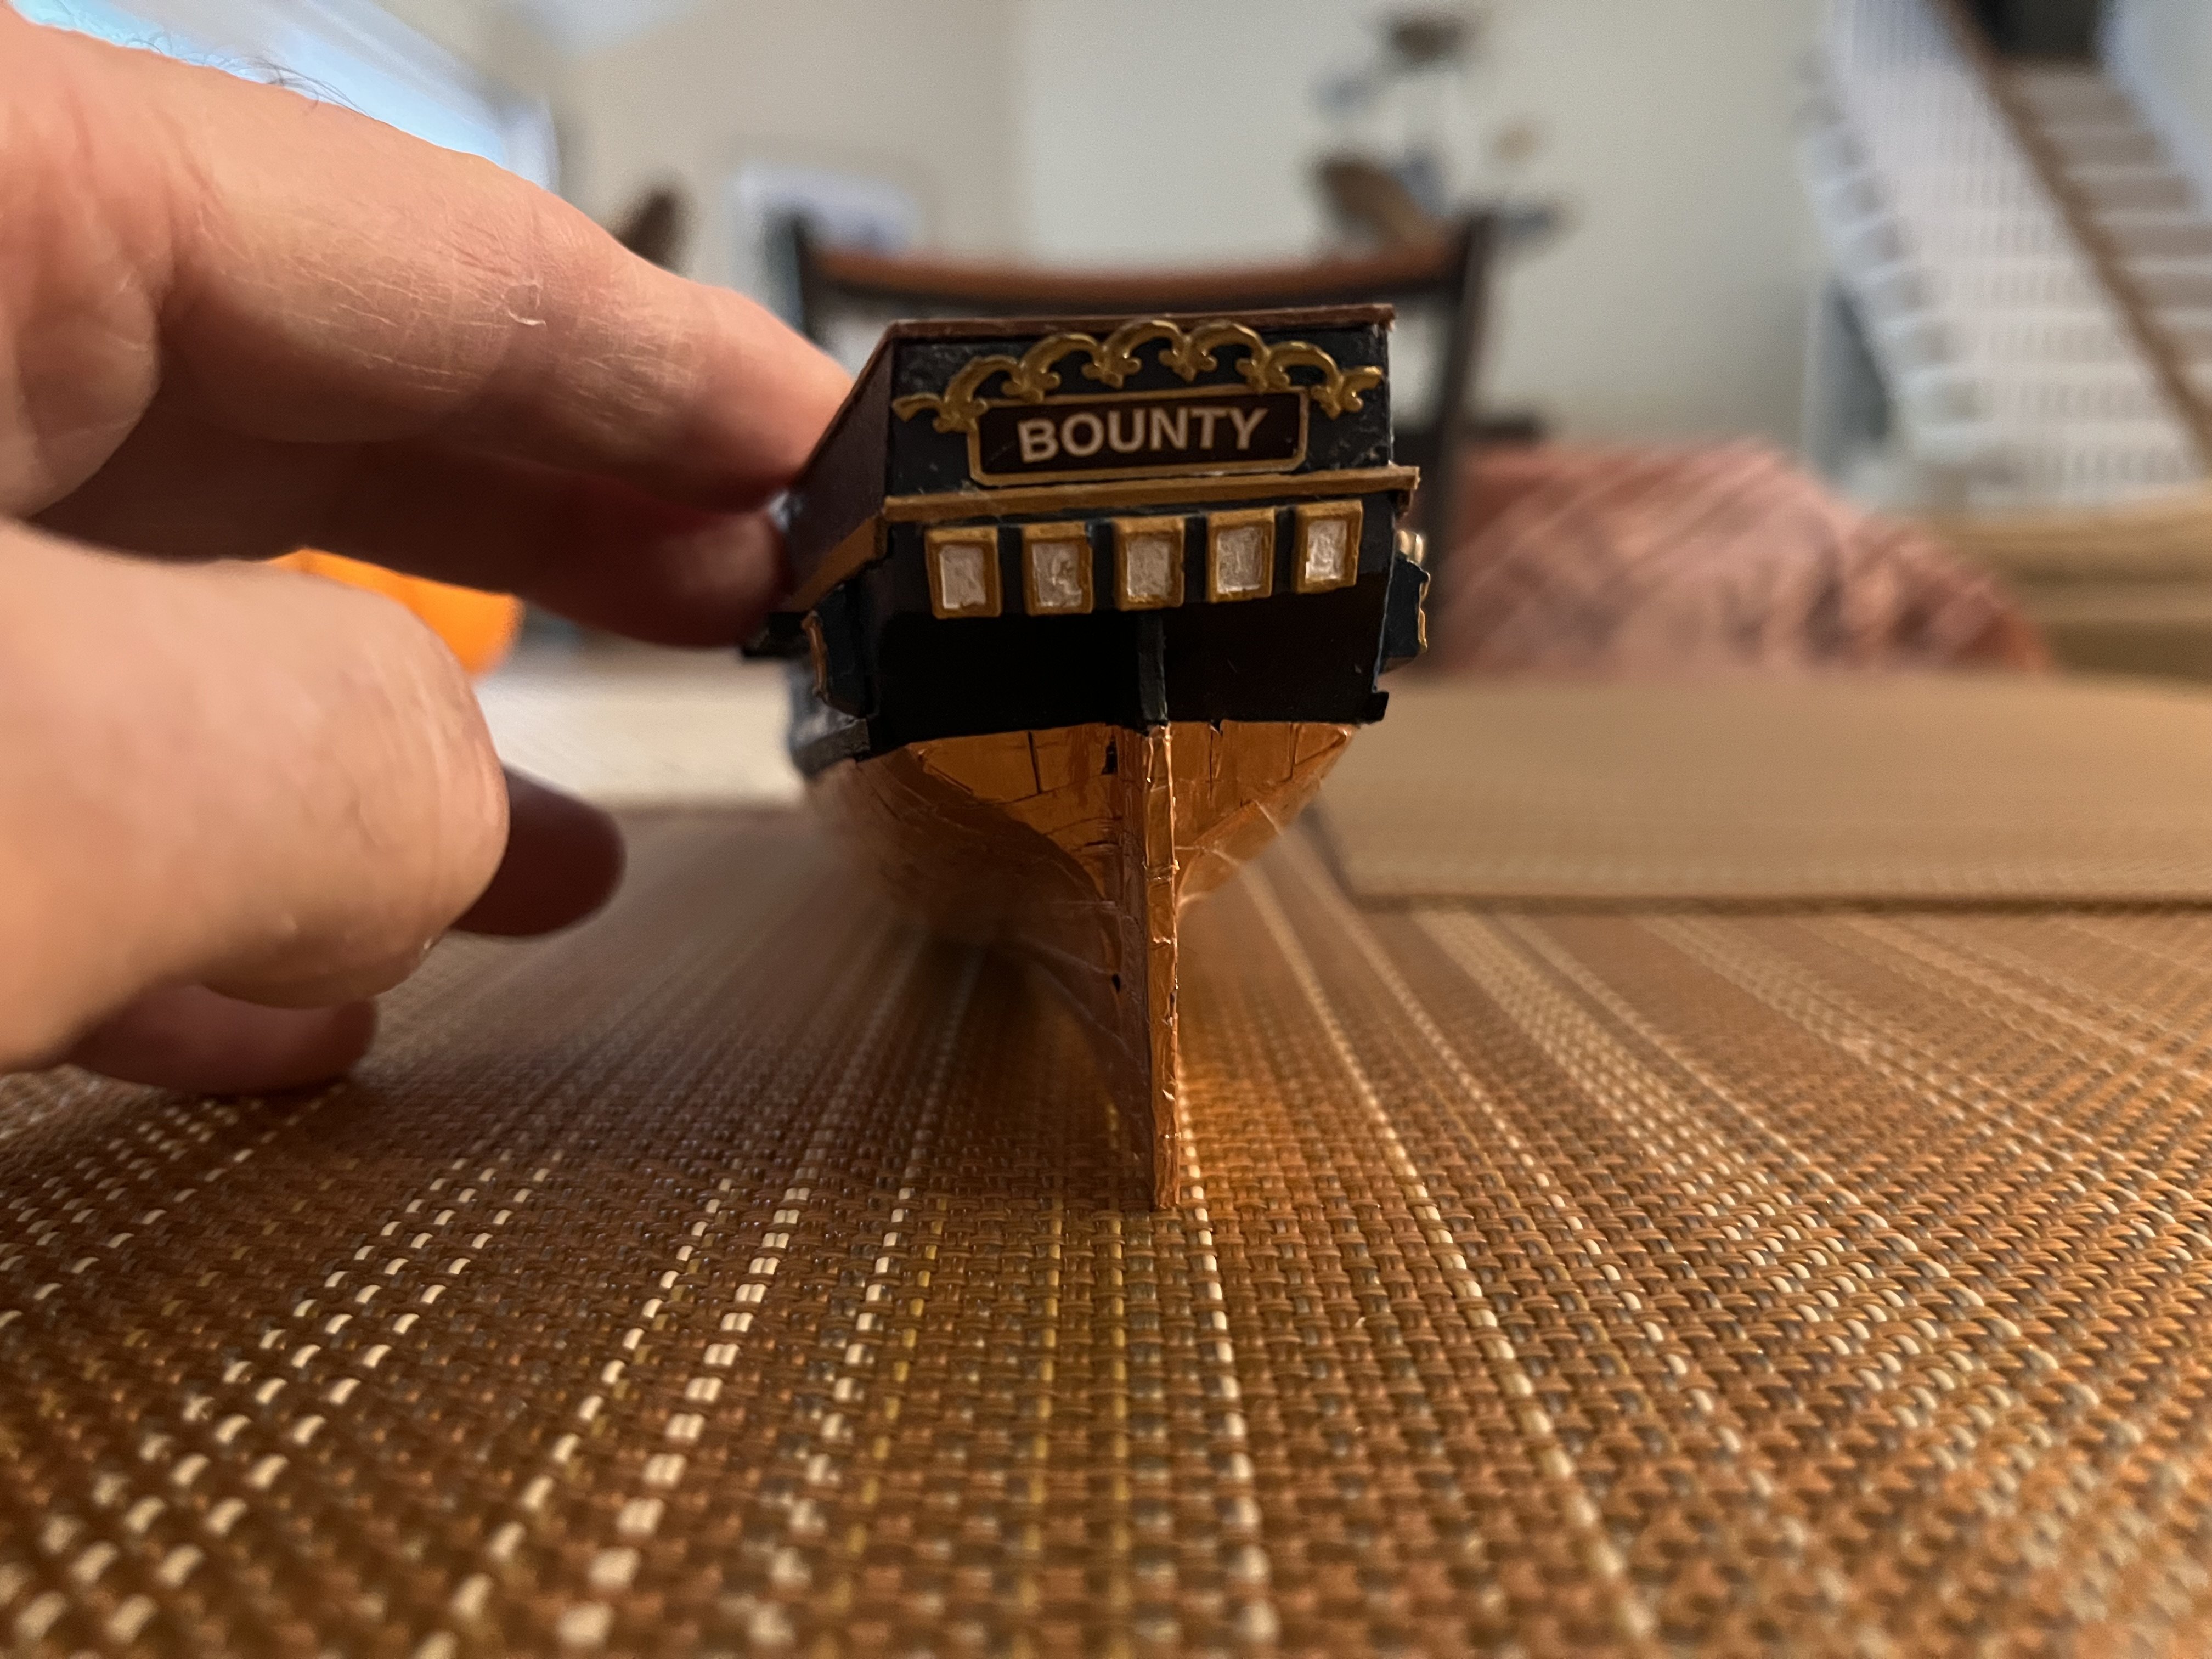
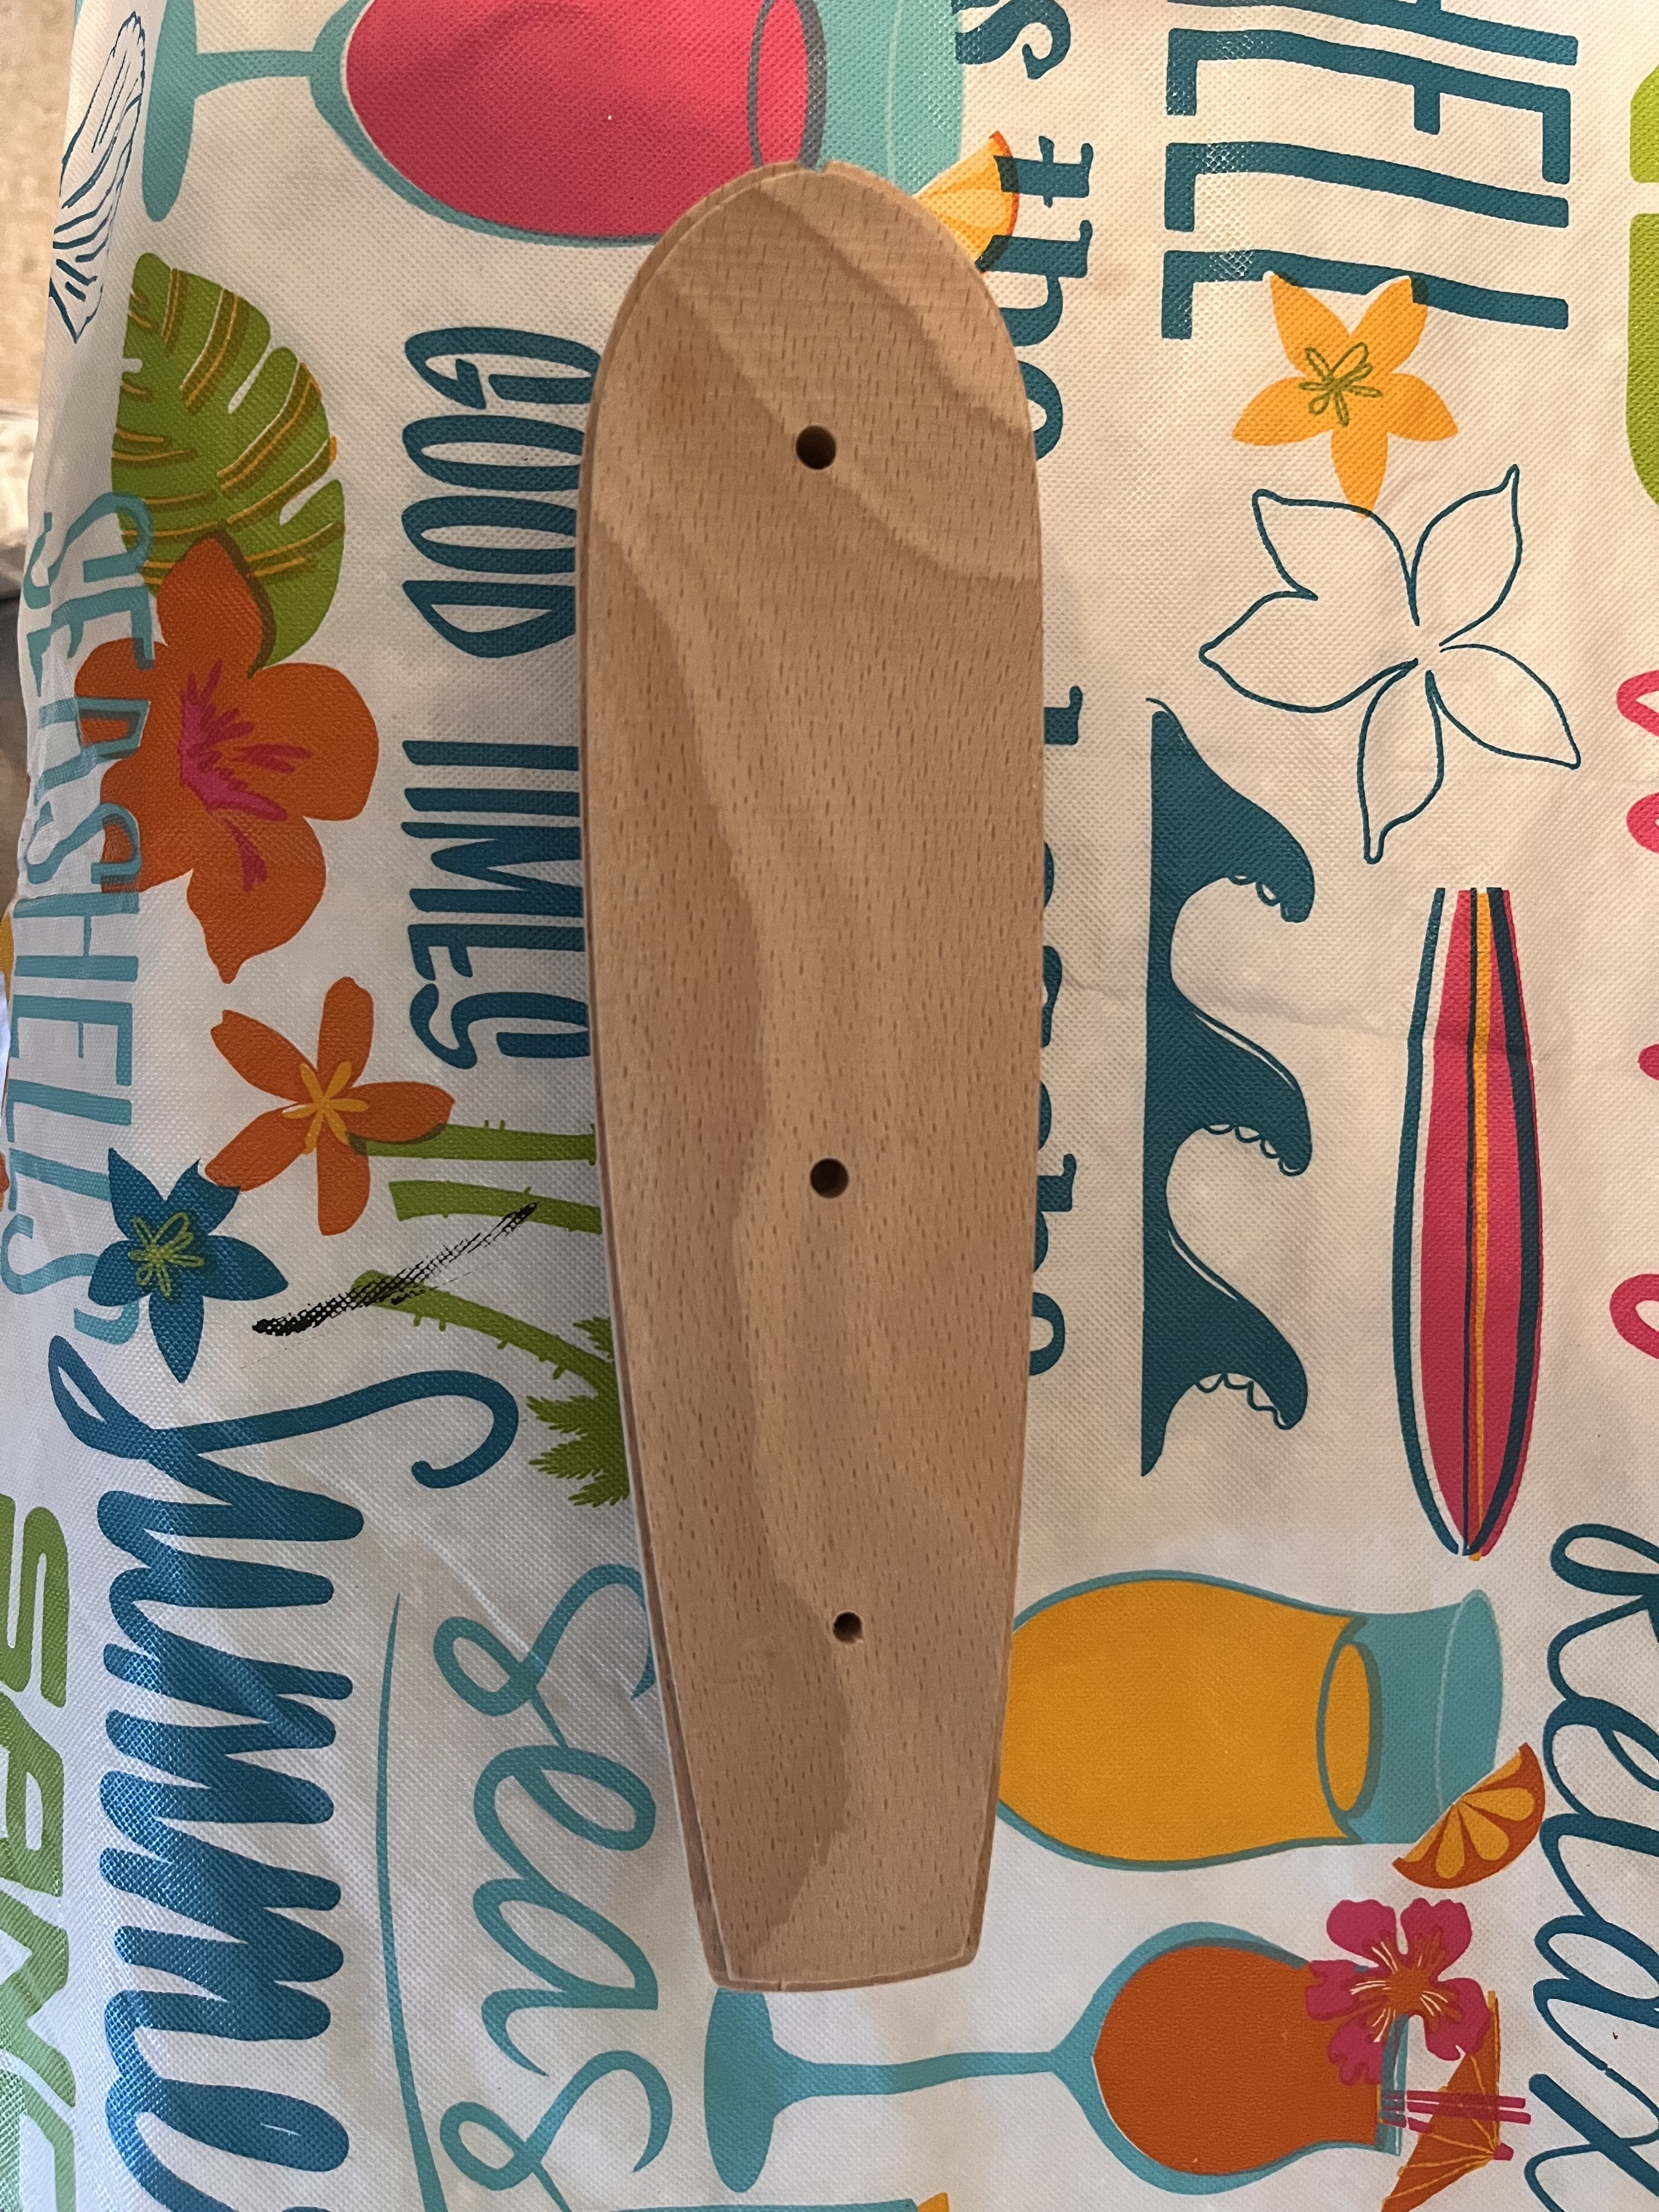
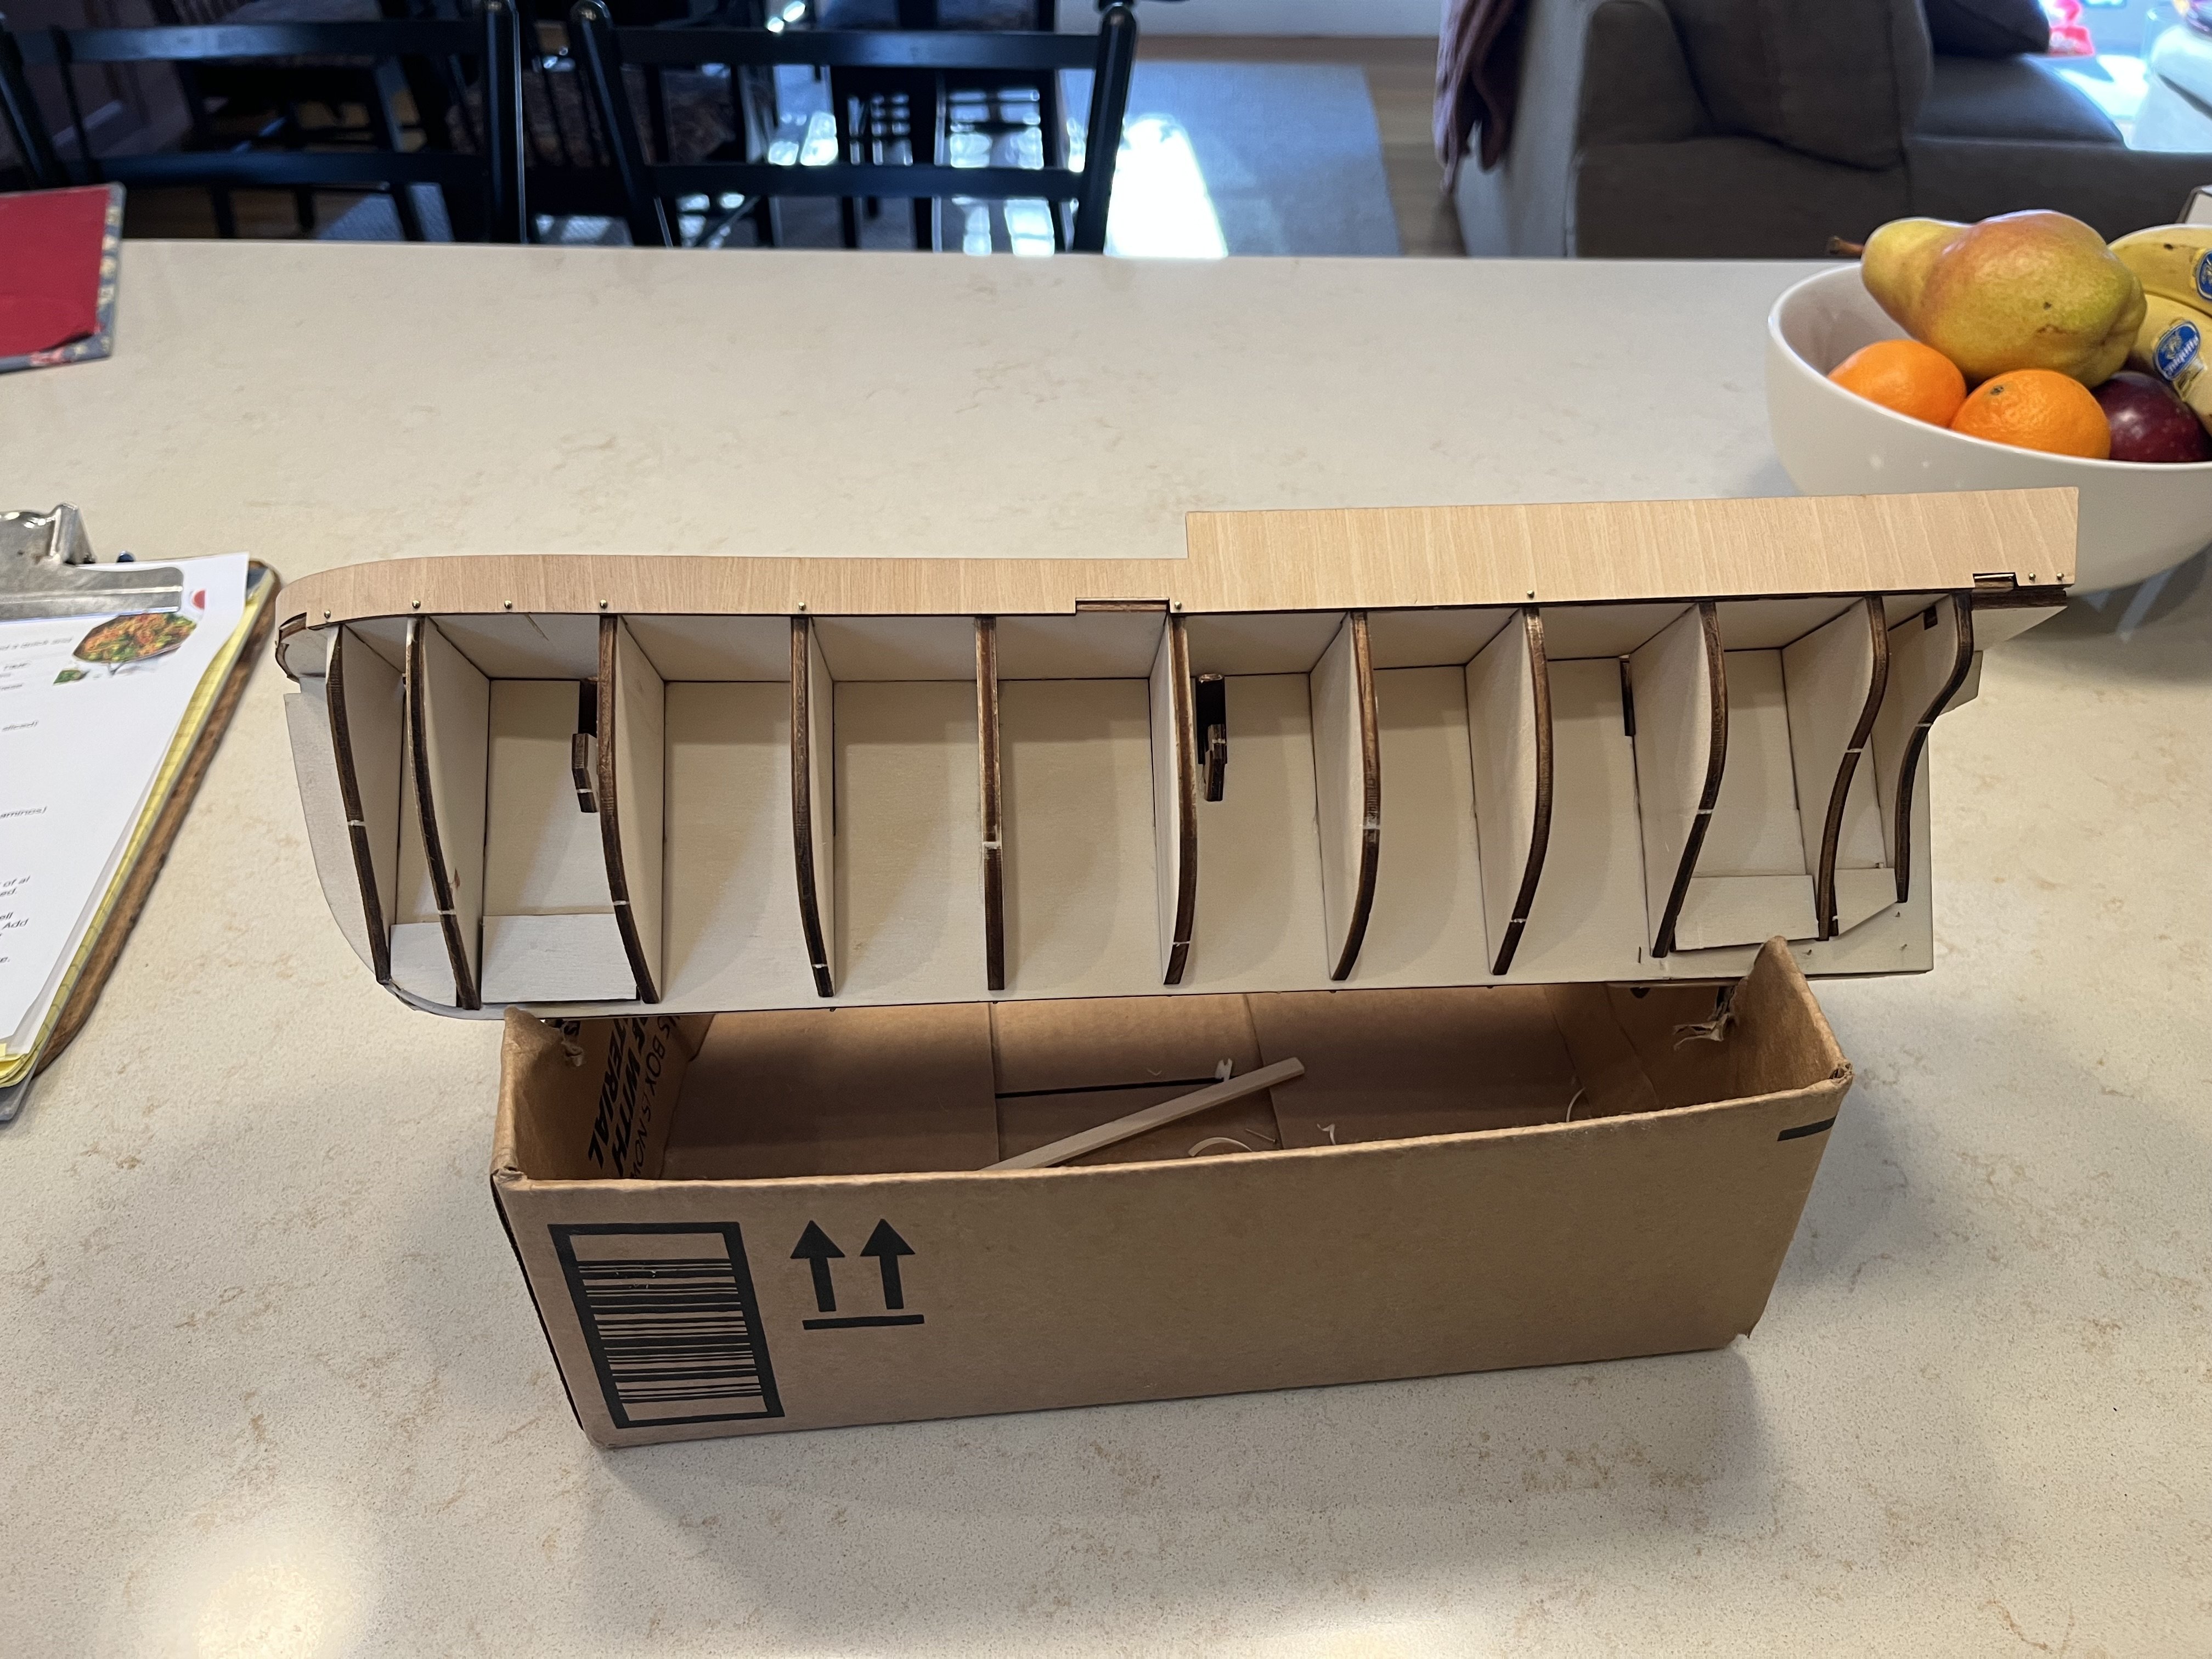
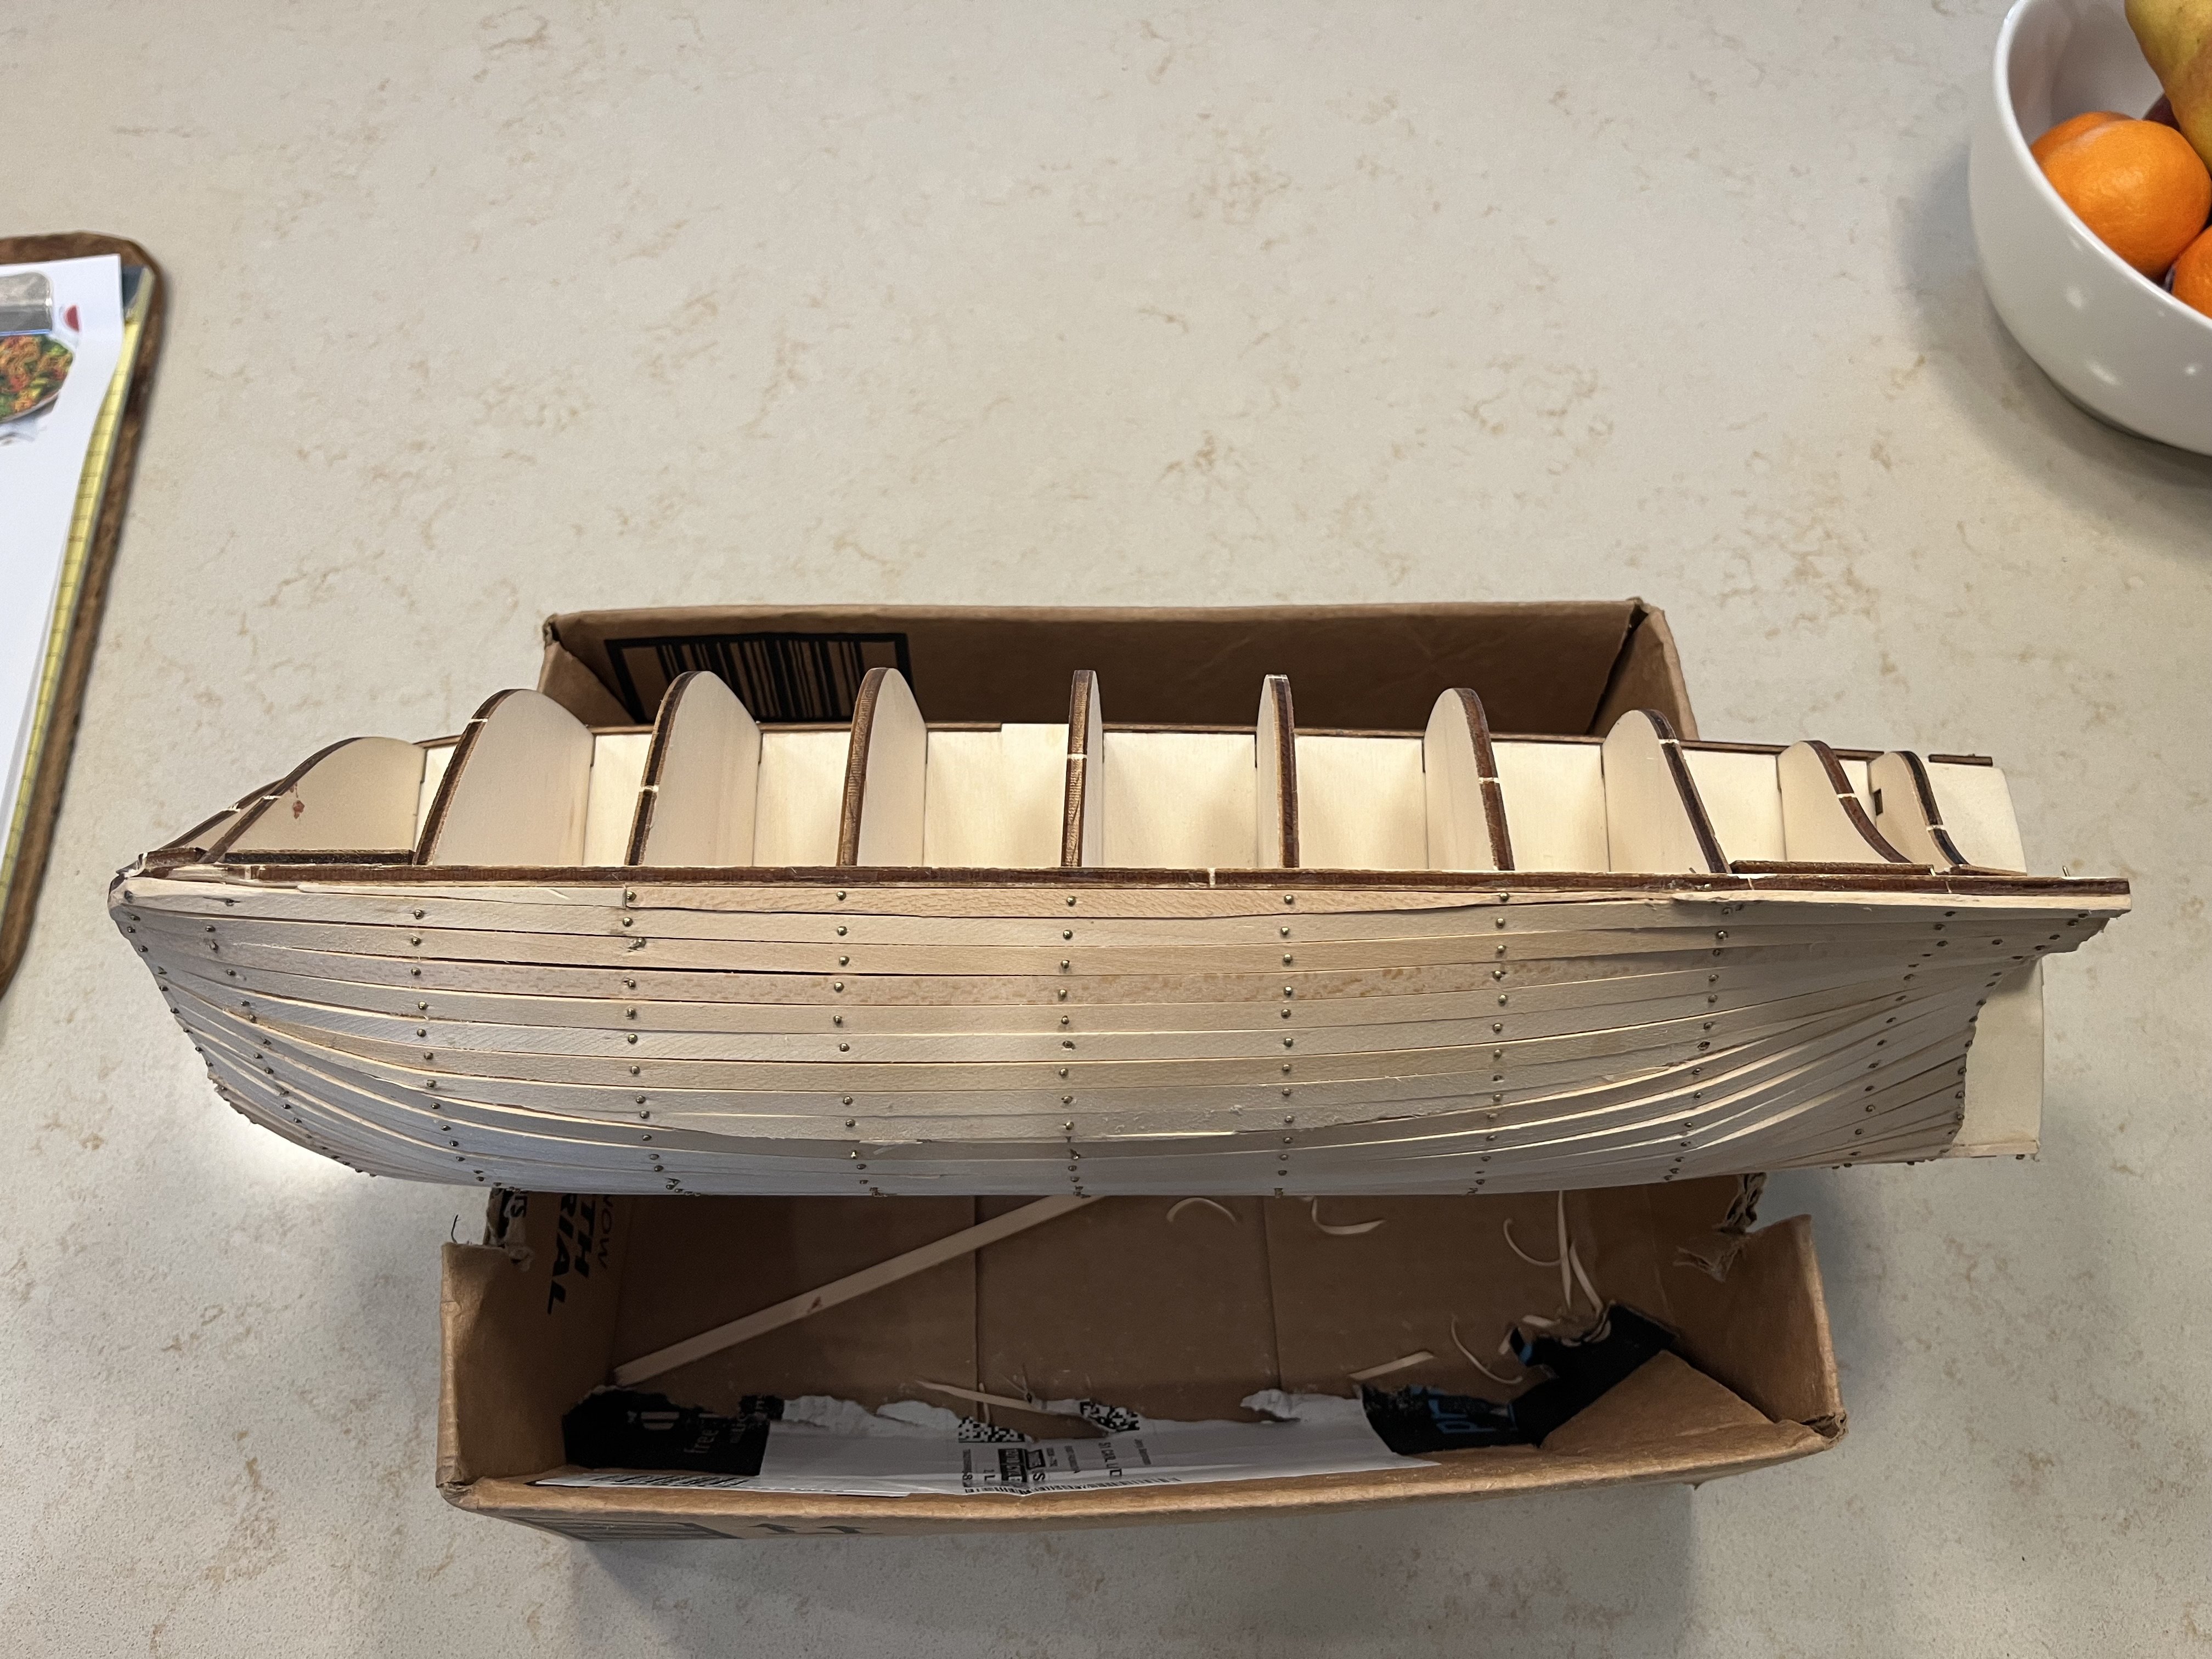
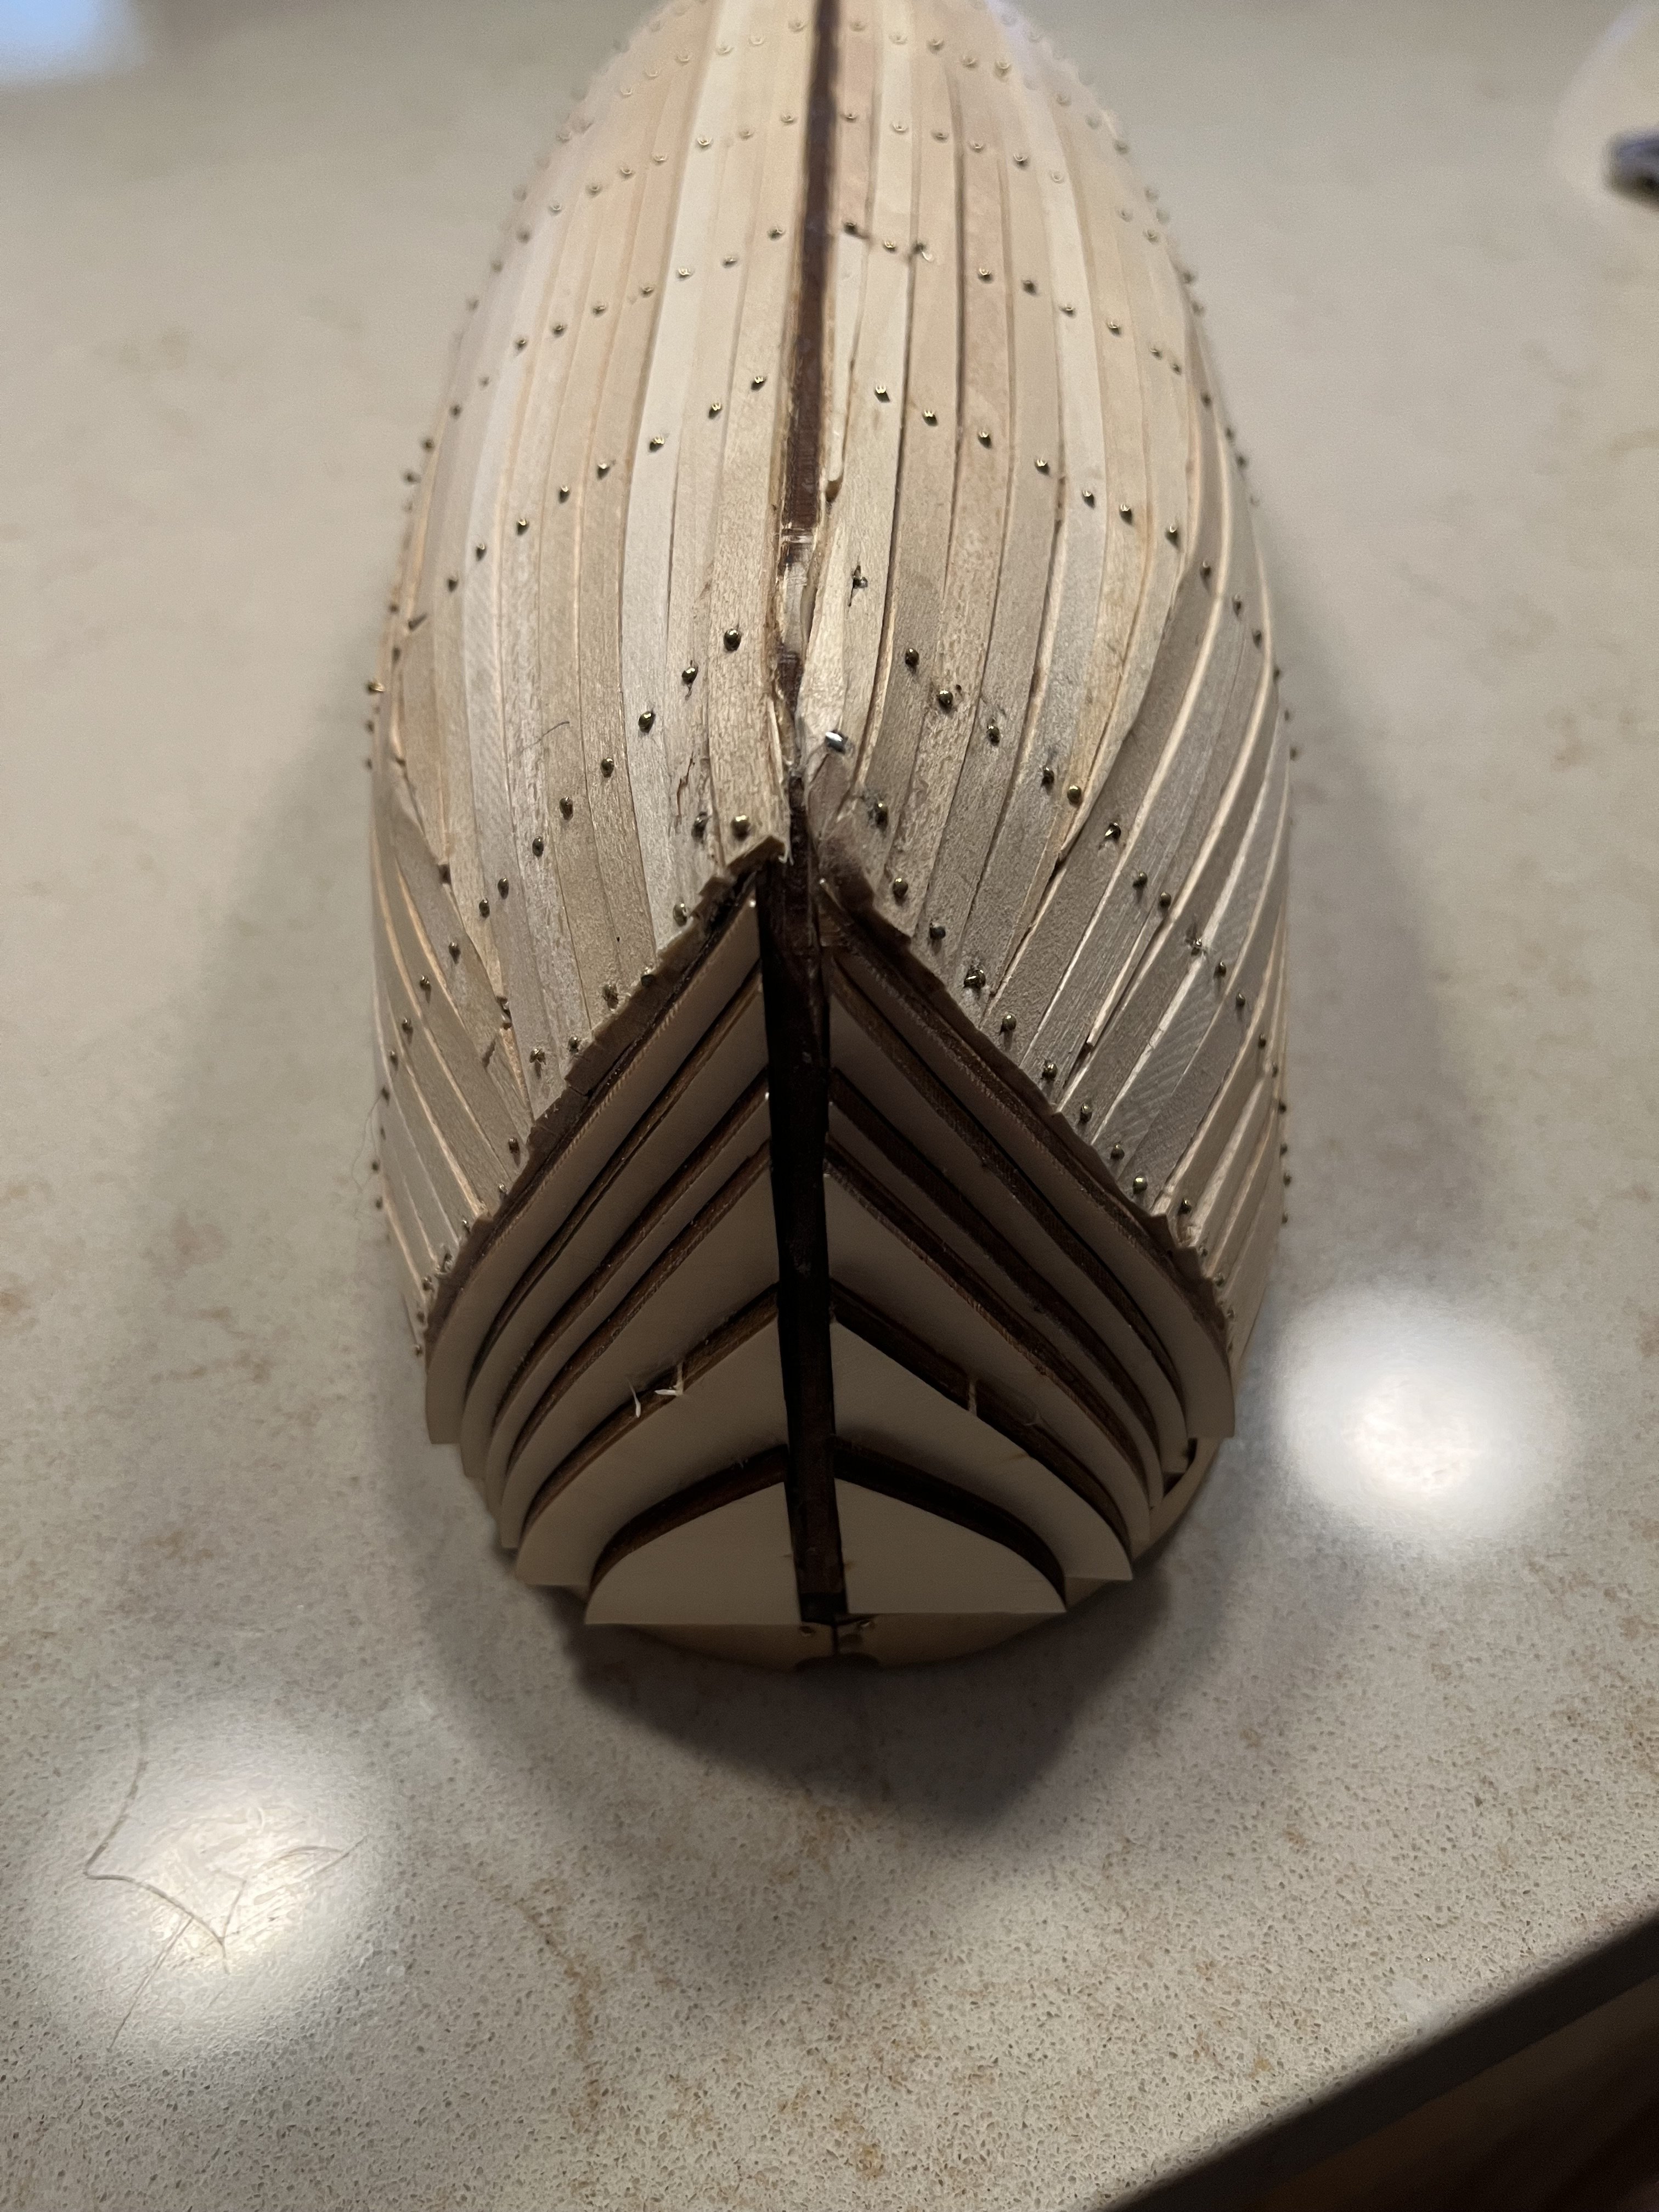
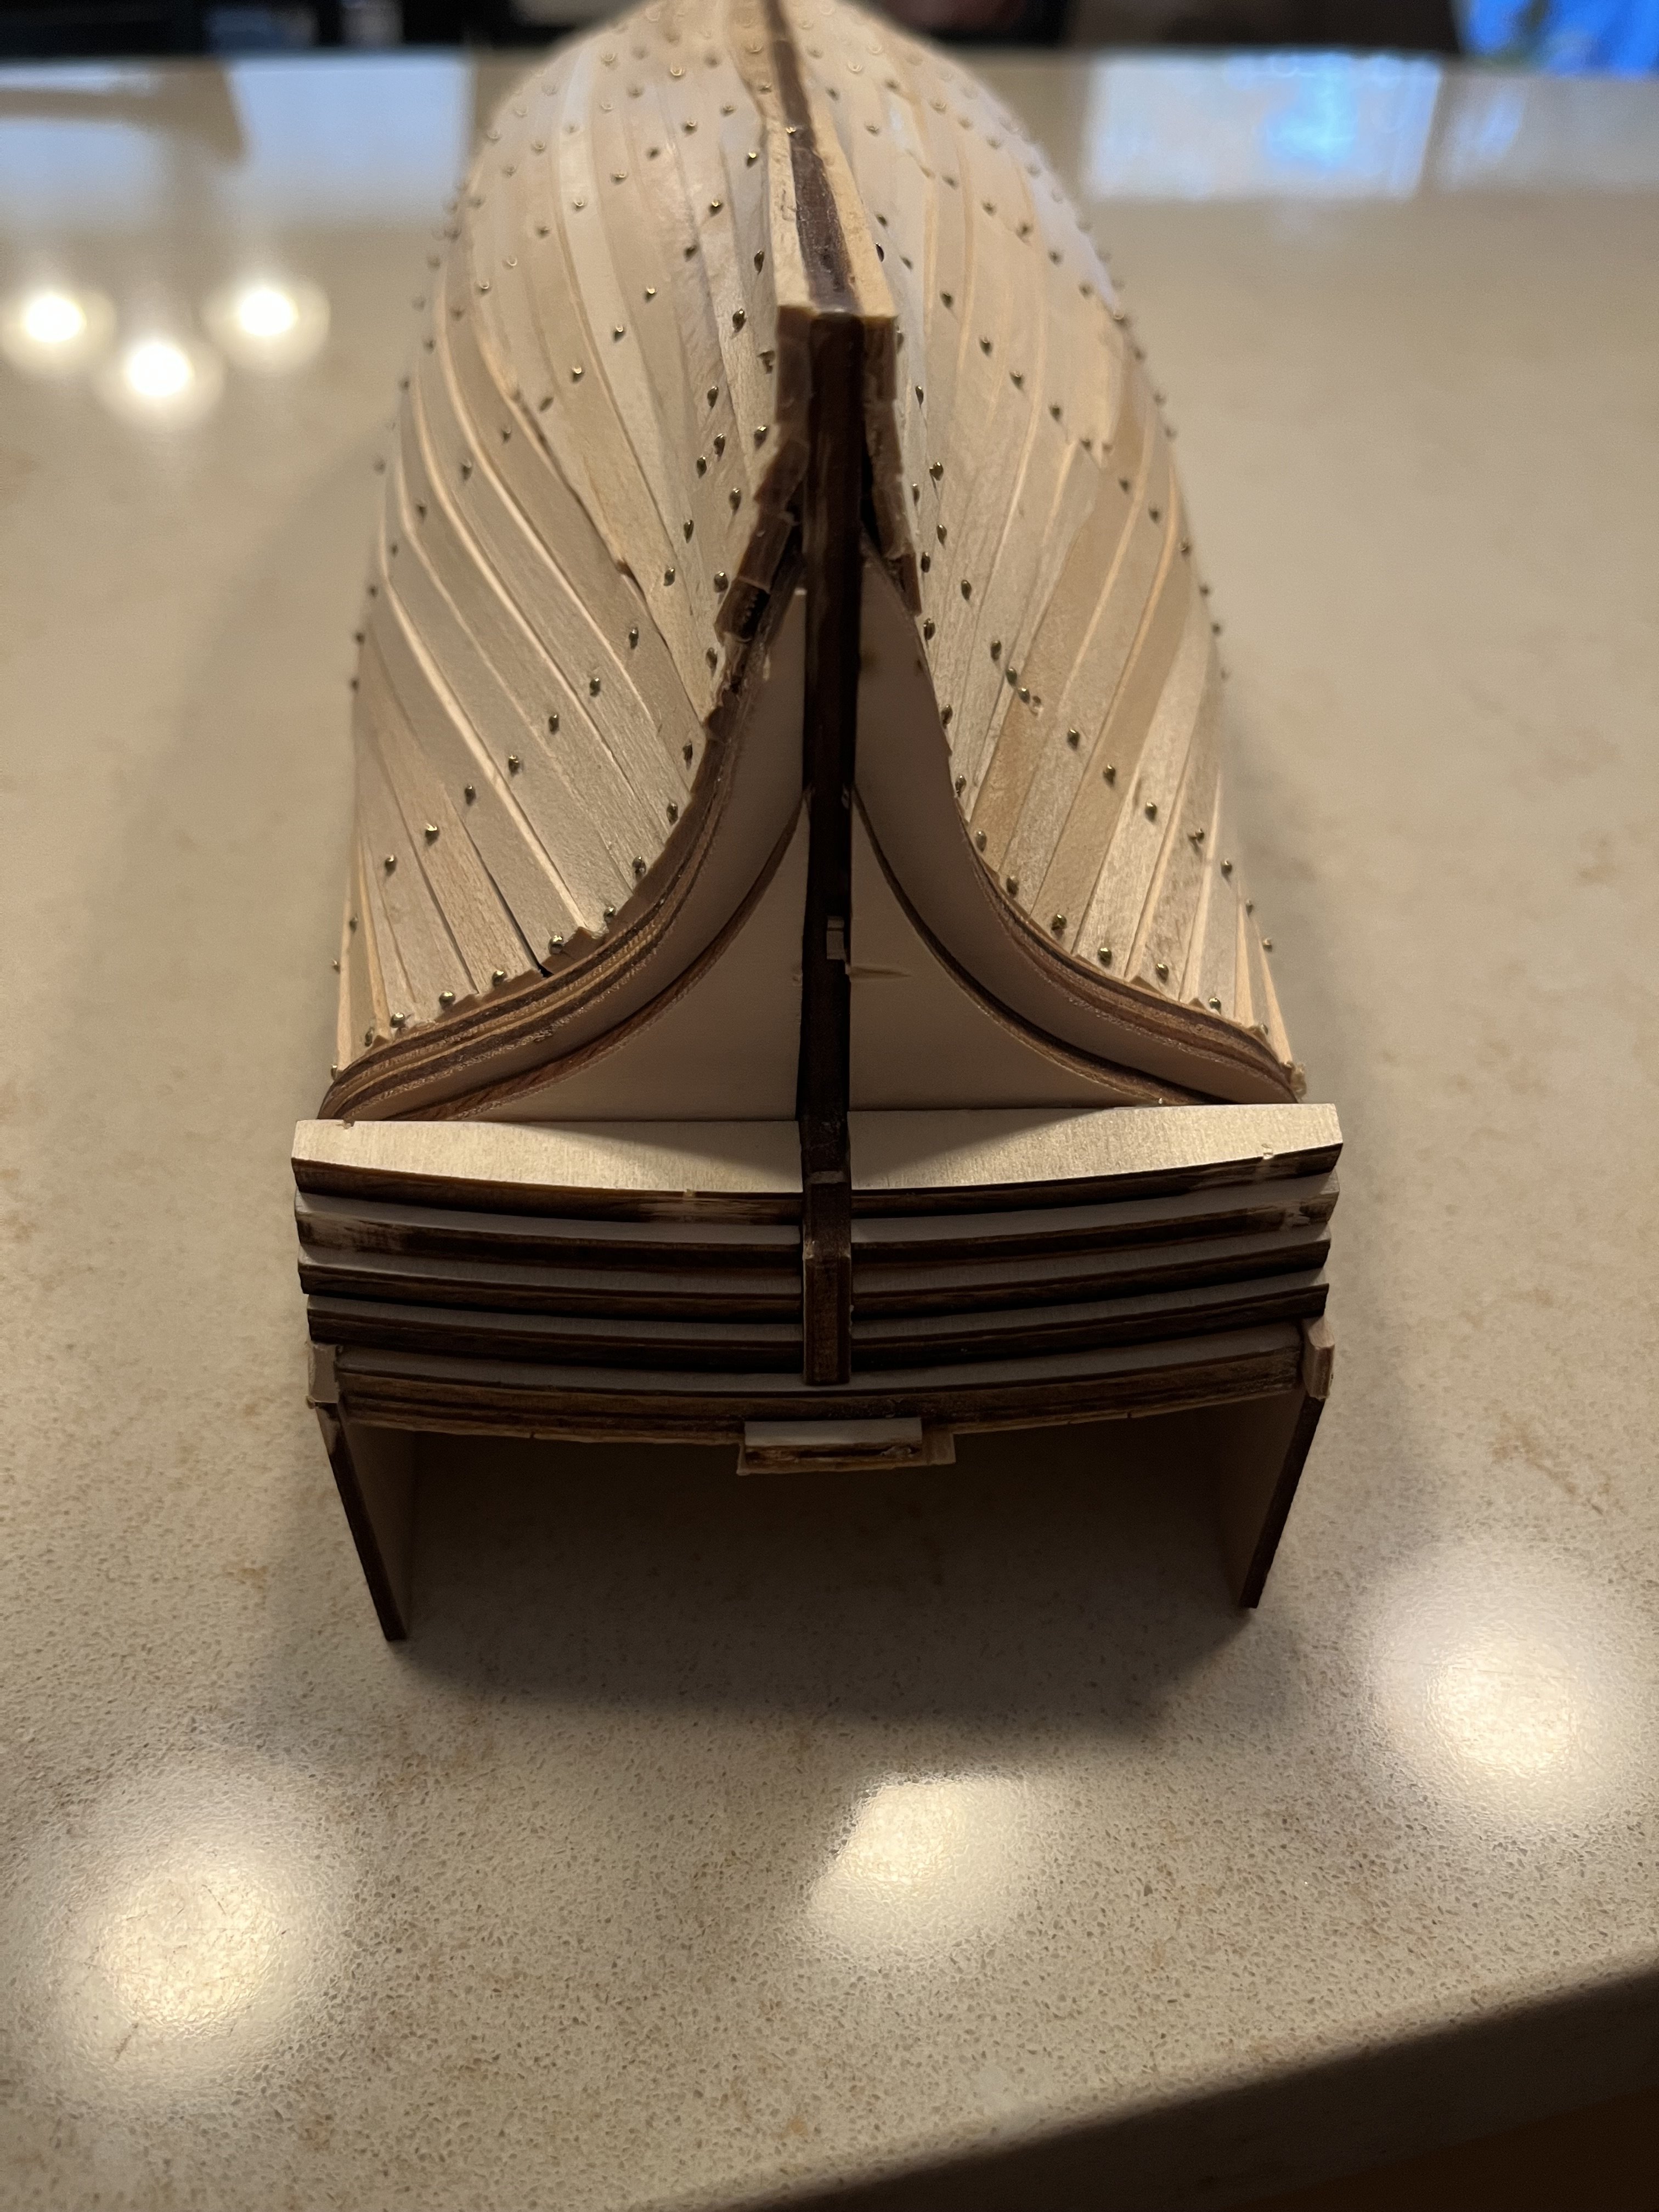
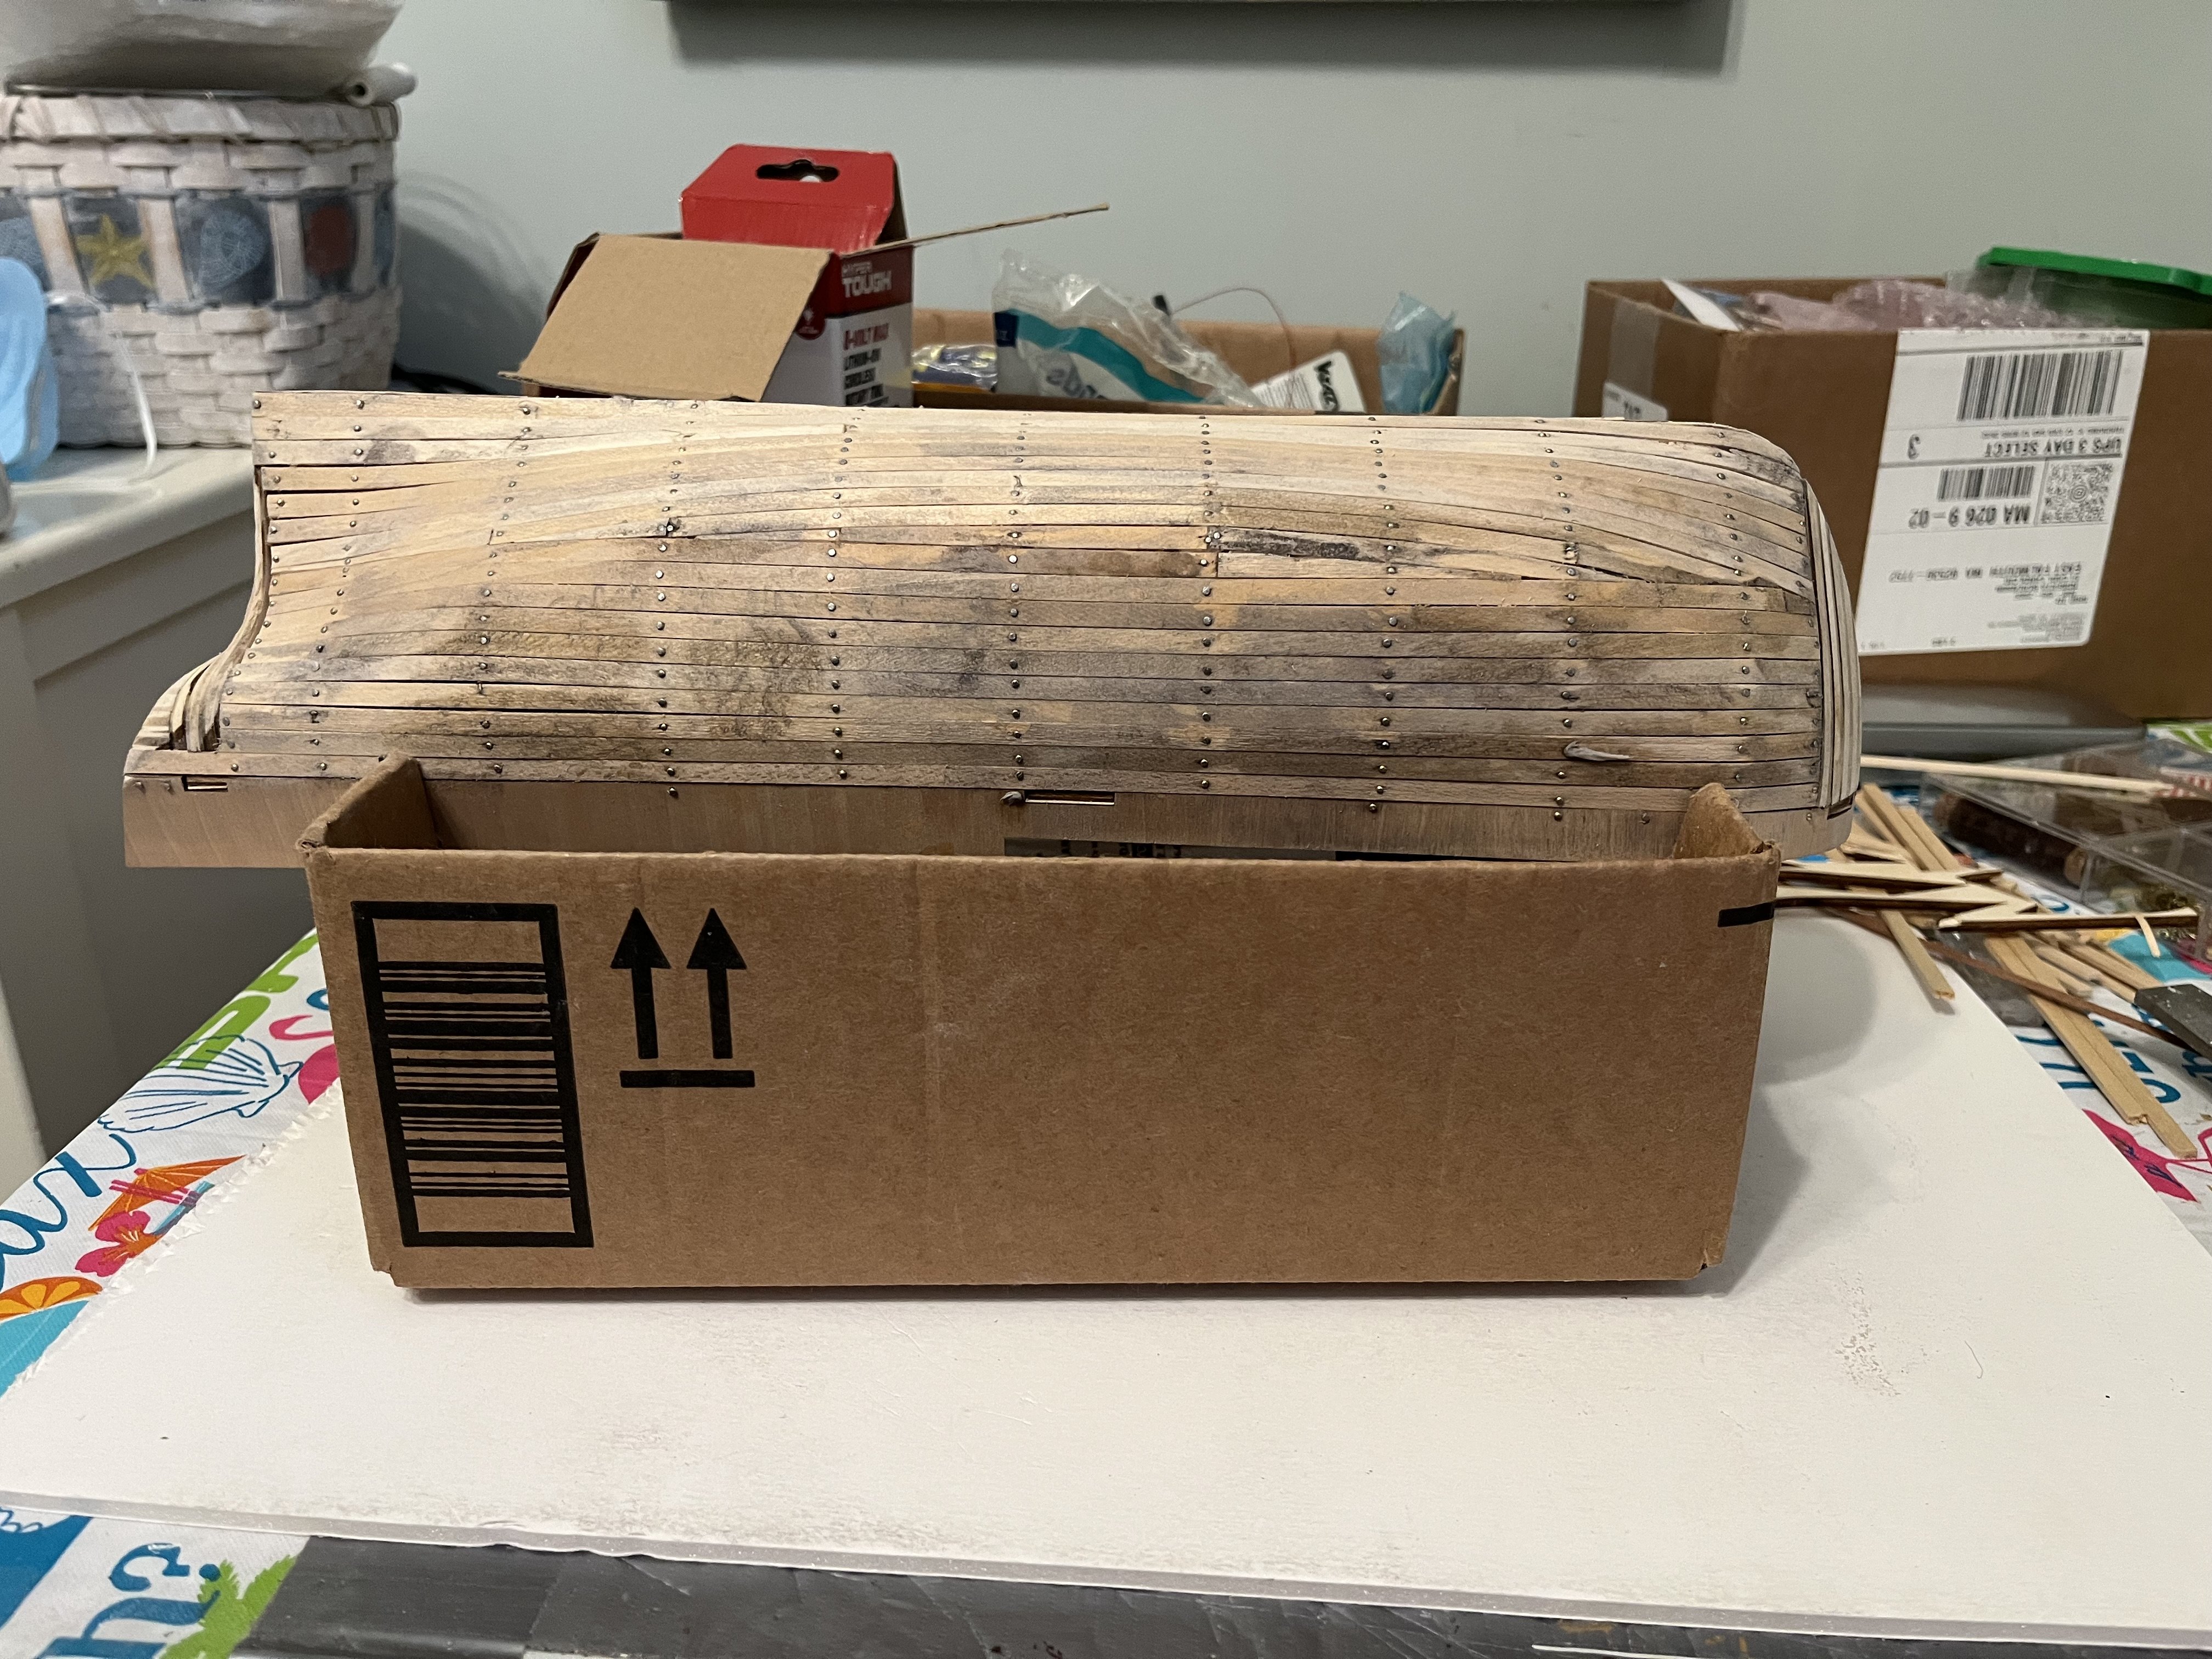
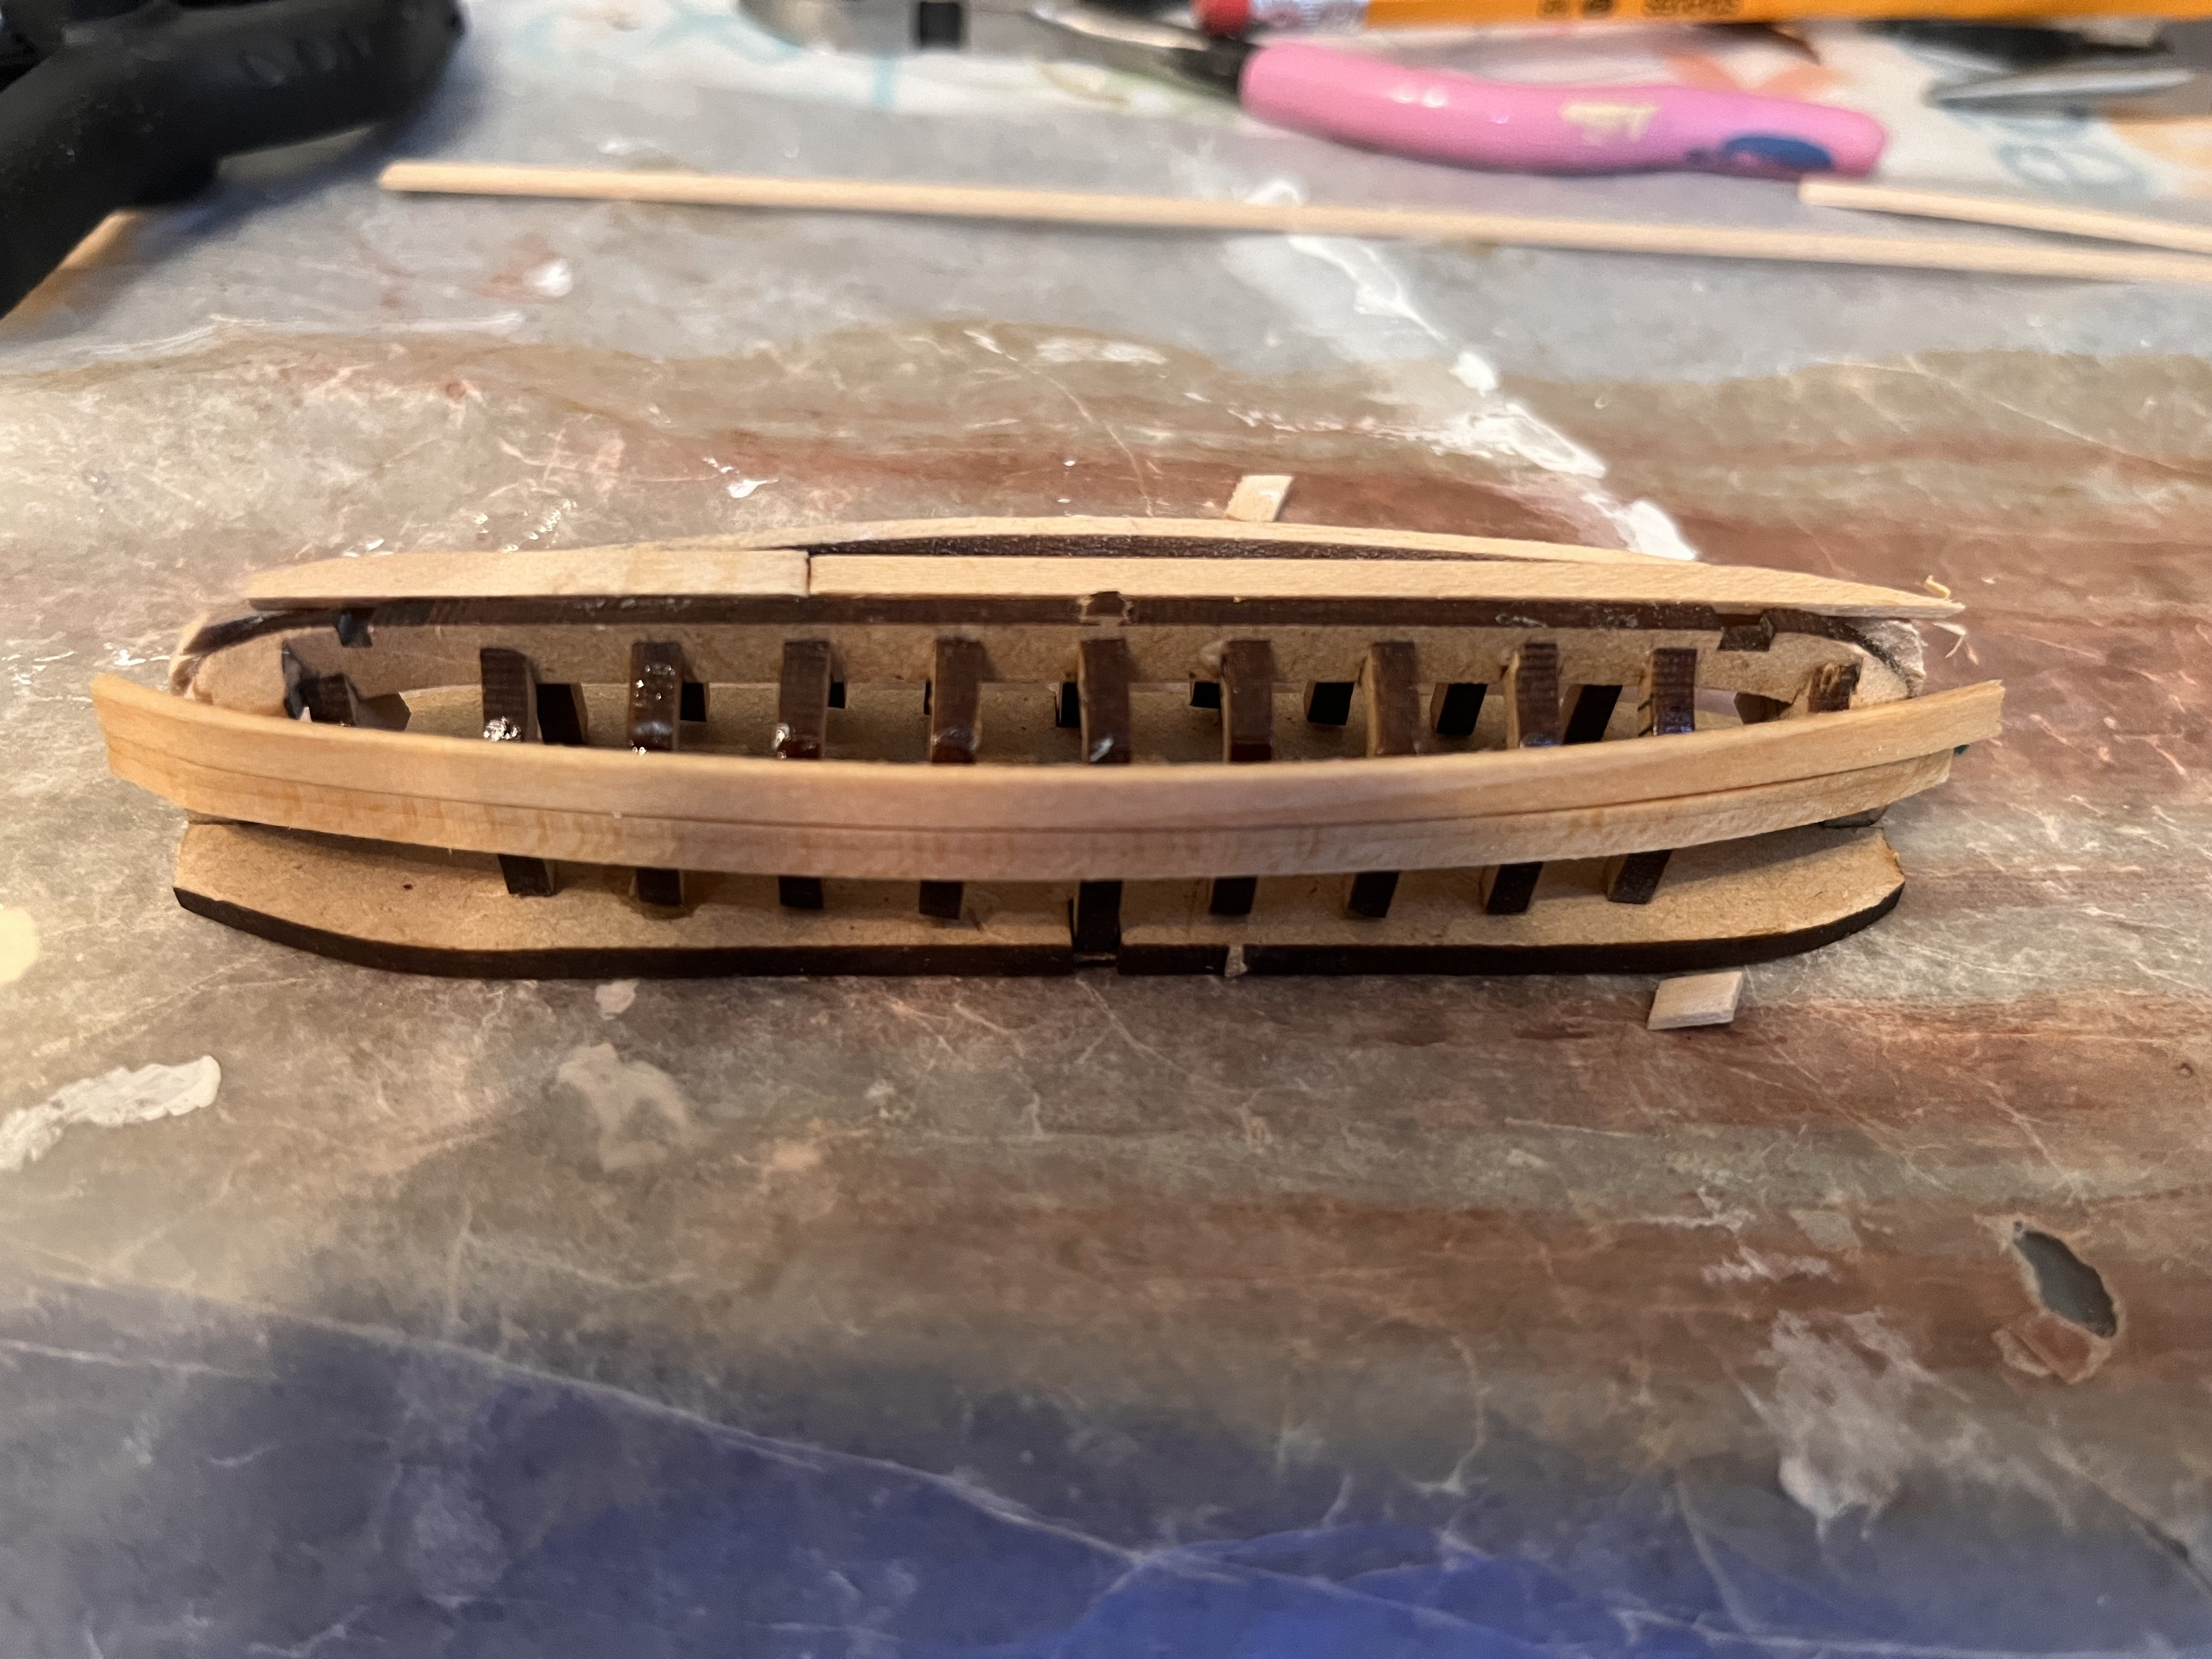
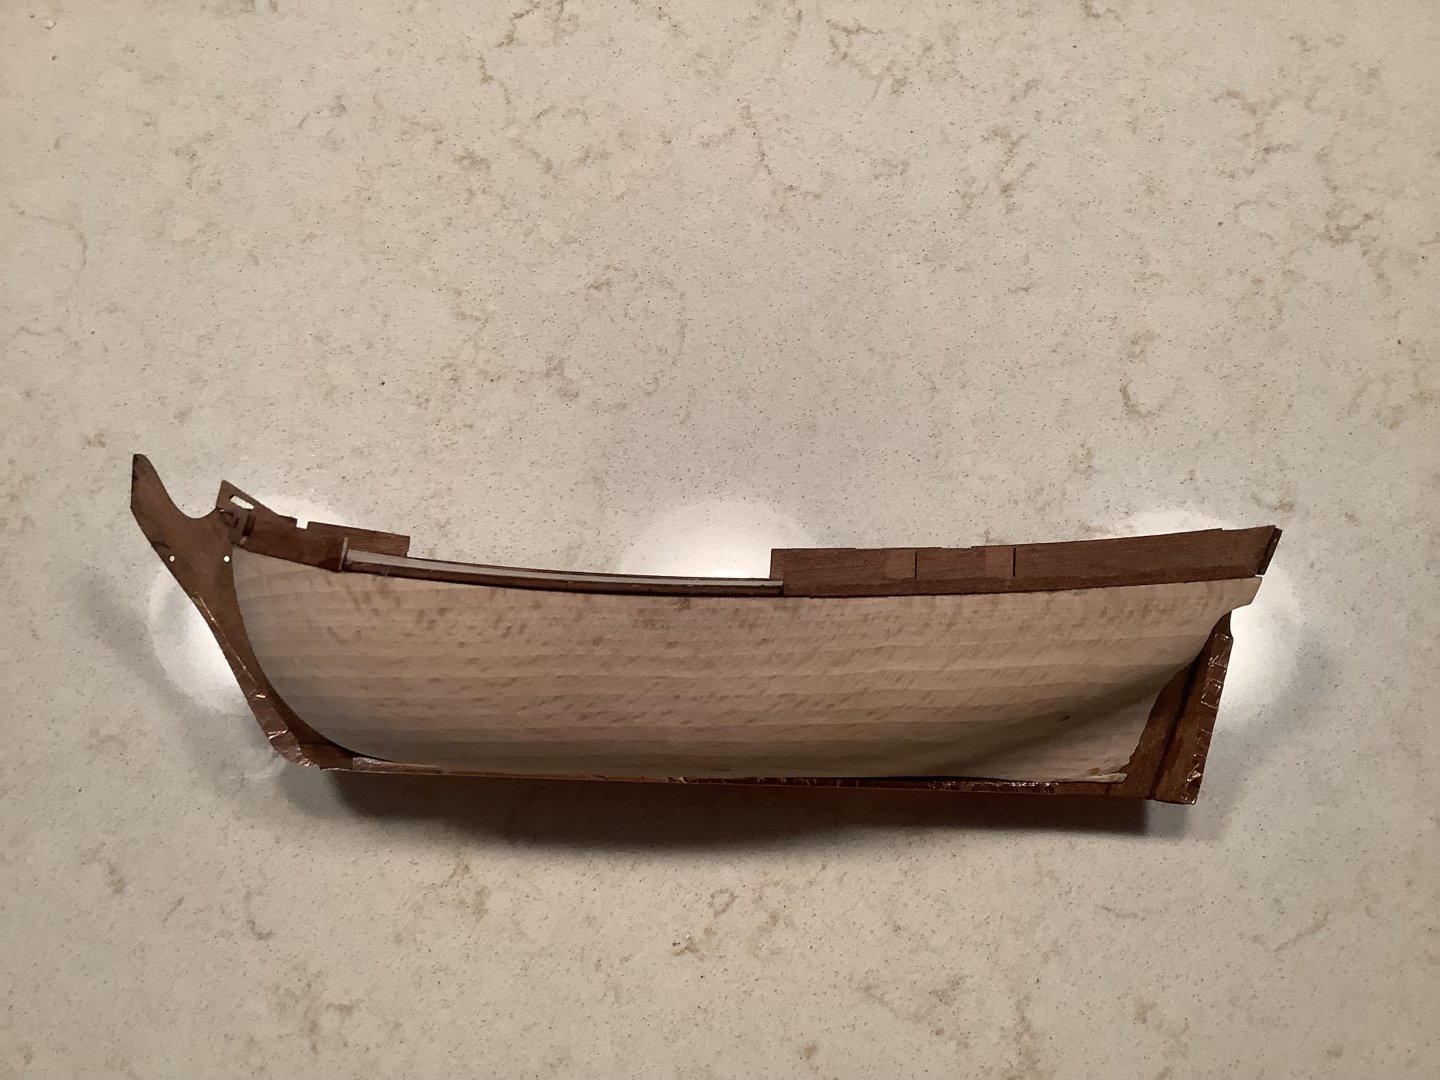
Having built many ship models as well as scratch builds over several decades, I am running out of room to display them.. i decided to build a mini model of the HMS Bounty. It is rated as a beginners model but I decided to “detail” it and make it more authentic. I researched the ship and found the true Royal Navy color pattern as well as the fact that it was copper bottomed. Here are a few initial pictures of my journey.

-
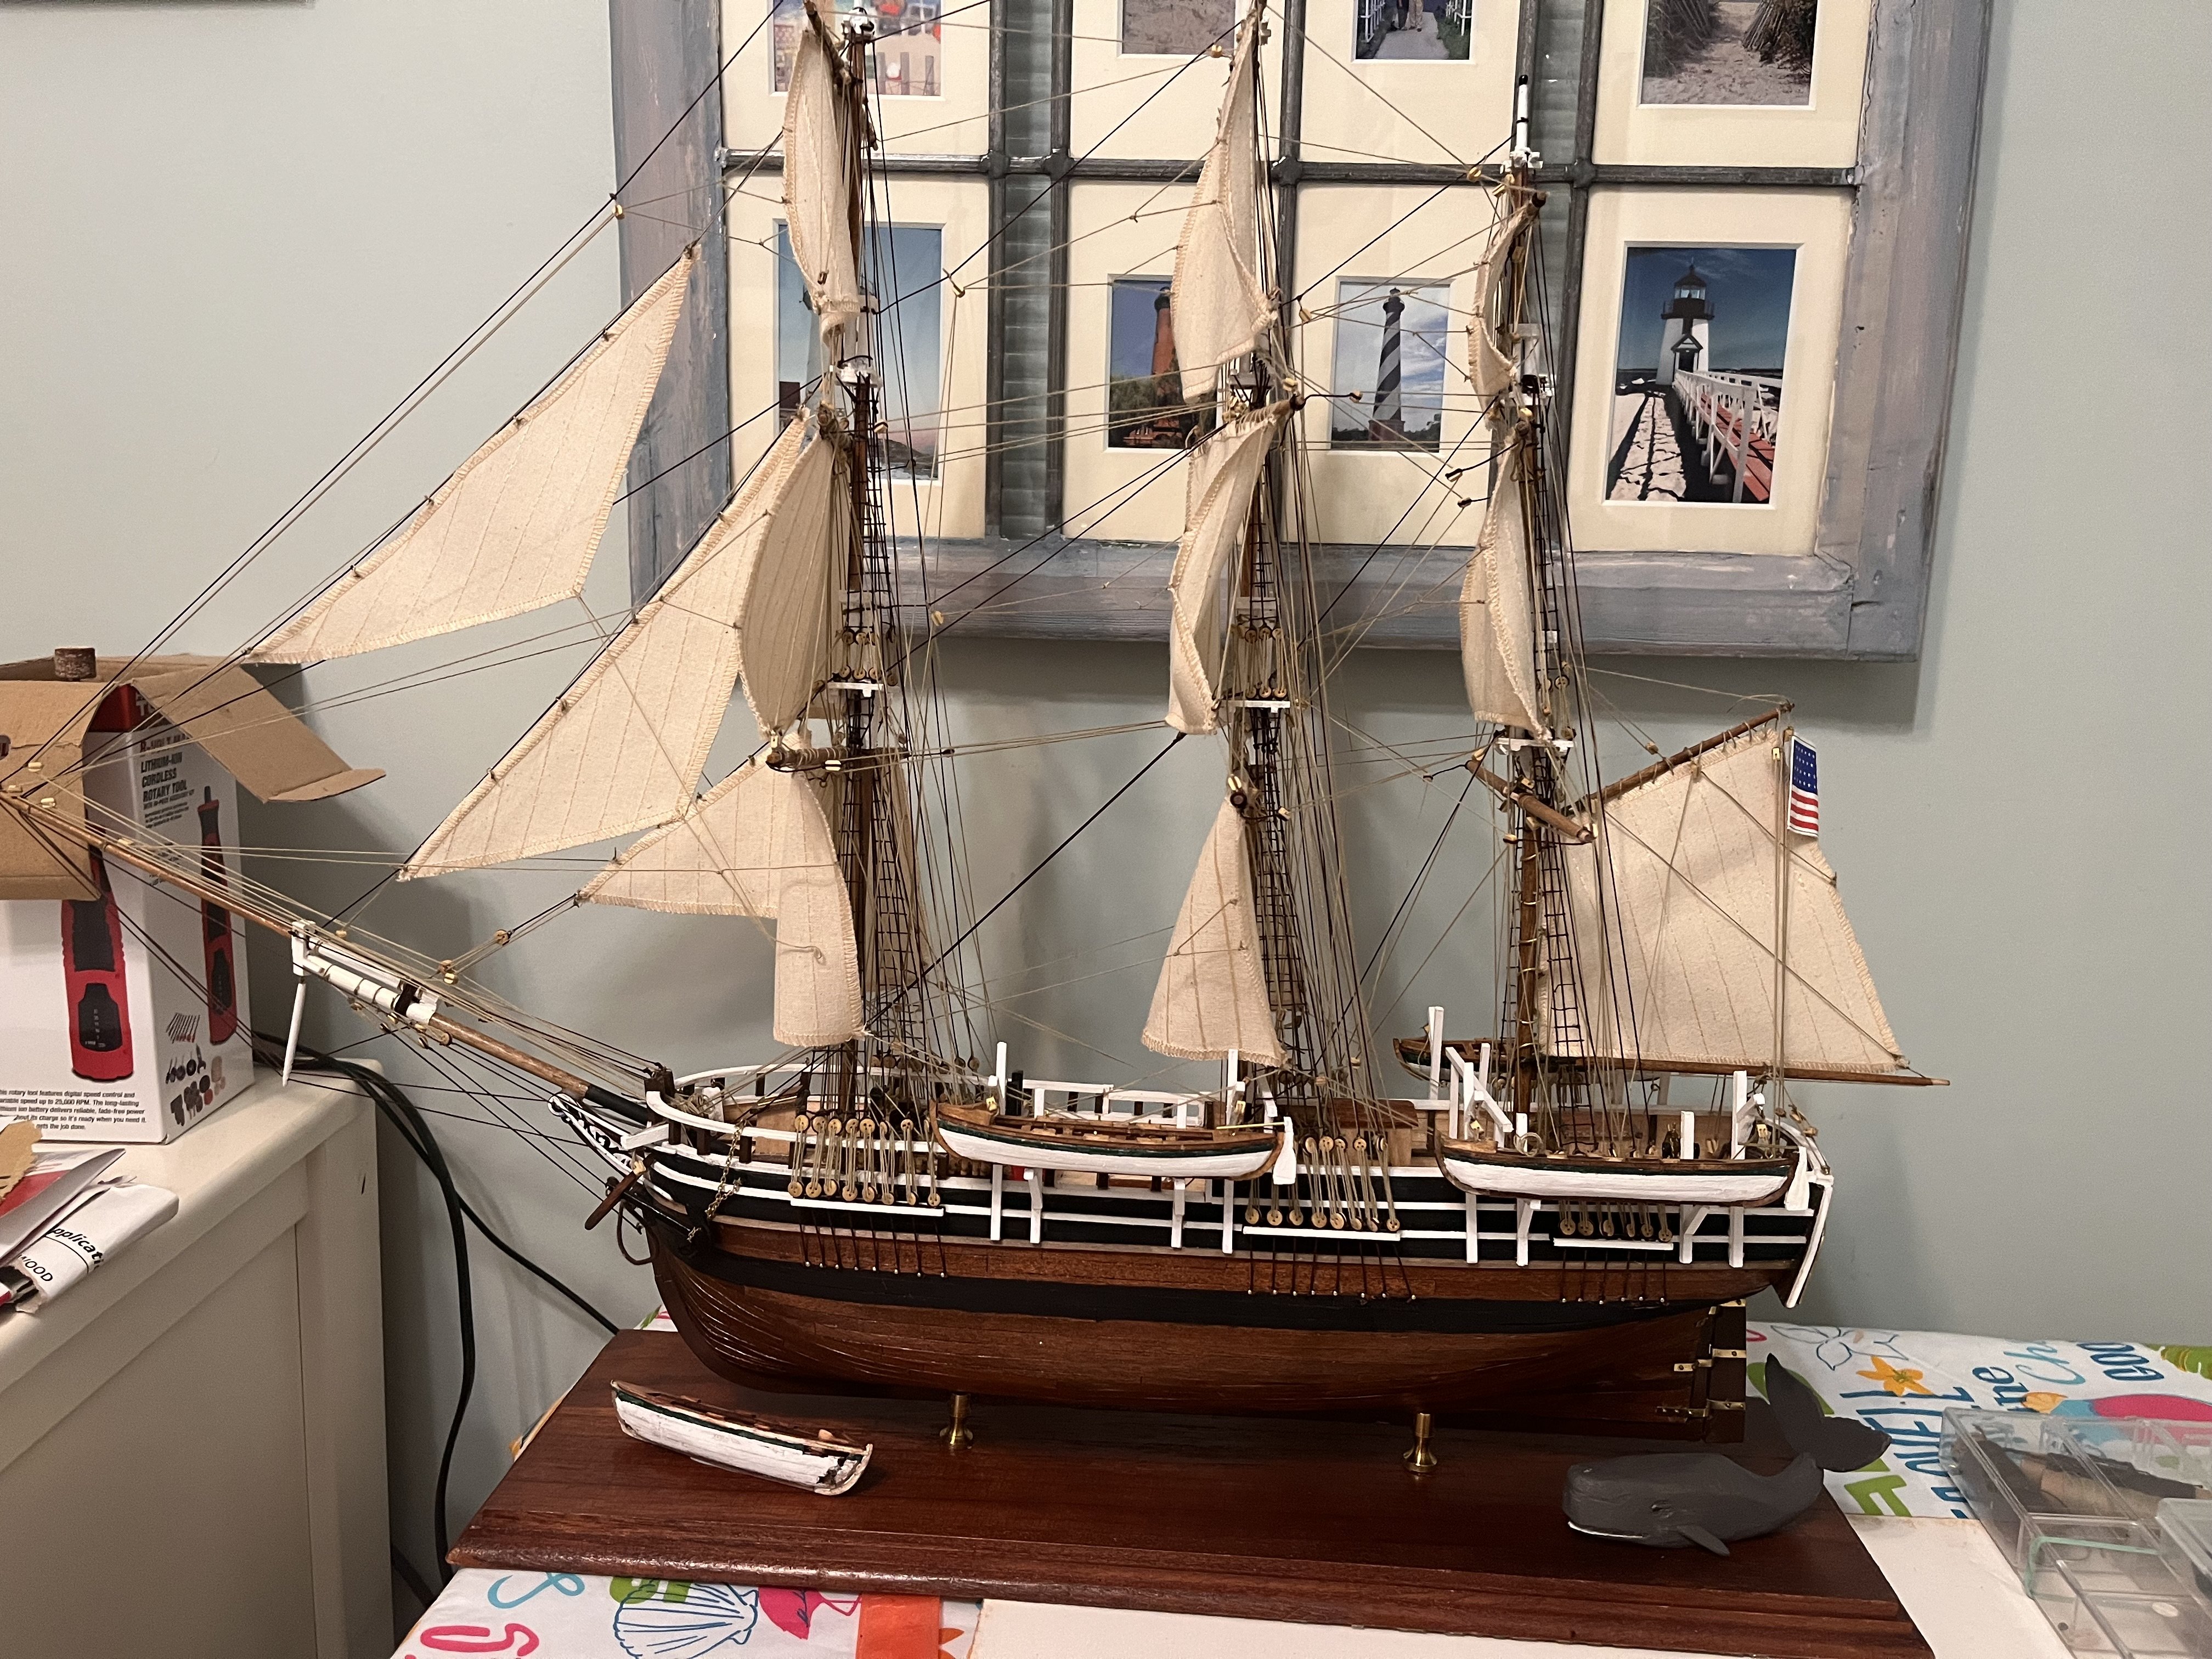
I just completed the build of the Whaleship Essex of 1820 which was sunk by a whale and inspired the Melville novel “Moby Dick. It is the first model I completed with fully rigged sails. I added a whimsical touch to the model by hand carving a spermwhale and a stoved in whaleboat.