-
Posts
733 -
Joined
-
Last visited
Content Type
Profiles
Forums
Gallery
Events
Everything posted by ERS Rich
-
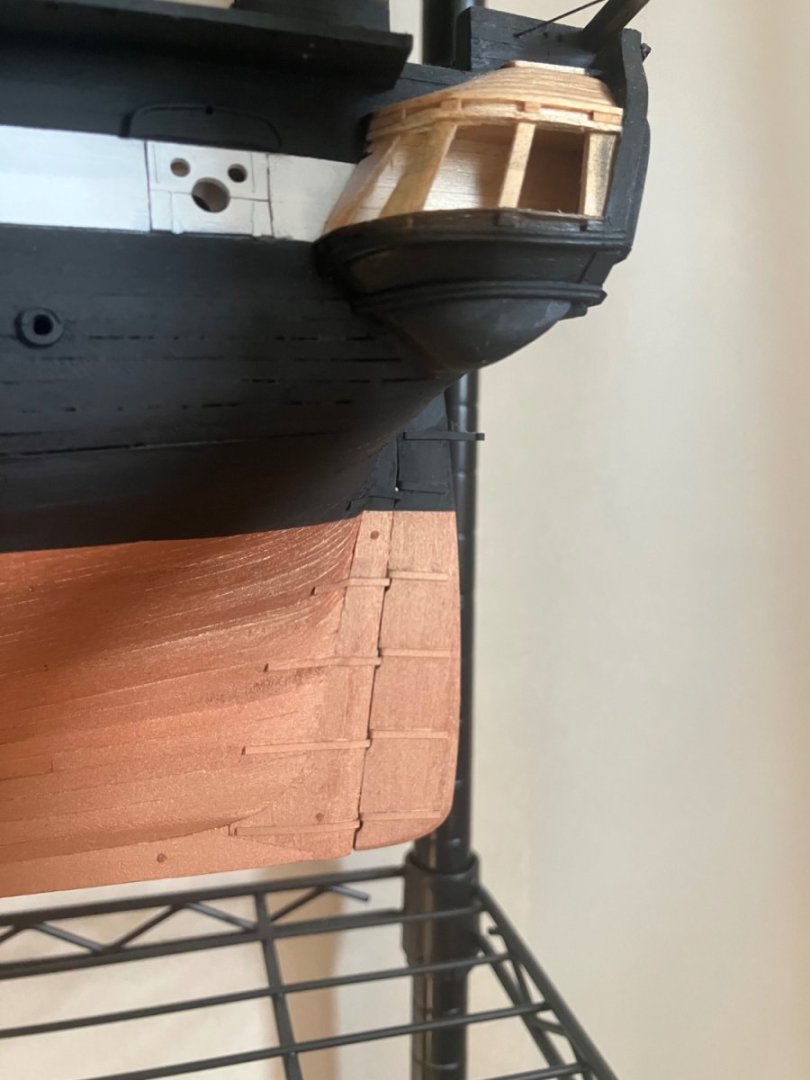
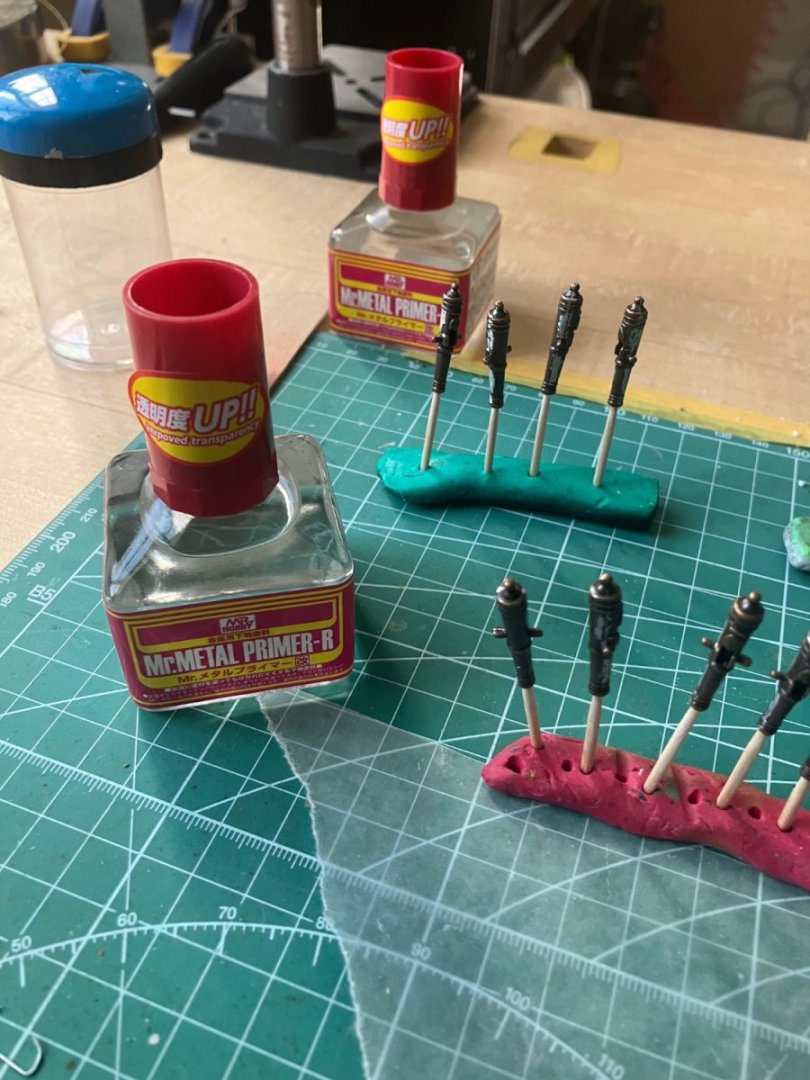
Yes Avi, I can’t remember exactly how I prepped the metal before painting. Just tool a look for my painting notebook and can’t find it. My rudder is static. I did paint the hull with Tamiya Dark Copper acrylic, and my build log says the wood was prepped with Varethsne Ipswich pine stain. I like priming with stain, as it seals the wood fibers but doesn’t completely fill the grain. It takes acrylic well and leaves the wood grain, so the surface doesn’t appear plastic. I’m thinking about picking up the Constitution this fall. Working on two other square rig hulls at the moment, the thought is masting and rigging all three simultaneously. I’ve also been experimenting with Mr Metal primer. Brush applied as I don’t want to deal with the spray fumes. It takes acrylic well.
-
My two cents….have found CA on bullkheads does not immediately set, and have to do a second application after the first sort of dries, the first application is probably filling in the end grain. Also, at the bulkhead, CA will easily bond the long grain along the edge of the new plank to the edge of the previous plank. My method is generous Titebond on the plank edge, CA on the bulkheads, install the plank, hold with fingers at the bulkeads, reapply CA if necessary when a plank does not hold at the bulkhead. Then clamp the installed plank along the edge up against the previous plank. Have a rag ready to deal with the squeeze out or scrape after the Titebond sets. The CA provides initial hold, the Titebond provides the ultimate strength. It may be helpful to watch Youtube for cabinetmakers glueing up panels to learn about glue, and dealing with squeeze out. My Constitution build log may be helpful. Good luck.
-
Welcome and greetings from Massachusetts, USA. Good luck with your project. Have fun!
-
Welcome and greetings from USA. Good luck with your work. -Rich
-
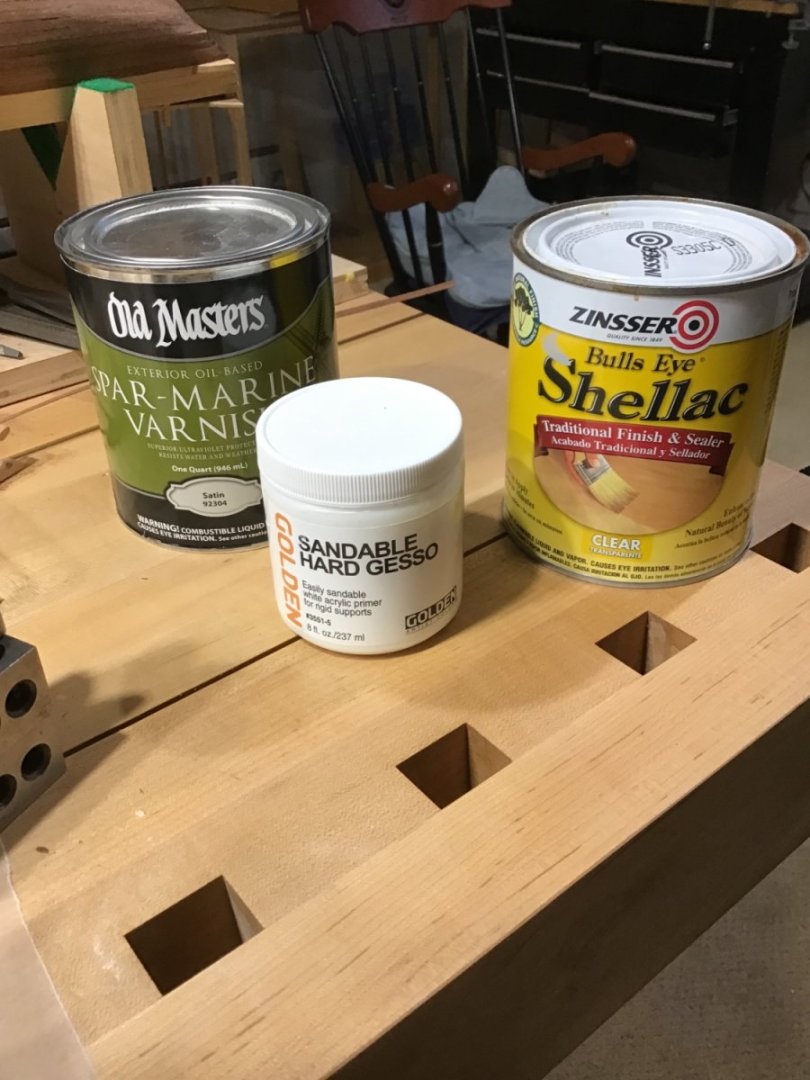
Sort of circling back to the question. I’ll seal with one of these products. Given the coarse grain, leaning towards the Gesso, thinned down and, shot with the Iwata RG-3 mini sprayer. It’s slightly gap filling as well. This Hermione is an old AL kit about 10 or more years old….goal is to practice and improve techniques - get a visually convincing result - a model of the ship, rather than an exact reproduction. Cheers
-
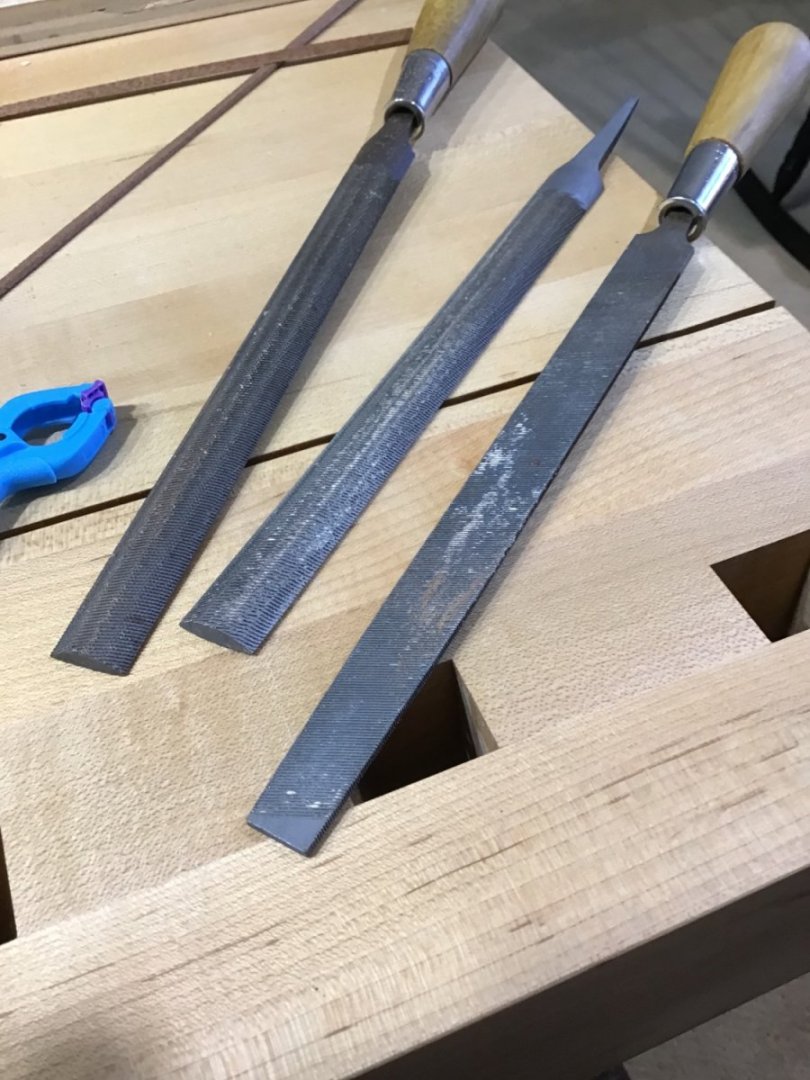
Yes, they are full size files, about 9” long. The hull is the Hermione Lafayette, about 20” long. To clarify stroke the file along the plank at about 45 degrees or so - a shear cut. Light pressure, let the tool do the work - cut the wood, don’t gouge it. With practice you can get control to the point where you can remove small amounts of wood. Control is the difference between a file and sandpaper. The right tool changes this job from a pain to a joy. Practice on poplar or another hardwood. Home improvement stores sell project boards in hardwood. Or go for it on this hull, if it goes wrong strip and redo the planking as others suggest. Good luck
-
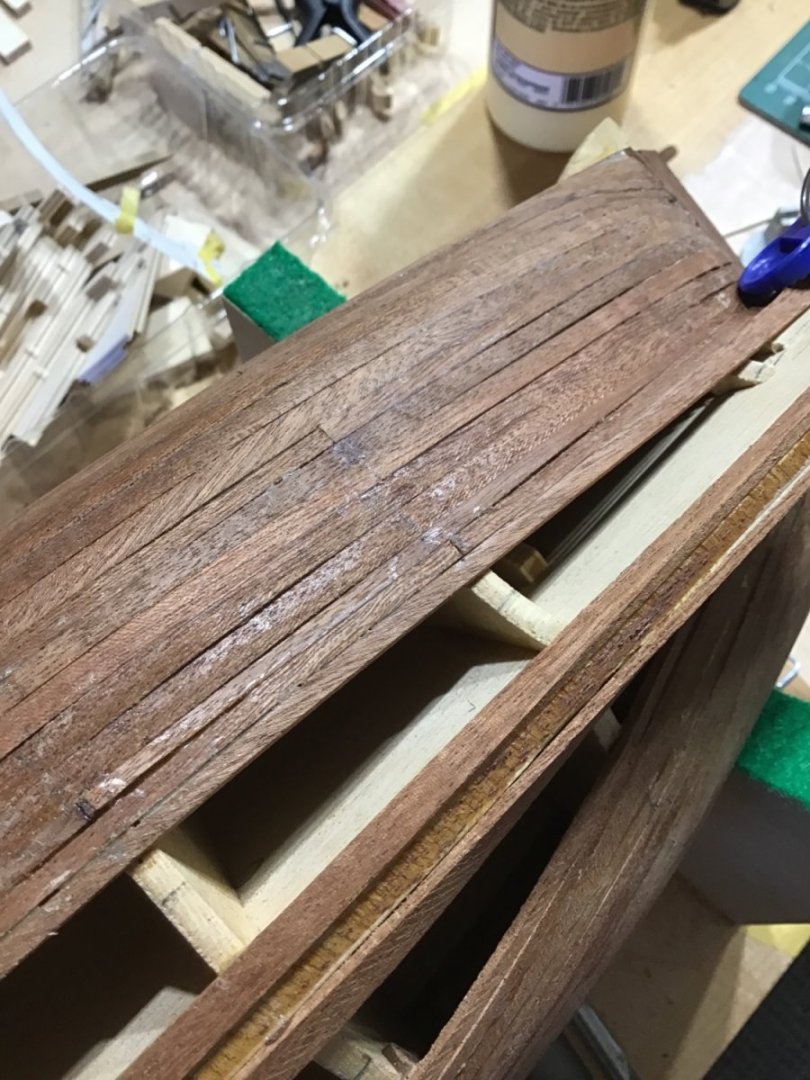
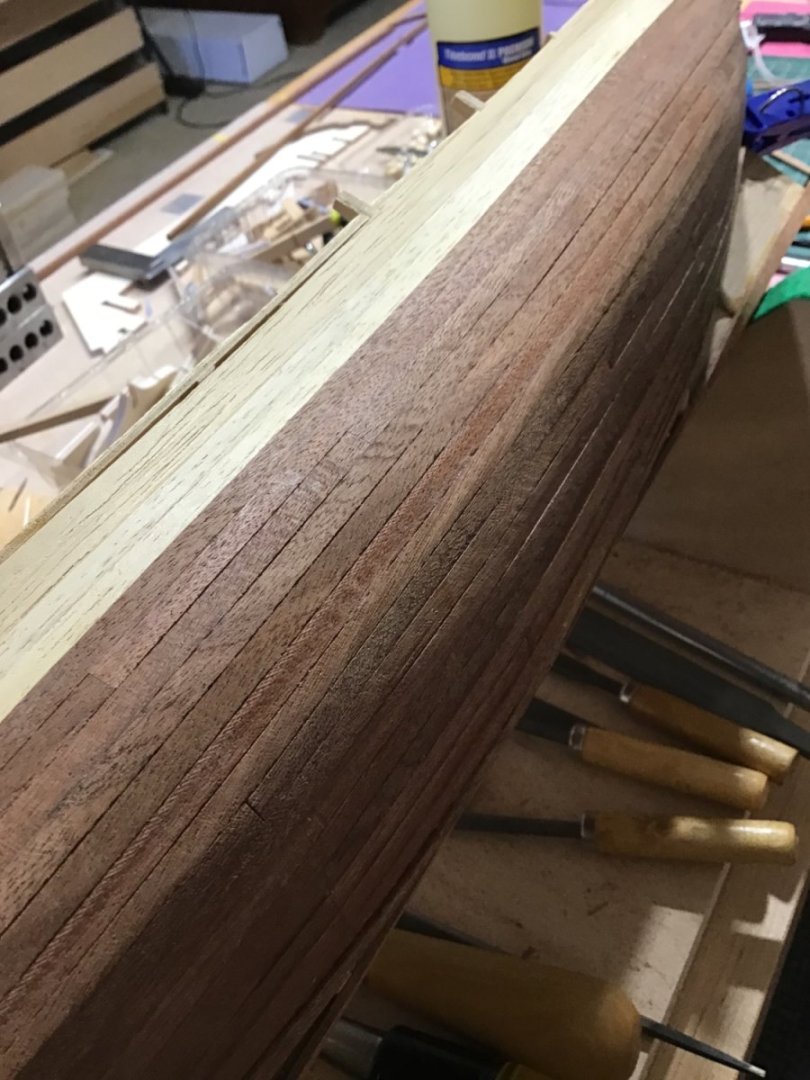
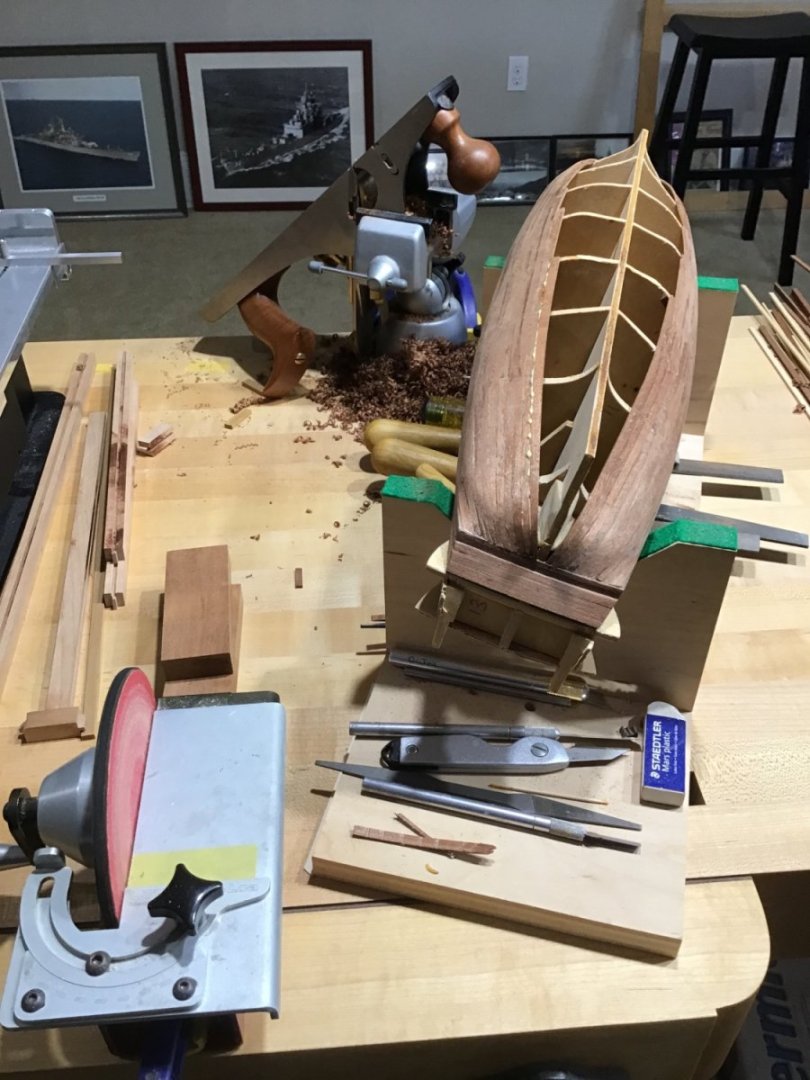
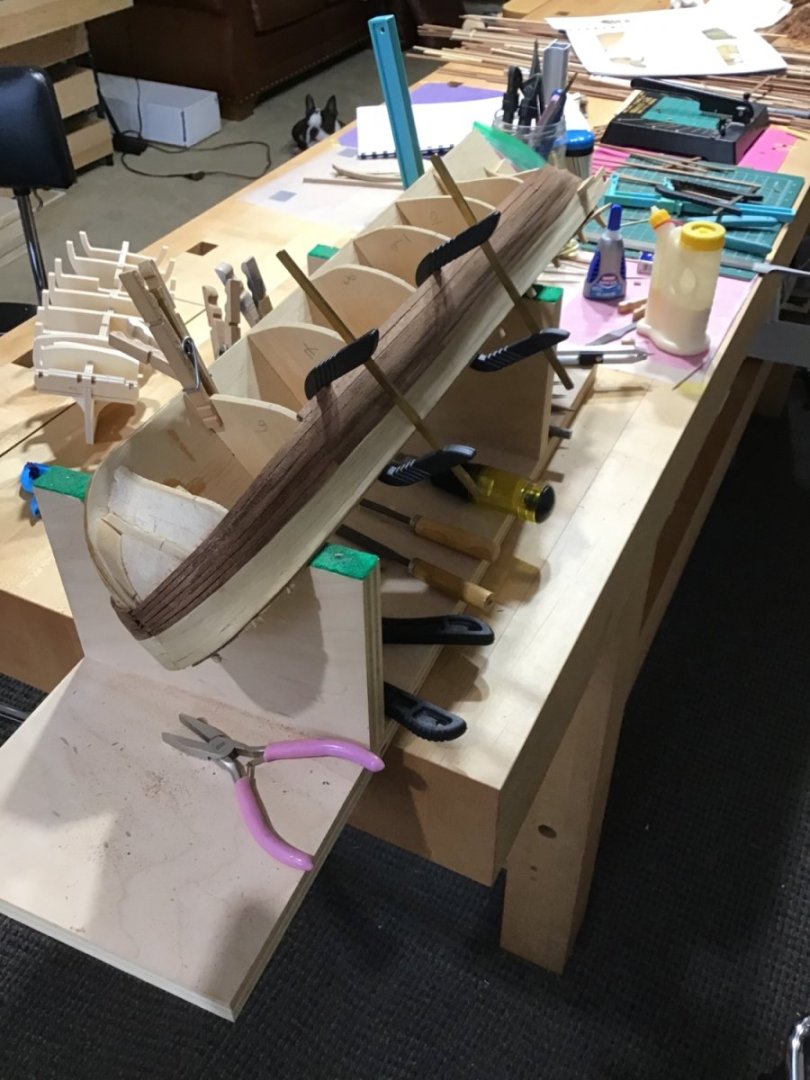
Hi, I don’t think all is lost here….. Use toothpicks and fill in the gaps with Titebond. Recommend avoiding covering large areas of the hull with filler, it’s a waste of time removing it, when just the gaps need it. Think of the glue as oakum. It’s good the planks appear to be thick. Sandpaper can be difficult as is it will slowly round over the plank tops - see the bow. I use files, flat and half round to work the hull. Go 90 degrees along the plank to quickly remove wood. Go lightly until you get the hang of. With practice you will get great control, quickly removing wood. Move the file parallel, edge along the planks,for finer control. As Allenyed mentions scrapers work too…. Sandpaper is a drag, and not appropriate, when a lot of wood needs to be removed. It can seem like after a lot of sanding nothing is happening and the planks have humps. Here are a couple of pictures of a hull in progress demonstrating what’s possible. Hang in there and good luck with it! -Rich The lower planks are before working, upper have been worked…. Upper planks mostly done, lower planks need some work…. The files…..
-
Greetings from Massachusetts, USA. Good luck with your woodworking journey! Cheers!
-
Hello and welcome! Have fun with the cross section. Cheers
-
Welcome aboard shipmate!
-
On the learning curve! And certainly a great effort. I’ve found that months after completing a ship, I notice something that can be done better next time. Good looking work so far, looking forward to your posts. If you haven’t, check out Tom Lauria’s video on Youtube about creating a convincing impression. Your ship does that…. -Rich
-
Hello John, Hope you make it up back to speed soon. Regarding shipbuilding. I’ve put projects on hold, one for years before returning - see the Baltimore Clipper link in my signature. It makes sense to build skills to take on the Flying Fish, as you know, an incredibly complex ship. If you have a simpler ship in your “pile” it makes sense to work on it to build skills, complete it, and satisfy your wife. Shipbuilding requires a level of skill at every step of the process: hull, deck, masts, rigging, case; this can only be achieved by going completely through the process. Best to go through this with a simpler ship before the FF. For many years I was an 80% builder, made it that far in the project and started something else. Now, I try to finish before starting another project, but still end up with several projects going on at the same time. At any rate, no right or wrong here, good luck with it, and I’m always around to answer a question. -Rich
- 34 replies
-
- Flying Fish
- Model Shipways
-
(and 1 more)
Tagged with:
About us
Modelshipworld - Advancing Ship Modeling through Research
SSL Secured
Your security is important for us so this Website is SSL-Secured
NRG Mailing Address
Nautical Research Guild
237 South Lincoln Street
Westmont IL, 60559-1917
Model Ship World ® and the MSW logo are Registered Trademarks, and belong to the Nautical Research Guild (United States Patent and Trademark Office: No. 6,929,264 & No. 6,929,274, registered Dec. 20, 2022)
Helpful Links
About the NRG
If you enjoy building ship models that are historically accurate as well as beautiful, then The Nautical Research Guild (NRG) is just right for you.
The Guild is a non-profit educational organization whose mission is to “Advance Ship Modeling Through Research”. We provide support to our members in their efforts to raise the quality of their model ships.
The Nautical Research Guild has published our world-renowned quarterly magazine, The Nautical Research Journal, since 1955. The pages of the Journal are full of articles by accomplished ship modelers who show you how they create those exquisite details on their models, and by maritime historians who show you the correct details to build. The Journal is available in both print and digital editions. Go to the NRG web site (www.thenrg.org) to download a complimentary digital copy of the Journal. The NRG also publishes plan sets, books and compilations of back issues of the Journal and the former Ships in Scale and Model Ship Builder magazines.

