HOLIDAY DONATION DRIVE - SUPPORT MSW - DO YOUR PART TO KEEP THIS GREAT FORUM GOING! (Only 36 donations so far out of 49,000 members - C'mon guys!)
×


rfolsom
-
Posts
881 -
Joined
-
Last visited
Content Type
Profiles
Forums
Gallery
Events
Everything posted by rfolsom
-
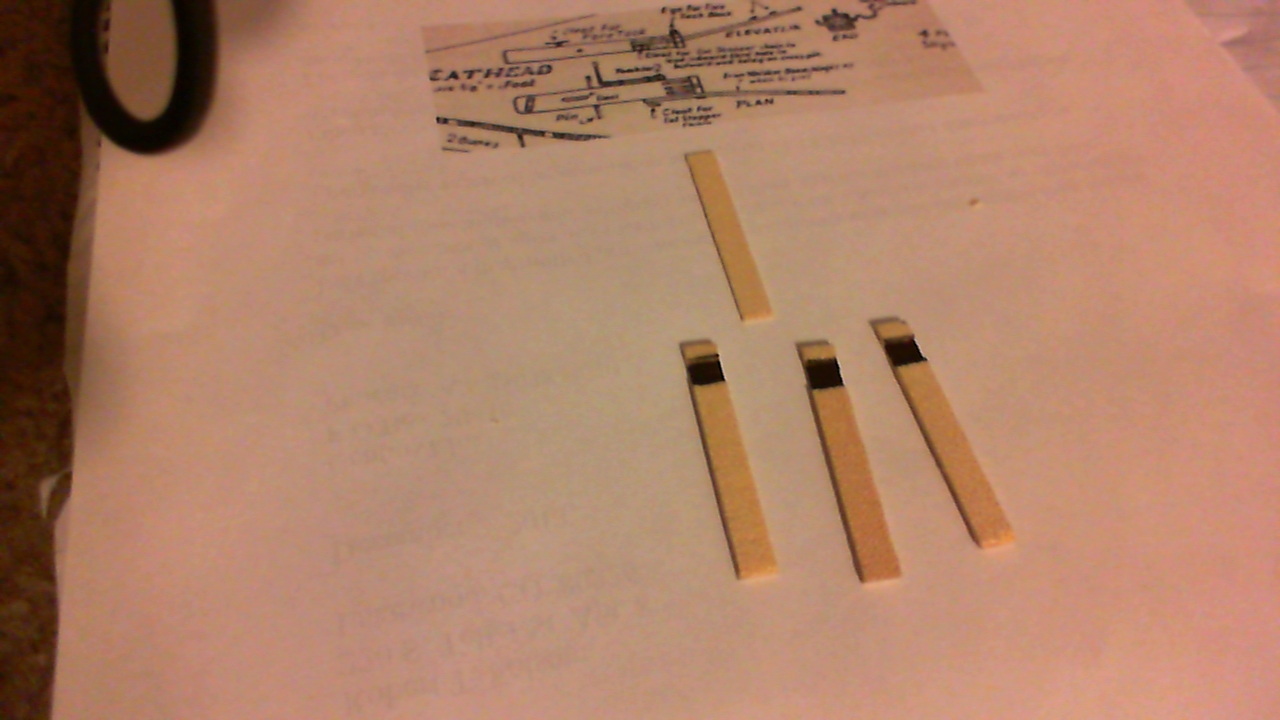
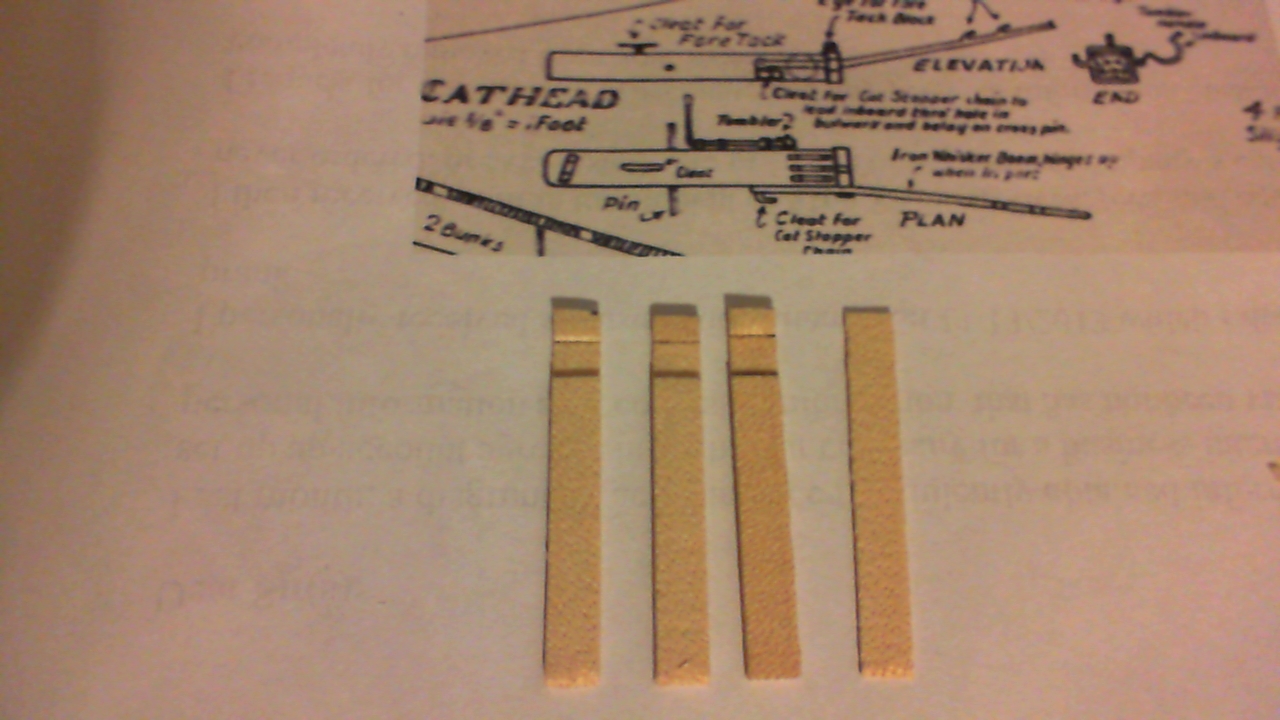
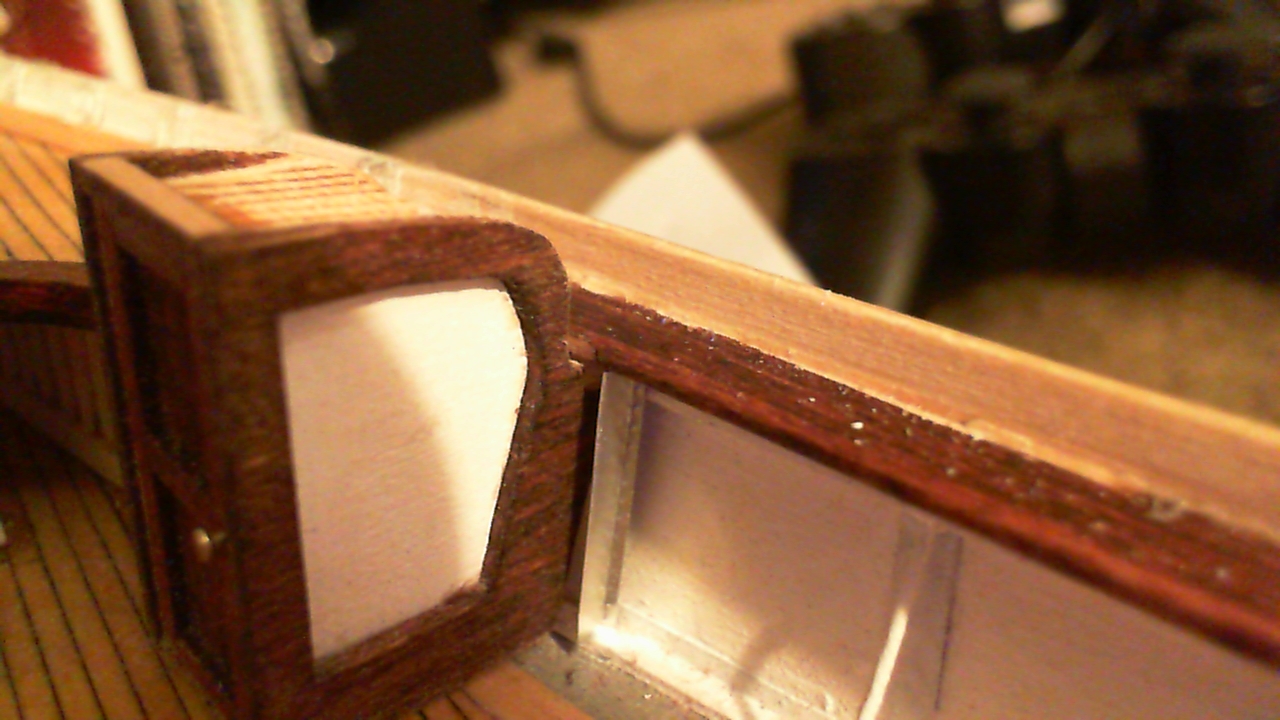
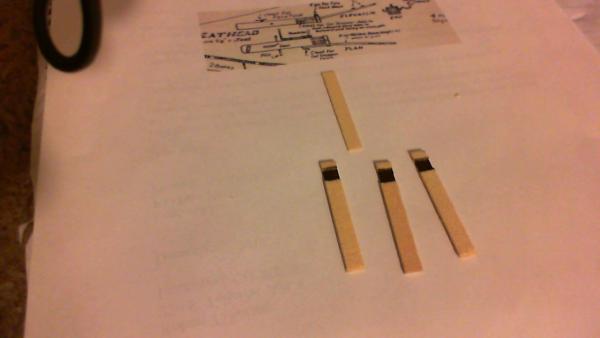
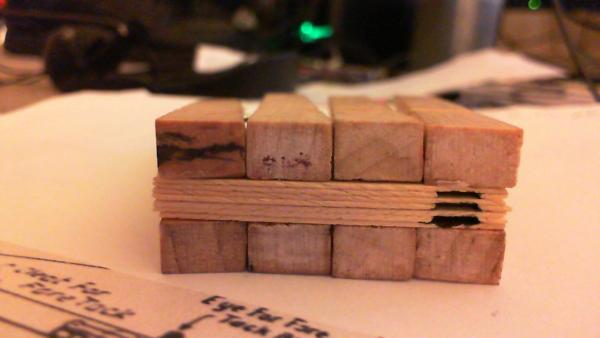
 These seven layers, with the bleeding paint, look pretty gnarly, but it cleans up pretty good after sanding:
-
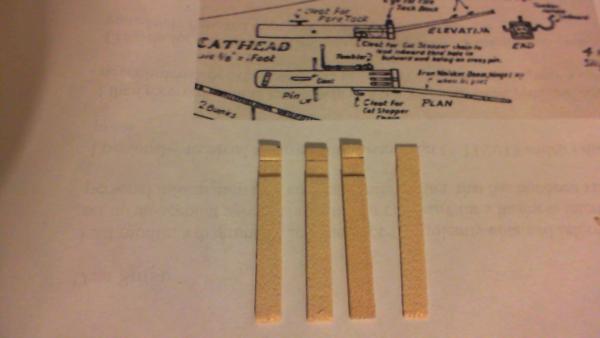
Painting the inside of the sheave slots, and then gluing the sub-assemblies together:
-
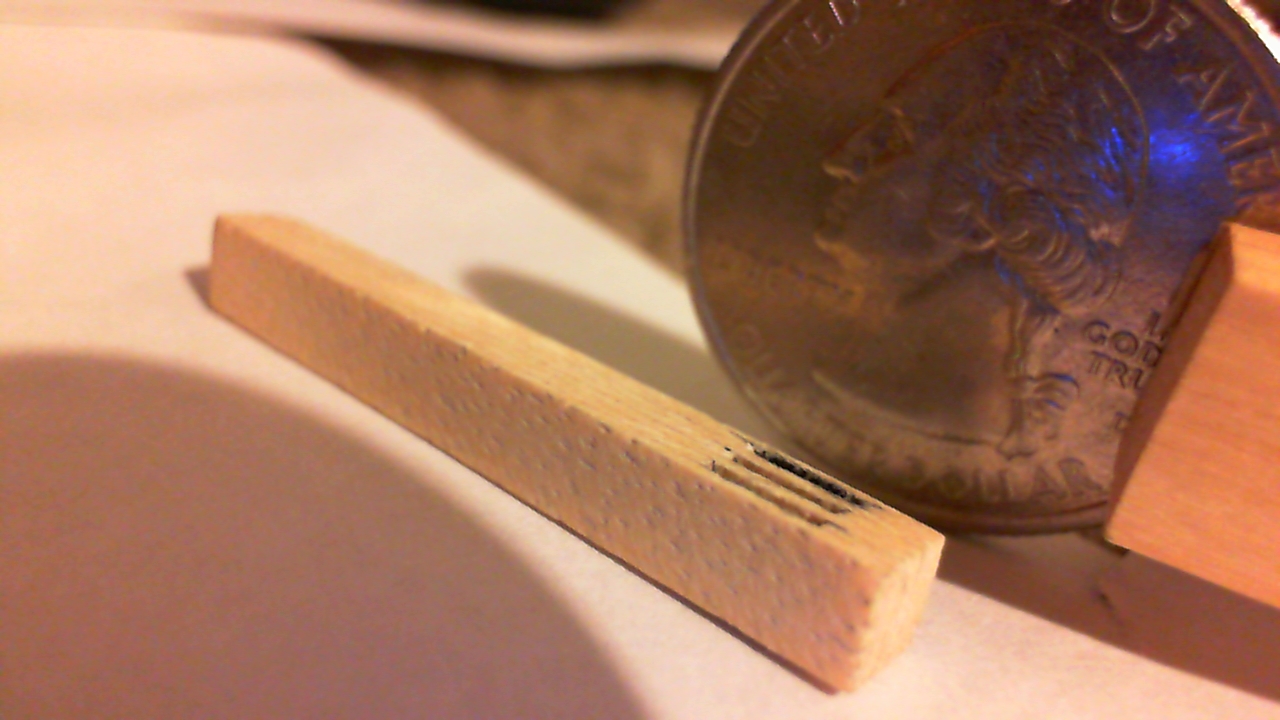
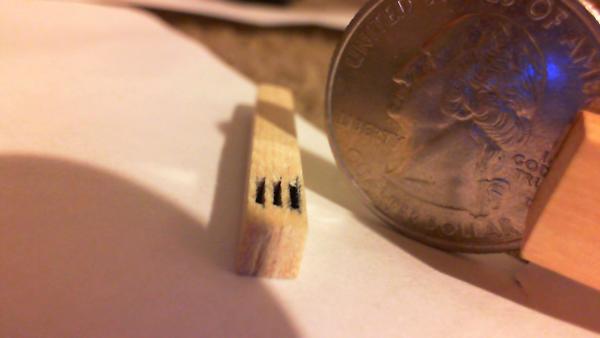
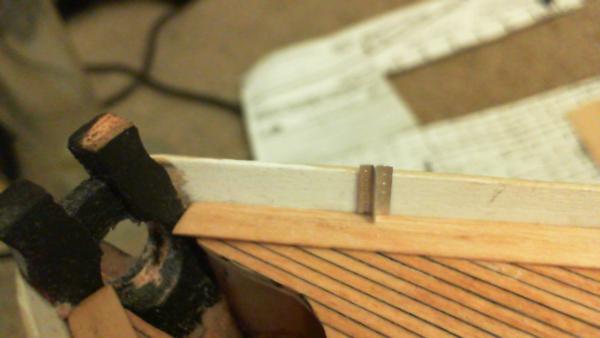
I'll be test building a cathead in a laminar fashion; 7 layers, hopefully outlining the sheaves; I tried using 1/32" basswood (my thinnest basswood) but the 7 layer stack proved to be 1.5 mm too thick. Borrowing planking (sapeli?) from my first build, (I believe it's 0.3 to 0.5 mm thick) the stack of 7 was just about right; four full length layers, with 3 piecemeal layers outlining the sheaves.
-
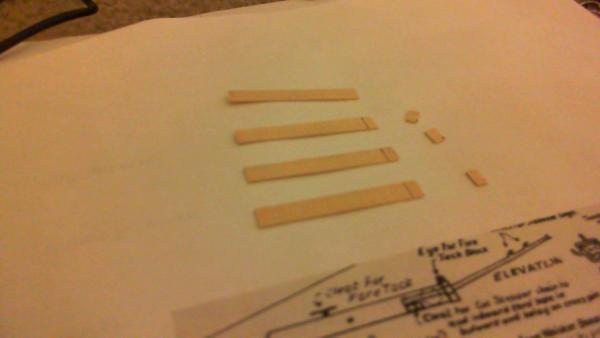
Thanks, Popeye! I feel like I'm starting to get back into the build again. Well, as I'm working on finishing the main rail, adding the bulwark details, etc. I keep bumping into the catheads, so off on another tangent.... Looking at the catheads, I thought about my skills, and my tools, and drilling the 3 sheave holes. After much thought, I decided I was not able to drill the sheave slots with any semblance of accuracy into a solid 4 x4 mm block, so time to test....
-
Looks good! Will you be planking the deckhouses' roof?
-
Yes, I think the inner bulwark details will add alot to the build; I just need to plow along and not worry about mistakes. It would be highly doubtful for most people to notice a mistake in a completed build.... but It would be impossible for people to notice a mistake in an unfinished build that remains in a box in an attic for 100 years...
-
Thanks Geoff, David, and Nenad, for the nice comments; And now, back to my little "side station"; - the top of a small bookcase commandeered to manufacture the bulwark paneling... I'm not so sure why this is such a scary thing for me; I just need to make the *&$# things, affix them to the ship, and move on... Yes; I know it's a boring post, but it helps me move on with a little bit of accountability... Cheers! ~Bob


-
Cutty Sark by NenadM
rfolsom replied to NenadM's topic in - Build logs for subjects built 1851 - 1900
Seems to me you're making quick work out of a long job... Are you putting in 16-hour days on the coppering? Looks great! Oh, and very nice lawn by the way... ~Bob -
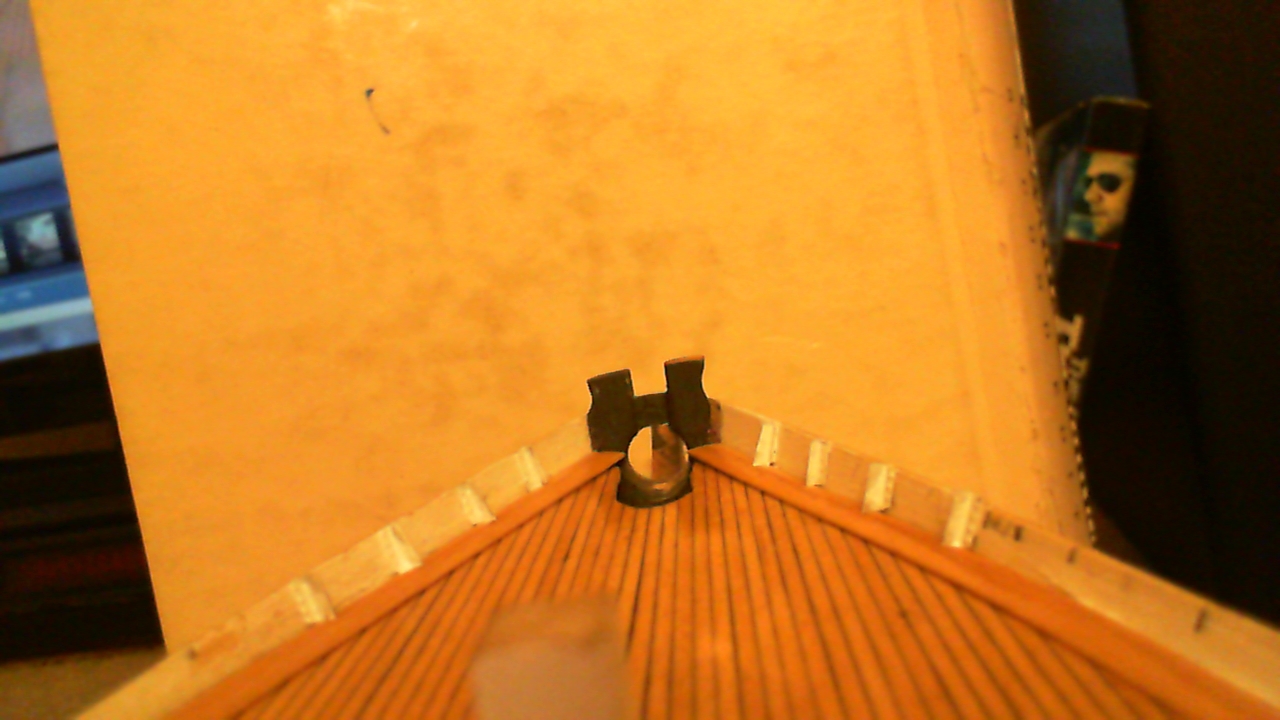
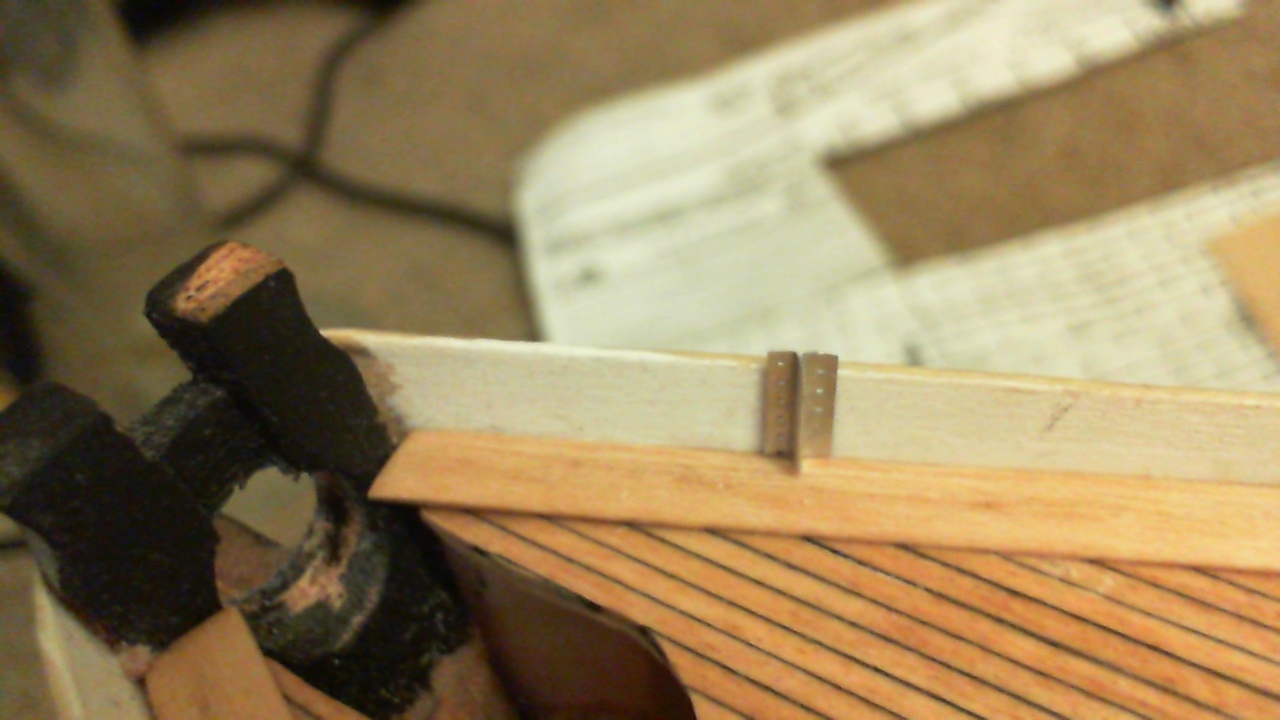
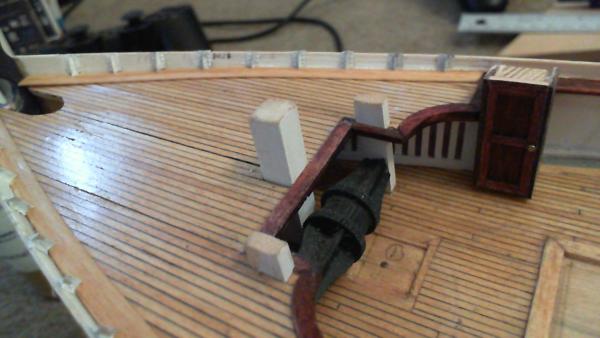
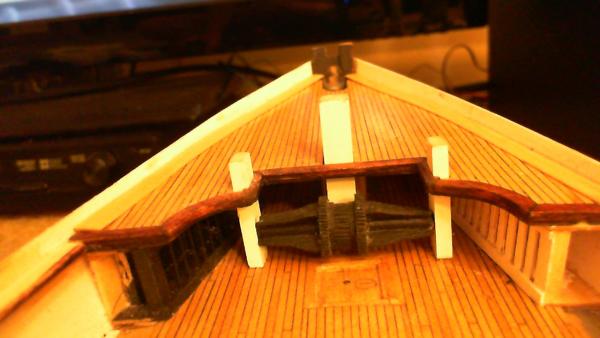
Ok, heads are almost where they need to be; more ironwork, (the frames); made in Al. Testing, but hope to seal the heads (toilets) with Al. simulation framing....

-
Disobedient, maybe; They were made almost 2 years ago, directly from Mr. C's plans, long before the main rail was put in, so some shaping must be done. Upon consulting Lou's many fine pictures, two of the iron frames seem to perfectly straddle each "head" (or toilet... outhouse?) So I think I will have to incorporate them into the build along with this framing and all the other bulwark details. (I originally wanted to install them later... We'll see...)
-
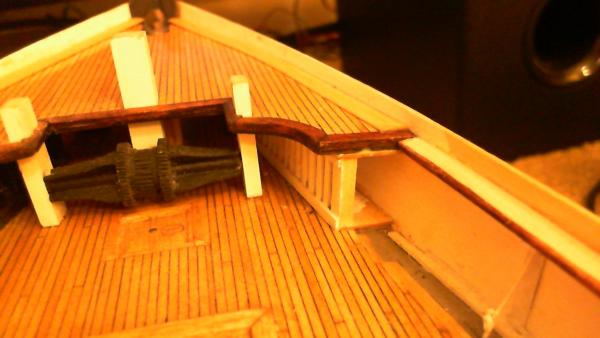
Thank you, Nenad and Rich; I'm pretty much done with the frame ends on the forecastle deck; right now I'm trying to fit the two heads into place underneath the main rail... Will probably fill the gap with more "ironwork"..
-
Cutty Sark by NenadM
rfolsom replied to NenadM's topic in - Build logs for subjects built 1851 - 1900
Wow! You're making really great progress.... Looks great! -
Cutty Sark by NenadM
rfolsom replied to NenadM's topic in - Build logs for subjects built 1851 - 1900
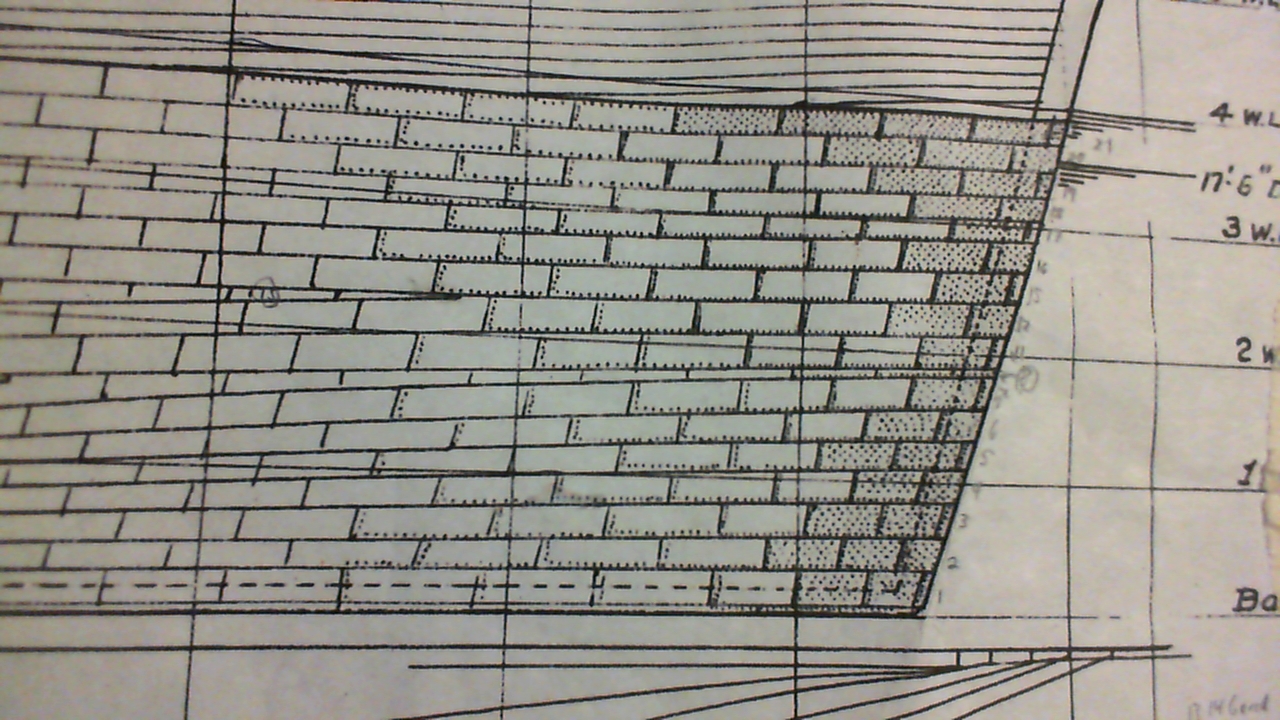
Nenad; Here is a paragraph from p.124 of Campbell's China Tea Clippers: "Although the ideal system of laying the plates was to have the exposed edges of the butts facing aft, and those of the seams on the lower edge, this arrangement helping to keep a loose plate reasonably flat by gravity and water flow, it was only achieved on very small craft where probably a single gang of workmen would work progressively in one direction, as a modelmaker would plate a model. However with a large ship in drydock or on the slip this would take too long,and several gangs would be working together, some from amidships towards the bow or stern and some from the waterline downwards or keel upwards. This would mean that the exposed edge of the seams and buttw would vary in their relative positions on different parts of the hull, which can sometimes be seen on contemporary photographs." Hope this puts your mind at ease! ~Bob -
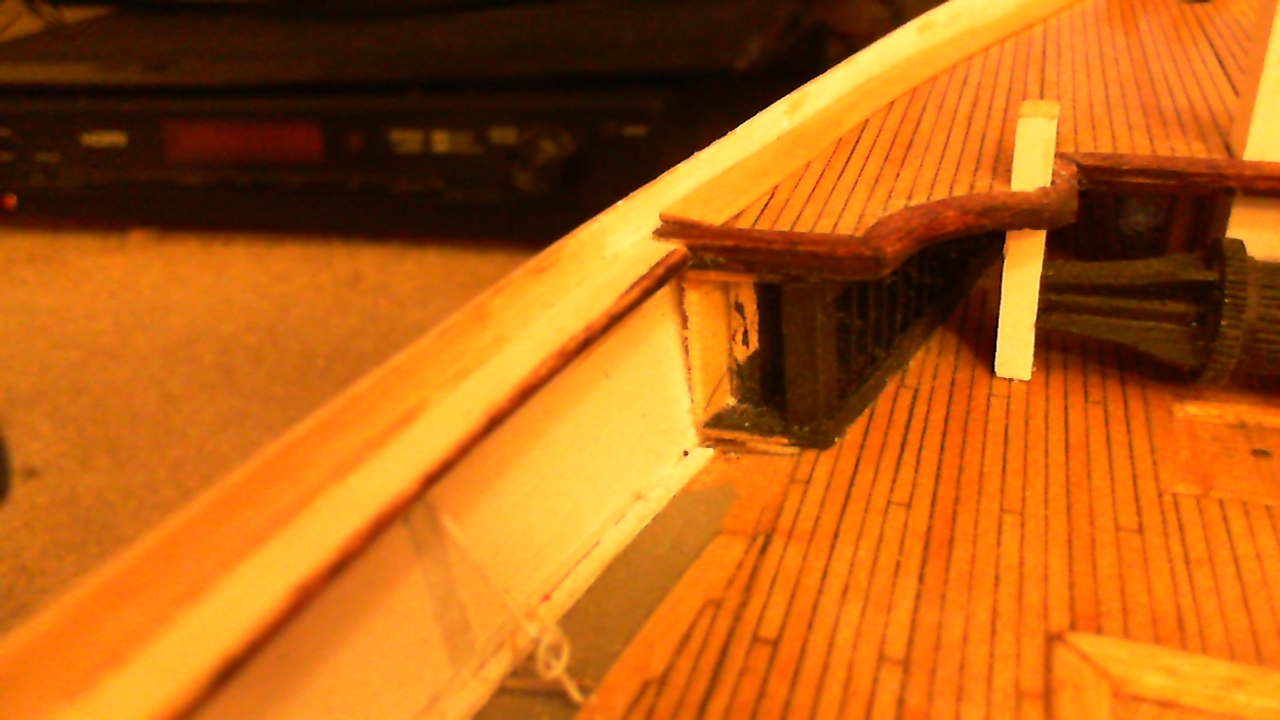
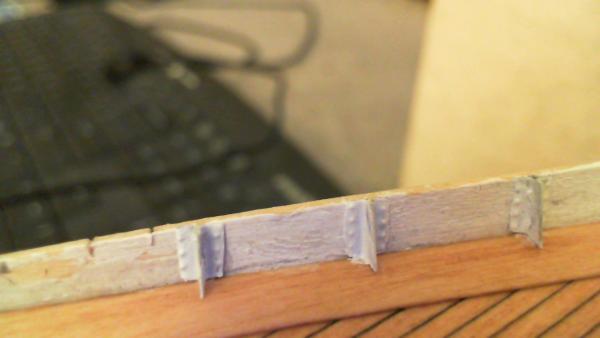
Thanks, Keith; hopefully now I can get over the "grrrr" aspect after fixing the damage... Affixed the first four pairs (of 10) of the forcastle frame ends; needs some tweaking and painting, but overall I think it will be acceptable..
-
Cutty Sark by NenadM
rfolsom replied to NenadM's topic in - Build logs for subjects built 1851 - 1900
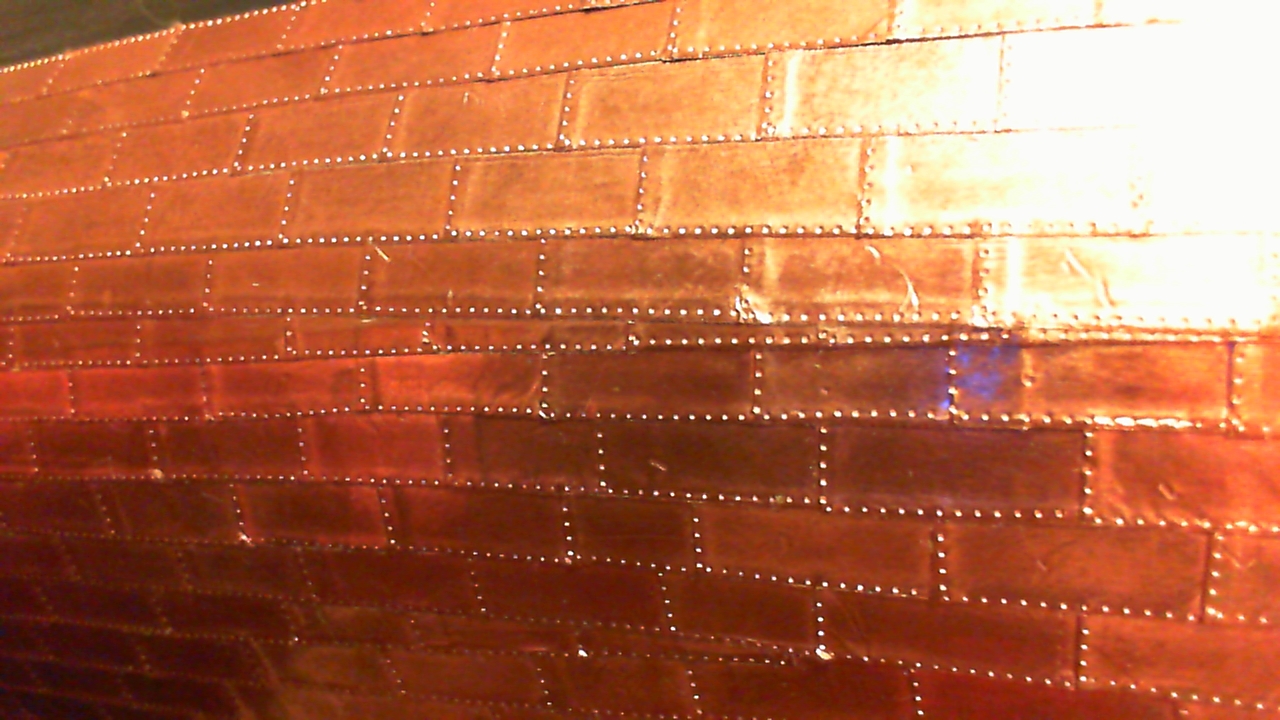
Happy to see you have your water back; It took me about 3 months to finish coppering, at about 2-4 hours per day. Unlike now, where I will leave the build for a week or two at a time, I sat down and did the coppering faithfully, every day. It didn't require alot of thinking, and was very relaxing. I used self-adhesive copper tape, where you peeled the backing off and stuck the tile on after cutting and riveting. So, after a night of affixing 150-200 plates, the Admiral would pick up 150-200 paper backings left on the floor the next morning; She never complained, and I never asked her to pick up after me; I think our Admirals are proud of our hobbies! (but sometimes slightly jealous... ) -
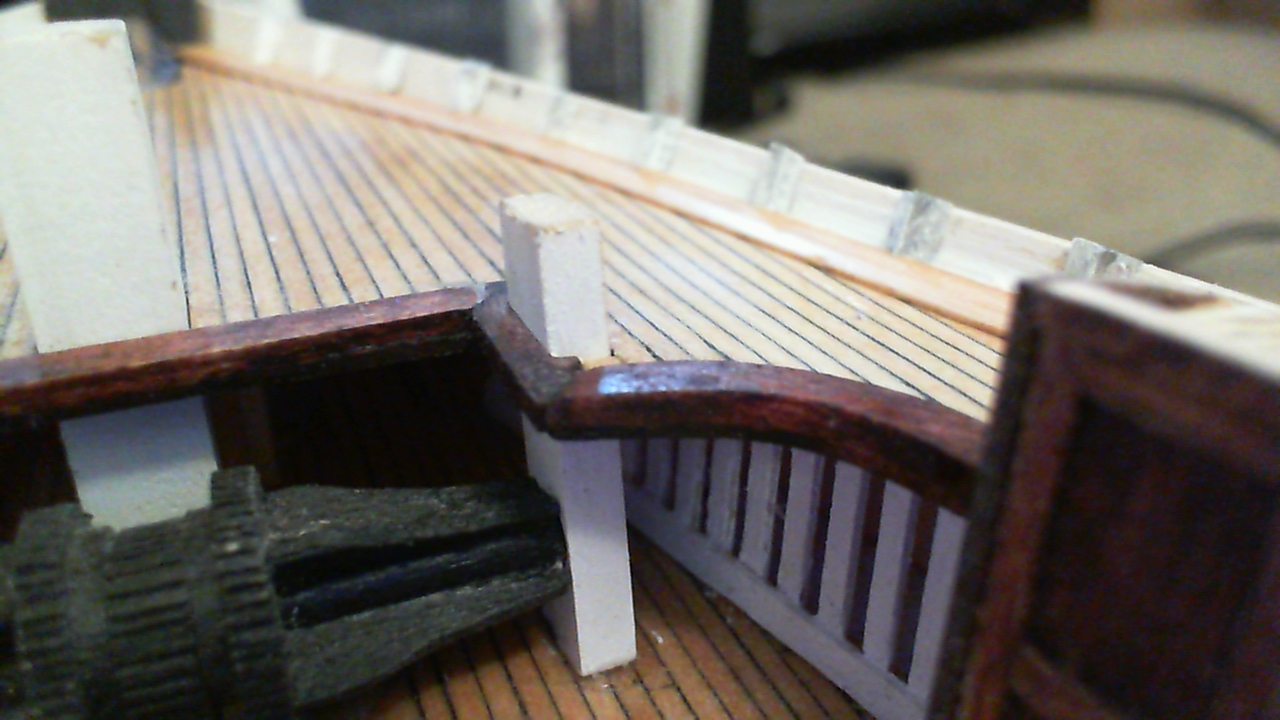
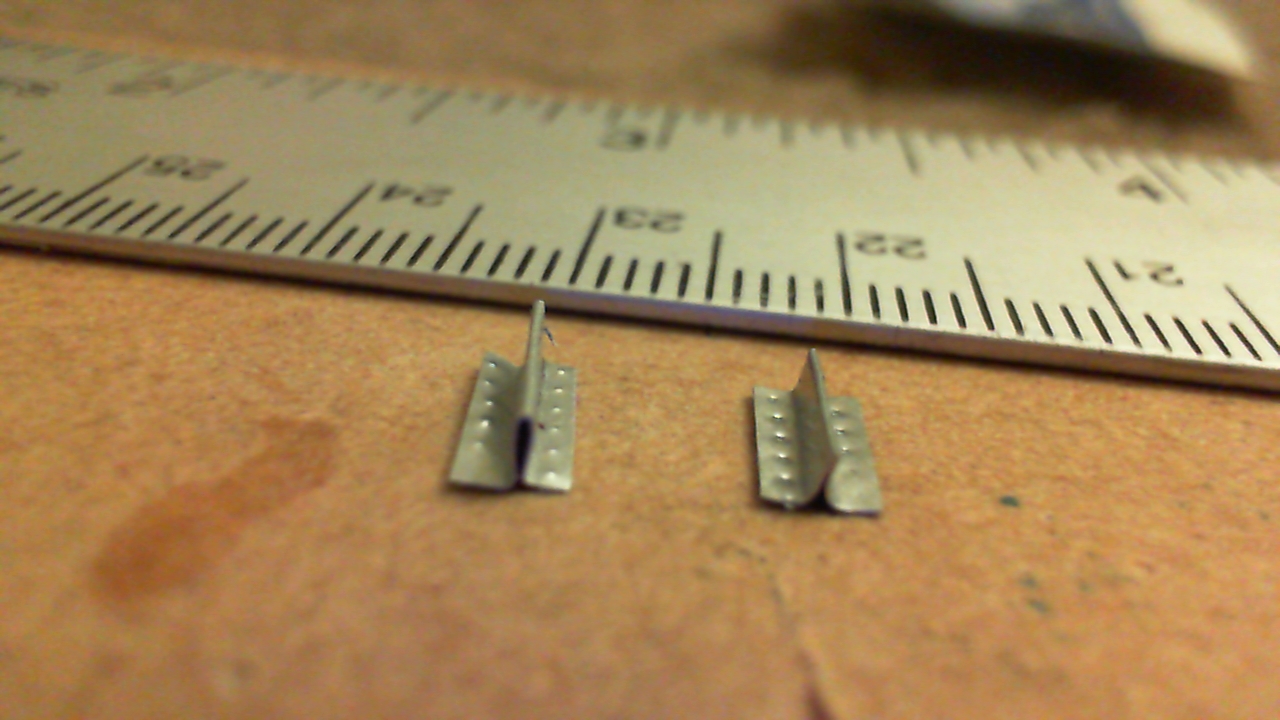
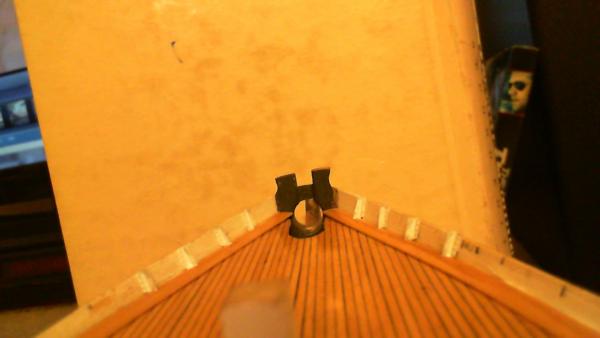
Thanks, Popeye and Nenad; I won't be keeping shaped spars lying around my work area anymore; one man's stick is another man's 2+ hours of work... Here are some prototype pics of the forecastle deck's iron frames: I believe I will use a strip of aluminum (can) 1/4" wide, folded in half, cut to length, and then the "wings" carefully folded out and riveted with the ponce wheel.. Proto-1 on left took many failures, and about an hour... Proto-2 took one try from a strip and about 5 minutes...

-
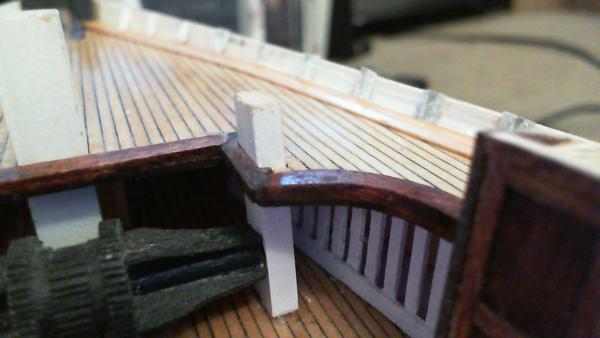
Forecastle deck is fixed.... (after 3? months...) I will not do nibbing here, I installed covering margin planks. I think I found a happy medium at where the forcastle deck rests .... Anyhow, I'm done with this step; just need the iron frames on the inside of this area... ~Bob


-
Cutty Sark by NenadM
rfolsom replied to NenadM's topic in - Build logs for subjects built 1851 - 1900
...and sorry about the water problems; My Admiral would start the executions about now...- 4,152 replies
-
- 1
-

-
- cutty sark
- tehnodidakta
- (and 1 more)
-
Cutty Sark by NenadM
rfolsom replied to NenadM's topic in - Build logs for subjects built 1851 - 1900
Great work on coppering, Nenad. It's a long, slow process, but in my experience, one process I kept up with and enjoyed.. ~Bob -
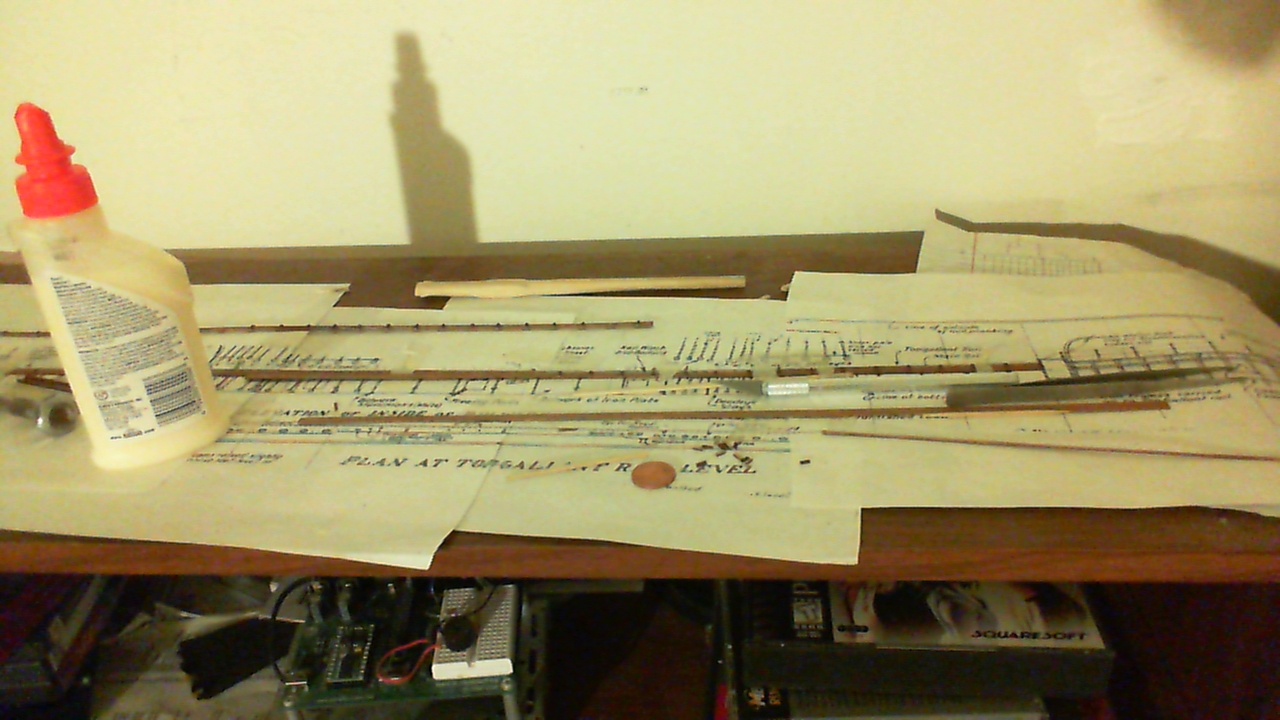
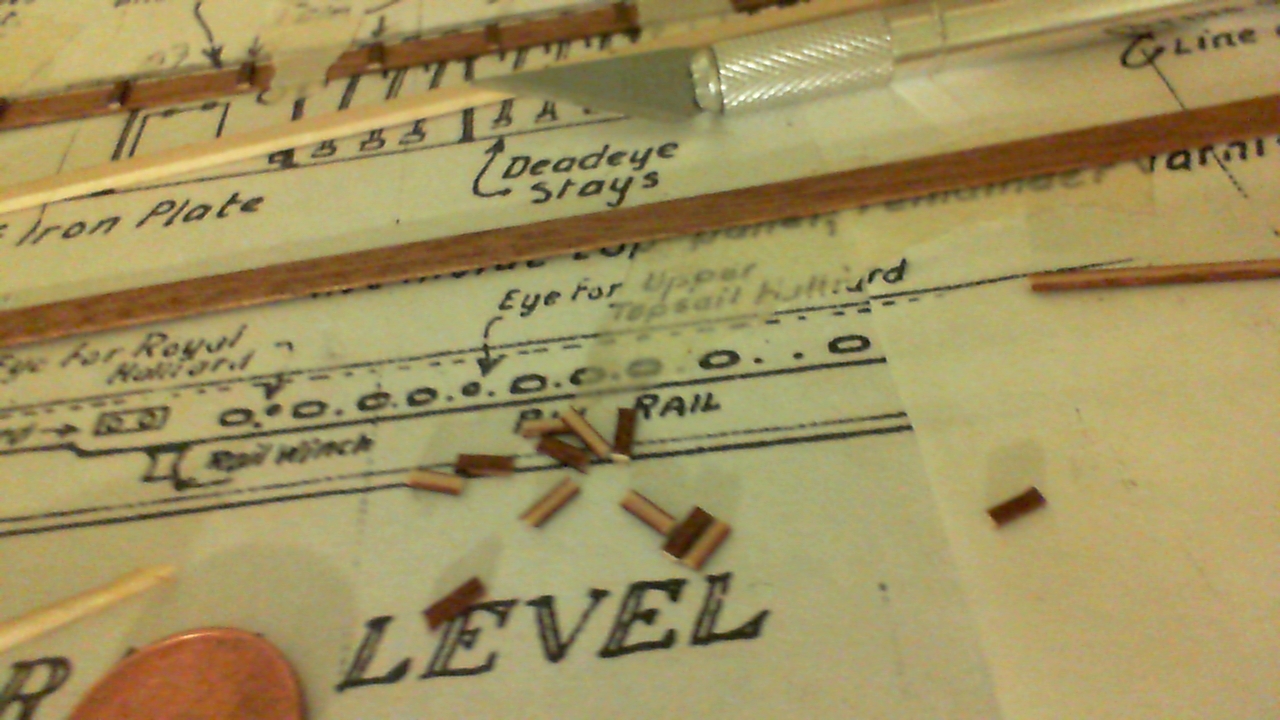
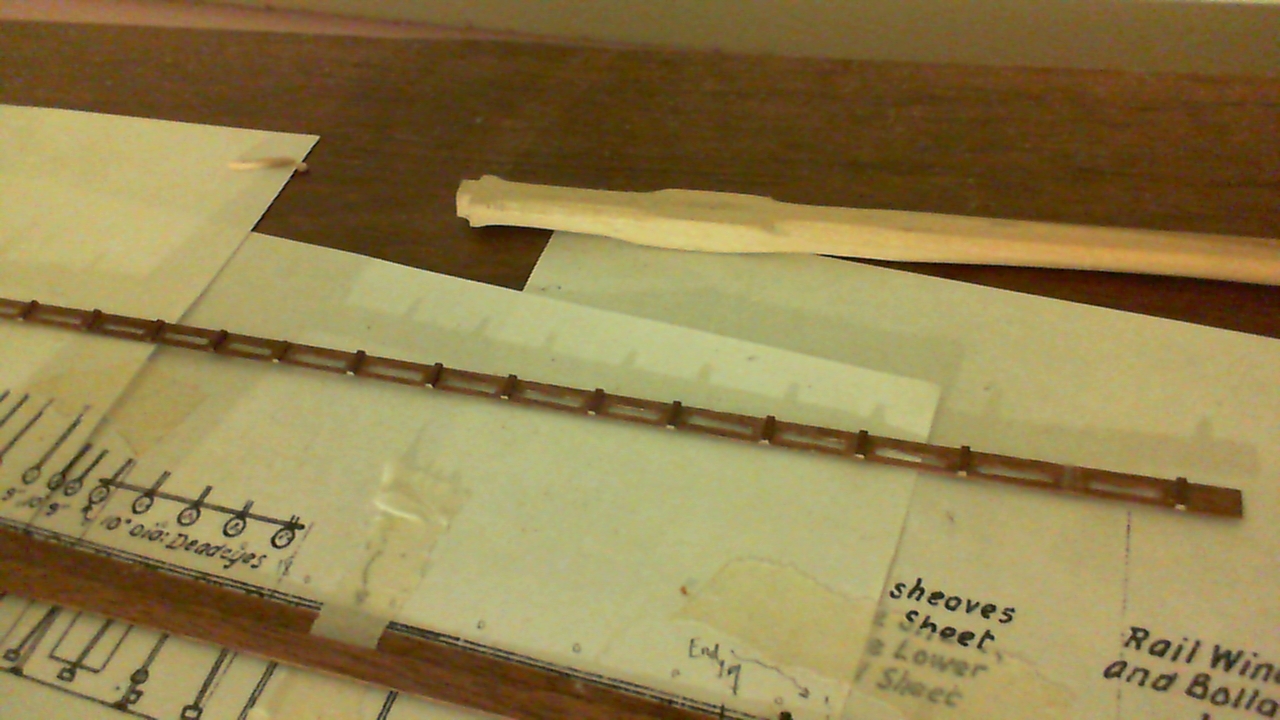
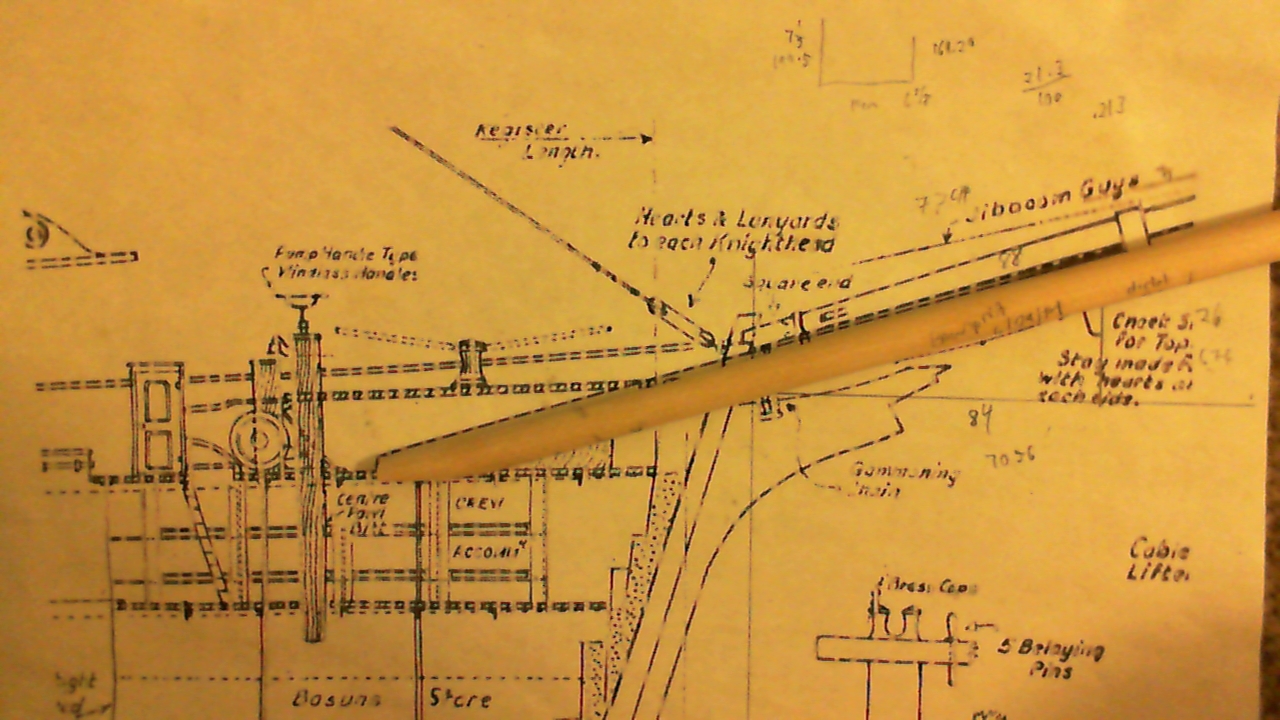
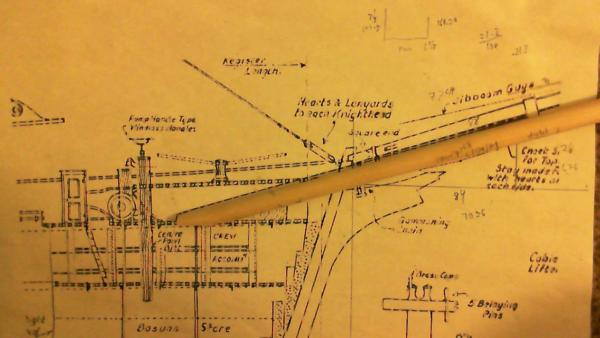
The bowsprit will be cut off and final tapered later on; right now it's going into my "Bag 'O Spars" that came with the original Billing's kit (I hate losing parts..). most of these spars are pre-tapered, and upon initial inspection (around 2.5 - 3 years ago) they all match quite nicely to scale.

-
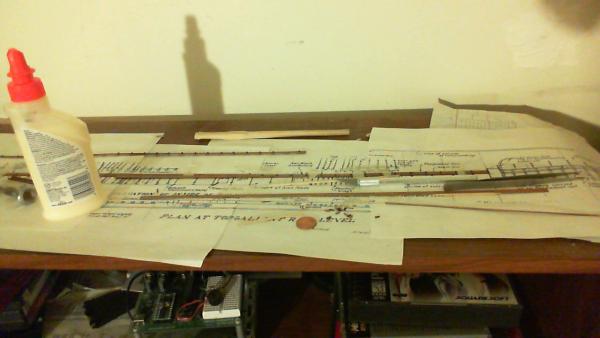
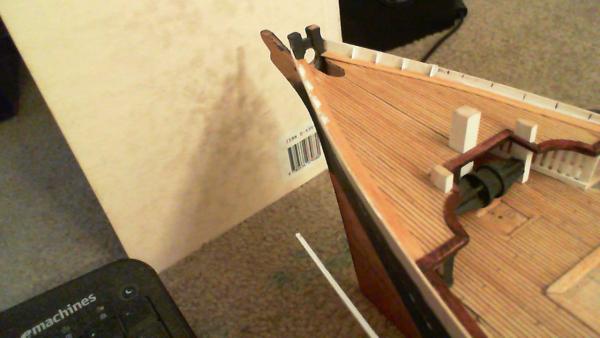
Hello, everyone! I decided to not be lazy, and sit down right after work with the ship, and tackle my problems with the bow. I had pre-fashioned the bowsprit before installing the forecastle deck (which I broke during re-alignment), and when I went to temp. fit the bowspriit into place, guess what?... No bowsprit!! After combing my workspace for over an hour (this piece is NOT small, about the size of a pencil; where did it go??), I gave up and decided to remake the piece. (I have a mounting area underneath the forcastle deck, not in view, that will accept the bowsprit... 2.5 hours of sanding and shaping, tapering and fitting, I am now at the same place I was two months ago...

-
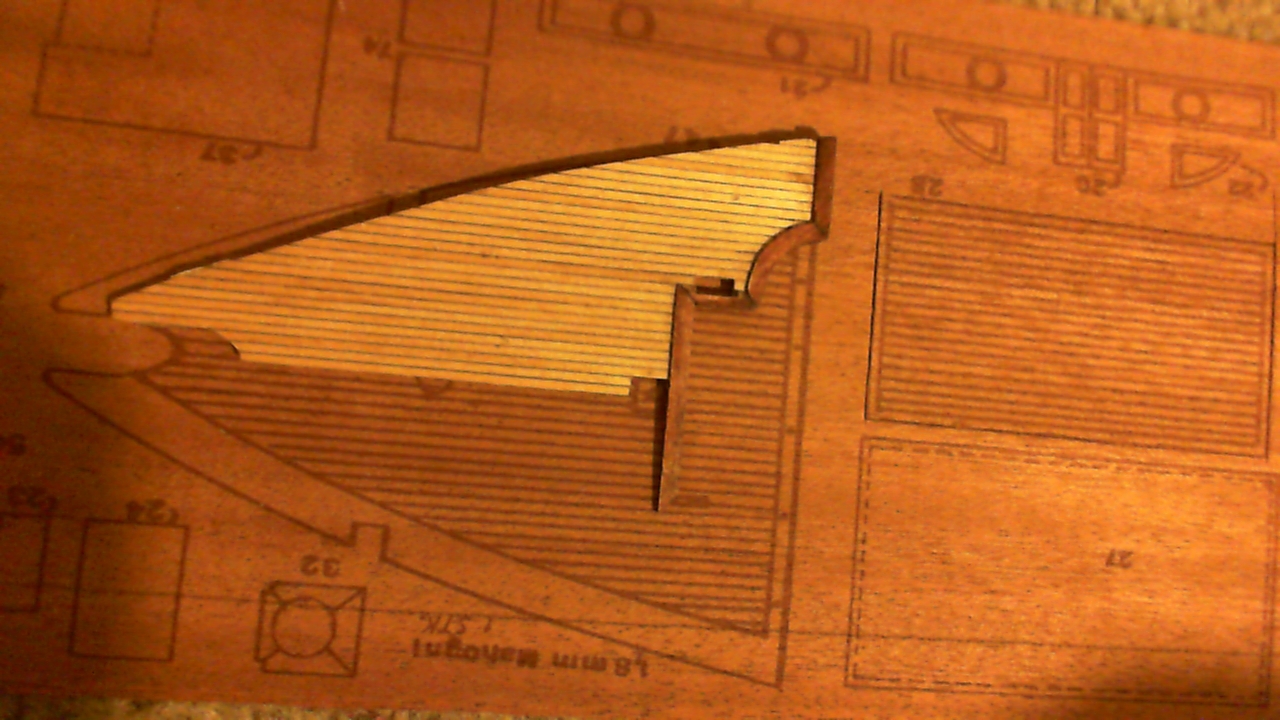
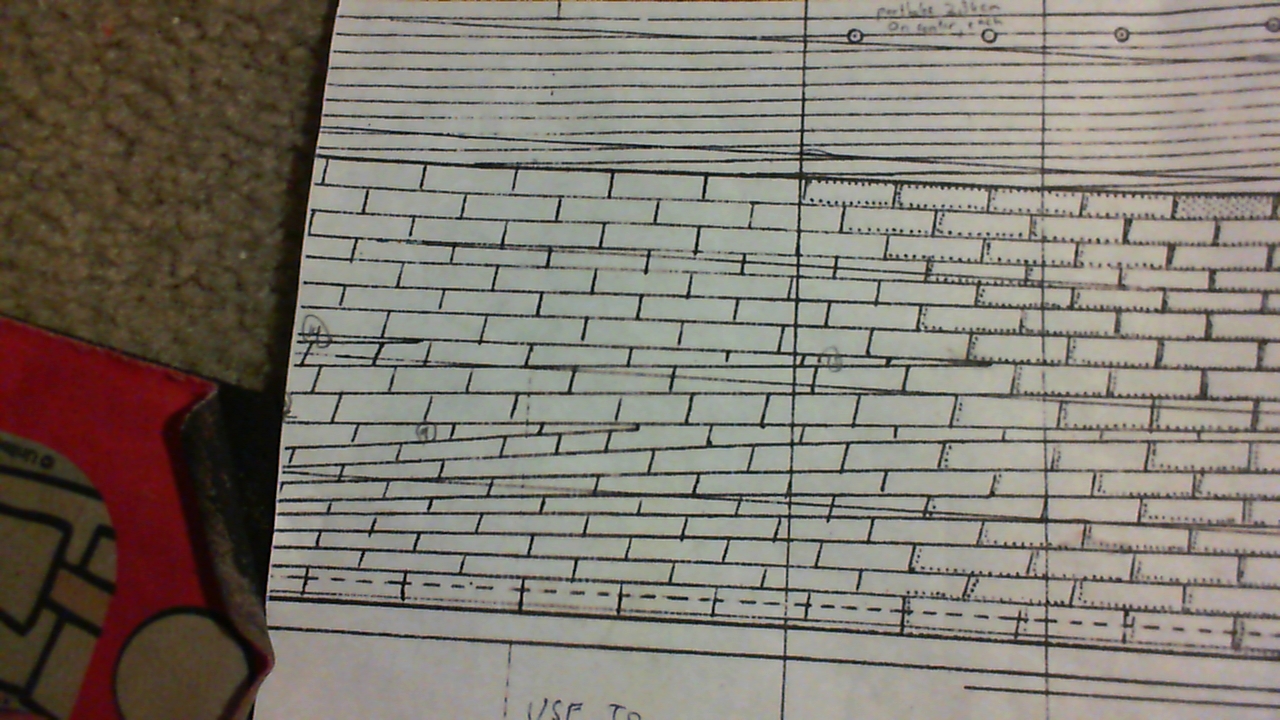
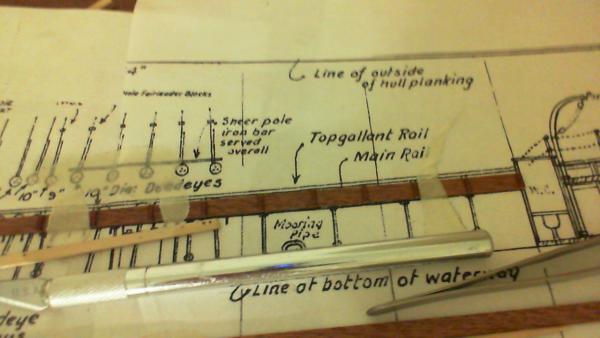
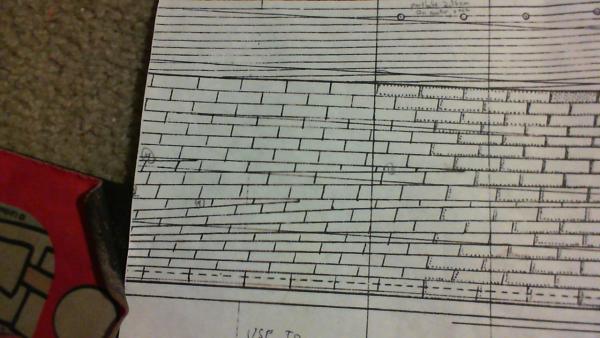
Here is a photo of my broken forecastle deck lying on the original Billing's printed sheet. As you can see, the pre-printed lines are scaled quite nicely to serve as a planking guide... Cheers! ~Bob

- 151 replies
-
- 2
-
-
- cutty sark
- billing boats
- (and 1 more)
-
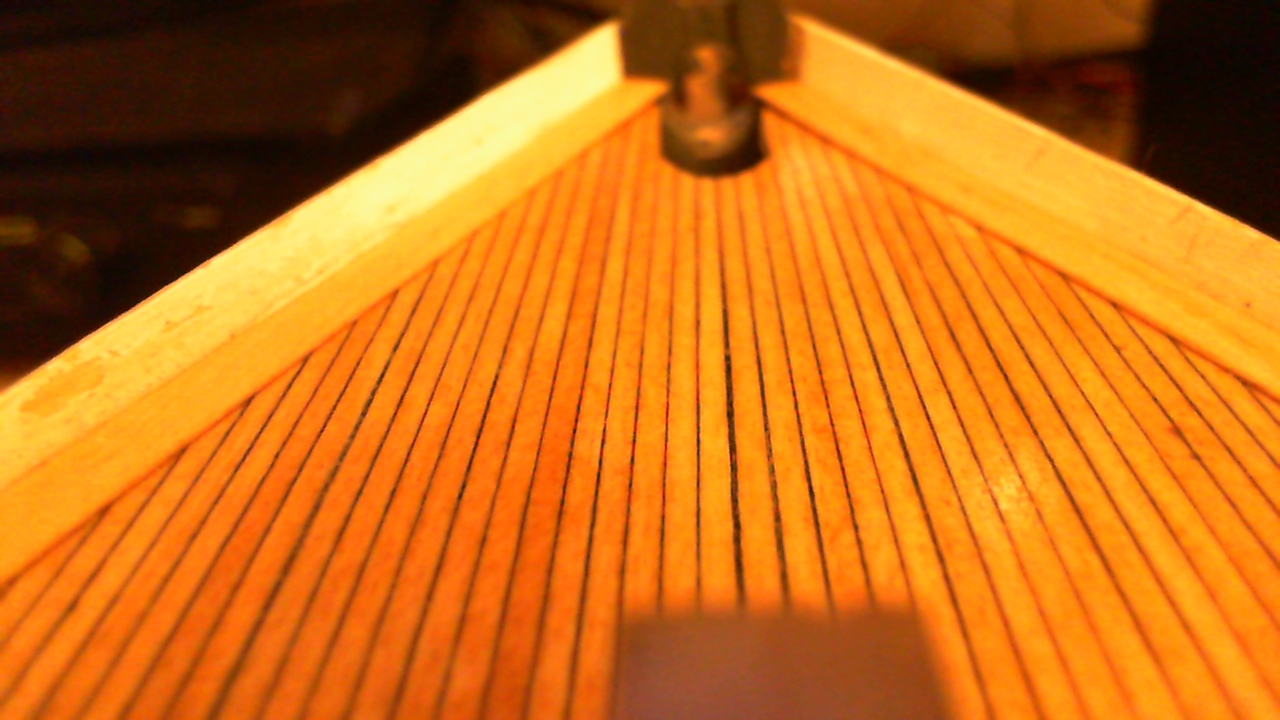
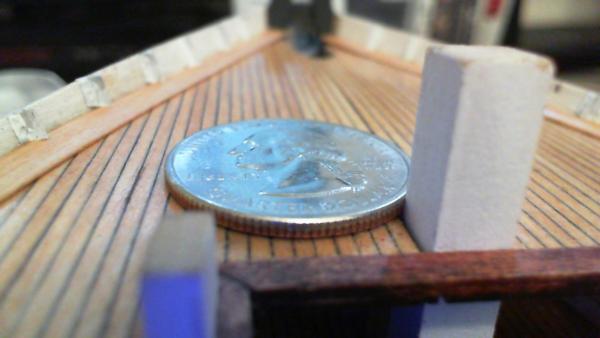
Keith; I planked my deck with 1/16" x 1/32" basswood strips, which equates to 4.8" wide when enlarged to the 1:76.8 scale of this kit; very close to the actual ships plank width of 5".
- 151 replies
-
- 1
-
-
- cutty sark
- billing boats
- (and 1 more)
-
Nice job, Chris. I was too late to help you with your vertical stern part, but you solved it in exactly the same way I did... Looking forward to your progress! Cheers, ~Bob
-
Cutty Sark by NenadM
rfolsom replied to NenadM's topic in - Build logs for subjects built 1851 - 1900
Nenad: I'm glad to see you start at the keel and work your way up to the waterline; and It's never too early to plan where the "gore strakes" will be (I believe it was 9 or 10 rows when I had to do the goring). I went off of Campbell, labeled the strakes from keel upward, and circled the numbered strakes that needed to be "gored". This method wasn't perfect, but it got me to the waterline with errors I could live with.... Great choice in plating material; looks just like the current ship. Now maybe if I can overcome my hurdles, we'll meet at the same point in masting... Cheers! Bob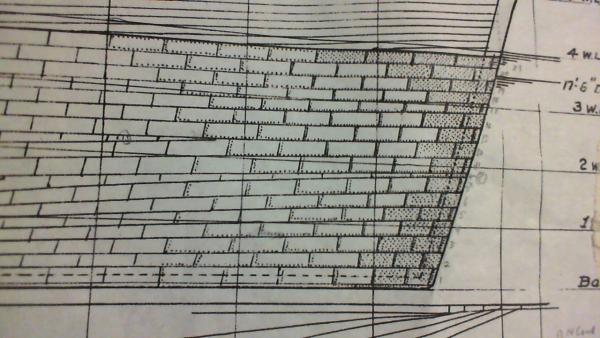

- 4,152 replies
-
- 7
-
-
- cutty sark
- tehnodidakta
- (and 1 more)