HOLIDAY DONATION DRIVE - SUPPORT MSW - DO YOUR PART TO KEEP THIS GREAT FORUM GOING! (Only 36 donations so far out of 49,000 members - C'mon guys!)
×


rfolsom
-
Posts
881 -
Joined
-
Last visited
Content Type
Profiles
Forums
Gallery
Events
Everything posted by rfolsom
-
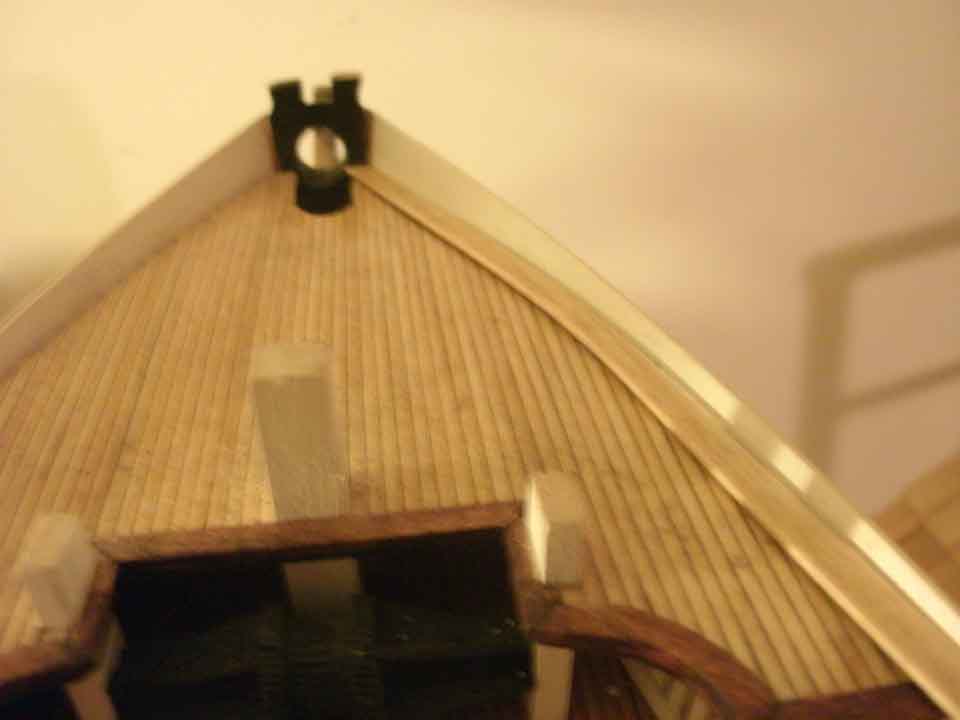
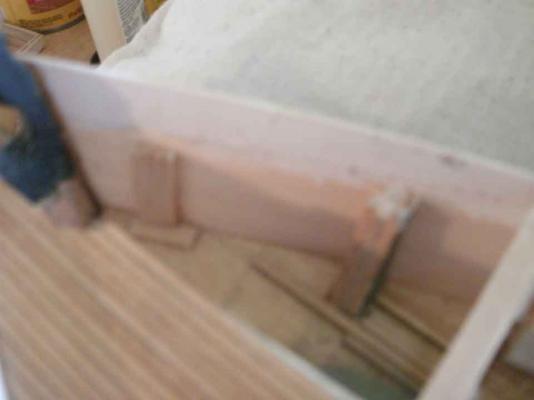
 Ok. After some thought, and playing with pieces, the only problem I plan on fixing is the camber of the deck. You can see the braces underneath the forcastle deck... these will be extended to give the required camber to the repaired deck. (I am clueless why I did not do this in the first place, but this assembly was made over a year ago, and my mid-forties brain seems not to have recorded it... )
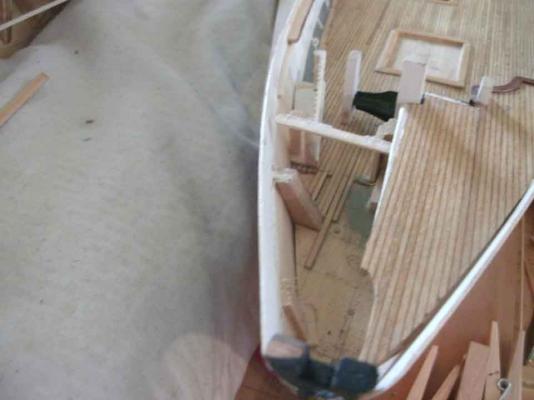
-
Yes, Nenad. Maybe I'll fix nagging problems (nibbing!) but also I was not satisfied how the carrick and center pawl bits met the main deck. I might also try my hand with the rounded moldings you were working on for the edges. In the negative sense, I was looking forward to completing the main rail; after that, the moldings and the cap rail, then I was planning to invert the model and fix any stray copper flaws, install the rudder, and permanently mount the ship to a display base. It might be time to take a break and do some more work on the Niagara....
-
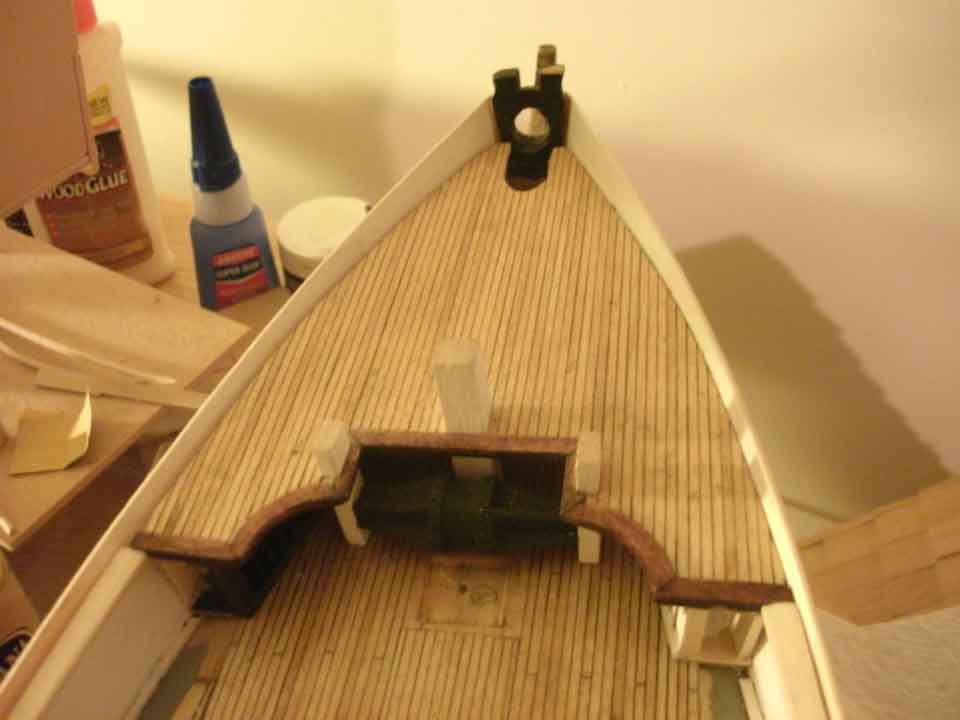
Ouch!! In my attempt to align the forcastle deck with the bowsprit hole, everything came apart... Easily reparable to the way it was; but also a way to fix old problems... It's late, time to sleep on this one.... ~Bob

-
Ah, yes, Popeye; margin planks... I couldn't come up with the term when writing my post... The nibbing was hard enough on the main deck when I planned ahead; I feel I will screw up the forcastle deck completely if I decide to try digging into it, so no nibs it will be! I have sanded the 1/32" planks, but will probably go a little more. Thanks for all the encouraging words, everyone!
-
True words of wisdom; I suppose we will always see our mistakes...
-
Thanks, Patrick; I wish I didn't have to use this "covering board"; but I don't have the determination of those like my friend Nenad to tear out alot of work, redo, and keep going... oh well... there's still nibbing detail on the main deck, and the next build will be better! ~Bob
-
Cutty Sark by NenadM
rfolsom replied to NenadM's topic in - Build logs for subjects built 1851 - 1900
Very nice work, Nenad; I remember the friendly rivalry with my college roomate (attorney) and myself (engineer). Many debates discussed over many hands of poker and many beers; and alot of good times...- 4,152 replies
-
- 1
-

-
- cutty sark
- tehnodidakta
- (and 1 more)
-
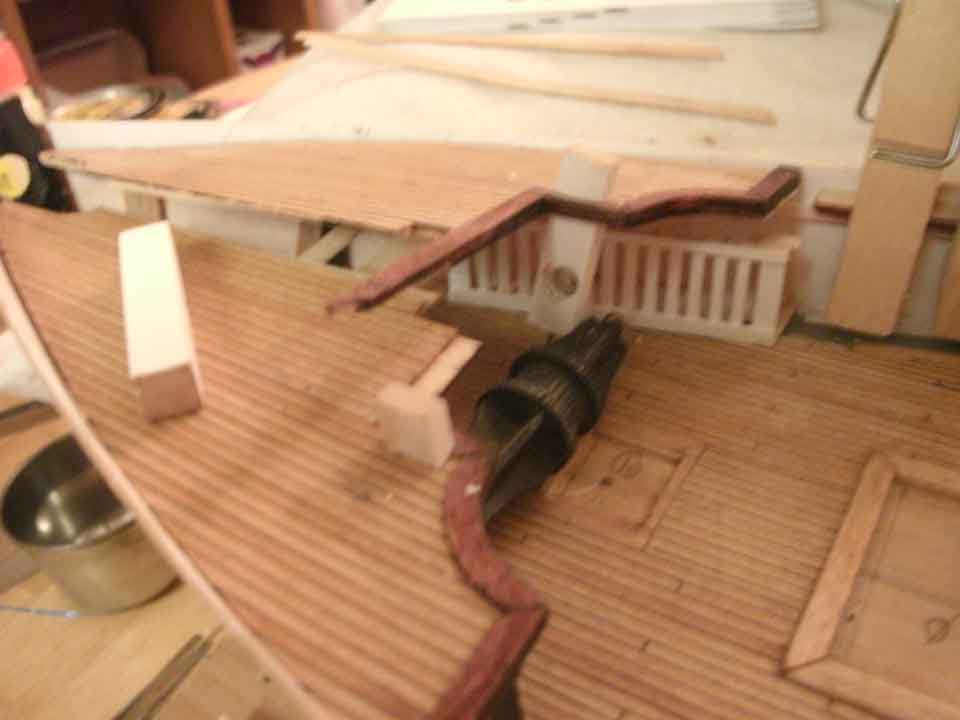
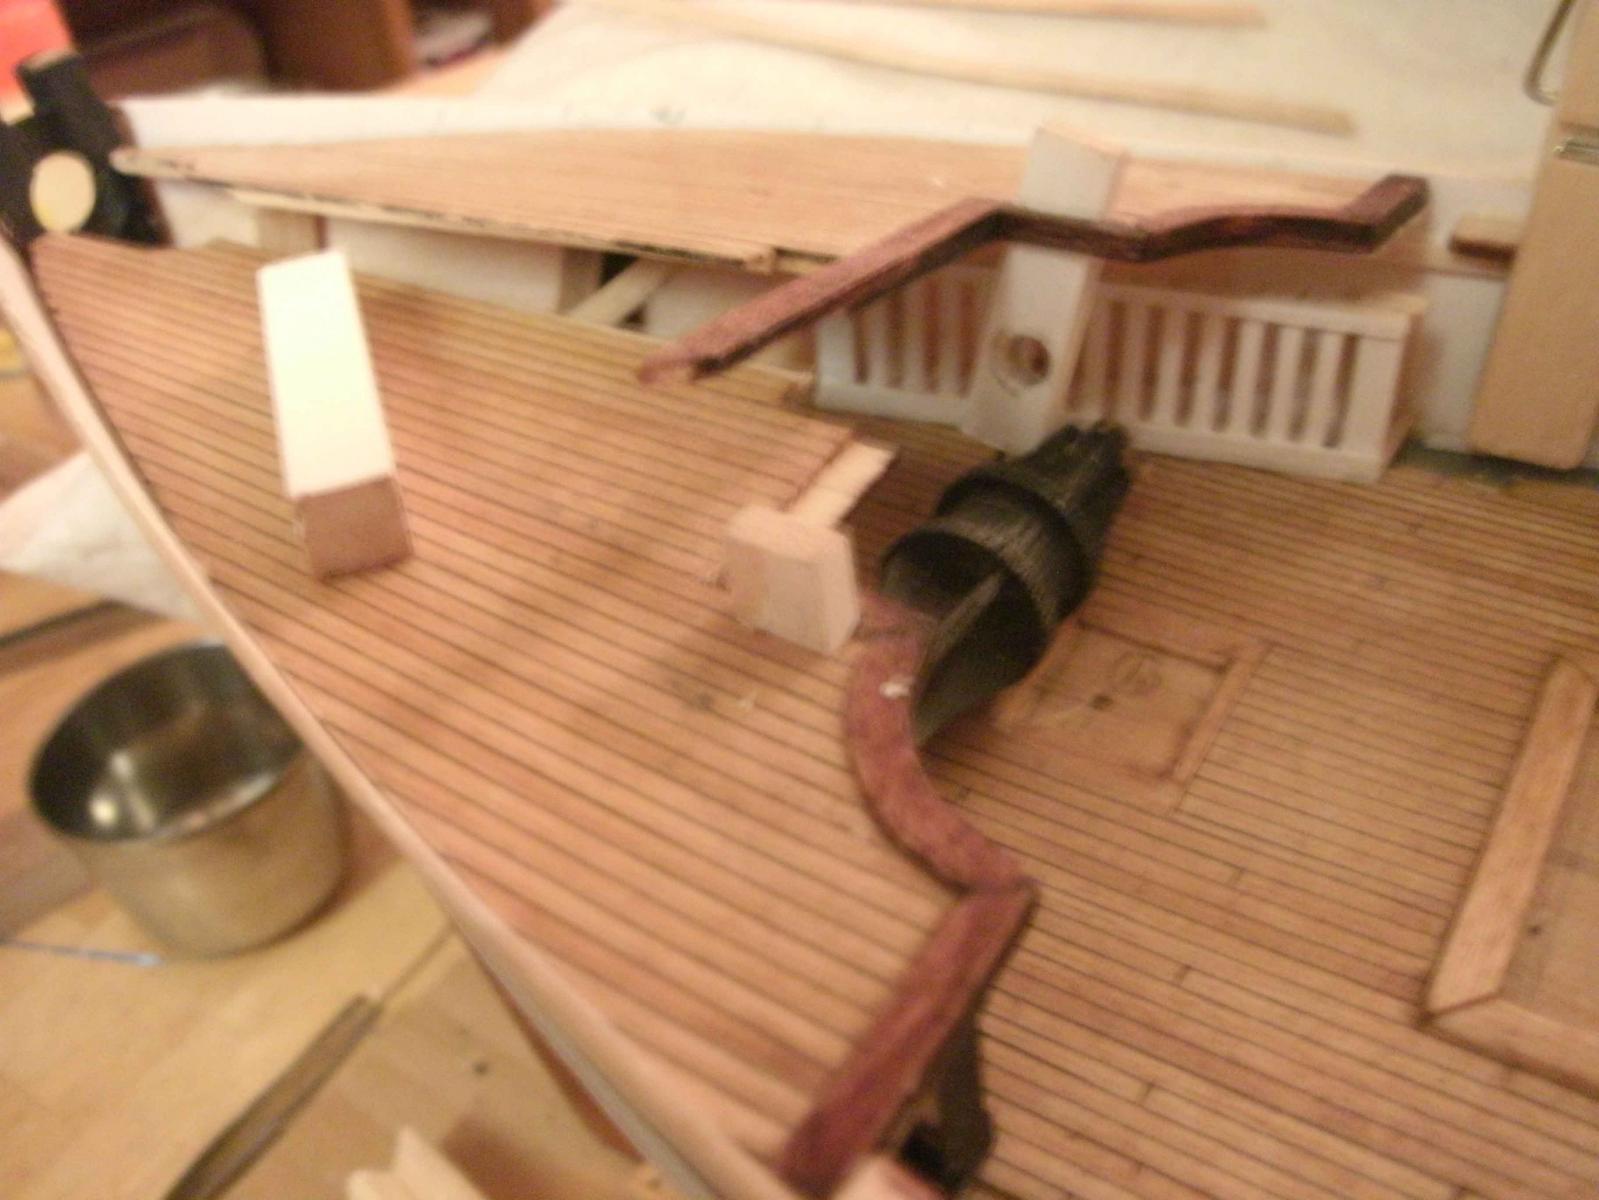
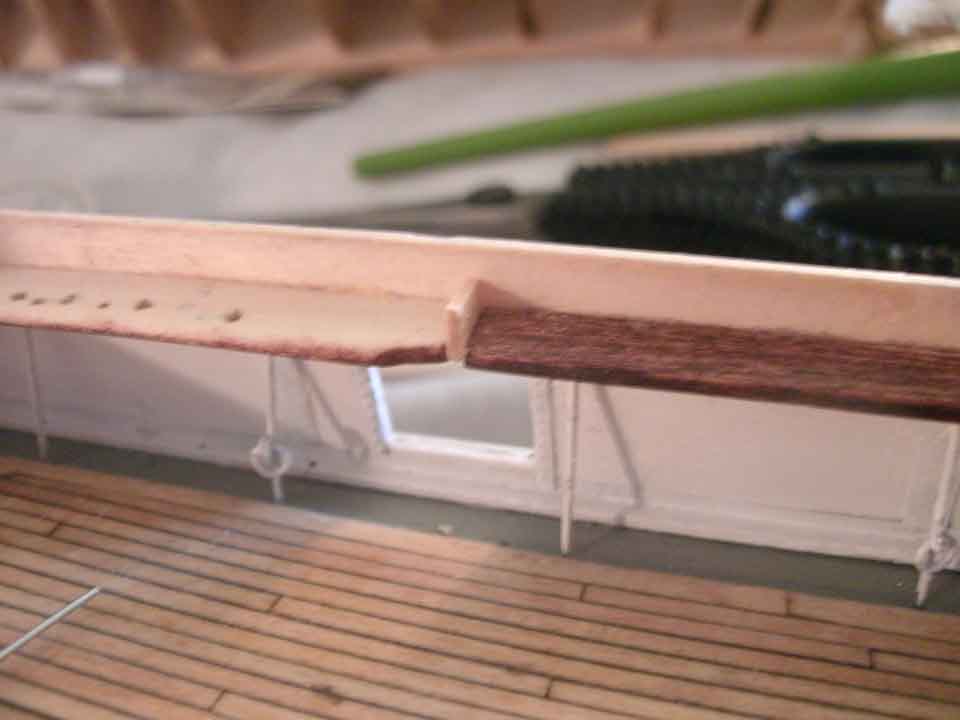
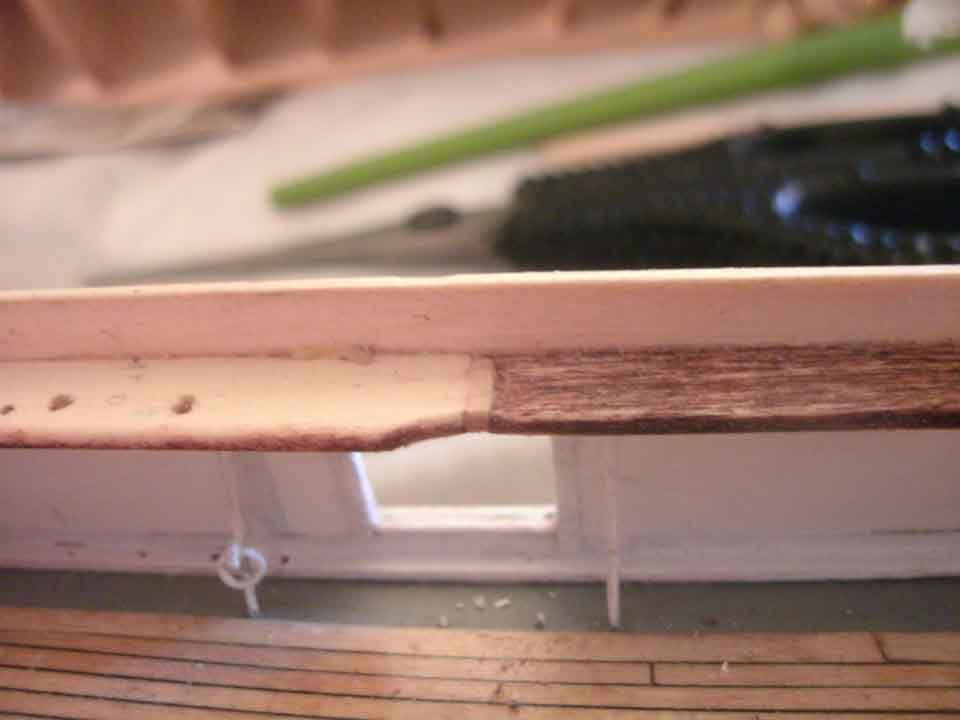
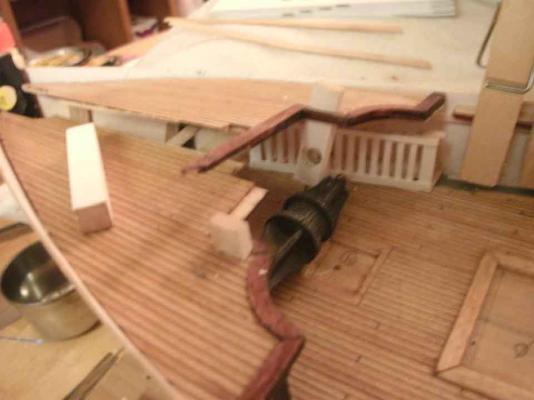
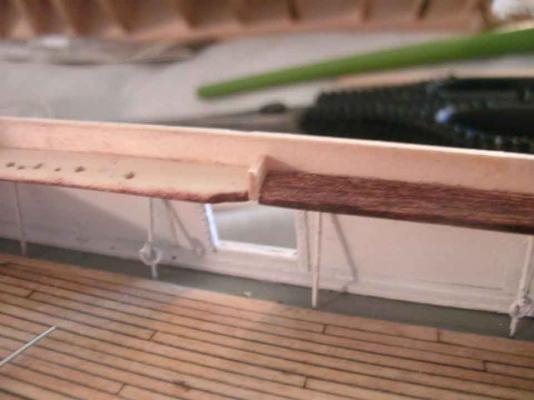
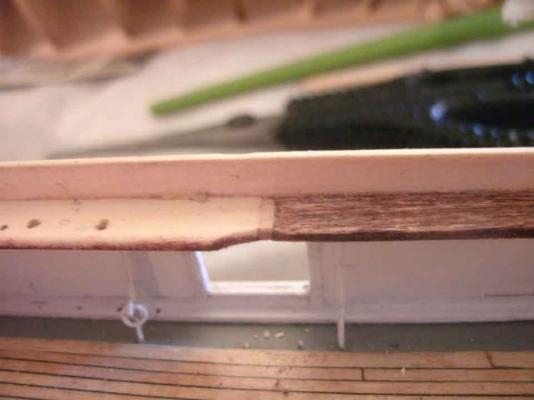
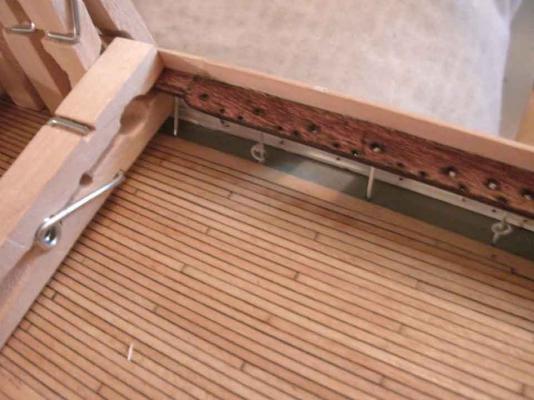
O.K, ready to address next mistake. So blindly following Campbell when working on deck planking some 18 months (?) or so, ago; I erroneously came to the conclusion that the forecastle deck was not nibbed, and the edges were covered by a covering board continuous with the main rail. Now that I will be facing this problem soon, instead of ripping out and remaking the completed forecastle deck, with underlying structures (pig pen, paint locker, windlass with associated center pawl and carrick bits), I have decided (very reluctantly) to go with a covering board as on the aft deck. This starboard side board has been roughly shaped, but not installed yet. I should be able to live (and learn) with this.


-
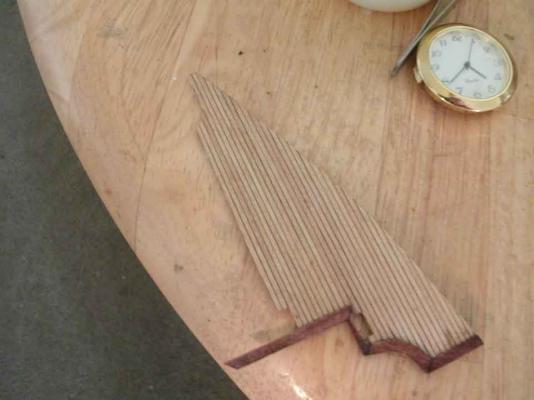
Keith; I don't mind at all your pictures; good to see them! Popeye; I tried several times to cut a piece with the grain, but the piece just broke apart every time, so I opted for plan B. Thanks for the nice comments, guys. I'll be posting some pictures of my next mistakes in a couple of days...
-
A 3/64" shim (1.2 mm) was added to bring my foremast main pinrail sections into alignment with each other; we'll see how well the stain will mask the seams...
-
Keith; nice looking build! Most of my Billing's Cutty will be scratch-built as the kit was around 40 years old when I purchased it, and included no fittings.
-
Agreed, Nenad; That is a force I do not like facing..
-
Keith and Patrick; thanks for looking in and the nice comments; Keith; I may have to pick your brain when it comes time to purchase the winches and pumps. Do you have any pics of your Cutty? Patrick; These are indeed the same pins that are supplied with the Niagara; actually my Niagara came with the WRONG pins, and I had to send email pics of the plans to Model Expo showing the size difference... Seems like the newer Niagara kits are shipping with incorrect part numbers for their pins.... ~Bob
-
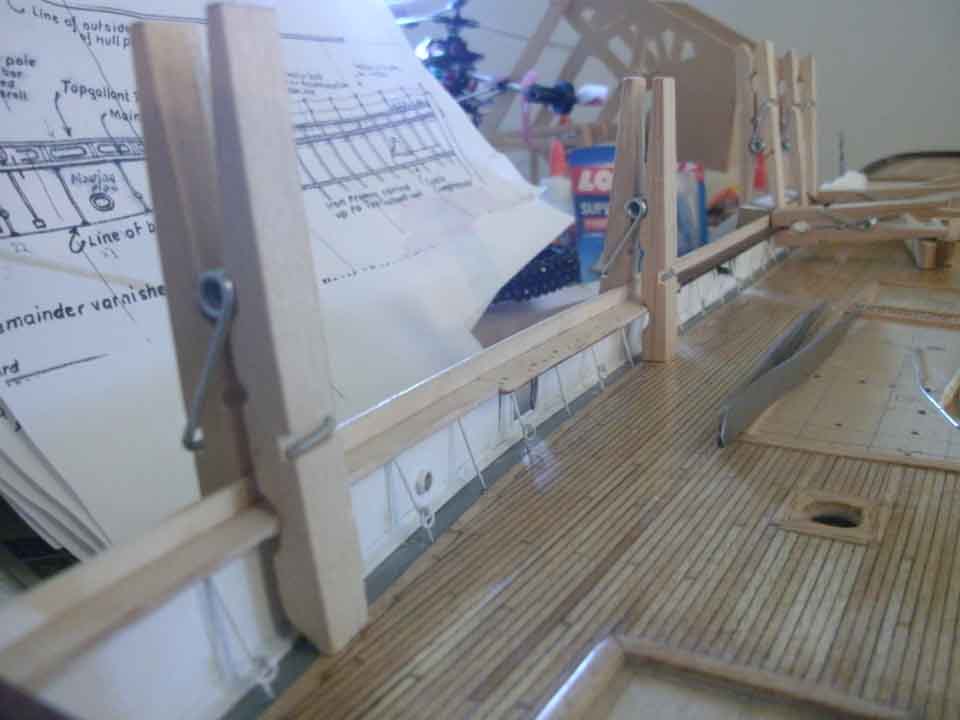
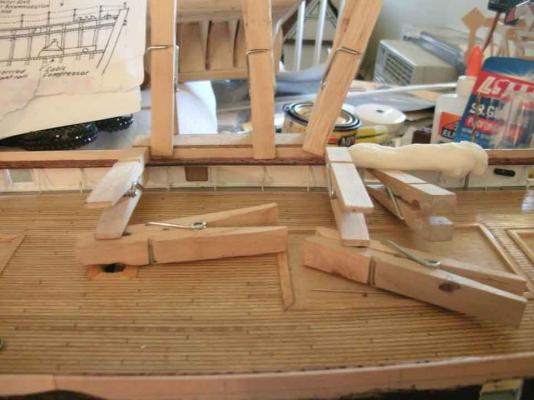
Work on the main rail continues, slowly; starboard aft sections of the rail were angled down too much after gluing; attempting to fix with some clothespin clamping pressure and some wet tissues in order to coax them into alignment. BTW, Tissues were not wet with my tears...(yet)
-
Nenad; So far I have not seen your photos. If you wish, you could try again. Thanks for your time... ~Bob
-
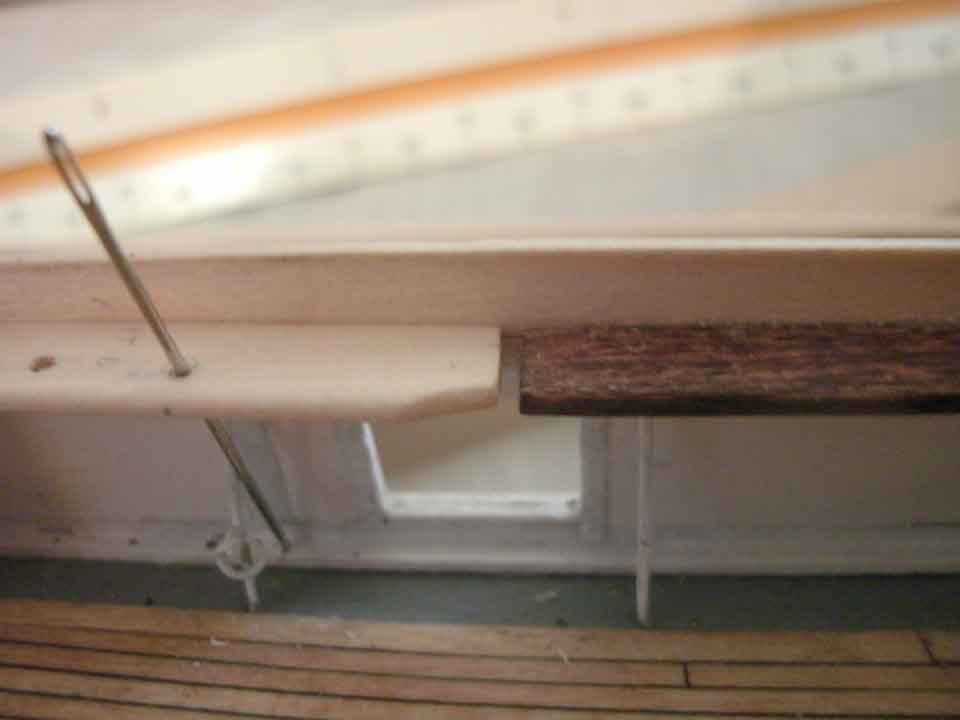
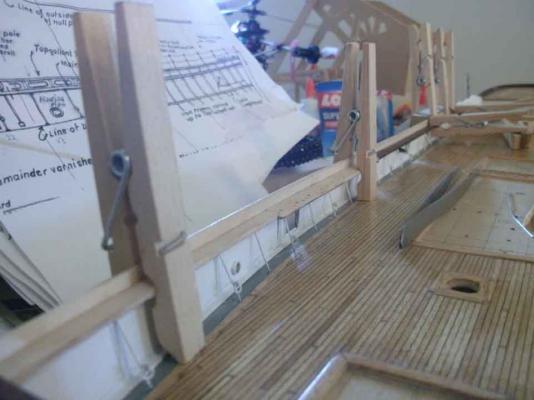
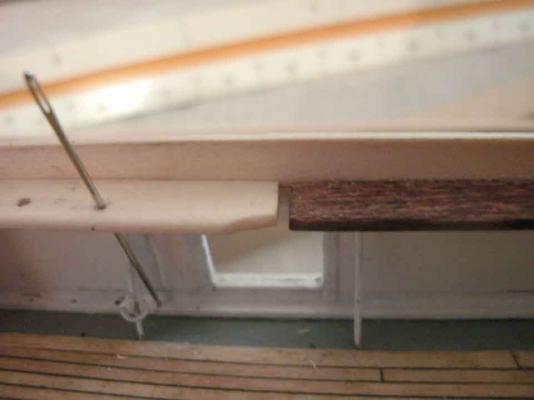
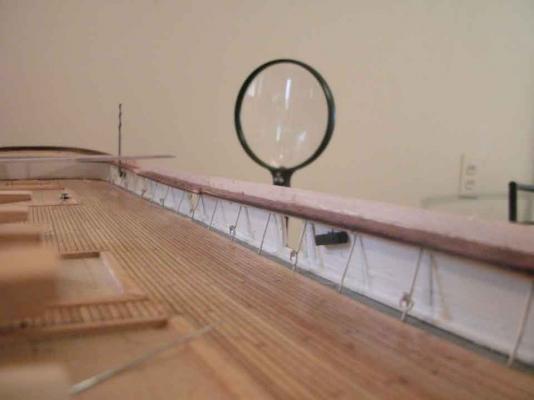
Moving on to the rail sections that are drilled for the foremast deadeyes, I noticed an unevenness between holes on opposite sides. Moving the starboard section forward 1mm squared up the holes with the opposite side, which also checked out with deck landmarks (i.e. the inner border of the fore deckhouse coaming lines up with the outside of the sixth belaying-pin hole on each side). The pre-drilled holes in the waterway for the deadeye poles also now aligned at the correct angle with their corresponding rail holes. (Note the needle). However, this left a 1 mm gap from the previous section on the starboard side, which will need to be filled and (hopefully) camouflaged. Even though each section was made at the same time and exact lenght with it's opposite, this shows how errors can crop up; especially along a curved surface. Forget "Measure twice, cut once"... More like "Measure five times, then again 3 more times from a different angle, test fit, measure again 4 times, test, cut or glue, and then be prepared to fix your mistake anyway!"
-
Cutty Sark by NenadM
rfolsom replied to NenadM's topic in - Build logs for subjects built 1851 - 1900
Very nice, my friend..- 4,152 replies
-
- 1
-
-
- cutty sark
- tehnodidakta
- (and 1 more)
-
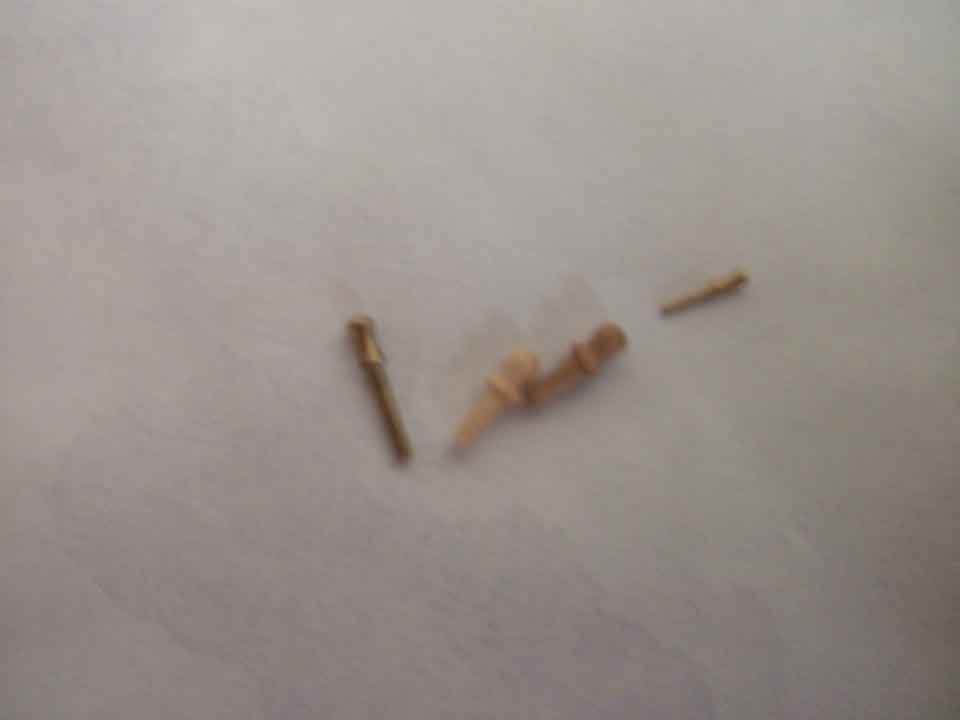
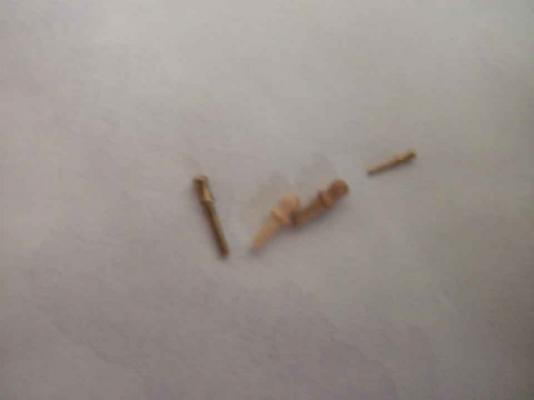
David; When I first purchased this kit, no fittings were included, so I ordered several belaying pins in small quantities that I could choose from. Here are the four candidates; two in brass, one in boxwood and one walnut. Although I liked the "daintiness" of the rightmost brass pin, it was far too short for my rail thickness, which is close to scale. The two wood pins were too squat and plump, so I chose the leftmost pin to order in bulk. (sorry about the picture quality, it seems my camera has good days and bad days with it's macro function )
-
Nenad; Earlier in the build I was leaning toward ladders. Now I'm thinking pinrails. I probably won't give serious thought to the matter until deckhouses are completed.
-
Patrick; Sitting back, watching and learning! You're going to have a stupendous build! ~Bob
-
Cutty Sark by NenadM
rfolsom replied to NenadM's topic in - Build logs for subjects built 1851 - 1900
Nenad; I wouldn't worry about the majority of the small details; in my build I will concentrate on one certain area (sometimes for months) and when I get back to another area, I will say "Whoa! what was I thinking!!; and what have I learned!.... Just remember what I said from a previous post... Mistakes? You can: Fix them. Hide them. Ignore them. Pretend they're supposed to be there. Blame it on someone else. Whatever works, enjoy your builds!! Bob- 4,152 replies
-
- 5
-
-
- cutty sark
- tehnodidakta
- (and 1 more)
-
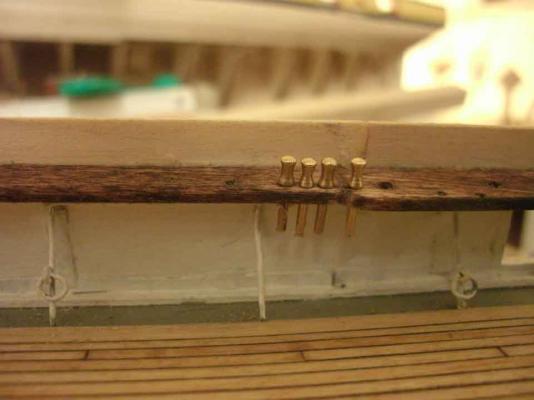
Here's a test fit of four belaying pins right next to each other; I went directly off of Campell's plans, and with the best pins within scale I could find, they still are very large for this small area... They are stable within the rail, but I cannot foresee how I will be able to belay lines to them; at least to all of them. This area is immediately forward of the foremost shroud of the mainmast. My picture is of the starboard side, with the larger hole to the right for the foremost deadeye of the mainmast. In retrospect I should have only tried three pins in this area; I cannot find (yet) a photo of this area from the real ship, so I don't know if it's even accurate outside Campell... Any thoughts? ~Bob
-
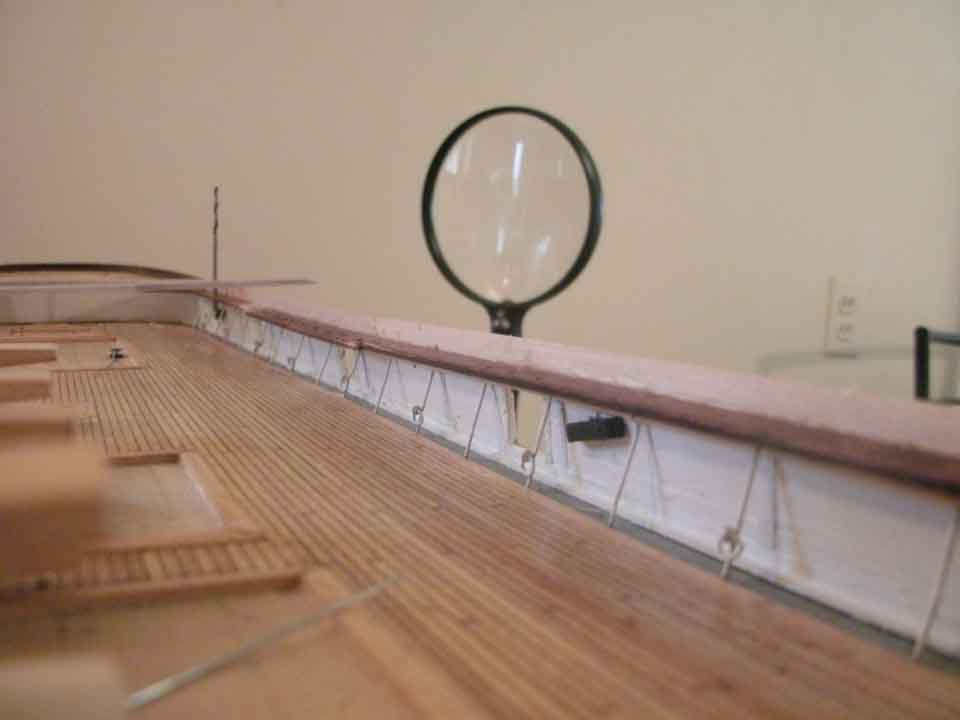
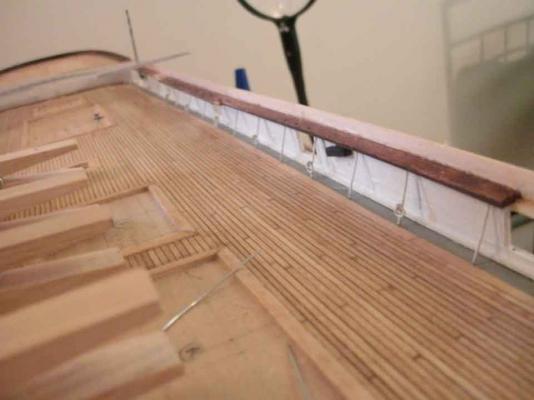
Not much done lately; main rail is two-thirds done; I alternate back and forth between port and starboard to keep everything symmetrical (as possible). I touch up bulwark, stanchion, and waterway painting as I go. In the photos you can see the wavy-ness of the rail; this is due mainly to my uneven deck. I can (and will) live with this. You can also see the holes drilled into the waterway sides for the deadeye rods. This is not accurate, (they are really anchored to the bulwarks) but will suit my needs just fine...
-
Luca, following Campbell's plans, I tried to introduce gore strakes whenever I saw the plans depict them, and things just seemed to fall into place. I did one strake at a time, port and starboard, and used calipers to make sure everything was symmetrical. Bob
-
Luca; This is obviously not a bow of a clipper; I went directly off of G. Campbell's plans, and started at the stern keel, overlapping by 1/64" from aft to fore, and keel above..
- 121 replies
-
- 1
-
-
- cutty sark
- artesania latina
- (and 1 more)