rfolsom
-
Posts
881 -
Joined
-
Last visited
Content Type
Profiles
Forums
Gallery
Events
Everything posted by rfolsom
-

Cutty Sark by NenadM
rfolsom replied to NenadM's topic in - Build logs for subjects built 1851 - 1900
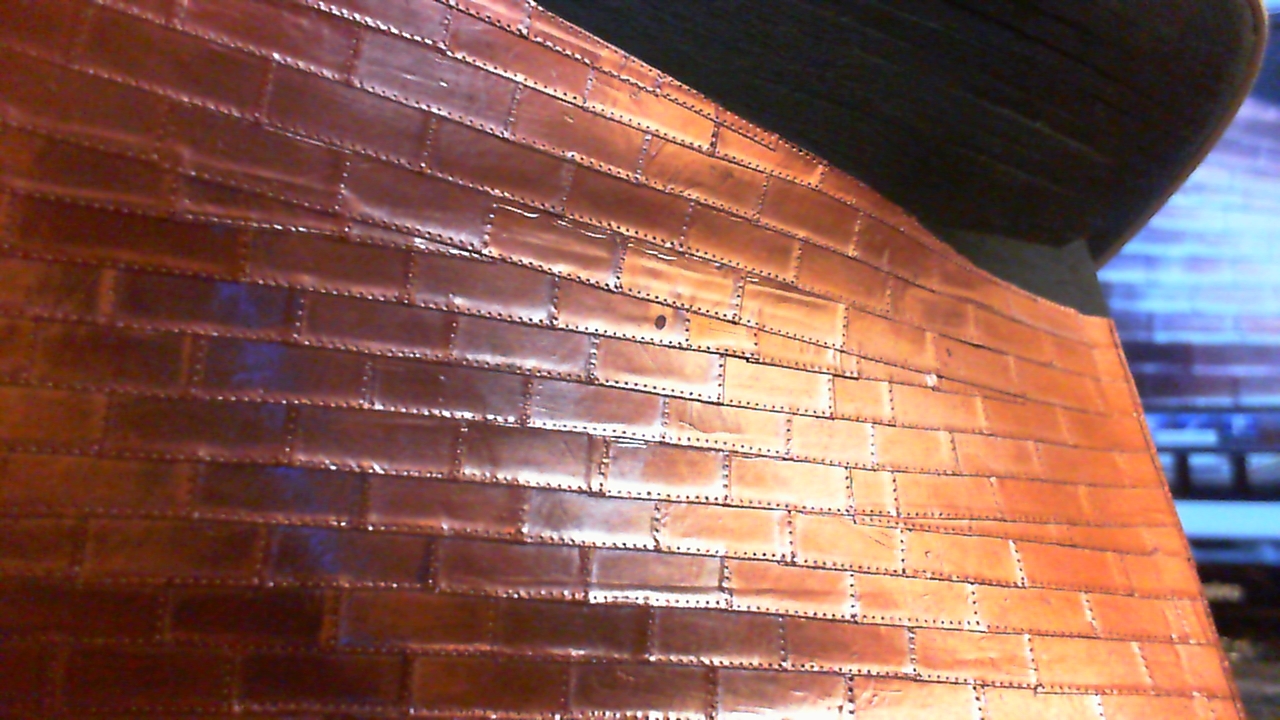
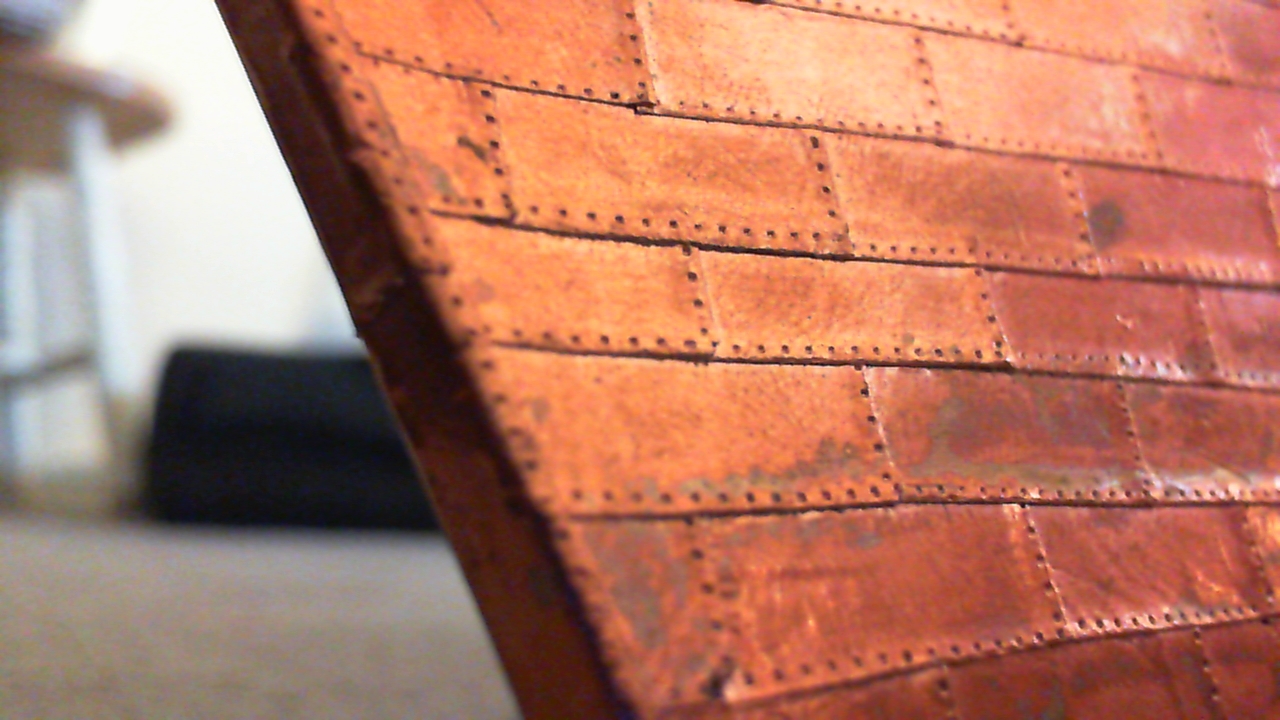
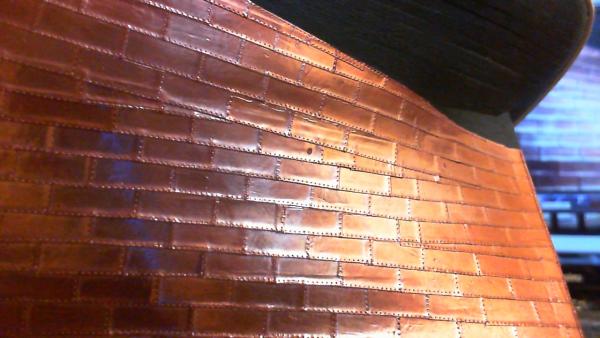
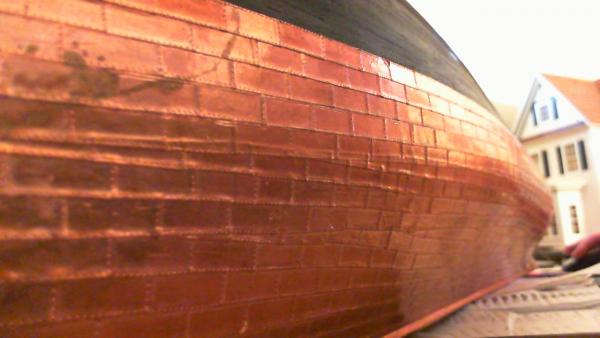
Nenad; Sorry I didn't get back to you sooner; Mark answered the question. My copper follows the waterline irregardless of the planking beneath. And I agree with test #9. Also, the first copper picture refers to ships like the US Constitution and HMS Victory, not the sleek lines of a clipper like the Cutty in picture 2. Great job! Bob- 4,152 replies
-
- 1
-

-
- cutty sark
- tehnodidakta
- (and 1 more)
-
Cutty Sark by NenadM
rfolsom replied to NenadM's topic in - Build logs for subjects built 1851 - 1900
Nenad; here's a shot of coppering in G. Campbell's book China Tea Clippers. I used most of my plate dimensions from this book. Hope you can read it.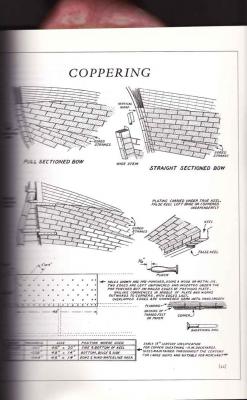
- 4,152 replies
-
- 2
-
-
- cutty sark
- tehnodidakta
- (and 1 more)
-
Thanks, everyone, for the nice comments... David; flu was not nice! Didn't miss too much work, but after coming home completely drained, I could barely do anything else but sleep and stare at videos... Nenad: I messed around with the foredeck, but want to drill accurate hawser holes and add more detail to the carrick bits before fixing it completely, so that's why I decided to work amidships with the bulwark paneling for now. Looking forward to your new recipe: are you keeping me in suspense? Bob
-
Cutty Sark by NenadM
rfolsom replied to NenadM's topic in - Build logs for subjects built 1851 - 1900
Nenad, usually I have a very hard time with repetition, so I'm surprised at myself for completing the copper. (All I have left is the rudder). My advice is to plate the keel, then plate evenly on each side. I always balance my sides, hull planking, deck planking, or coopering. Port side one row, then stb side one row.. I used calipers to check that my progress was even on both sides from the center of the keel. Beer, and good soft music is great for this process after work, (and dinner, when everyones' going to sleep). Build a good waterline jig (I didn't ) and always check and double check. By the way, Too much beer + Fatigue = Removing Tiles the next day! Stop work when you get a little buzz or when you feel your second wind. If you feel the need to keep going, walk away and do some research to wind down. And as always: Hmmmmmm.... Great work, my friend; Your work keeps my build alive.. ~Bob- 4,152 replies
-
- 1
-
-
- cutty sark
- tehnodidakta
- (and 1 more)
-
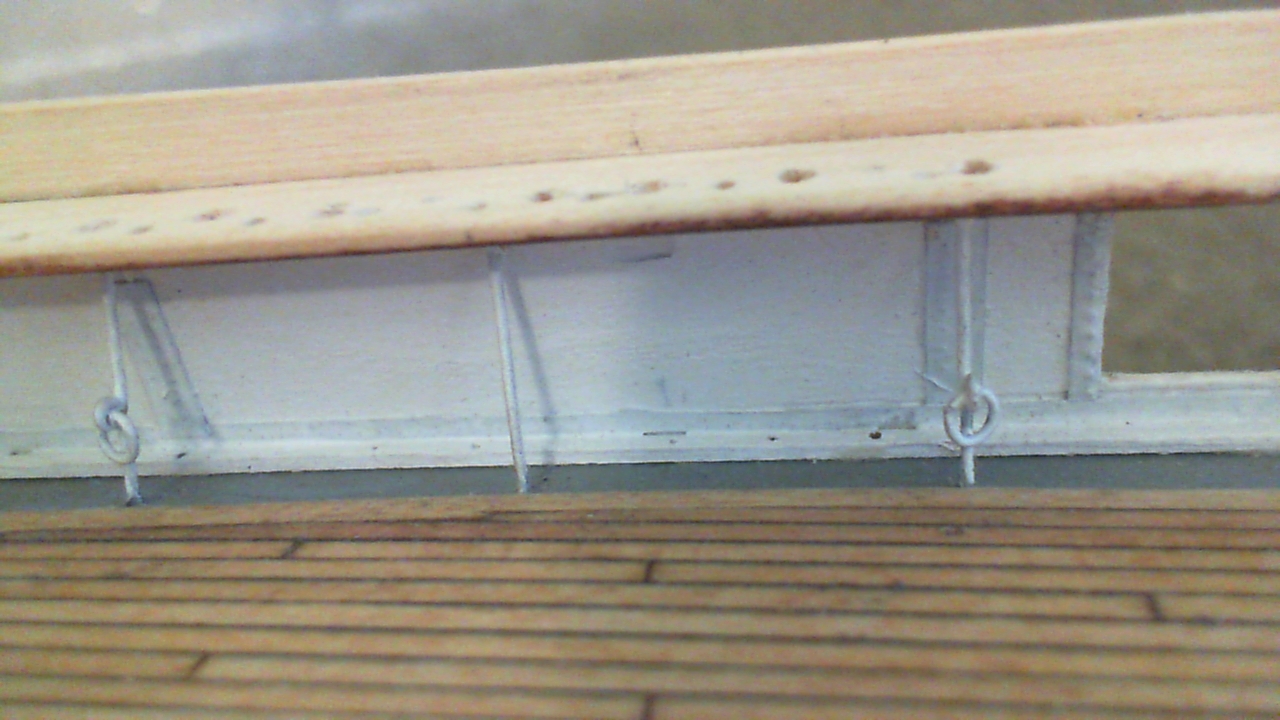
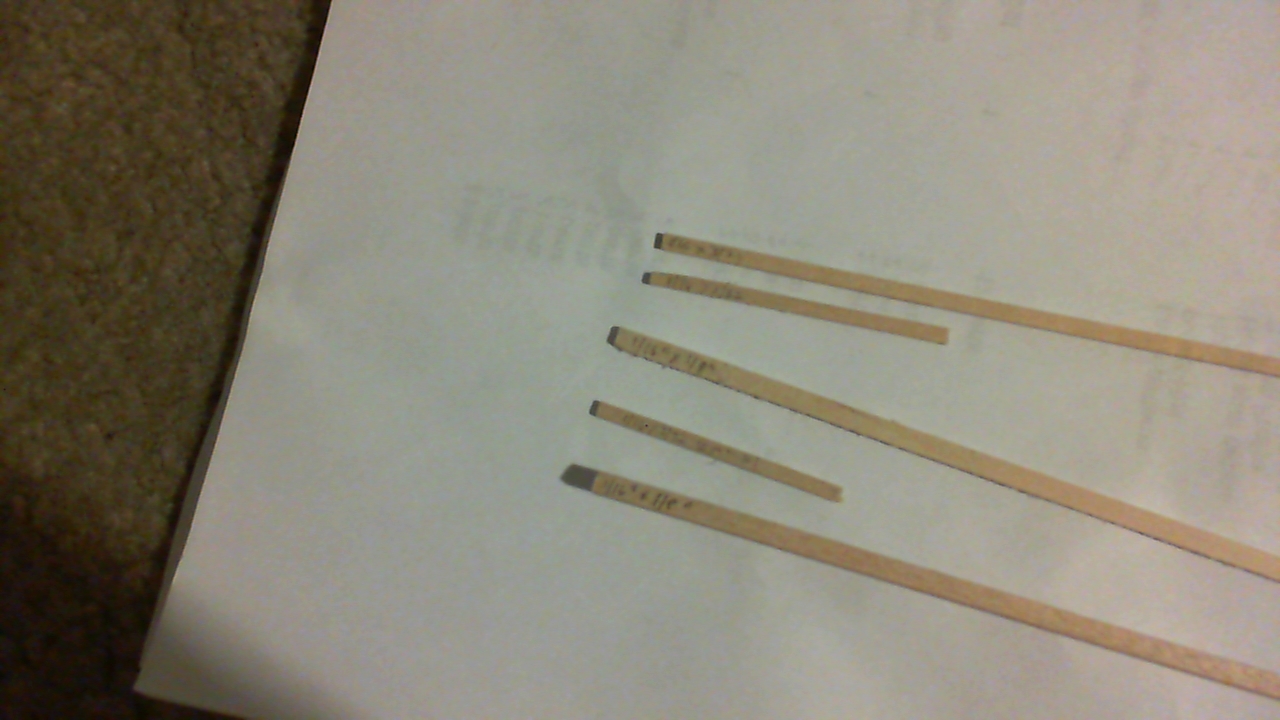
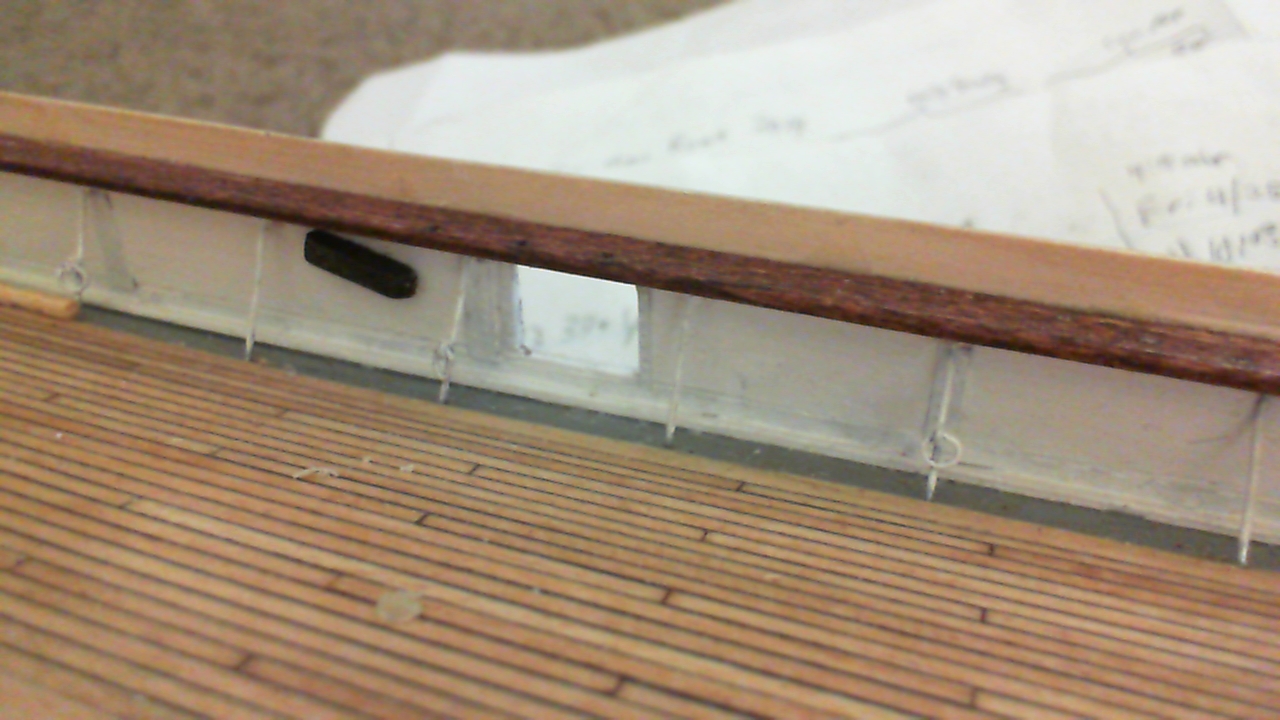
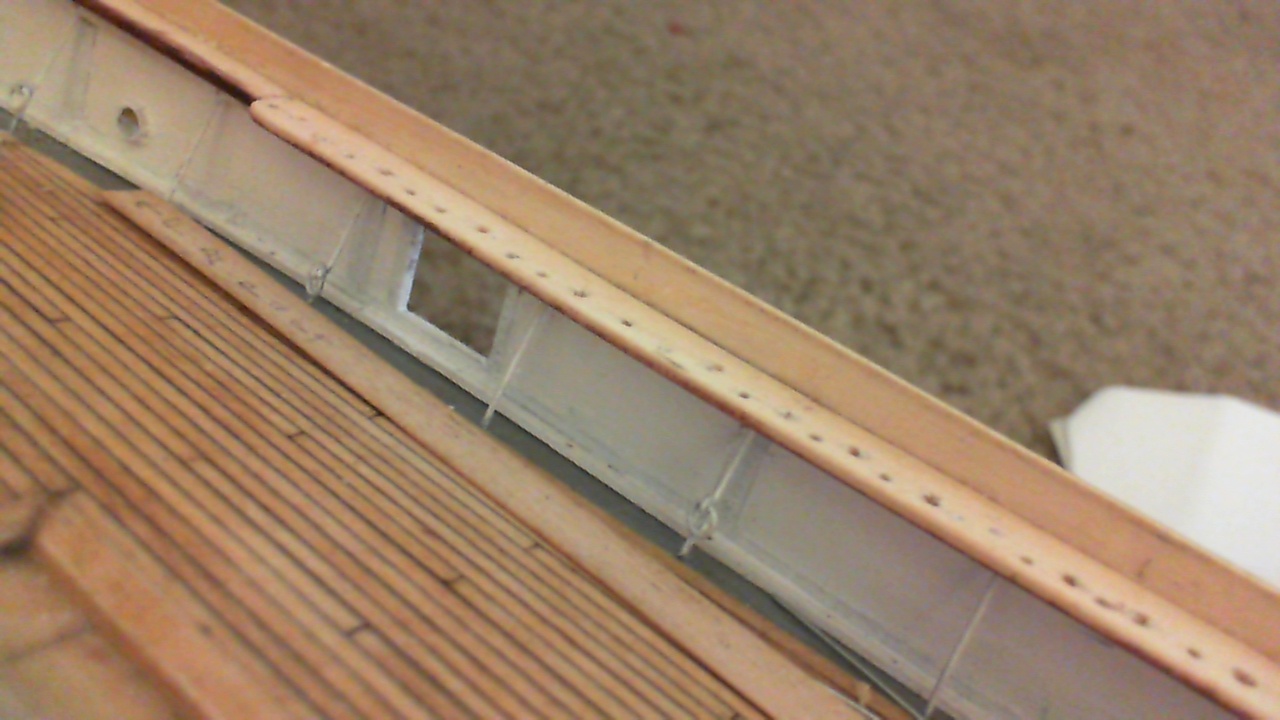
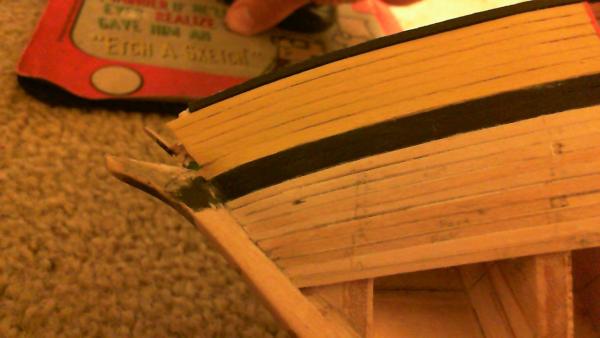
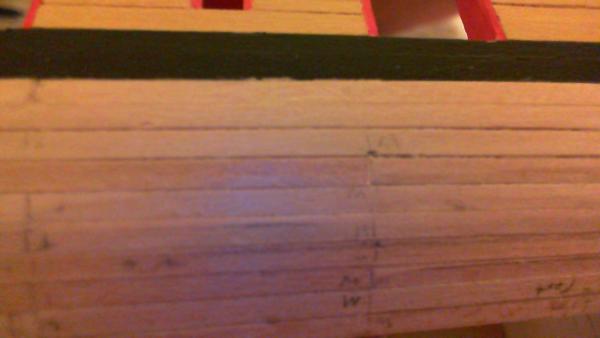
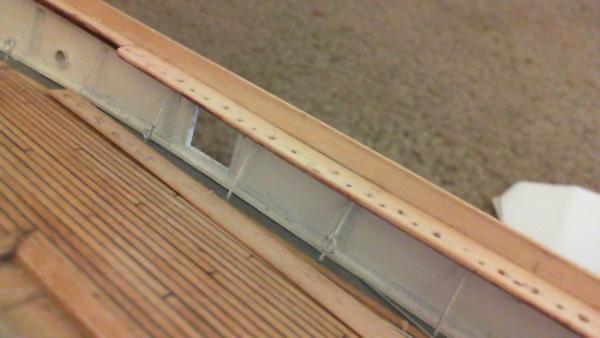
The main rails have been pre-stained underneath, pre drilled for all deadeye stays, belaying pins, and eyebolts; sanded and shaped... the remaining 4-5mm of bulkhead above the rail will then be painted white in intervals to provide a background for the strips to be affixed to.
-
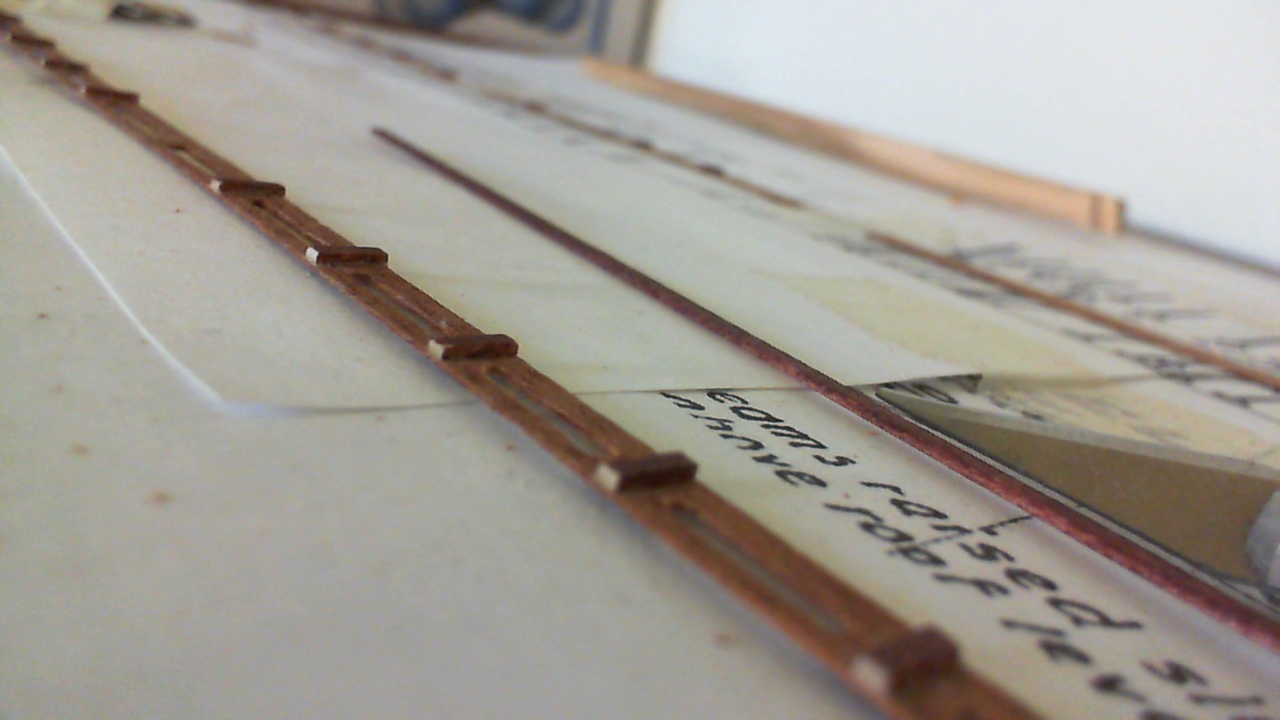
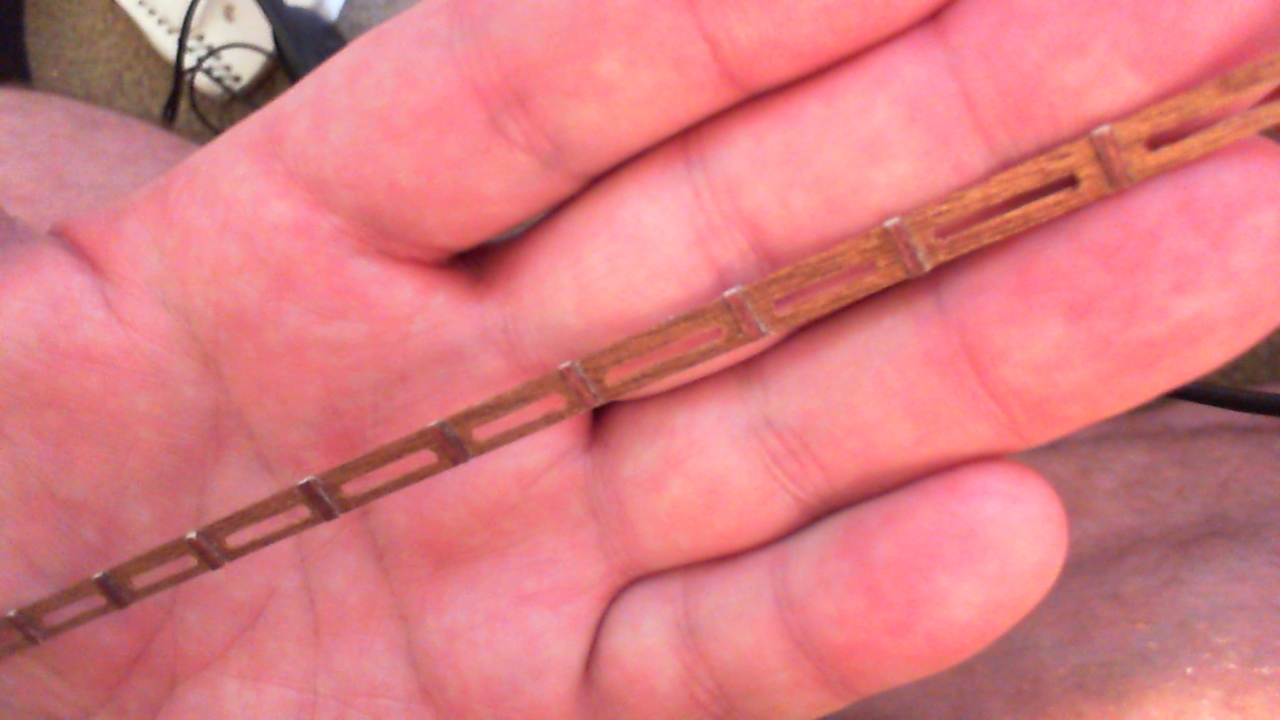
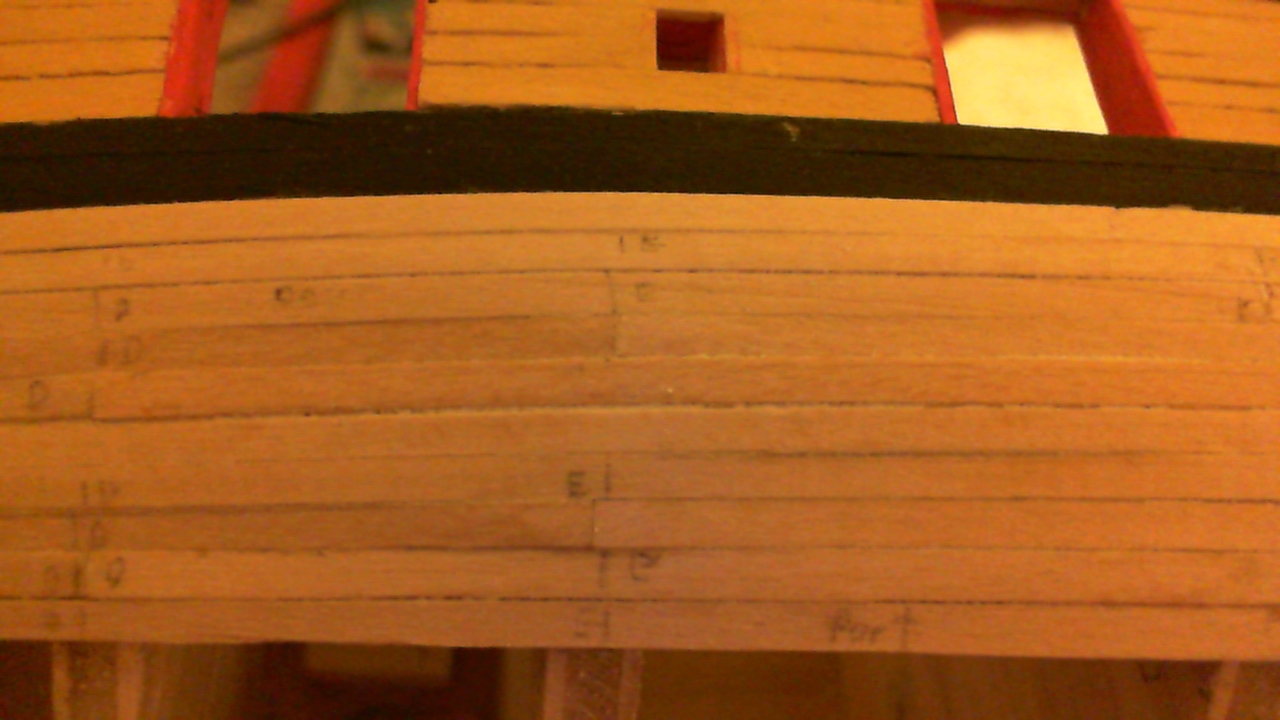
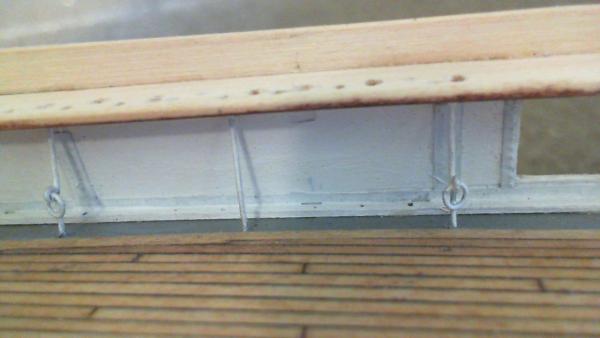
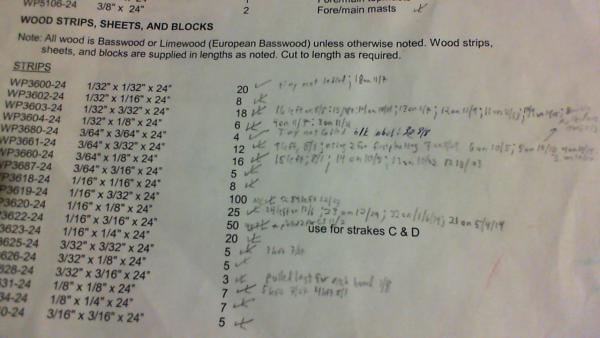
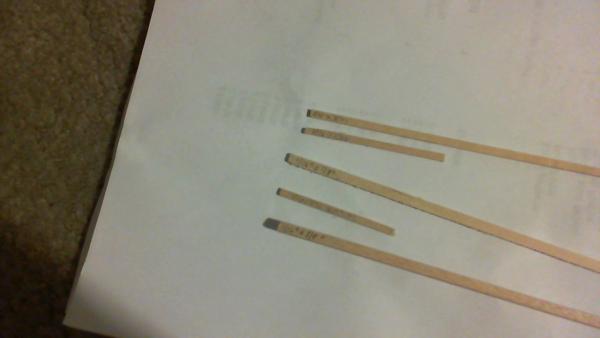
Ok; I haven't posted in awhile due mainly to a really bad case of the flu that had me, then the admiral, down for the count for about 3 weeks last month. Needless to say, very little progress has been made, but I am now continuing with my "bulwark trim panel strip" that I started awhile back. These are 0.5 x 5mm walnut strips, 16 inches long, laid out on my enlarged copies of the Campell plans, with 1/32" x 1/16" x 5 mm long pre-stained basswood vertical uprights glued along the length of the strip. I then use a small wooden jig that fits around each upright to drill holes that are then connected together to make the oval cutouts. Four of these will be made, two aft (p&s) and two forward (p&s). There is a small amount of material at the top that will be sanded away to align with the top of the bulwarks; hence the ovals' offset towards the bottom of the strip. I am following Campells plans, and each oval panel is not regularly spaced, and vary in length. (I am accounting for the negligible curvature of the hull in this area). As can be seen, some (many?) of the oval panels are out of shape; those beyond repair will be cut out of the strip and remade... This is a work in progress, and I'm getting better shaping these things as I go along. I'll do a final Q.C. check before affixing the strips... they won't be perfect, just something I can live with, and better to attempt than ignore!!


-
Cutty Sark by NenadM
rfolsom replied to NenadM's topic in - Build logs for subjects built 1851 - 1900
Great job, Nenad! Looking at your lighter wheel makes me think, "Hmmm.. windlass?" Mine is already made, but your lighter wheel might match your scale... Bob- 4,152 replies
-
- 2
-
-
- cutty sark
- tehnodidakta
- (and 1 more)
-
Cutty Sark by NenadM
rfolsom replied to NenadM's topic in - Build logs for subjects built 1851 - 1900
Nenad: I used a ponce wheel for my riveting; However, I saw a technique (I can't remember where) where the modeler cut a block of wood the size of a plate, and drilled holes for pins to make a "stamp" to stamp out identical rivet patterns for each plate. Nice looking tests so far! Bob- 4,152 replies
-
- 1
-
-
- cutty sark
- tehnodidakta
- (and 1 more)
-
Cutty Sark by NenadM
rfolsom replied to NenadM's topic in - Build logs for subjects built 1851 - 1900
Hello, again, Nenad! You're making fantastic progress, and your rudder and copper beginnings looks great! I know I was a little worried about the "shininess" of my copper tape when I started, but after three months of coppering, and the natural oils of my hands rubbing off when cutting and positioning each tile, the copper tarnished nicely... It's been a little over a year since I finished the coppering, and I think the most natural looking weathering is.... Actual natural weathering...! Bob- 4,152 replies
-
- 1
-
-
- cutty sark
- tehnodidakta
- (and 1 more)
-
Hello, Keith; I have this billings kit also from the 1970's purchased off of ebay around 2 years ago. It was unstarted, but did not include the fittings kit, and some of the preprinted deck sheets were missing, so I decided to plank false decks in the construction, as well as alter the hull planking to make the scale more accurate; in a nutshell, my Billings kit is now mostly being scratched over the die-cut keel and bulkheads, using the included Campbell's plans. Check out the early posts on my log to see similarities, and good luck and welcome to the C.S. Fleet!! ~Bob
-
Thanks, Tim, Patrick, and Rich, for the kind words; Rich, great to hear from you again! I know it takes time to get settled in; priorities first... As far as keeping my two builds separate, even though both hulls occupy the same table, I do most Cutty work on the table, and most Niagara work on the living room floor. (Yes, the floor; I grab the Niagara, pull some plans, and a piece of lumber, and cut pieces on a scrap wood surface directly on the floor.) I then sit back and relax watching (listening to) videos while shaping planks. I also have a primitive inventory system where I will write down each piece of lumber pulled from the Niagara's original stock, and label each end as it's pulled, keeping a running count of each piece and the date it was removed from the box.. One build will sit in the shared building slip on the table while the other rests on a pillow on the same table. As the Cutty is mostly scratch-built; all her lumber and other purchased items (deadeyes, belaying pins, rigging and chain) are mostly stored in other boxes under and around the work table (these are not inventoried) Obviously this method will not work when the Niagara's planking is completed, and both builds will need to stay on the table (or tables) but that will be in the future...
-
Cutty Sark by NenadM
rfolsom replied to NenadM's topic in - Build logs for subjects built 1851 - 1900
Oh, by the way, I'd better post one more time to give you your one-thousandth reply... Congratulations!!- 4,152 replies
-
- 4
-
-
- cutty sark
- tehnodidakta
- (and 1 more)
-
Cutty Sark by NenadM
rfolsom replied to NenadM's topic in - Build logs for subjects built 1851 - 1900
Looking great, Nenad! Hope to be working on my C.S. soon... ~Bob- 4,152 replies
-
- 1
-
-
- cutty sark
- tehnodidakta
- (and 1 more)
-
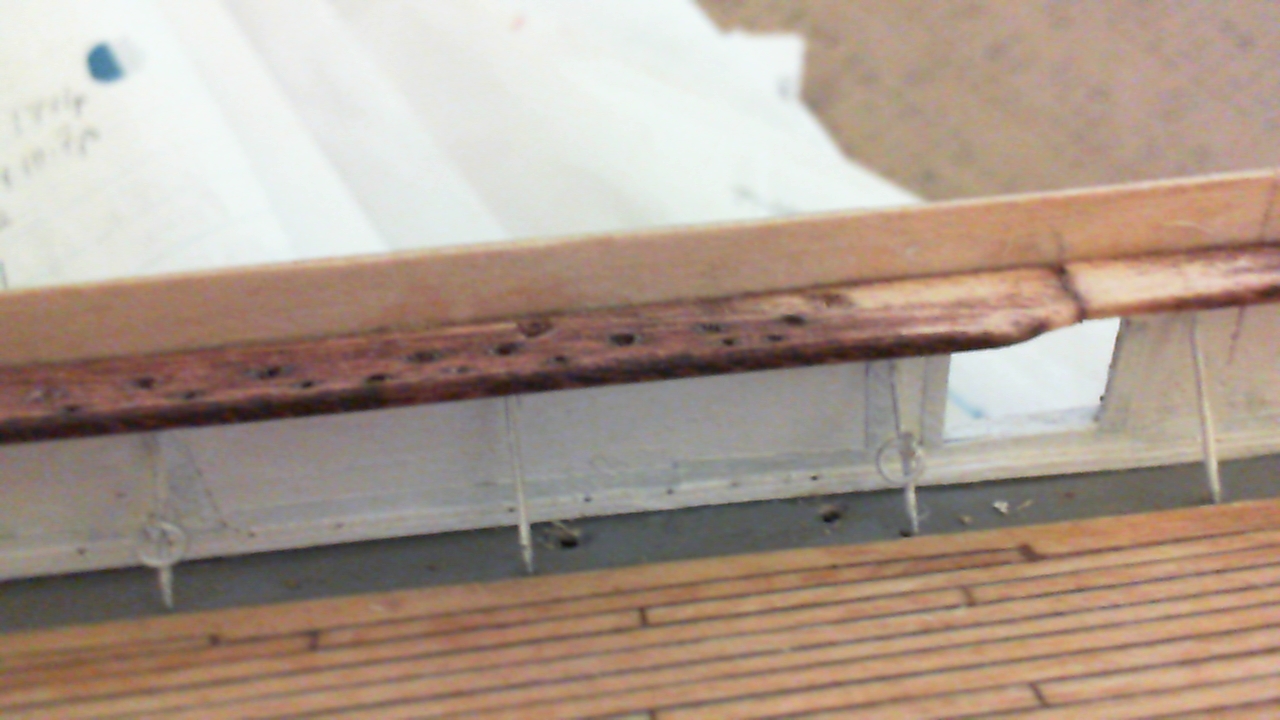
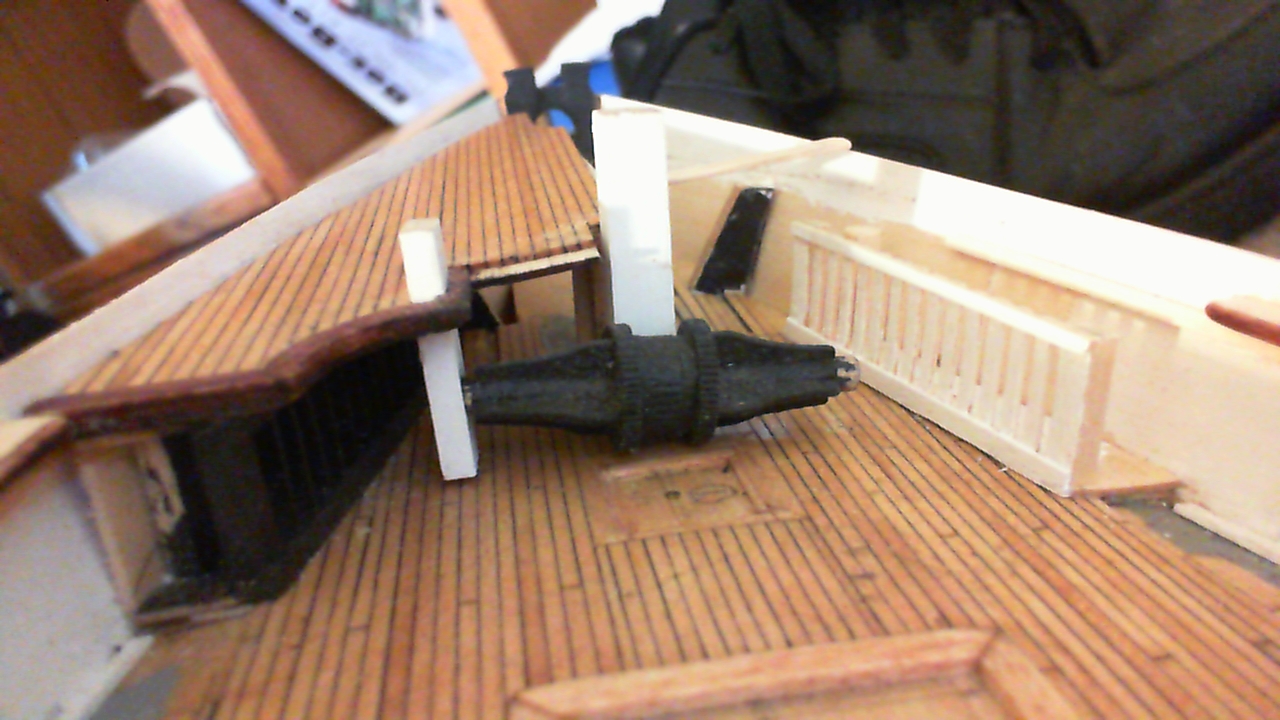
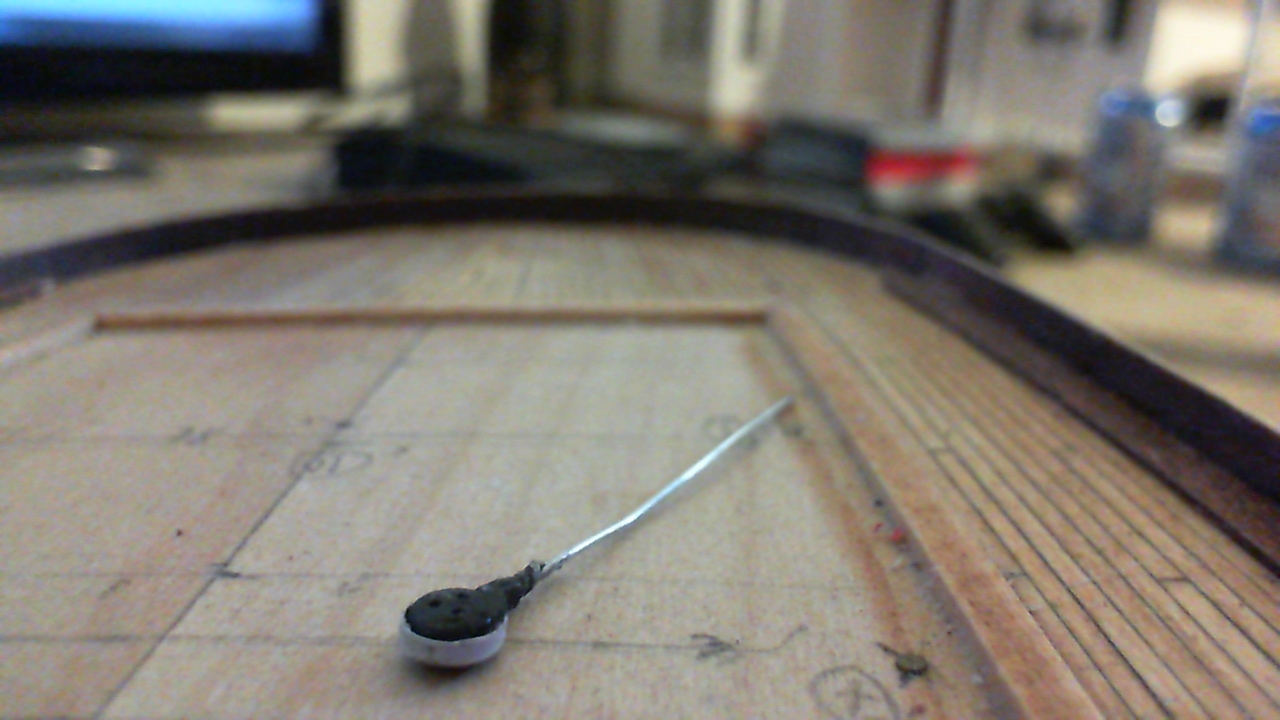
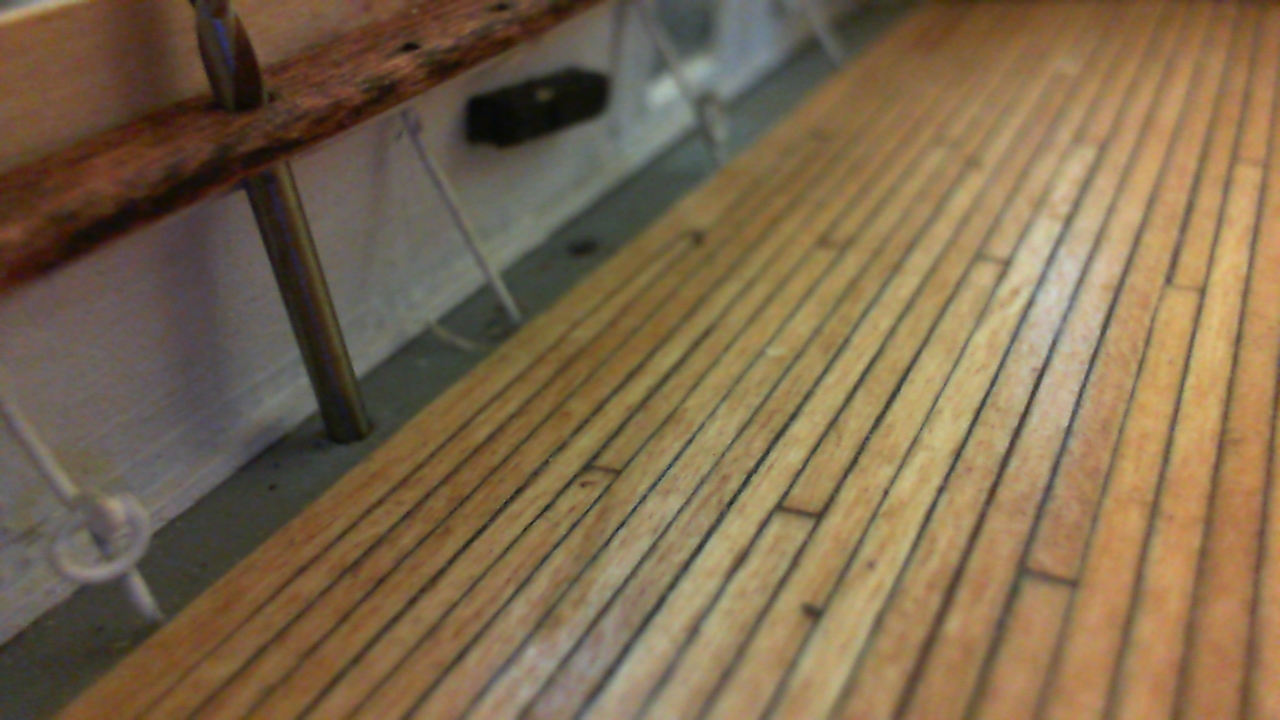
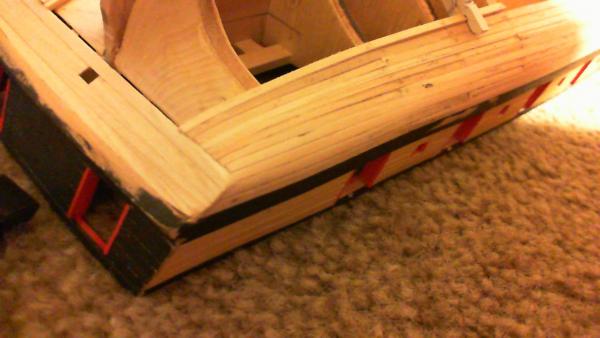
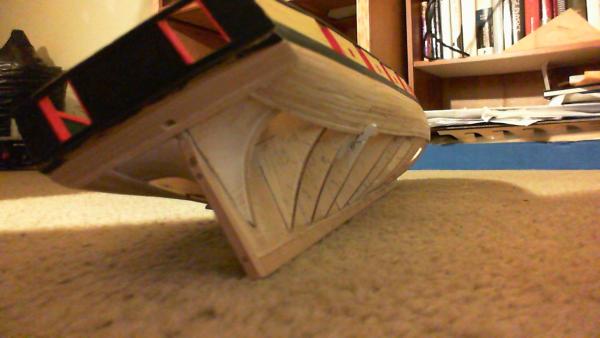
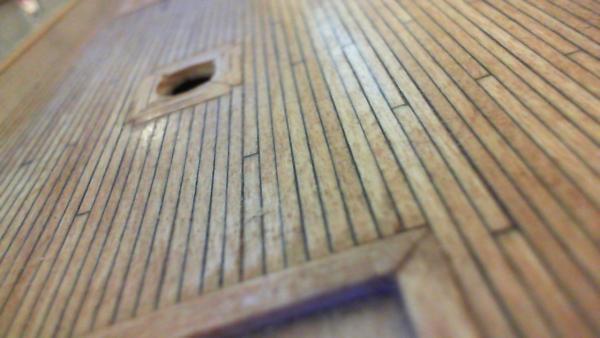
Hello, Everyone; Not much progress, (four planks tonight, two last night) but not much is better than none at all. I was working on the Cutty Sark for about two months getting the main rails drilled, shaped, and installed. Now it's time for Niagara once again. And, I found out my $5 web-cam that I never use takes better up-close stills than my digital camera. So here's some current pics of Niagara's hull... ~Bob

-
No progress as of late, but after pulling out my webcam that I bought as a novelty for $5 a year ago (I'd never used it, but for 5 bucks for a Microsoft LifeCam who could go wrong...) I found that it took excellent stills and focused much better up close than my digital camera; especially under low-light conditions. Here's some new pics of my same build... (Still unfixed deck "ouch" on pic 4.)


-
Cutty Sark by NenadM
rfolsom replied to NenadM's topic in - Build logs for subjects built 1851 - 1900
Looks great, Nenad, and Happy (belated) Birthday!- 4,152 replies
-
- 1
-
-
- cutty sark
- tehnodidakta
- (and 1 more)
-
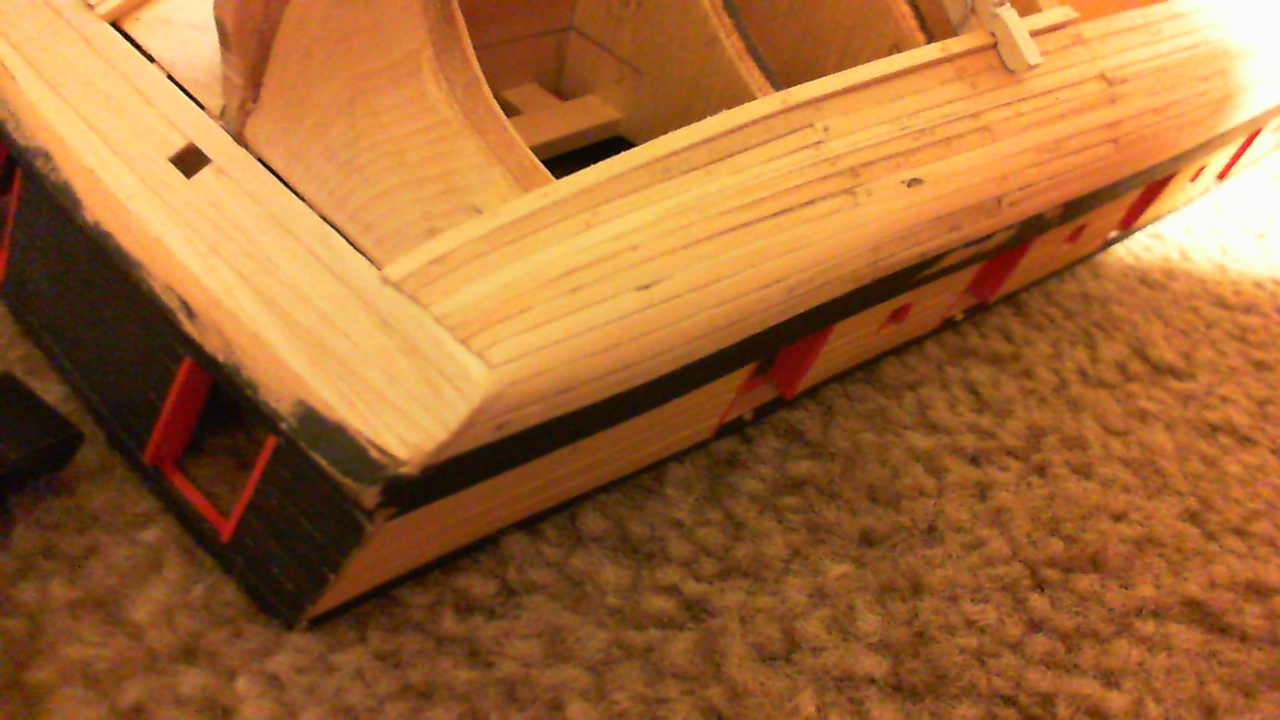
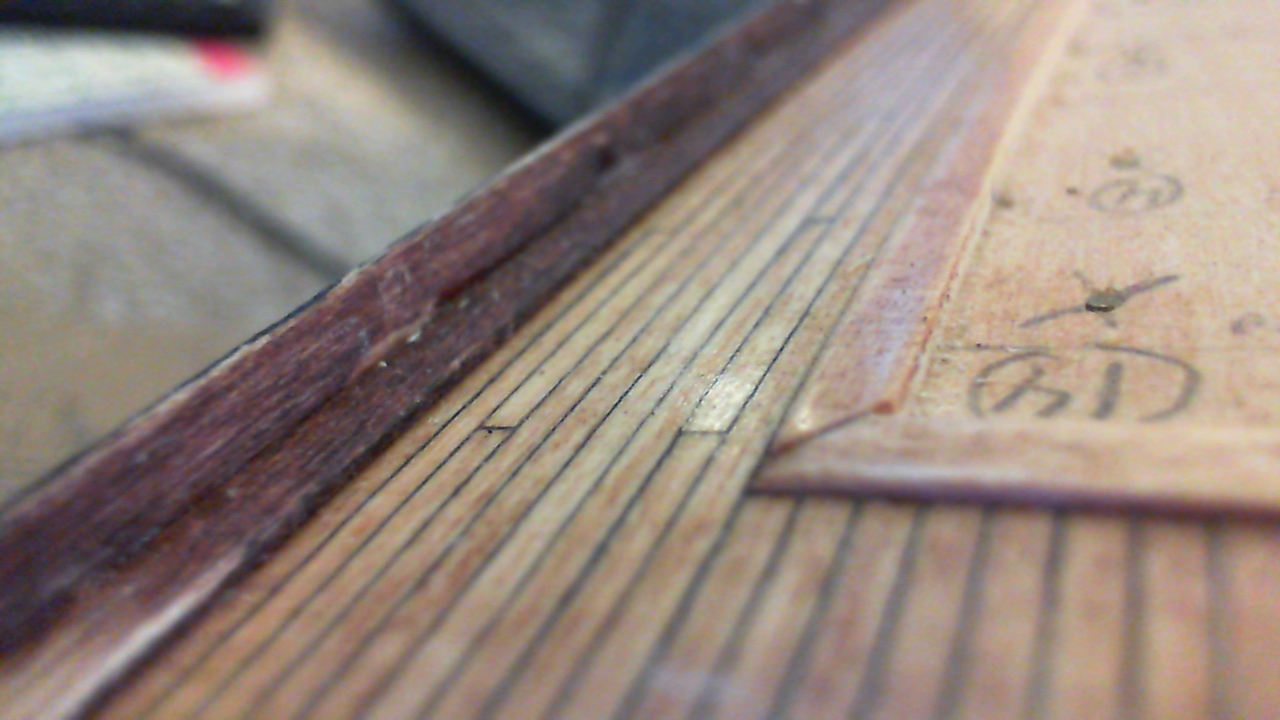
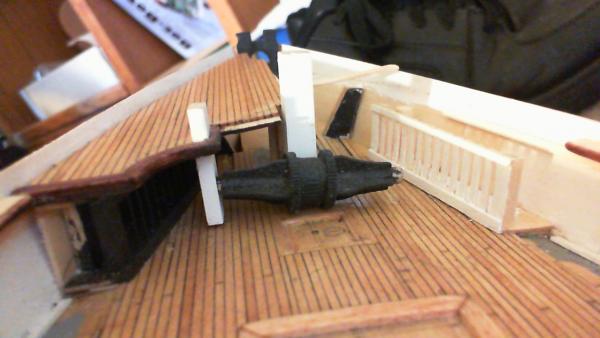
Well, Nuts. After backing away from the build for a few days, looking at it fresh, I noticed that my measurements were off for the four bow portholes. I also noticed that my bulkheads foreward are too big vertically, occupying three plank widths toward the keel. These errors cannot be practically fixed without major reconstruction, so will be left as-is. I will, however, pry loose my white rub rails and re-align so the flow will be even toward the bow. This mistake shows how errors can be compounded when one stick's to only one reference point (in my case the top of the planking). Measuring twice may indeed be enough, but measure twice from AT LEAST THREE different reference points; any discrepancies will be found this way!! Live and Learn....
-
Glad you're back Rich! I put my Niagara on hold for awhile to work on the Cutty Sark, but I'll be back shortly as well... ~Bob
-
Thanks, everyone, for the nice comments and tips; I just need to sit down and start tinkering with everything again... Hope to make progress soon! ~Bob
-
Cutty Sark by NenadM
rfolsom replied to NenadM's topic in - Build logs for subjects built 1851 - 1900
Call me old fashioned; but there is no way I could read a novel using an electronic device; (laptop, notebook, kindle, etc.) I will always enjoy the tactile feel of real paper and bound books.. The good thing is that it's becoming much easier to find a good book at a good price; the bad thing is that 2 terabytes of written material in paper form takes up many square meters.. (Right, Nenad?)- 4,152 replies
-
- 3
-
-
- cutty sark
- tehnodidakta
- (and 1 more)
-
Popeye; thanks for the advice; I consulted "China Tea Clippers" by Campell, and it is told that the chain was measured out from the chain locker, brought up over the windlass for two full turns, and then sent through the hawse holes (pipes) to be shackled to the anchor. I need to drill my hawse holes before I repair the forecastle.. maybe install a couple of "fish wires" to lead the chain; my current chain is raw copper, which needs blackening, and at 9 links per inch; scale should be around 11 links per inch...
-
Cutty Sark by NenadM
rfolsom replied to NenadM's topic in - Build logs for subjects built 1851 - 1900
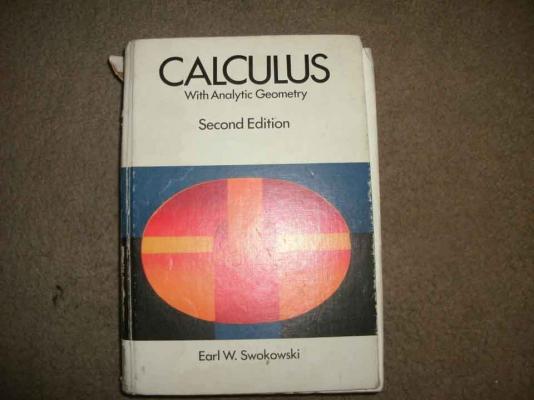
Nenad; When I moved from Nebraska to Colorado 3.5 years ago, I donated most of my books, because moving them was very much a pain; most all of my college texts, plus many purchased after college went bye-bye. ( I only had about 200-250, much less than you!) However, I found replacing the ones I use for reference was easier than I thought. Here's a few... This copy, (two texts in 1989 at $75 apiece, I found for $2.50 at a local thrift store). This one, a little beat up, was 10 cents. (Cents, not dollars, and $65 in 1987; college age kids say this text is over $200 now, with same material) Parents gave me a classic copy of Gray's Anatomy for Christmas when I was in fifth grade and wanted to be a doctor... It was held together with duct tape and was in many pieces; I sadly let it go... (I switched to engineering in 7th grade) and this is my adult replacement... a very nice 1966 edition, that I paid $5 for.... And of course, this out-of-print G. Campbell; off of Ebay $15 Library is much smaller now, but maybe higher quality.. I had alot of Microsoft texts that are worthless now; and most of the novels I owned were paperback, so not worth keeping for the move. (The exception was a signed paperback from high school of "Ender's Game" by Orson Scott Card, which my siblings may still have after my Mother's passing...)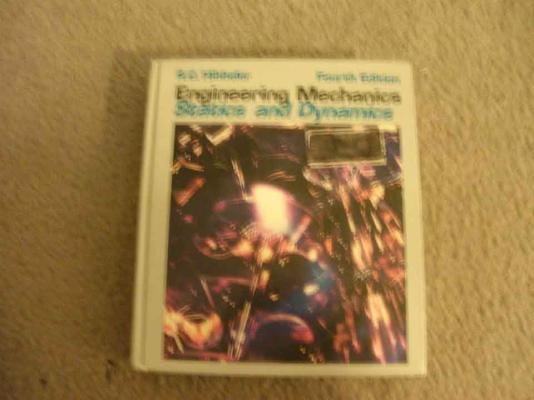


- 4,152 replies
-
- 1
-
-
- cutty sark
- tehnodidakta
- (and 1 more)
-
Cutty Sark by NenadM
rfolsom replied to NenadM's topic in - Build logs for subjects built 1851 - 1900
Furniture looks great, Nenad; the last piece of furniture I built, was my first piece, in a woodworking class in high school at 16 years old... solid walnut desk... I wish I still had it (I'd tear it apart and use the walnut boards!) \ I donated alot of my books the last time I moved, (Im now in a much smaller place) most I don't miss, some I do. I keep core reference materials with me (Calculus does not change (much)) and I know the internet can "provide" all this knowledge; but remembering running your fingers along a bookshelf looking for the right book; and then finding it, and opening it up to the approximate page when you were 21, that's irreplaceable. Looking forward to Her Majesty's next step... Your Friend, ~Bob- 4,152 replies
-
- 1
-
-
- cutty sark
- tehnodidakta
- (and 1 more)
-
Simulated caulking
rfolsom replied to Nirvana's topic in Painting, finishing and weathering products and techniques
I have found that a black fabric marker (courtesy of the Admiral) from Michael's works the best for me... -
Cutty Sark by NenadM
rfolsom replied to NenadM's topic in - Build logs for subjects built 1851 - 1900
Looks pretty good, for an attorney,,,- 4,152 replies
-
- 3
-
-
- cutty sark
- tehnodidakta
- (and 1 more)