(1)(1)(1)(2).jpg.a128ea4d7b02ebfc5d5eb6547e92106f.jpg)
PRS
-
Posts
372 -
Joined
-
Last visited
Content Type
Profiles
Forums
Gallery
Events
Everything posted by PRS
-
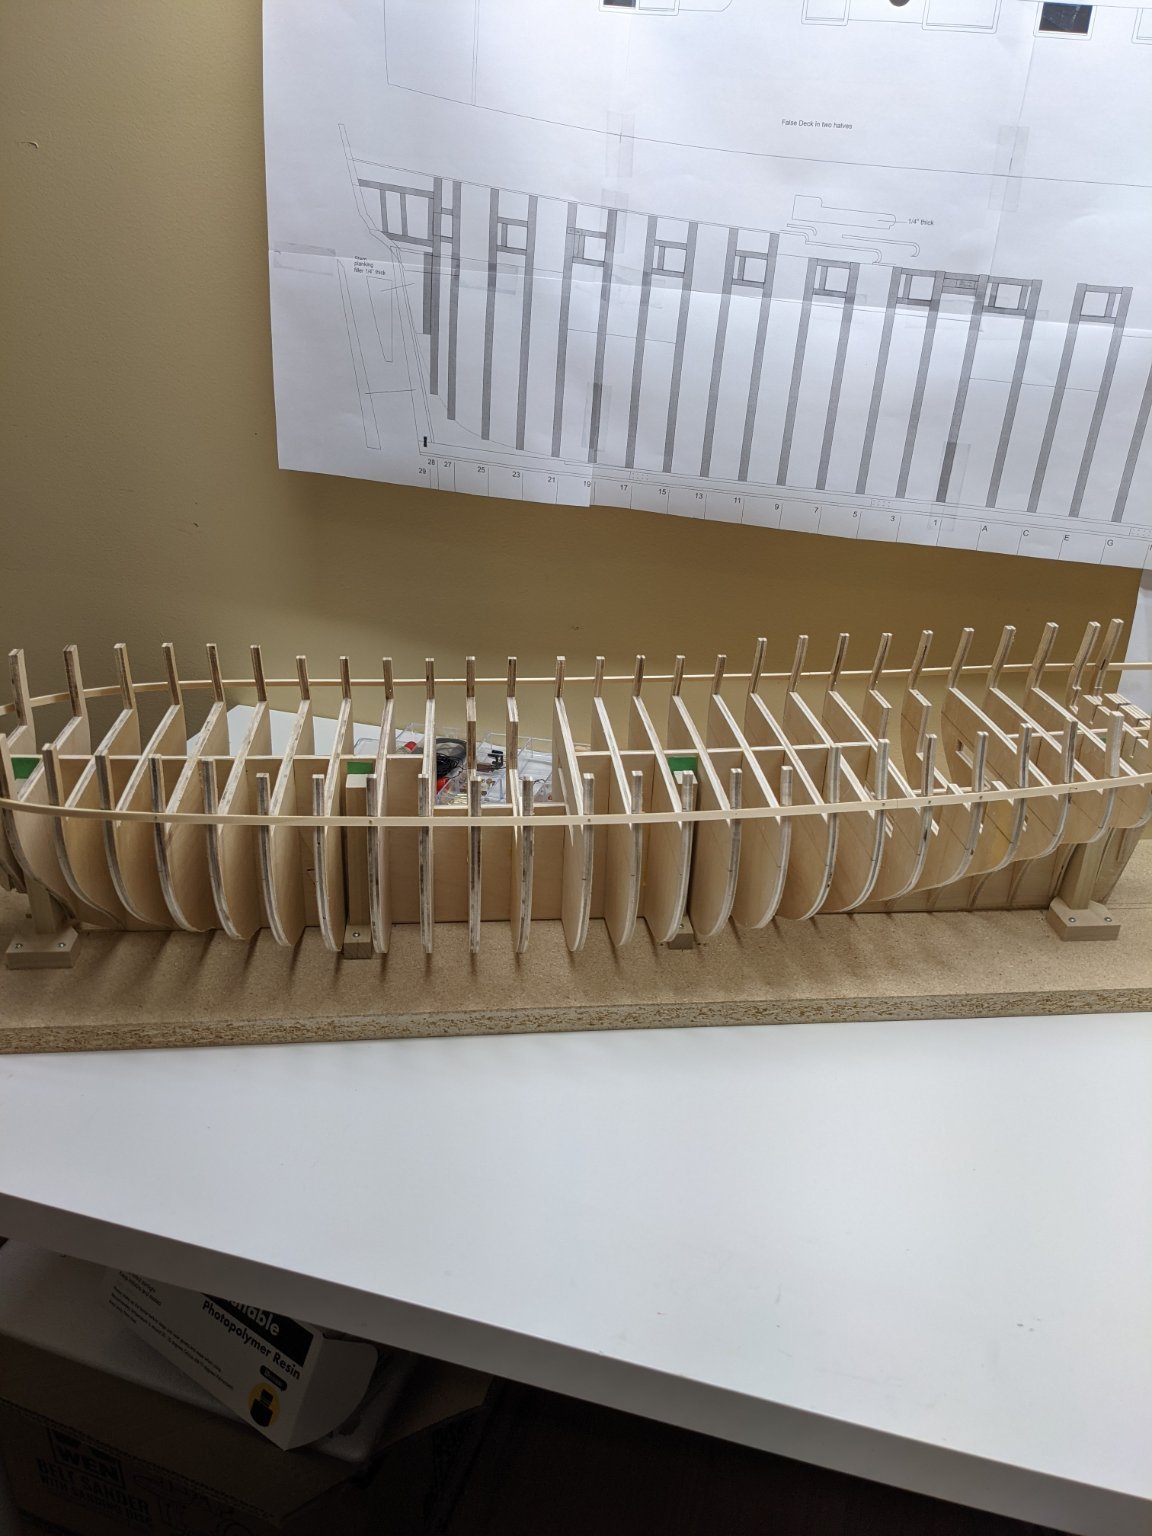
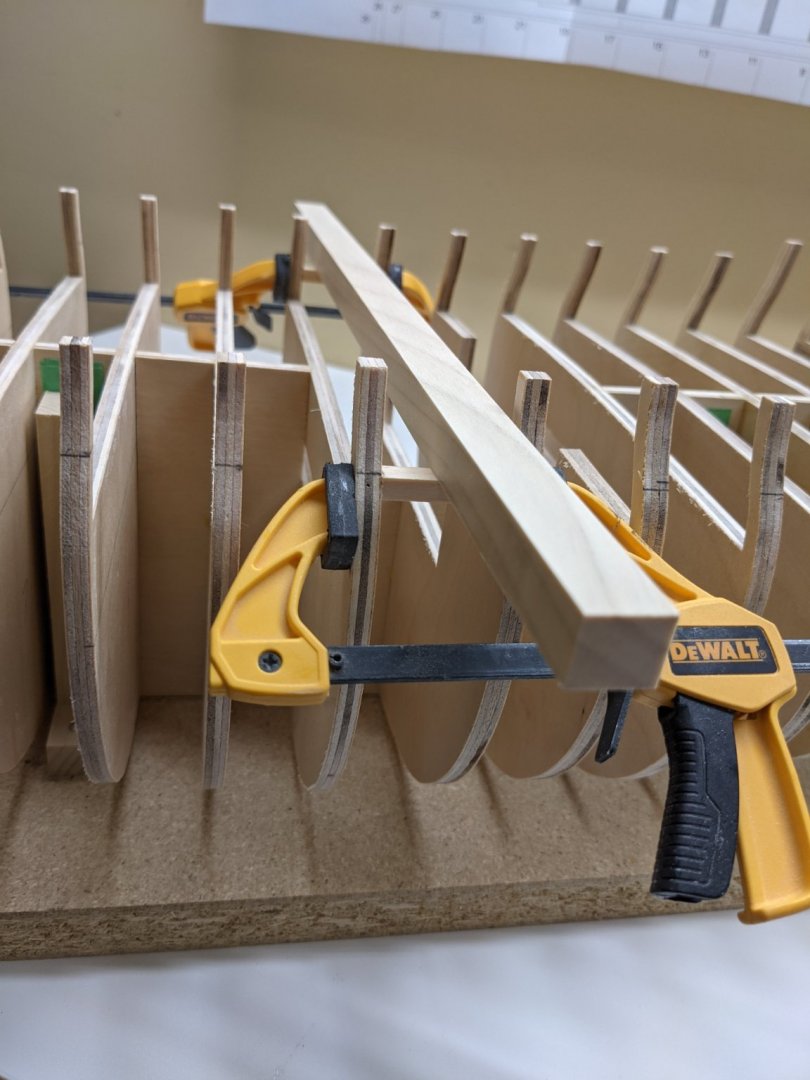
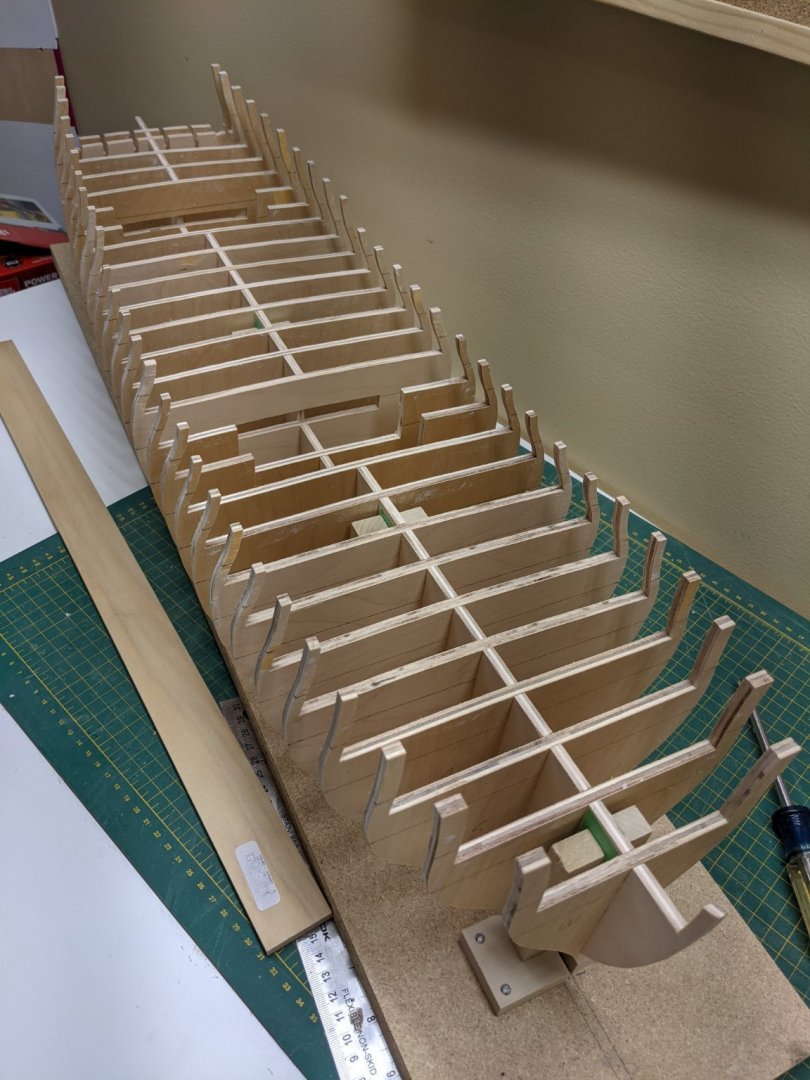
(1)(1)(1)(2).thumb.jpg.792ad774561d3d4f35888704cde27a8e.jpg) OK starting the fairing process. This is going to take a while...
OK starting the fairing process. This is going to take a while...
-
Grab a chair and there is coffee over there and beer in the fridge.
-
That looks good.
-
With all of us following you are going to need more chairs
-
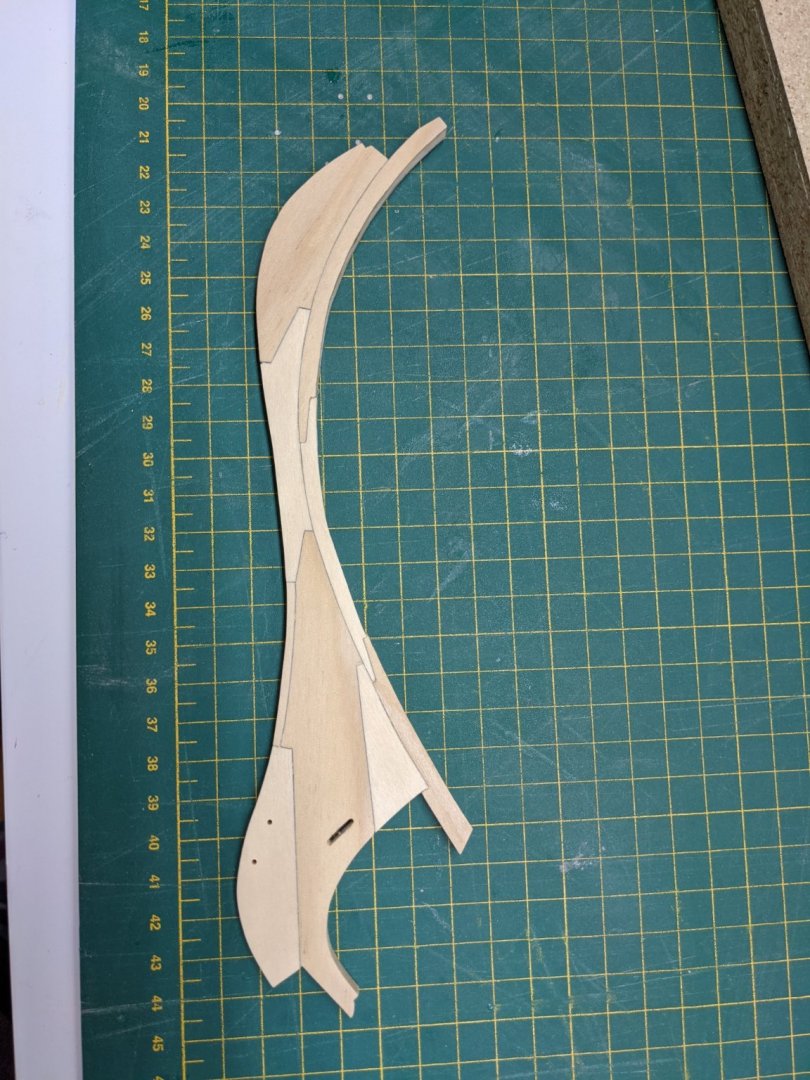
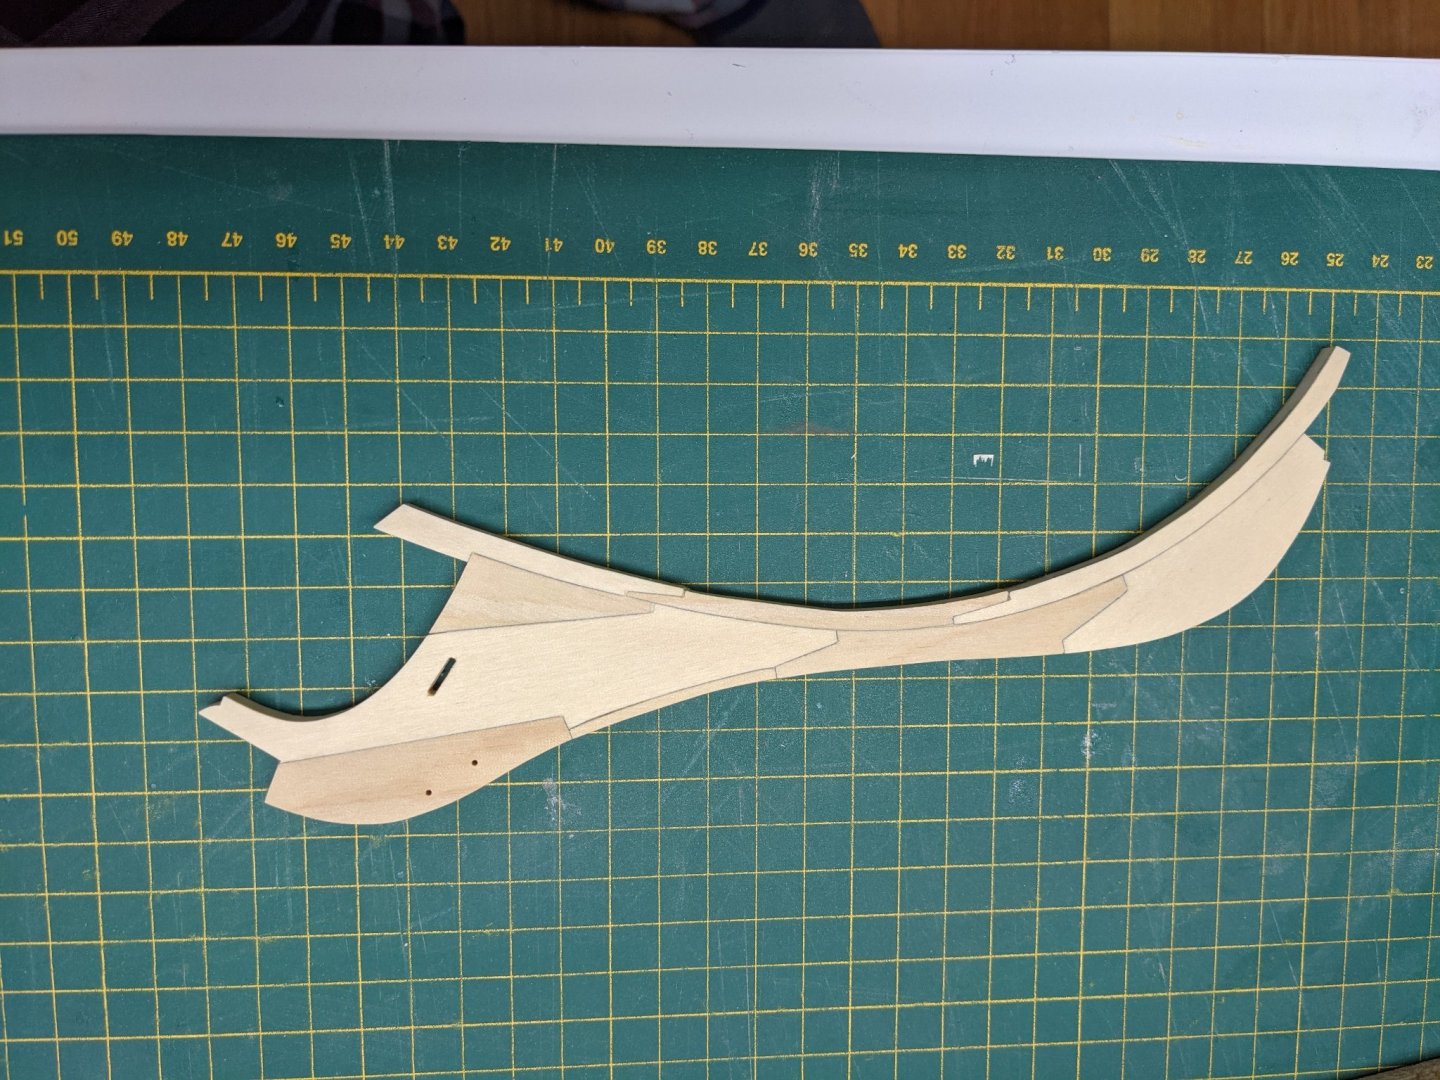
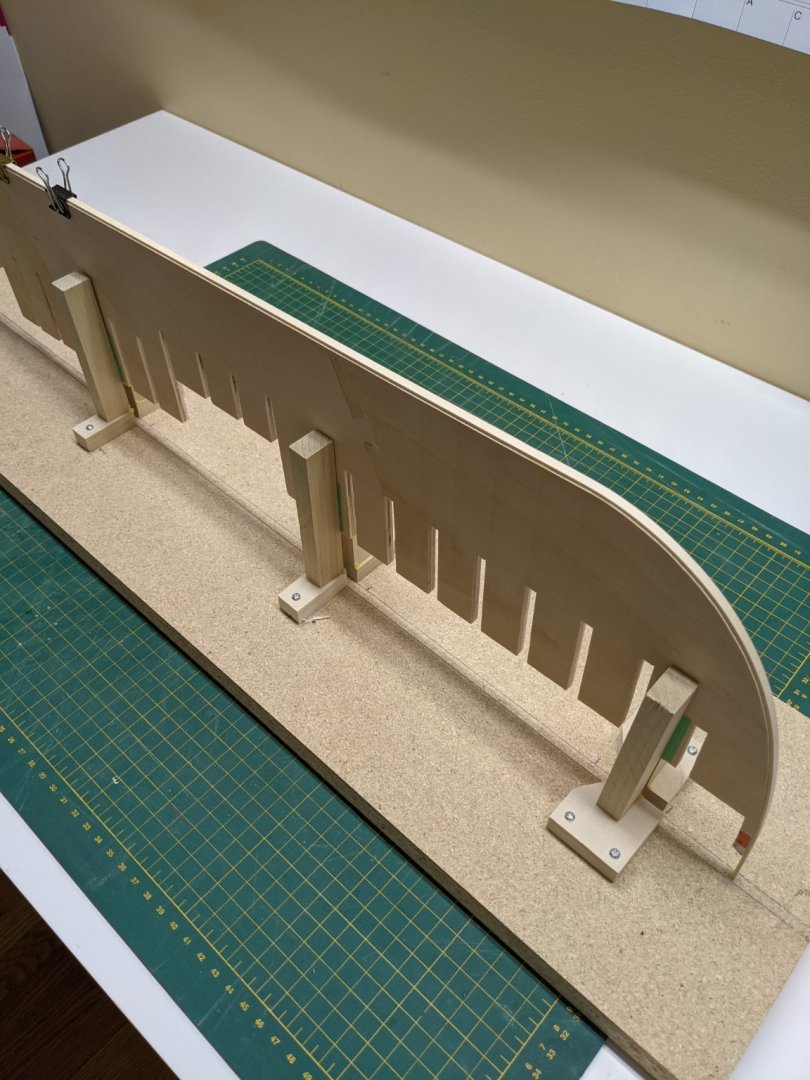
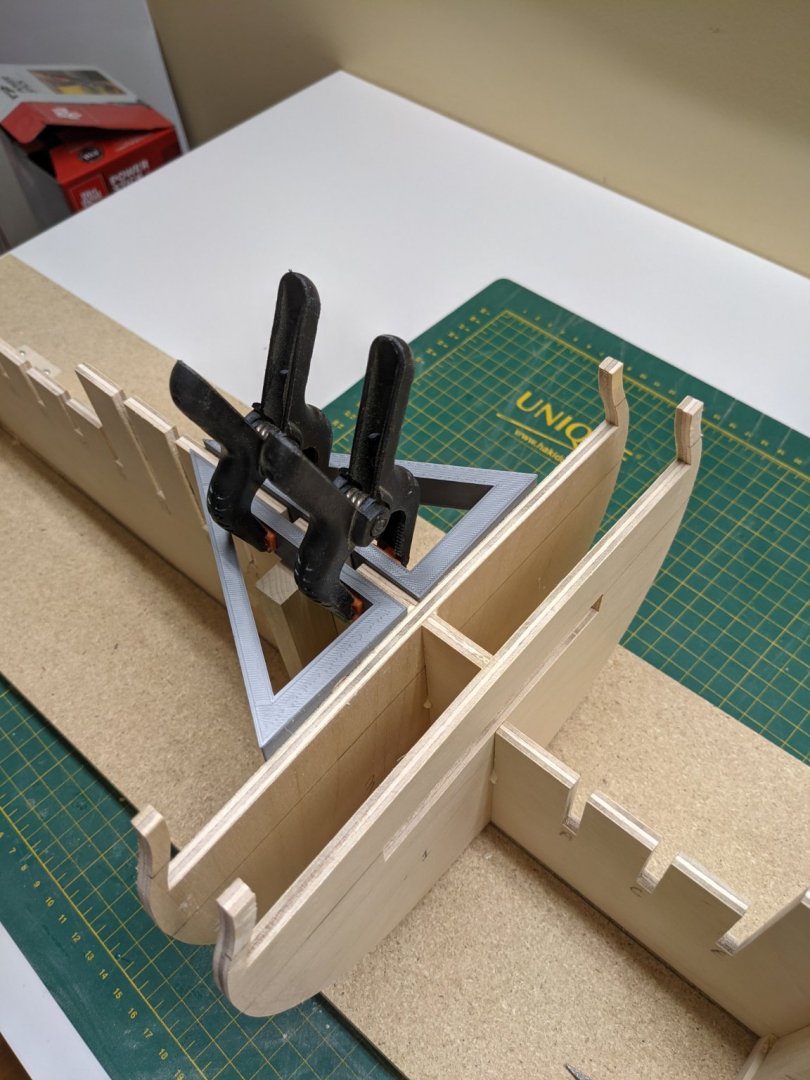
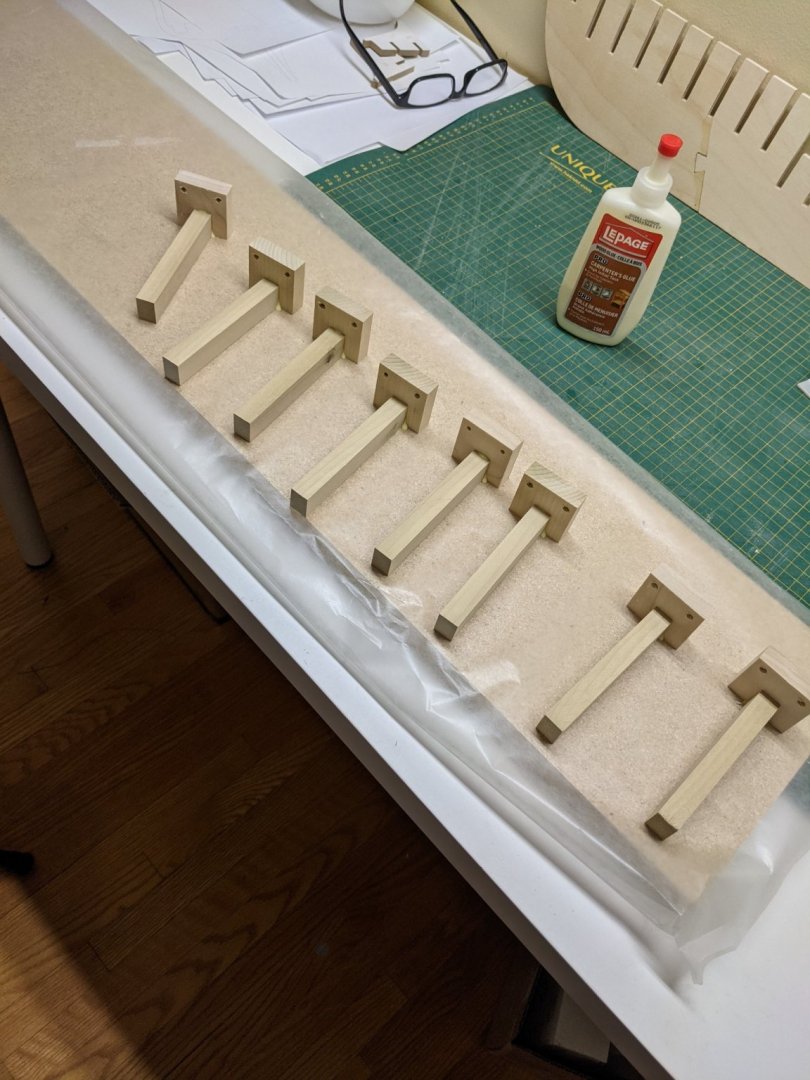
Lining up the gun port lays. I took a lot of time with this and left it overnight to look at it again the next day and did see where I could make some adjustments. I am going to frame the upper and lower port openings before fairing as to give some support at the top. The piece of wood I am using is the exact opening dimension on the large end which makes lining up the top piece easy. I must say having a table saw and a crosscut sled sure makes duplicating these pieces easy.
-
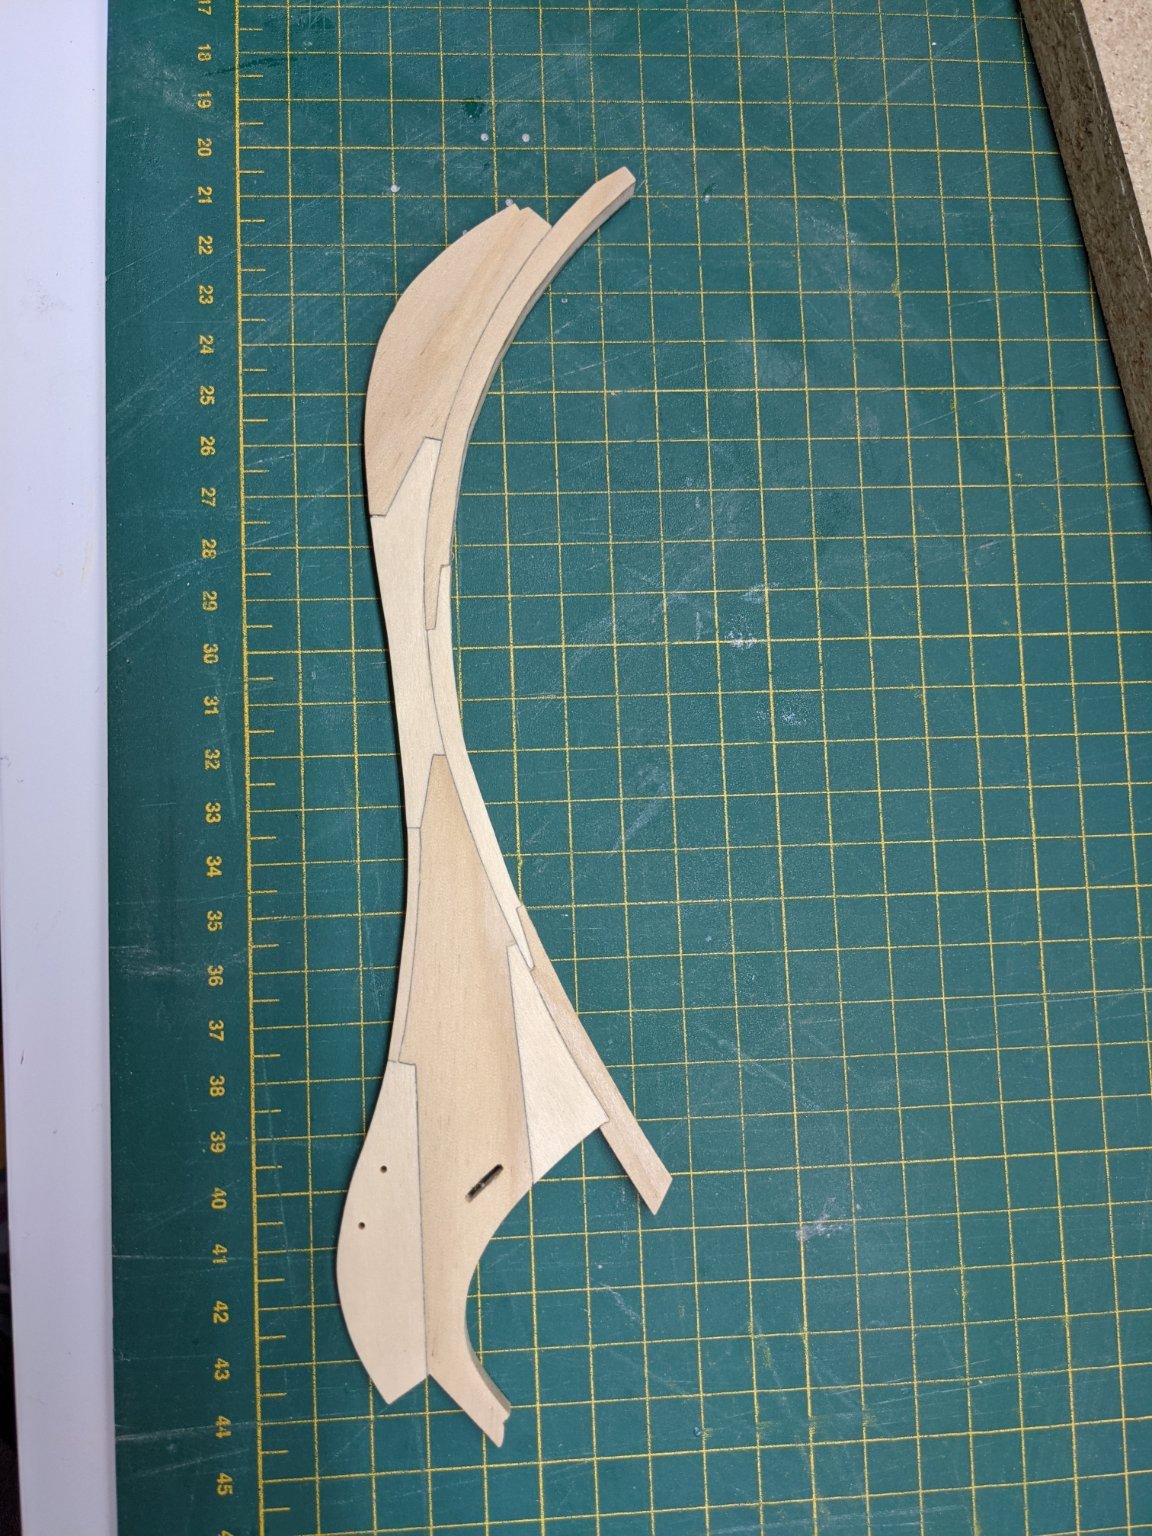
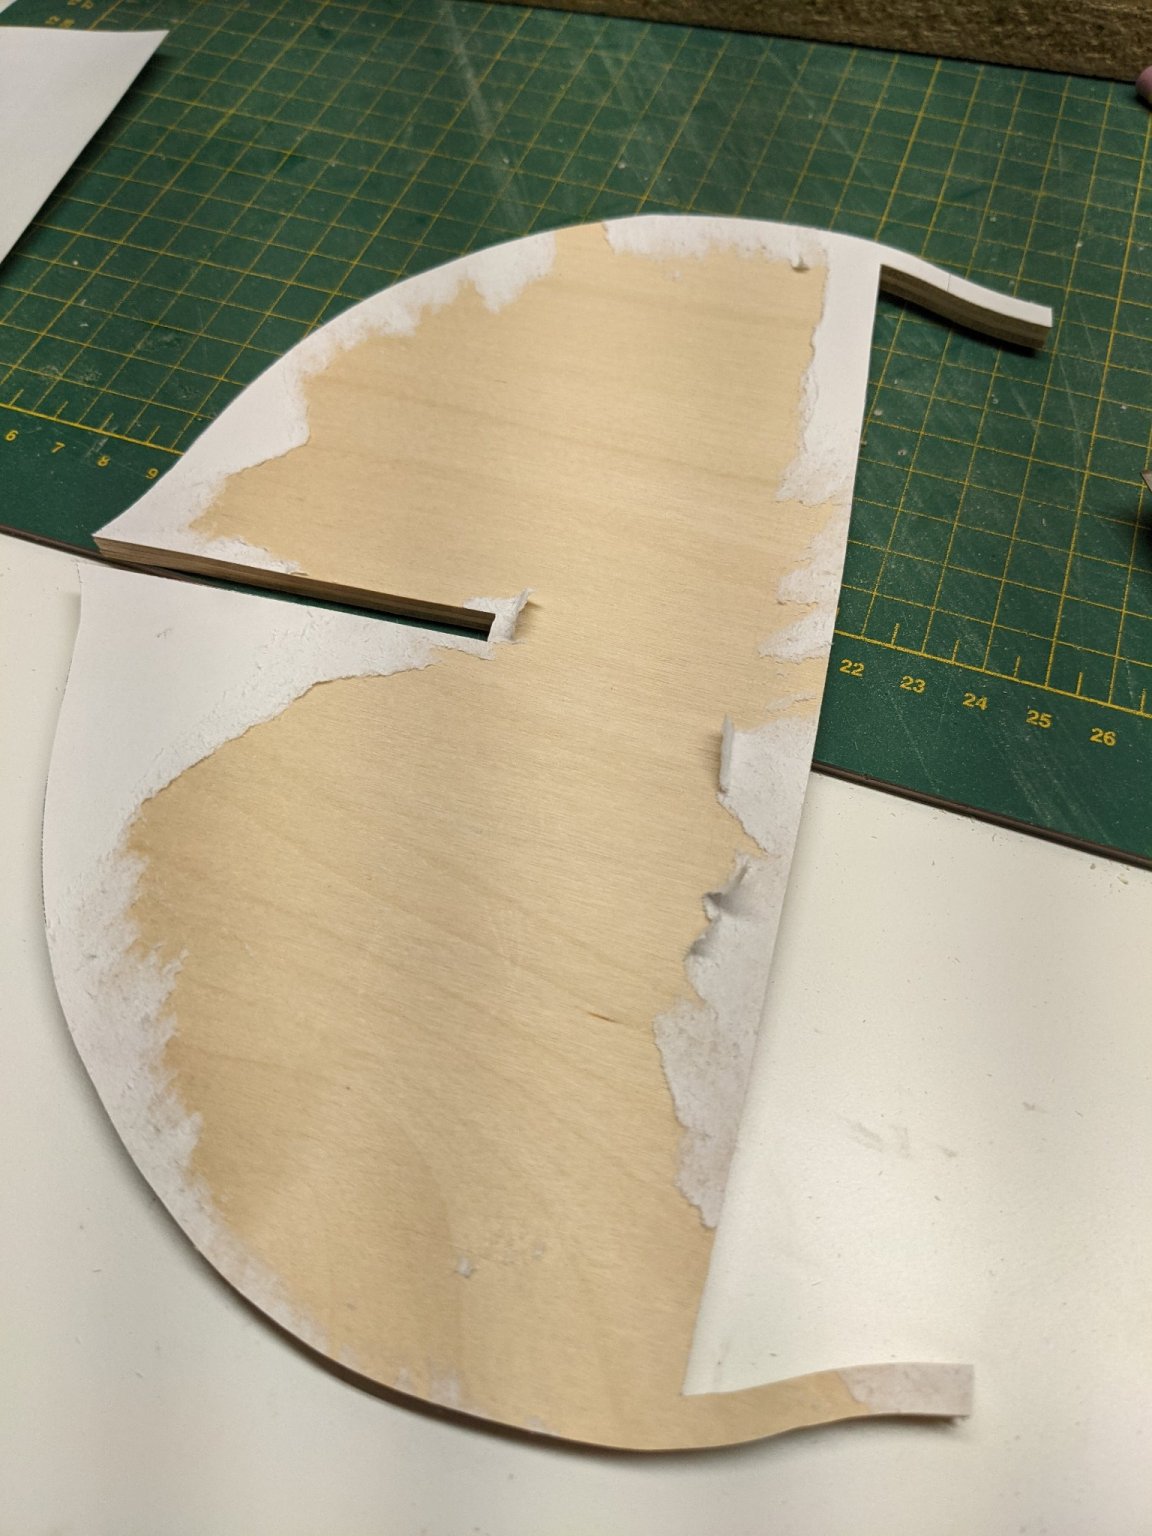
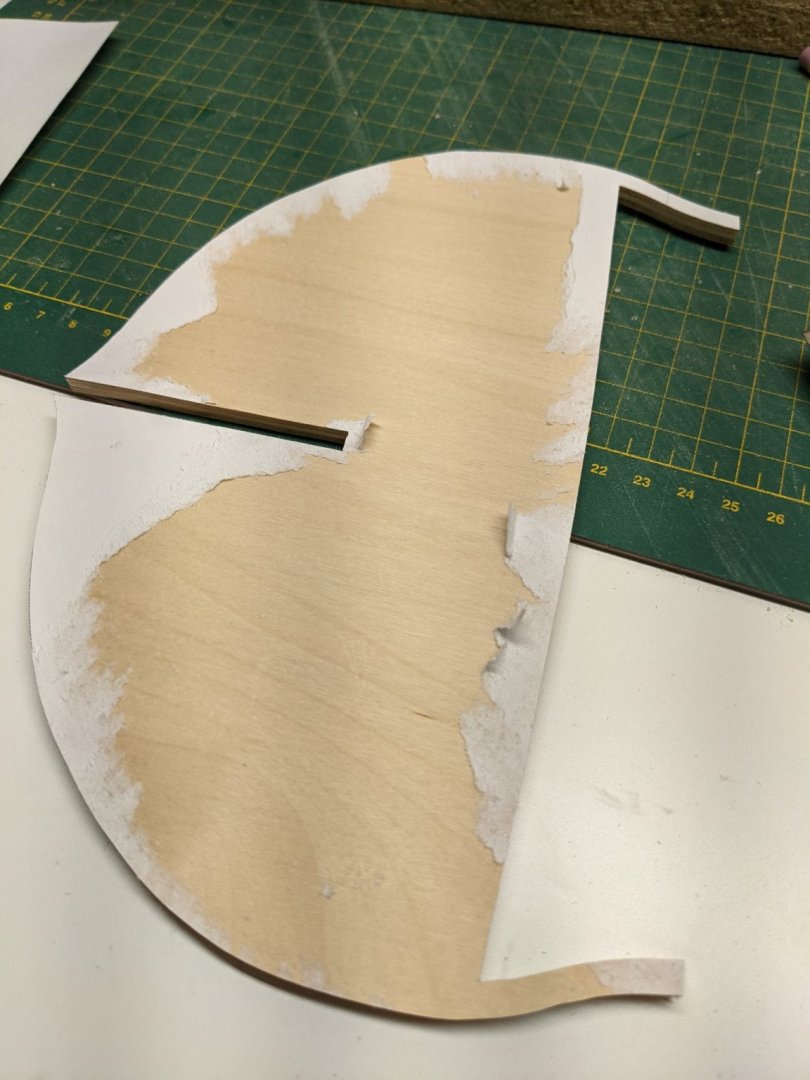
Thanks. I can now do this in a proper wood. It was just a test piece out of 1/4 poplar and the wood colour is not that great.
-
So this piece is just a test to see if I could cut the parts properly. I have some cherry coming on order and hope it will work for this ship but will not know until I see the pieces.
-
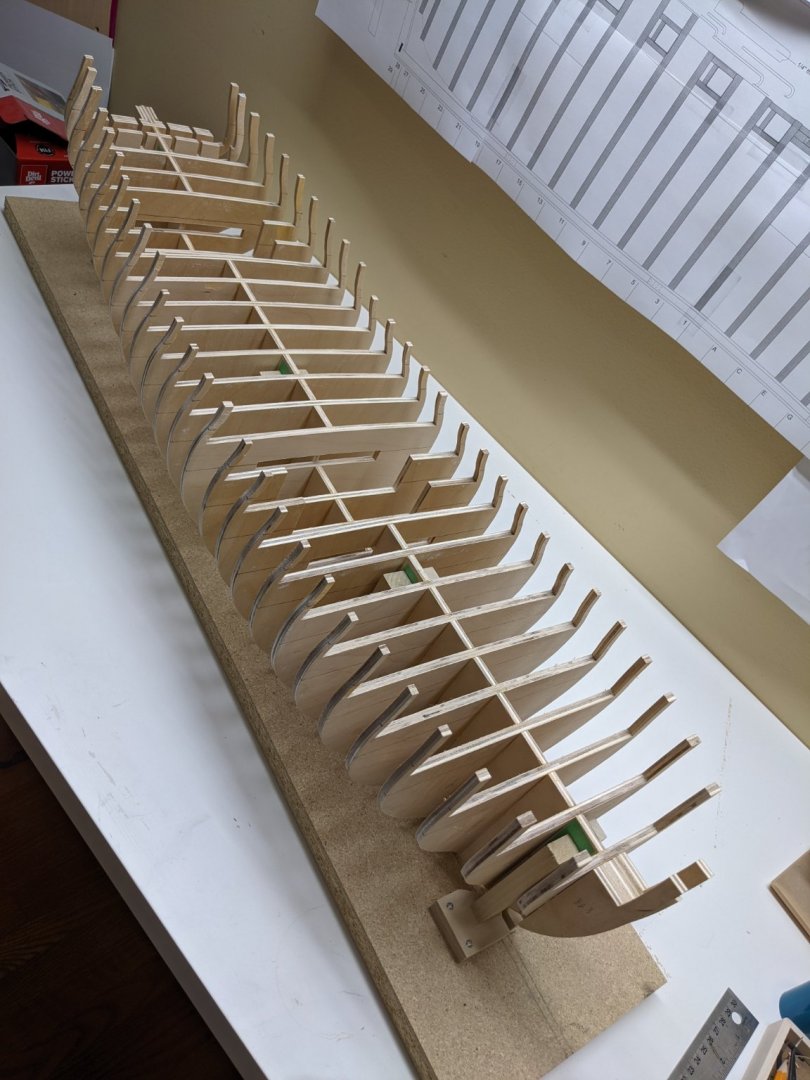
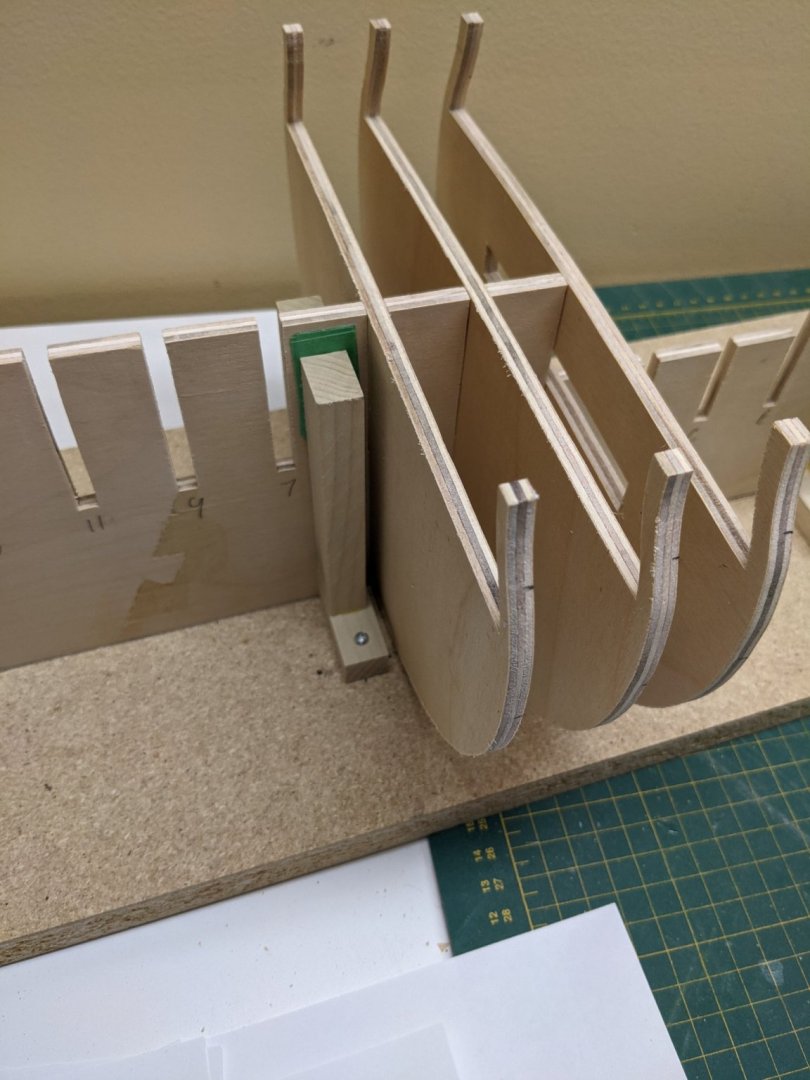
Glued on the rabbit strip and chiseled and sanded the bearding line. When that was dry I glued in all the bulkheads and filler blocks.

-
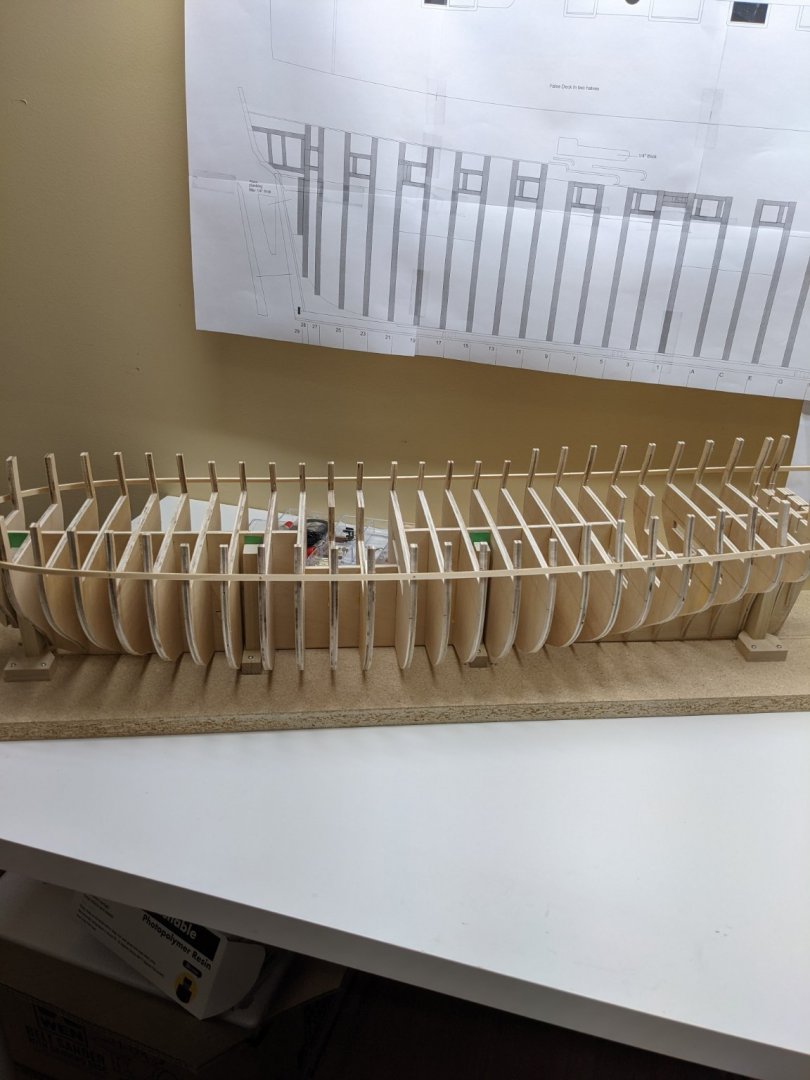
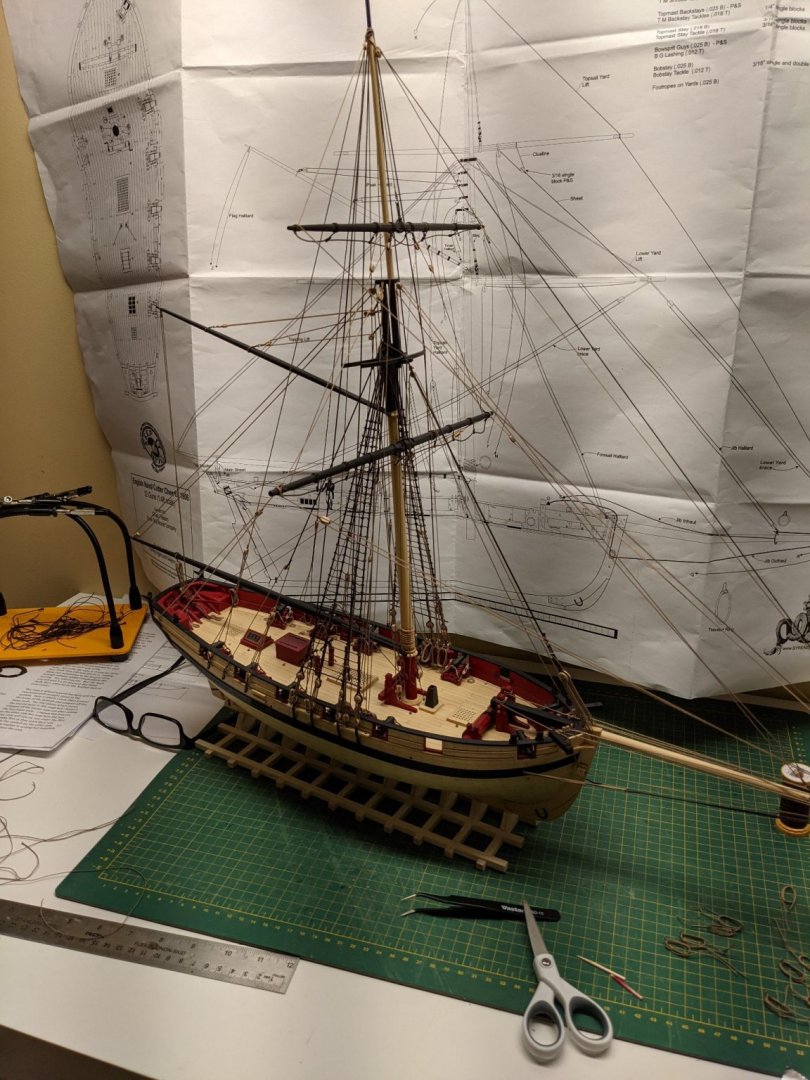
I have all the bulkheads done and test fitted. Nothing glued yet. Where am I going to put this monster when it is finished?
-
Thanks Chuck. I wasn't able to find lite play locally so went with this. I am used to sanding aircraft ply which is real tough stuff so I will see how it goes. I initially looked at MDF but the panels were warped really bad and I know that stuff is hard on blades because of the glue if the blade gets hot. Thanks Matt. Just time consuming and slow work. Good to know. Wasn't sure if the rubber cement would get into the wood and make it hard to come off.
-
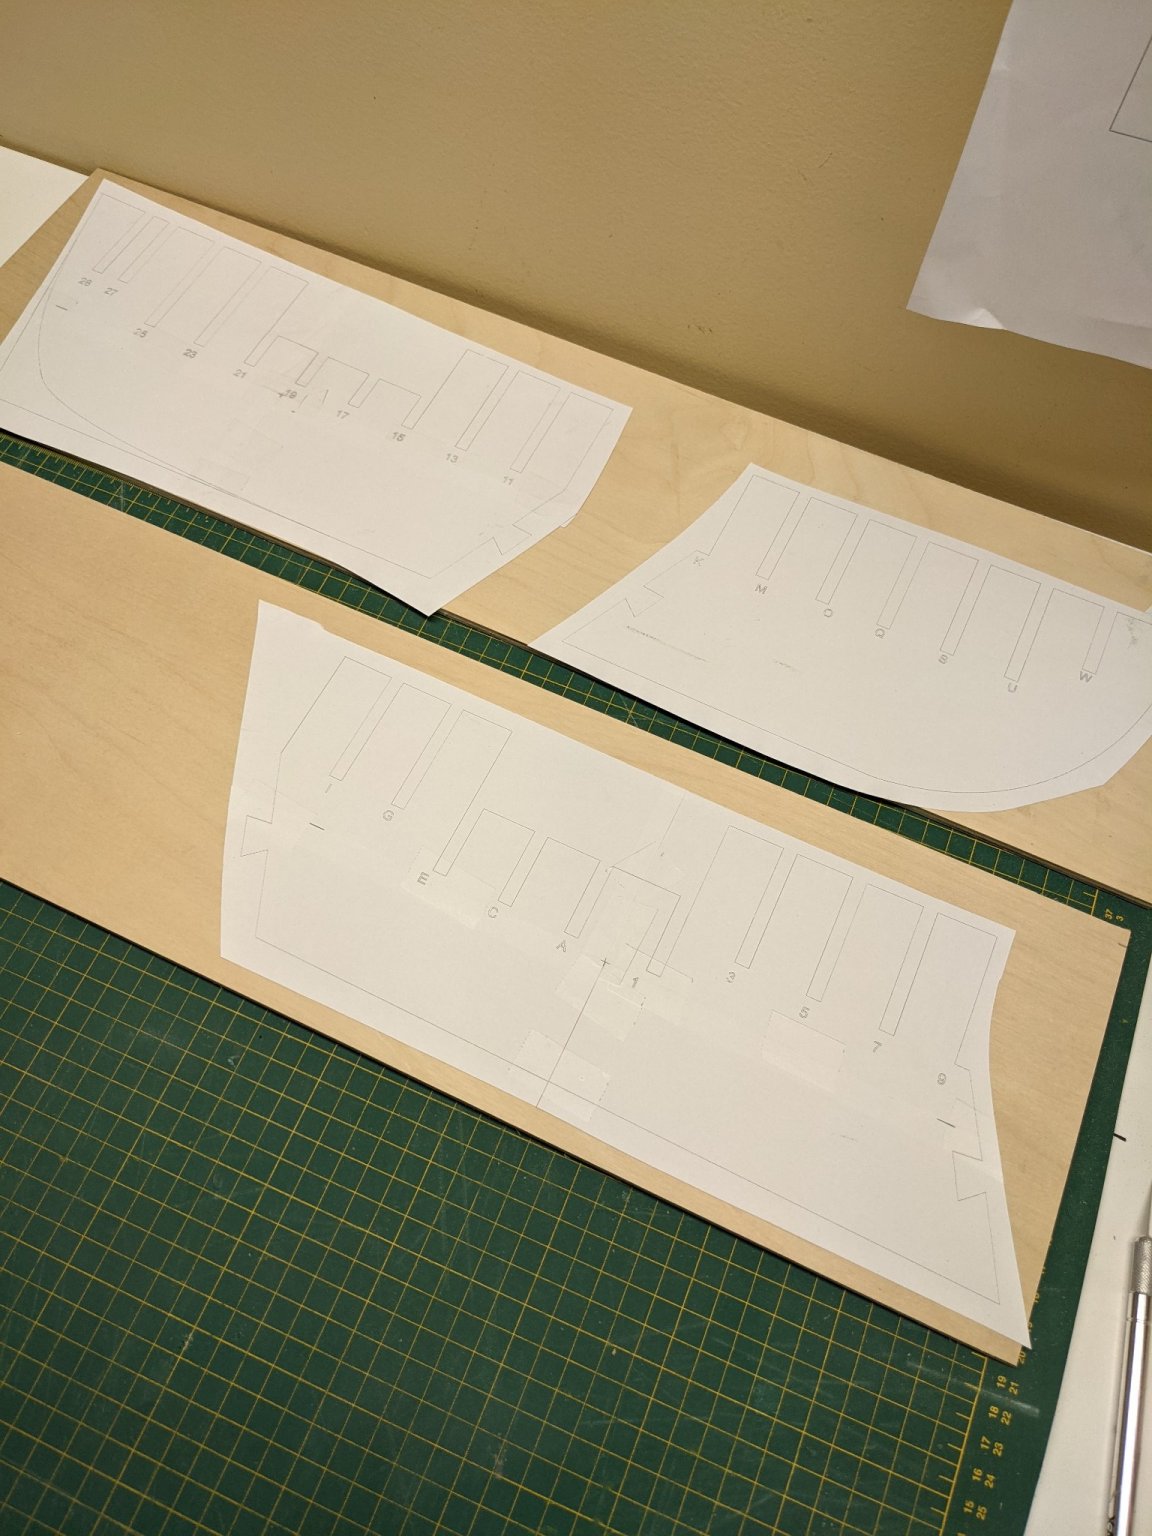
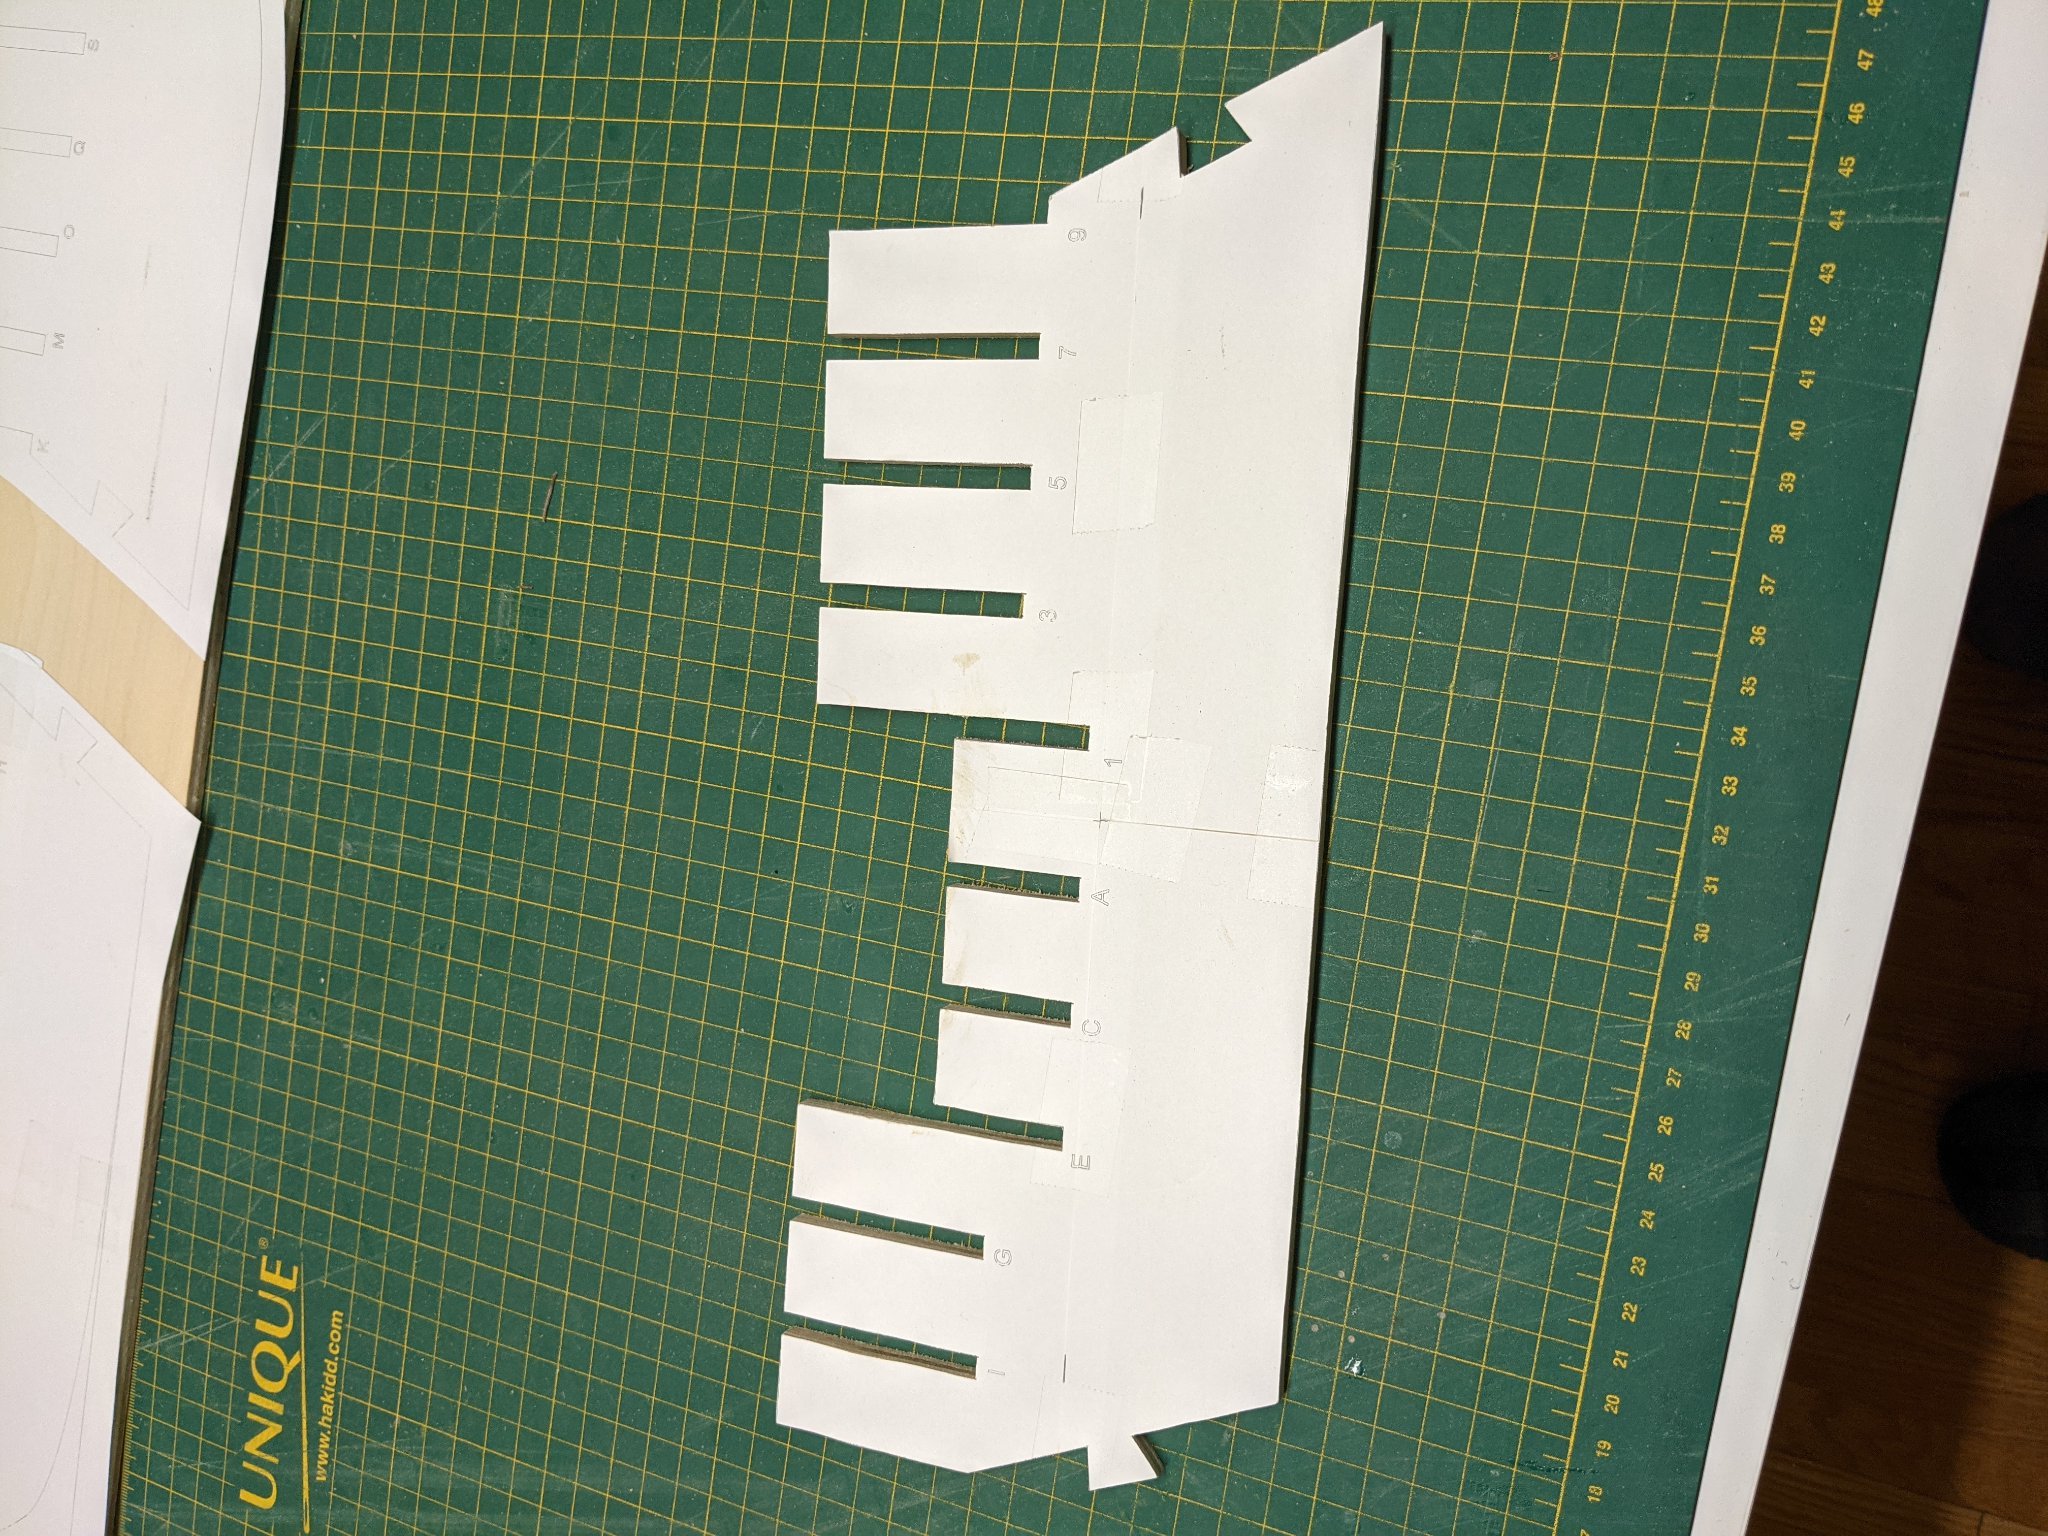
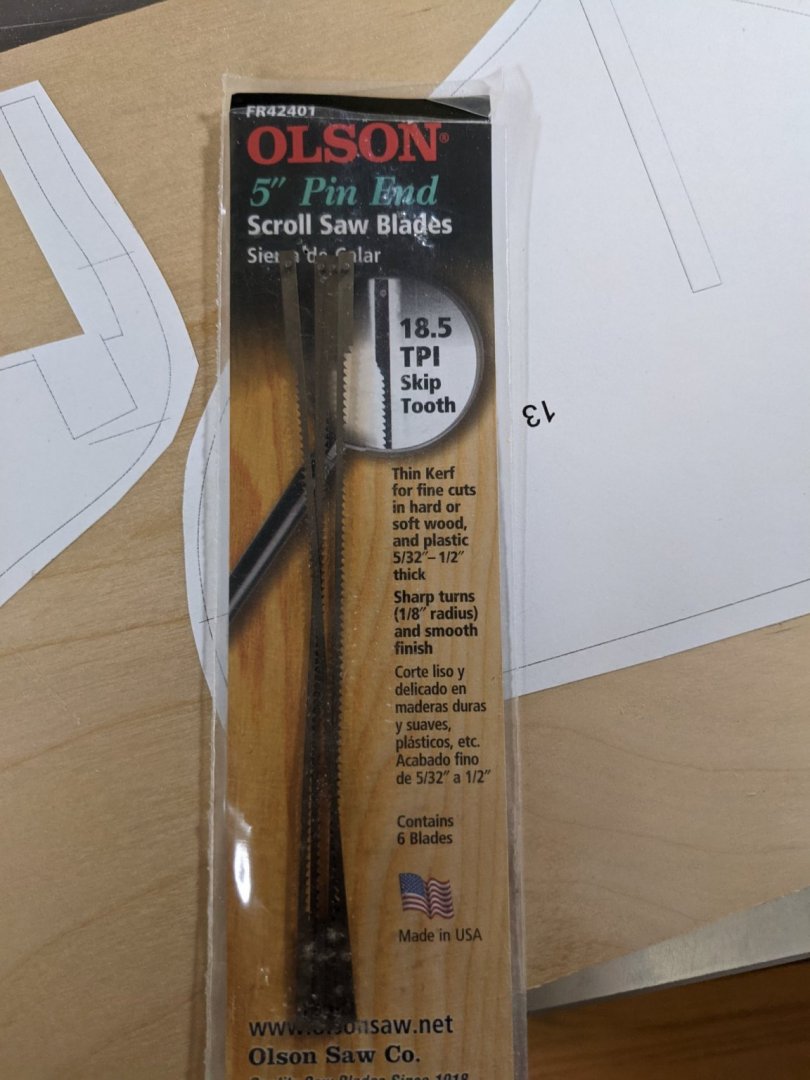
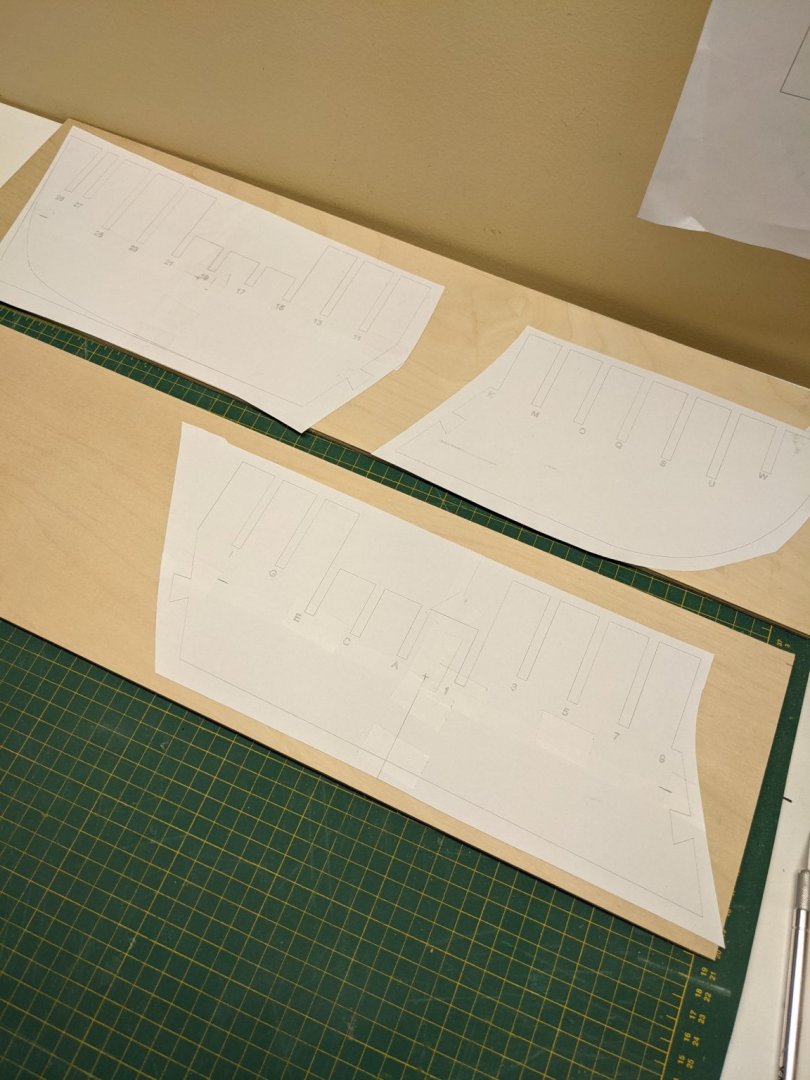
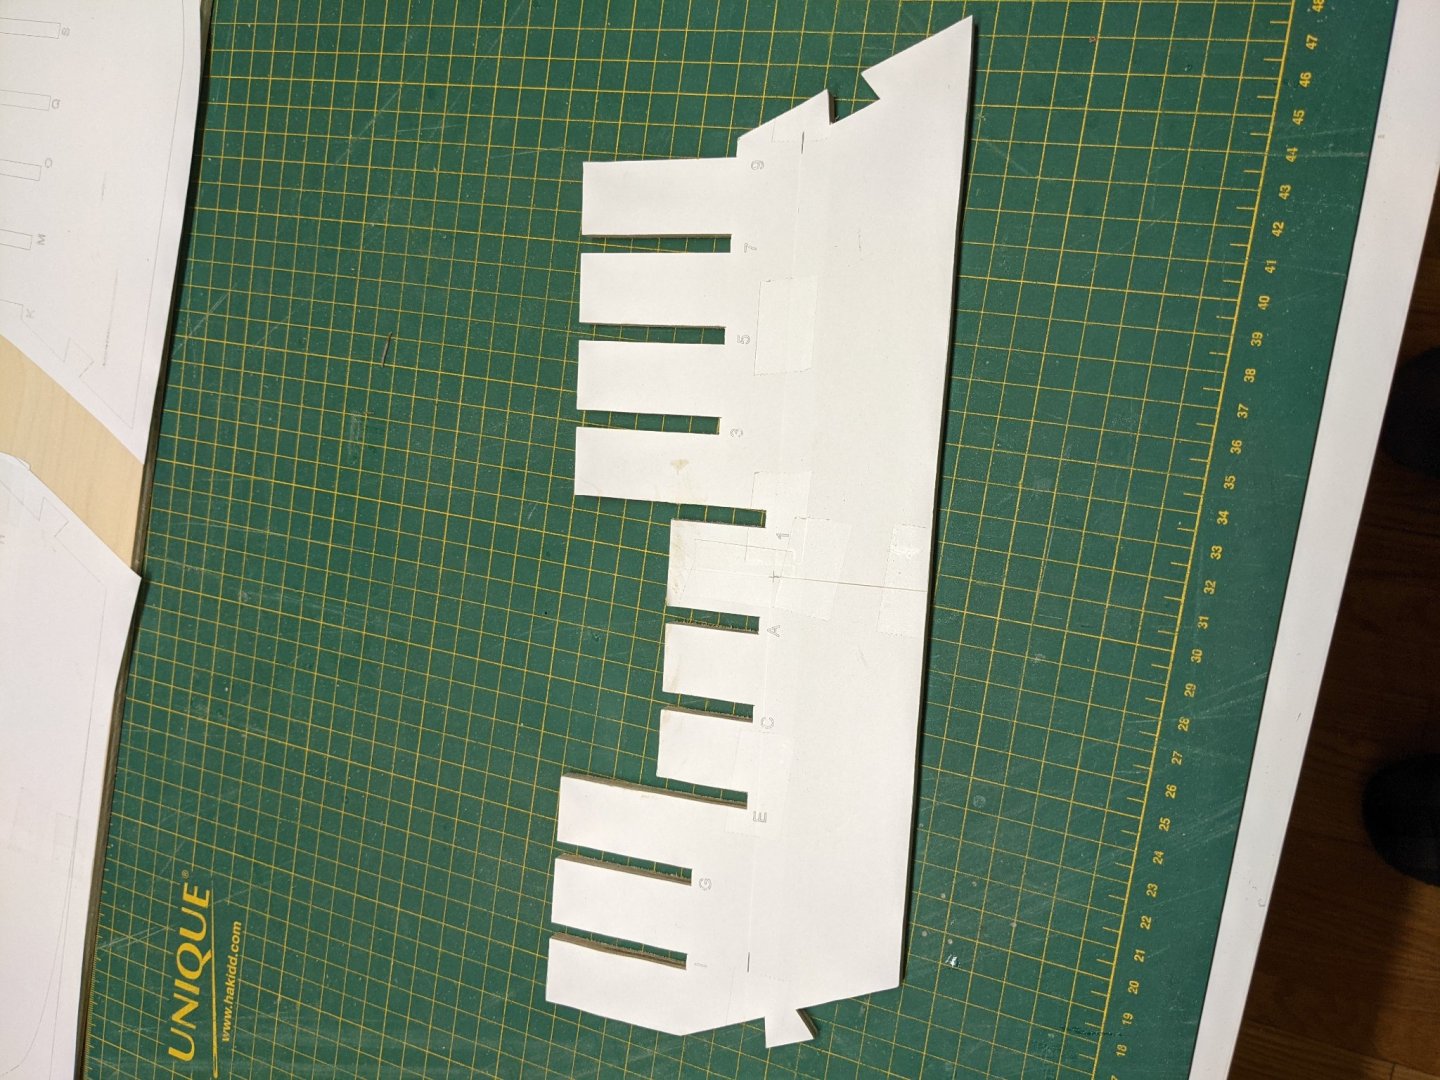
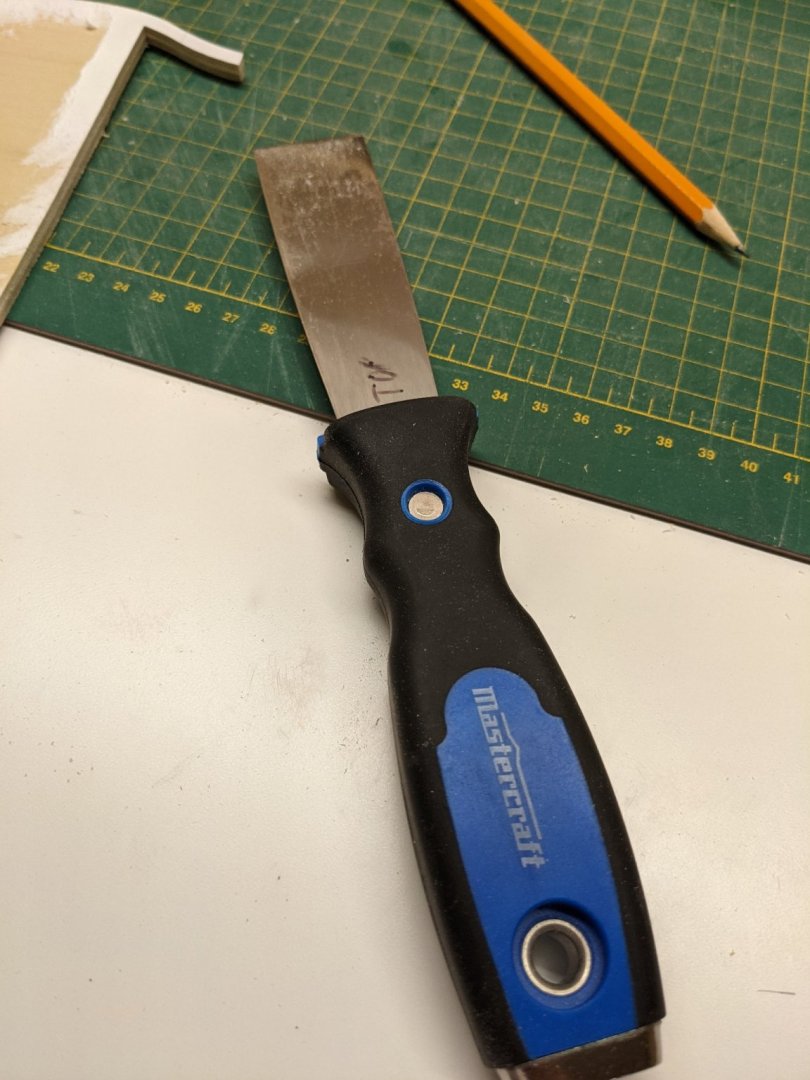
Posting the start of my build log for the Winchelsea. This is going to take quite a while to build as it is huge and complicated with many parts to make. I am going to attempt to scratch build as much as I can as a challenge to myself. I started cutting out the bulkheads and false keel with my scroll saw and it can be done but you have to use sharp blades and work slowly. You WILL break blades and I found that when they get dull you are not far off from breaking. These are the blades I used. They give a very smooth cut. I am using 1/4 inch birch plywood sourced locally and printed out the parts to cut and then used a glue stick to the wood. Then carefully and slow cut with the thin blades right on the line as best as possible. I found sitting with my saw on a desk works best as it ends up being chest high and you can follow the lines easier than standing which is hard on the old back. I did cut the false keel in three pieces as this will keep any warping between pieces to a minimum. Once the pieces are cut I have a sharp scraper and just peeled and scraped the glued on paper off. This scrapper has been sharpened with 800 grit sandpaper so it is very sharp. While I was at the lumber store I also picked up a 3/4 inch MDF used for stair treading as my work base. It is nice and straight. I also made up some squaring pieces for assembly and did have to modify the bases a bit later as they are too large and interfere with the bulkheads. Here is have the false keel pieces glued up and held straight. It was a lot of cutting and if you do it slow not much sanding. Once that was all set I mounted my squares on the build board. There is a very slight warp at the top of one of the pieces which release when it was cut but I am aware of it and will make sure there is no warp built in. Next up is the process of cutting each bulkhead and laying them in place. You know there are a lot of them right? I still haven't decided on Yellow Cedar or Cherry for the most of the build yet. Hope you can follow along and offer suggestions or even an attaboy which helps with motivation as my new 3d printer keeps pulling me away from my projects


-
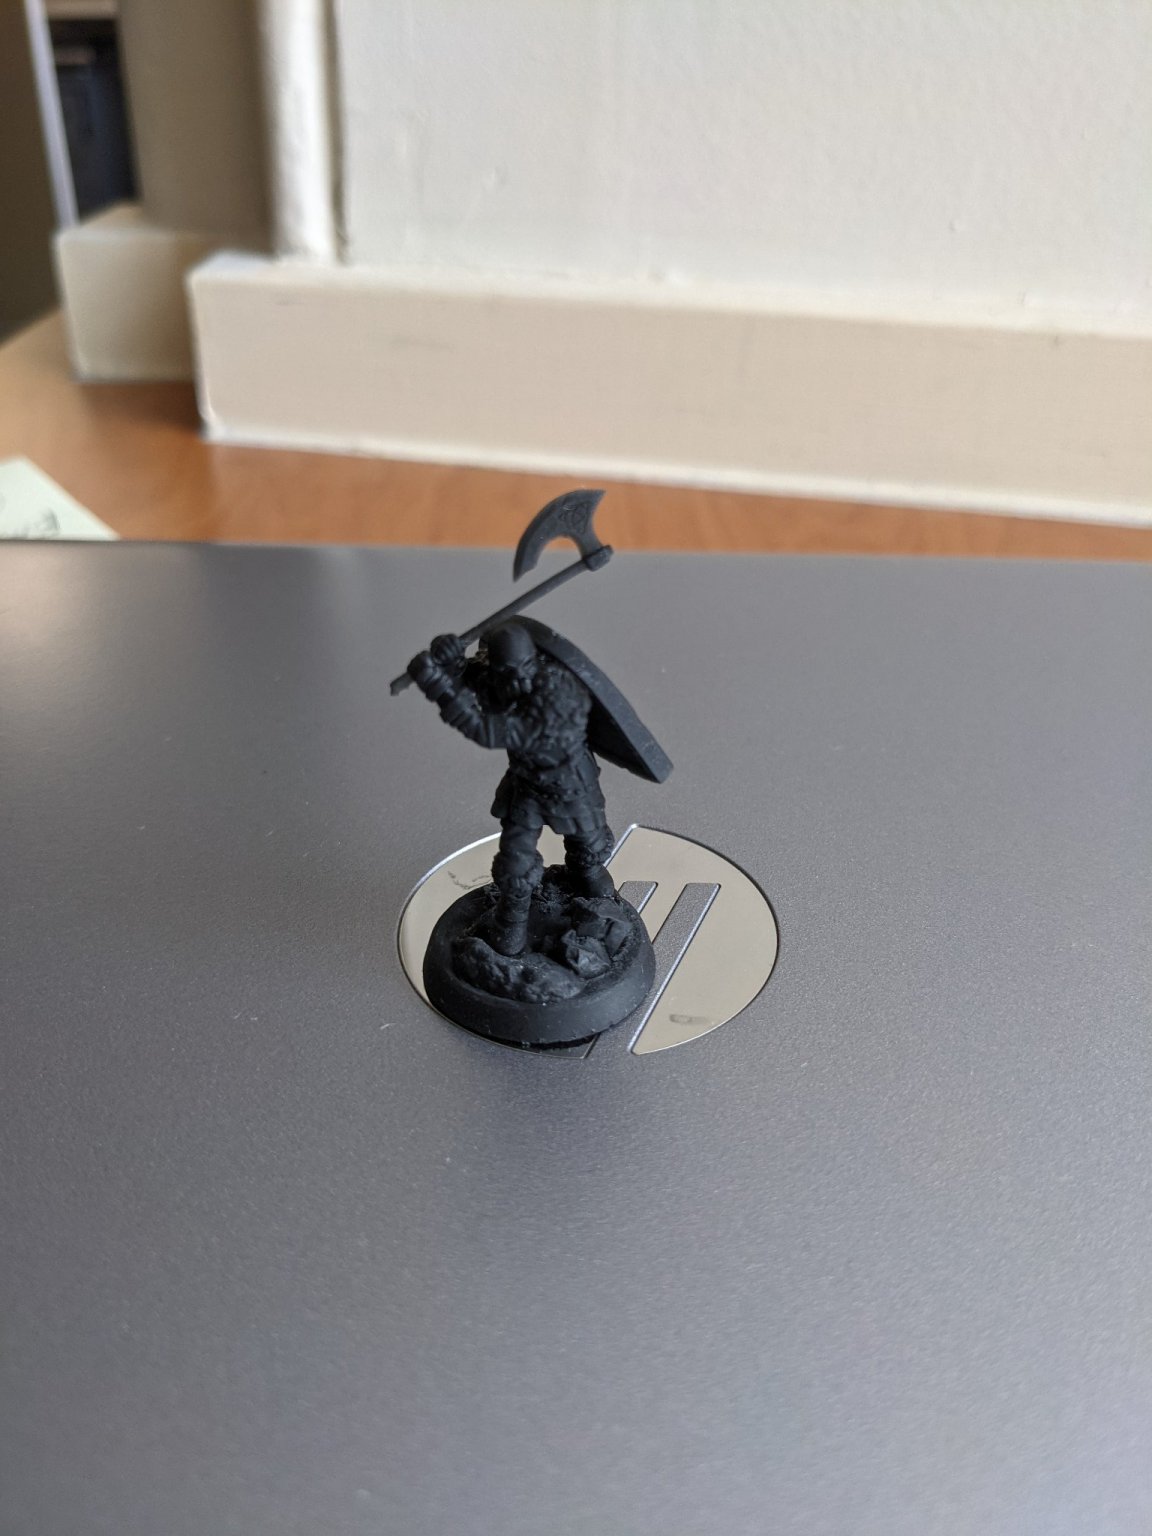
Your figures are great! How do you make them?
-
Looks very nice!
-
Wow you guys are awesome and I really love the comments! I do spend a lot of my free time building as it is my hobby hence the fairly quick build. (I need to slow down) My next project is the Winchelsea. I have the plans and do have a plan in mind. I will be cutting most of my parts myself as I really enjoy working with wood. That will be a slow project and it is HUGE!
-
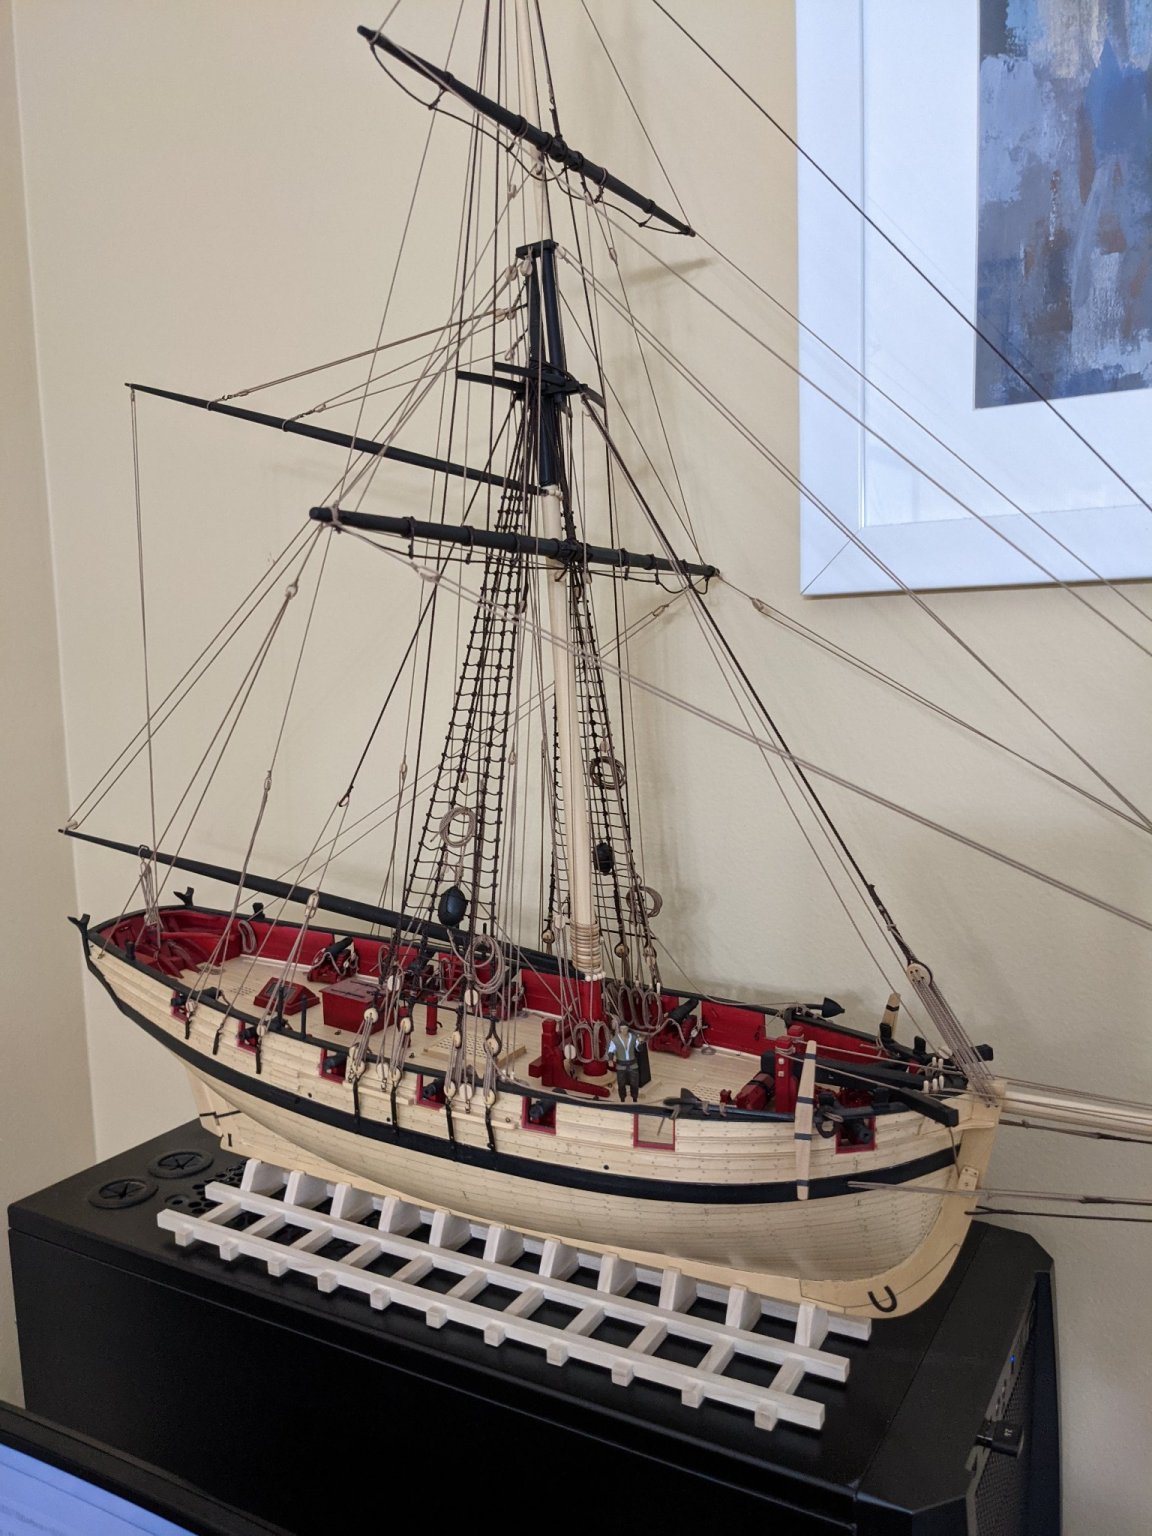
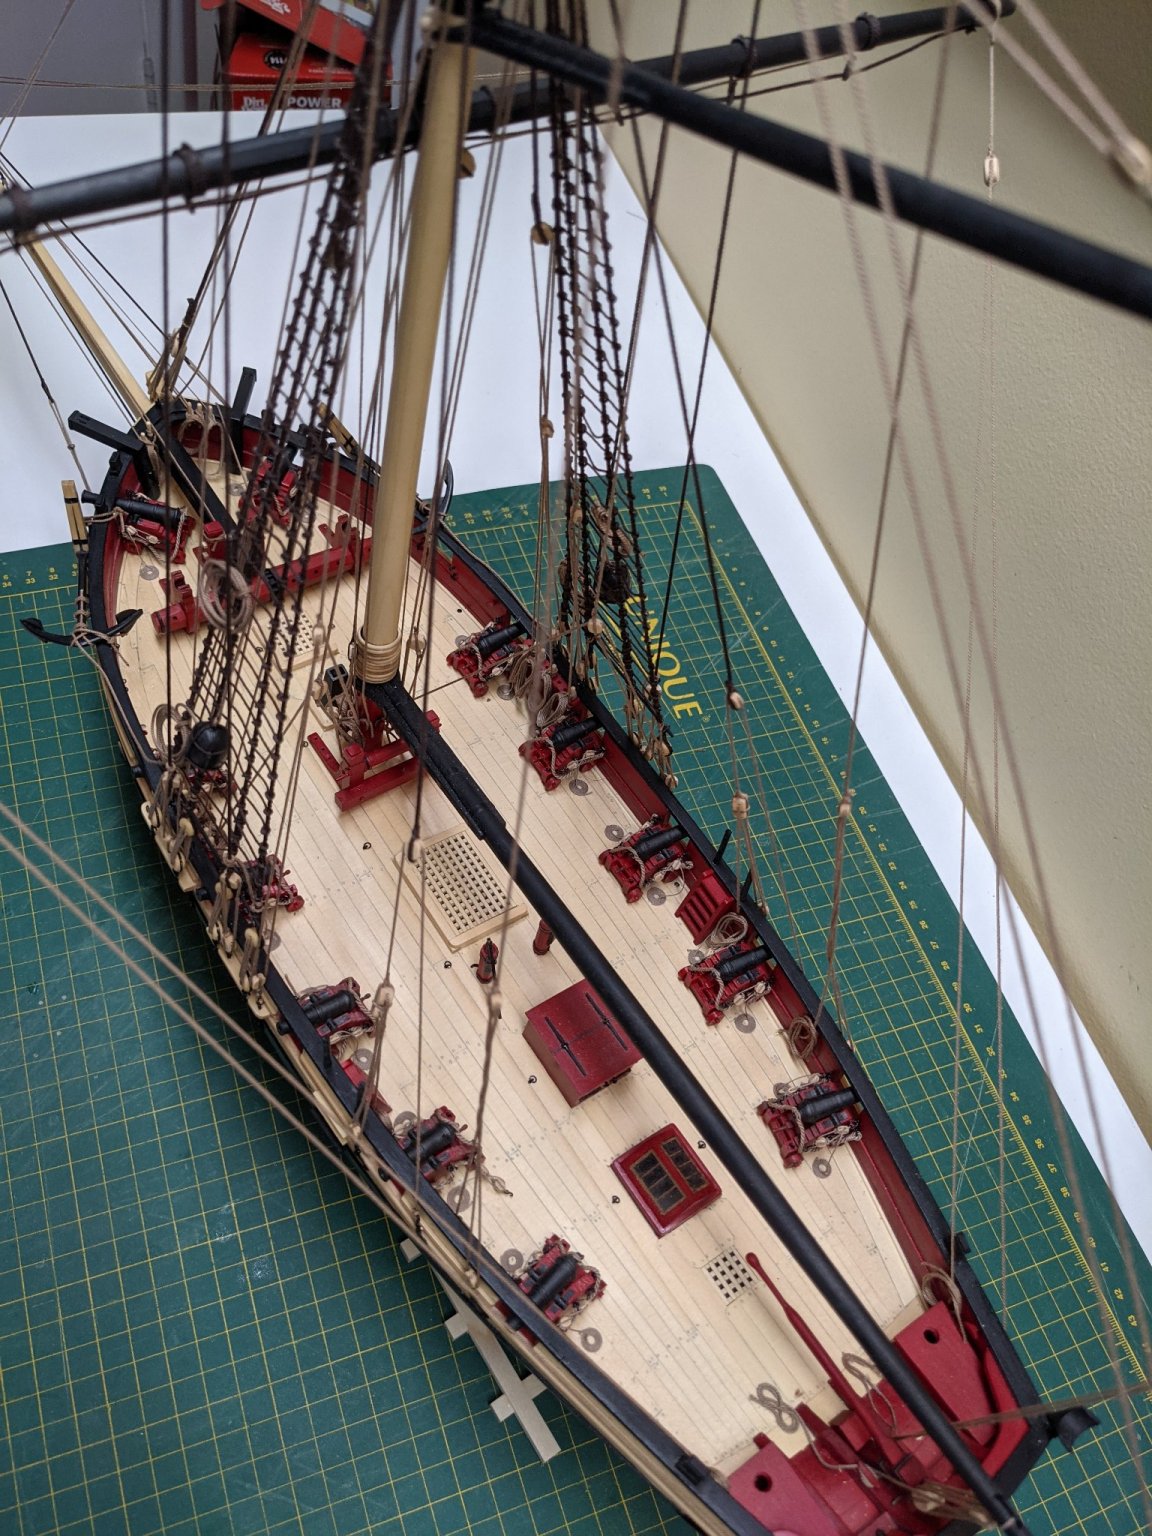
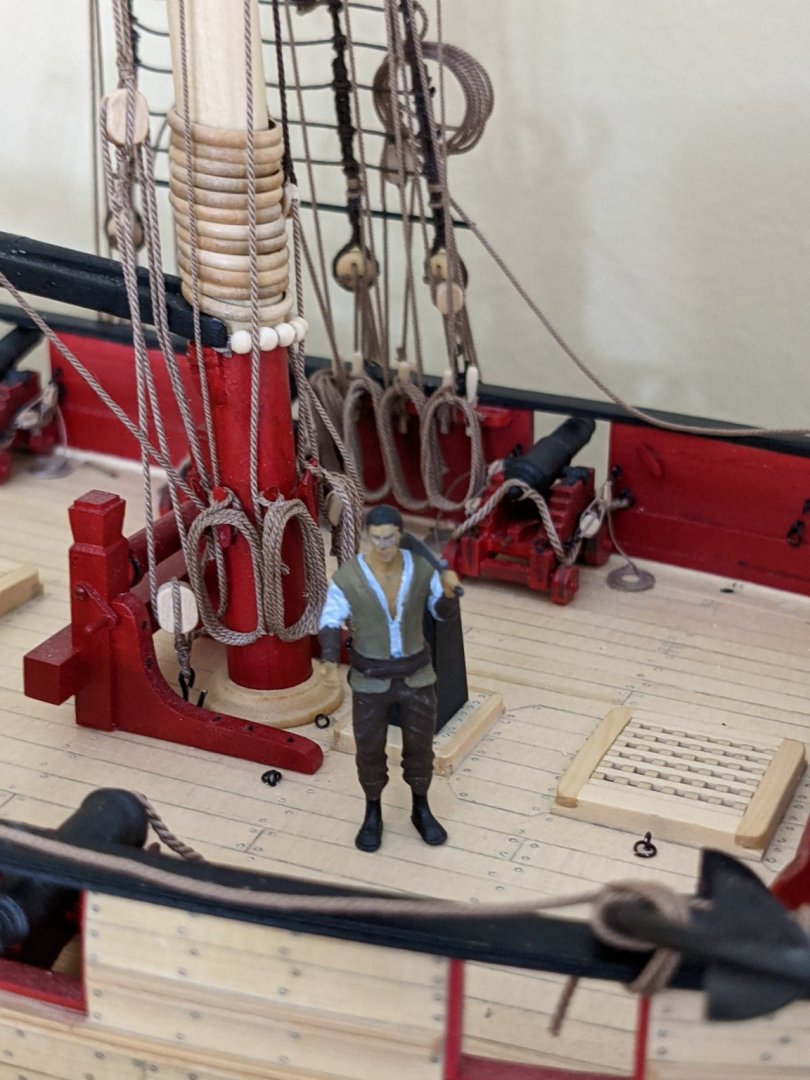
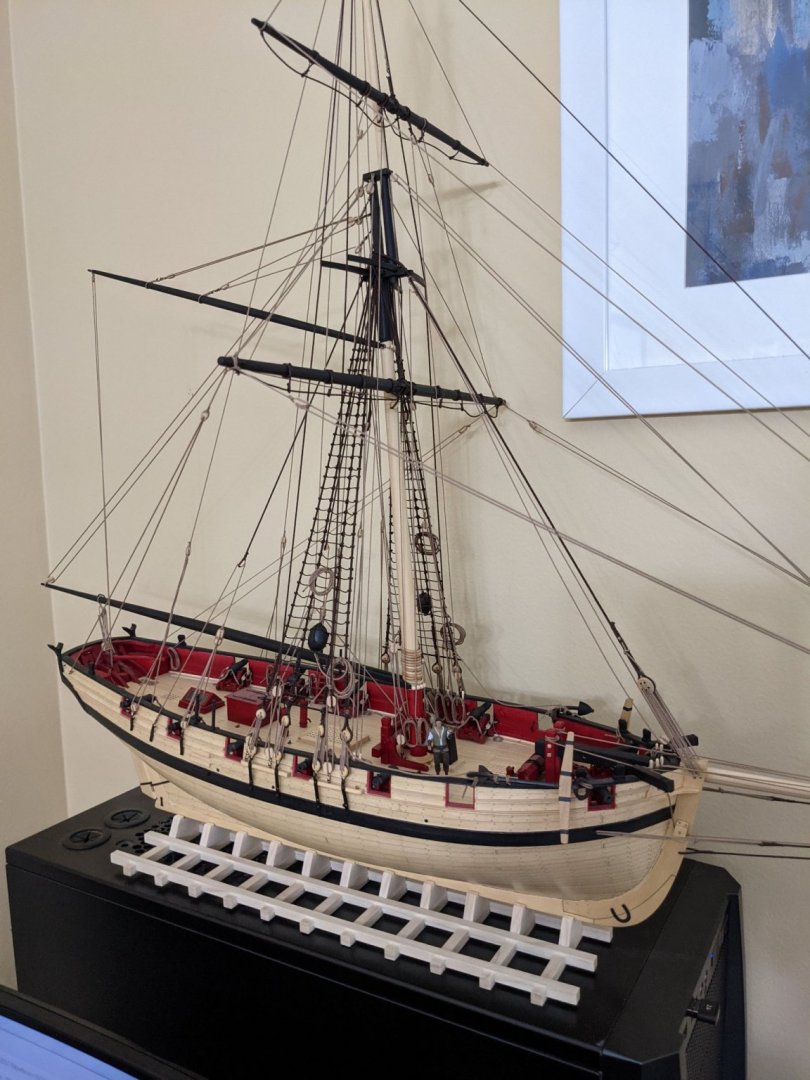
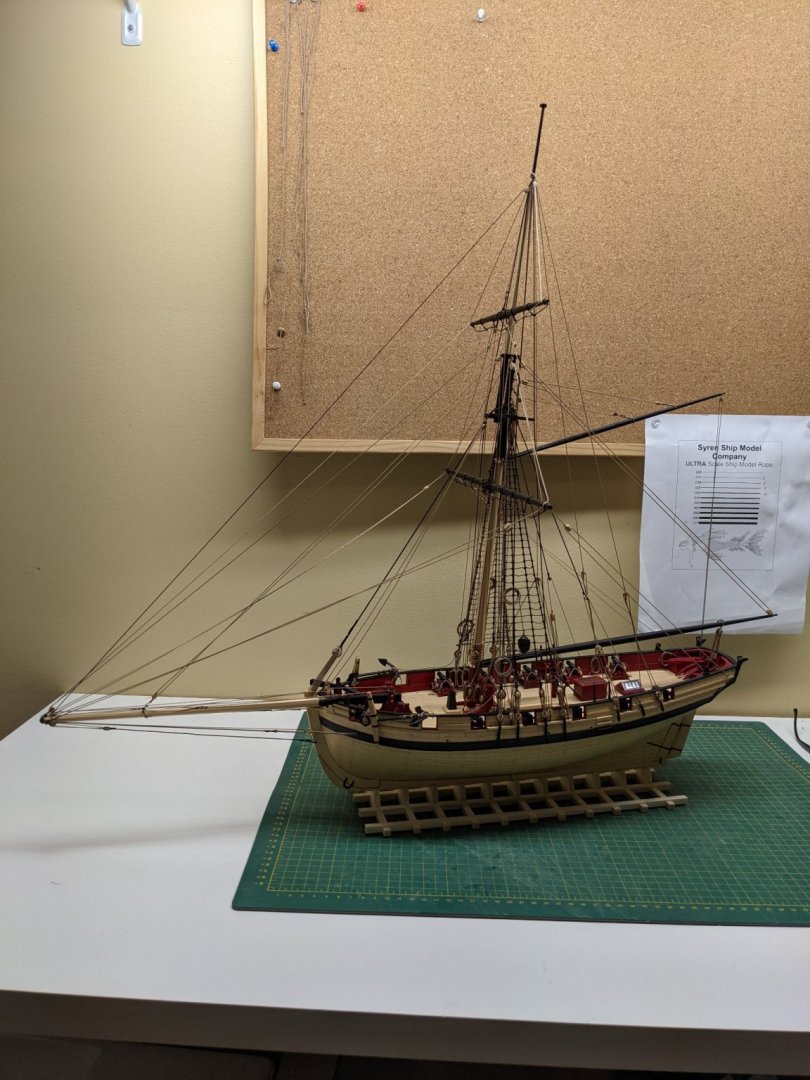
Thanks for the likes and comments throughout this build log. It really helps when people comment or offer suggestions. Here is the final resting place and also my crew member.
-
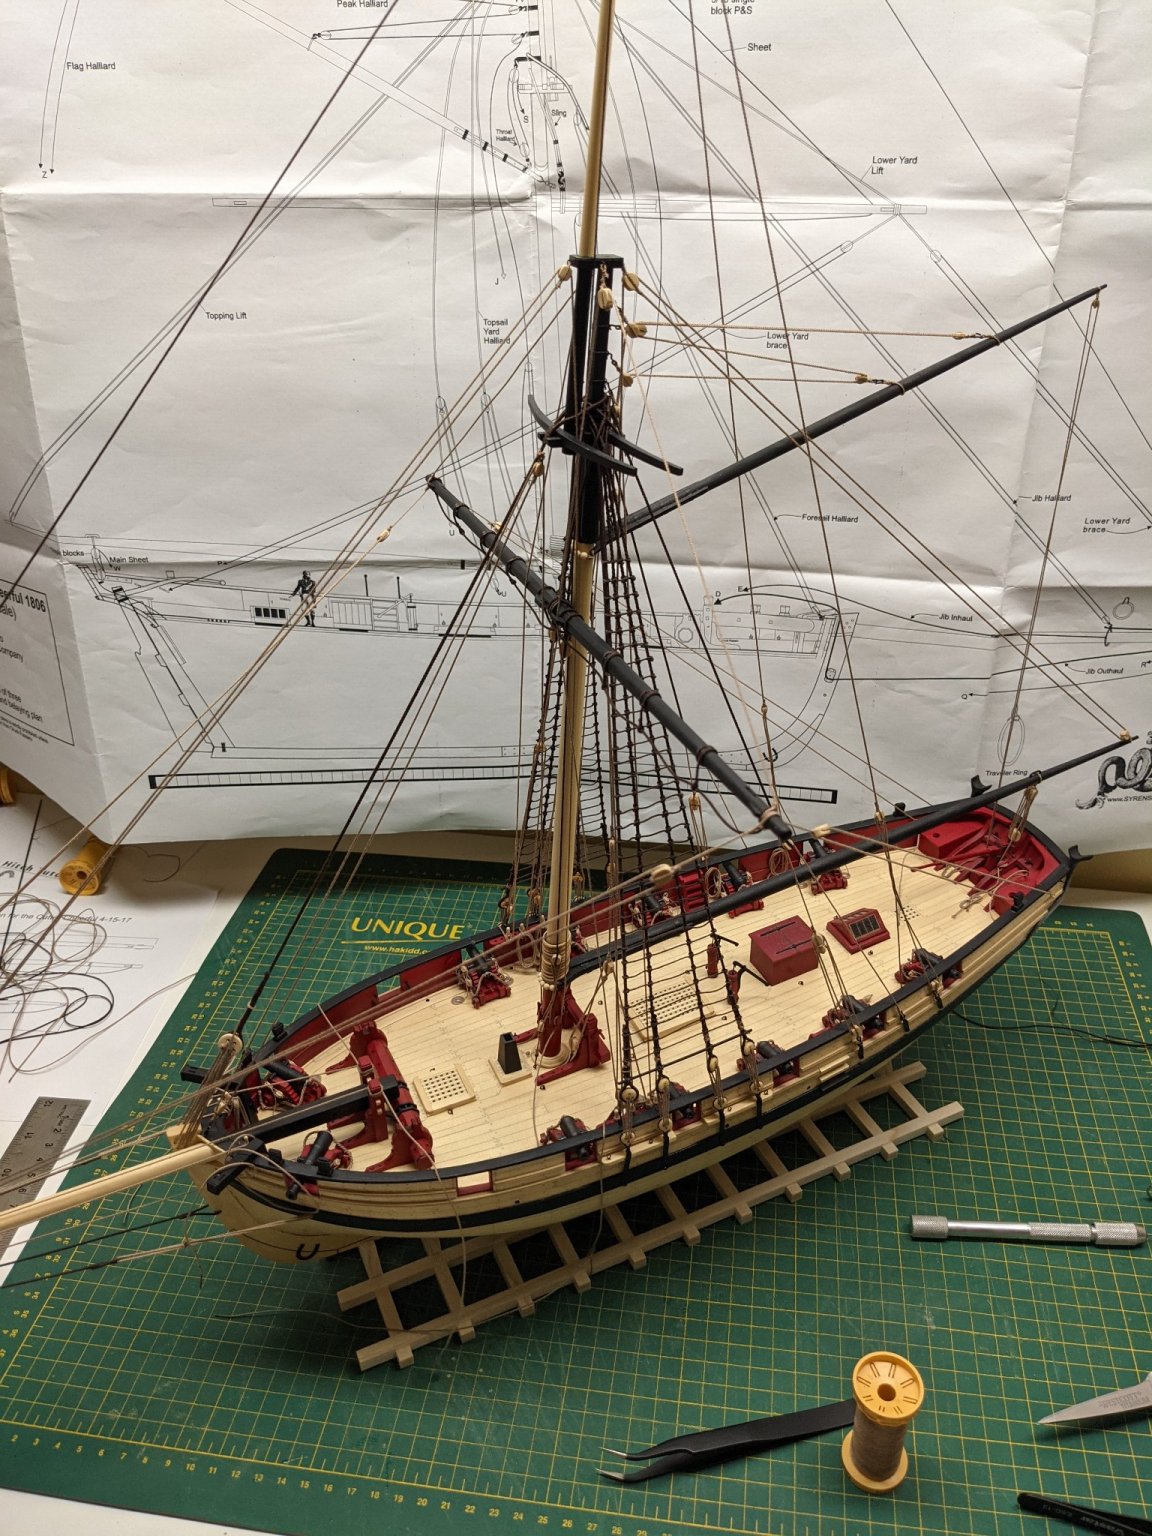
After adding the anchors and their rigging and the stanchions I can say that I am finished. This was a fun build and I learned some new skills and also learned patience.


-
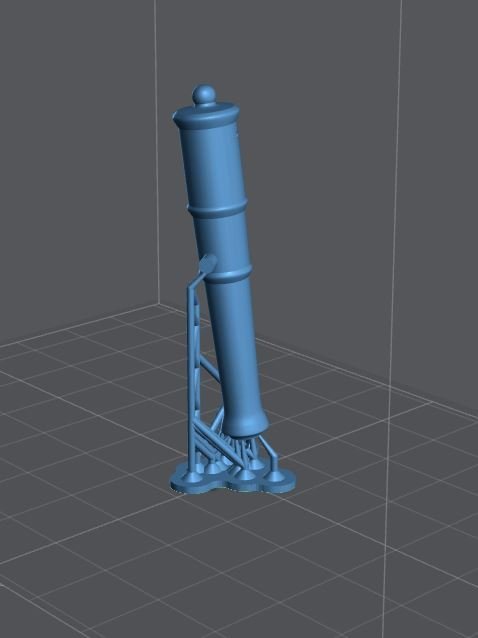
They printed fine standing up and very little support was needed.

-
This is such a small print and I have a lot of supports on the bottom so I have no failures with this print. Let me try printing it with the muzzle flat on the plate like this as see how it works.
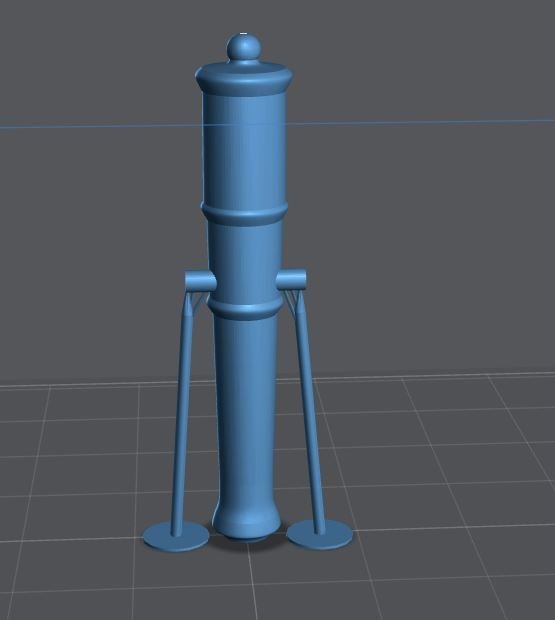
-
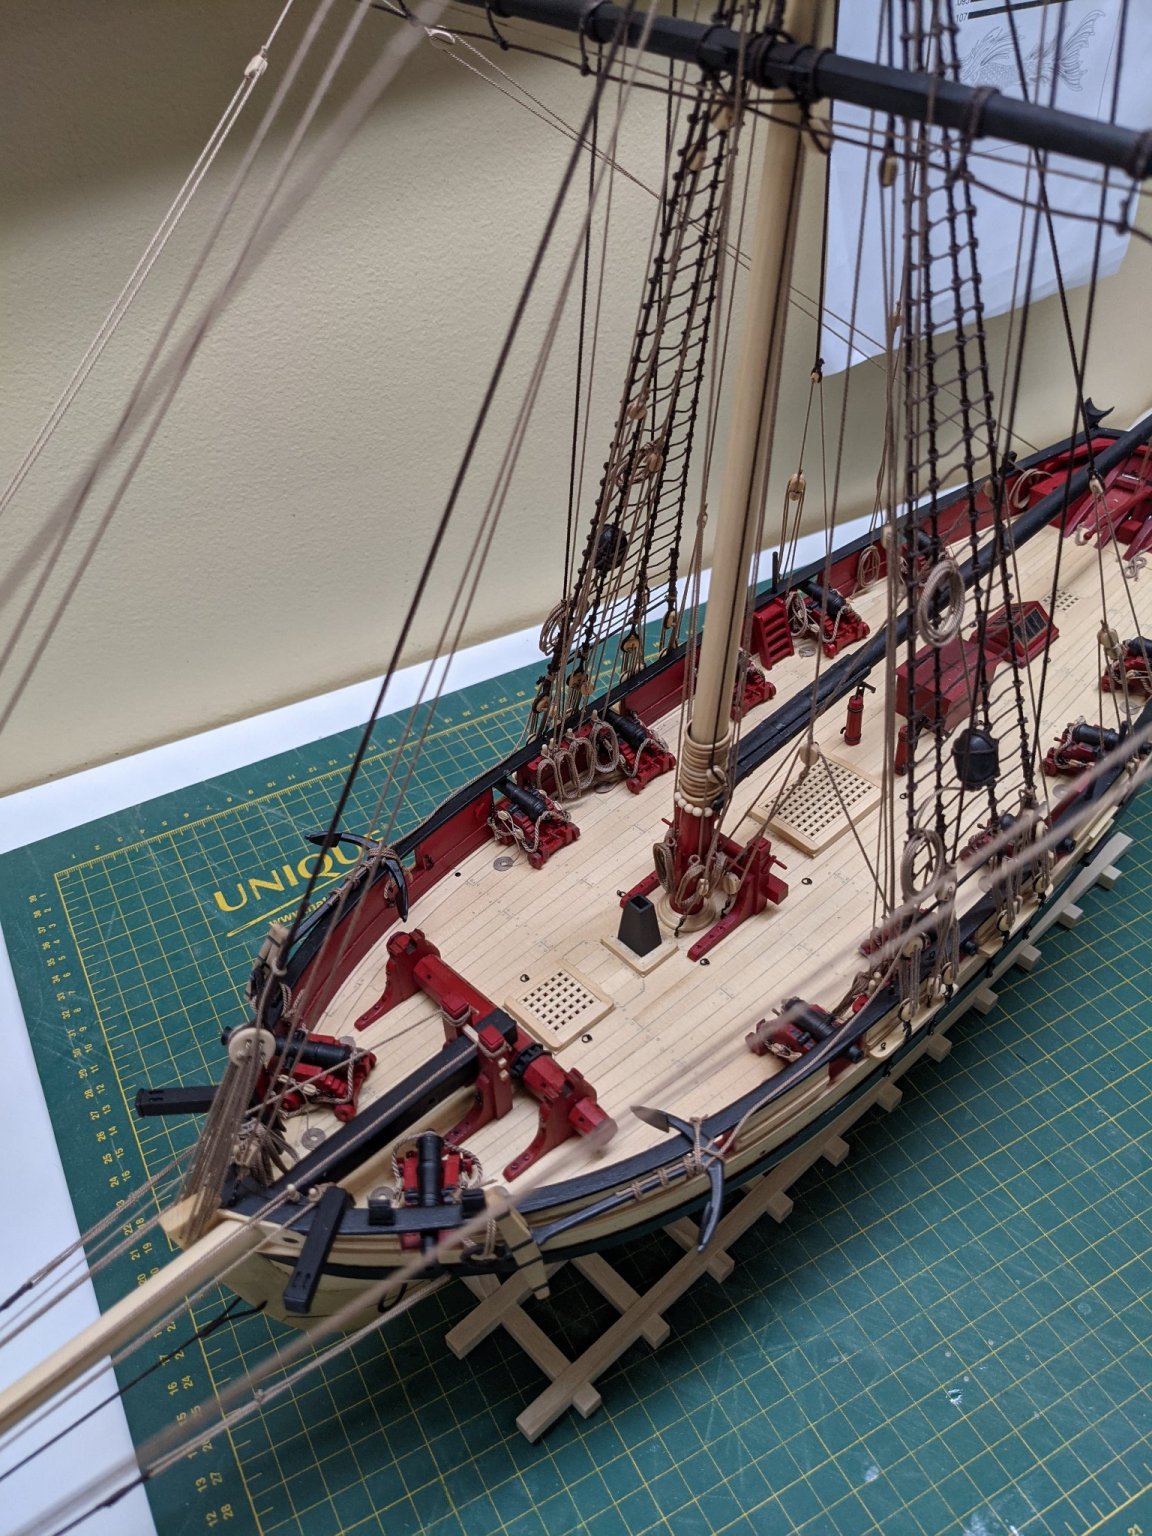
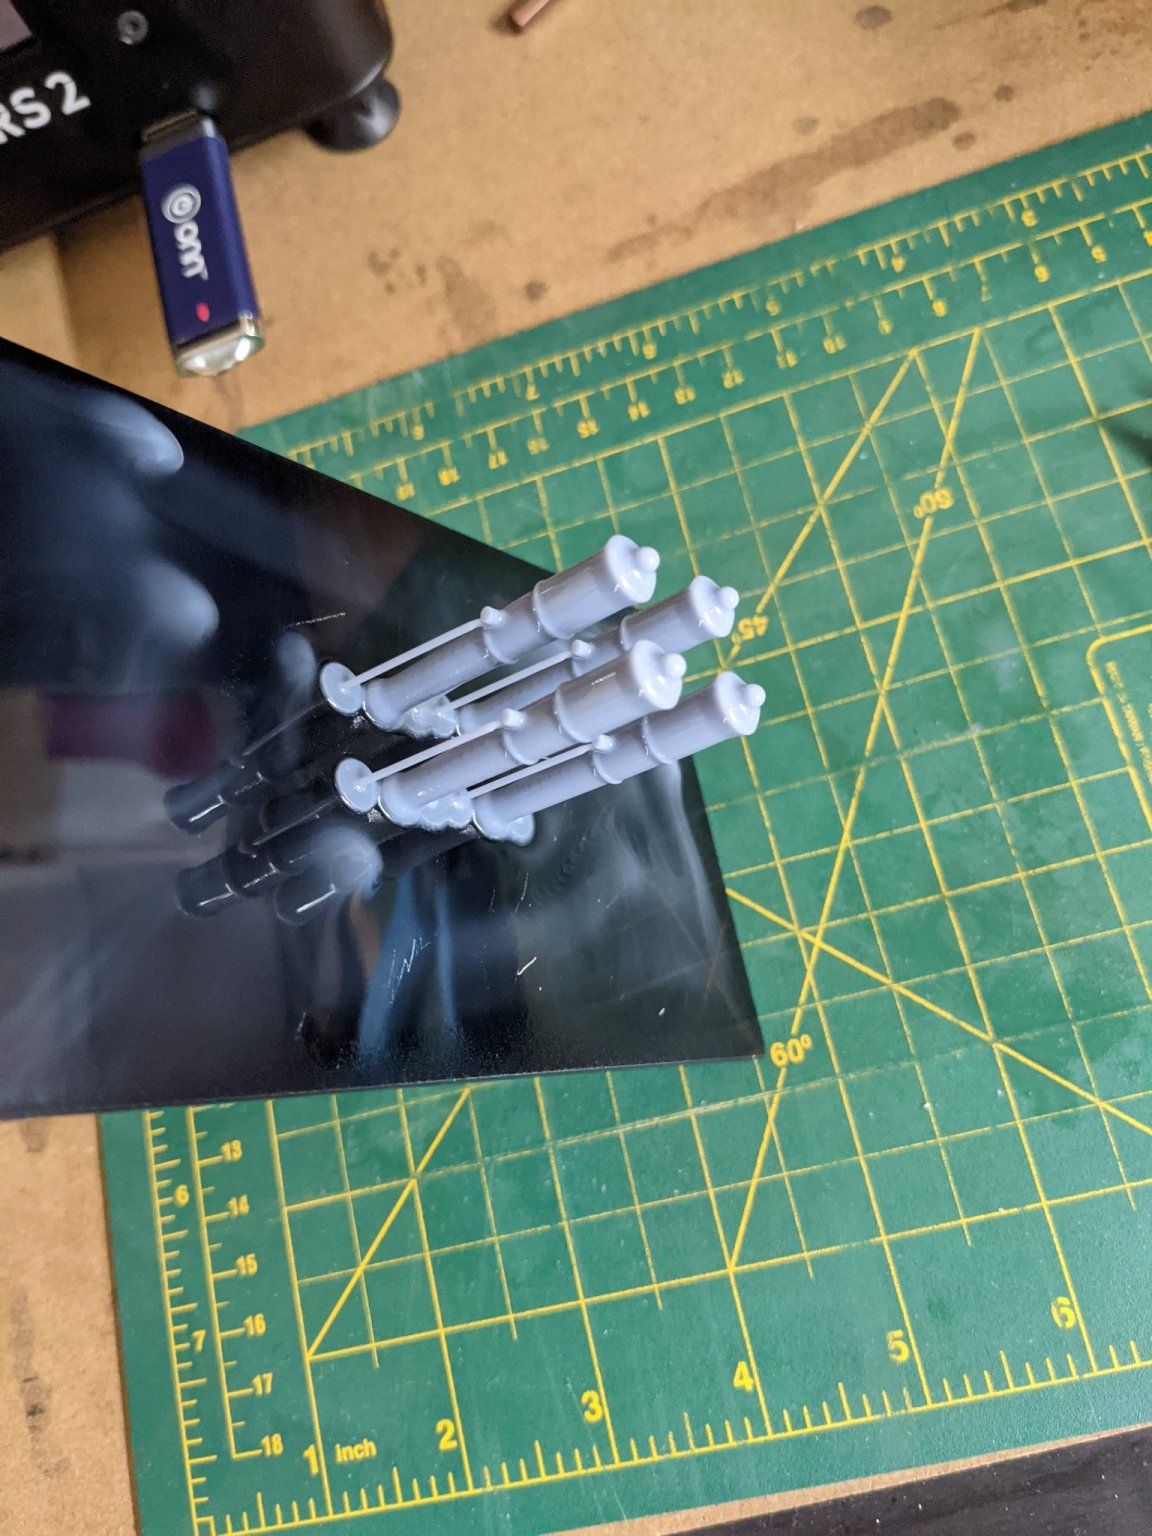
Here is how I did the canon prints.
-
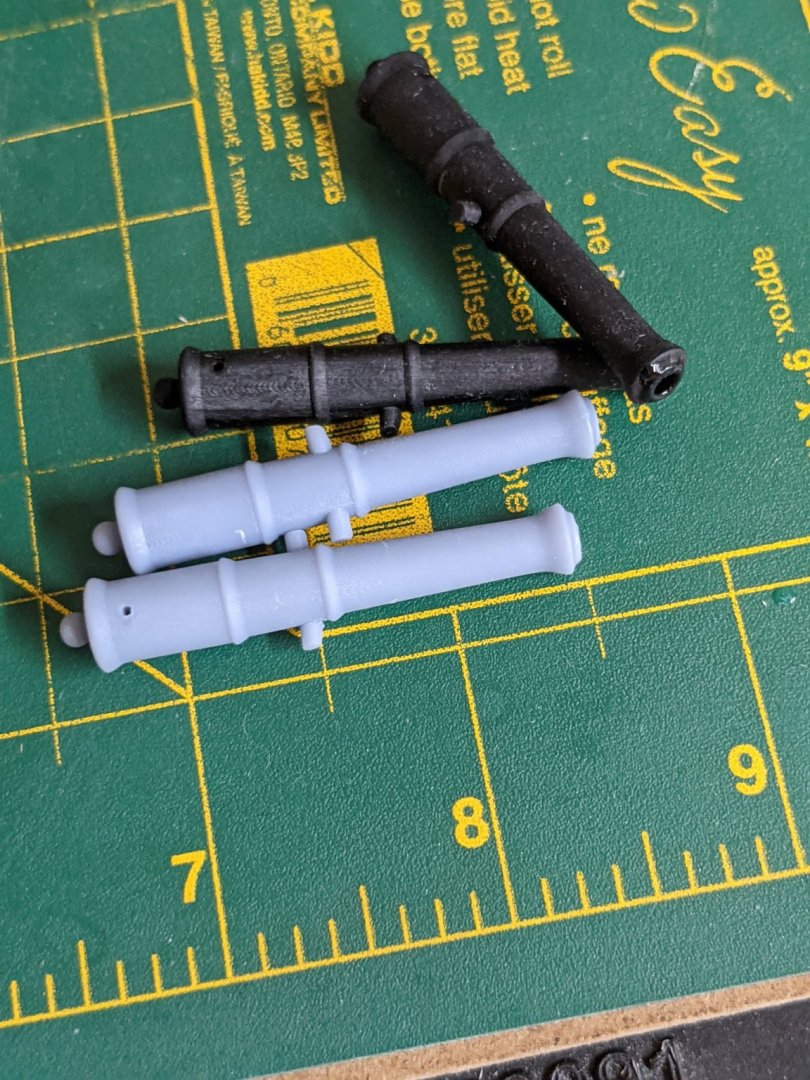
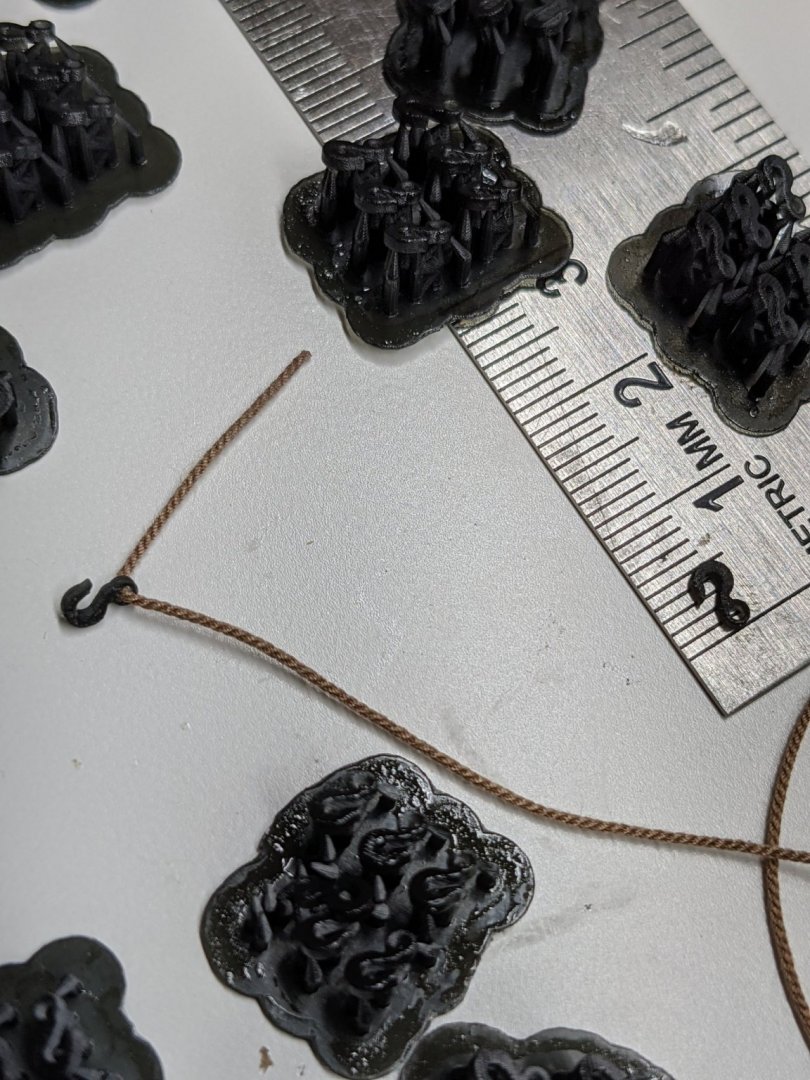
You are correct on this. Here is the difference between the same print of some canons. The black is water washable and the grey is regular resin. Also the water washable just seems softer than the standard resin and the detail is less. Something the black I have is good for is small detail parts. Here are some hooks I drew up and printed. I tested the strength and they are mighty strong. I left them on the supports to cure and they come off easy and I don't loose them
-
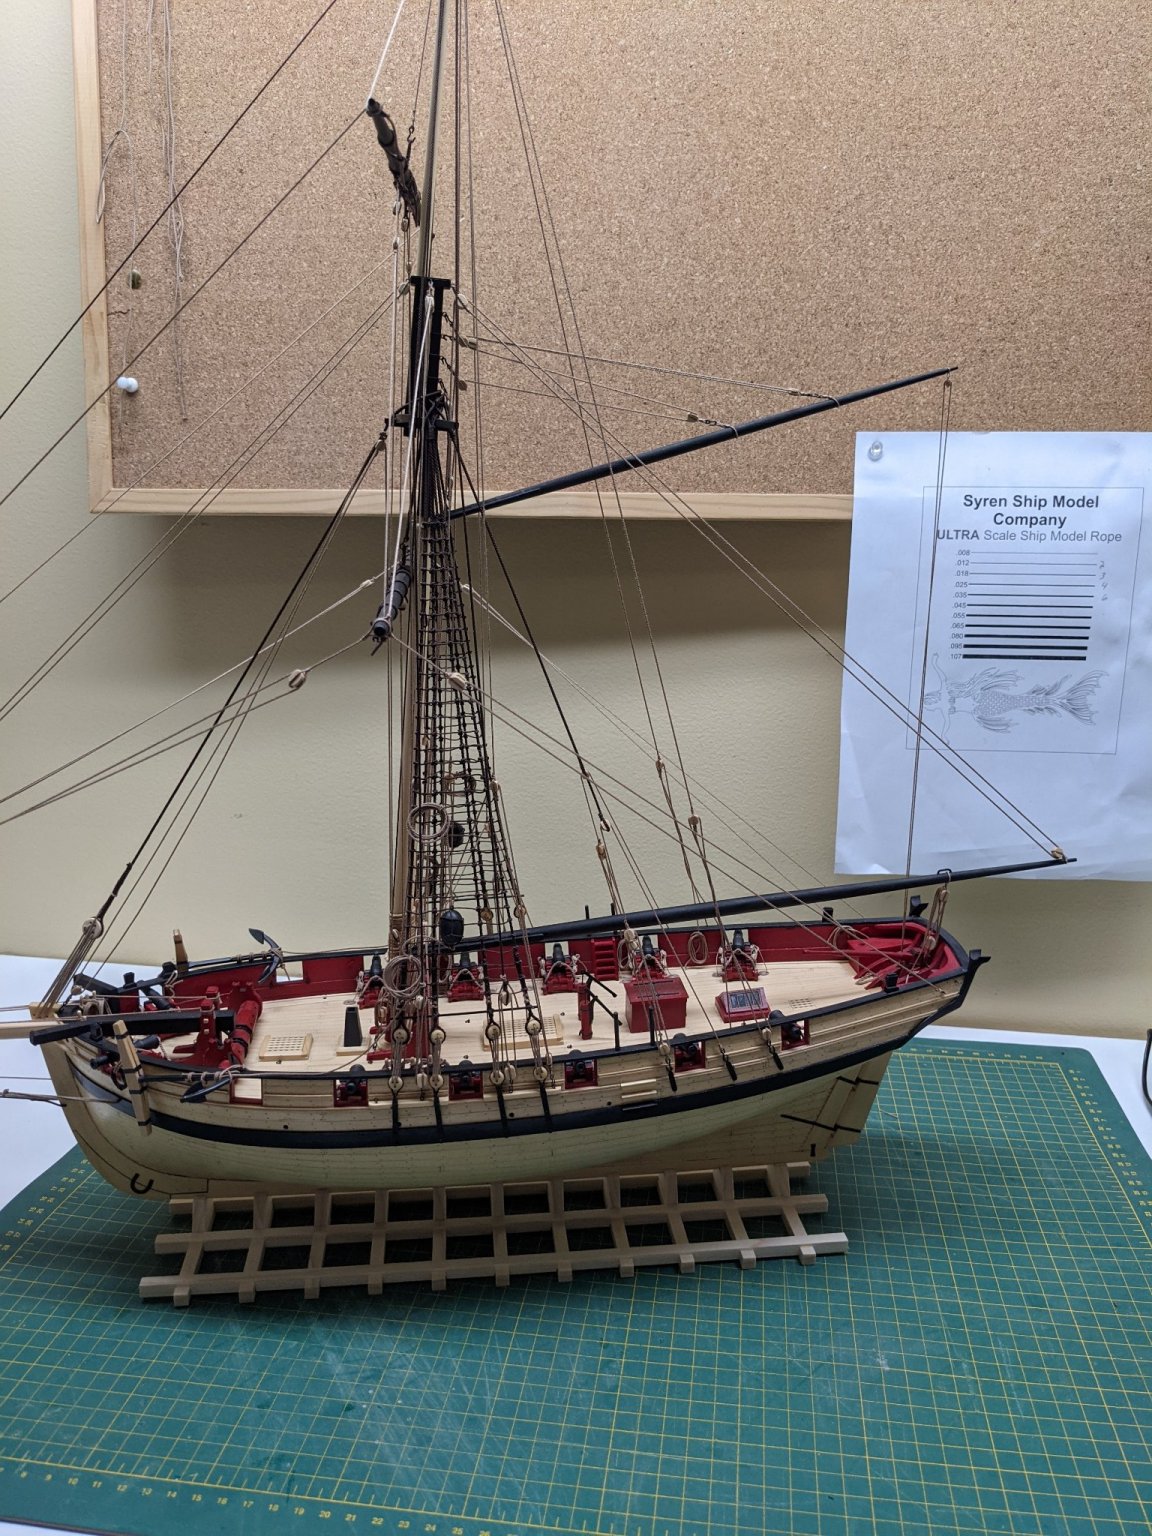
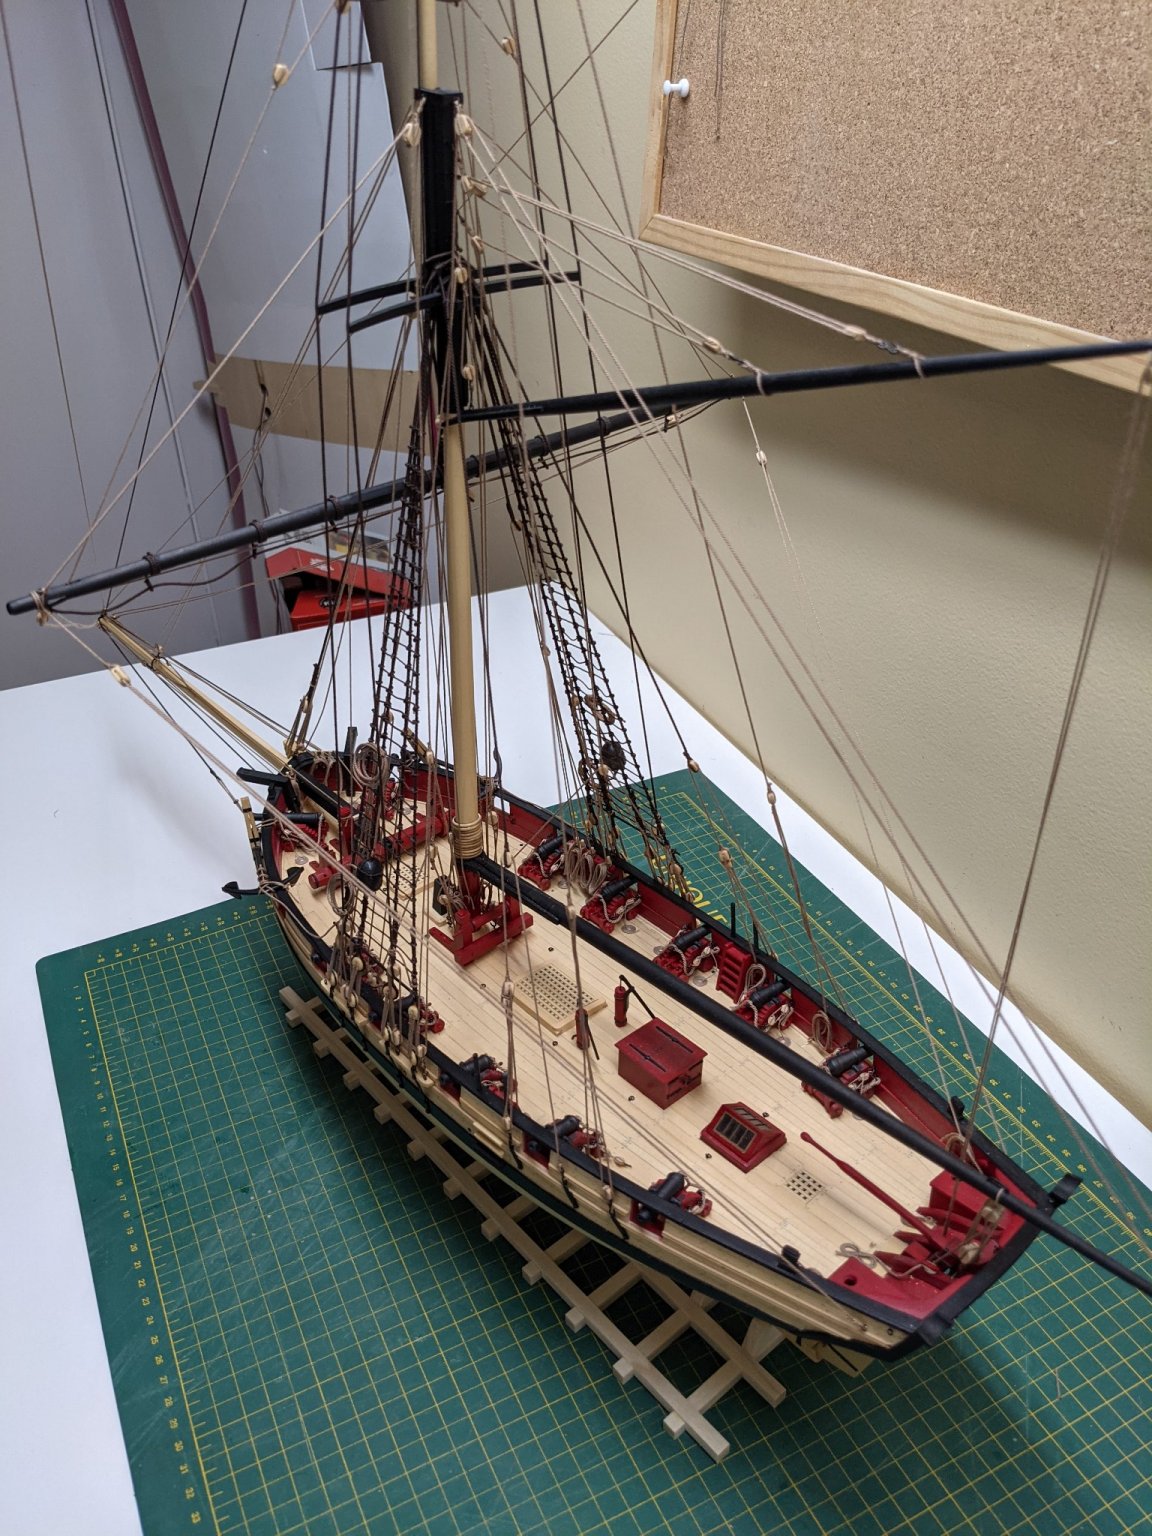
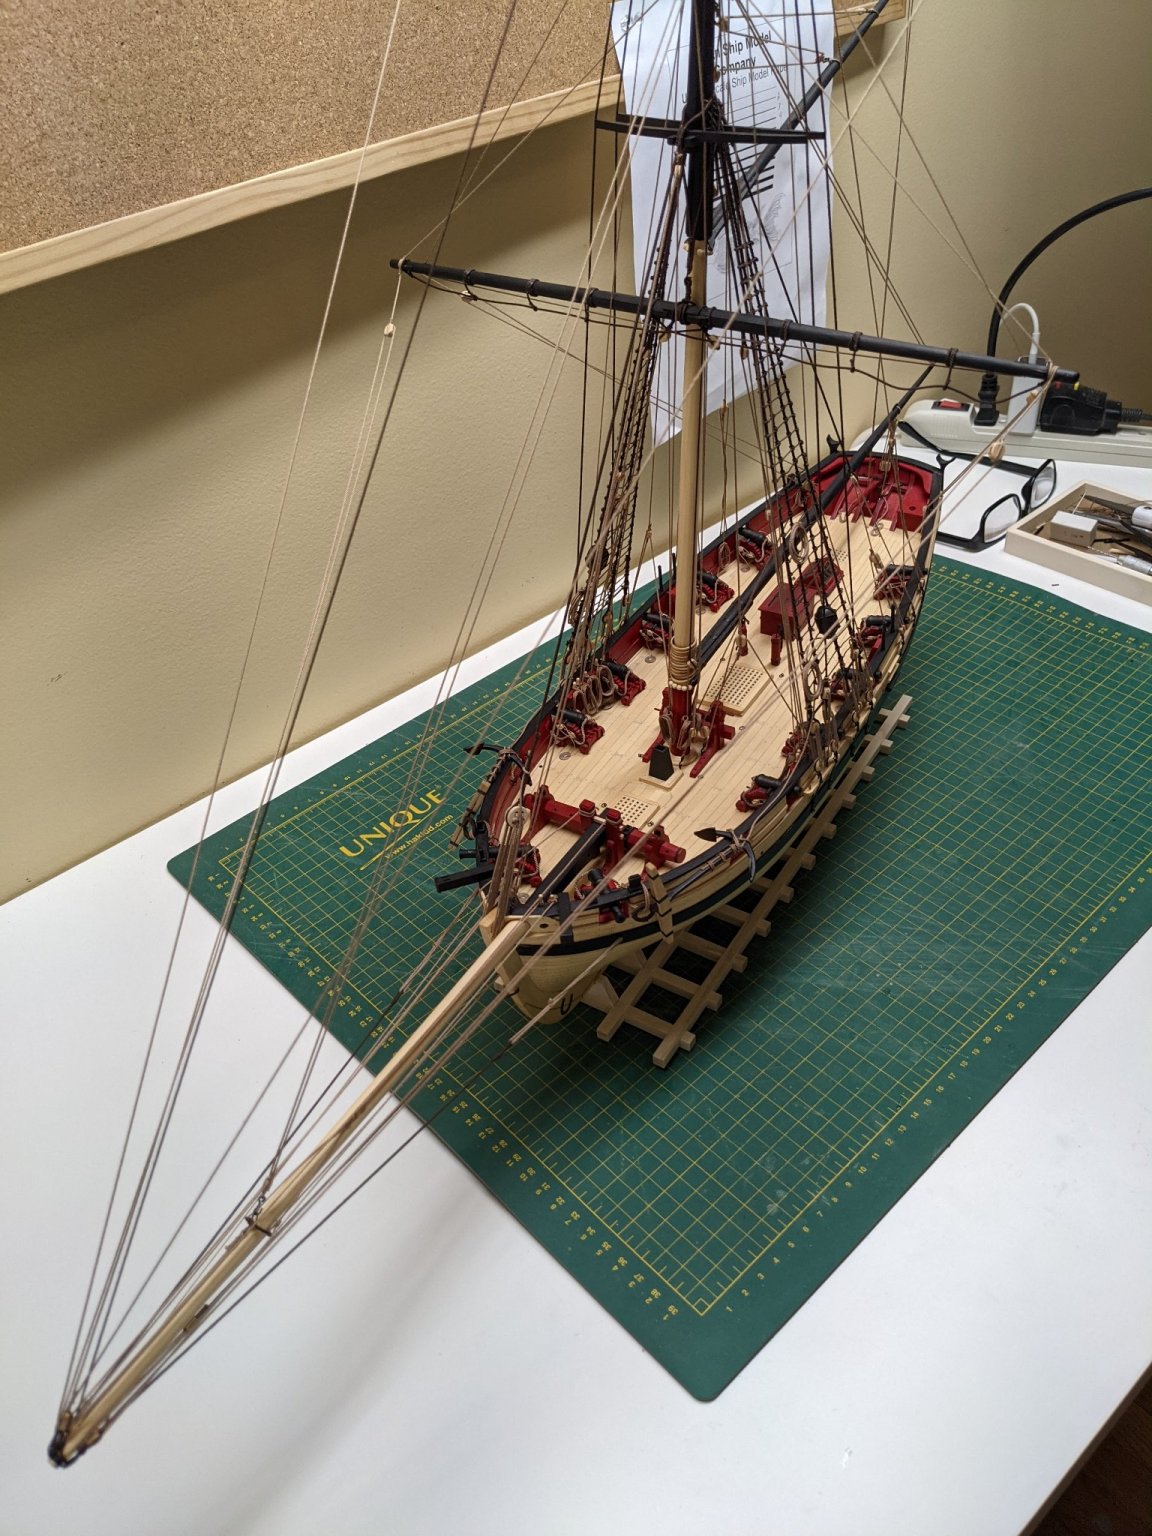
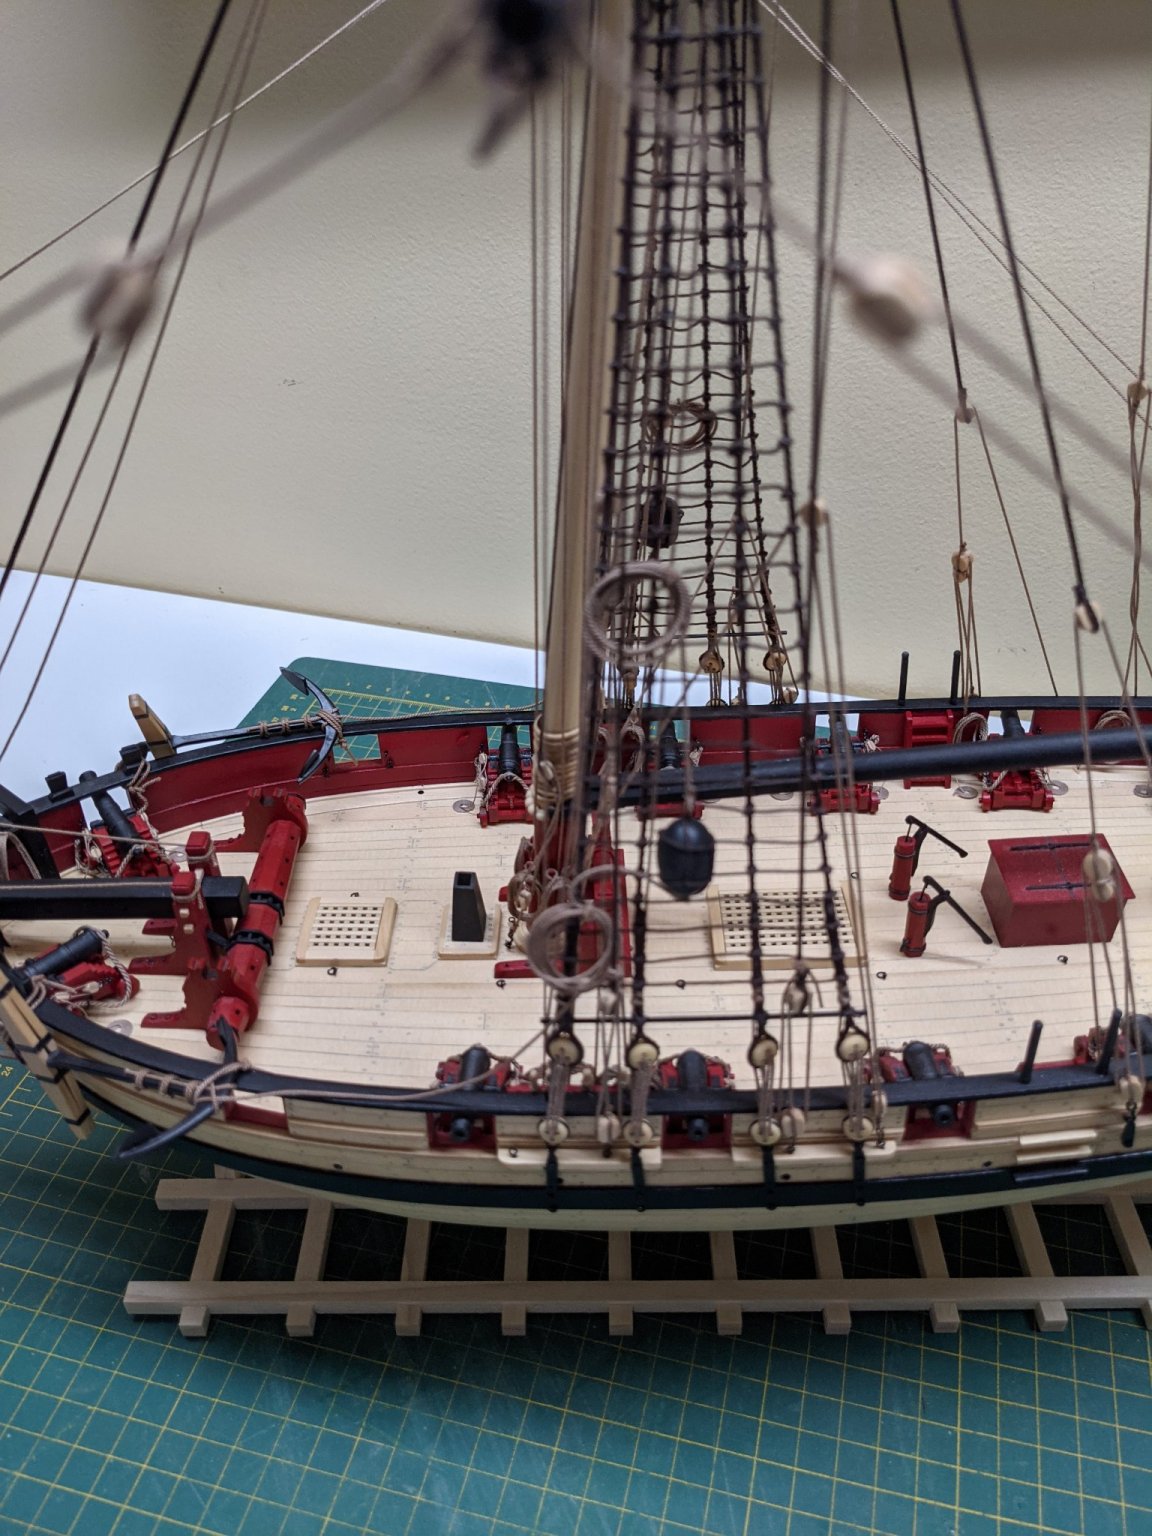
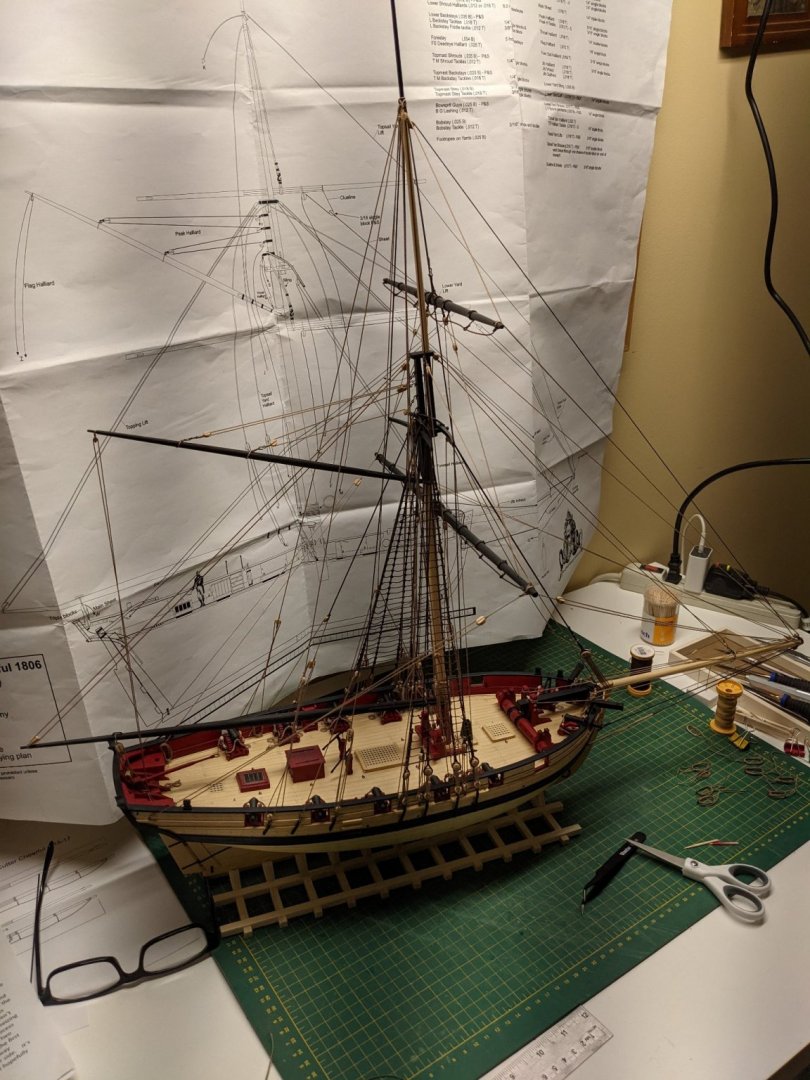
Thanks Chuck. Yes it is huge now and I have to be very mindful when I am working on it to not snag myself in all the rigging. Thanks Glen. I am going to be happy/sad to be finished and have not completely decided on my next project. It is a decision between the Triton cross section or the Winchelsea. Today I am leaning towards the Winnie but will be cutting my own bulkheads if I do it.
-
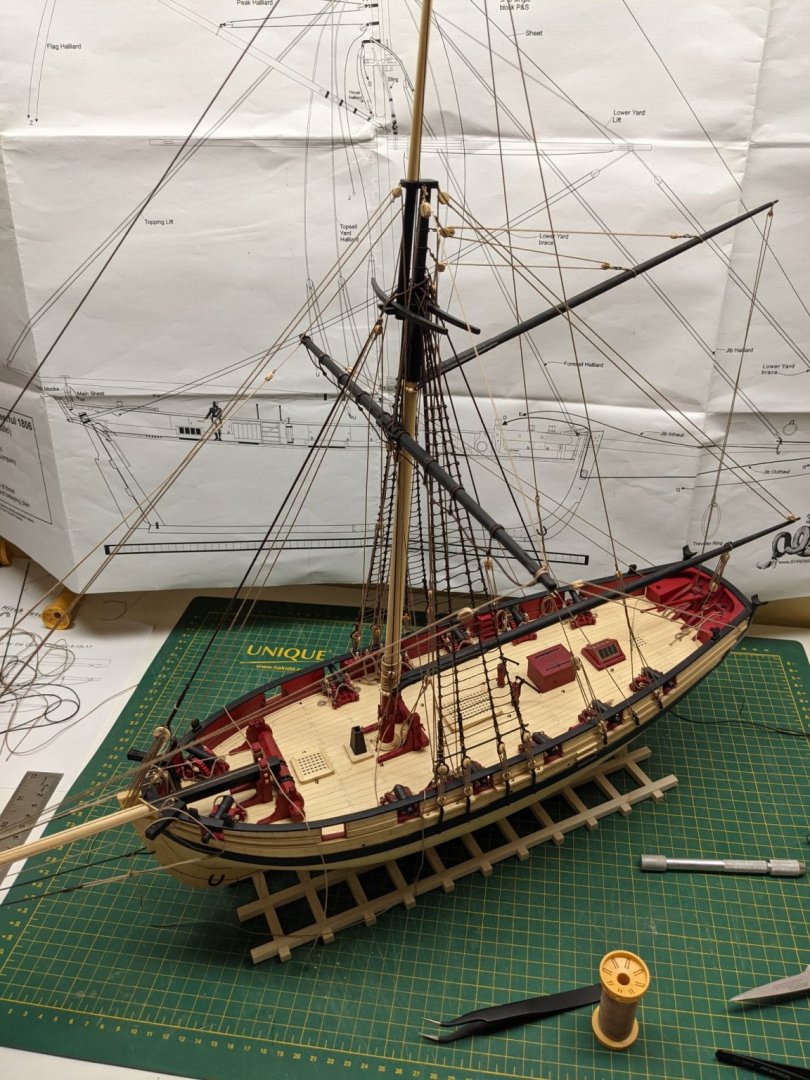
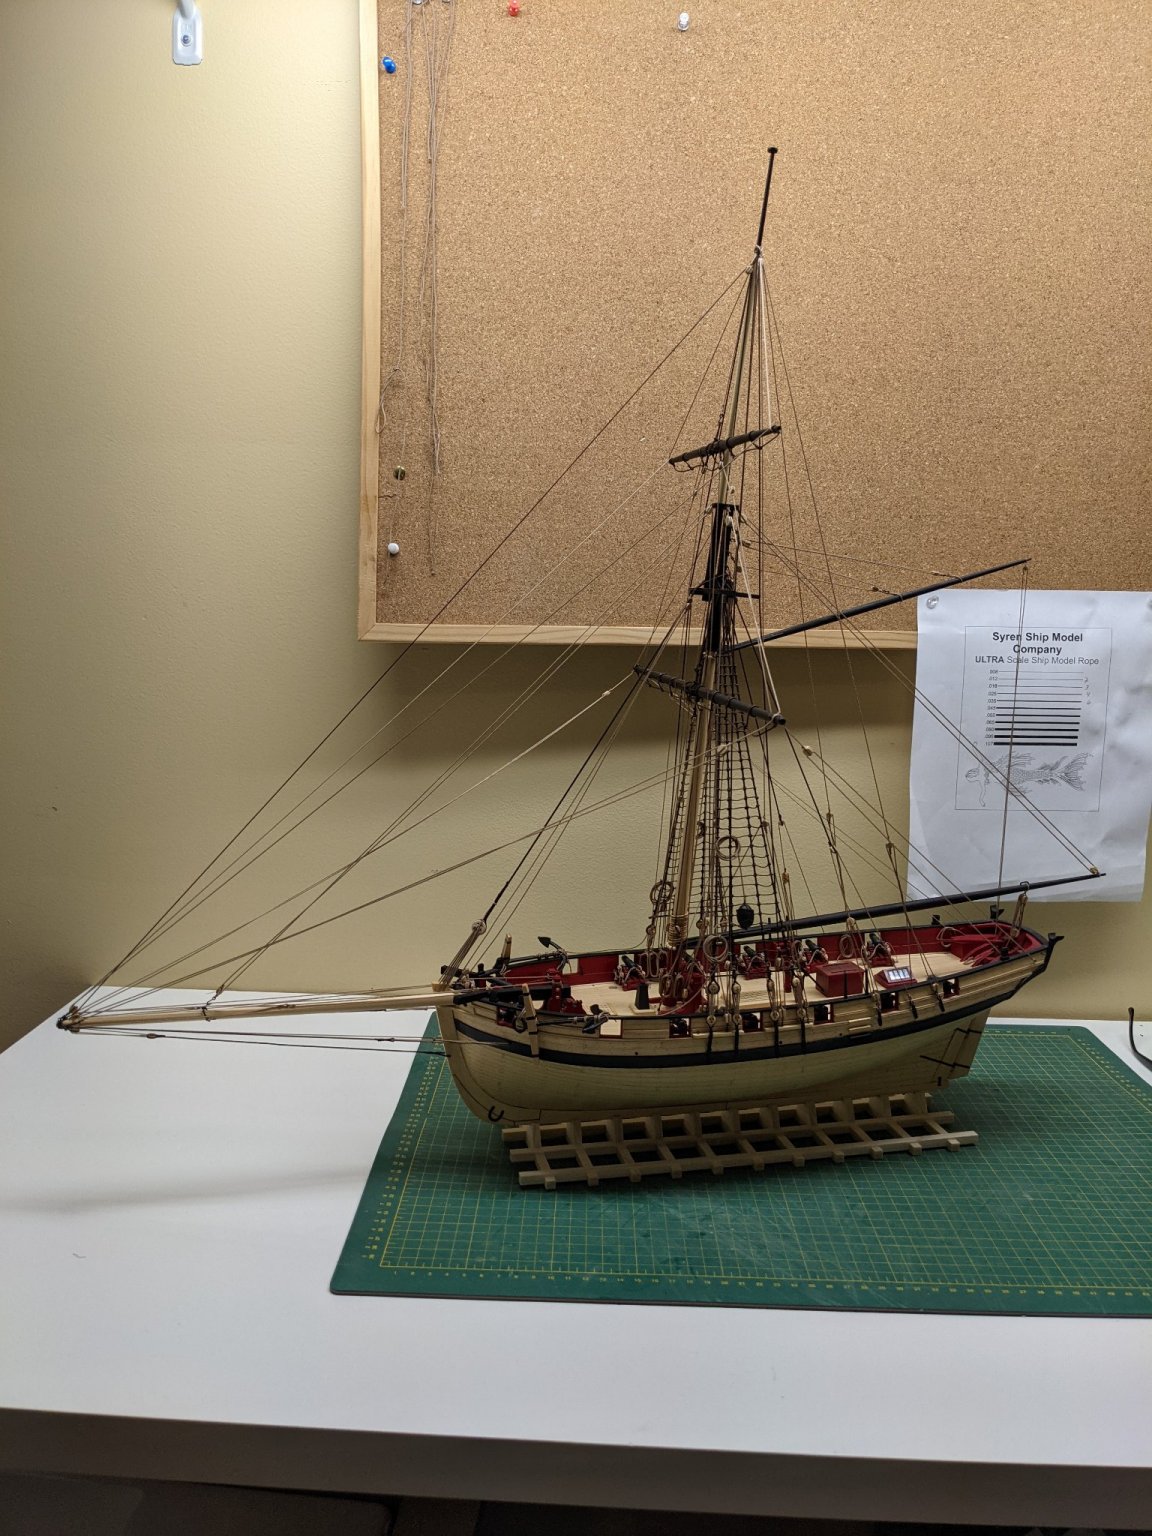
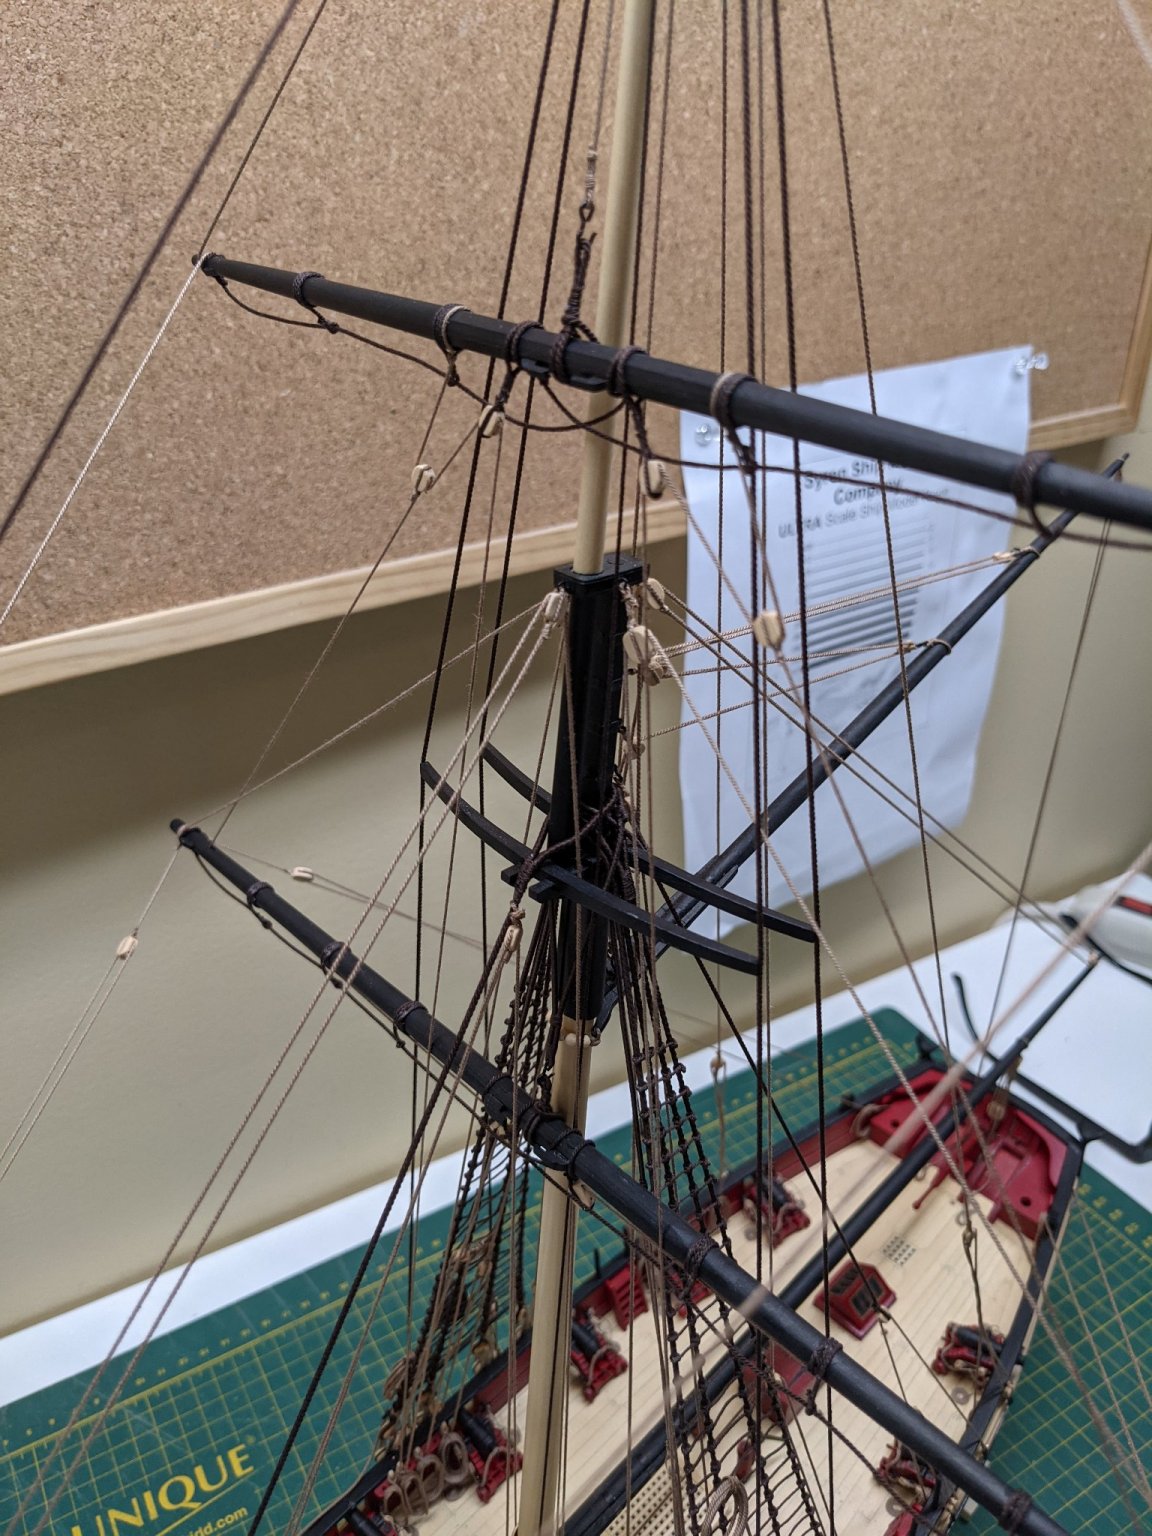
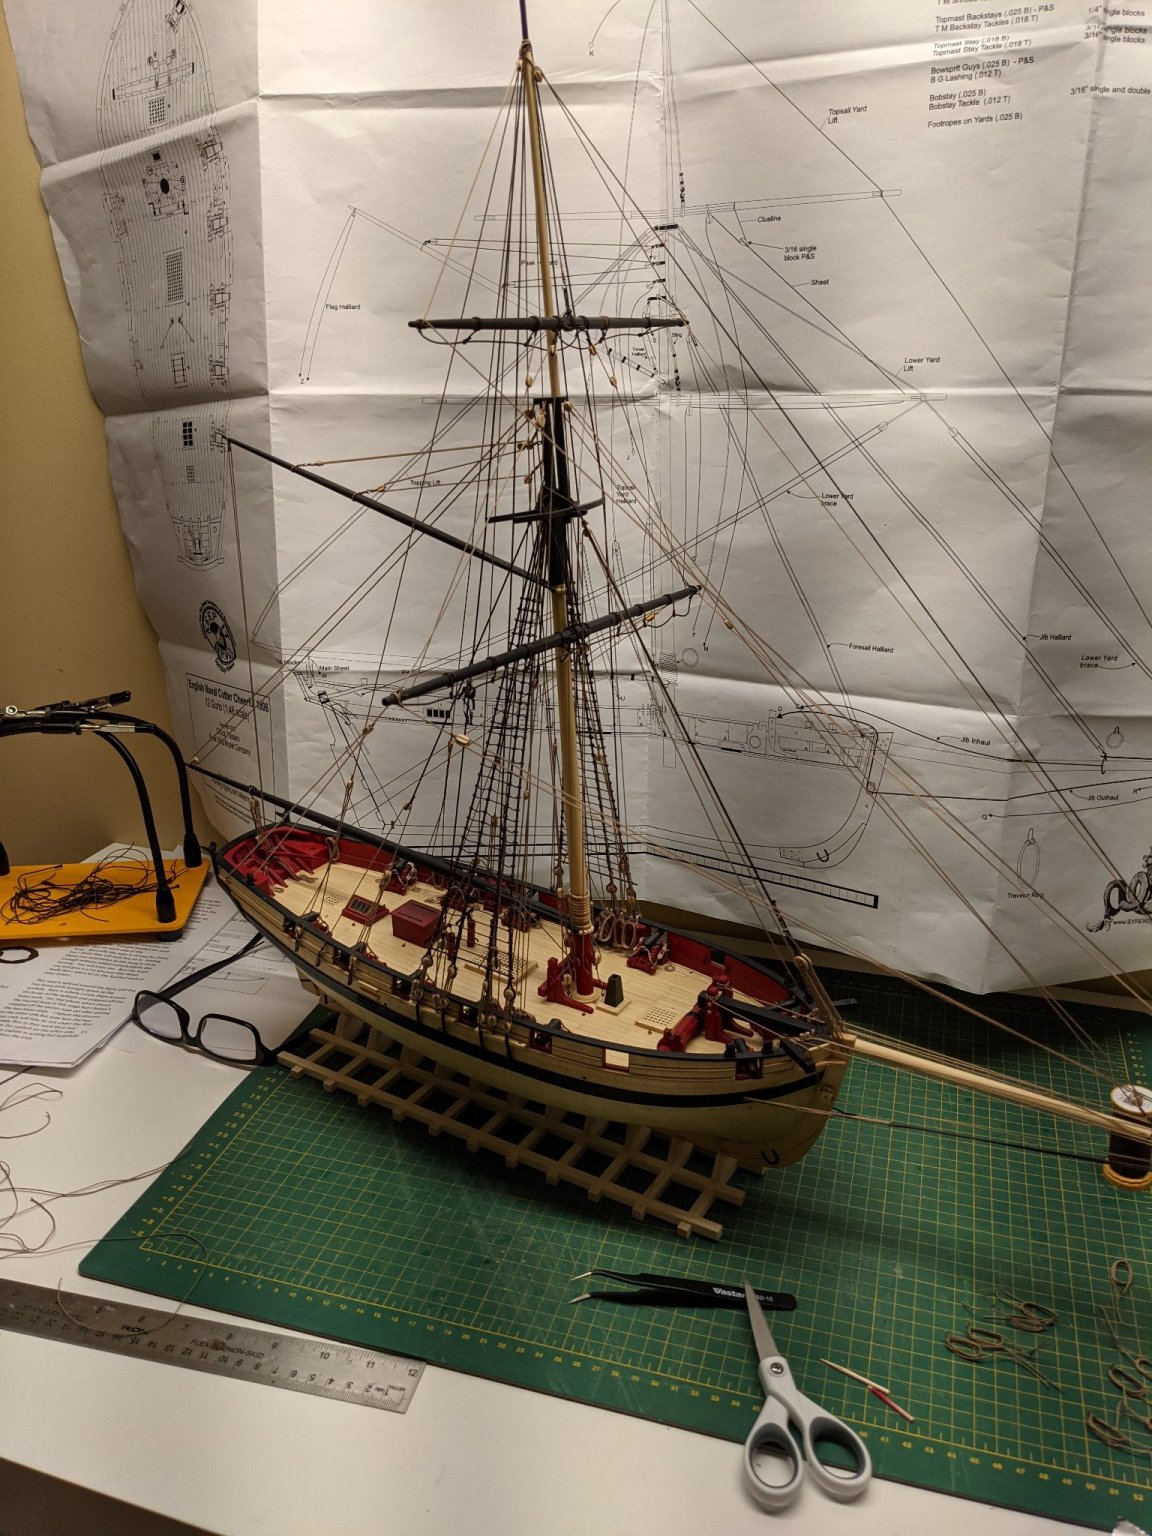
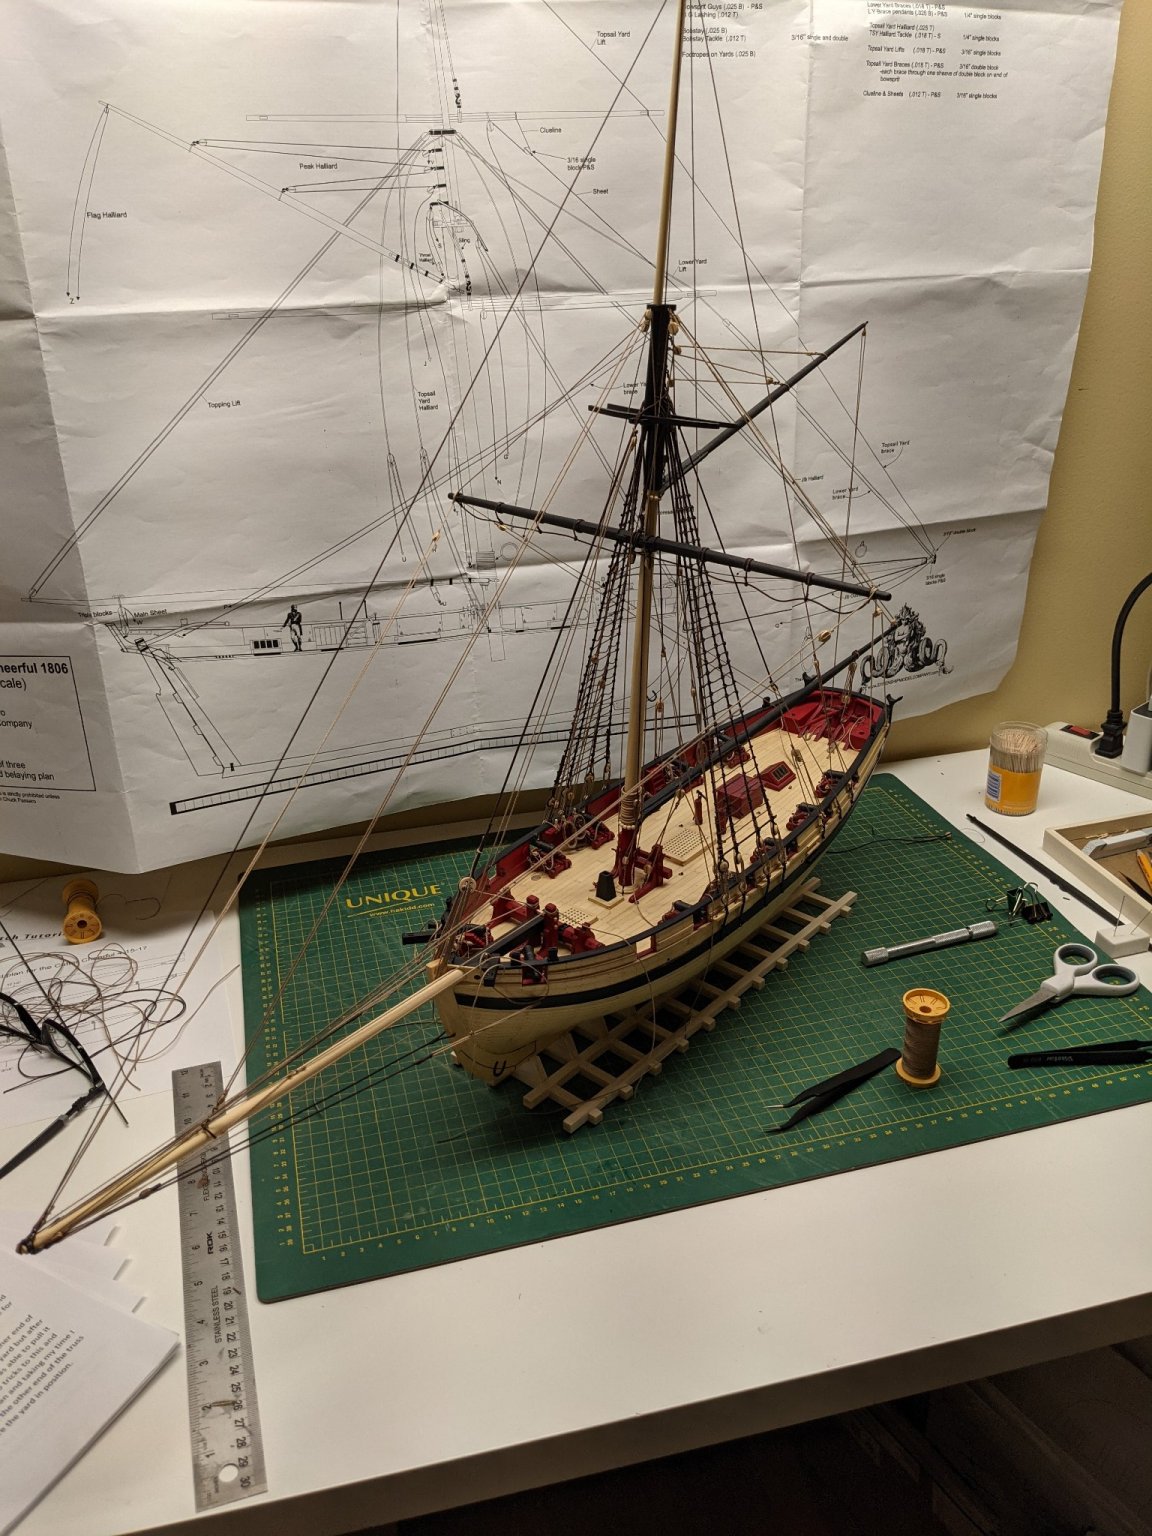
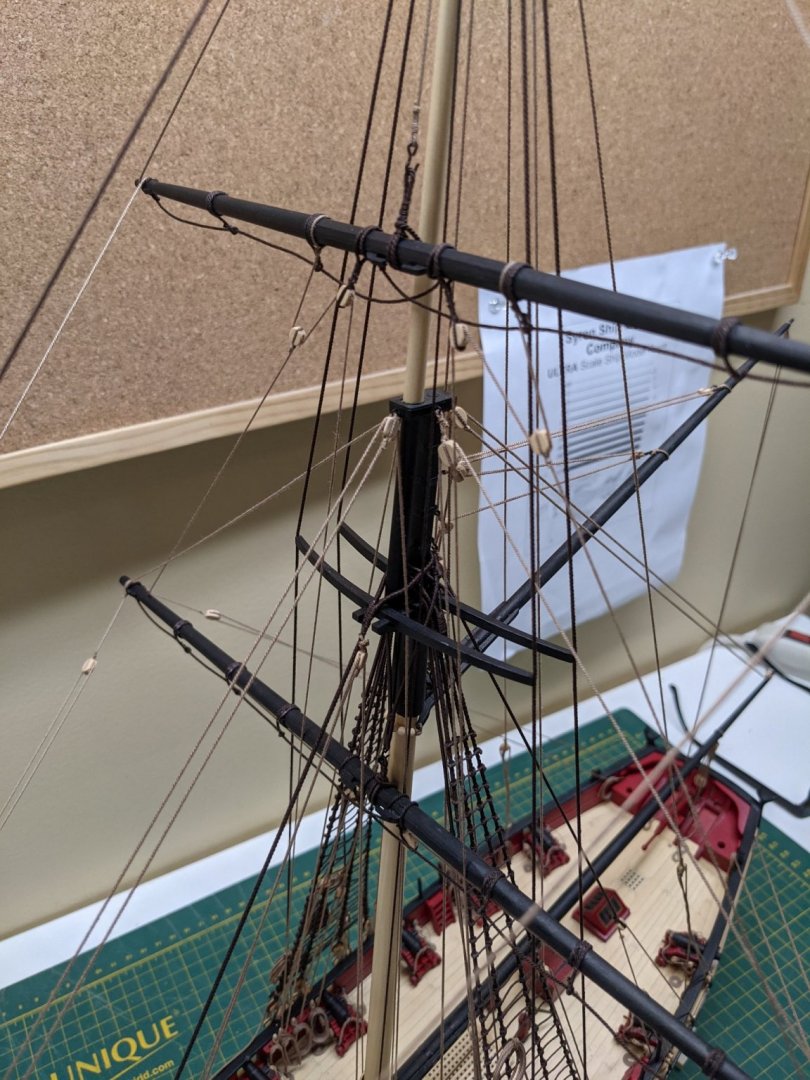
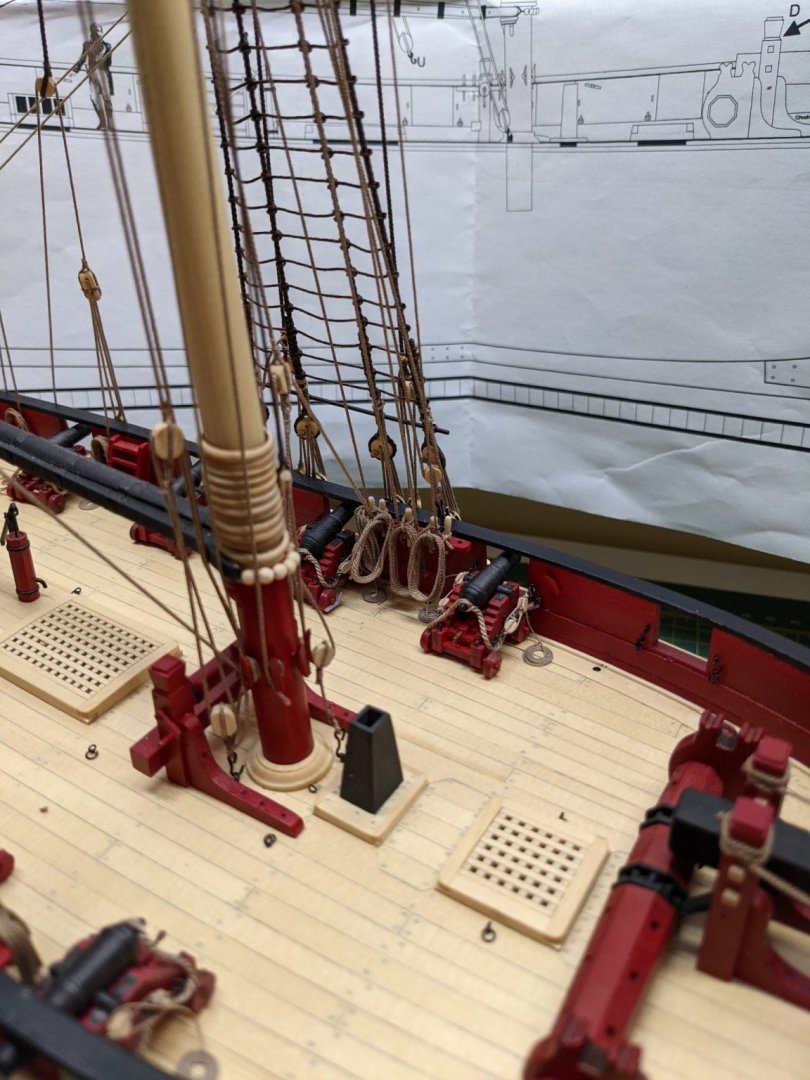
After a few days of intensive rigging I have the upper yard all done and making up some rope coils. Was tricky to do but I kept going back and doing a little bit at a time.
-
I am pretty happy with the detail you can get with the resin printer. This is with the Elegoo black water washable resin. The finish is dull and I have purchased some Anycubic standard grey resin to try. I am still in an early learning stage and find that Lychee Slicer is a lot more user friendly so I will stick with that. Here is a few things I have learned: Do not use paper towels on the FEP as they will scratch it. Run a vat clean and removing the piece of cured resin is the best way to clean up after a print failure and might not be a bad idea between prints. To do a plate level on the Mars 2 use two pieces of paper and home it with the bolts loose. Then slowly snug them down back and forth then remove one sheet to check and you are done. The spring is quite strong in the build plate. Make sure you get the build plate back on all the way when you remove it. More supports are better than less to avoid failures.

-
Brodak in the US has silkspan also. light and medium https://brodak.com/silkspan-lite-white-only-2-sheets.html
-
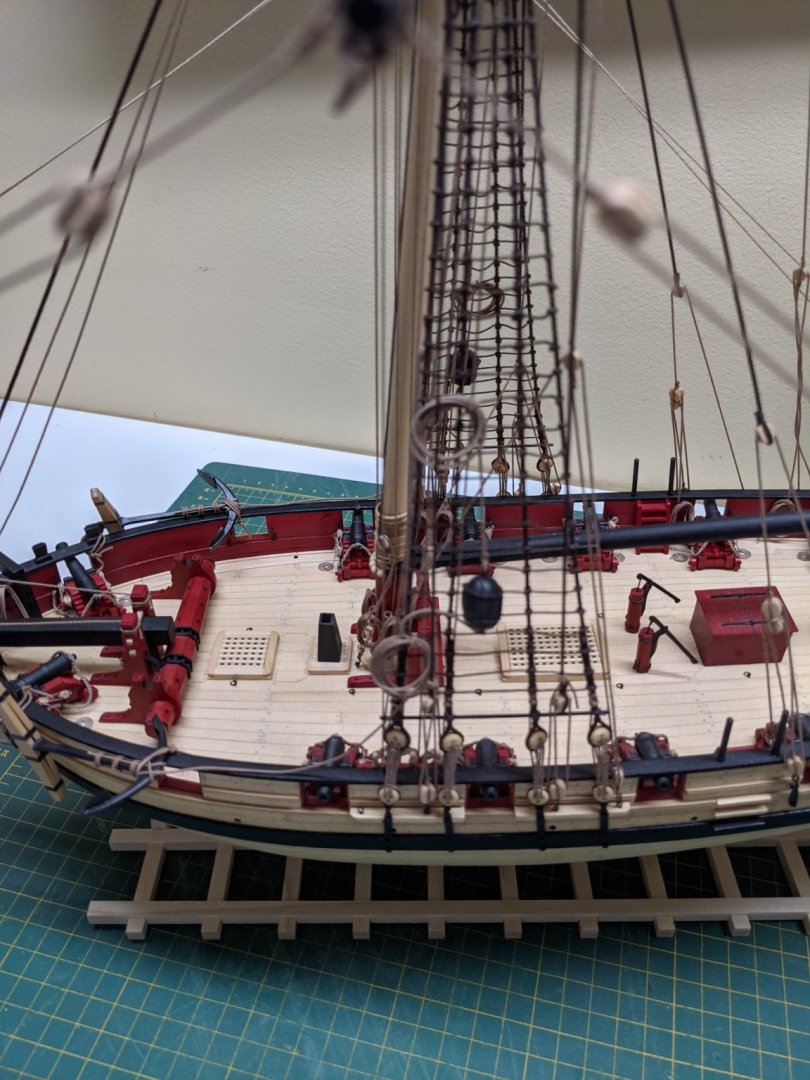
Lower yard is rigged but not completely tightened yet. This was quite the rigging process for sure!