(1)(1)(1)(2).jpg.a128ea4d7b02ebfc5d5eb6547e92106f.jpg)
PRS
-
Posts
372 -
Joined
-
Last visited
Content Type
Profiles
Forums
Gallery
Events
Everything posted by PRS
-
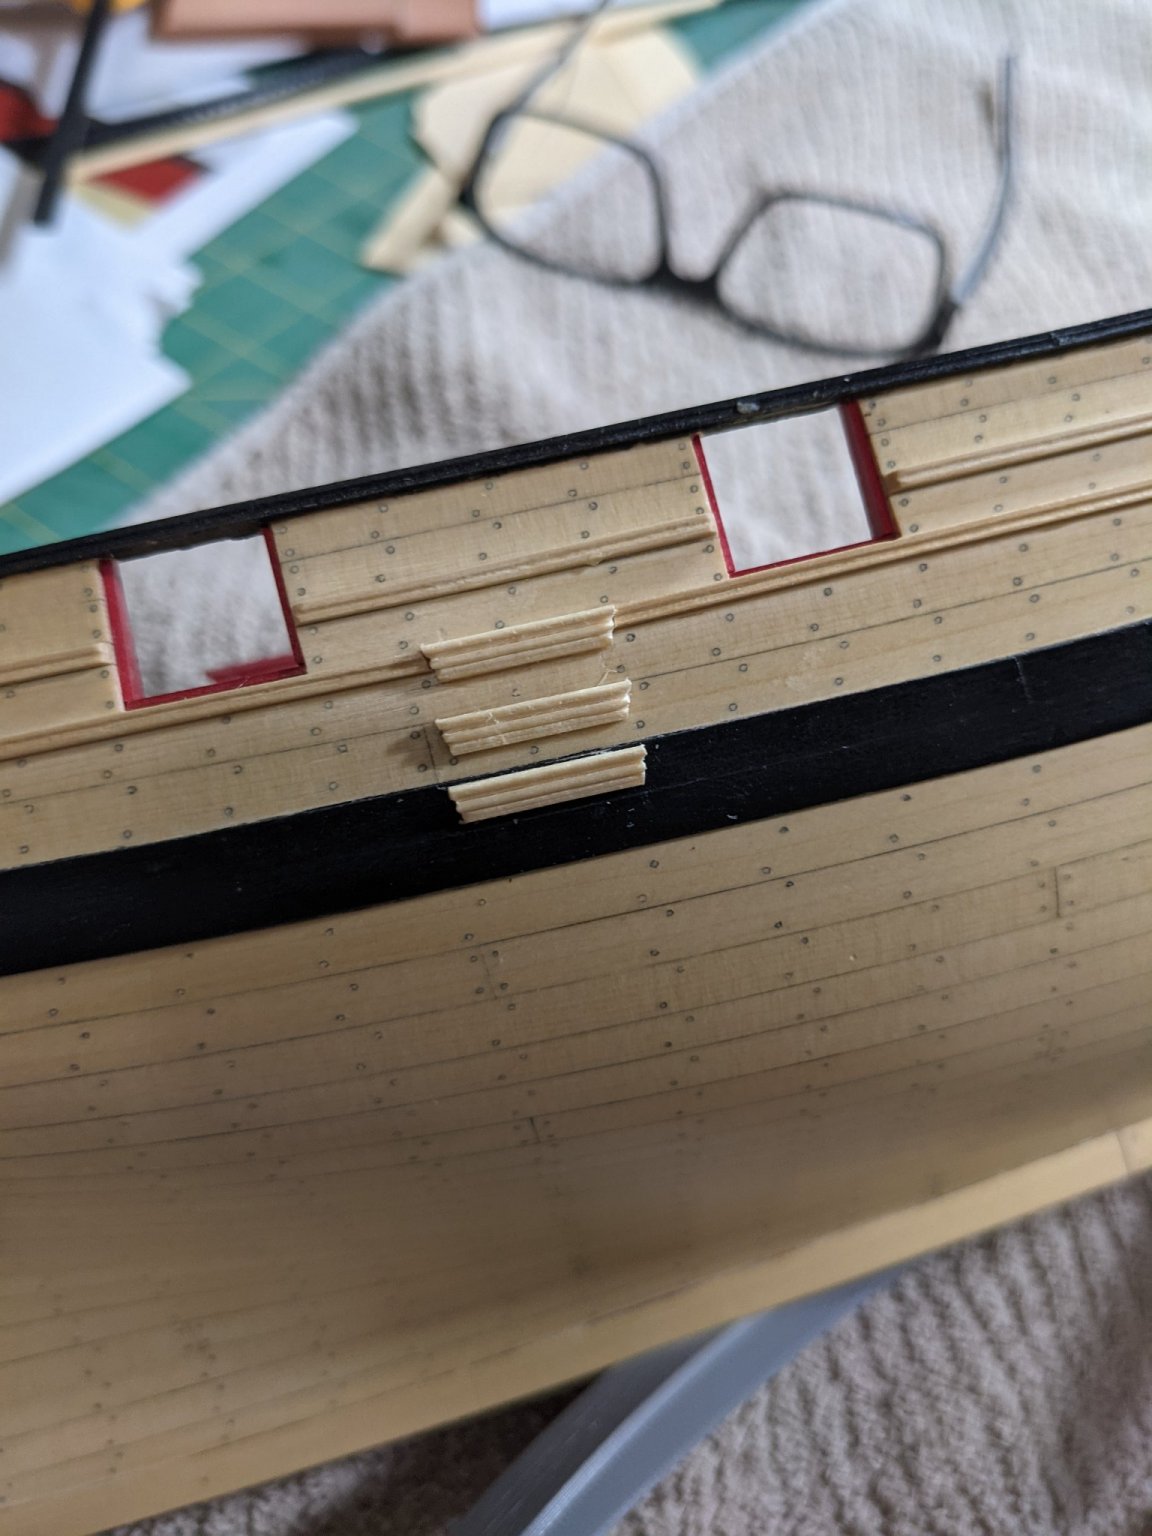
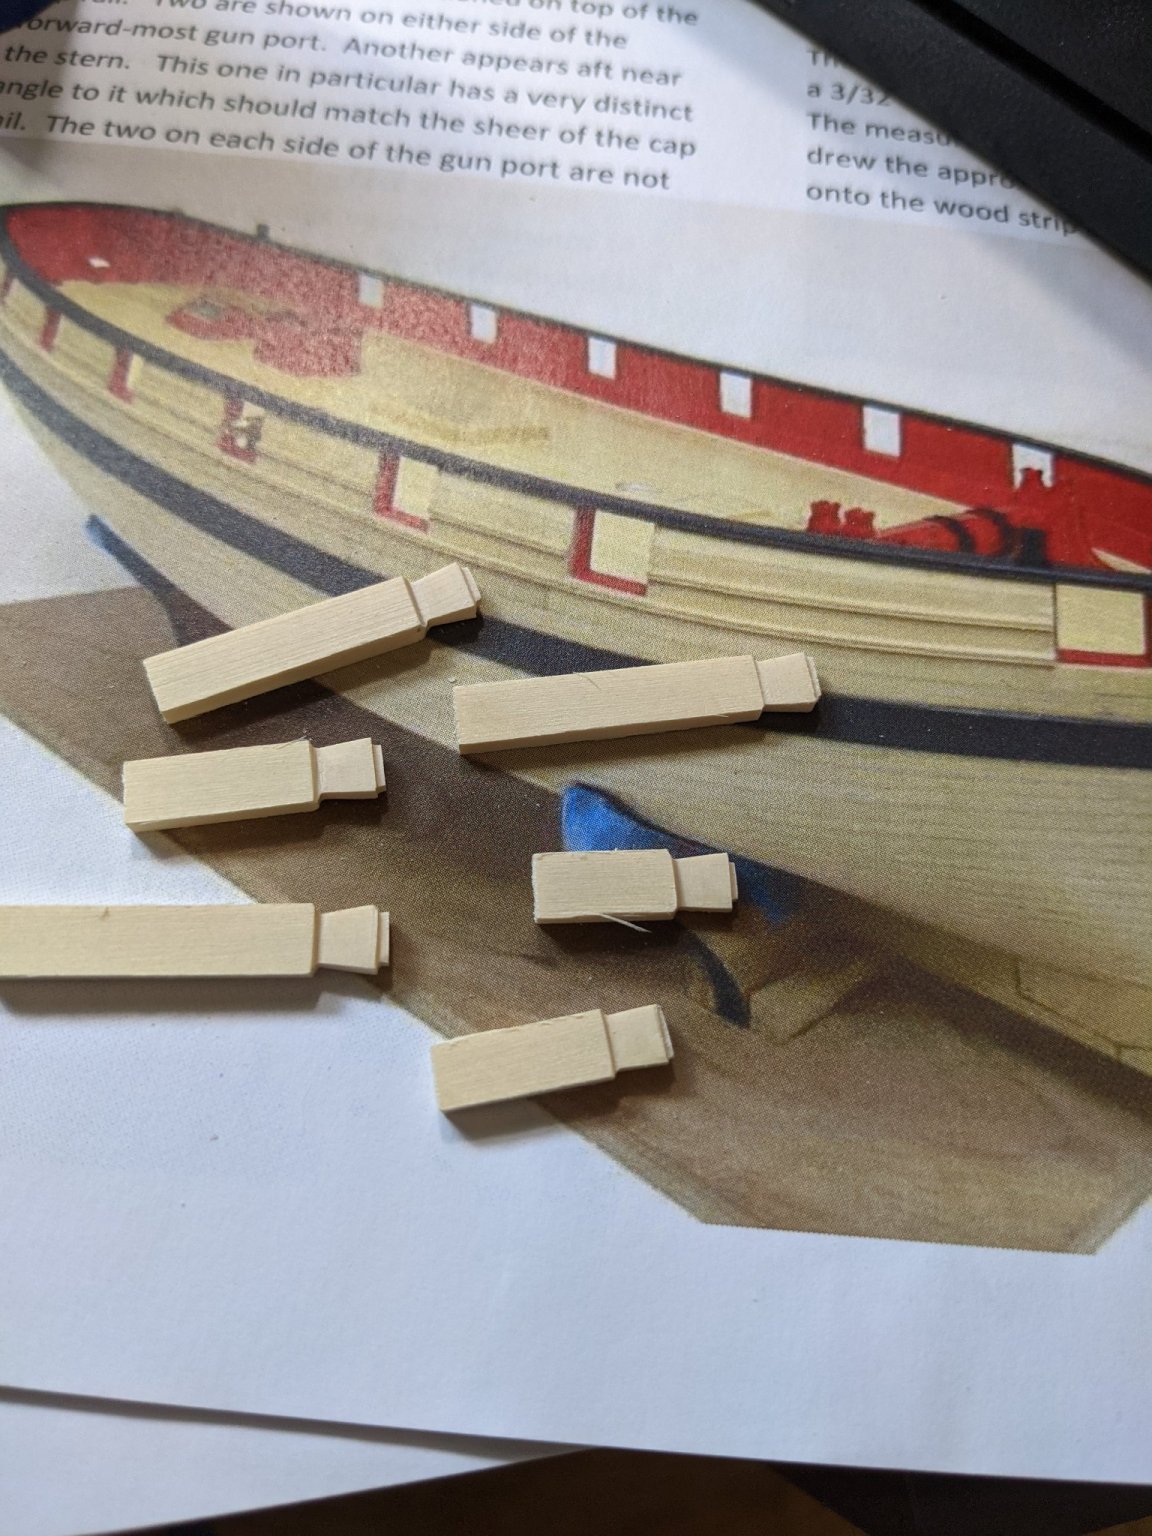
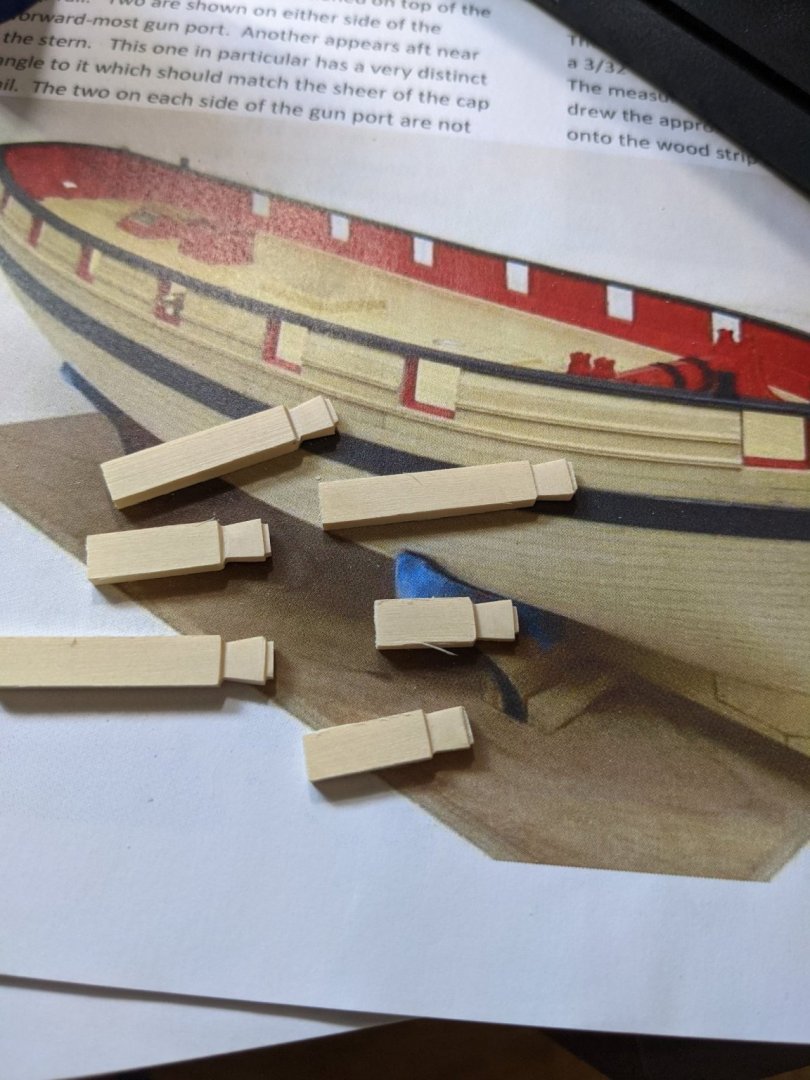
(1)(1)(1)(2).thumb.jpg.792ad774561d3d4f35888704cde27a8e.jpg) Spent some time making the boarding stairs and got them mounted on the hull. I made up a scraper from a single edge razer blade to get the profile.
Spent some time making the boarding stairs and got them mounted on the hull. I made up a scraper from a single edge razer blade to get the profile.

- 274 replies
-
- 5
-

-
- Cheerful
- Syren Ship Model Company
- (and 1 more)
-
Made up the 6 timberheads and attached them to the cap rail. Just careful sanding and throwing out the bad ones
- 274 replies
-
- 2
-
-
- Cheerful
- Syren Ship Model Company
- (and 1 more)
-
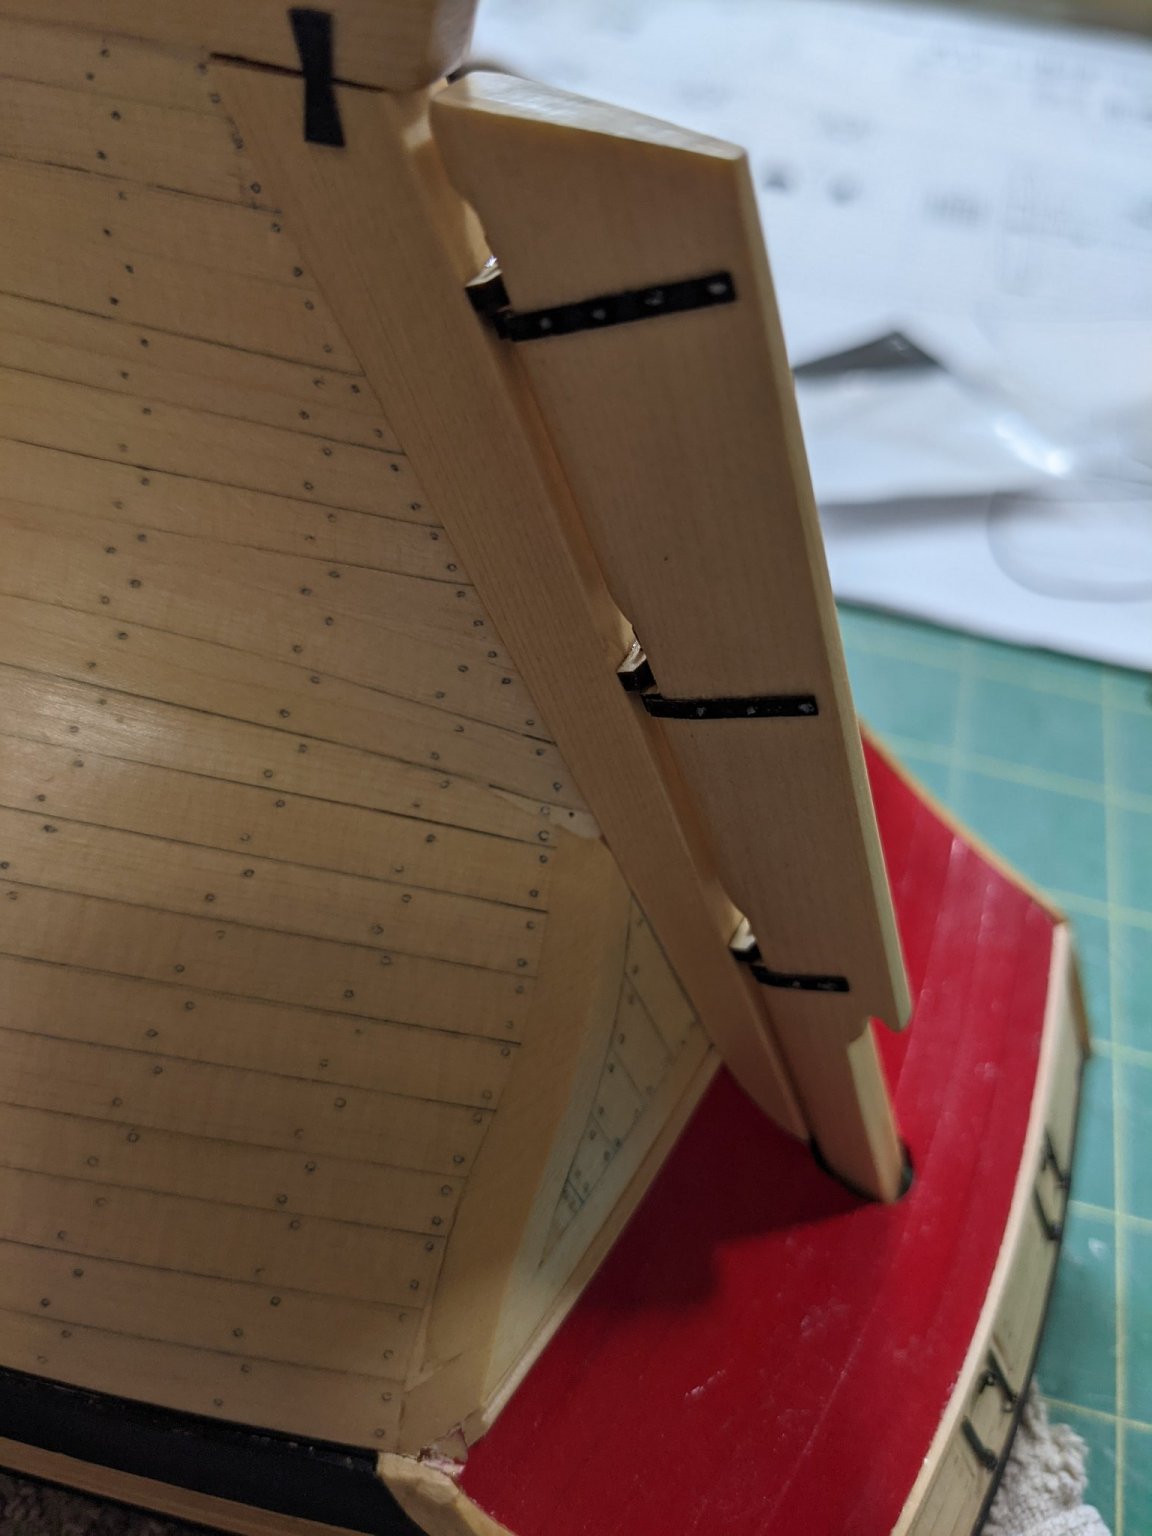
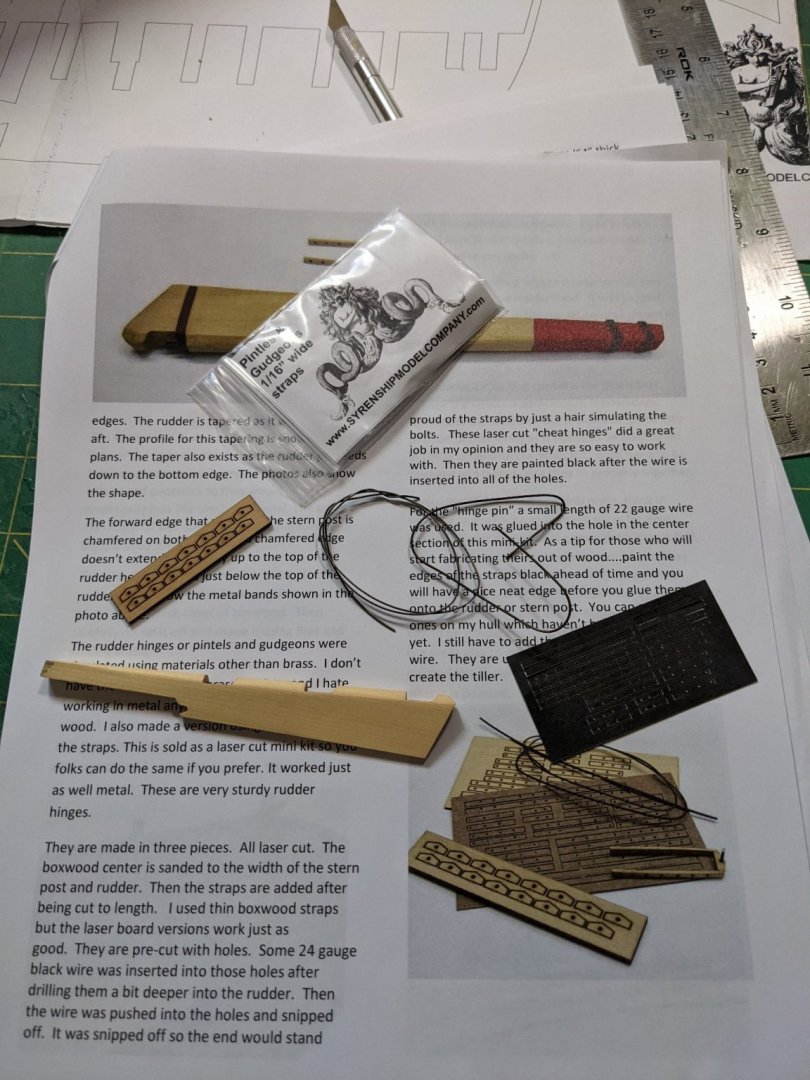
Using the mini kit I mounted the rudder as it seemed like as good a time as any to do it.


- 274 replies
-
- 5
-
-
- Cheerful
- Syren Ship Model Company
- (and 1 more)
-
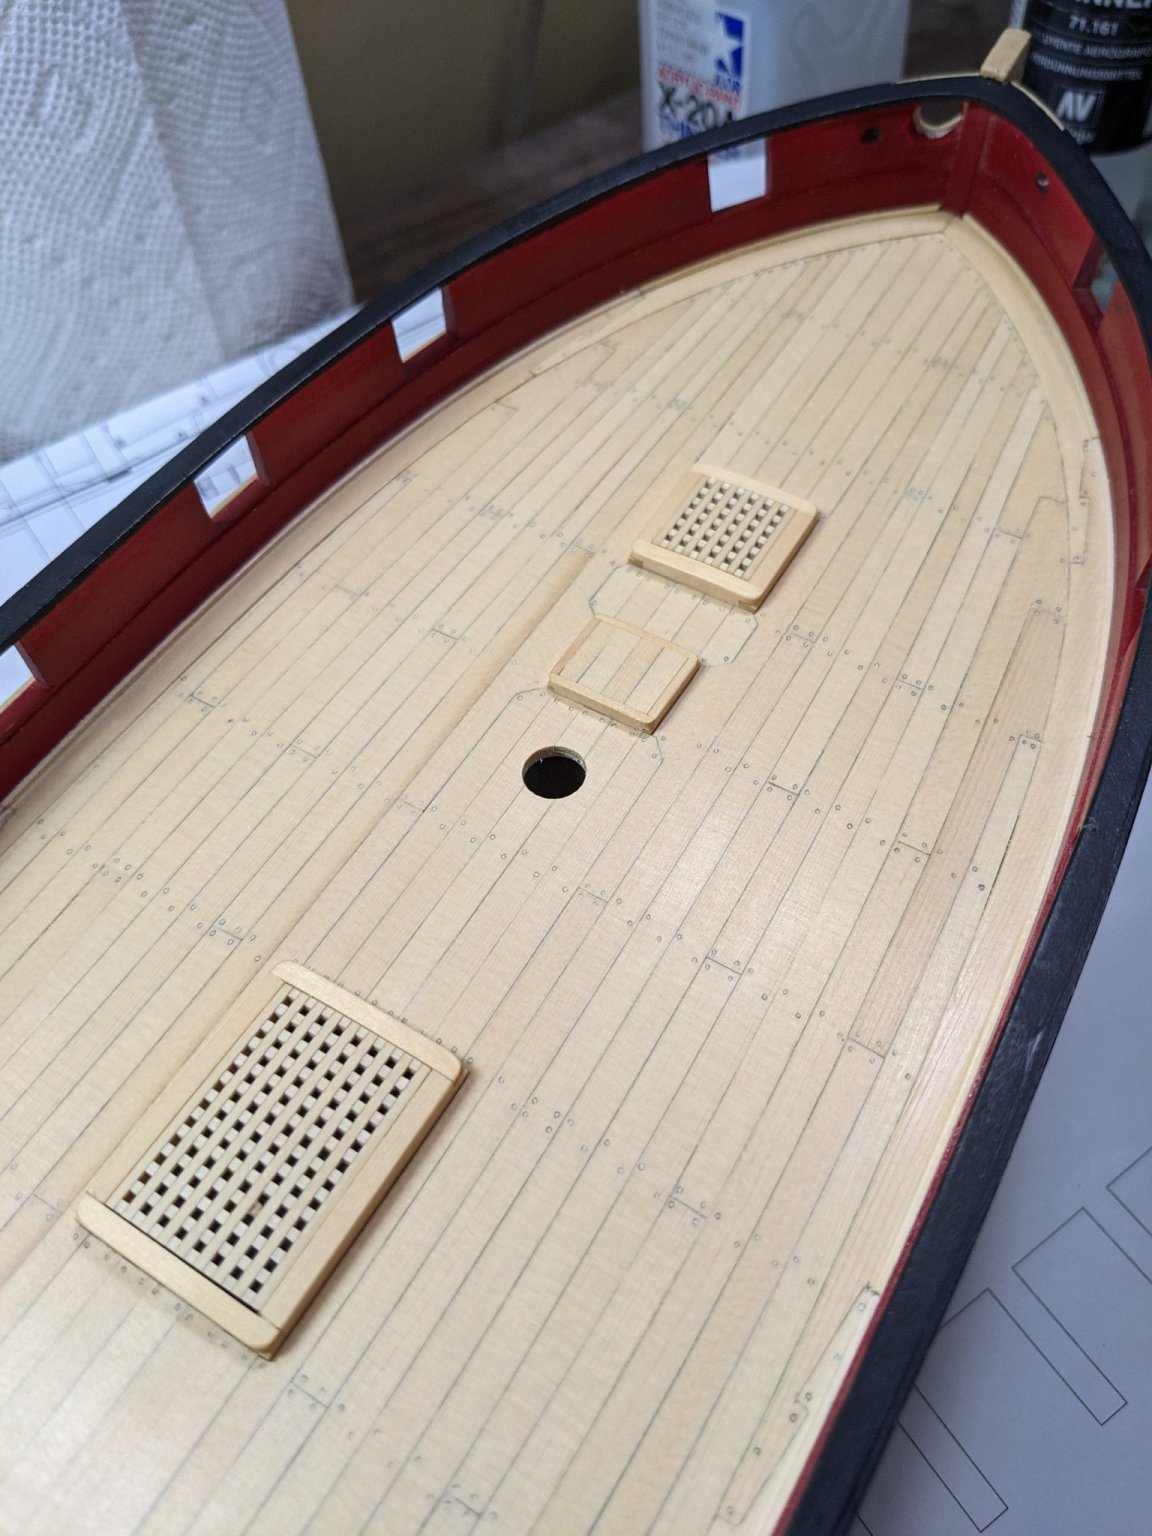
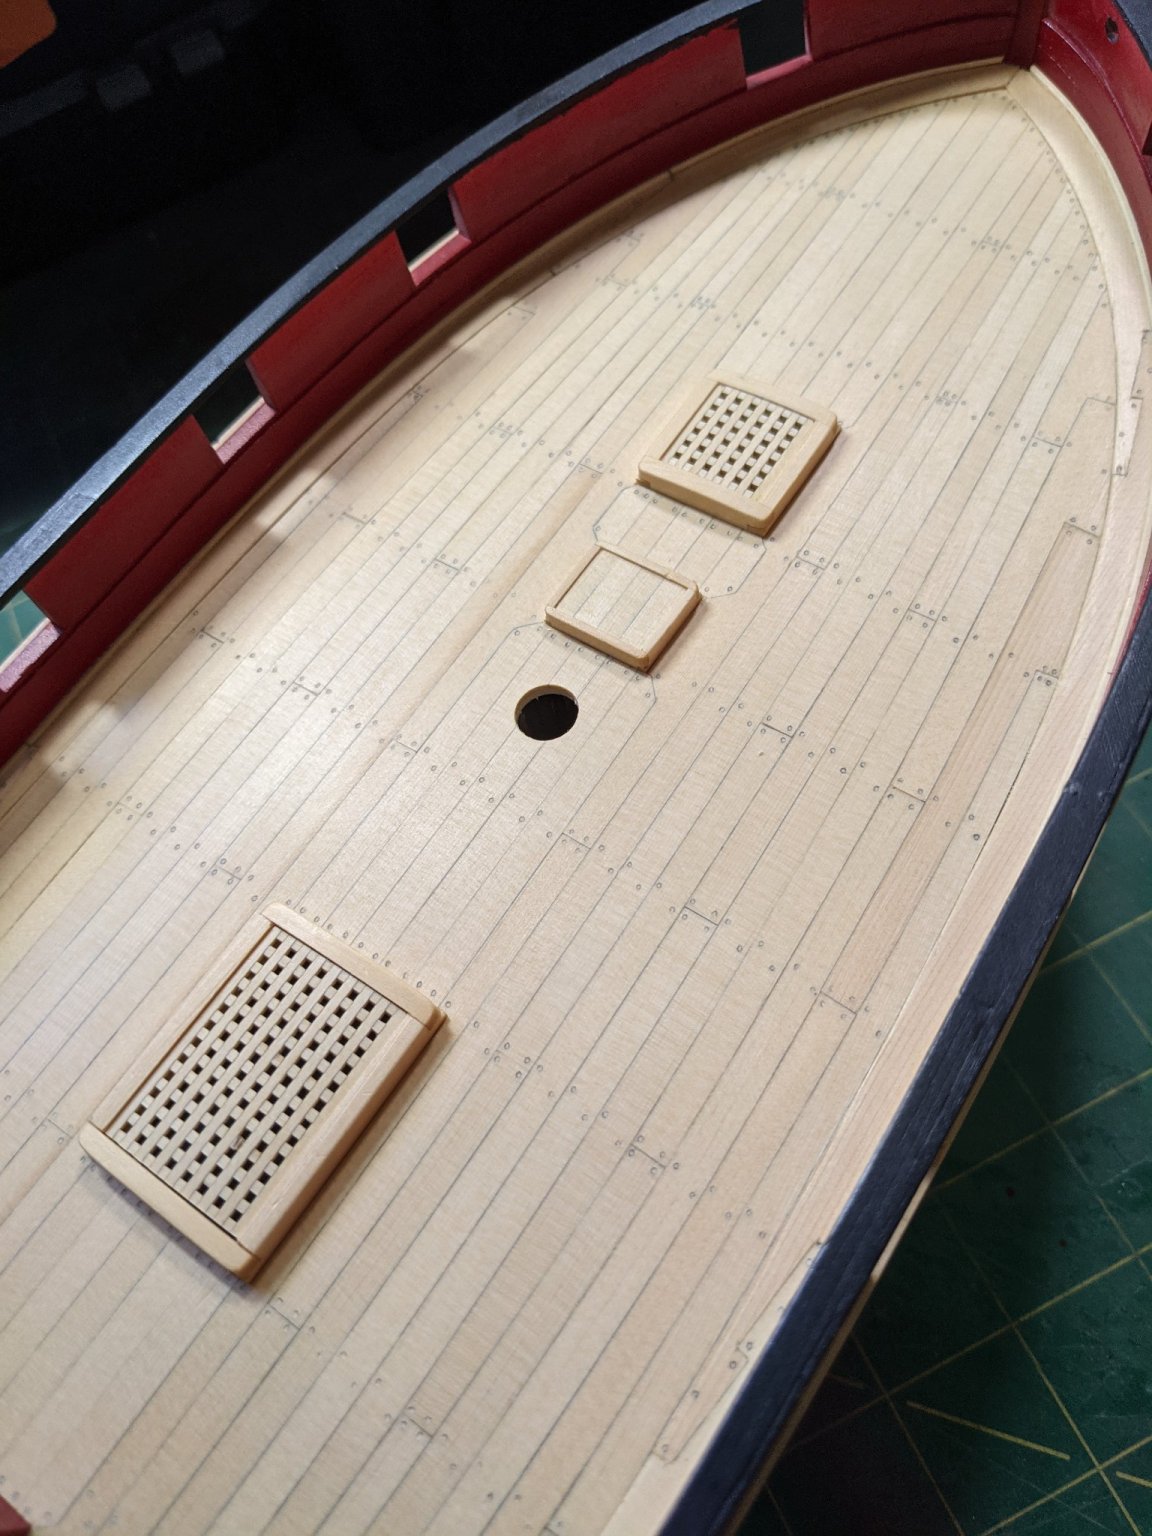
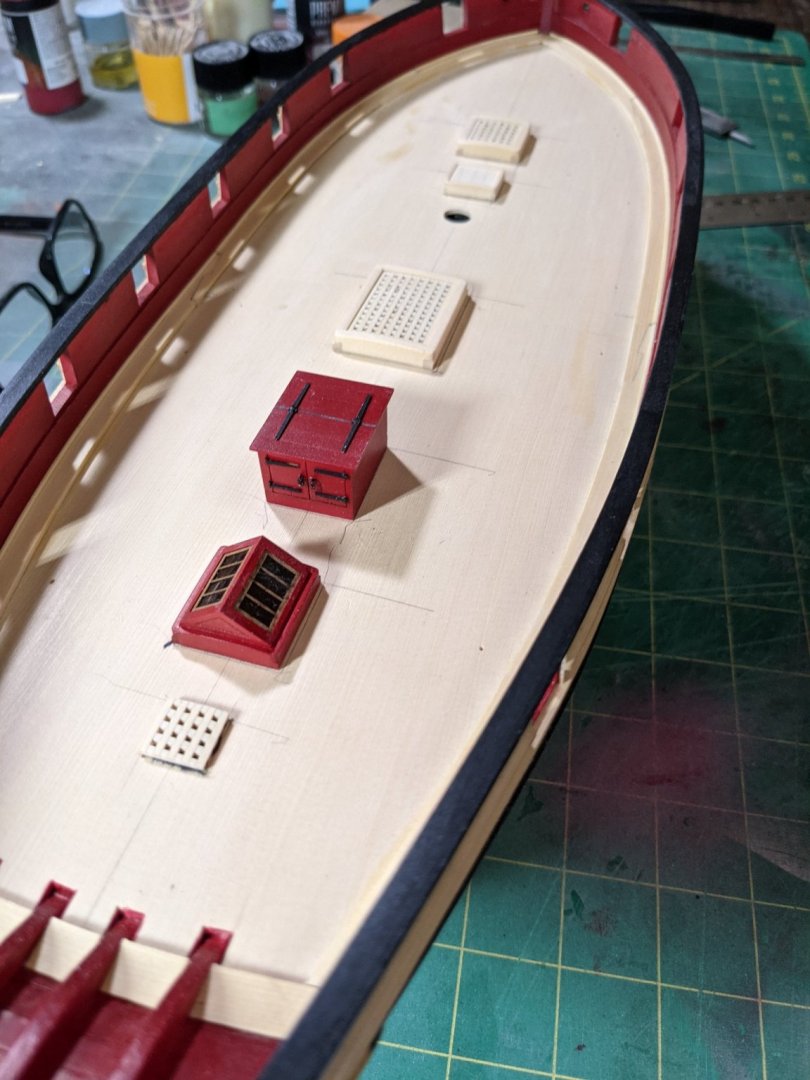
Sanded the gratings down as per Chuck's suggestion and it does look better.

- 274 replies
-
- 2
-
-
- Cheerful
- Syren Ship Model Company
- (and 1 more)
-
That book is an awesome idea. Everything looks great!
- 185 replies
-
- 1
-
-
- queen anne barge
- Syren Ship Model Company
- (and 1 more)
-
You could just glue them together and sand down the glue seam.
-
Thanks for the tips Chuck. Looks like I have some sanding to do. Not sure if I can remove the gratings on the forward ones but can sand the one at the stern no problem.
-
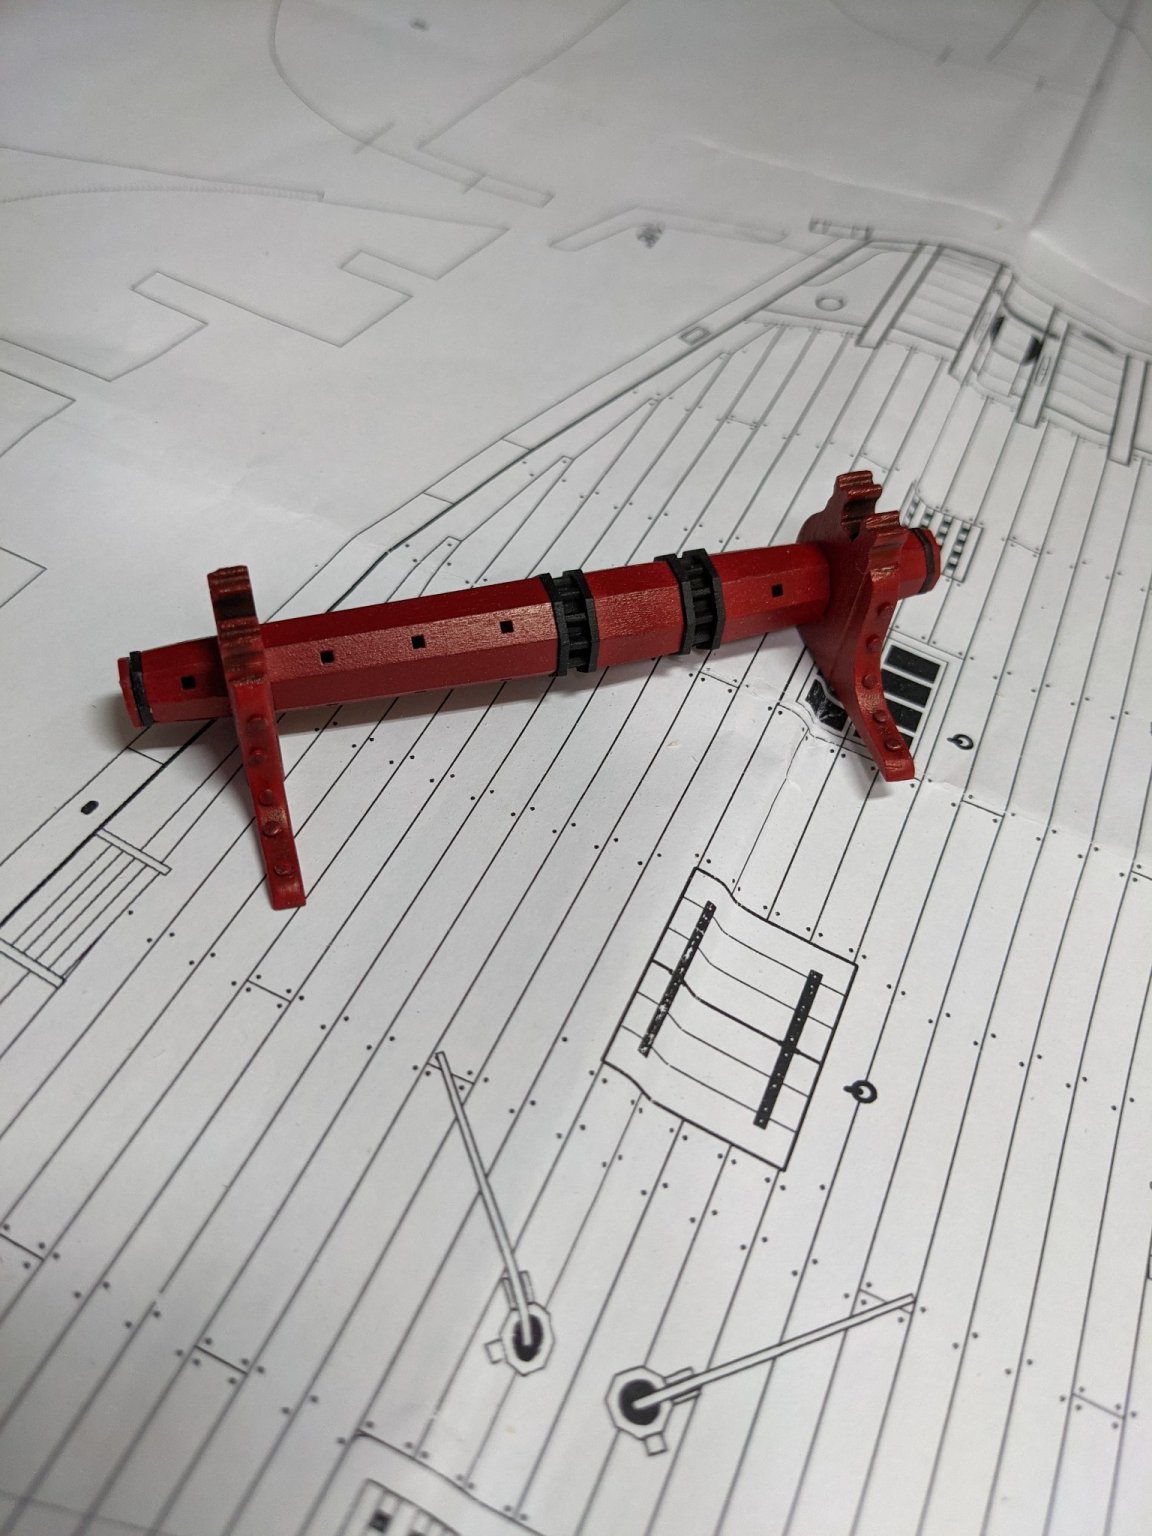
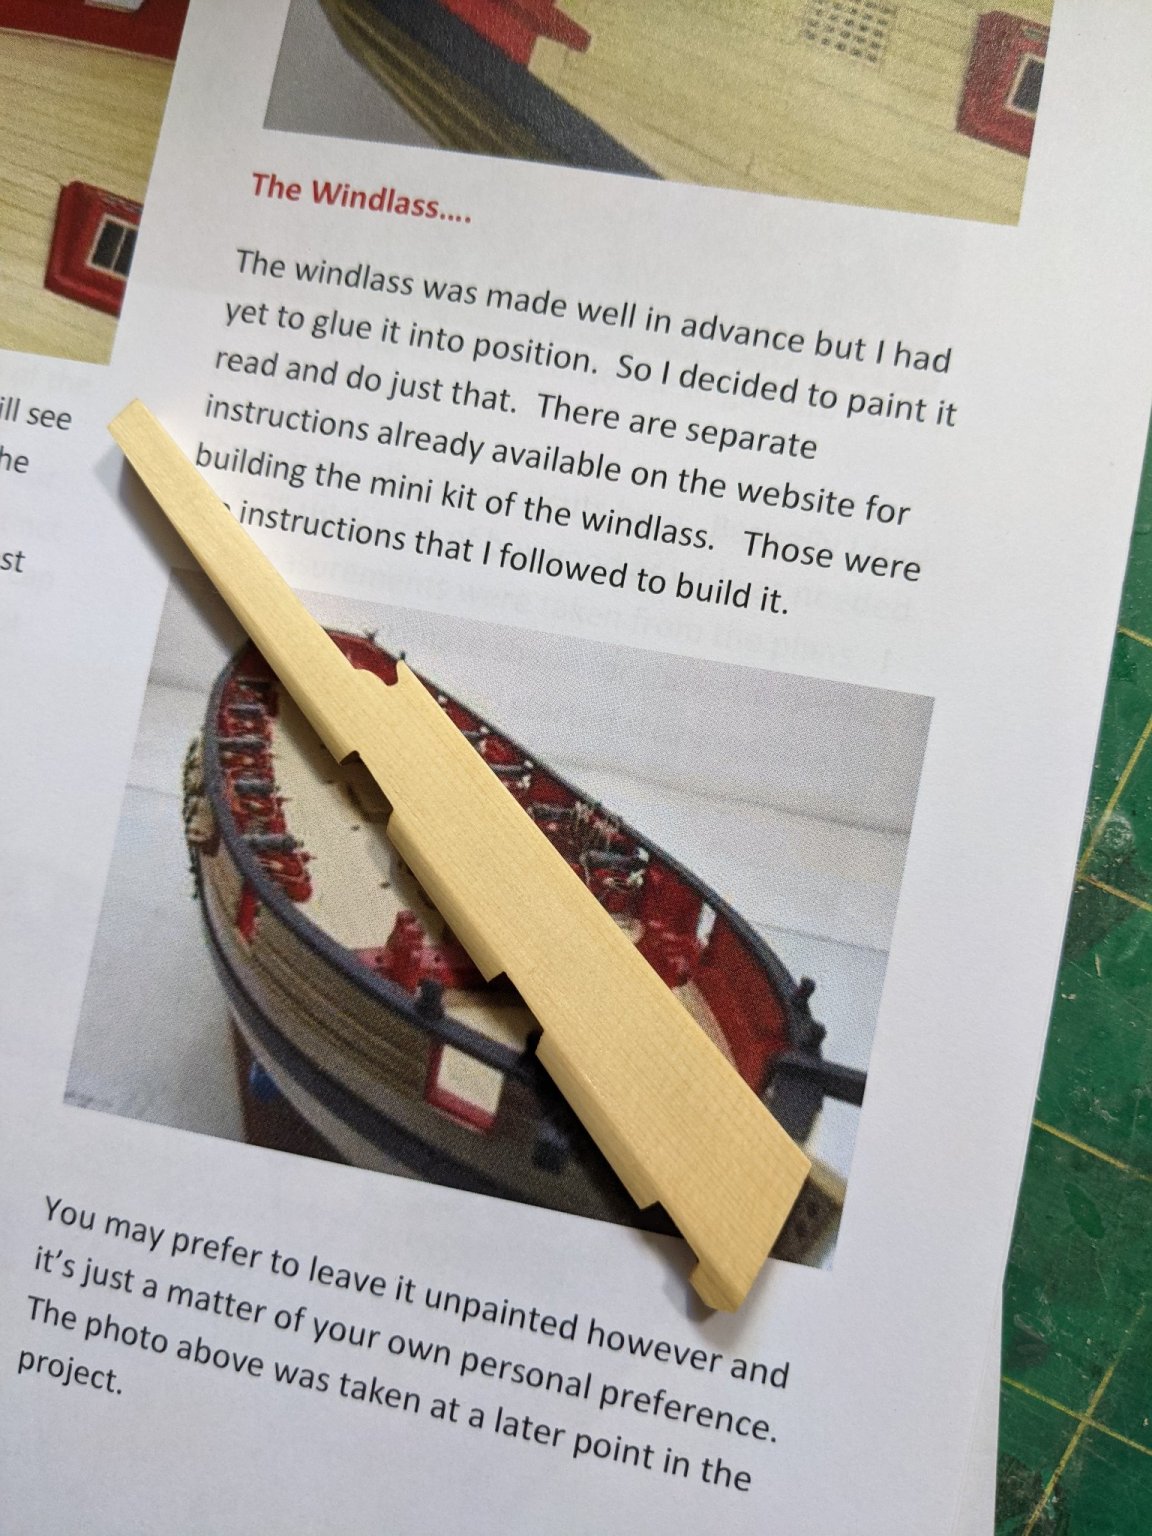
Here is the completed windless. Easy to build from the mini kit. Just take your time and follow the instructions.

- 274 replies
-
- 8
-
-
- Cheerful
- Syren Ship Model Company
- (and 1 more)
-
I need to get some brass wire to make up the eyebolts and rings. What gauge should I be using?
- 274 replies
-
- 1
-
-
- Cheerful
- Syren Ship Model Company
- (and 1 more)
-
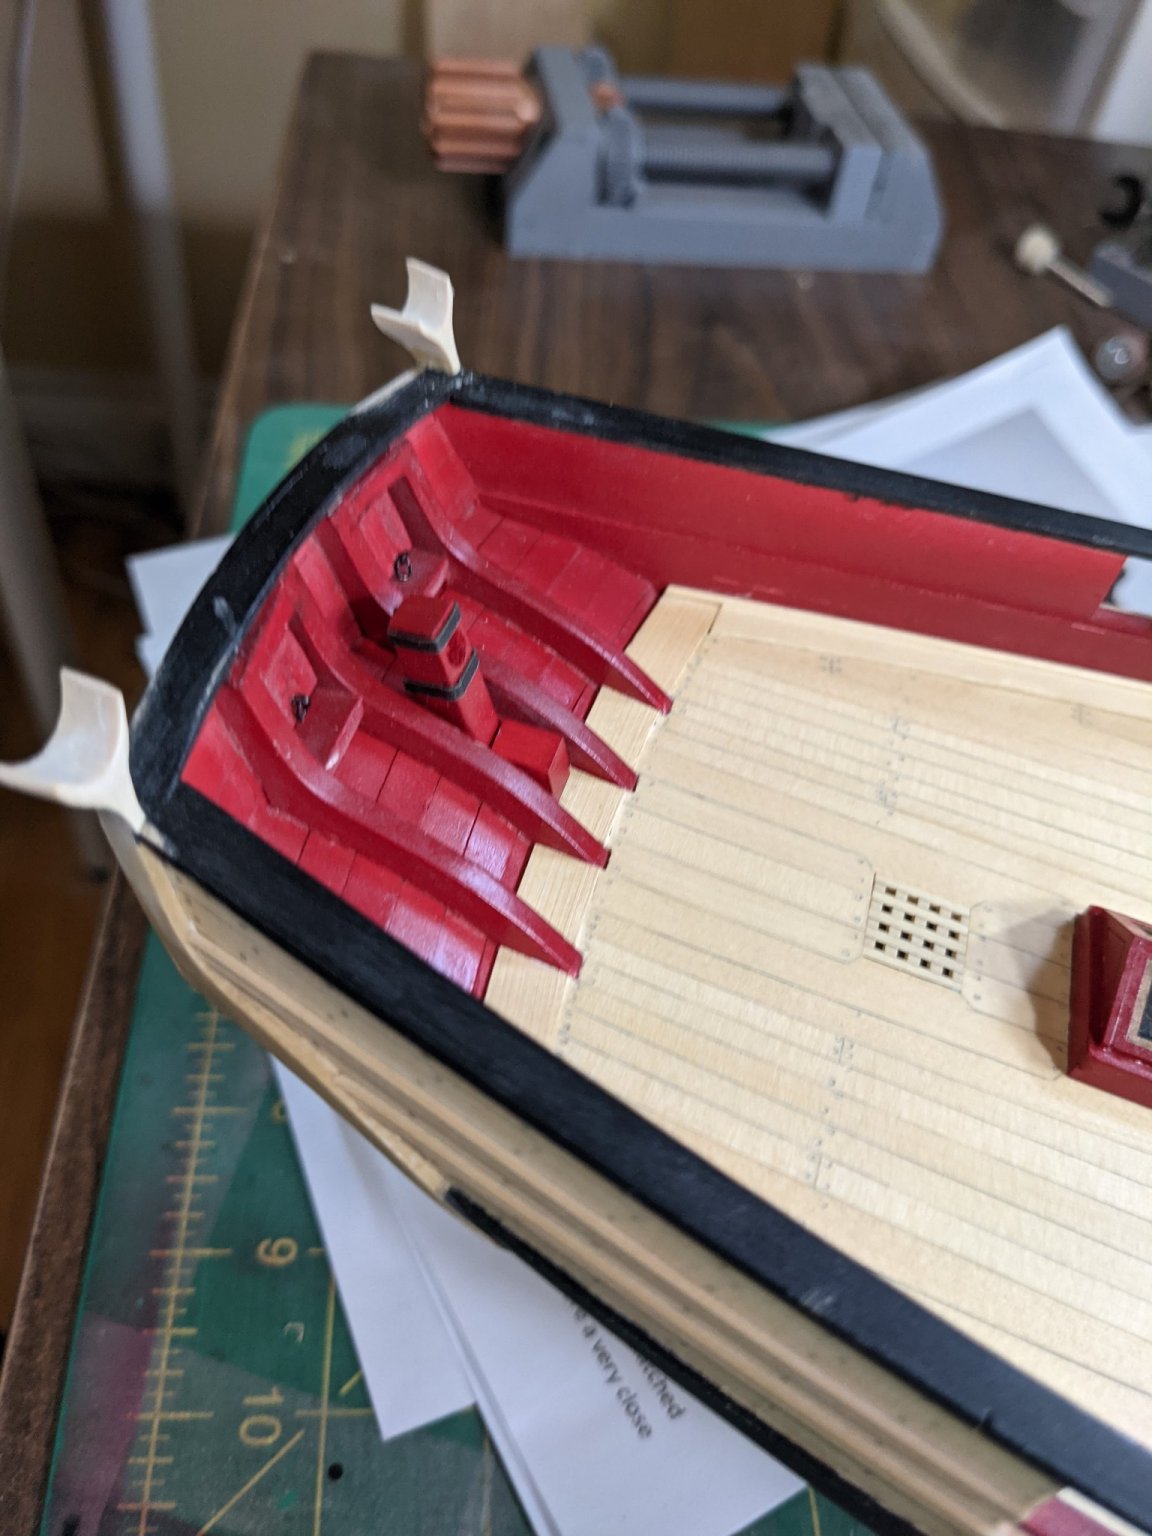
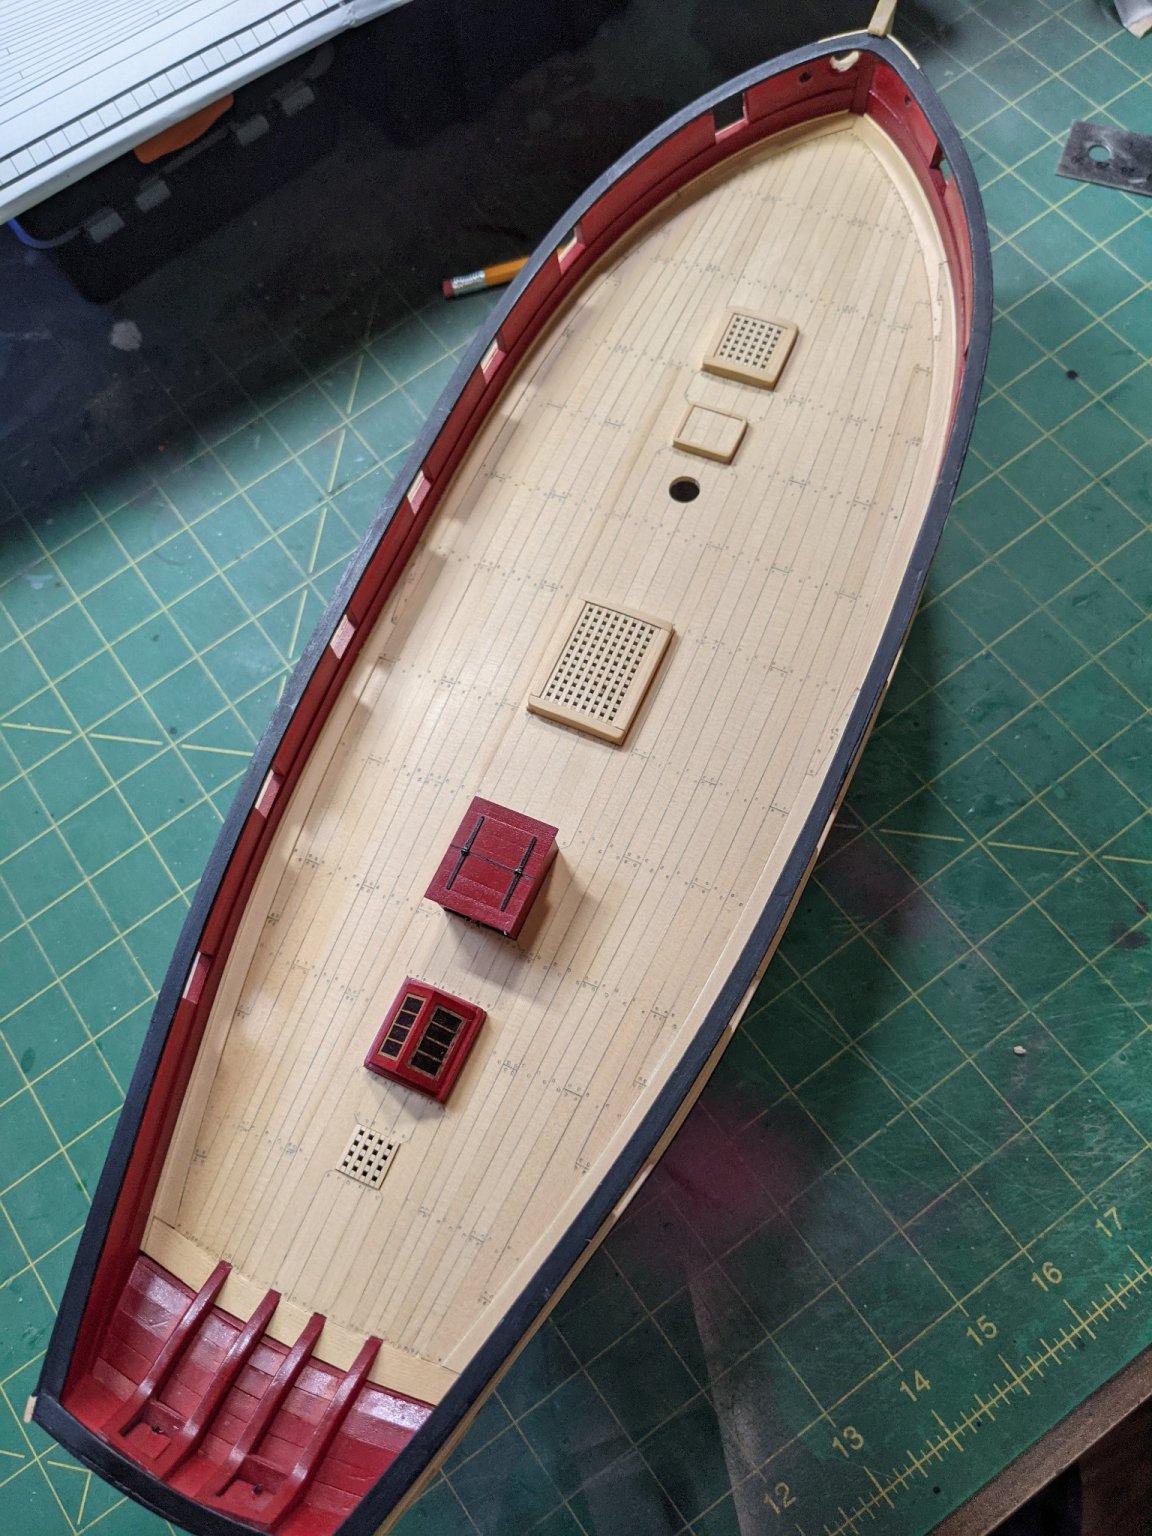
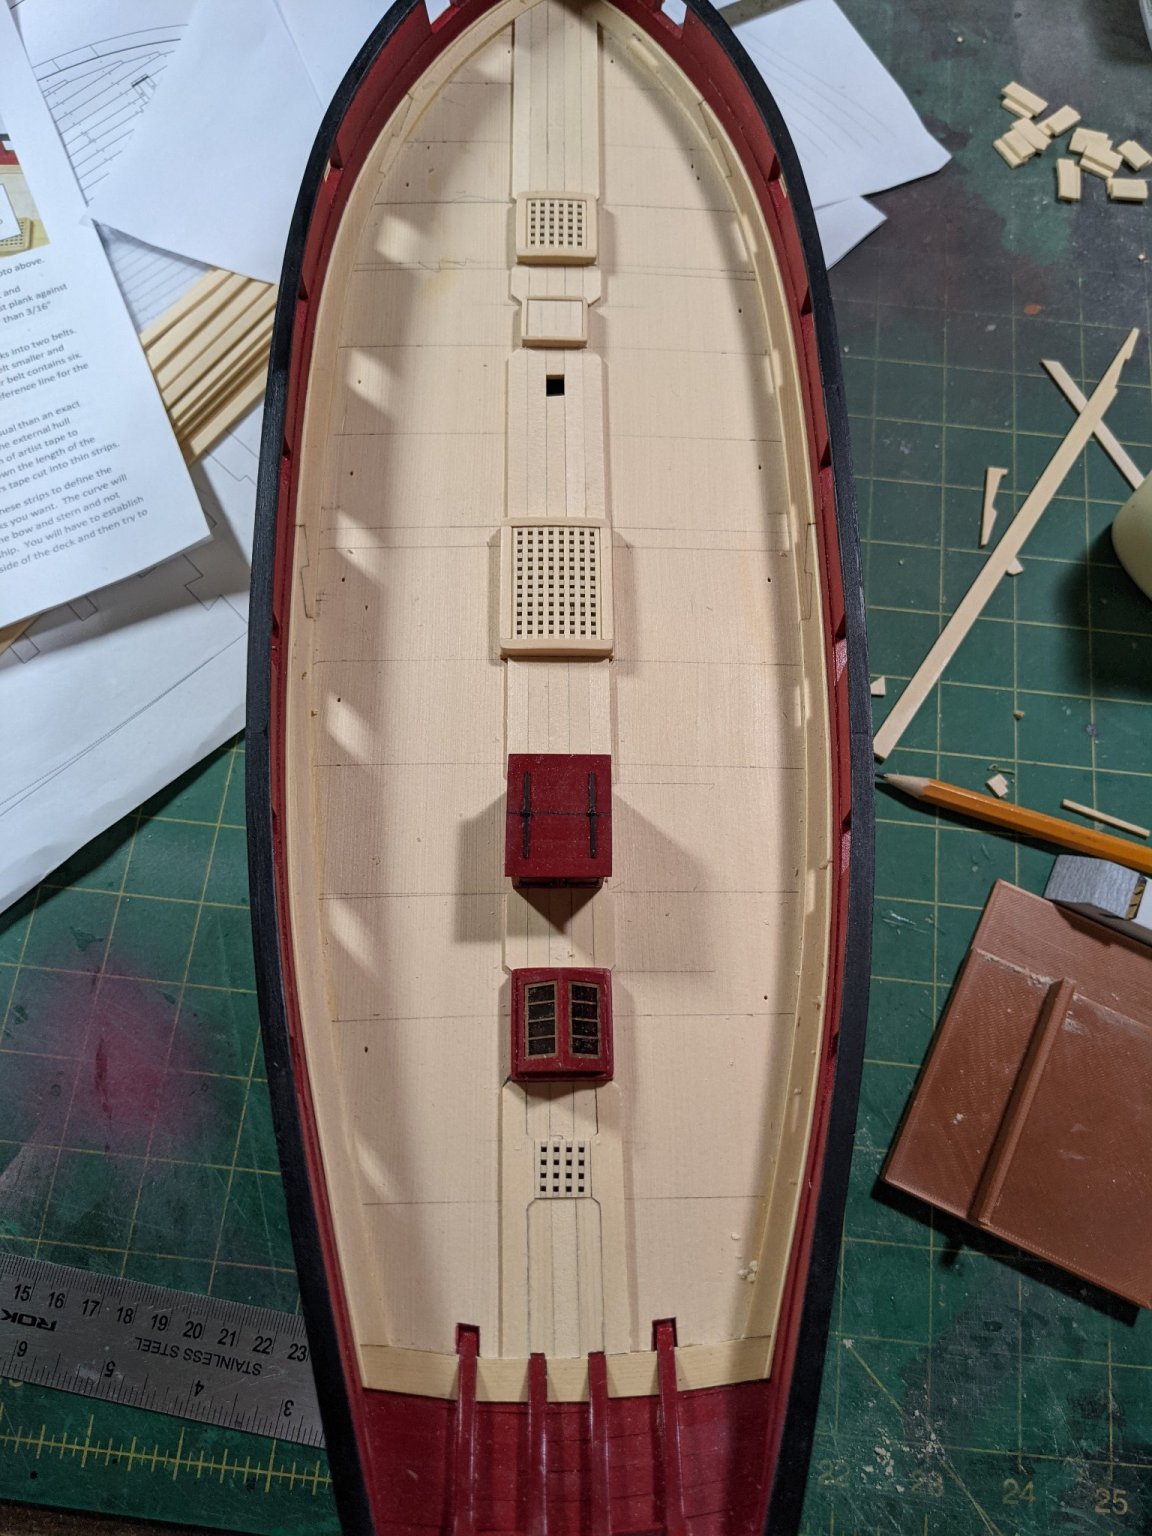
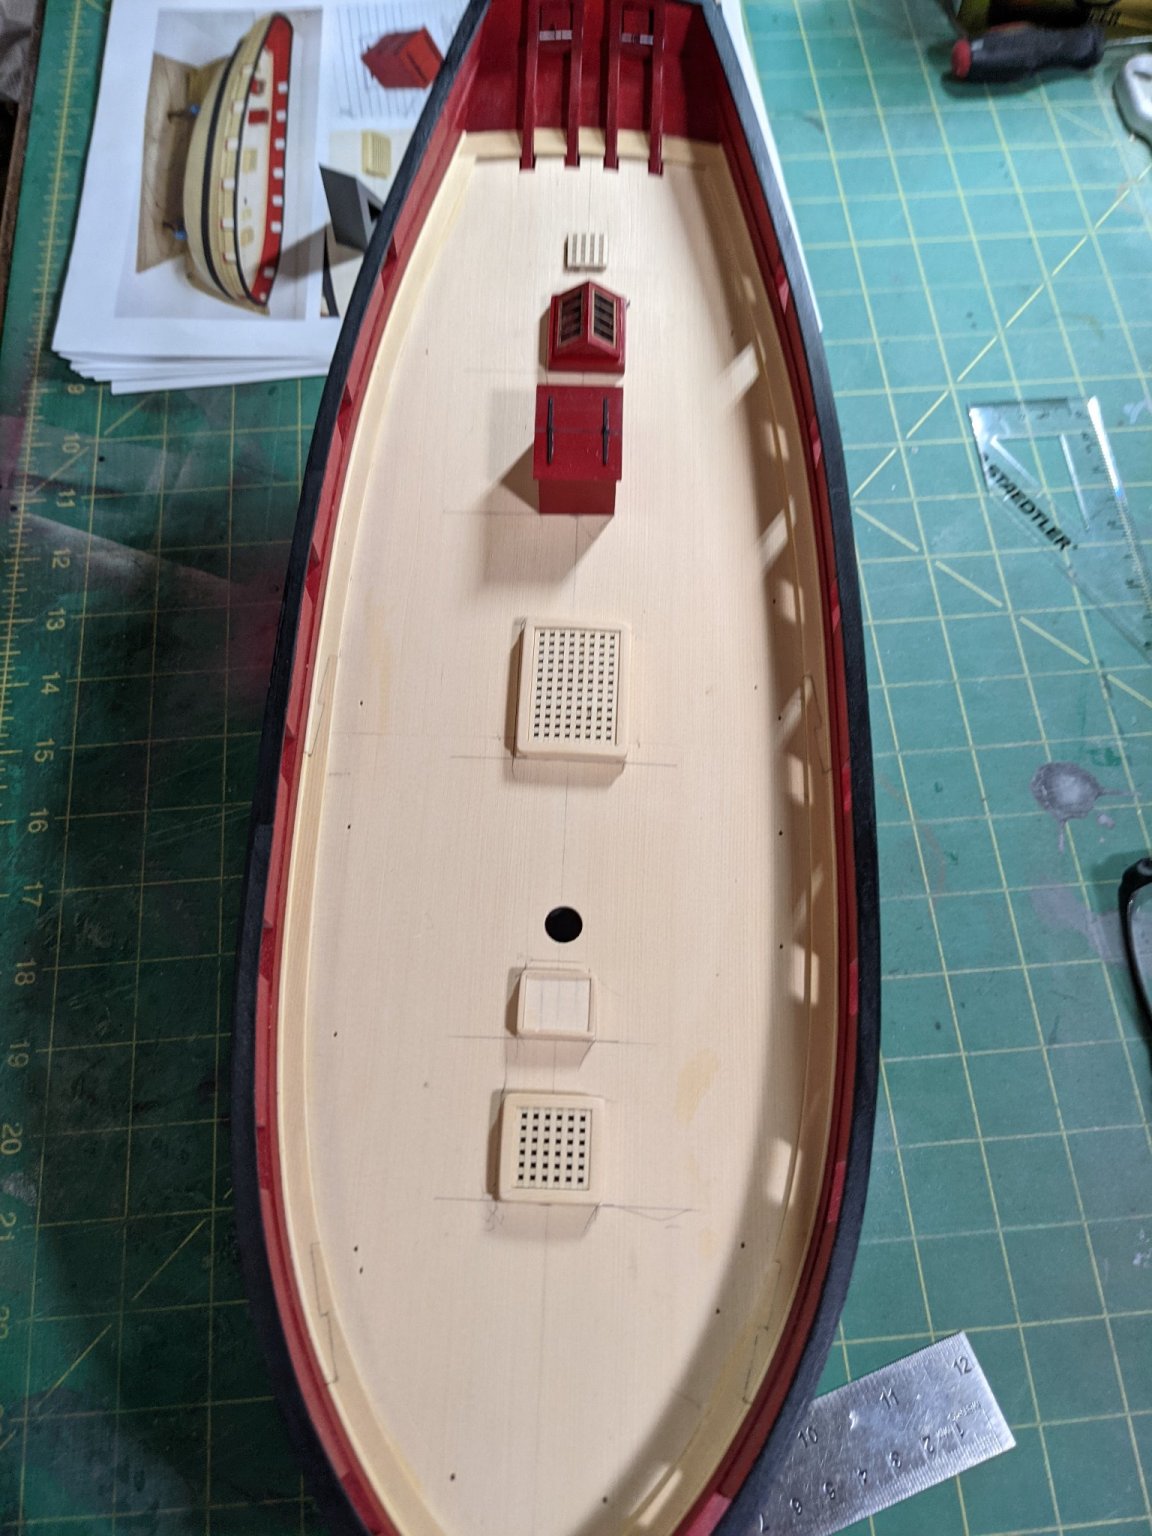
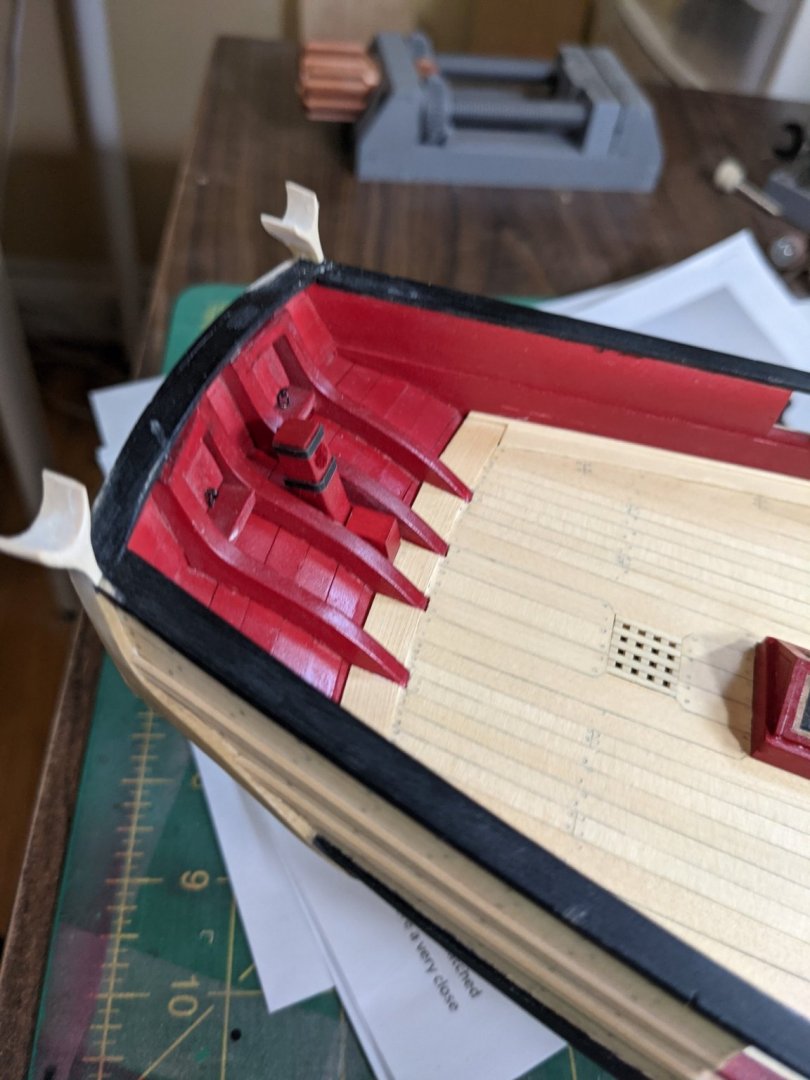
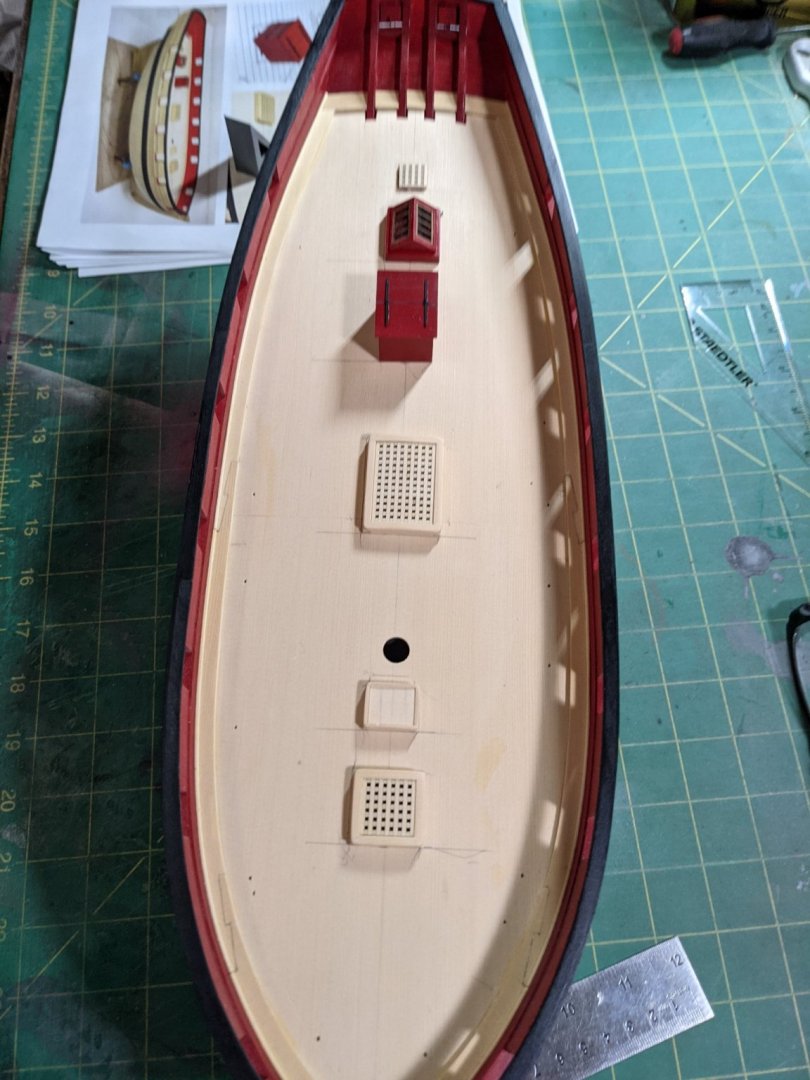
Took the opportunity to attach all the deck furniture. Seems funny to call it furniture. Next I have to make the hole for the rudder and hope I don't slip with the dremel when doing so.


- 274 replies
-
- 9
-
-
- Cheerful
- Syren Ship Model Company
- (and 1 more)
-
I got a chance to use my "Little Victor" plane from Lee Valley. It is a pretty decent plane and a good price. This made it easy to shape the rudder.


- 274 replies
-
- 3
-
-
- Cheerful
- Syren Ship Model Company
- (and 1 more)
-
Nice fix and looking good!
-
Thanks Bob. I used Chucks method that he shows in his build logs. Thanks John. Much appreciated.
- 274 replies
-
- 2
-
-
- Cheerful
- Syren Ship Model Company
- (and 1 more)
-
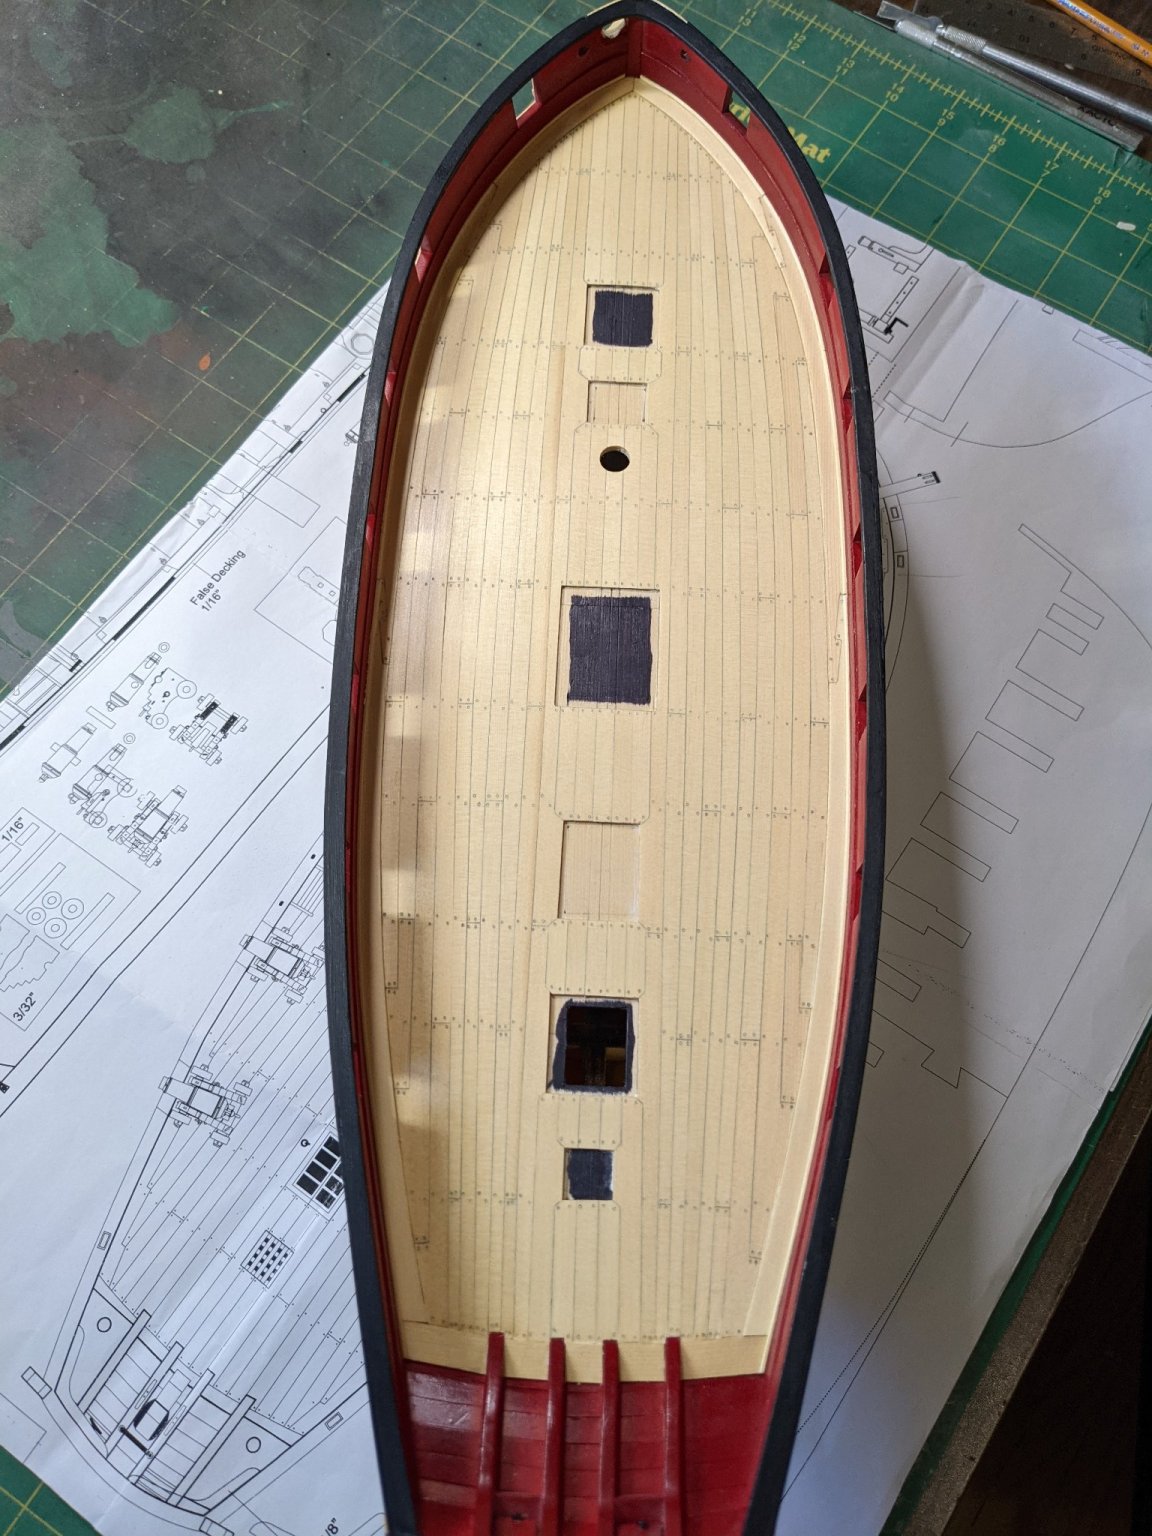
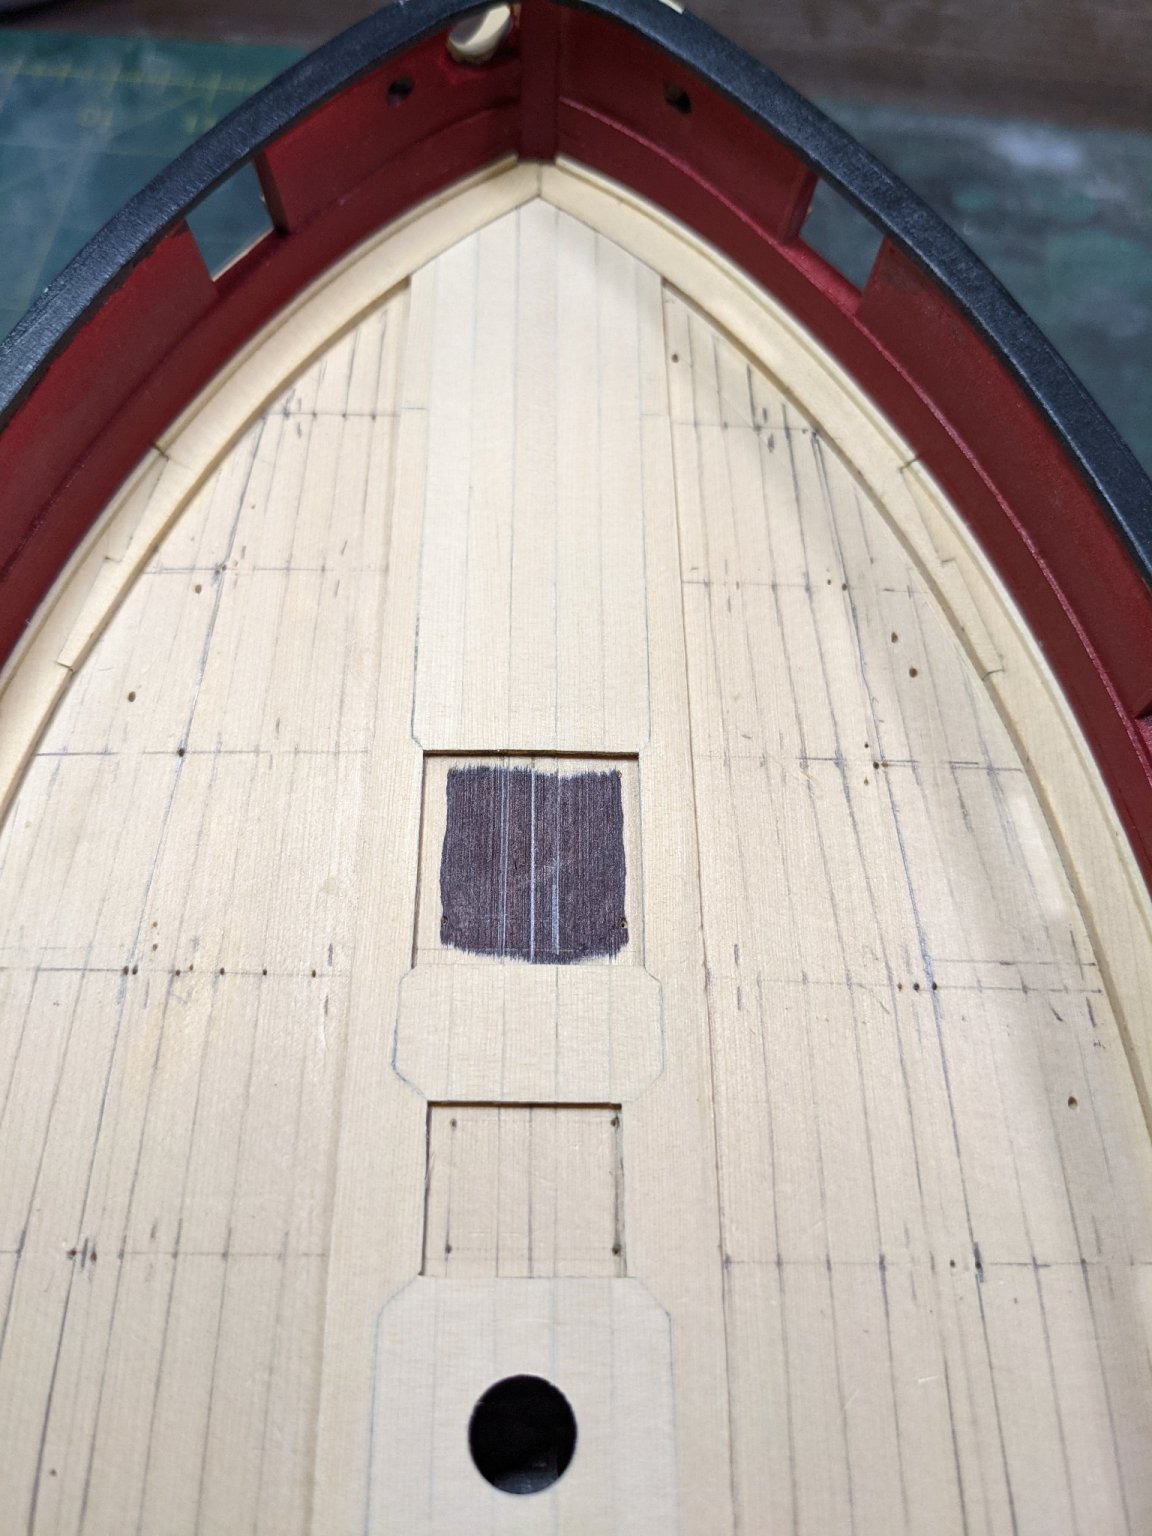
I have the deck finished up with the treenailing and one coat of poly at the moment. Now to start on some of the smaller details and am glad to be done with planking.


- 274 replies
-
- 12
-
-
- Cheerful
- Syren Ship Model Company
- (and 1 more)
-
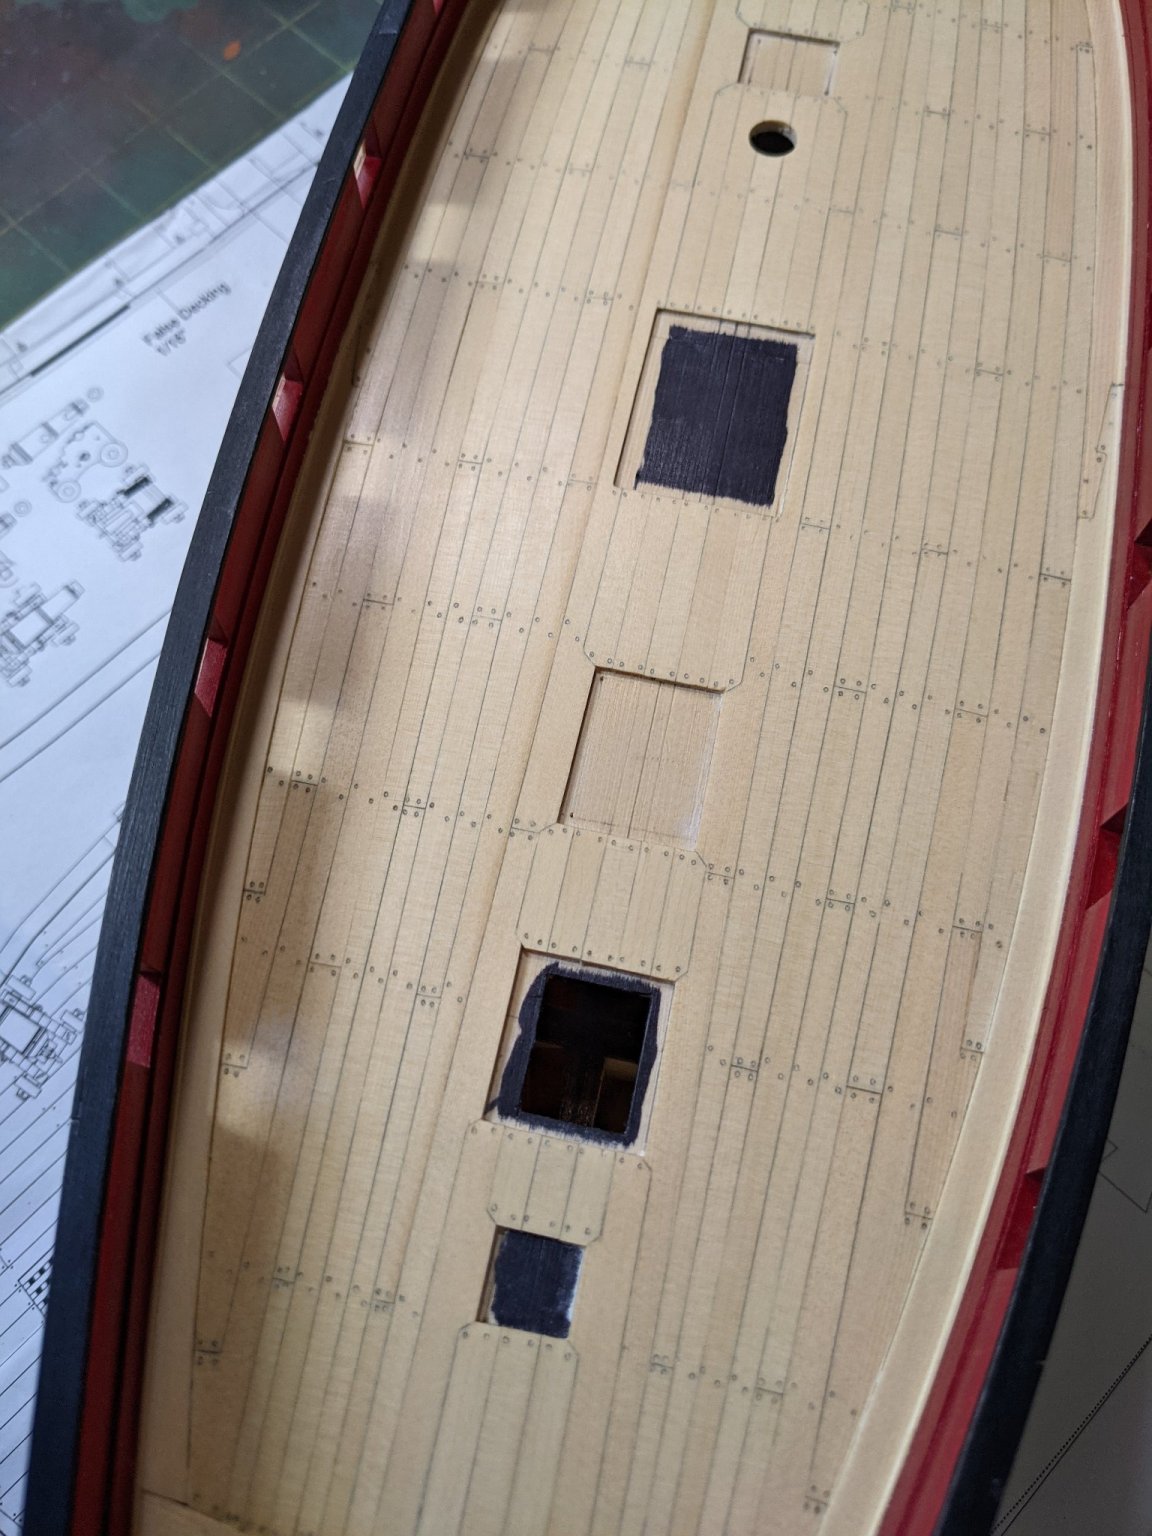
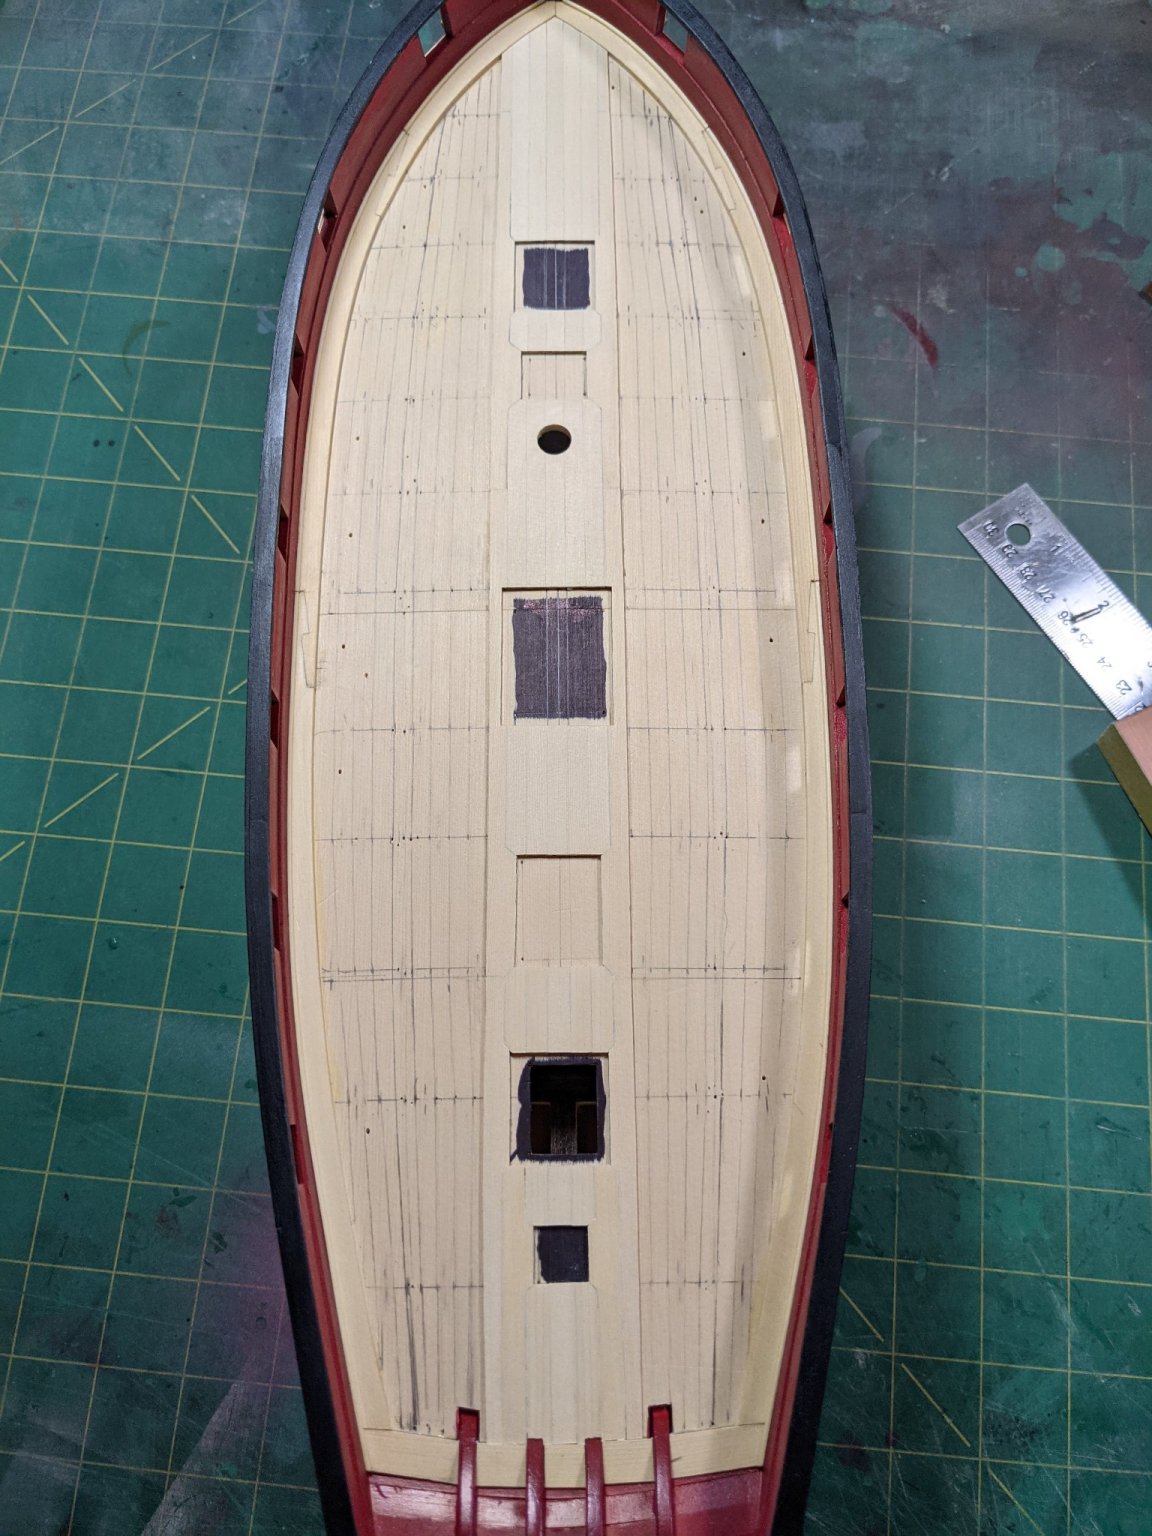
OK I have a milestone completed. The deck is all planked and now onto treenailing.


- 274 replies
-
- 13
-
-
- Cheerful
- Syren Ship Model Company
- (and 1 more)
-
Before doing that check out the planking tutorials here. Completely different way of doing it without one of those and it works better. https://modelshipworld.com/forum/98-planking-downloads-and-tutorials-and-videos/
-
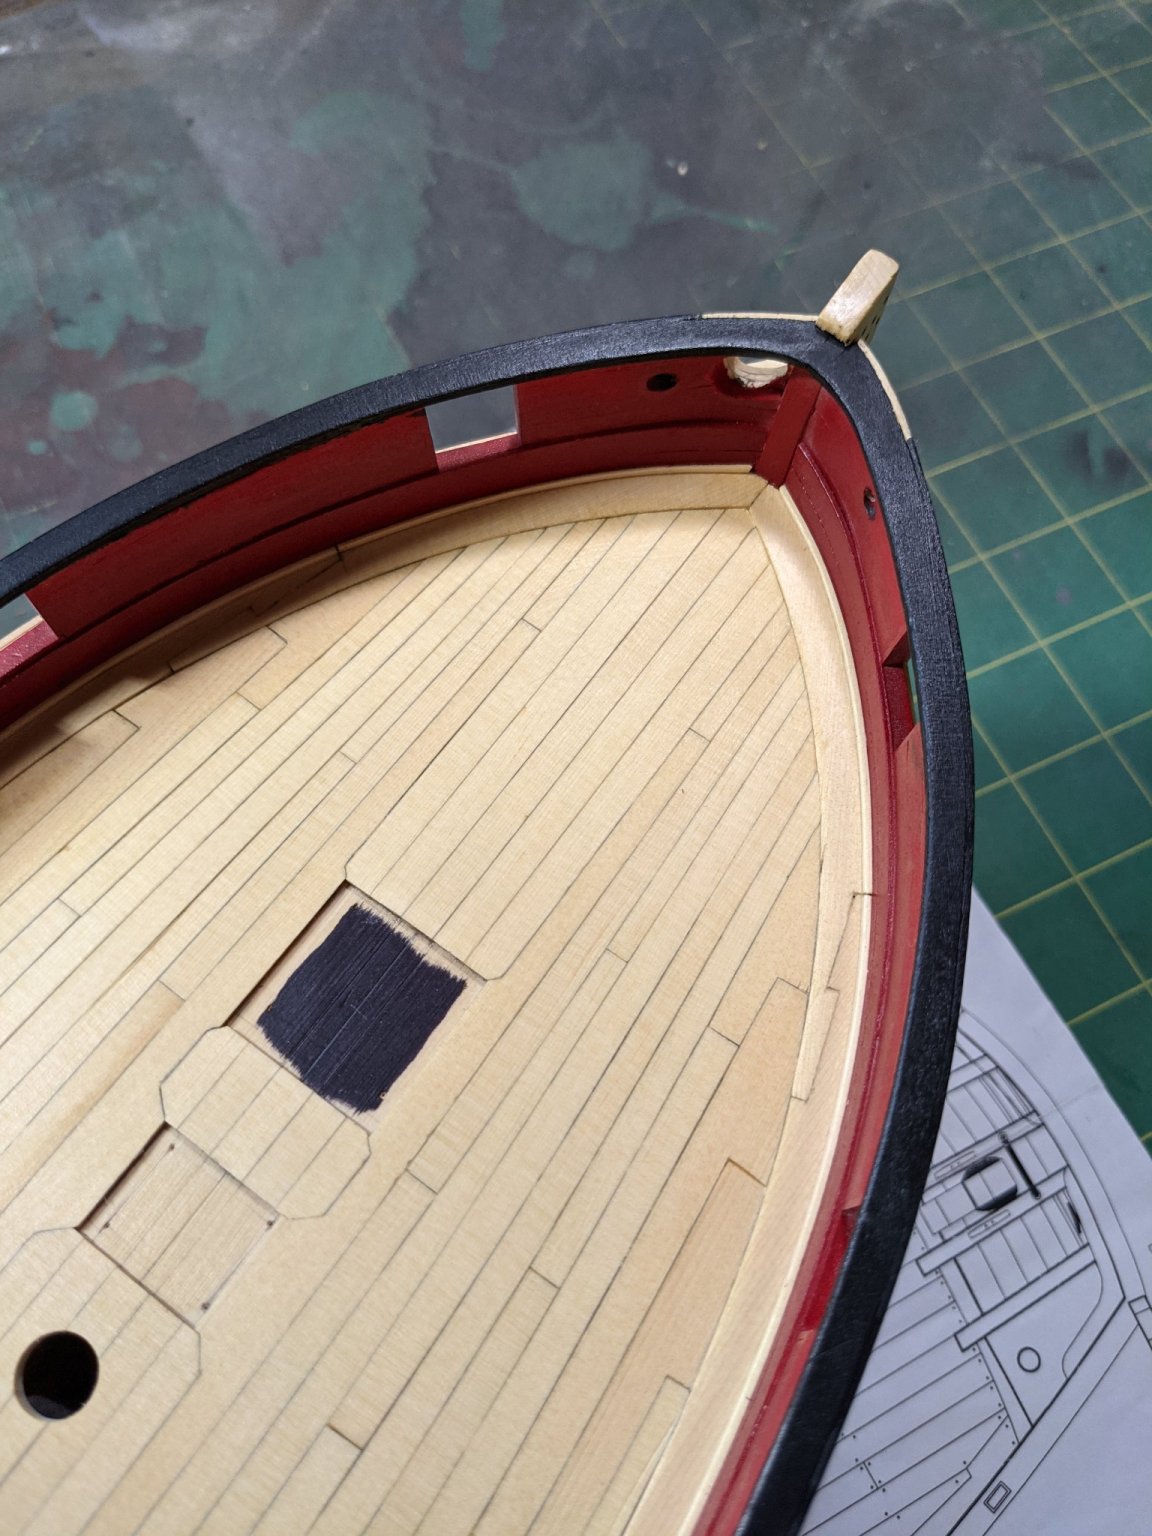
Thanks everyone for the likes and comments. I have the first of the deck planks done outside of the deck furniture. This was quite the lesson on sanding and fitting, sanding and fitting. I am glad to be past this part and also glad to have done it this way. Was a good lesson on patience.

- 274 replies
-
- 7
-
-
- Cheerful
- Syren Ship Model Company
- (and 1 more)
-
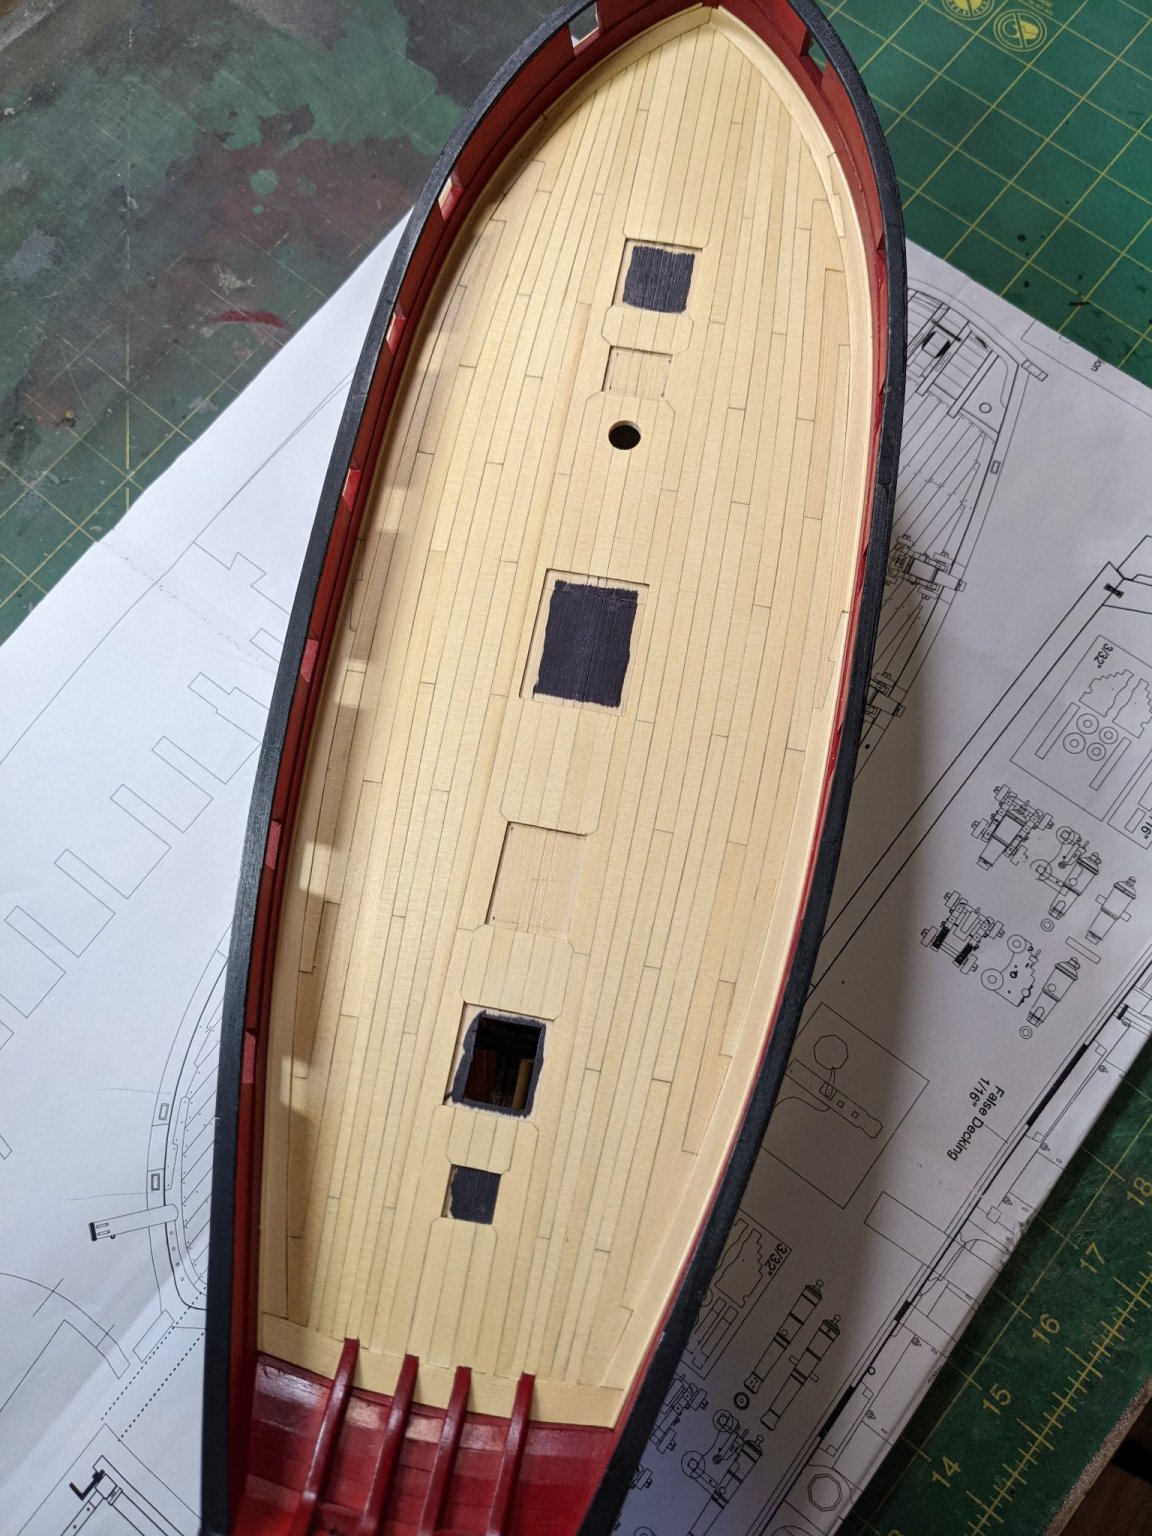
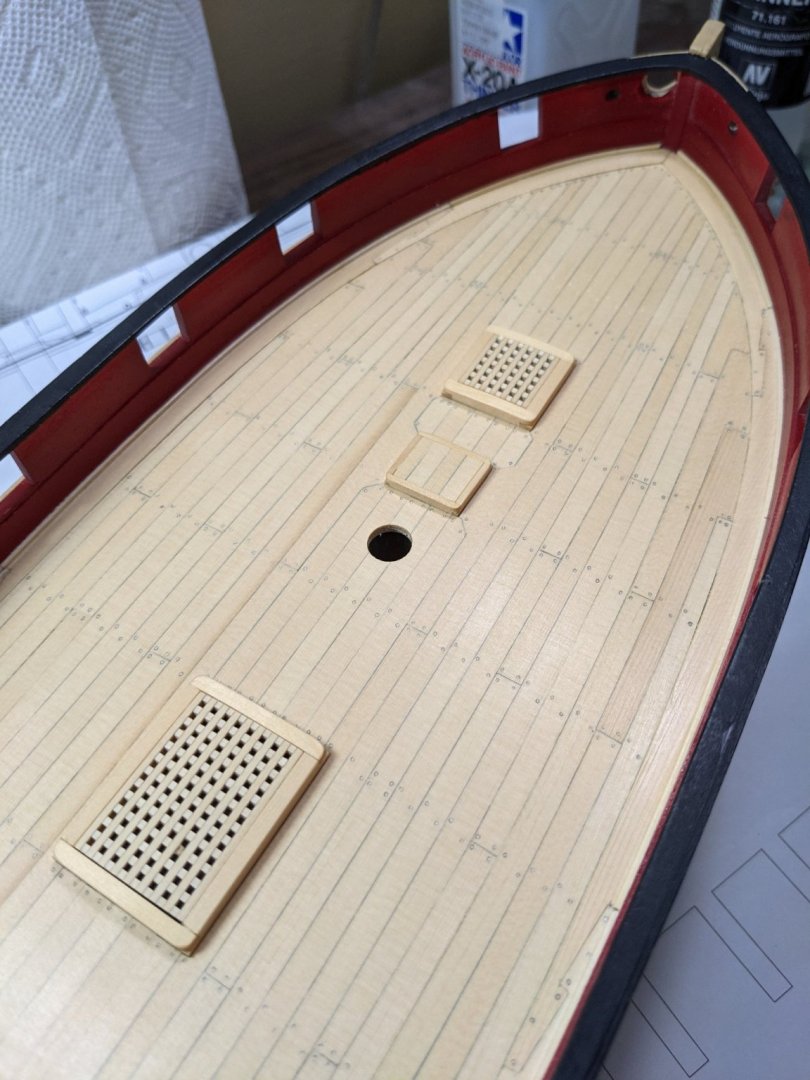
I have the center 5 planks done on the deck. It is not sanded yet and the furniture is not glued down as I will glue them after completing the deck planking.

- 274 replies
-
- 13
-
-
- Cheerful
- Syren Ship Model Company
- (and 1 more)
-
HM Cutter Cheerful 1806 by JpR62 - 1:48 scale
PRS replied to JpR62's topic in - Build logs for subjects built 1801 - 1850
Wow that looks great with the black wood. -
Looks nice. Great job and you now have been bitten like myself.
-
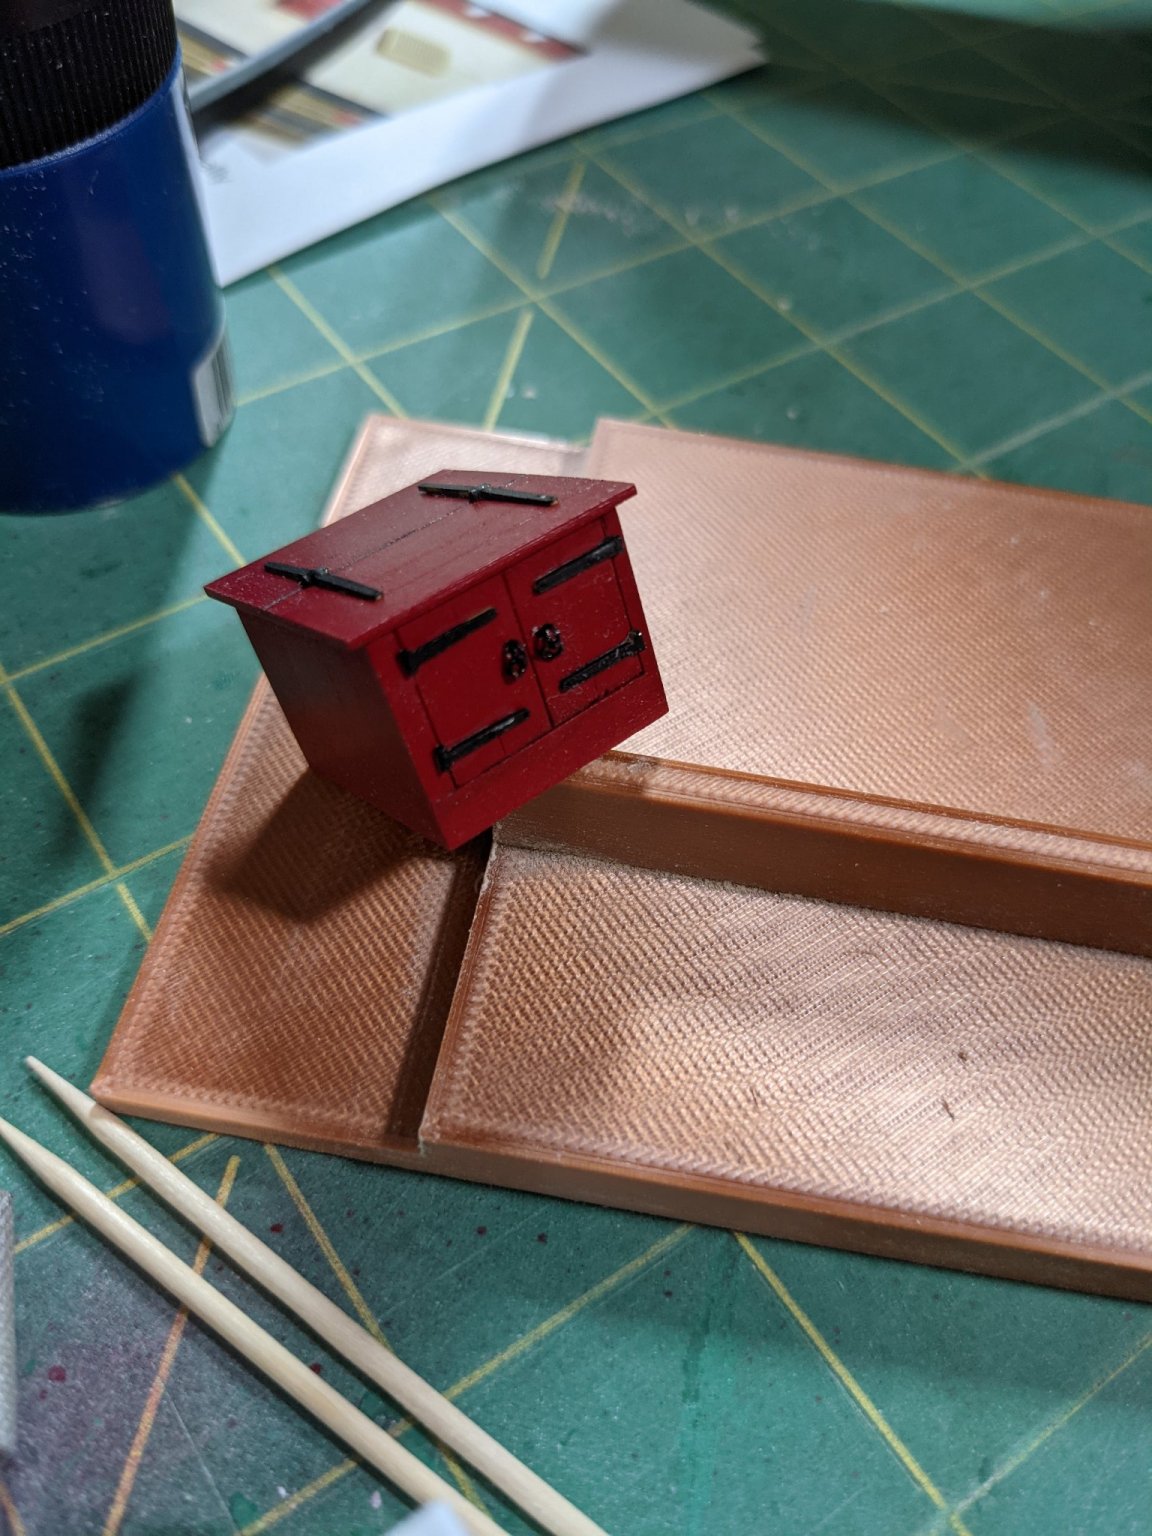
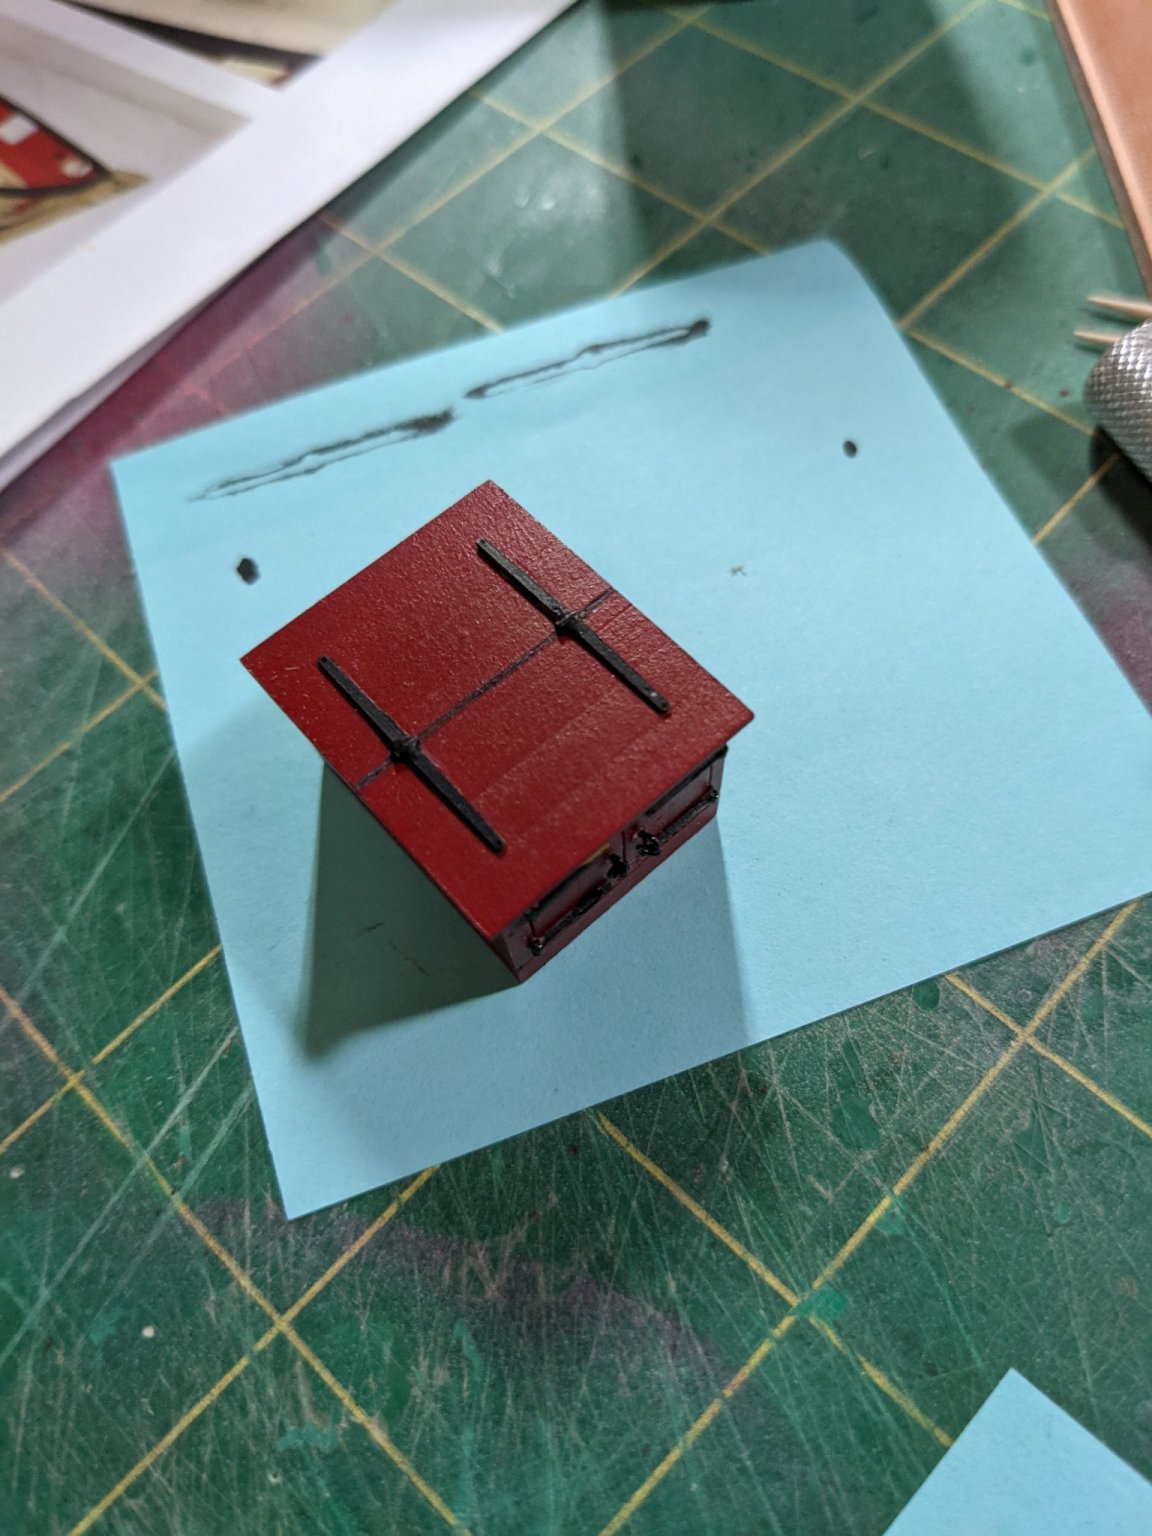
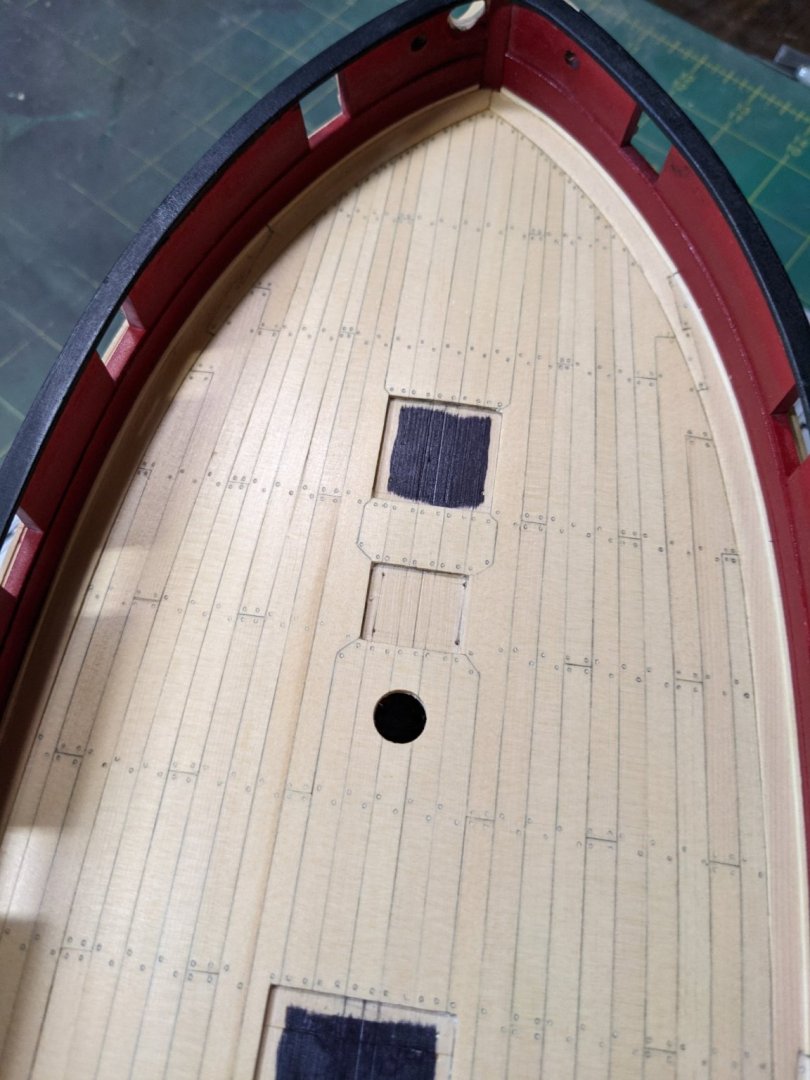
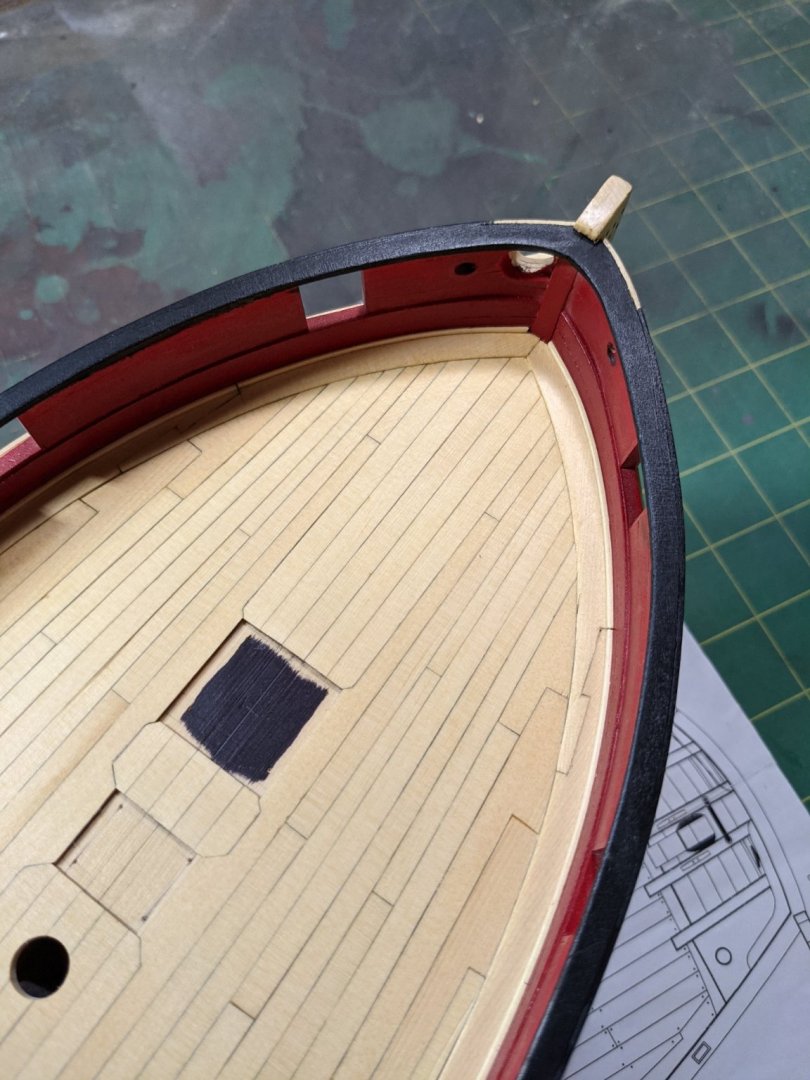
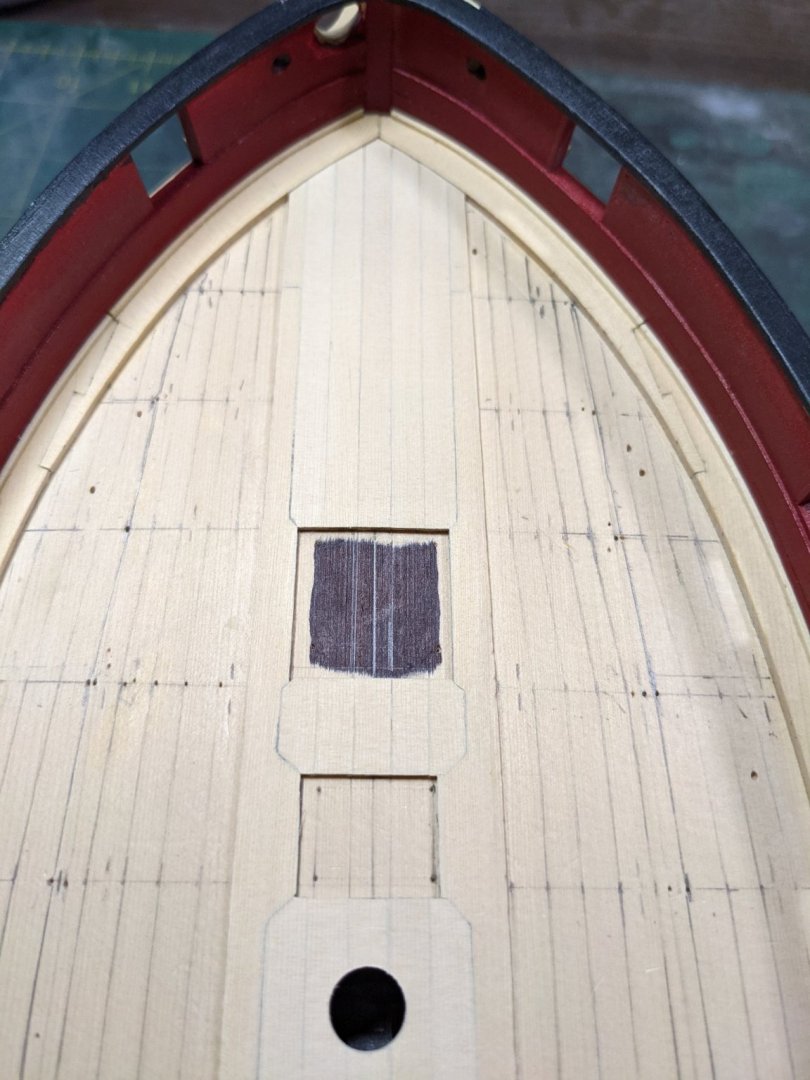
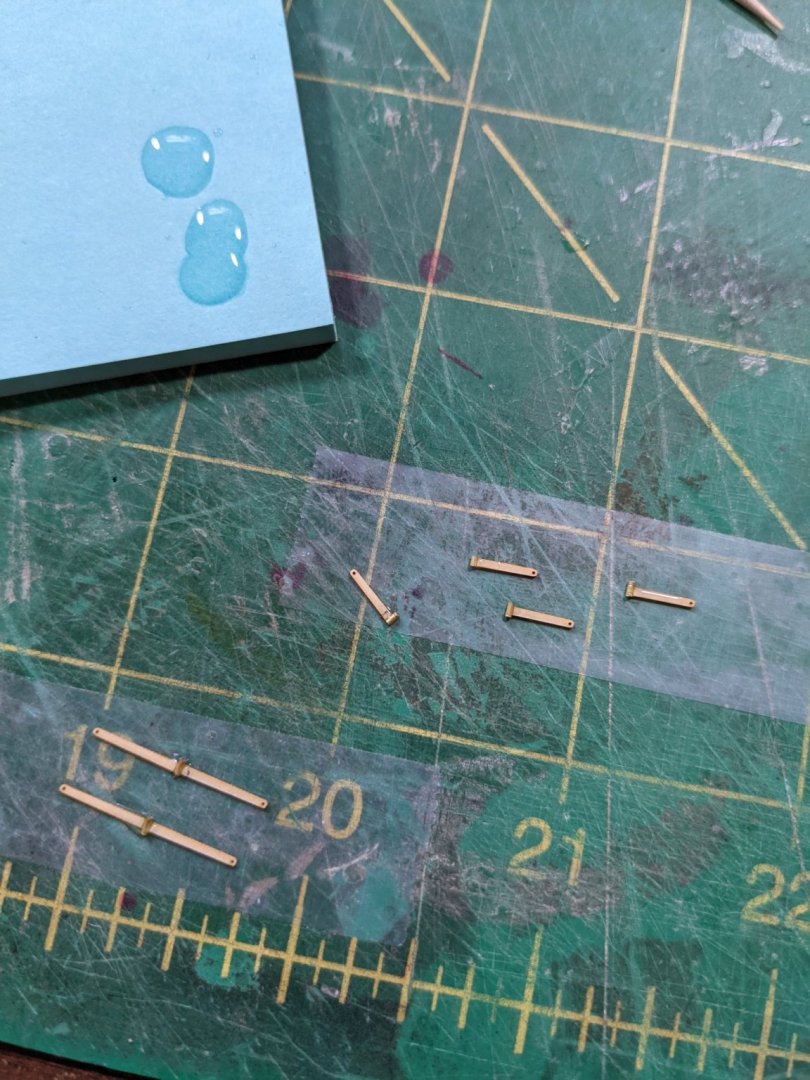
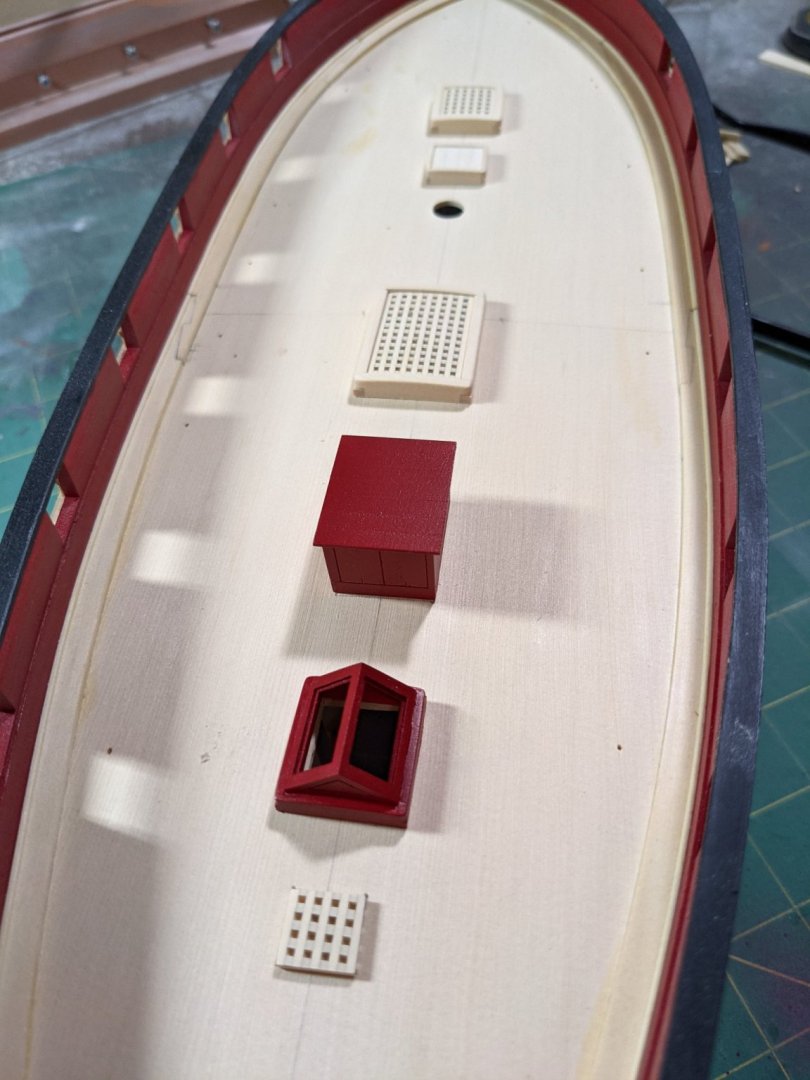
For the hinges on the companionway I used some of the gun port hinges as there is a lot in the kit. Also highlighted the door areas with some black wash so they stand out. Painted the hinges before gluing them on with some 50/50 pva/water mix. So now that all the deck furniture is done I have them set in place but not glued yet and will start to mark out and plank the deck.


- 274 replies
-
- 8
-
-
- Cheerful
- Syren Ship Model Company
- (and 1 more)
-
You guys and your awesome rope coils Looks fantastic!
- 83 replies
-
- 1
-
-
- Sea of Galilee boat
- SE Miller
- (and 1 more)
-
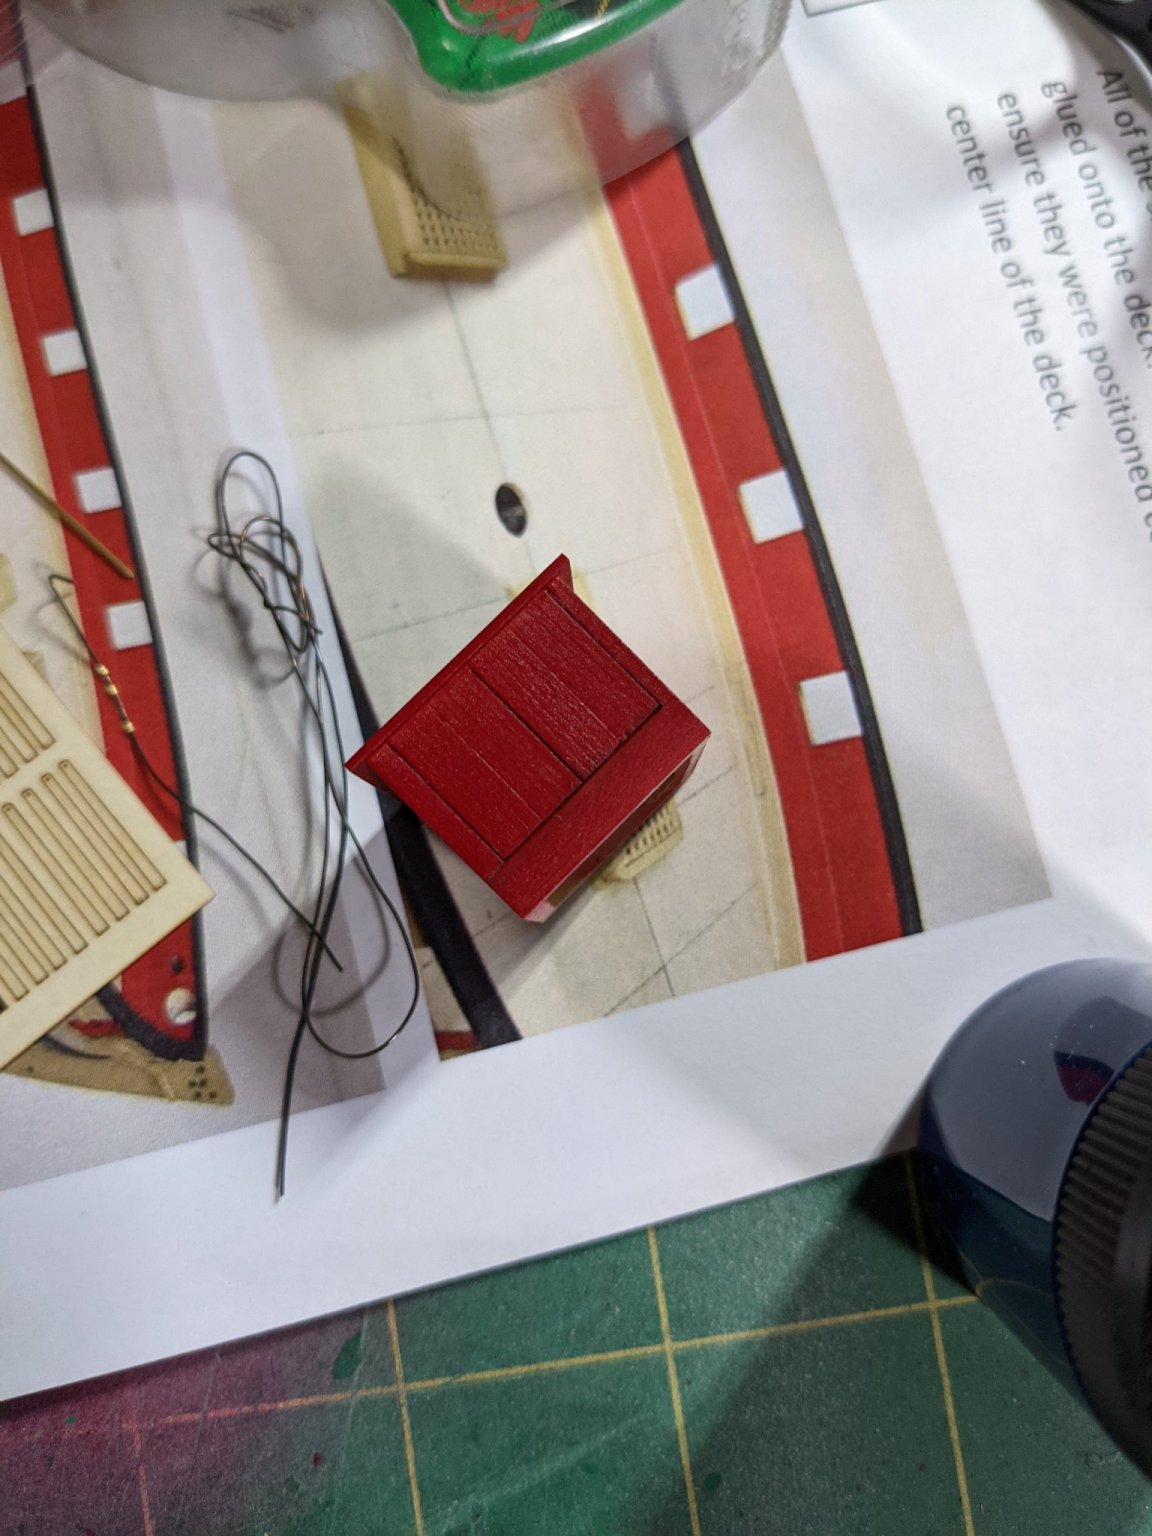
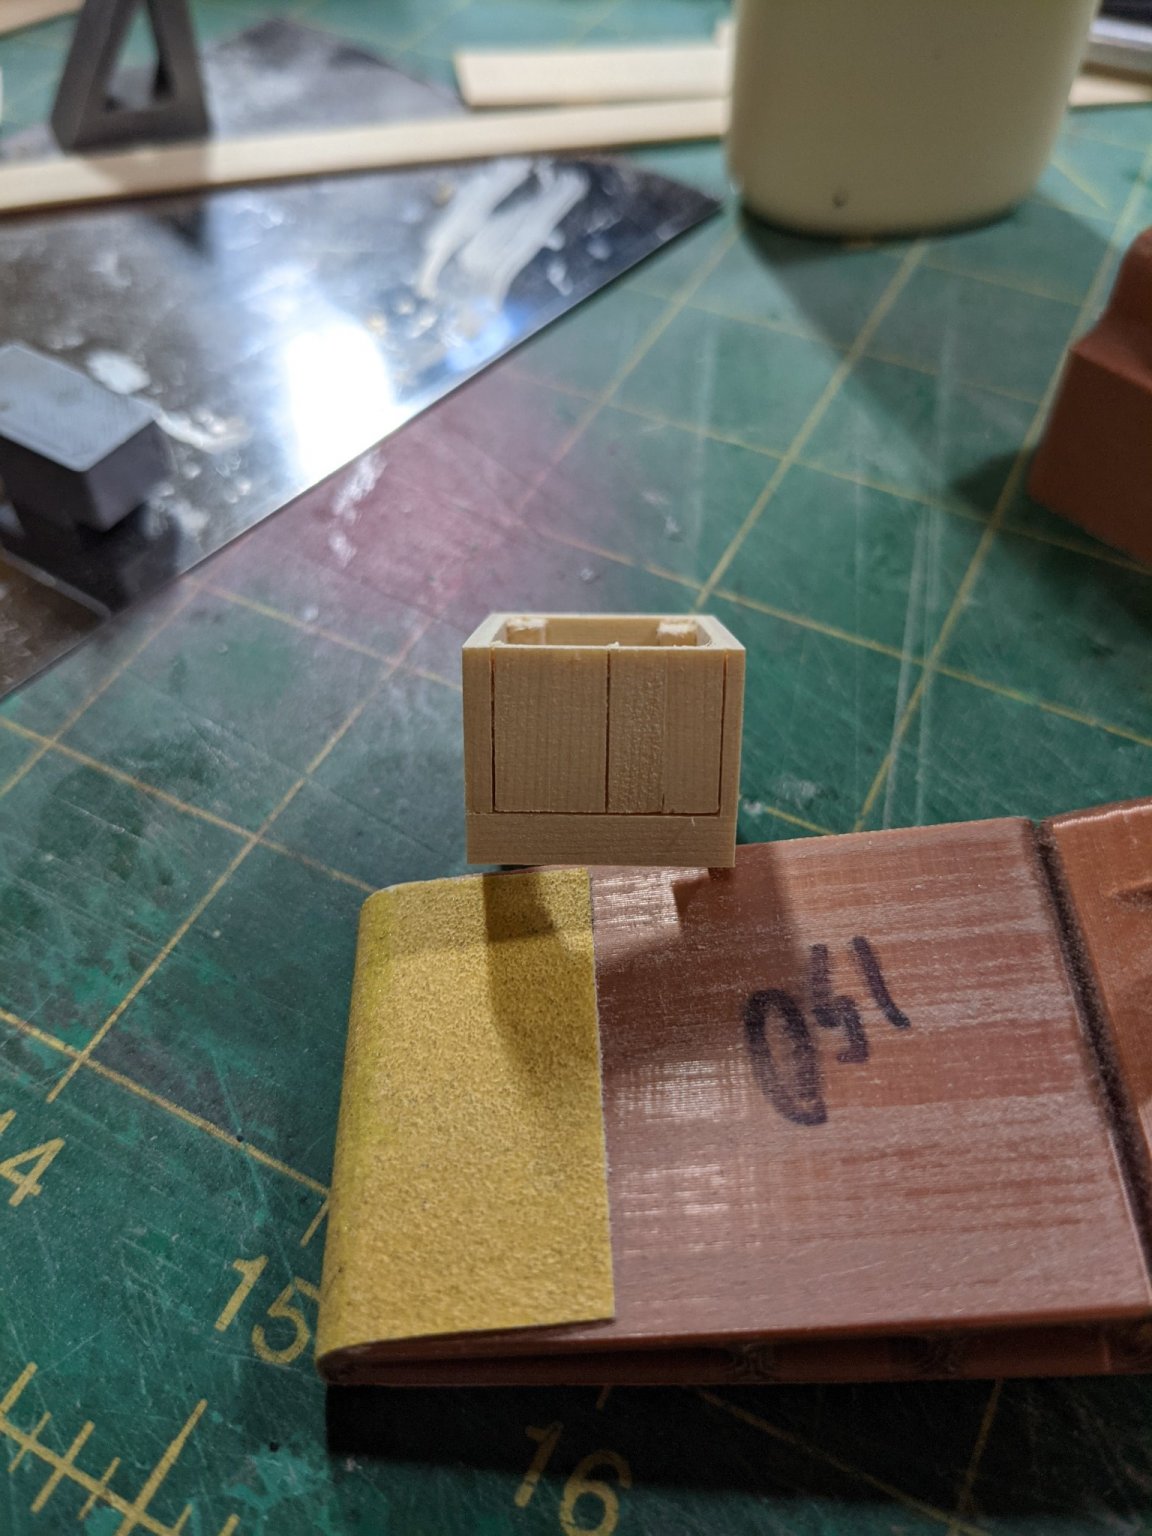
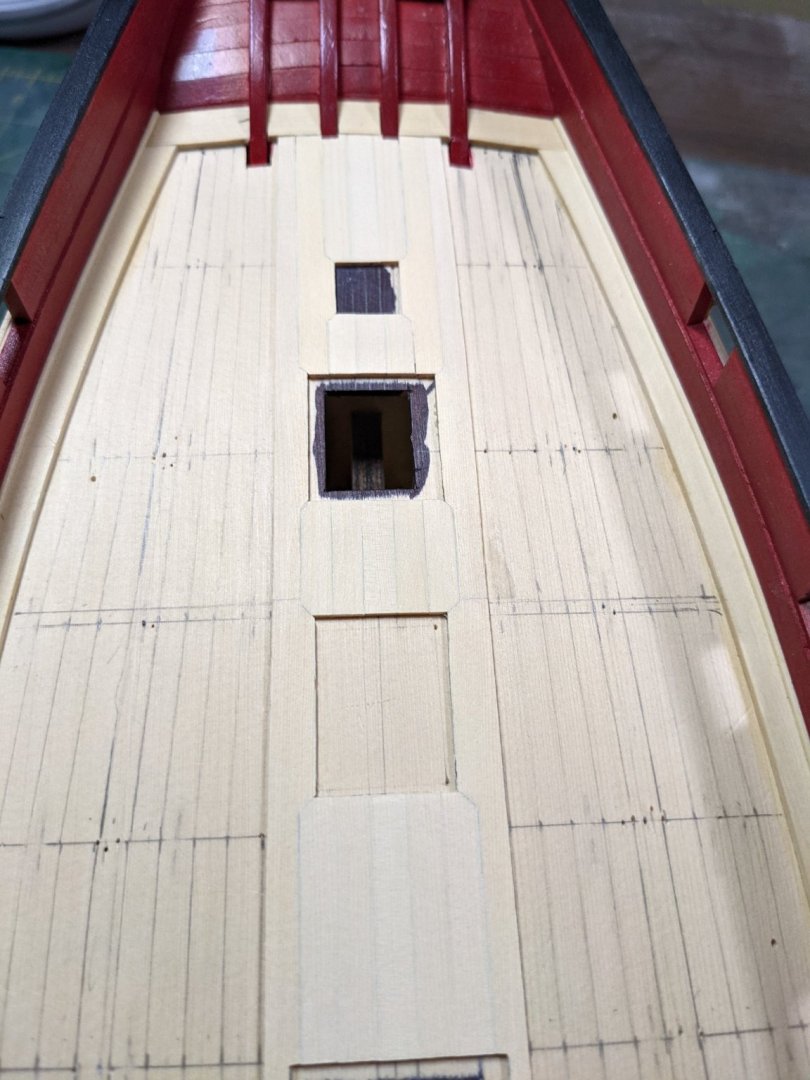
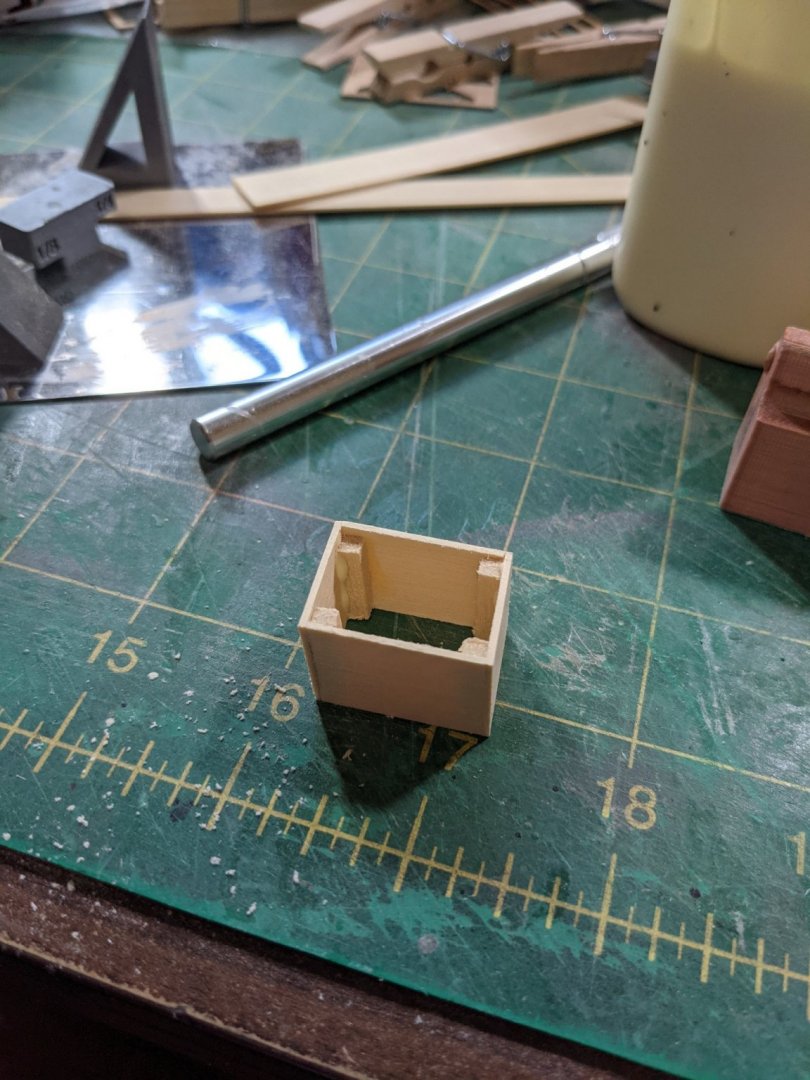
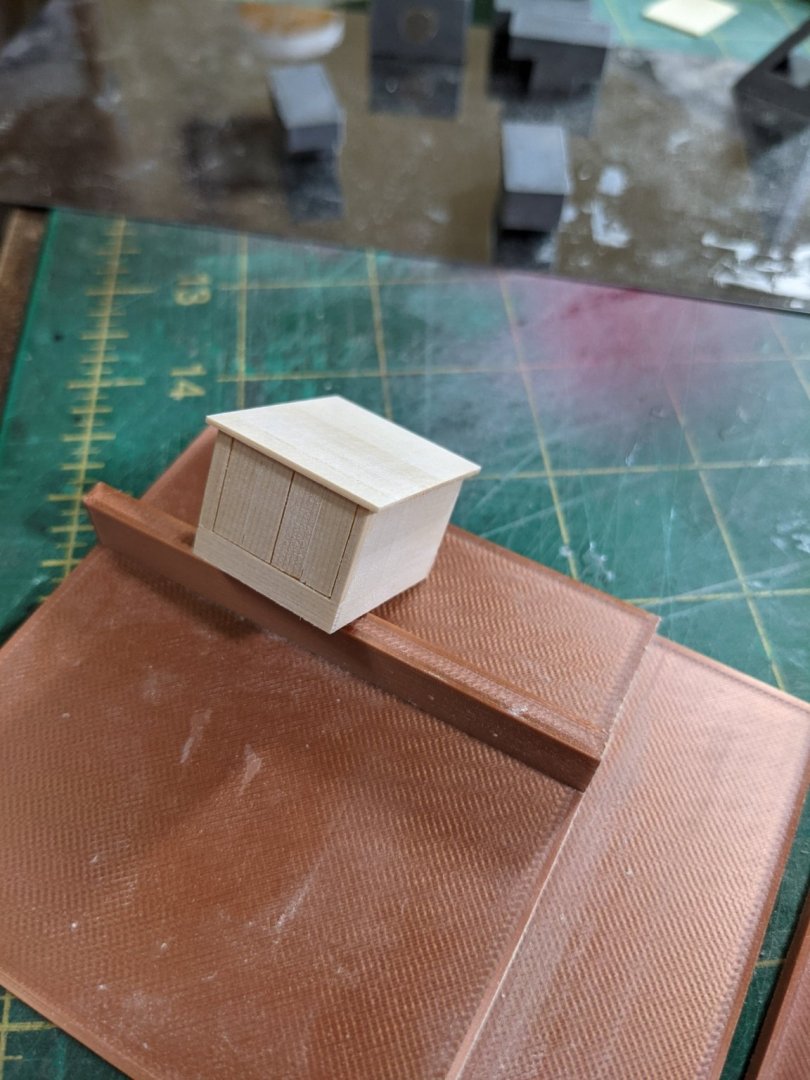
Made the companionway from 1/32 boxwood. First used the plans and cut out the 4 sides and glued them together. The used 1/32 cedar to plank around the frame and did the roof last at there was 1/16 around the sides which was enough to have a good glue area. Tried to make some spaces between the planks where the doors are. All sanded with 600 grit and ready for painting. Painted it up with the acrylic paint. 3 coats and used a hair dryer to speed up the drying between coats. Couldn't resist test fitting it on the deck. Nothing is glued down and I may do like some of the Winnie builders and not glue the deck furniture down so I can sand the deck planking easier. Still have to make up the hinged for the companionway yet.

- 274 replies
-
- 8
-
-
- Cheerful
- Syren Ship Model Company
- (and 1 more)