HOLIDAY DONATION DRIVE - SUPPORT MSW - DO YOUR PART TO KEEP THIS GREAT FORUM GOING!
×


Dan Vadas
-
Posts
3,261 -
Joined
-
Last visited
Content Type
Profiles
Forums
Gallery
Events
Everything posted by Dan Vadas
-
Italian submarine Turchese (Turquiose). Launched in 1936 and demolished in 1948. Danny
-
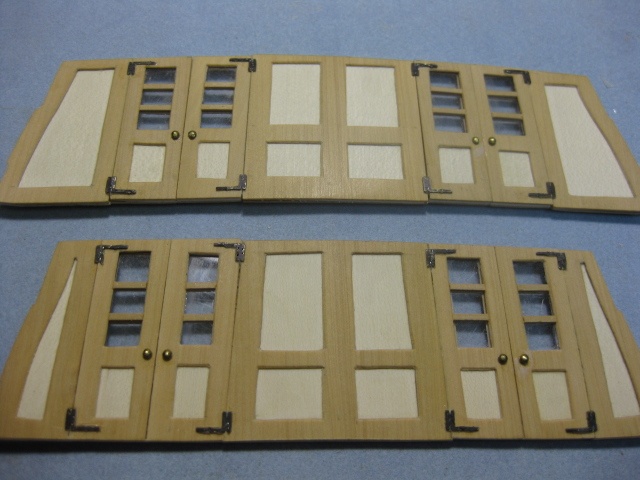
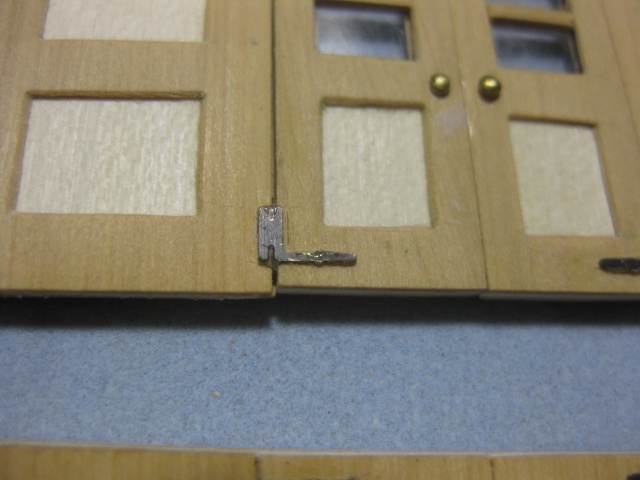
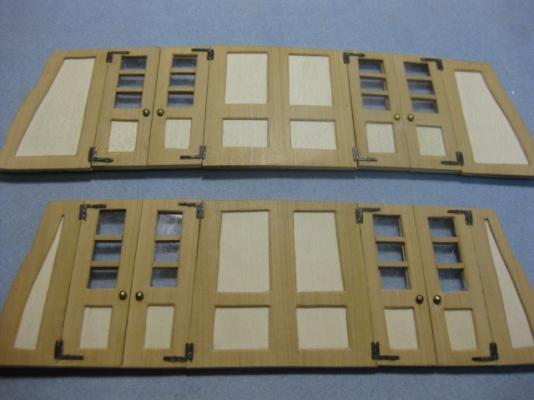
Hi all, Apart from a Finish the bulkheads are completed. The Hinges came from the Admiralty Models PE set, and the doorknobs are the heads off brass pins. They have all been epoxied in place : There are doorknobs on both sides of the doors. To give you an idea of the actual size of these, the pic below is about twice the size of the real thing (on a 22" screen) : Danny

-
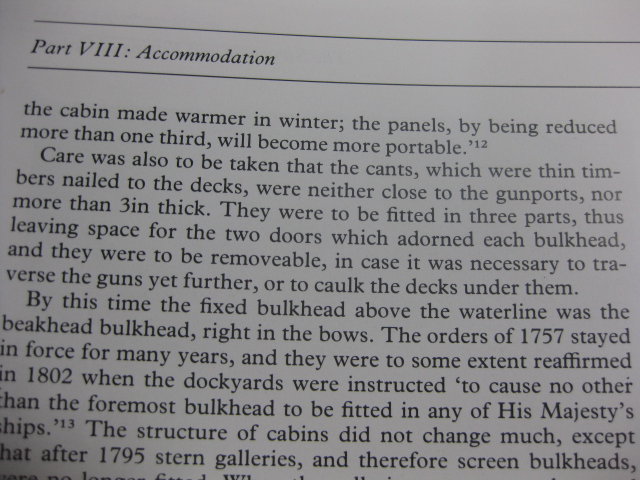
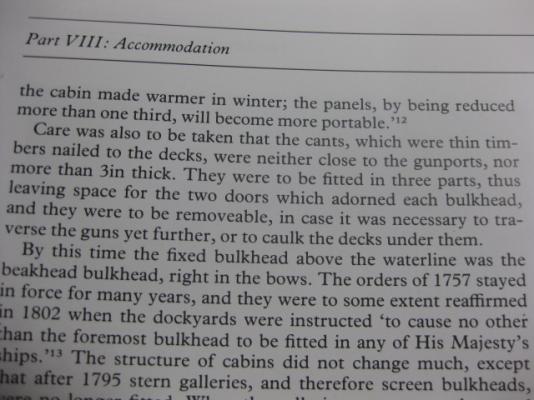
Thanks Laman, Robbyn, Sjors and Dave. NO . Door knobs and hinges are below Sjors - go back a couple of pages to see how I fitted the "glass". And from Lavery we have this : So who do you believe? I think it depends a lot on the period, and also the type of ship. Danny
-
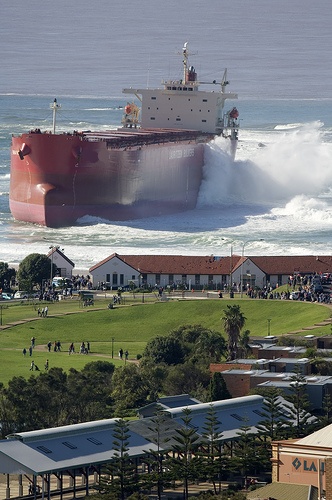
Told you it would be easy . Yes Adrieke, it's the Pasha Bulker paying an unexpected visit to Nobby's Beach in Newcastle. Danny
-
Sorry about that Dave . This one's pretty easy : Danny

-
16 gun sloop Zebra. http://ageofsail.devhub.com/blog/619954-naval-actions-american-war-of-independence-1775/ Danny
-
HMS Pelorus? Danny
-
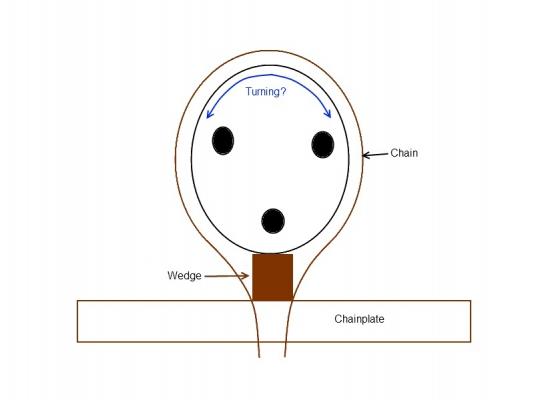
Hi Sjors, Do you mean that the kit Chains are a bit too large in diameter and the deadeye keeps turning around? You should have squeezed them tighter before you fitted them to the chainplates (remember that for the next model ). No problem, it's easily fixed. Just carve a small wedge and push it between the bottom of the deadeye and the chainplate like in my diagram. Rig up the deadeye and remove the wedge - use it on the next one if needed. Danny
-
Not done with yet John - there are still the hinges and doorknobs to go . And I still haven't put any lacquer on either. Danny
-
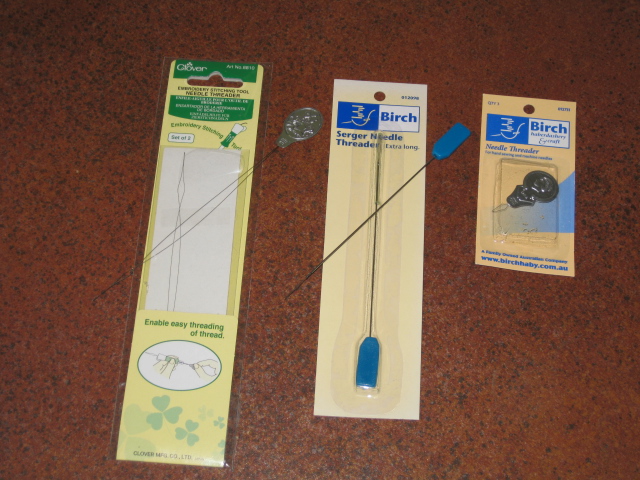
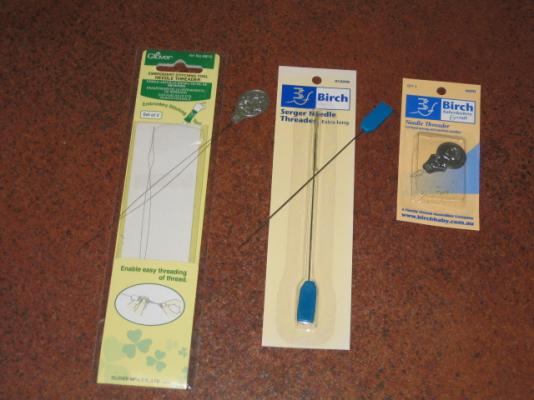
Better yet, they come in different styles. The one in the middle has a hard wire which replaces Seasick's dowel (it has a "normal" needle threader on the end which doesn't show well in the photo), and the one on the left has a very long wire - this comes in handy around the eyelets at the bottom of the masts : Danny
-
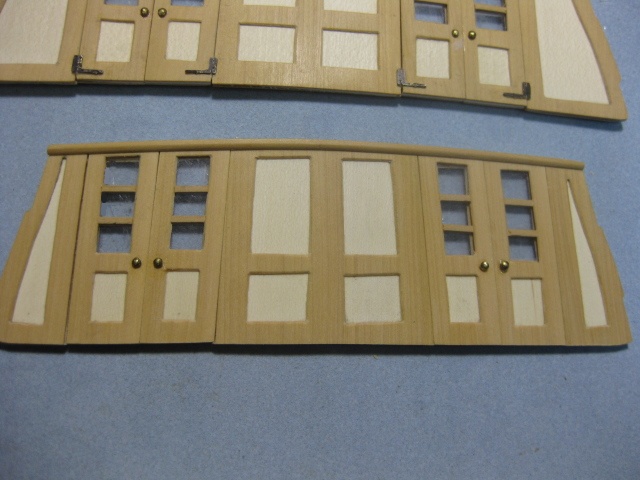
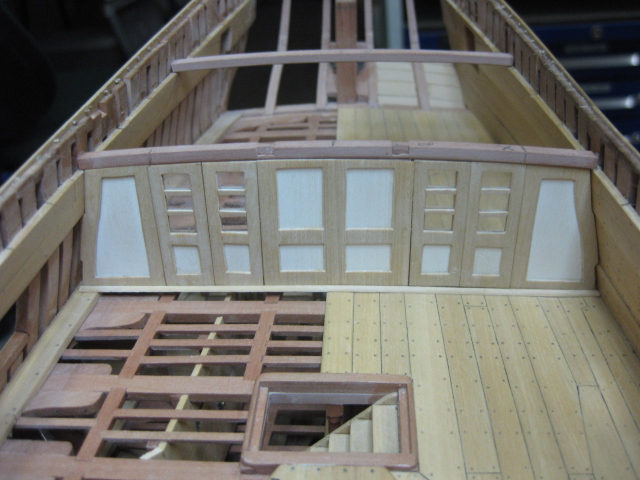
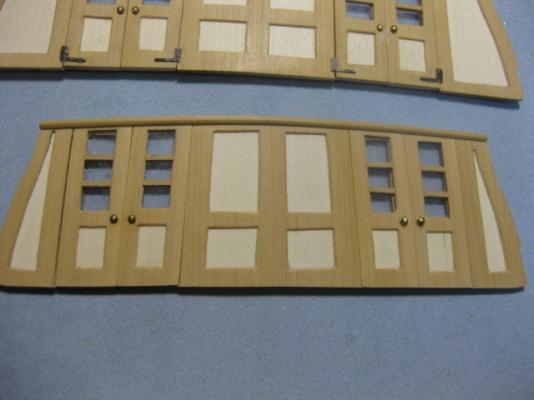
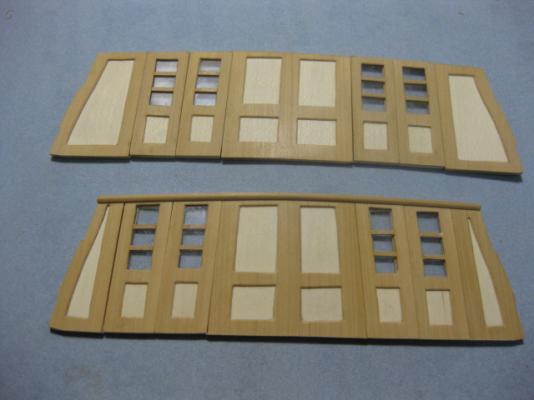
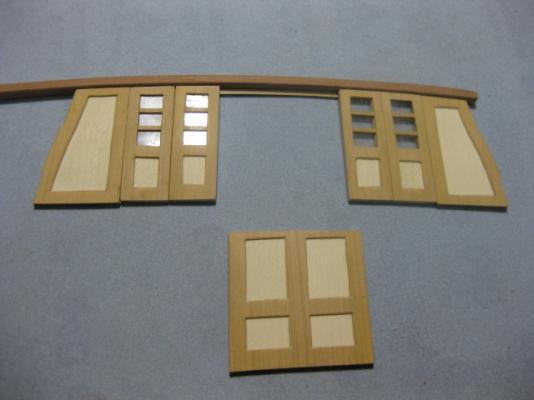
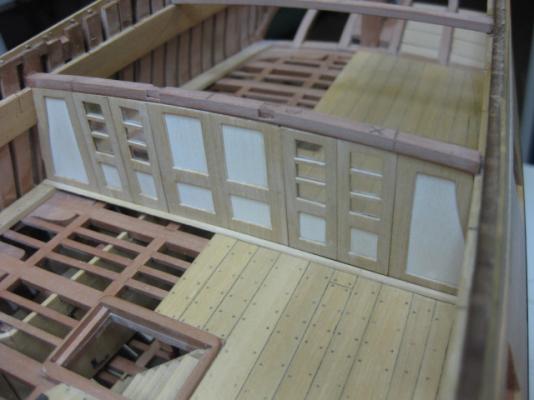
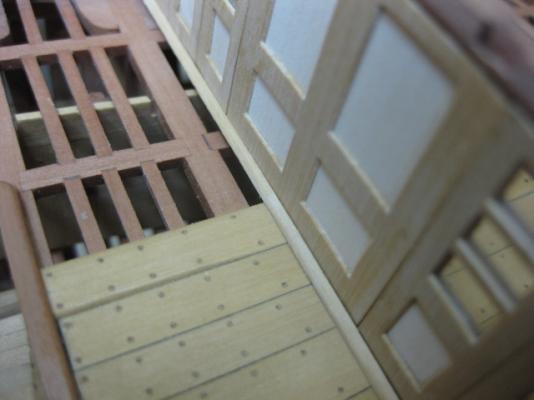
Aft Athwartships Aft Cabin Bulkhead This bulkhead was made in similar fashion to the preceding one. The only differences are in the height and width, with the outer panels significantly narrower due to the width of the hull at that point. The doors and central panel are the same sizes as the forward bulkhead (camera distortion makes them look different to each other) : Danny
-
Thank you once again Greg, John, Christian, Aldo, Alex, Jeff, Allan, Druxey, Brian, Pat, BrianC, Laman, Adam and Janos. A lot of lookers since I last posted . I can't give you a definitive answer John, but David Antscherl mentions that they MAY have been glazed so I went with that. Yes it is Christian. Actually Aldo, I only used the scroll saw to "rough" the panels out to within 0.5 of a millimetre or so. Most of the finishing work was done with the Byrnes disc sander (straight sections) and a sanding stick to get it right on the mark. The internal cuts were all done with an Xacto knife and a needle file for the bevels. Allan, I'm with Druxey on this one - I'm cutting the cants (battens) out of the doorways. My reasoning is that they would create a trip hazard otherwise. I have no idea - and I'm not going to put the pins in for that reason. Until this model I didn't even know about the cants (and a lot of other bits either ). Laman, the forward bulkhead on Vulture actually DOES line up with the TFFM plans (I think, and HOPE ). I haven't installed the Forecastle Deck beam above it yet (there are still three more to fit). Danny
-
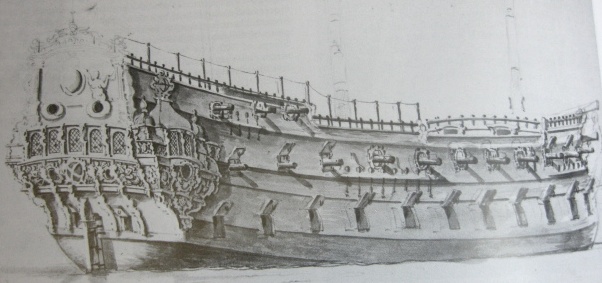
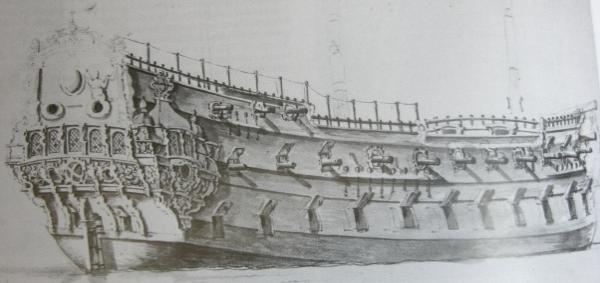
Indeed it is Portland Dave. I took a pic from Brian Lavery's "Arming and Fitting of English Ships of War 1600 - 1815" (but it still came up in Google Image ). Your go. Danny
-
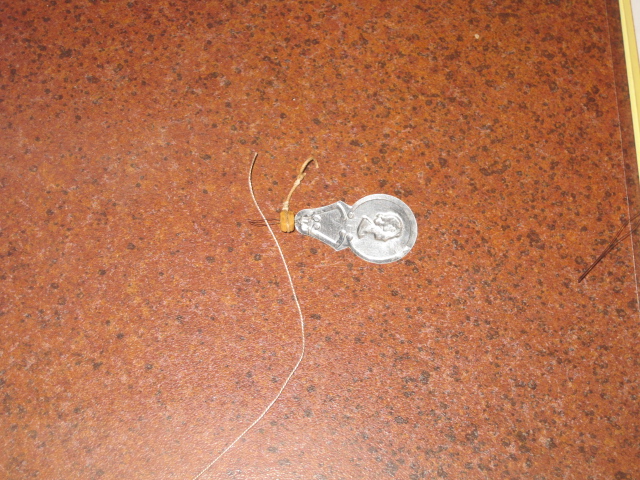
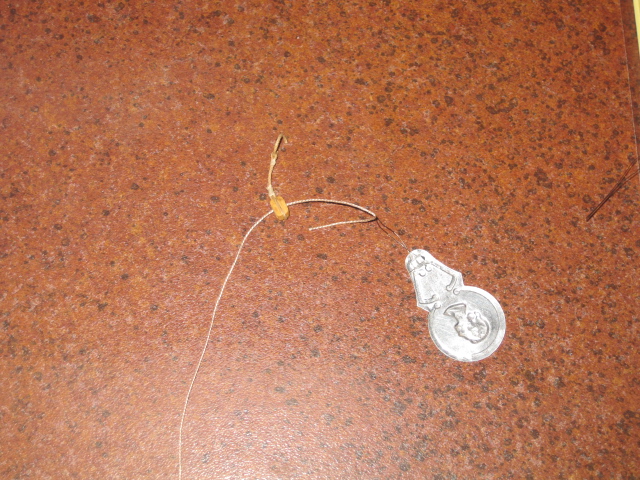
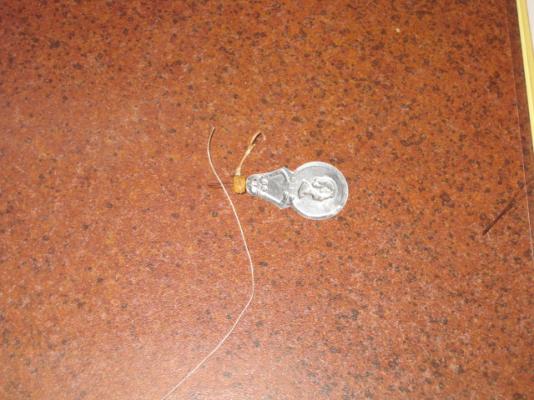
Why Sjors? If you use a Needle Threader to thread the line through them it's easy . The pics below are a demonstration using a 3mm block, but it works the same for deadeyes : Danny

-
Thanks David. This one will be a fair bit harder - the pic didn't come off the internet . Danny
-
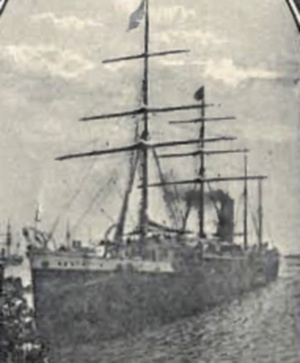
SS Tainui, aka SS Empire Trader. Danny
-
what powertools to buy
Dan Vadas replied to Adrieke's topic in Modeling tools and Workshop Equipment
And here's the link to Micro Machine Shop's Home Page - HUGE assortment of all kinds of drills, reamers, cutters etc . Danny -
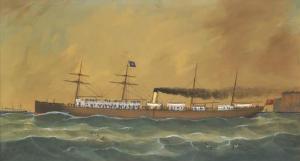
Told you the second pic would be easier - your turn Adrieke, it is SS Australia. Danny
-
No-one's got it yet - here's the easier pic : Danny
-
Nope. I'll be offline for a couple of hours - if no-one's guessed it when I get back I'll put up another (easier) pic of the same ship. Meanwhile - keep guessing . Danny
-
Guess again David Danny
-
3:30am usually - early to bed, early to rise . This one might be a bit harder to guess : Danny
-
what powertools to buy
Dan Vadas replied to Adrieke's topic in Modeling tools and Workshop Equipment
Hi Jay, The problem with those drills is they only come in a limited number of sizes (good thing is that they are probably the most commonly used ones ). If anyone knows of a supplier who has them in 0.1mm increments and/or Number drills I'd love to know their address. Danny -
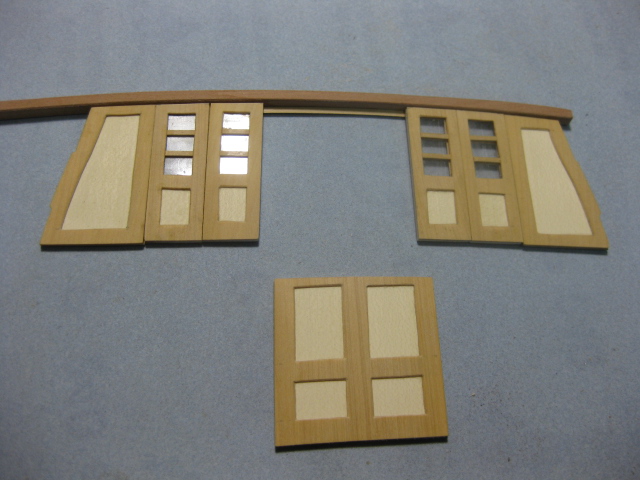
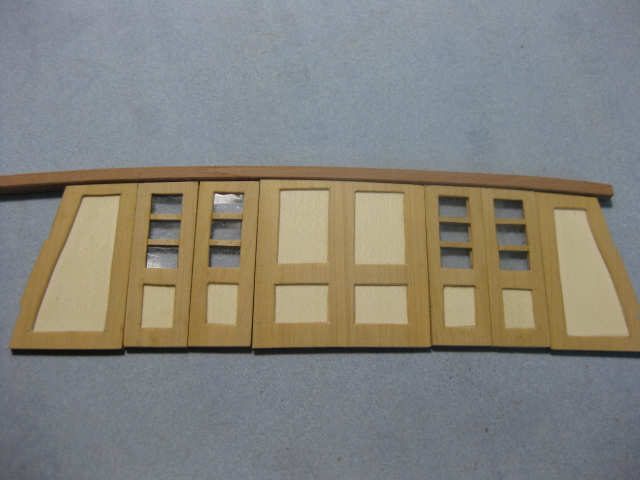
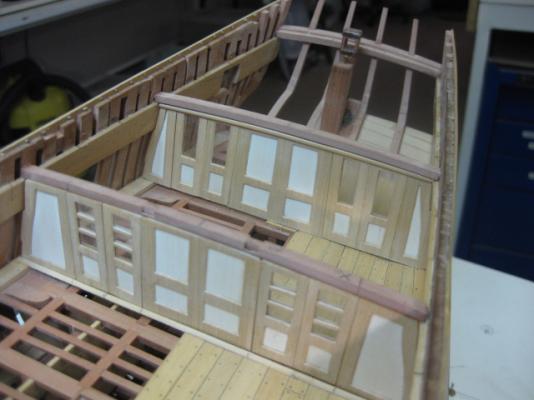
Thank you Grant, Michiel, Mark, John and Brian. I've (almost) finished the Forward Aft Bulkhead - only the hinges and locks to go. I spot-glued the upper cant to the underside of a spare quarterdeck beam and glued the three solid sections and four doors to the cant and each other : Two pics of the assembly dry-fitted - very little modification was needed : A closeup of one of the Cants for Brian. These are 3" square battens with a rounded top-outer edge. The sections of cant in the door openings will be cut out later : Danny


-
what powertools to buy
Dan Vadas replied to Adrieke's topic in Modeling tools and Workshop Equipment
. Just make sure you use a decent quality Pinvise (hold it by the smooth part, not the knurled section), and your drill press shaft doesn't have any wobble. And don't blame me if you snap a drill - as I said, it's only a cheaper alternative . Danny