Dan Vadas
-
Posts
3,261 -
Joined
-
Last visited
Content Type
Profiles
Forums
Gallery
Events
Everything posted by Dan Vadas
-
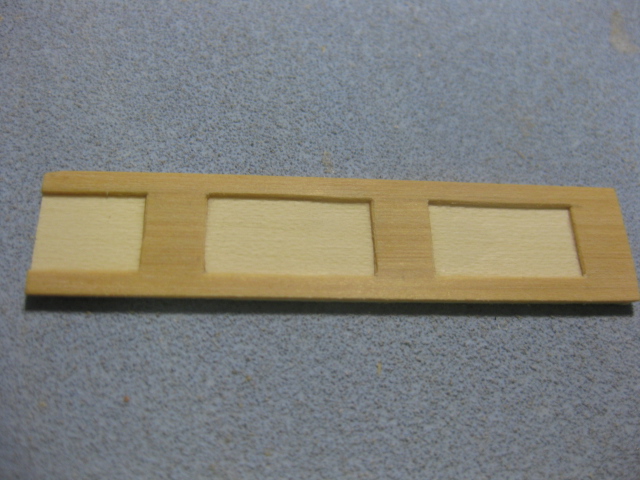
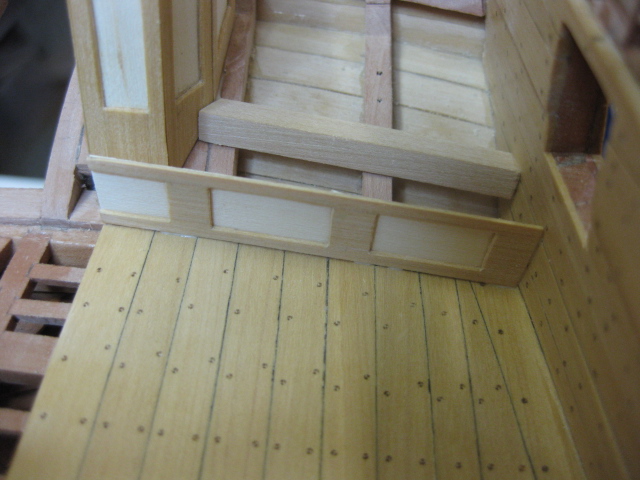
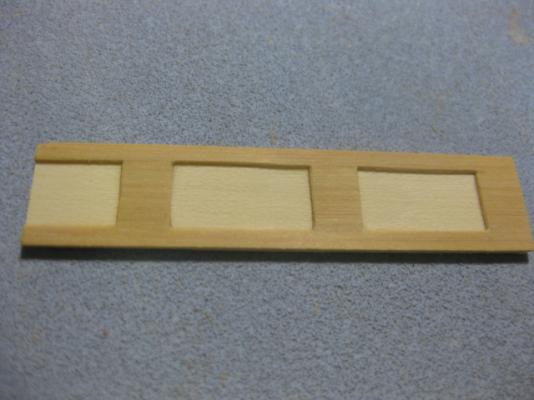
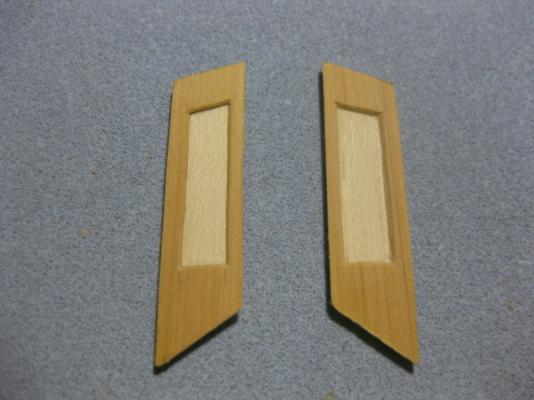
Great Cabin Lockers There is a bank of Lockers under the stern lights in the great cabin. I've fitted a triangular shaped piece for the hinges, and made the panelled piece for the front : Danny

-
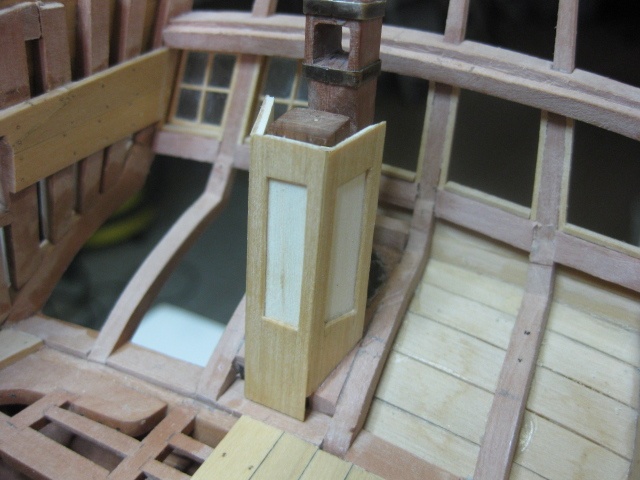
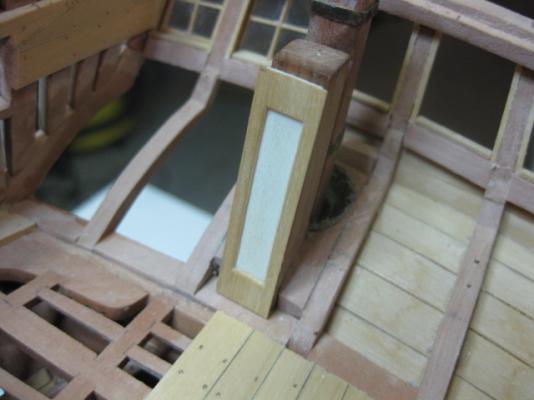
I've made and fitted the final three pieces of the Rudder Head Trunk. Some slight sanding still needs to be done to get the joints flush : Danny


-
Thanks for looking in John, Janos, Mark, Brian and Aldo . It will fit hard under the Rudder Head Partners John. Some trimming has been allowed for. I don't know Mark. TFFM is a little vague in this area. Aldo, they are indeed - 0.4mm x 0.5mm to be exact. Danny
-
Yep your turn David. Danny
-
Adrieke, I found her on THIS SITE. Here's my next : Note : Google Image comes up with some rather interesting results . Danny

-
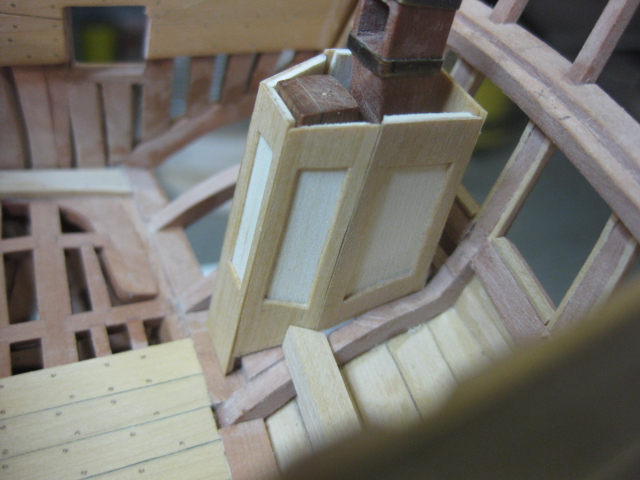
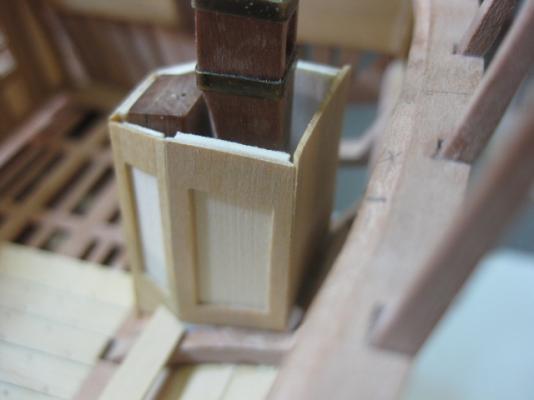
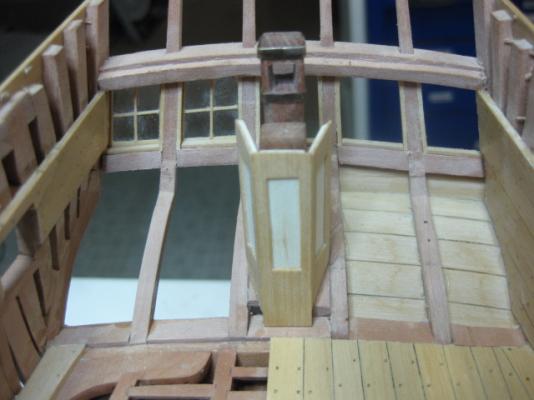
Rudder Head Trunk The head of the rudder is enclosed by a Trunk - removable timber panelling. I made the pieces up in similar fashion to the bulkhead panelling. I've found it easier to make each piece, glue it in place and then move on to fashioning the next one or two : I remade the front piece (see below). I'd forgotten to allow for the height of the Lockers which flank the trunk : Danny

-
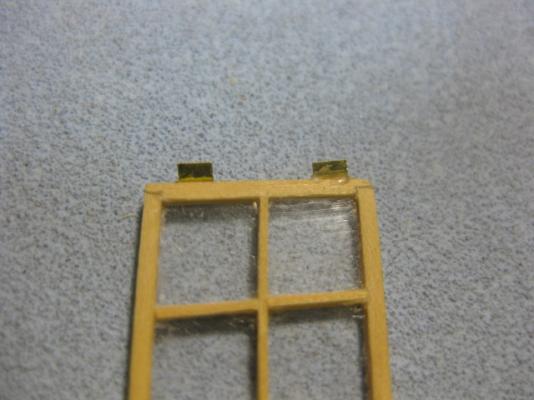
Thanks for the kind words David, John, Brian, Sjors, Grant, Robbyn and Mark. Those "hinges" are only 2mm wide - a bit beyond my old eyes to get them to actually pivot . Although they WILL be doing something - the Lights will be relying on a good epoxy bond to them to stay attached. Brian, I'm not sure exactly what type of Acrylic this stuff is. It seems to resist scratching a fair bit better than Perspex, although other qualities are very similar. Danny
-
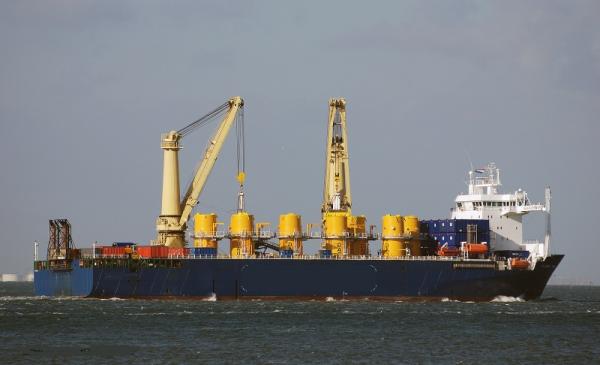
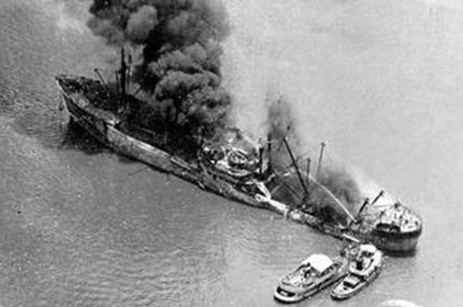
Sea Giant. I wonder what they thought they could do with that little front-end-loader on the beach - tow her back in? Danny
-
Yes Adrieke, she's the Jumbo Javelin. Your turn. Danny
-
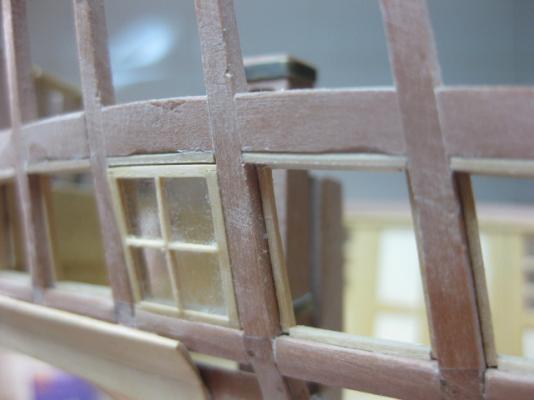
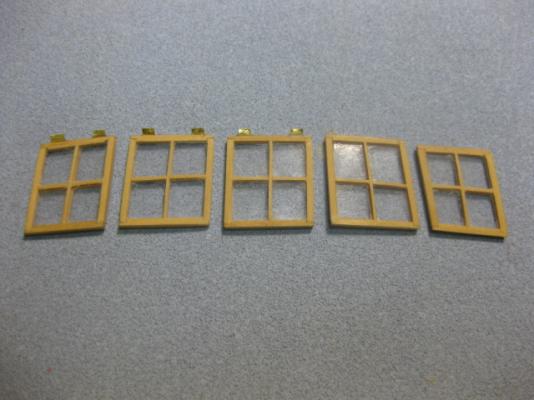
Thank you Jeff . Stern Lights Completing I've completed all five Stern Lights - FINALLY . The munions are VERY fragile - I lost count of how many I had to do more than once as quite a few either let go or broke in several places when I was doing "final adjustments". I made a jig from three pieces of thin planking glued to a piece of flat pine for each Light. A piece of thin card established one angle first, and then I transferred each edge length using dividers. The central Light being test-fitted. The small gaps between the Counter Timbers and the Light Frames will disappear when all the trims have been added : The five completed Lights. Note the small brass (non-working) hinges that will attach the port and centre lights in the open position. These have been epoxied to the frames : Danny
-
Yeah Kats - that was just a tiny drop in the bucket . Oddly enough, I did exactly the same thing with my own Revell Cutty Sark (way back when) . Danny
-
OK, I'll get back to your problem in a minute. Here's one from me : Danny
-
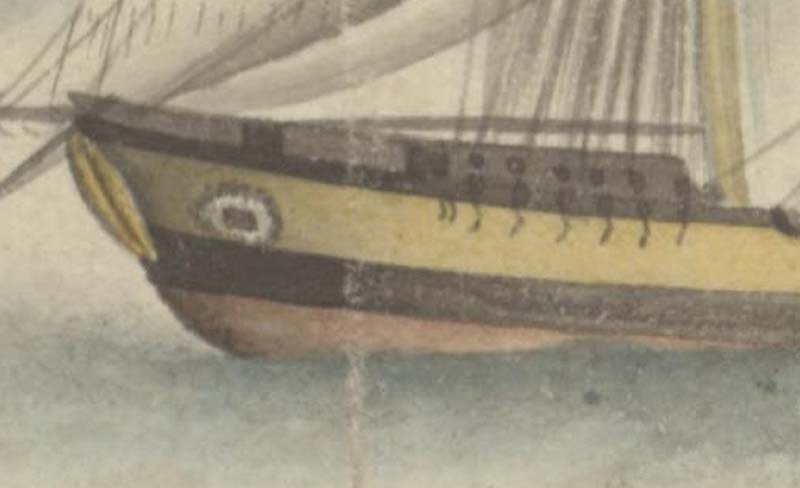
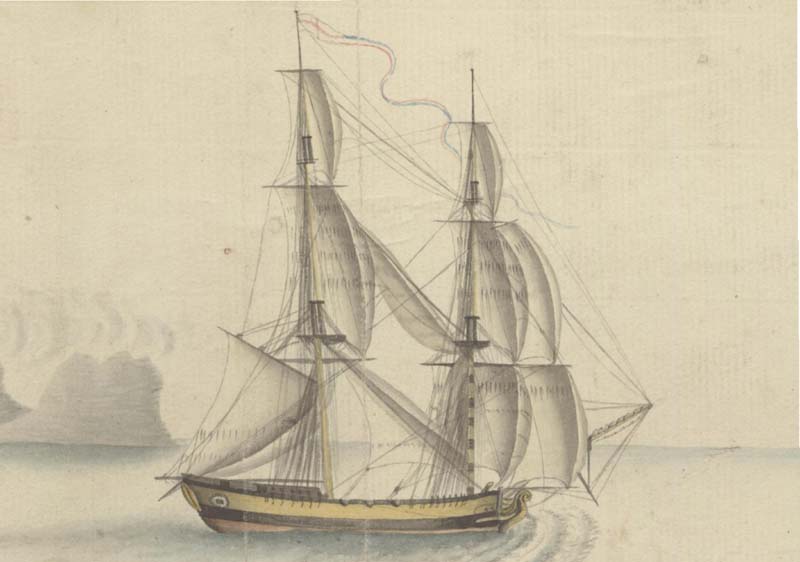
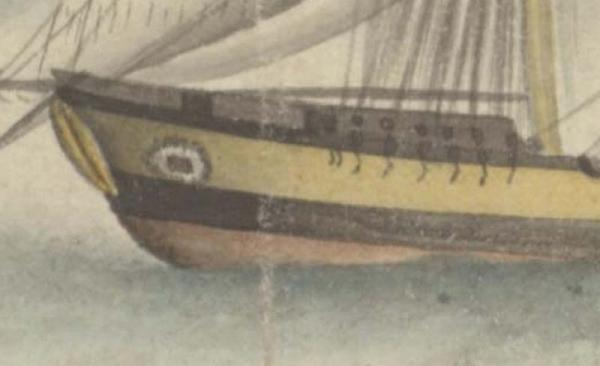
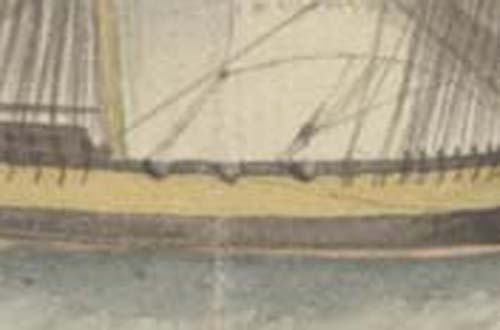
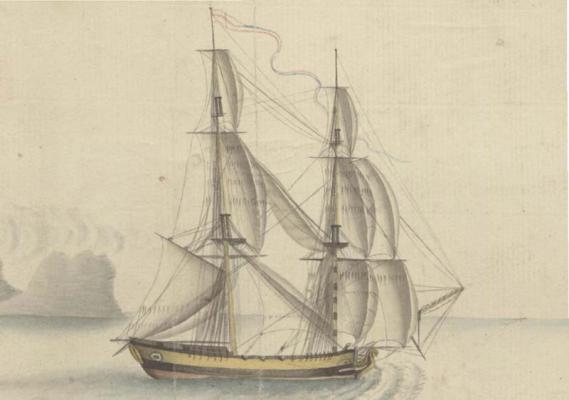
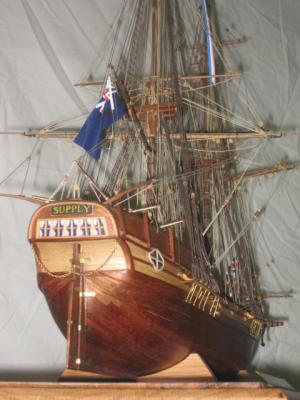
Hi Tom, Oh yeah, it sure is - but even the Caldercraft kit is wrong if you take a look at a few more of George Raper's "real life" paintings. Here's one showing the stern (Supply is on the left) which clearly shows she had Stern Lights (windows) : And some larger pictures of the one Jim Lad posted earlier. Note the three semi-circular gunports in the waist (same as Caldercraft's kit) : Neither kit has the extended quarterdeck/bulwark shown in this enlargement : Finally, a pic of the stern on my interpretation of Supply : Danny

- 21 replies
-
- 1
-

-
- supply
- artesania latina
- (and 2 more)
-
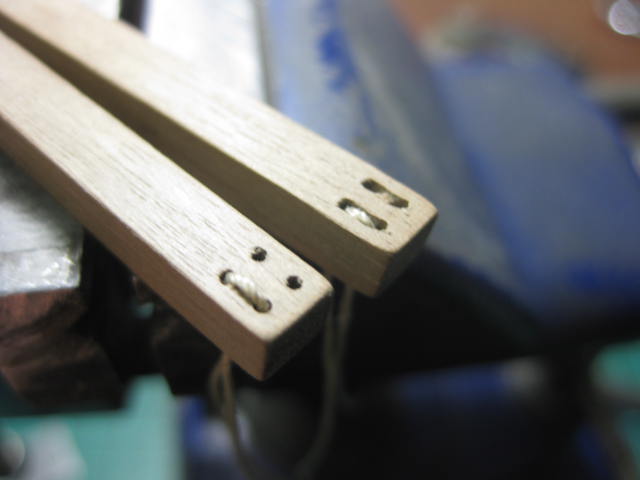
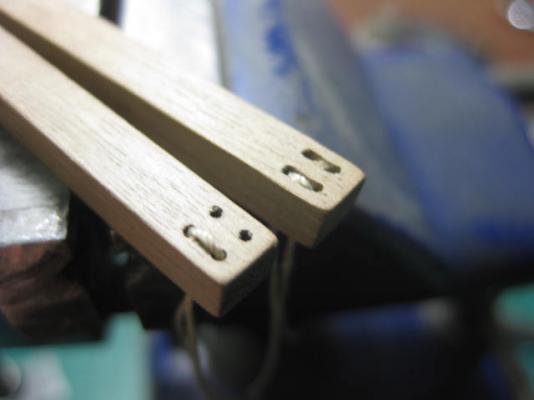
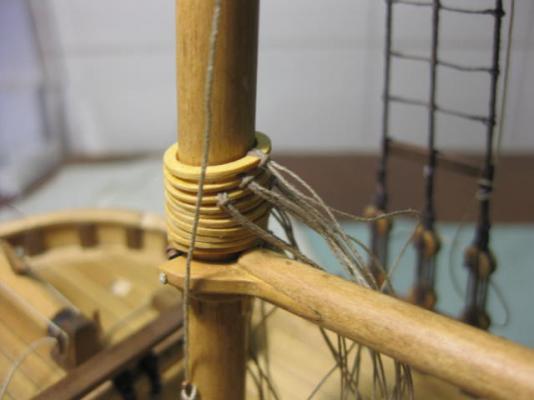
Hi Jeff, Very nice work on everything . A couple of points : You probably should have fitted Mast Hoops for the Gaff sail, even though you aren't fitting sails - much too late now though : The Catheads were fitted with Sheaves. To simulate them (which you can still do) and make them look more realistic you could carve or file them as the one on the right in the pic below. It makes the way the line runs around them look a lot better than just drilling the four holes : Danny
-
Allow me to add my condolences along with everyone else's. My father passed away very suddenly 6 years ago at the age of 75 (he was still working as a concretor the day before) so I know the hurt you feel. Danny
-
Hi Toni, I can't remember how many metres of Treenail stock I had made before the Crash of MSW v1.0. I'd been itemizing them up to that point, but from memory I think I was up to 28 metres by then. I have none left, and still have the Forecastle and Quarter Decks to go . A gazillion holes sounds about right . Danny
-
Hmm ... Google Image Search comes up with either Huey, Dewey or Louie . Danny
-
Hi Aldo. I doubt if ANY pieces are the same shape/length because of the differences in the converging angles - theoretically they should be the same (or a mirror) for a particular piece on the port/starboard side. Danny
-
Hi Jeff, Great work so far - if it wasn't for the different (kit supplied) timber you have used I would have sworn I was looking at my old Build Log of "Norfolk". Saves me the trouble of trying to resurrect it . Danny
-
Hi Toni, Yes, I had exactly the same problem and came up with the same solution . The Bitts will have to go in and out quite a few times before they are ready to be permanently fitted, so an easy way of removing the "planked against" one is necessary. Danny
-
Thanks John, Grant, Mark, Tom, Michael, Martin, Brian, Frank, Christian, Allan and Juergen . Sorry for the late reply - I've been away for a few days. Martin and Allan - no Rocket Science involved here . I simply cut the rebate on the outside (away from the fence) edge of a wider piece of "squared up" stock FIRST, and then cut off the frame to width. Both those steps are very easily done that way, but virtually IMPOSSIBLE to do if you try and cut the rebate into an already sized piece. The rebates for the corners were simply done with an Xacto knife. Danny
-
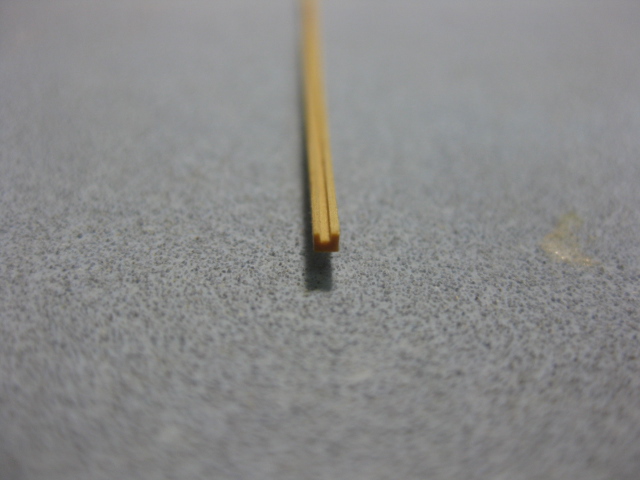
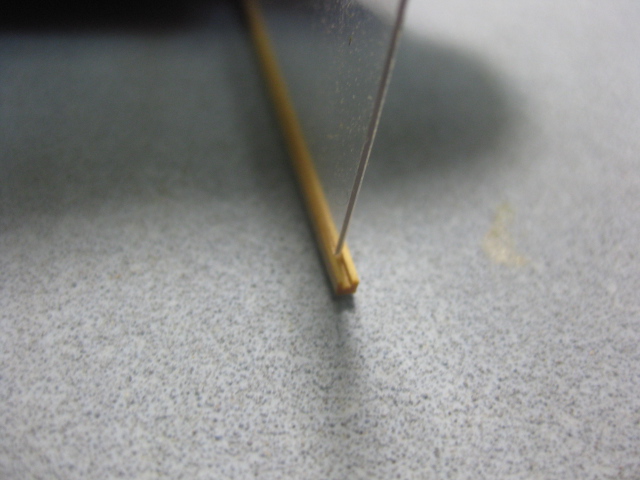
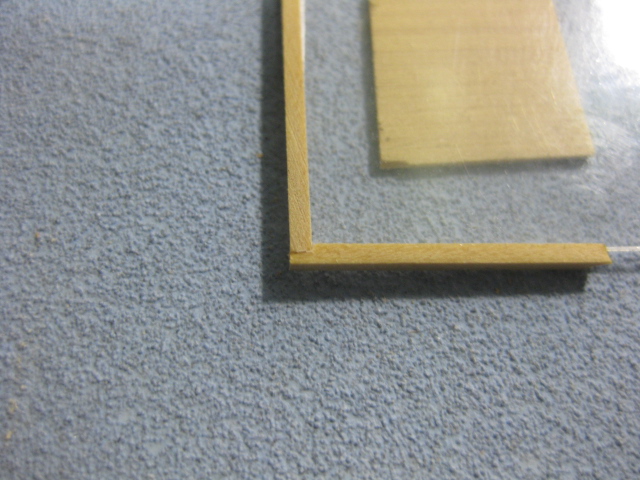
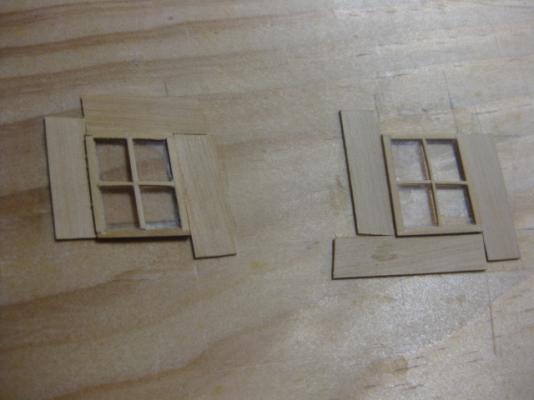
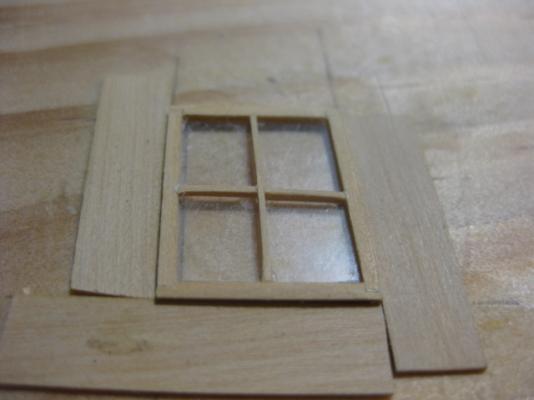
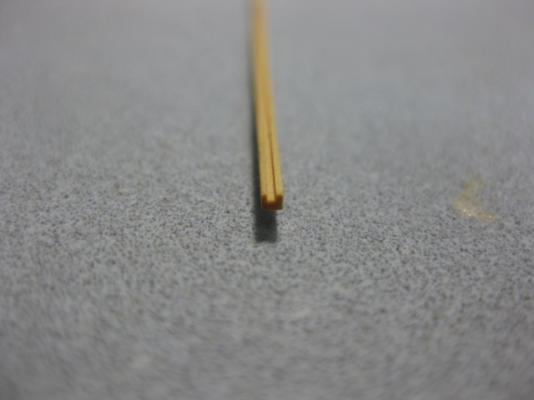
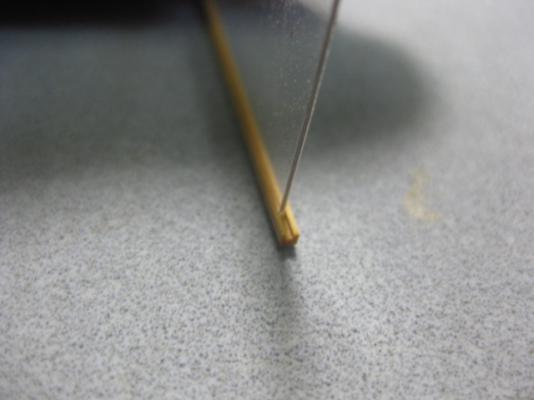
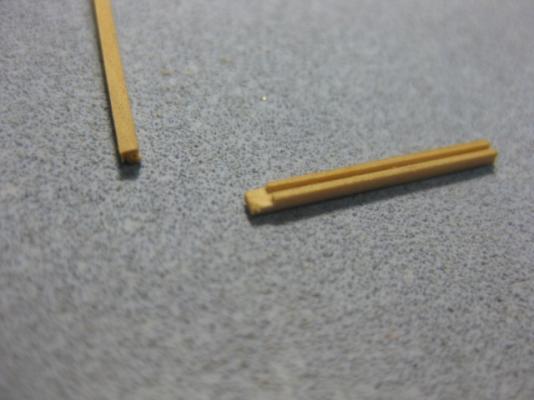
Making Light Frames To make the Light Frames themselves I cut a channel using my Byrnes saw. This is 1.5mm wide by 1.0mm thick, and has a 0.5mm rebate in the middle to hold the acrylic "glass" which is 0.48mm thick : To make the corners I cut the rebate out of one section, leaving it slightly long - this will be sanded back when it is completed : I just made this piece up as a demonstration. I'll make a proper jig to assemble the pieces later. Danny

-
Thanks Anja, Here's my next : If no-one has guessed it in 24 hours I'll give it back to Anja for another turn, as I will be going away for a few days. Danny
-
MS Sanct Svithun ? Danny
-
Anja, Anthony's ship is the ORIGINAL HMS Impregnable , later renamed HMS Kent. HMS Howe was a different ship later renamed HMS Impregnable. Danny