ECK
-
Posts
642 -
Joined
-
Last visited
Content Type
Profiles
Forums
Gallery
Events
Everything posted by ECK
-
Lovely final result! ECK
-
HMS Victory by ECK - OcCre - 1/87
ECK replied to ECK's topic in - Kit build logs for subjects built from 1751 - 1800
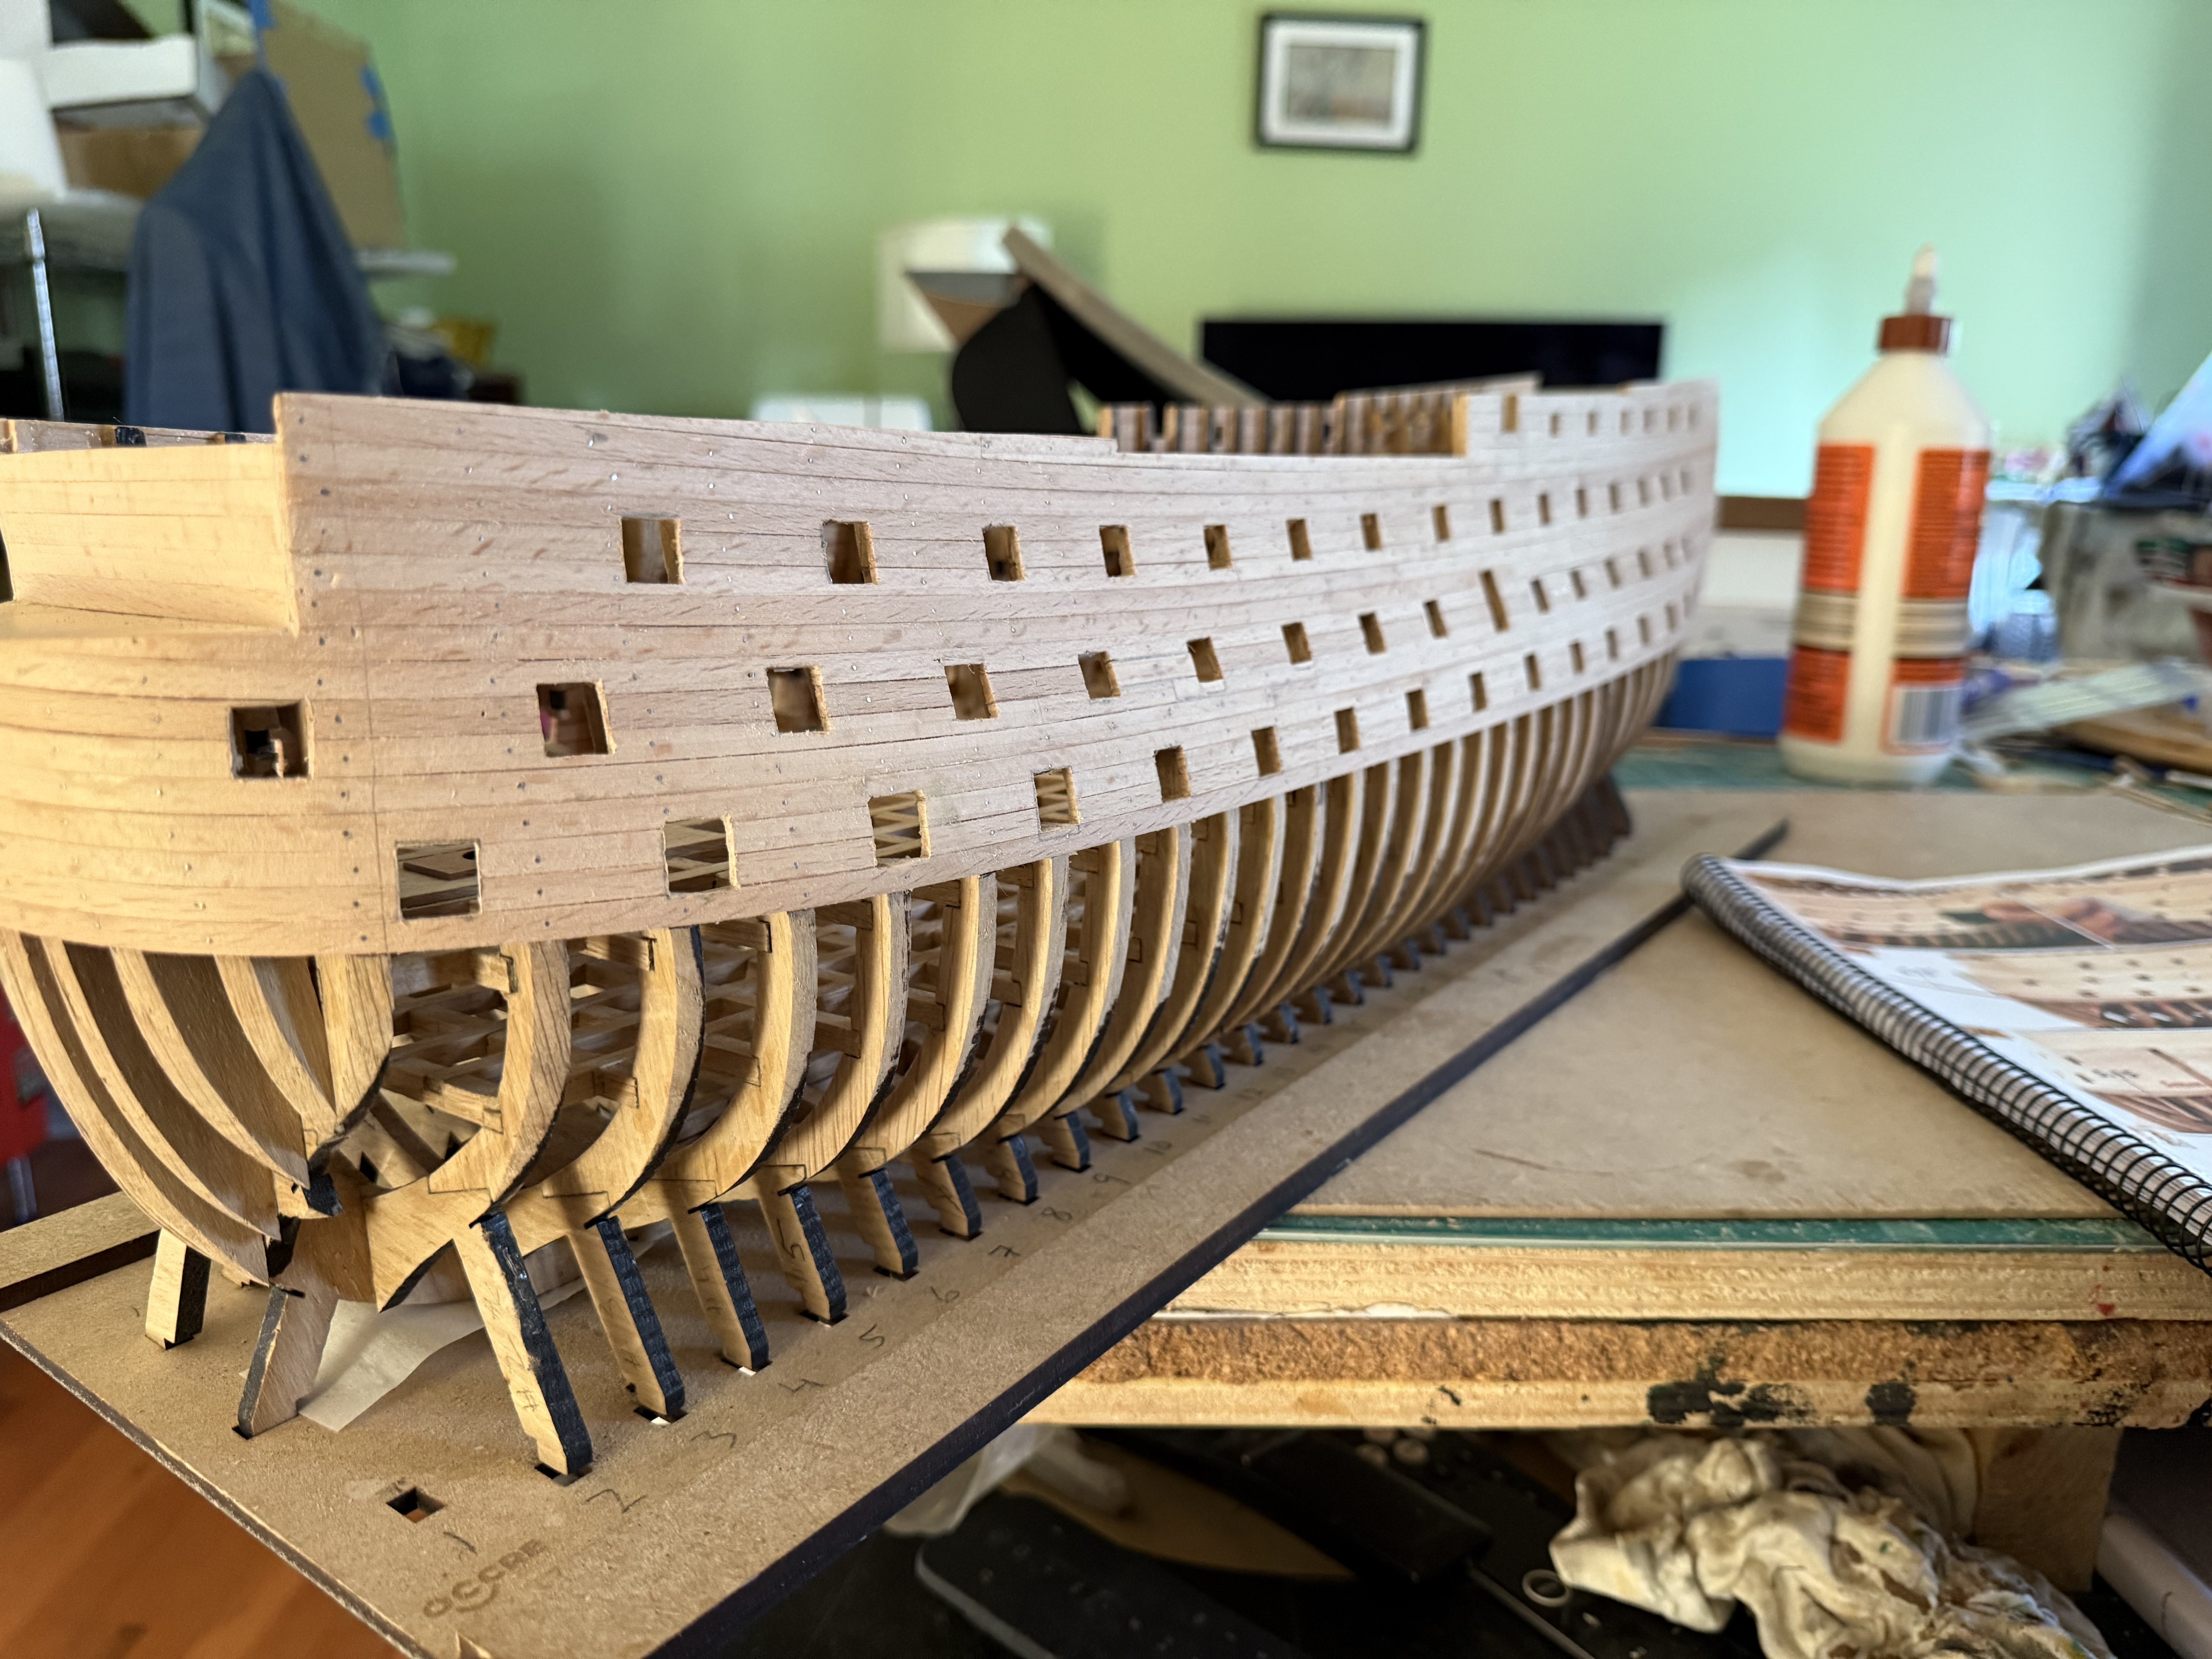
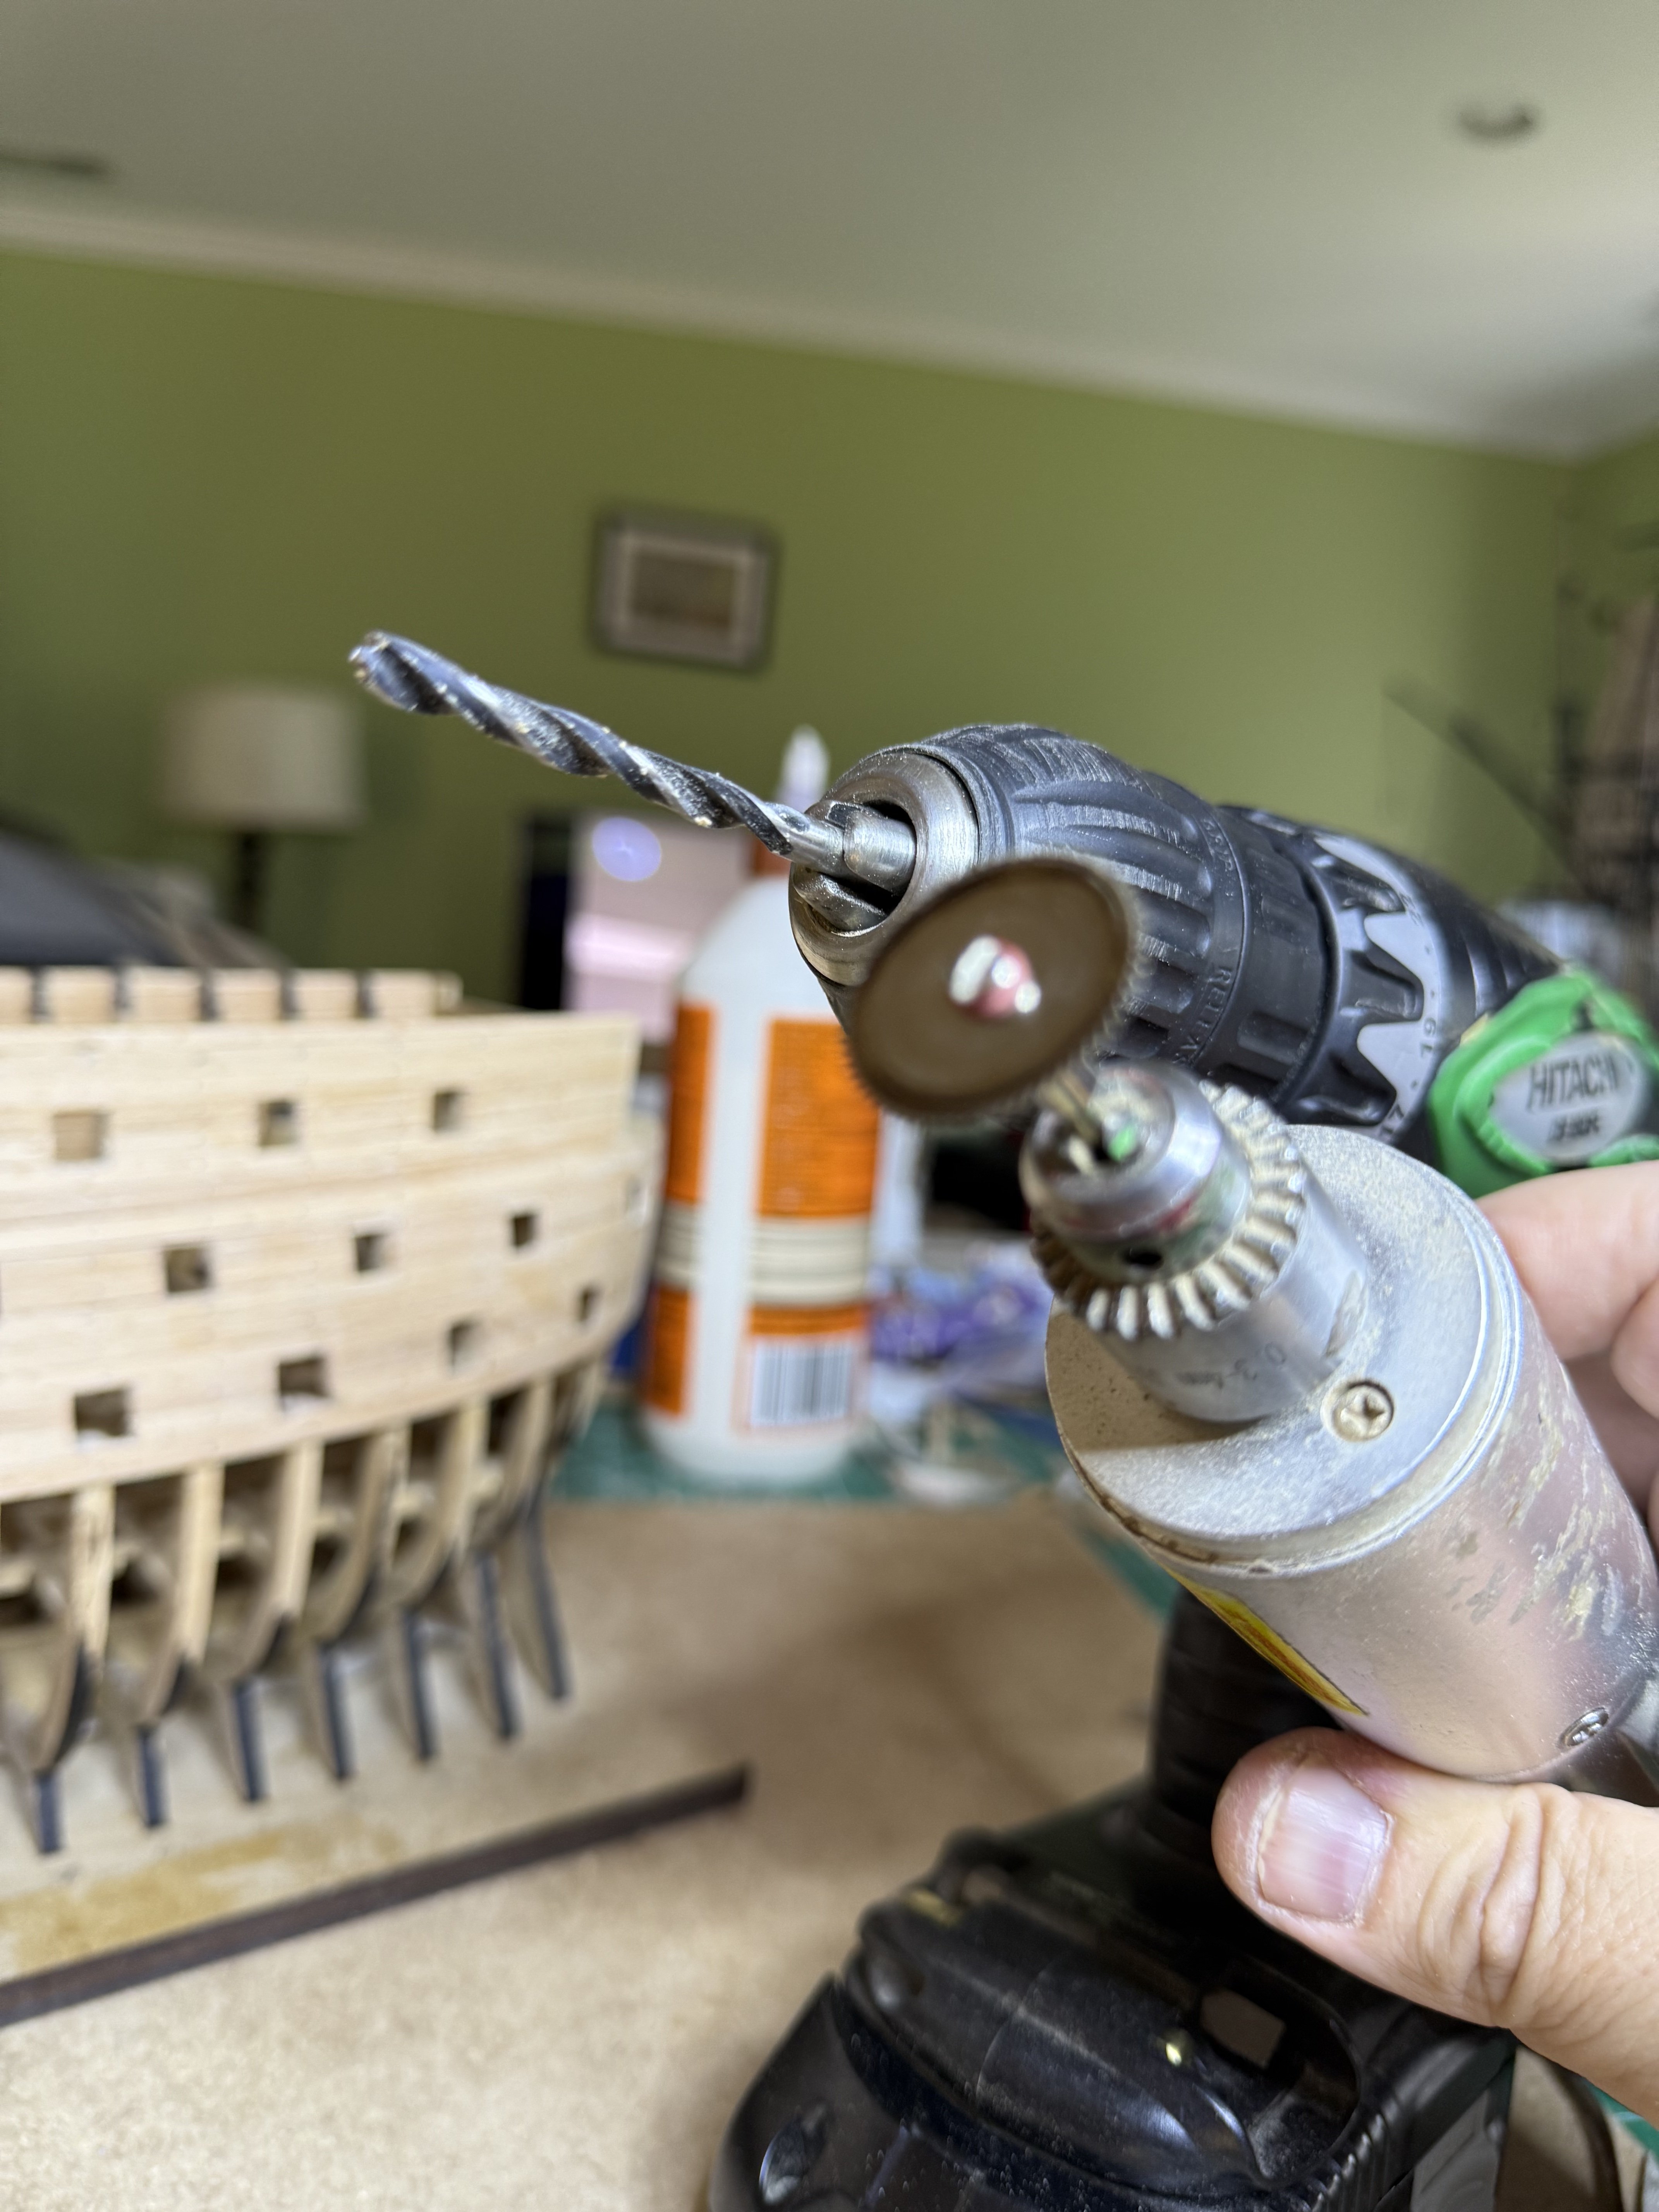
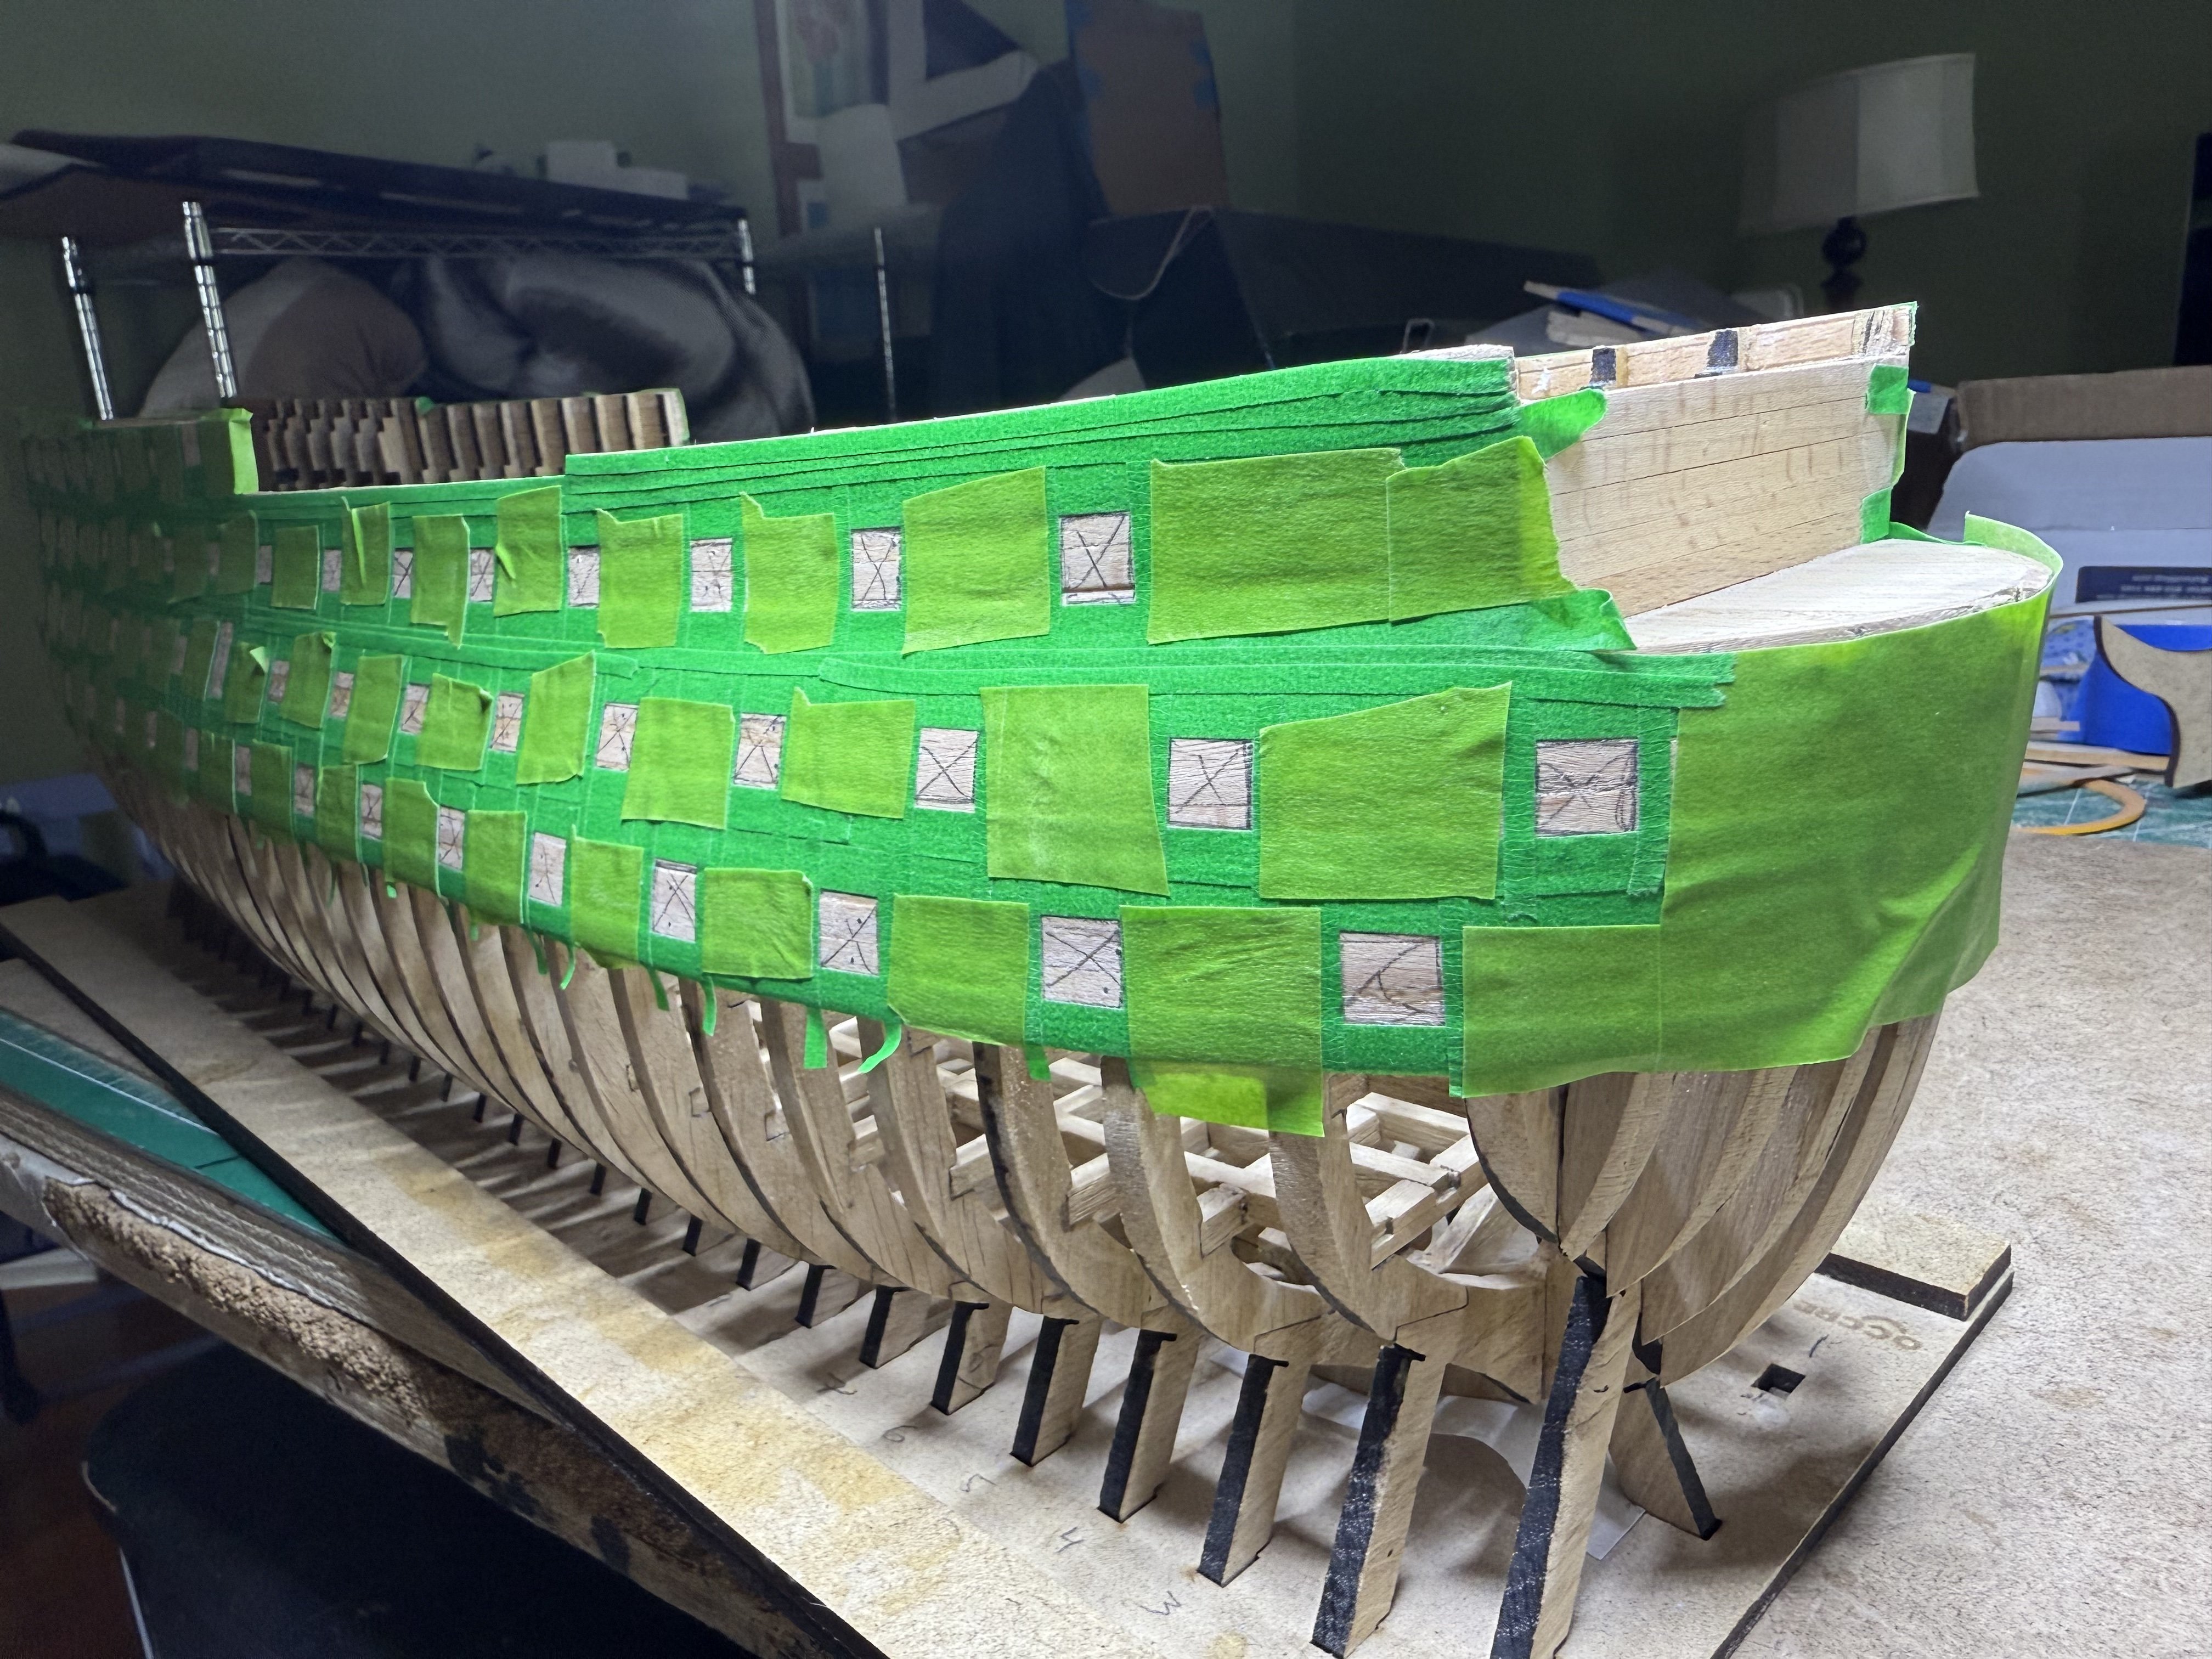
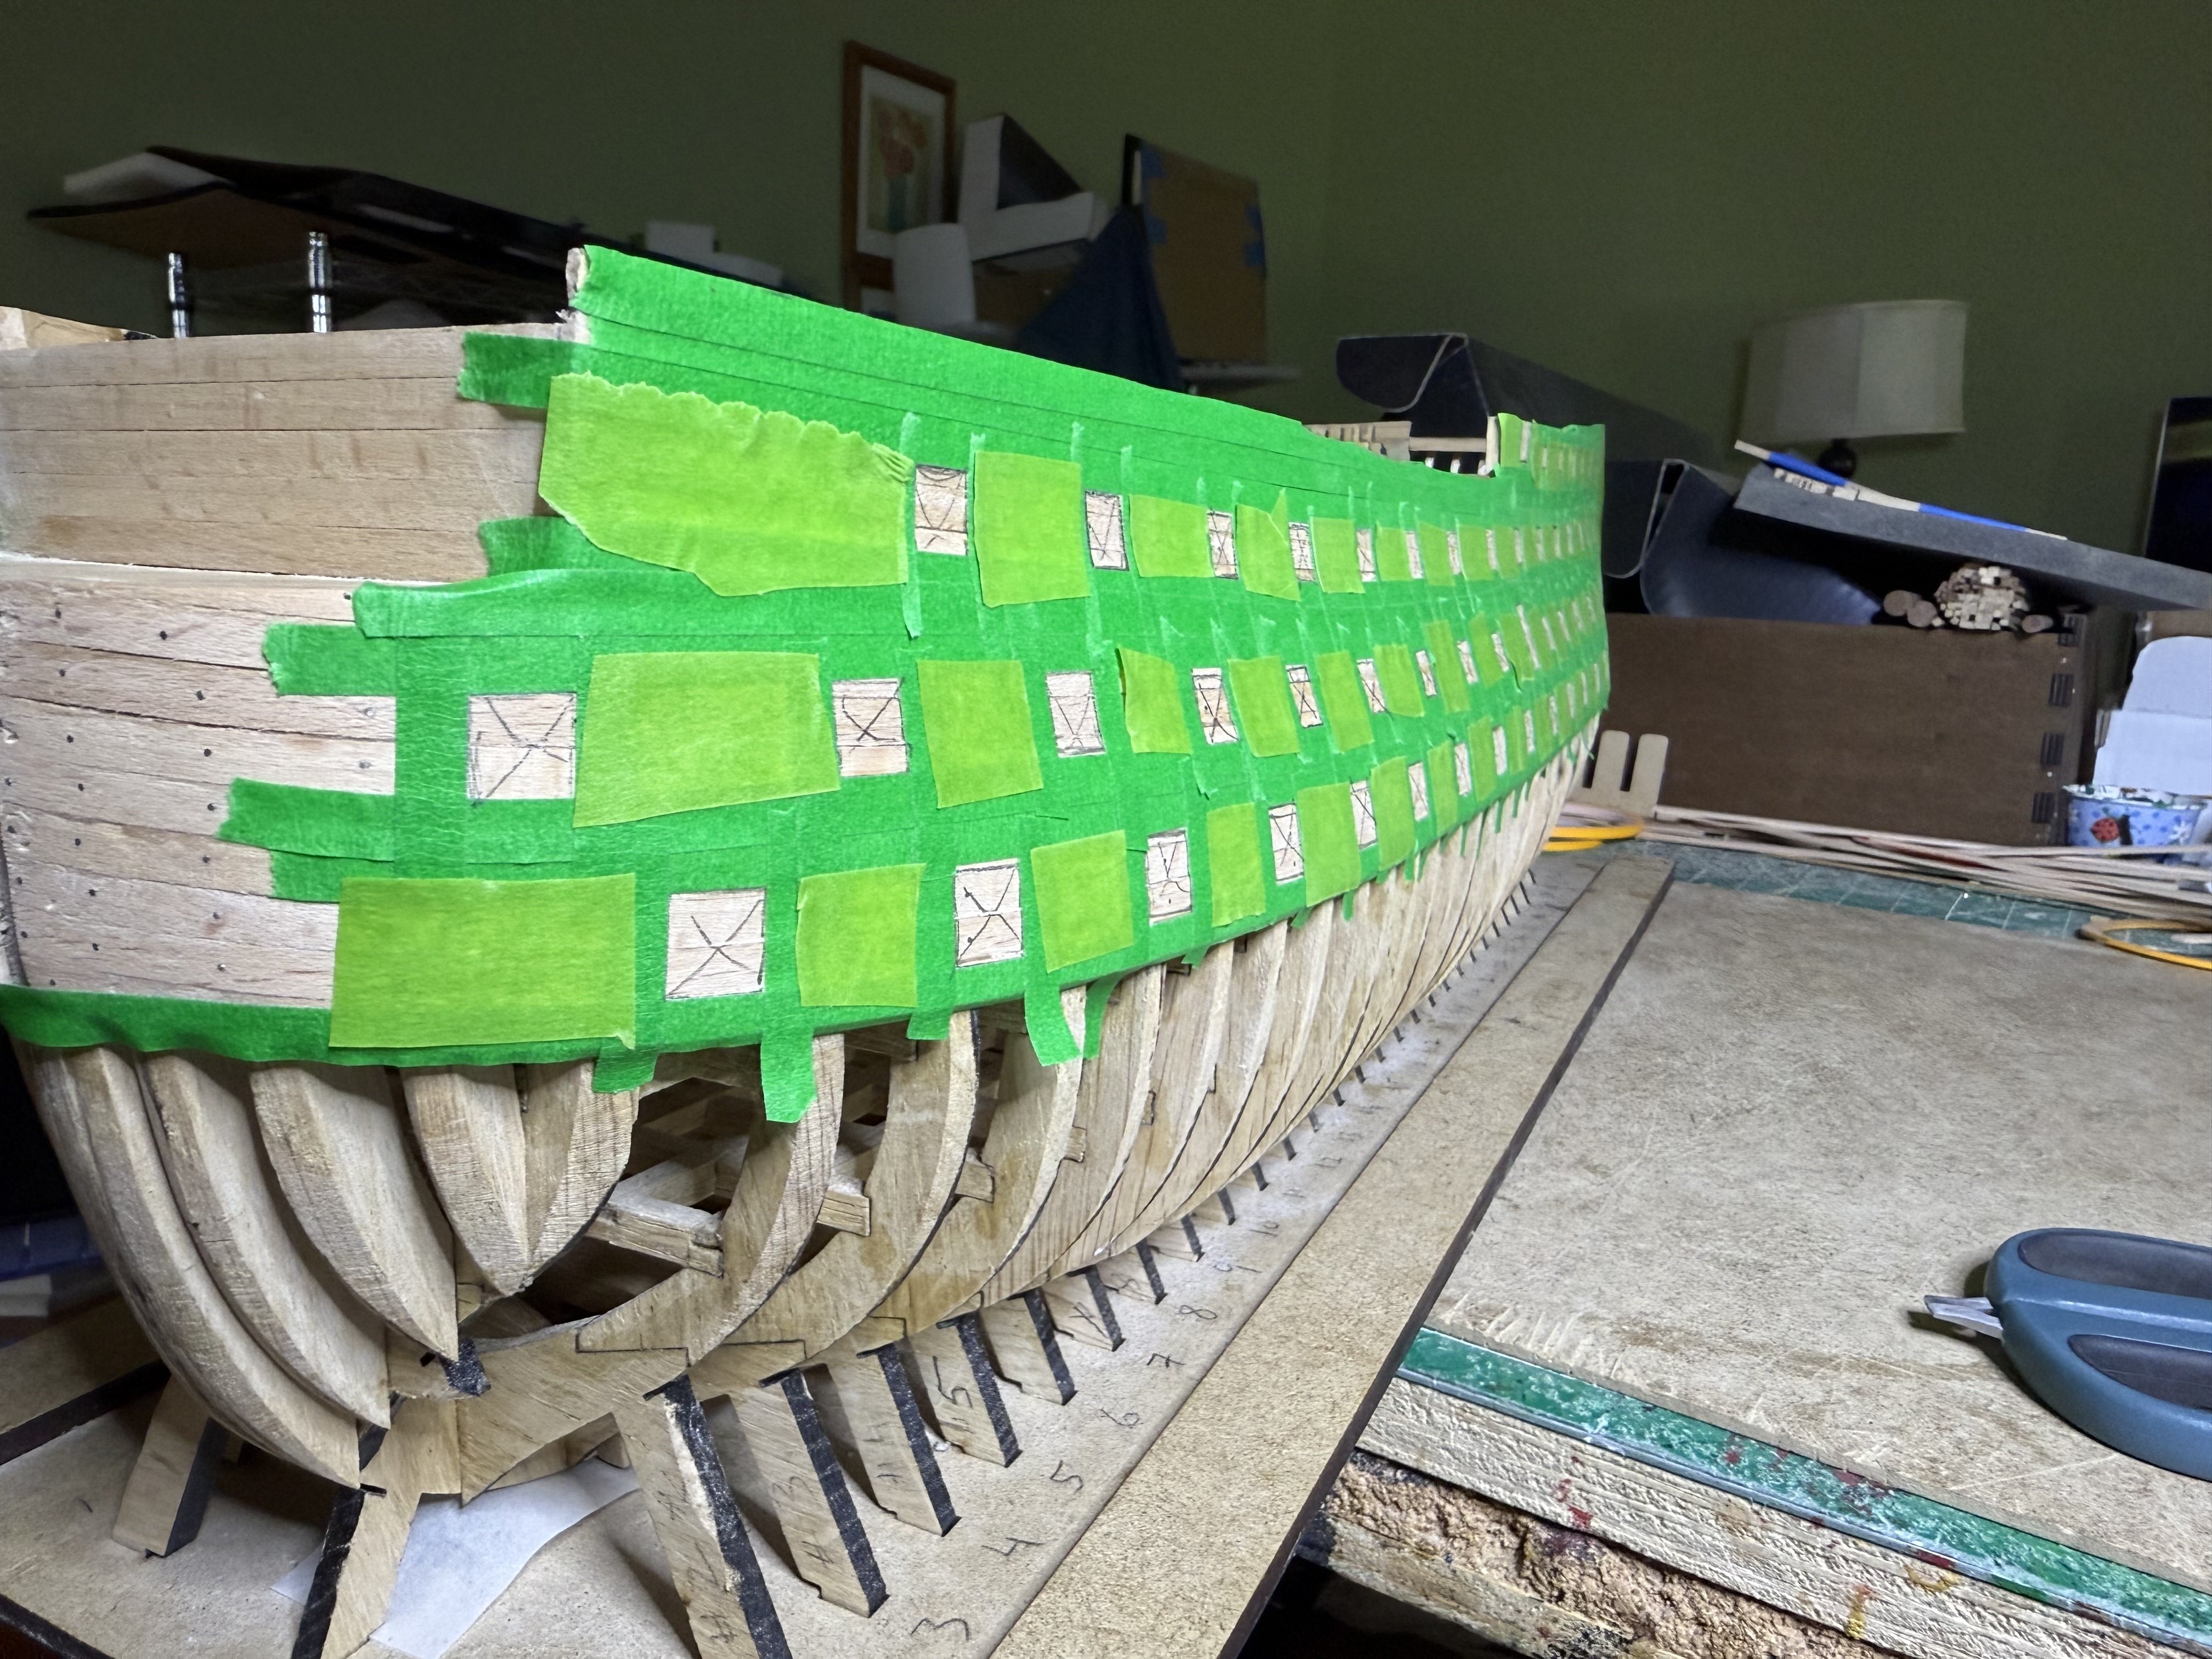
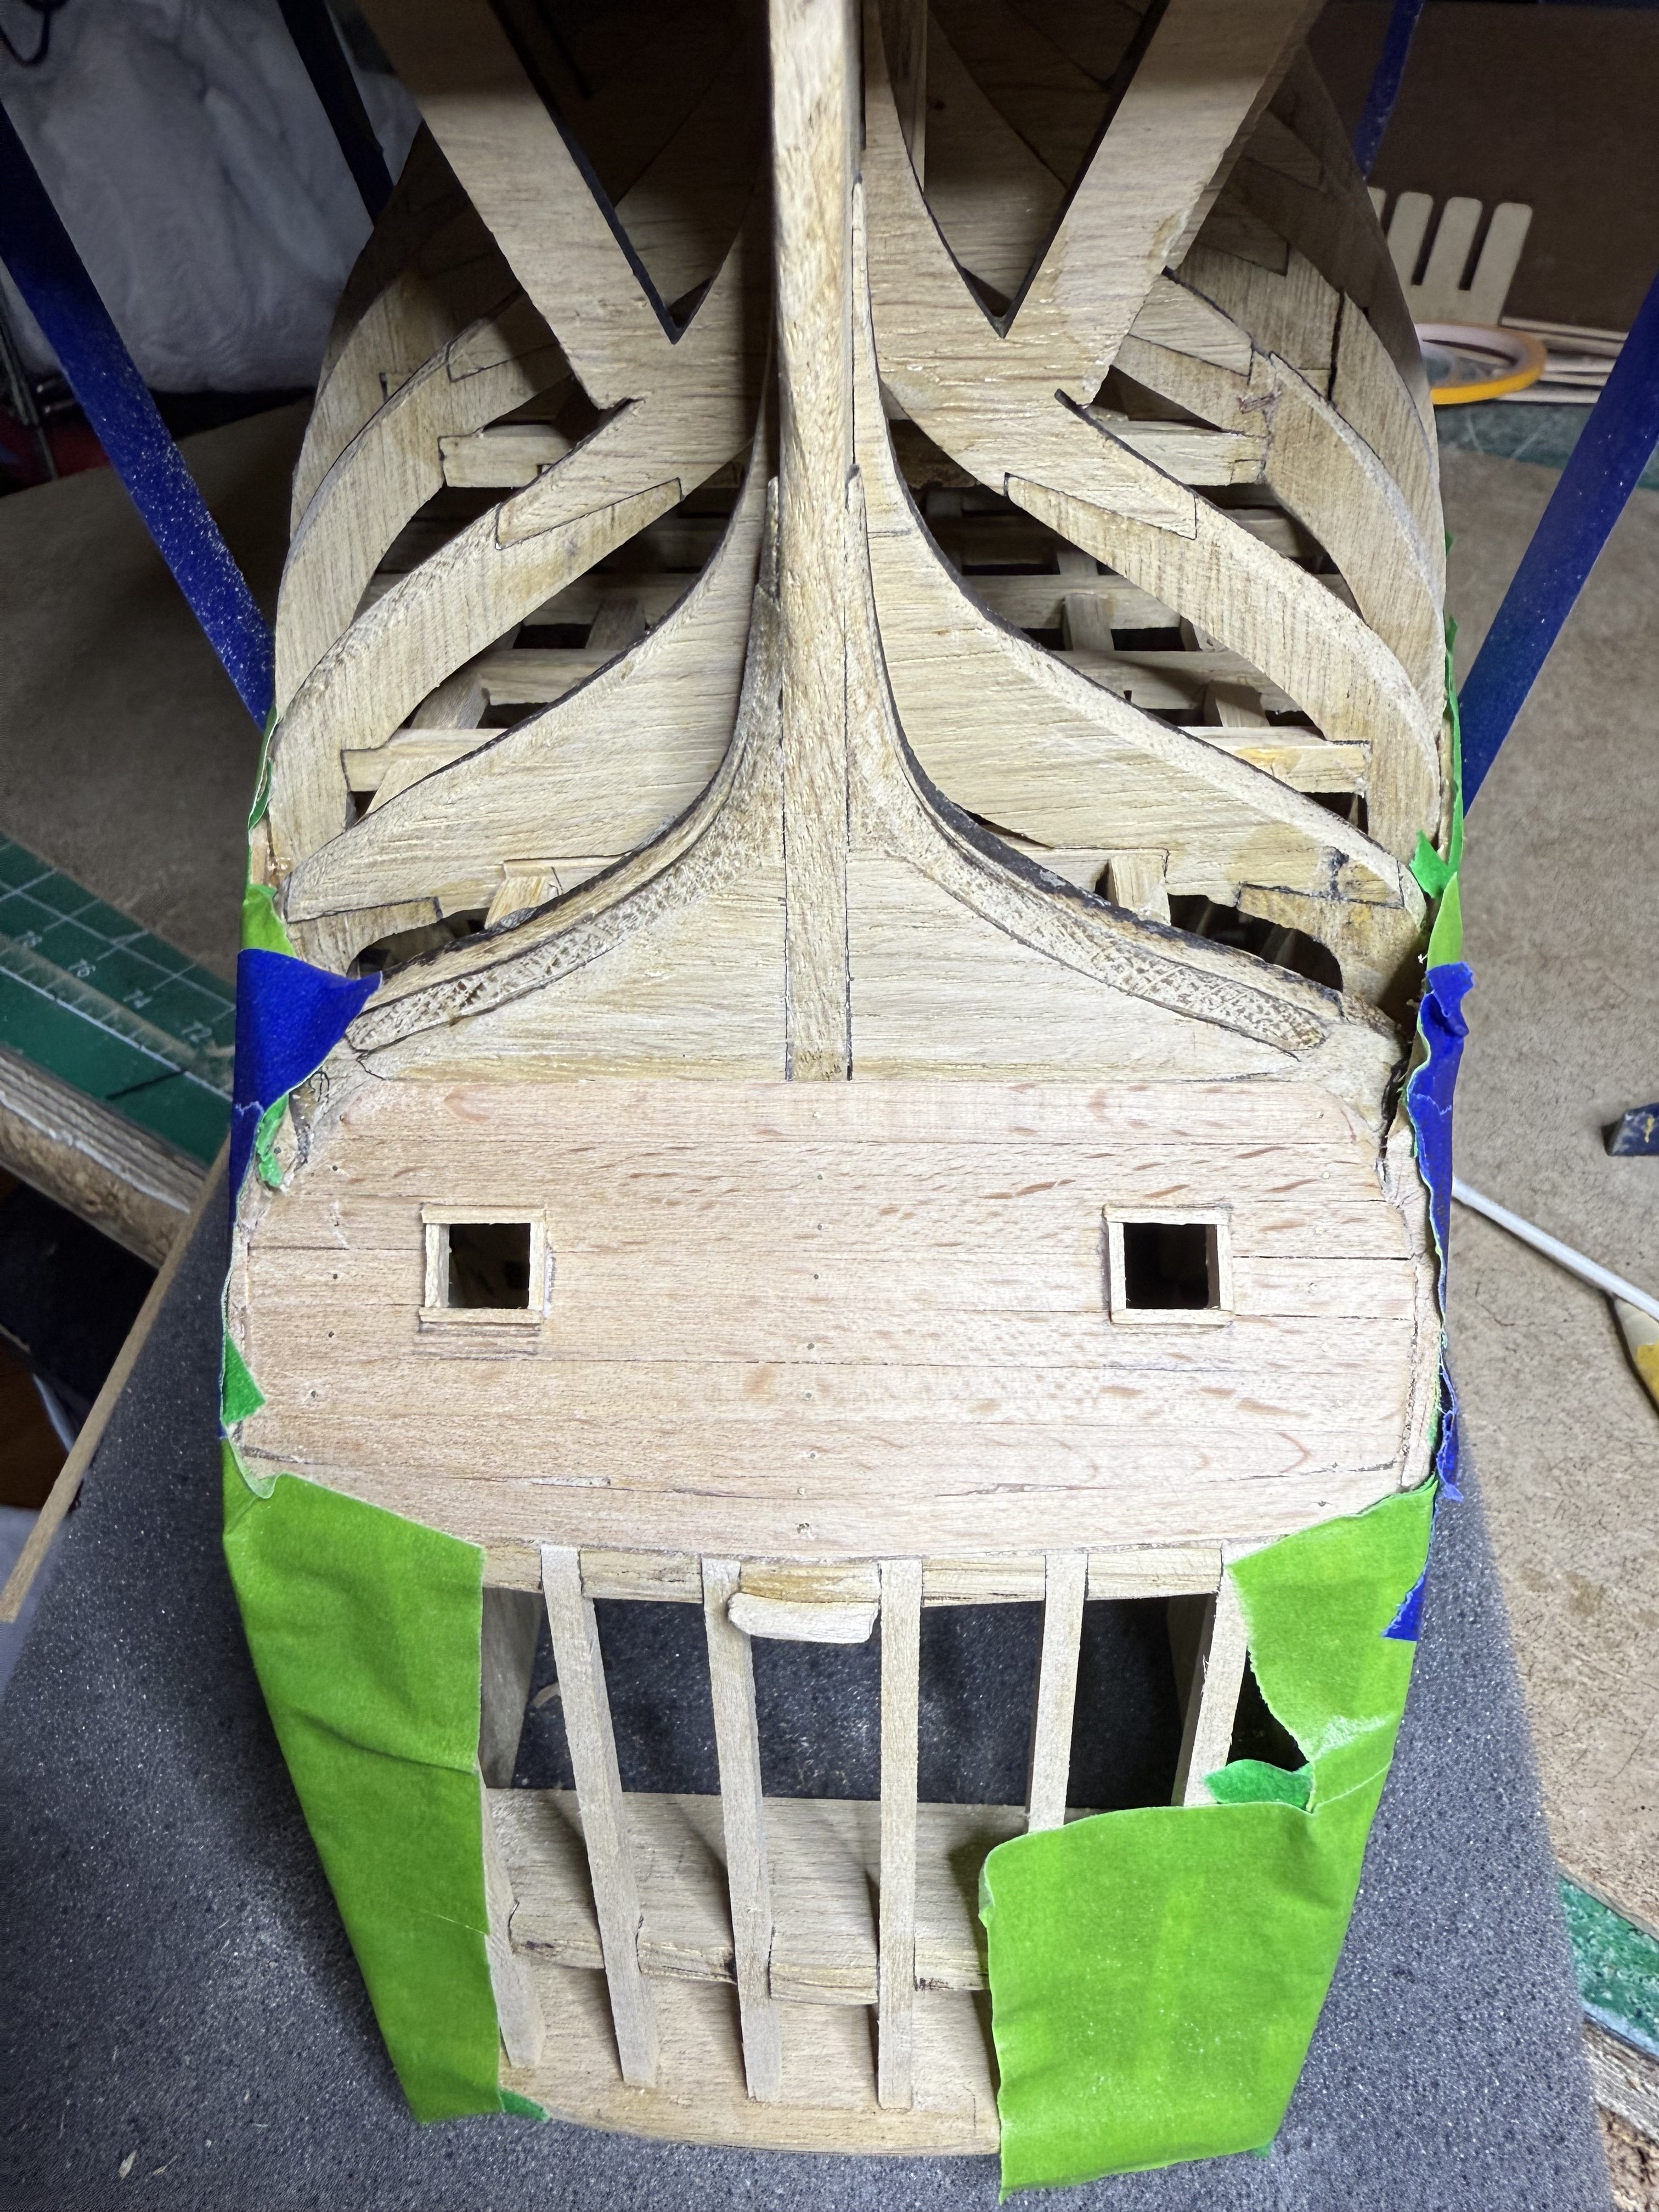
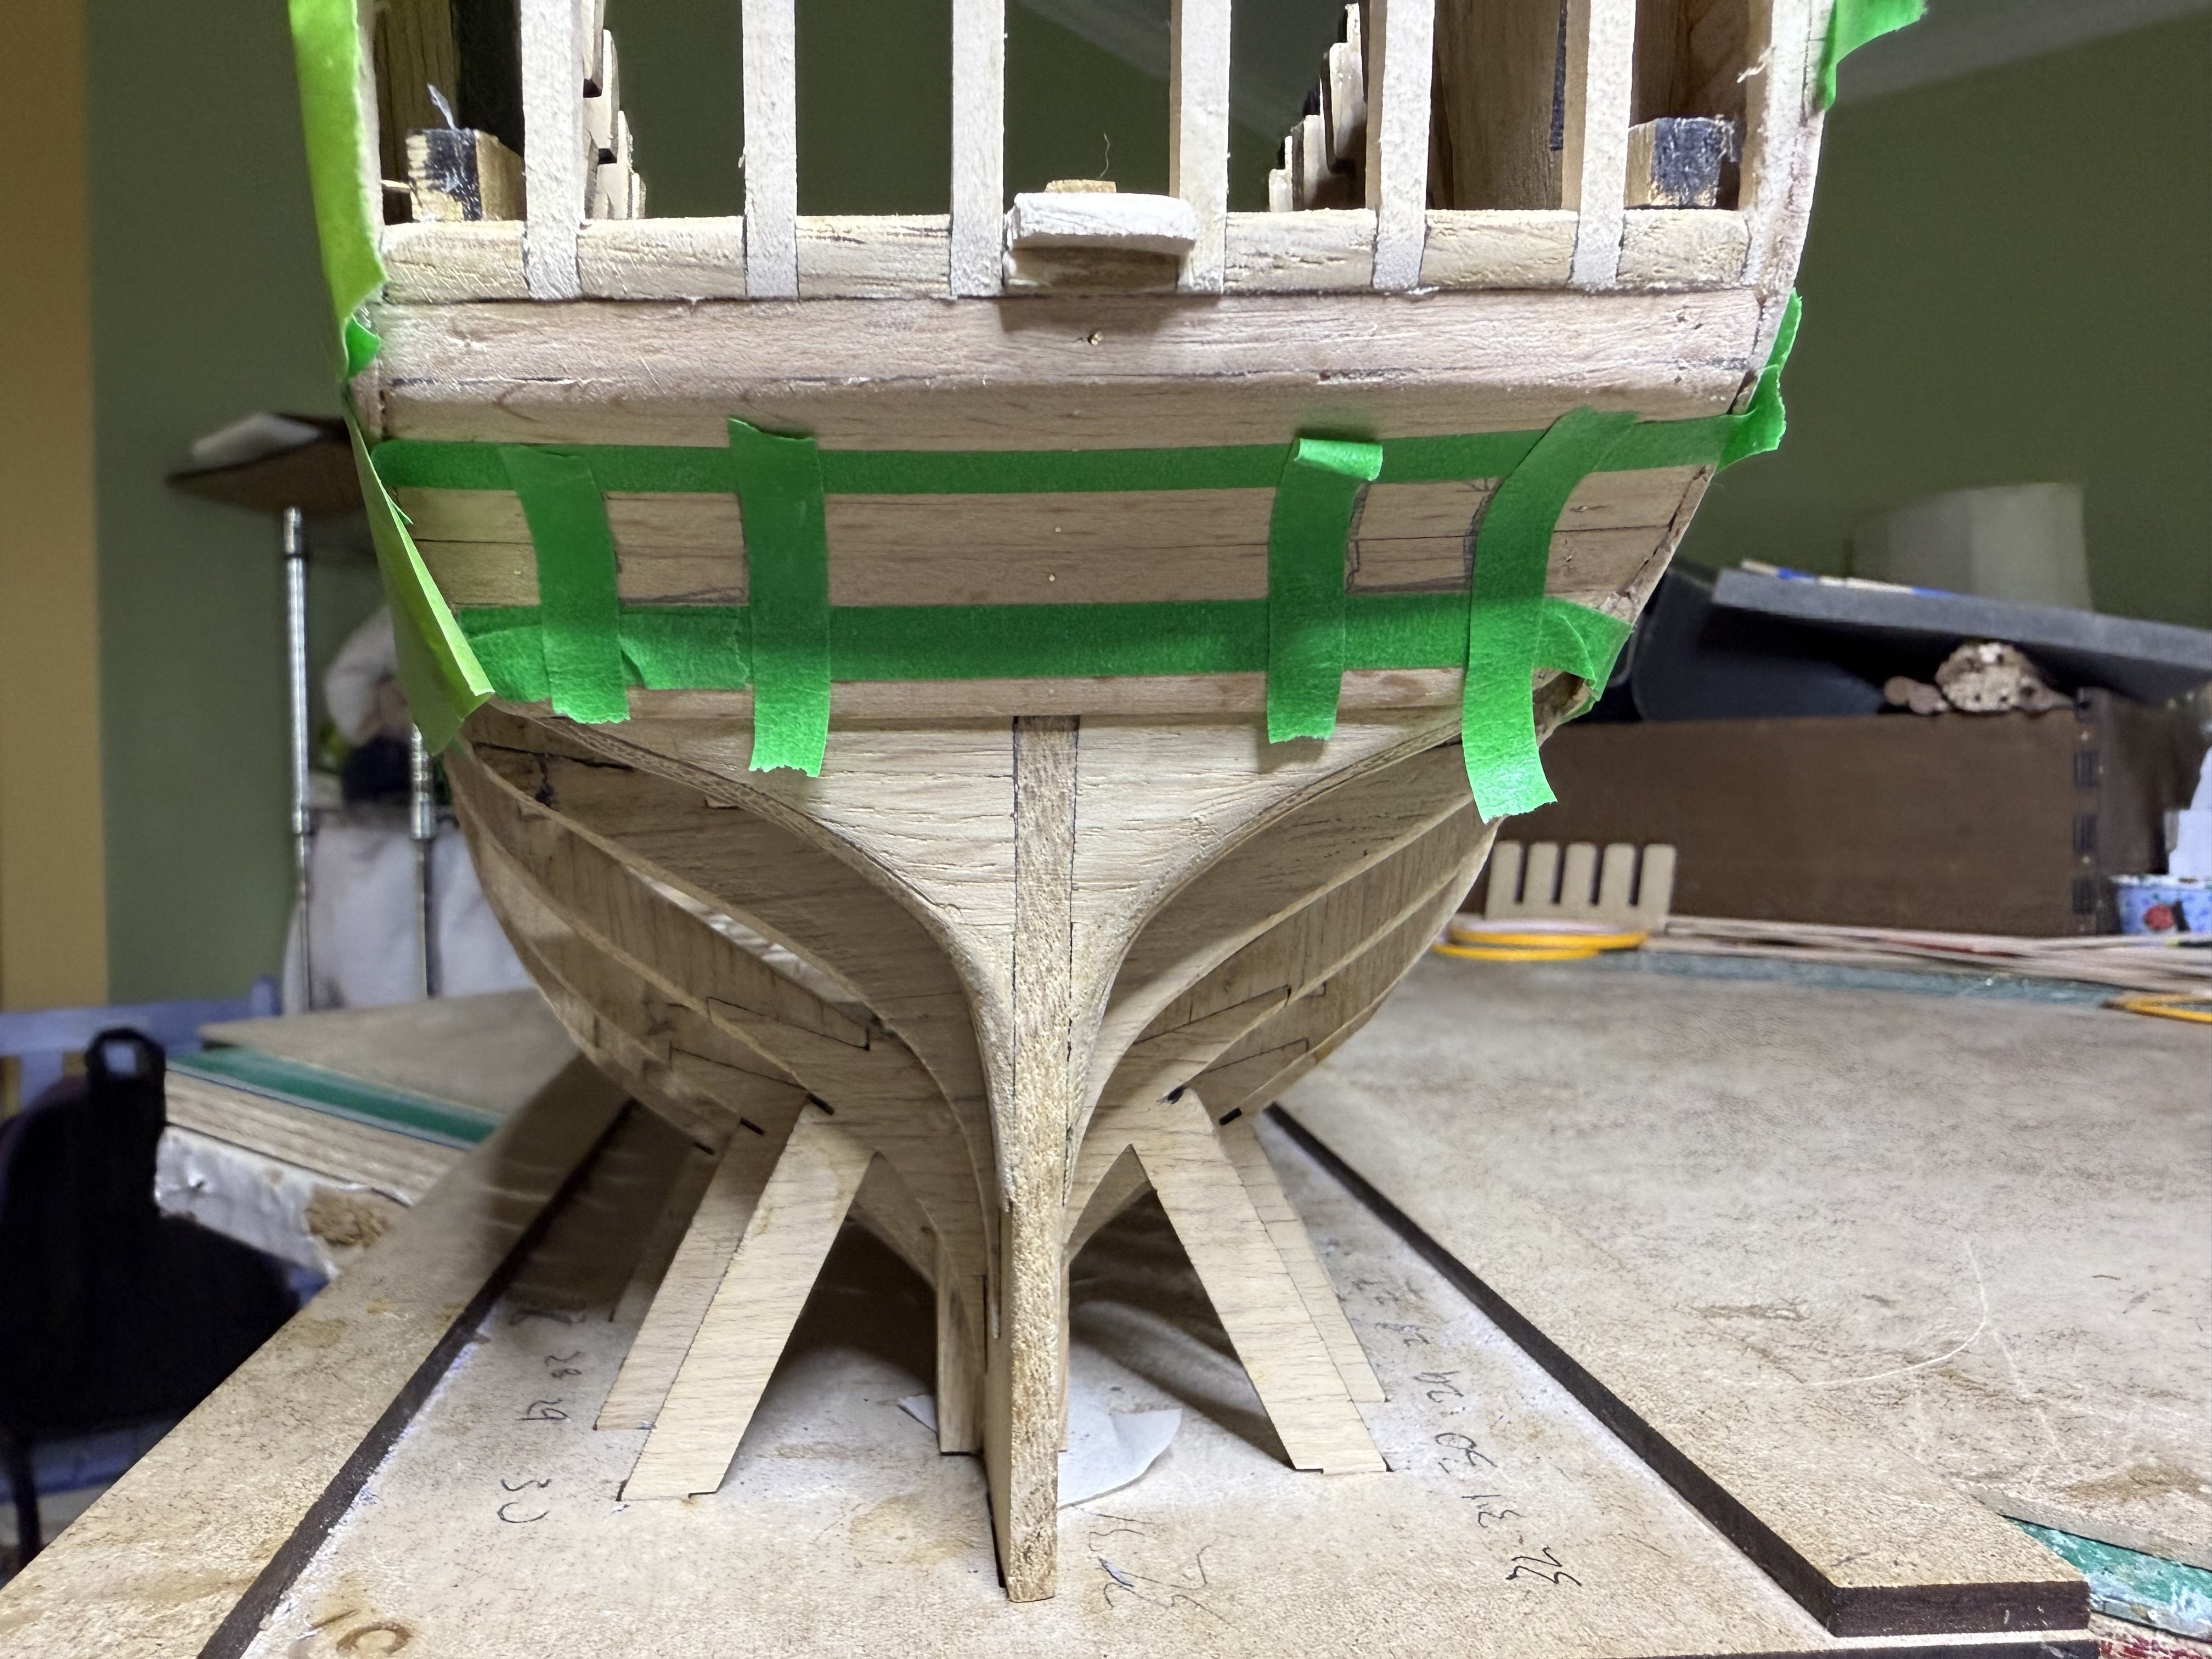
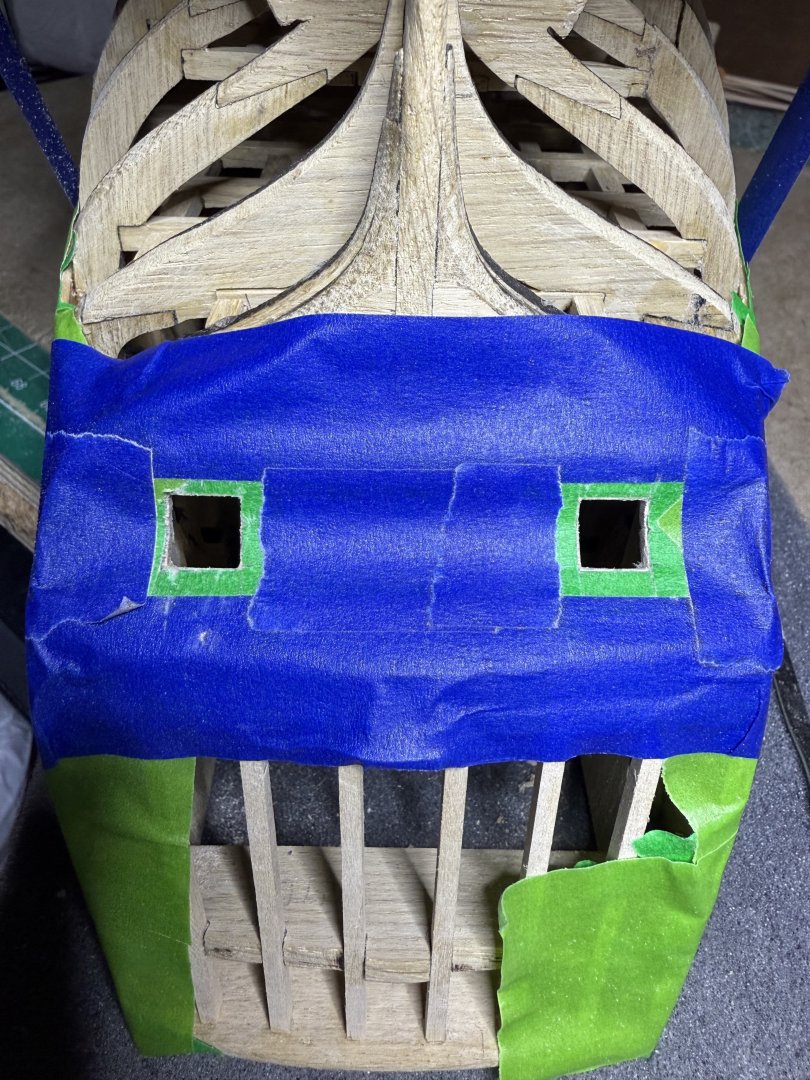
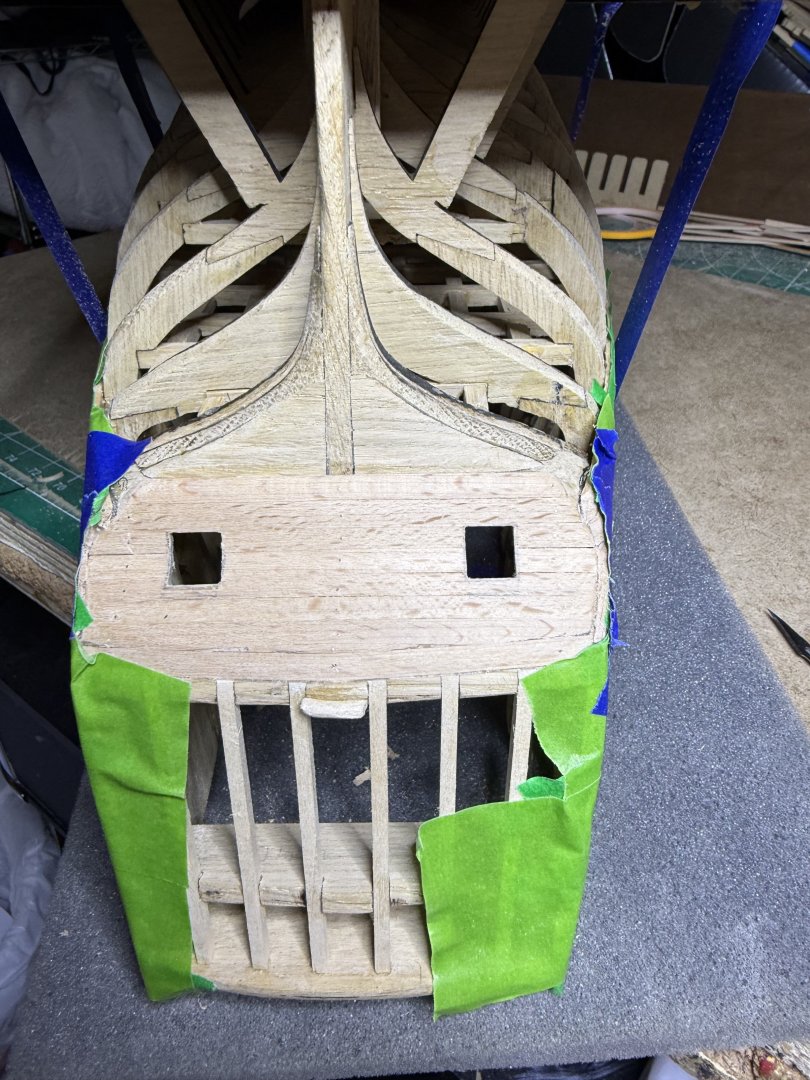
With the help of my little friends I completed opening the 110 openings on the ships hull. Next is the equally arduous task of lining all the openings. Unfortunately it did a number on the ribs which will need further trimming once the deck beams are in place. The drill saw help a lot in this process


-
HMS Victory by ECK - OcCre - 1/87
ECK replied to ECK's topic in - Kit build logs for subjects built from 1751 - 1800
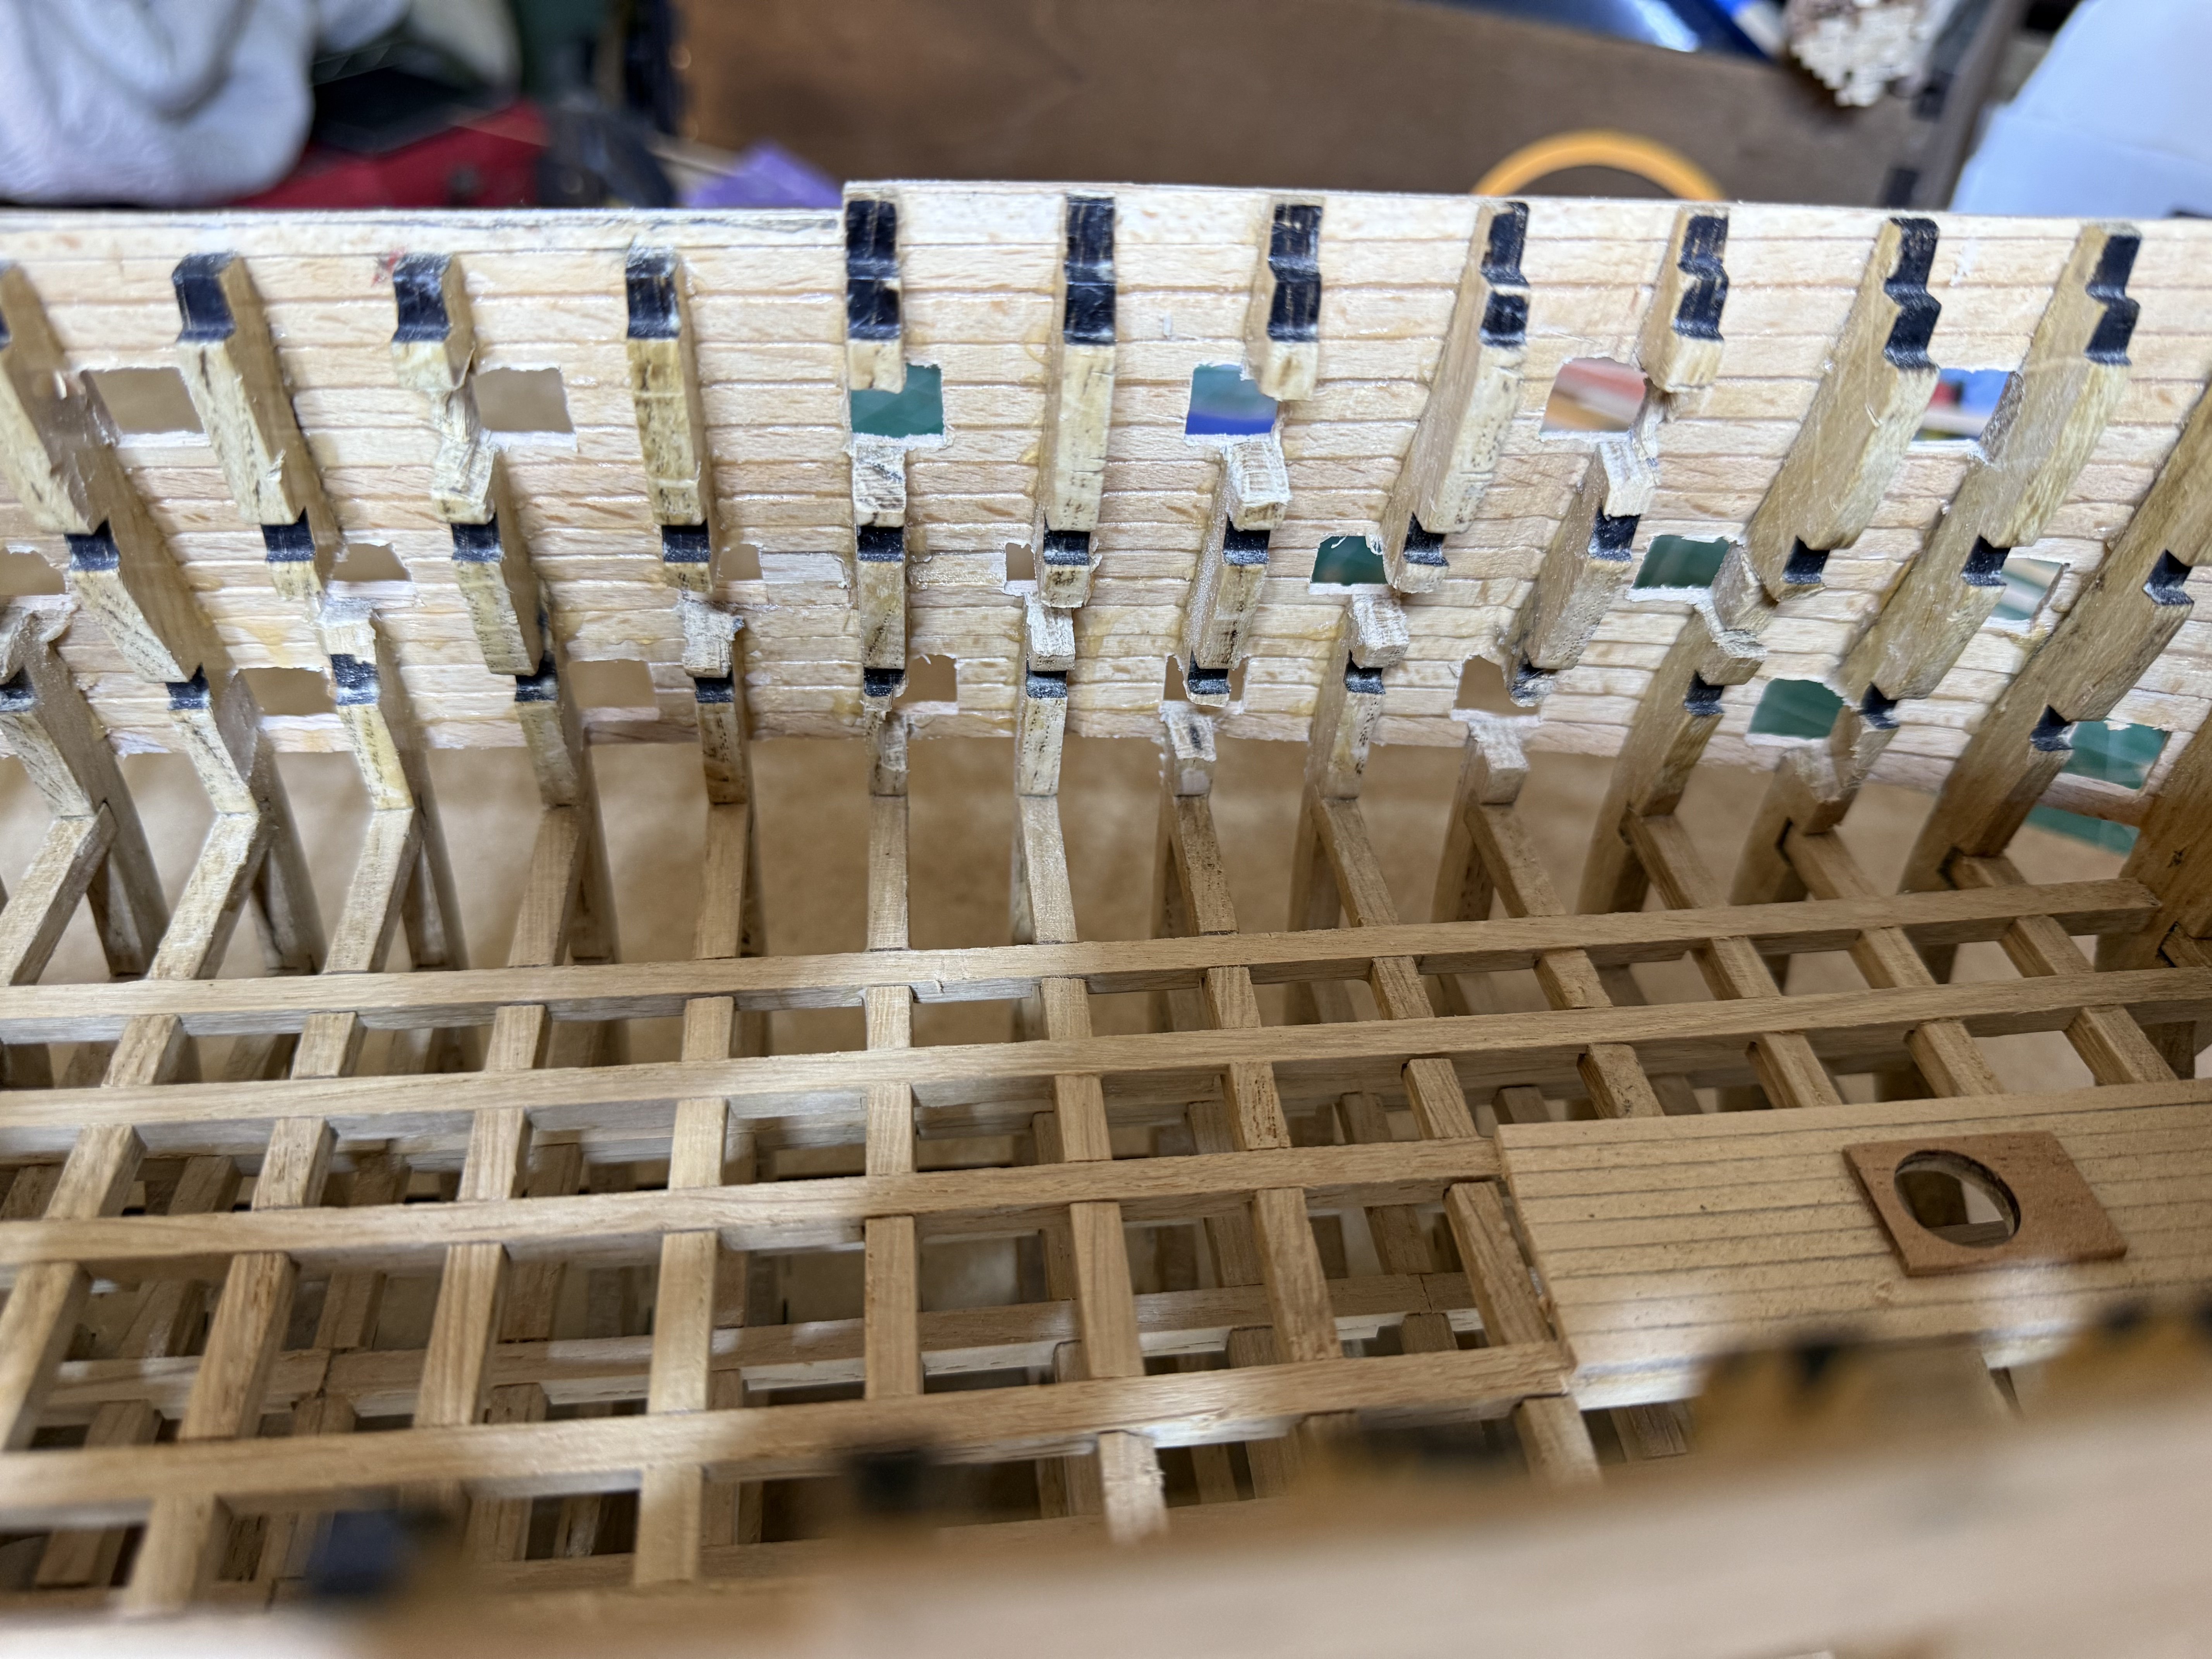
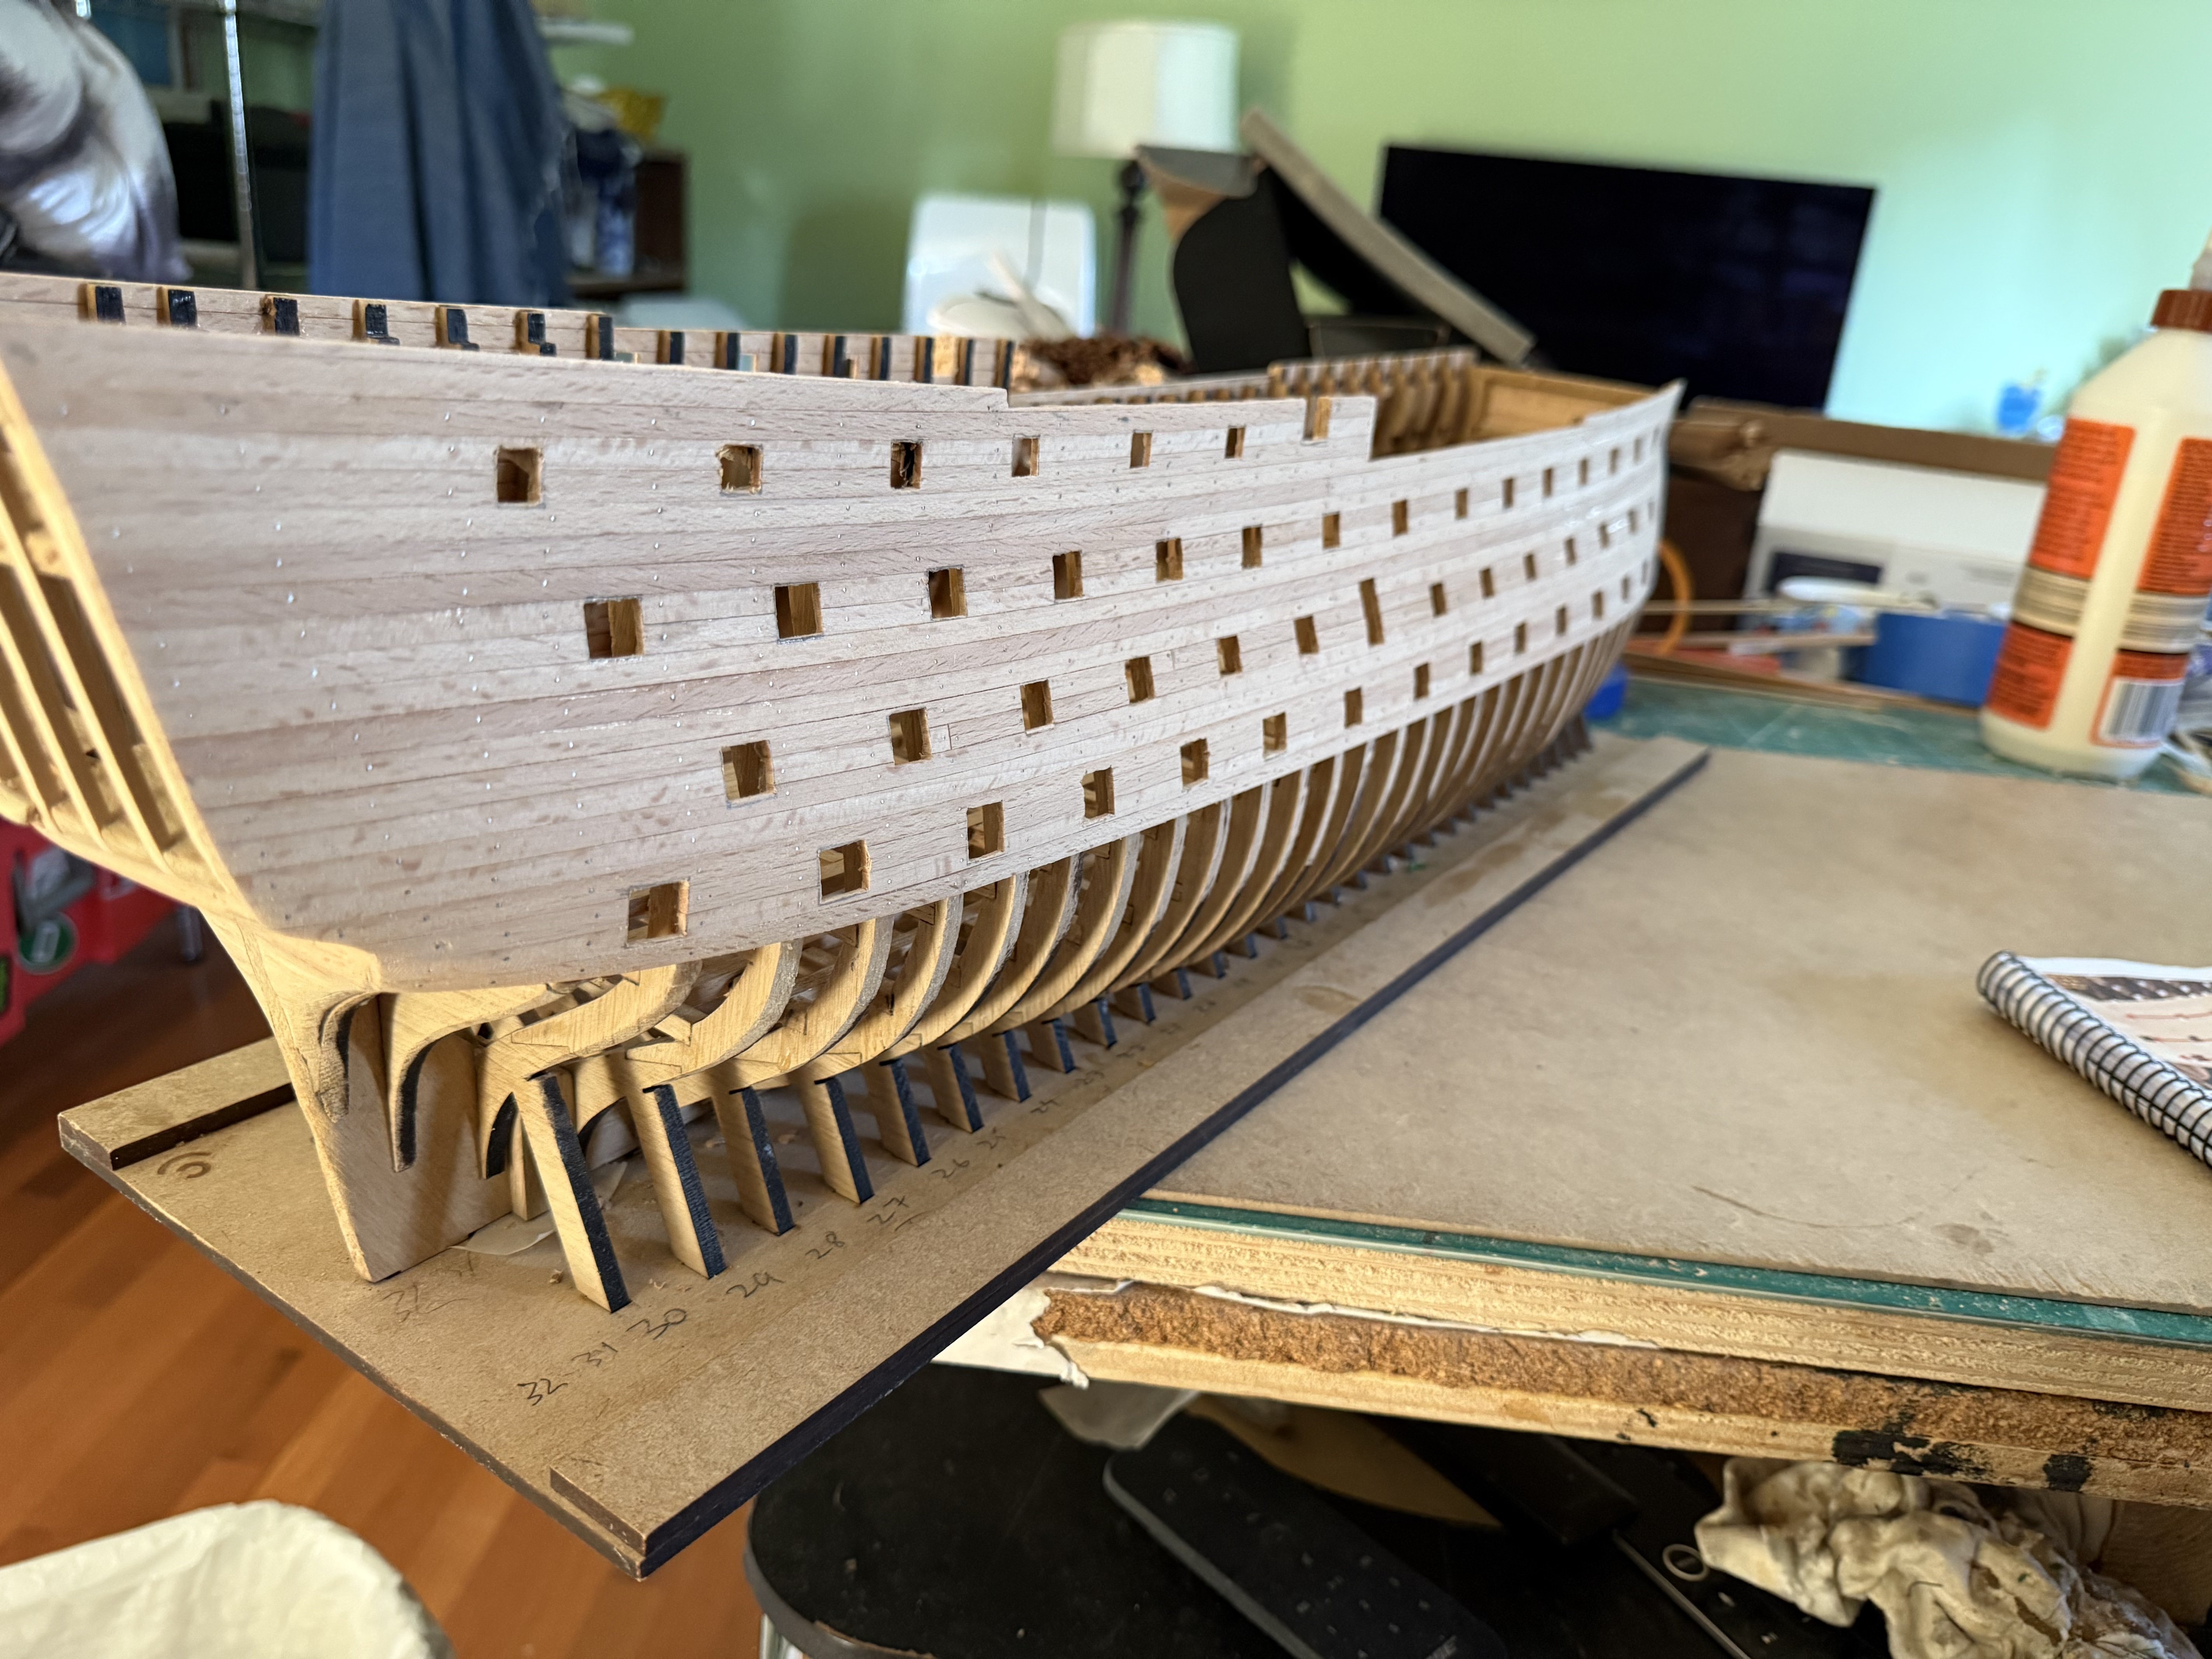
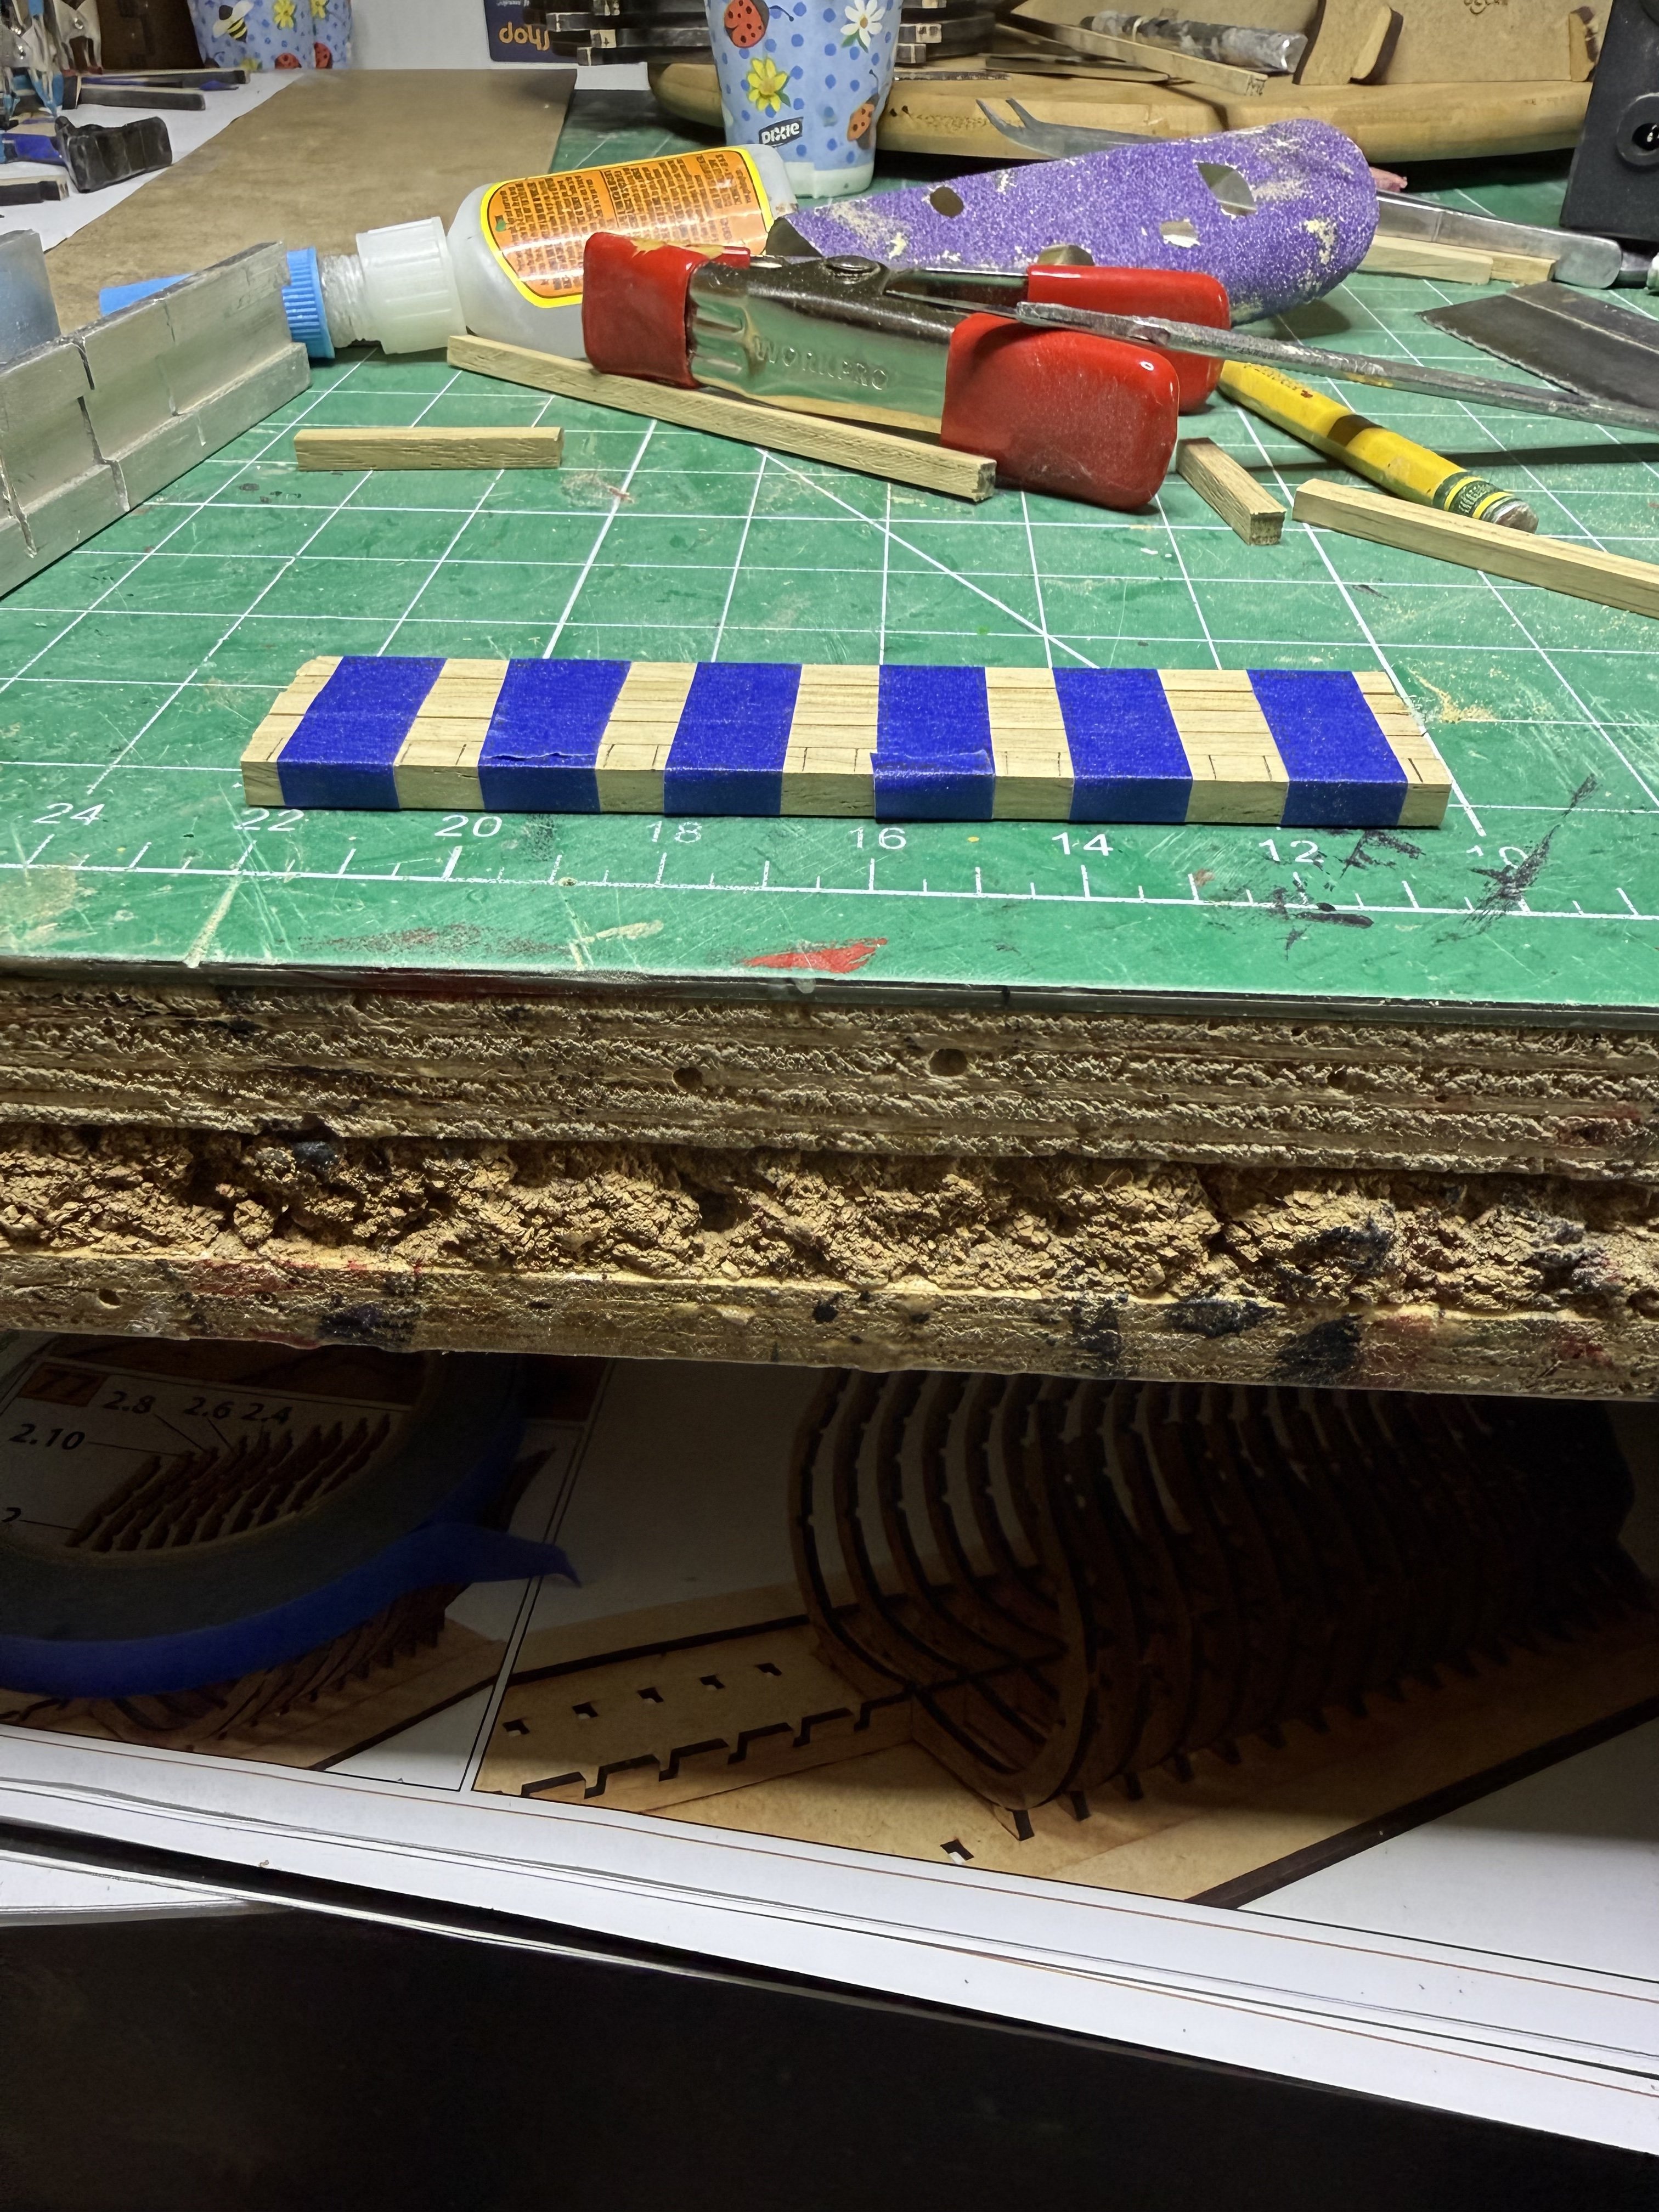
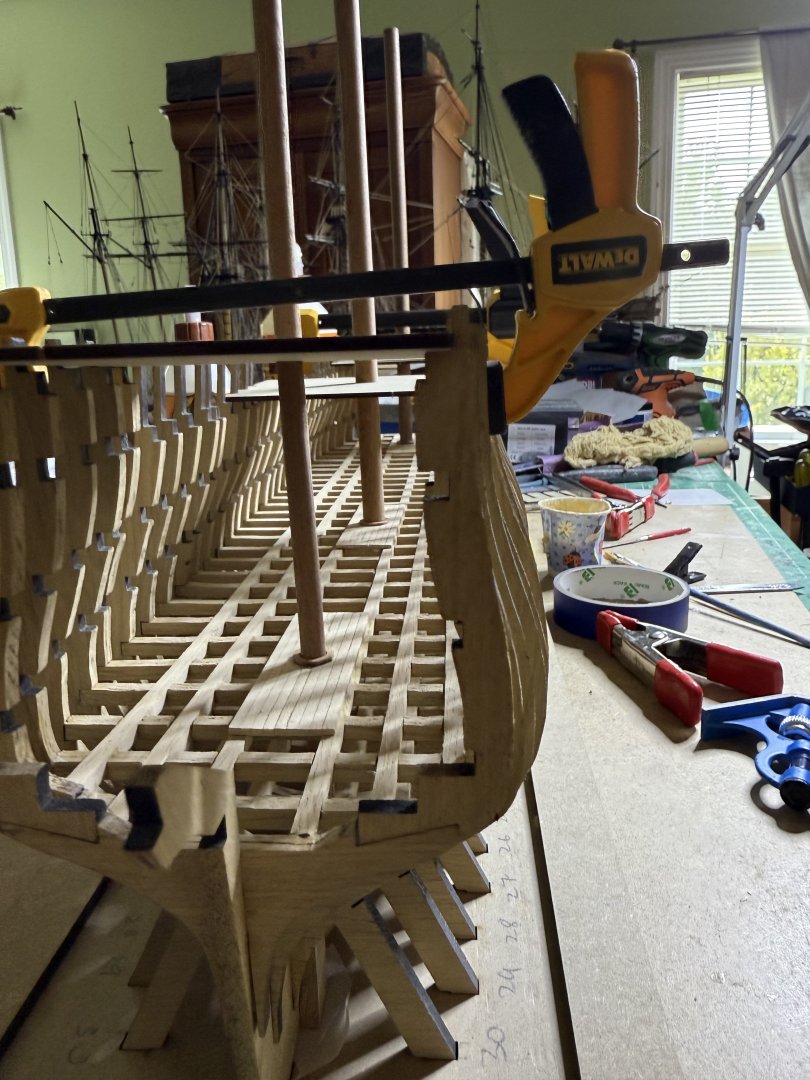
3 hrs of work, 16 ports done, 92 more openings to go. 5-8 ribs, depending on the deck , are cut or filed for the ports. I will need to remove the whole rib to deck level for the guns to fit later but until I start the lower planking, I need them in for support on the one side being planked.

-
HMS Victory by ECK - OcCre - 1/87
ECK replied to ECK's topic in - Kit build logs for subjects built from 1751 - 1800
Yes it is really old school after so many Vanguard model I have done. -
HMS Victory by ECK - OcCre - 1/87
ECK replied to ECK's topic in - Kit build logs for subjects built from 1751 - 1800
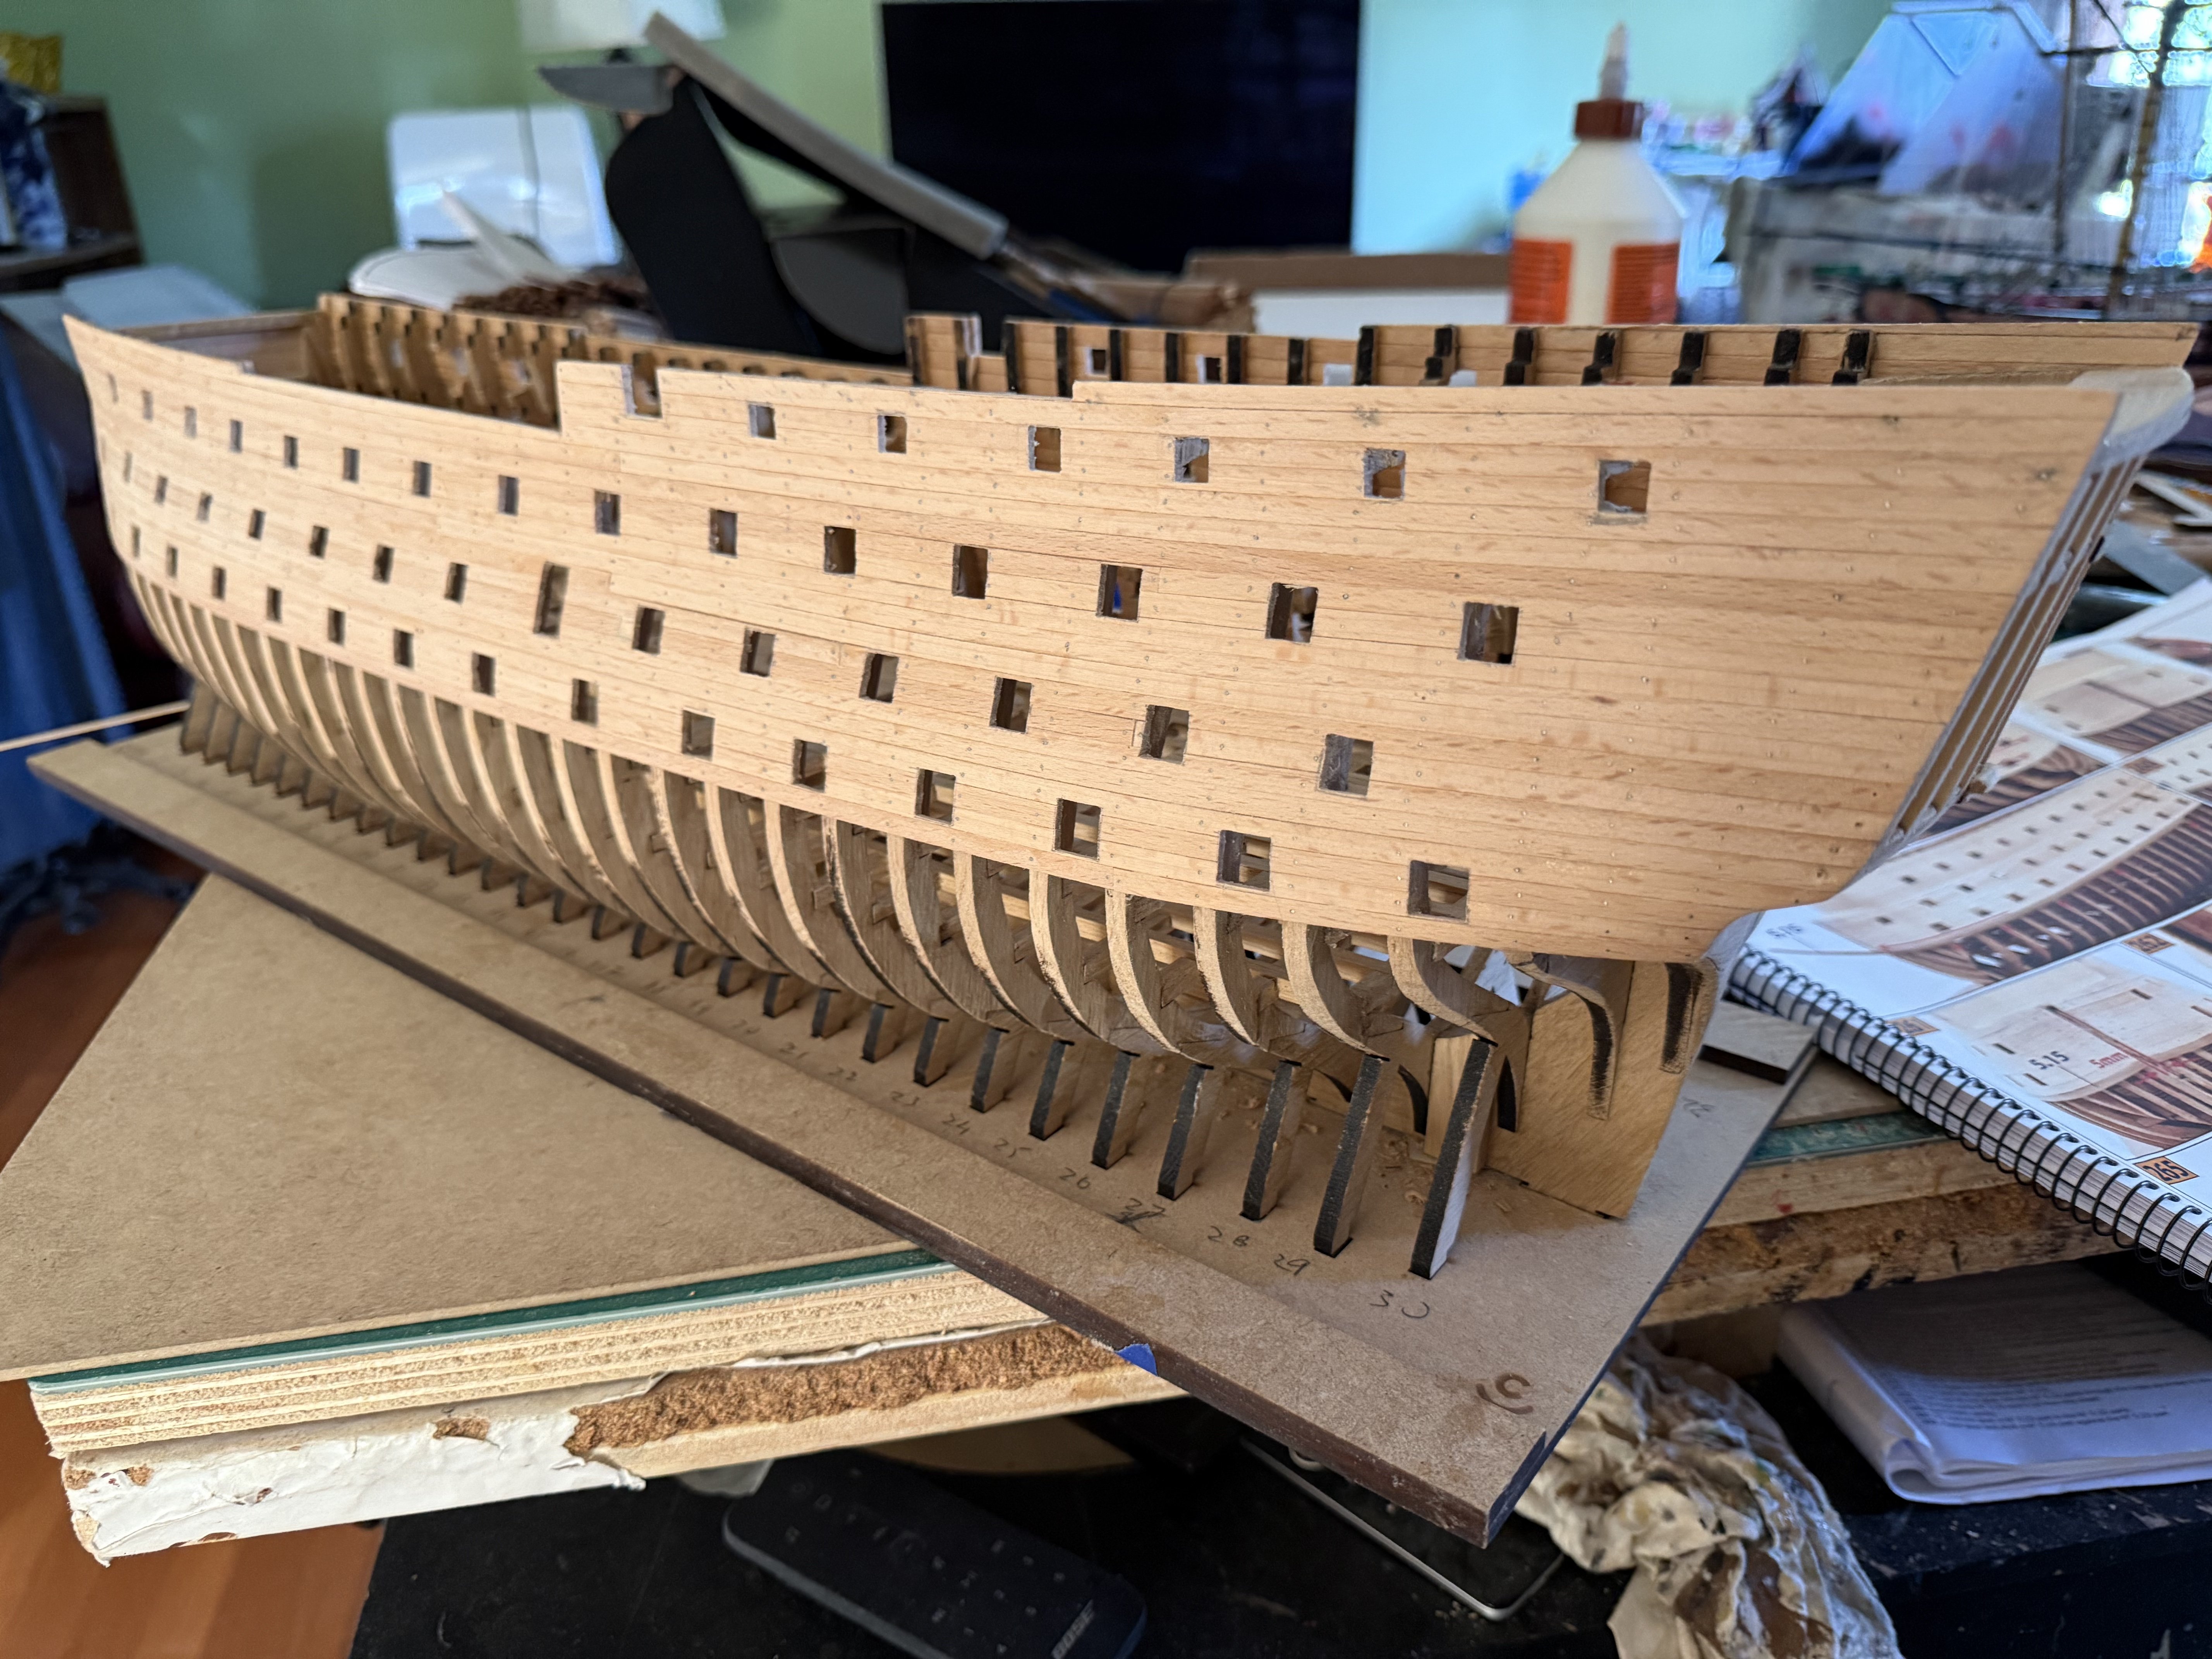
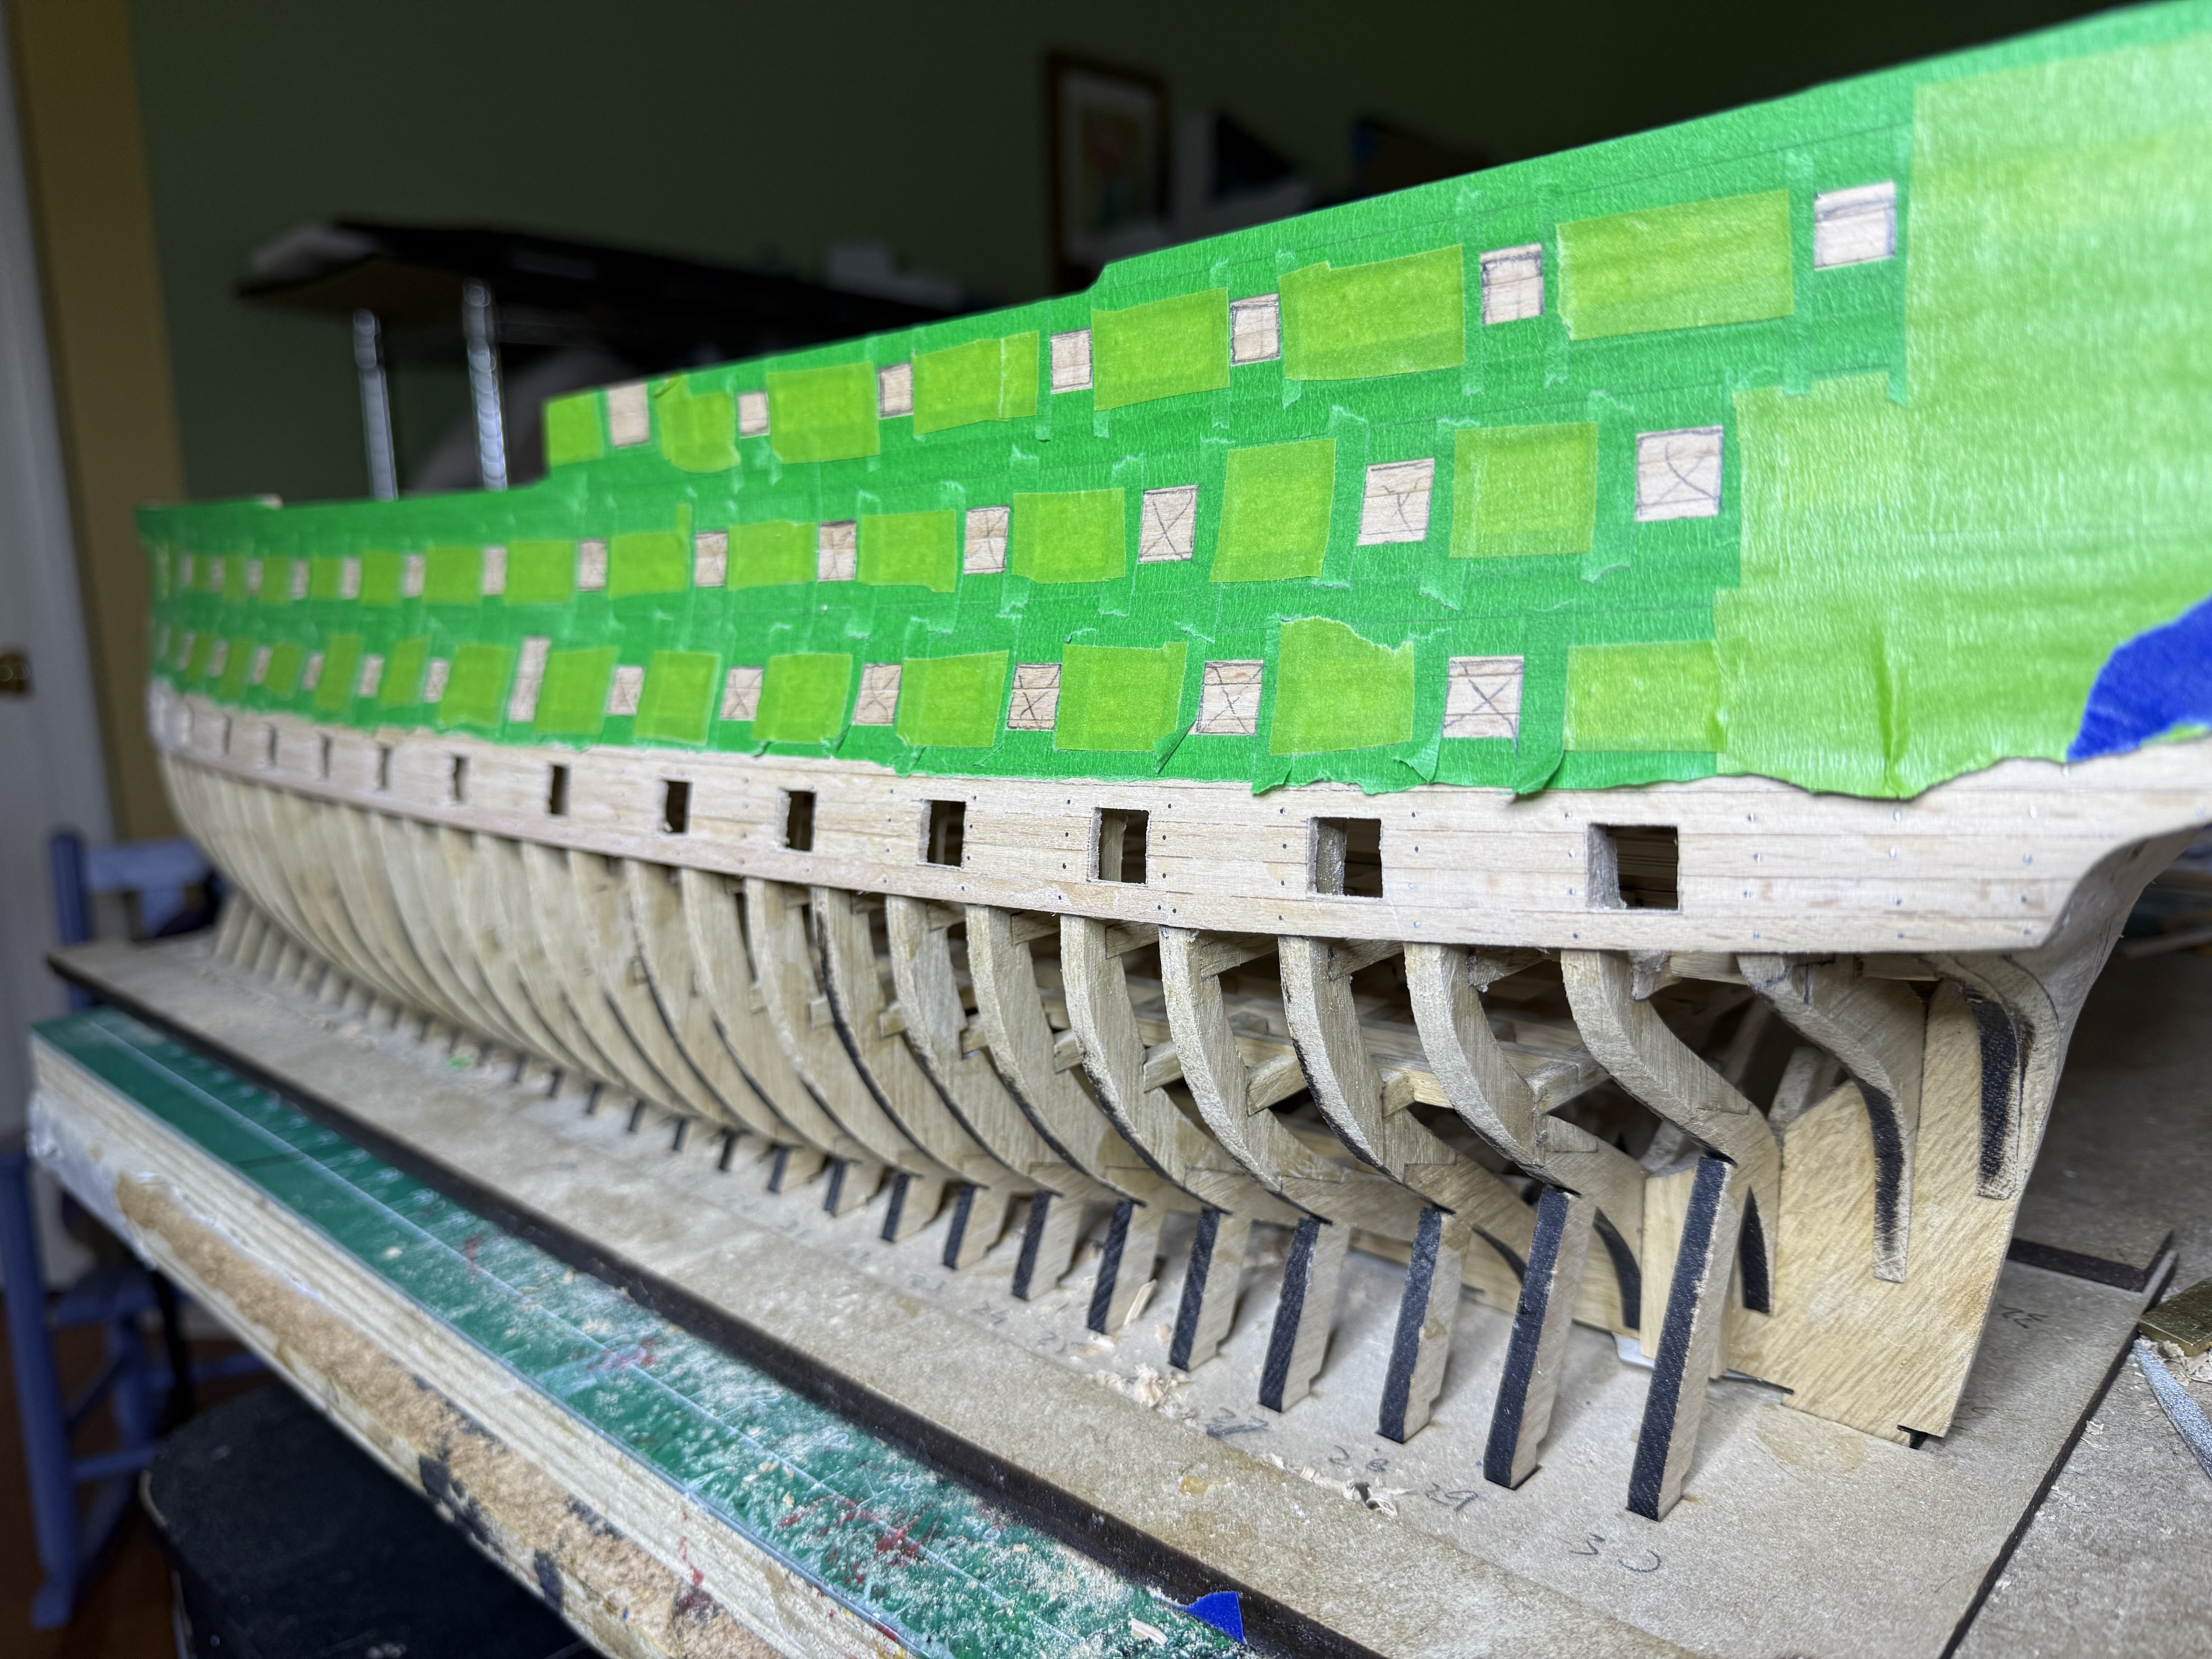
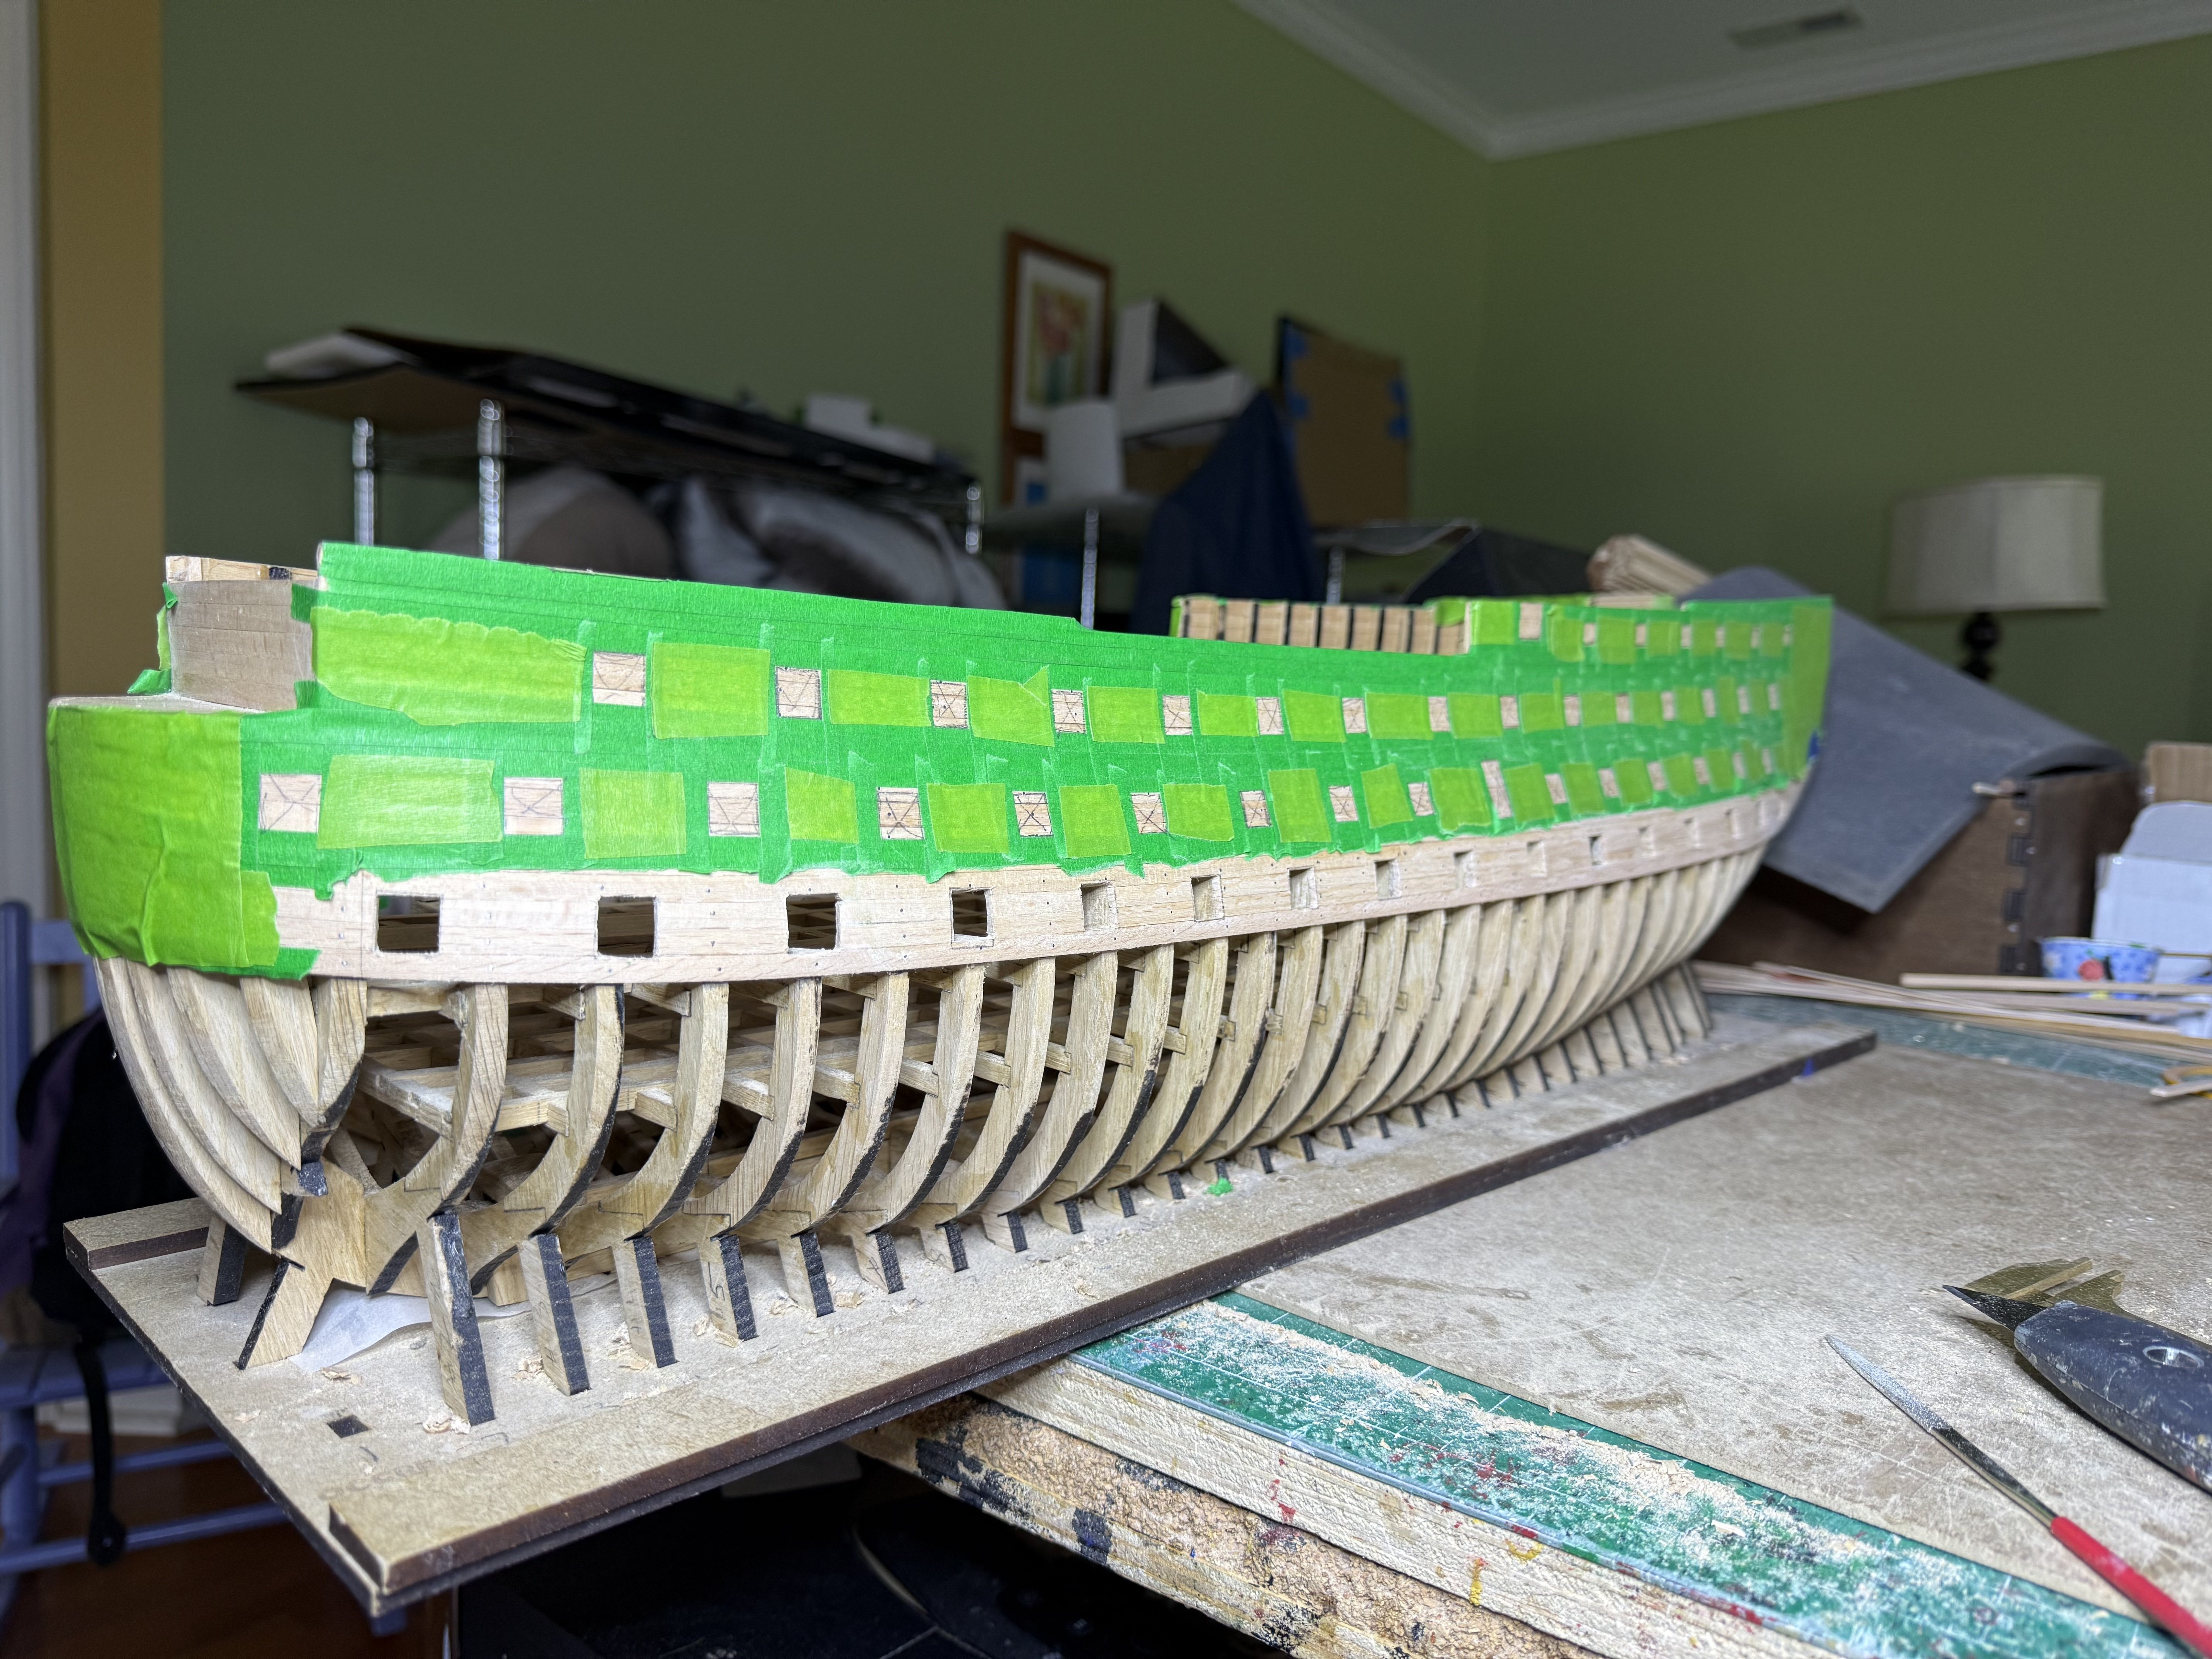
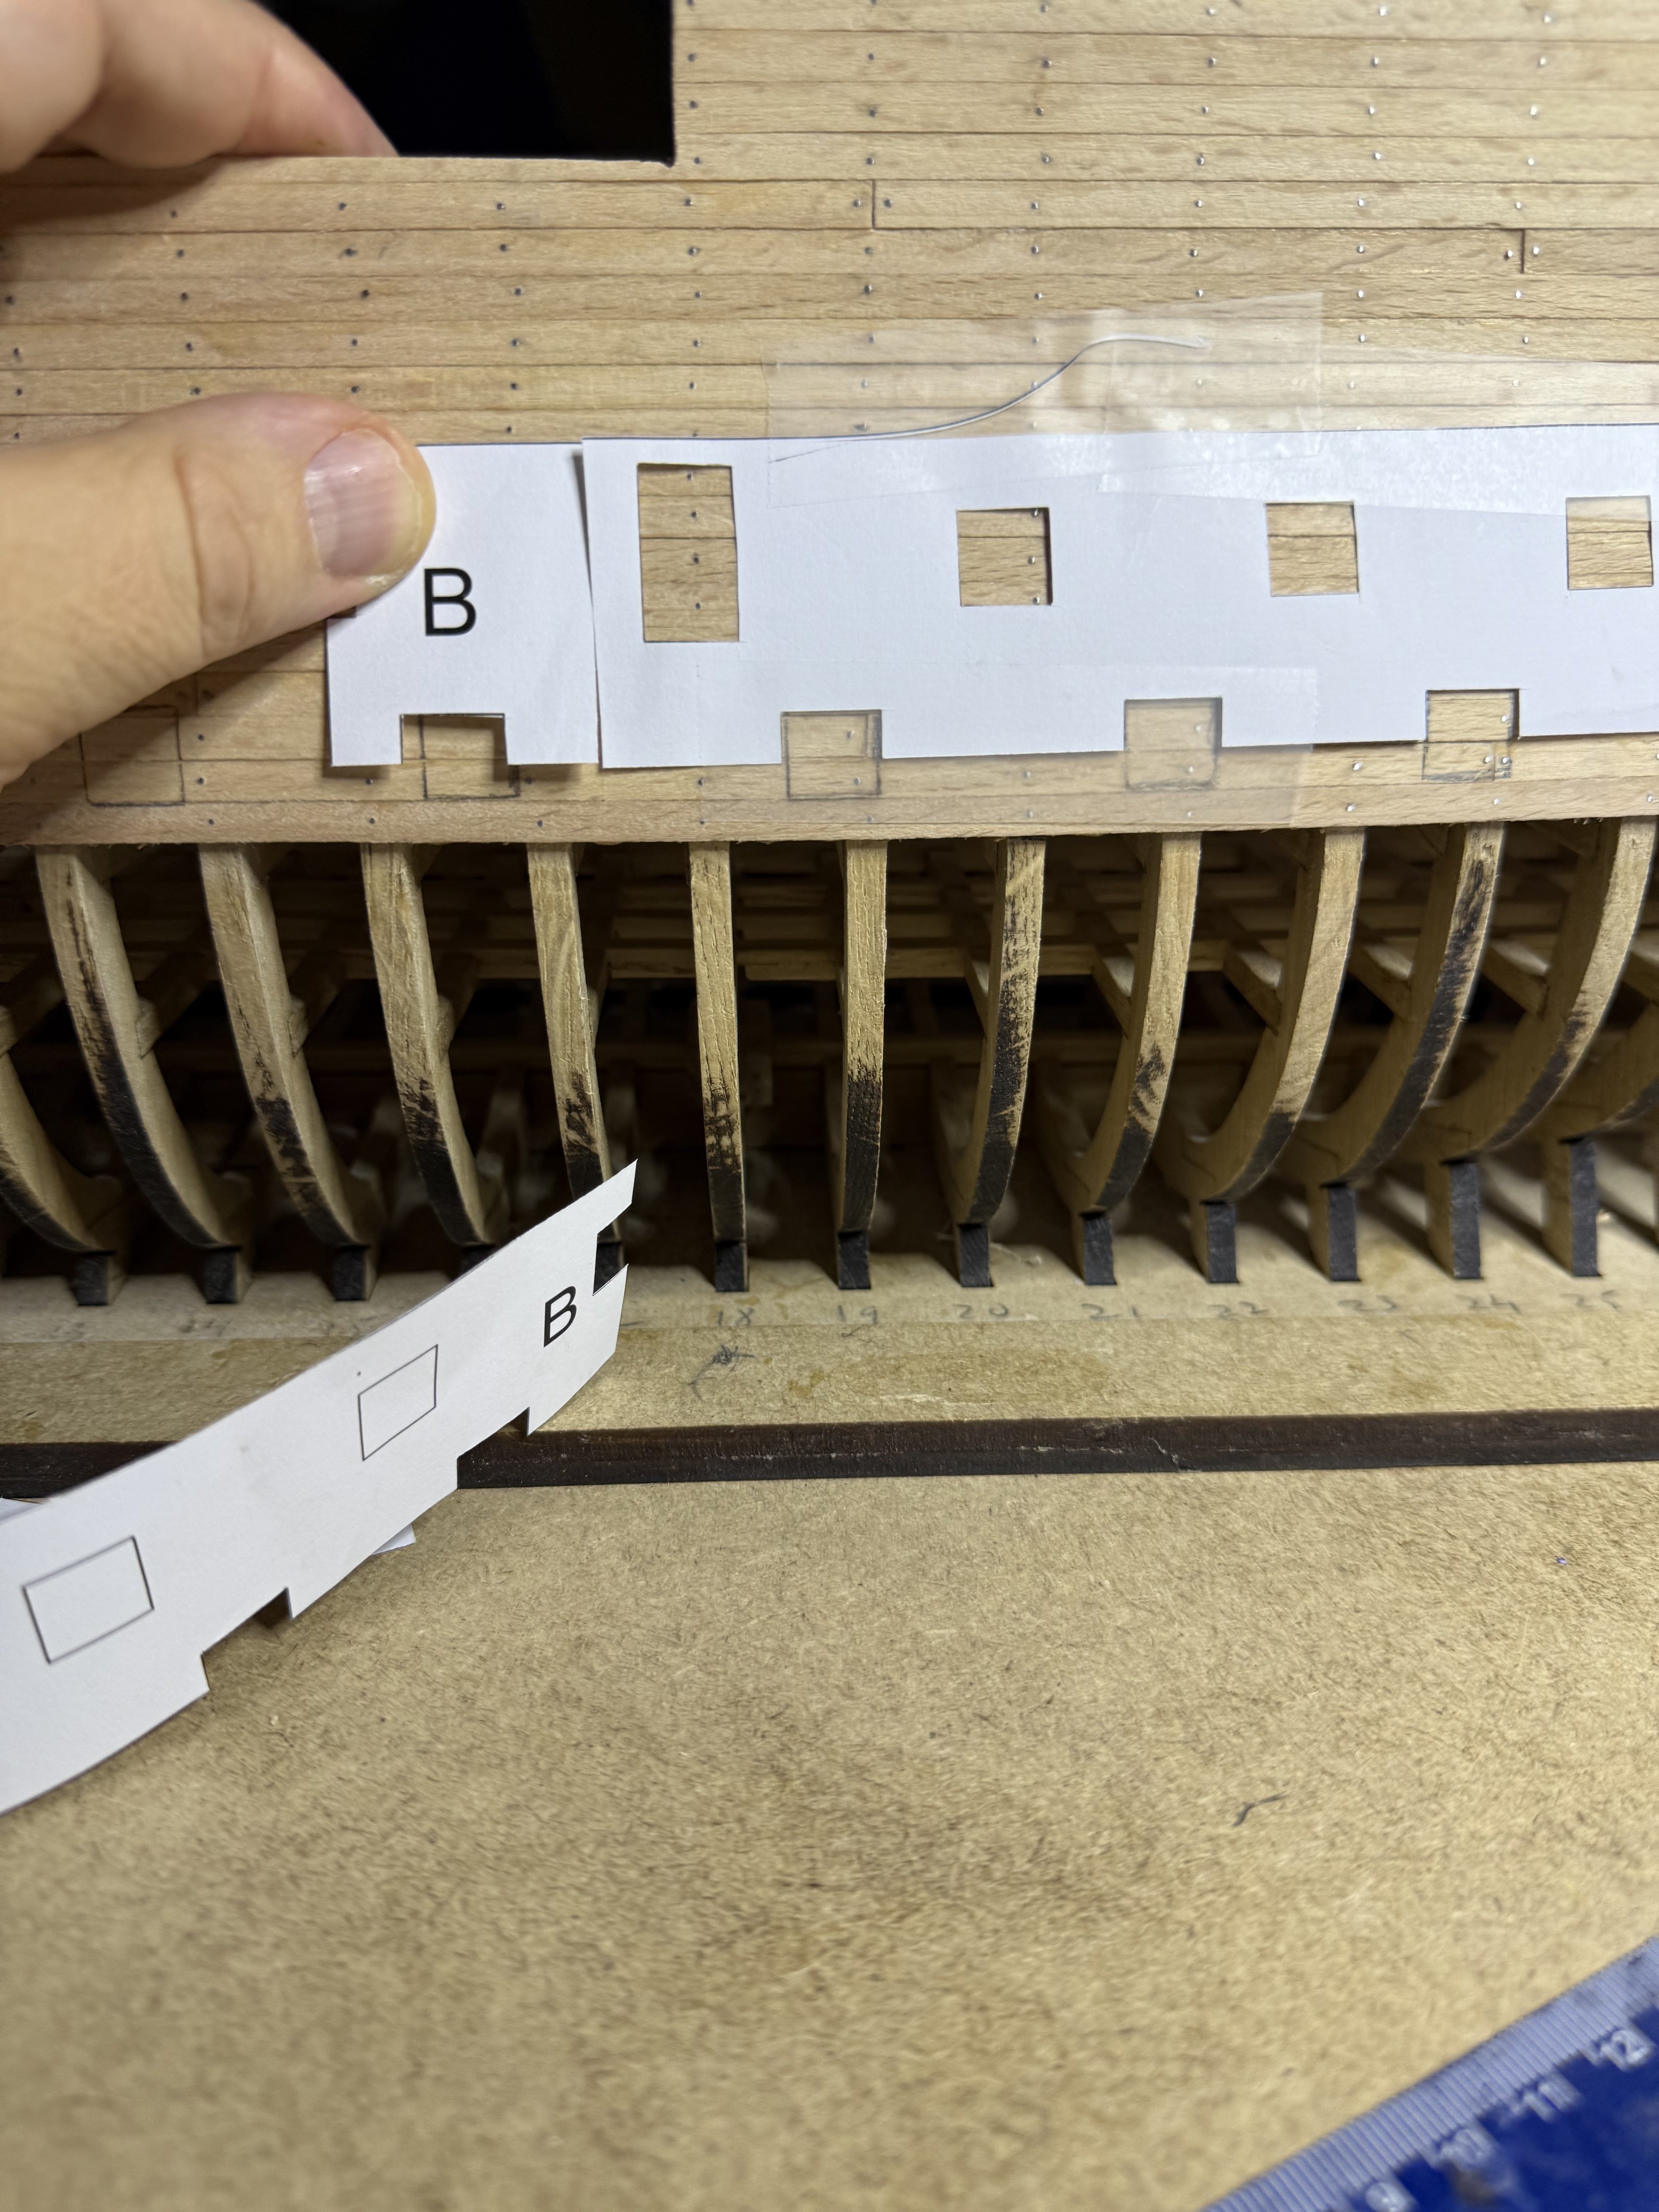
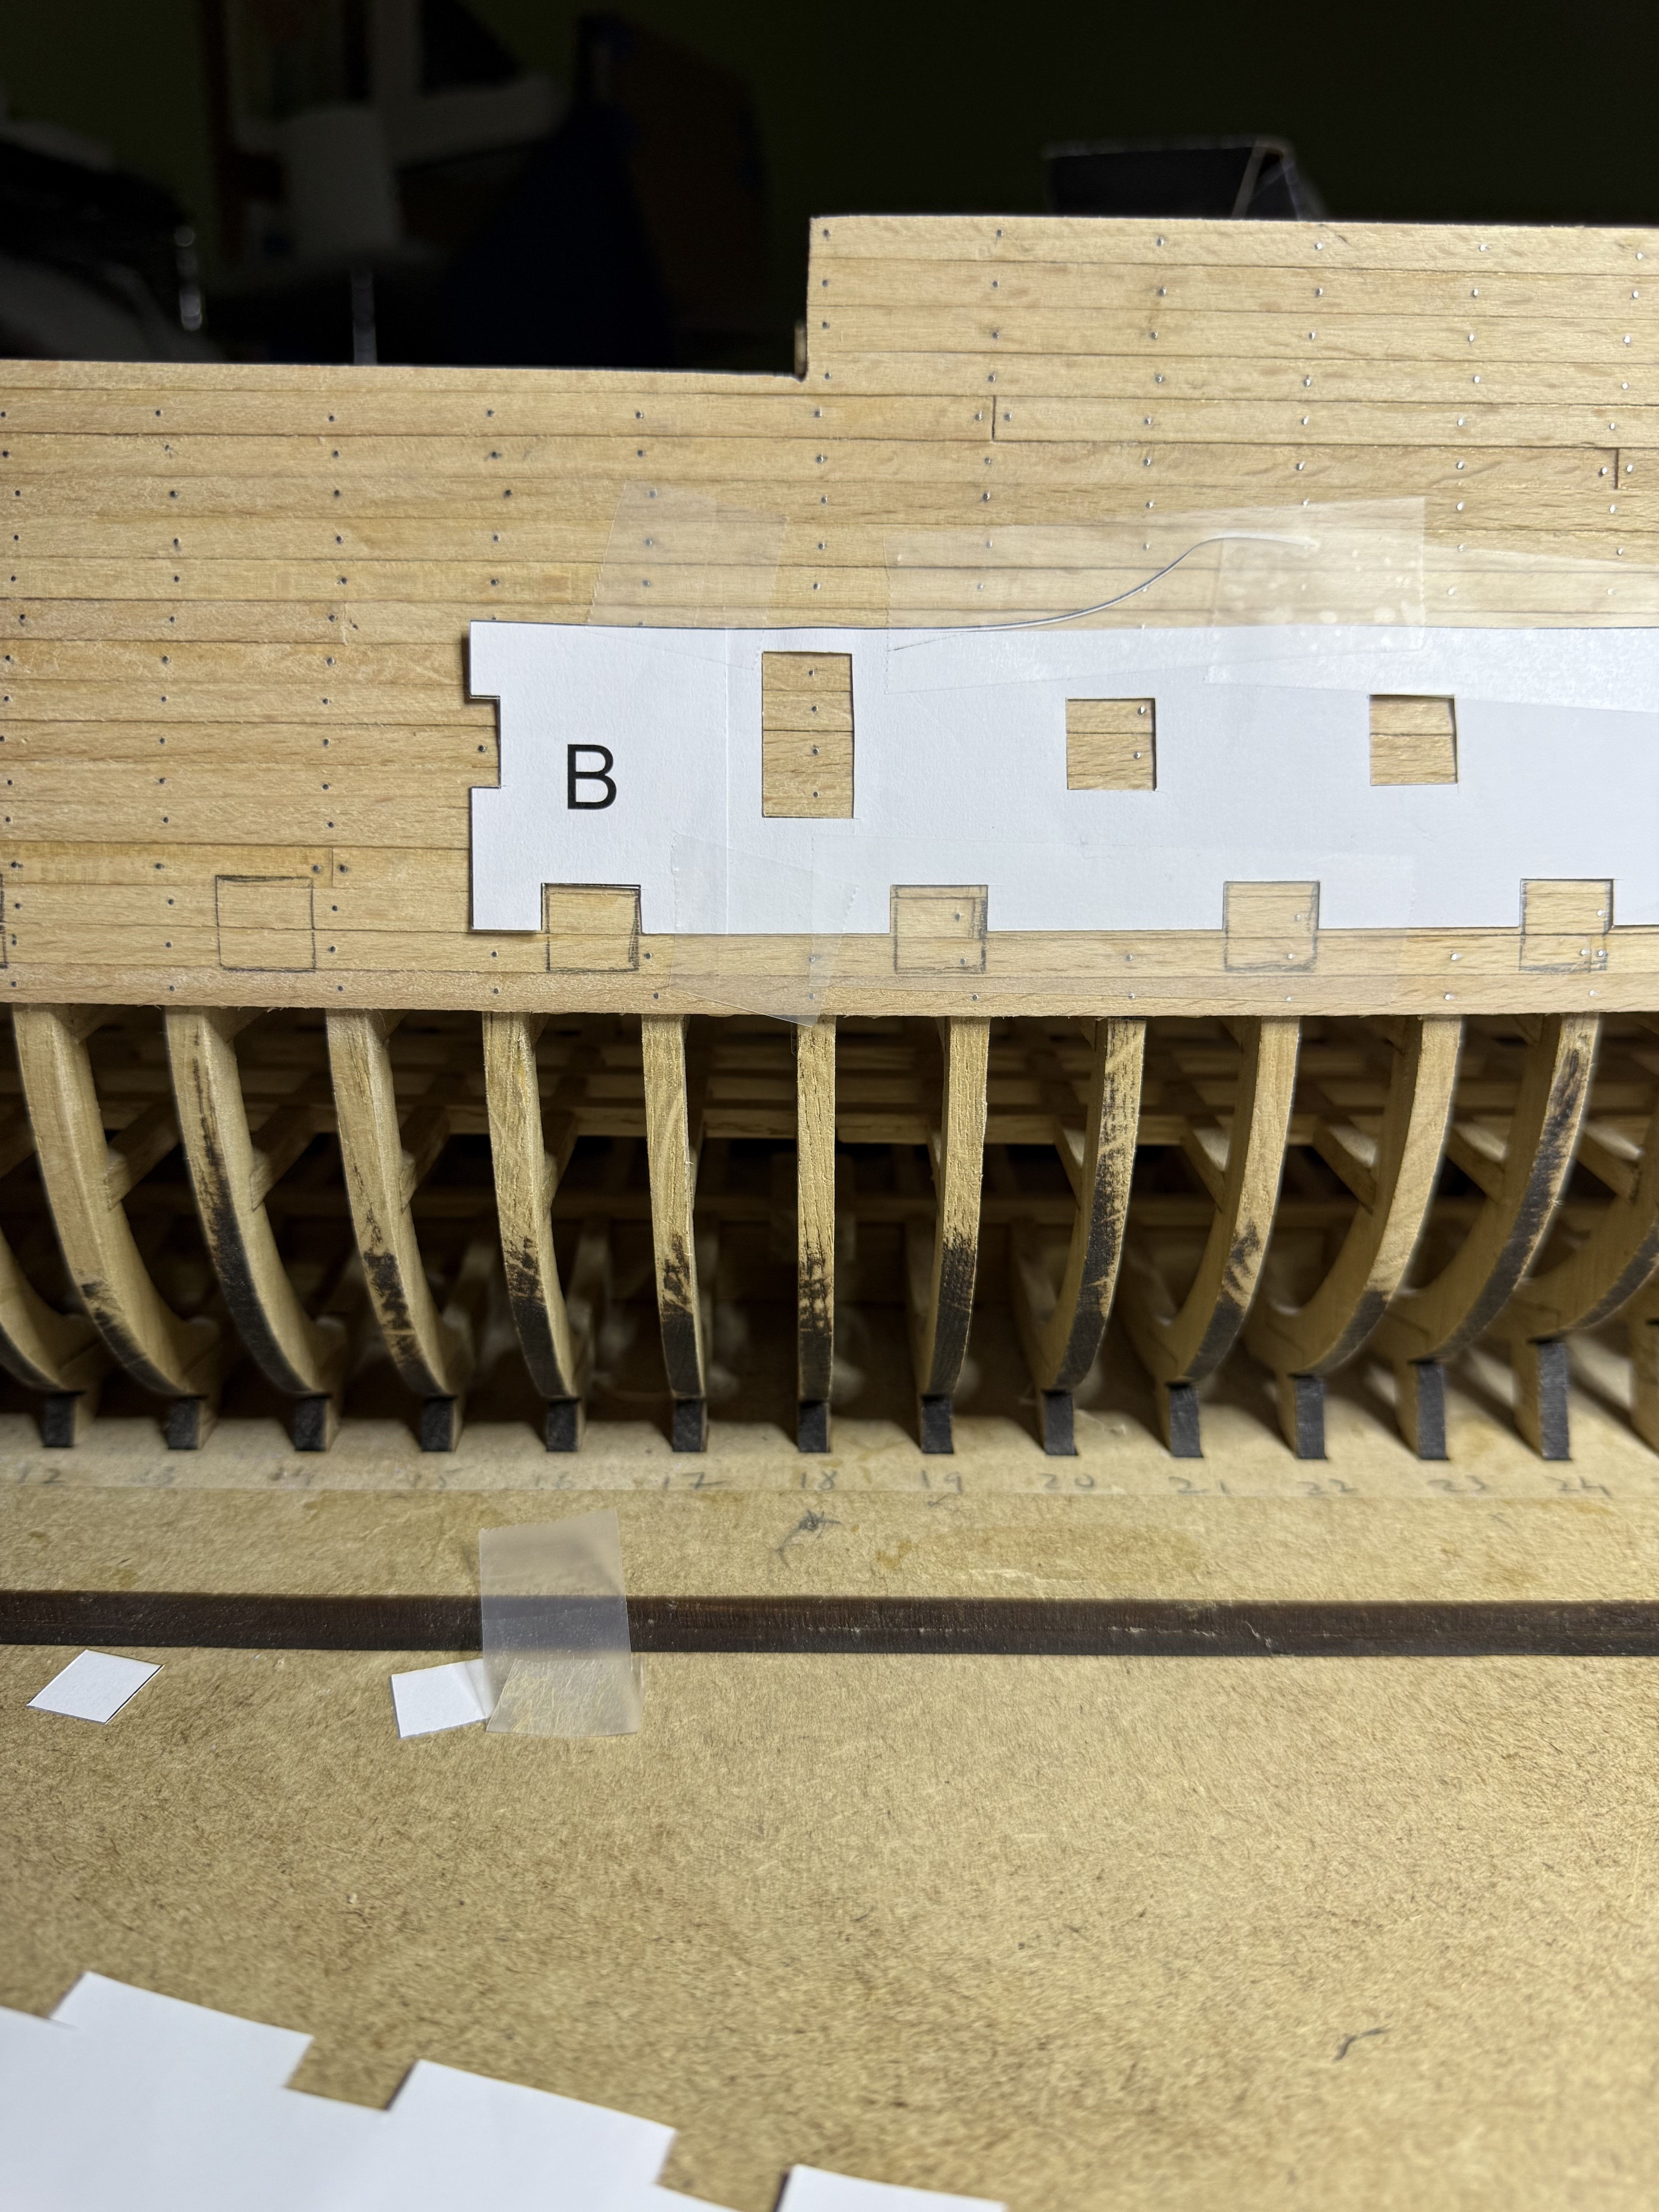
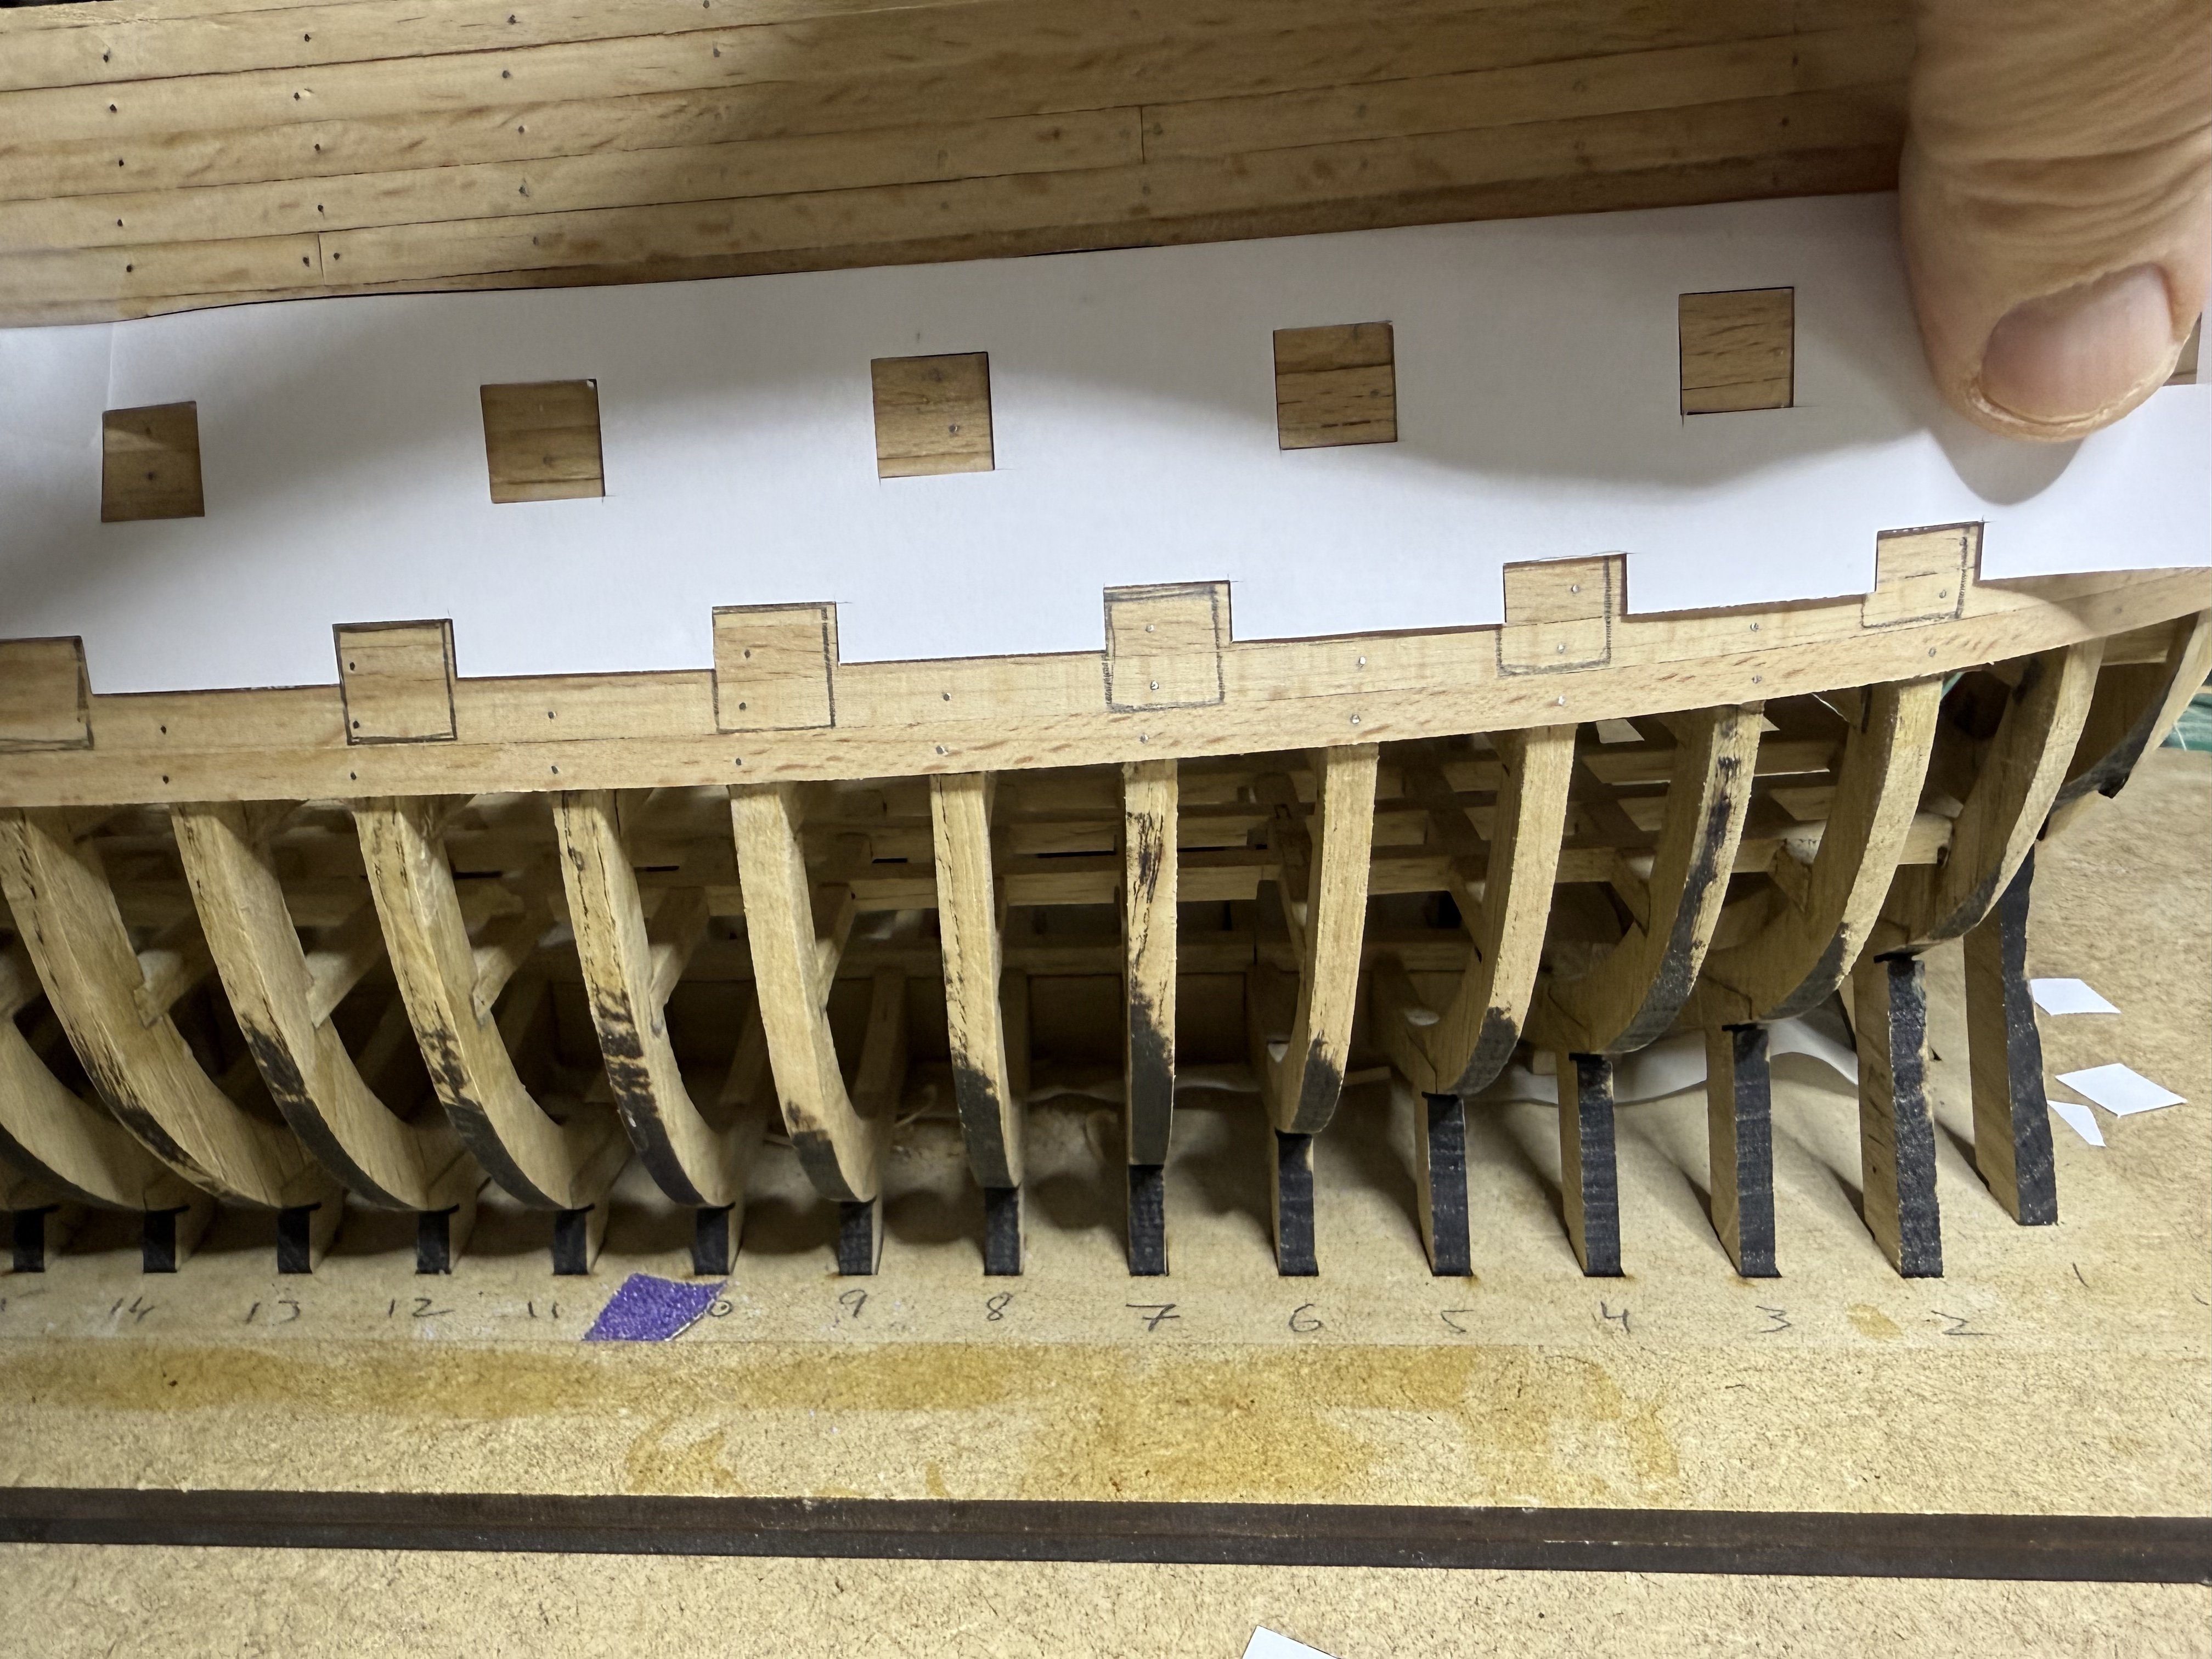
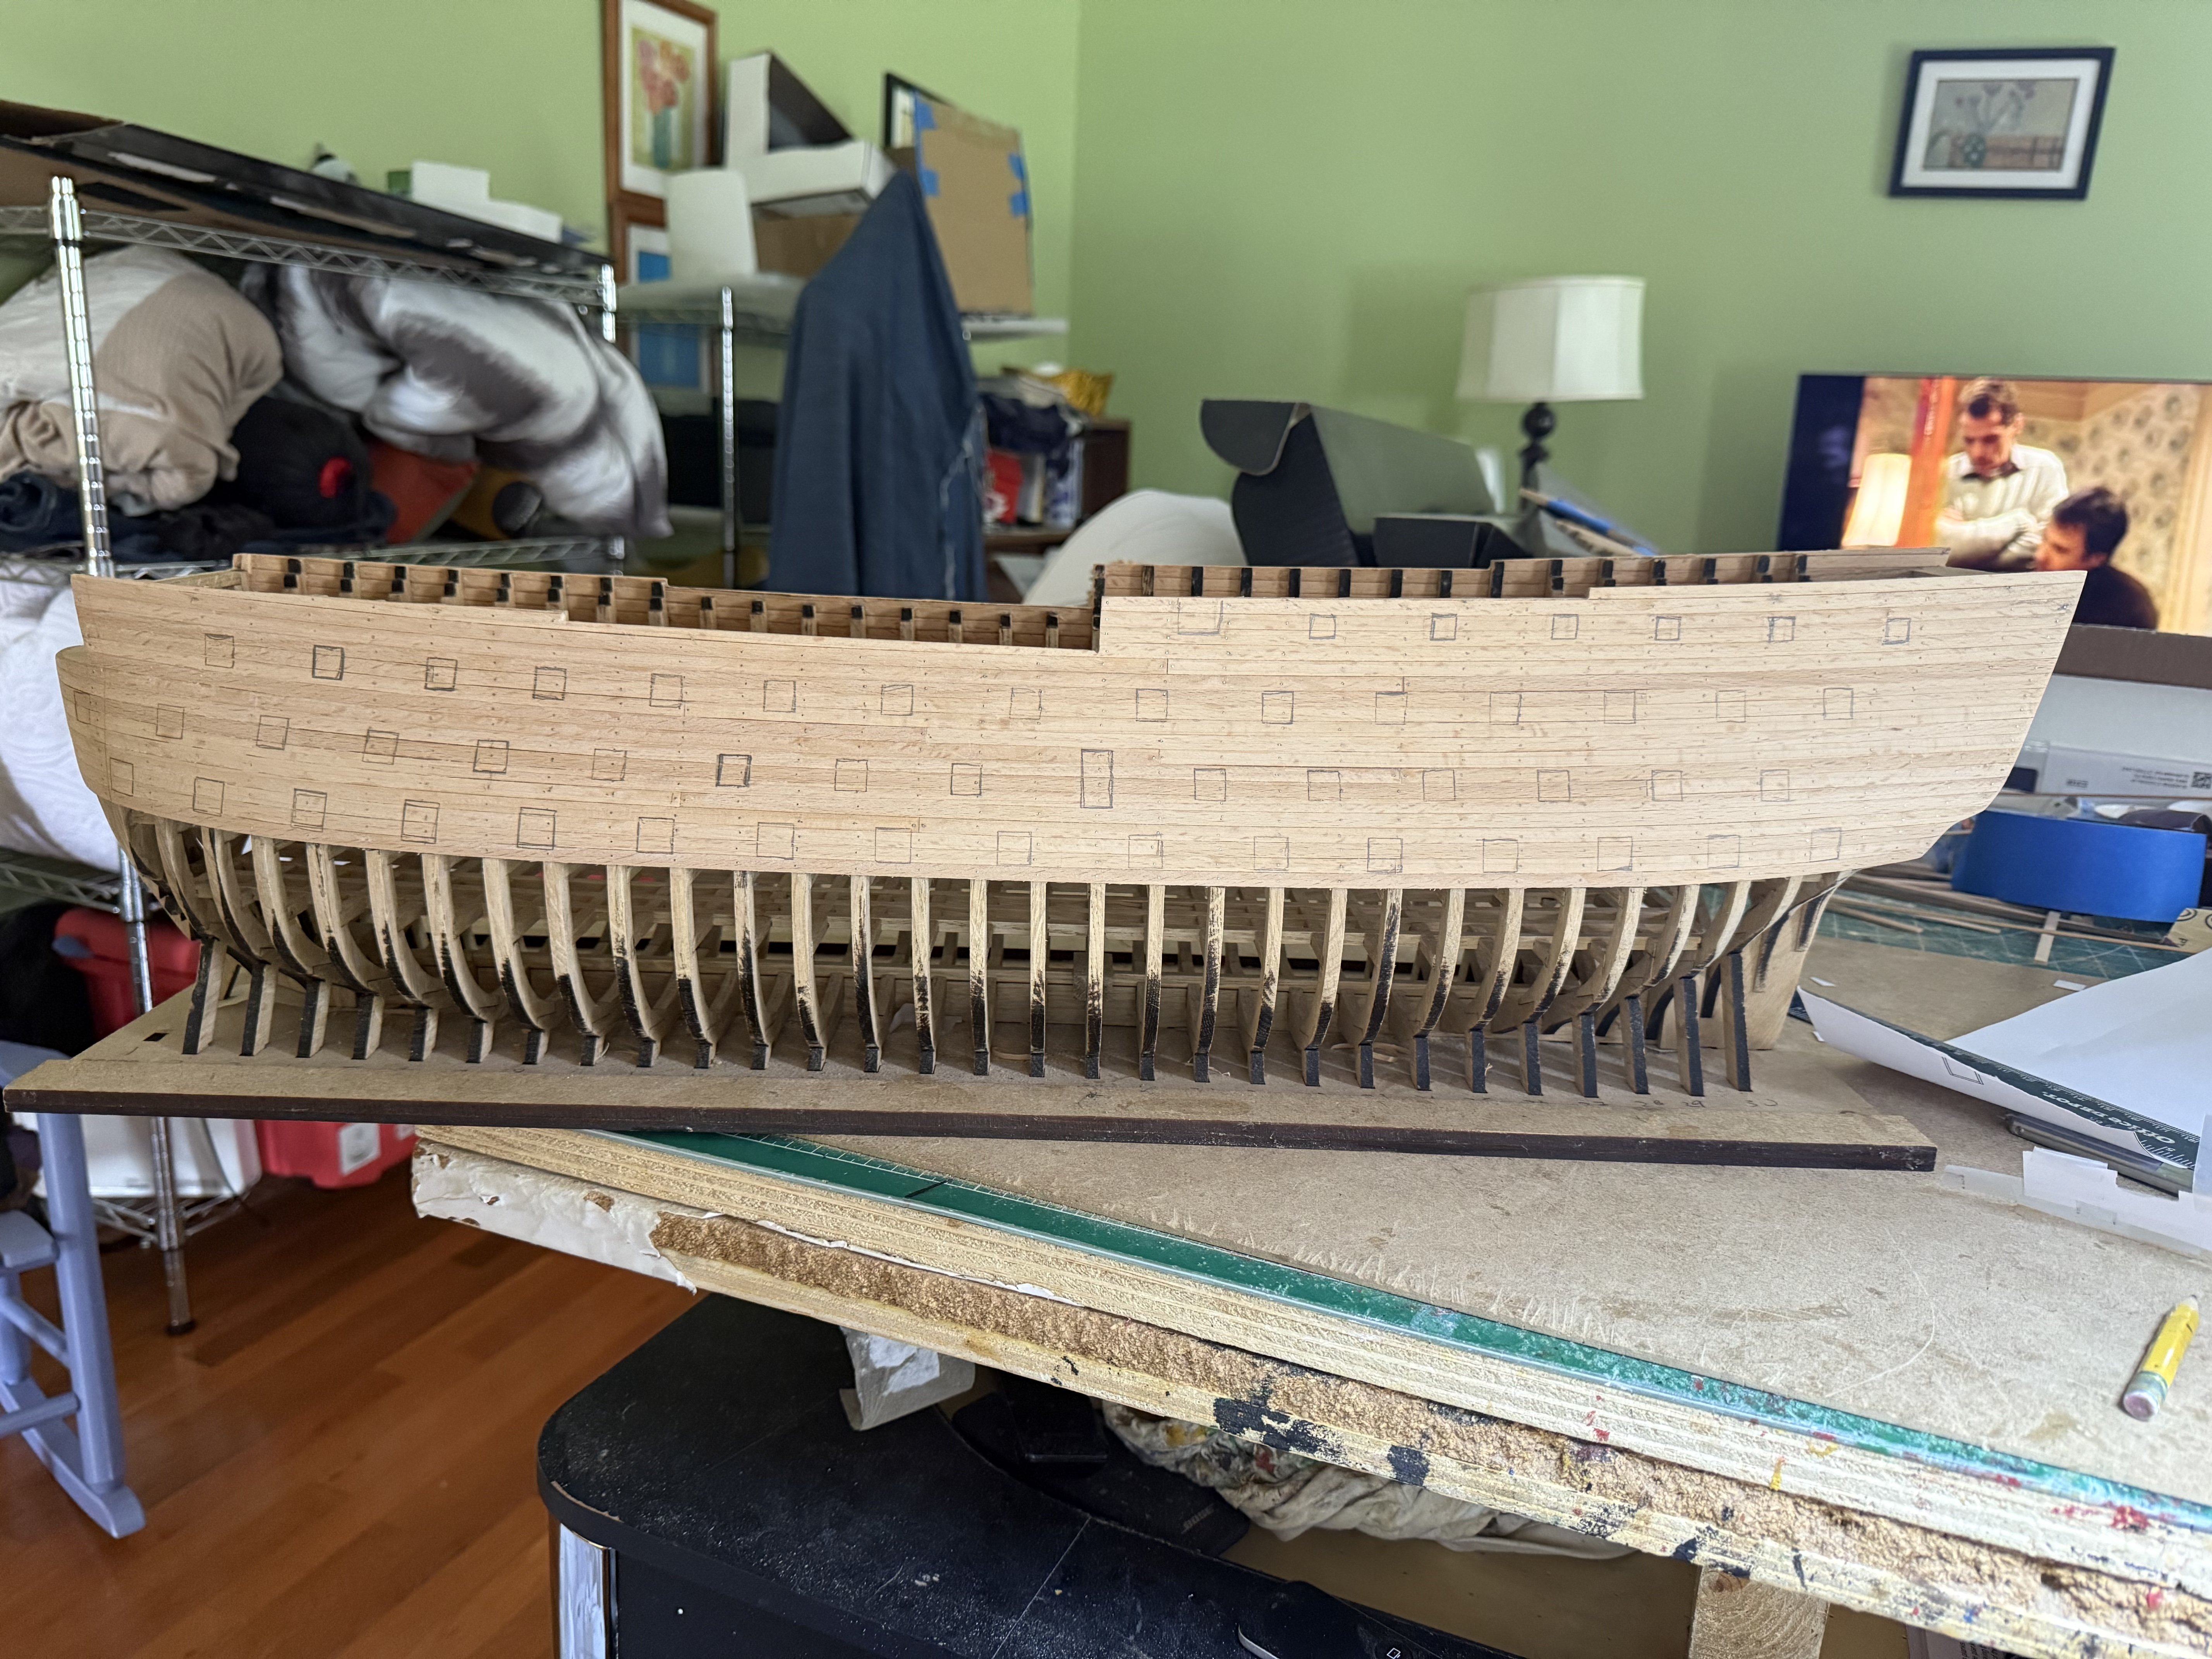
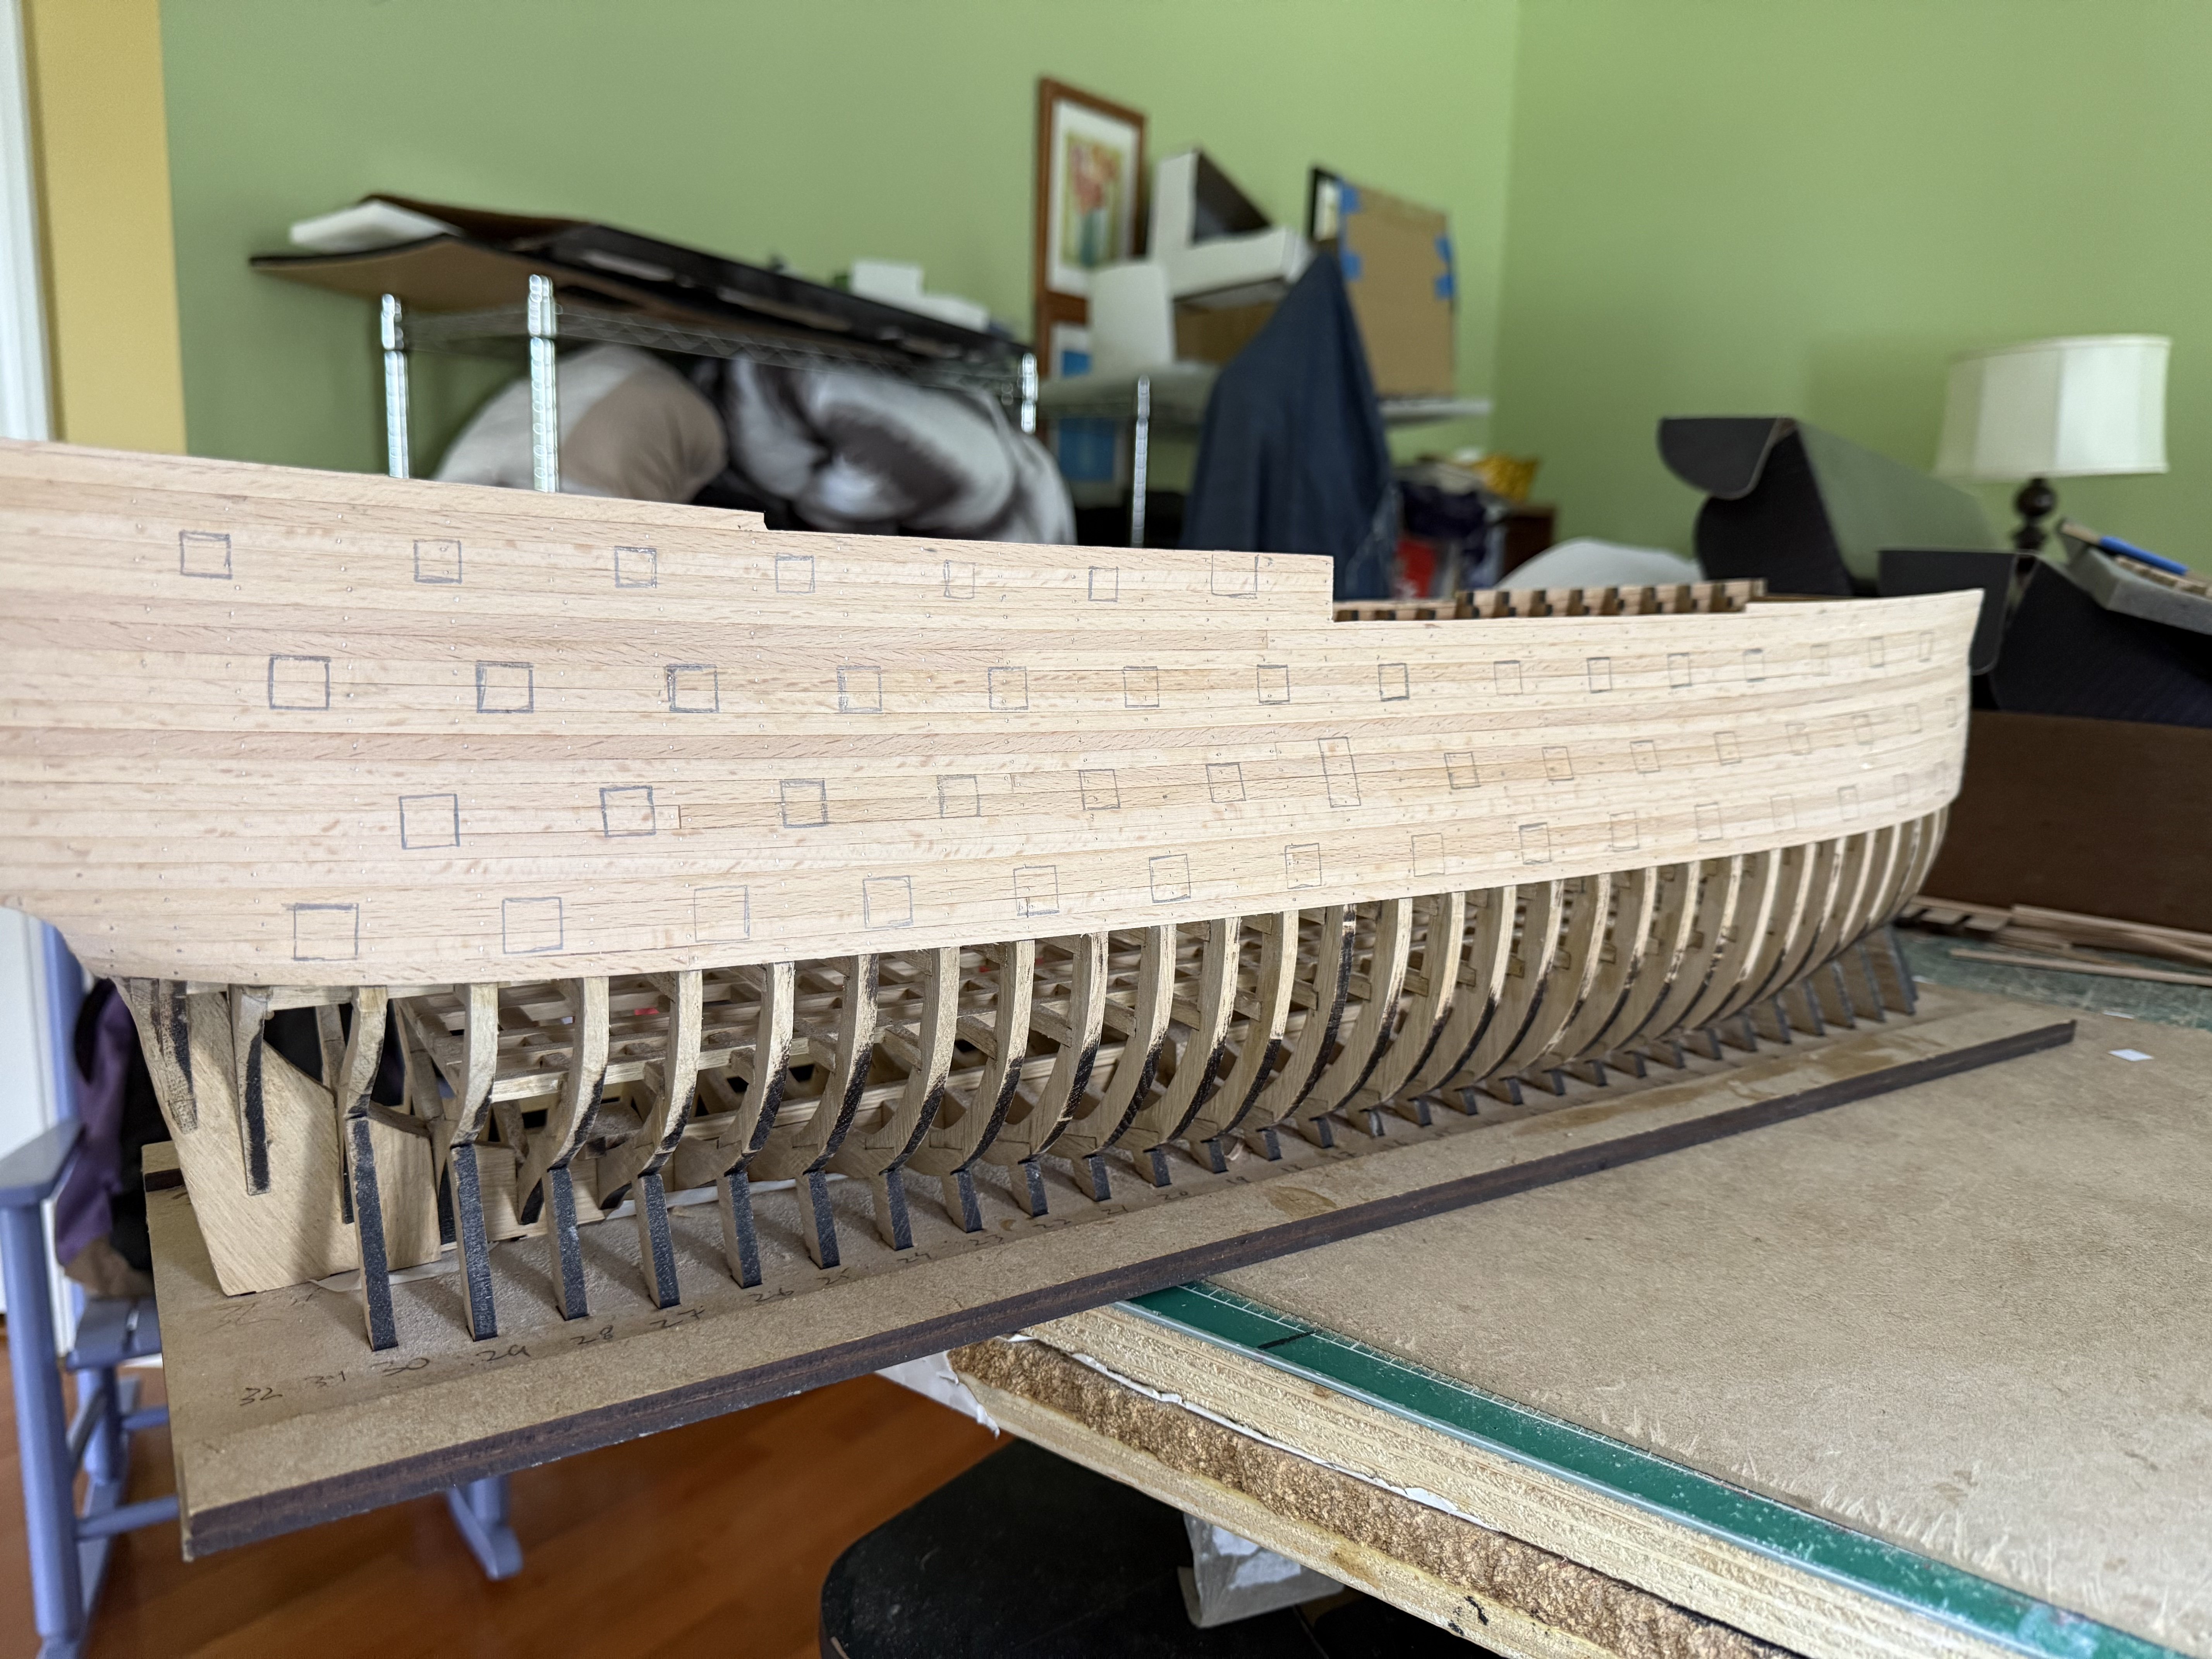
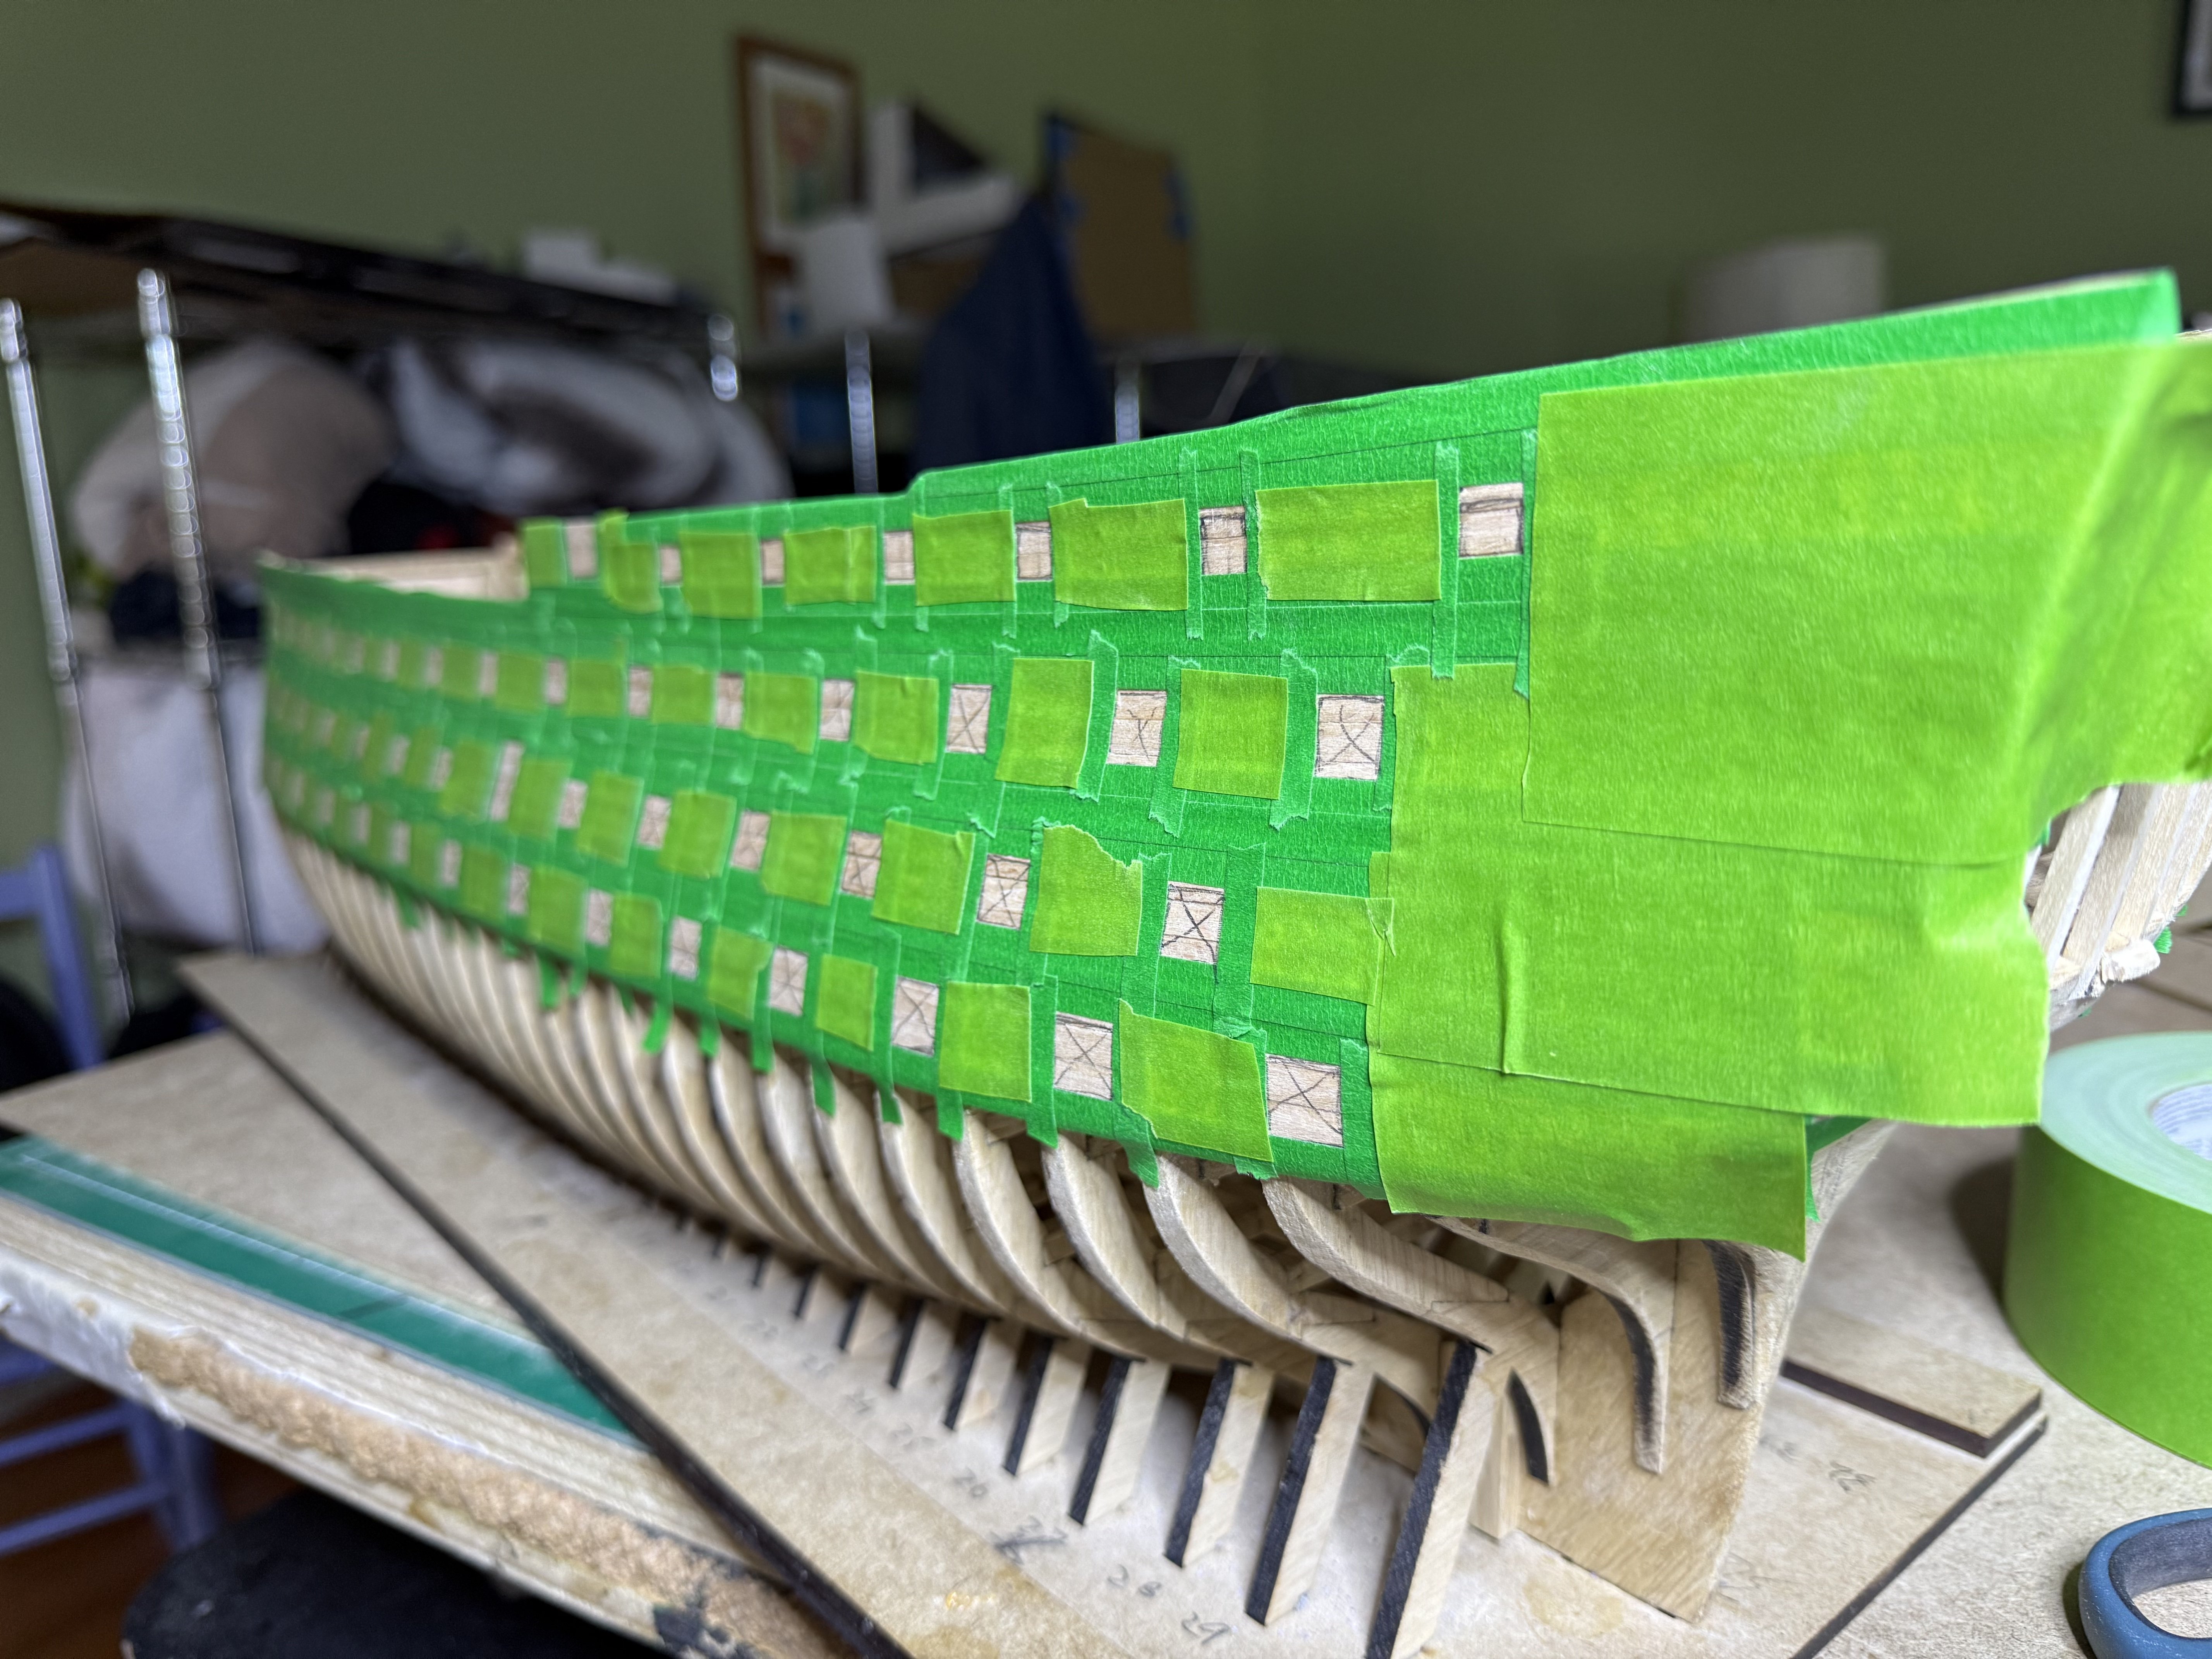
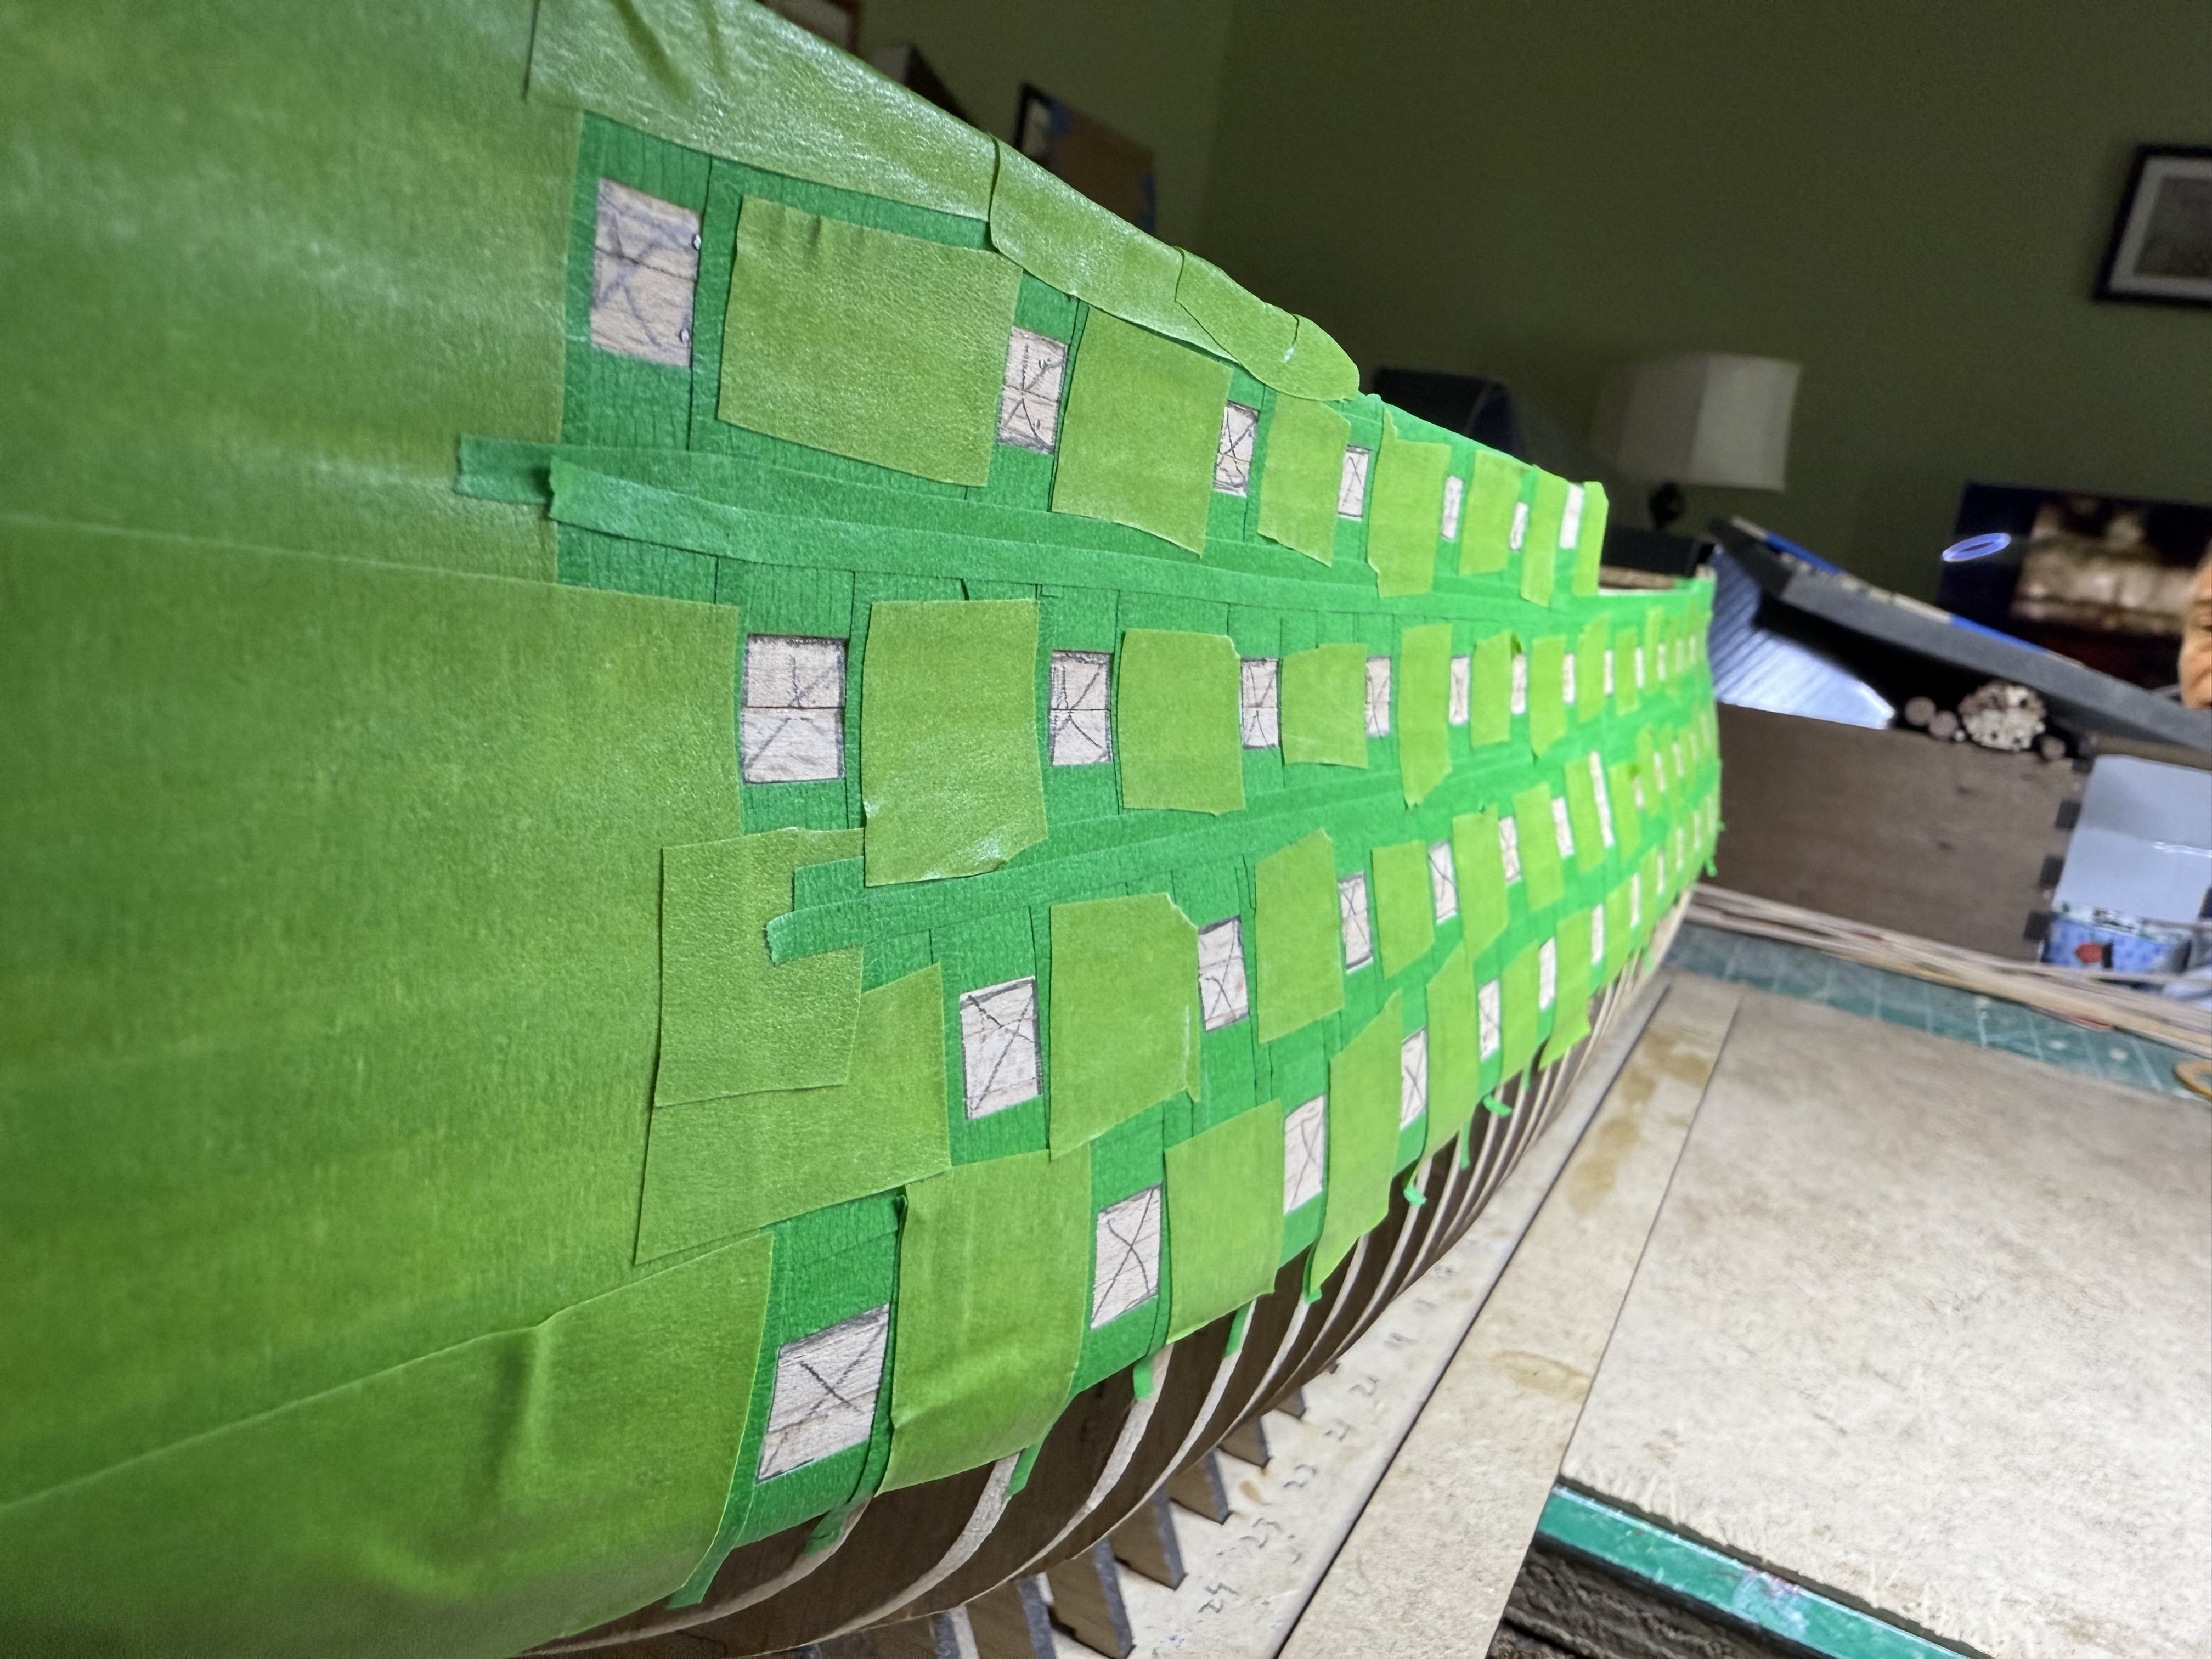
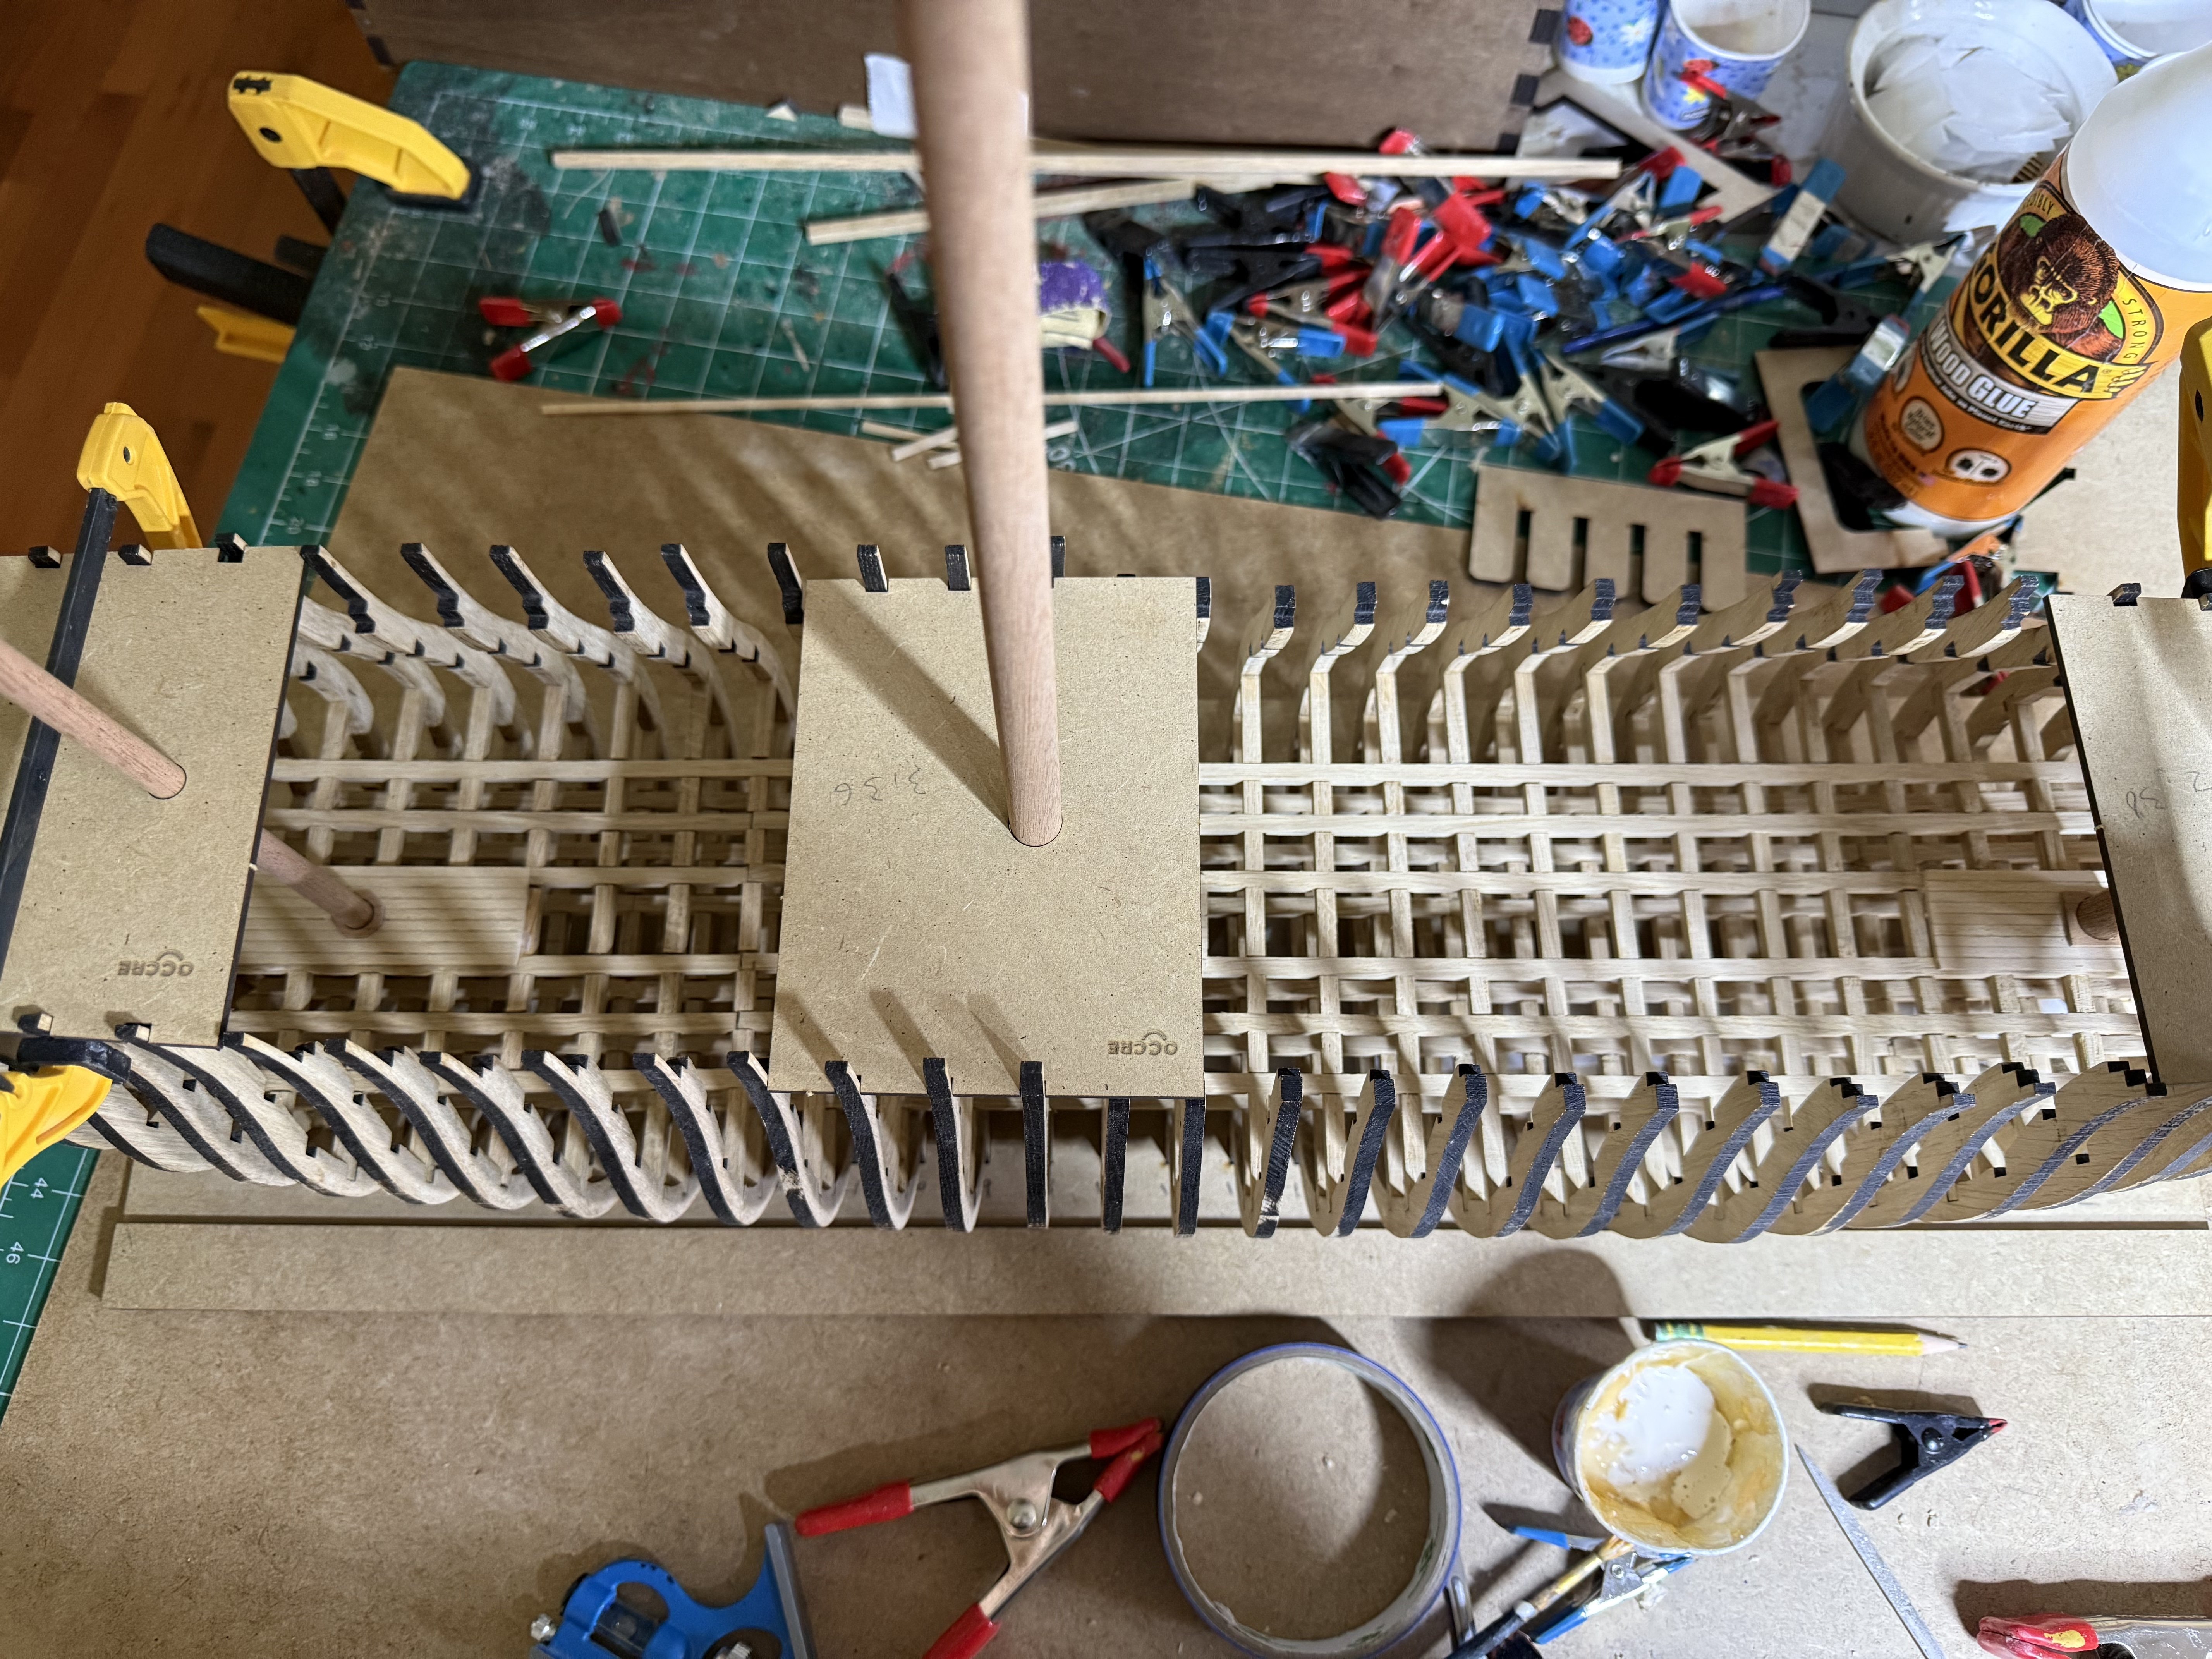
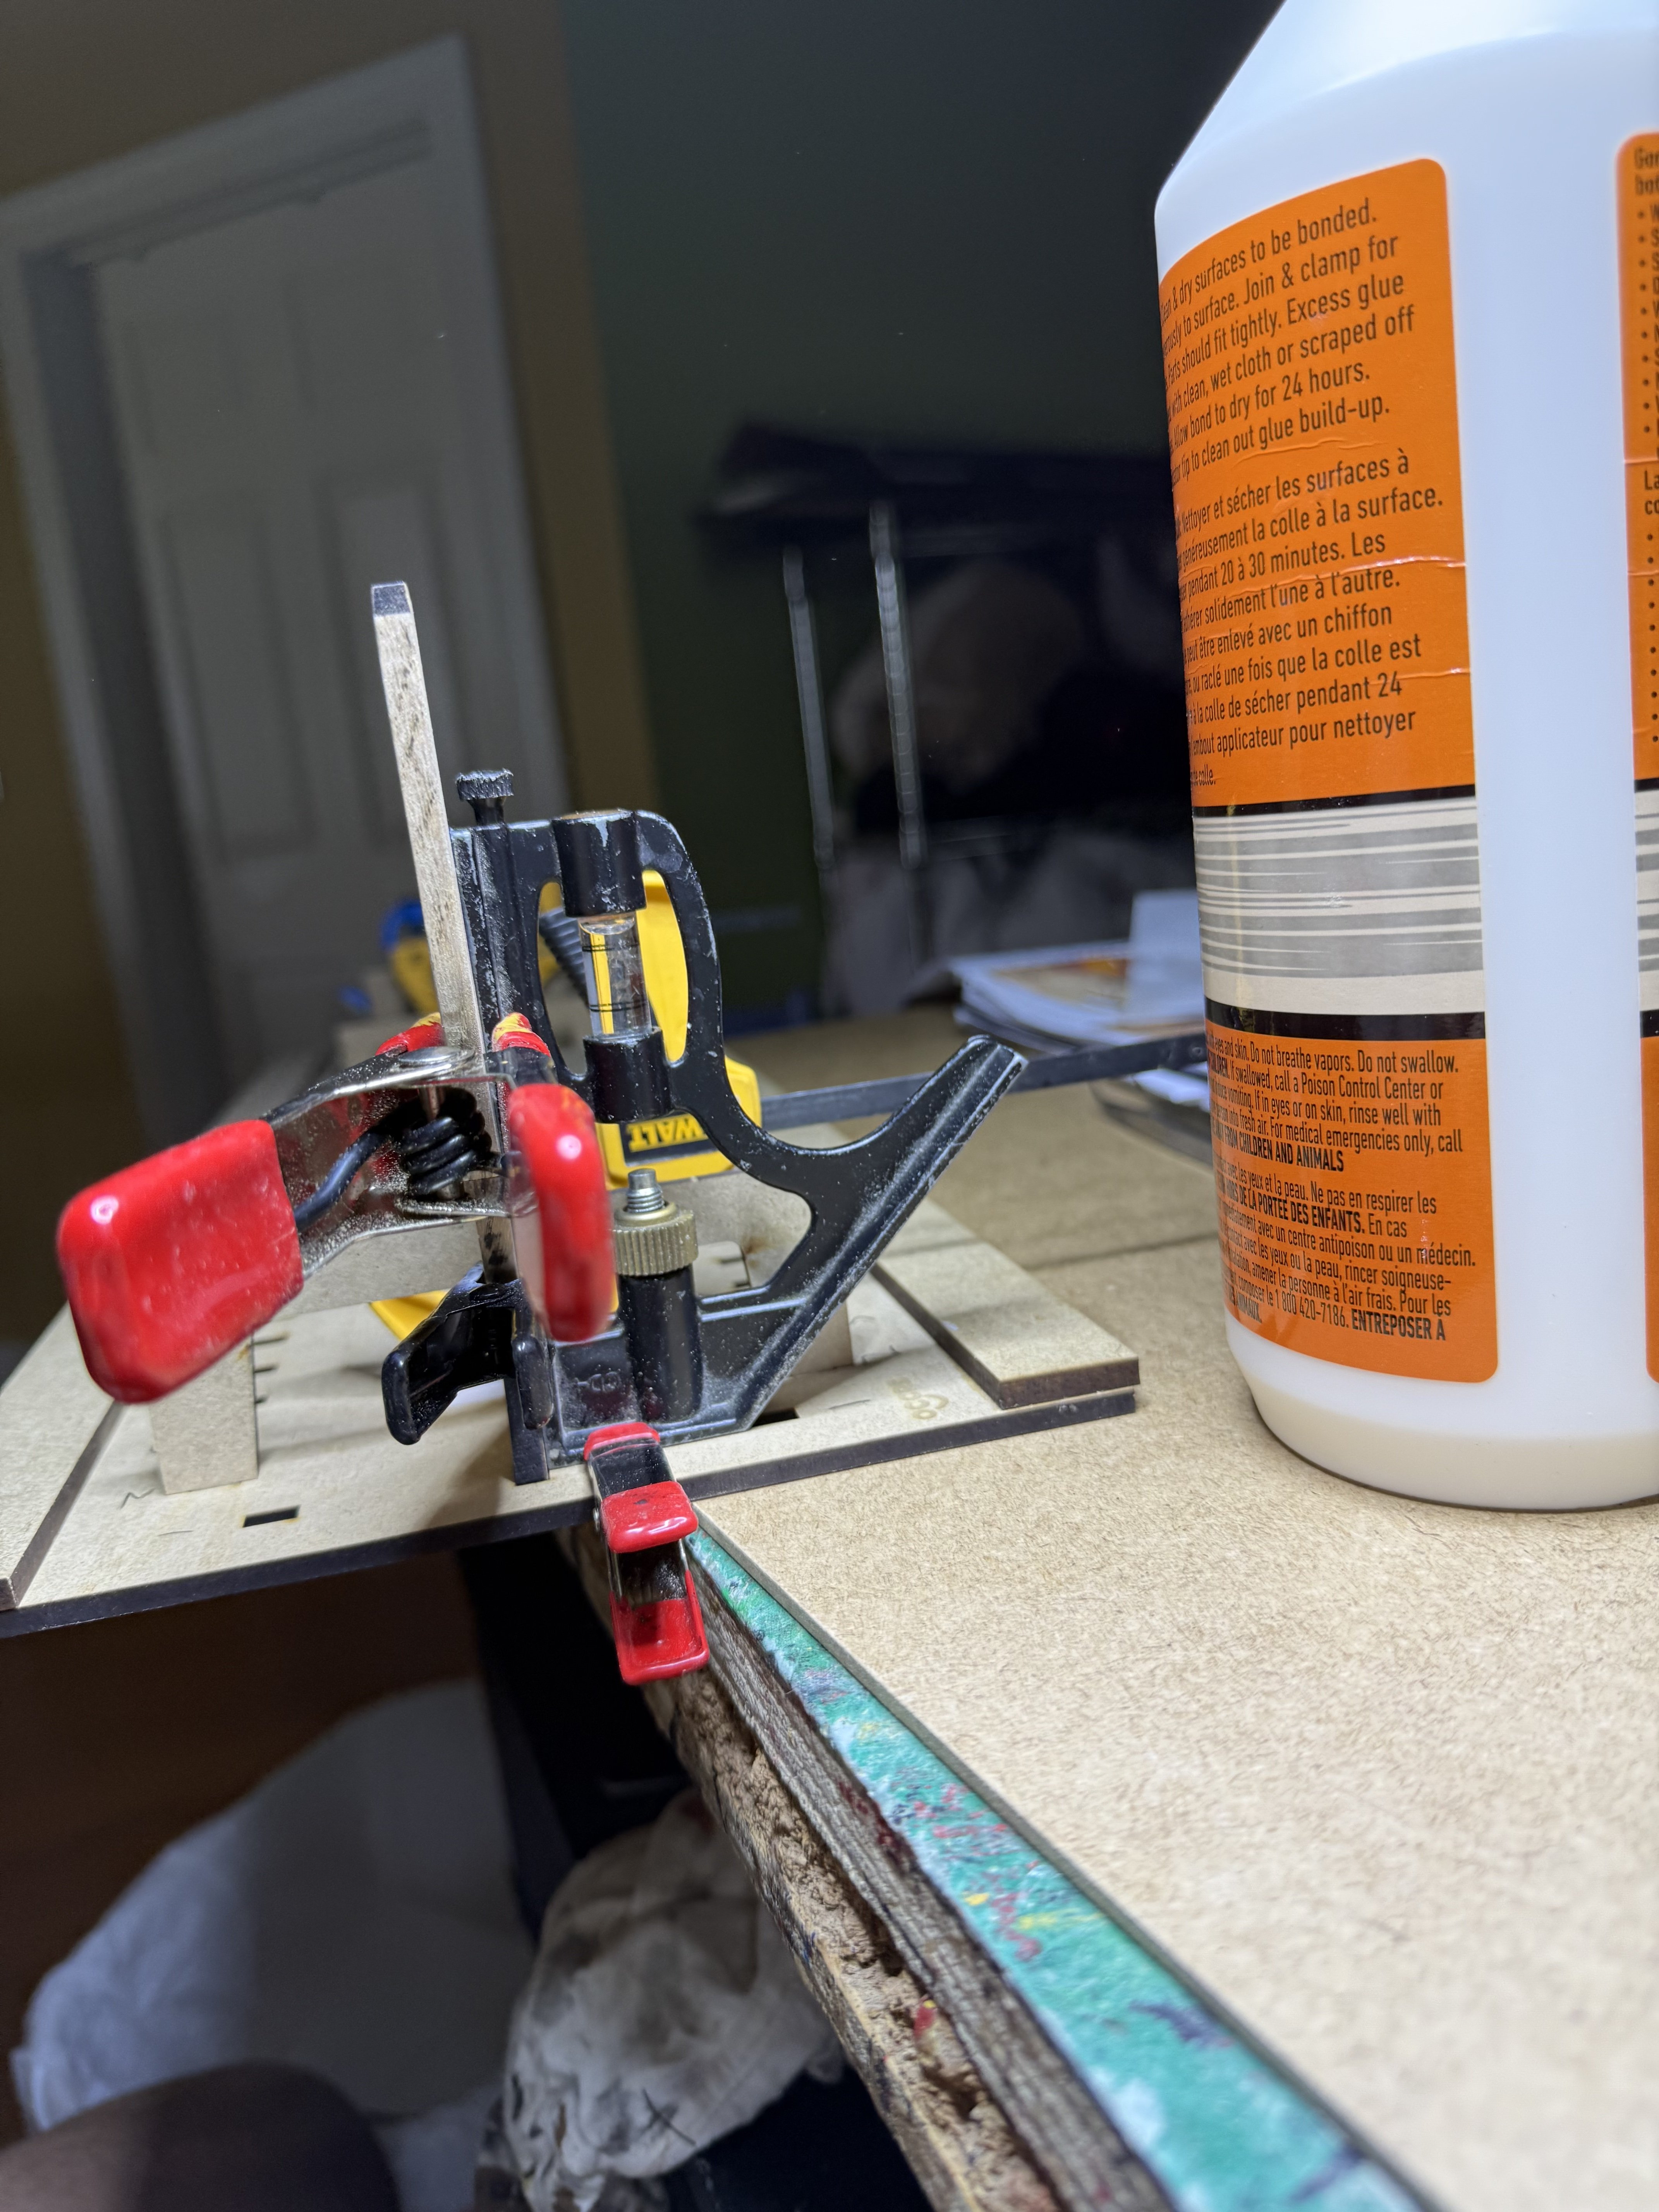
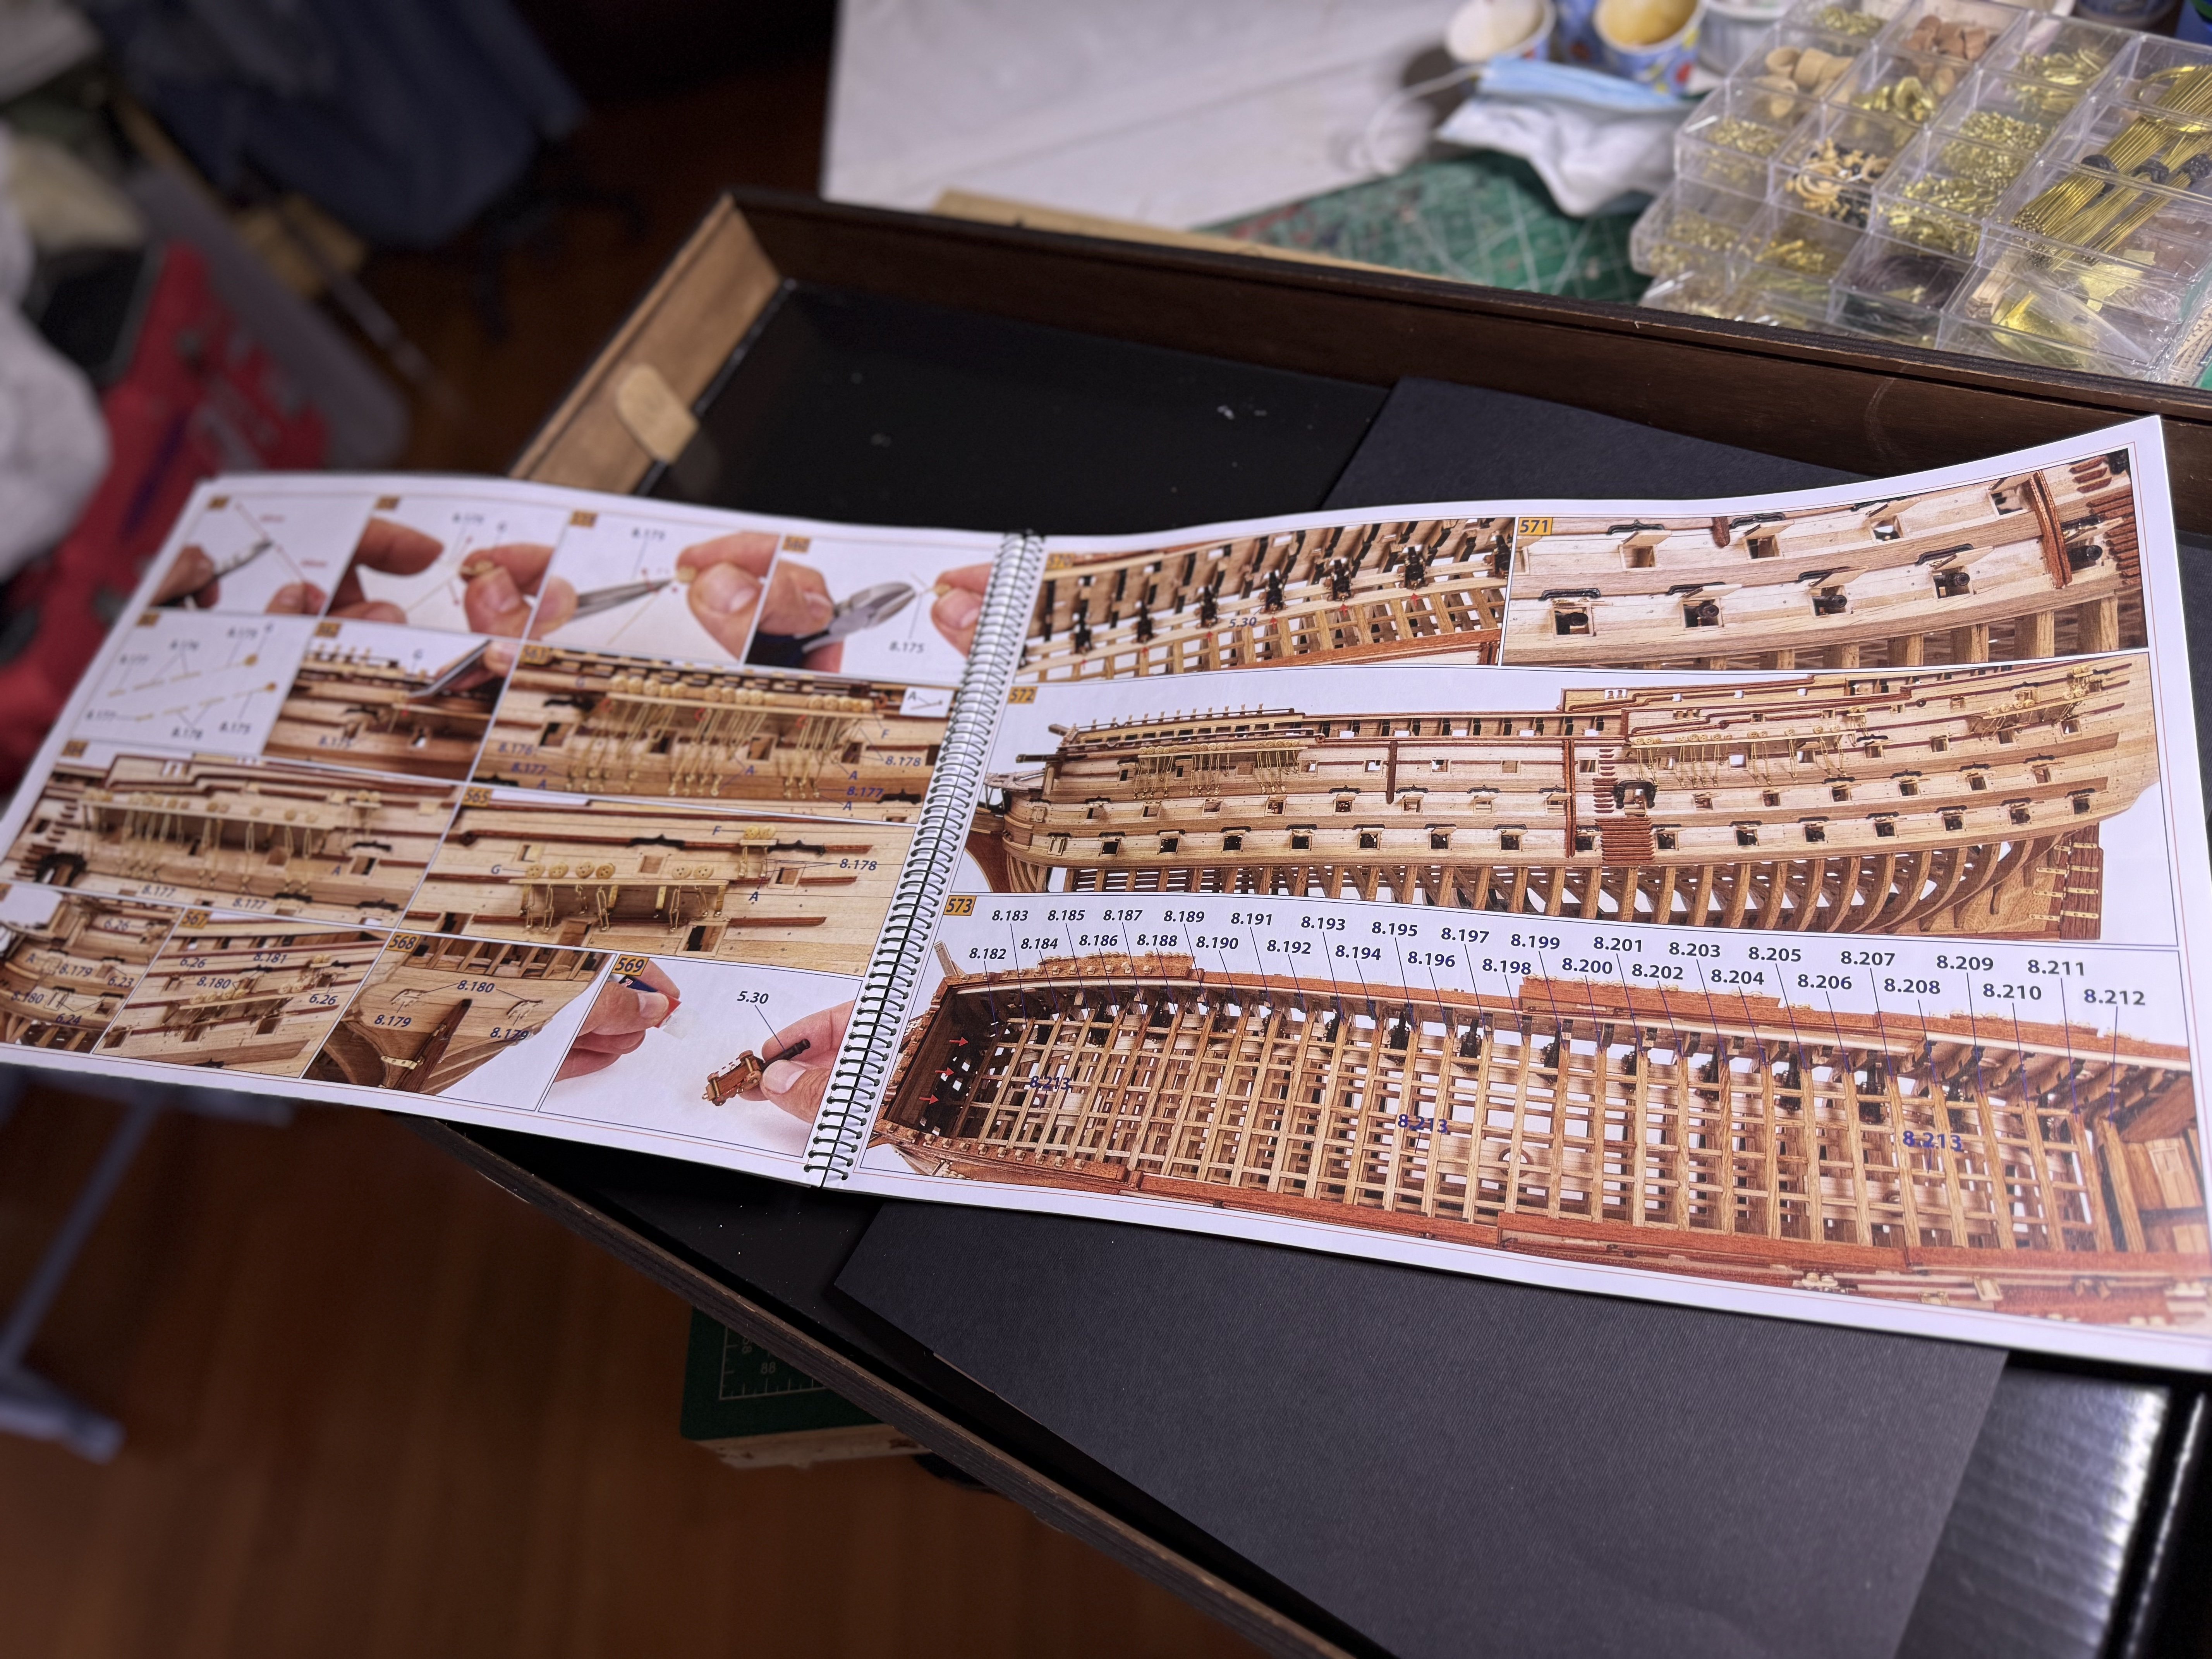
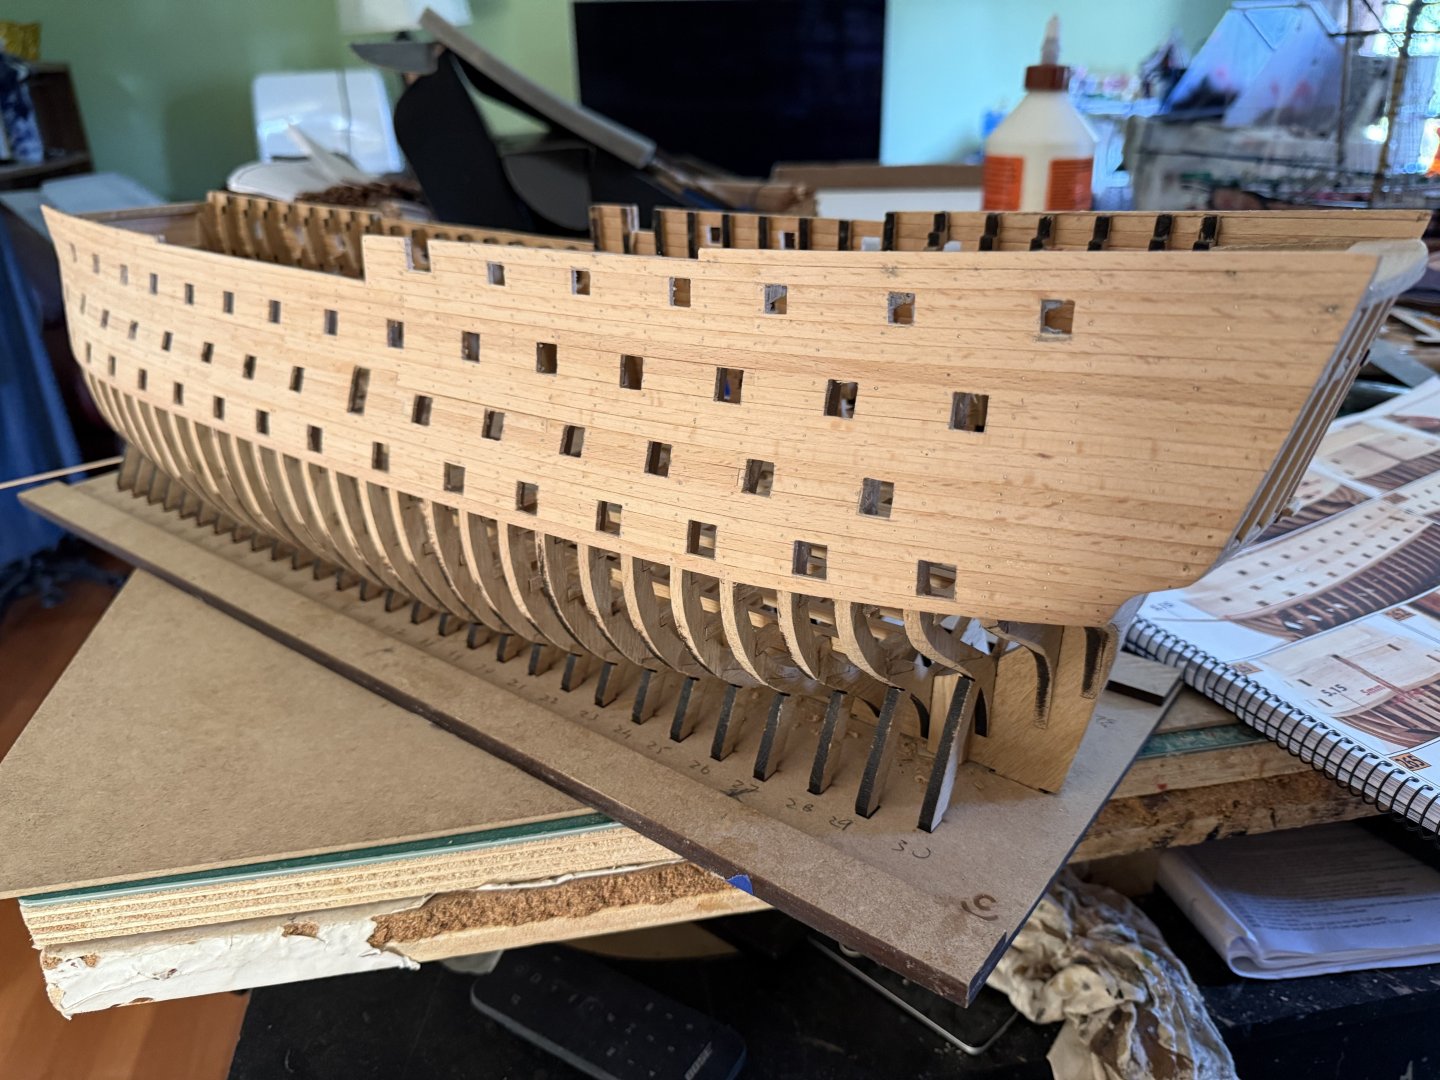
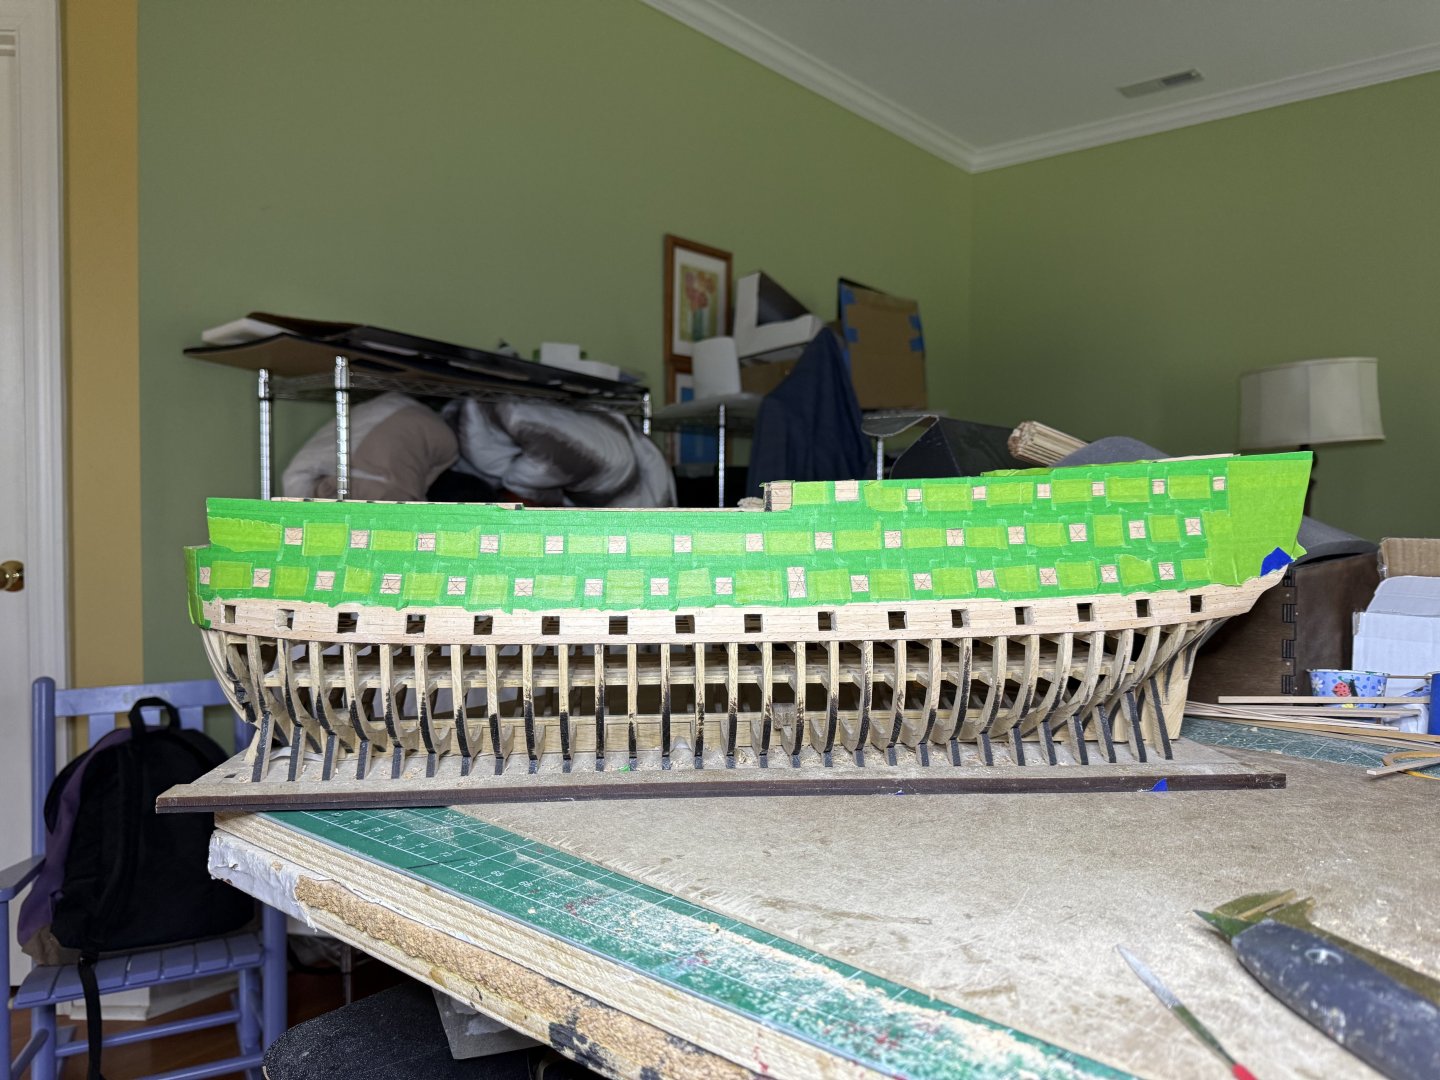
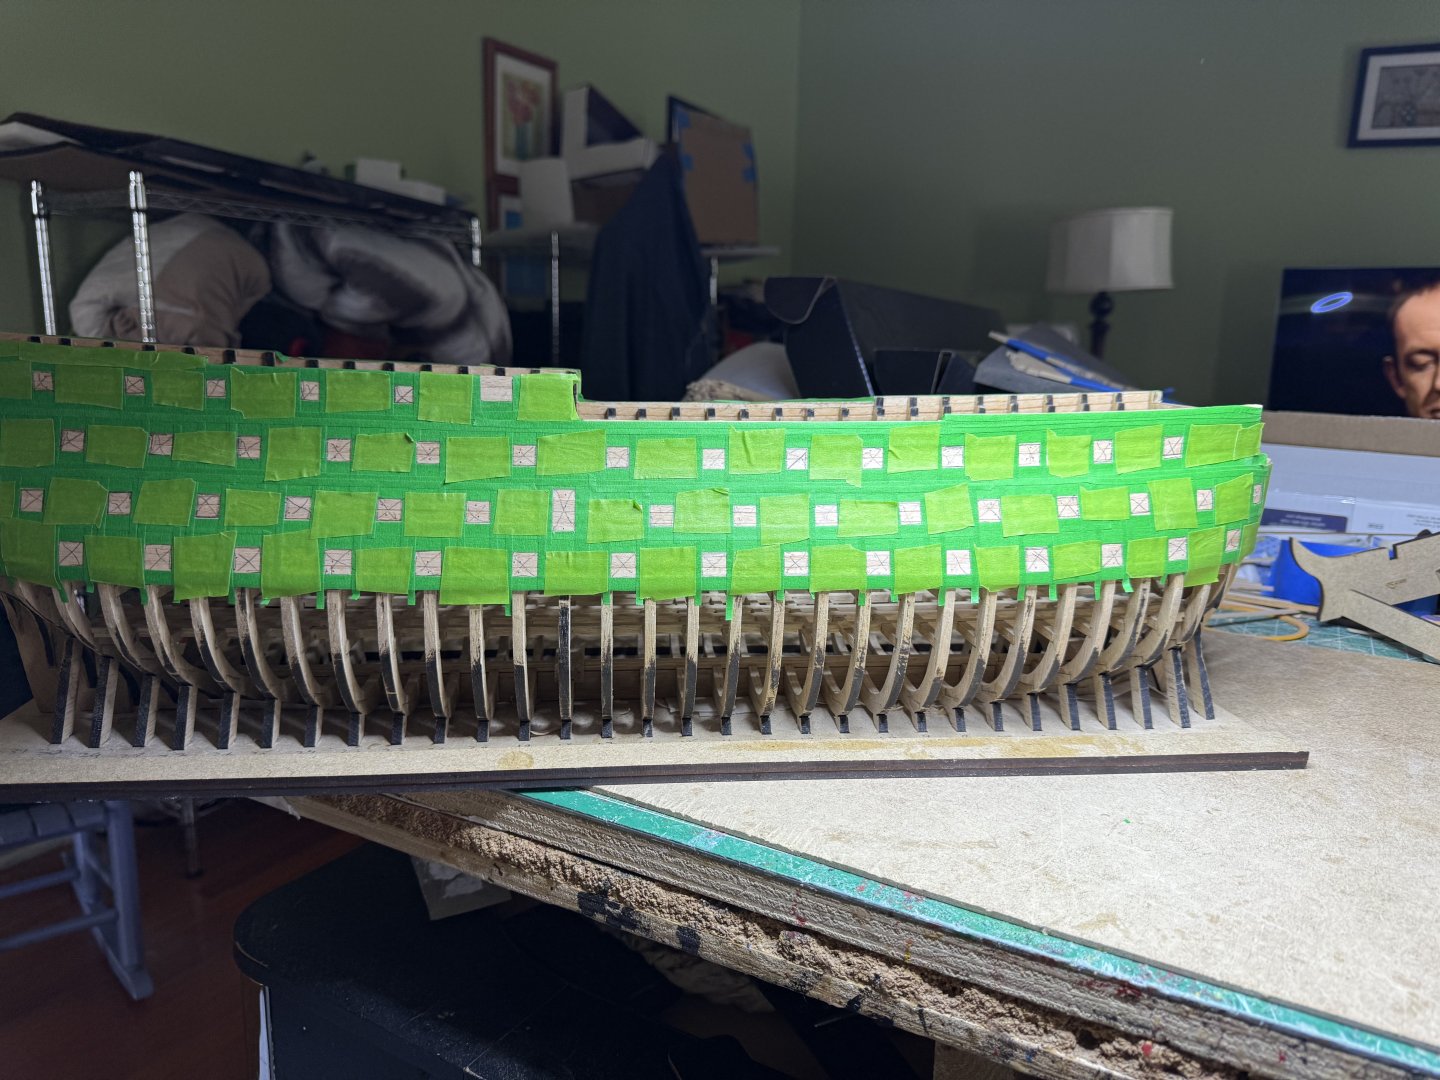
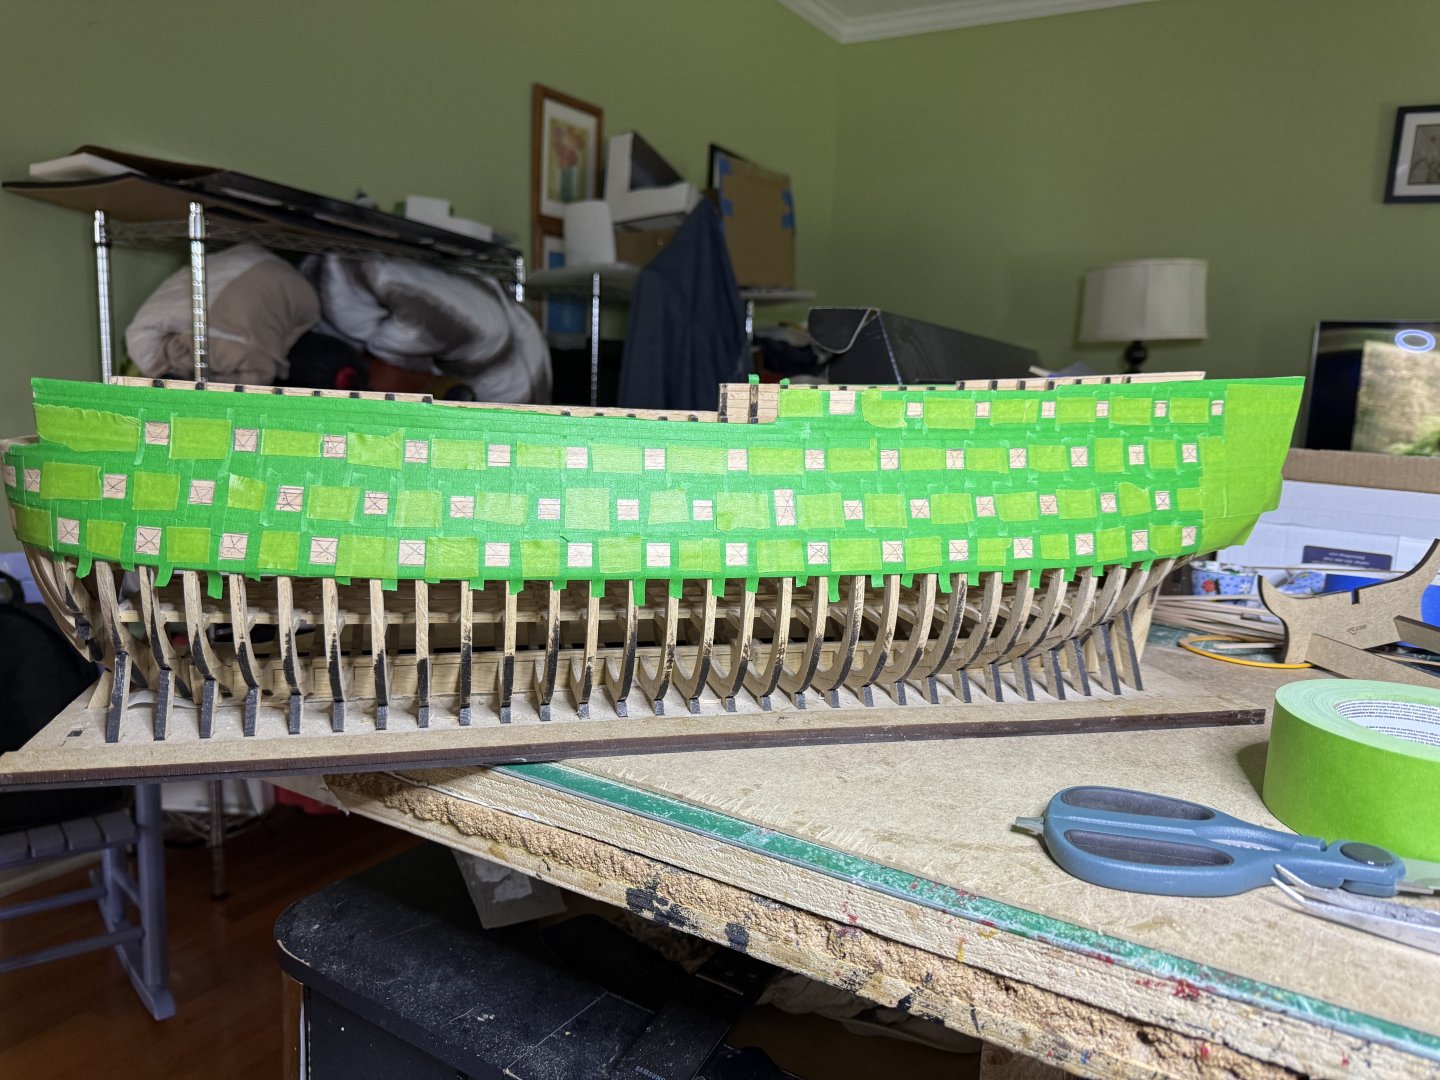
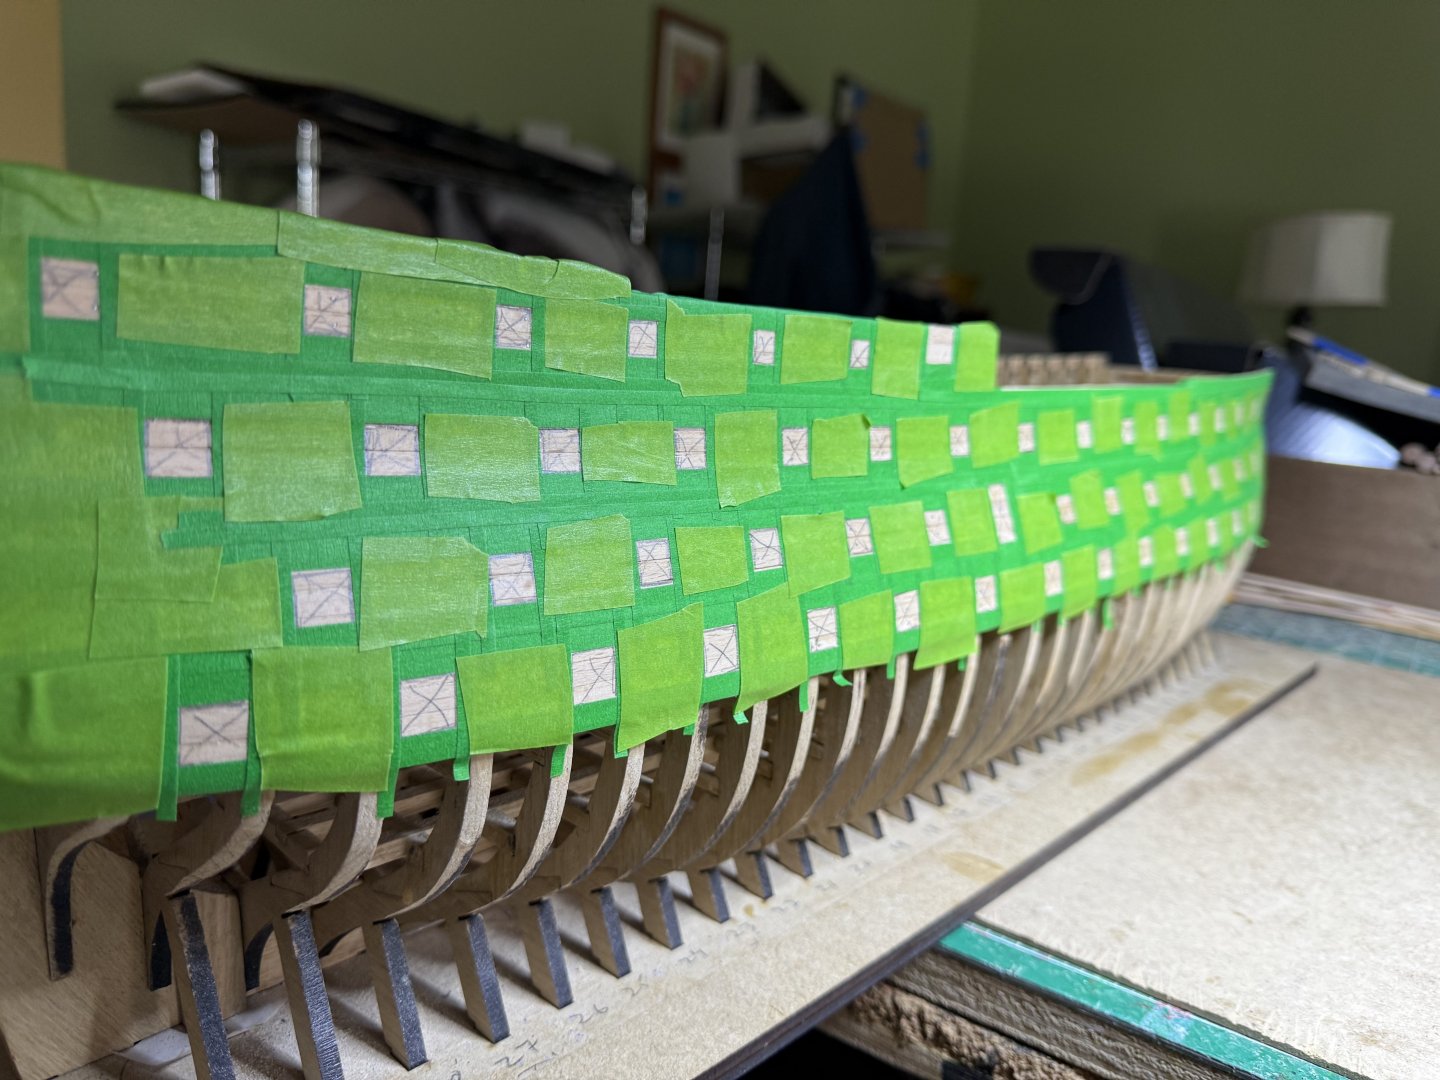
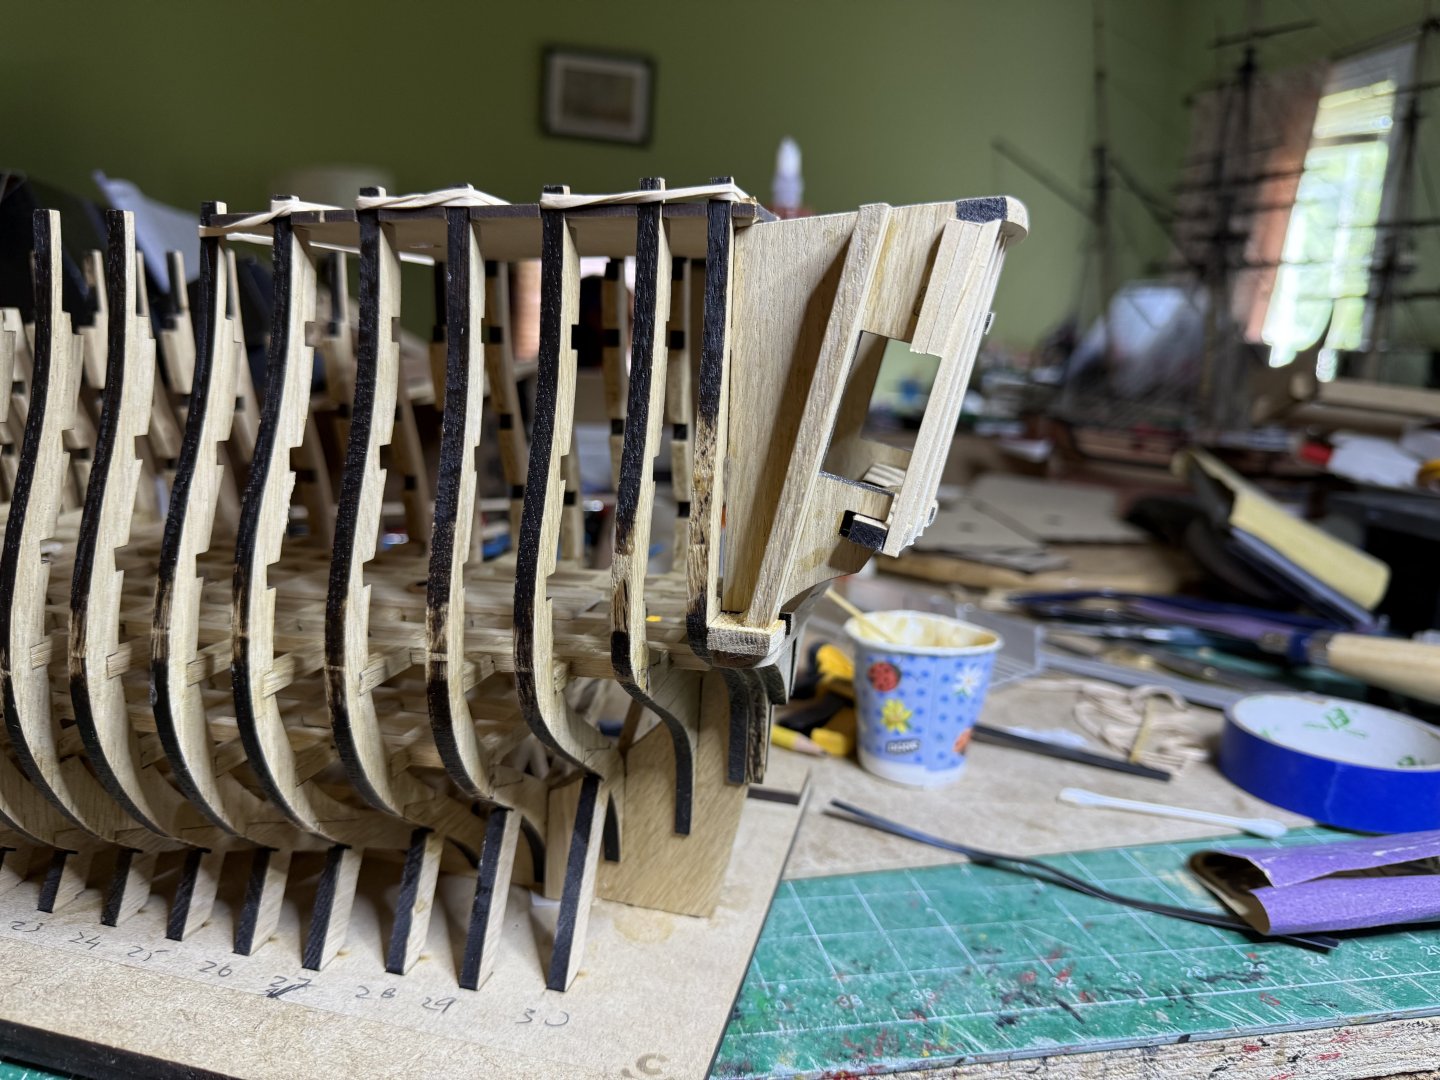
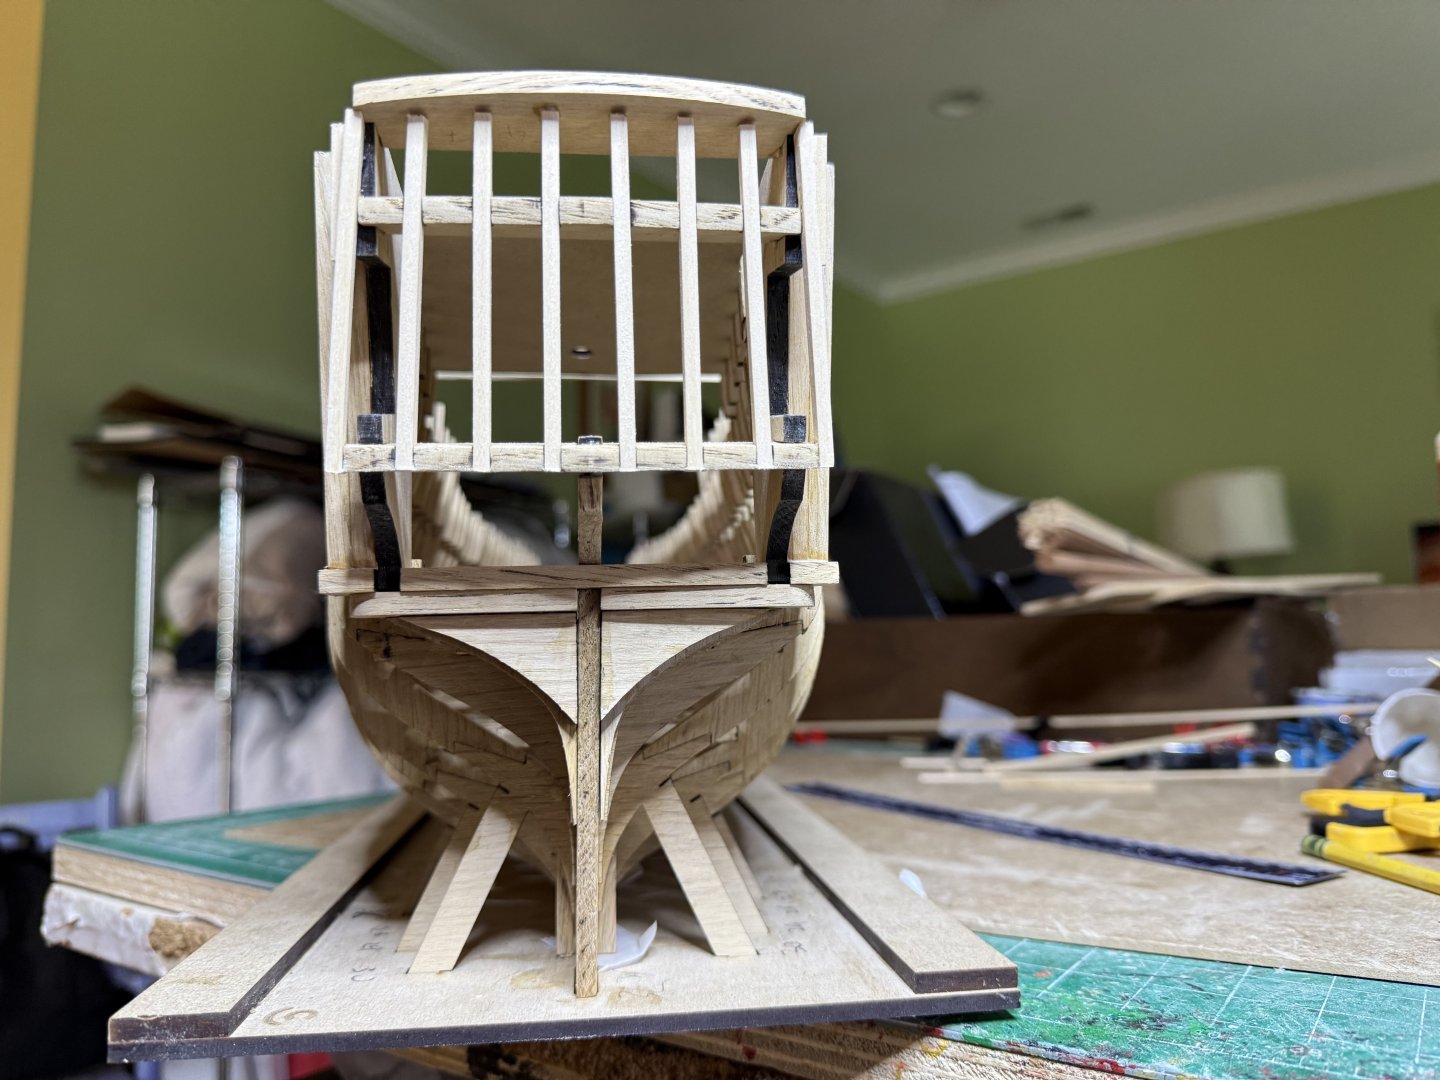
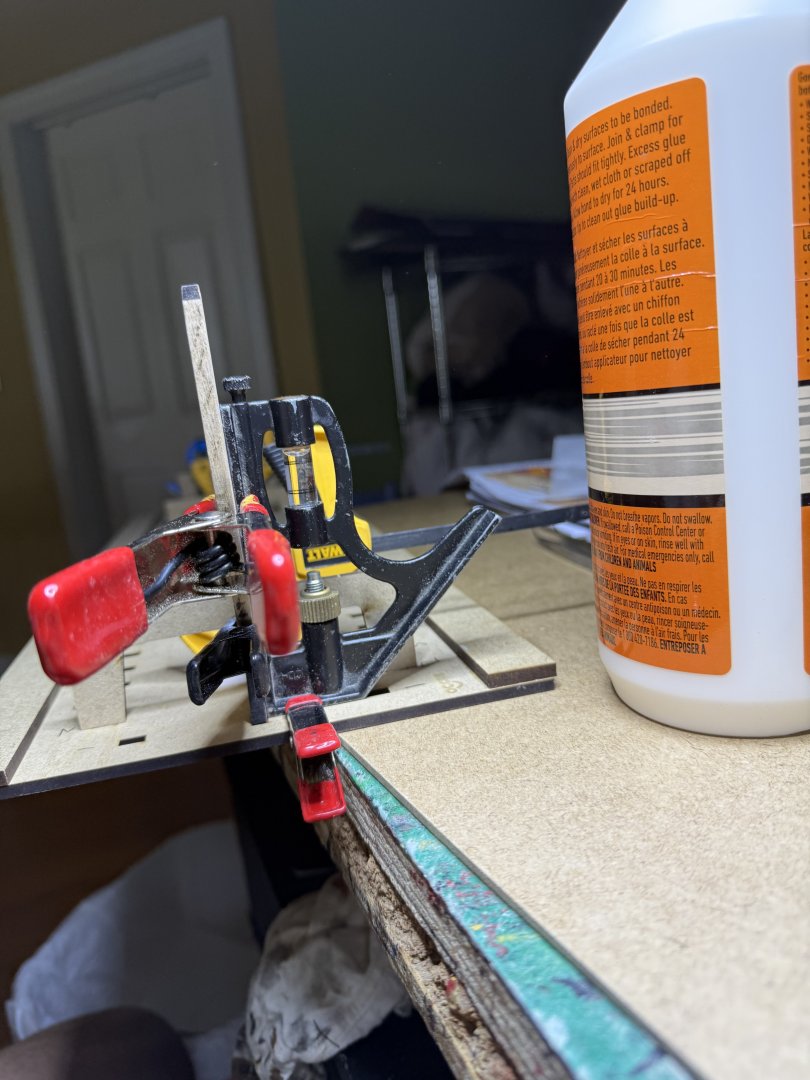
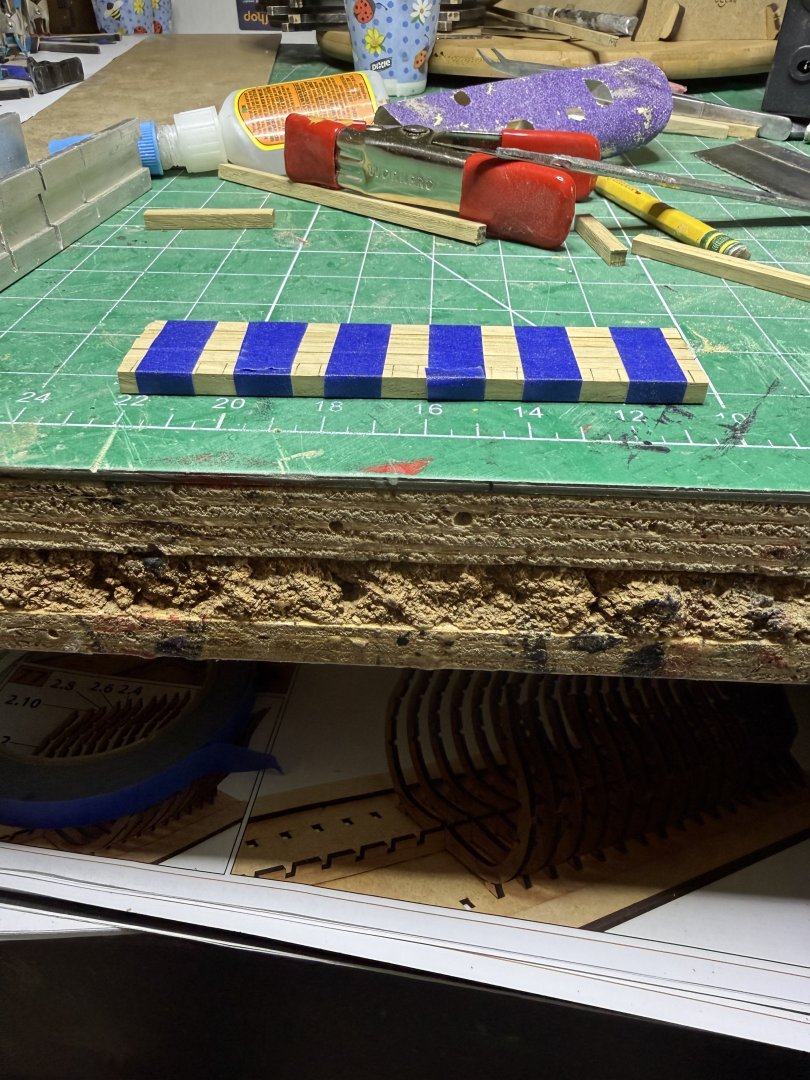
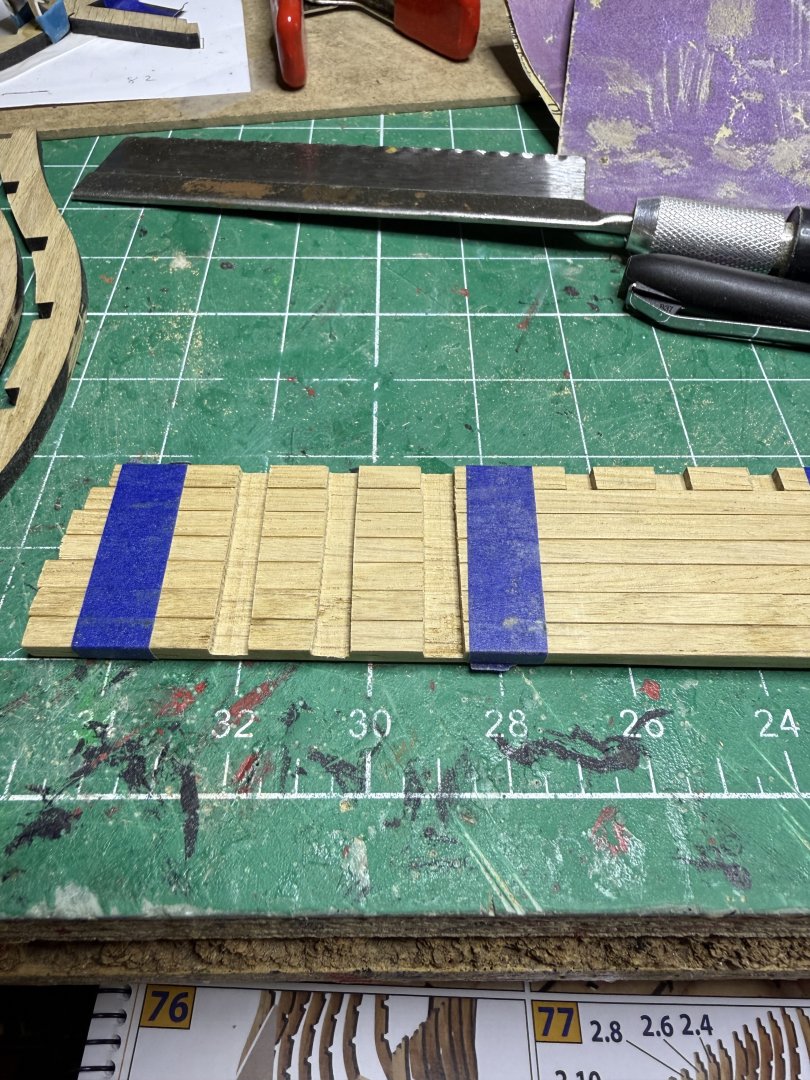
For the gunports, Occre provides stencils to cut out and then trace out the ports. Upper stencils are supposed to line up with the lower ones but they ended by not aligning properly requiring some adjustments. The Occre video instructor also noted this problem. Once marked off you can see the work ahead. Took time to make sure things symmetrical . Next I used tape to run the lines of the ports and to decrease splintering of the edges. From an angle things look pretty aligned. I started the opening of the ports with the stern gunports. Then lined them with 1x3 strips. Once the glue dries overnight I will sand them flush. Still have like a hundred to go. Fortunately an electric drill helps things go a bit quicker.


-
HMS Victory by ECK - OcCre - 1/87
ECK replied to ECK's topic in - Kit build logs for subjects built from 1751 - 1800
Thanks all. I will also plank one side of the lower hull which is an option (had to also buy the planks from them as not provided in the basic kit. -
HMS Victory by ECK - OcCre - 1/87
ECK replied to ECK's topic in - Kit build logs for subjects built from 1751 - 1800
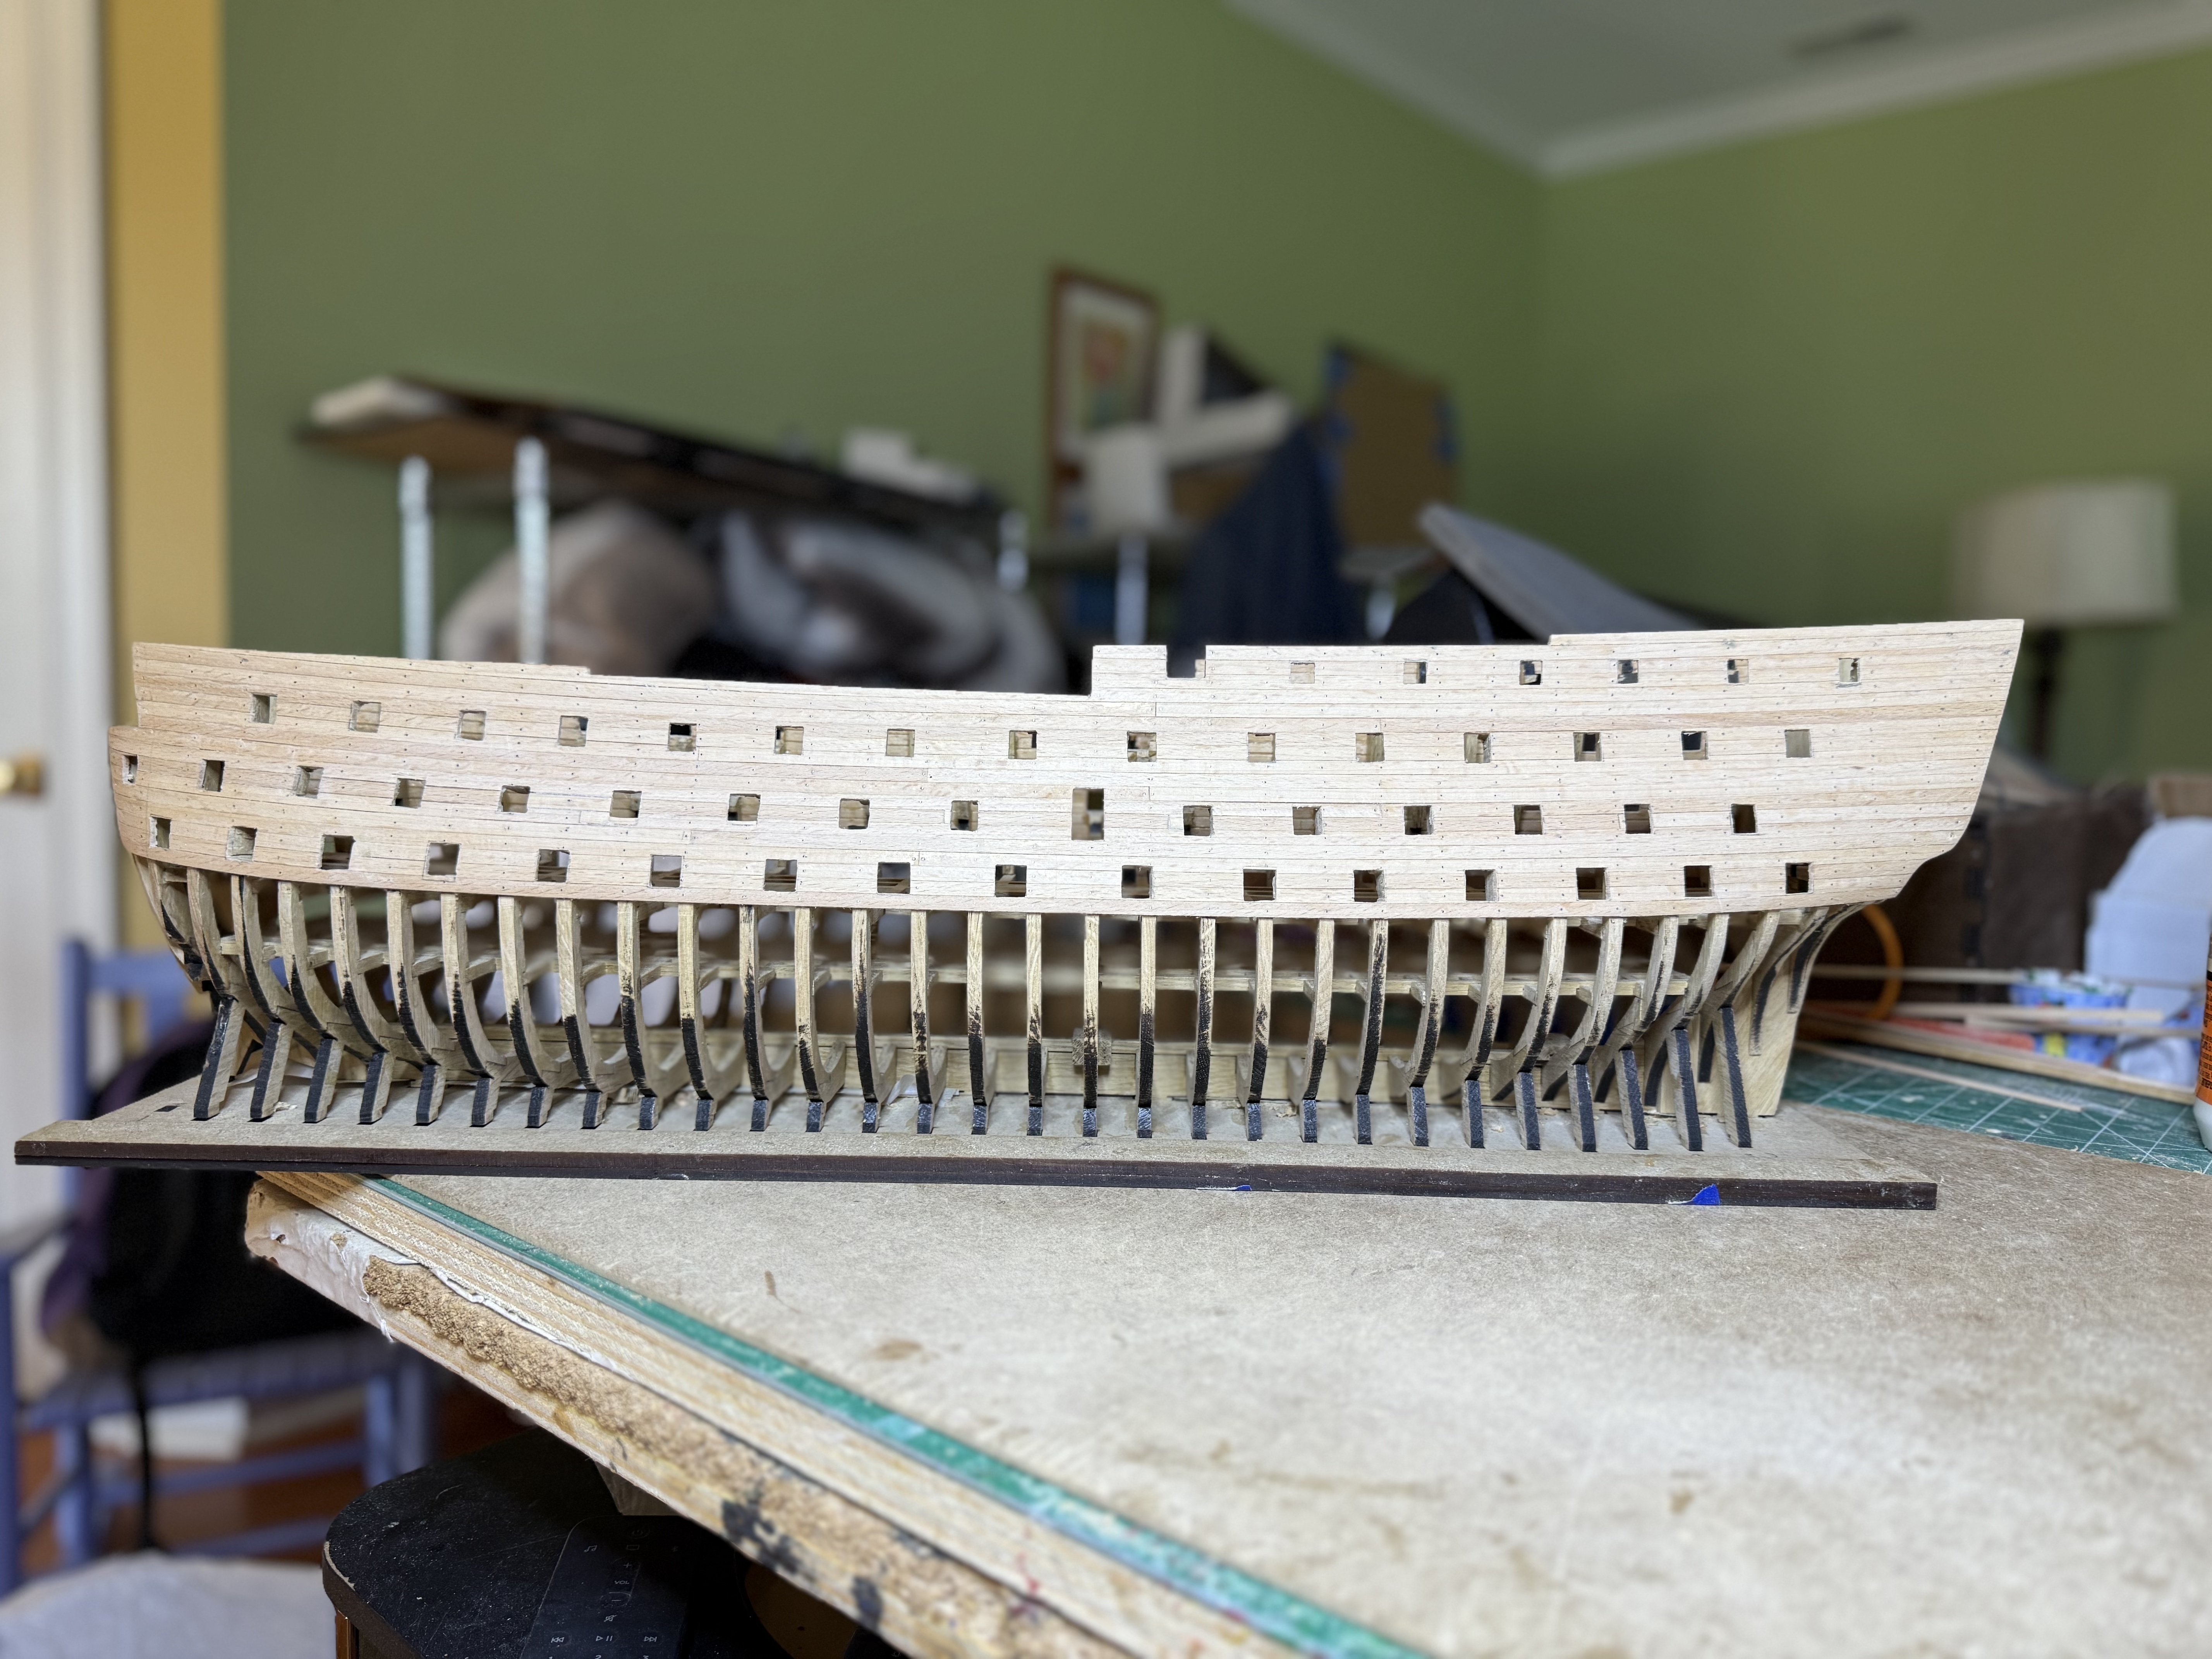
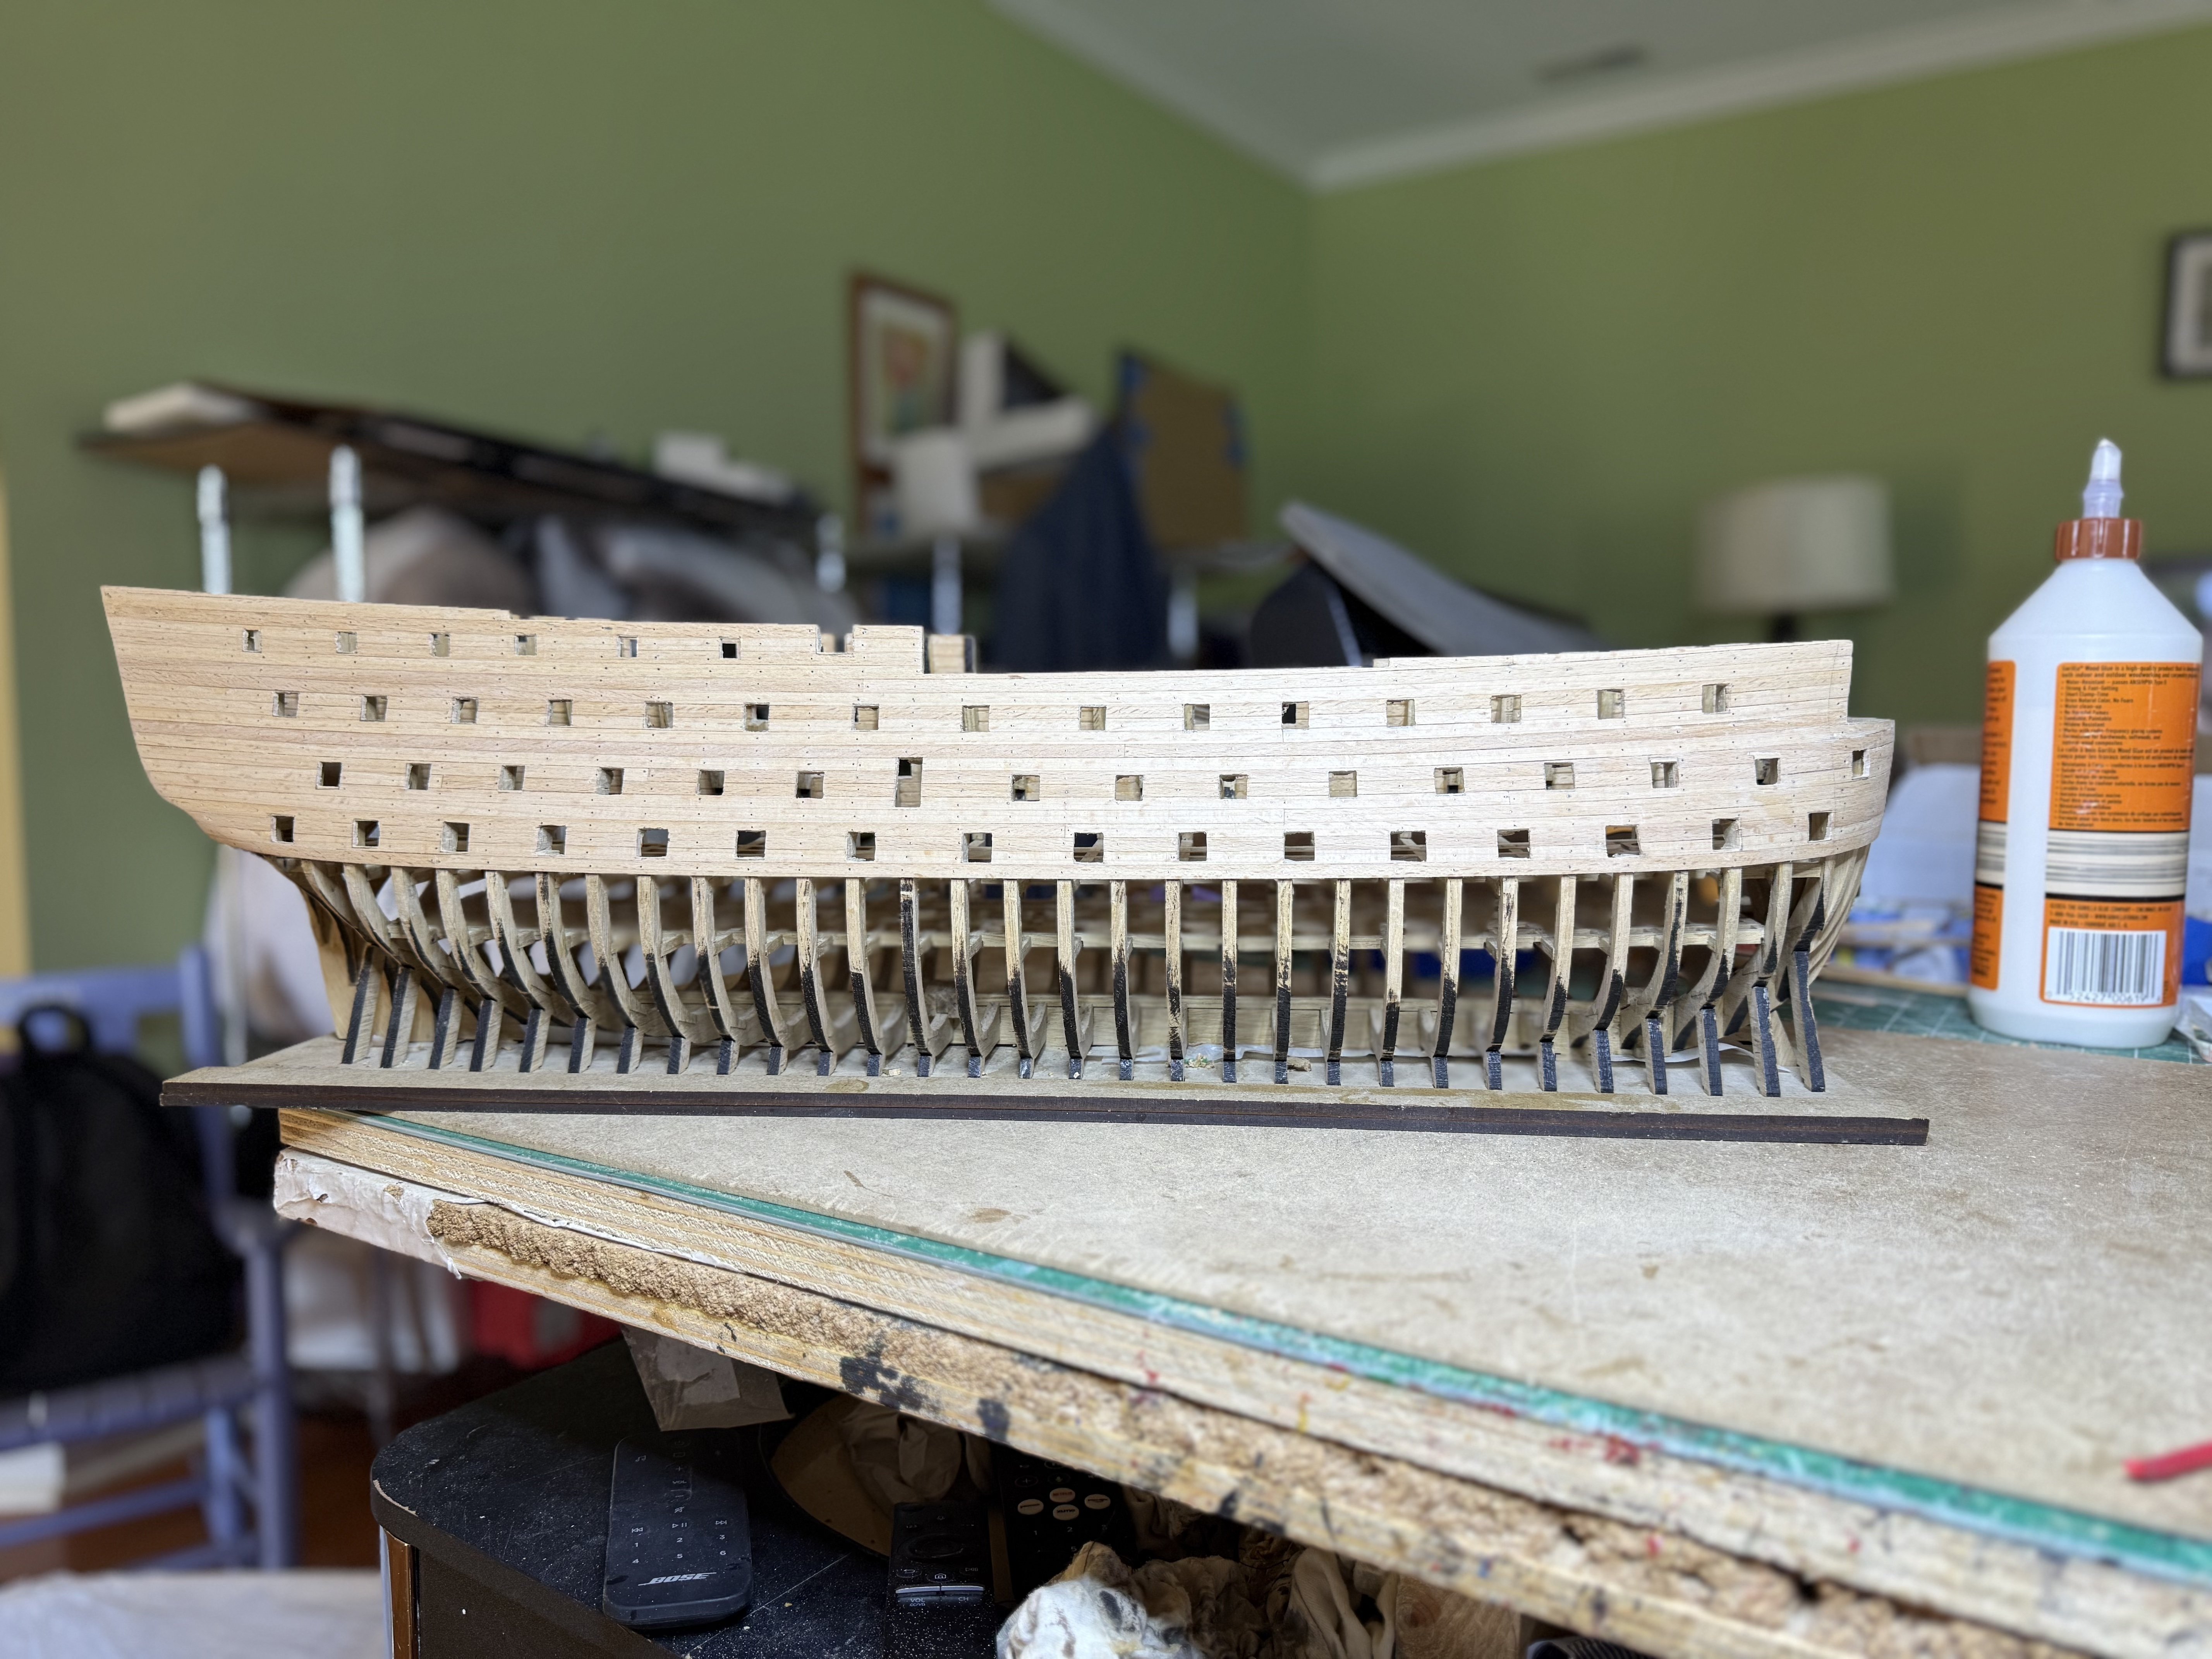
Finished planking the upper hull. Here is pre-sanding After a preliminary sanding: Next the arduous task of doing the gunports


-
HMS Victory by ECK - OcCre - 1/87
ECK replied to ECK's topic in - Kit build logs for subjects built from 1751 - 1800
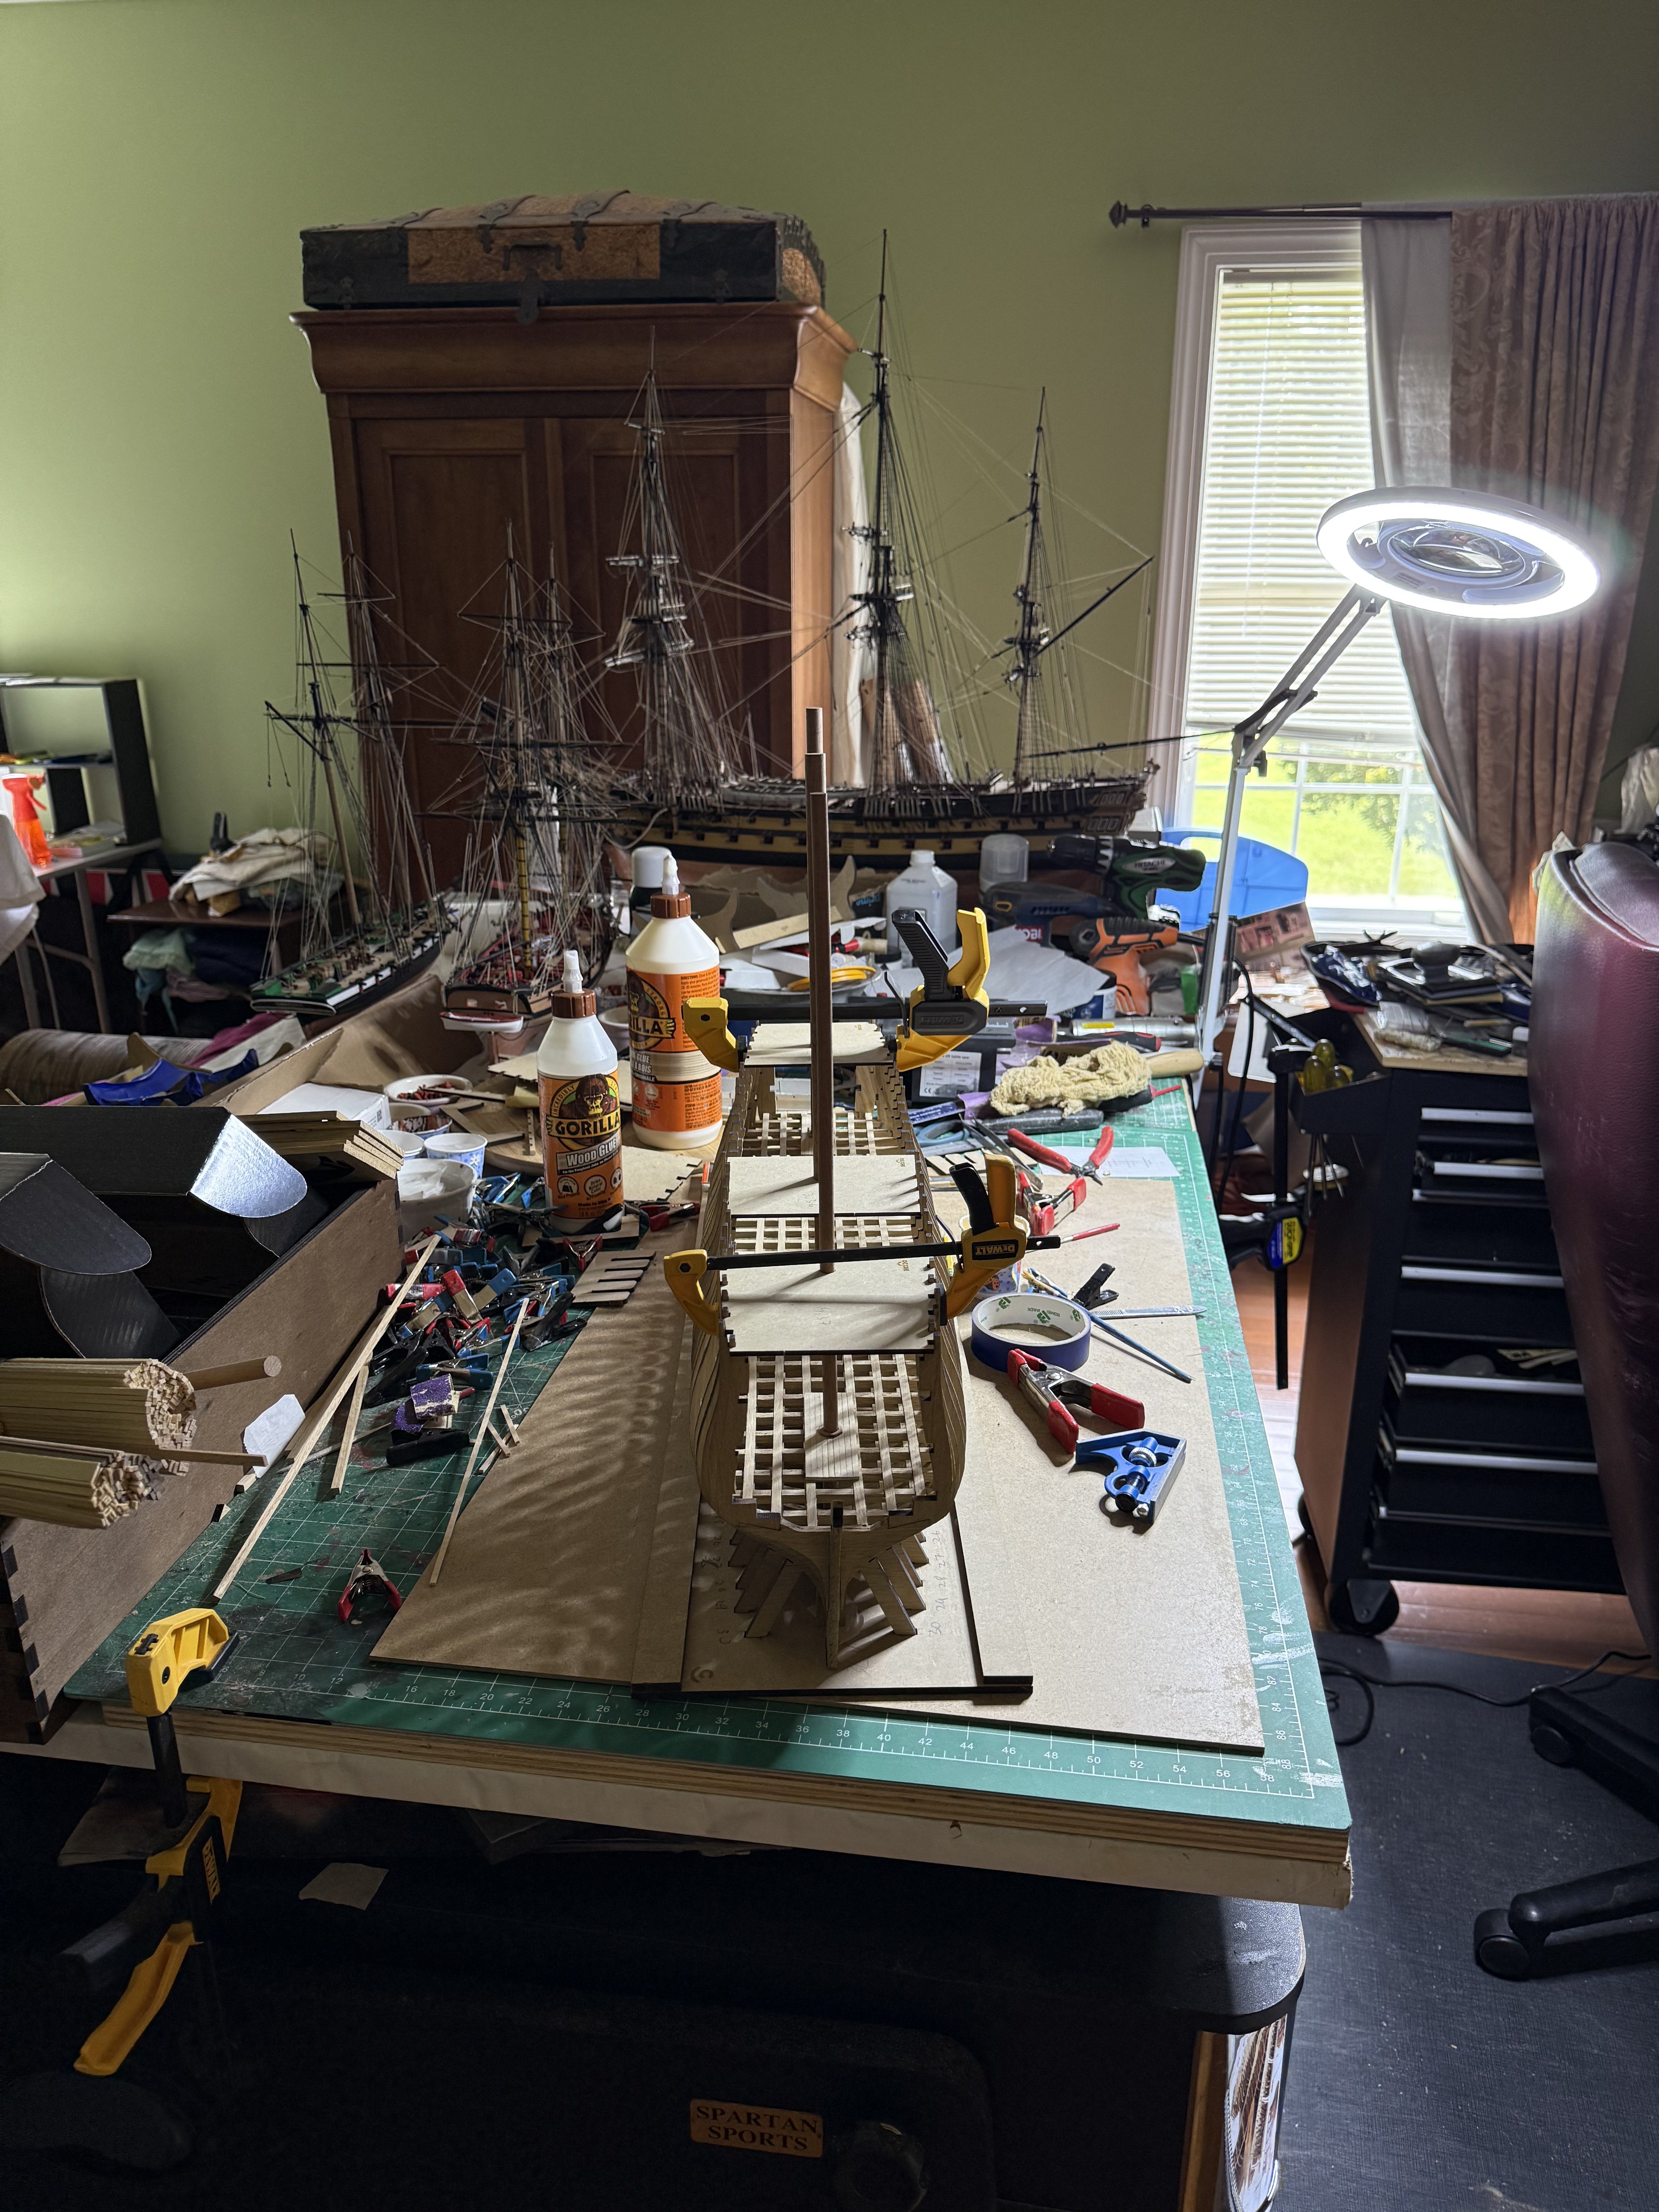
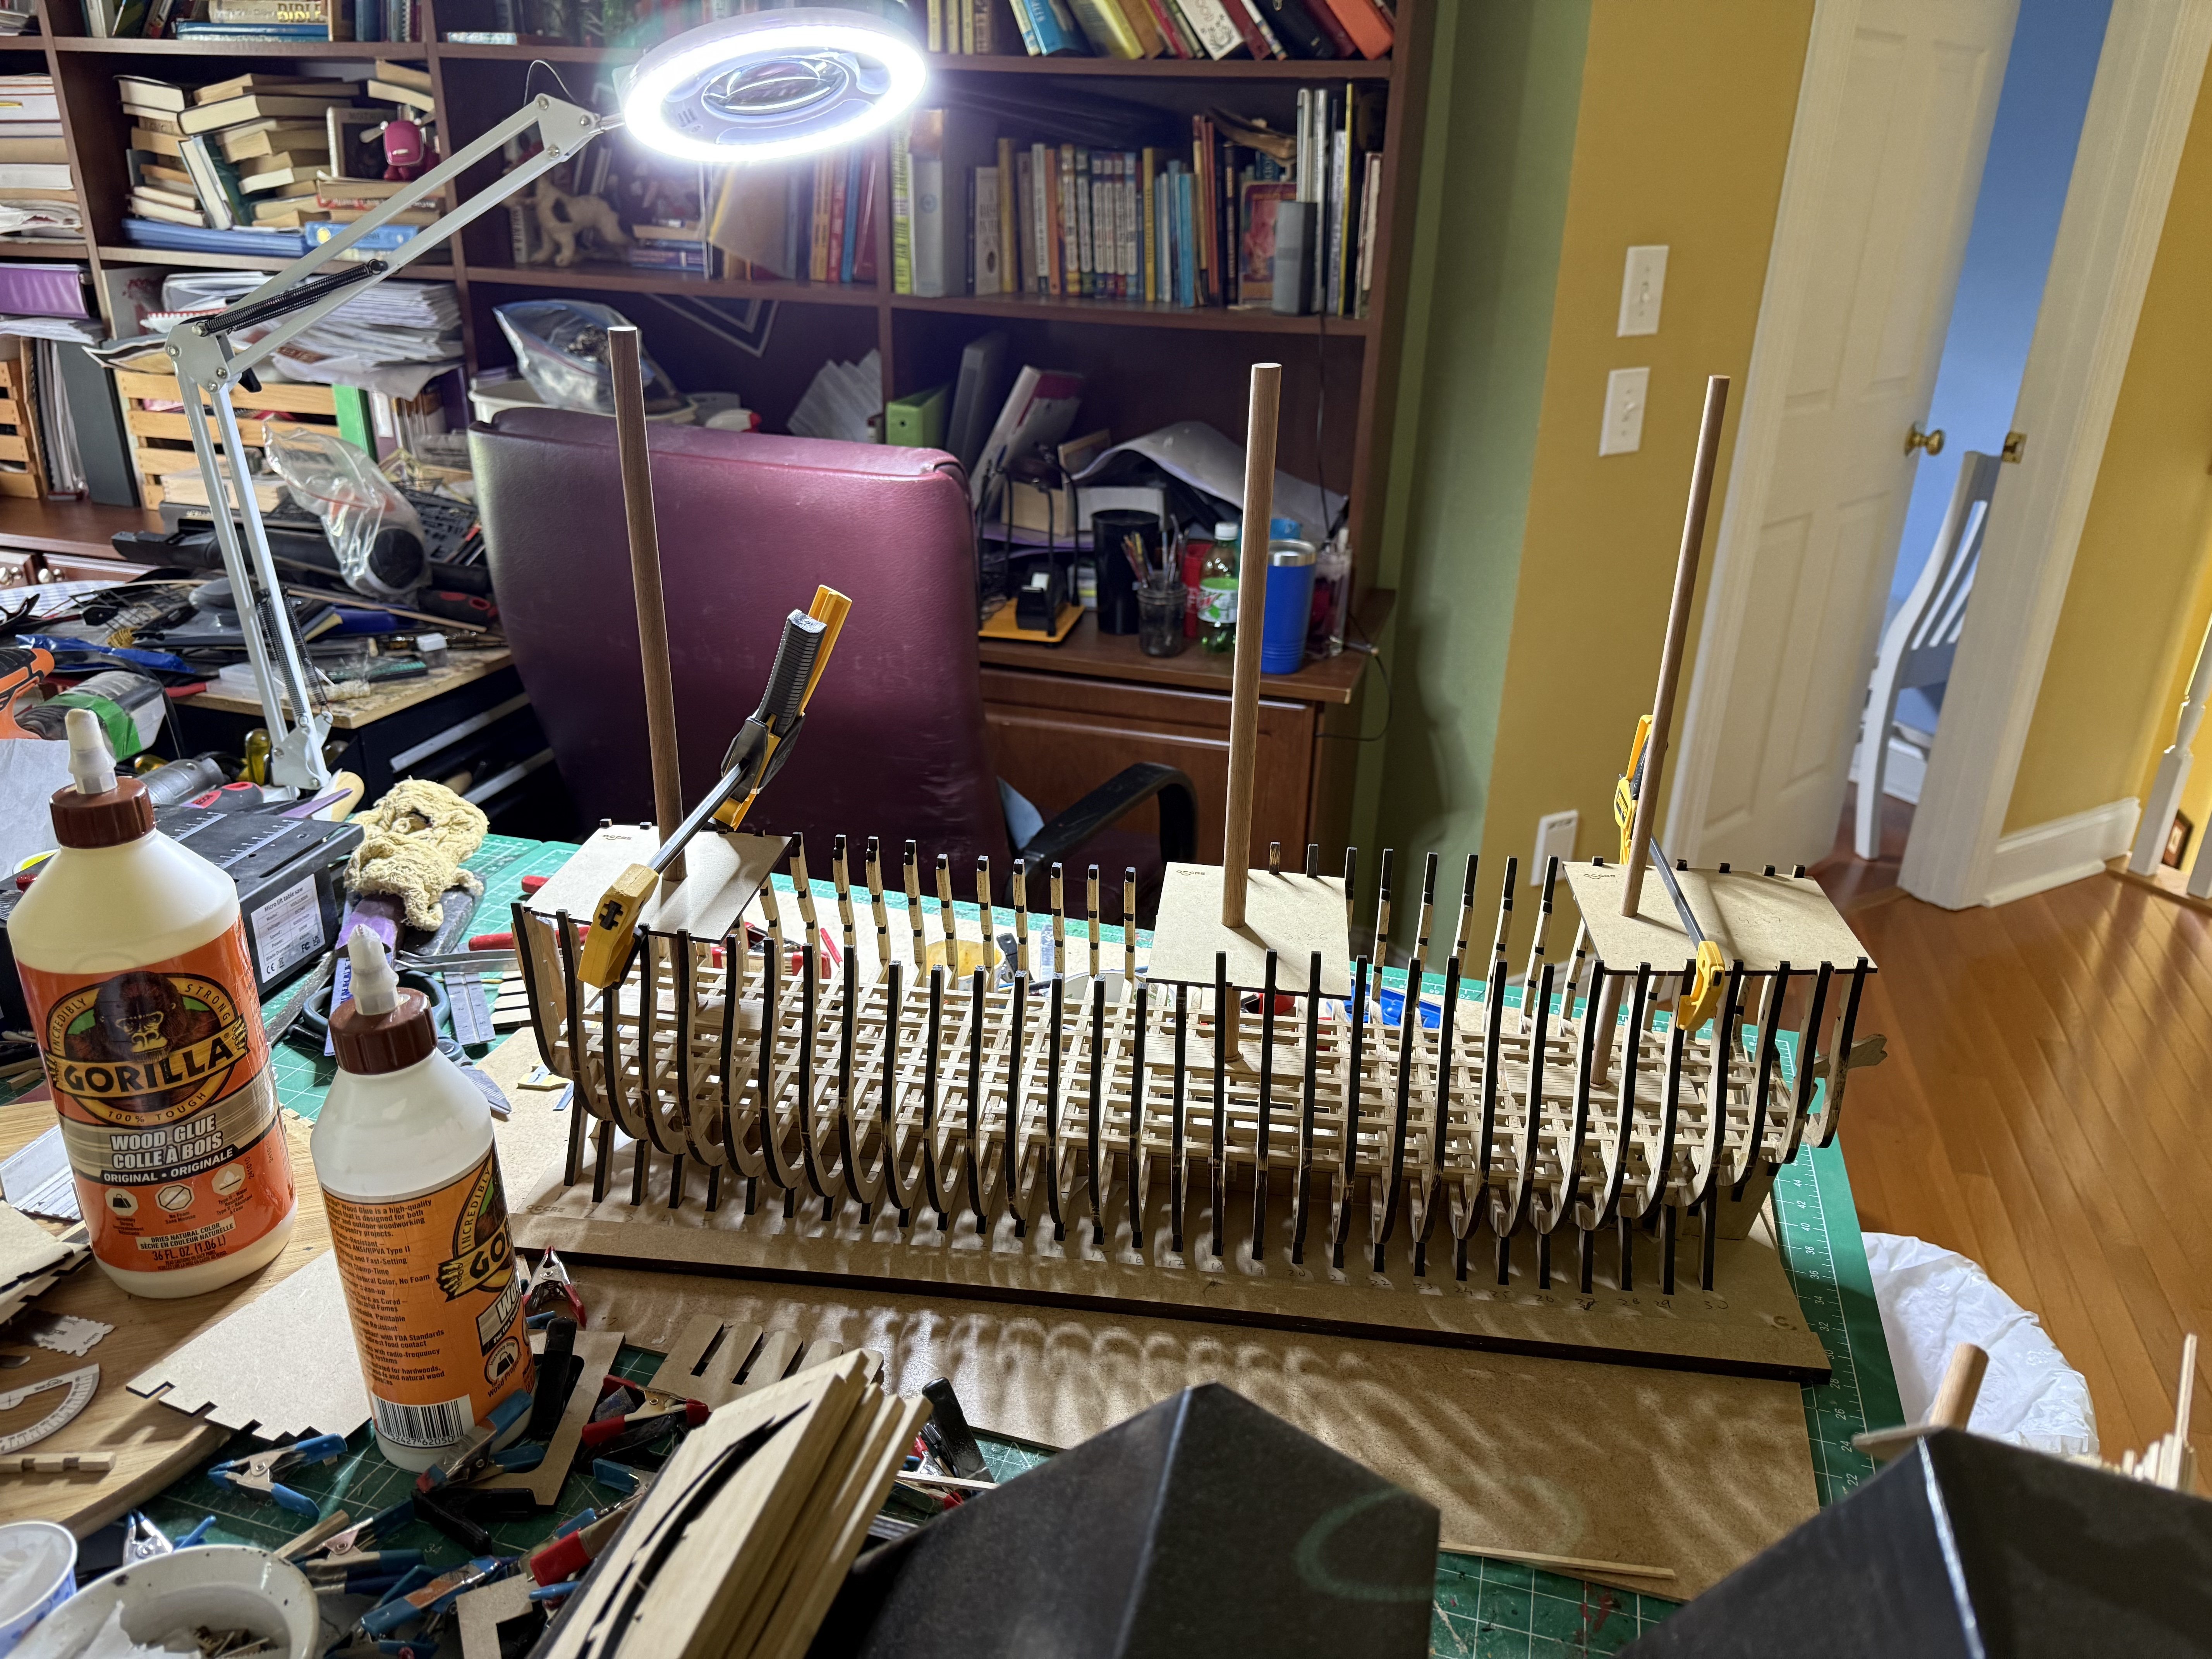
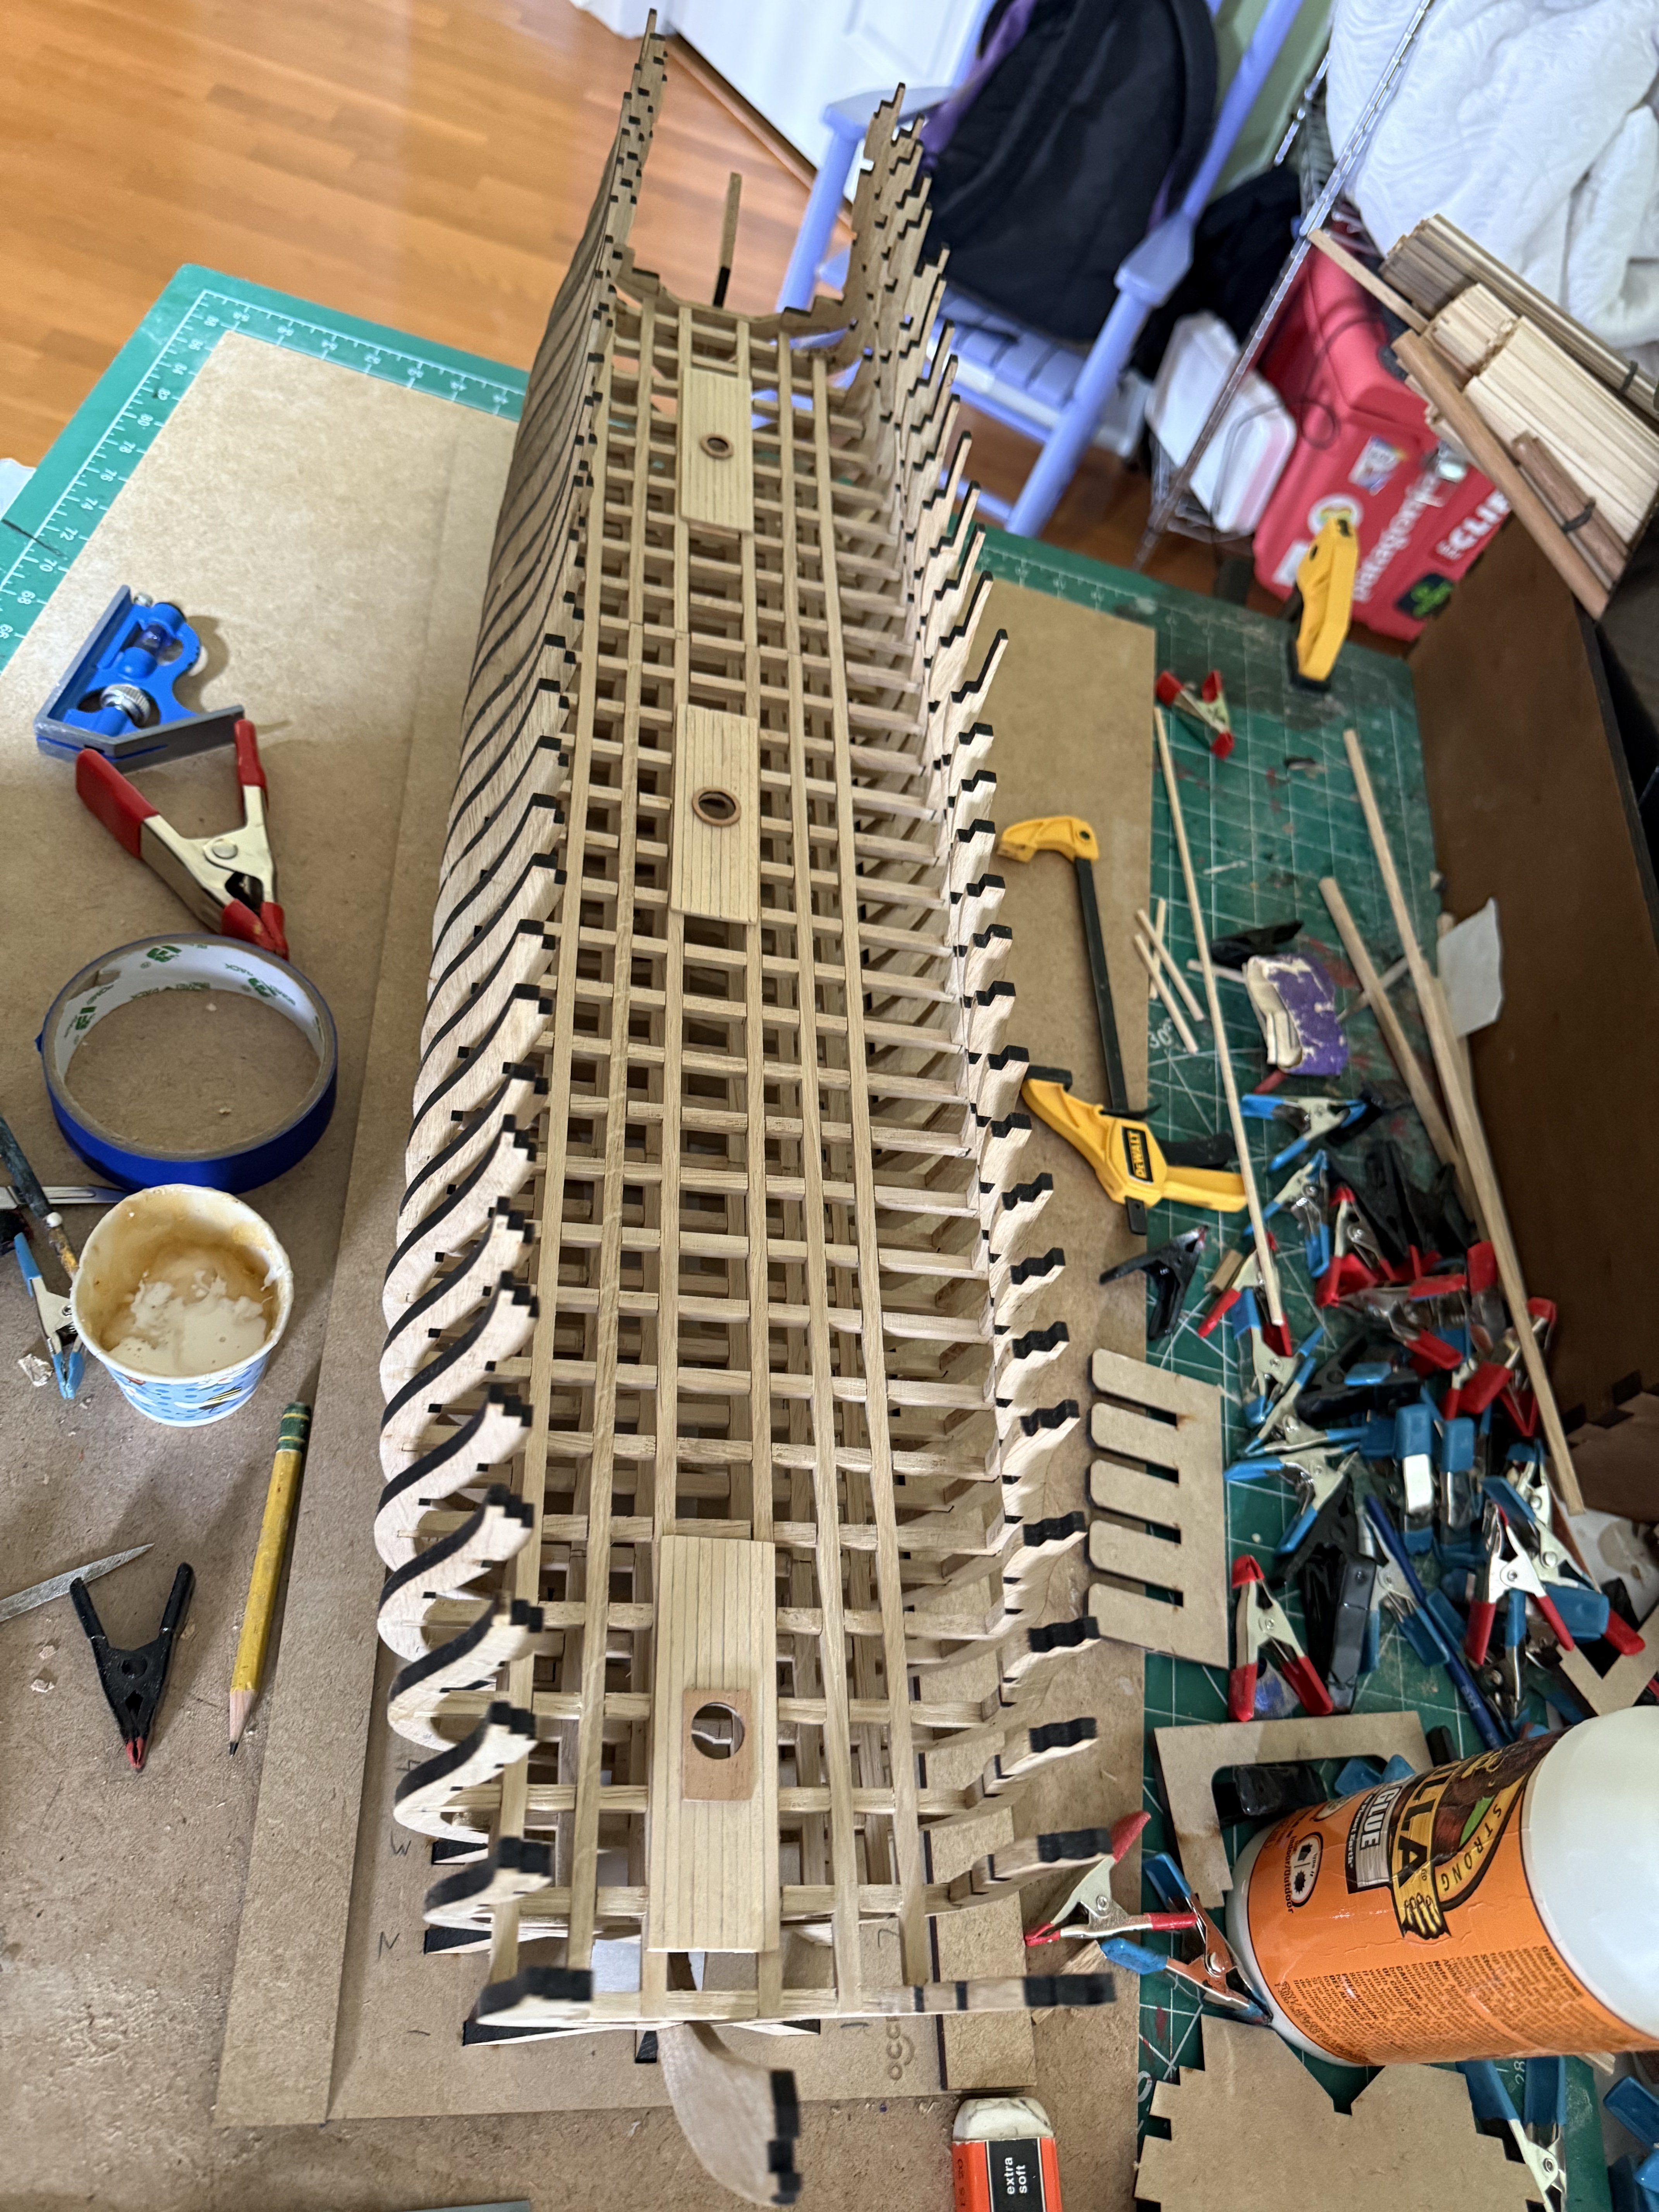
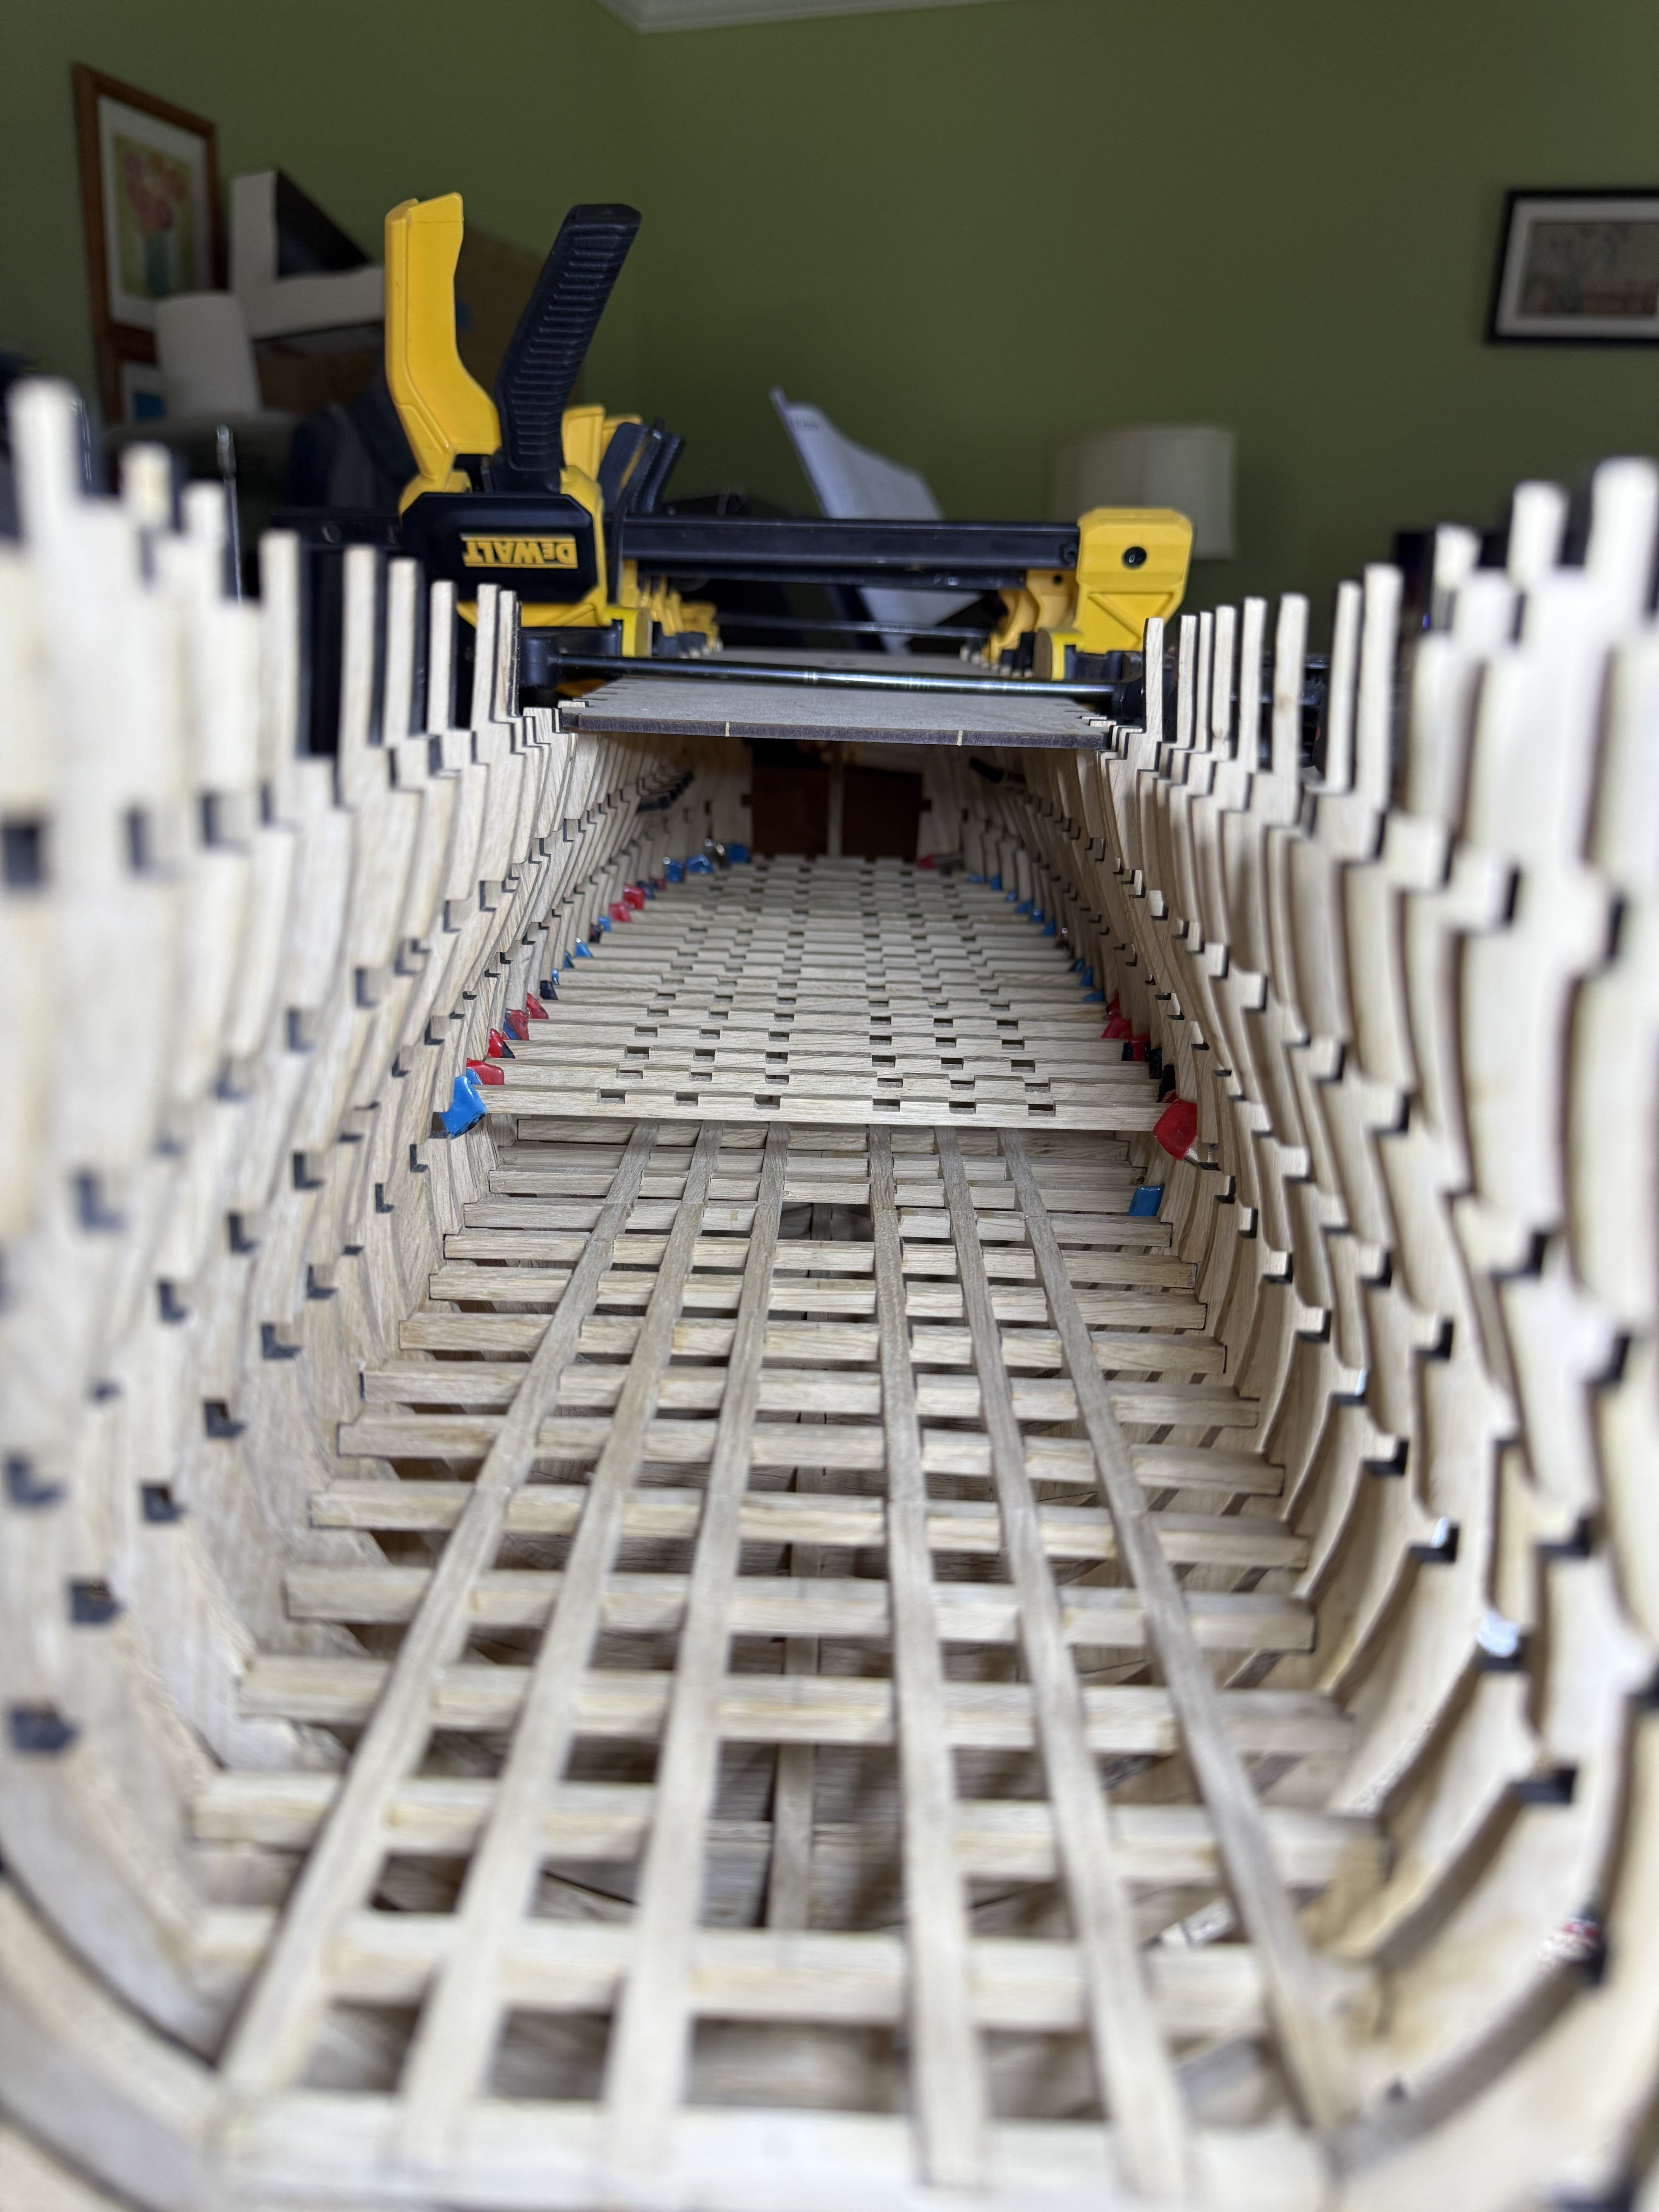
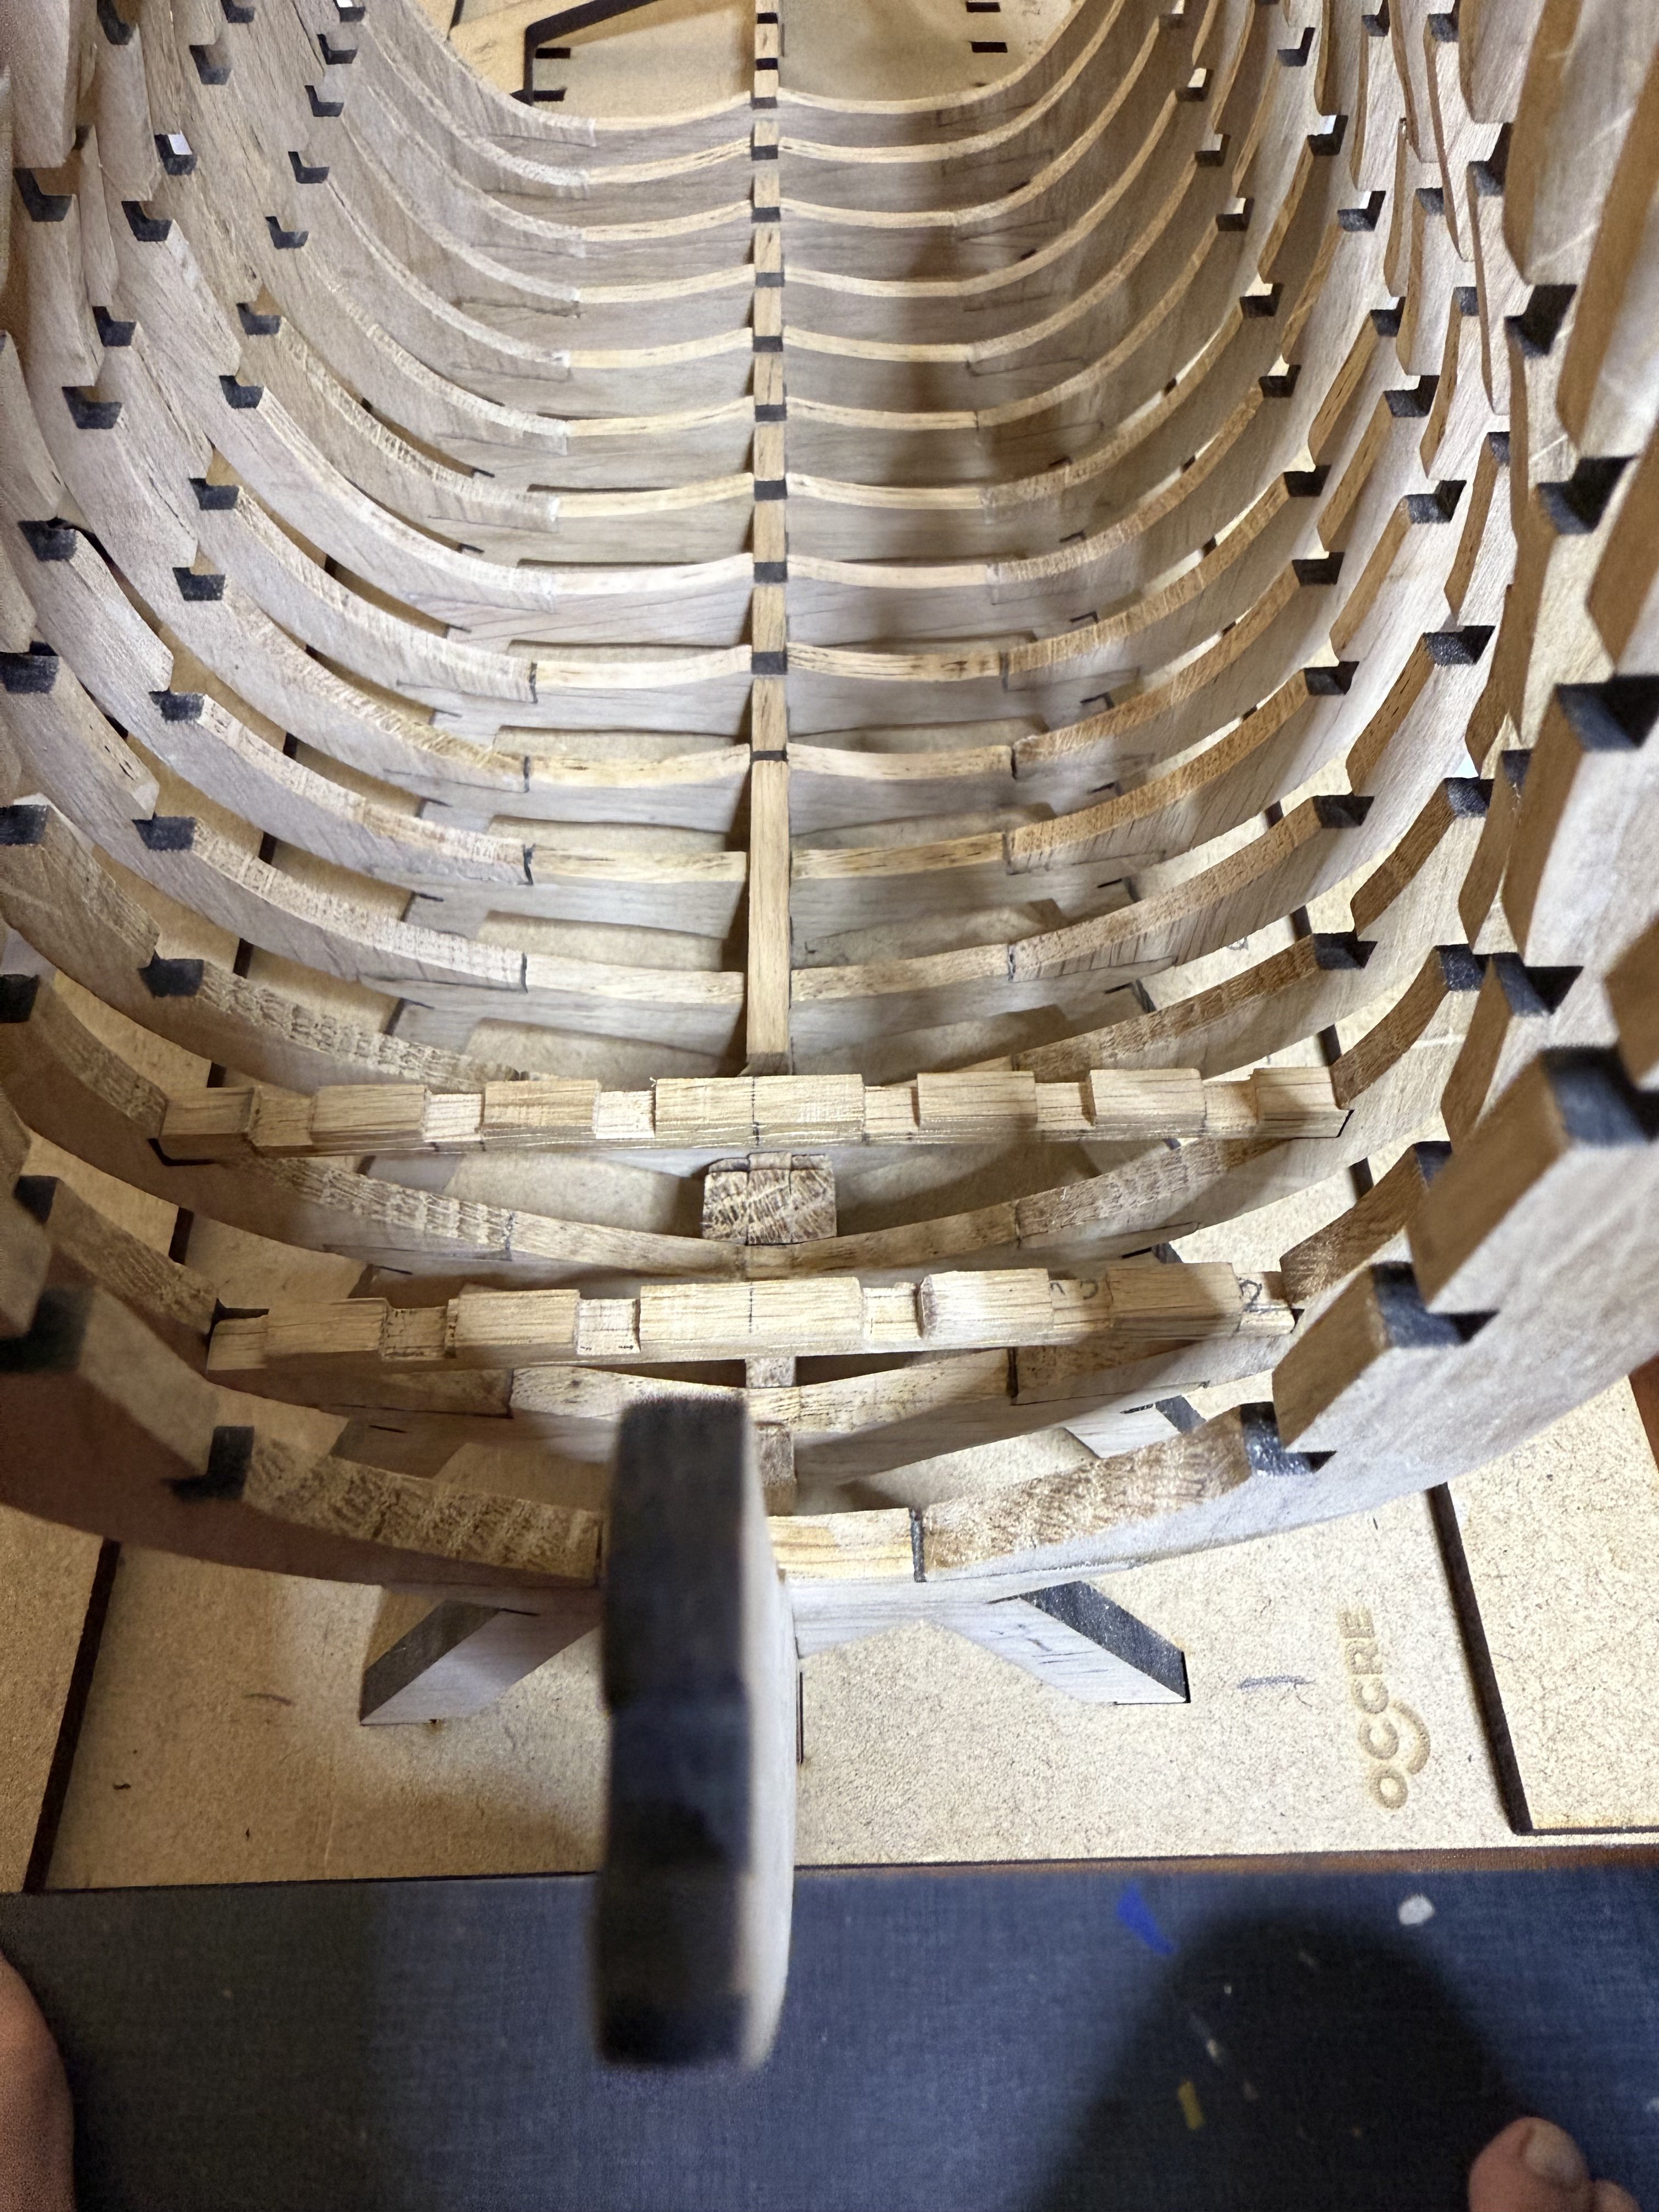
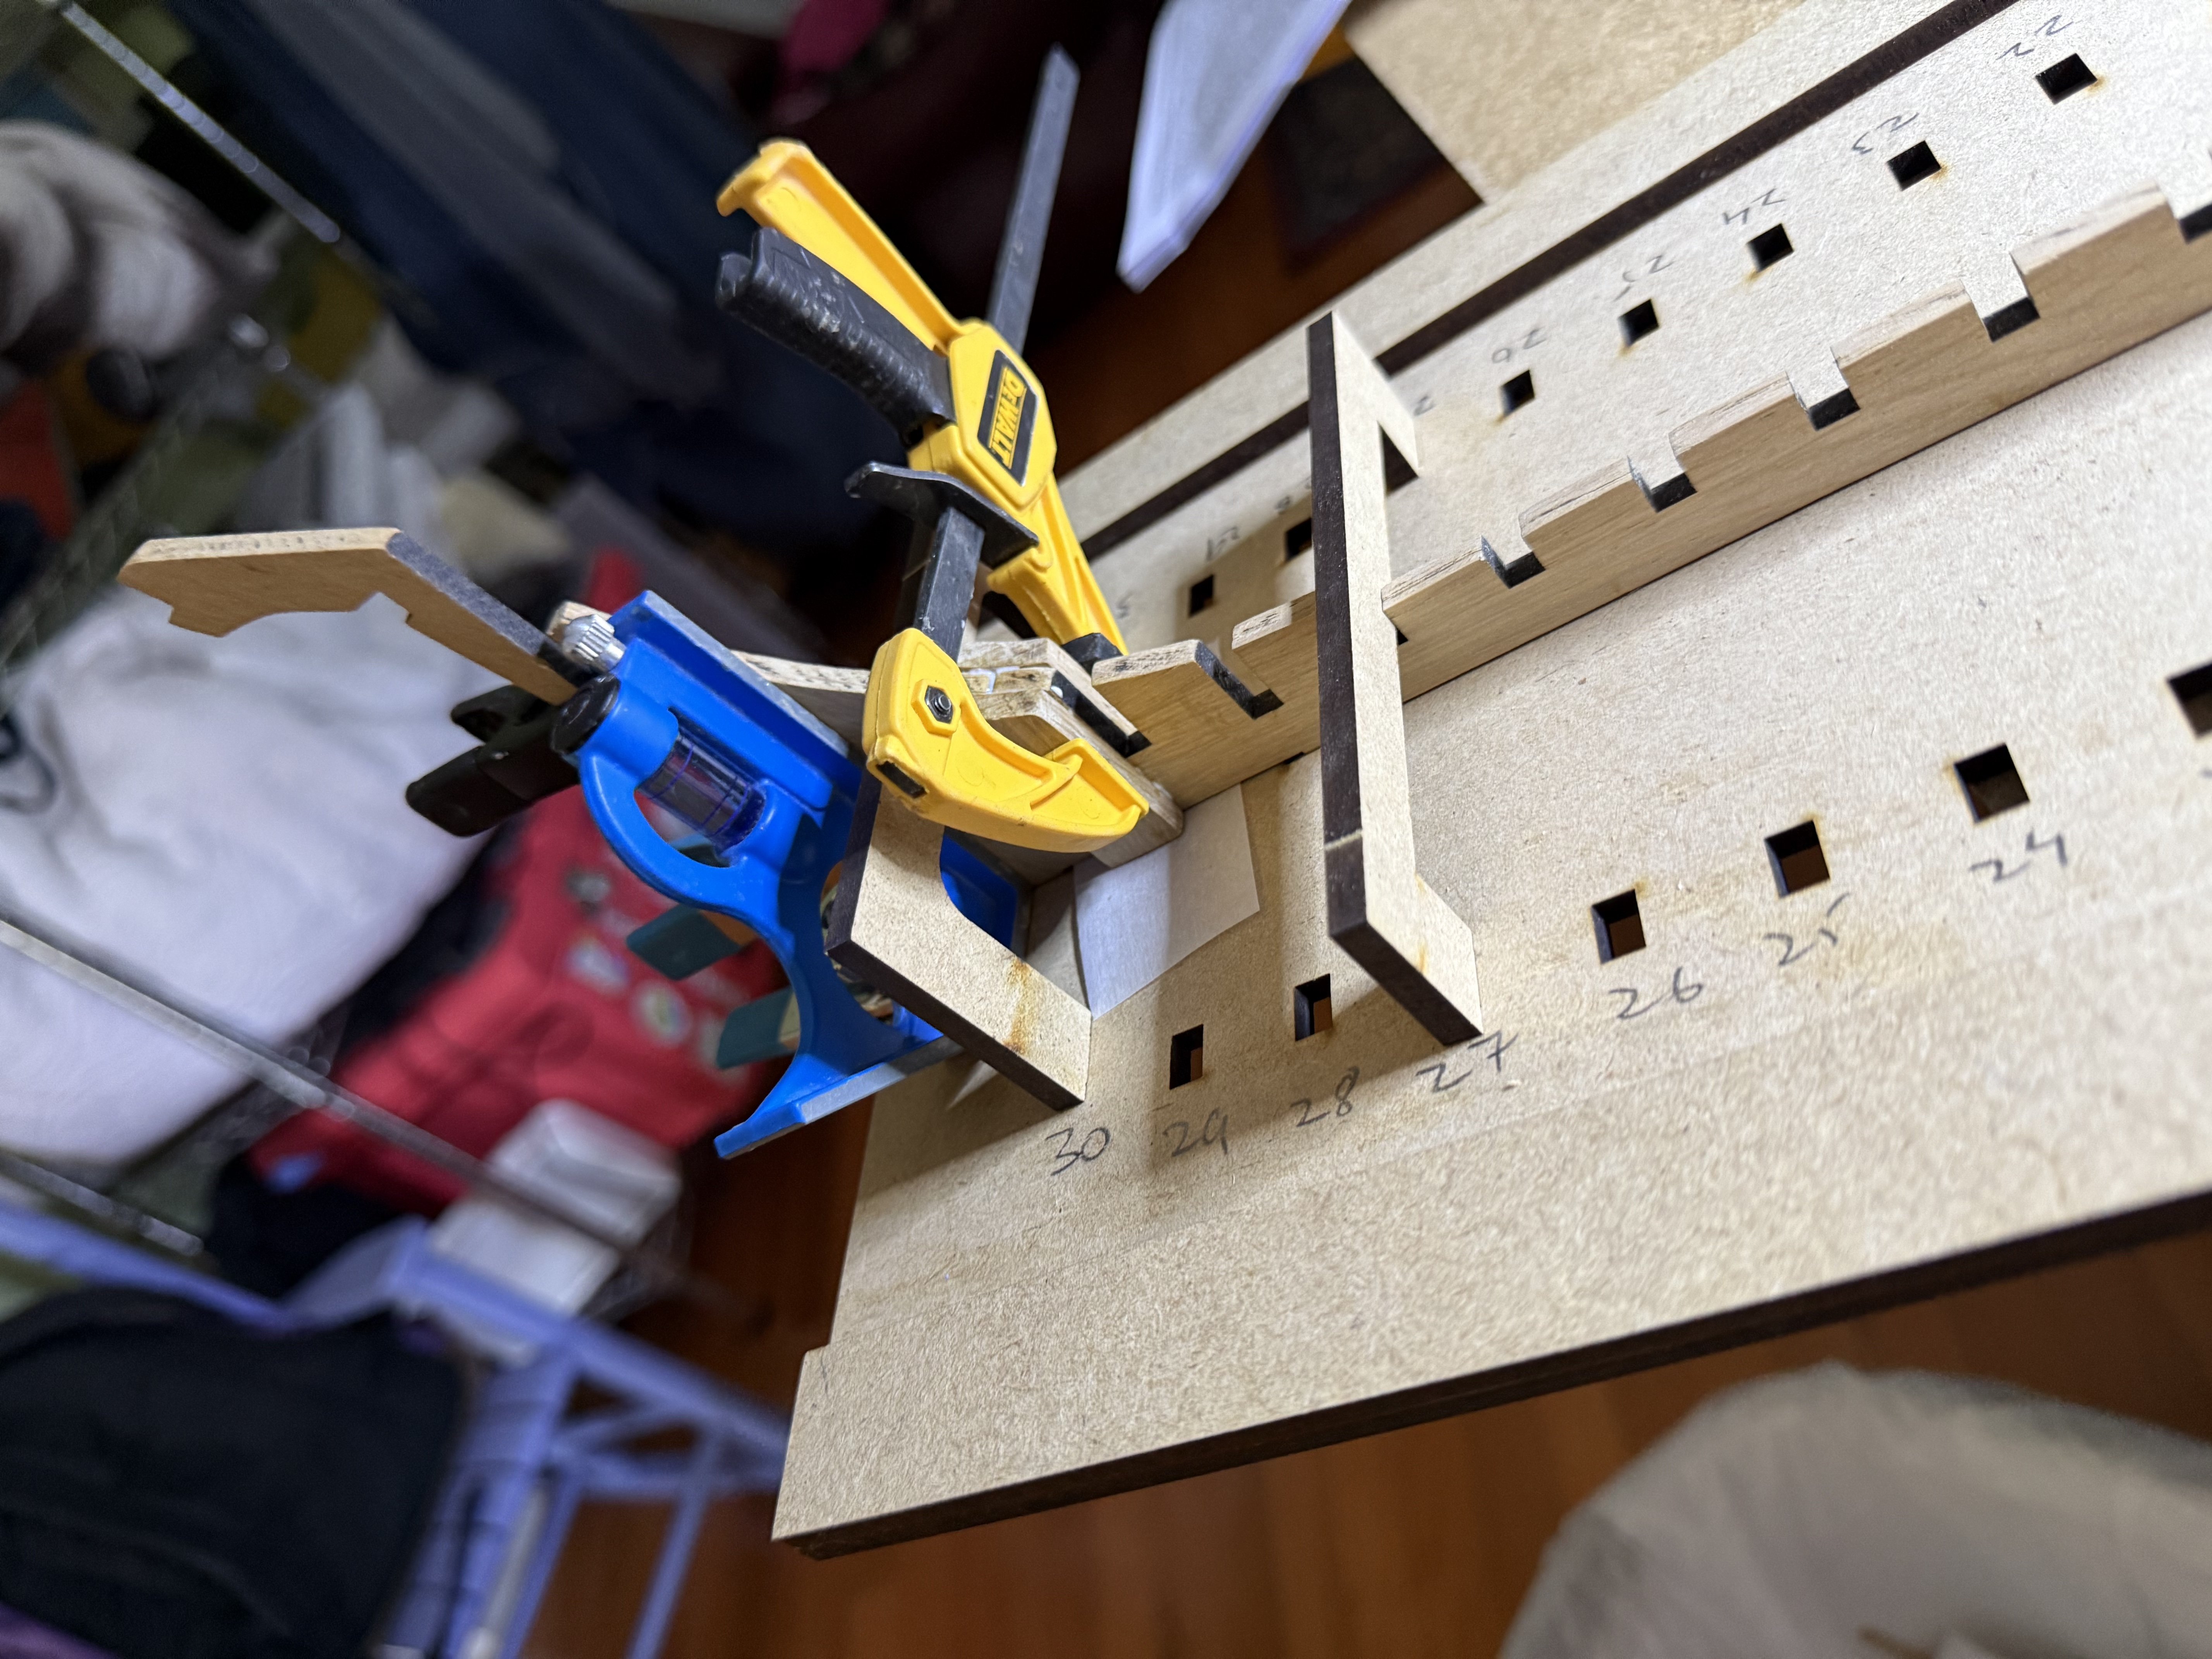
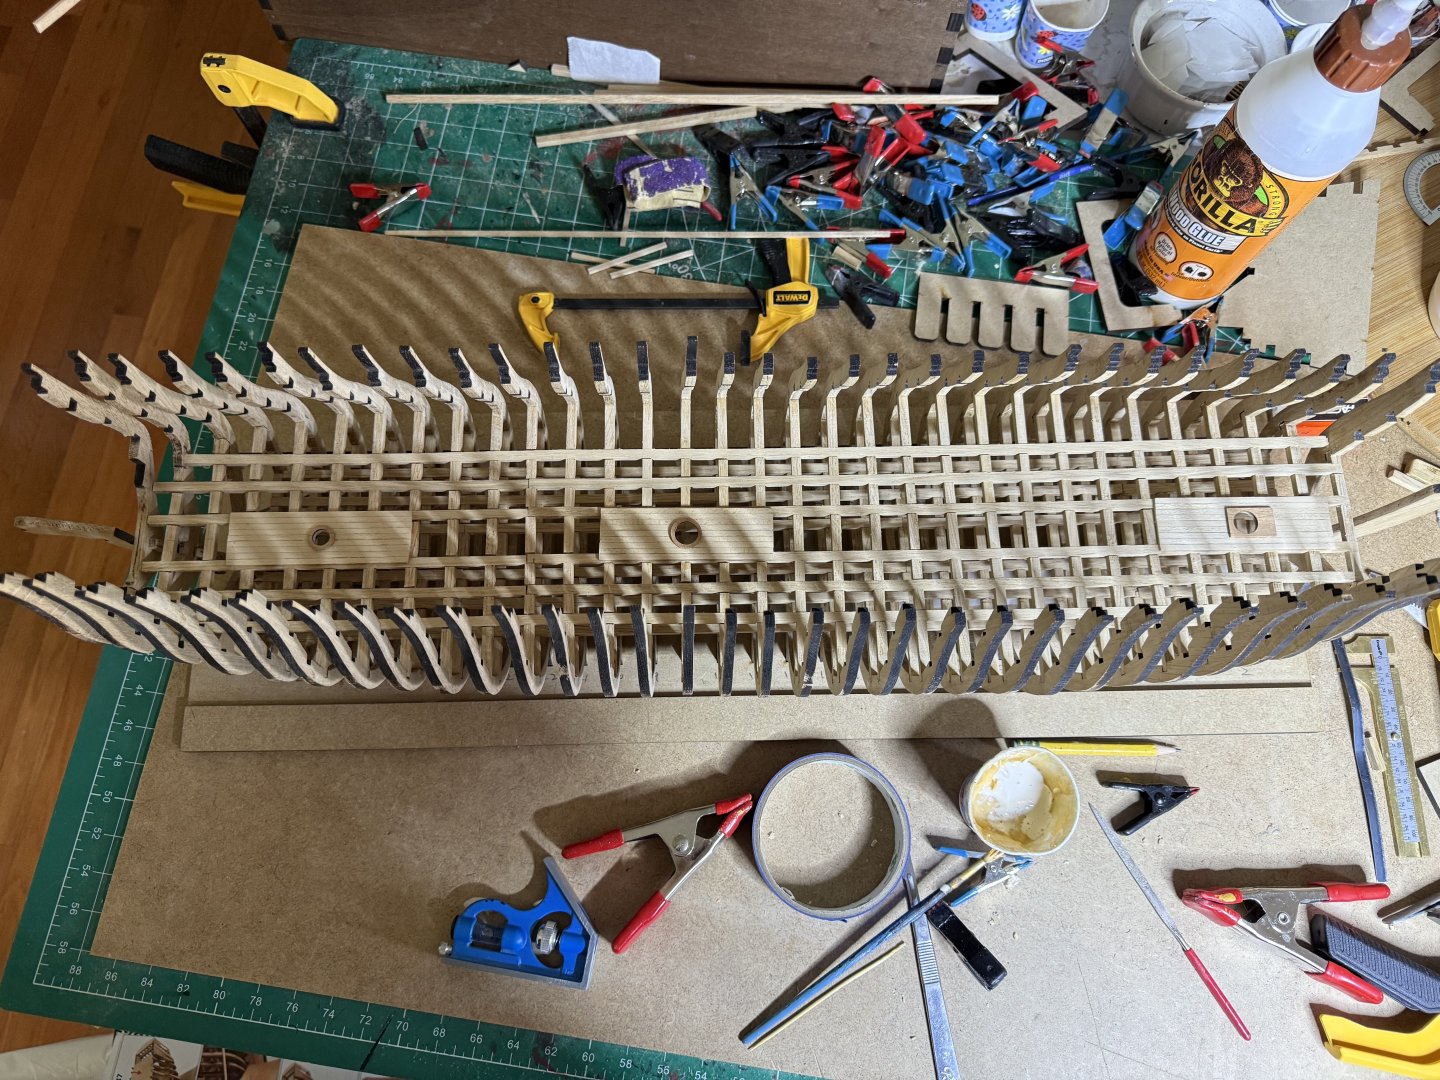
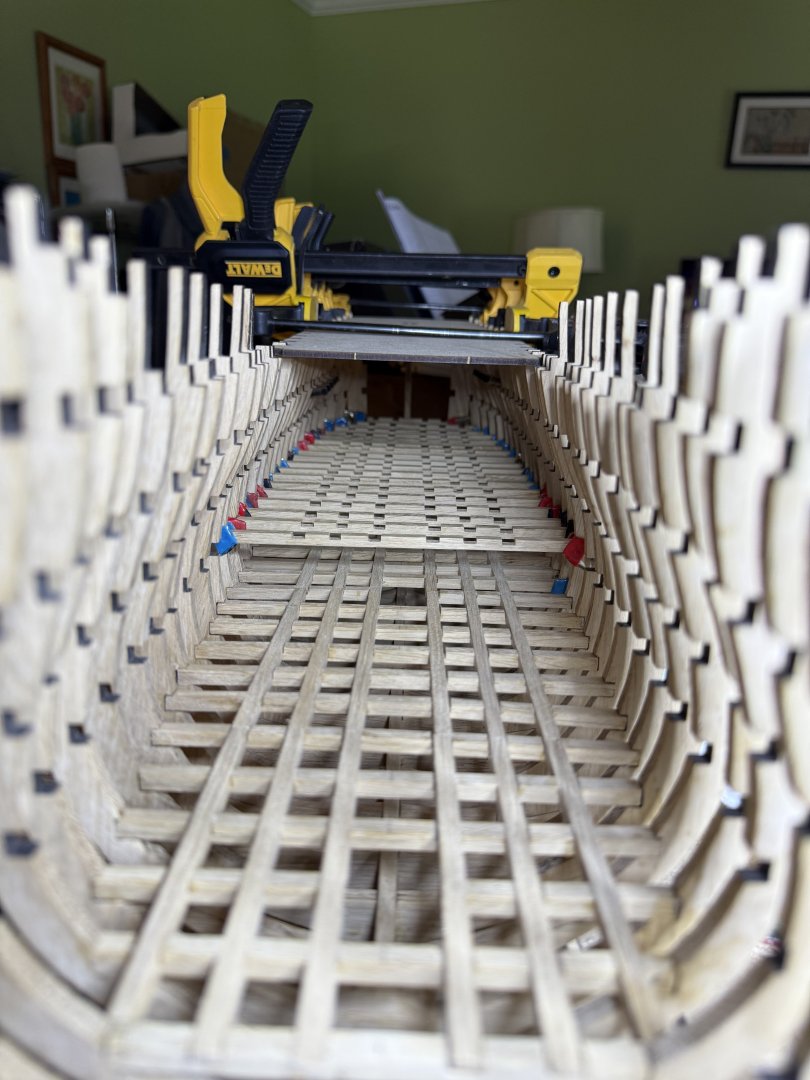
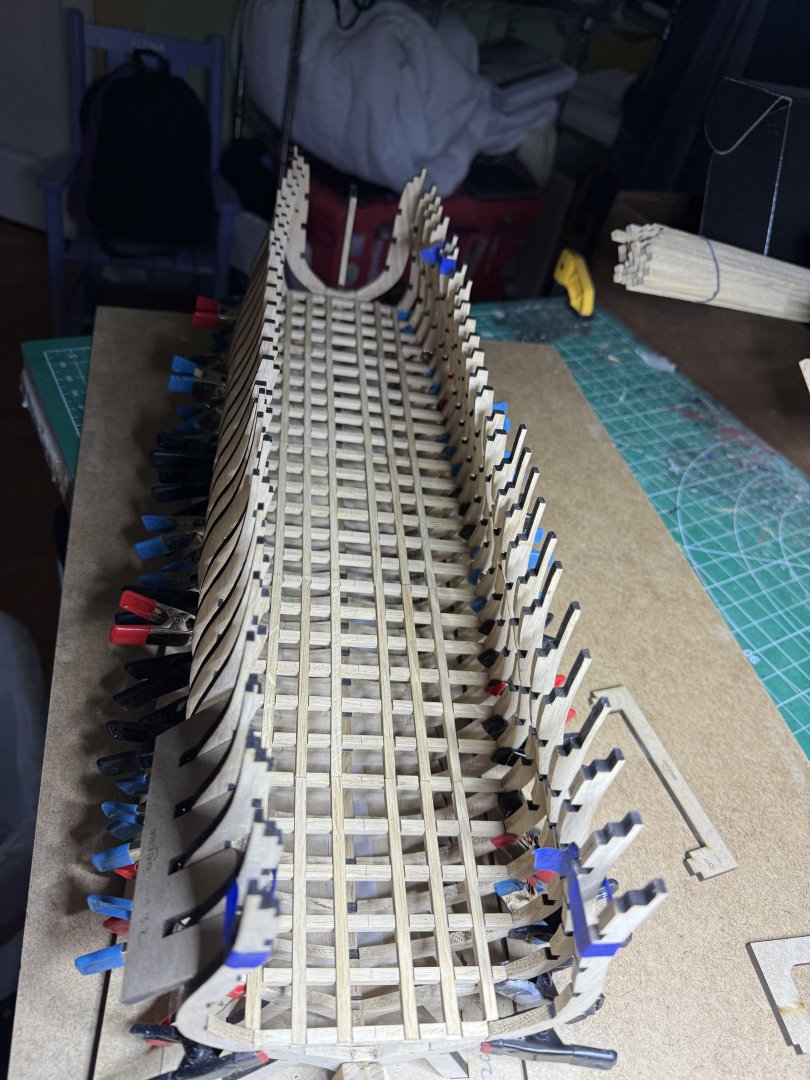
Planking the upper decks moving forward row by row. After 4 rows I cut off the pin heads and file them down so I have some skin left by the end of the process. Here 6 rows in: Then 11 rows into it: As I reached the level of Deck 3 and 4 I cut and fitted the cross beams while there was more maneuvering room and have them numbered at their ends for mortaring in the joints.


-
HMS Victory by ECK - OcCre - 1/87
ECK replied to ECK's topic in - Kit build logs for subjects built from 1751 - 1800
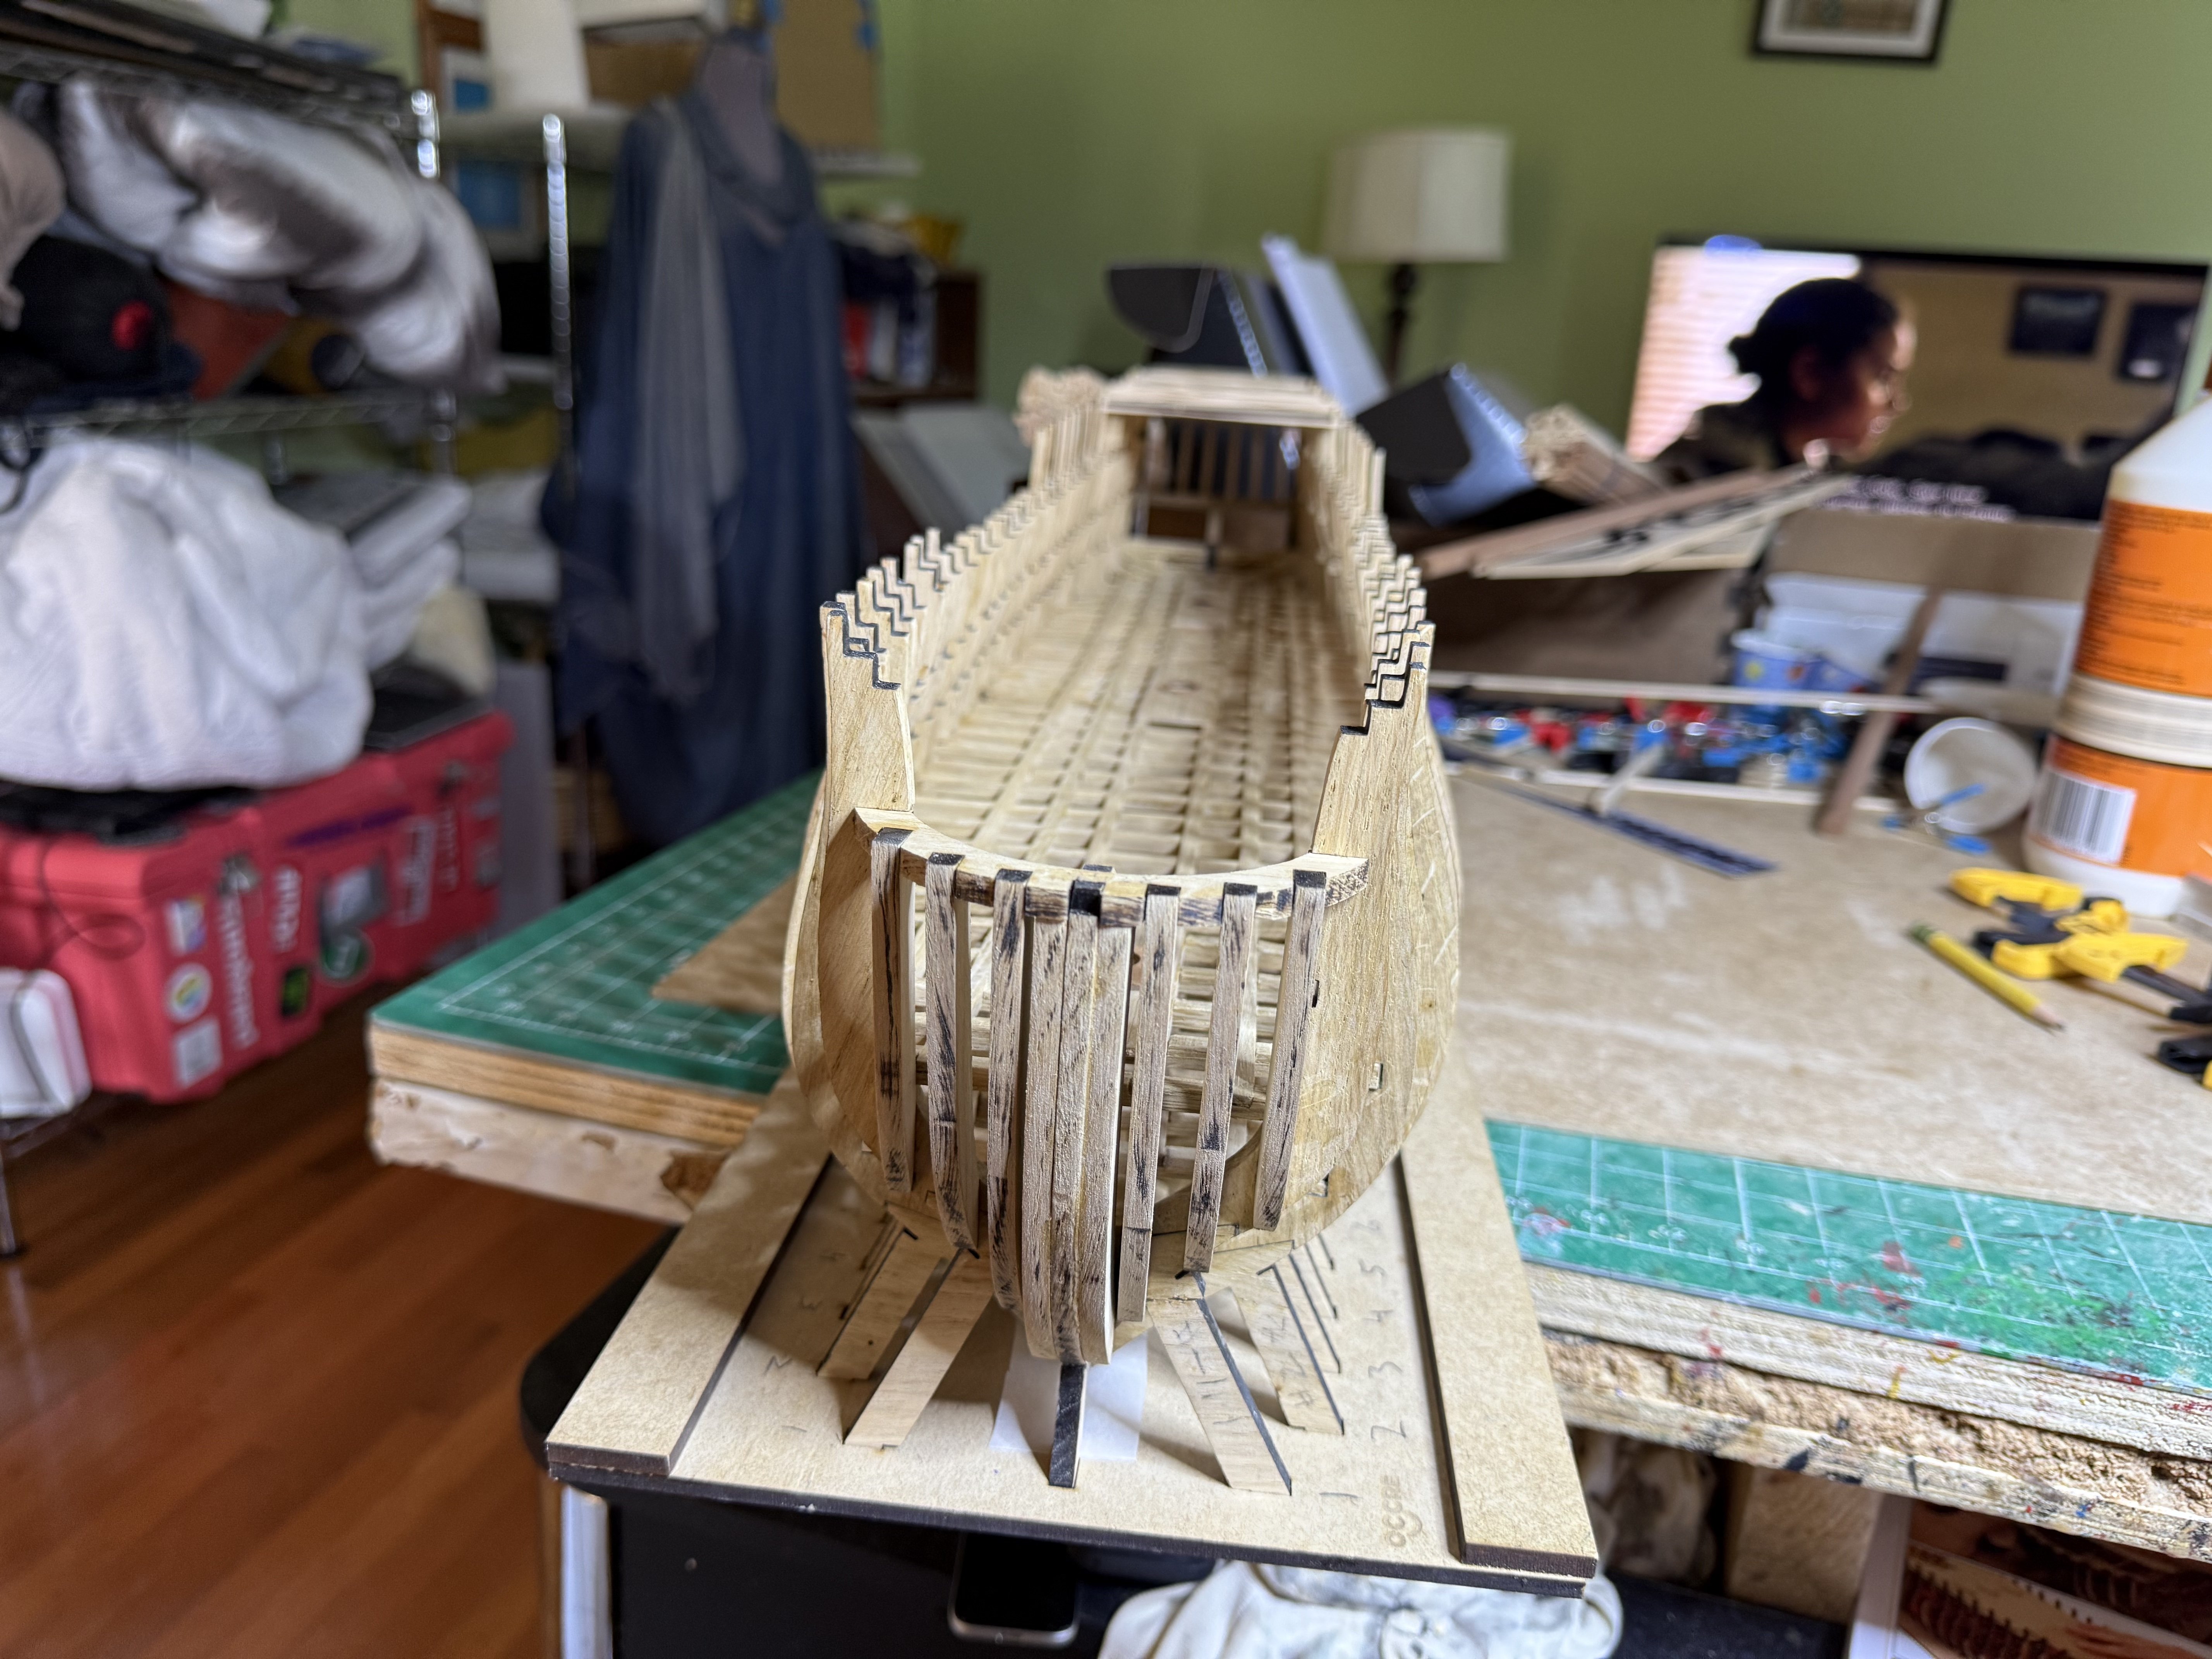
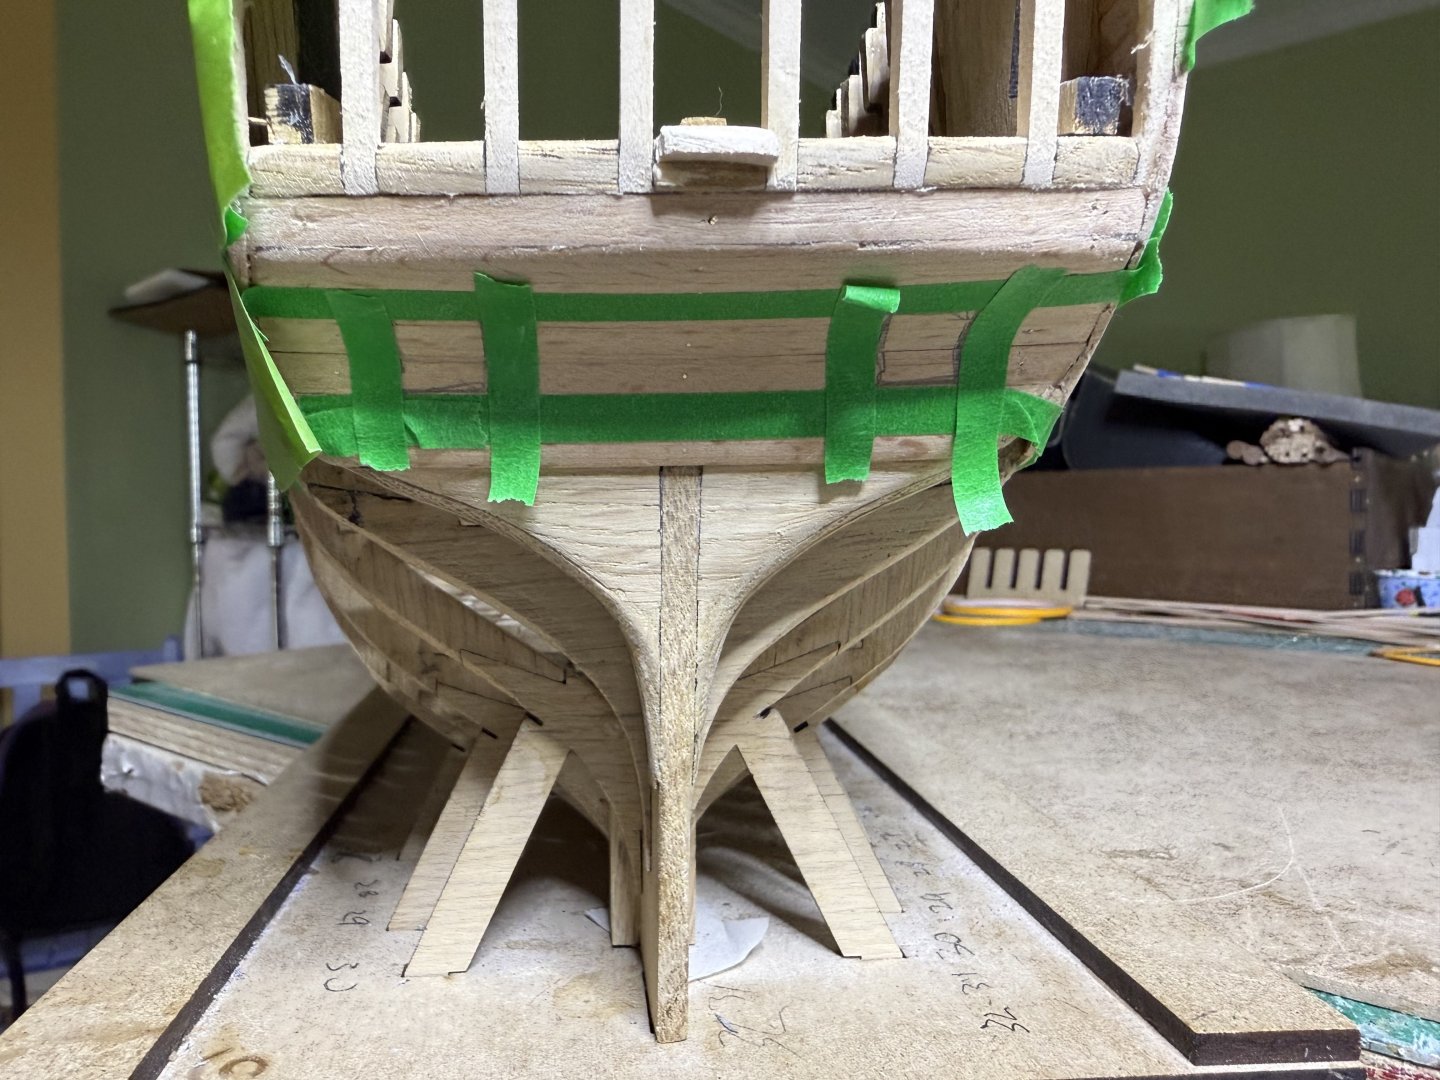
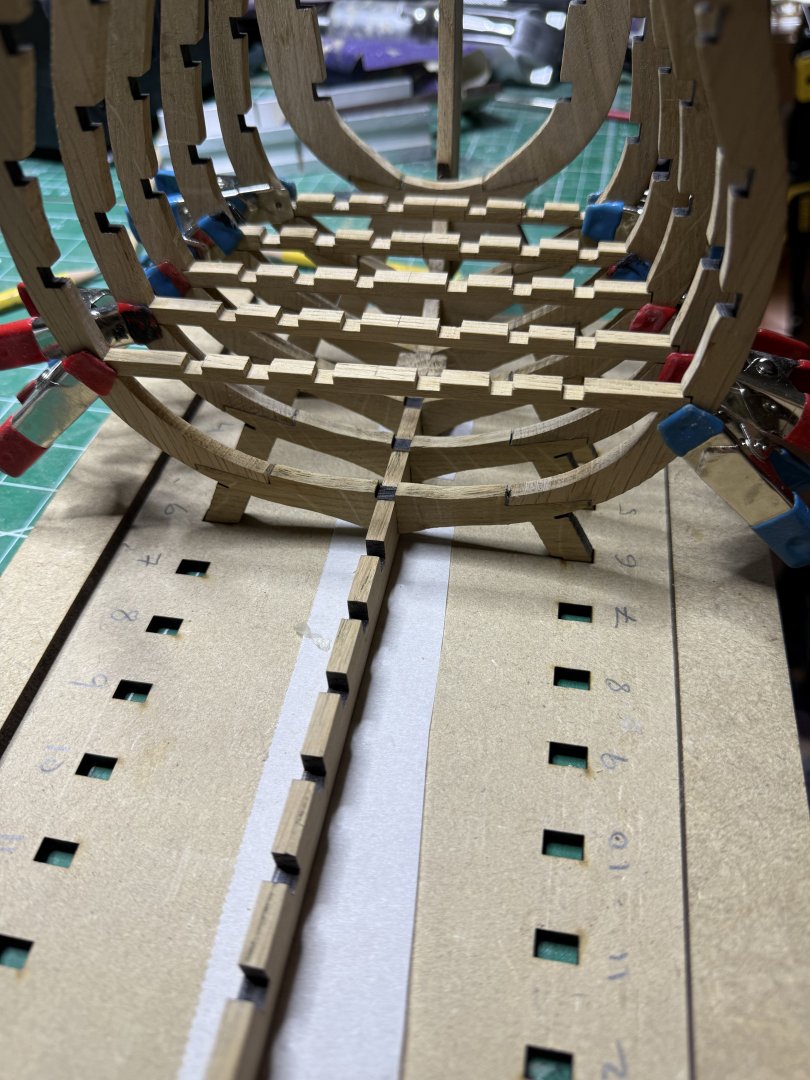
Finished the stern but may need a bit more sanding. Then the bow Next need to mark the line for the first plank using this device After placing the marks ran a tape line to check the line.


-
HMS Victory by ECK - OcCre - 1/87
ECK replied to ECK's topic in - Kit build logs for subjects built from 1751 - 1800
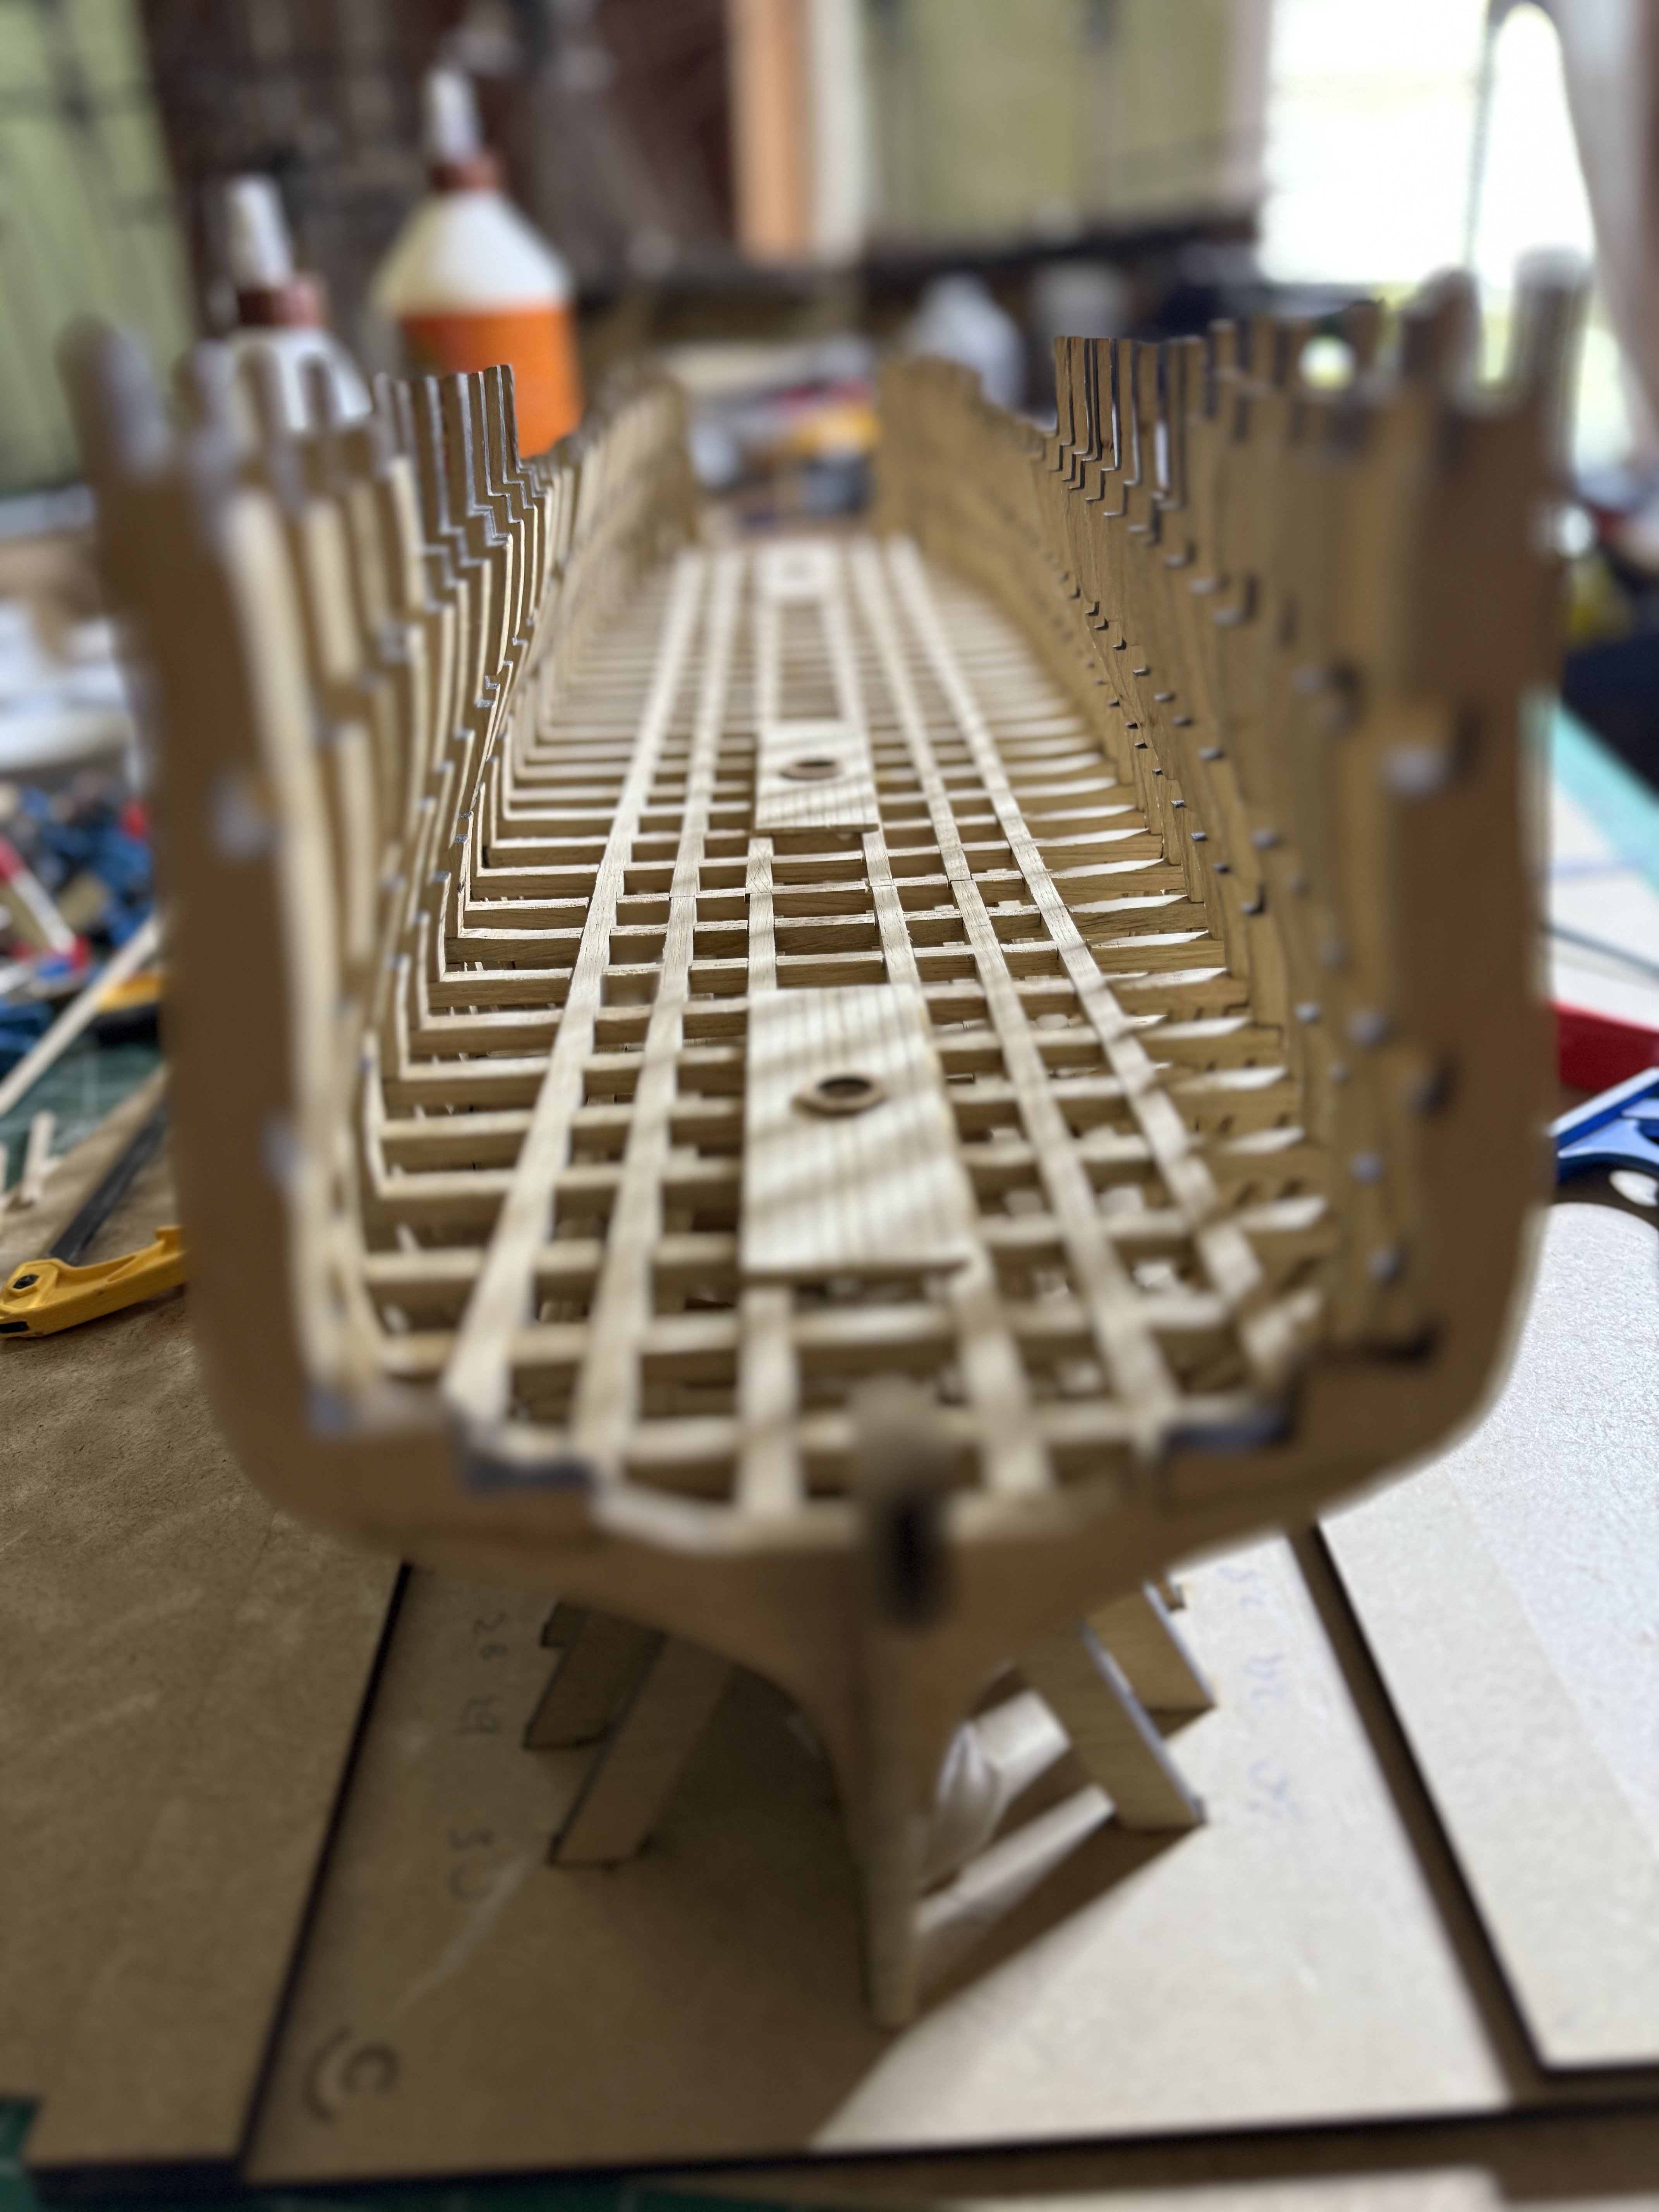
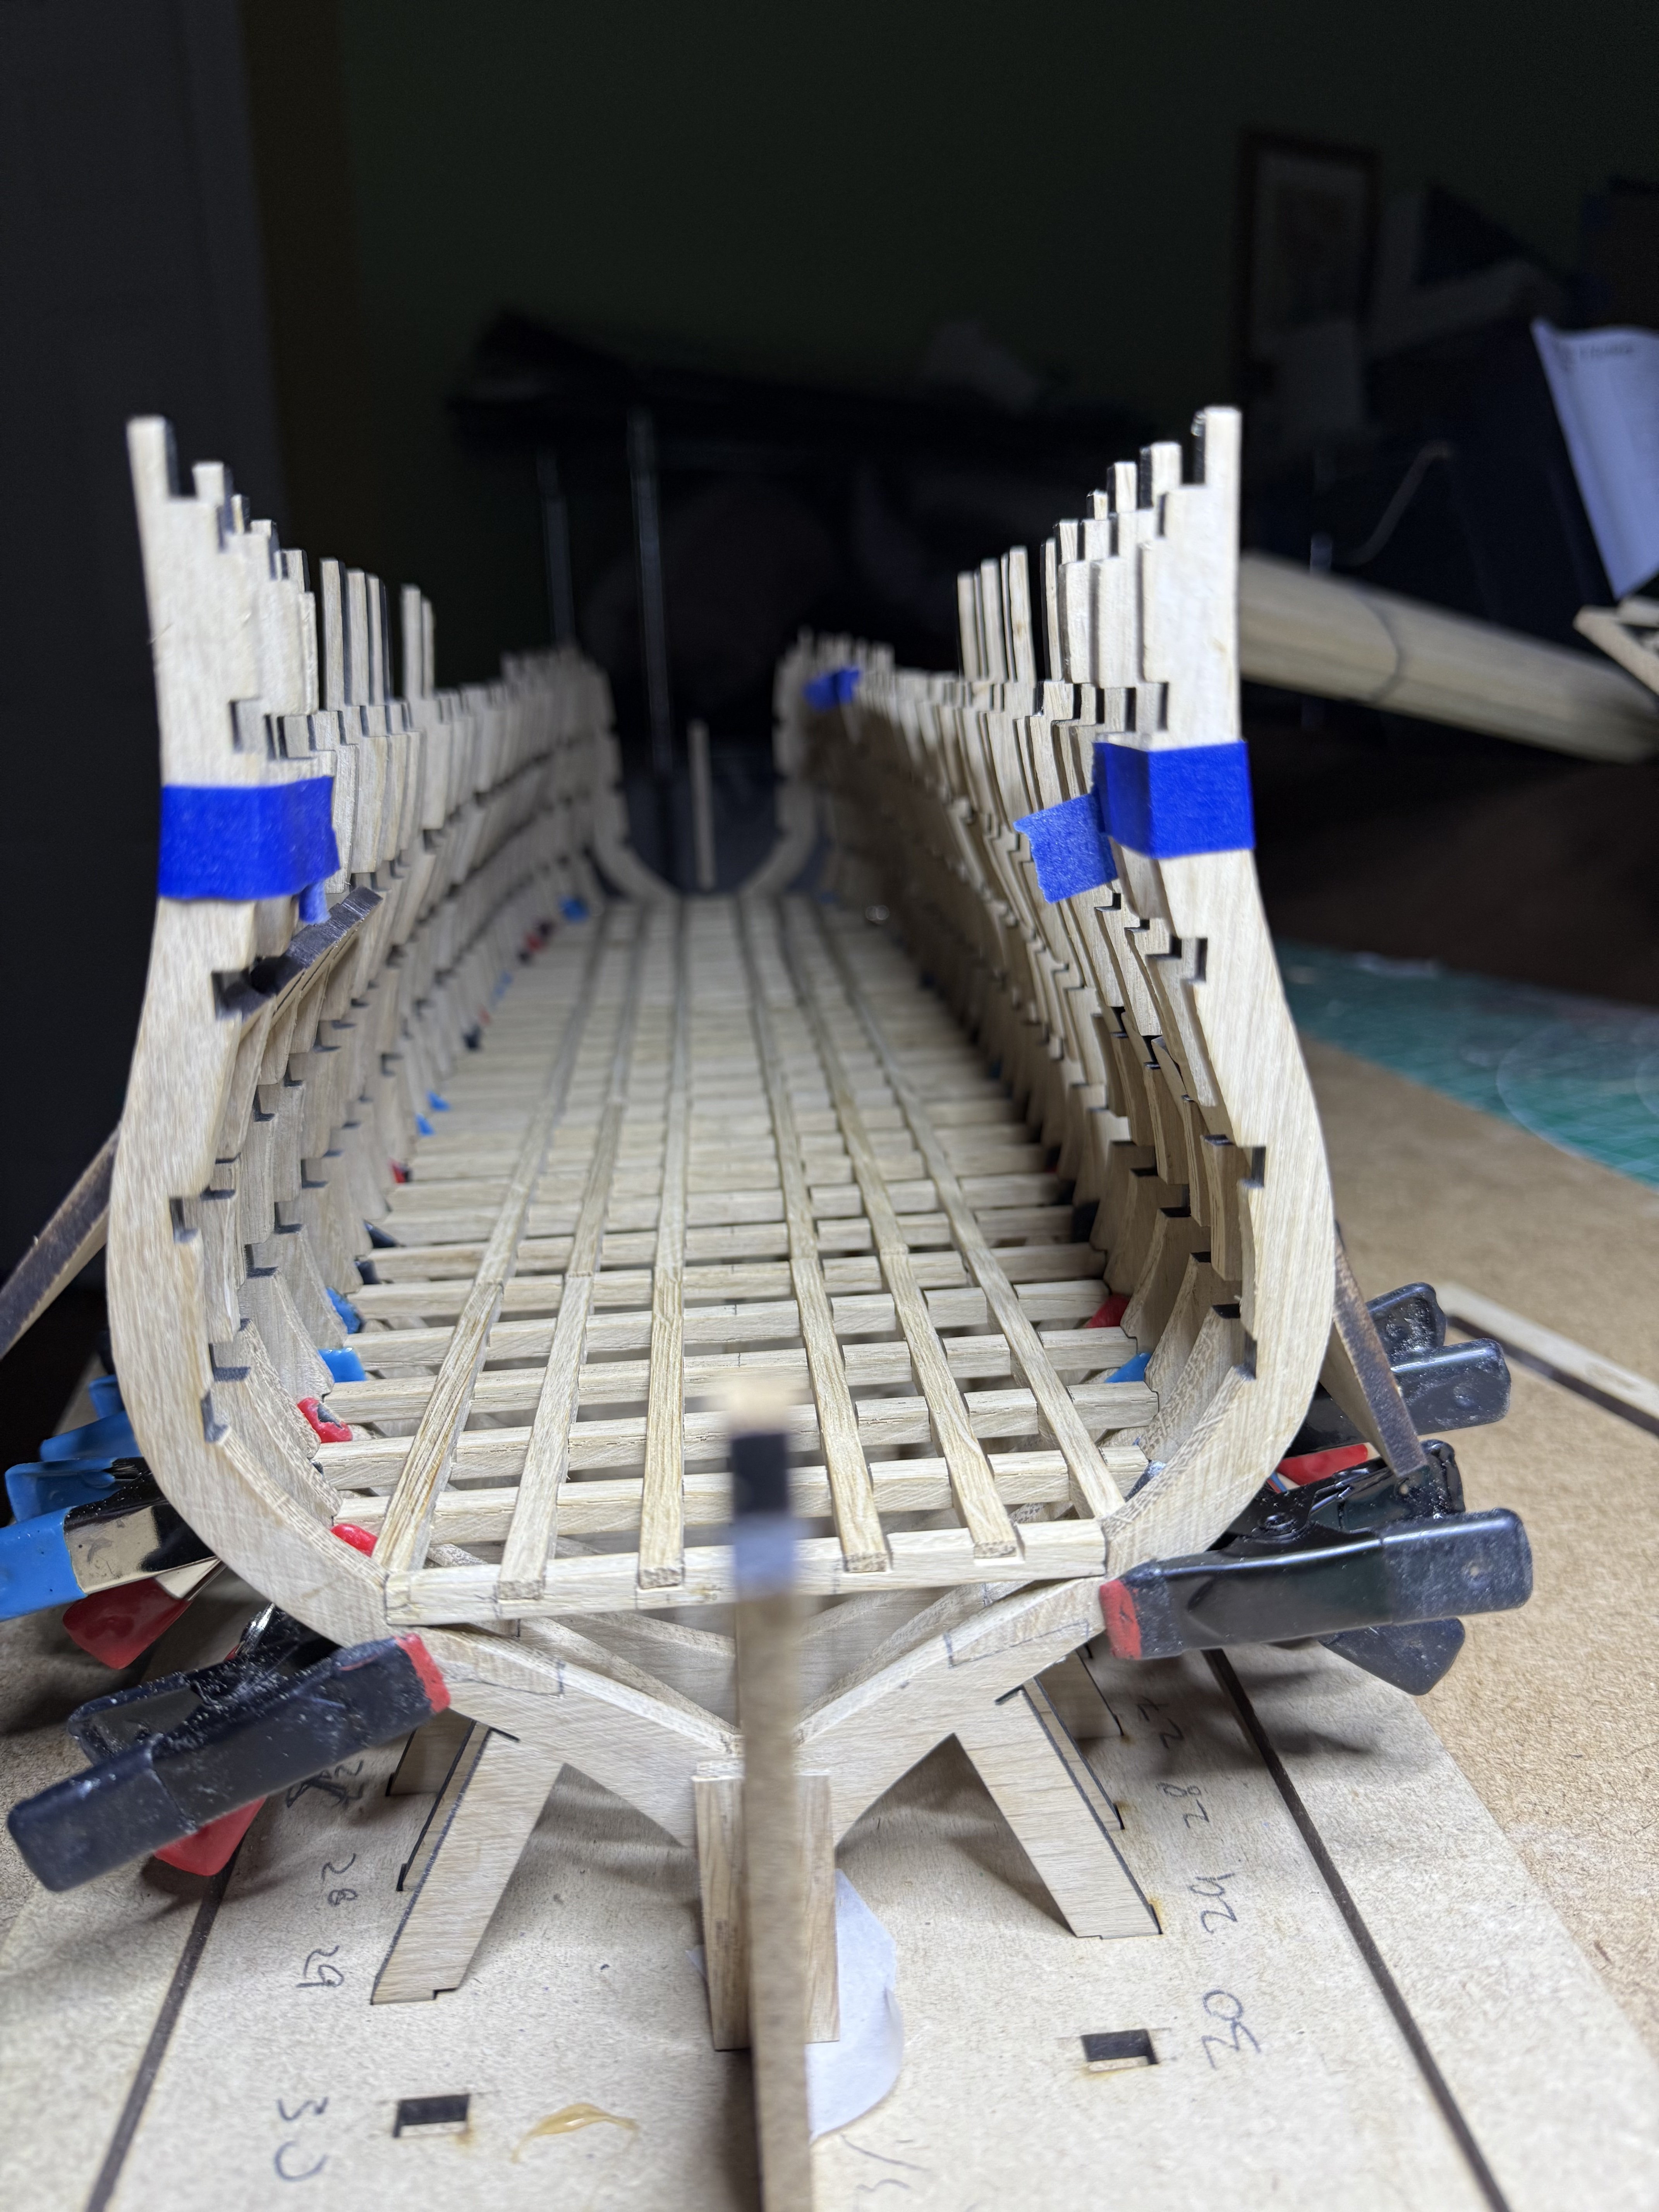
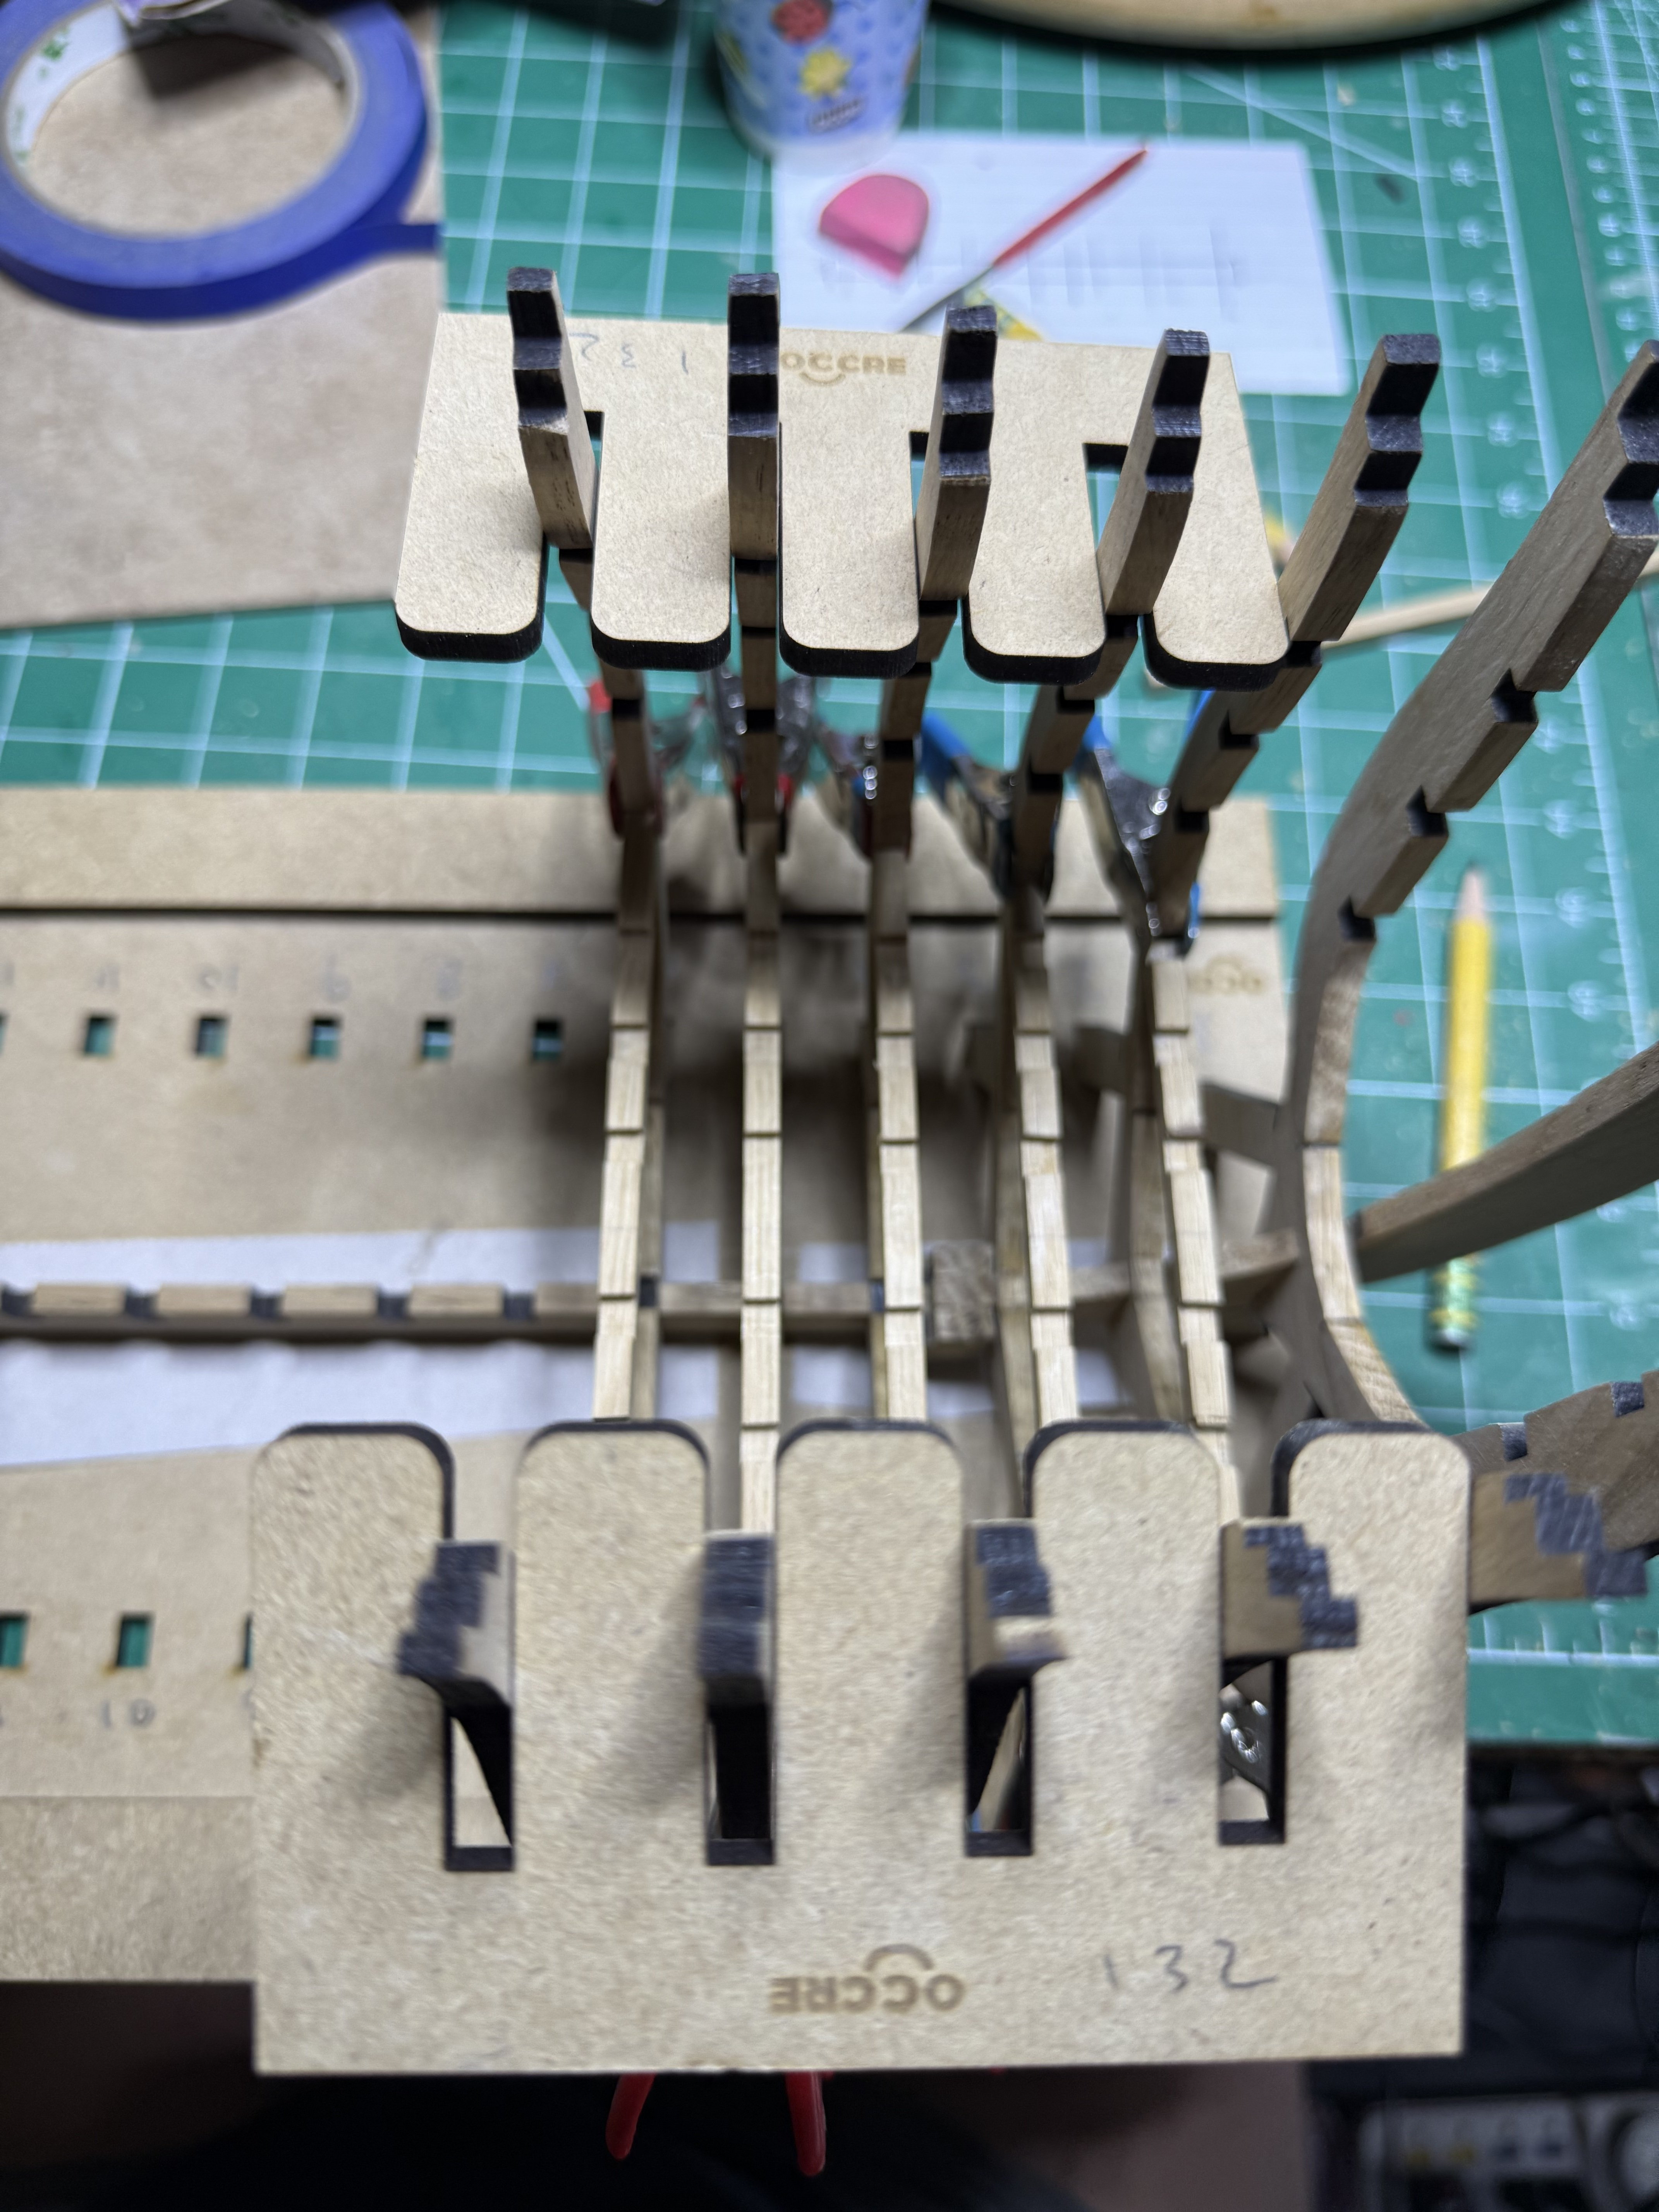
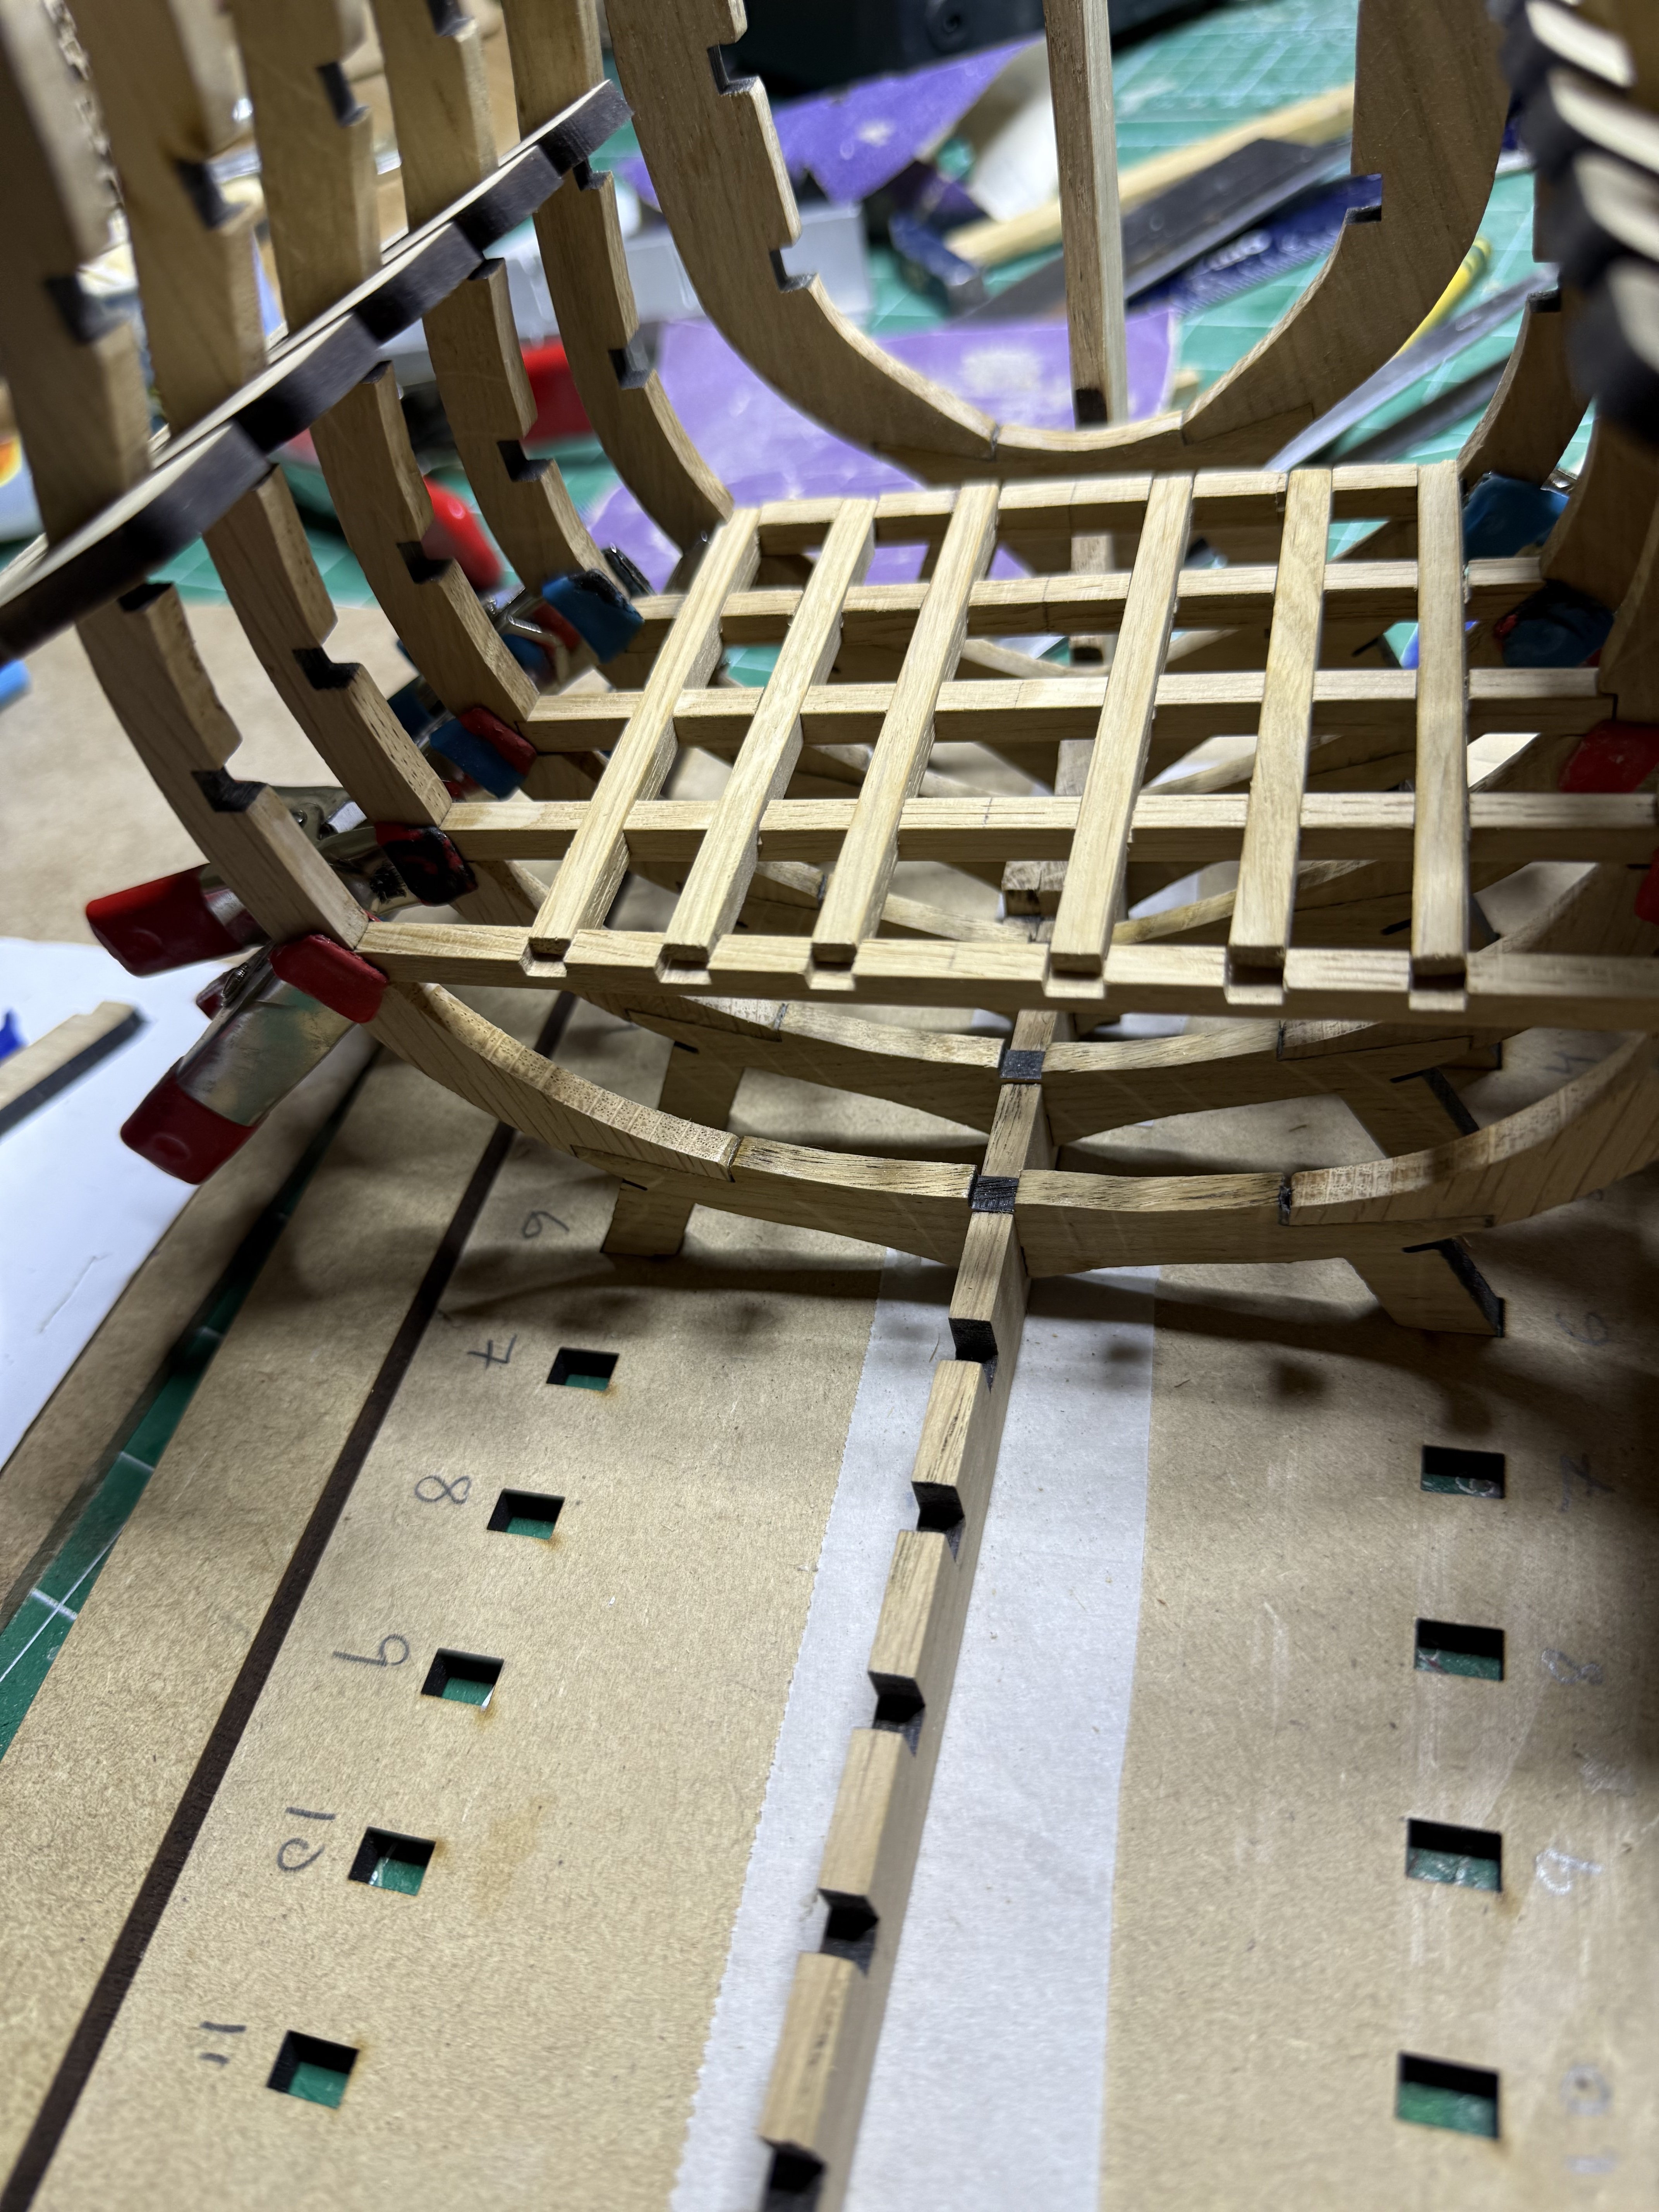
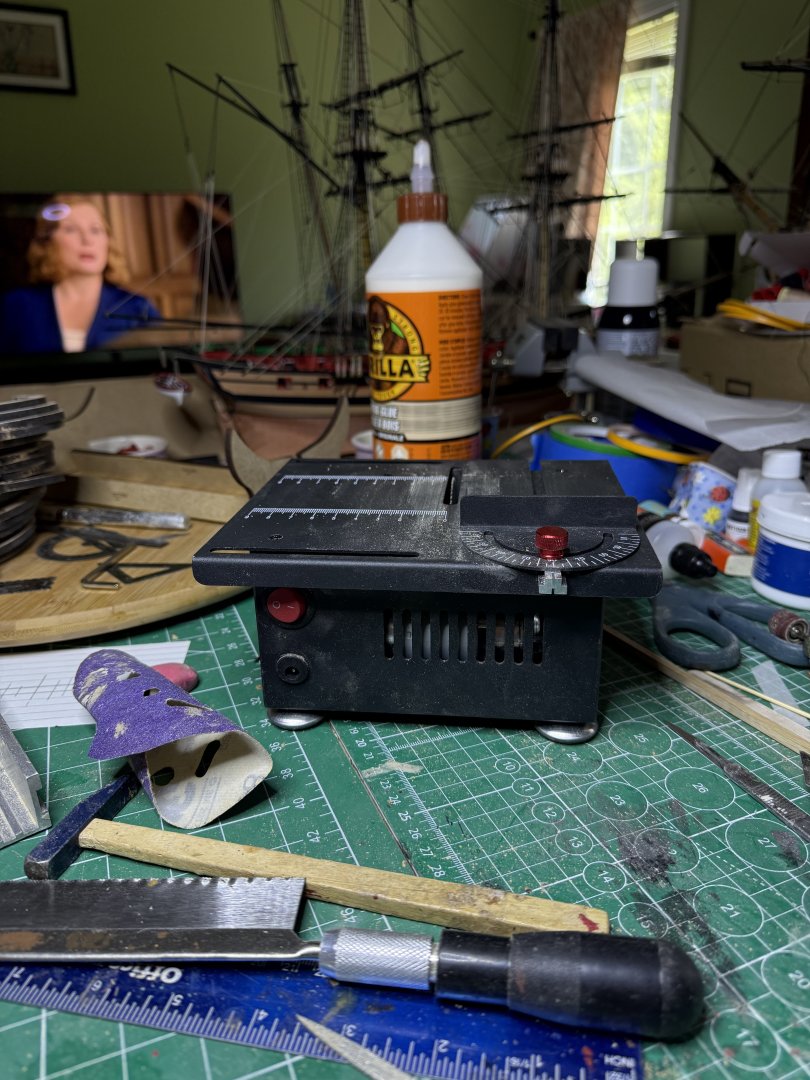
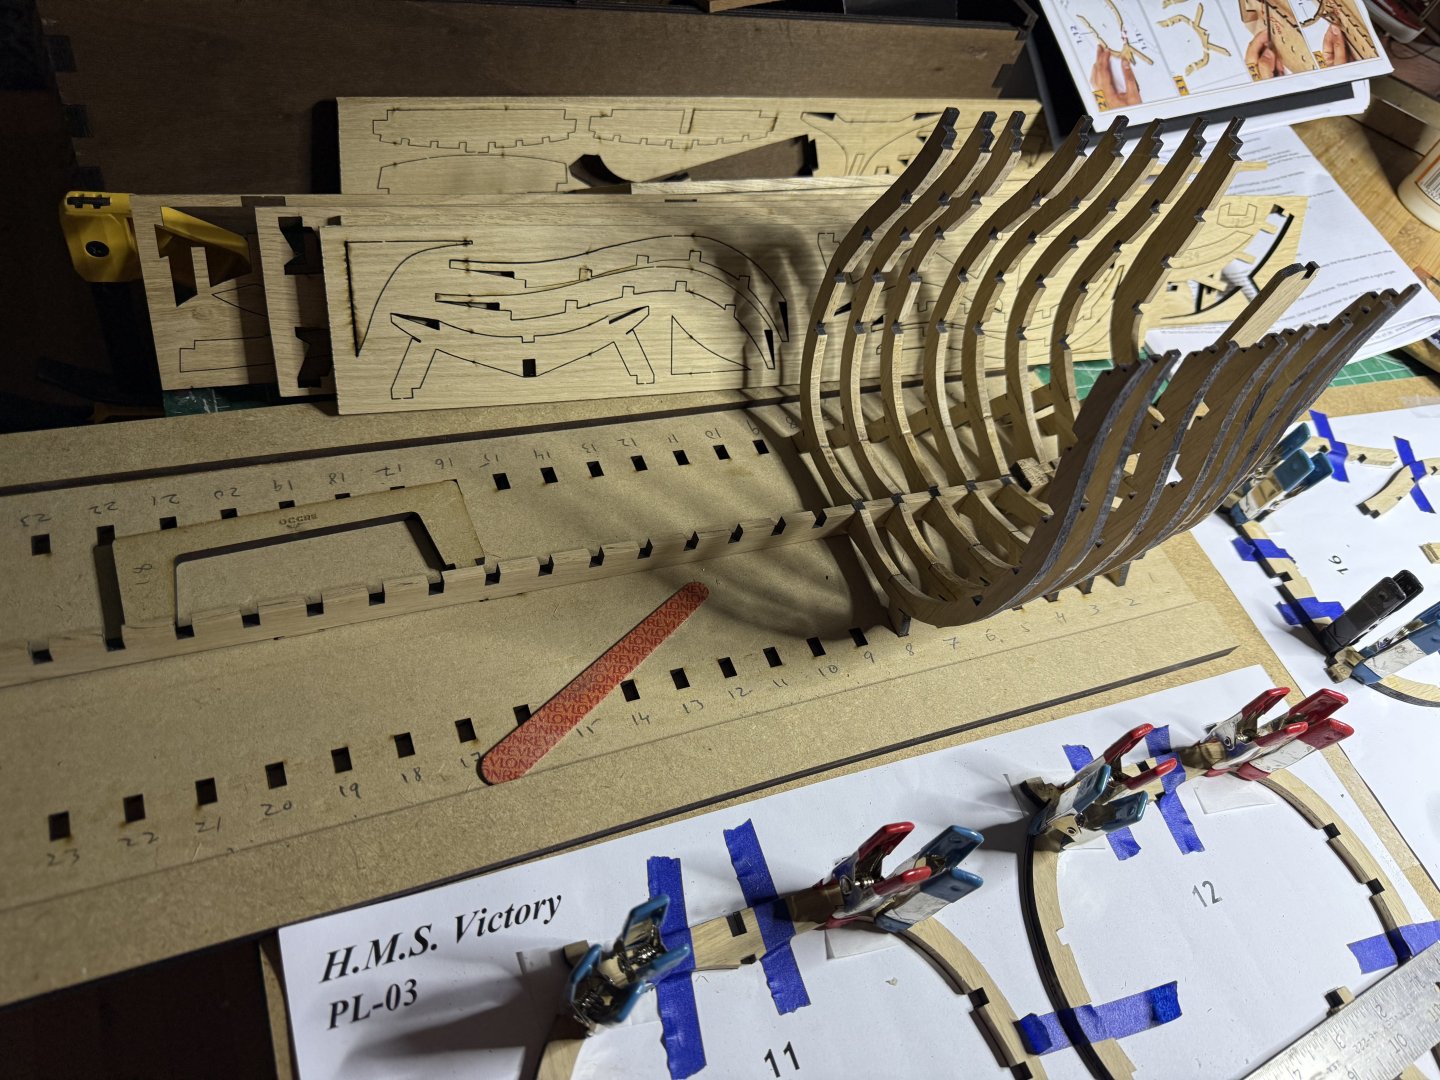
Today completed the second deck and placed the deck holed for the masts. The mini table saw was very handy to do all the cross cutting. With the spacers removed Ended the day by gluing the bow and stern pieces so they cure overnight. Next steps involve a lot more sanding to fare the hull.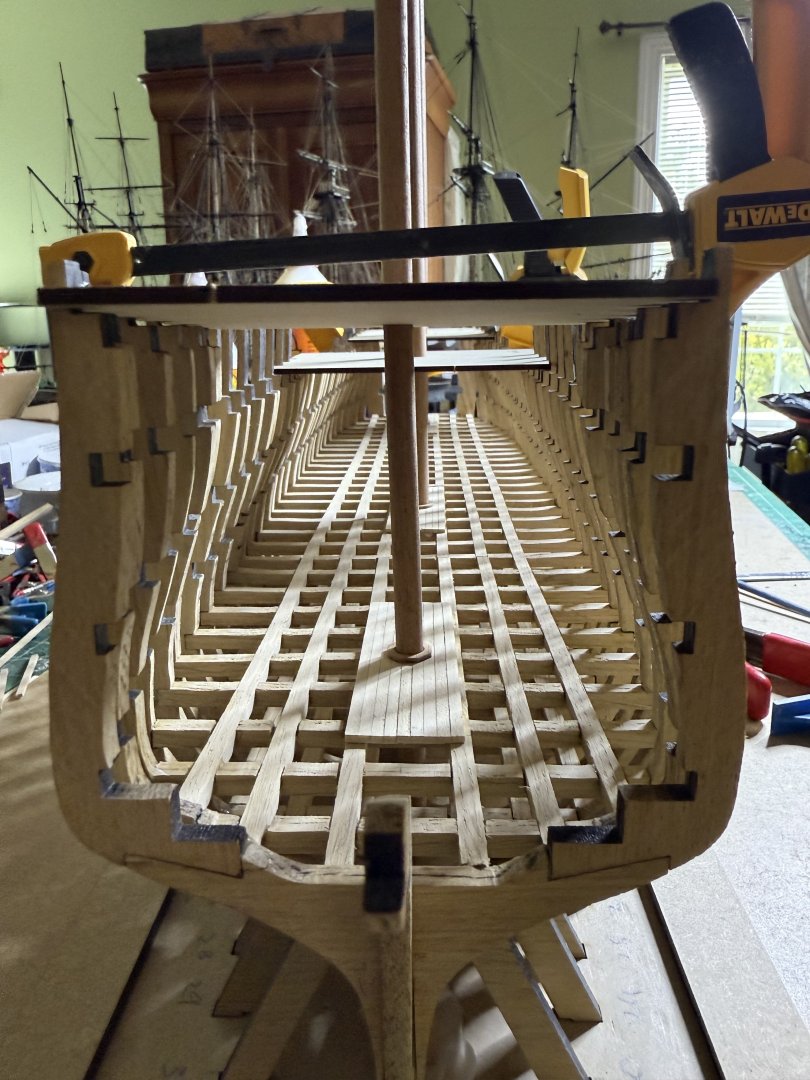


-
HMS Victory by ECK - OcCre - 1/87
ECK replied to ECK's topic in - Kit build logs for subjects built from 1751 - 1800
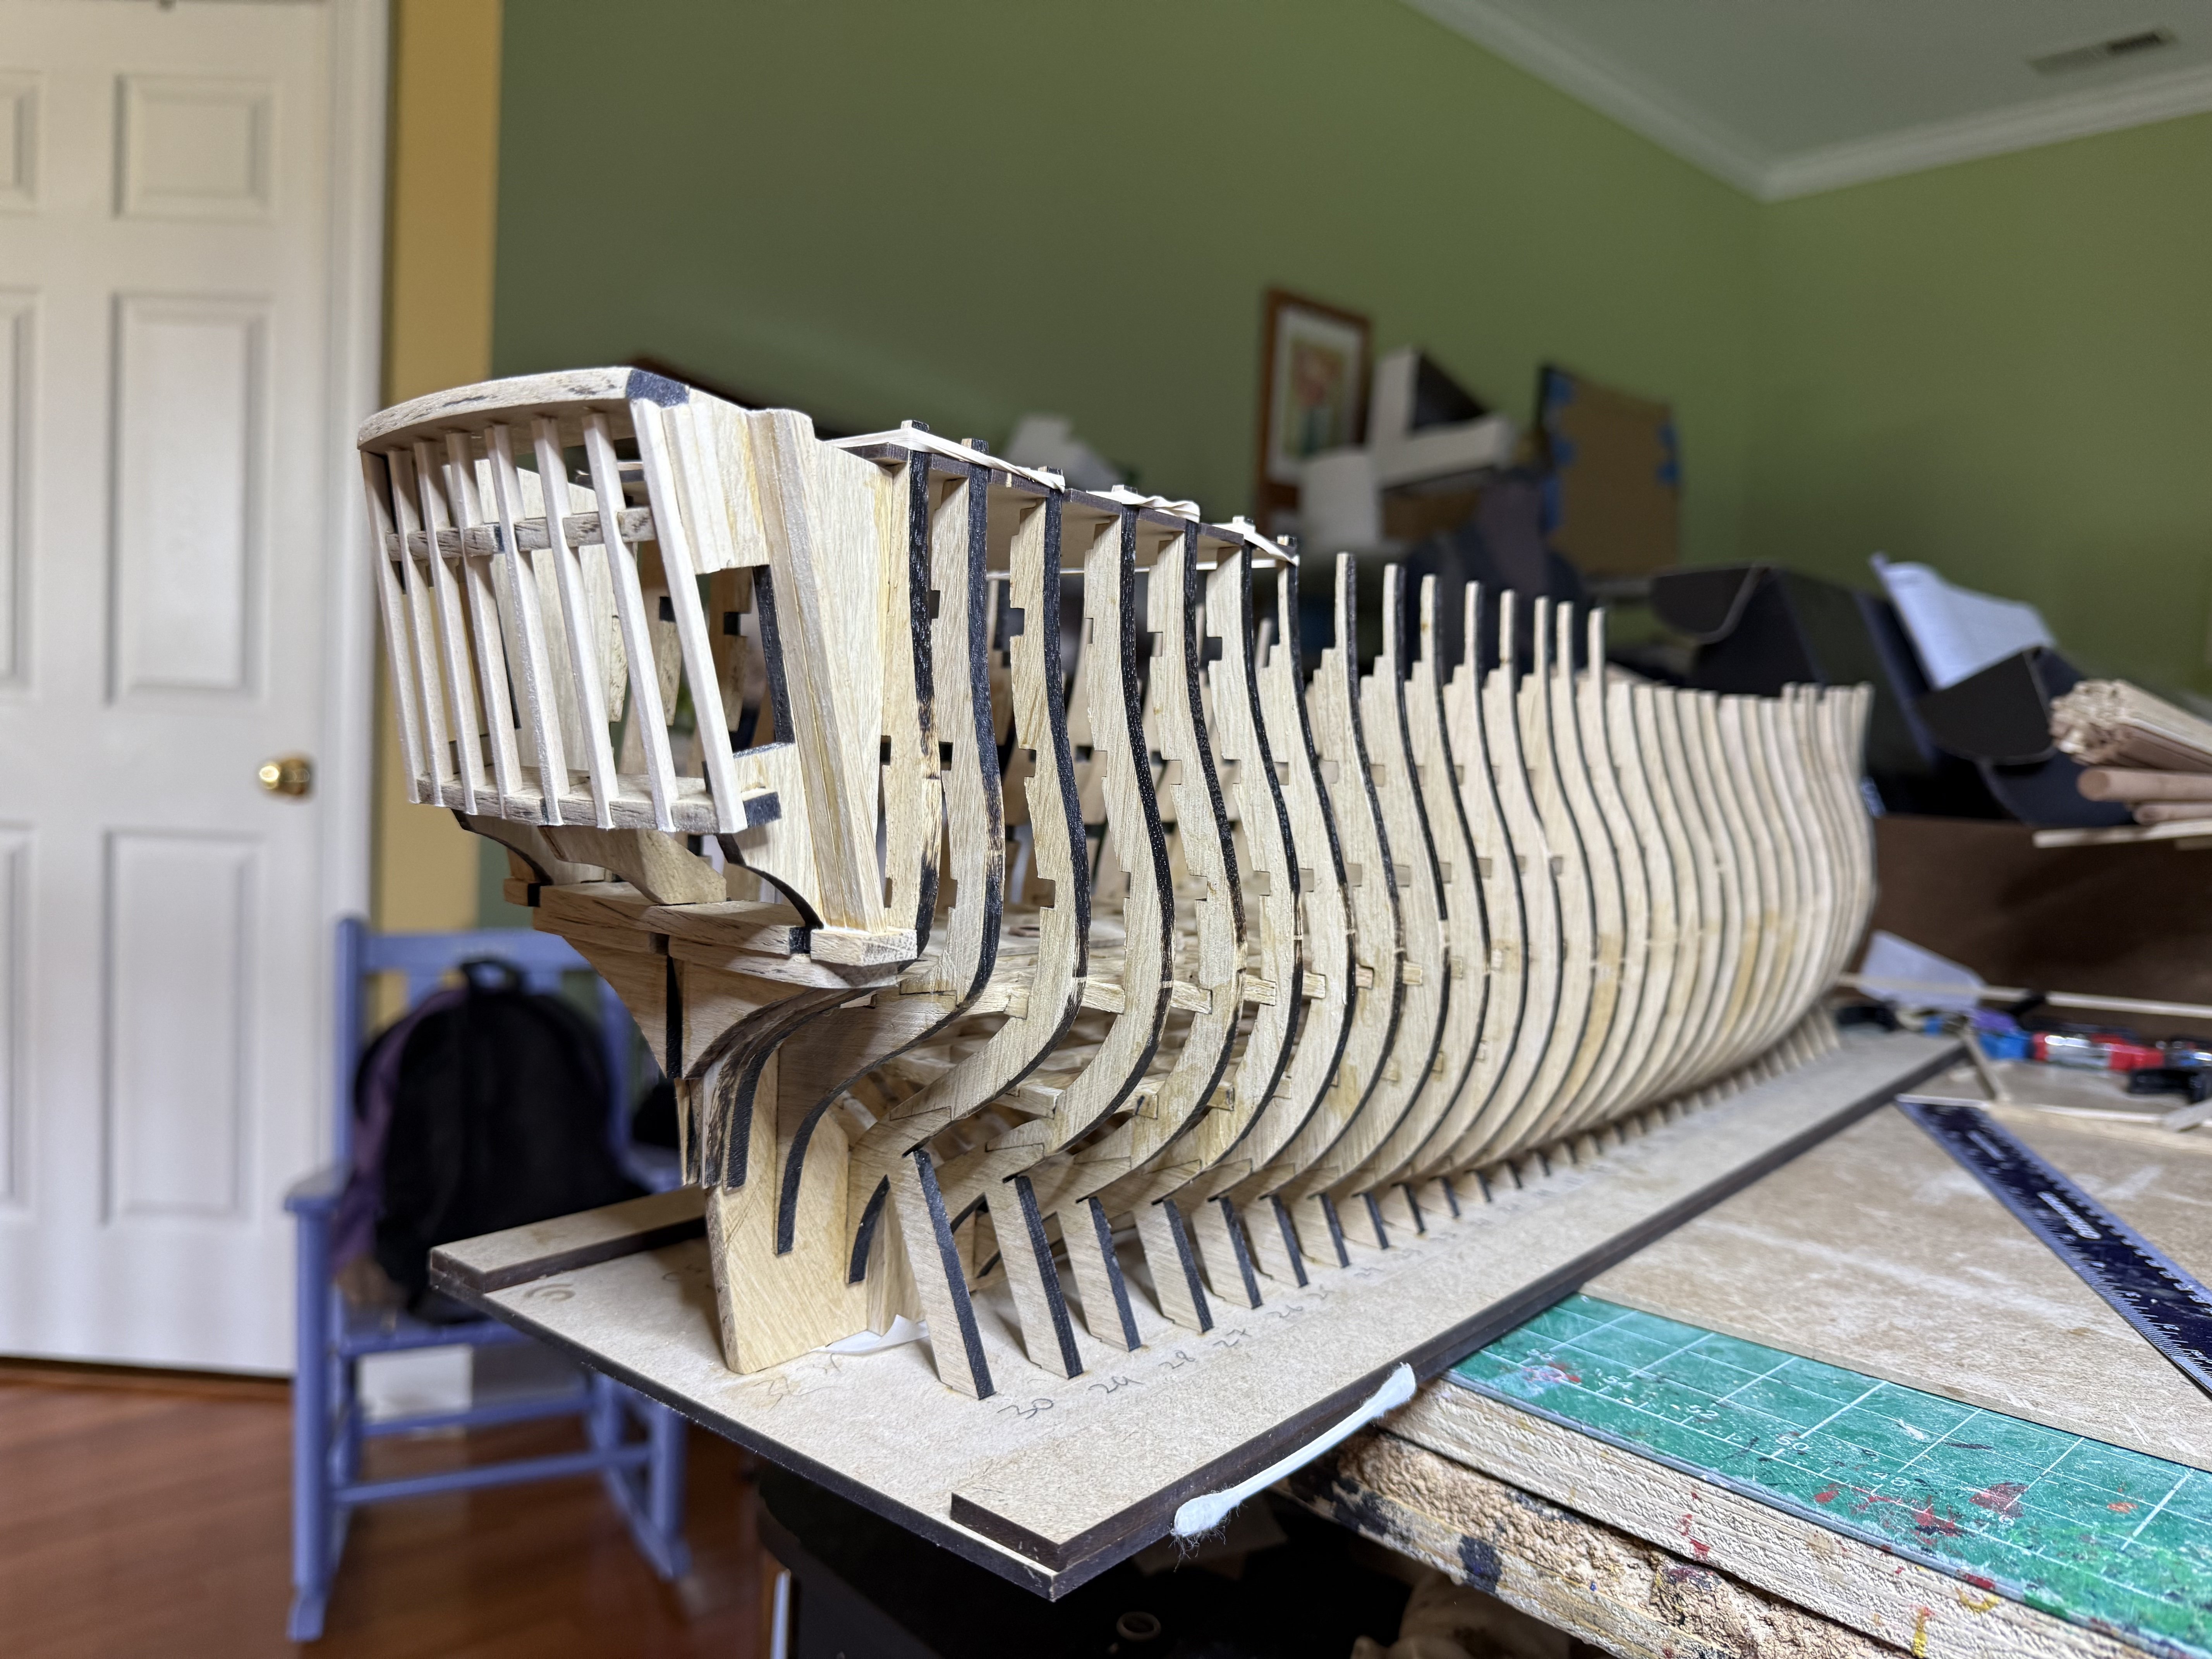
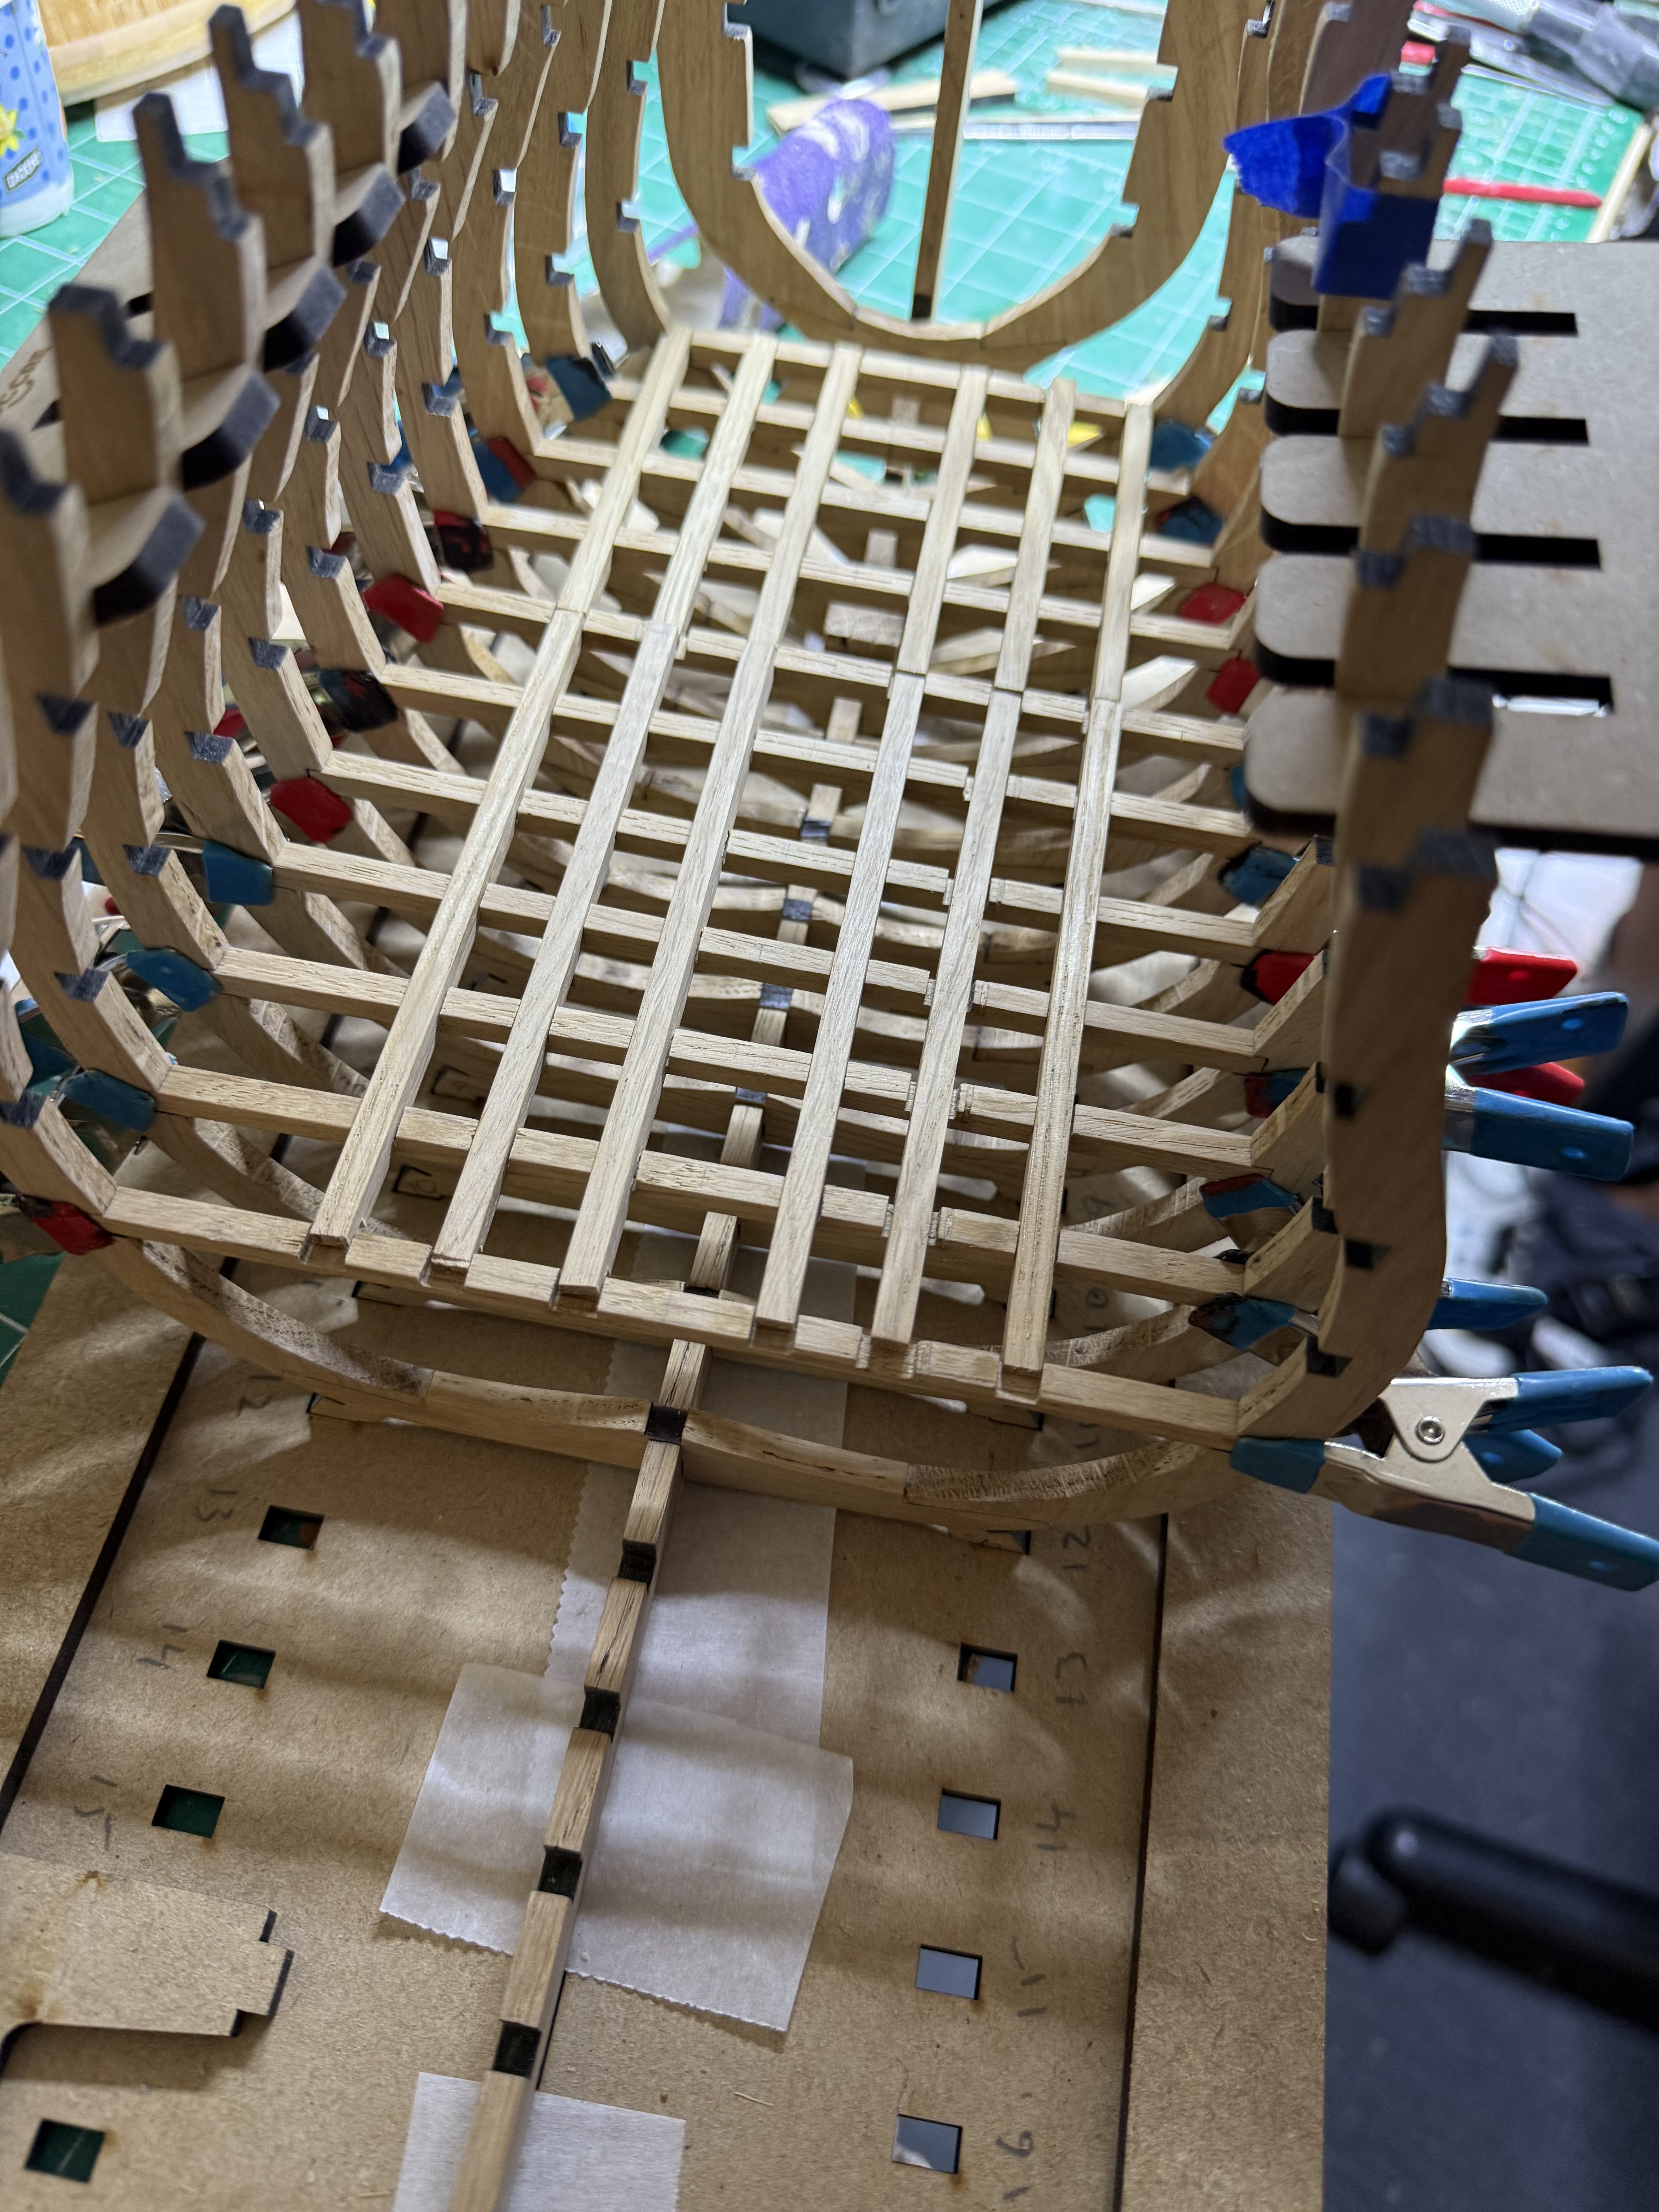
Started putting in the cross beams for the second deck

-
HMS Victory by ECK - OcCre - 1/87
ECK replied to ECK's topic in - Kit build logs for subjects built from 1751 - 1800
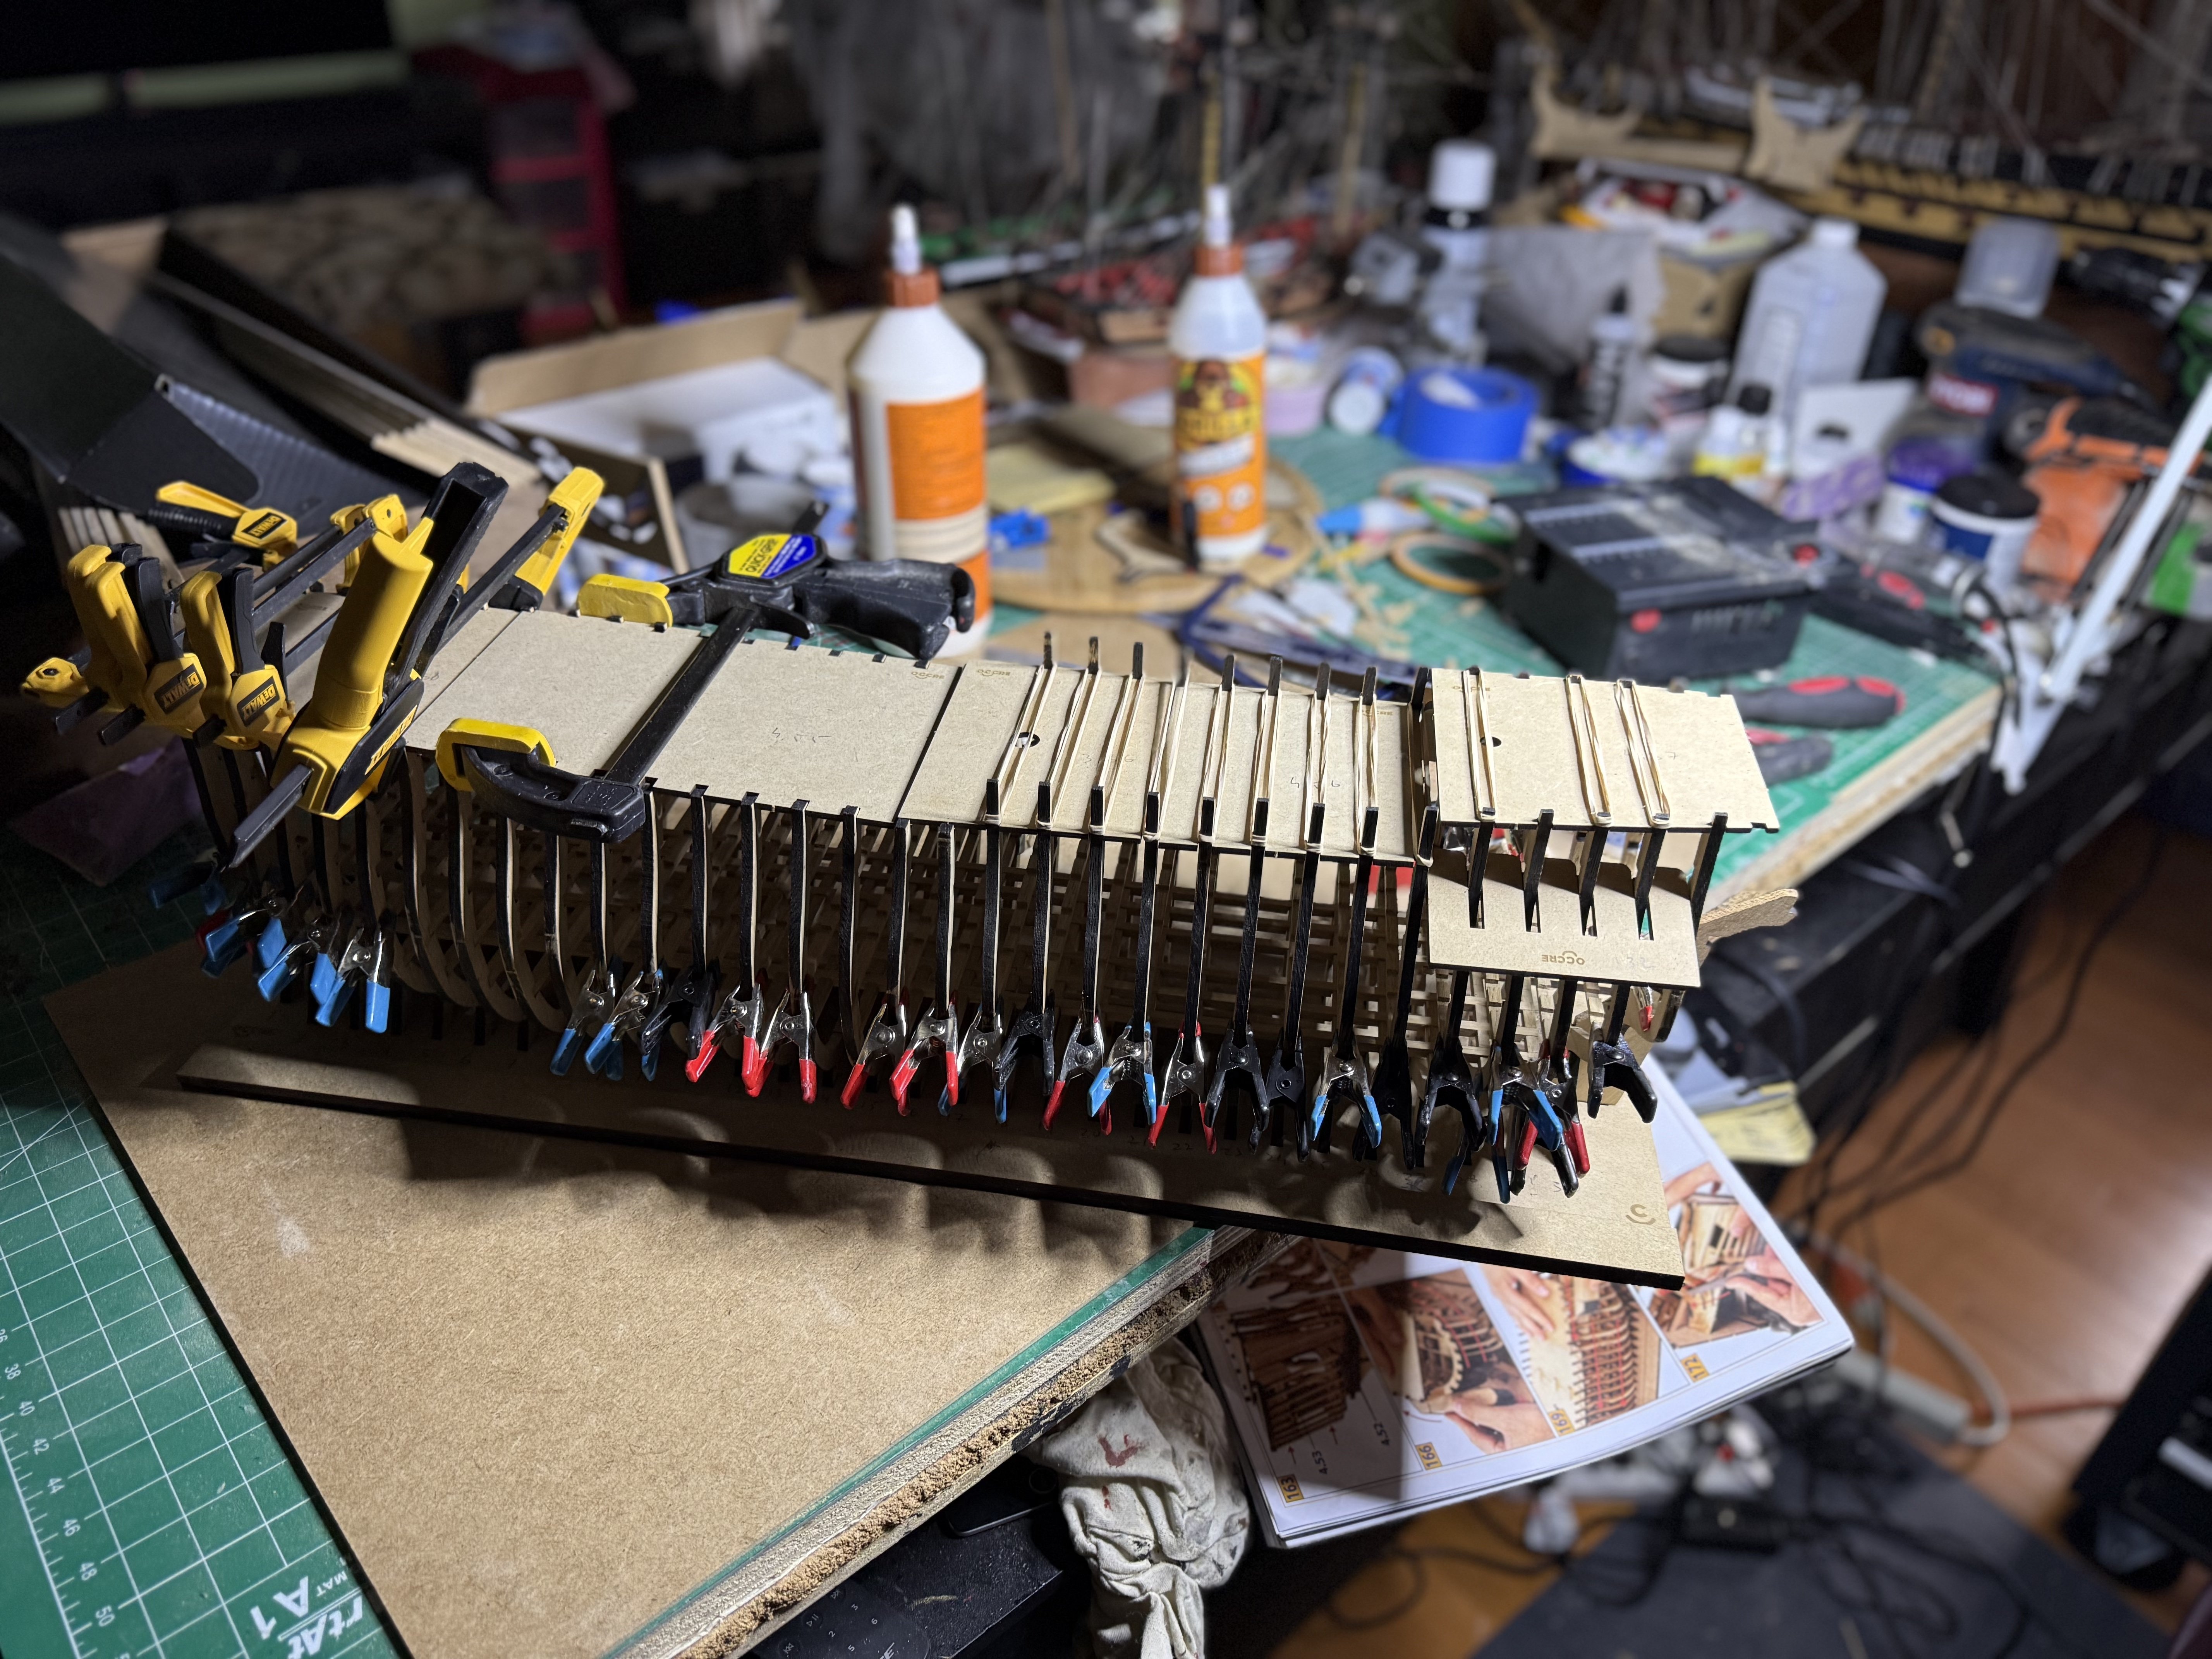
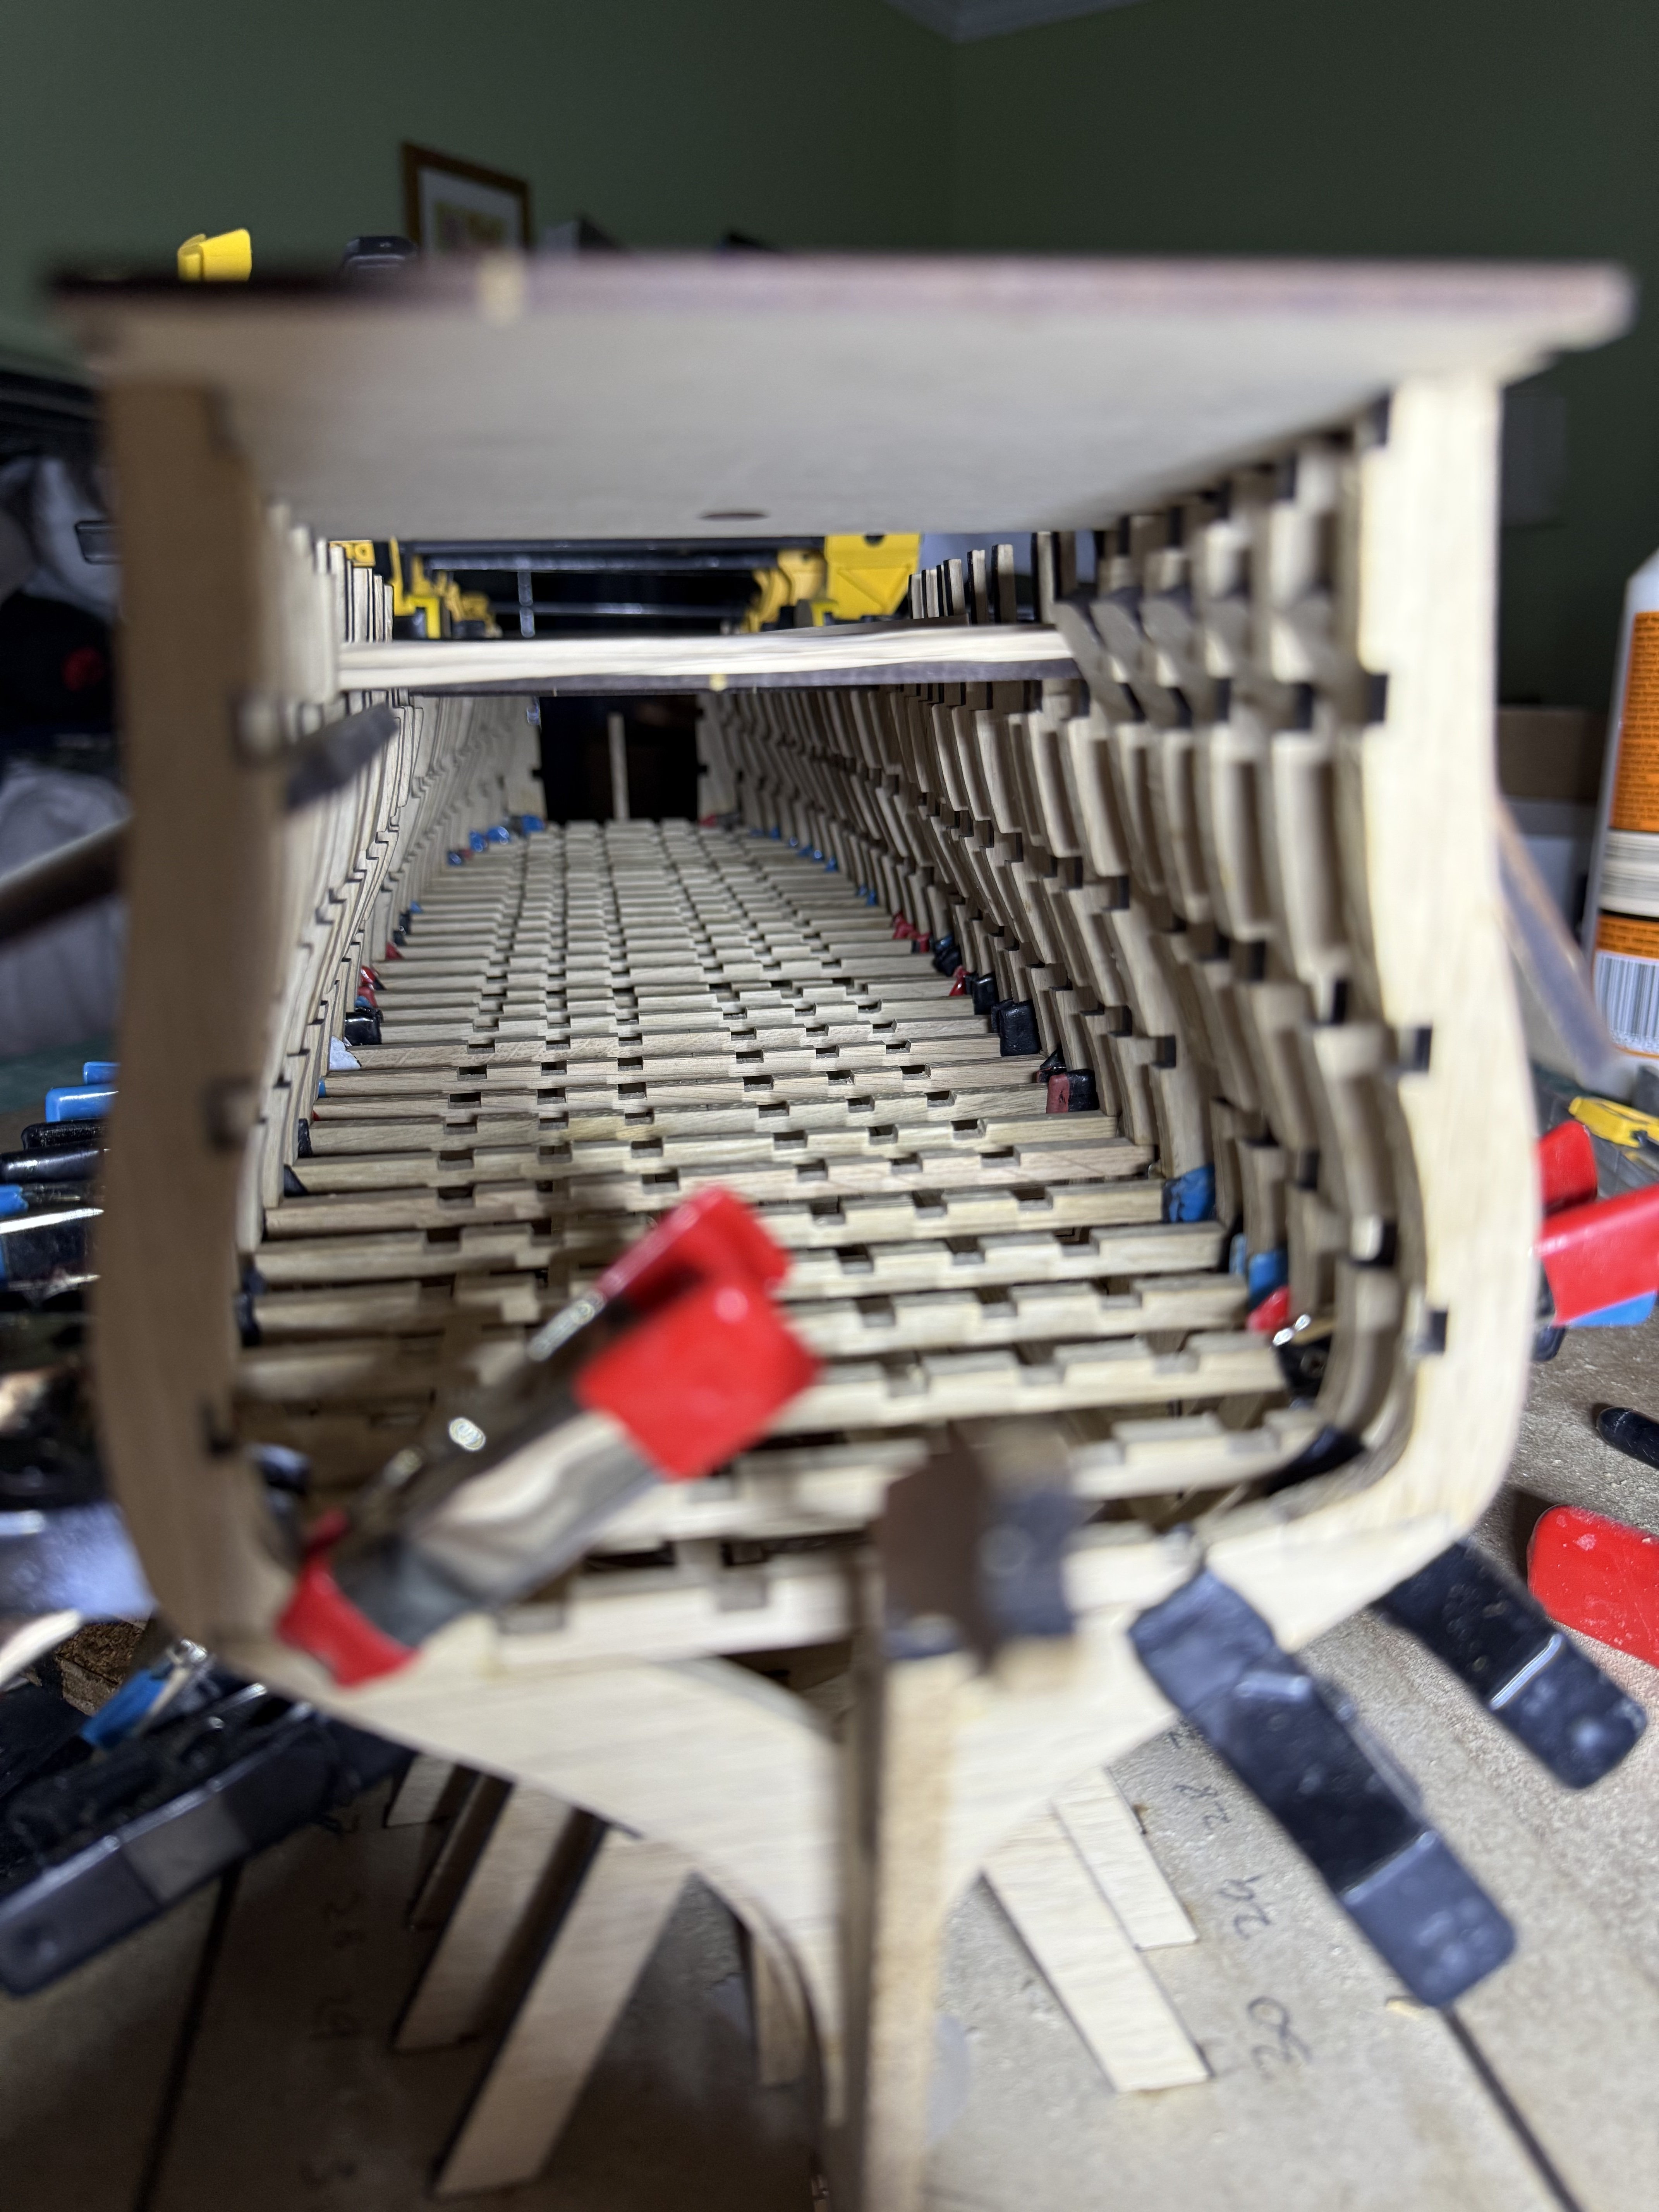
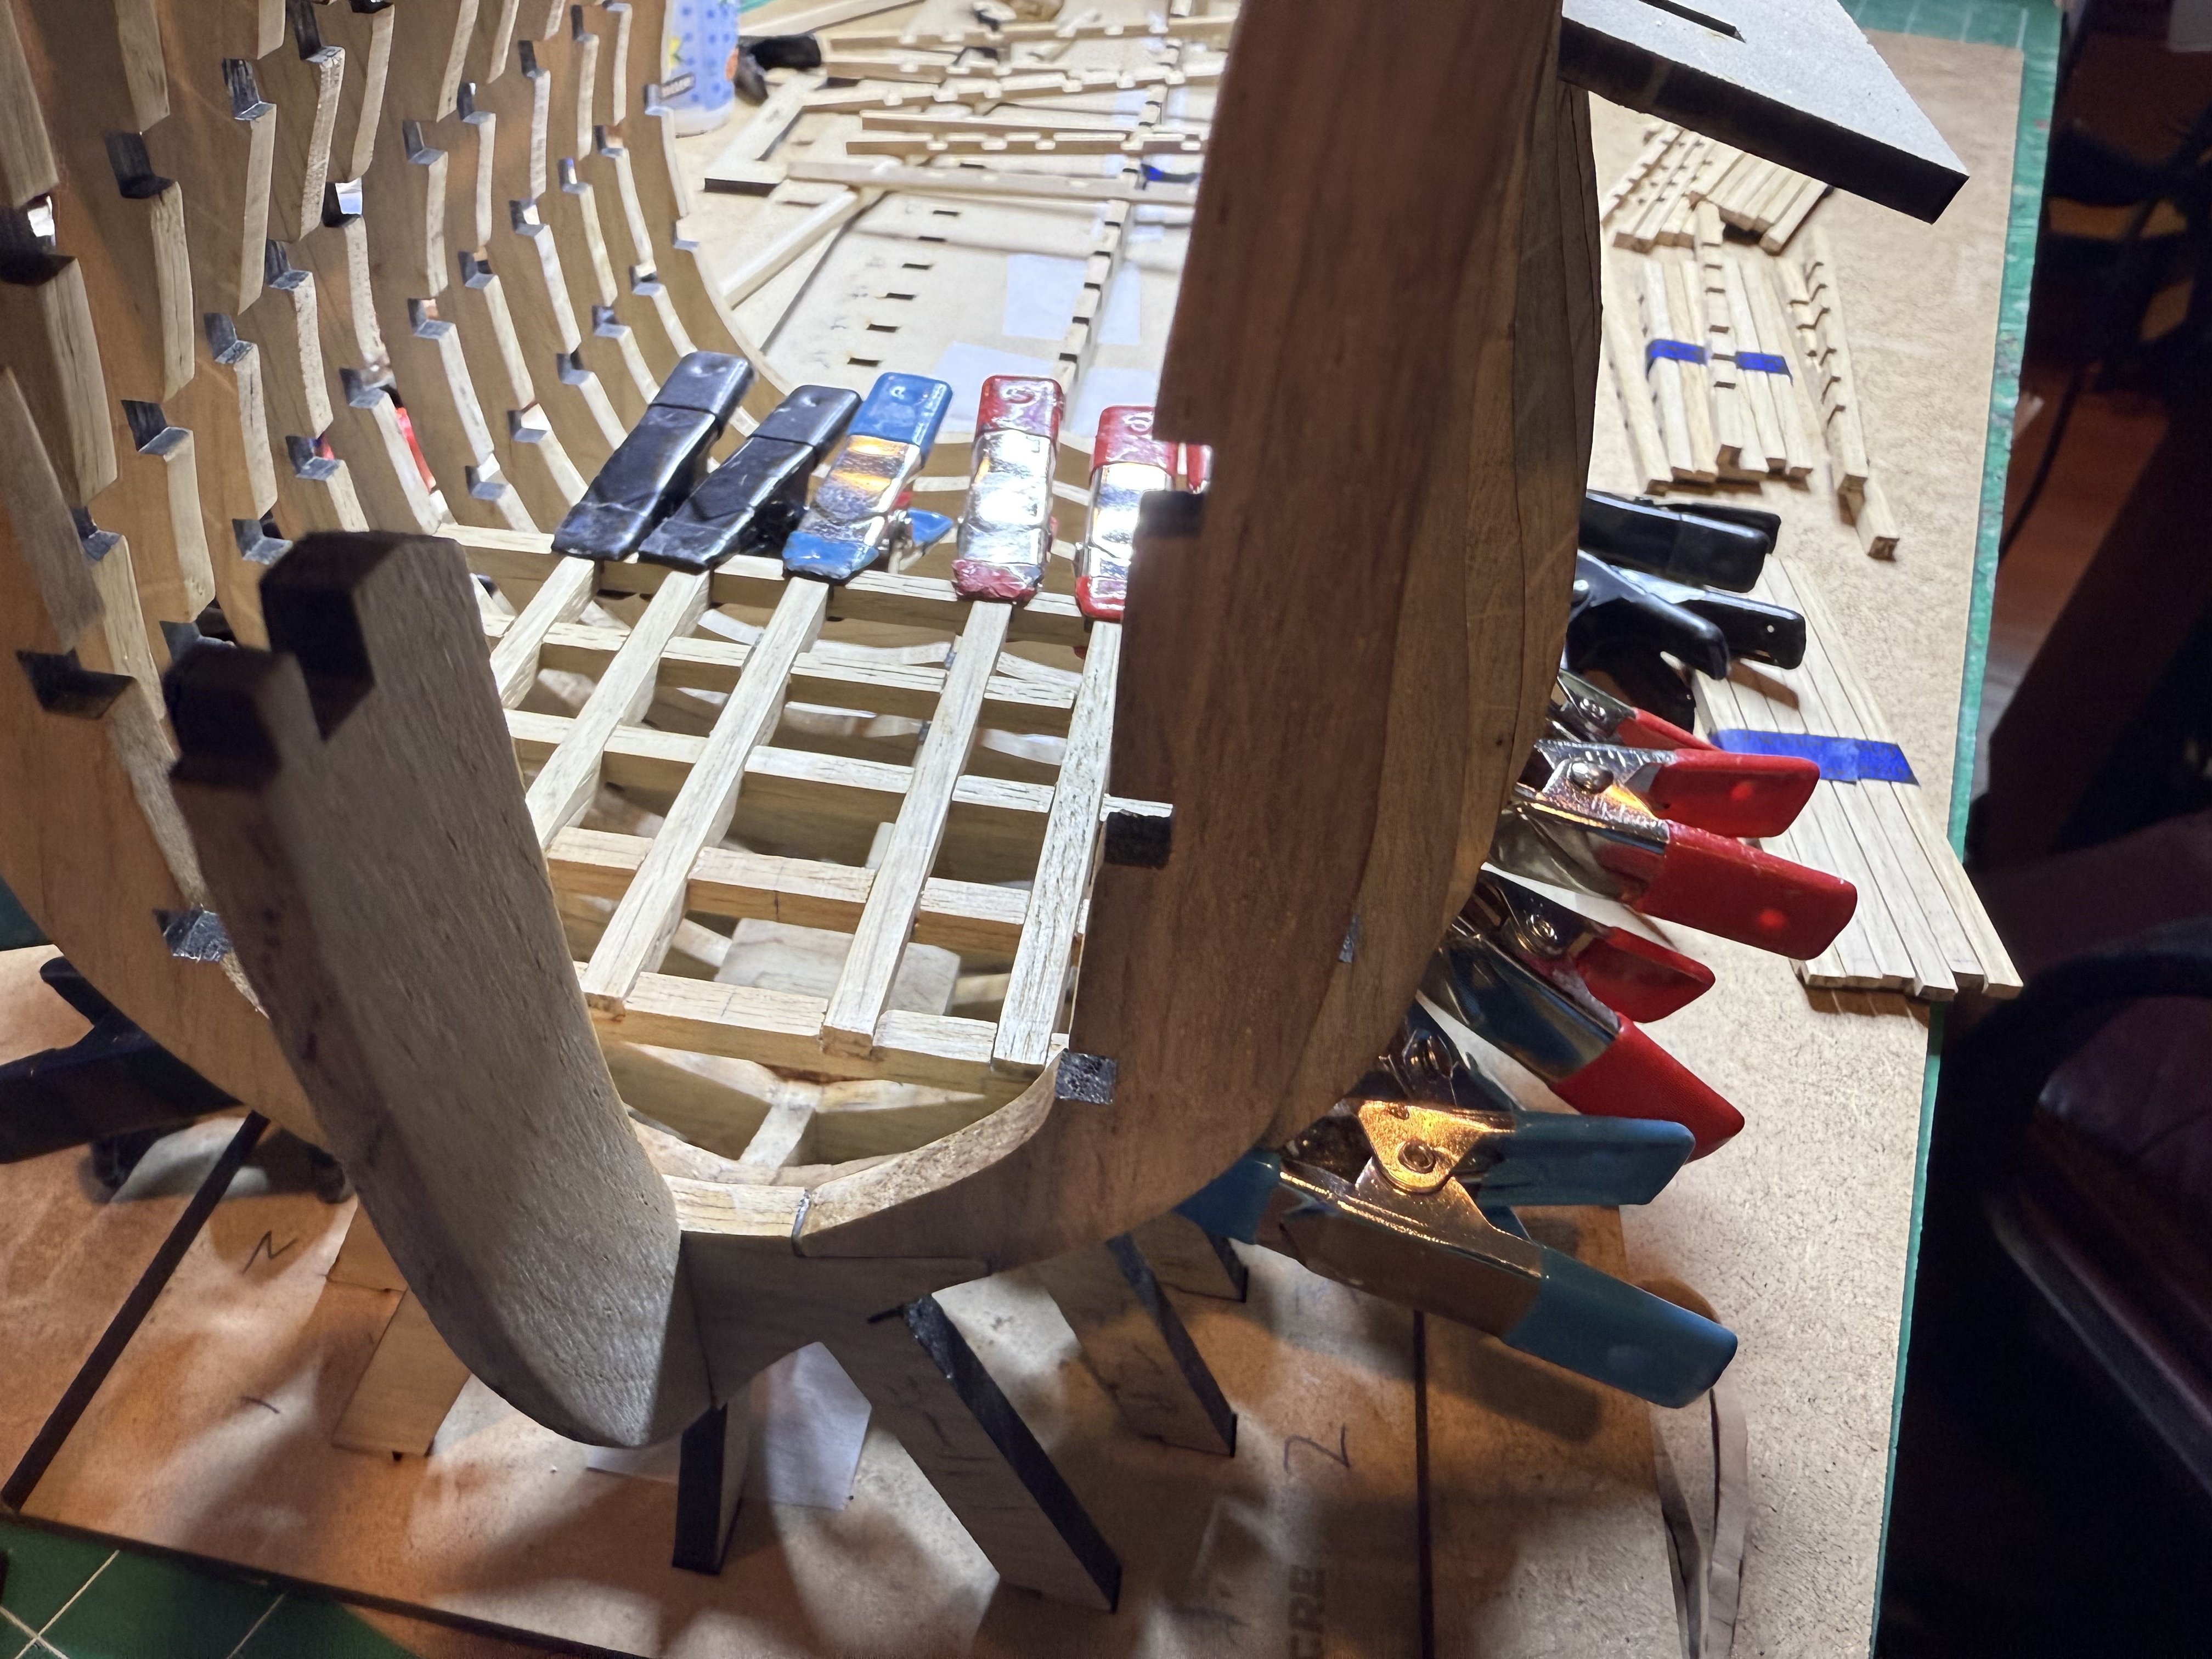
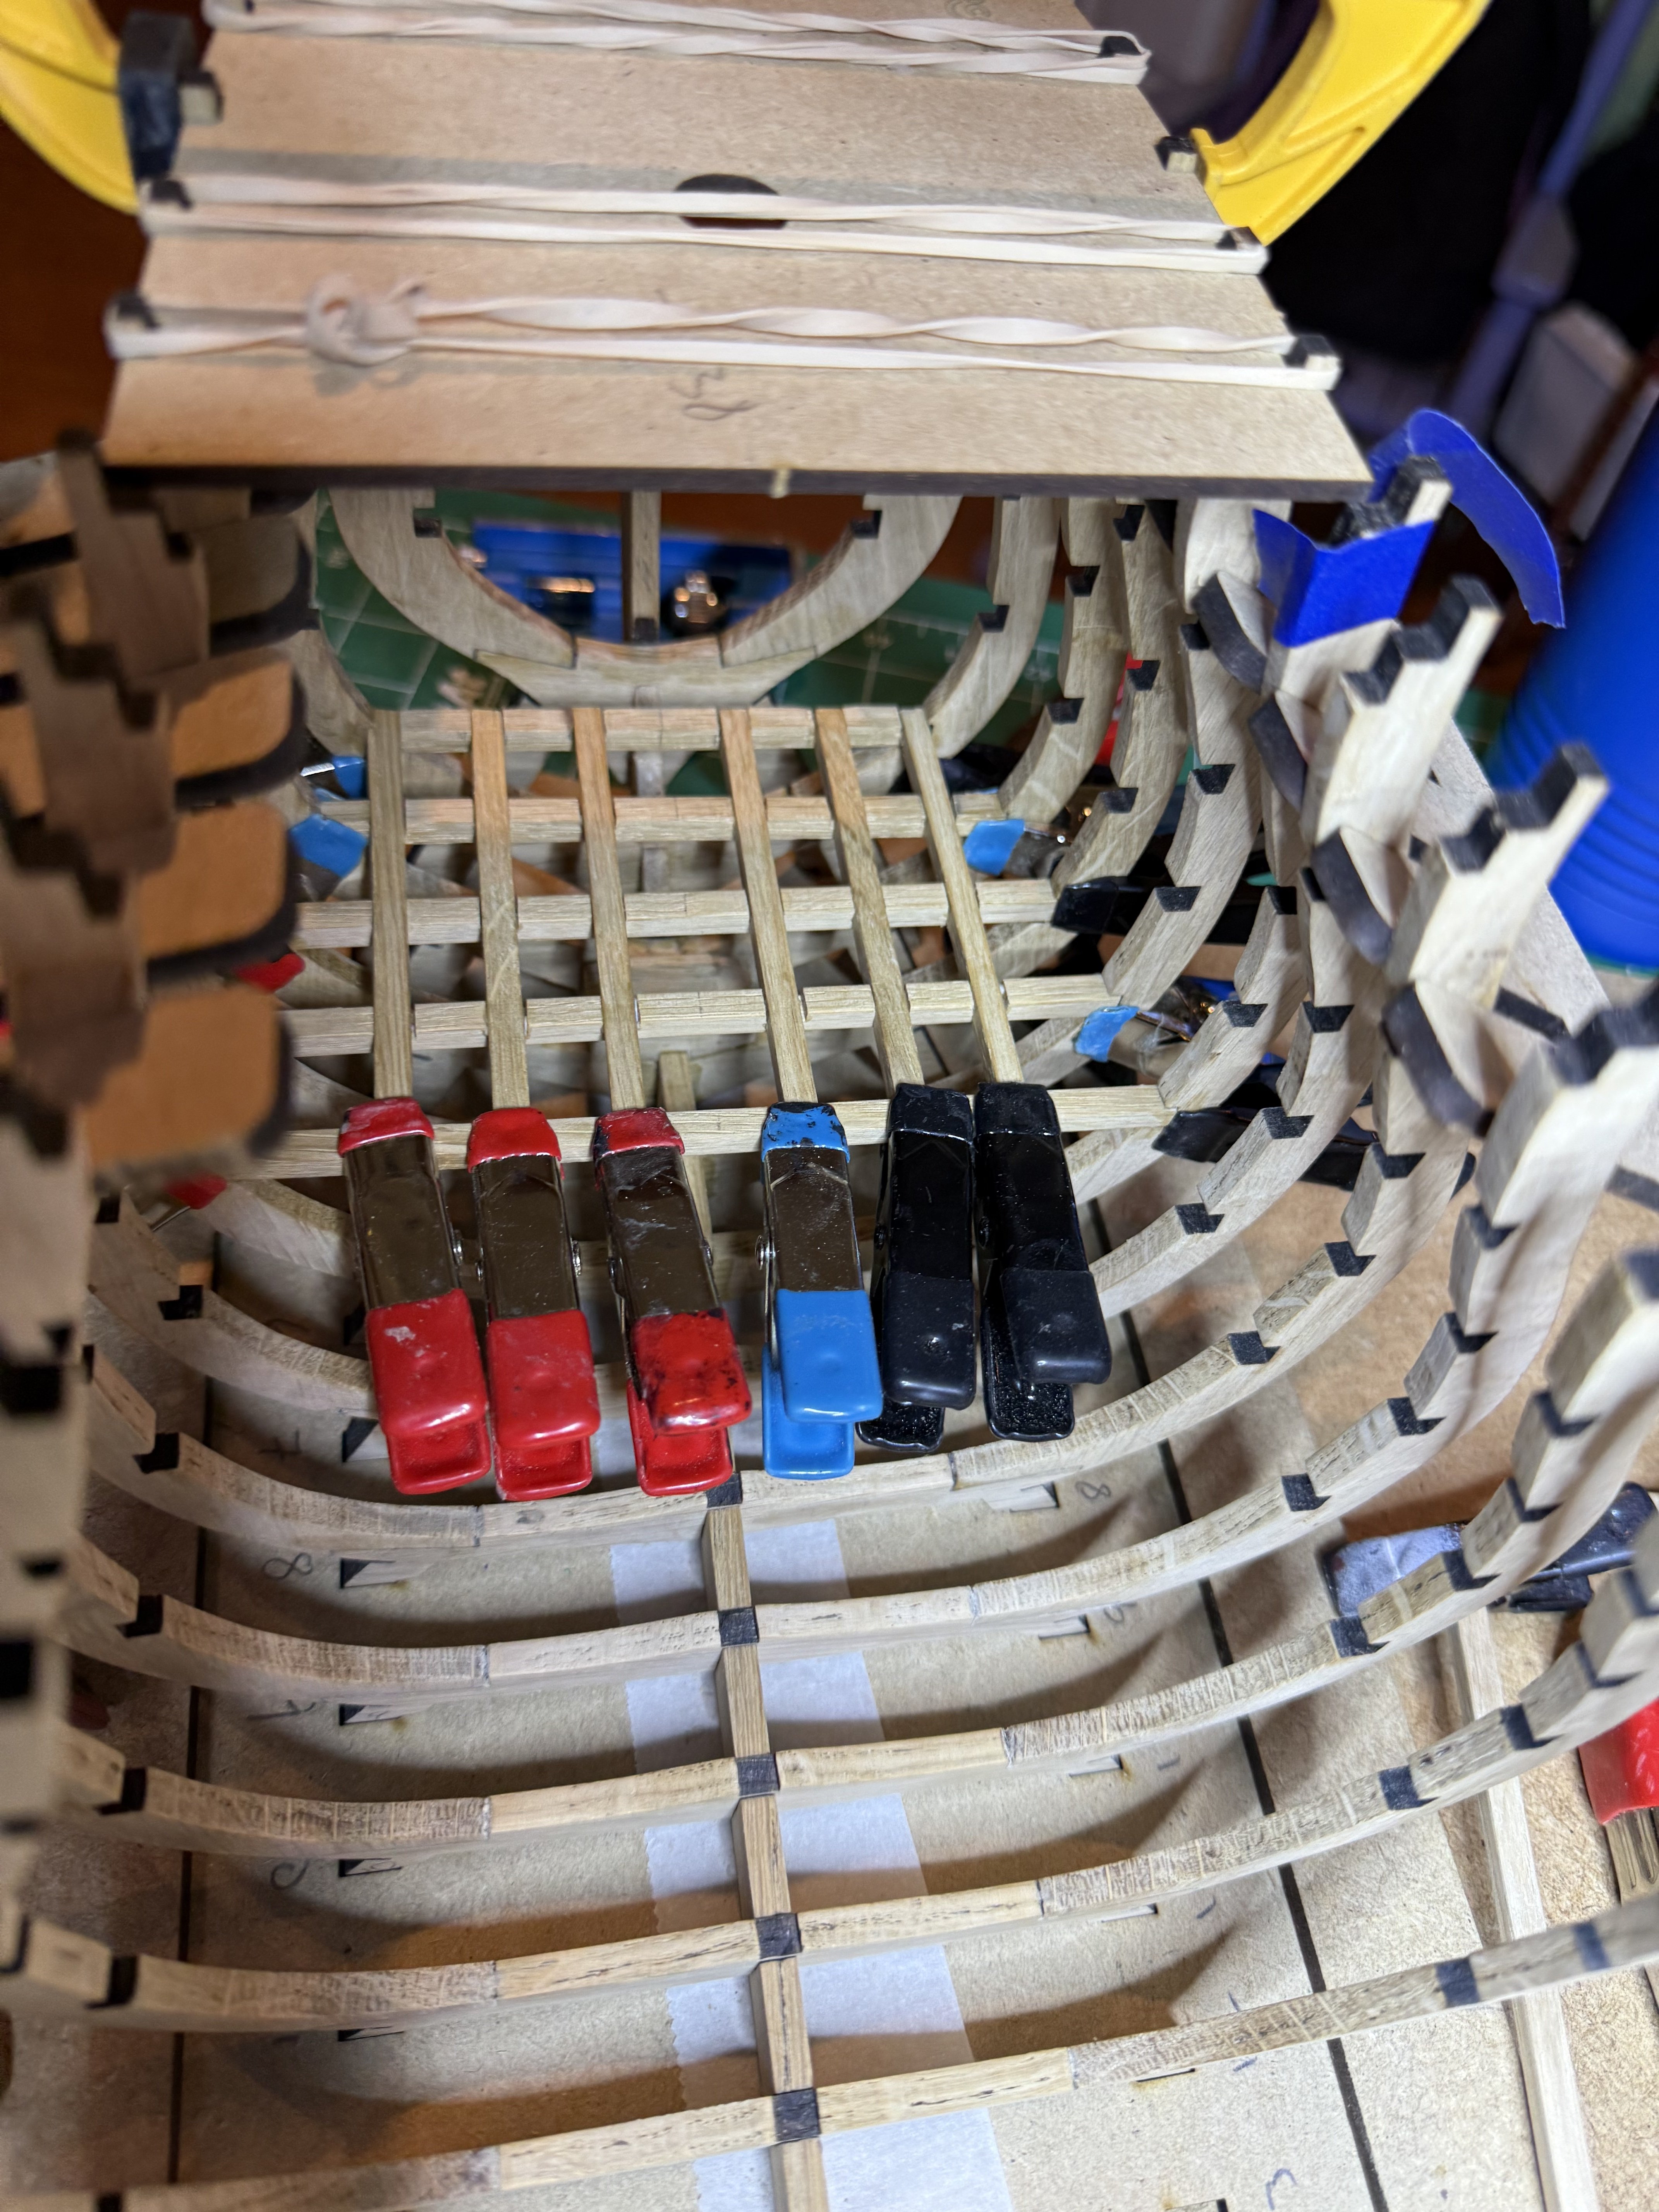
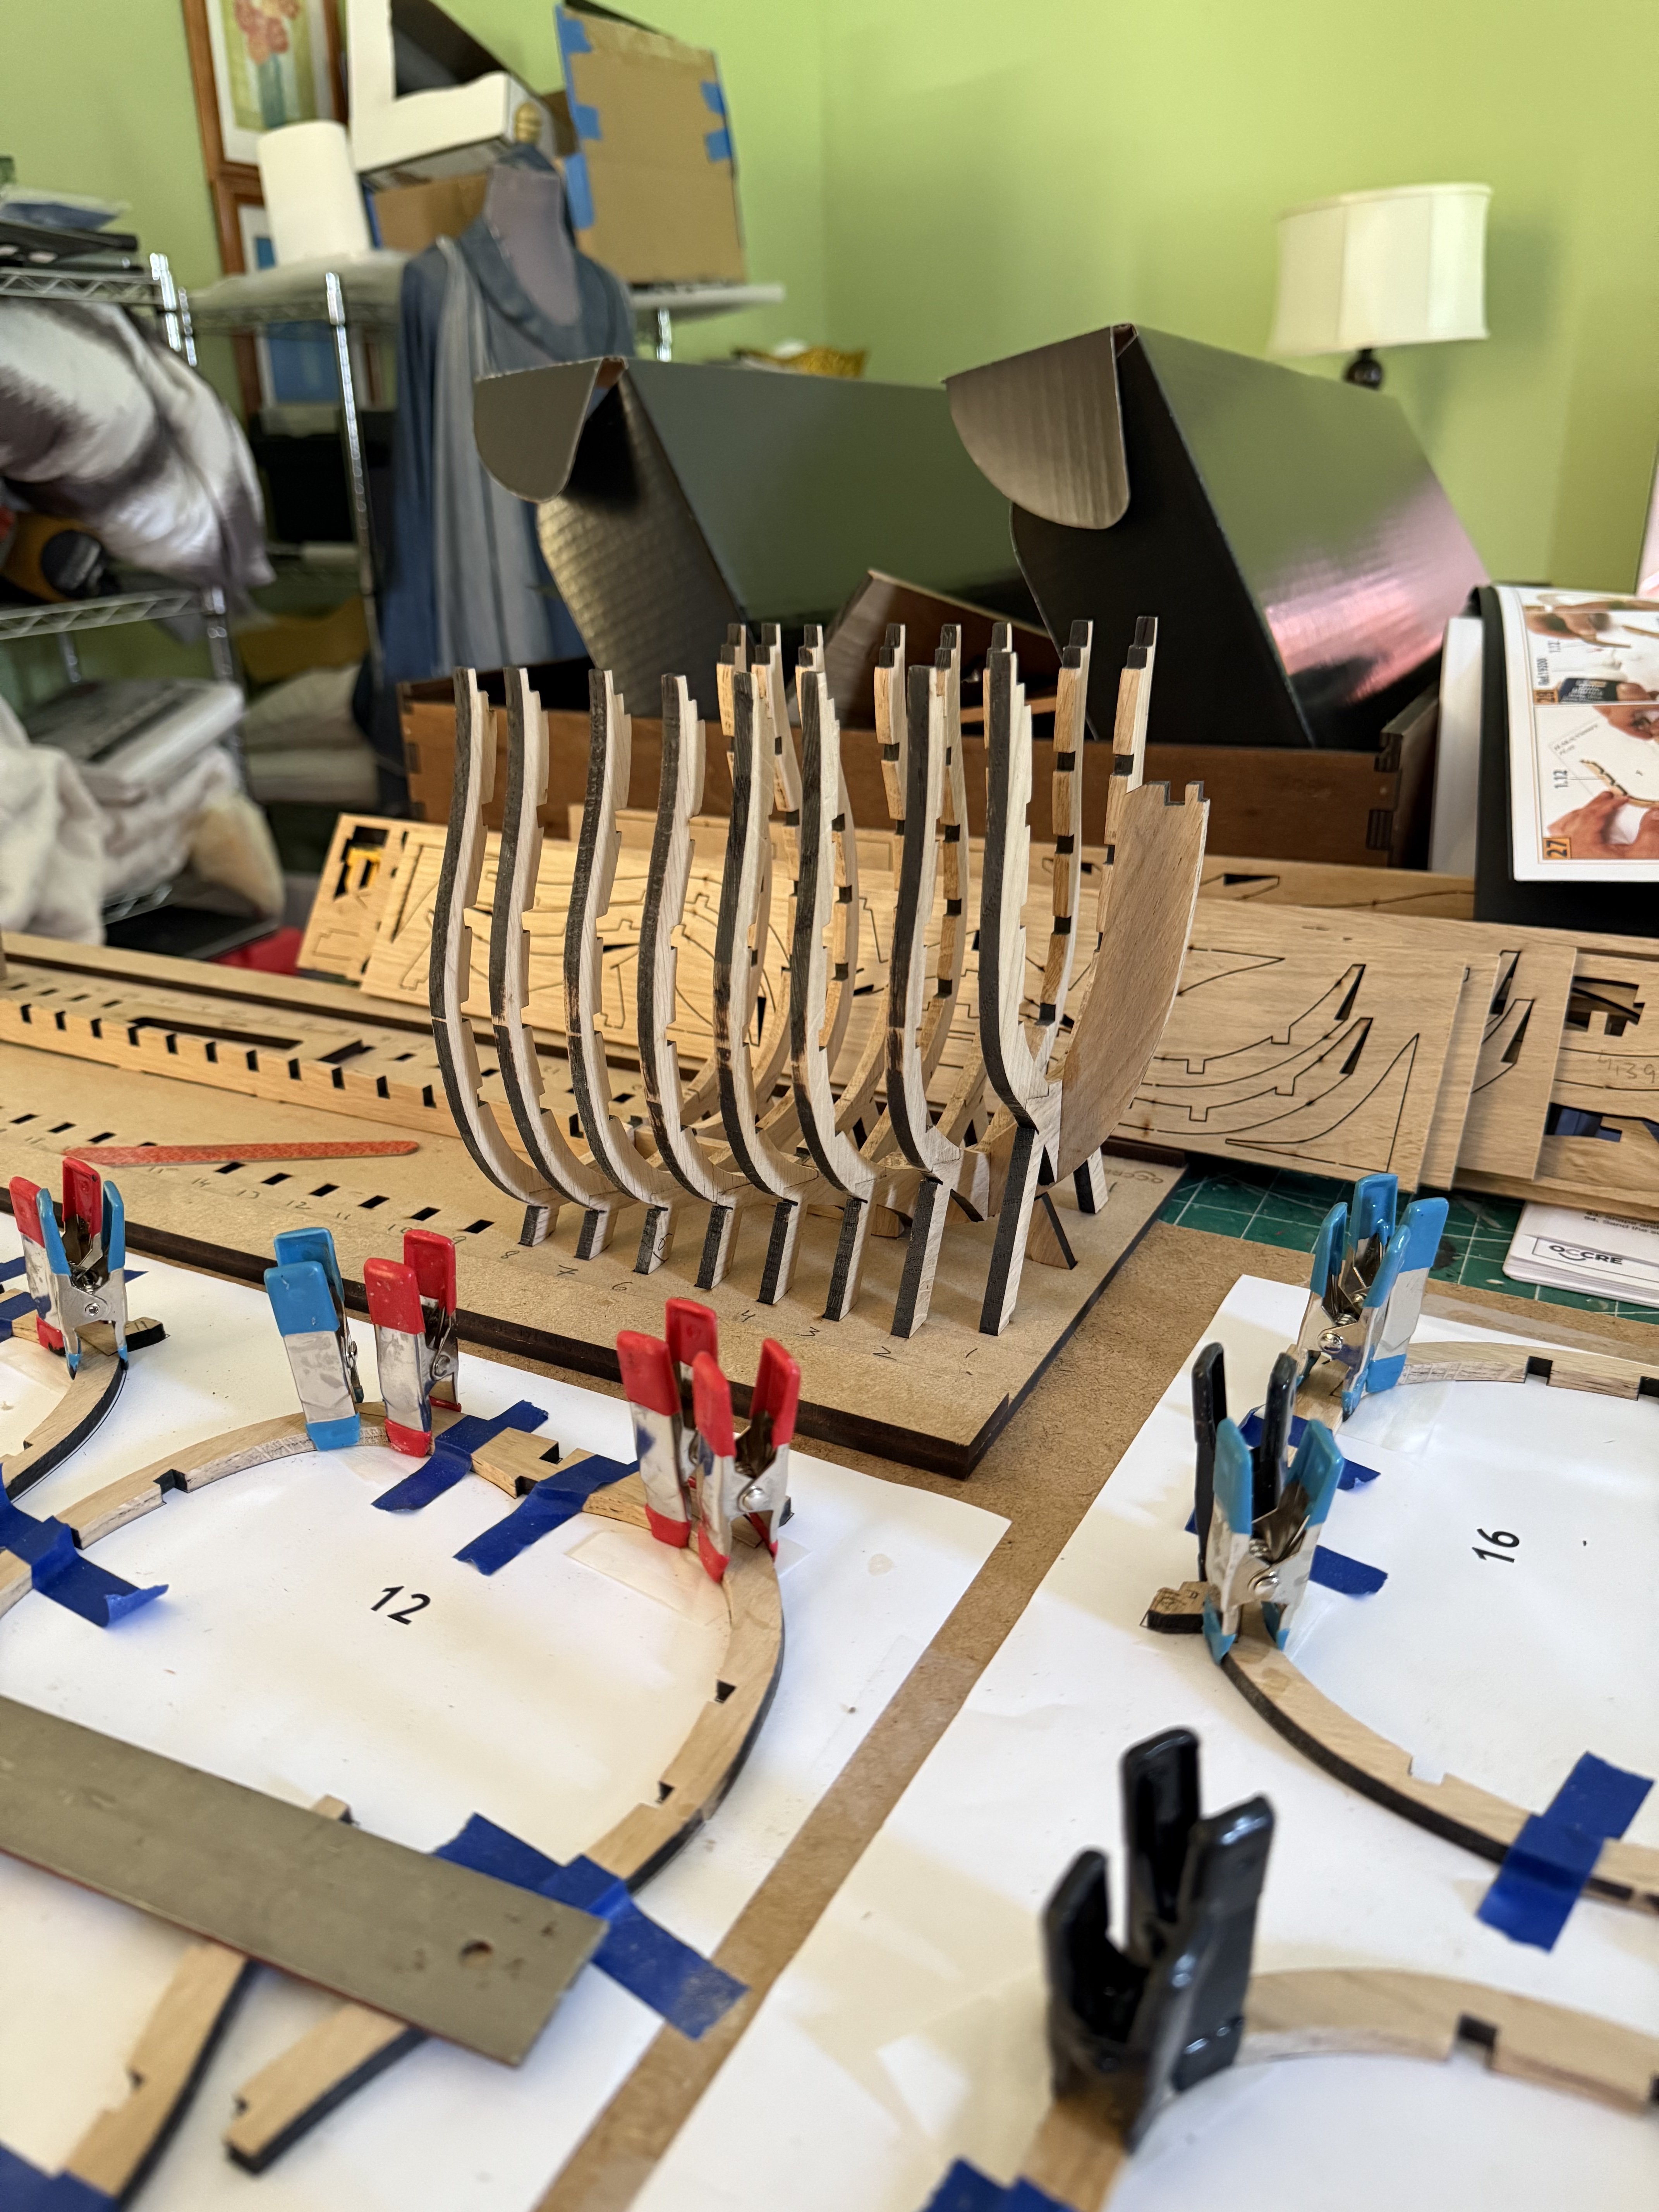
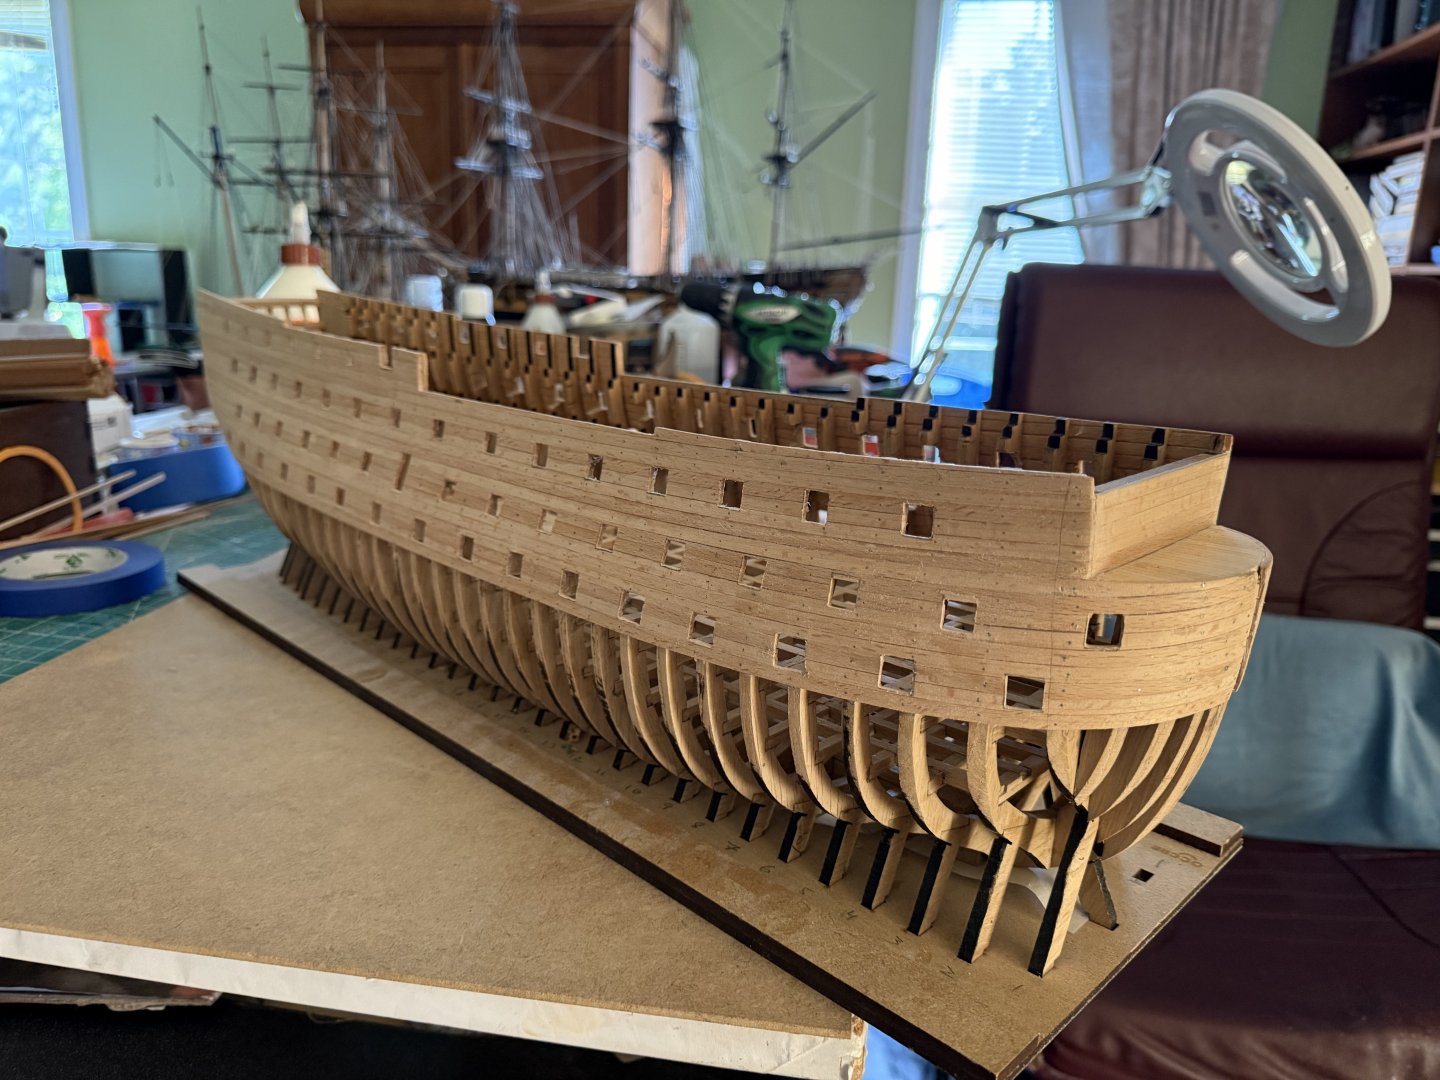
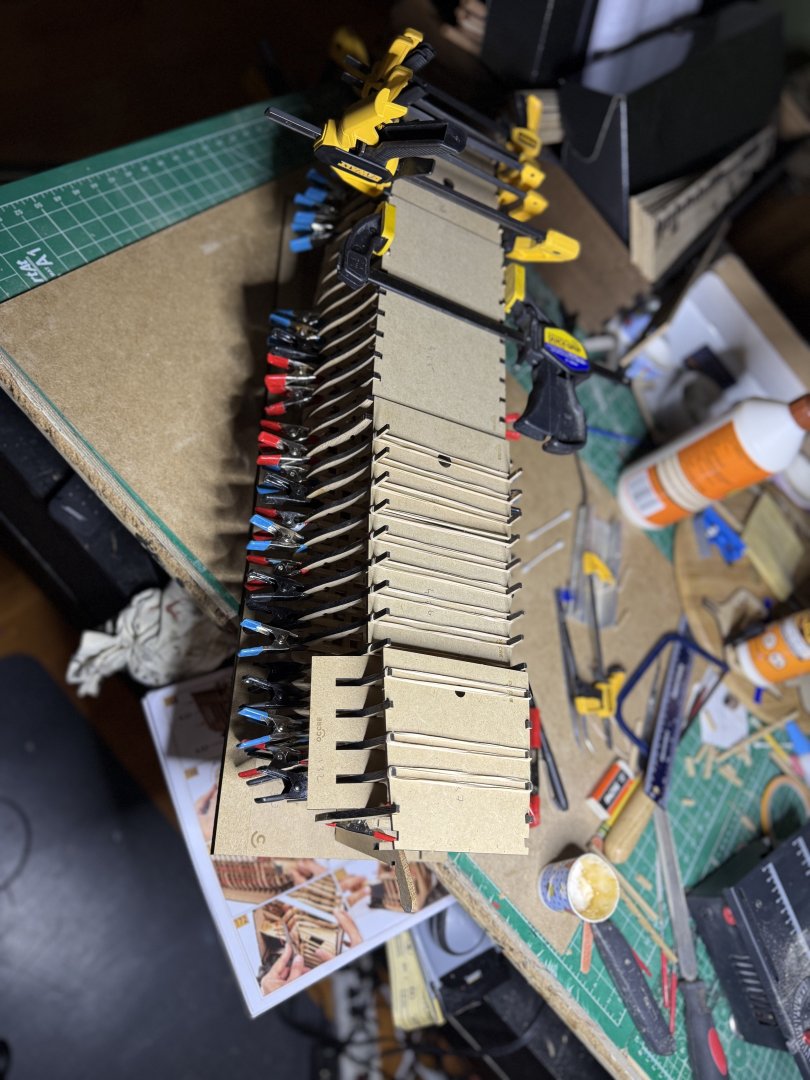
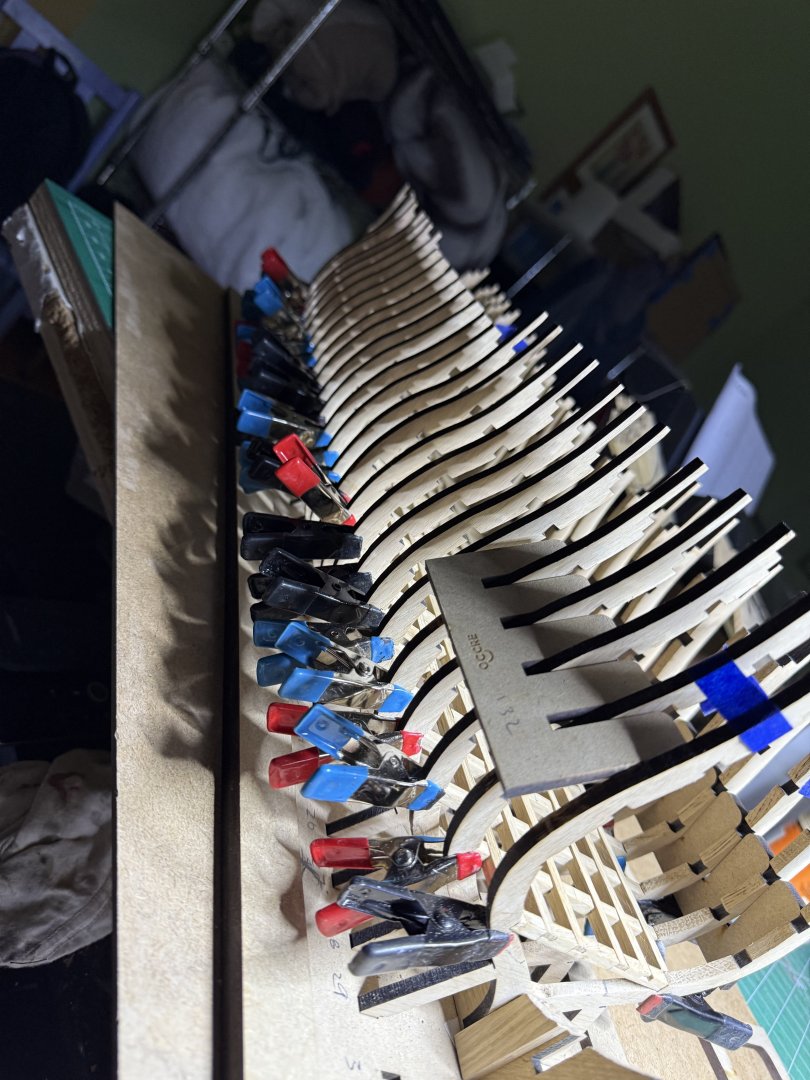
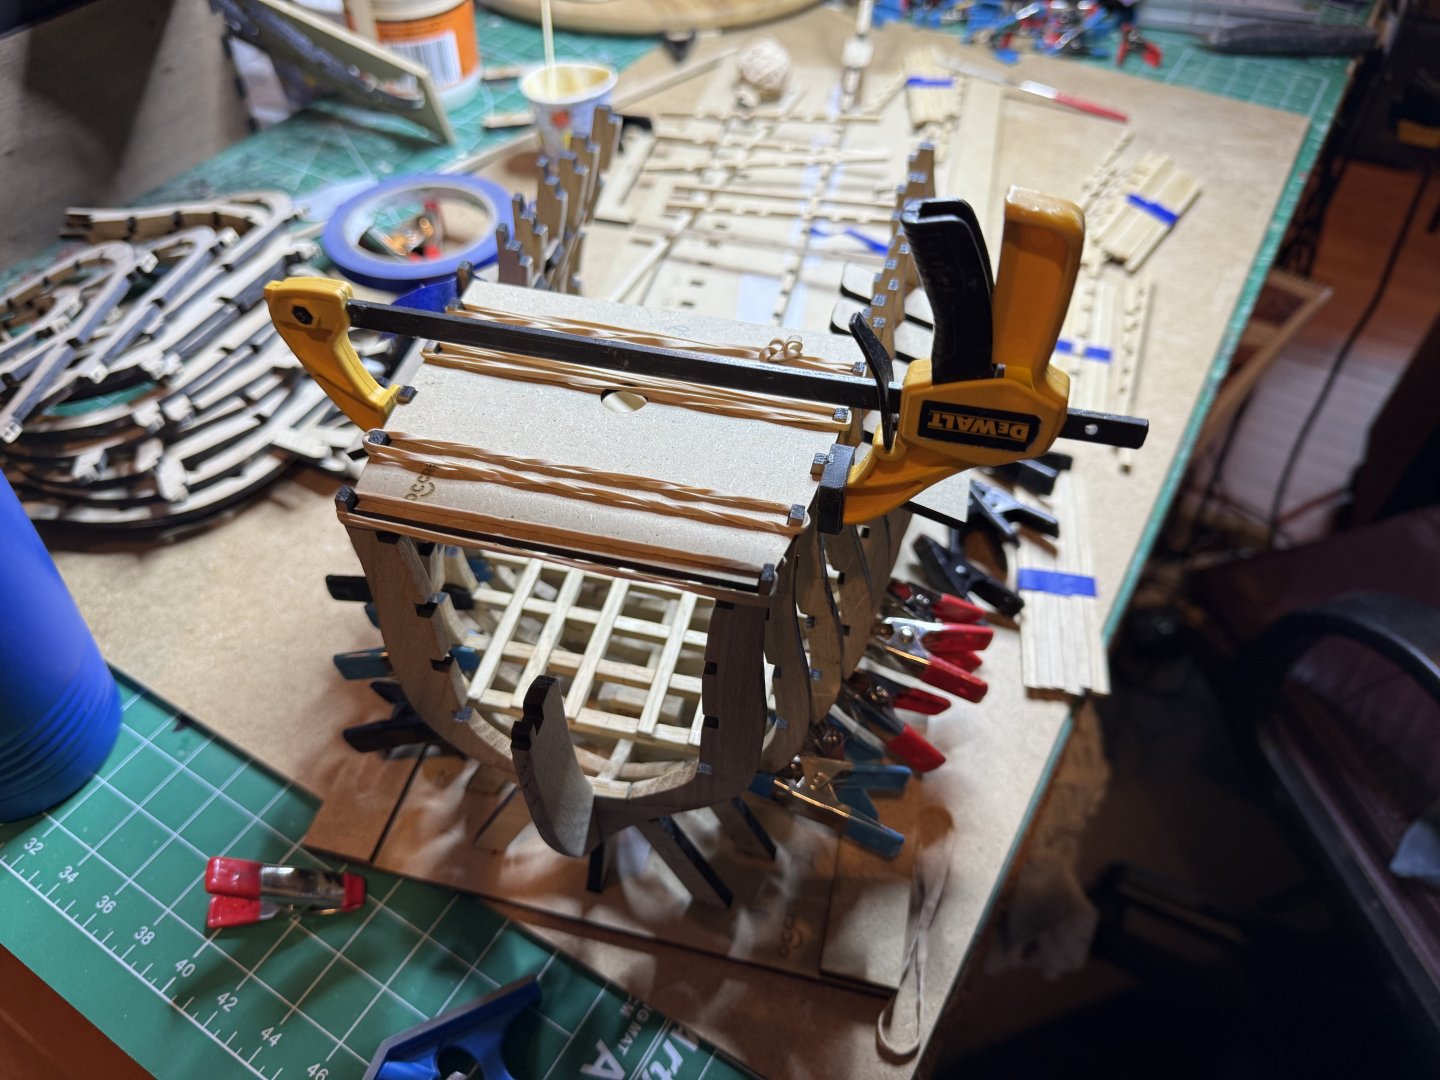
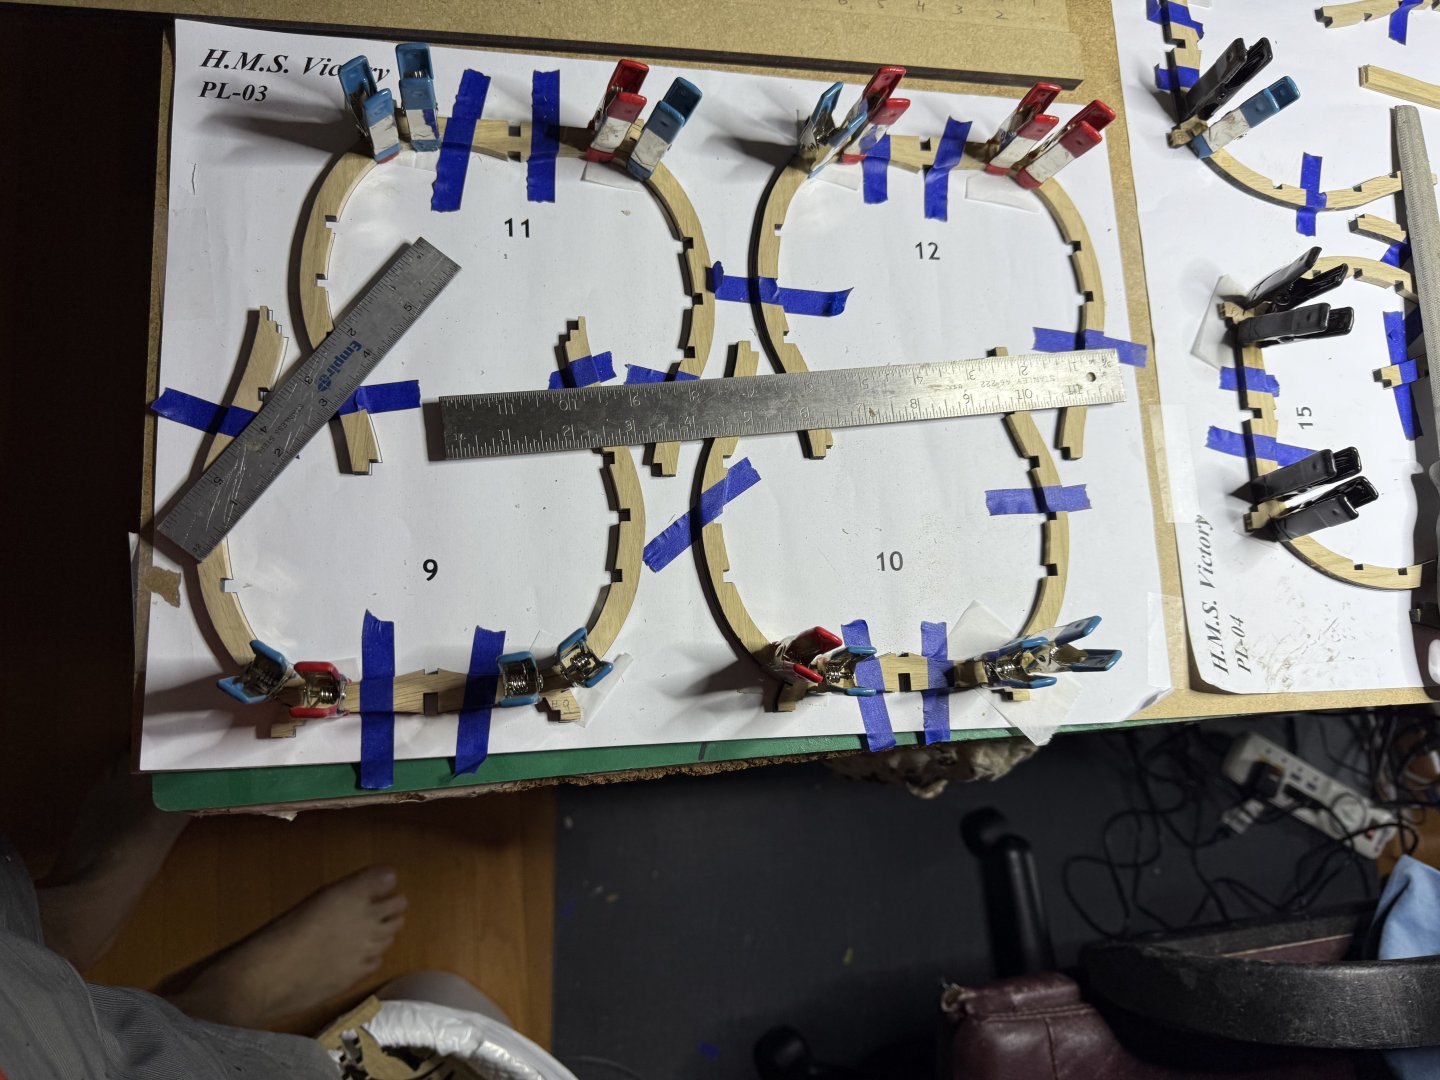
Finally finished dry fitting the lower deck. As I and others have said, you can never have to many clamps Next is the gluing of the frames to the false keel, mast base and lower deck beams. The upper deck spacer helps keep thing in line


-
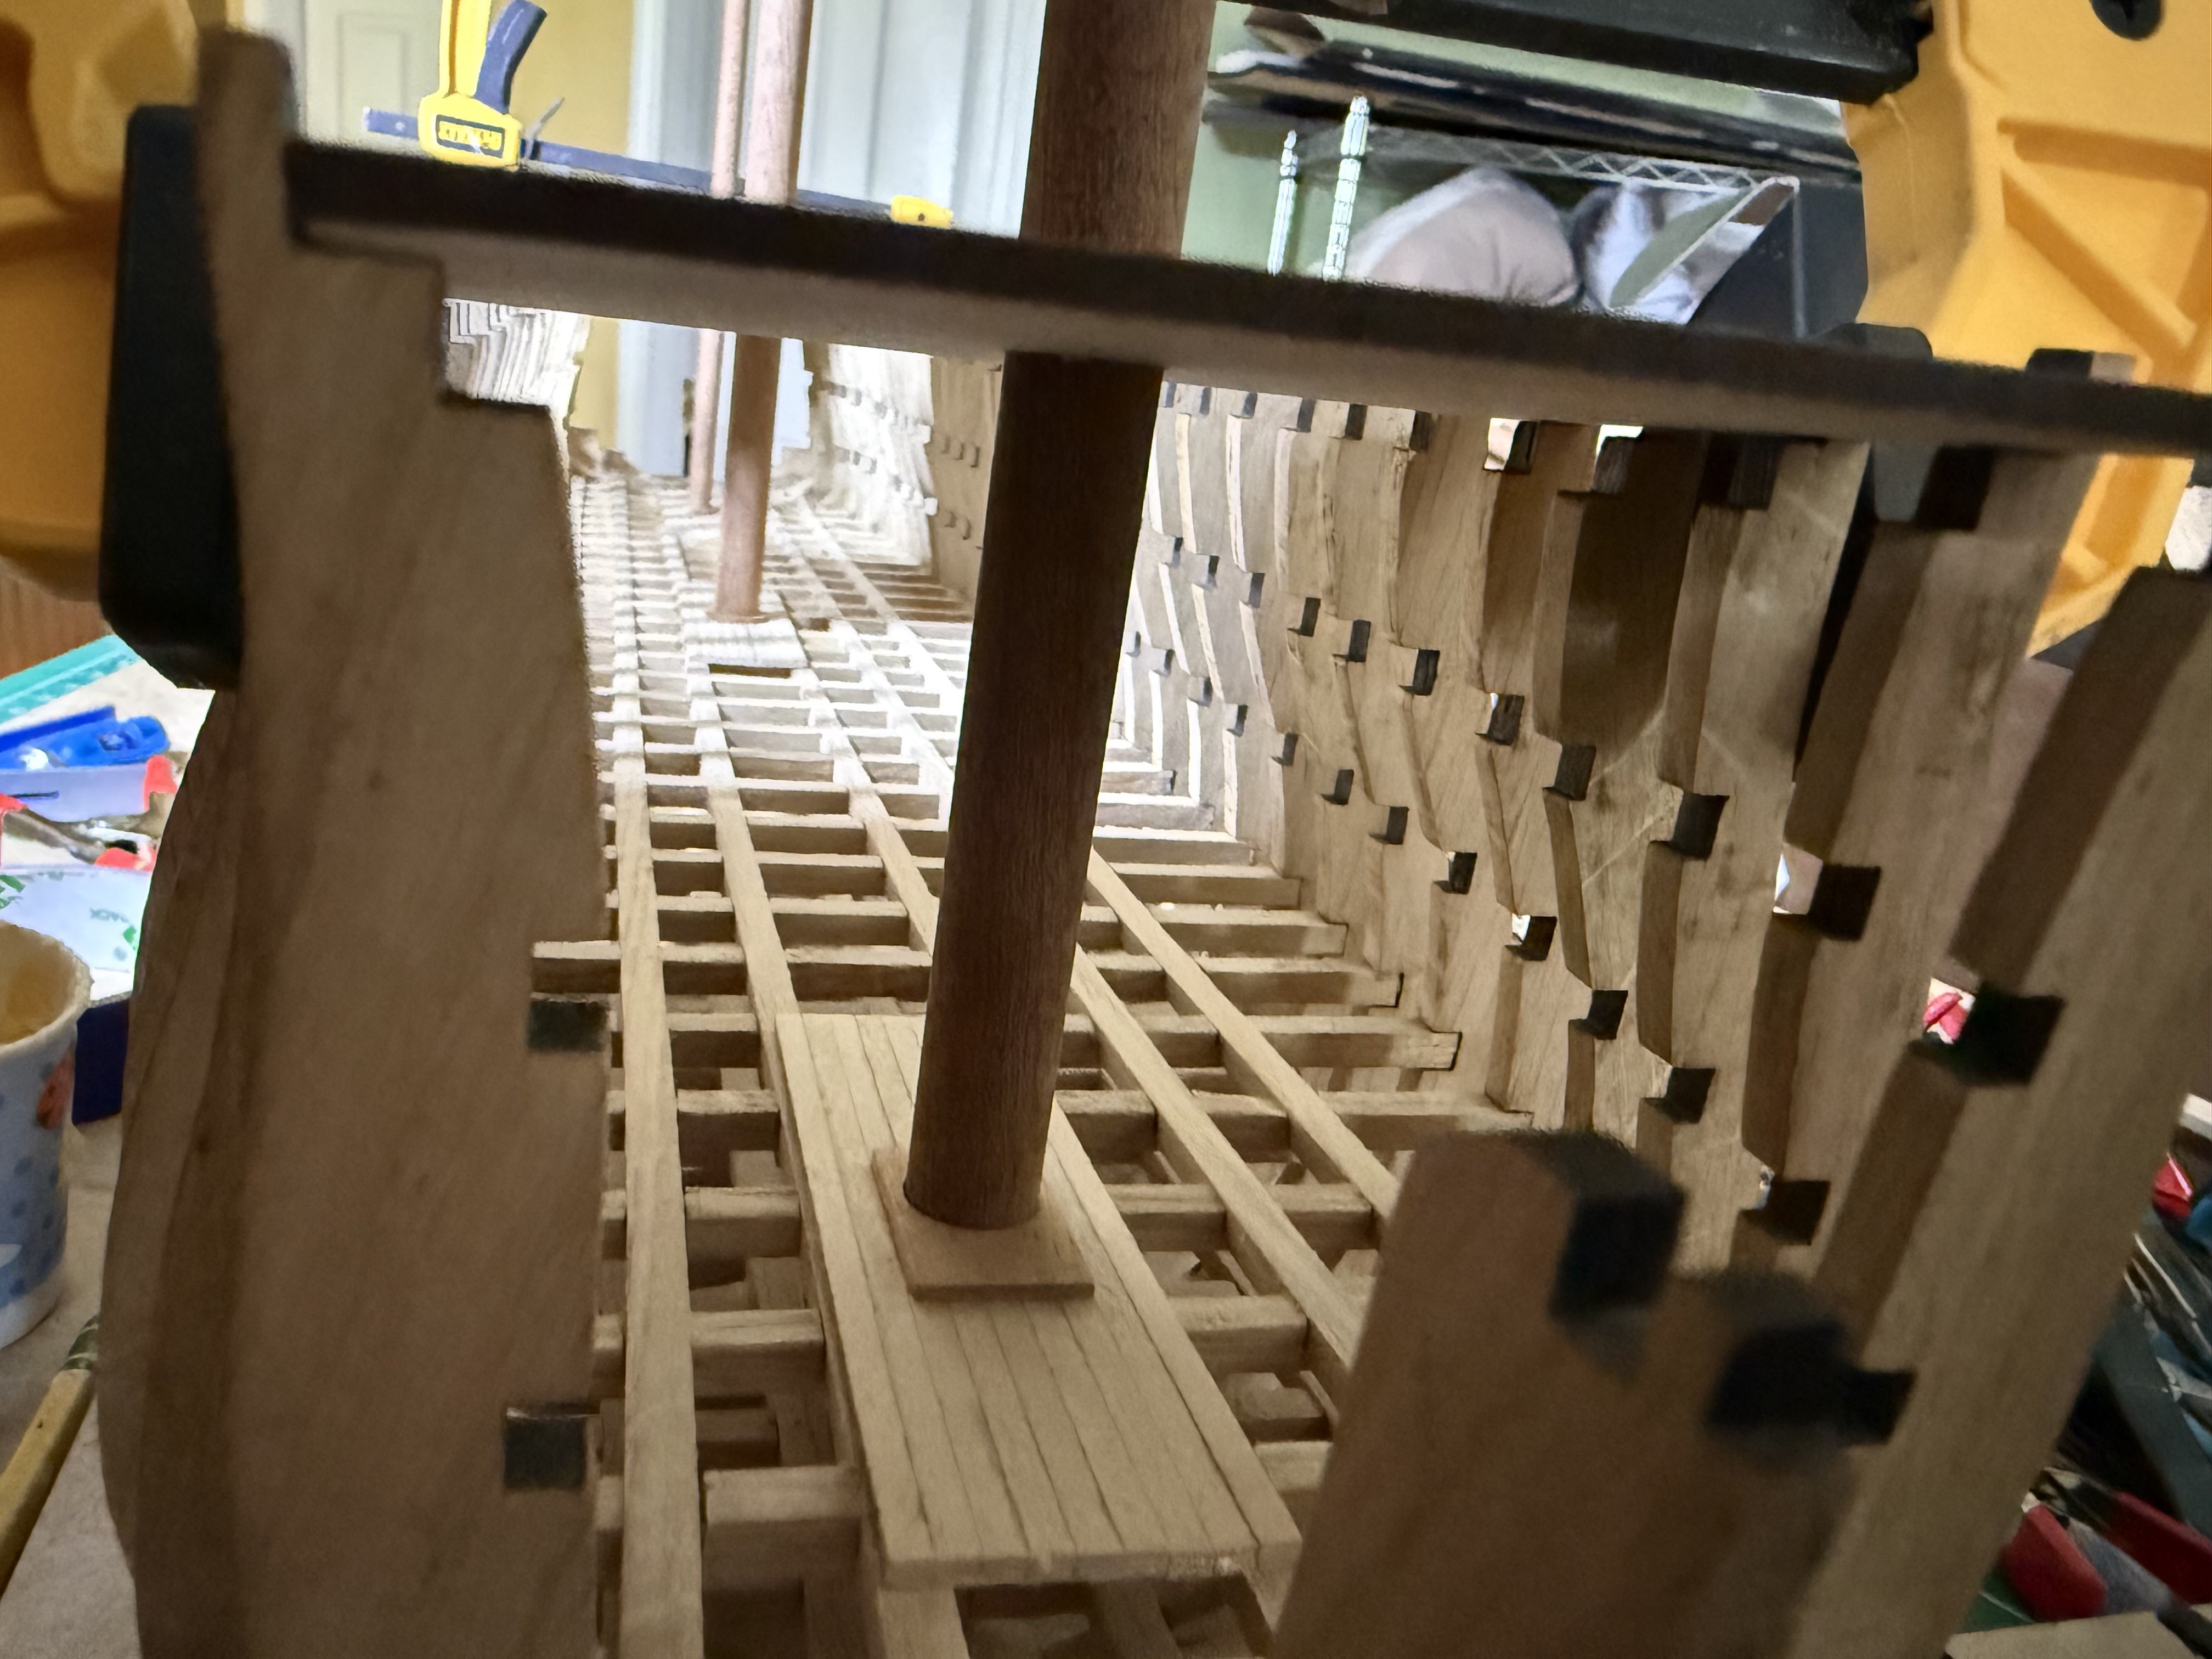
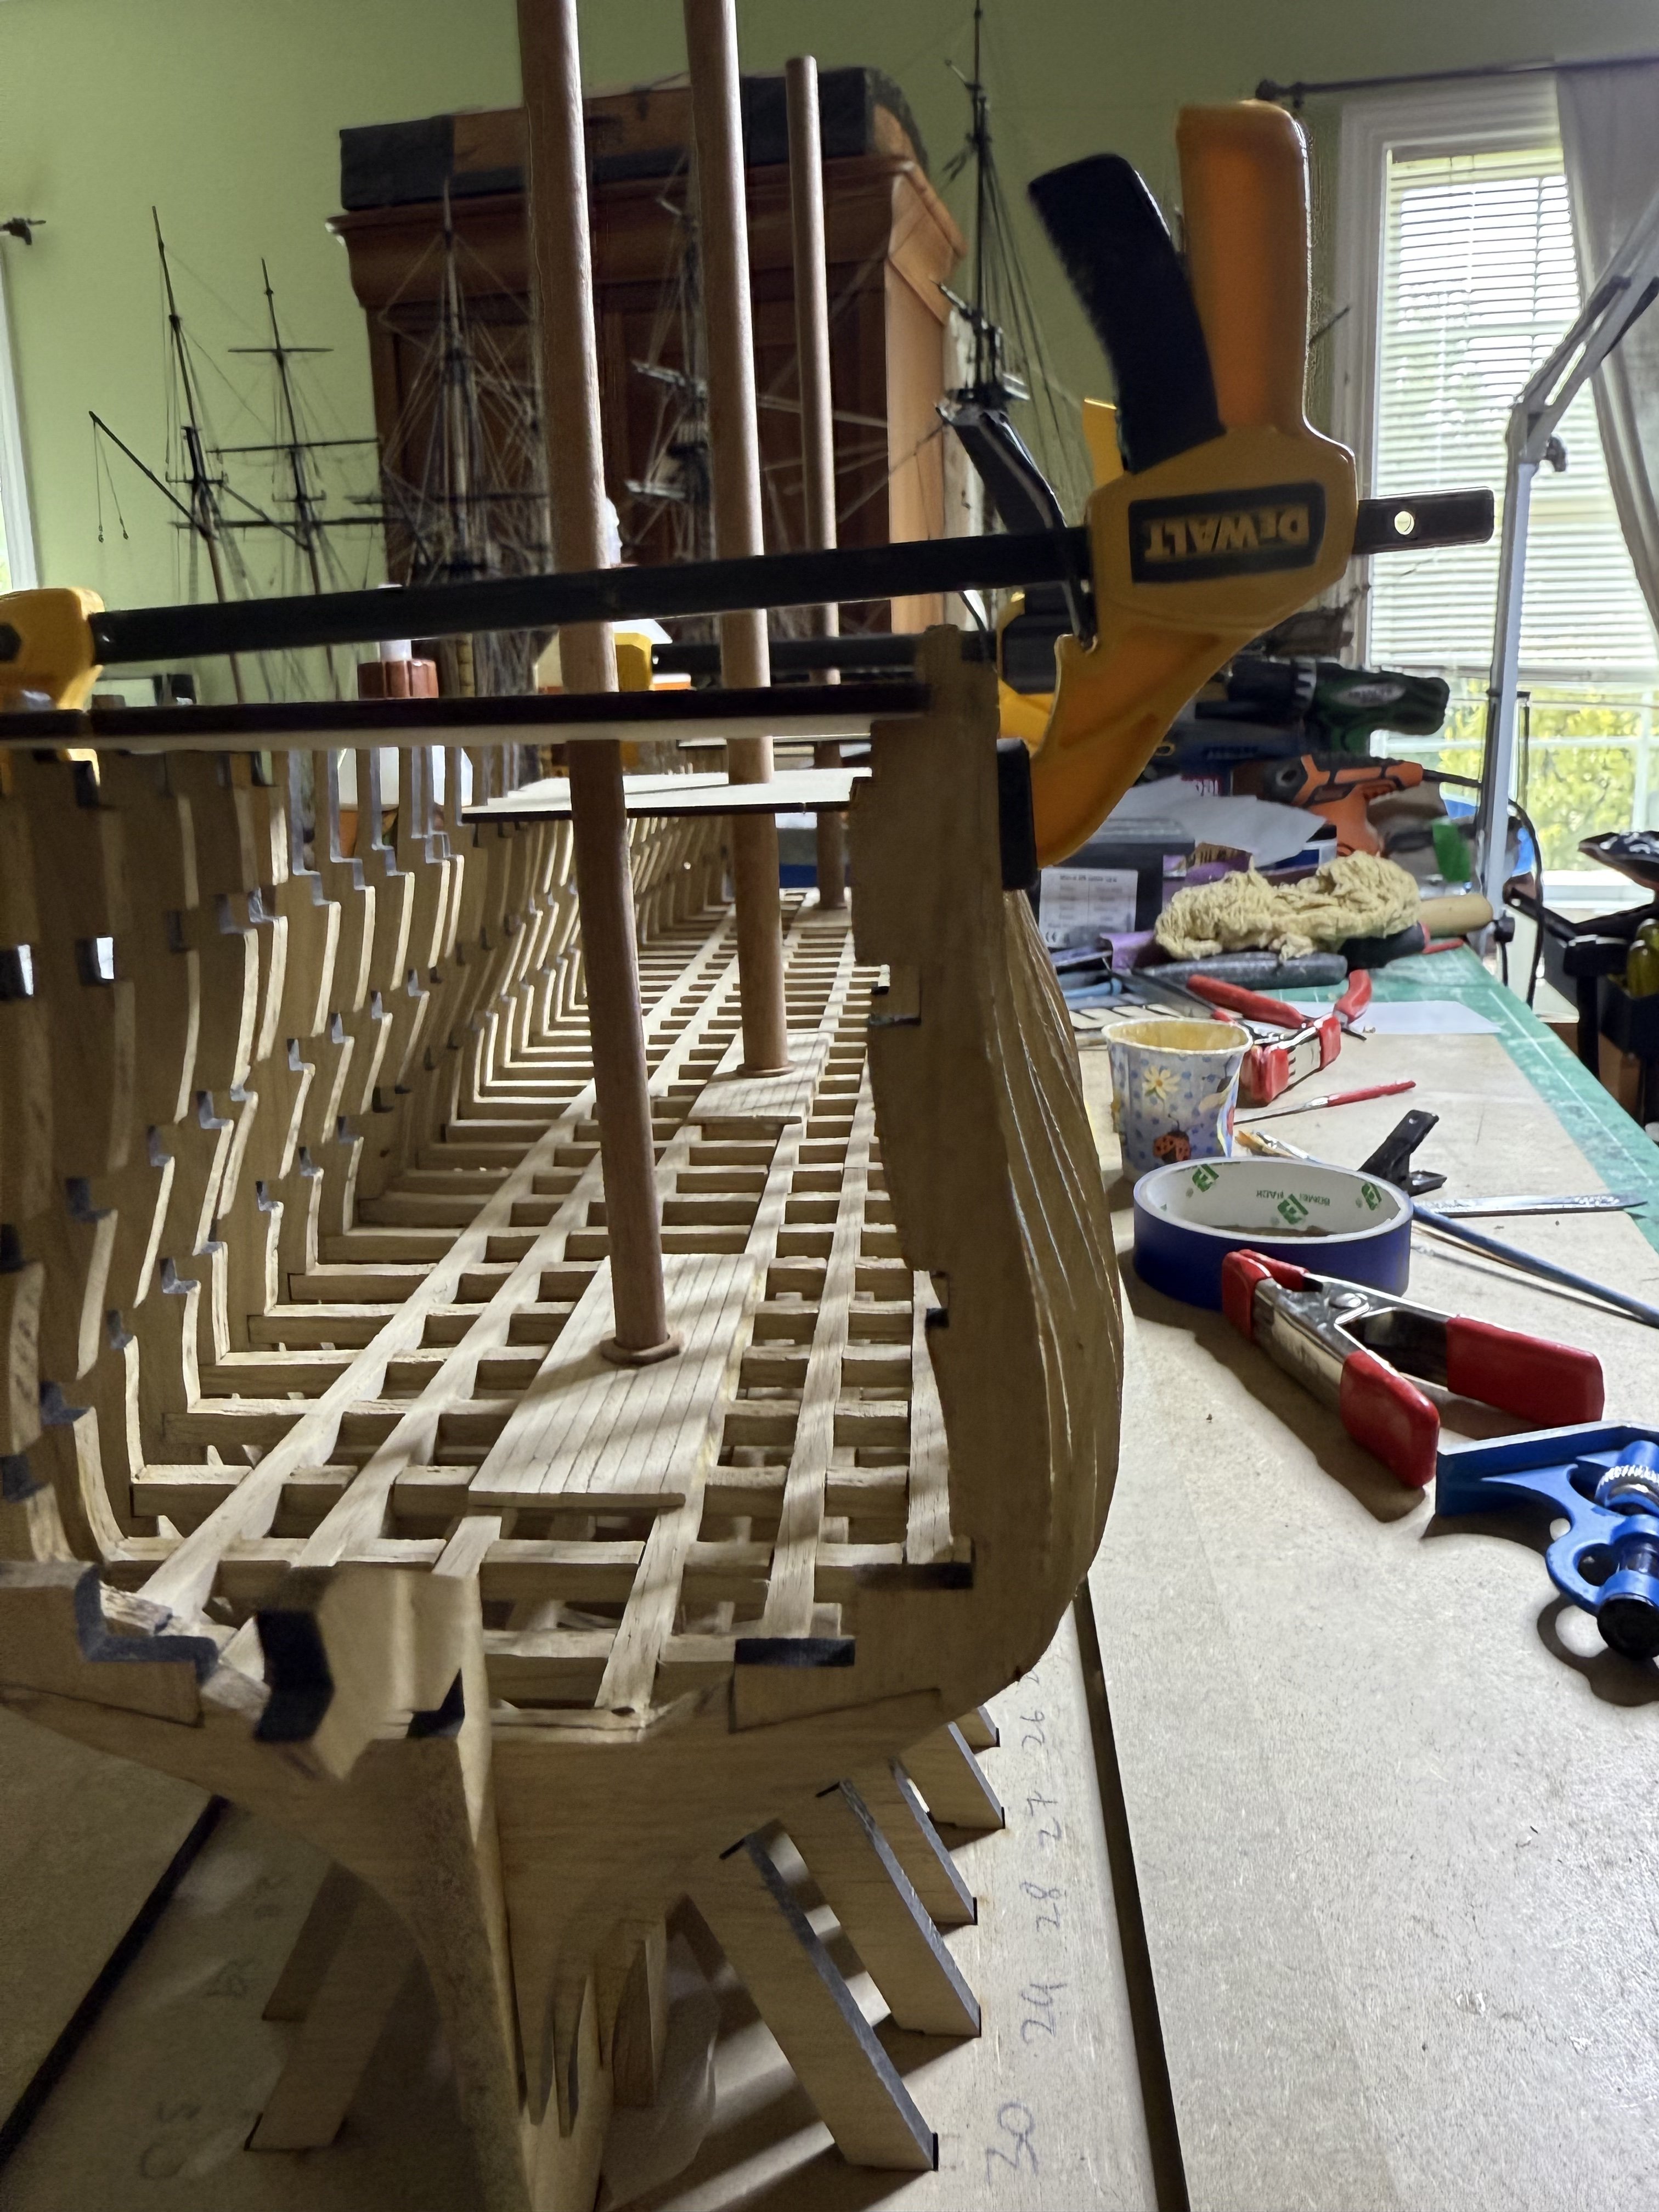
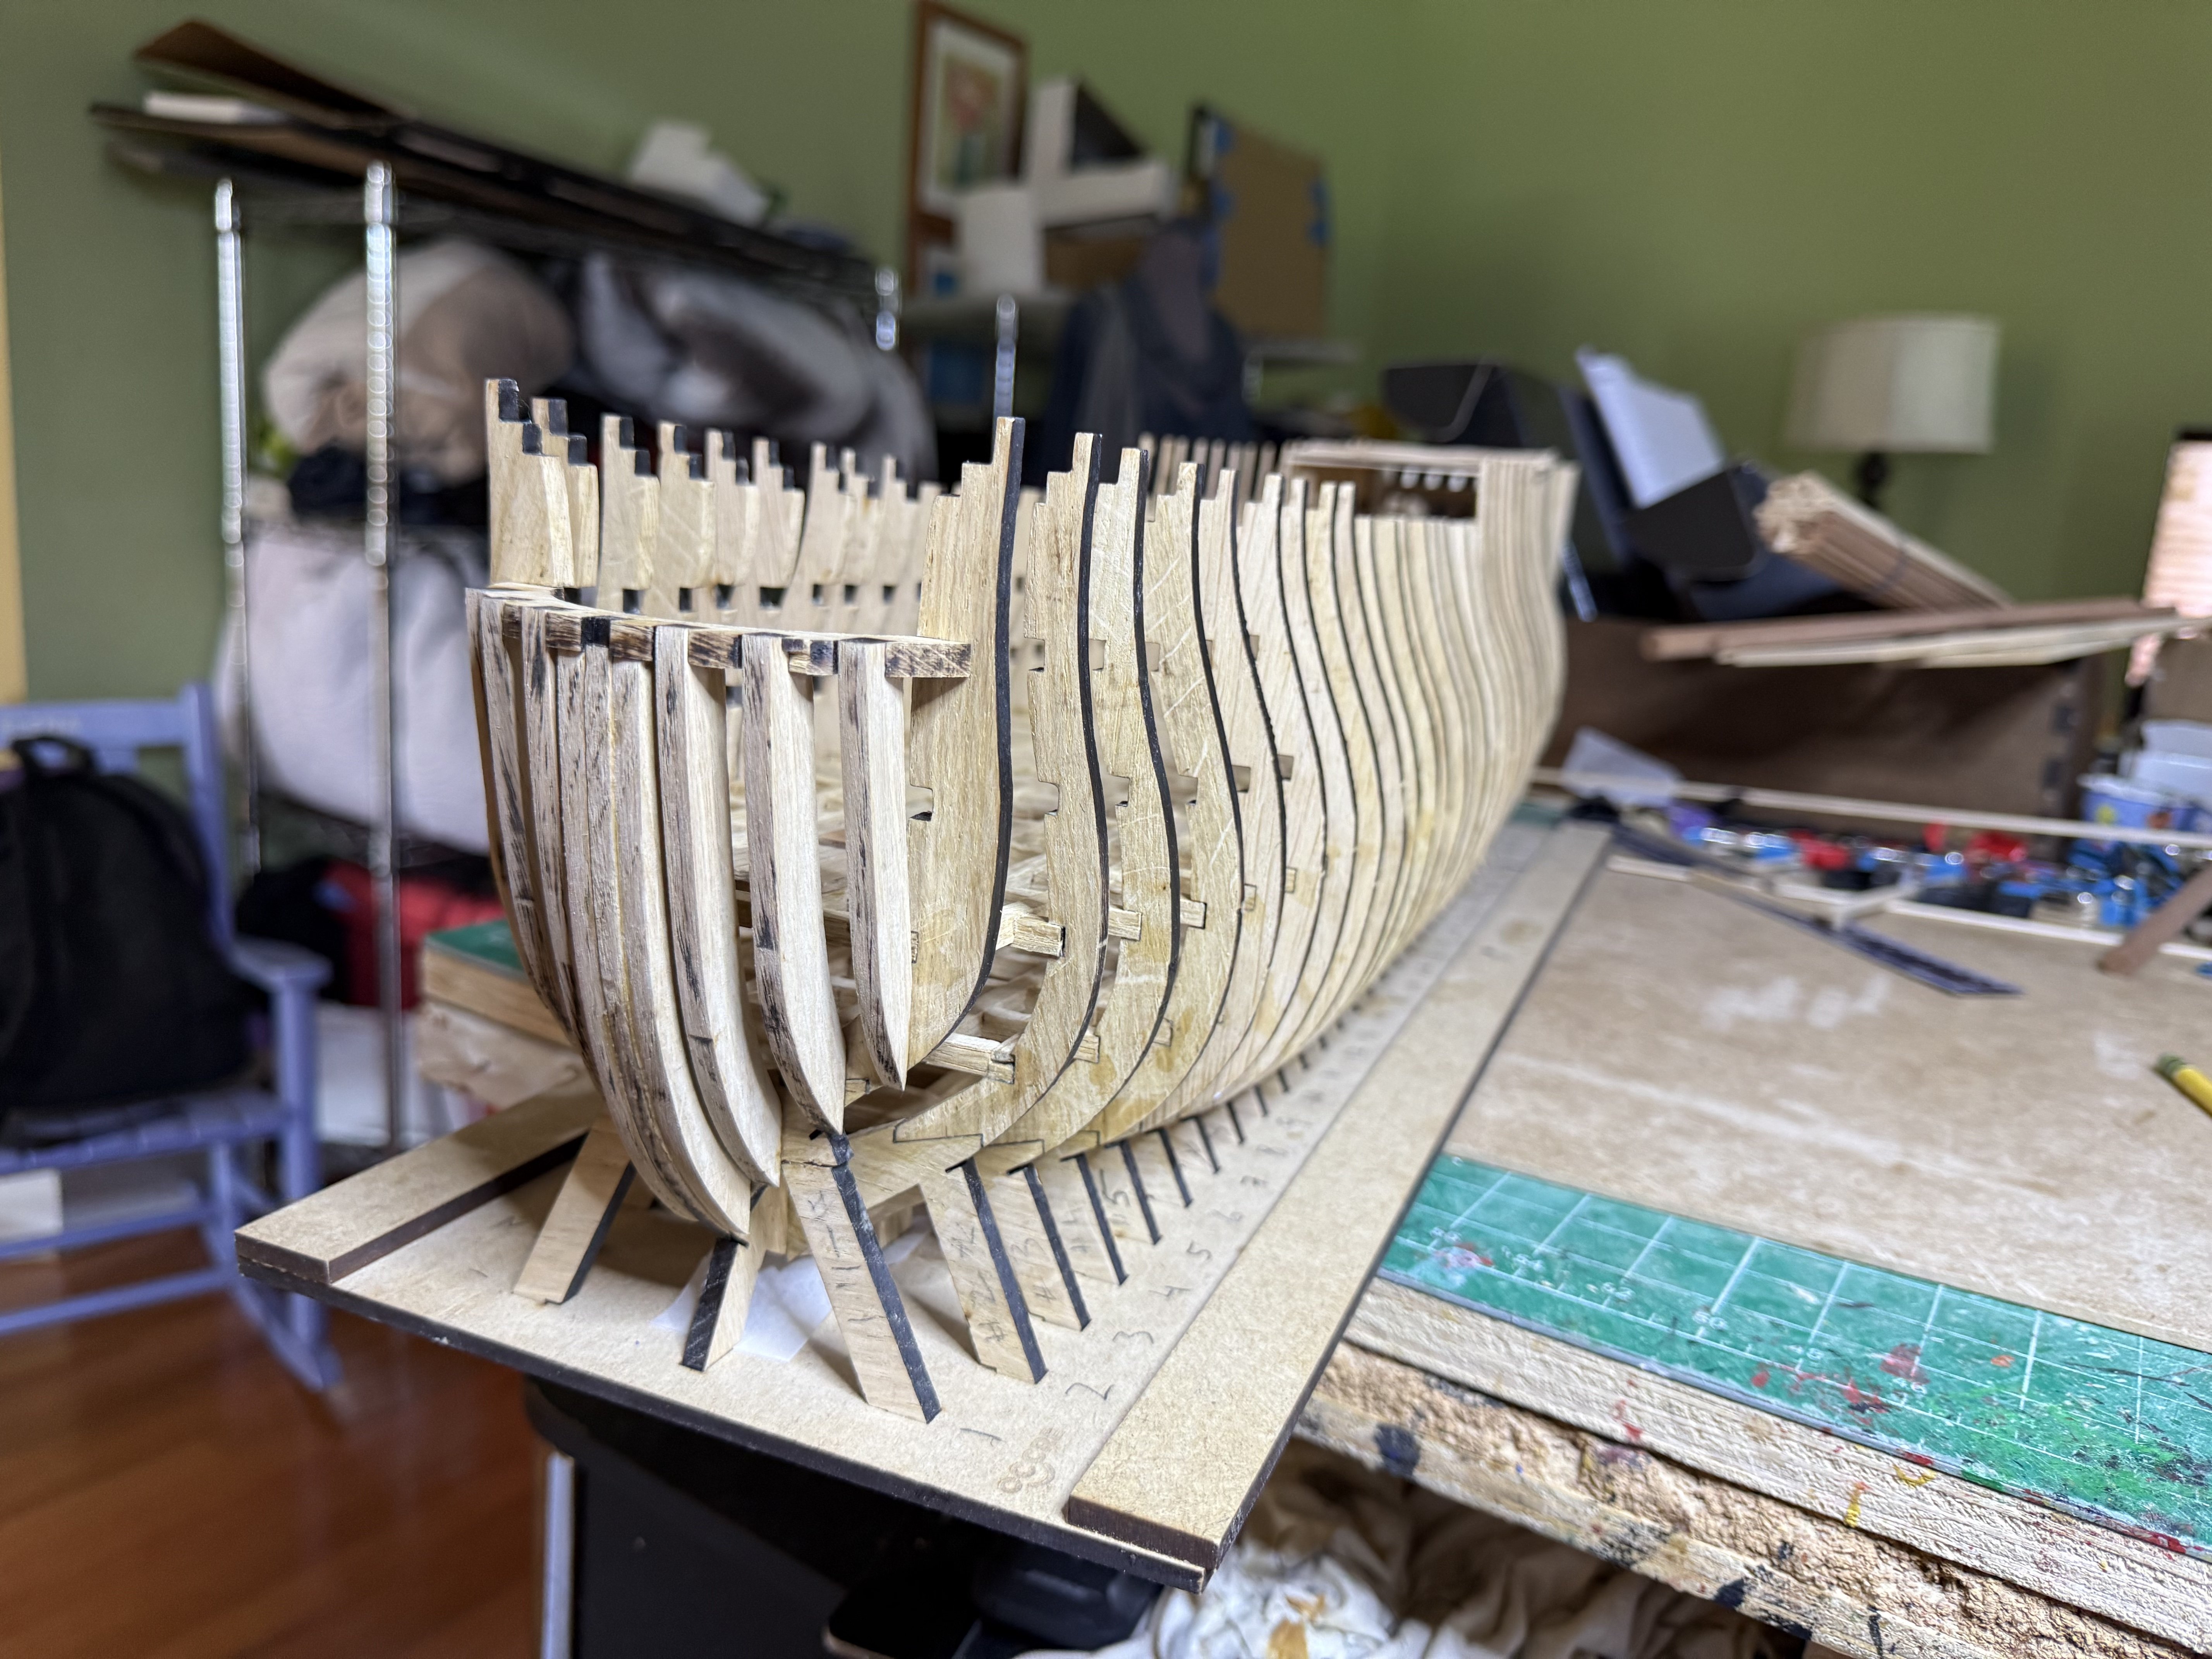
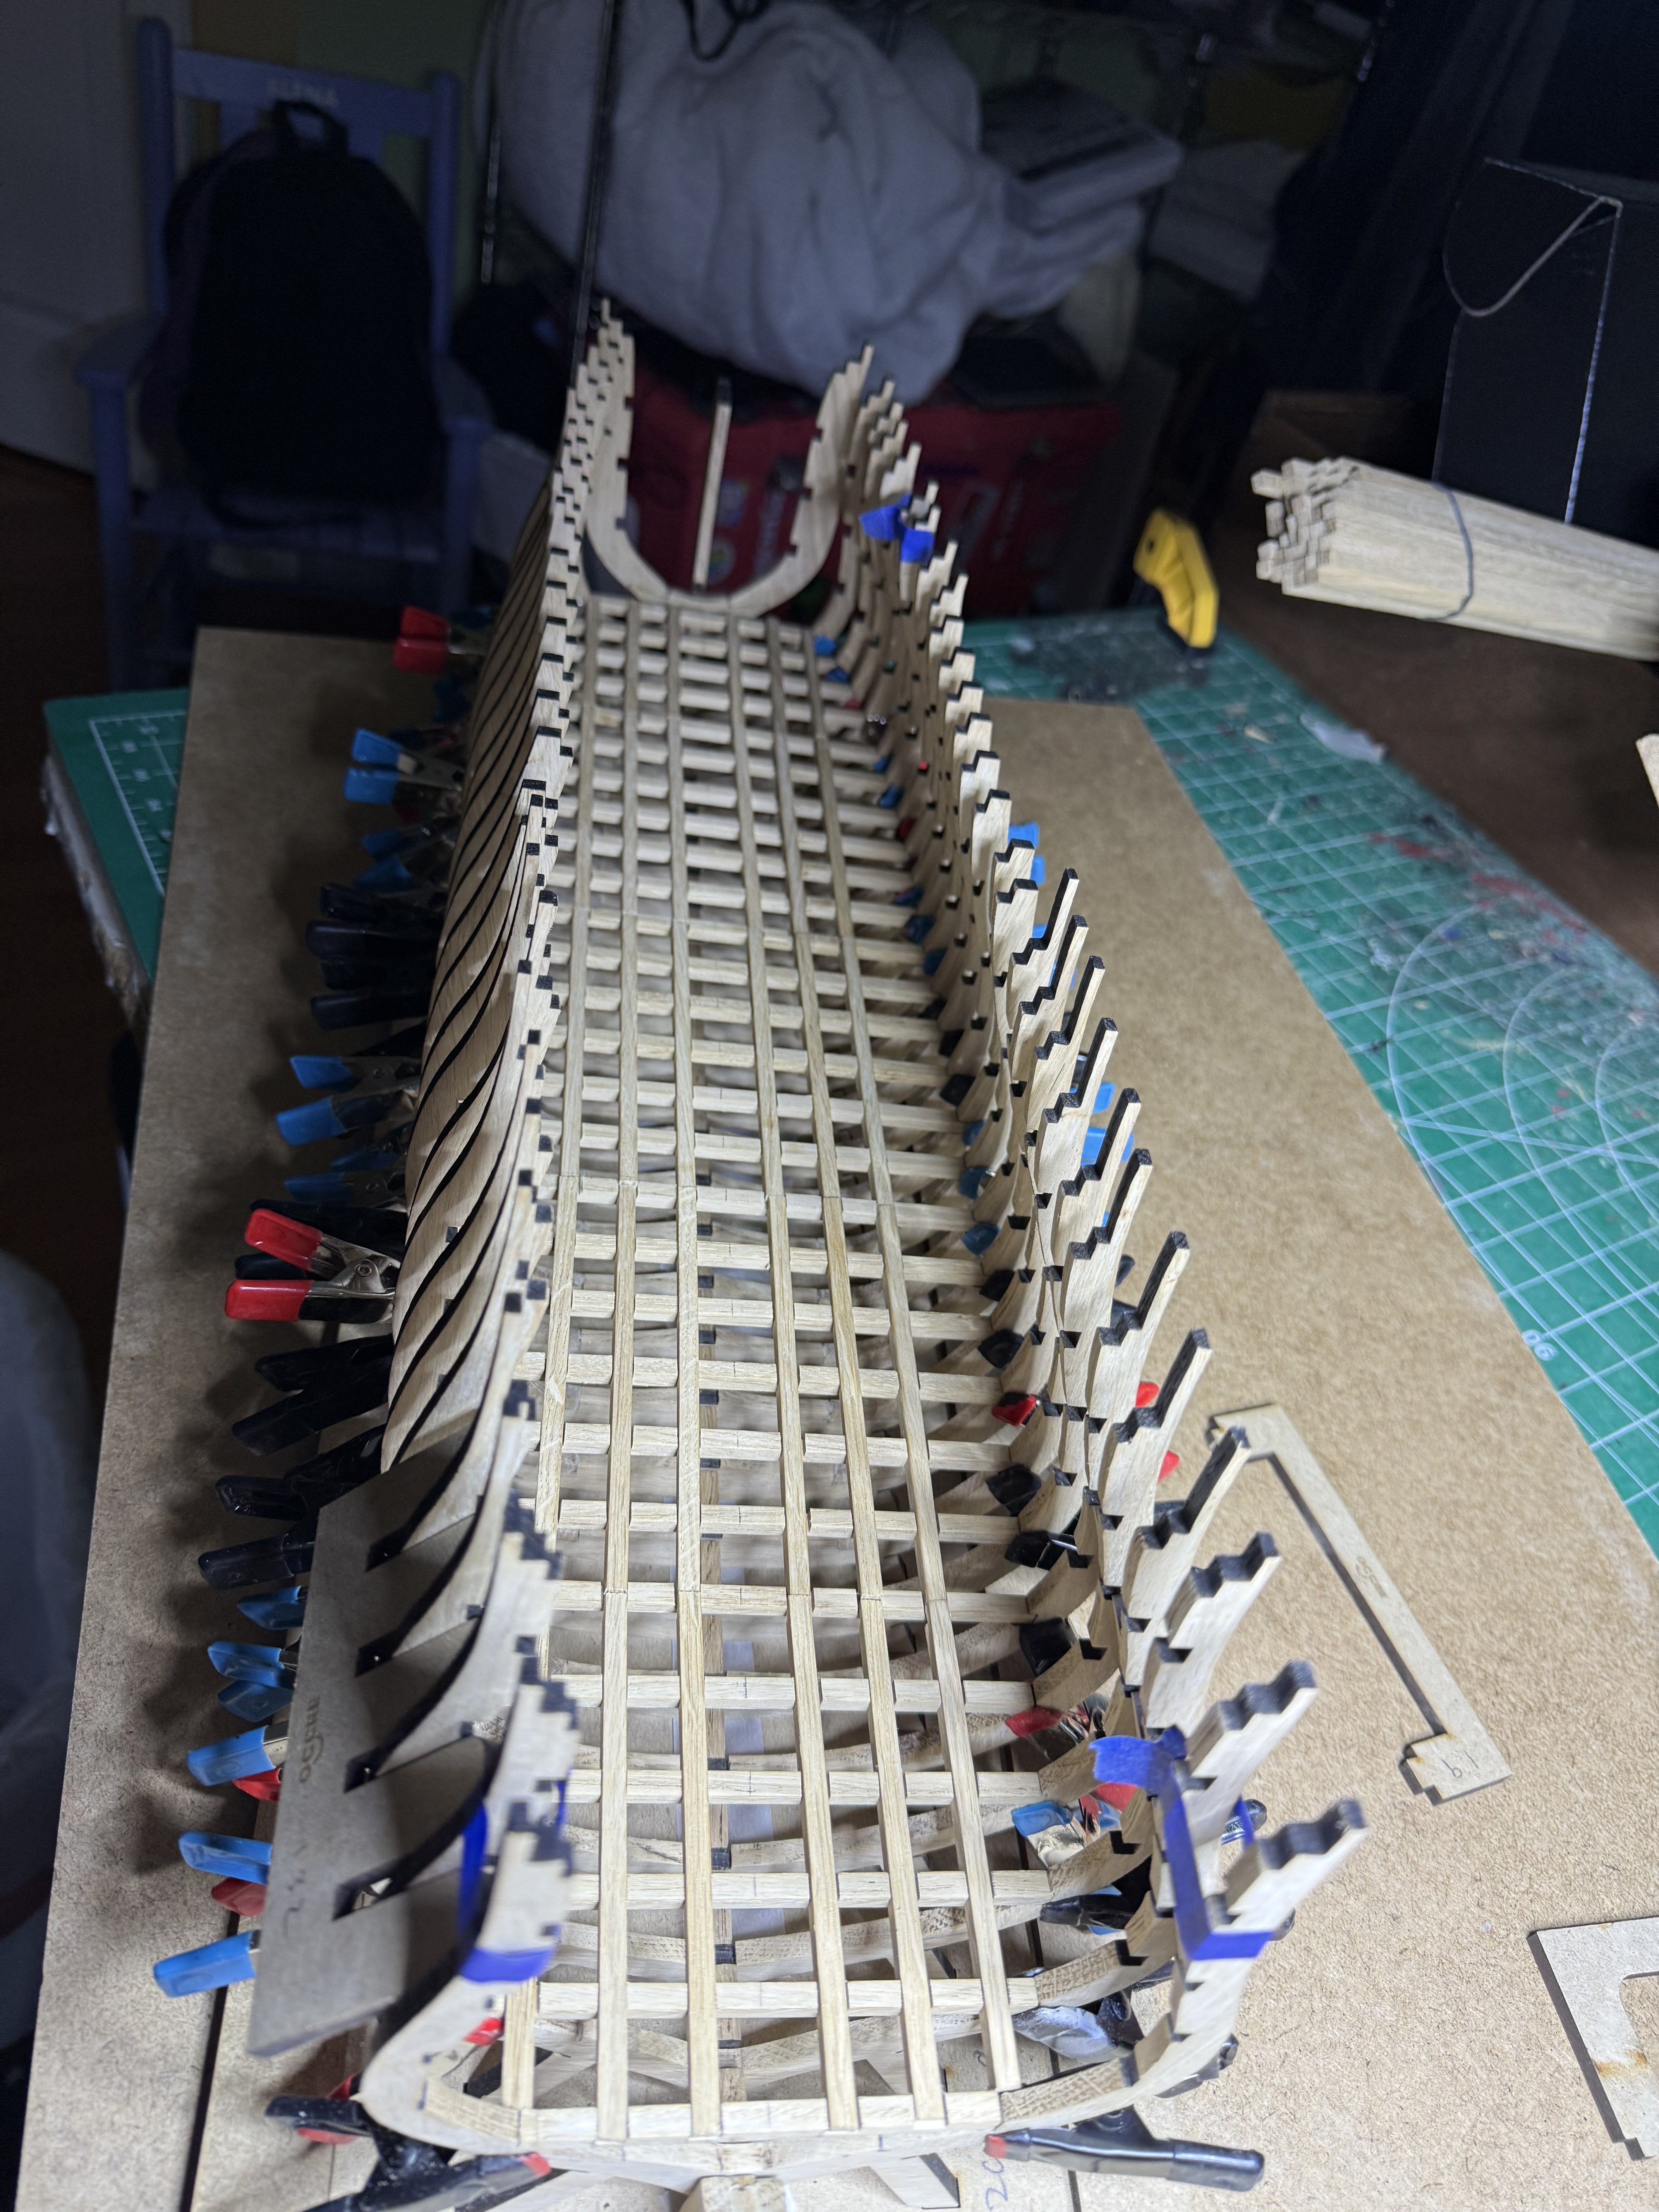
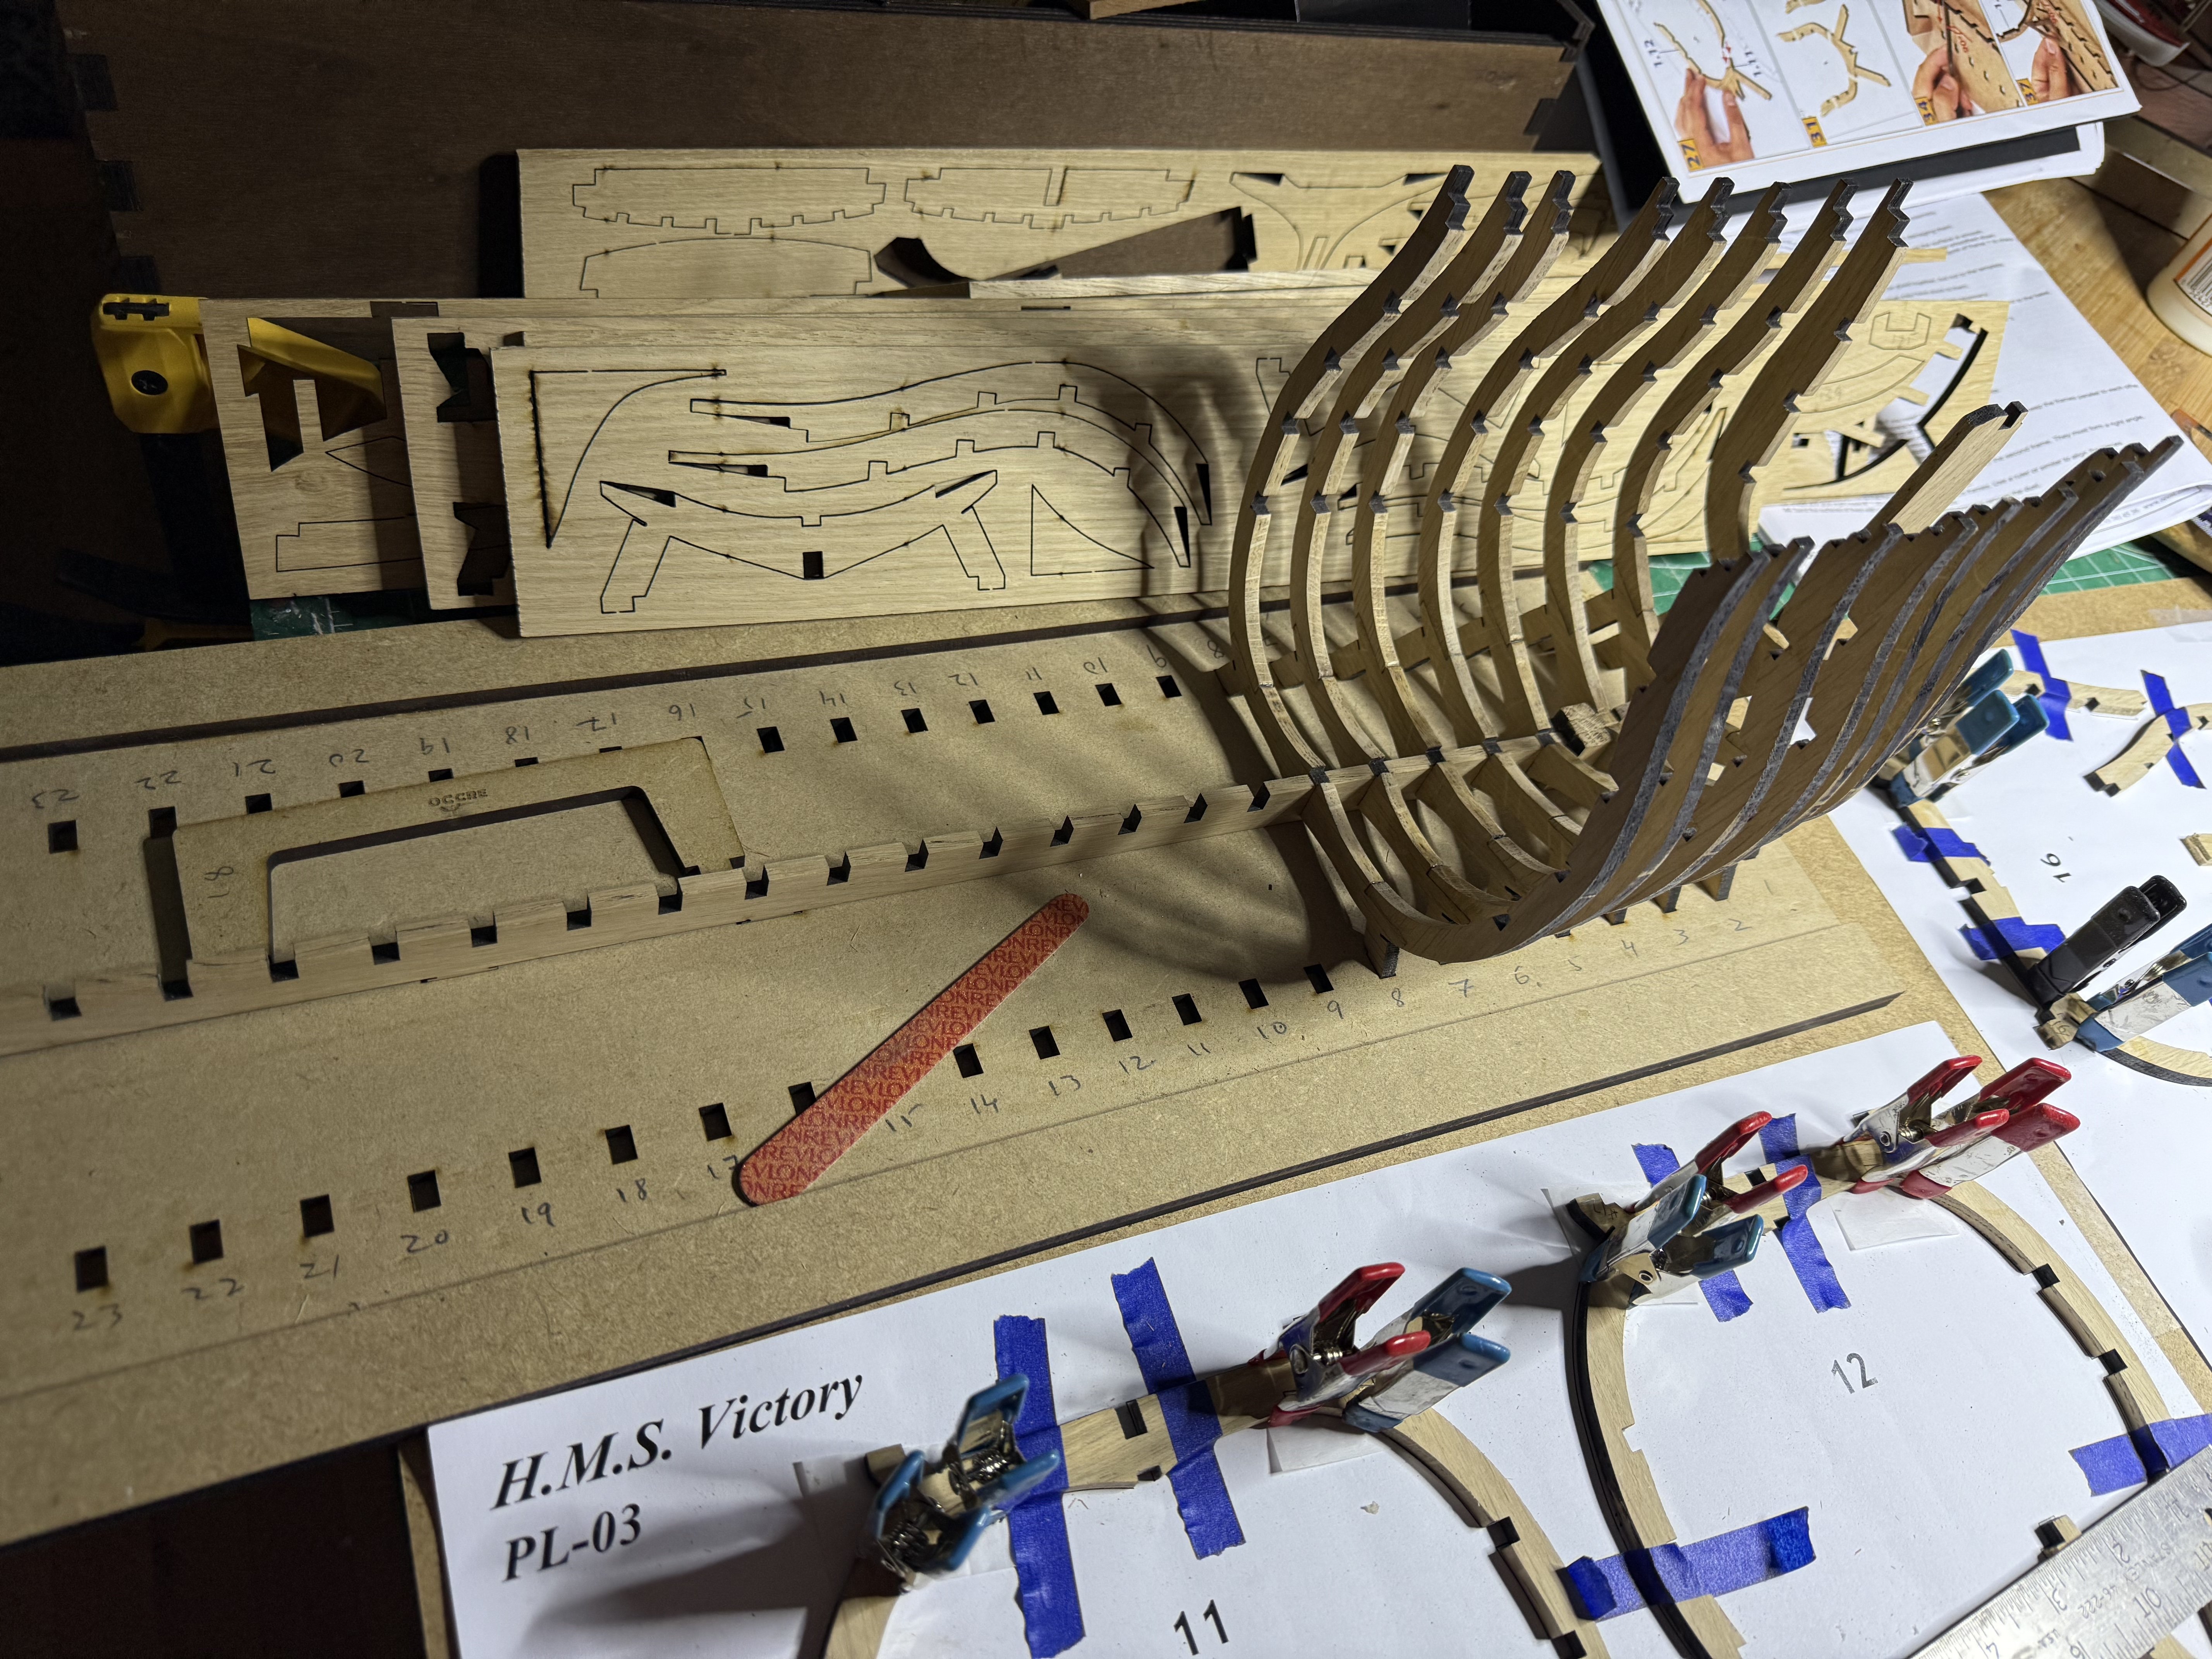
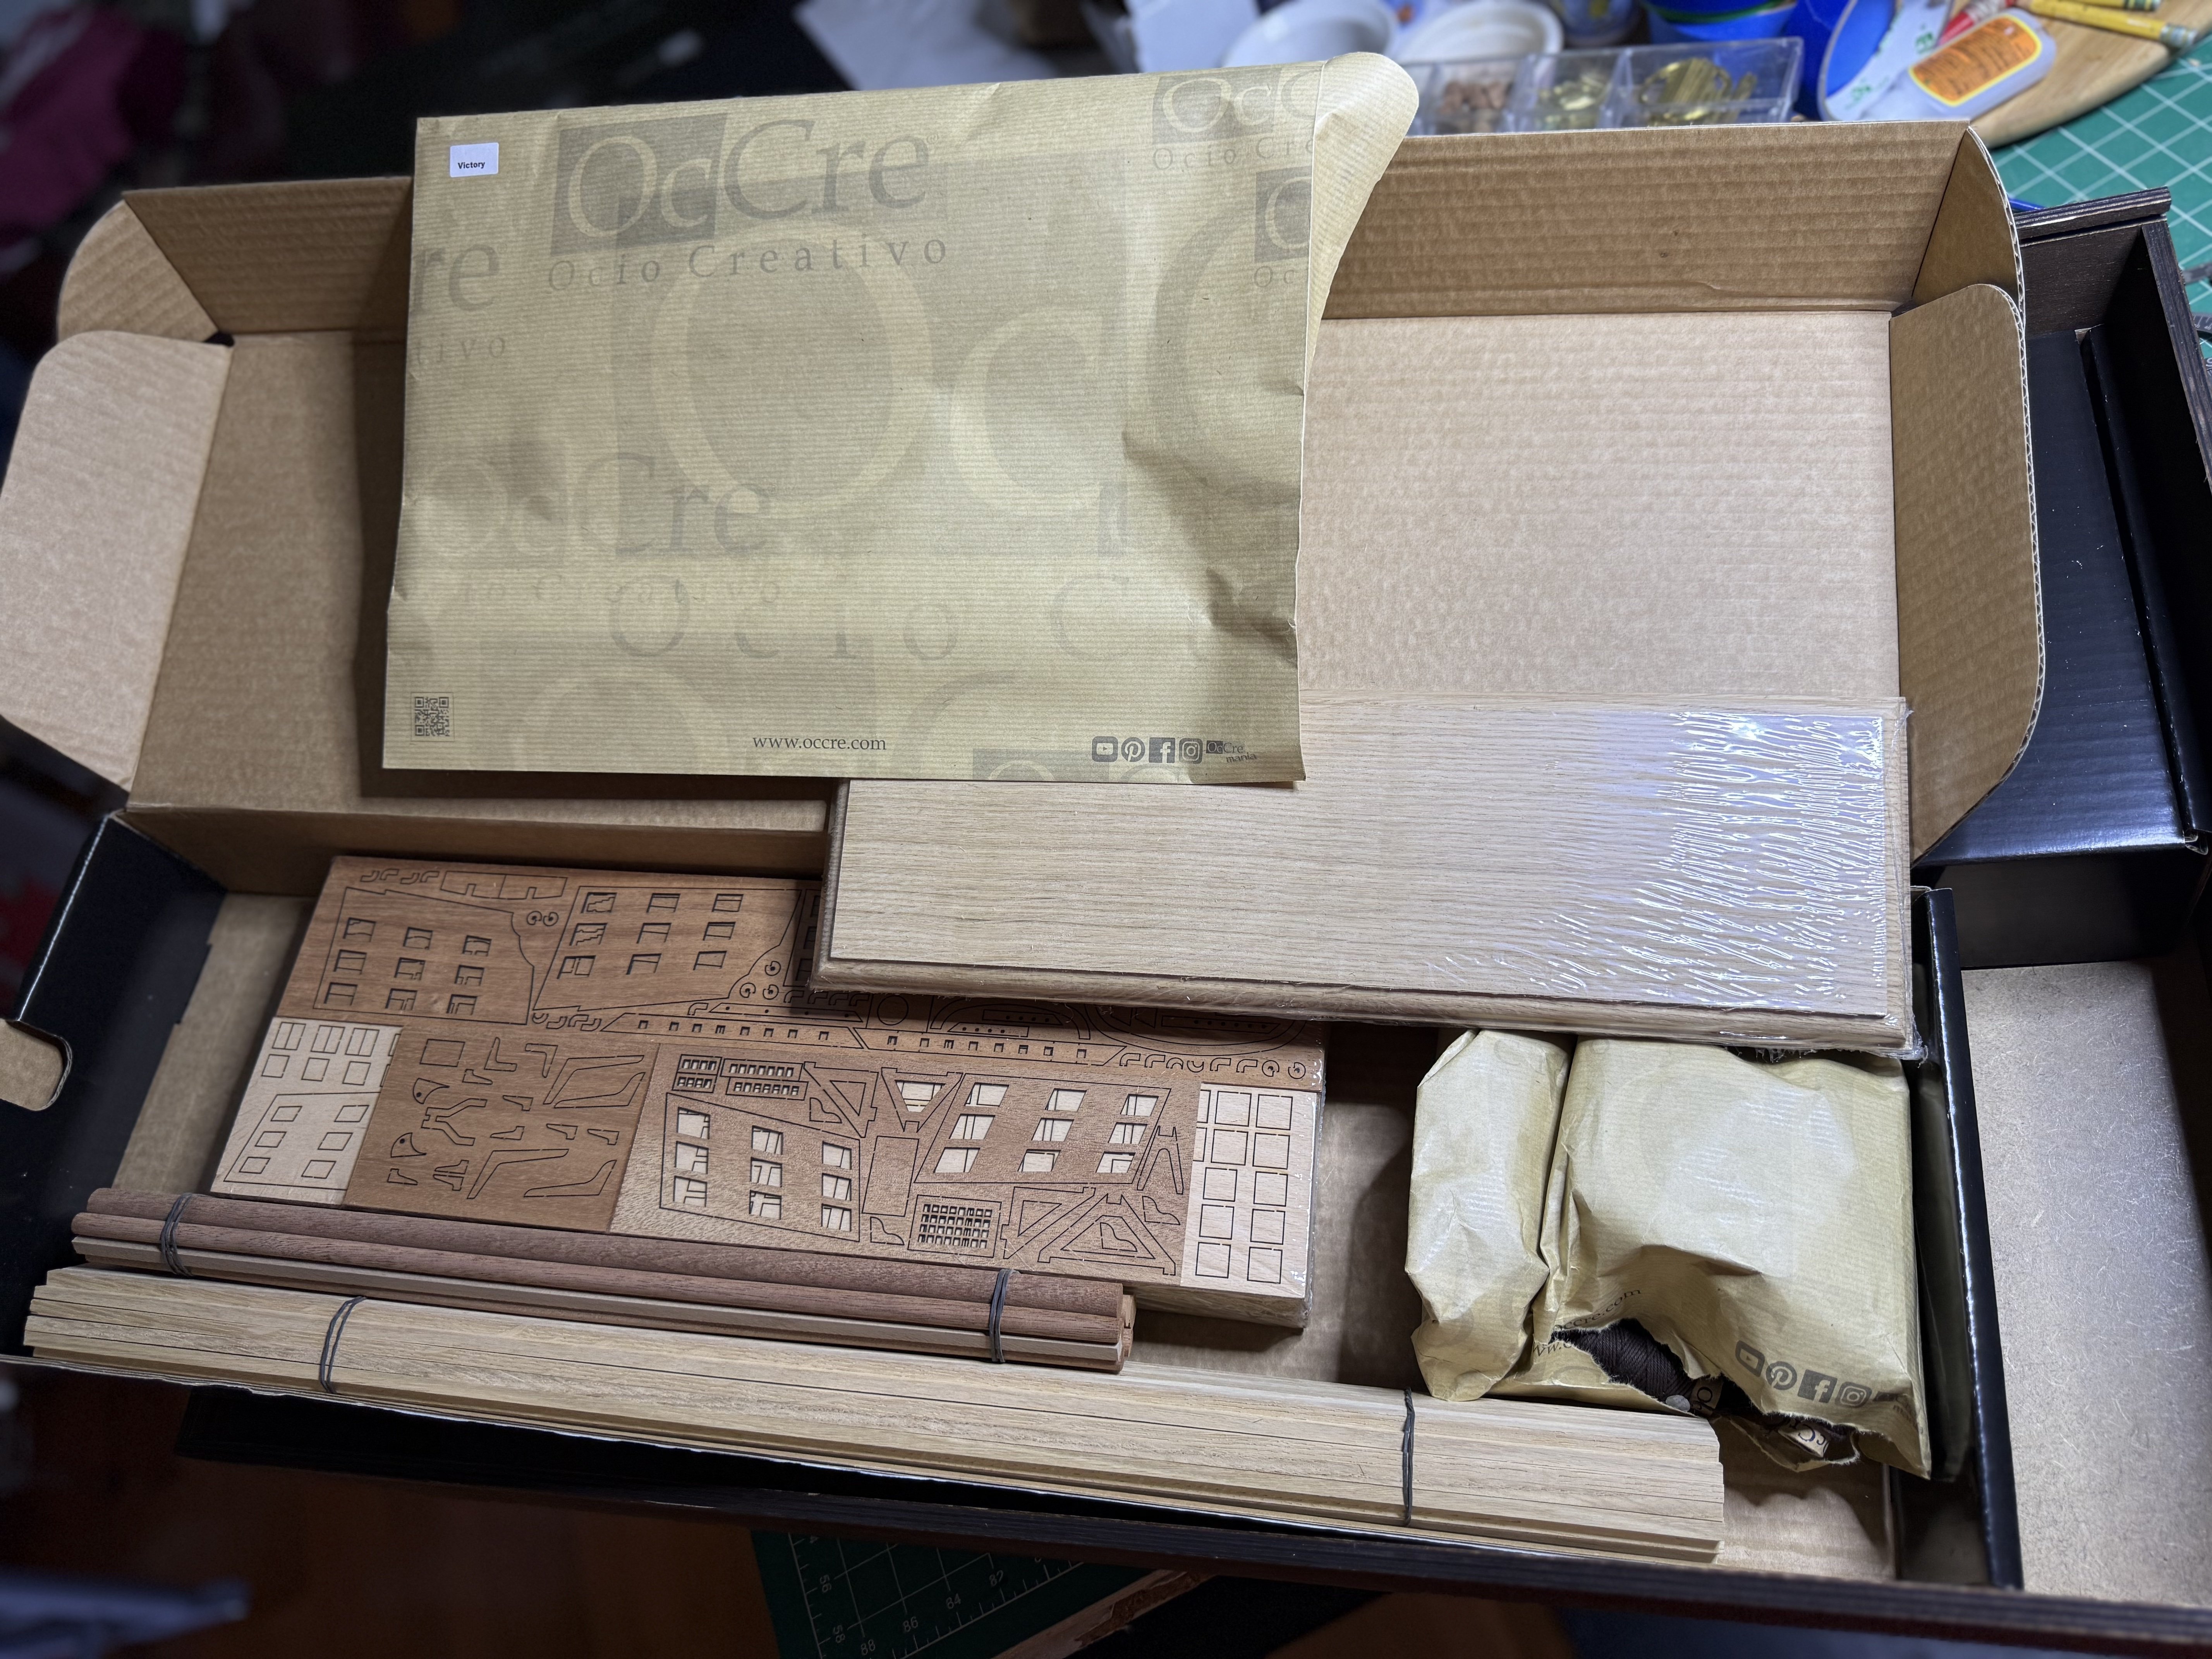
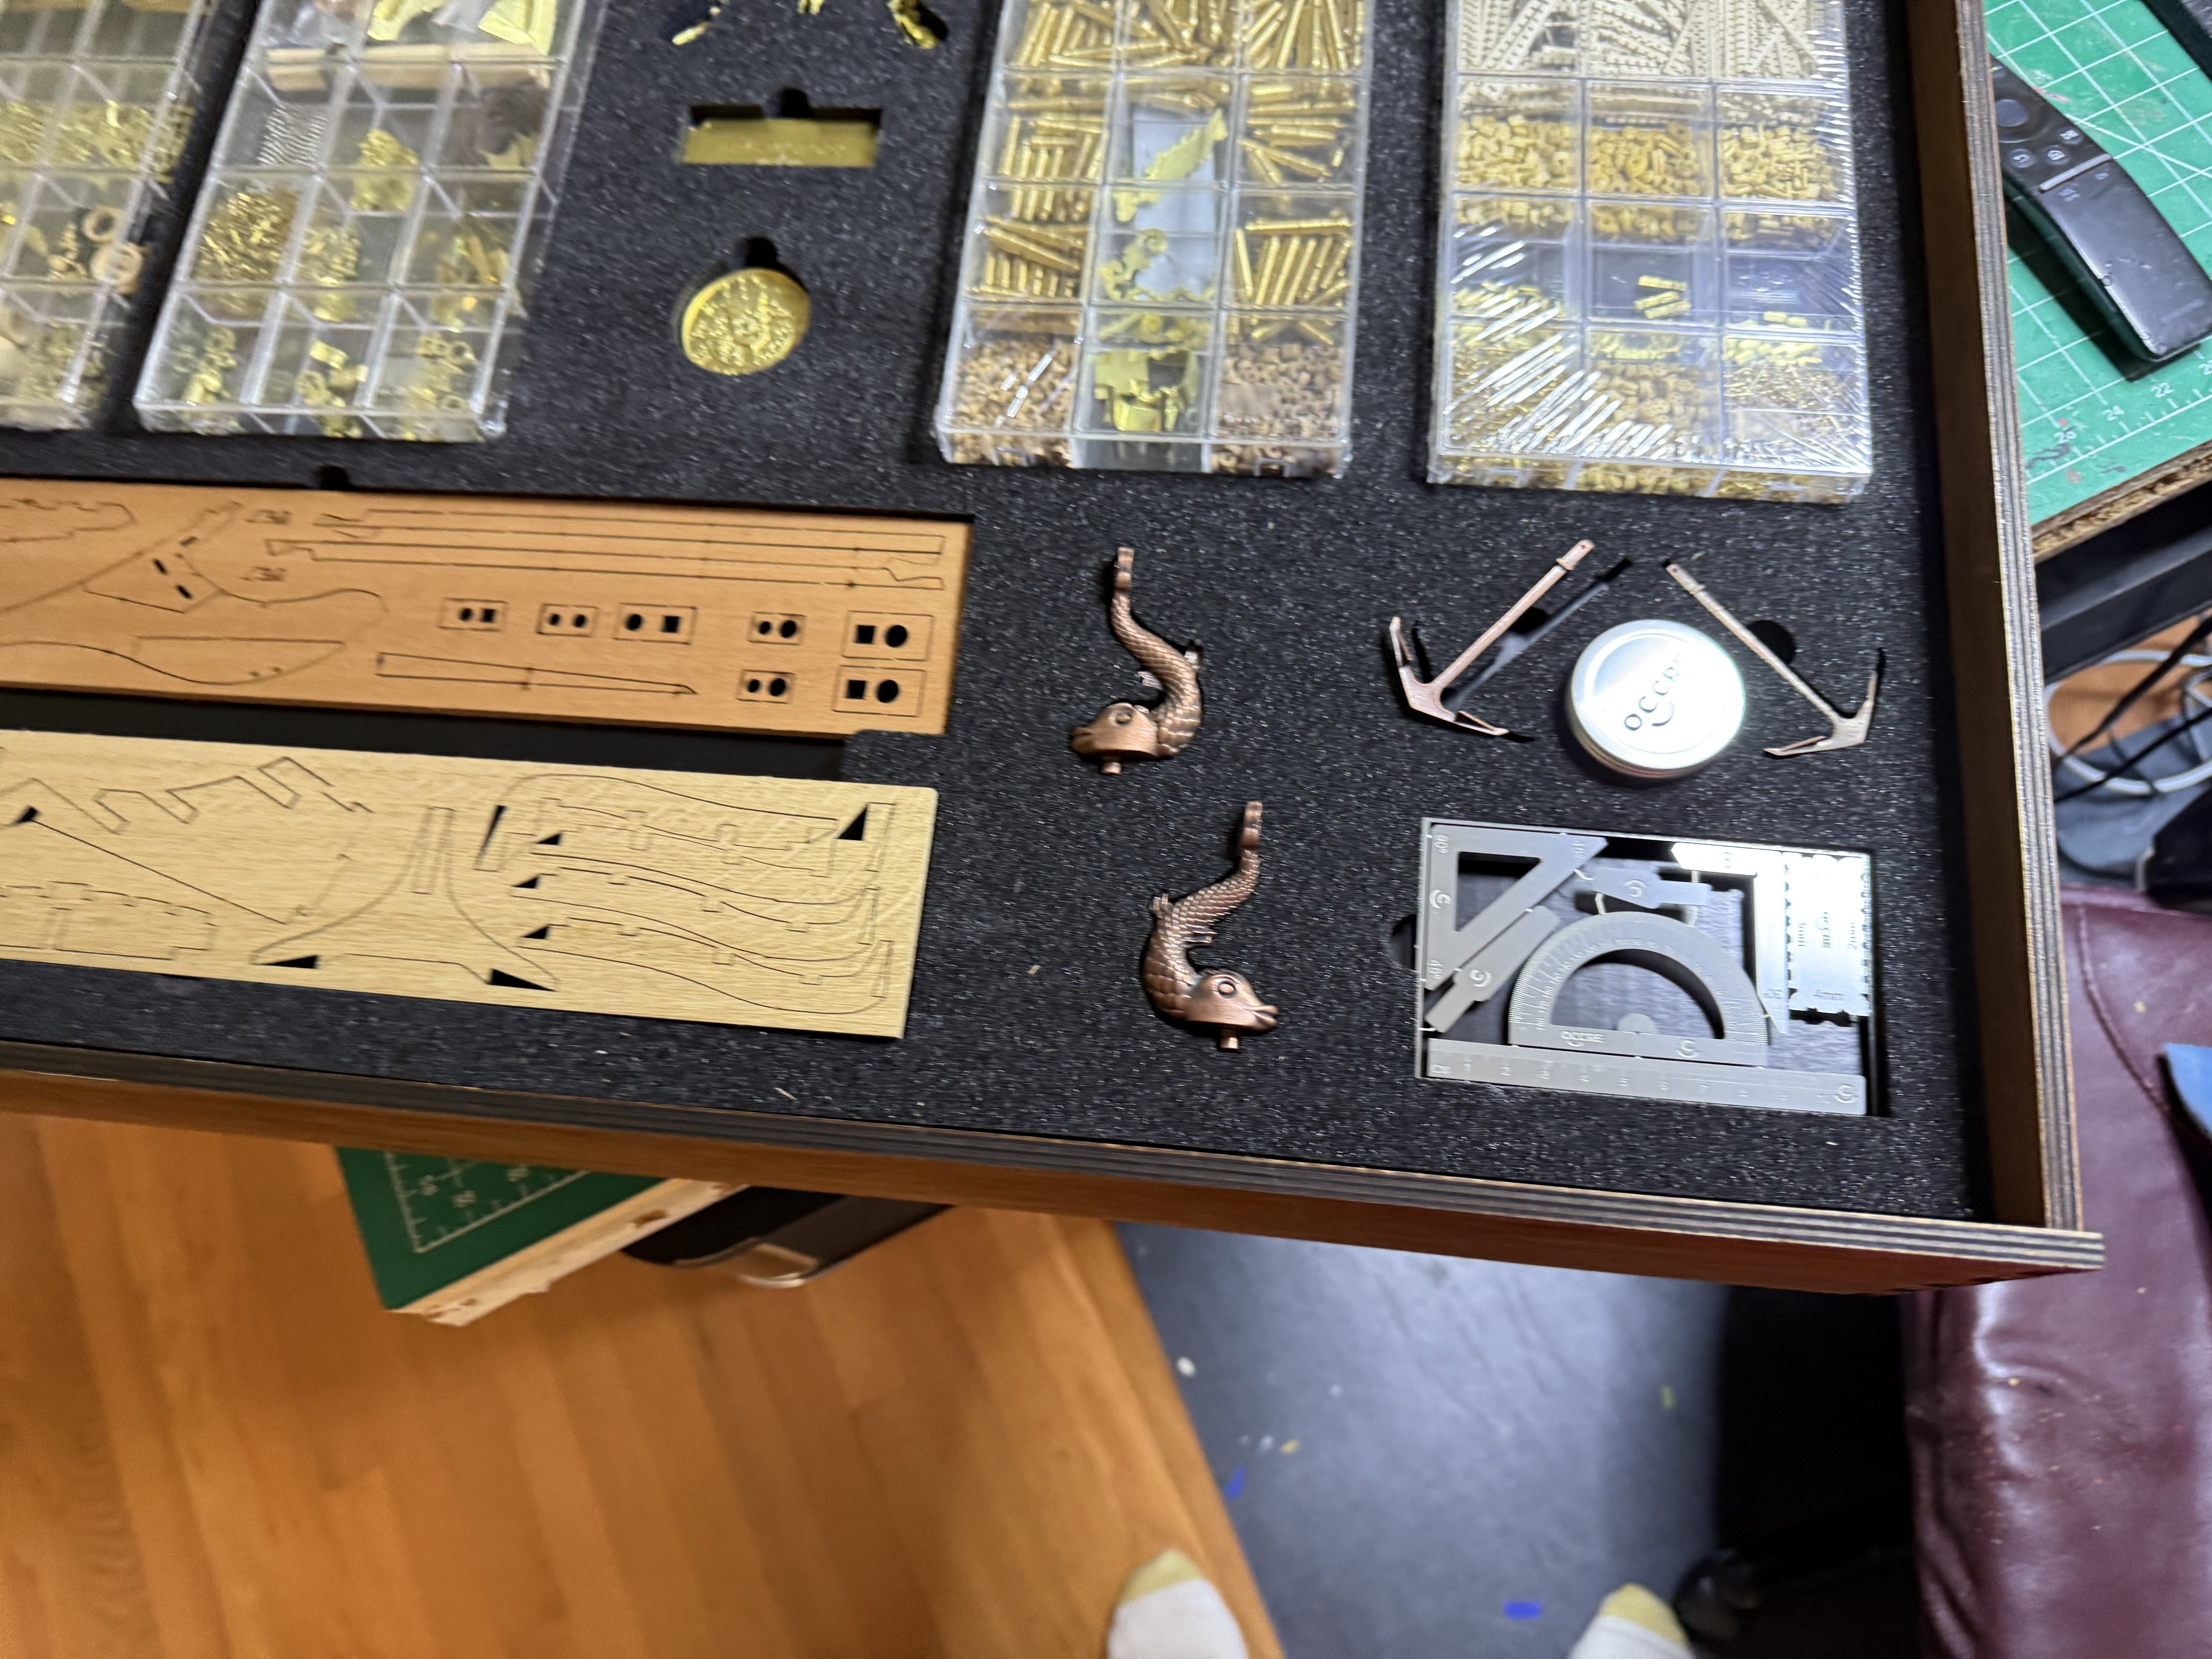
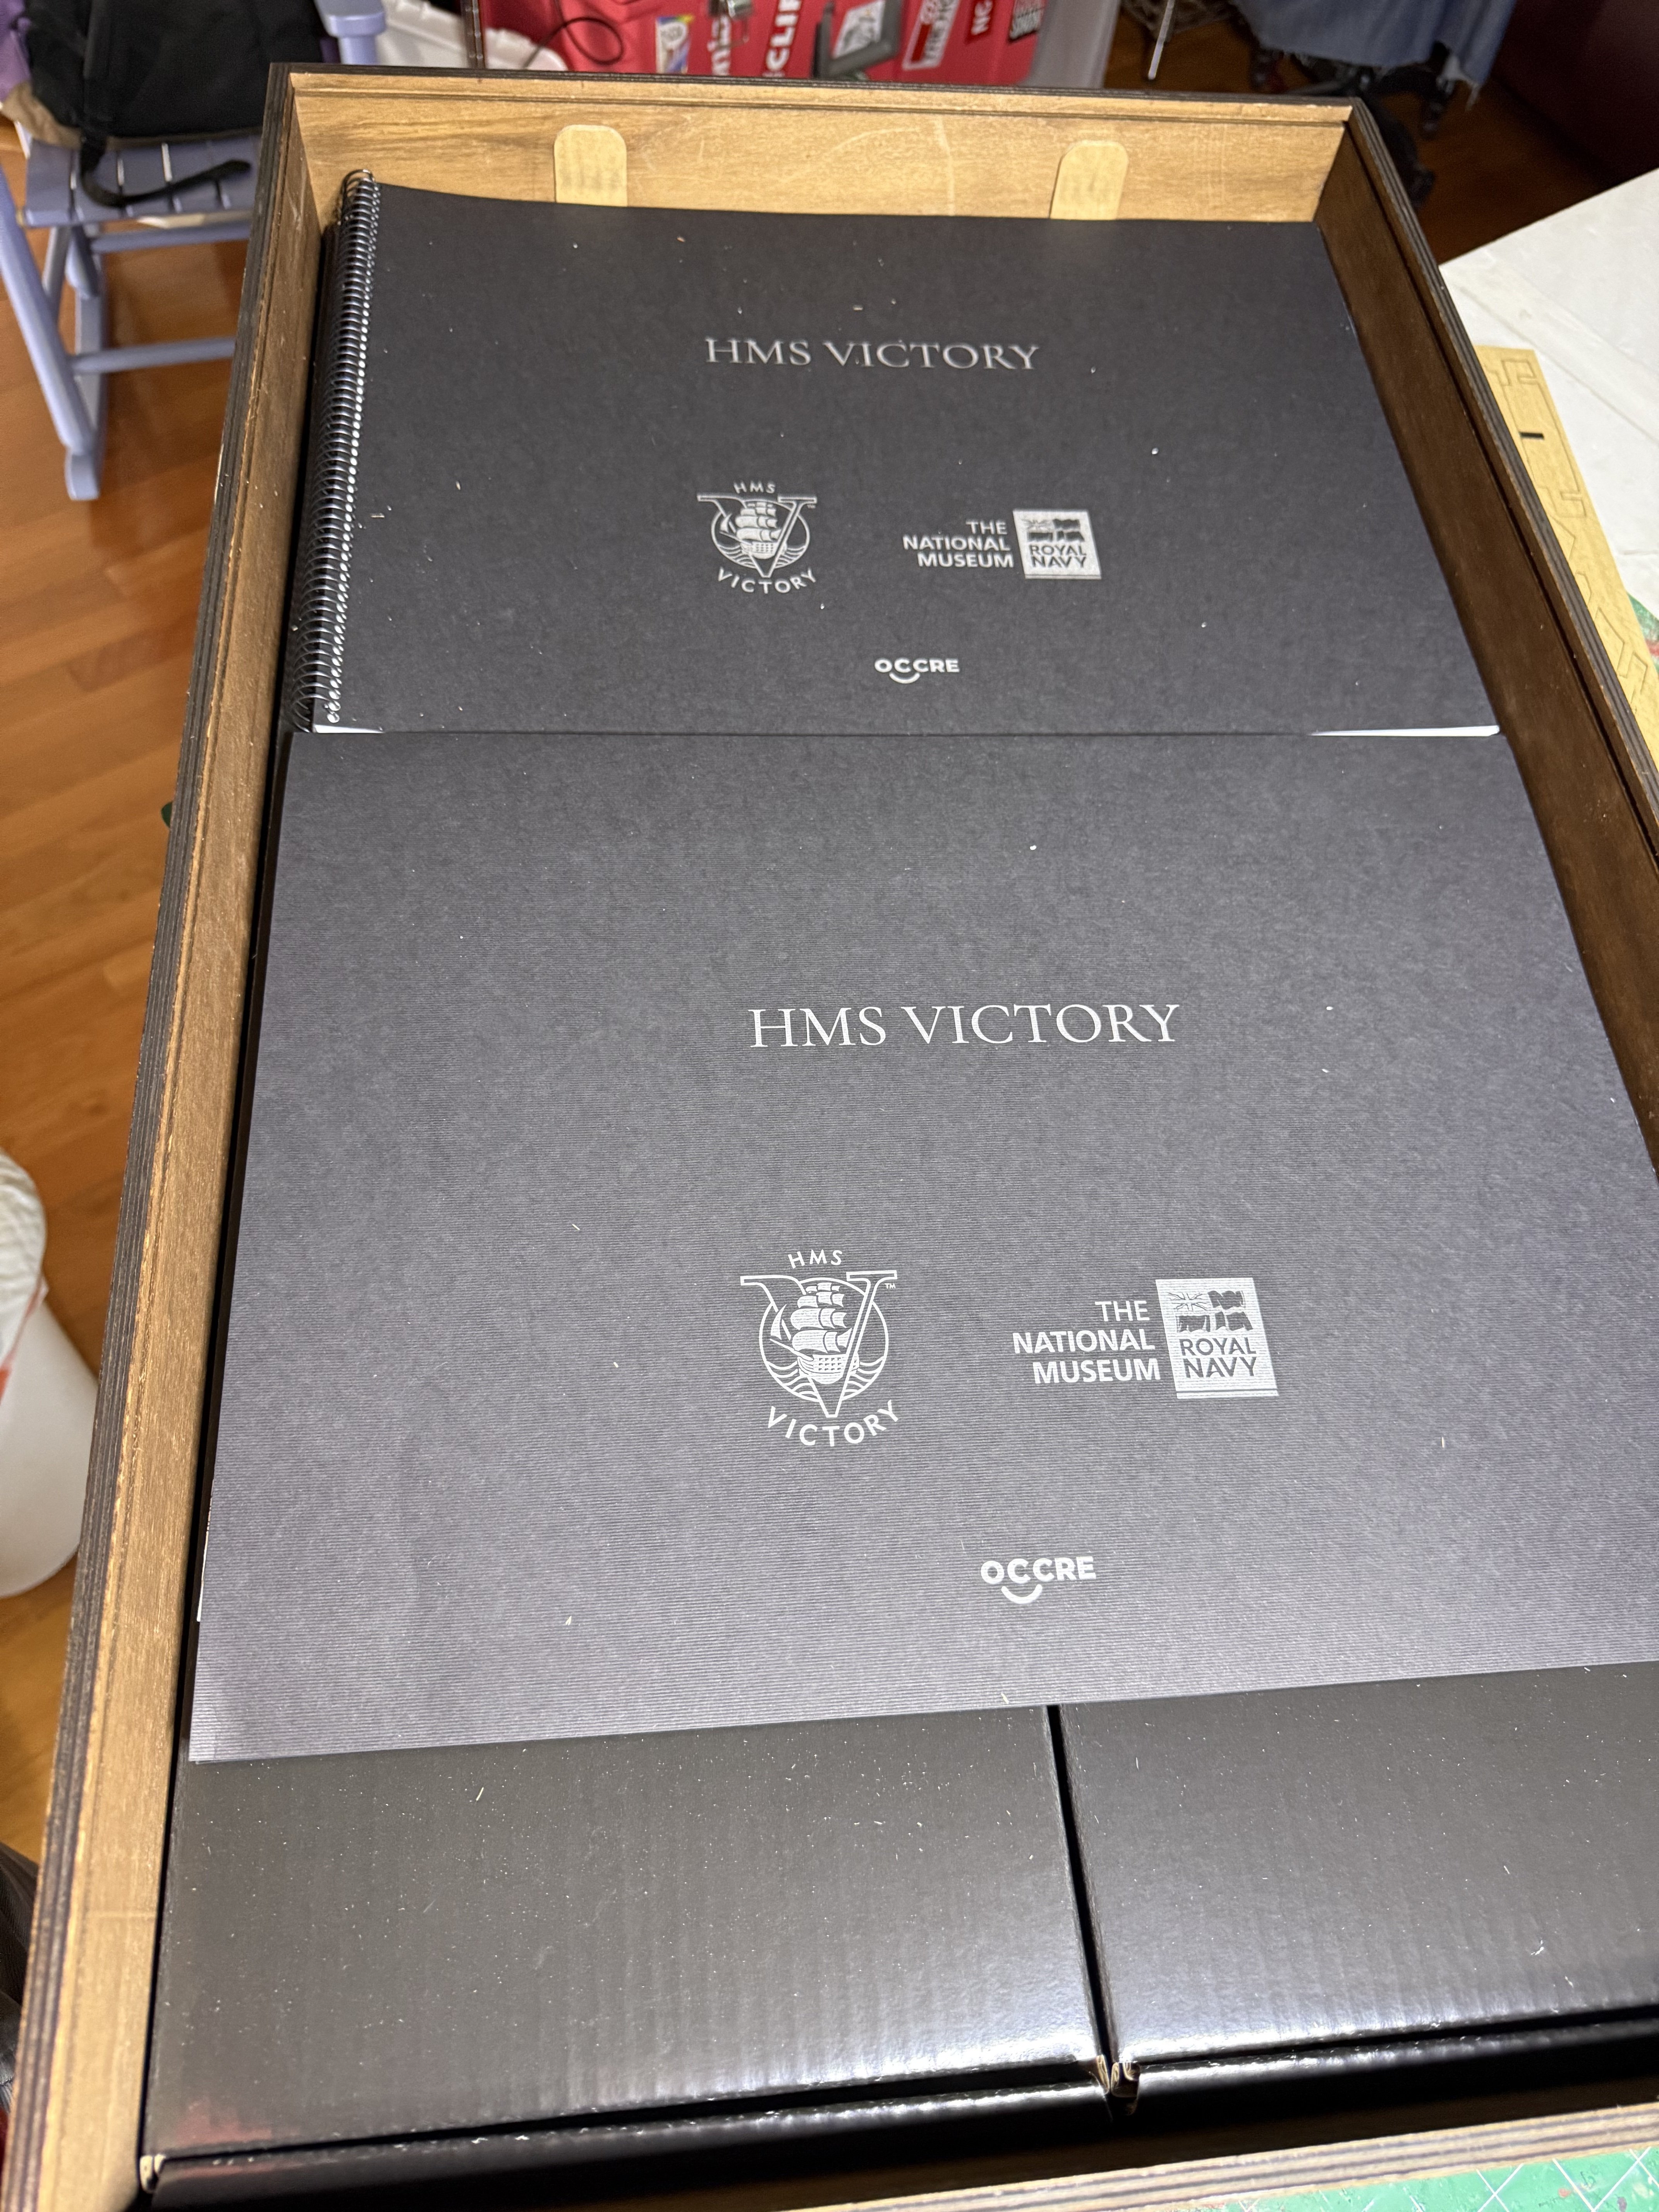
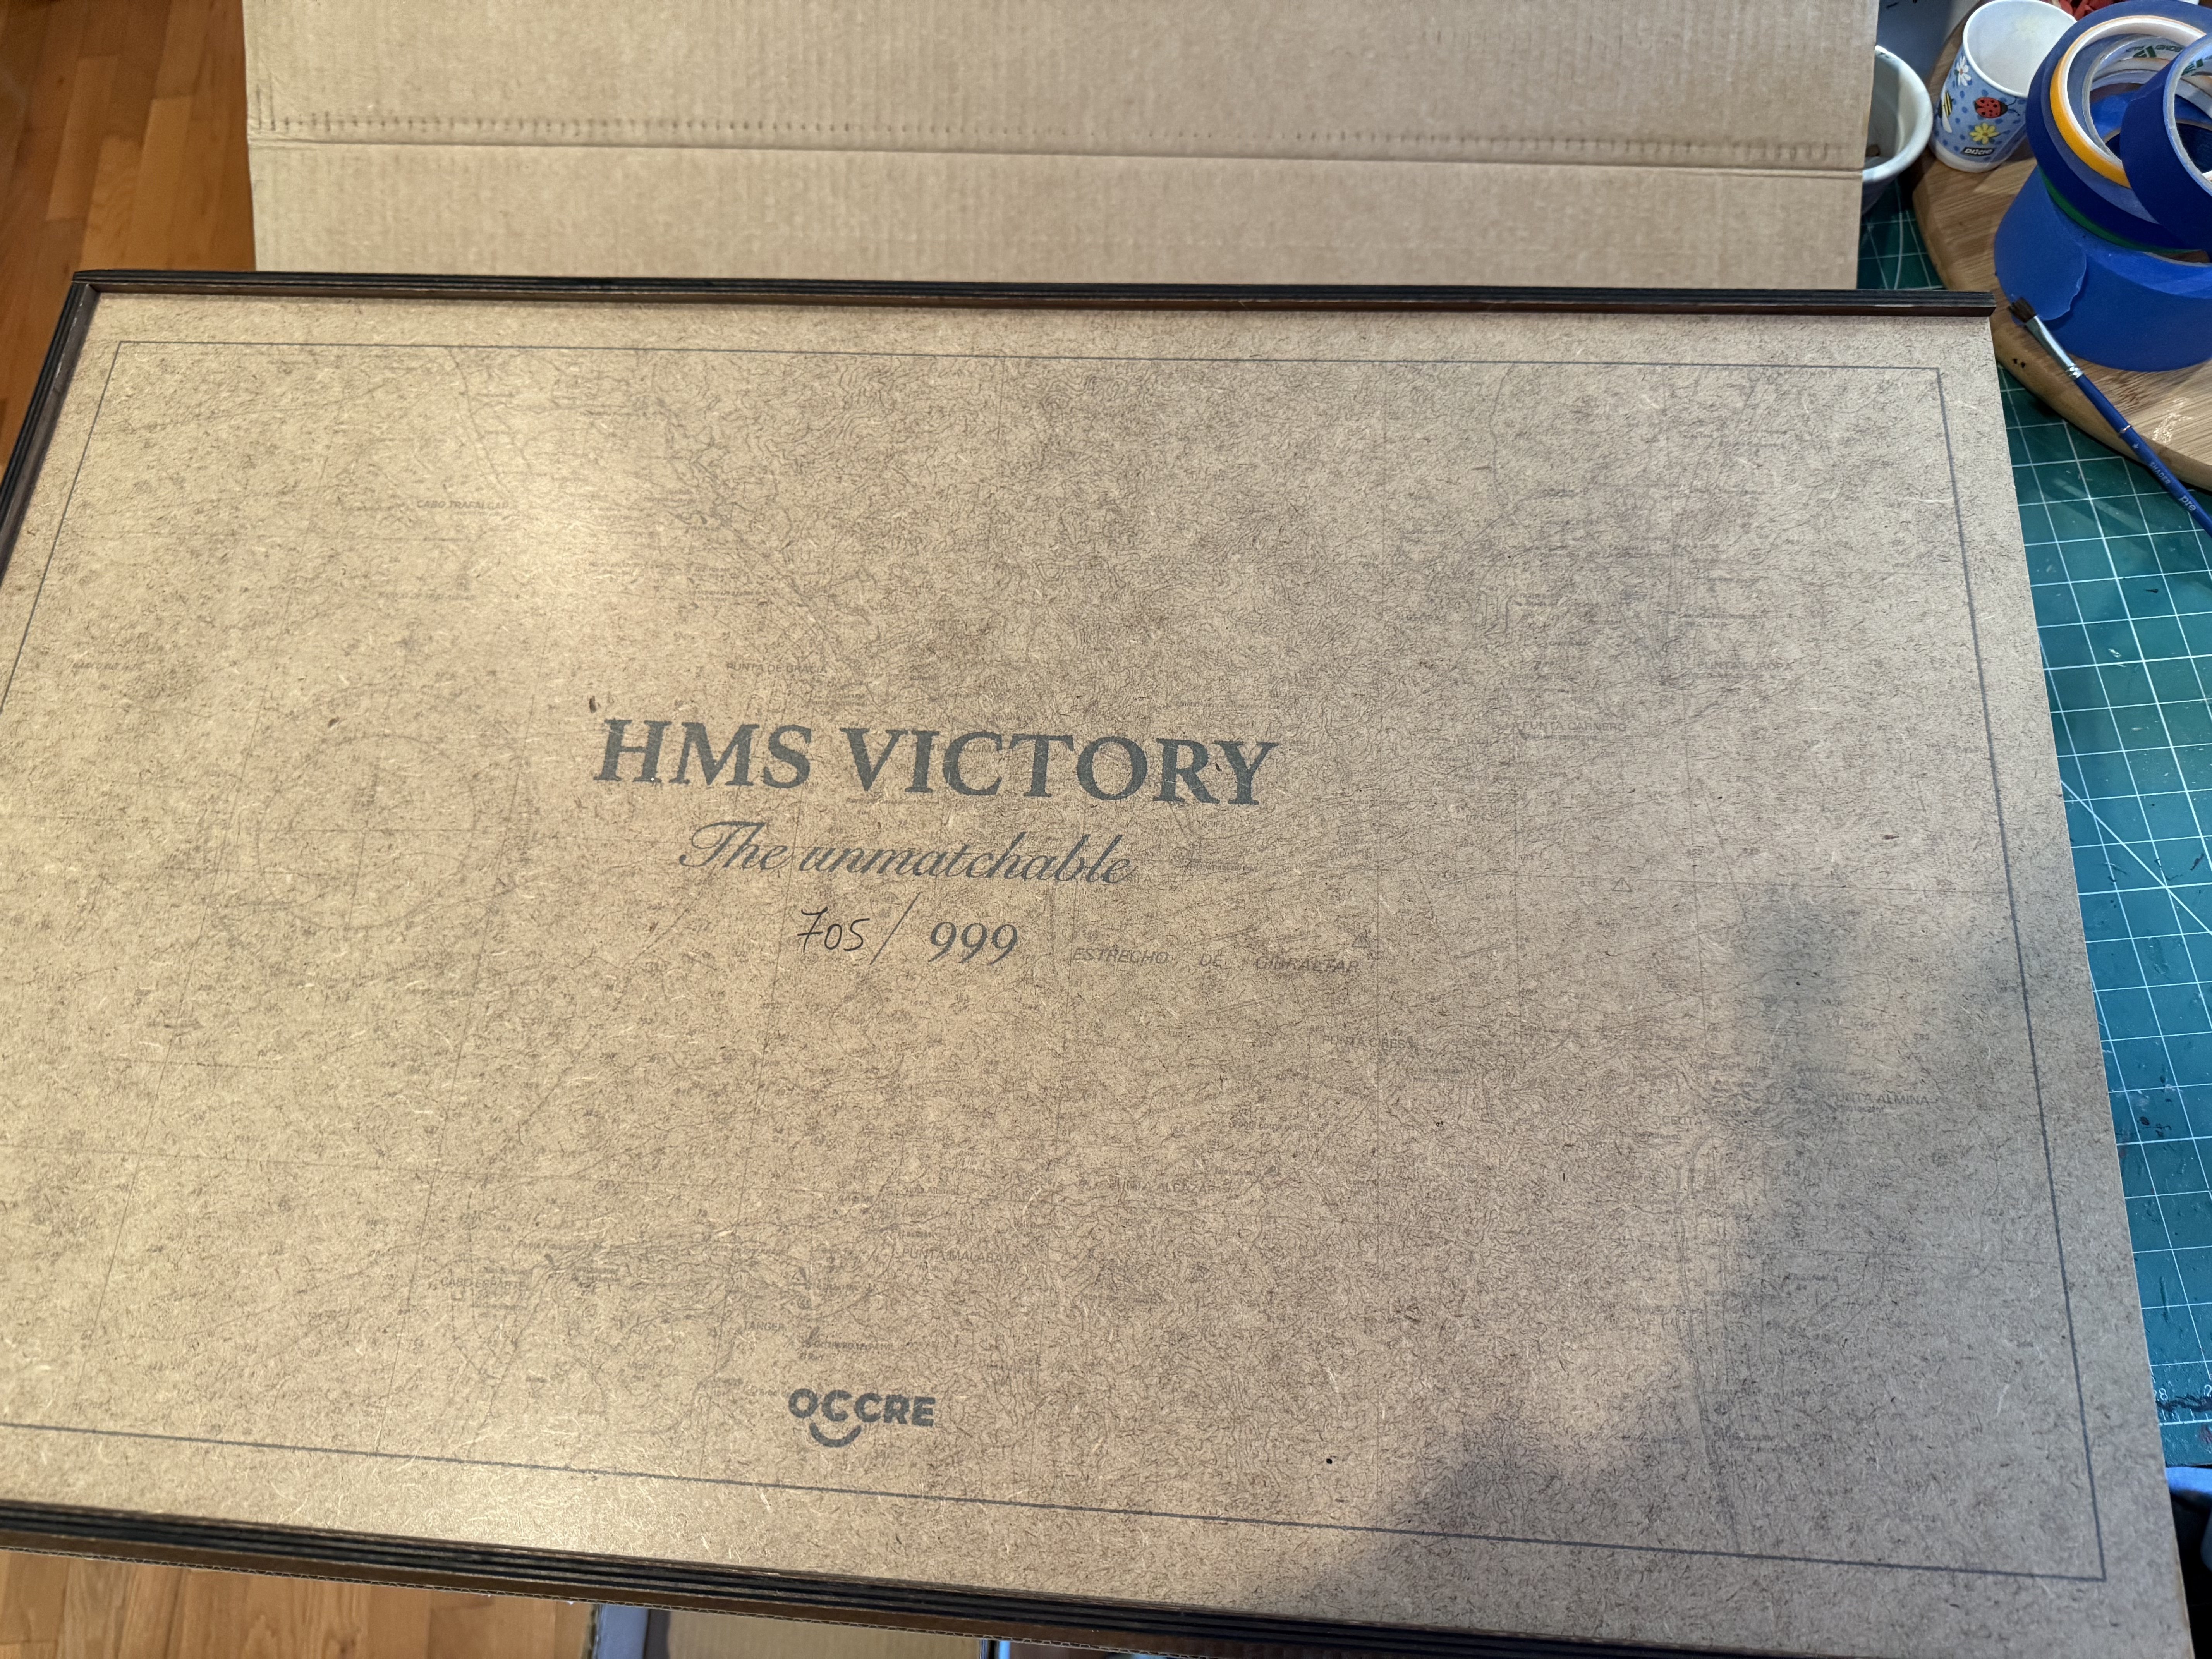
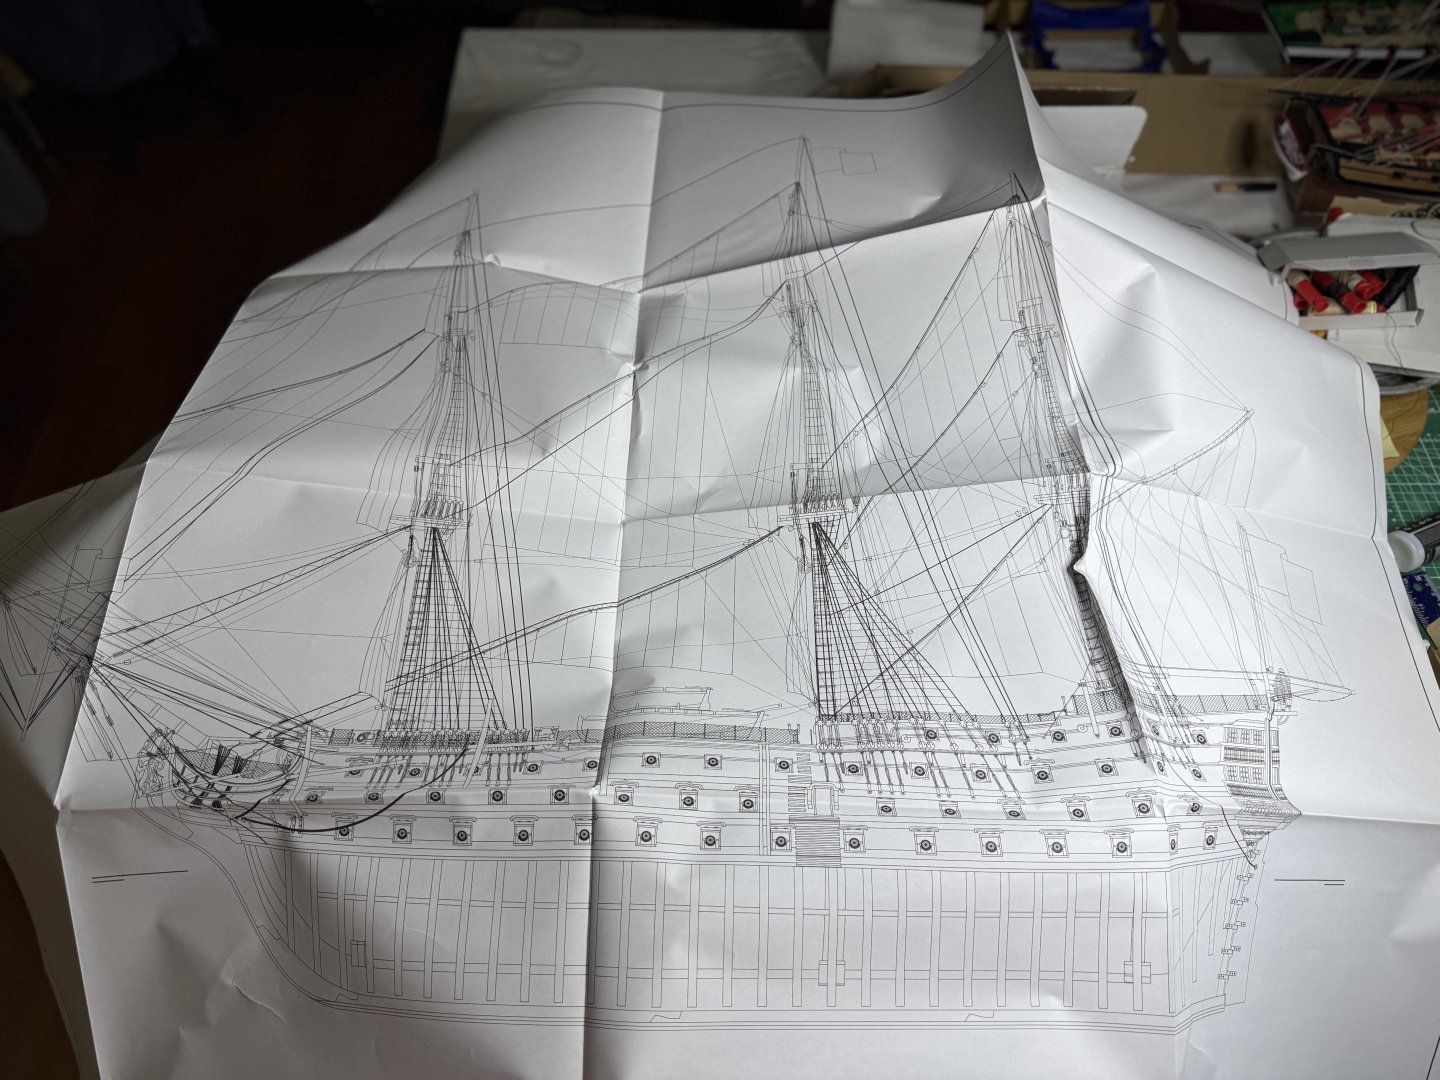
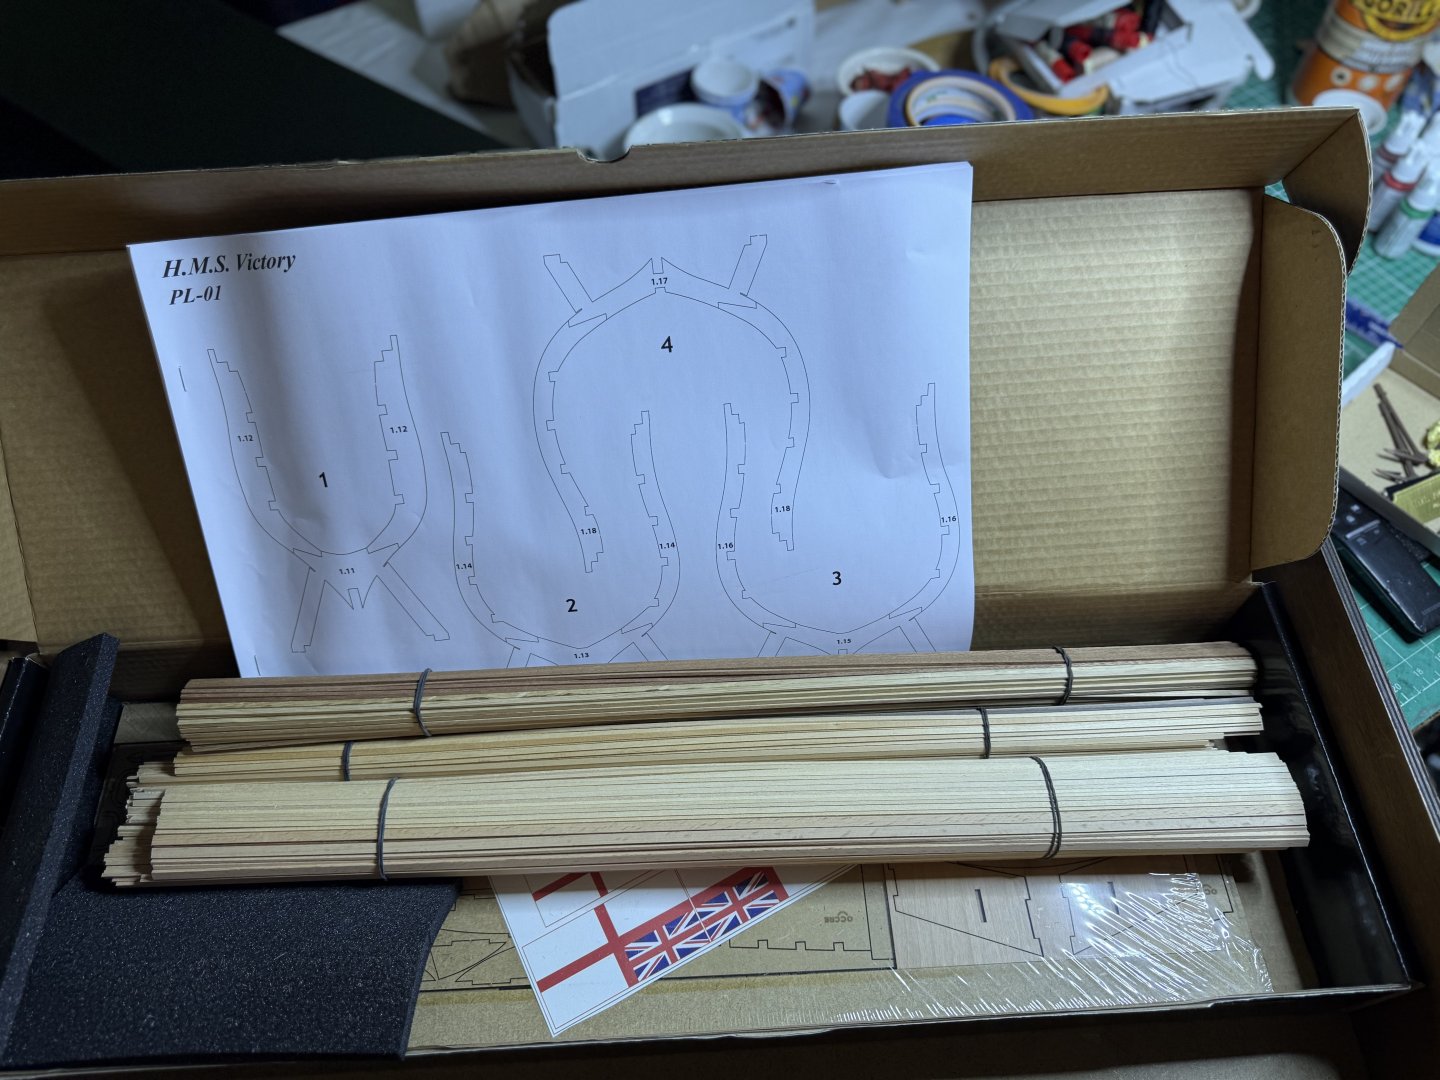
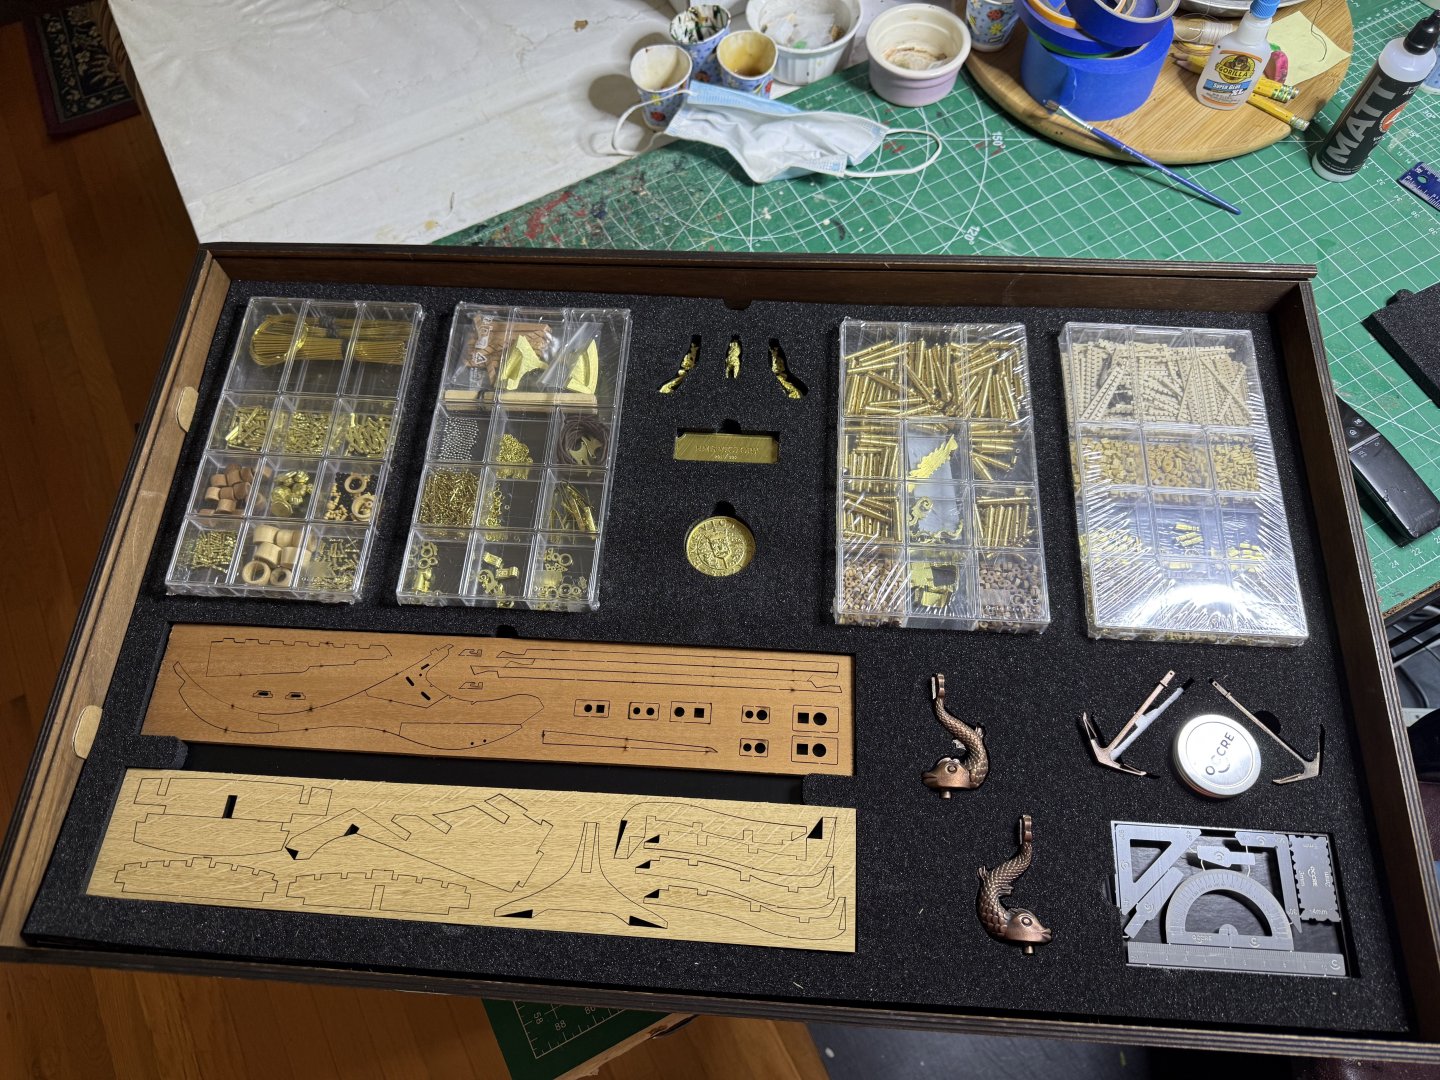
After finishing Vanguard's Grecian, started my latest build. This kit is a bit different as built on a slipway sort of like the original was done. . Instructions not up to snuff compared to Vanguarad but a video build instruction by occre is available on Youtube to help. My preference would have been Chris ' 1:64 kit he designed for Amati but it never went into final production but, if they ever do, I will also build it. Another recent kit Artesia Latina kit also availabe that has nice one side showing internal features but I had already gotten the Occre kit . So here we go. First the unboxing: A A 1:1 drawing shows the size of the finished product First step is setting up the false keel on the slipway Then the 32 frames are assembled. Each has 3 parts. Although Occre says you can leave the laser char I removed it to show the lovely oak Next dry fitted the first 6 ribs. The instructions and video suggest doing 6 section at a time. This if followed by add ding the cross beams for the first deck. The instructions tell you to glue the frame and beams in the fit lengthwise beams between. The video shows a better and stronger way, making dados so things click into place and adding stability. Spacers are provided. To avoid the drudgery of filing, I got this nifty minitable saw Measured out the spaces on one beam, aligned the 6 by their center line then cut the dados out. COntinued to dryfit, then added the fore/aft beams After 12 ribs, feels sturdy. Of noet, in Vaanguard's models these parts are laser cut for you and easily snap into place. You can see I was a bit wide on one longitudinal cut. Once all the first deck done then will disassemble and then glue up. Will be pretty strong. The plan calls for leaving the hull below the lower gundeck expose to show the construction but as it is an option, I will plank one side. This model is not painted, just varnished raw wood.


-
Thanks. Already the Occre numbering system is driving me crazy.
-
As I have been looking at it, a definite level of complexity especially as instructions not as nice as with Vanguard 's. There is a You-tube instruction video series that is interesting specially as departs somewhat from the enclosed instructions.
-
Alas the Occre Victory is not 1:64. I would have preferred Chris' 1:64 version but Amati never went forward with it.
- 52 replies
-
- 1
-

-
- Grecian
- Vanguard Models
- (and 1 more)
-
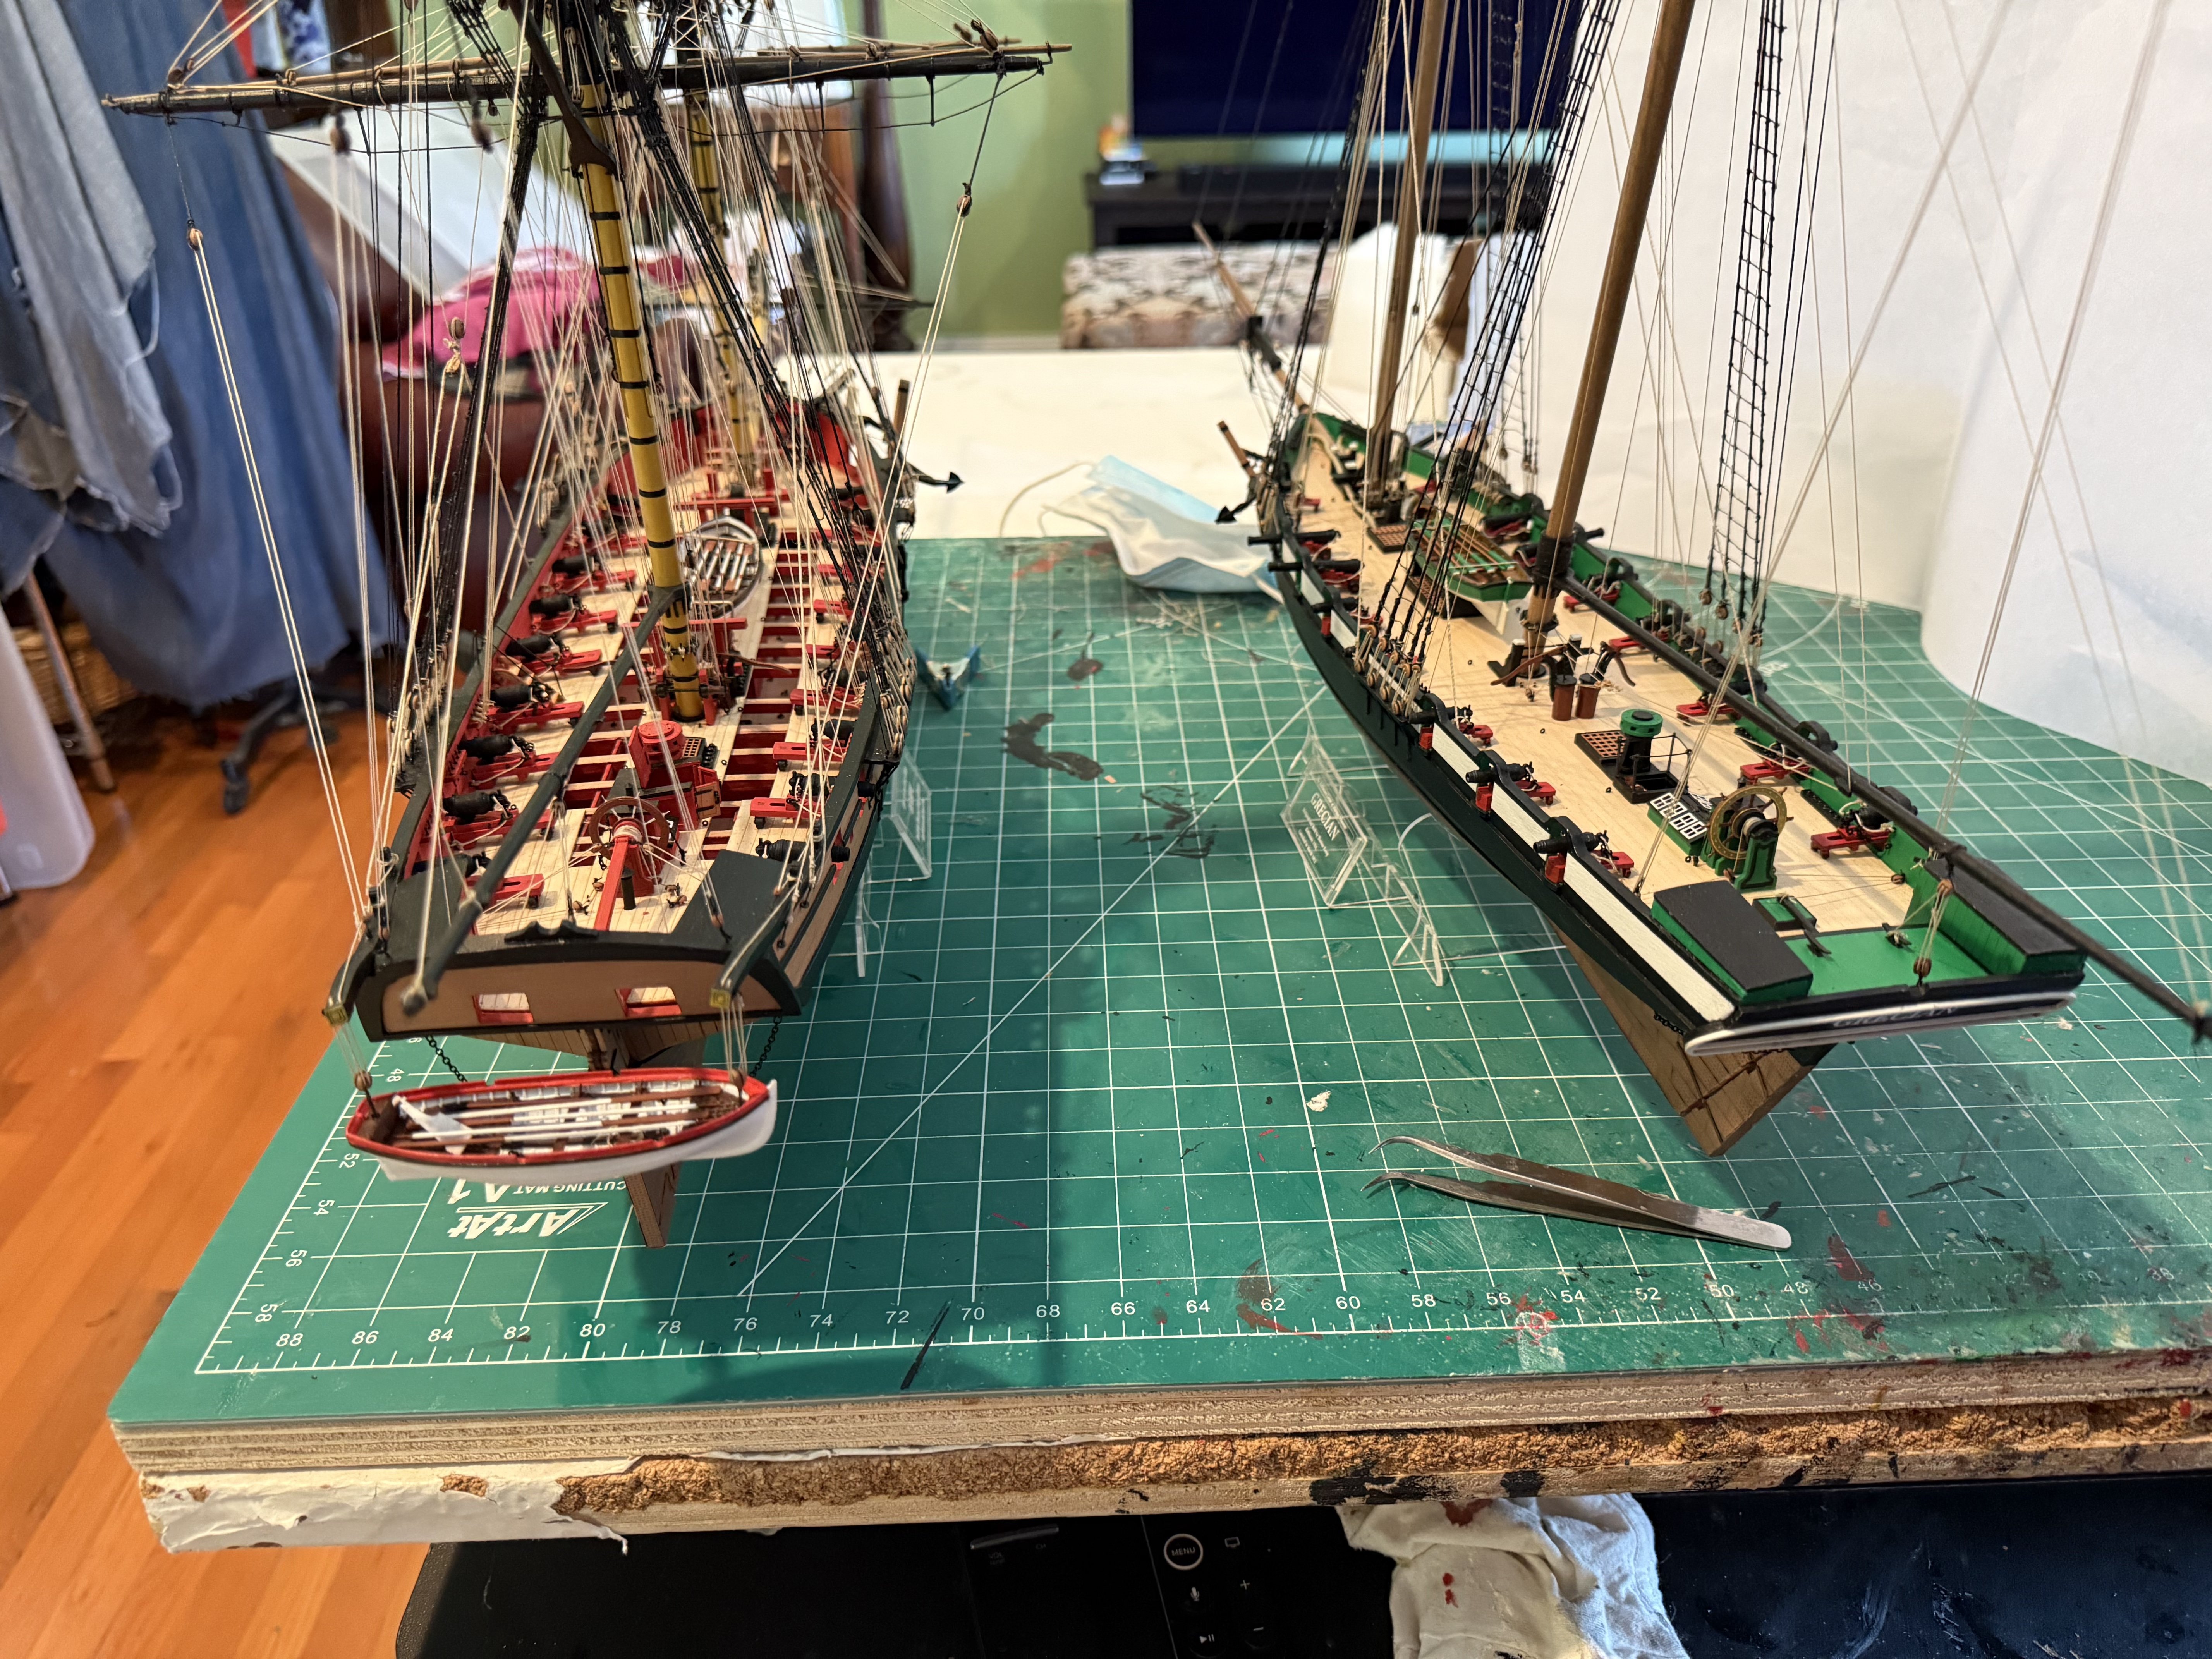
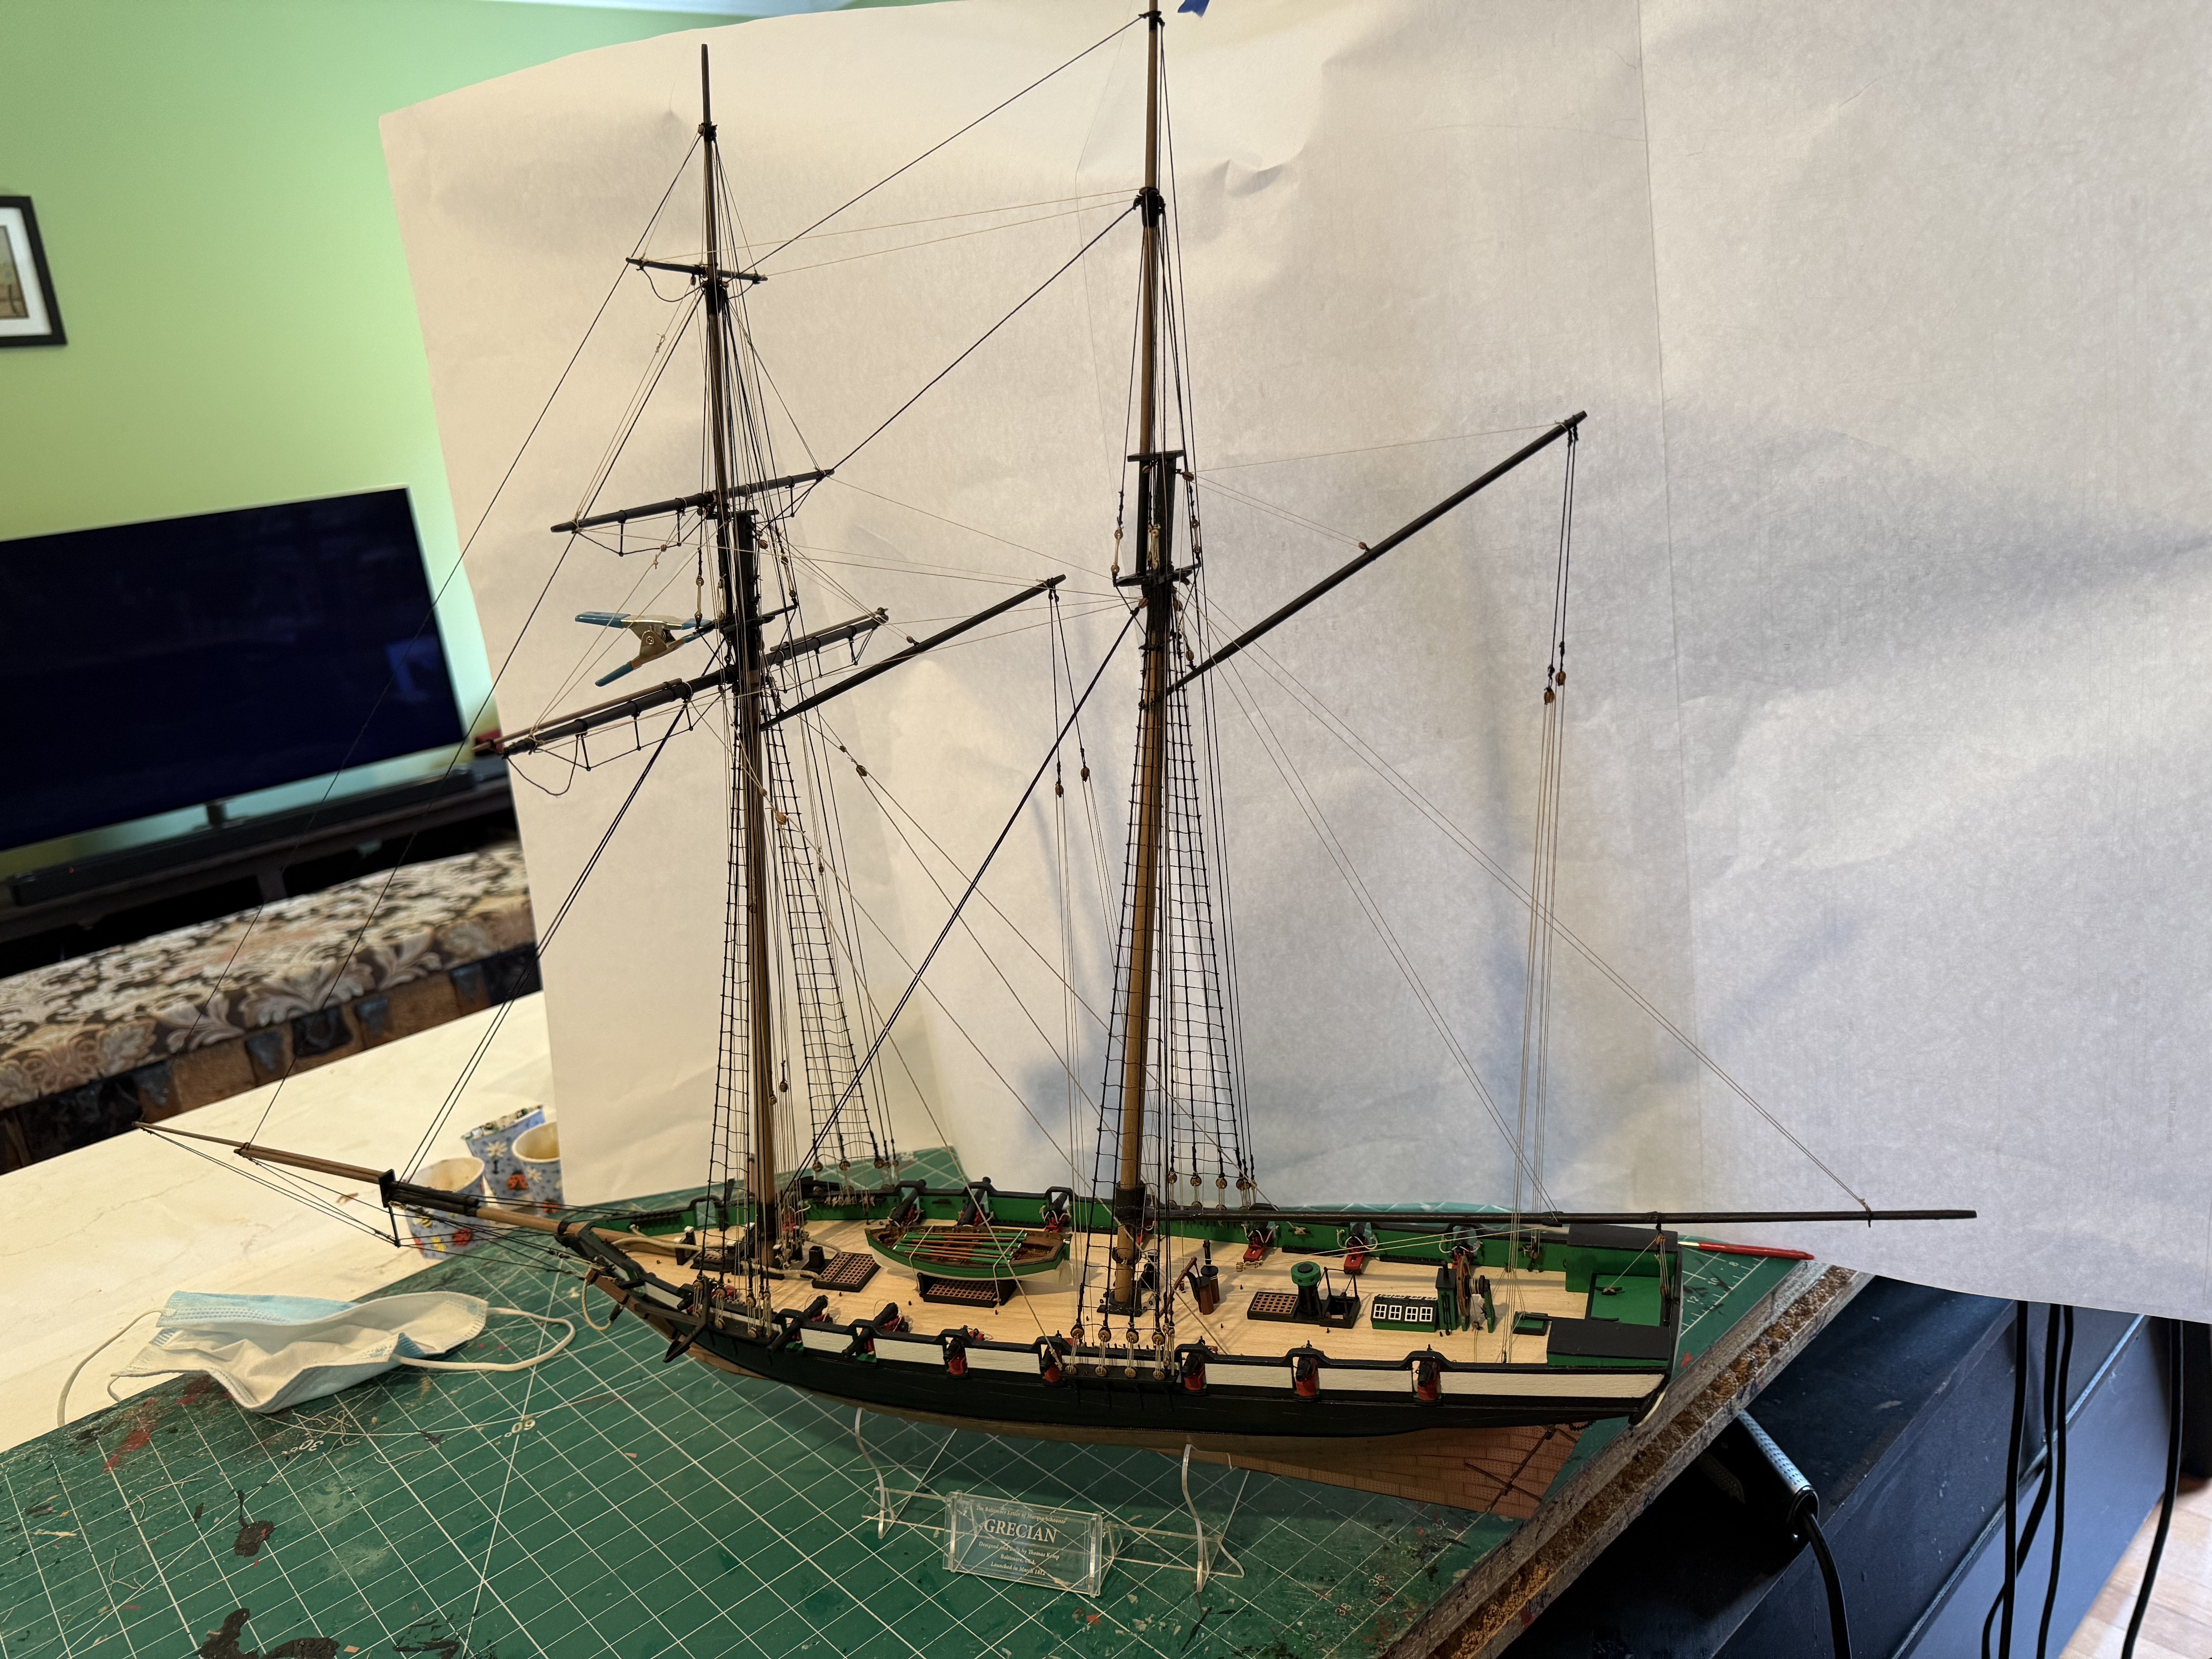
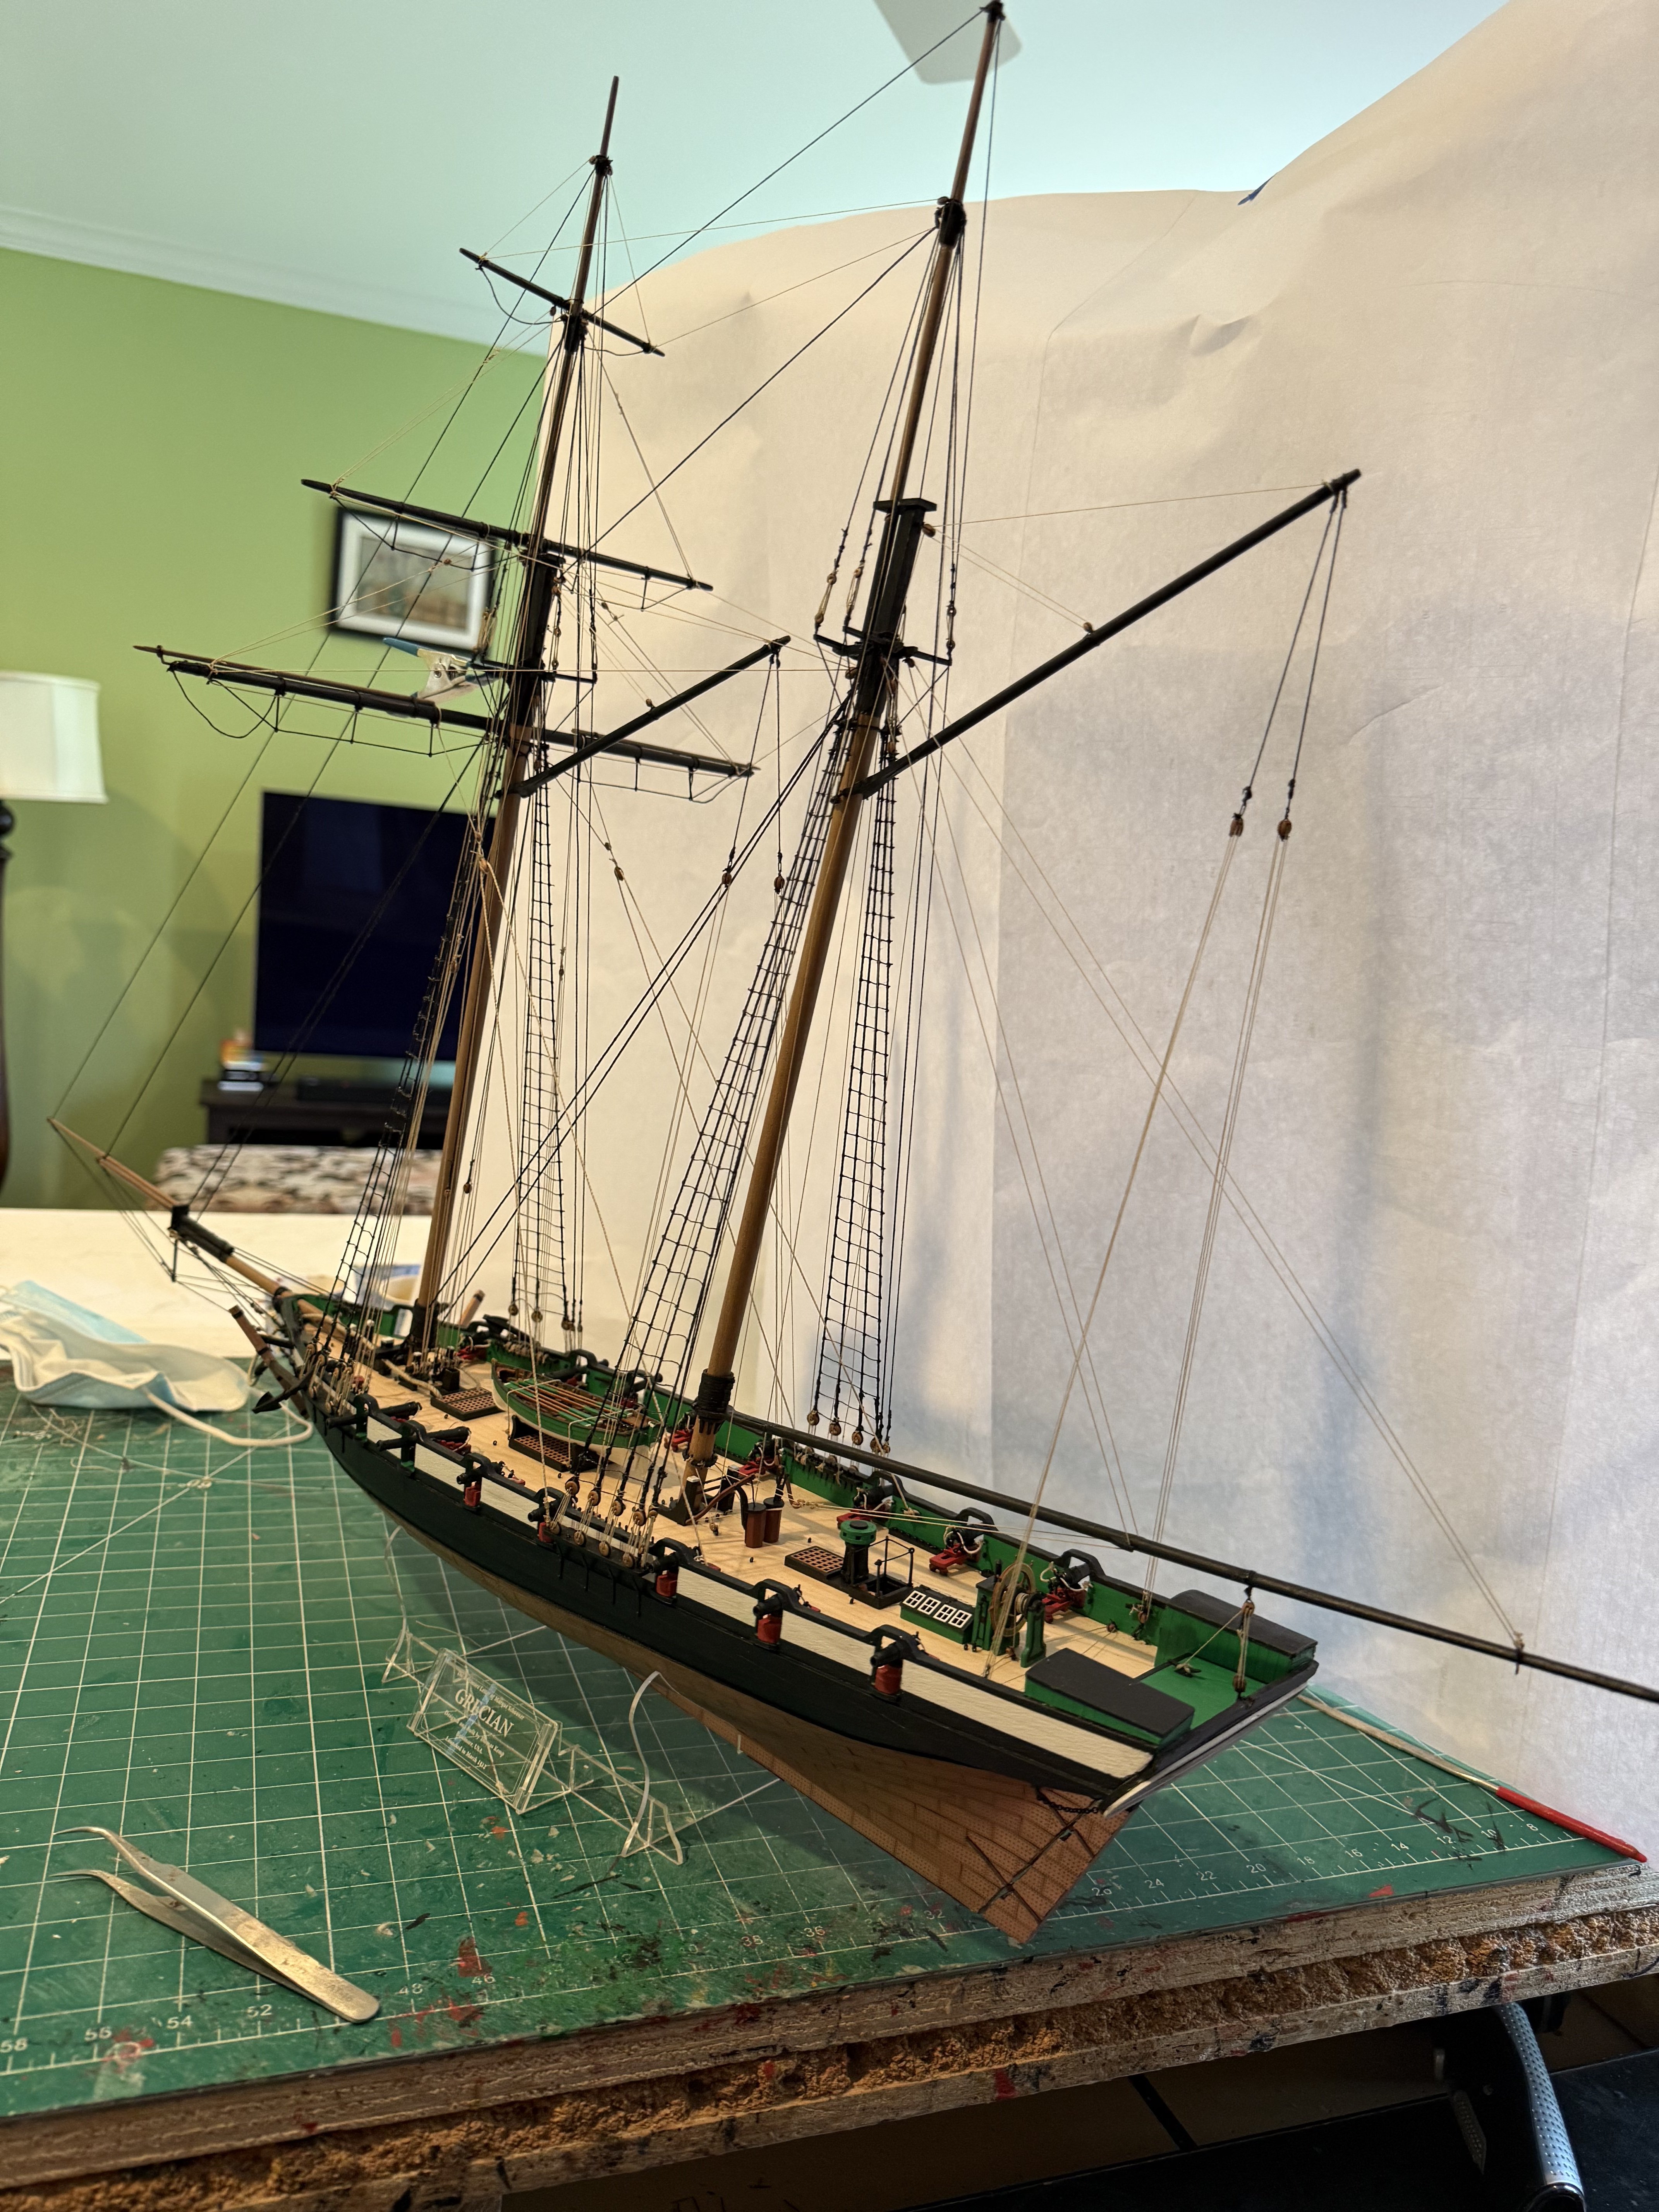
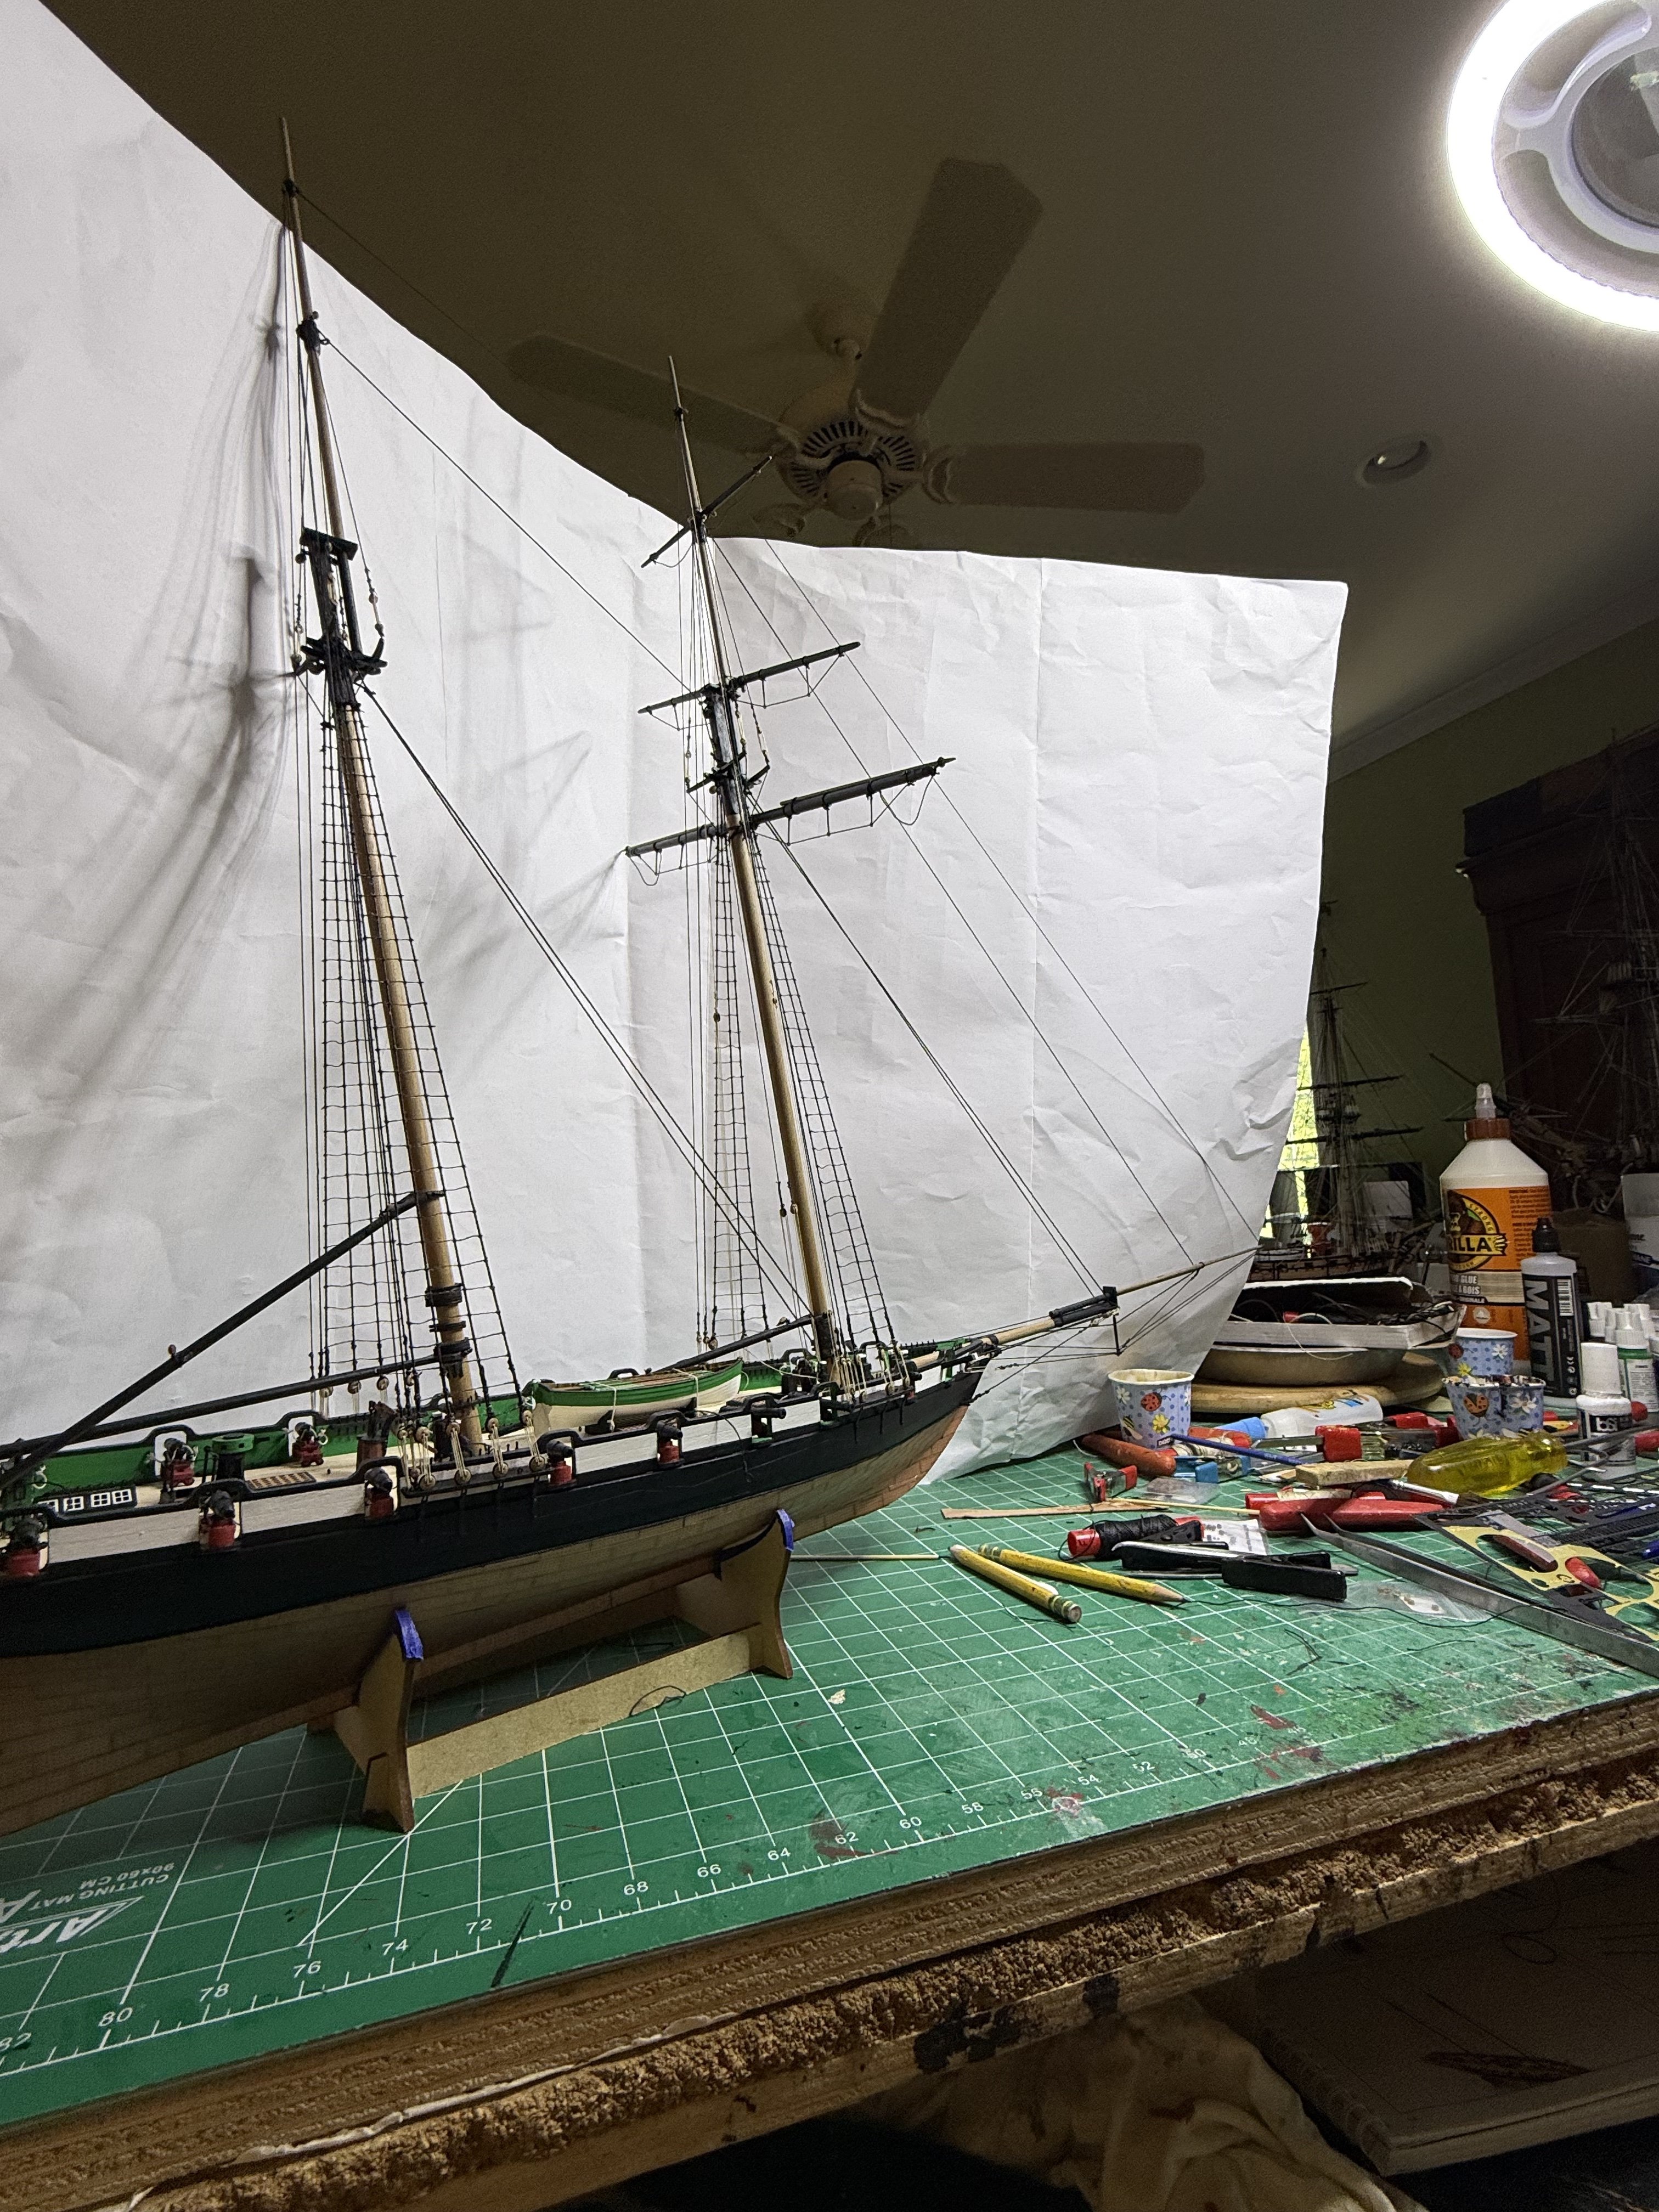
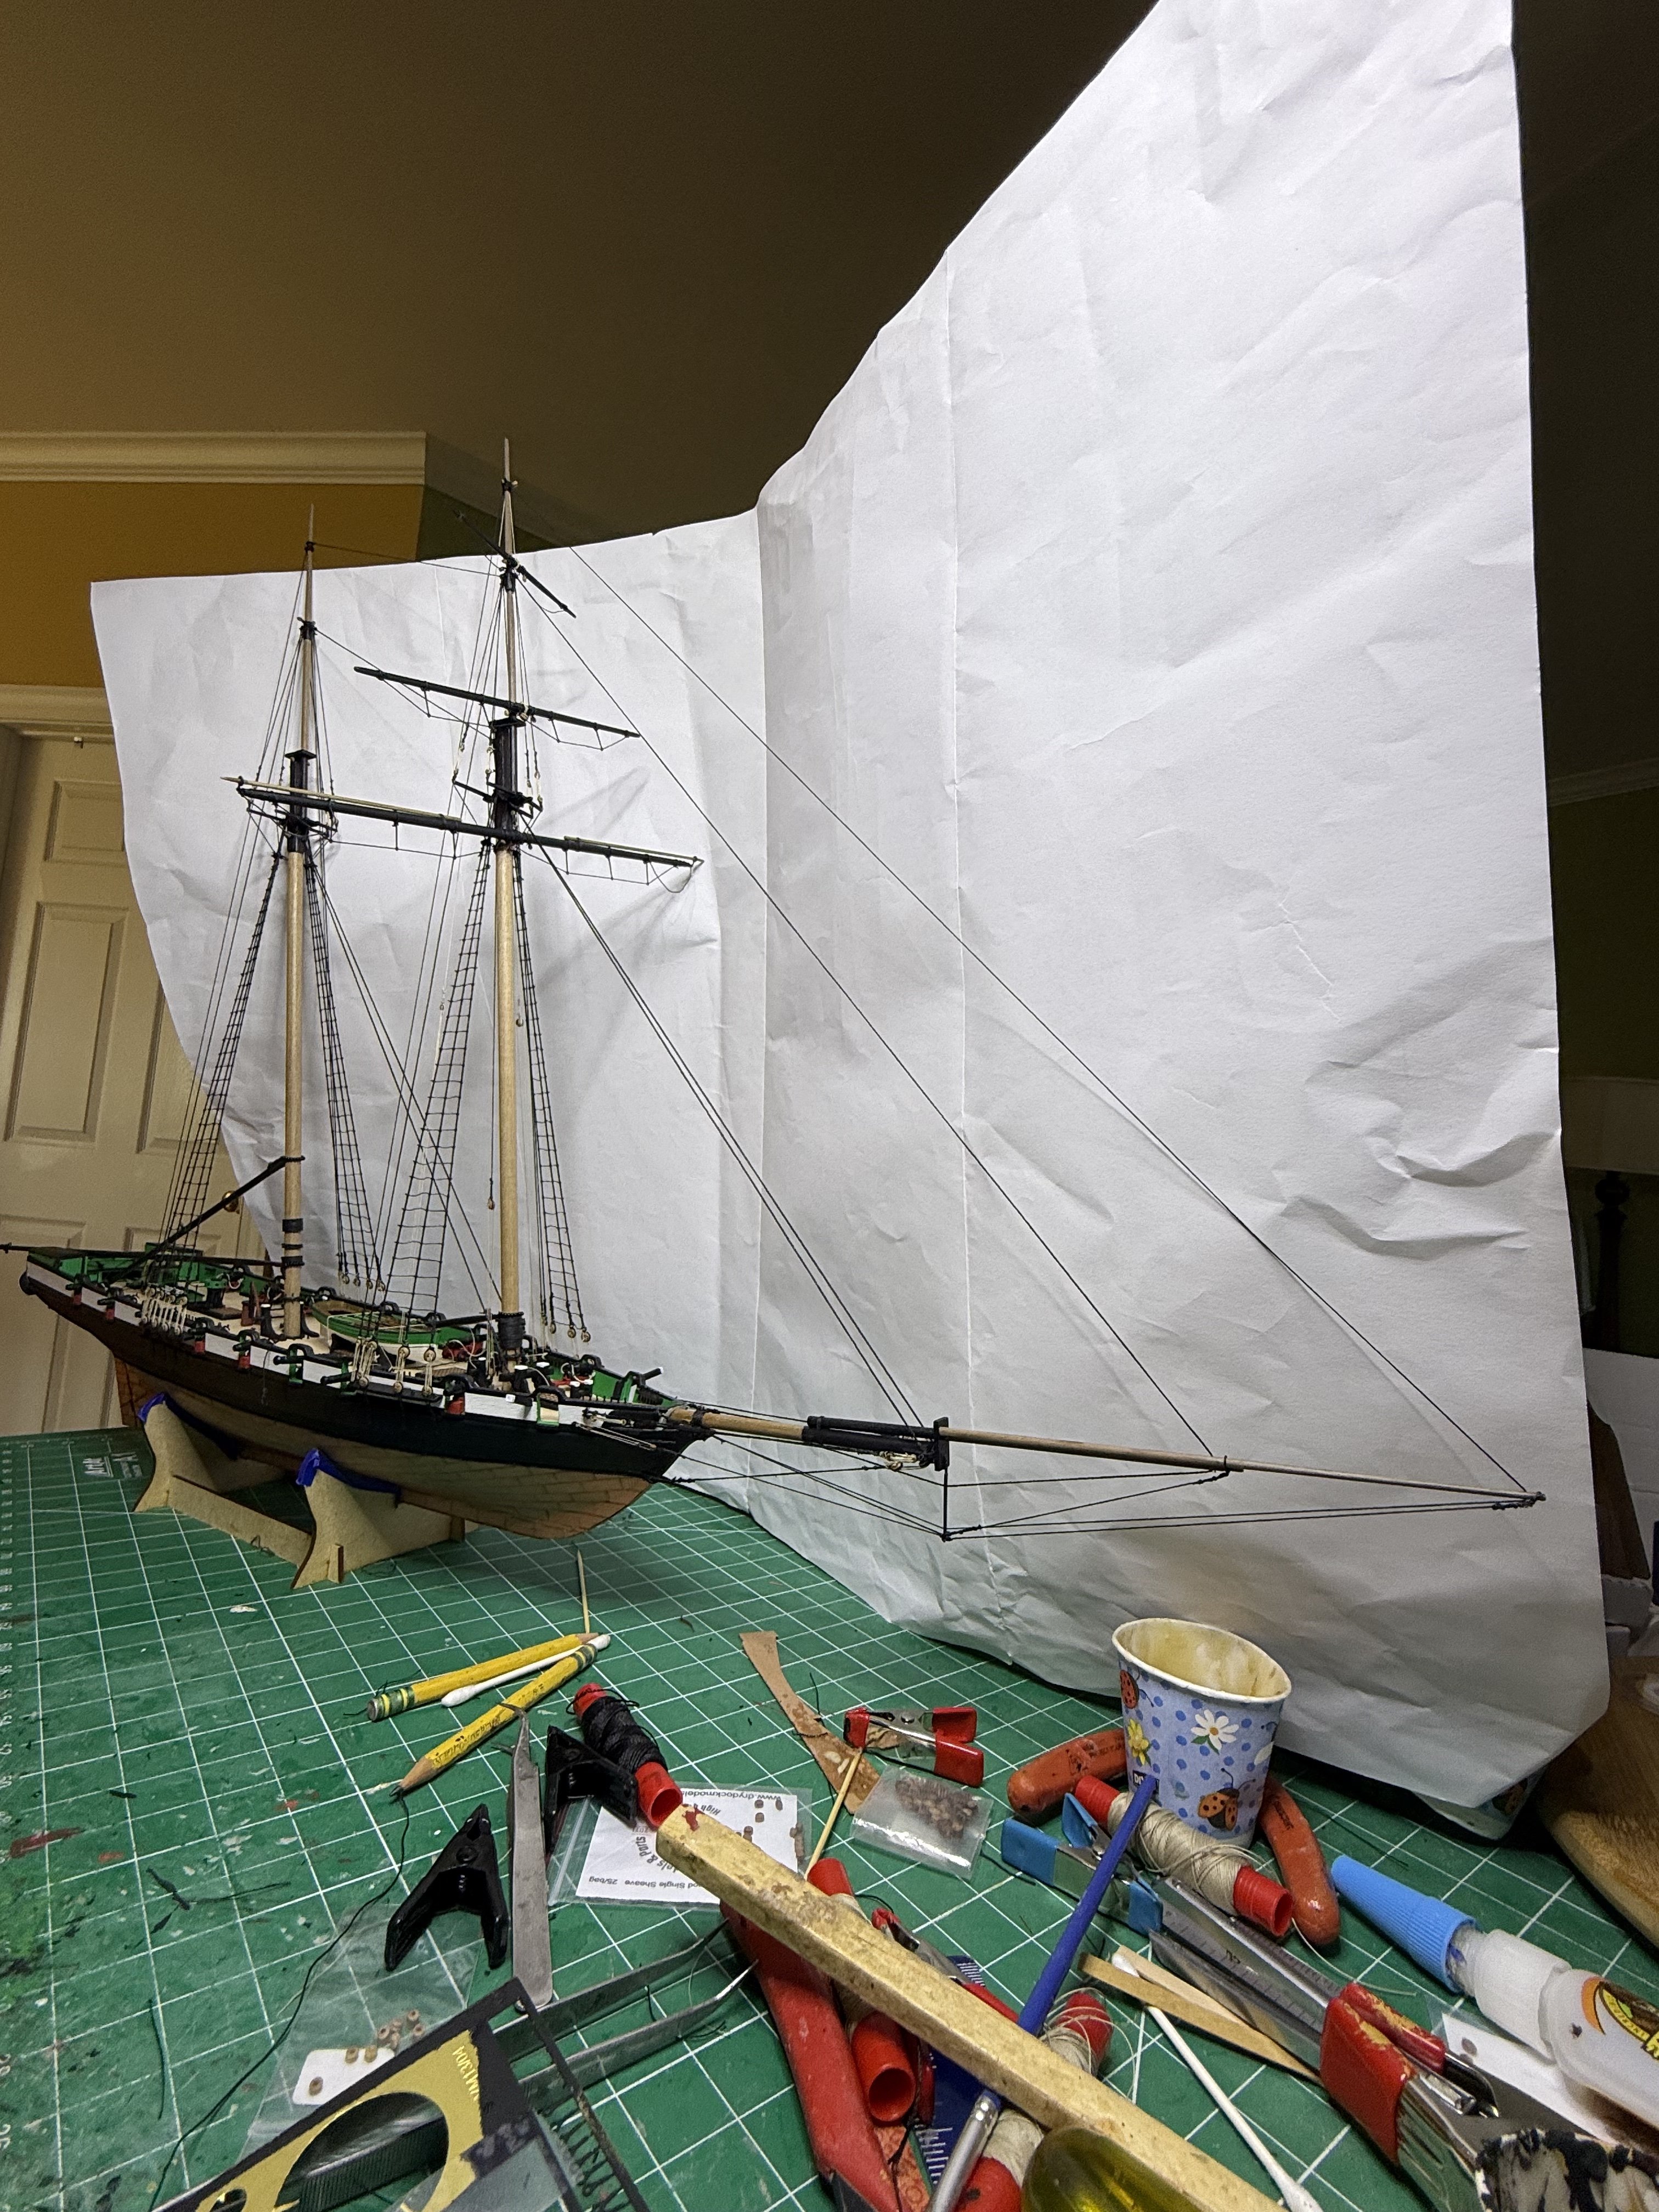
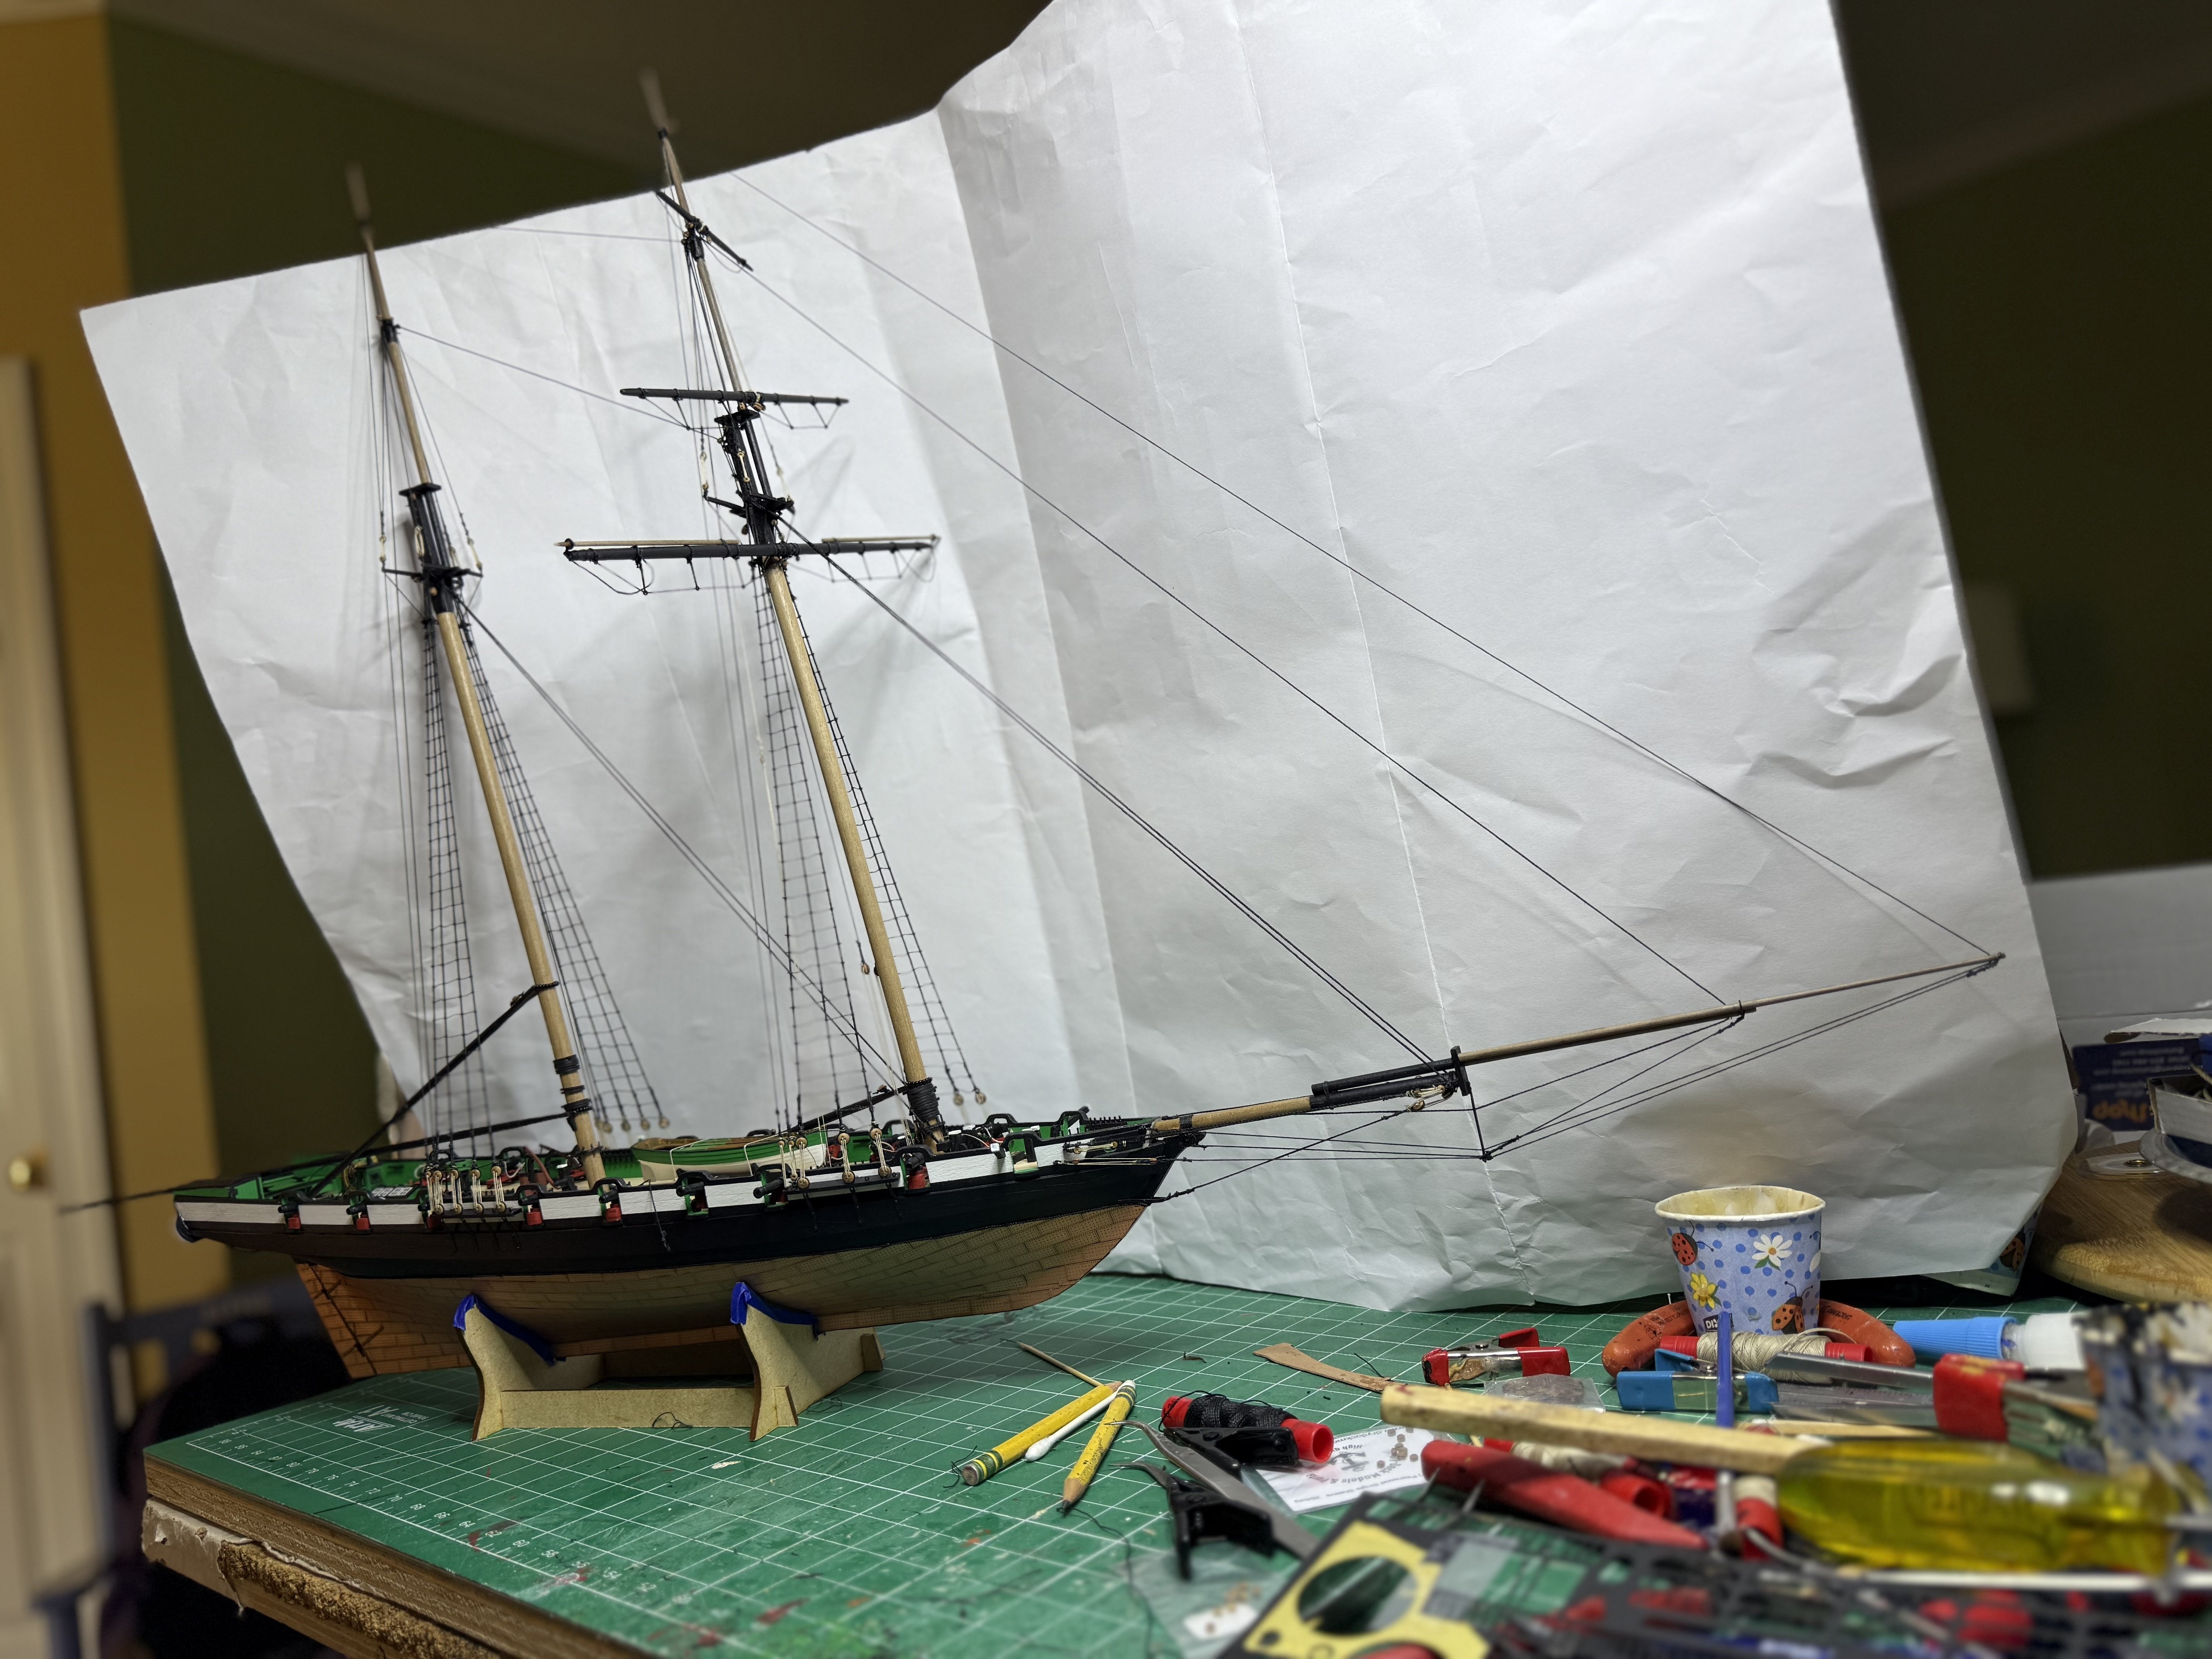
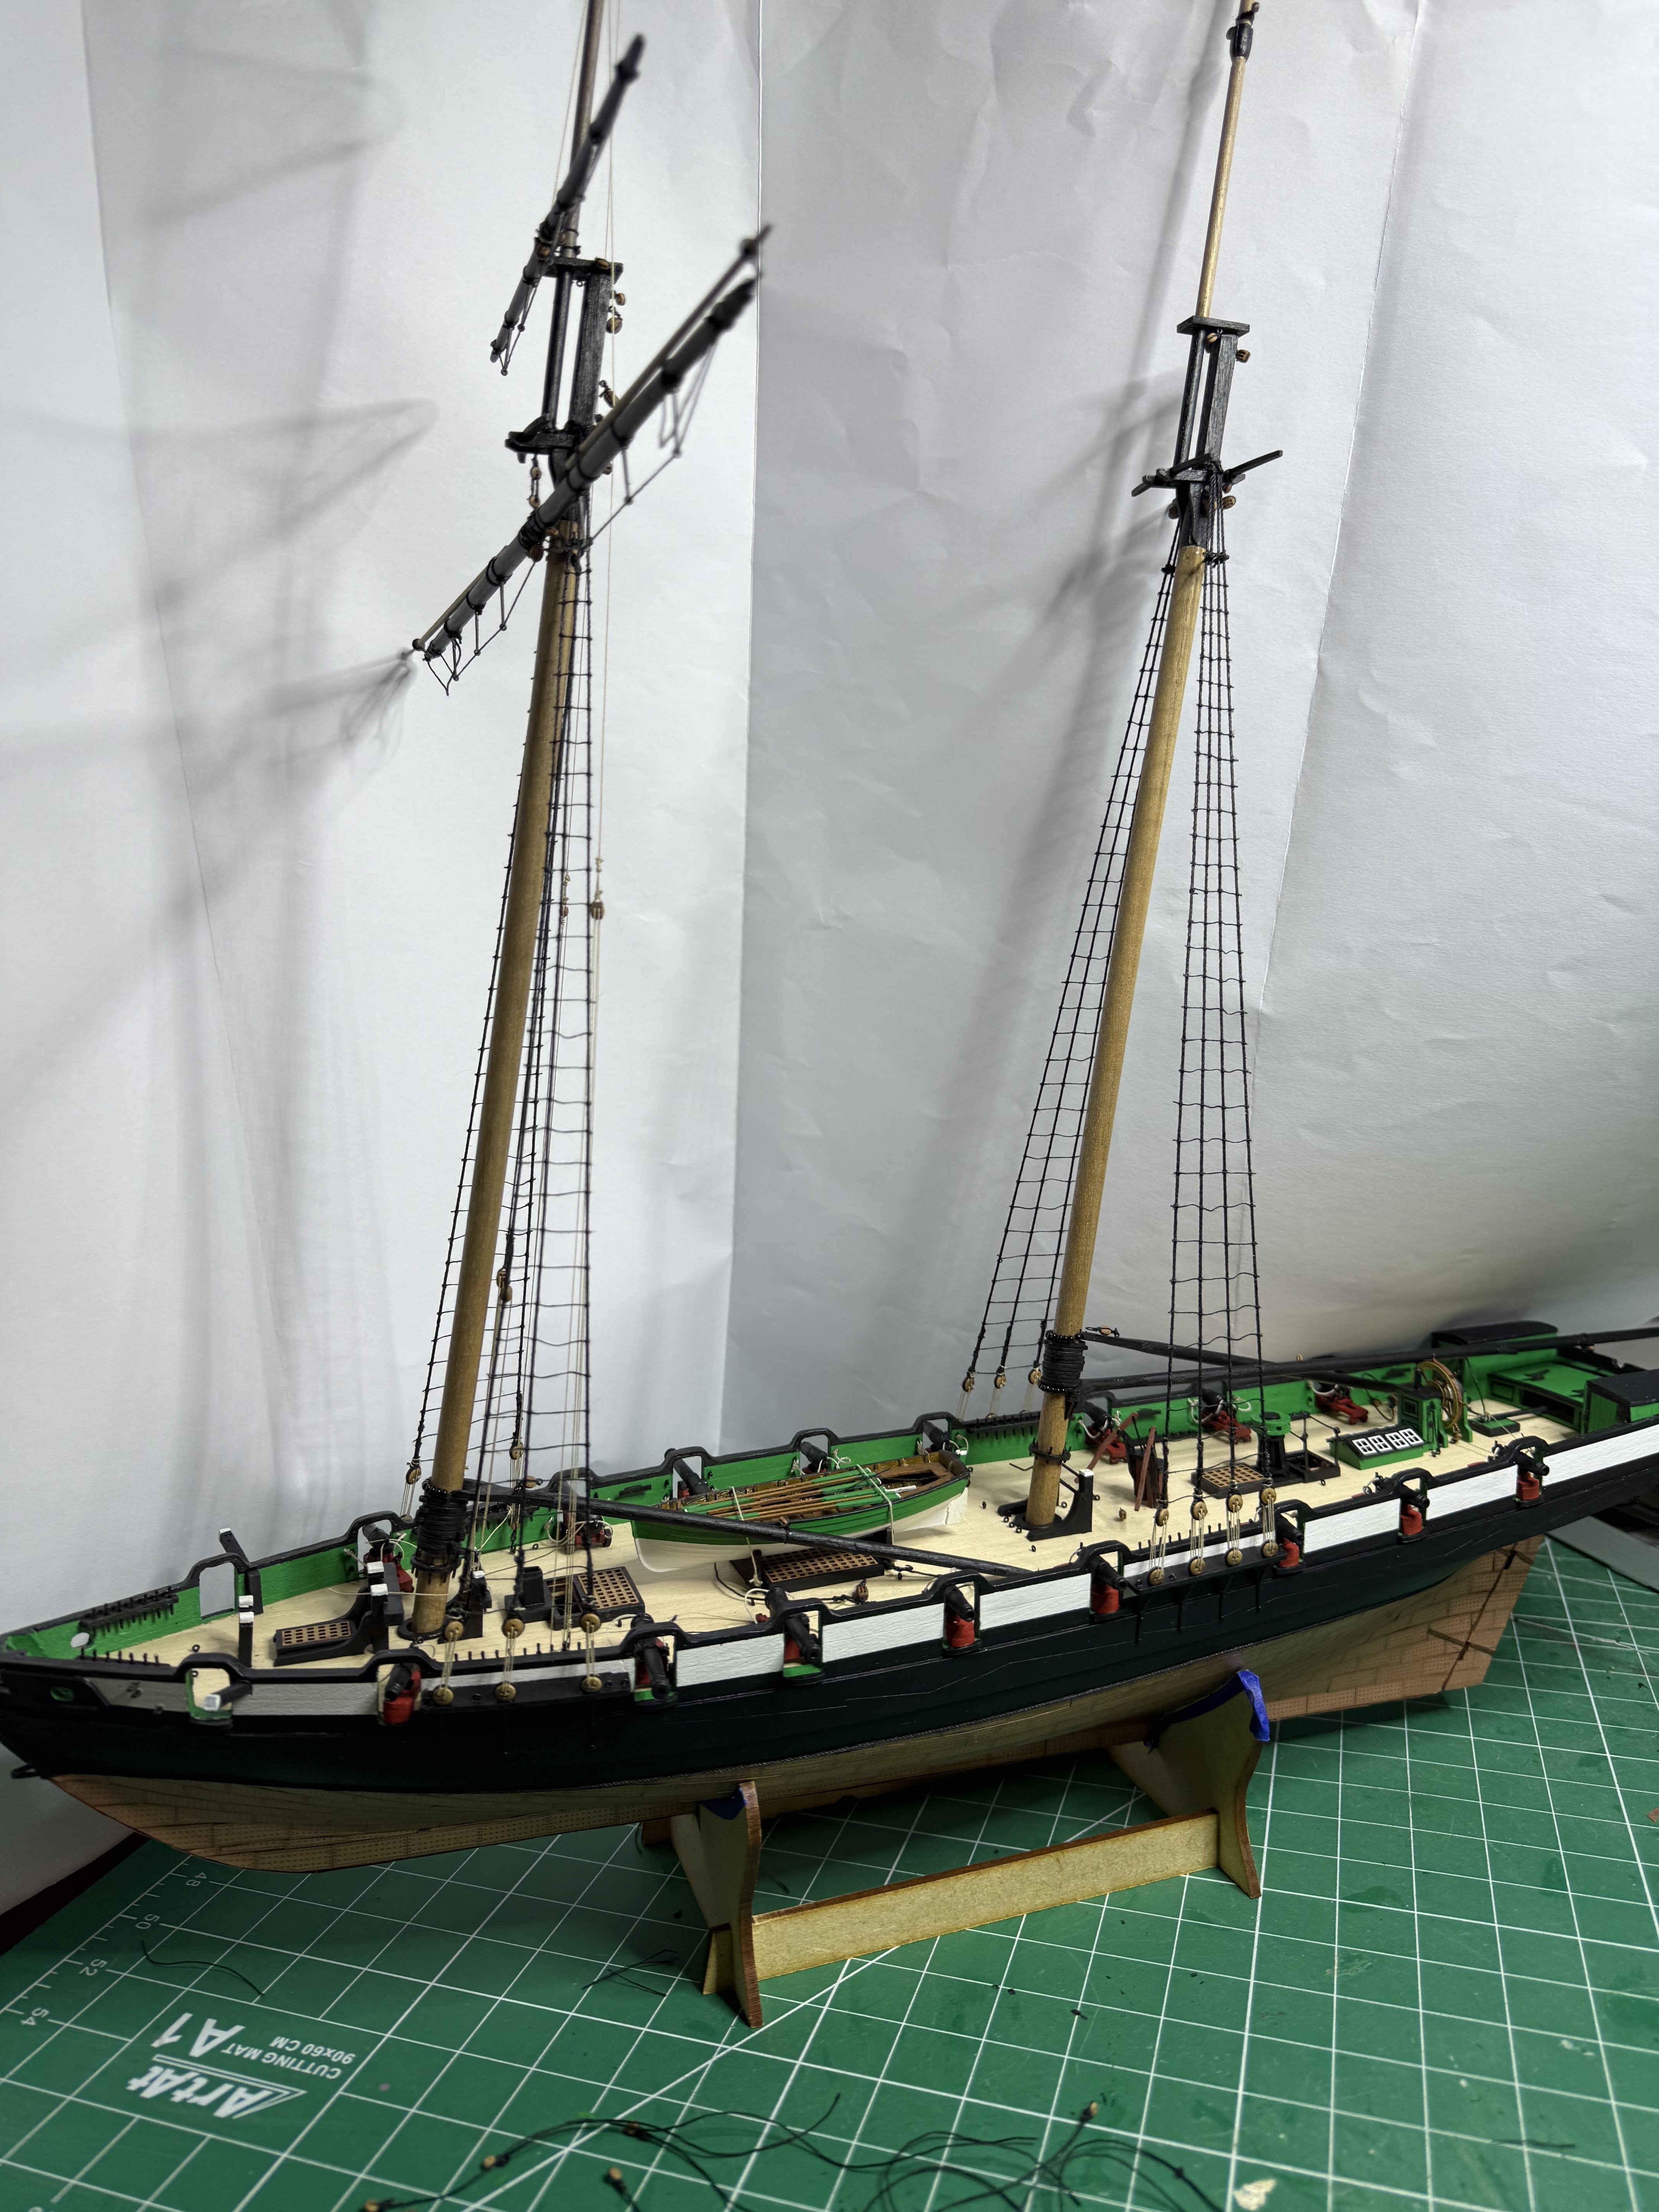
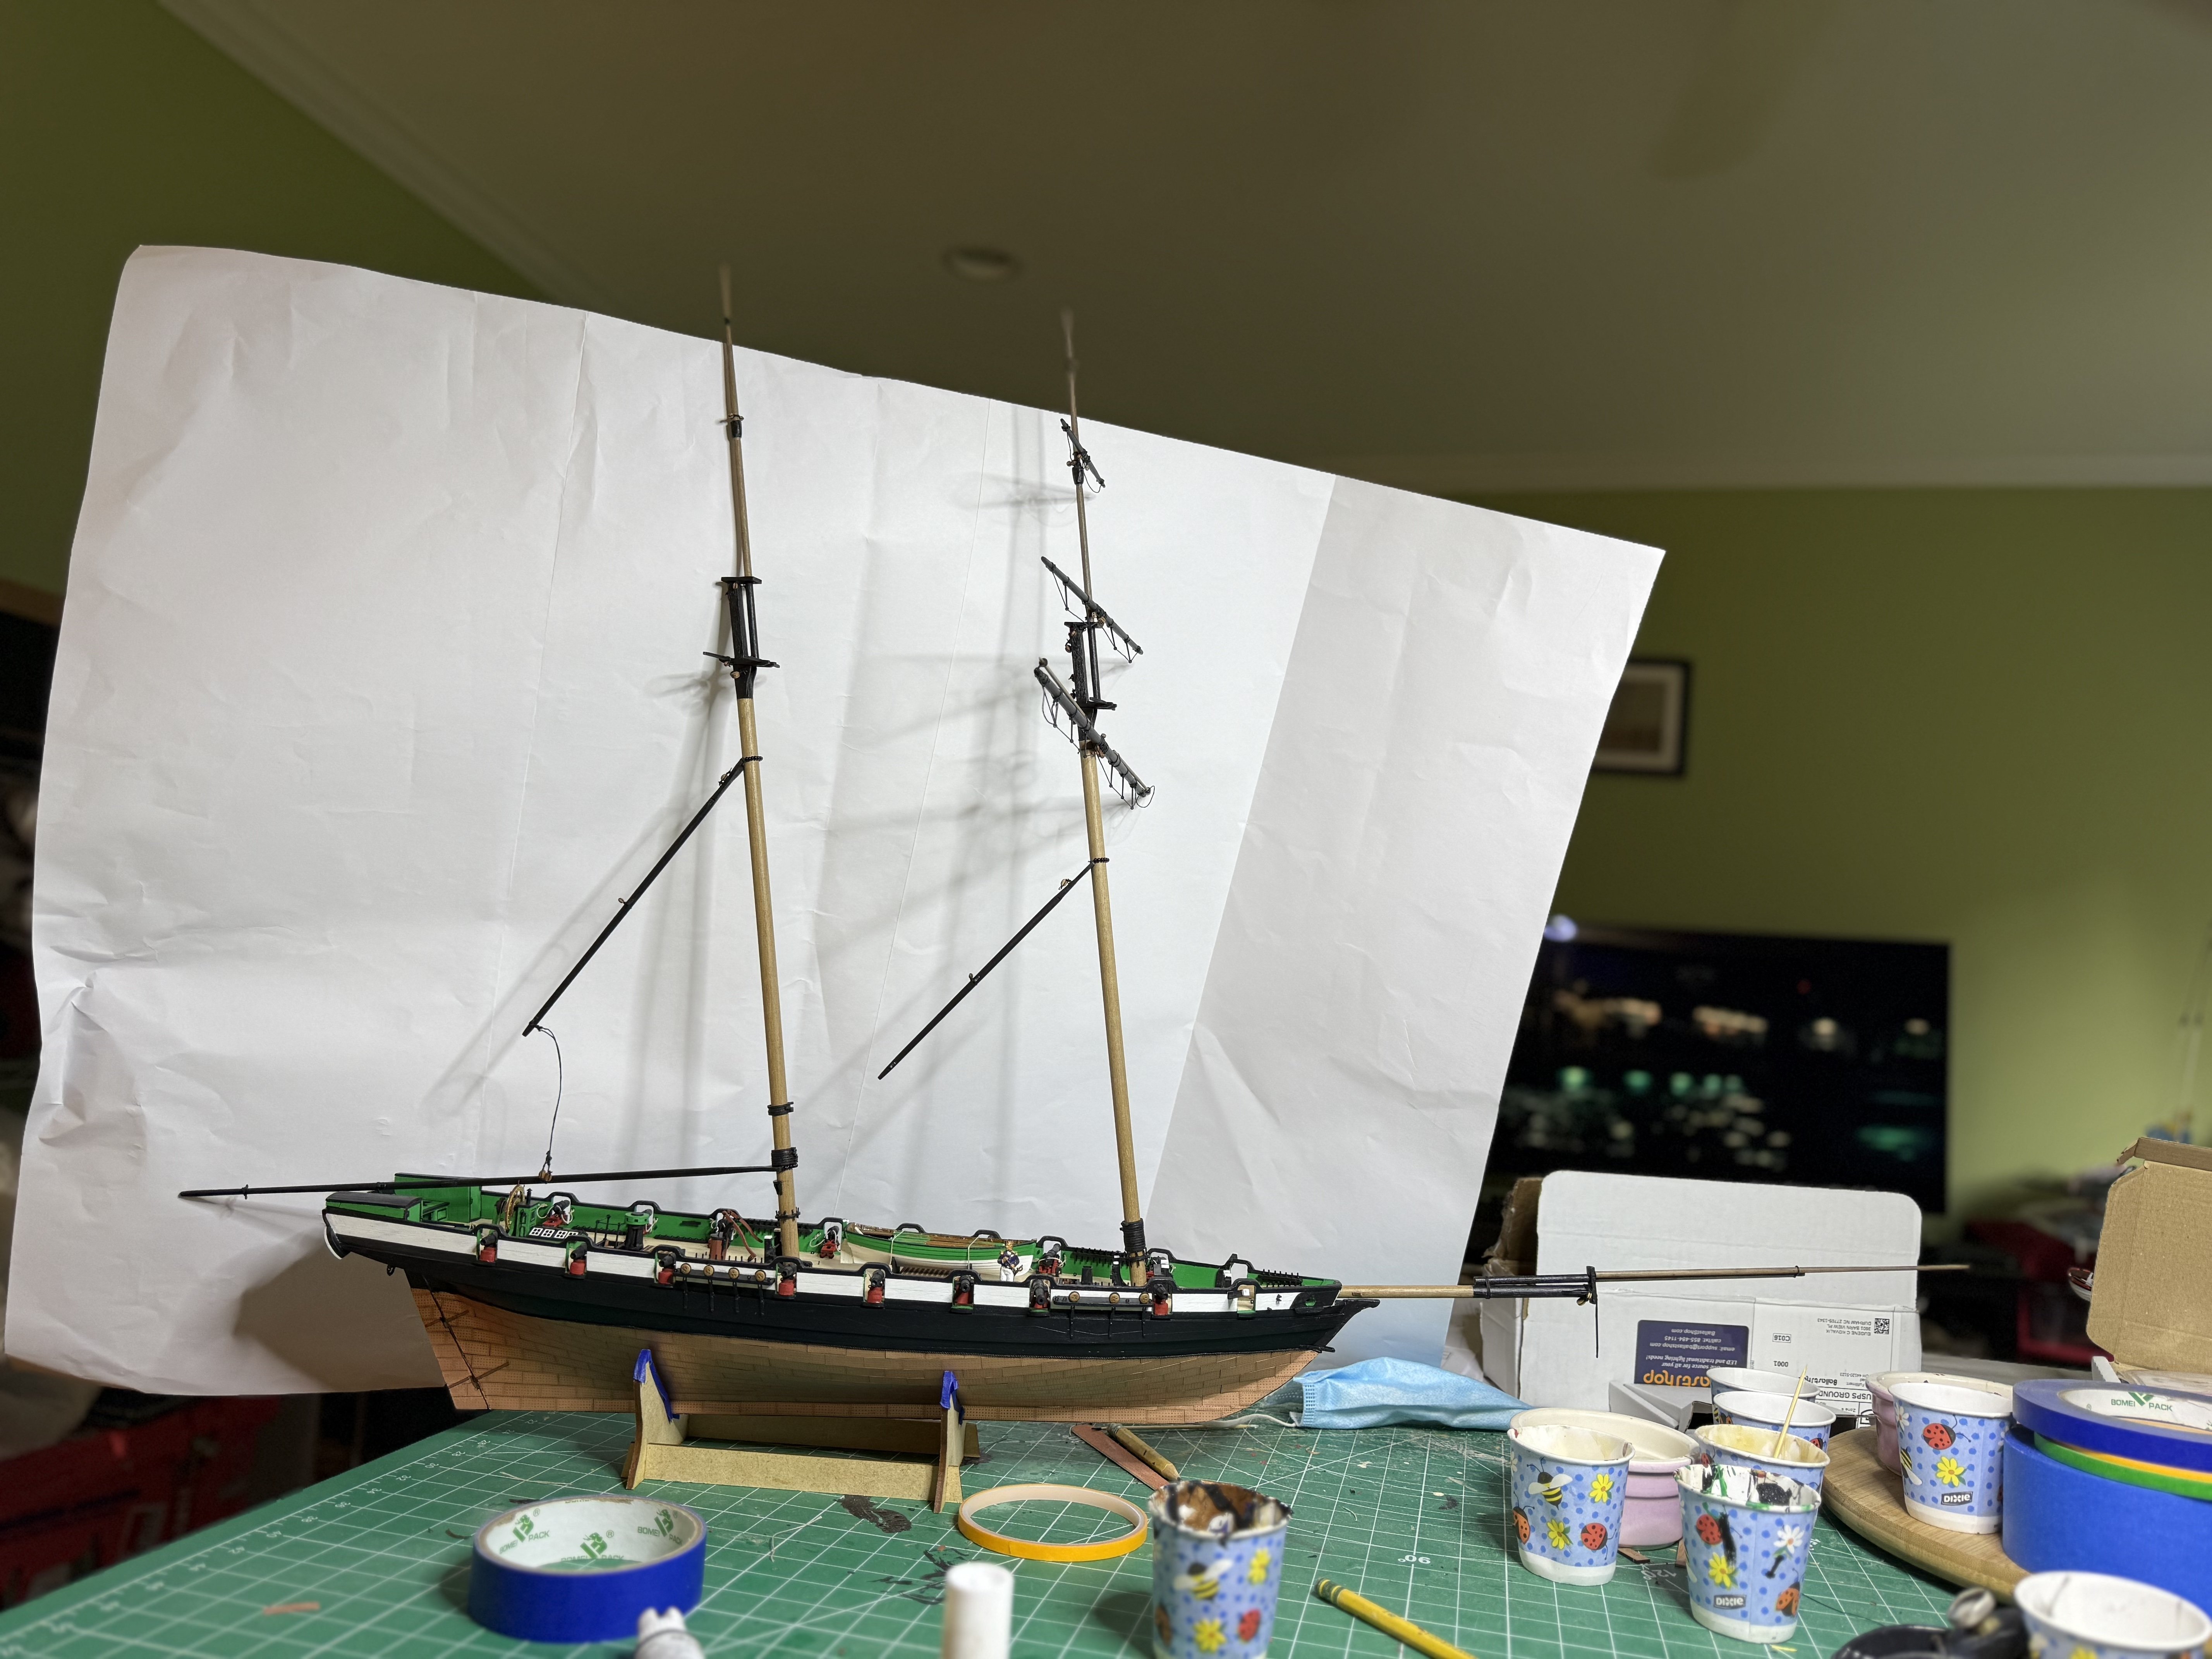
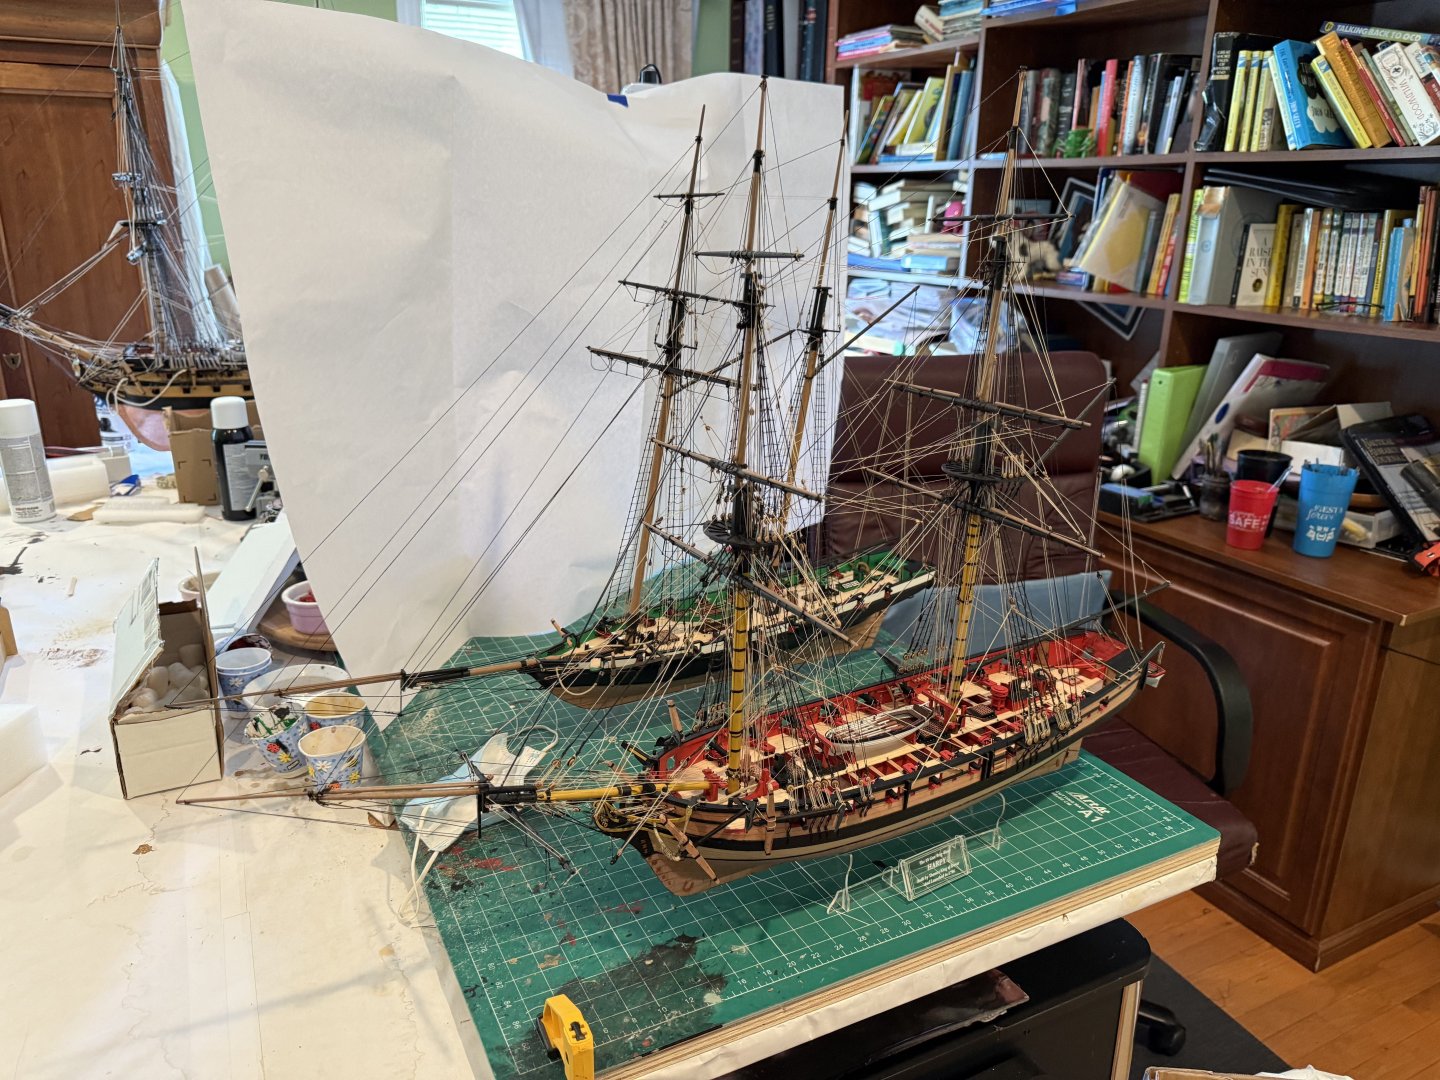
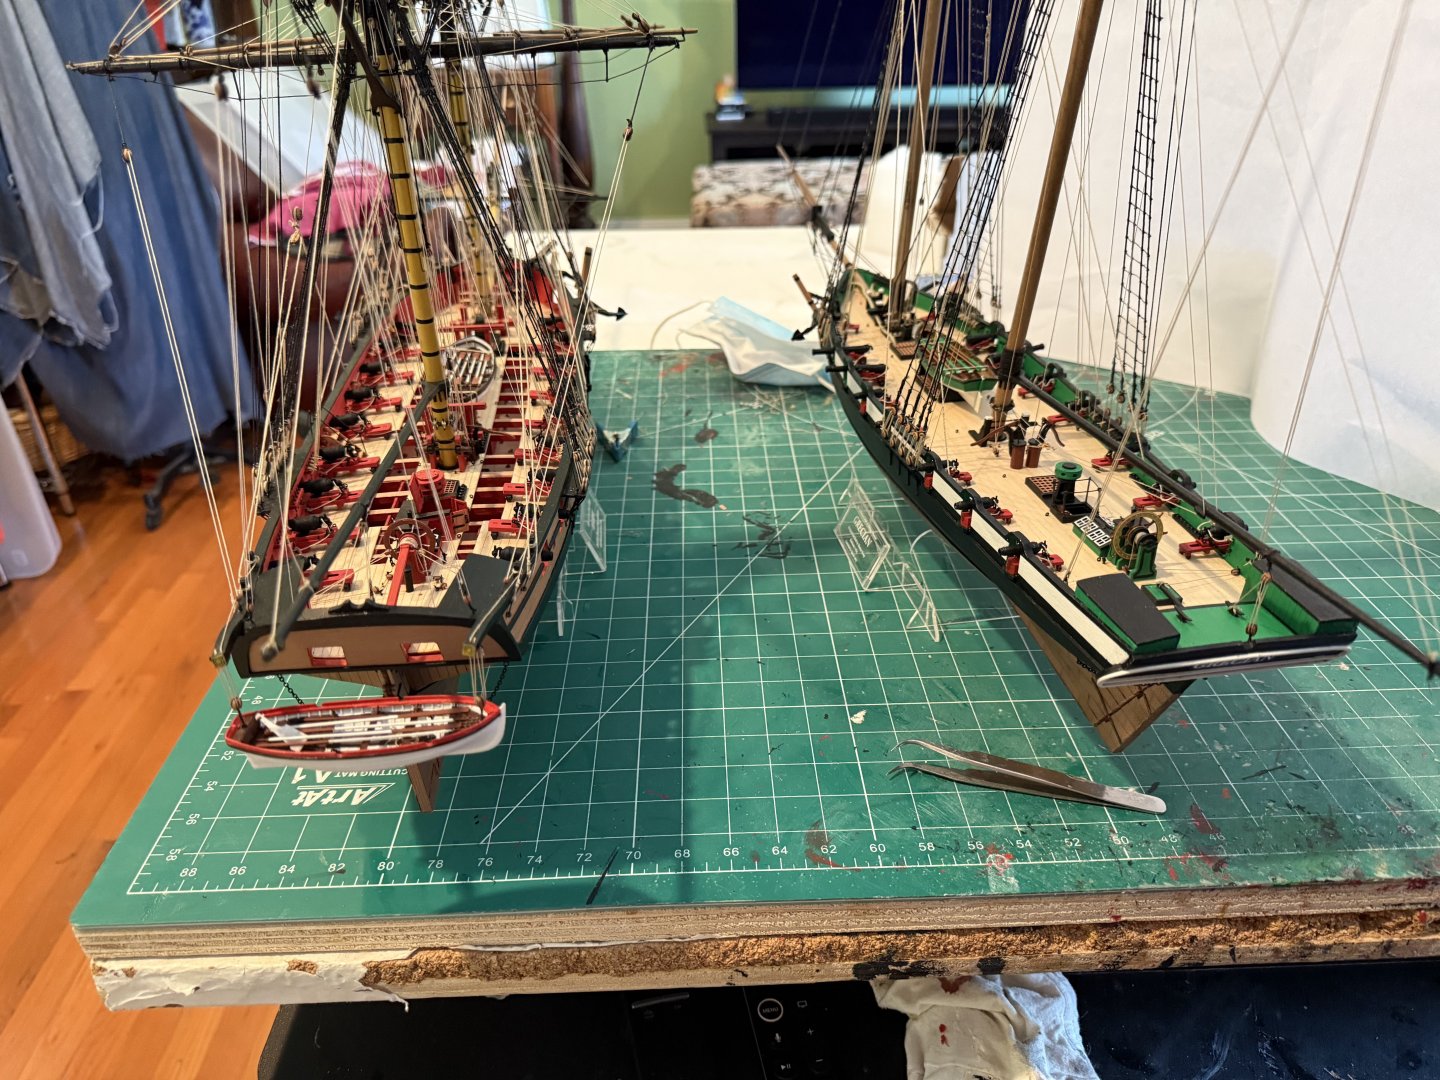
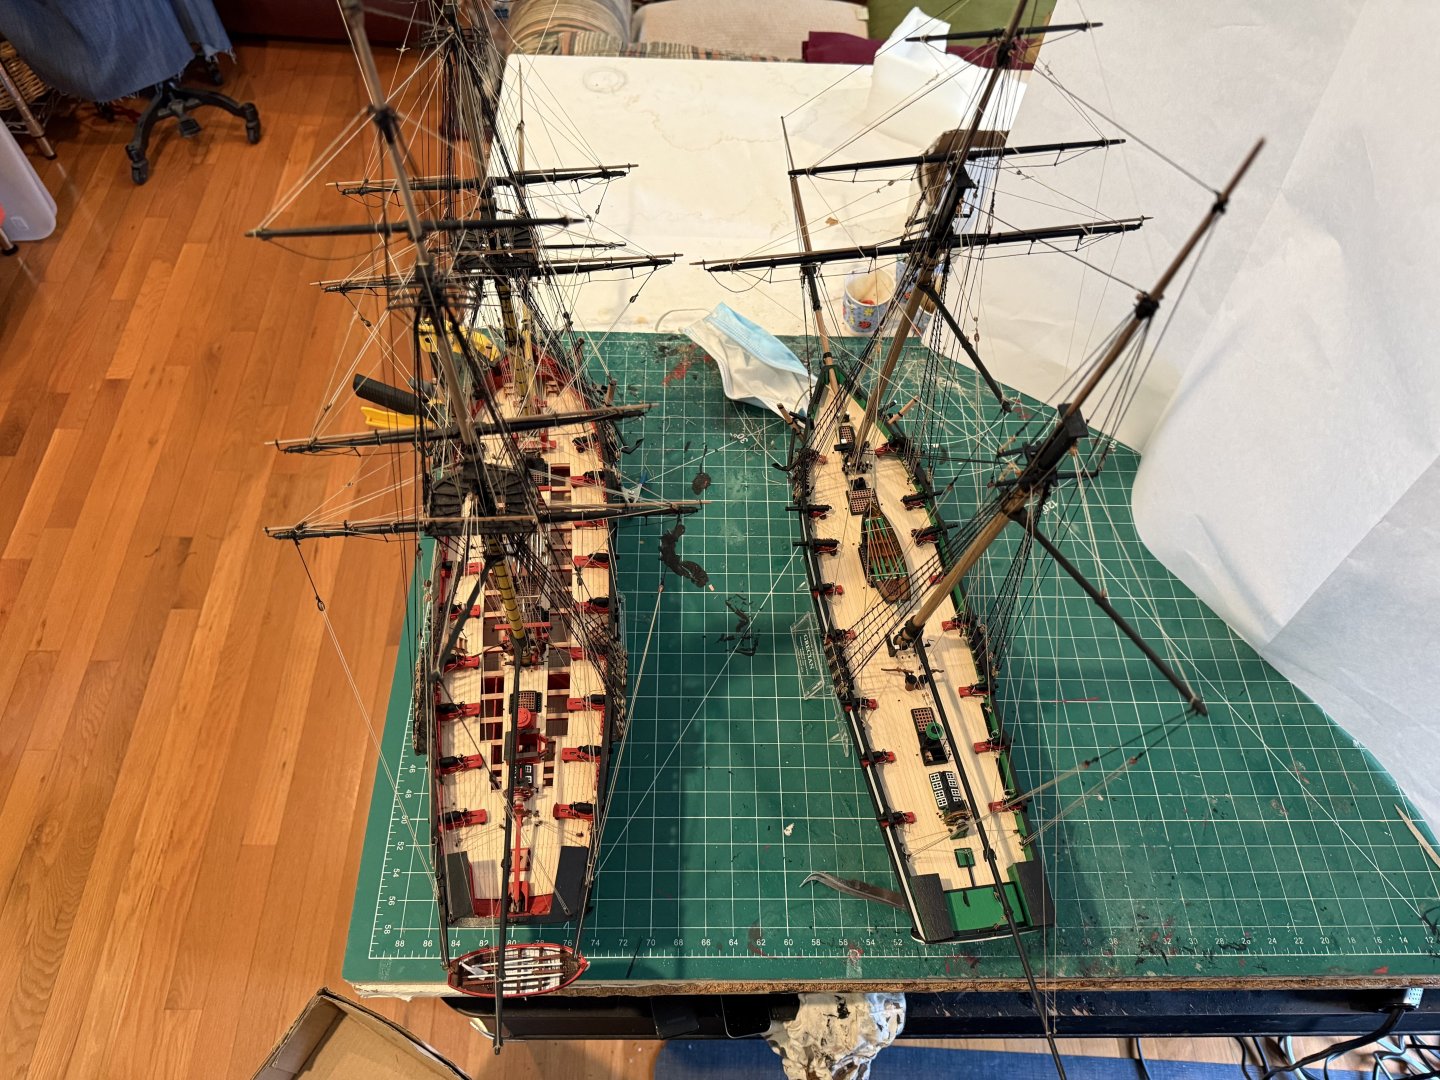
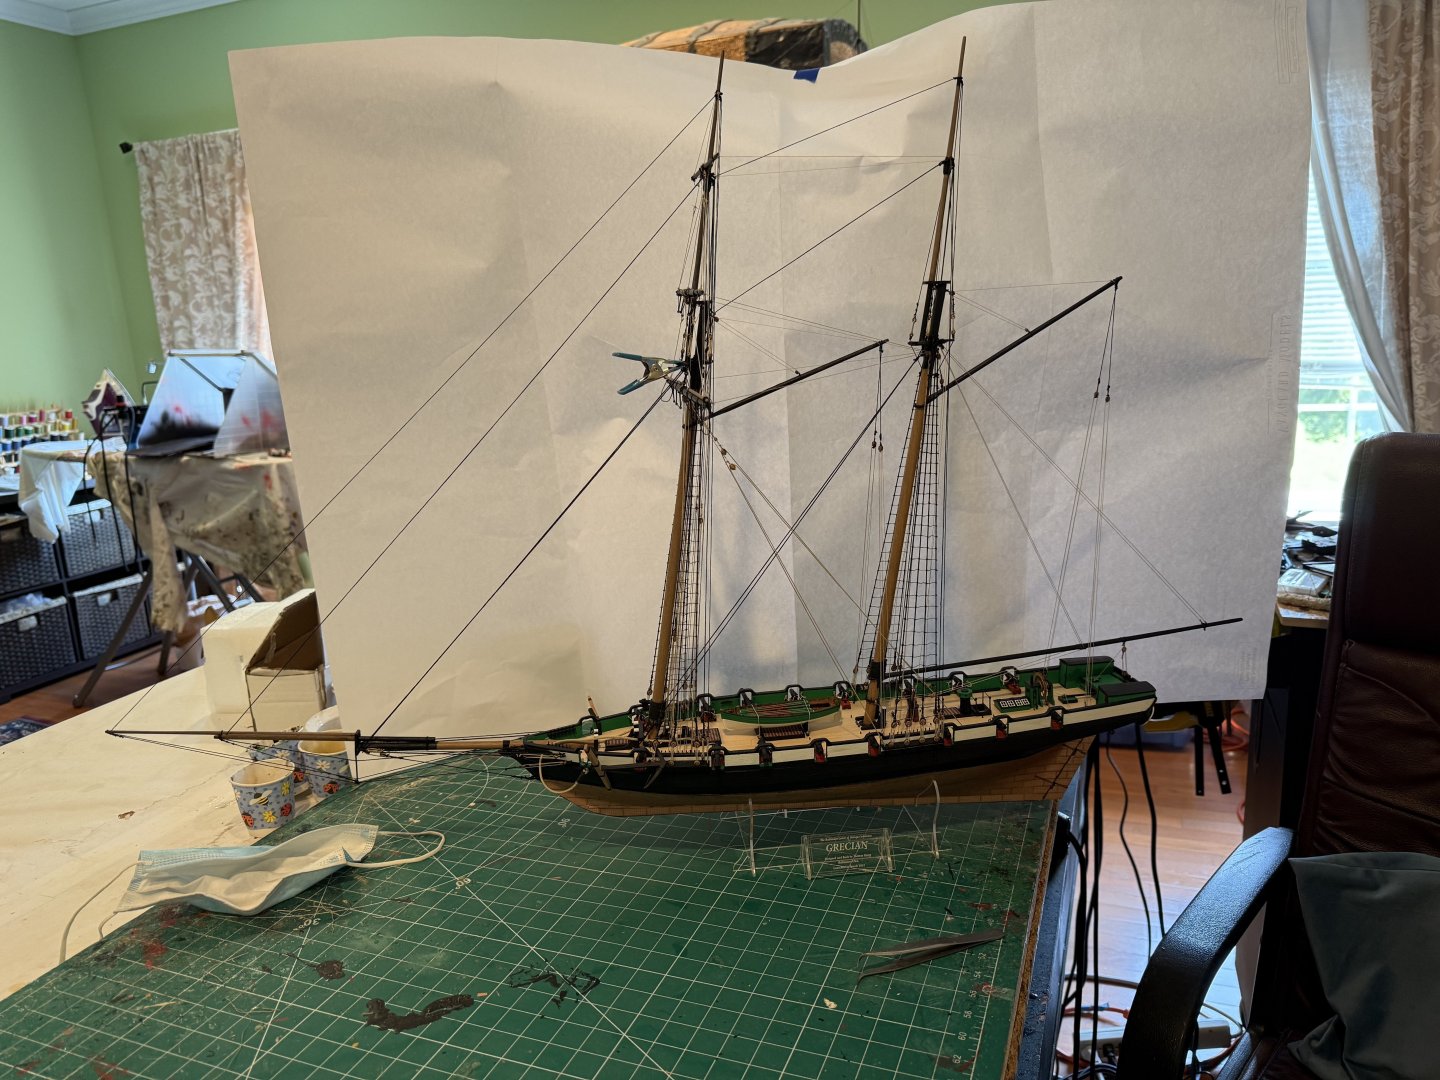
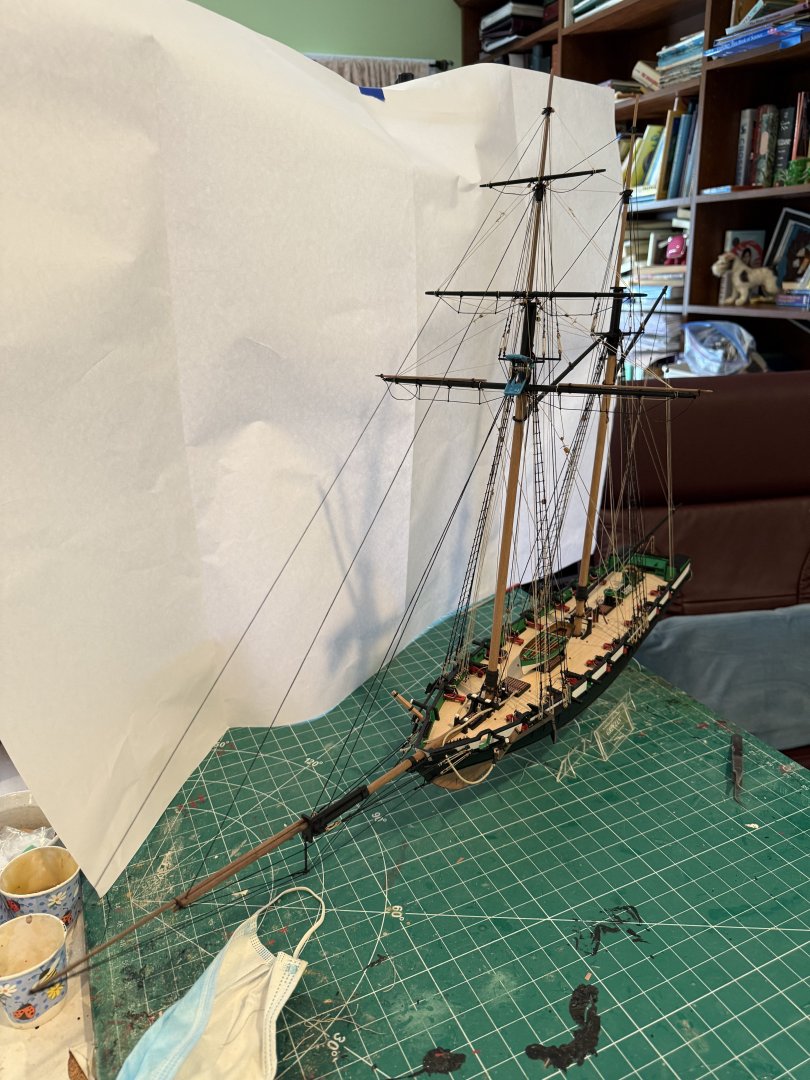
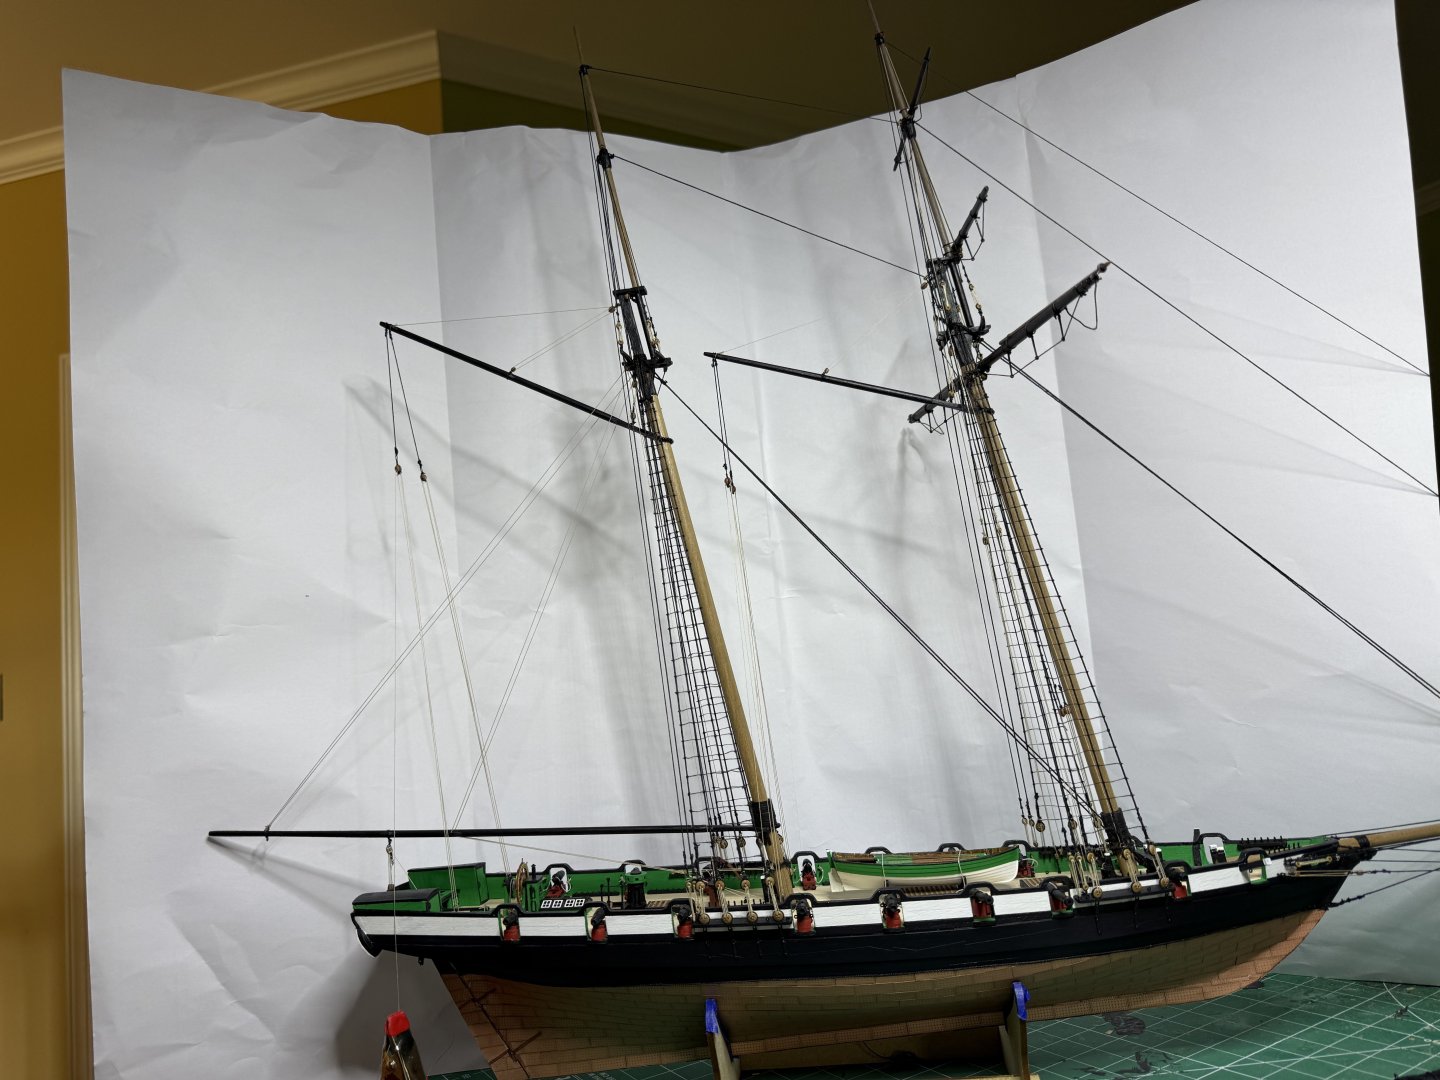
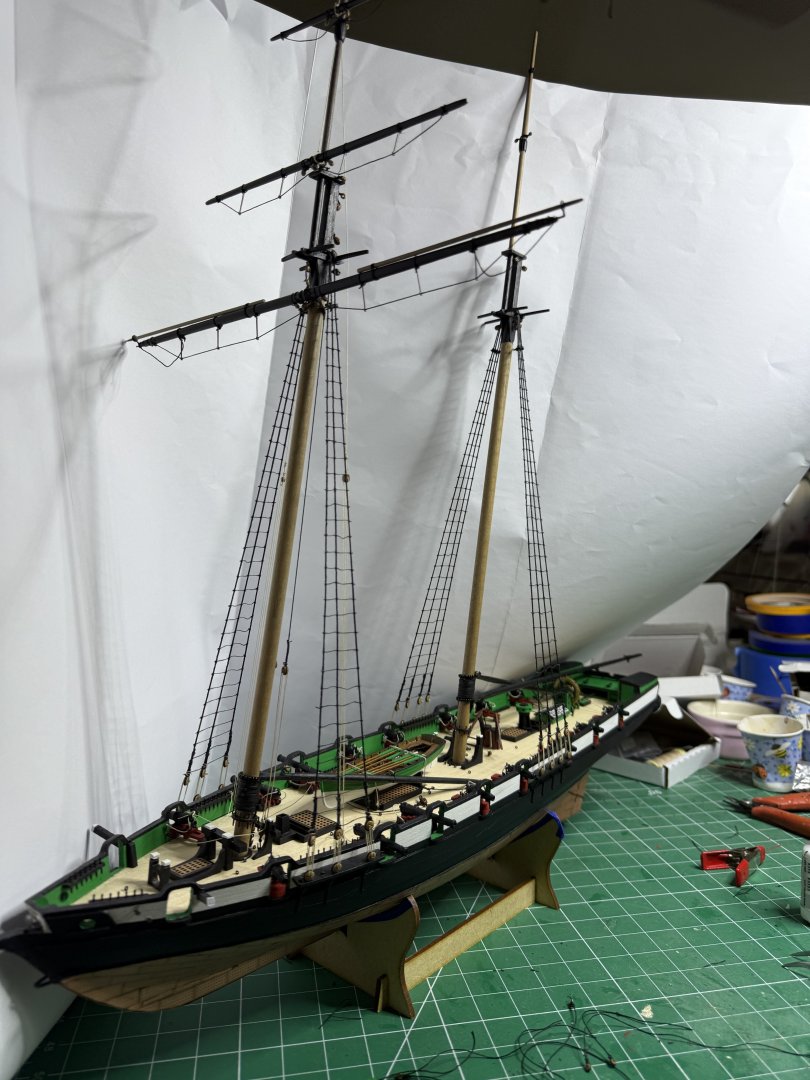
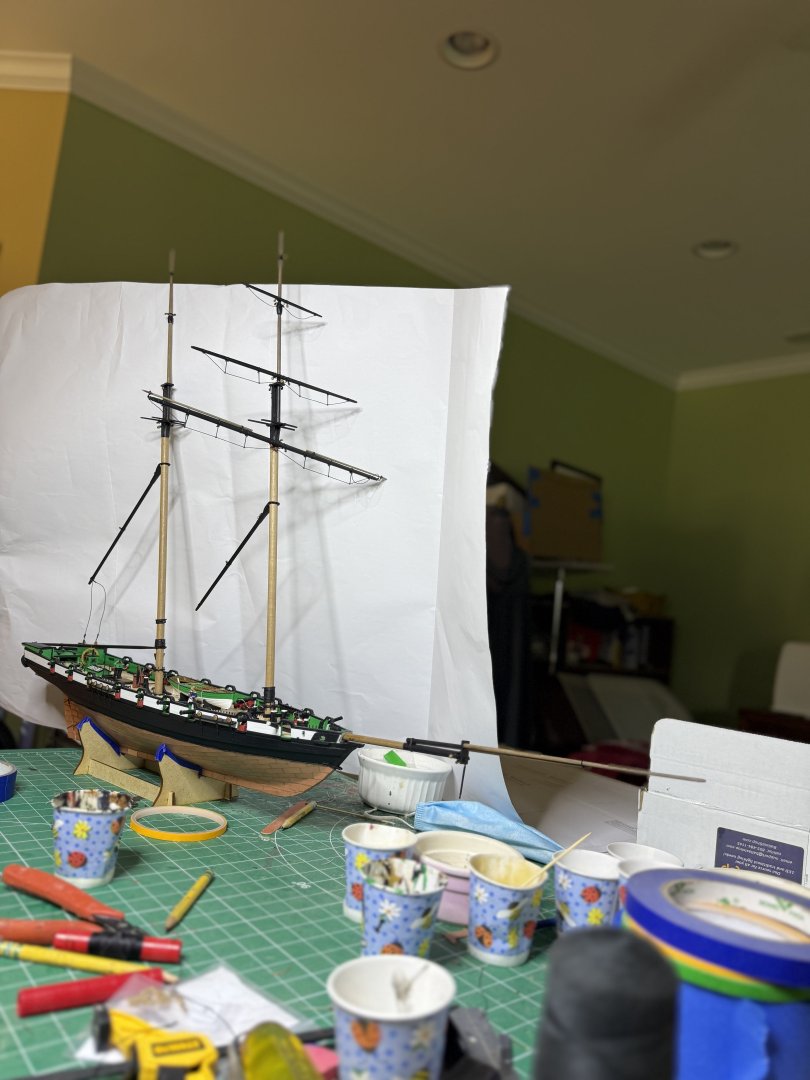
Grecian now complete Next to my last project, Harpy. Same scale but much less beamy. In the background you can see Agamemnon, same scale 1:64 My next project will take some time


- 52 replies
-
- 20
-
-

-
- Grecian
- Vanguard Models
- (and 1 more)
-
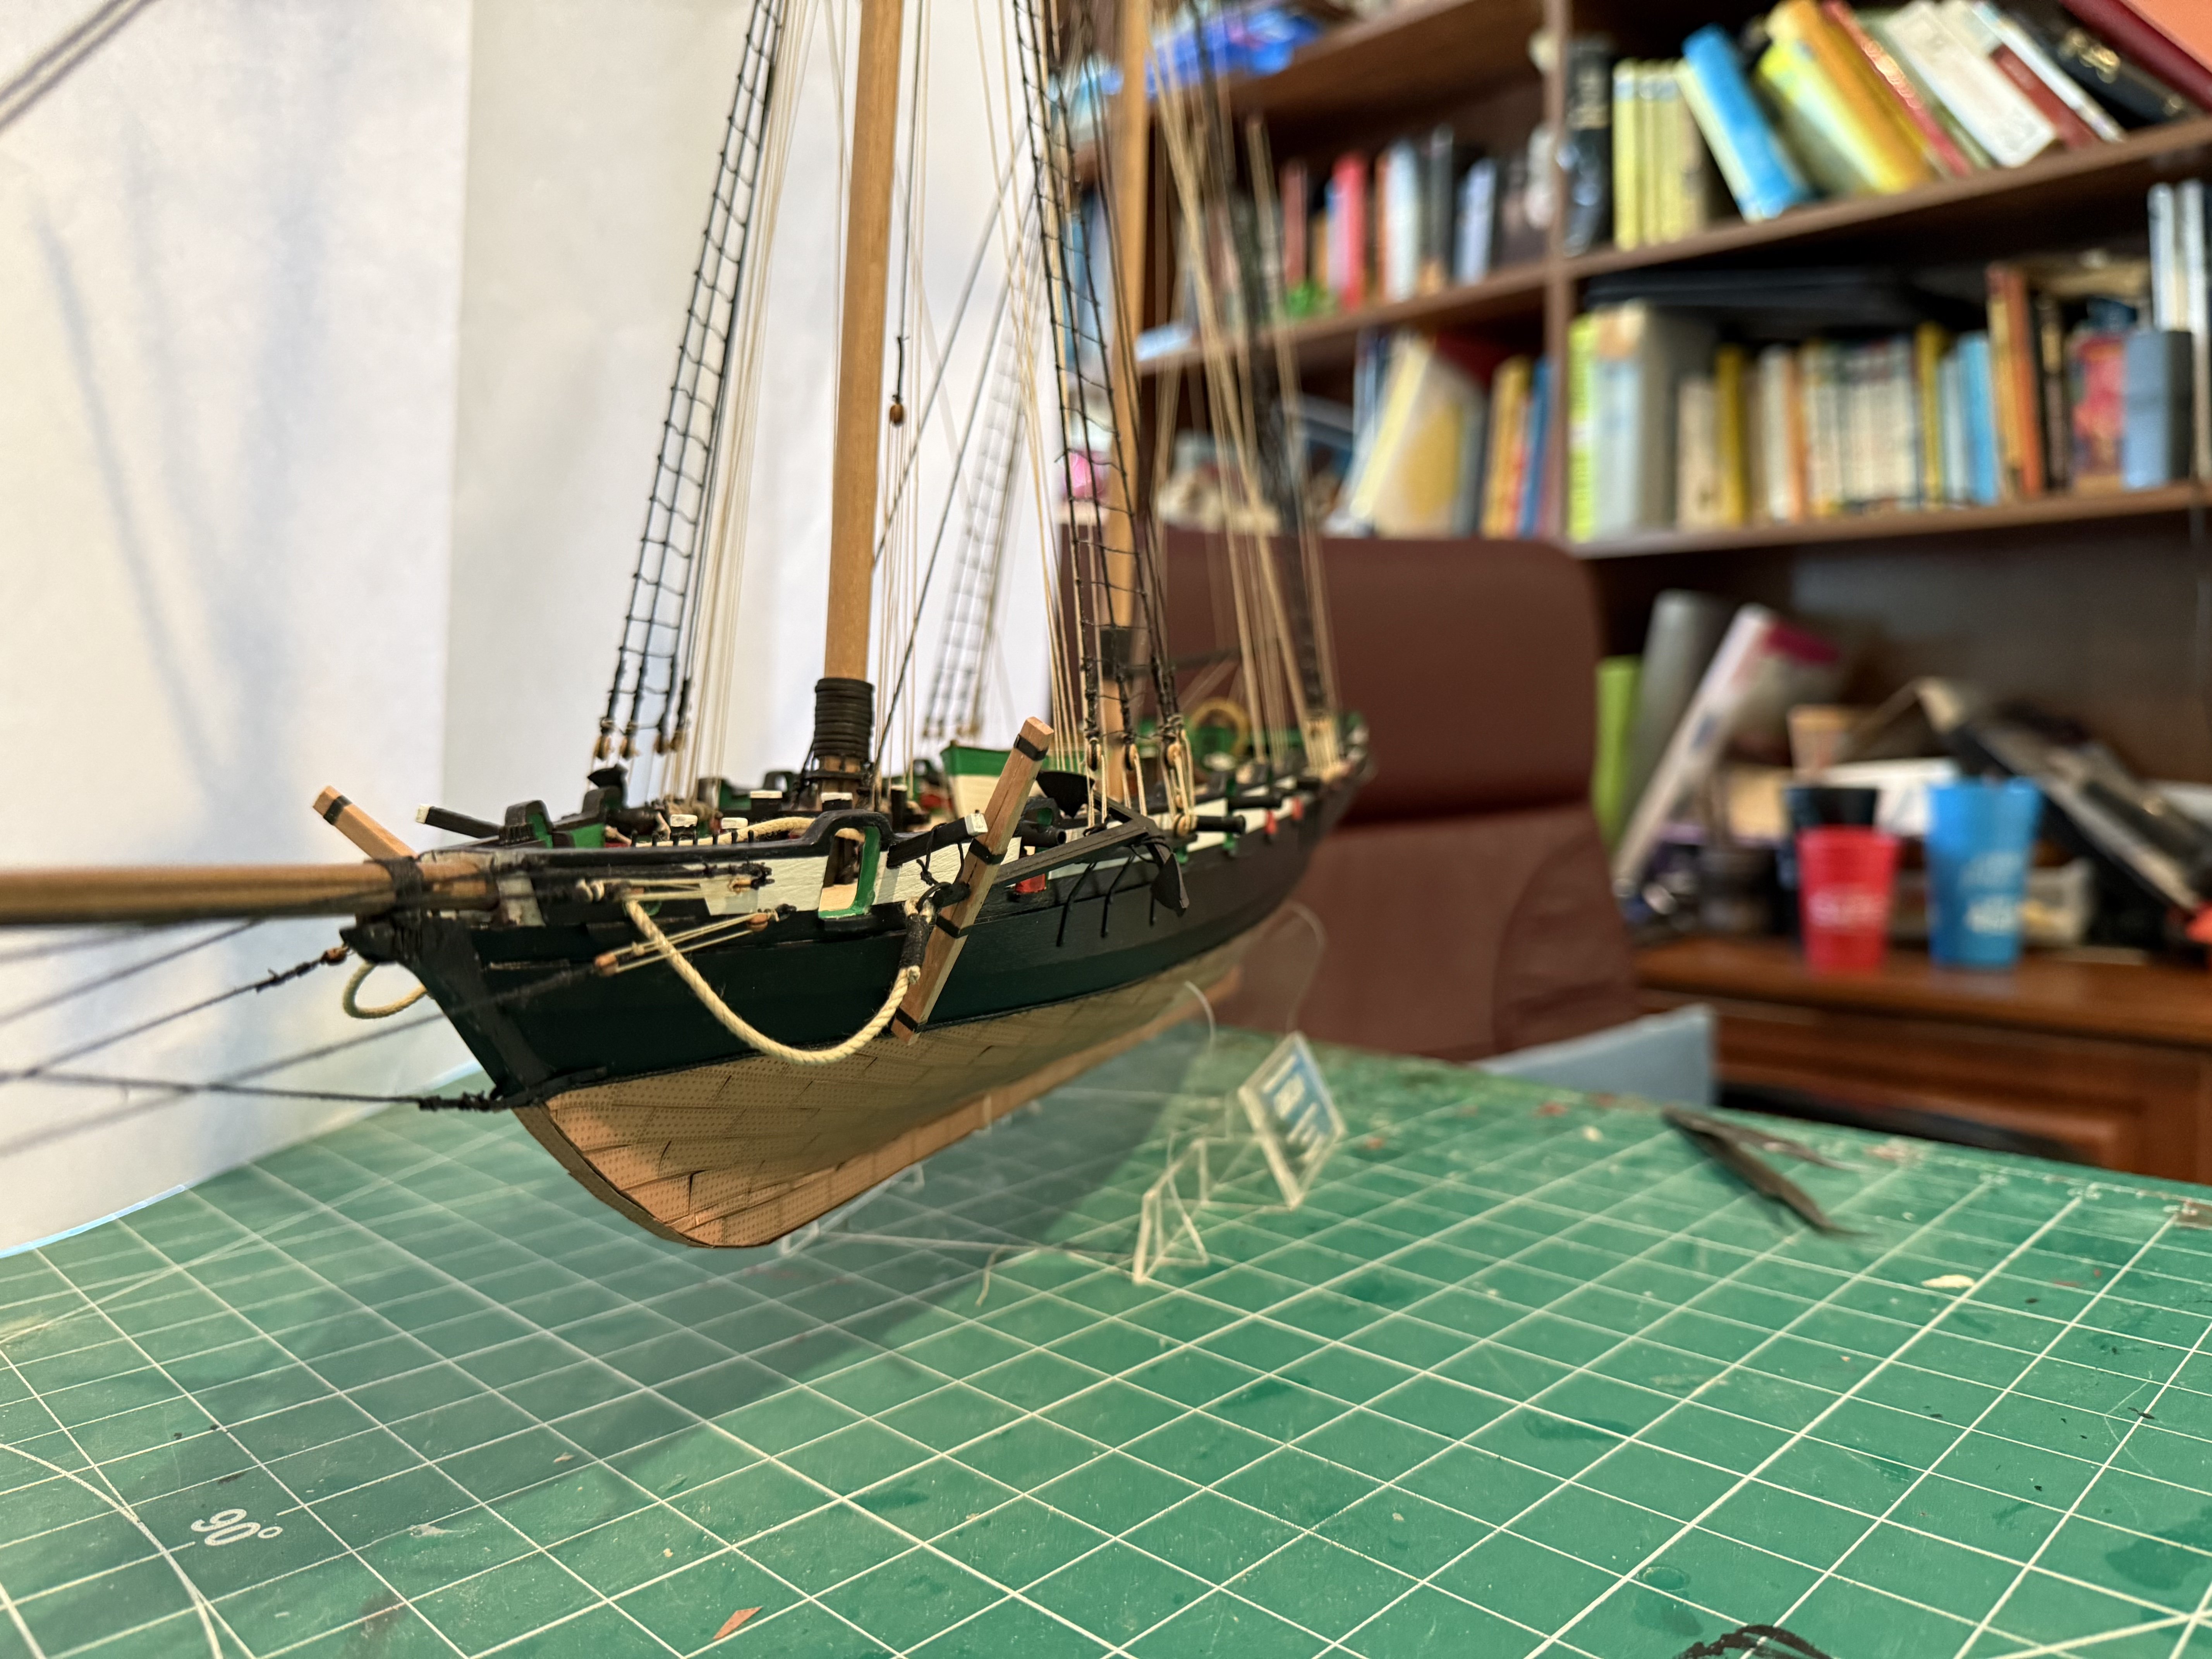
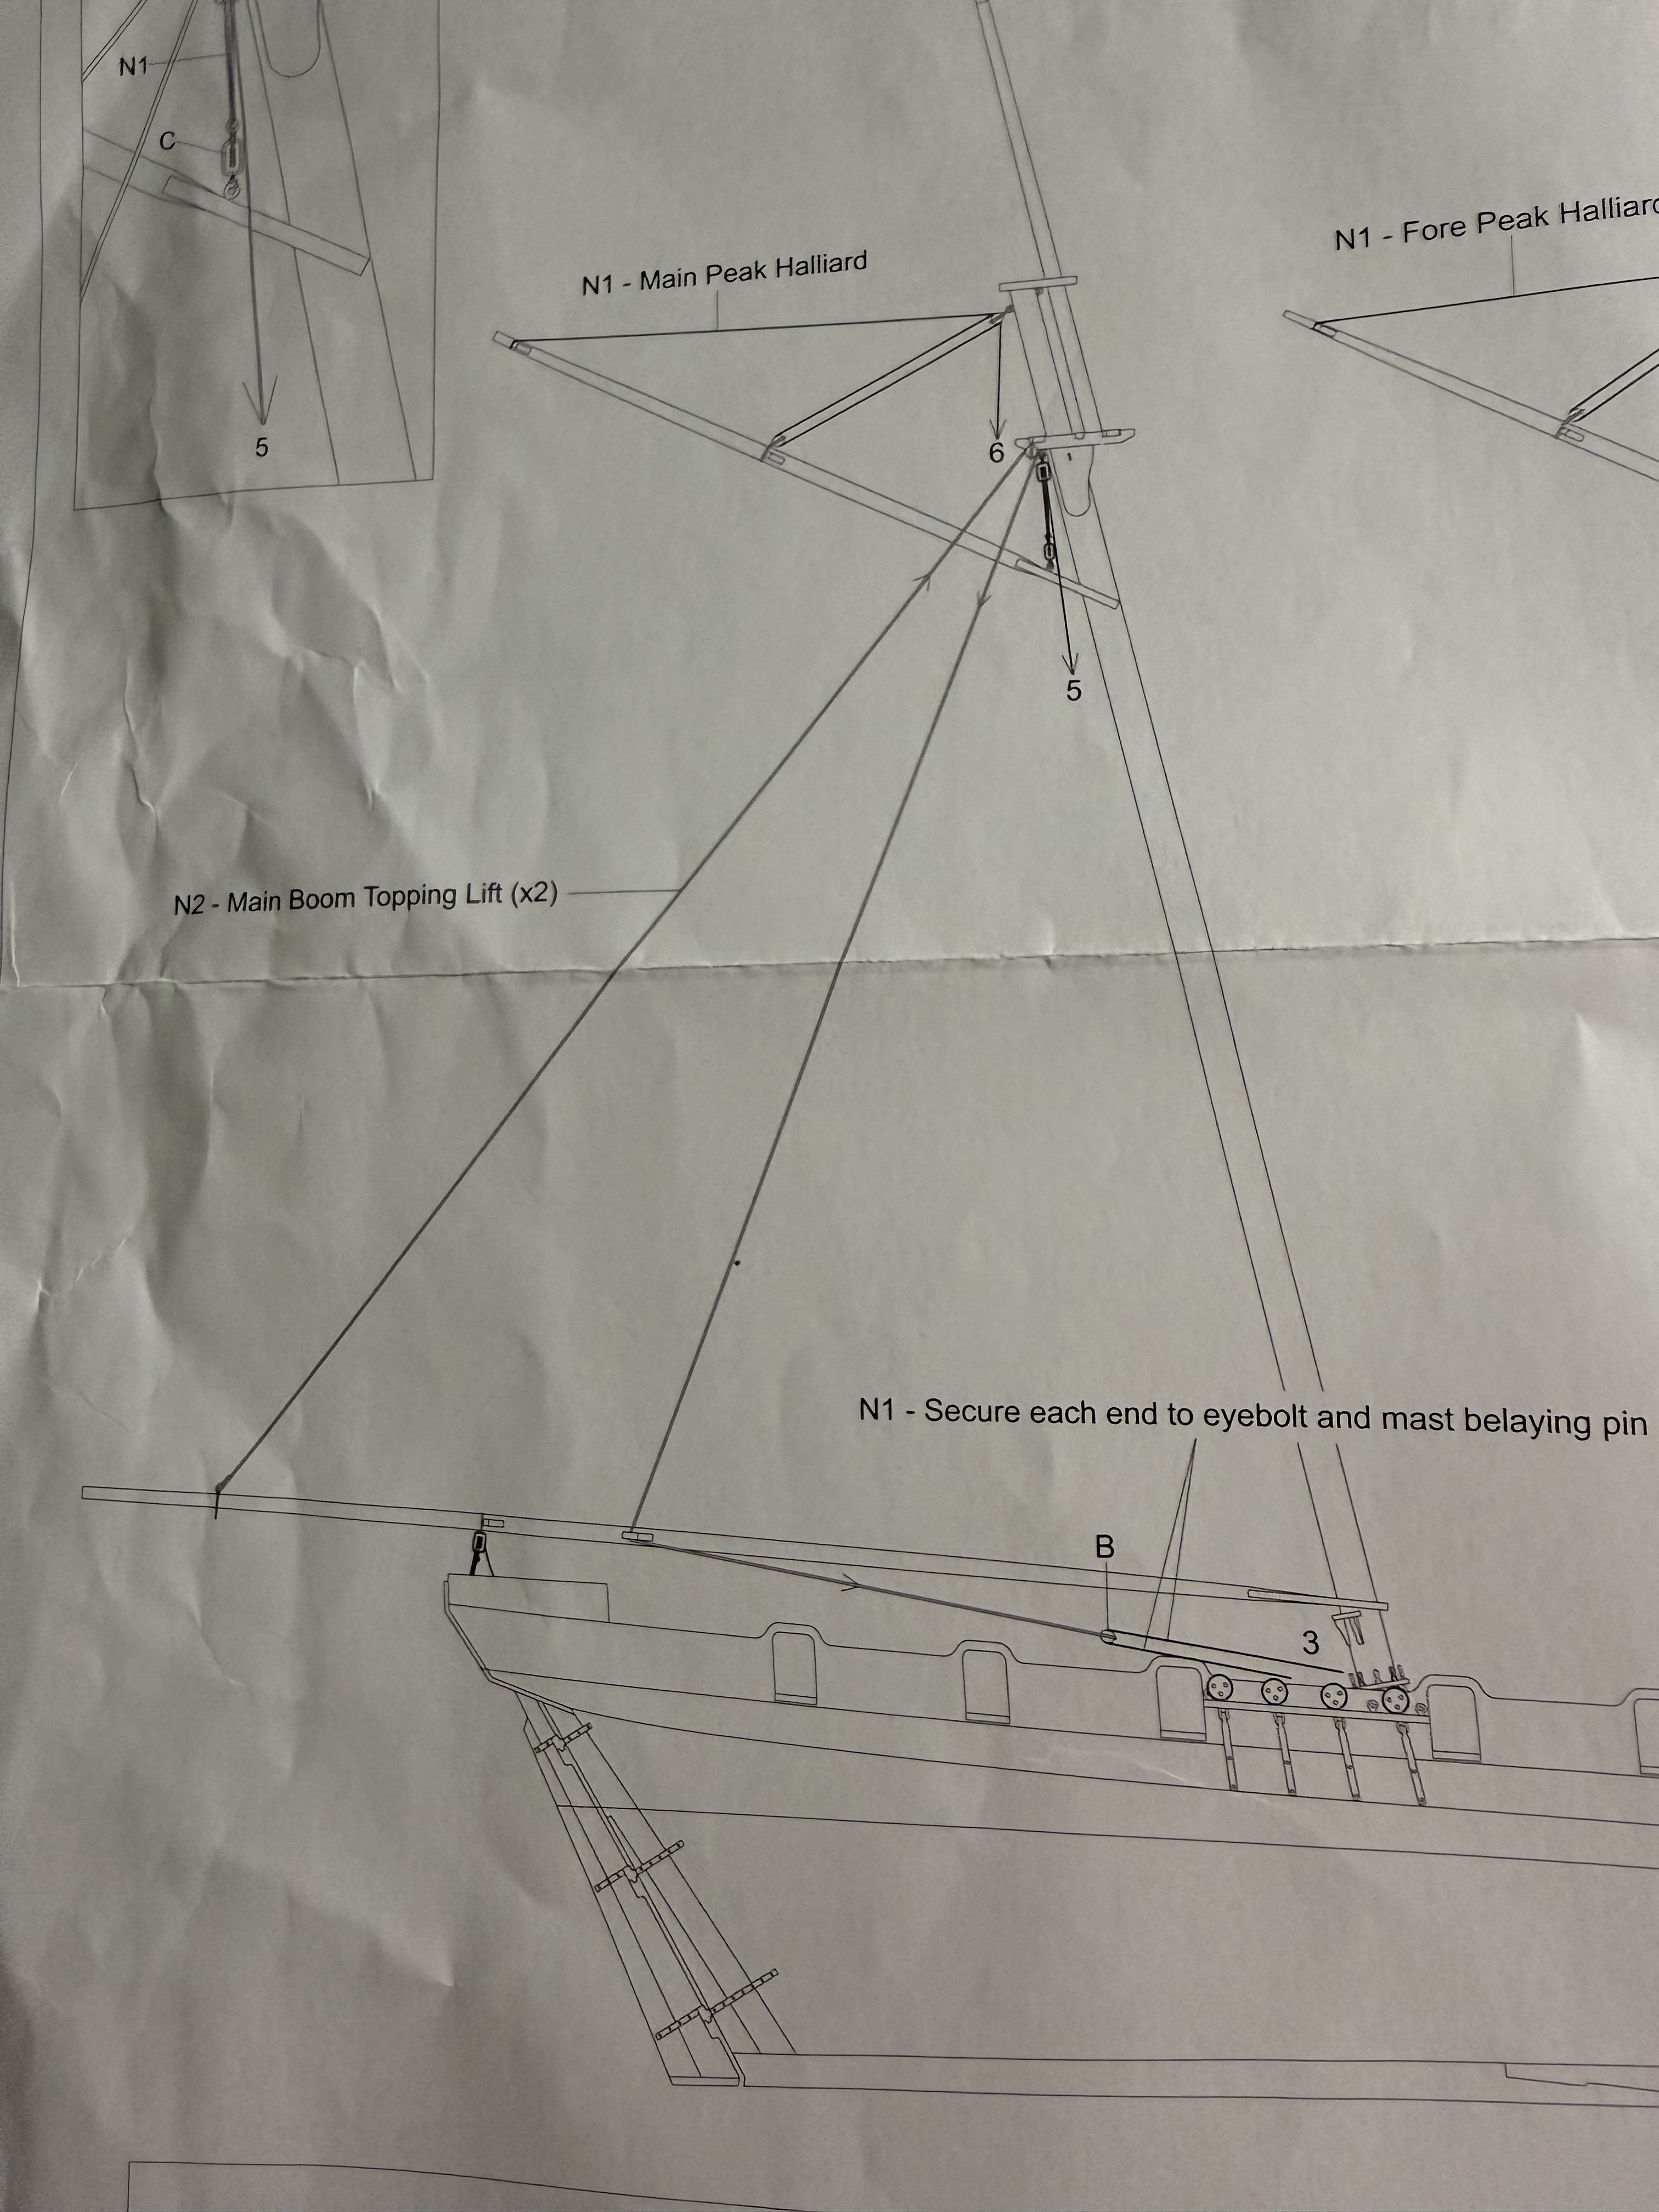
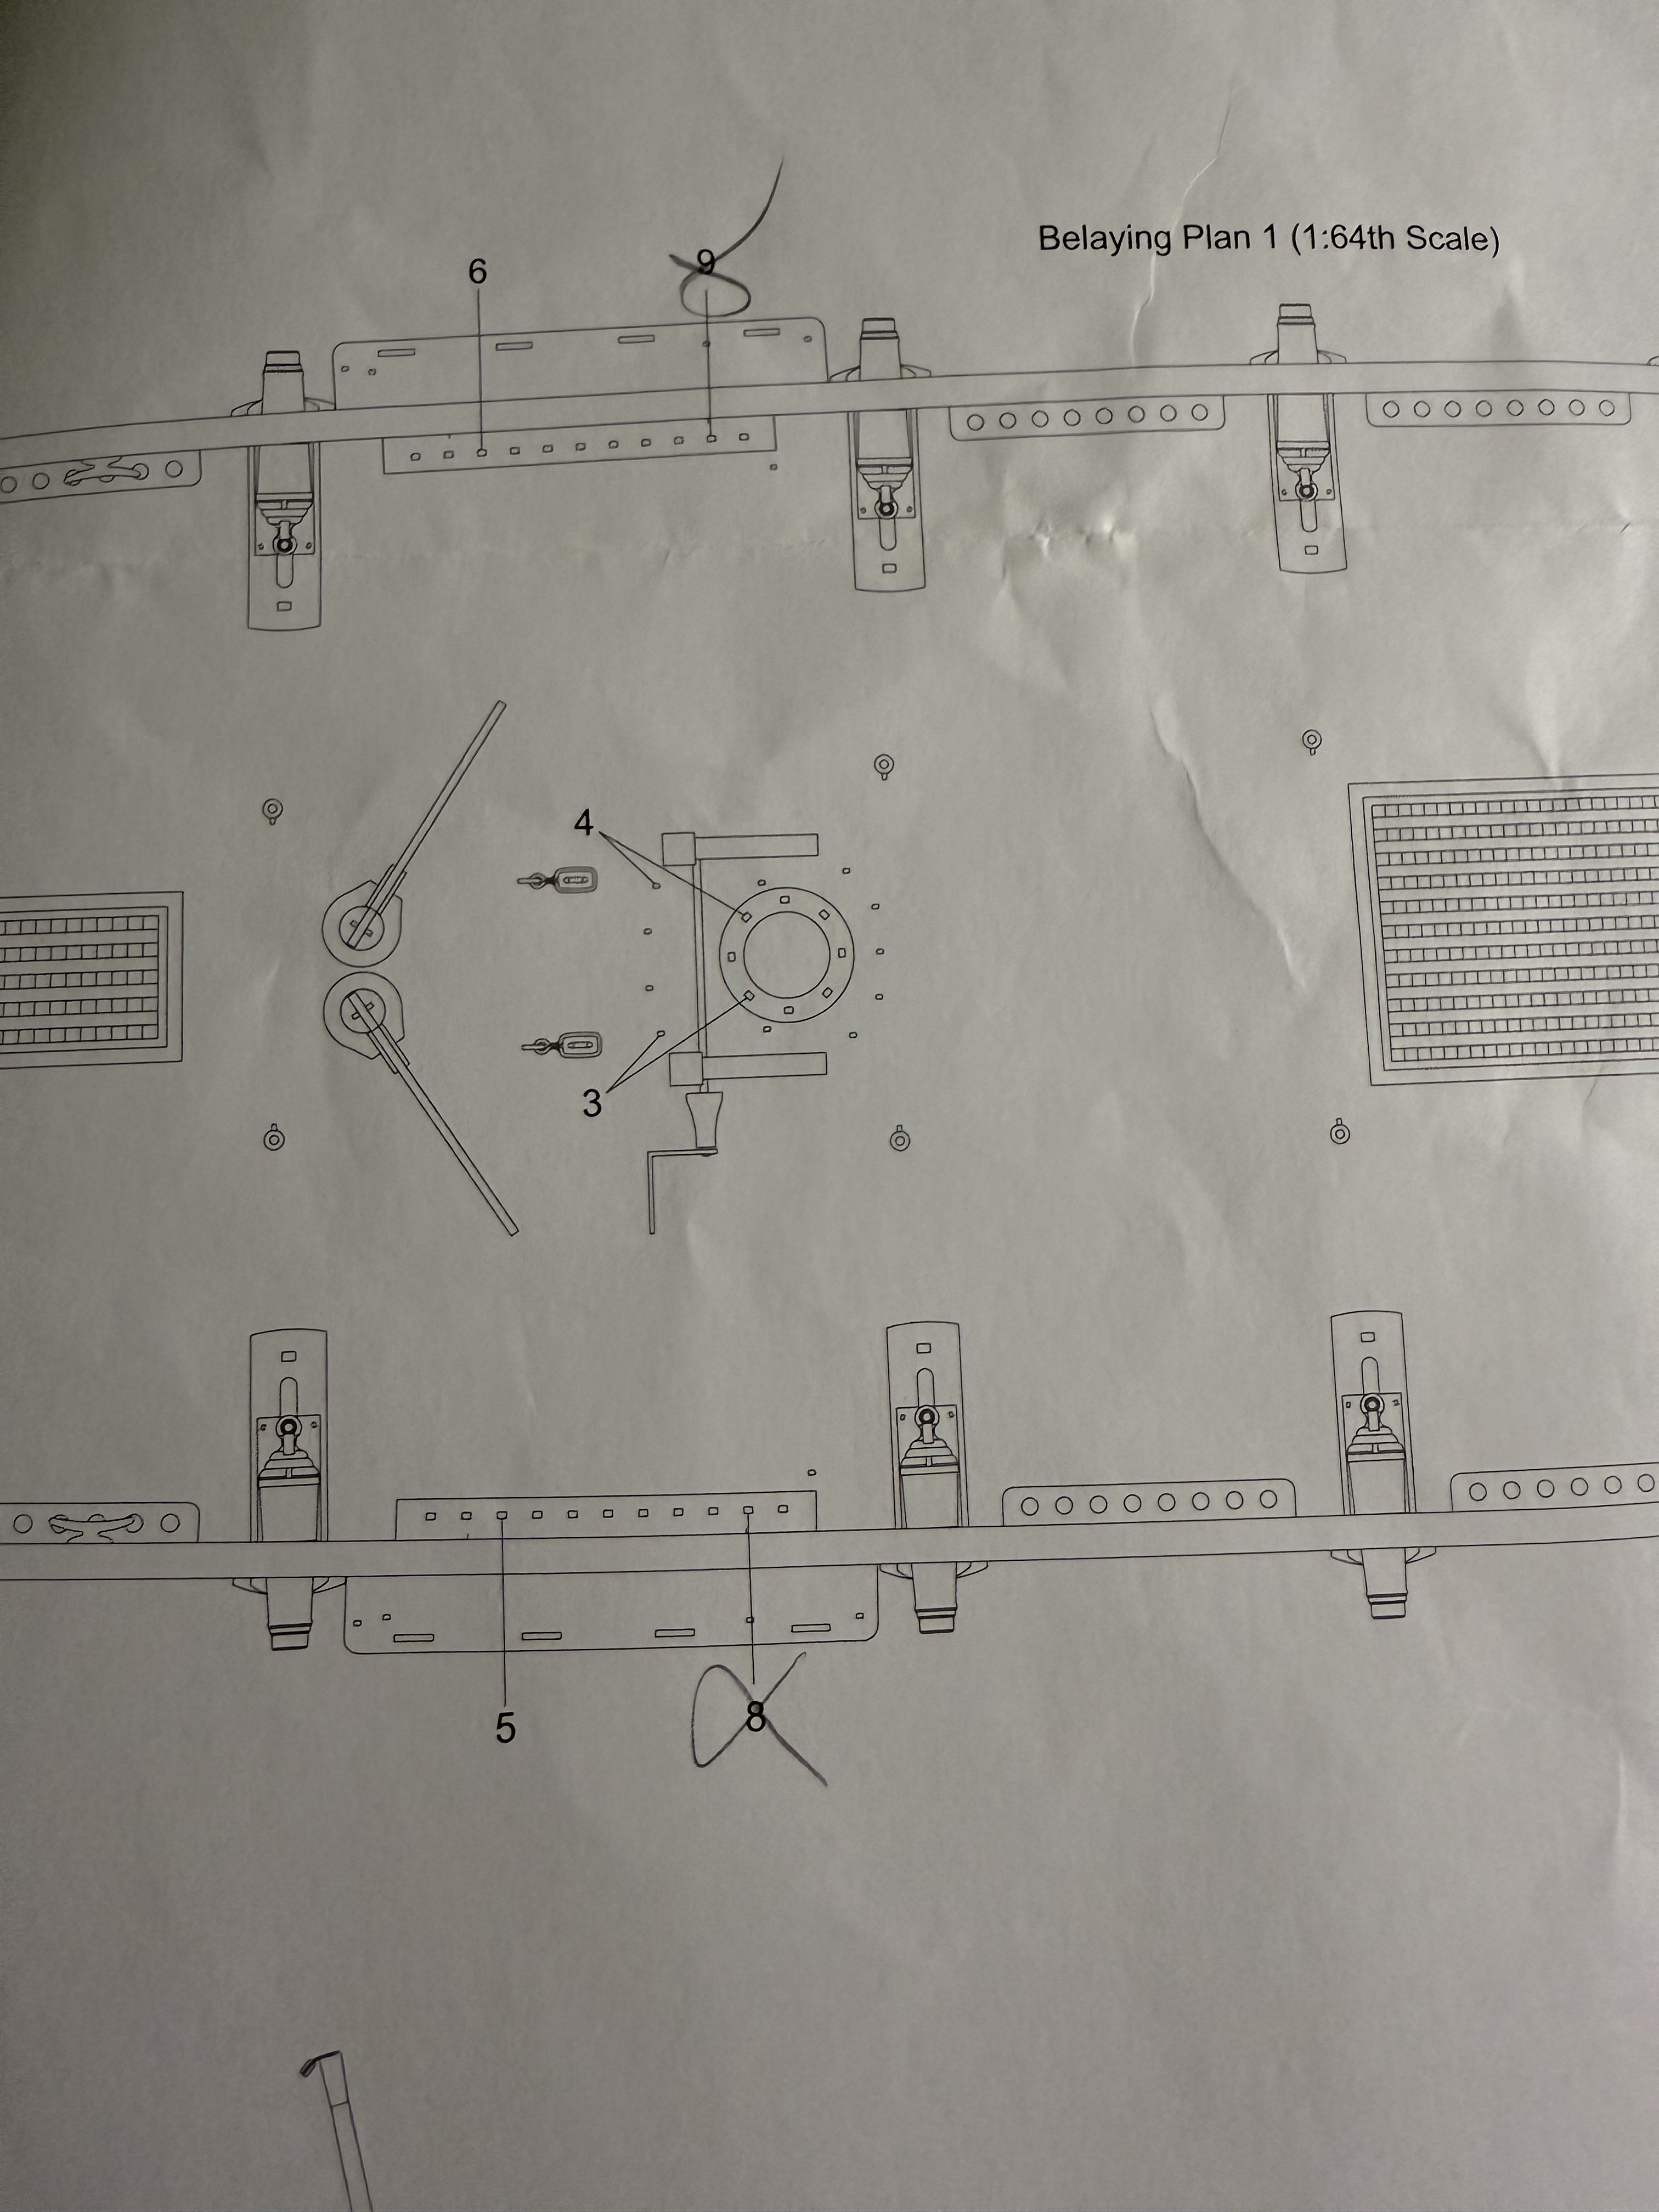
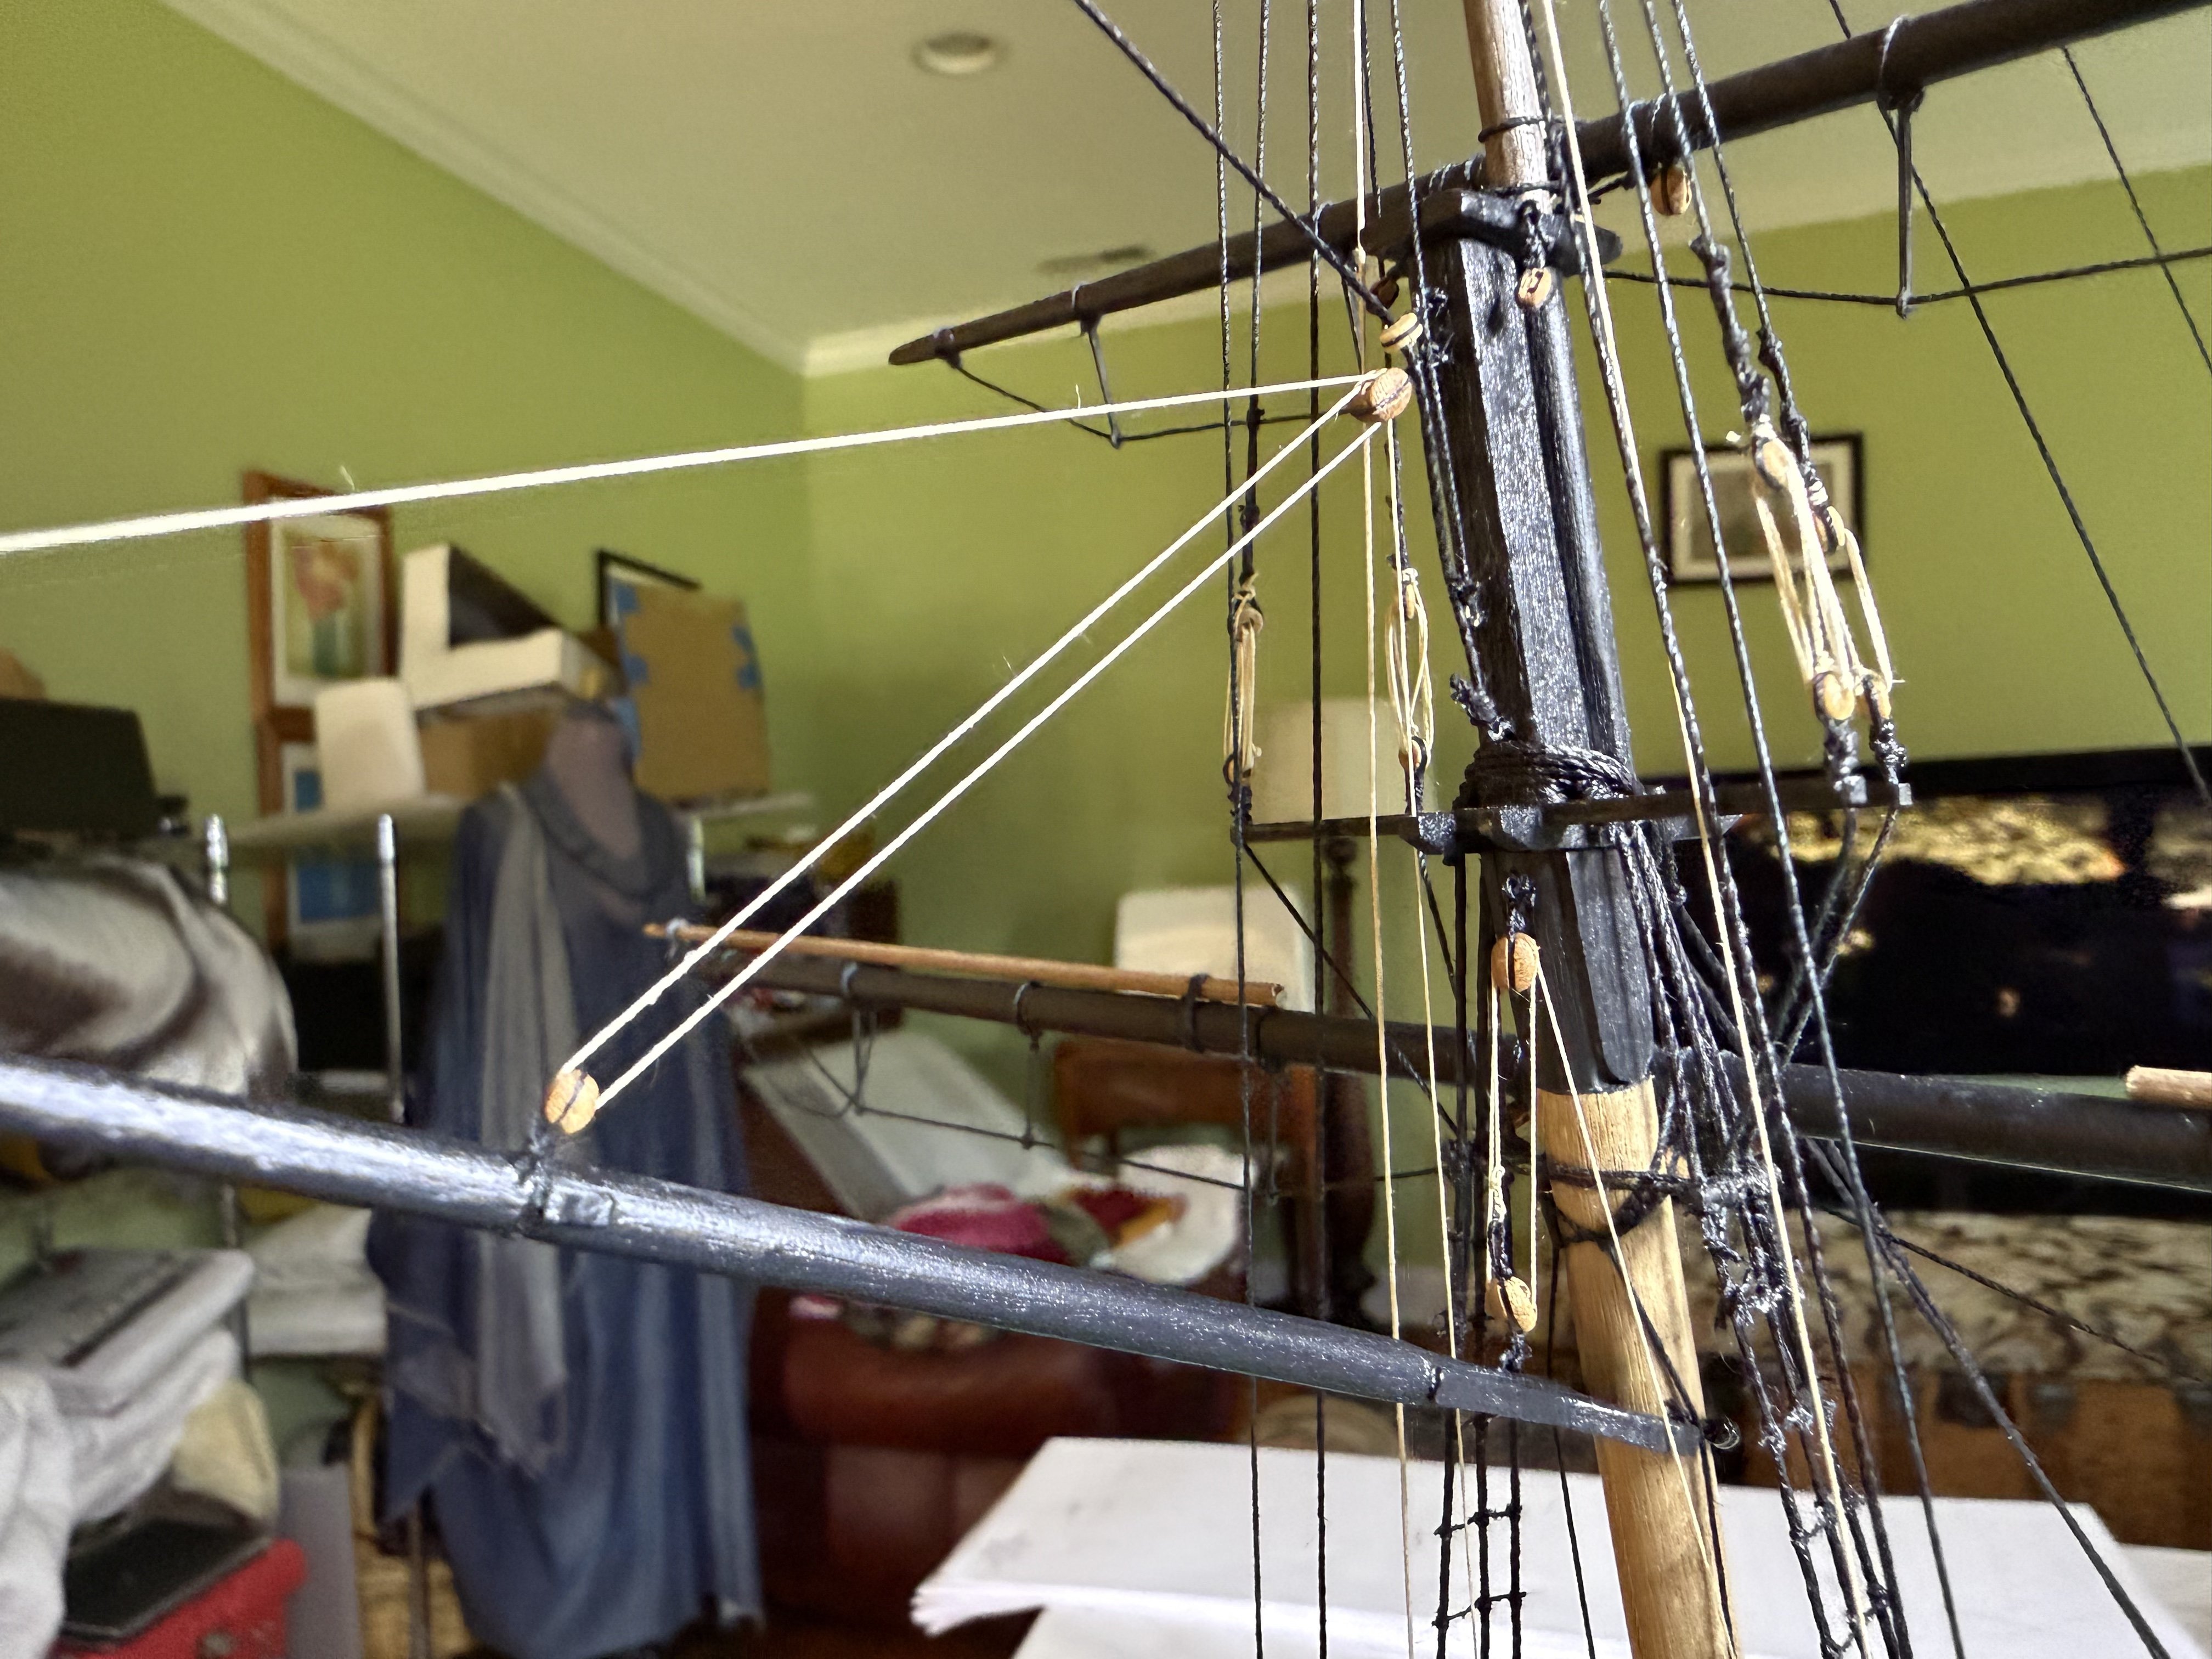
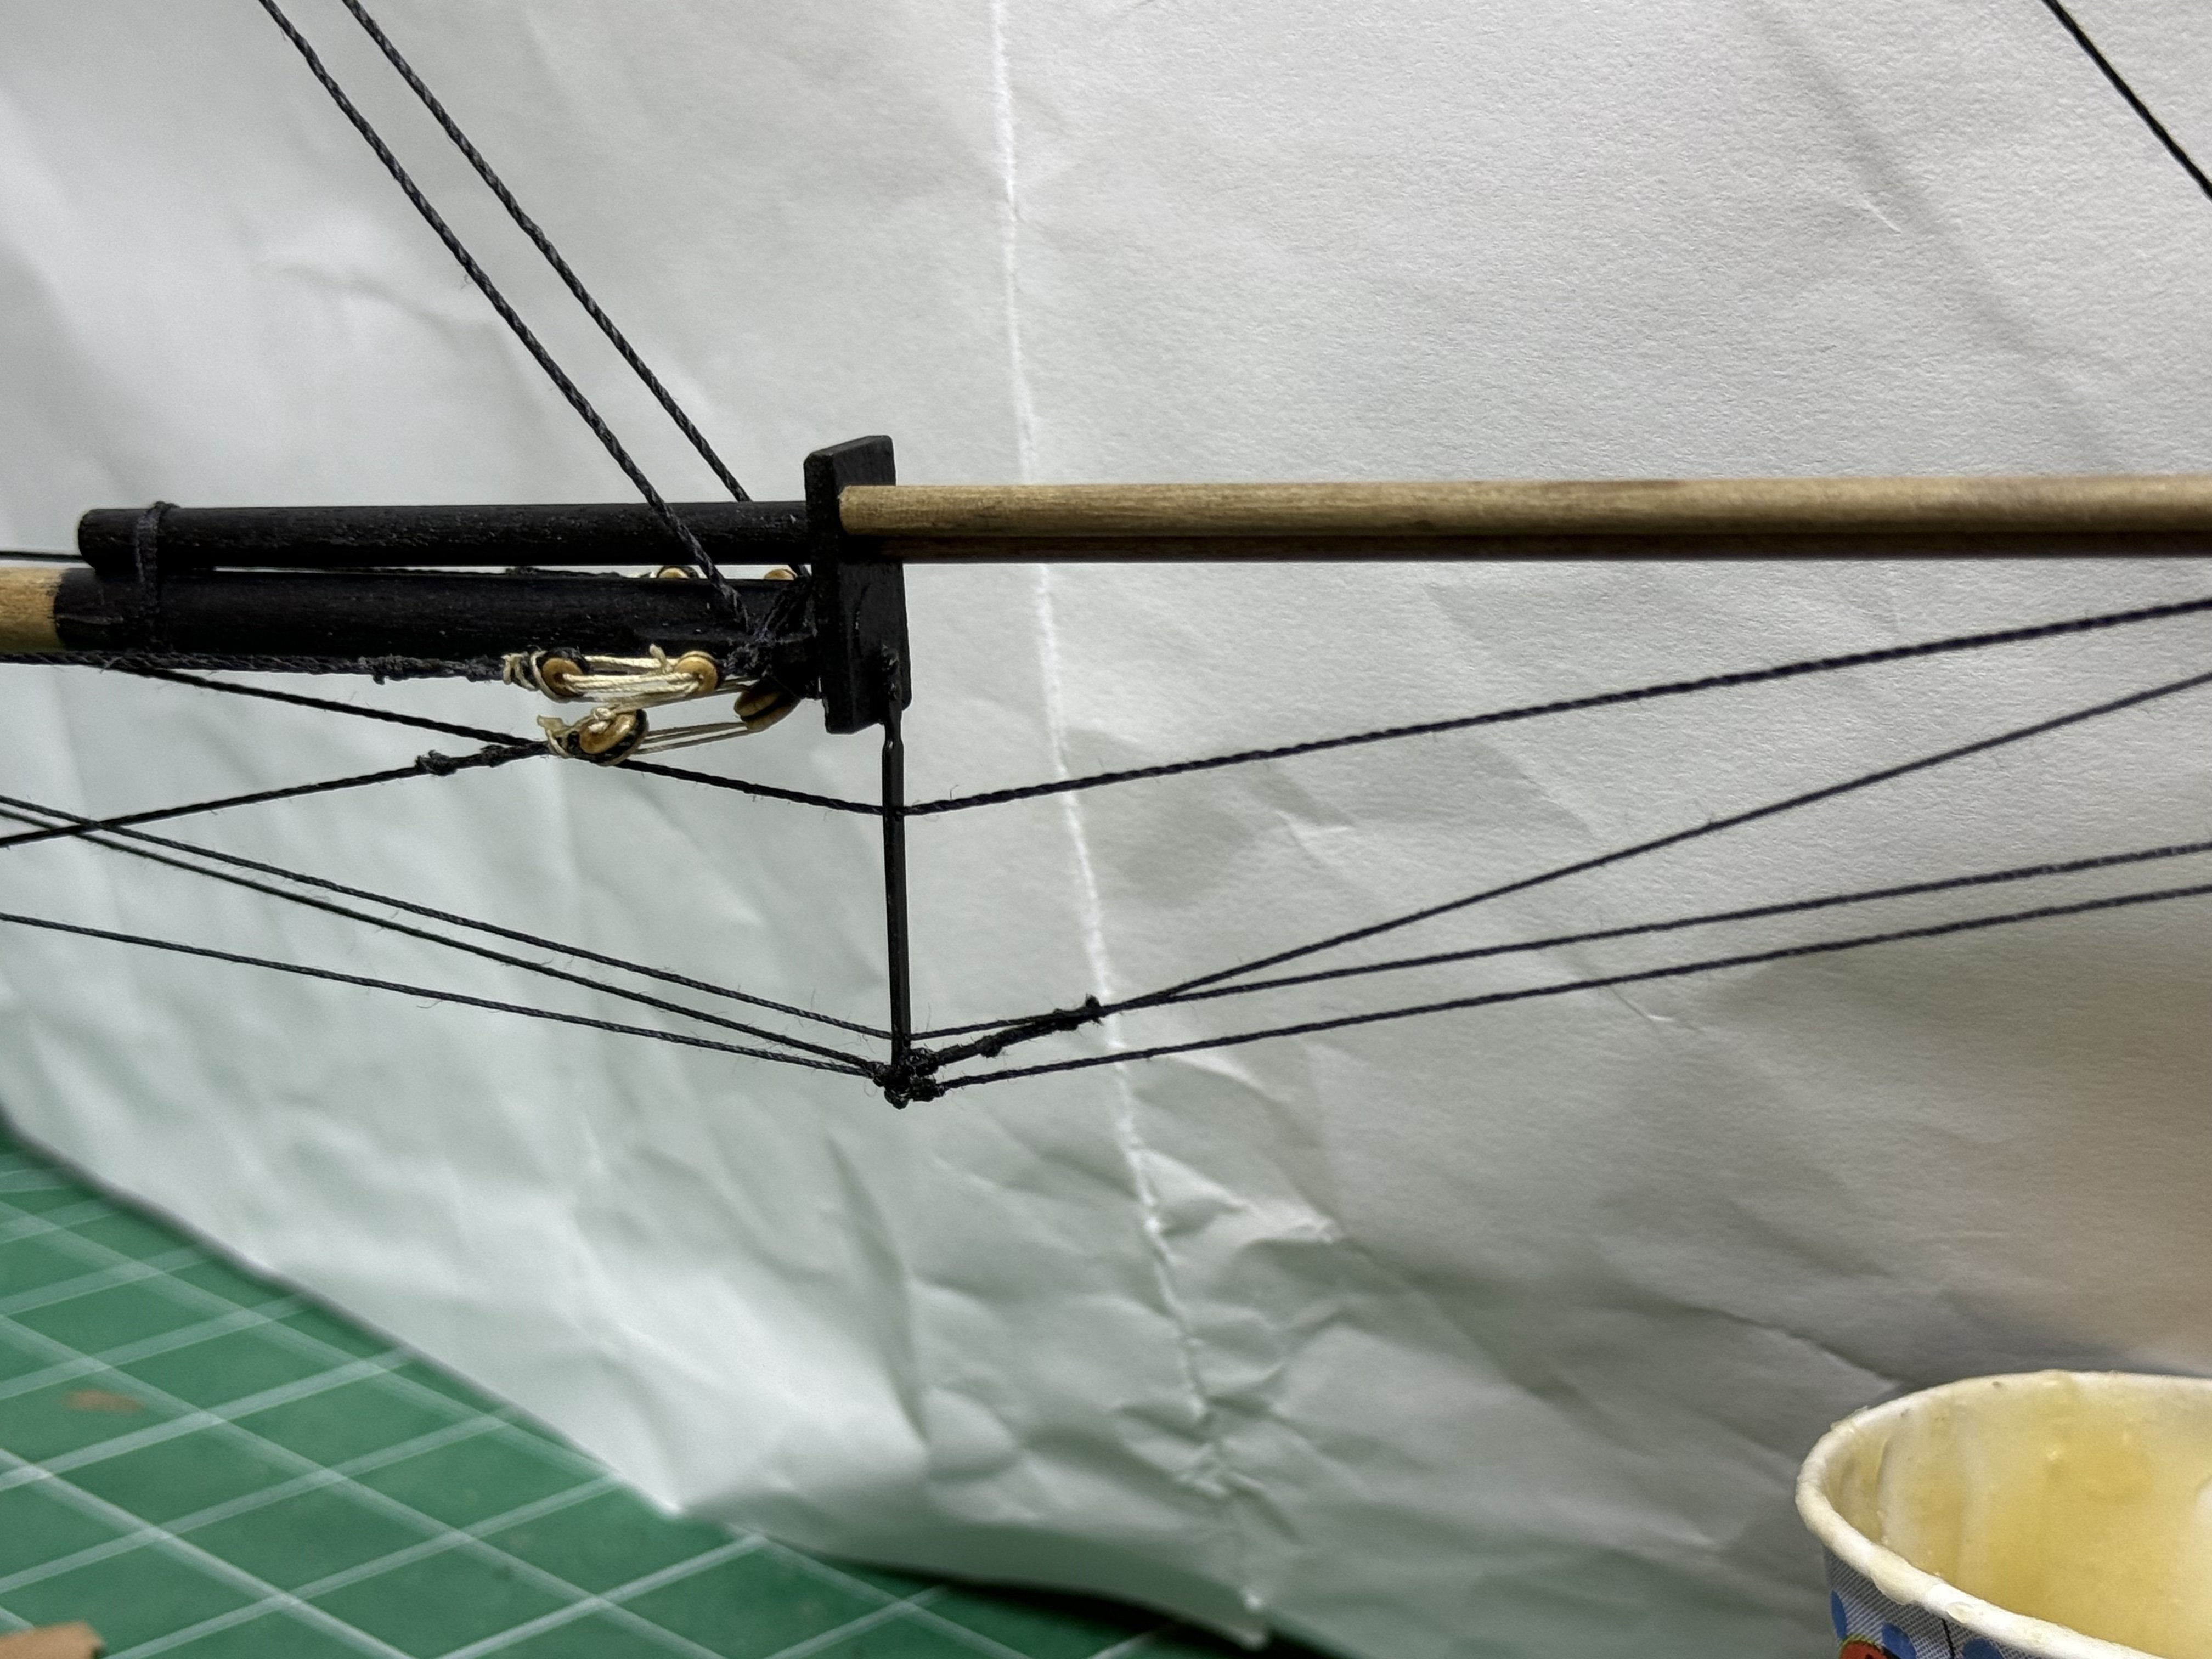
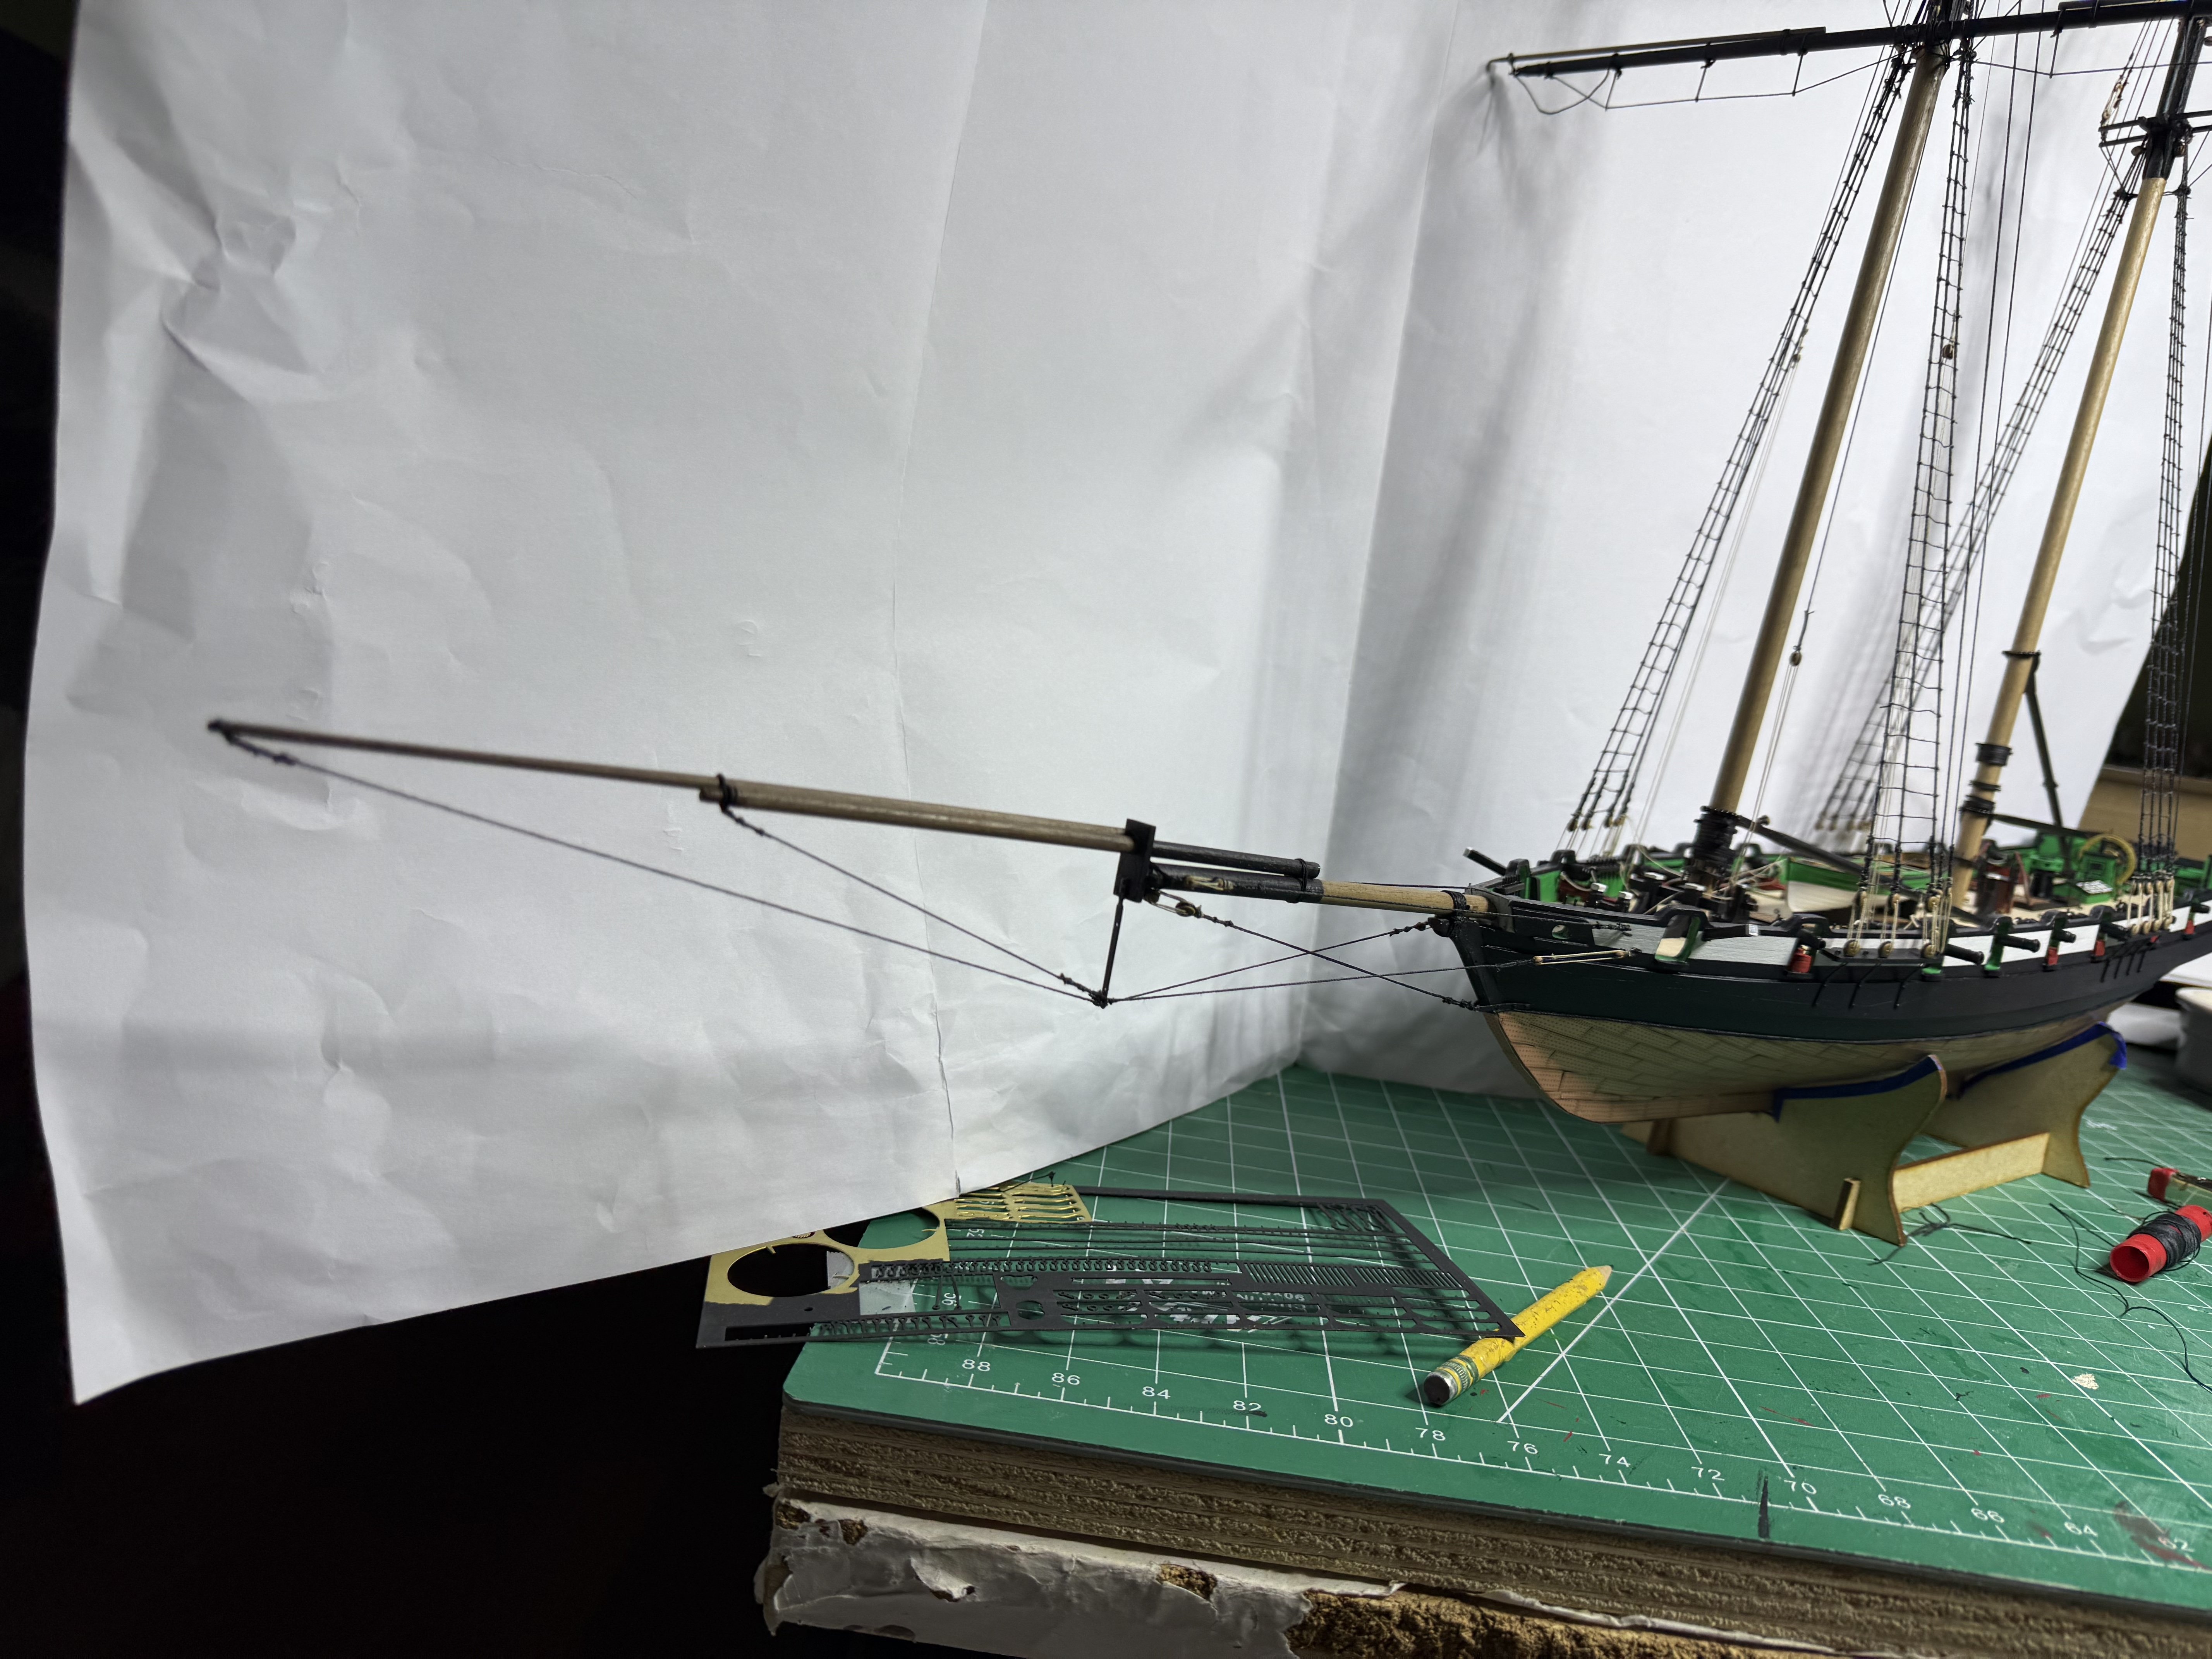
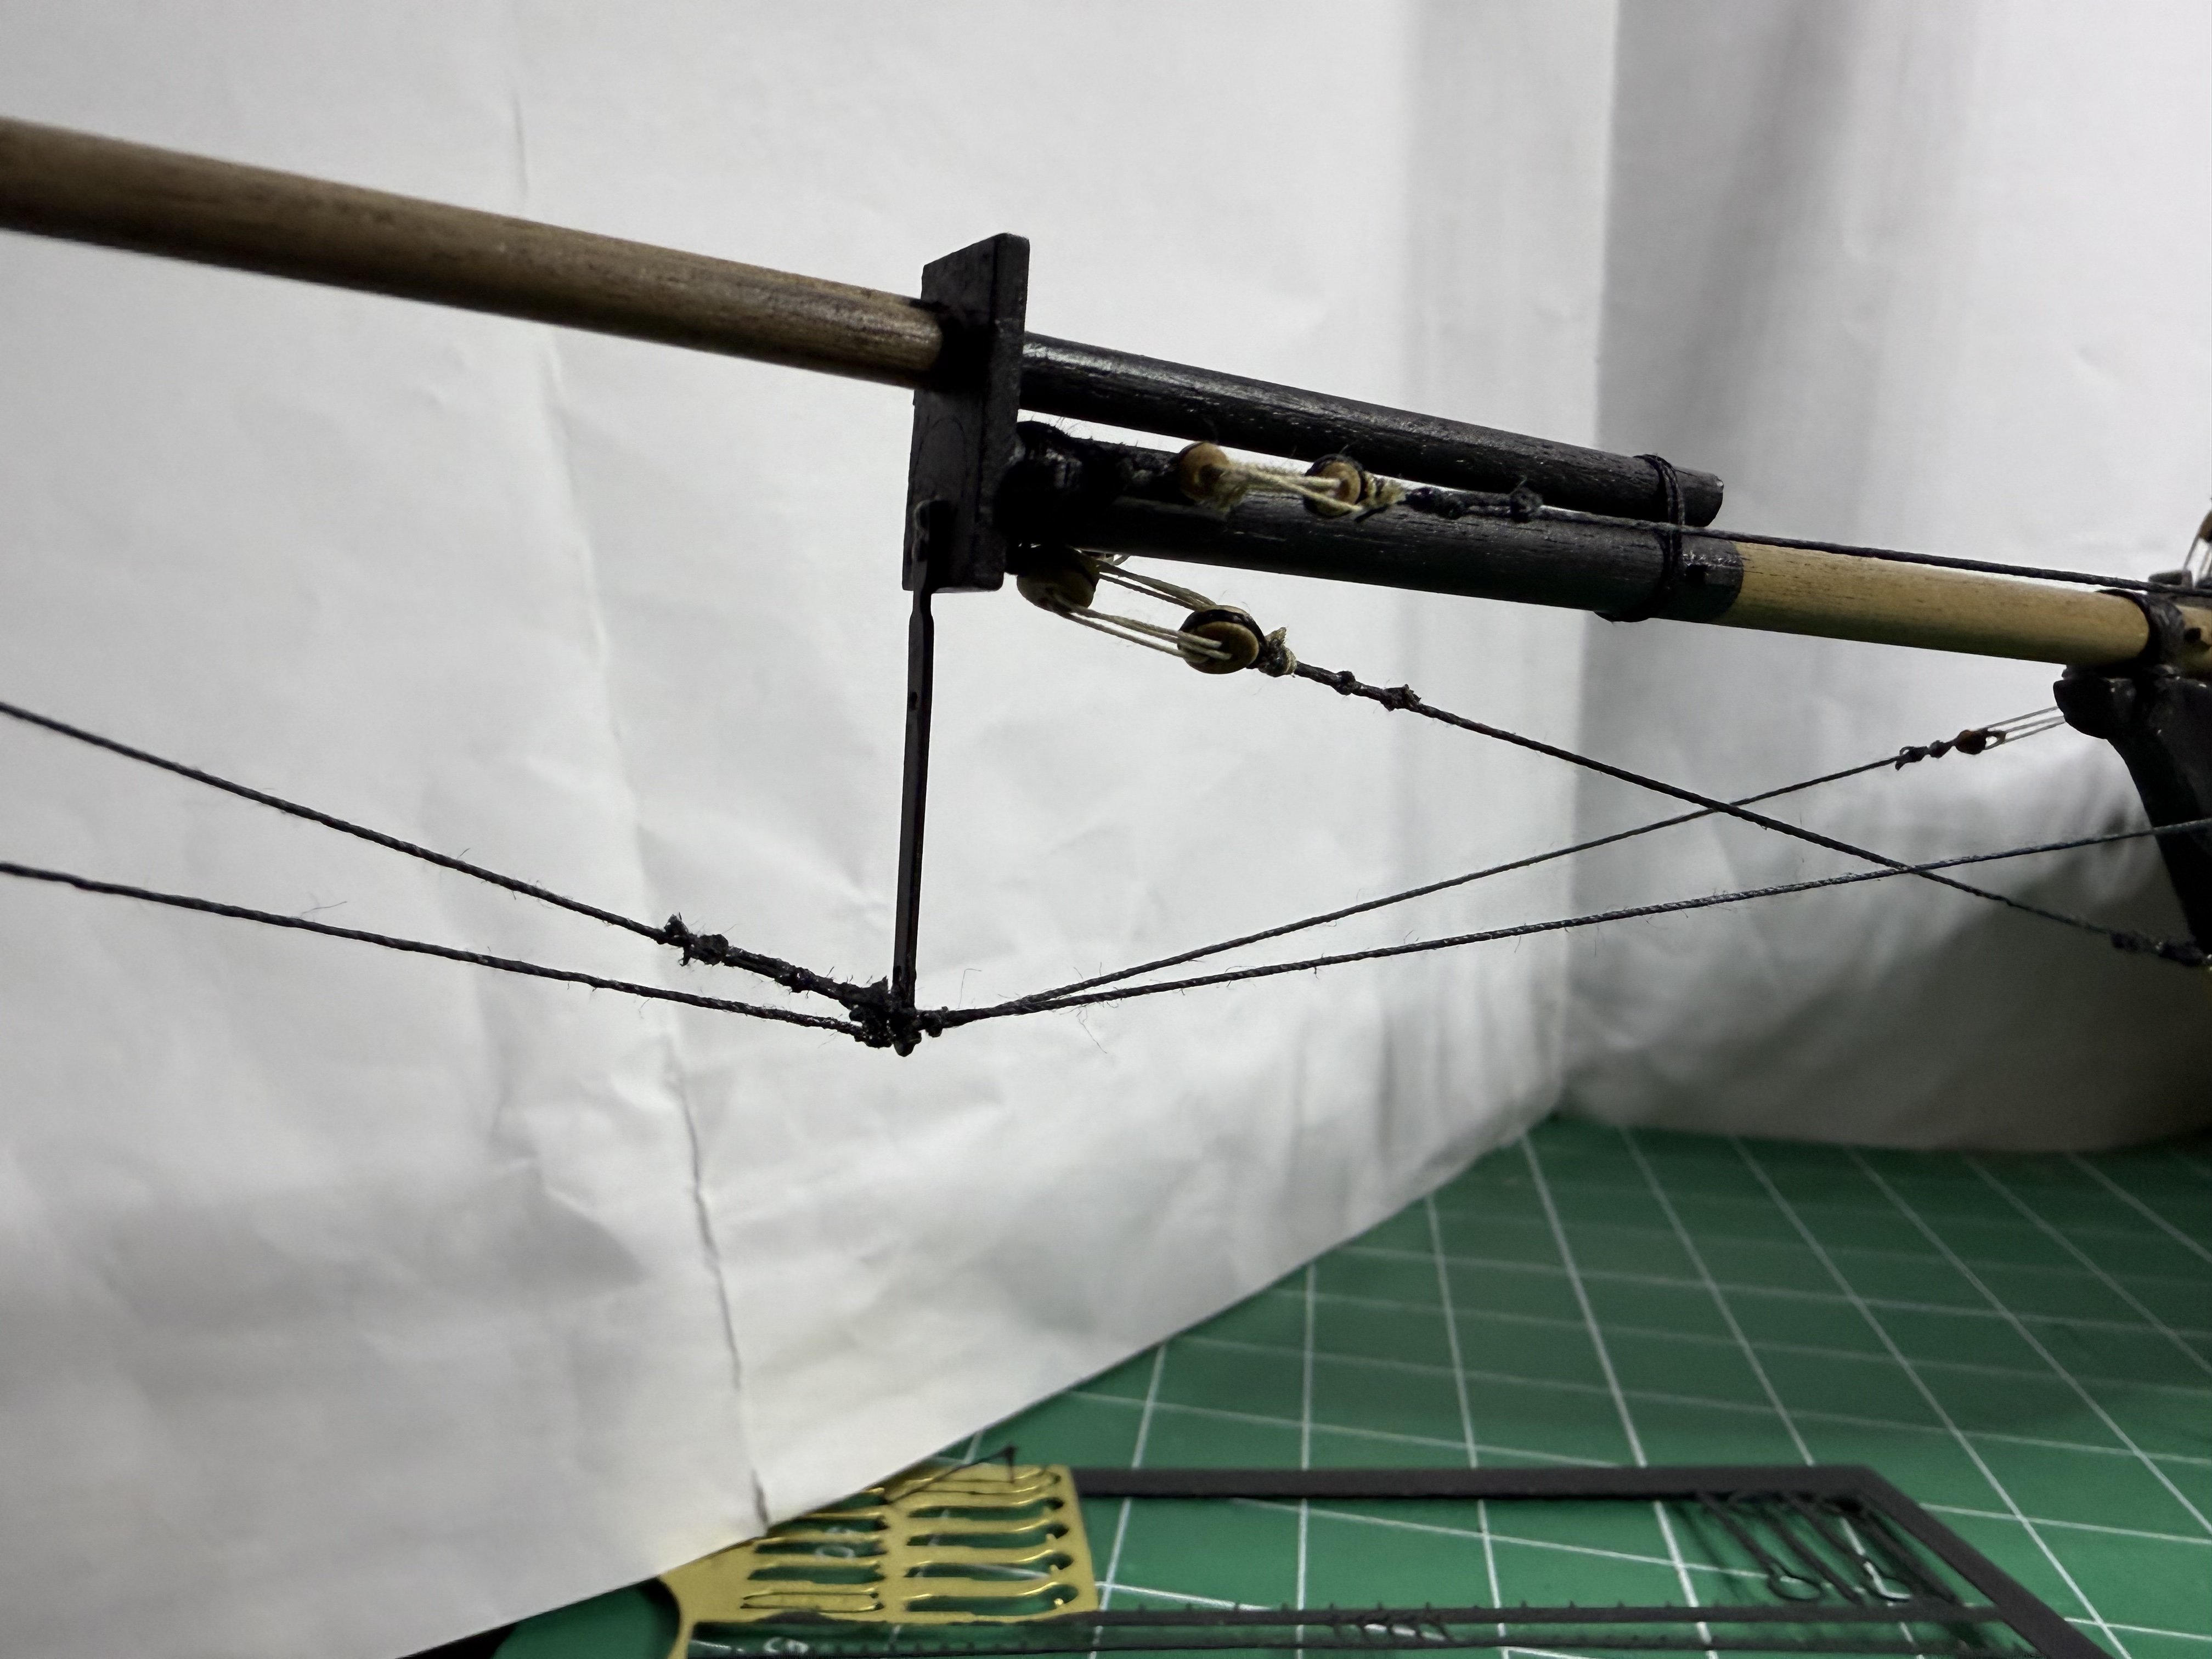
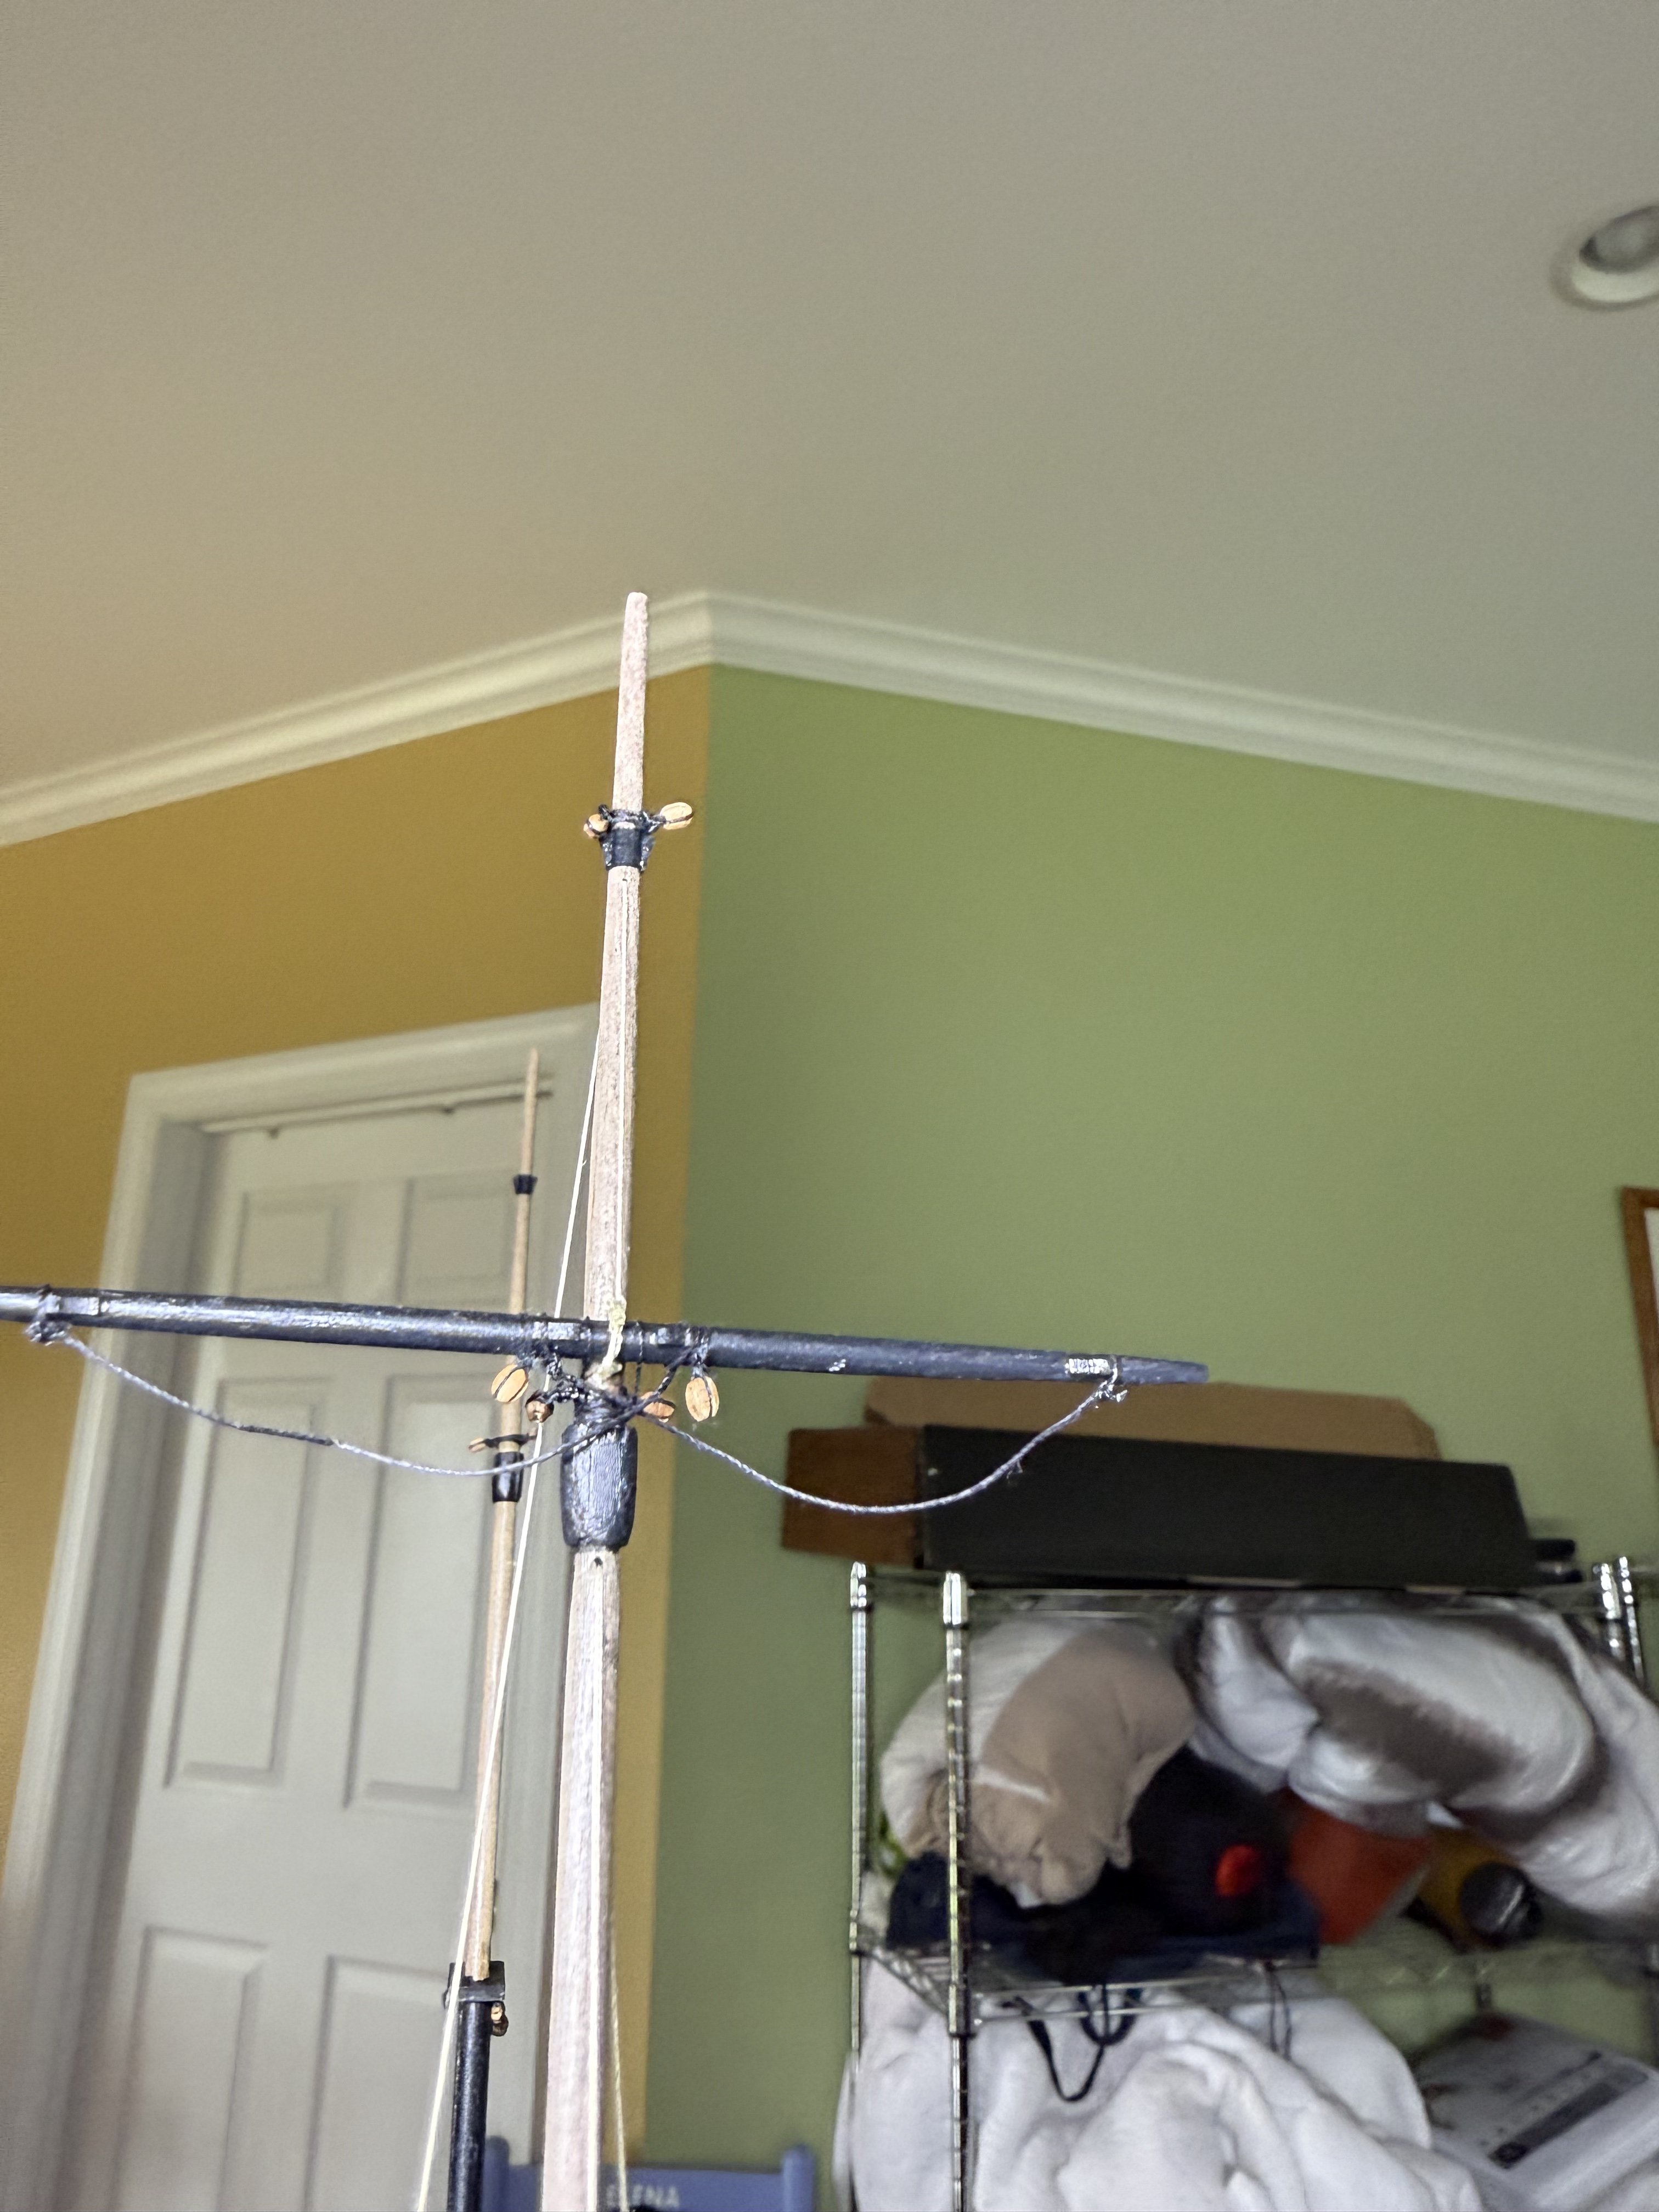
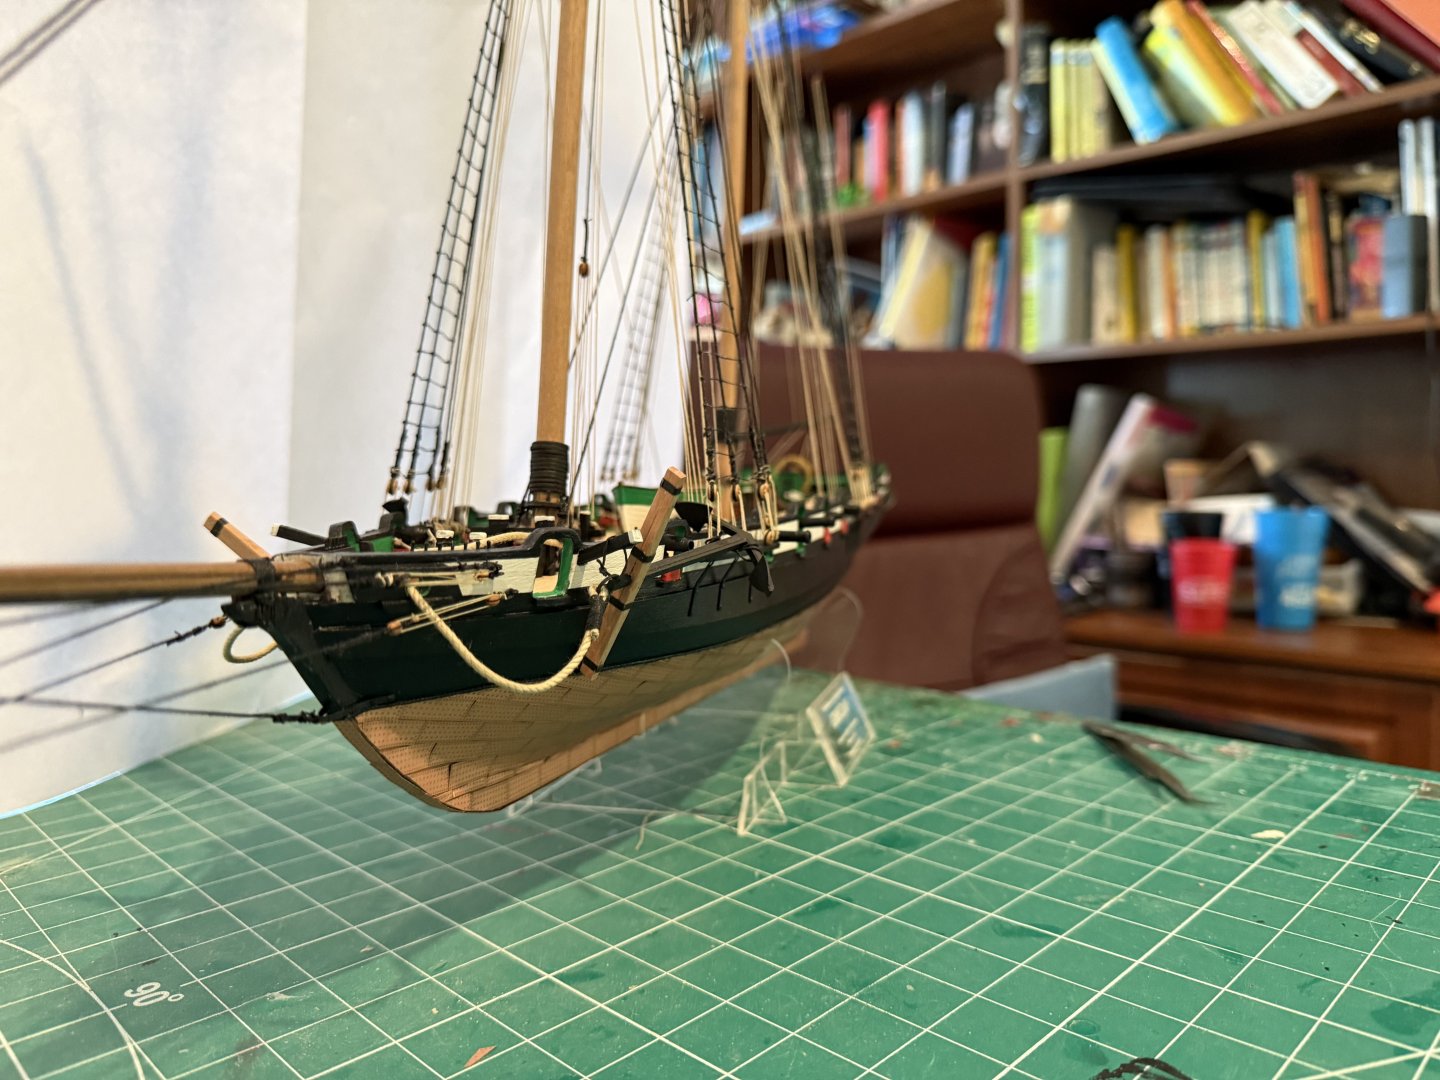
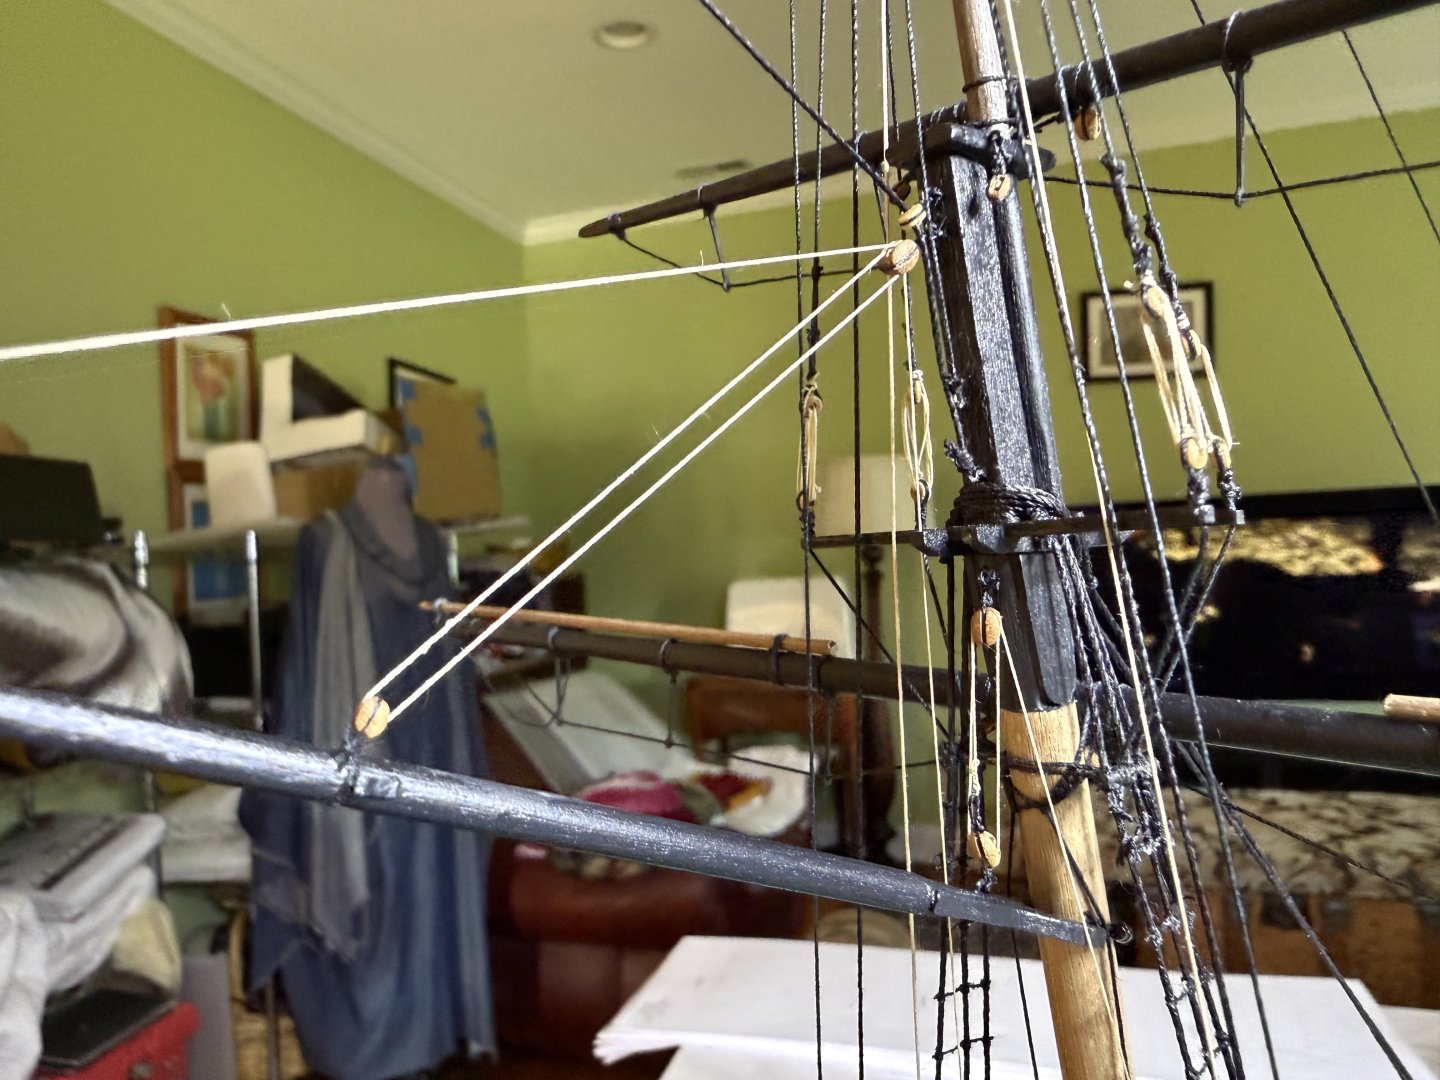
What you are seeing is the main boom topping lift. The is one on each side as per Chris' rigging instructions

- 52 replies
-
- 1
-
-
- Grecian
- Vanguard Models
- (and 1 more)
-
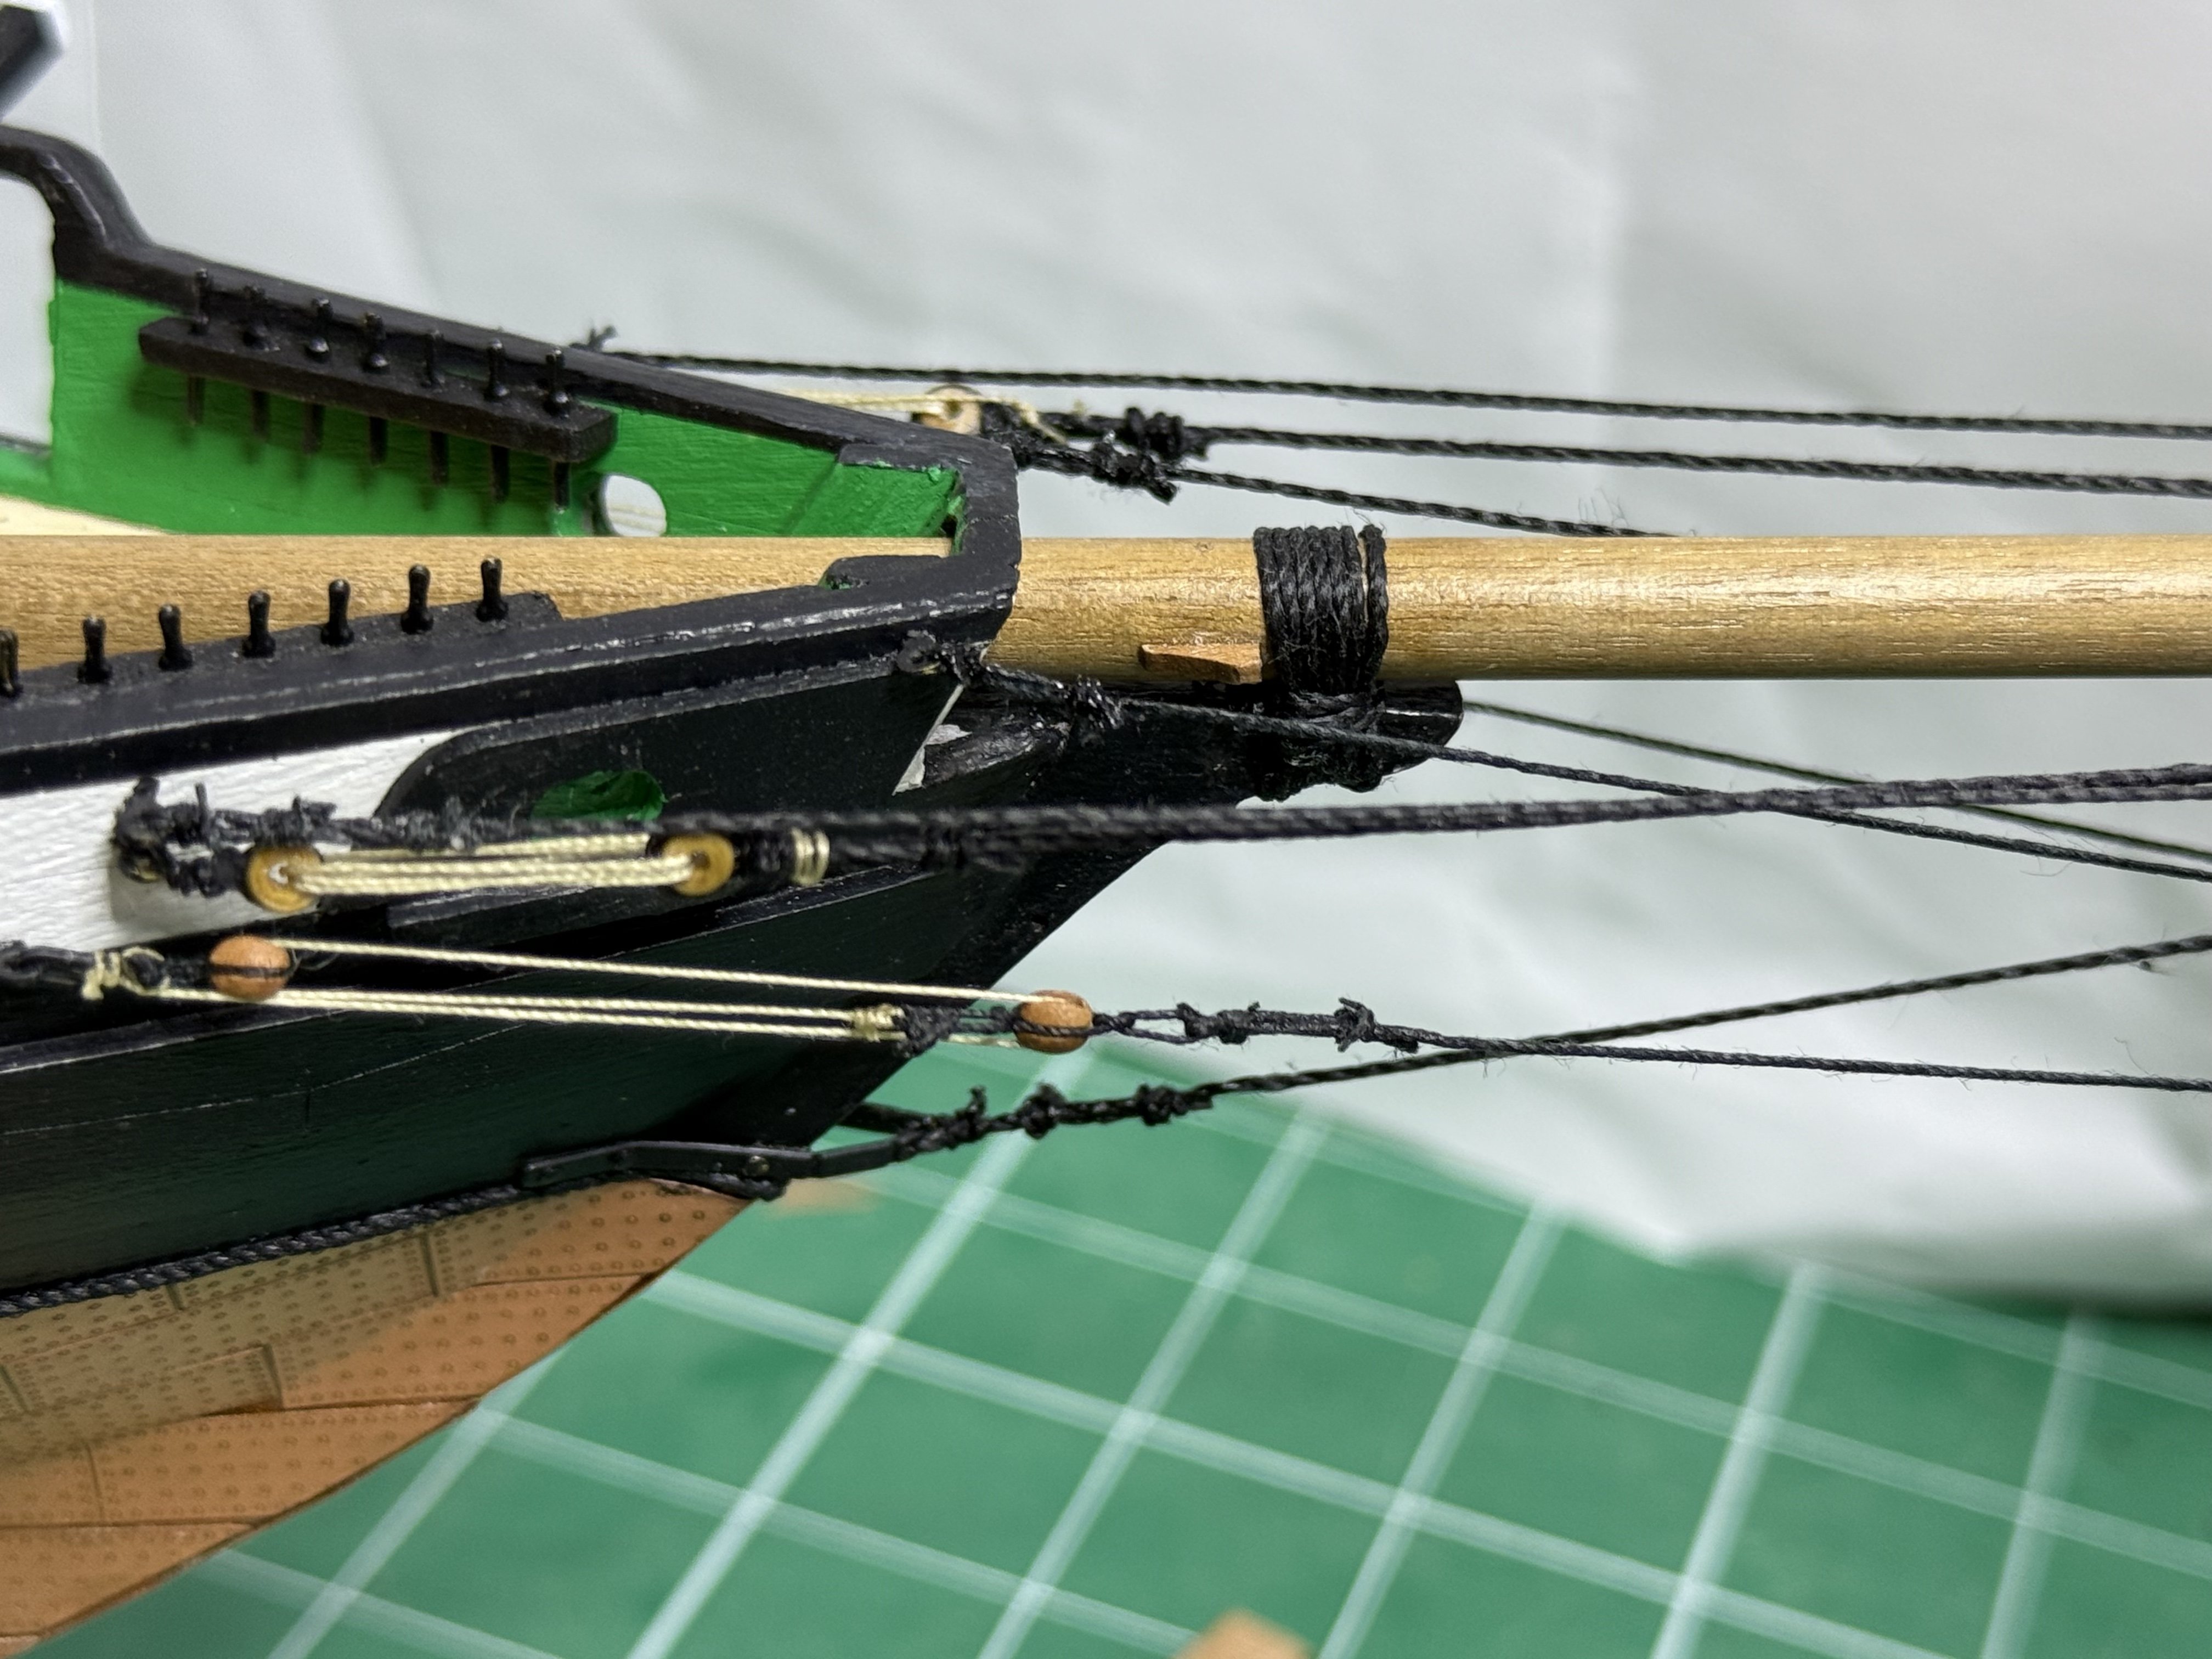
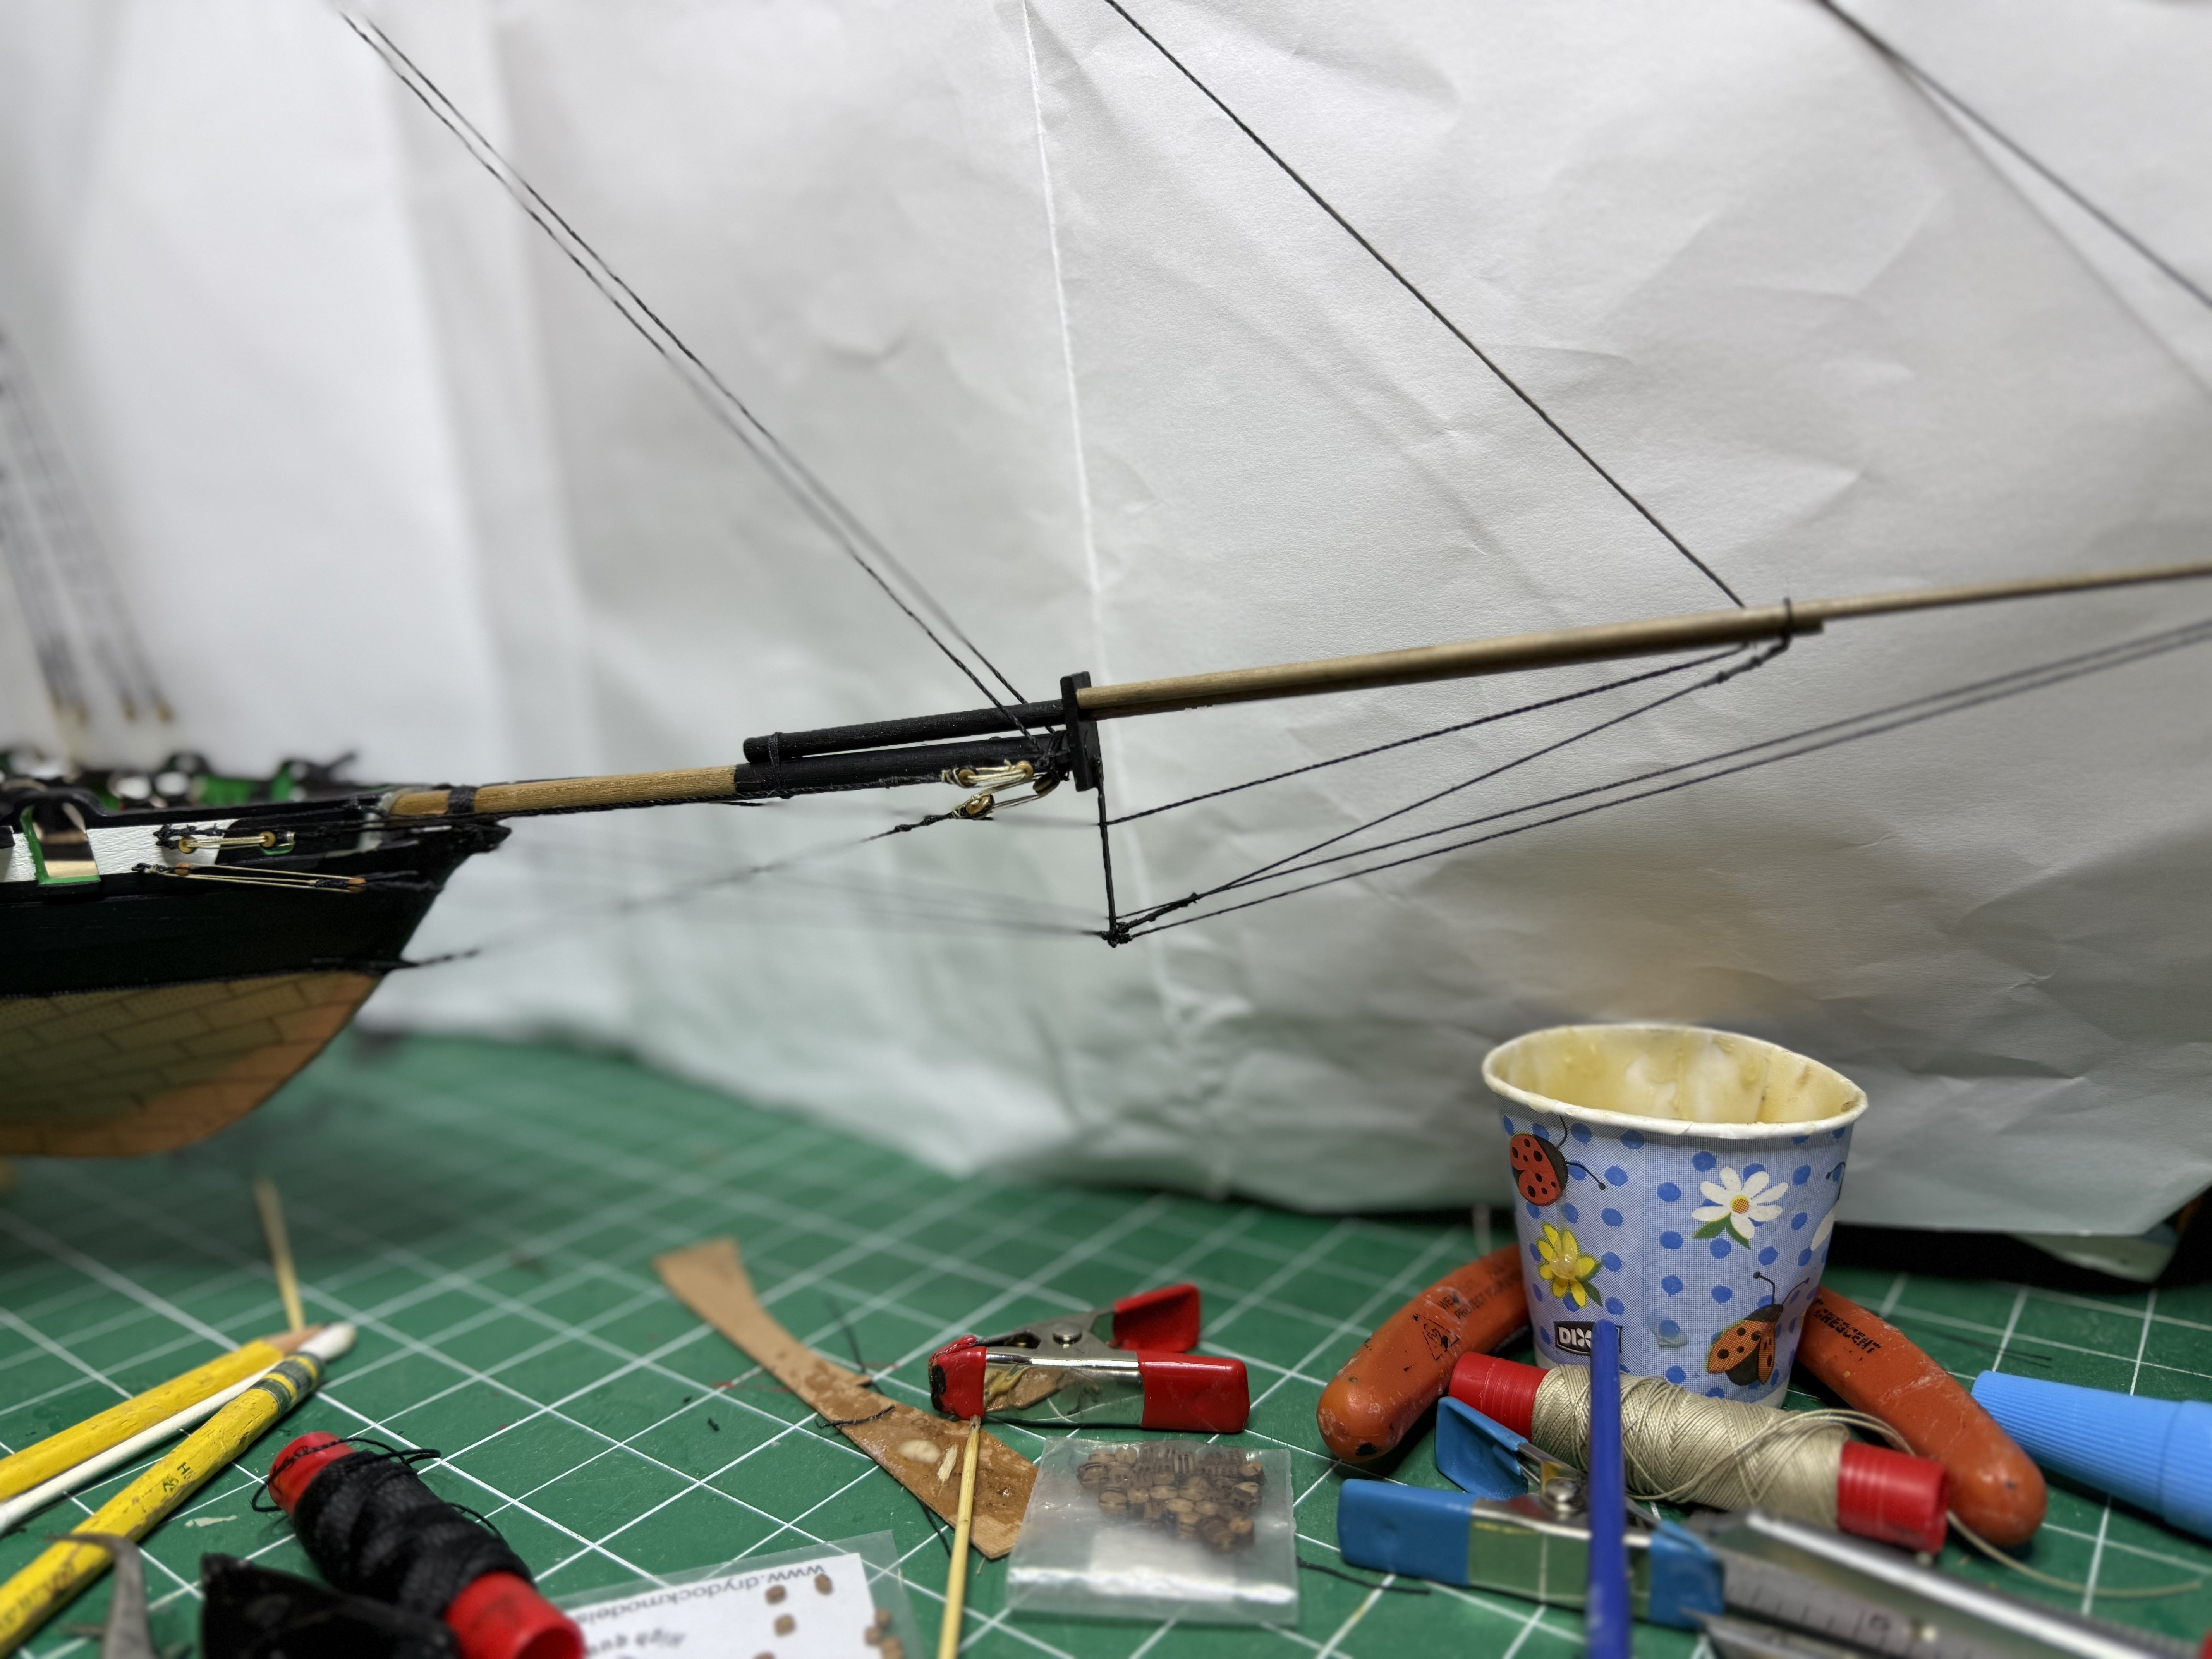
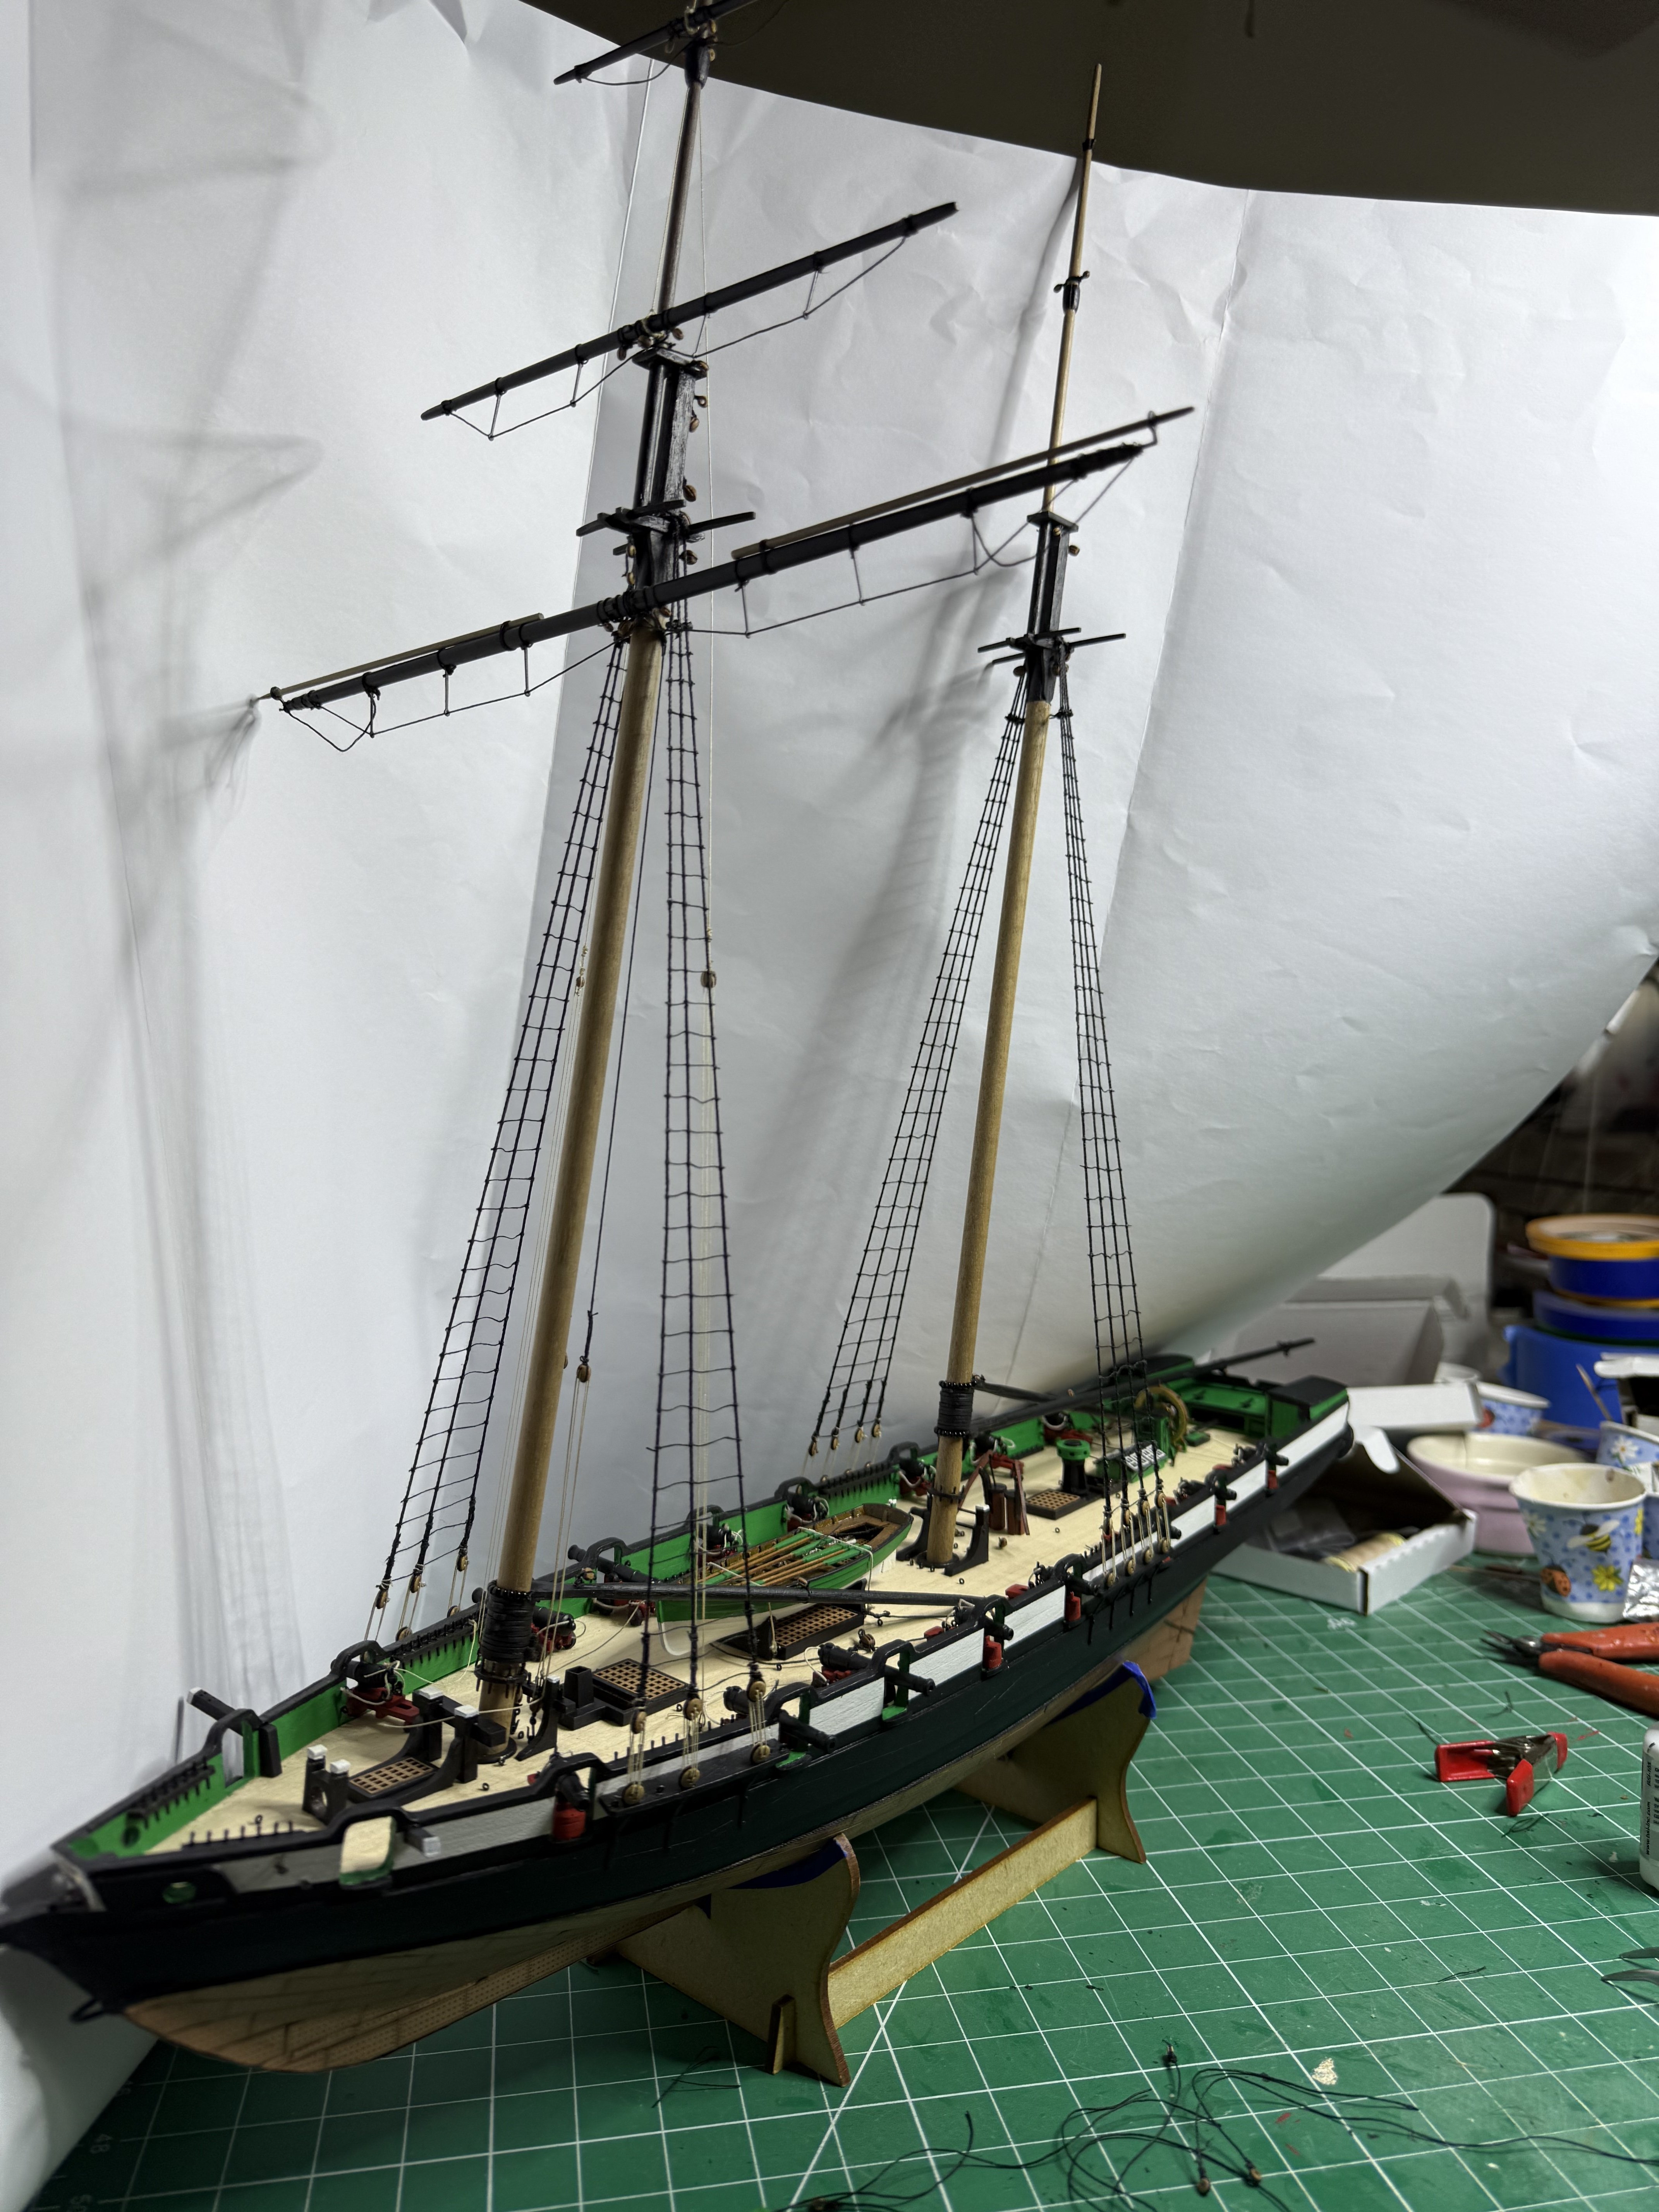
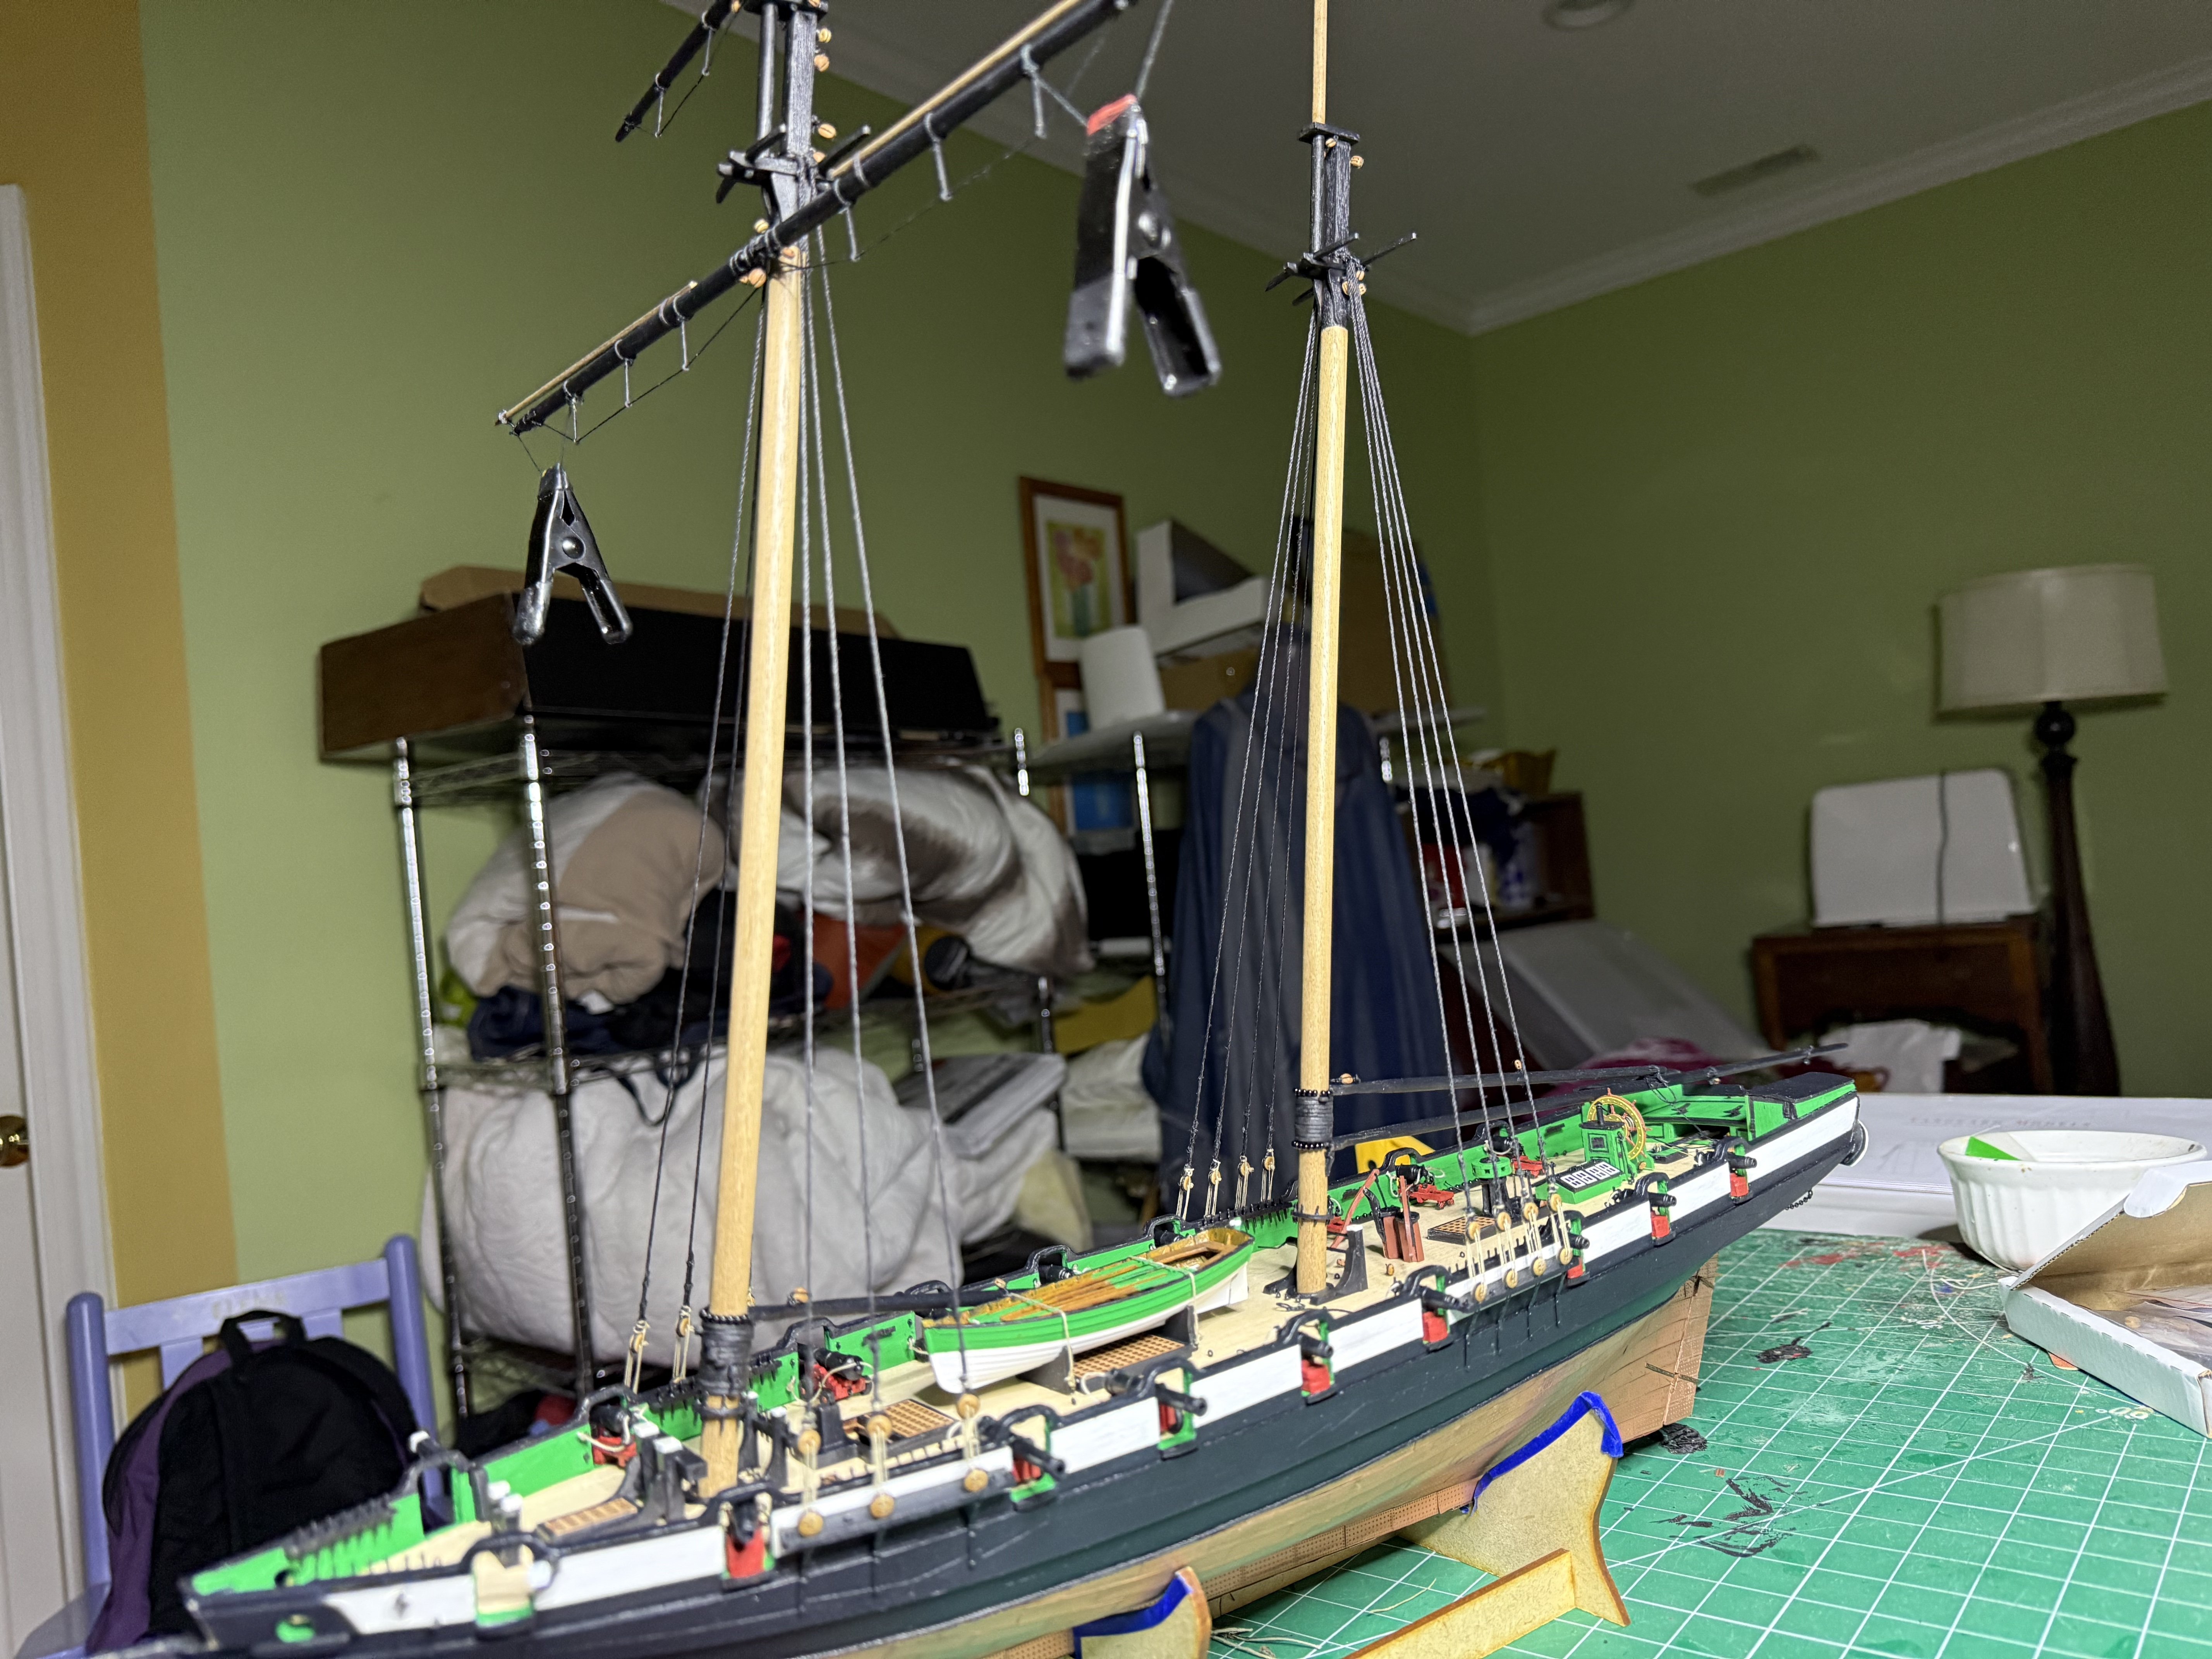
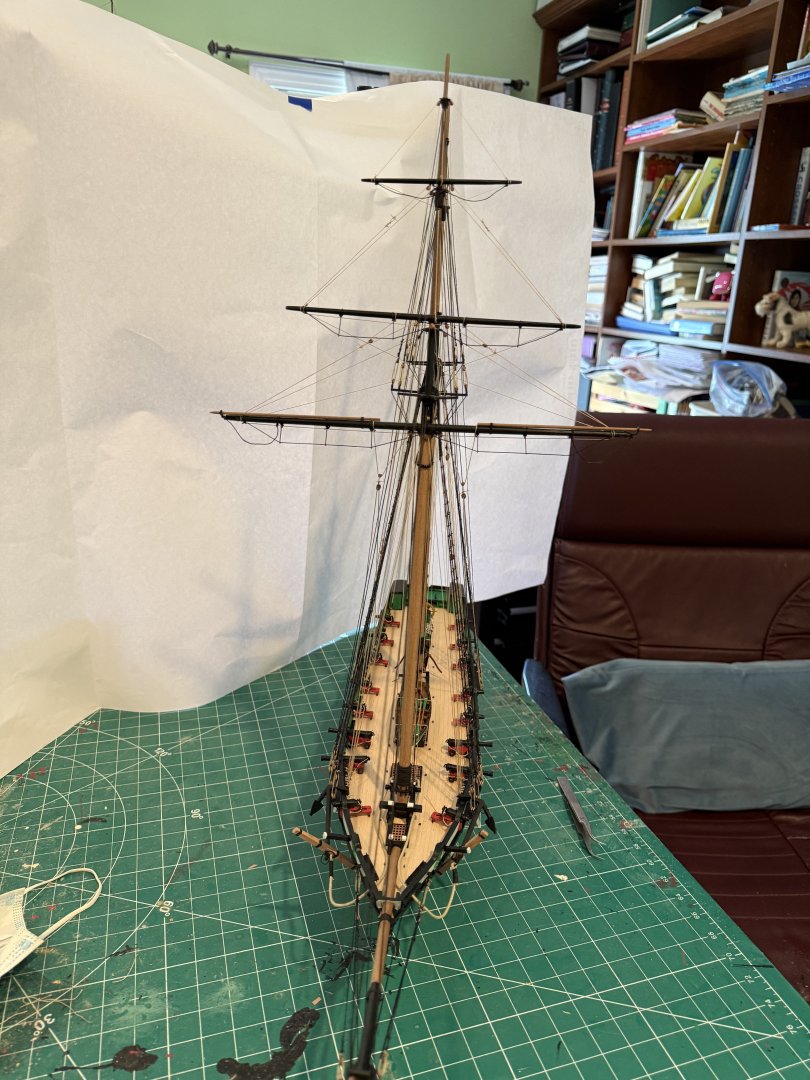
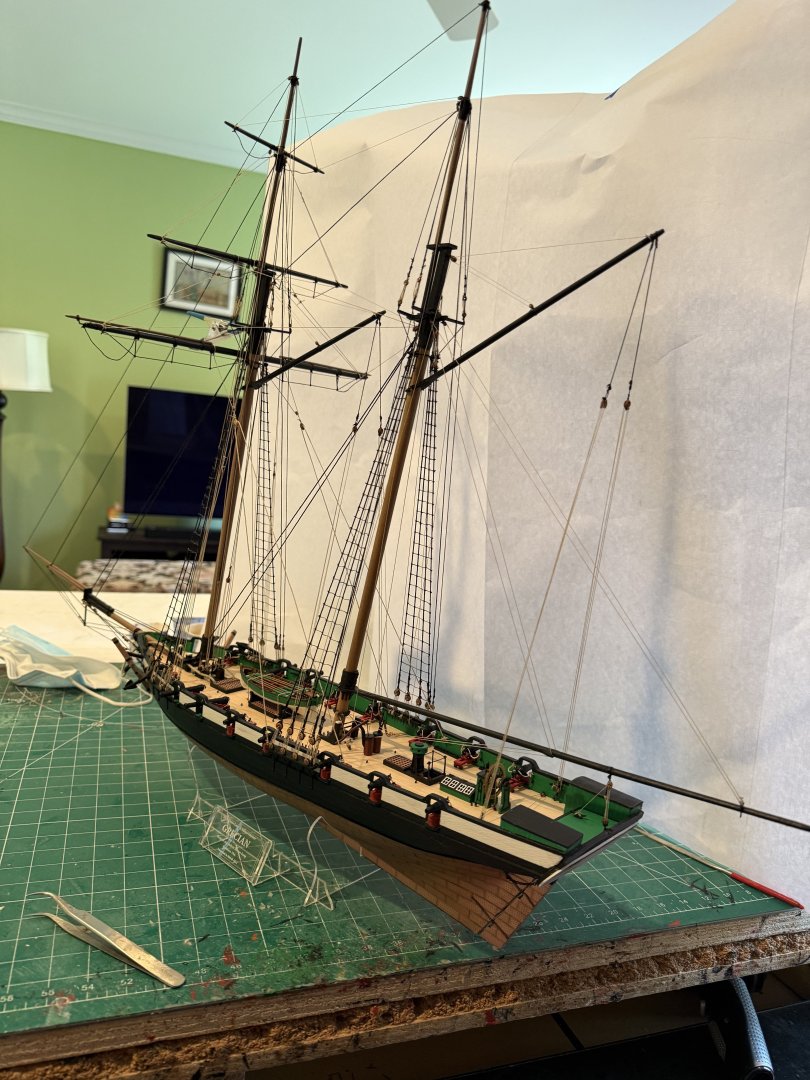
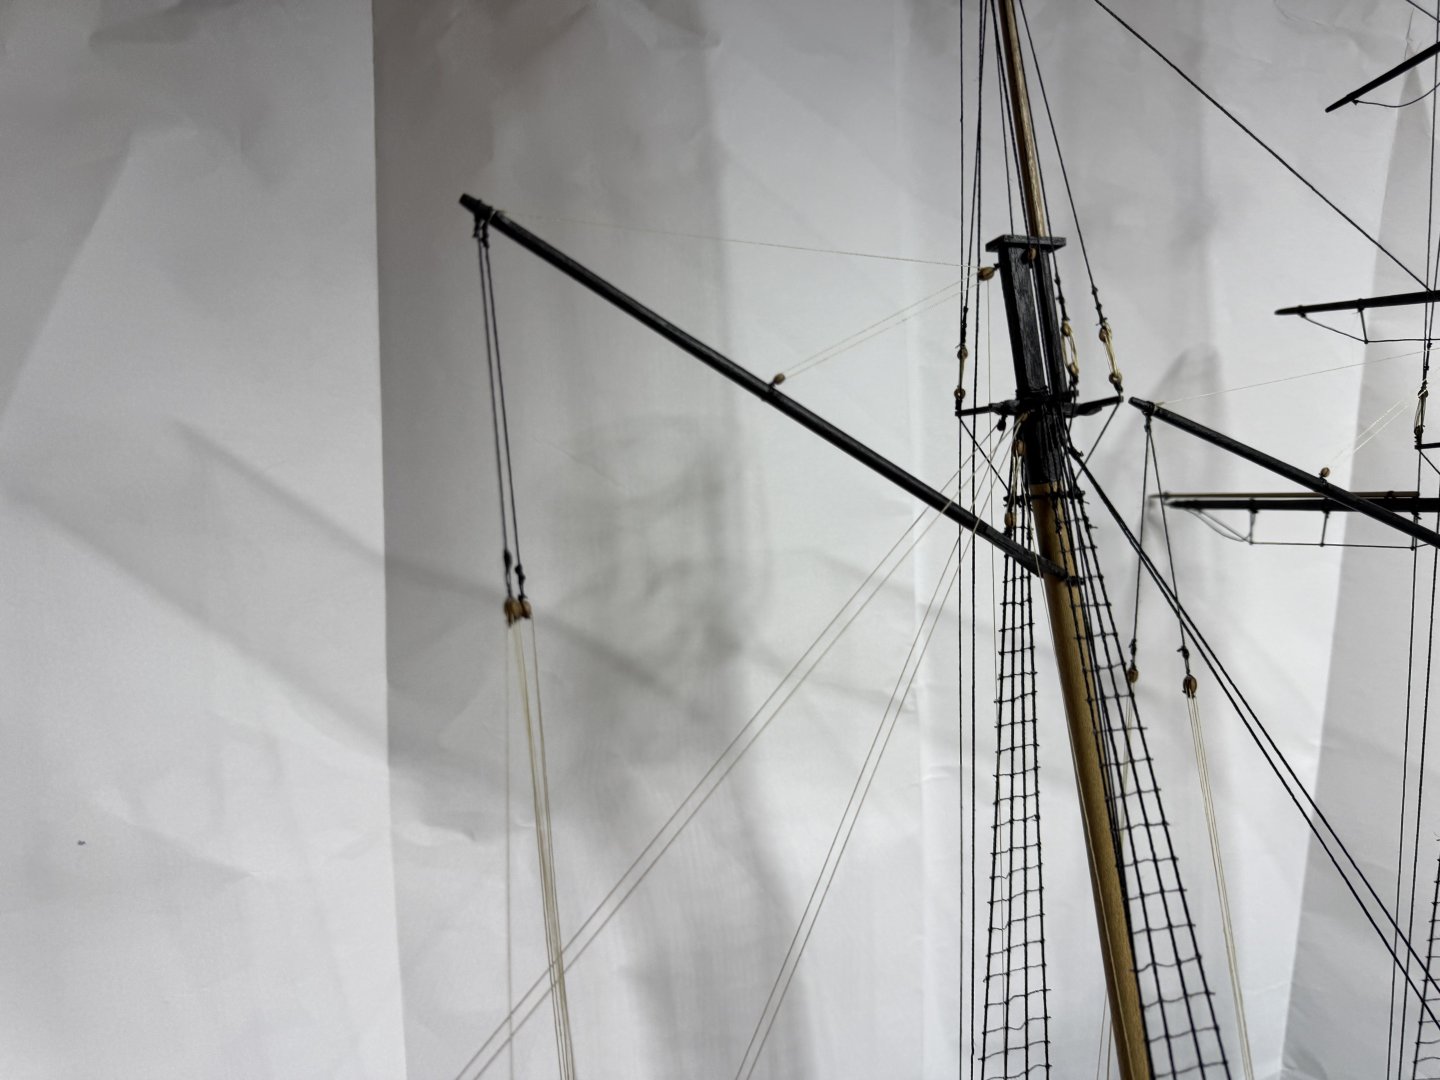
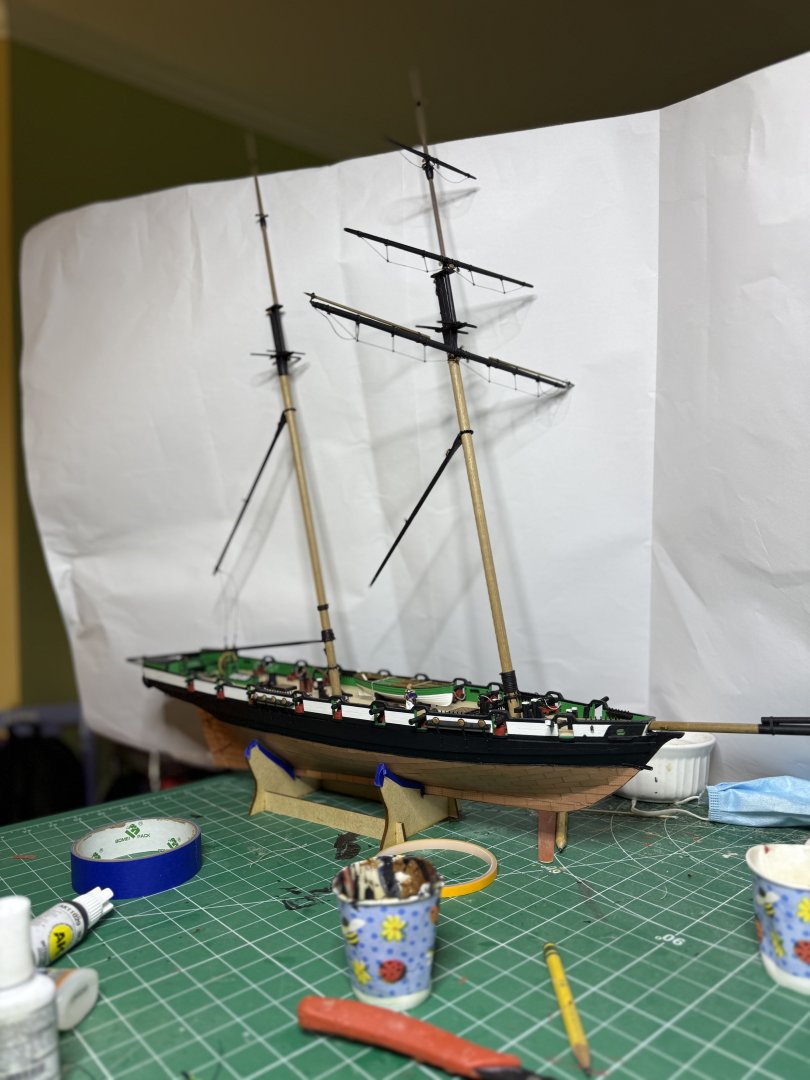
Gaffes and boom done. All that is left are the lifts, braces, and sheets.

- 52 replies
-
- 3
-
-
- Grecian
- Vanguard Models
- (and 1 more)
-
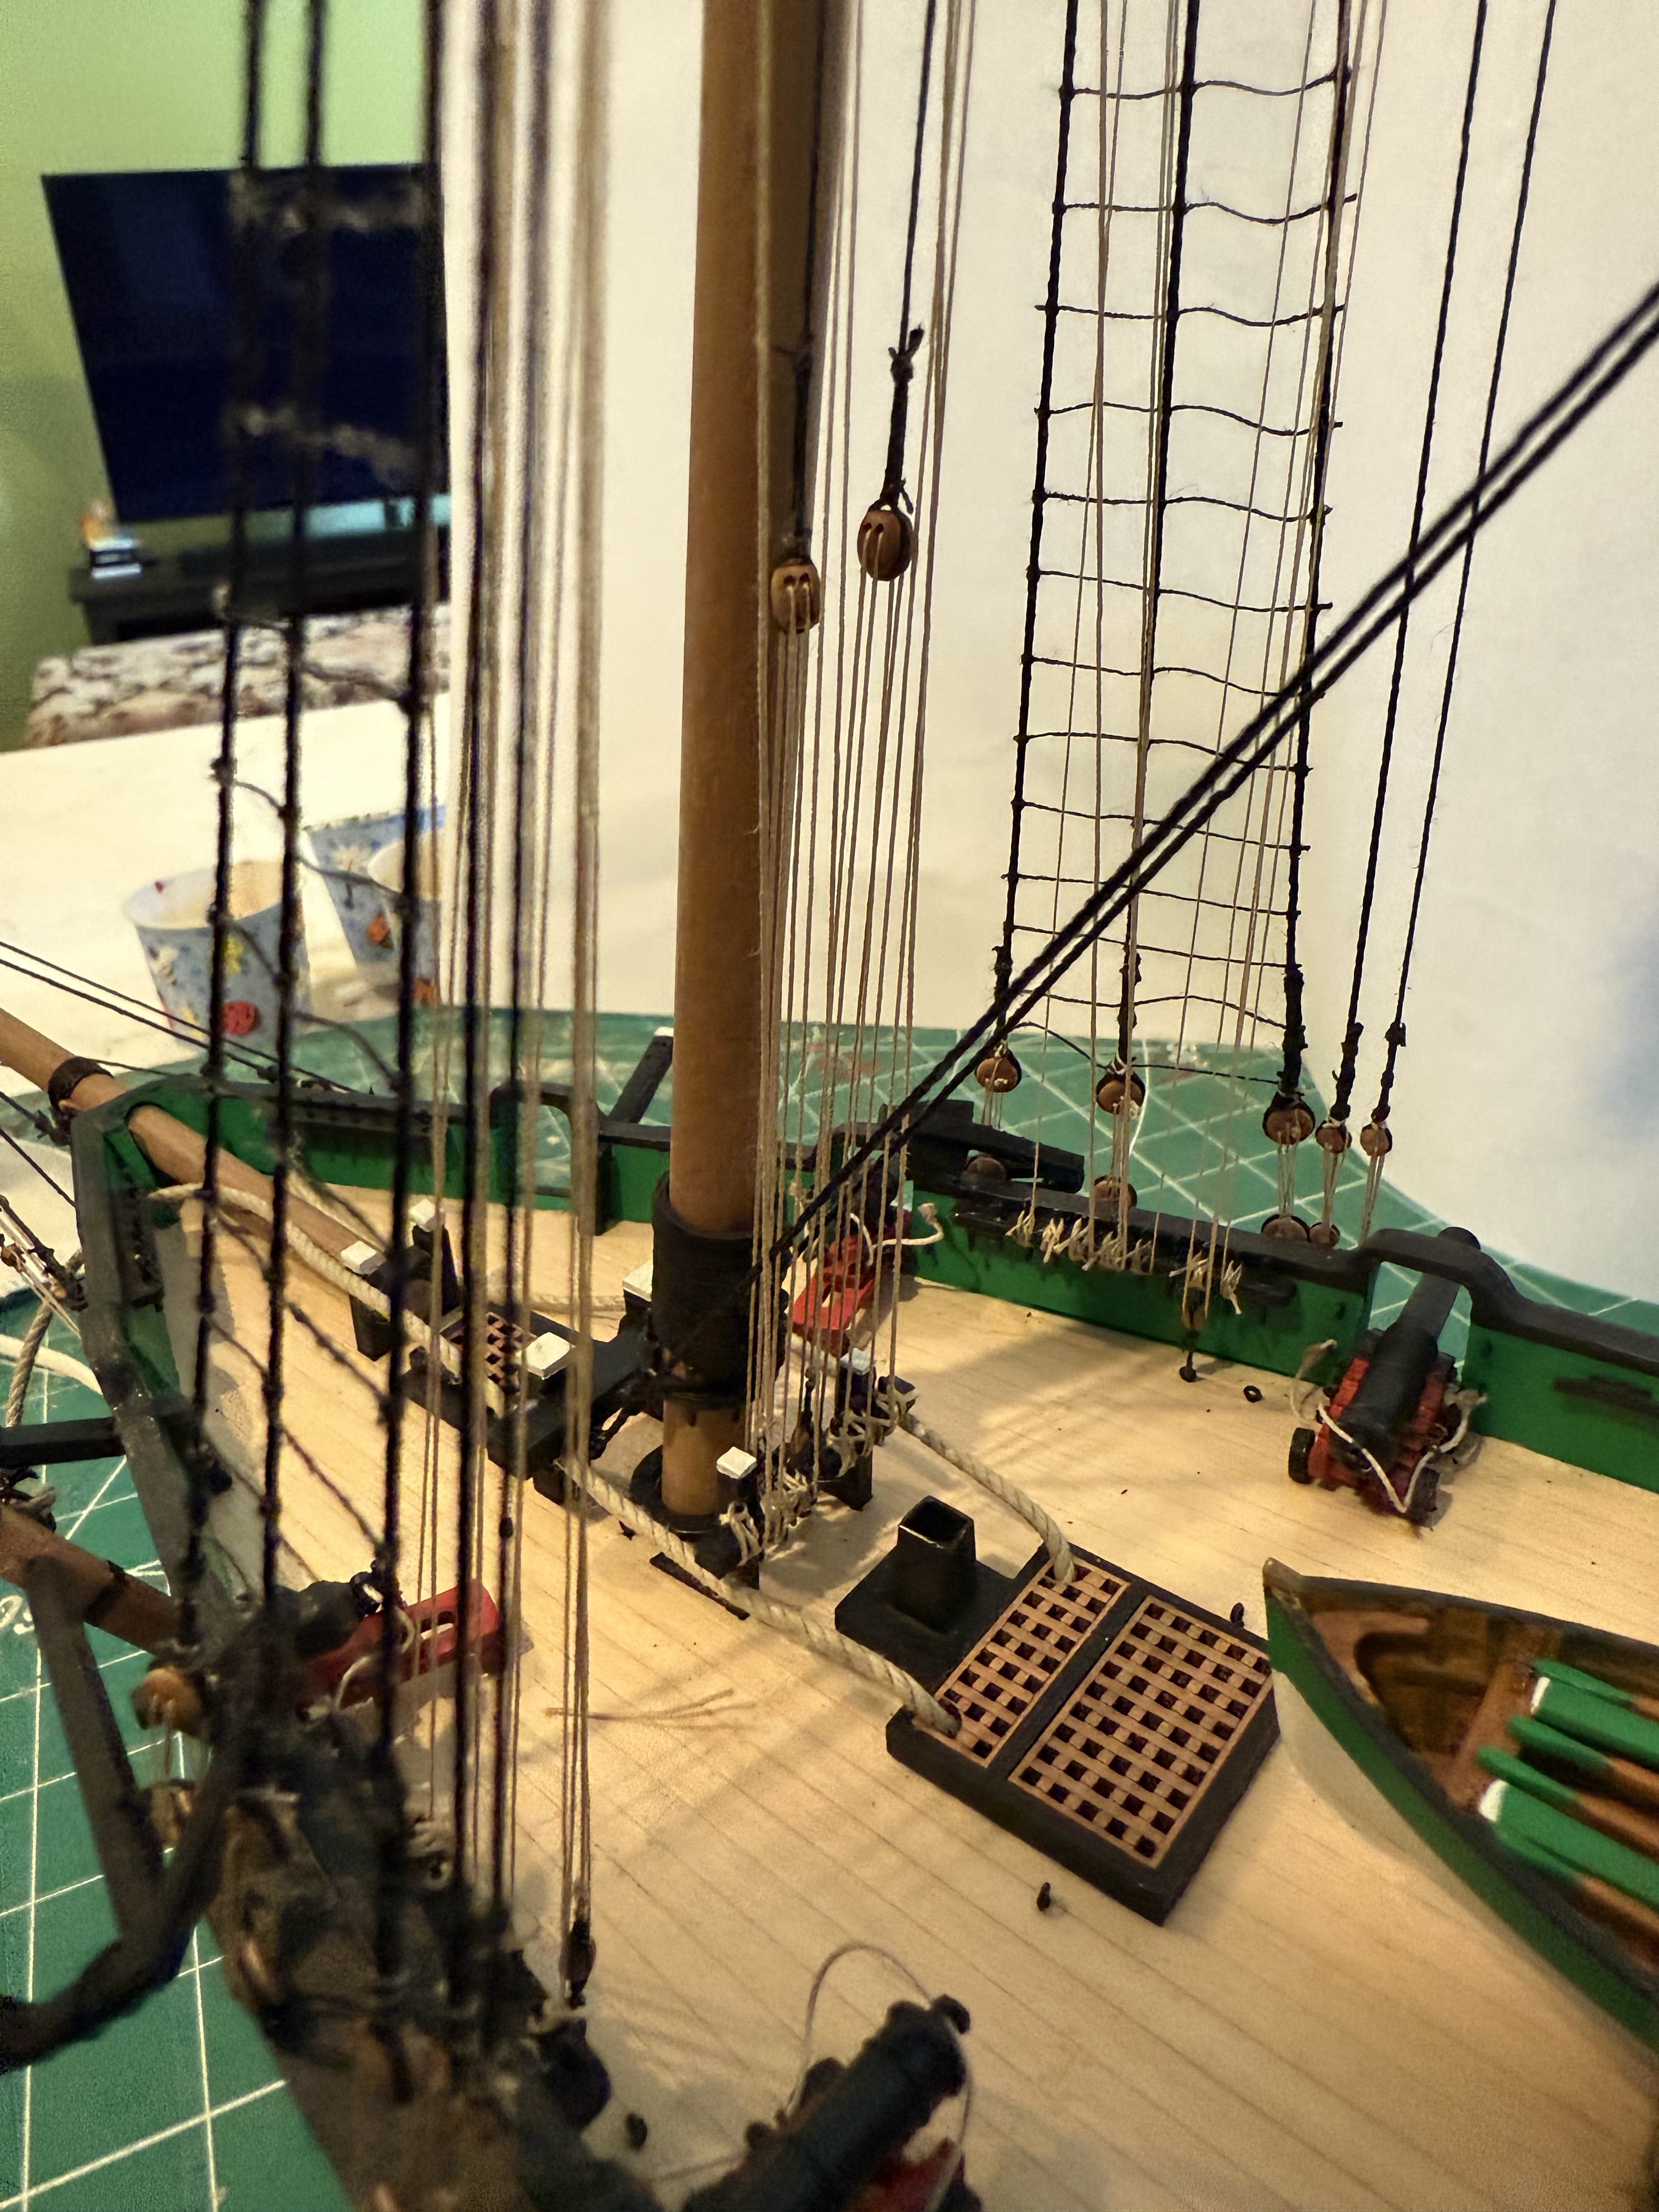
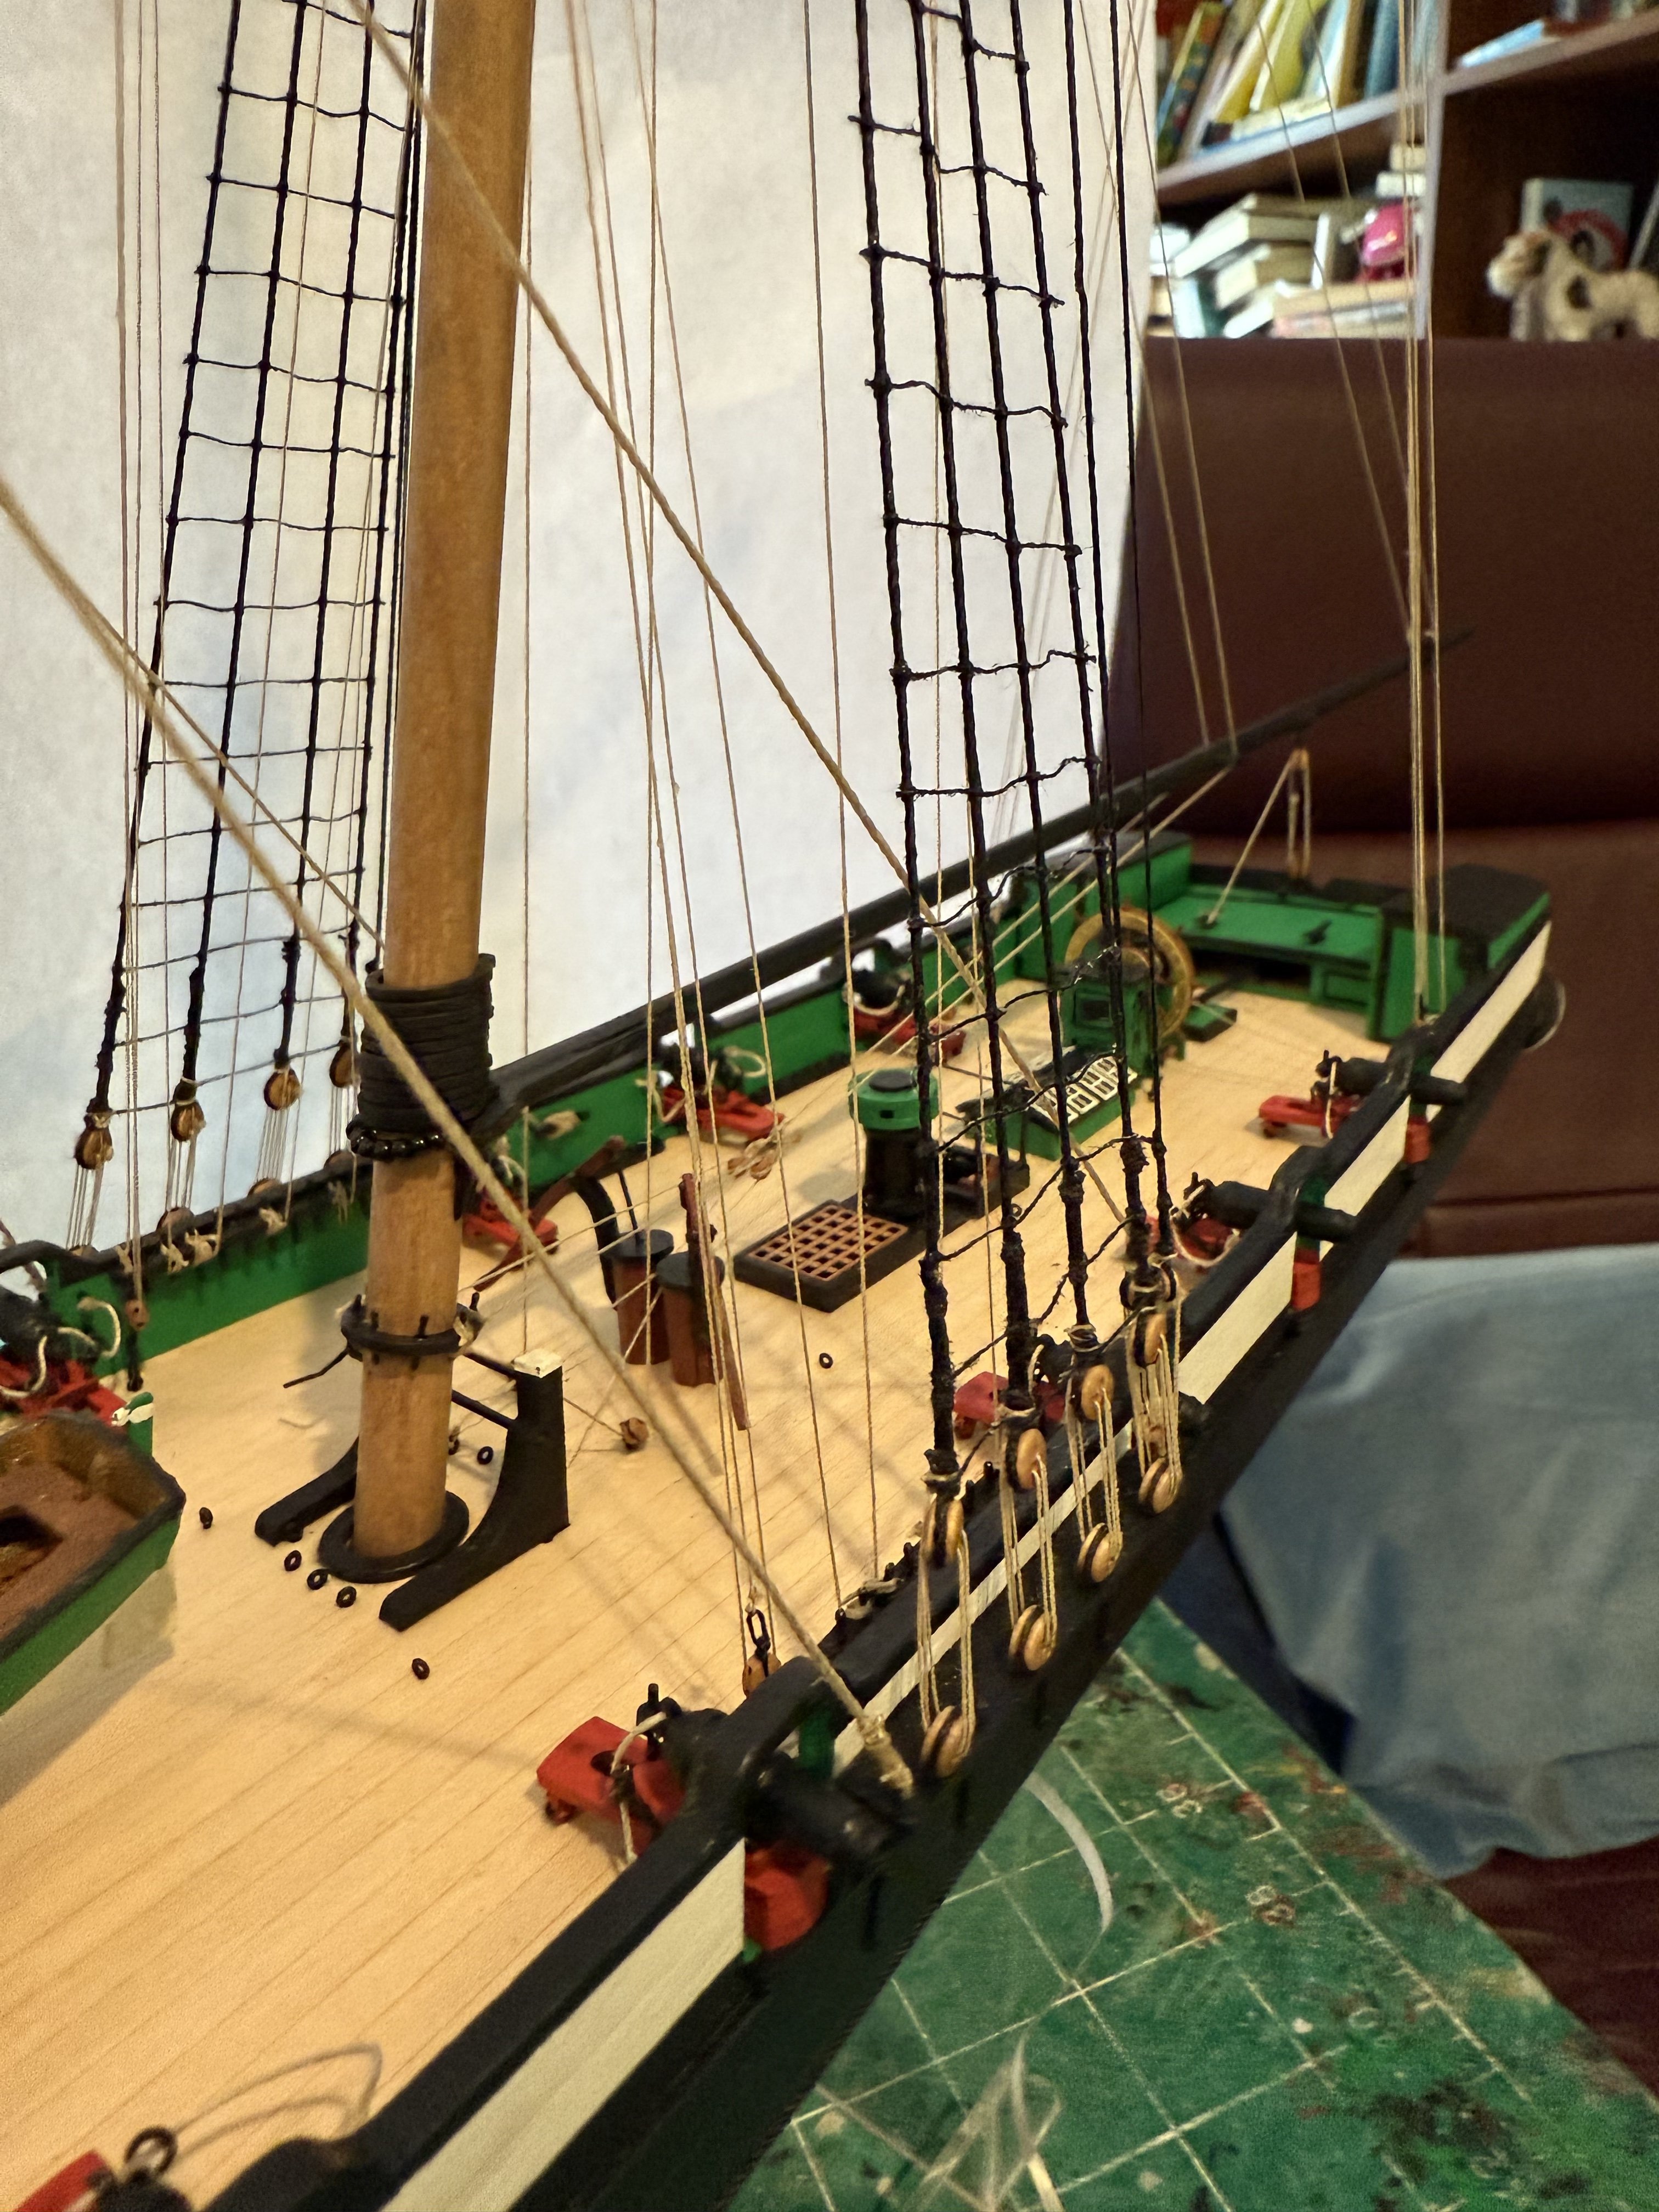
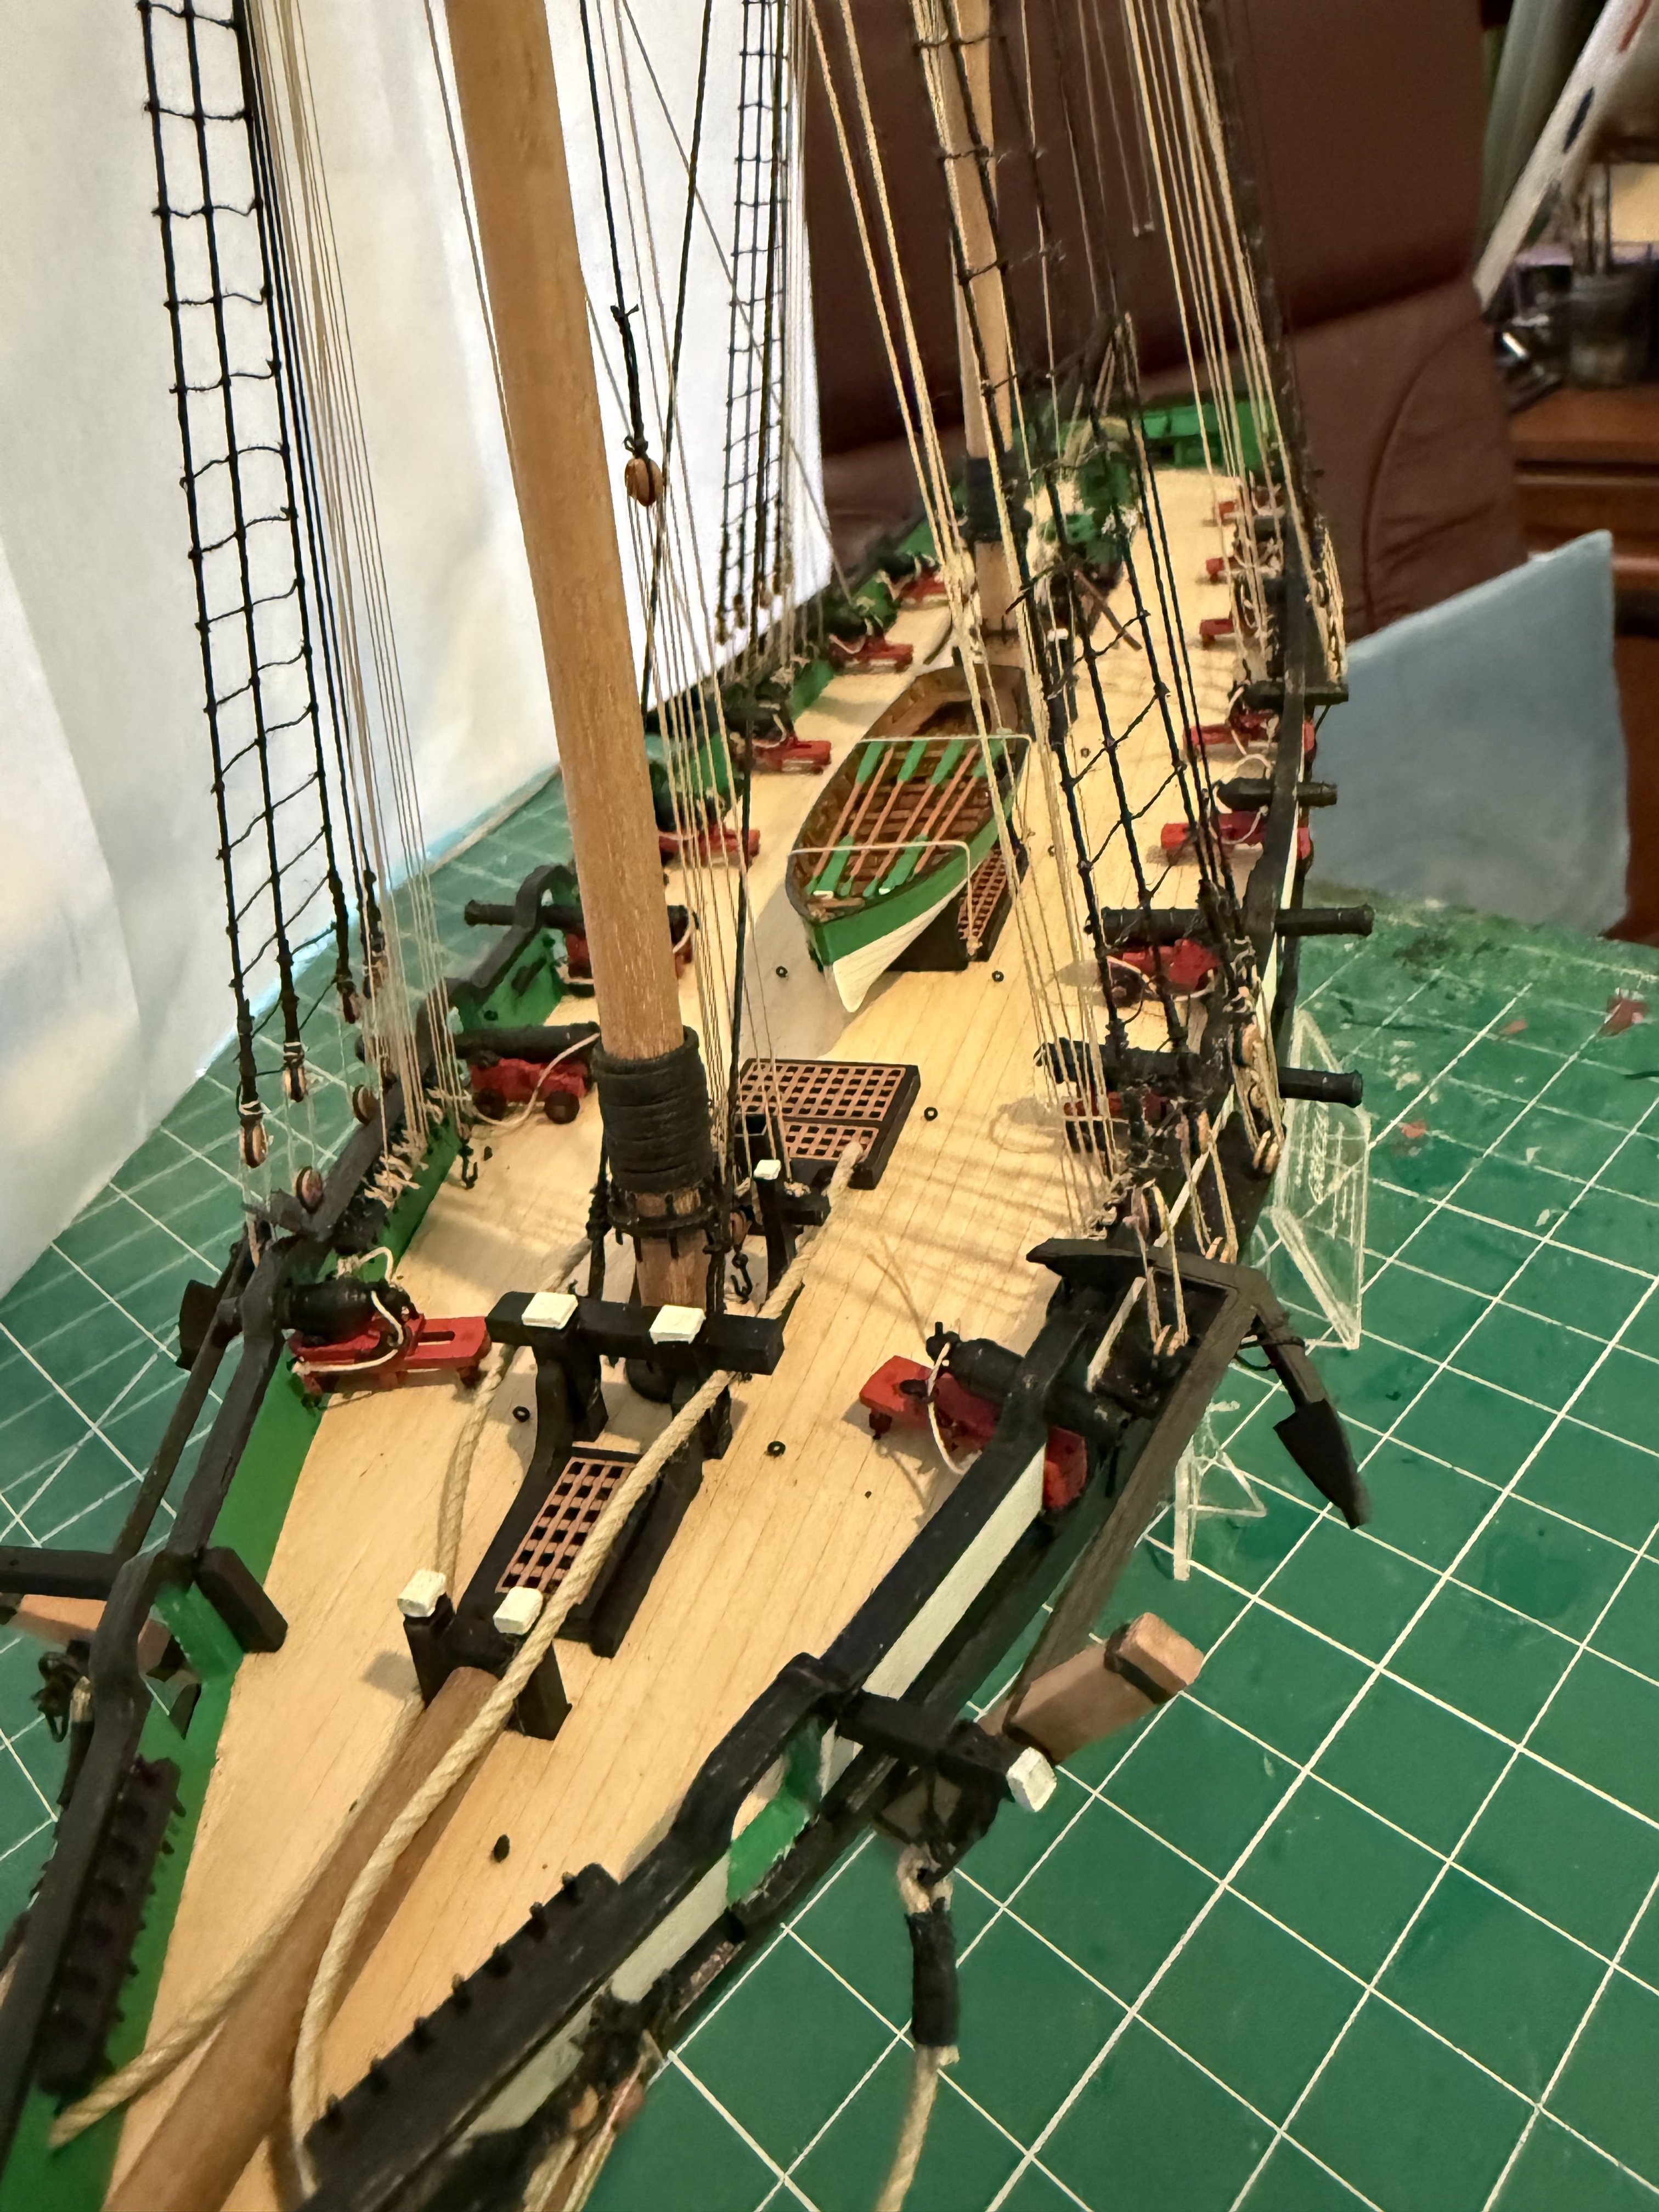
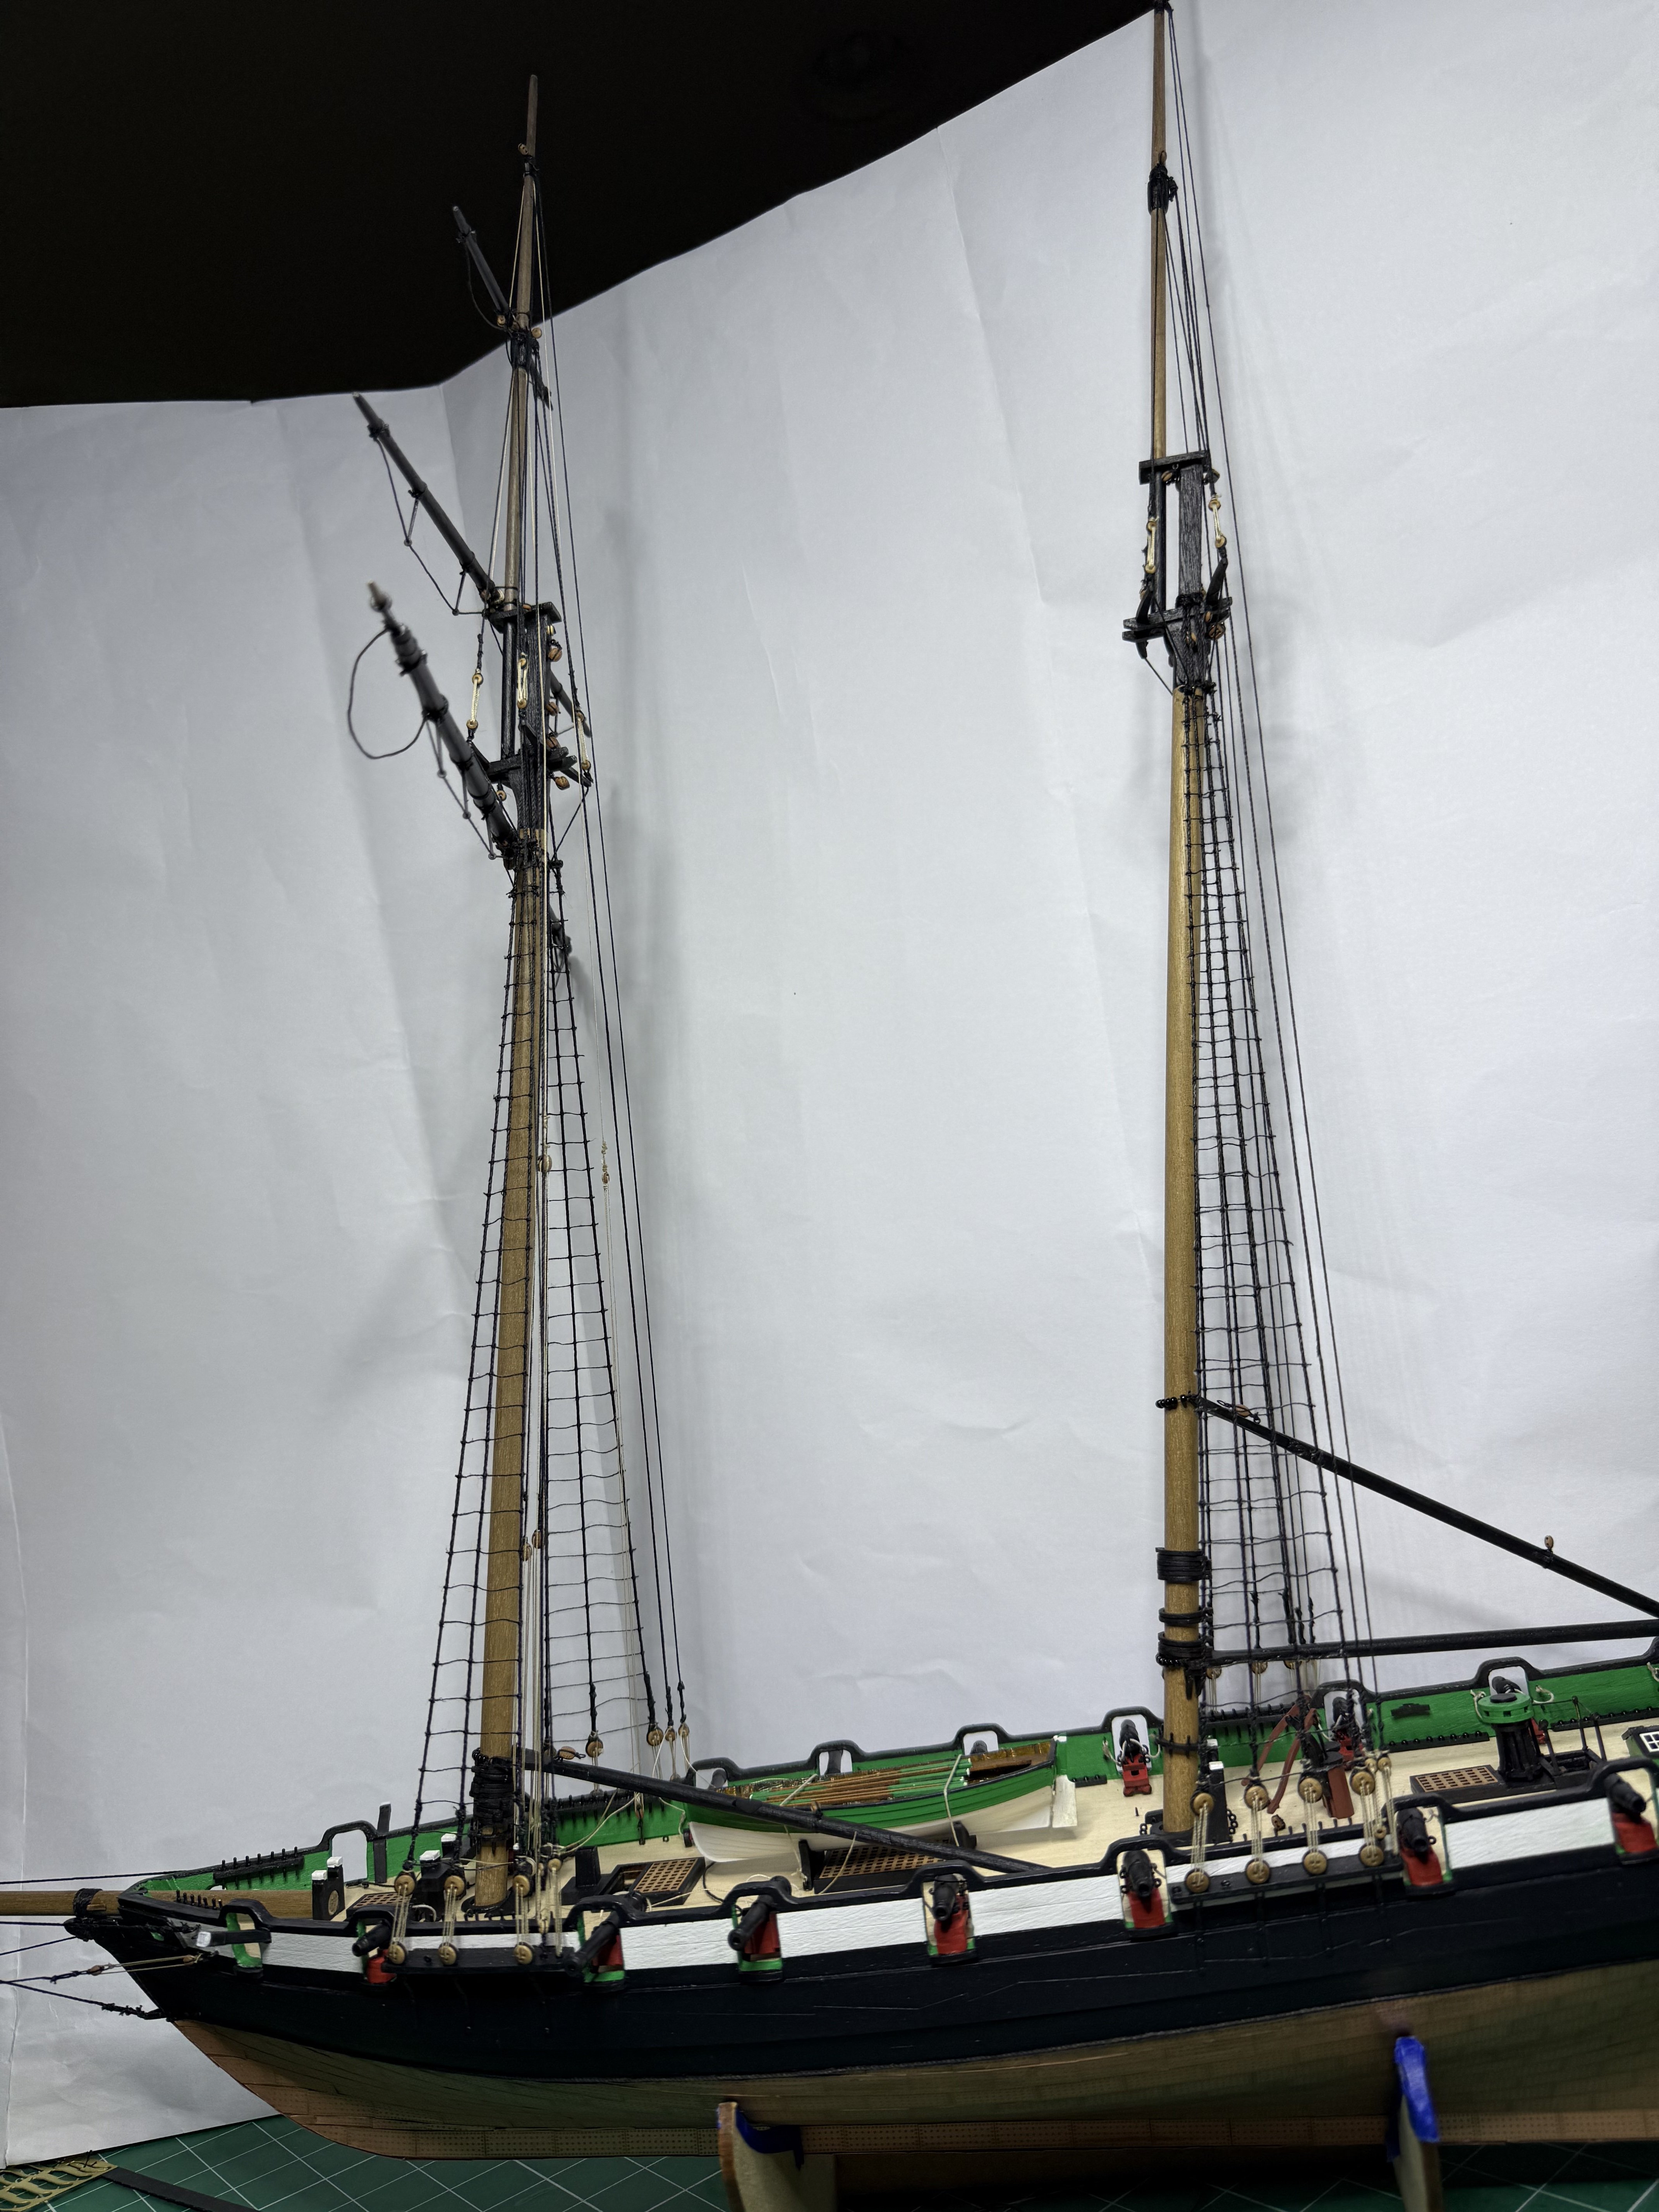
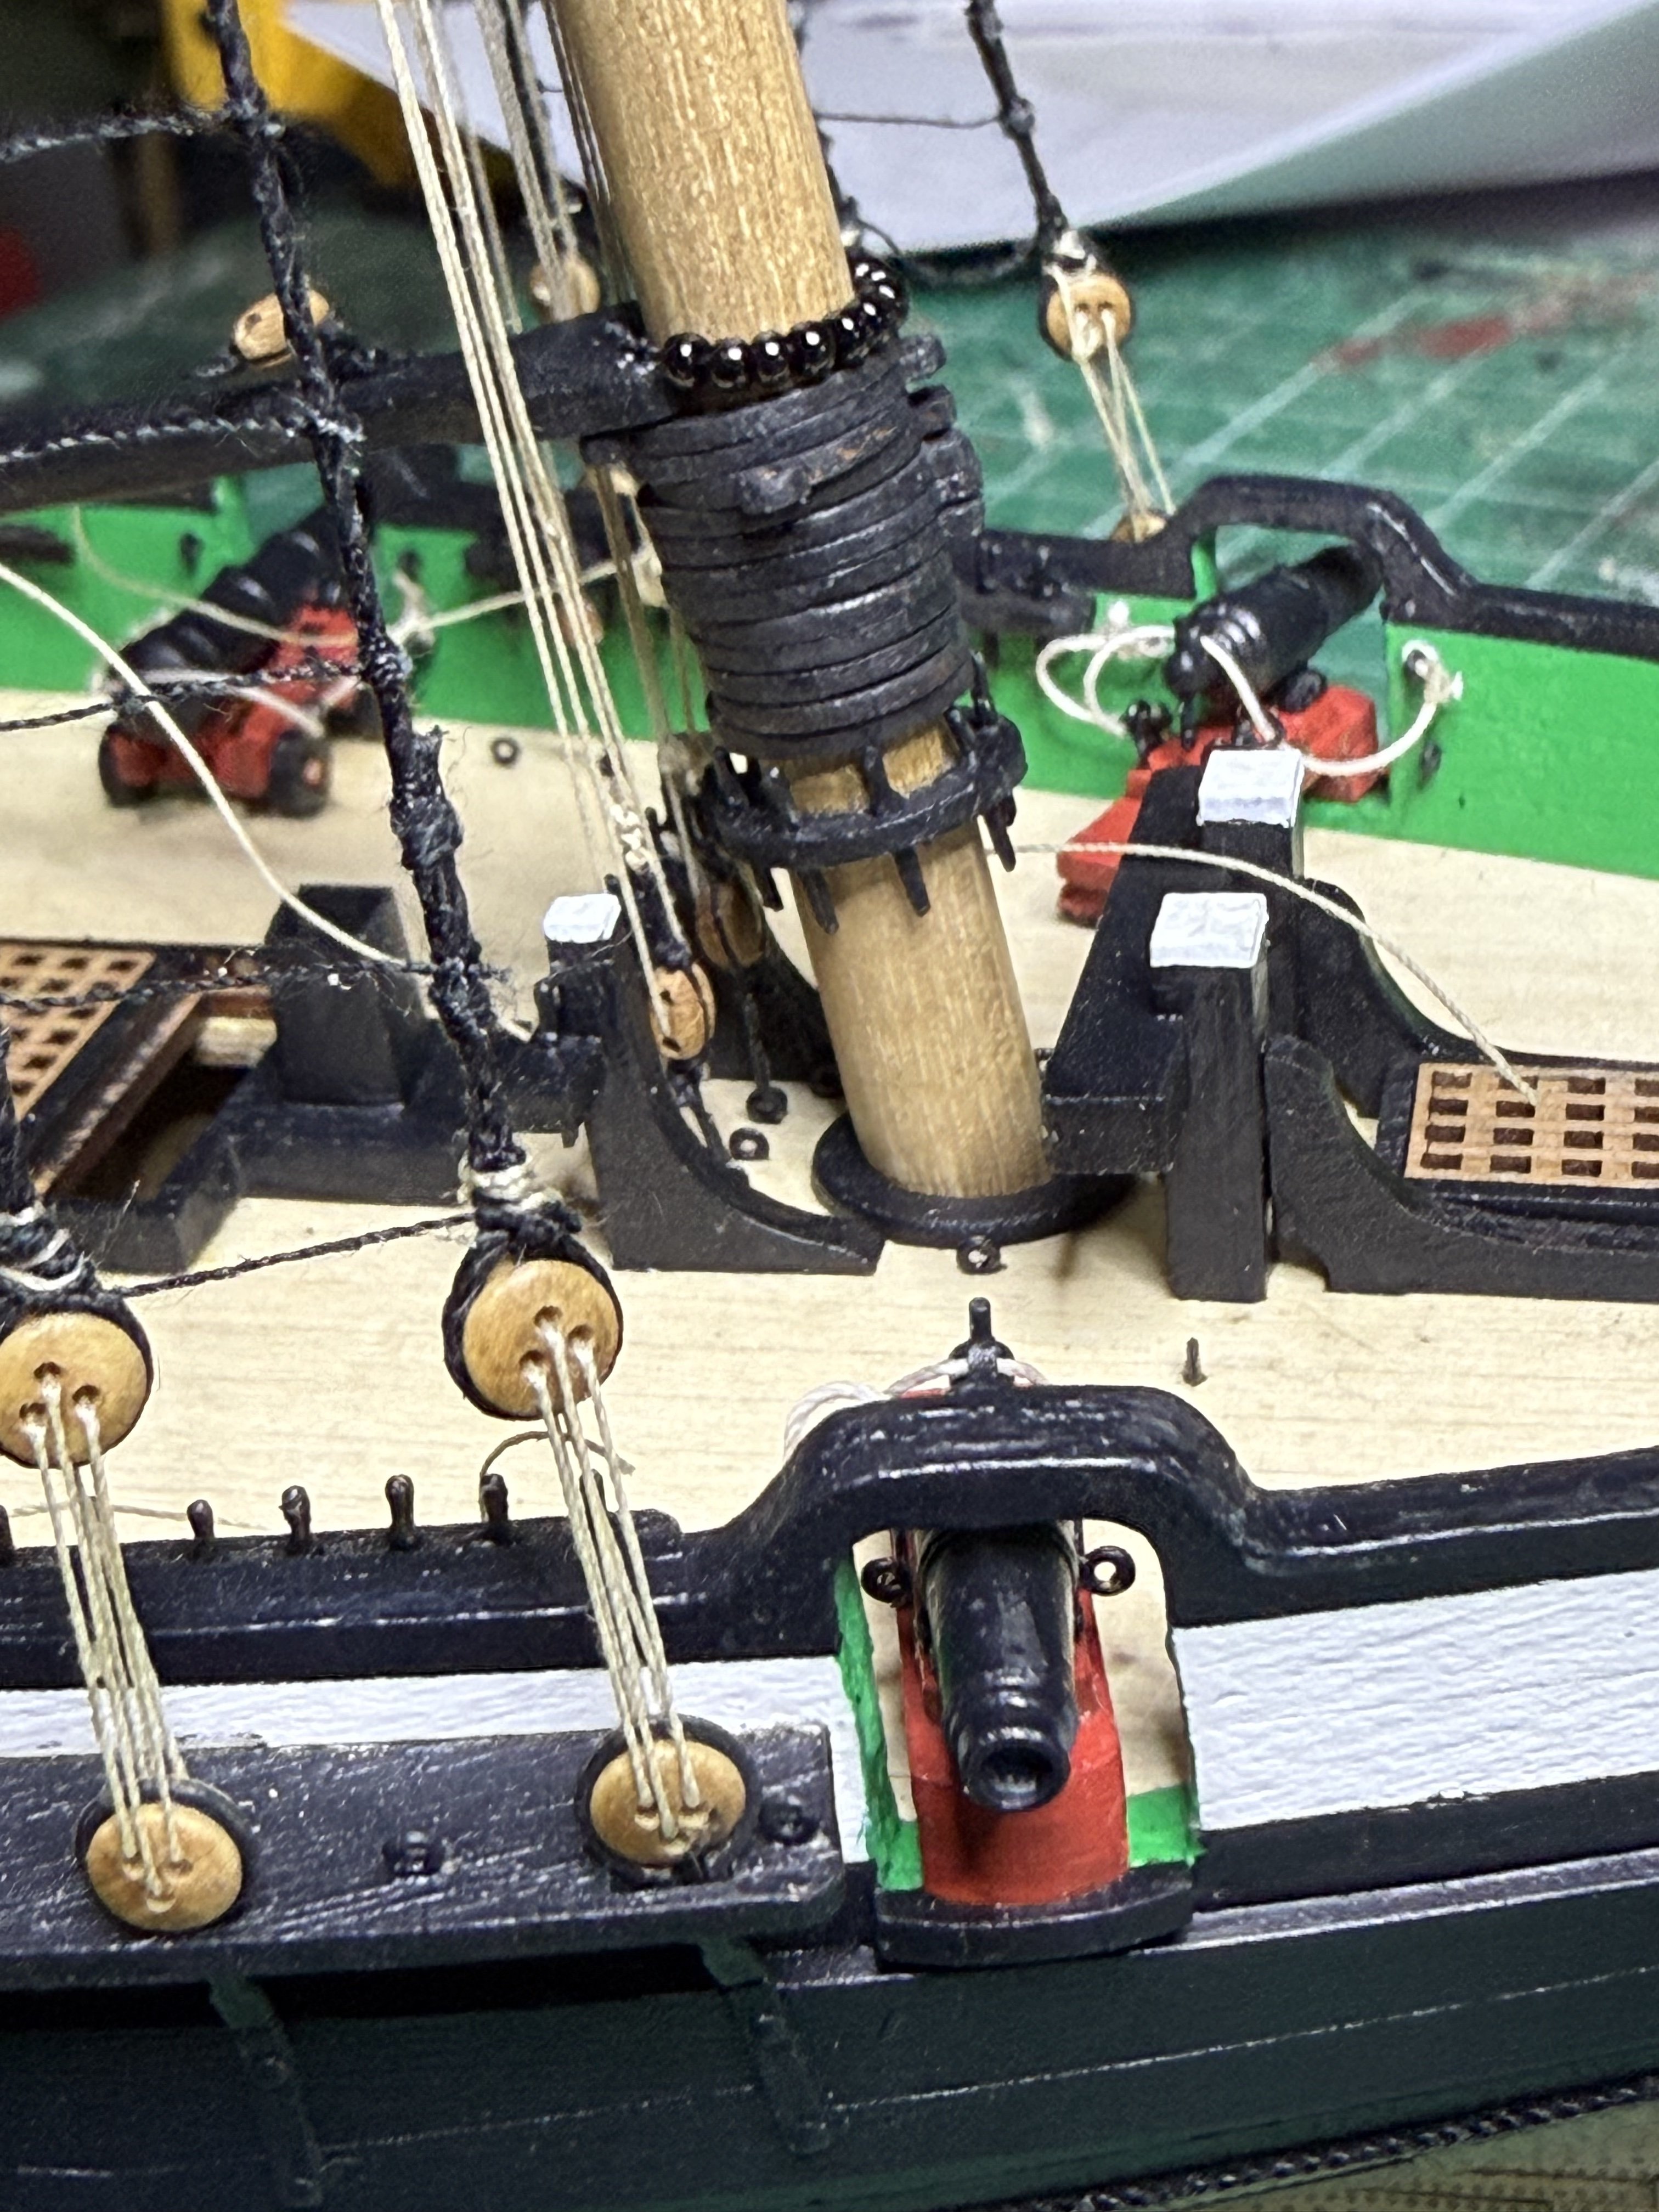
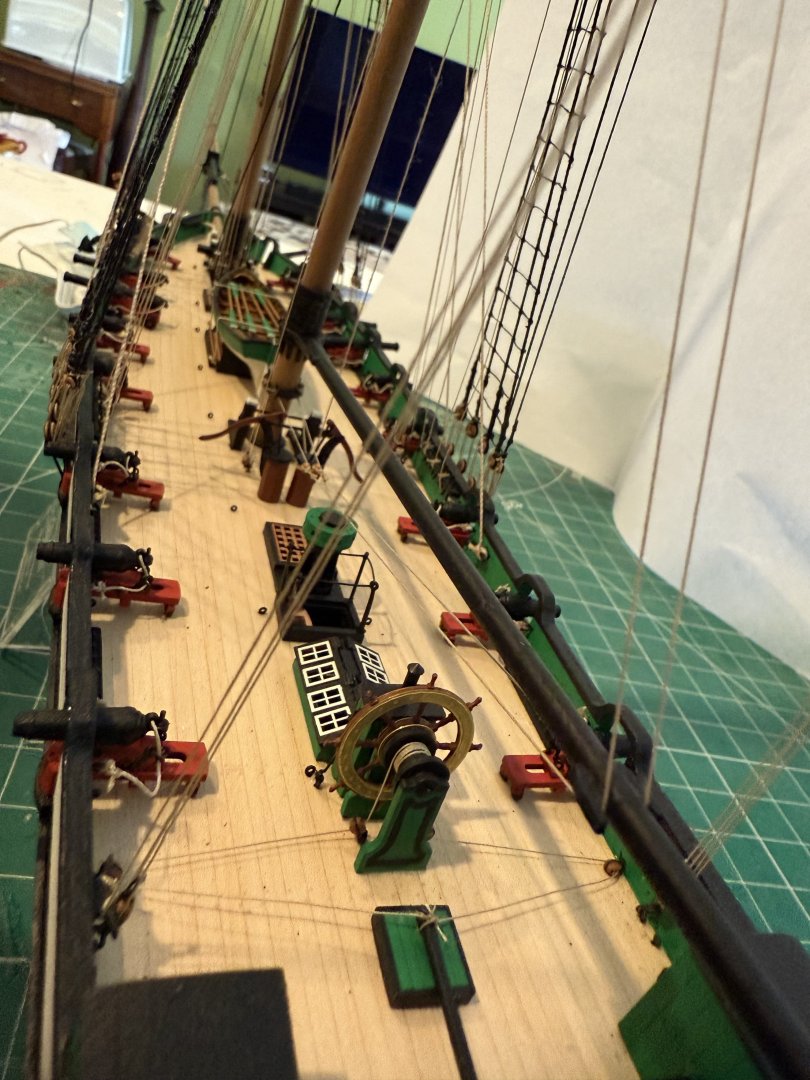
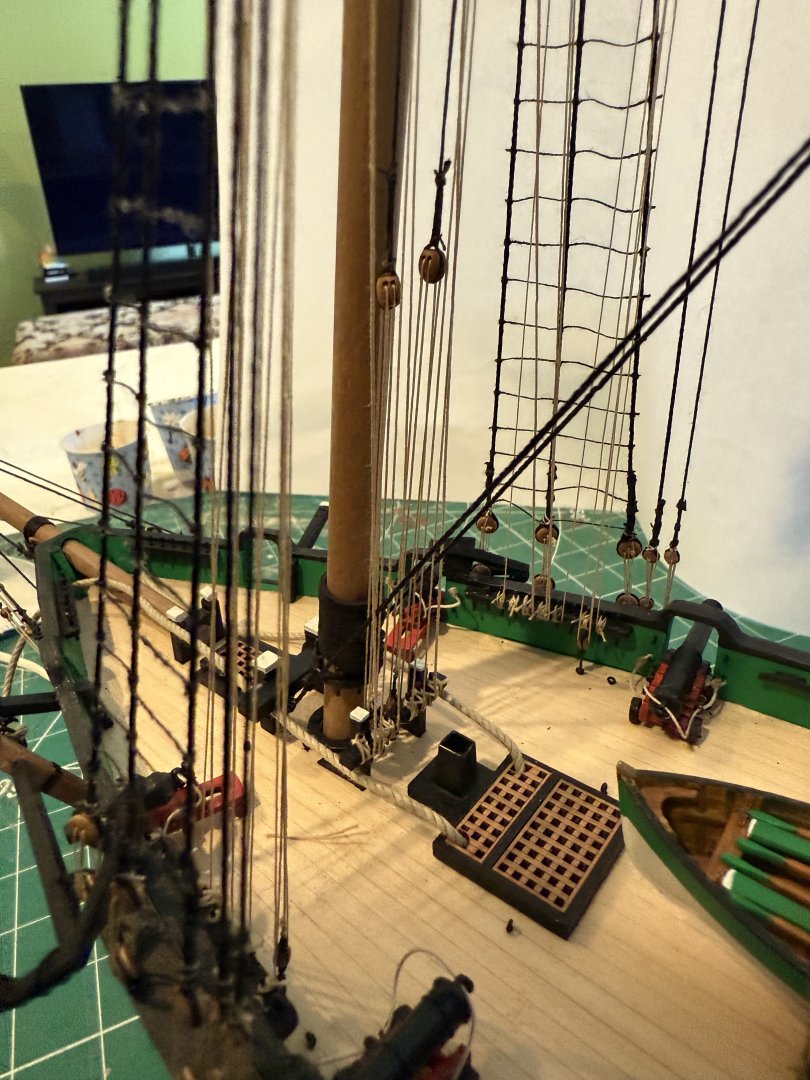
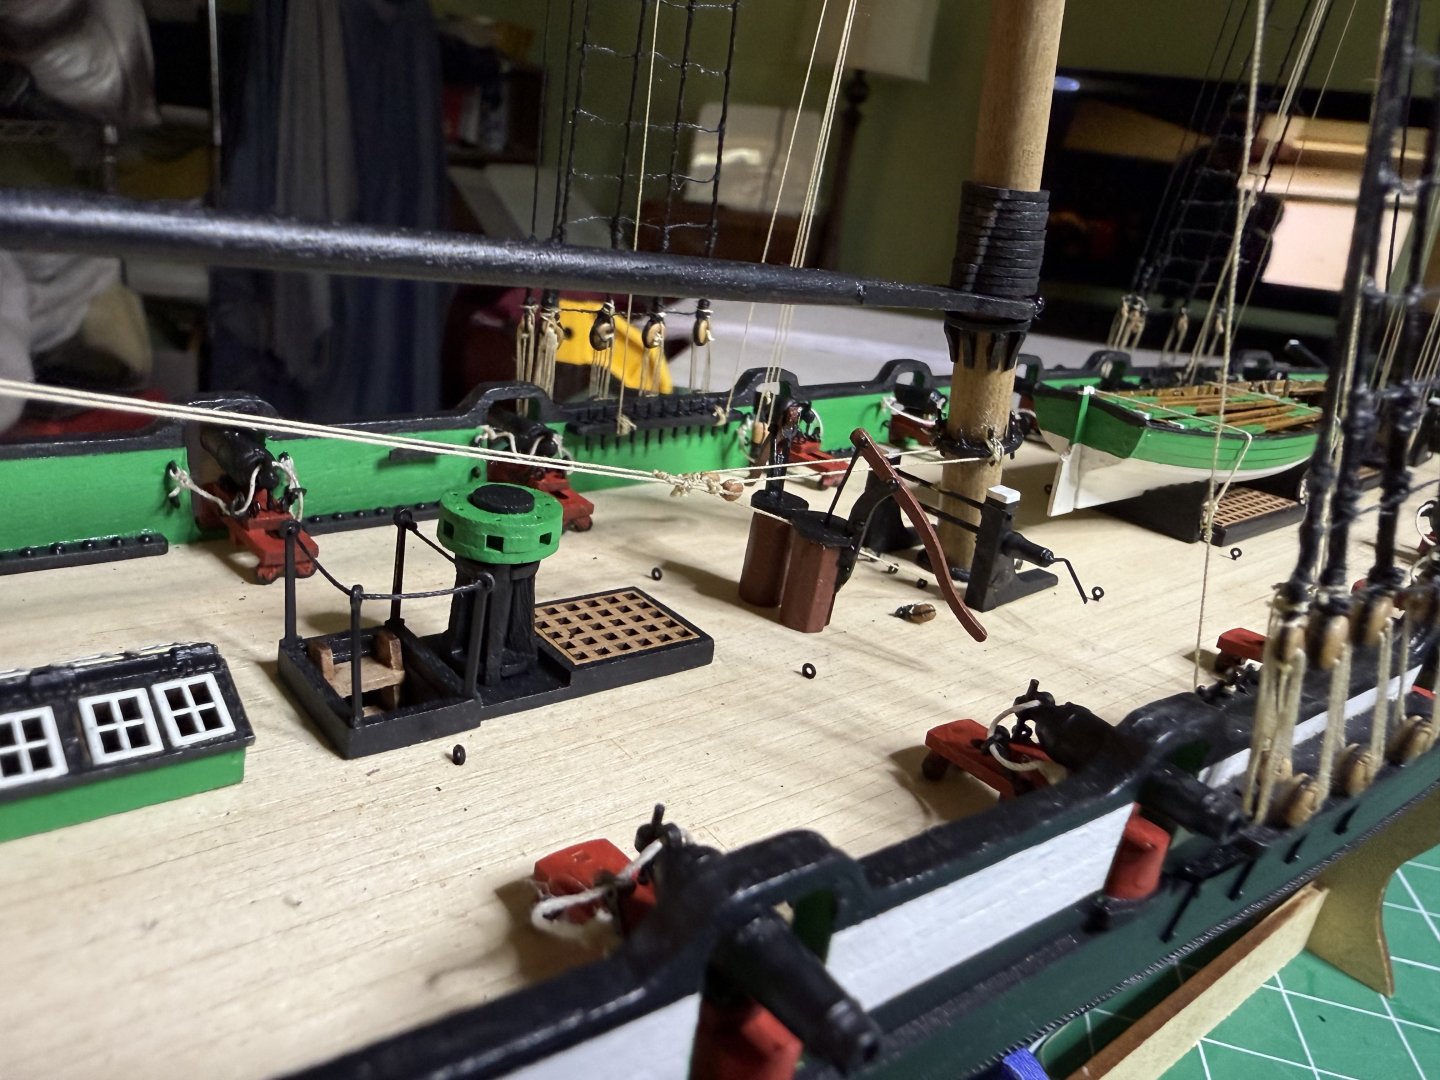
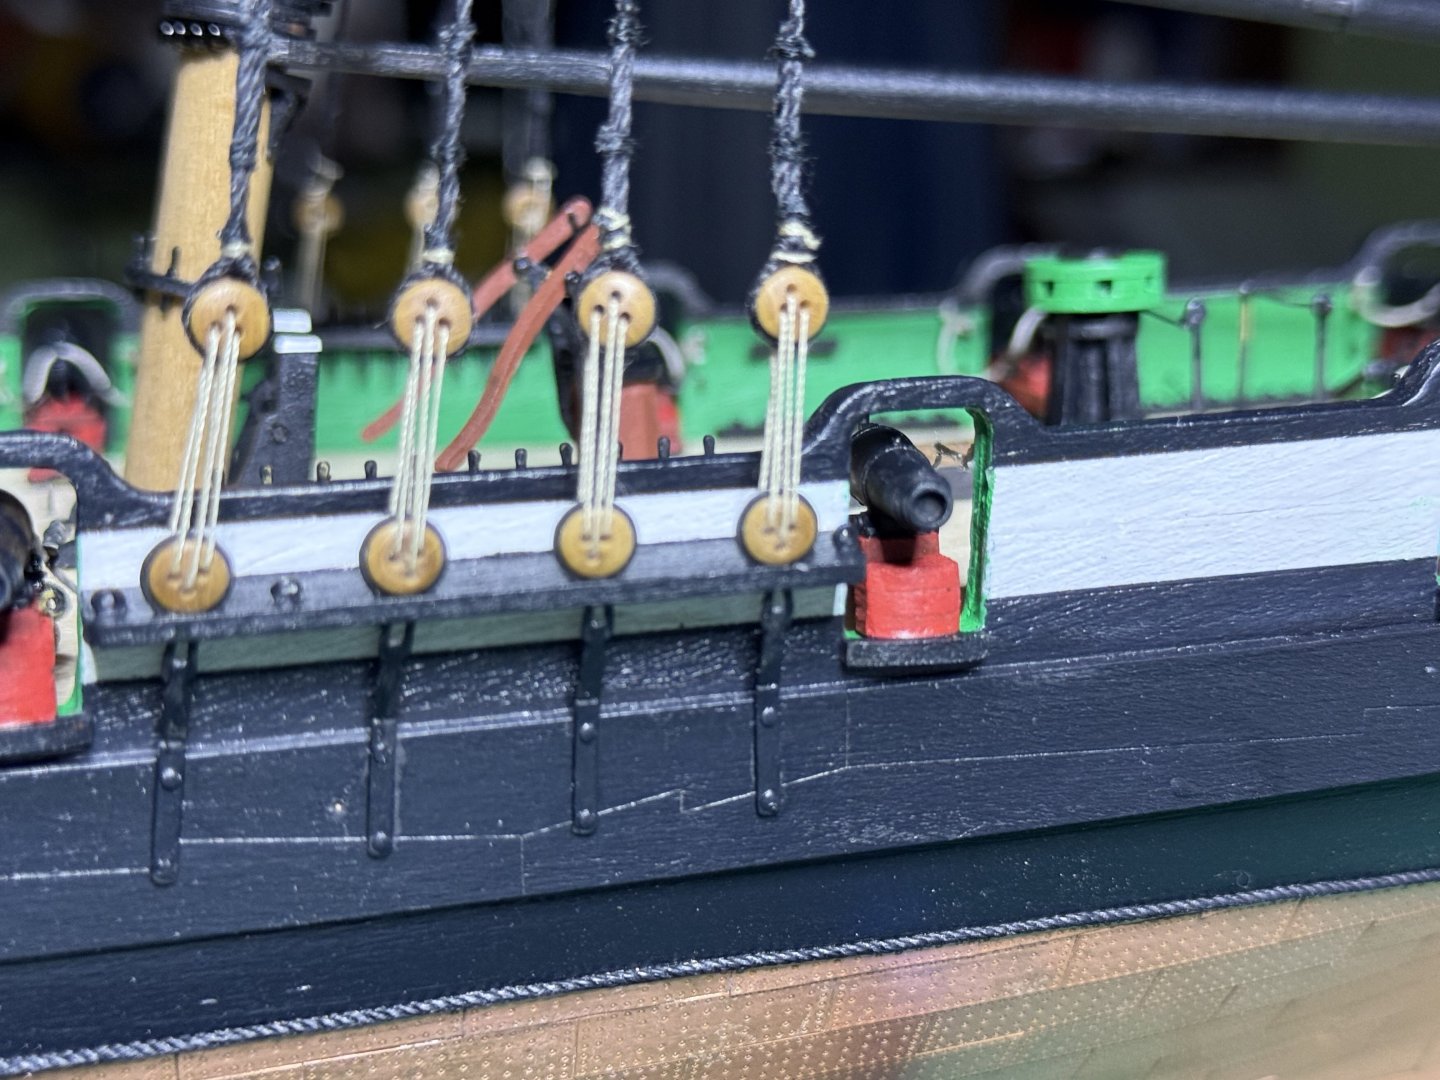
Thanks. Yes , if you tour the USS constitution in Boston harbour the inner bulwarks are green.
-
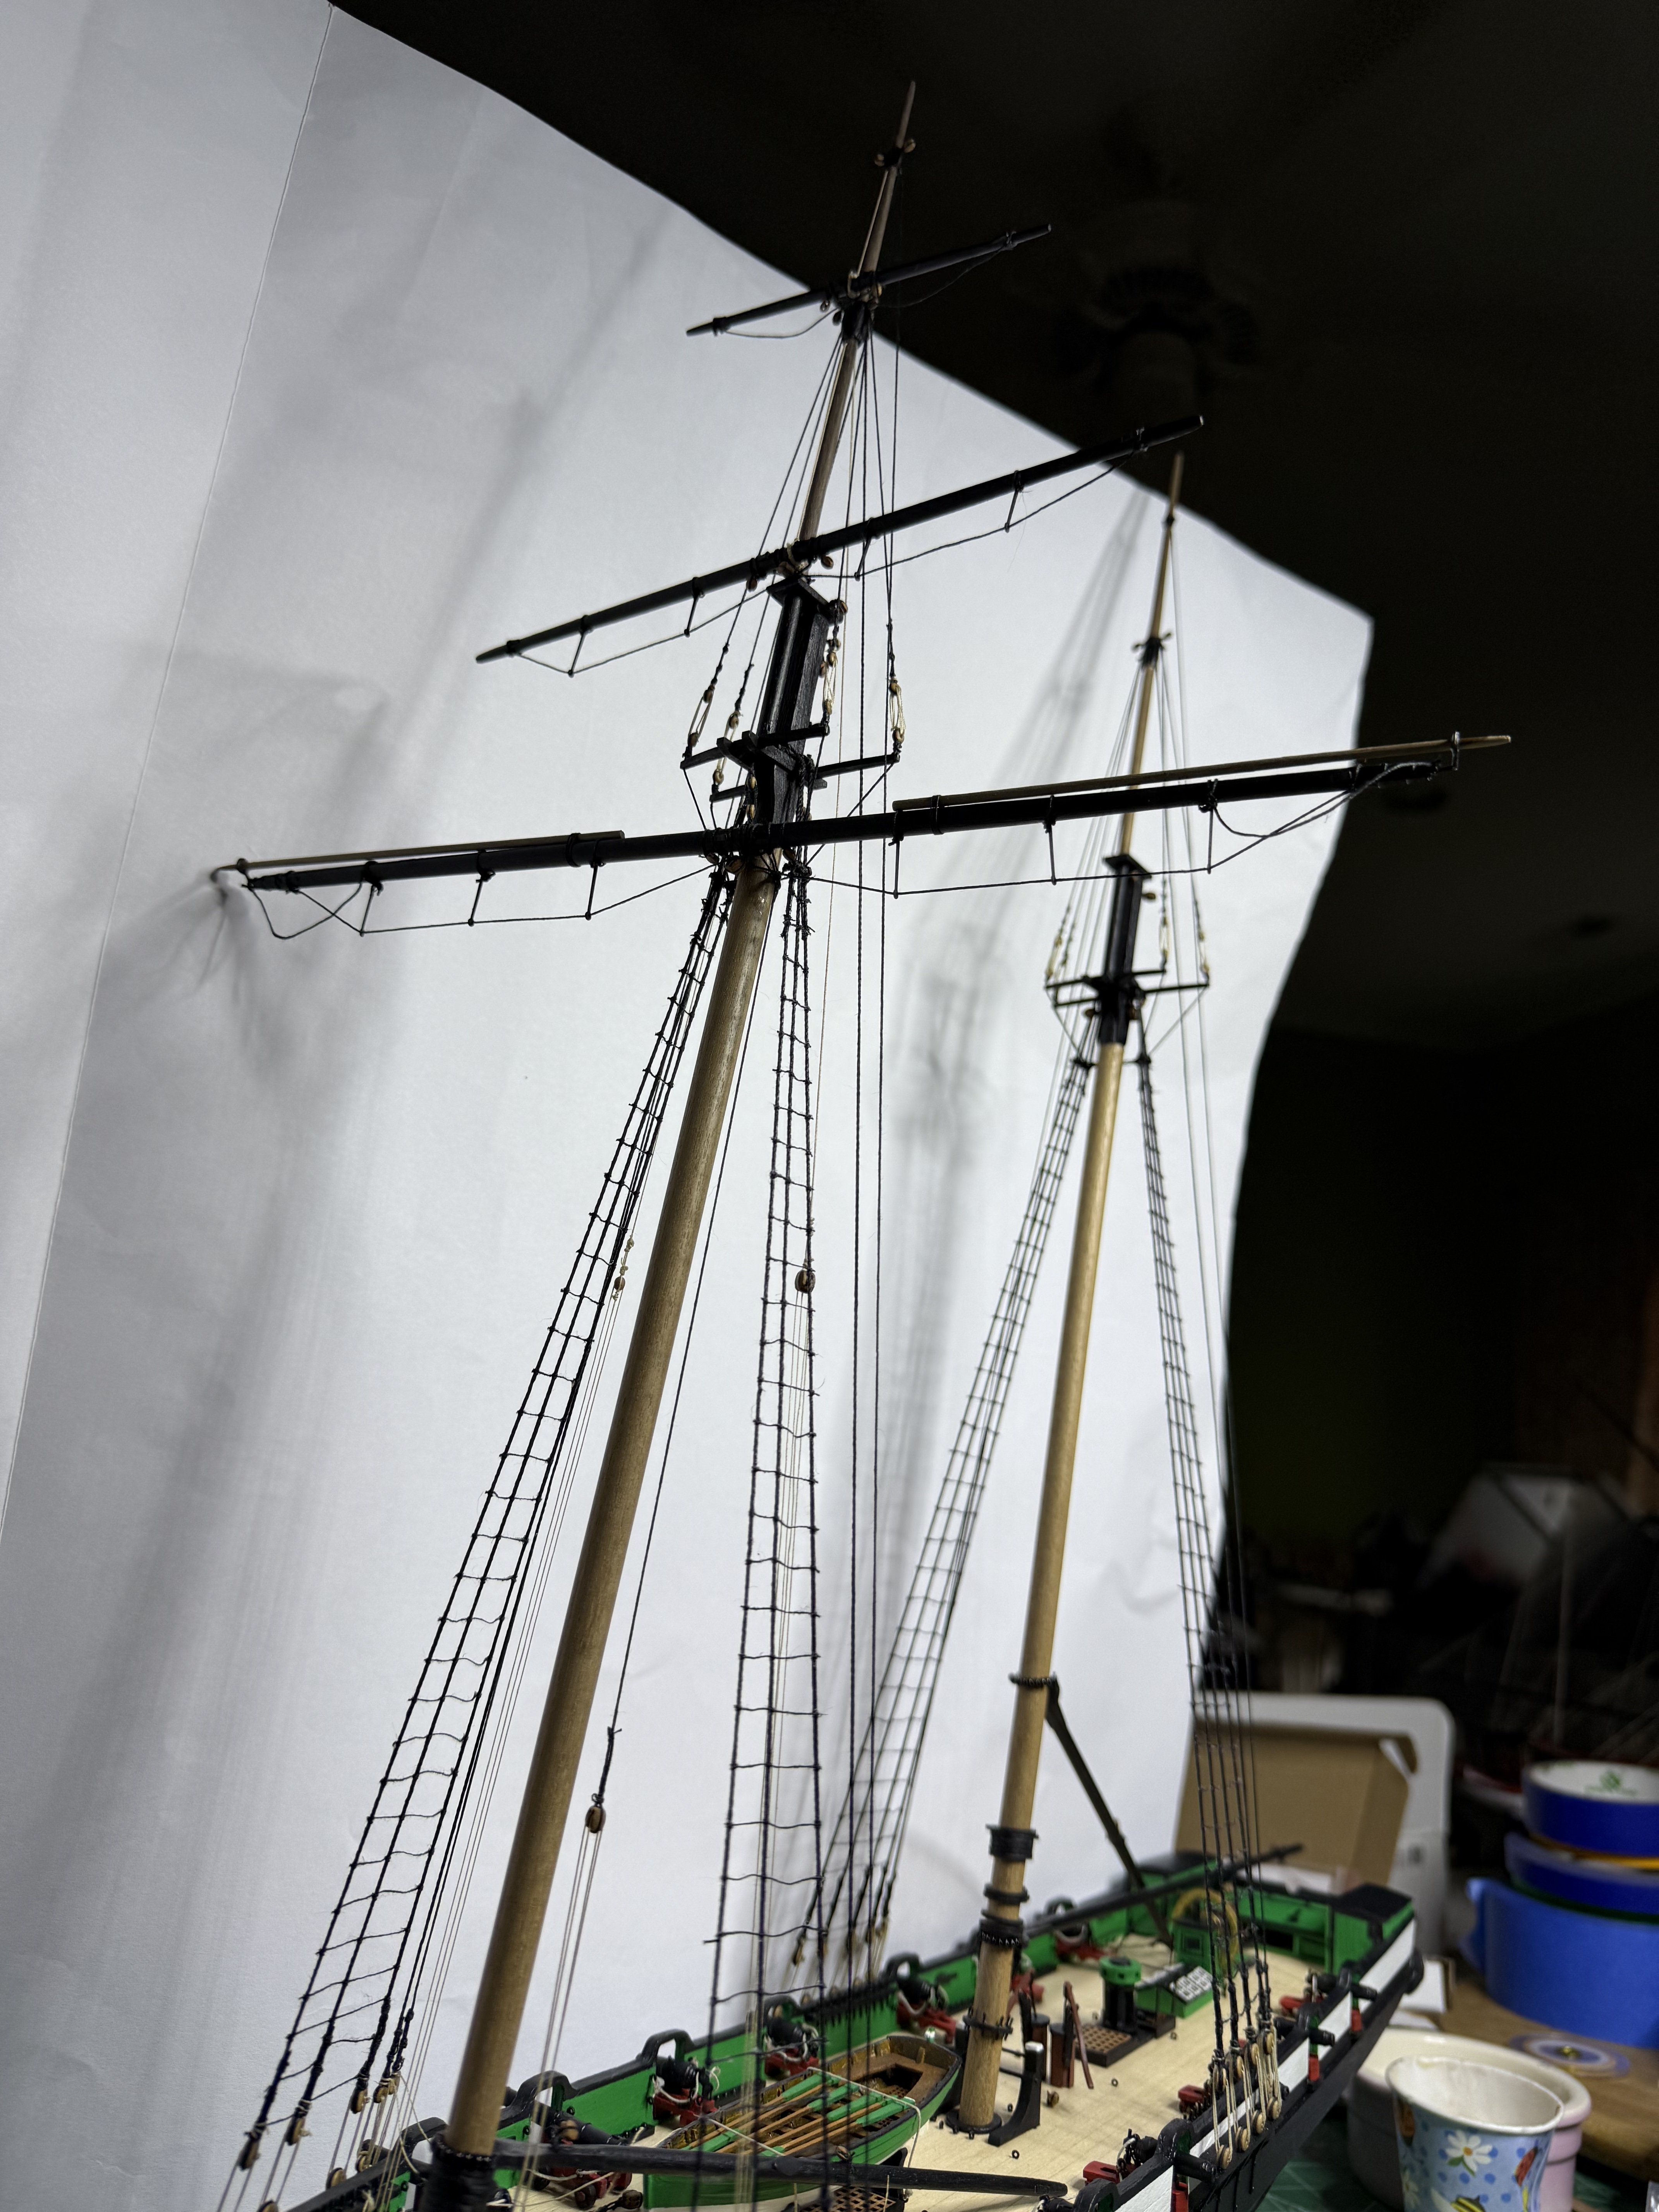
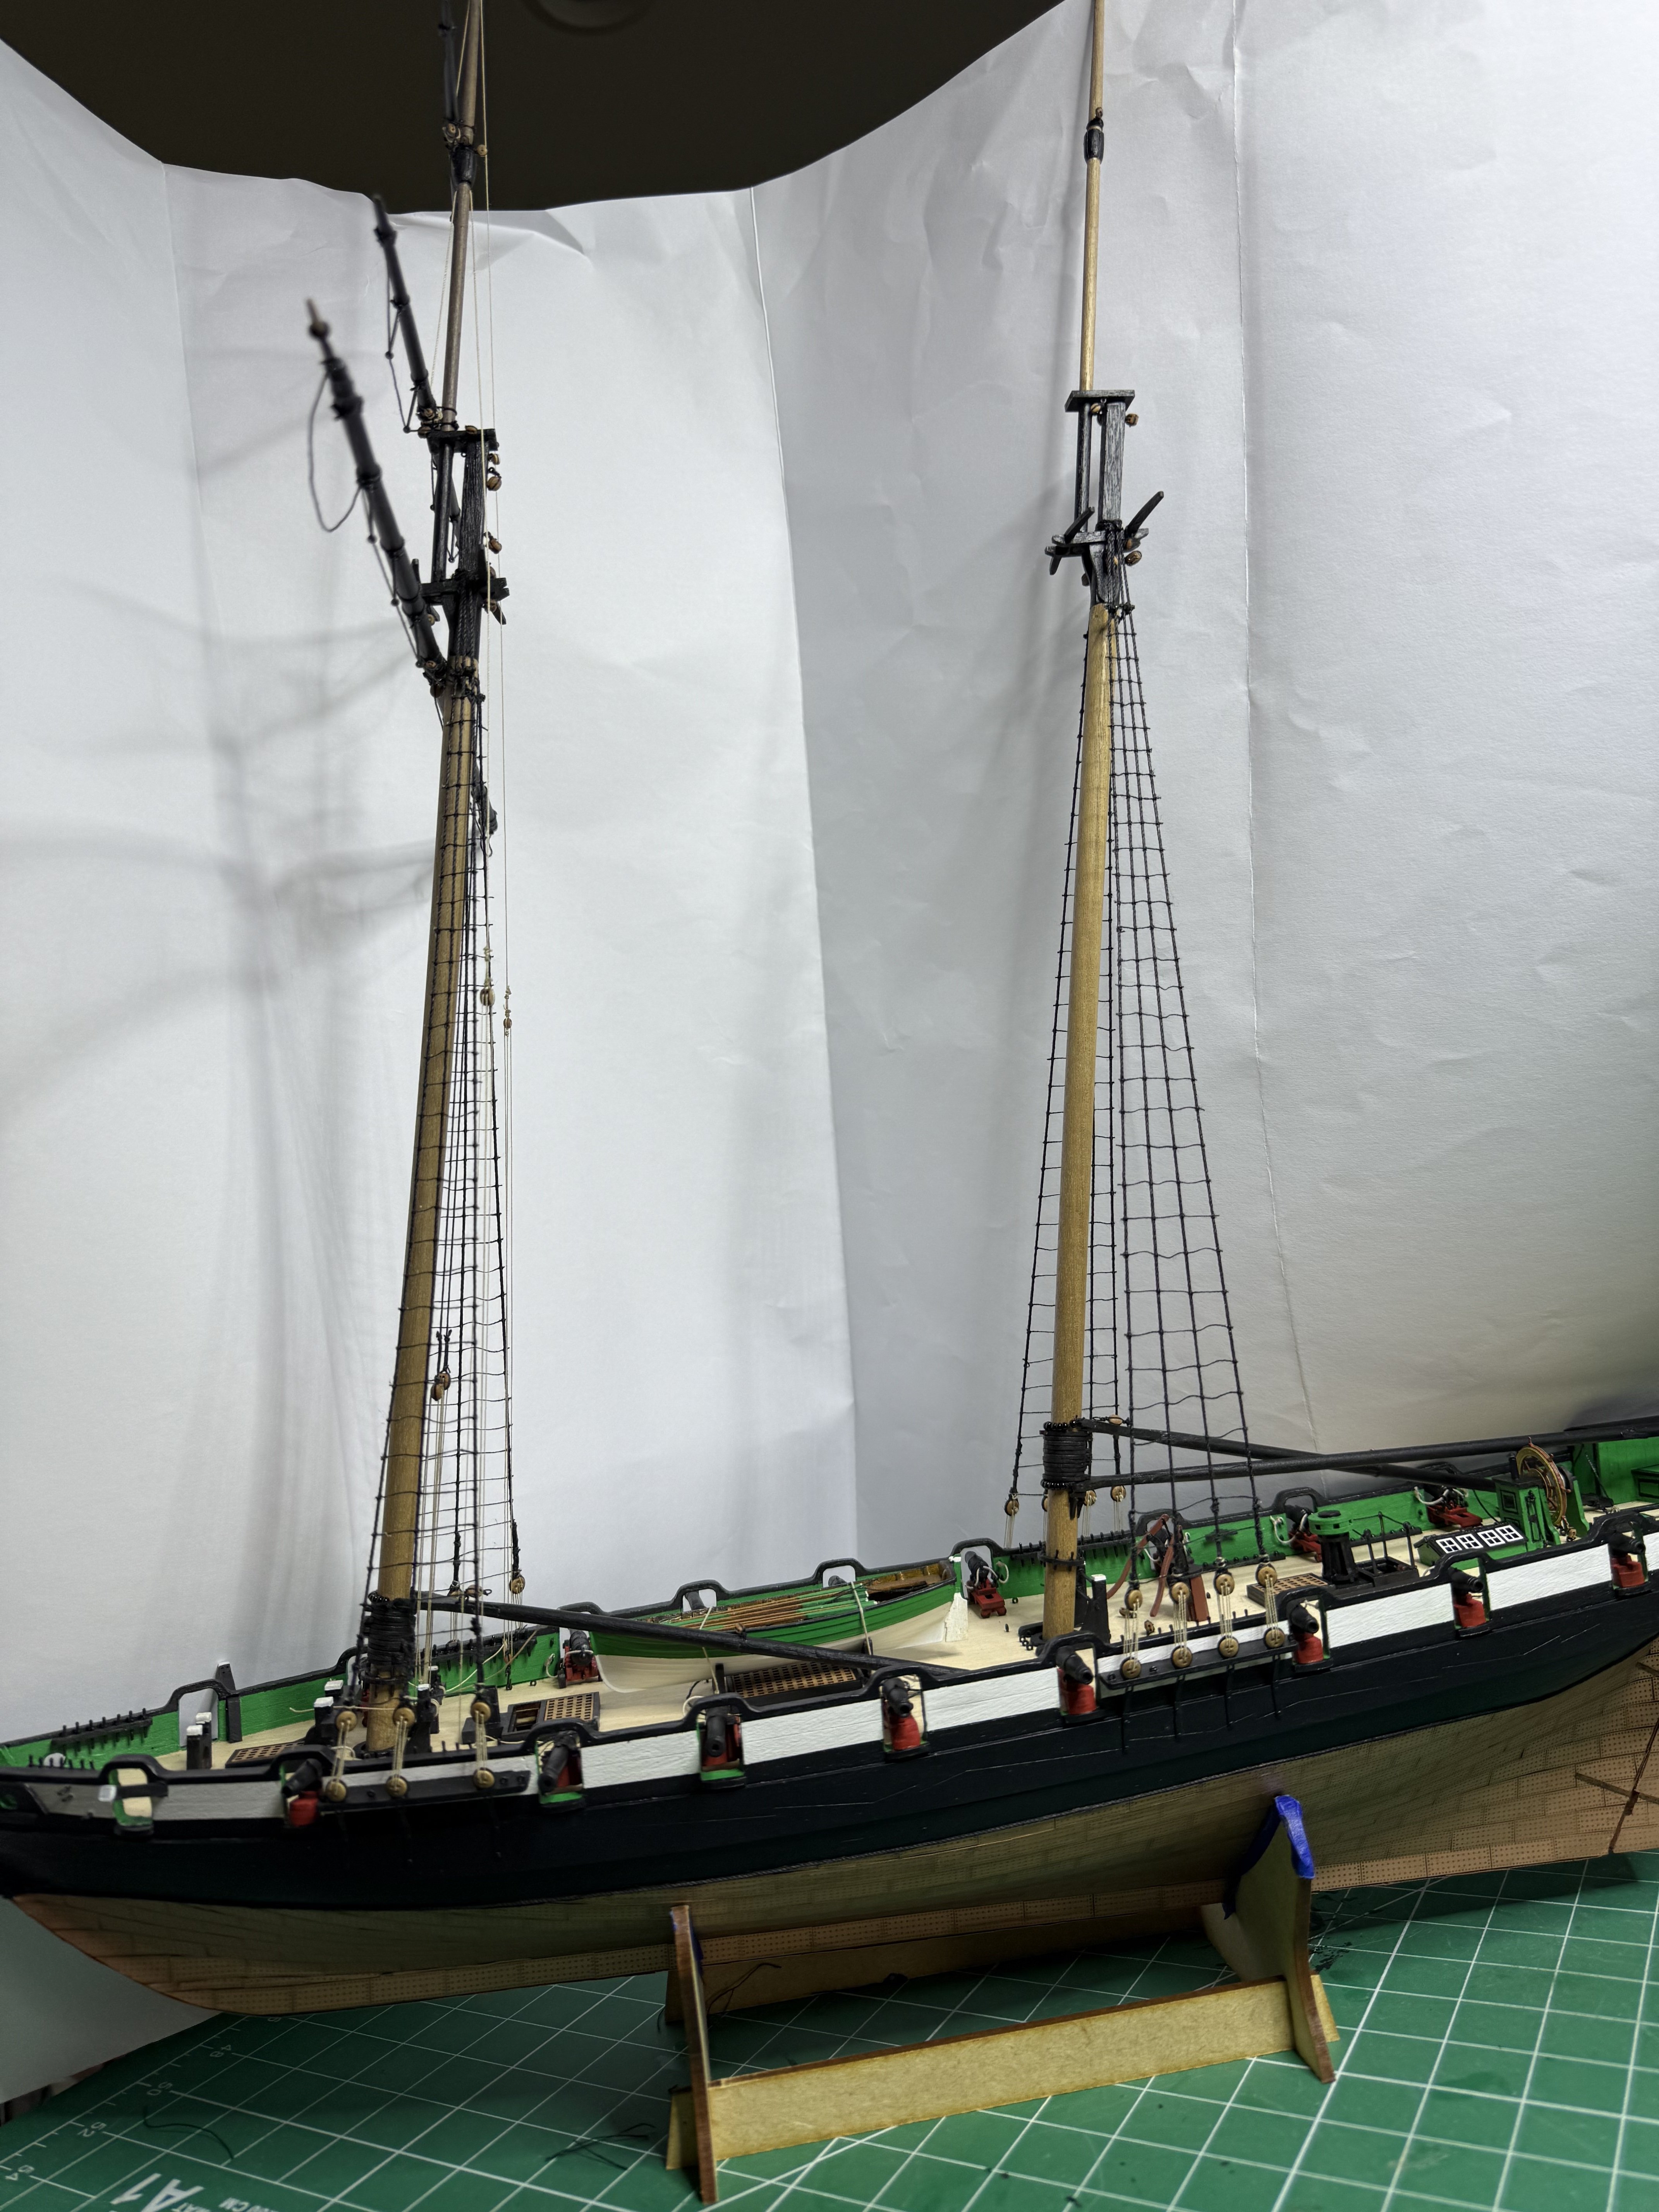
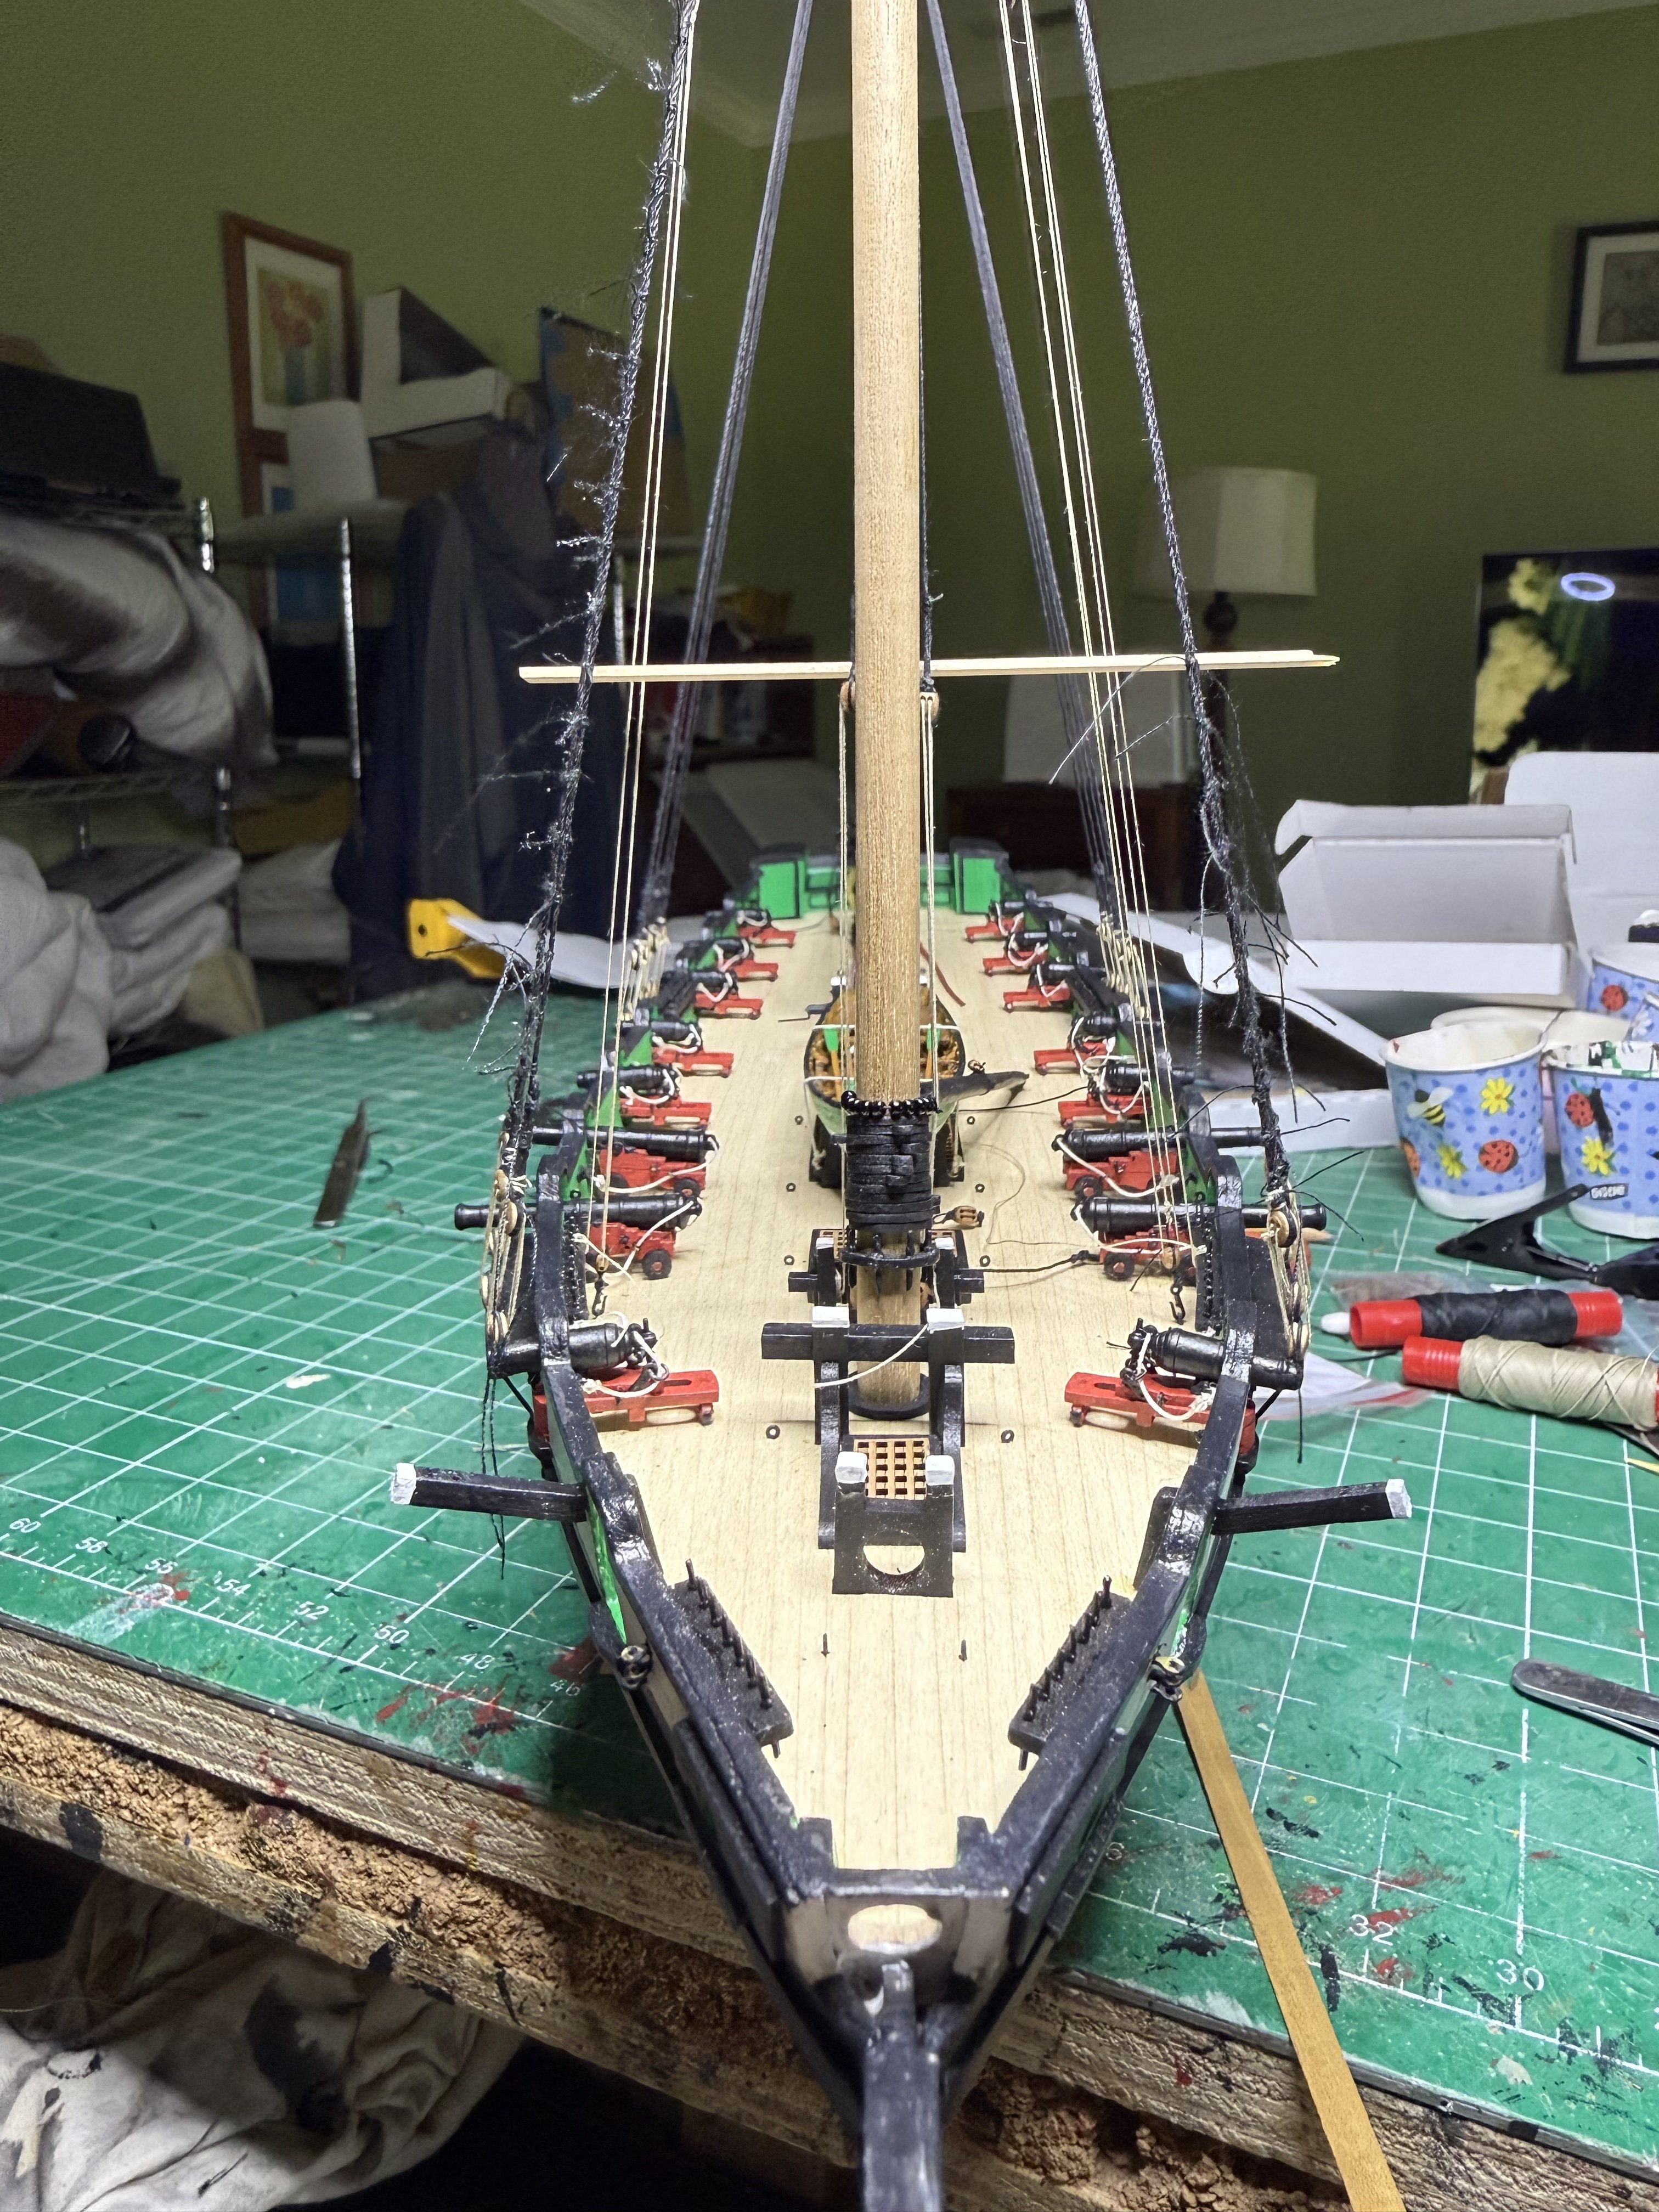
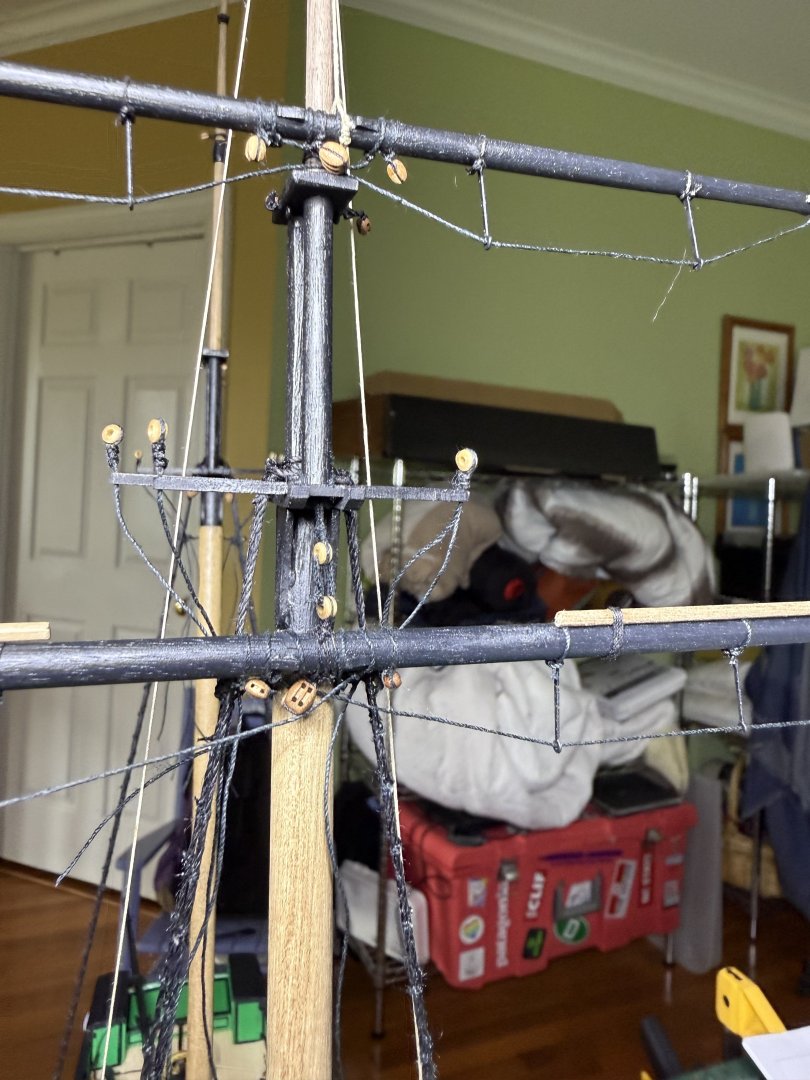
442 knots later, the ratlines are done. After finishing one side, as I do the other I insert a plank every 5 rows to make sure things are staying even. Also installed the halliards onto the yards. you can also see the upper rings used instead of deadeyes inserted into their holes.


- 52 replies
-
- 3
-
-
- Grecian
- Vanguard Models
- (and 1 more)
-
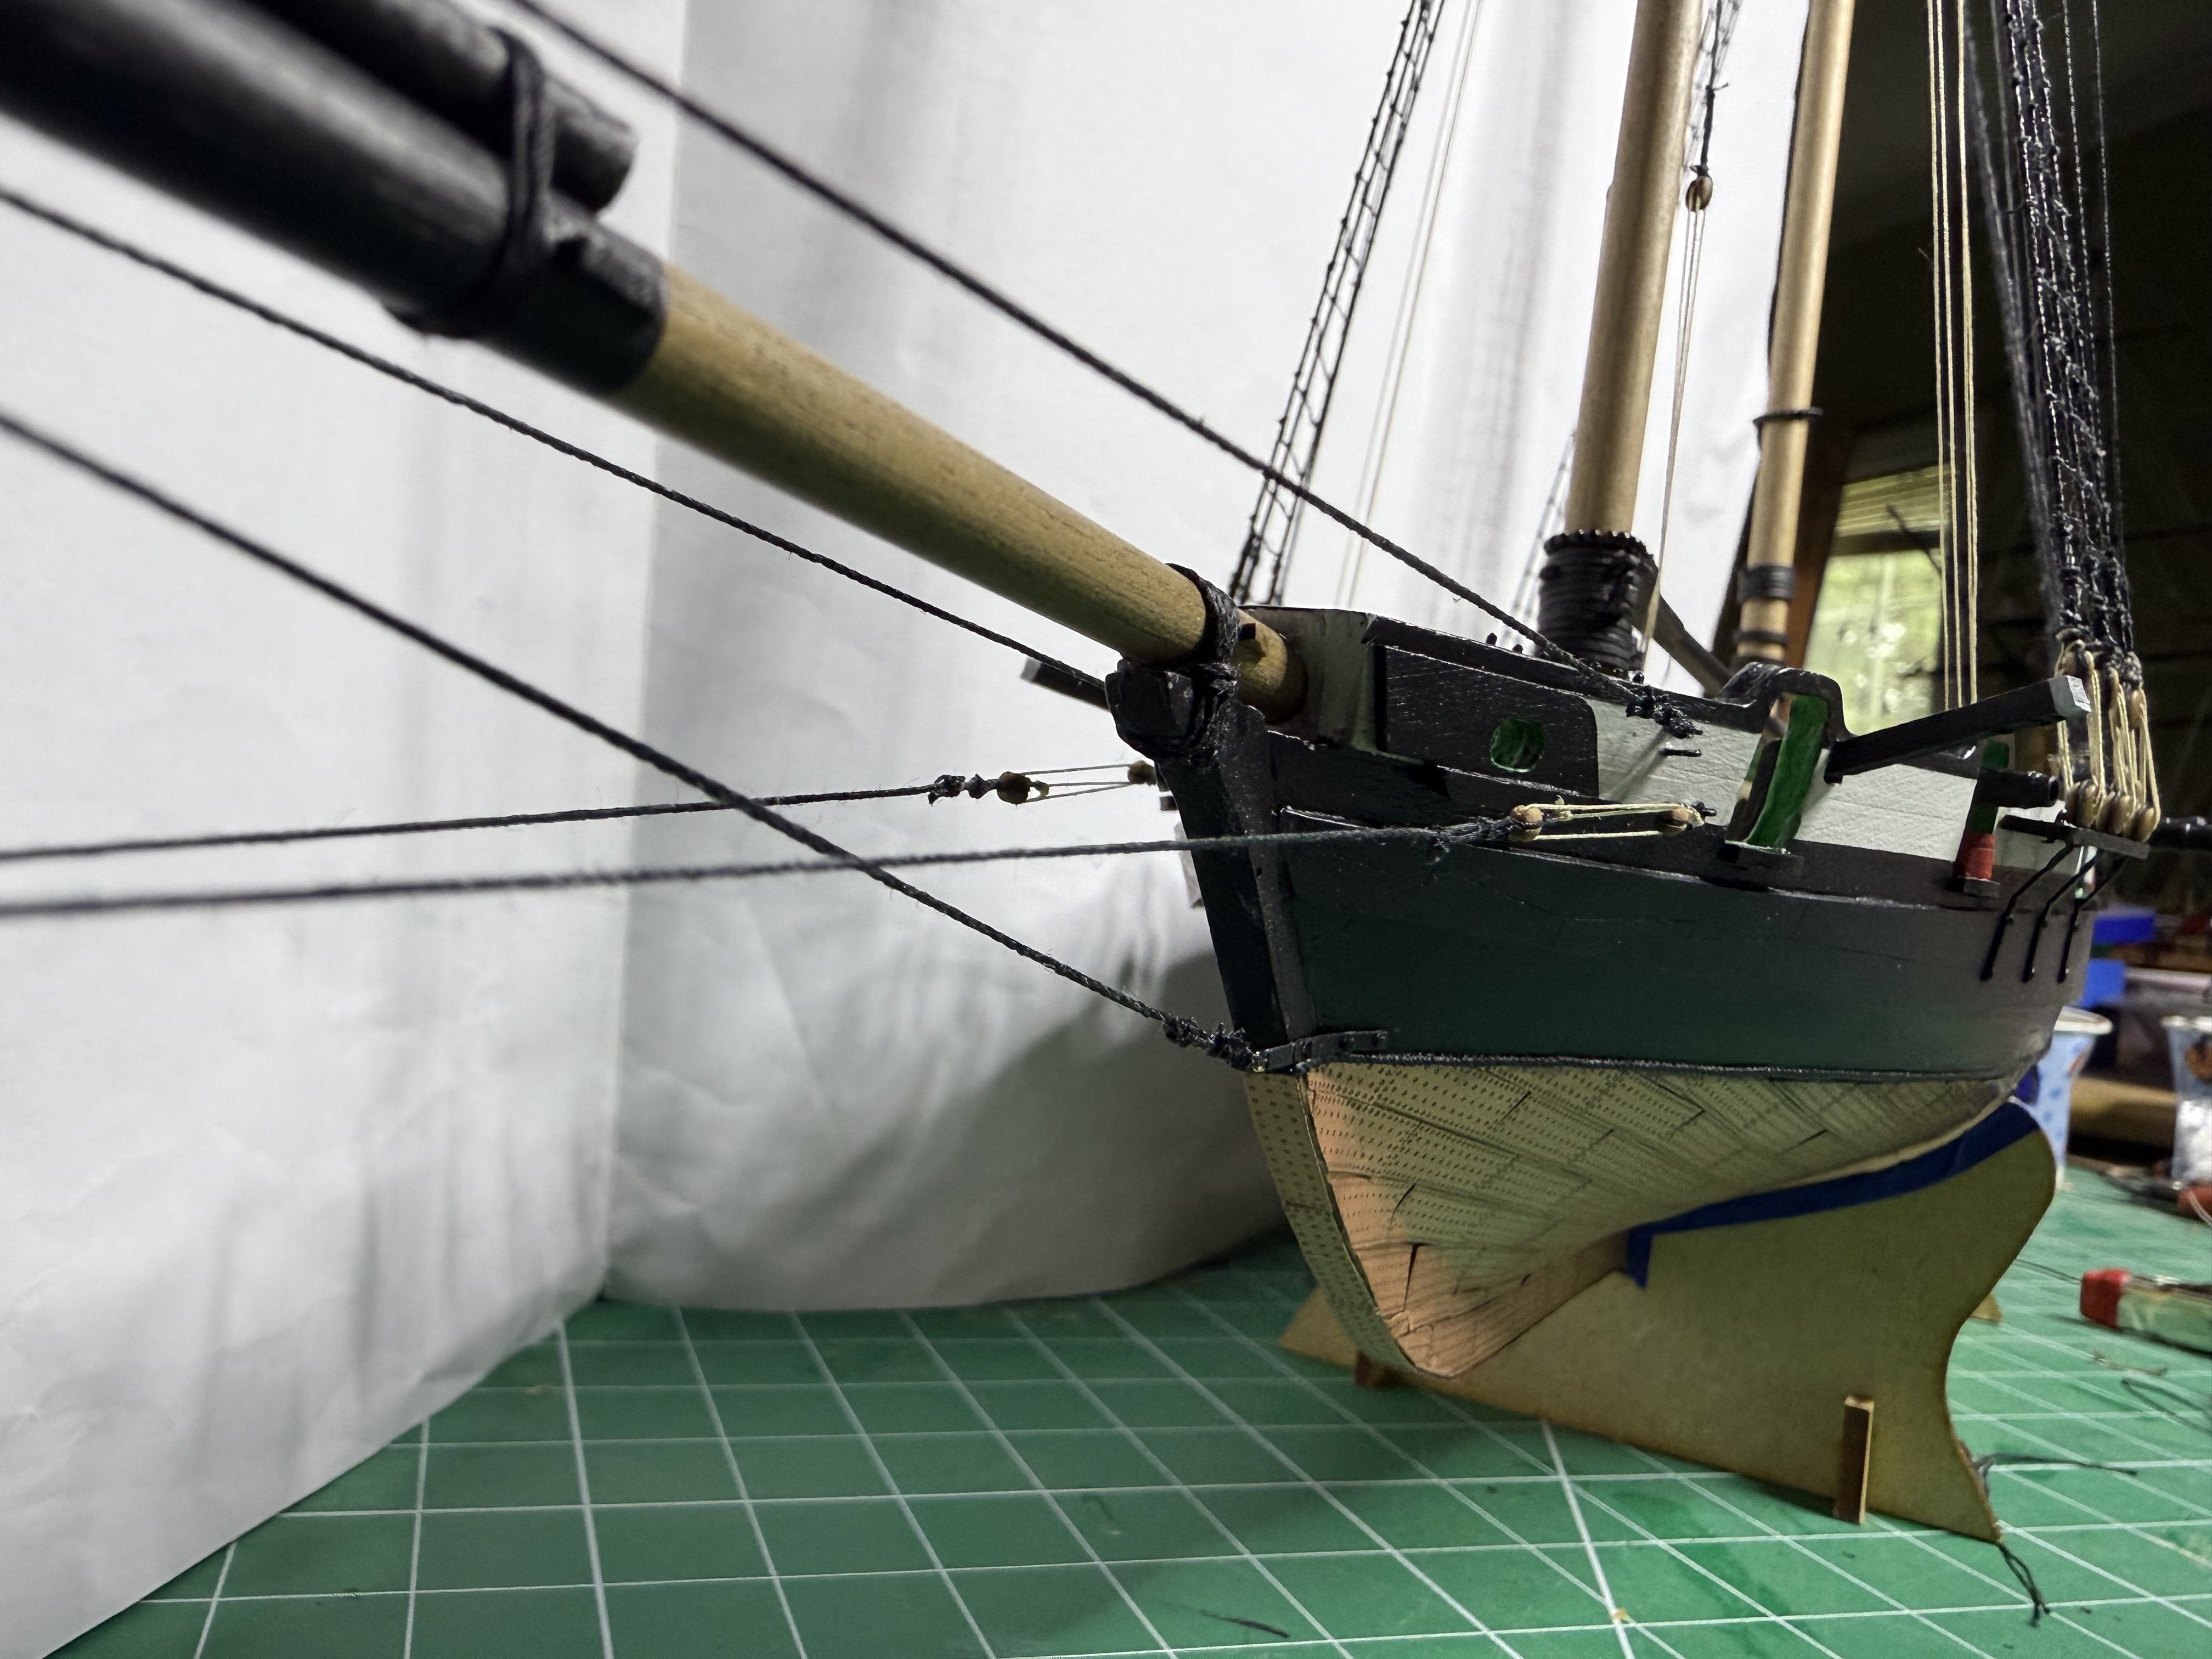
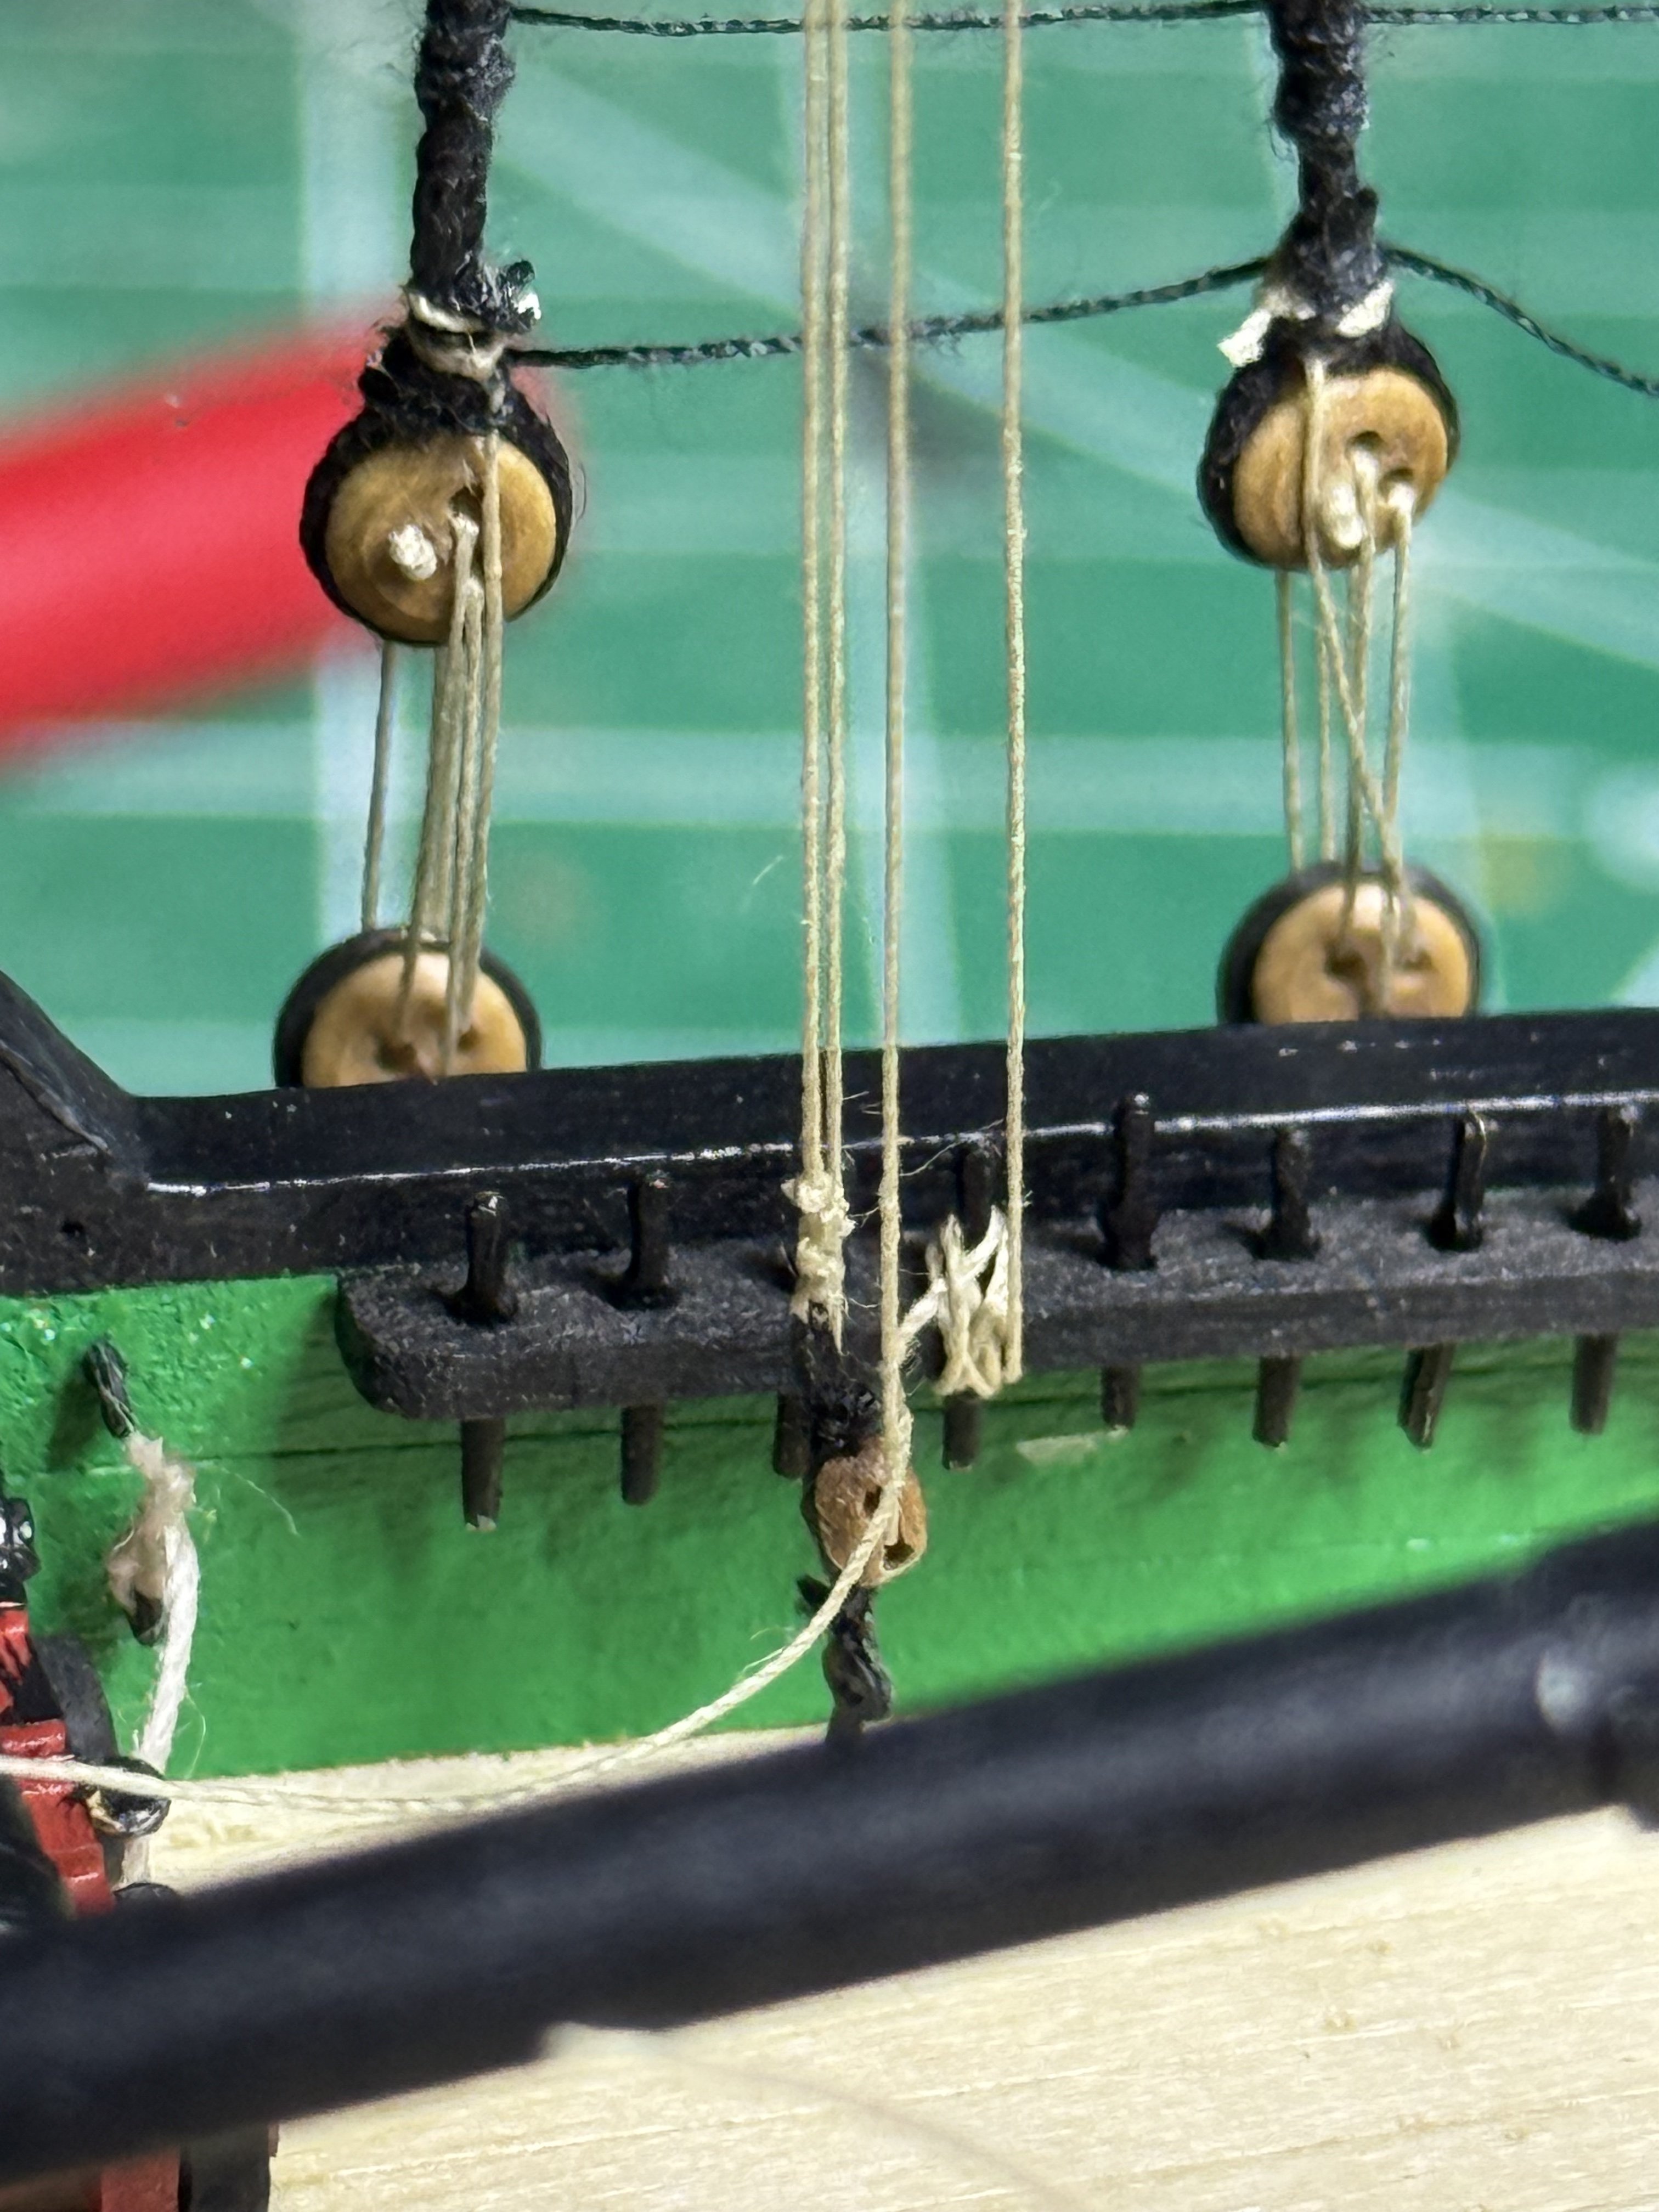
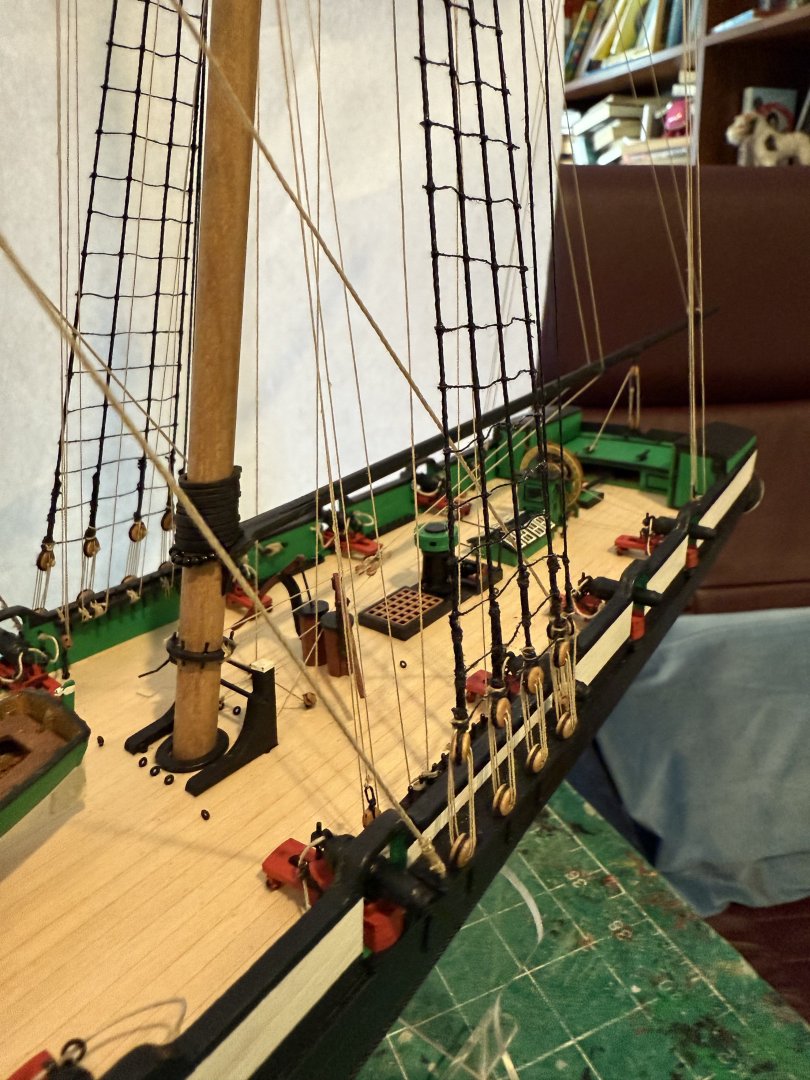
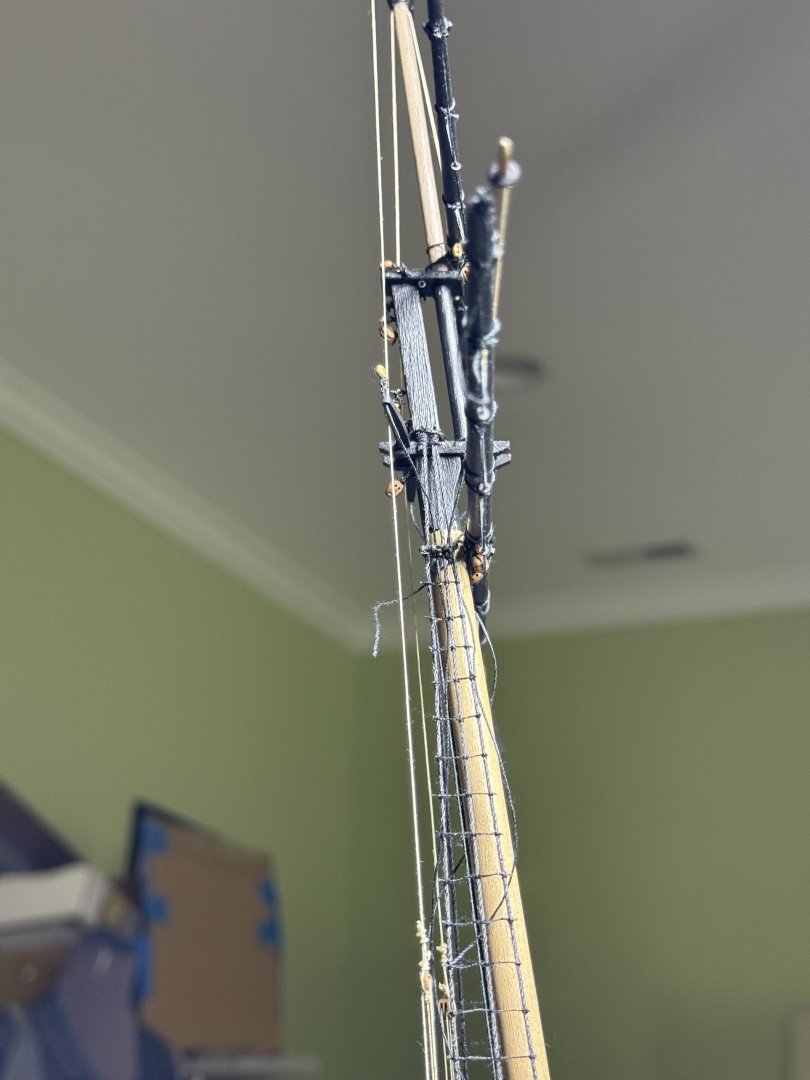
Shrouds done. I tend to do the first on each side measuring the distance from bottom of the lower deadeye to top of the upper. Here 2 cm. Then I eyeball the rest based on the first one.

- 52 replies
-
- 2
-
-
- Grecian
- Vanguard Models
- (and 1 more)
-
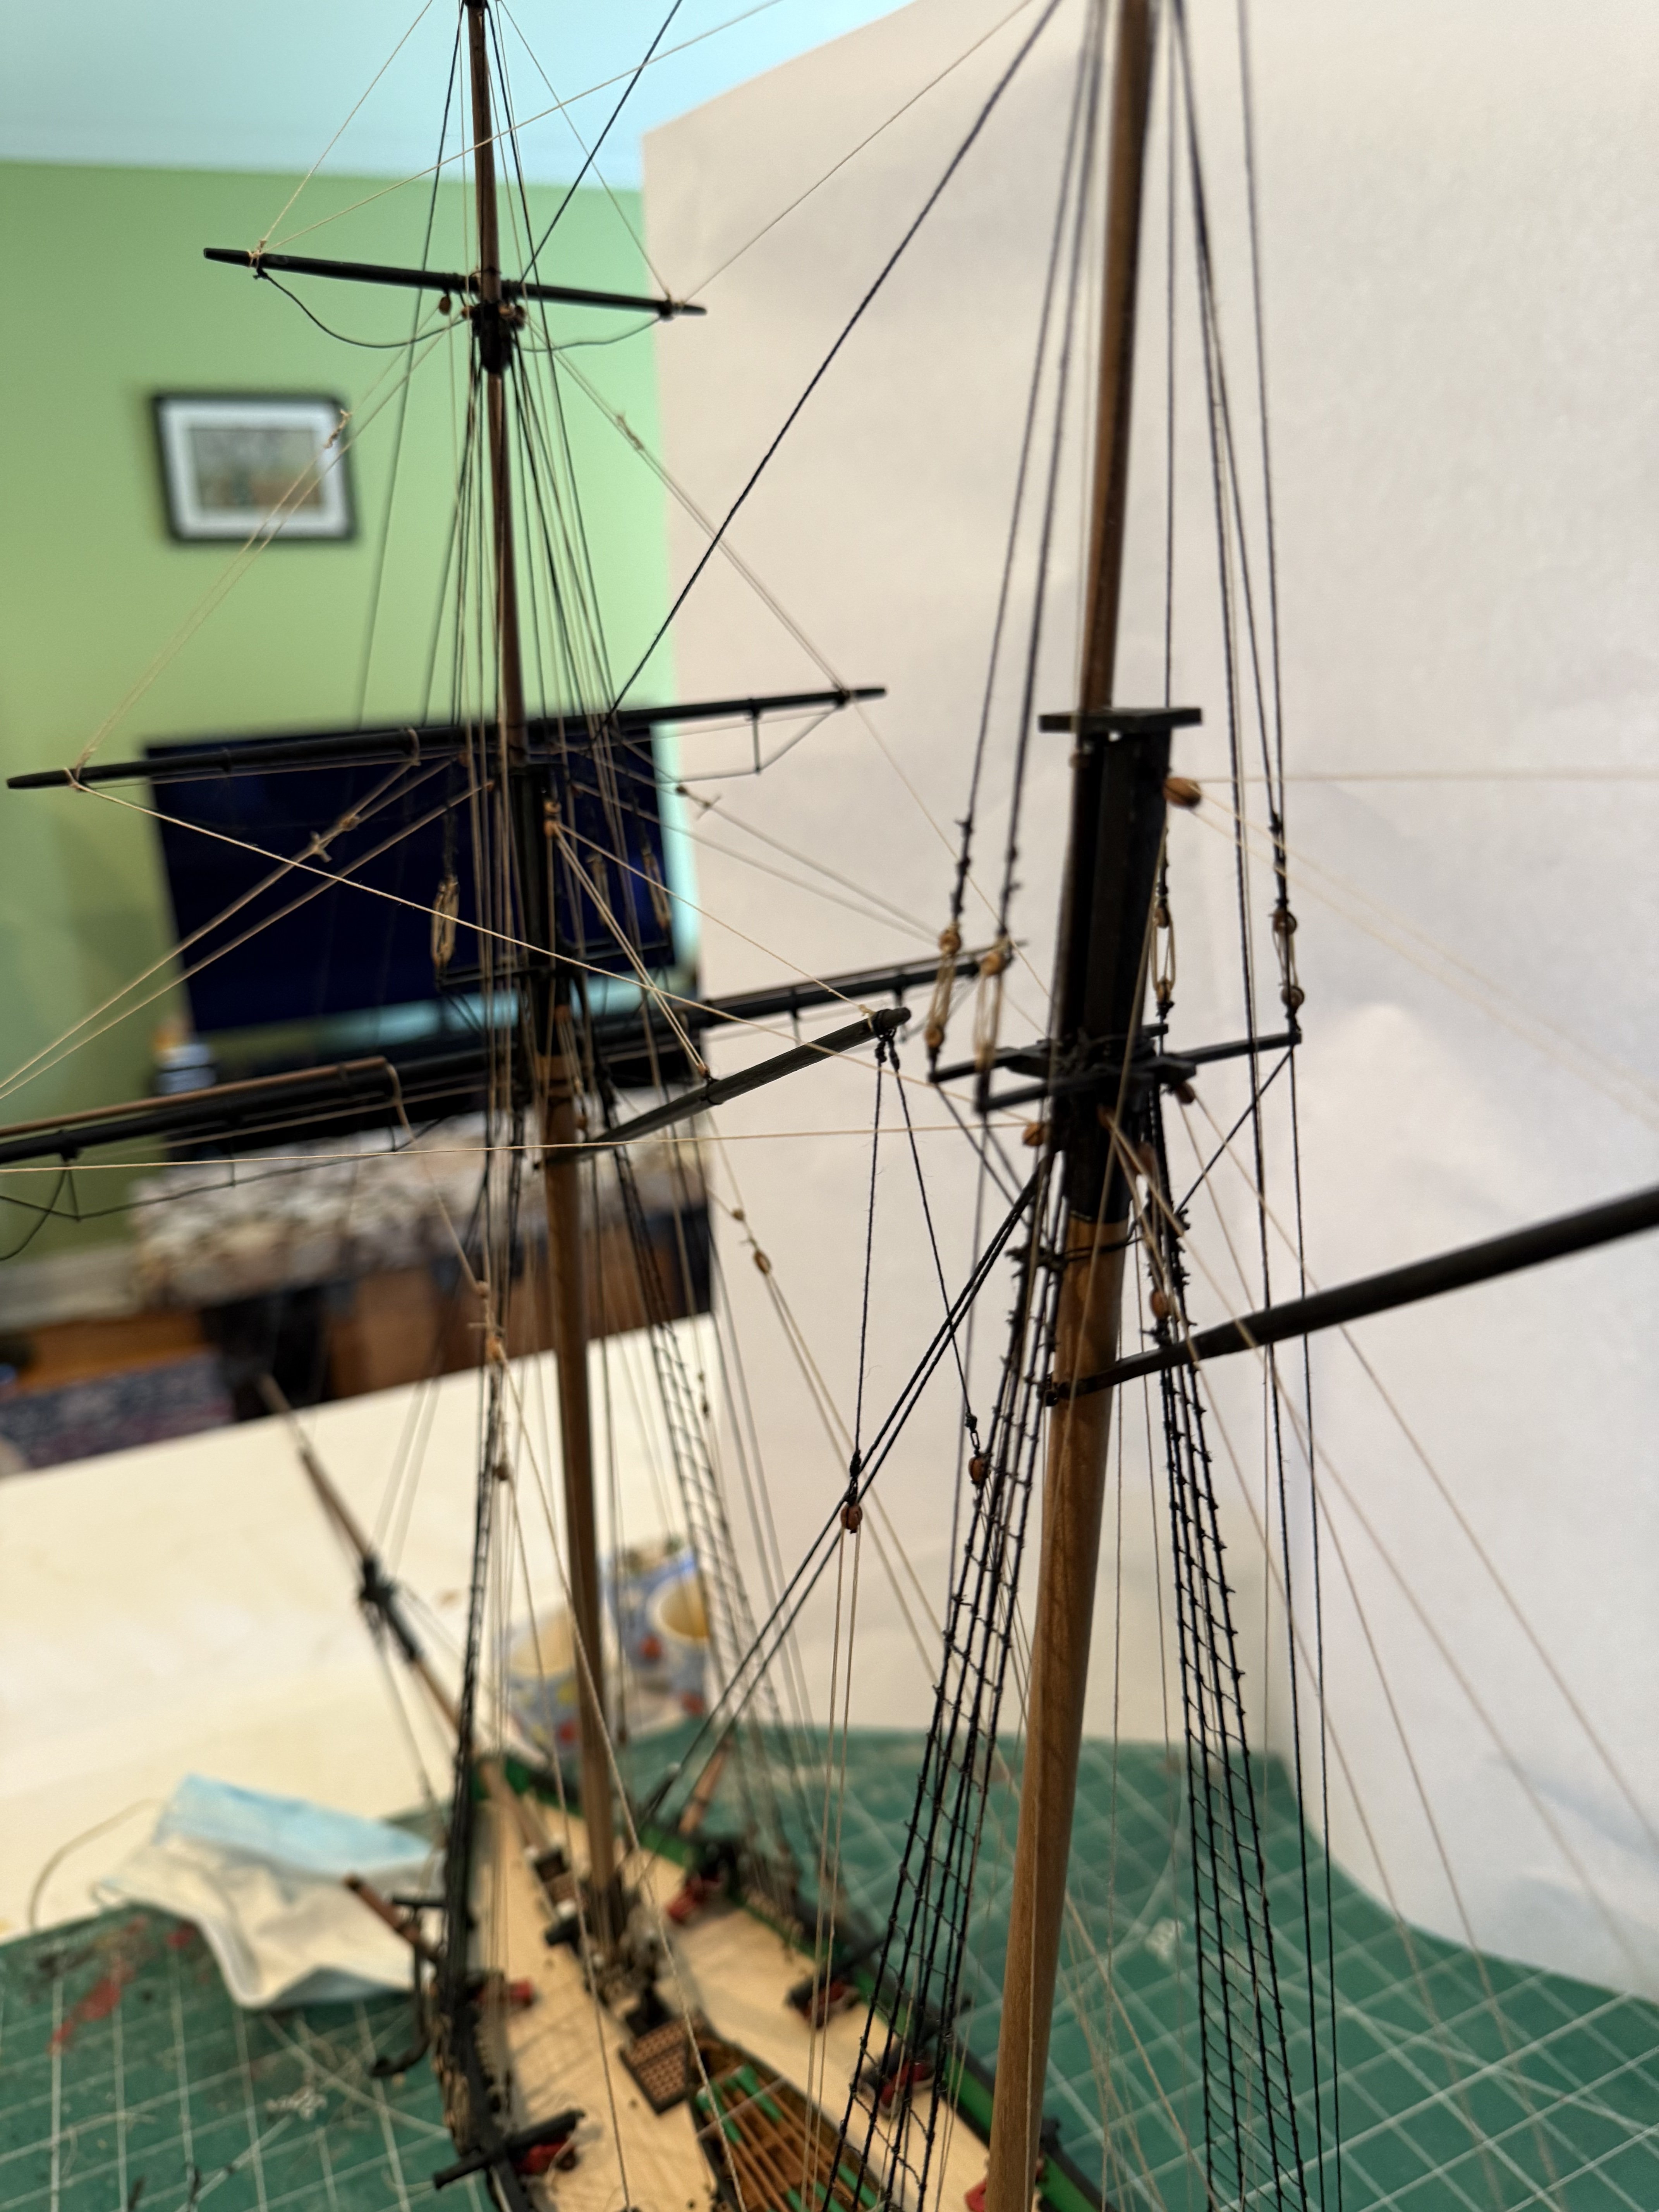
At the beach for a few days. Completed yards, blocks, steeped the masts and attached the yards. Although the plans do not explicitly call for footropes, the parts are on the etched sheets.

- 52 replies
-
- 4
-
-
- Grecian
- Vanguard Models
- (and 1 more)