HOLIDAY DONATION DRIVE - SUPPORT MSW - DO YOUR PART TO KEEP THIS GREAT FORUM GOING!
×


Paul Le Wol
-
Posts
1,009 -
Joined
-
Last visited
Content Type
Profiles
Forums
Gallery
Events
Everything posted by Paul Le Wol
-
Amazing looking planking Jacques!
-
Yes it was a custom order. I emailed Ben and told him what I was looking for. He emailed me back a photo of the rope that he made to see if they were suitable. Very good to deal with.
-
Thank you John, I really appreciate it!
-
Hey Steve, thank you very much. Everything but the lower hull is painted with Vallejo Grey White. Depending on the lighting every surface looks a different shade of white. There isn’t a big difference between the grey white and the USAF grey that I made a little darker but I didn’t want to paint it a bright white and a dark grey.
-
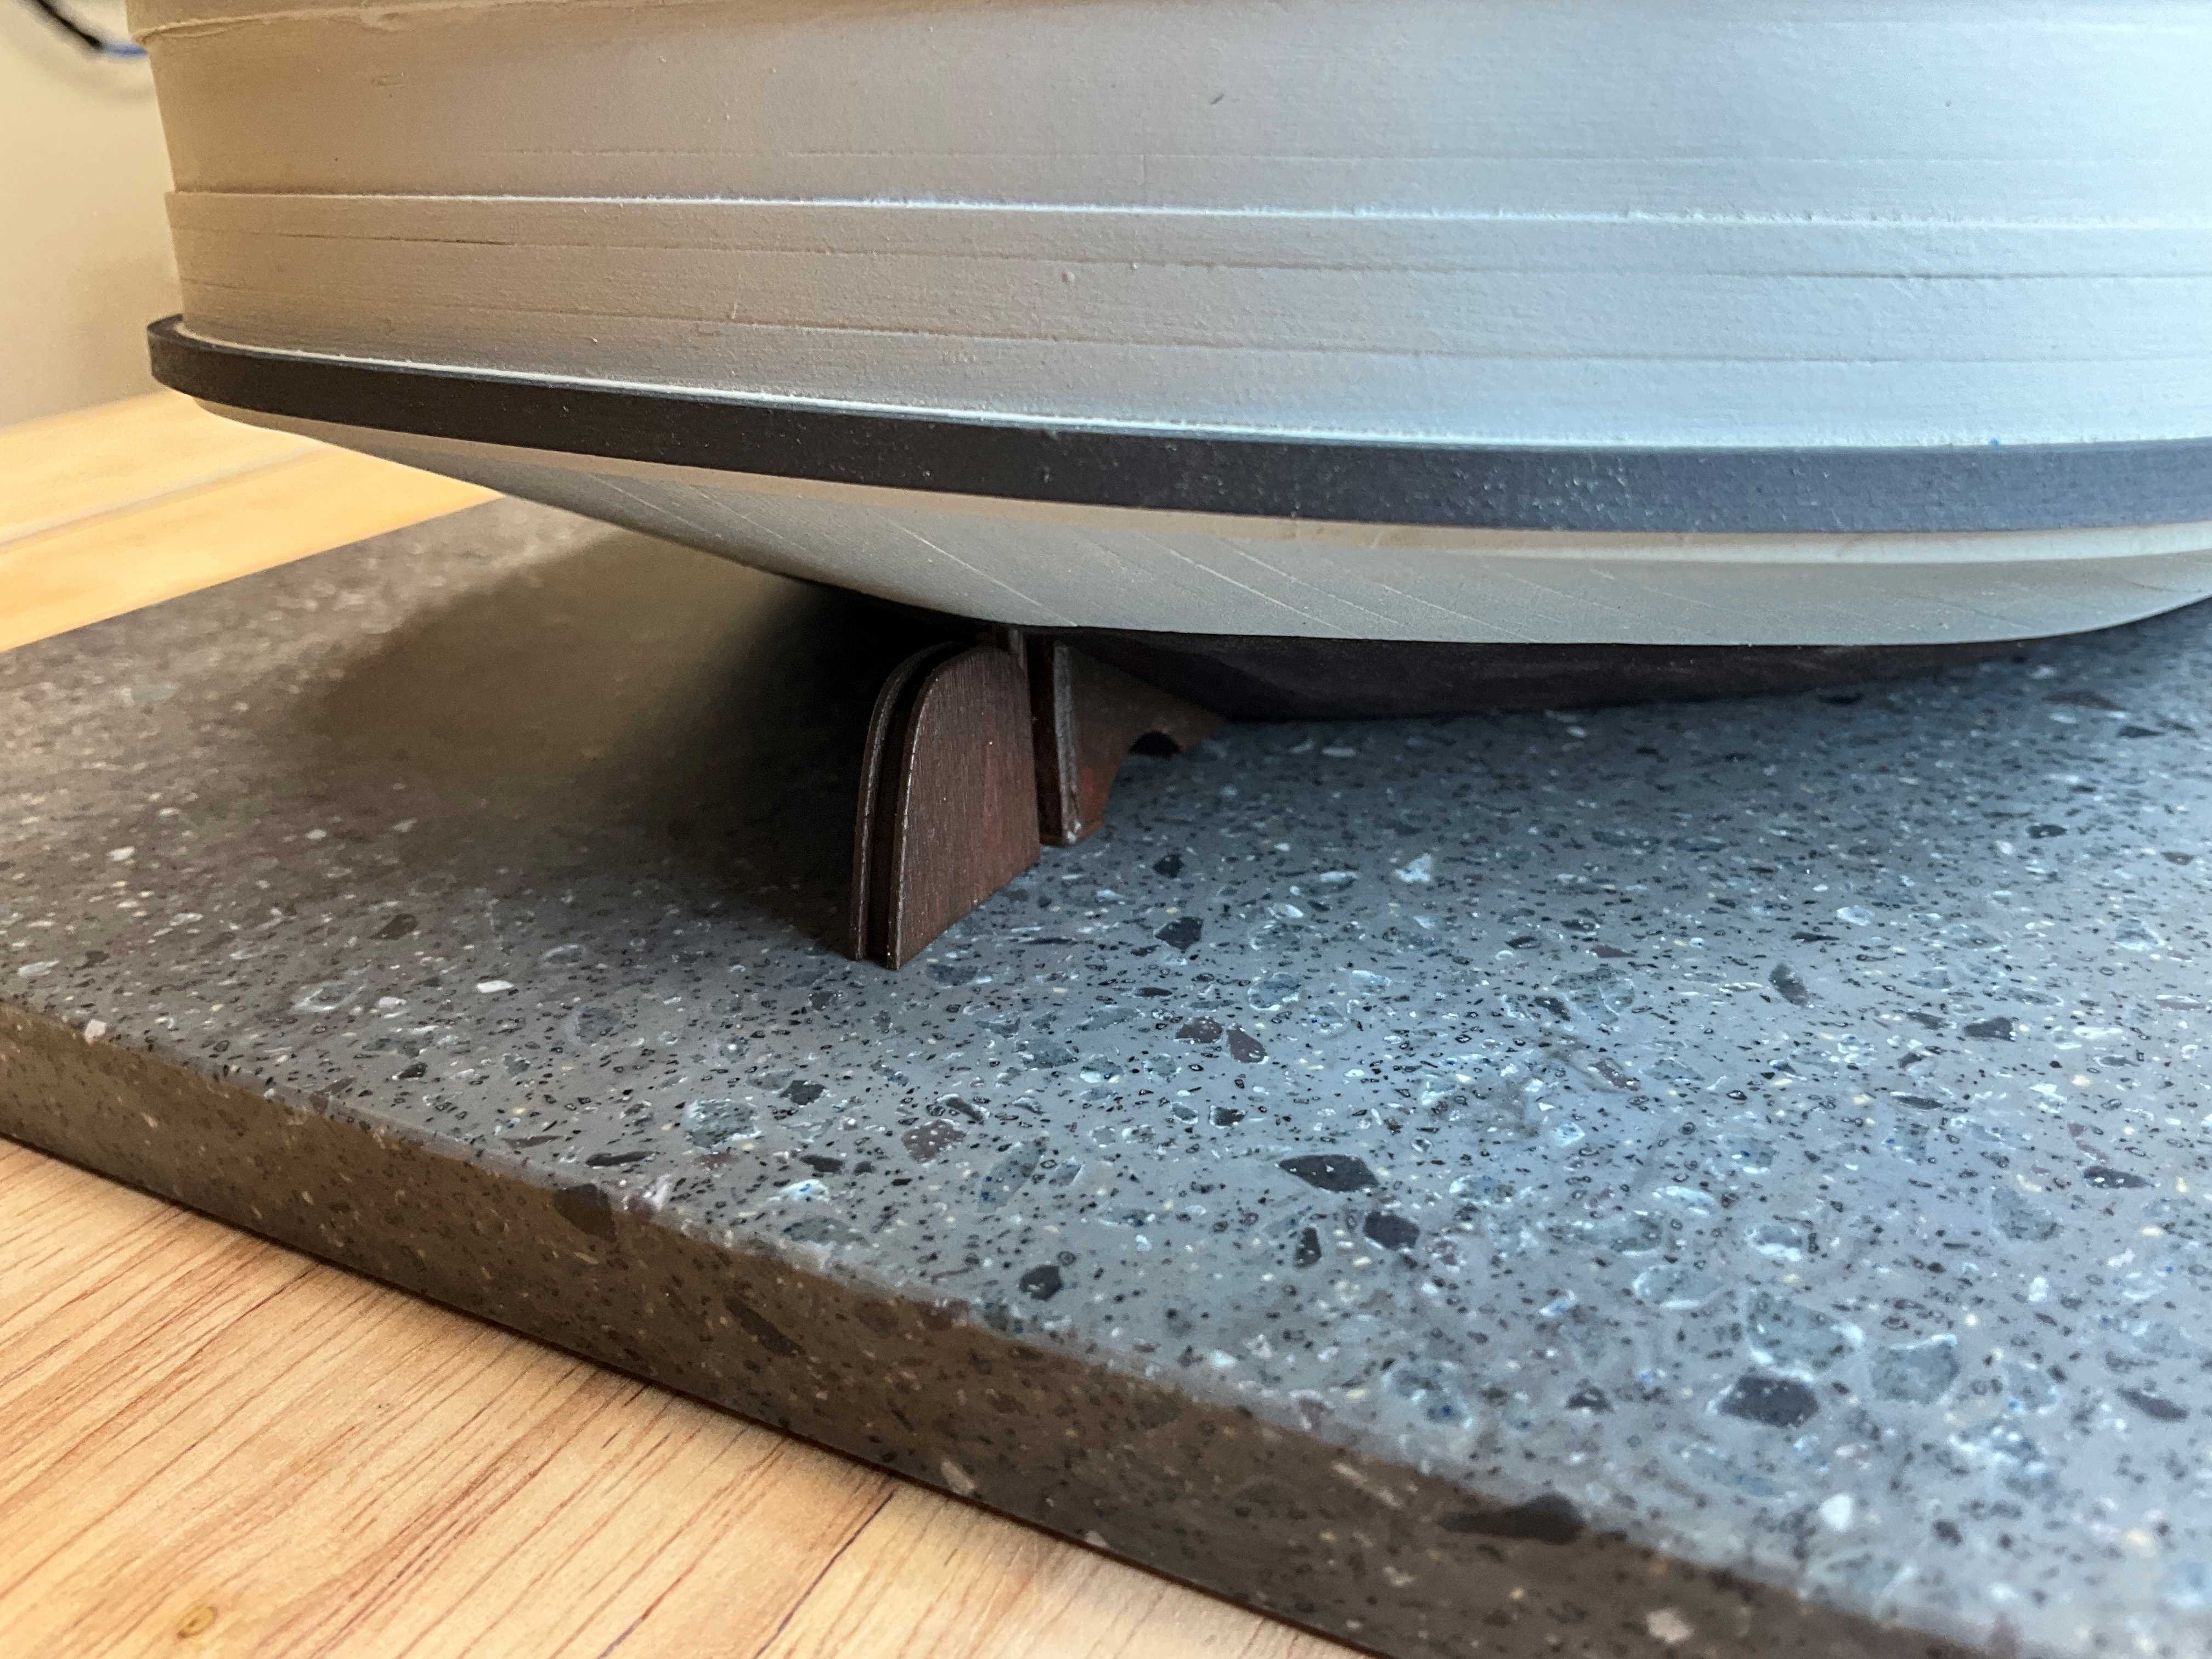
Thank you very much Yves, I enjoyed working with the solid surface material. Around here it isn’t that easy to find. Most places are dealing with quartz and granite. Would be nice if they had a better selection. Thank you very much wefalck, my intent was to make it look like they are sitting on top of the planks but I didn’t want to get too involved with bolt heads and things because once the boat deck goes on most of this will be barely visible.
-
Thank you very much Keith. Yes I am really happy with the way the rope looks.
-
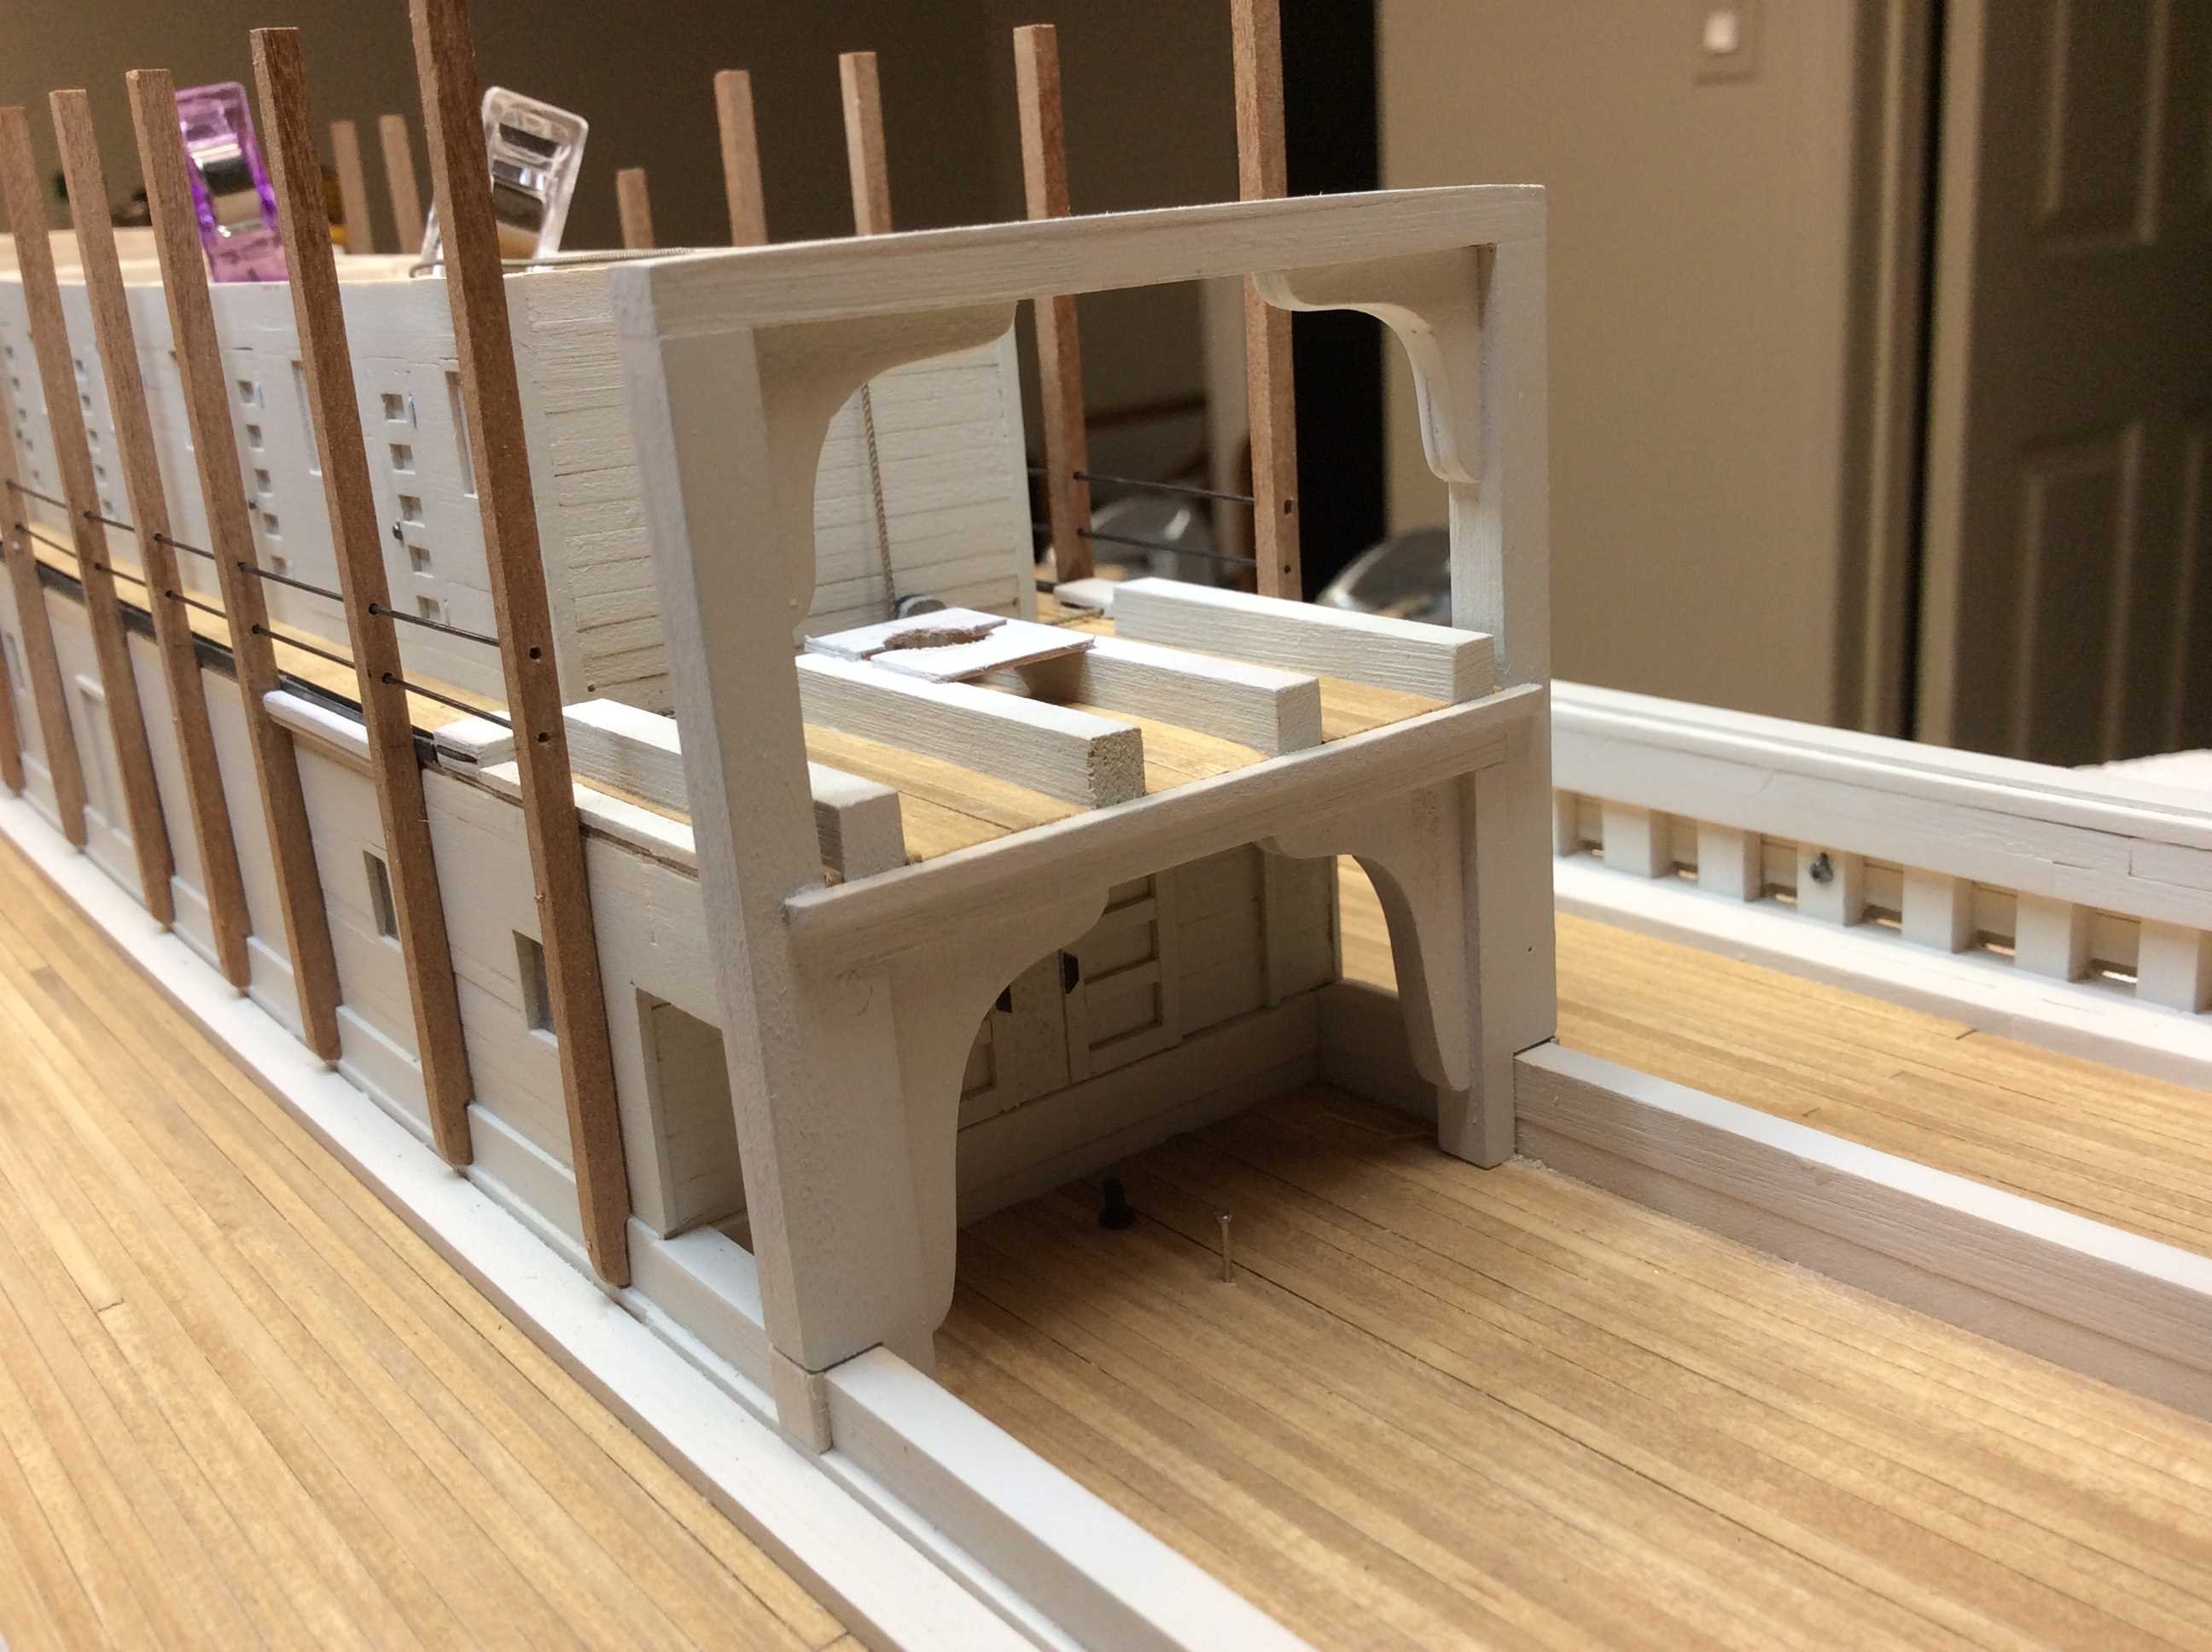
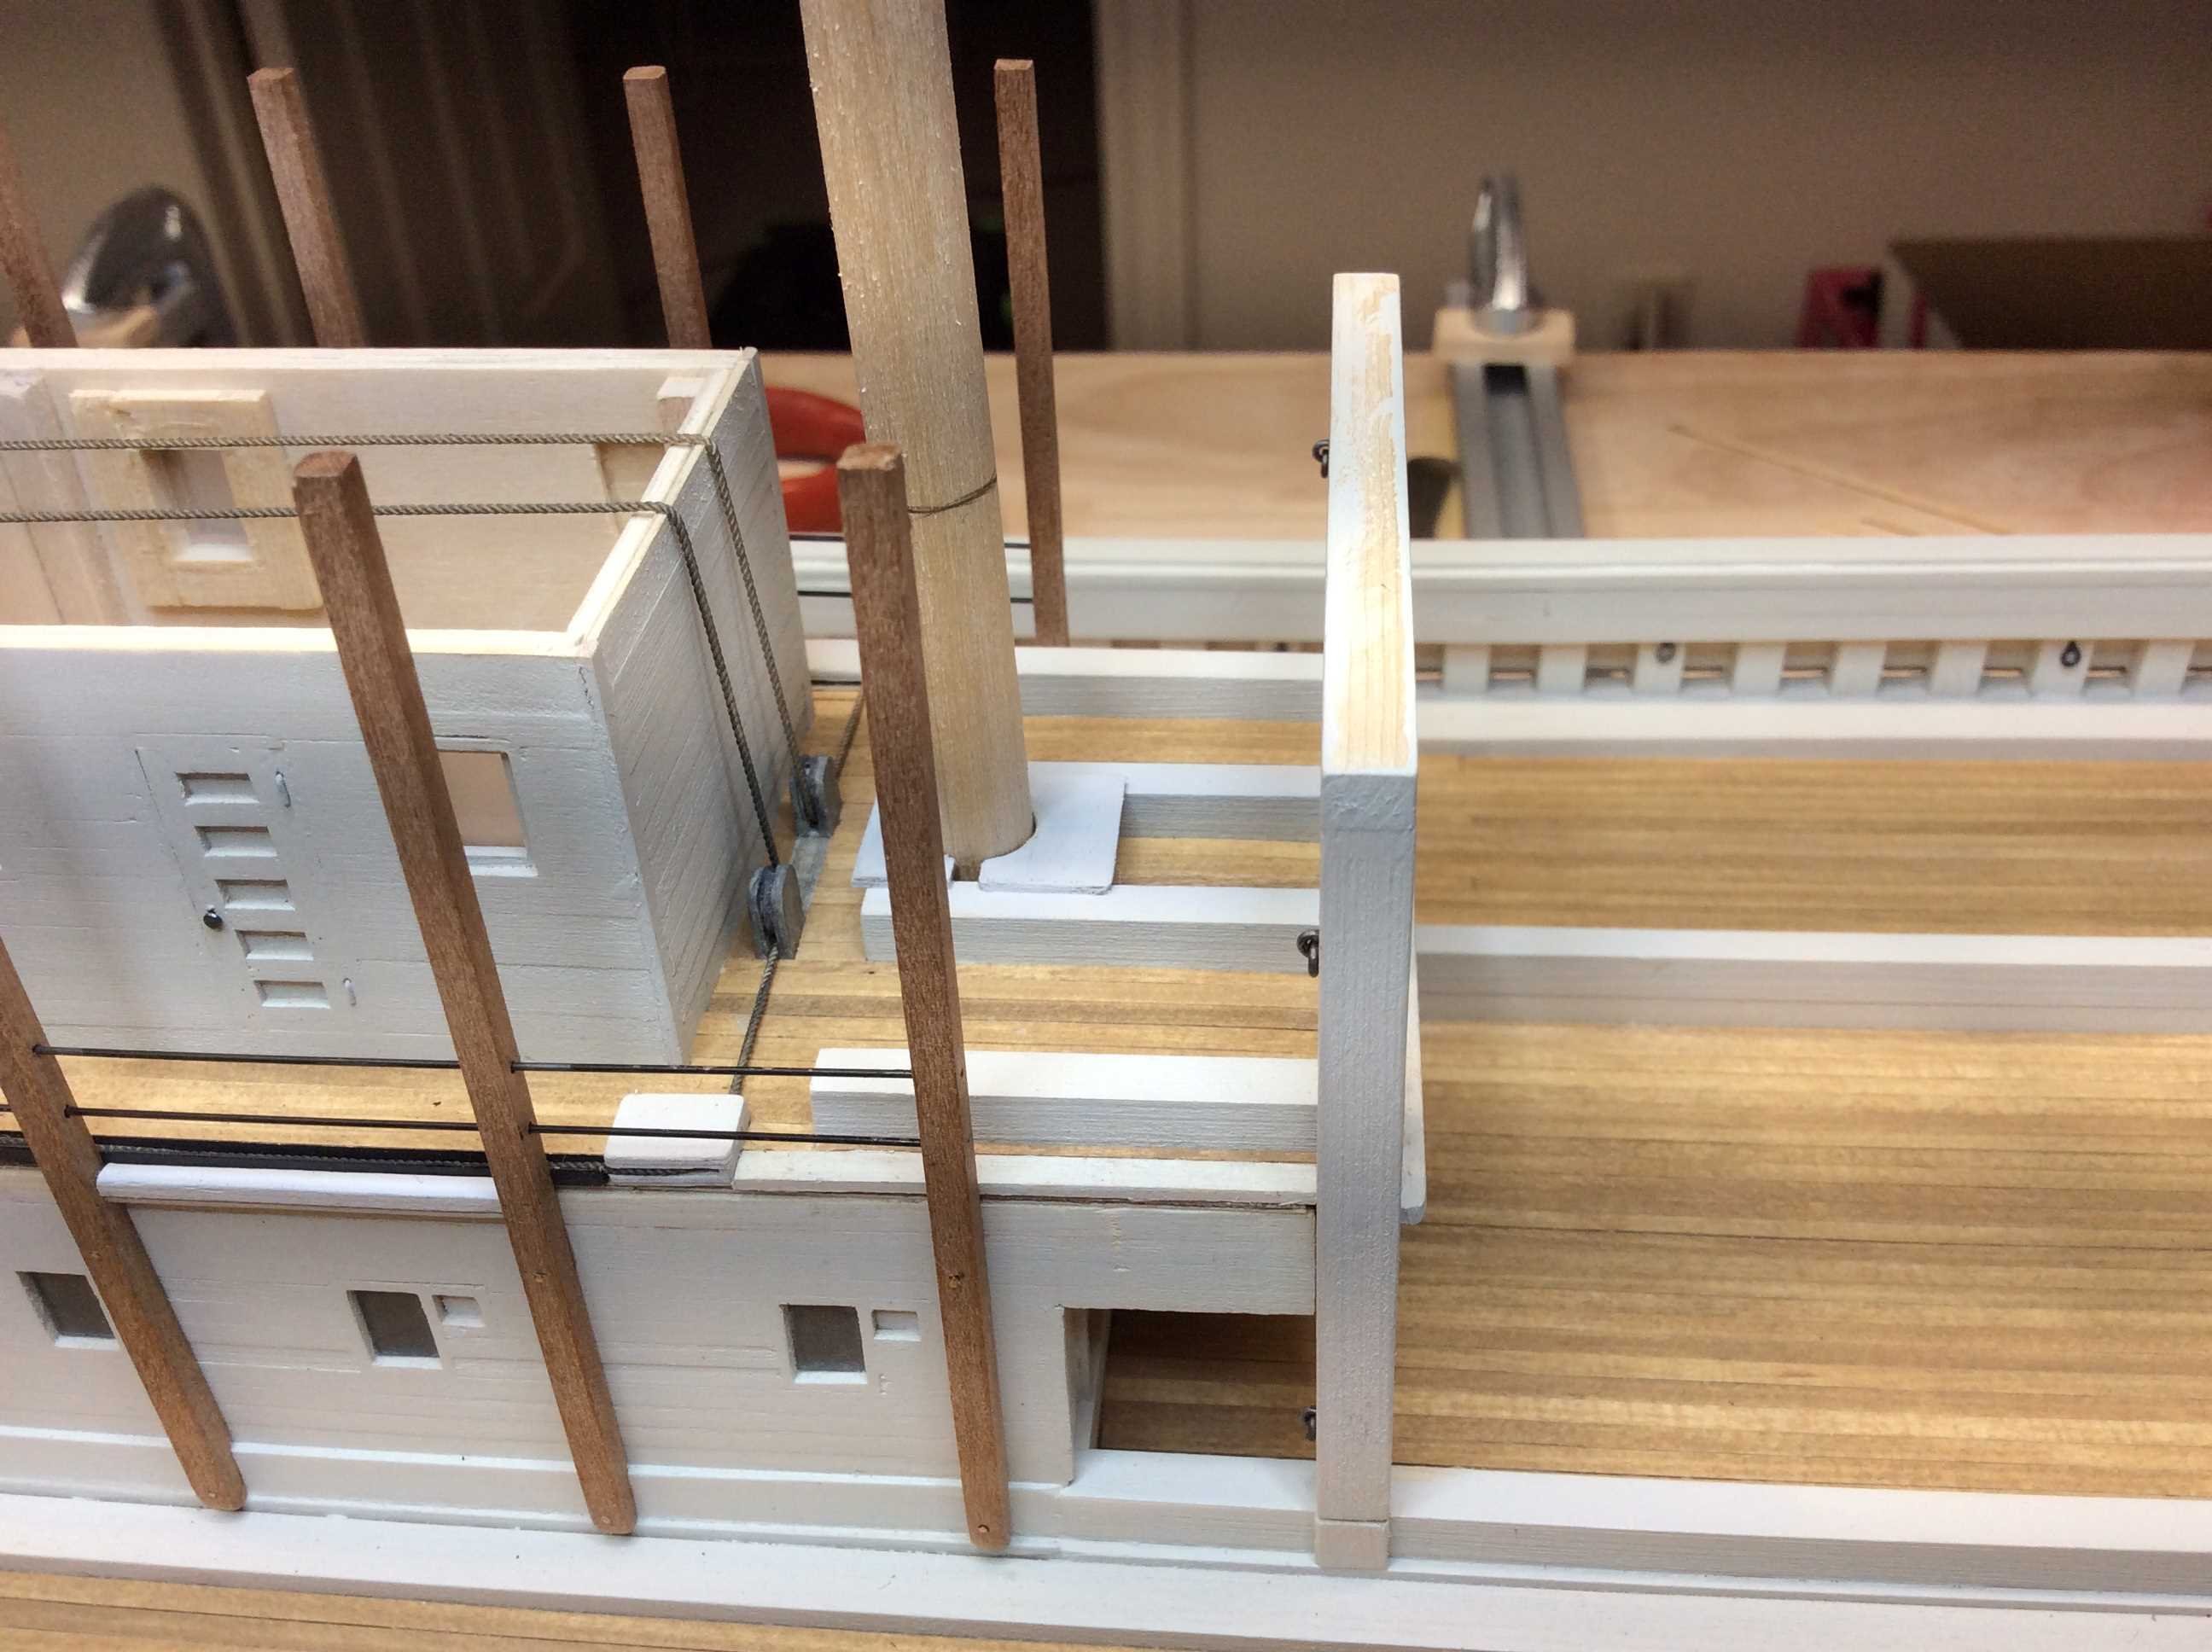
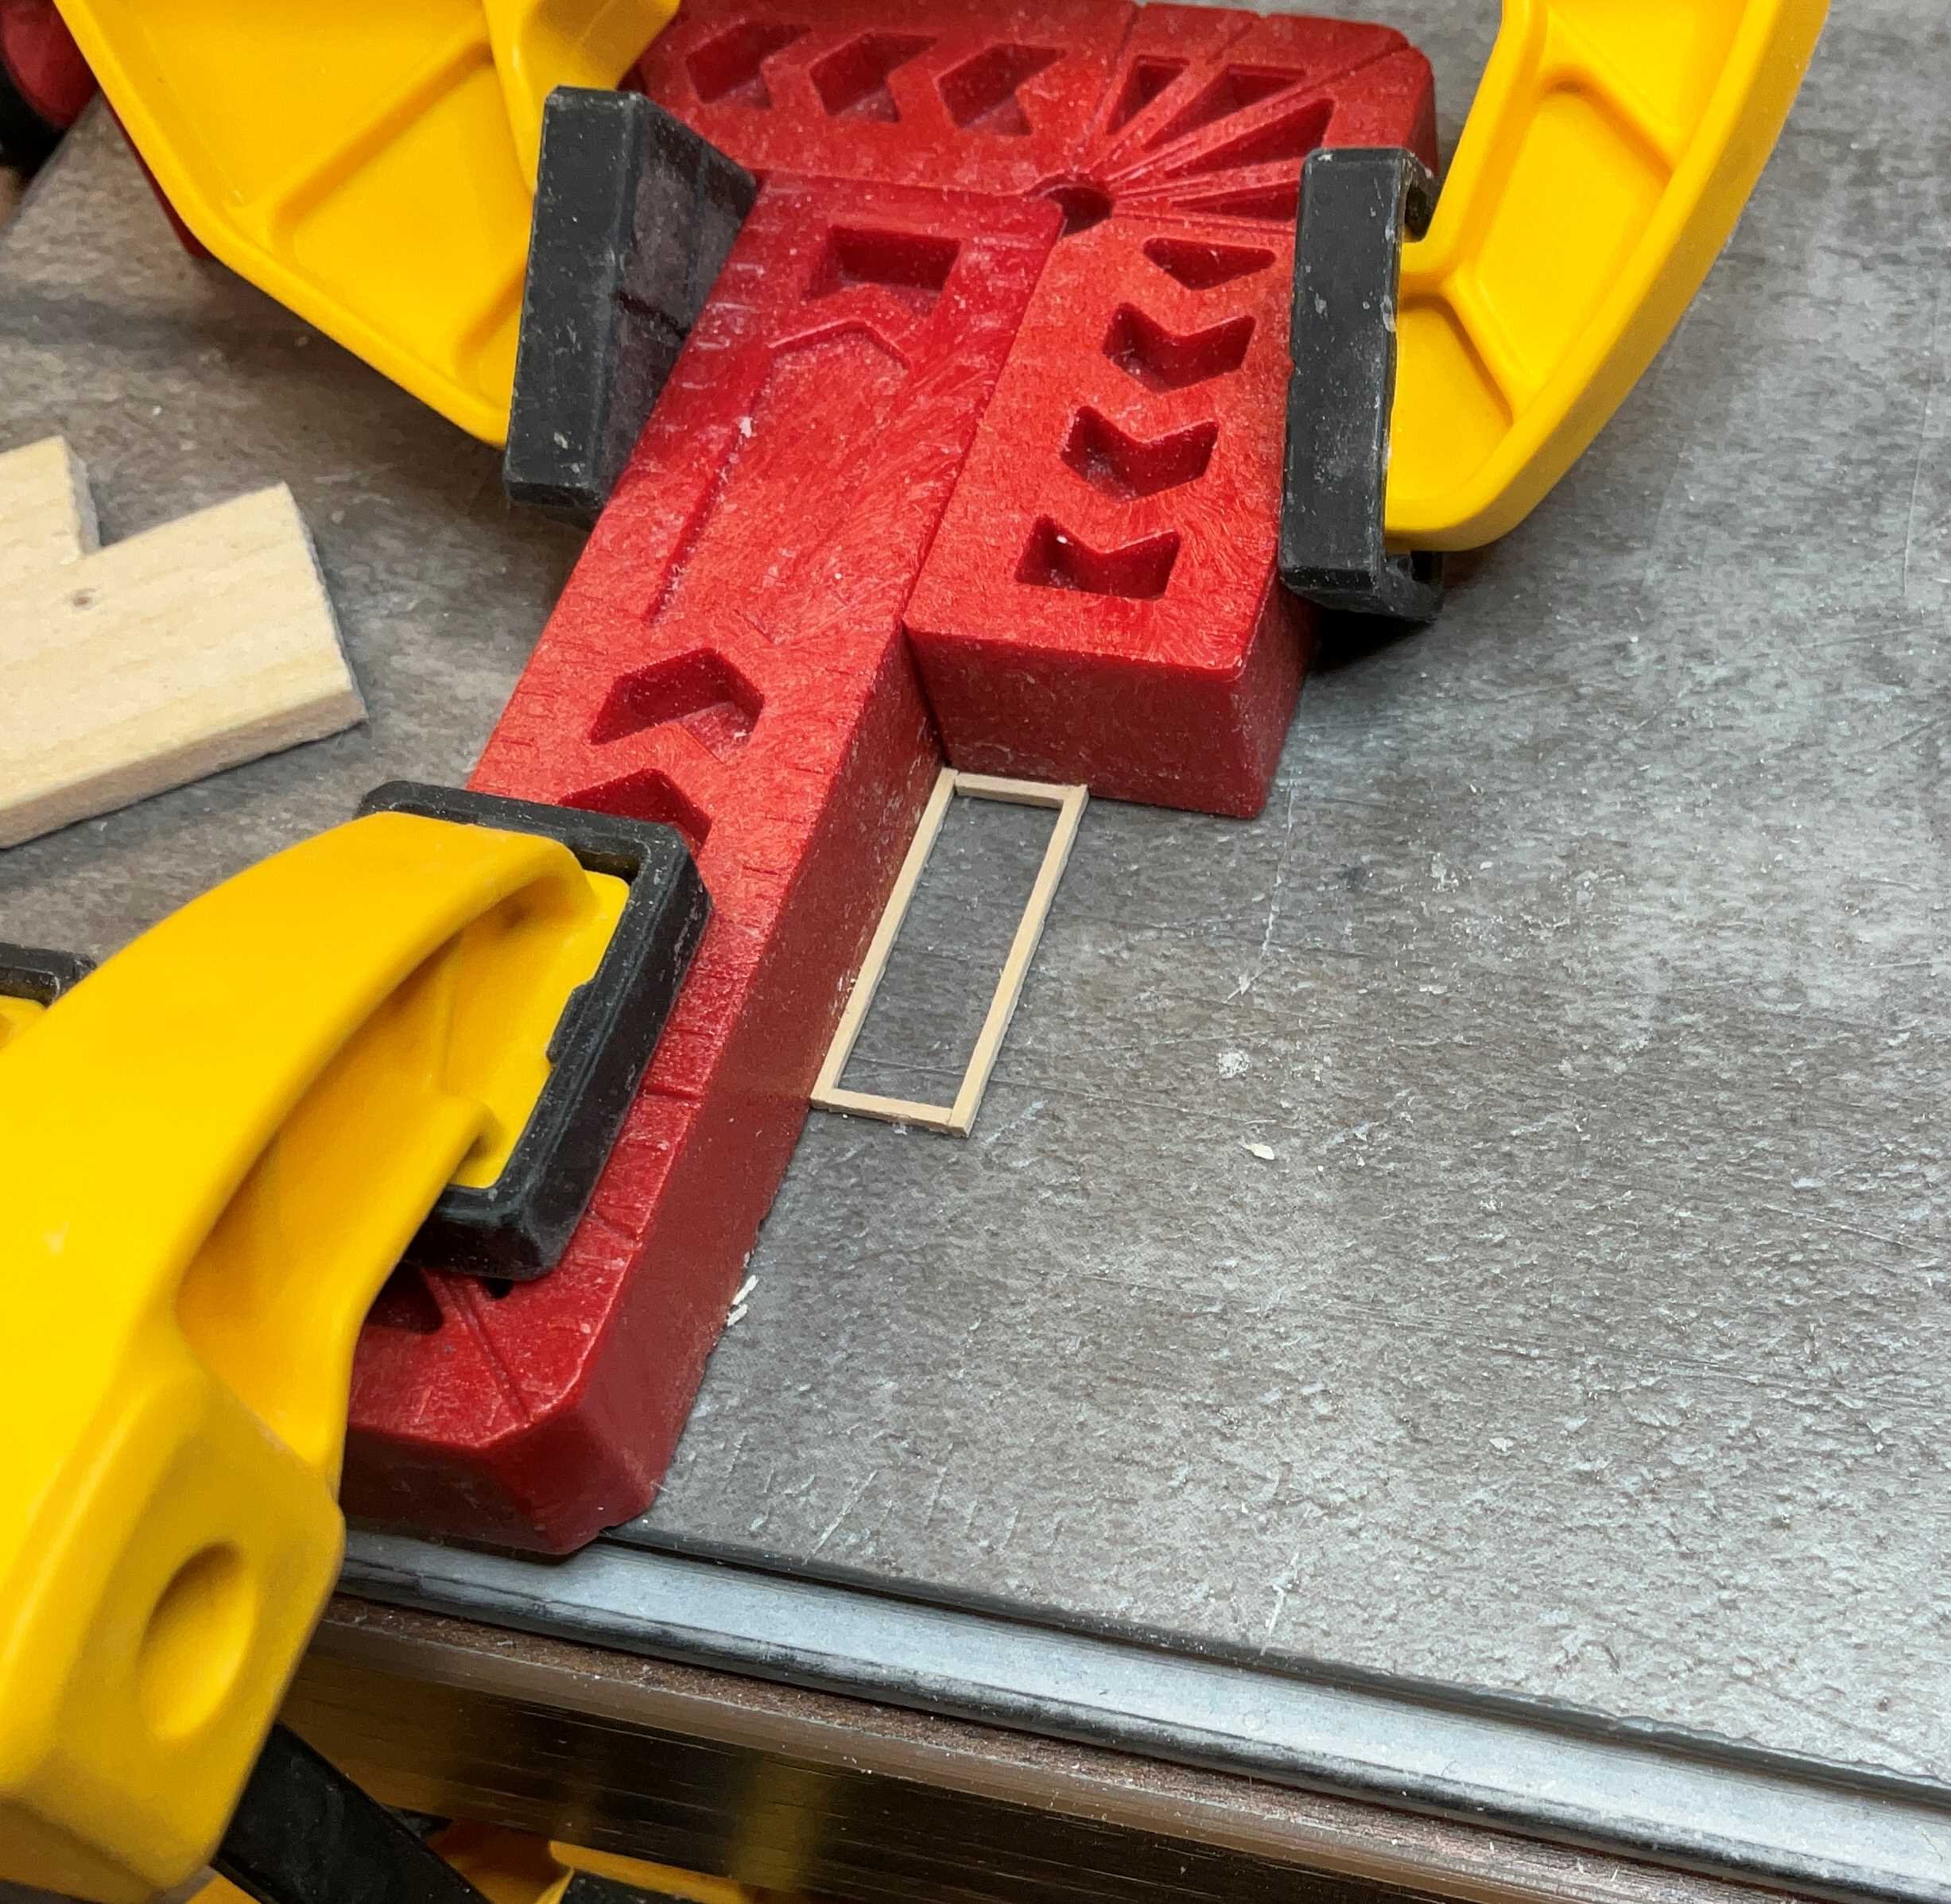
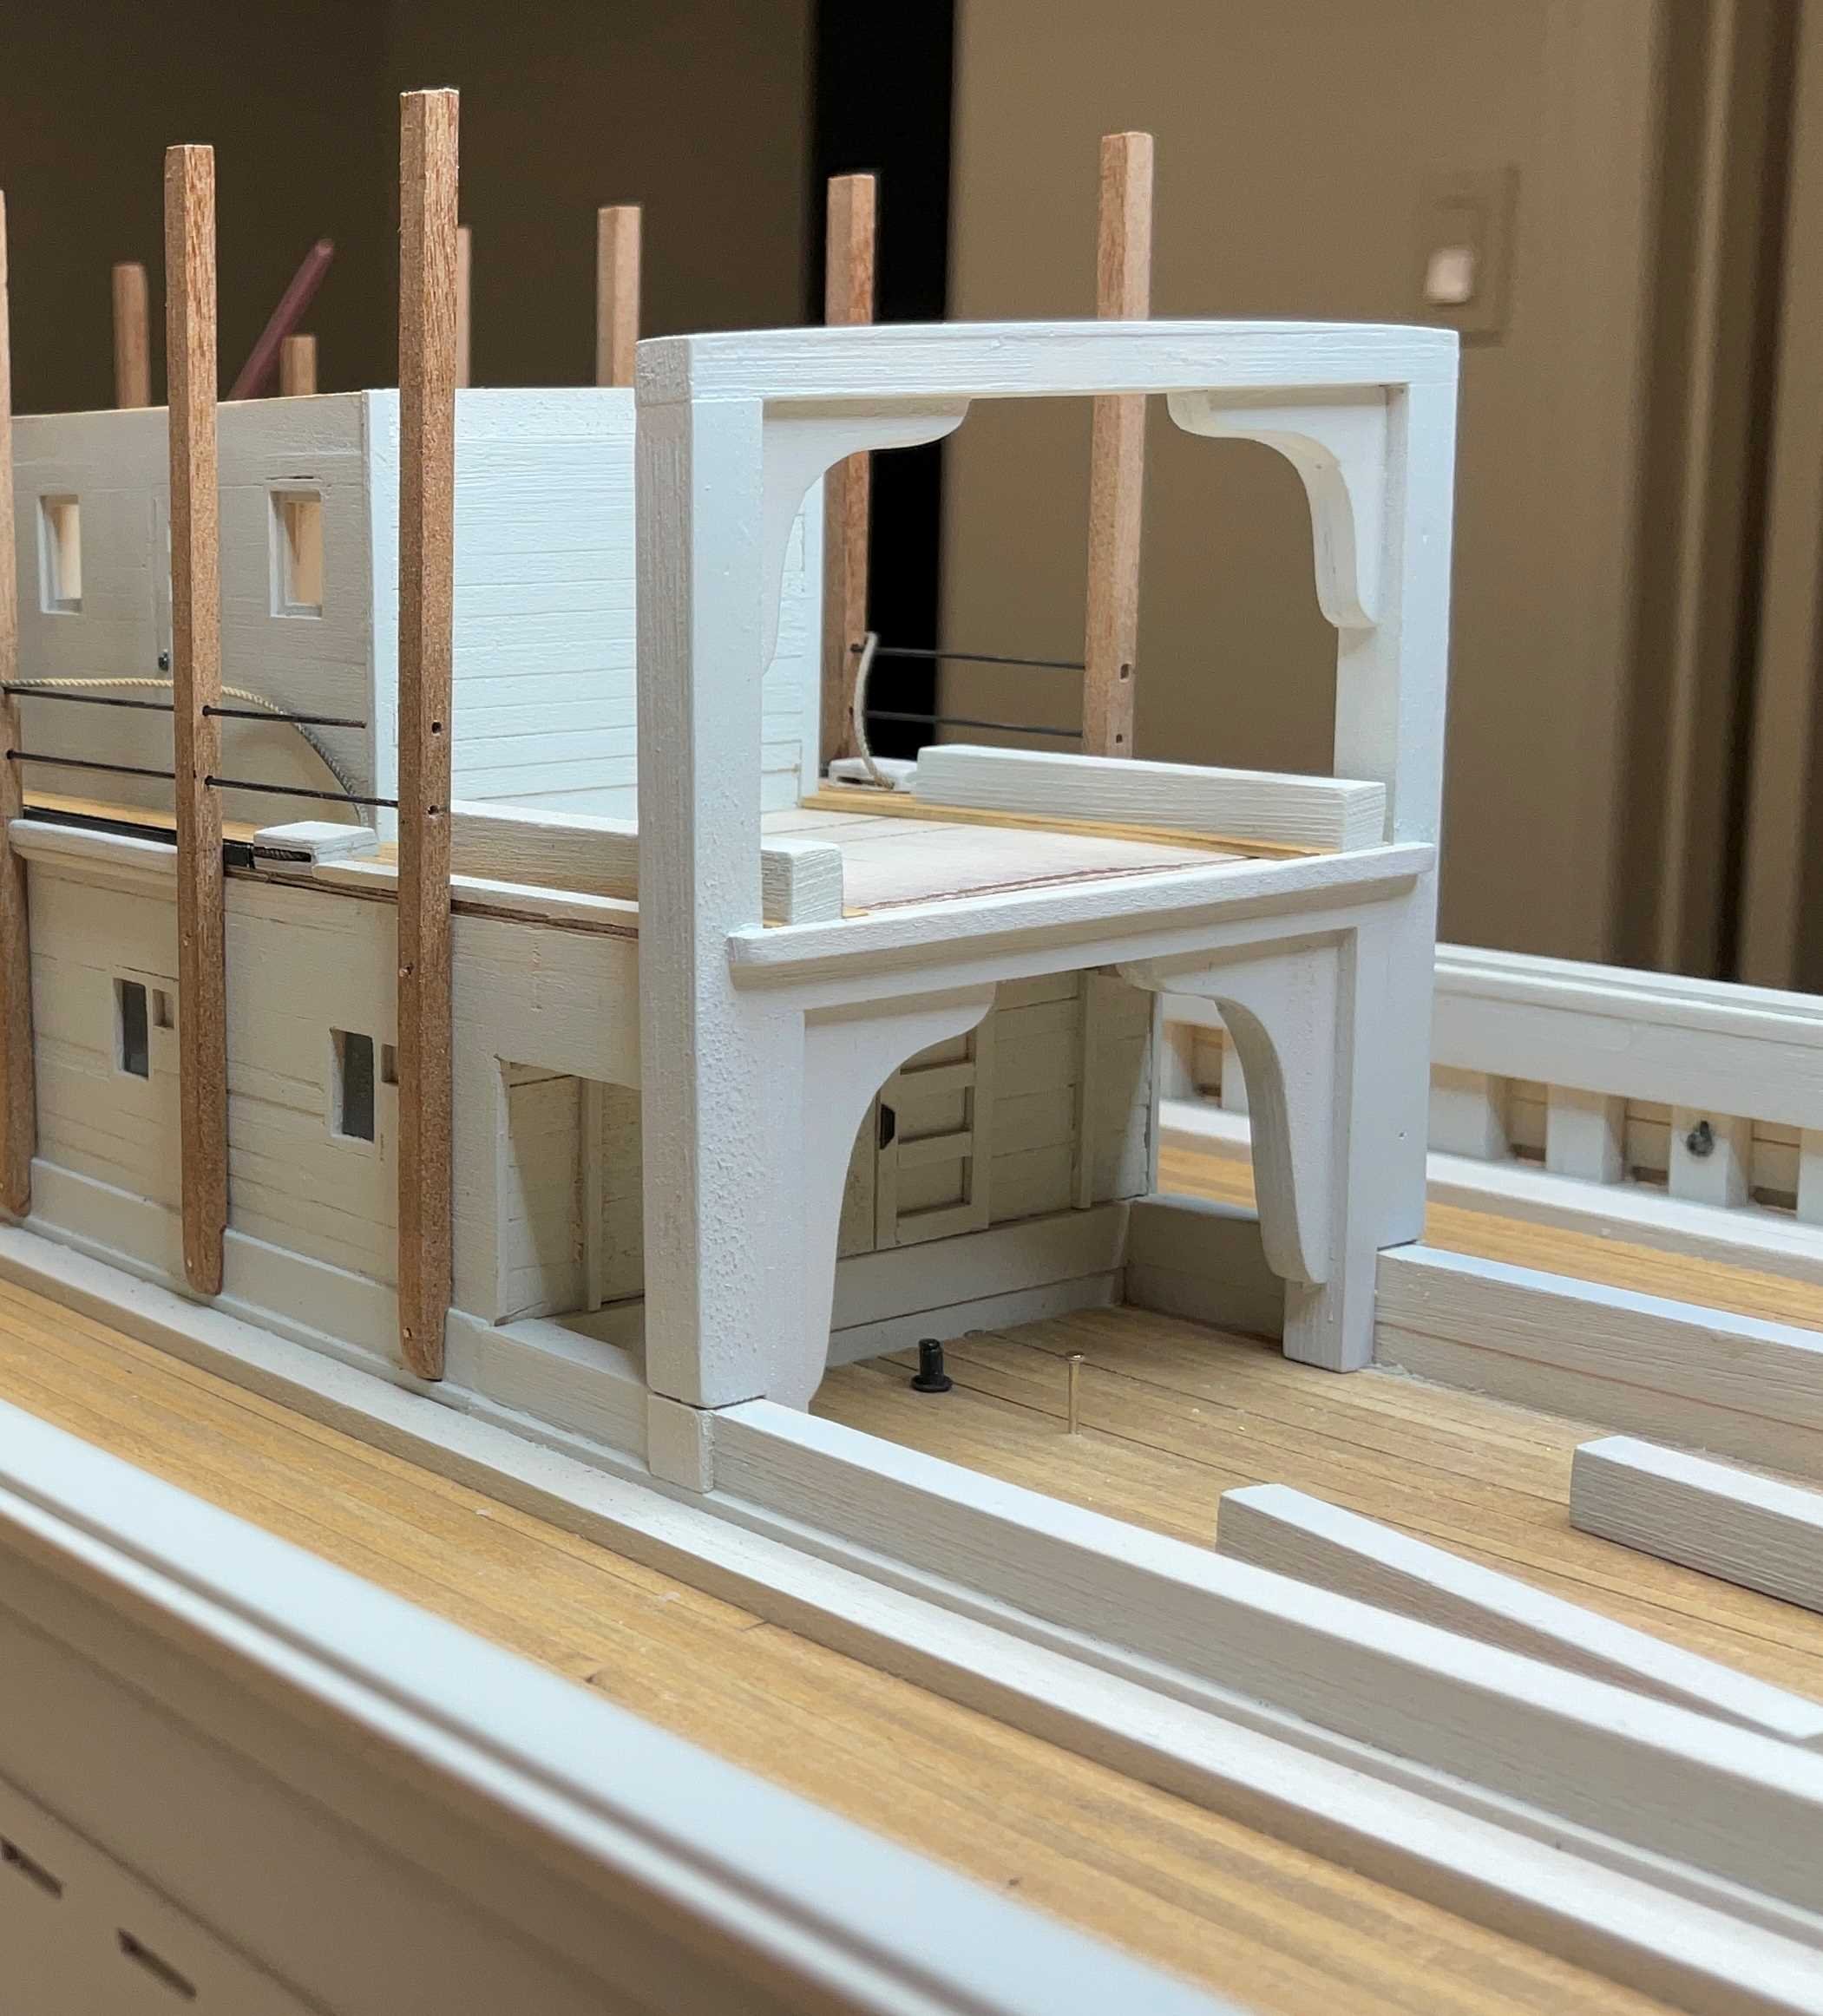
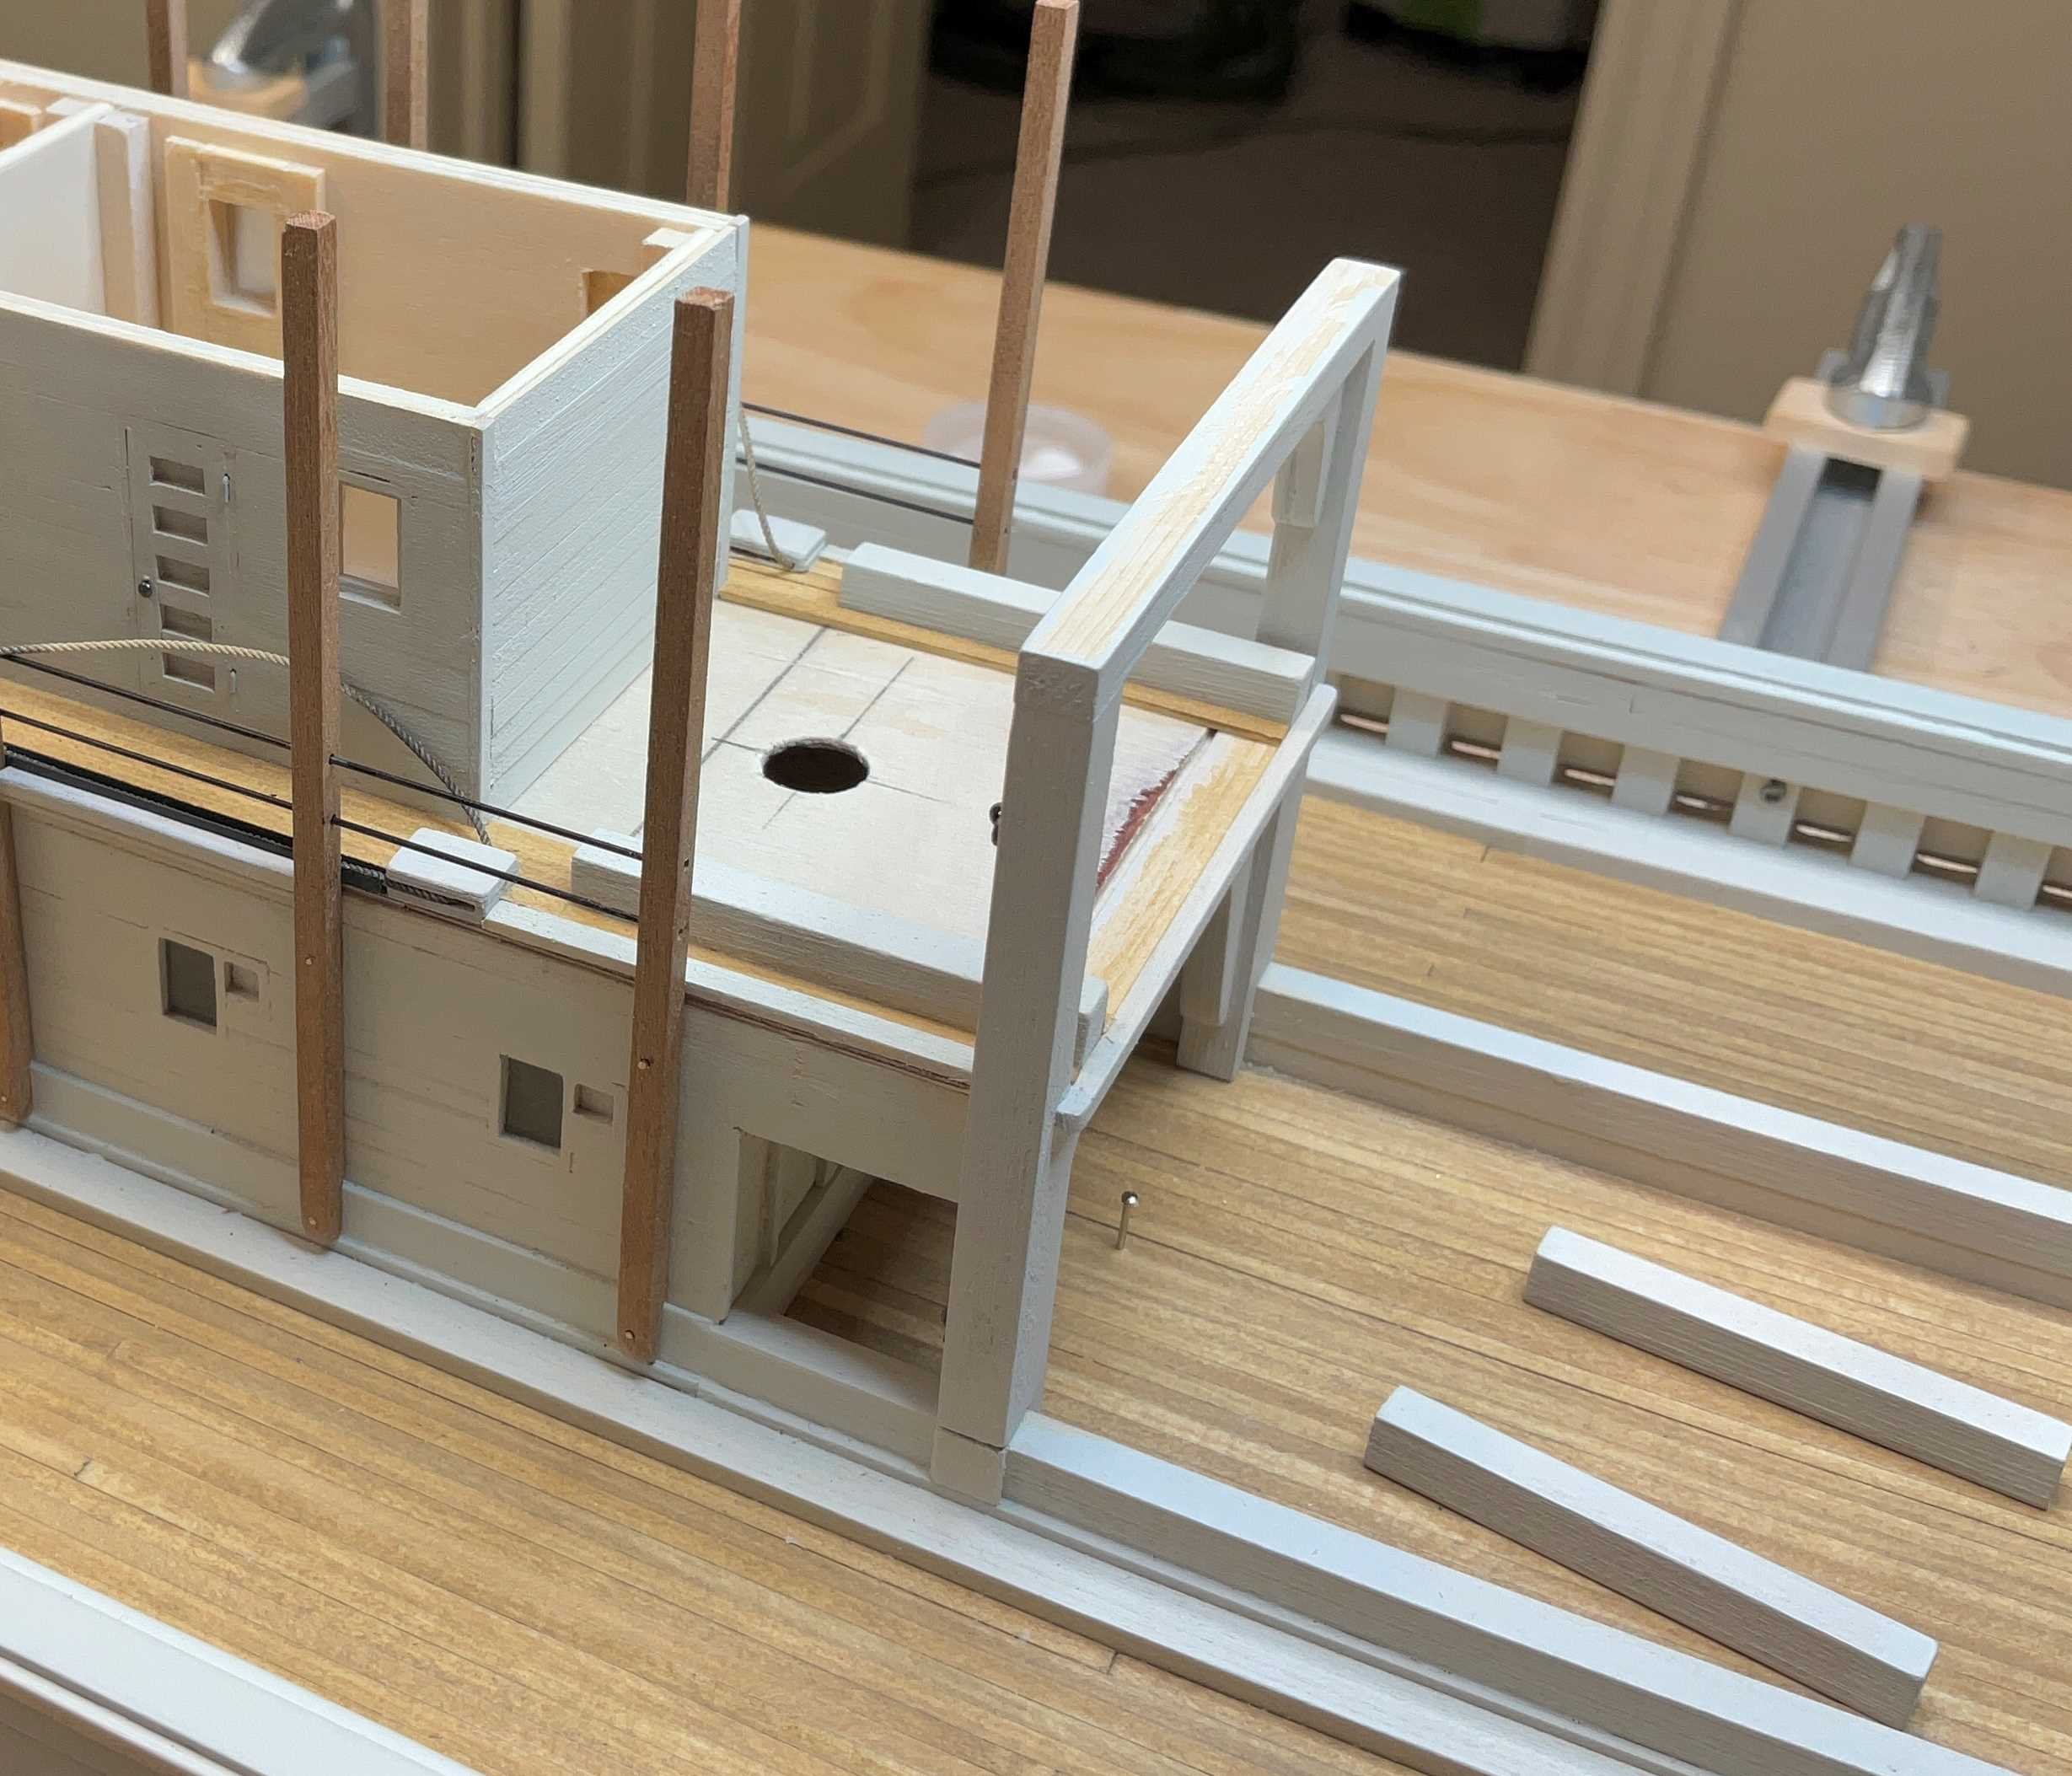
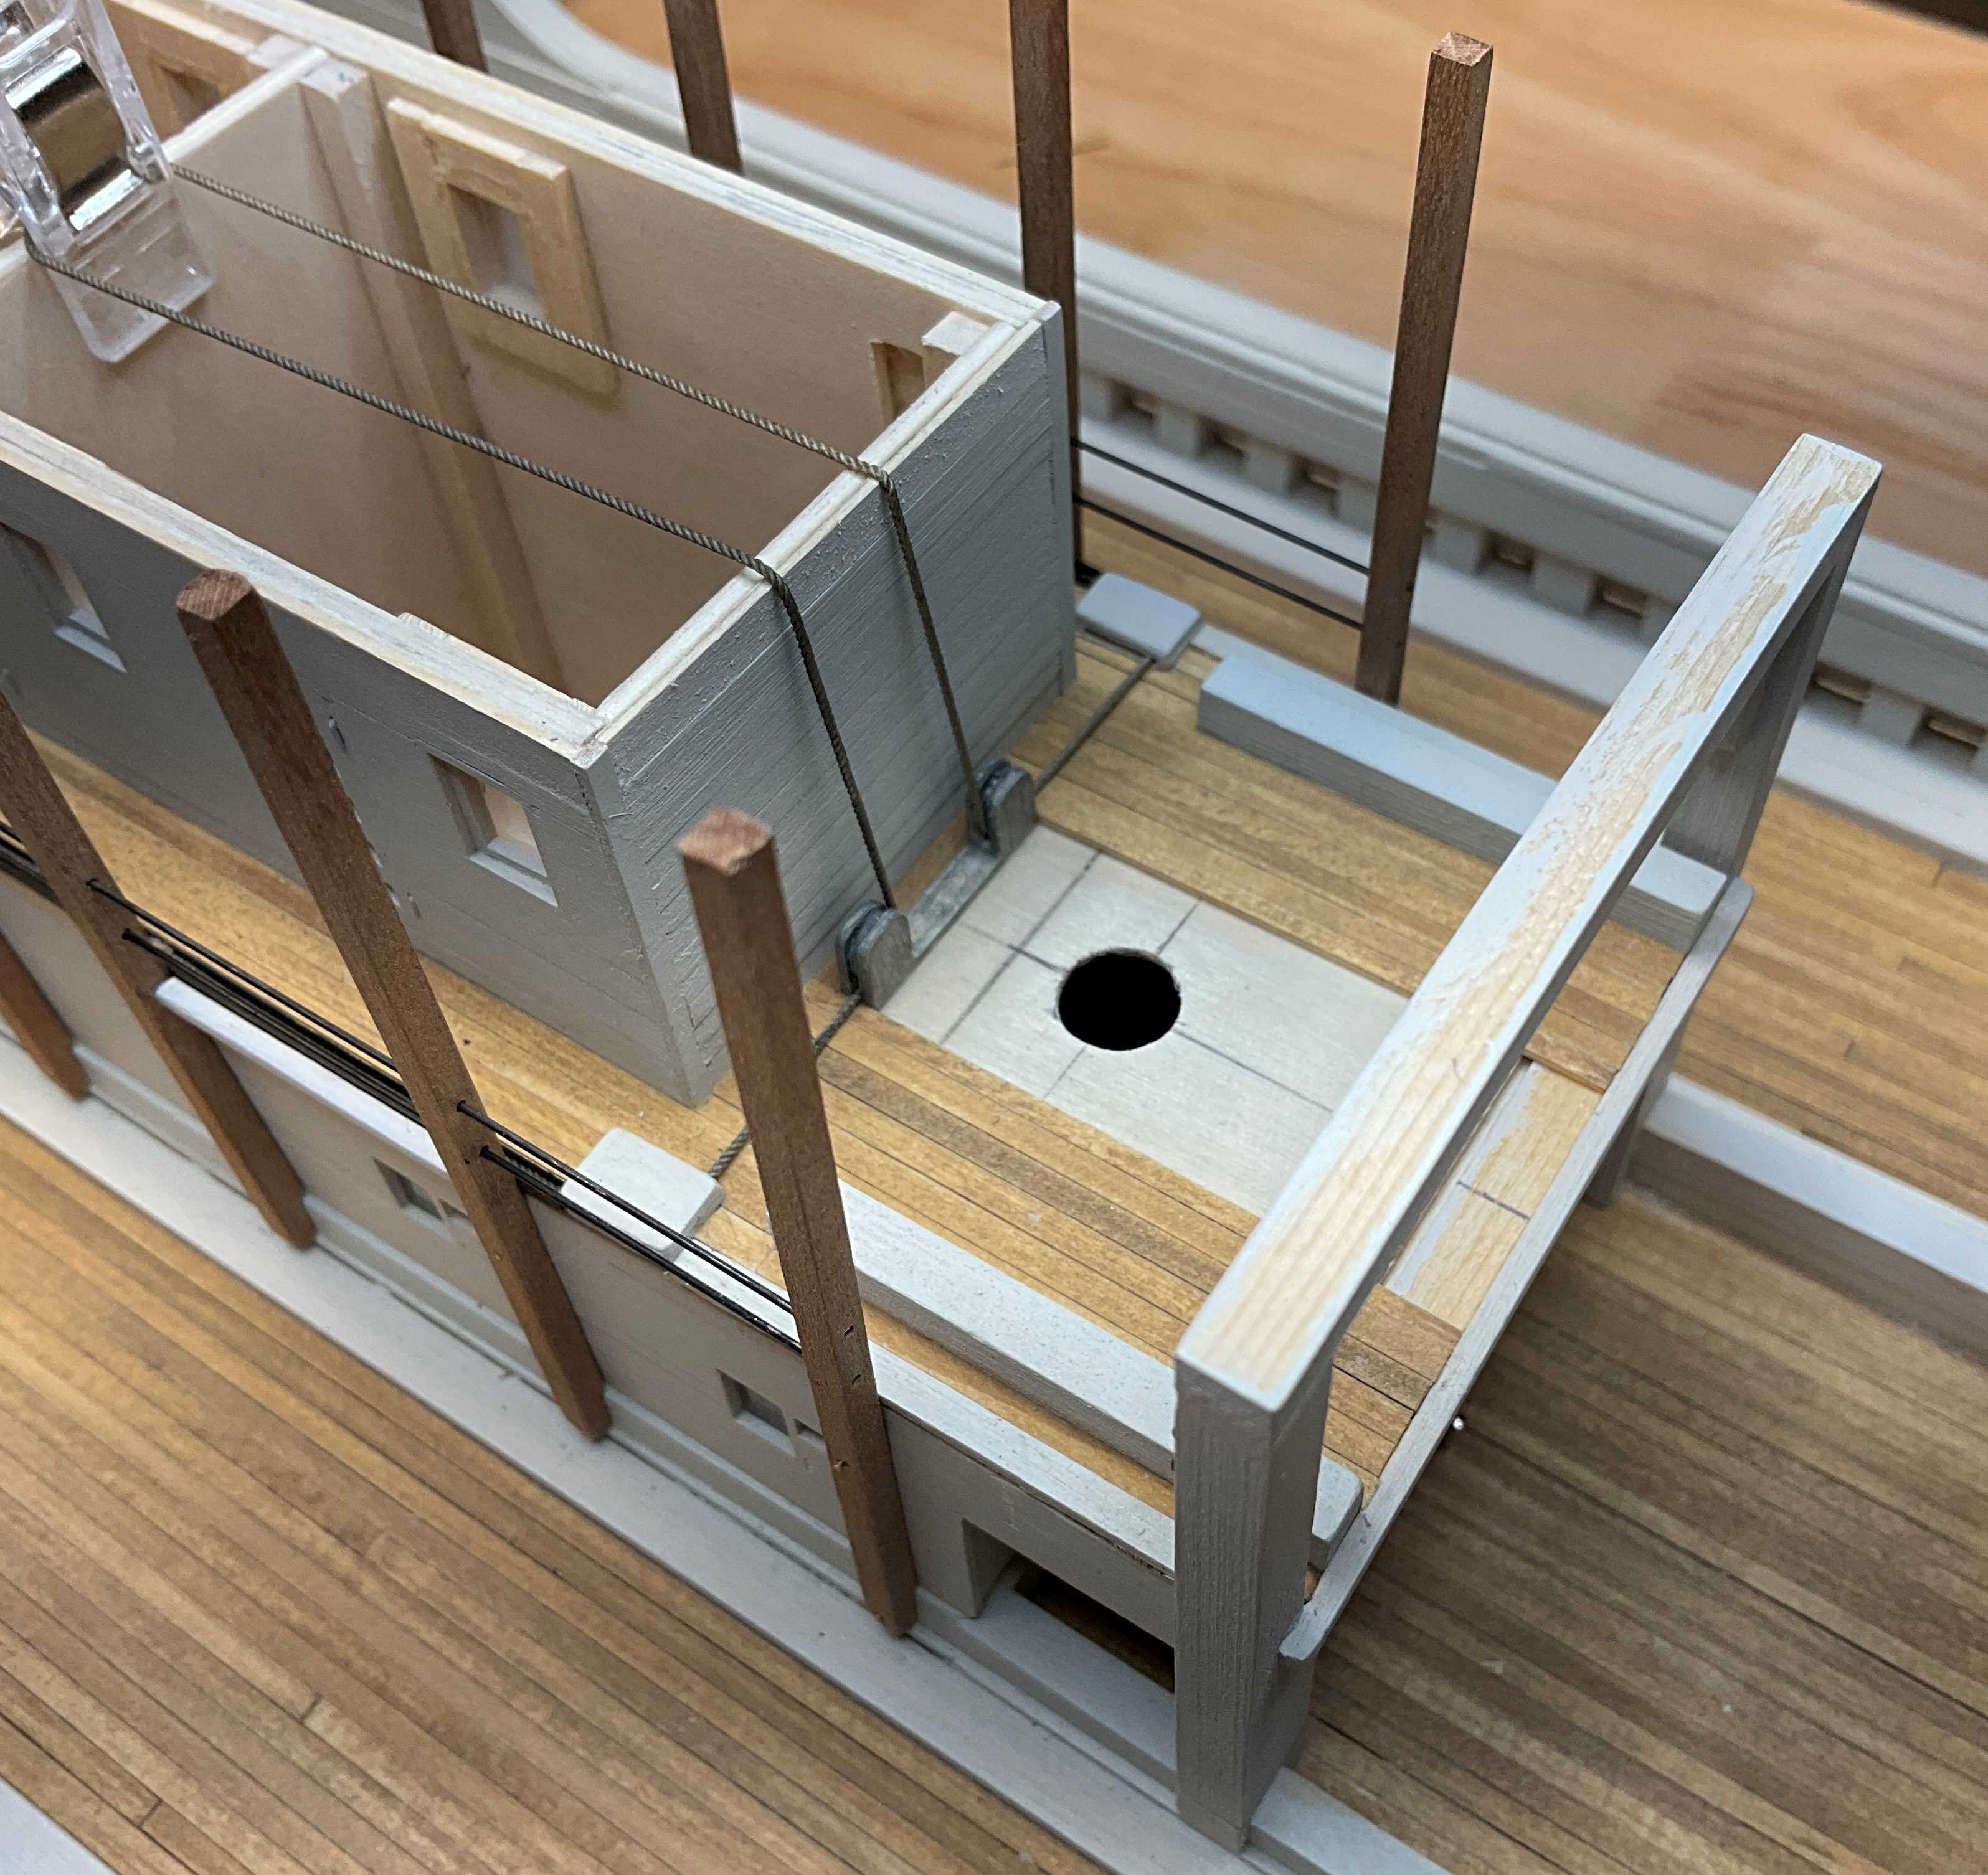
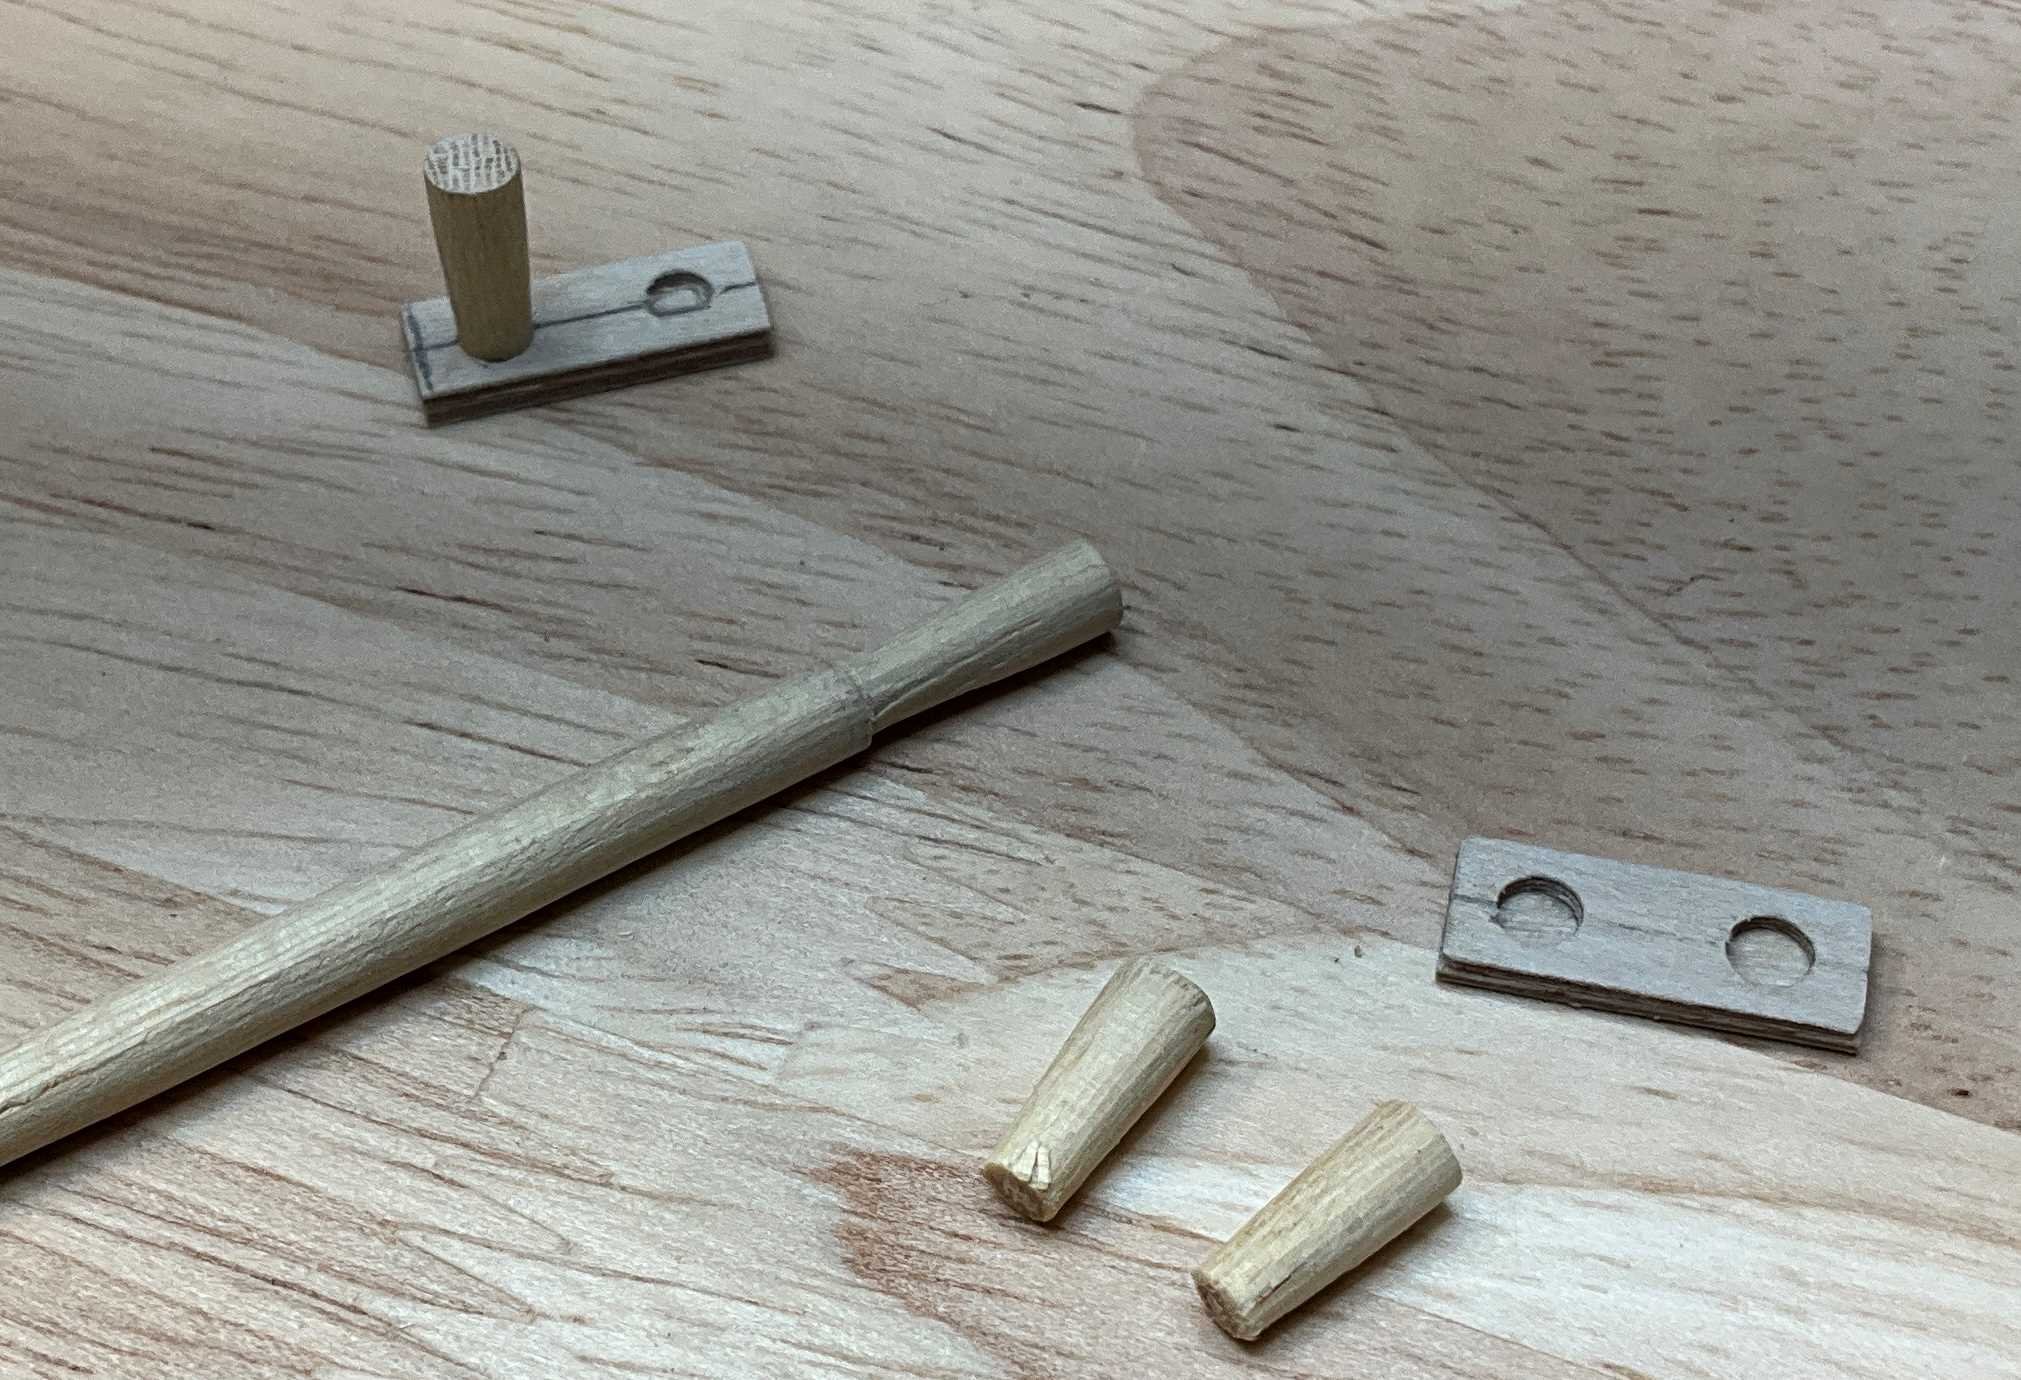
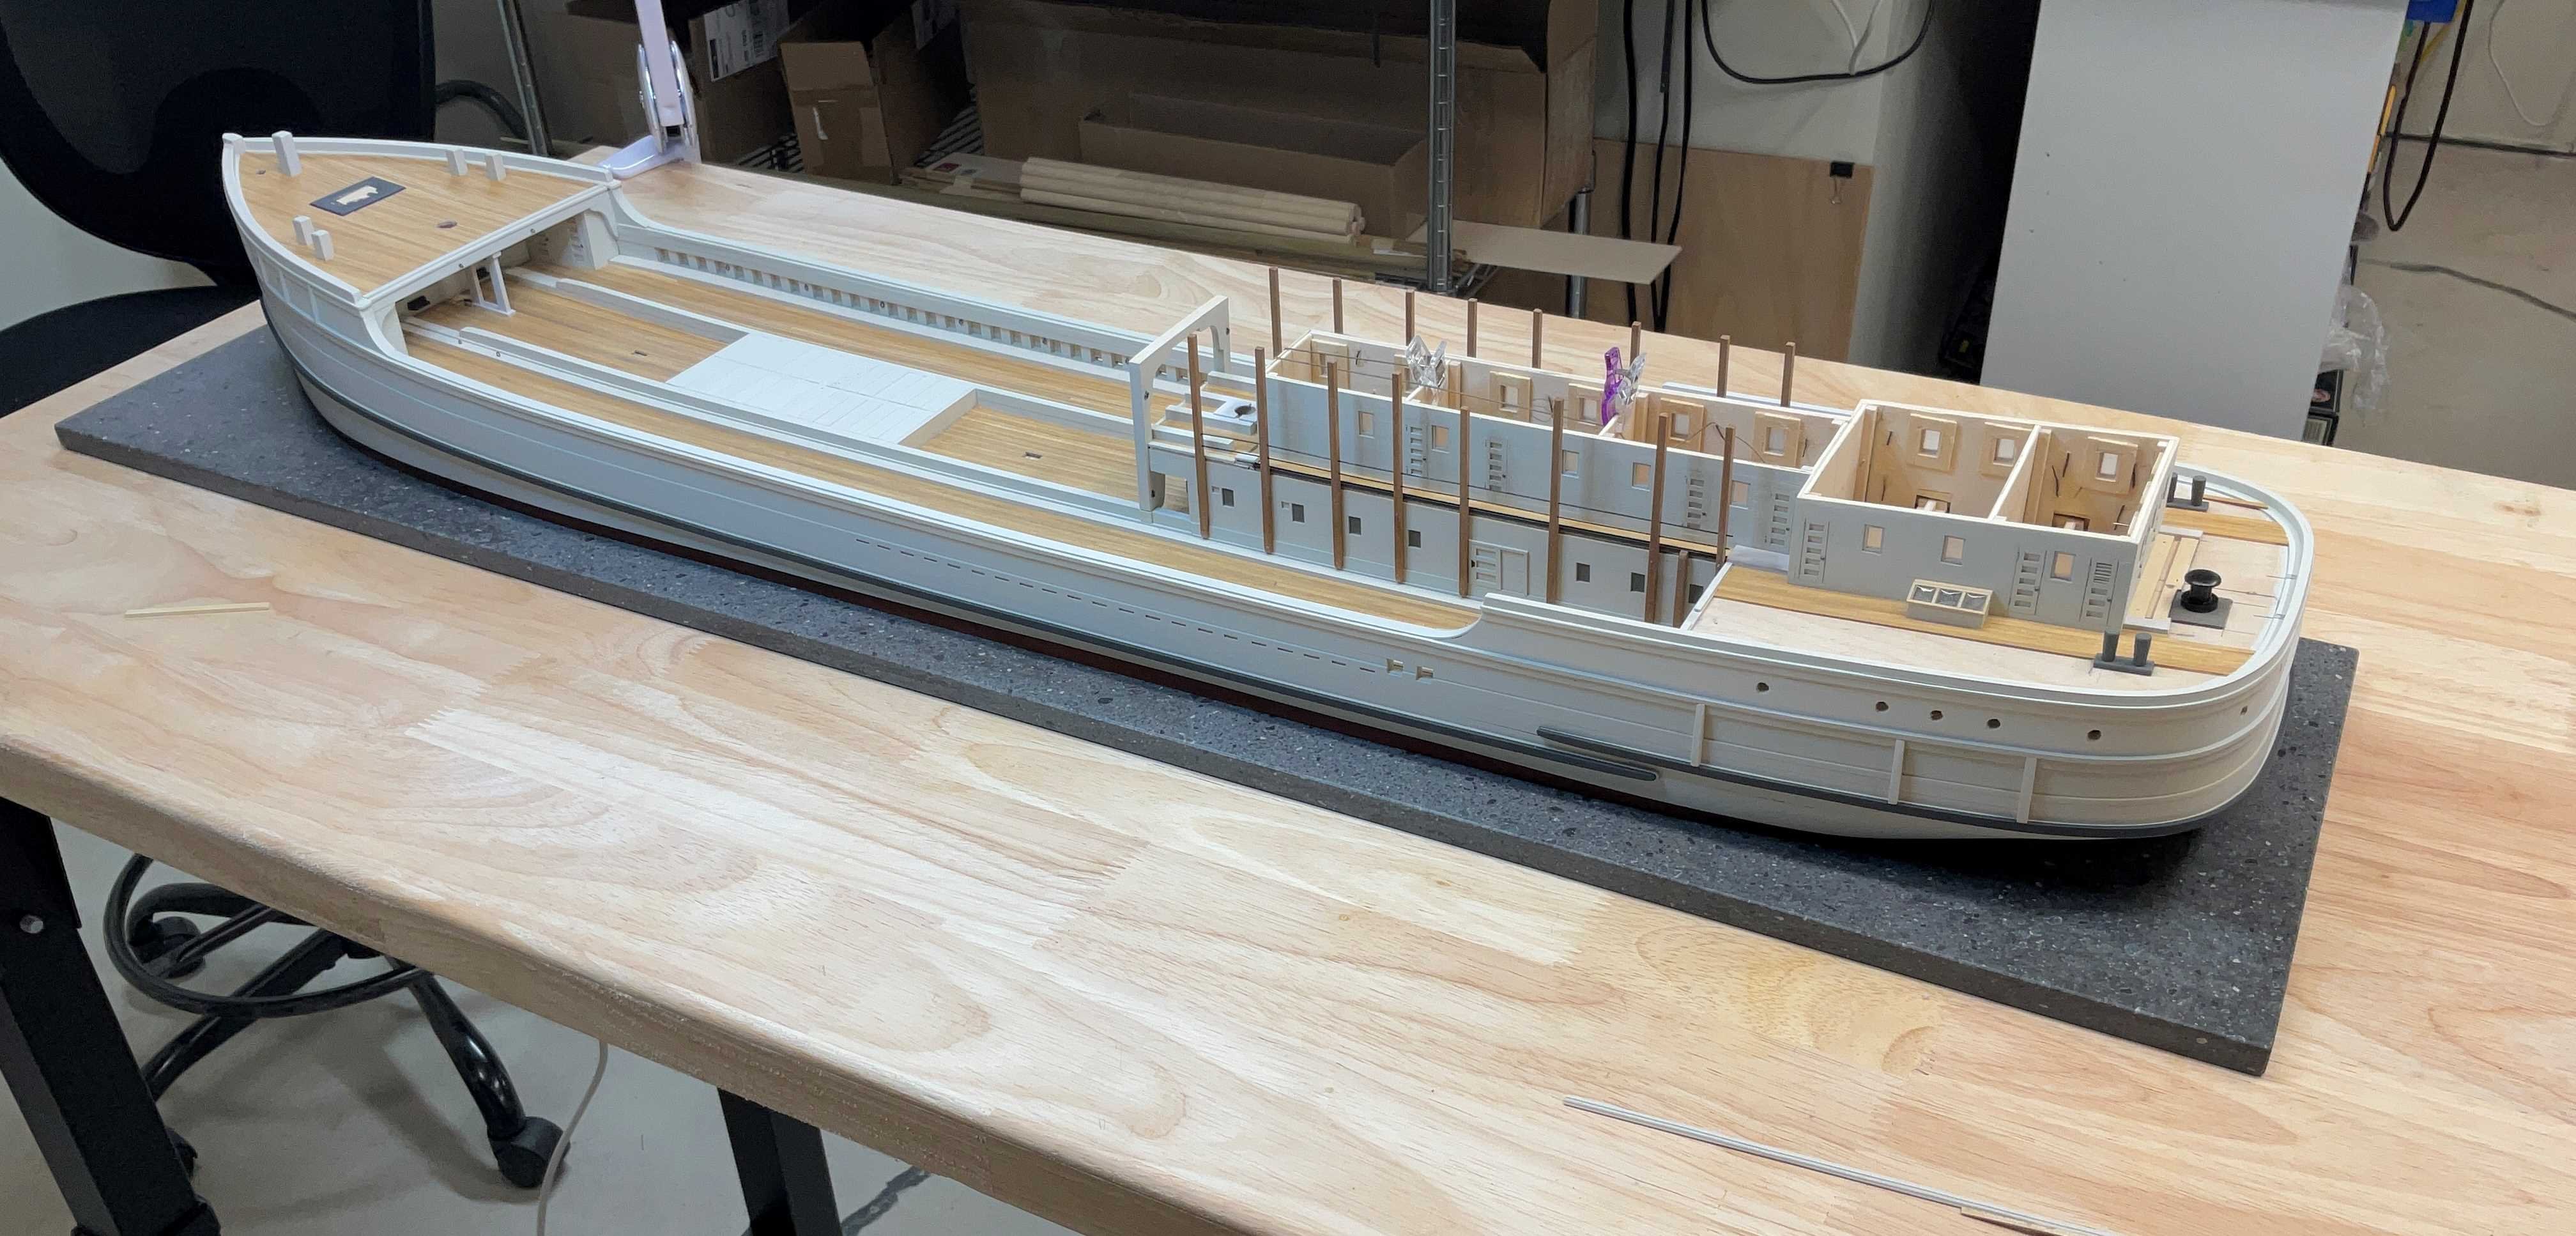
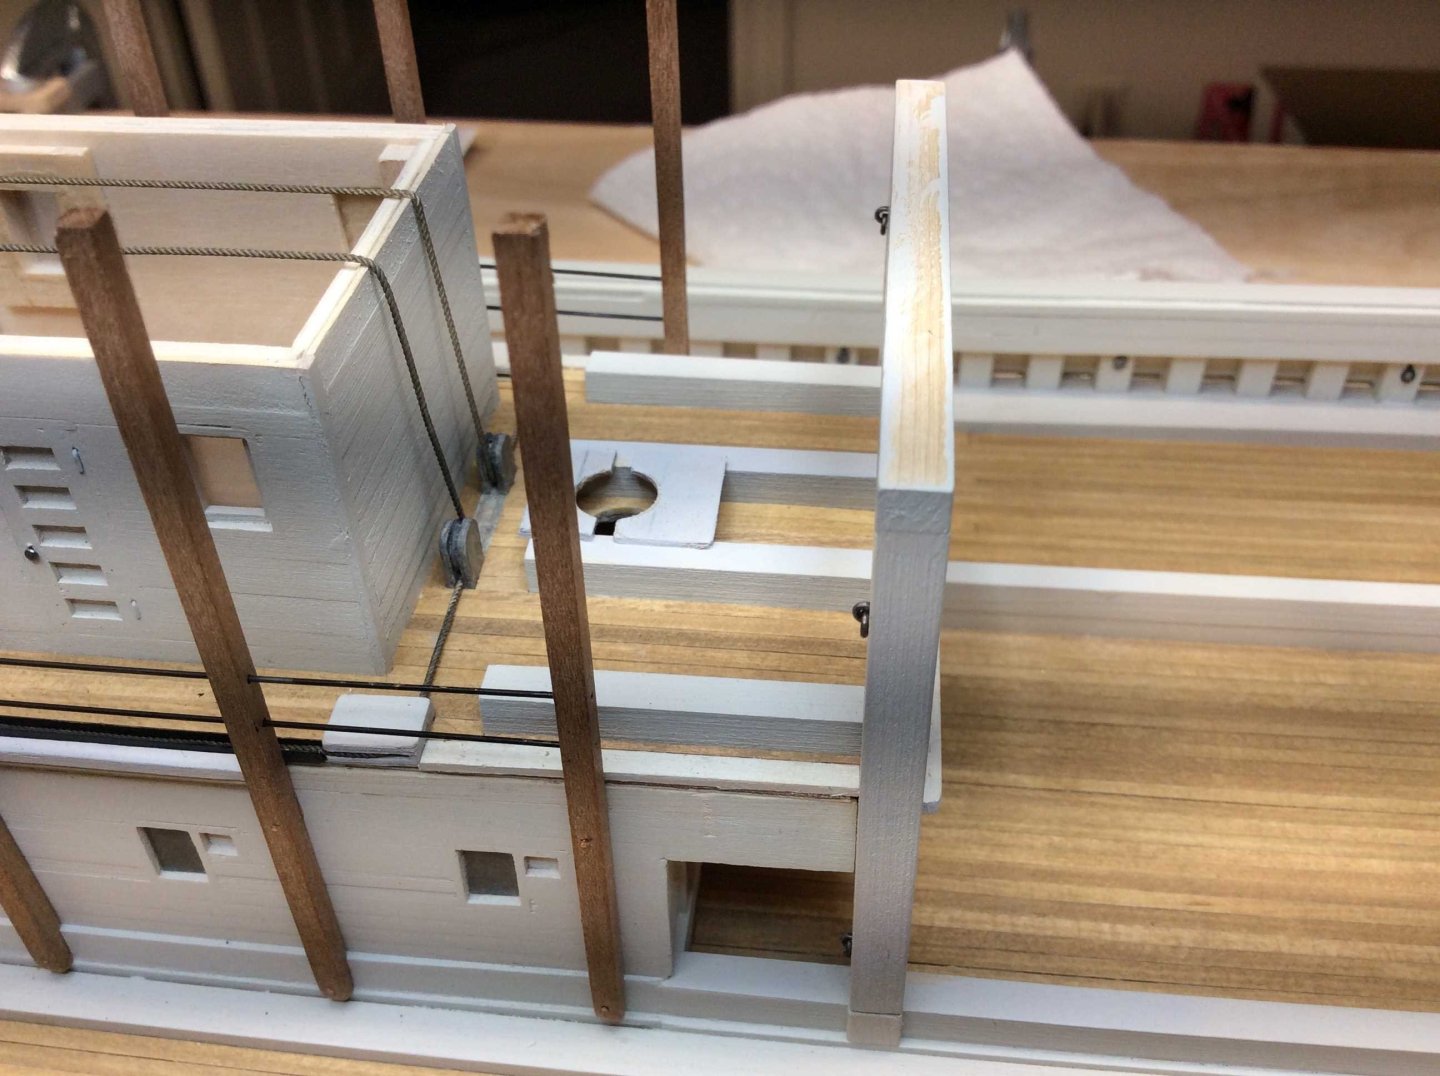
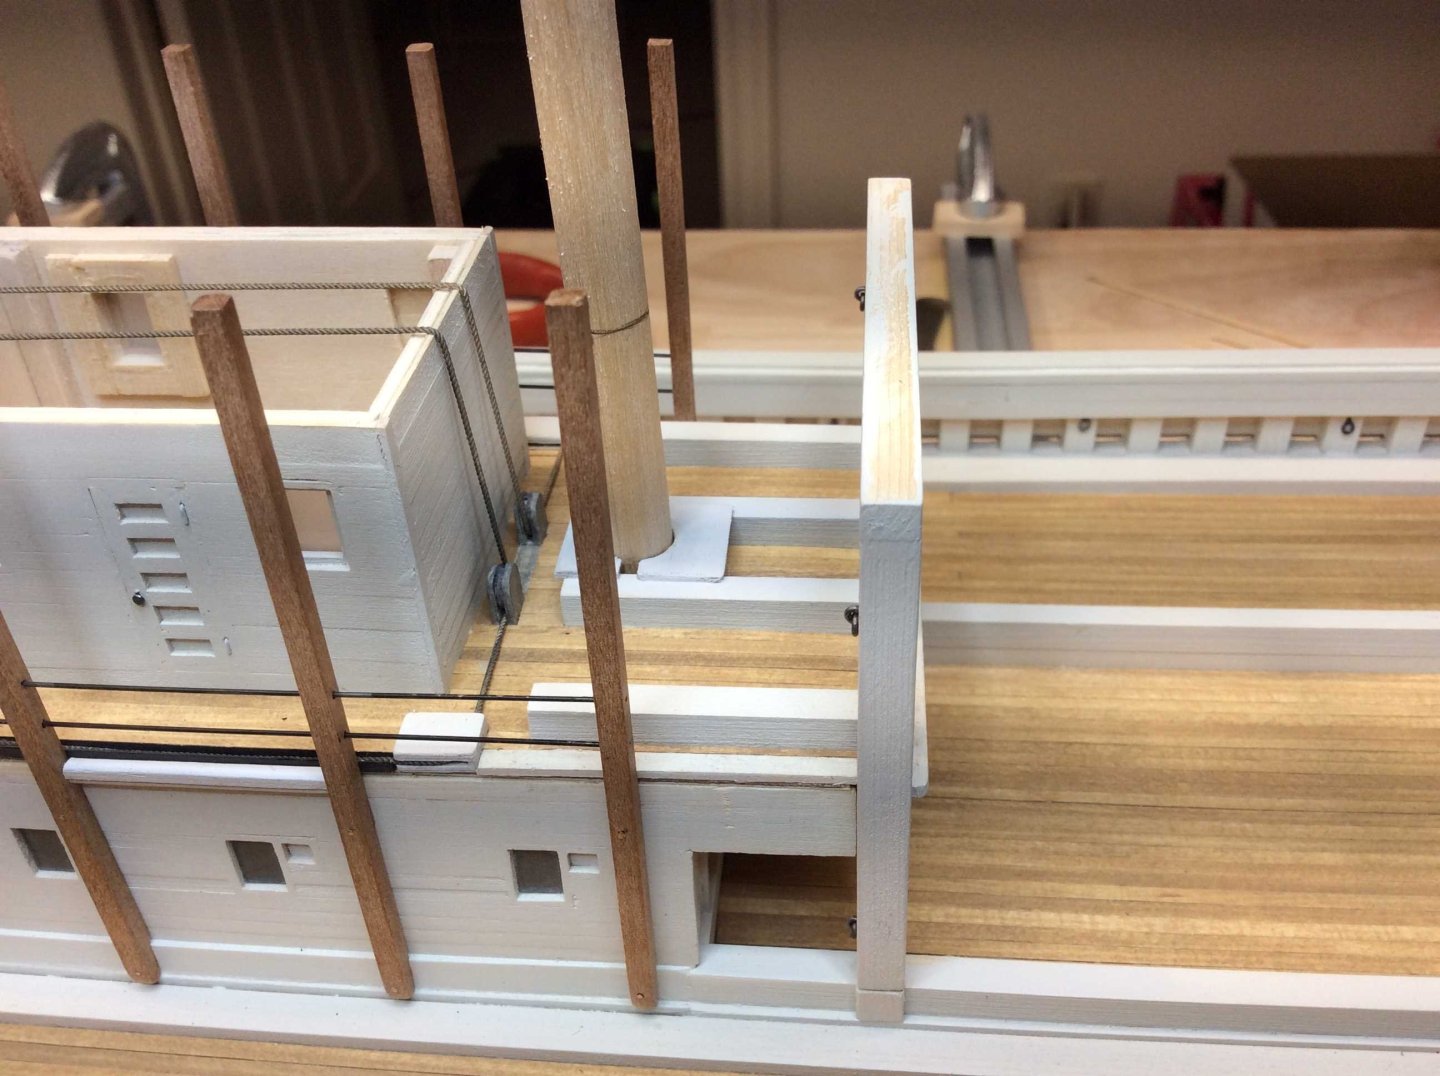
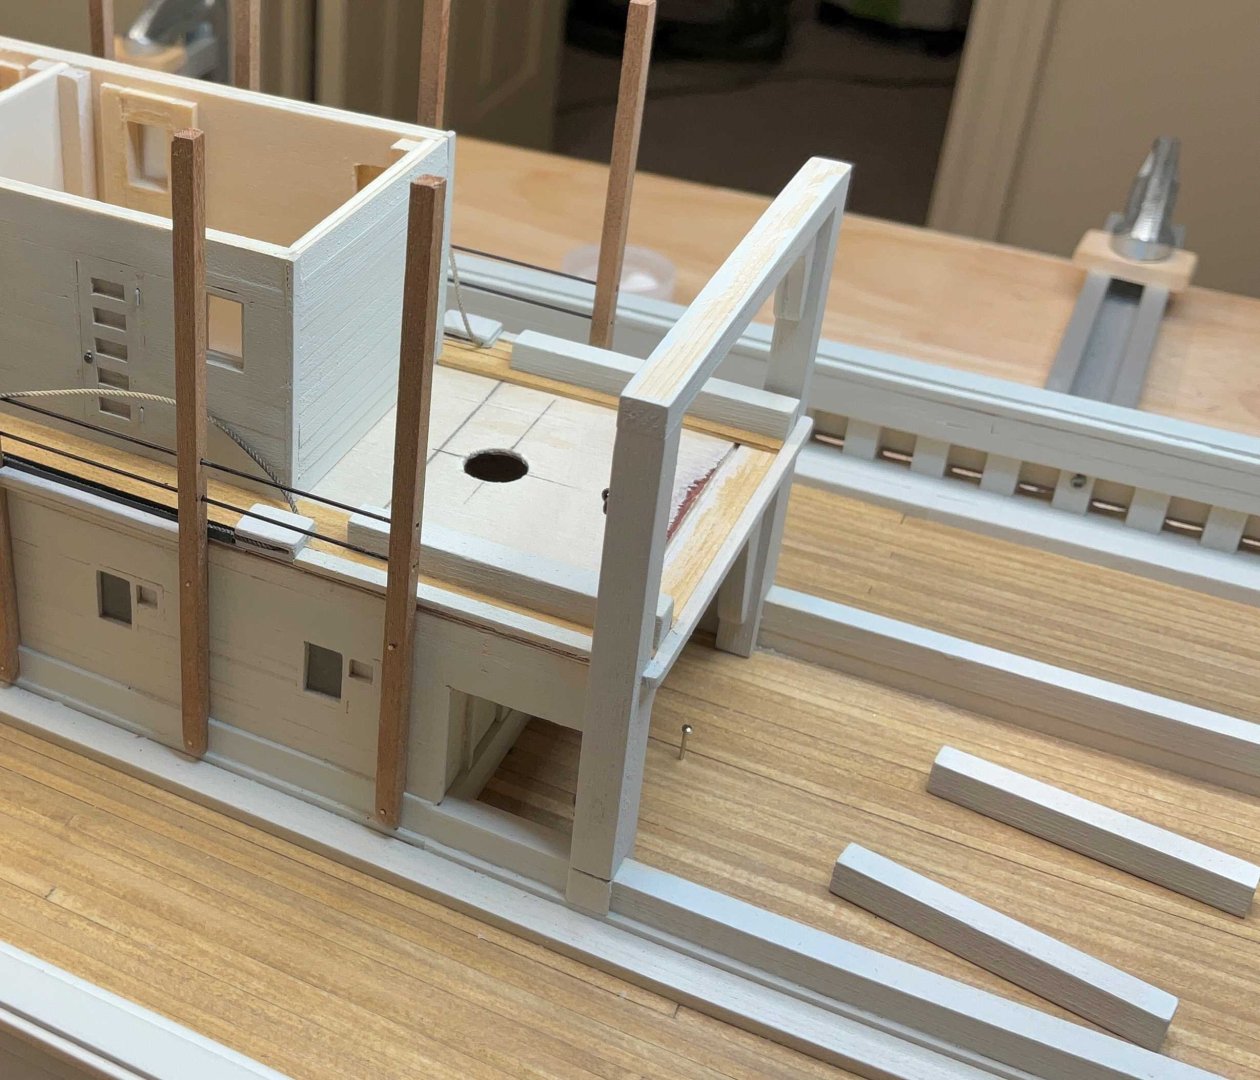
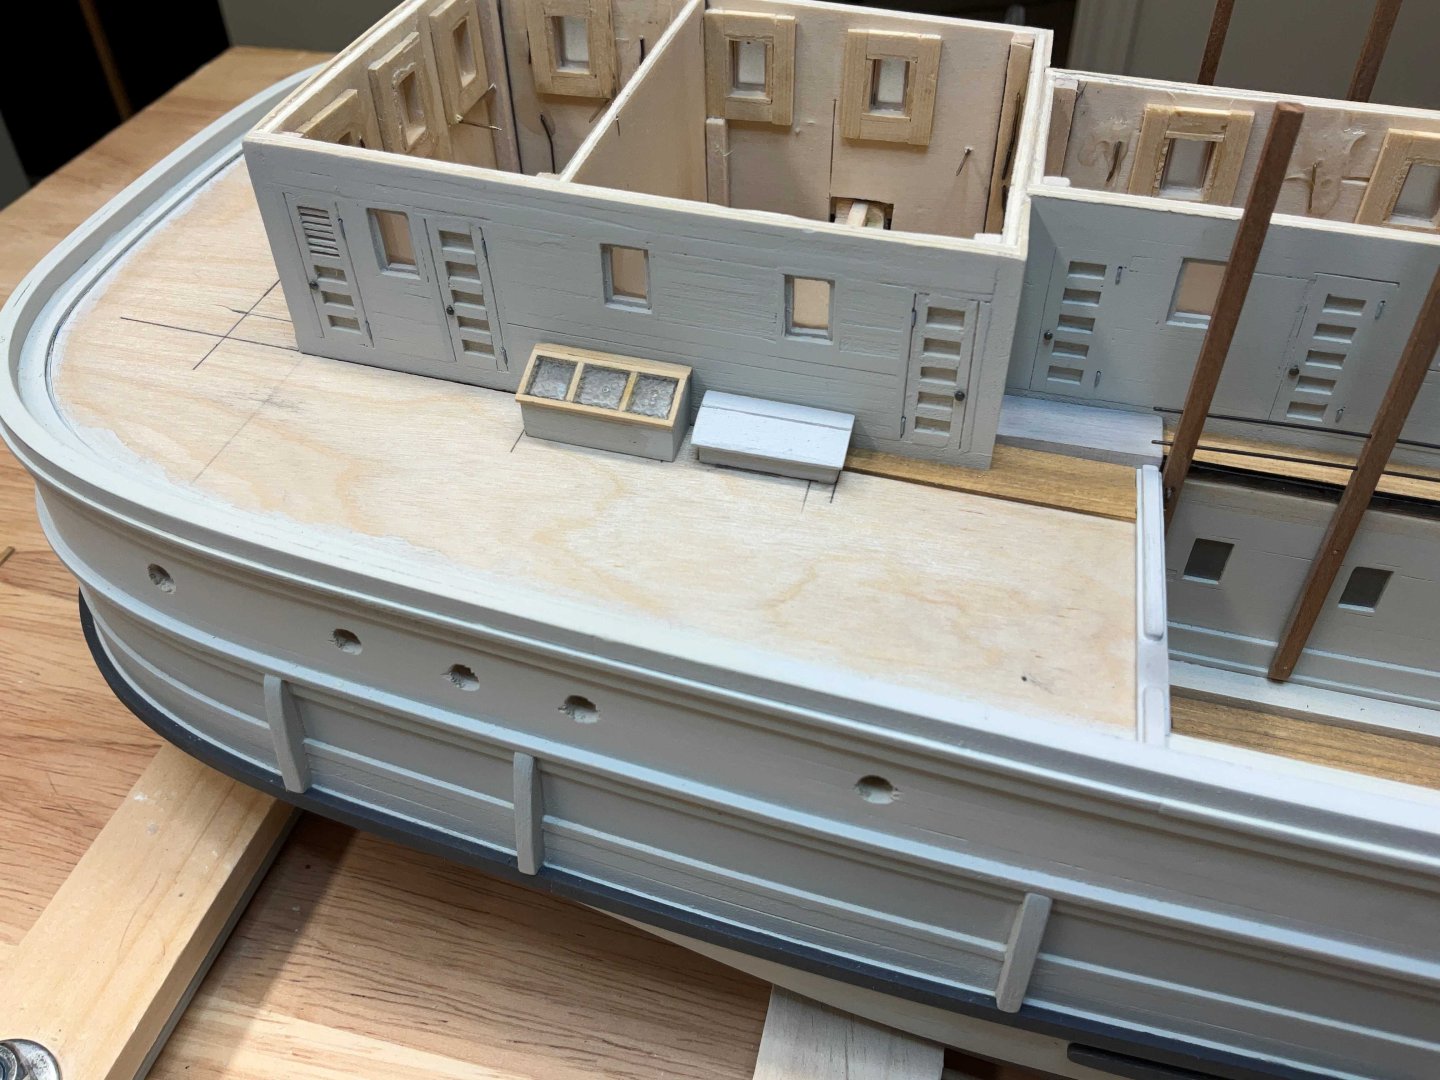
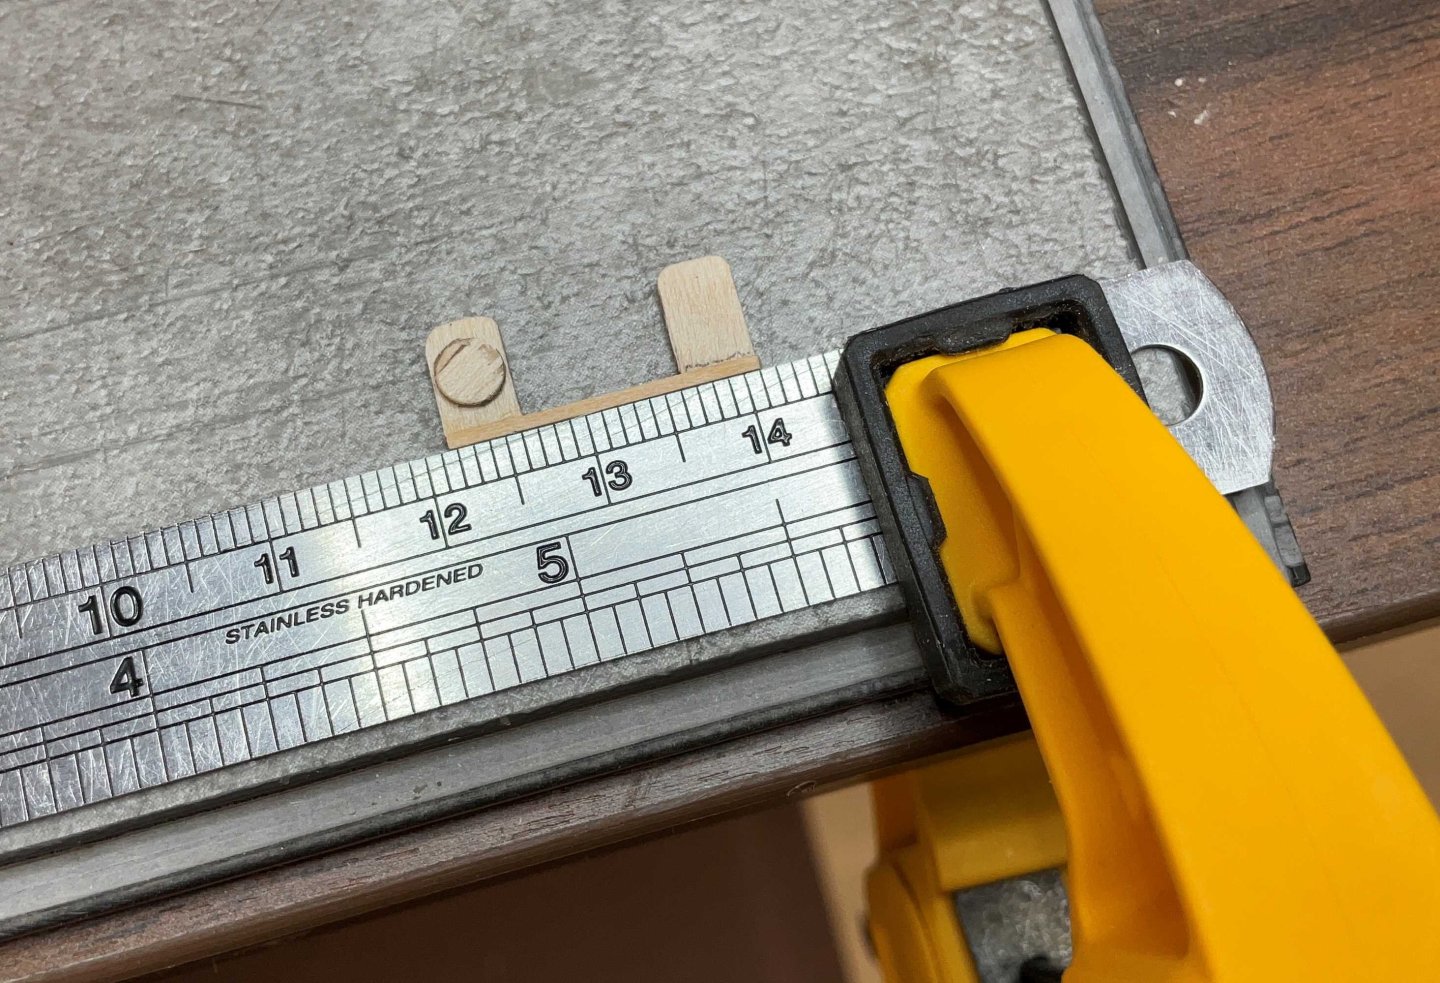
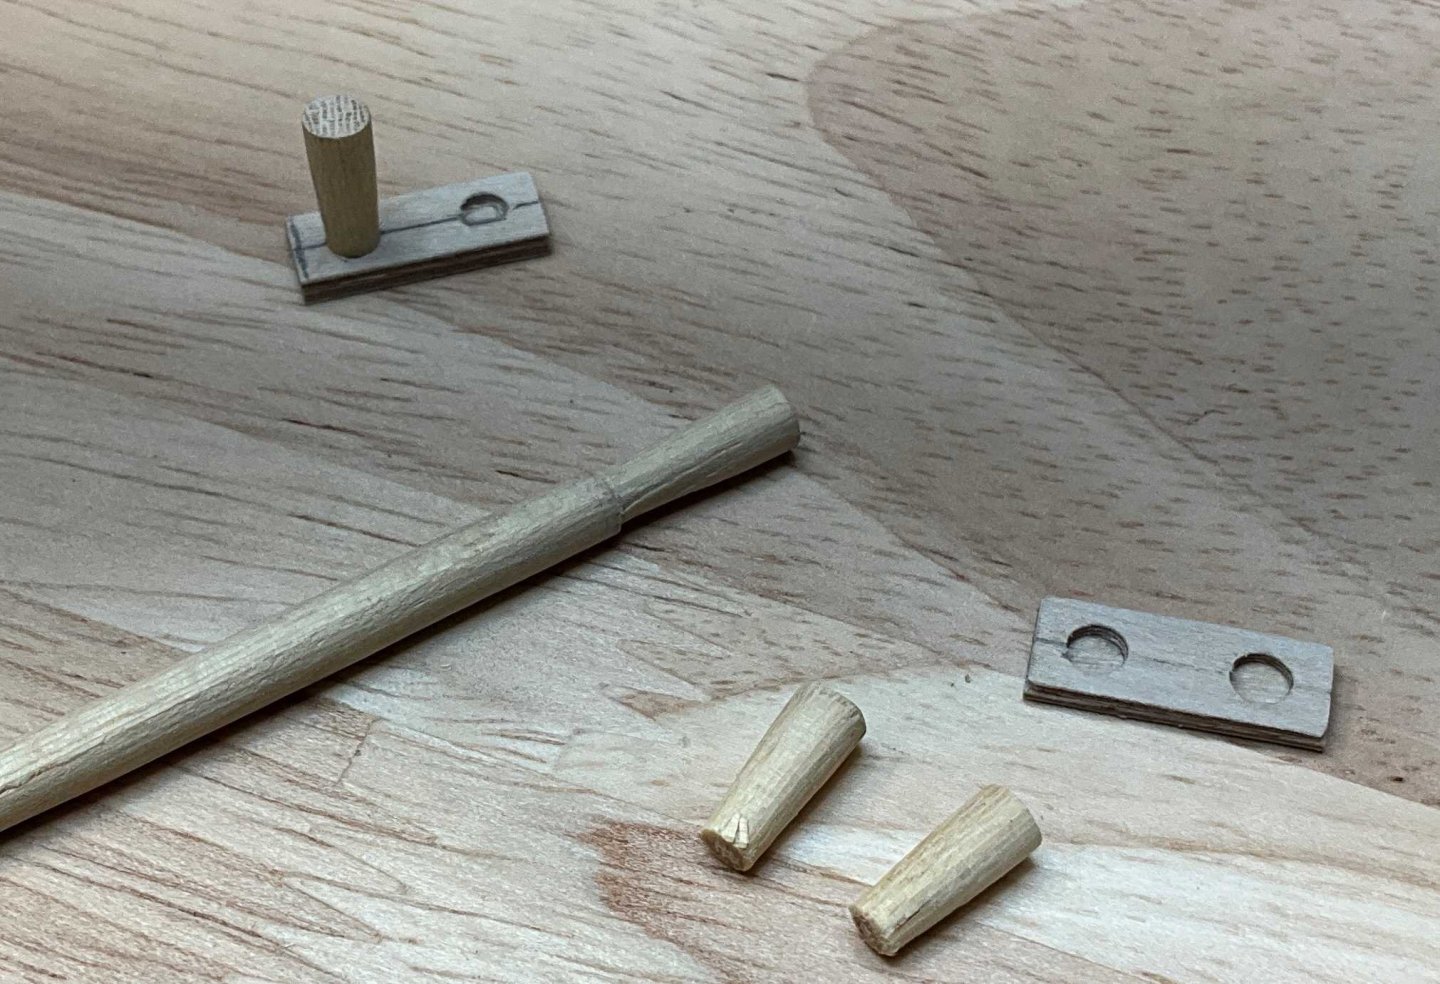
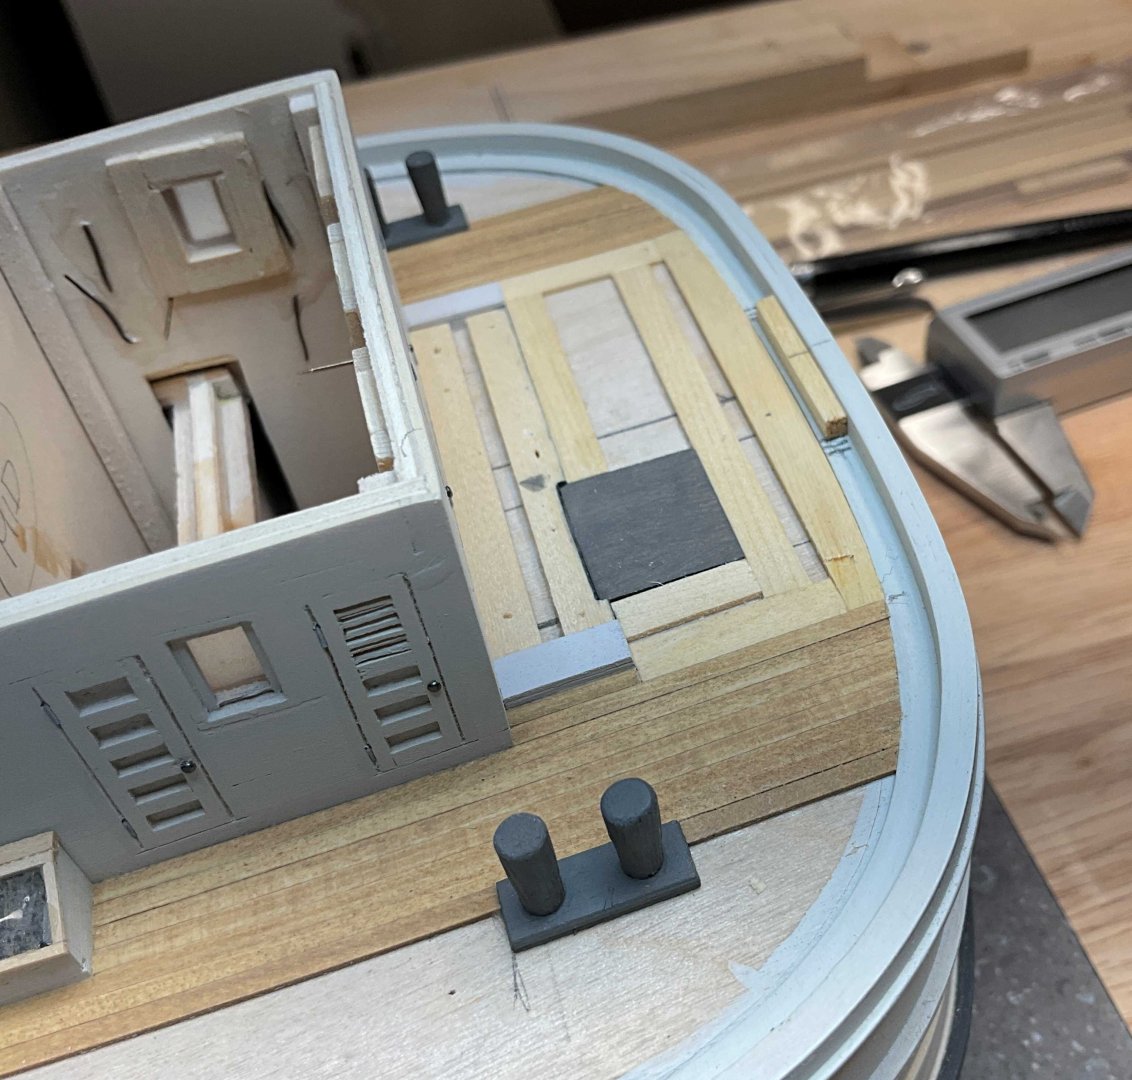
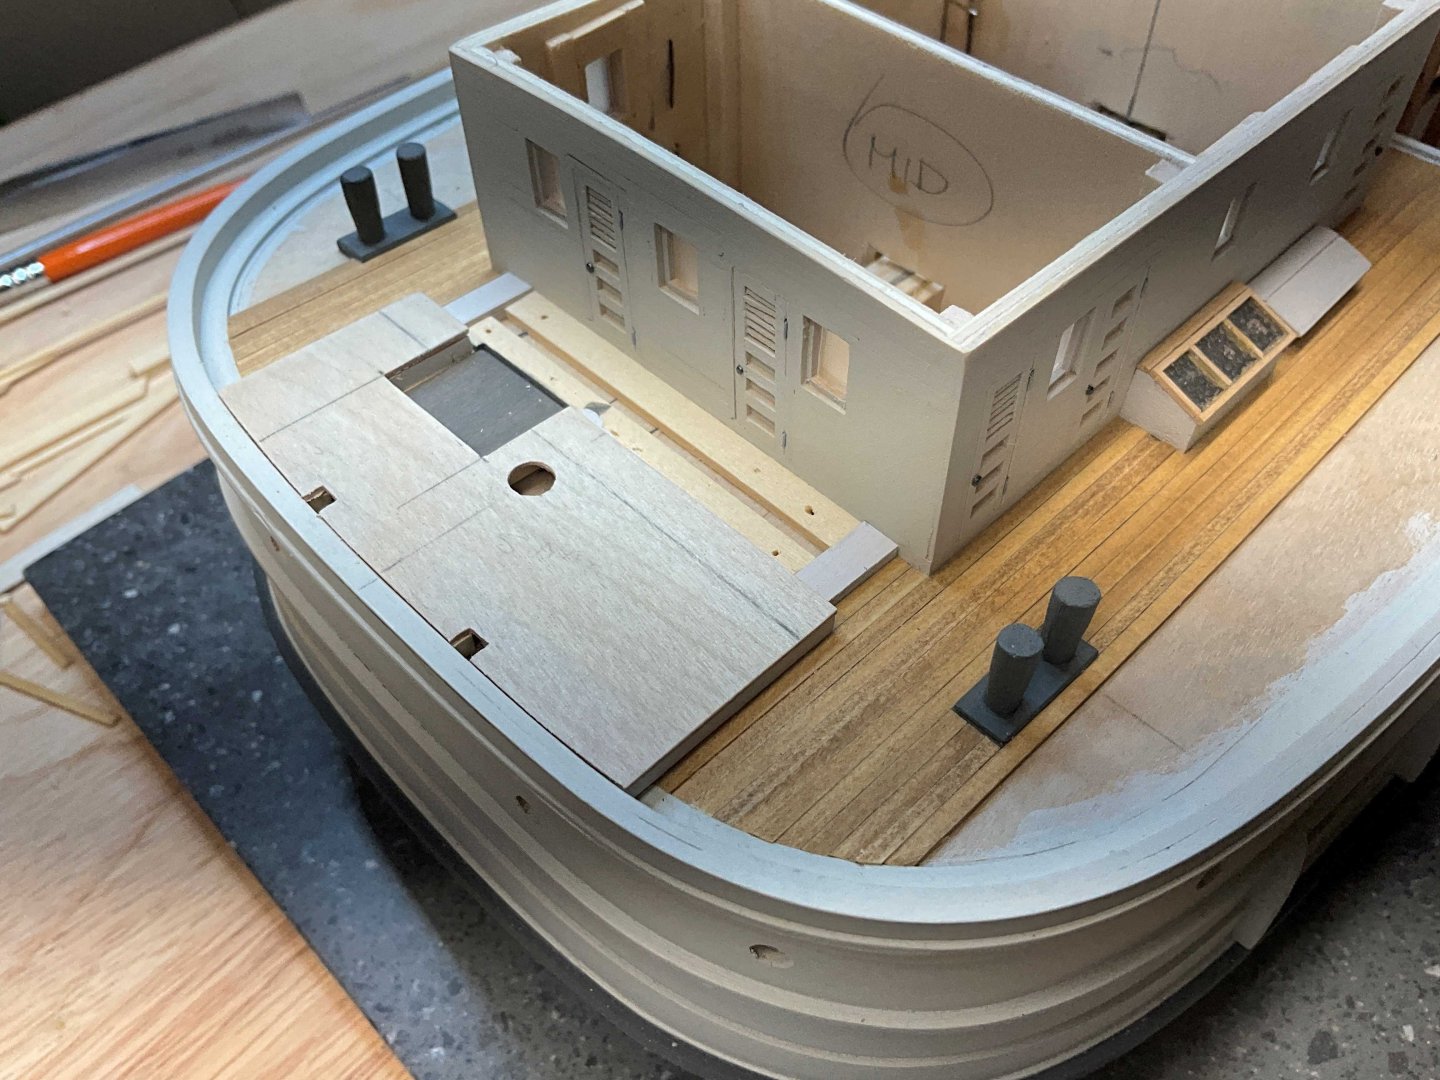
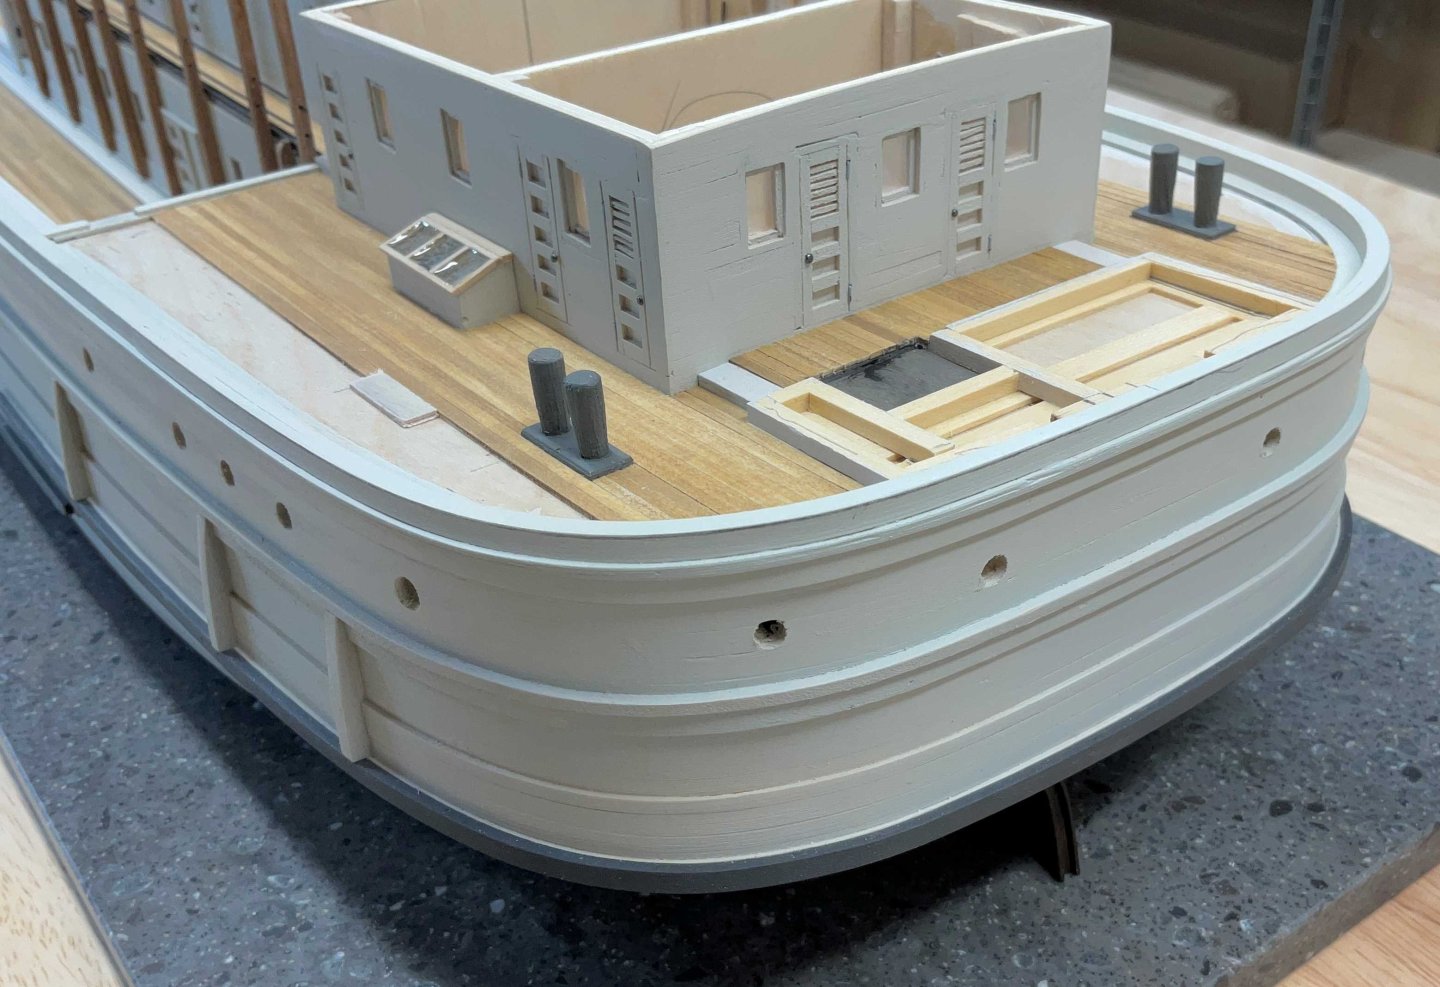
Hi Everyone, I hope you are all well. Thank you very much for your Comments and Likes. This update has a few smaller items, the first ones being a second set of bitts that had to be installed before the deck planking could continue. They were made with 1/8" dowel and 1/32" plywood. The 4mm diameter disks were made with the die punch. After gluing the disks to the dowels they were they were put in an electric drill and shaped. After painting they were glued to the subdeck and the planking started again. I used three hooded planks and then changed over to nibbing the next three. While this was going on the cover panels for the steering gear was made and attached. A 14mm dowel was made to support the funnel. It has a taper cut into one side that sits against a support bulkhead and is held with a 3/8" #4 wood screw. Also at this time I received a custom order from Ropes of Scale. Ben made three different shades of grey that I wanted to look like wire rope/ cable. I got some of each because they they all look so good. So far I've used the darkest shade for the steering cable that runs through the trough and up to the wheel house. Next came the framing to support the boat deck above the forward cabins. Temporary strips of wood were glued in place to guide the fascia board as it is glued to the stanchions. Another strip of wood was clamped to the tops of the stanchions to keep them in line The fascia board was pushed up against the guide boards and glued to the stanchions starting at the aft end, The temporary boards were removed and then frames were made to fit between the stanchions. All of the stanchions are not equally spaced between each other and are spaced differently port and starboard. So lots of measuring. And the funnel had to get a test fit She is now ready to start the subdeck for the forward end of the boat deck. Hope to see you soon.


.thumb.jpg.4cff211cf05f0b18b53fc921df8280ef.jpg)


-
Congratulations to all of the winners! Kurt, are there plans to show the other entries as well?
-
Keith, very happy to see that Billy is out of the gate!
-
Congratulations Glen! This has been fun, exciting and educational. Doesn’t get any better than that.
- 156 replies
-
- 3
-

-

-
- Queen Annes Revenge
- bottle
- (and 1 more)
-
Hi Keith, a few years ago I ran across this video of the Day Peckinpaugh on the Erie Canal. I always thought that it would be a great subject to model. Maybe one day I’ll take the bull by the horns.. https://youtu.be/brGKuijNroc?si=3fV4KUSFFLAs4gtN
-
Congratulations Chris, a beautiful model!
-
Keith, its almost like Someone is trying to draw attention to the port side of the pilot house for some reason.🙂
- 457 replies
-
- 2
-

-
-
- sternwheeler
- Hard Coal Navy
- (and 1 more)
-
Keith, congratulations on completing your sternwheeler and barge. Like everyone has noted, this build has been a lot of fun and also very inspiring!
- 457 replies
-
- 2
-
-
-
- sternwheeler
- Hard Coal Navy
- (and 1 more)
-
Phil, congratulations on finishing Oryol! Splendid work.
- 288 replies
-
- 5
-
-
-
- Card
- Pre-Dreadnought
- (and 3 more)
-
Glen, it is one thing to achieve this feat, it’s another to document it so well. Congratulations!
- 156 replies
-
- 5
-
-
-
- Queen Annes Revenge
- bottle
- (and 1 more)
-
Beautiful work at the stem and the stern post!
-
Roel, the real ship is almost as amazing as your model. Looking great!
-
Need small repair done on jibboom of Le Superbe model
Paul Le Wol replied to Mr. Matt's topic in Masting, rigging and sails
Hi Mr Matt, welcome to MSW. You should remove your email address from your post. If someone can be of assistance they can PM you for details. Good luck. -
Gentlemen, thank you for your Comments. I always appreciate them very much!
-
Thank you Keith. The decks are planked with 1/32”x 5/64” Alaskan Yellow Cedar from Modeler’s Sawmill. They are individually washed with thinned Vallejo Model Colour Old Wood and then given a coat of Wipe on Poly tinted with Vallejo Dark Slate Grey pigment. Every plank has a mind of its own on how it wants to look. Then the backsides need a light sanding before gluing down. The W-O-P makes it easy to remove excess glue with a damp brush
-
Thank you Jacques. They had sample pieces that looked like wood but said that they never get remnants of those. I guess wood kitchens have fallen from grace.
-
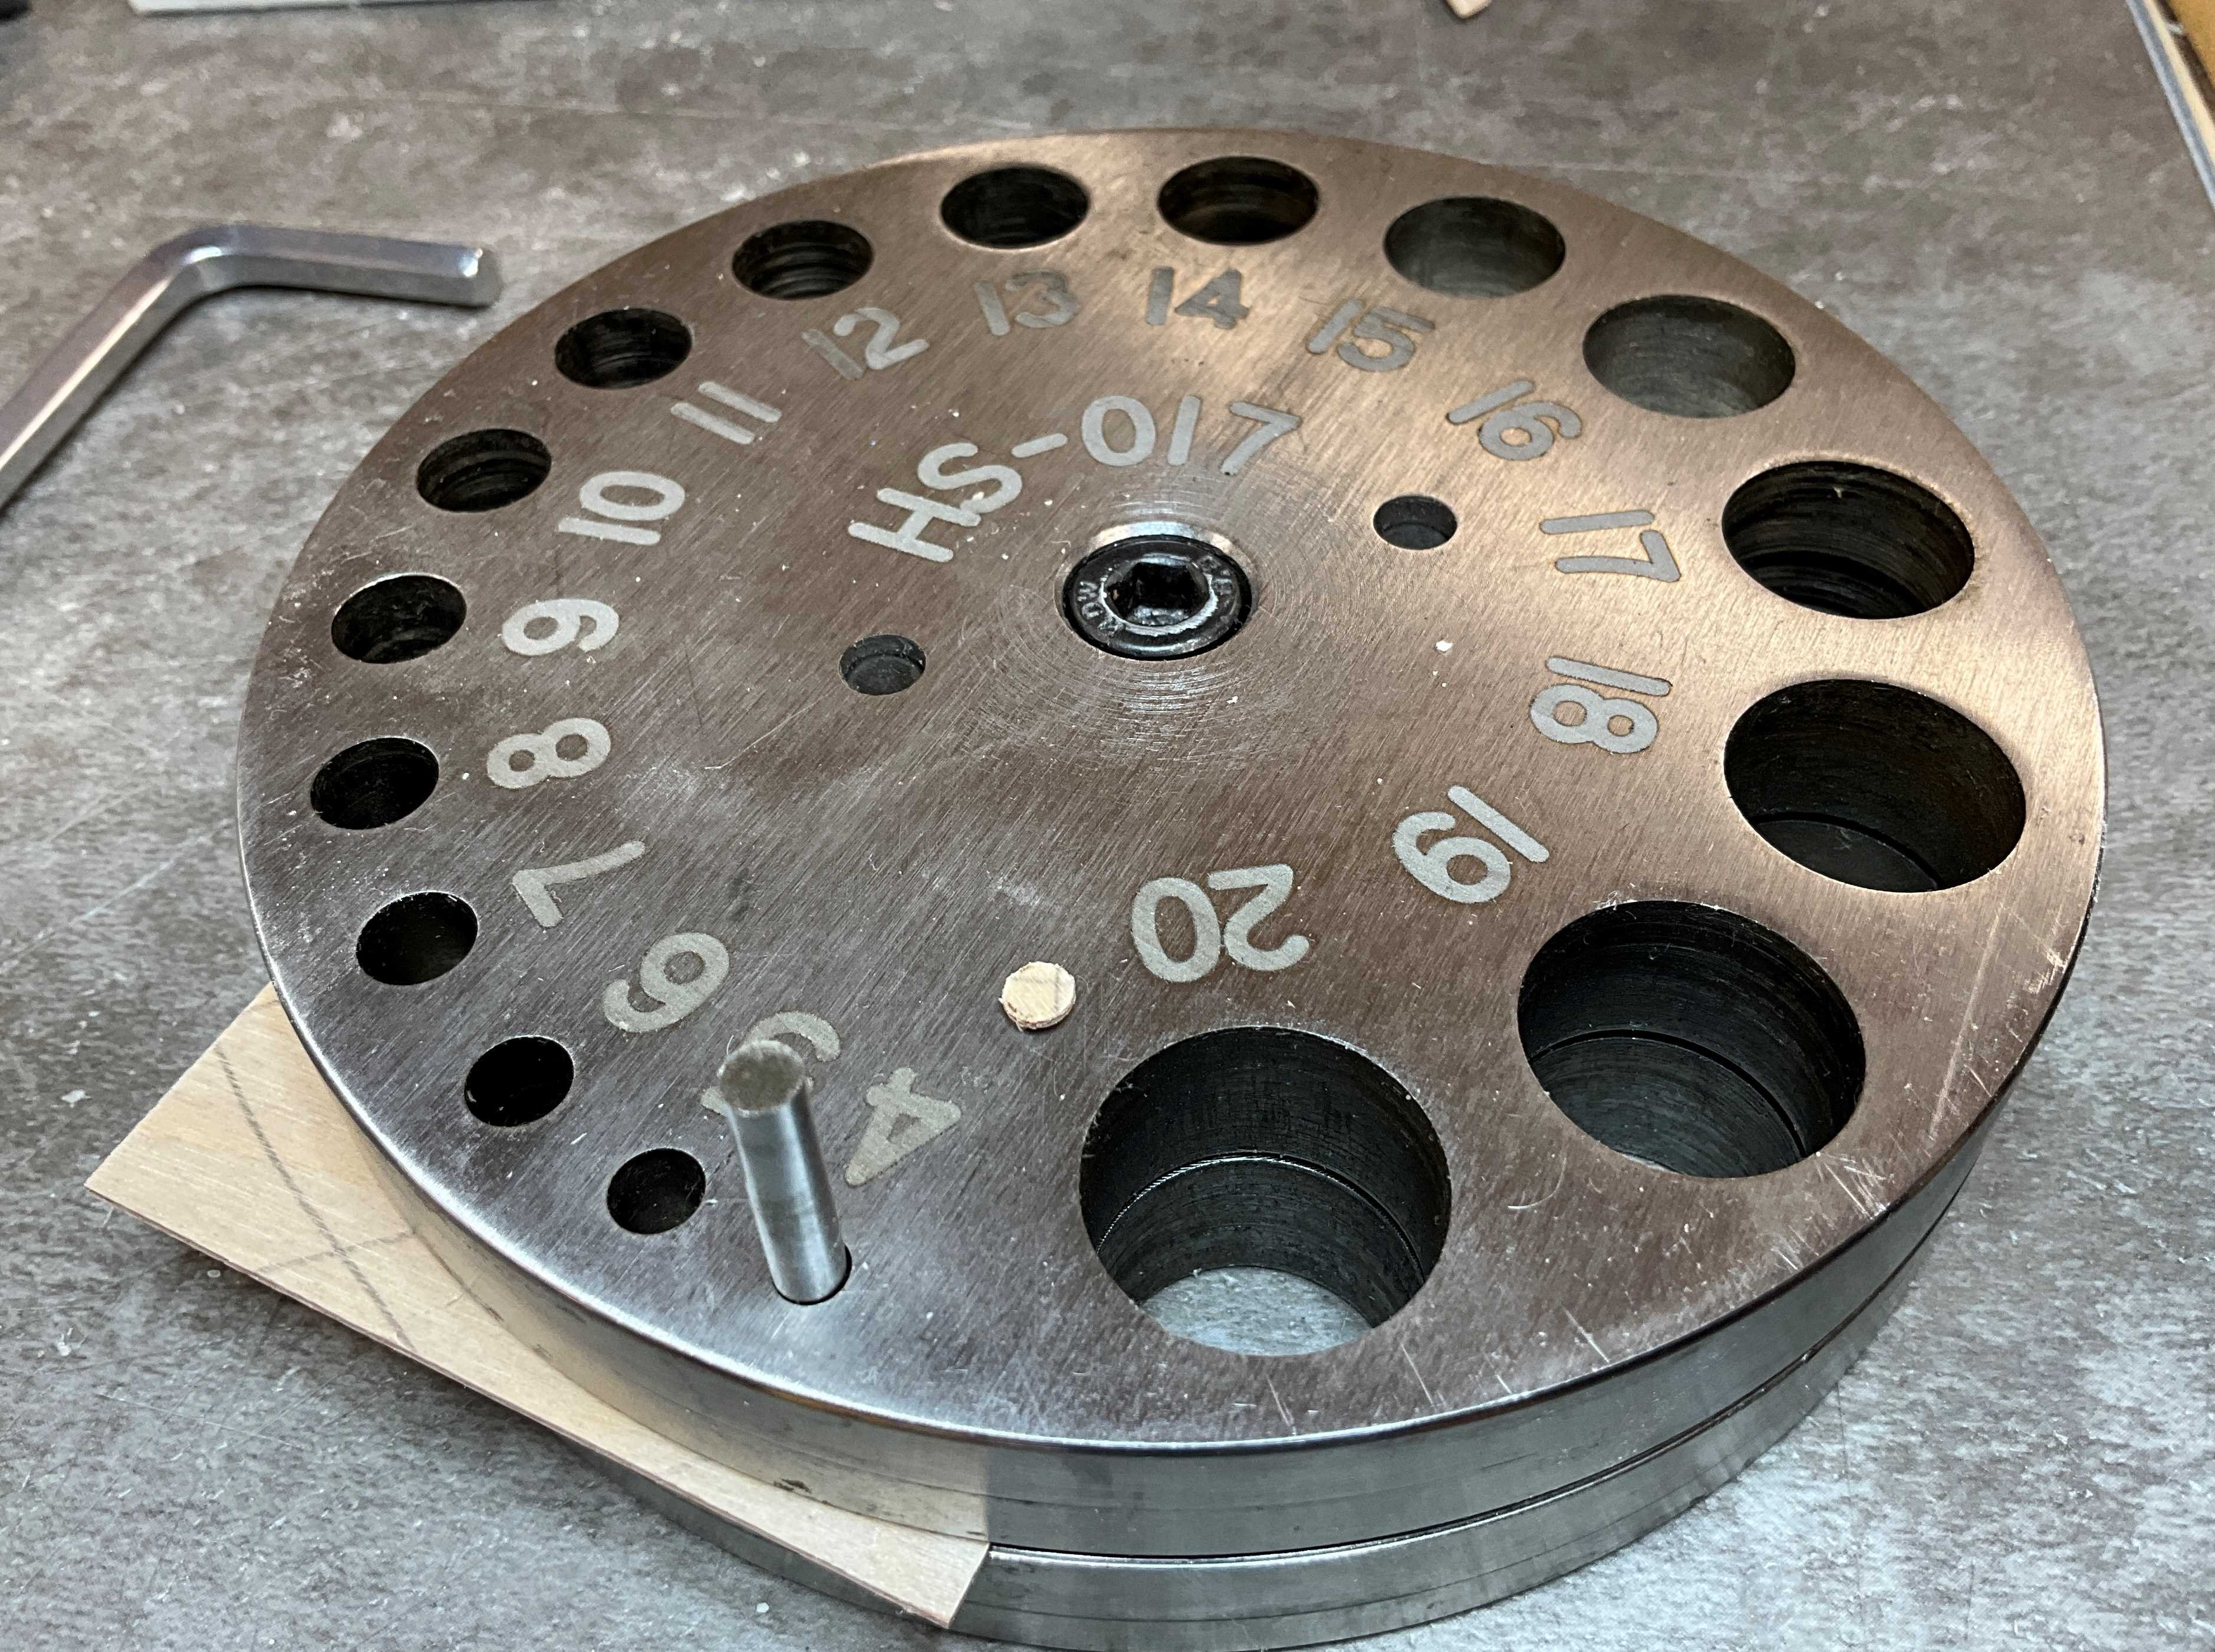
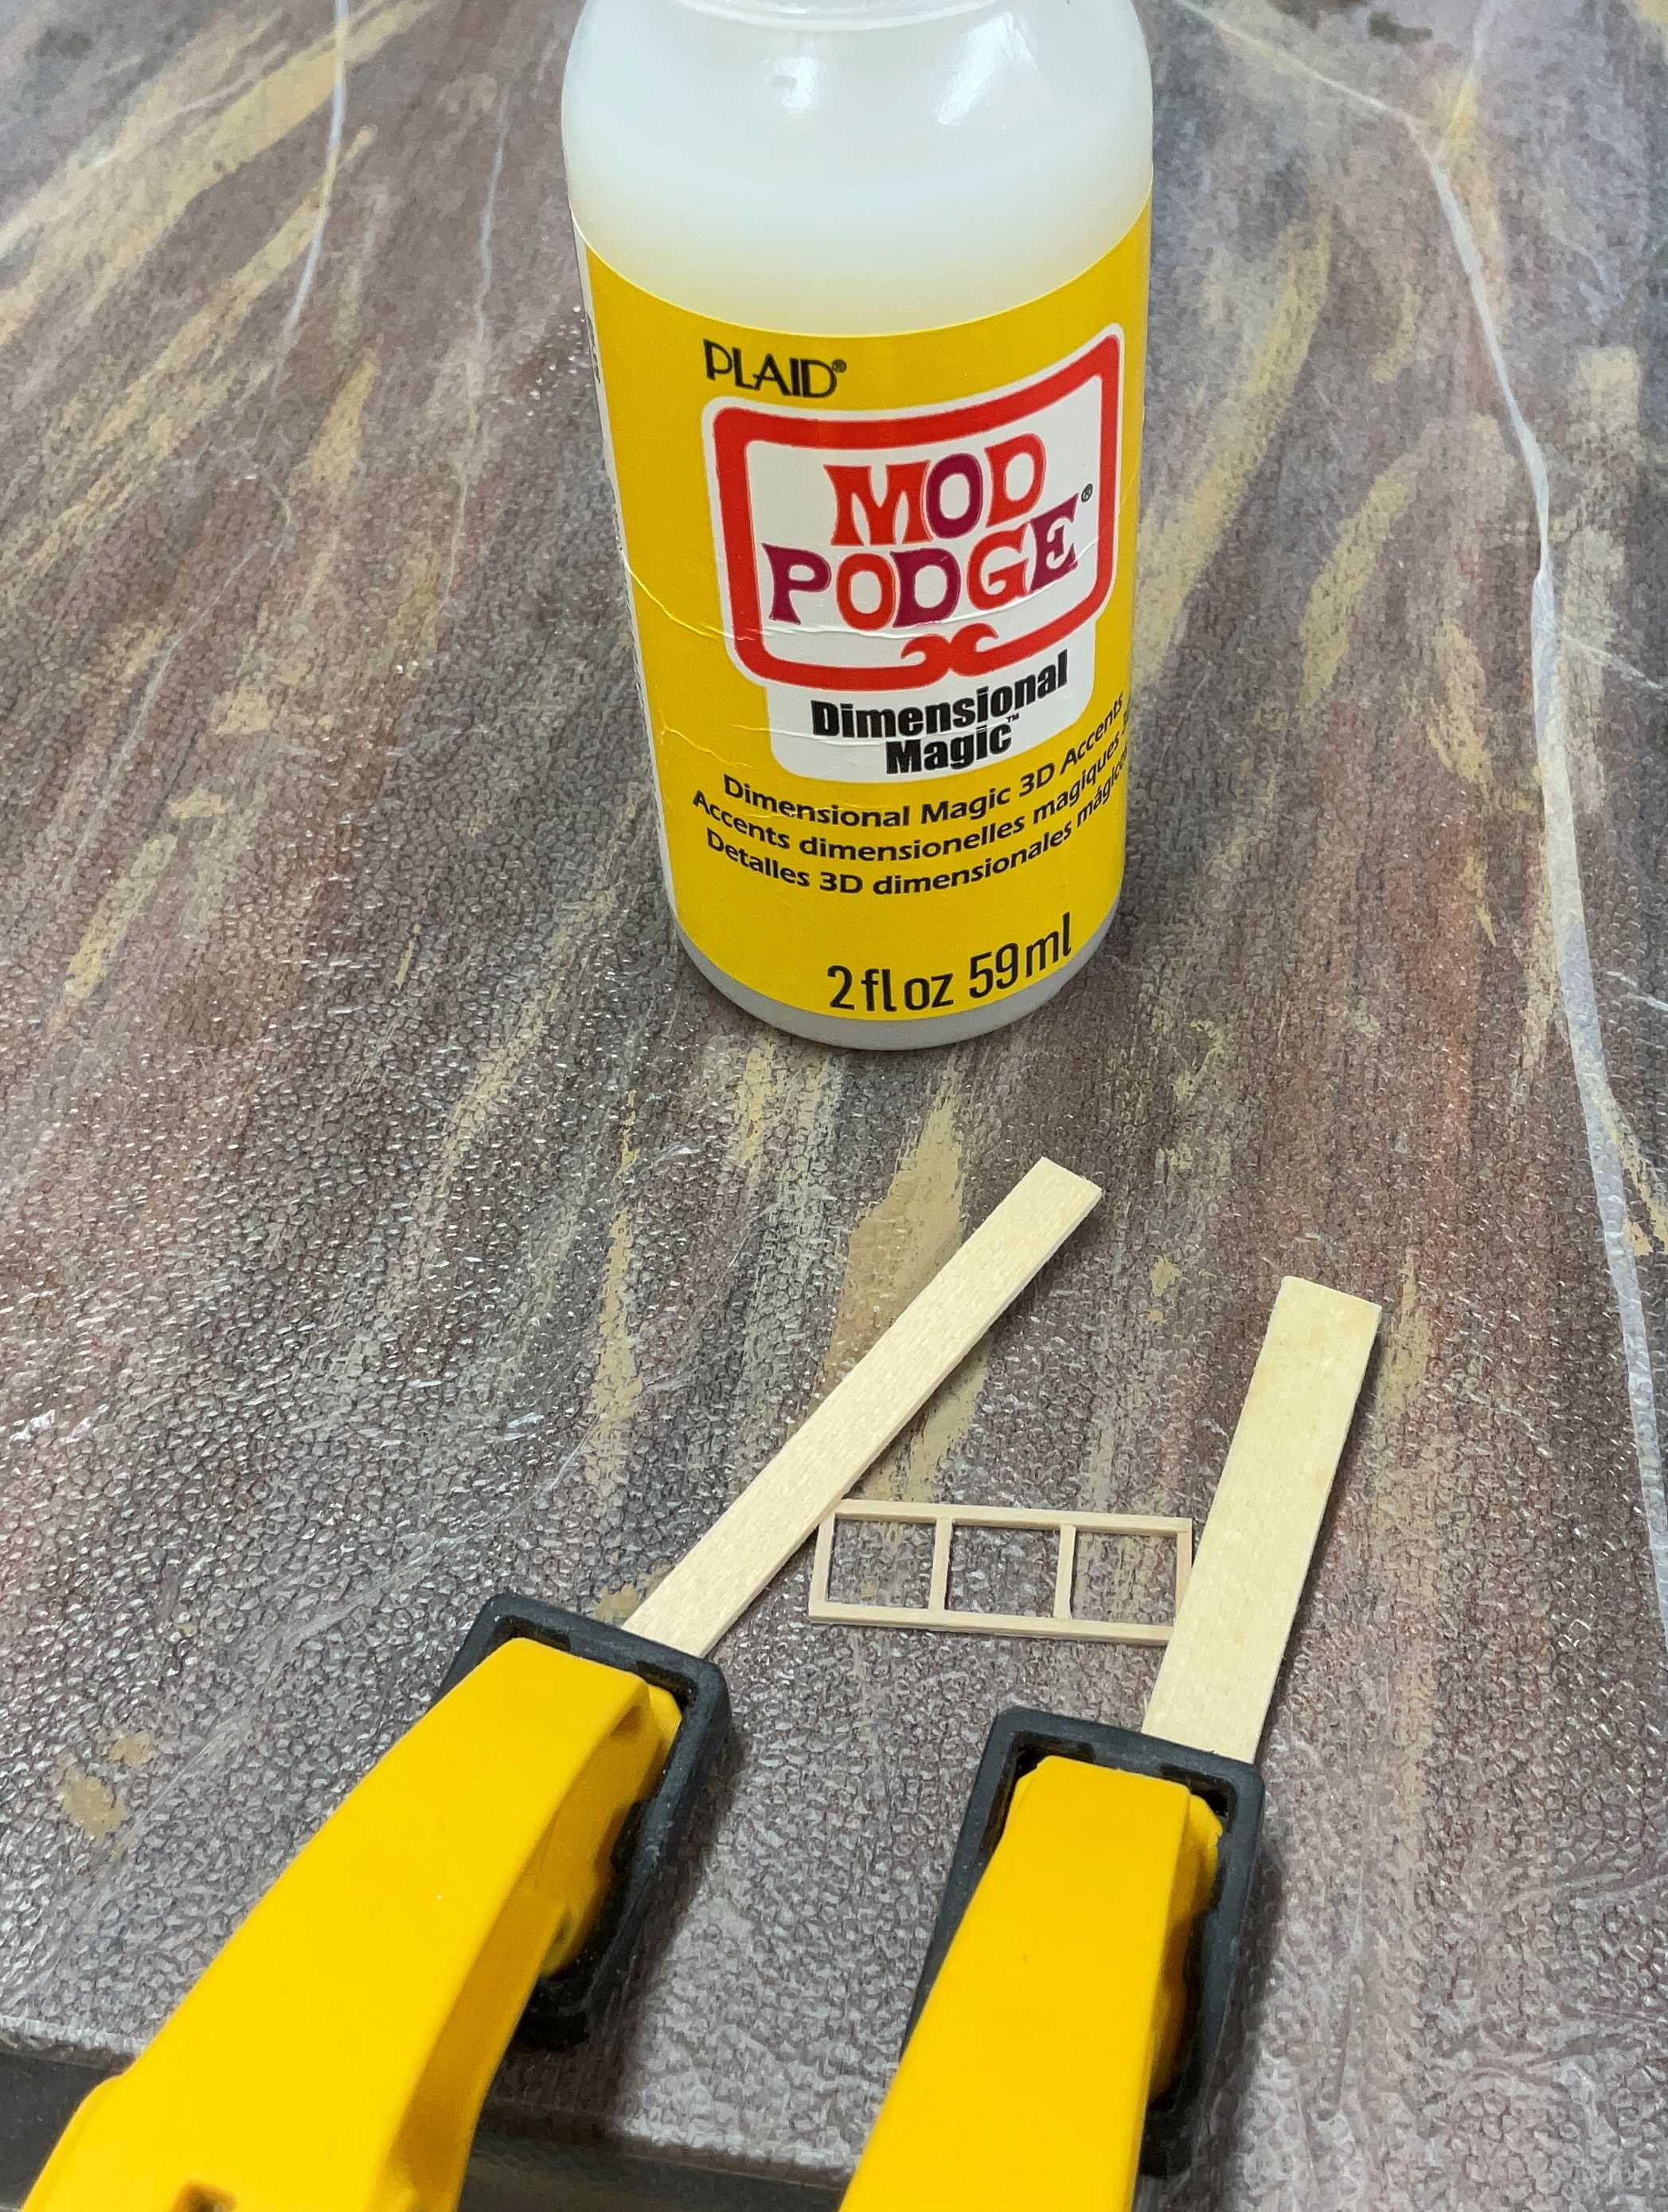
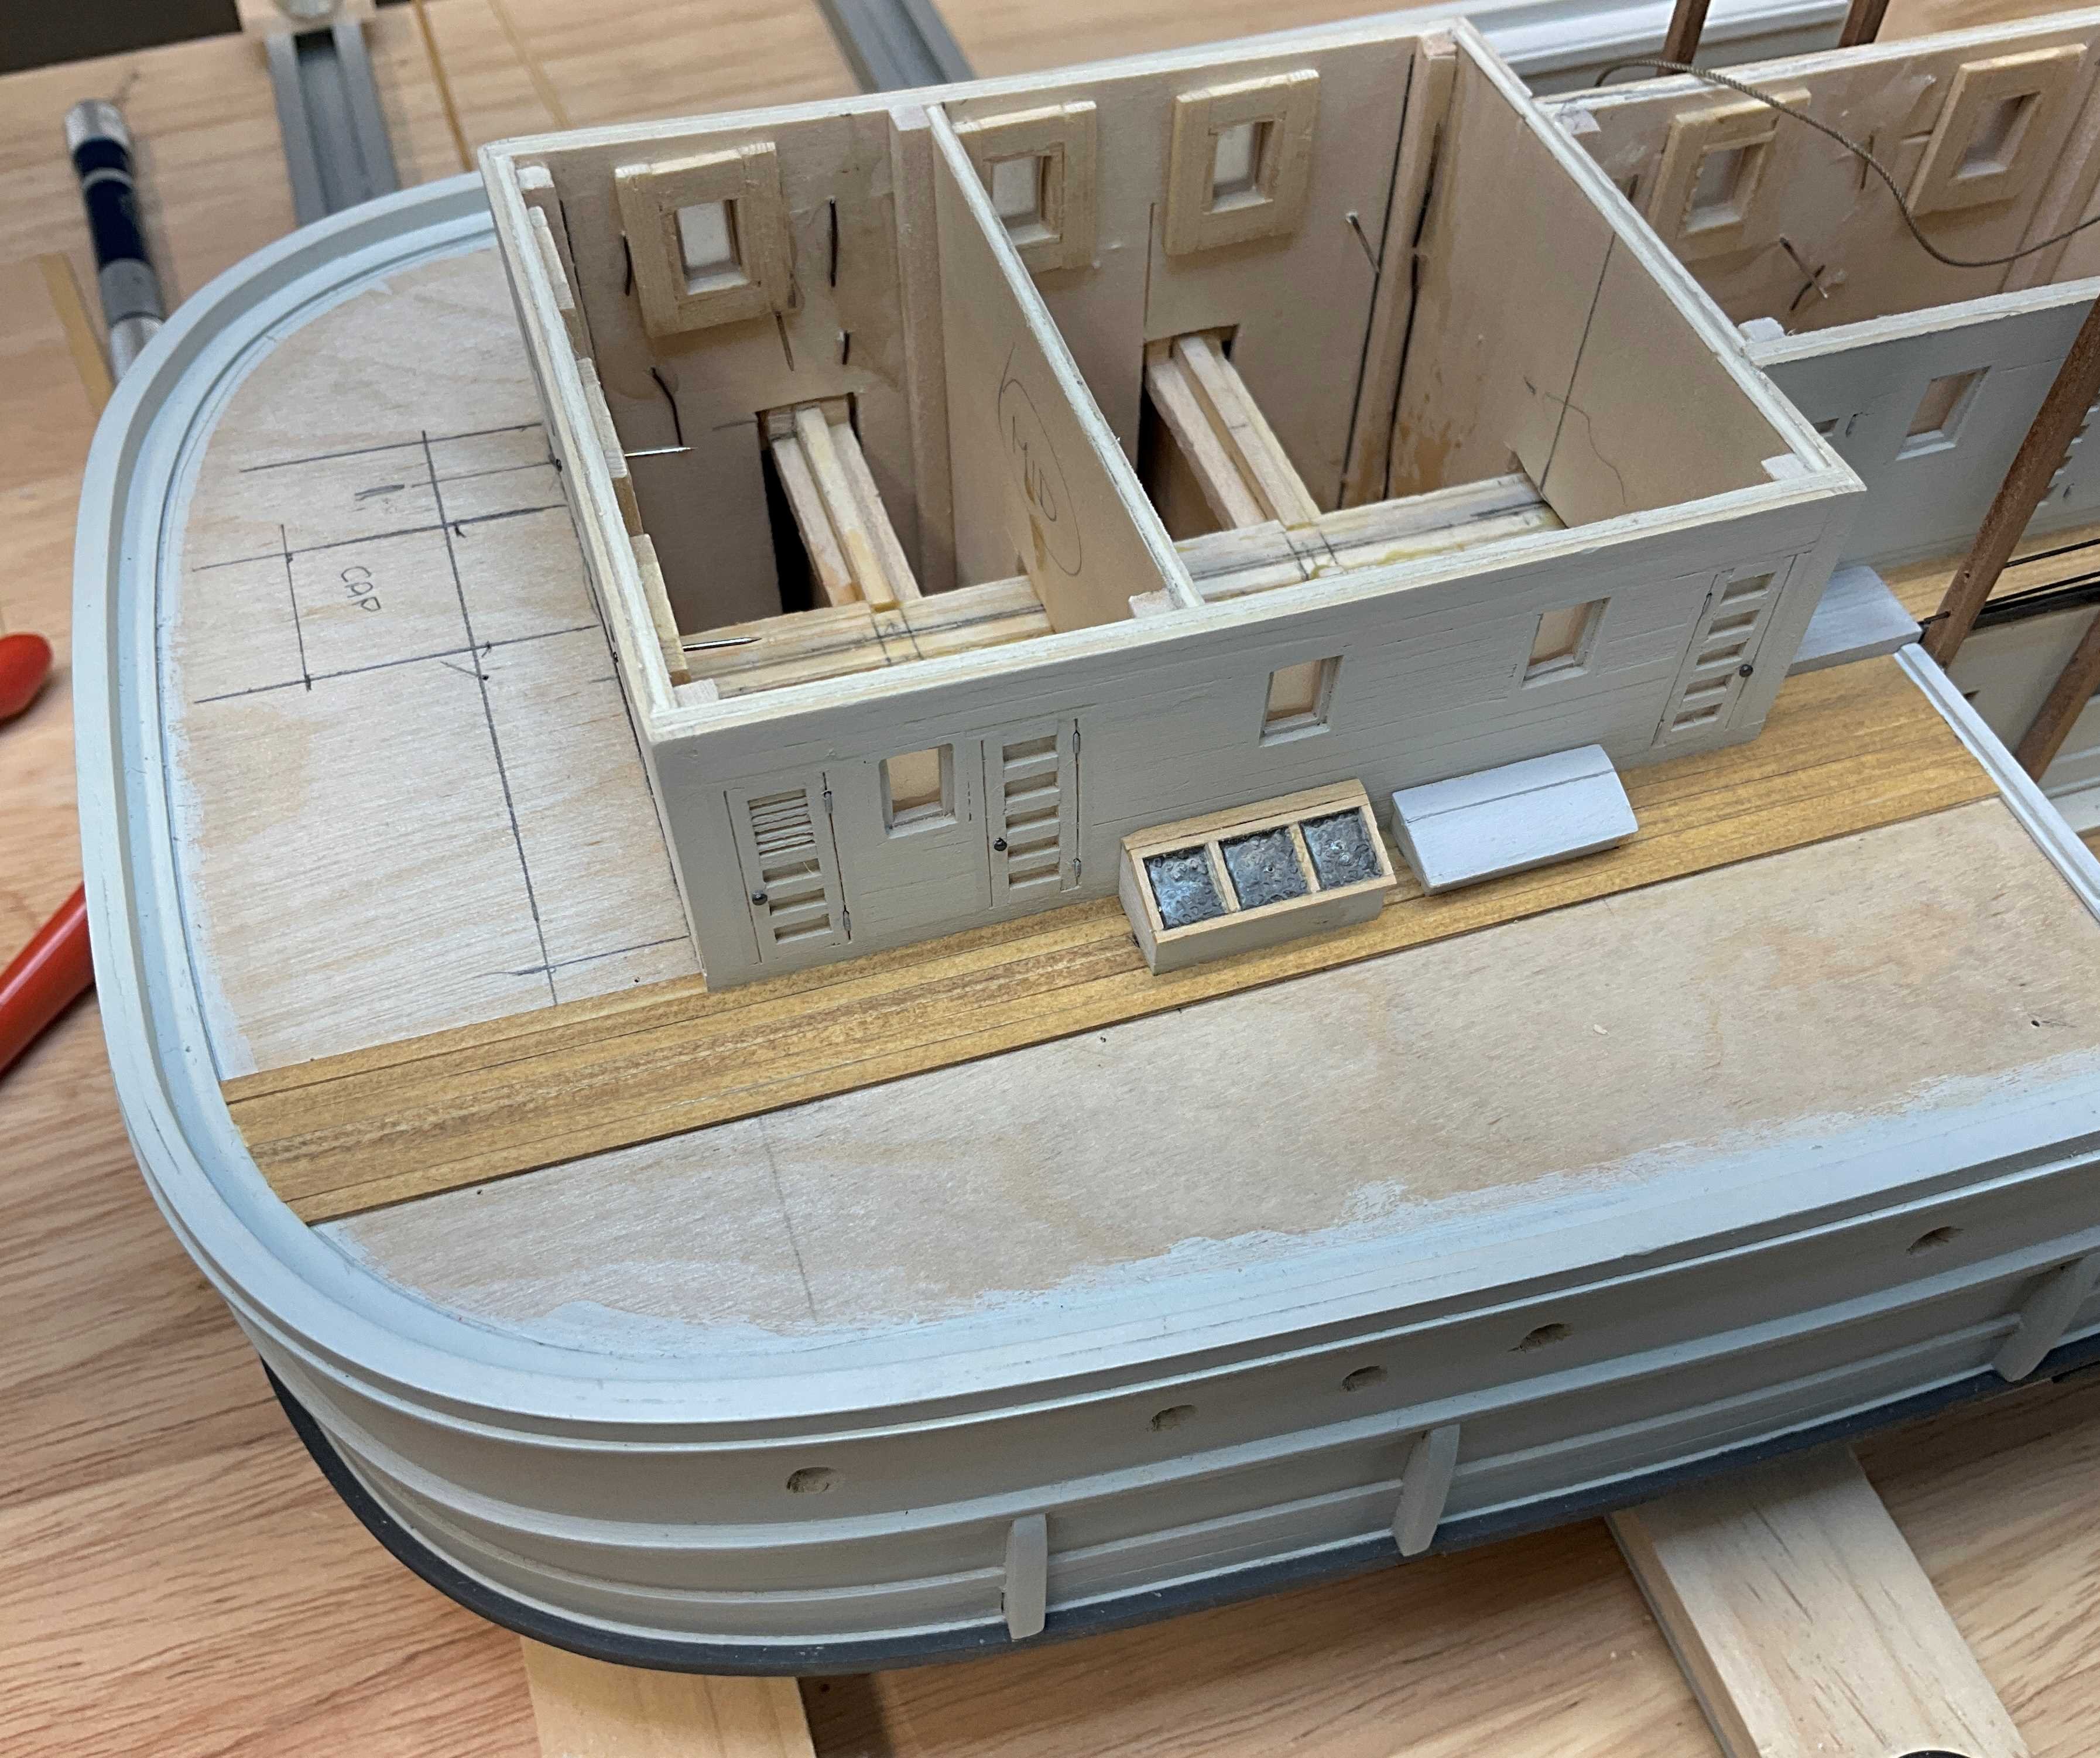
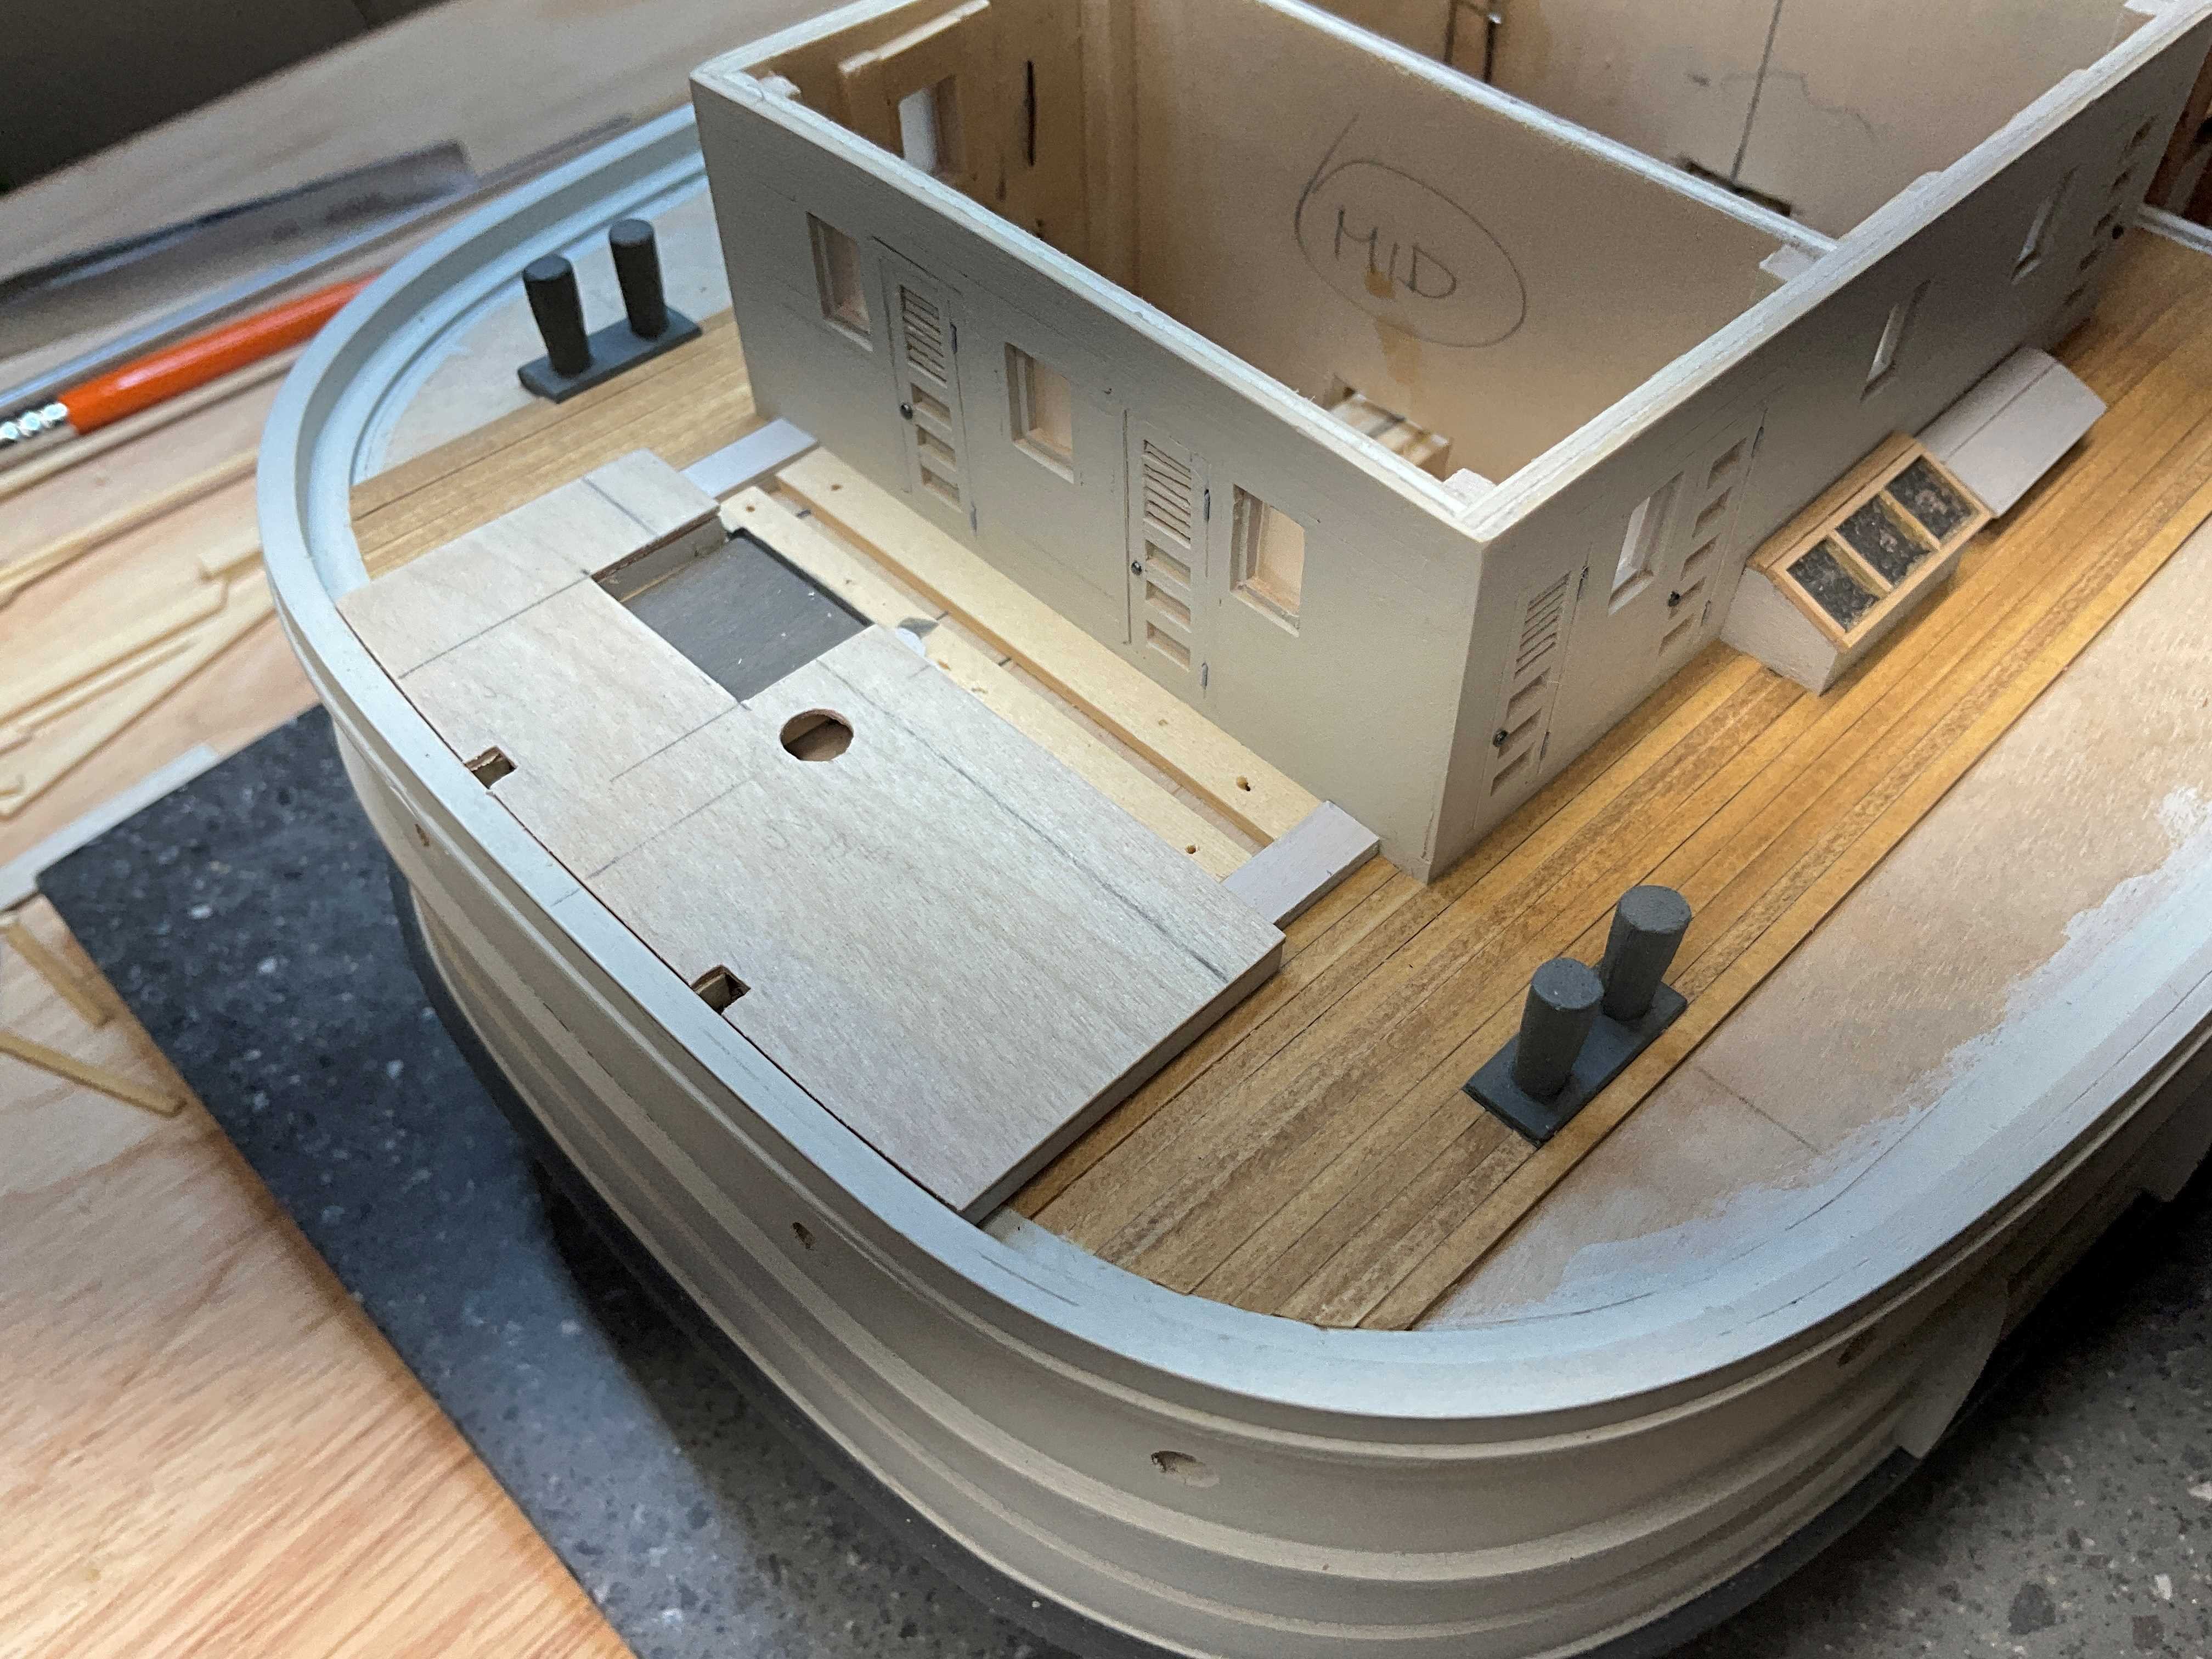
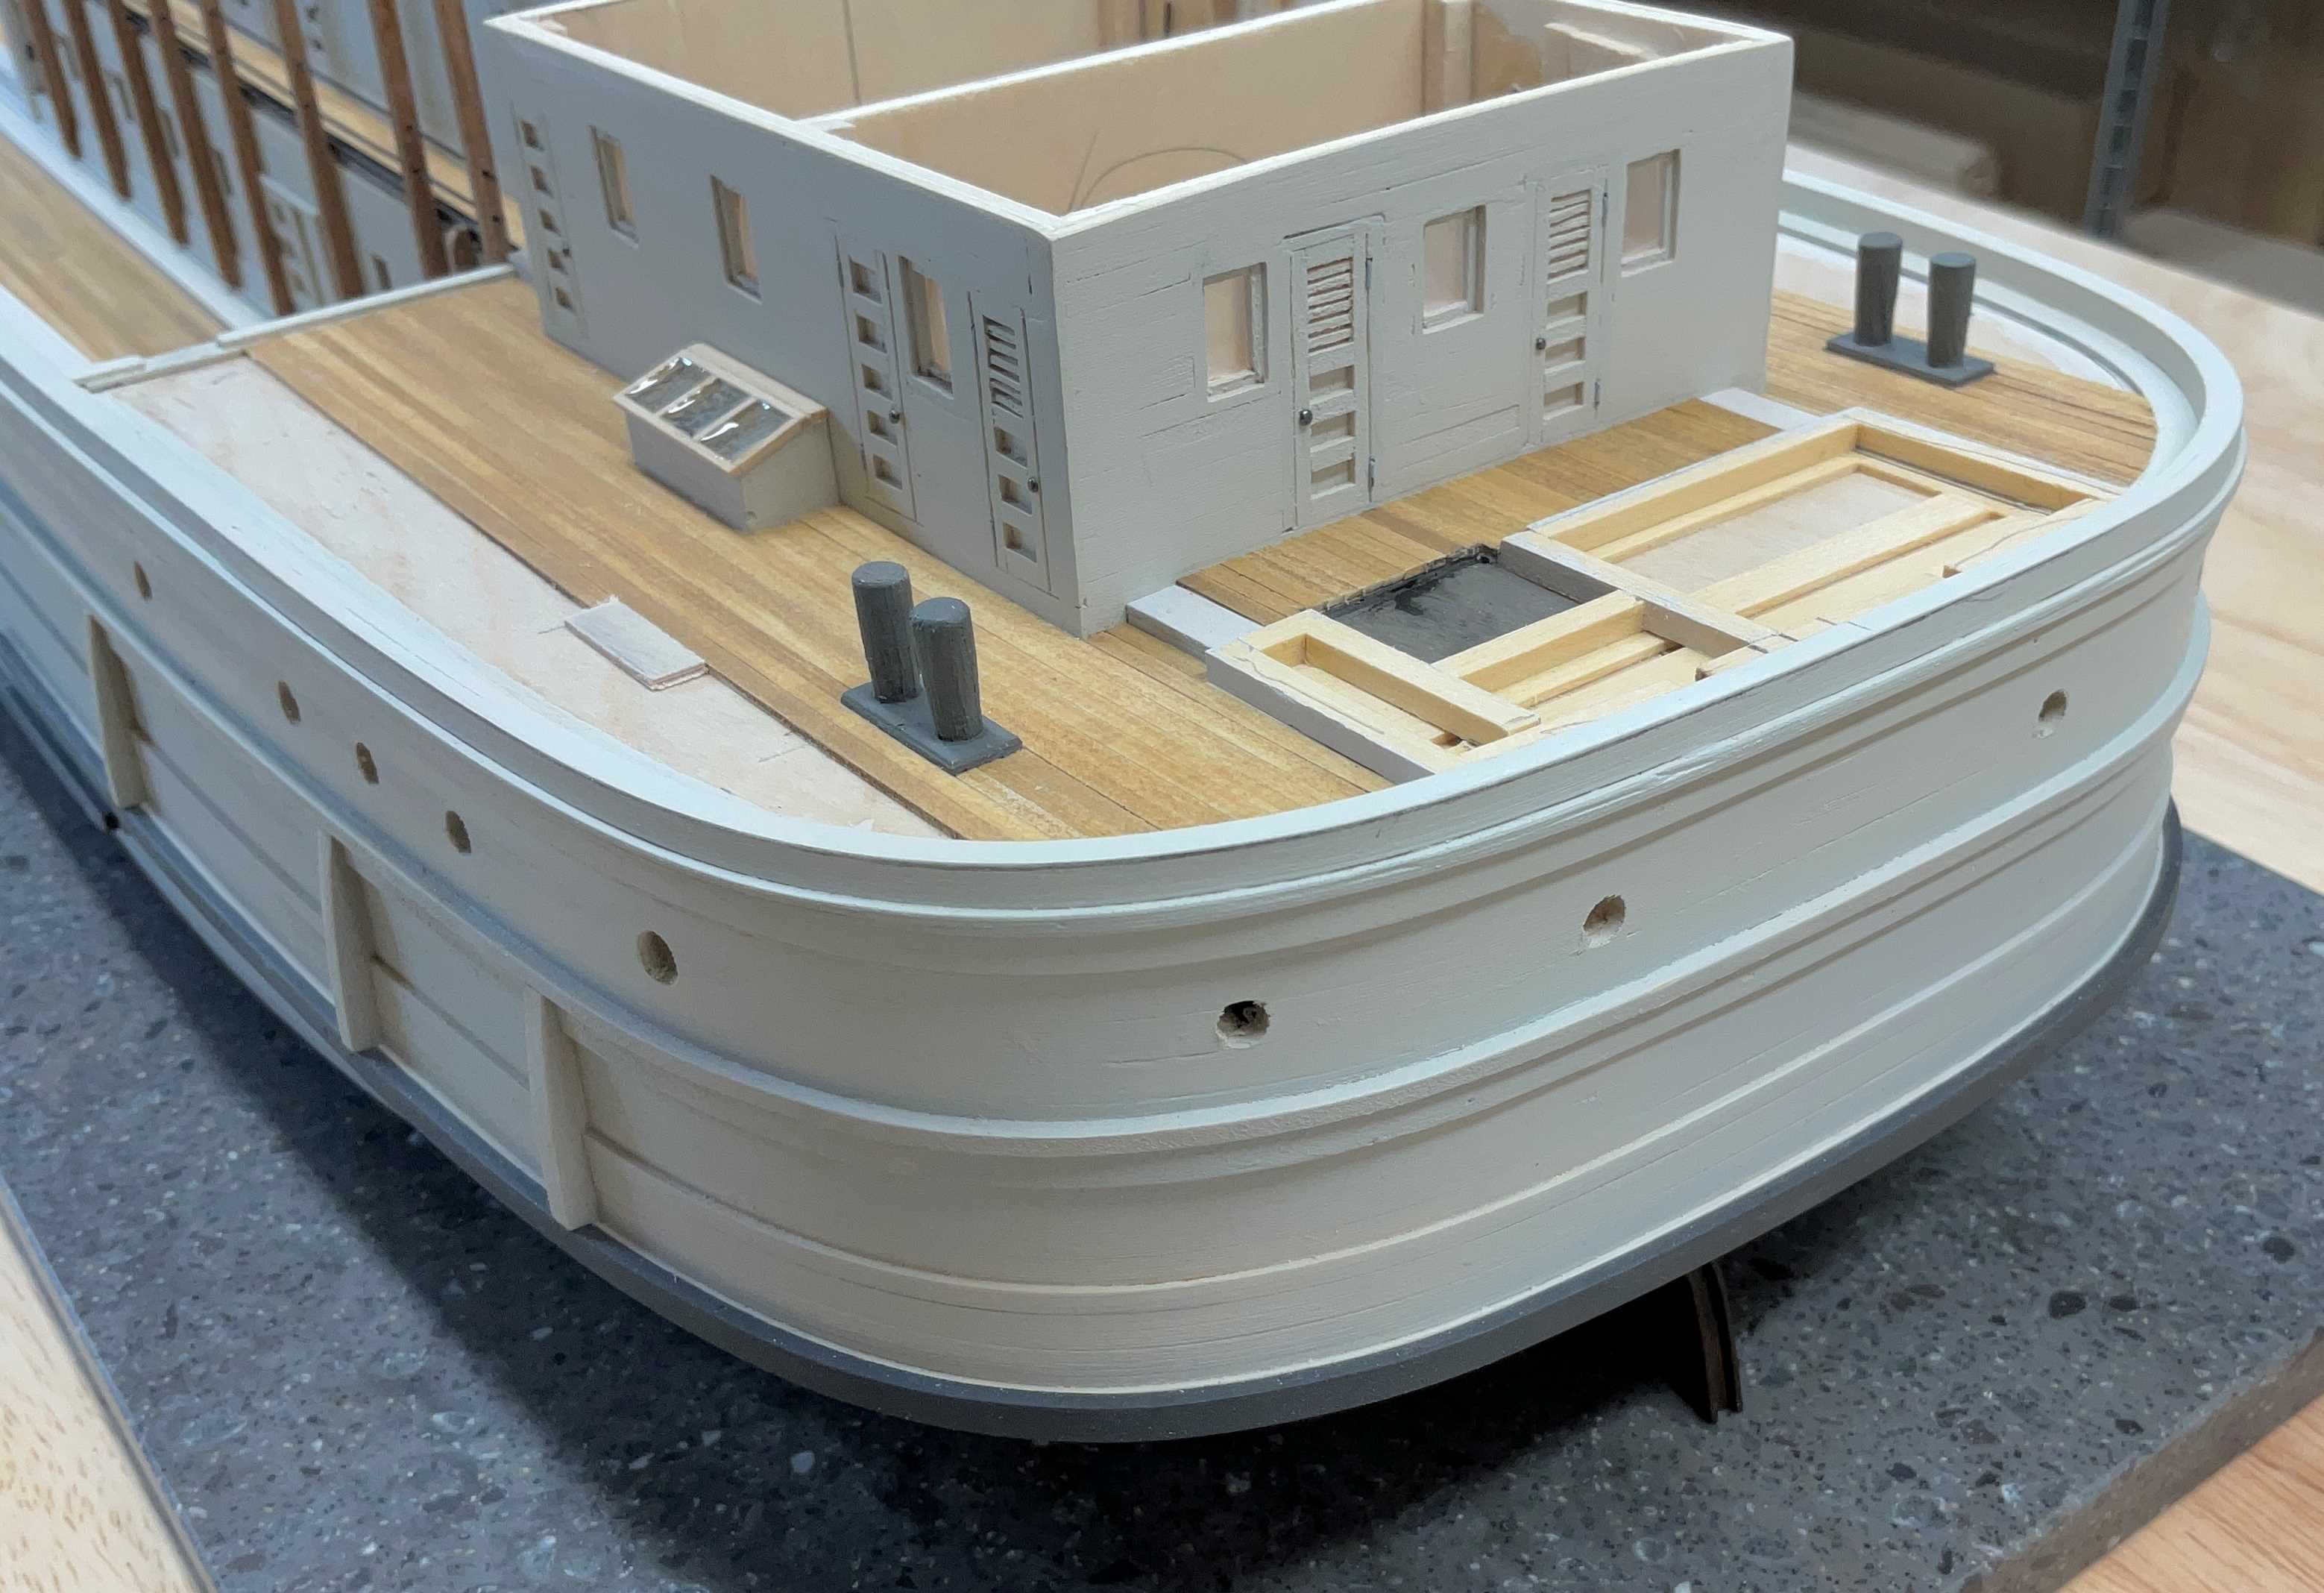
Hi Everyone, this is an update with a bit of everything. Thanks to all of you for the Comments and Likes. Last week I picked up the base which was made from solid surface counter material by a local countertop company. These companies make stuff like this out of remnants so choice is a bit limited. It can be drilled with a regular HSS drill bit, is very straight and fairly heavy. Overall I'm happy with it. First though came the windows for the port and starboard skylights. They were made from 1/32"x 1/32" boxwood which were then clamped to the table that was covered with Press n Seal. Mod Podge Dimensional Magic was used for the glazing whish also kept the frame from falling apart. The deck planking was started once they were glued to the subdeck. The timbers that the cargo winches sit on were next. They are made from 3/16"x 7/32" AYC so that they look square once the deck is laid. The sheaves that send the steering cable up to the wheelhouse were made. I don't know what they looked like so I made something that they might have looked like. I picked up a die punch set from Amazon that I thought would be handy for making winch parts so it was tested out here on the sheaves. They are made from 1/32" plywood. Once the deck was completes around the timbers, the 1/32" plywood mast partner was made, installed and tested with the mast. The large tapered bitts were made from 3/16" dowel shaped with a file while chucked in a battery powered drill. They were painted with Vallejo Steel Grey and glued to the subdeck. Then the planking continued. At the same time the frames for the raised panels covering the steering gear were laid out and attached. The cover Panels will be planked on top of 1/32" plywood. The rudder was made some time ago and of course I forgot to install it before mounting the model to the base. Here it is after removing and remounting the model A second set of bitts are in the works and then the deck planking can be completed. Hope to see you soon.


.jpg.e6055859cc1c4018f1a84d10dccc118a.jpg)