Paul Le Wol
NRG Member-
Posts
1,009 -
Joined
-
Last visited
Content Type
Profiles
Forums
Gallery
Events
Everything posted by Paul Le Wol
-
I bought a Higaki Kaisen ship. Today that would cost you about 213 USD plus shipping which to me is good. Bear in mind, I’m used to having to pay with Canadian mini bucks.😀
-
I recently bought a Woody Joe kit from zootoys.jp . It was a good experience. Their postal service handed it off to Canada Post who collected sales tax at the door. Came in just over a week. Painless
-
Wow Glen, this build is going to be spectacular!
- 156 replies
-
- Queen Annes Revenge
- bottle
-
(and 1 more)
Tagged with:
-
Hi Keith, thank you. The hinges were made from 26 gauge wire. The paint was burned off and and then it was bent into an L shape. The long end was pushed through the hole and bent over. It was glued with E6000 glue to keep it from turning. I didn't like the way they looked. They were all different colors so I gave the whole wall another light coat of paint. The door knobs are steel pins with the heads reduced in size and then heated red hot. they came out a grey color. As usual by the time I do the last one I'll have it figured out
-
Hi Jacques, thank you very much. The walkway along the sides of the cabins will be planked. There is only about two feet between the cabin wall and the stanchions that support the boat deck. The cabin doors are 22.5” wide so not a lot of room. There is also a trough for the steering cable to lay in that runs just inboard of the stanchions. The rails are wire rope that runs through the stanchions. I guess they wanted every inch they could get for cargo
-
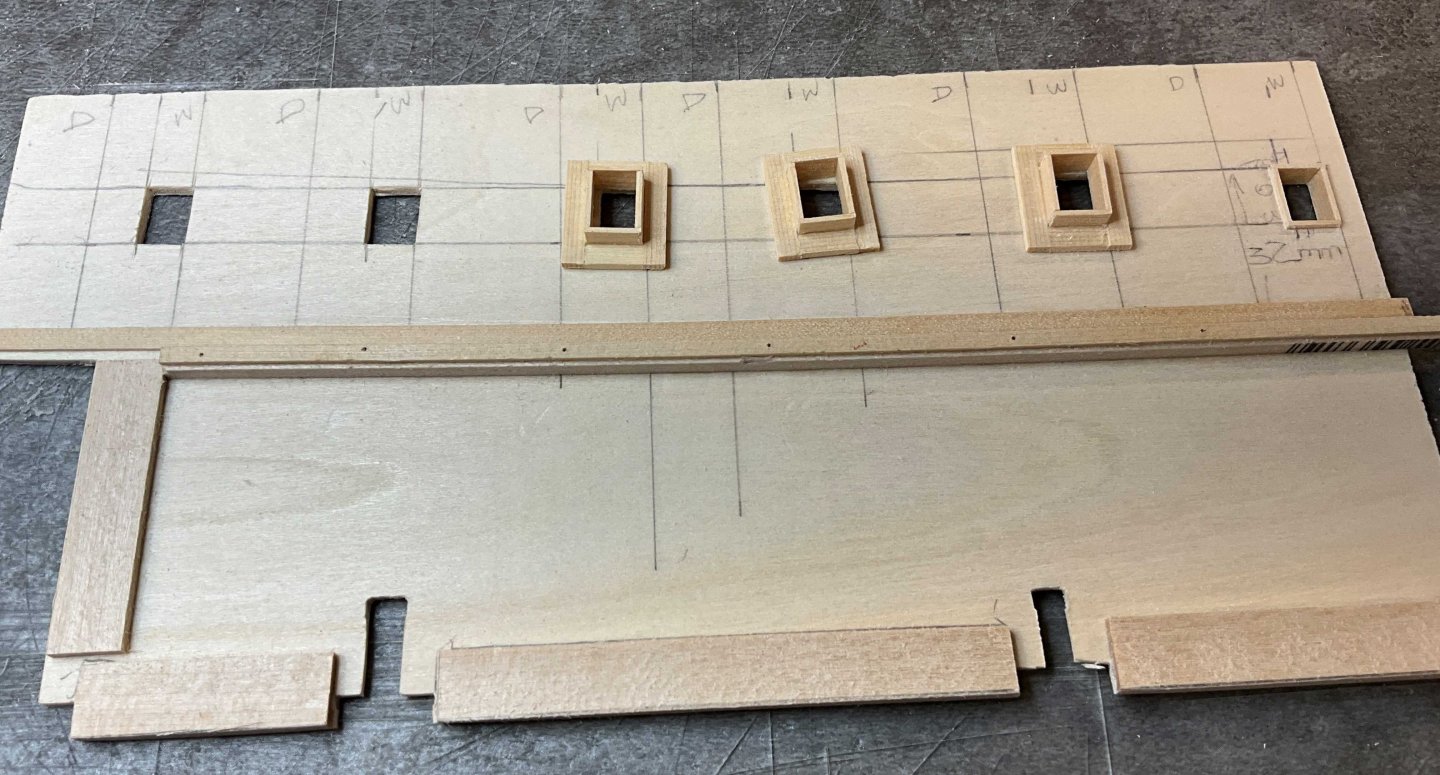
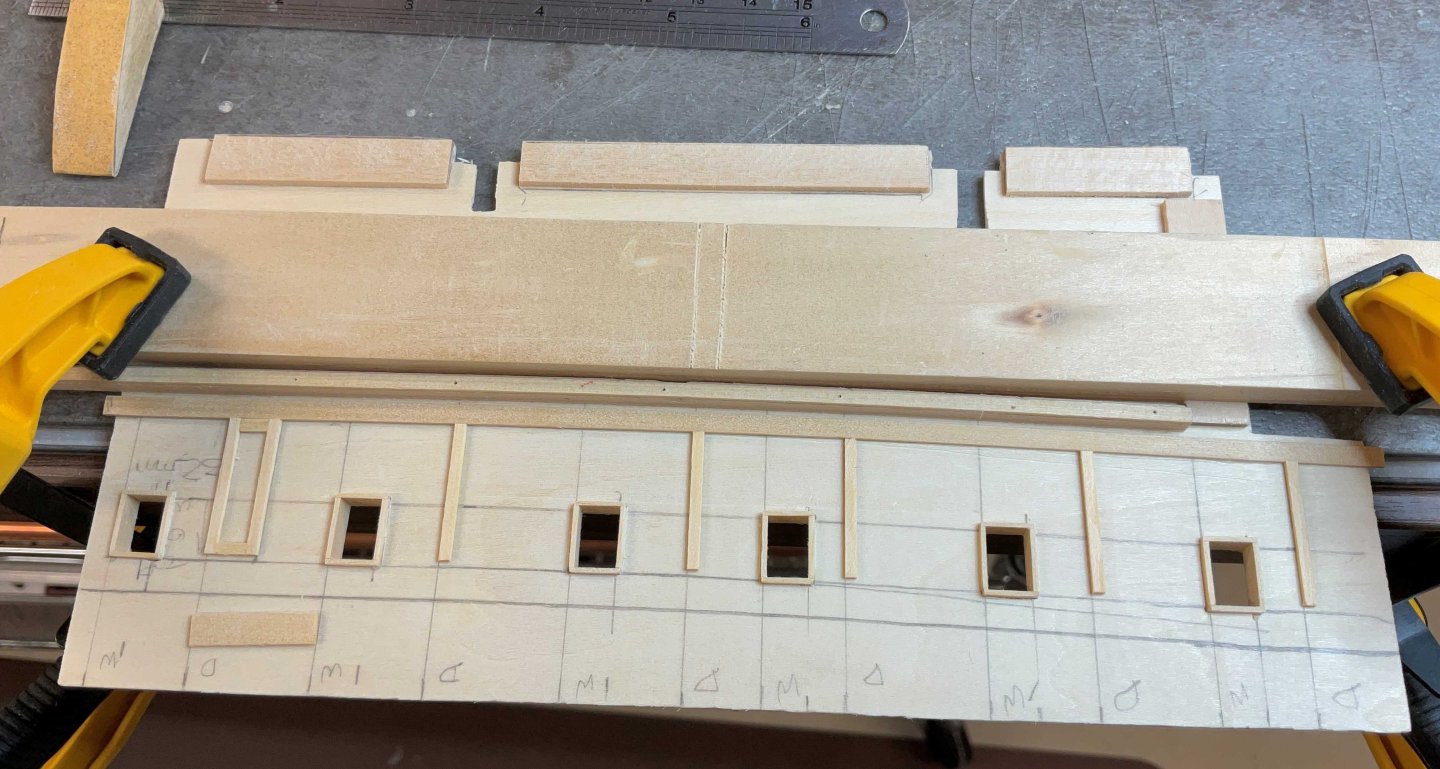
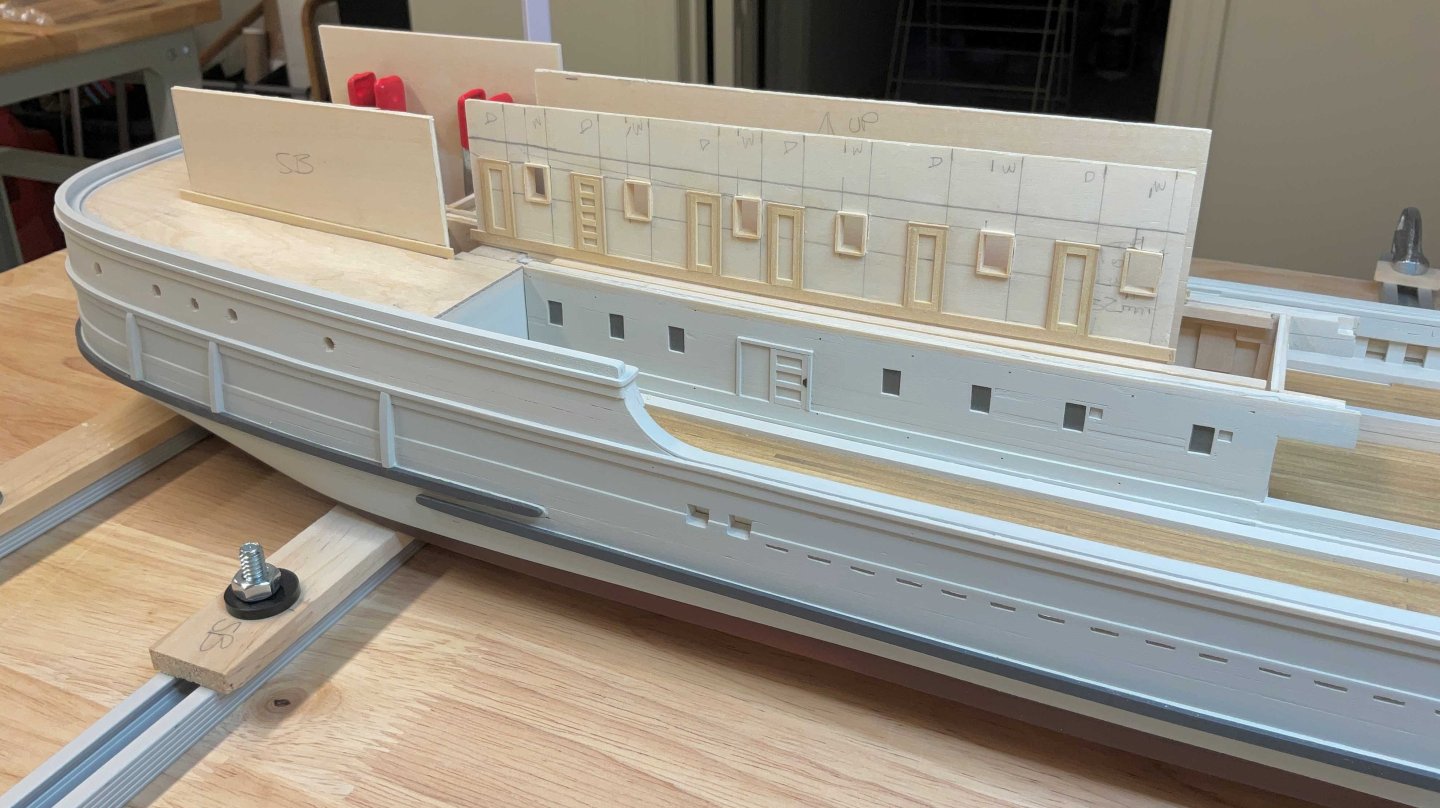
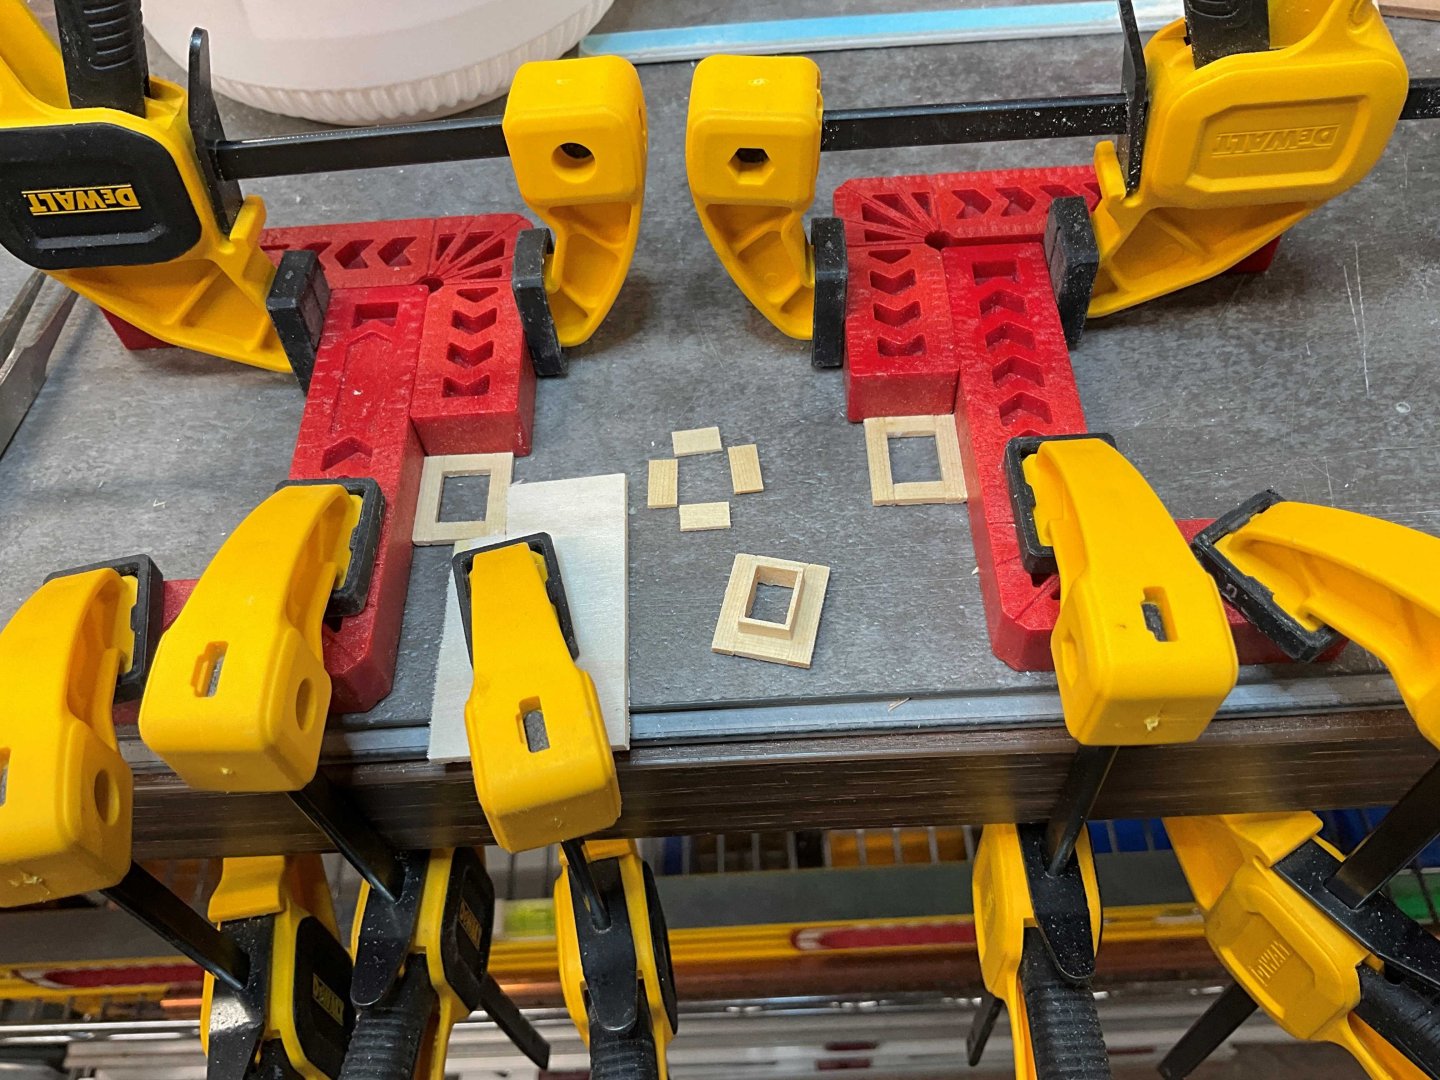
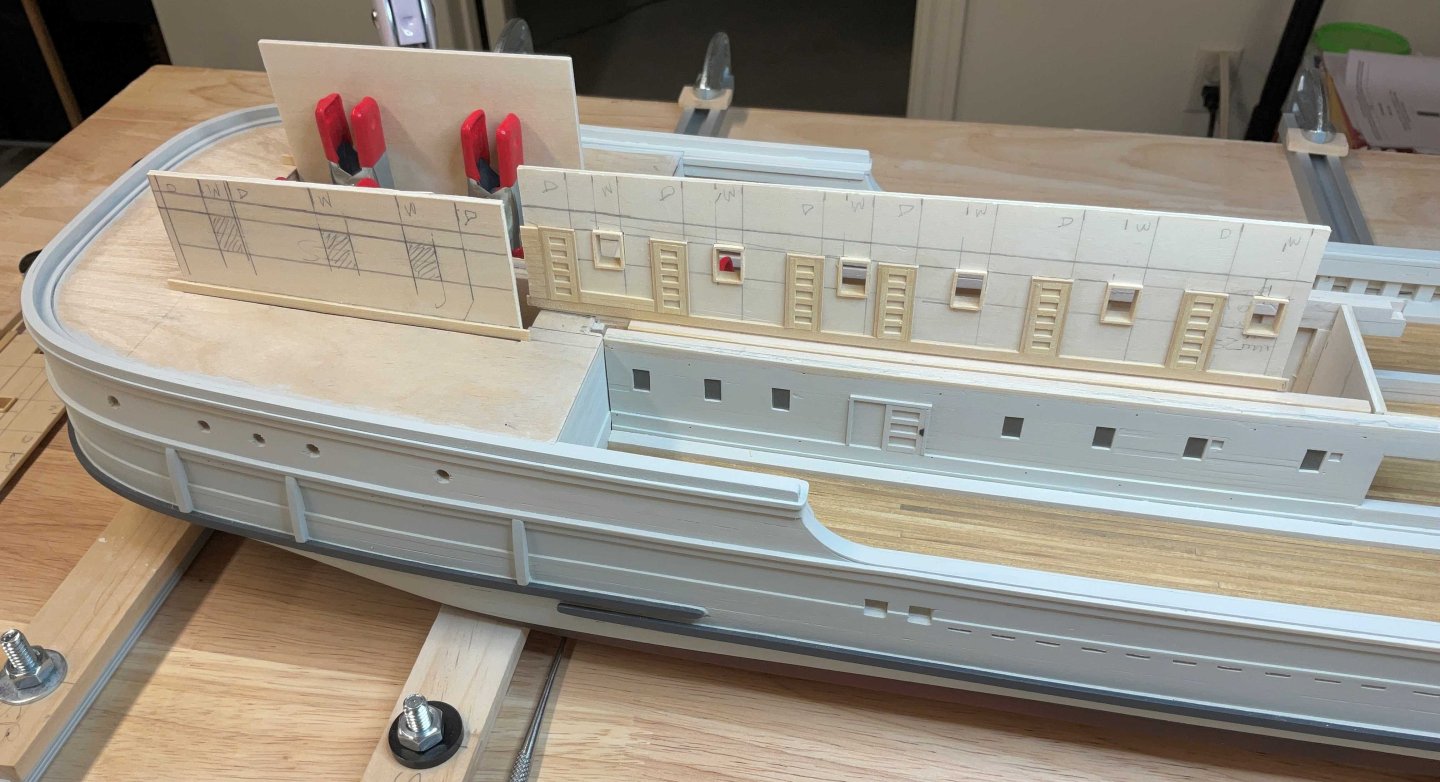
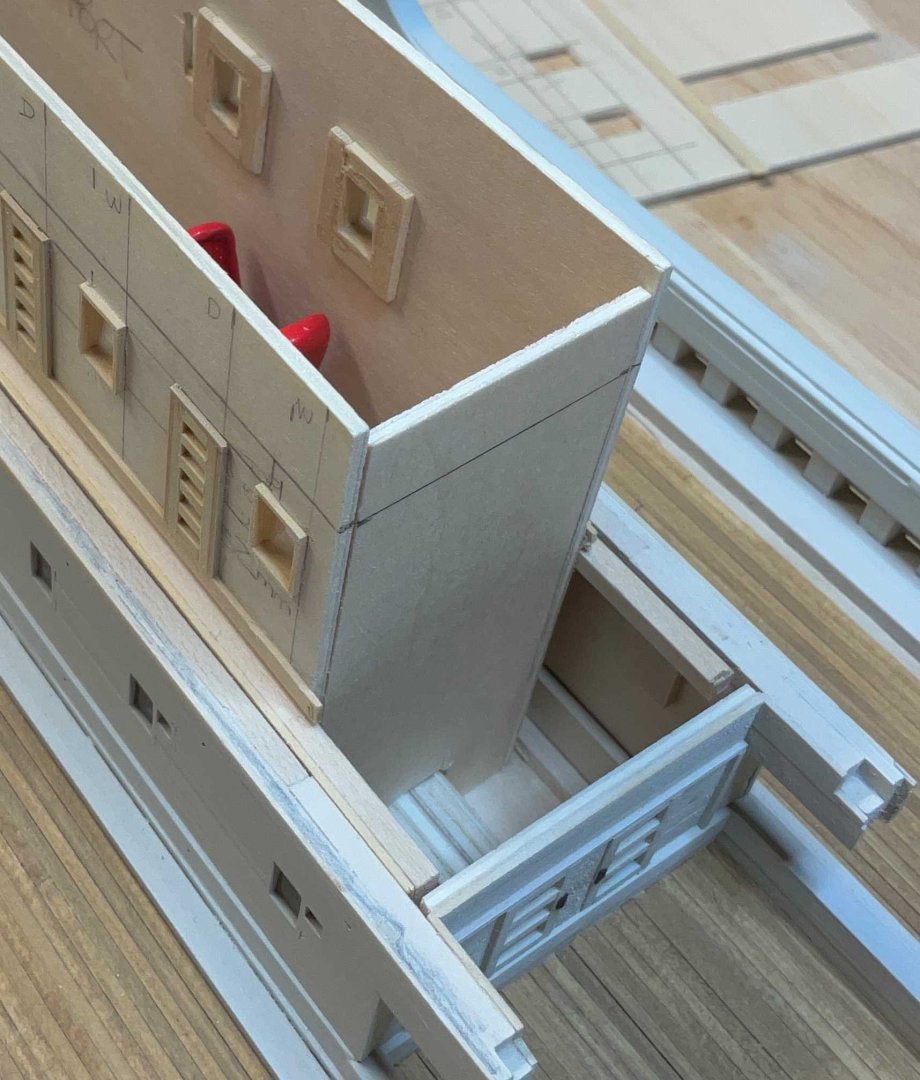
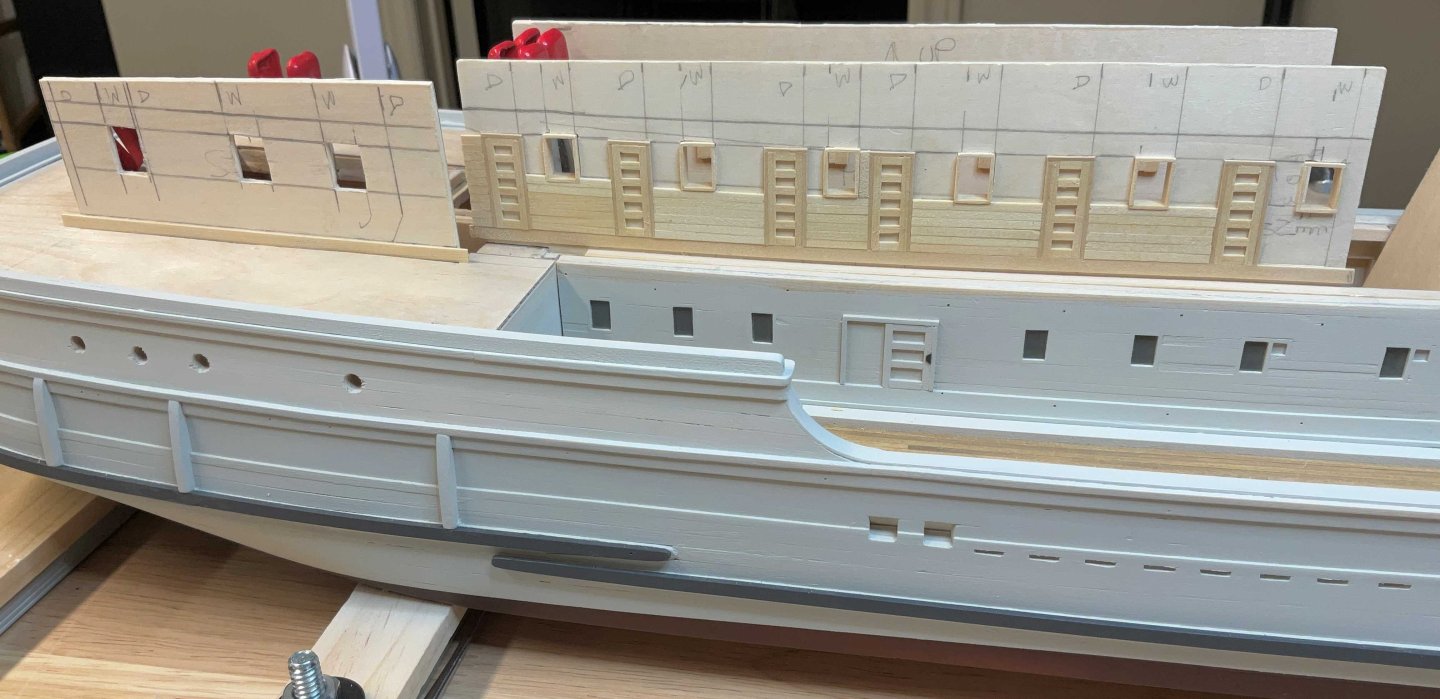
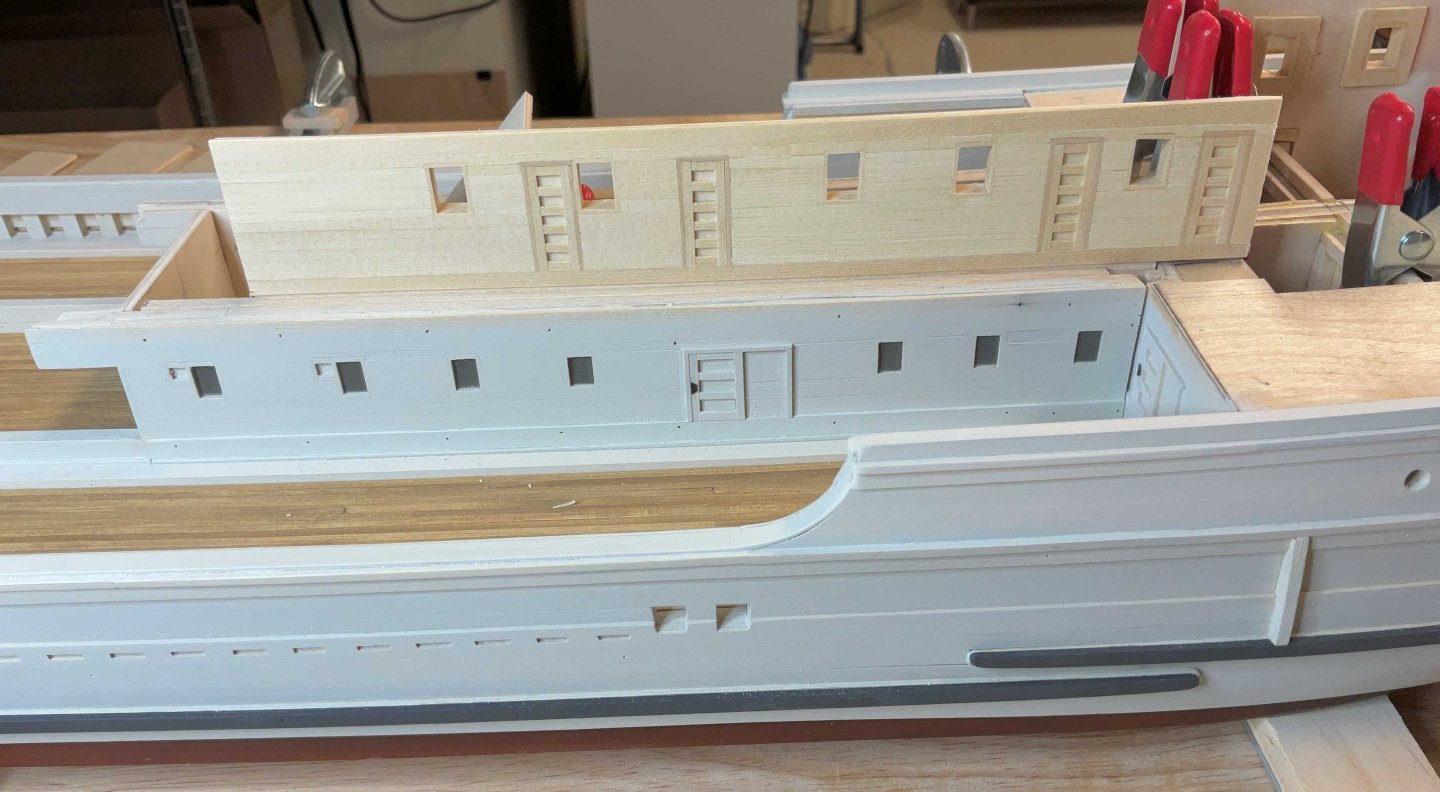
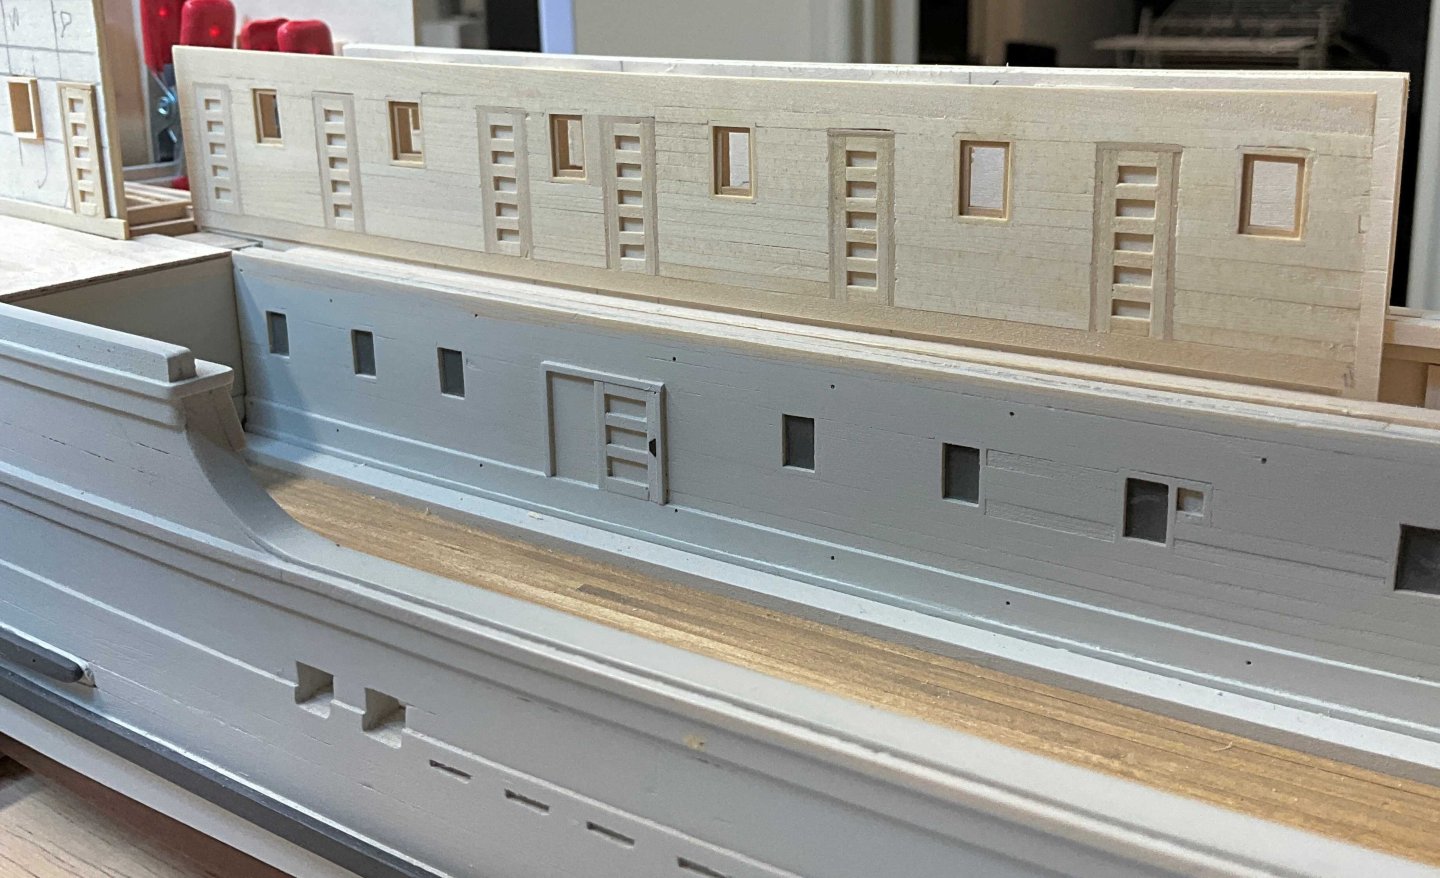
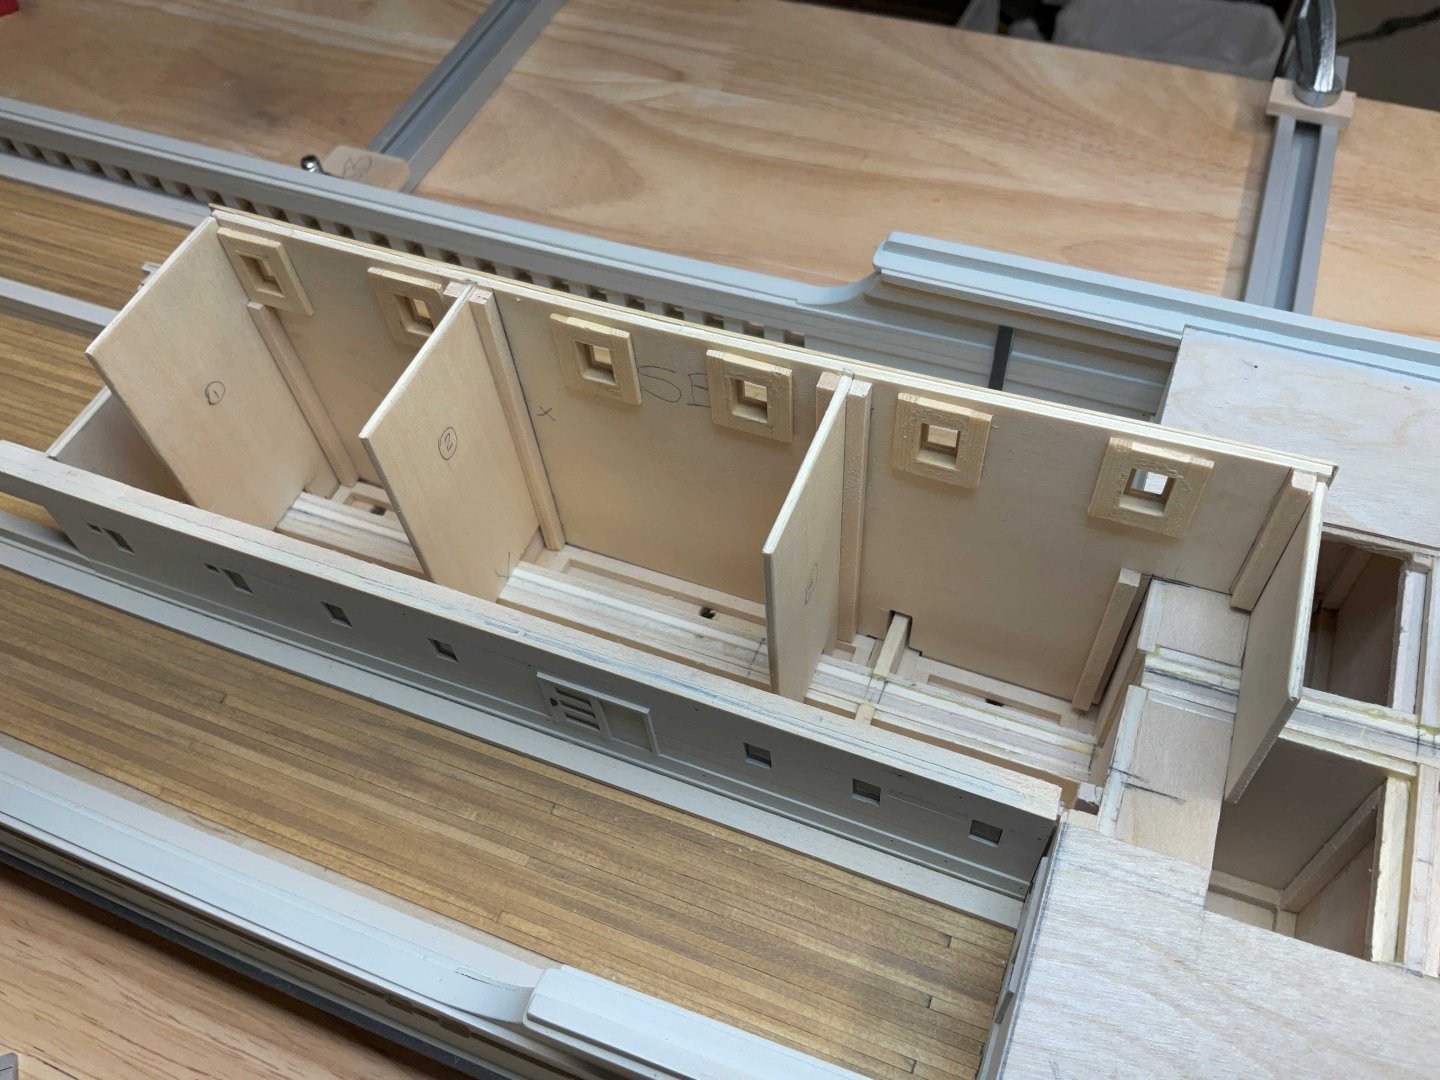
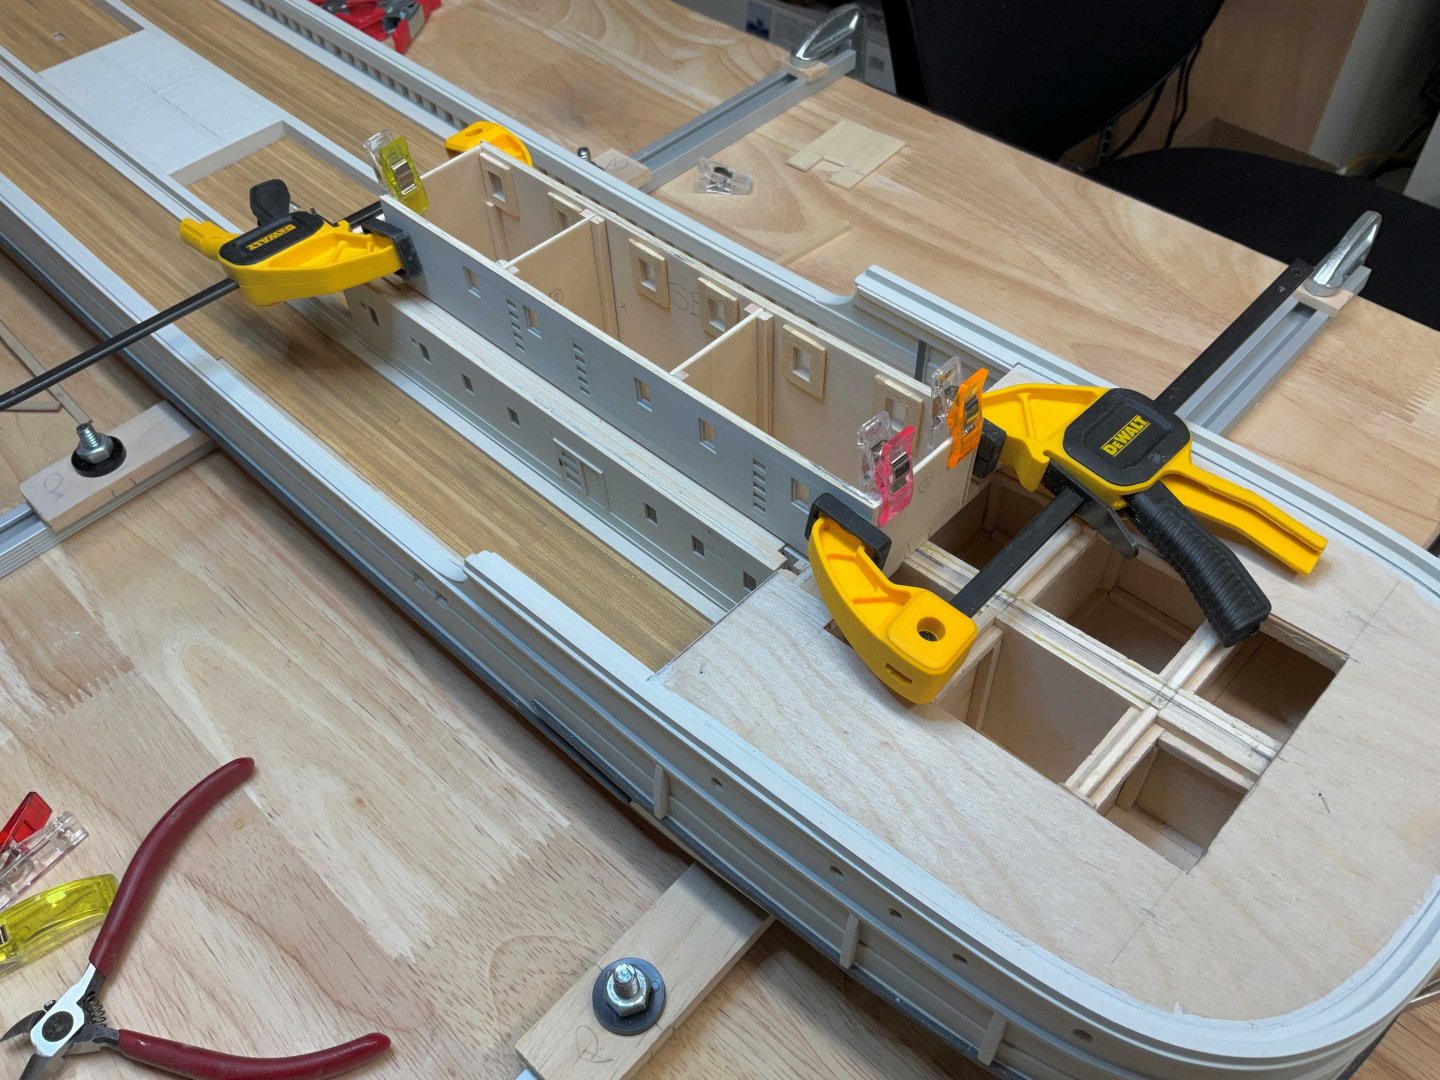
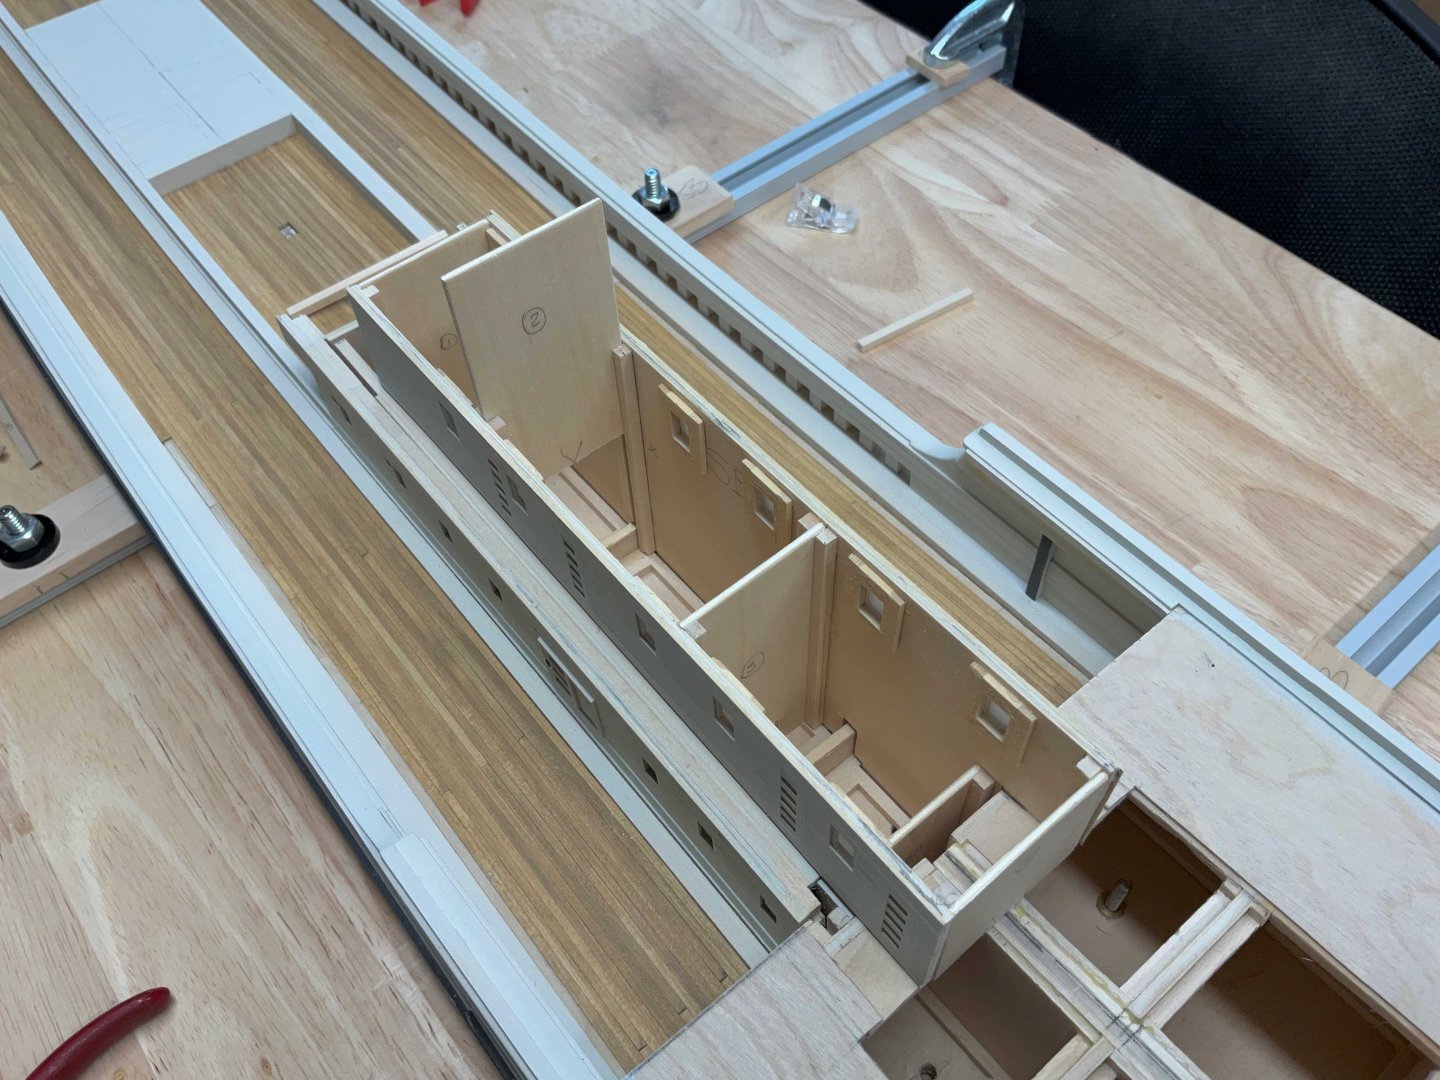
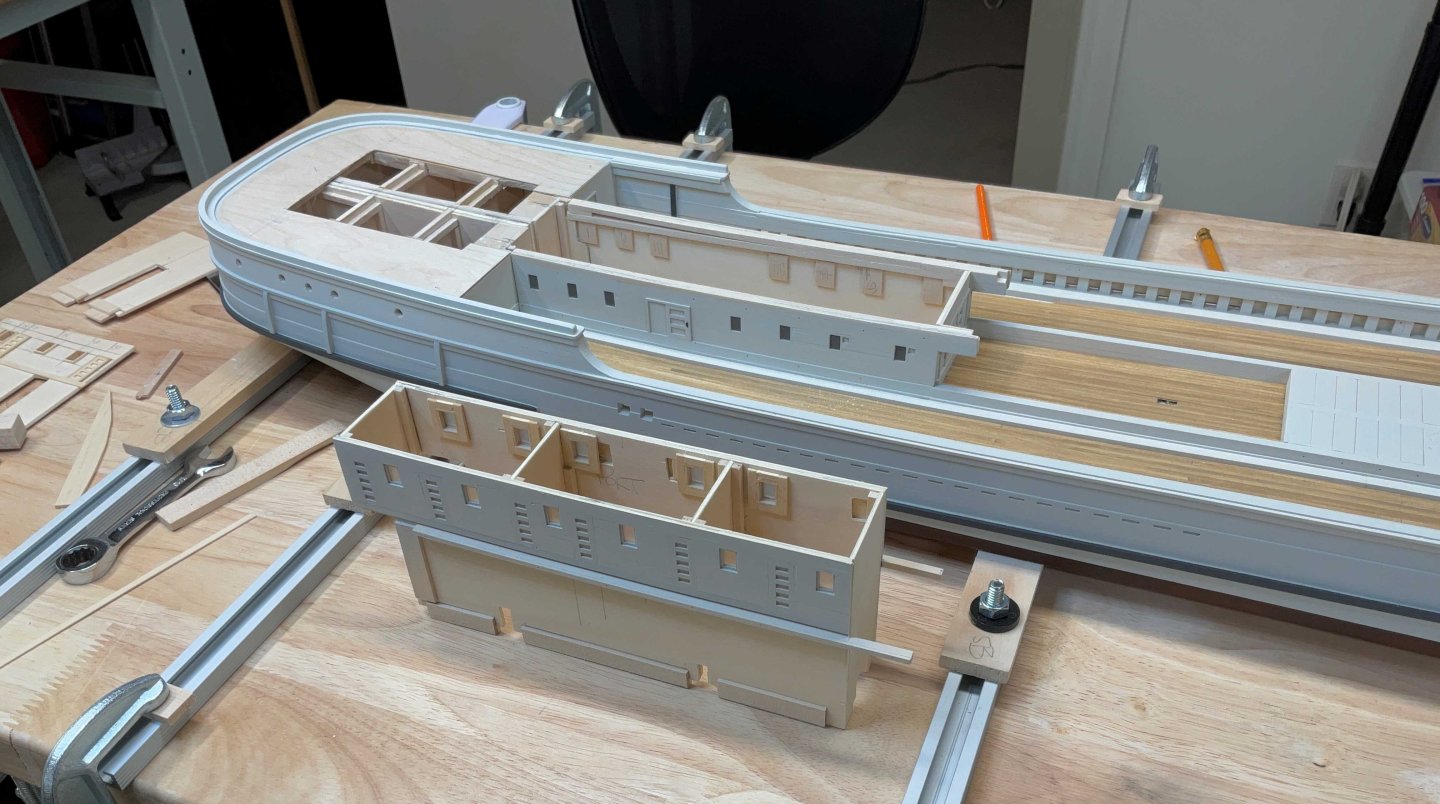
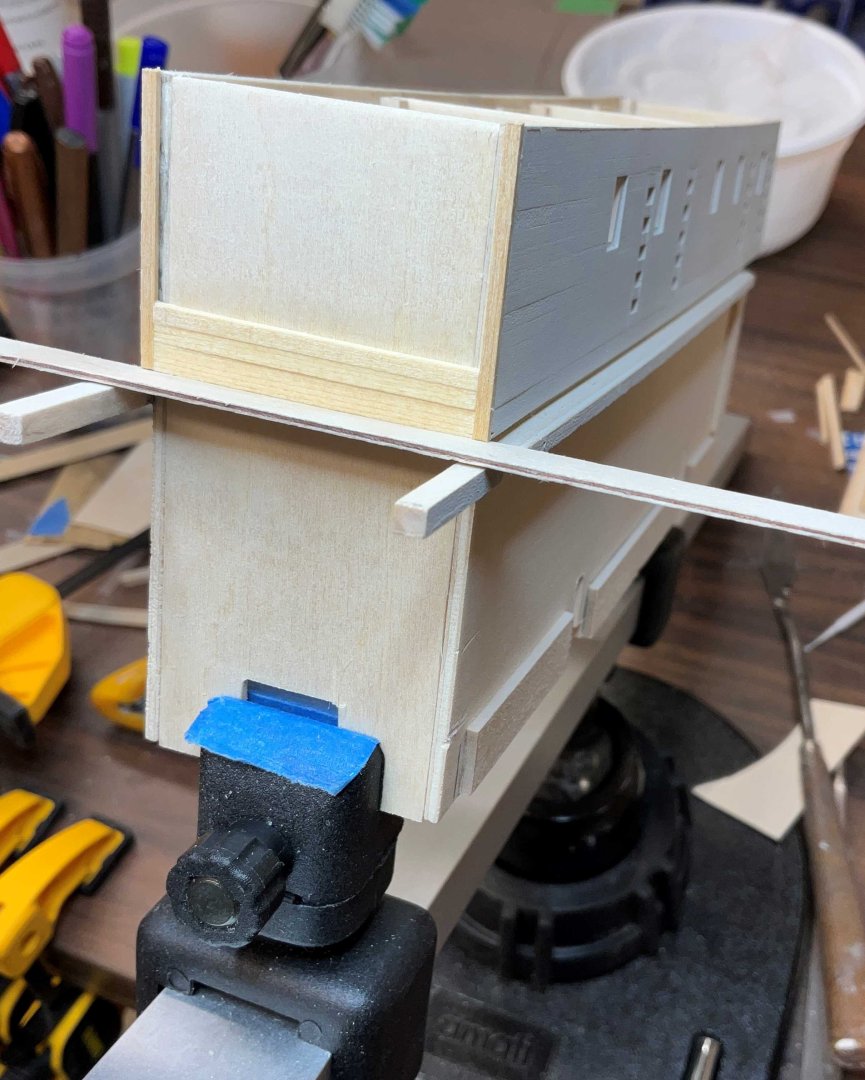
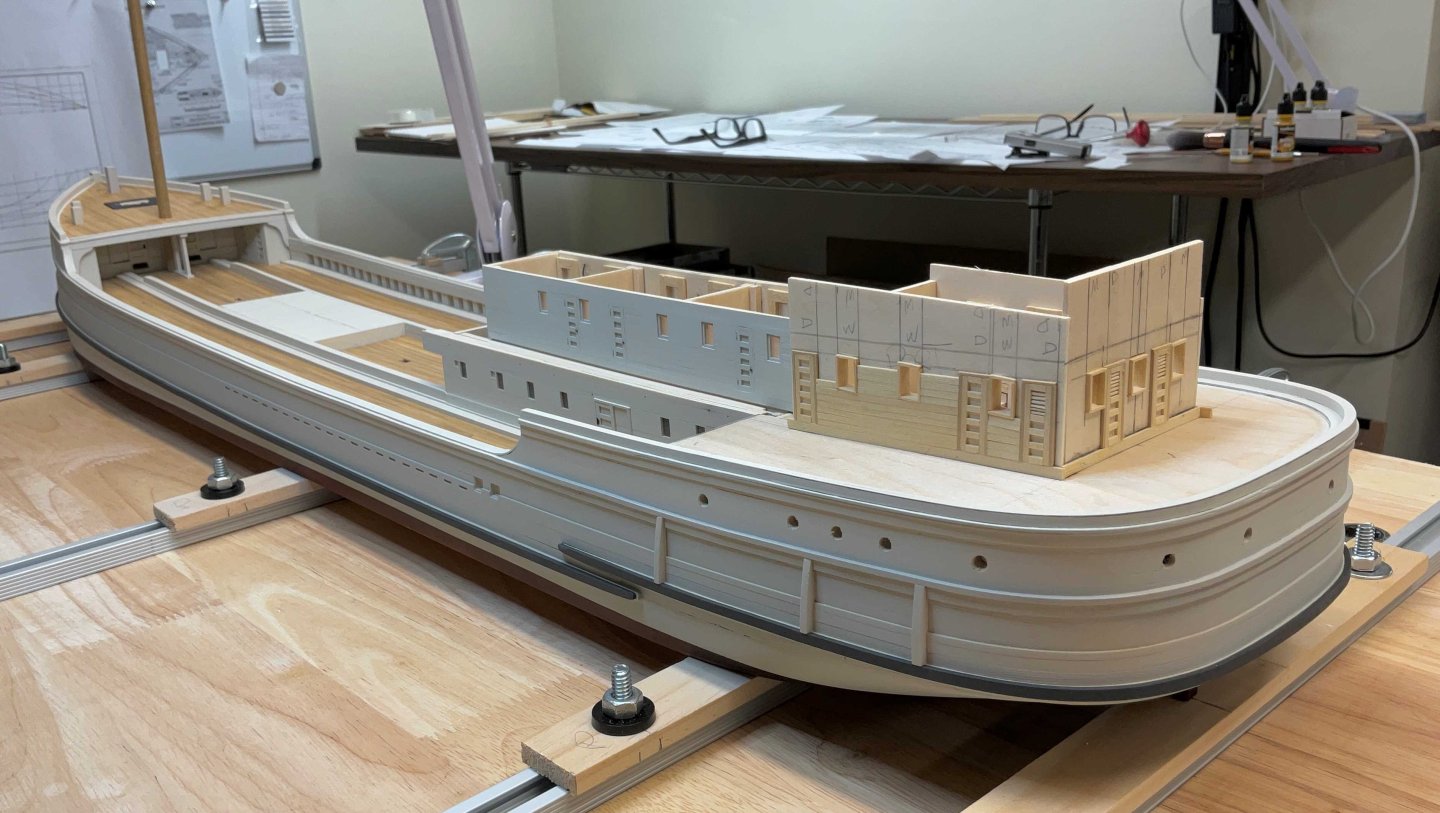
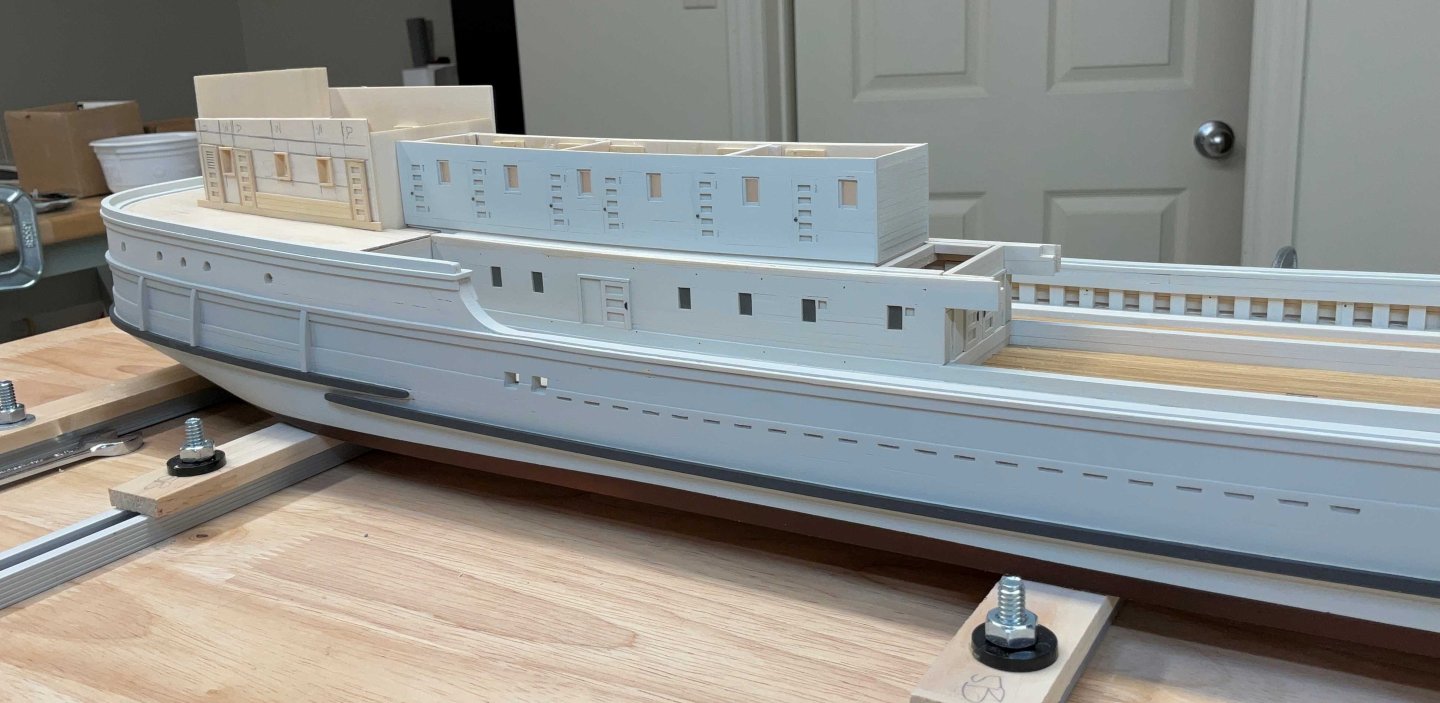
Hi Everyone, hope you are all well. Thank you for the Comments and Likes. I've been working on the cabins on the cabin deck. The frames that will be the finished opening for the windows were made from 1/16"x 1/8" and 1/32"x 3/16" AYC with the latter ending up being proud of the 1/16" plywood by about 1/16" The doors were then laid out with the stiles being 1/32"x 1/16" . The bottom rail is 1/32"x 5/64" and the rest of the rails are 1/32"x 1/16". The siding could now be applied and I started laying out the Aft cabins to get a rest from the siding. The forward and aft walls were made so that they could be dry fitted to keep things square Then came more siding. It is all 1/32"x 5/64". Once the walls were sanded the 1/32"x 1/32" boxwood window sashes were installed. Two pieces of 1/16" plastic were cut and placed into the the opening to keep the sashes about 1/32" back from the face of the siding while thinned white PVA was applied with a micro brush. When dry, the plastic was removed and the inside was glued. A couple of partitions were made to keep the side walls straight The two end walls were glued to the side walls while in place. When they were dry the partitions were glued to the side walls The structure was removed and the forward wall was sided Some paint and then the forward cabins were dry fitted back in place. Going to wait before gluing just in case they have to be removed again The aft cabins are underway. Hope to see you soon.
-
Keith, that is a great looking pump. You really nailed the color!
- 457 replies
-
- sternwheeler
- Hard Coal Navy
-
(and 1 more)
Tagged with:
-
Keith, she looks great! So much to look at in such a small space.
- 457 replies
-
- sternwheeler
- Hard Coal Navy
-
(and 1 more)
Tagged with:
-
Good Luck with this project!
-
Hi Nando, welcome to Model Ship World. Perhaps the build logs of the Occre version of the Santisima Trinidad could be of some help to you.
About us
Modelshipworld - Advancing Ship Modeling through Research
SSL Secured
Your security is important for us so this Website is SSL-Secured
NRG Mailing Address
Nautical Research Guild
237 South Lincoln Street
Westmont IL, 60559-1917
Model Ship World ® and the MSW logo are Registered Trademarks, and belong to the Nautical Research Guild (United States Patent and Trademark Office: No. 6,929,264 & No. 6,929,274, registered Dec. 20, 2022)
Helpful Links
About the NRG
If you enjoy building ship models that are historically accurate as well as beautiful, then The Nautical Research Guild (NRG) is just right for you.
The Guild is a non-profit educational organization whose mission is to “Advance Ship Modeling Through Research”. We provide support to our members in their efforts to raise the quality of their model ships.
The Nautical Research Guild has published our world-renowned quarterly magazine, The Nautical Research Journal, since 1955. The pages of the Journal are full of articles by accomplished ship modelers who show you how they create those exquisite details on their models, and by maritime historians who show you the correct details to build. The Journal is available in both print and digital editions. Go to the NRG web site (www.thenrg.org) to download a complimentary digital copy of the Journal. The NRG also publishes plan sets, books and compilations of back issues of the Journal and the former Ships in Scale and Model Ship Builder magazines.


.thumb.jpg.bdc4d4e64d7cc3a8ec885047a15e802f.jpg)
