Paul Le Wol
-
Posts
1,060 -
Joined
-
Last visited
Content Type
Profiles
Forums
Gallery
Events
Everything posted by Paul Le Wol
-
Thank you very much Gary. Paint colors certainly can be a challenge. I think I’m going to wait to see what you choose for Pelican below the waterline 🙂
-
Hi John, thank you very much!
-
Gary, thank you for sharing all of these techniques. This is all truly amazing!
-
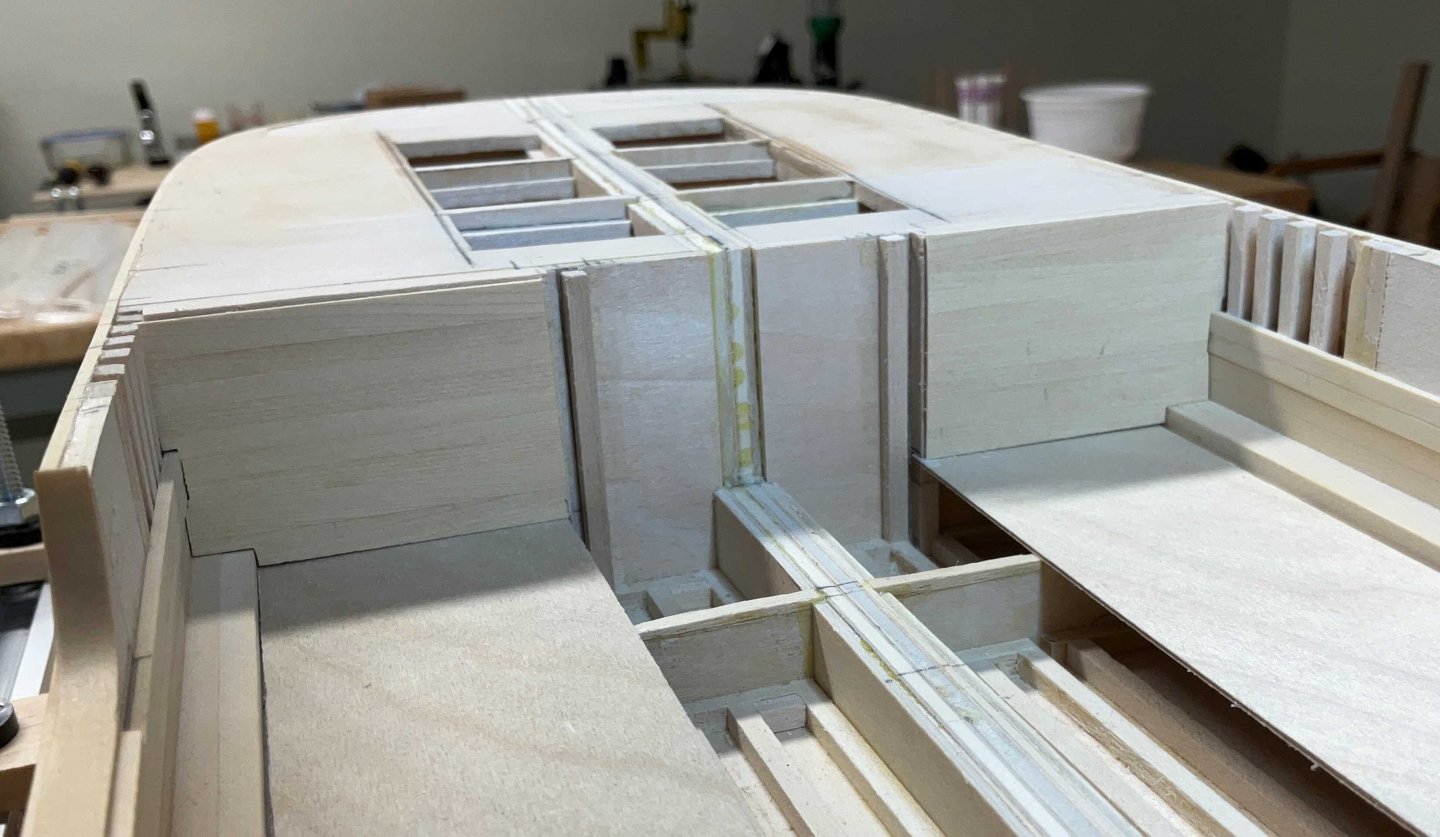
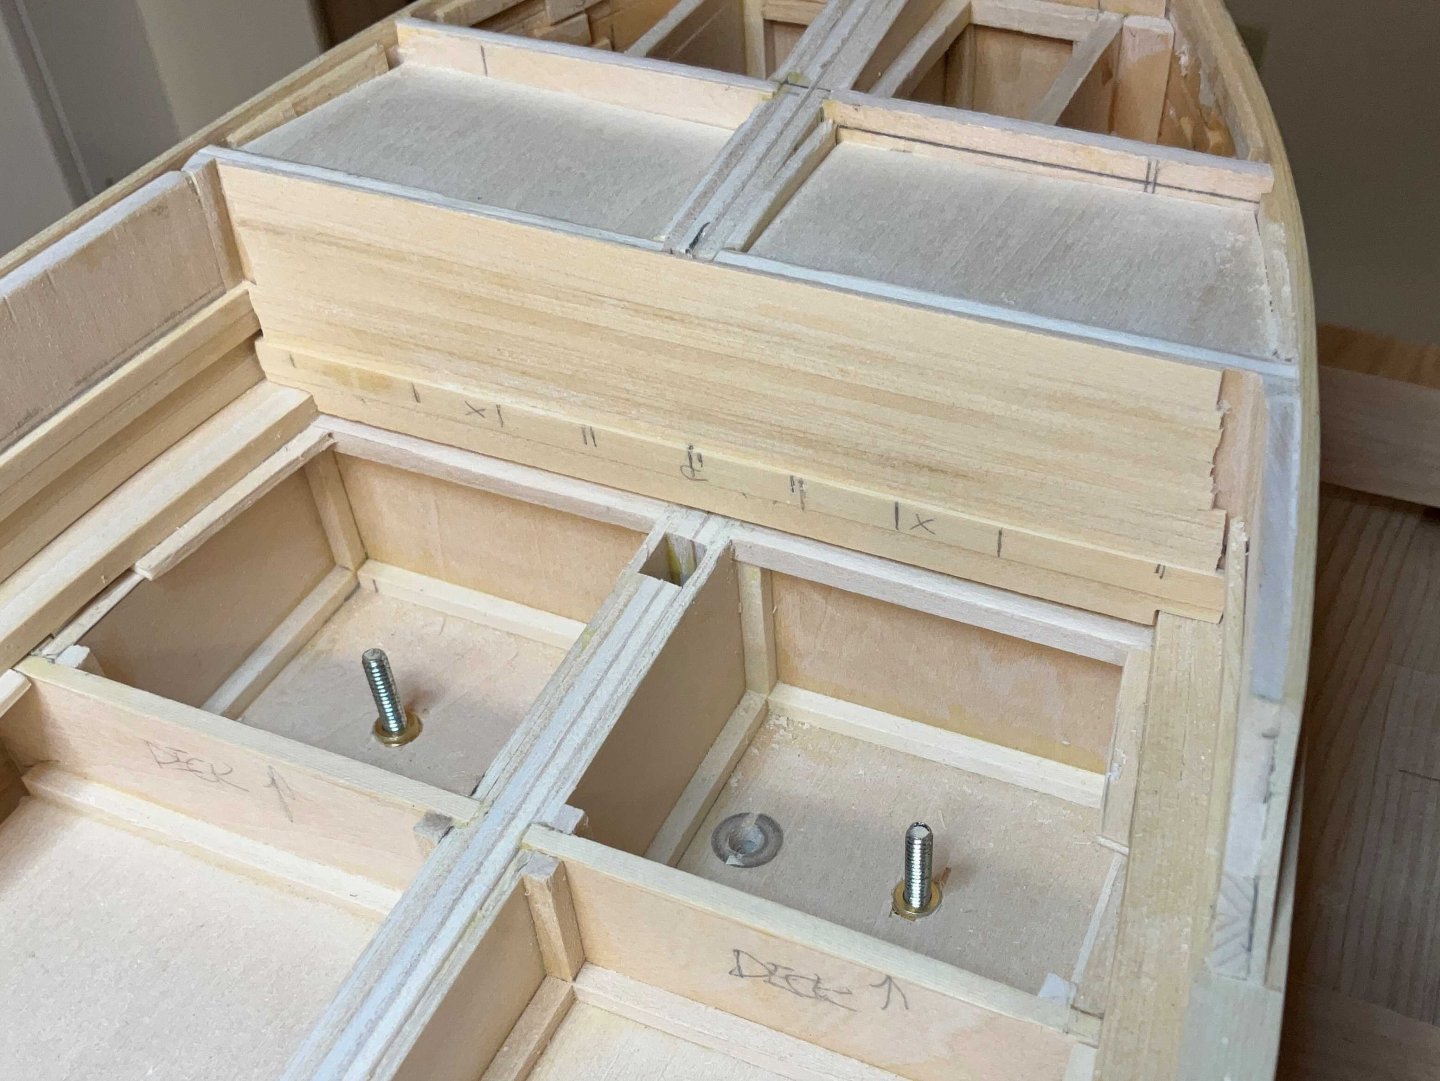
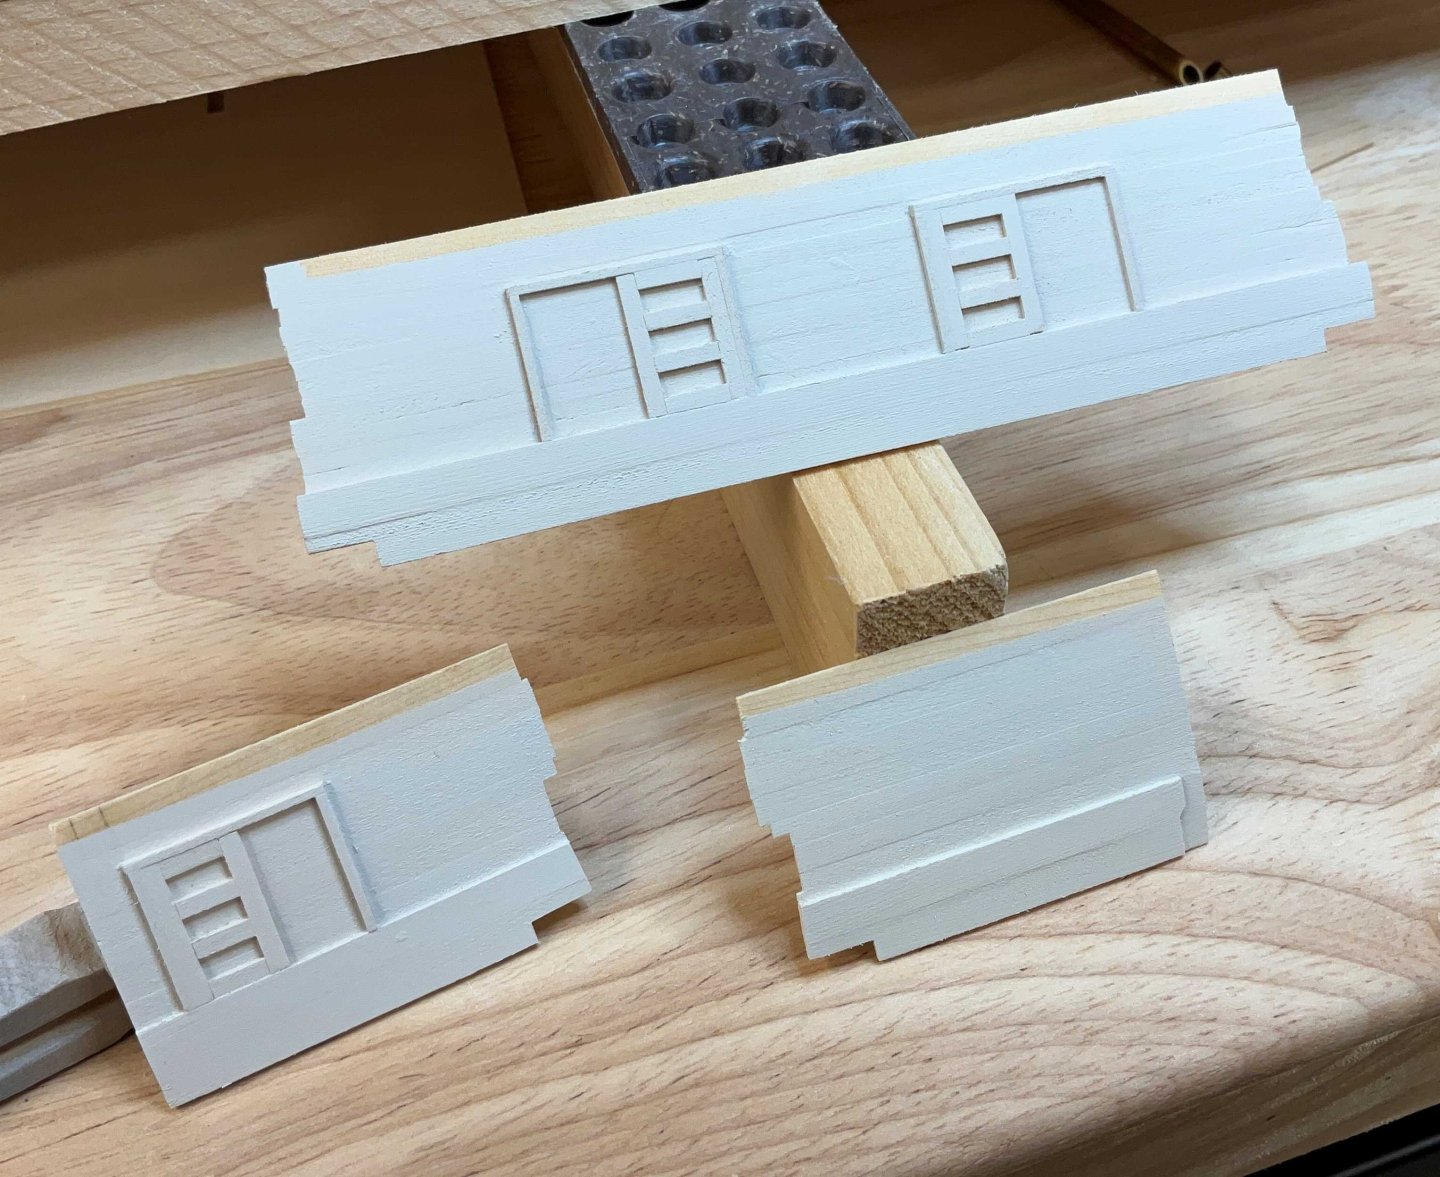
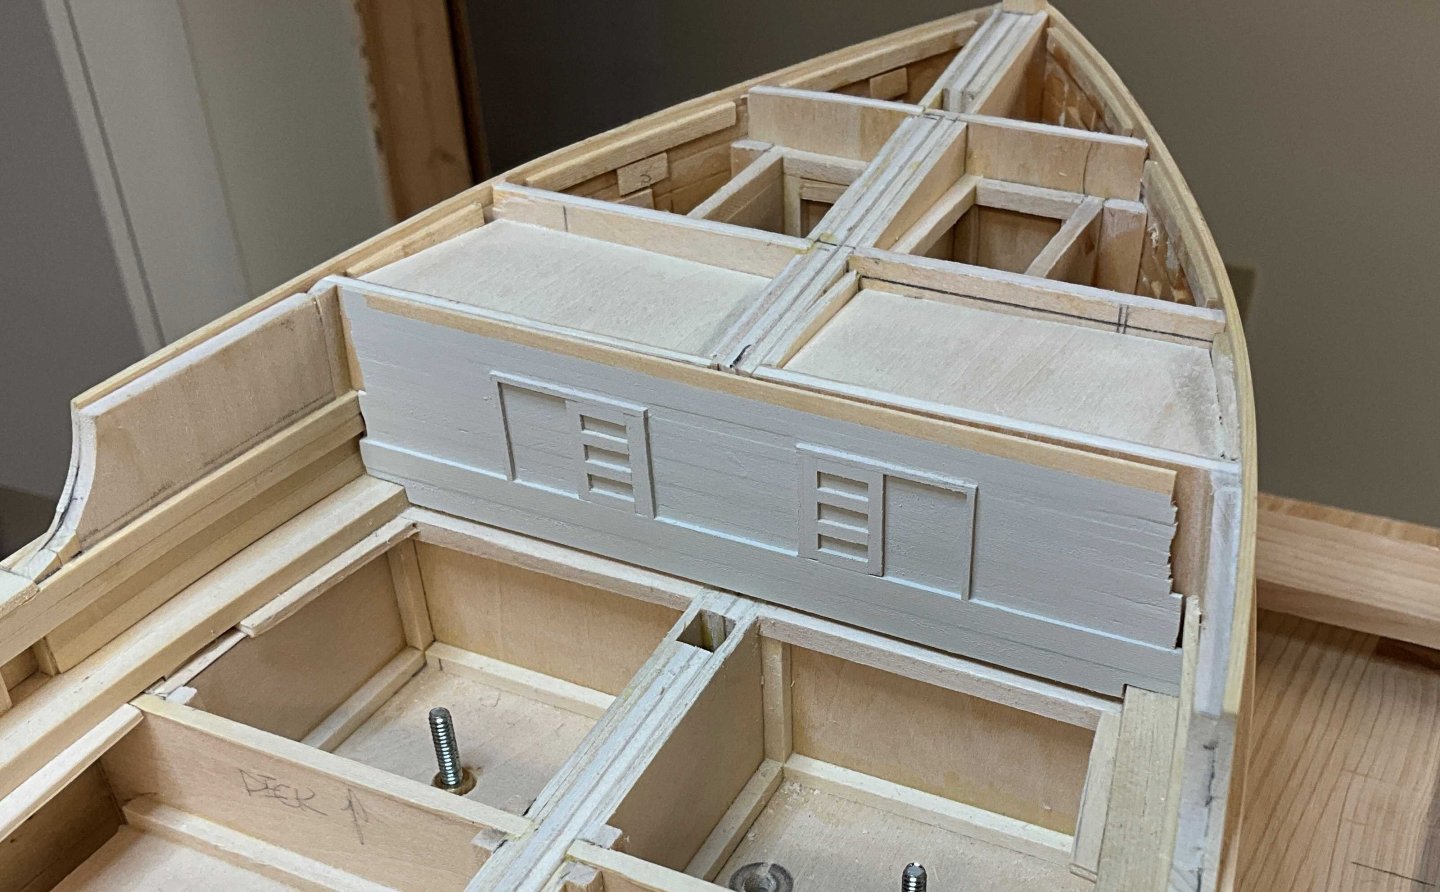
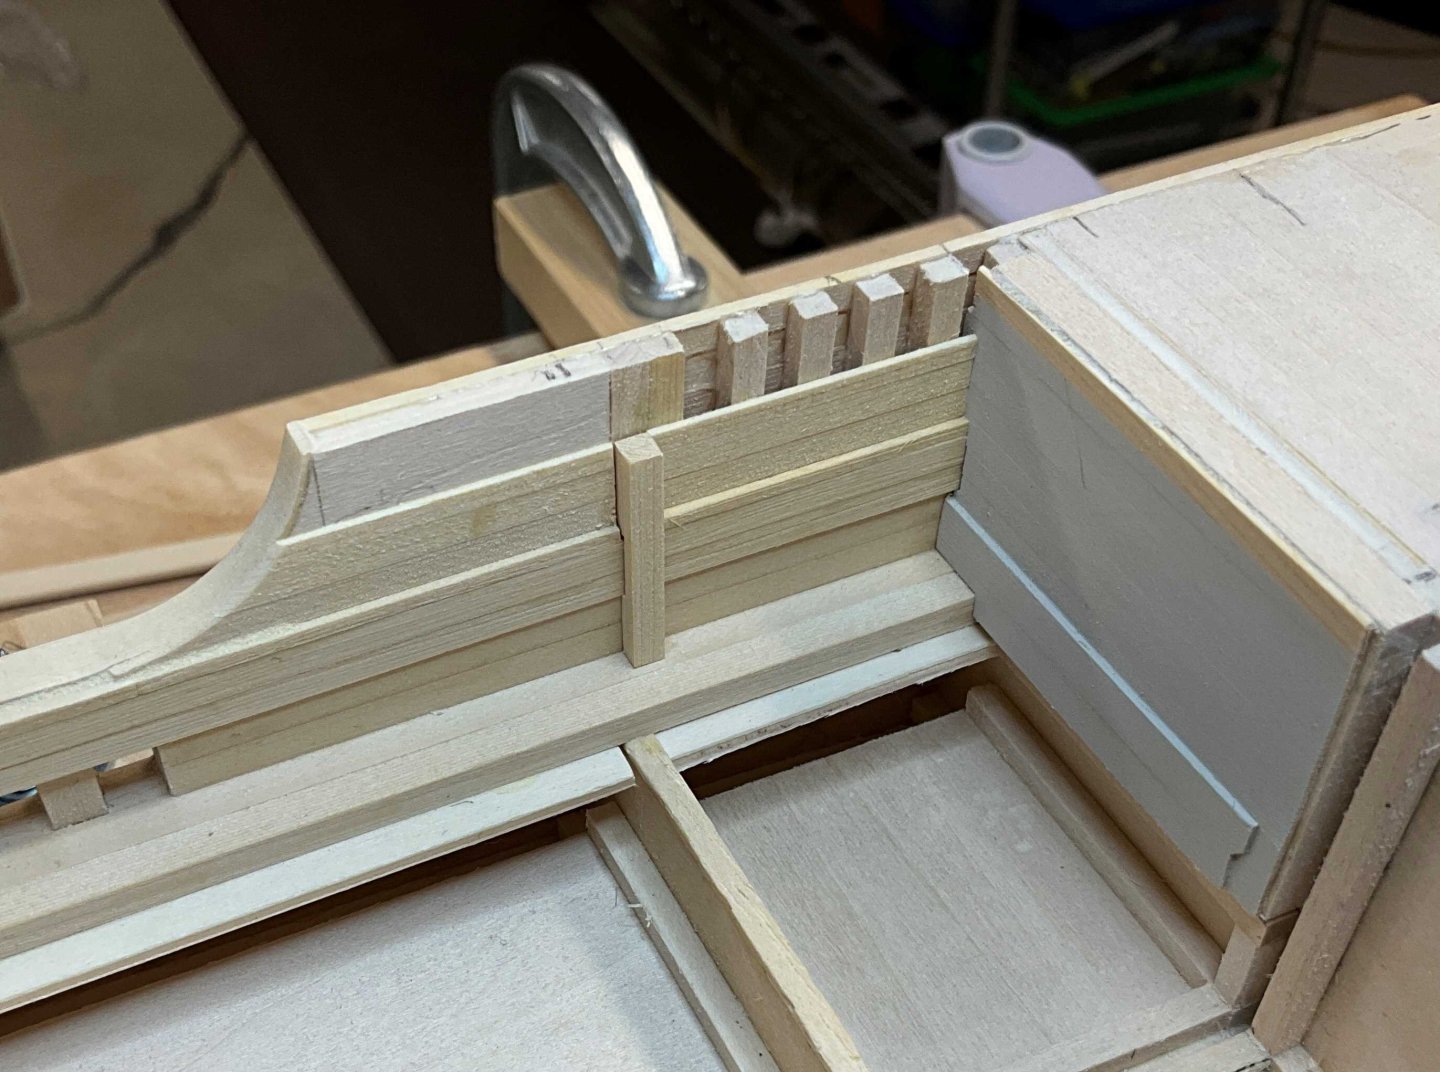
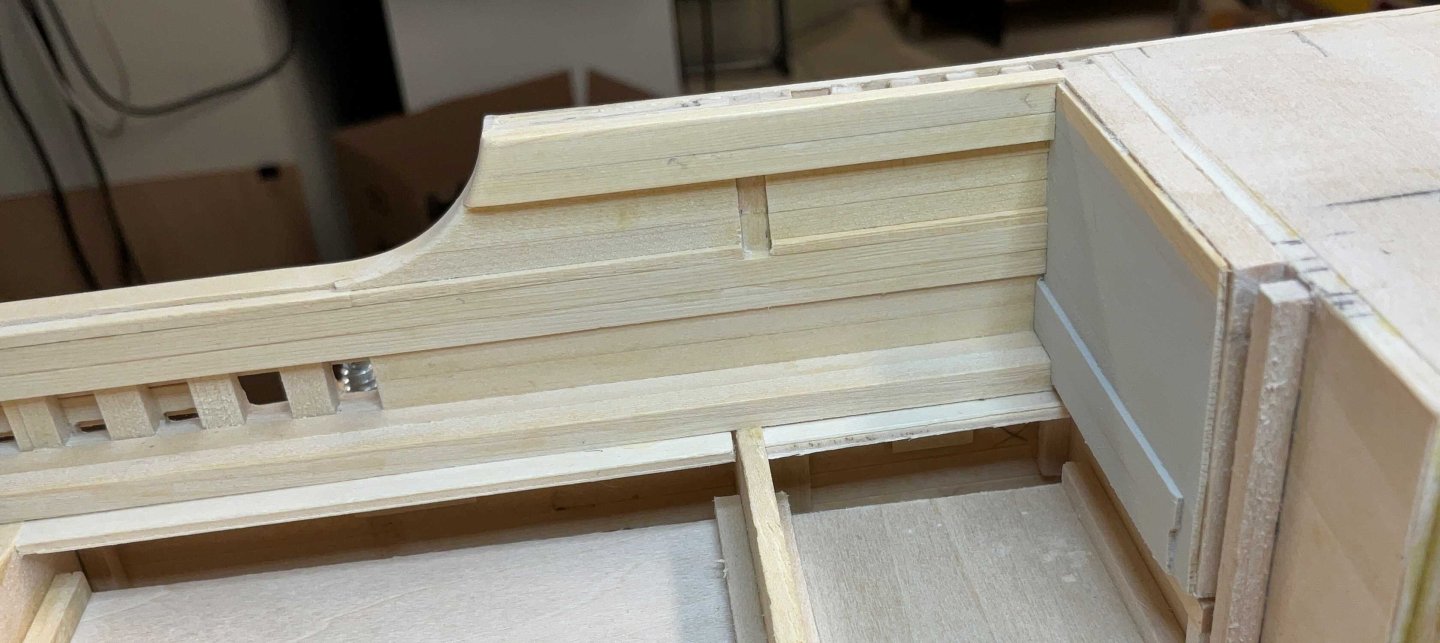
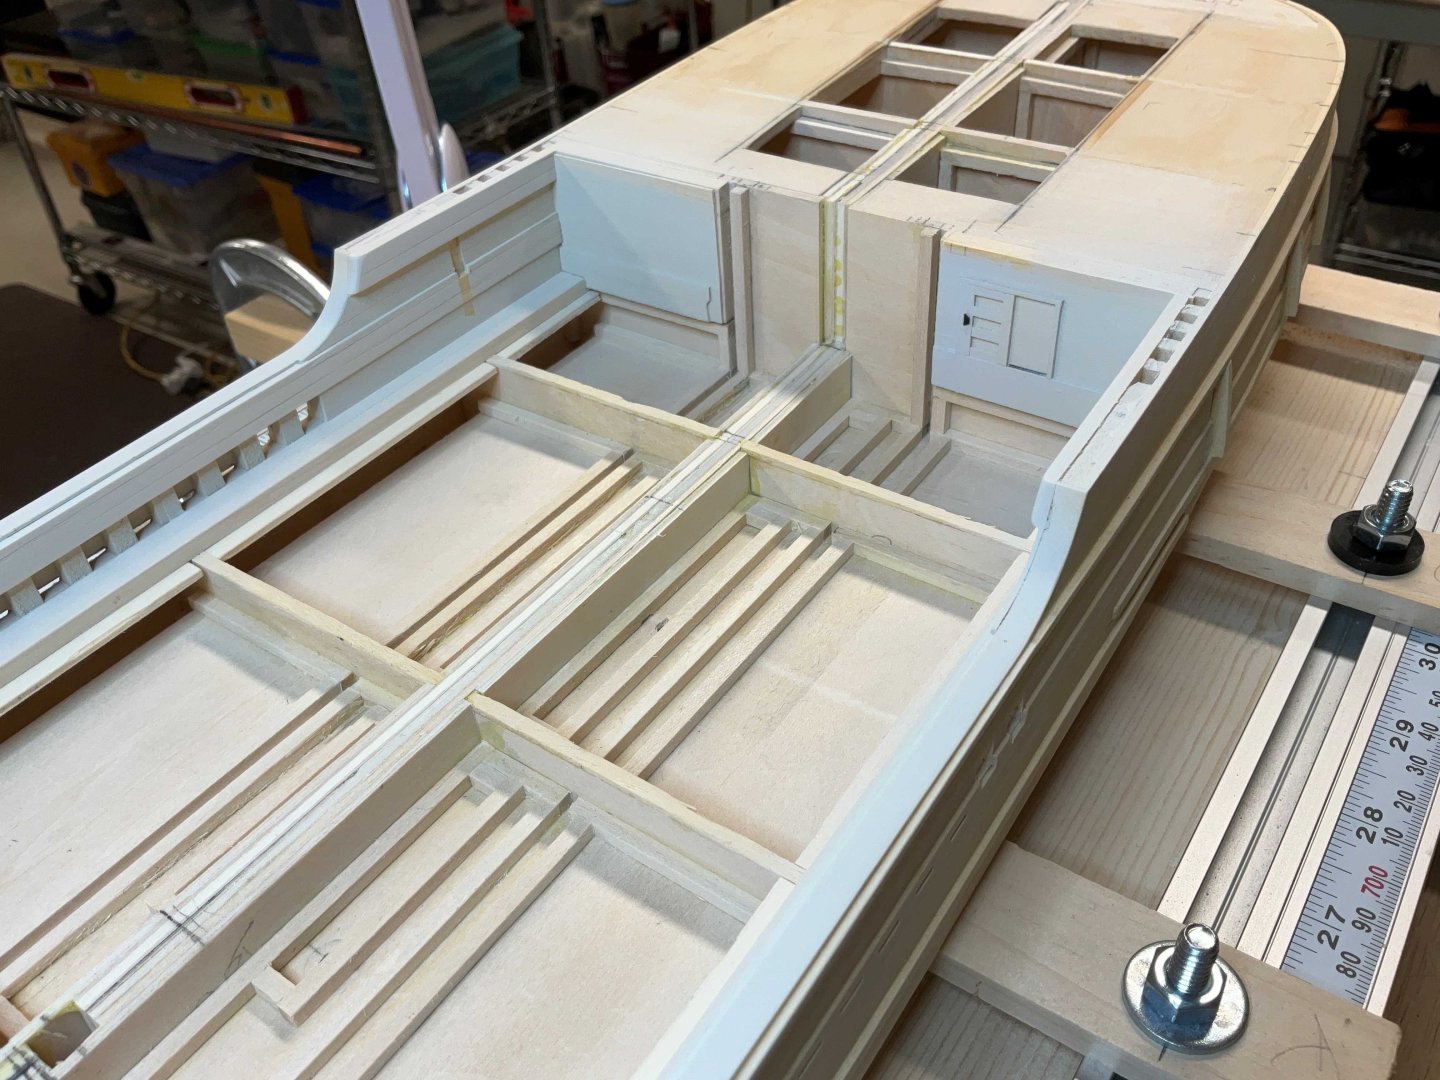
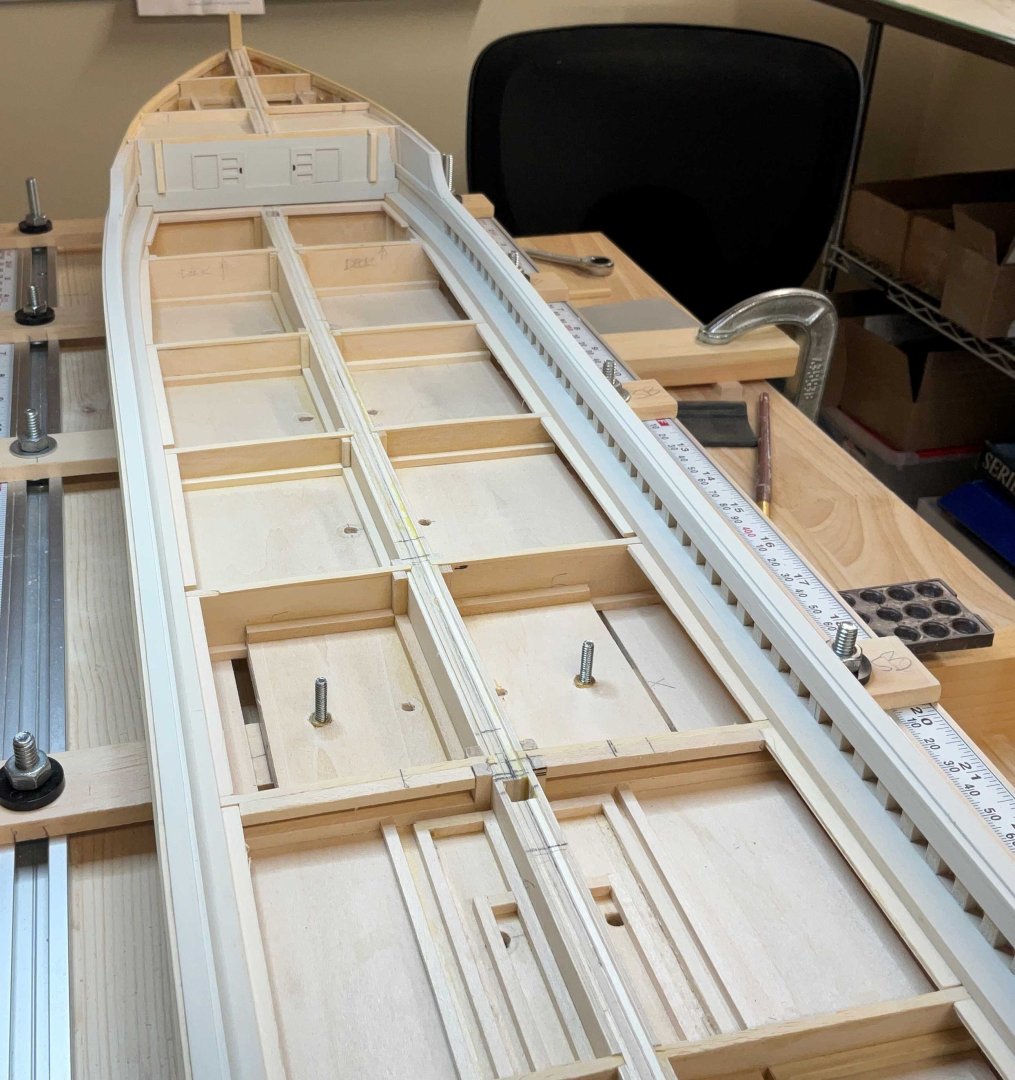
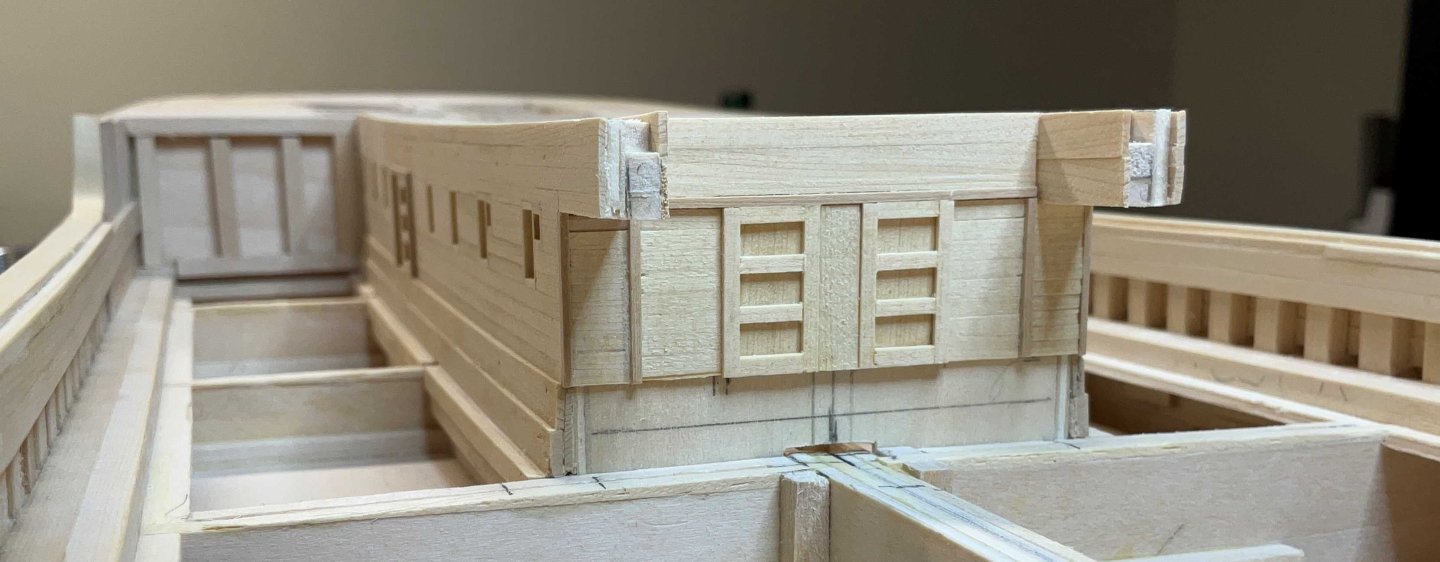
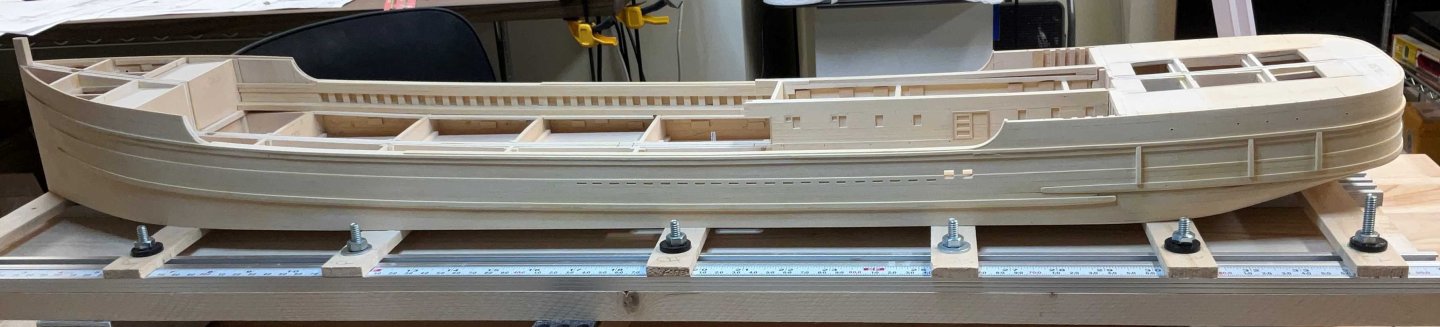
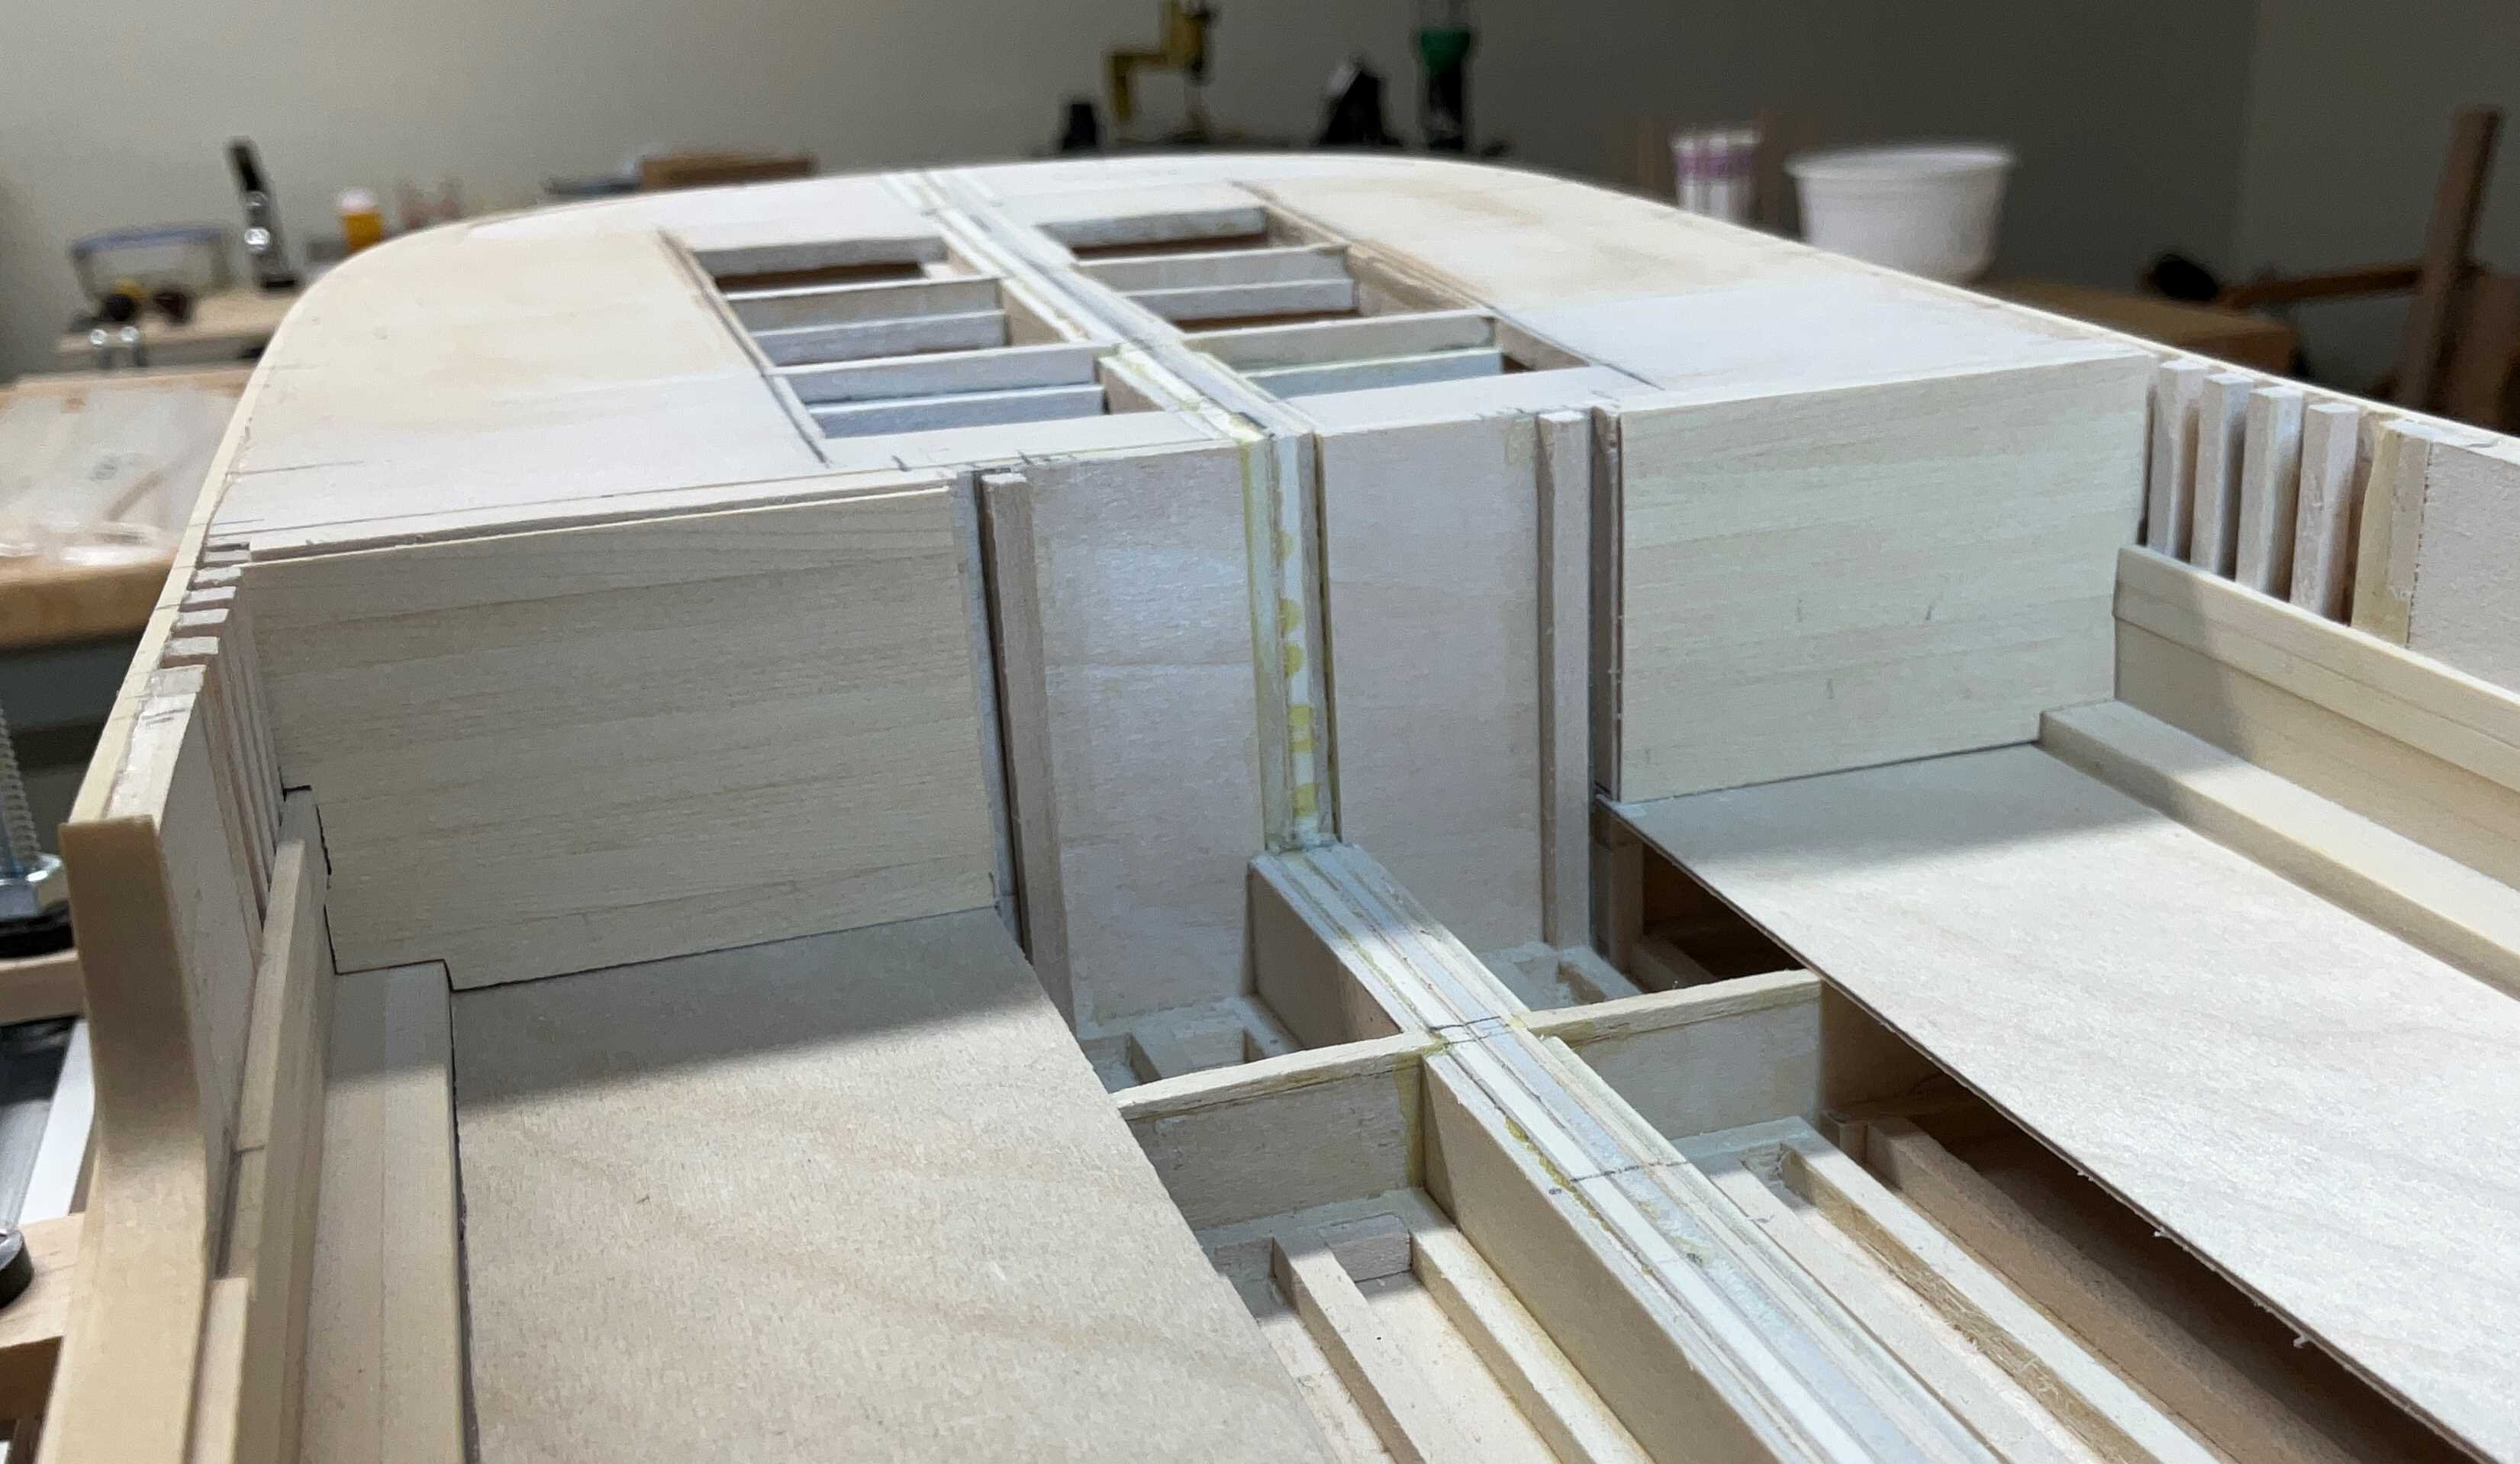
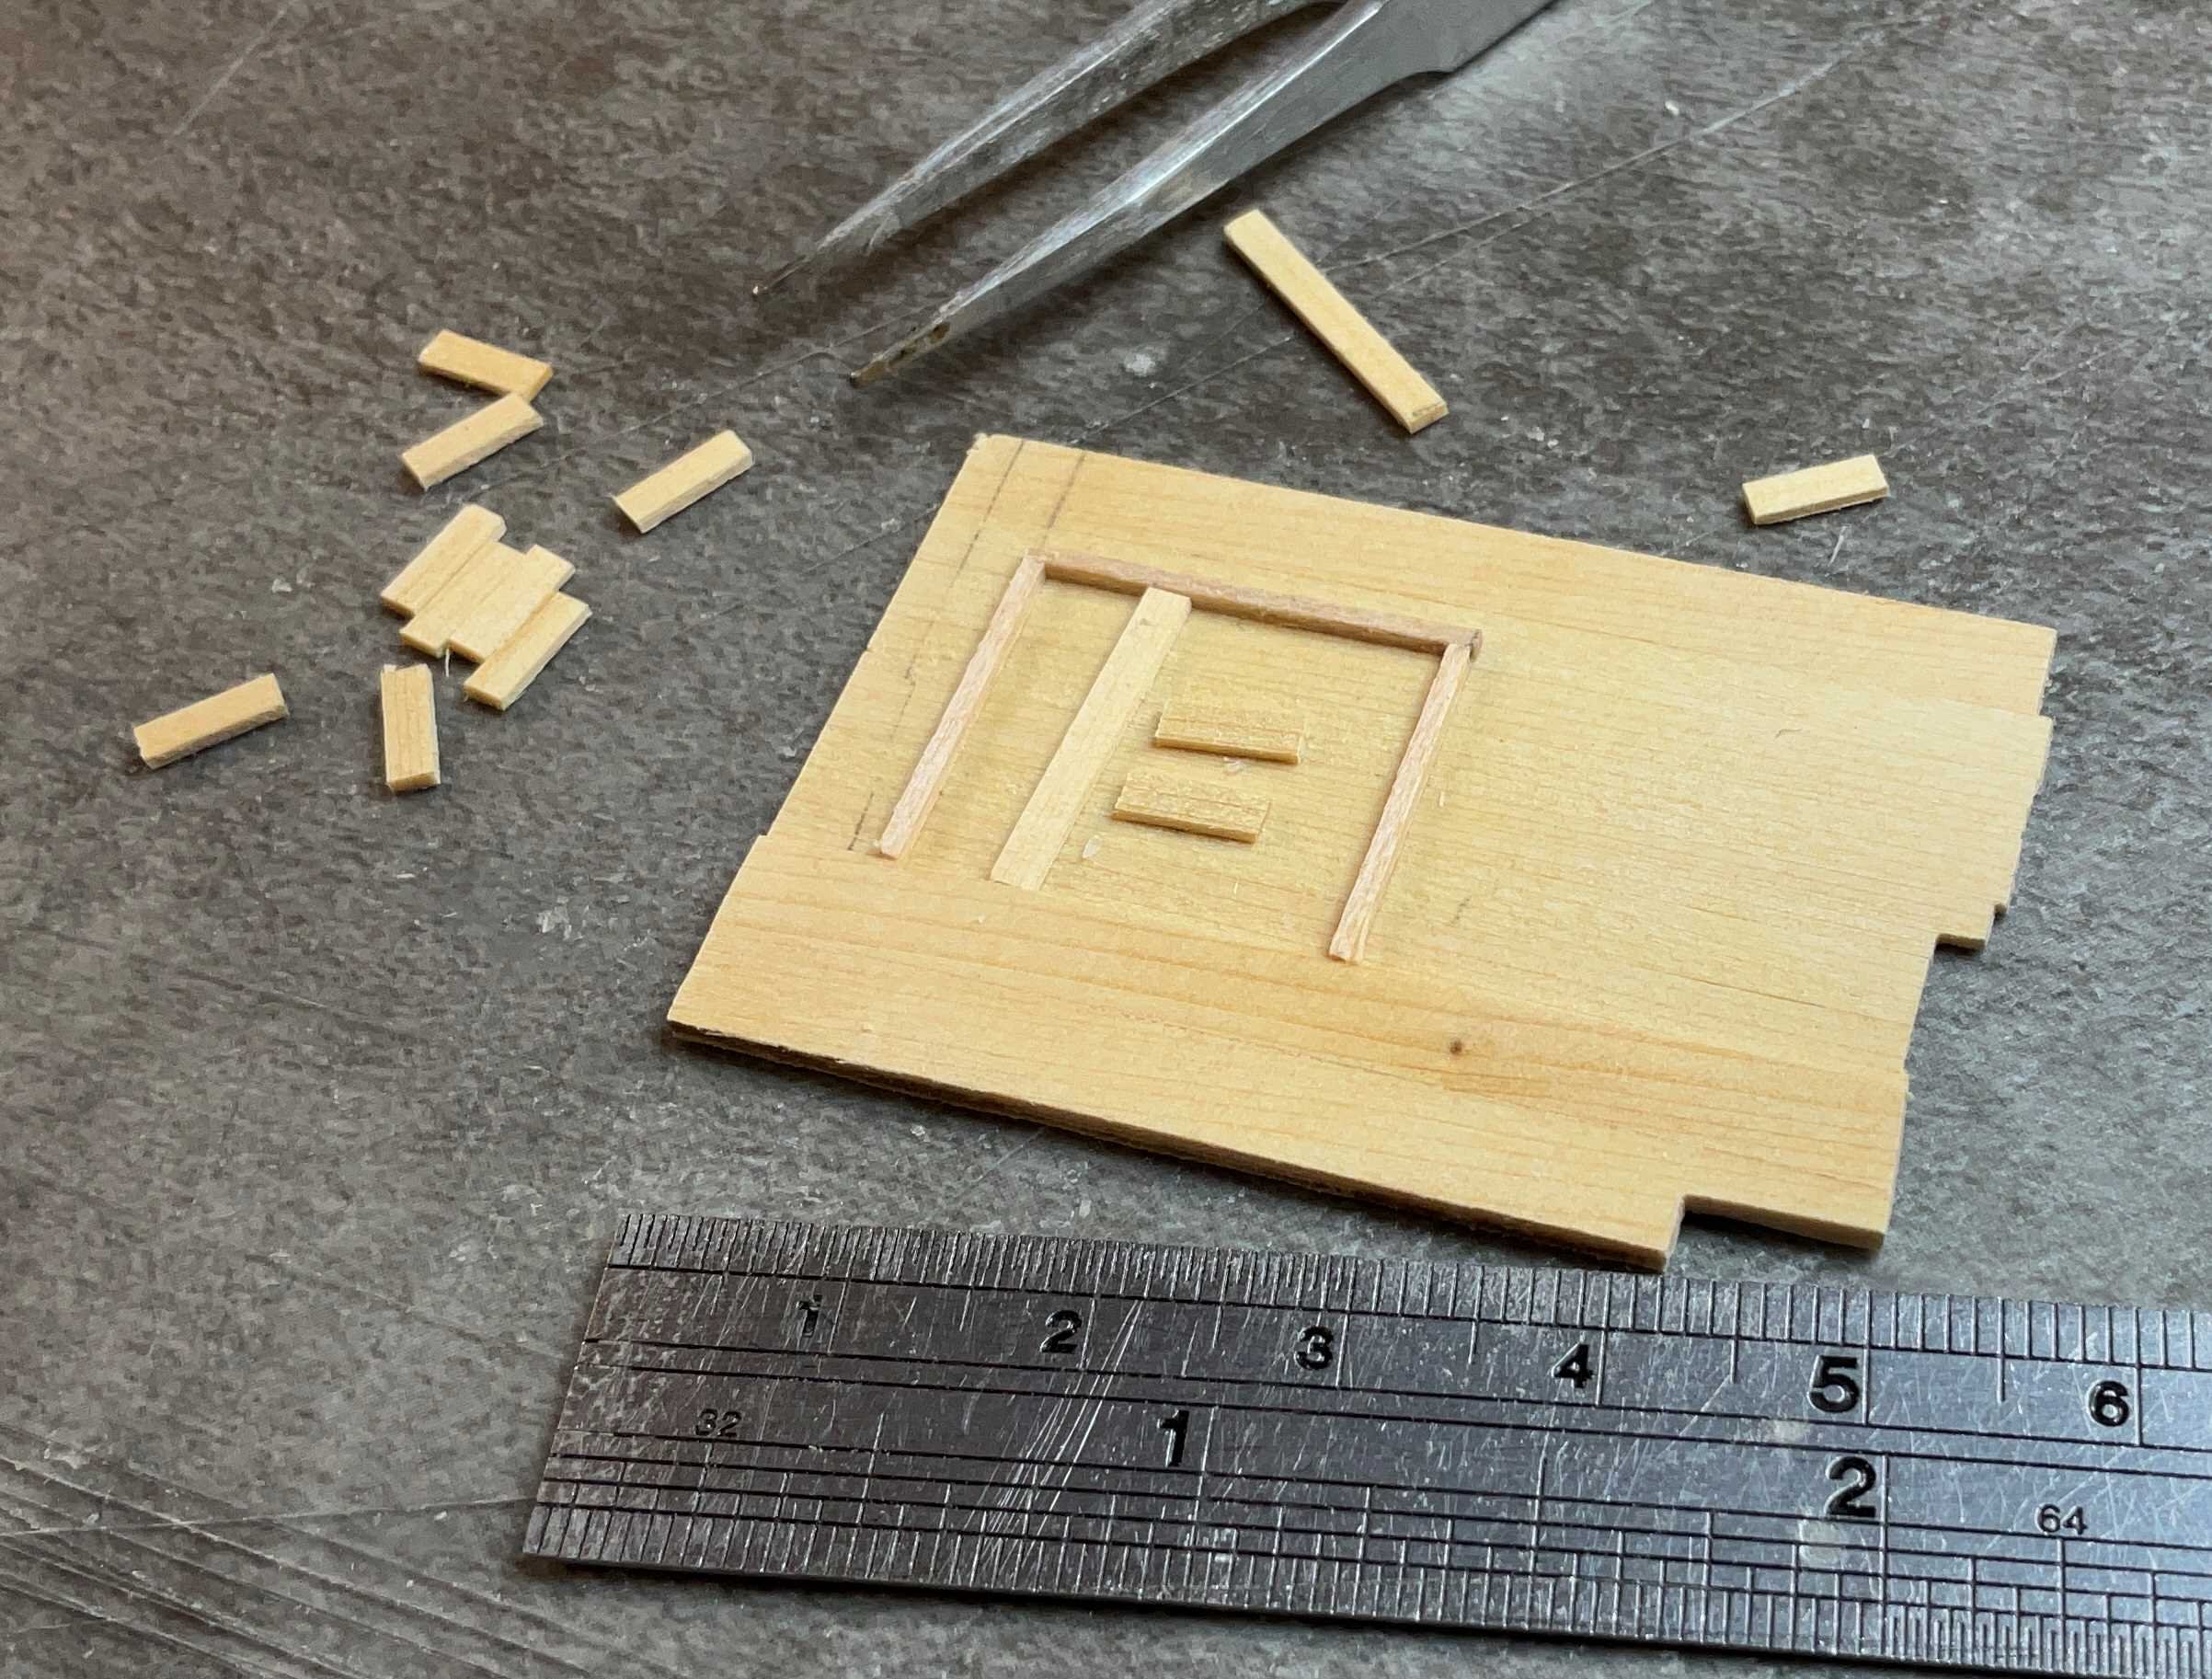
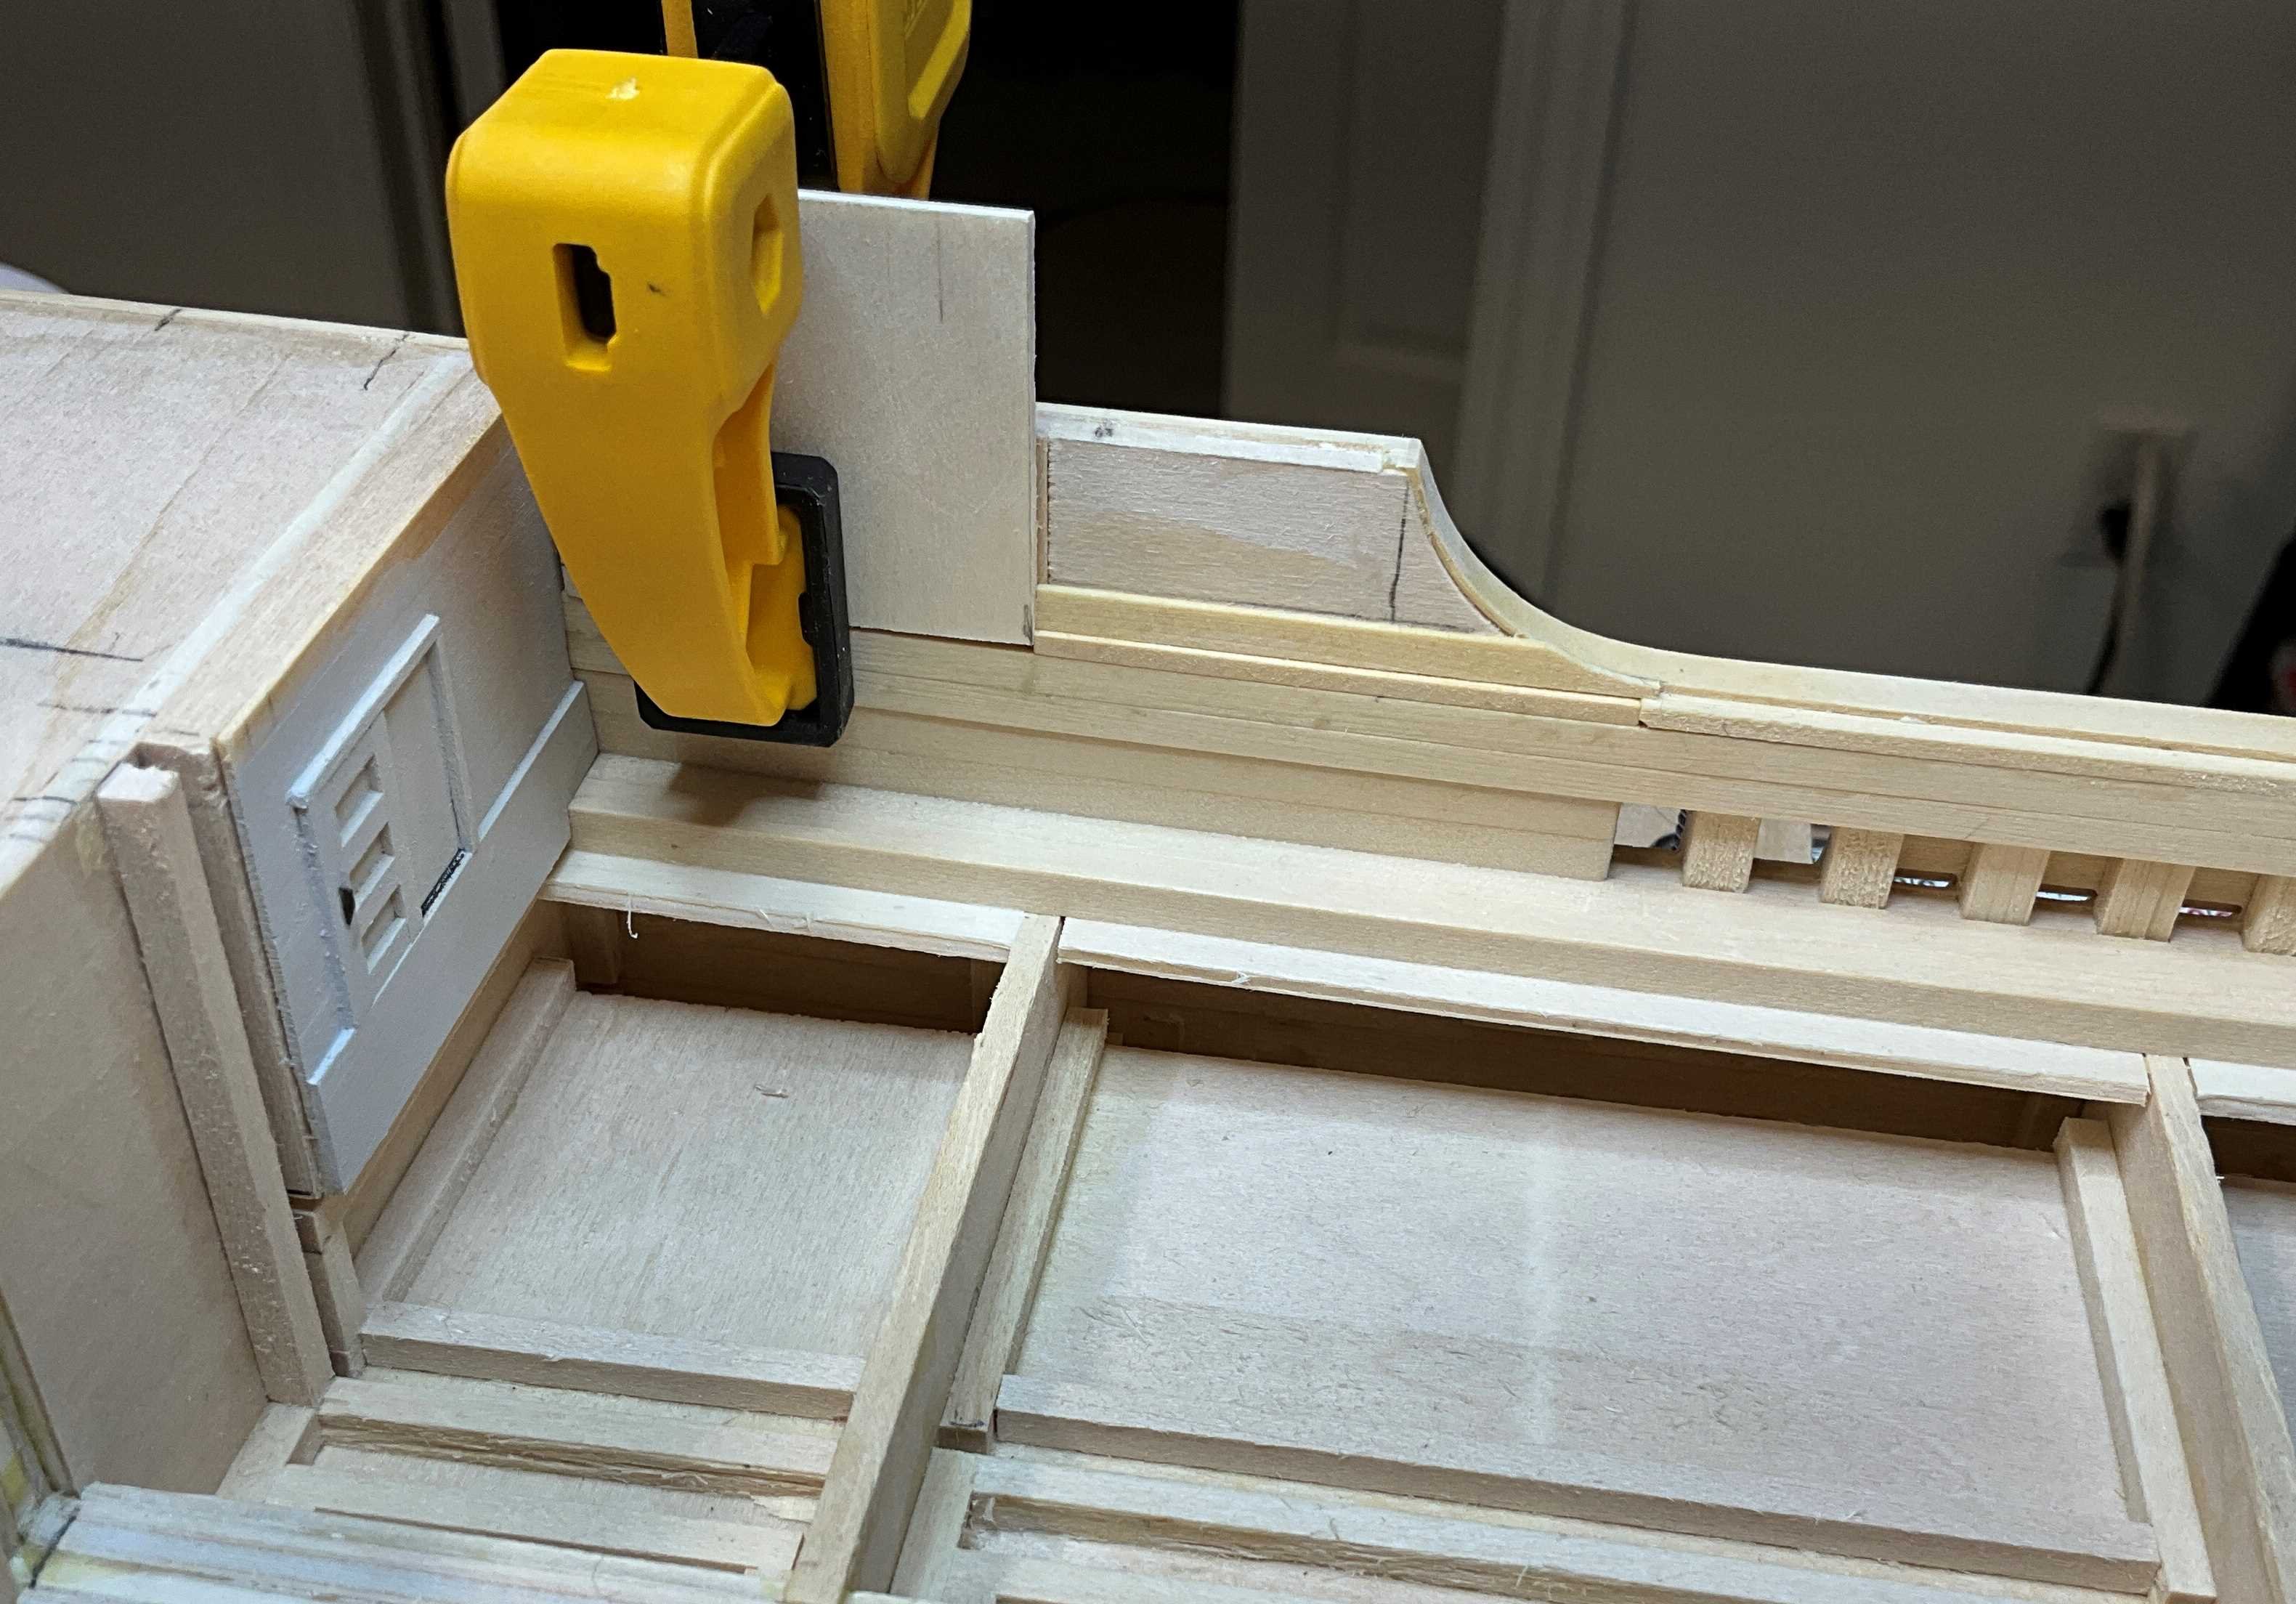
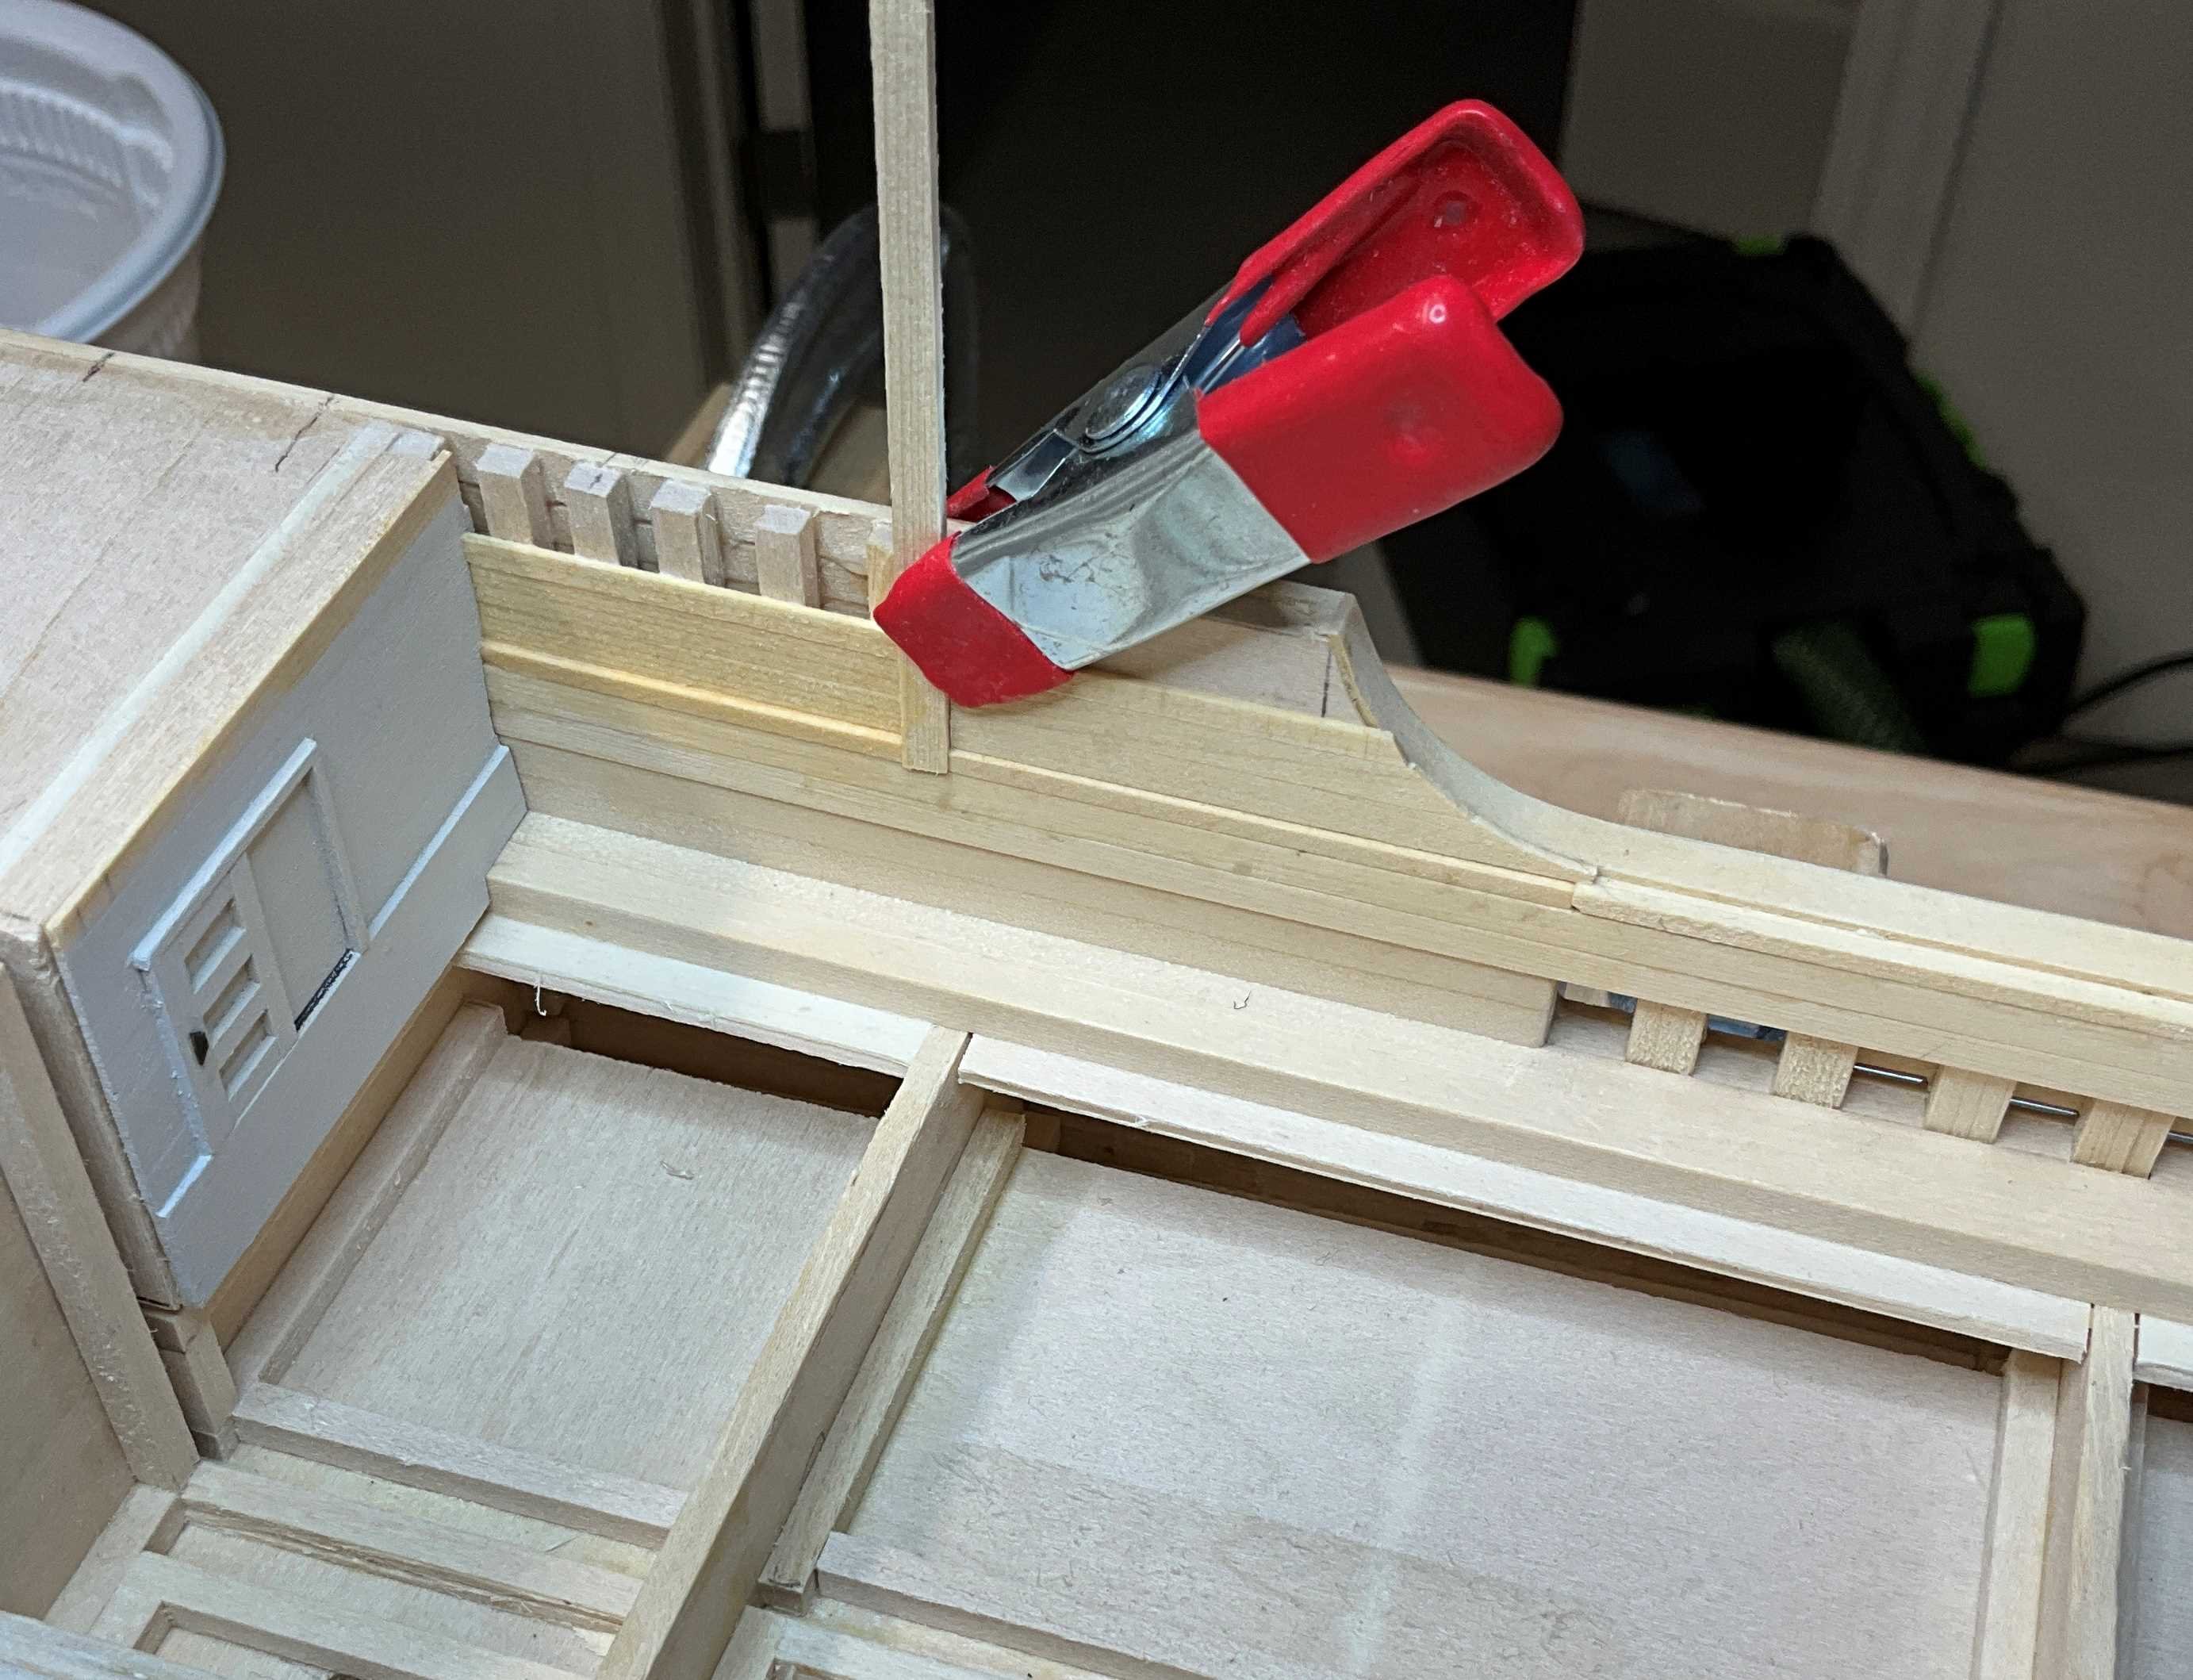
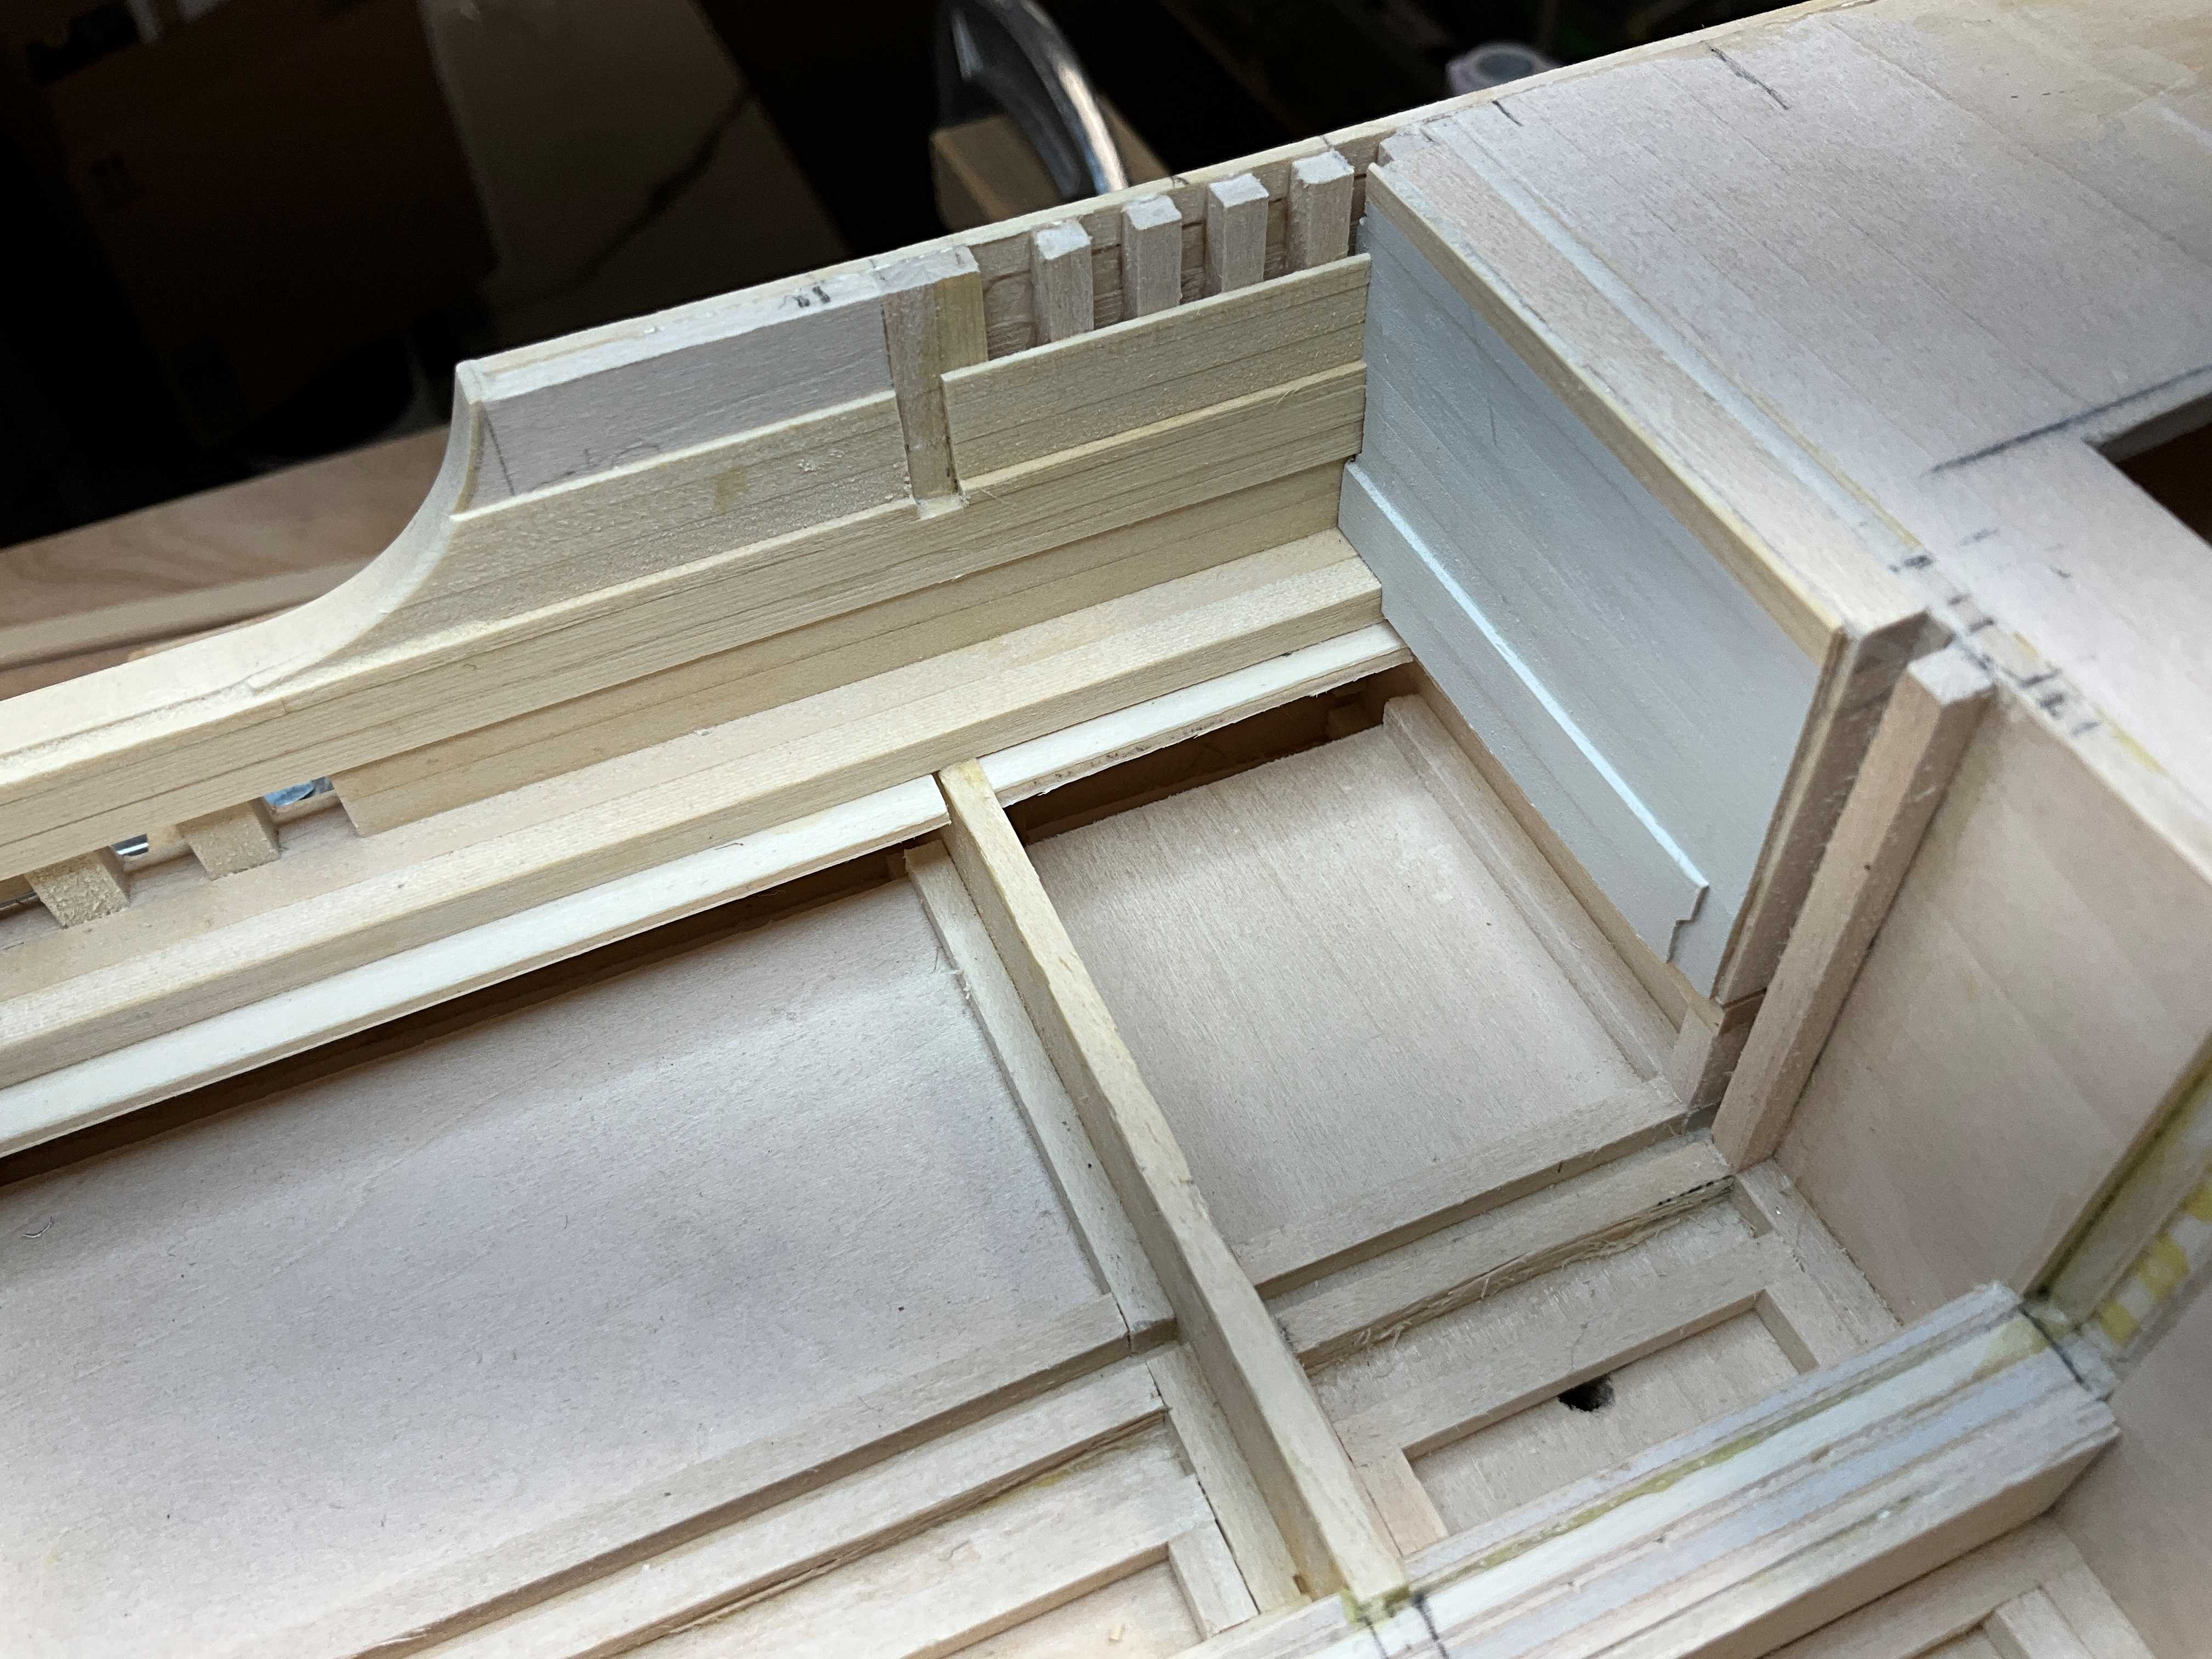
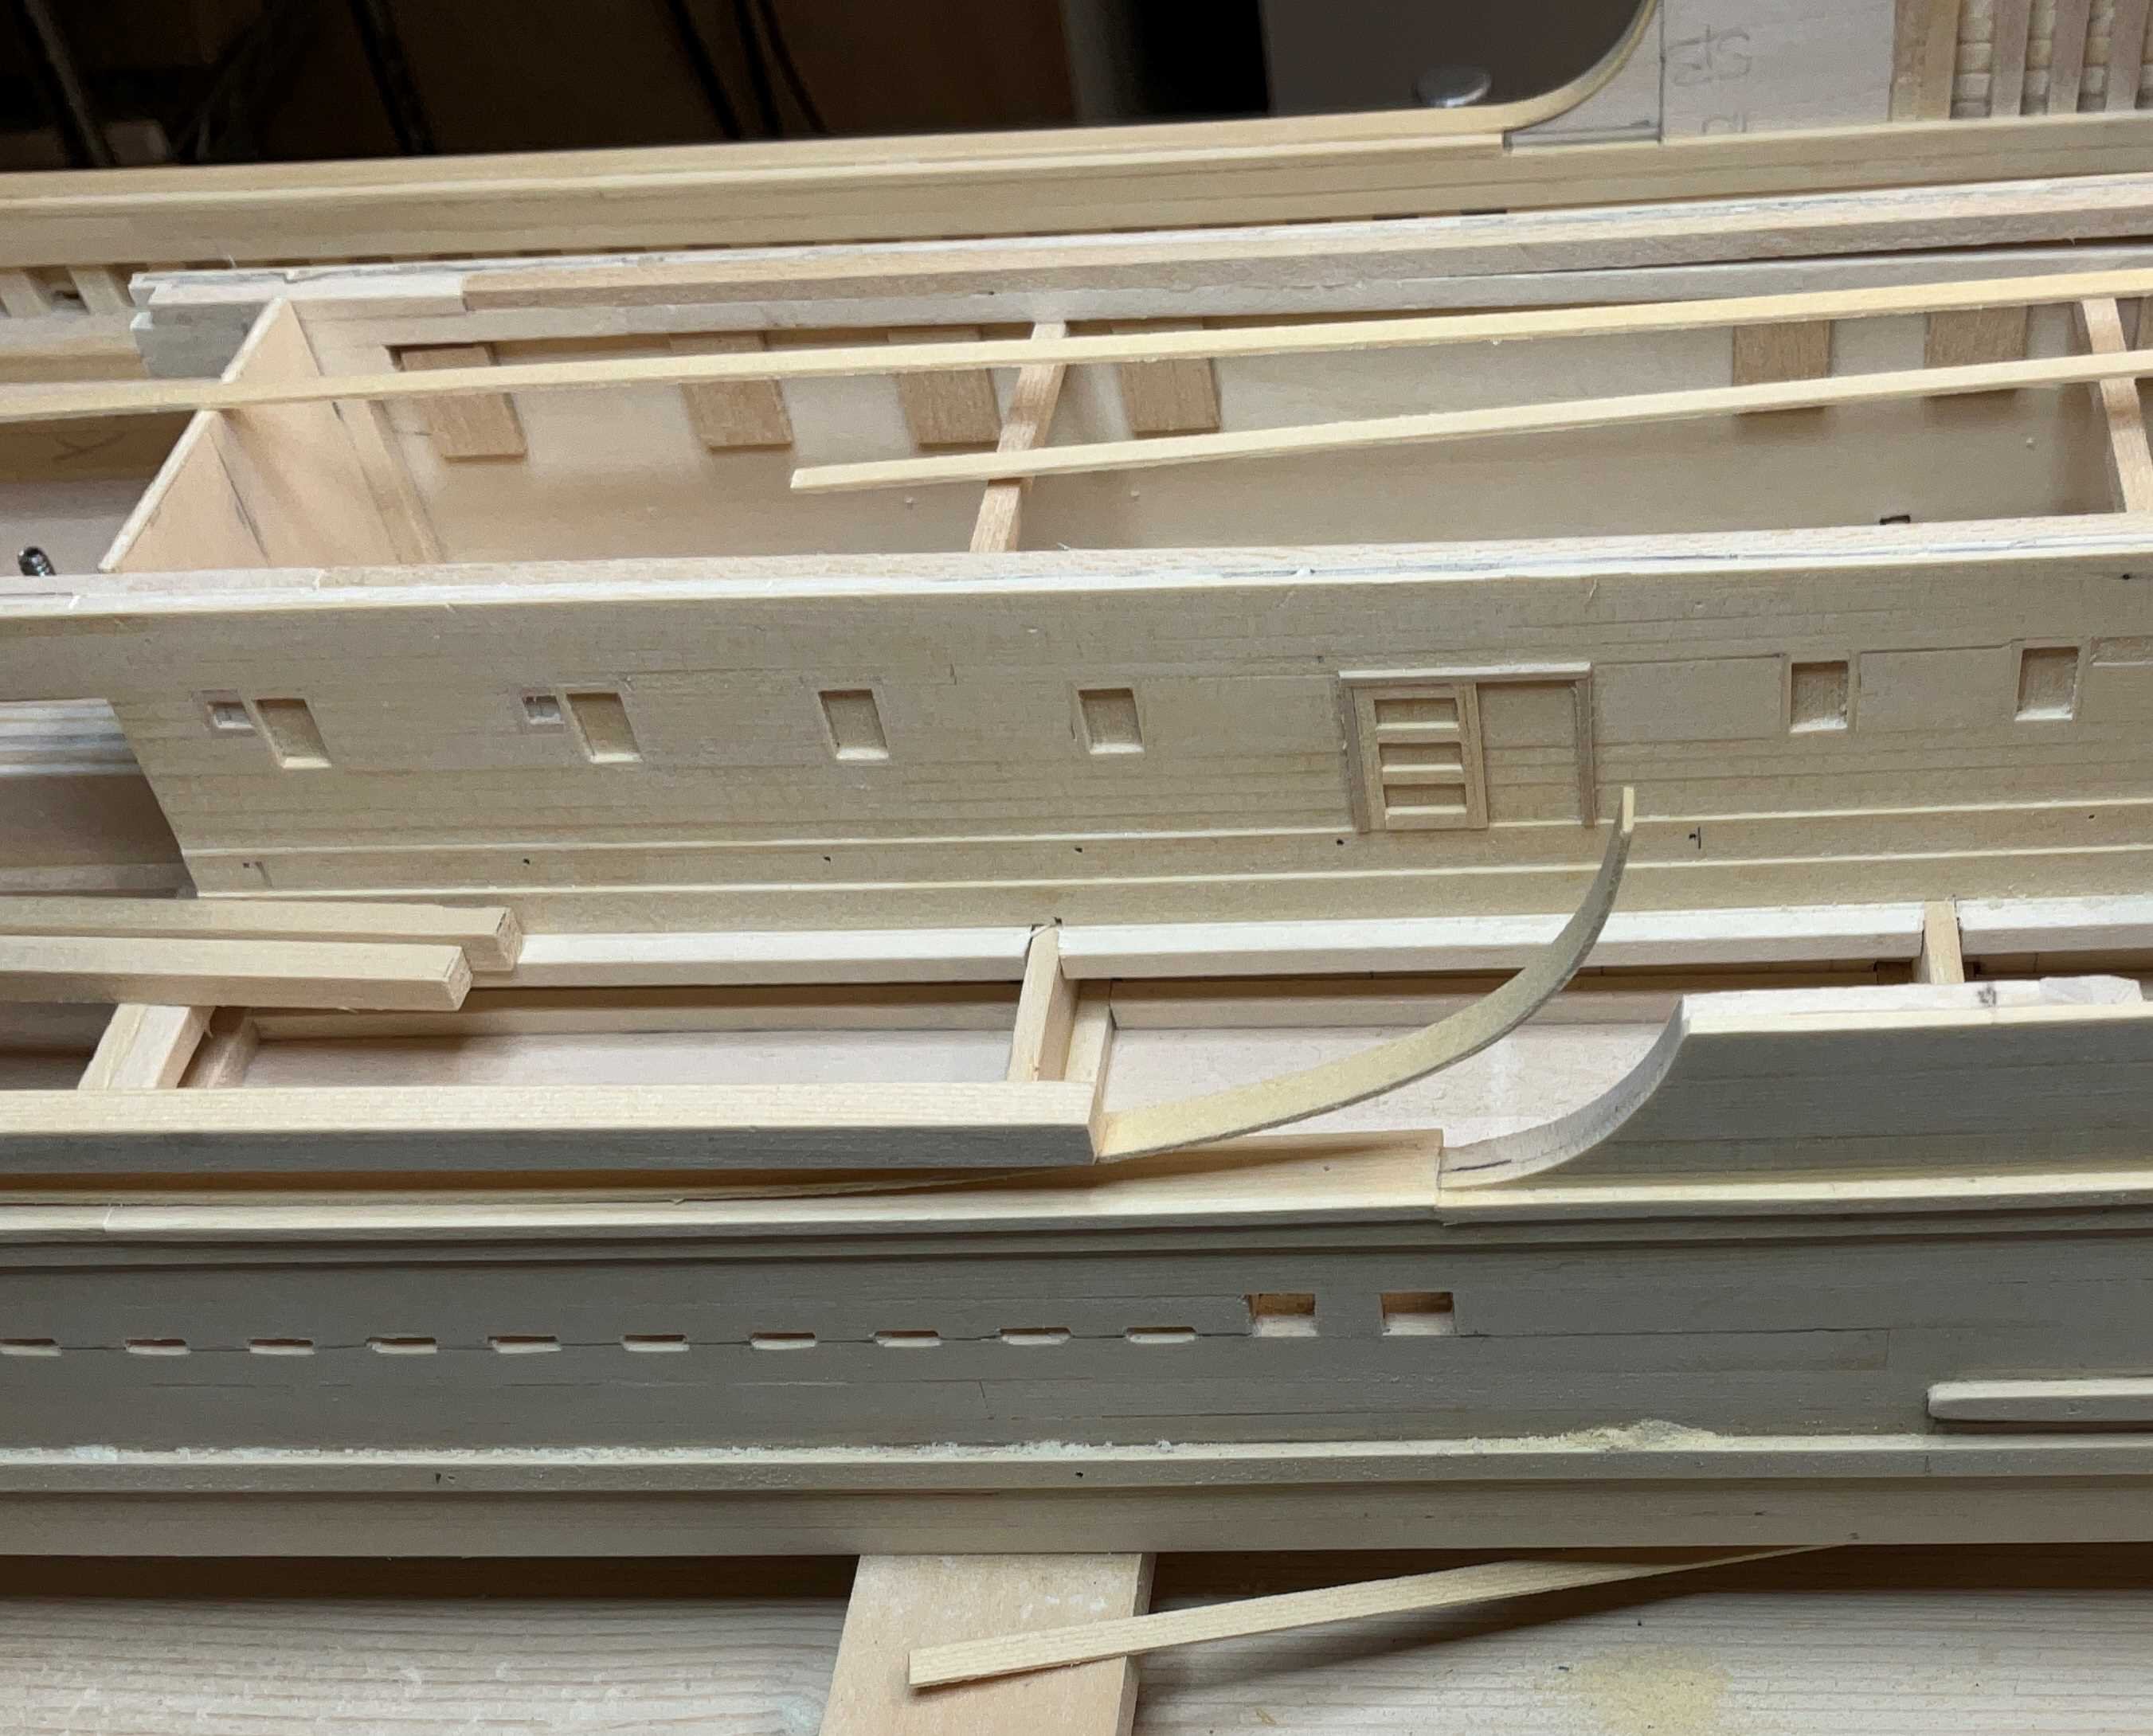
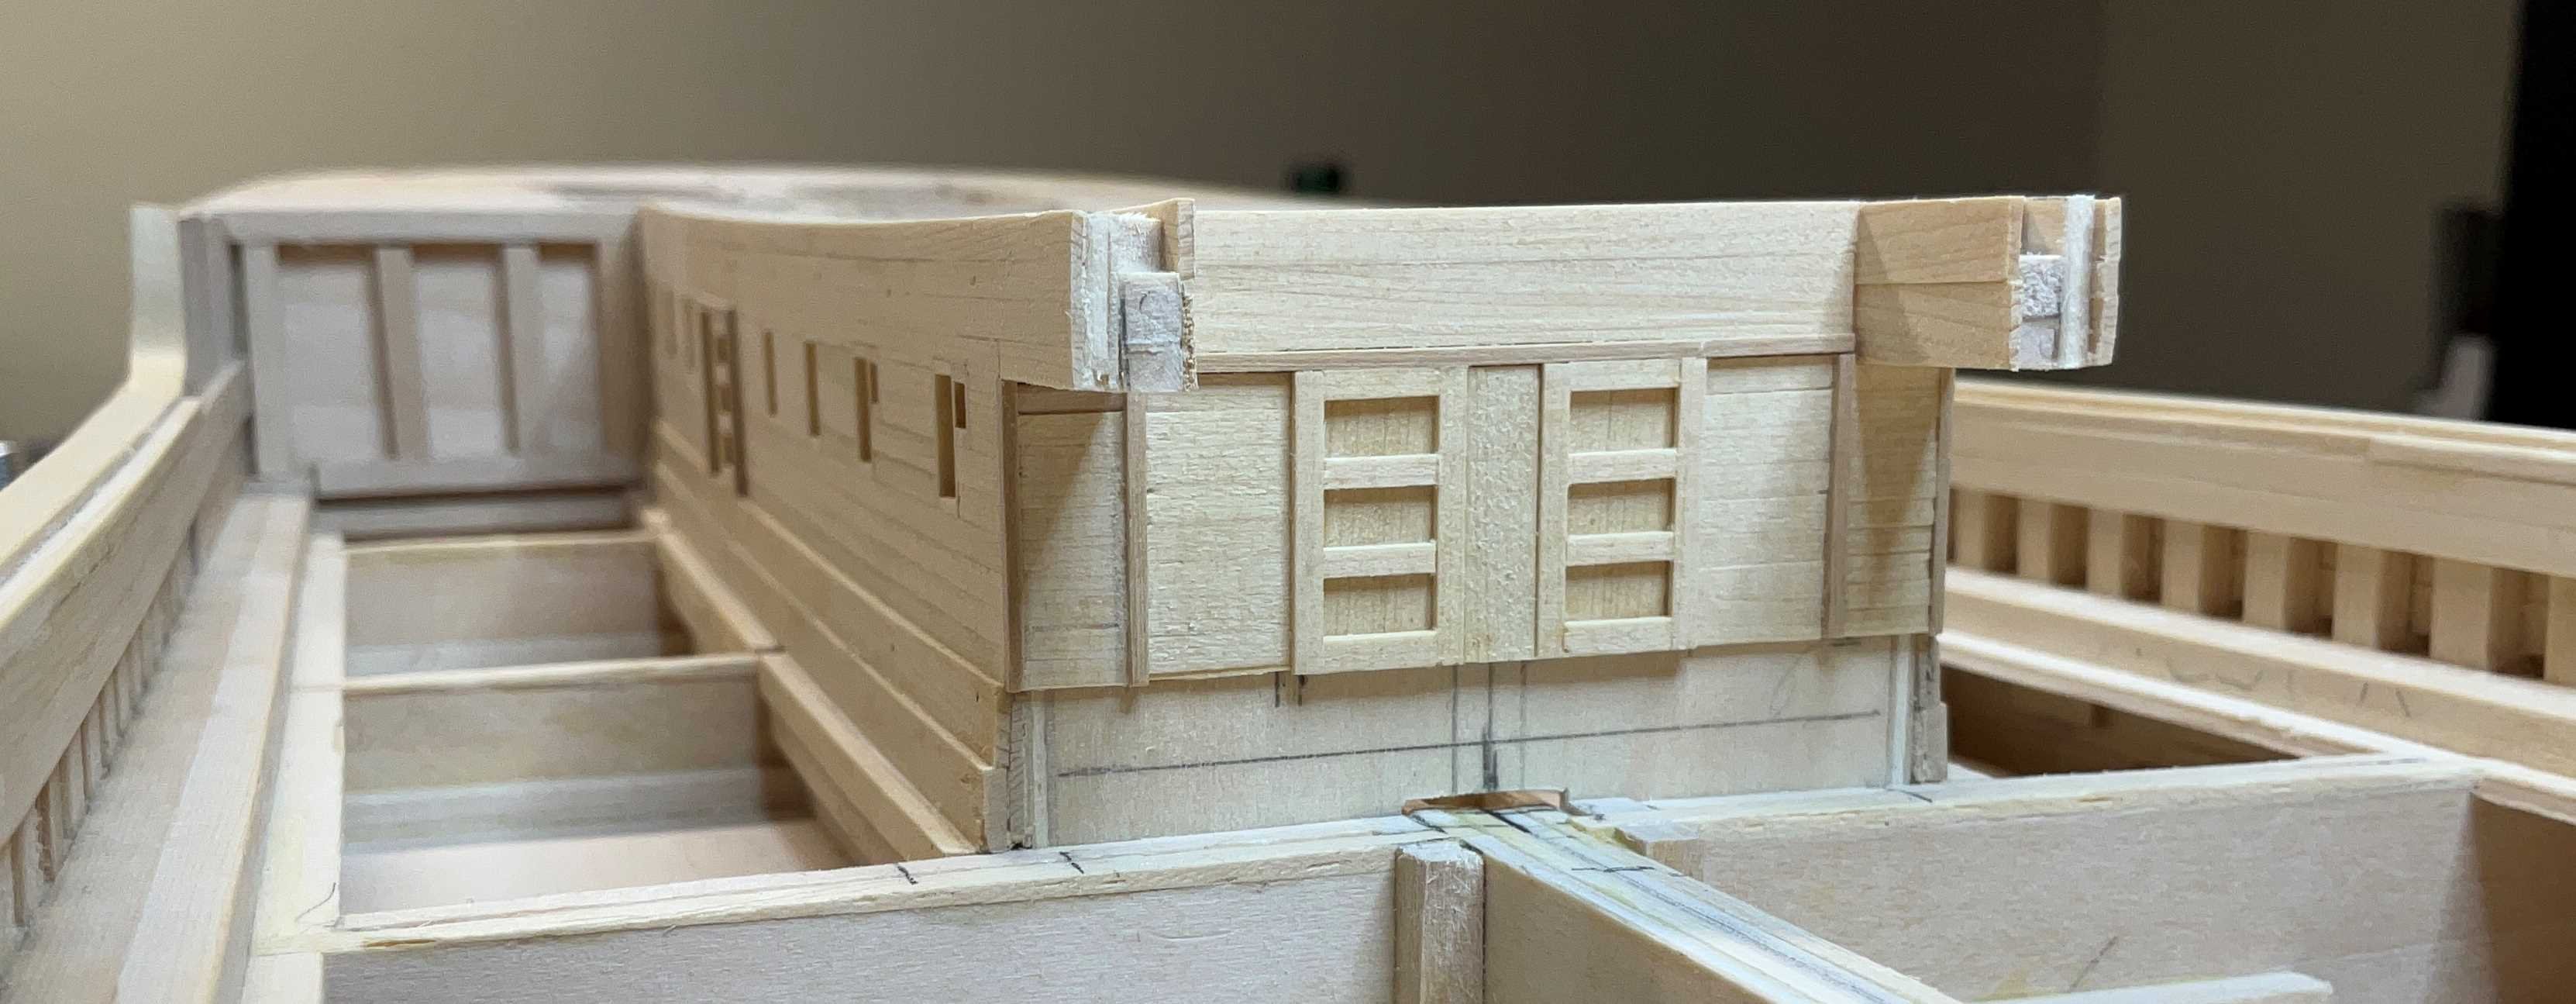
Hi Everyone, I hope you are all well. Thank you very much for the Comments and Likes. The bulkheads at the fore and aft ends of the main deck have been sided with 1/32" horizontal edge glued strips of 5/64" AYC. The sliding doors were glued to the siding and then everything was painted with Vallejo Model Air White Grey (71.119). The chafing planks were finished to the forward end. The bulwark planking was done next. There is a stanchion in there so there was a lot of measuring and cutting These areas had to be completed before the Main Deck House could be installed. The bulwarks were airbrushed and except for a few attachment points she is ready for the deck house and the sub deck. Hope to see you soon!


-
She looks beautiful Gary! Good luck in the Photographic Competition.
-
She looks great Roel! It must be incredibly difficult to make sure everything is done in the correct sequence.
-
Hi Gary,thank you very much. Good to hear from you.
-
Bob, congratulations on completing your Golden Hind! She is exceptional.
- 46 replies
-
- 2
-

-

-
- Golden Hind
- airfix
- (and 2 more)
-
Hi John, thank you very much!
-
Hi Yves, thank you very much! Hi Keith, thank you so much!
-
Thank you Jacques, I agree. It didn’t seem to have much going on. If there’s any more changes though, they’d better not involve scuppers 😀
-
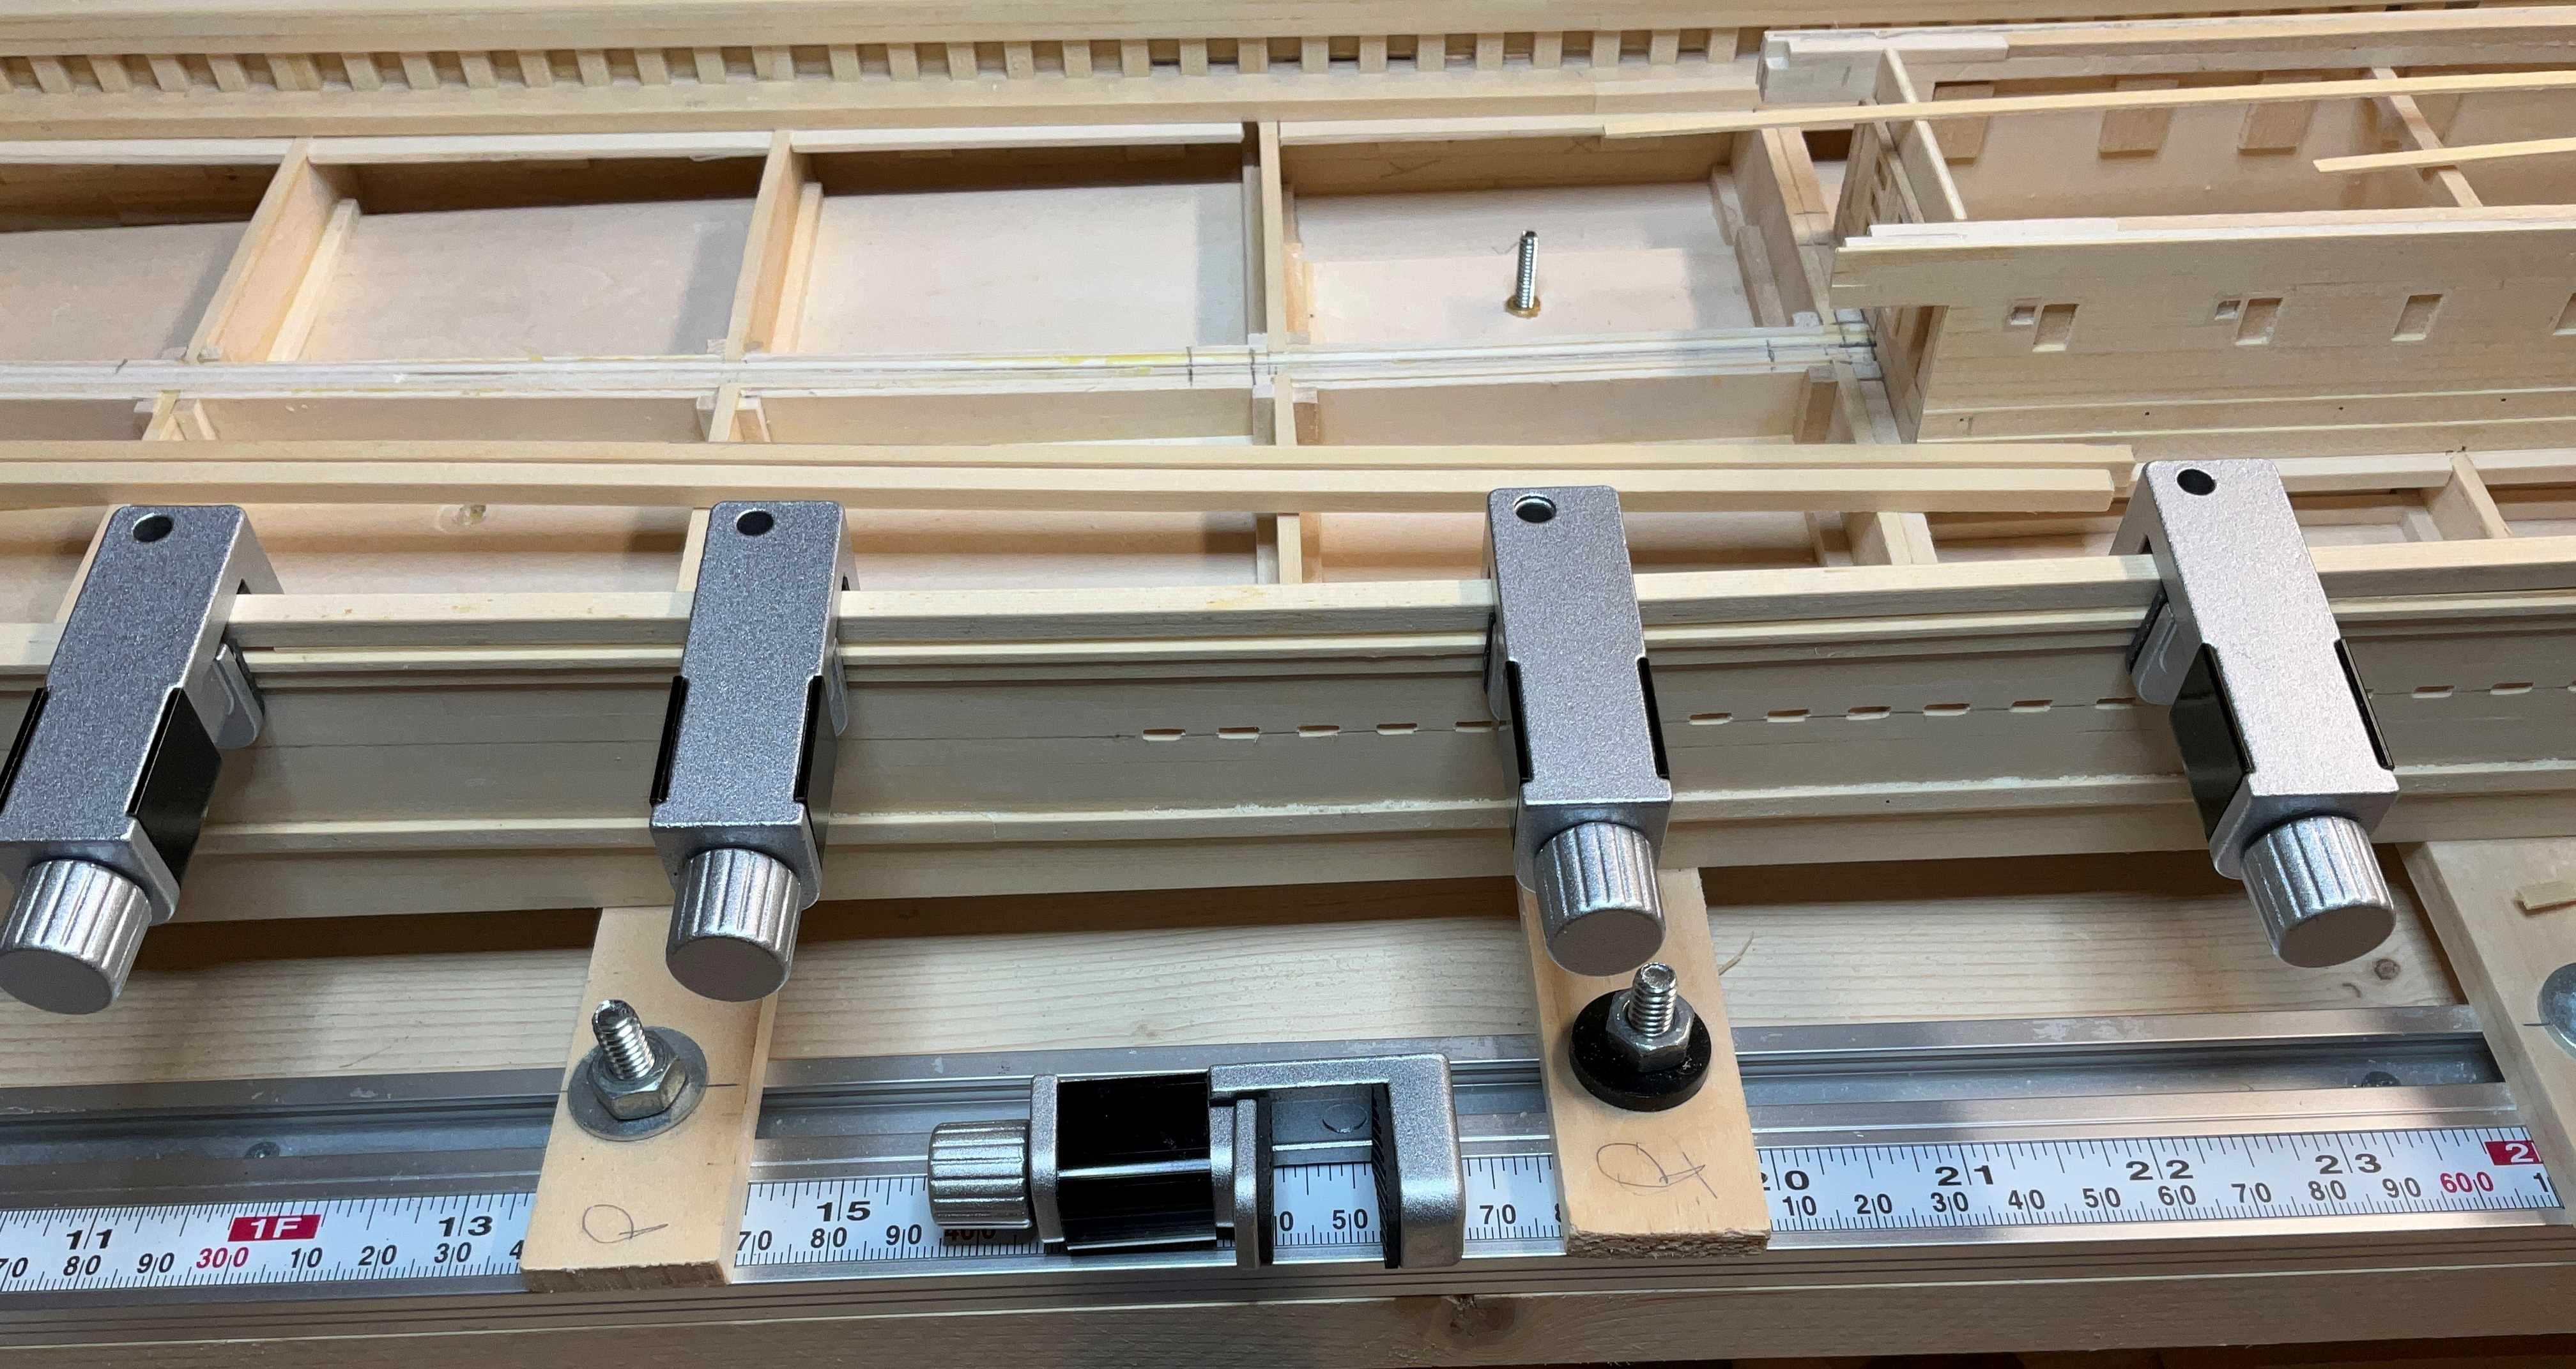
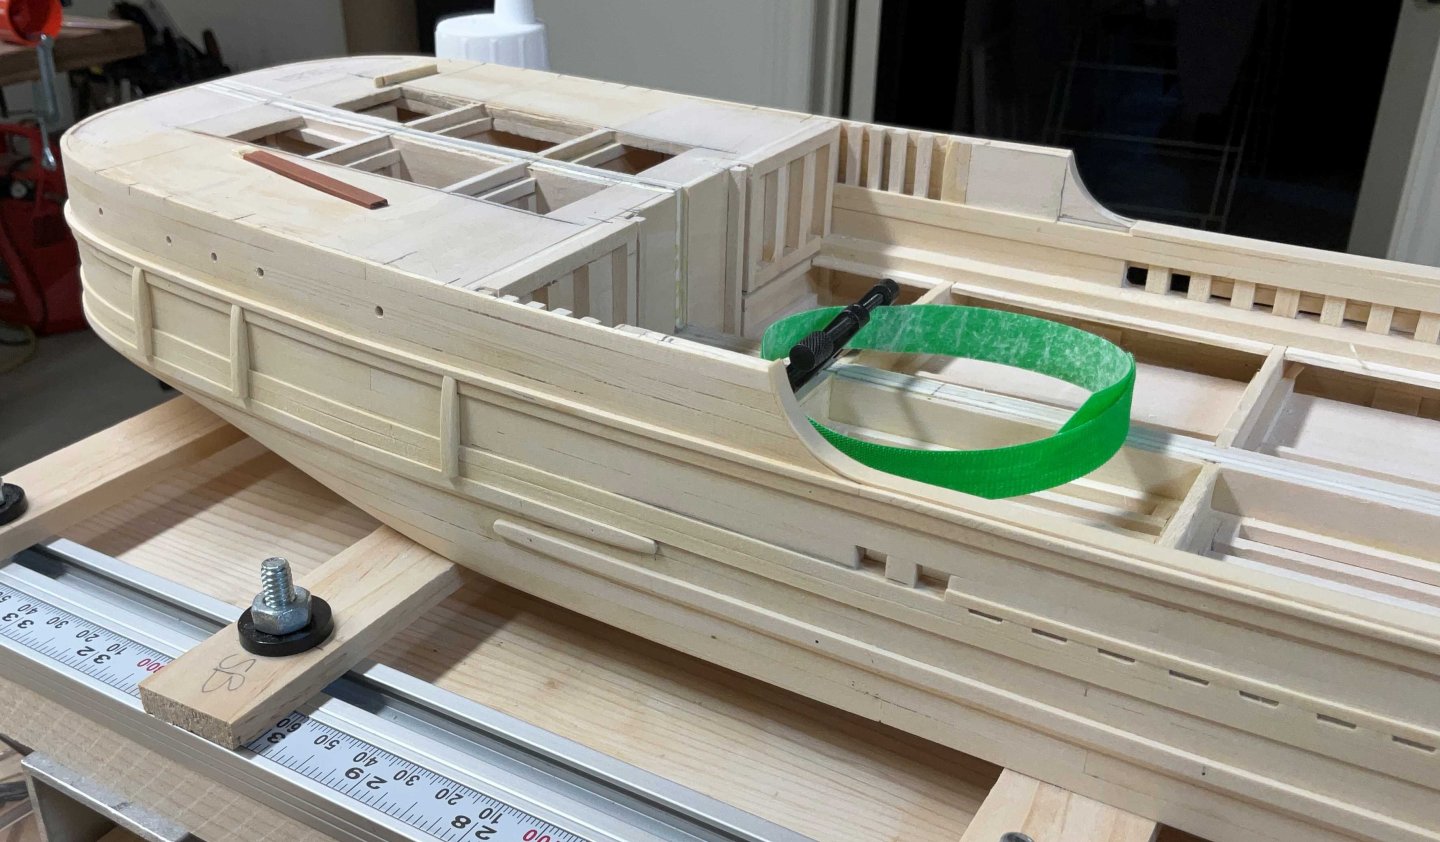
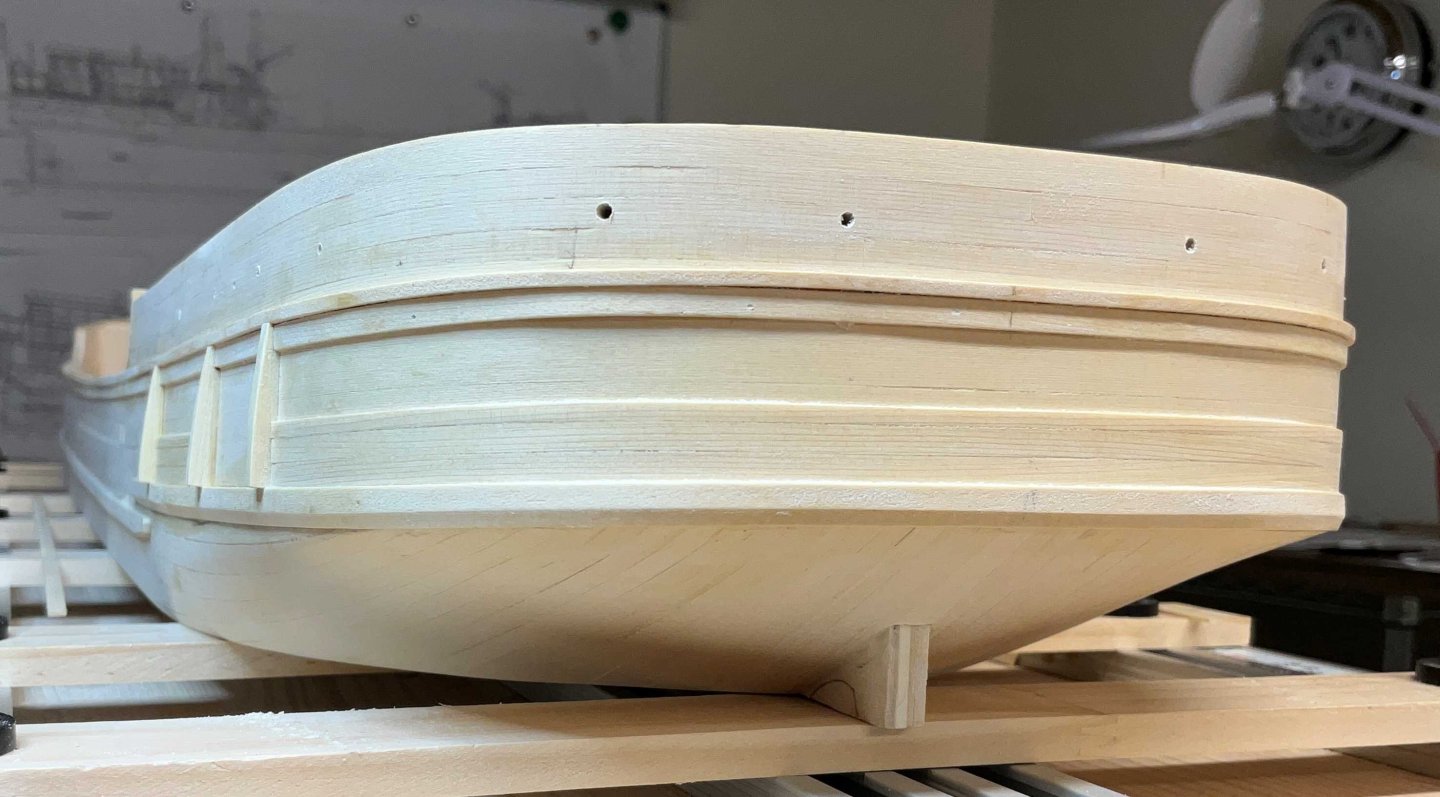
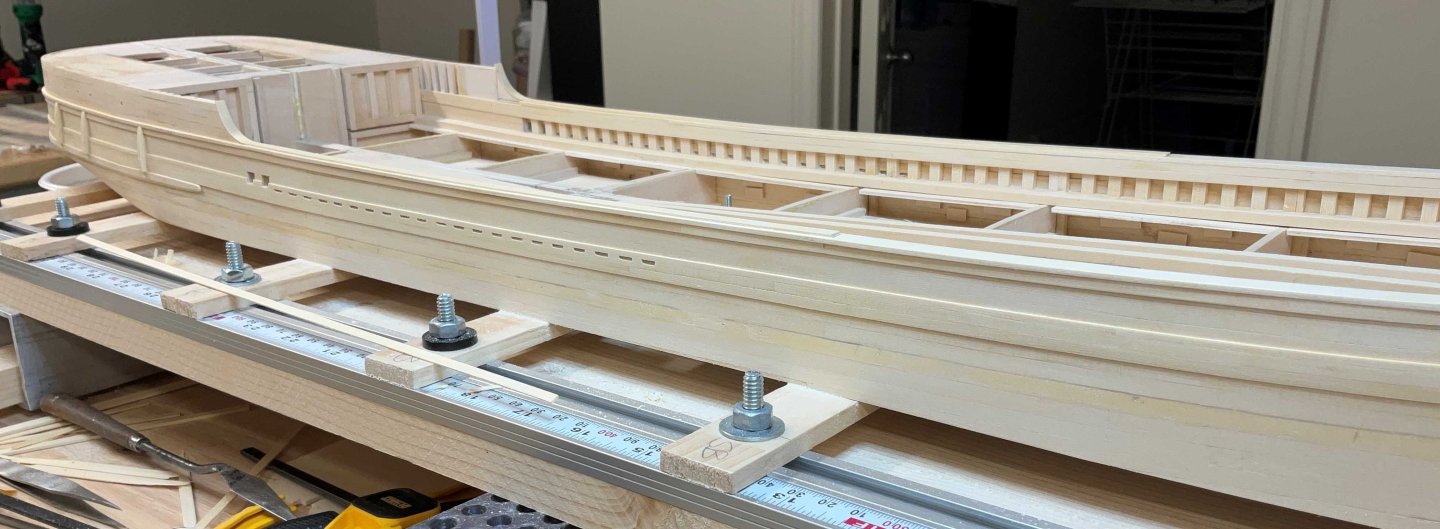
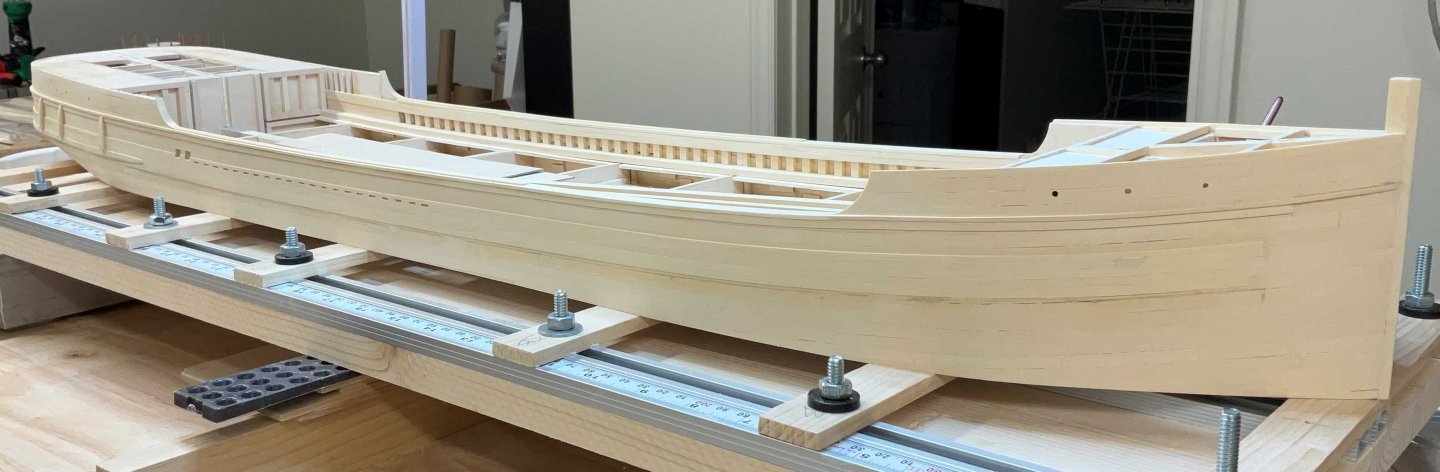
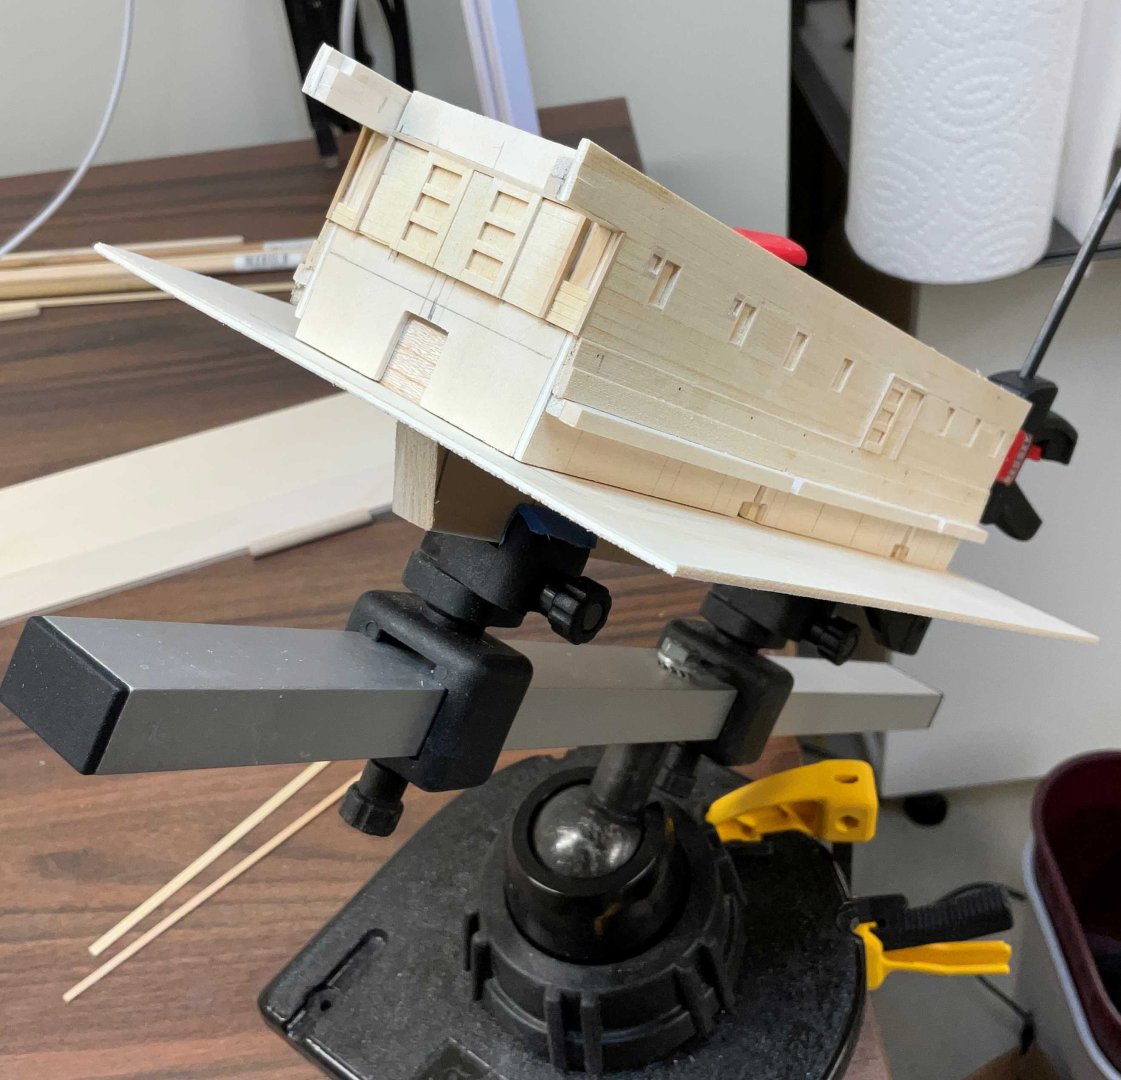
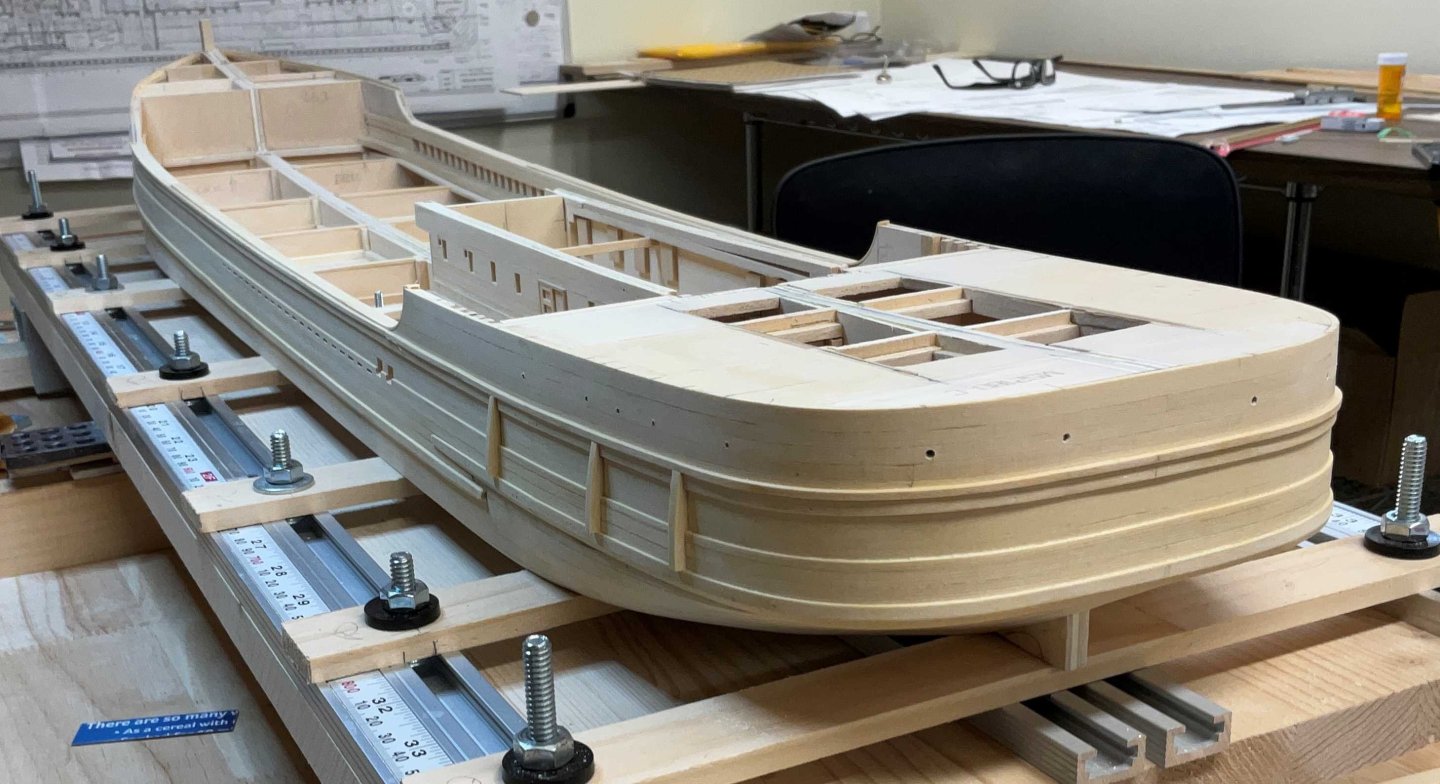
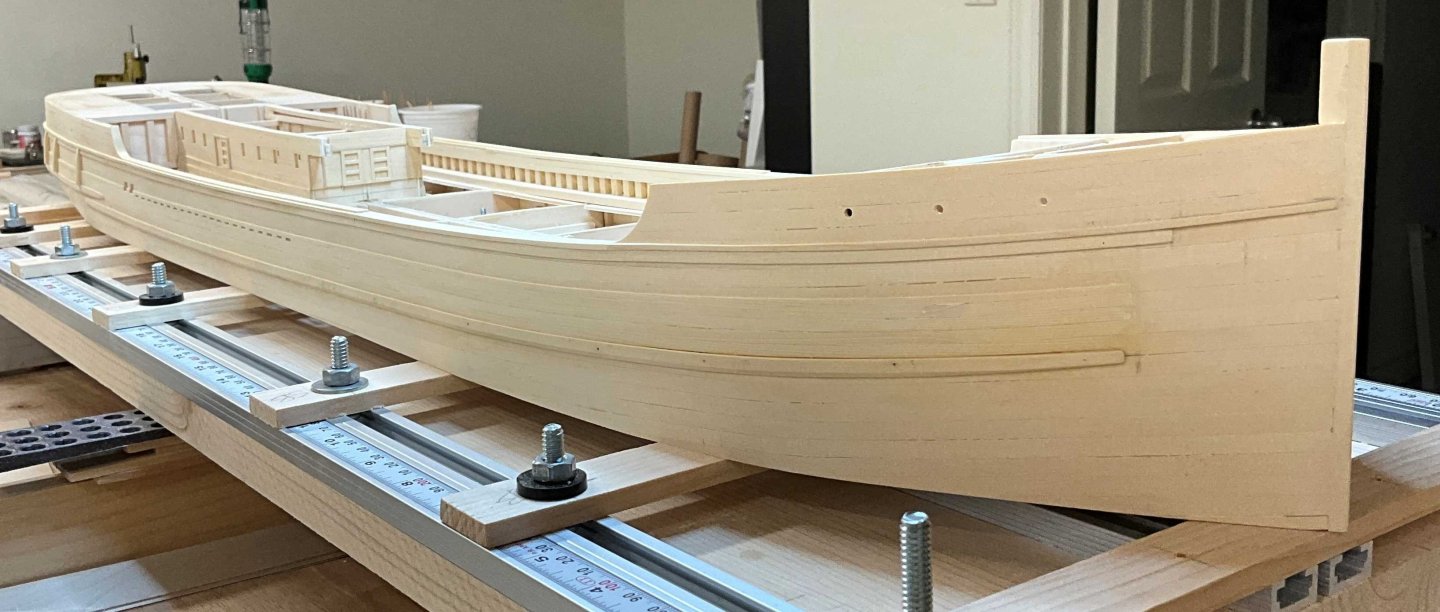
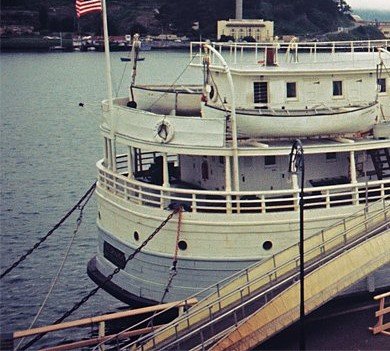
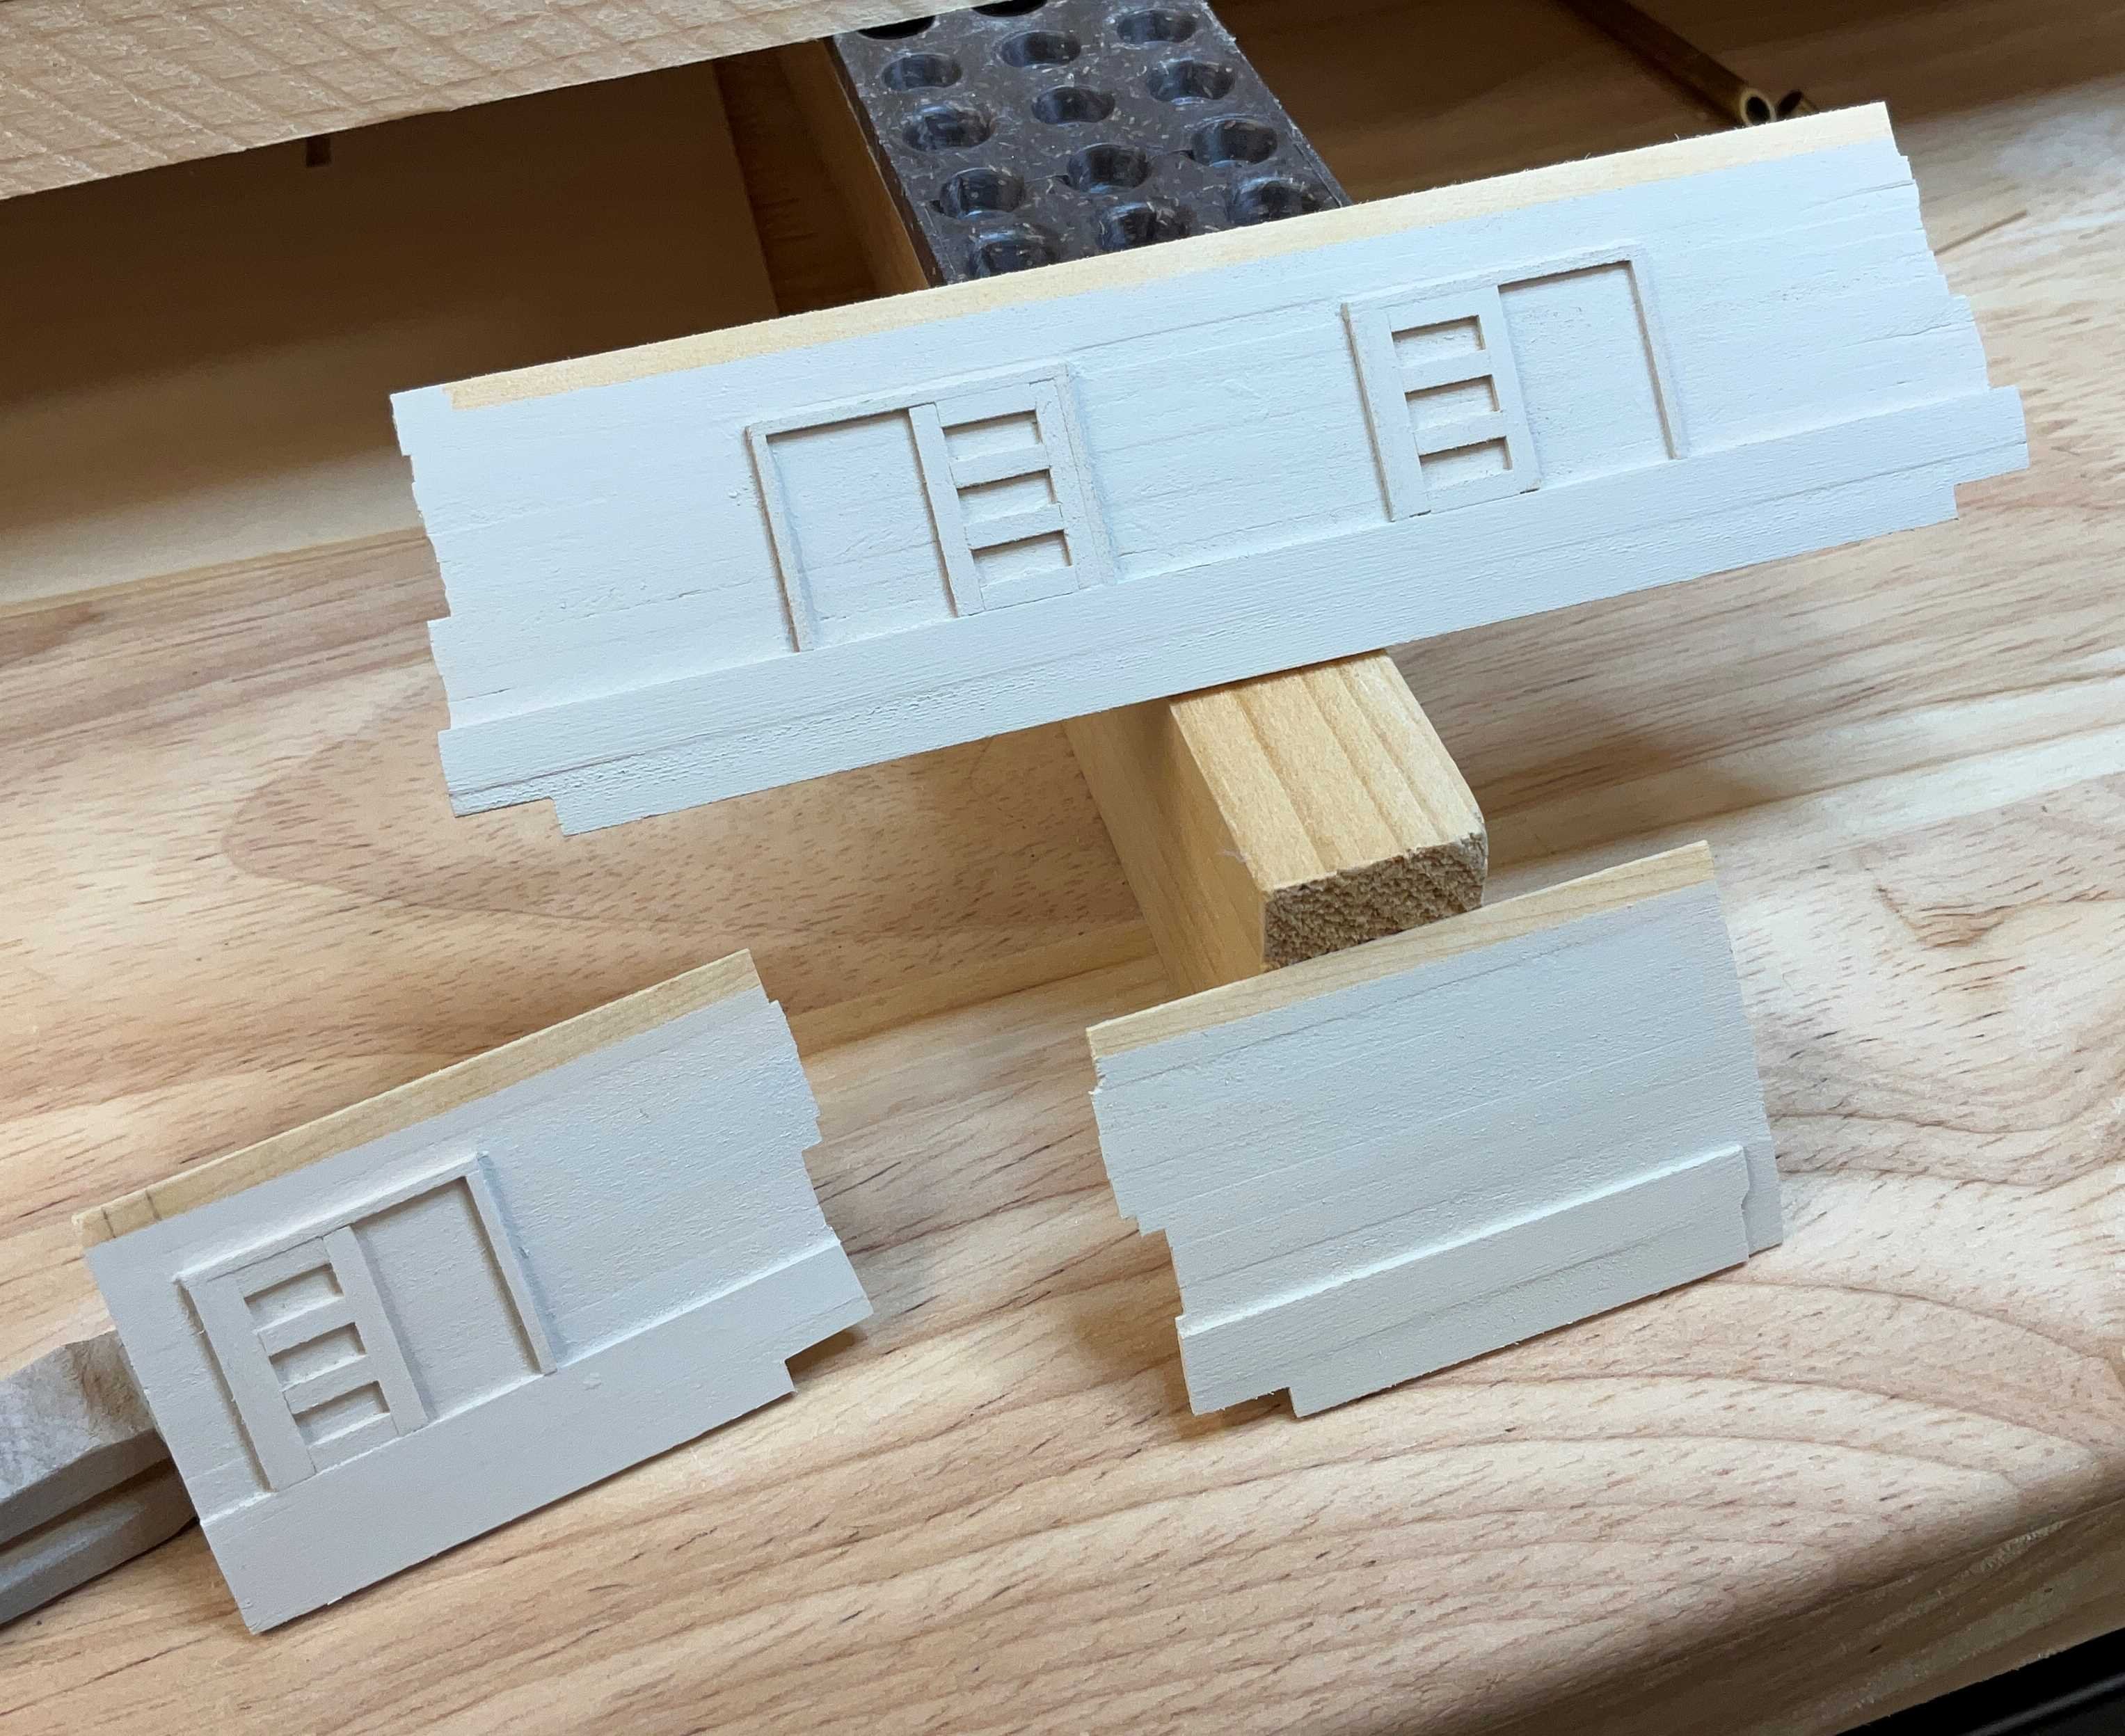
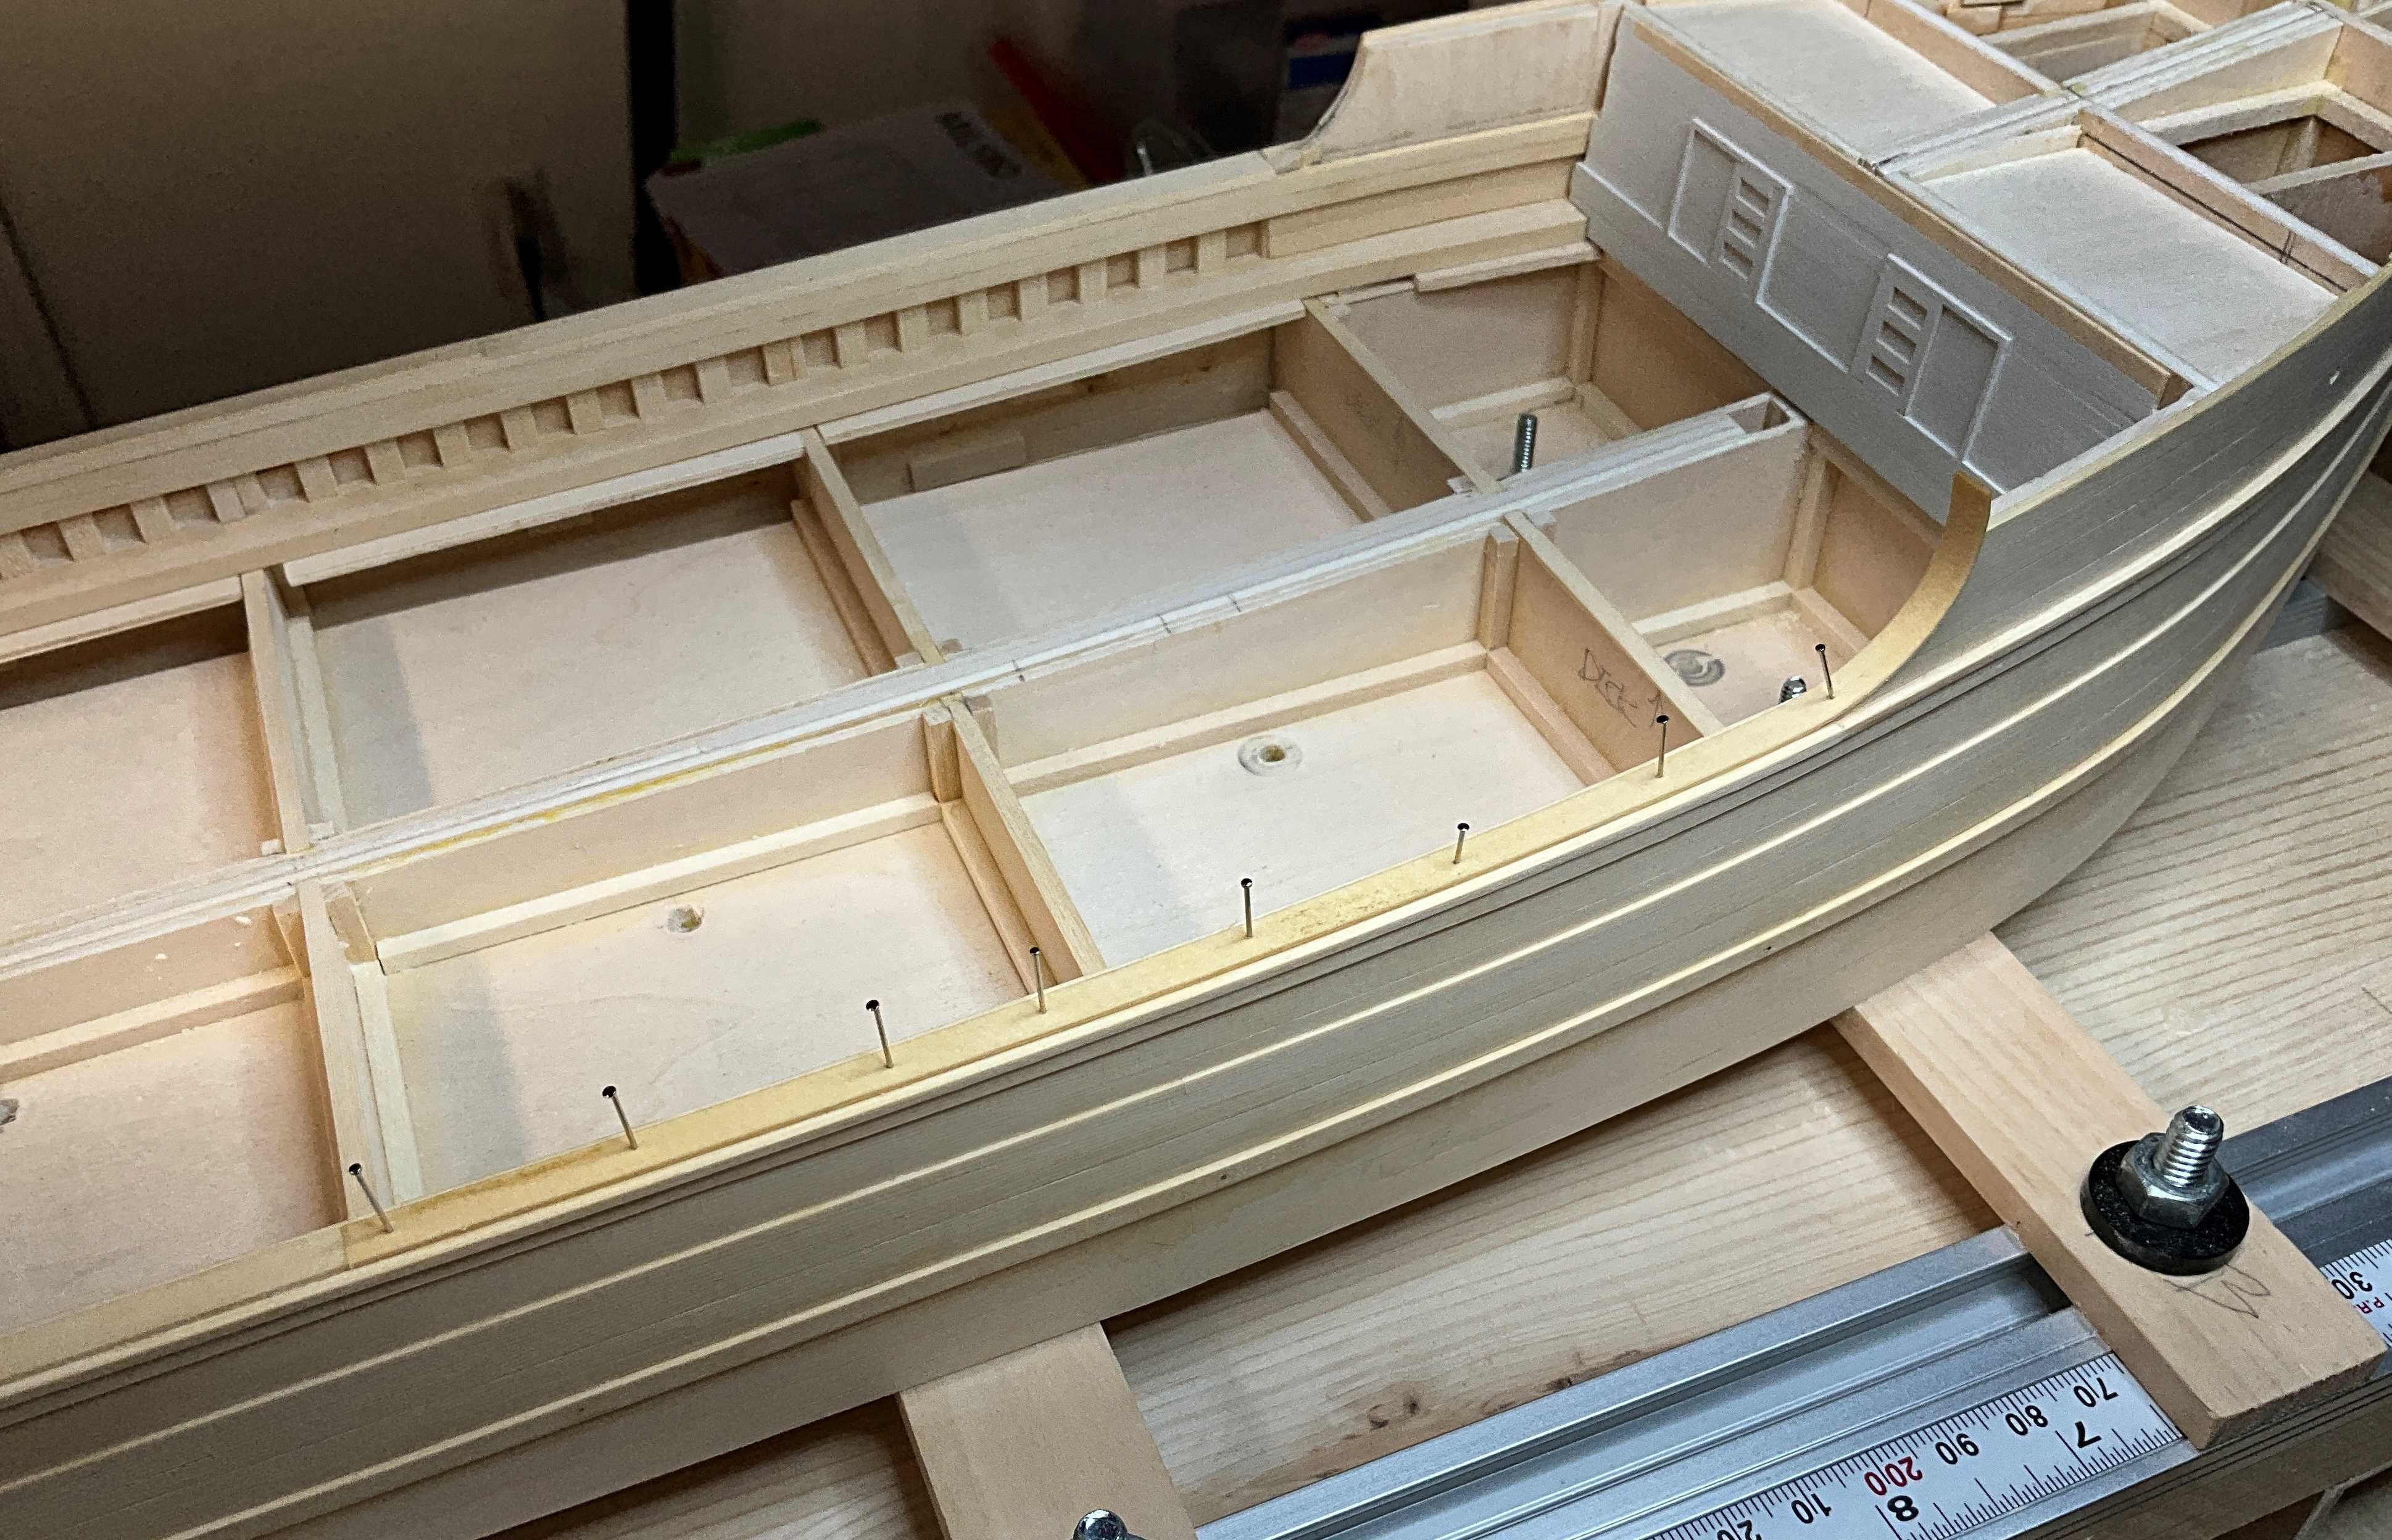
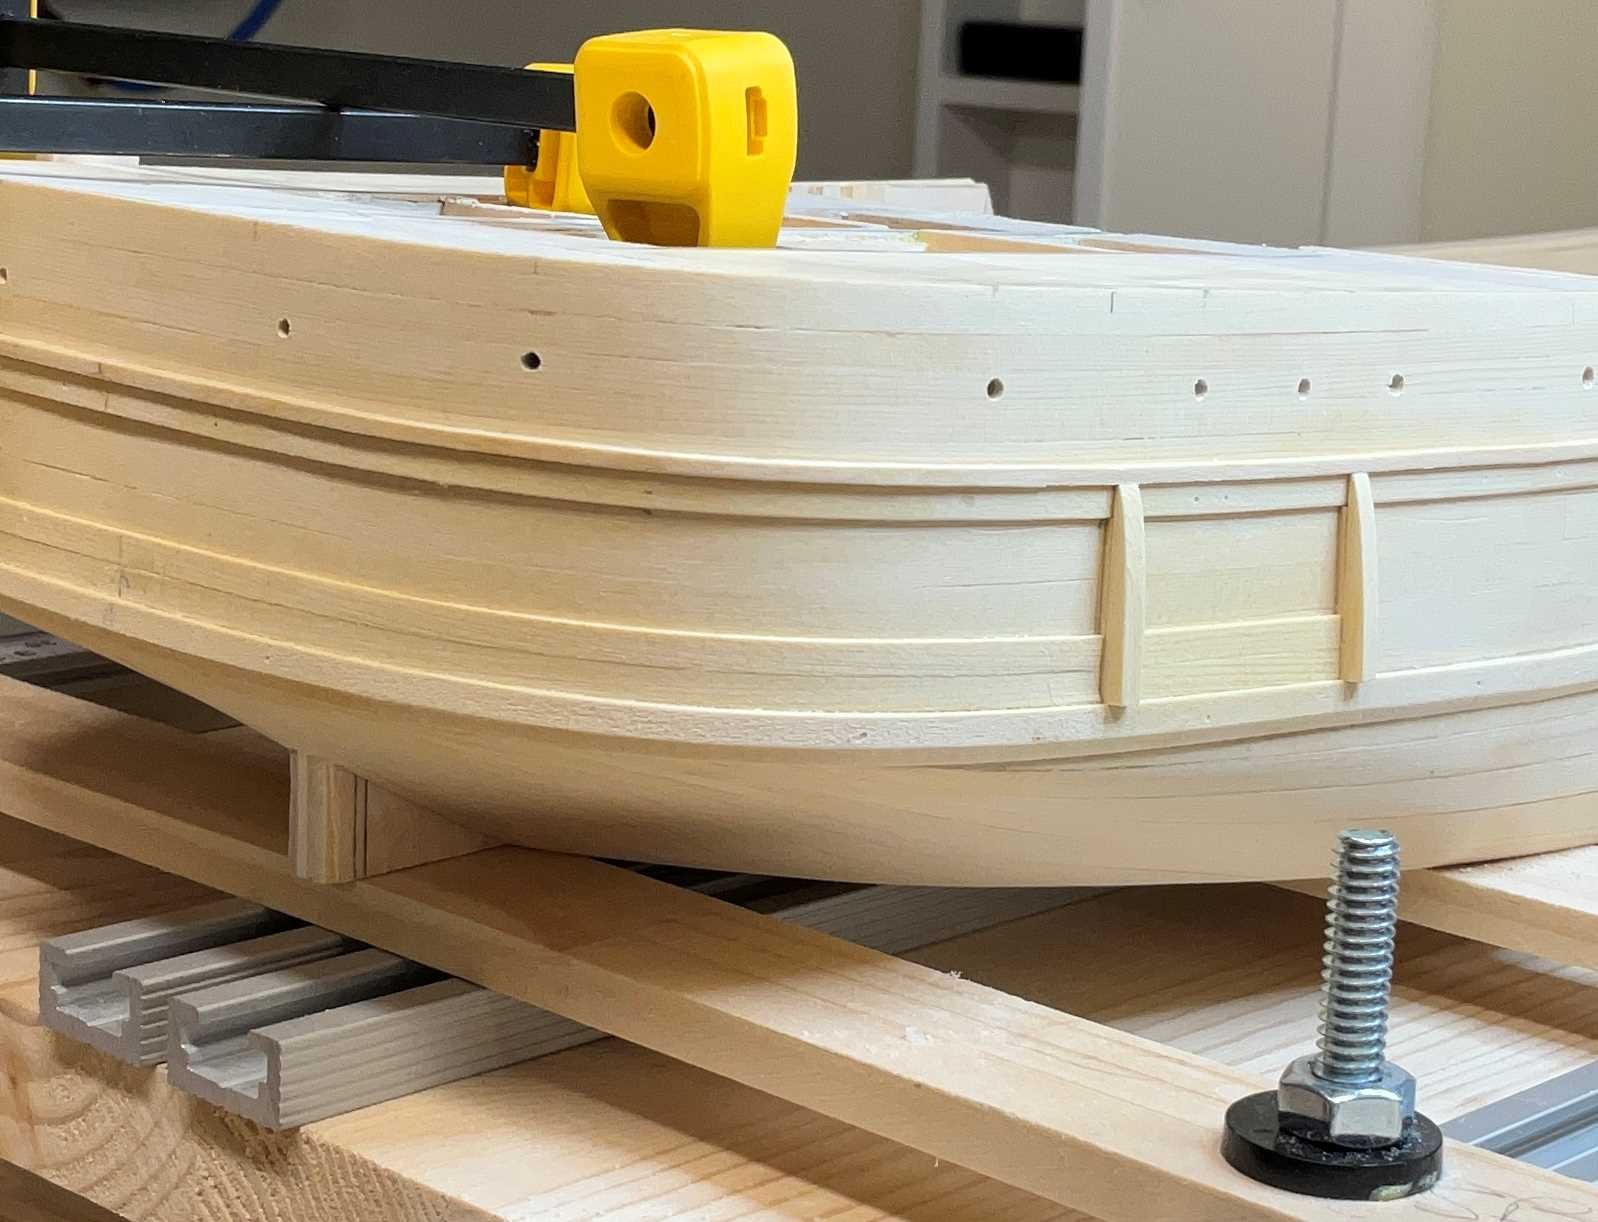
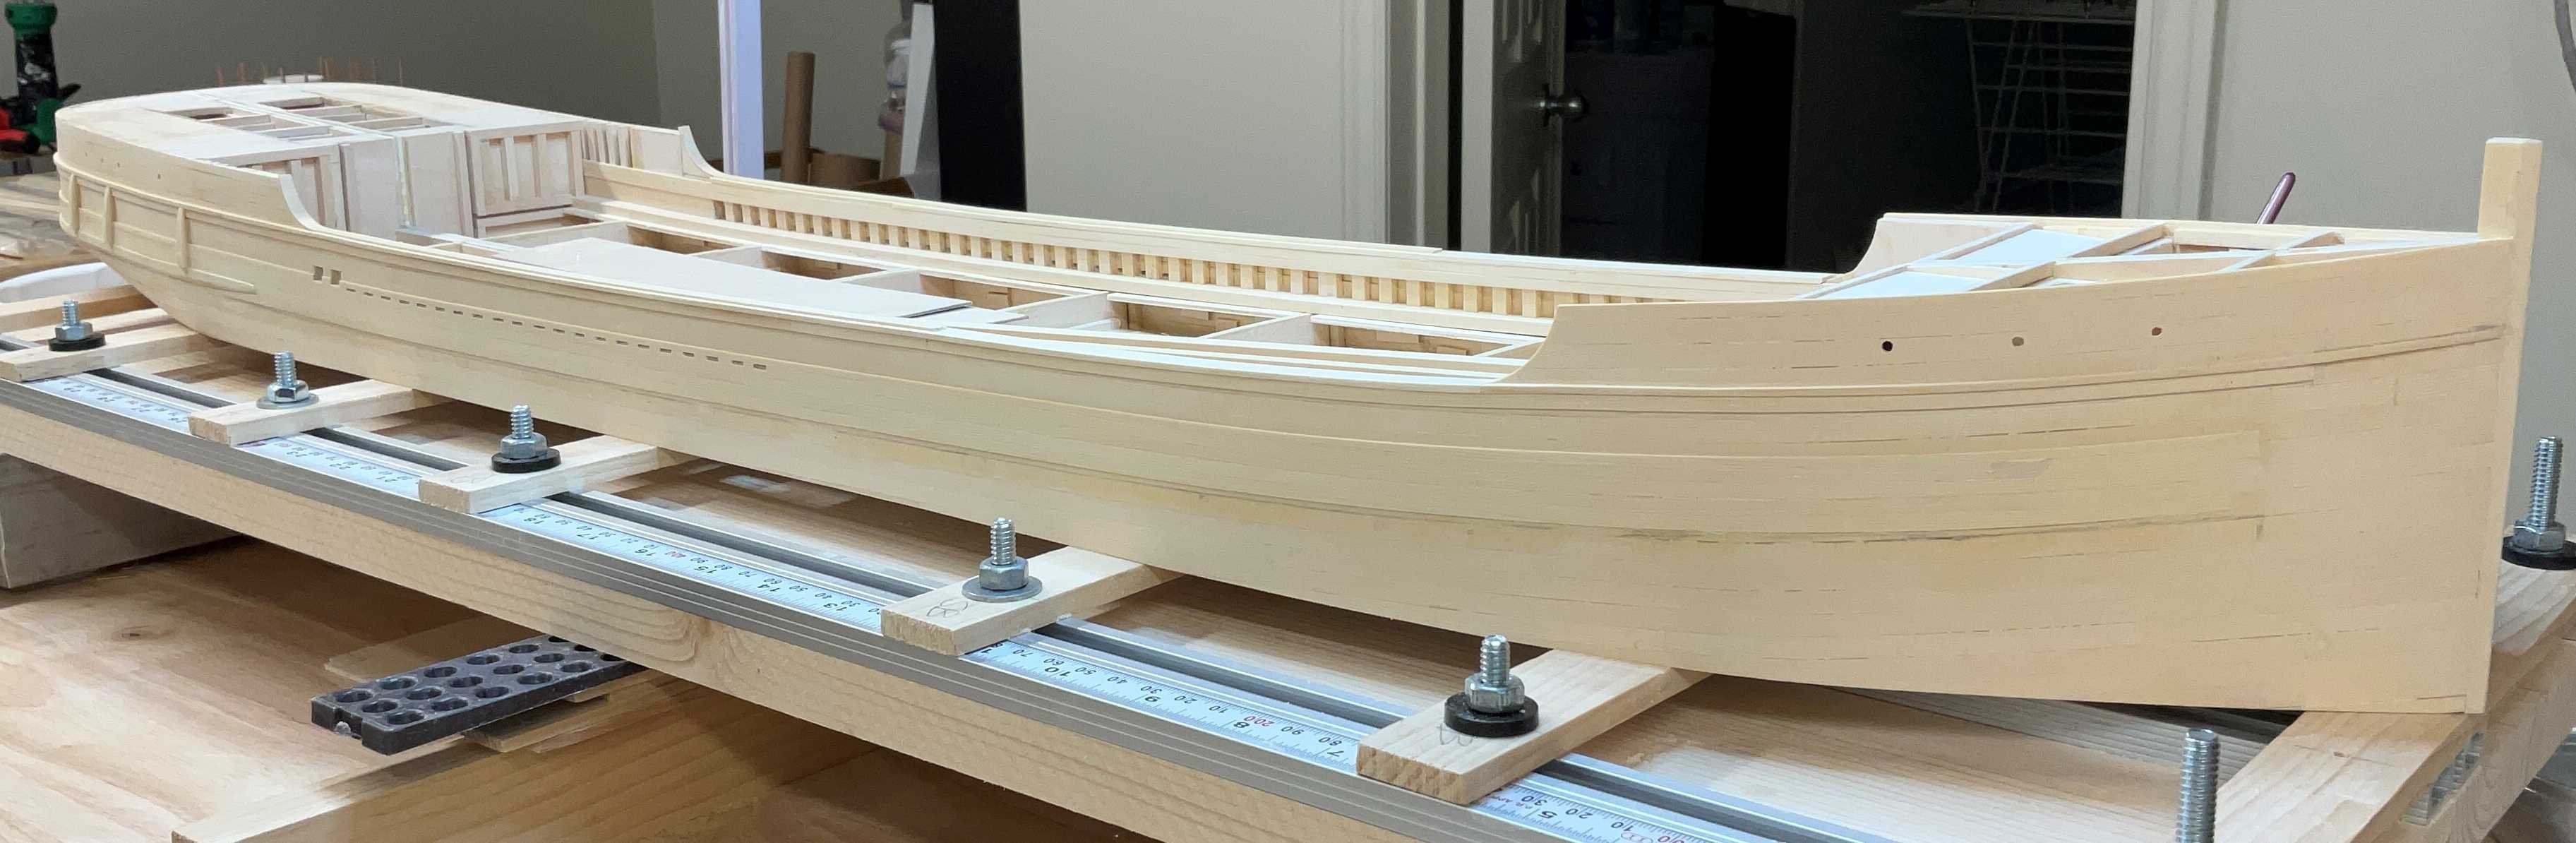
Hi Everyone, hope you are all well. Thank you for the Comments and Likes. I had a bit of a setback last week. This is part of a photo that Phil @Dr PR posted in his SS Wapama 1915 Steam Schooner thread. I had not noticed in other photos or drawings how prominent the planks just above the guard at the stern were. The drawings show that the bulwark planks are 3 3/4" thick and the hull planking is 4 1/2" thick. Adding this detail would mean that these planks would have to extend down to the guards all the way to the bow. The guards would hide the fact that 1/32" planks were added. Well that's the hope anyway. Starting at the stern, three strakes were added. Two @ !/32"x1/8" and one @ 1/32"x5/64". The scuppers had to be filed into the new veneer planks. I decided to remove the guards port and starboard because they drifted down a bit at the bow. Gluing the new guards back on under the new planking went a lot easier. The new planks were feathered into the hull planks at the bow before they get to the metal anchor protection plates While this was going on the chafing planks were attached to the main rails. I just happened to have a rigid cardboard shipping tube that was the right size to hold it at the curved part. The main deckhouse was glued together and placed on a jig in order to complete the doors and siding. This is what she looks like today. Next will be the hawse pipes and portlights. Hope to see you then.


-
Chris, congratulations on finishing this splendid model!
-
Hi Keith, in the 2nd video that you posted in Post 17, it shows a chain driven boat. It doesn't look as heavy duty as the one you are modeling. Maybe the drive depends on the towing capacity.
.thumb.jpeg.bbf010536da0d0ca81b53451e1cfe0a3.jpeg)

- 457 replies
-
- 4
-
-
-
- sternwheeler
- Hard Coal Navy
- (and 1 more)
-
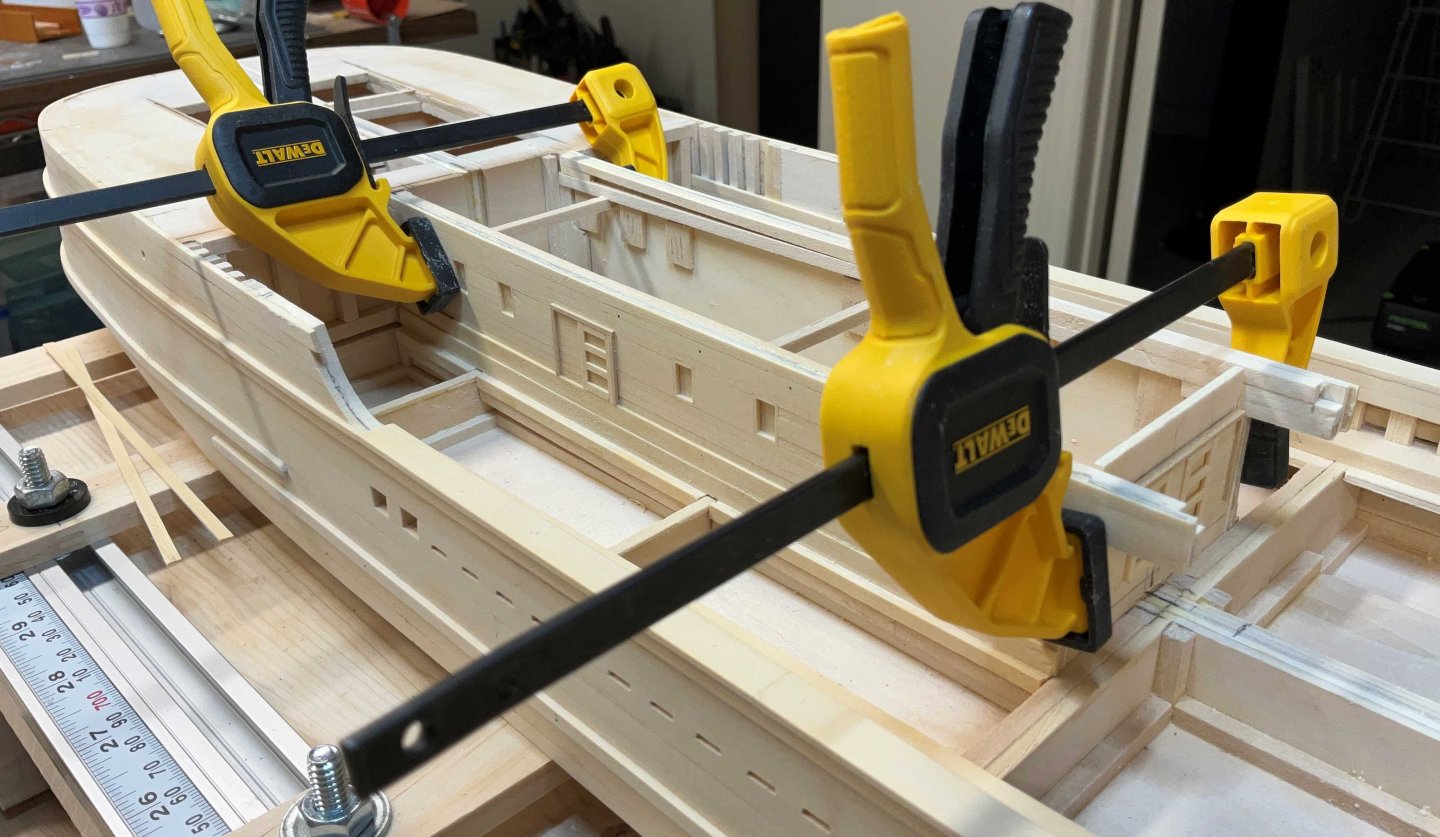
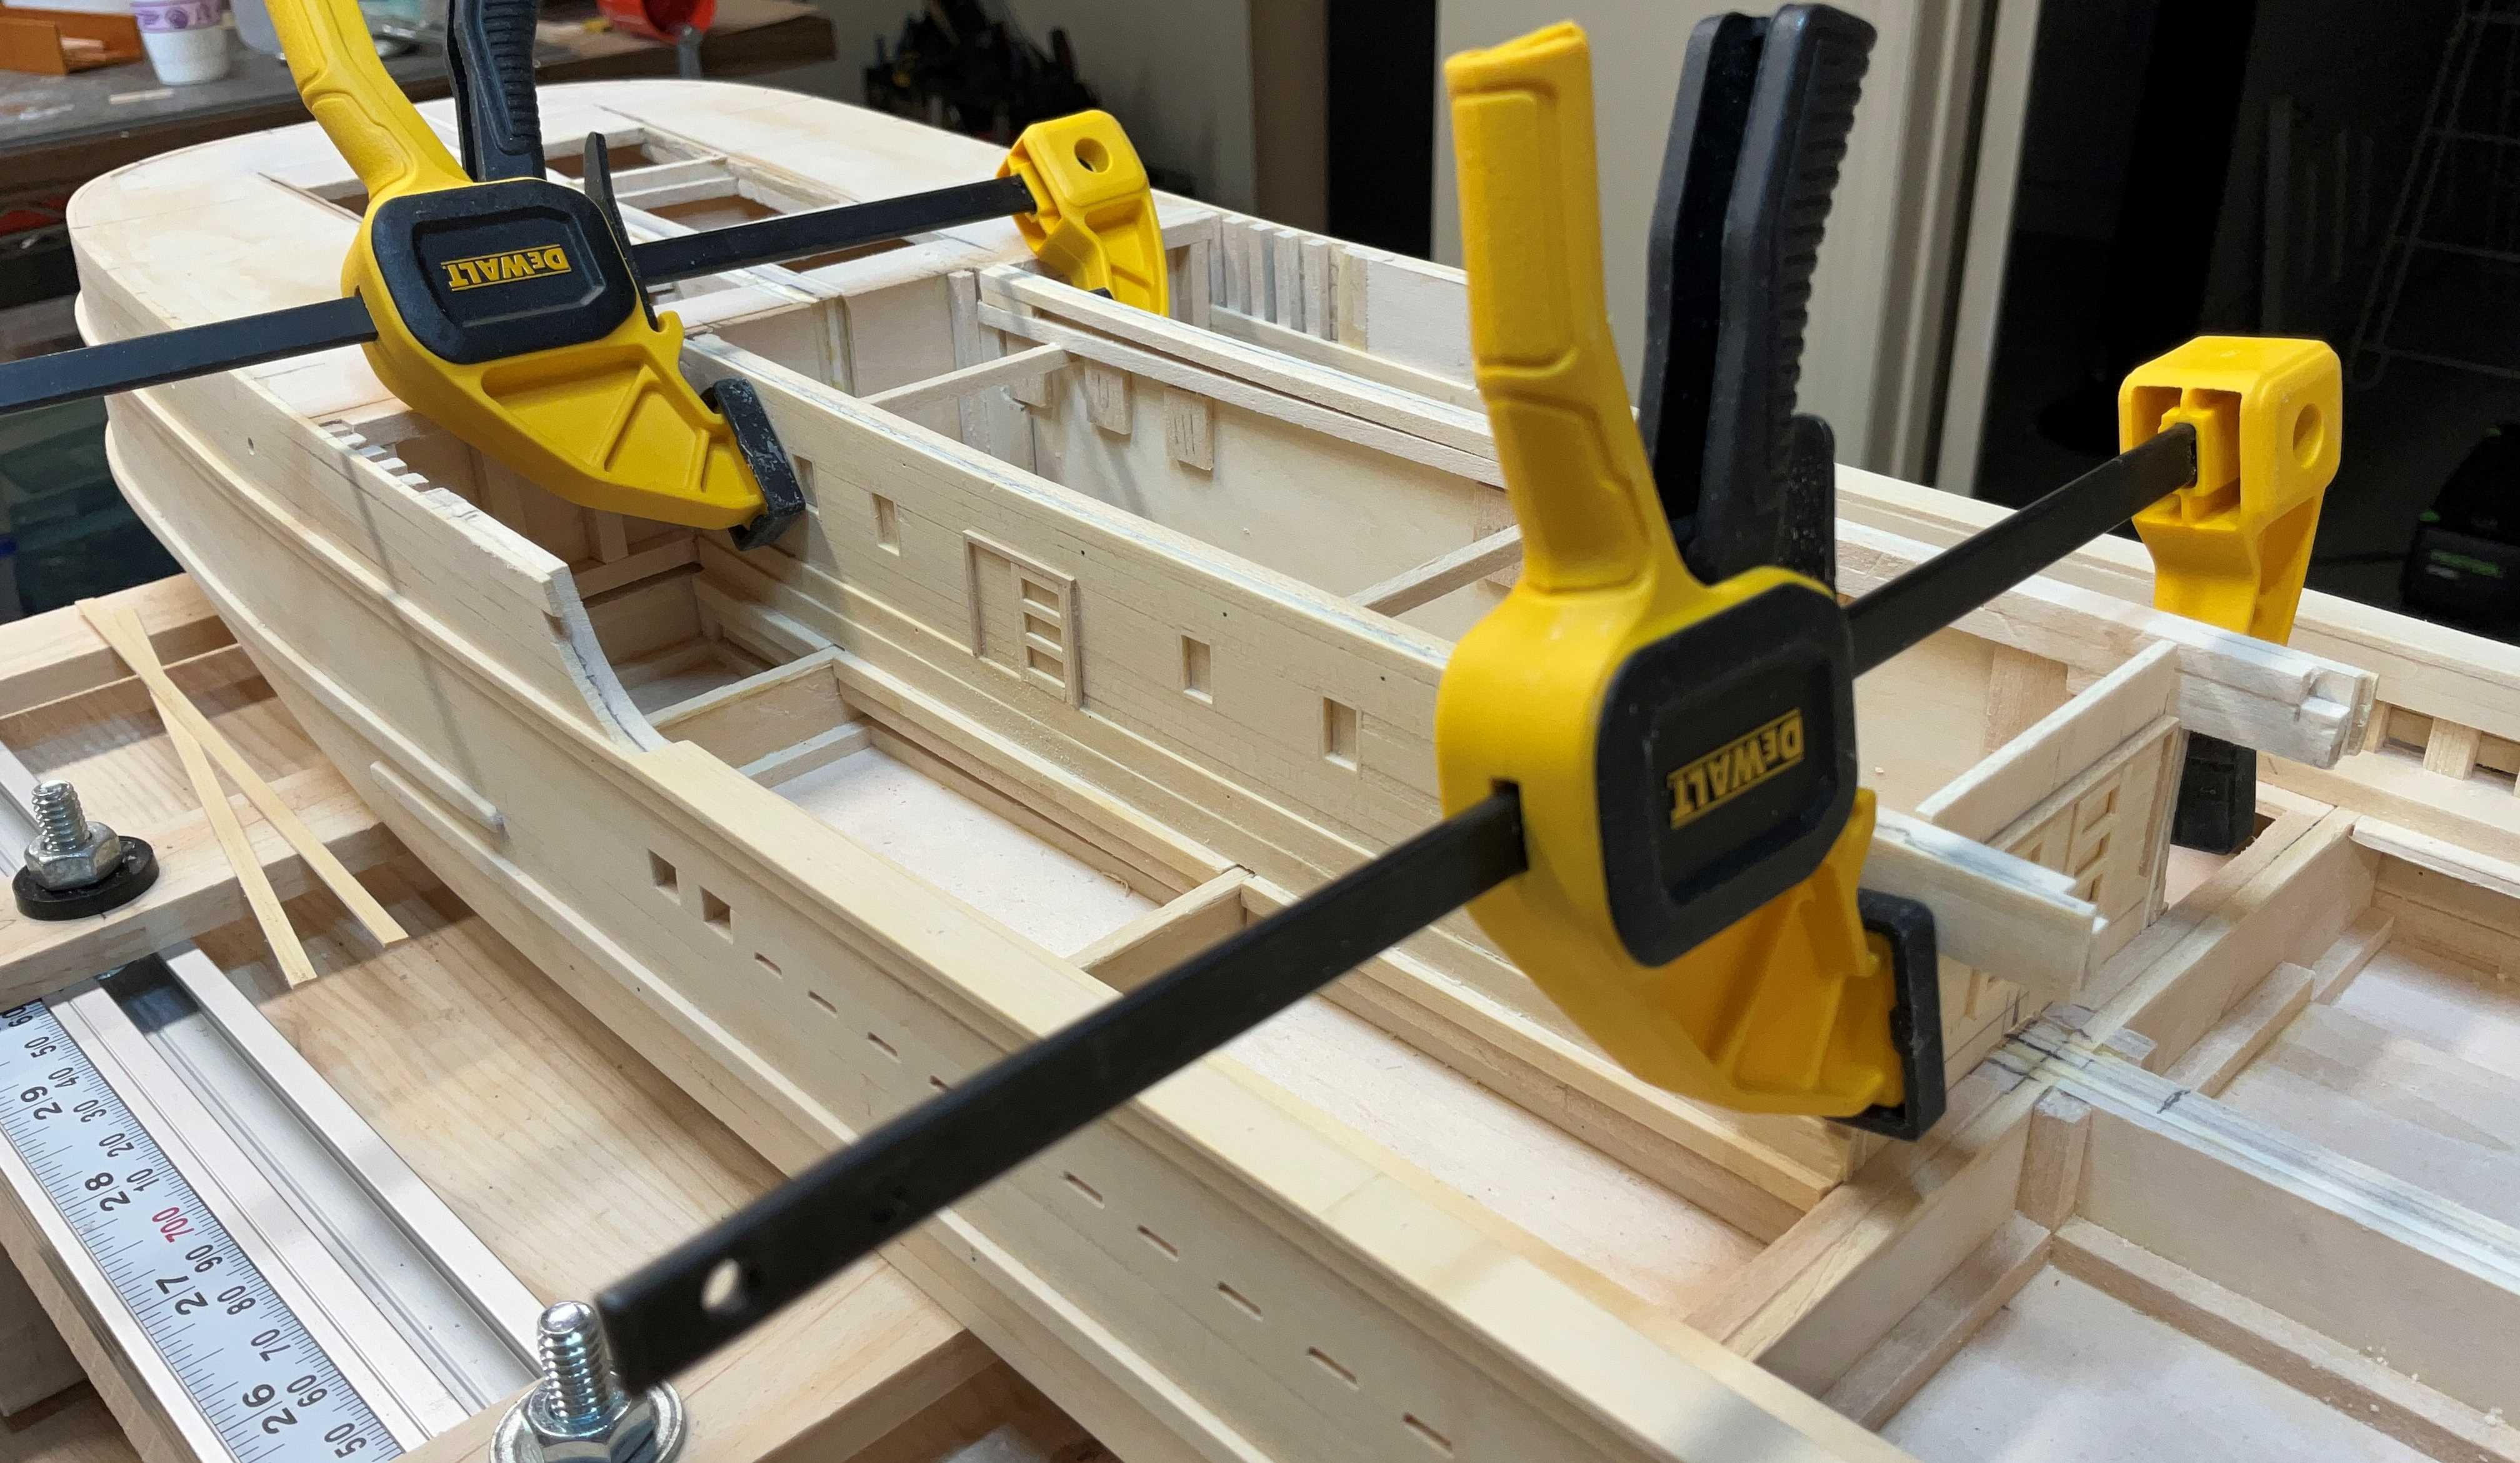
Bought these clamps from ama zon last week. They were 33CAD for 8 of them. The jaws have soft pads and they open to about 15mm. I like them for jobs where you need uniform pressure applied as opposed to spring clamps that may skew the parts.

- 3 replies
-
- 13
-
-
-
John, she looks happy with all of the attention and doesn’t care how long it takes. Beautiful work!
-
A mighty fine looking completion Glen. Congratulations!
- 106 replies
-
- 4
-
-
-
- Kentoshi-Sen
- bottle
- (and 1 more)
-
Chris, congratulations on completing your Alert. Wonderful job and looking forward to your Cheerful build.
- 38 replies
-
- 4
-
-
-
- Alert
- Vanguard Models
- (and 1 more)
-
Thank you for the reply Phil. I think I will experiment with some different colors and try to get something close.
-
Hi John, thank you very much! Hi Phil, thank you for expressing your thoughts and feelings. You must have great memories of Wapama. Thinking back, would you say that the color of the decks in your photos is close to the original?
-
Thank you Jacques, I appreciate your input very much.
-
Hi Glen, thanks very much for your support!
-
Gentlemen, thank you very much for your comments! The hull planking and the siding are AYC. I’ve found that a coat of clear shellac followed by painting turns out pretty nicely on the cedar. The biggest issue I think would be having glue blotches after applying a coat of WOP. And I have already bought the paint for it😀


.jpeg.1007b40551b8ec5eb8835023fd4a3a58.jpeg)