HOLIDAY DONATION DRIVE - SUPPORT MSW - DO YOUR PART TO KEEP THIS GREAT FORUM GOING! (Only 20 donations so far - C'mon guys!)
×


moreplovac
-
Posts
794 -
Joined
-
Last visited
Content Type
Profiles
Forums
Gallery
Events
Everything posted by moreplovac
-
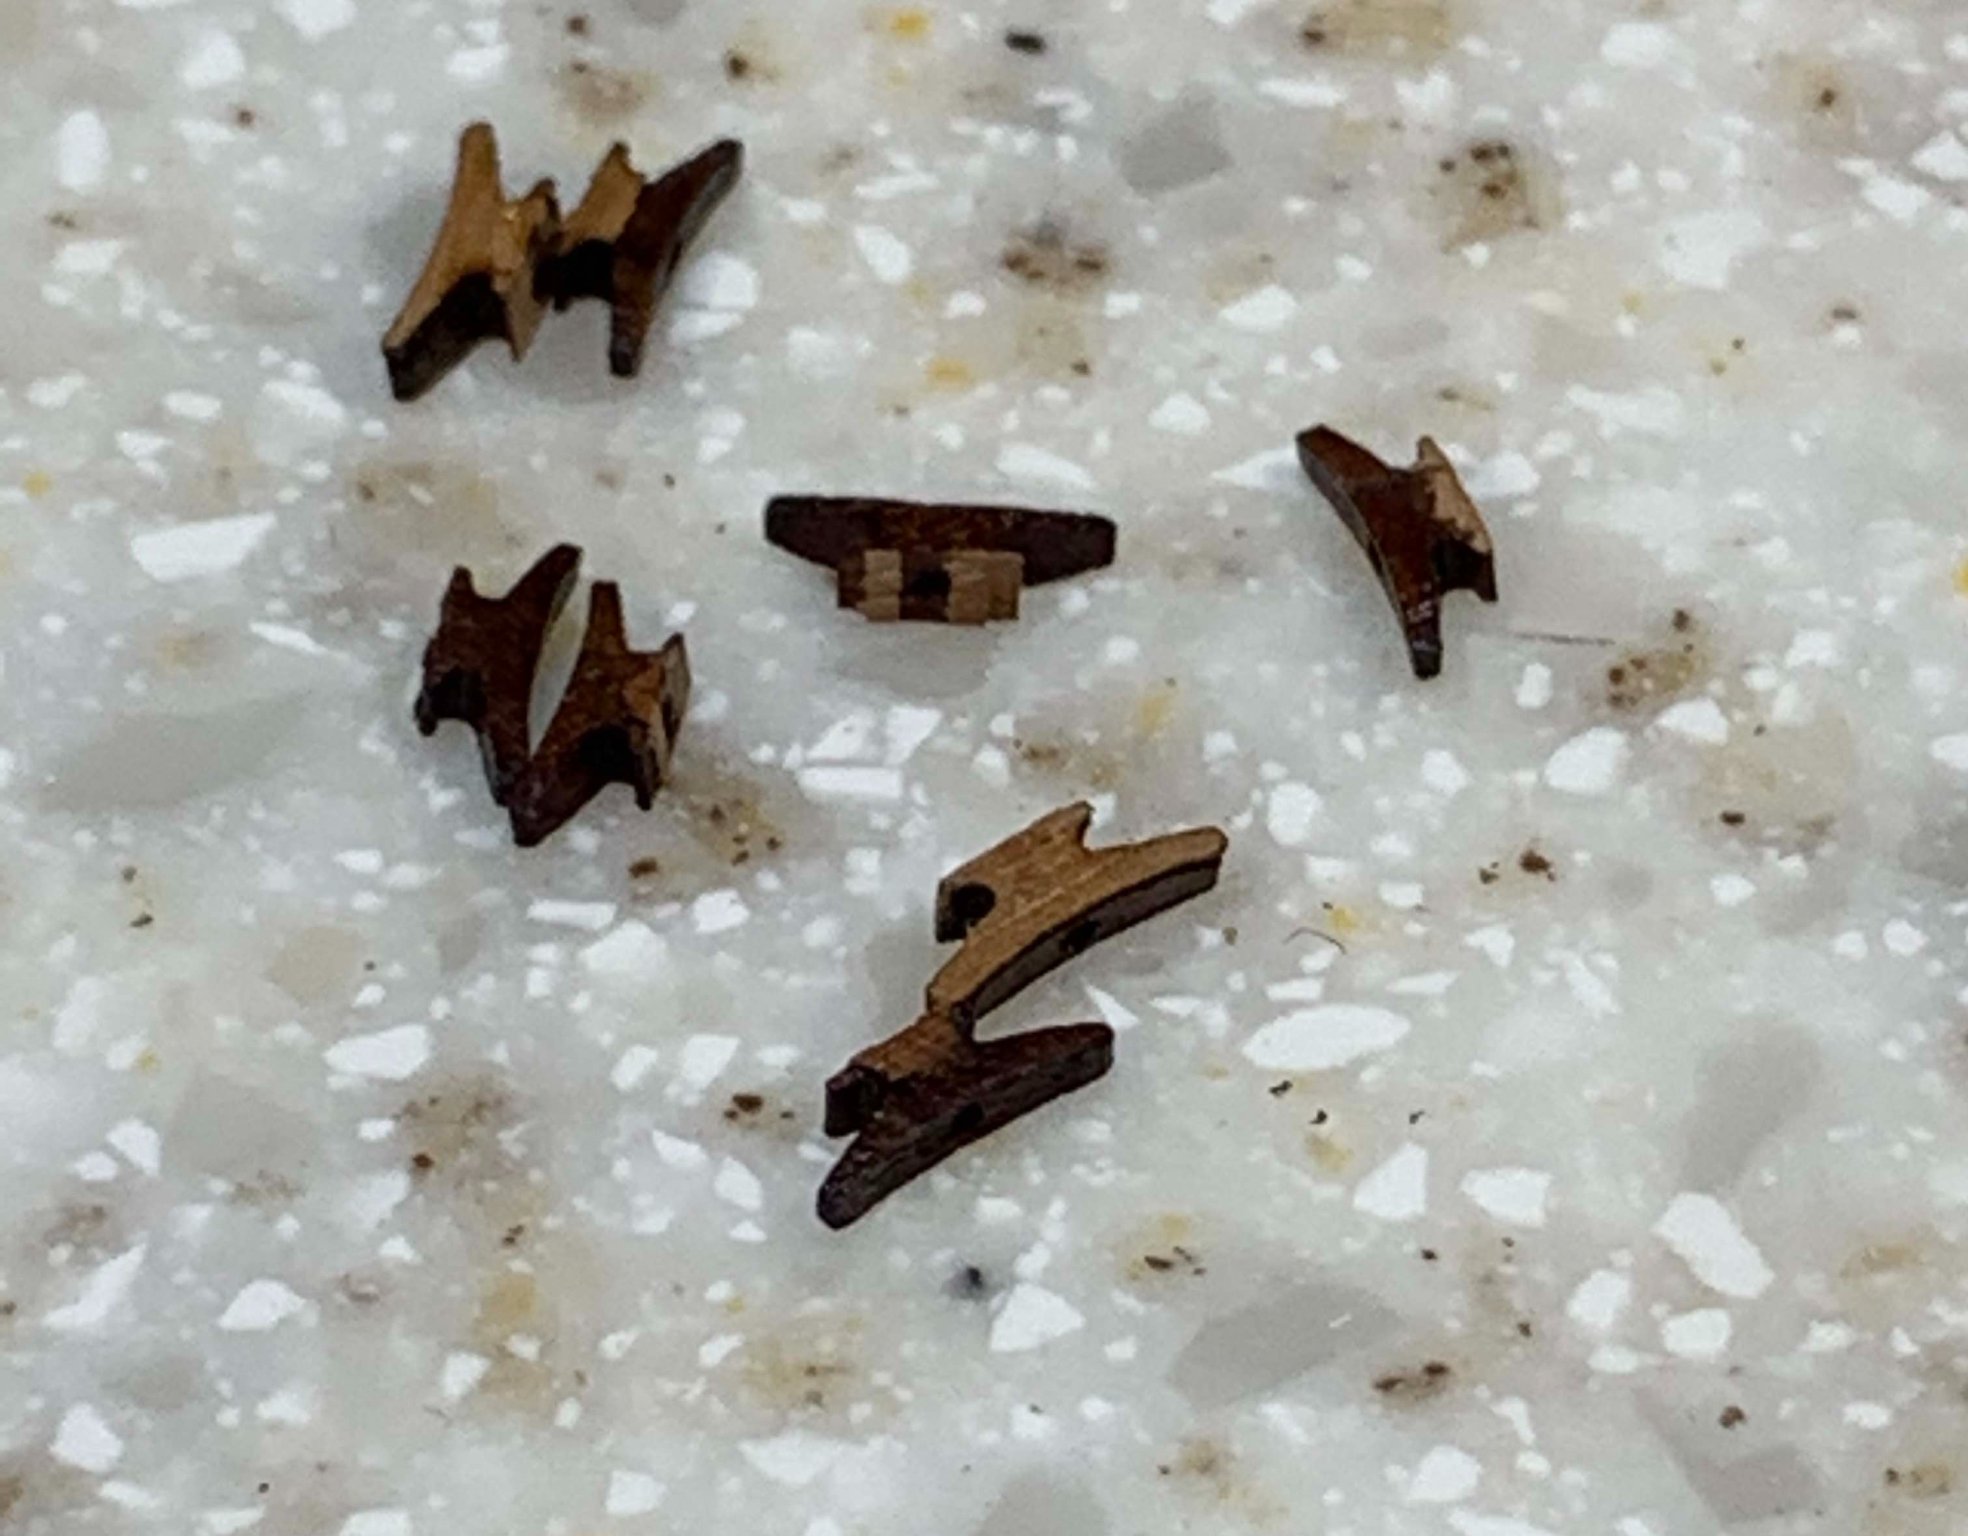
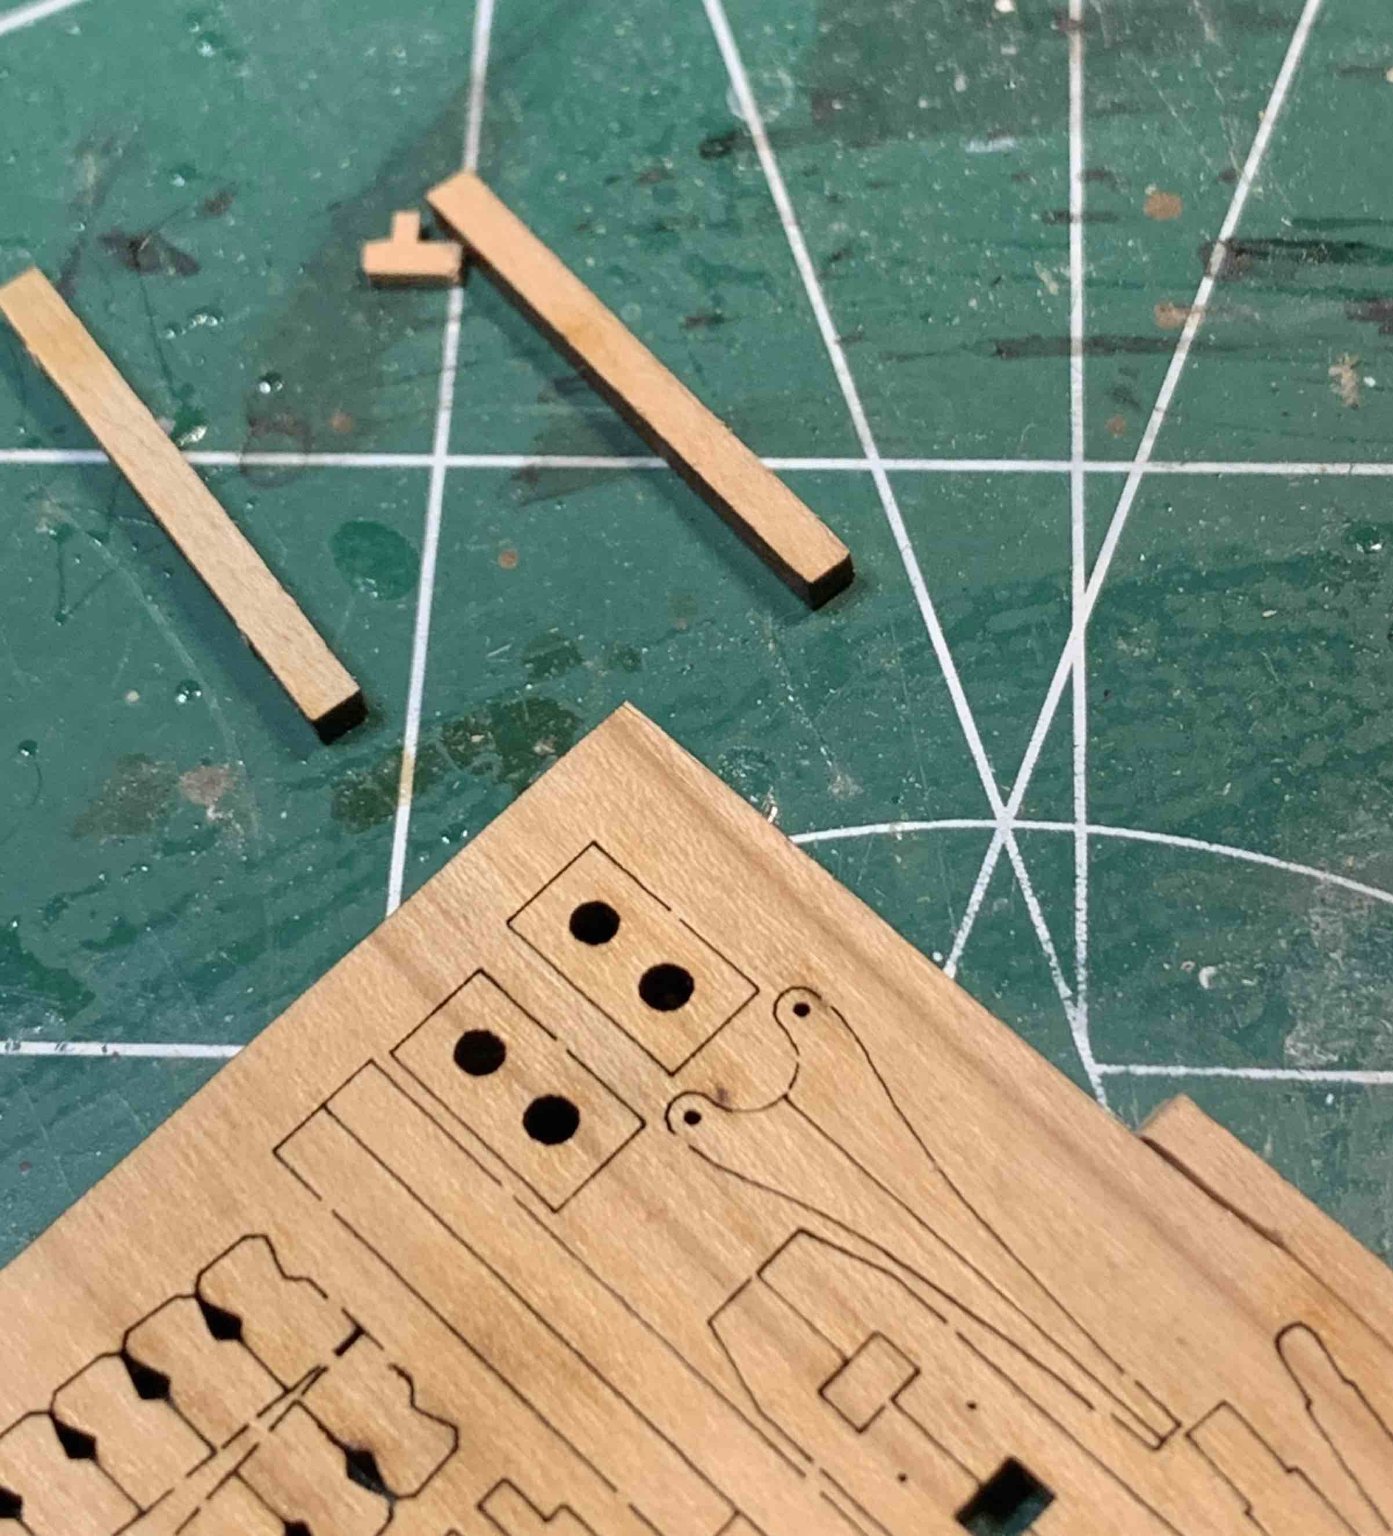
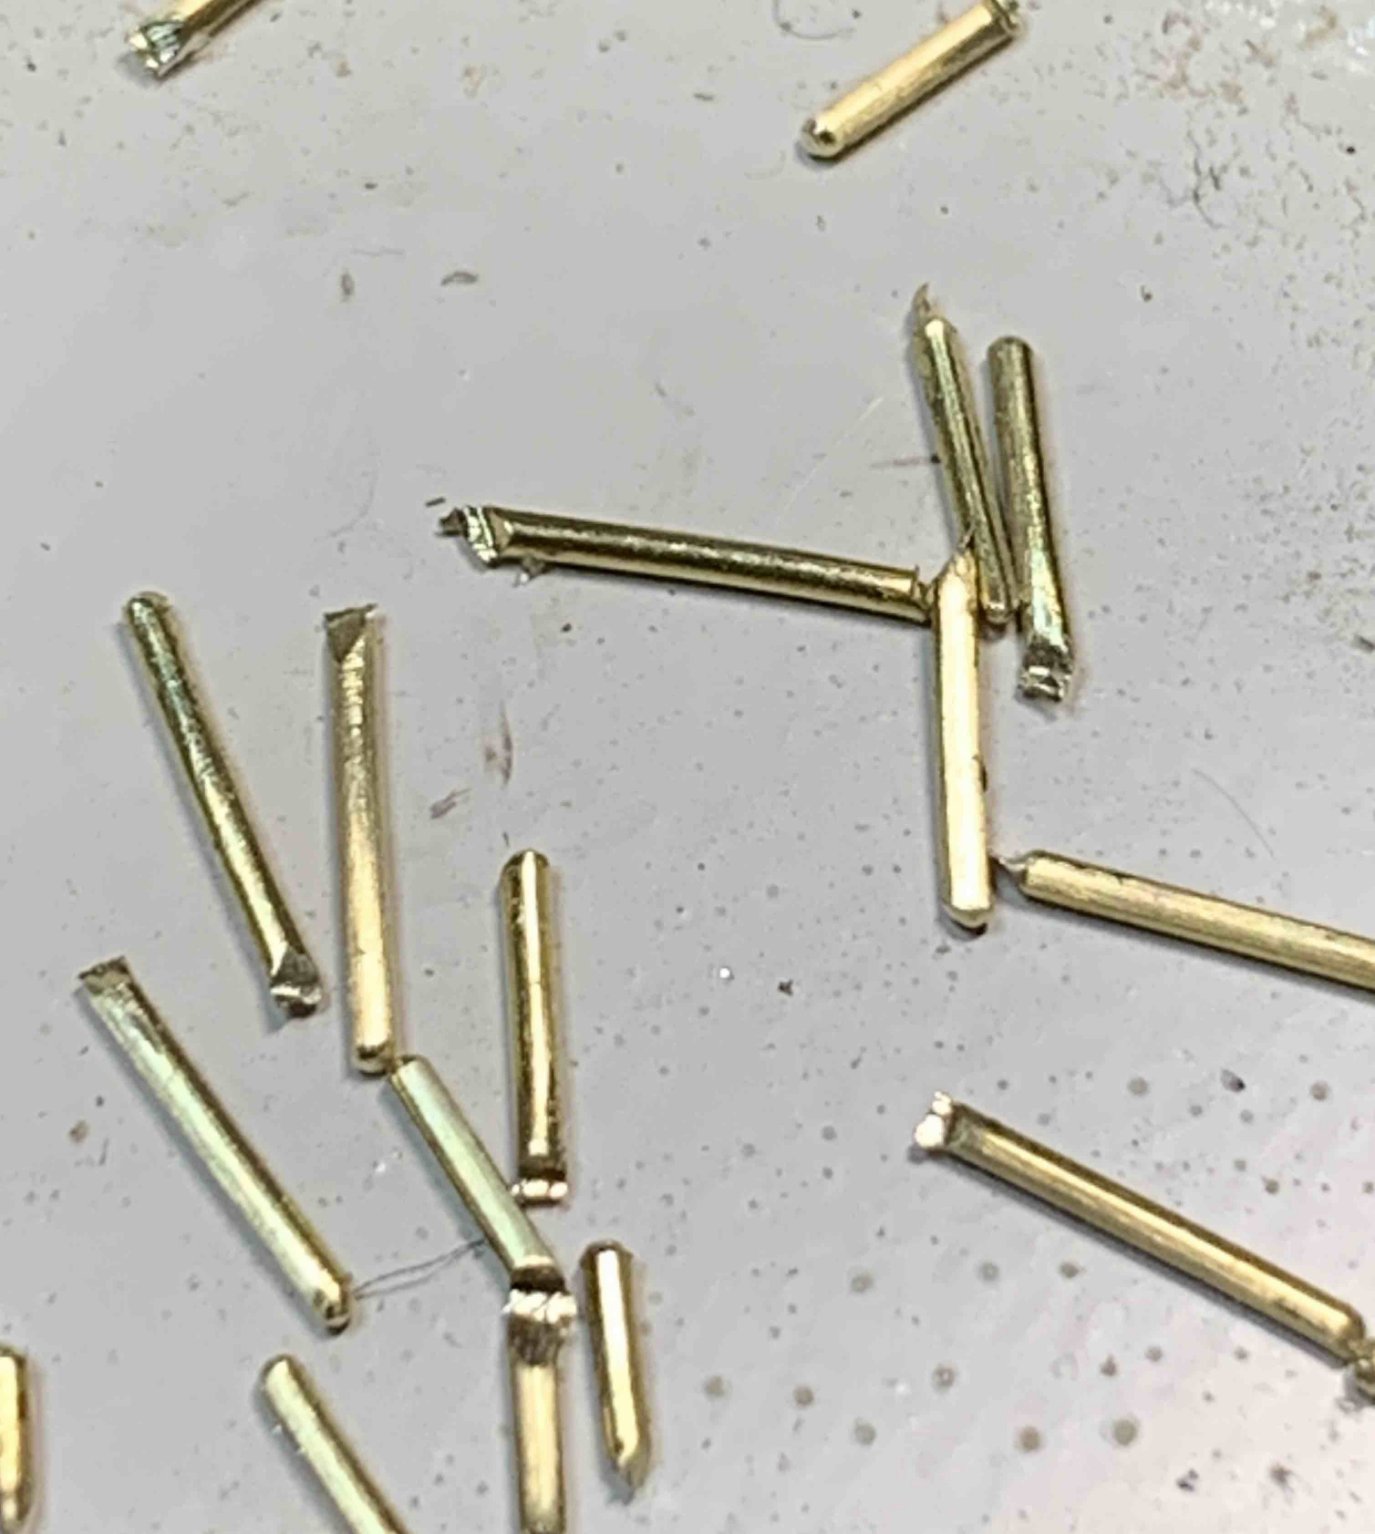
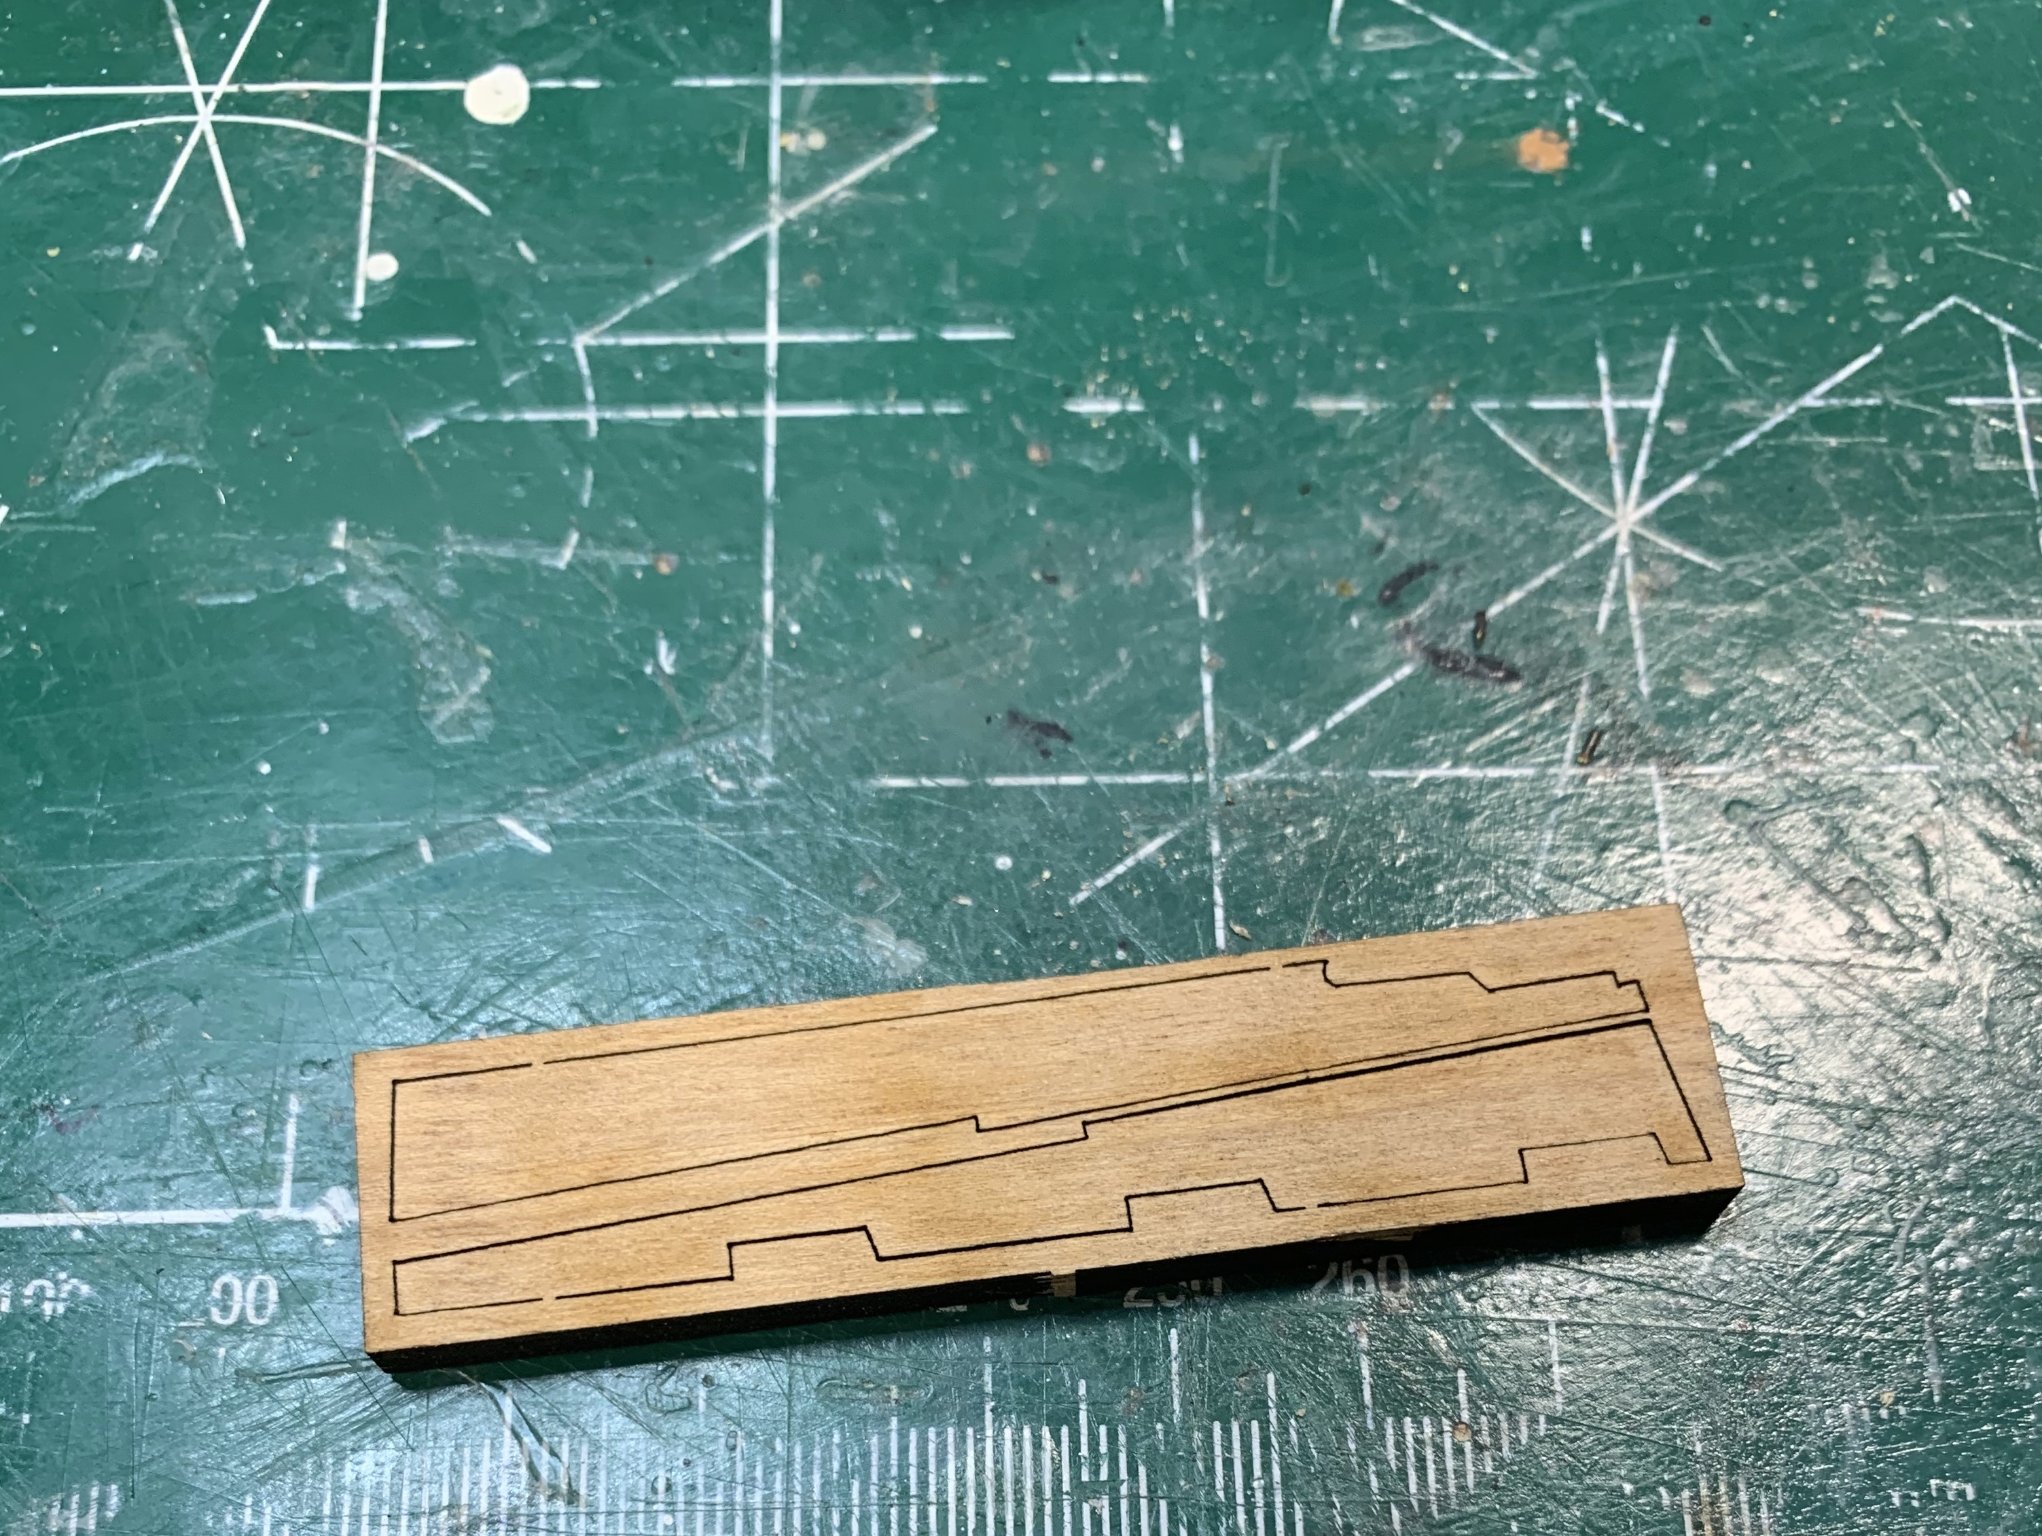
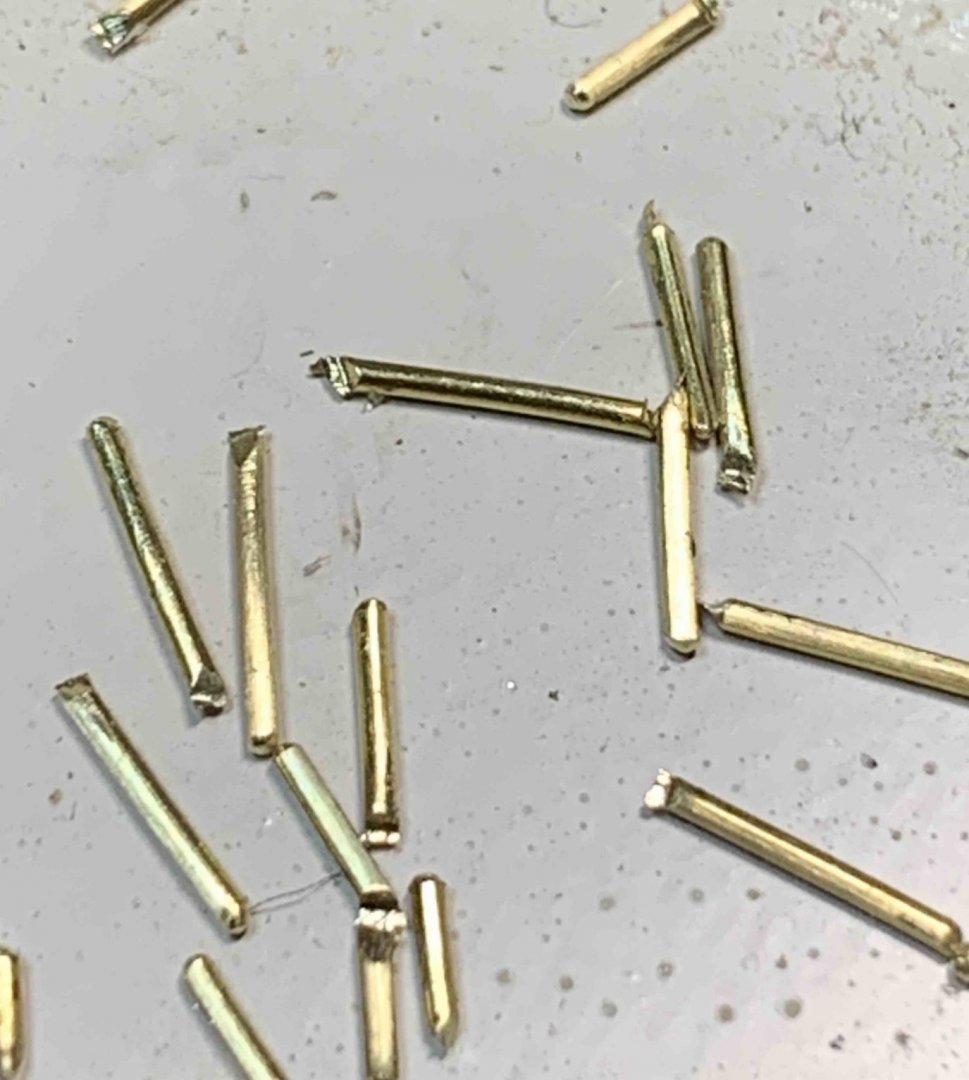
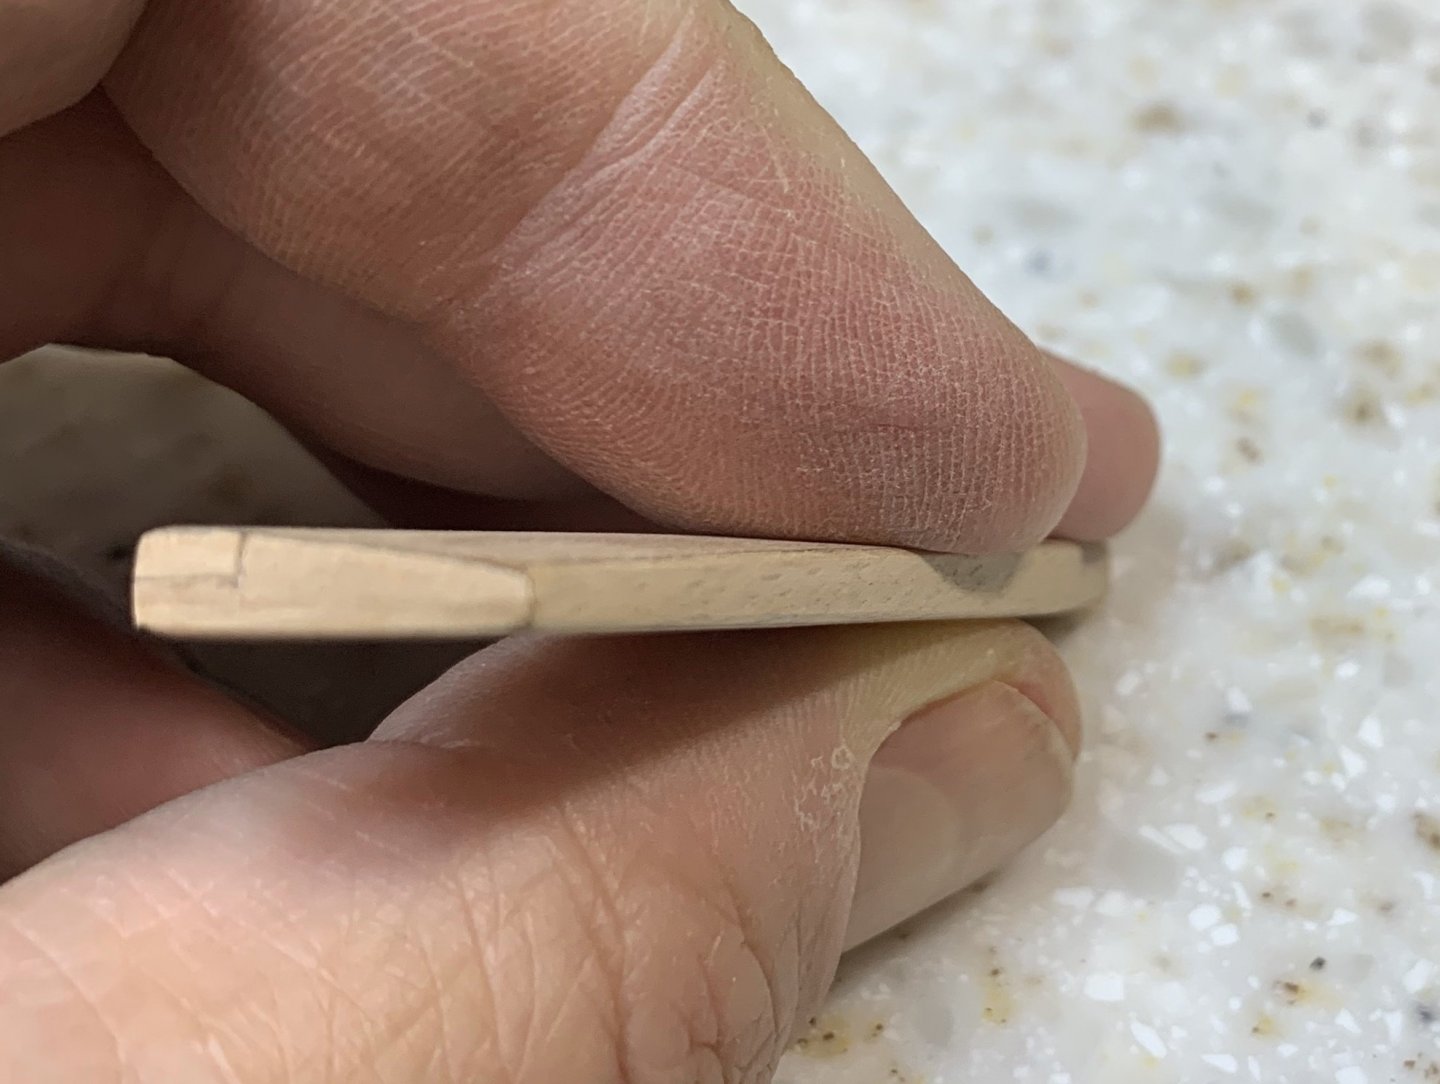
 Continue with work on blocks; there are appr 20+ blocks needed, with a pin inserted into each block. From here ..... to here... Removing them all from the frames and cutting extras.. Sanding the pin and removing laser cut burns.. The pins were cut from the wire provided in the kit.. Blocks, pins, blocks with inserted pins and completed block. Next is to clean laser burns from the sides.. The pins were inserted in all blocks, now i need to sand the laser burns at the sides of each block.. Happy modelling..


- 275 replies
-
- 2
-

-
- phoenix
- master korabel
- (and 1 more)
-
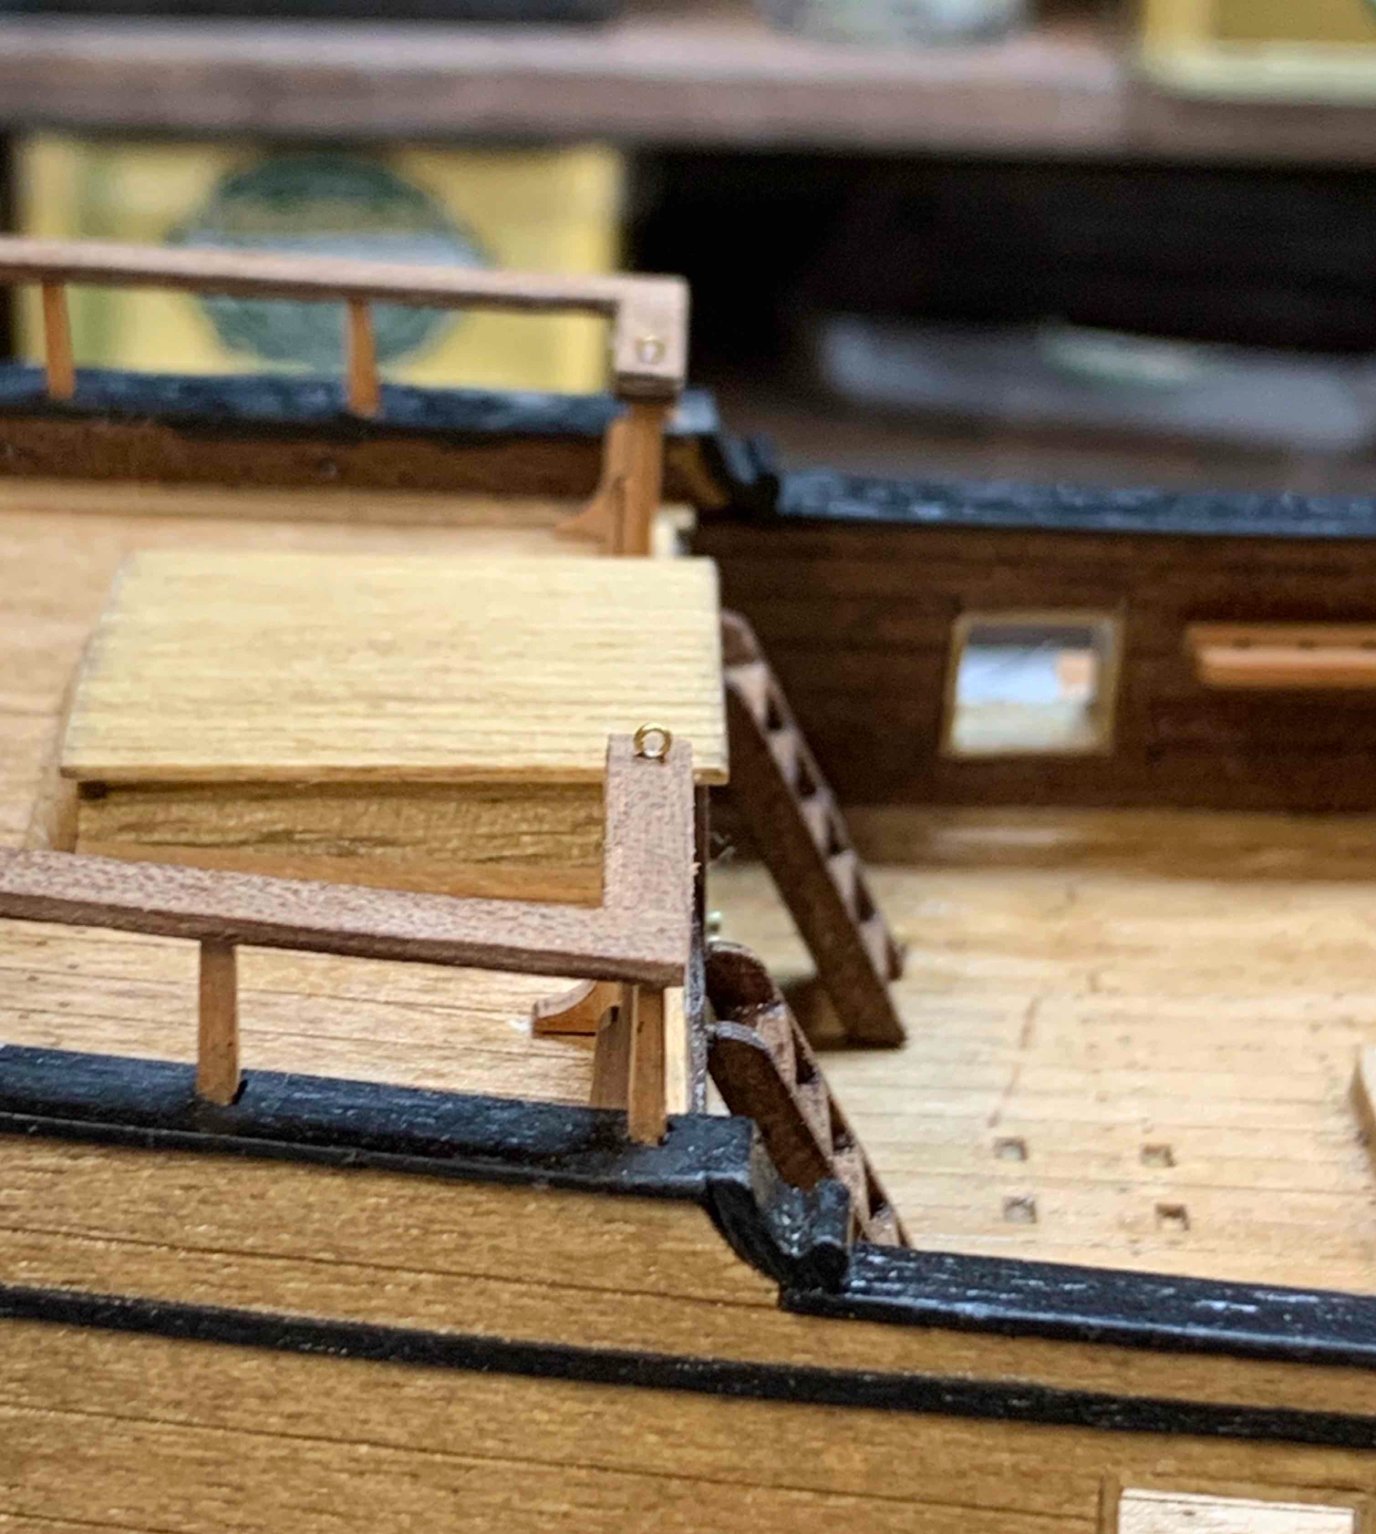
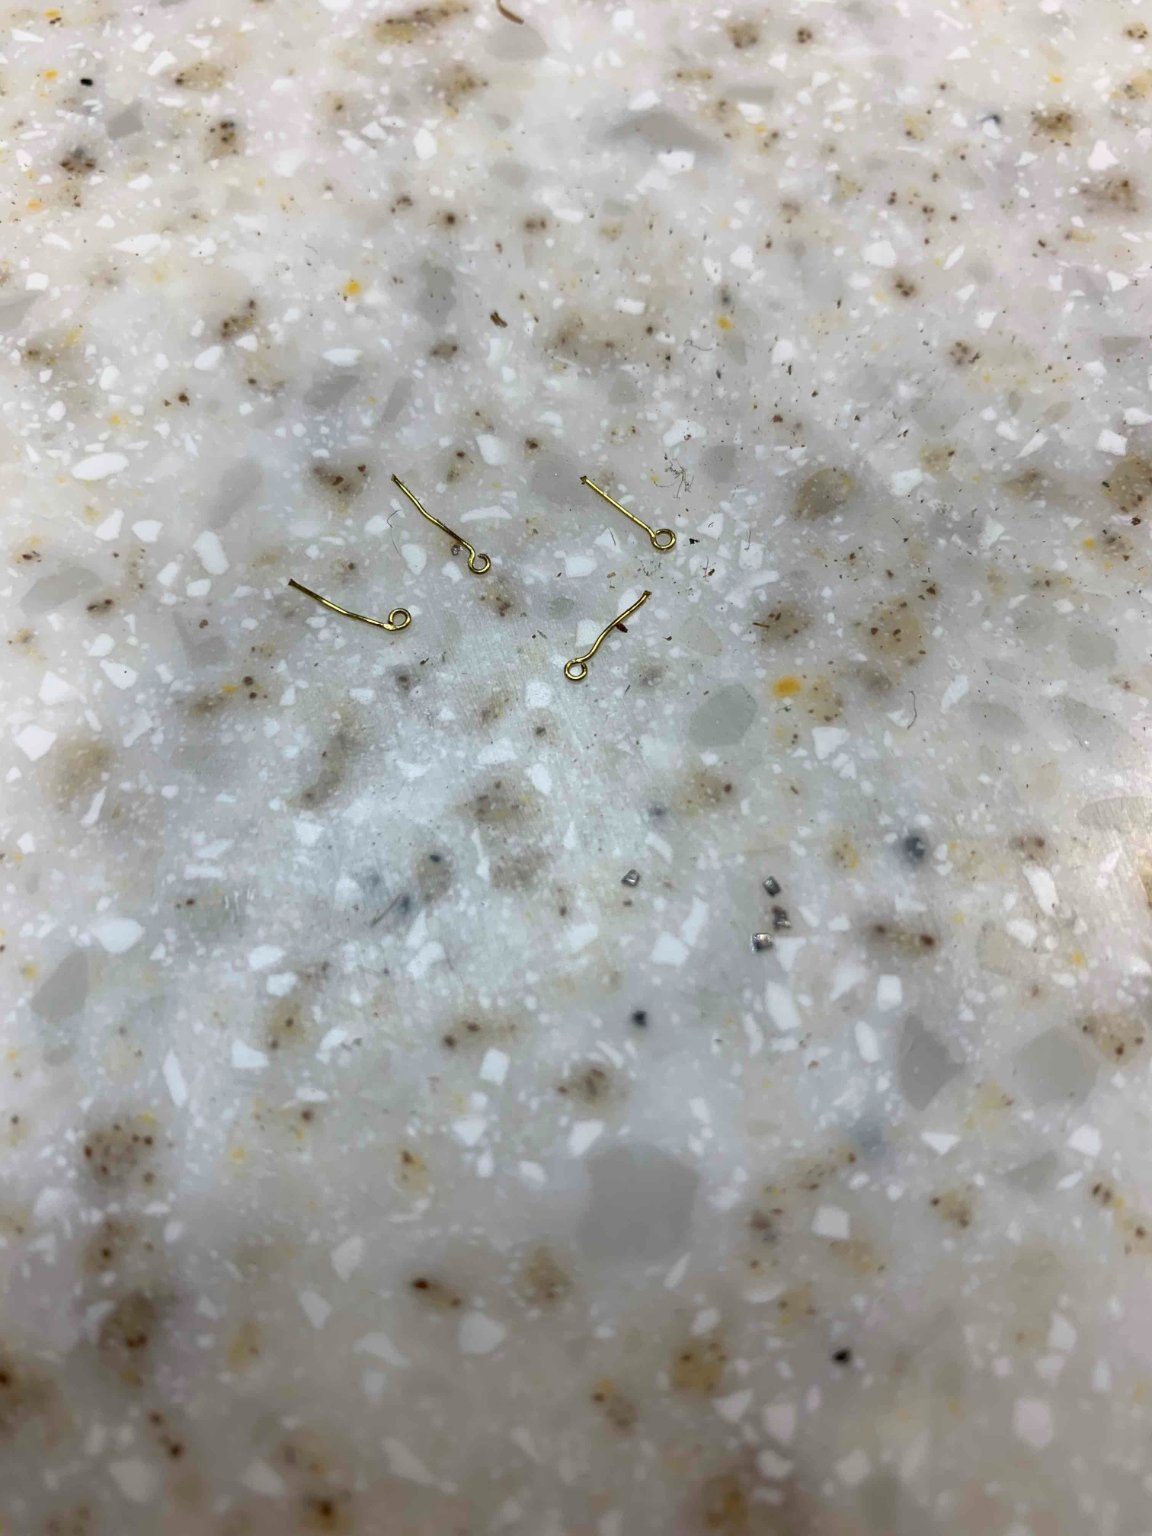
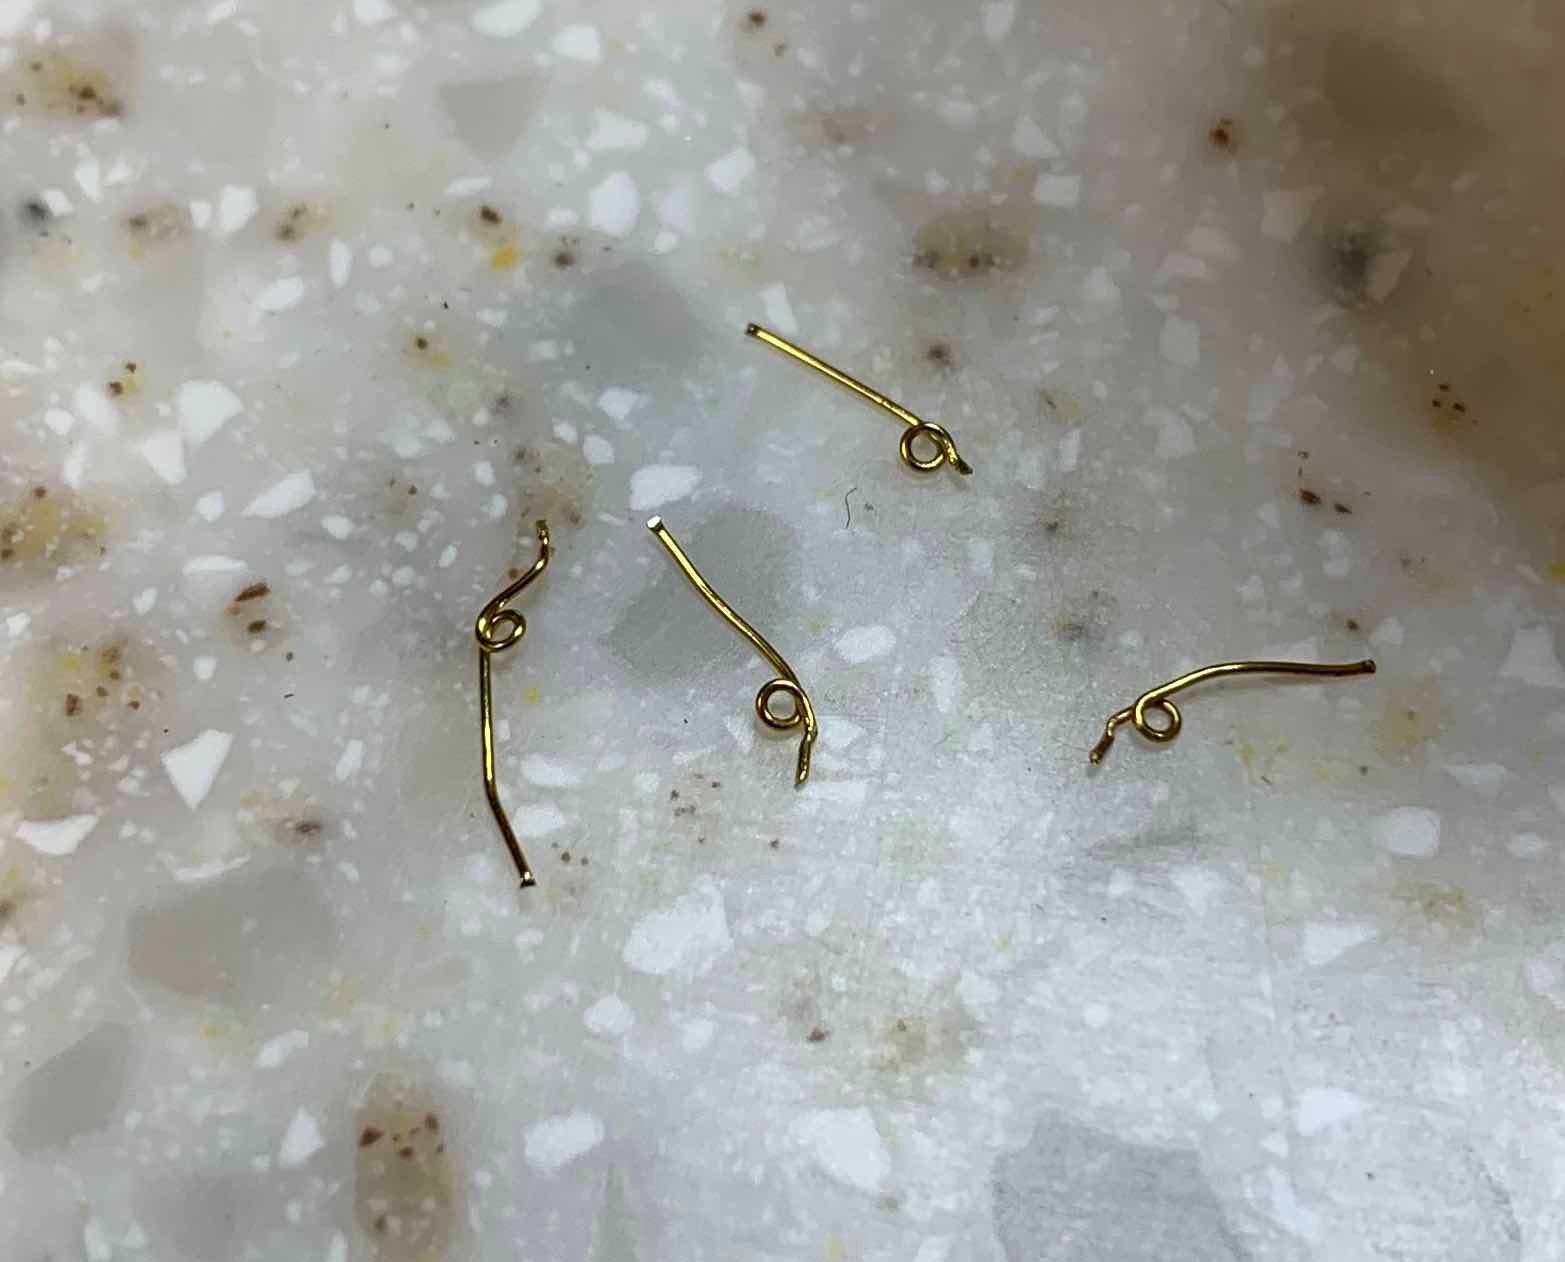
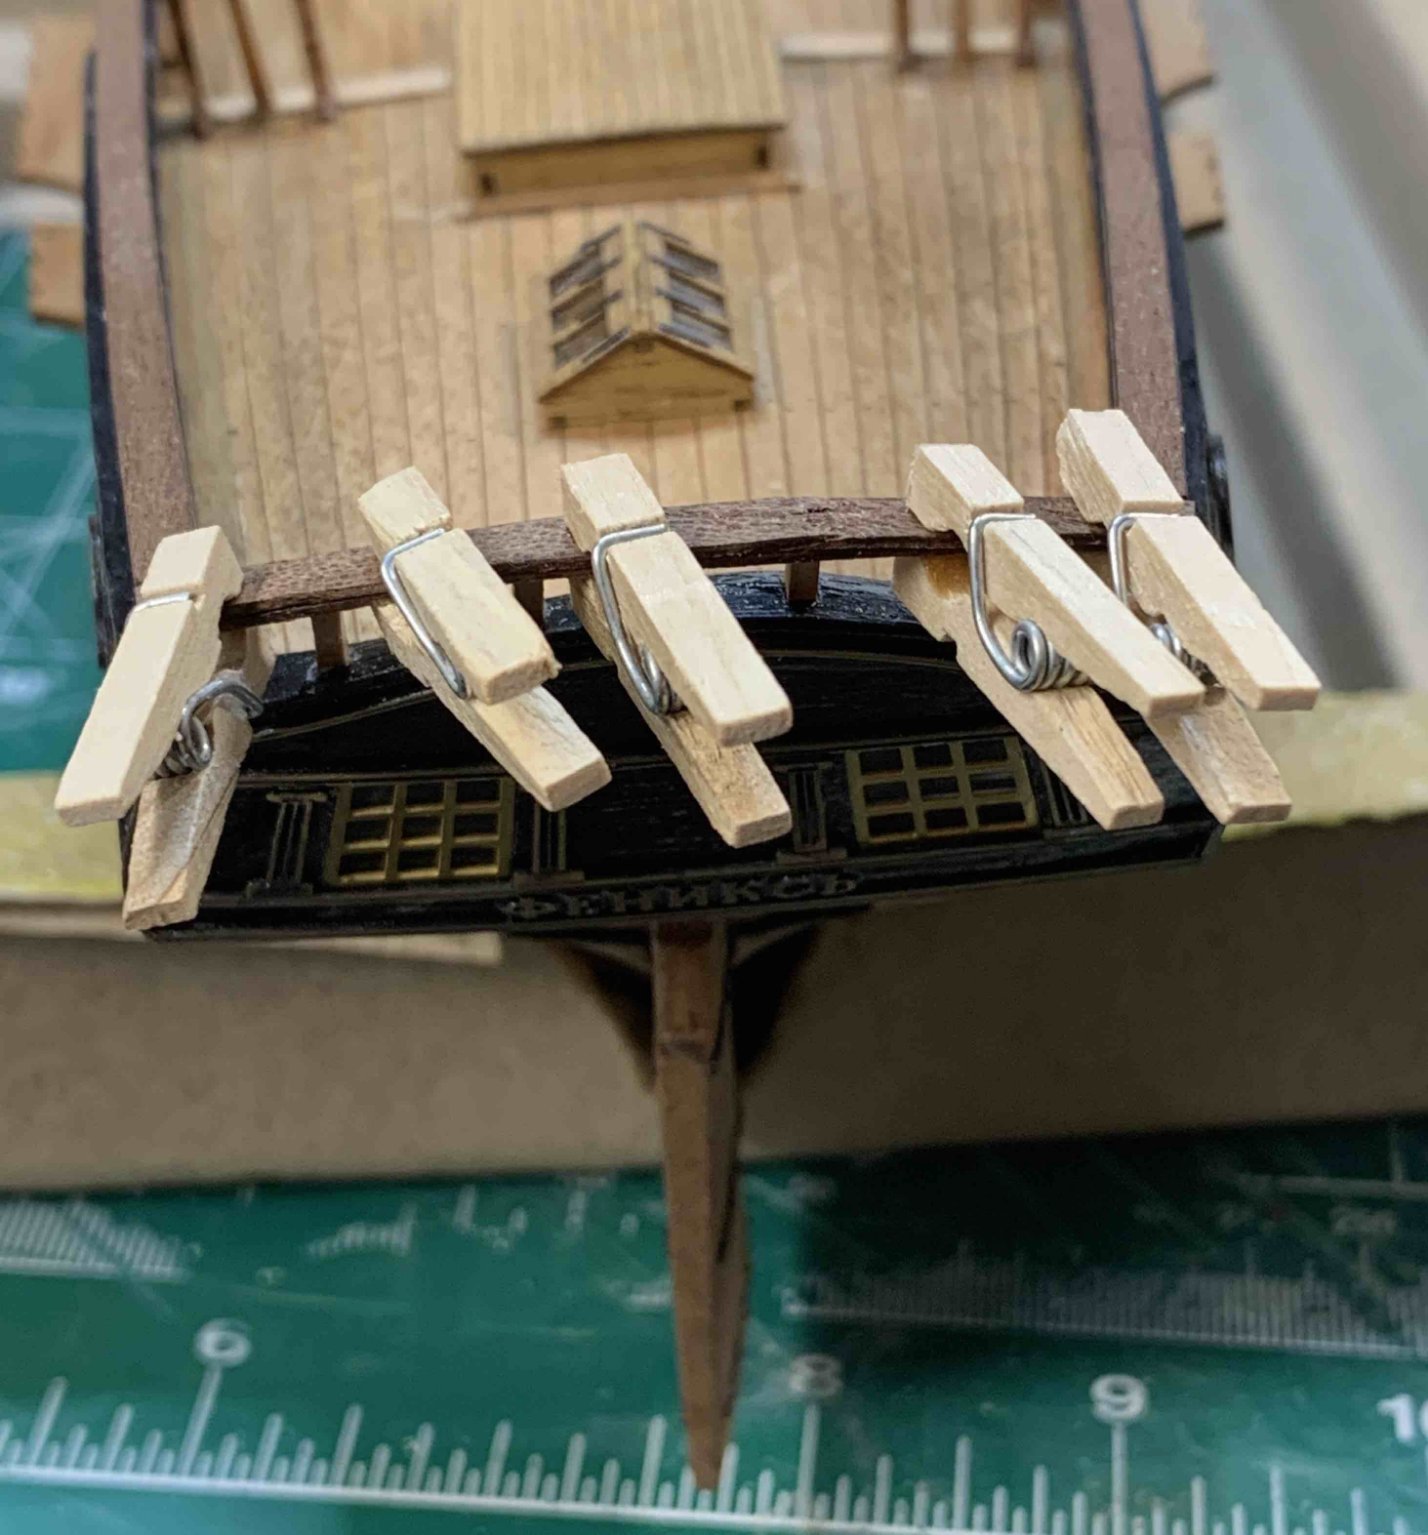
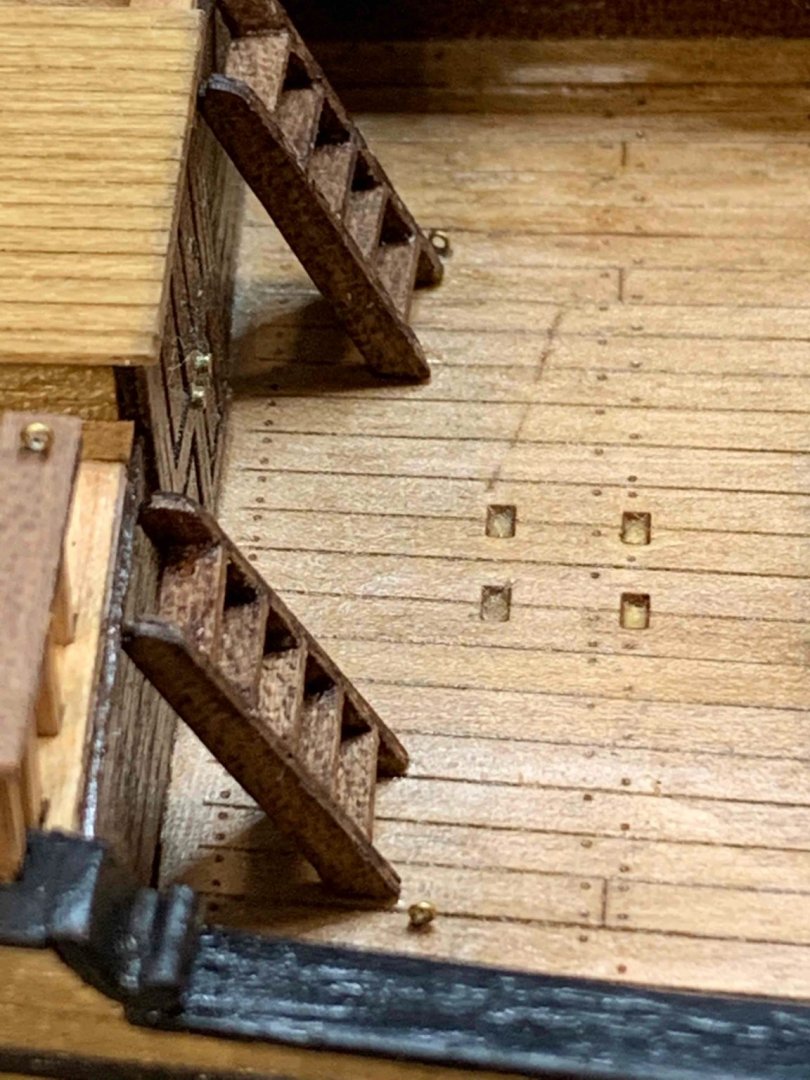
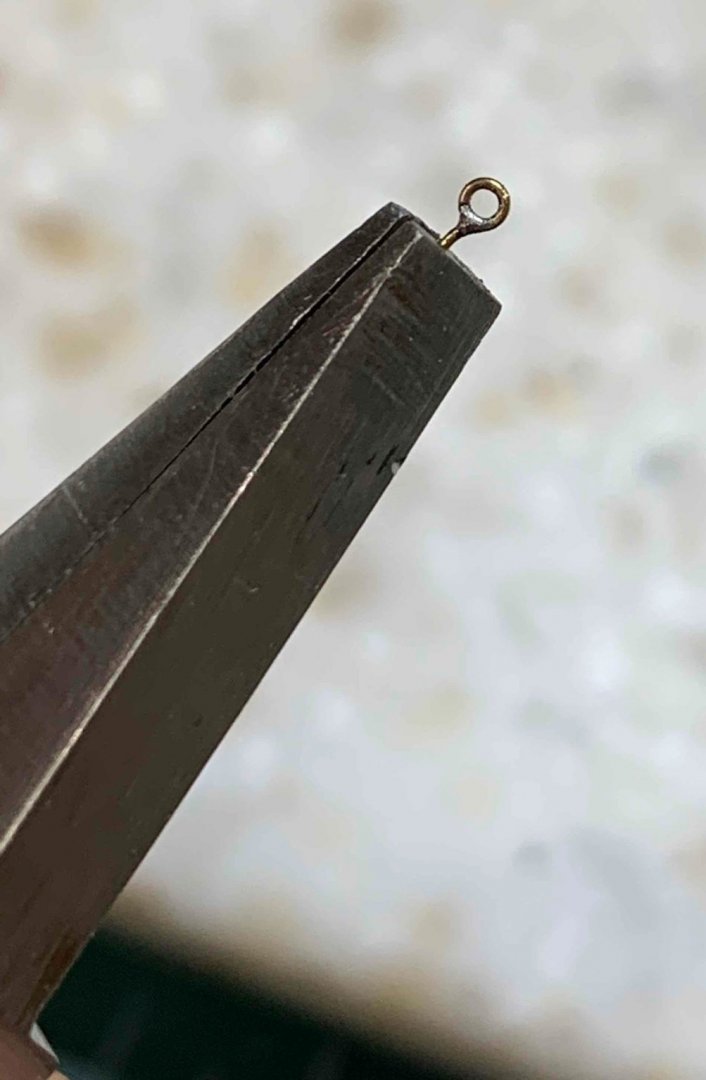
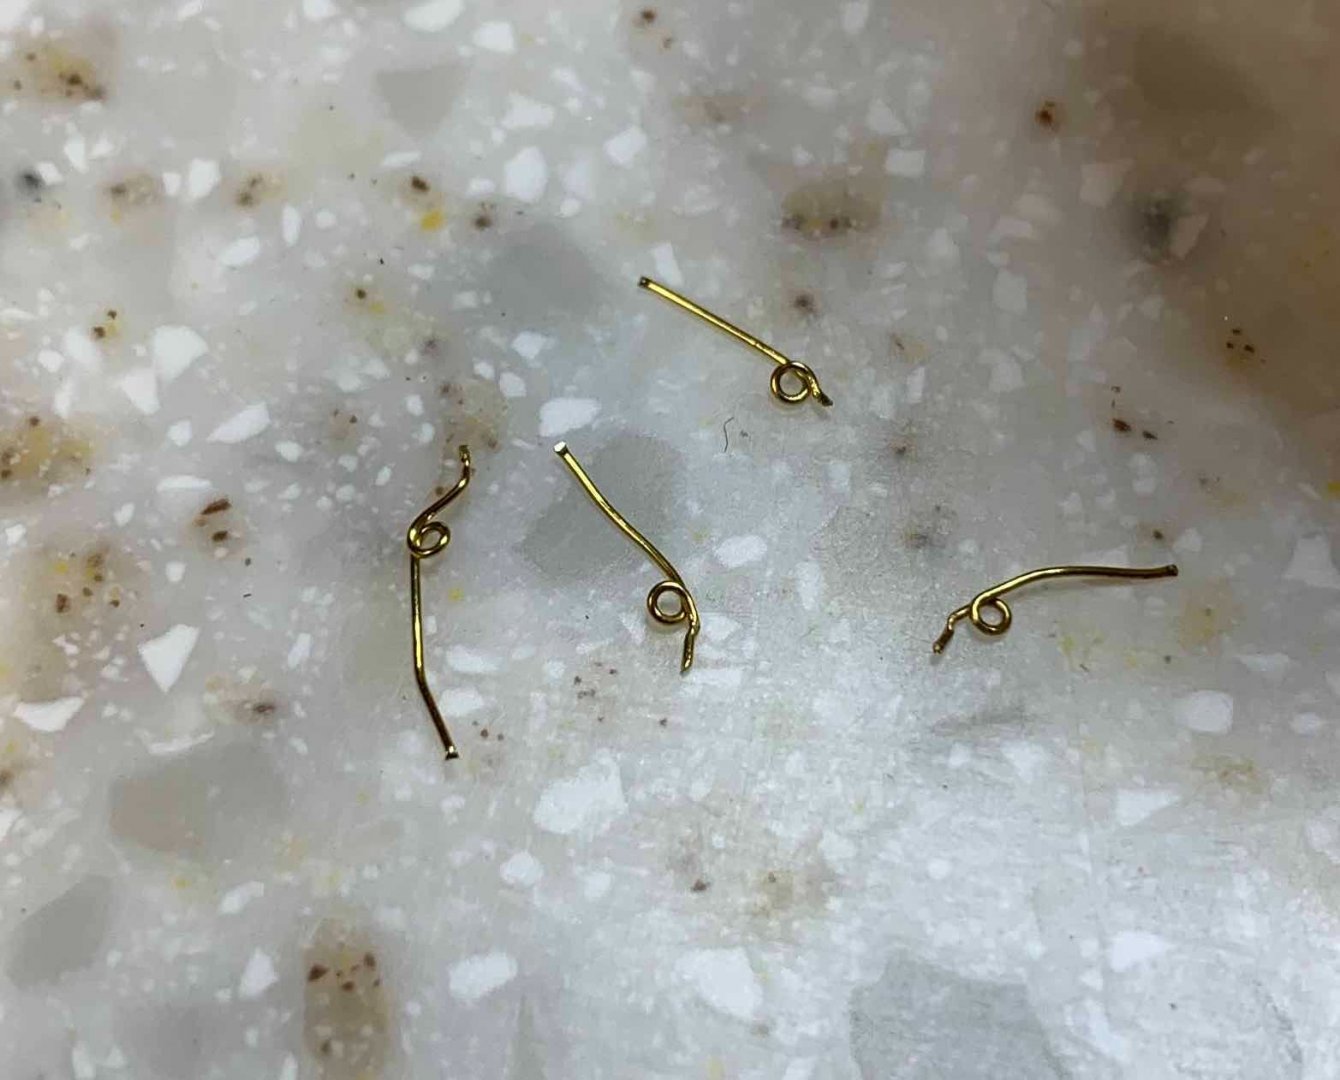
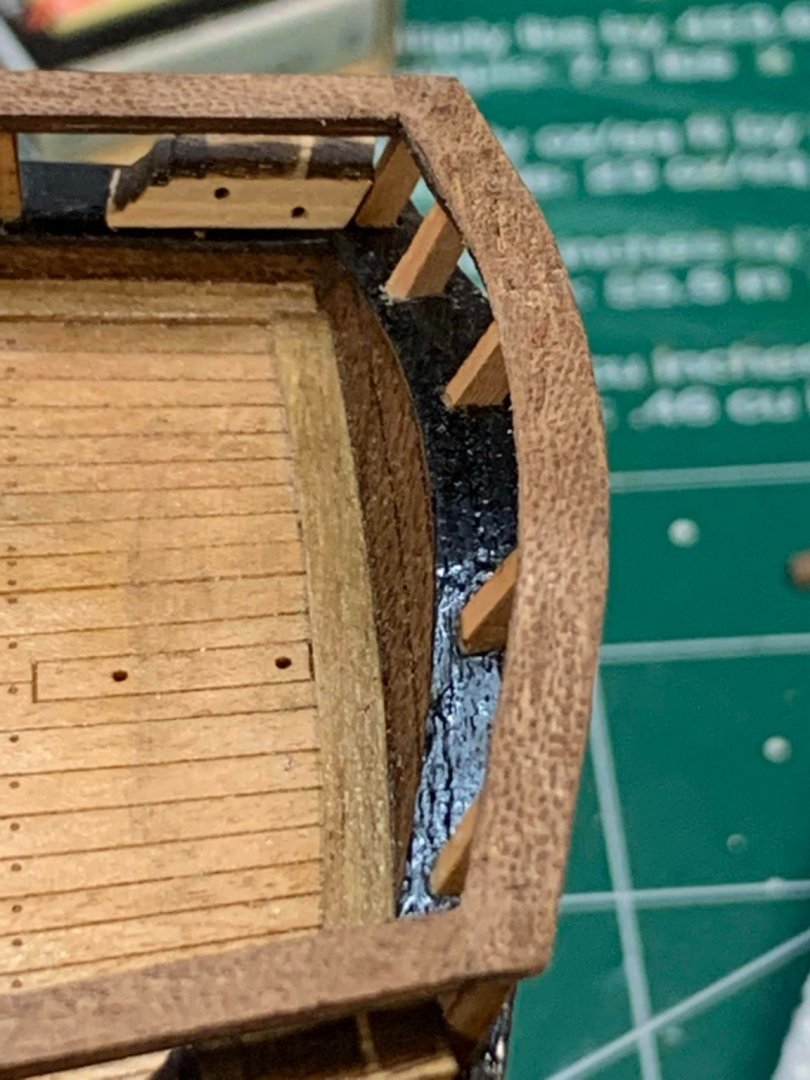
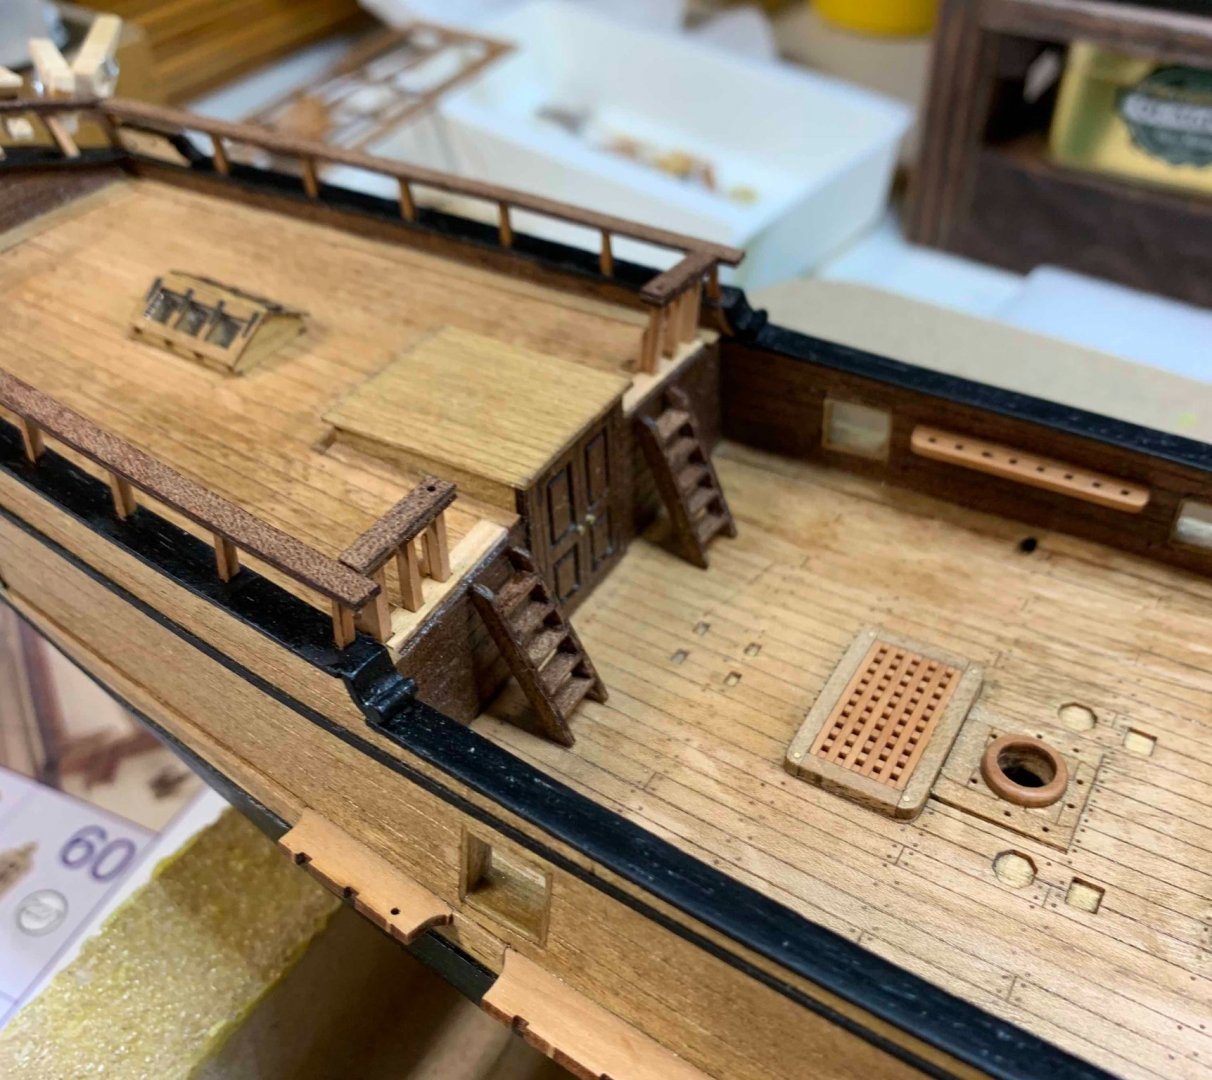
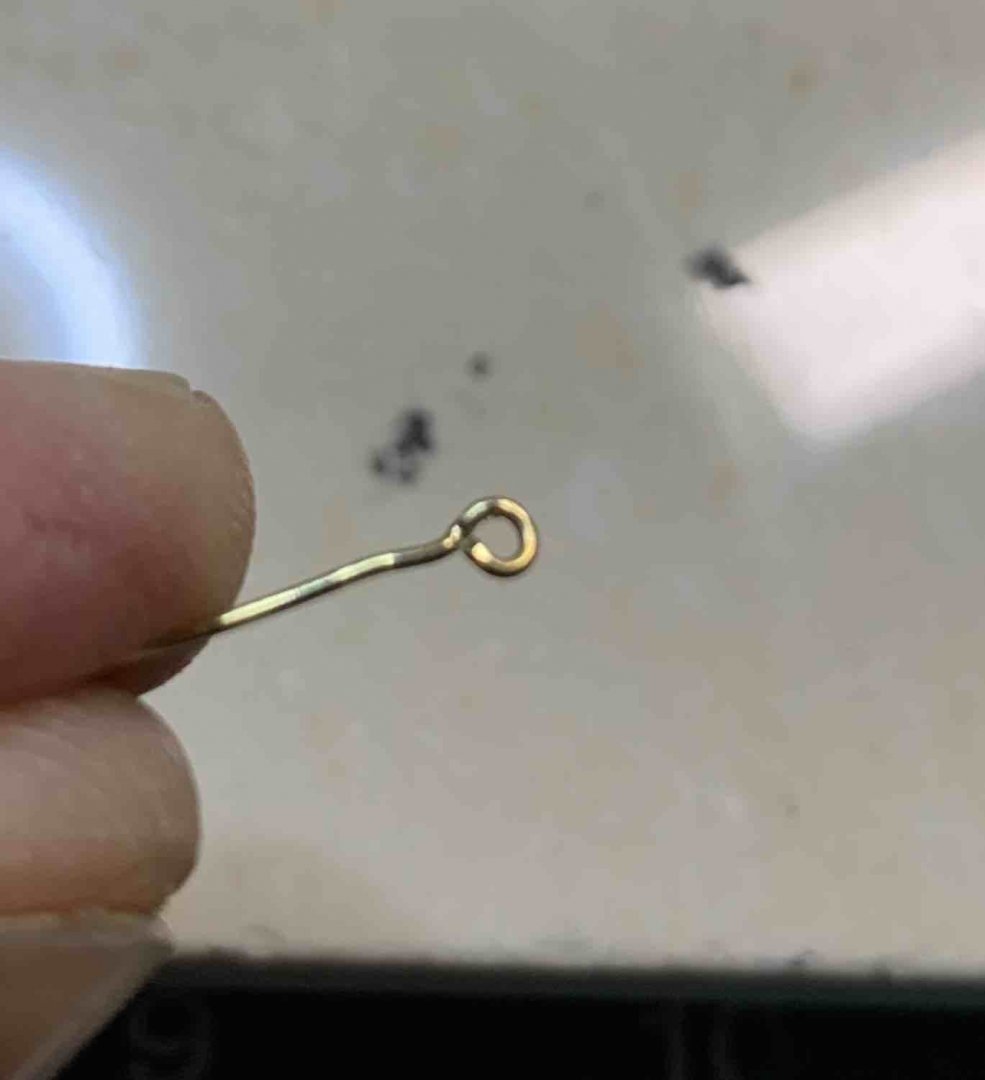
Stairs completed and glued to the ship.. Then i lightly sanded all handrails and filled up some openings between handrail planks by putting a small amount of glue and sanding wood. This will fill up all wholes and uneven surfaces. Then i made four small eyebolts that will be holding the rope-type handrails on stairs. Kit provides them but they dont looks quite nice so i decided to made few. the wire is 0.3mm and the hole diameter is 0.7mm. The pilot hole were drilled and eyebolts, with a small amount of glue, were inserted in.. Then i installed 10 bow bitts and painted them in flat black. While having a black paint out, i did few touchups as well.. Happy modelling...


- 275 replies
-
- 2
-
-
- phoenix
- master korabel
- (and 1 more)
-
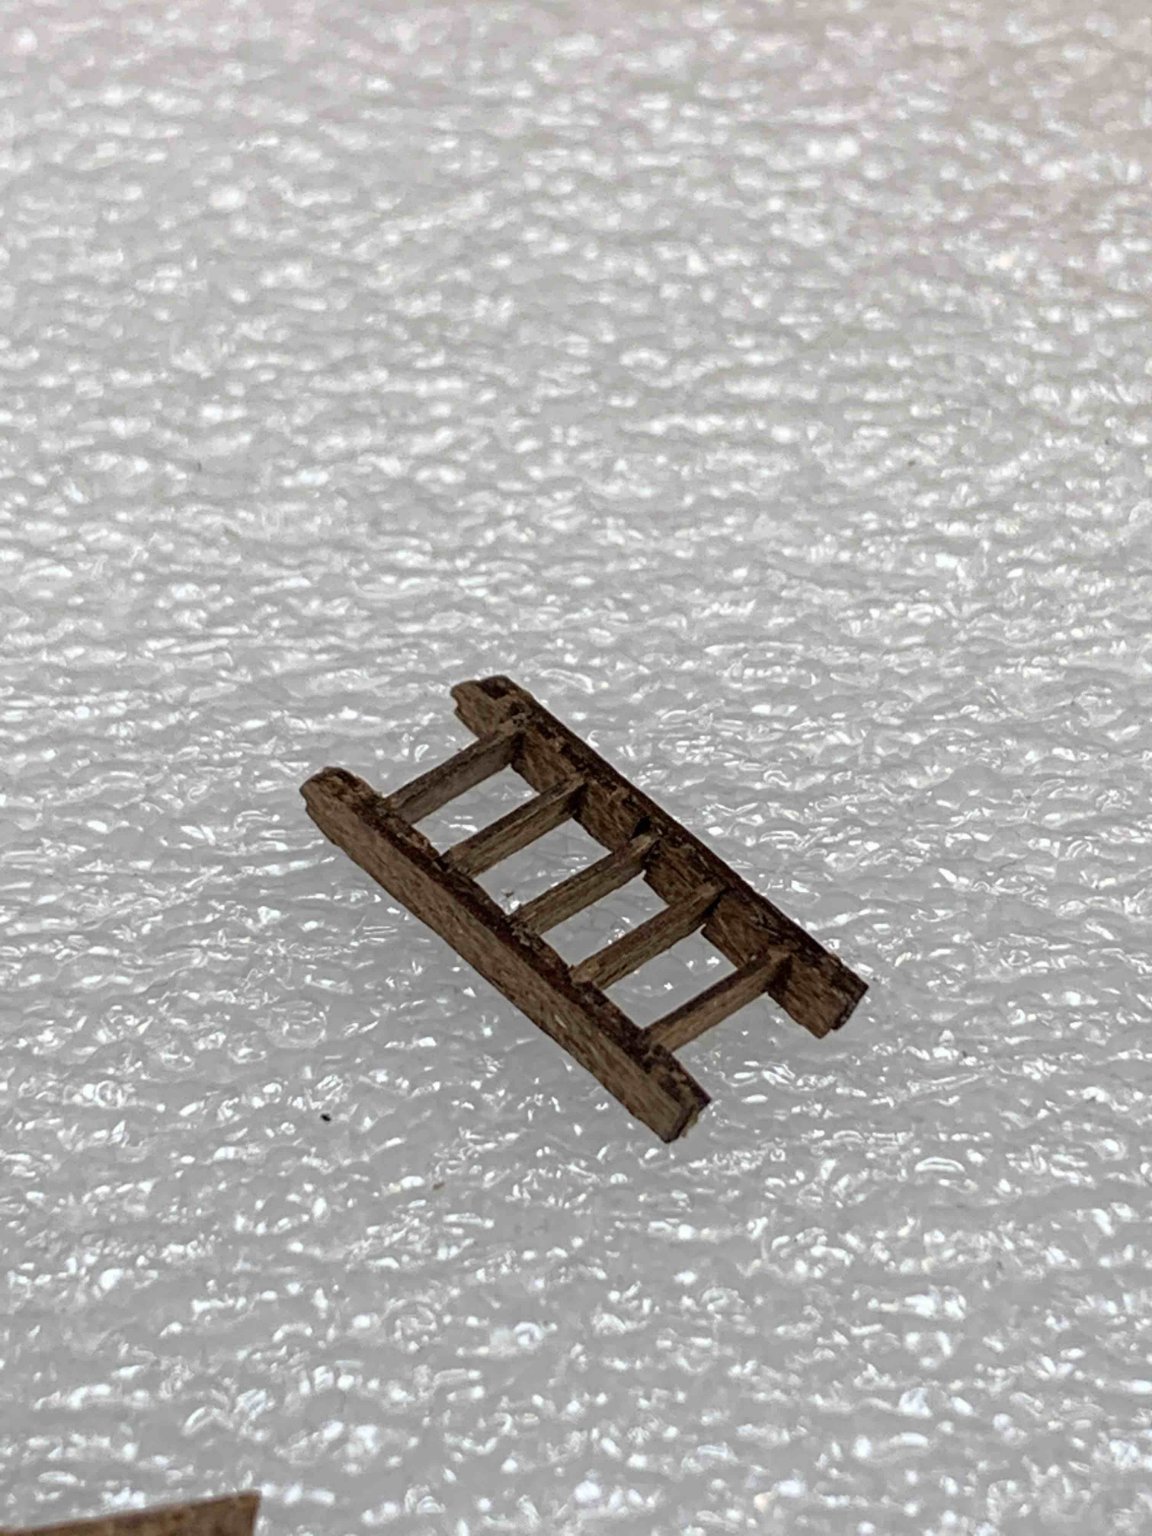
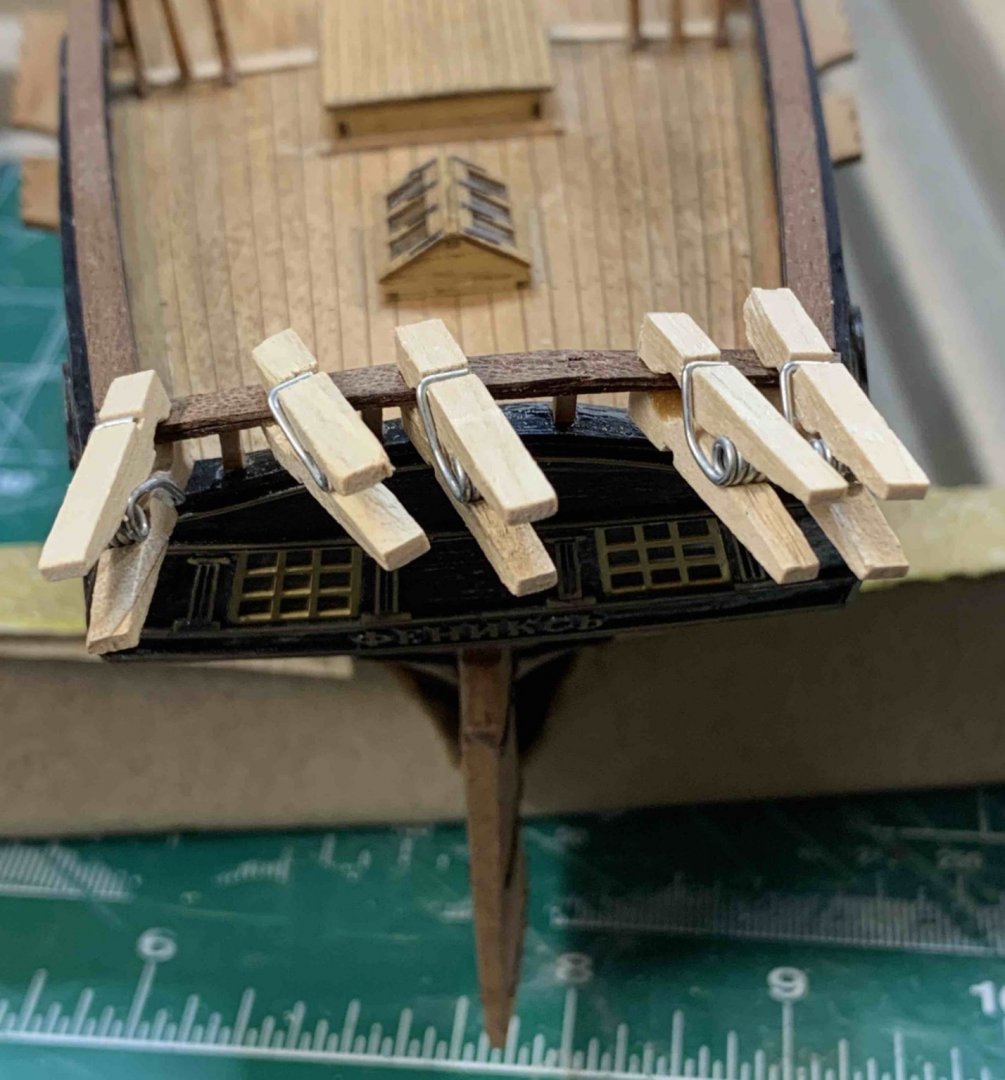
Ending up with the last piece of handrails.... First a short bath in a water, then twisting it to correct position with a help from little dudes.. Leaving it in position to dry for tomorrow' final gluing.. Stairs are next. This part is very easy to build comparing with other models where you actually have to do some math and correctly position all steps. With this kit all is already done for you, almost like some Revell's plastic kit models, where you cut pieces from the frame, sand them a bit and glue itno position.. Glue is applied while parts are still on the frame.. Then glue another part on... Once it is dried (and make sure it is really dried), cut if off and start assembly. Don't worry about sanding of extra wood, it will be done after stairs are assembled. The steps slides in with no problem. Now just sand stairs and you are ready to go.. Happy modelling.


- 275 replies
-
- 3
-
-
- phoenix
- master korabel
- (and 1 more)
-
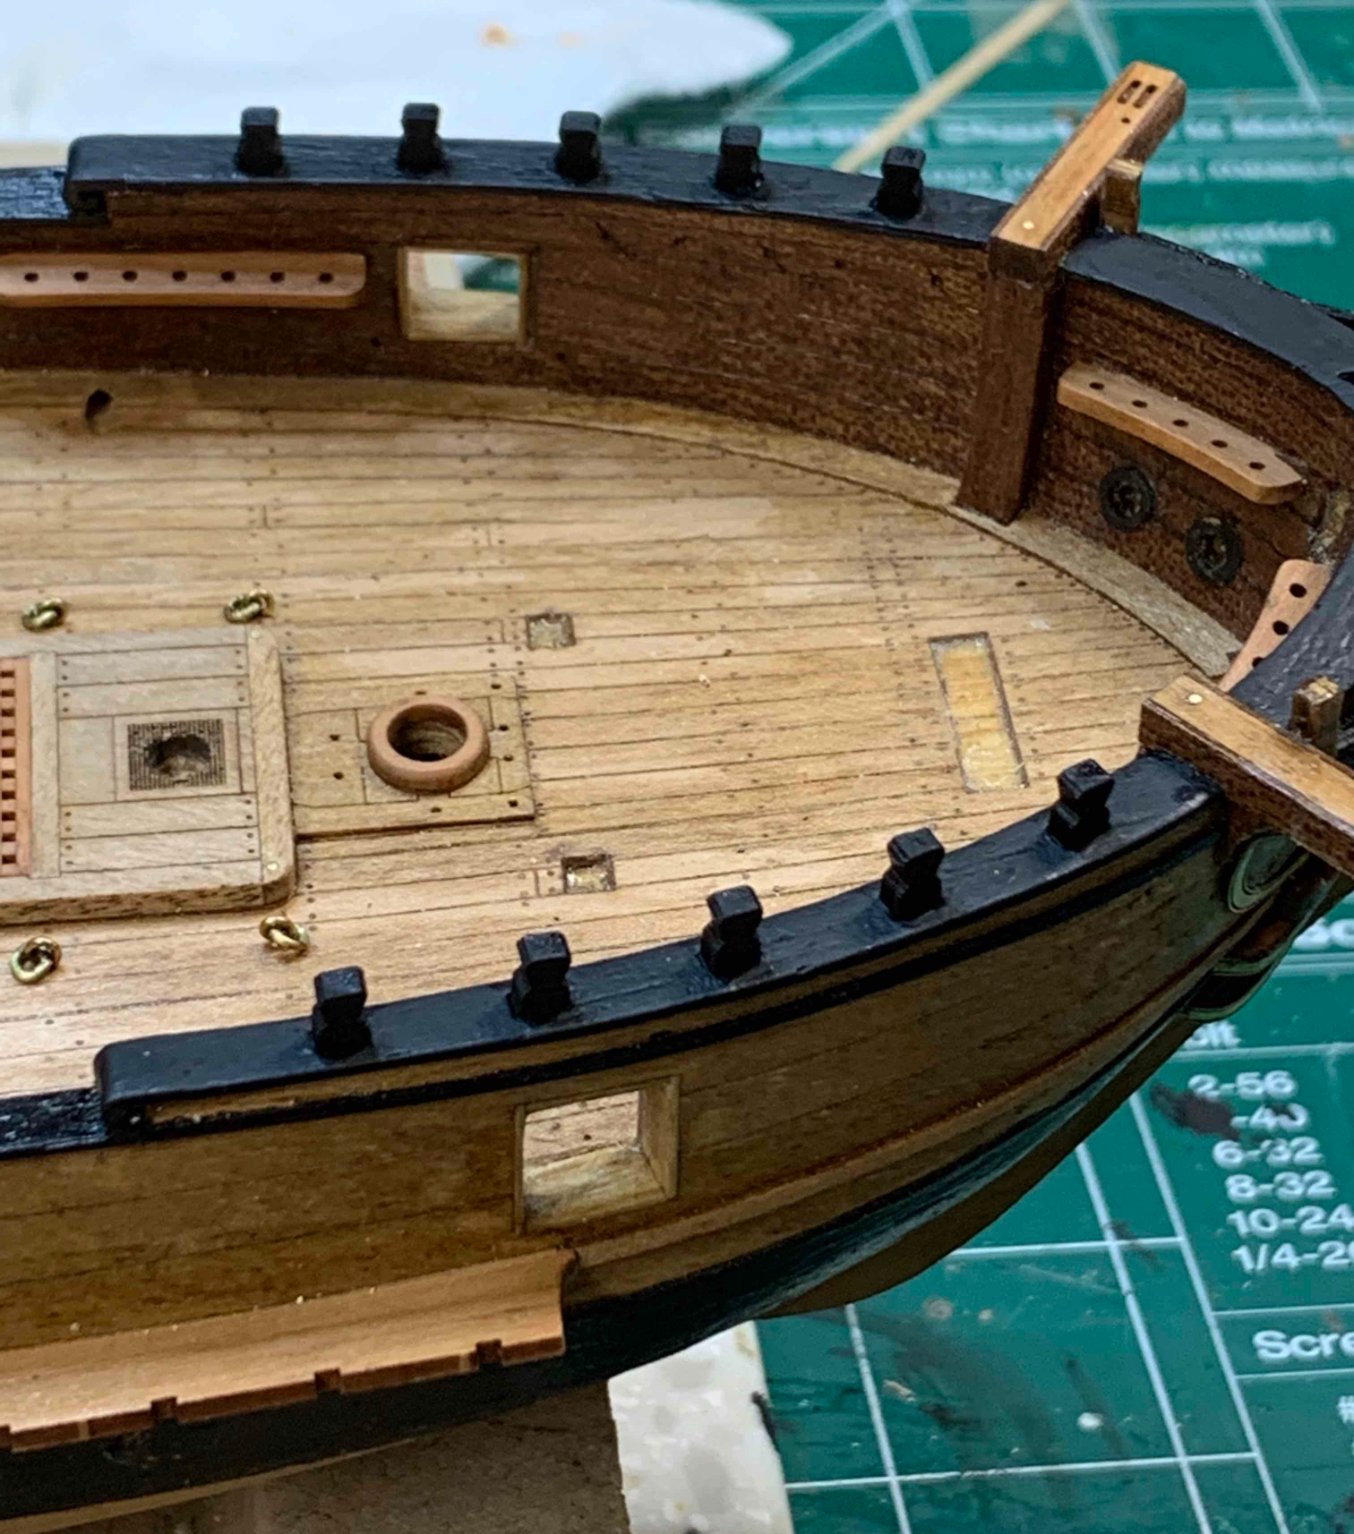
The work continues assembling the quarter deck railing.. The process requires that all holes for racks are cleaned so the racks can fit correctly and in proper angle. Lots of testing and trial until everything was fitting properly.. The reminder of fencing is pretty much the same; first i drilled the holes... .. and shaped the fencing rack... The handrail was assembled in two parts: first i put on one piece of handrail that kind of holds all together... .. and at this time i need to sand all sticking parts so the second part of handrail will sit flush. Happy modelling..


- 275 replies
-
- 3
-
-
- phoenix
- master korabel
- (and 1 more)
-
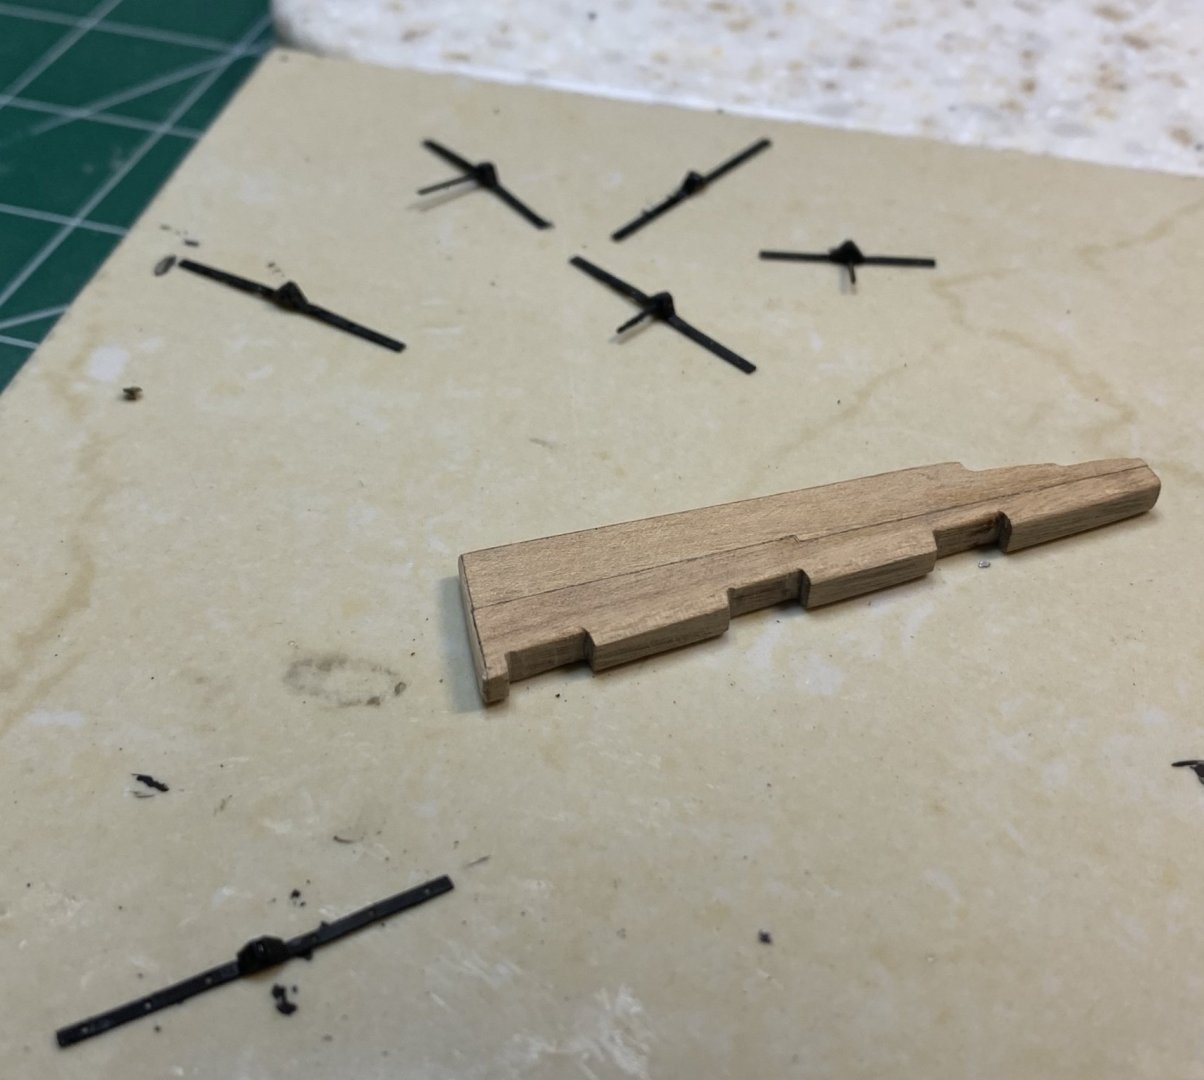
Next i am attaching the ladder; rubber is here to align the ladder's rungs... On the instruction pictures i see some other parts of the ladder that i cannot locate in my kit parts so i have to make my own from some scrap wood..... Then i put in a cover at the base of the masts as well as a rings.. Testing fittings.. and testing position with mast inserted to make sure it fits correctly.. The cover of stain and all done for today.. Happy modelling..


- 275 replies
-
- 6
-
-
- phoenix
- master korabel
- (and 1 more)
-
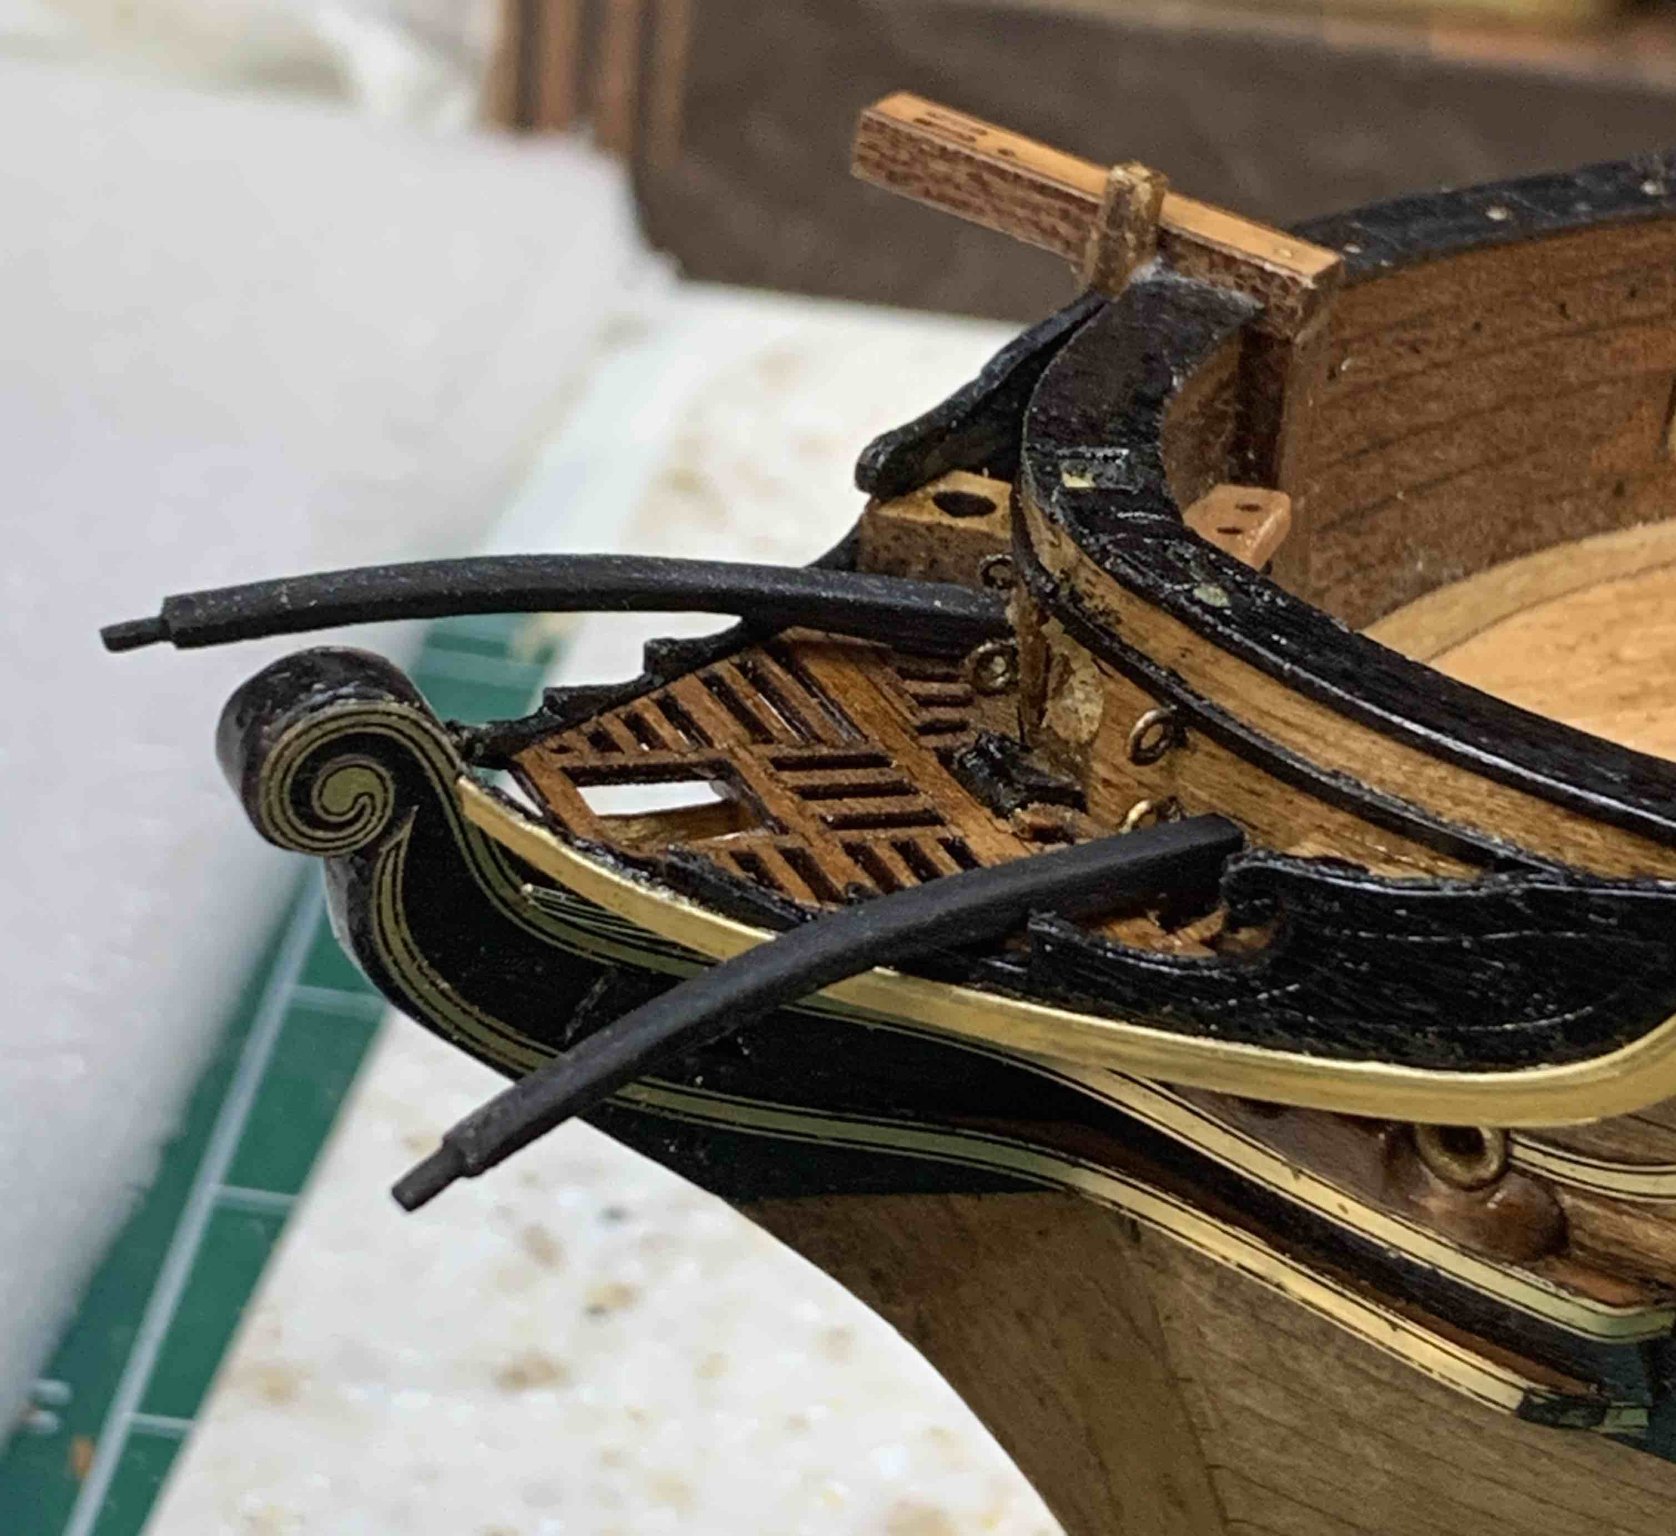
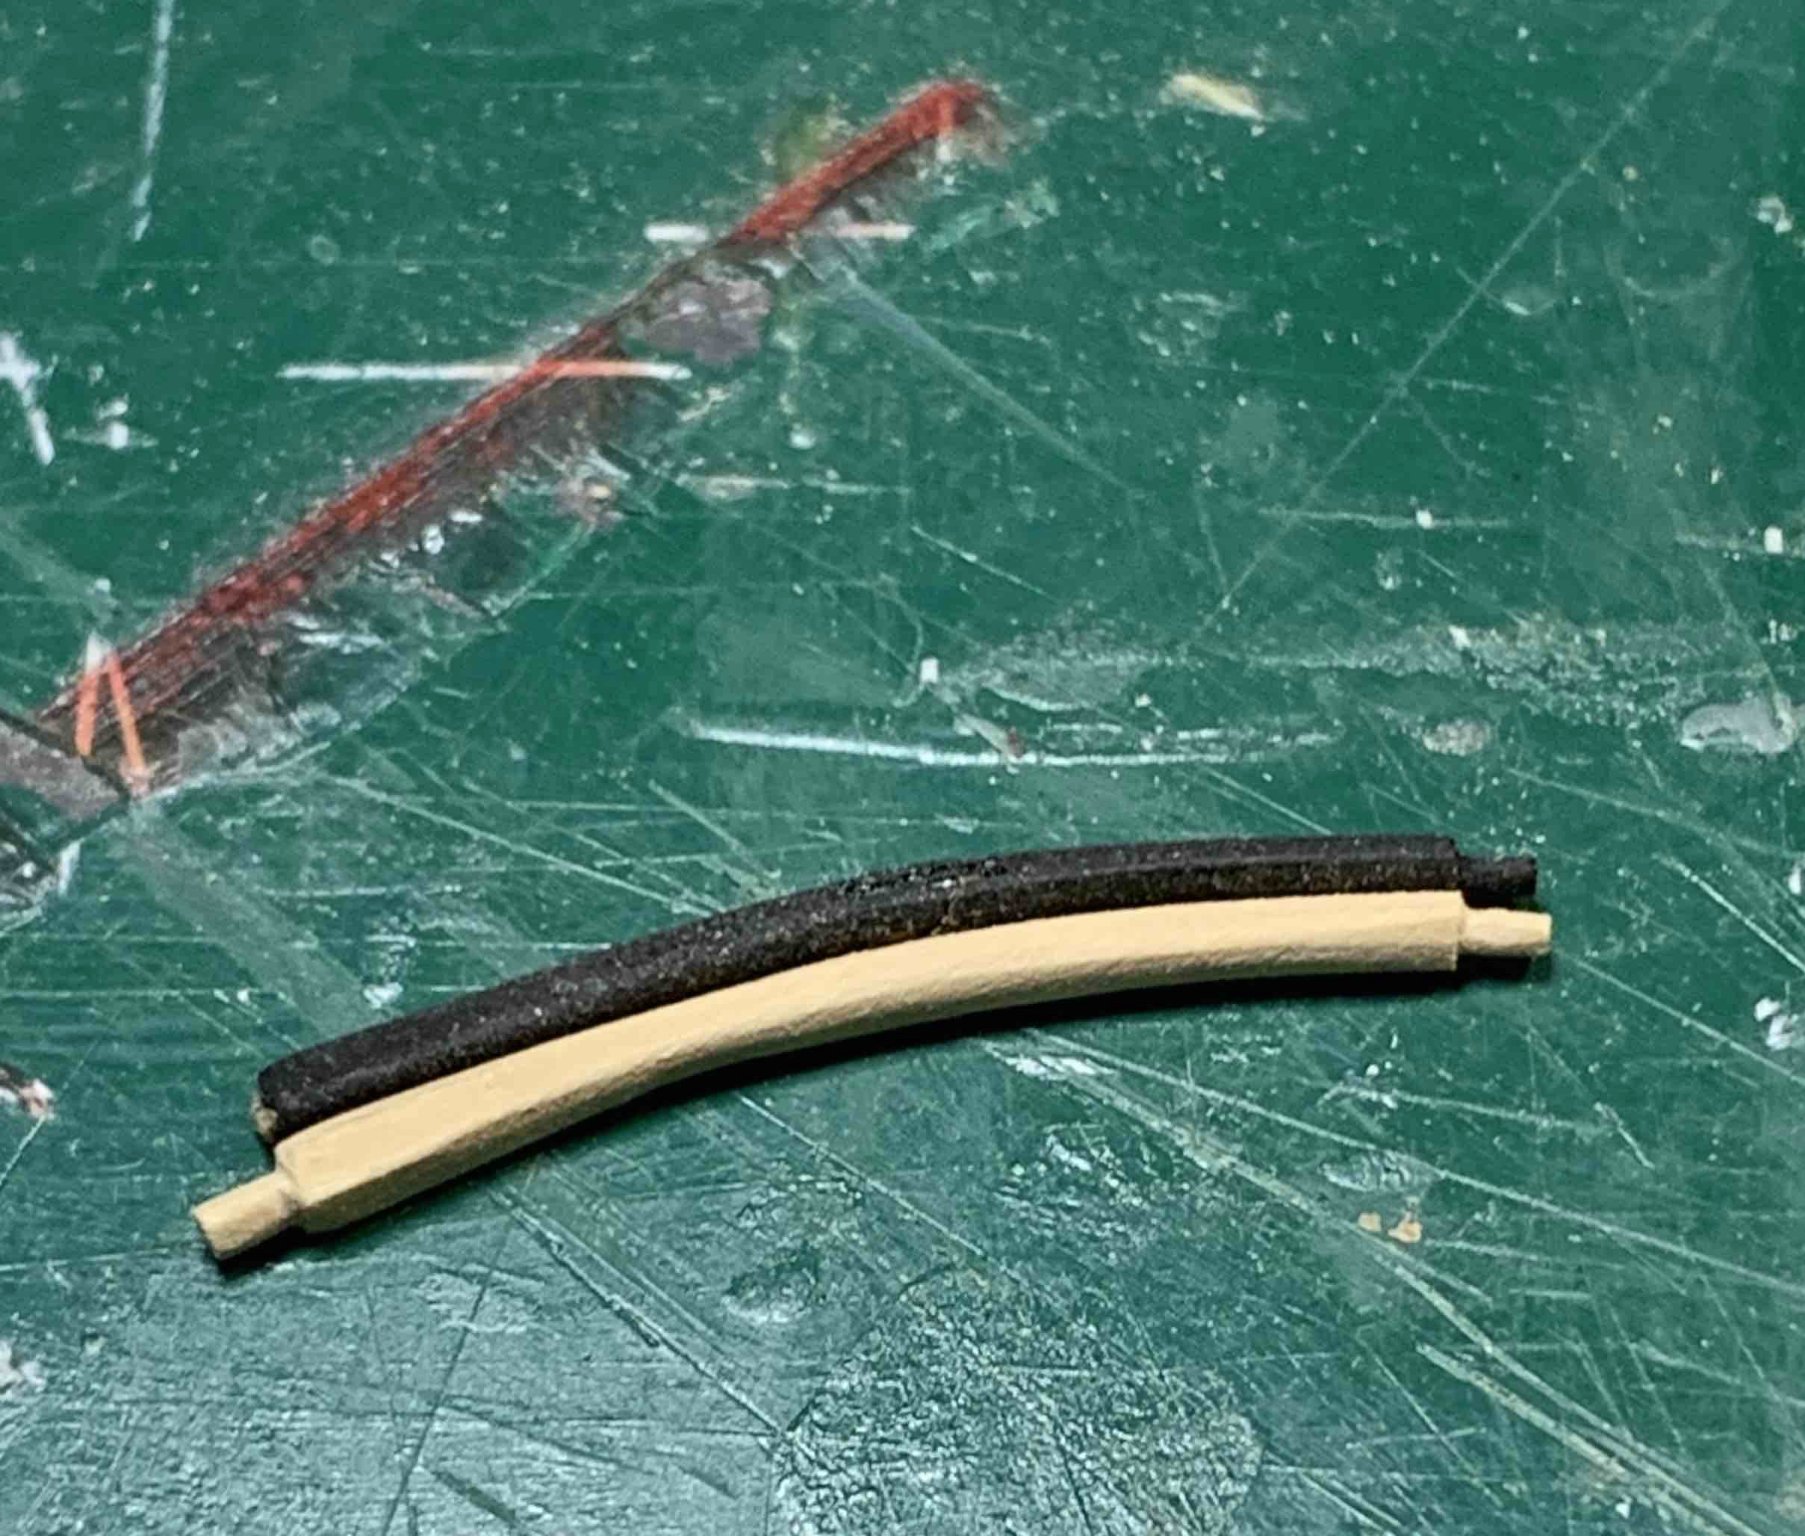
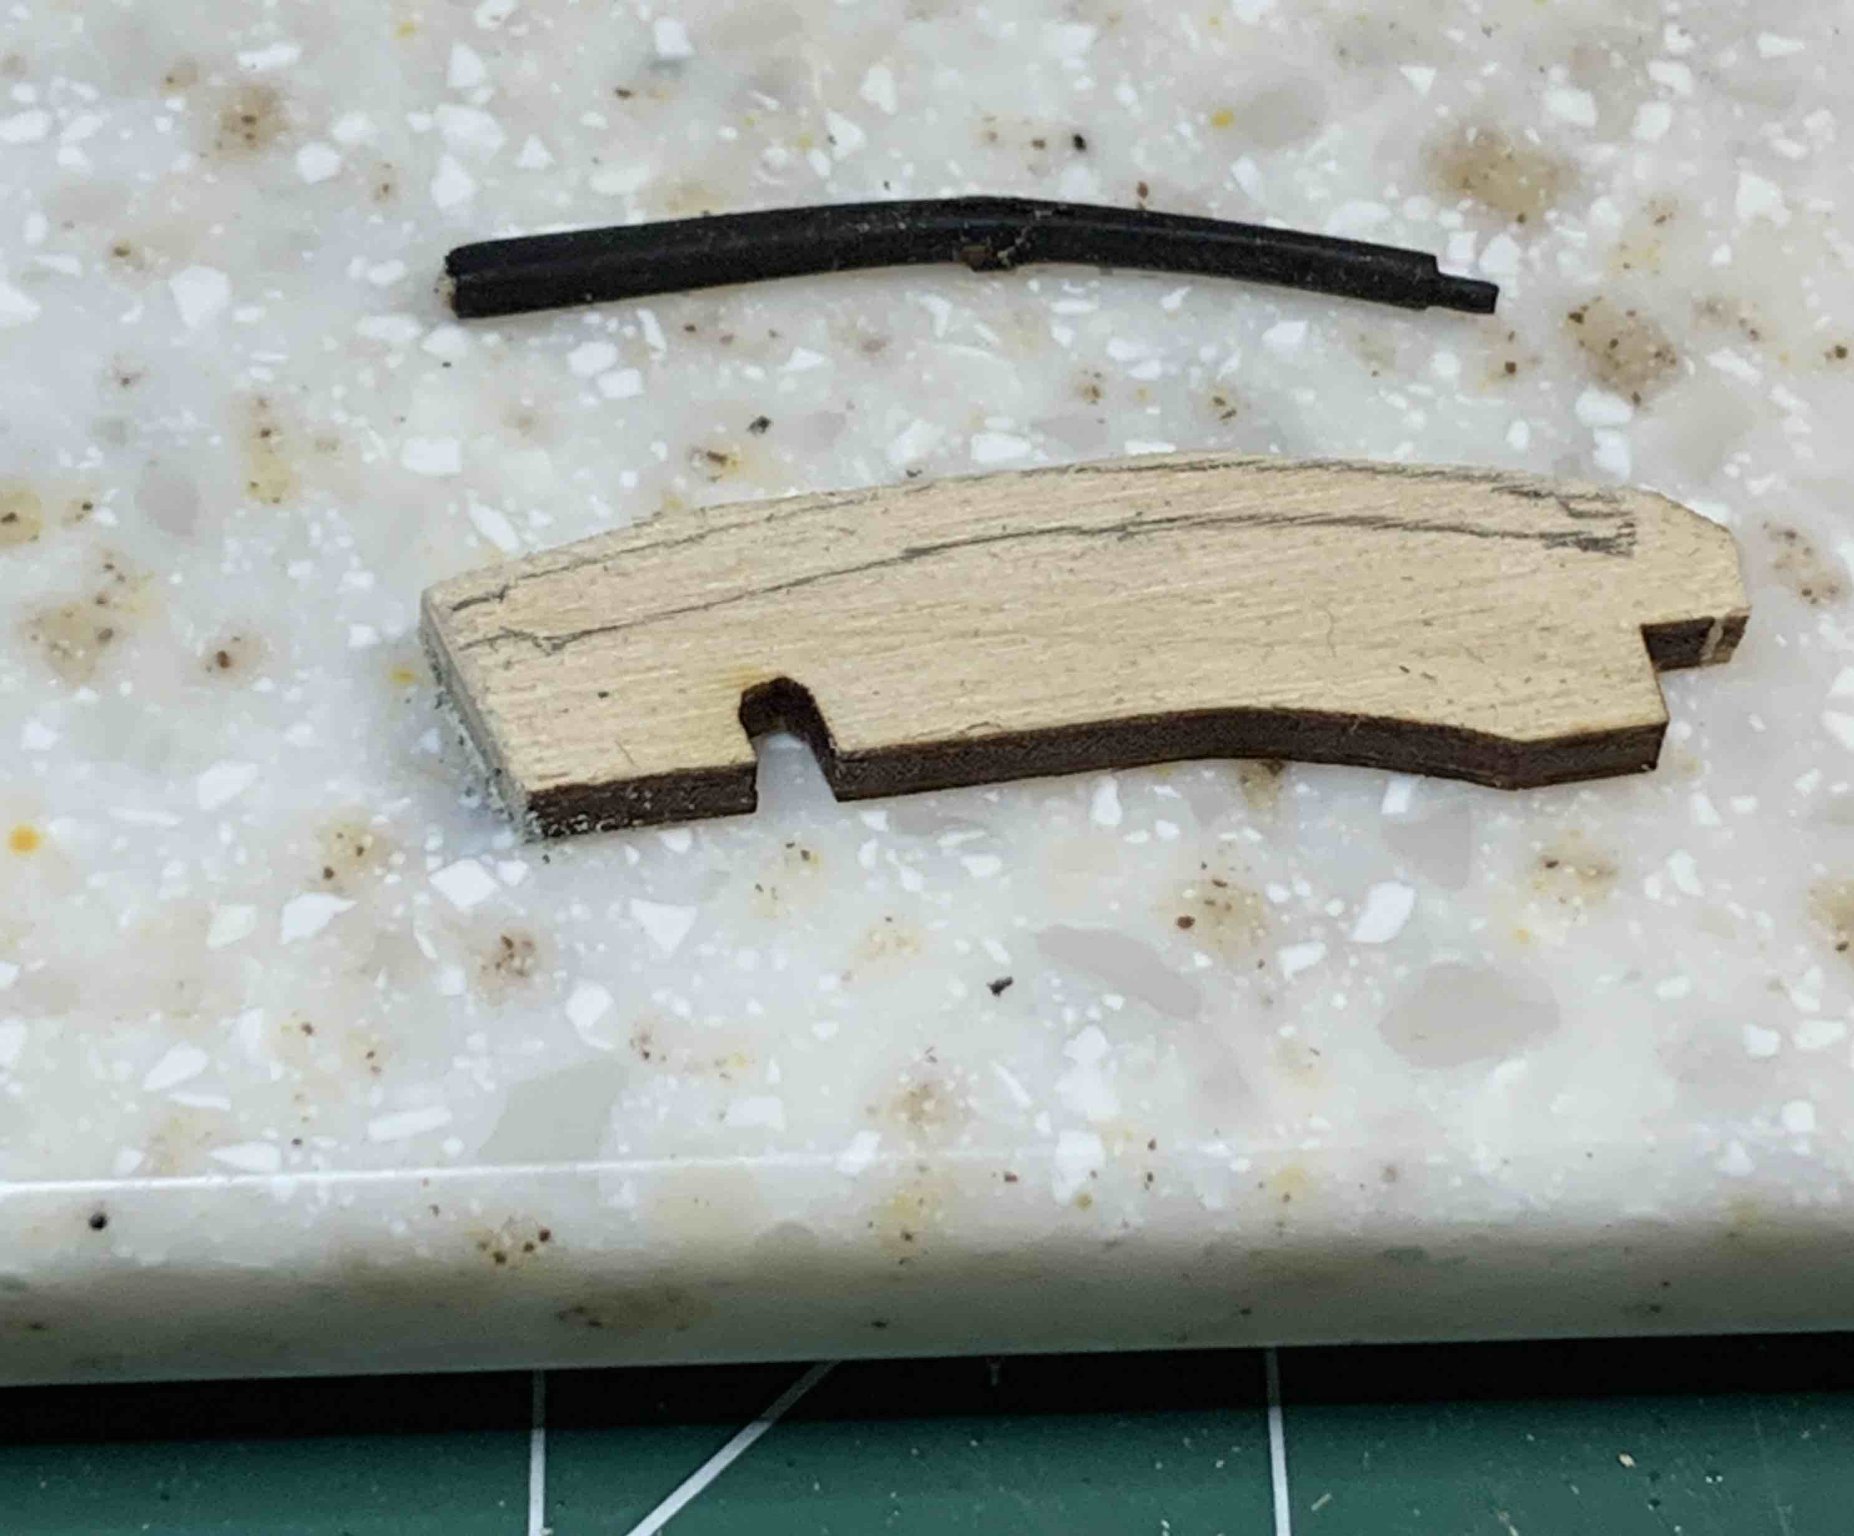
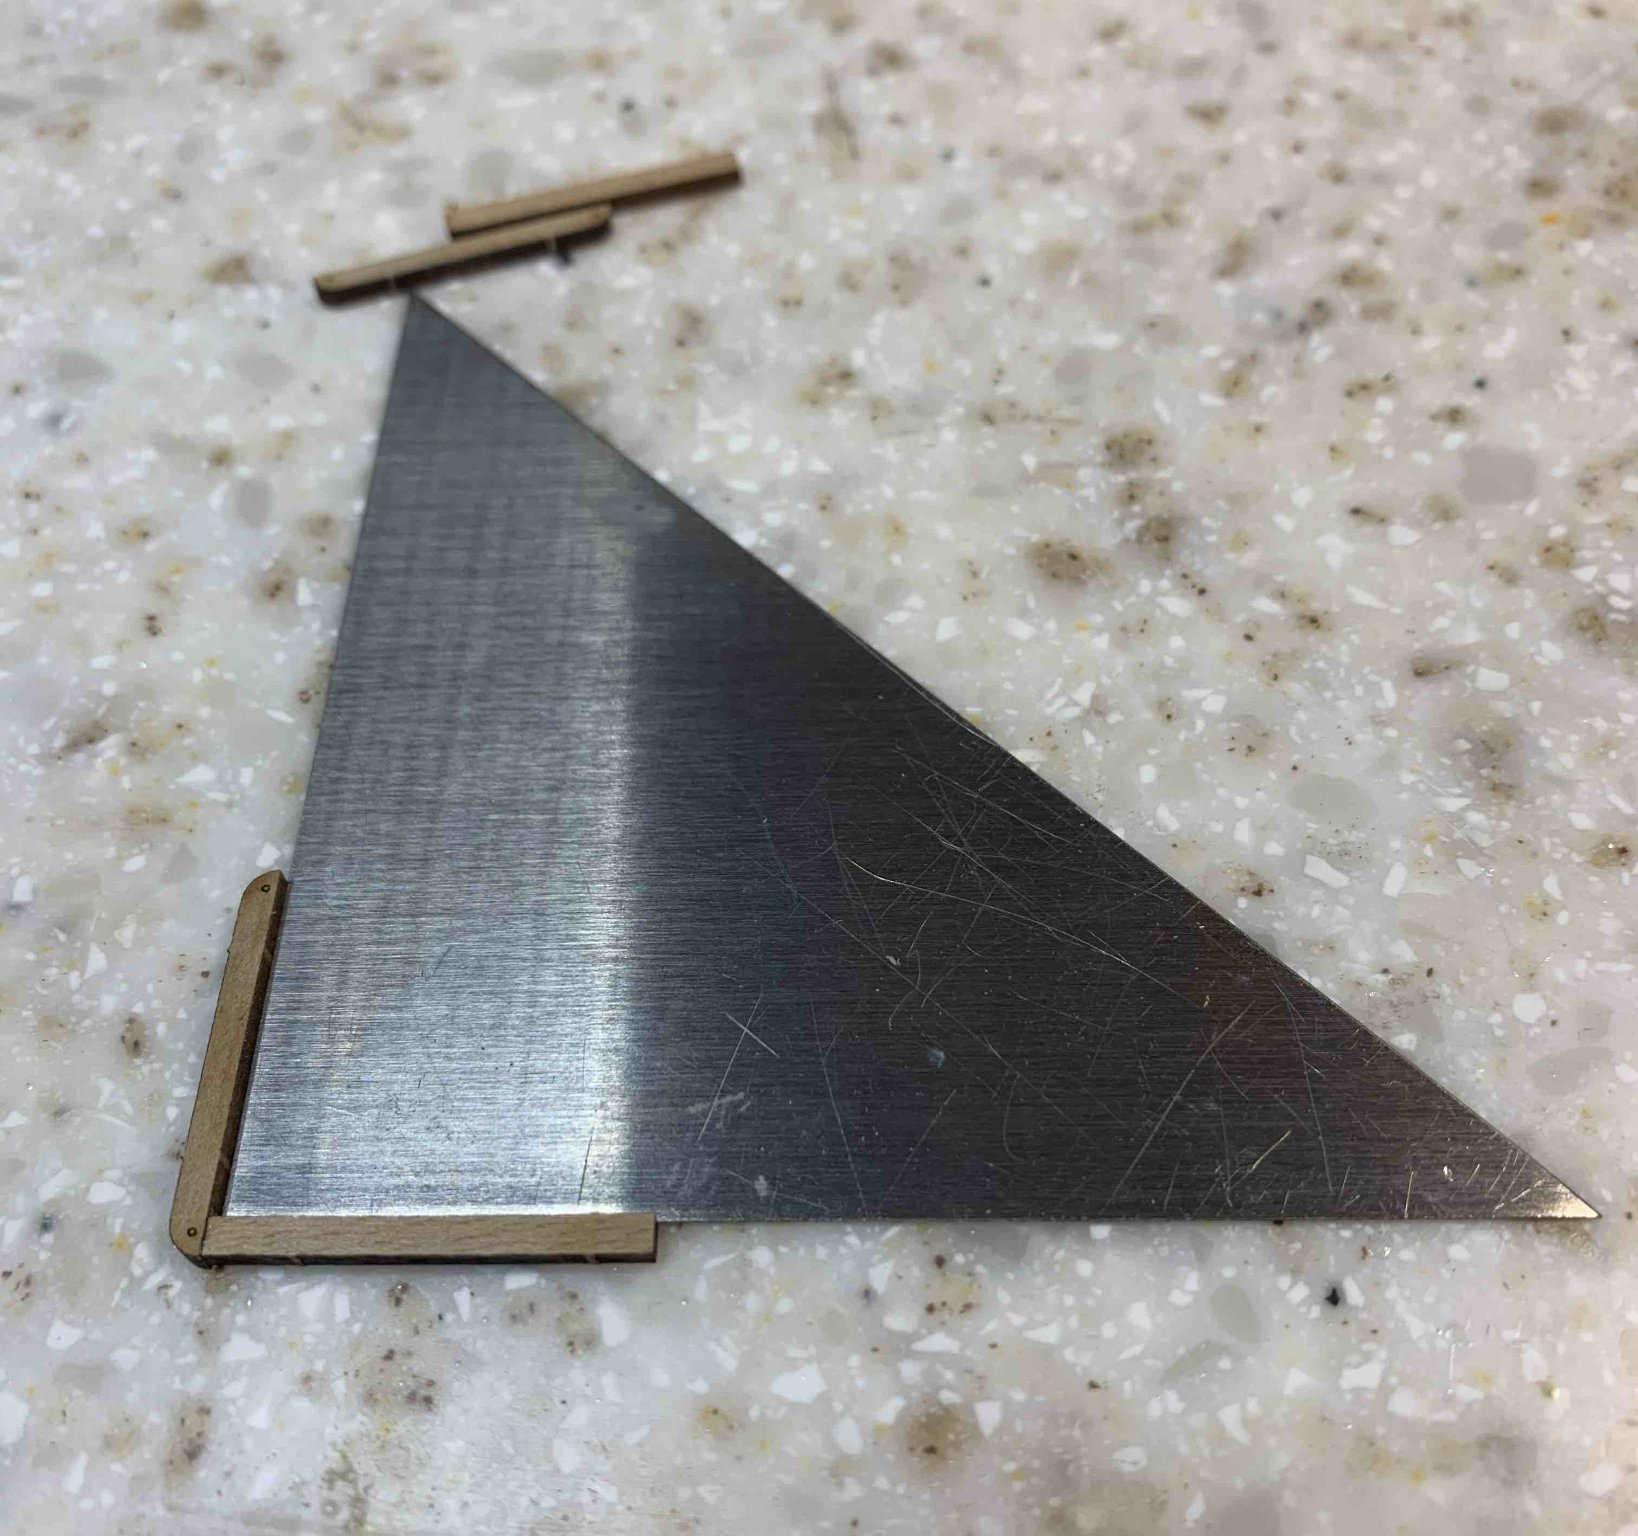
With task of assembling the top crossbars with , the work on ship continues... My quick solution to paint small areas and not to spent more time cleaning a brush than to actually do the painting, i use a piece of bounty paper .... Then start making a spreaders for bowsprit's standing rigging. Was a bit concerned about the fact that after installing them, they will stick out and being on the way.. And i was right.. Snap! Literally... Oh well, back to carving tasks of making a new one from the scrap wood.. Holes were made for spreaders.. Maybe some time in the future i will be able to obtain a correct milling machine, but for now i will just simulate sheaves.. a small ring was made that will be inserted in the hull... It is not glued in case i am able to get a correct, milled sheaves in.. Happy modelling..


- 275 replies
-
- 3
-
-
- phoenix
- master korabel
- (and 1 more)
-
There are some rooms for improvement, but it is OK. I noticed you have Xebec on your completed build list; do you have a build log as well?
-
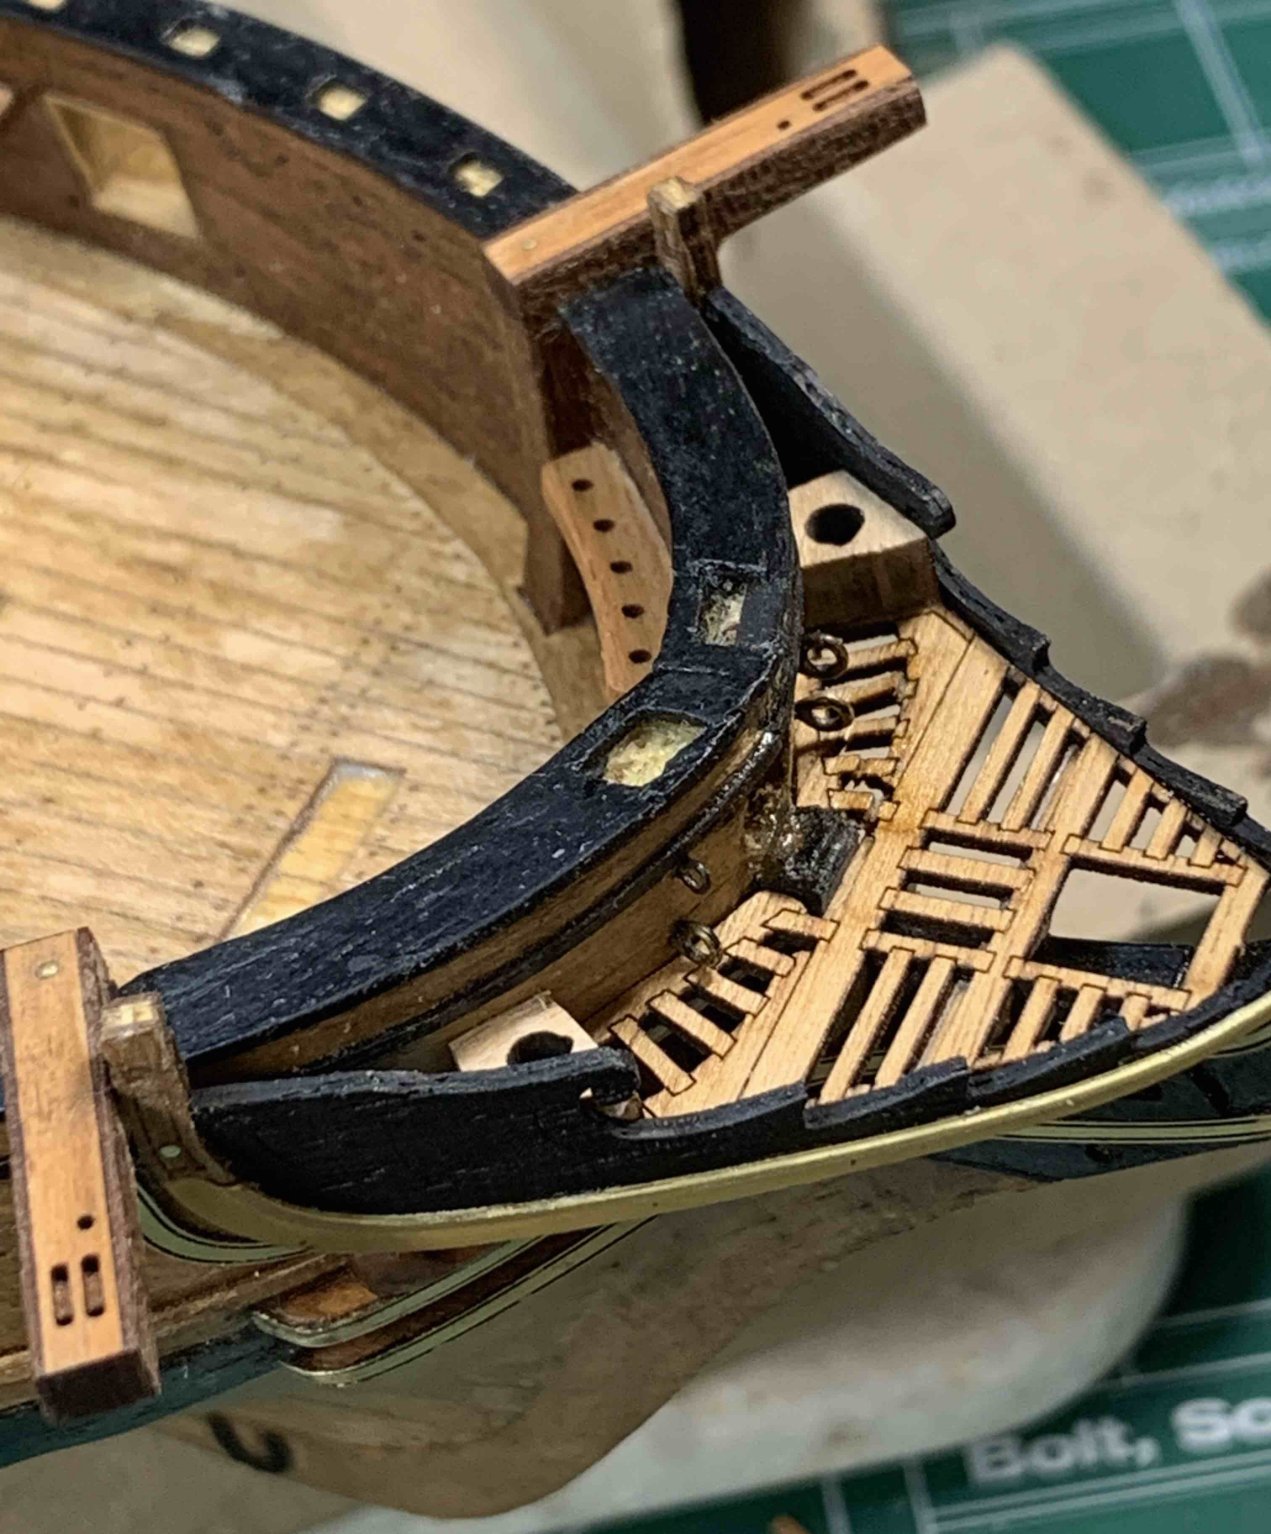
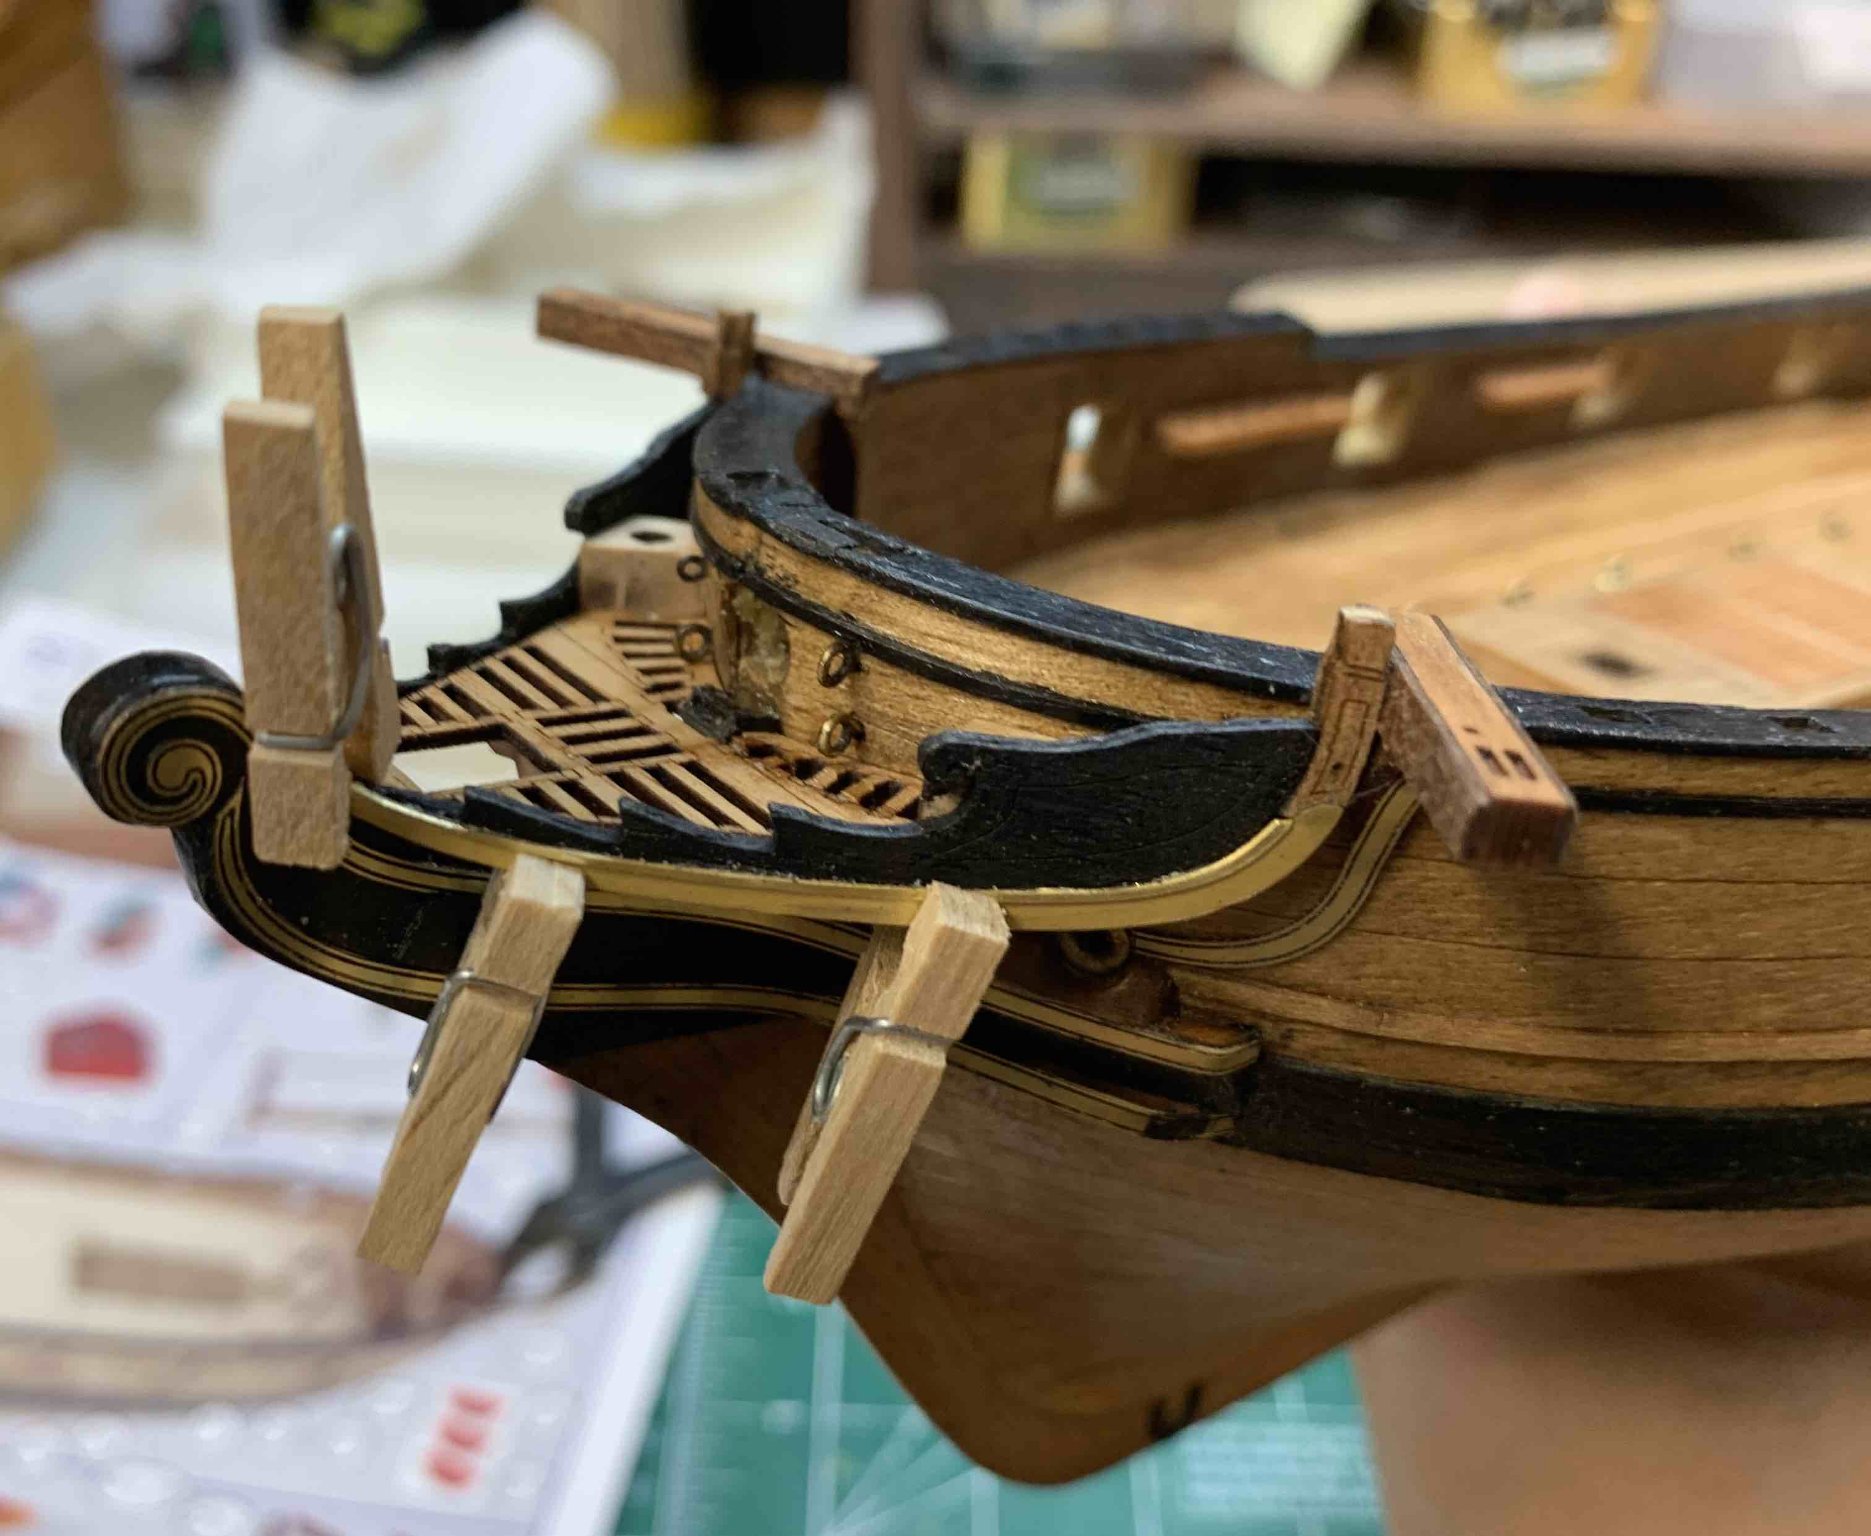
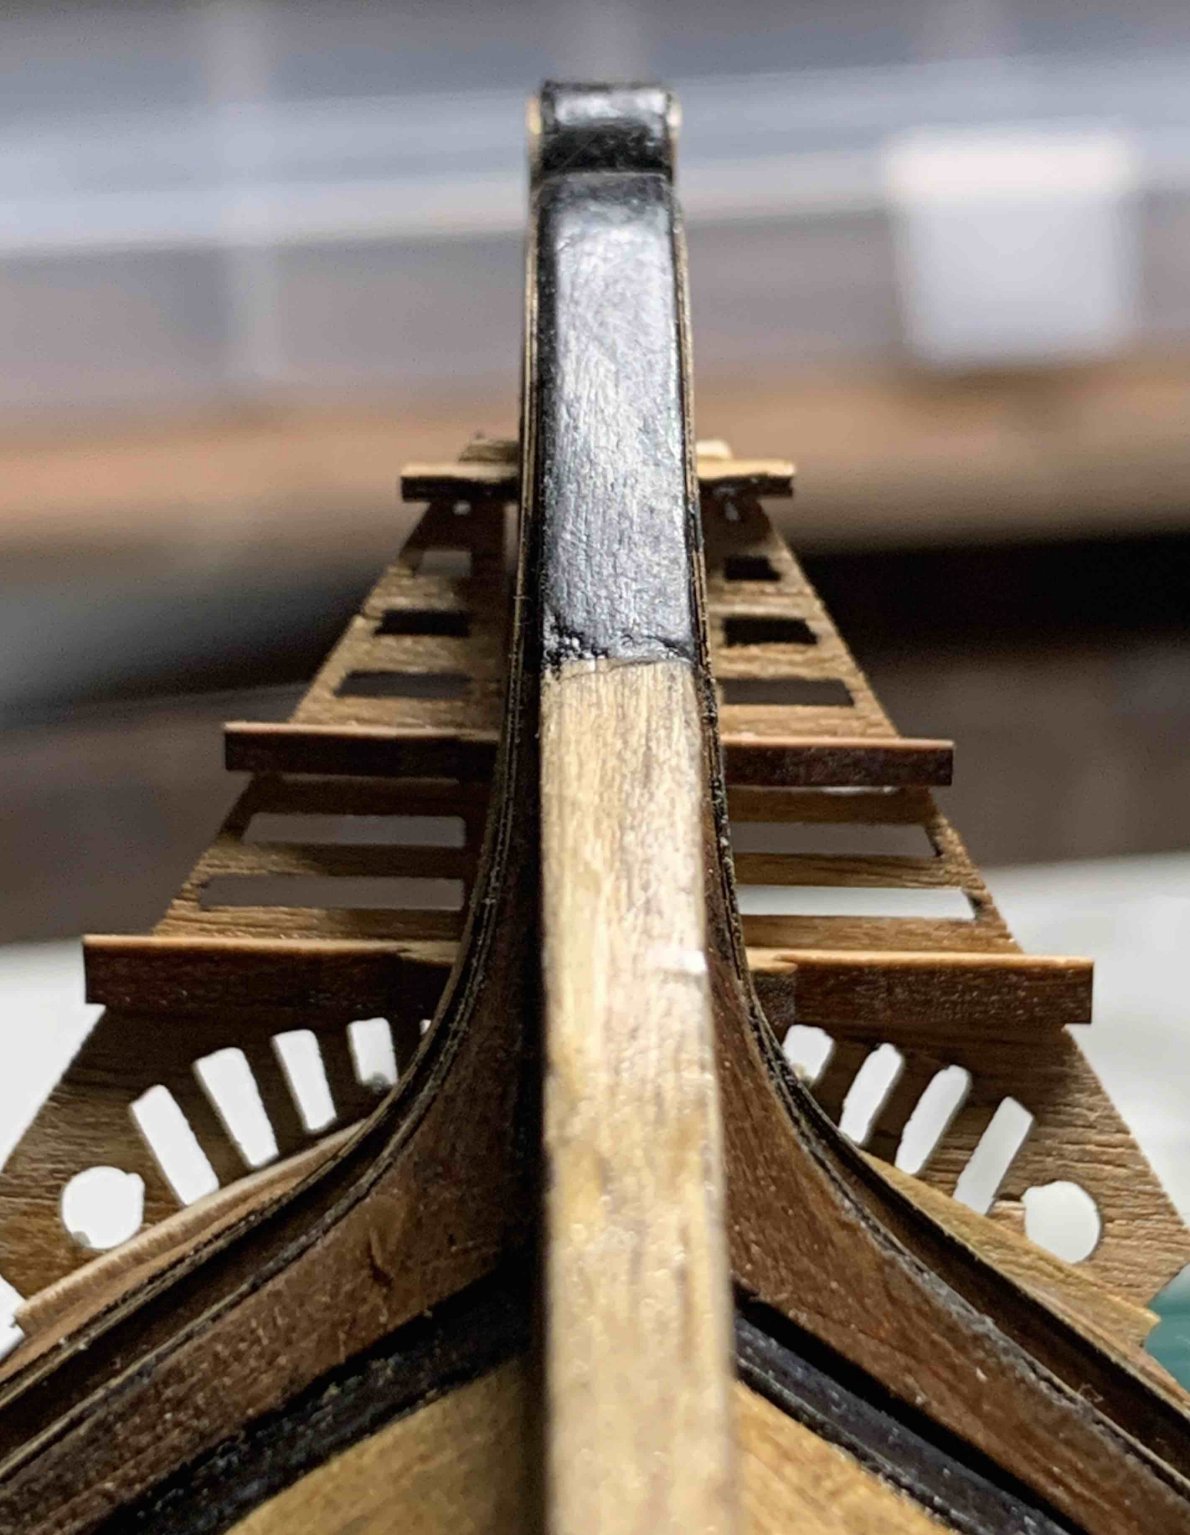
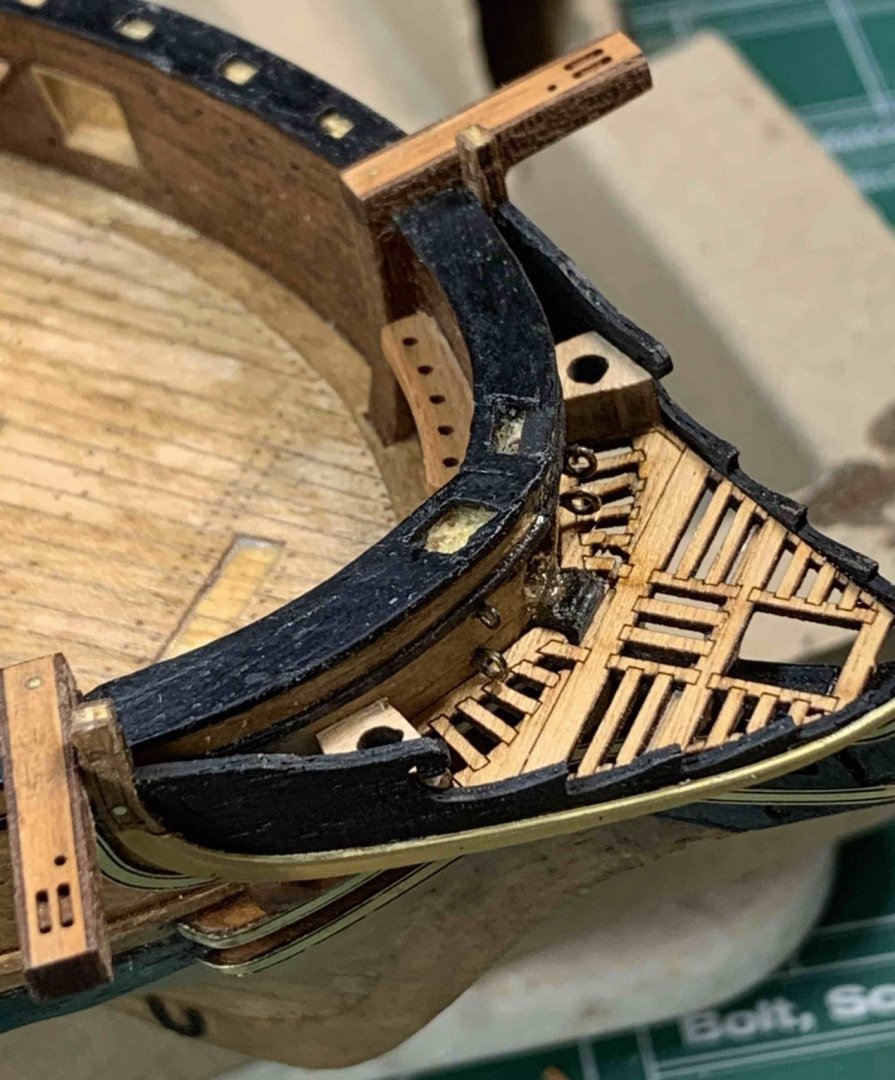
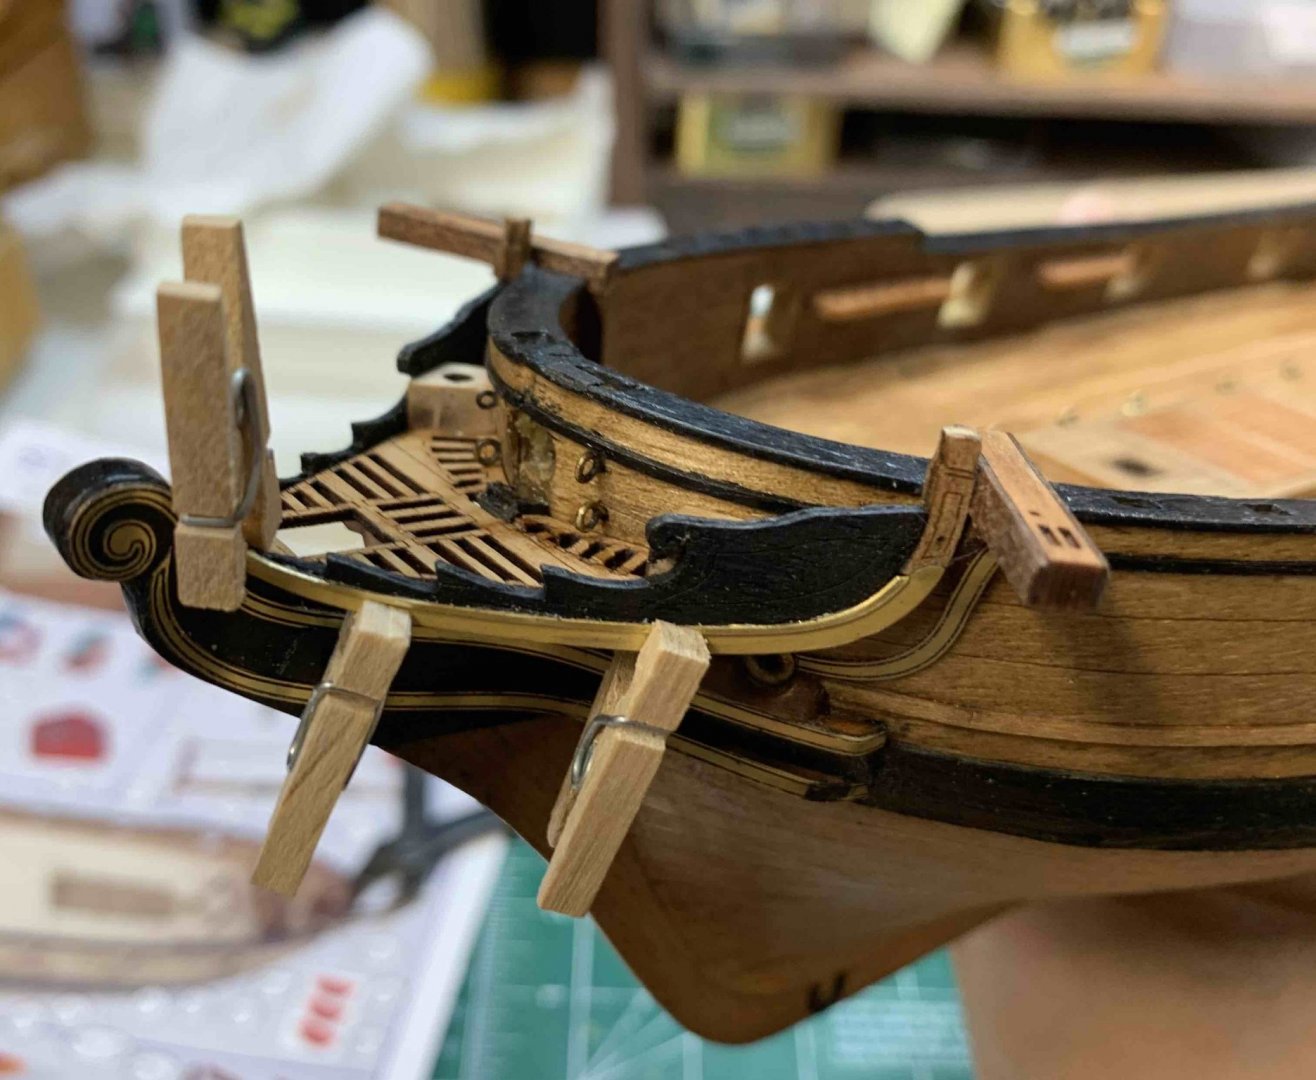
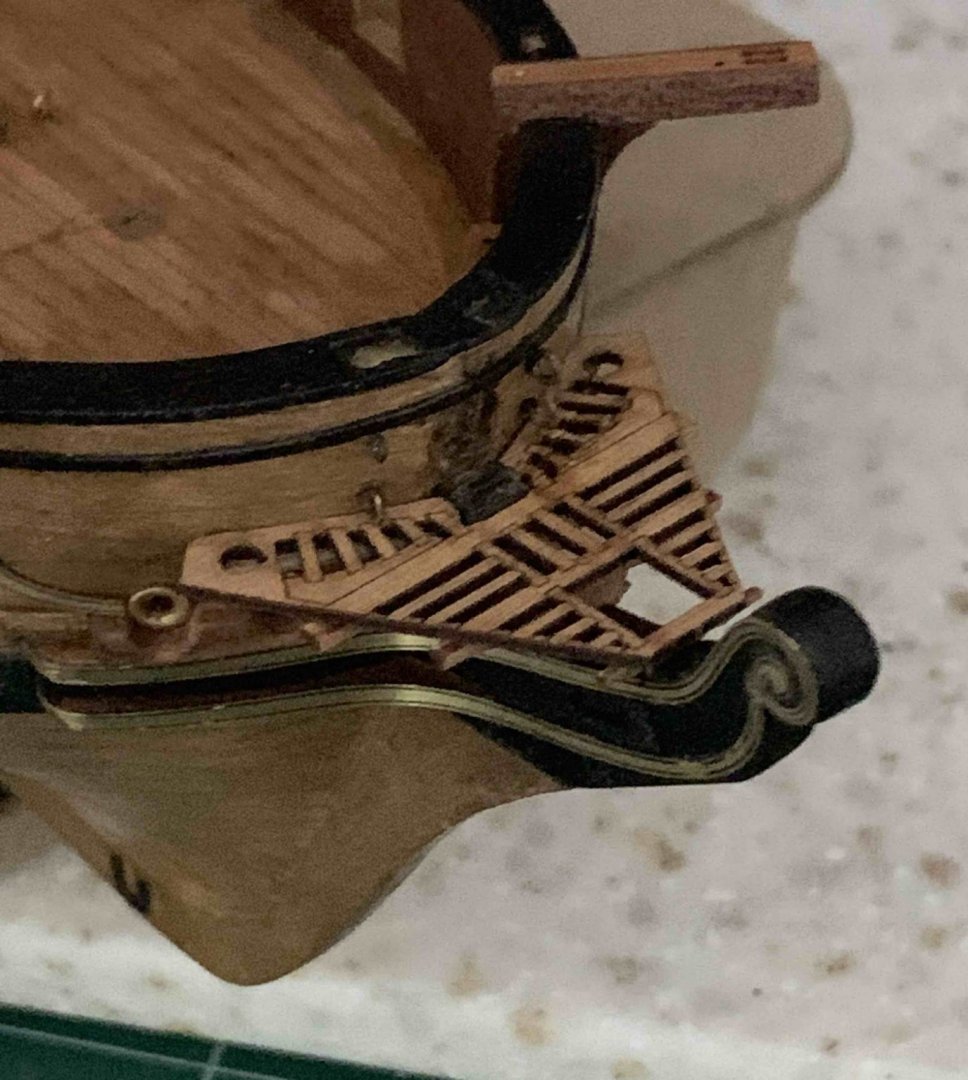
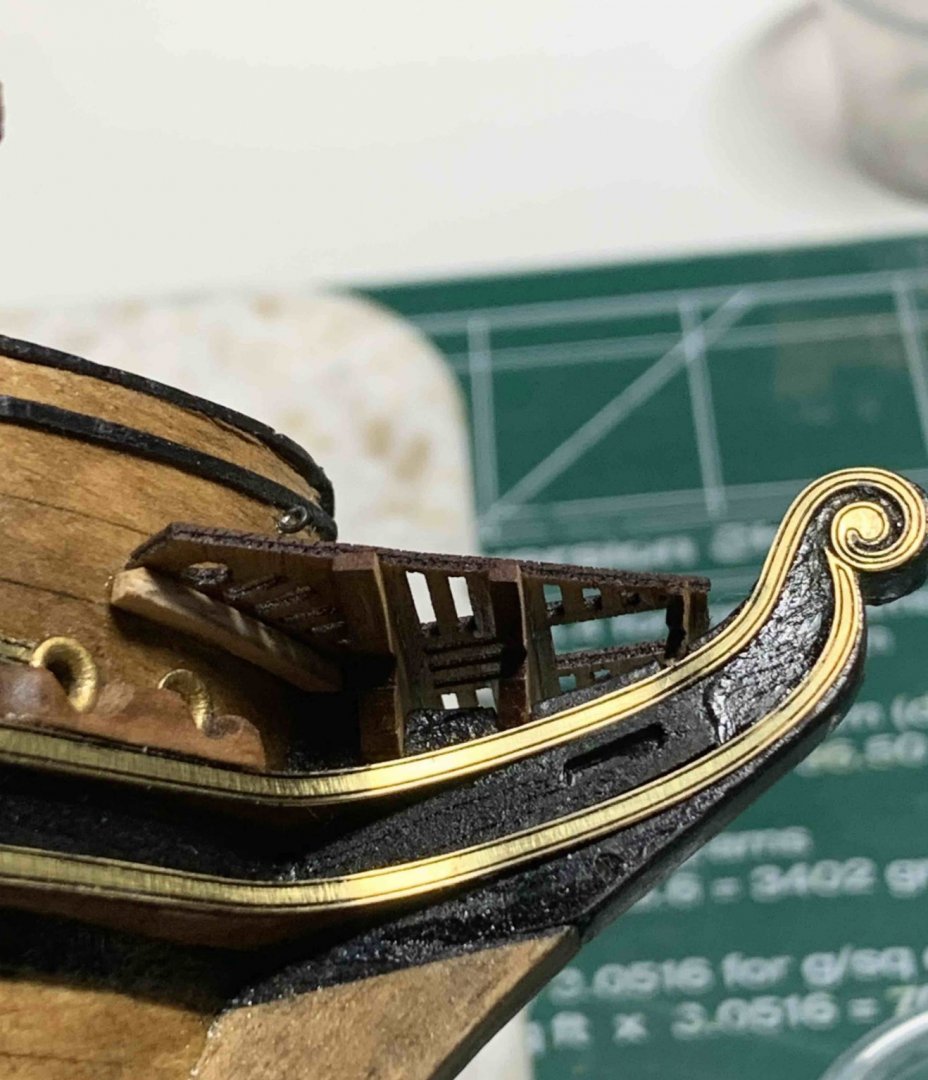
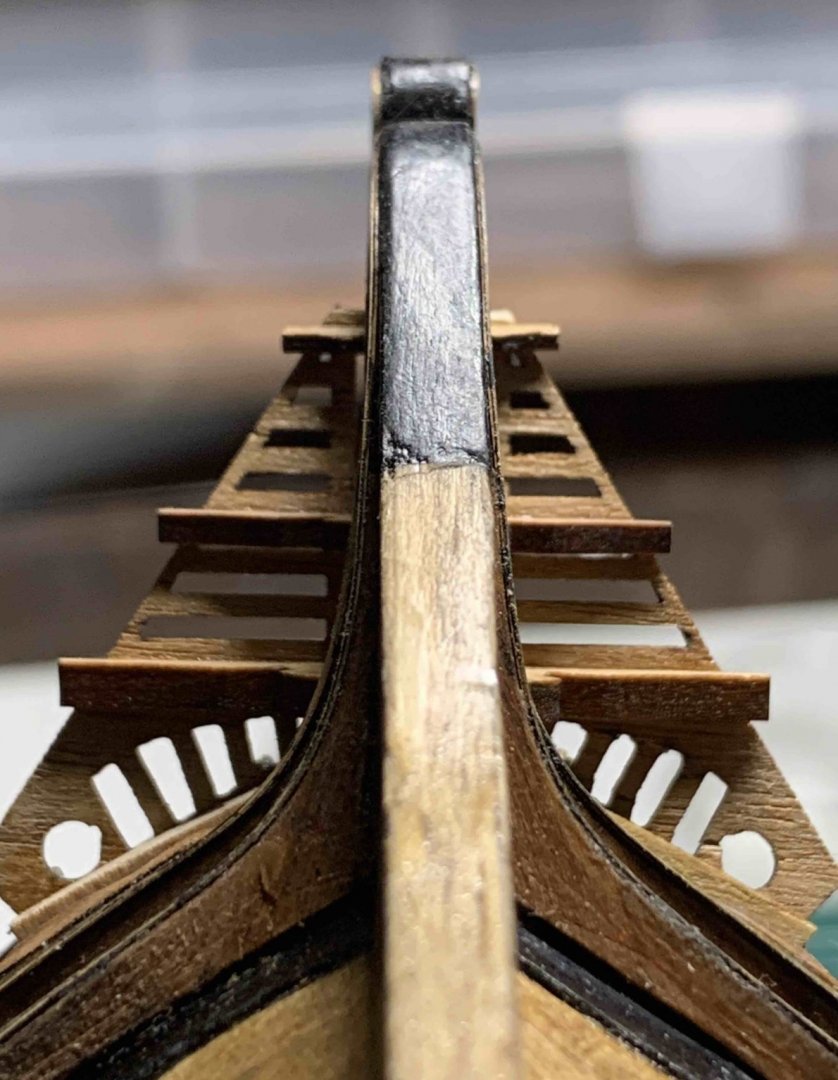
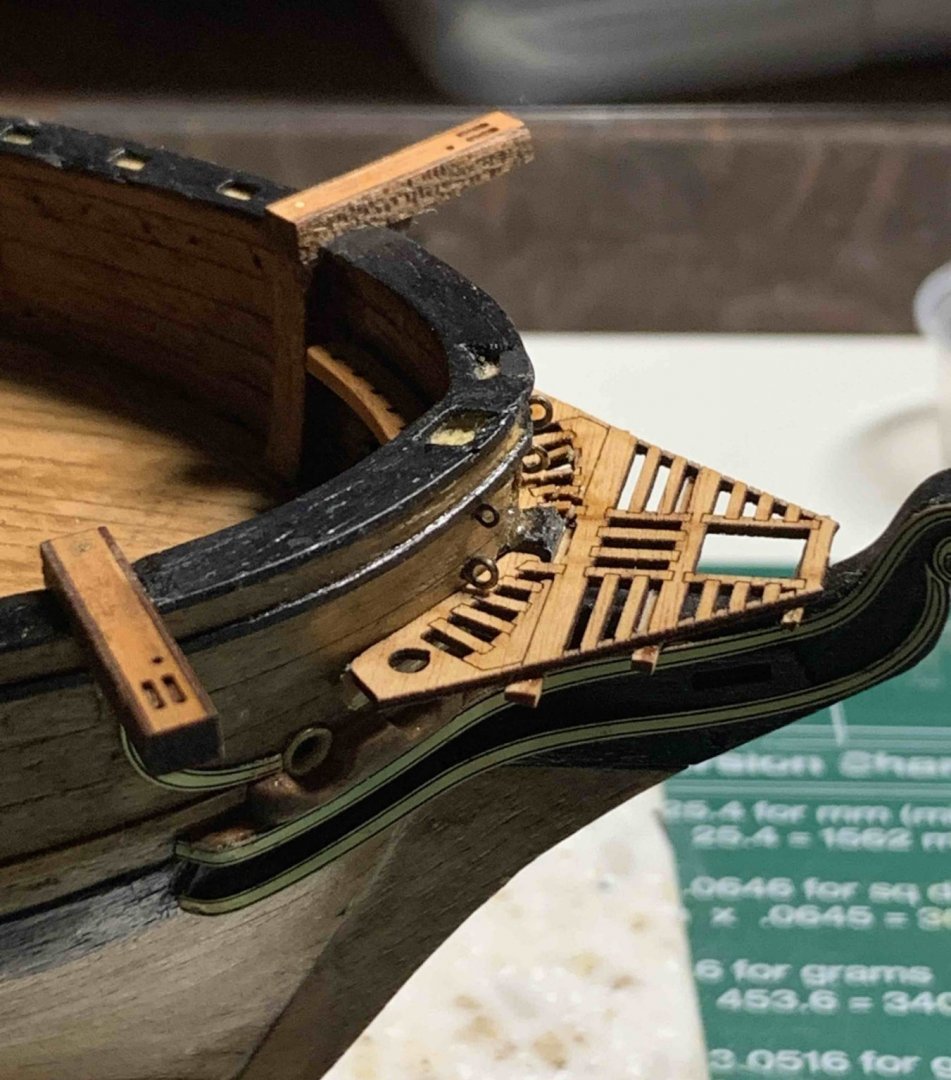
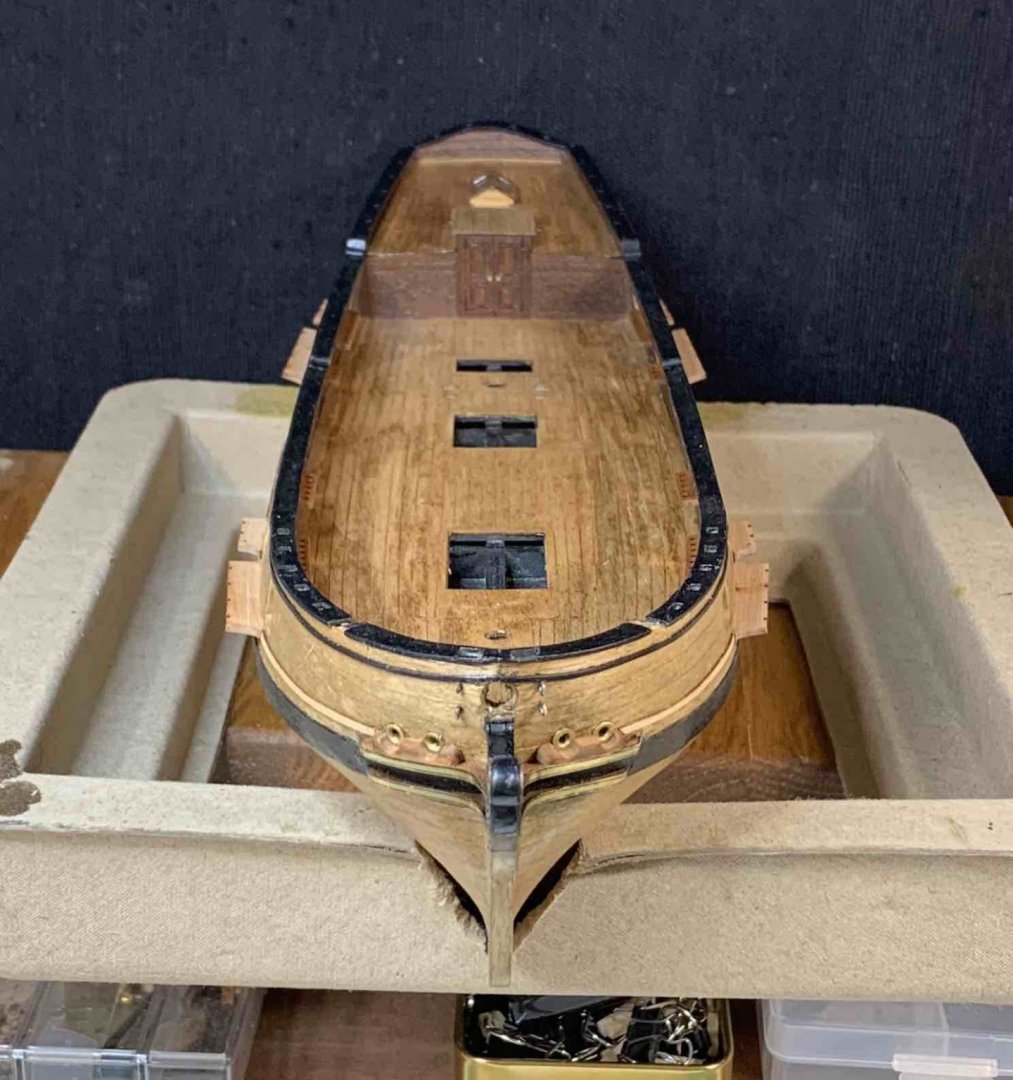
Worked on head grating which must be fairly trimmed to accommodate ship' hull curvature. The head timbers were also trimmed, fitted and installed. Did i mentioned yet these parts are very fragile... Happy modelling...
- 275 replies
-
- 3
-
-
- phoenix
- master korabel
- (and 1 more)
-
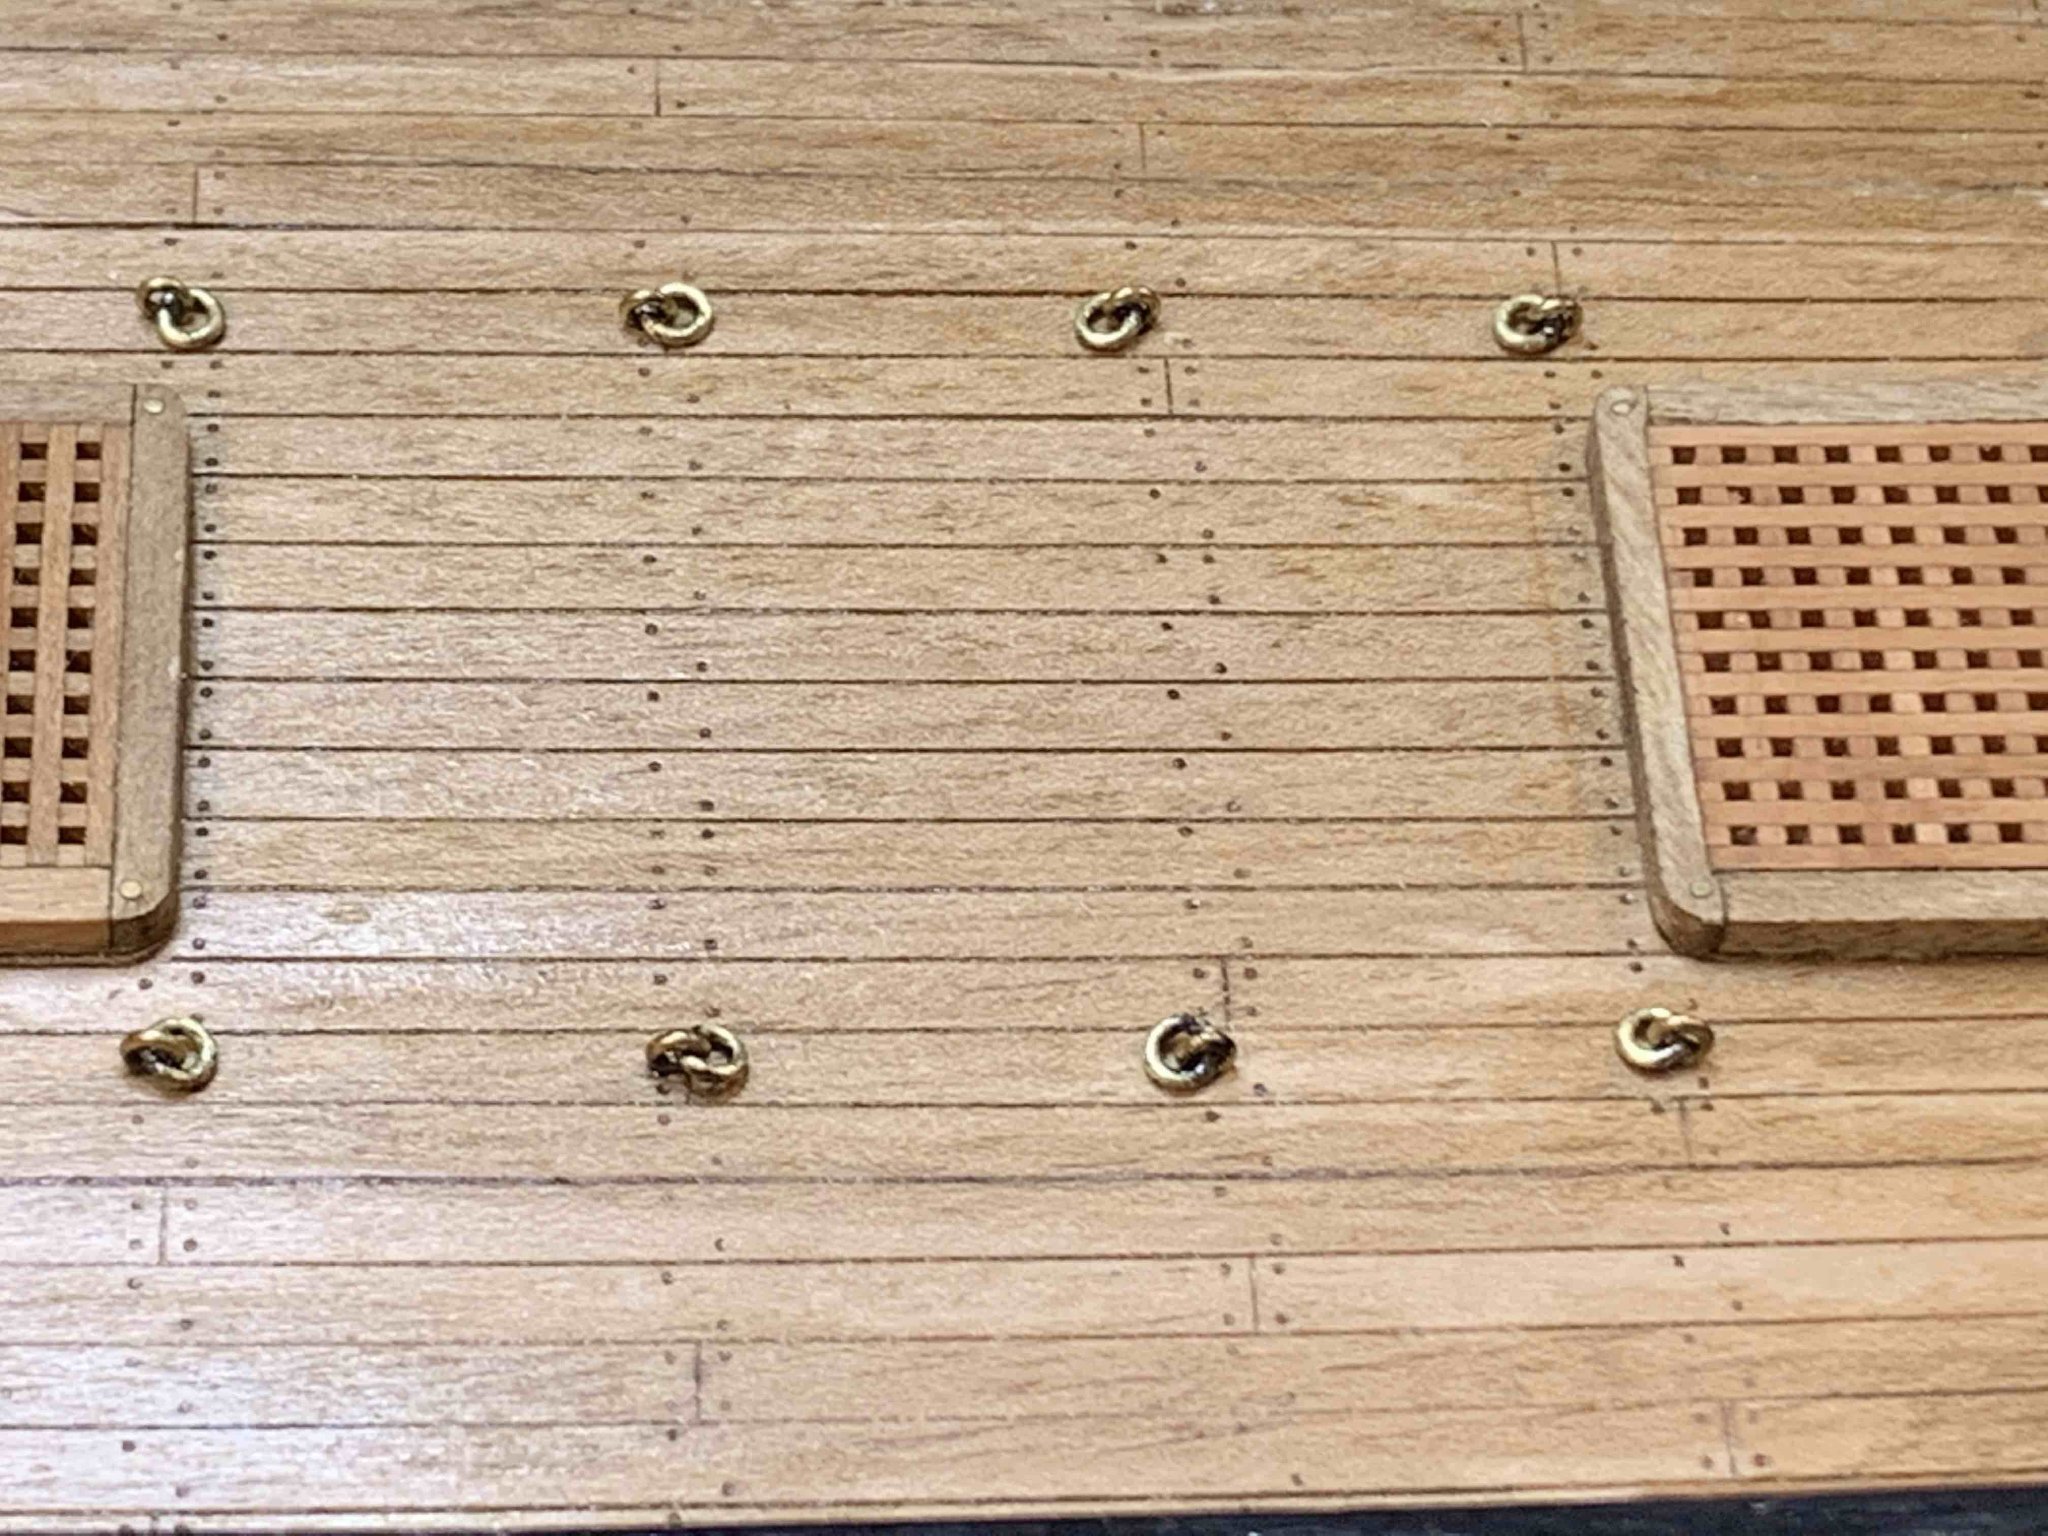
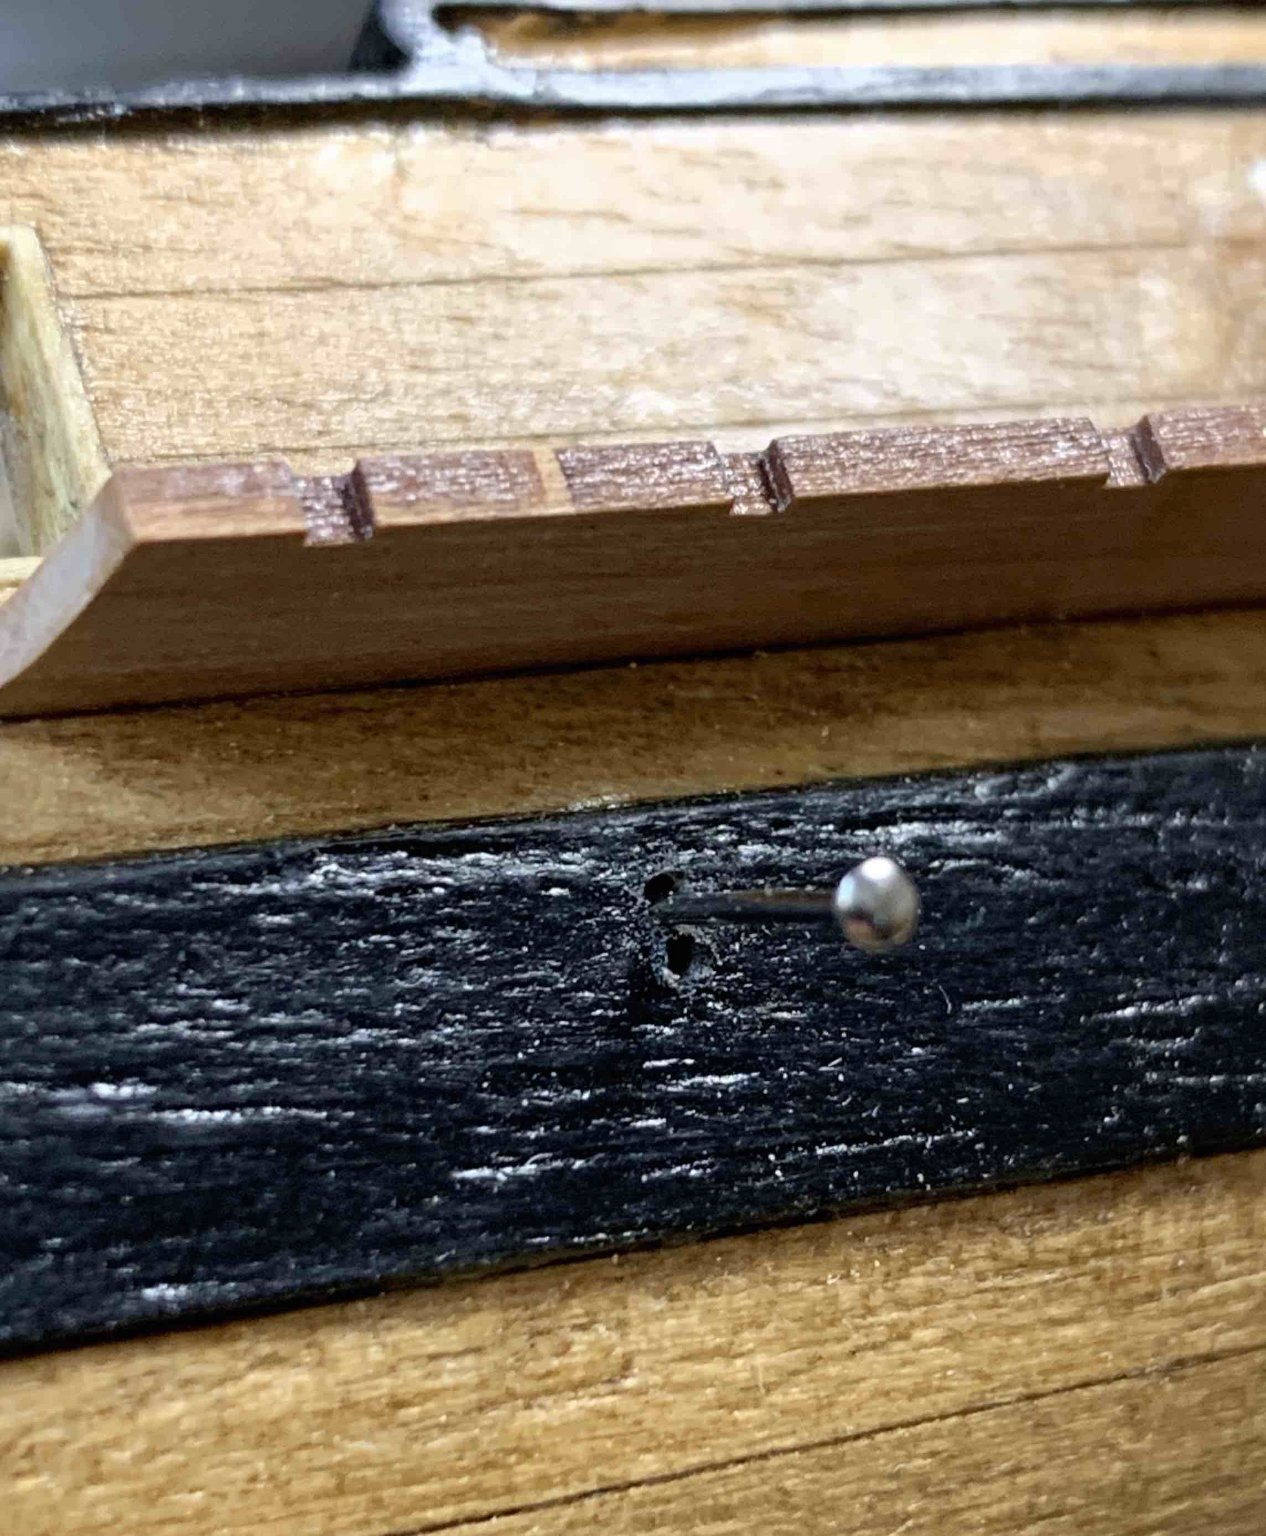
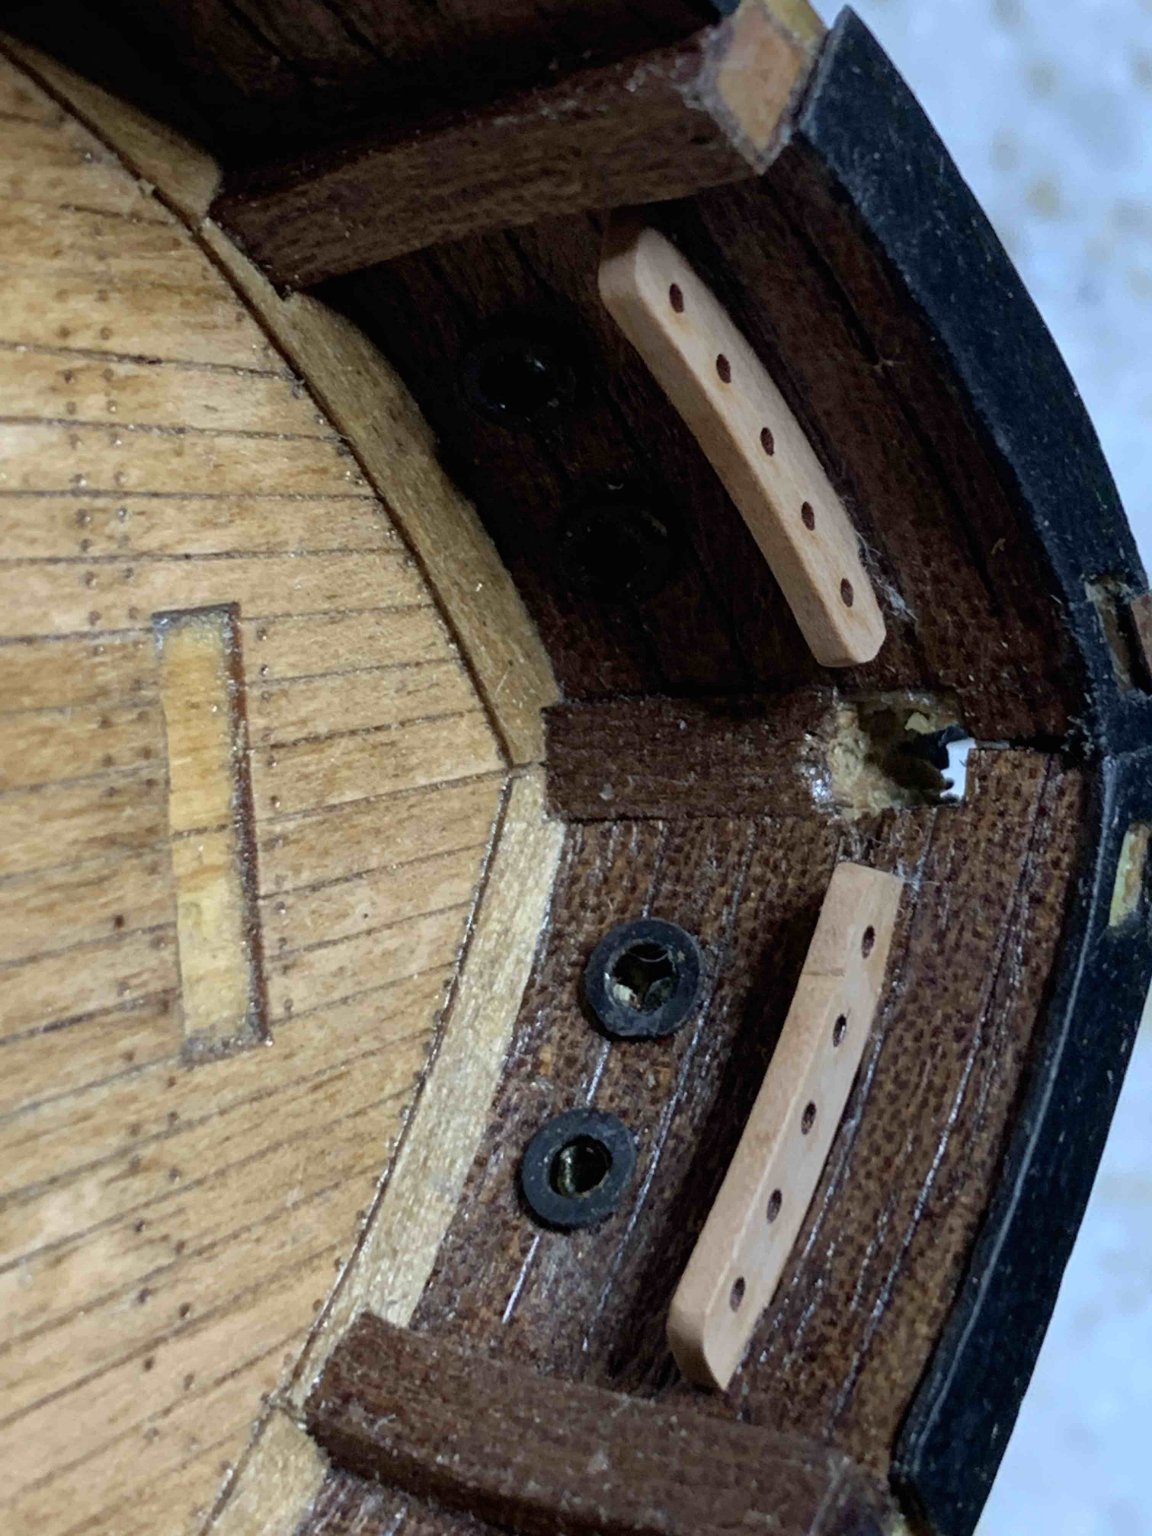
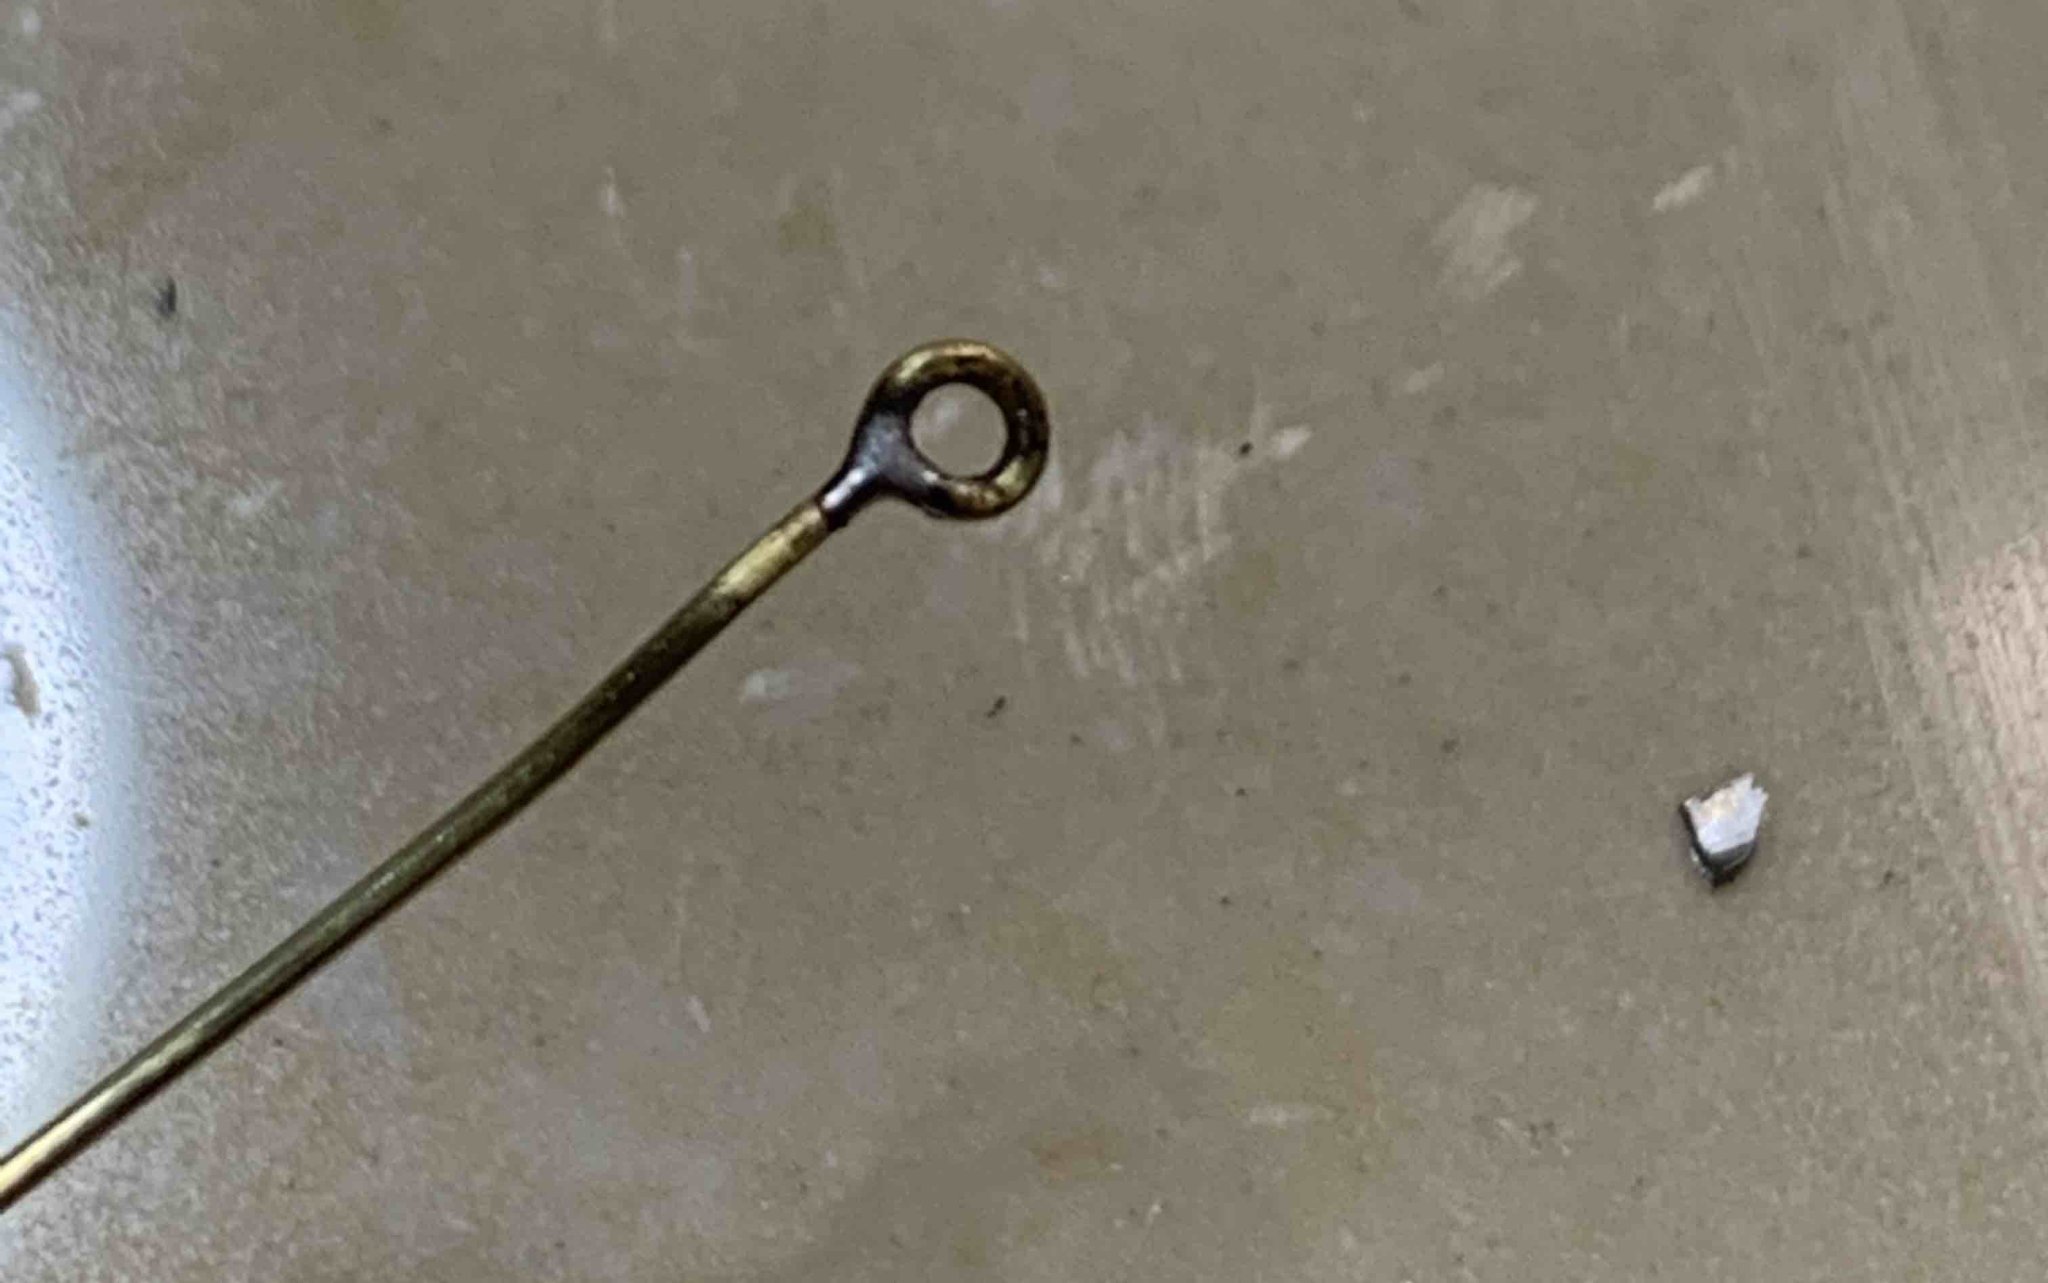
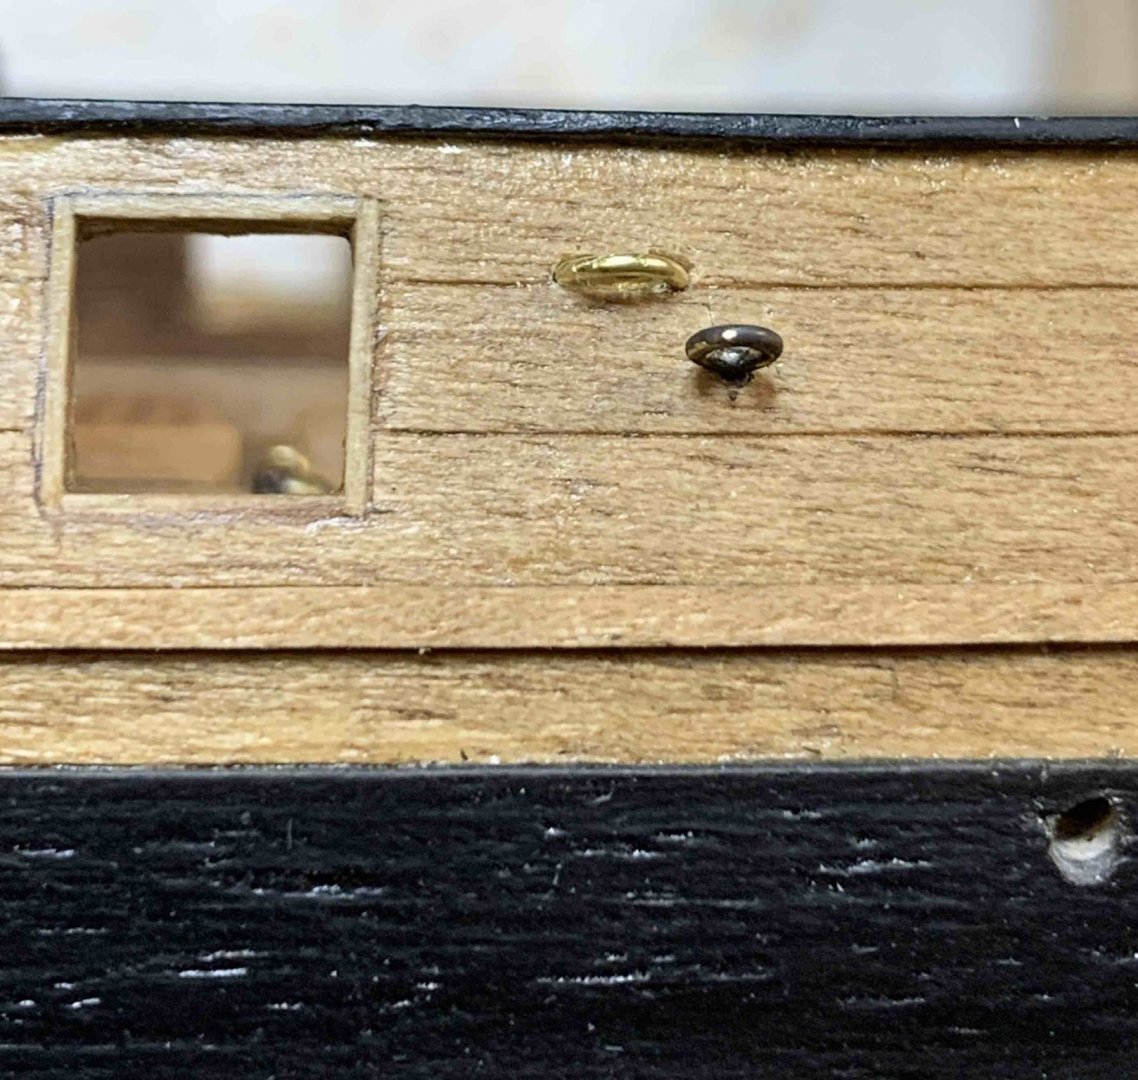
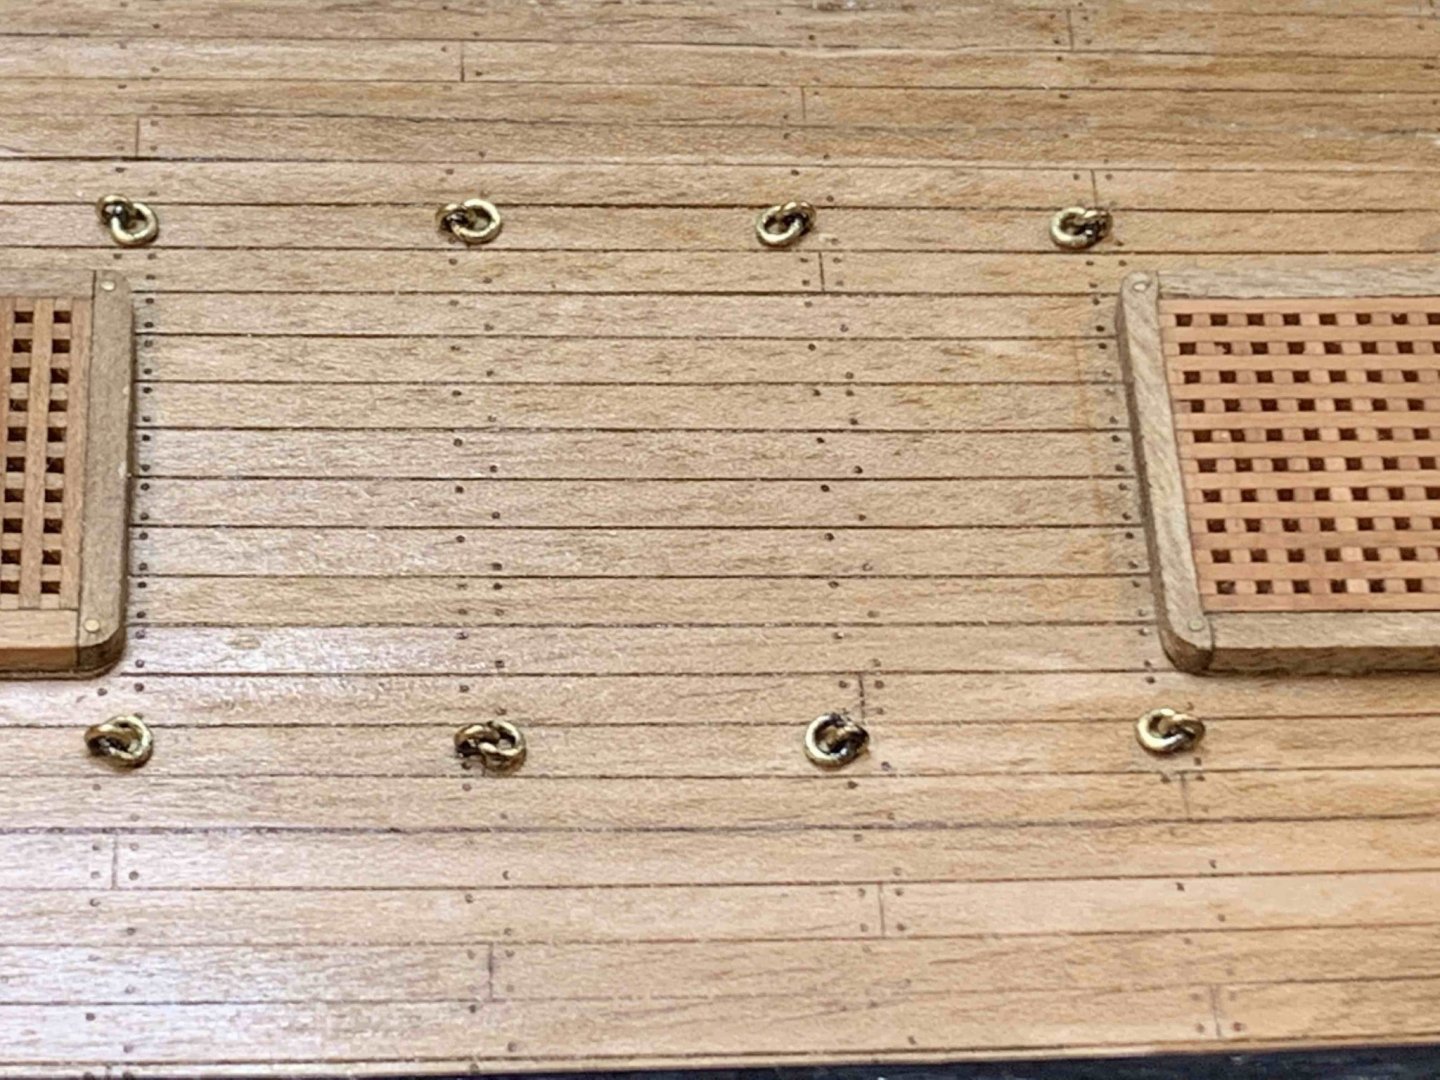
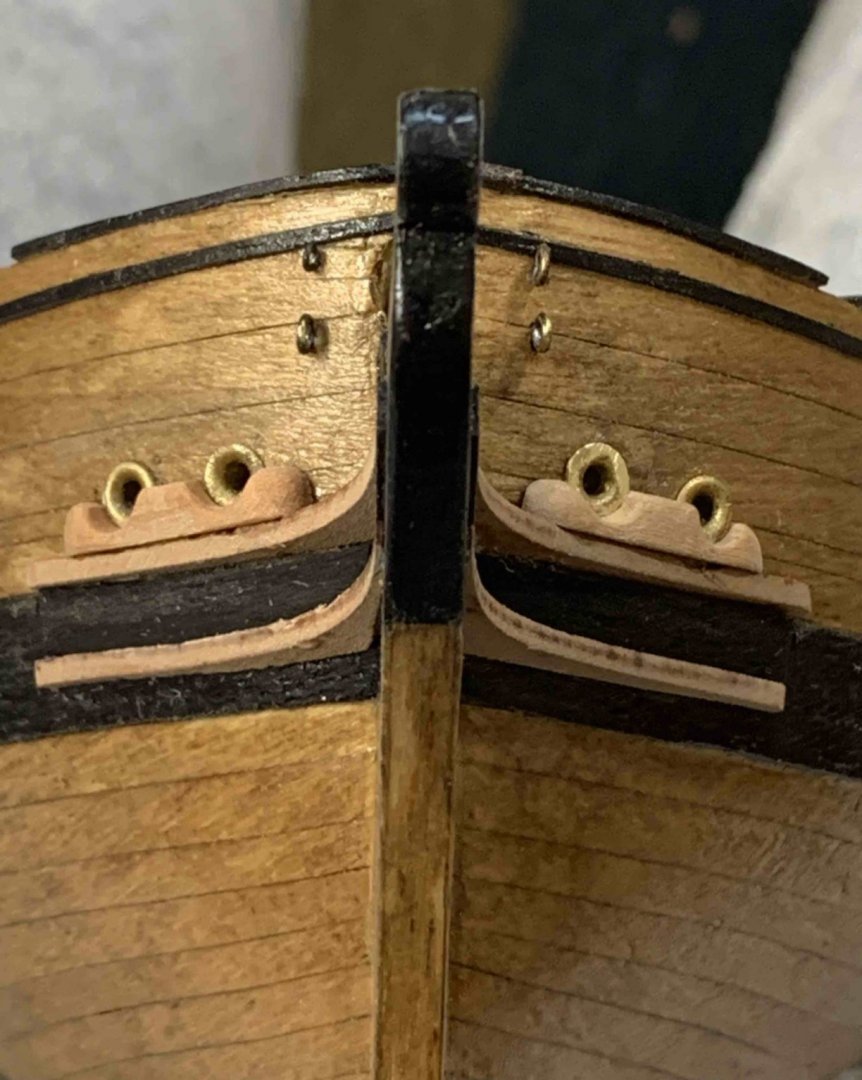
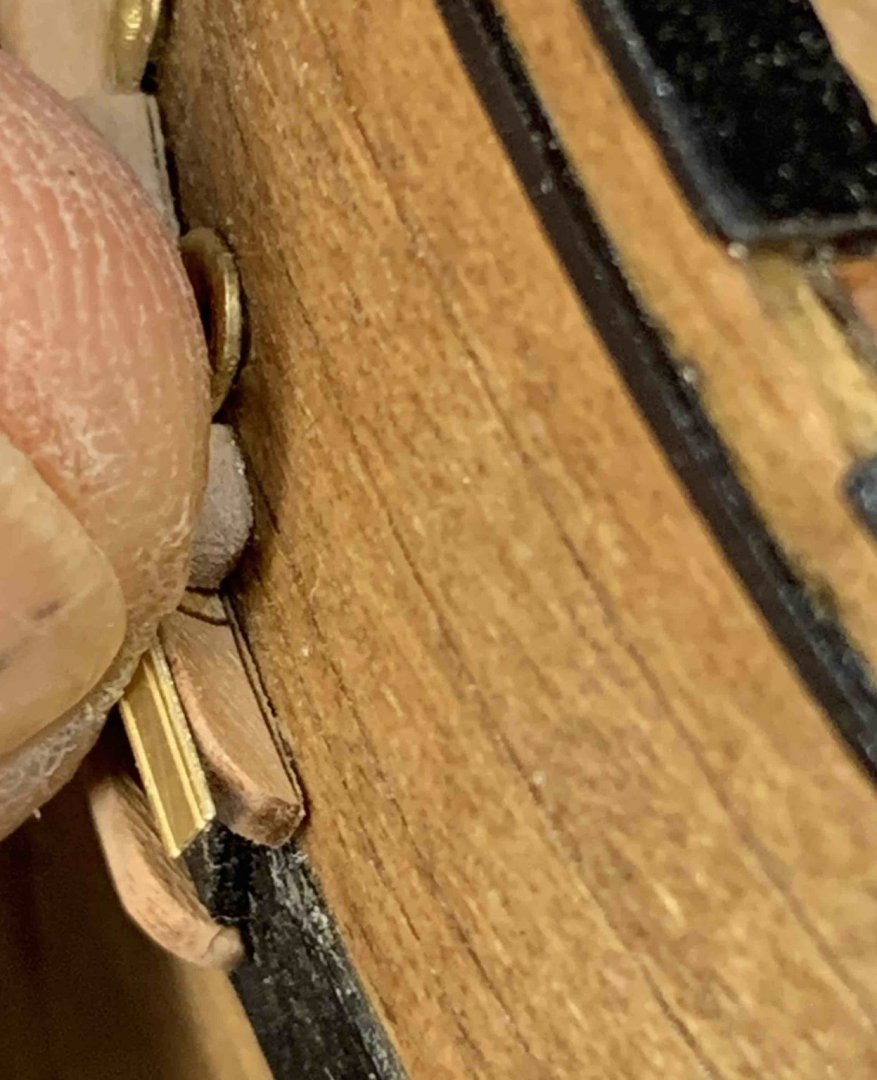
Hooks and eye bolts have been completed and mounted. The locations for eye bolts are already marked so just a small pilot hole have to be made, then drill the hole and insert the hook and eye bolt.. During eye bolt making process.. Done and installed. Happy modelling..

- 275 replies
-
- 4
-
-
- phoenix
- master korabel
- (and 1 more)
-
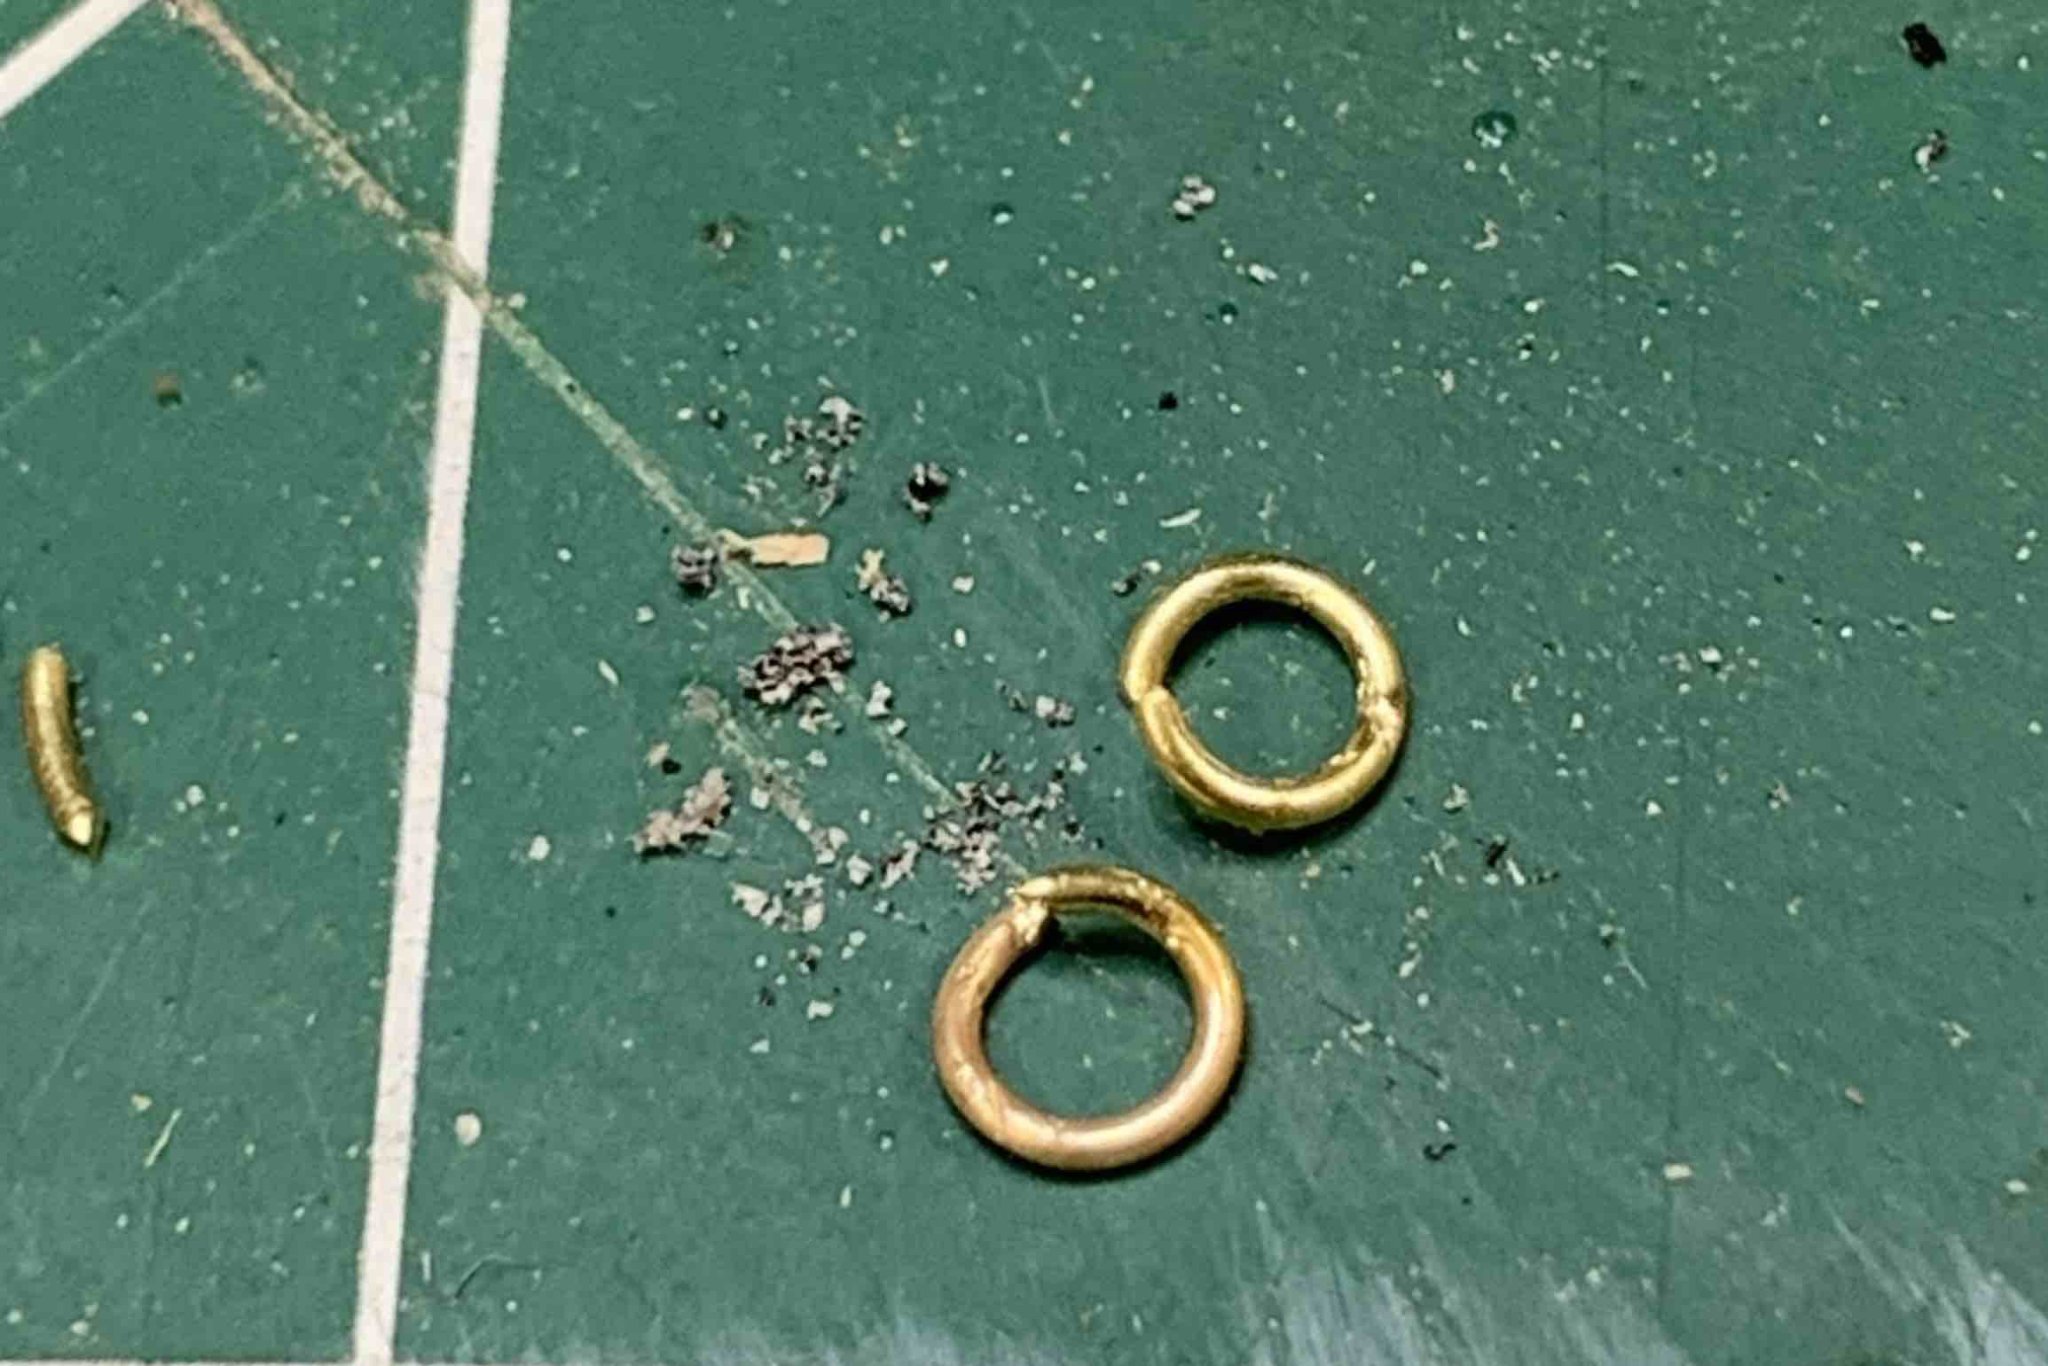
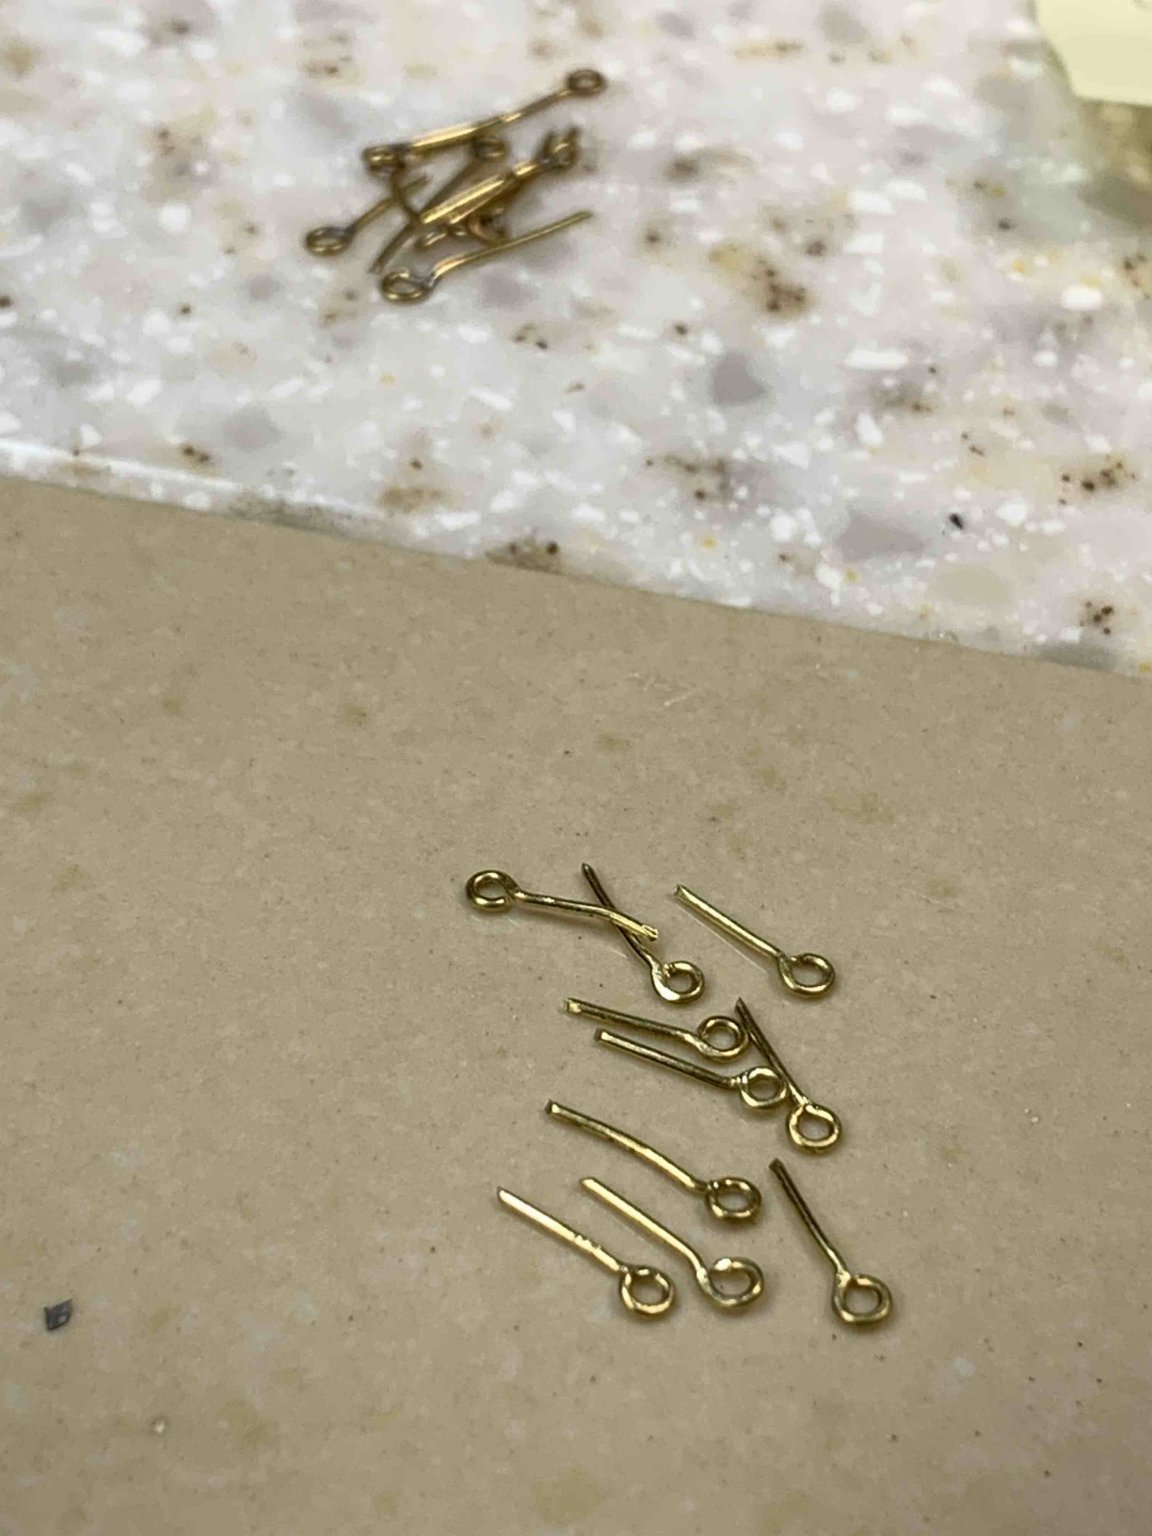
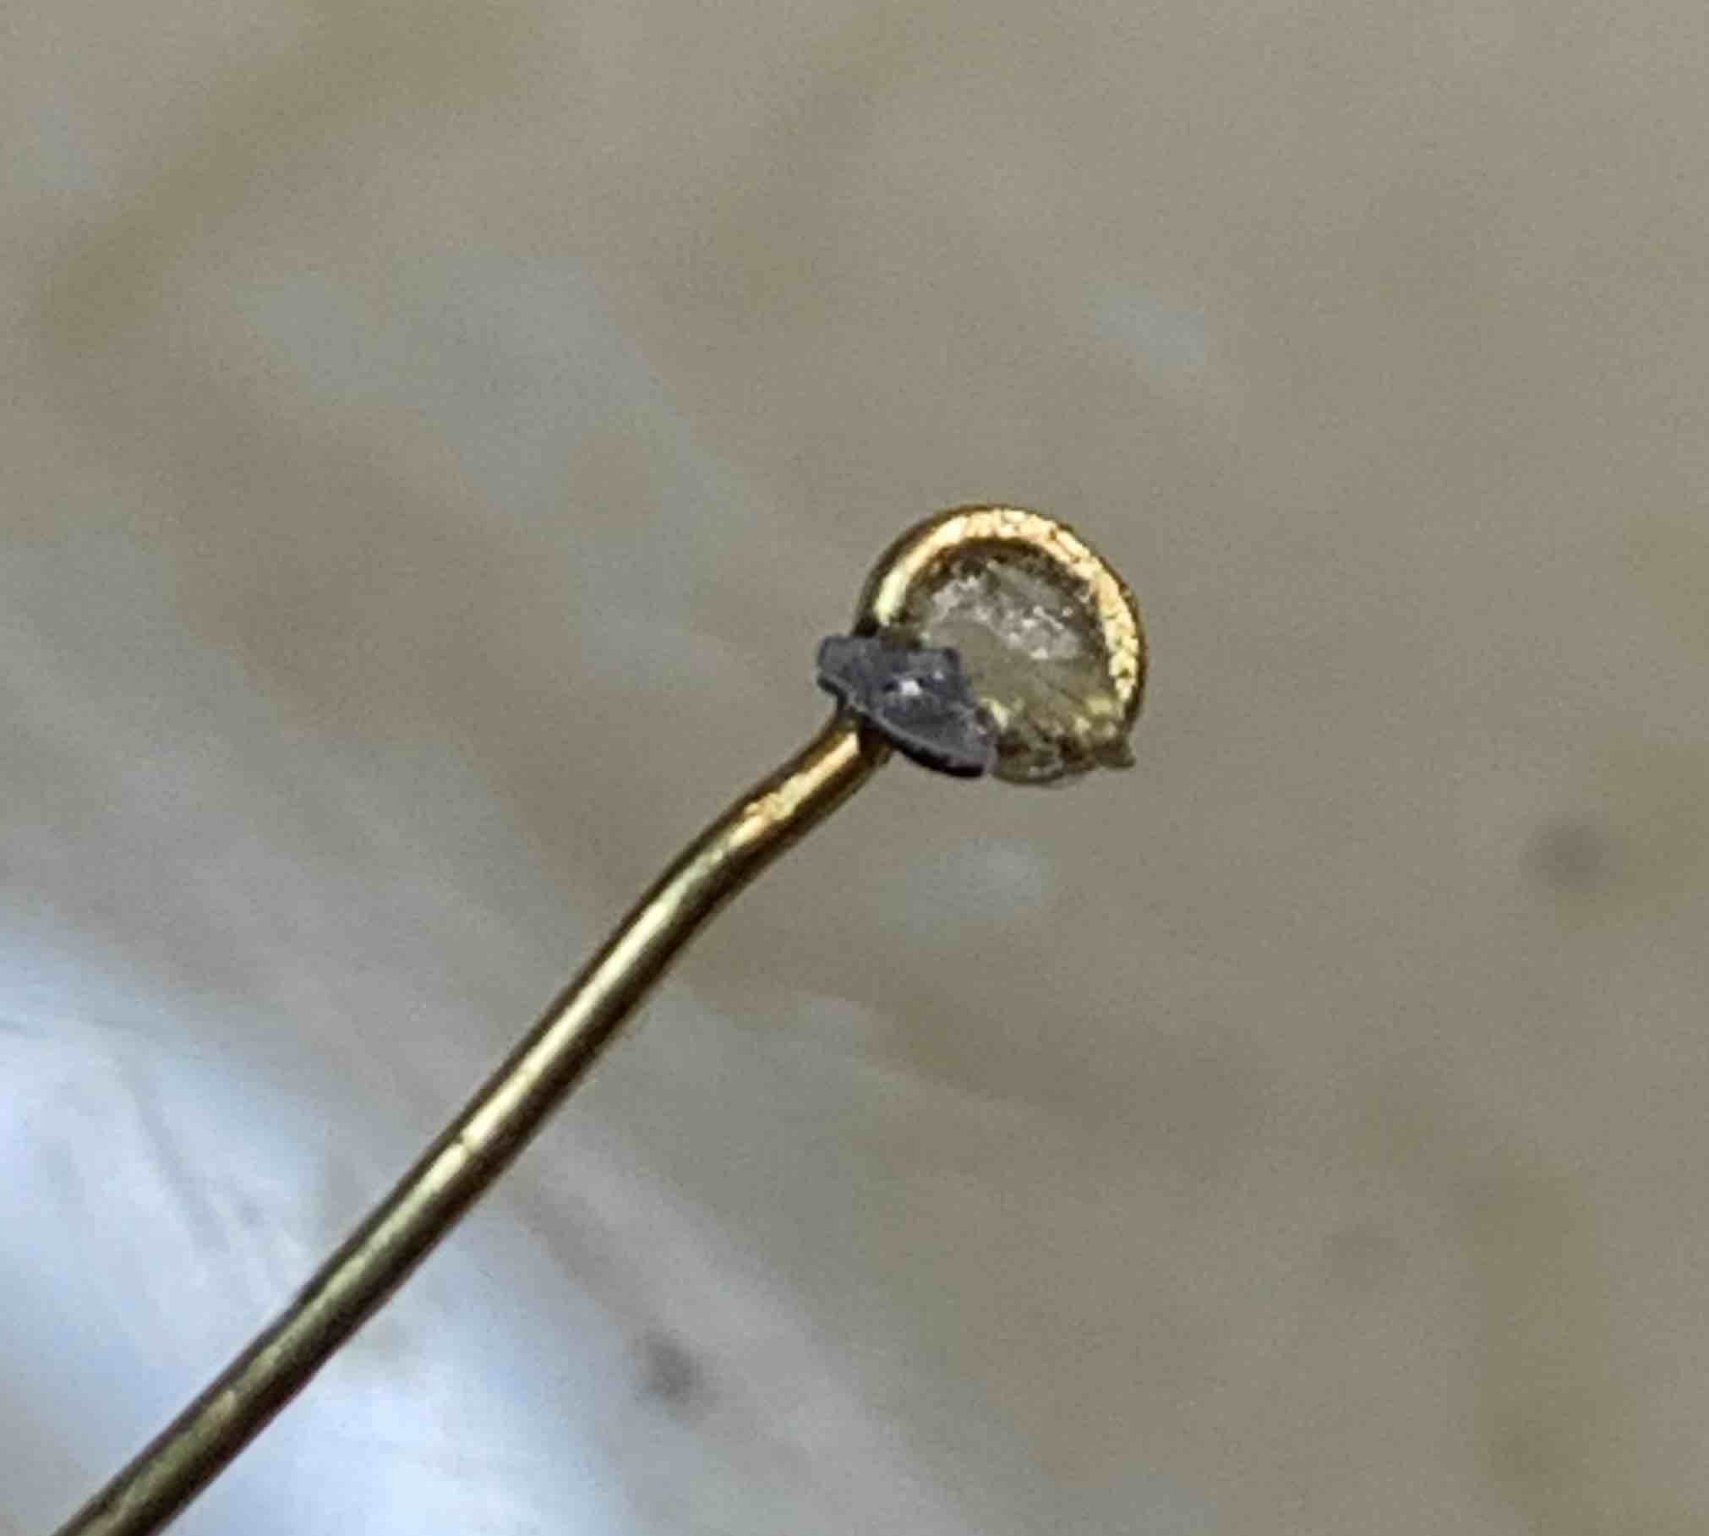
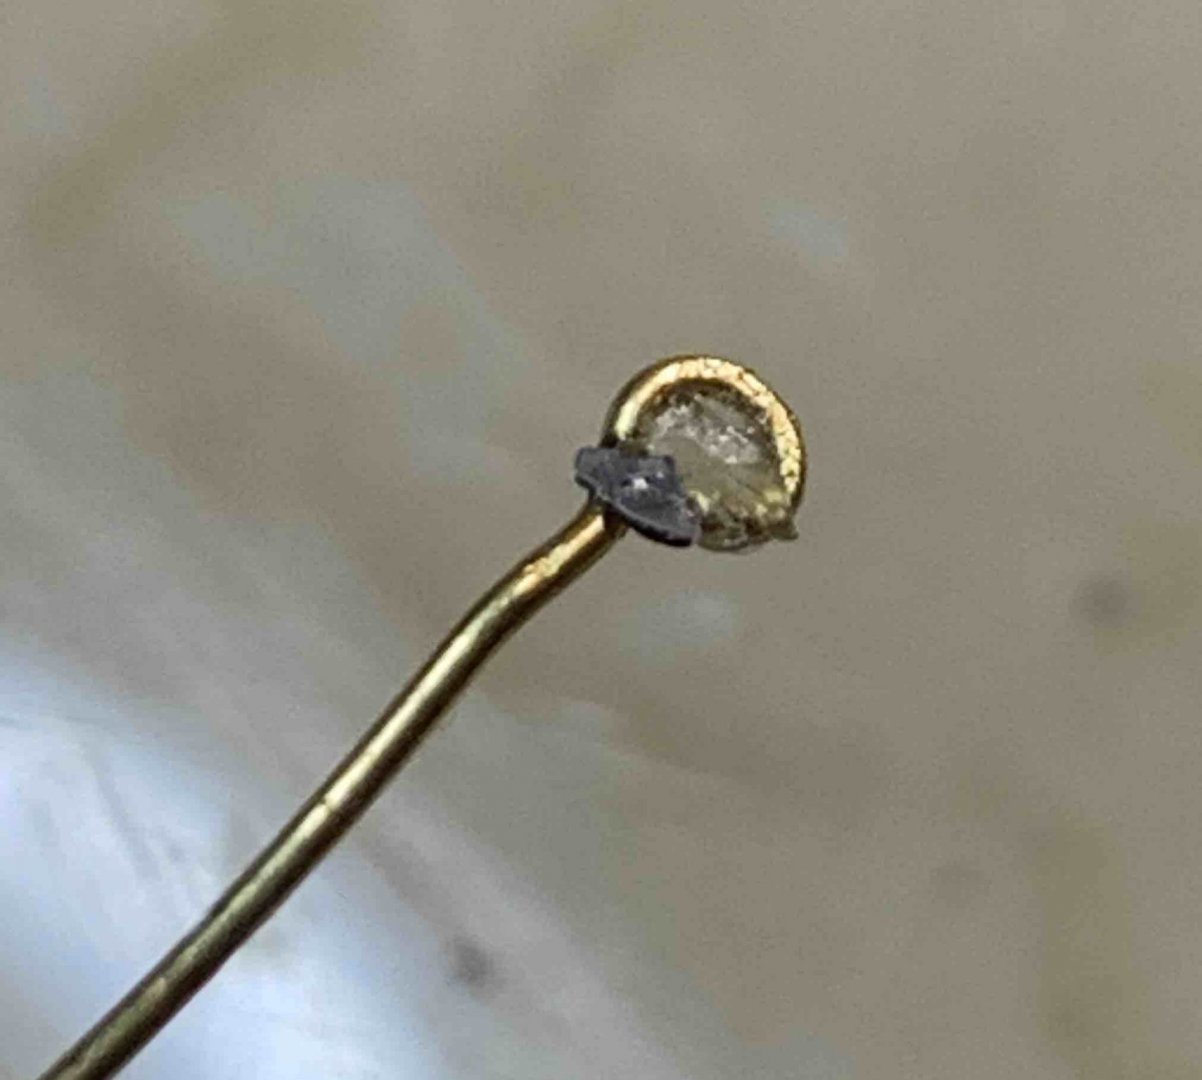
Work continuing by making eyes and hooks to be mounted on various places on the model.. First cutting small pieces of solder wire lead that will be flattened into flakes by squeezing. The flakes are cut in four pieces and one piece is enough for soldering one hook or eye.. Work in progress... top completed, bottom to be done.. Happy modelling..


- 275 replies
-
- 2
-
-
- phoenix
- master korabel
- (and 1 more)
-
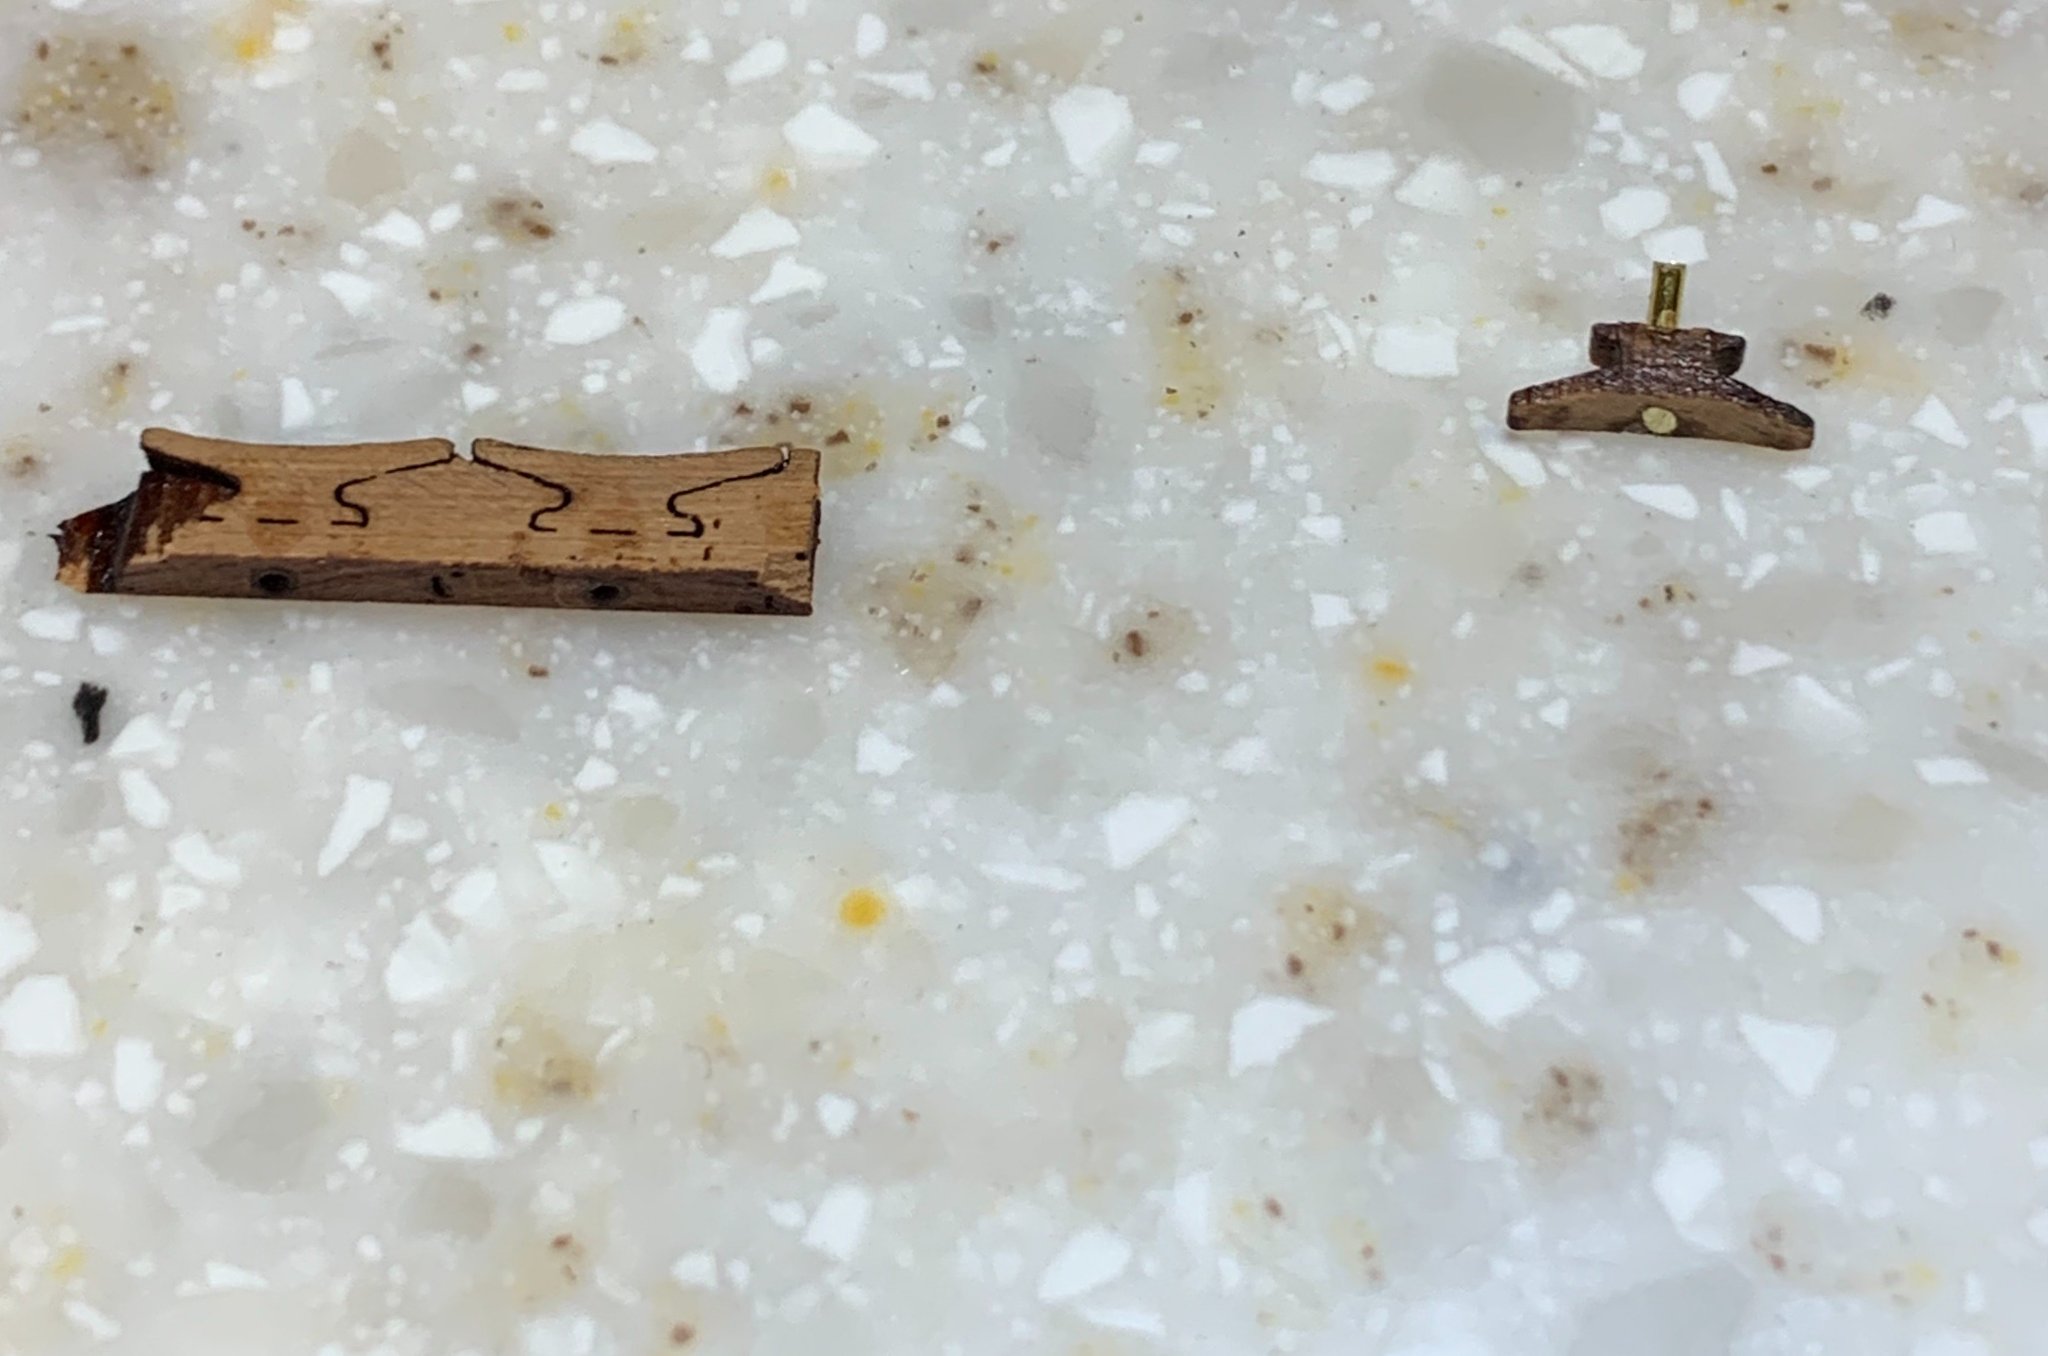
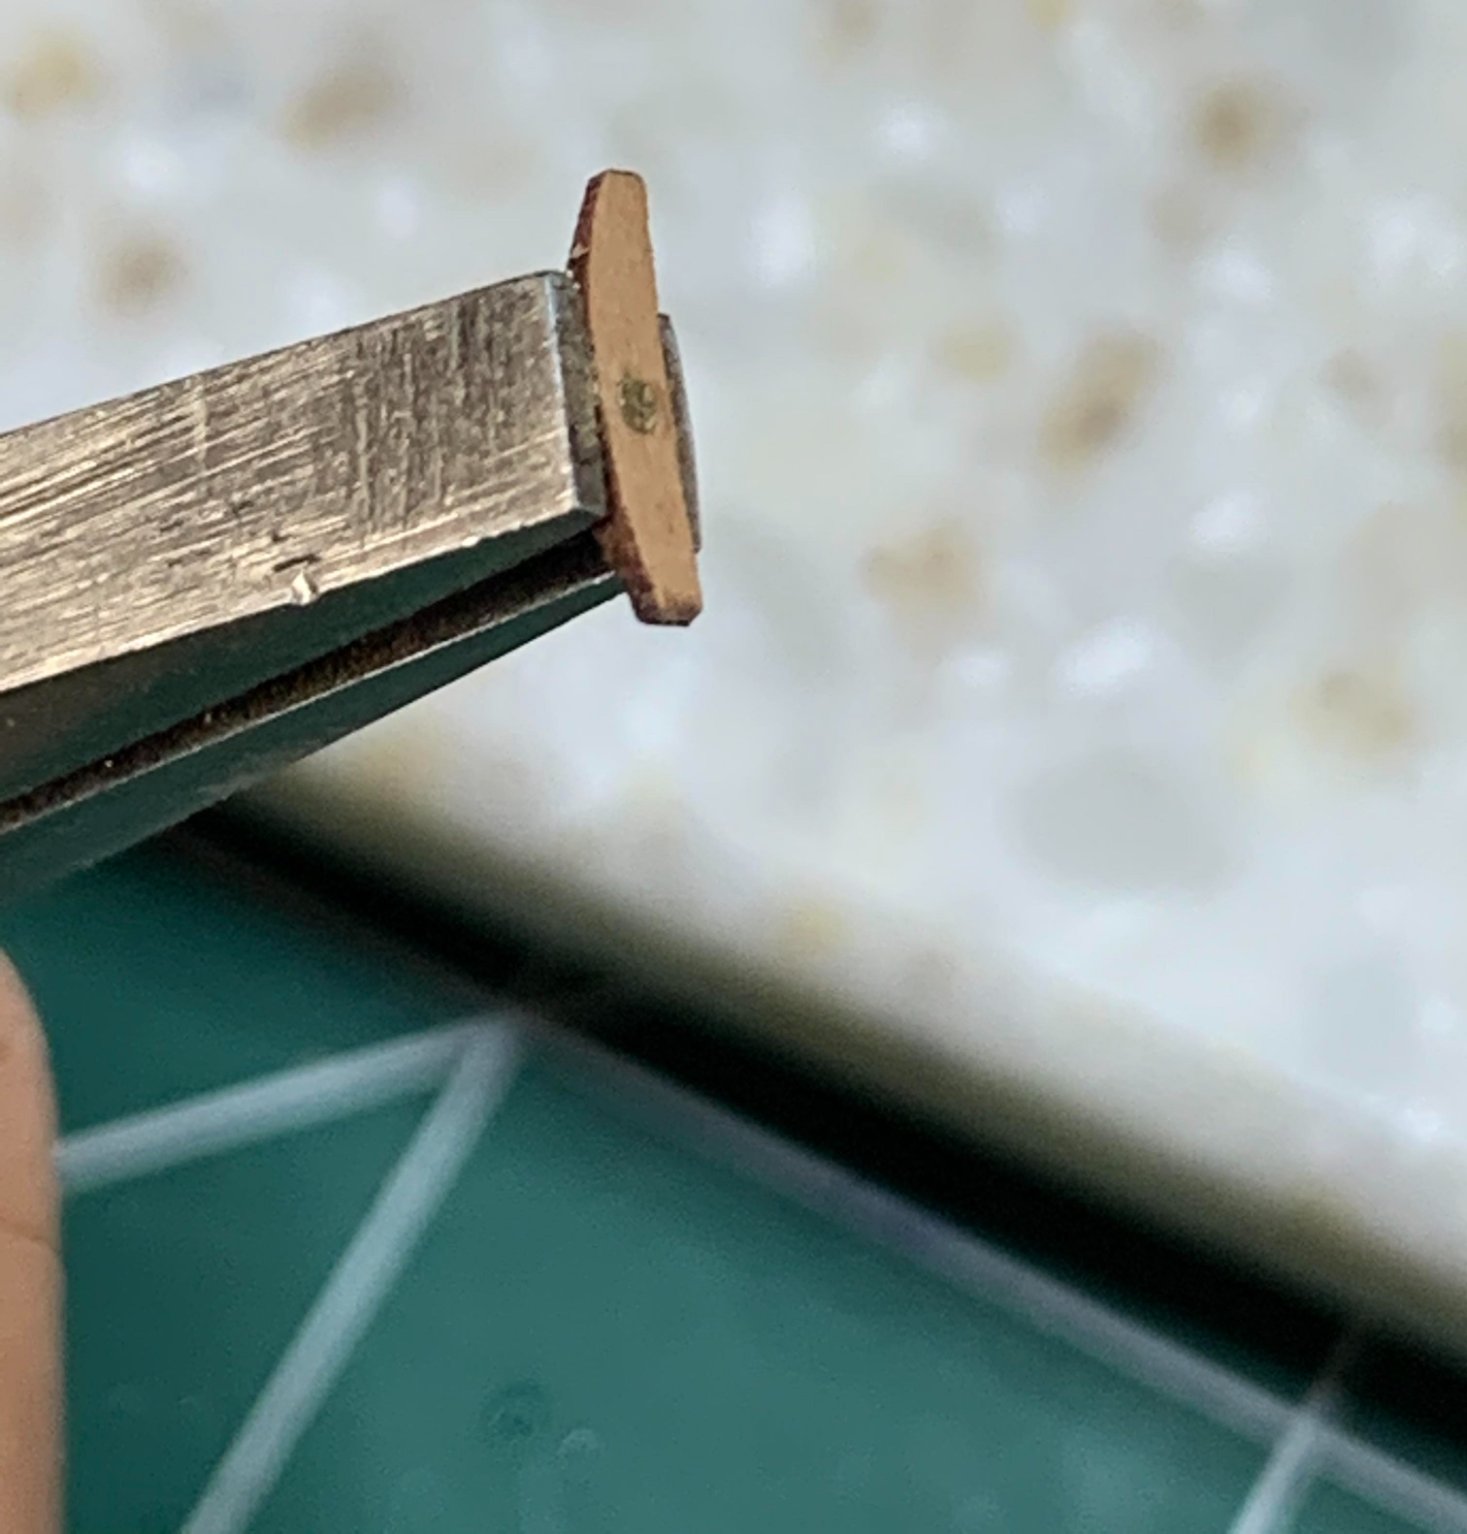
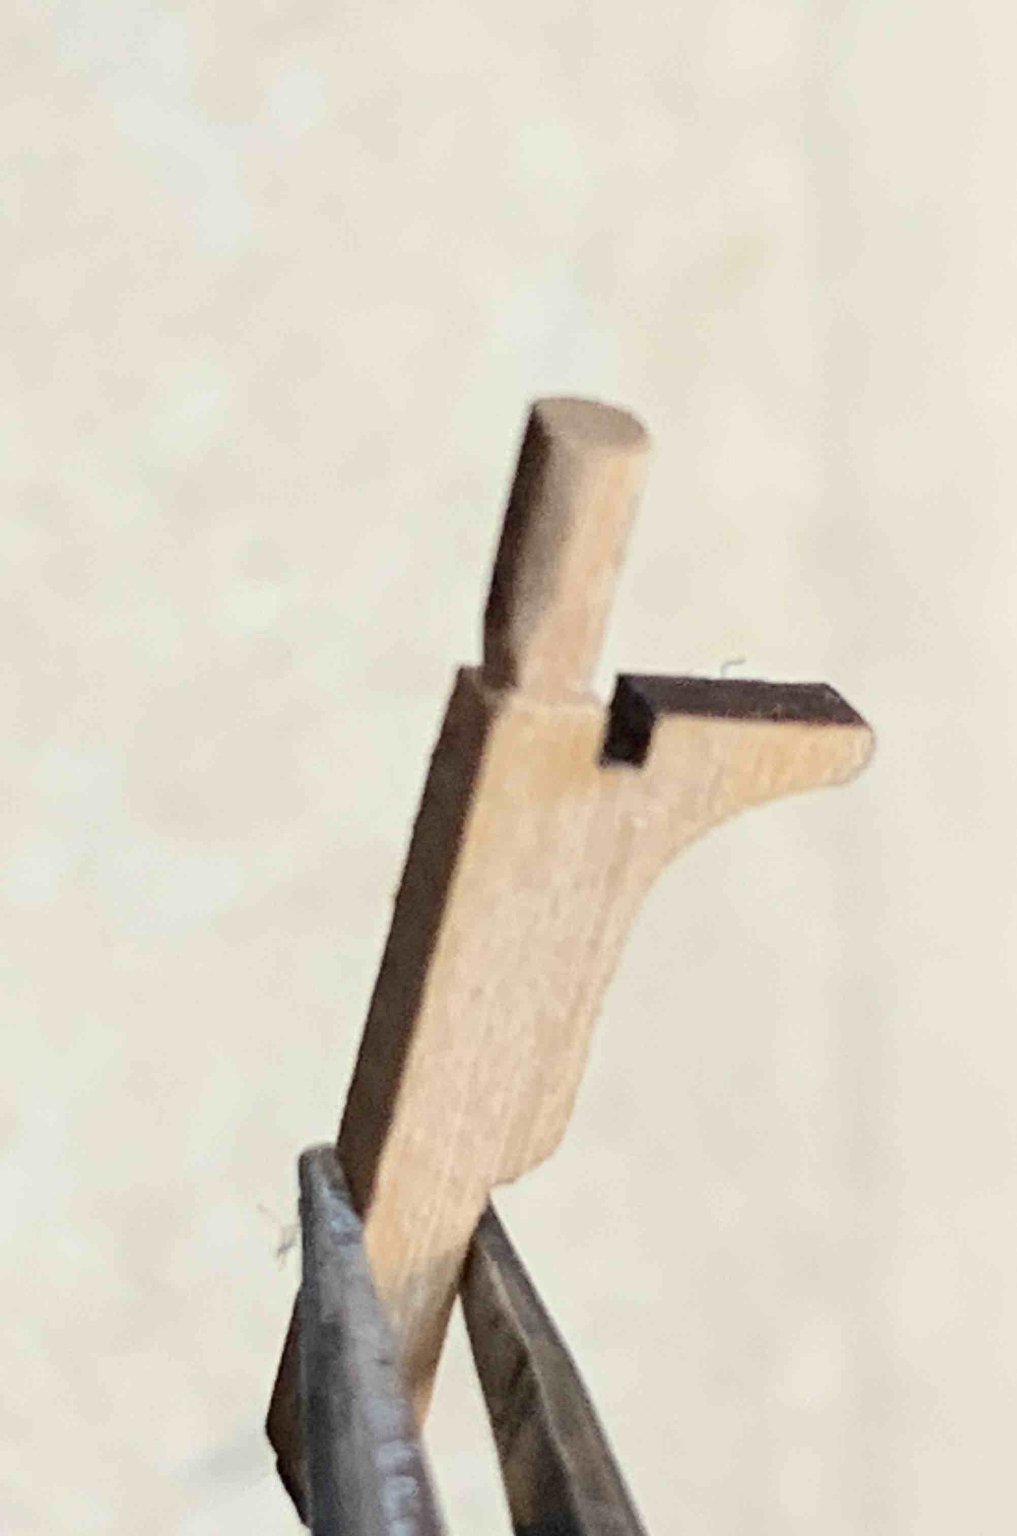
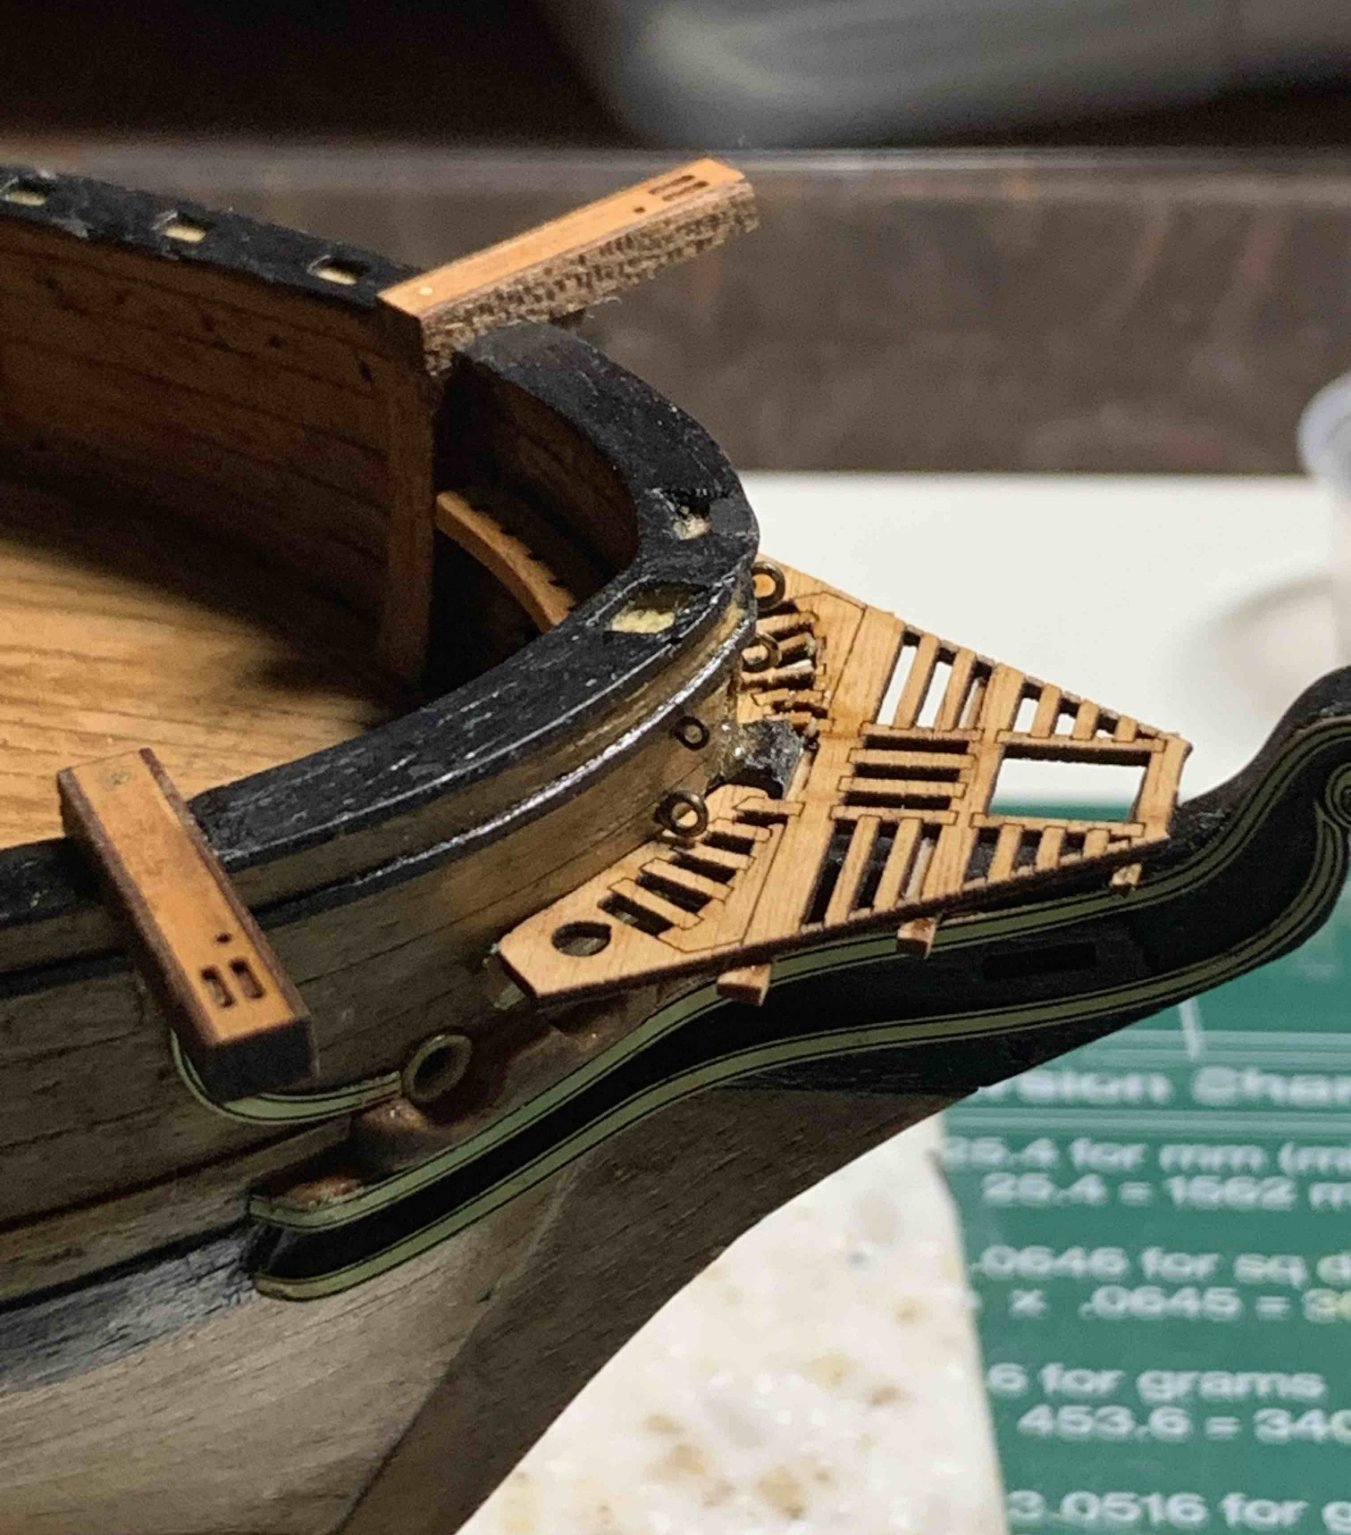
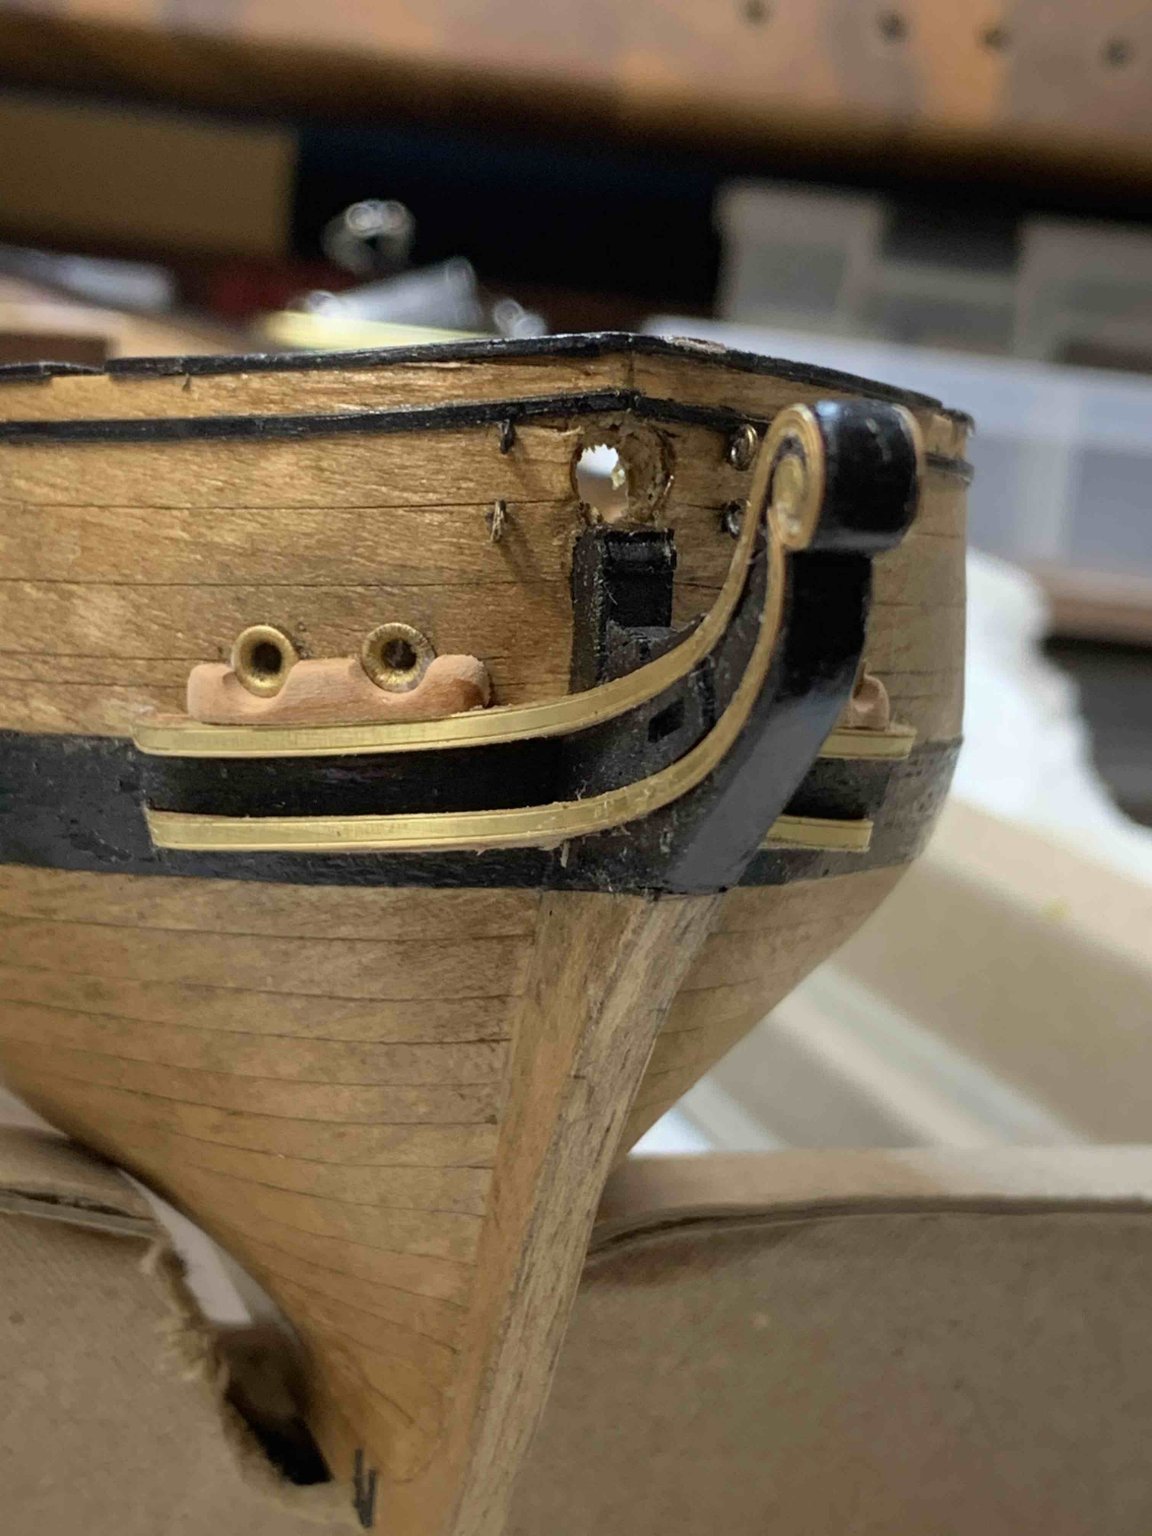
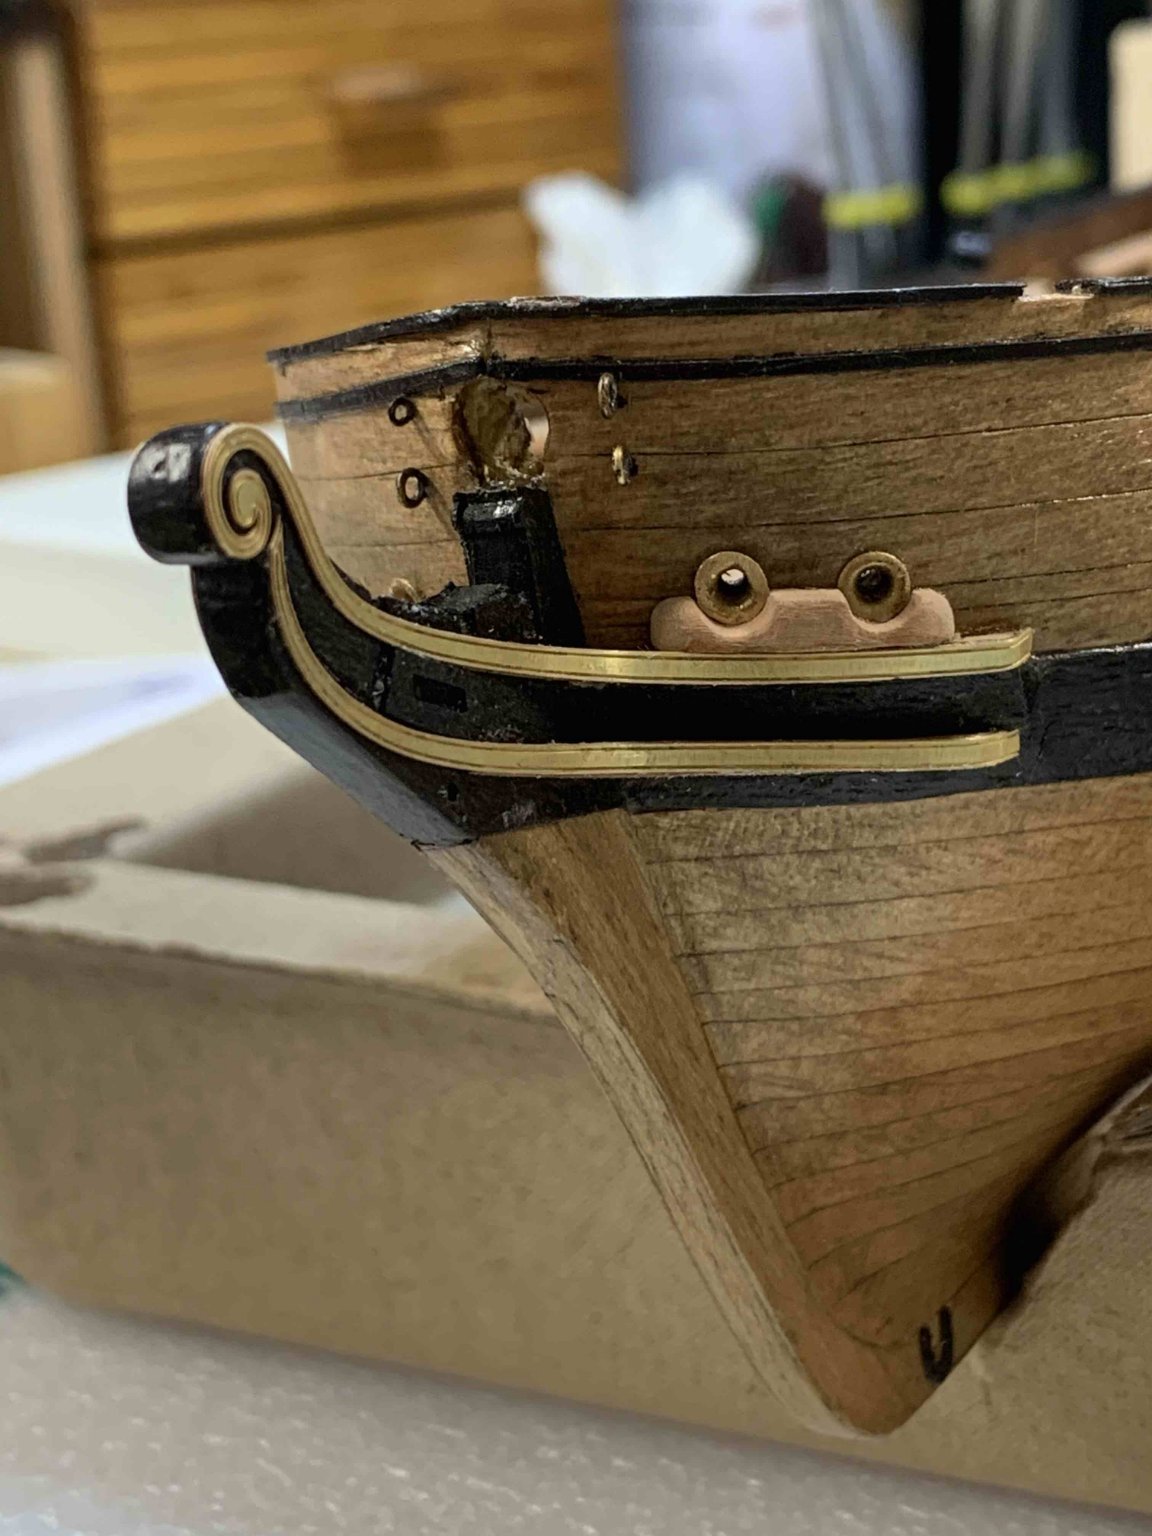
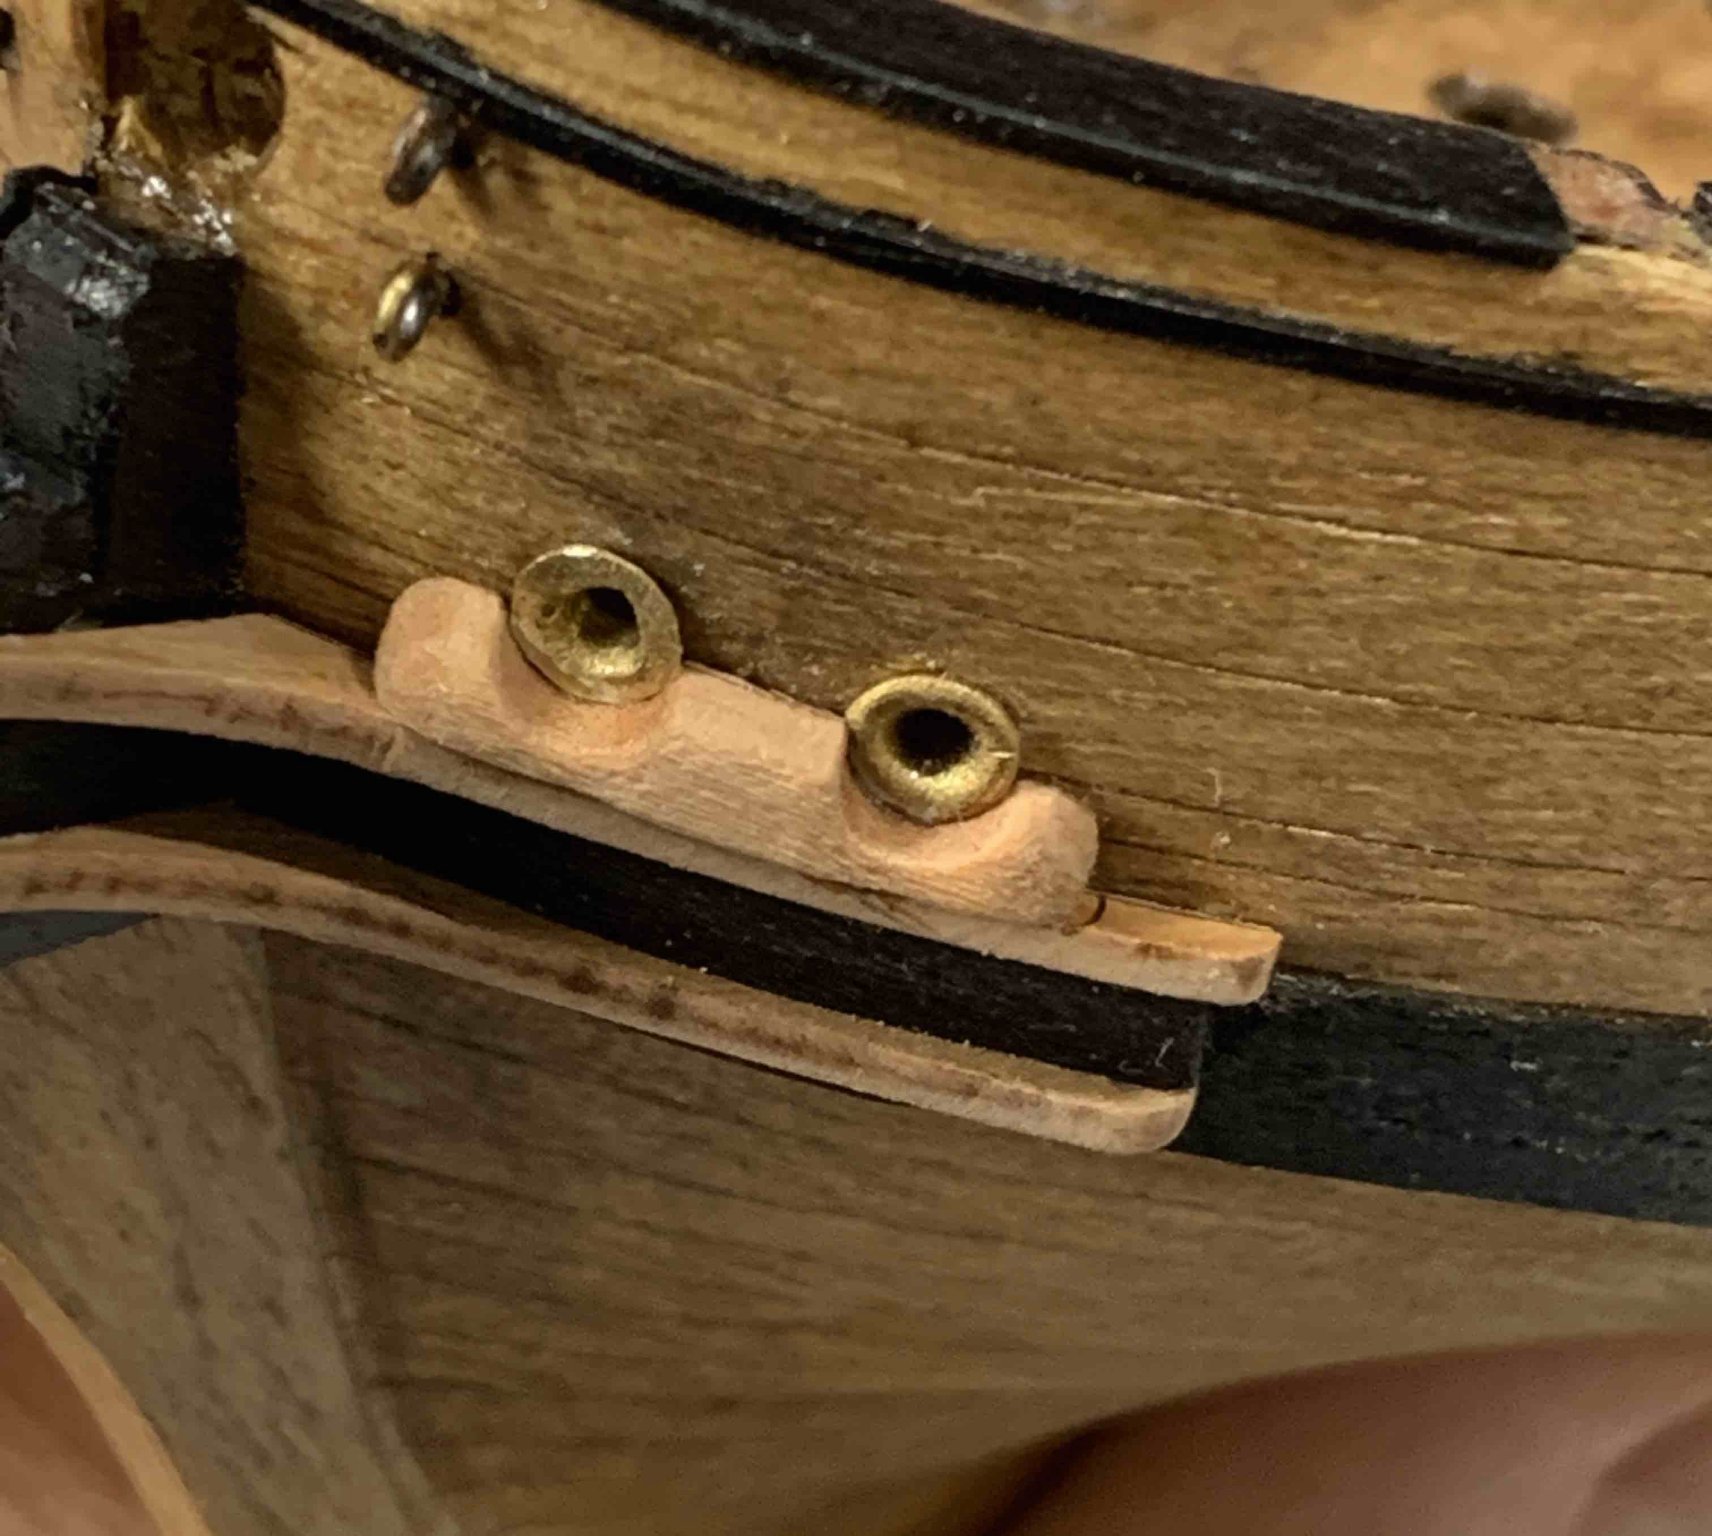
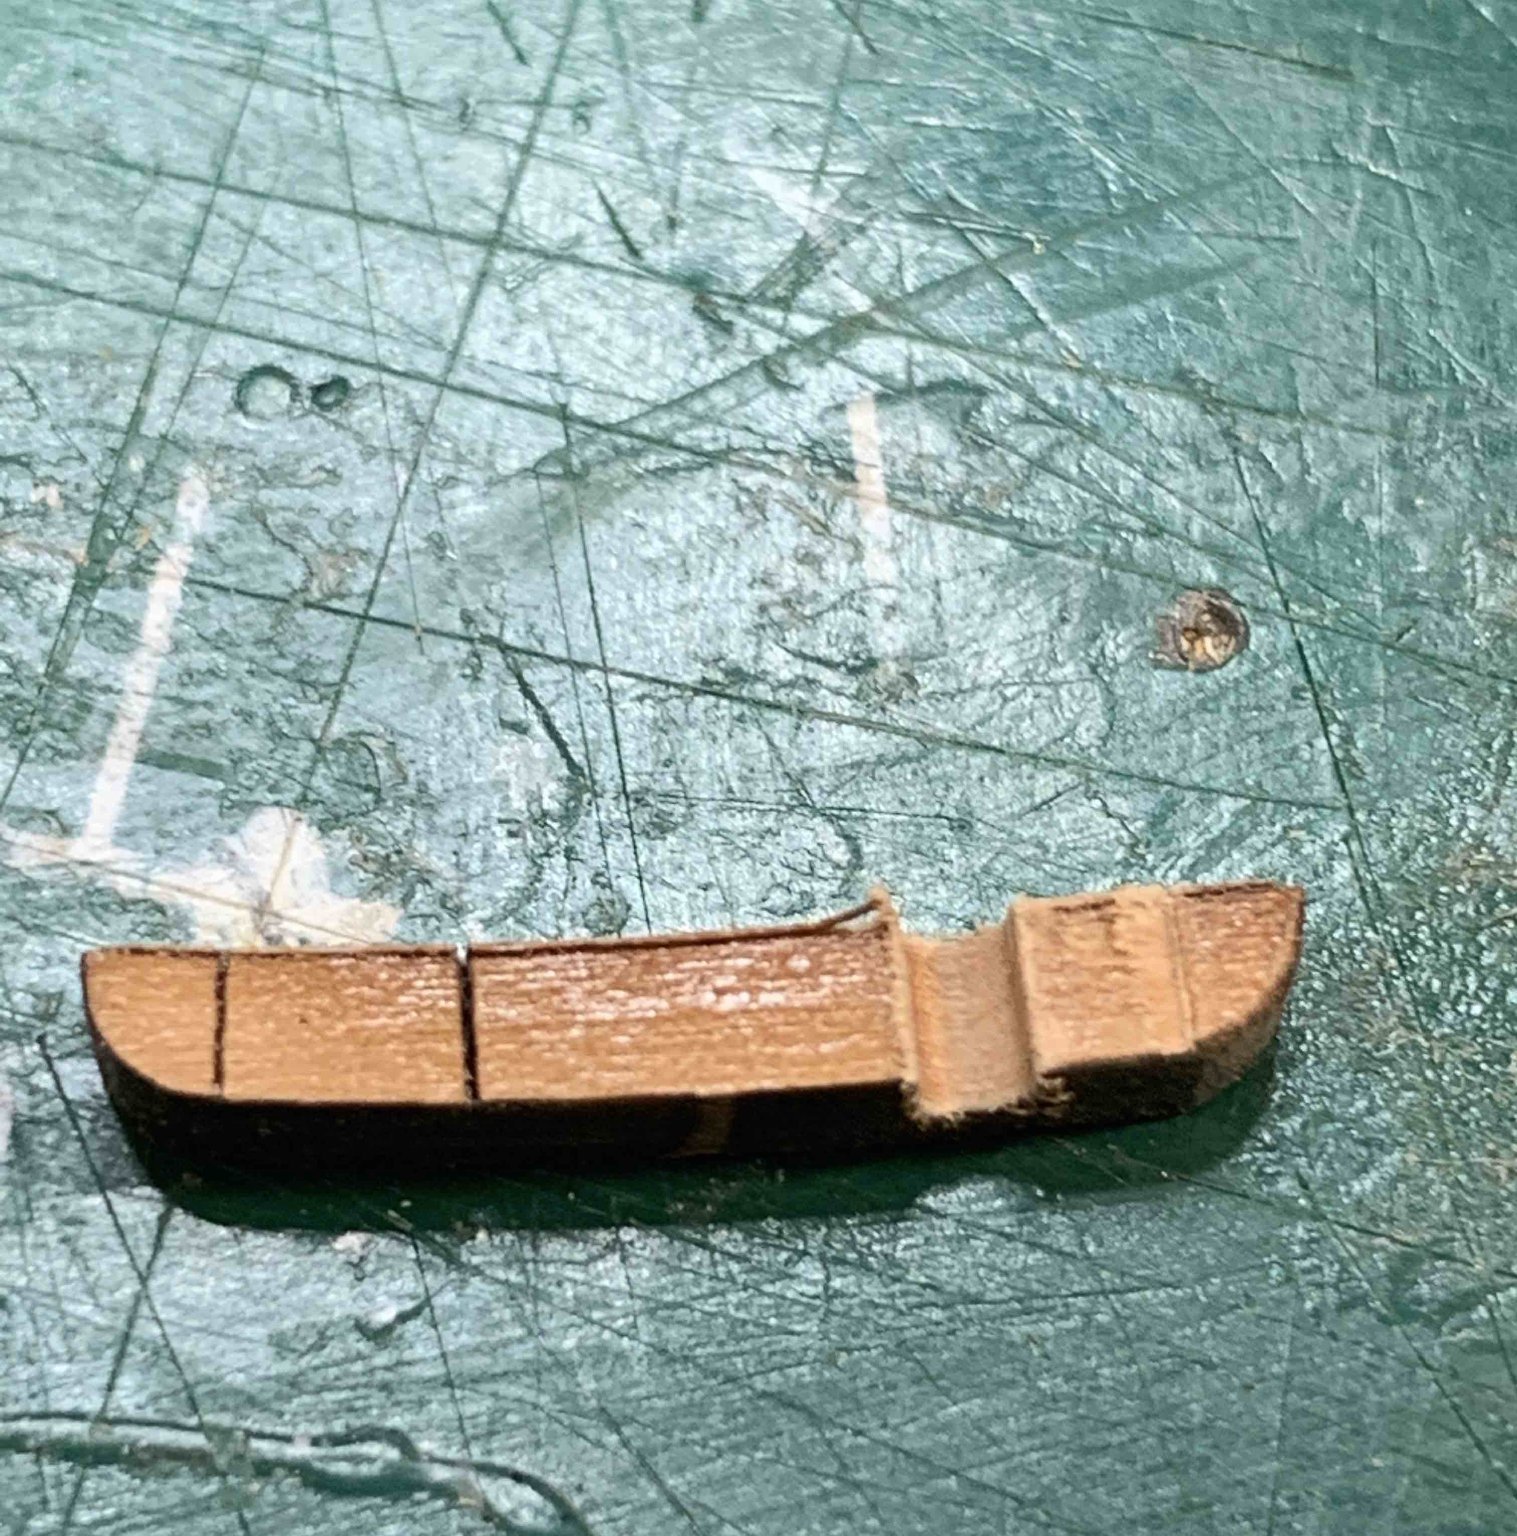
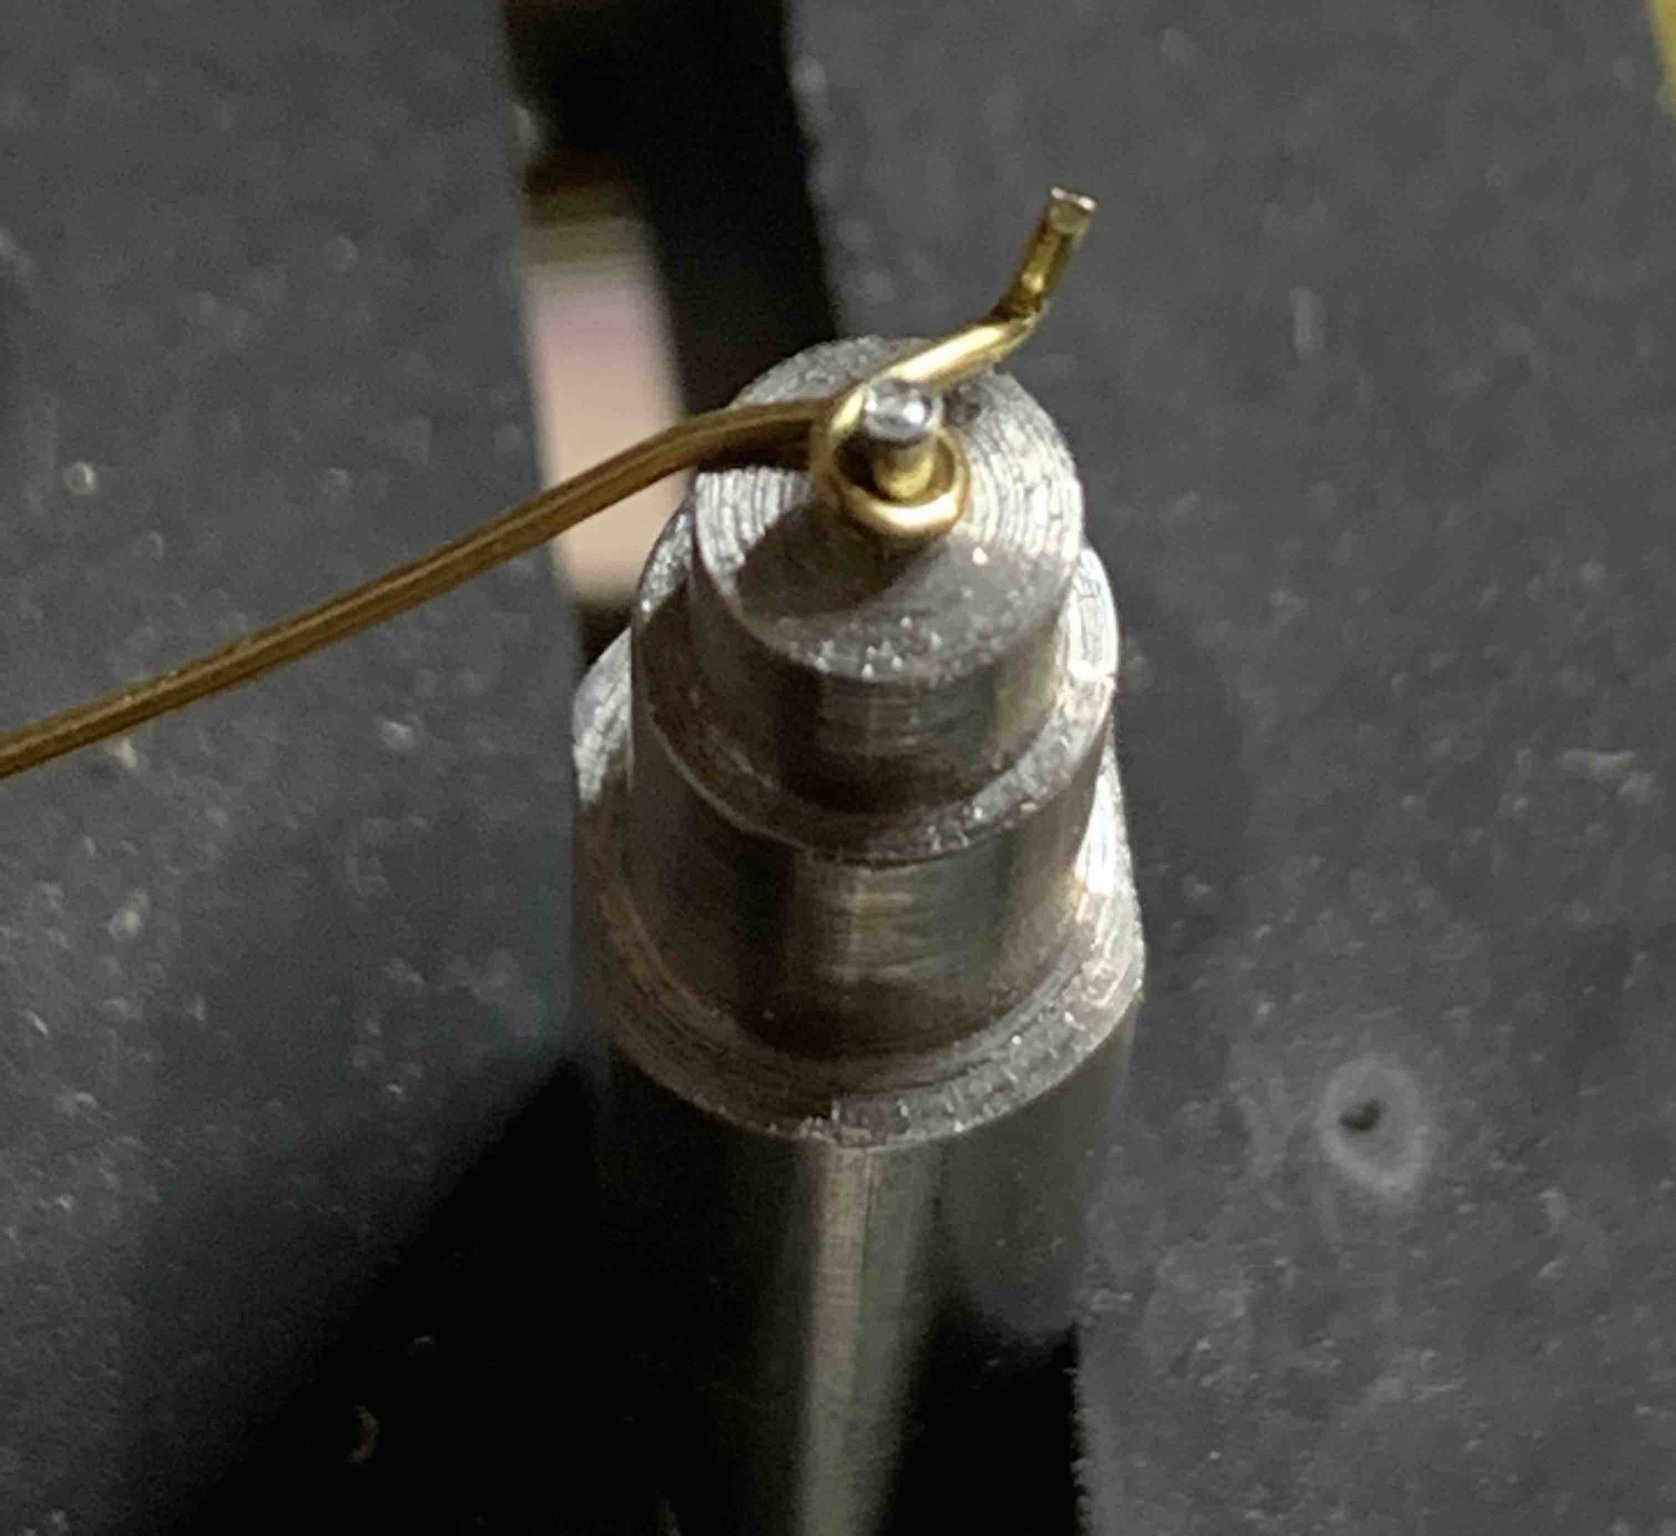
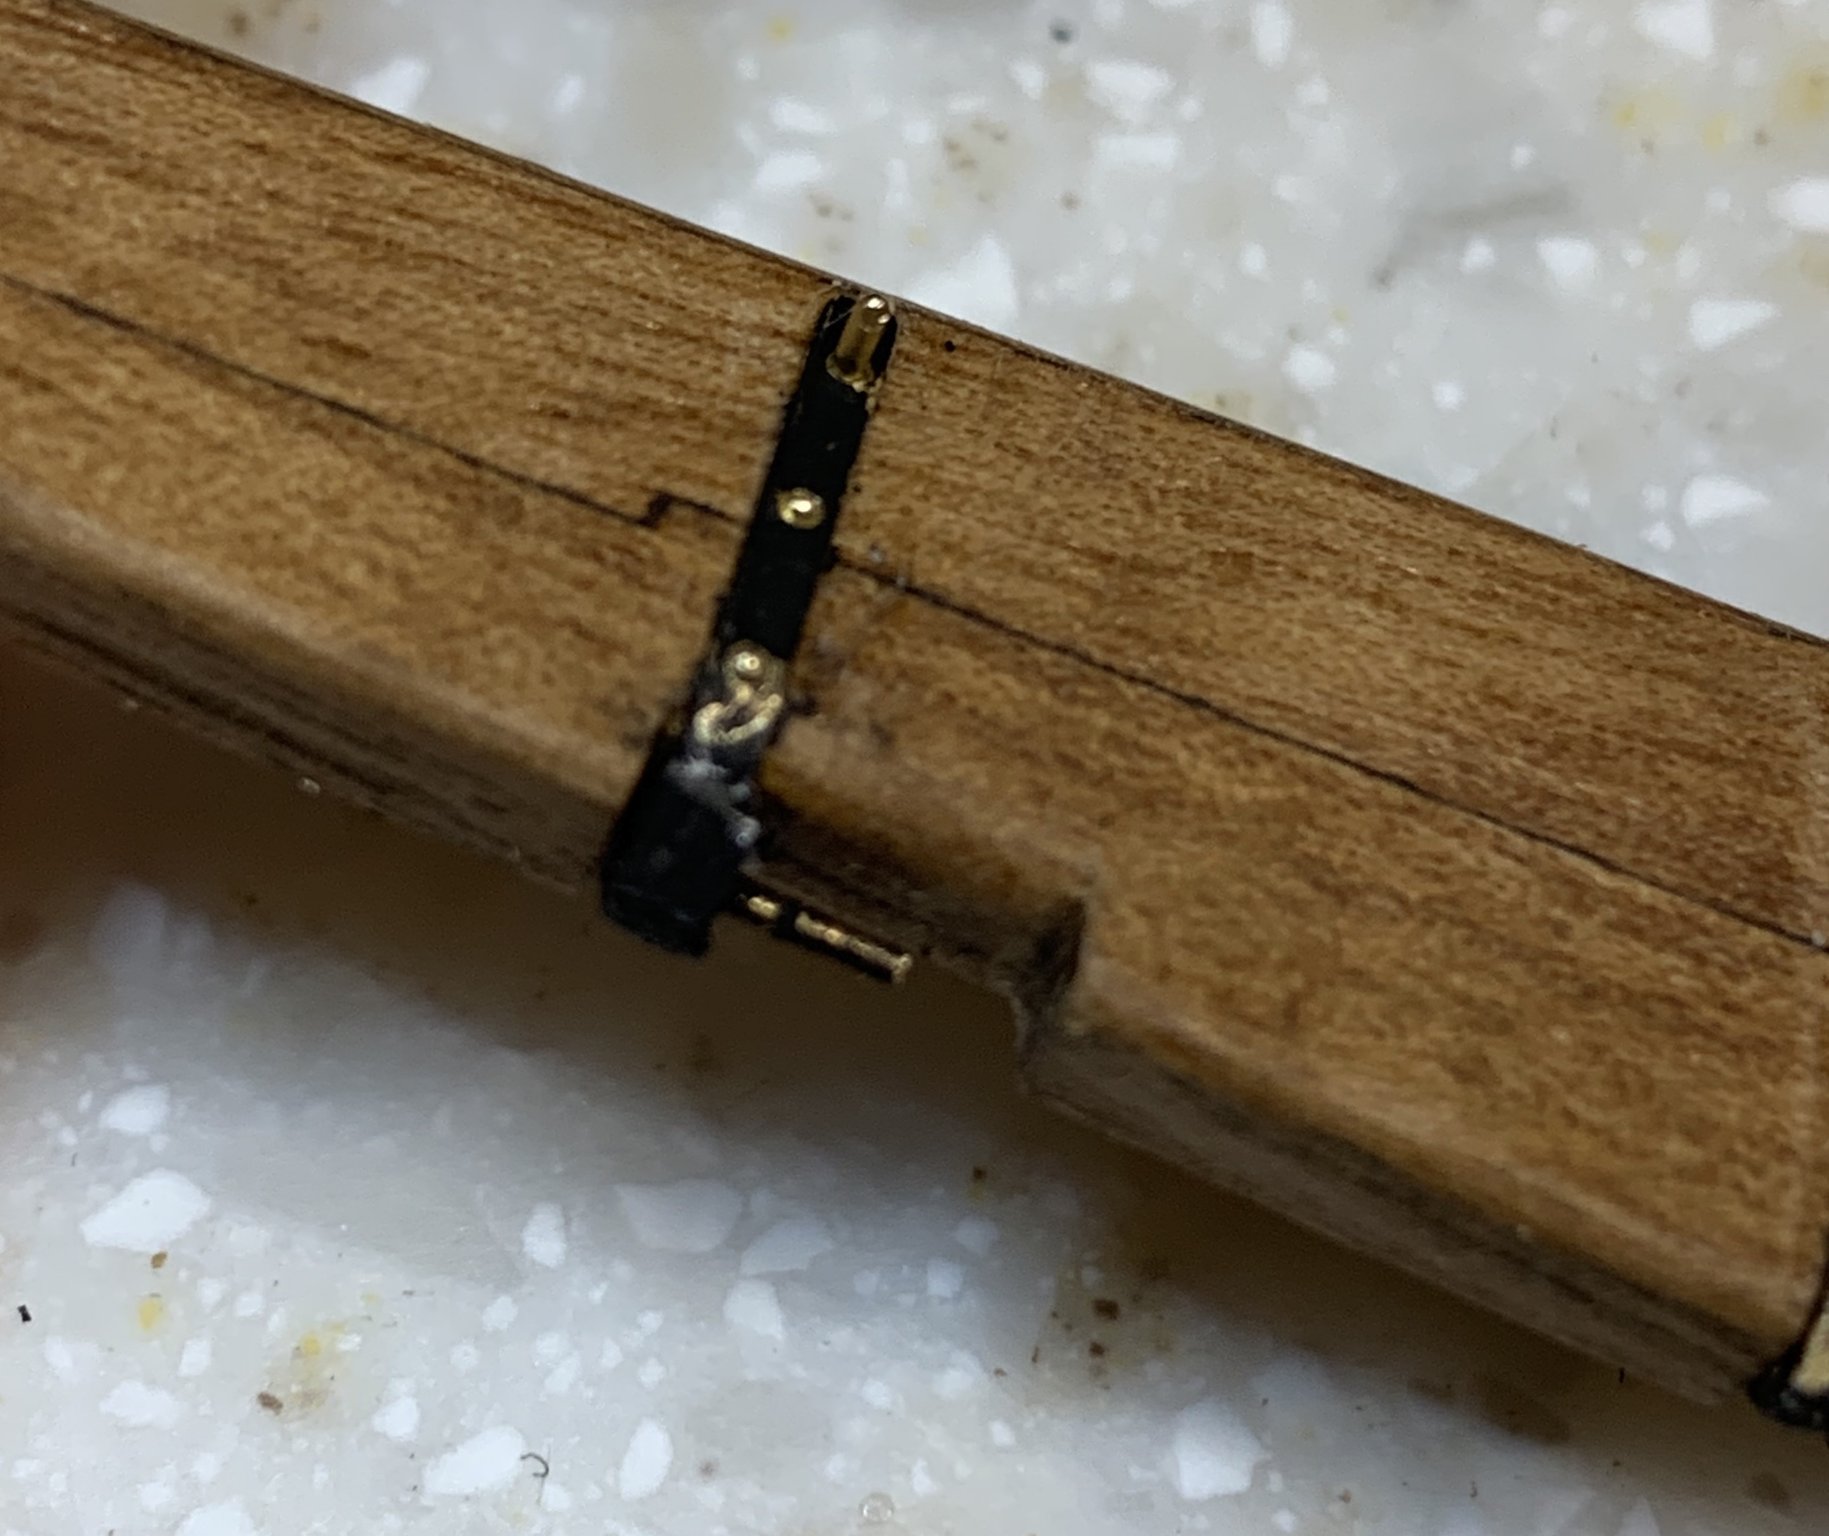
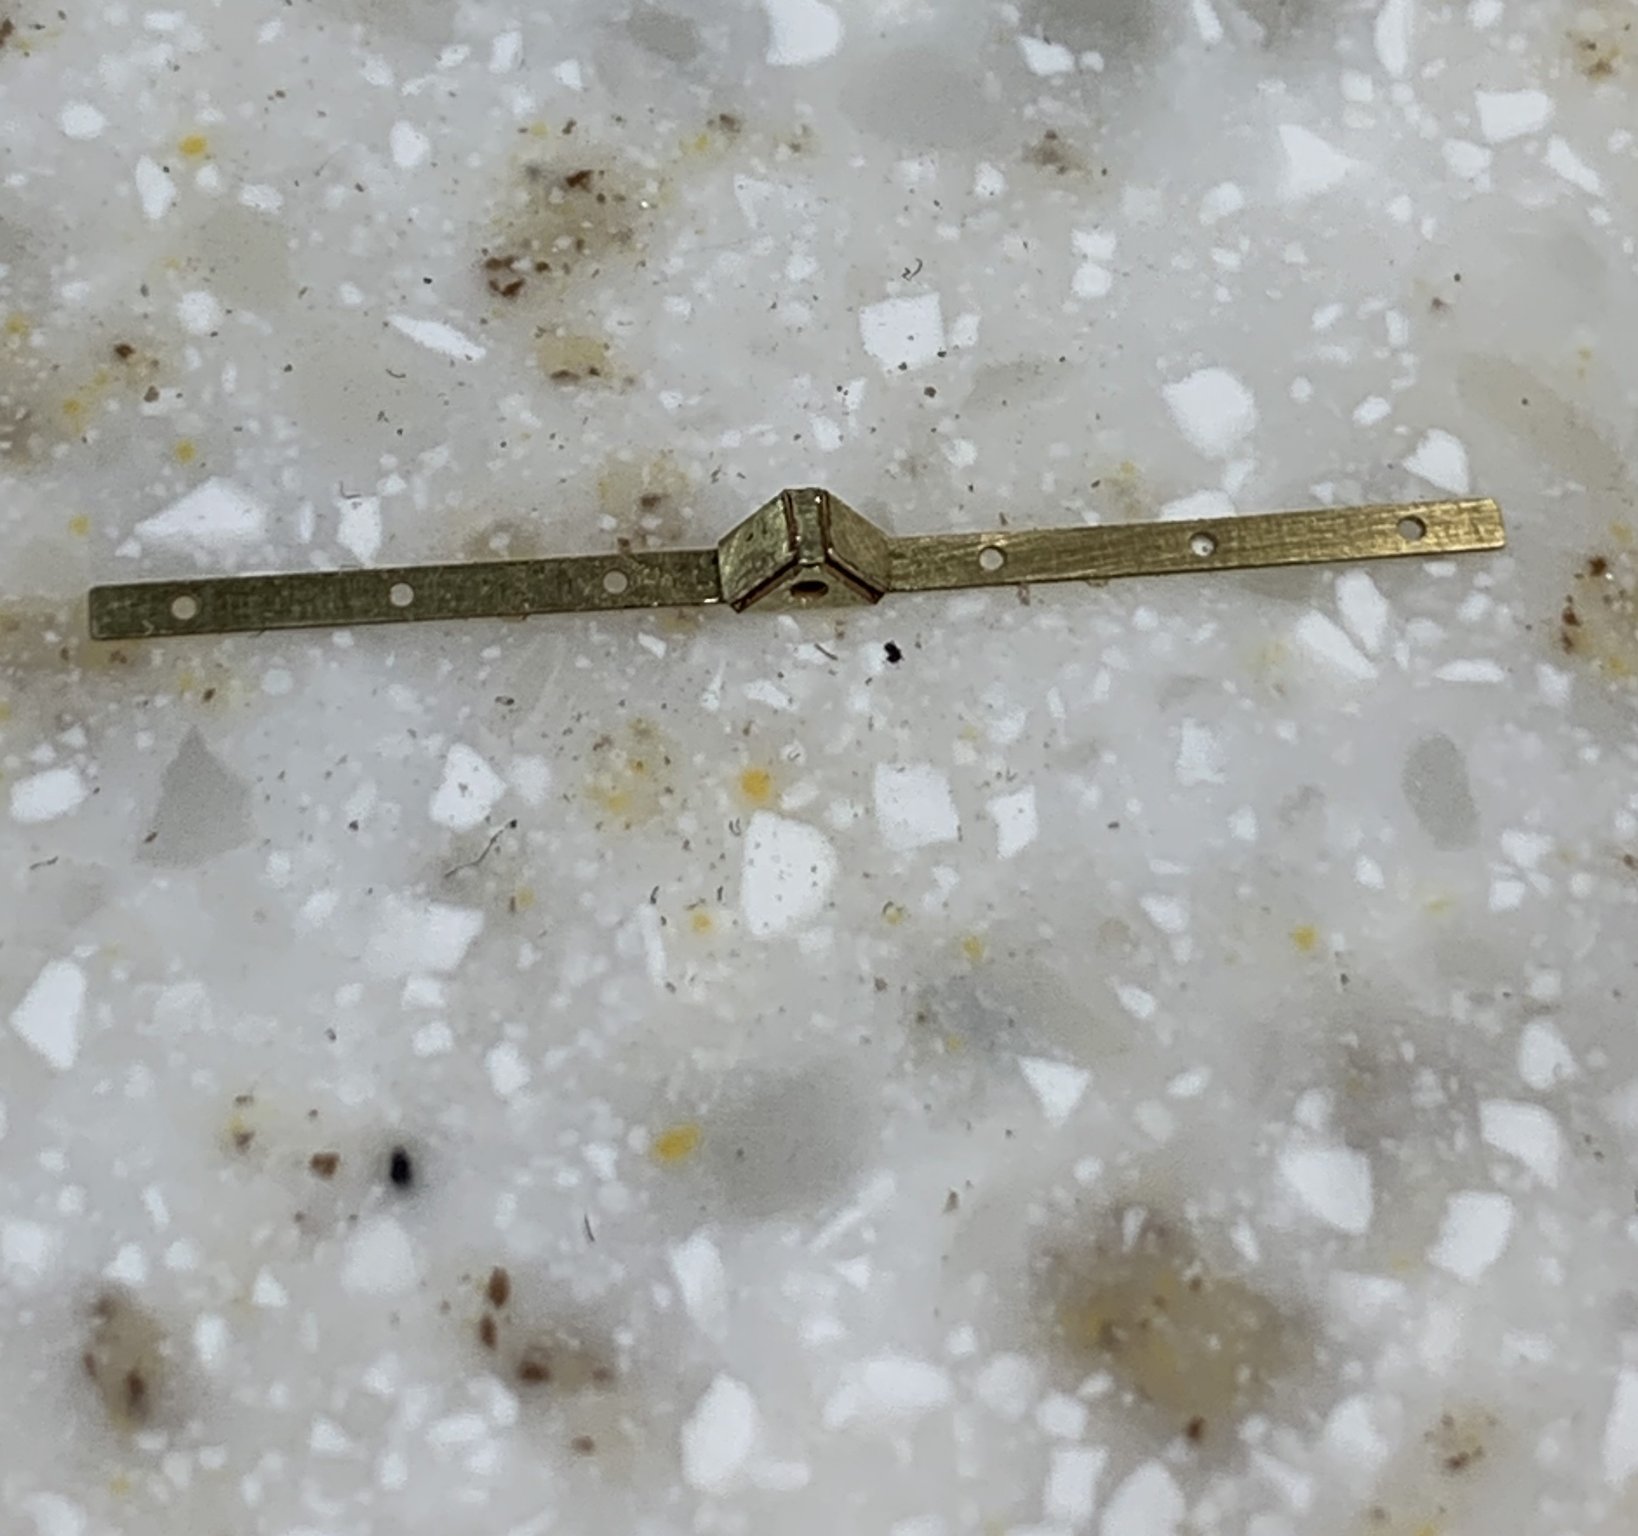
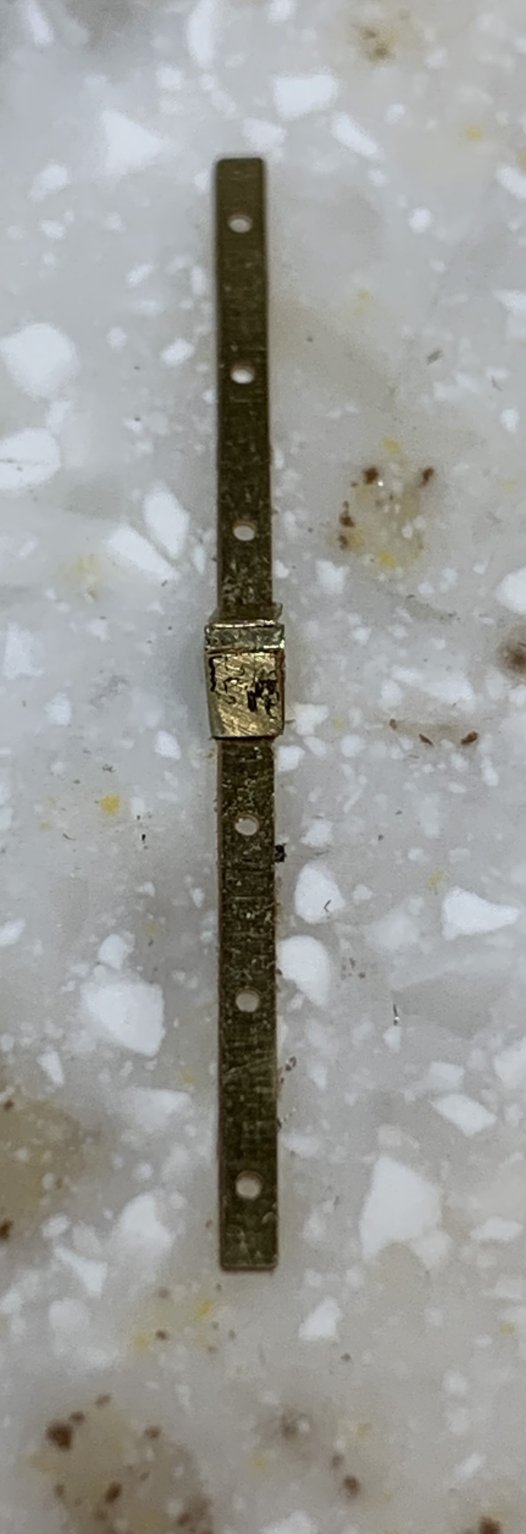
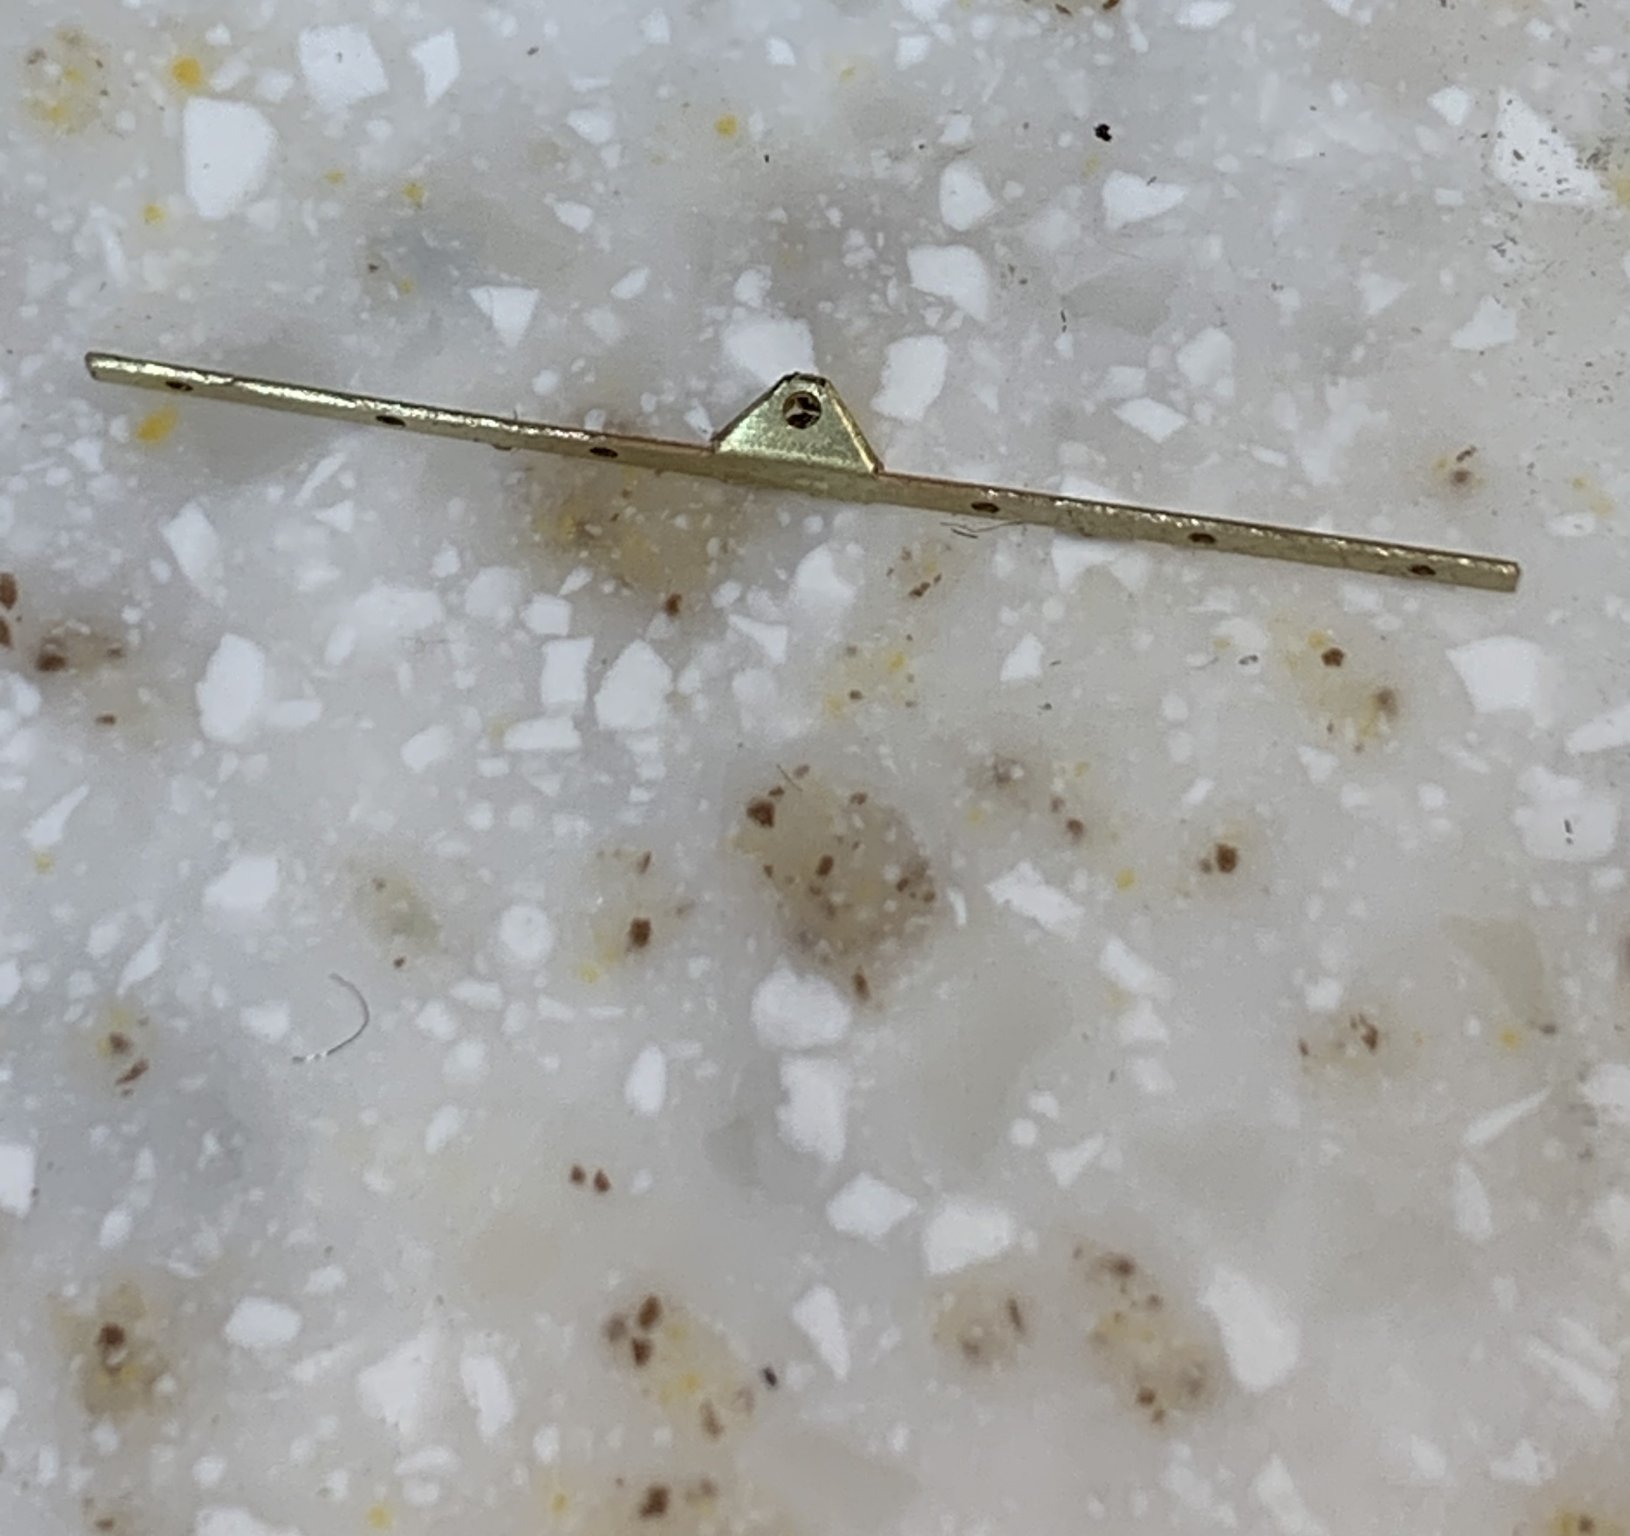
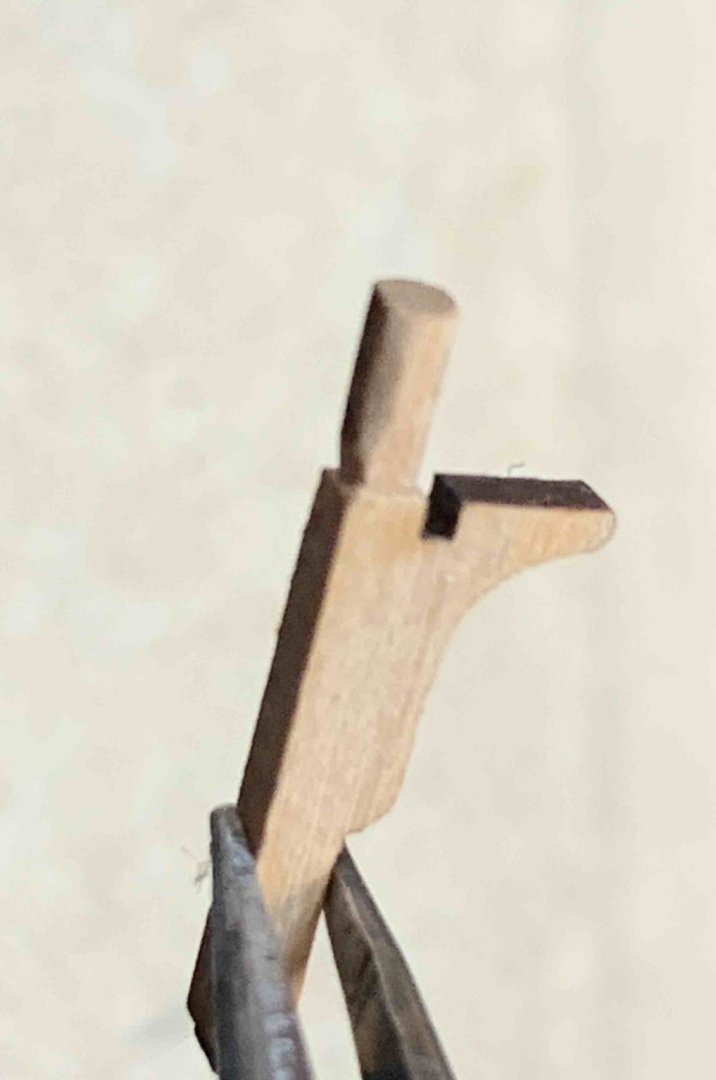
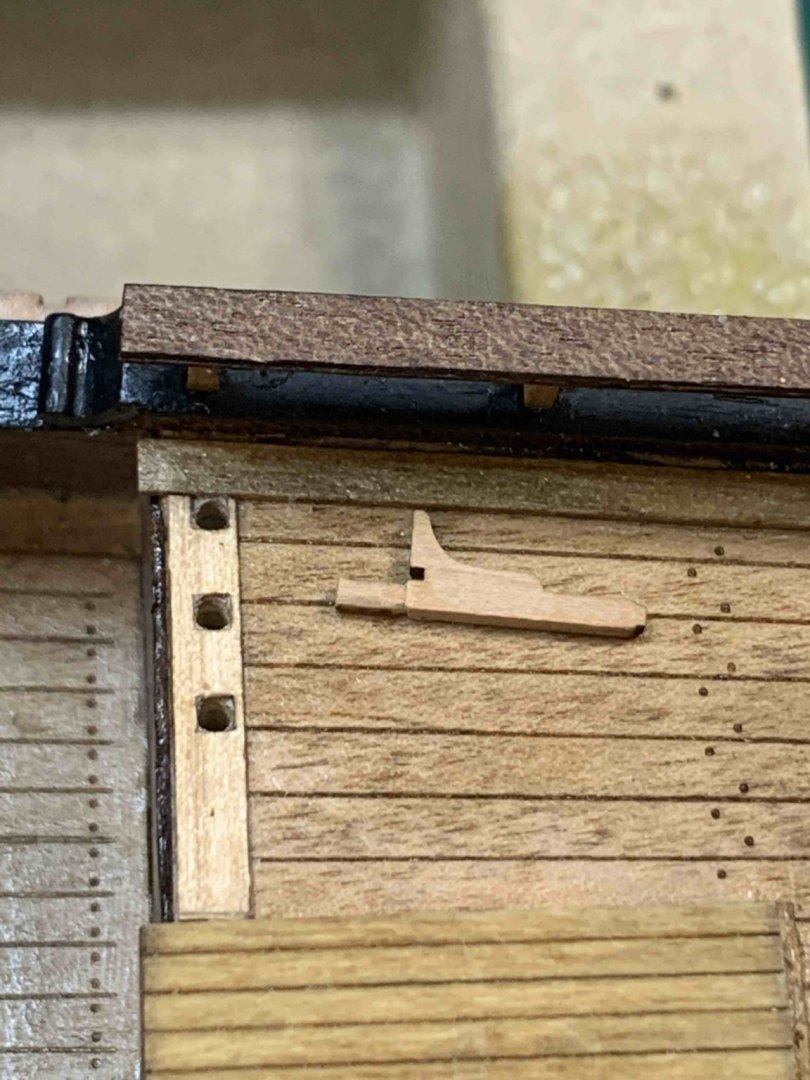
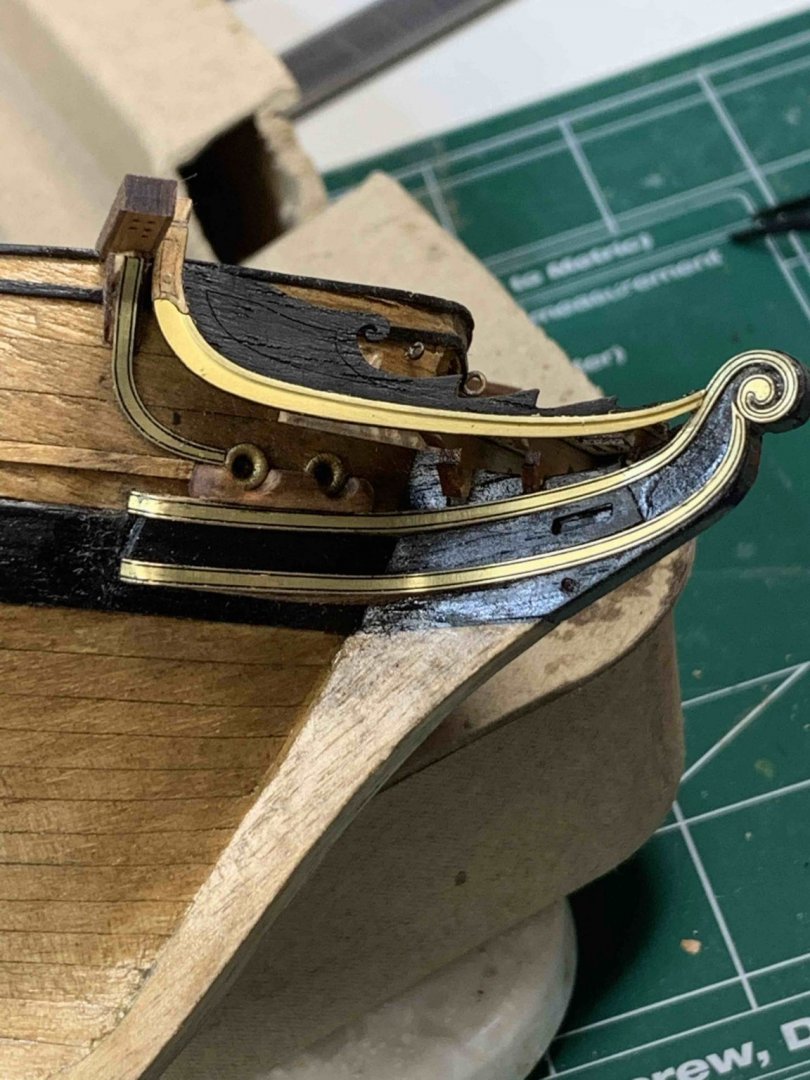
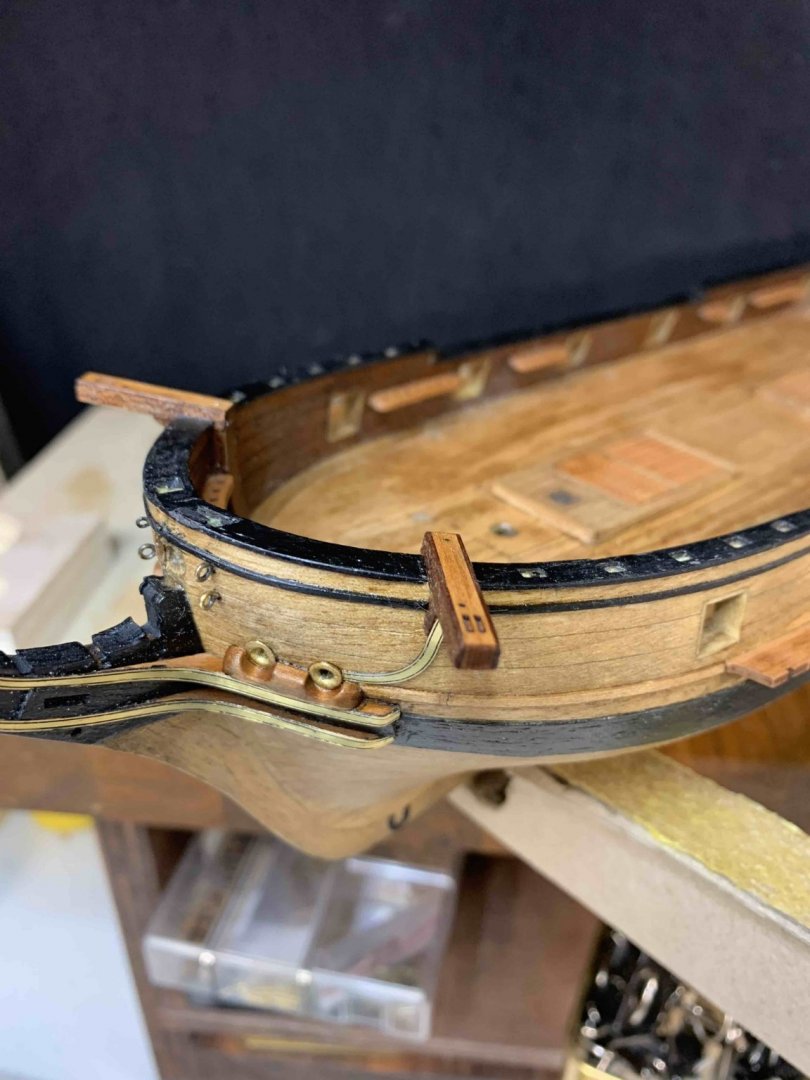
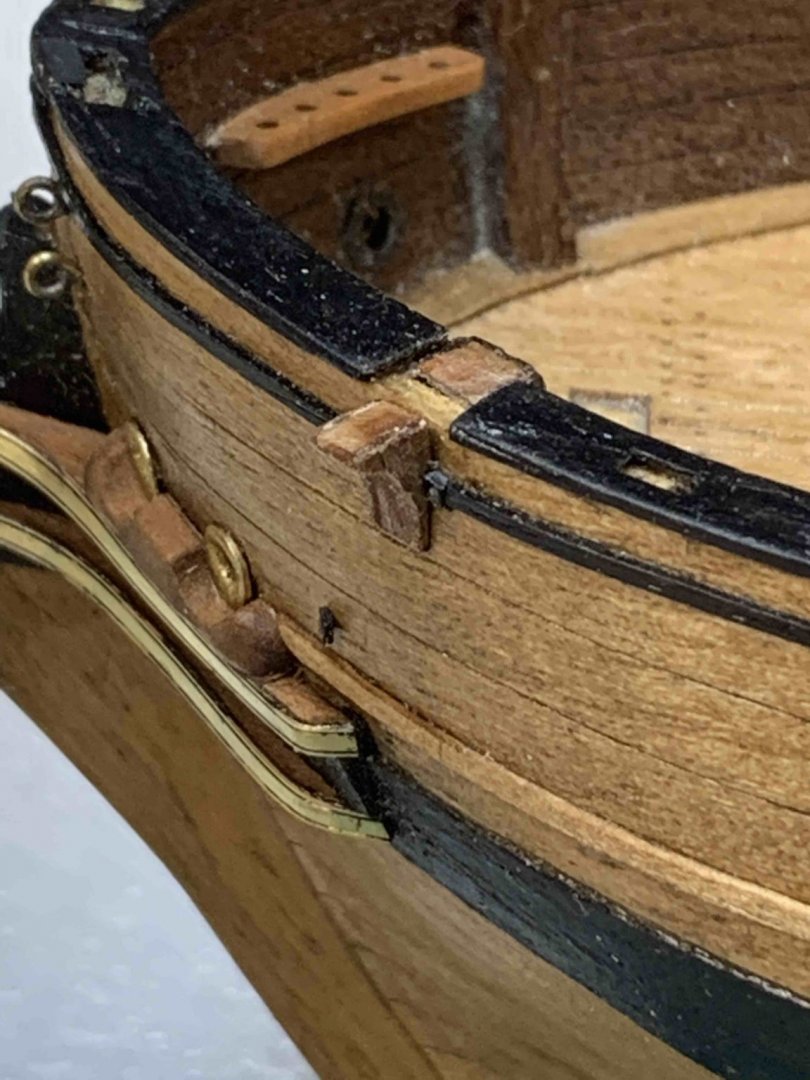
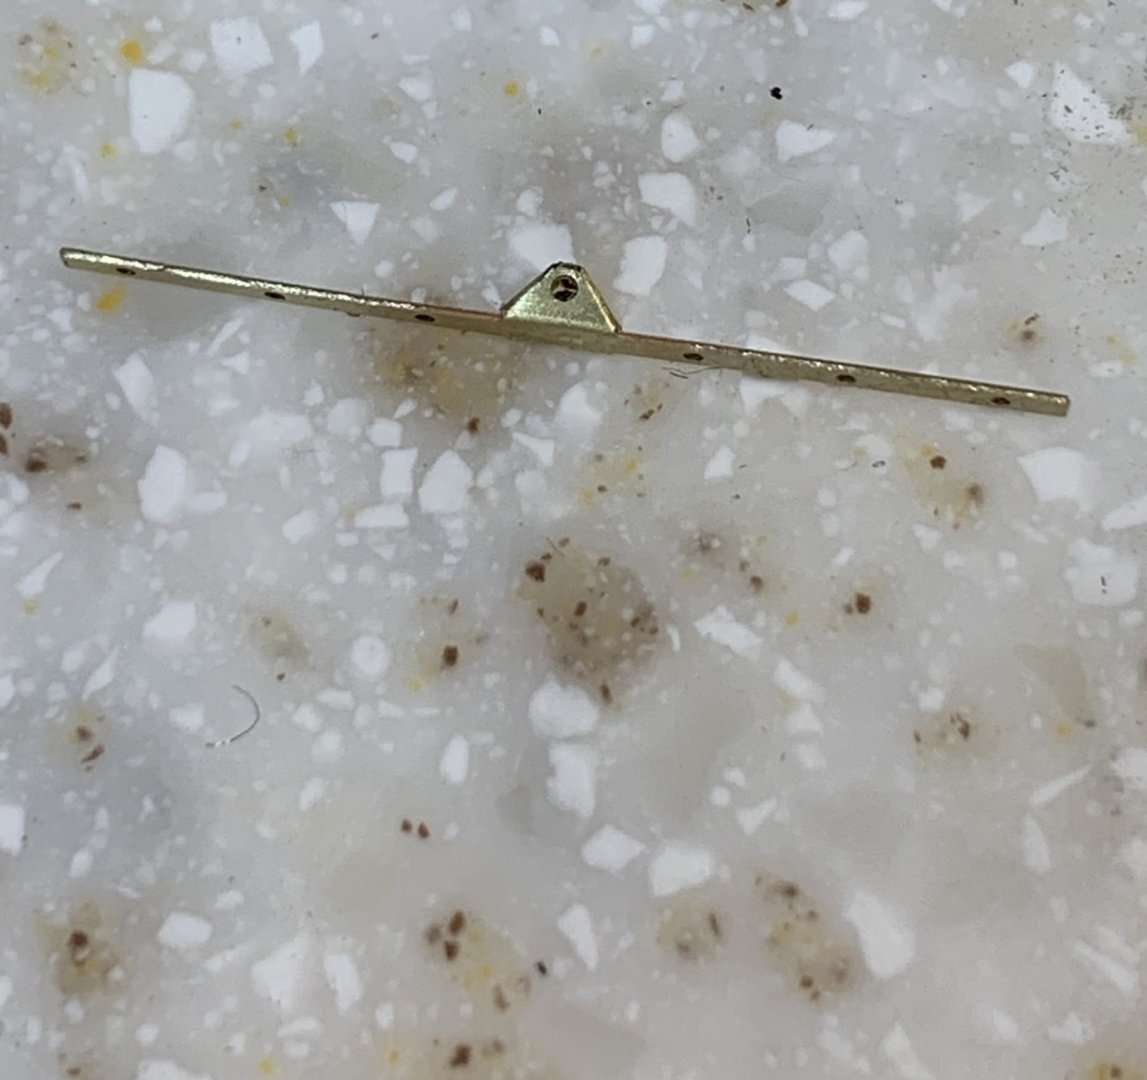
Catheads are next starting by gluing the knee for each cathead. I had to add additional layer of veneer to knee and cathead to match the inner size. I decided not to use underlay for decoration; it will bring the thickness to the decoration which might not quite be pleased for an eye. Decoration is first coloured in black using flat black colour and scraping the rest of it after drying period. Then it was glued to the ship; again since there is a curve needed, the gluing process is a bit hard since decoration must be kept in place with fingers. Coudl not find the way to use some other holding method.. Then it is cathead' turn... The brass pin was inserted and sanded... The second cathead installed the same way.. And a layer of golden oak stain applied to all new parts.. i like this different colour layers achieved by adding an extra veneer layer... Happy modelling..


- 275 replies
-
- 3
-
-
- phoenix
- master korabel
- (and 1 more)
-
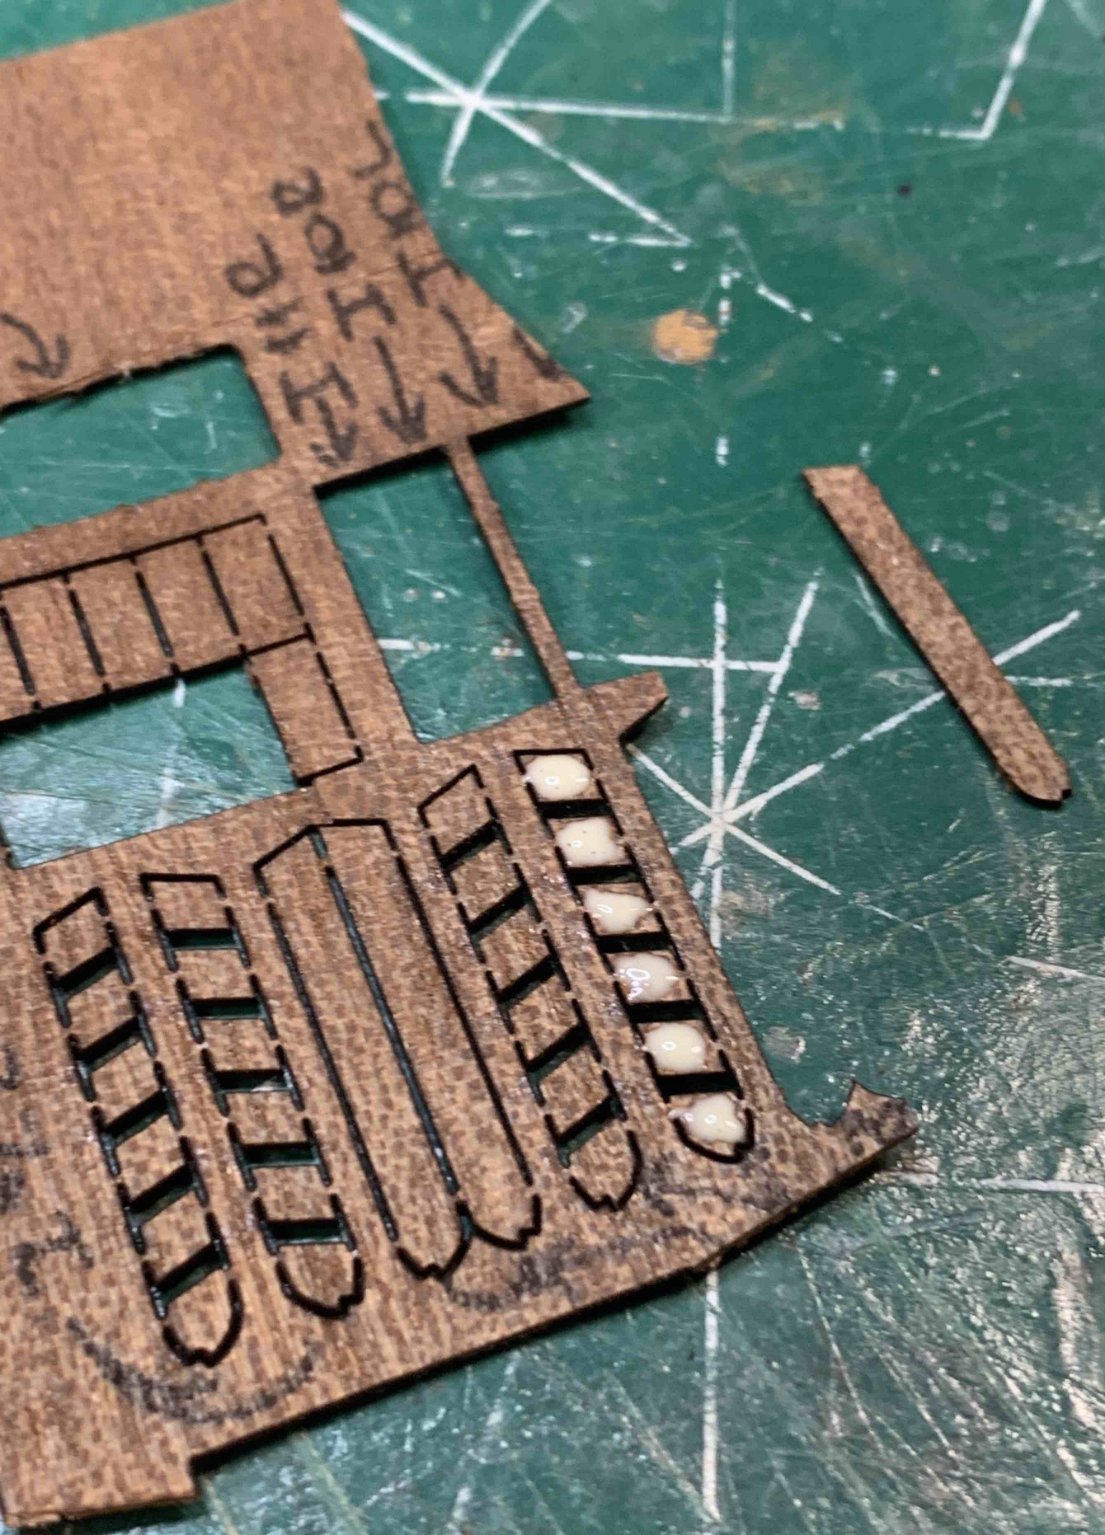
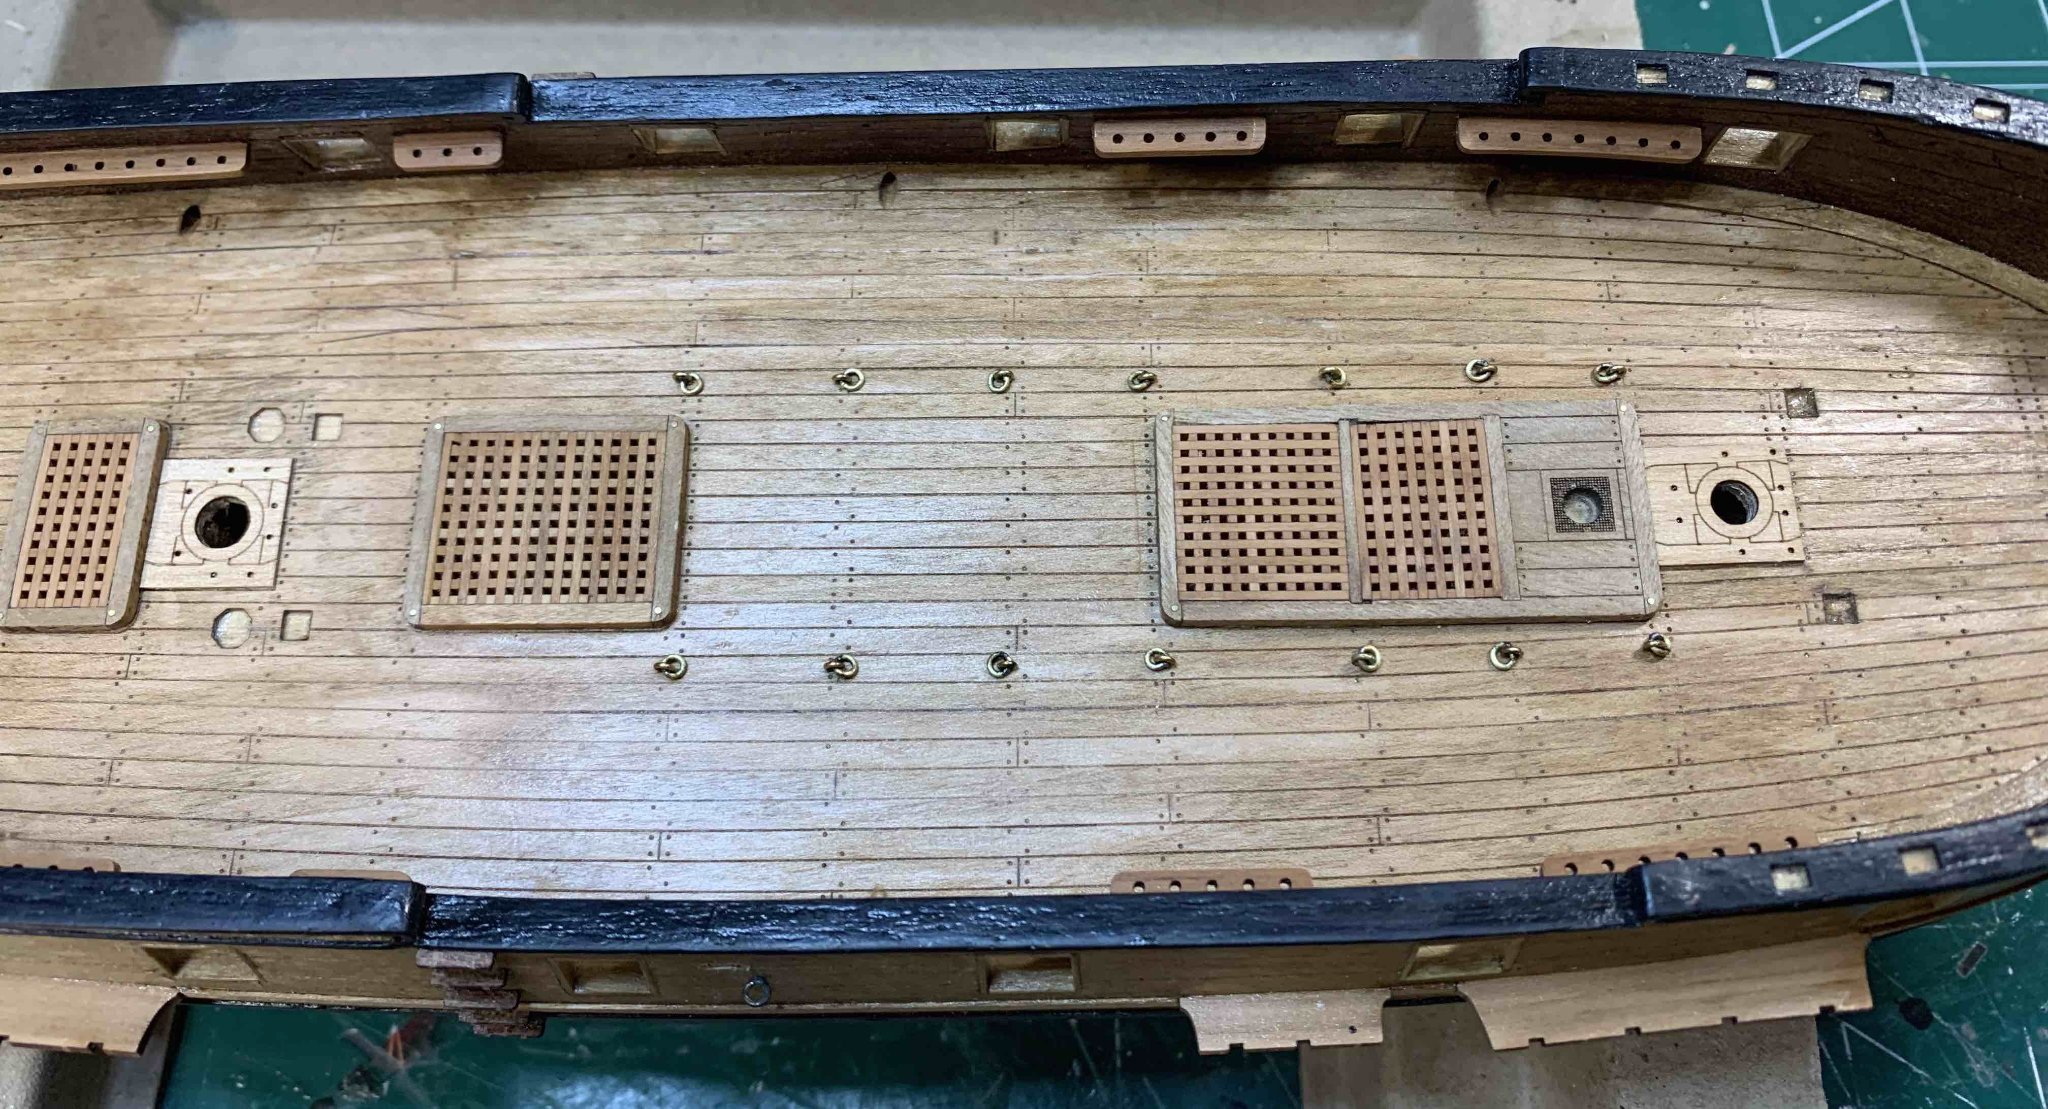
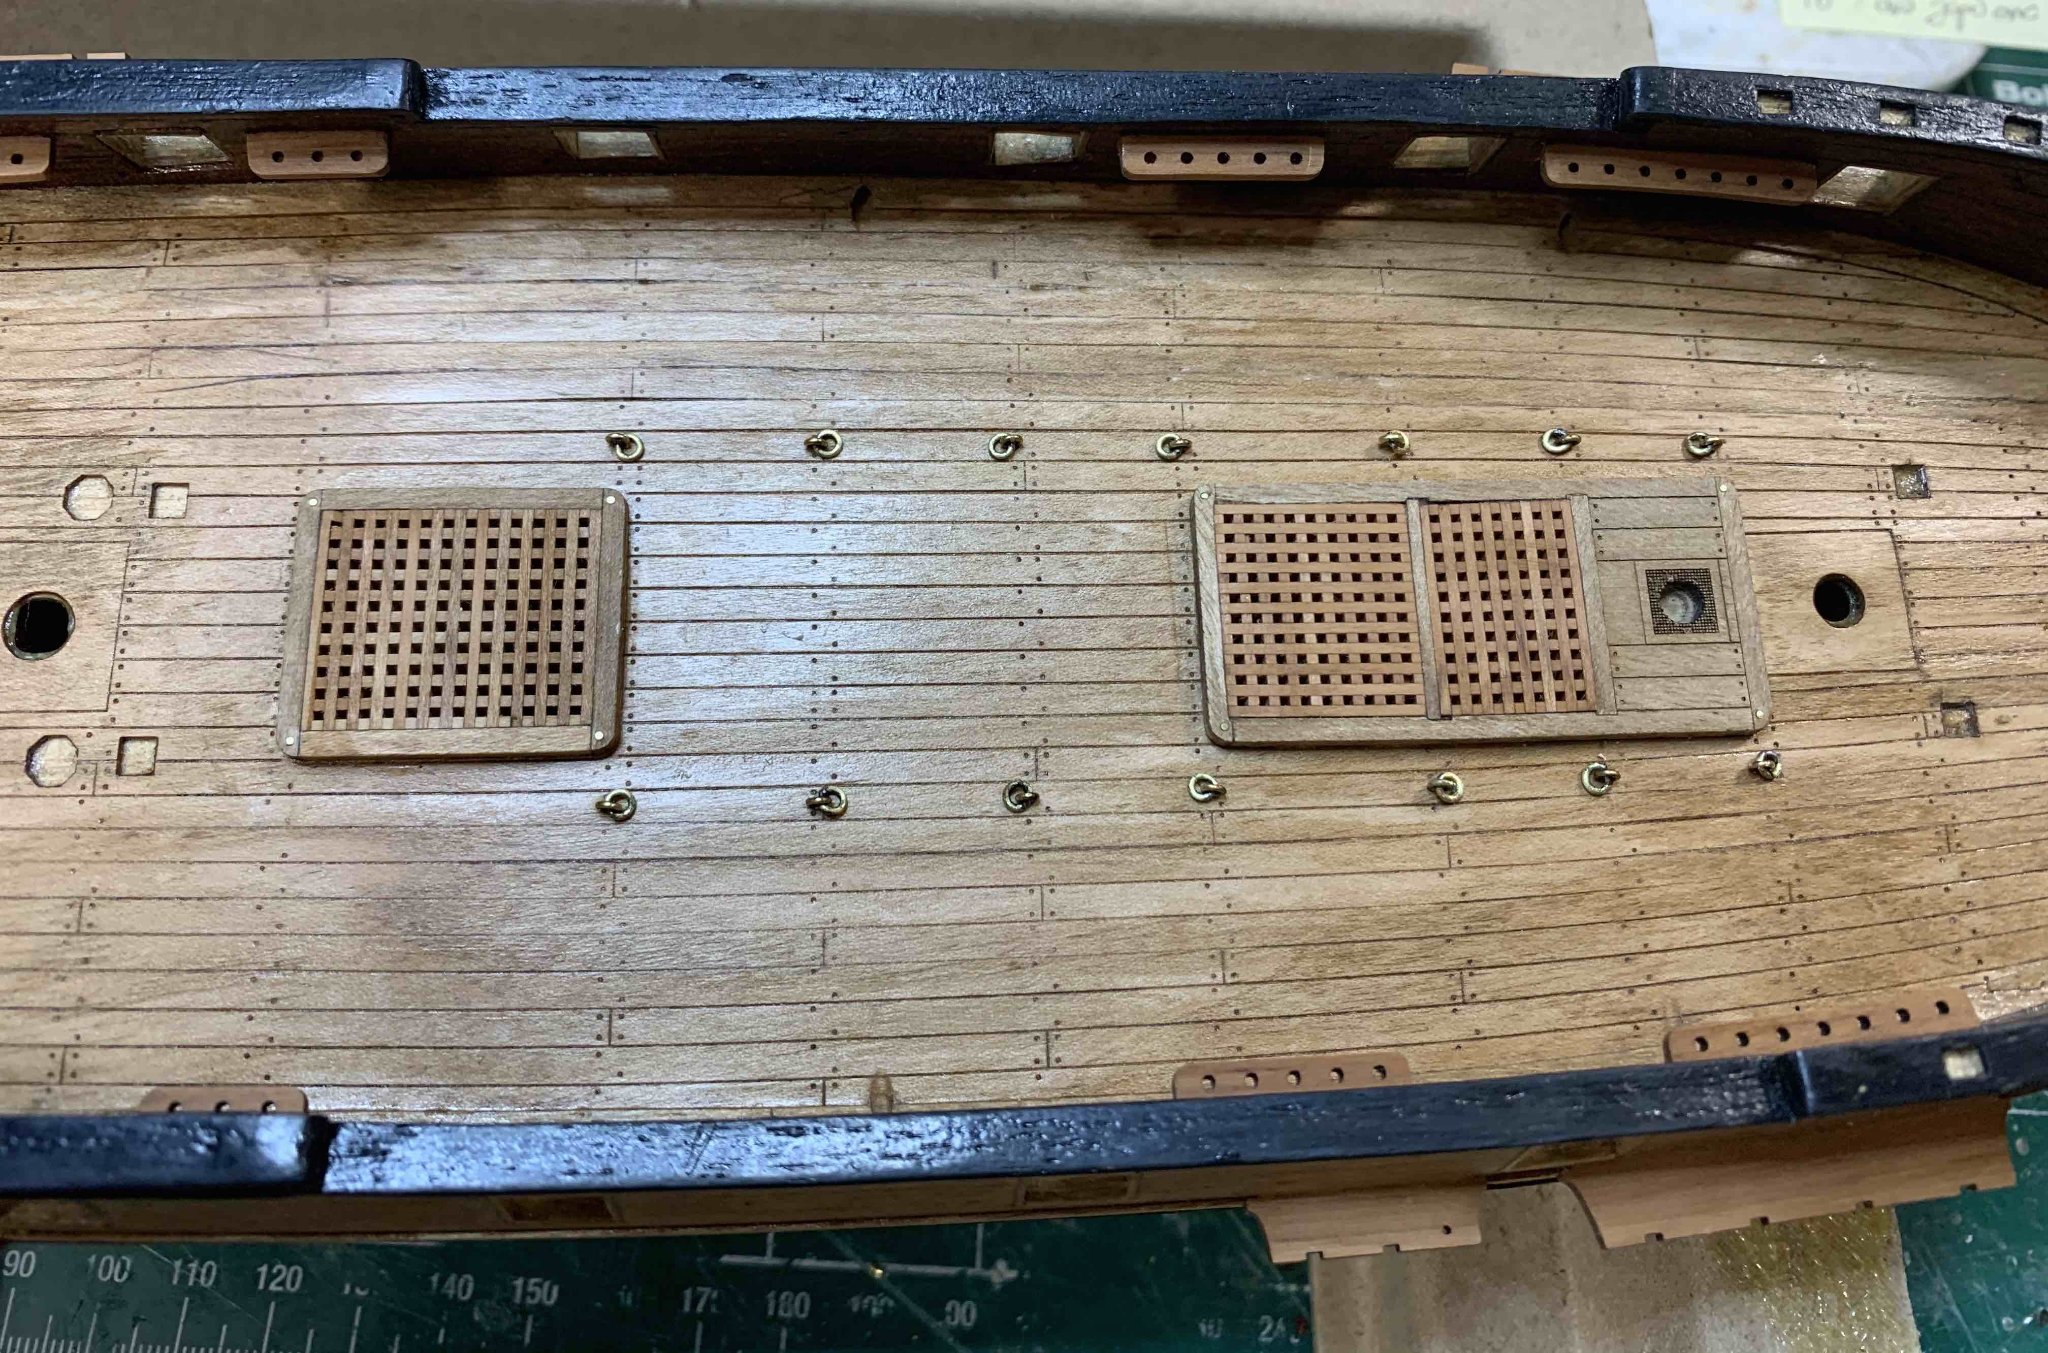
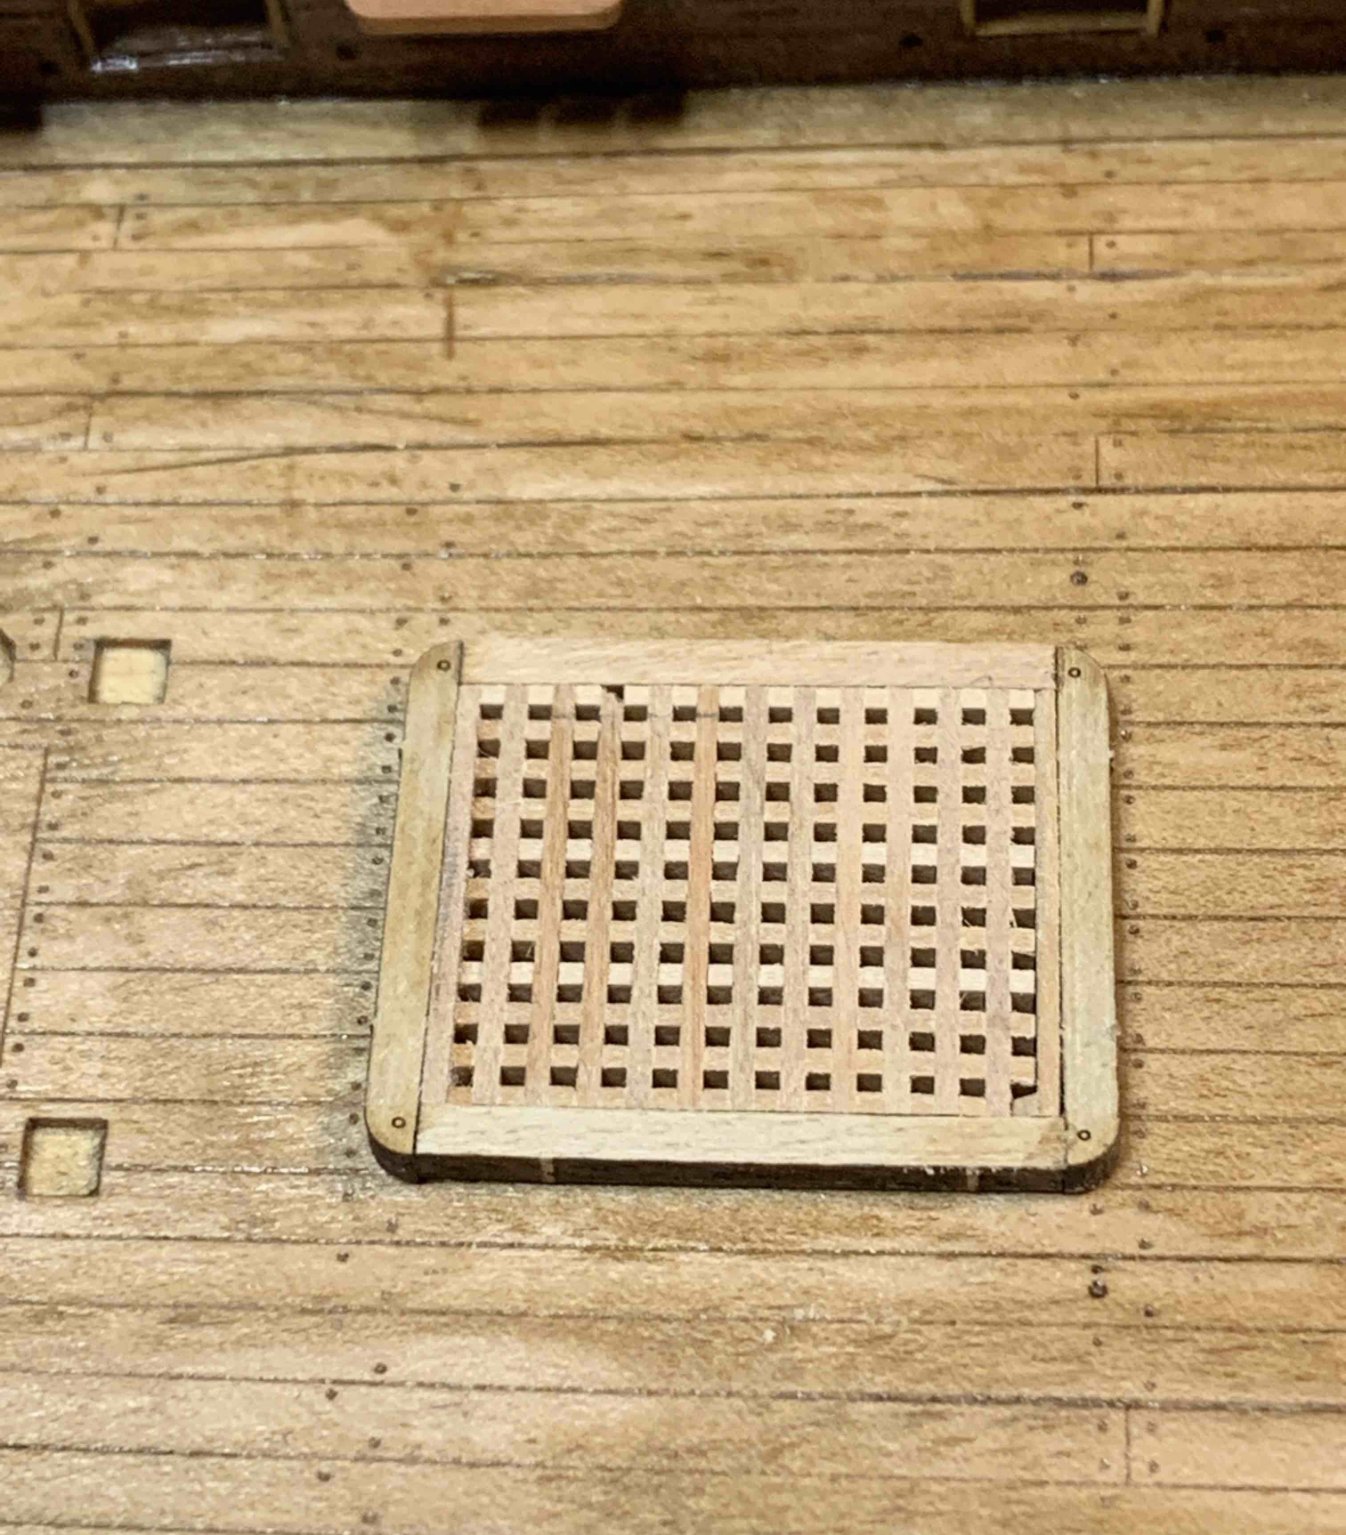
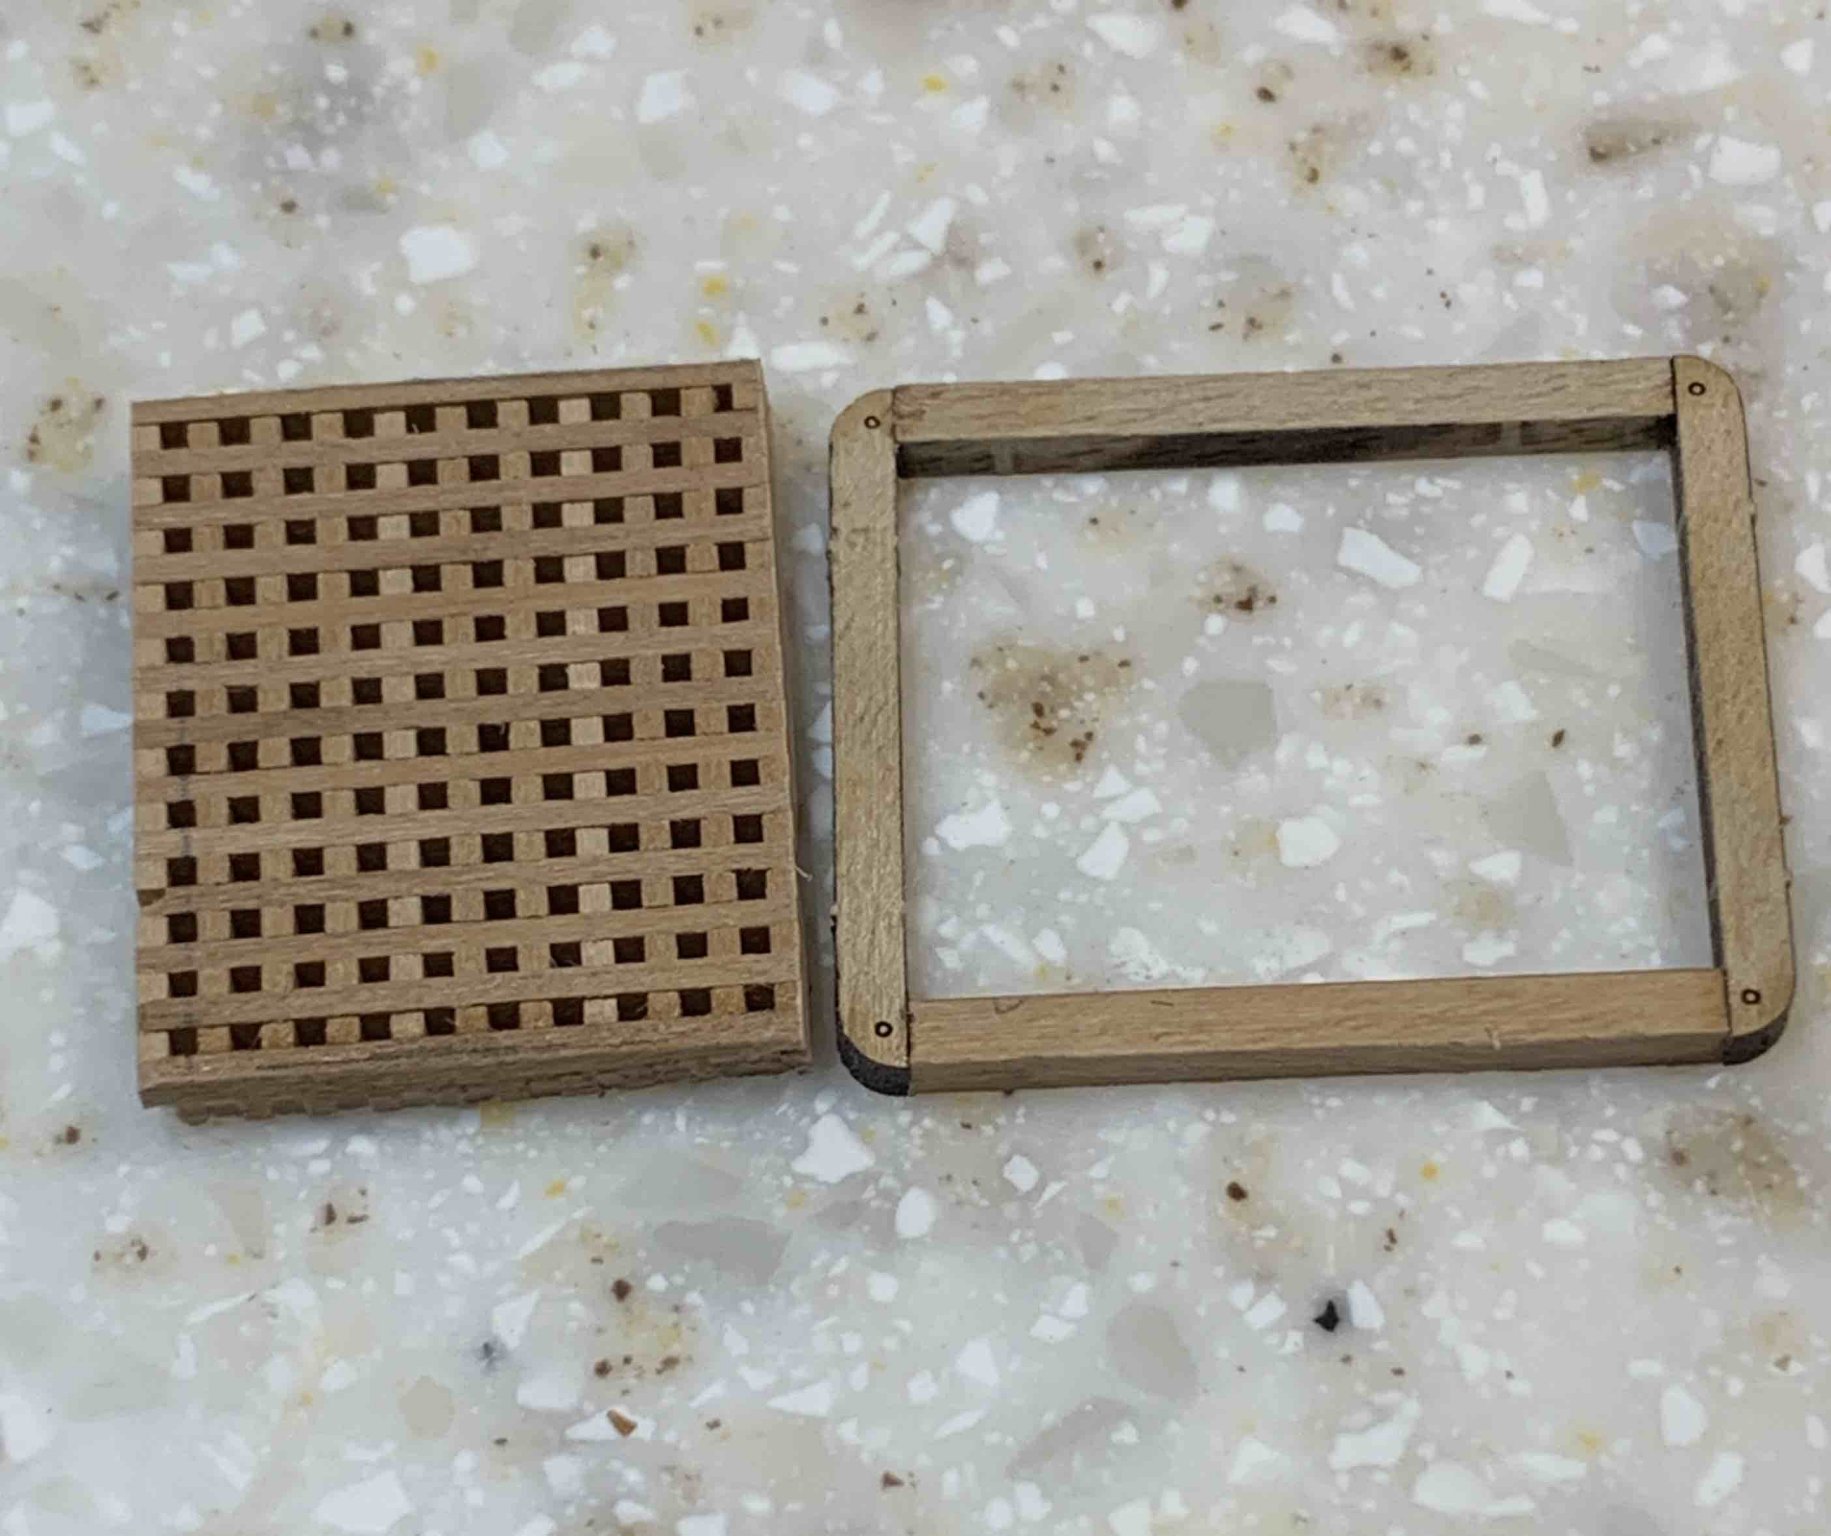
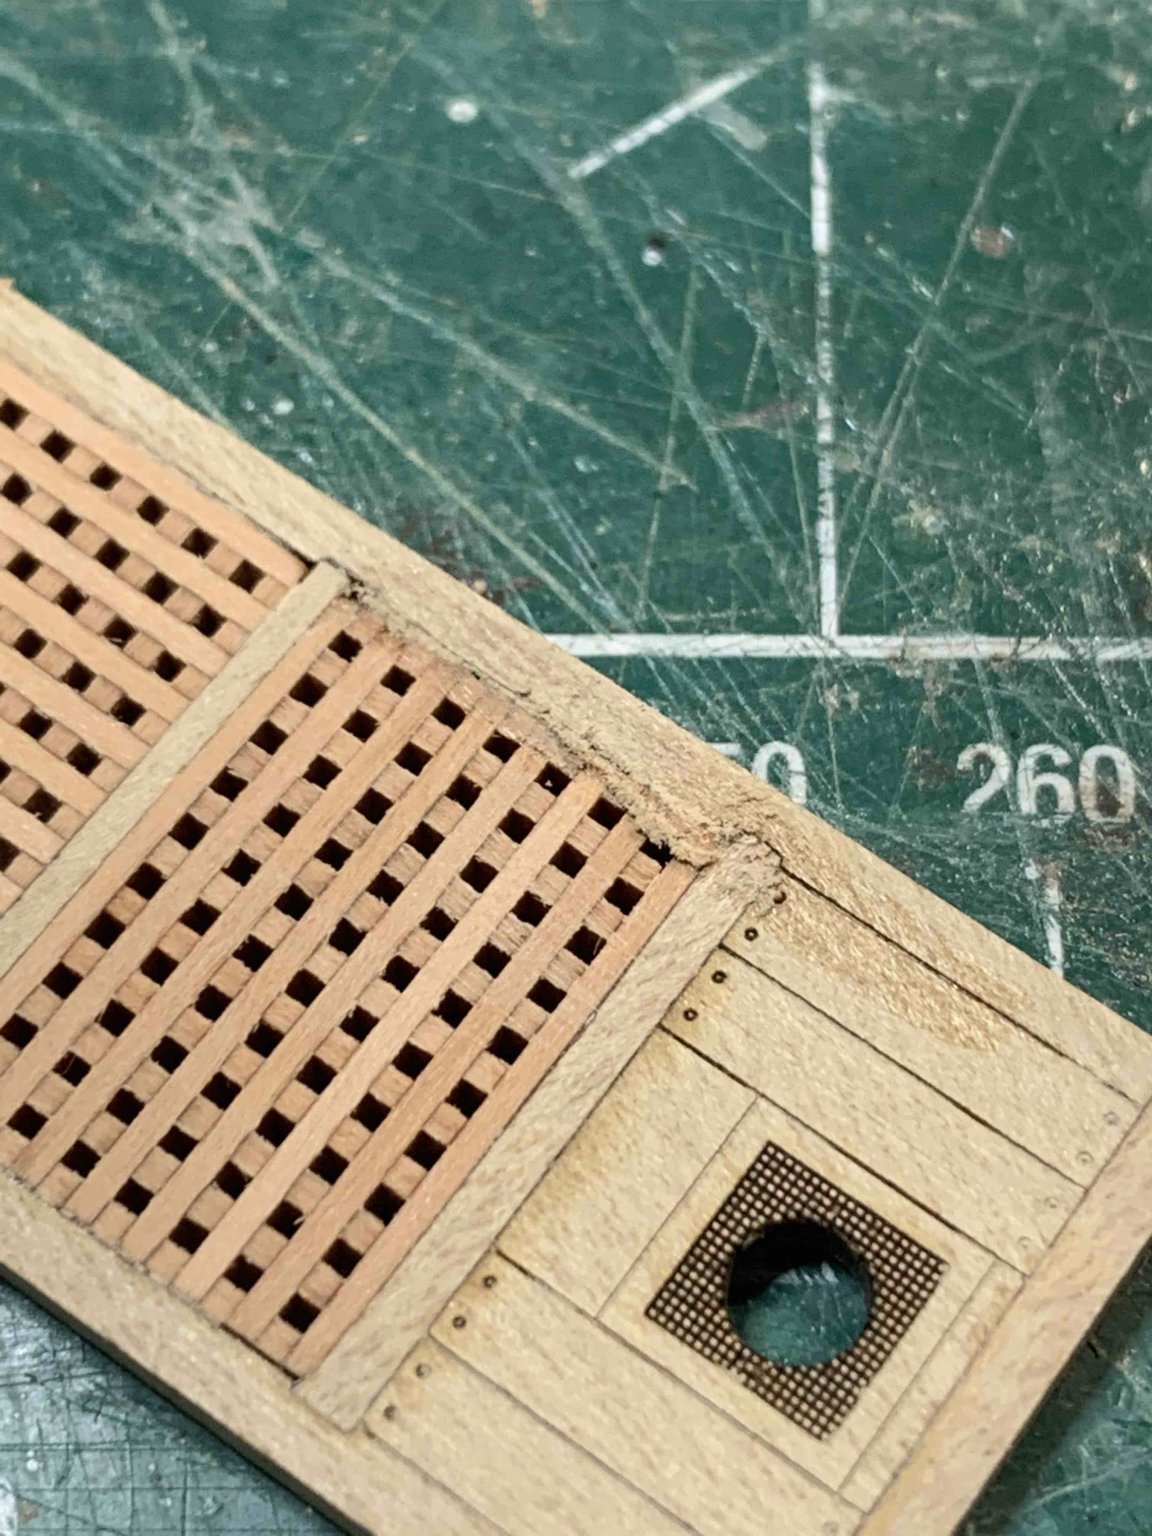
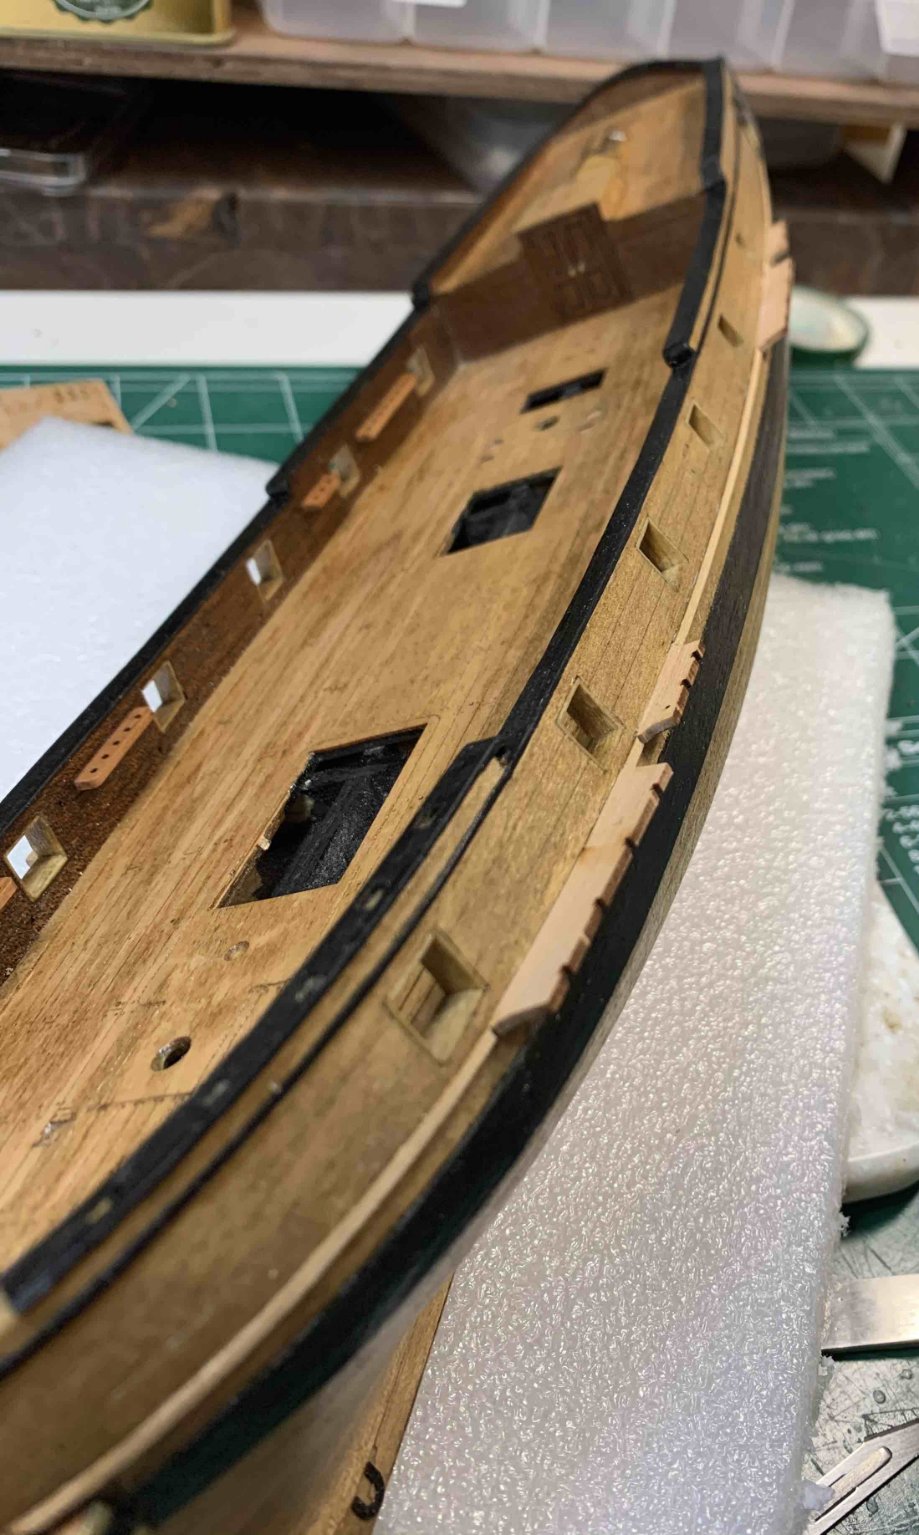
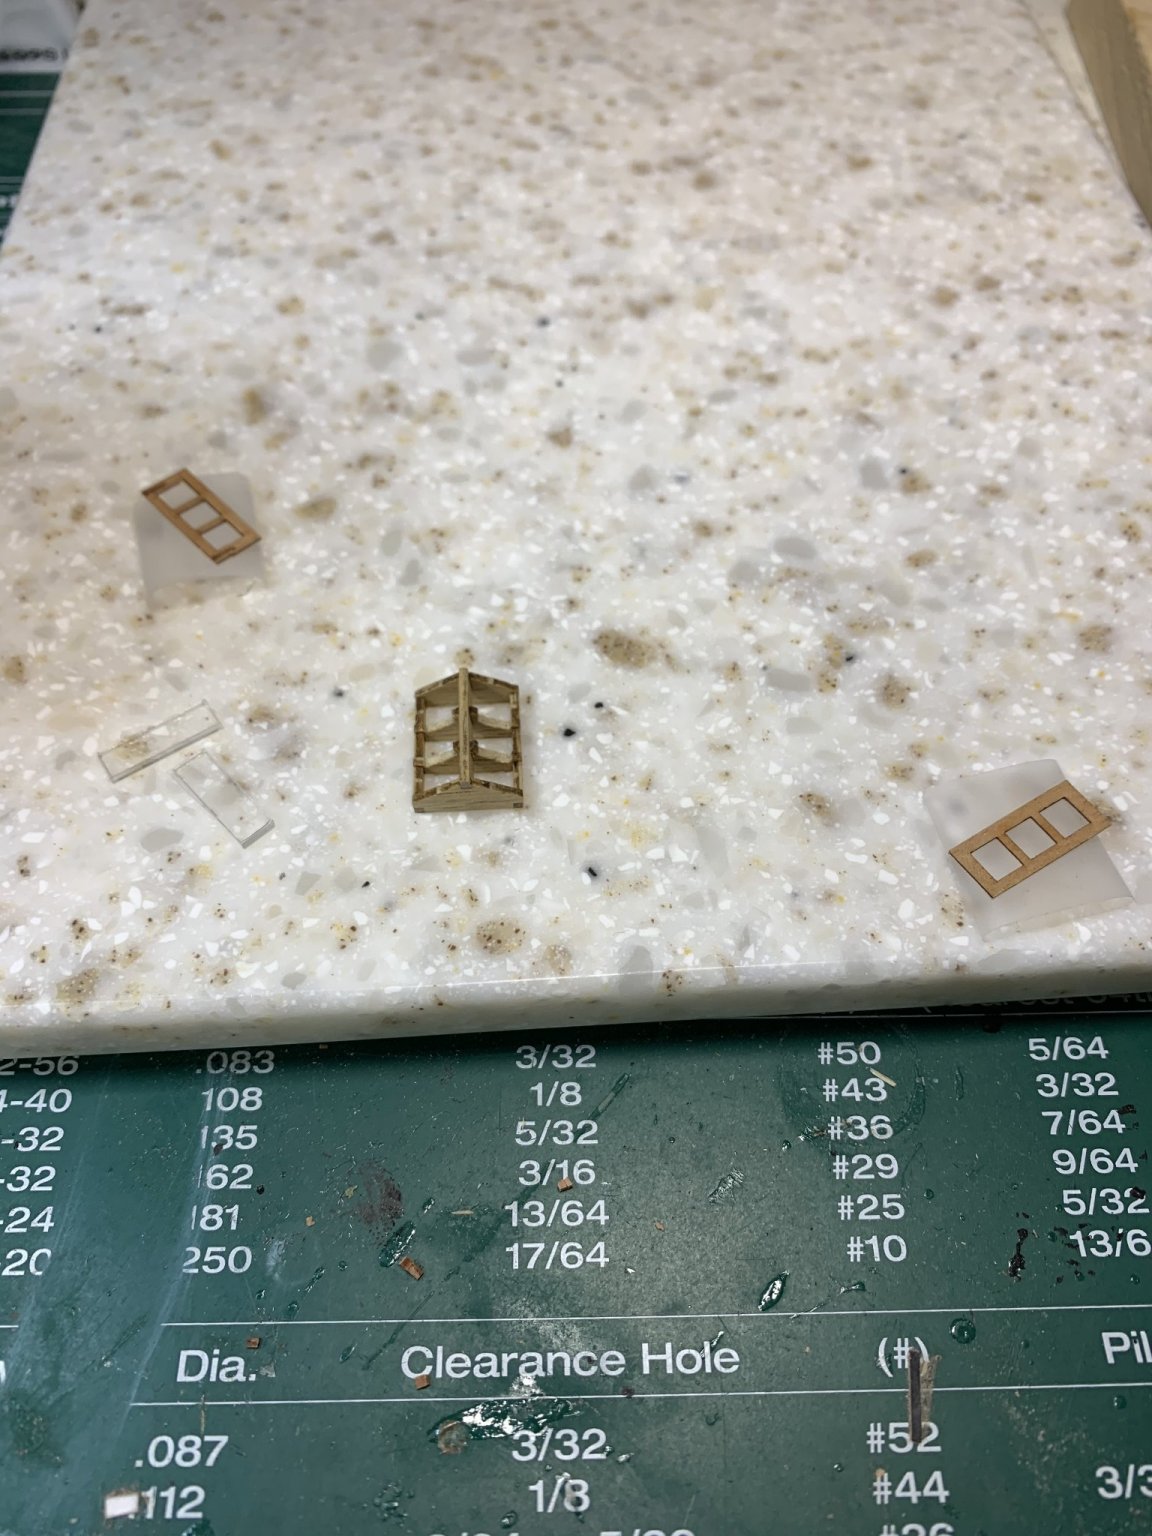
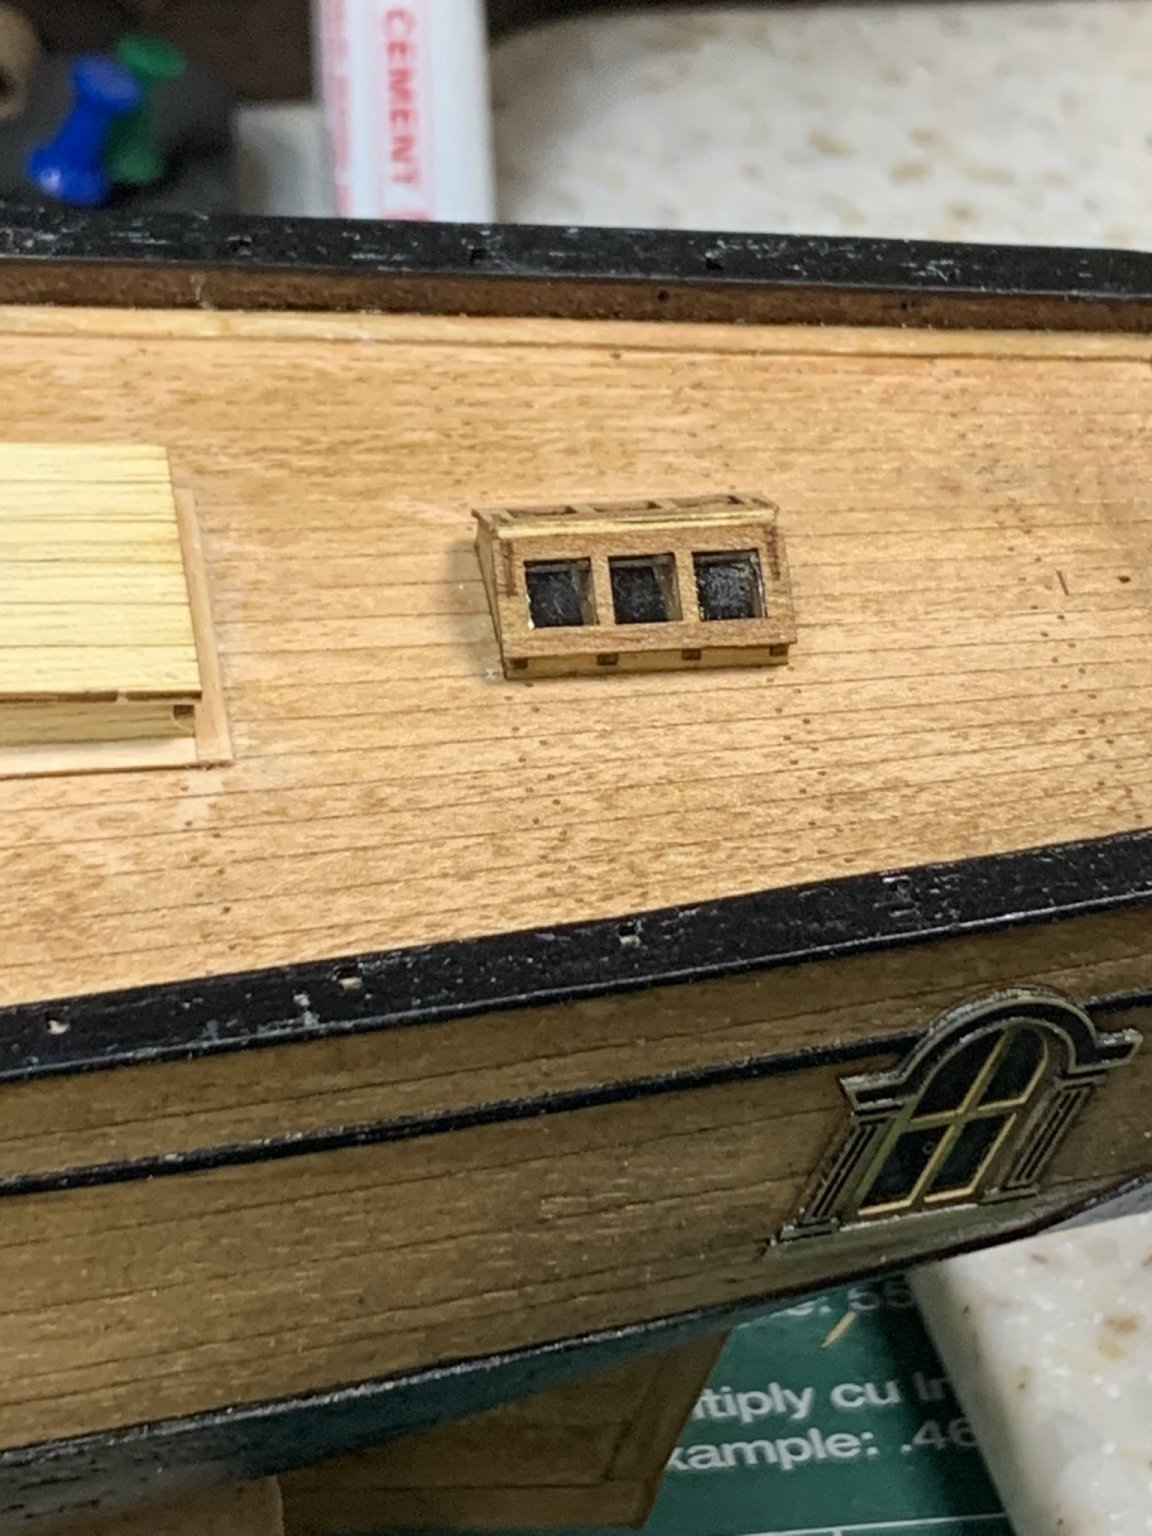
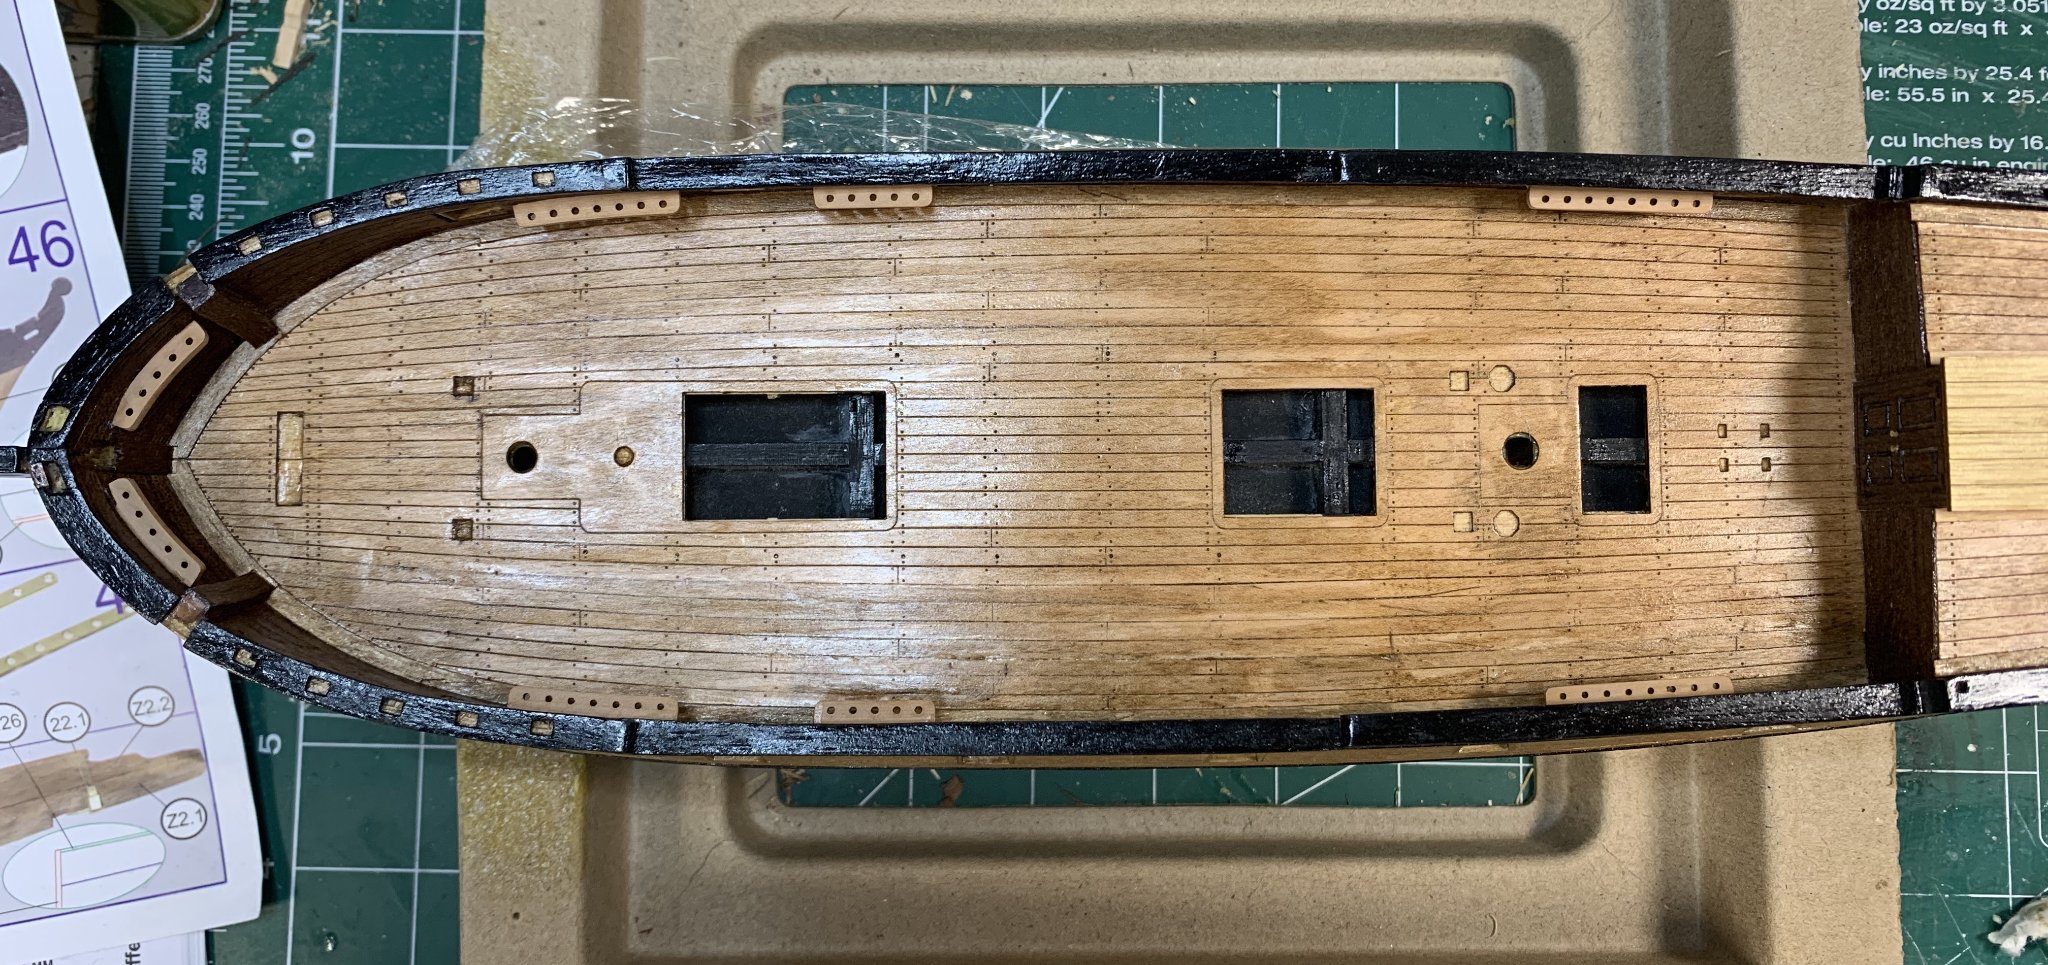
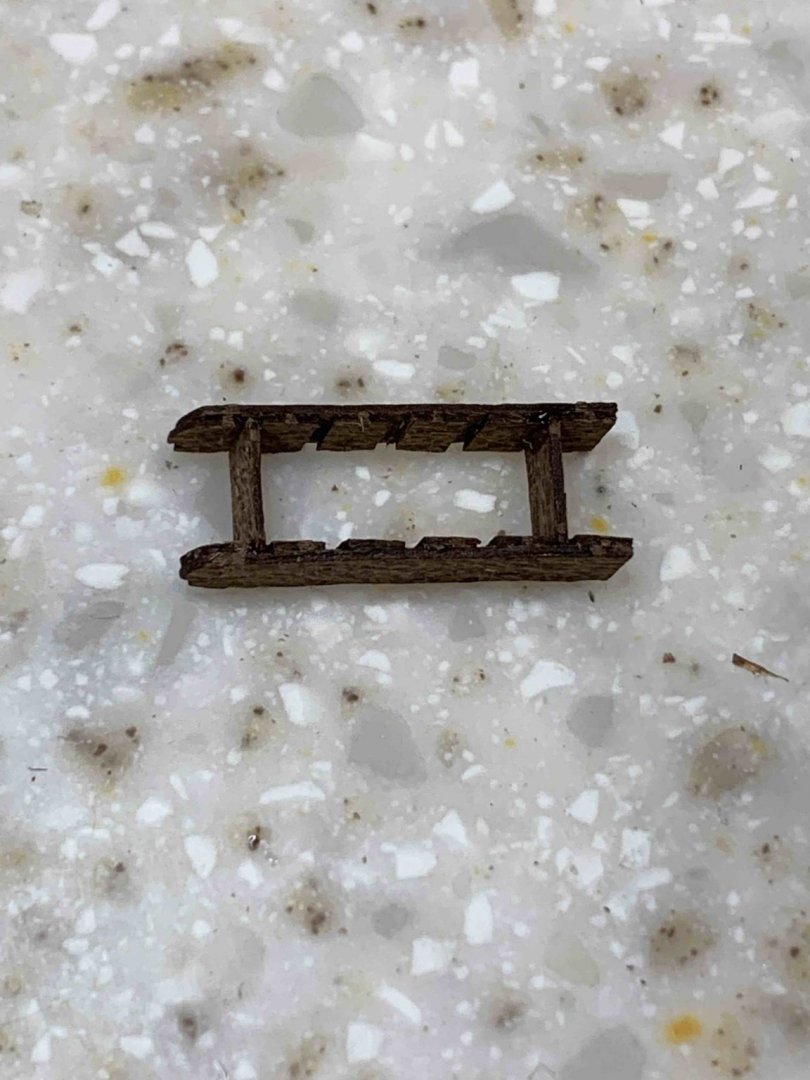
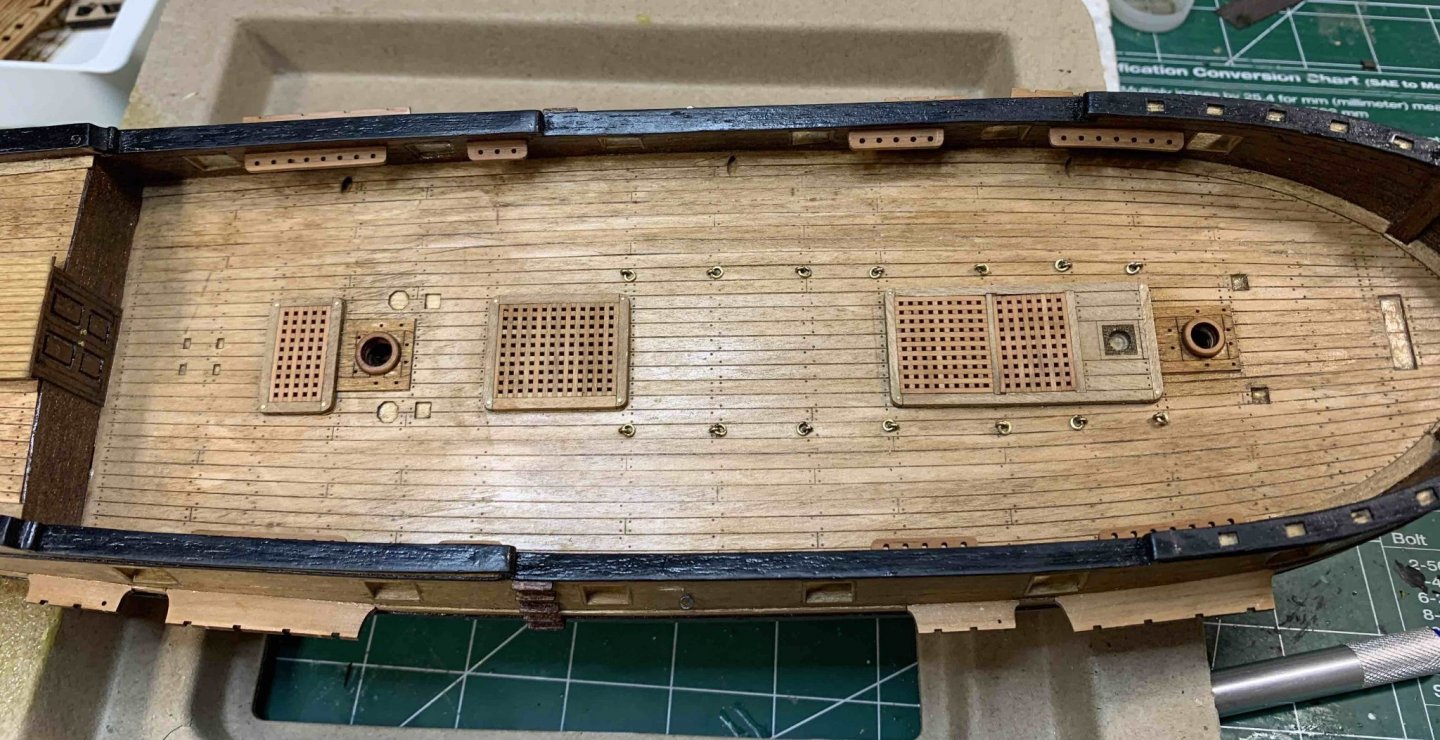
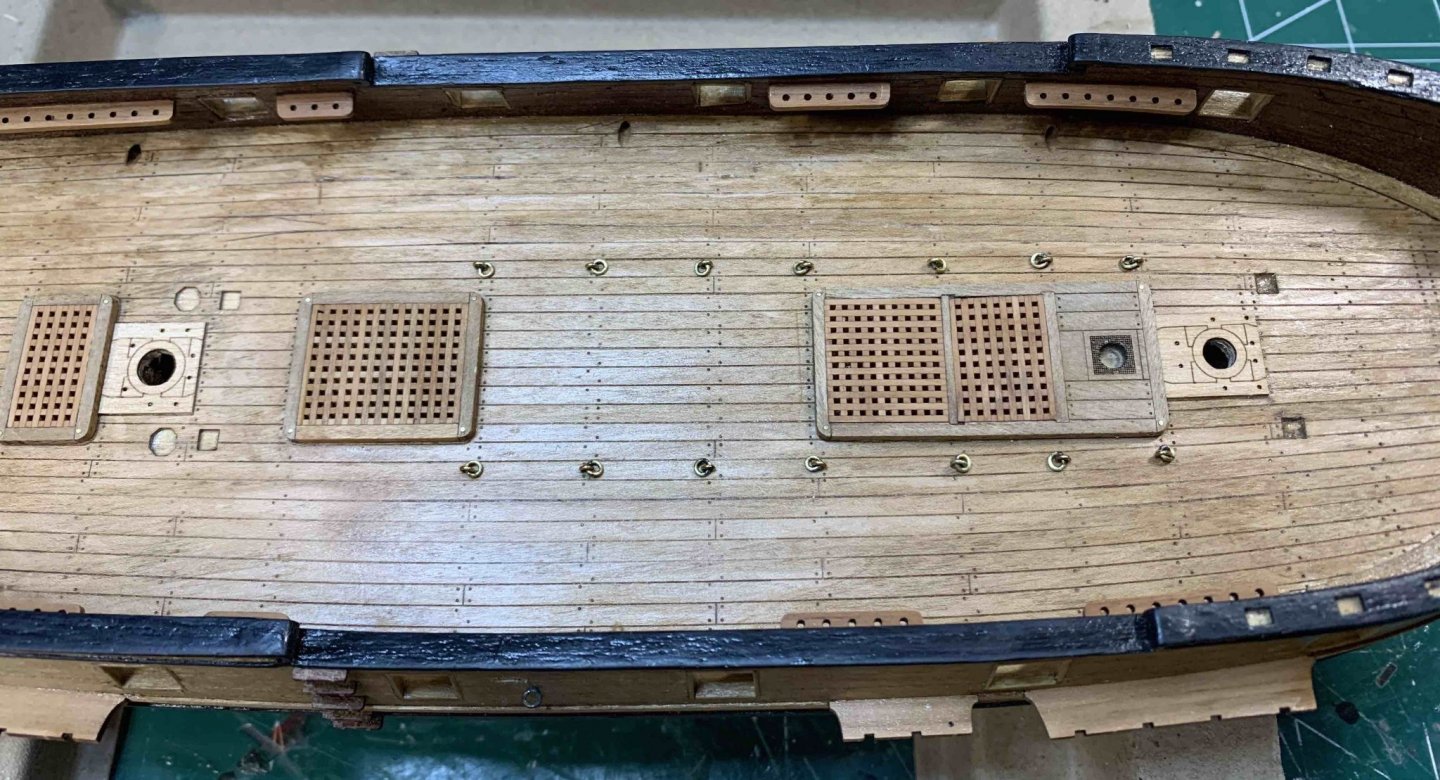
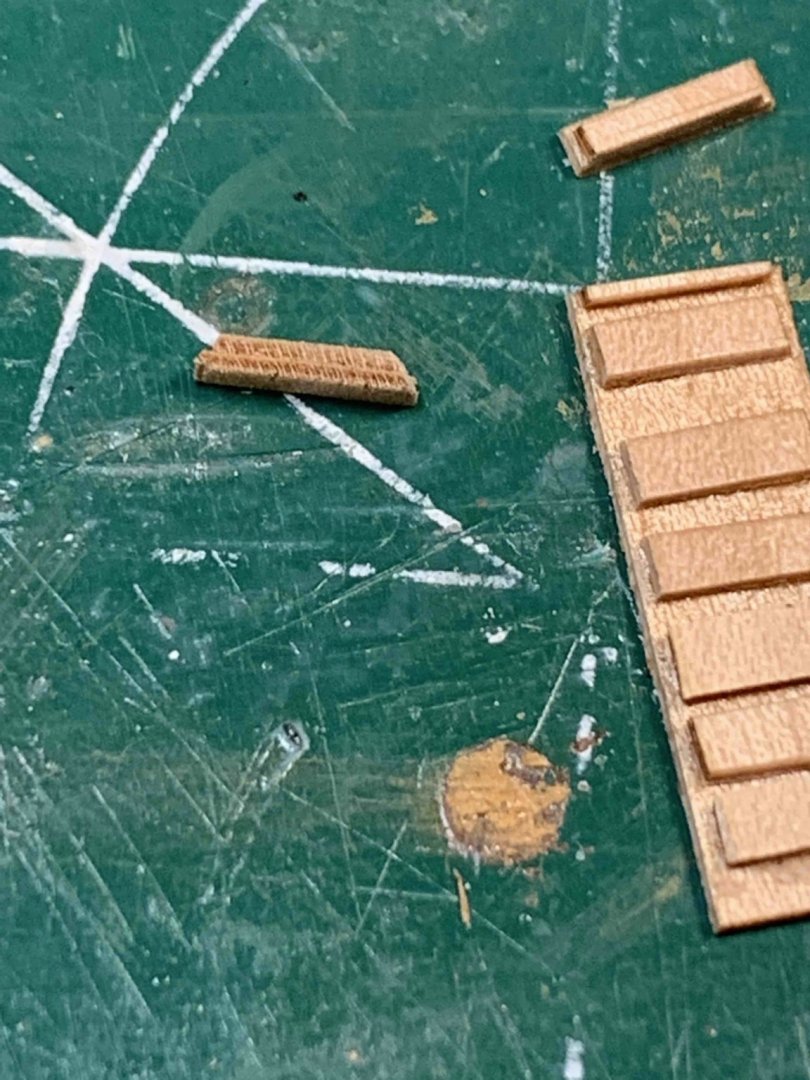
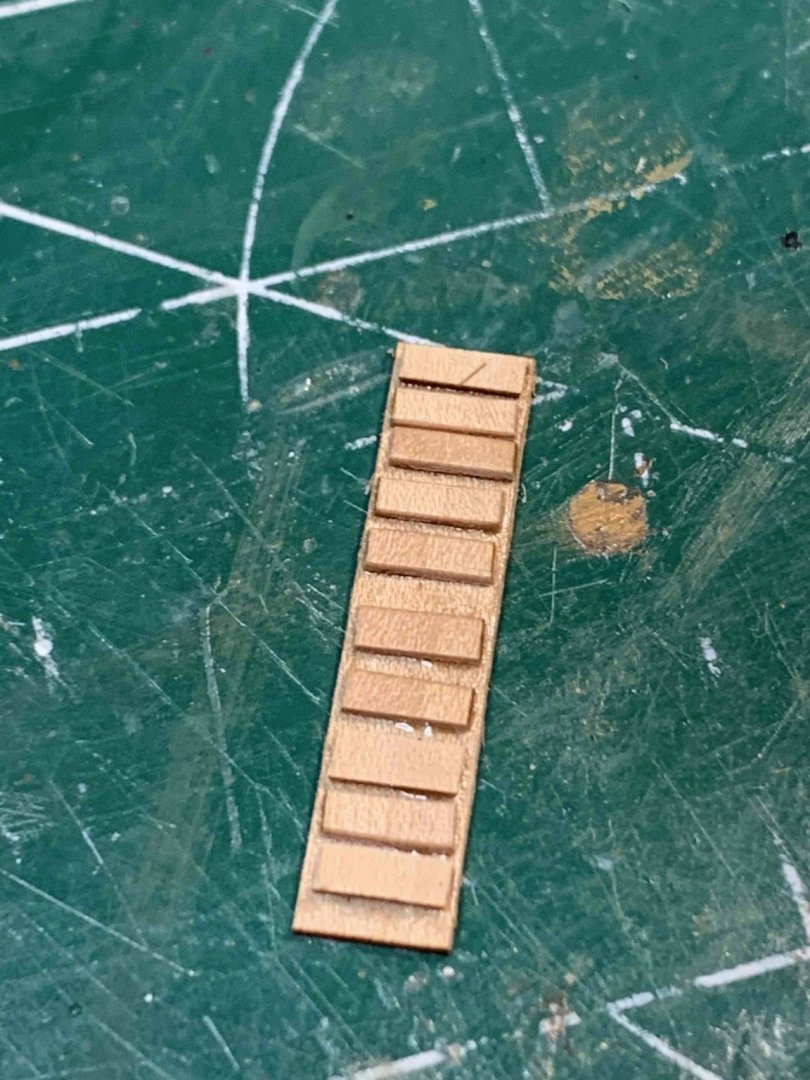
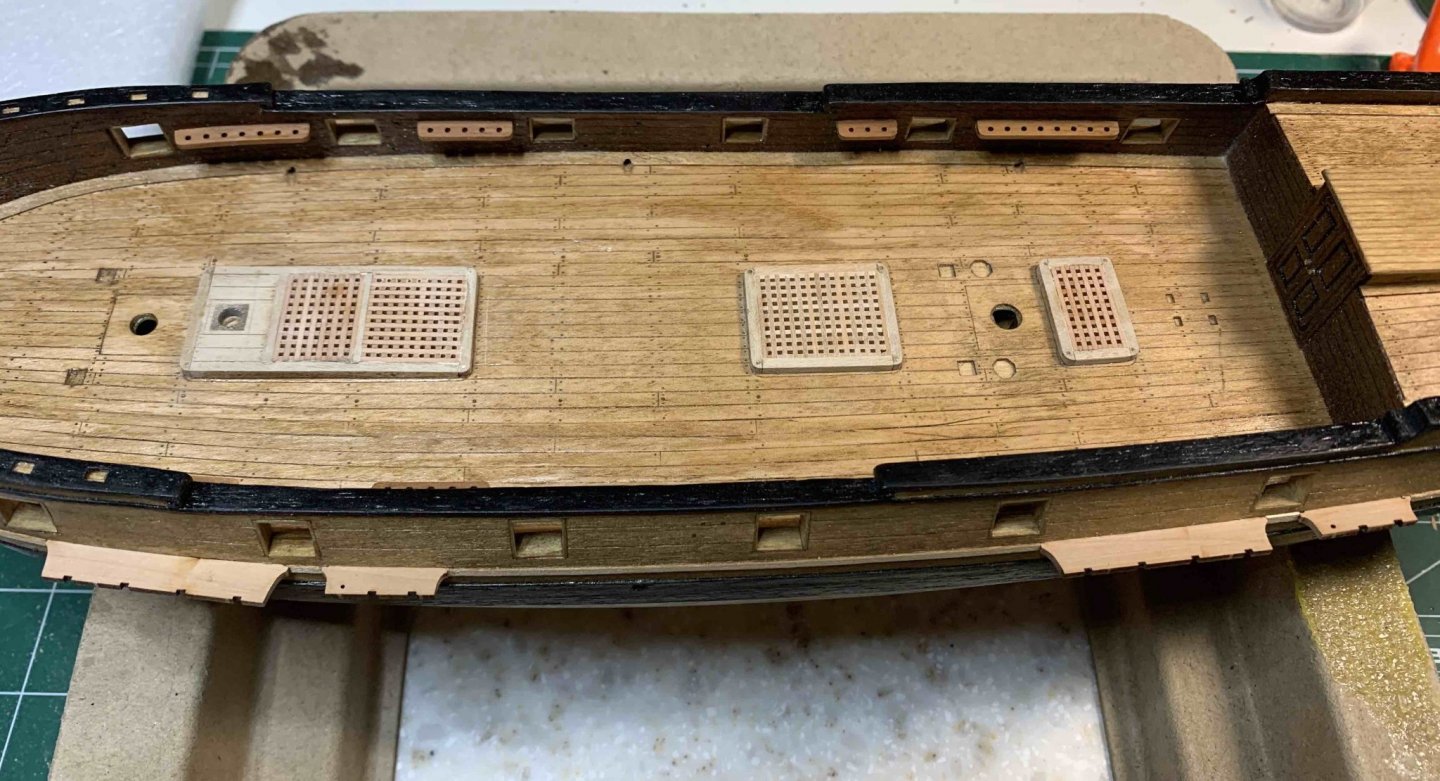
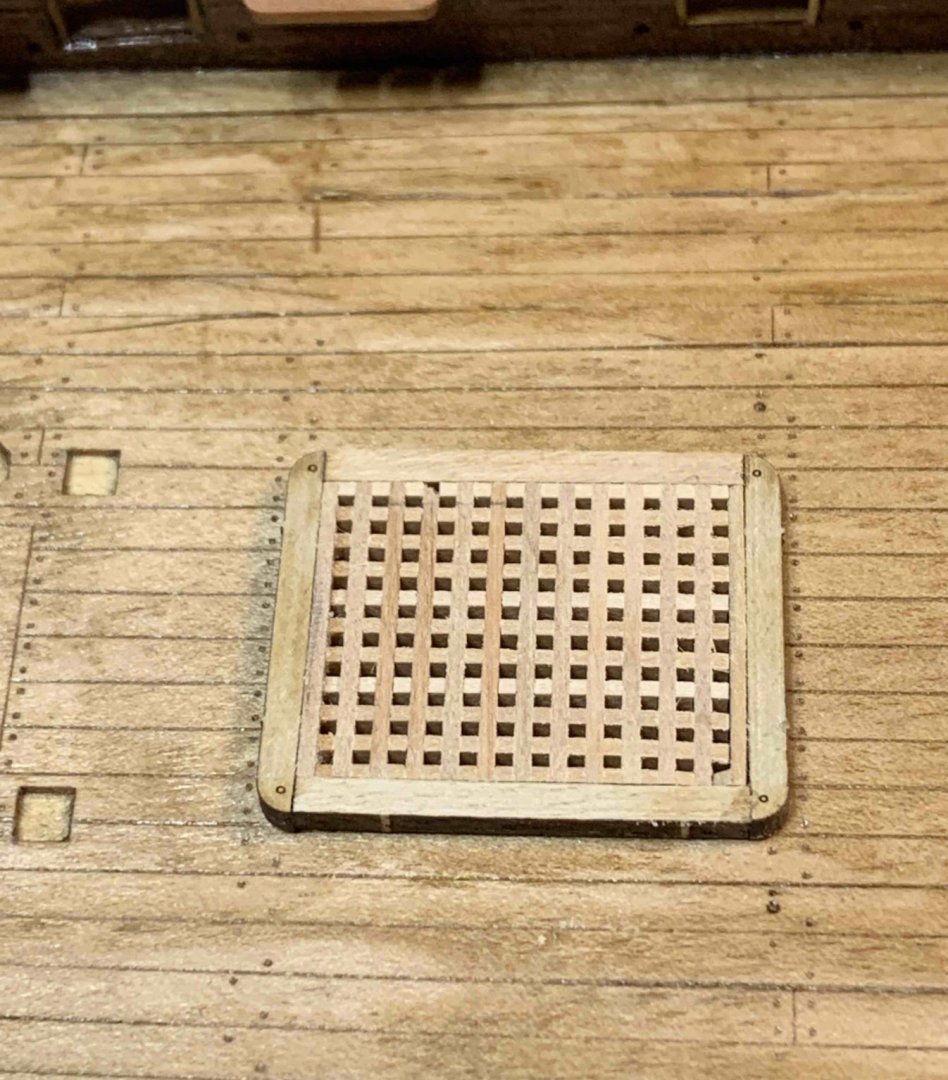
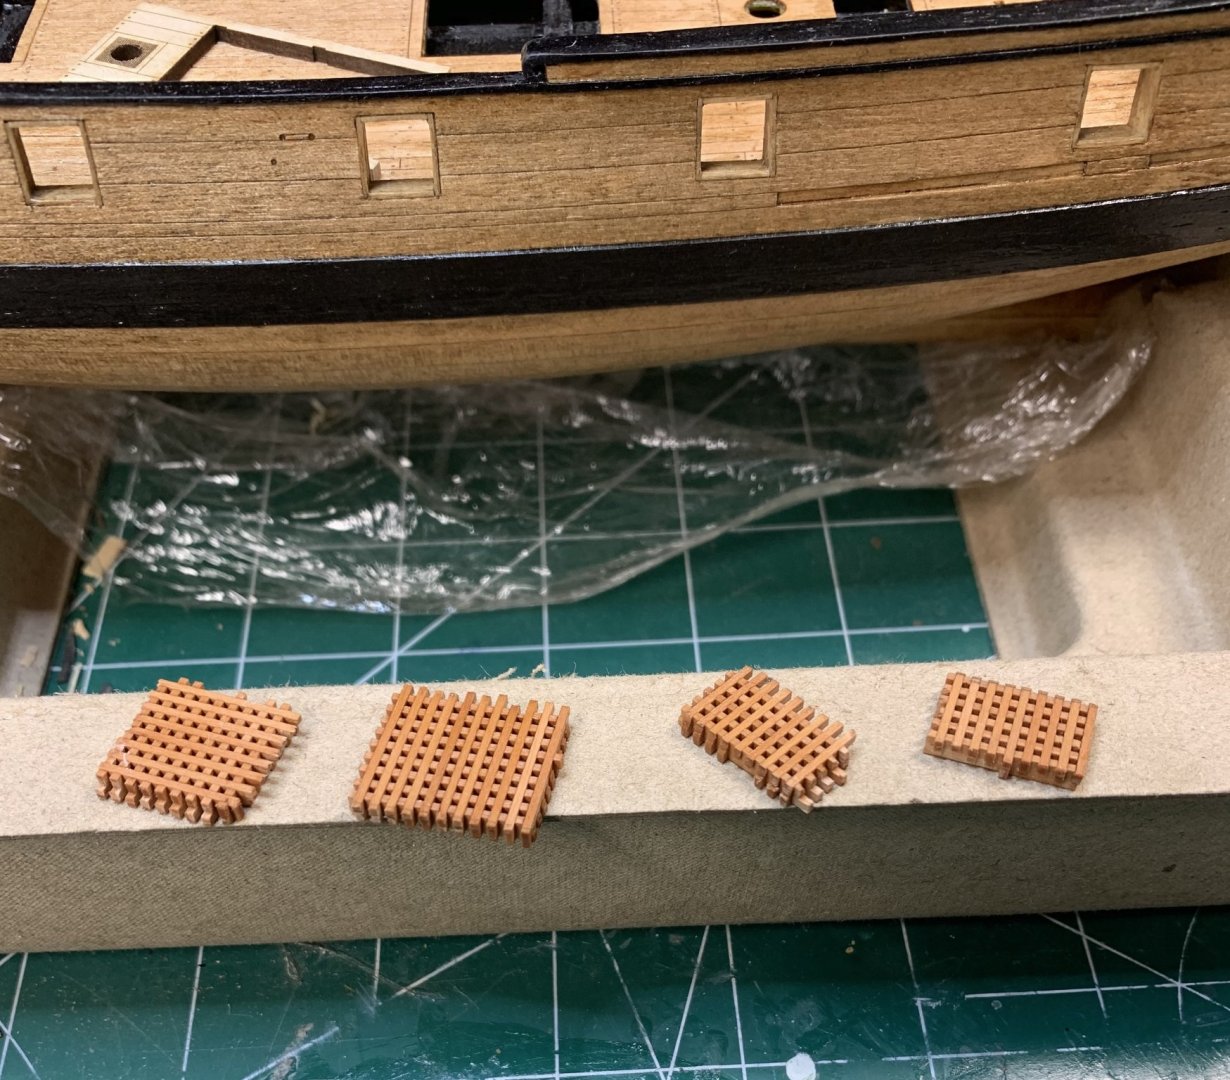
The gratings have been completed. Cutting, making, sanding, gluing, ... I have inserted brass pins in completed gratings to make them stand out a bit.. Also, a bit of a repairing had to be done.. I have lost one of the pieces that should be used for one grating so i need to cut it from available material.. Making sure 90 degrees angle is there when you need it.. Before combining pieces into real gratings.. On the ship.. With last one i took a bit different approach as i had to make gratings fit the frame in previous two. This time i fit frames around completed gratings, it is kind of make sense. With completed gratings, i start gluing individual frames. Sanding to remove laser burns and other stuff... On the ship, all three.. And with a layer of golden oak stain also applied to the rest of the ship that was missing it.. Happy modelling...


- 275 replies
-
- 4
-
-
- phoenix
- master korabel
- (and 1 more)
-
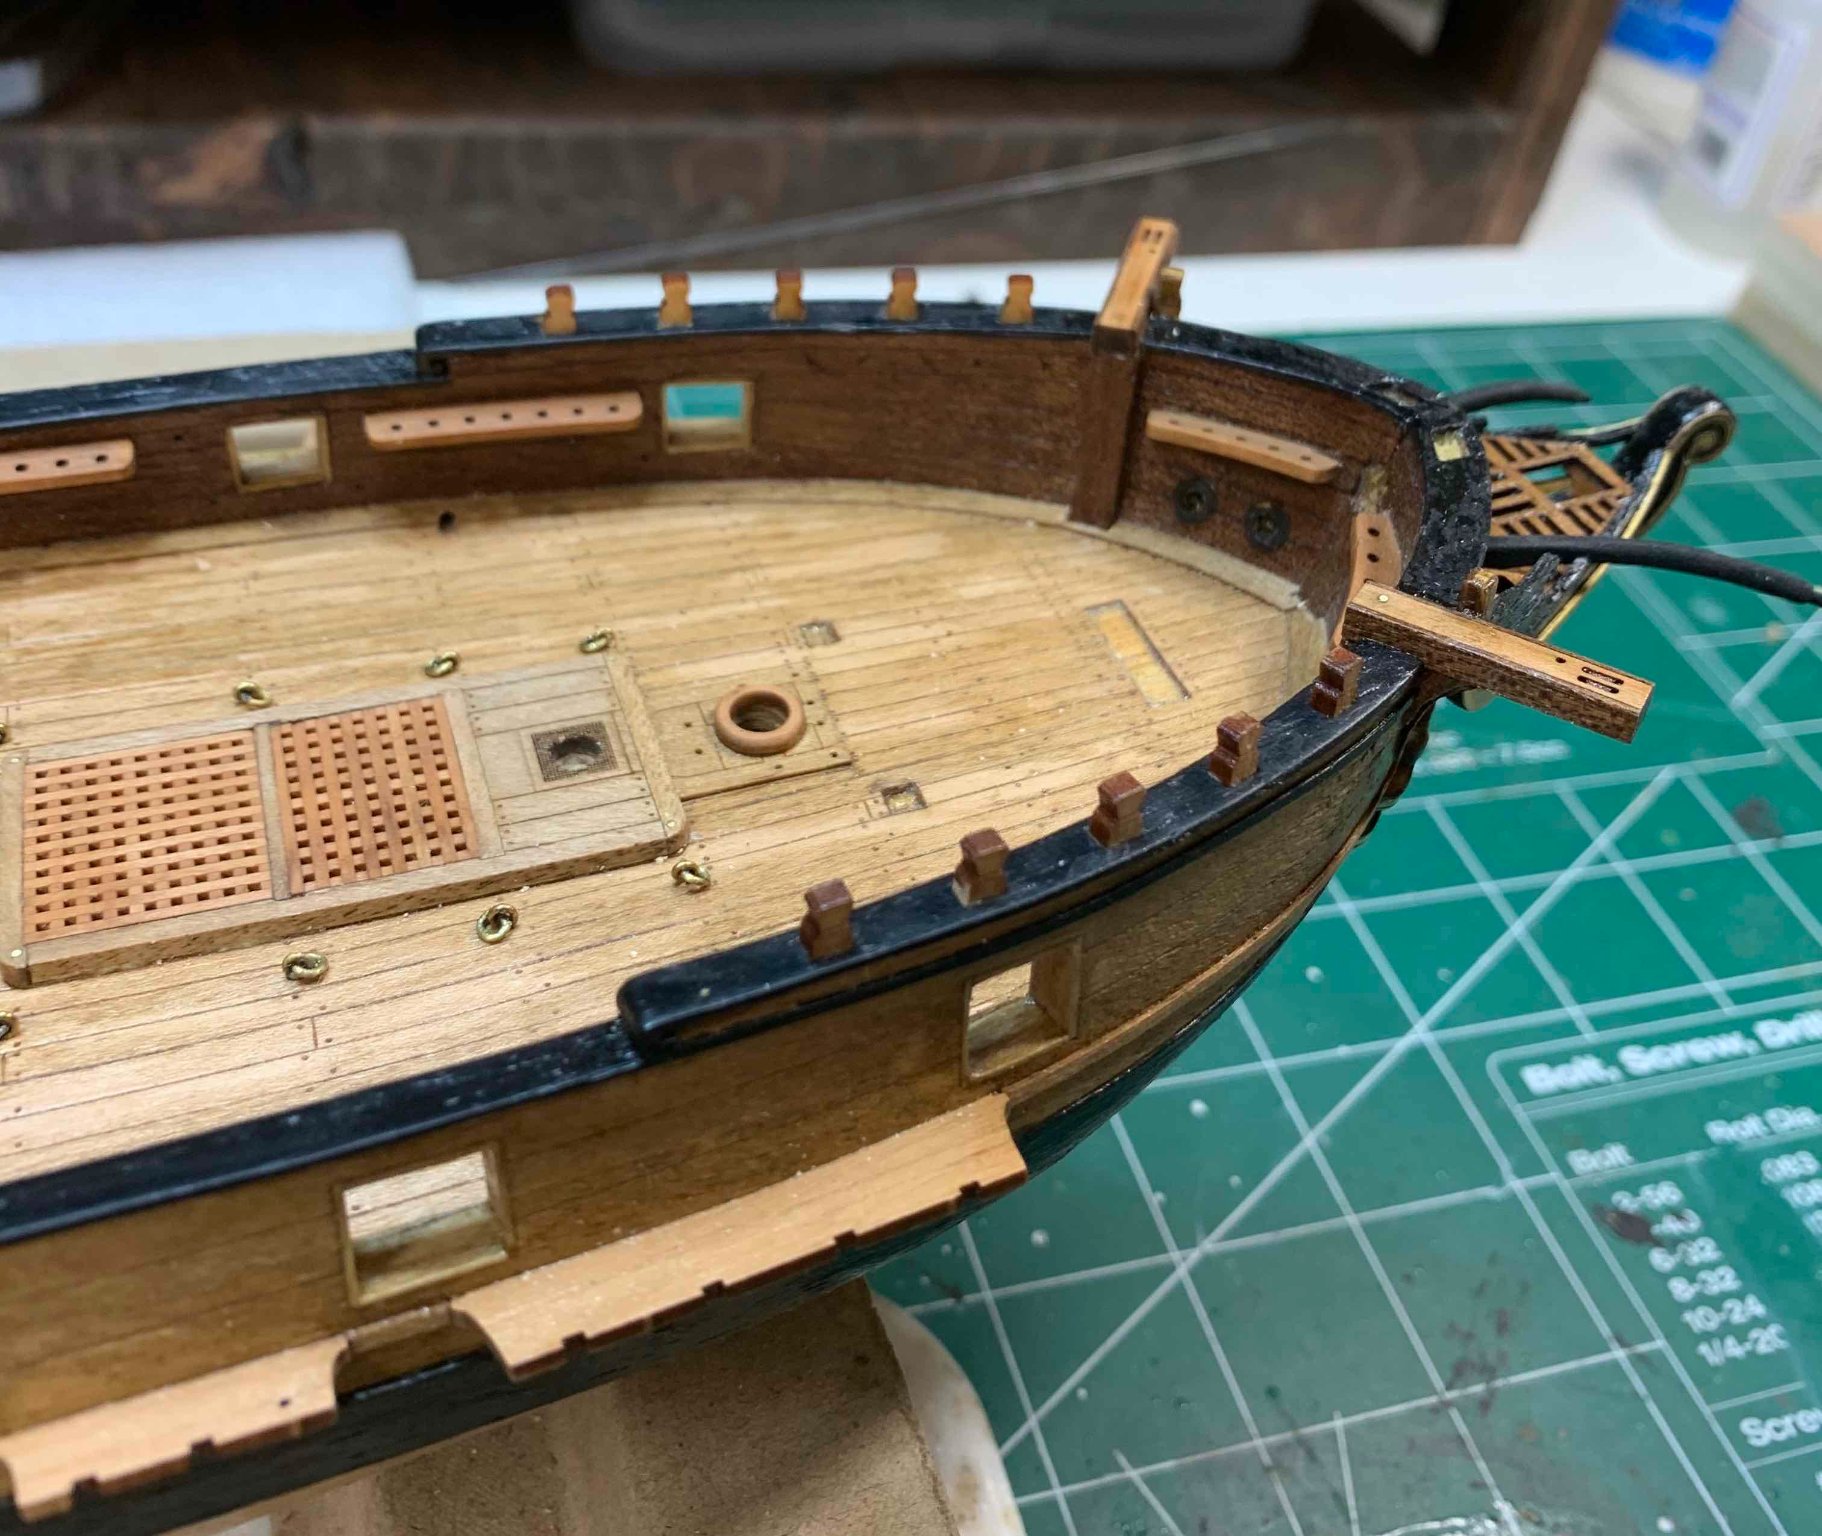
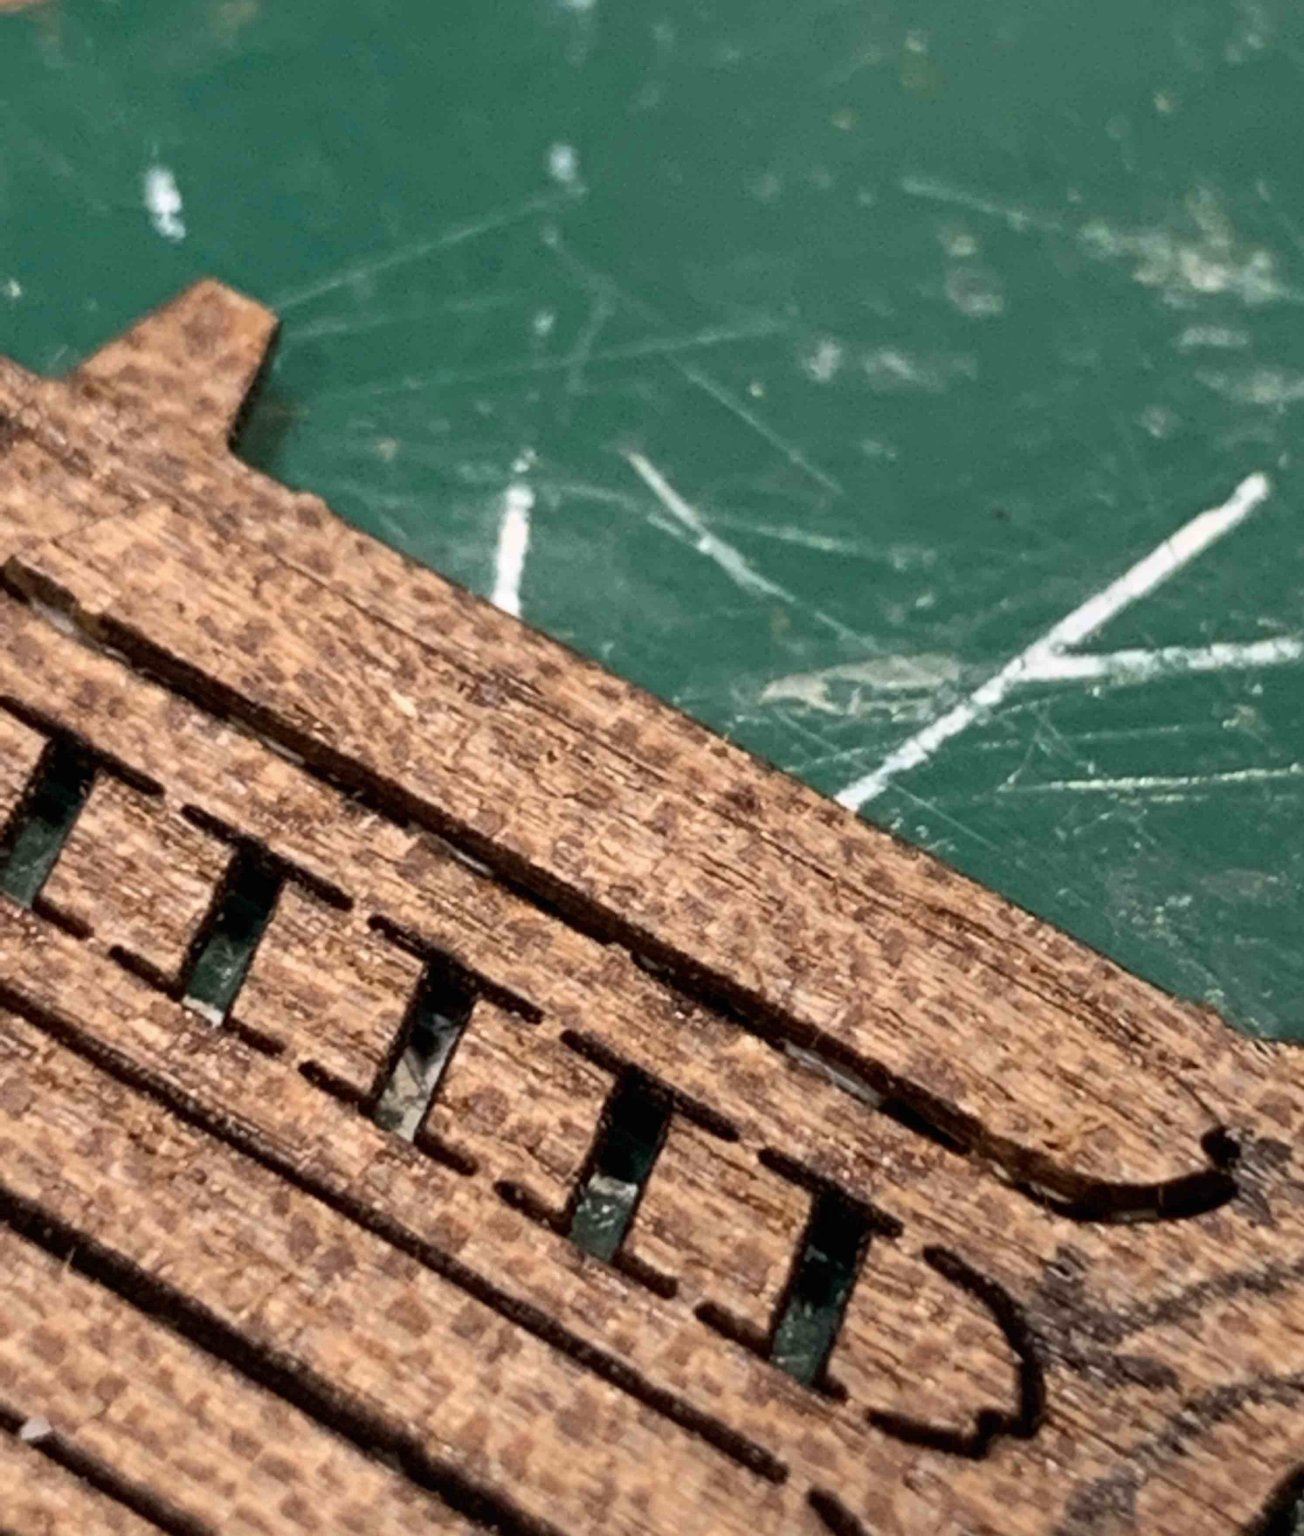
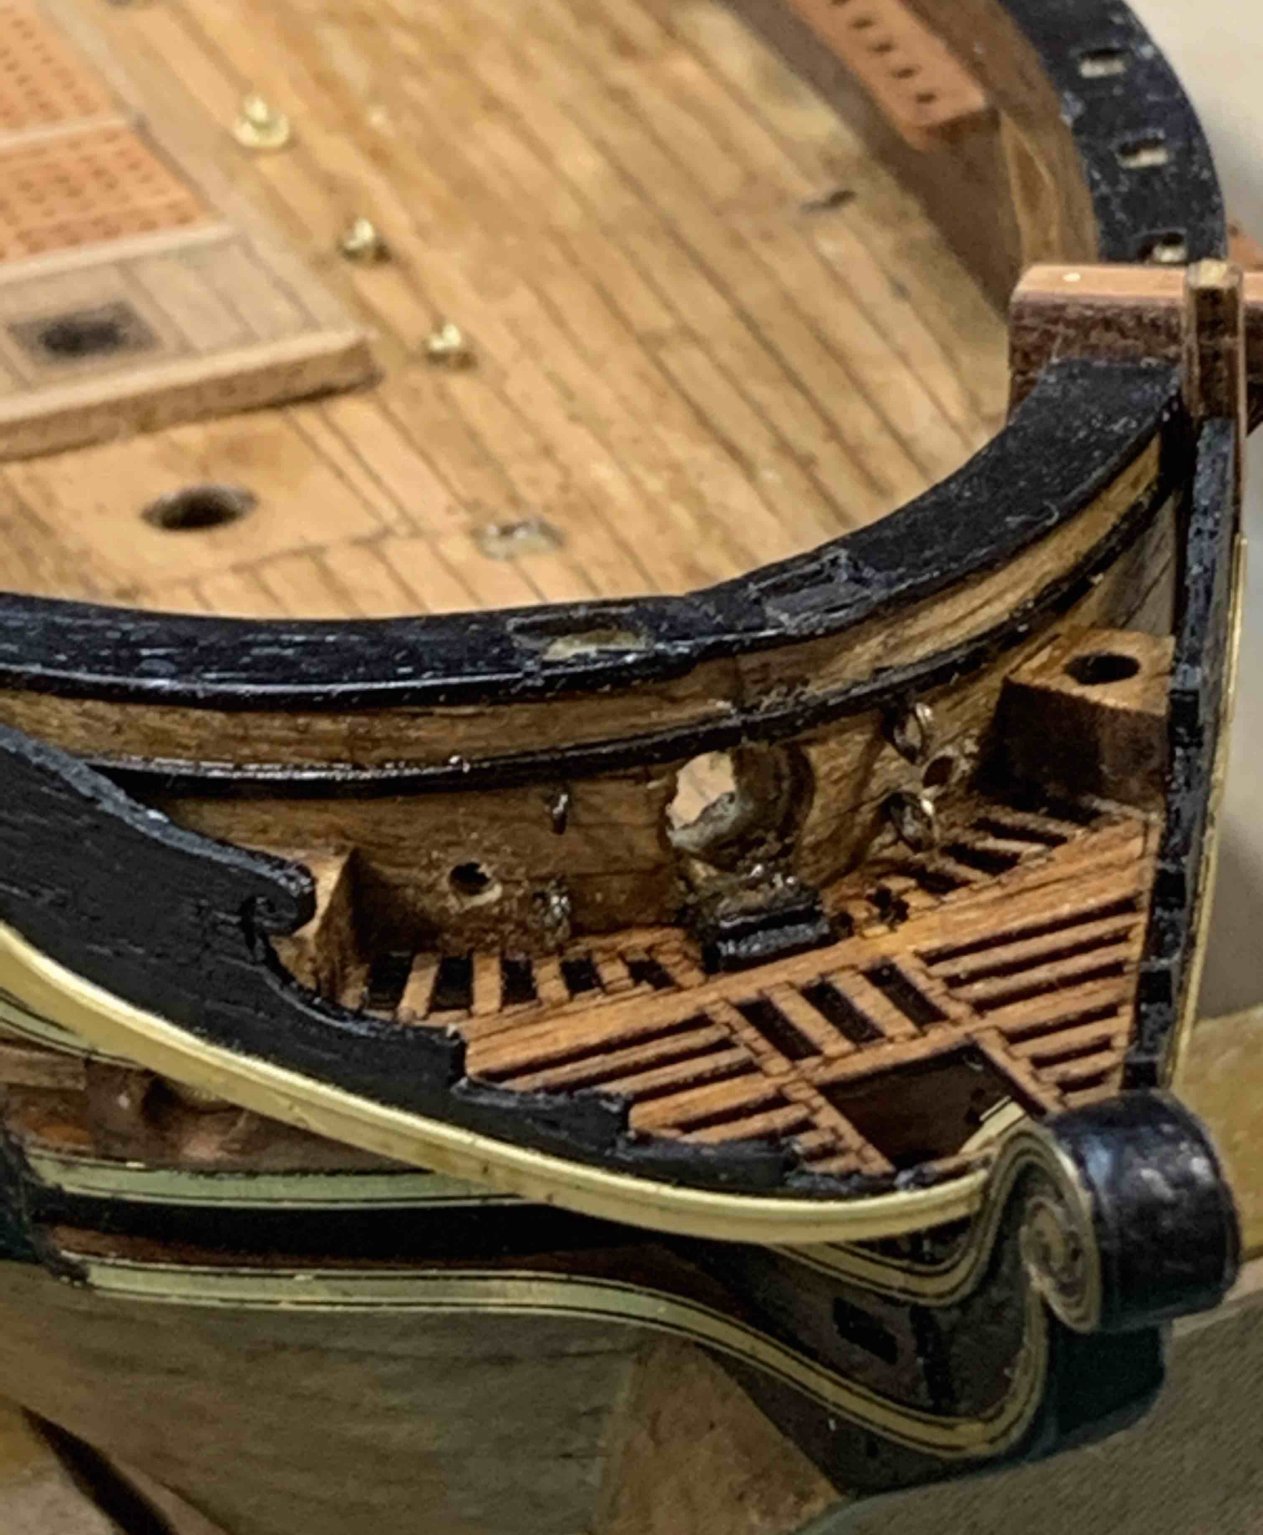
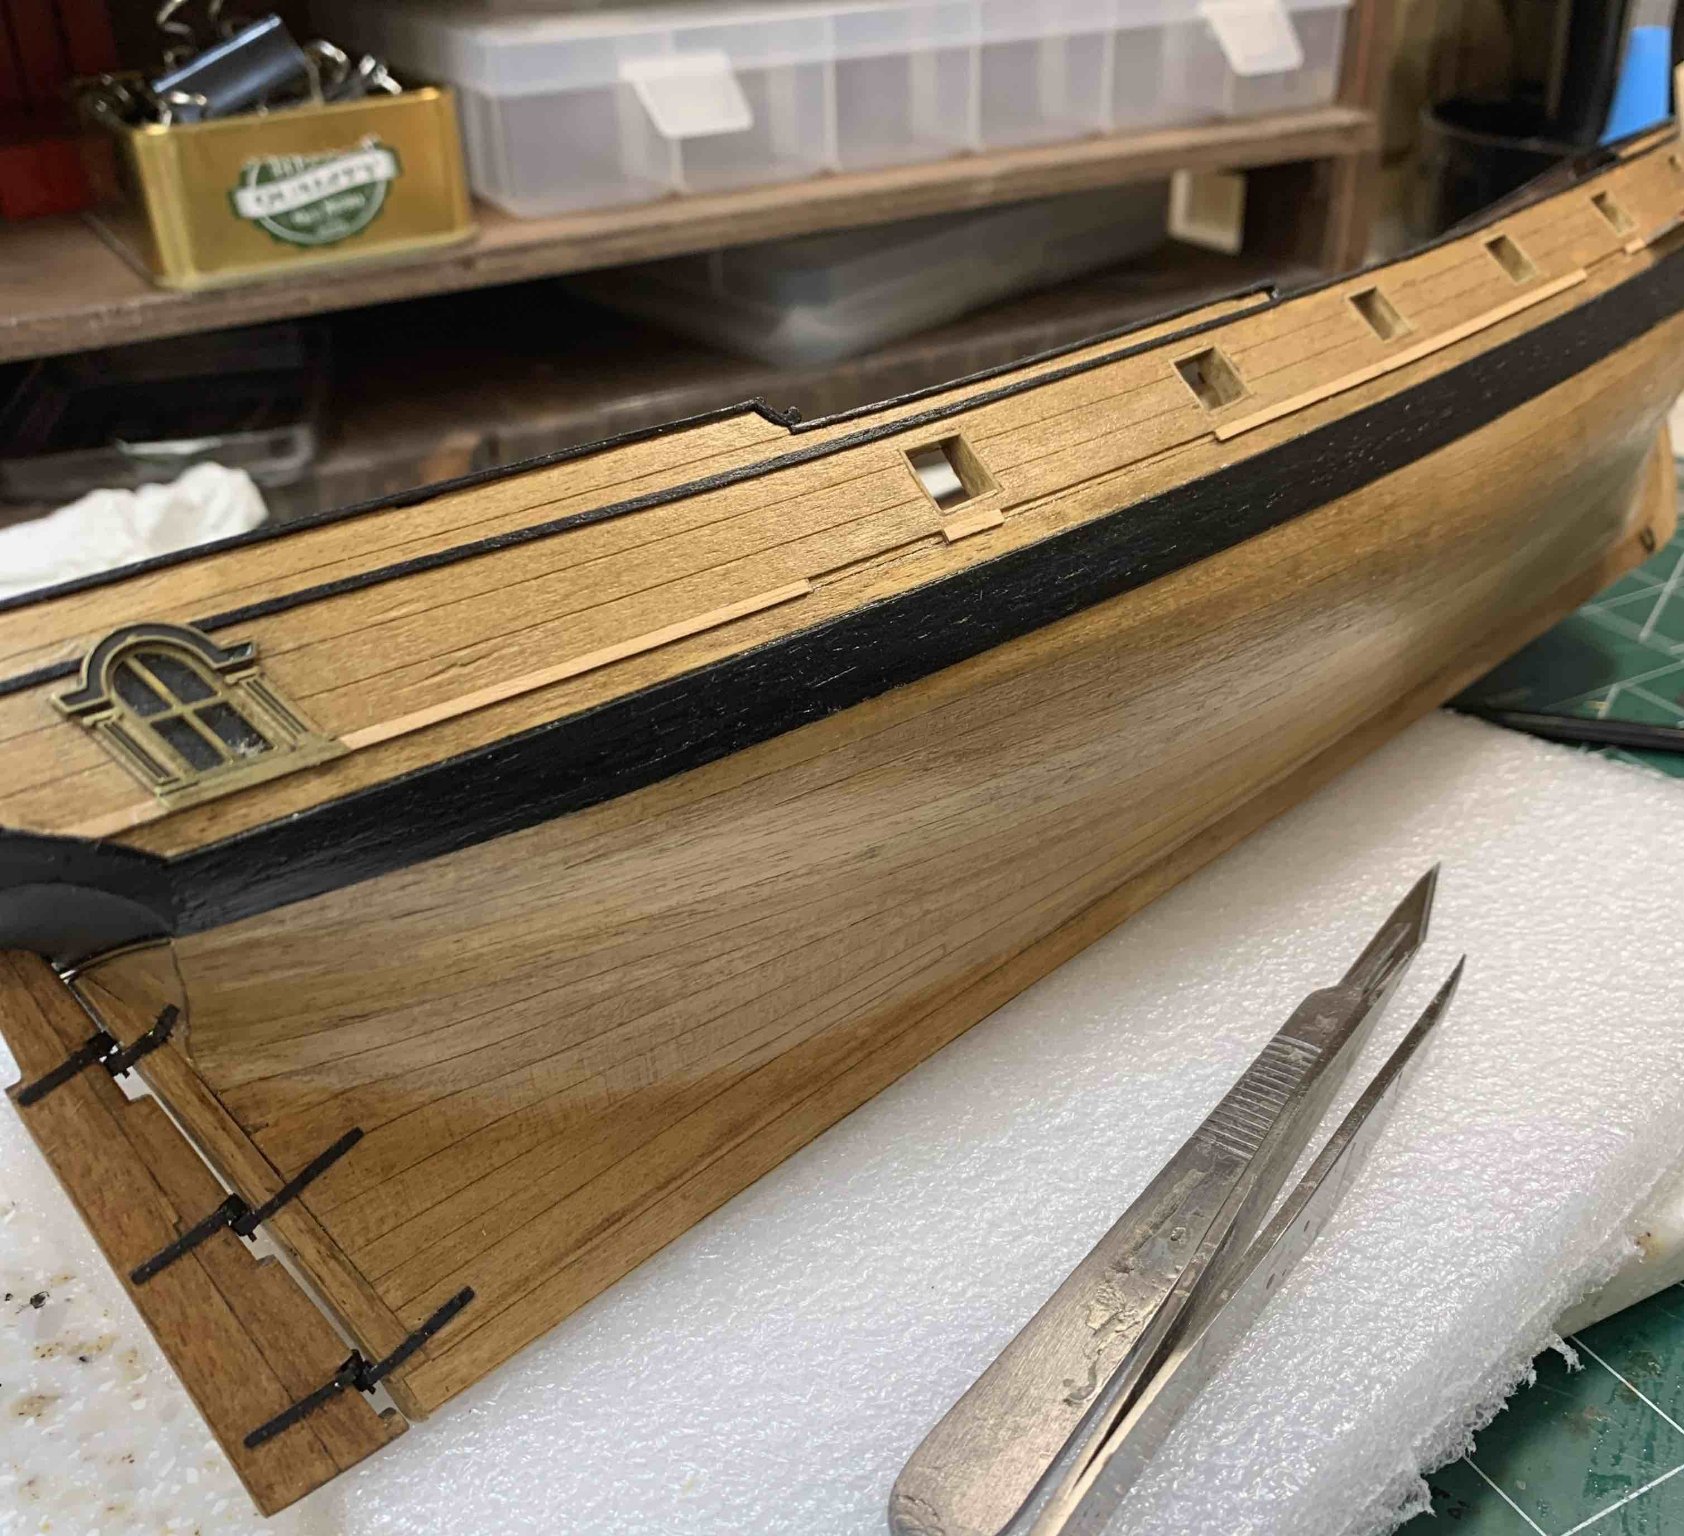
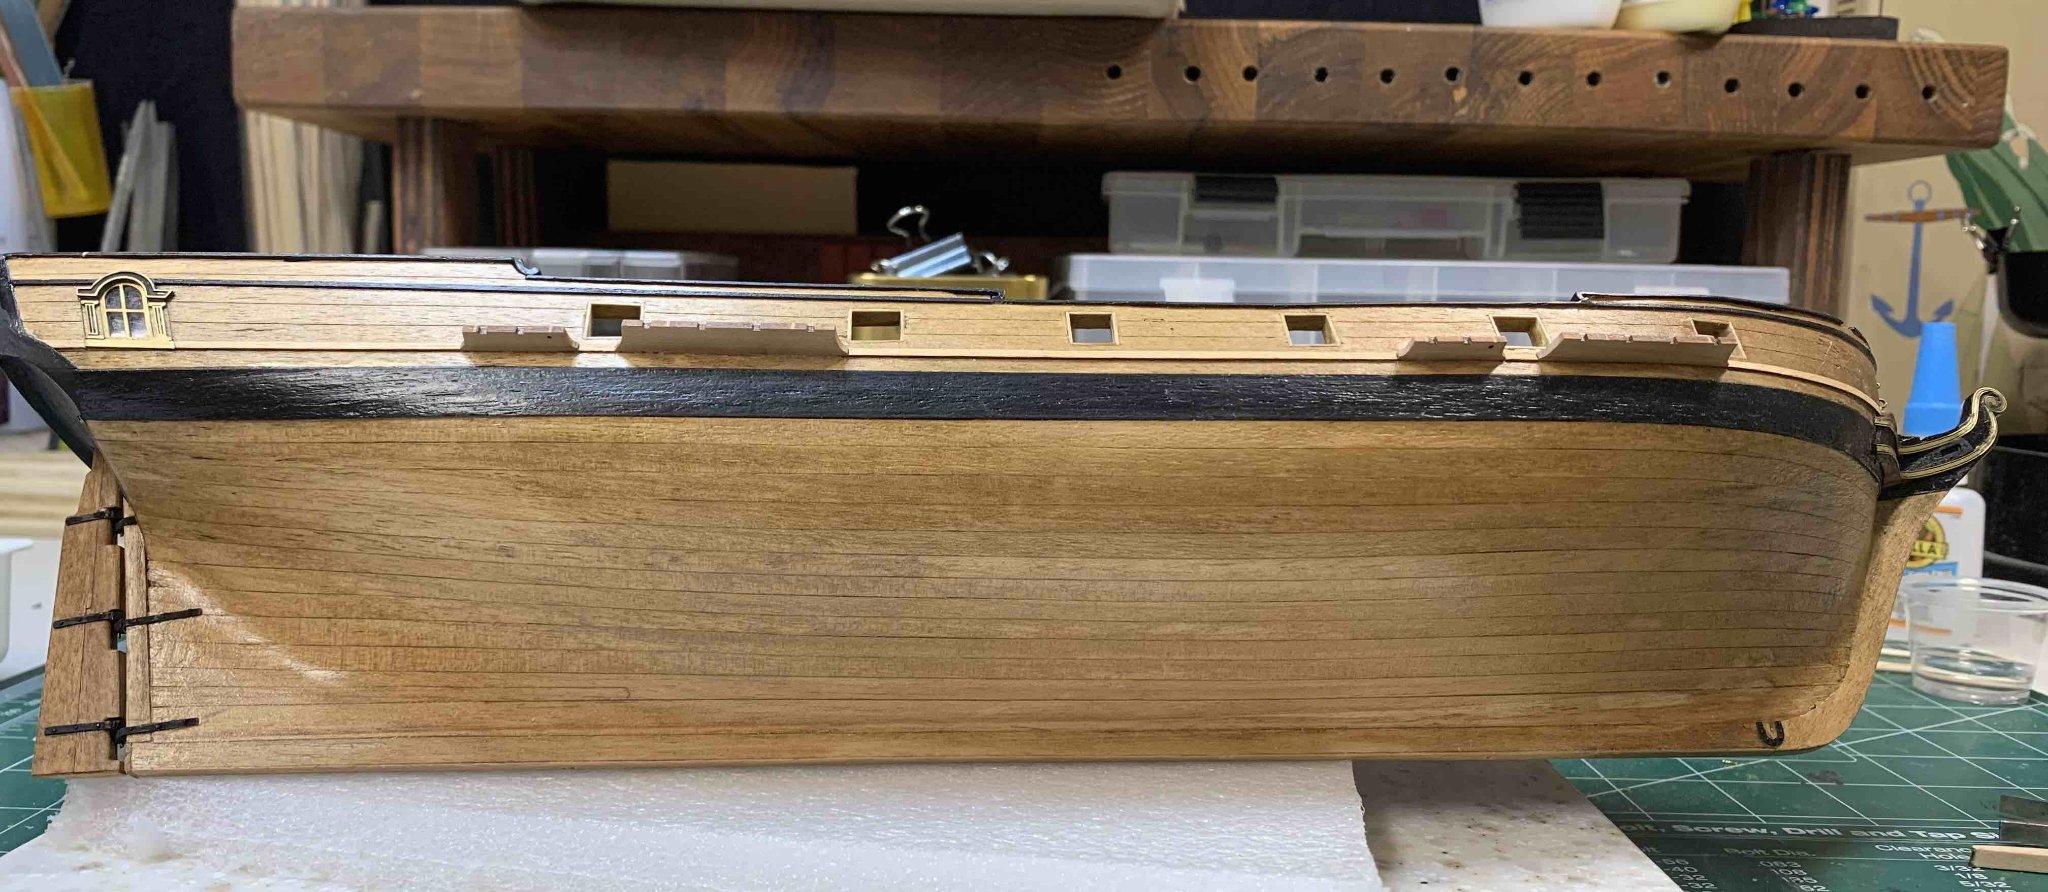
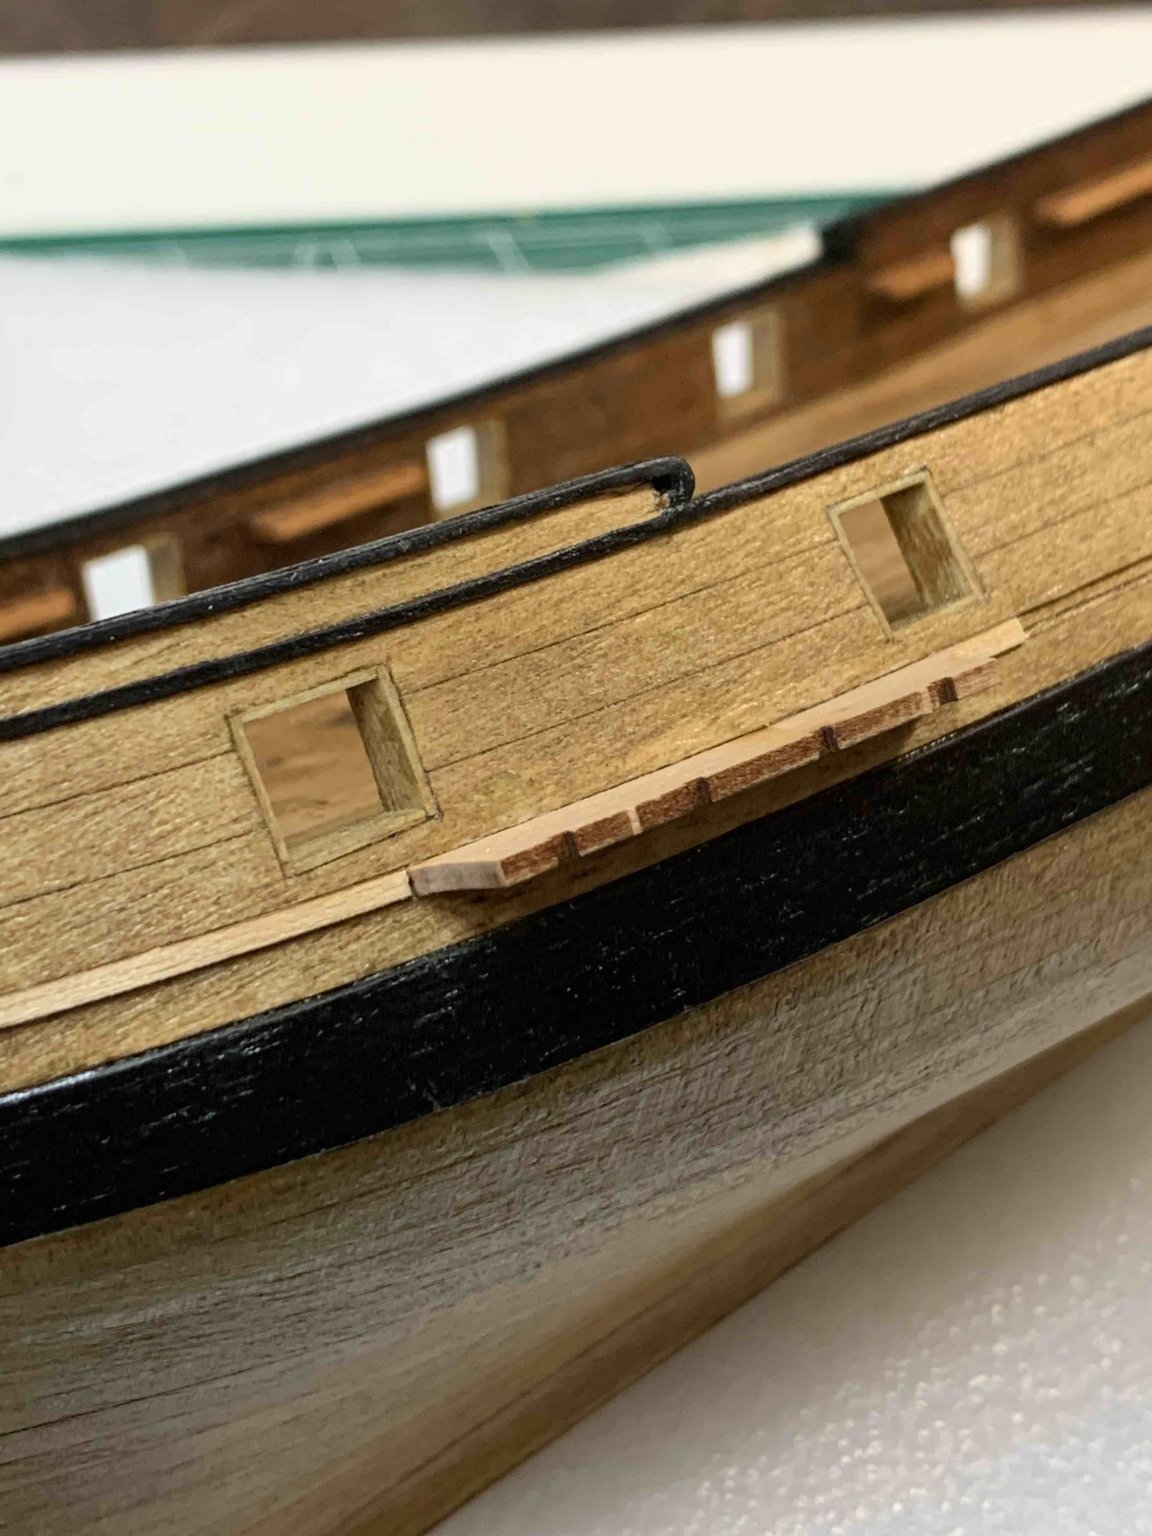
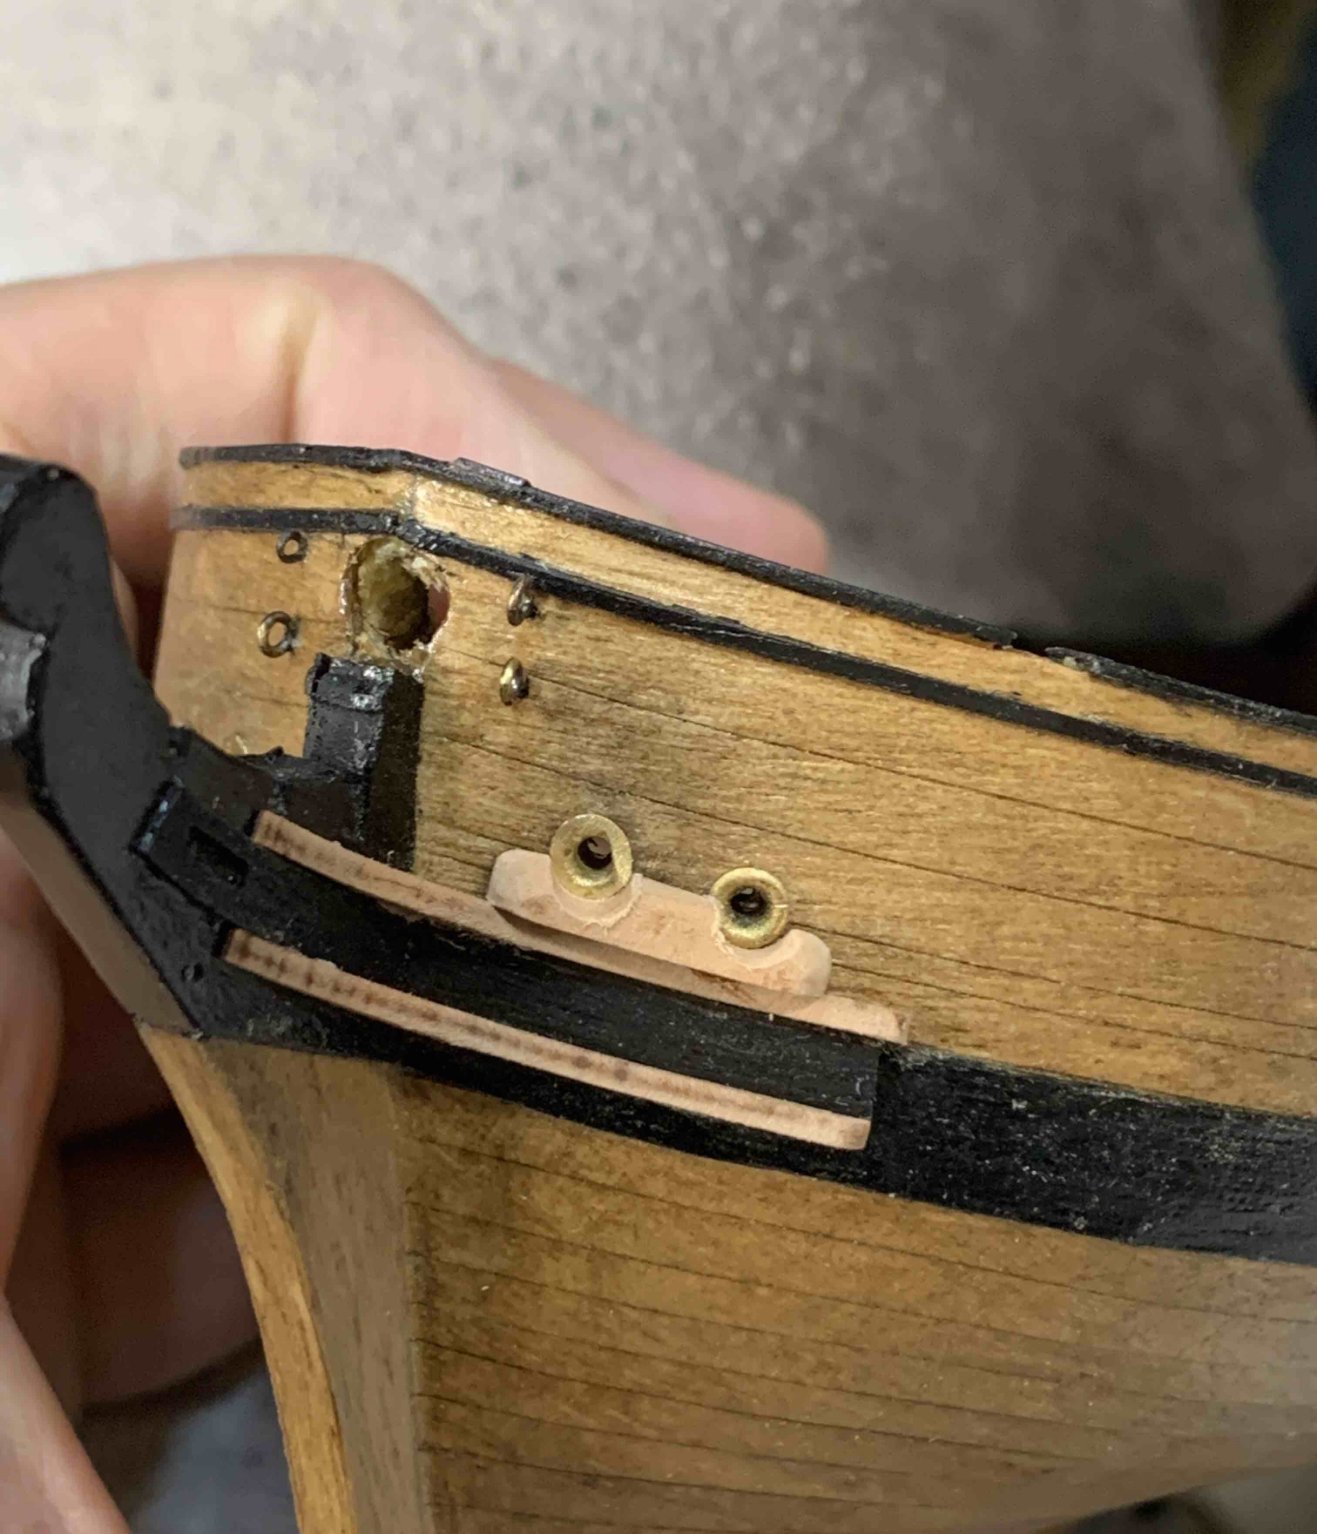
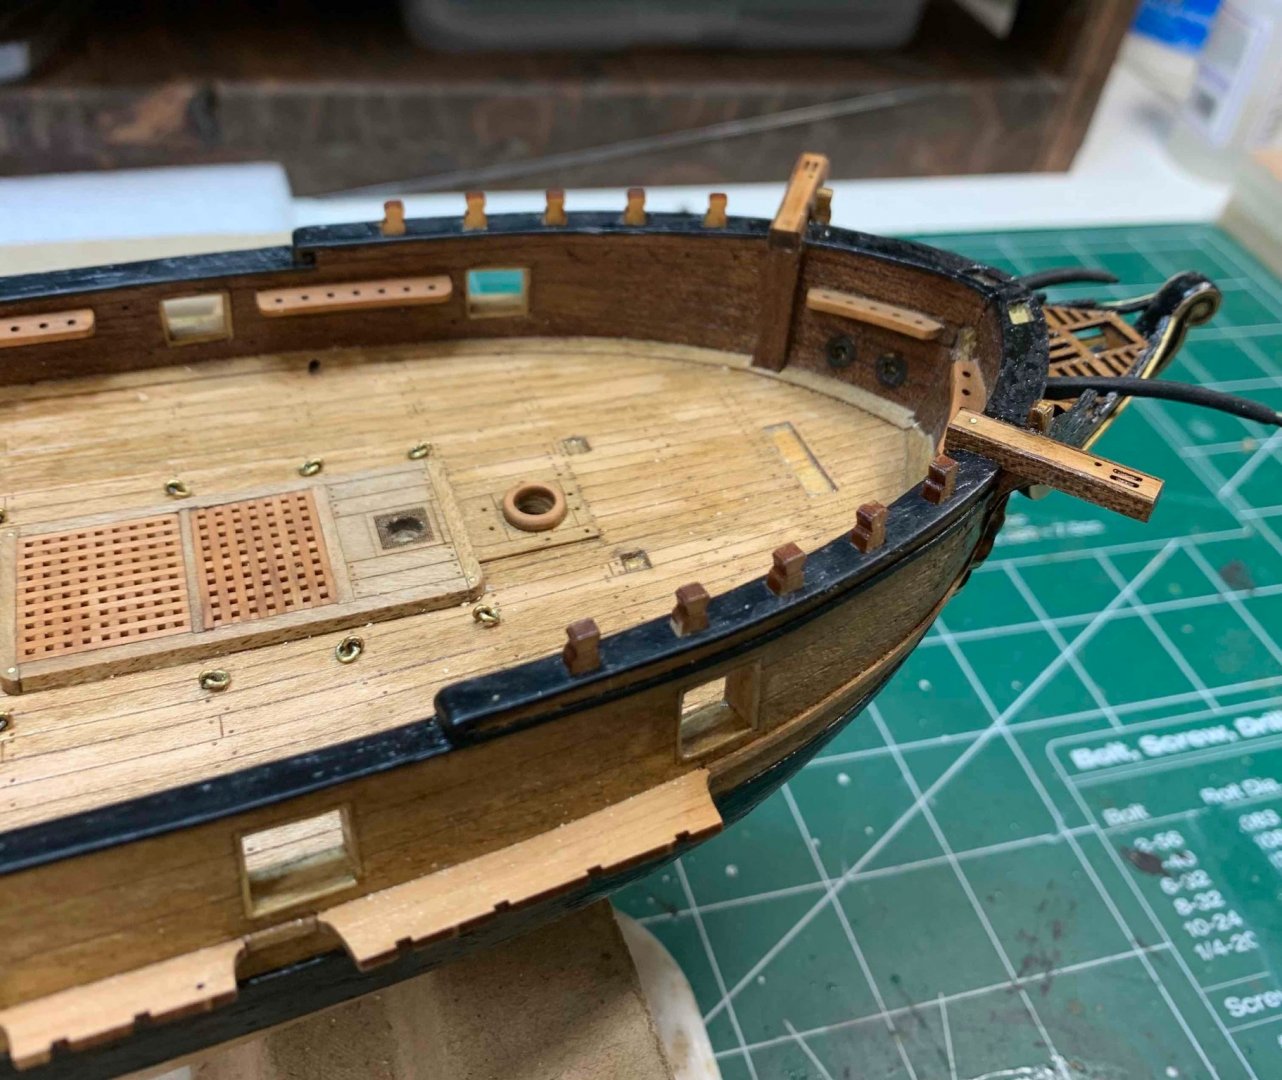
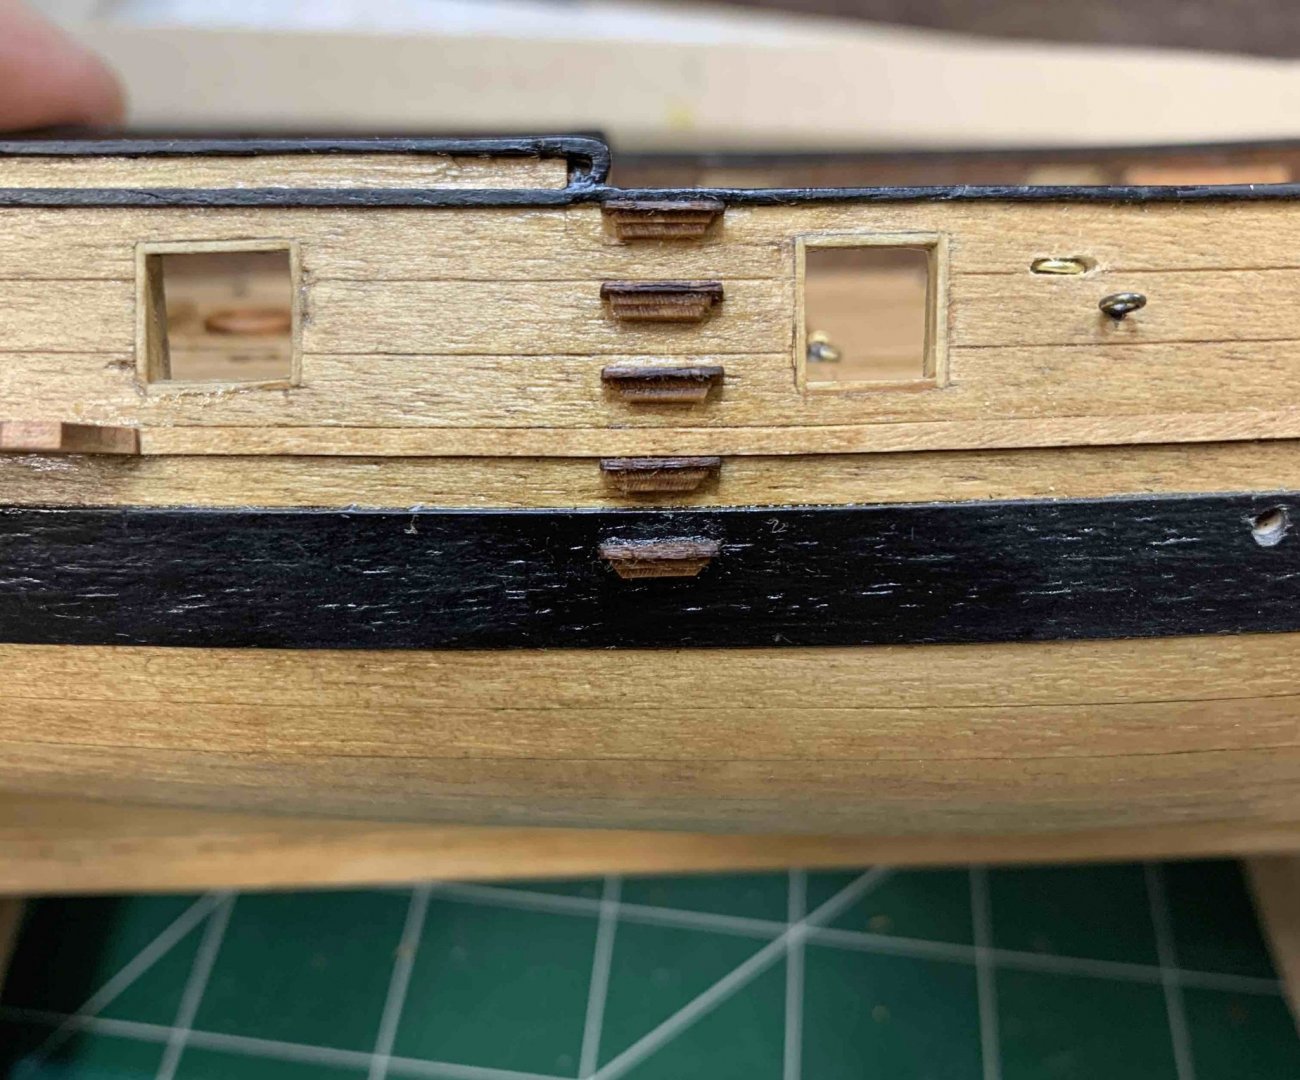
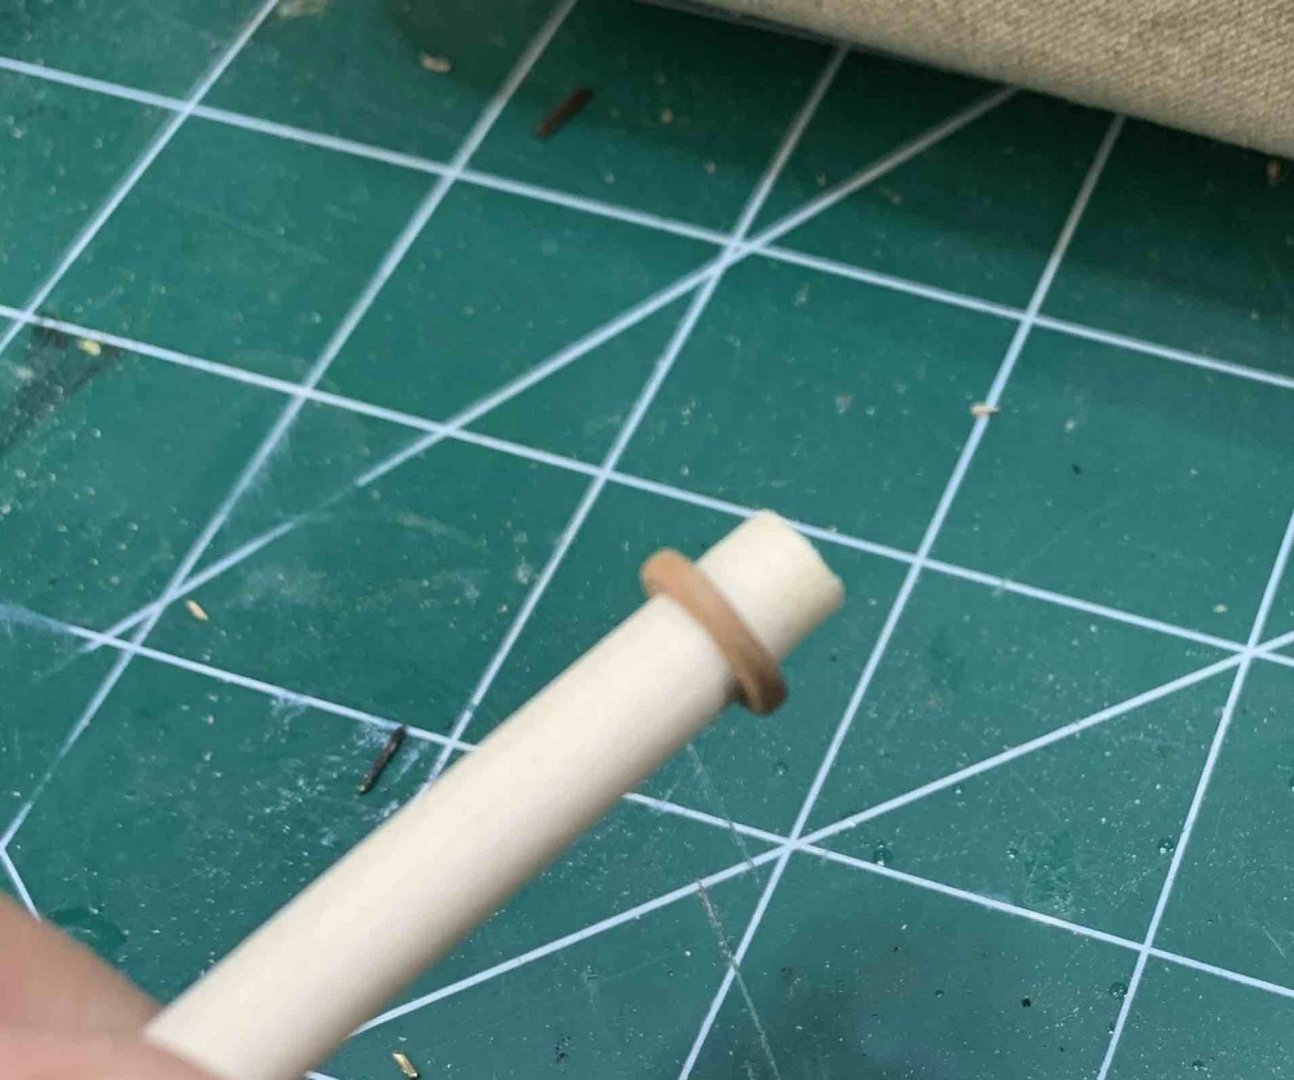
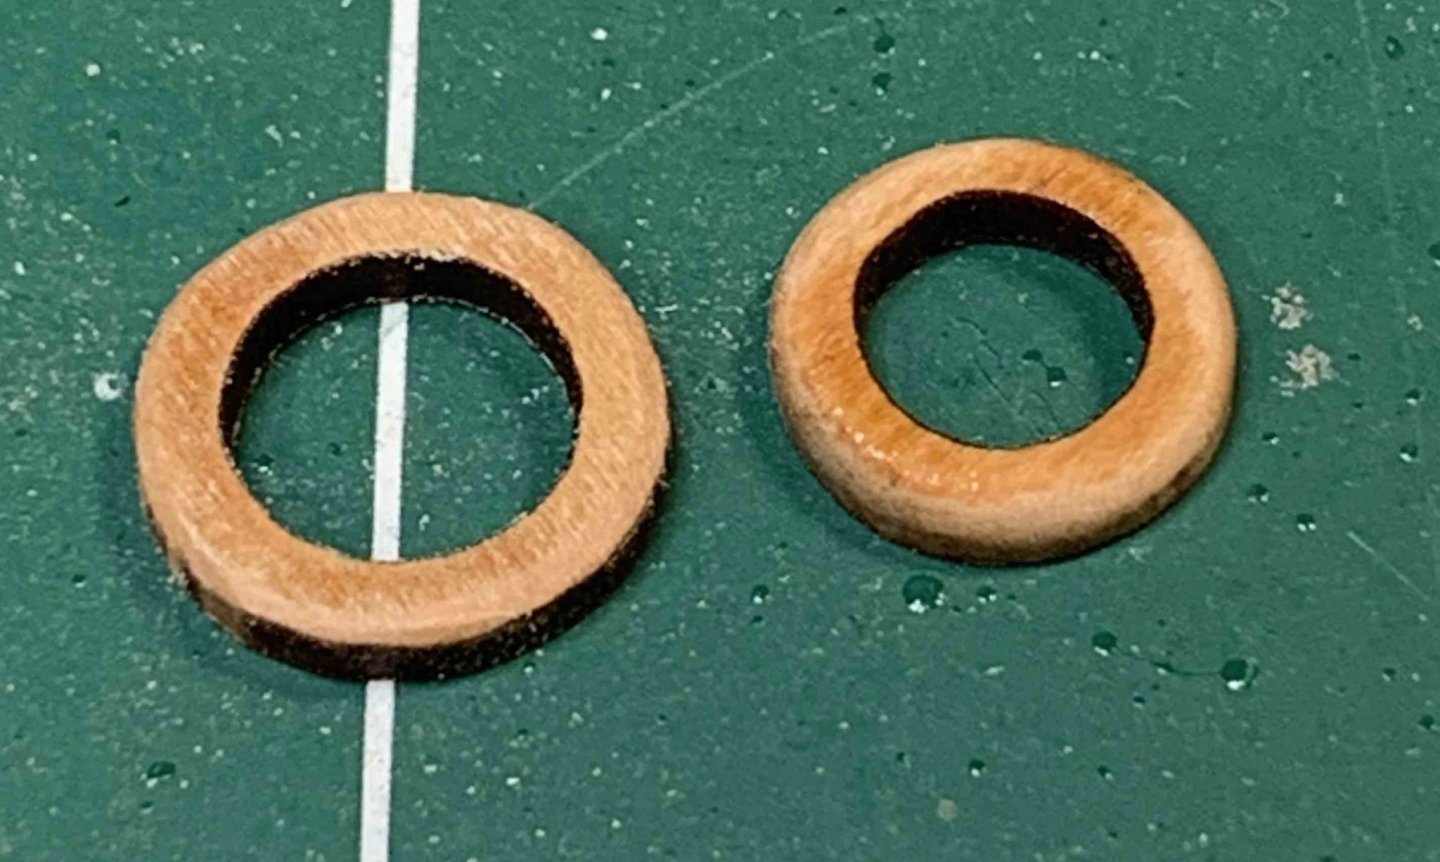
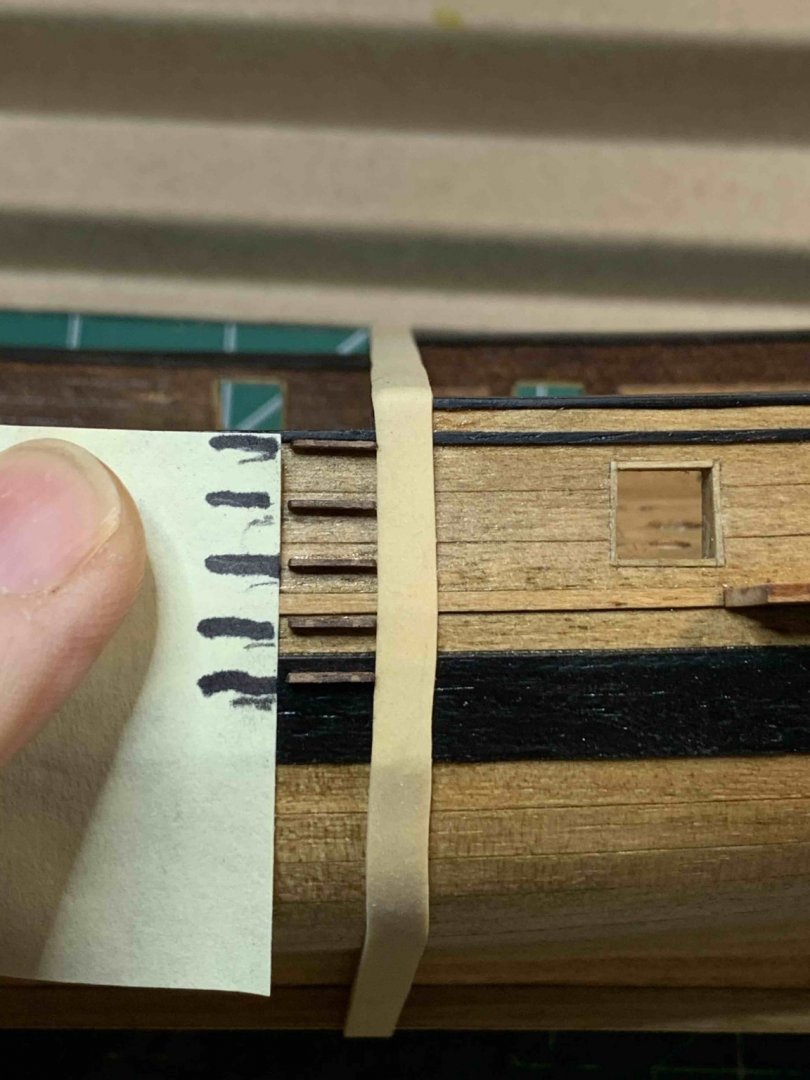
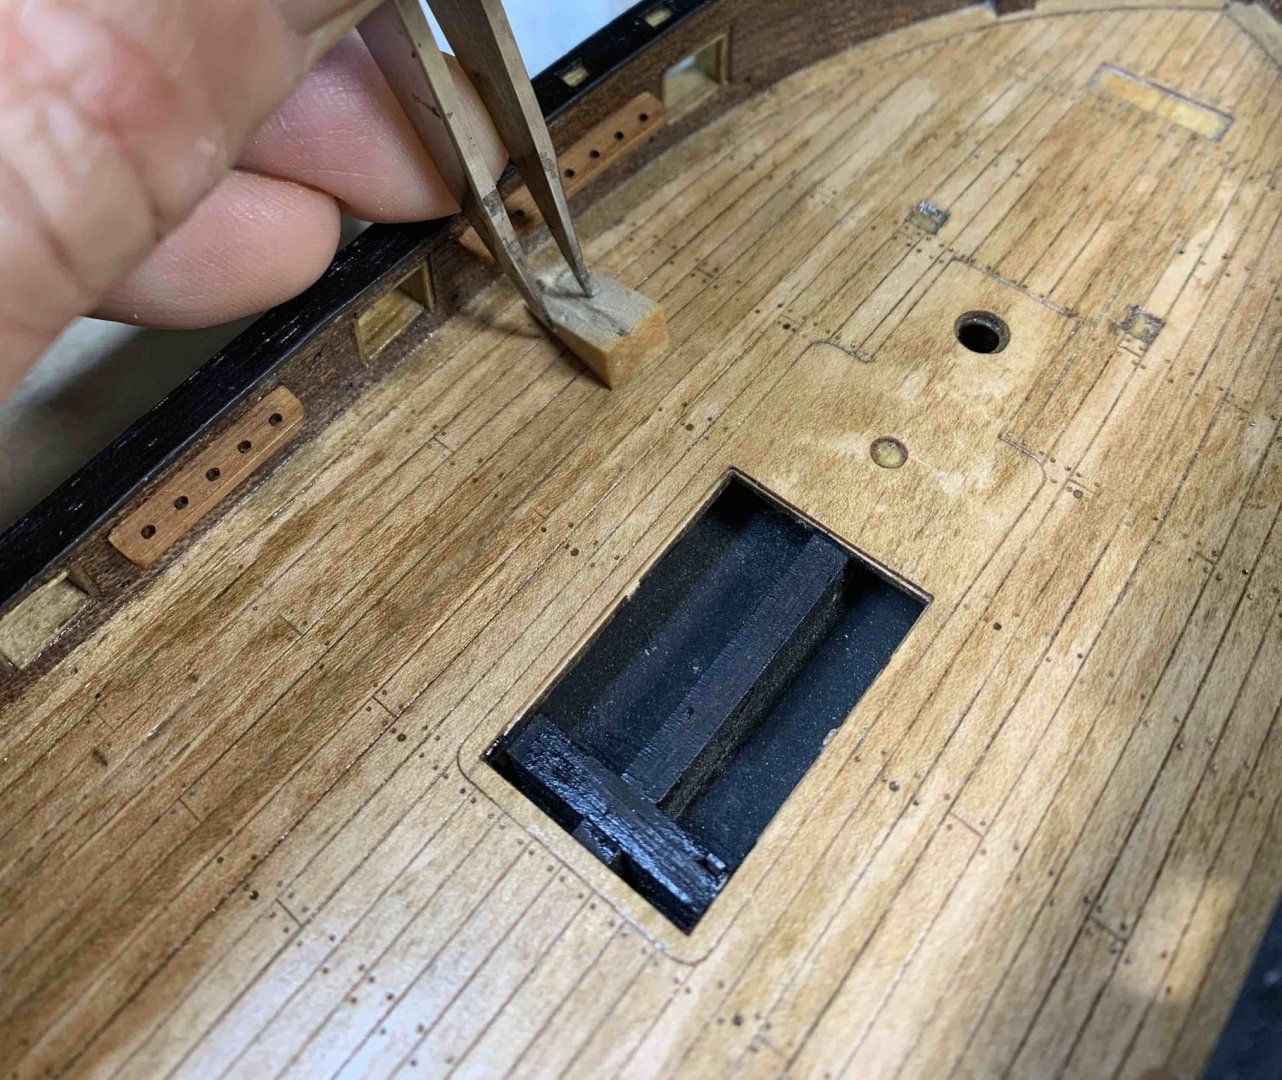
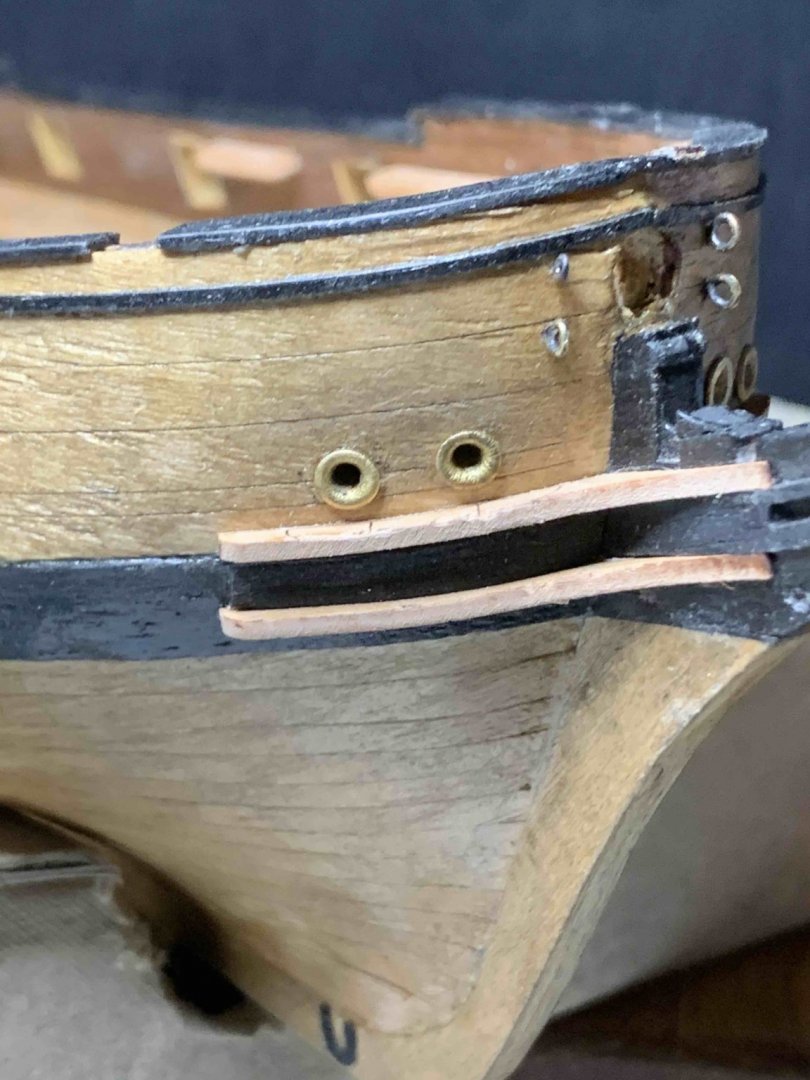
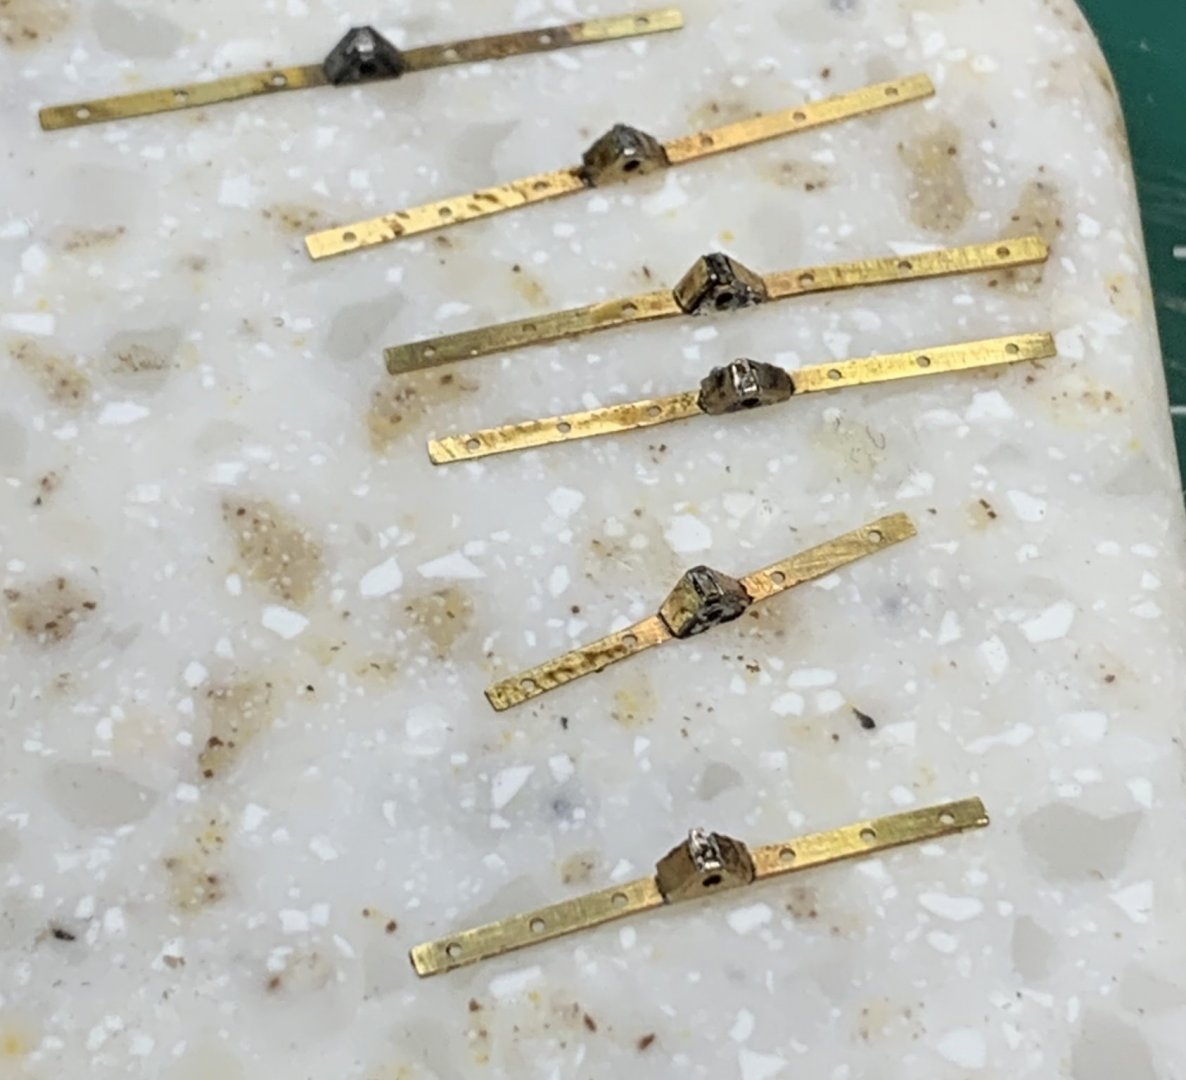
I could not located info about scuppers in instructions but some videos are suggesting installing them as a good addition to the kit. So lets do it. I did not have enough pipes in adequate diameter so ordered few of the Internet. But that does not stop me from making holes for scuppers. The challenge is to make all six holes at the same level. For that task i made a small template that was used to drill holes in the hull. It is difficult to hold the template with one hand and drill holes with drill bit. This is the way o held the template in place.. Holes were drilled... One went a bit lover so some fixing on the outer side will take place later. All holes drilled and covered in golden oak stain.. they could even stay like this but with pipes it should look much nicer.. While waiting for pipes to arrive, i started to work on catheads. Since we added a layer of veneer for inside cathead knee, i need to expand cathead with the same size veneer.. The layer of veneer was applied to the catheads as well as knees that are mounted on the outer side... Happy modelling..


- 275 replies
-
- 3
-
-
- phoenix
- master korabel
- (and 1 more)
-
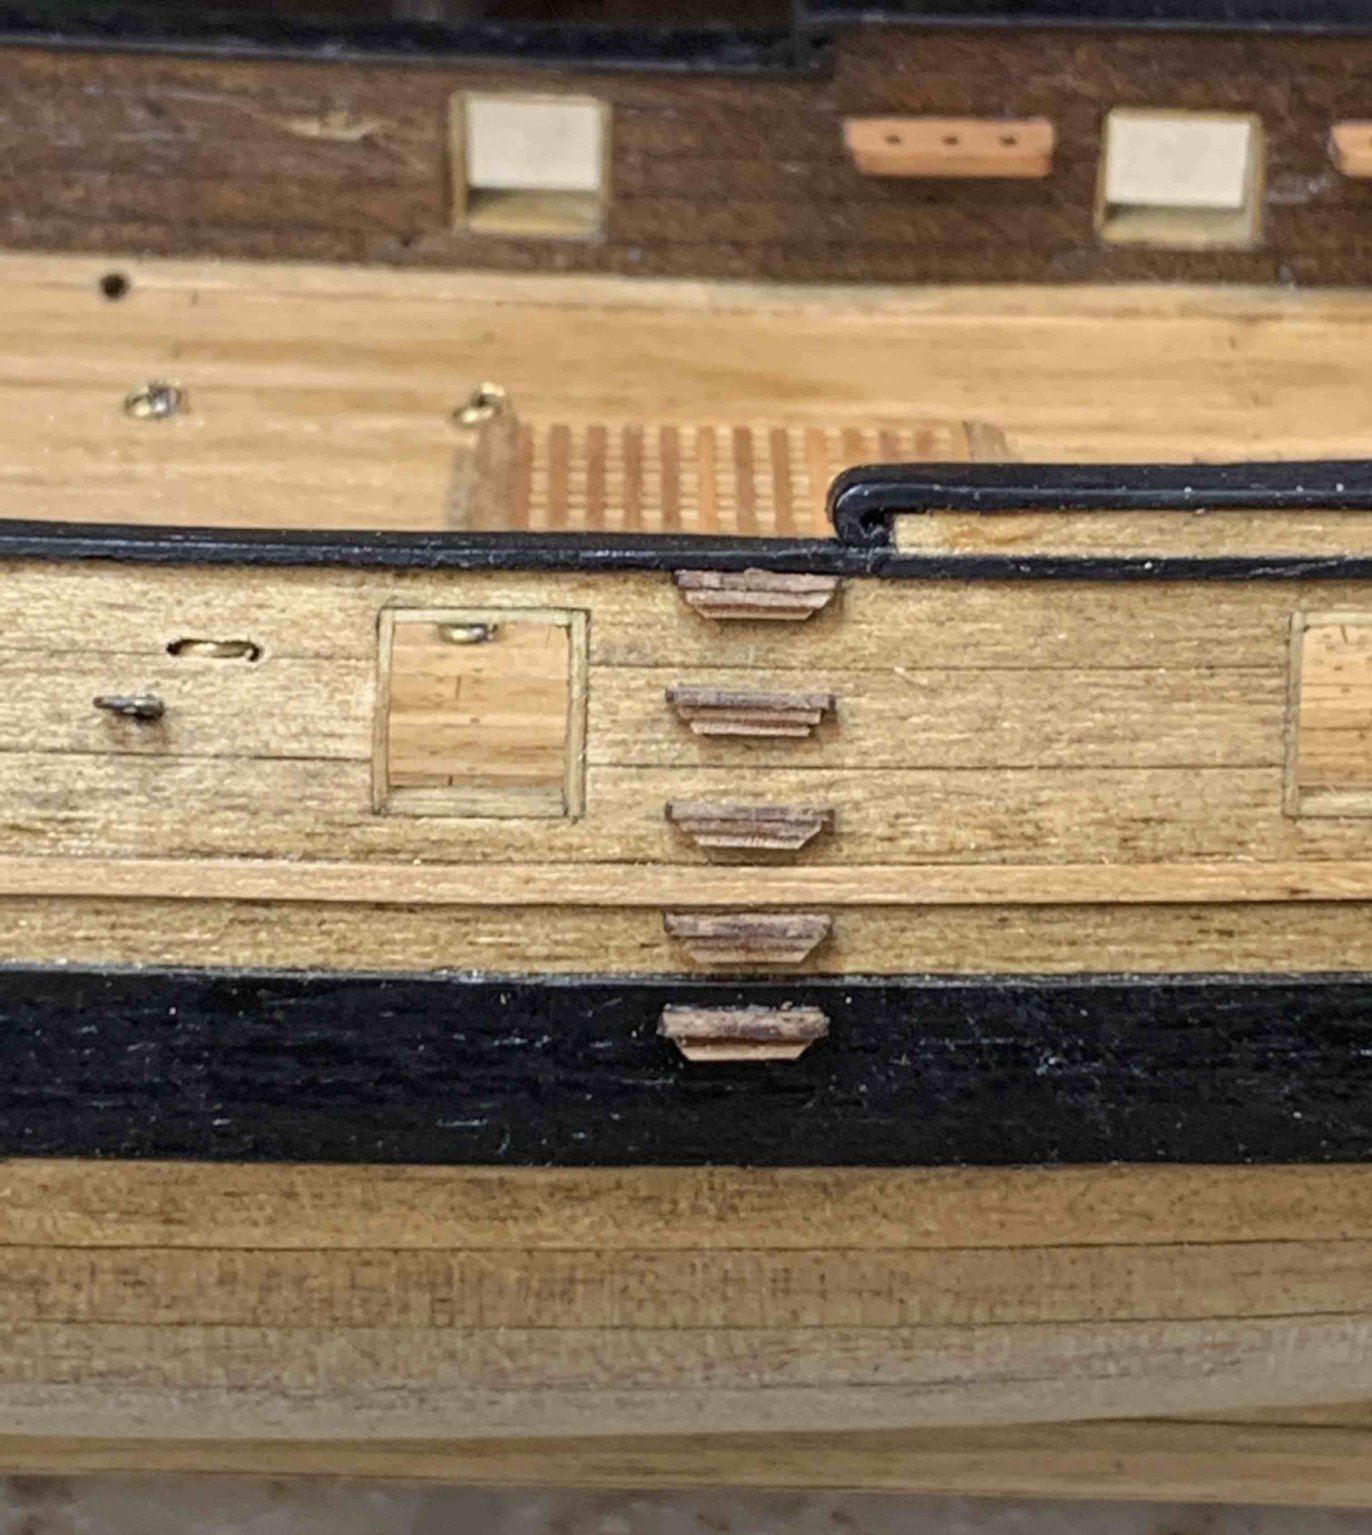
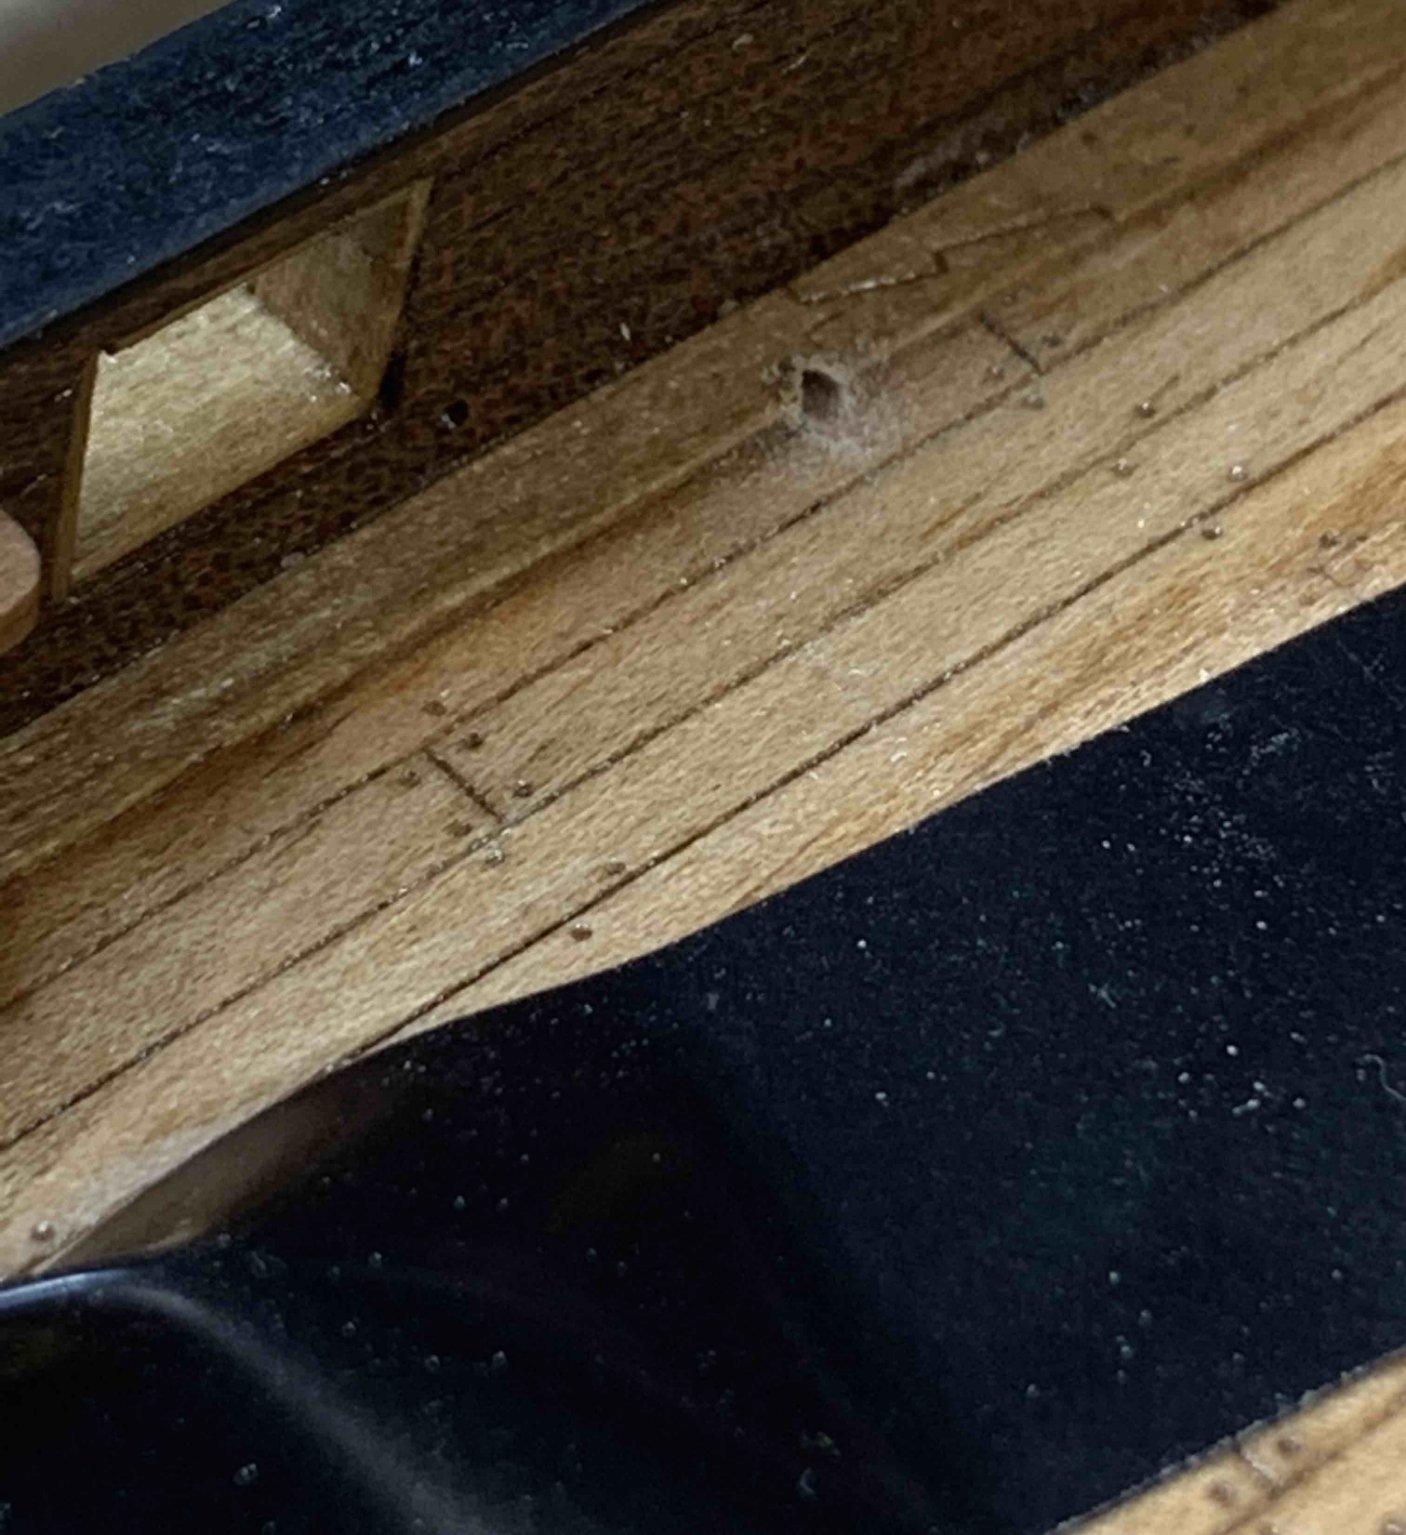
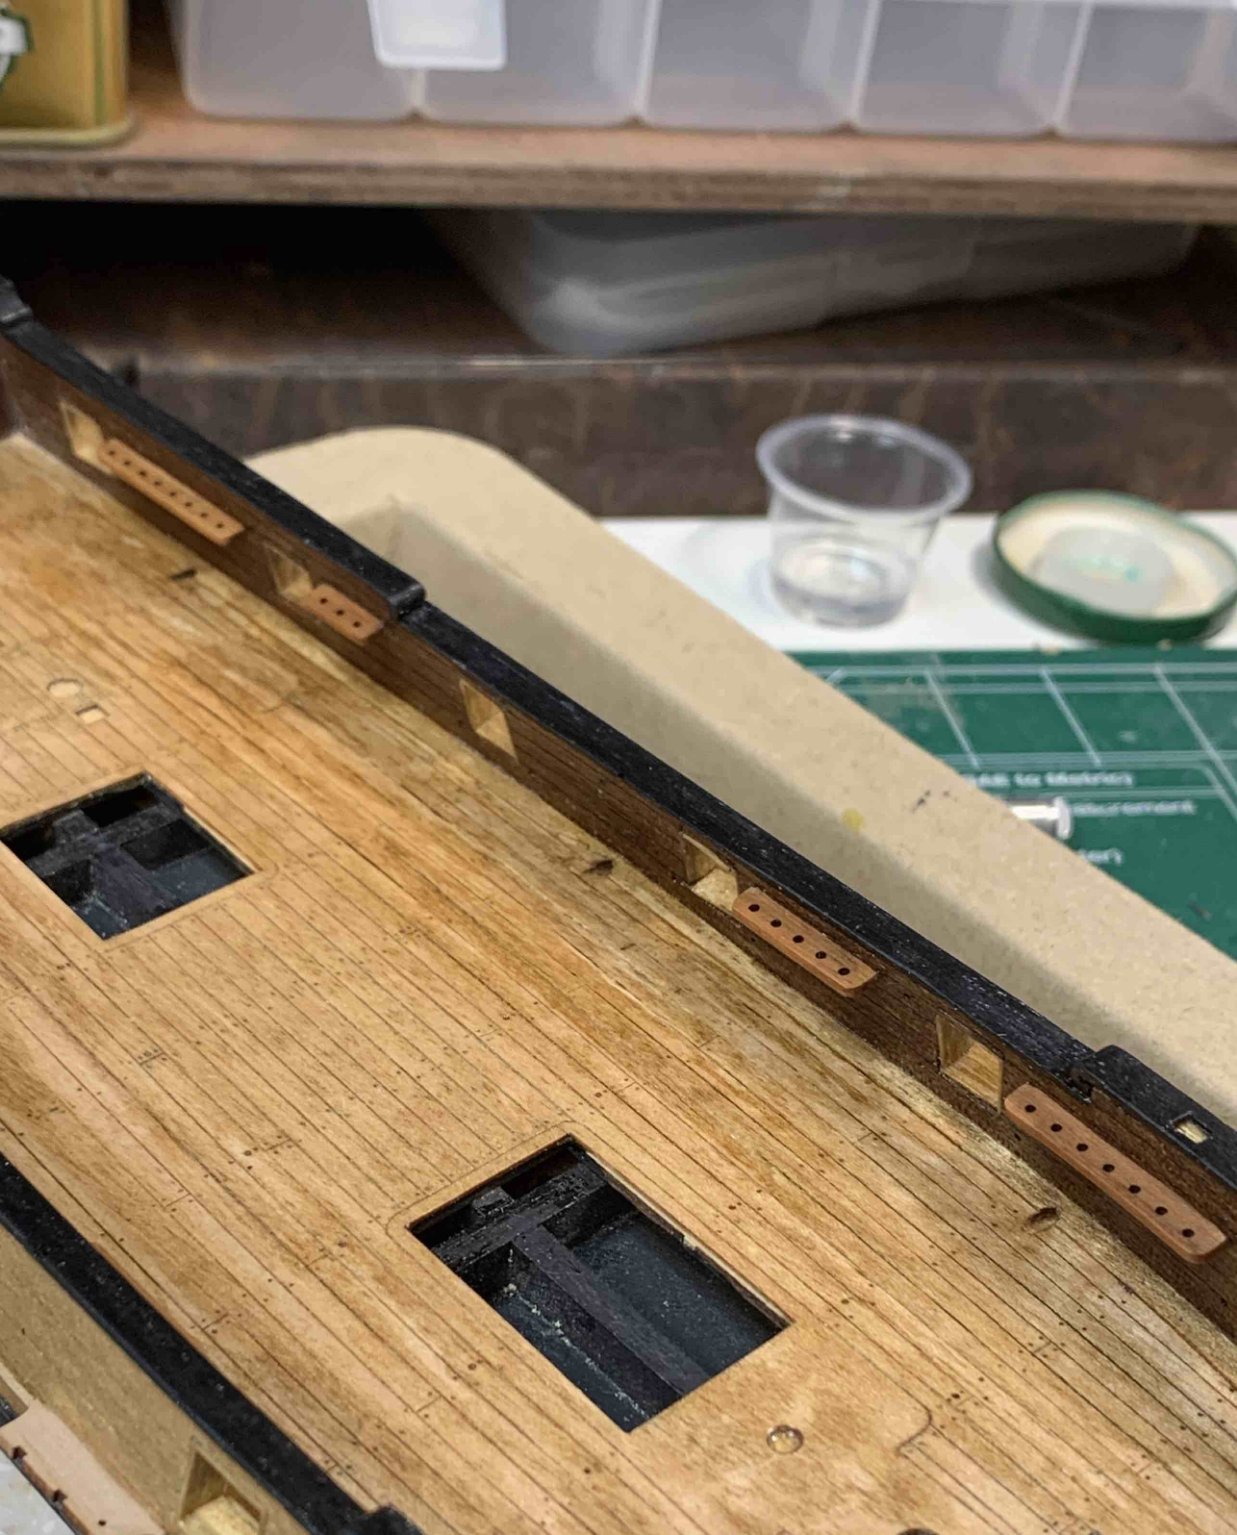
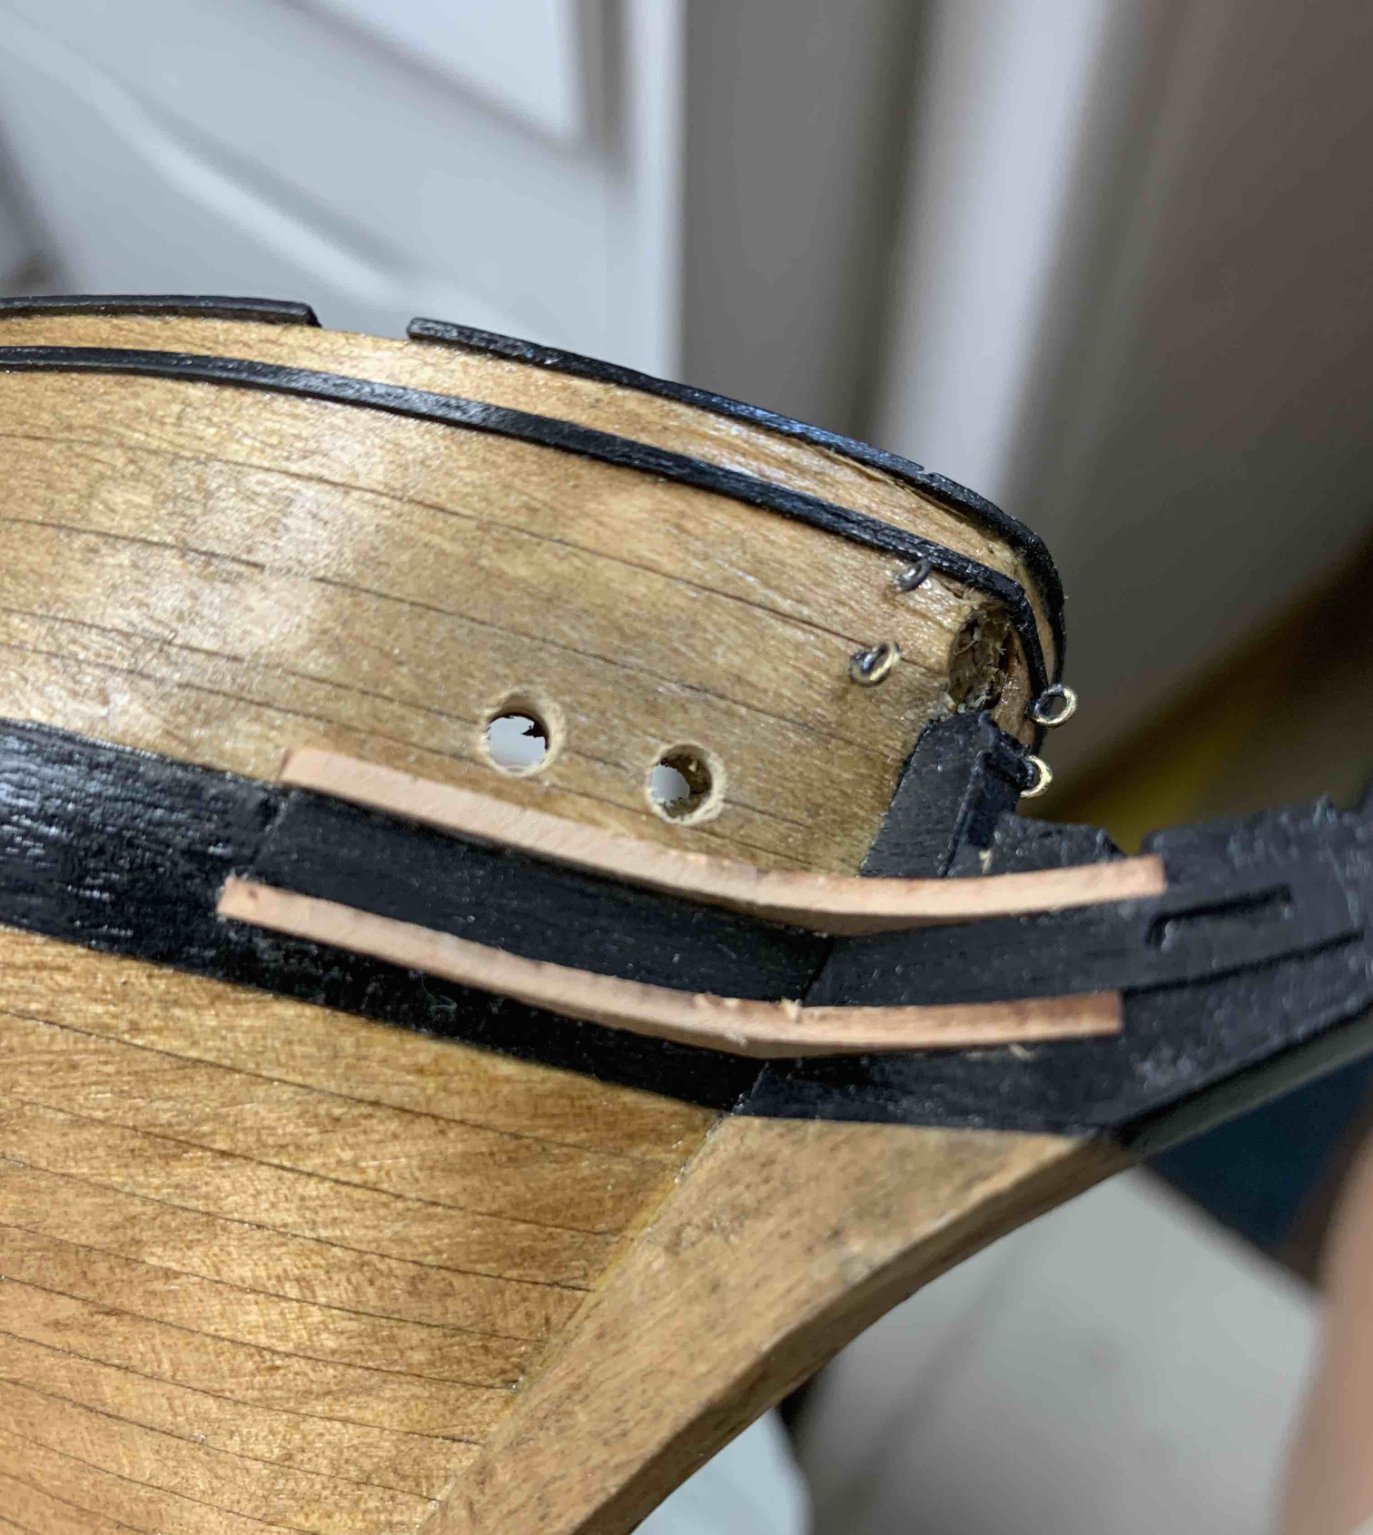
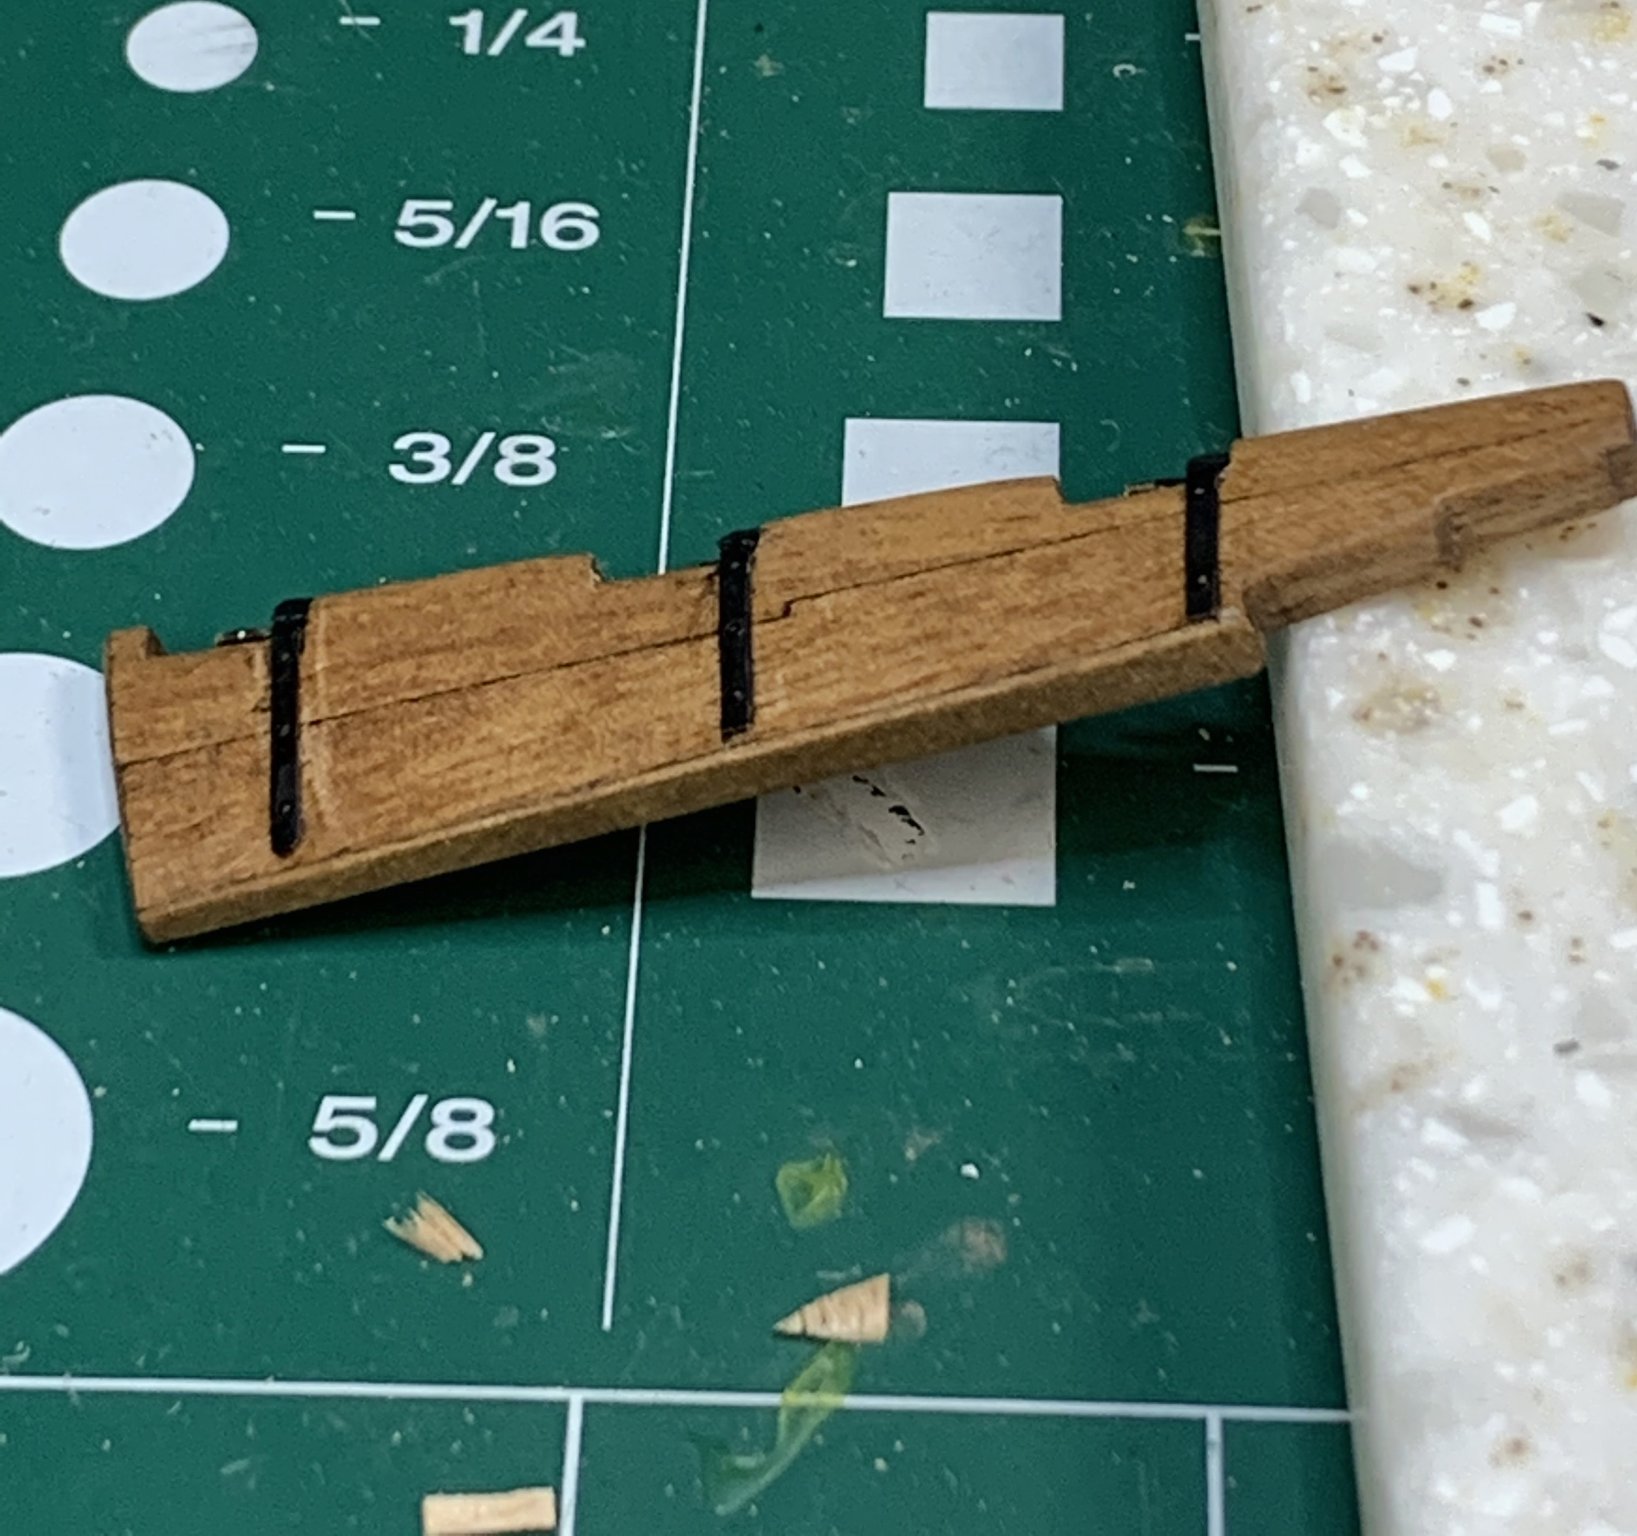
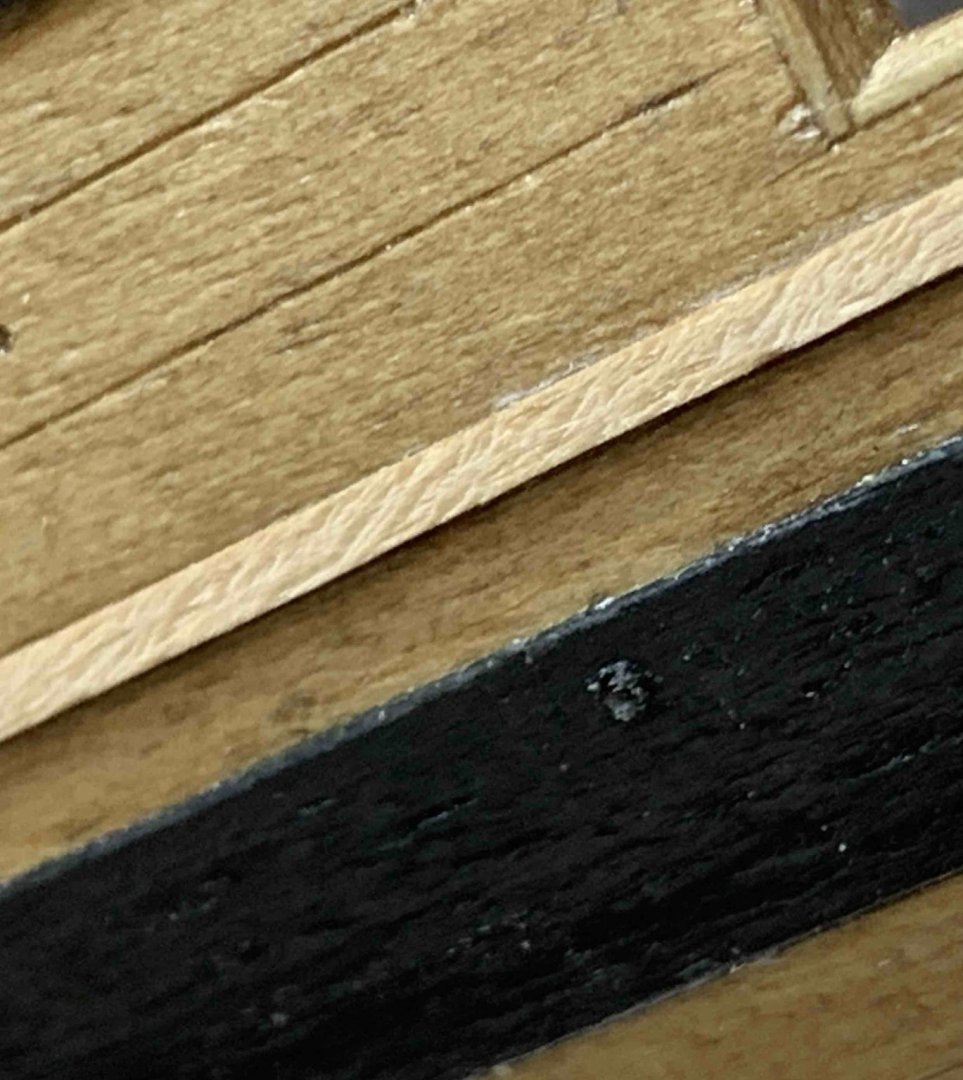
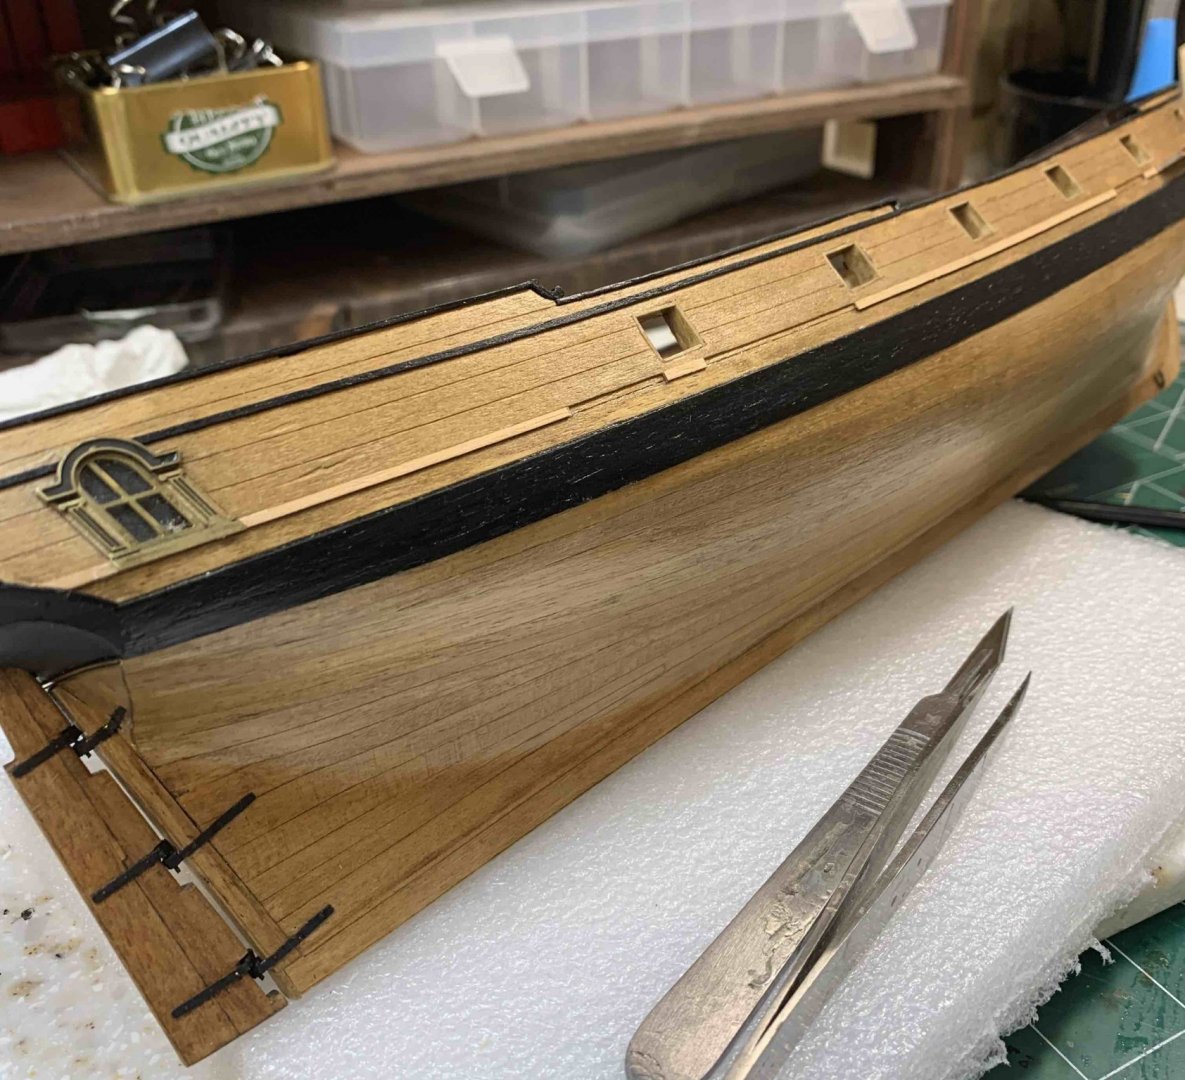
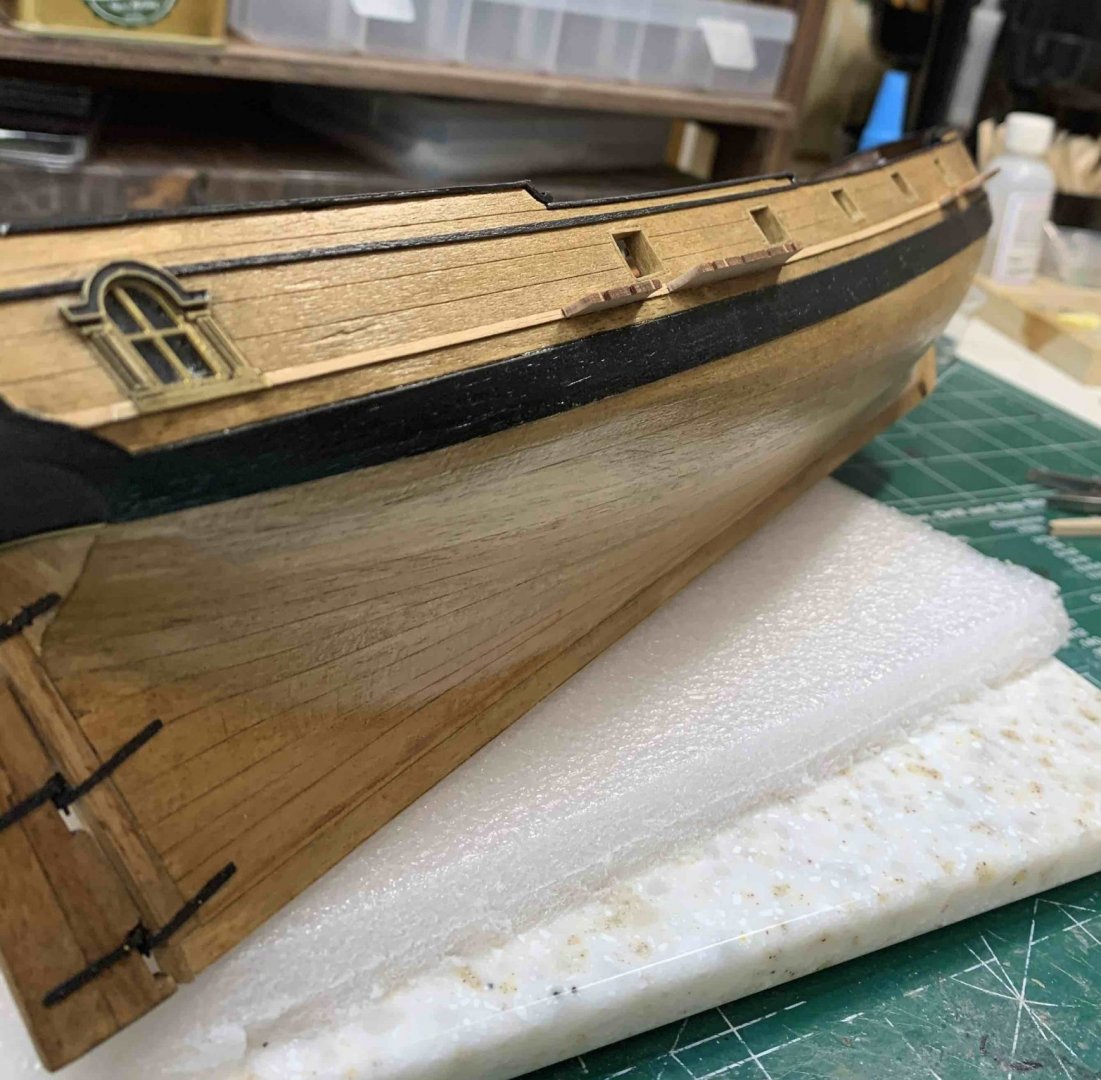
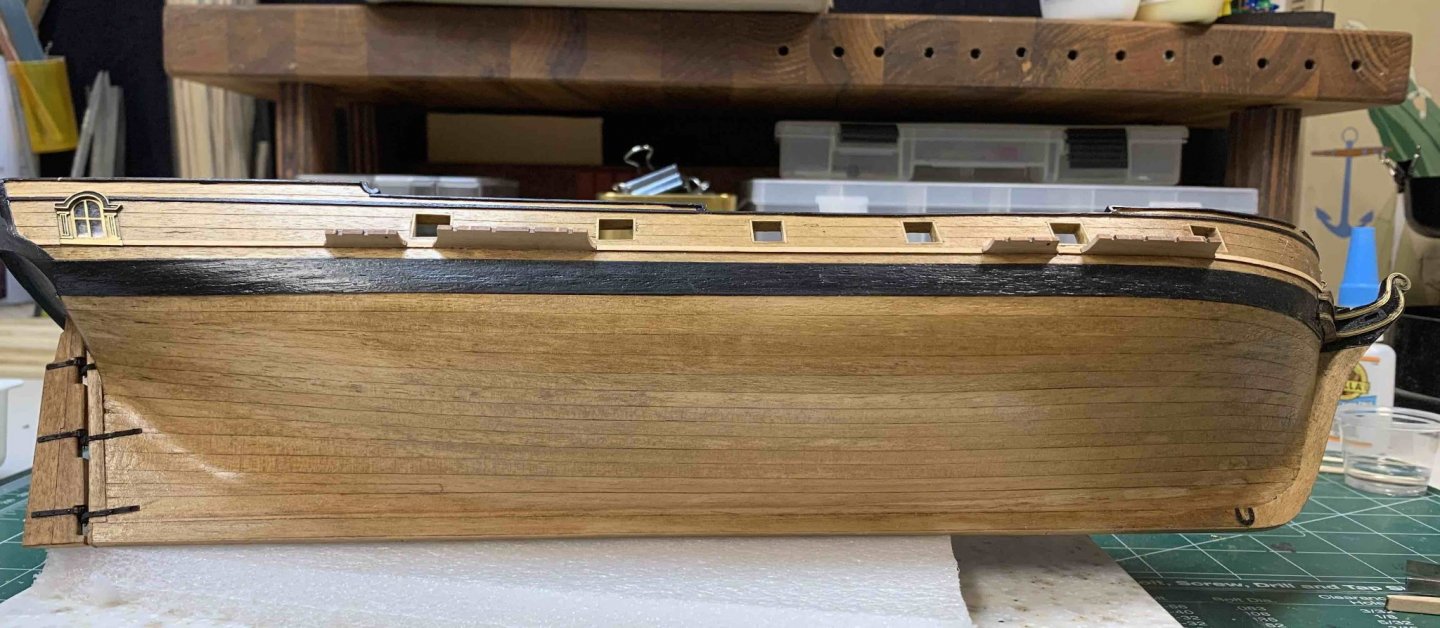
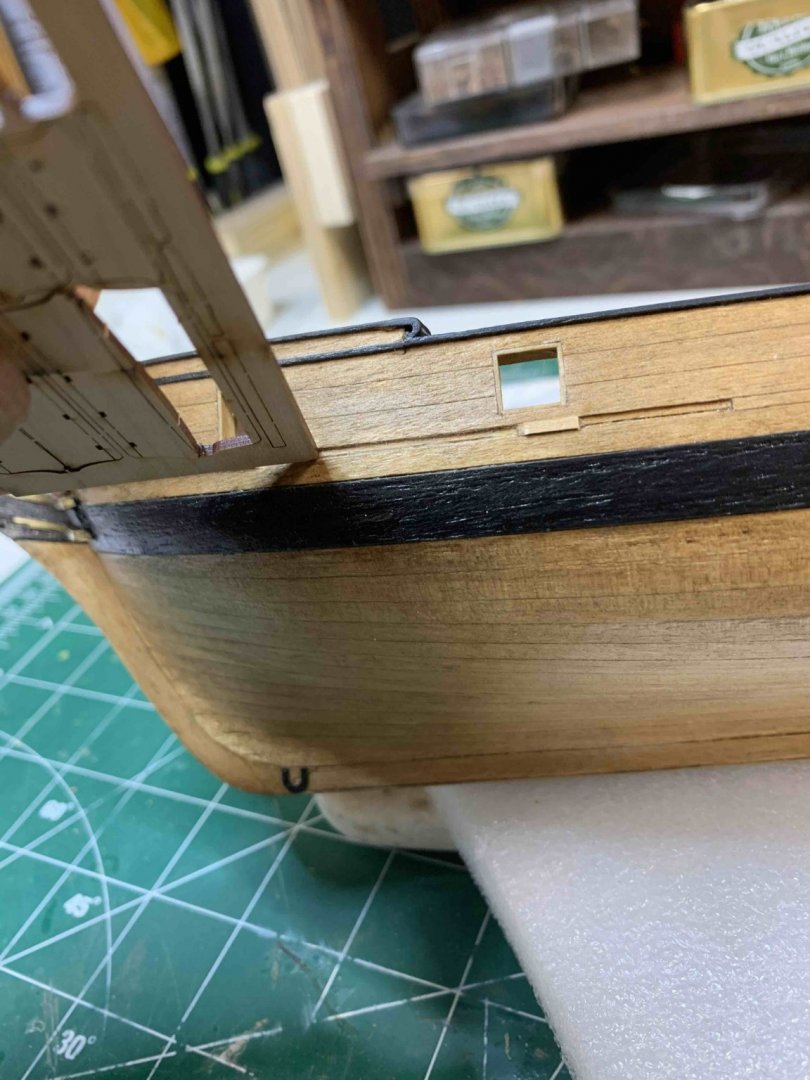
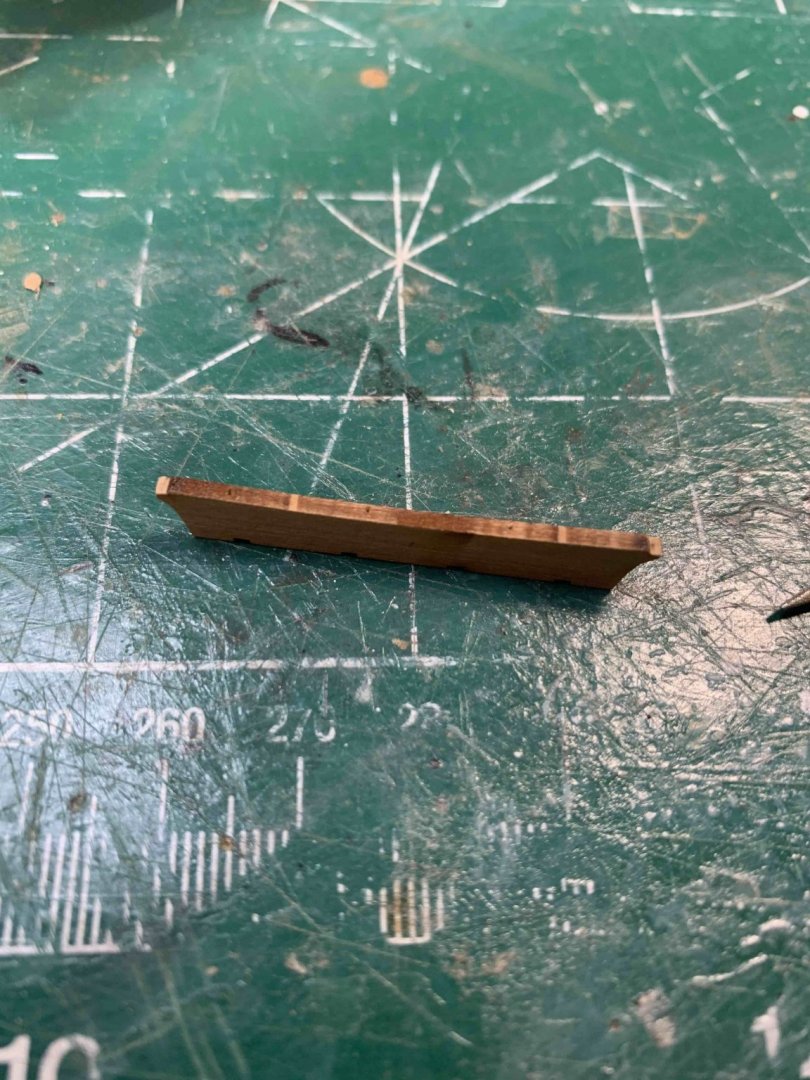
The channels and sheer streaks have been installed... all channels were installed with pins to make bond a bit stronger. Some fittings is required for sheer streaks but nothing out of ordinary. Happy modelling...

- 275 replies
-
- 4
-
-
- phoenix
- master korabel
- (and 1 more)
-
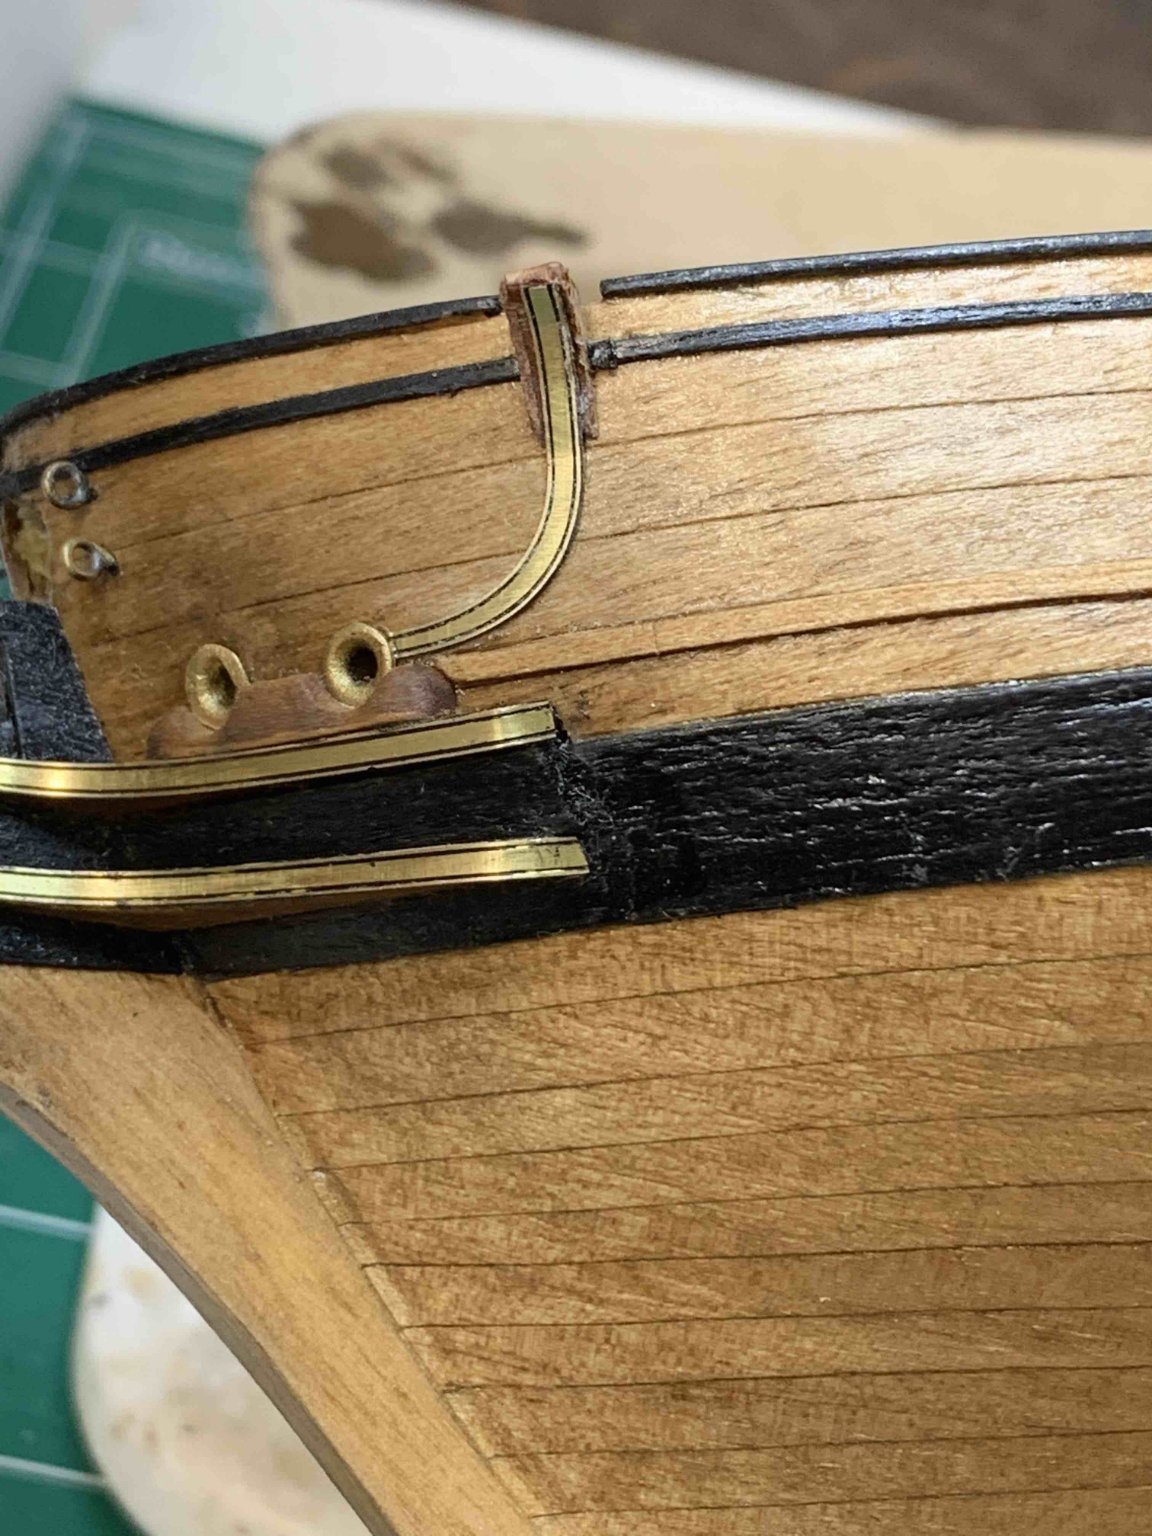
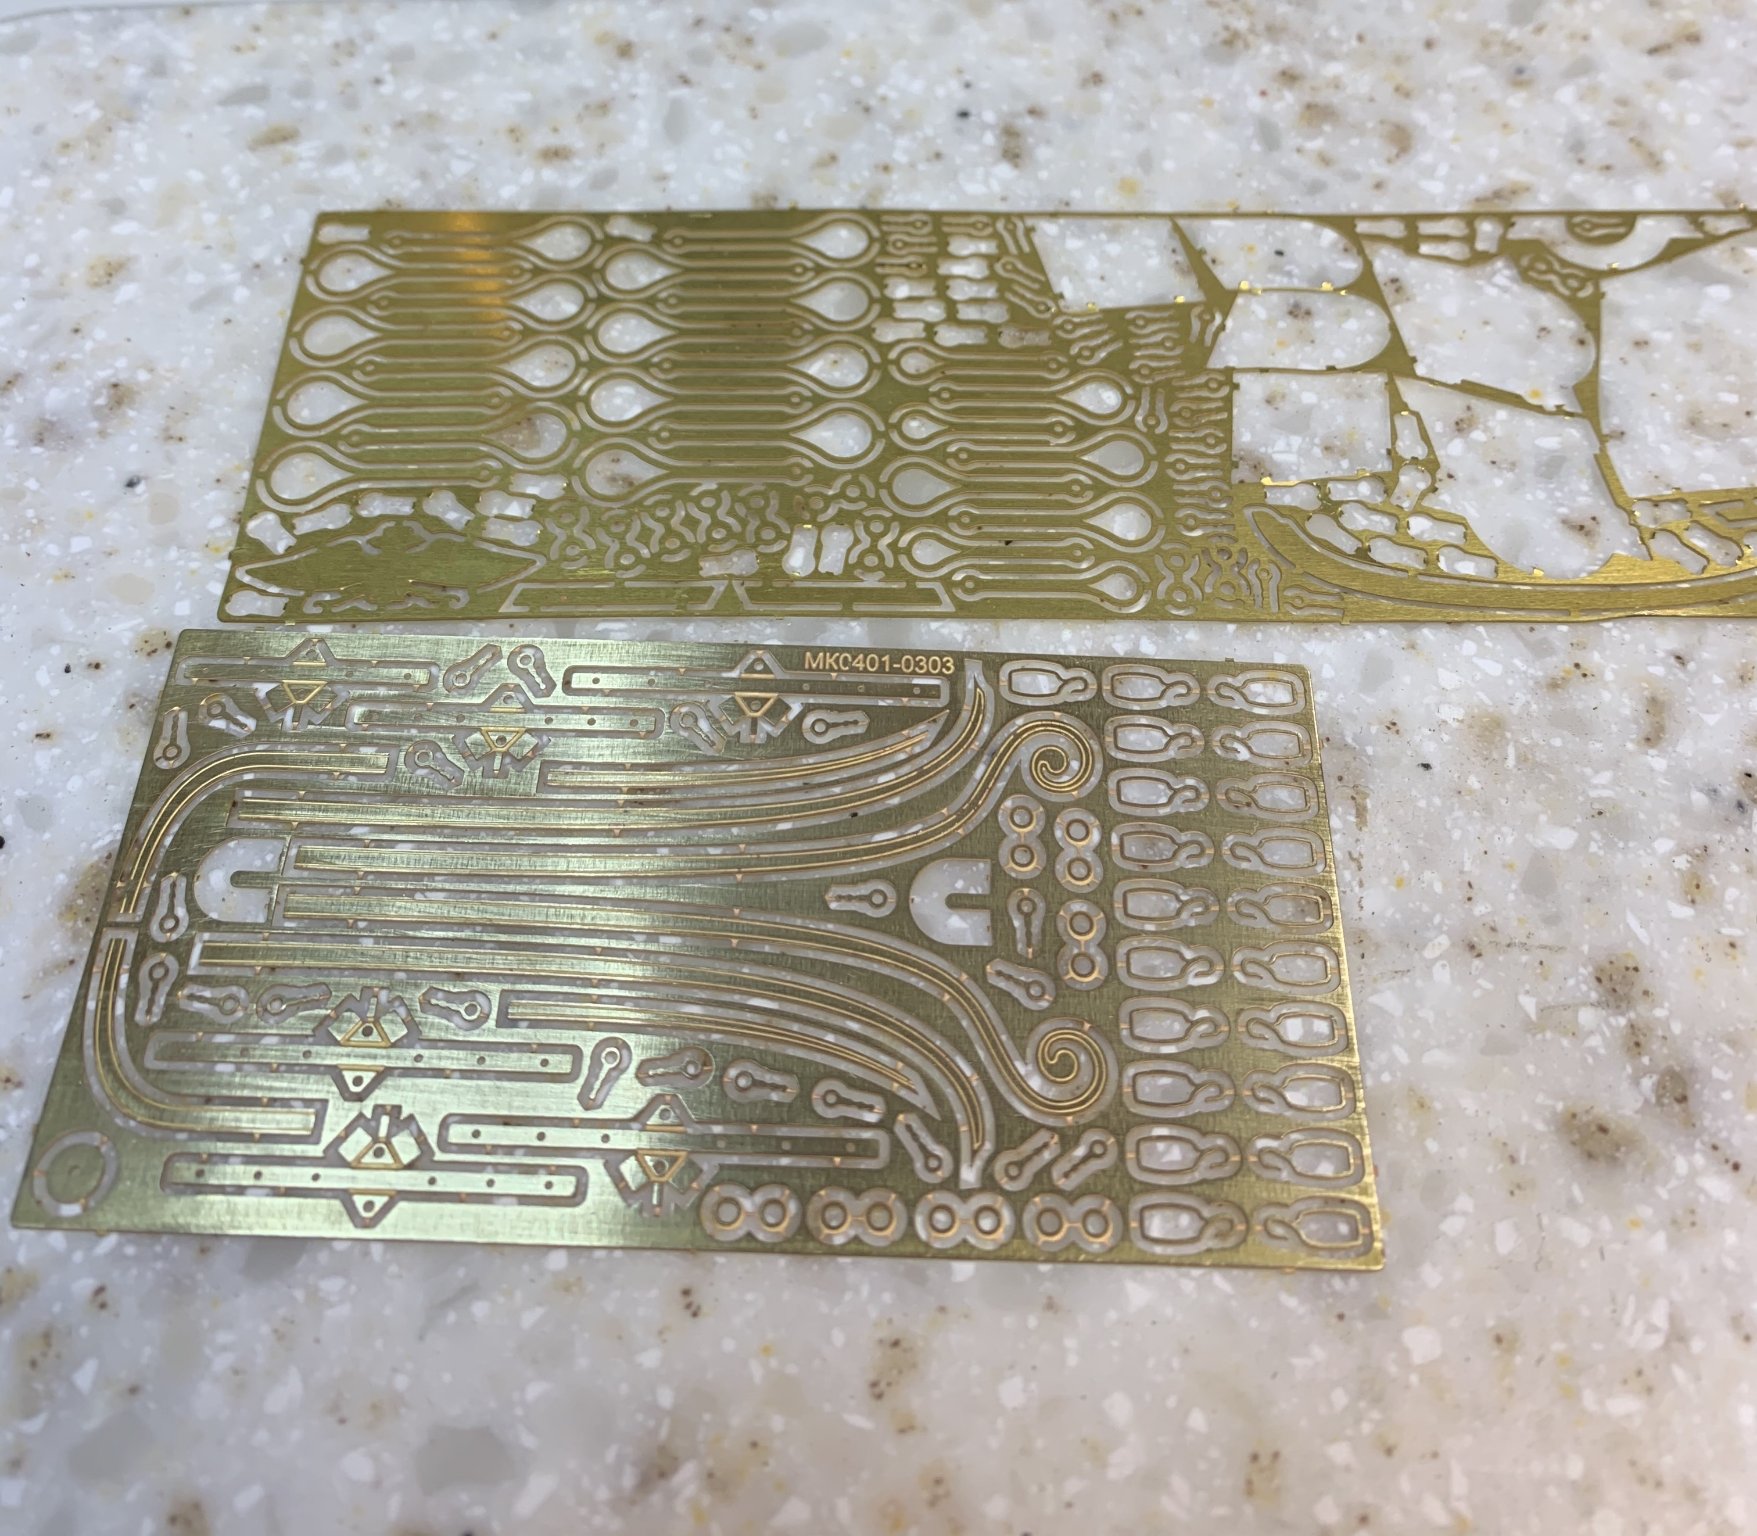
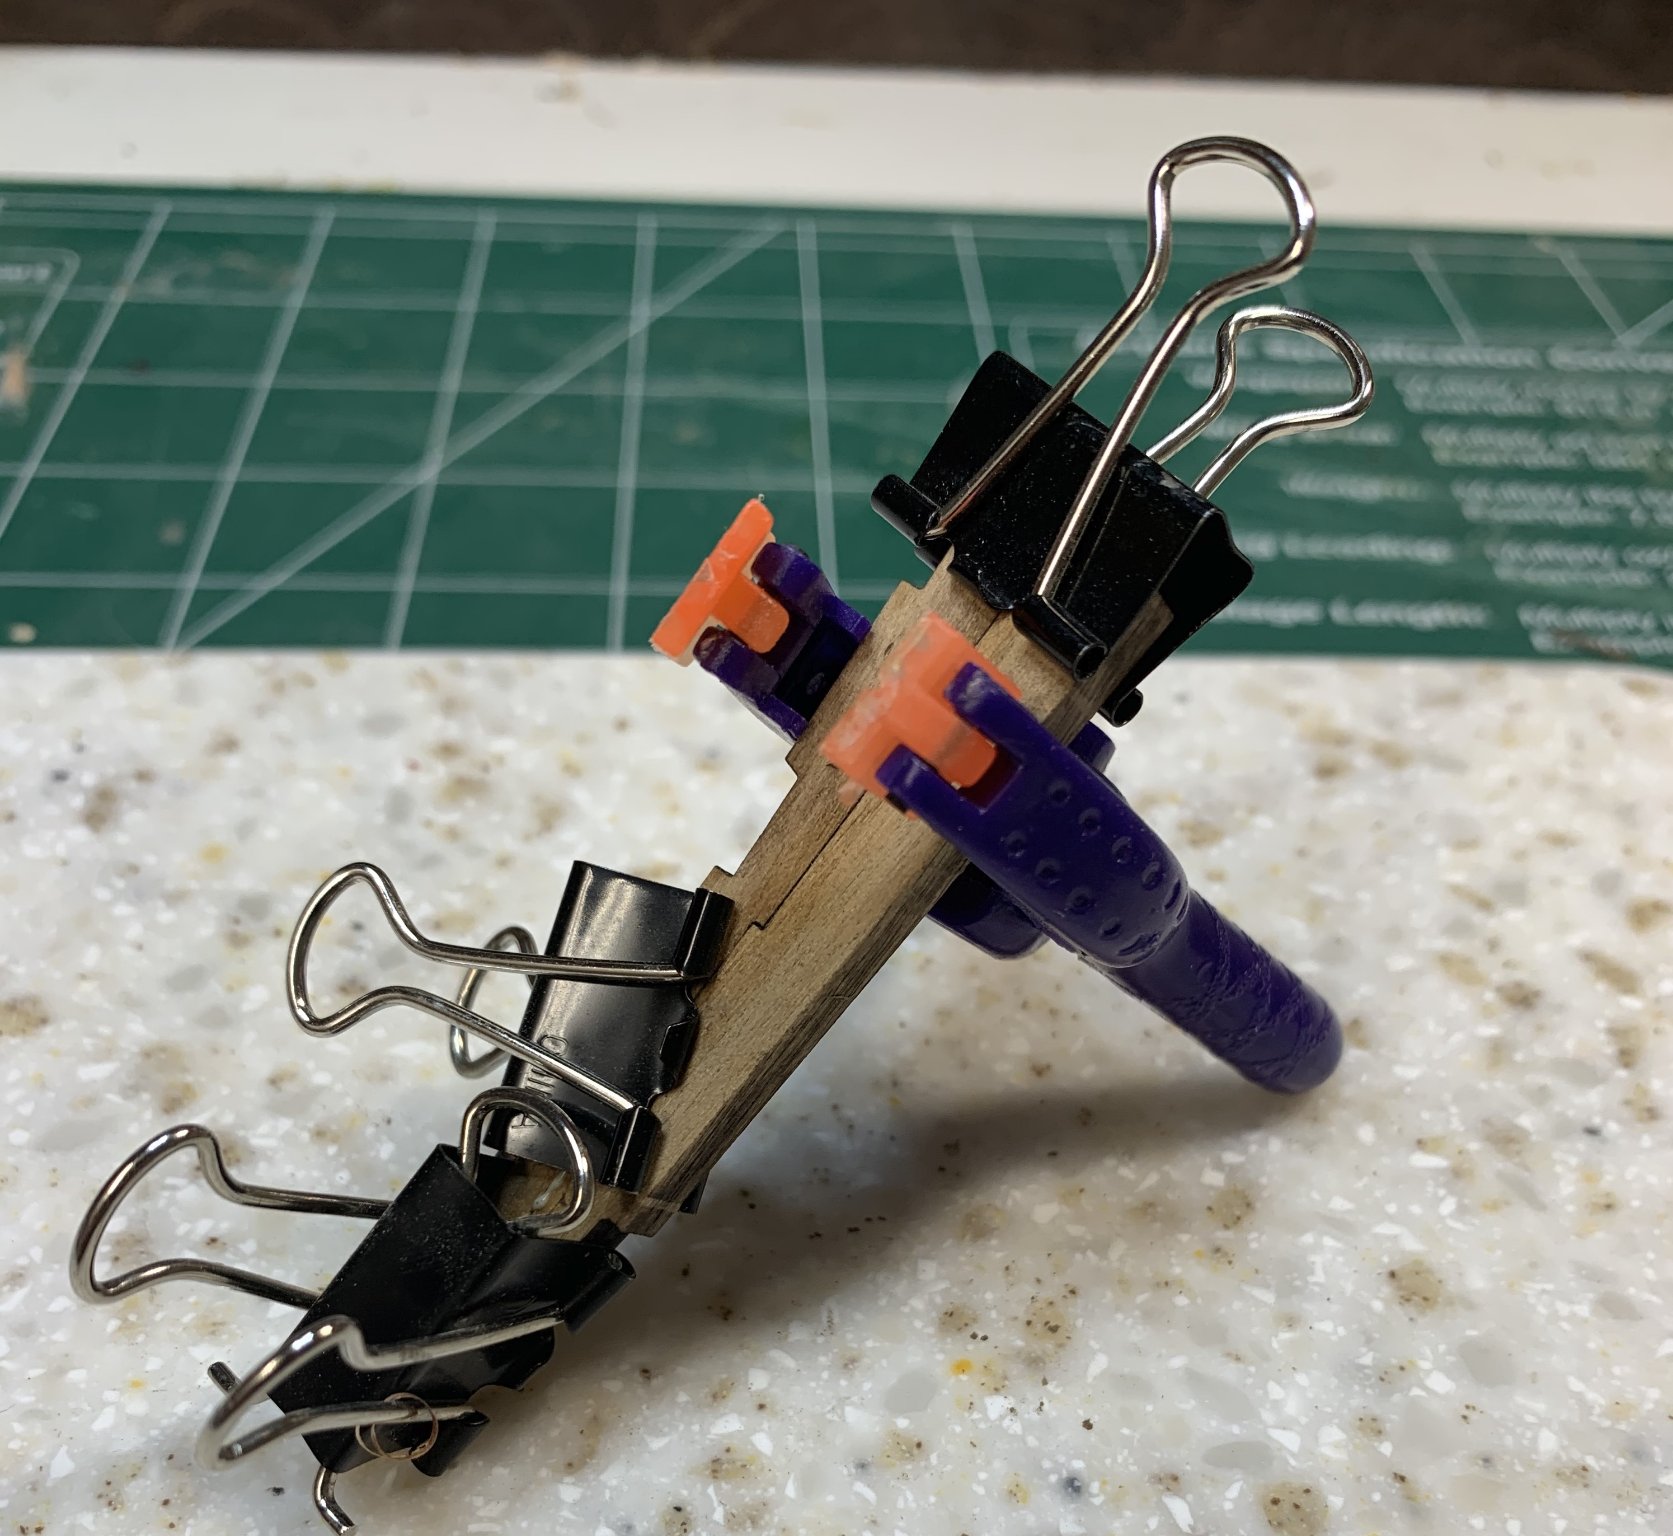
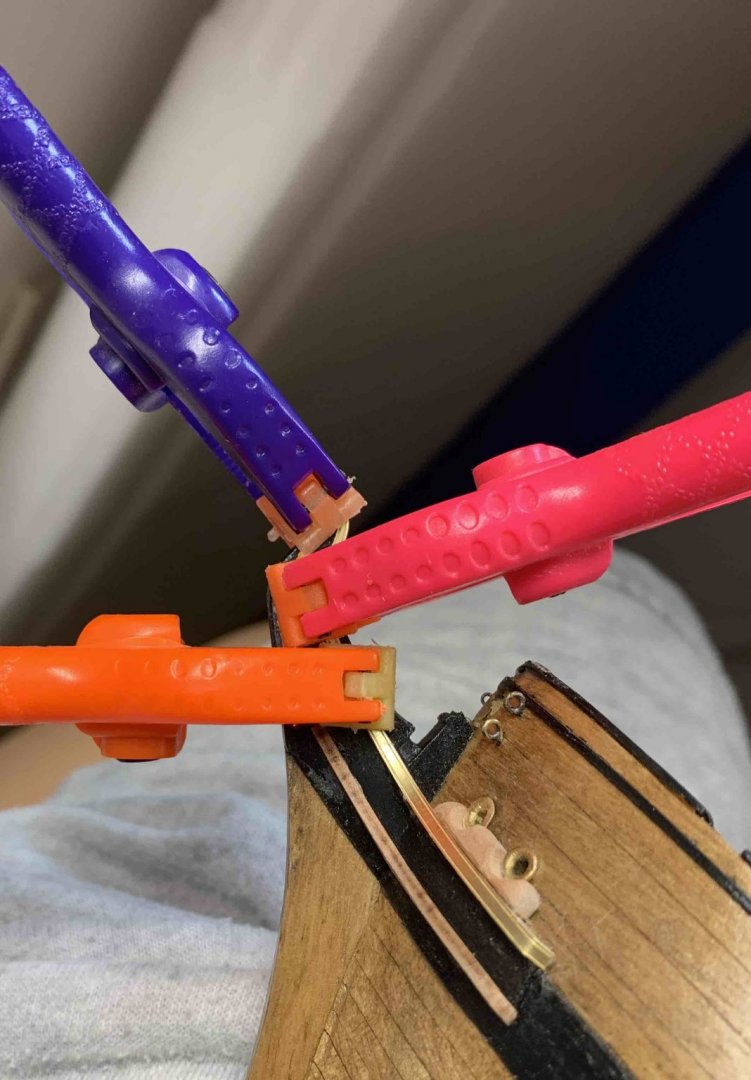
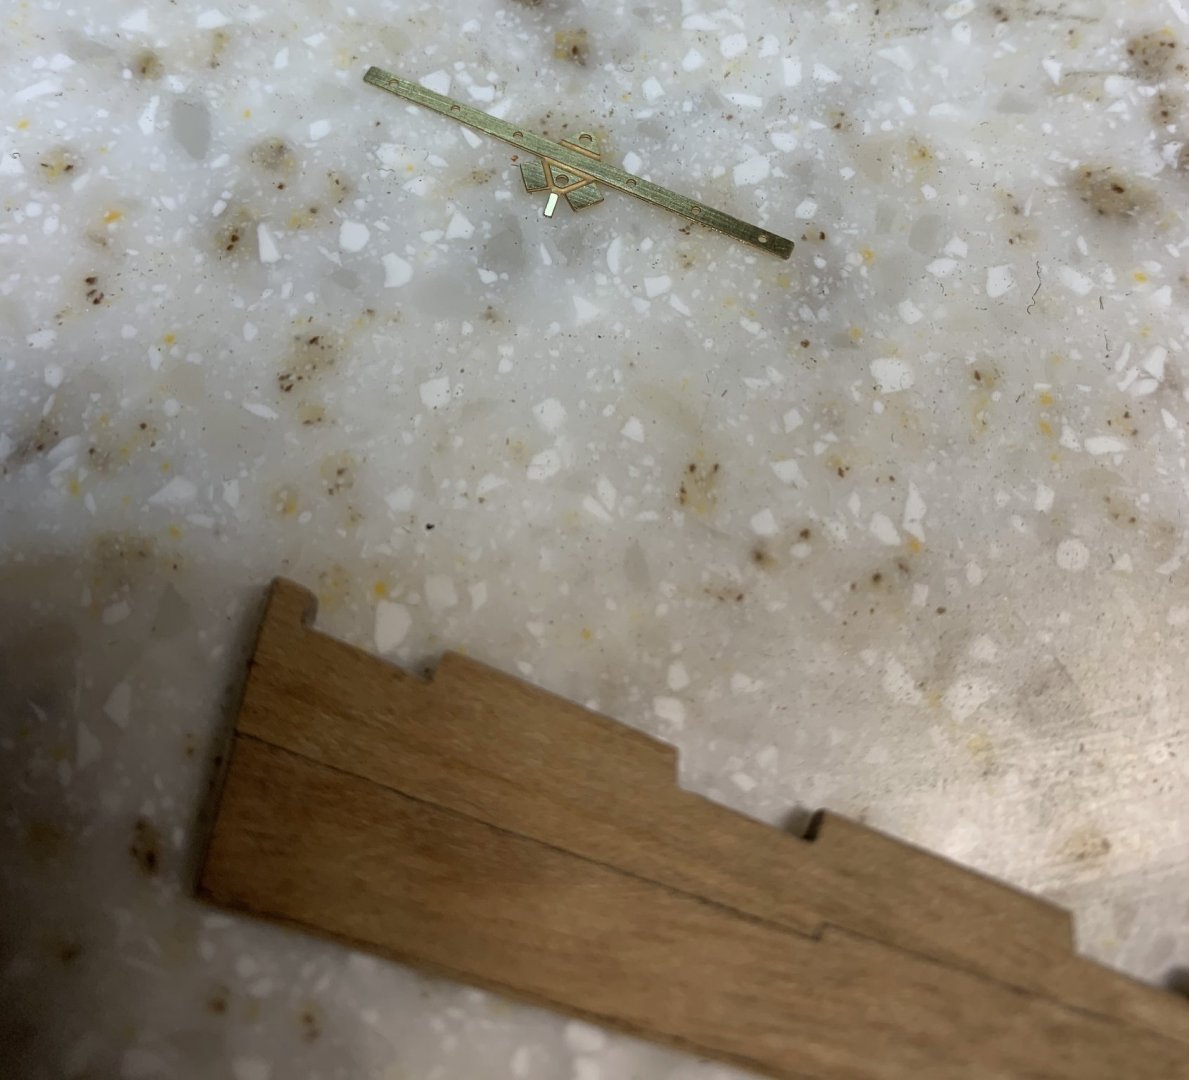
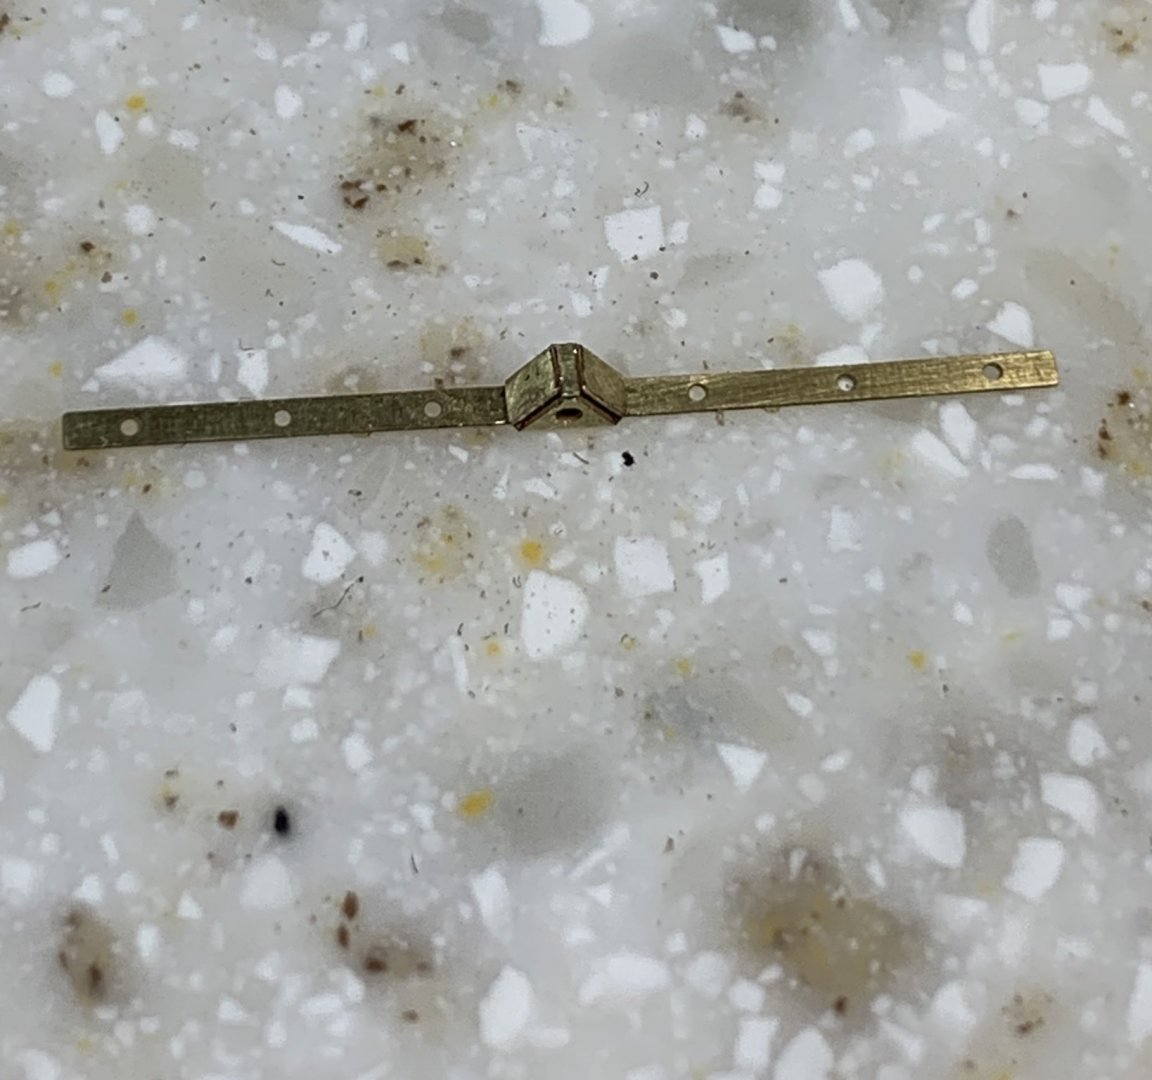
Installing these brass elements was a bit of a challenge because of its size and curvature that has to be achieved. They are small so i could not find the way to use clamps to hold them in place so i used a quick dry glue and by holding it with fingers managed to get it installed. If you forget to blackened tiny grooves in them like i did, there is a way to do it after... Paint the whole brass element including grooves with black paint, let it dry ans scrap the extra black colour with a piece of soft wood or plastic. The idea is to put the piece as flat as possible so it will remove paint only from area that it can touch... This is my little scrapper.. The work on channels starts by installing sheer streak... The "channel' where channels will be installed (:-)) needs to be cleaned of varnish so the channel will fit properly. For this i used a frame were channels were attached to.. Same size... The channels will be enforced to the hull with pins; pilot holes drilled and pins installed. The pins length is about 6mm. There are some fittings that have to be done especially to shorten the sheer streak, until channel fits perfectly. Happy modelling..


- 275 replies
-
- 2
-
-
- phoenix
- master korabel
- (and 1 more)
-
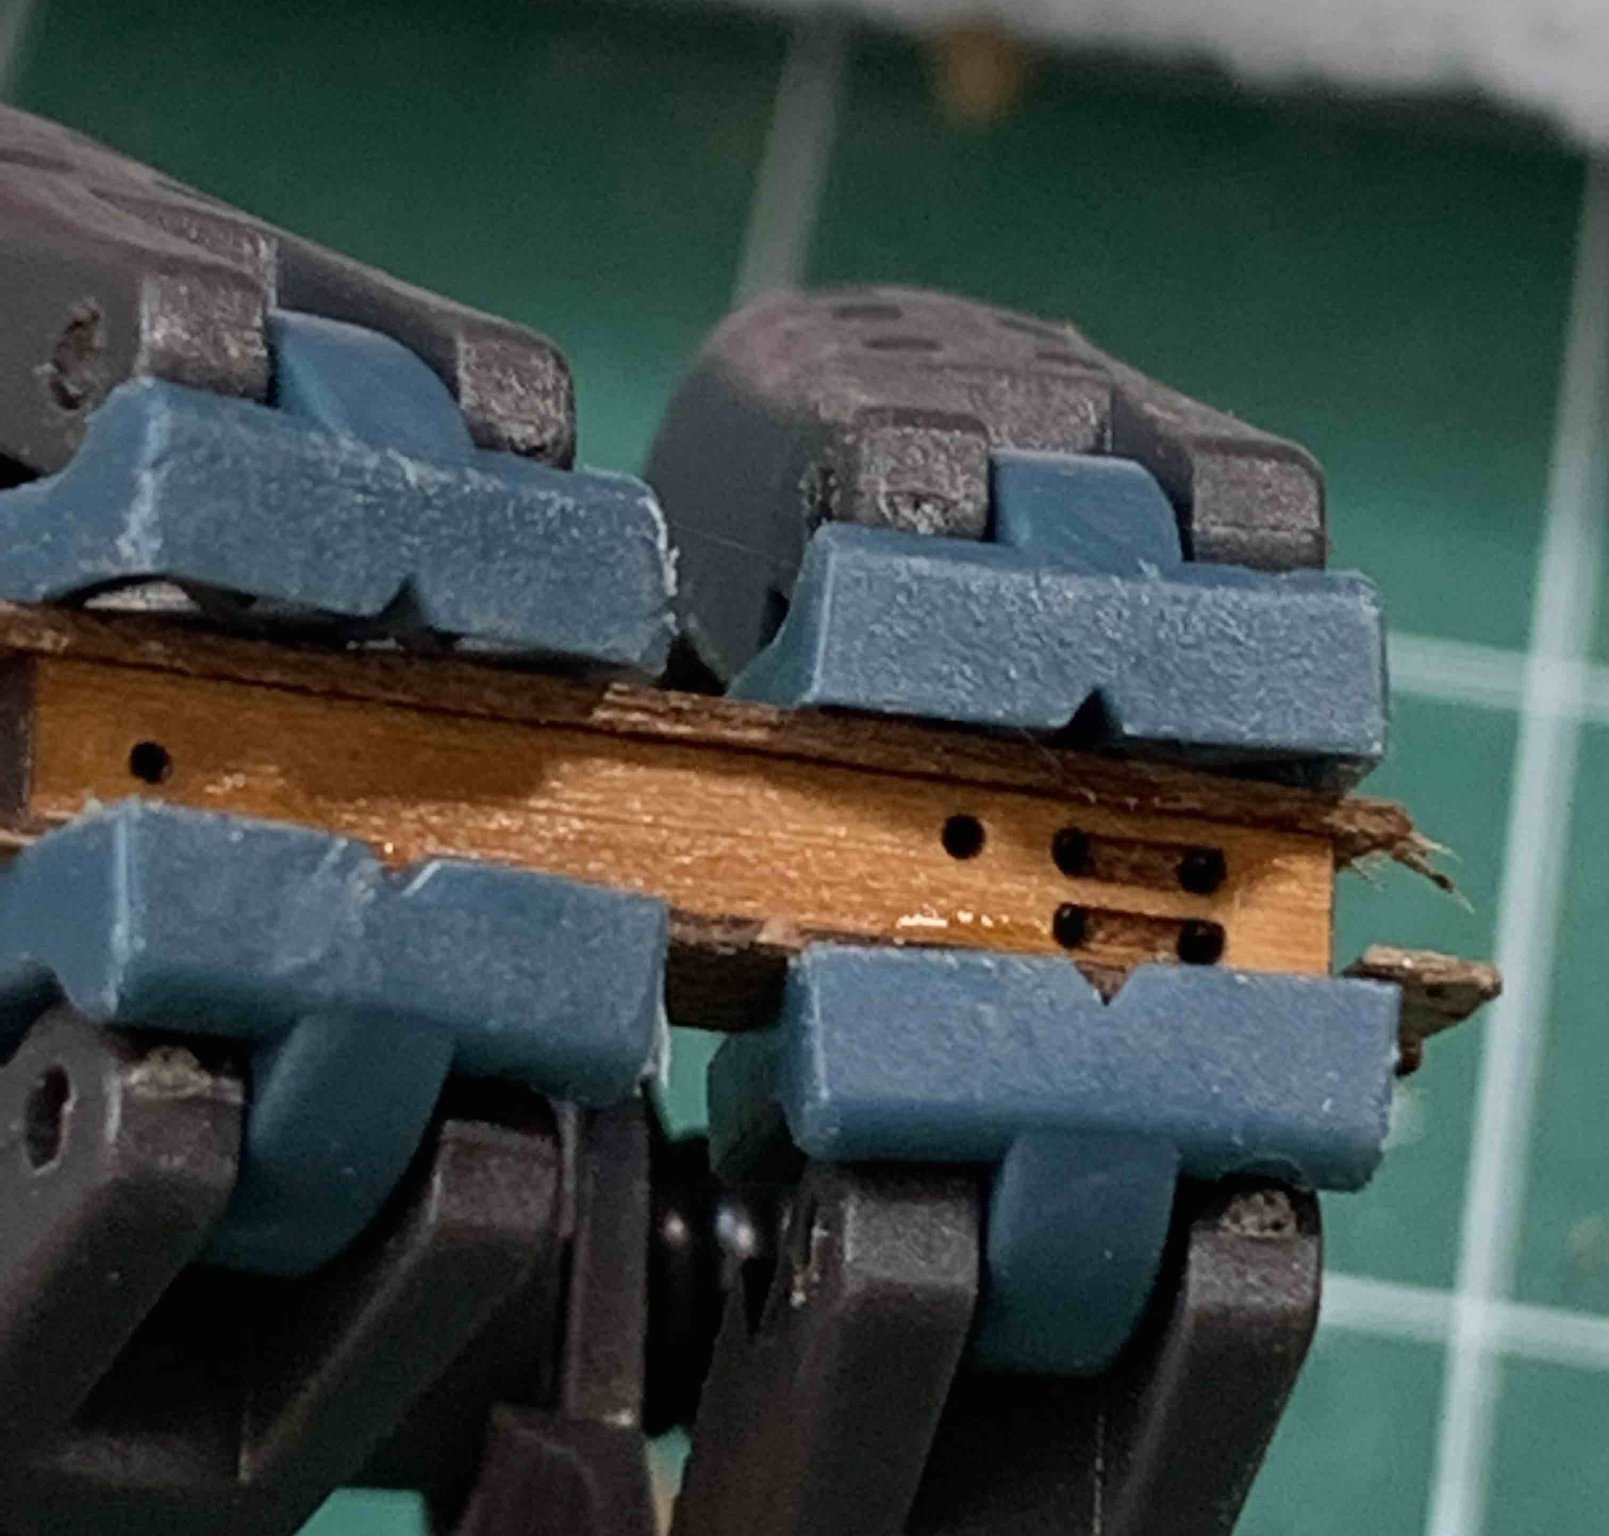
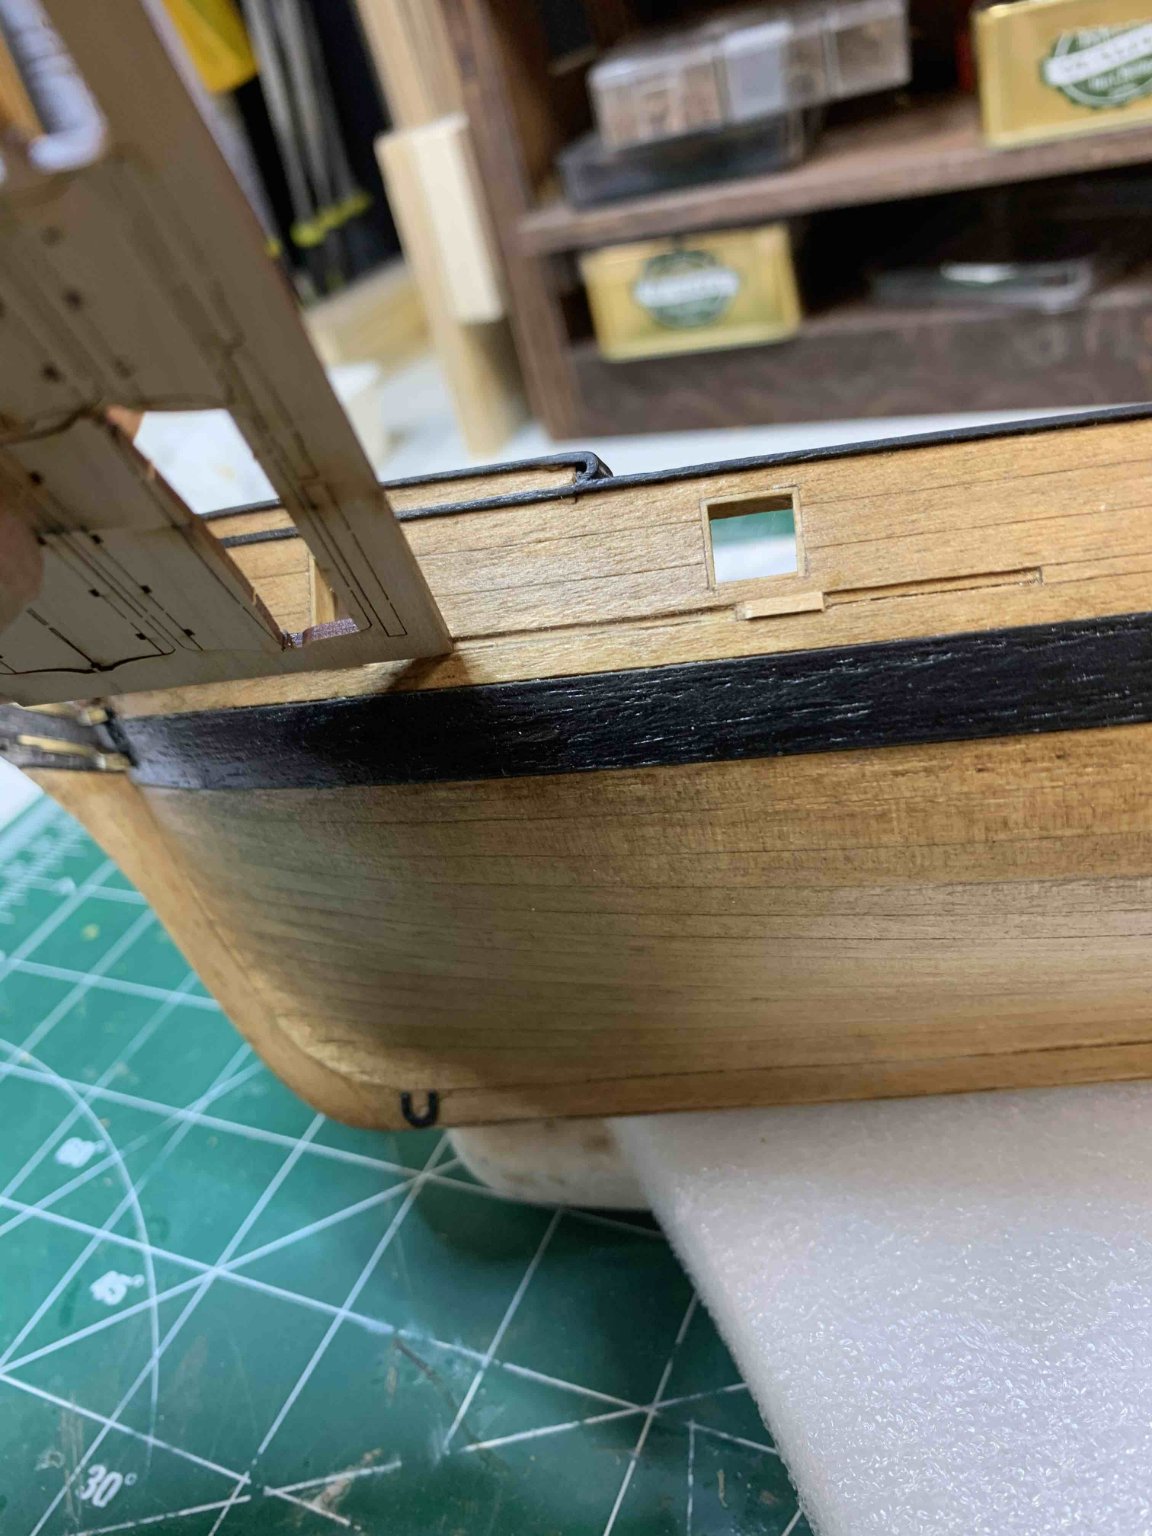
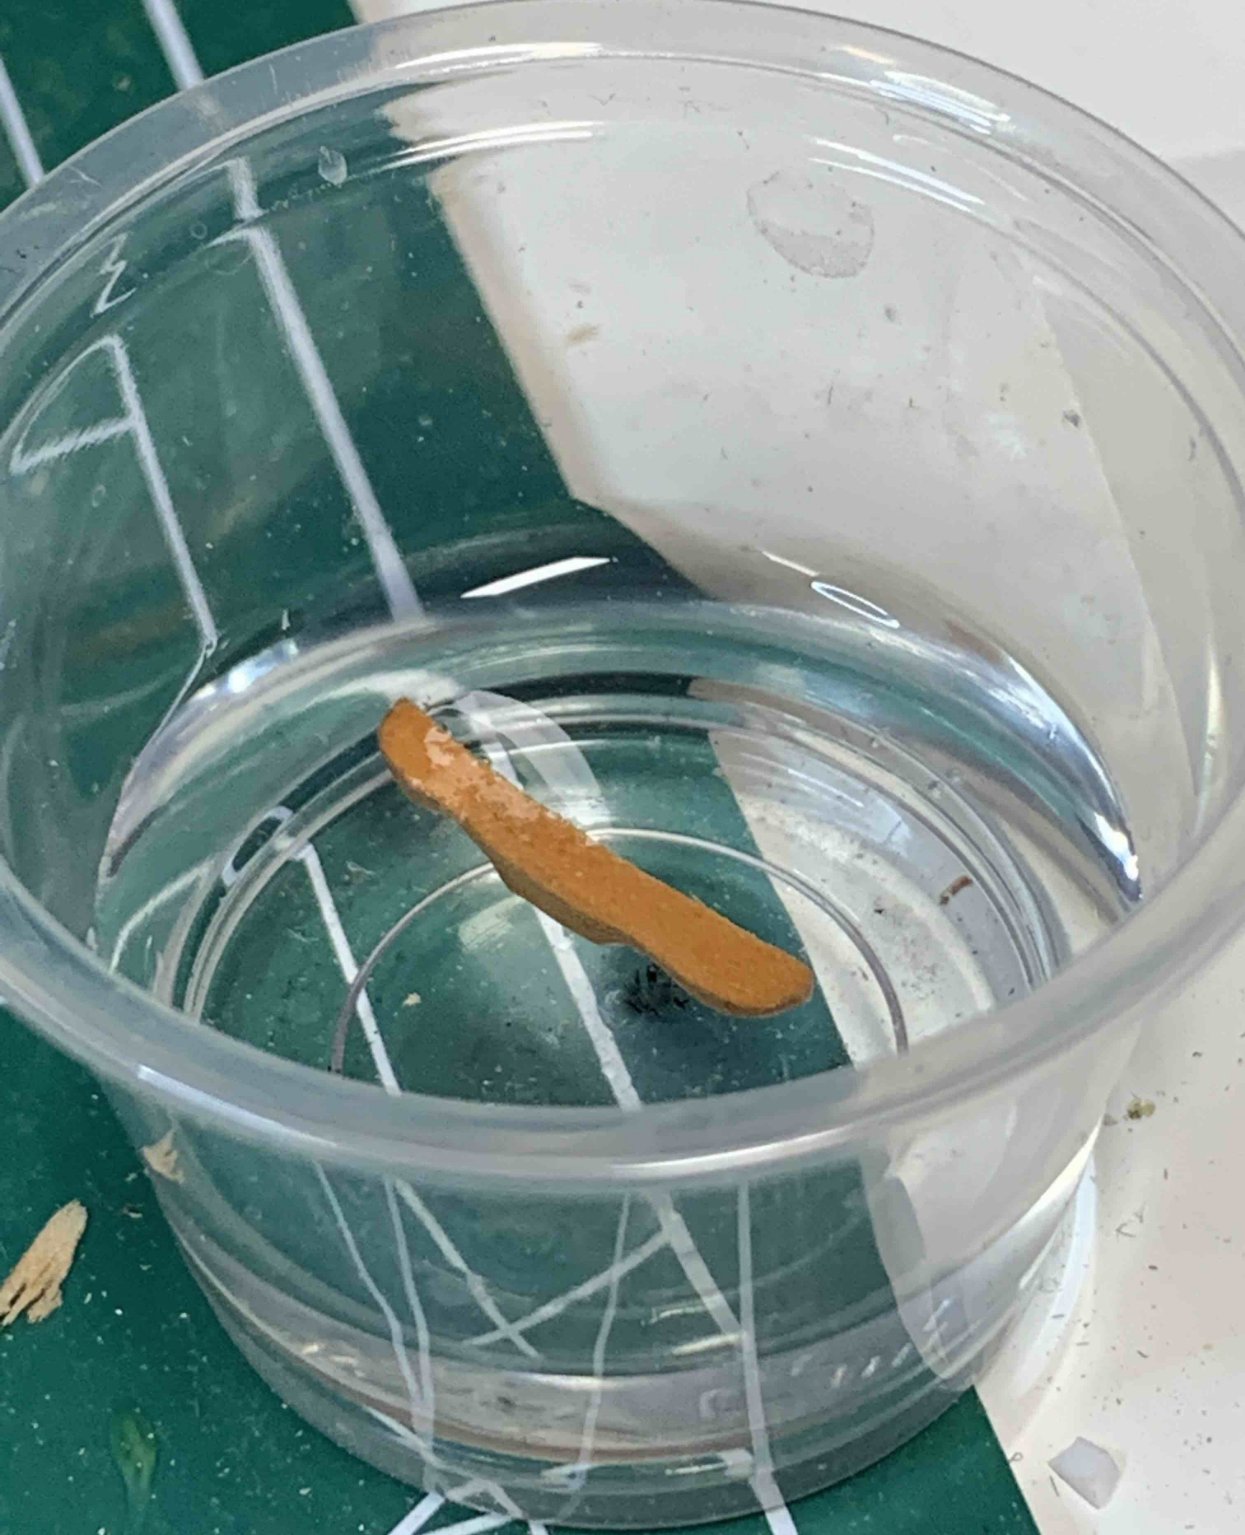
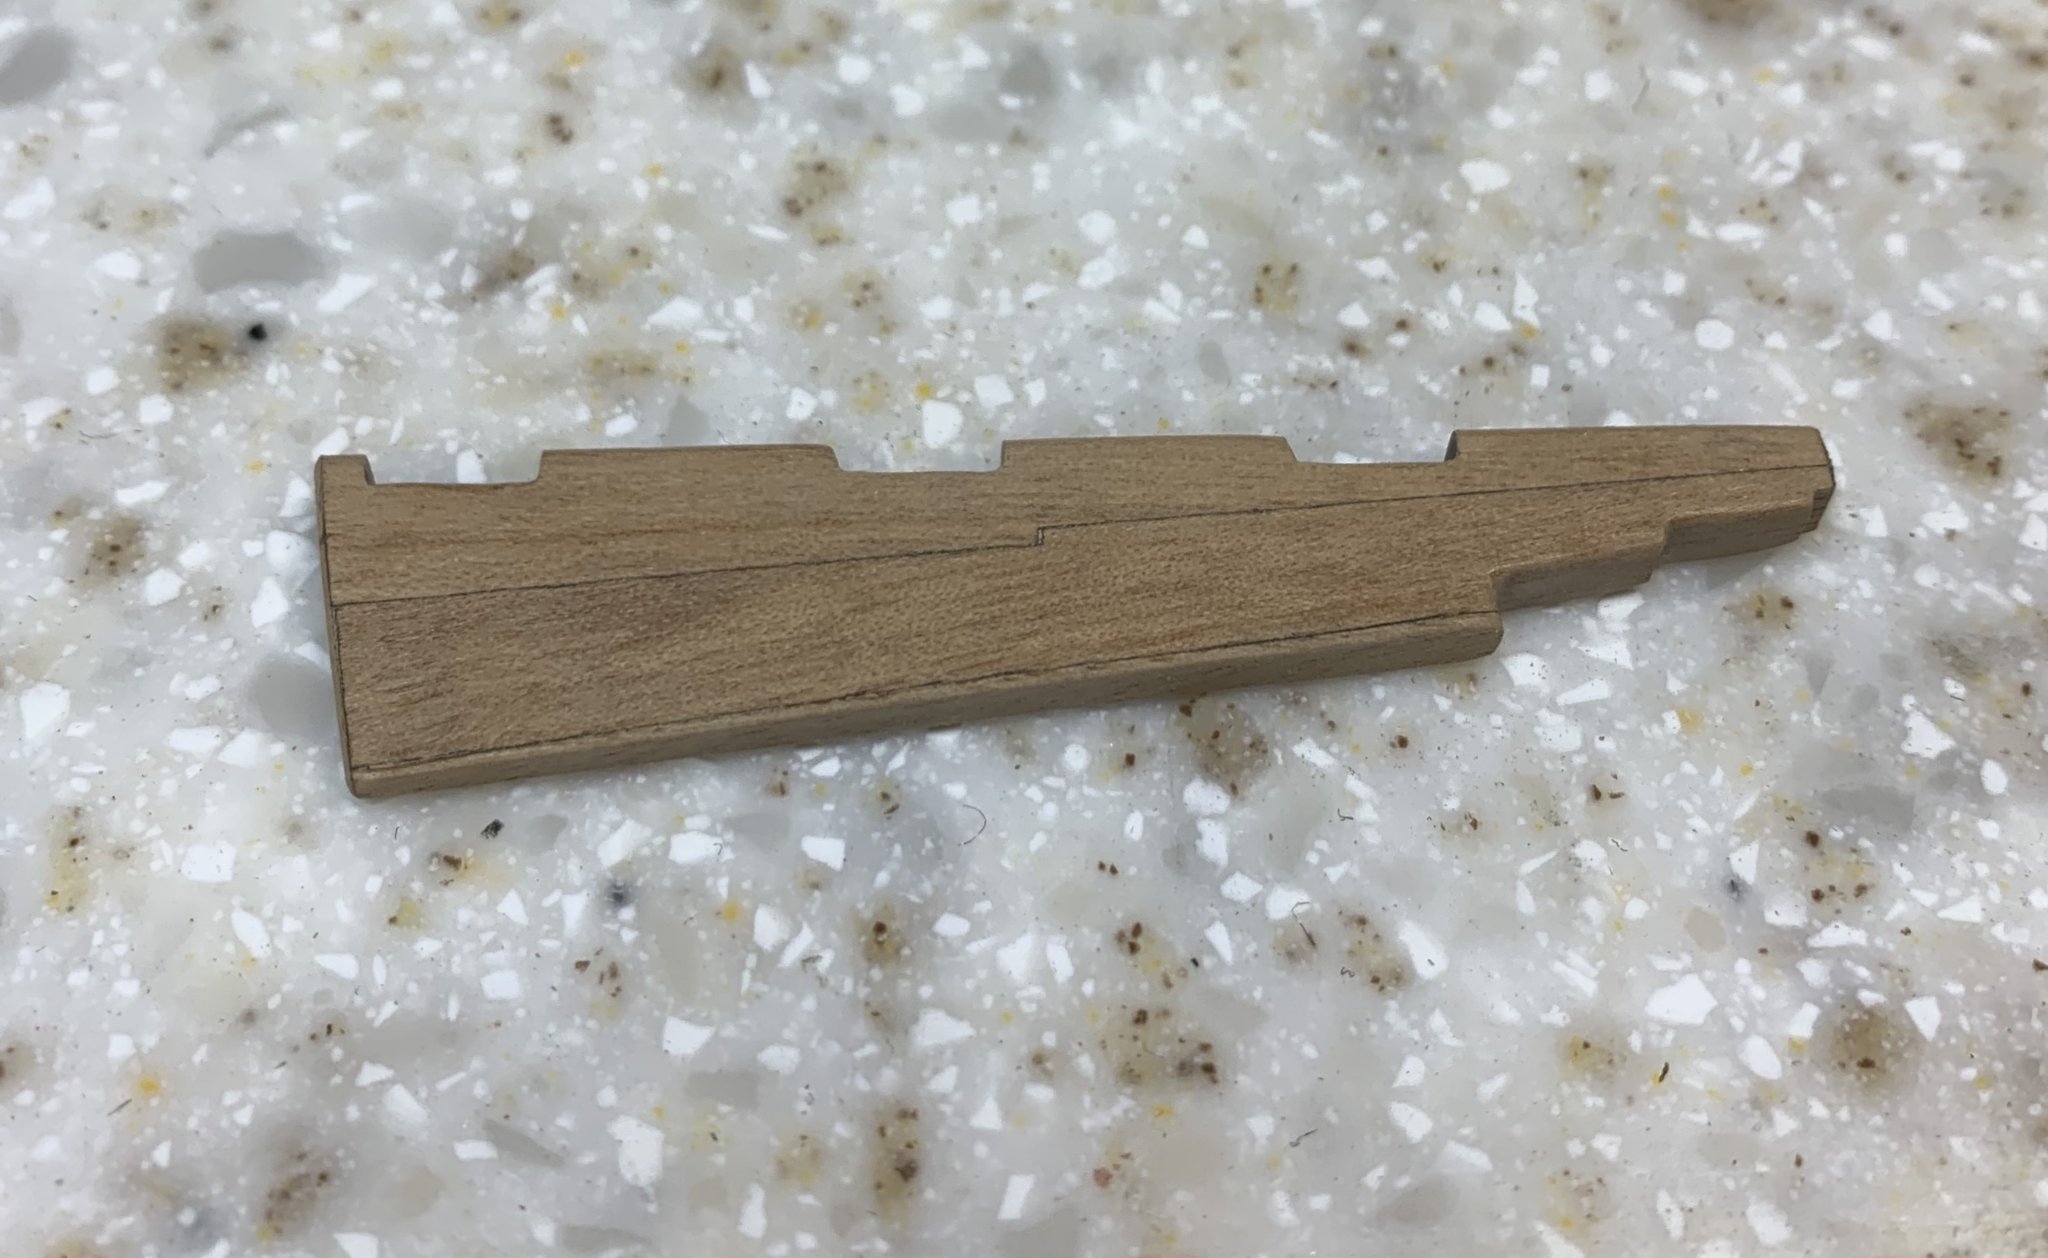
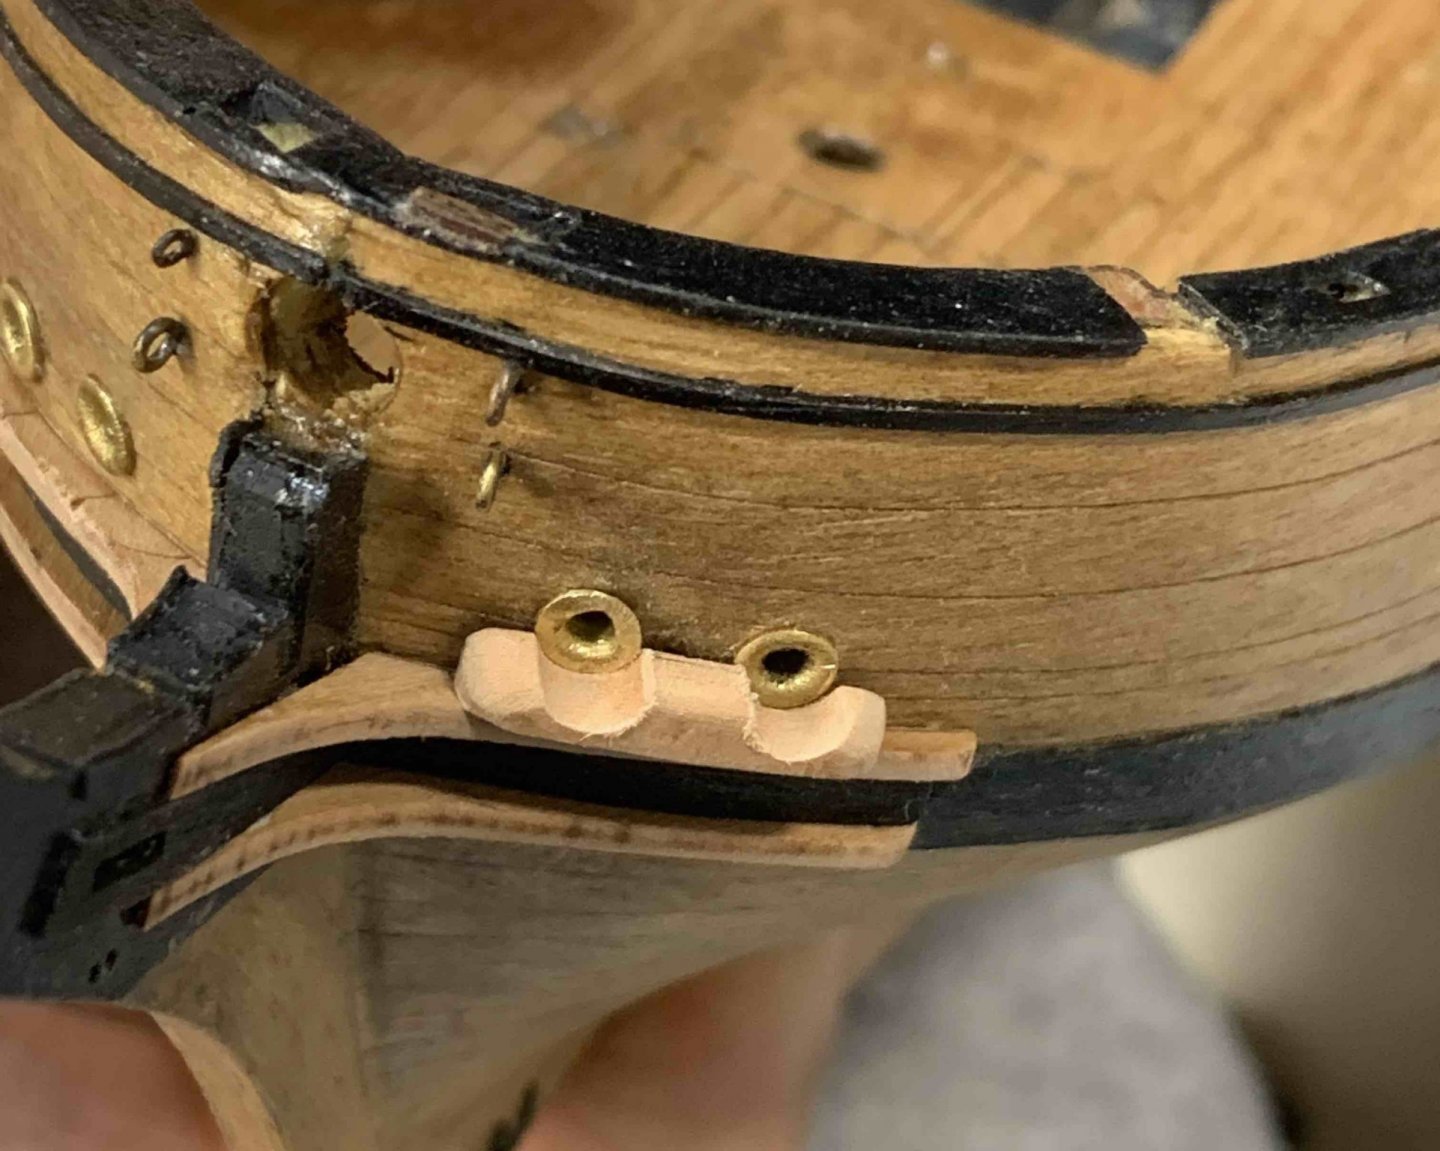
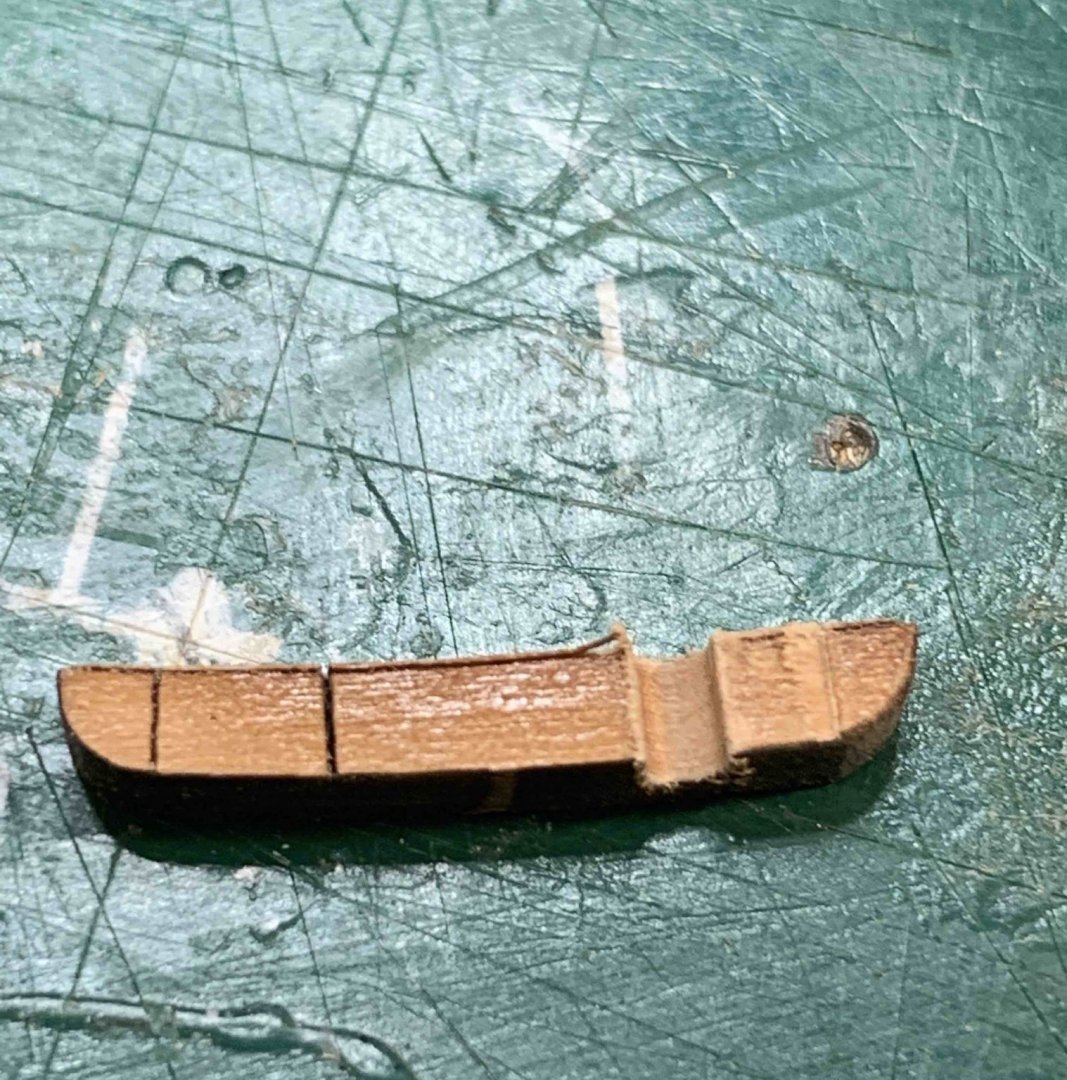
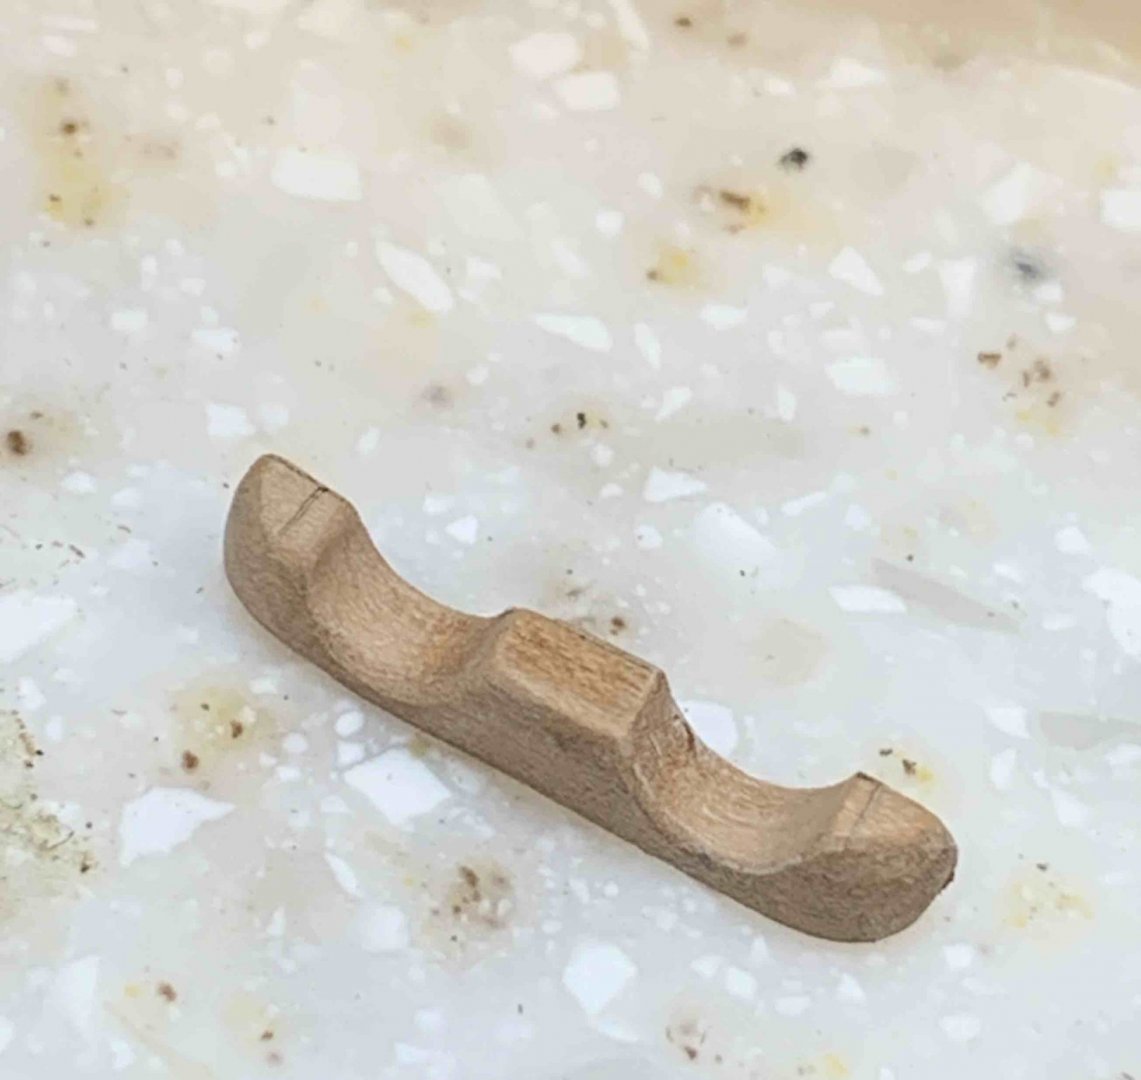
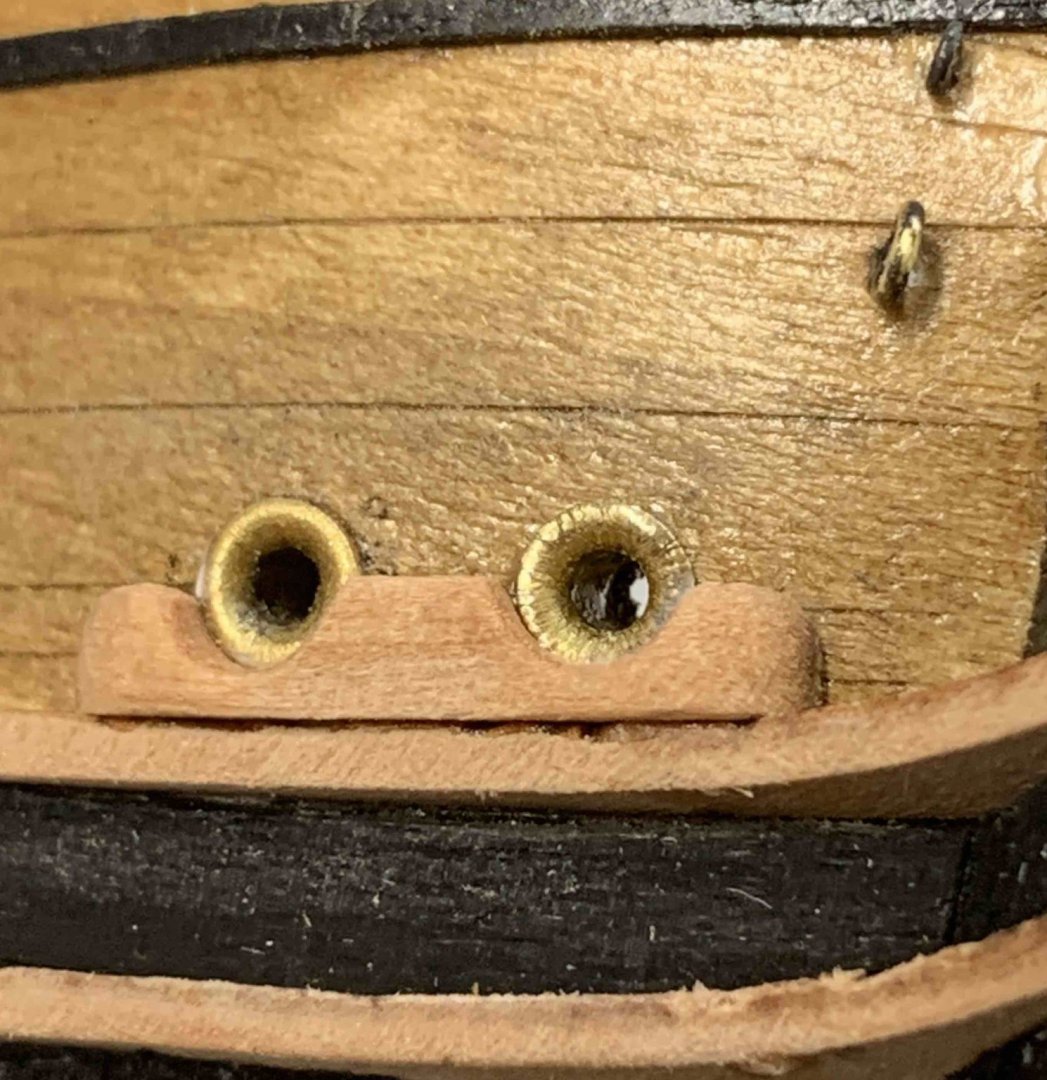
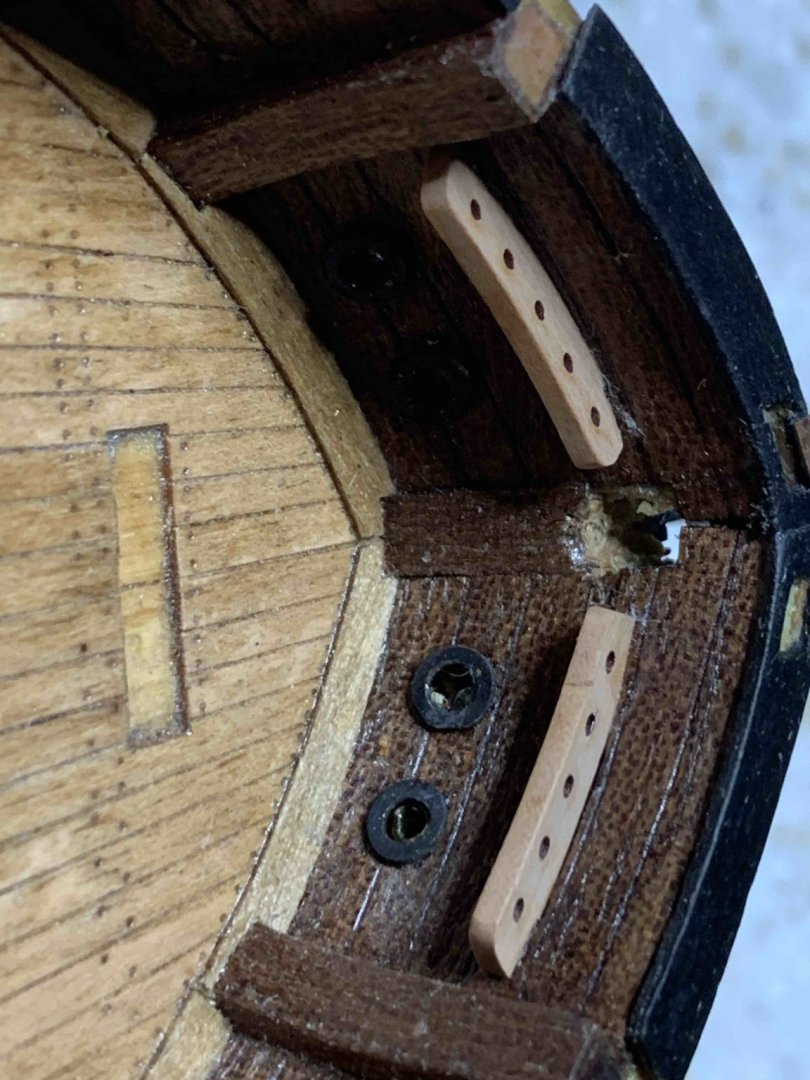
The notches in pads have to be enlarged and for that i used sanding drums in two sizes. With smaller one you can go all the way until the laser line is completely gone.. then just enlarge it til correct size. Then you sanded it to correct shape and depth so it will fit nicely under the anchor line pipes.. Several fitting tests are needed in order to get proper shape. The pads are soaked a bit so they can easily be mounted on the ship taking correct shape (following full curve). The pads have to stick out of a knee for a bit to accommodate thickness of the brass elements. The length of the brass elements is shorter for about 3mm and the knee has to be resahped (shortened) the brass fitting will go all the way to the hull. Just test it few times.. Brass elements are glued and mounted... Now it is time to do some paint touch ups.. Happy modelling.


- 275 replies
-
- 1
-
-
- phoenix
- master korabel
- (and 1 more)
-
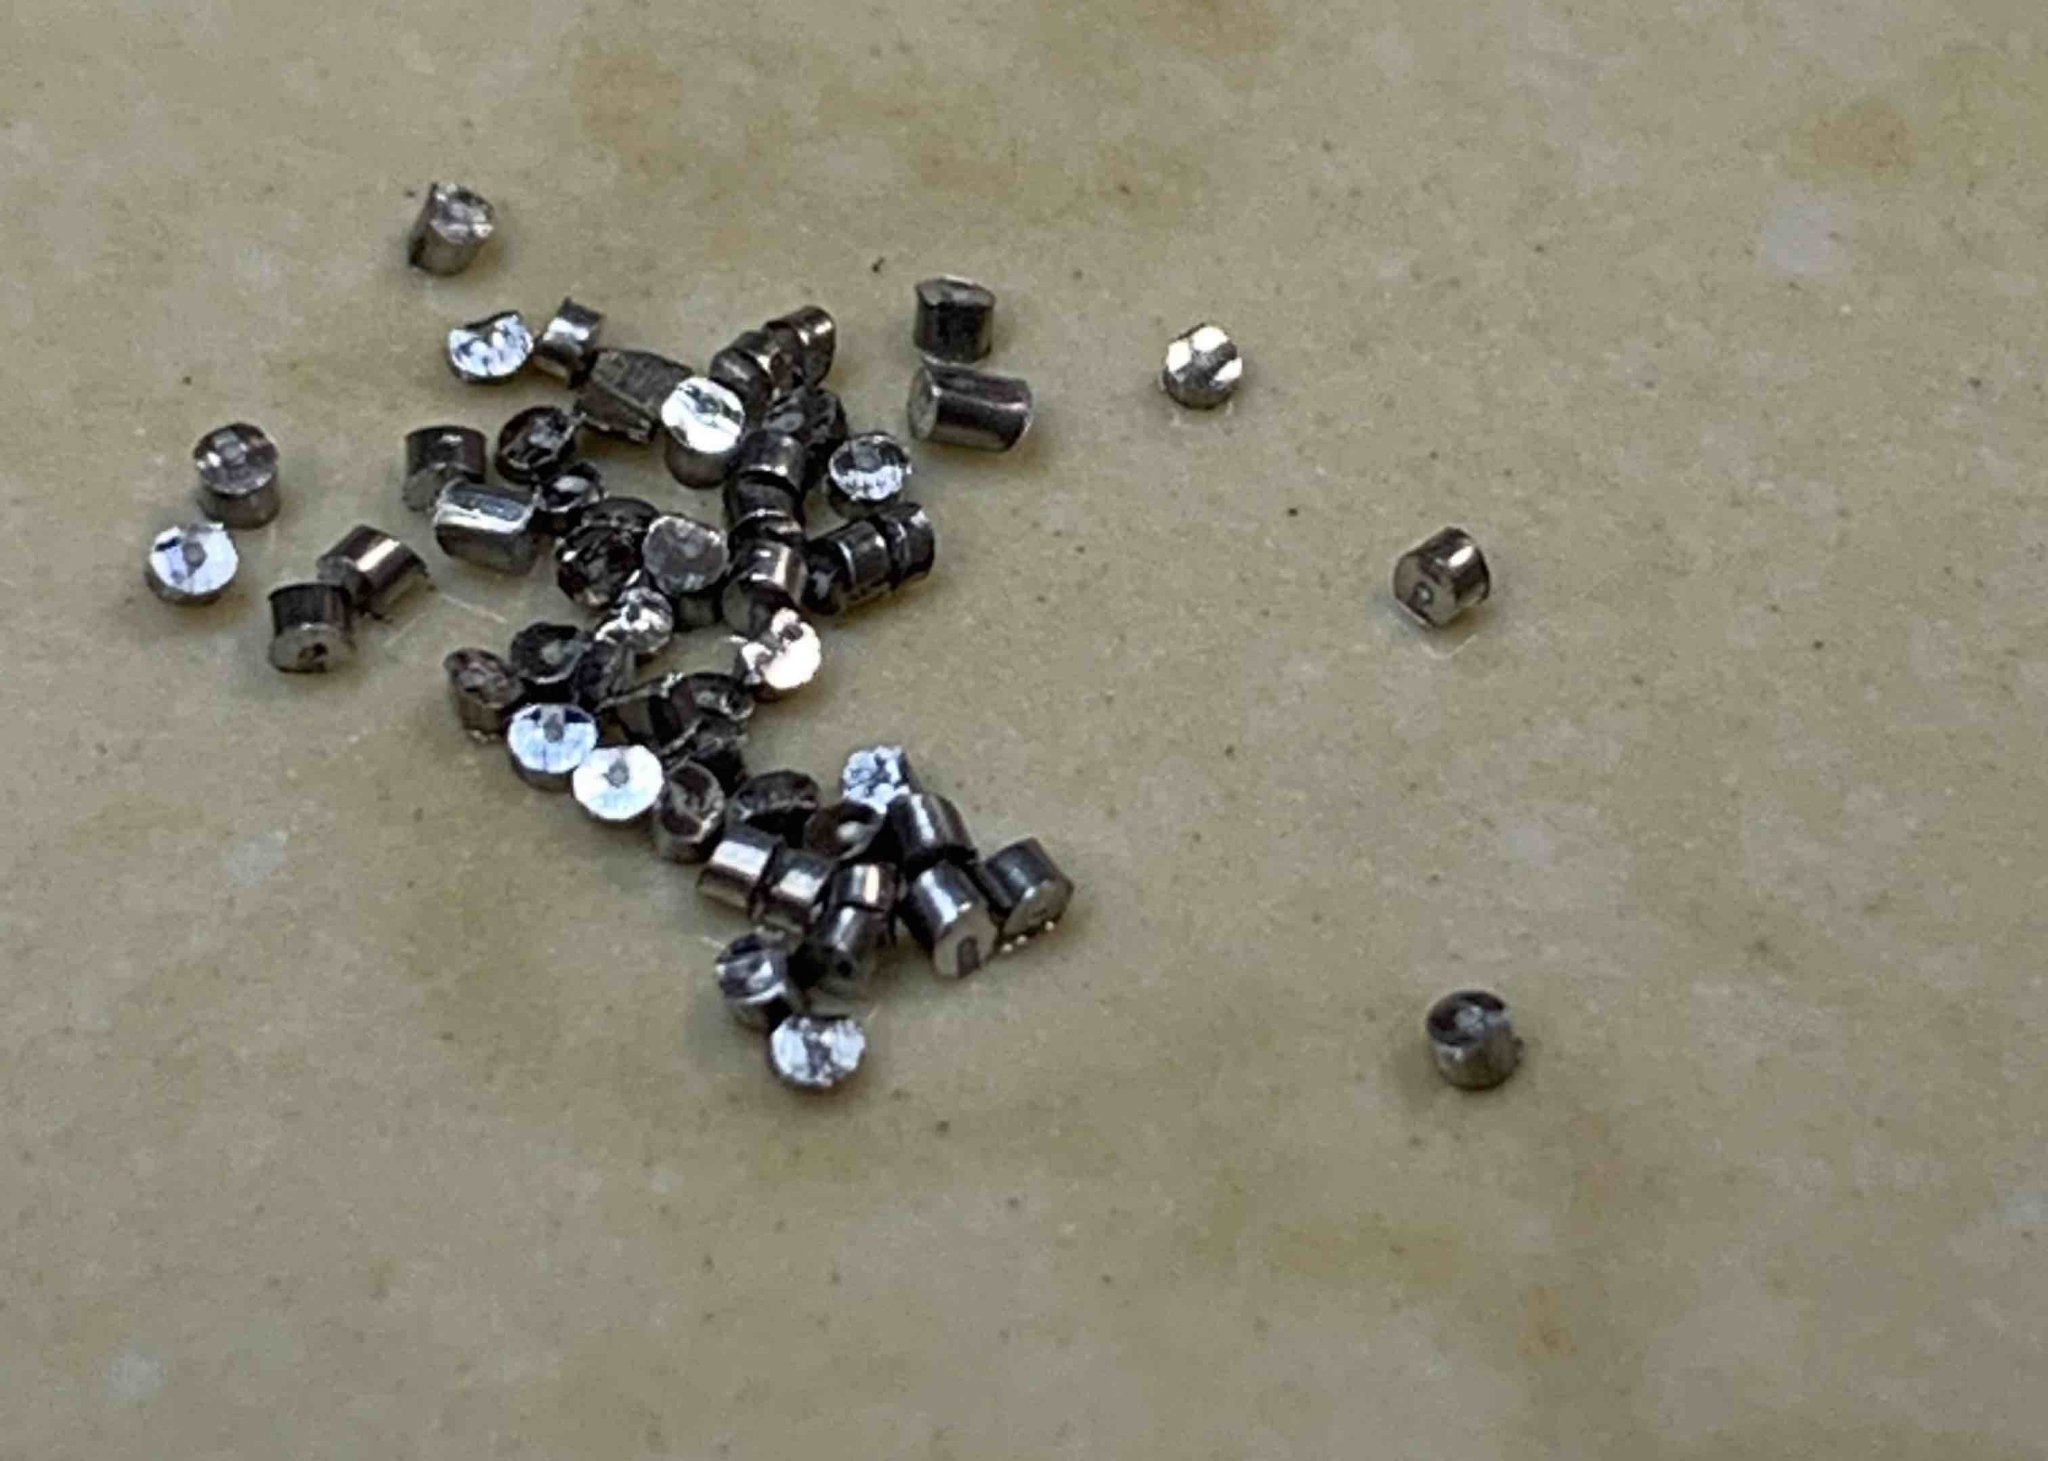
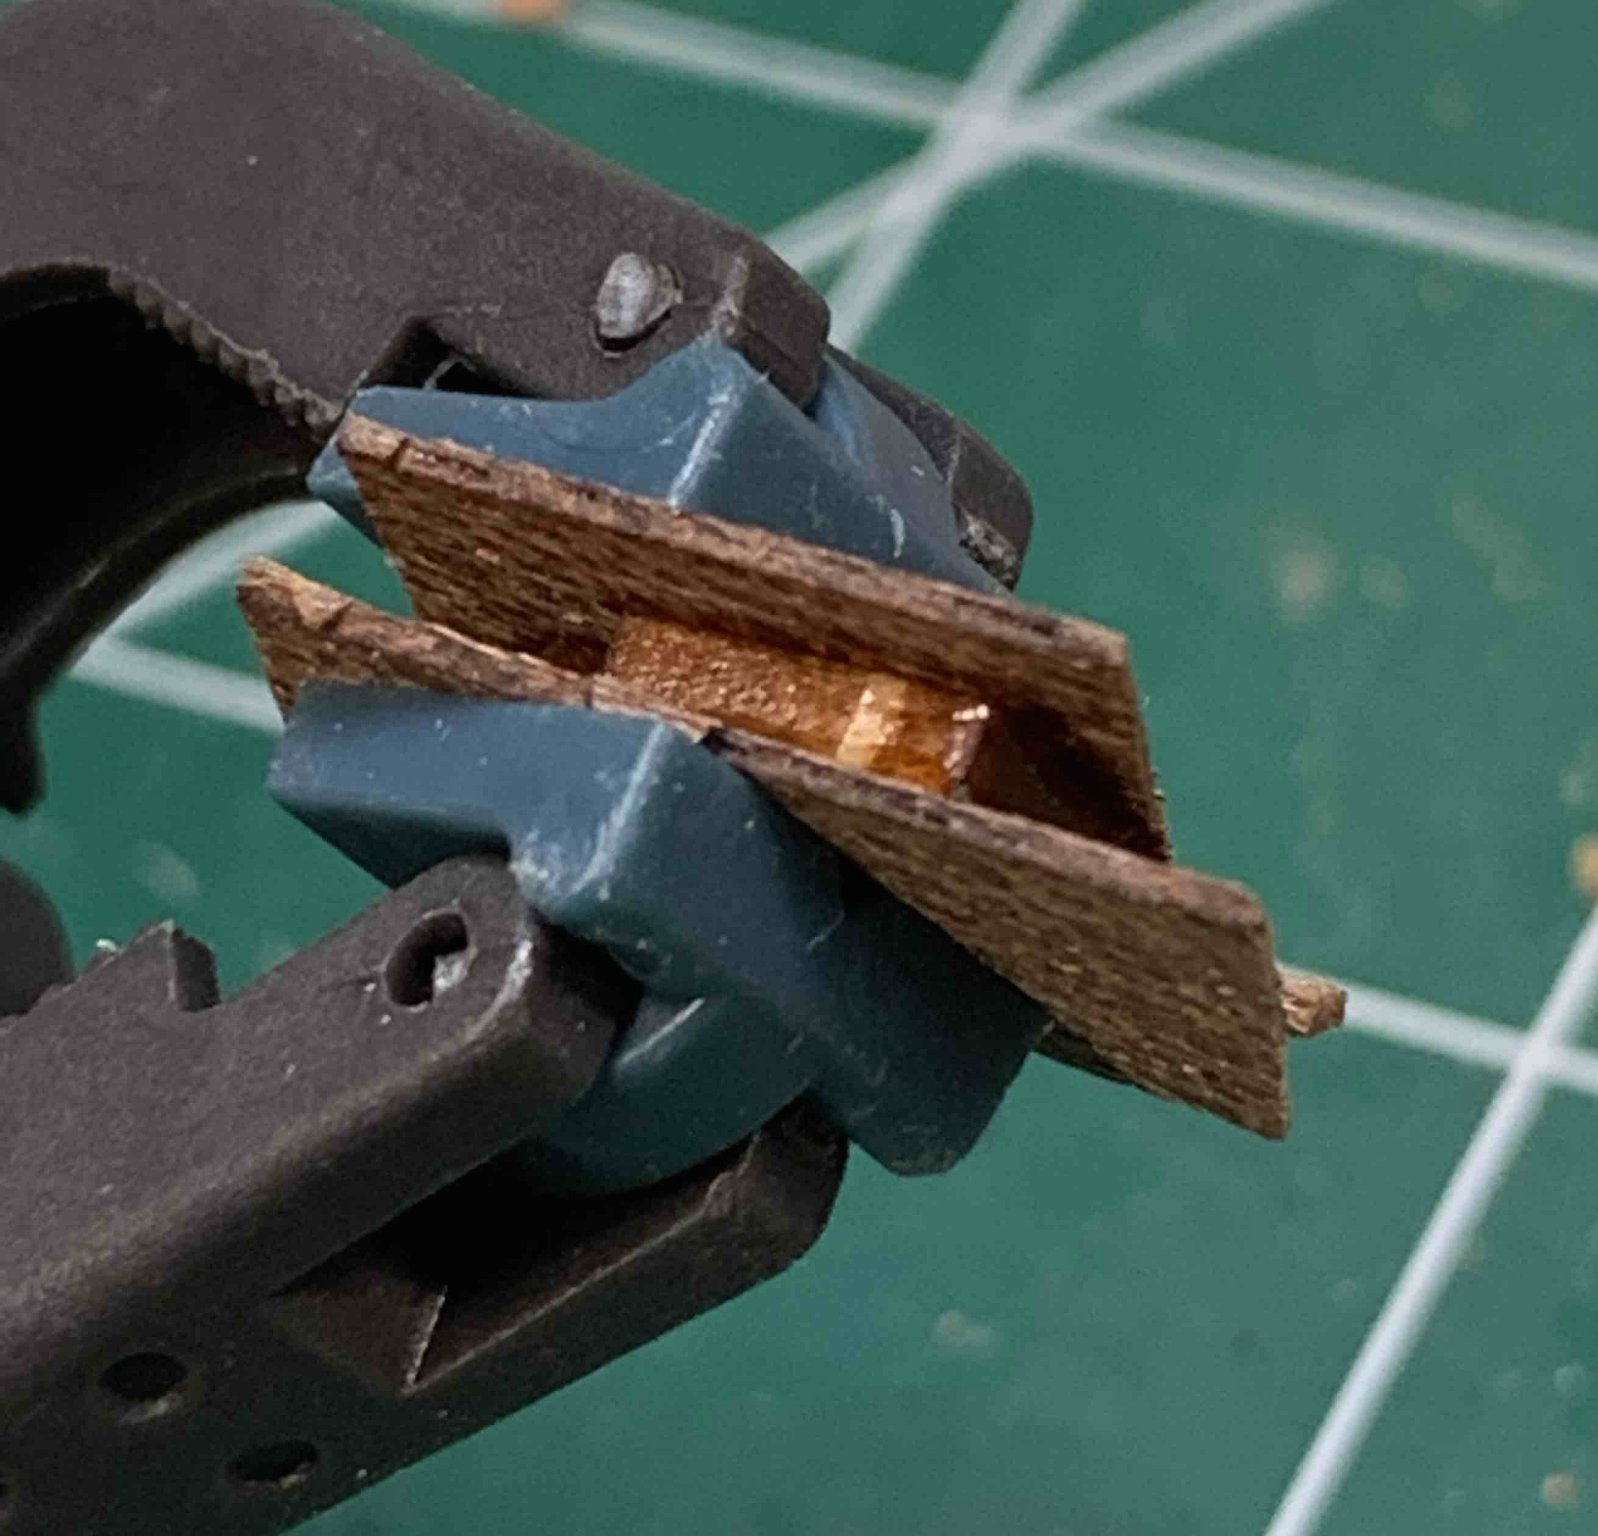
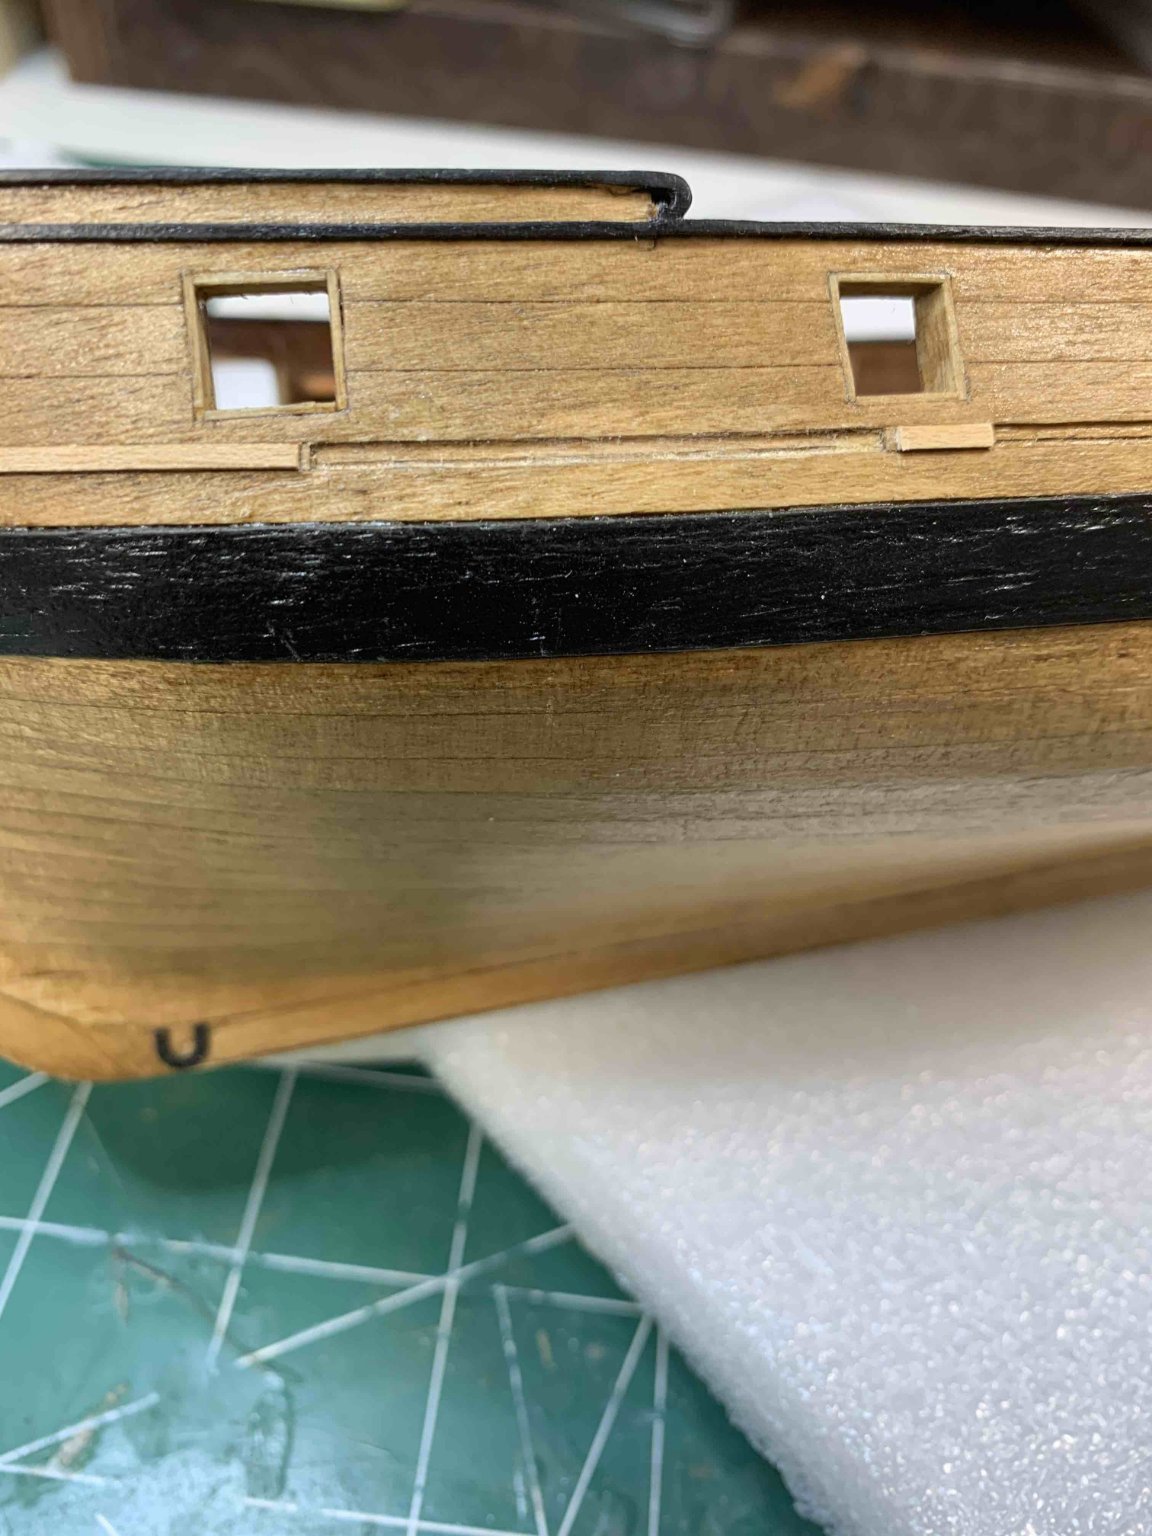
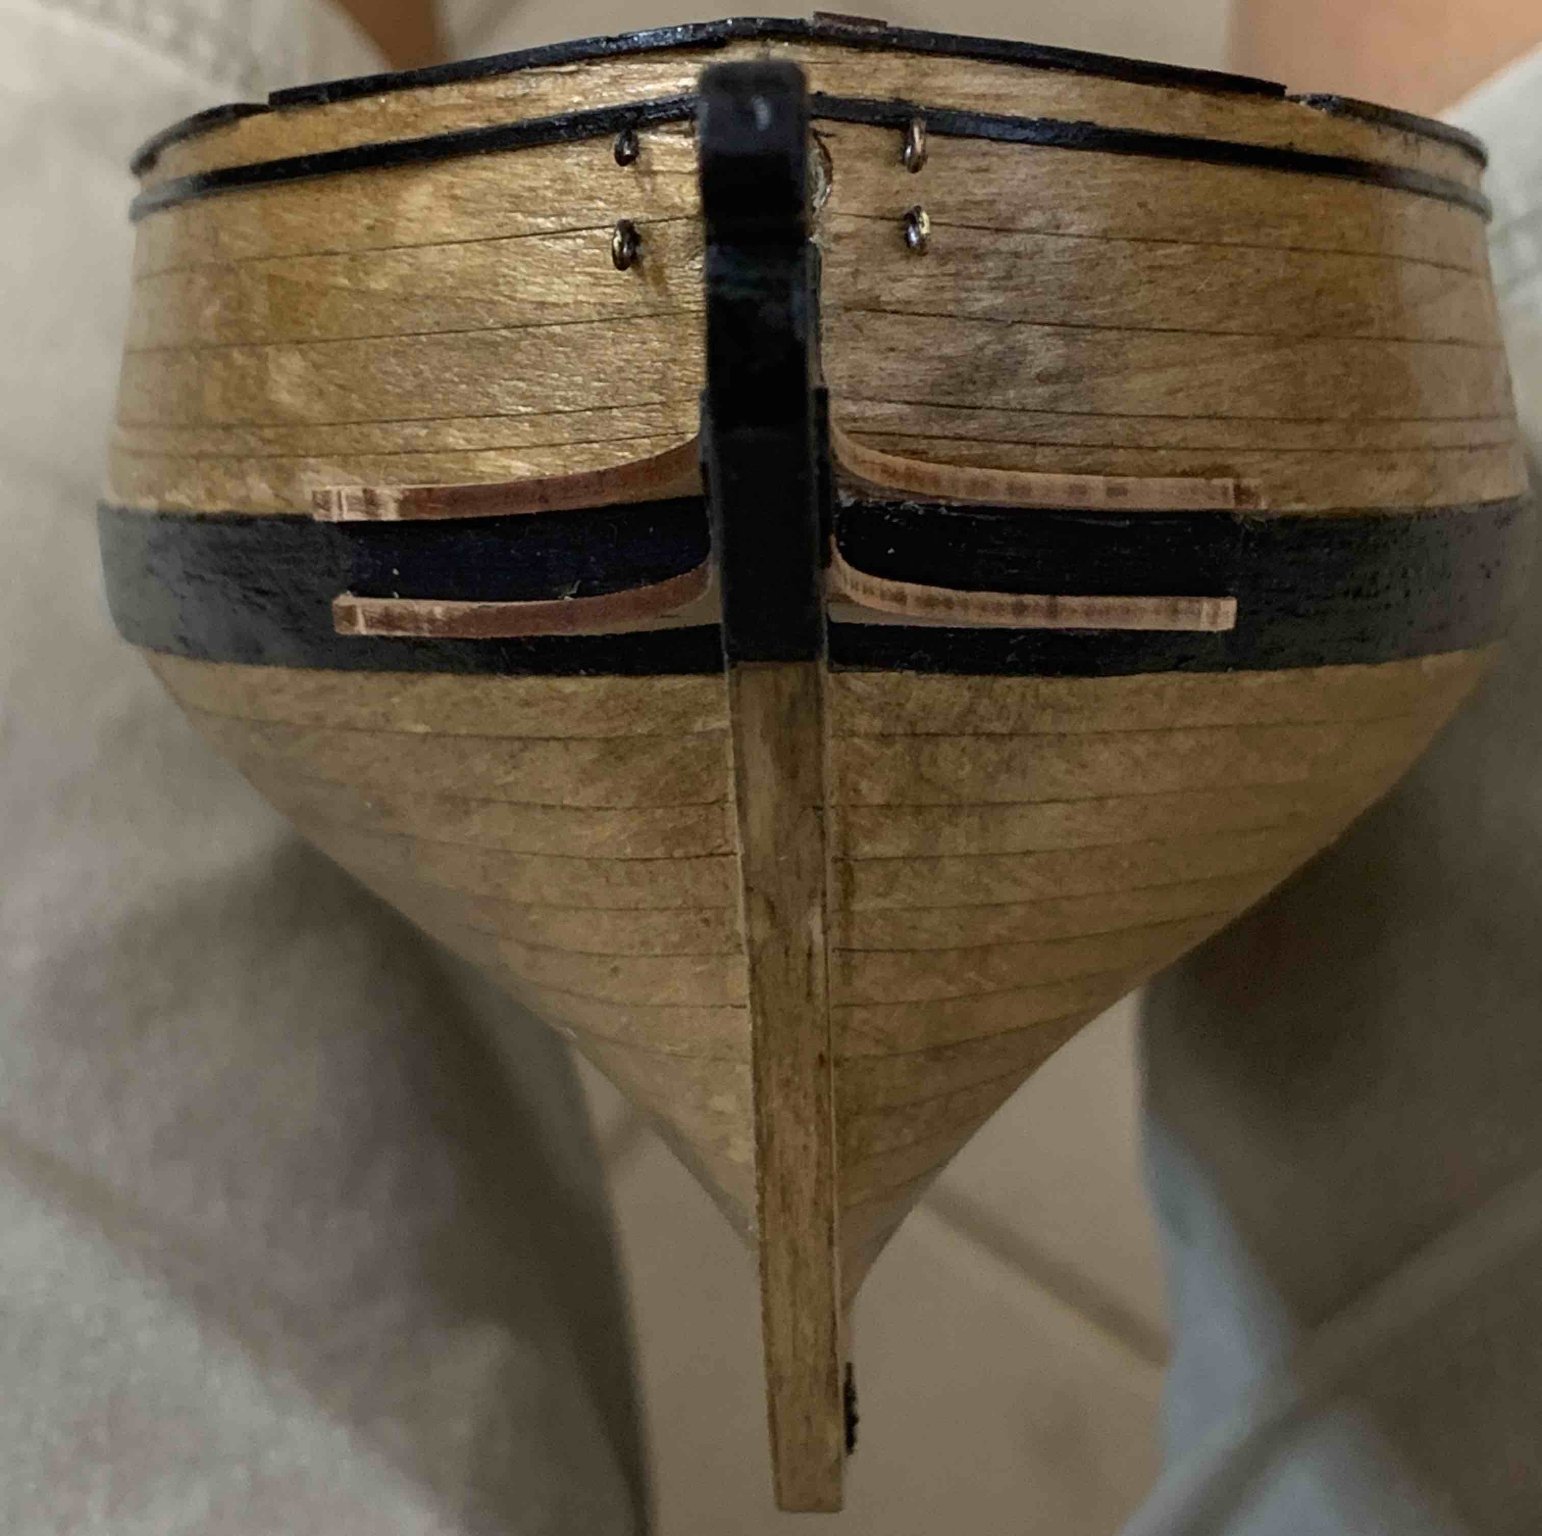
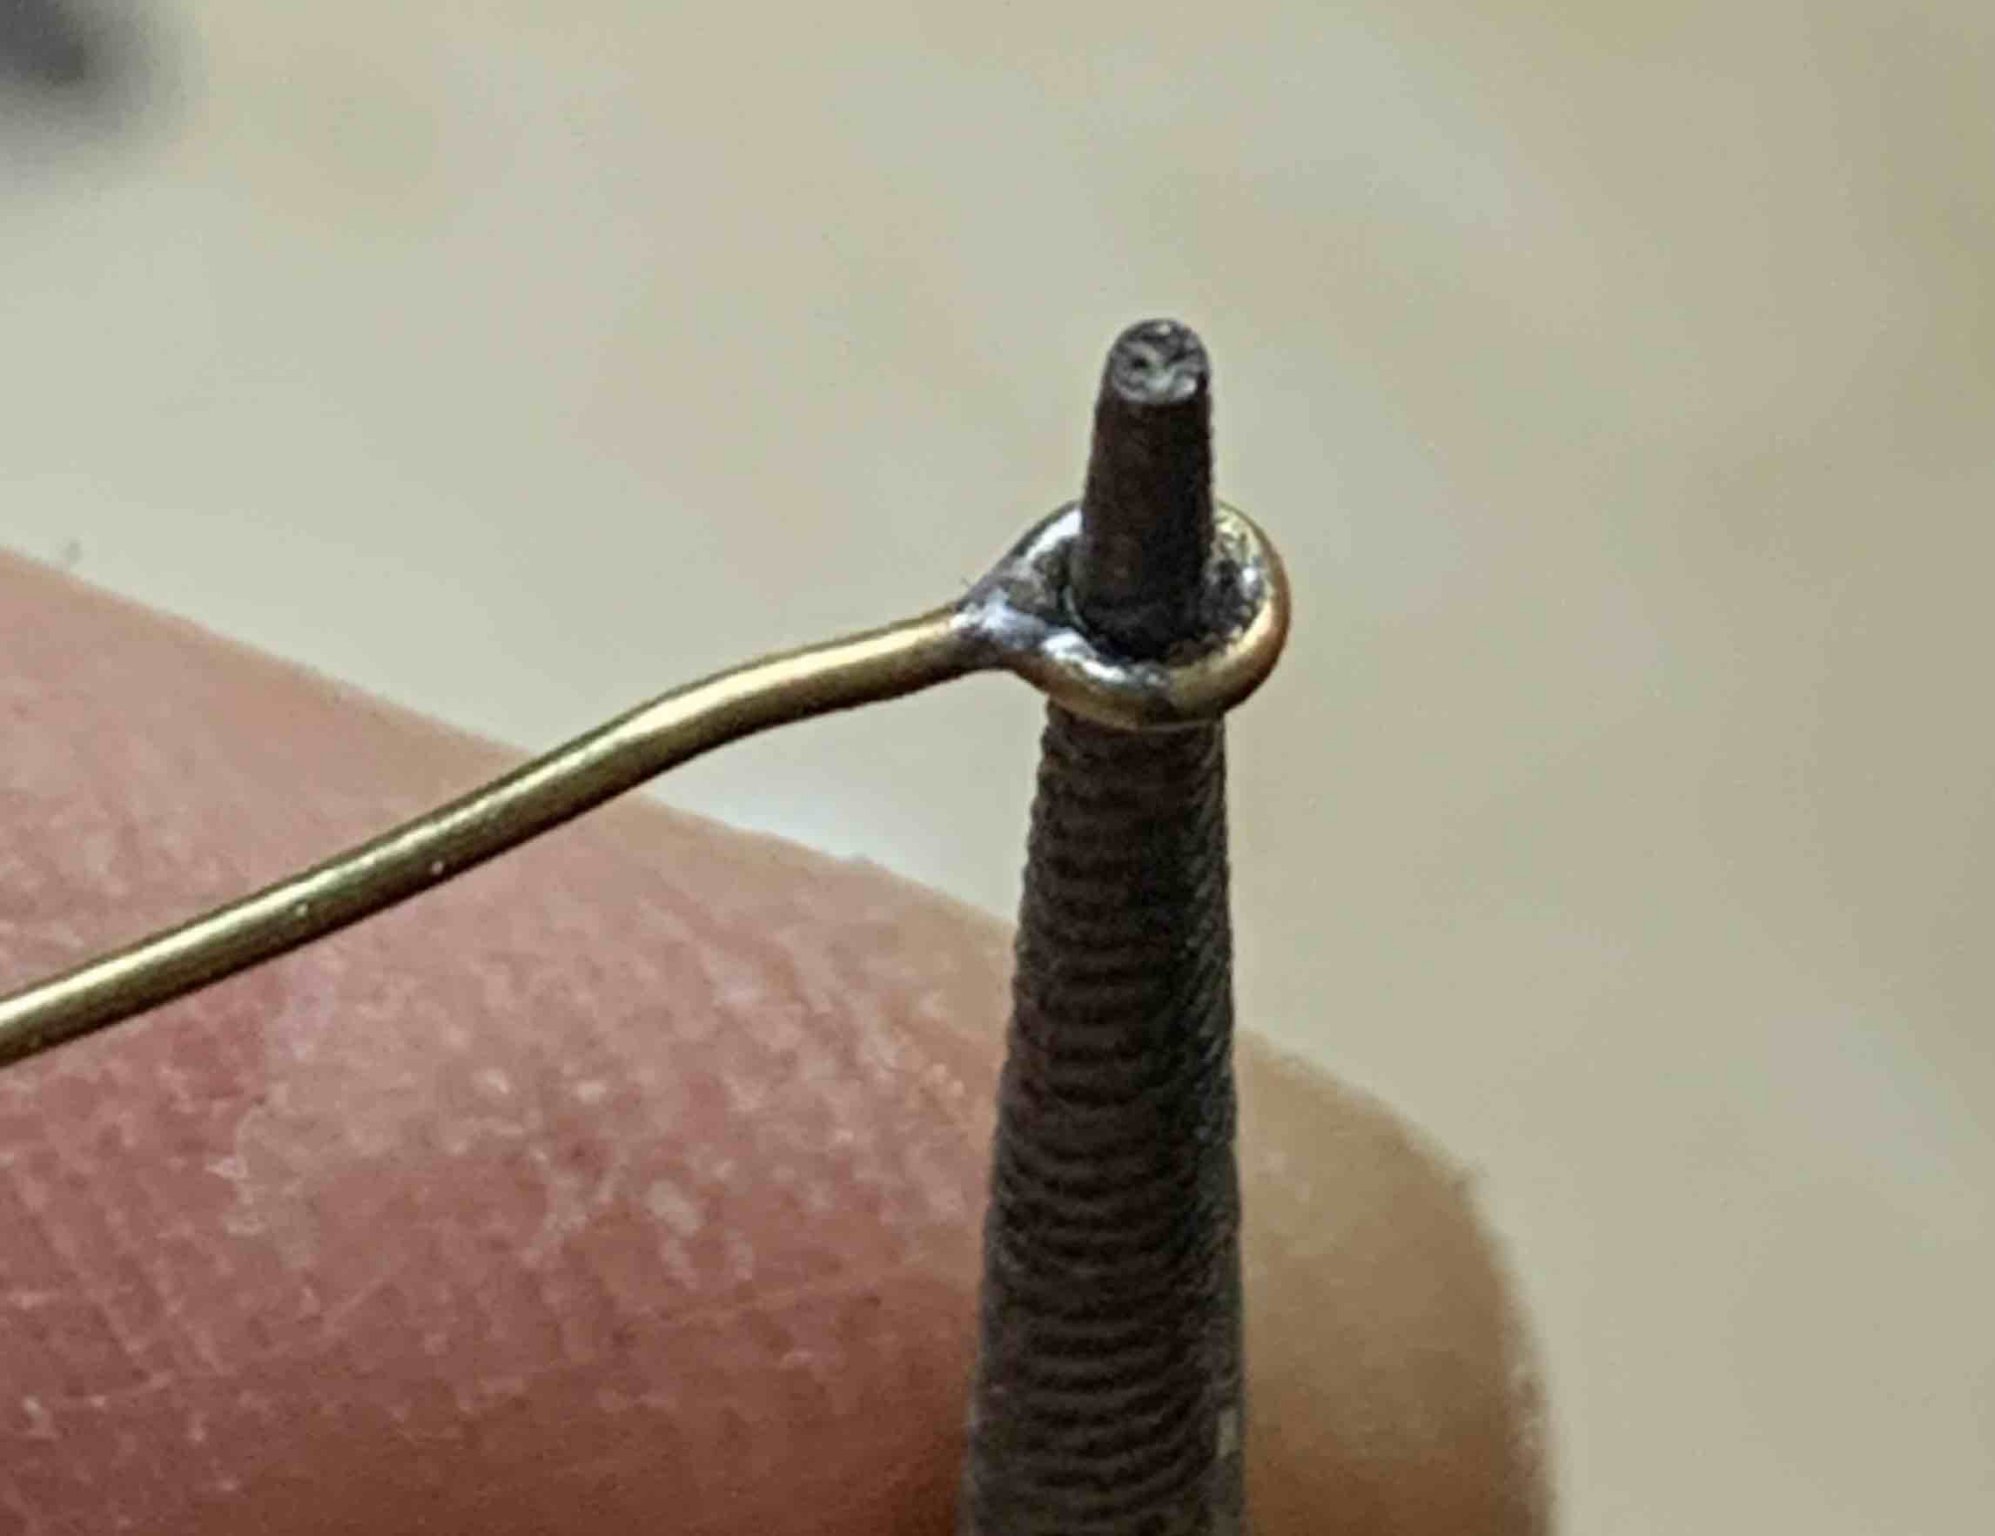
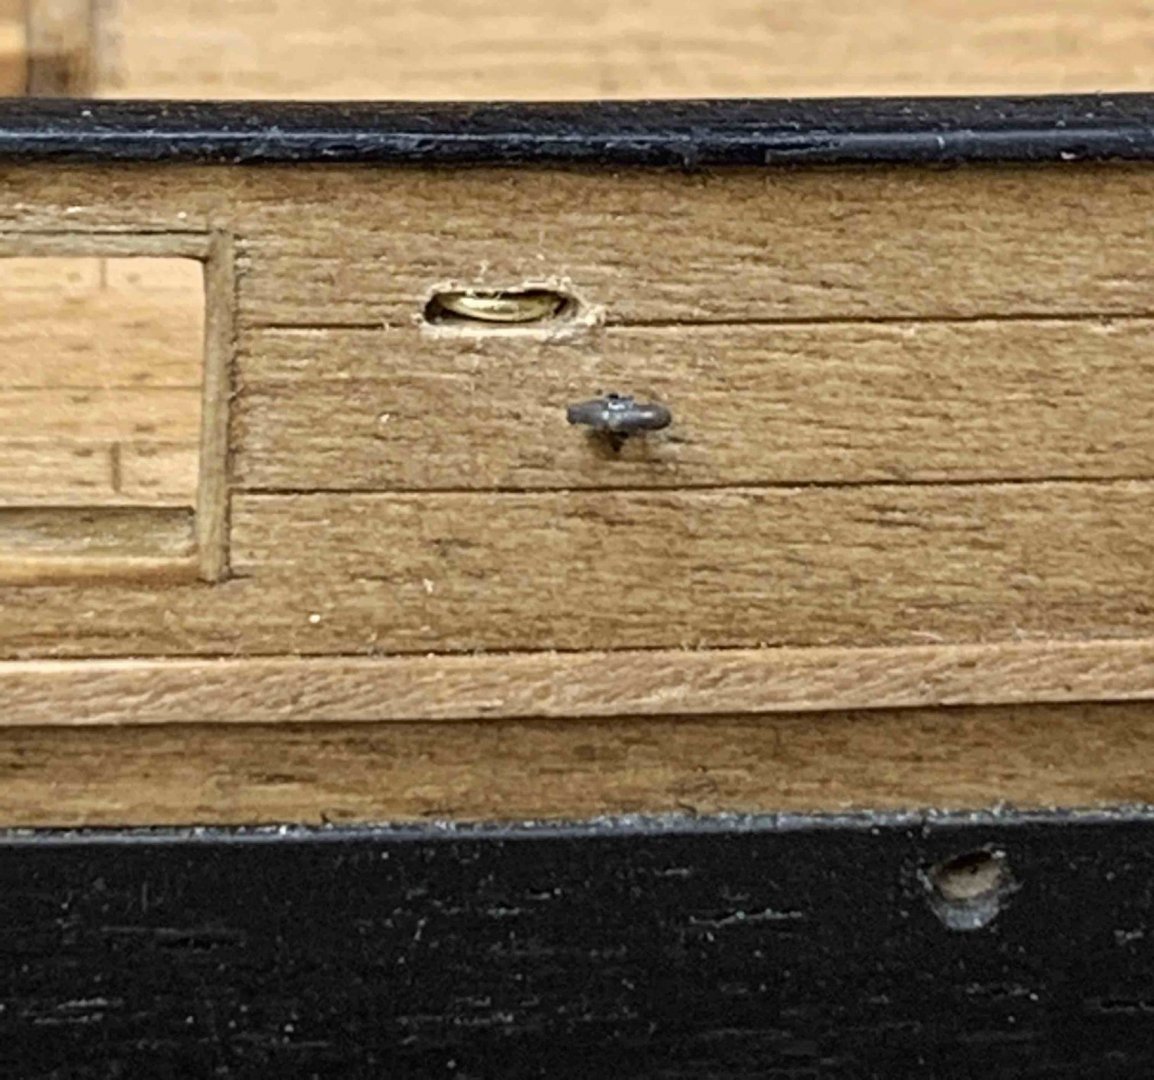
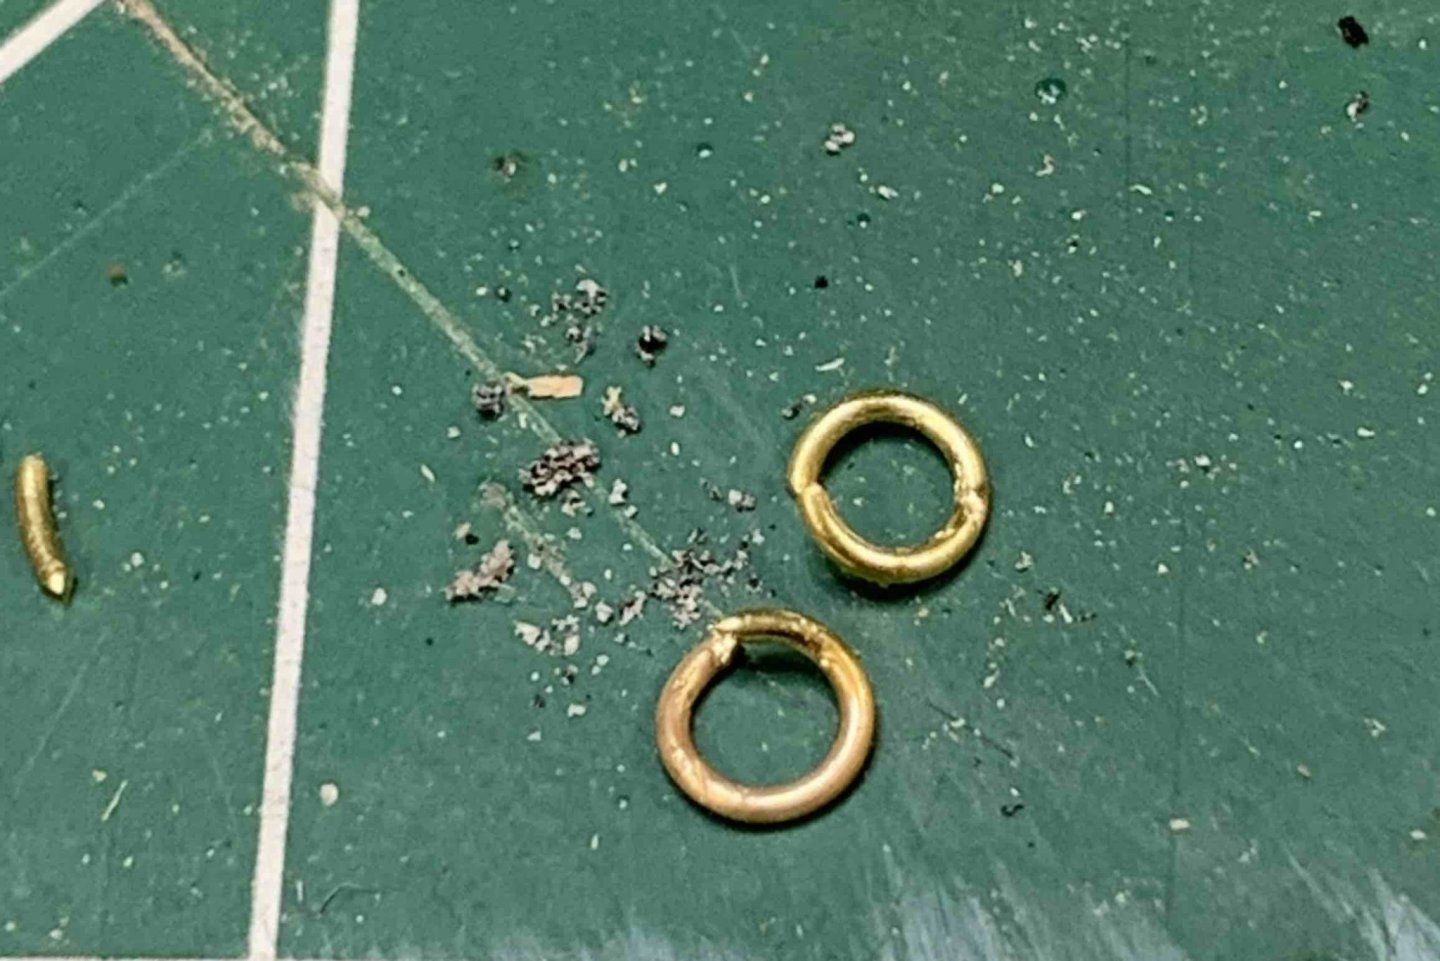
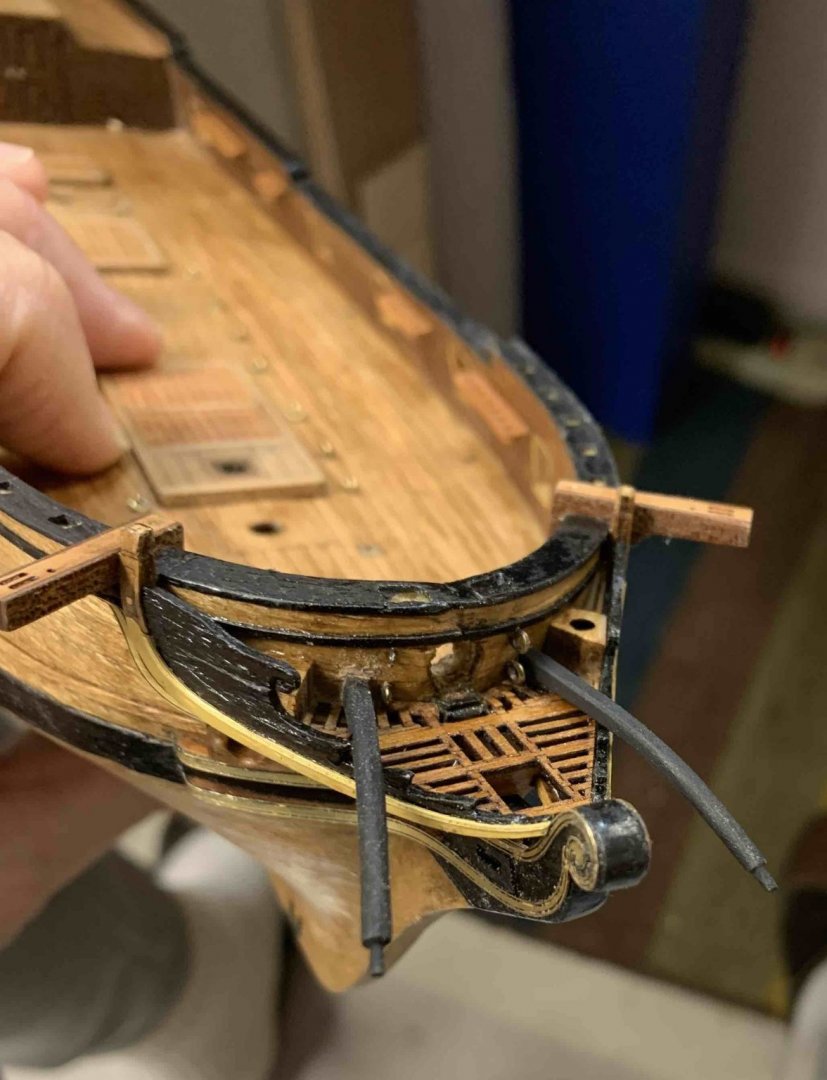
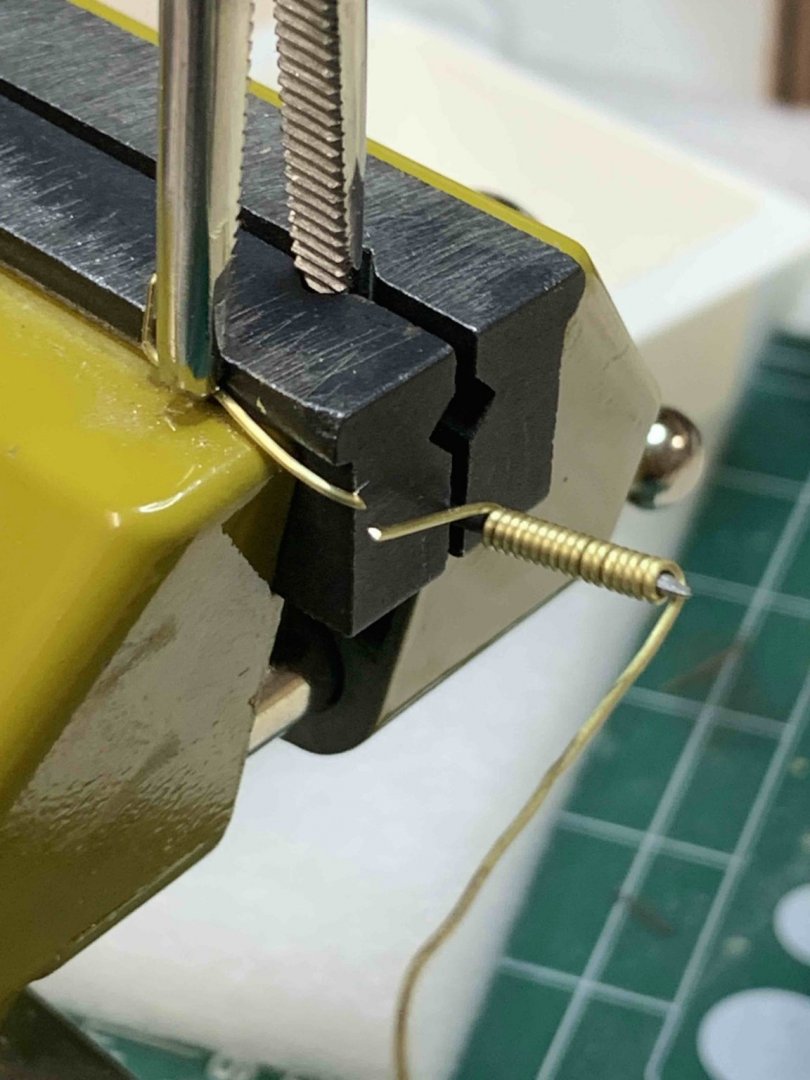
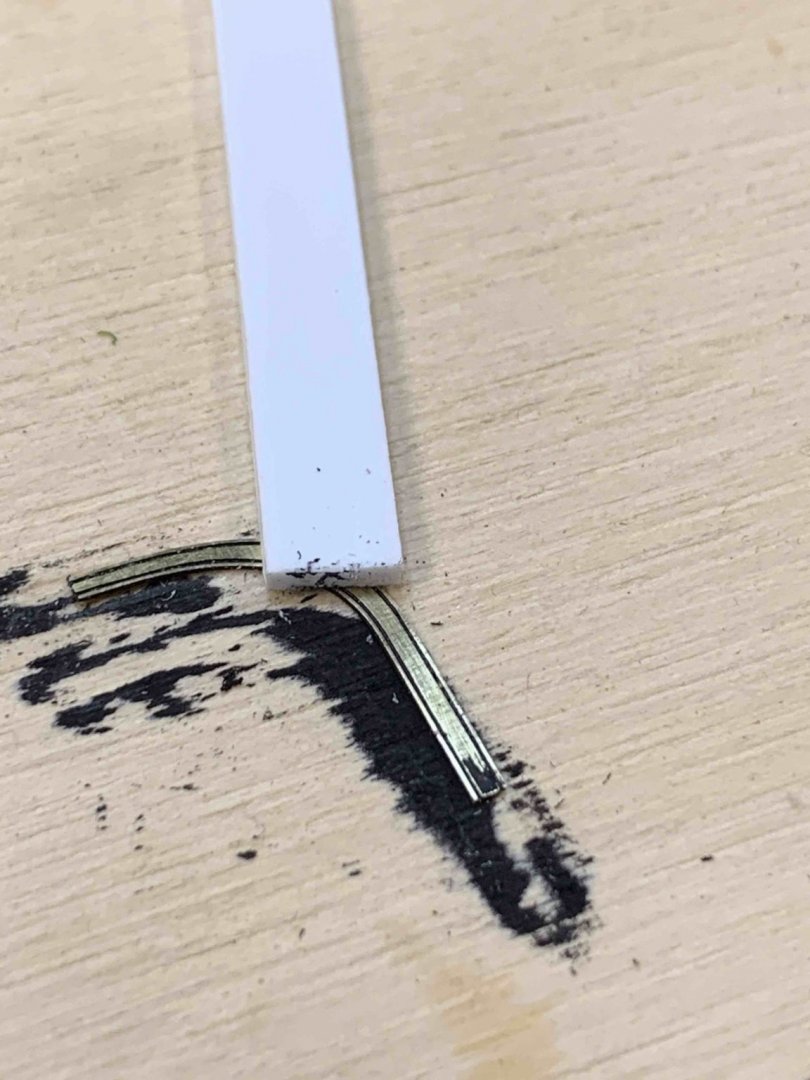
It is time to work on hawse holes. The notches in anchor lines are used as a guides to drill holes in the hull.. It's always a scary part when you need to drill a hole thru the hull... hard to fix any mistake. Hosepipes are shortened to 6mm length so they dont stick out too long from the inner side.. The glue was applied in the opened hole and pipes are mounted in. To cover the opening on the back, i made few metal covers. First i made rings out of the brass wire, soldered it and flattened them. Then short bath in blackening solution and glue them to the ship. Maybe next time i play with milling metal covers... Happy modelling..


- 275 replies
-
- 2
-
-
- phoenix
- master korabel
- (and 1 more)
-
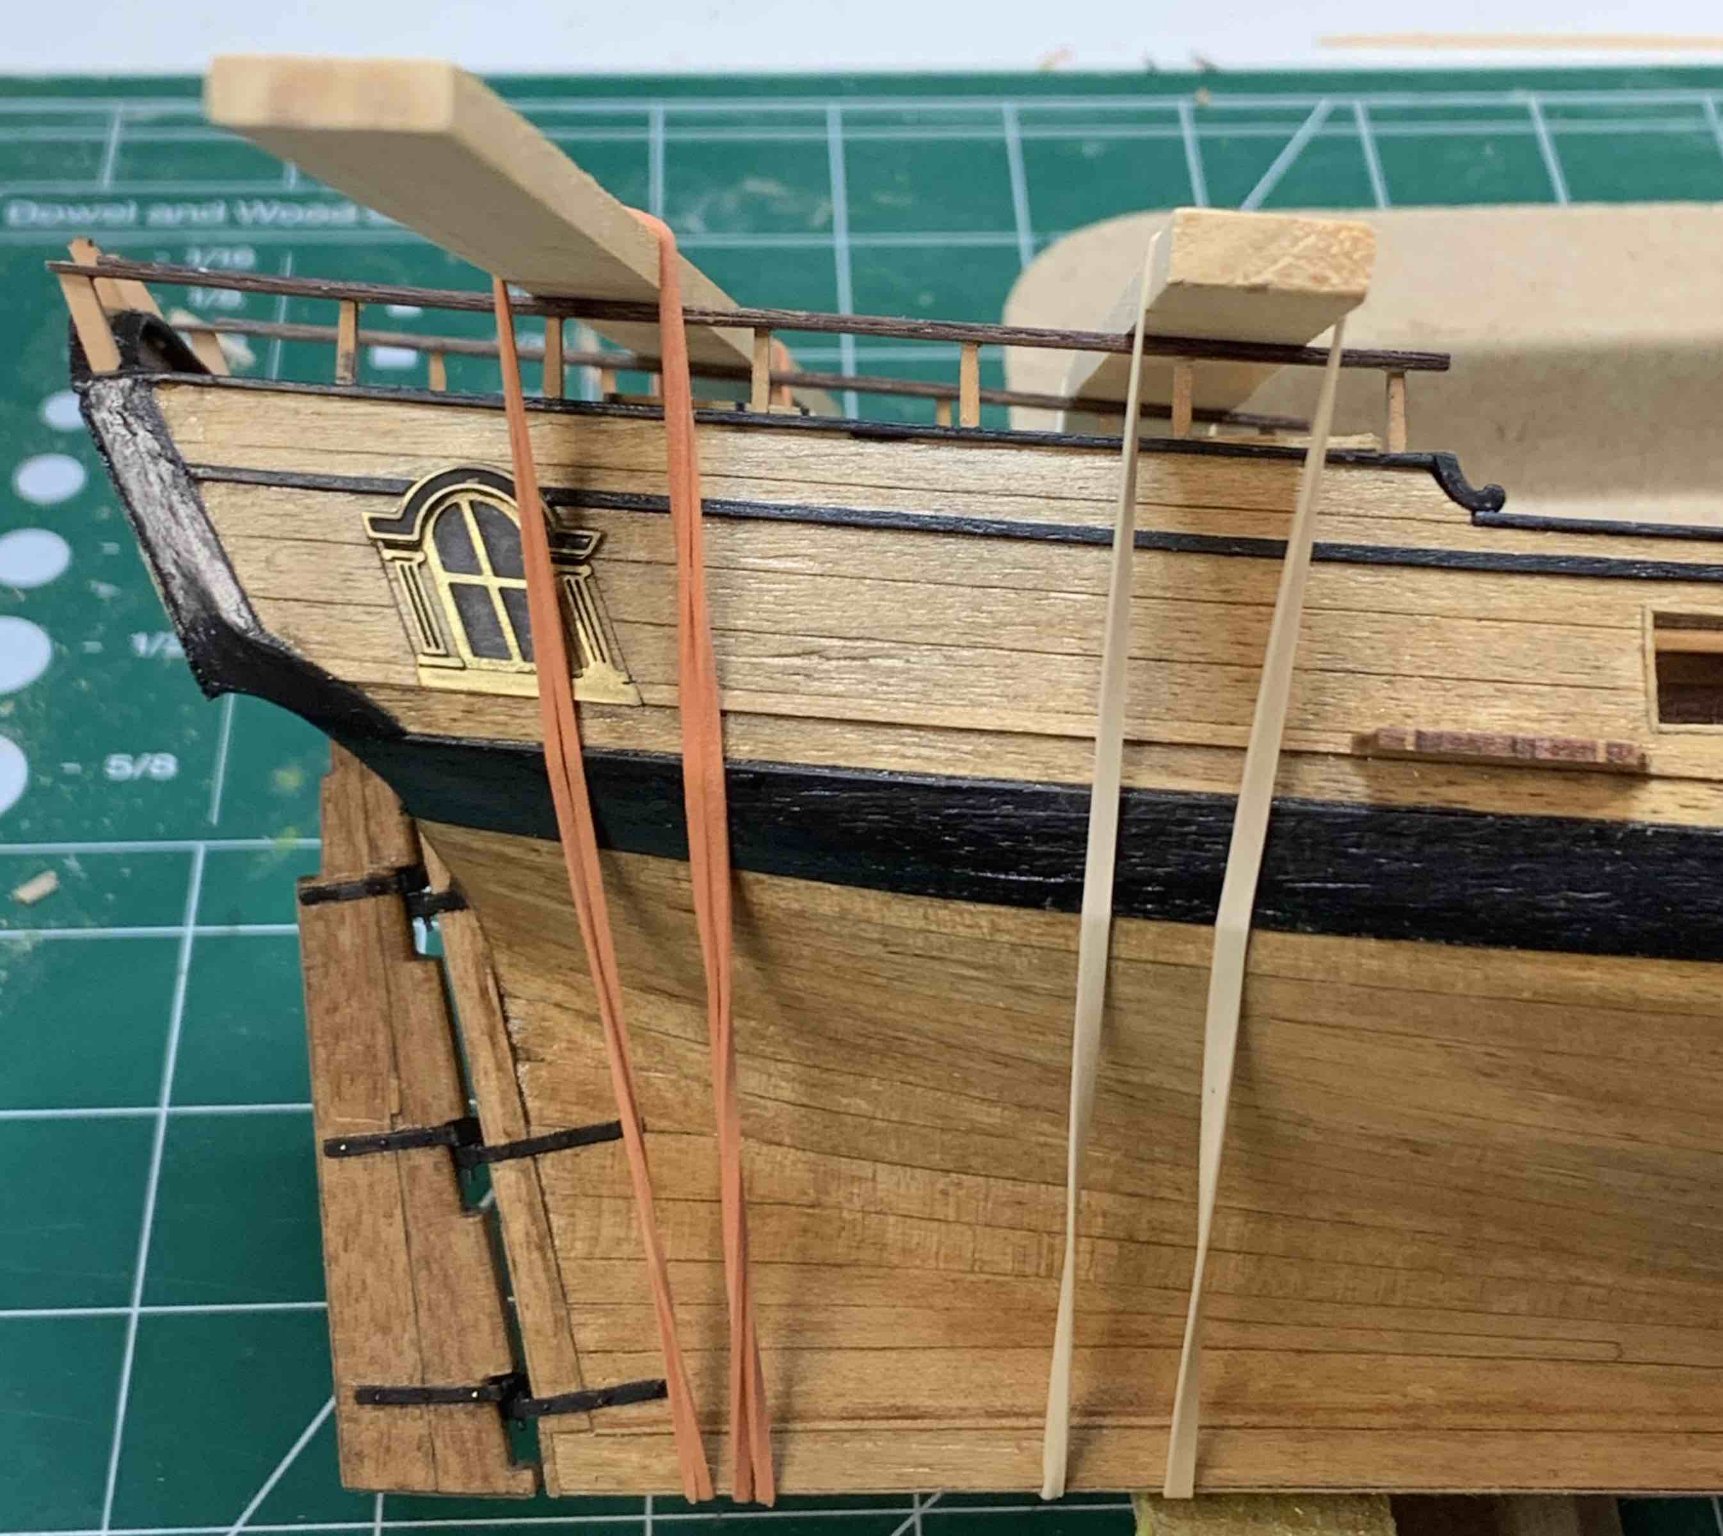
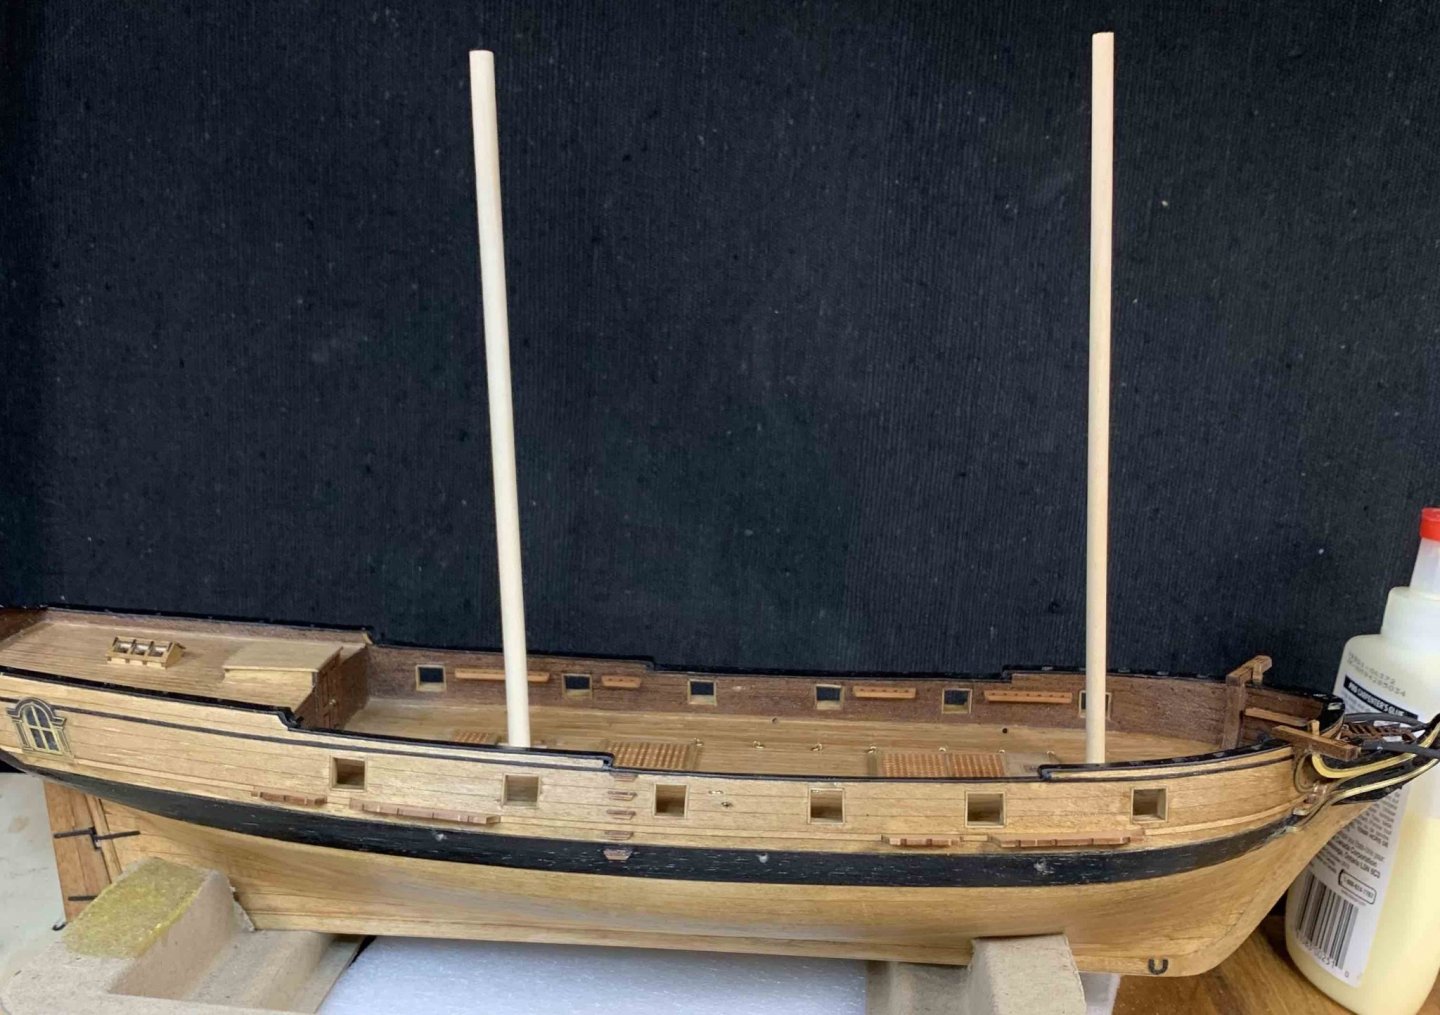
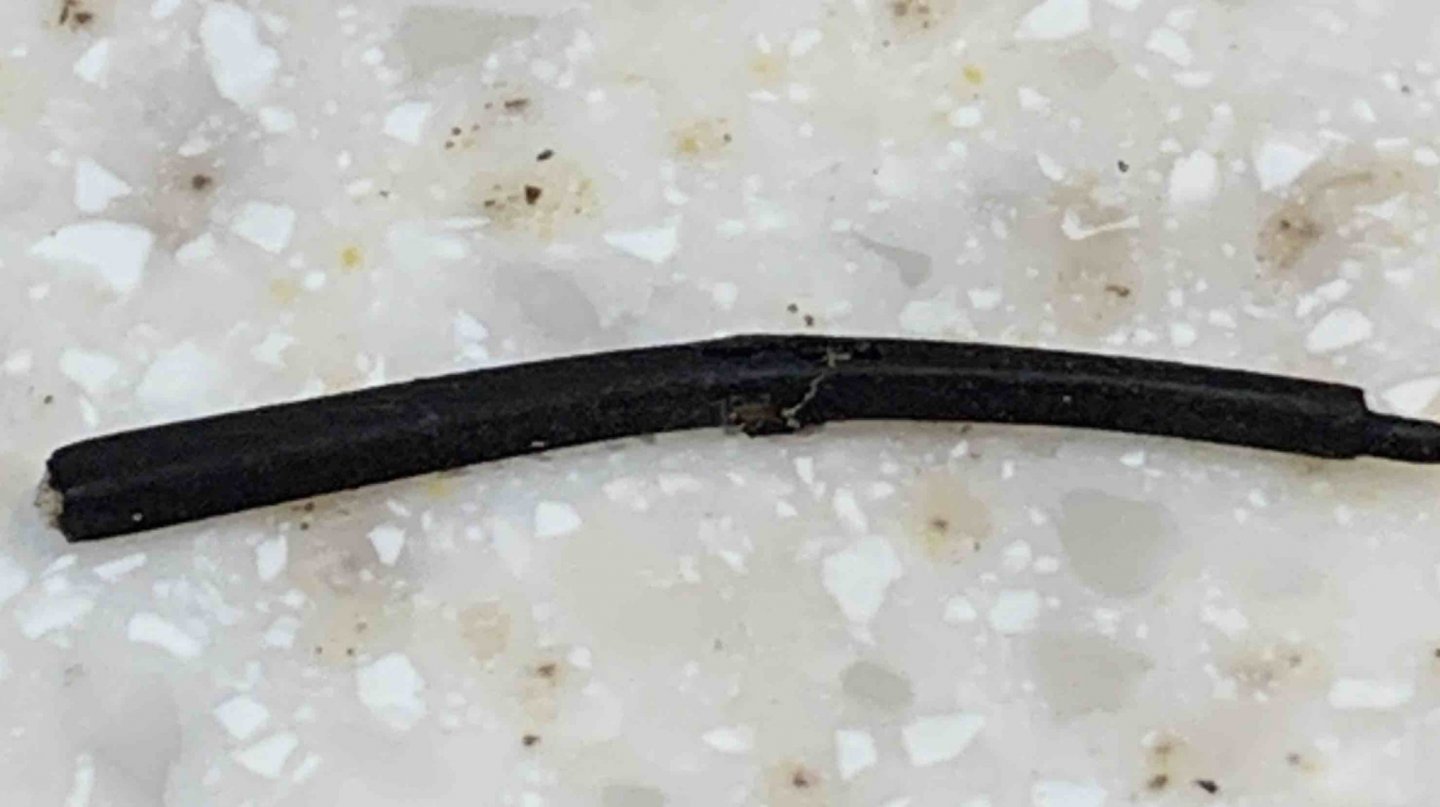
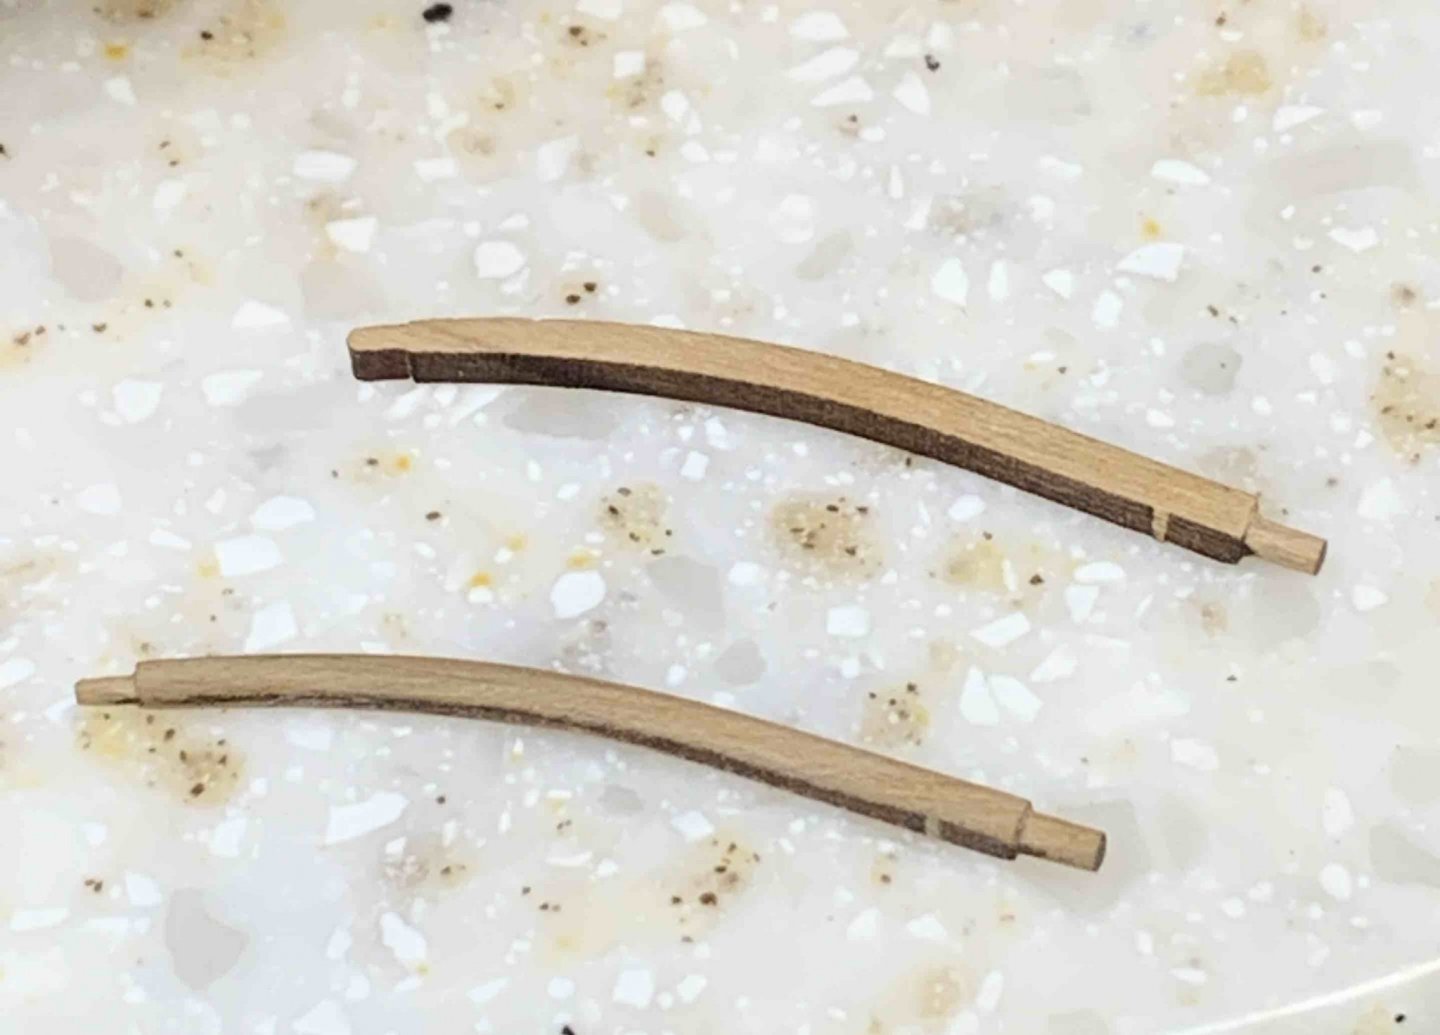
The rudder has been installed... Then crossbar installation took place by first installing a part on the stem aligning it with a hole. The second part is double veneer and the first one i have installed as one piece (both veneer layers at once). In the middle of gluing the top part dislocated and fall off.. The second part was done differently: first both layers were separated and installed individually. Way easier.. The knee has to be bevelled a bit and soaked in water so it can be easier bend while assembled.. Next, knees have to be filled a bit to be parallel but that is next step.. Happy modelling...


- 275 replies
-
- 2
-
-
- phoenix
- master korabel
- (and 1 more)
-
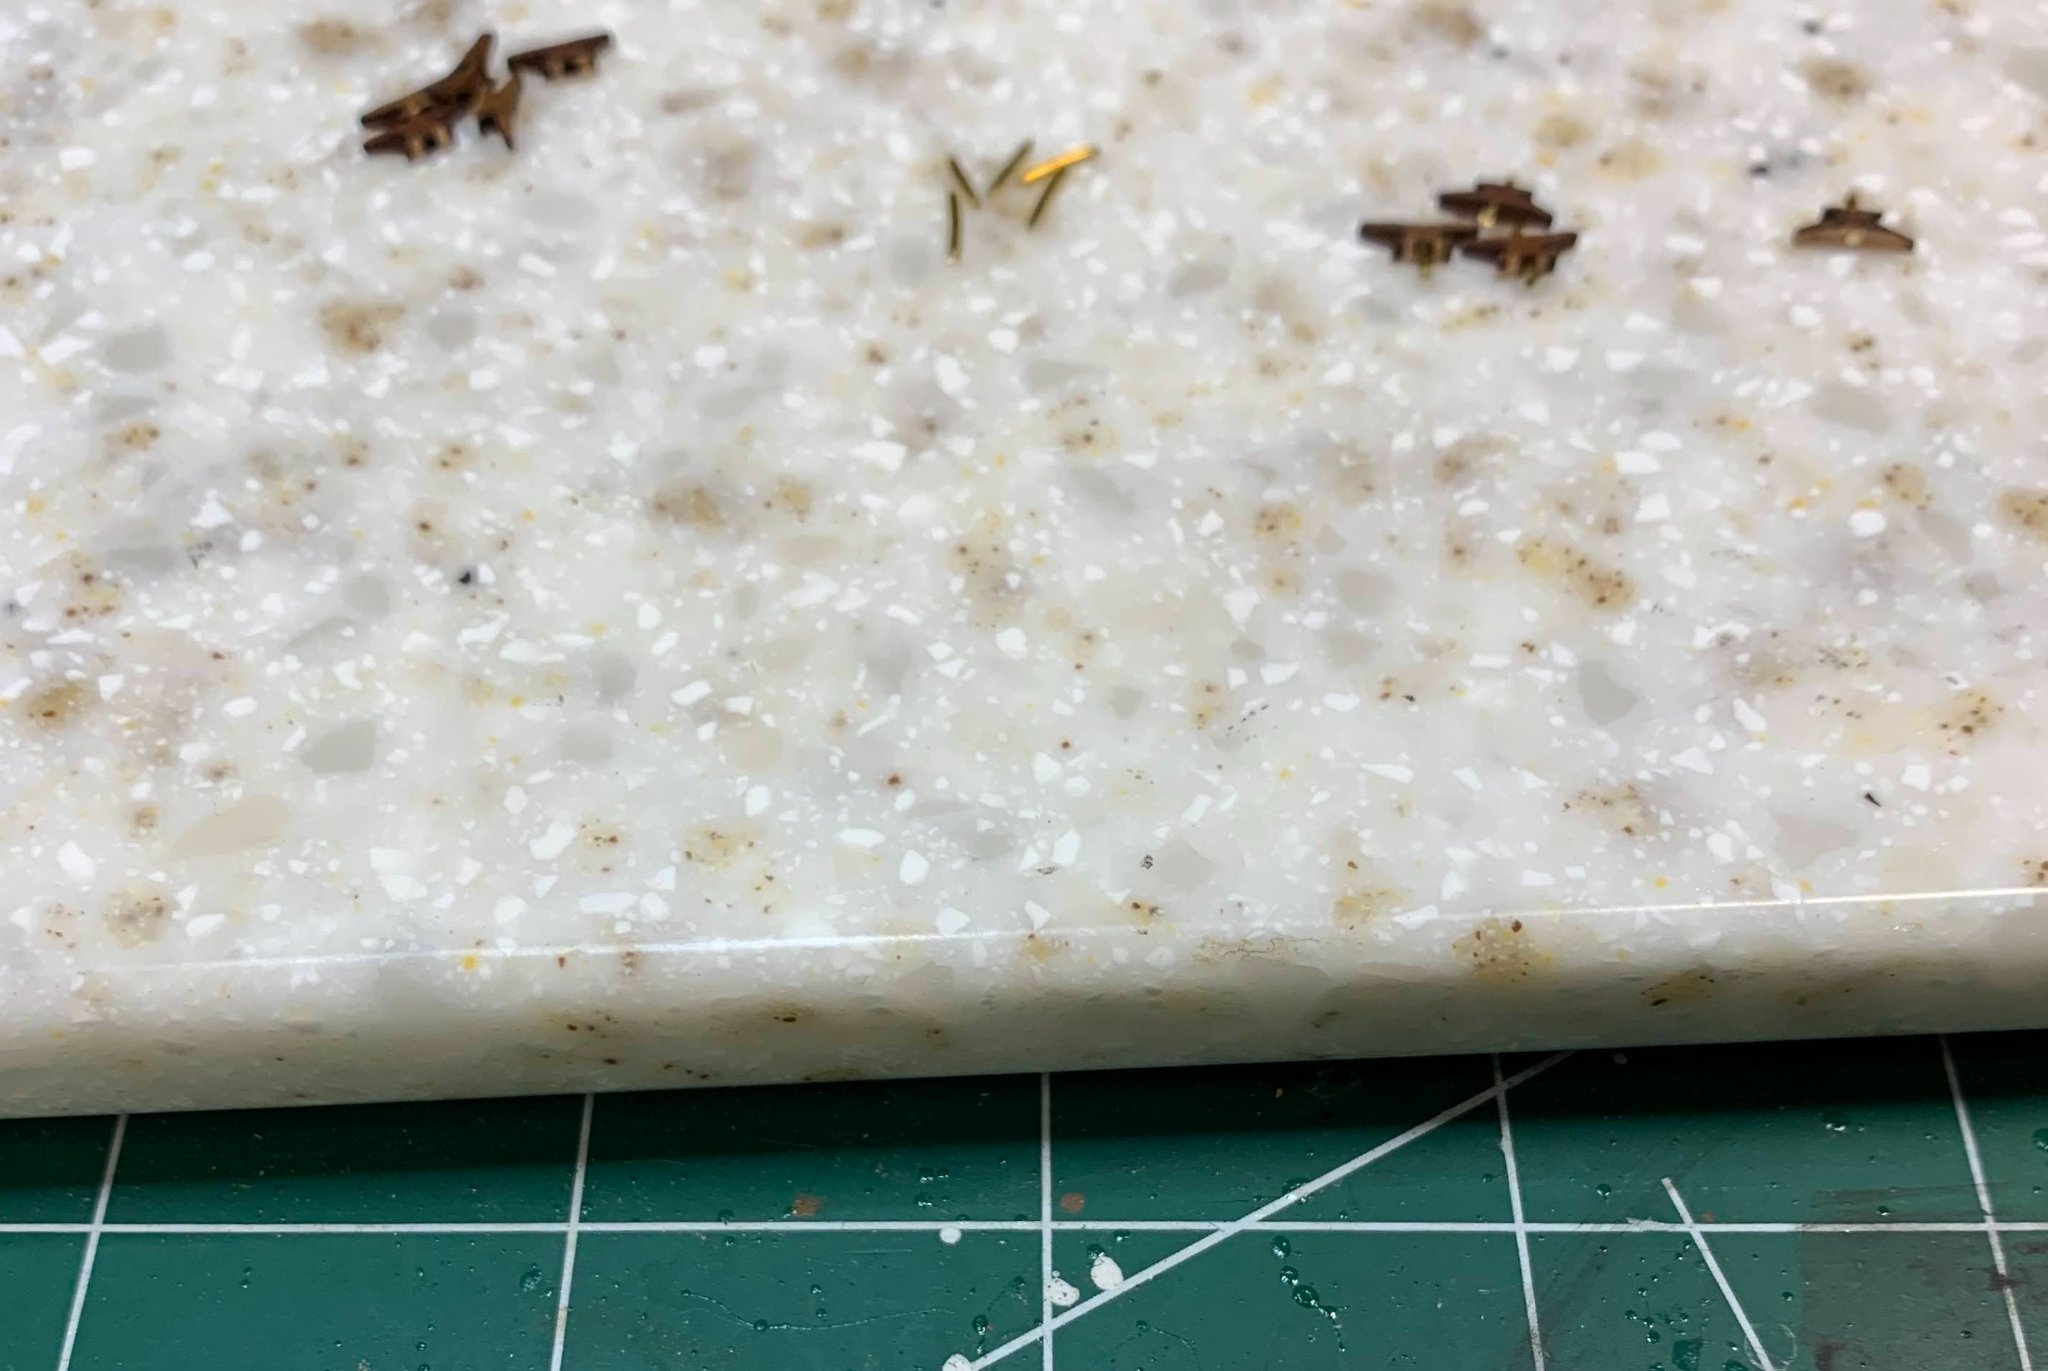
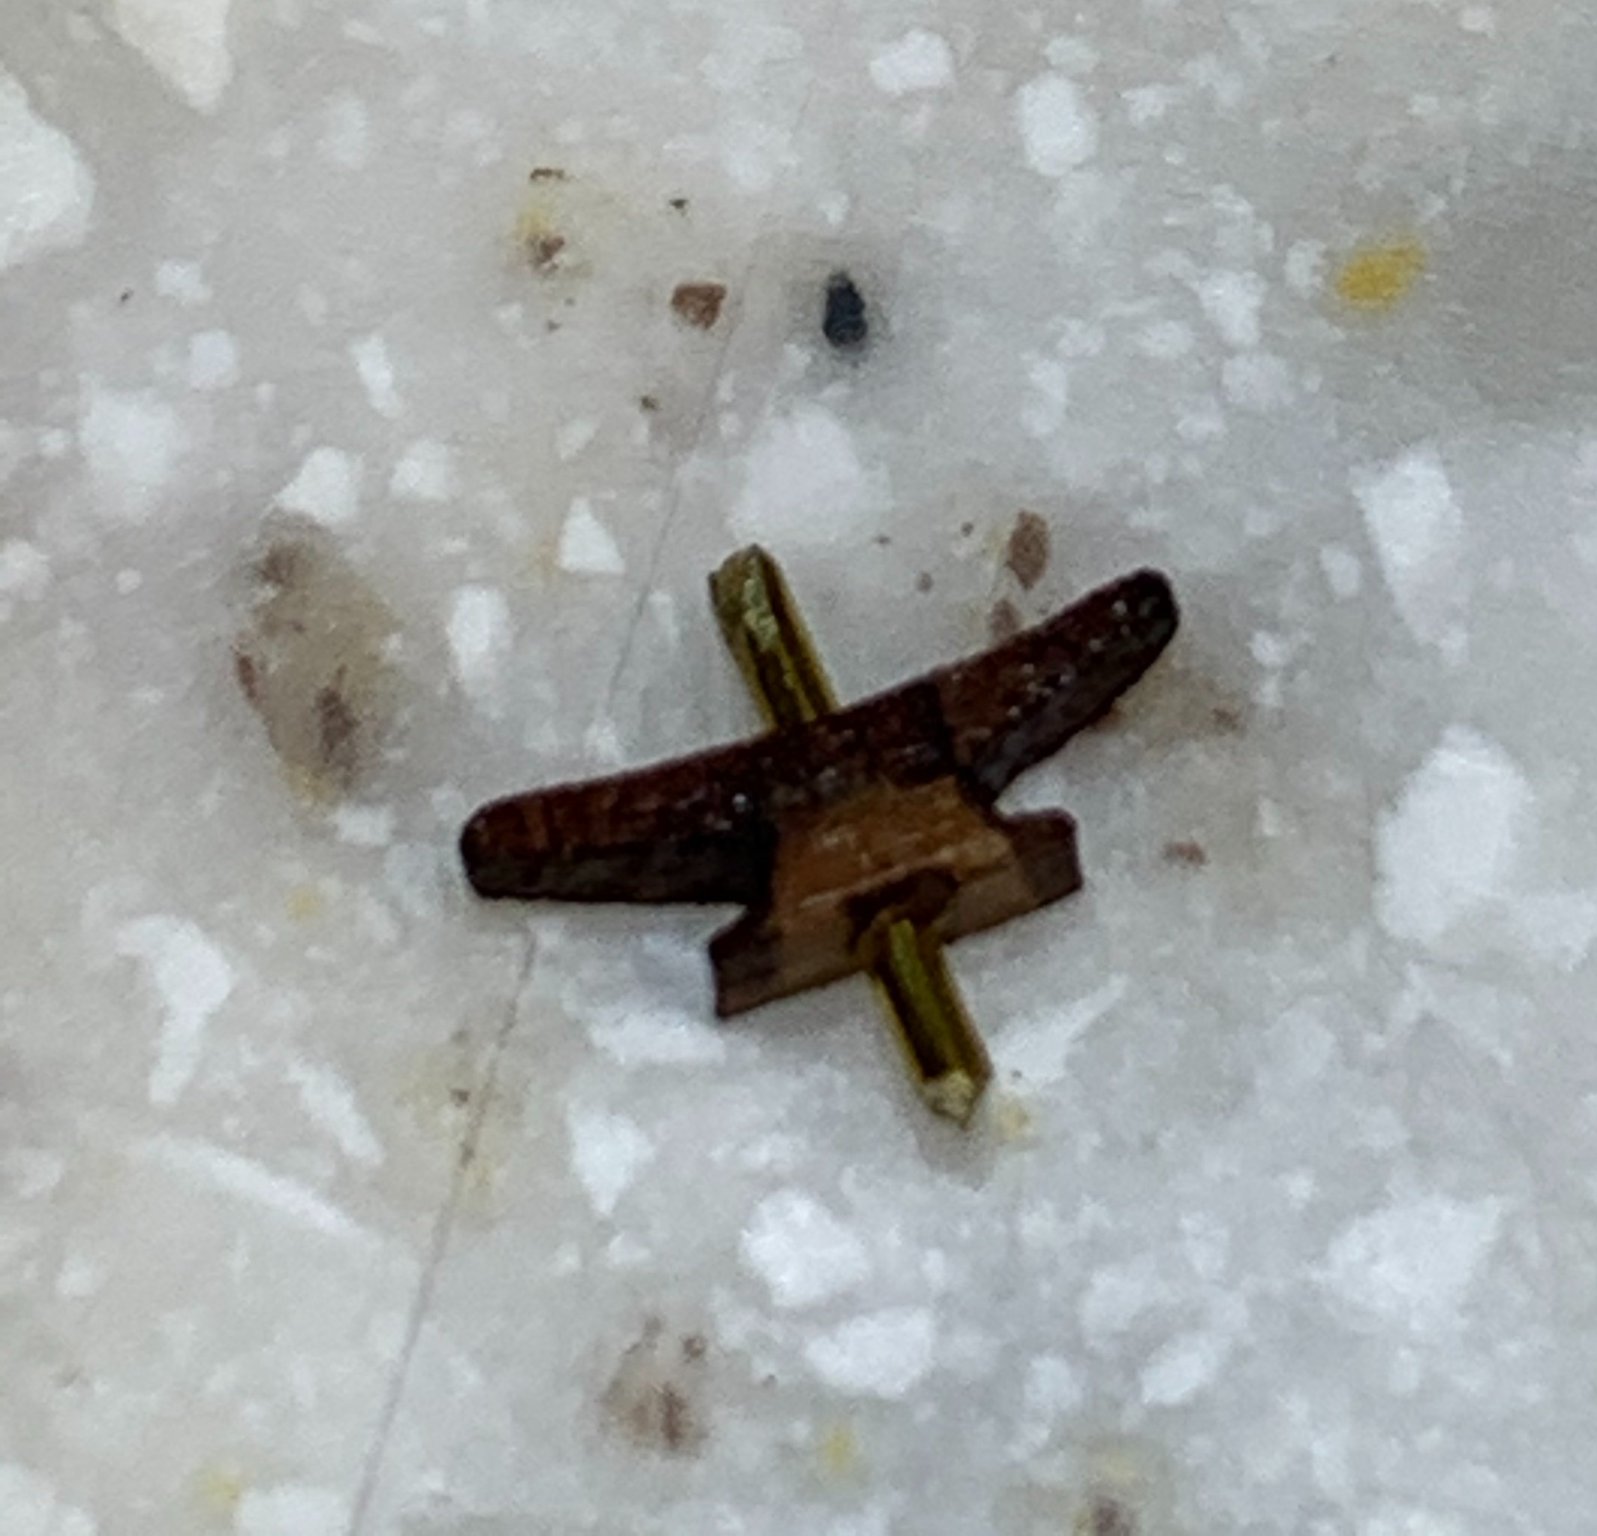
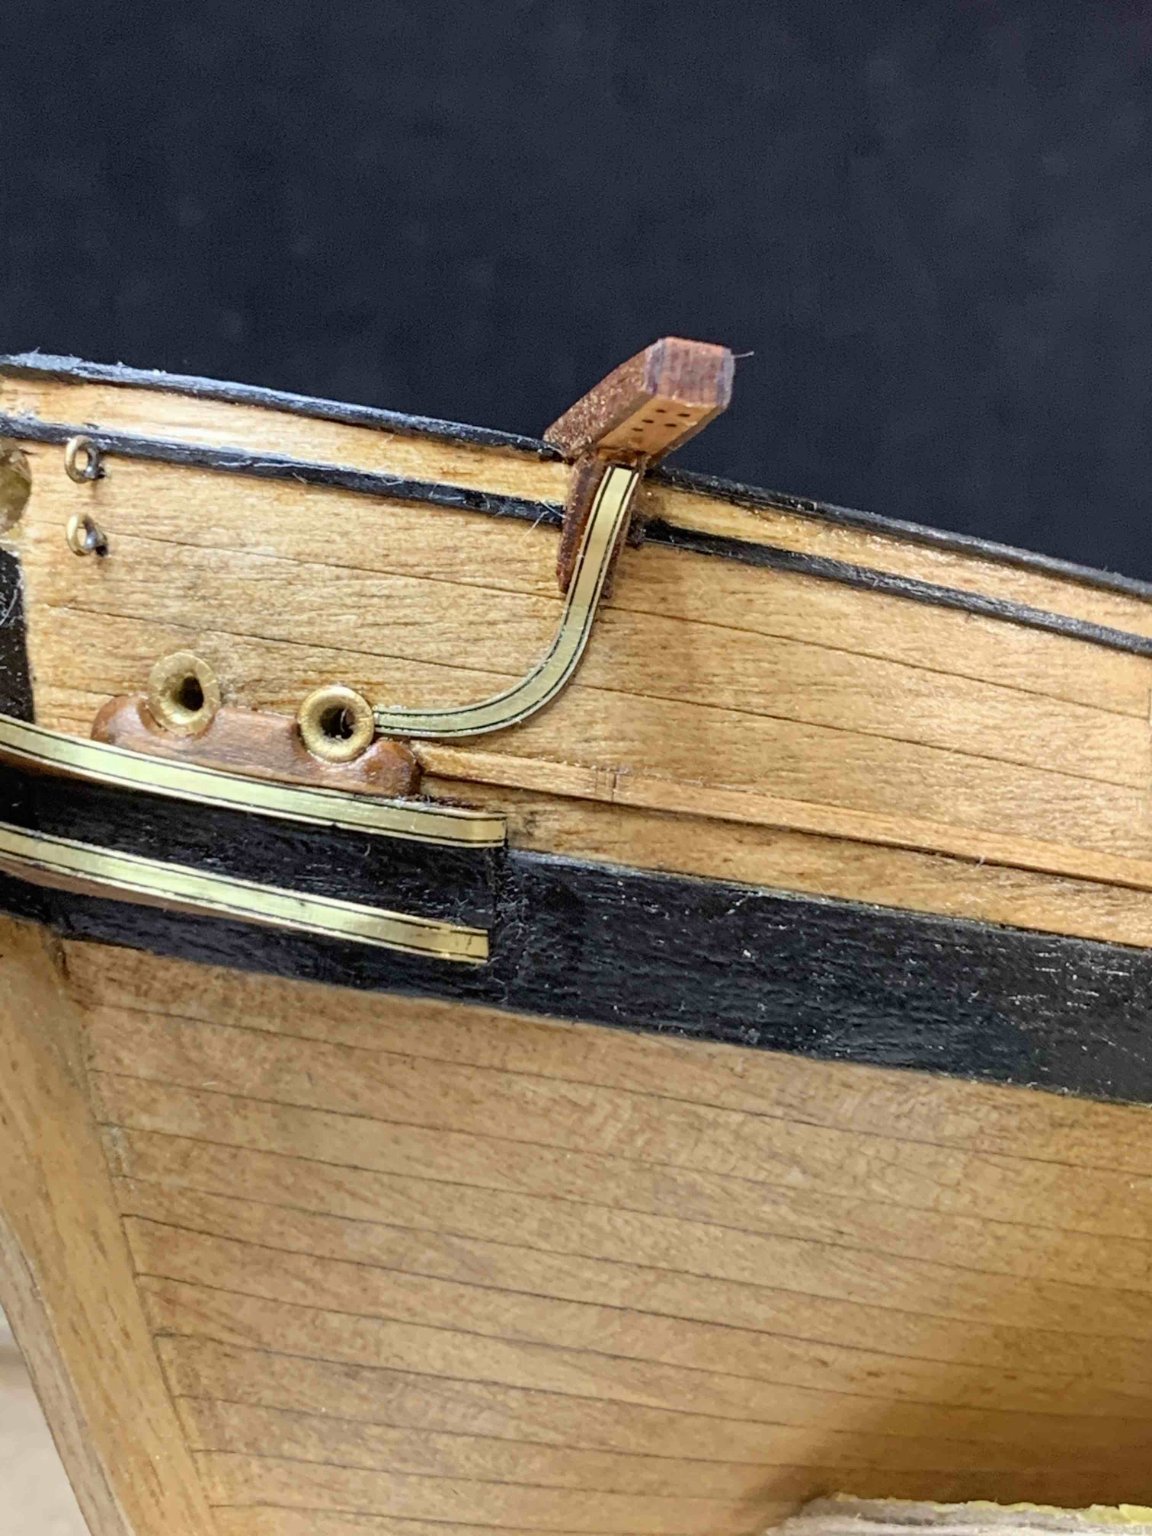
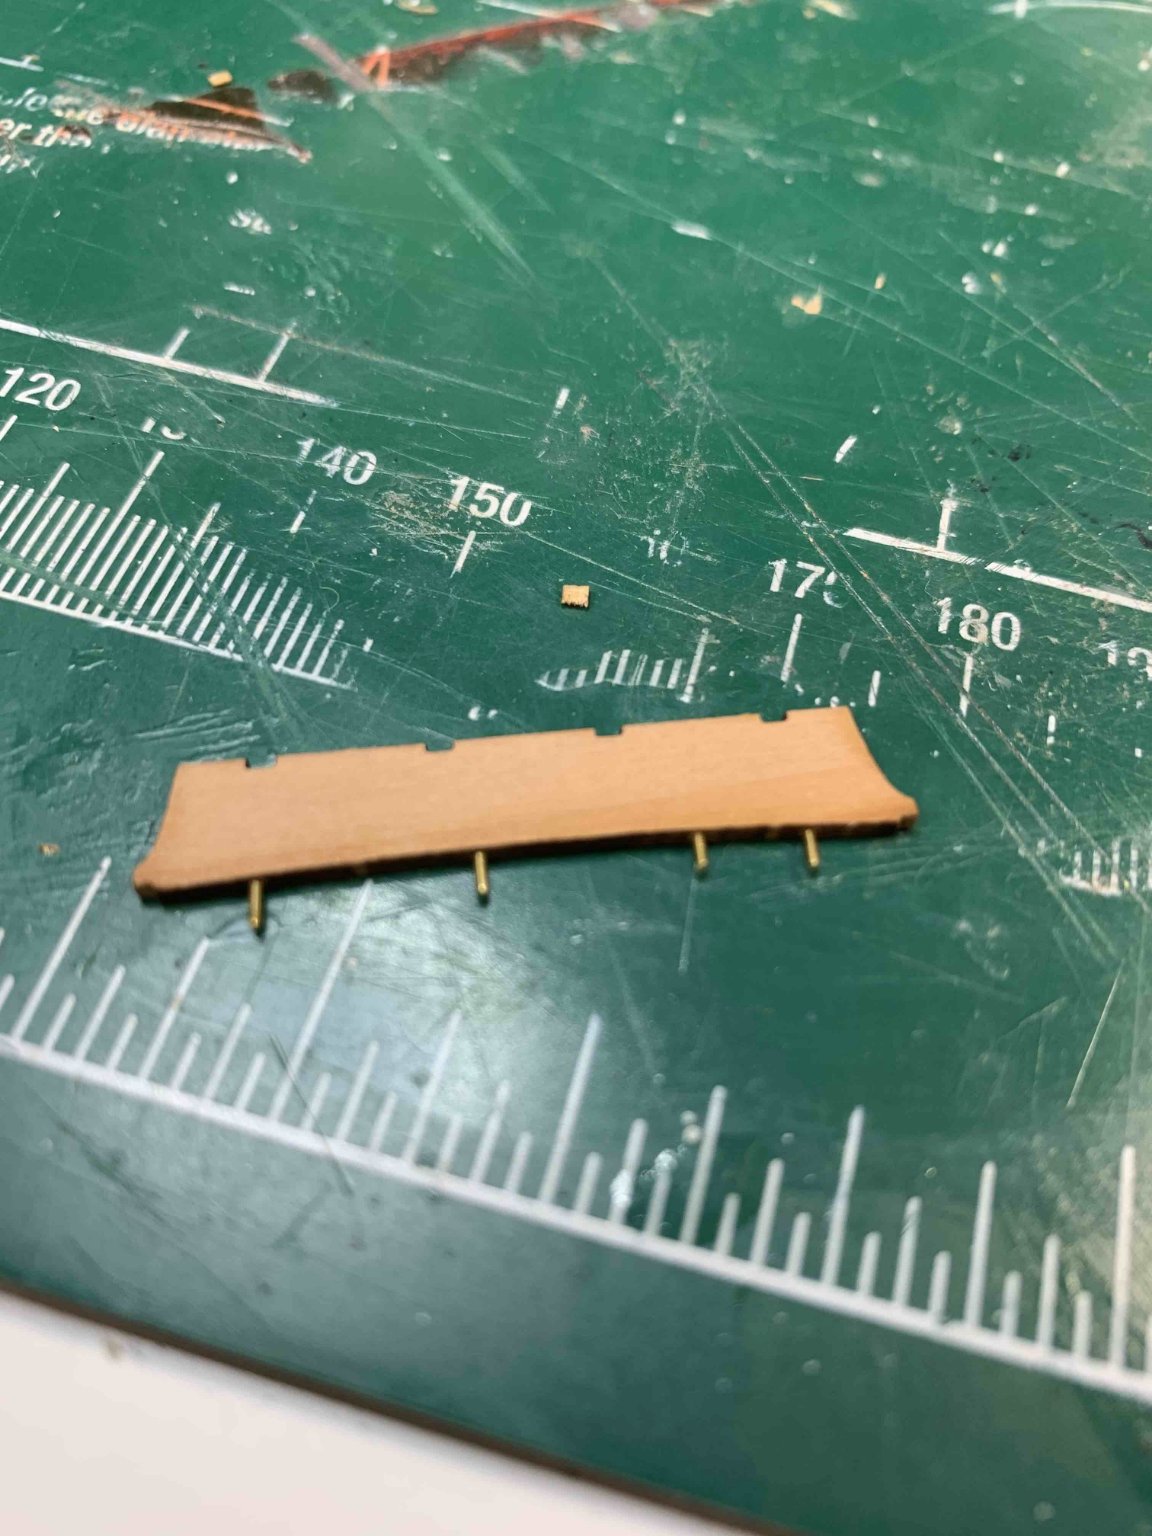
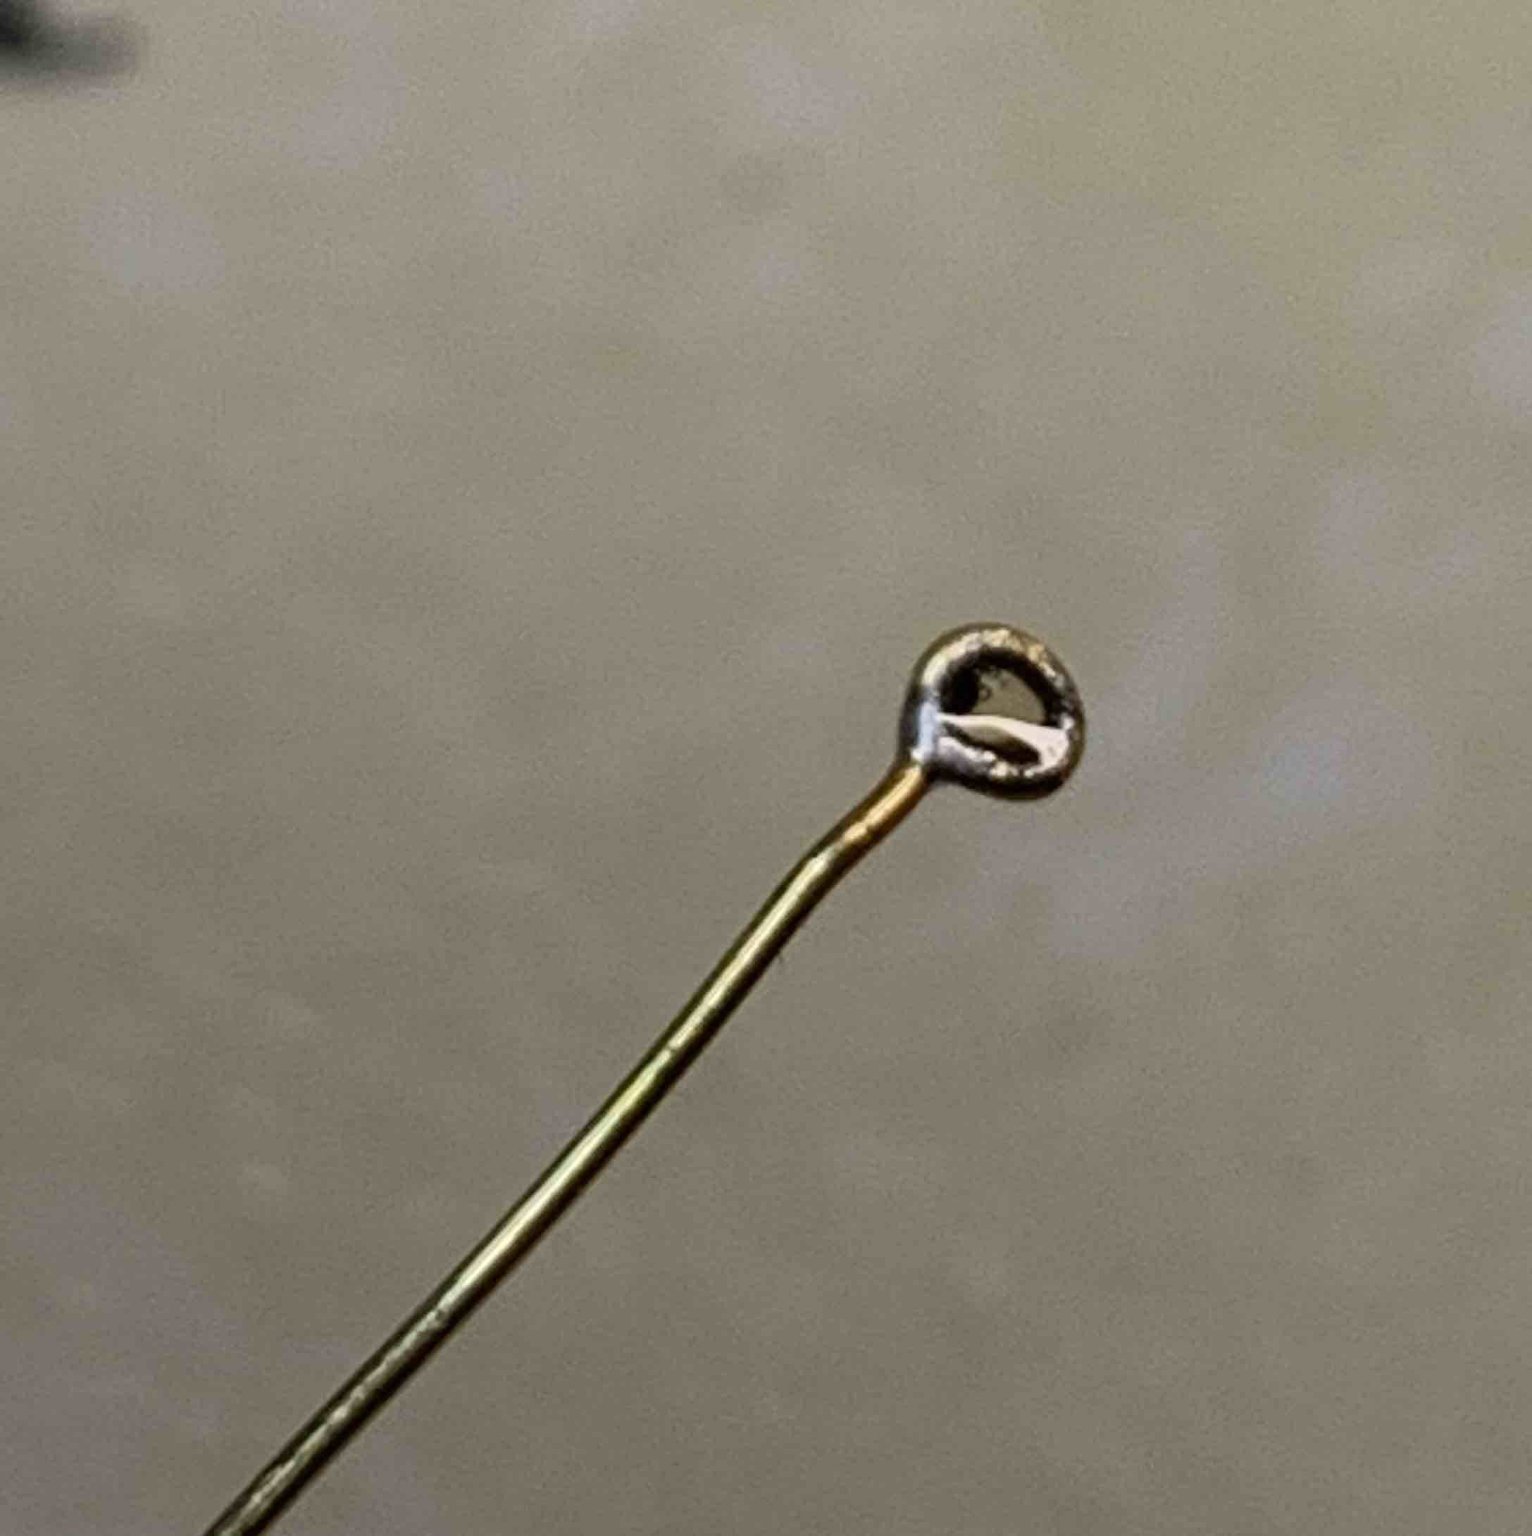
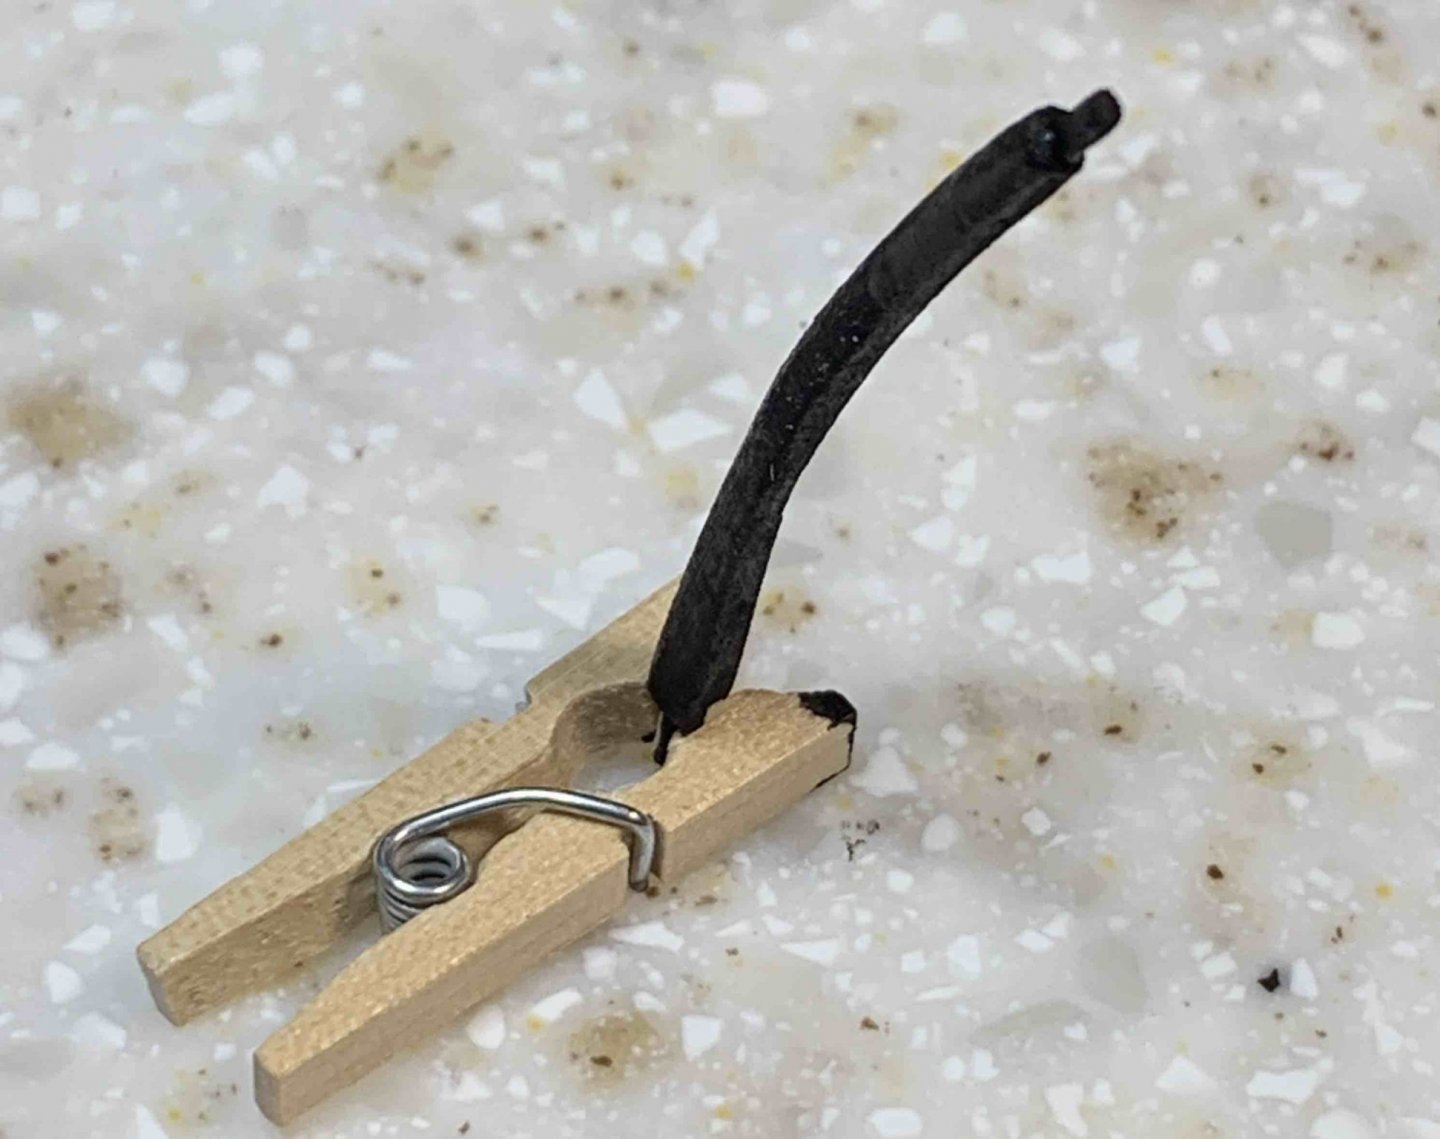
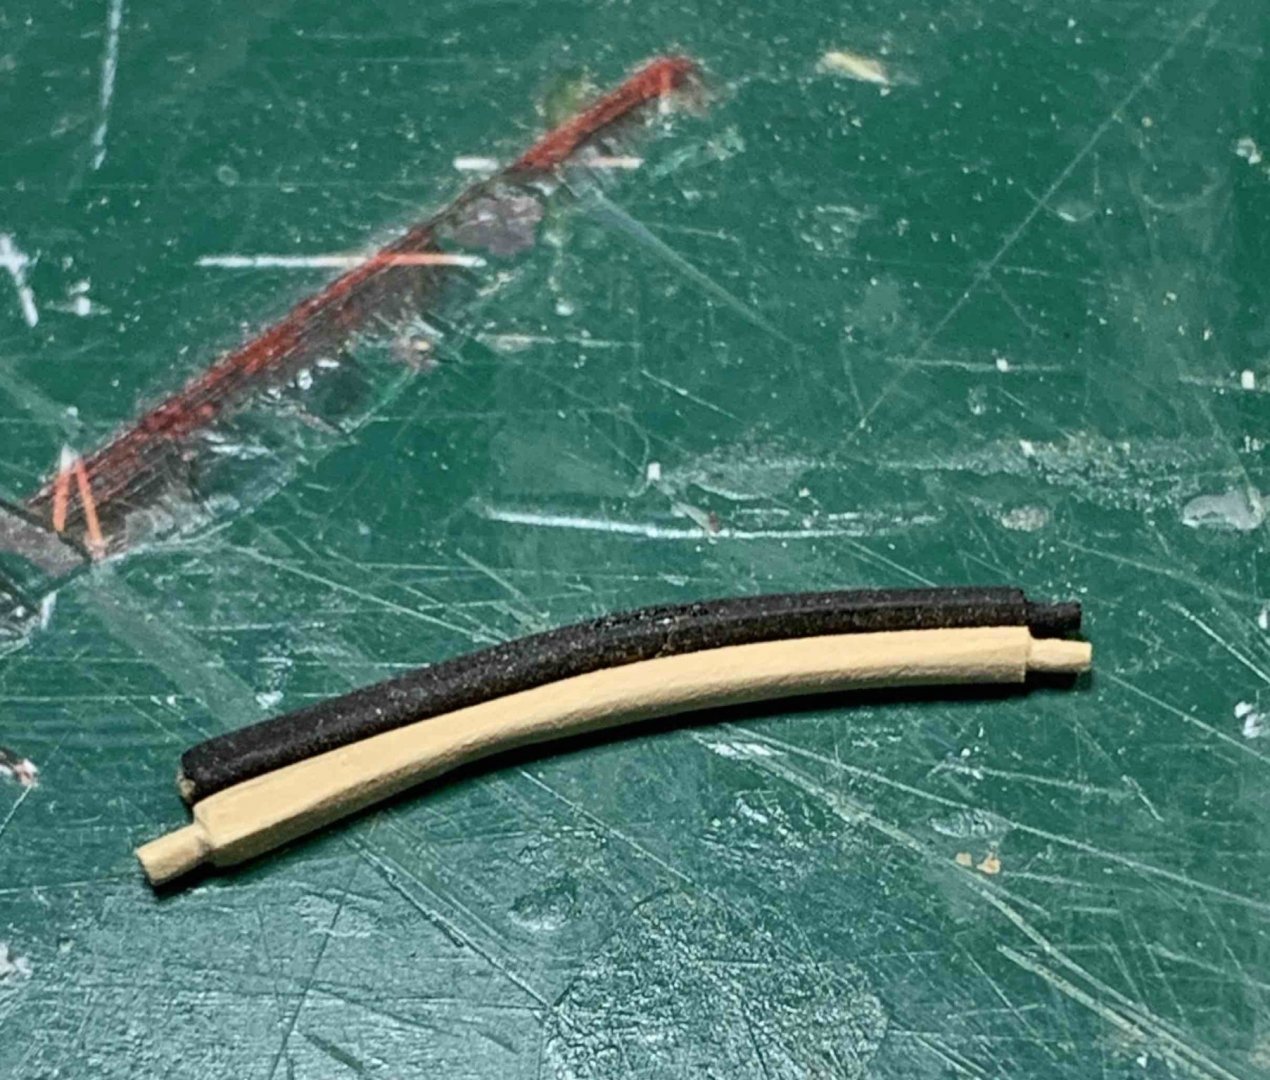
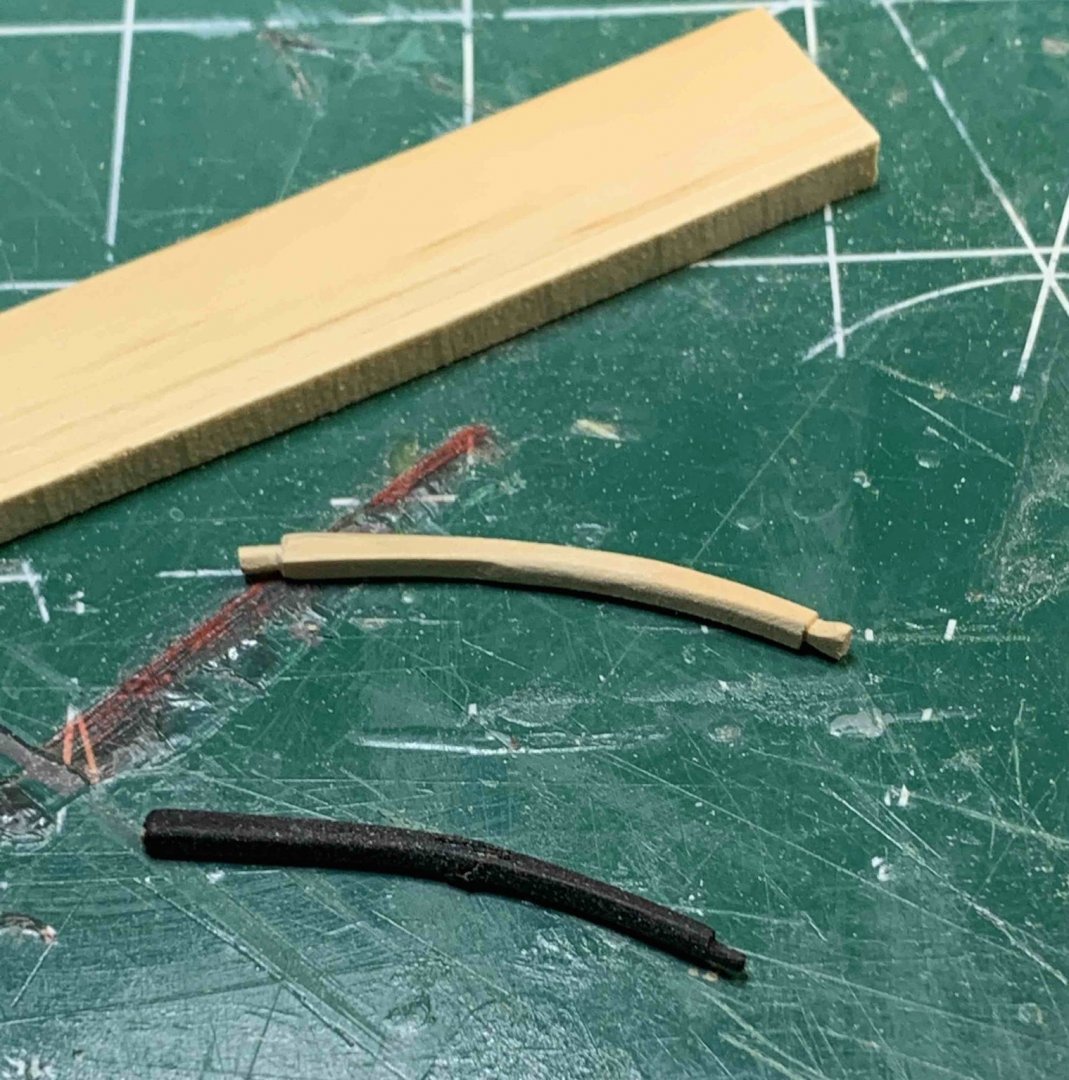
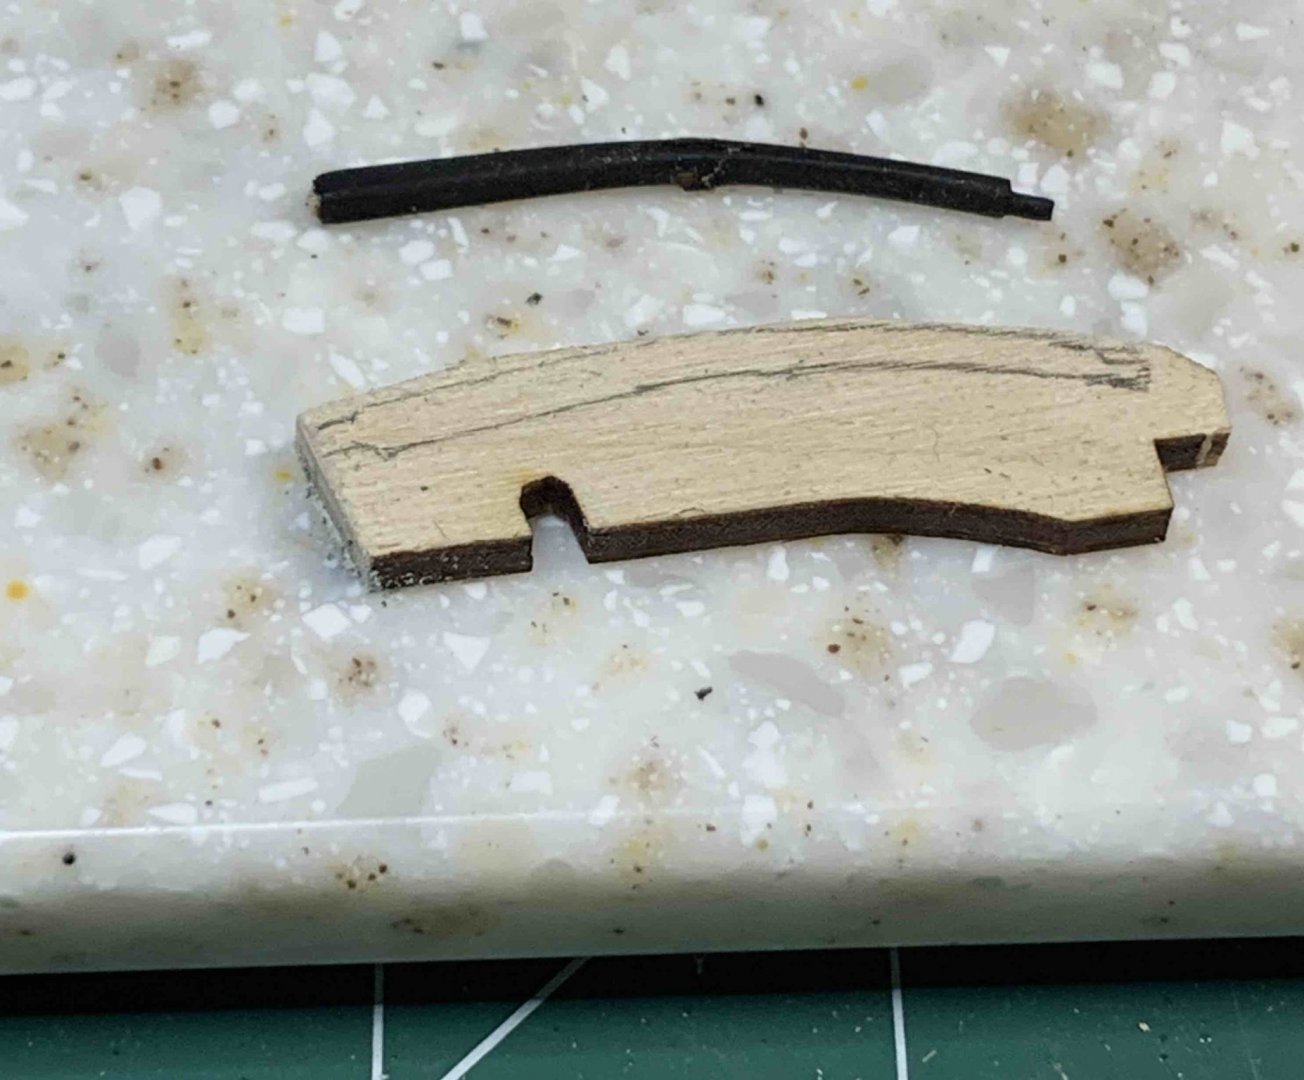
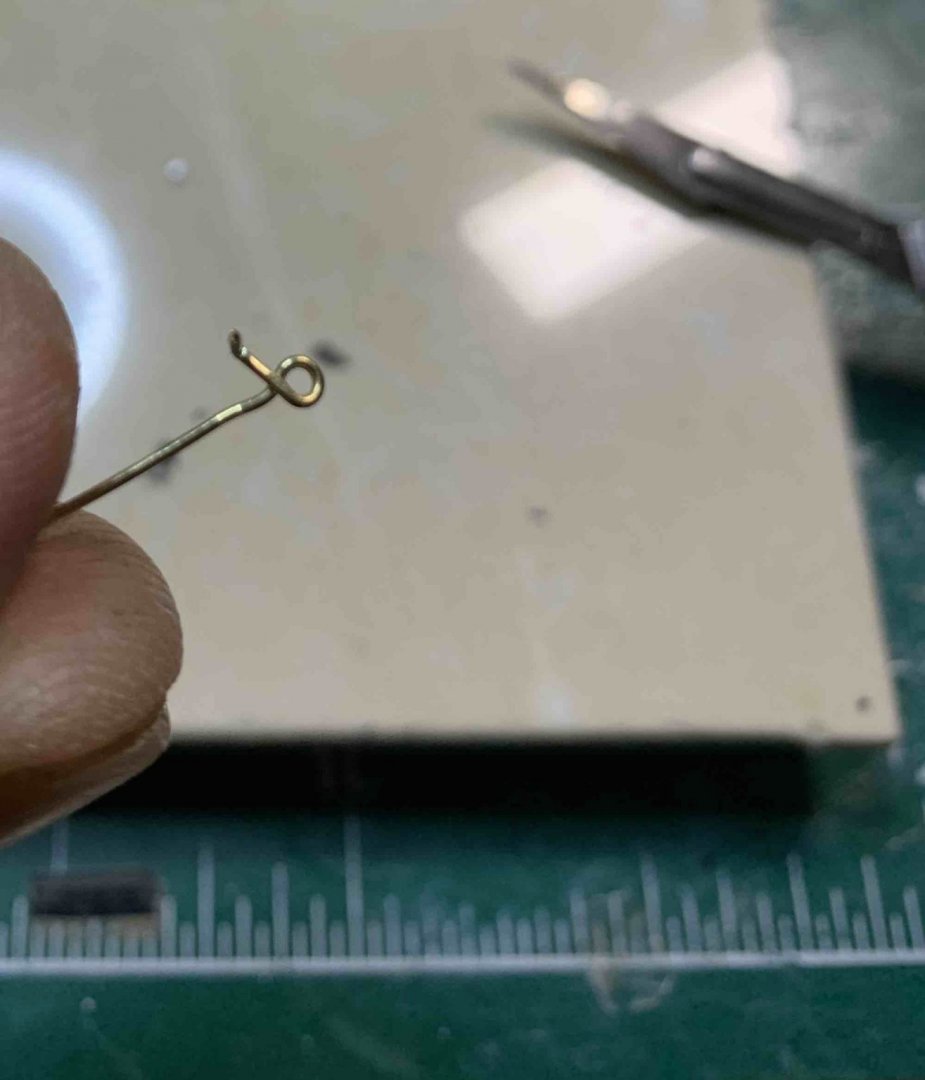
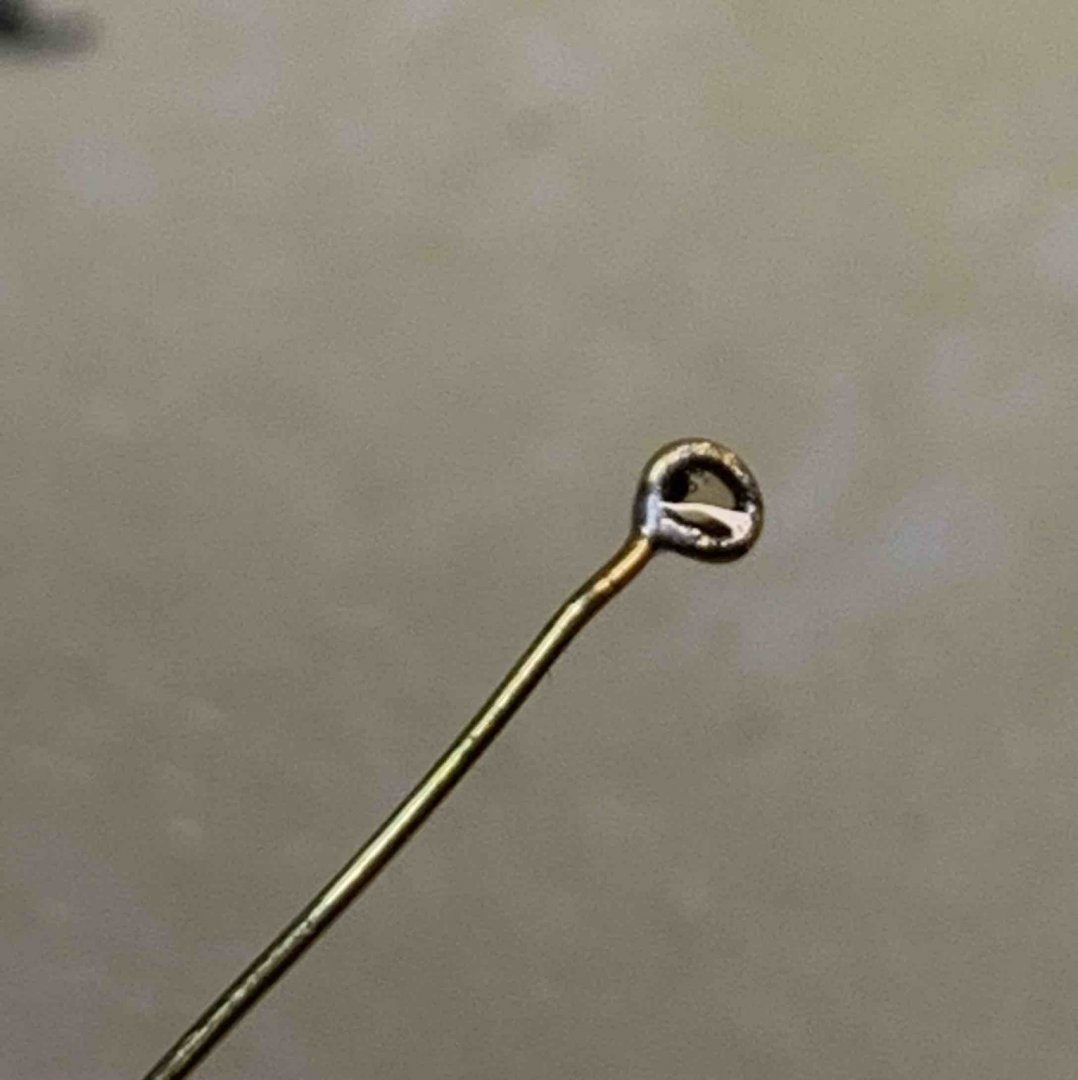
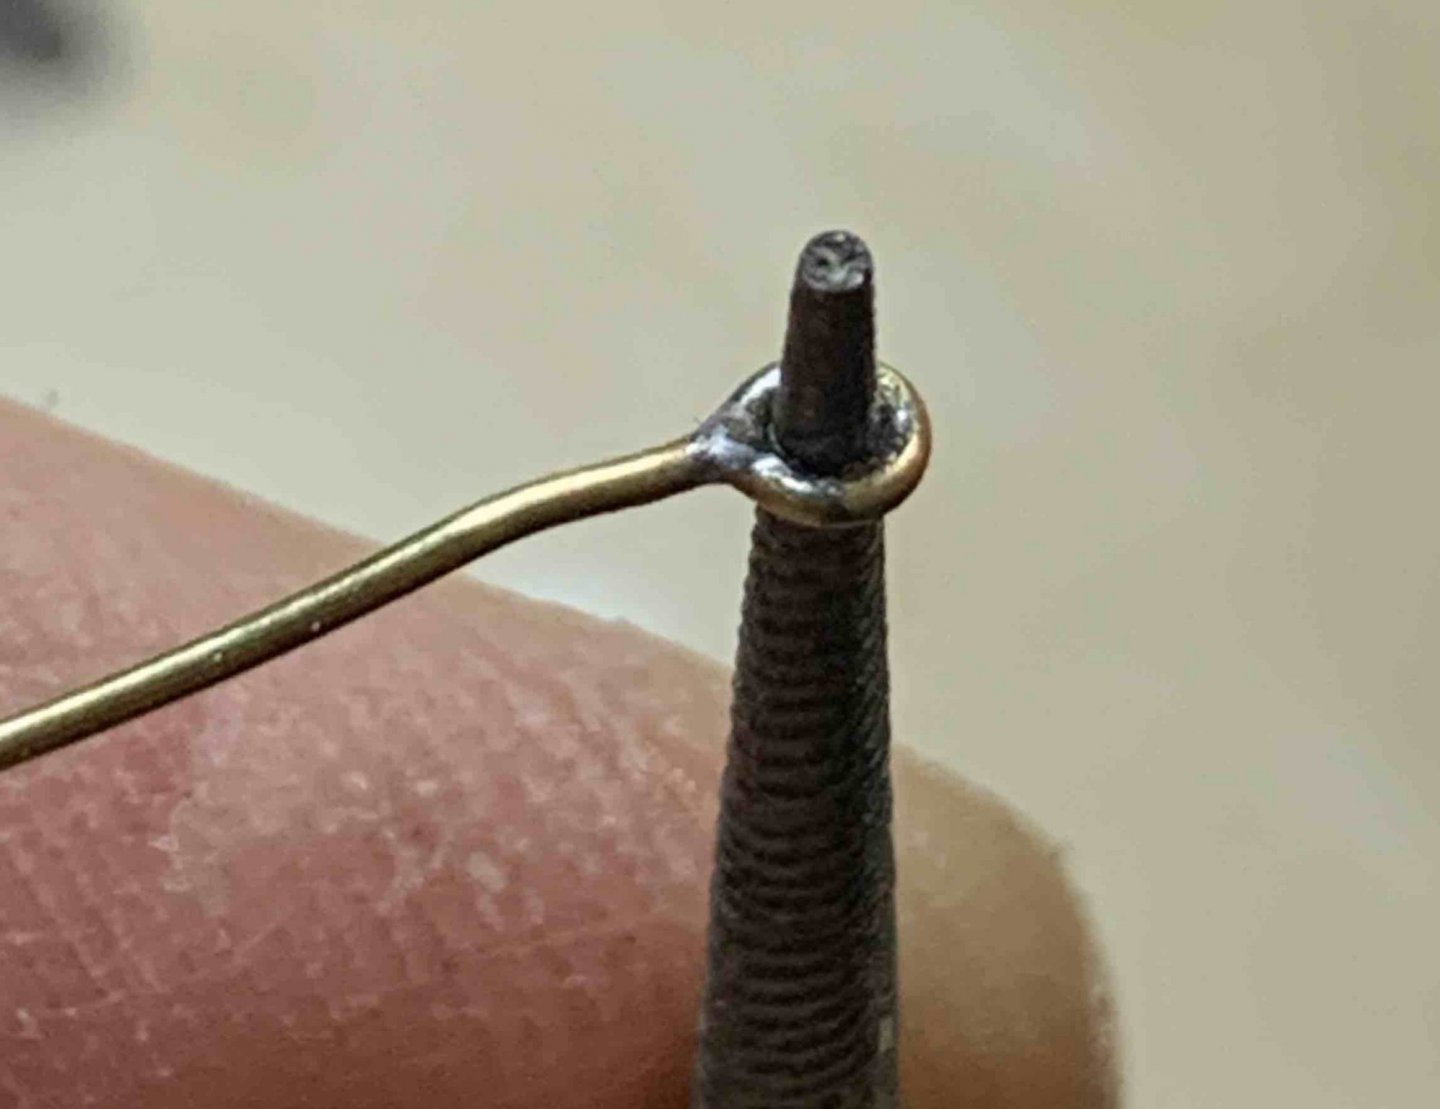
Making few hooks that will be mounted on the ship bow.. three bigger and one small.. The completed one.. Everyone has its own way of making hooks, this is how i mostly doing it.. First, twist it around the required diameter. Removed from the template.. Cut the excess wire.. Apply soldering paste and soldering flake.. Soldered... Cleaning with a file... And few hooks completed. Happy modelling..


- 275 replies
-
- 2
-
-
- phoenix
- master korabel
- (and 1 more)
-
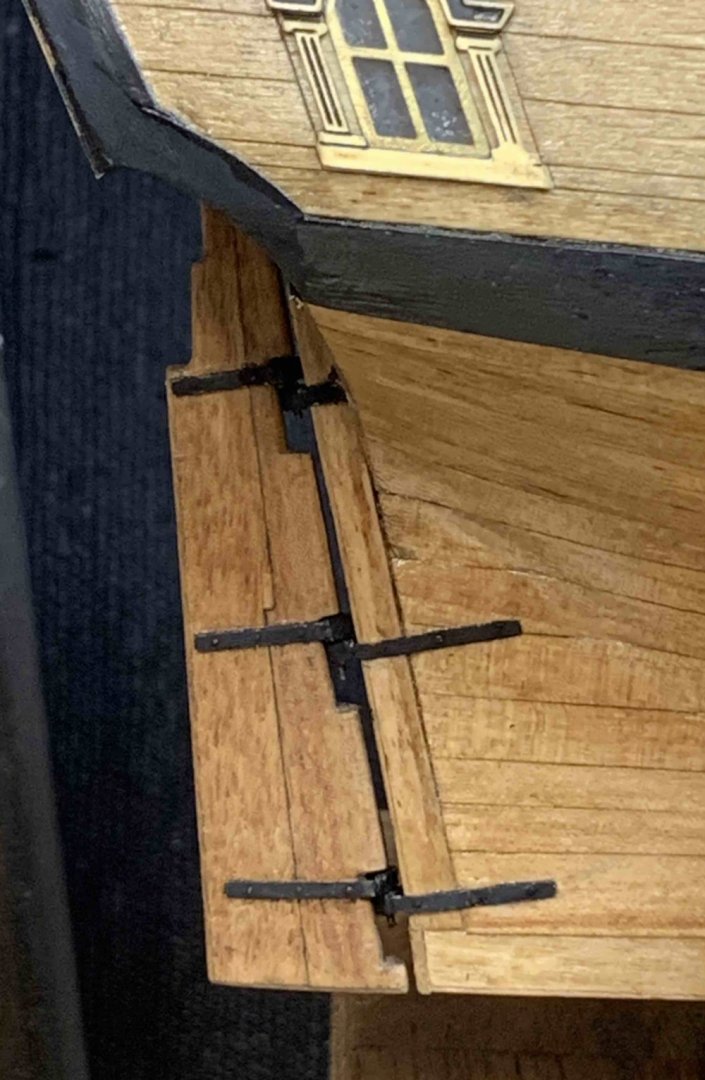
Pins are all ready; produced in the same way as before. Some will be used for hinges on the rudder and some will be used for hinges mounted on the ship itself. And there are few extras because these little buggers fly away on its own.. The hinges were glued to the rudder, and pins were cut to the 3mm length and pushed to the rudder. The holes and pins are identical size so pins needs to be pushed into rudder which does not require any glue... All pins installed. The whole hinges assembly including pins will have to be painted since the blackening was removed during installation process on some rudder areas. Ready to be mounted on the ship. Happy modelling...


- 275 replies
-
- 4
-
-
- phoenix
- master korabel
- (and 1 more)
-
Work on rudder and hinges continues.. The rudder has been assembled and sanded to correct shape. The hinges have been sanded lightly so they can be blackened easier. Cut and assembled. The will also be soldered a bit to fill out a gap between parts. A bit more sanding and soldering a pin as well.. then bath of blackening and ready to be put on rudder. Happy modelling.


- 275 replies
-
- 4
-
-
- phoenix
- master korabel
- (and 1 more)
-
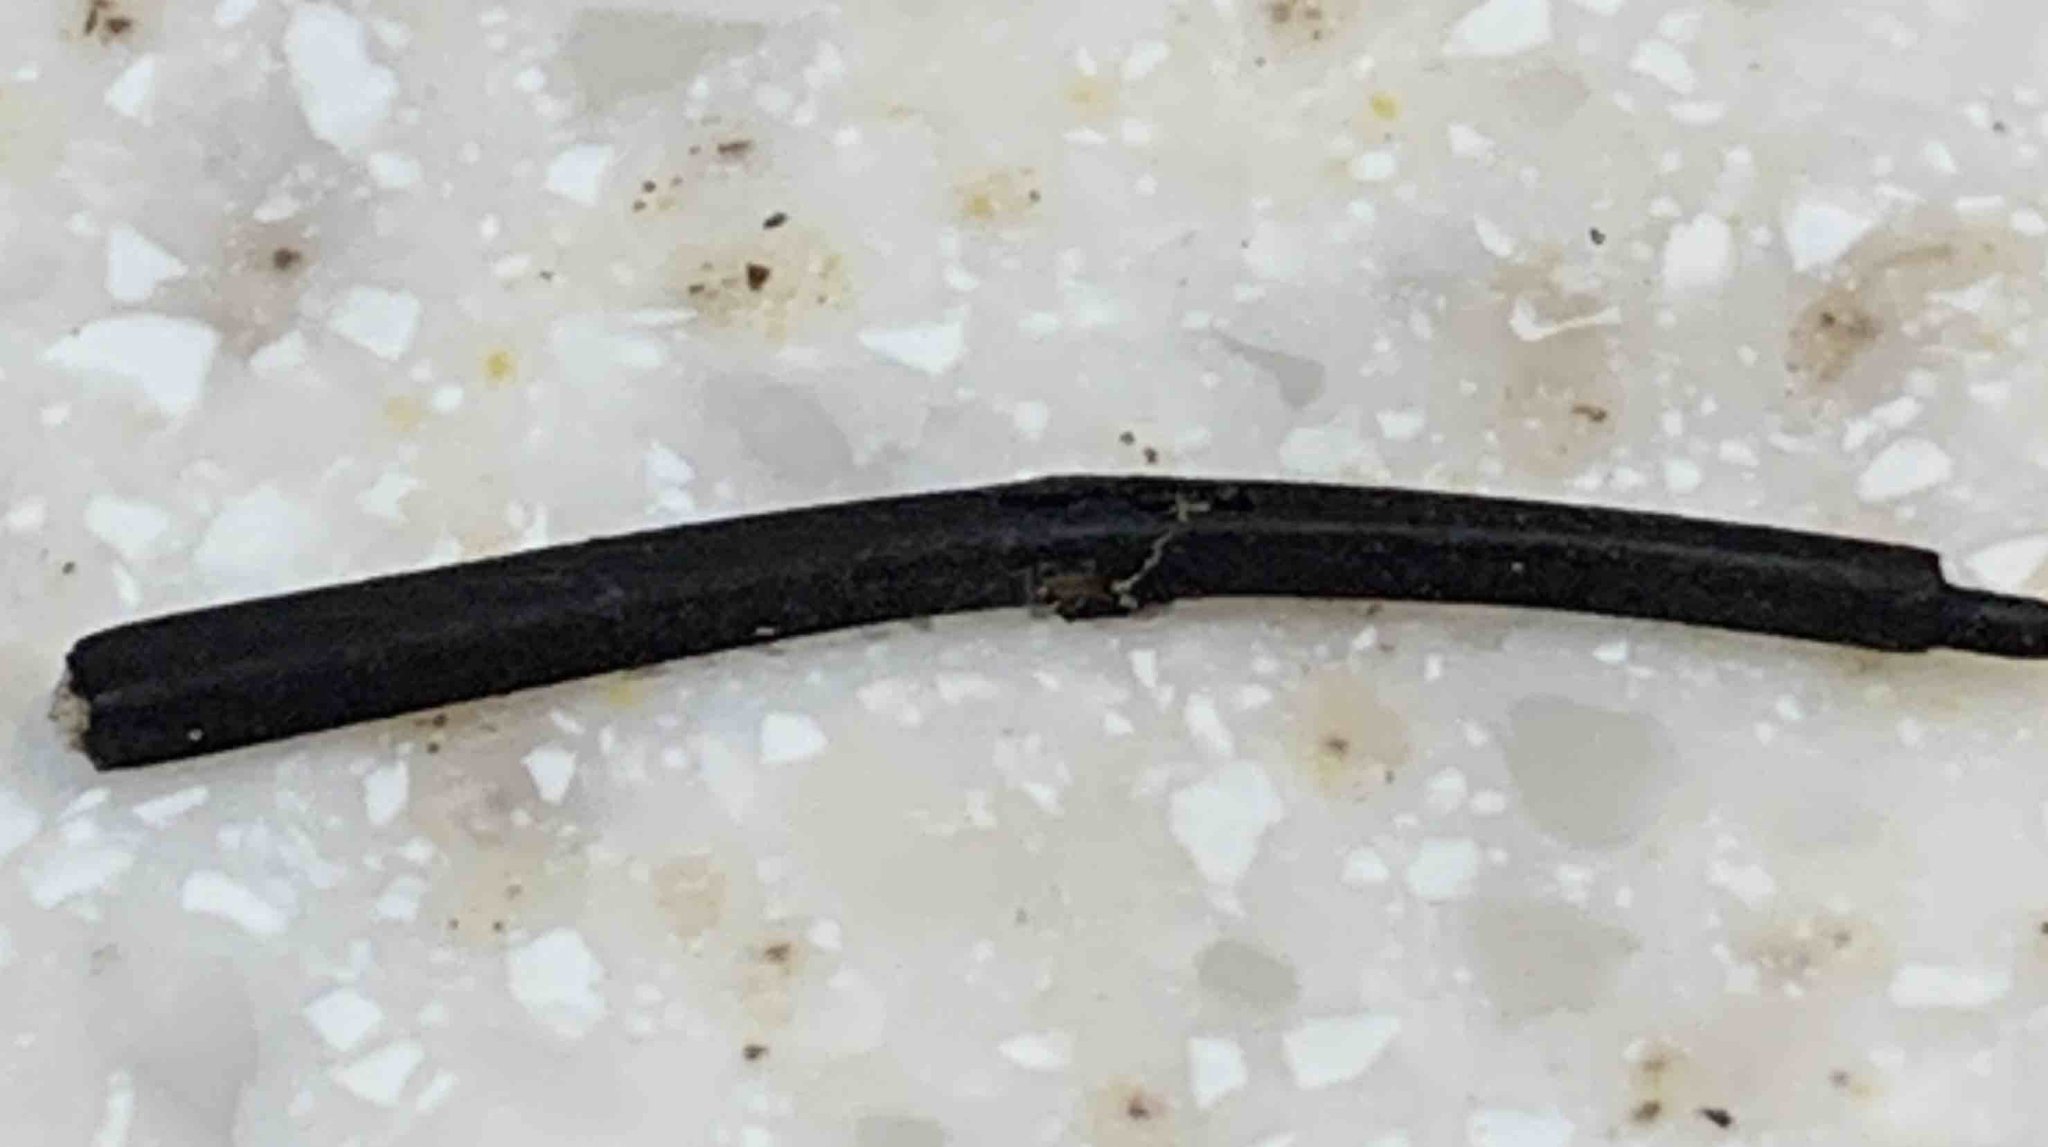
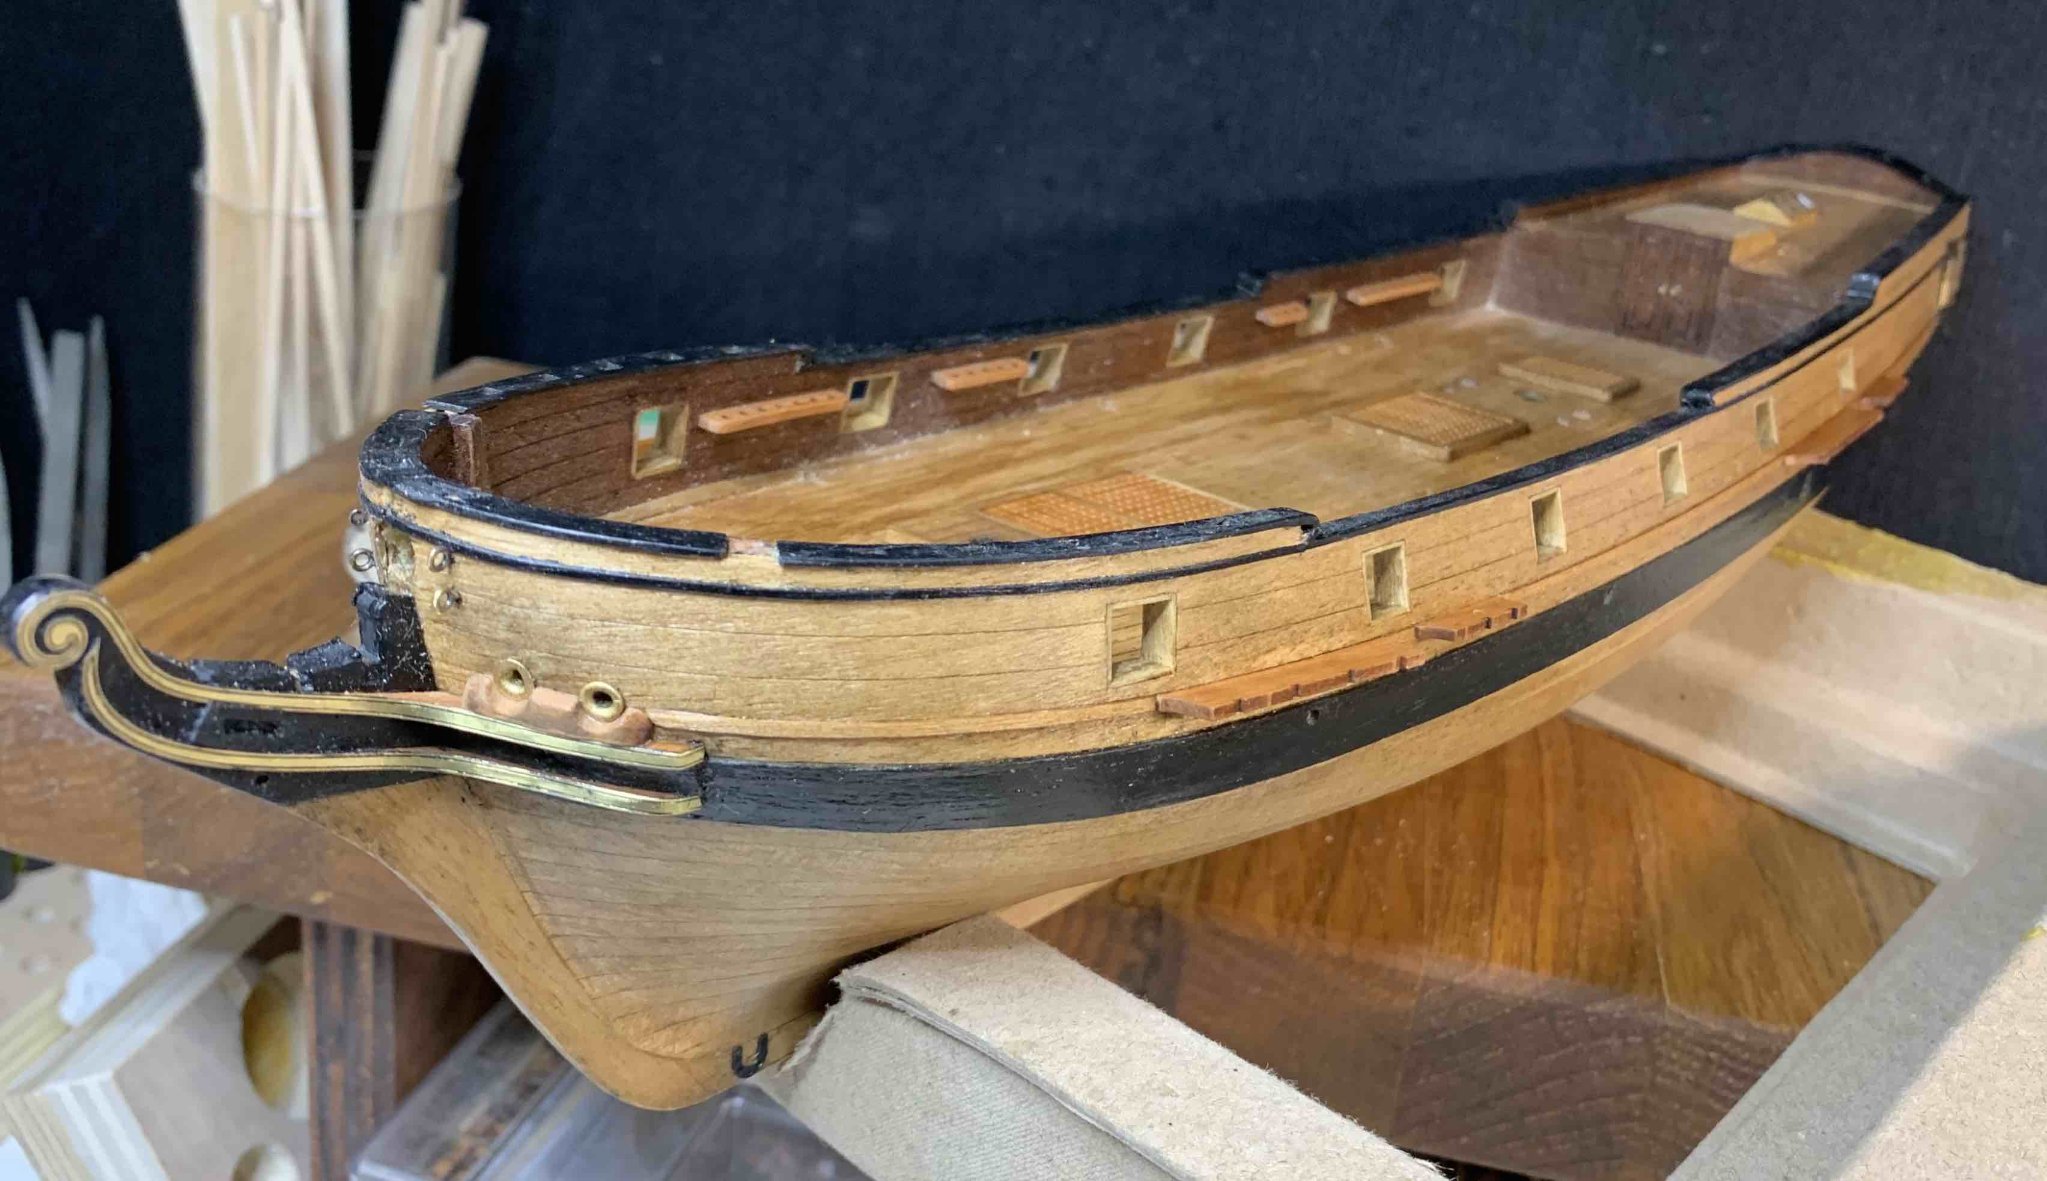
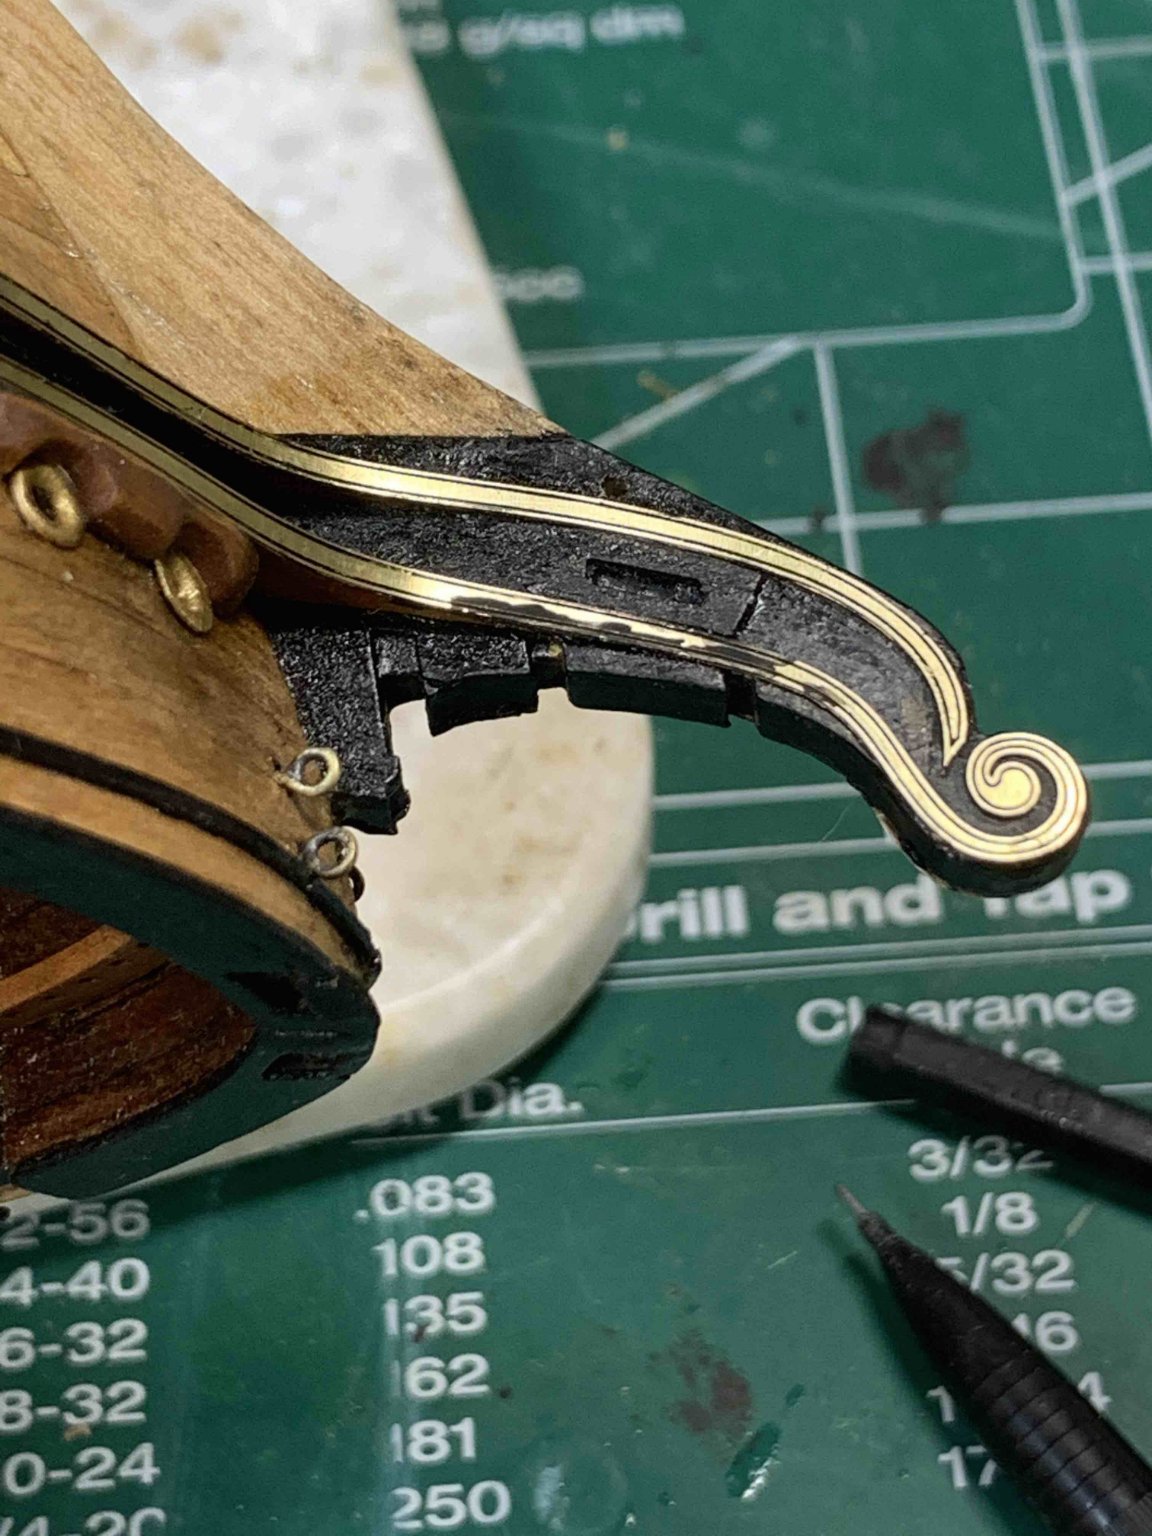
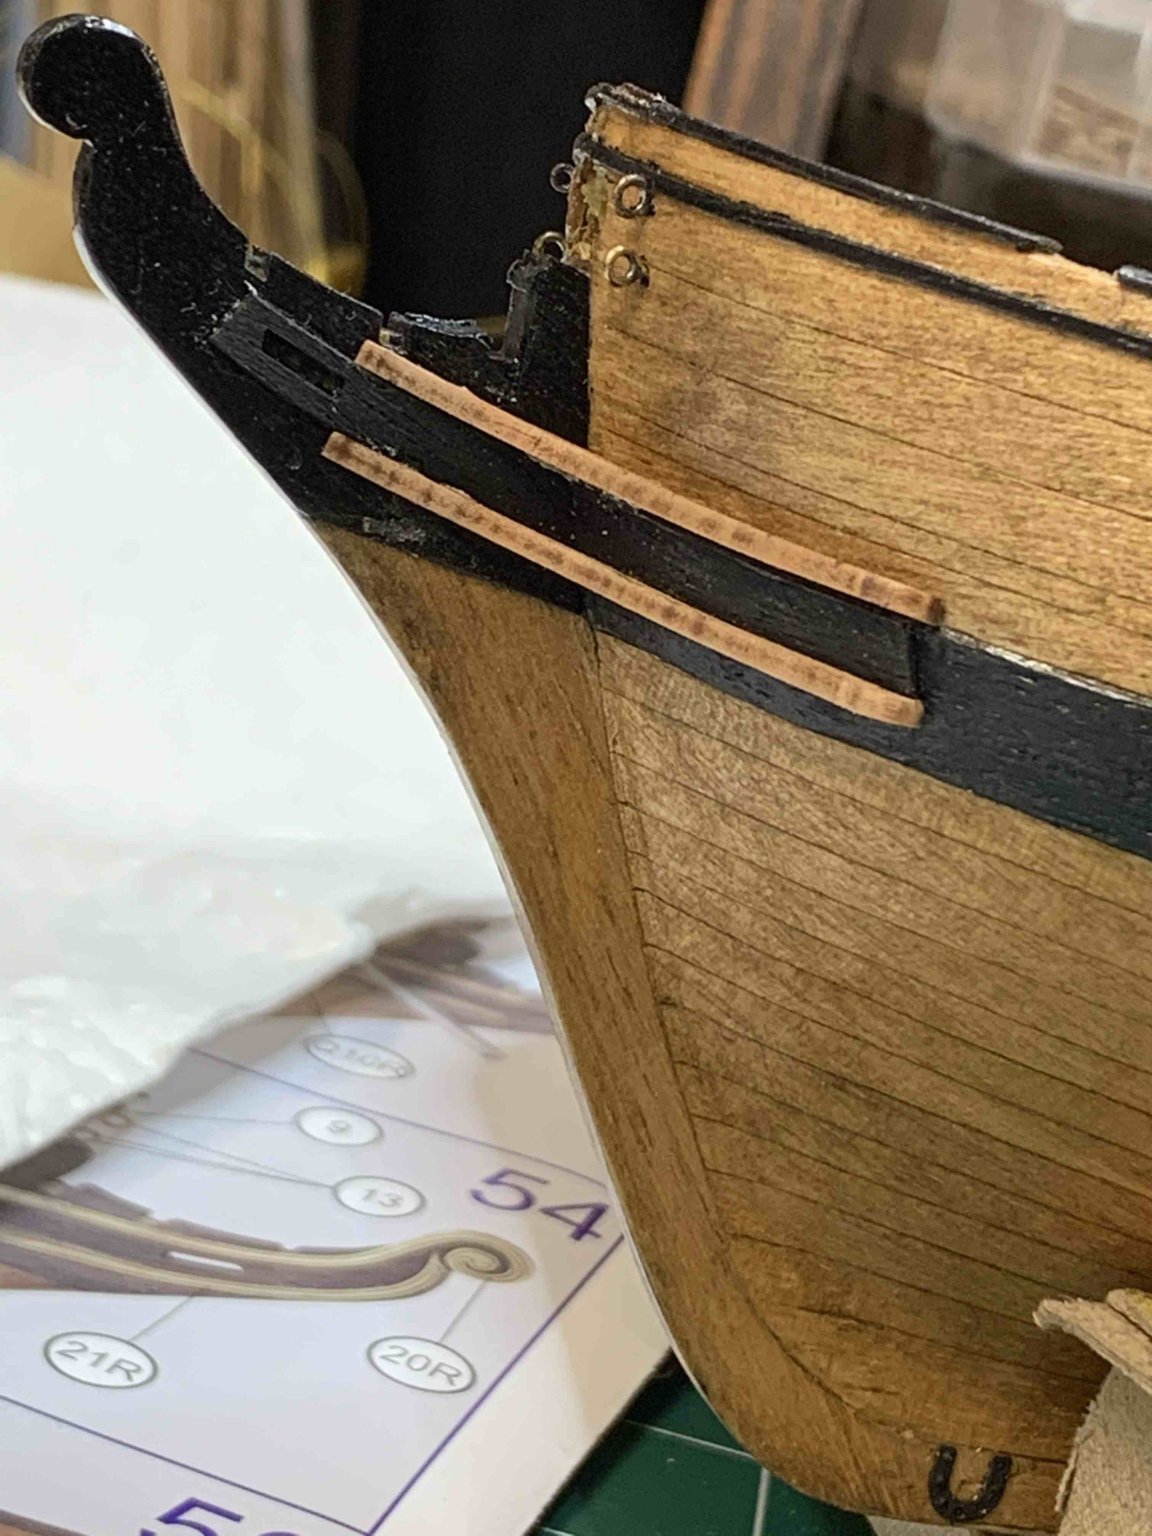
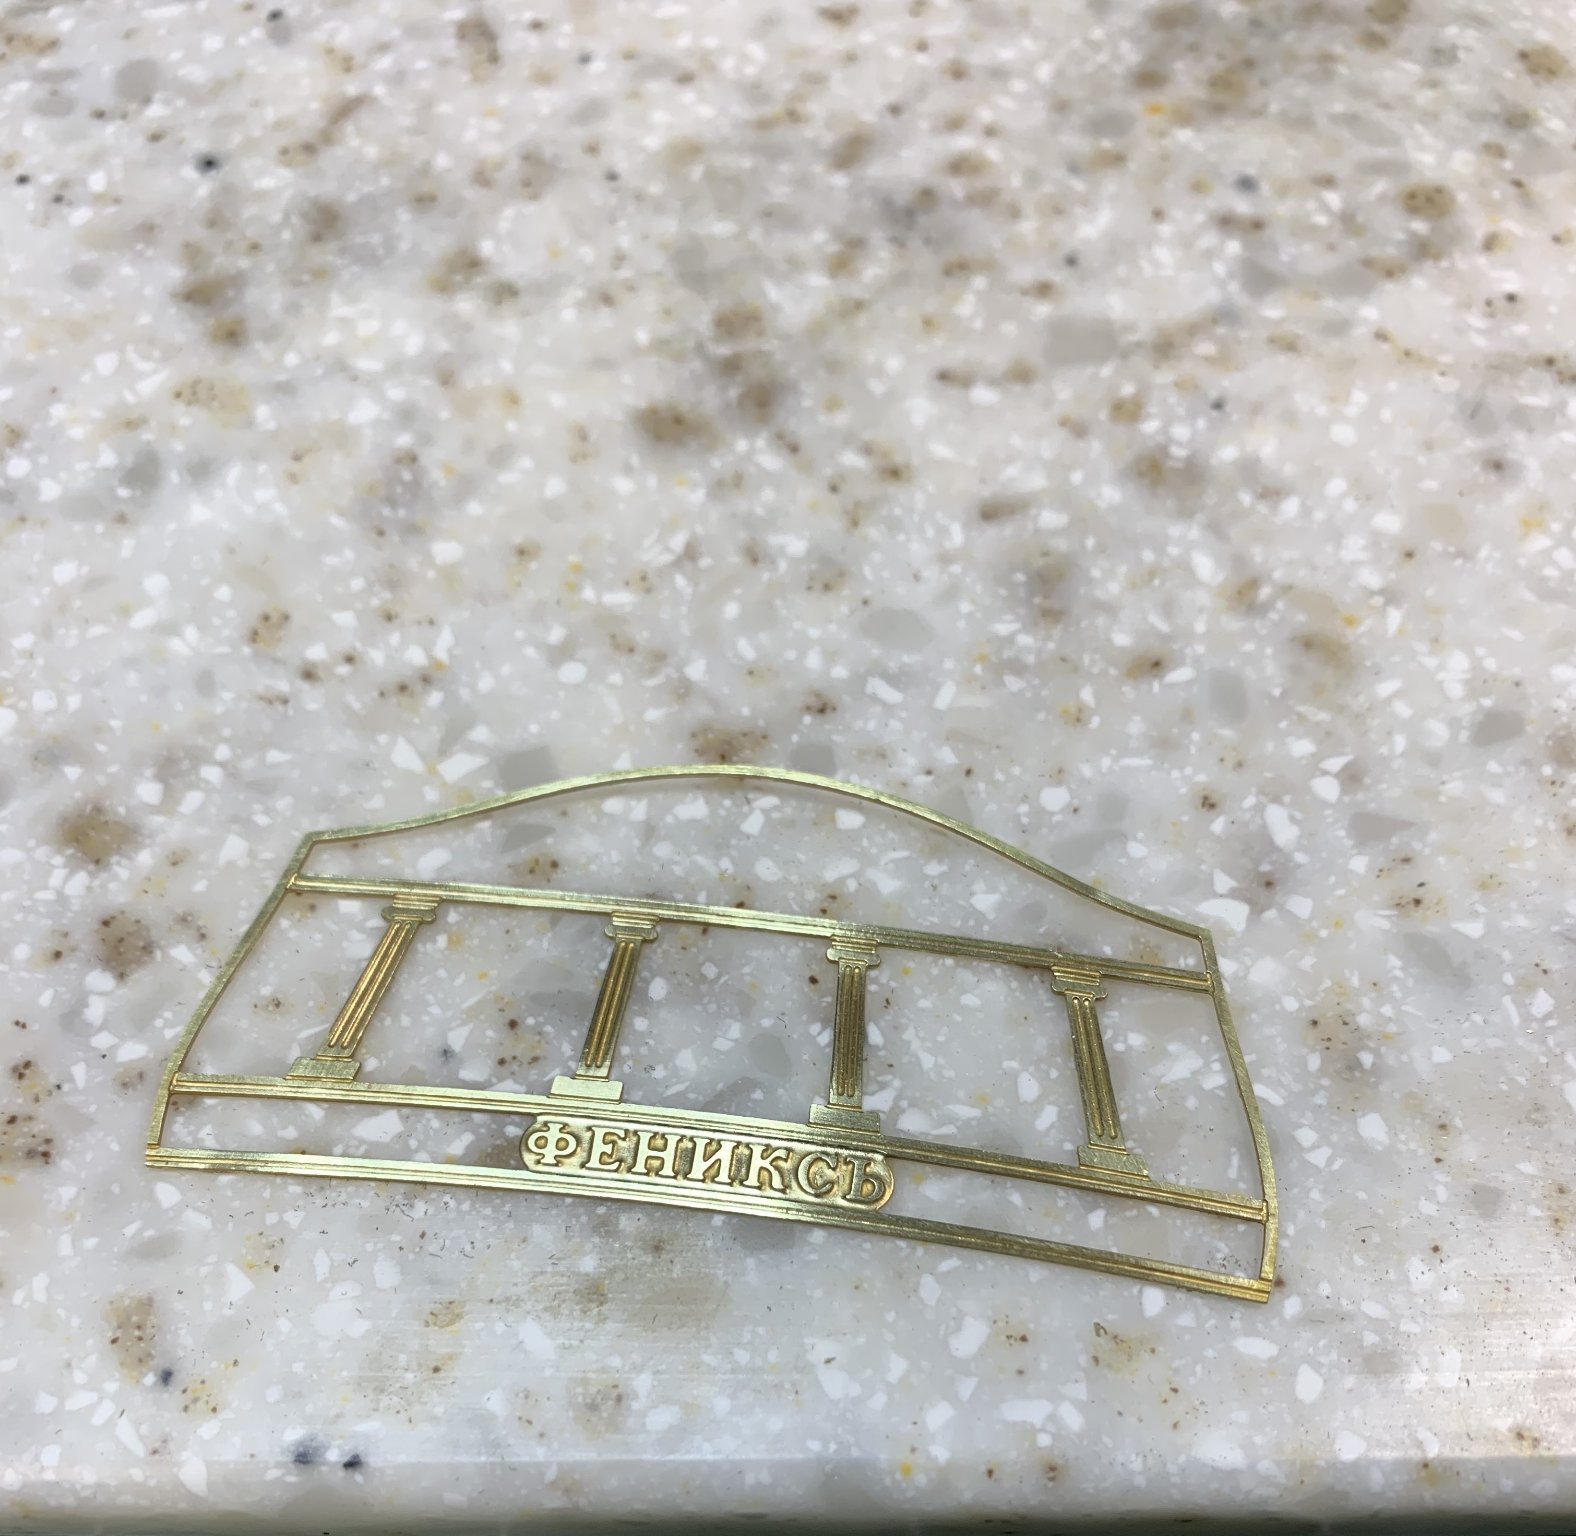
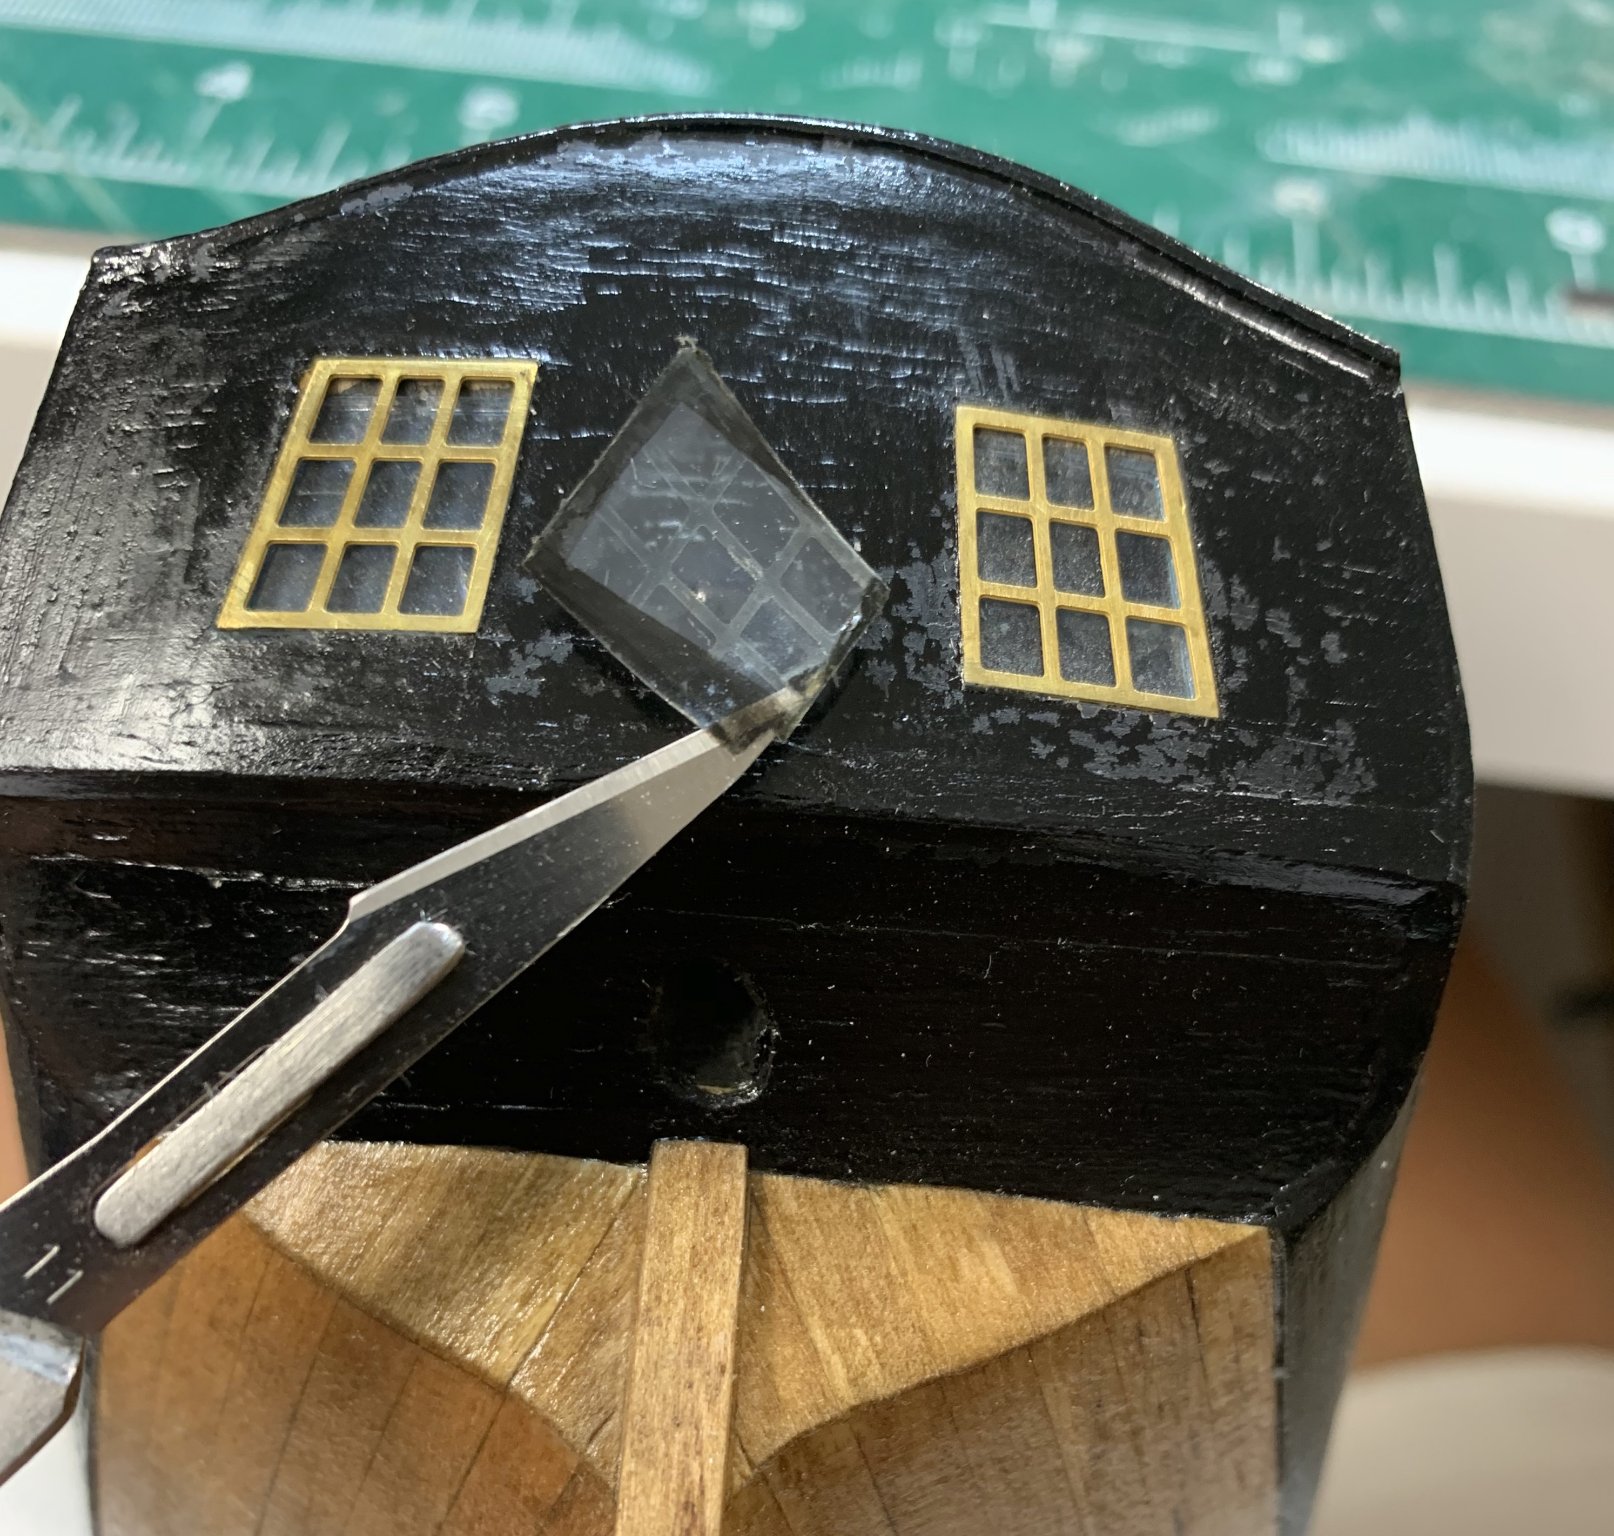
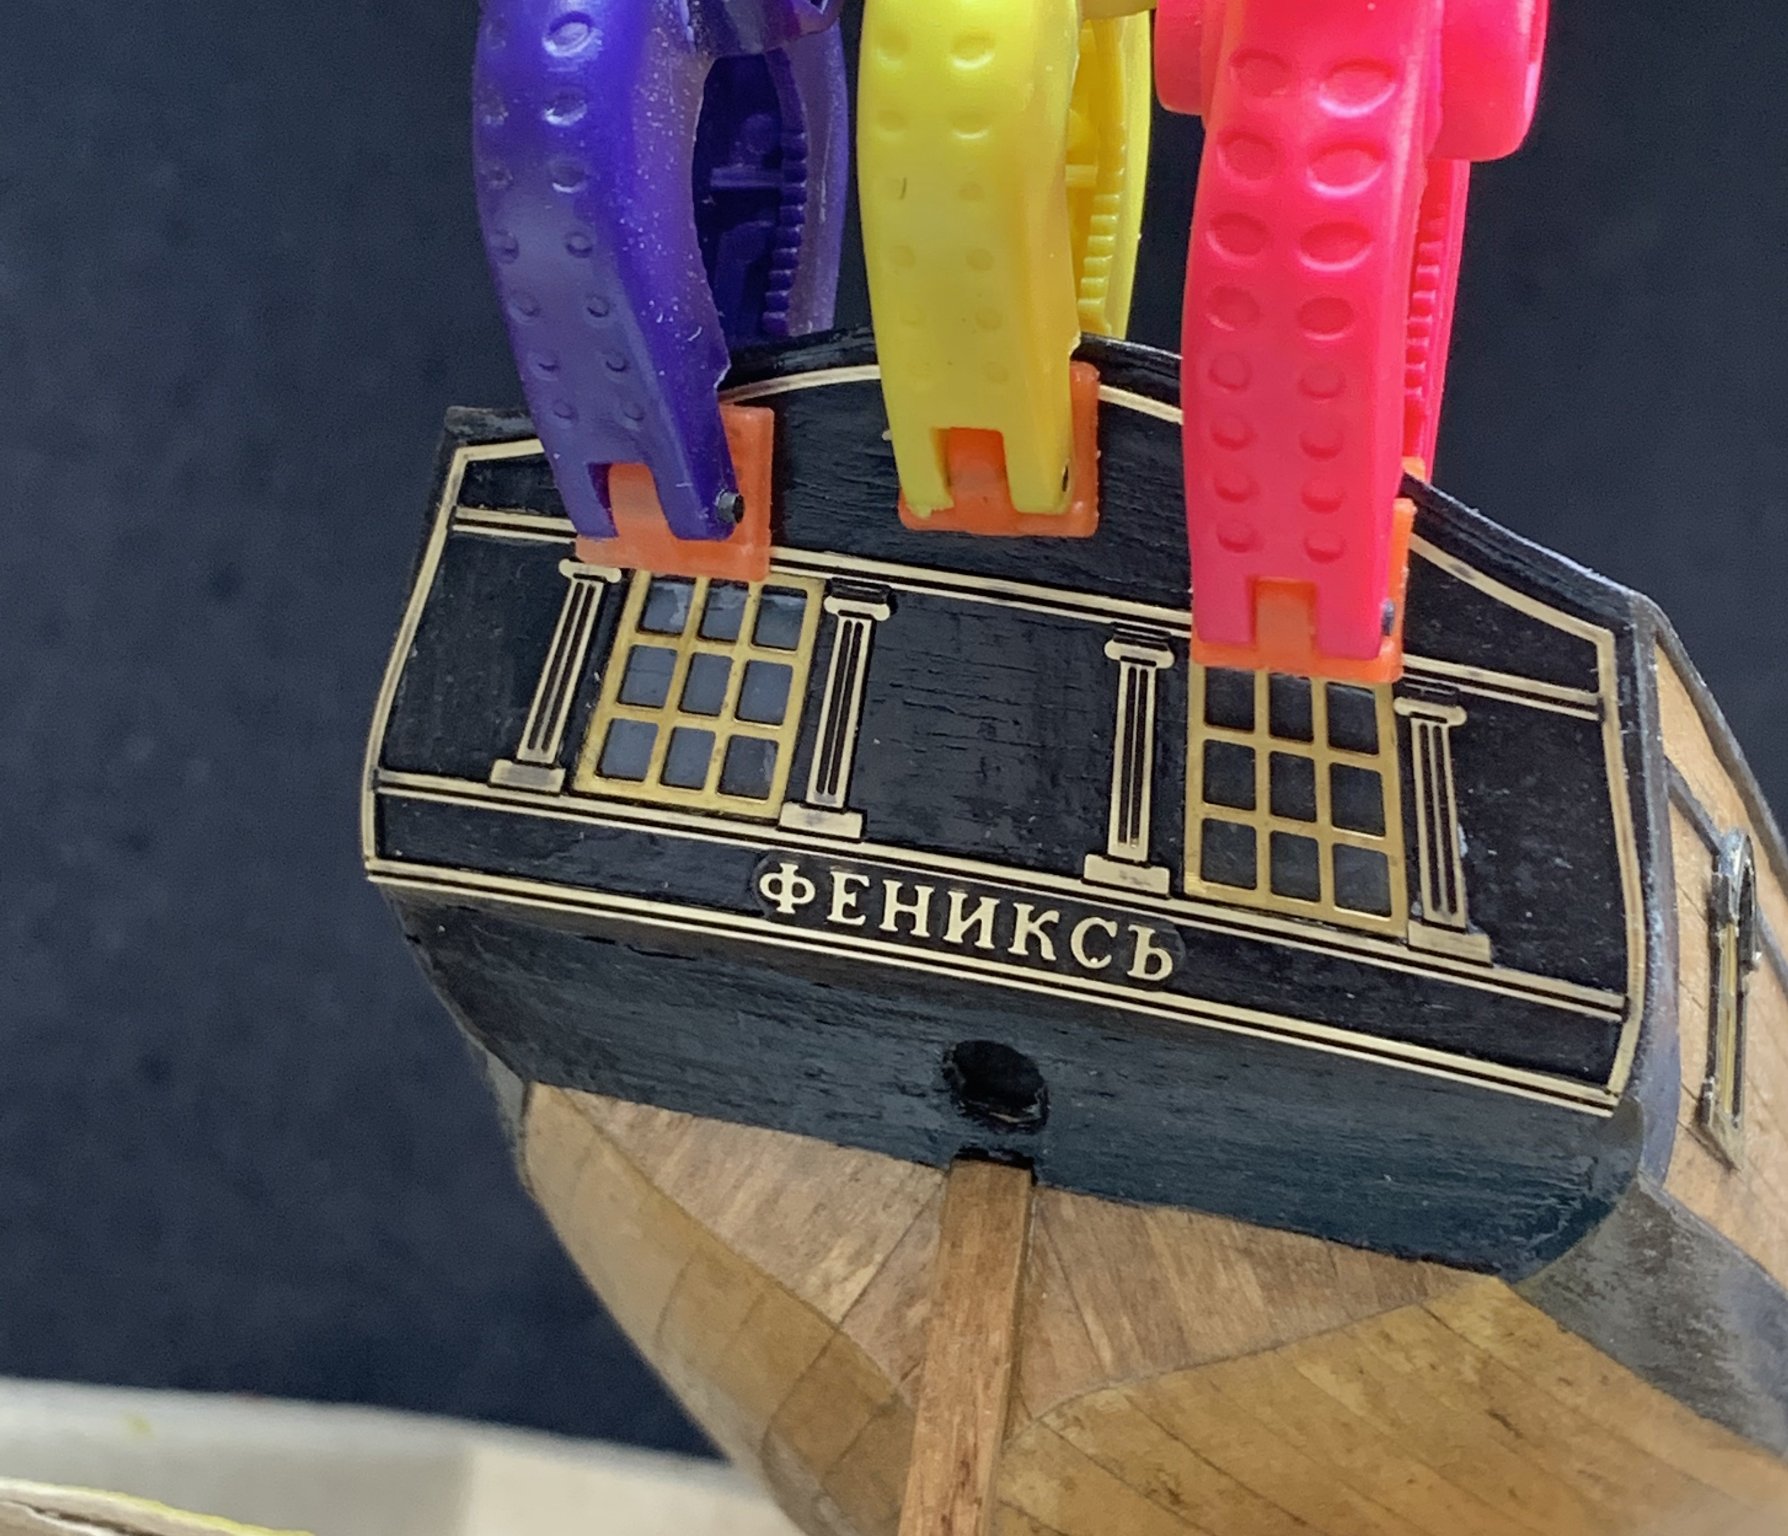
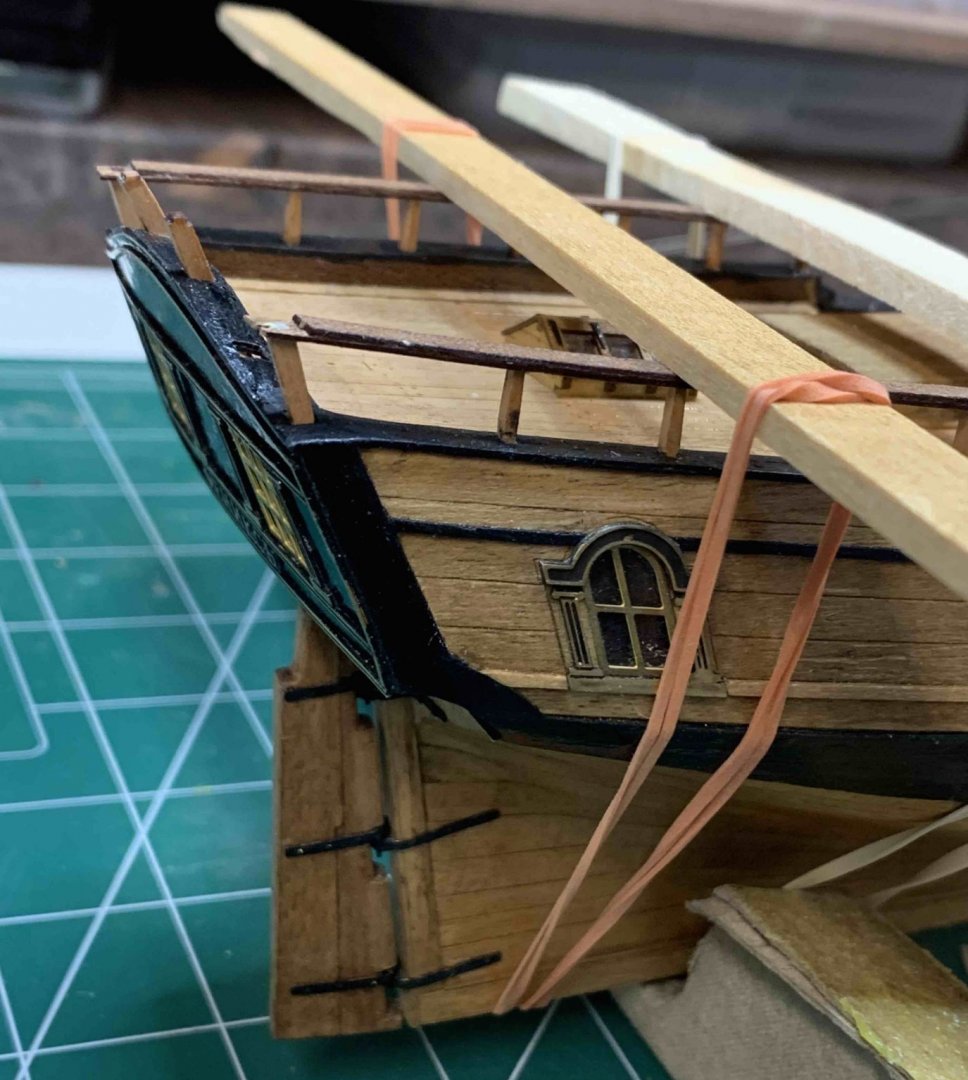
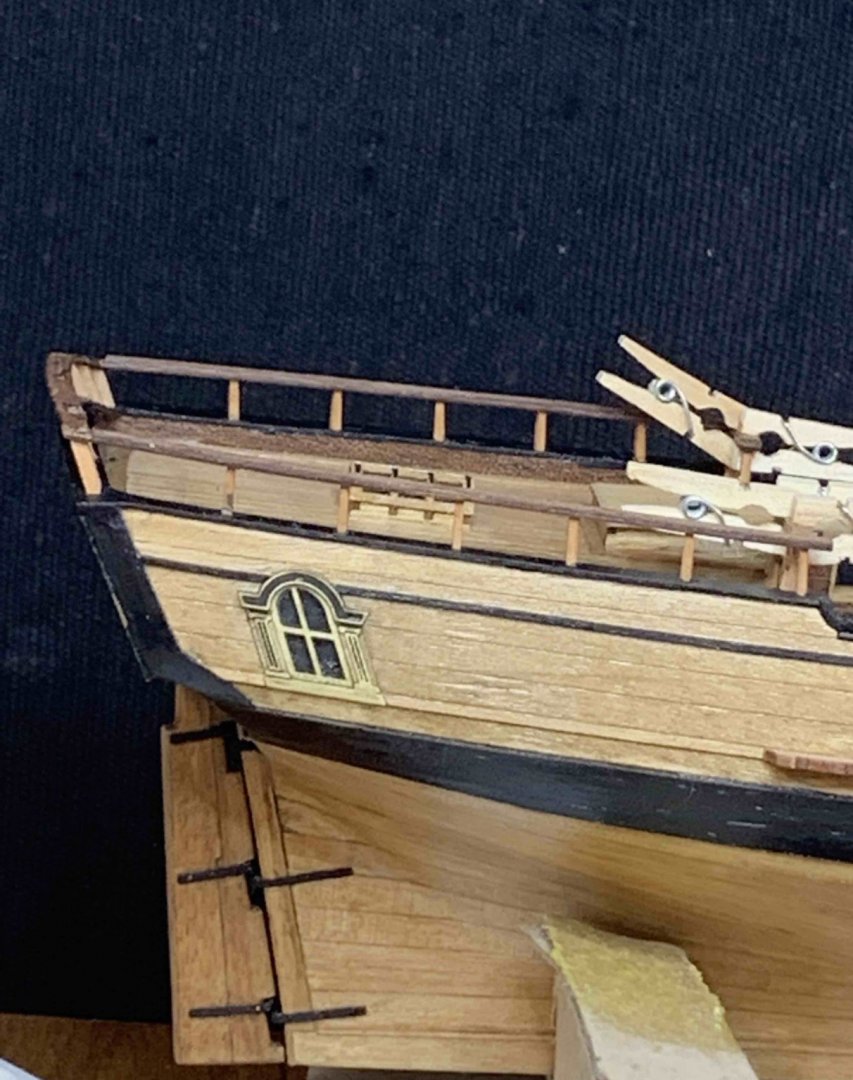
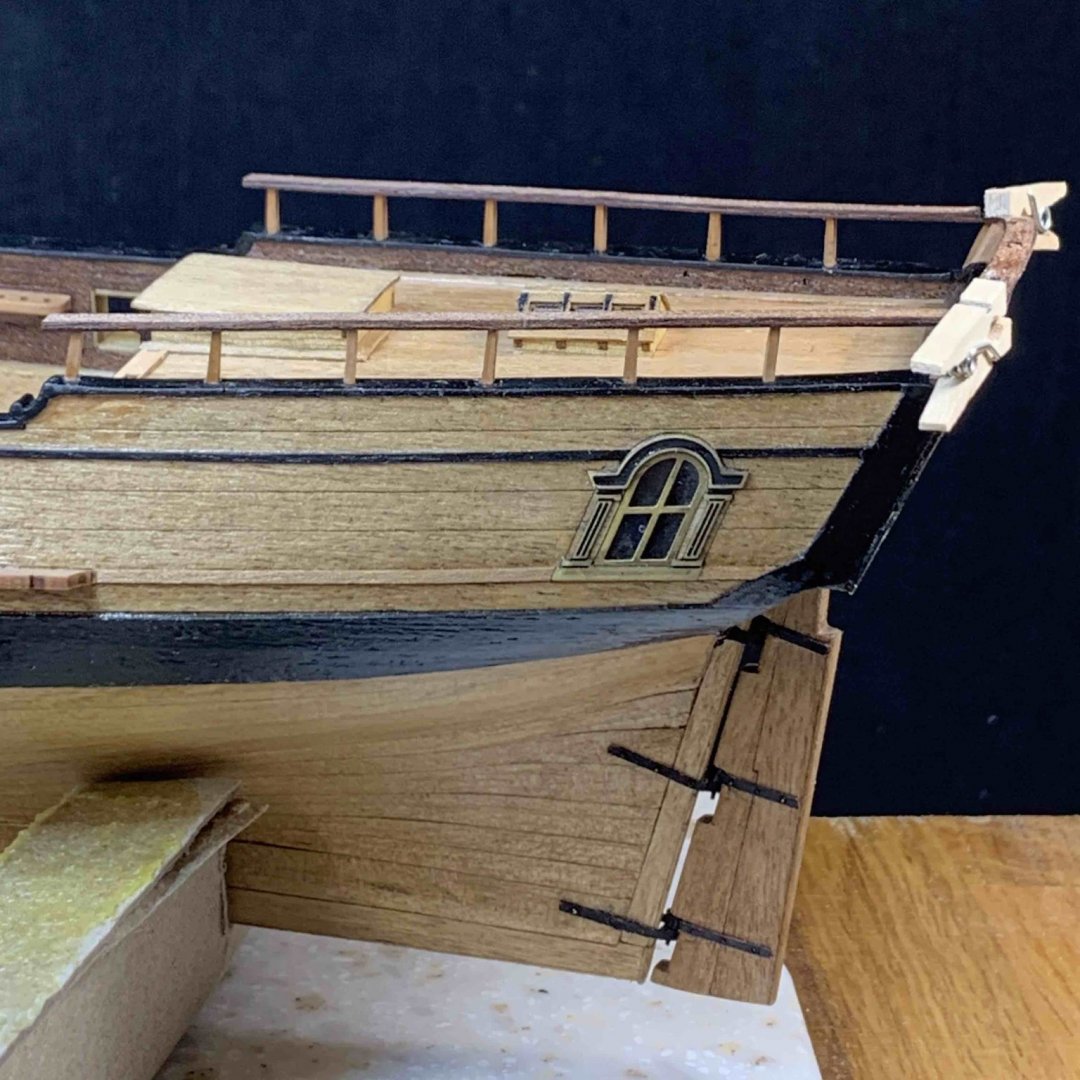
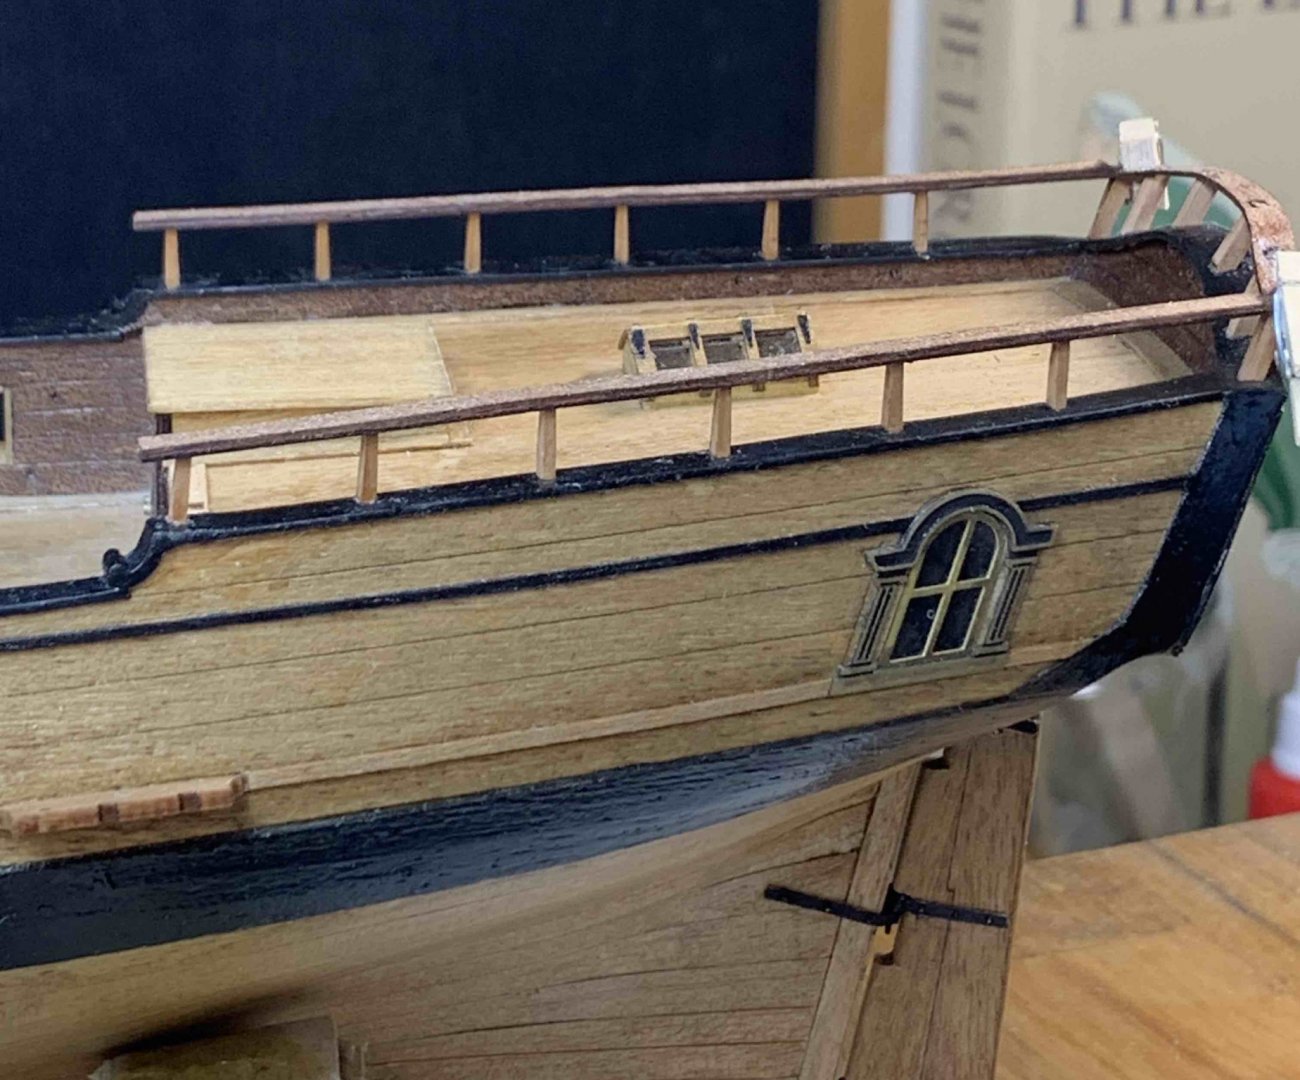
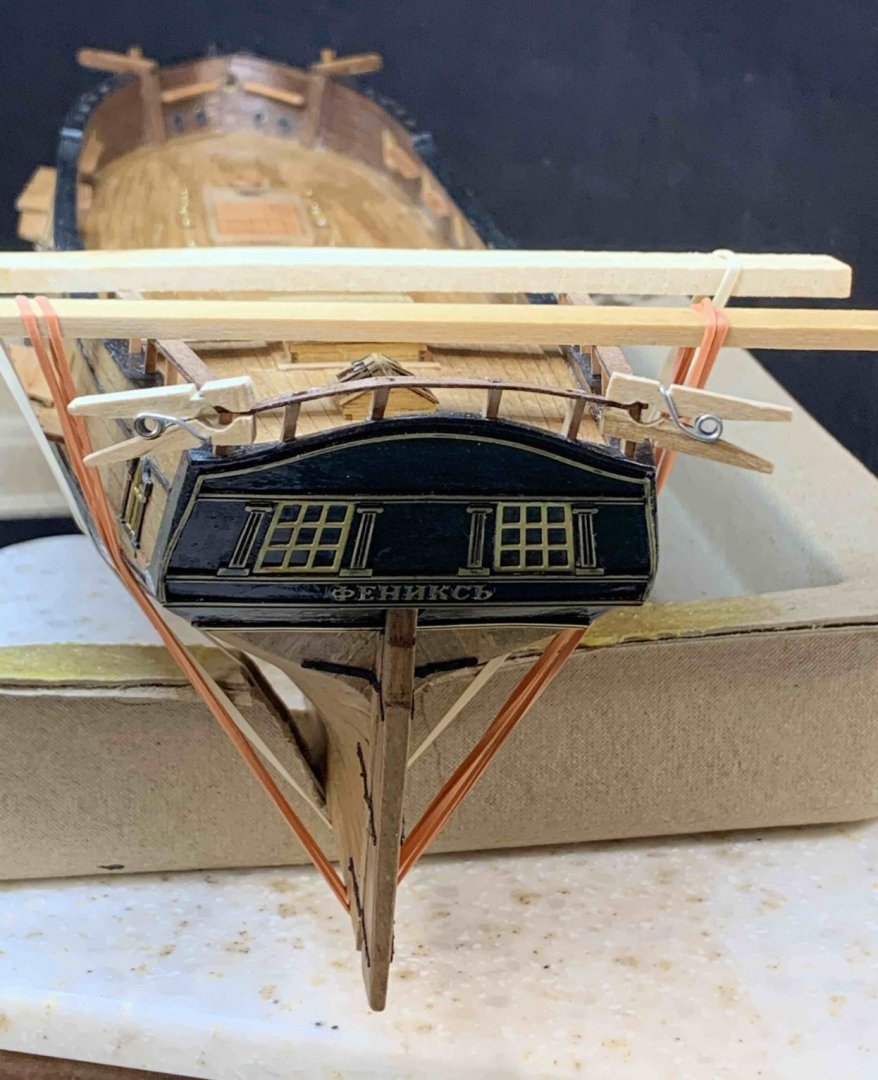
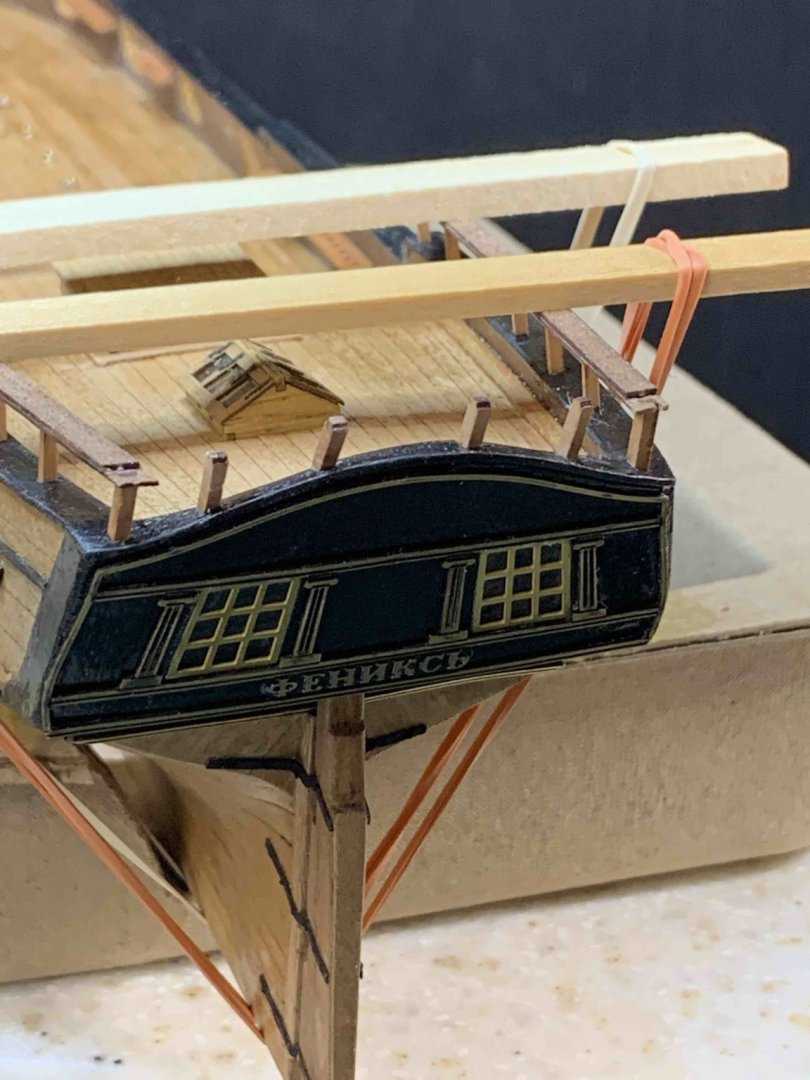
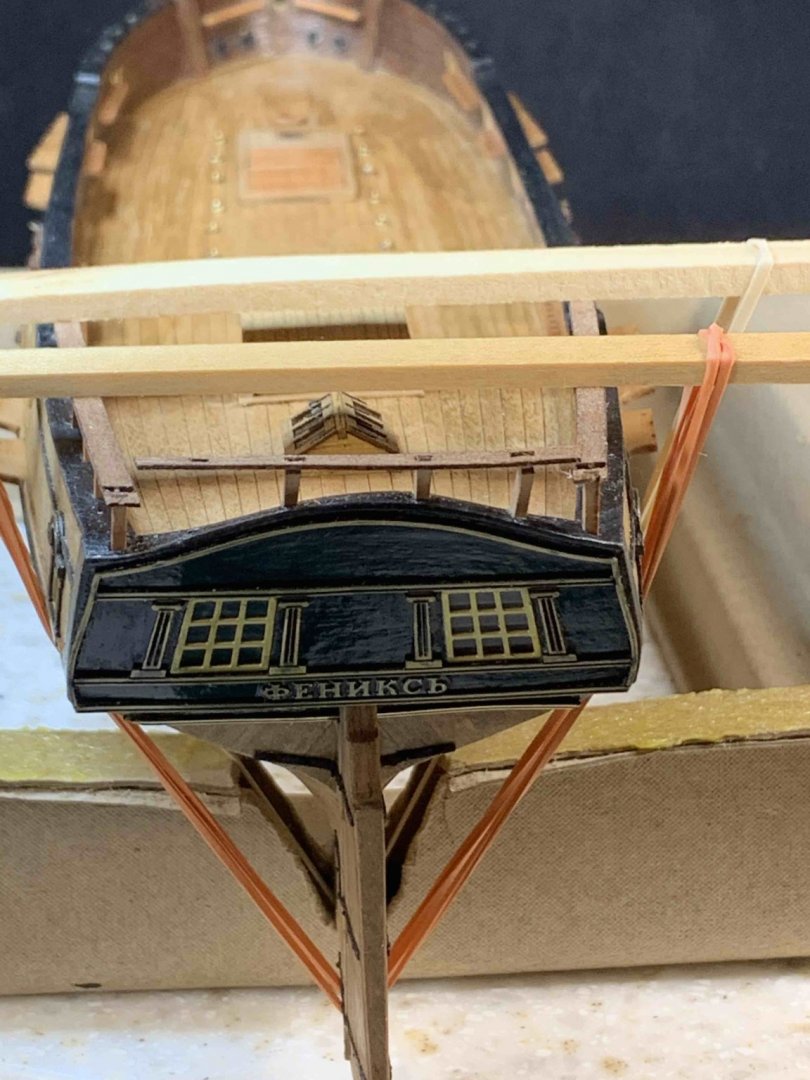
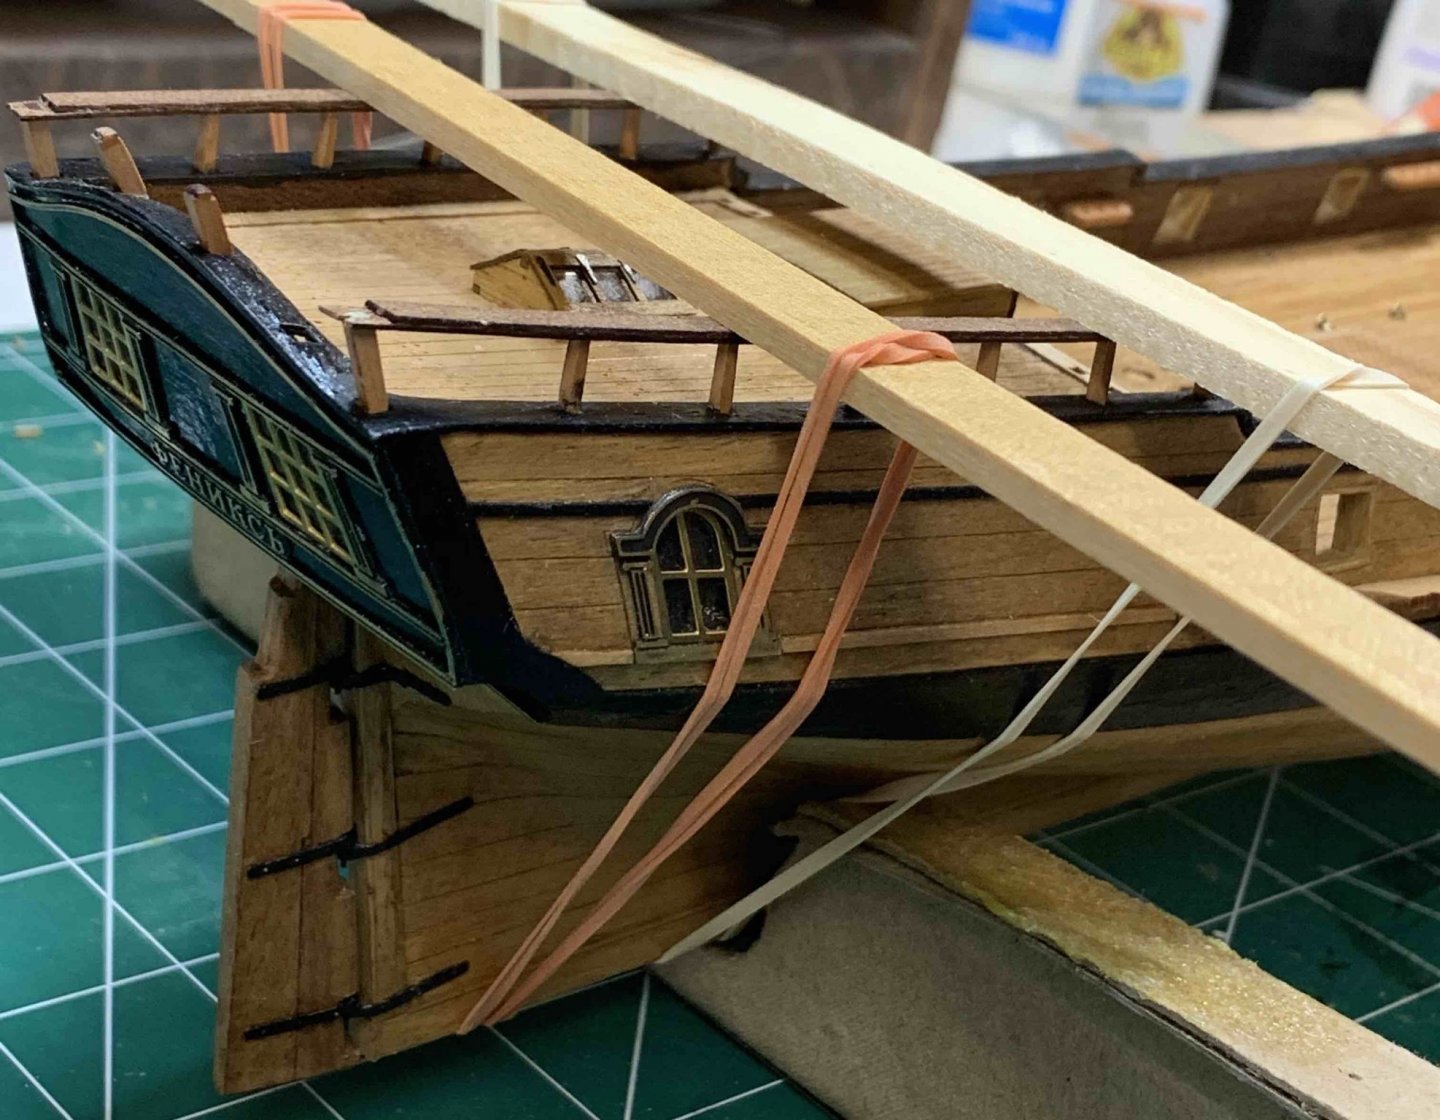
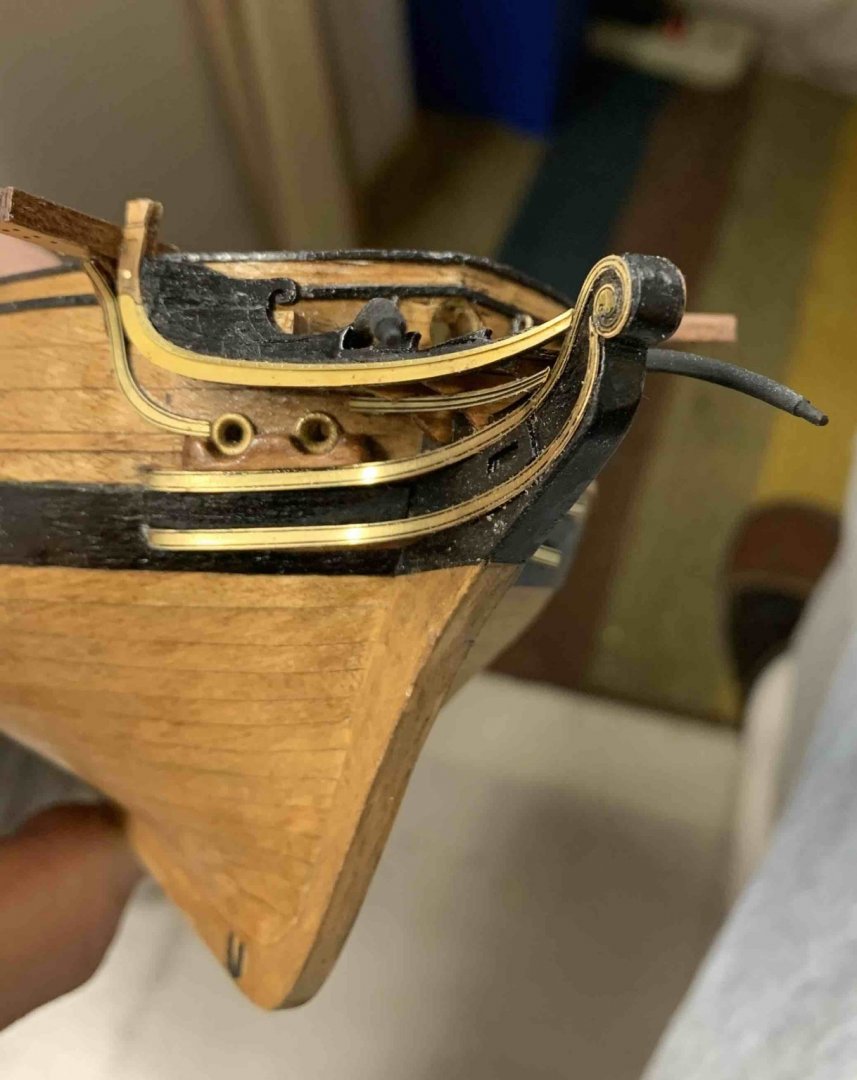
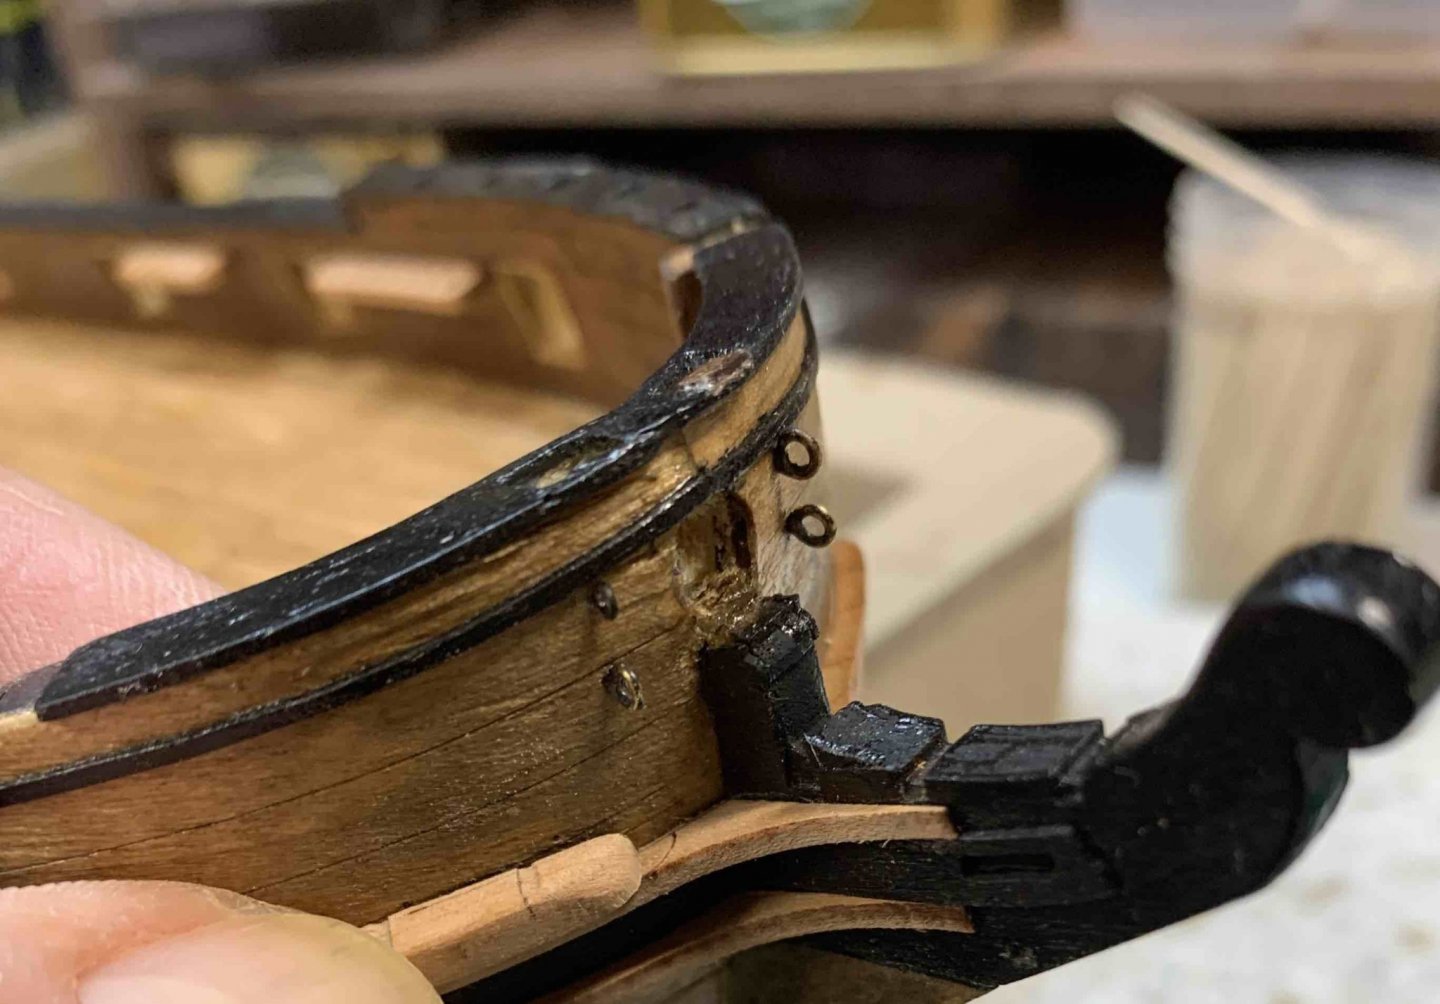
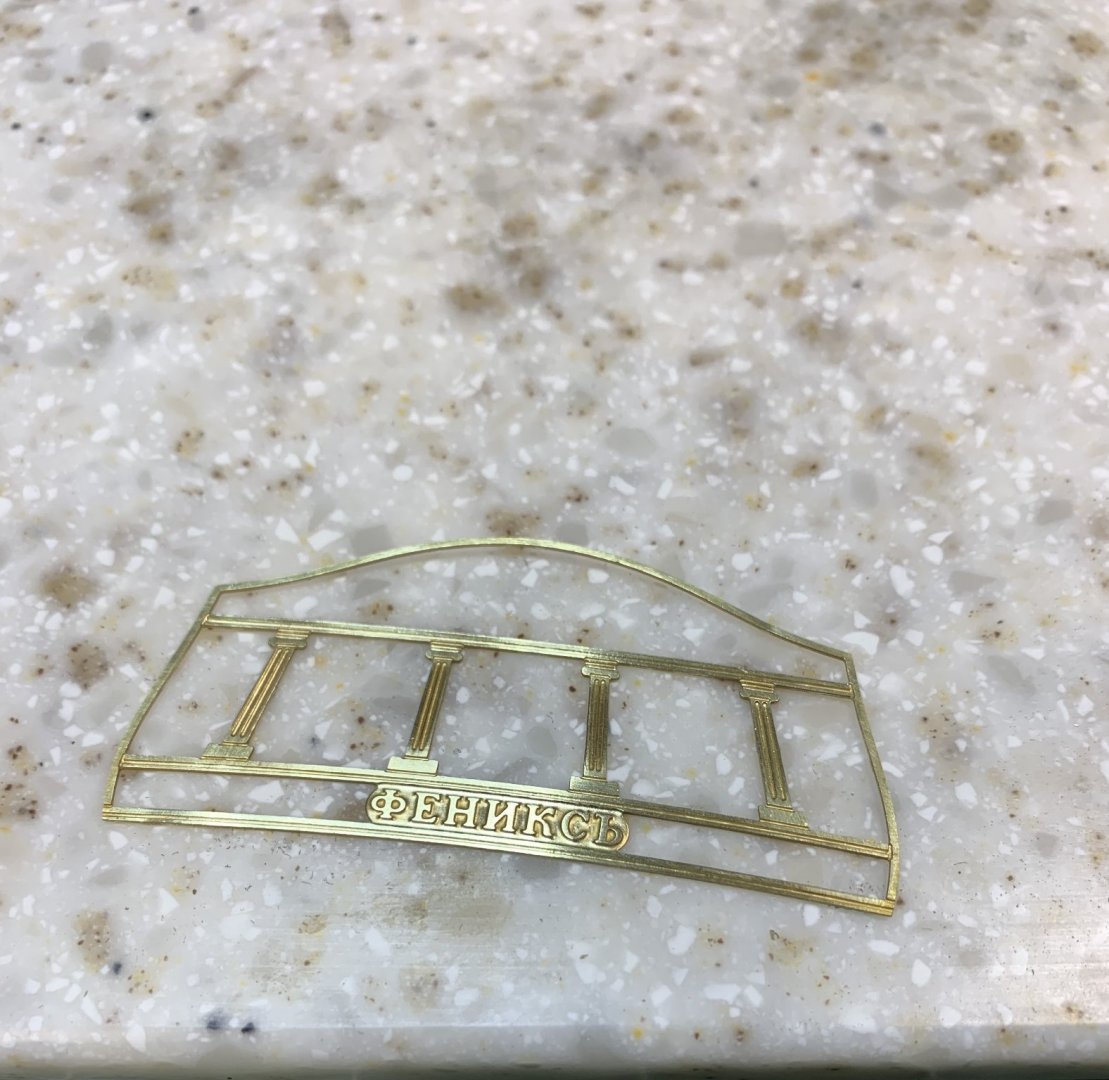
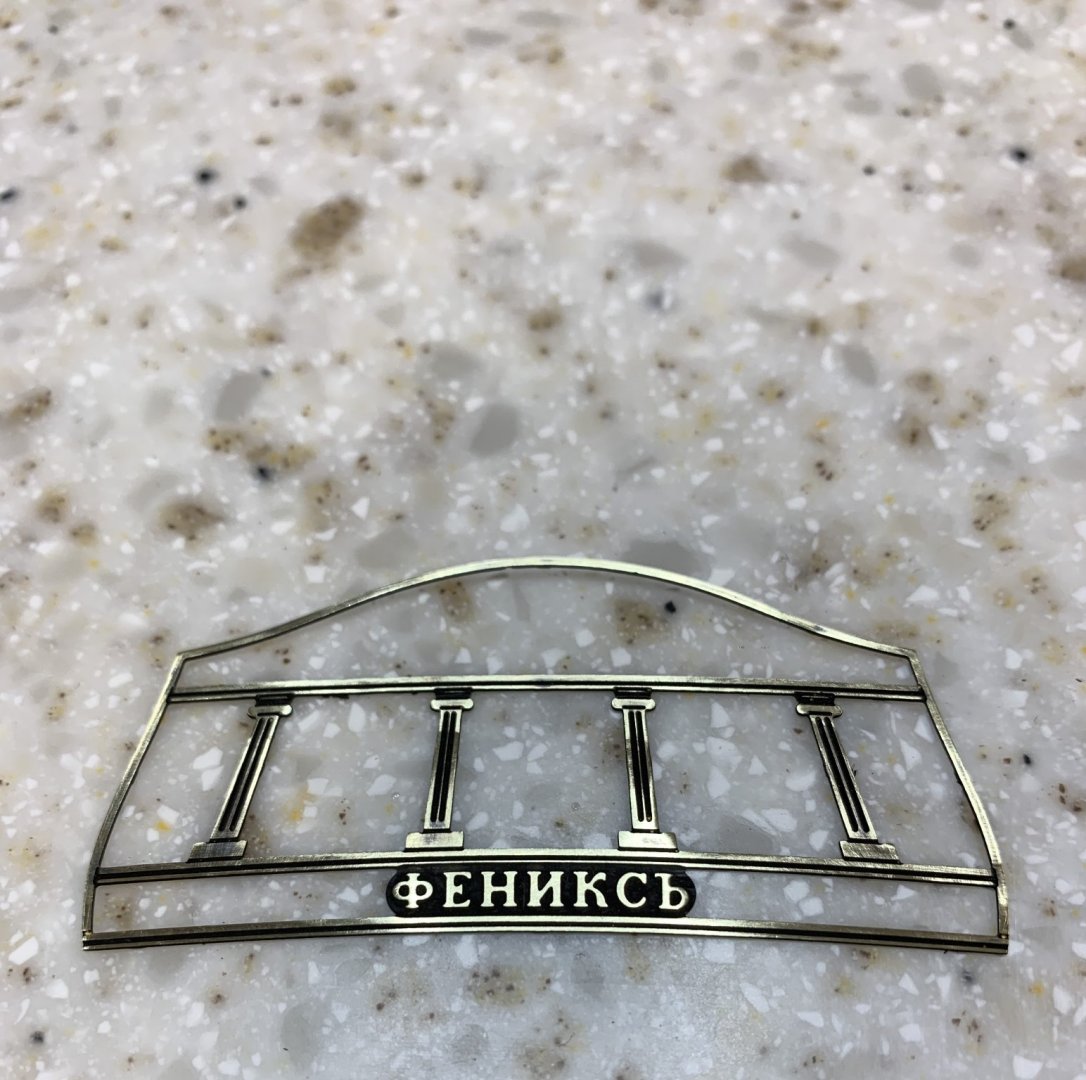
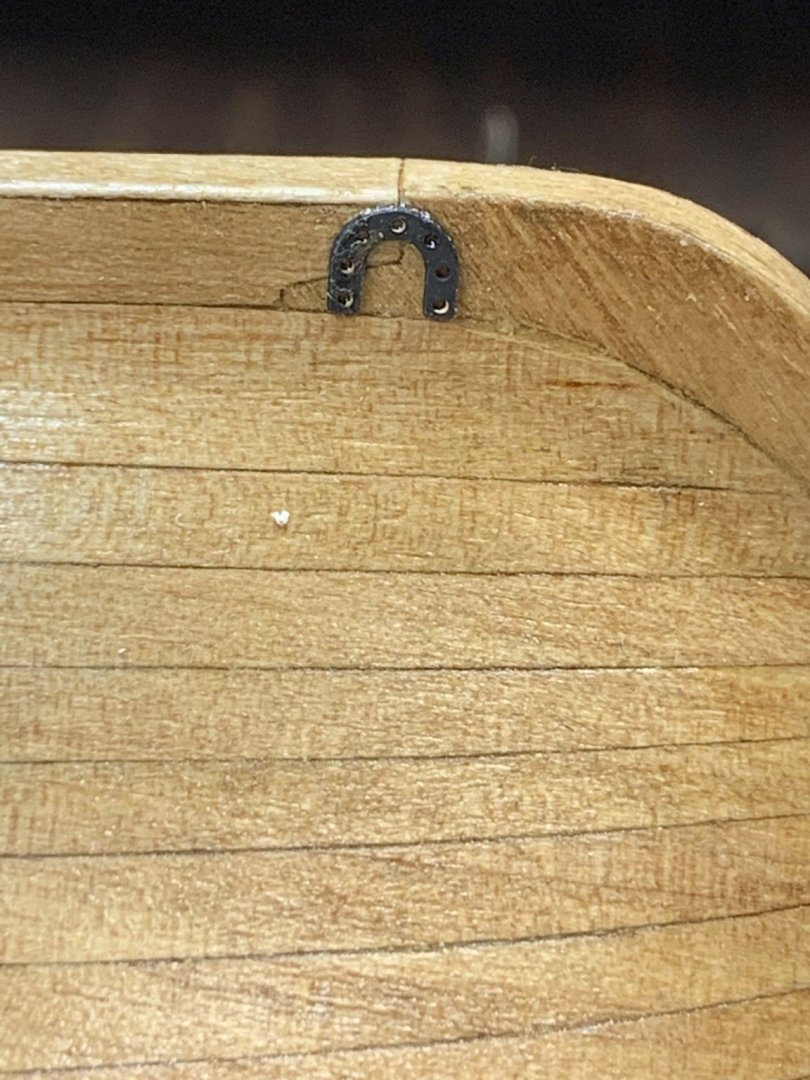
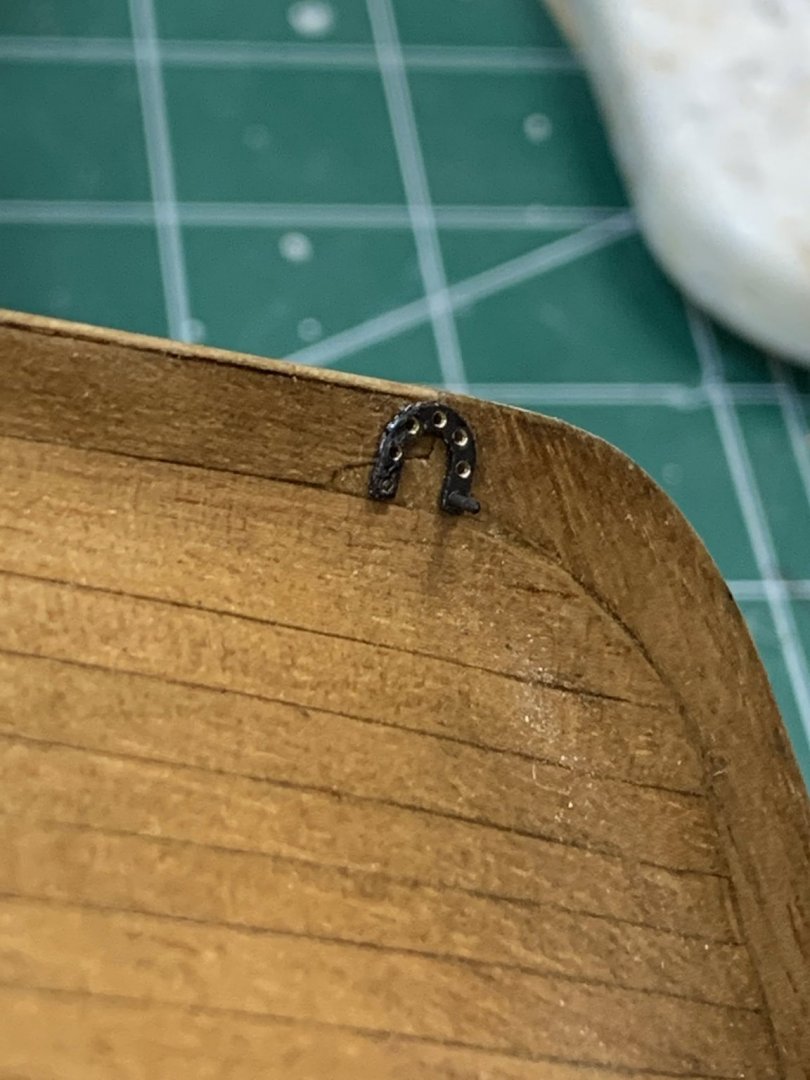
The horseshoes were installed.. Then the work on rudder started. The rudder is built from two pieces, they have to be cleaned from laser burns, glued and sanded. Then the rudder covers (two pieces of vaneer) have to be glued on and rudder shaped in the way that the narrowed part is on the bottom.. While this is drying, i completed the installation of ship name decoration.. First, cut from the frame, sanded it all... .. short bath in blackening solution and sanded it all.. The windows were protected with a piece of transparent tape before the whole hull was painted black. Now, decor will go on by gluing it... It will stay for now and dry.. Happy modelling.


- 275 replies
-
- 4
-
-
- phoenix
- master korabel
- (and 1 more)
-
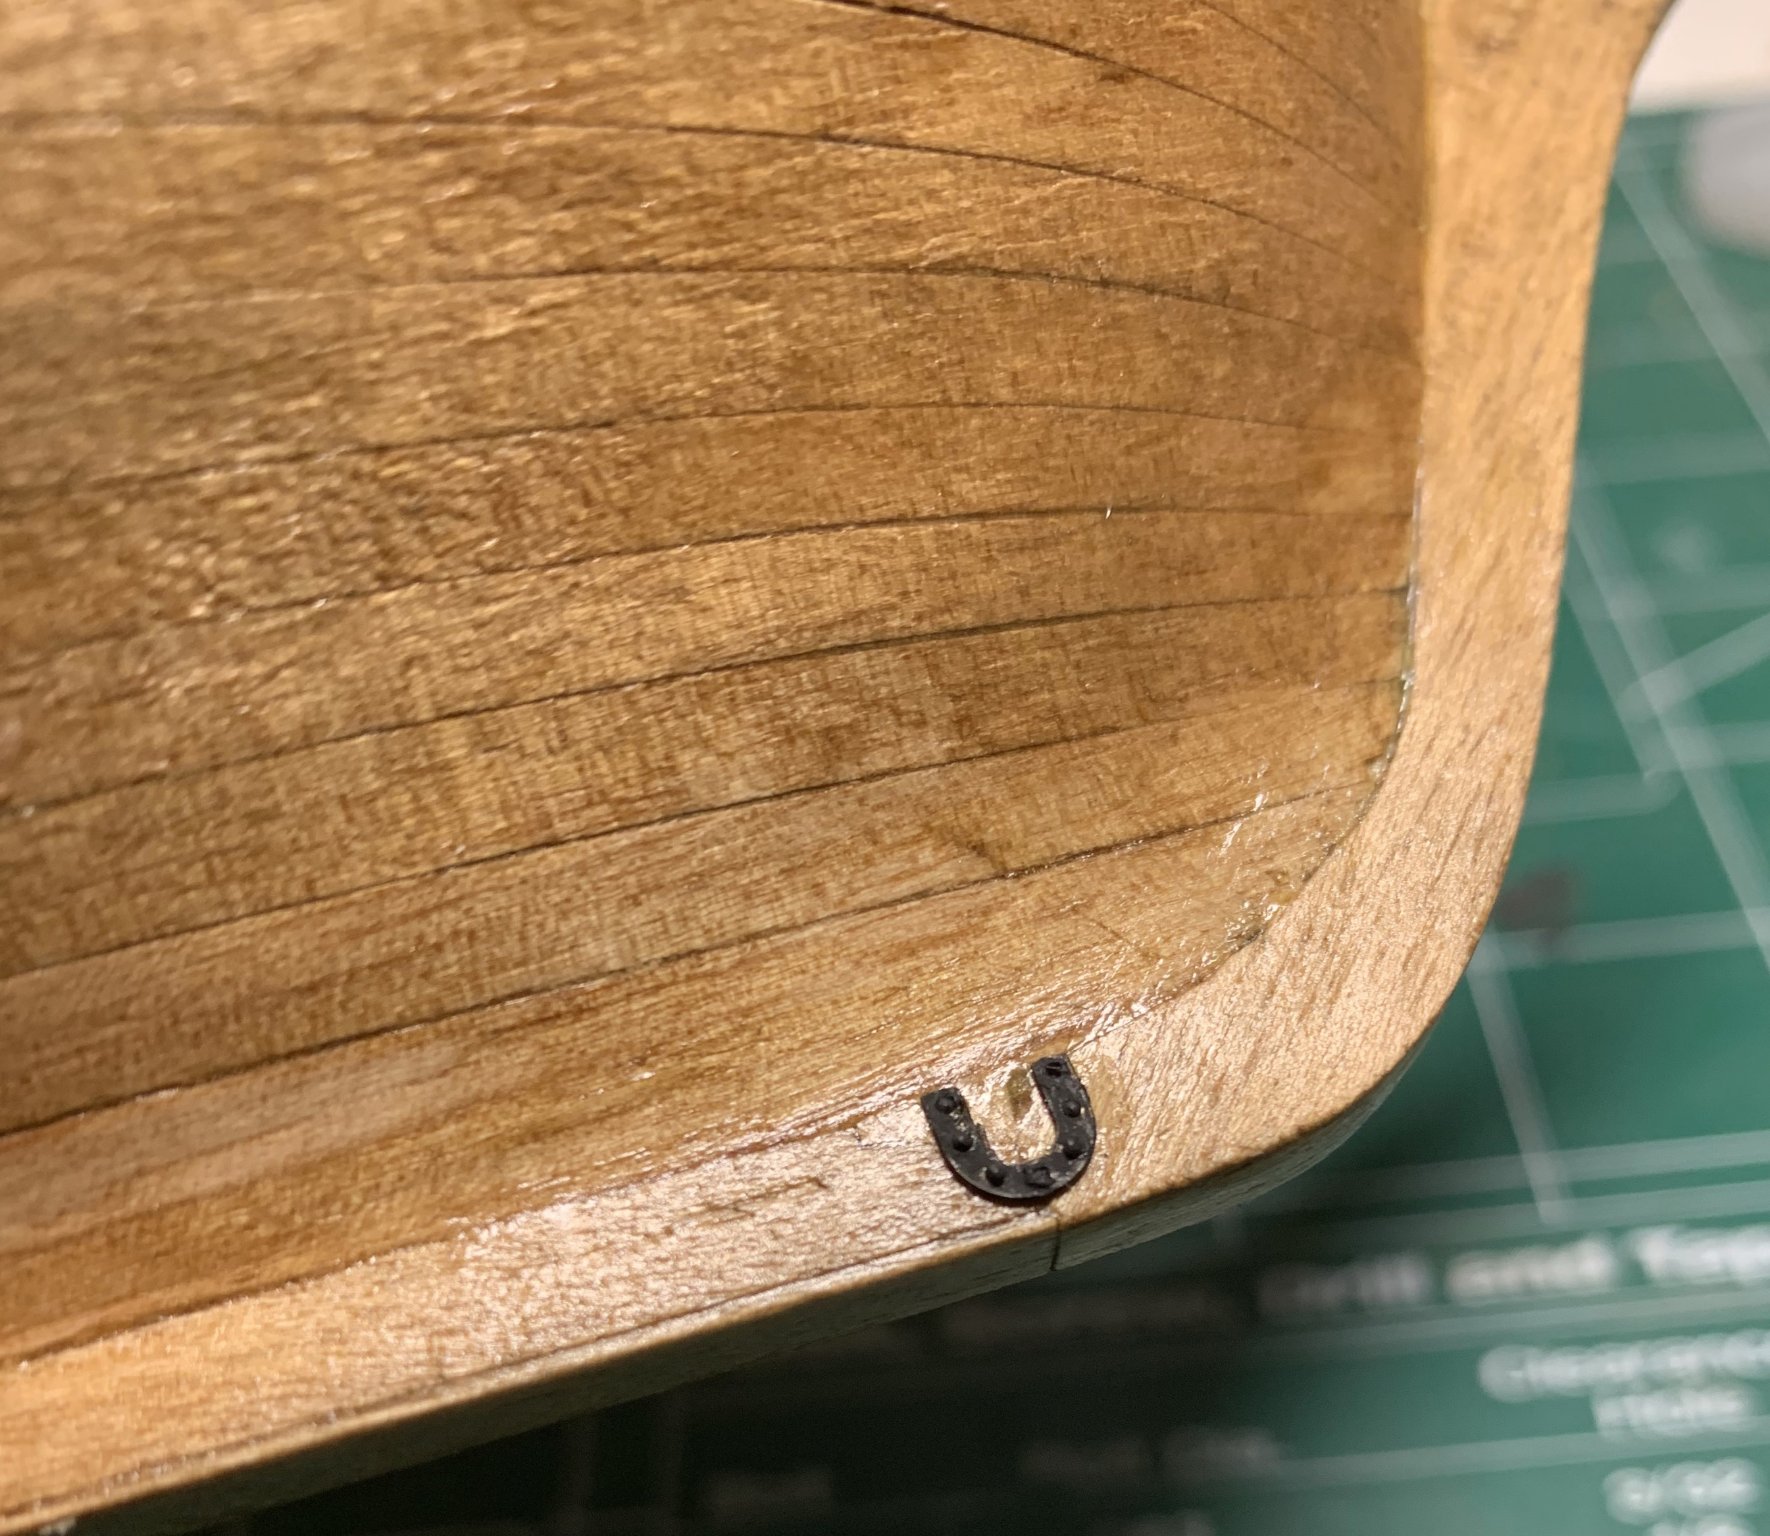
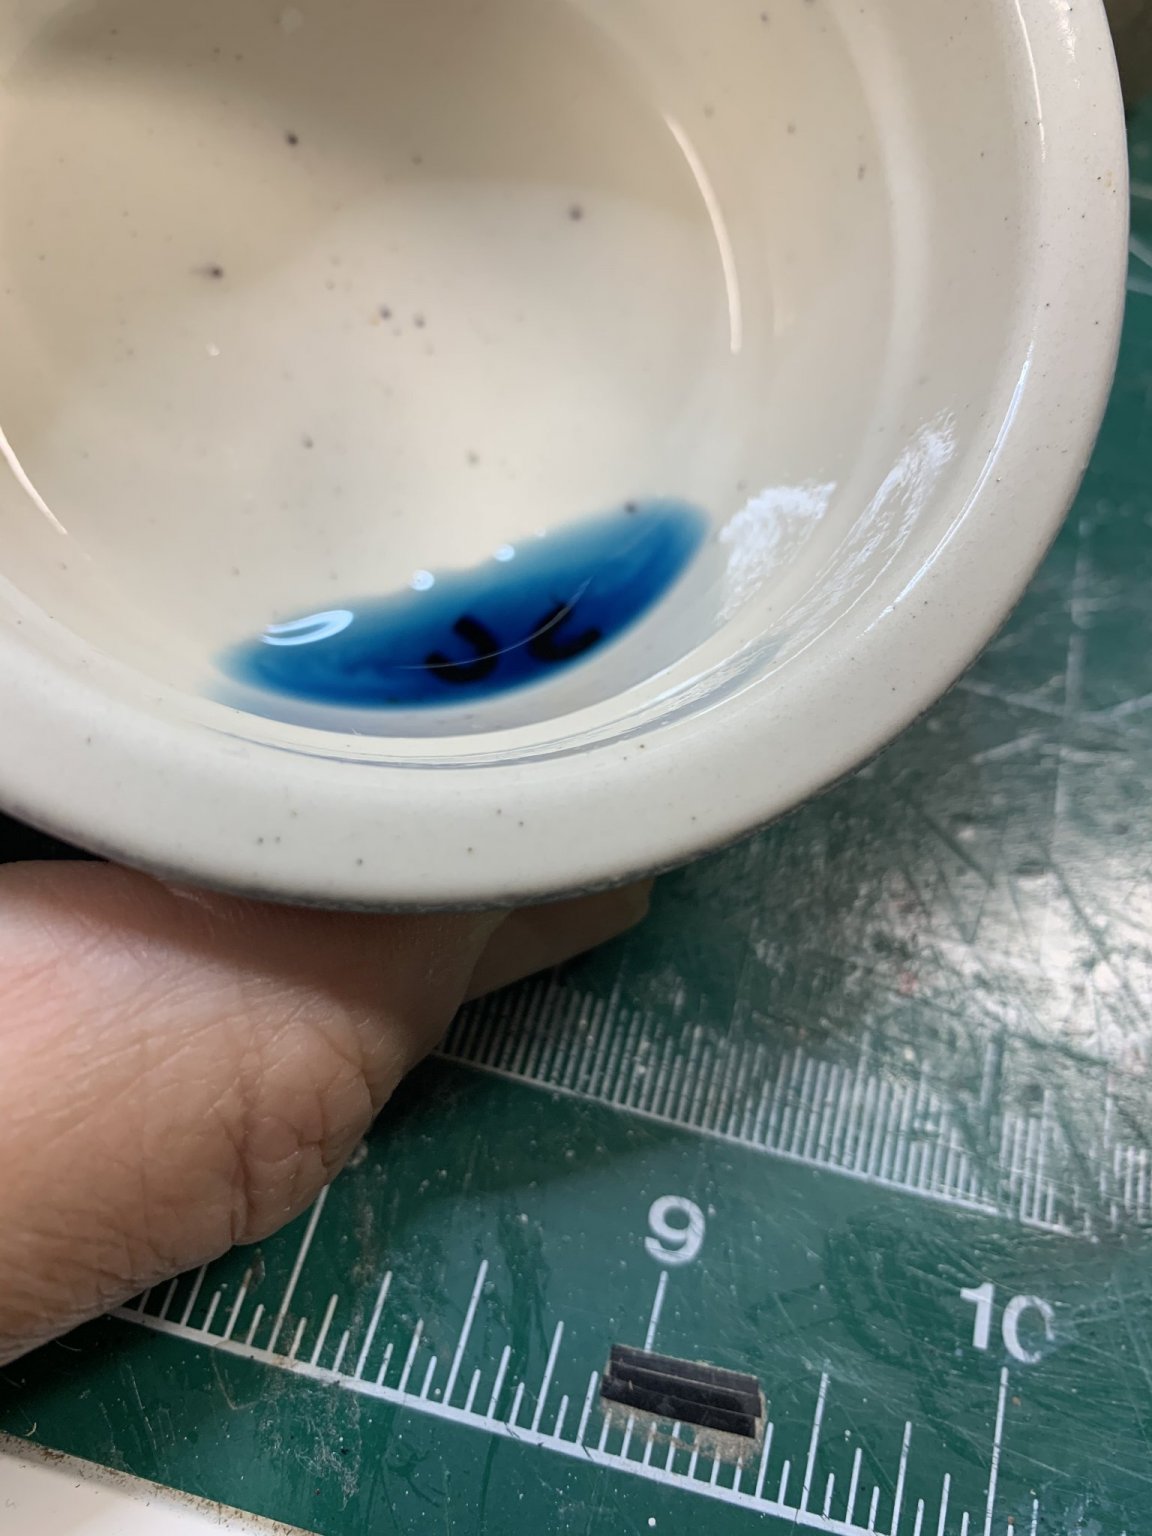
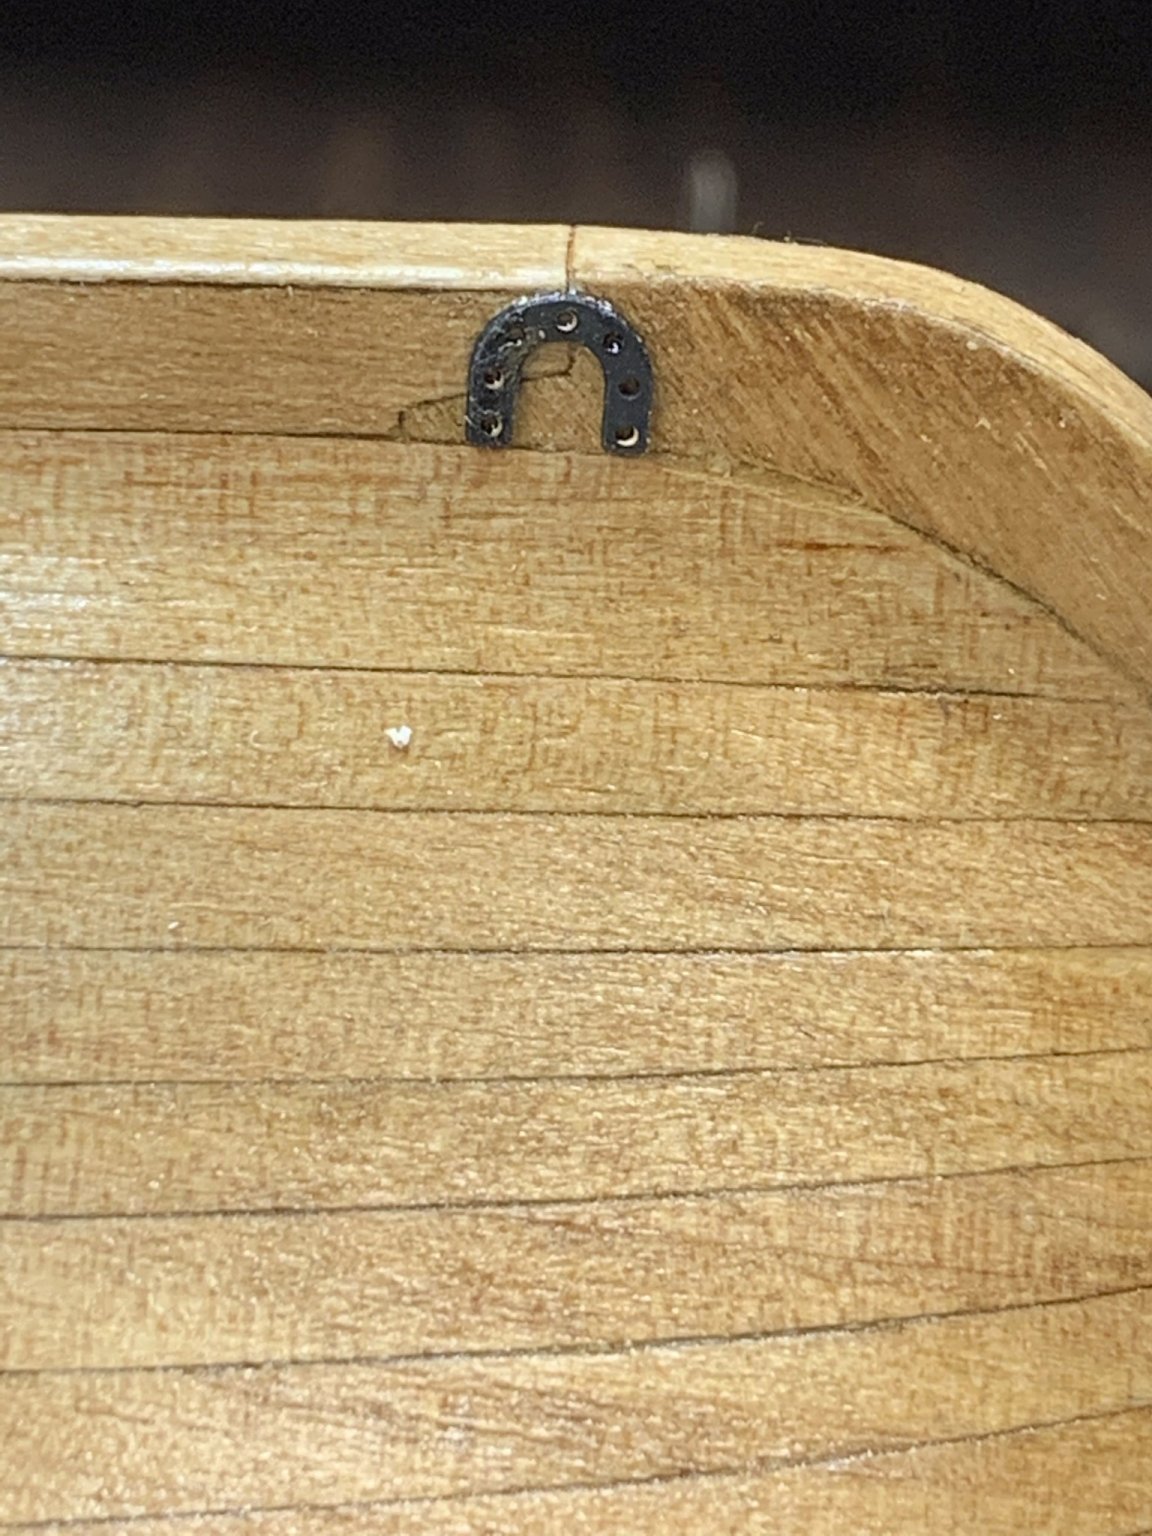
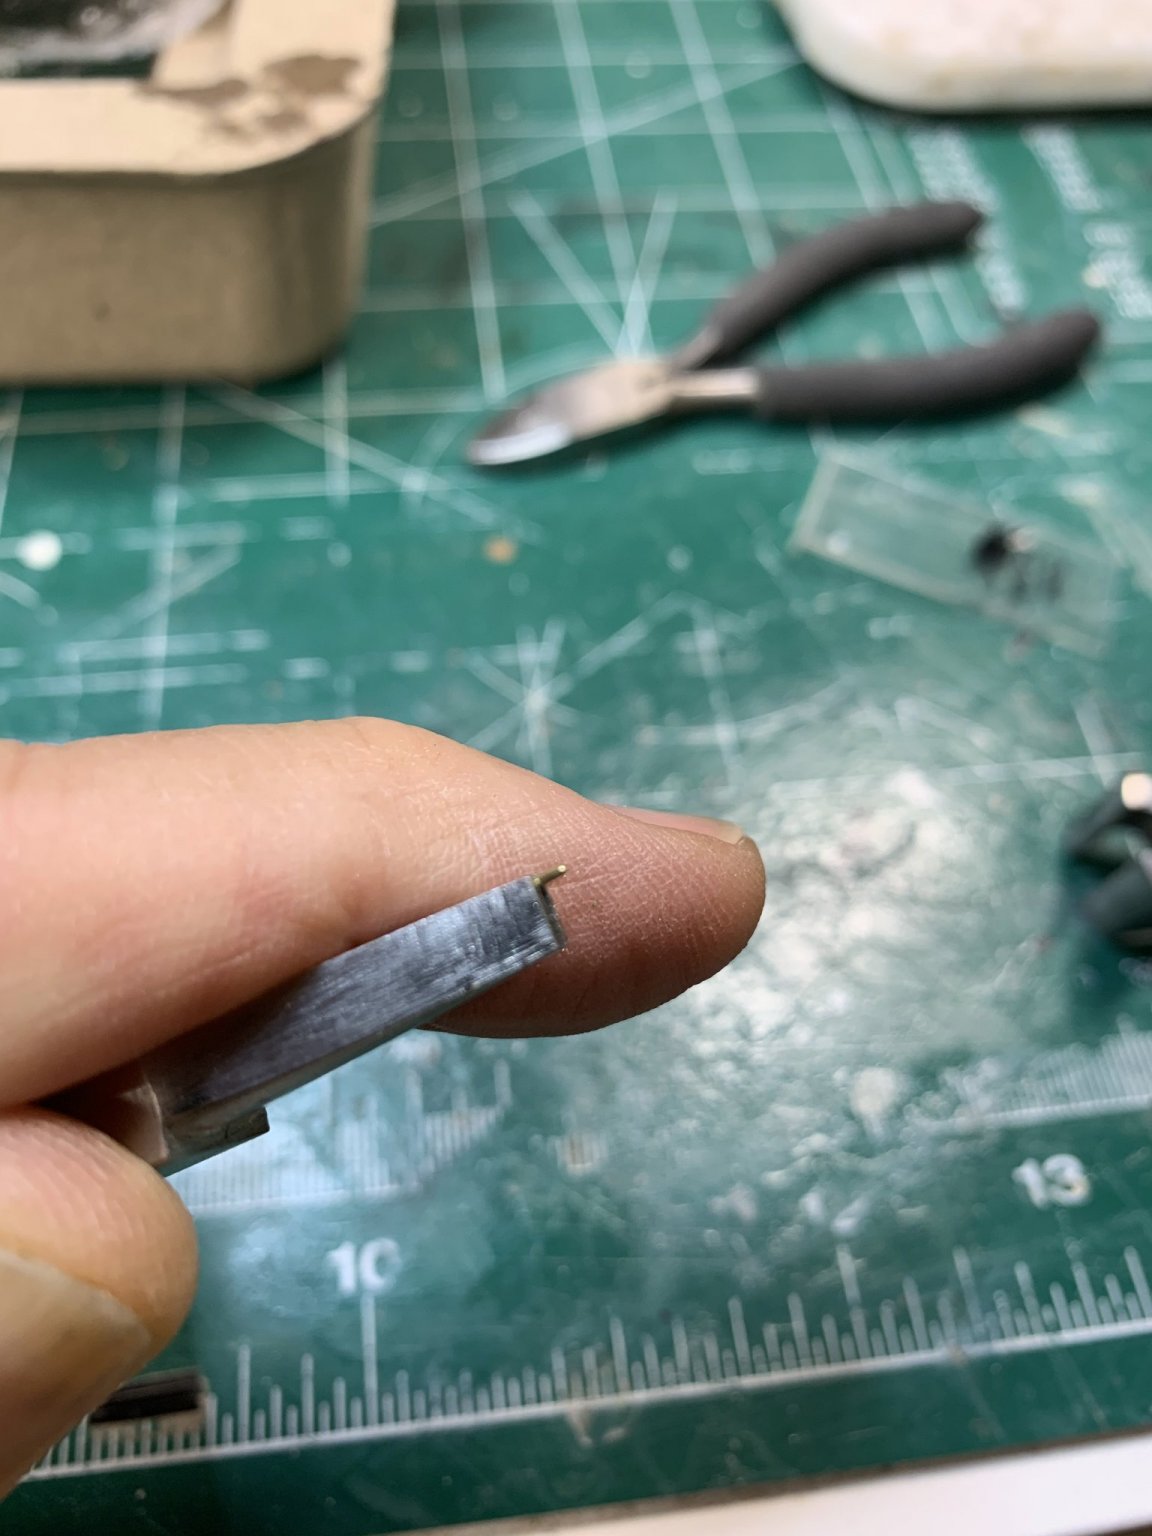
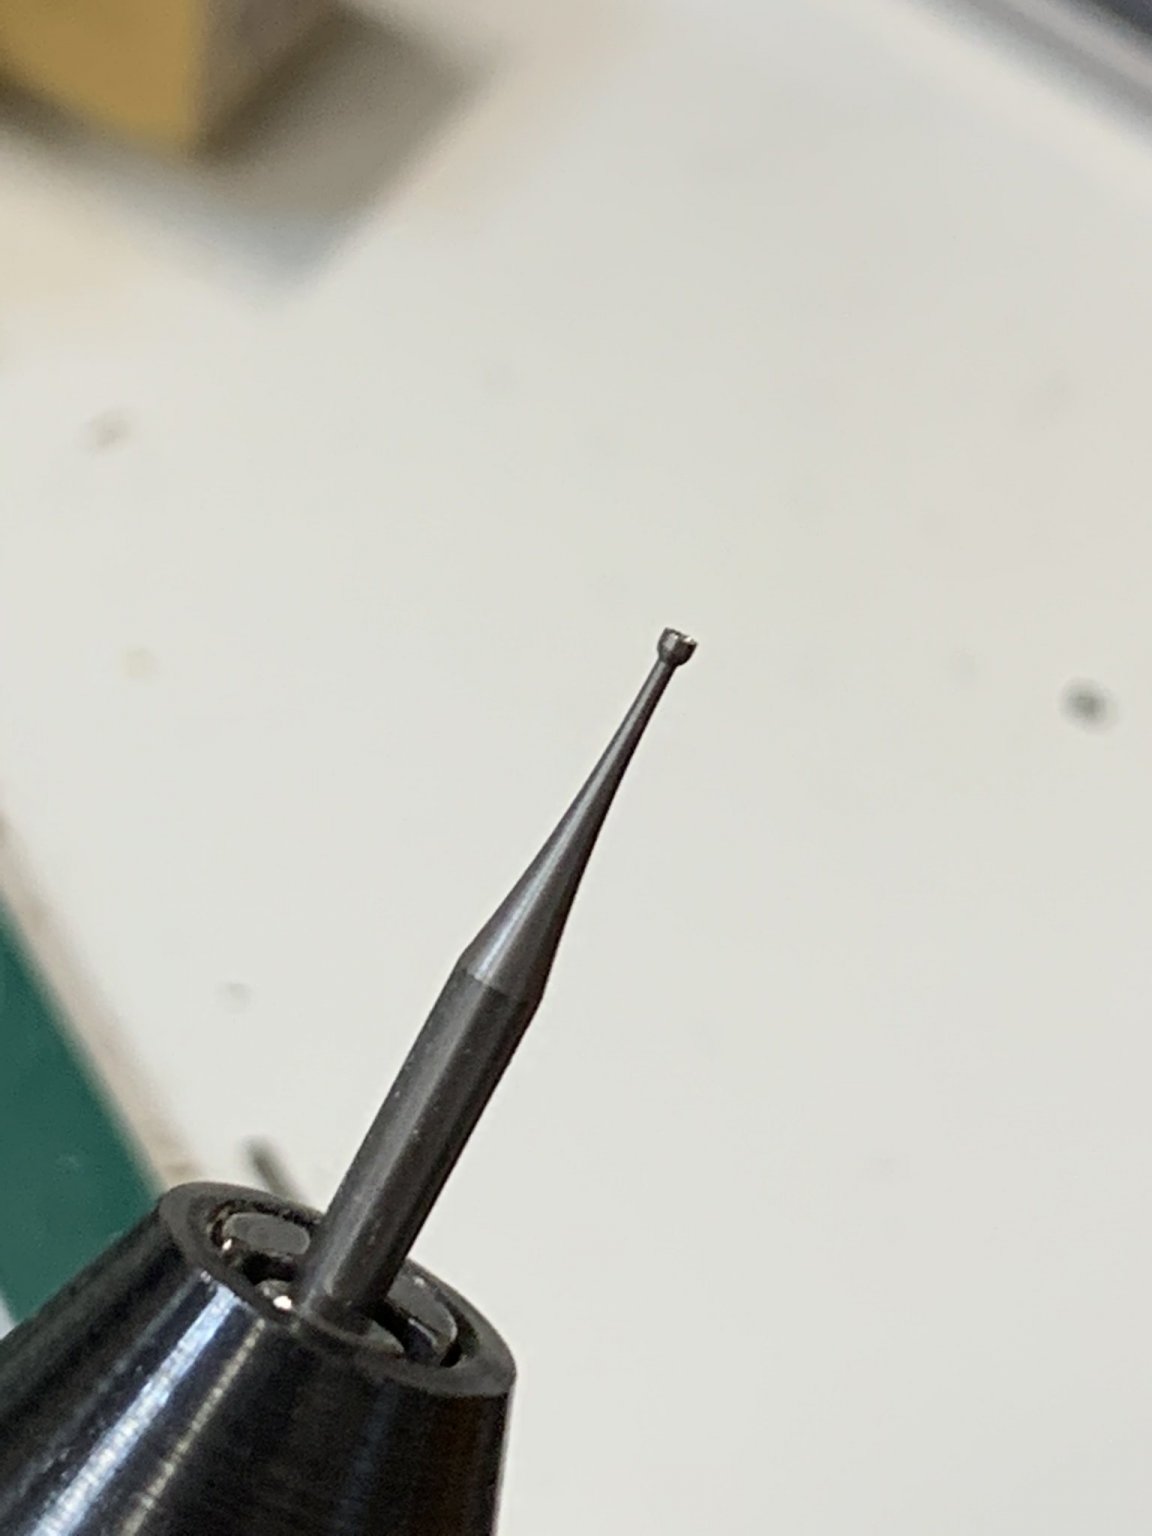
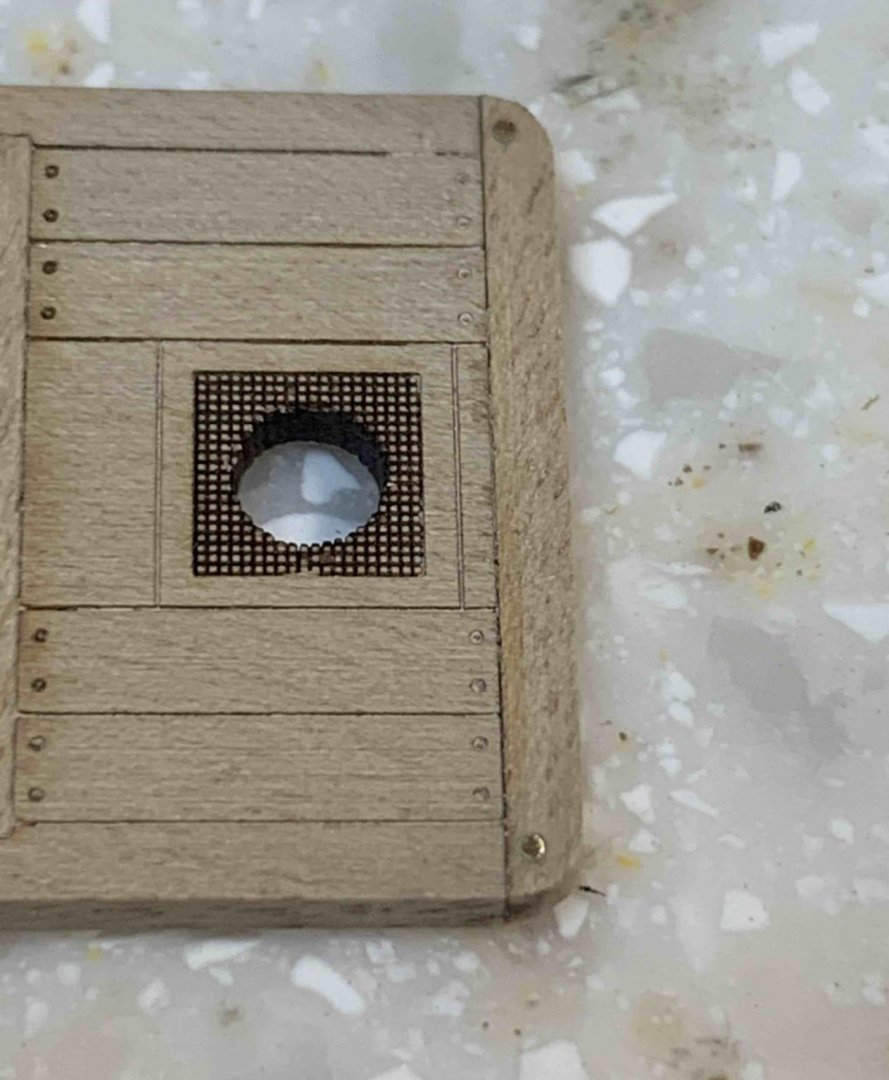
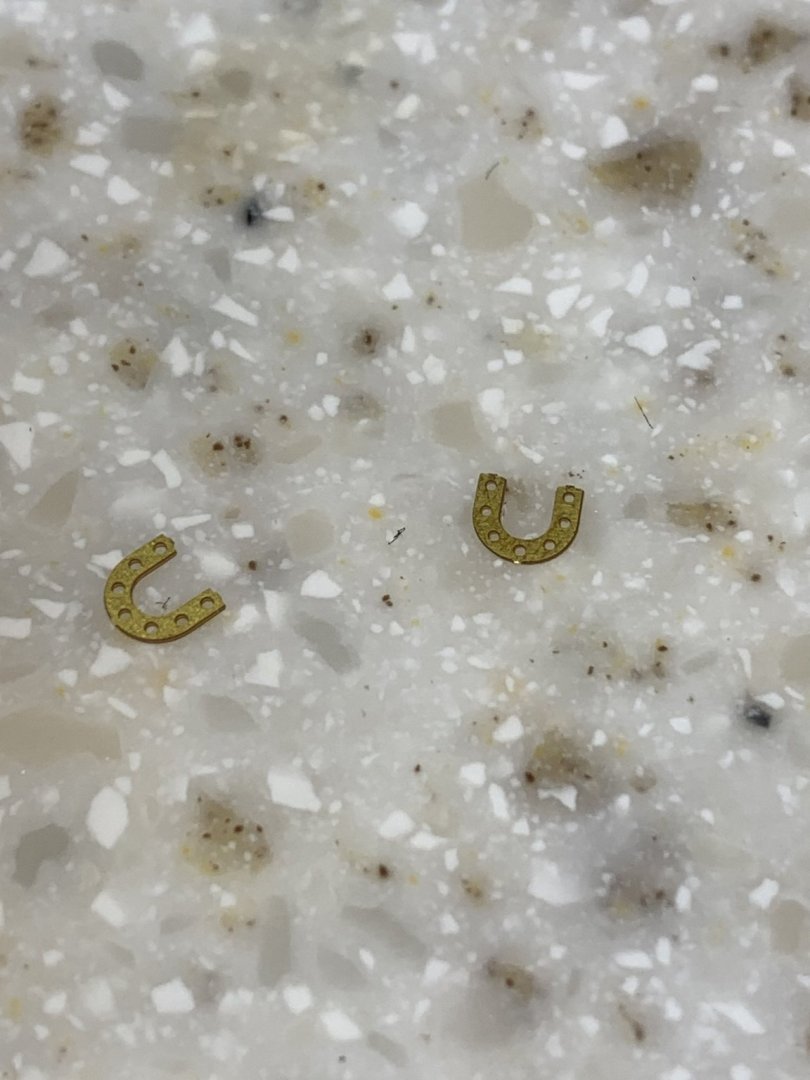
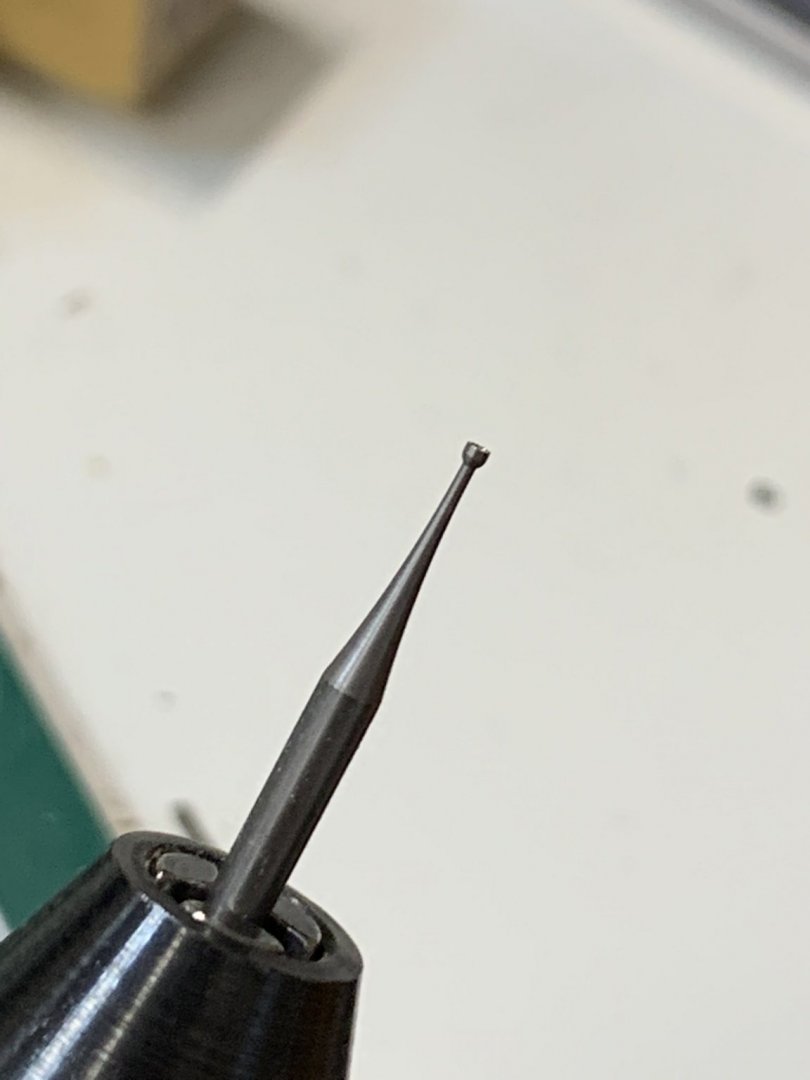
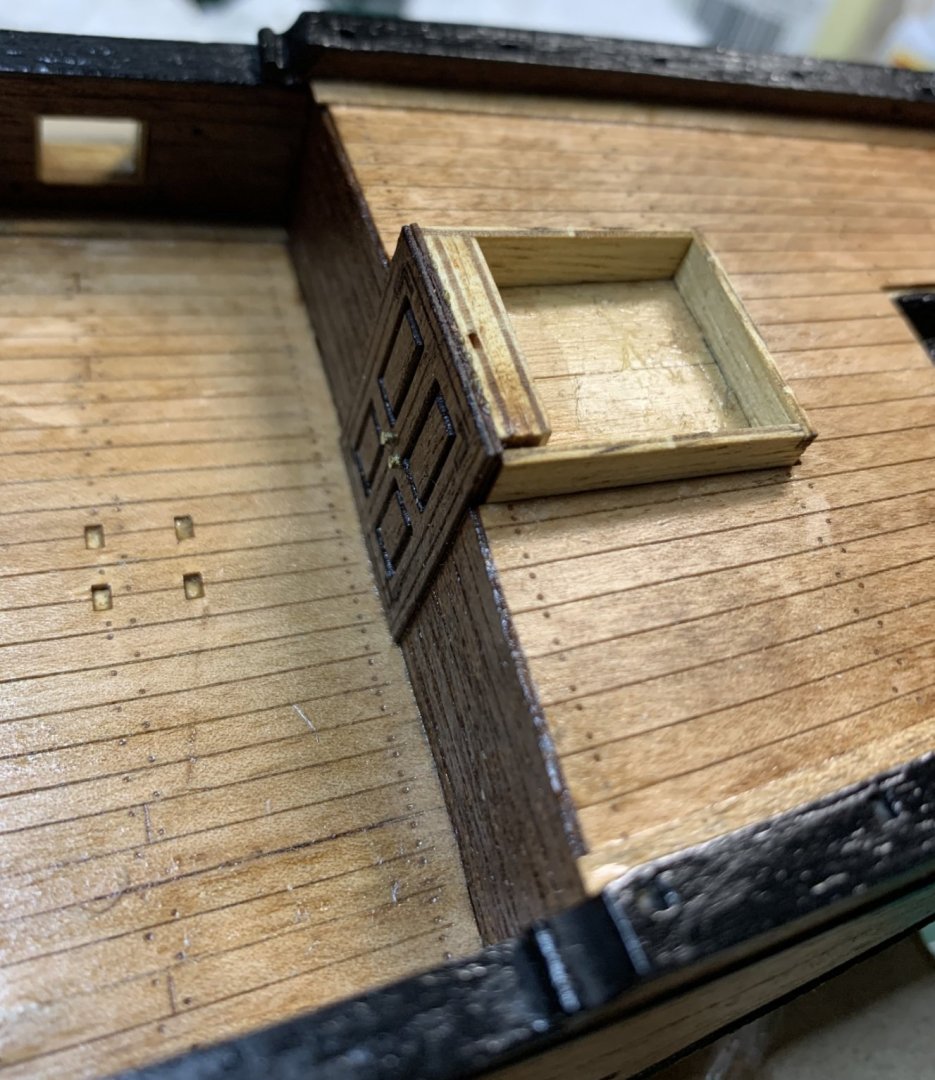
No worries about gratings, will attack them later. Continue with skylight assembly. Since they are tiny, i decided to mount them on the piece of tape so it is easier to hold. Then glue them while on the tape.. Then to simulate hinges, i cut the small pieces of electrical tape and put them on, following with a layer of varnish to seal the tapes.. During work on skylight i noticed that companionway roof appears to be a bit out of scale.. Removed it, sanded it, added extra support in the middle and installed a new roof.. Now it its time to drill a holes for a pedestal in case i decide not to use a cradle... Two pilot holes are drilled. Horseshoe were attacked next. First a bath in blackened solution, rinse and dry... Then glue to the ship.. The holes thru horseshoe are drilled to match the diameter of kit provided wire (0.5mm) i will use to simulate nails.. I rounded one end of the nail with a milling bit.. and the nail looks like this: Sorry, not quite focused picture.. And mounted on the ship: During this process i lost few nails (flew somewhere), but making extras is always a good thing. Happy modelling.


- 275 replies
-
- 4
-
-
- phoenix
- master korabel
- (and 1 more)
-
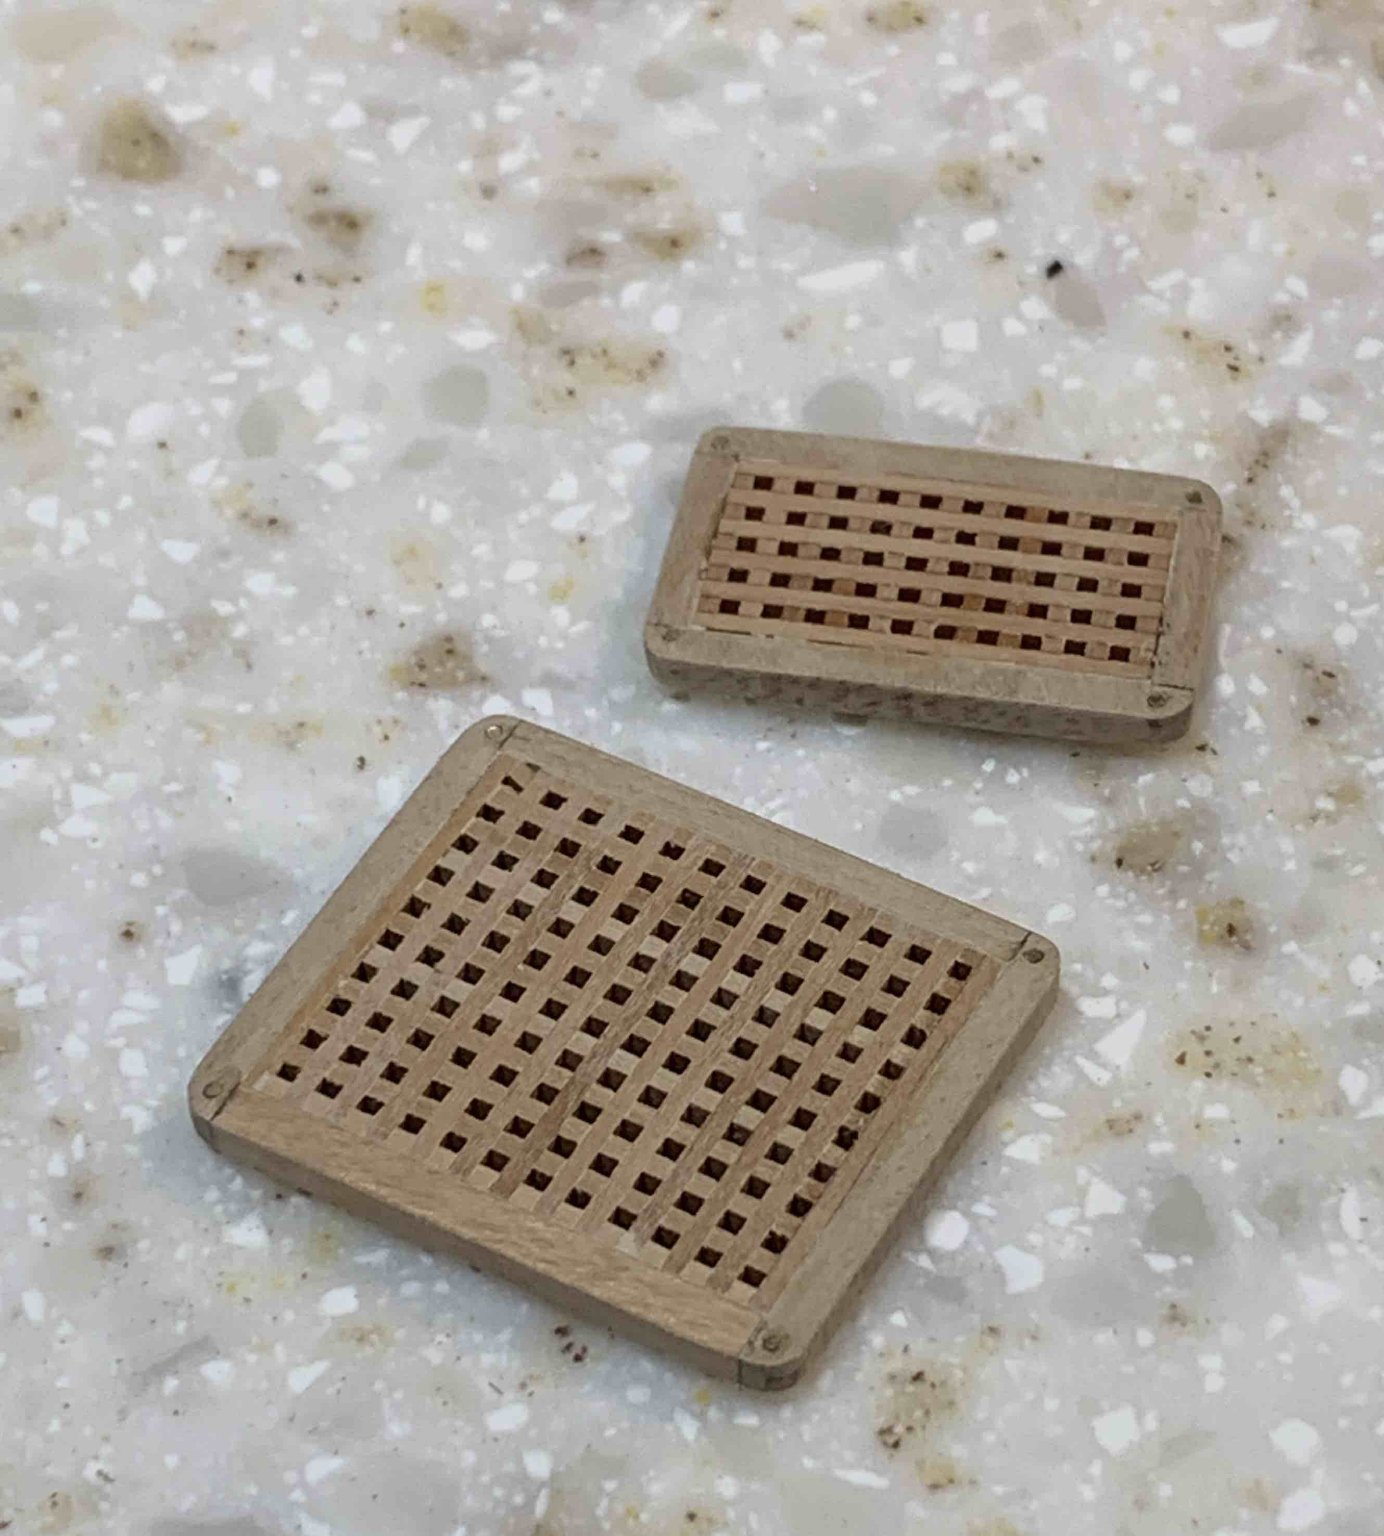
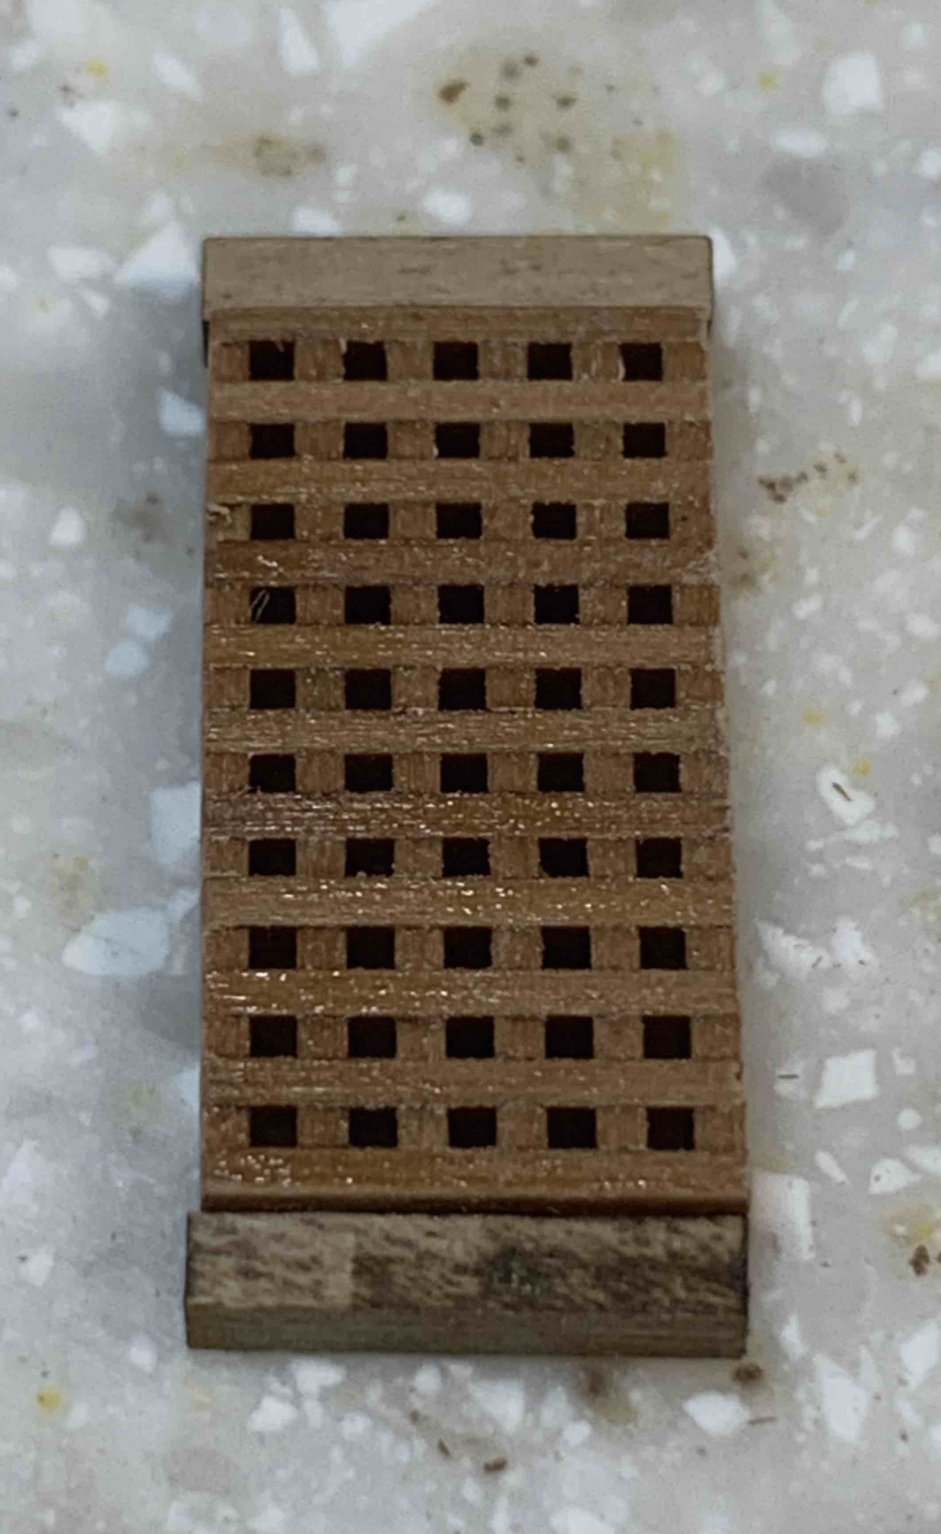
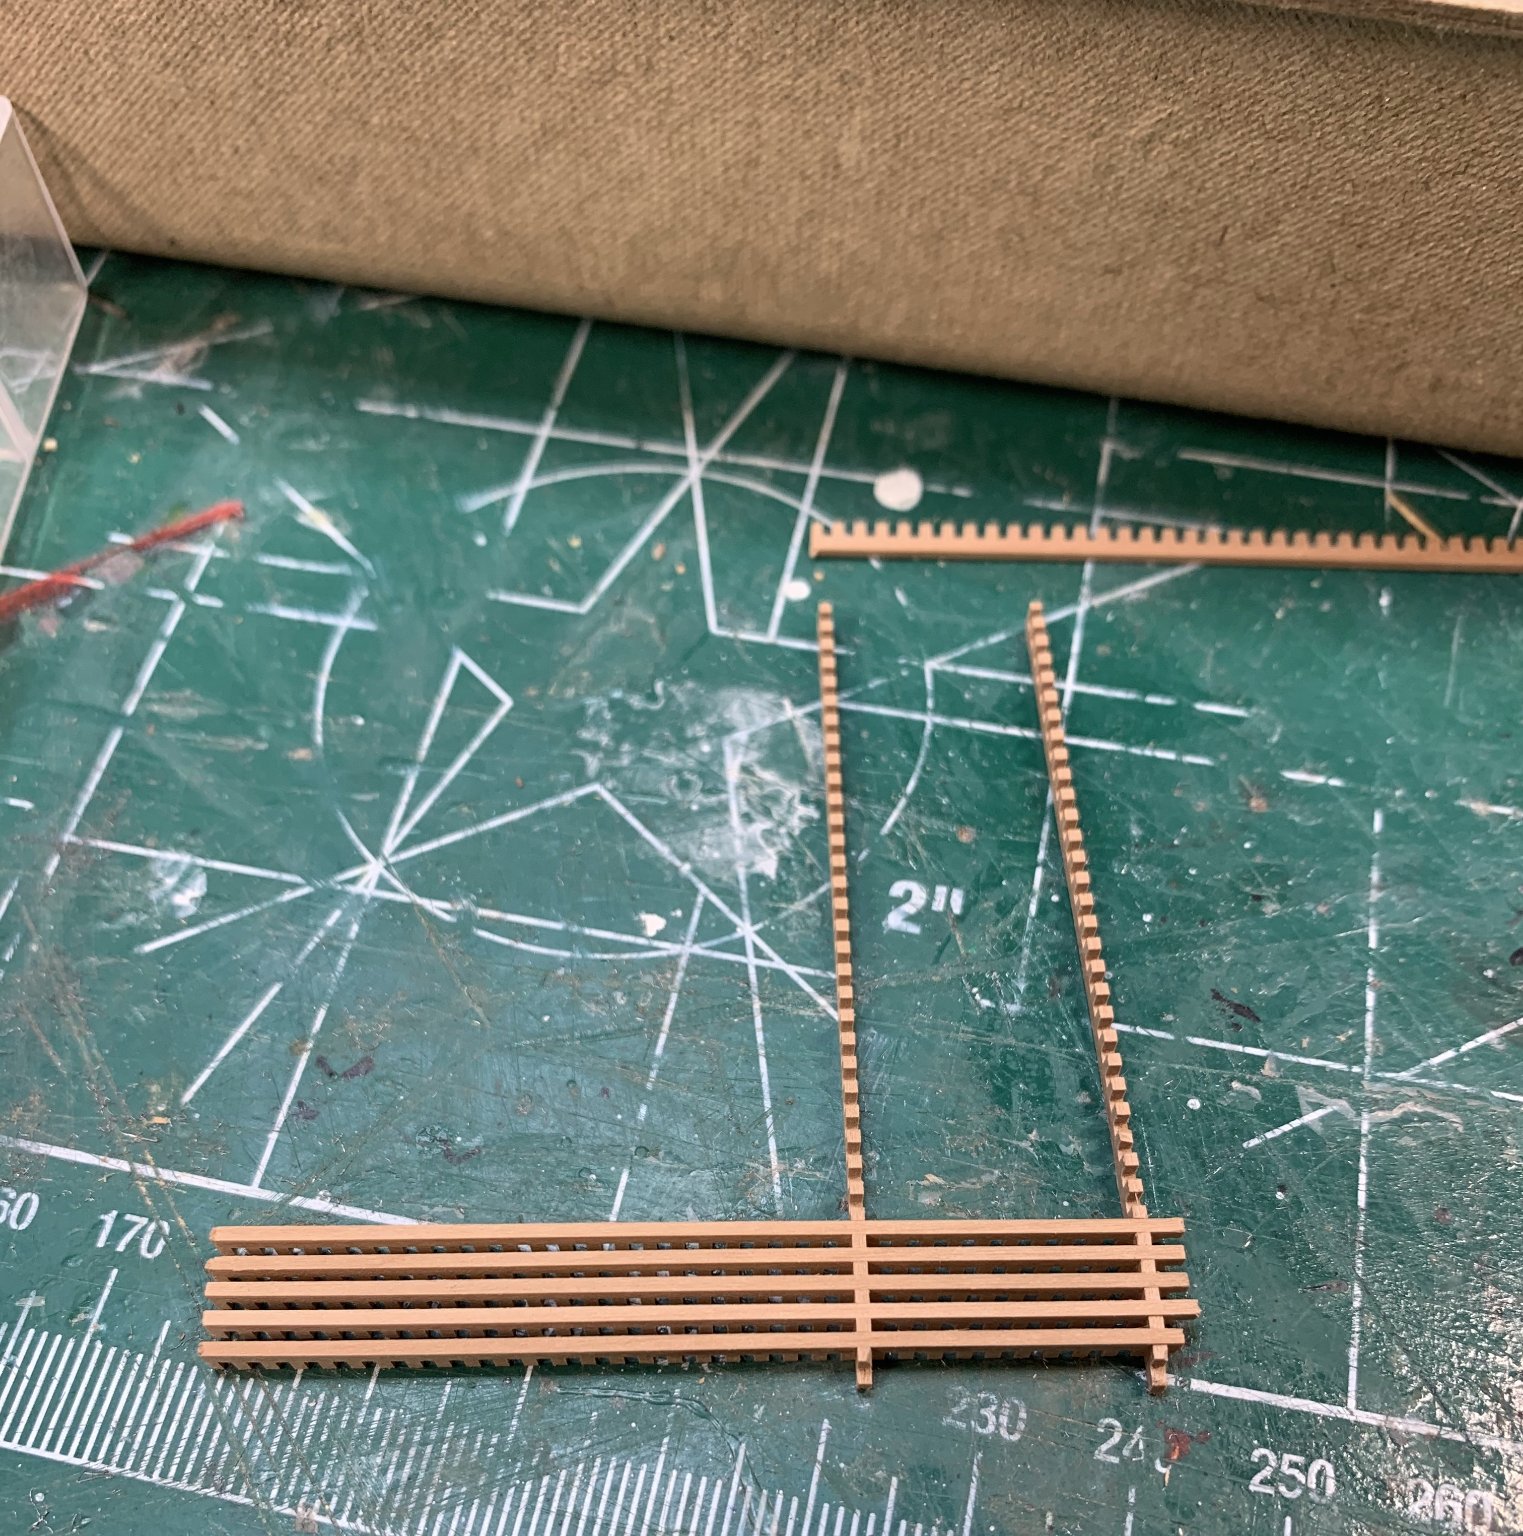
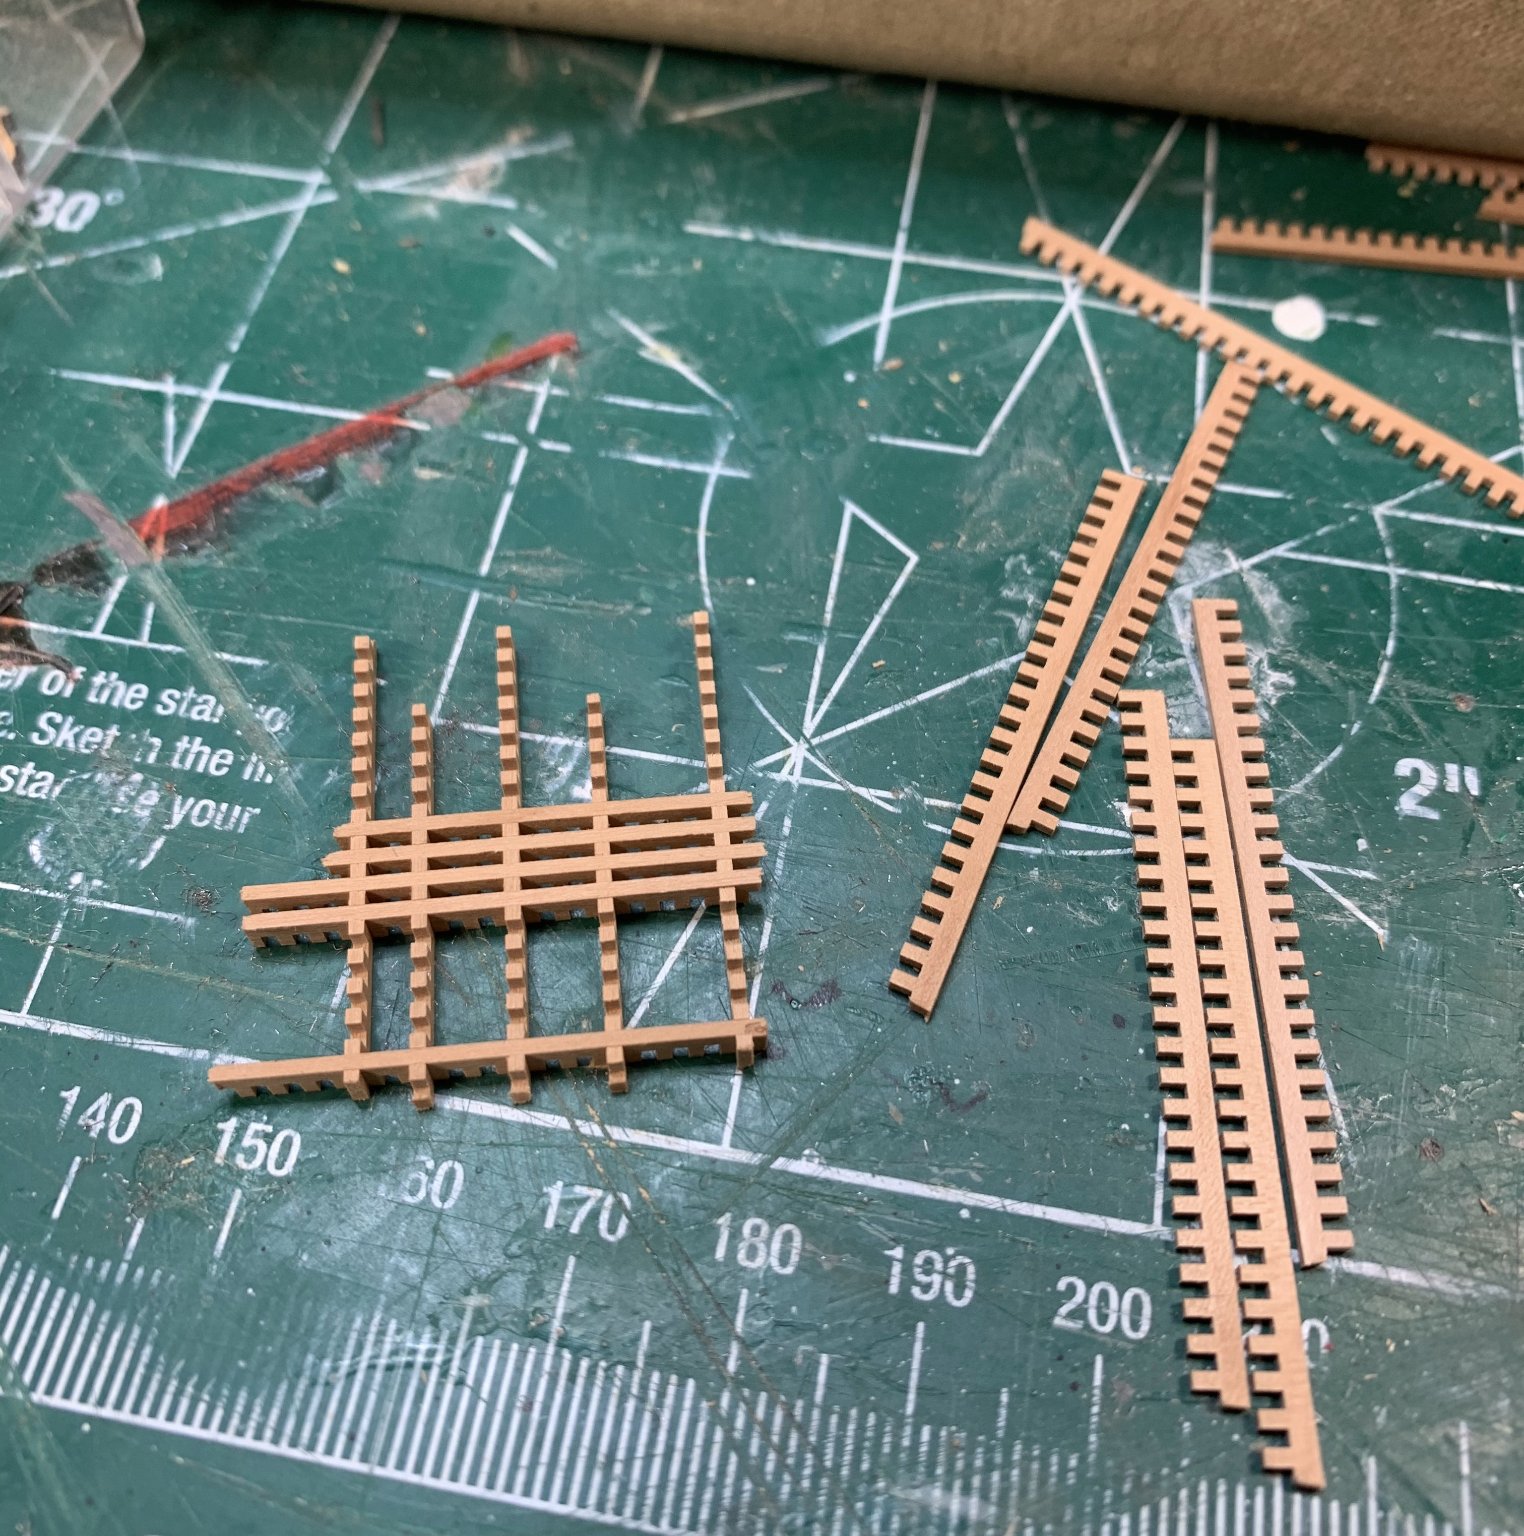
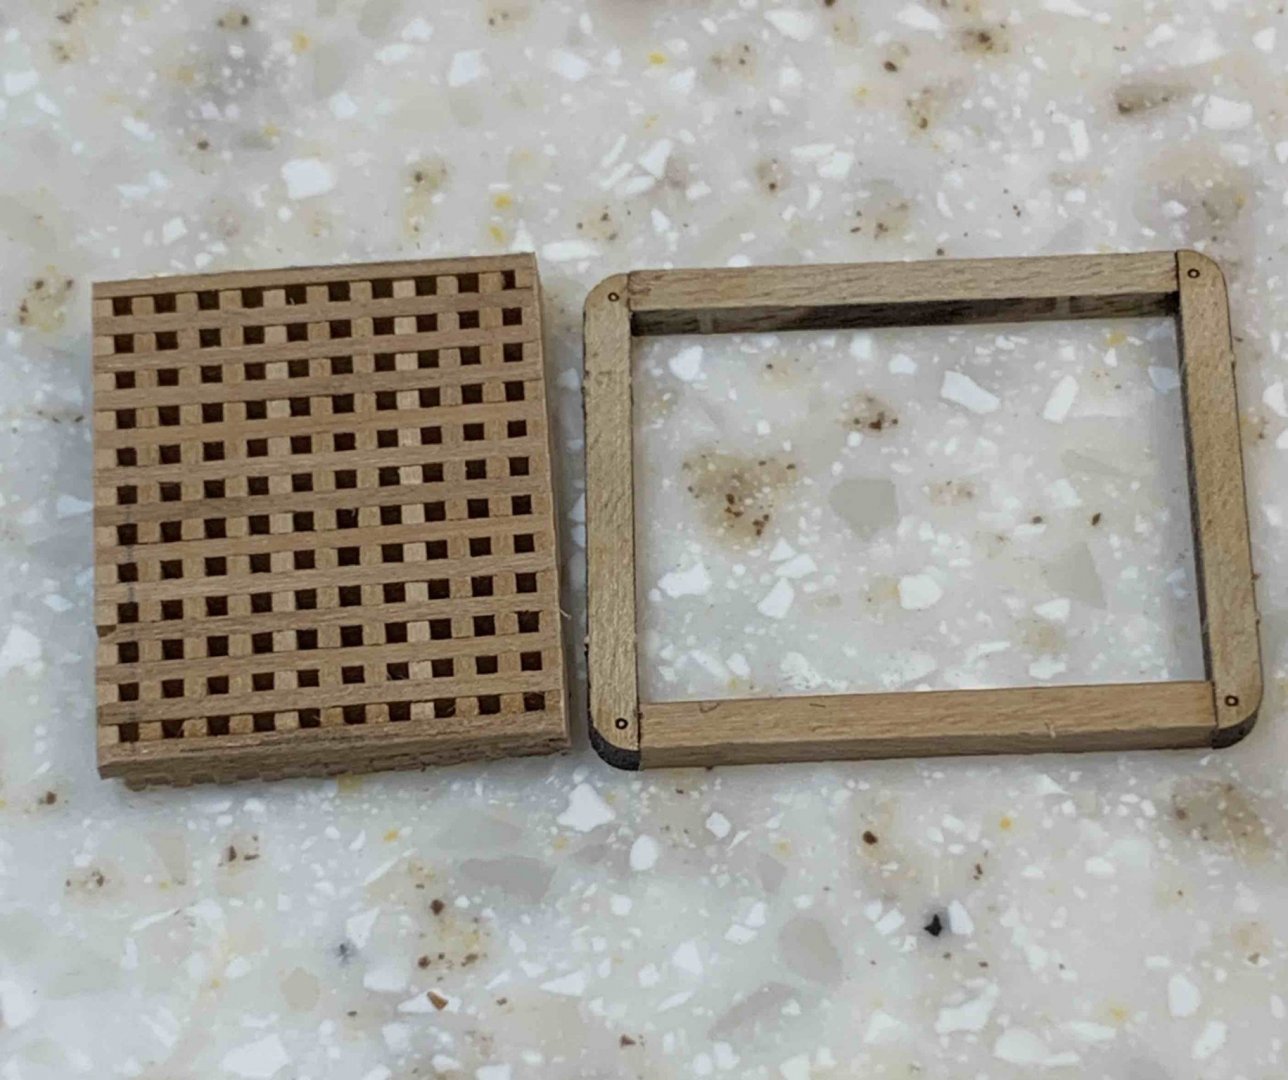
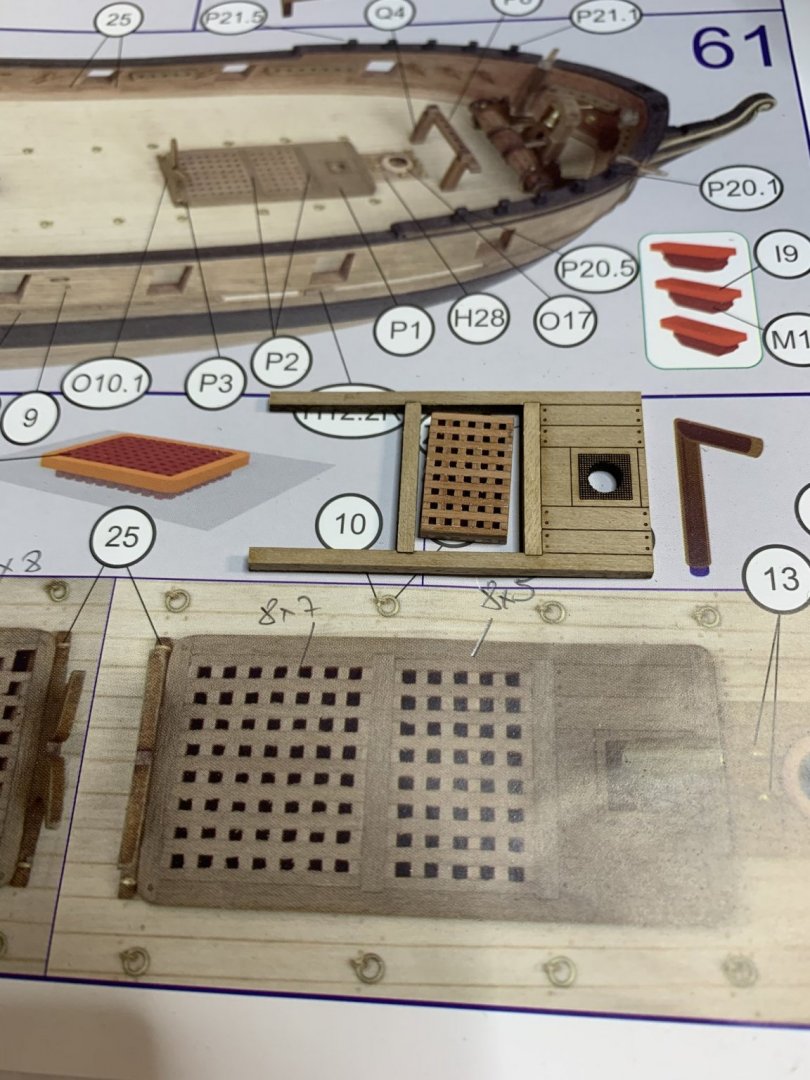
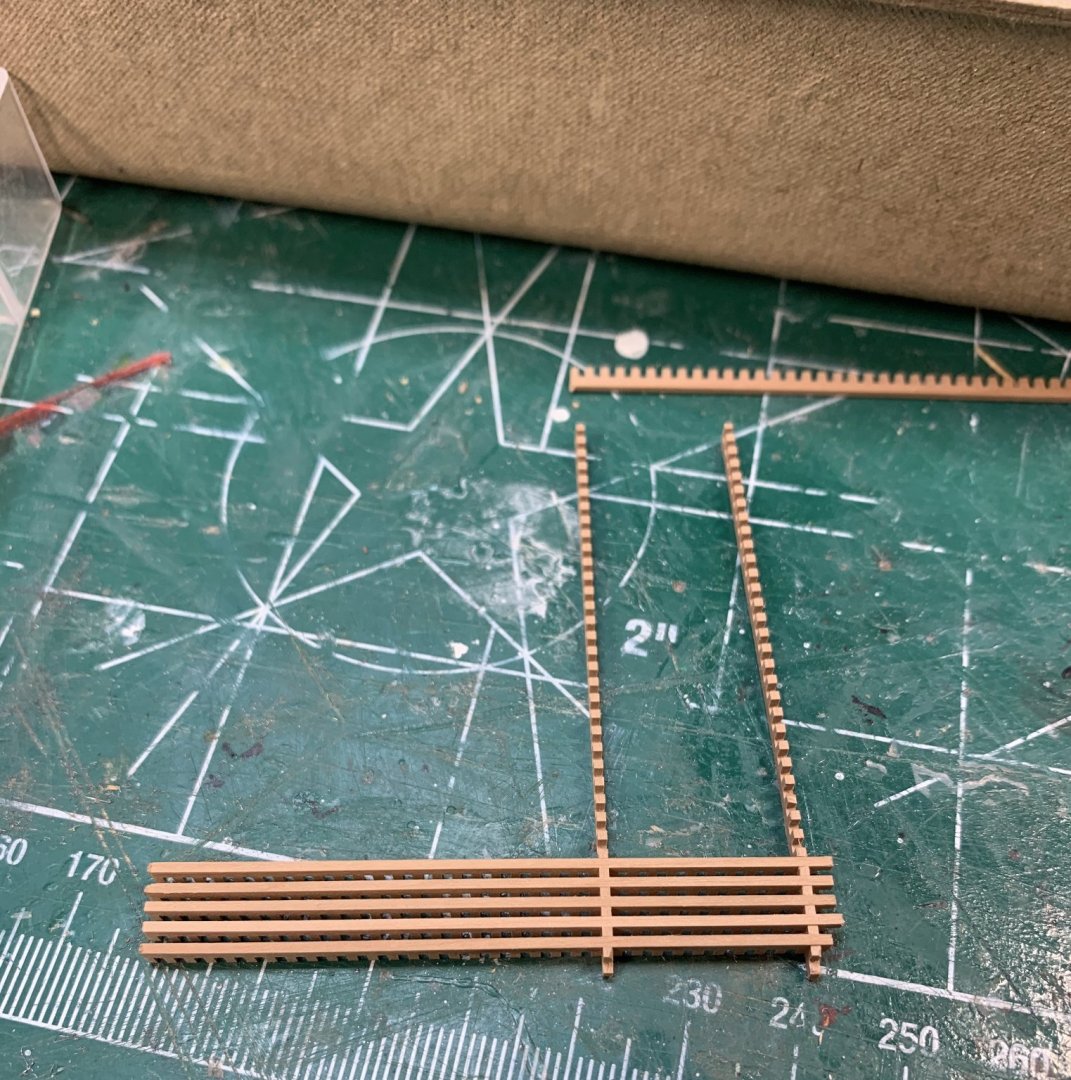
Lesson learned.... never blindly trust the instruction sheet. Made gratings based on instruction dimensions, 8x5 holes as per picture below but actual dimension have to be bigger for at least two more holes, like 10x7.. Not sure was it because of Alvin Lee's guitar riffs or second glass of great french cognac, i finished all needed gratings but did not bother to check the fitting. During assembly phase noticed they are small... Dough.. I managed to make three new out of the remaining (and salvaged) gratings but it was not enough for the whole ship.. Now i have to either make my own or try to find somewhere gratings that fits the size... In the meantime continue with other ship parts... Happy modelling..
- 275 replies
-
- 4
-
-
- phoenix
- master korabel
- (and 1 more)
-
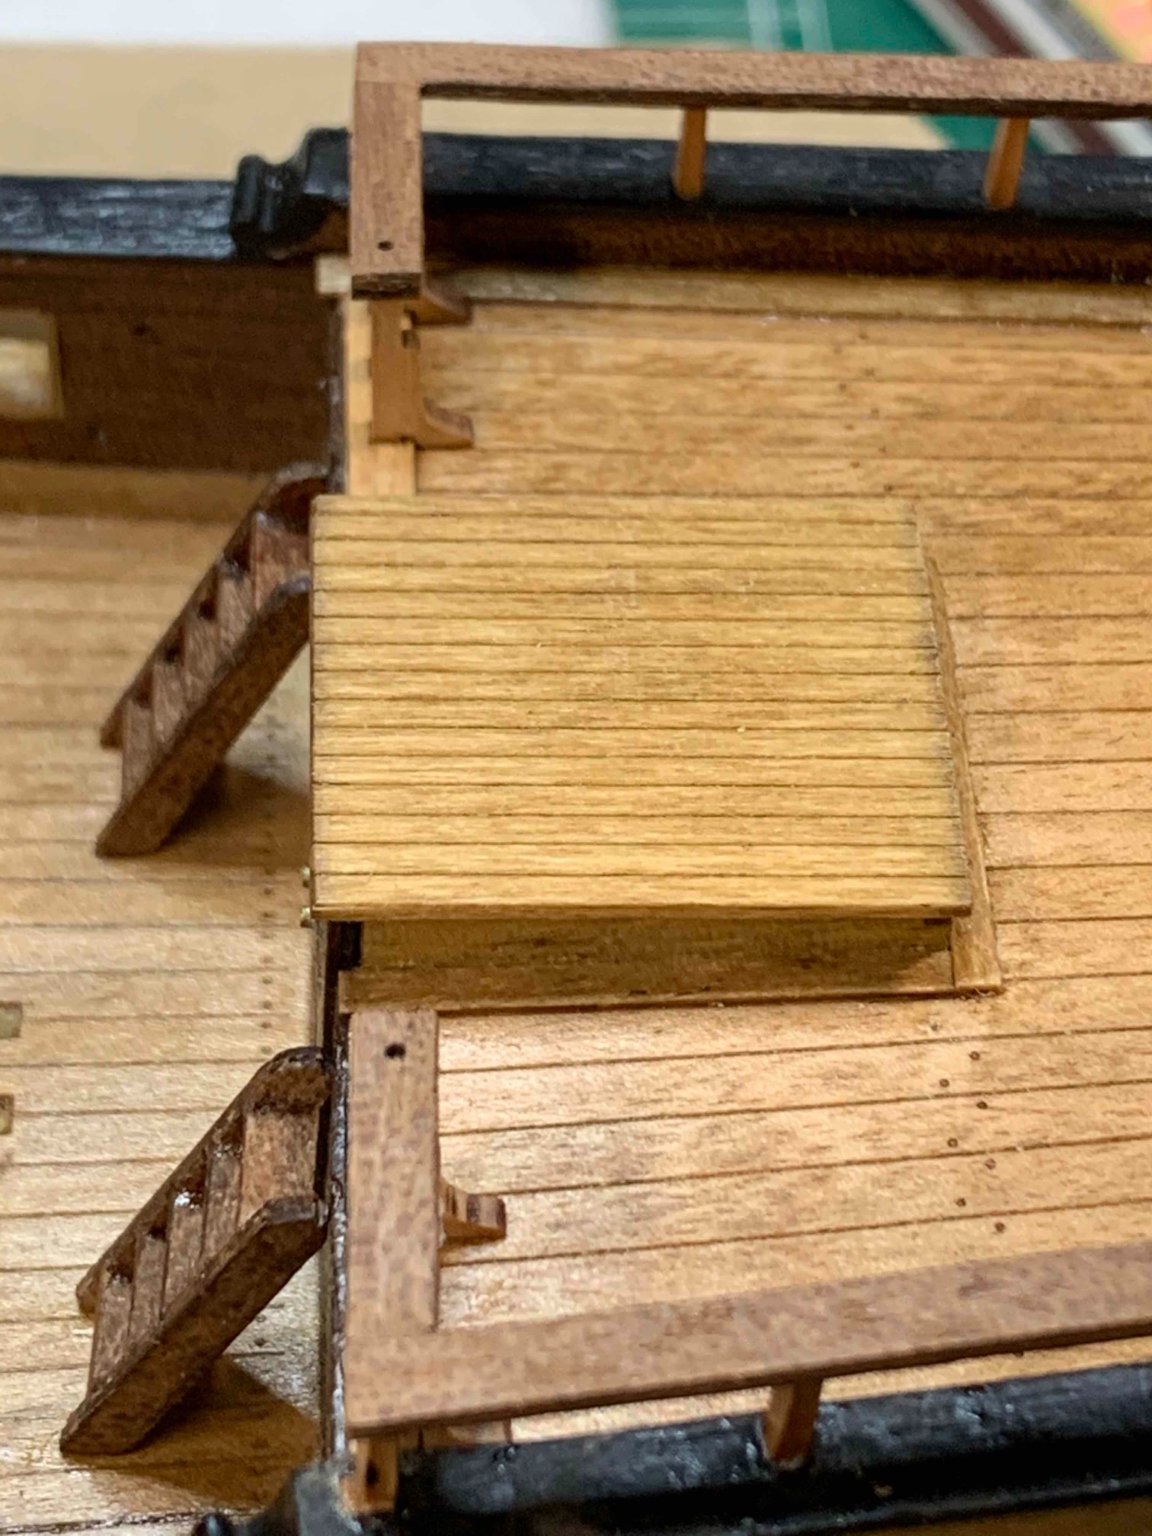
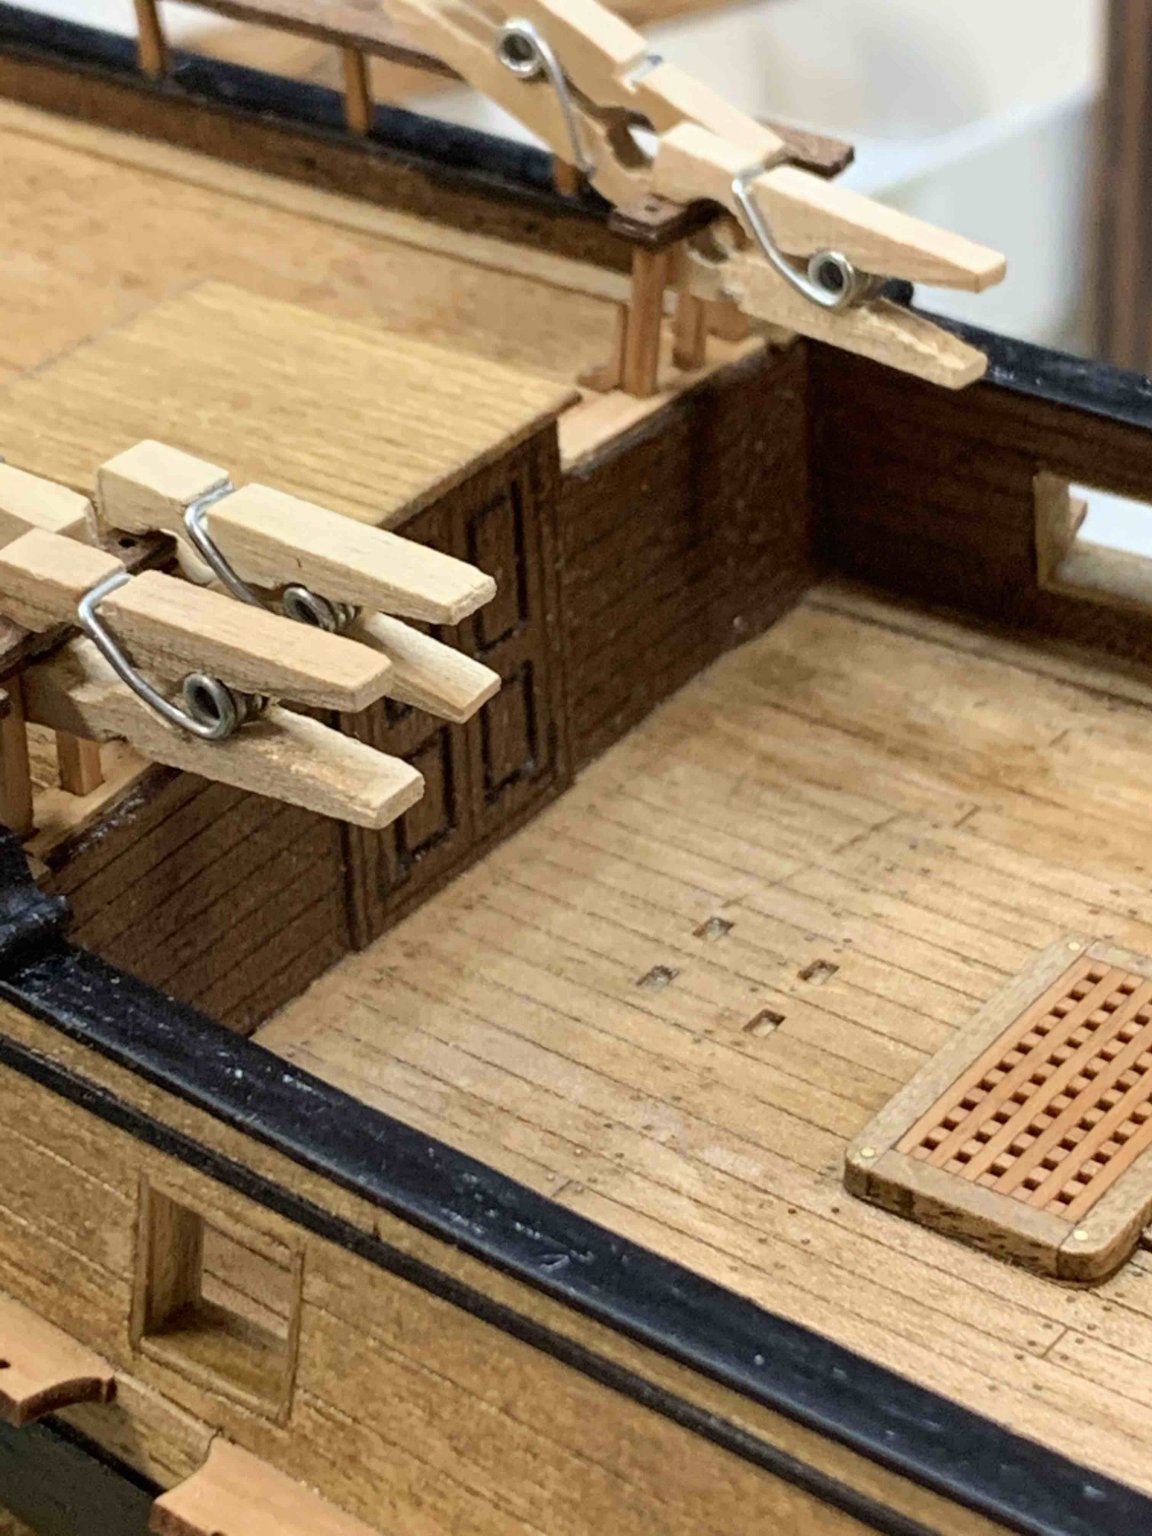
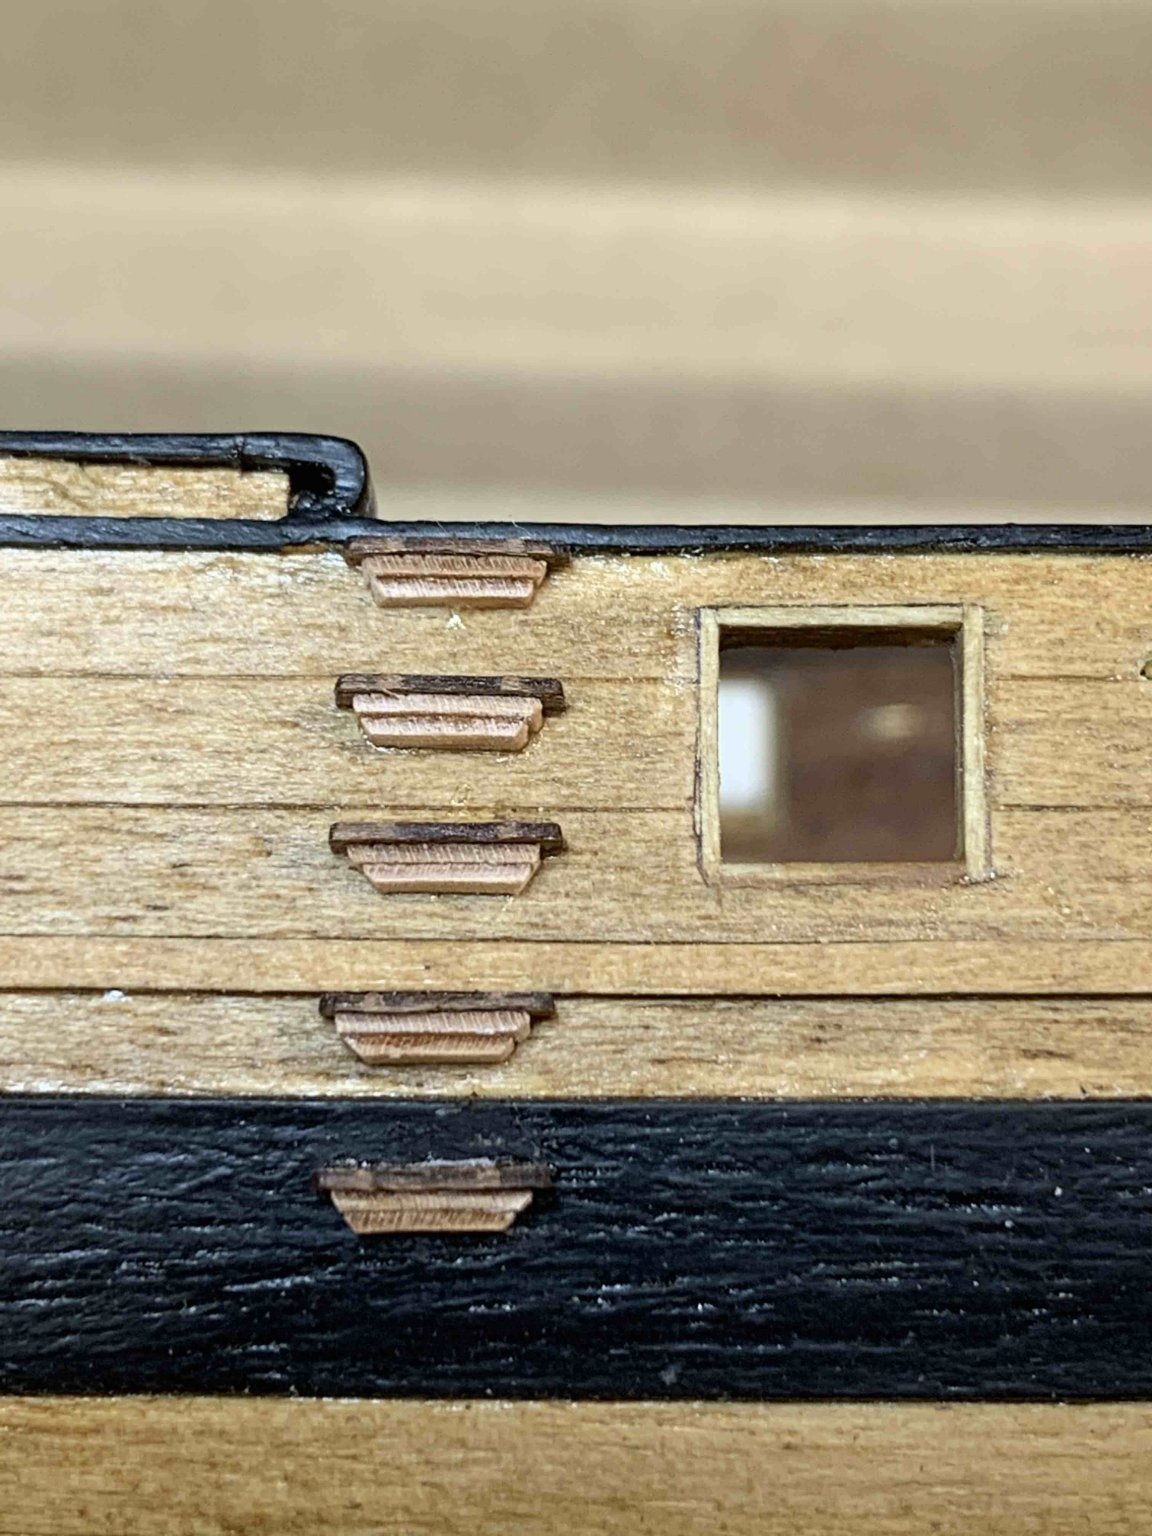
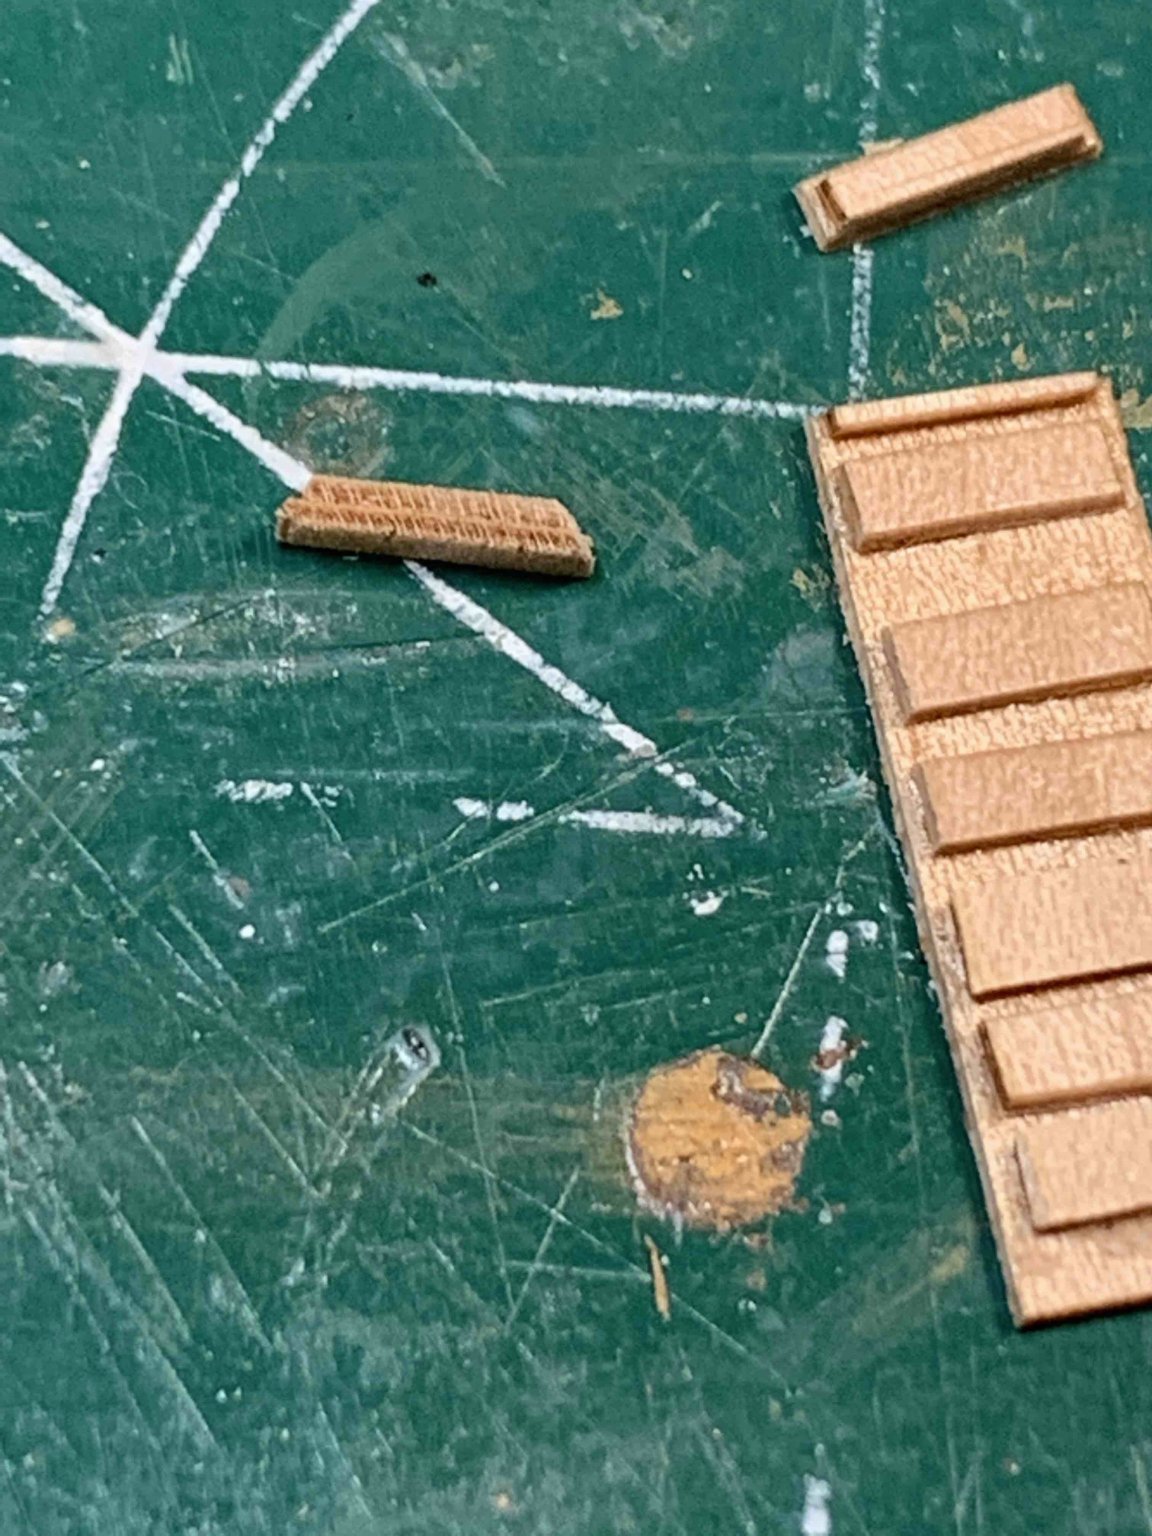
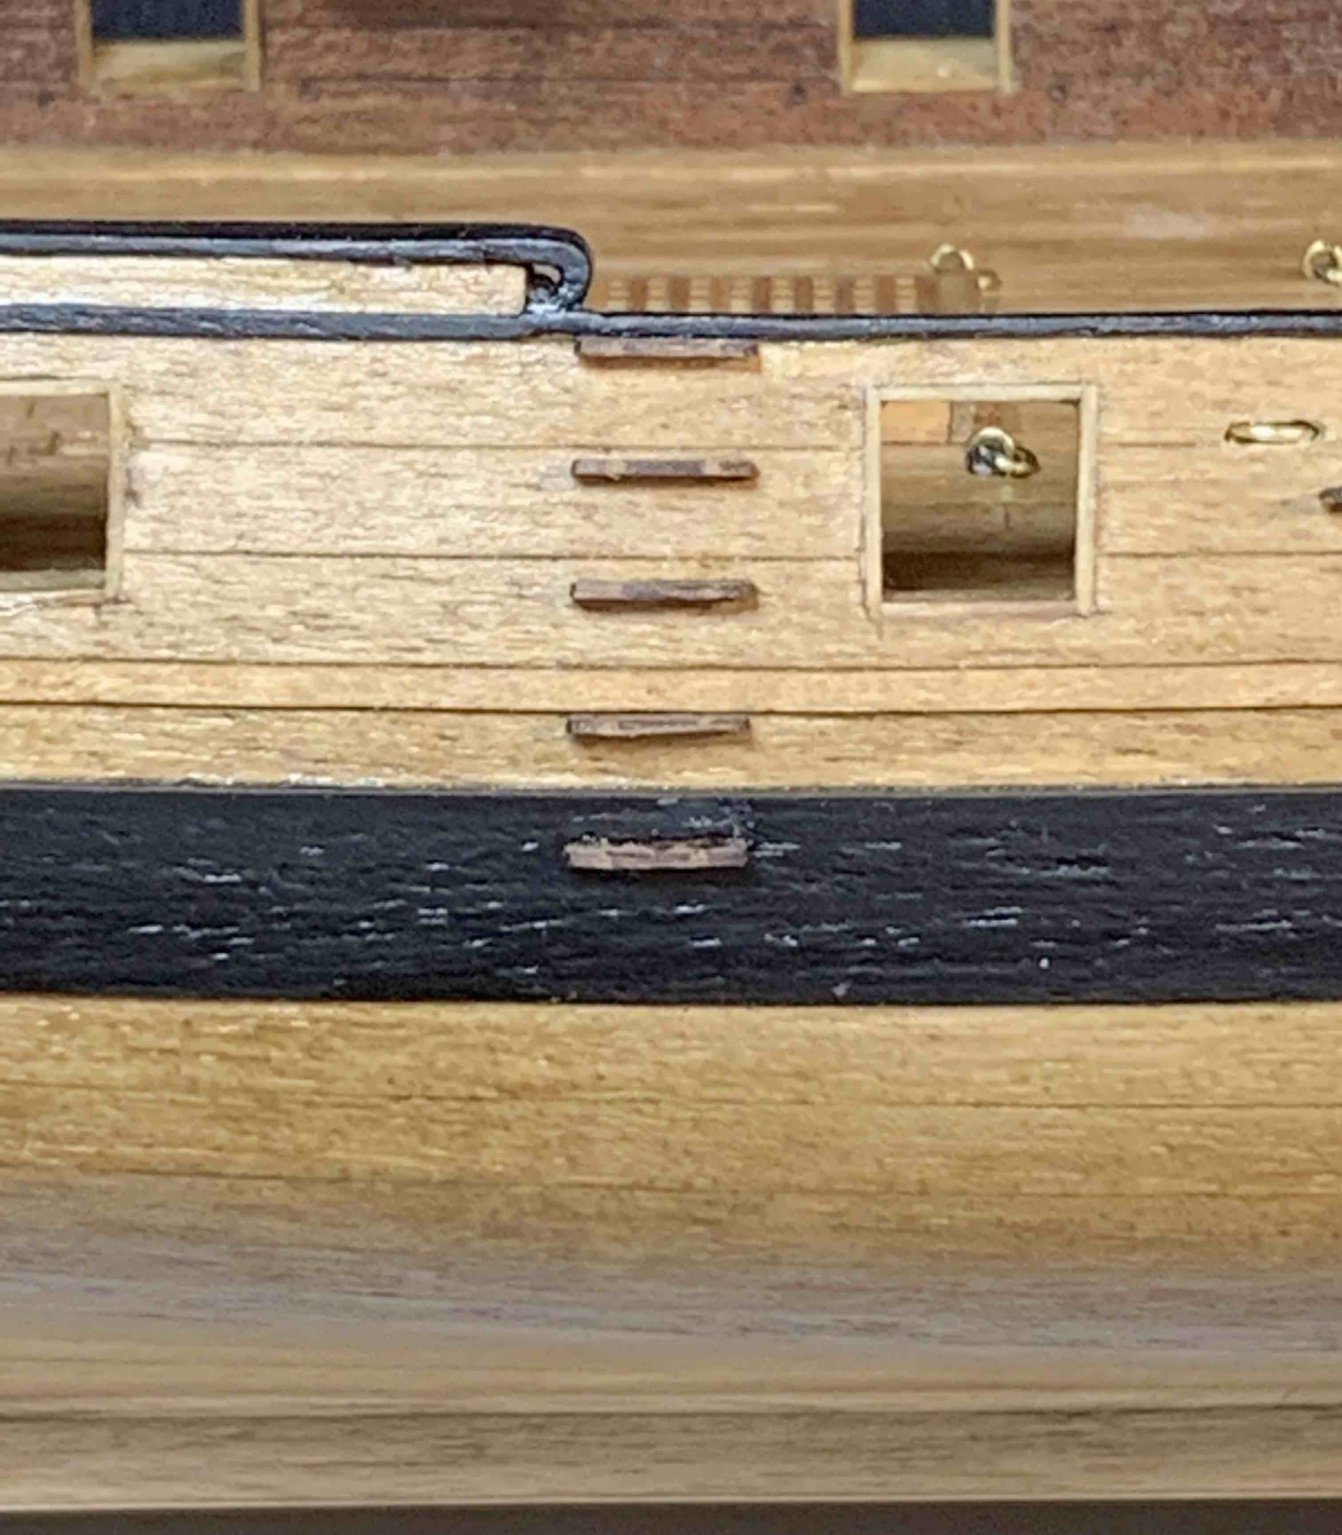
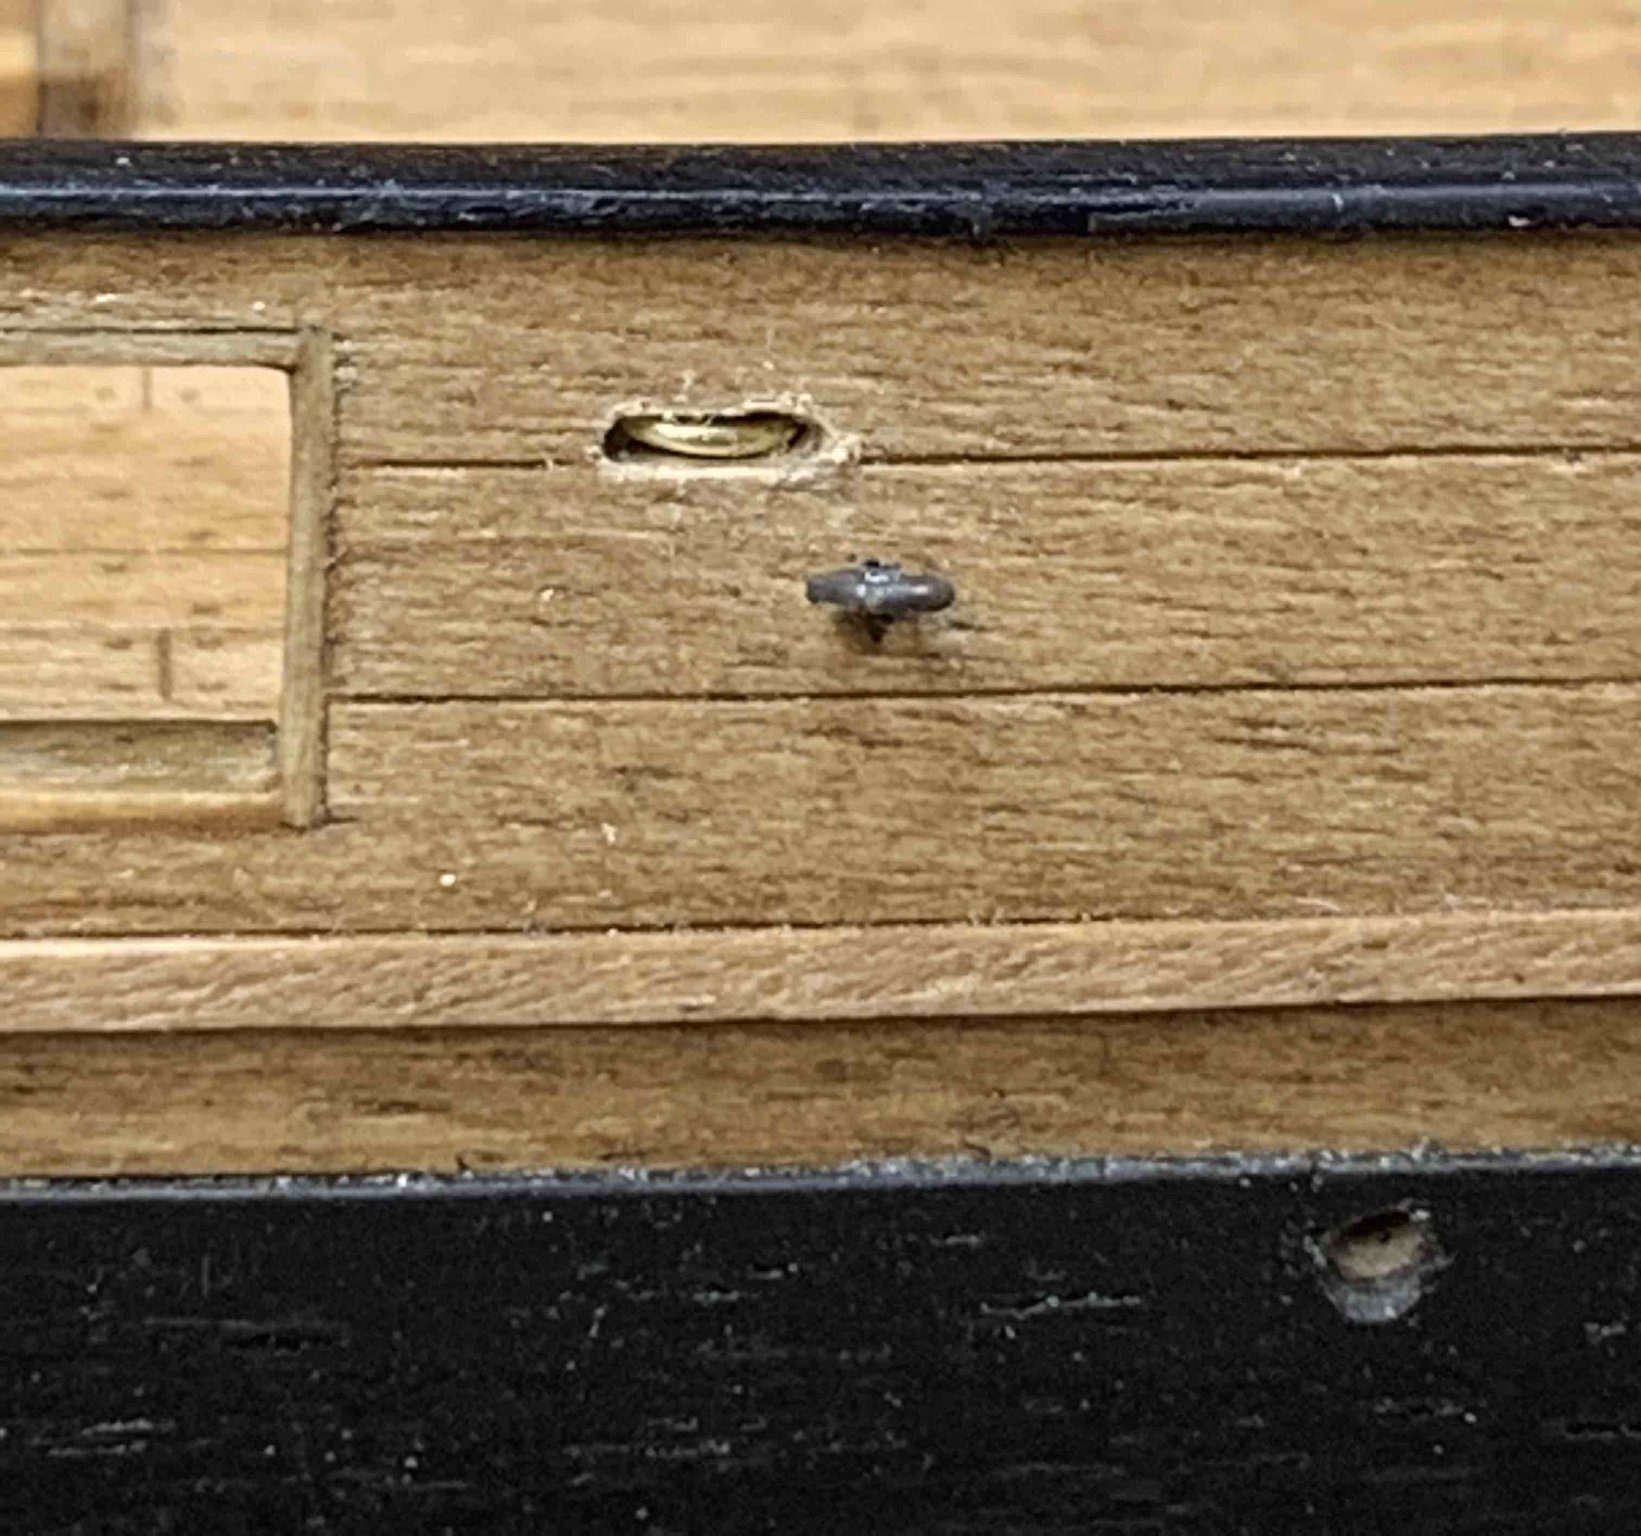
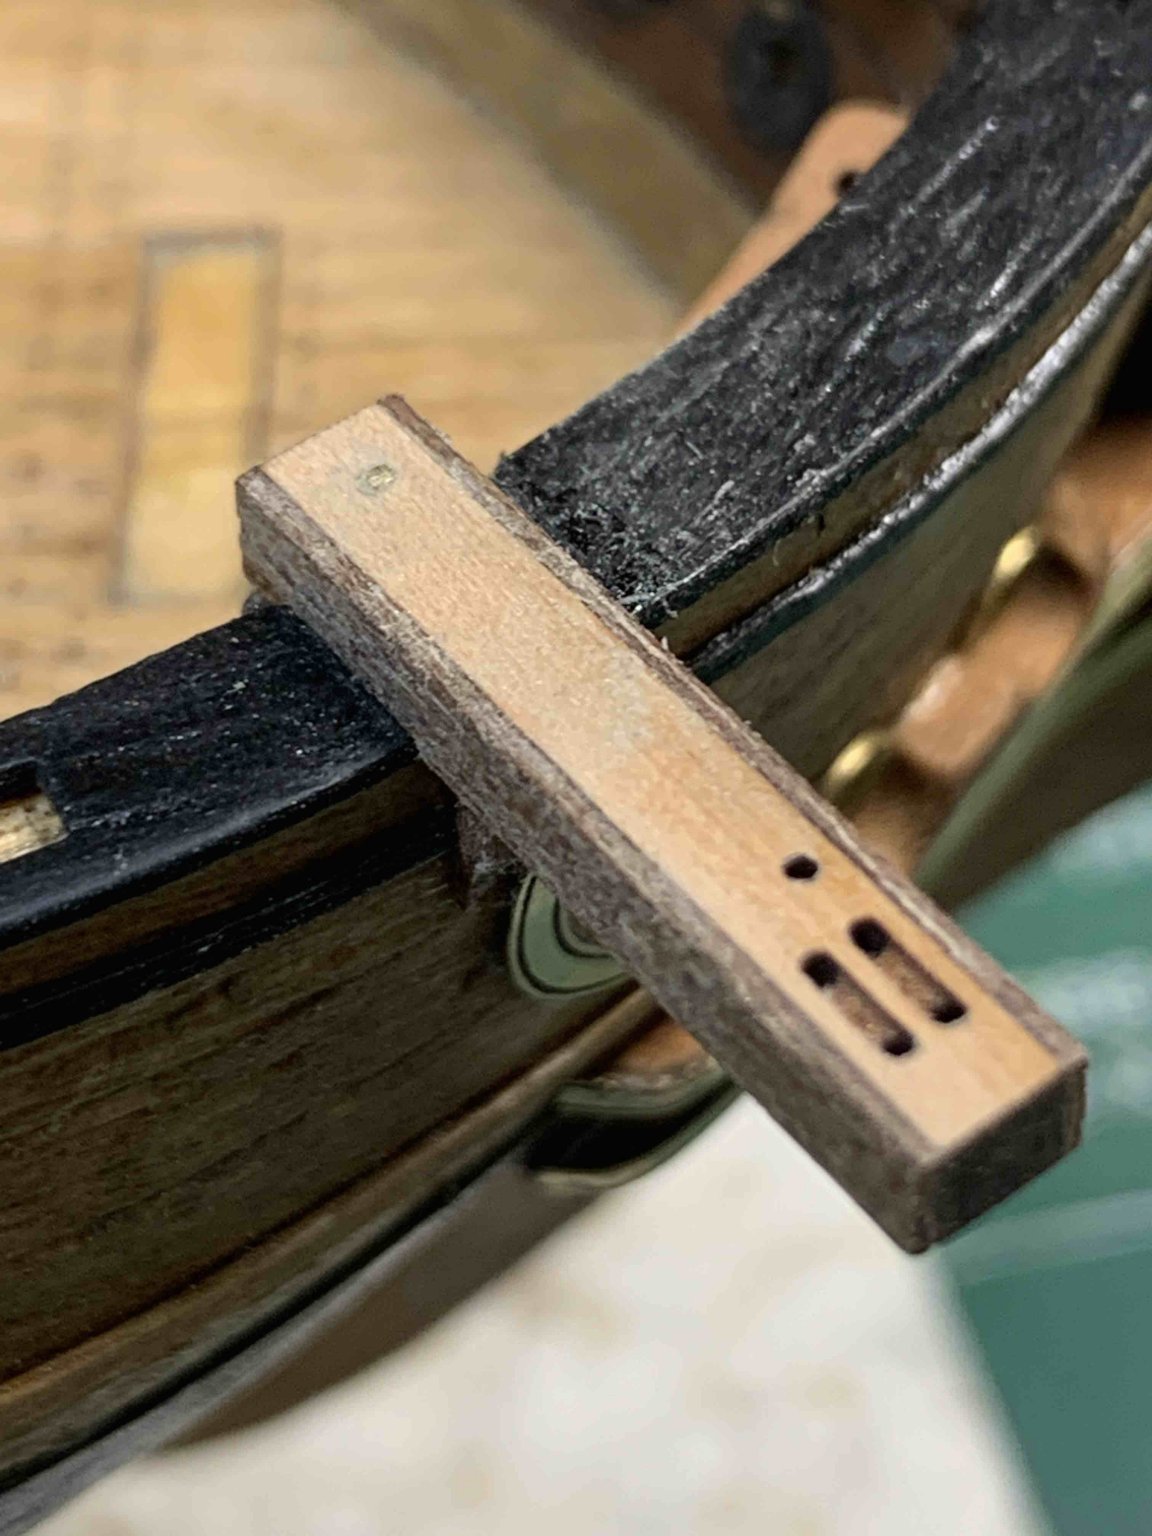
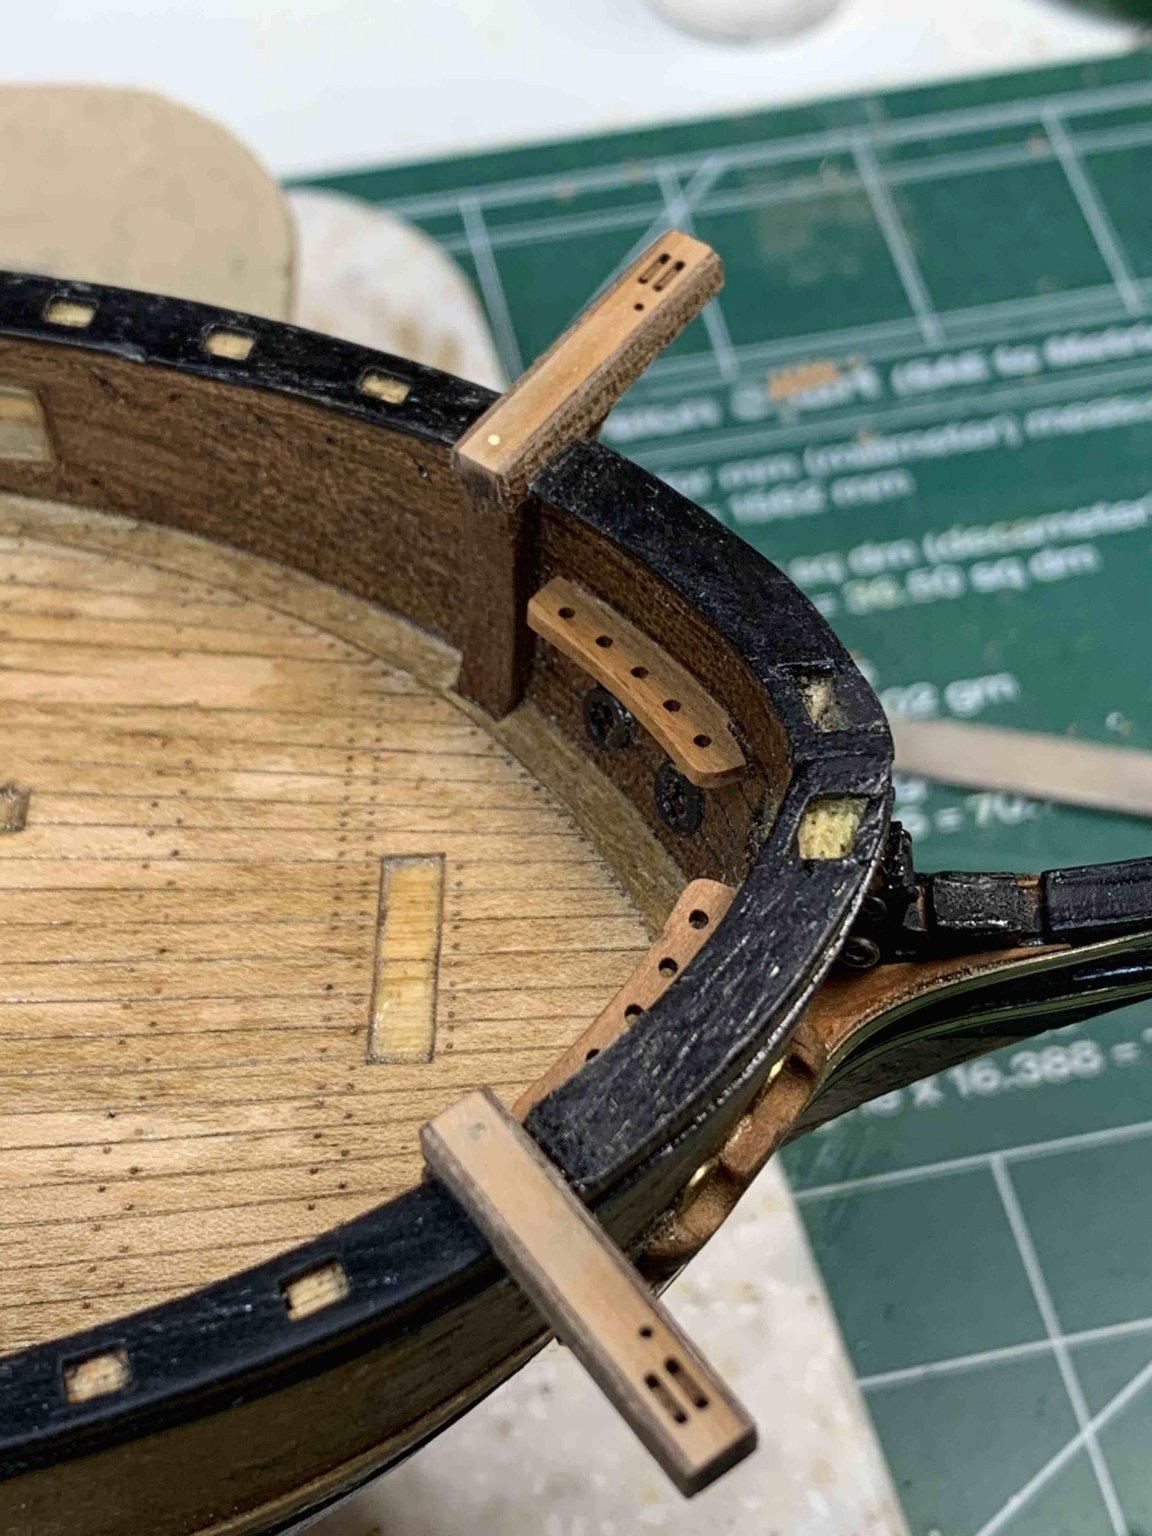
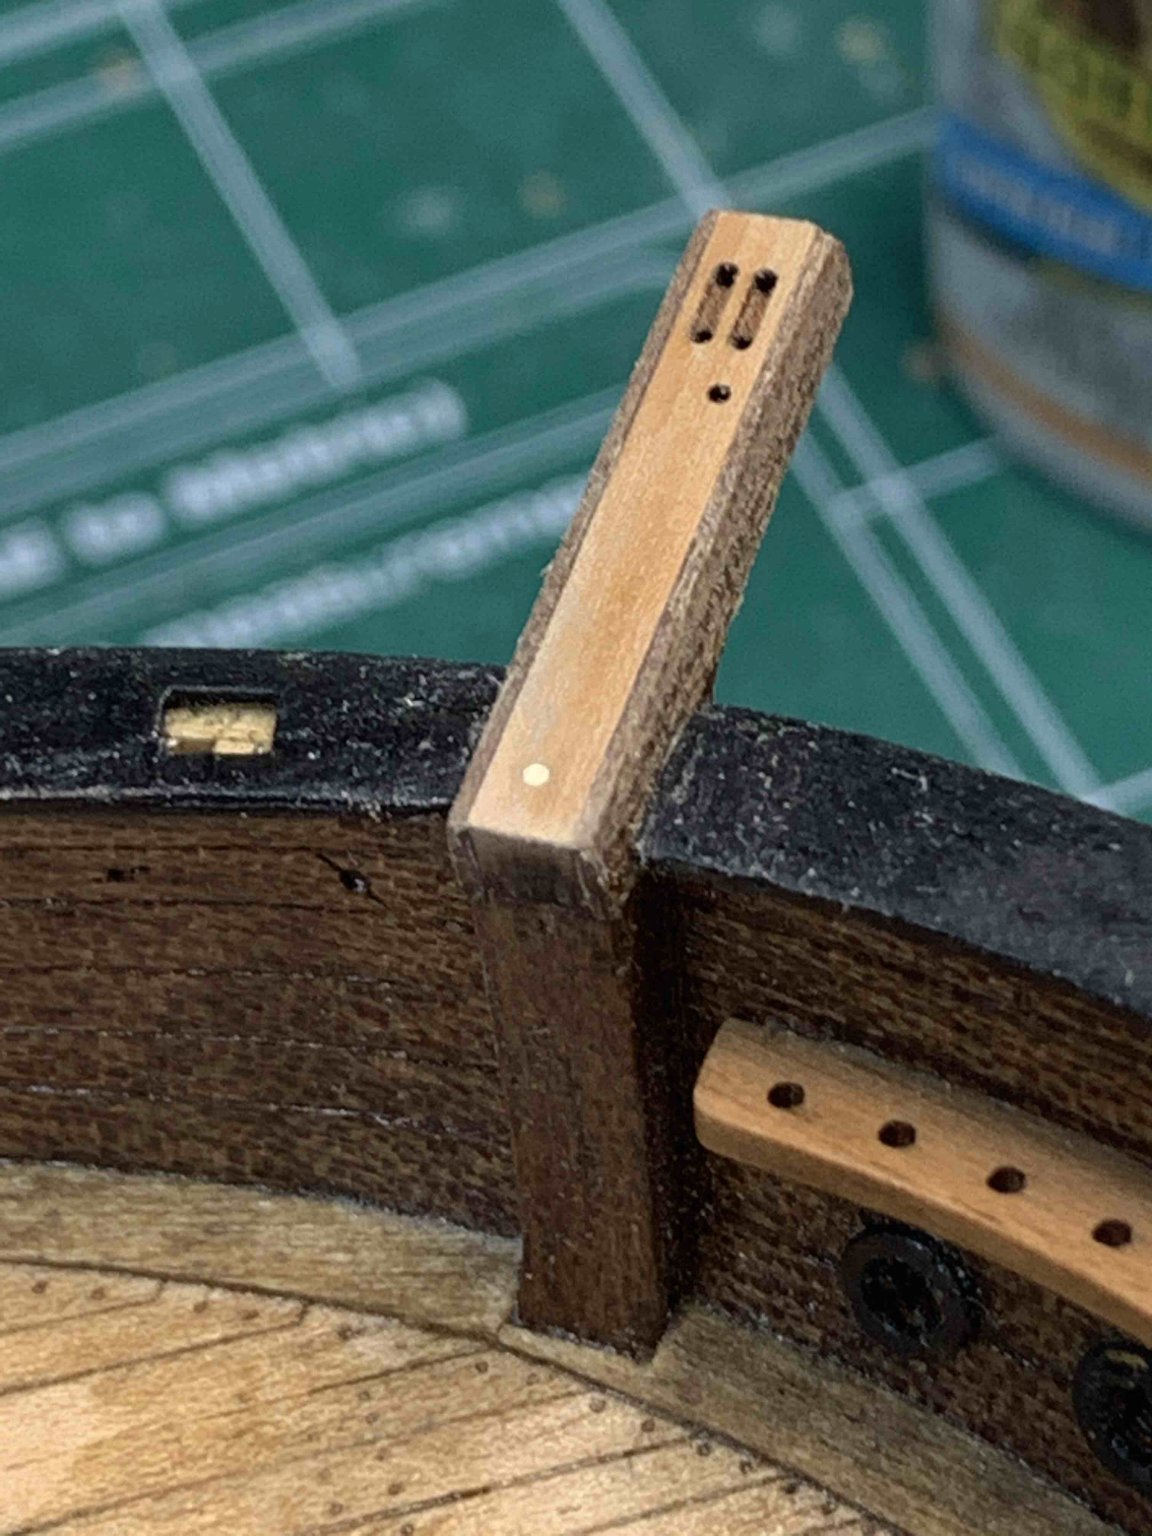
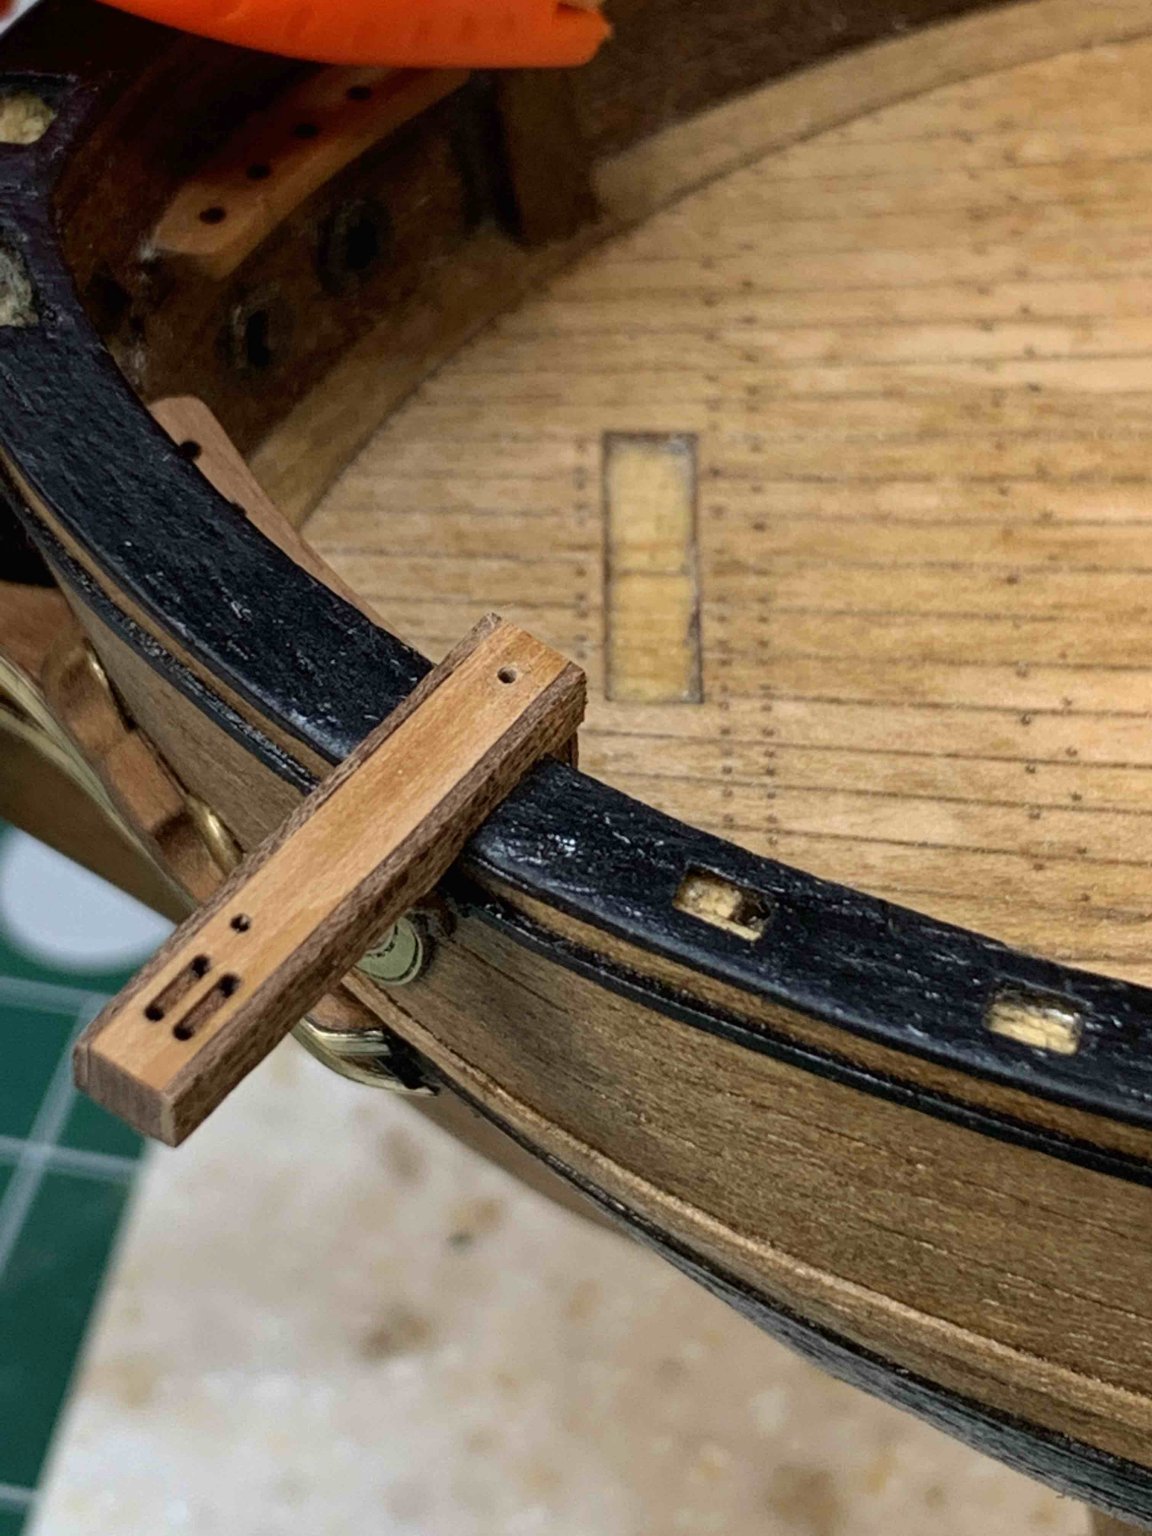
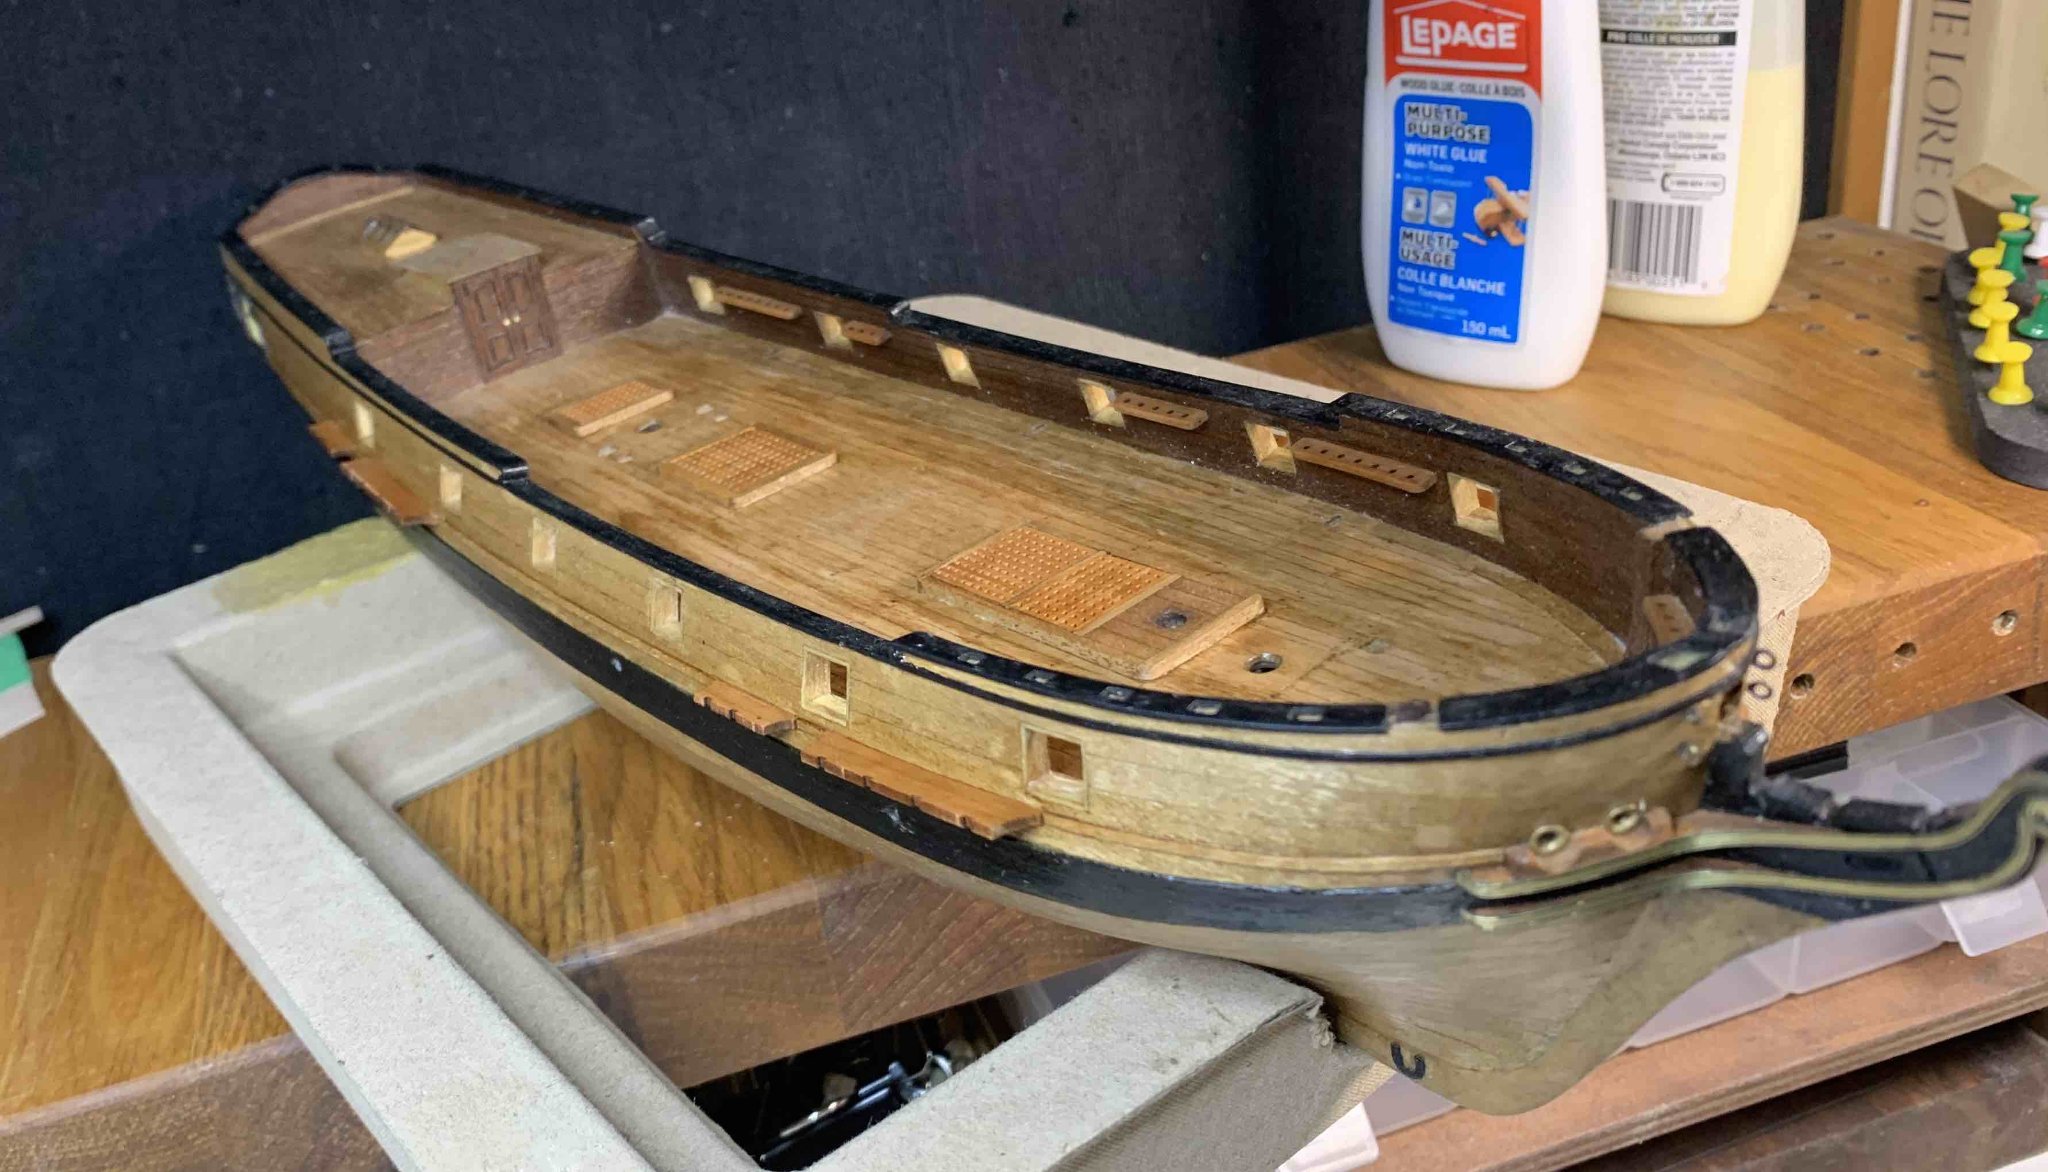
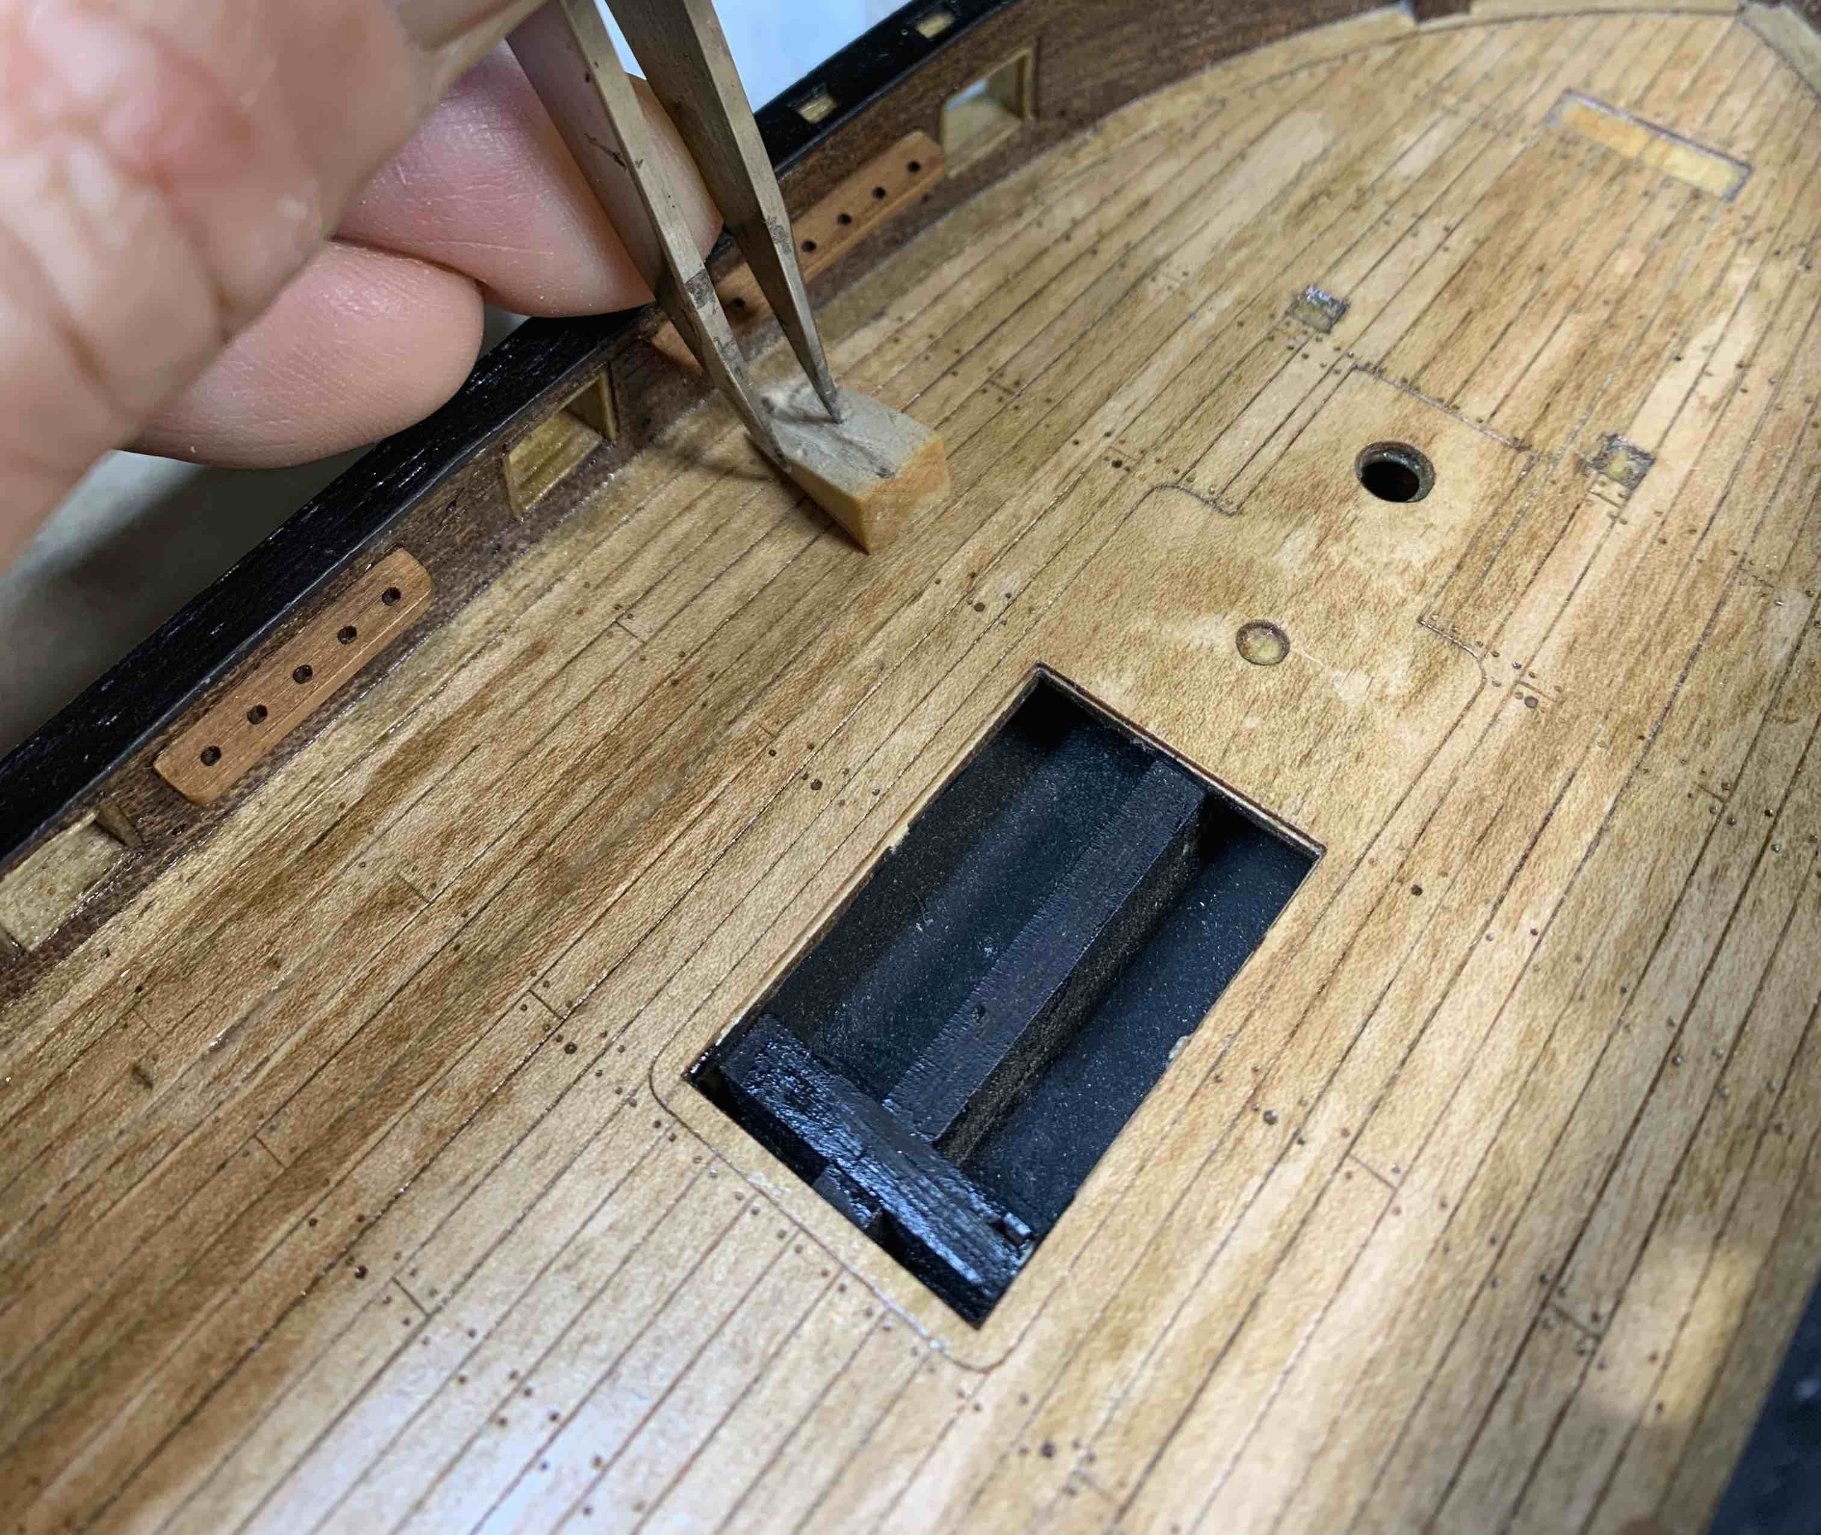
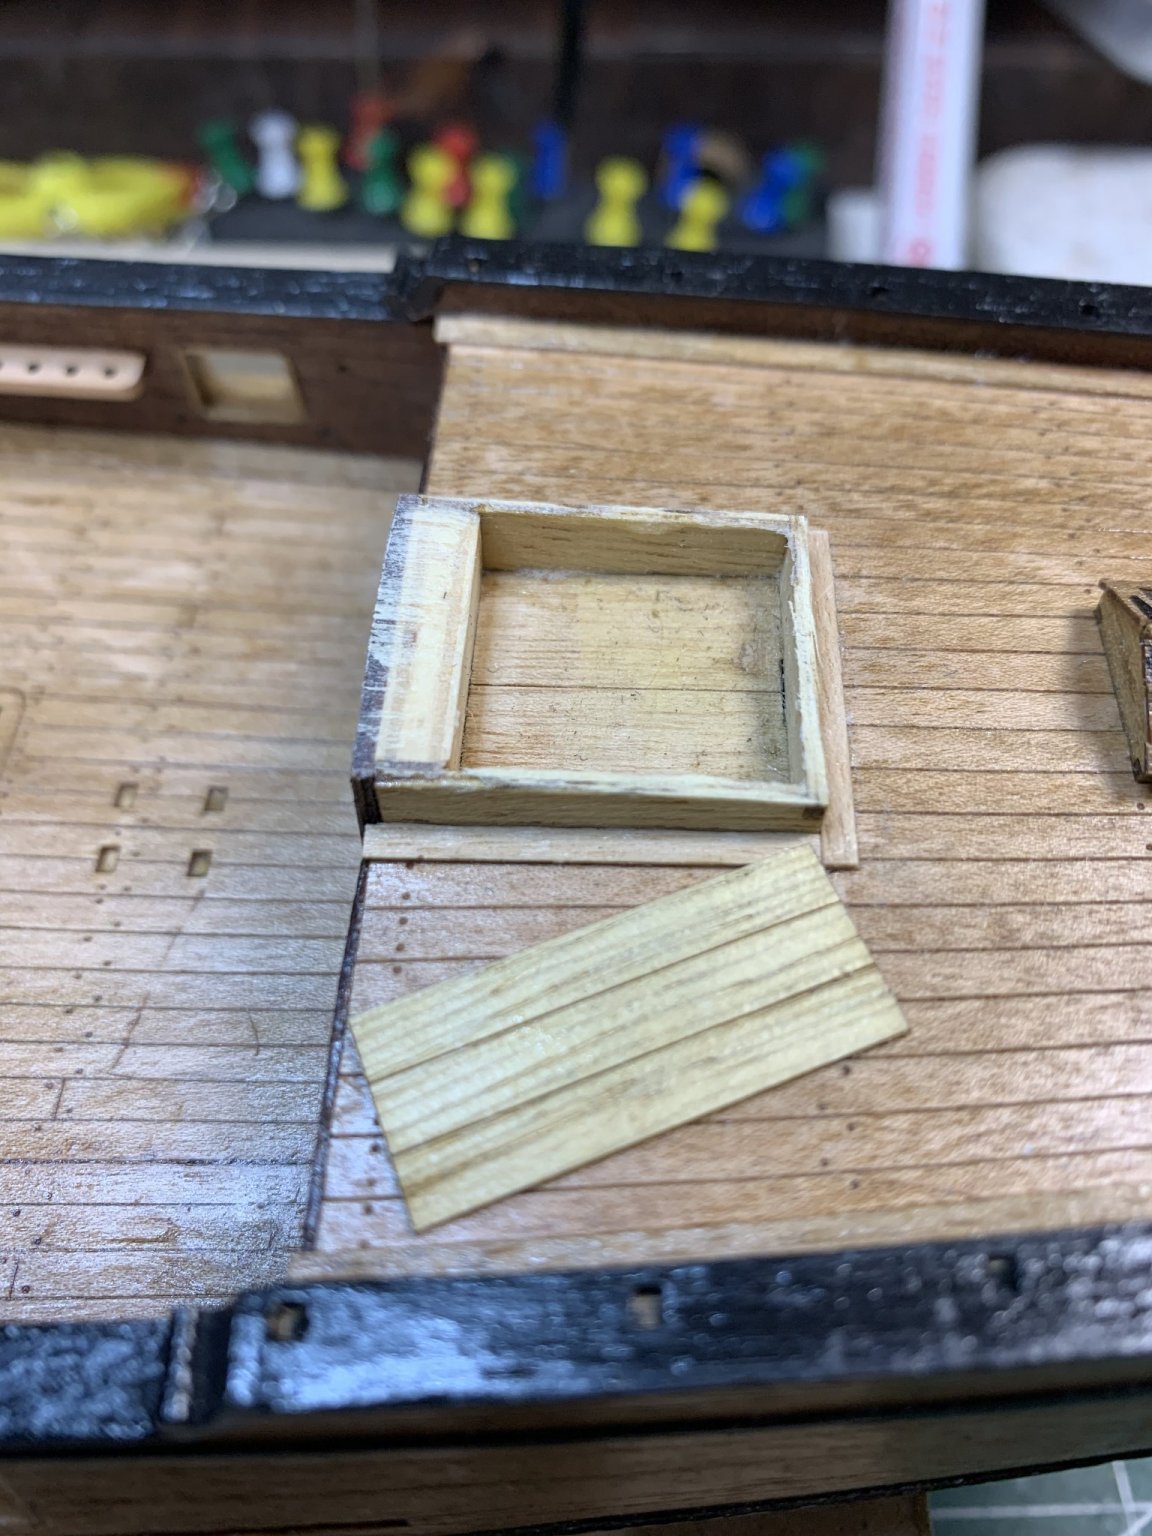
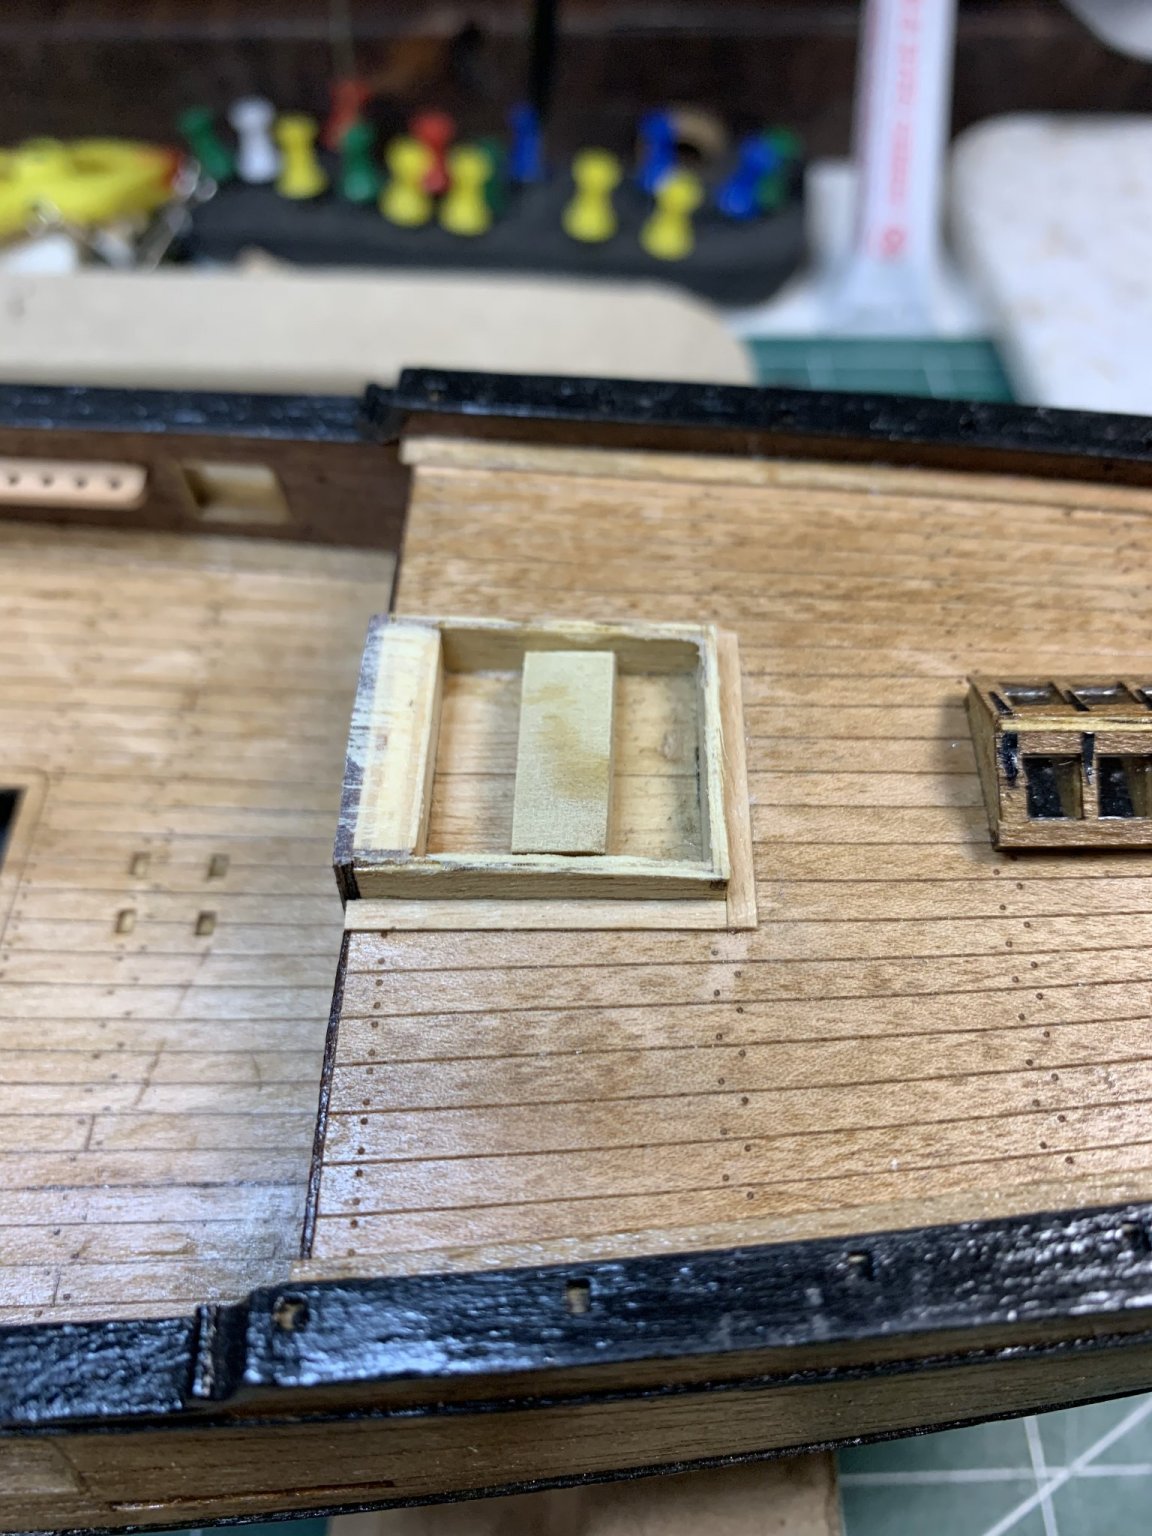
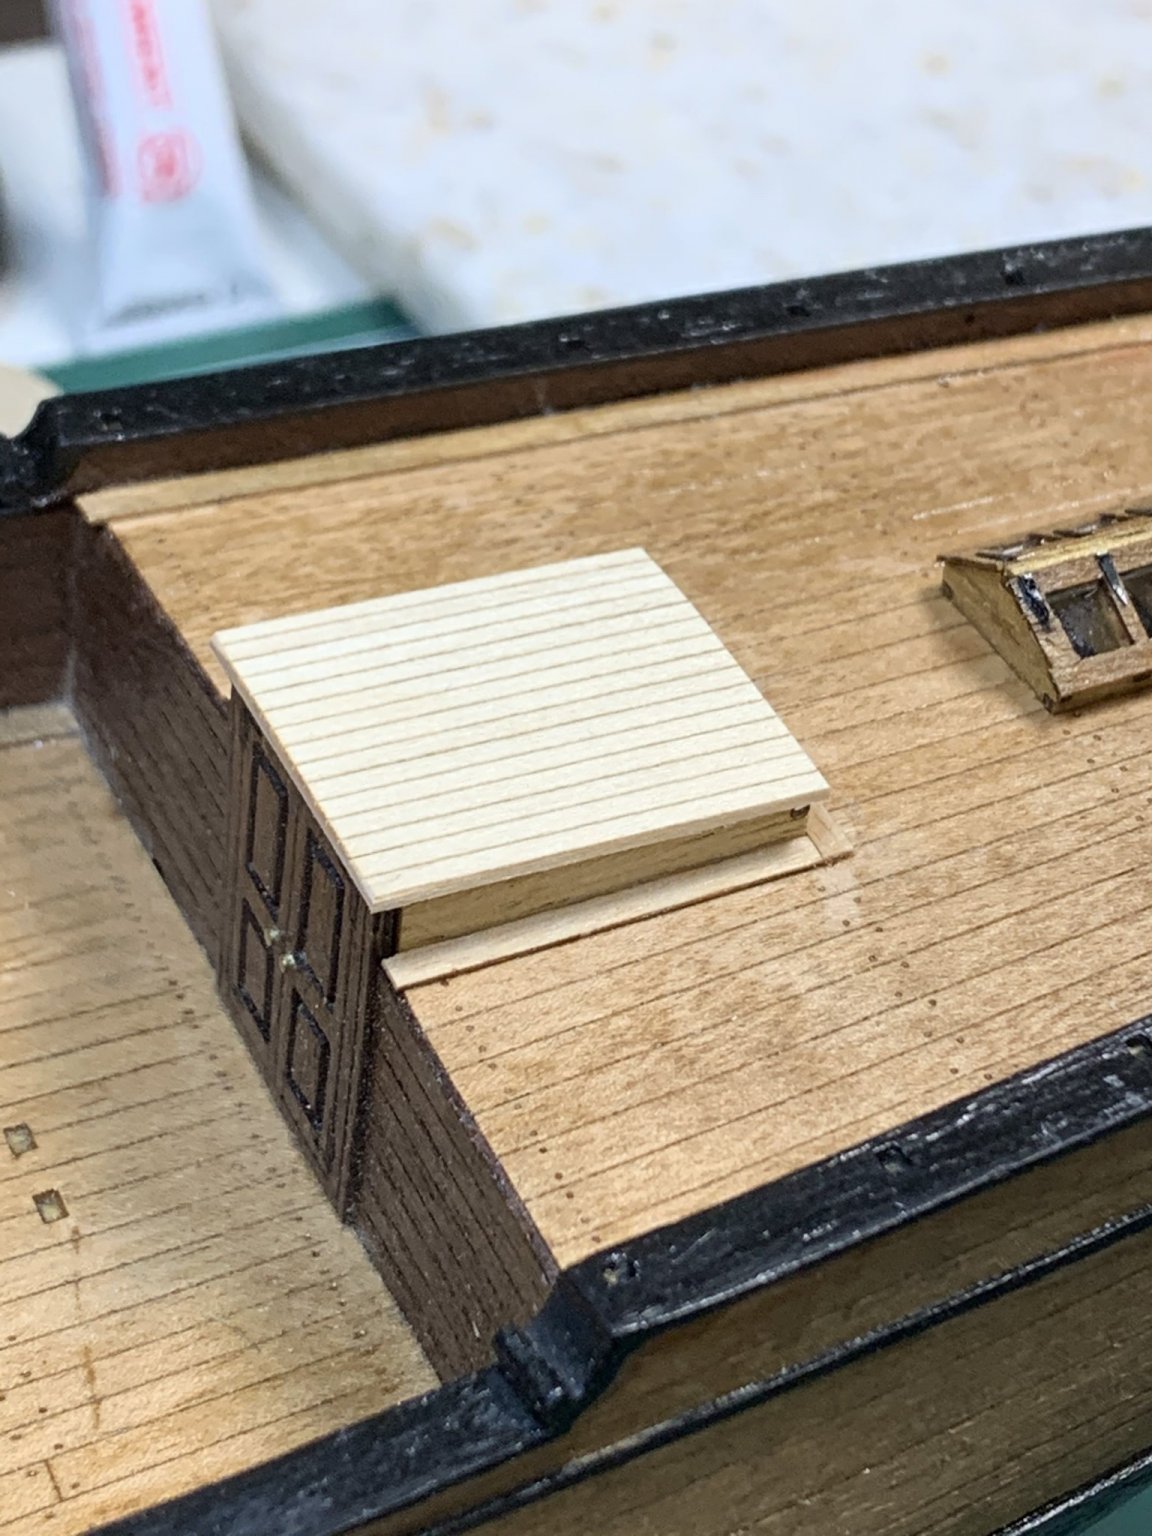
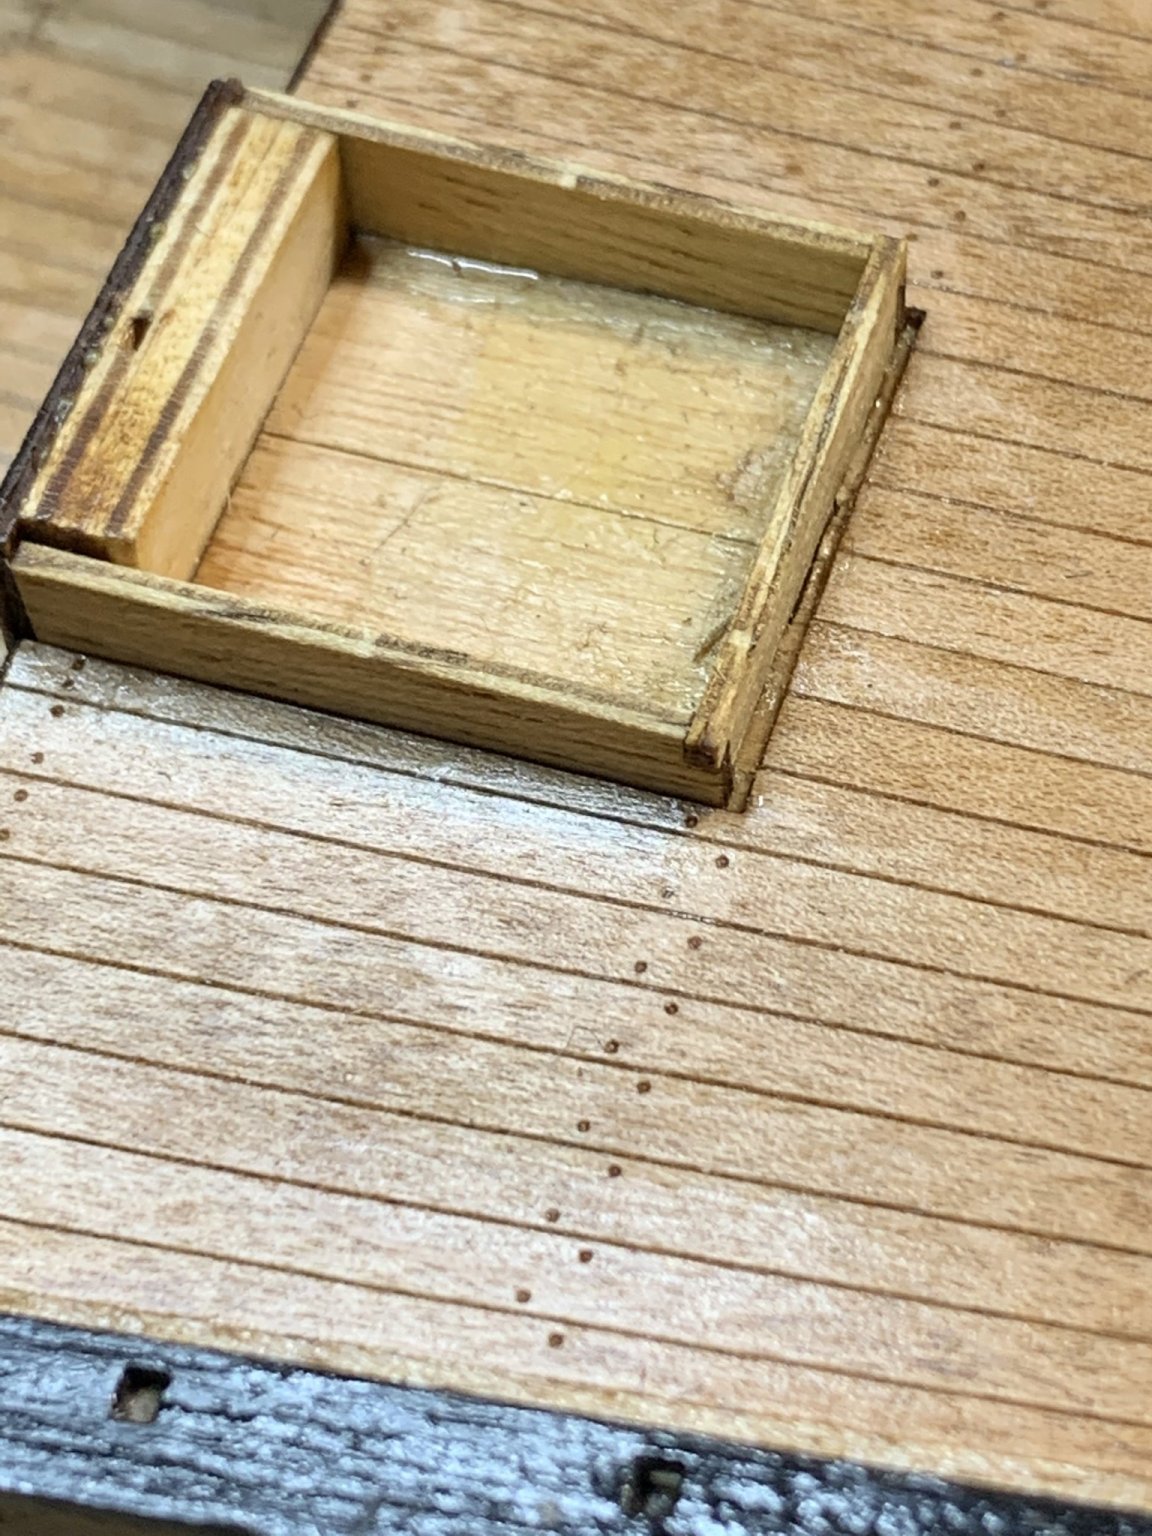
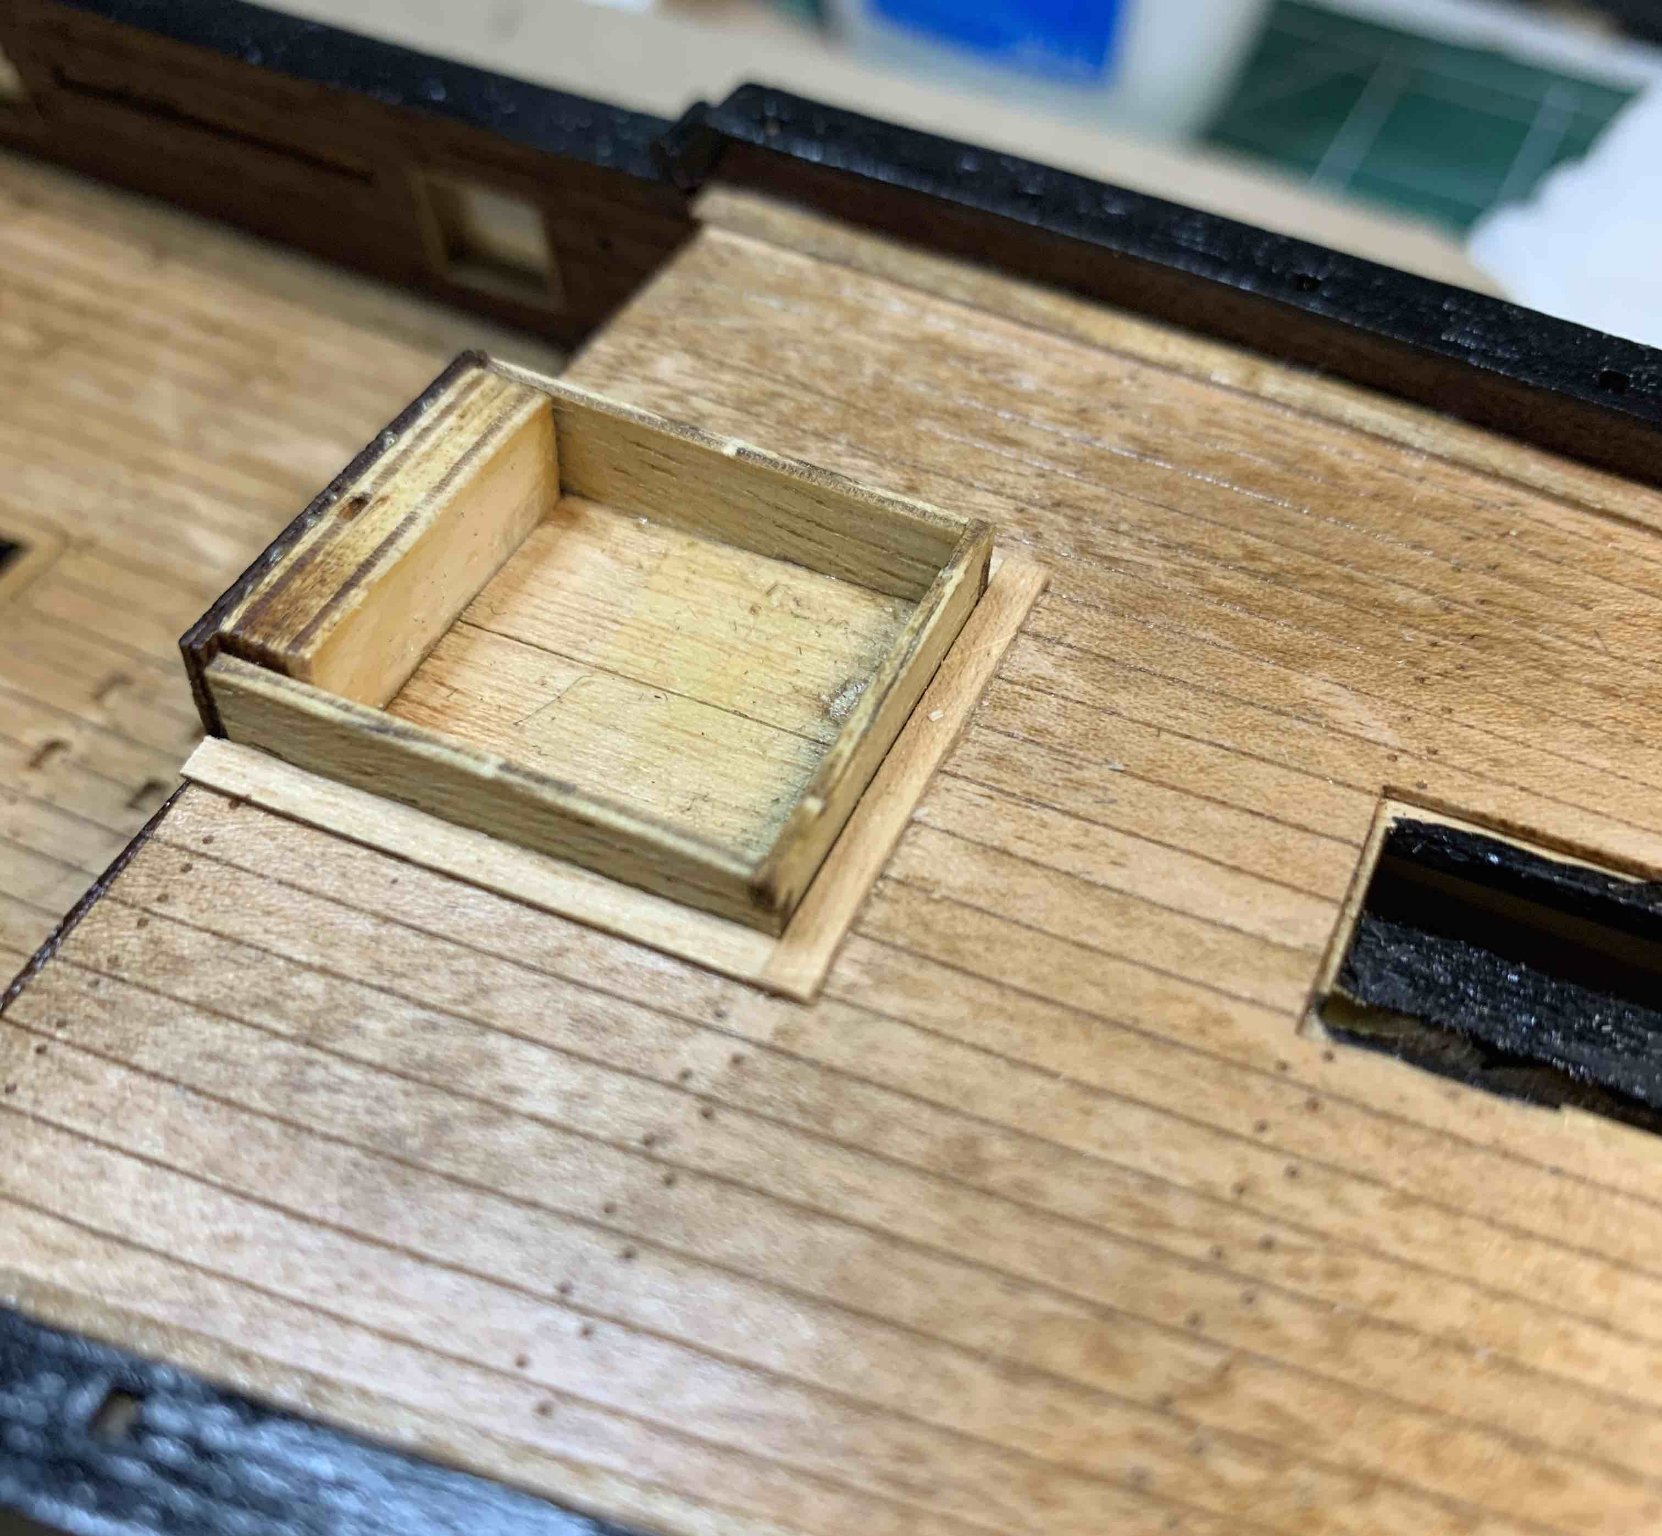
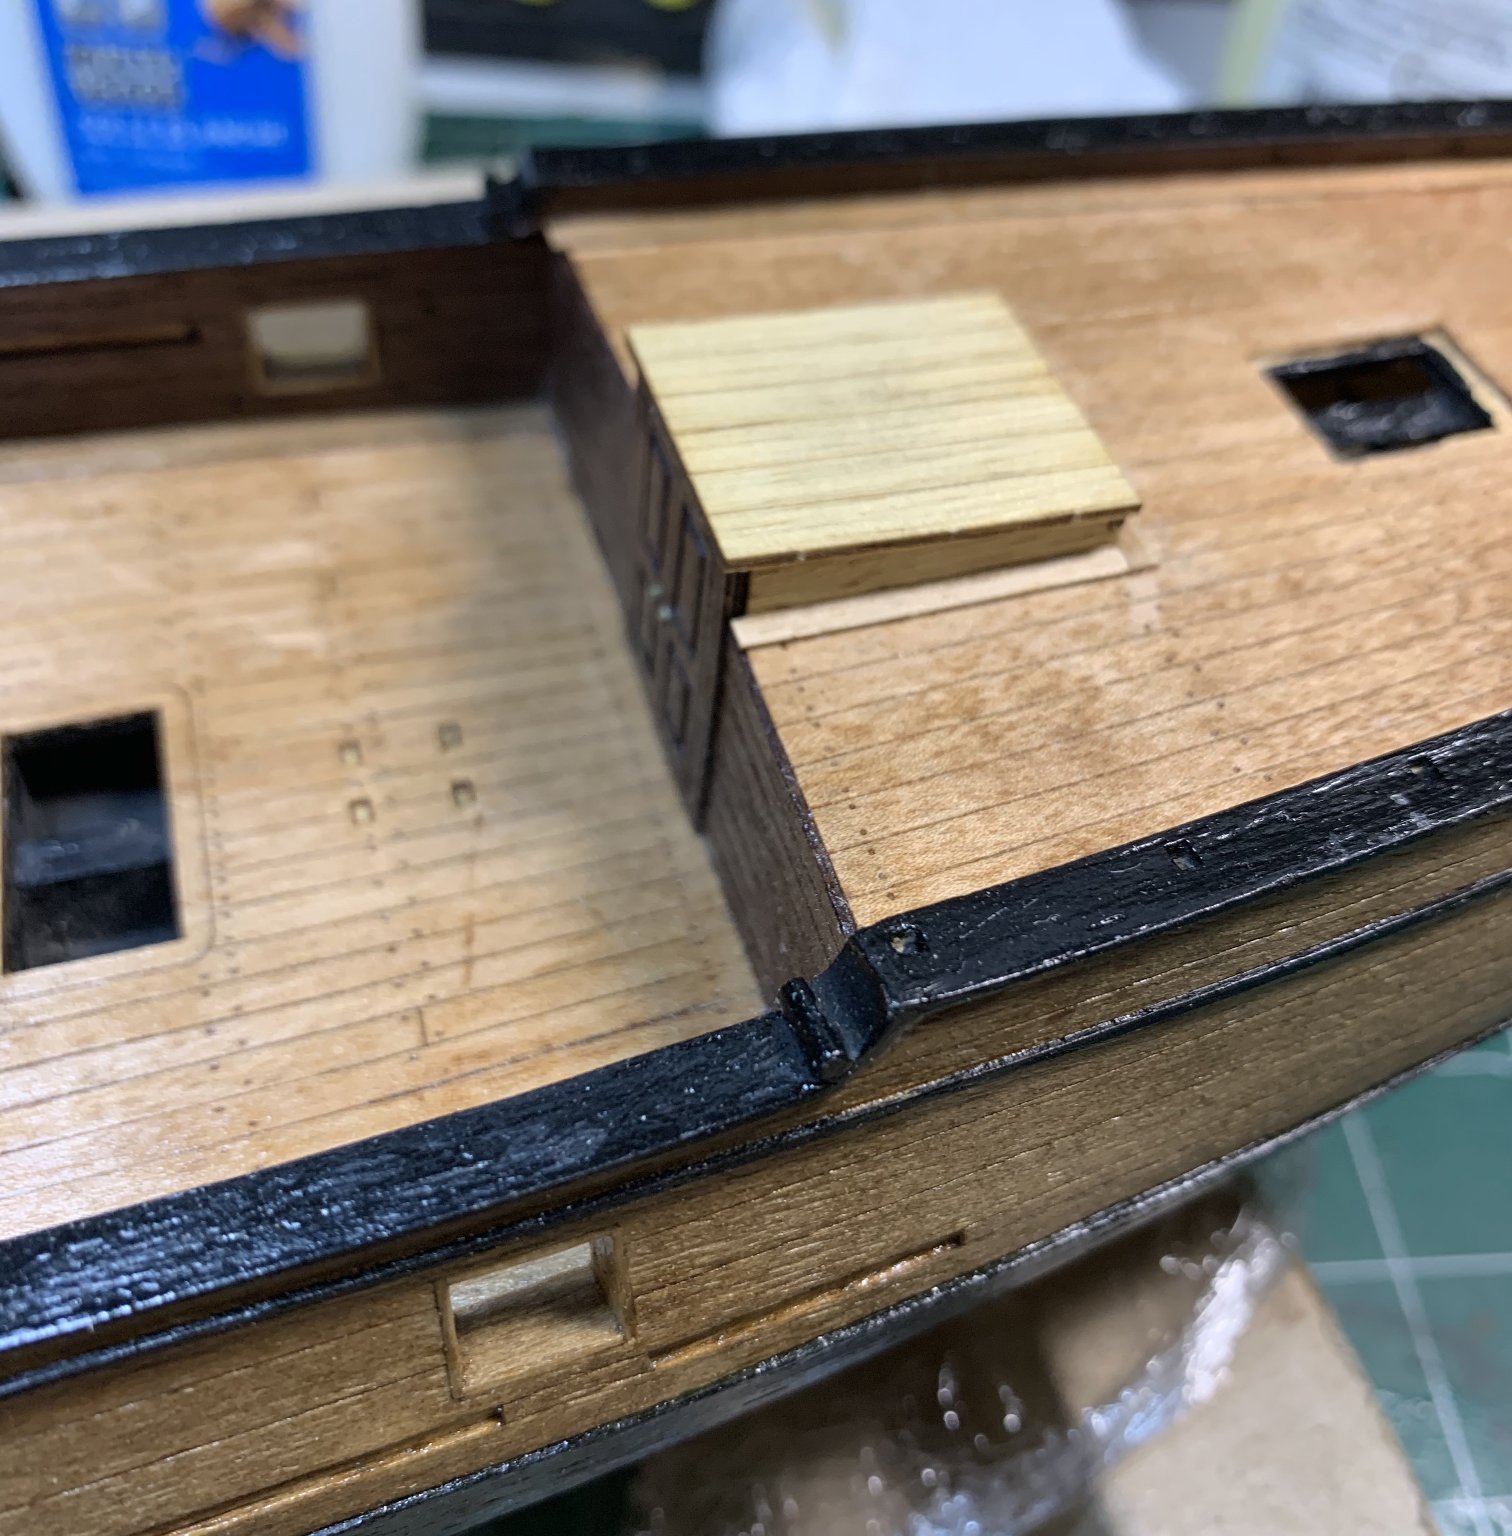
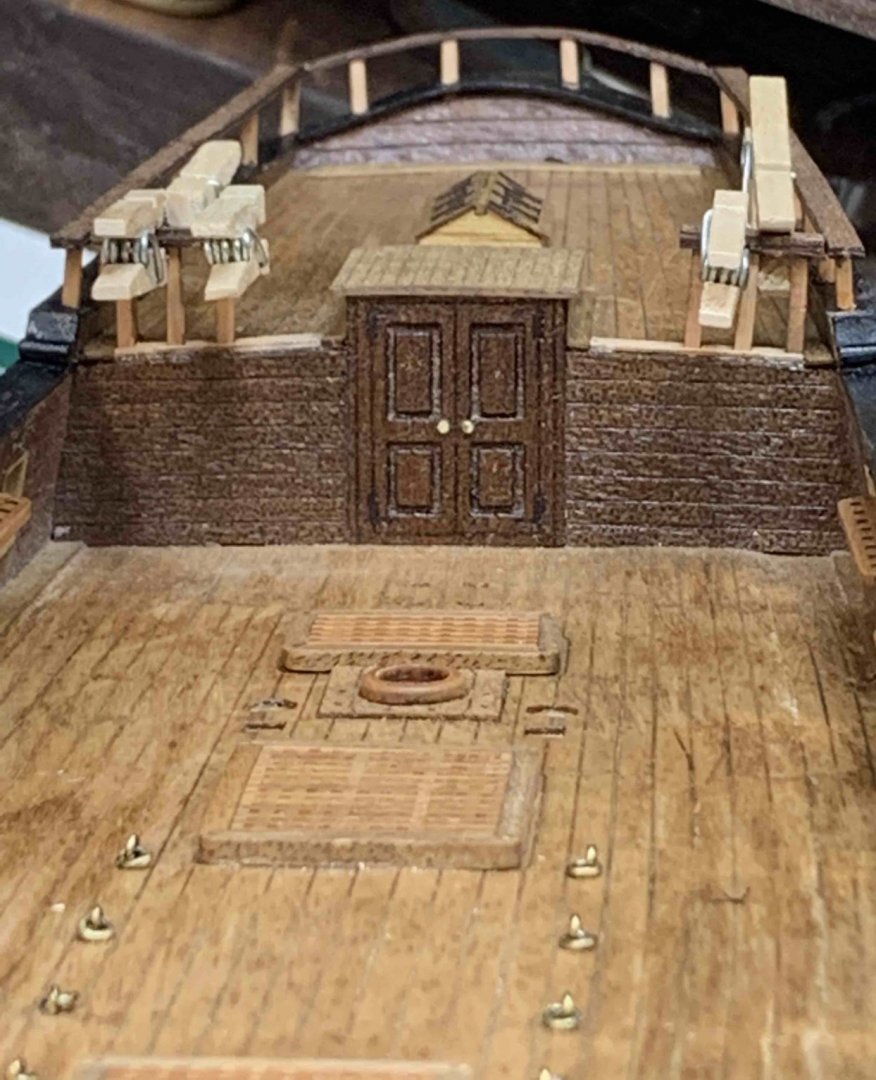
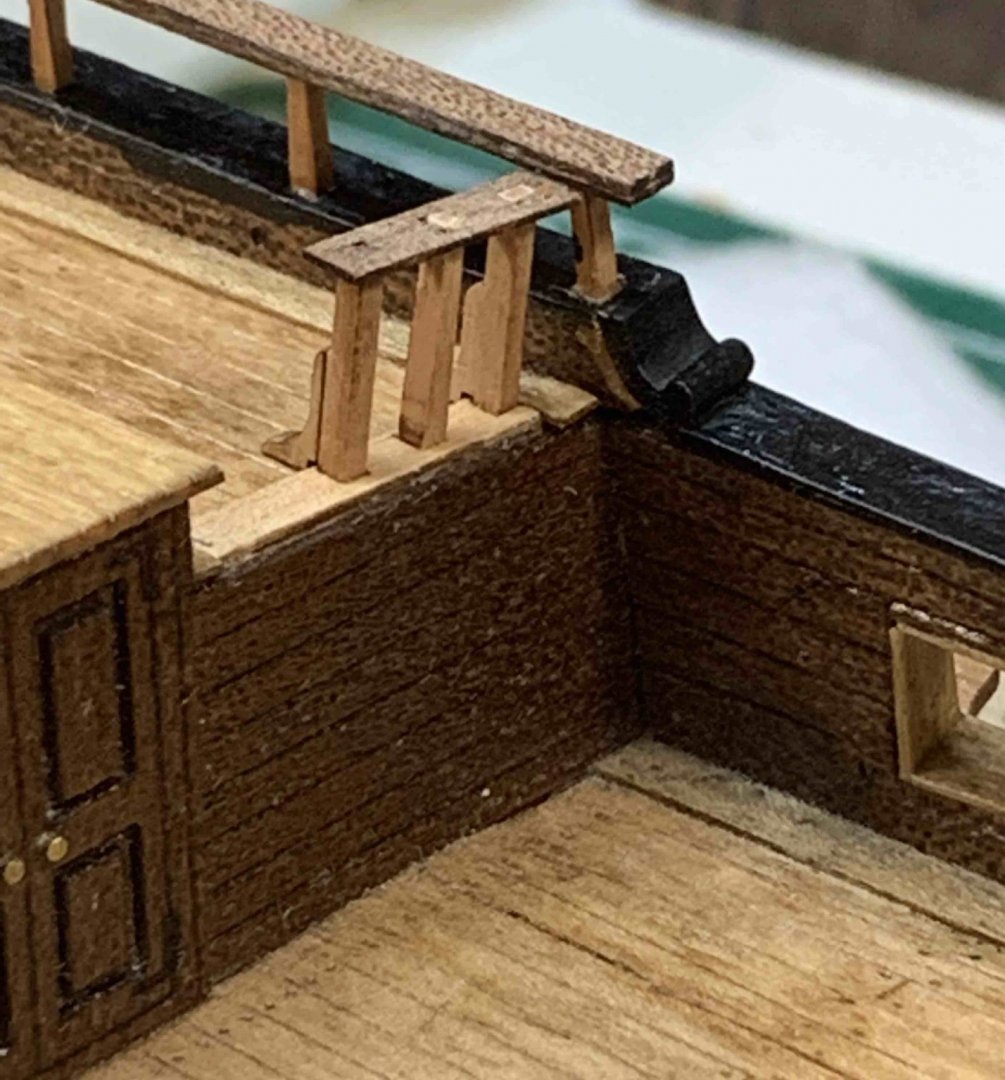
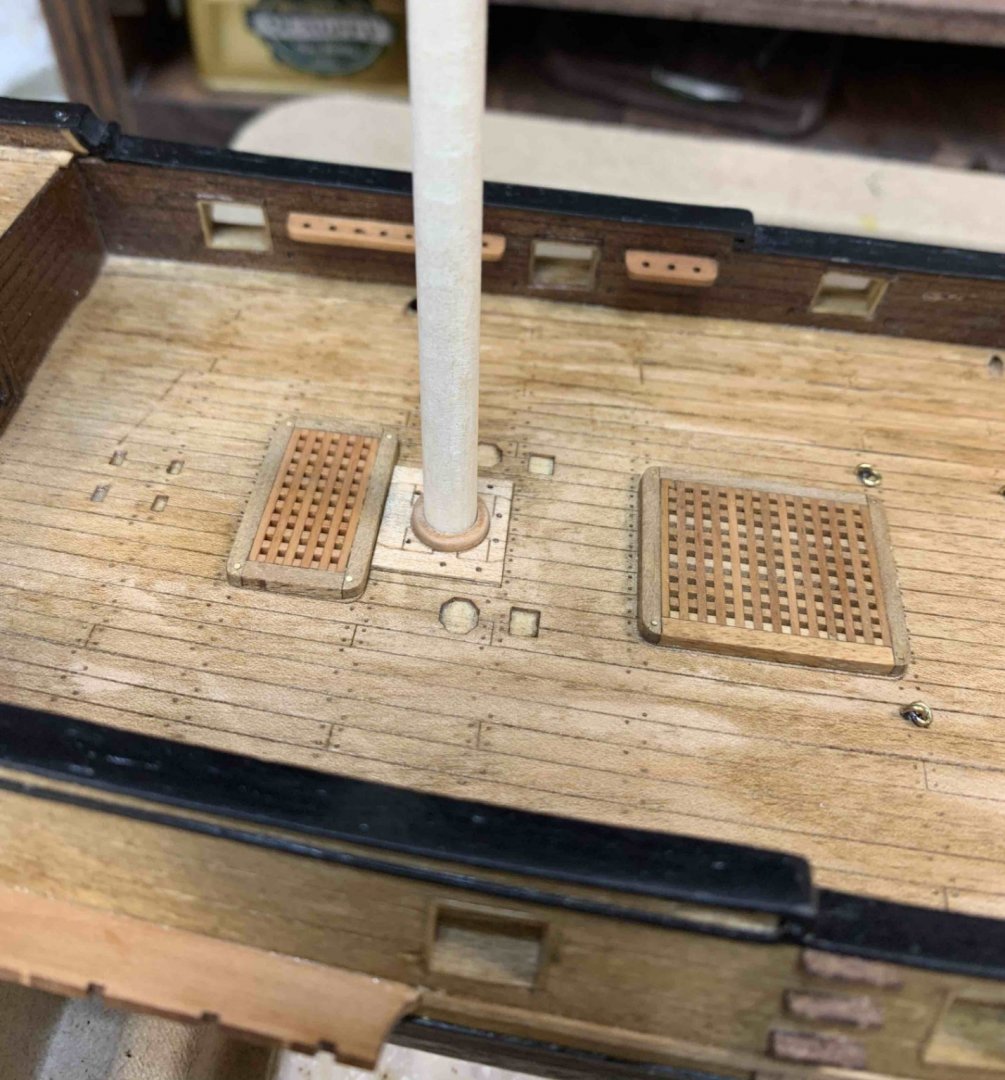
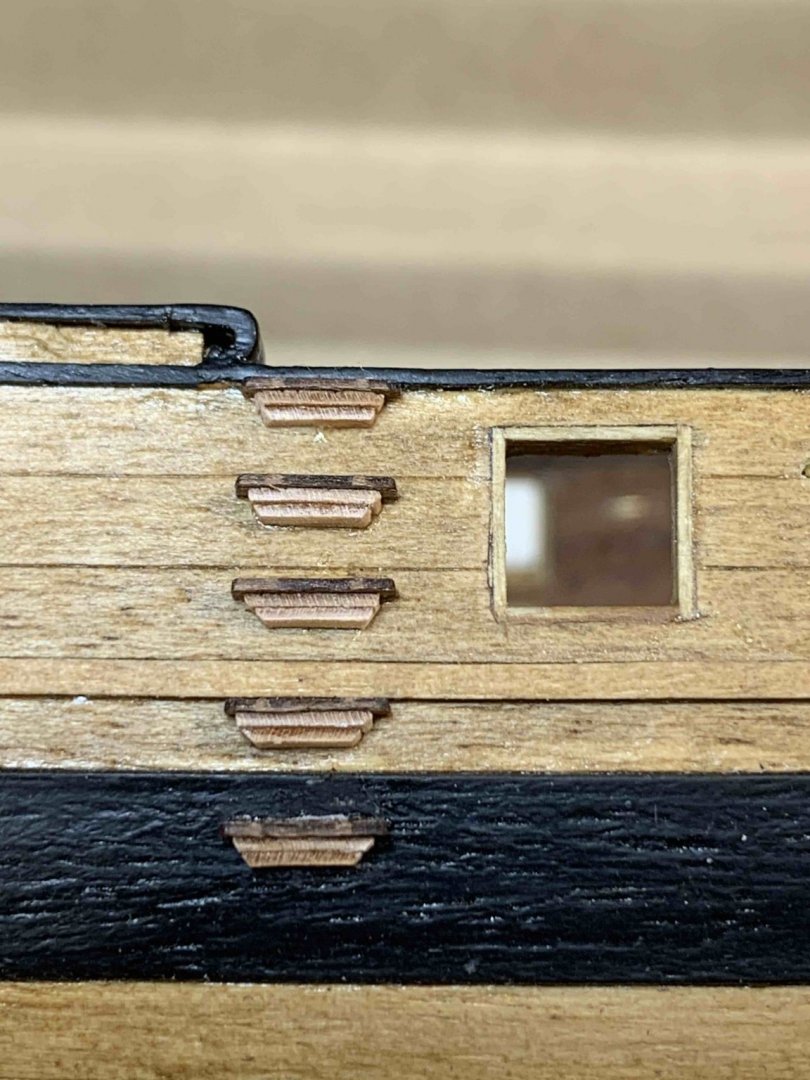
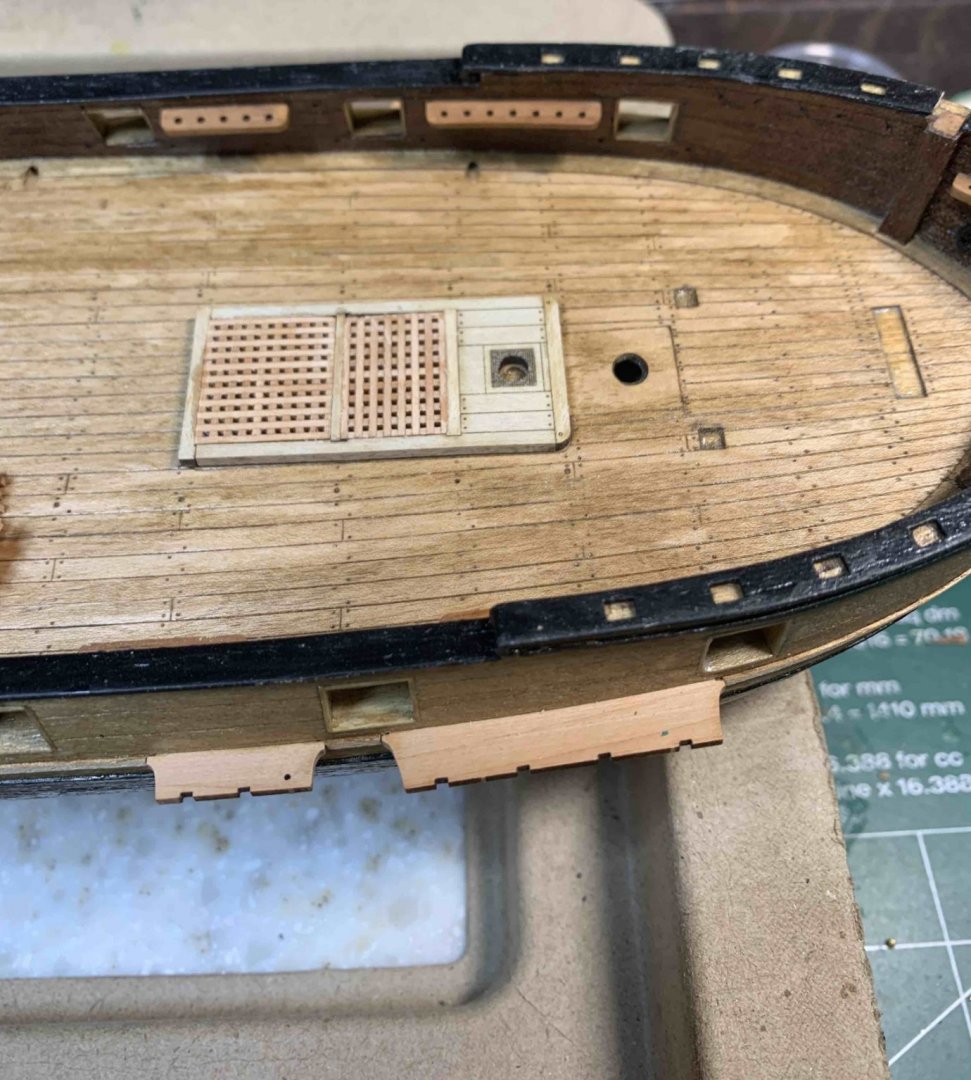
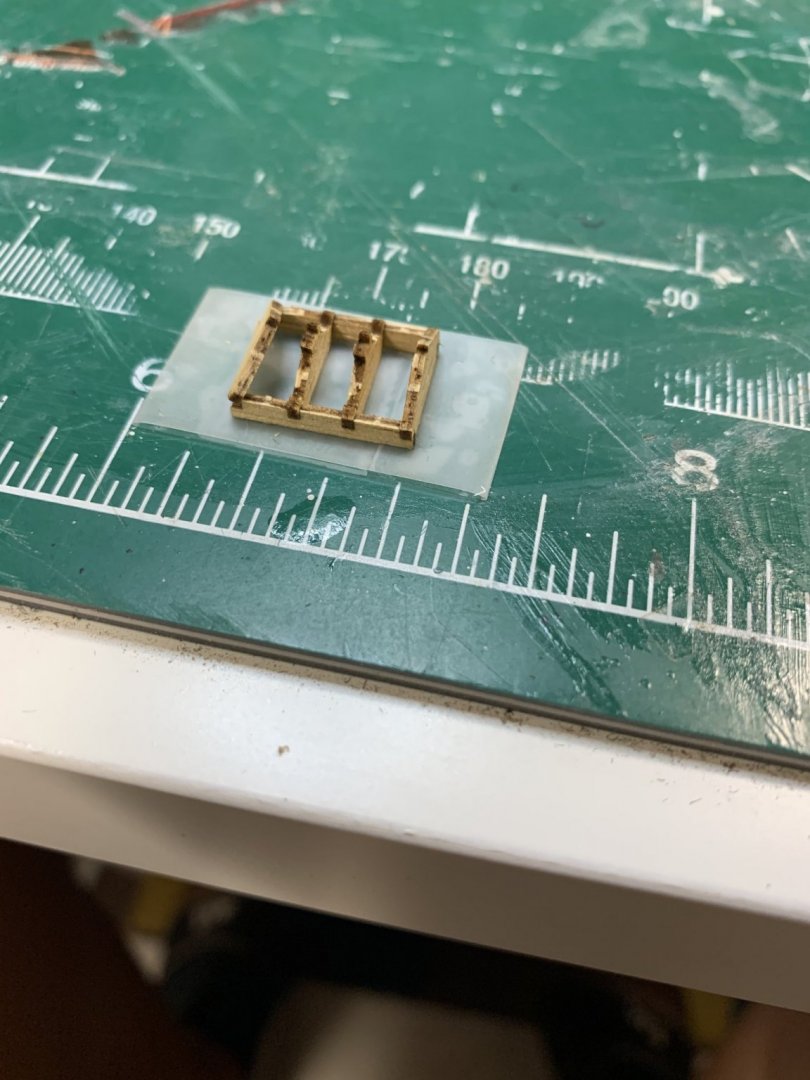
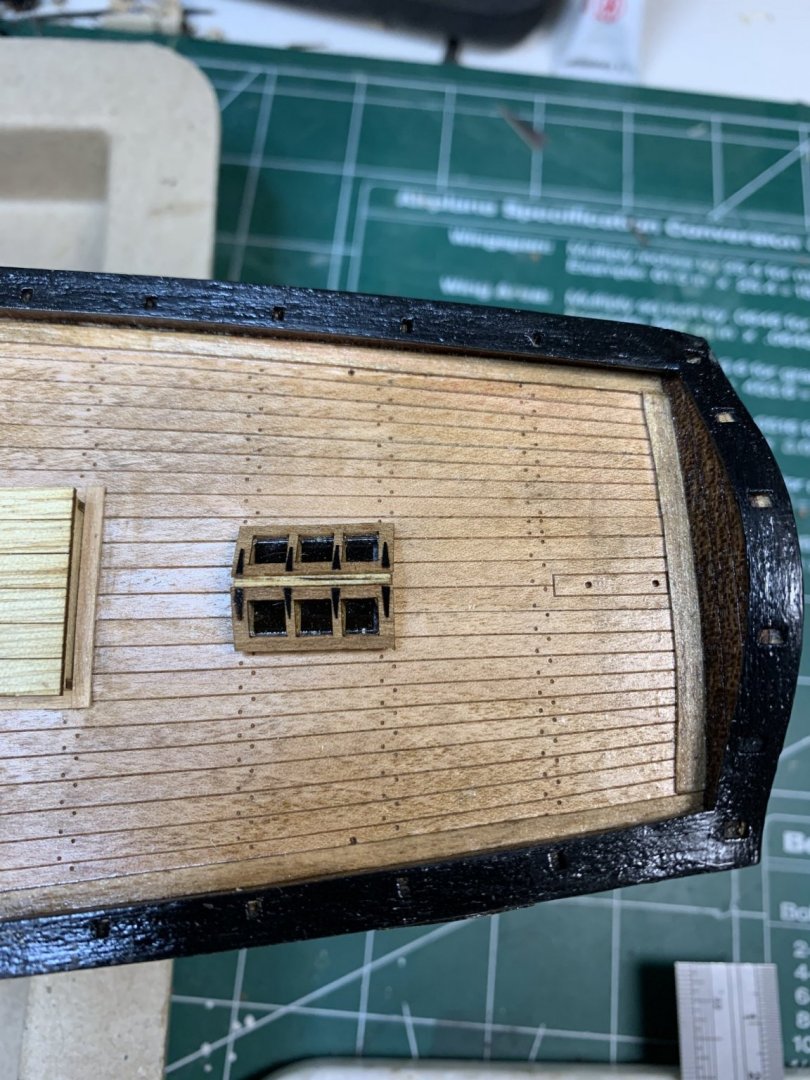
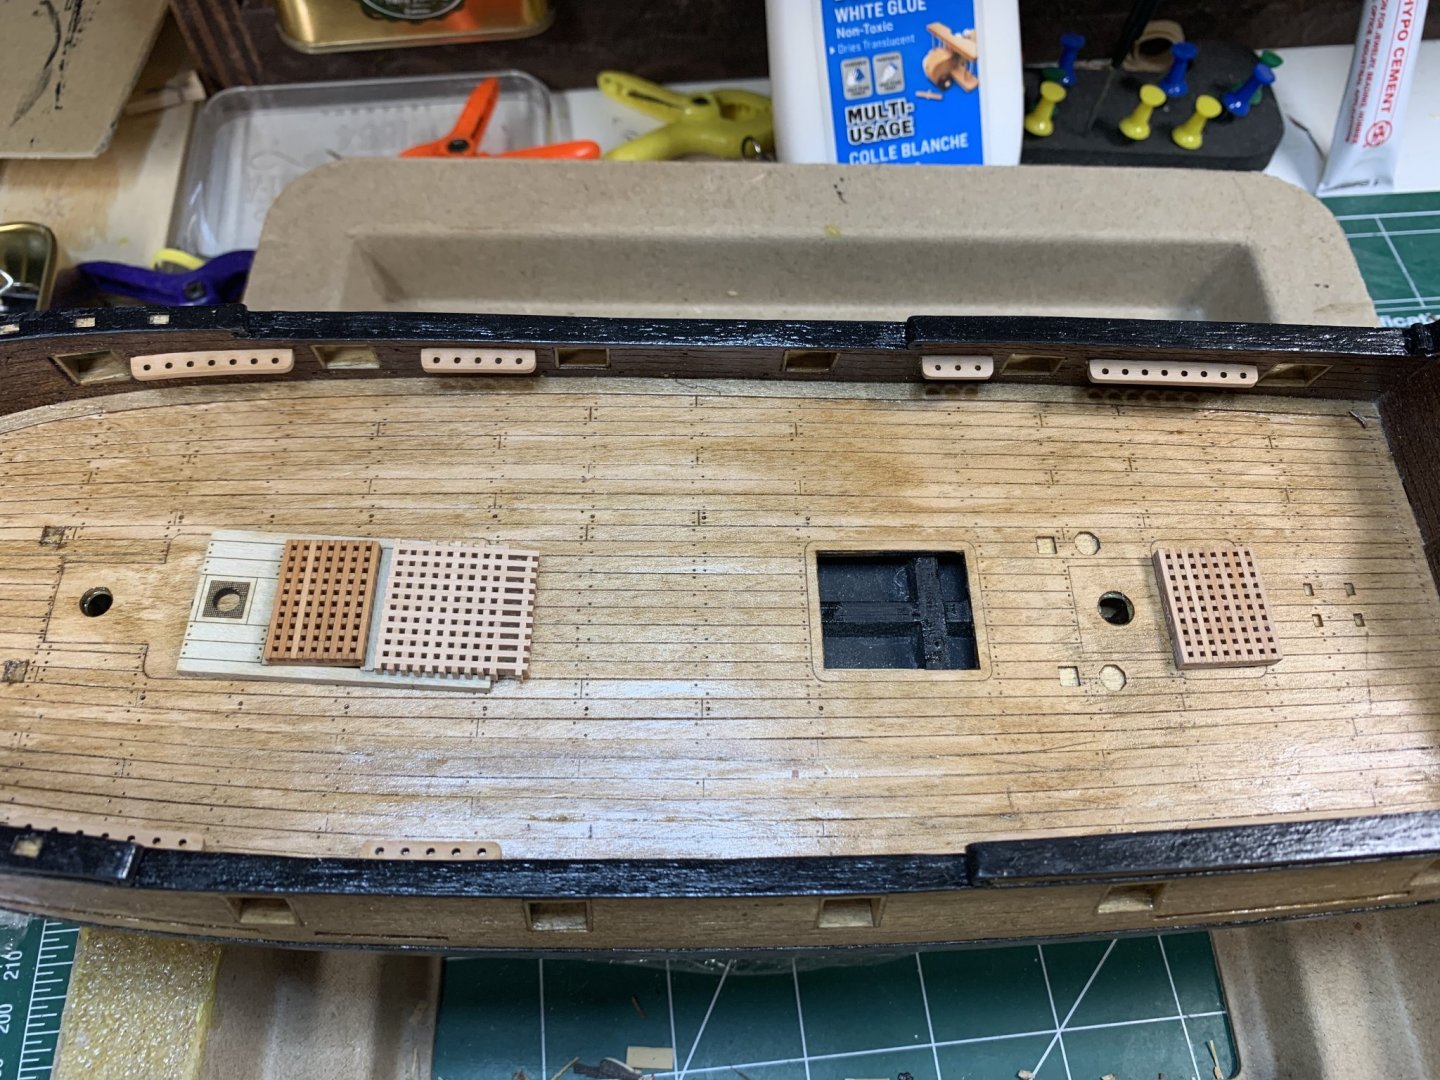
Work continues by building deck items, companionways, etc..... Once sides are installed, the whole structure has to be sanded on an angle so the roof can fit properly. There is a gap between deck and sides i will be covering with a small waterways... The roof has been installed... Work on board pin rails is next. Removed from the frames, they have to be cleaned from laser cut burns... Installed on the ship. They fit very precise with a small adjustments here and there.. I have not installed all of them, not sure why... but started to work on gratings. The instruction shows how many gratings are required (8x5, 8x10, etc). Gently installing them, no hard pushing... There is no problem if you snap one or two, few extras are included in the package. Cut to the size, and glue them from all ends. They are ready for final sanding and assembly.. Happy modelling.


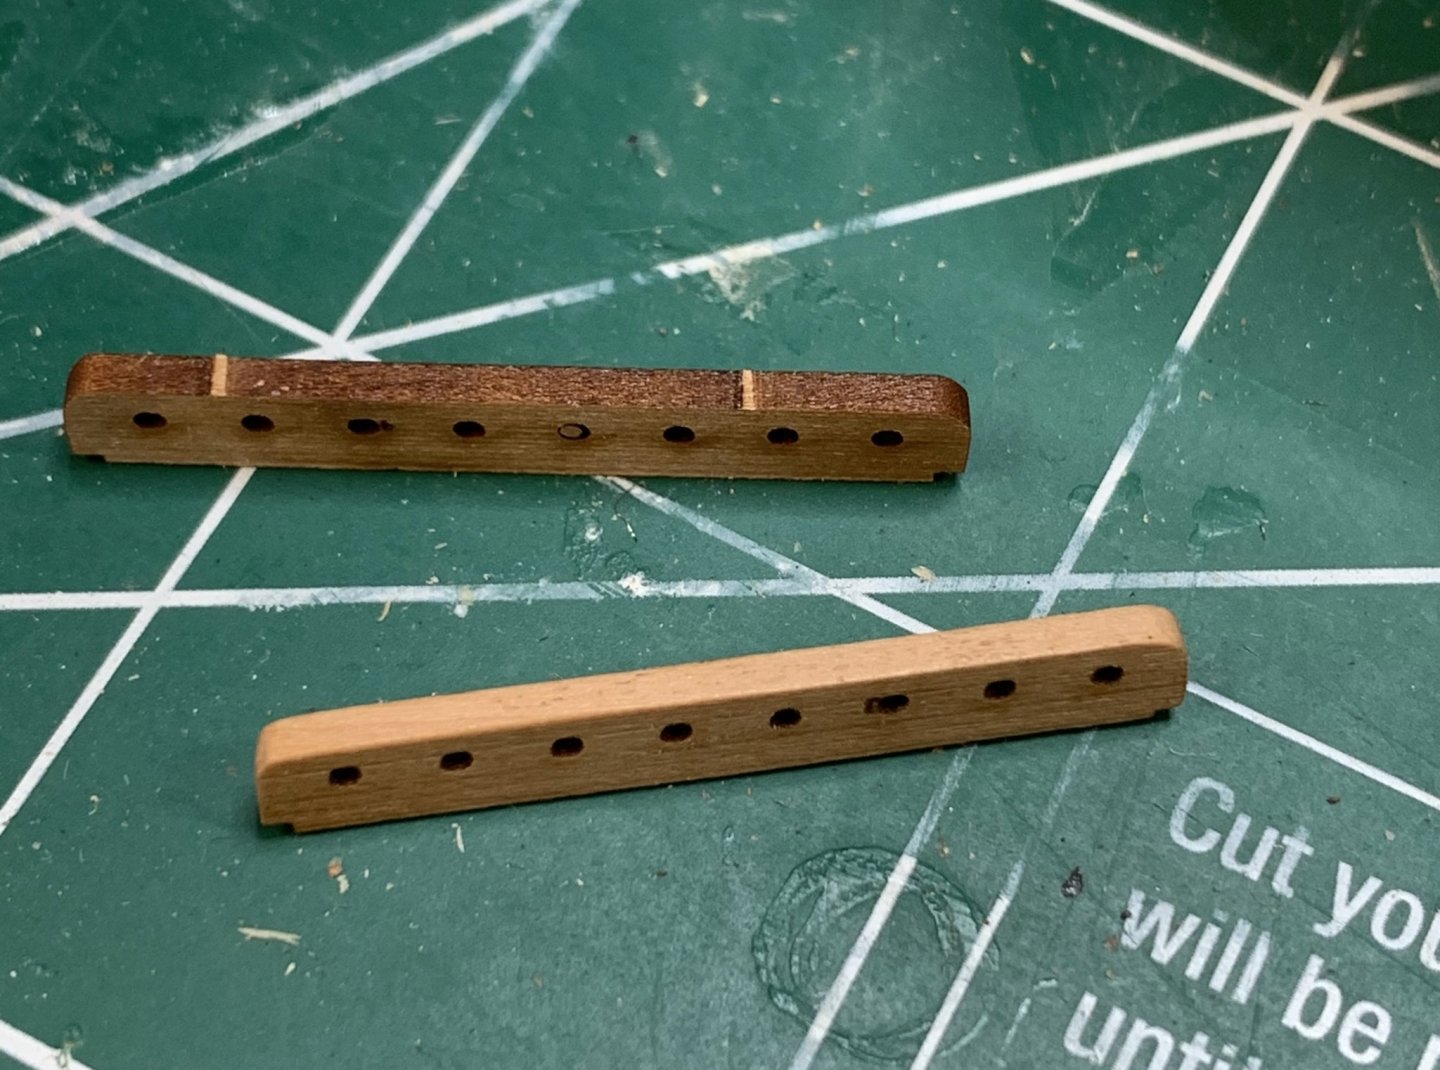
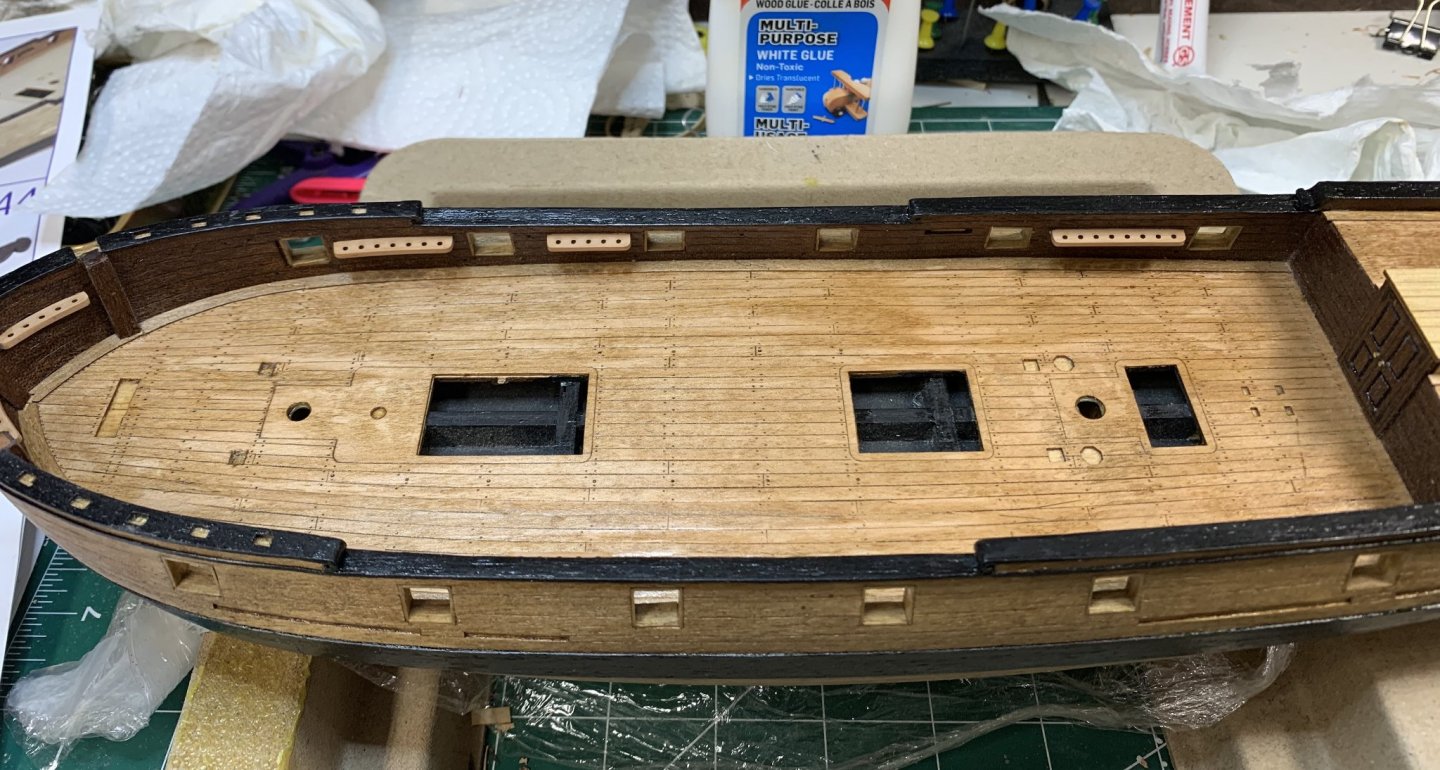
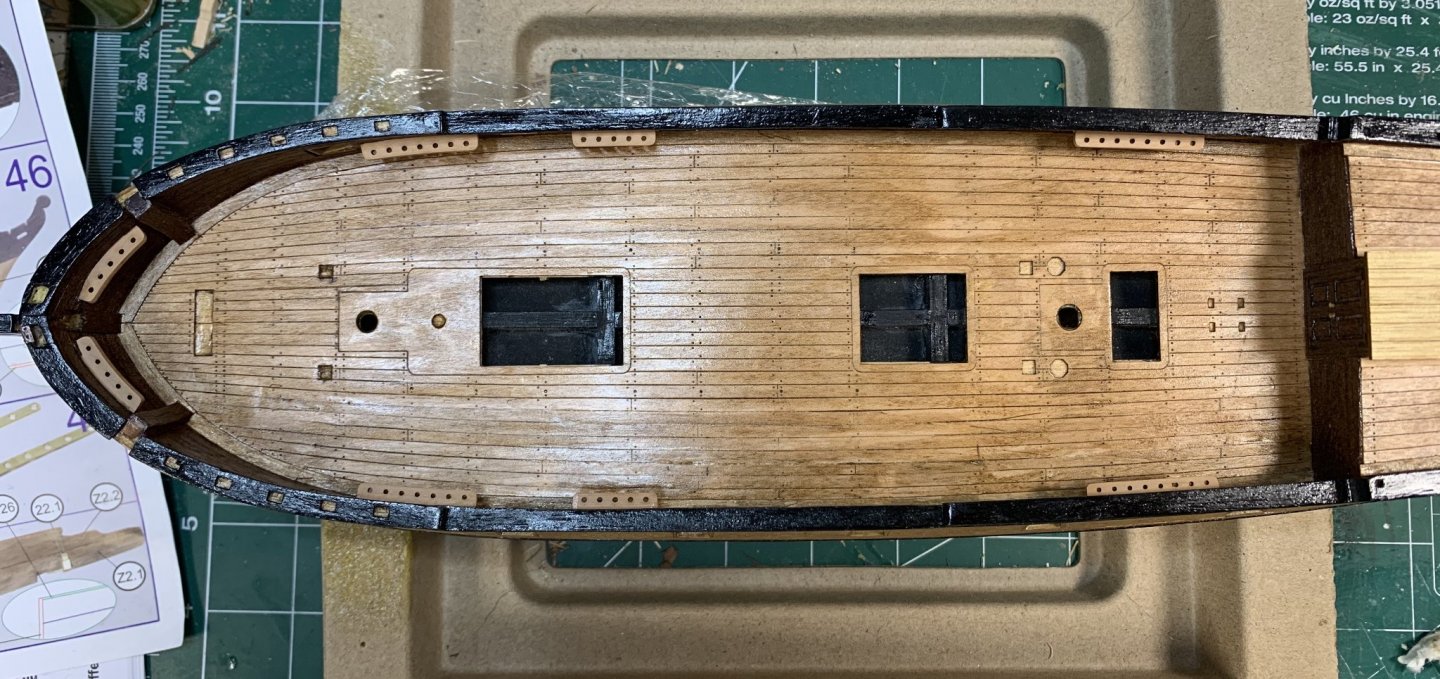

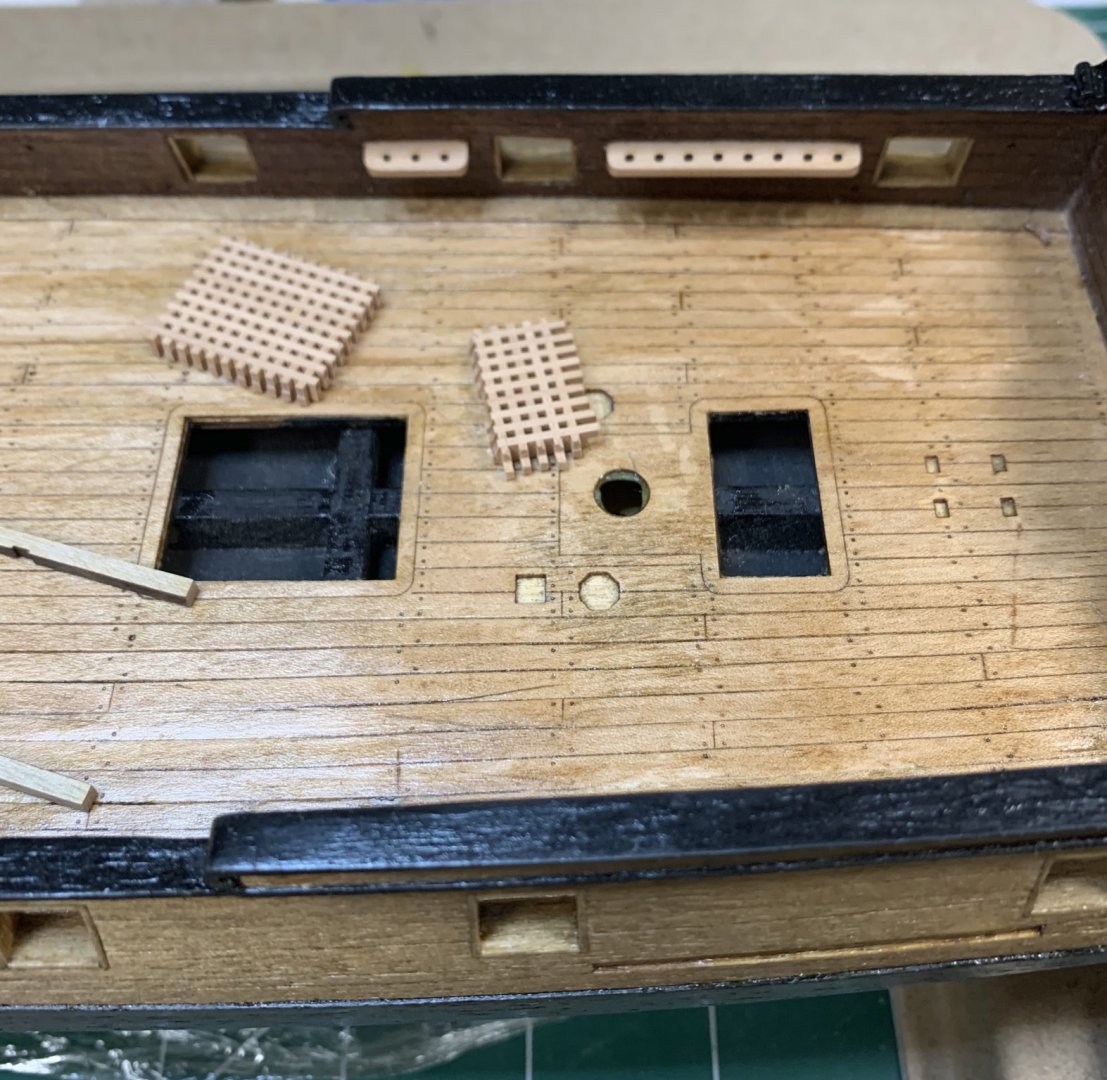
- 275 replies
-
- 4
-
-
- phoenix
- master korabel
- (and 1 more)