-
Posts
794 -
Joined
-
Last visited
Content Type
Profiles
Forums
Gallery
Events
Everything posted by moreplovac
-
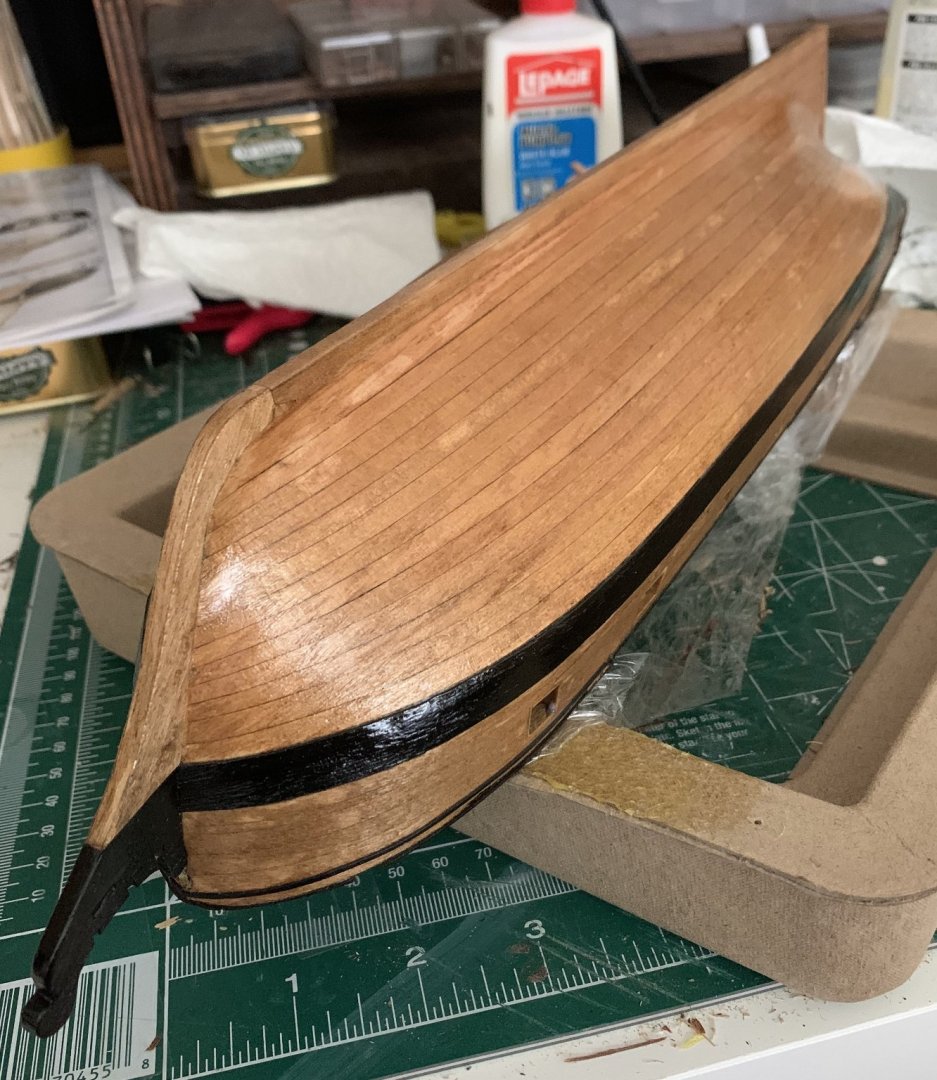
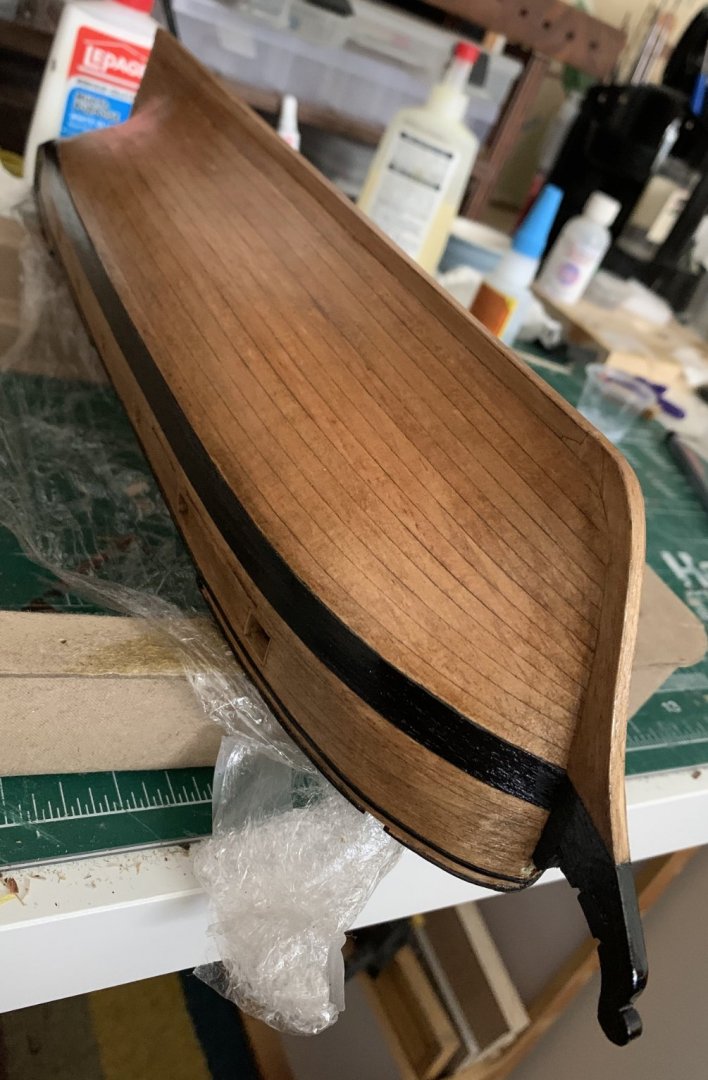
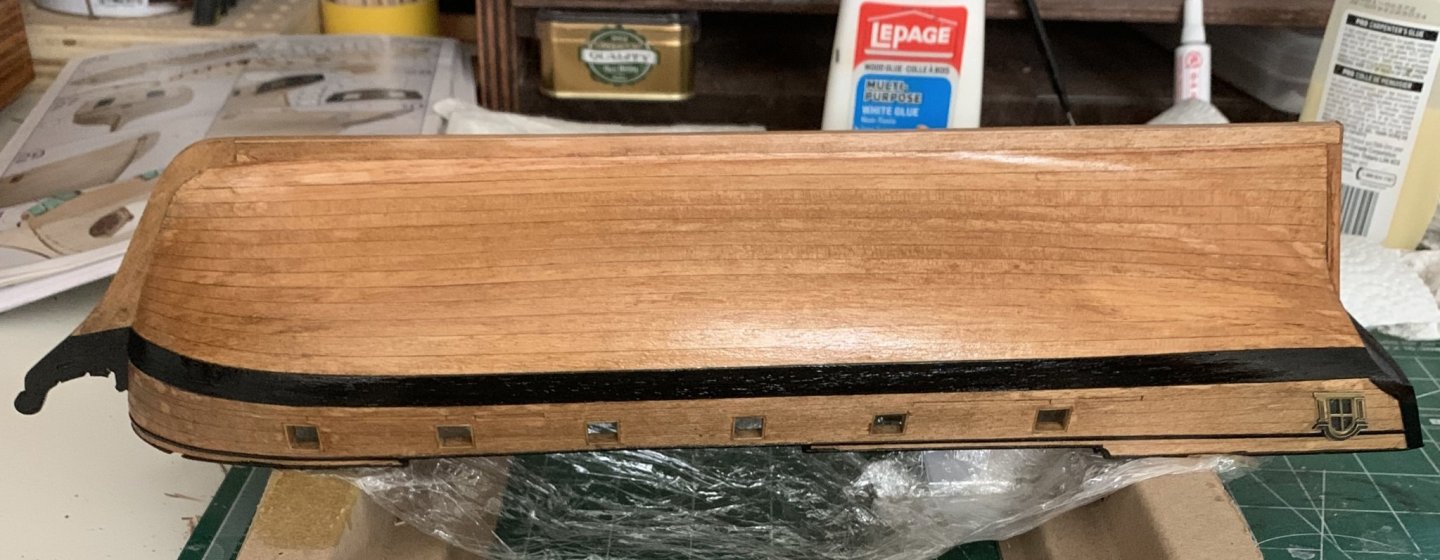
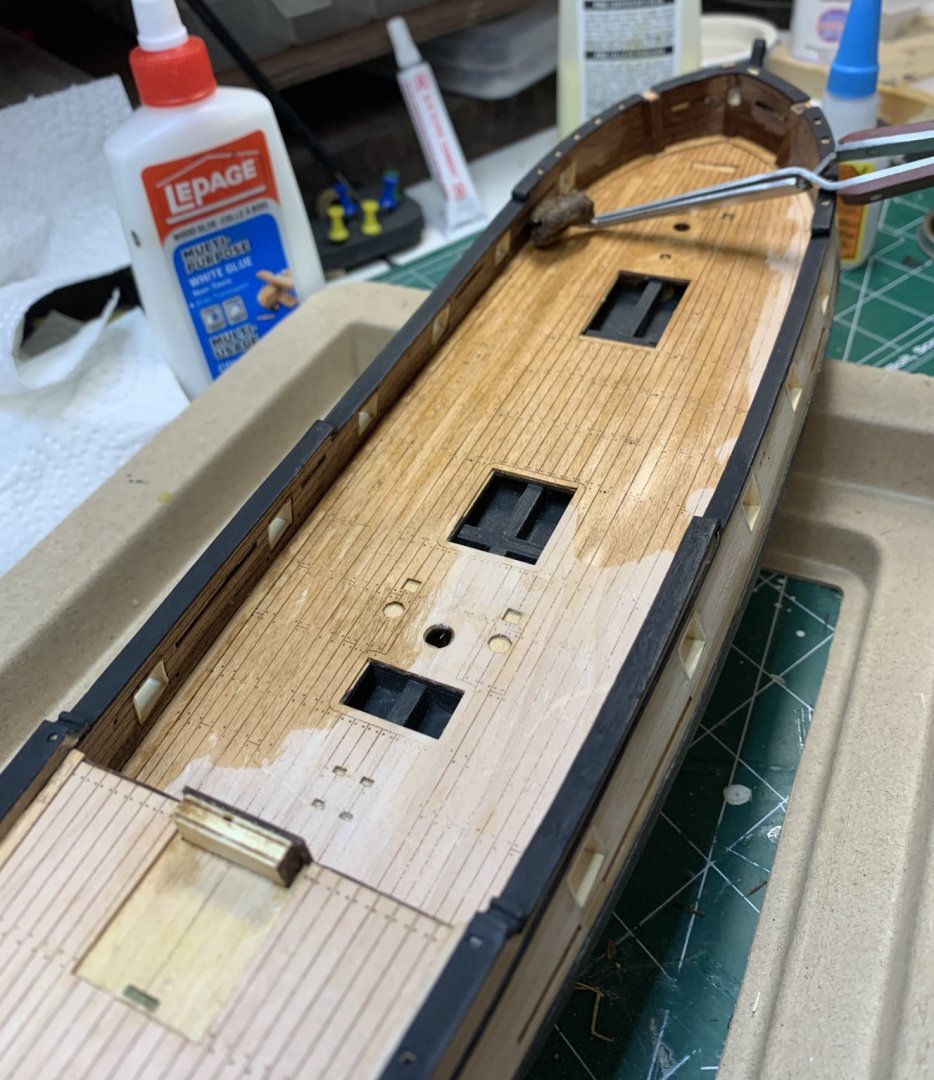
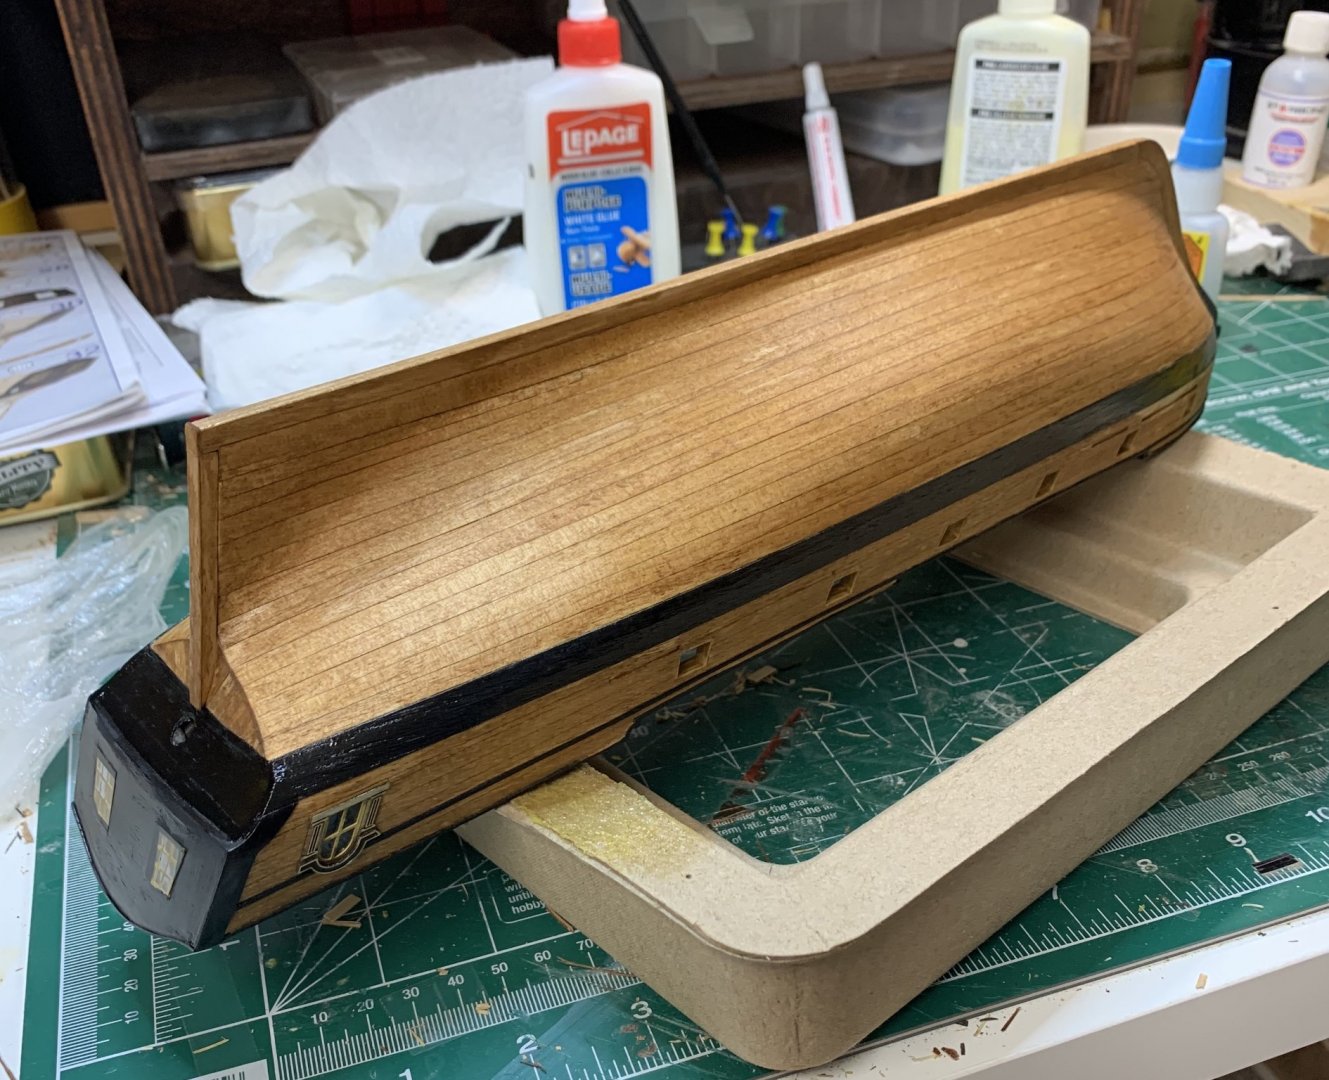
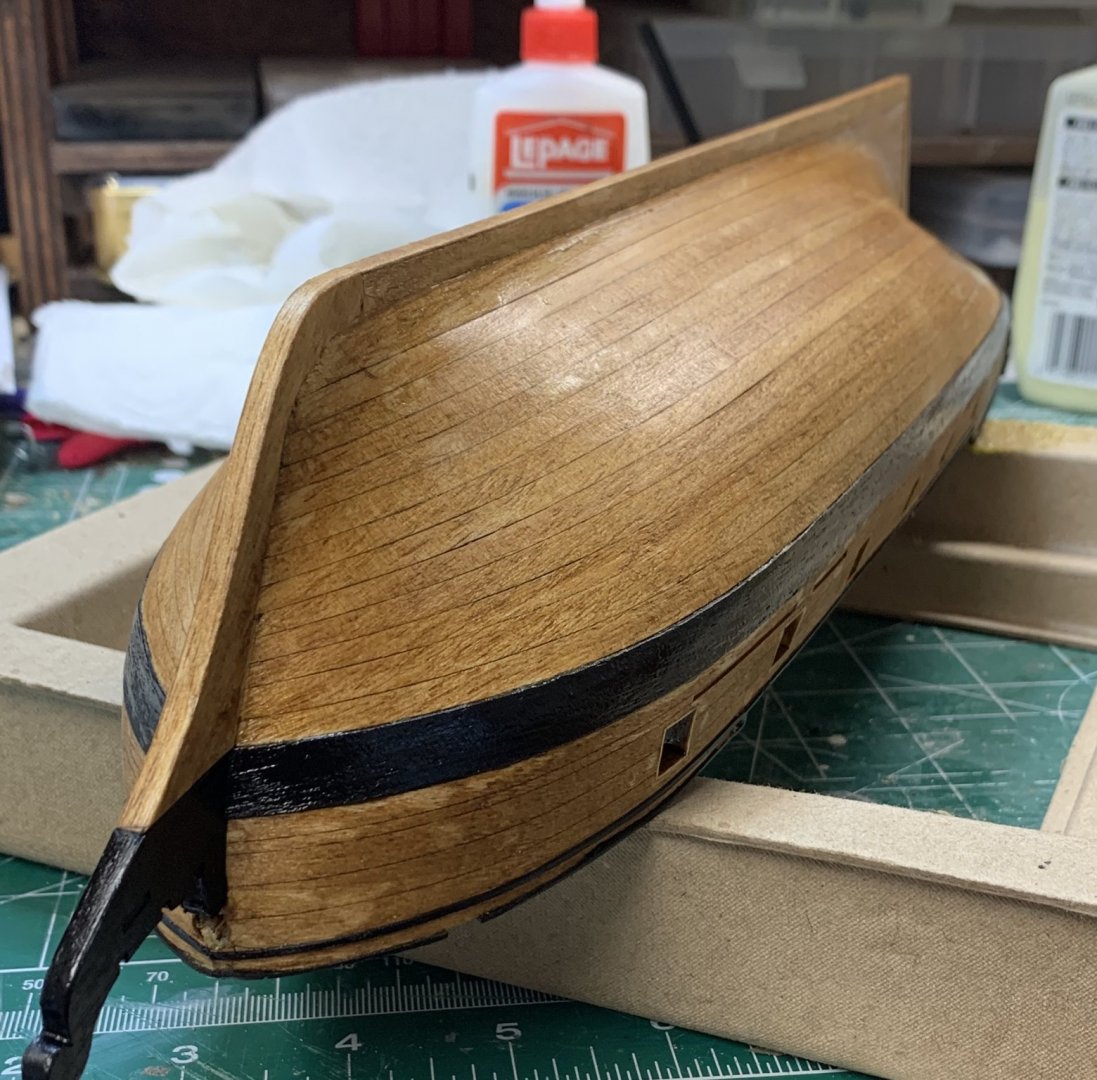
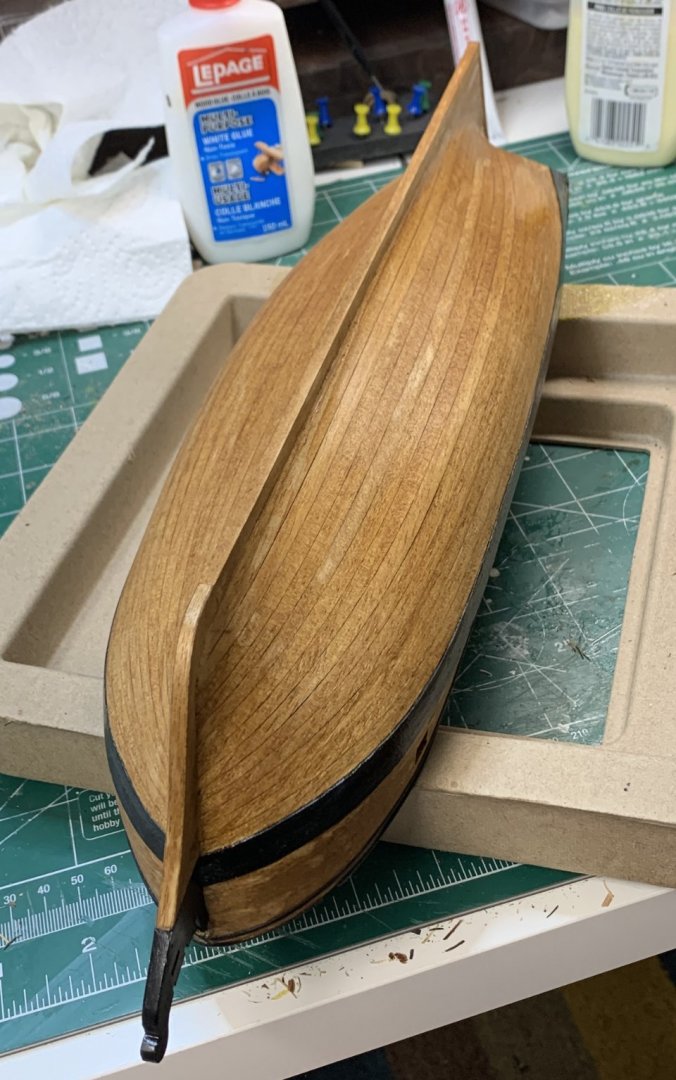
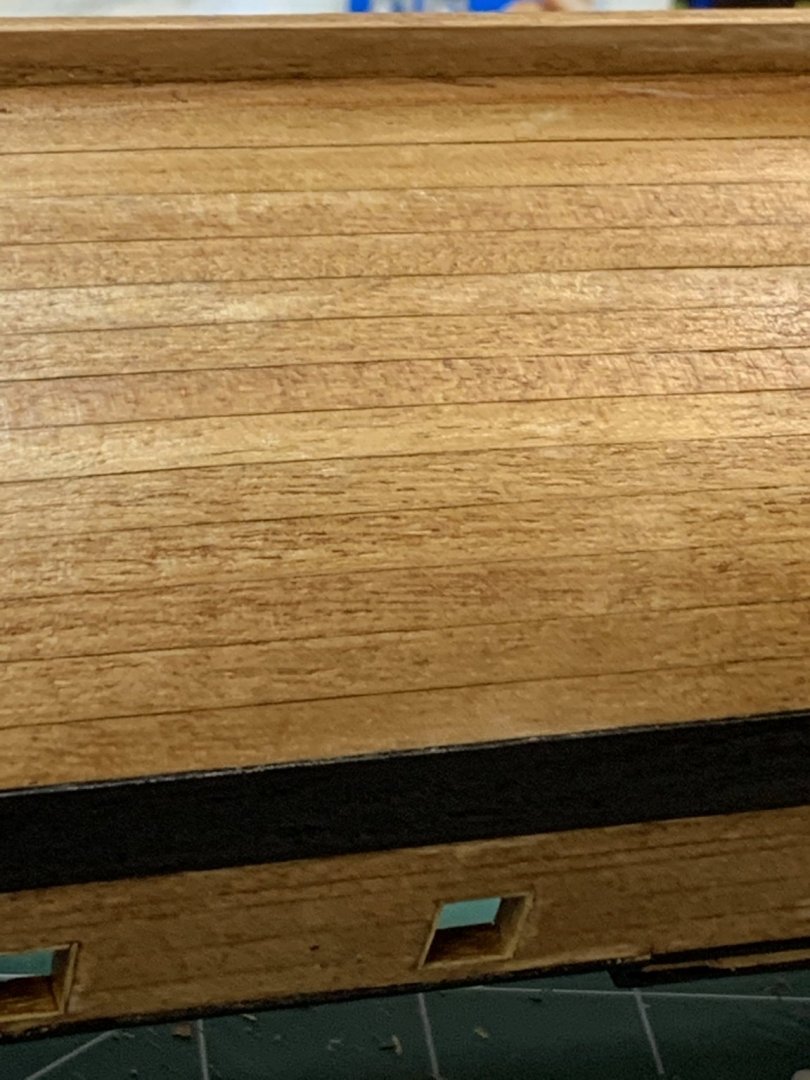
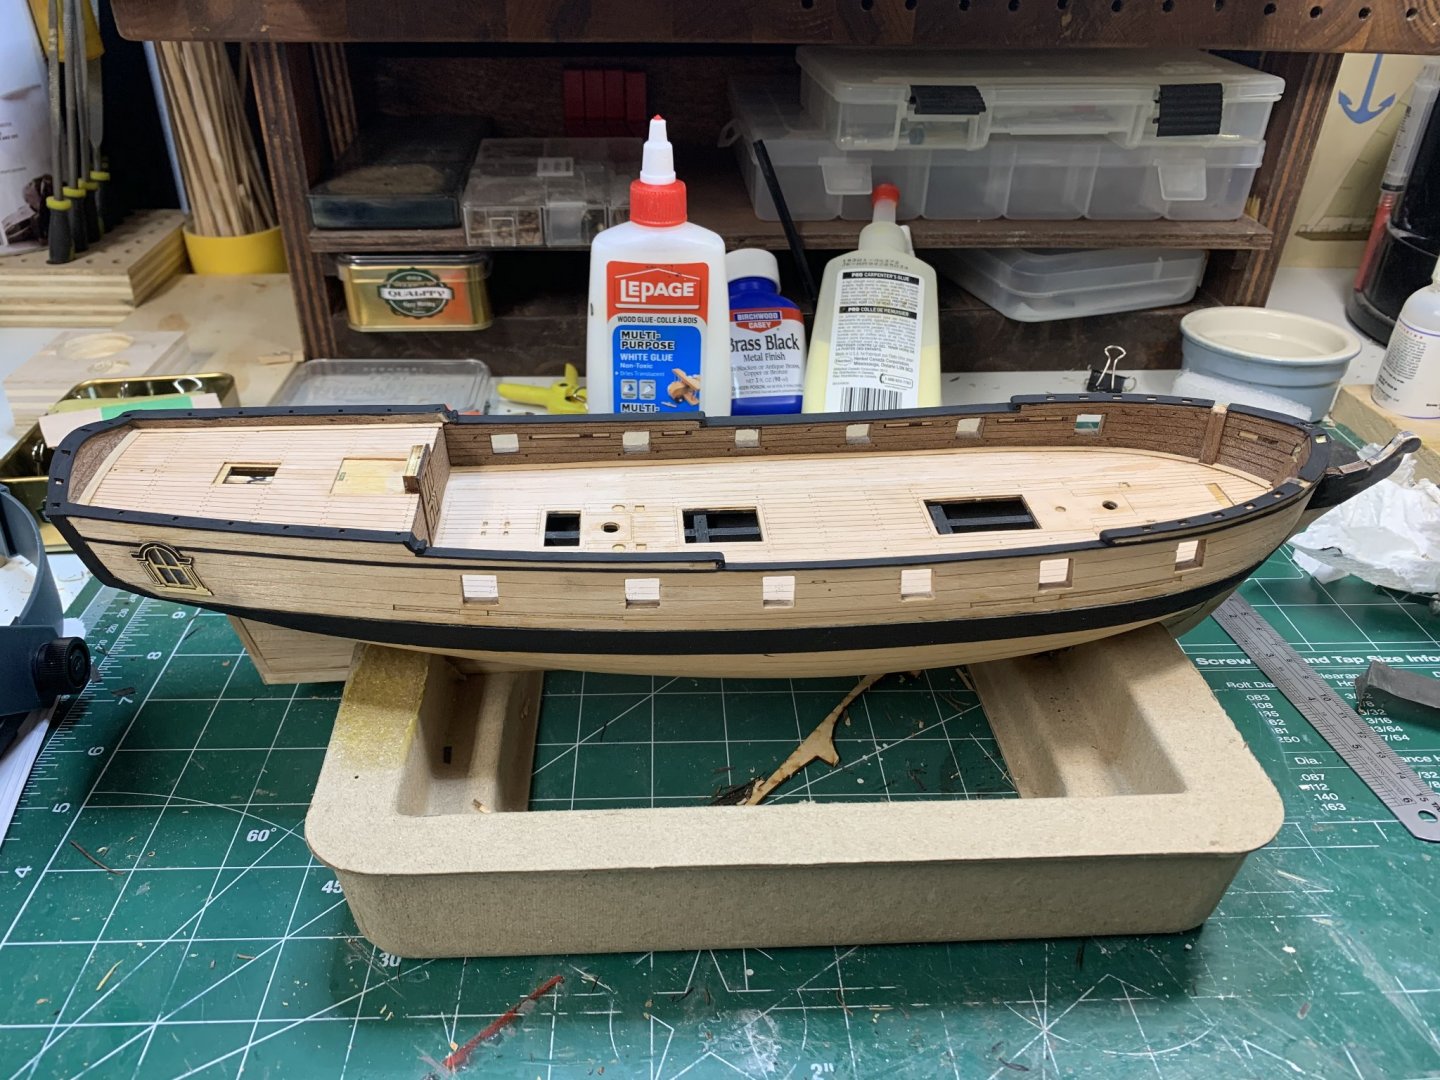
And the layer of a satin varnish applied to the whole ship... Leave it dry for a some time and will continue working on deck.. Happy modelling.
- 275 replies
-
- phoenix
- master korabel
-
(and 1 more)
Tagged with:
-
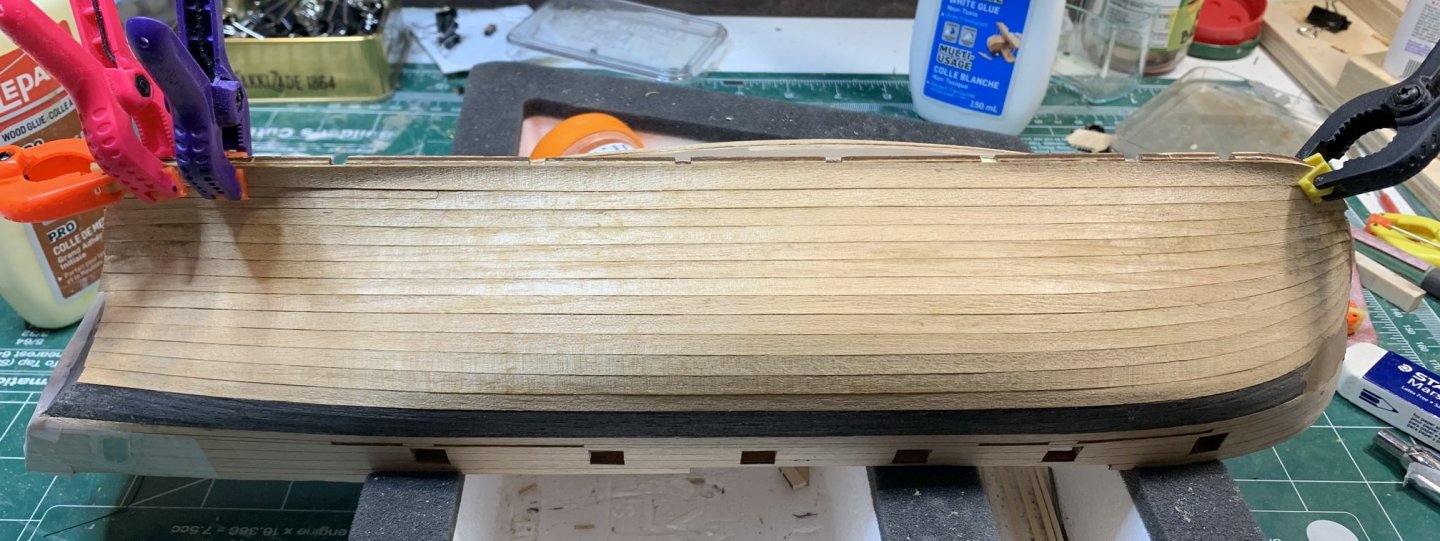
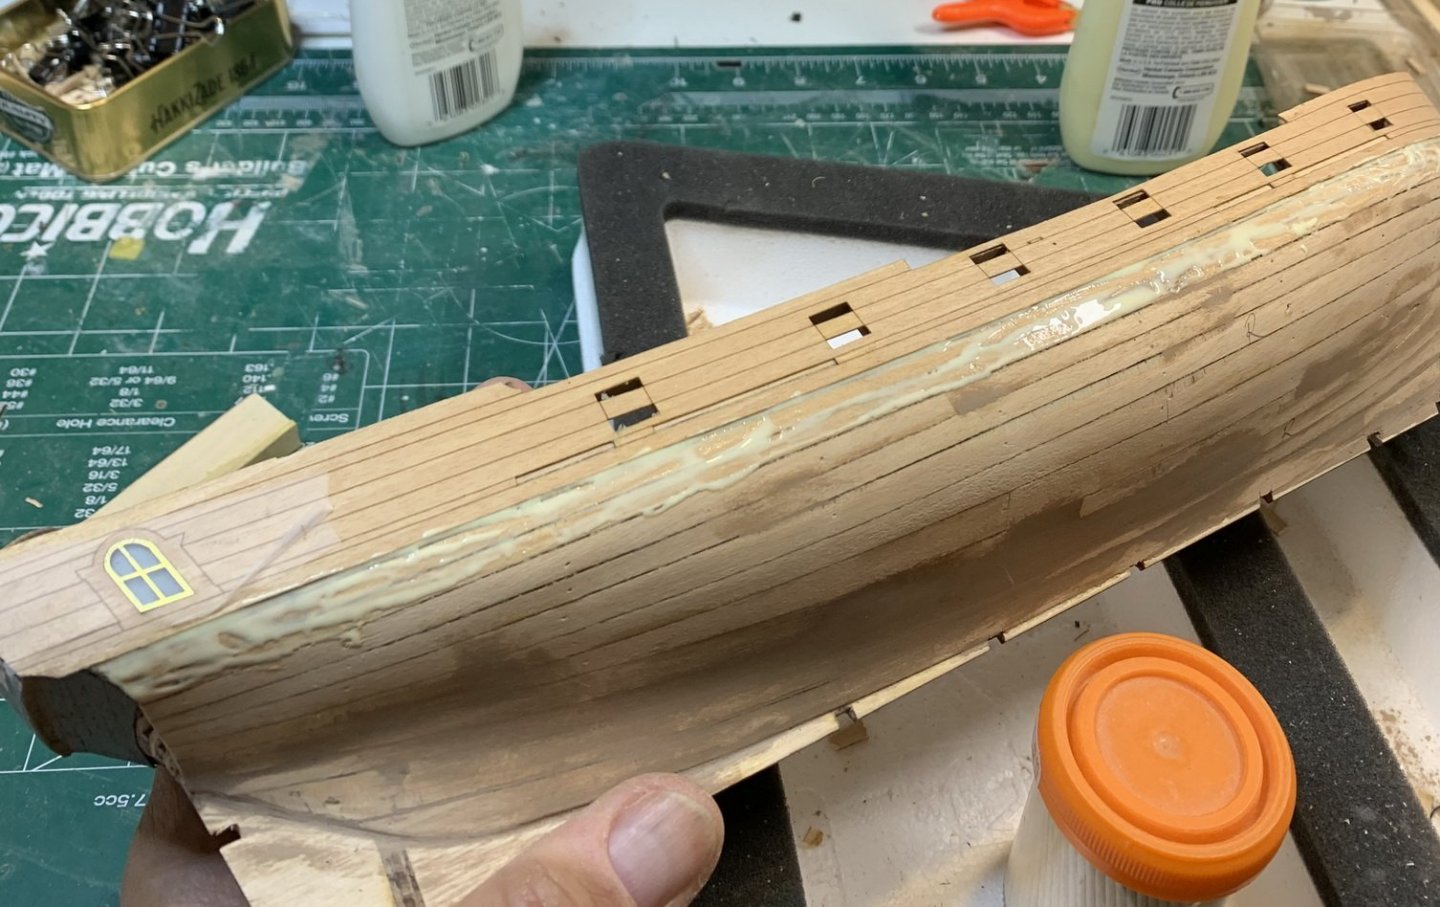
The first layer of golden oak was applied to the whole ship... light sanding and a layer of protection varnish is next... Happy modelling.
- 275 replies
-
- phoenix
- master korabel
-
(and 1 more)
Tagged with:
-
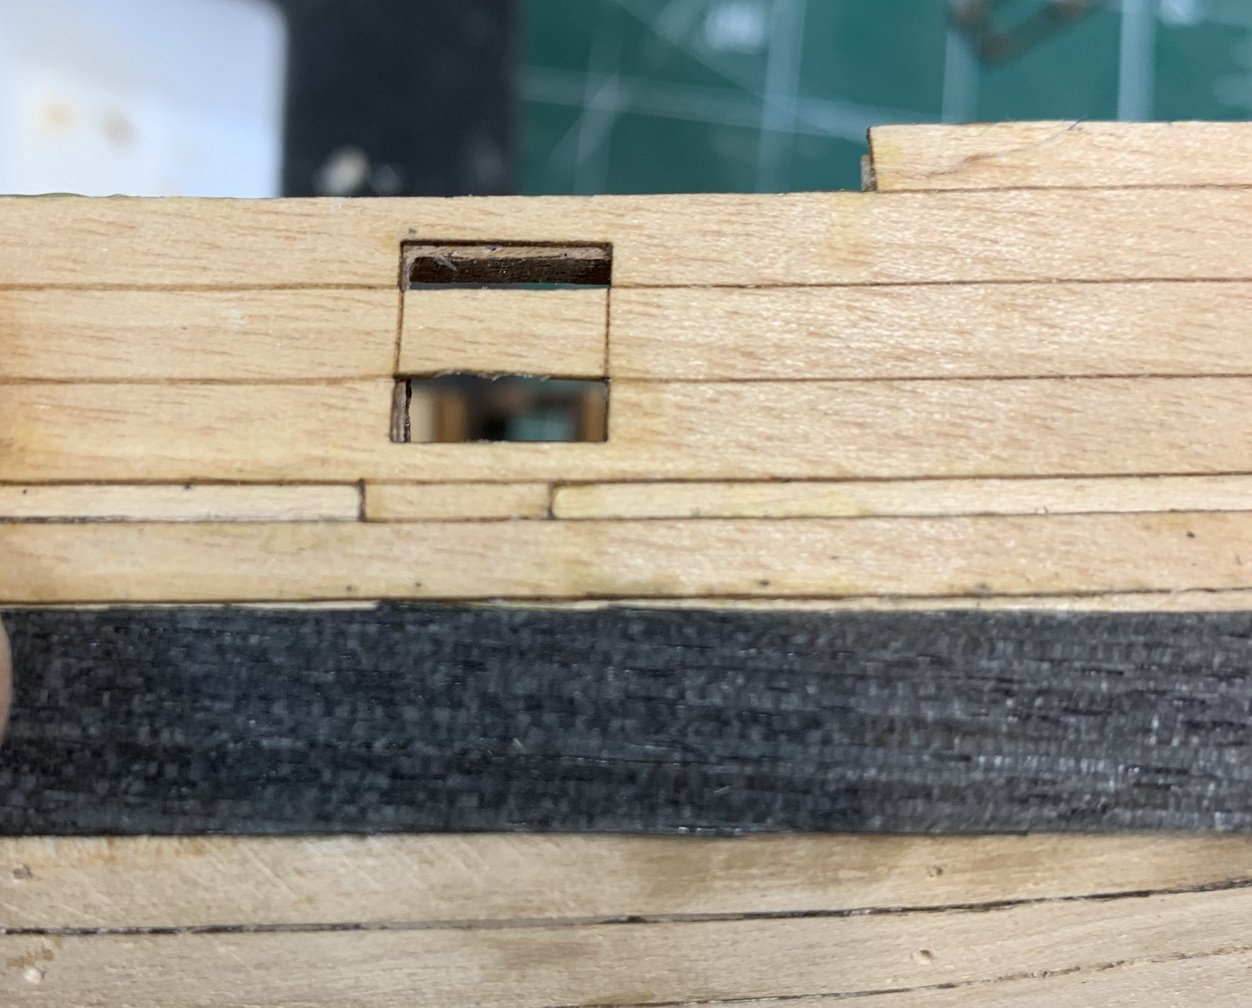
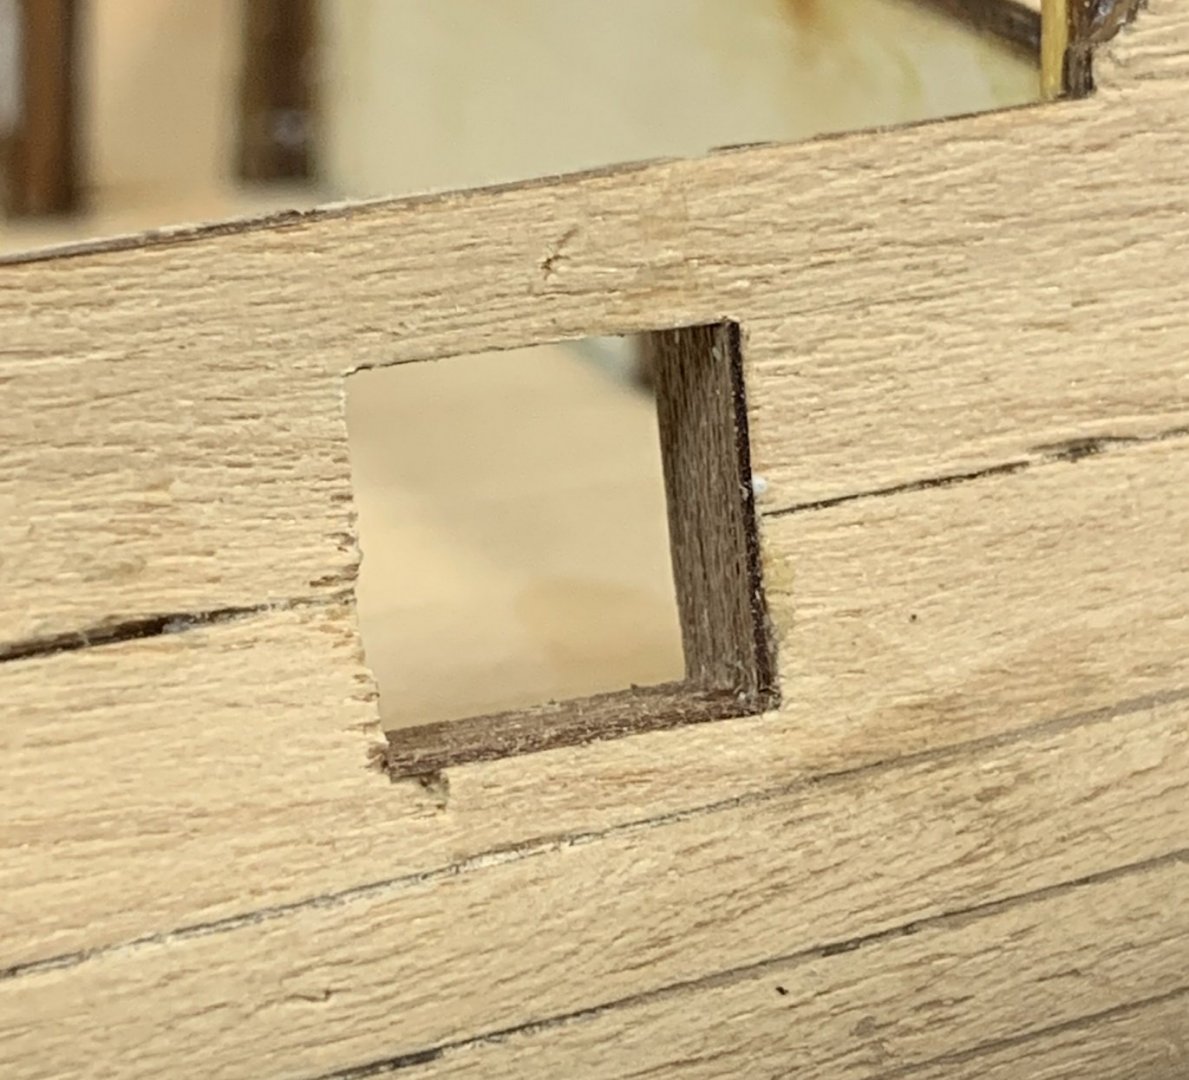
Work continues by installing jumbs around gun ports.. There are three wood pieces in the kit for this purpose but i would use a different one that is a bit more wider so it allow more precise sanding and fitting... Lets start then... Measuring, cutting with a guillotine, glue, sand... A bit of a sanding after all... Happy modelling...
- 275 replies
-
- phoenix
- master korabel
-
(and 1 more)
Tagged with:
-
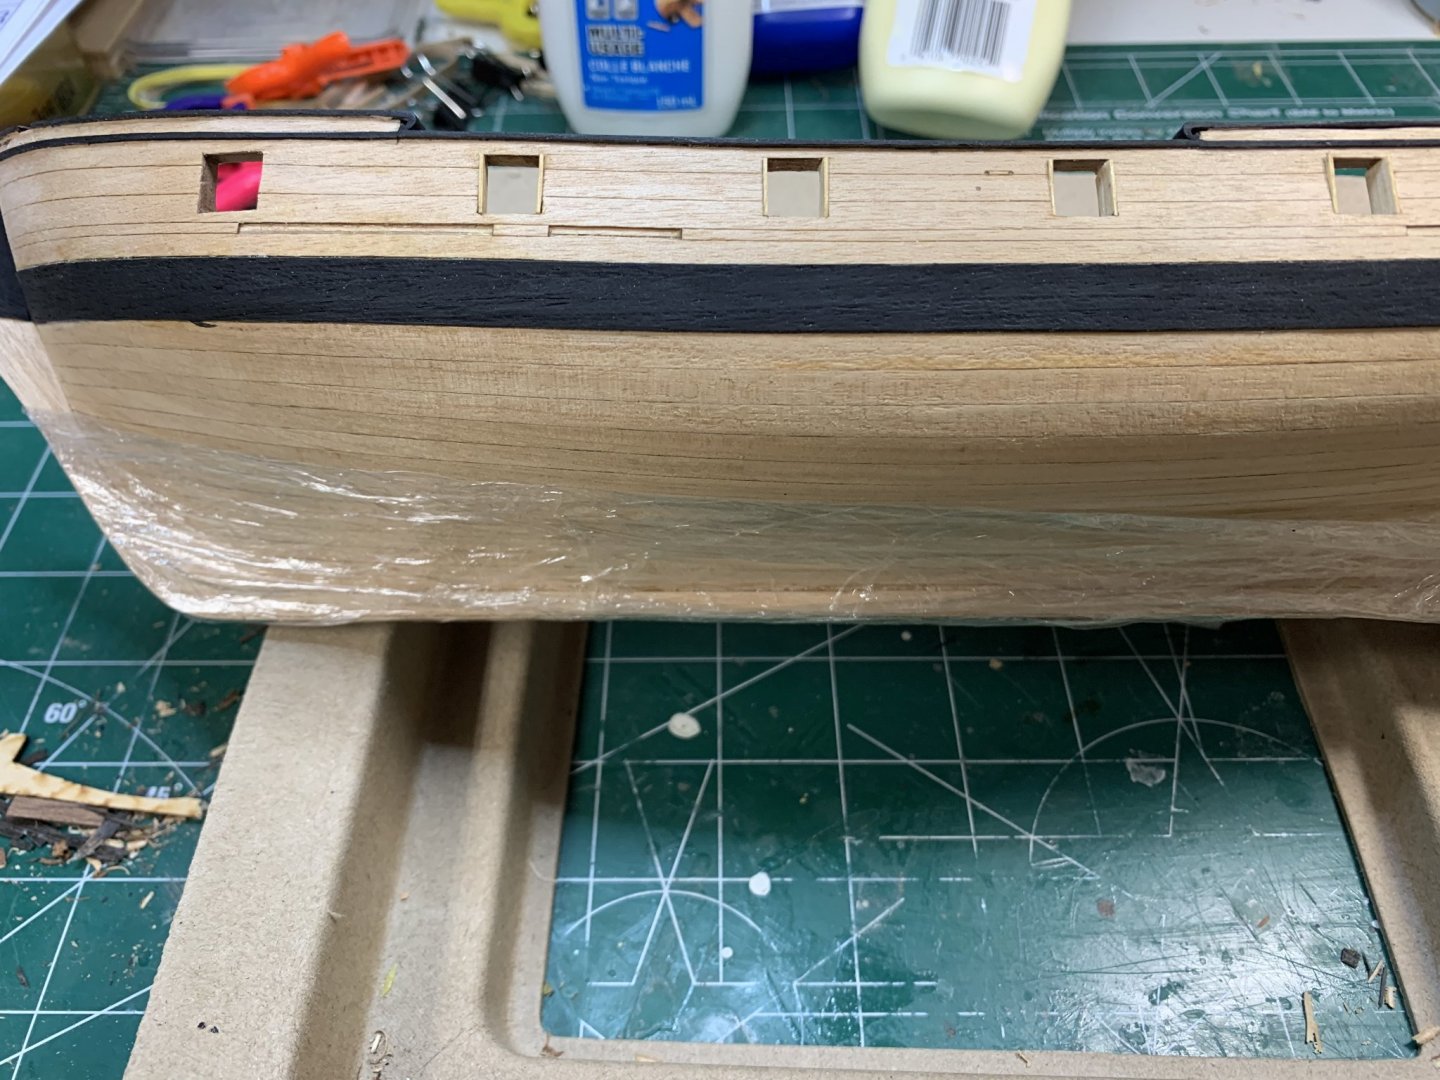
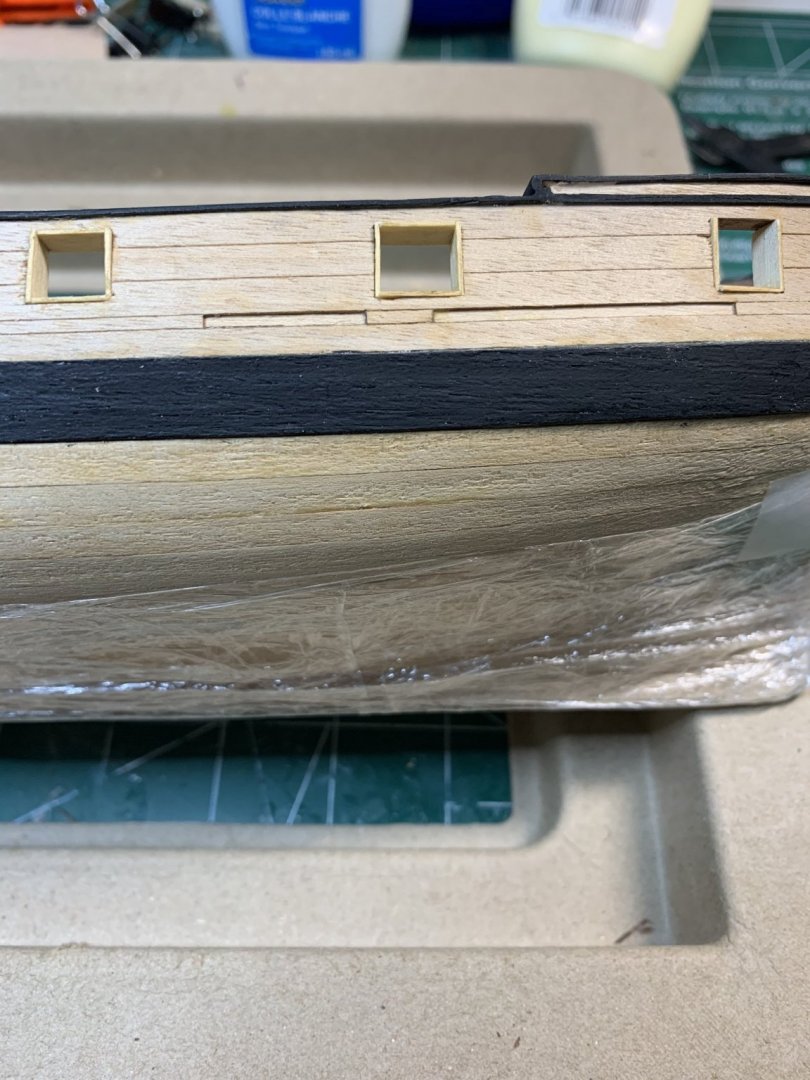
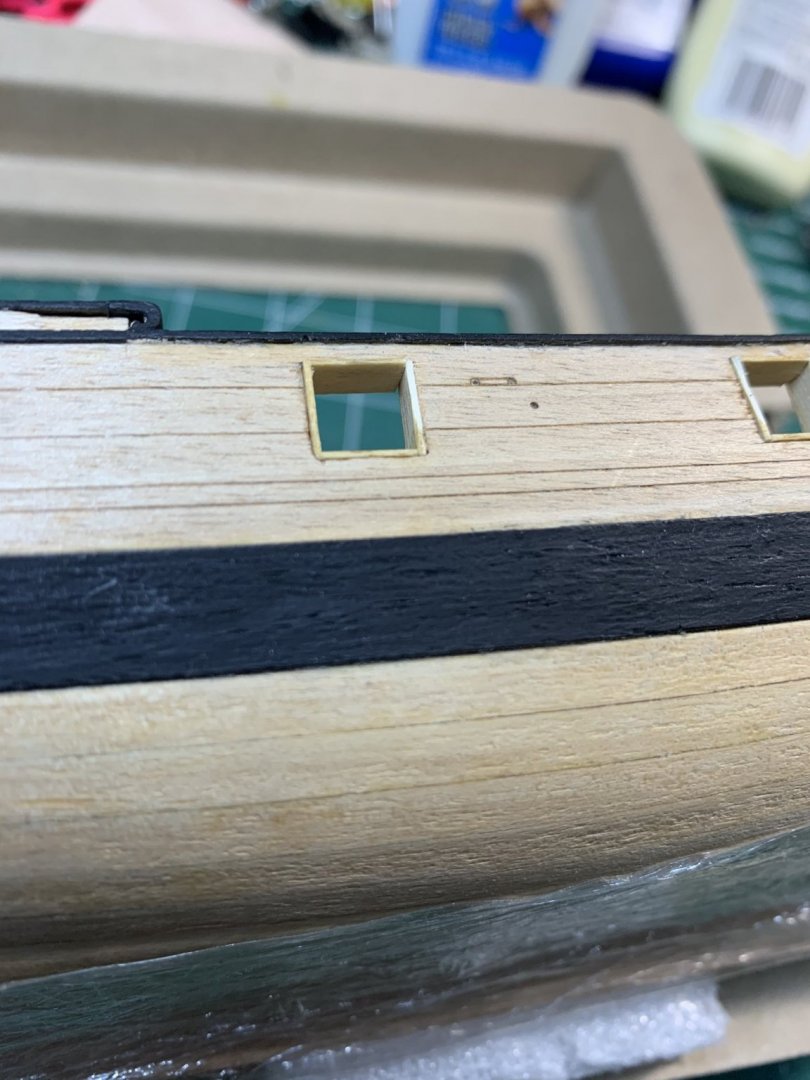
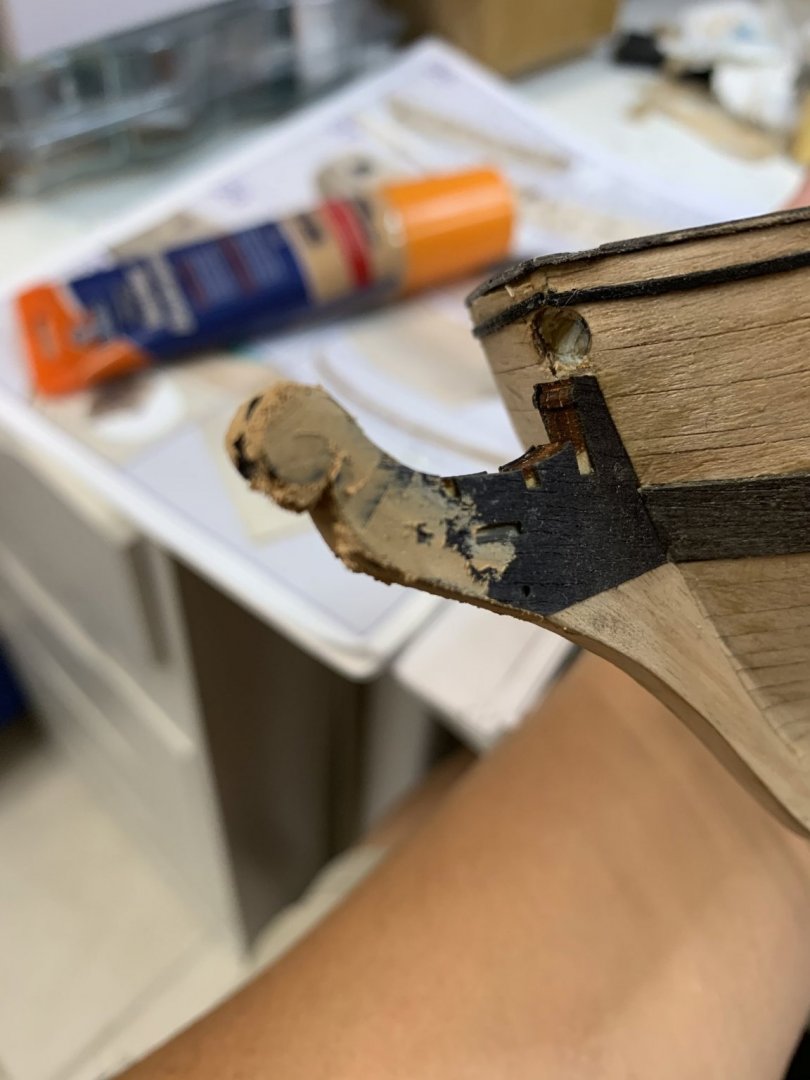
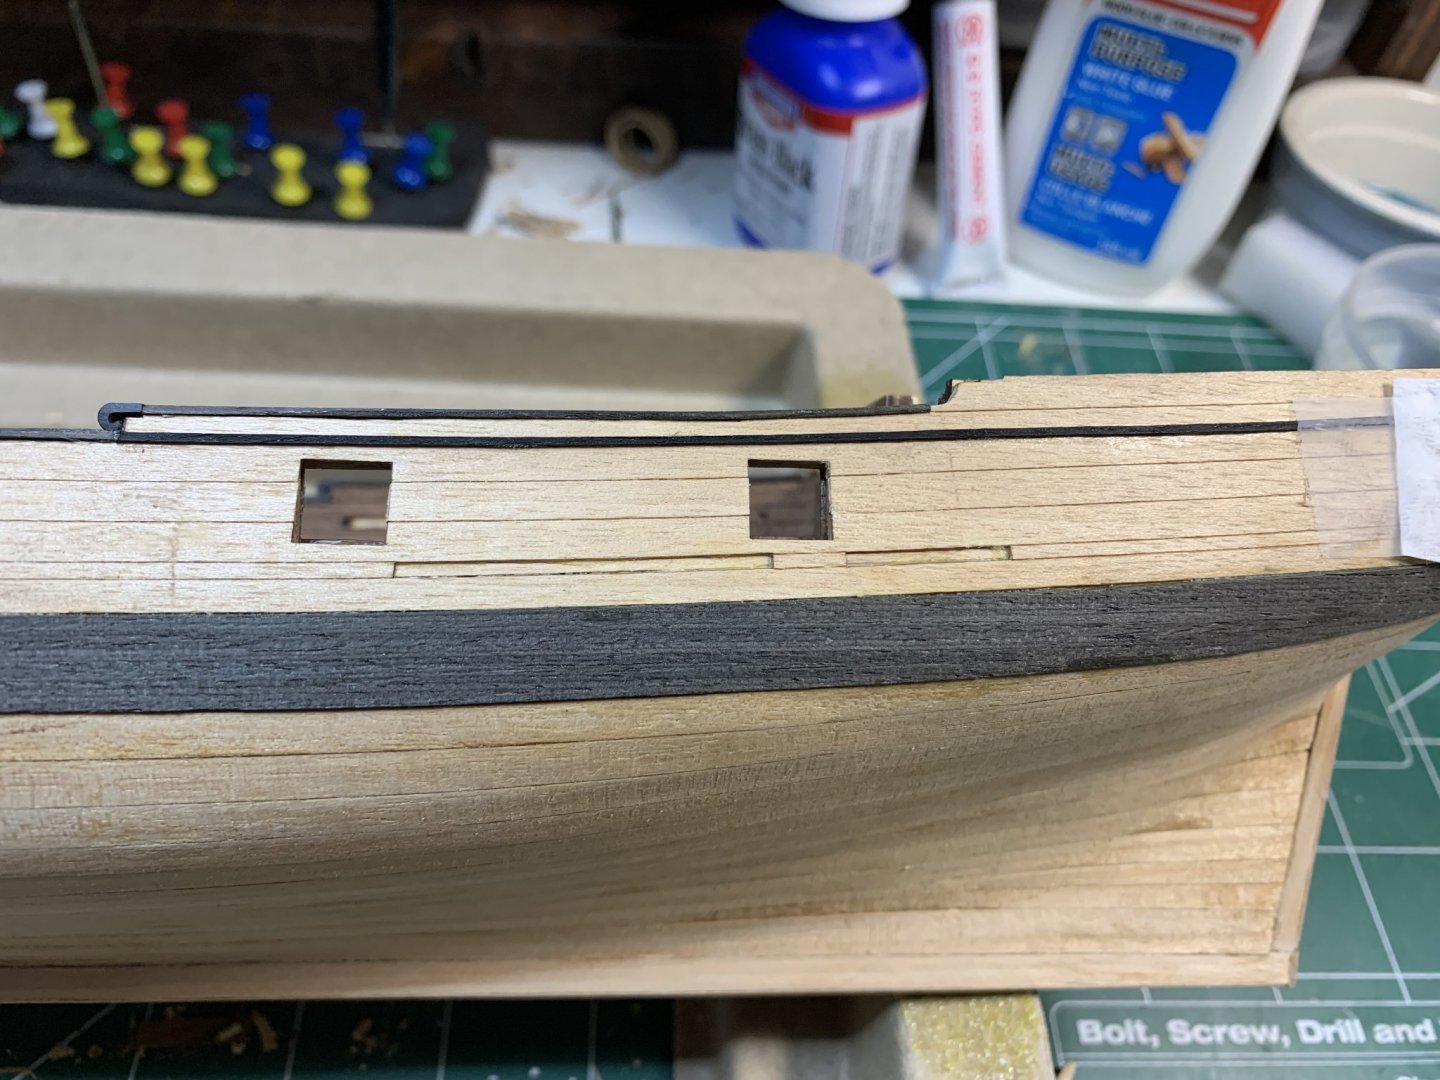
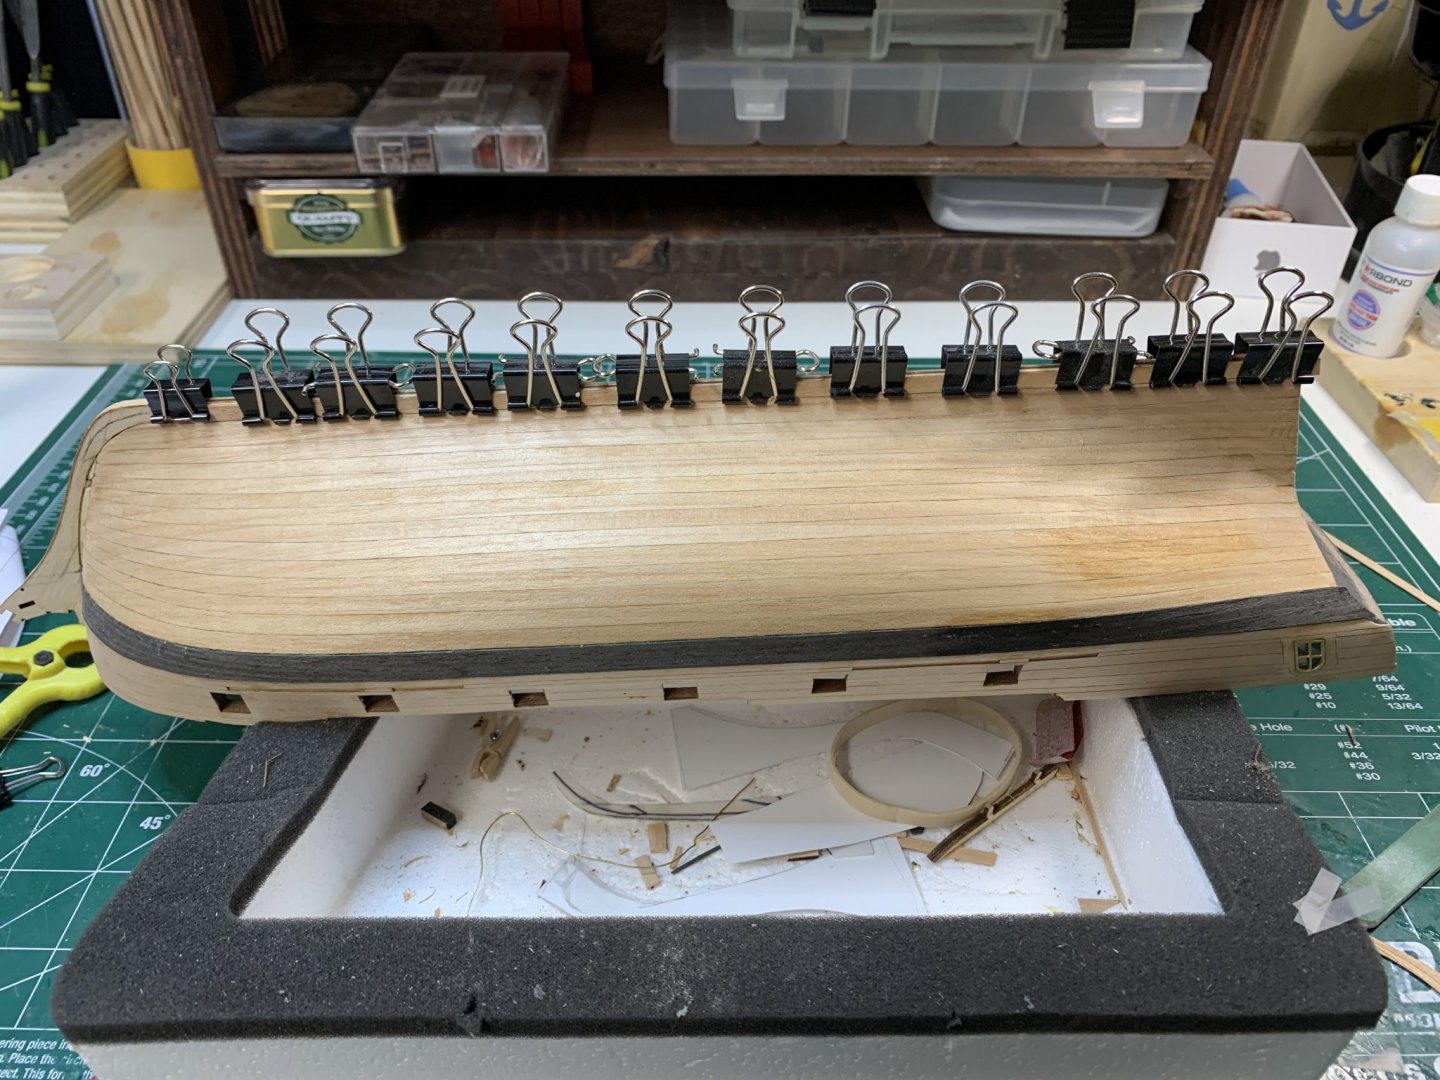
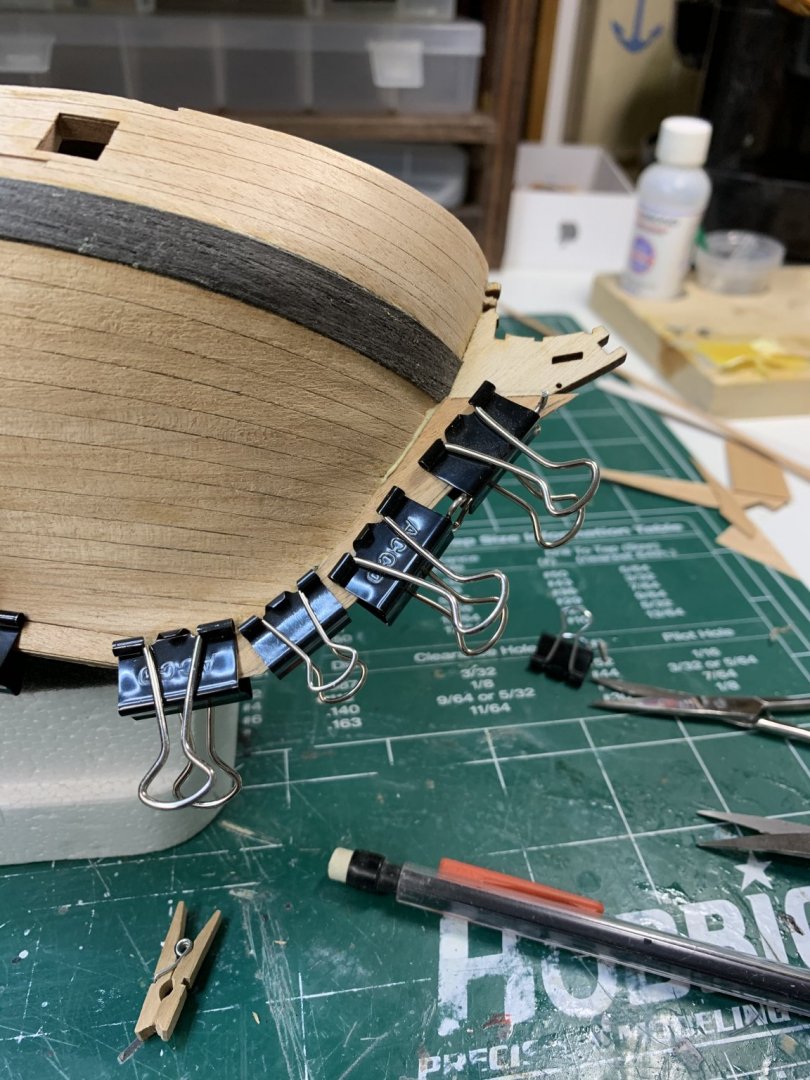
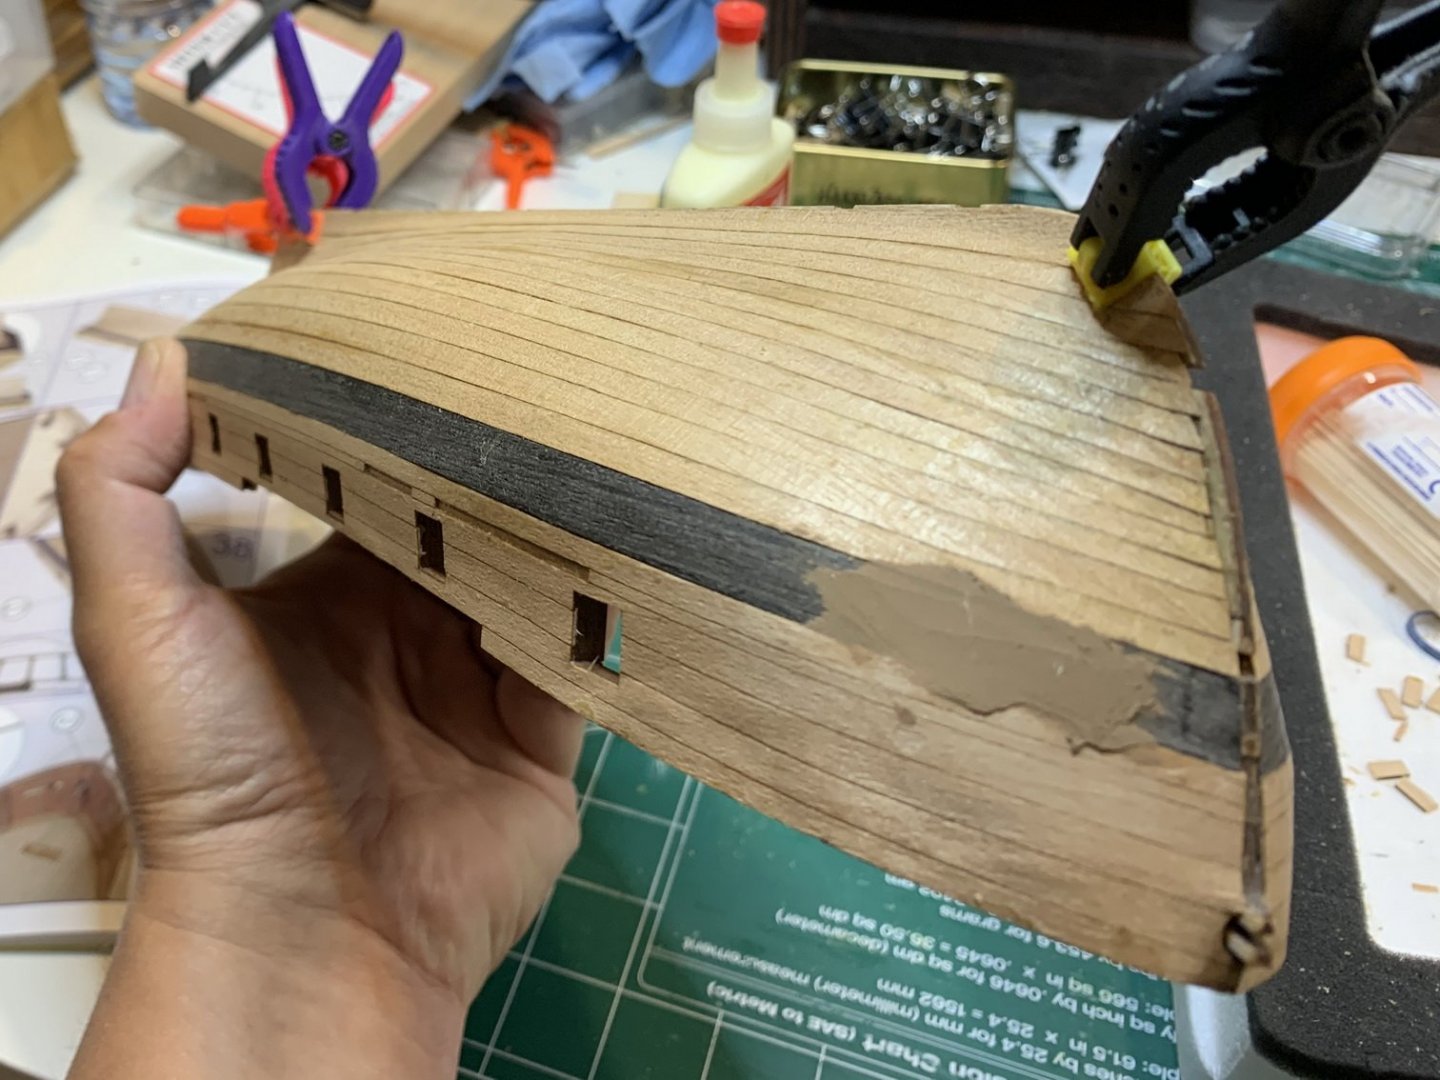
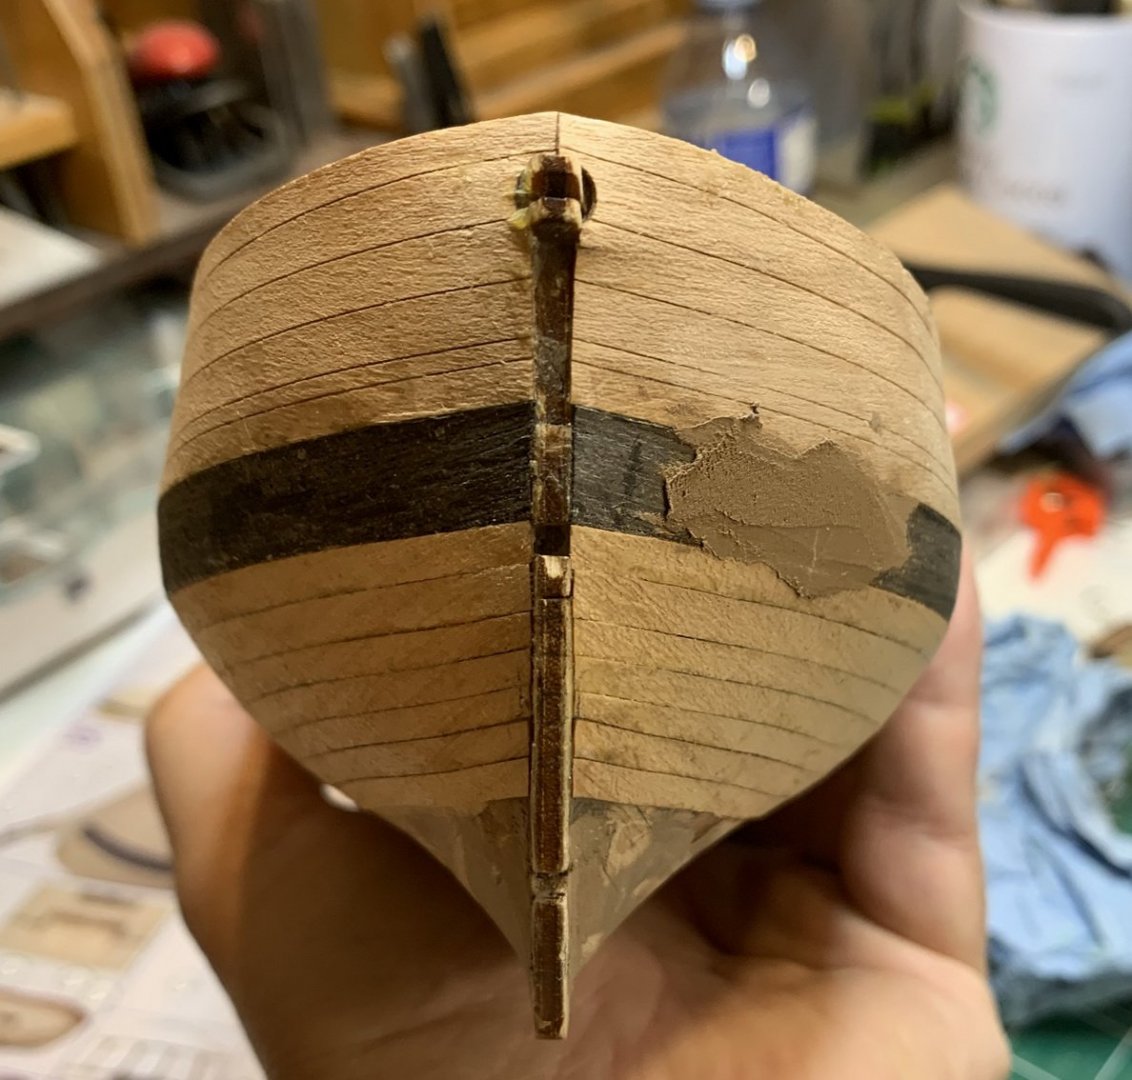
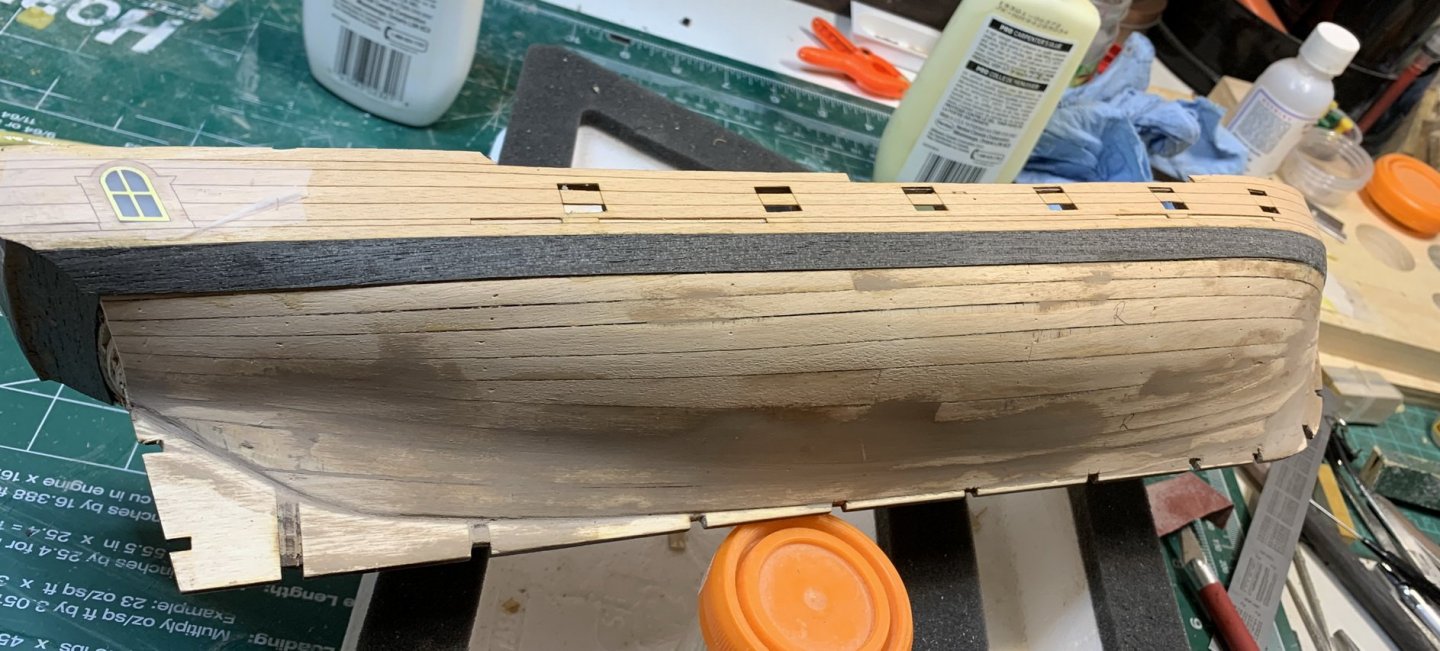
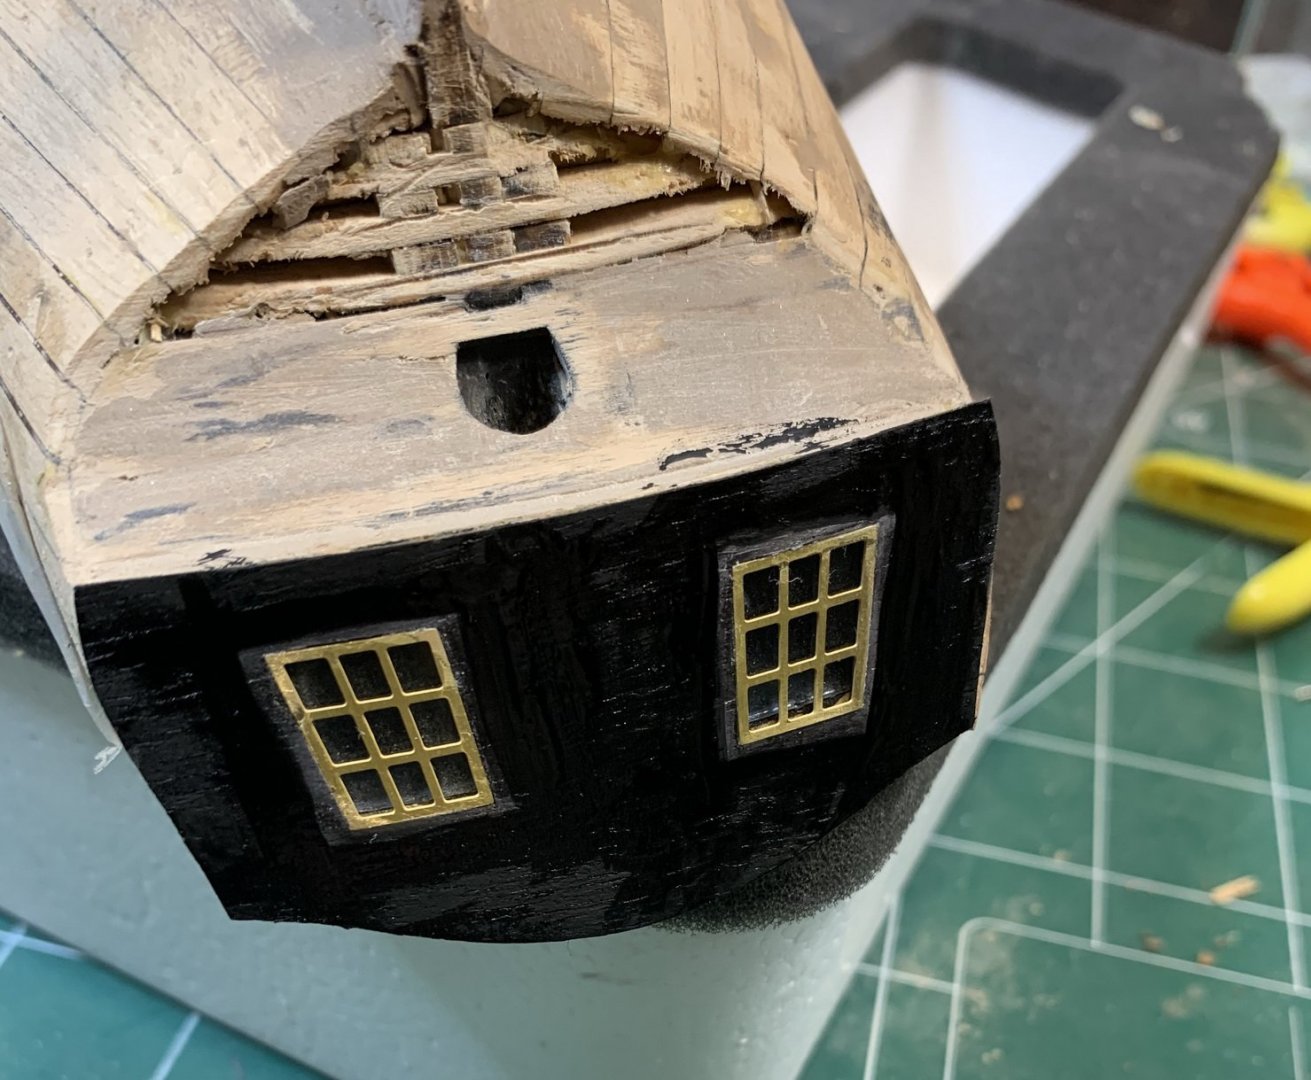
A little bit of a filling is required to make sure all edge lines are as smooth as possible. Here is a need that gap between veneer and wood is filled with a putty and sanded.. Completed. I use wood putty, Elmer's brand but any will do the trick. A bit of the same corrective surgery is needed around windows as well.. The wale veneer has a bit of a light black shade and it is different than the shade of the rest of black veneer so i decided to paint them in flat black.. Still researching for a decent airbrush-compressor combo (would appreciate feedback from you guys about suggested and good airbrush combo), the painting is done by hand.. There are few spots to correct after but overall satisfied with result. The cap rails were also painted in the same colour. Happy modelling.
- 275 replies
-
- phoenix
- master korabel
-
(and 1 more)
Tagged with:
-
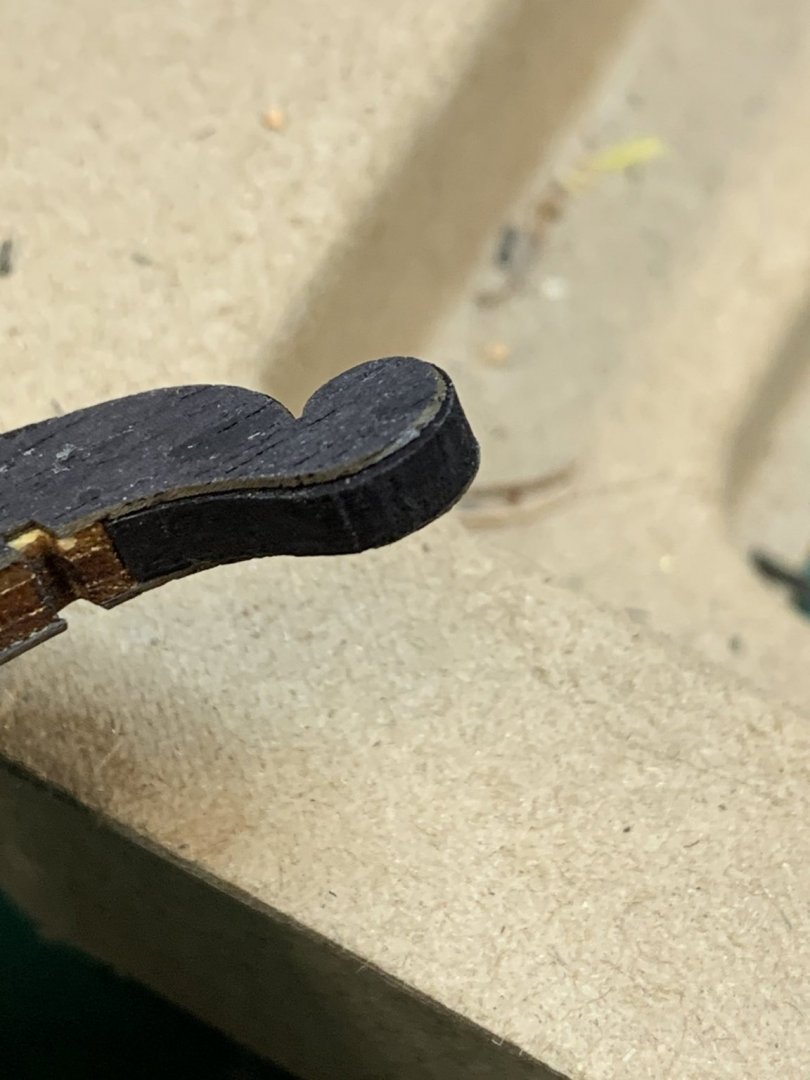
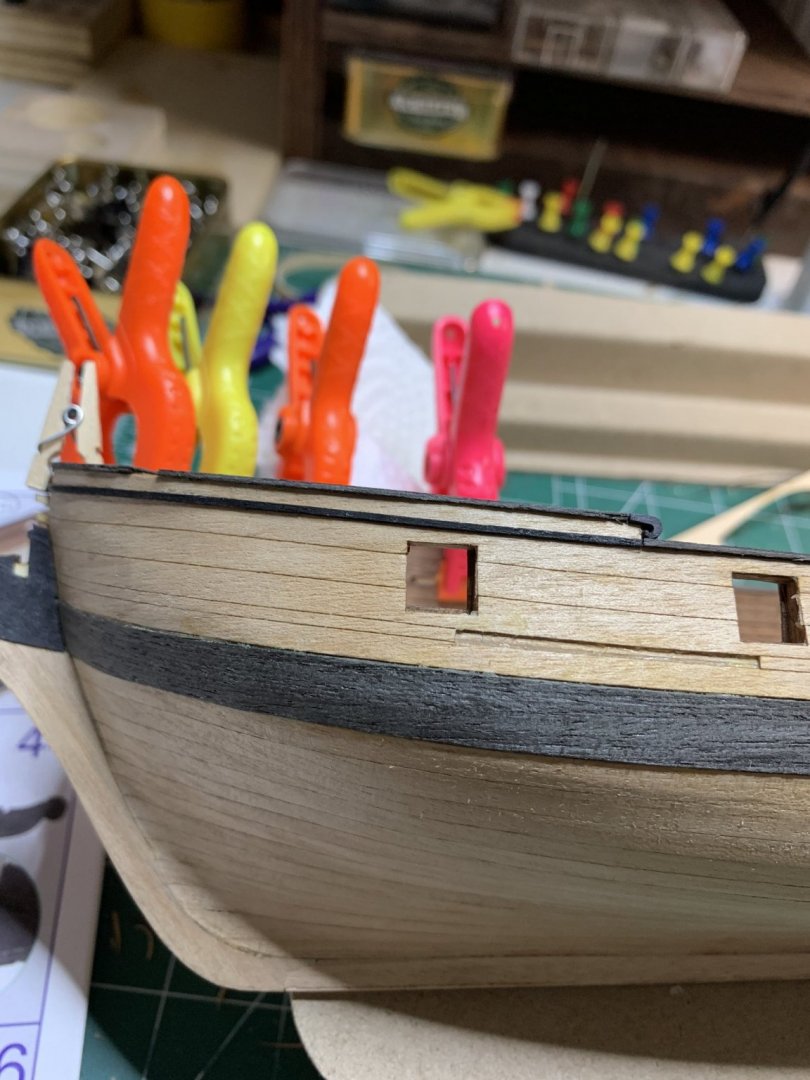
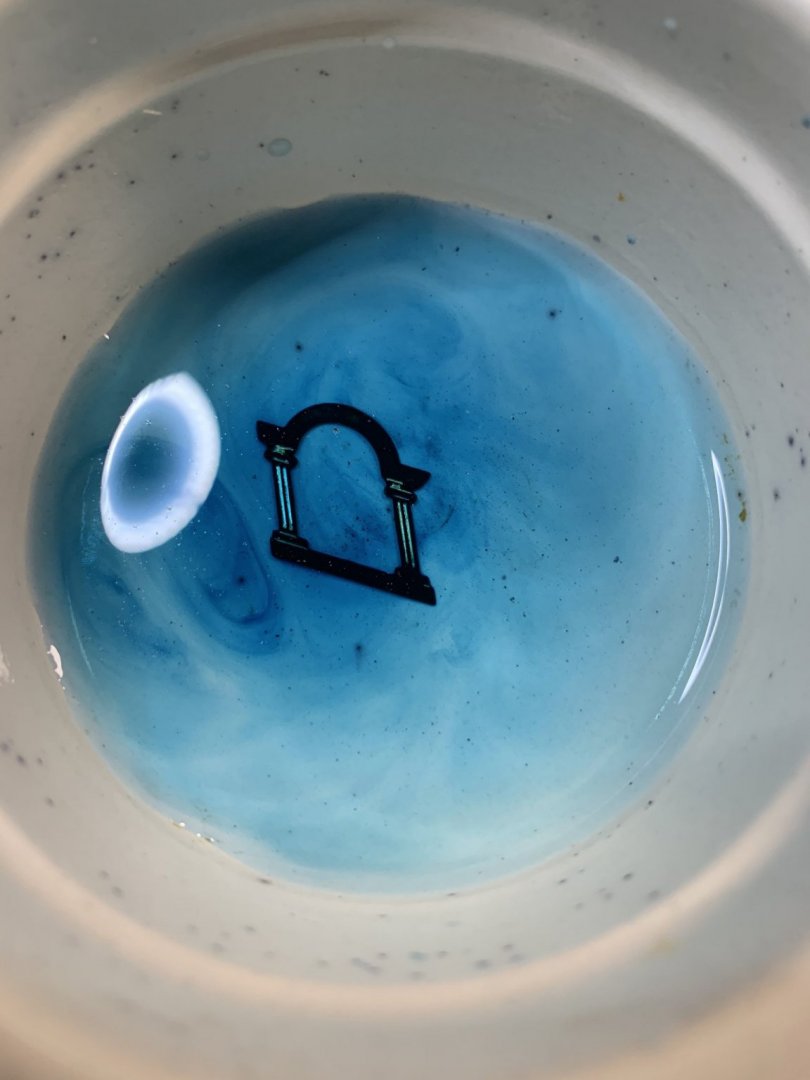
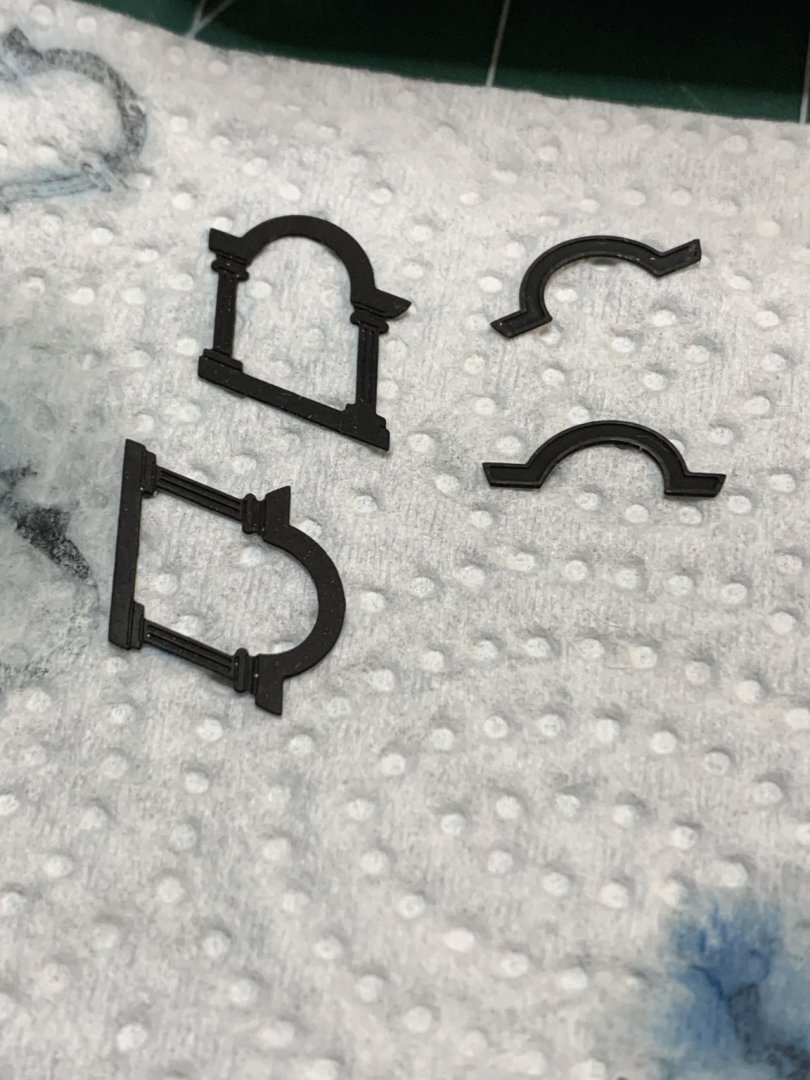
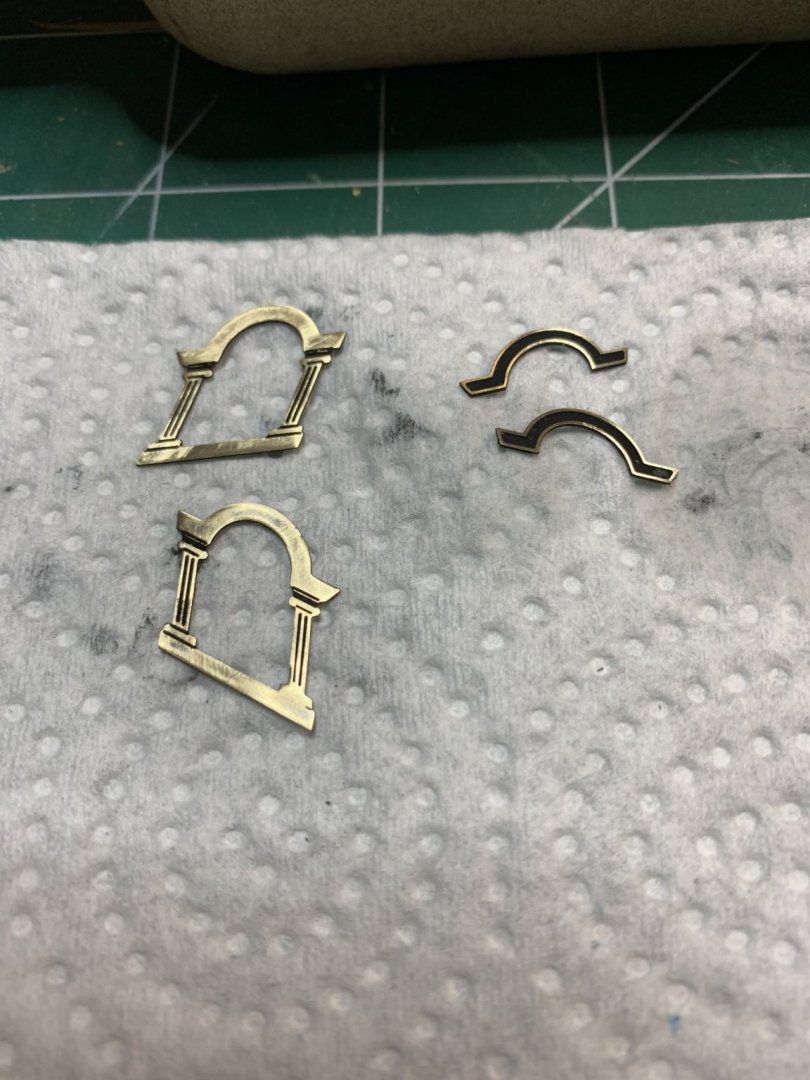
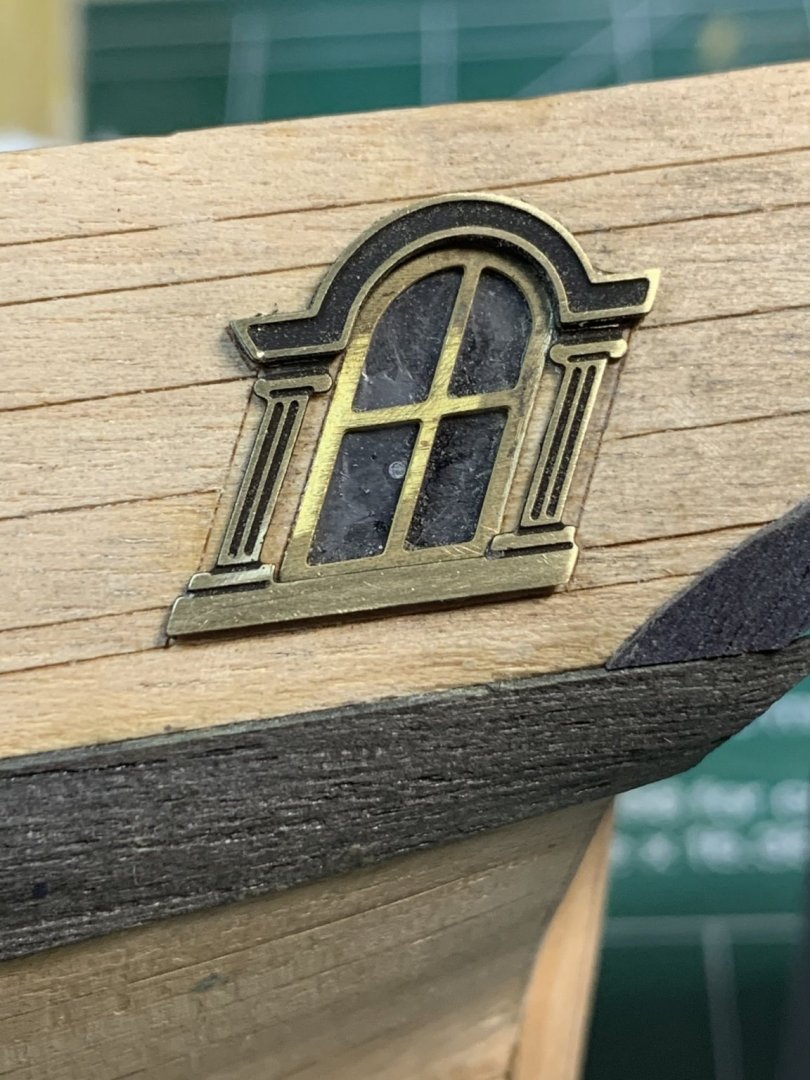
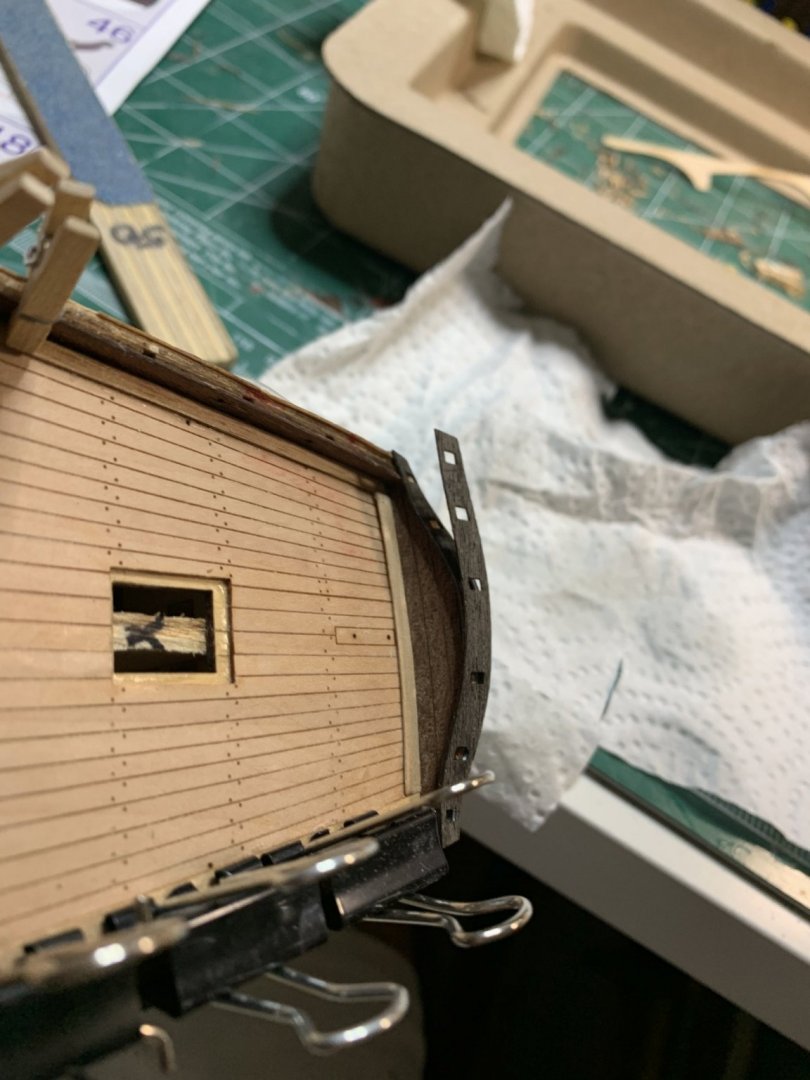
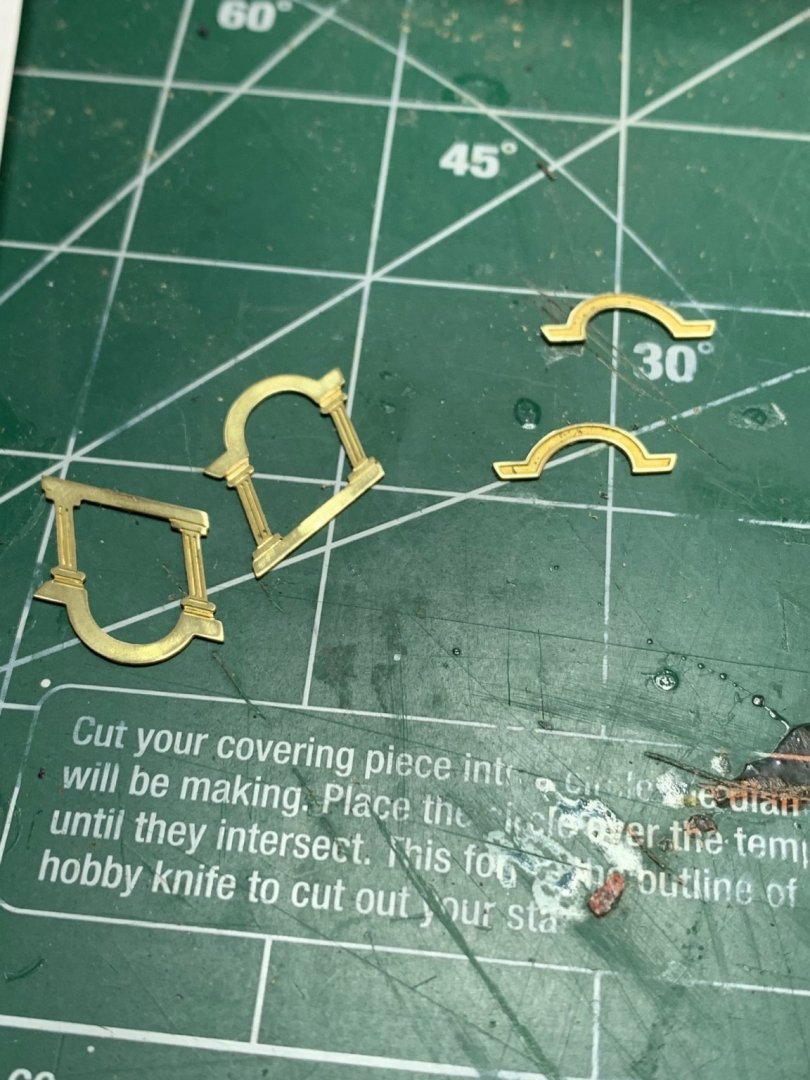
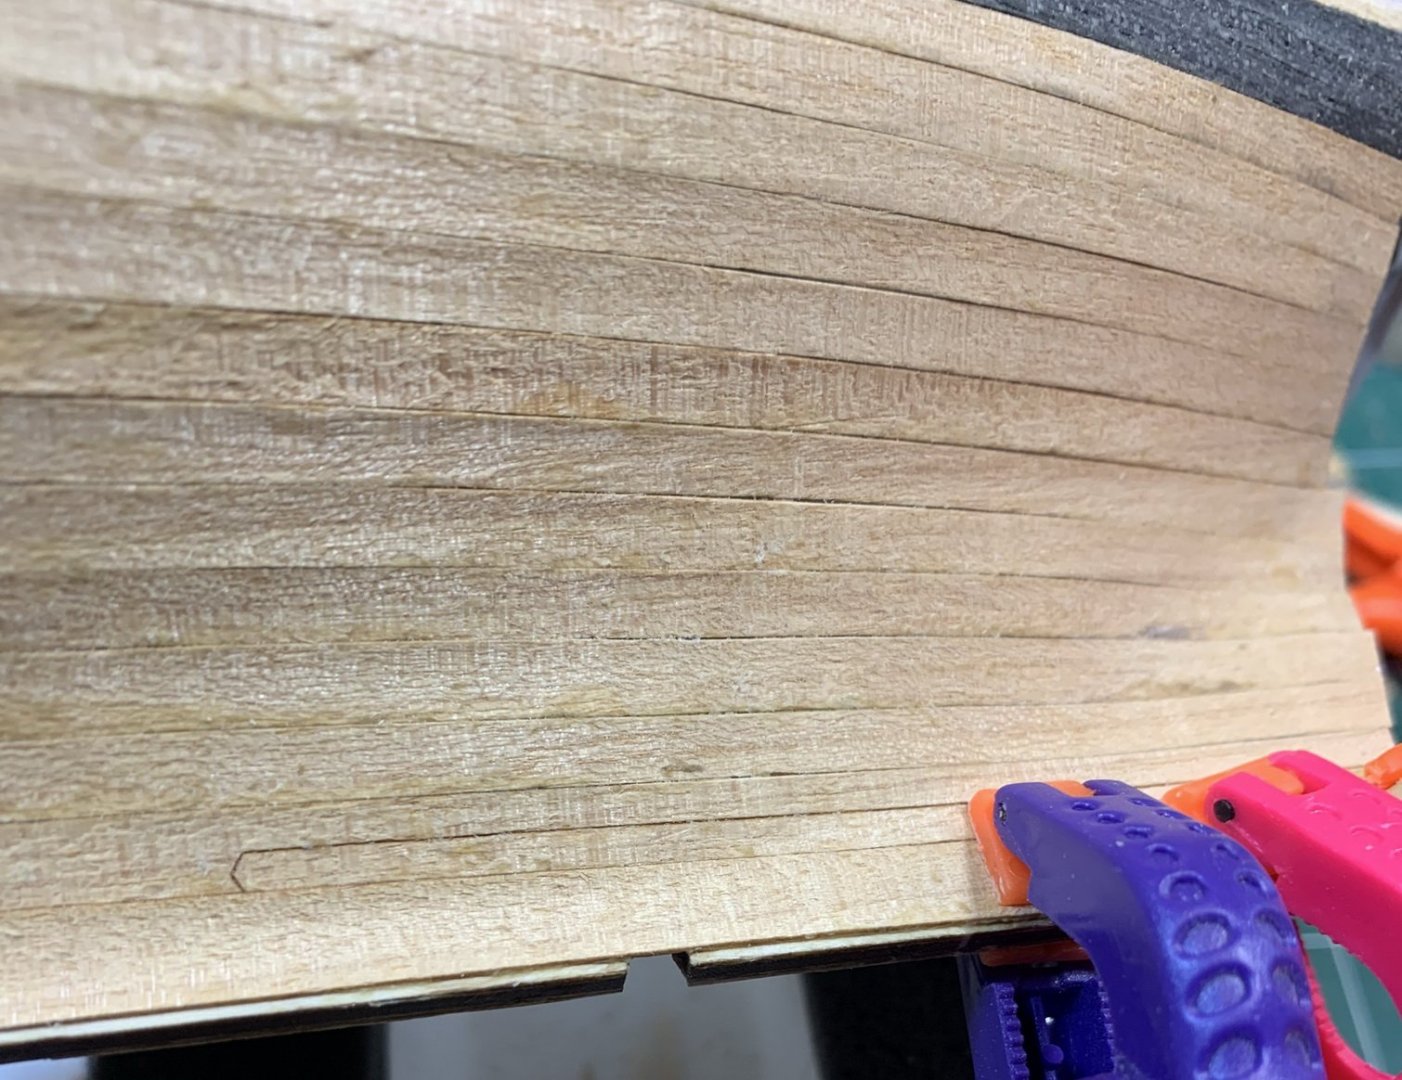
Continue with work on the hull Blackening of the window decoration is next. Cut, sanded, and a quick bath in blackening solution.. The blackened parts were sanded lightly.. Mounted around windows. Then more decorating... I am protecting window and frames with a piece of bounty and a transparent tape. Then i thought about it and replaced scotch tape with painter's yellow tape for delicate surfaces. It looks that scotch tape can pull up veneer parts.. At this moment not quite happy with veneer in layers, mixed feelings.... Managed to get it done, the cap rails are completed. If this work from home due to Covid continues i am going to finish this build fairly quickly. Happy modelling...
- 275 replies
-
- phoenix
- master korabel
-
(and 1 more)
Tagged with:
-
- 275 replies
-
- phoenix
- master korabel
-
(and 1 more)
Tagged with:
-
I corrected pictures, it should be OK now..
- 275 replies
-
- phoenix
- master korabel
-
(and 1 more)
Tagged with:
-
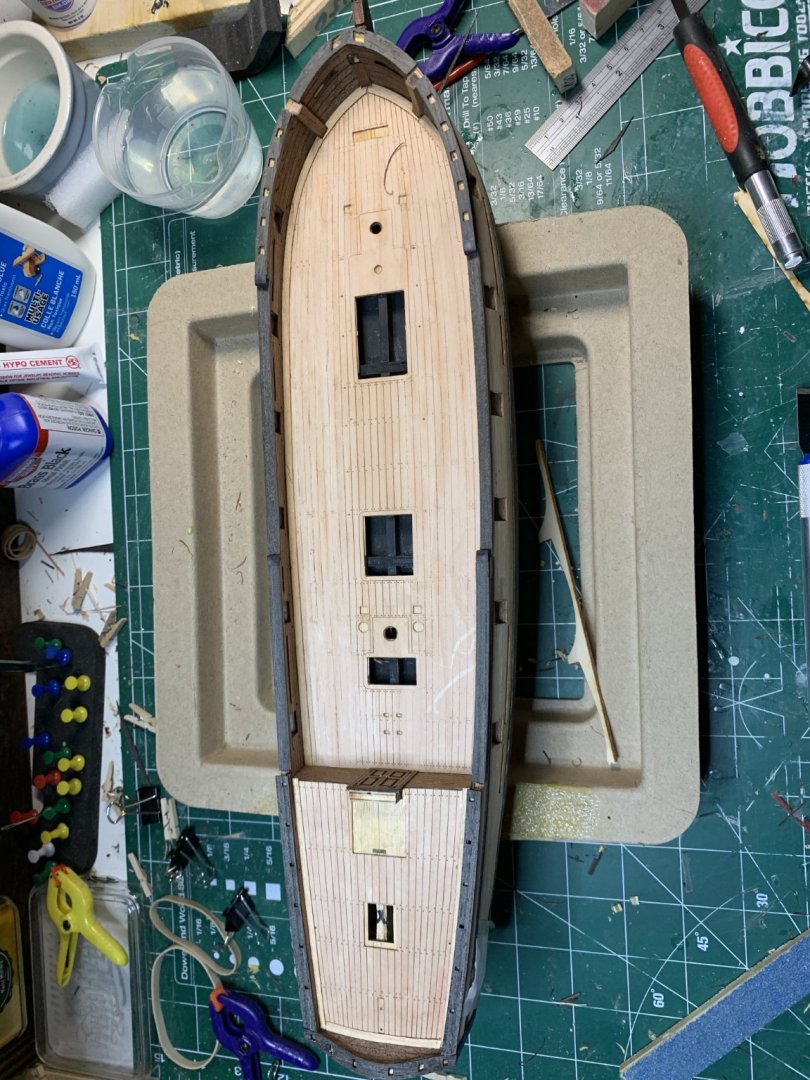
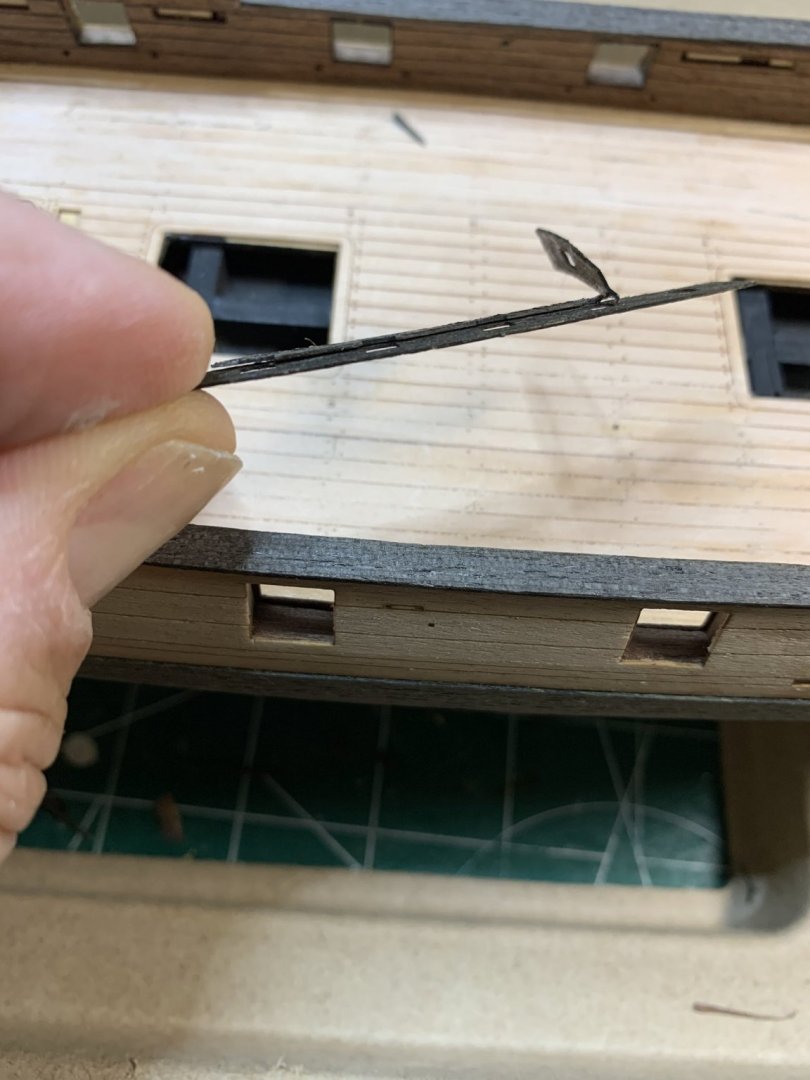
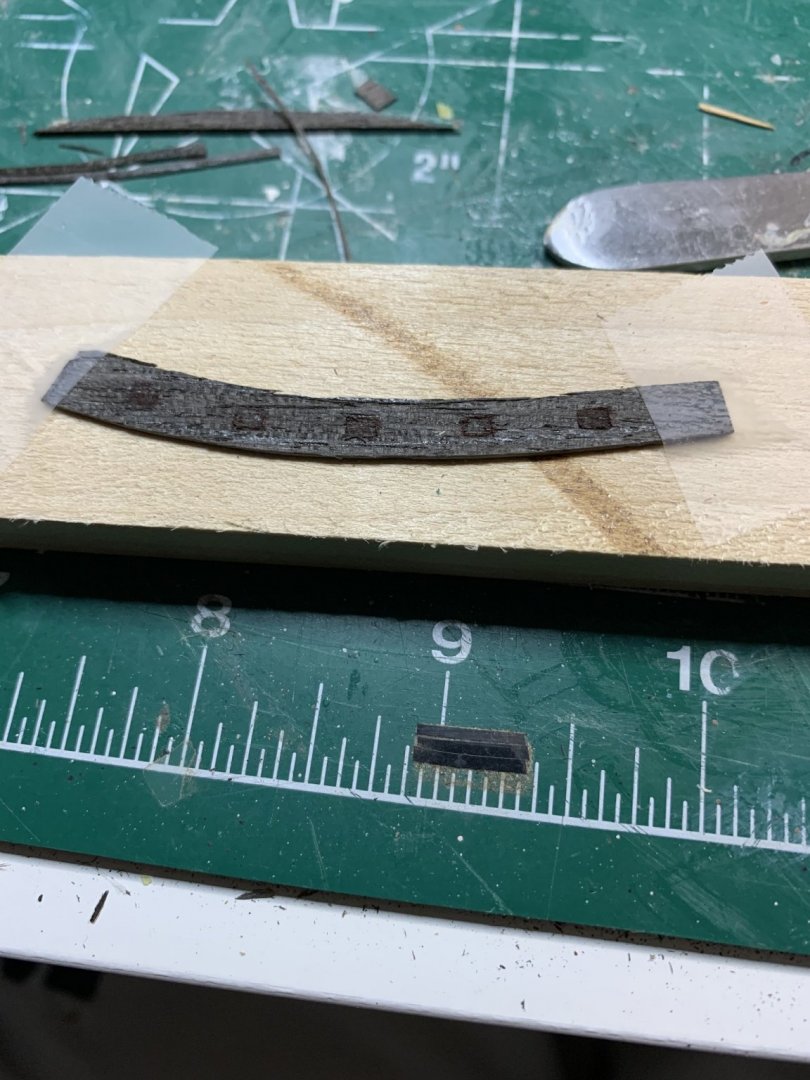
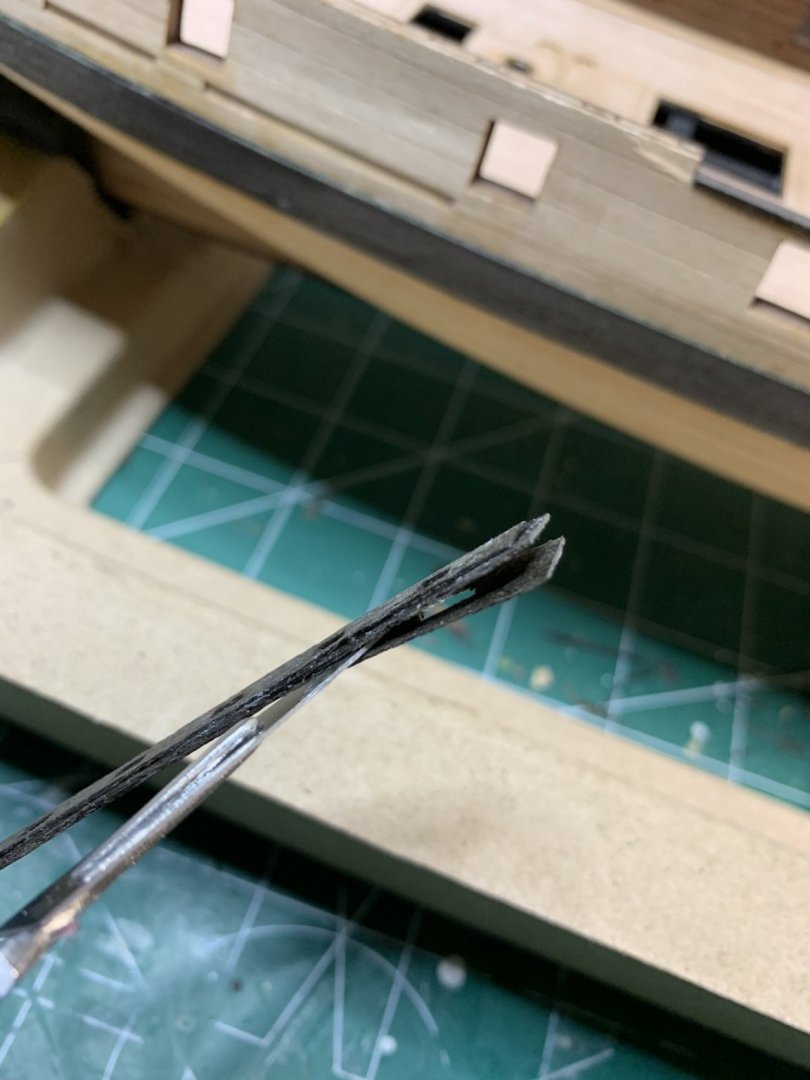
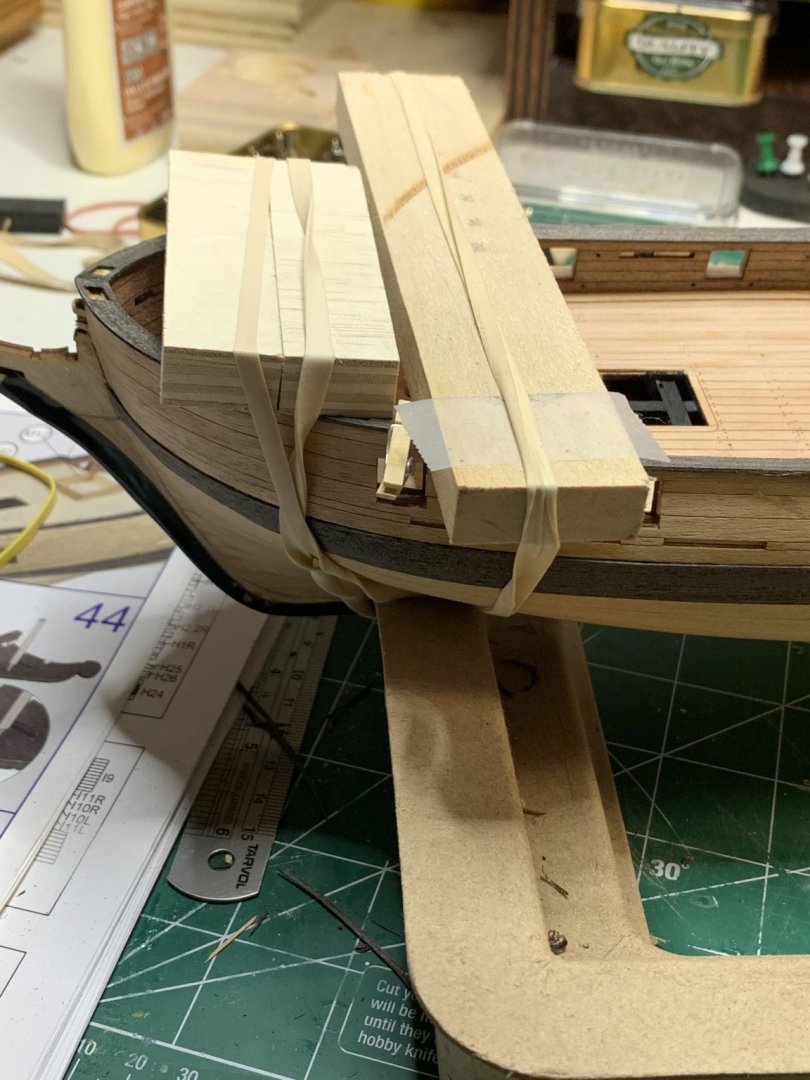
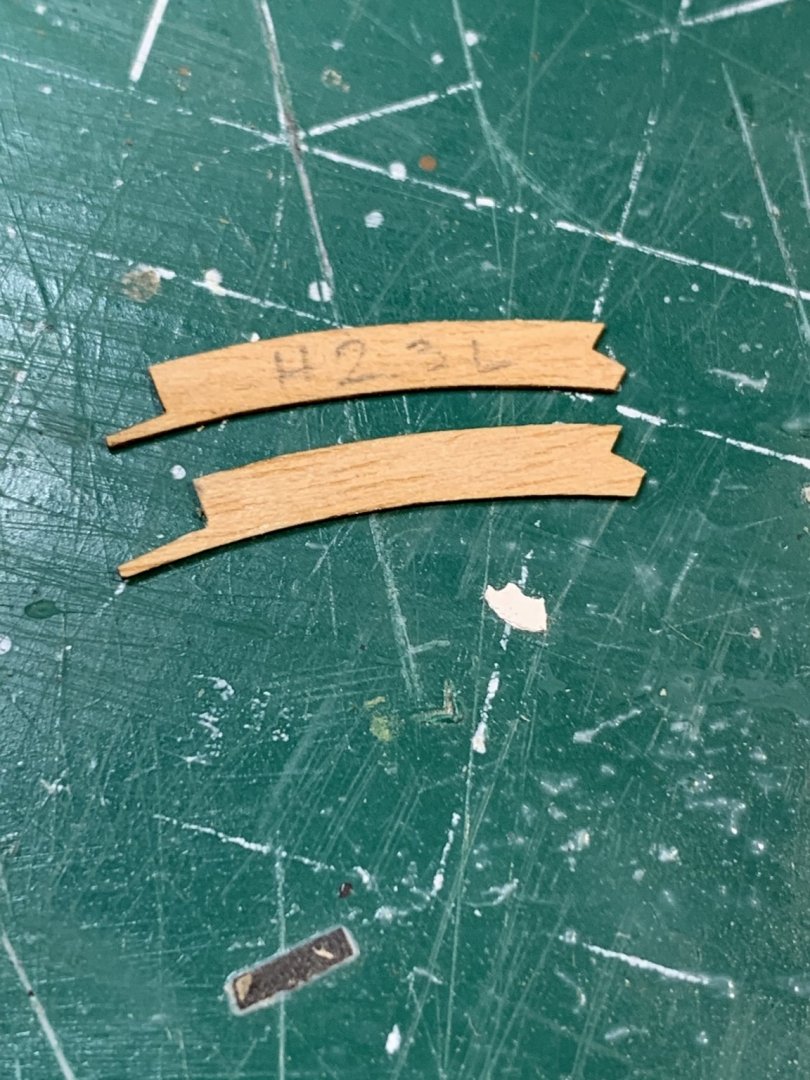
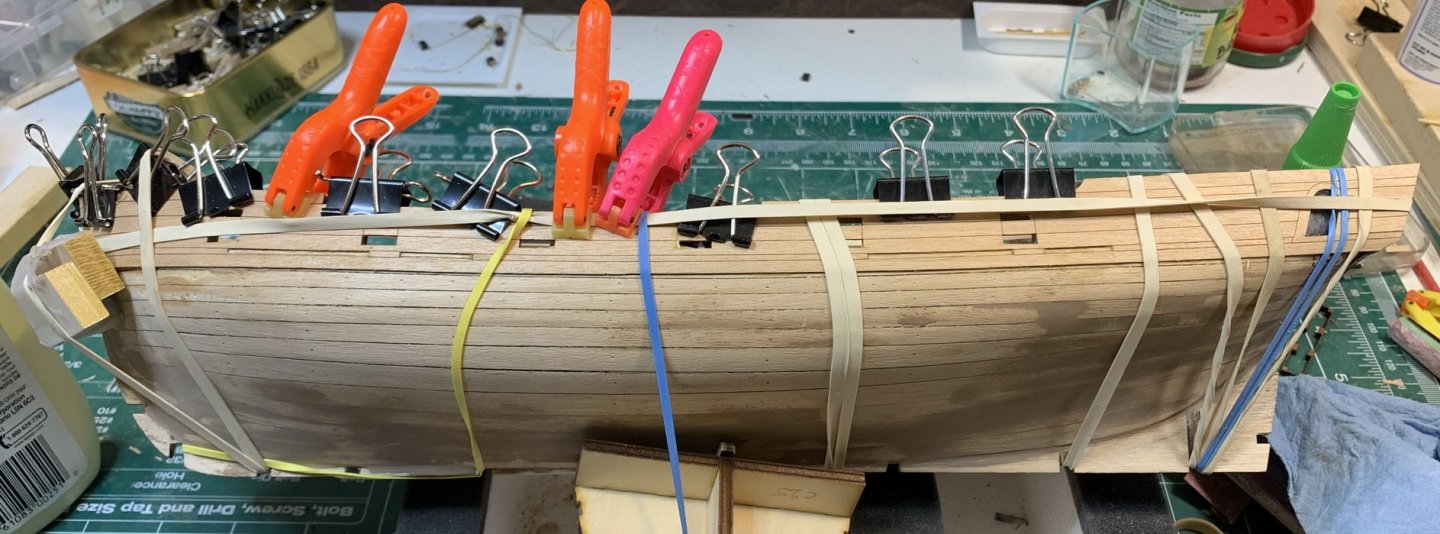
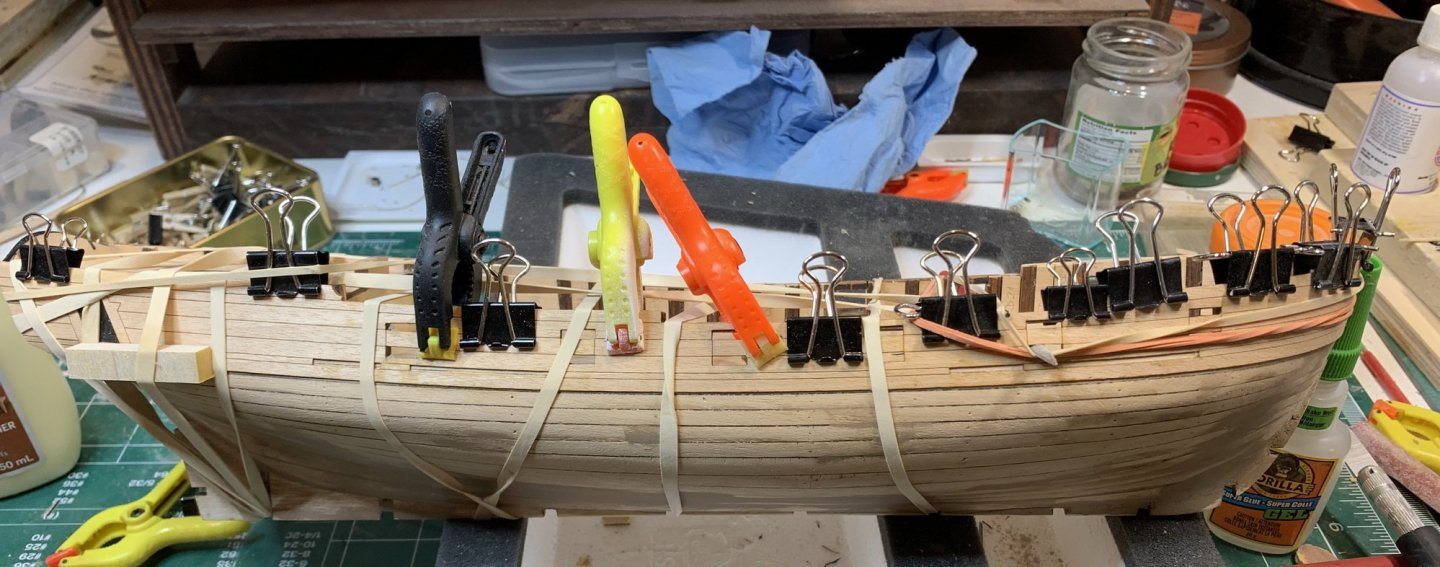
During the process of removing cap rails from the frame, i accidentally broke one.... and realized that thickness of them was made by gluing two layers of veneers together... In all these, a good news was that only one layer was broken so i carefully removed remittance of the broken layer which gives me a an option to glue a good layer to another piece of the veneer of the same size (two layers) ending up with cap rail in three layers thickness. After gluing there was just a mater of removing one extra veneer layer which was done with assistance of few drops of acetone.. Then cap rails were glued in the position and fixed with rubber bands.. The rest of the cap rails on main deck were installed... Sanding of all cap rails will be next... Happy modelling..
- 275 replies
-
- phoenix
- master korabel
-
(and 1 more)
Tagged with:
-
Thanks, i will go thru instruction pages to check...
- 275 replies
-
- phoenix
- master korabel
-
(and 1 more)
Tagged with:
-
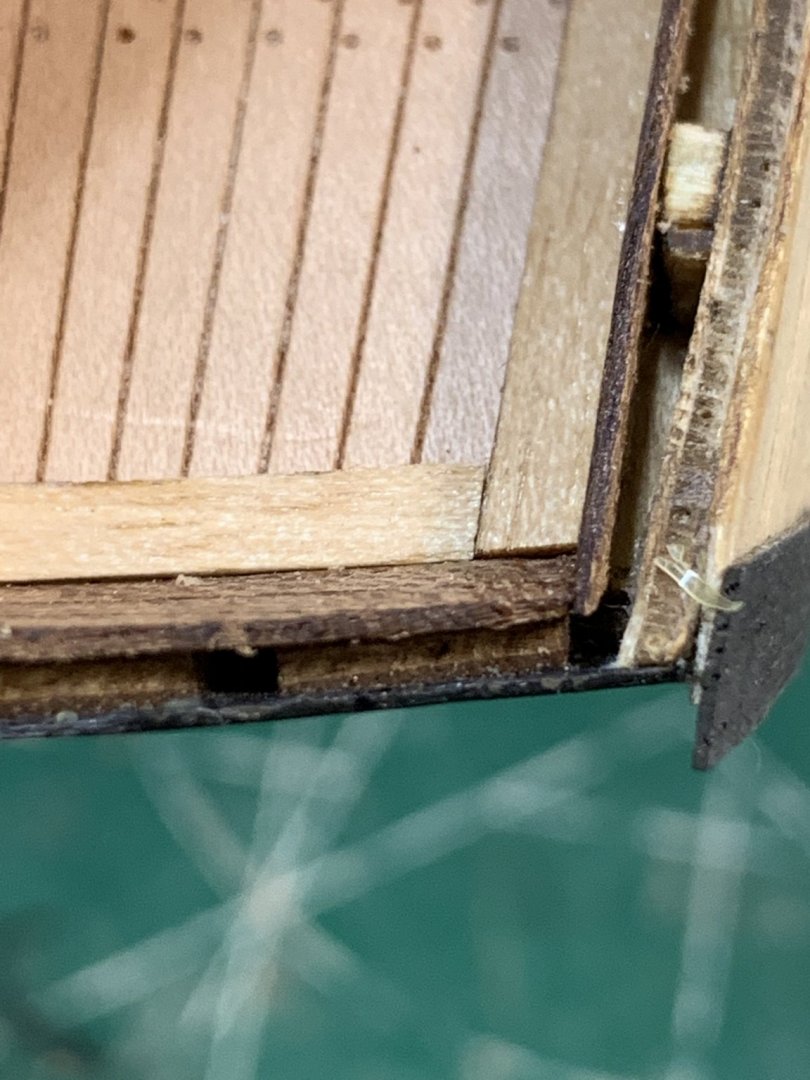
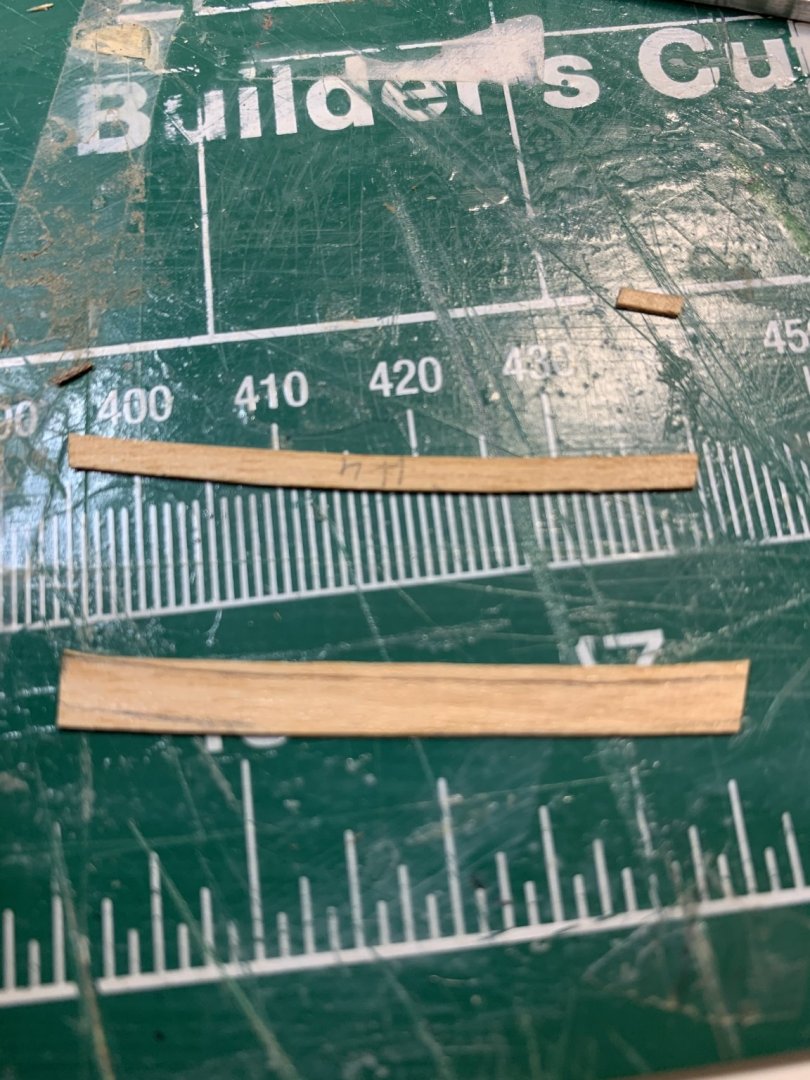
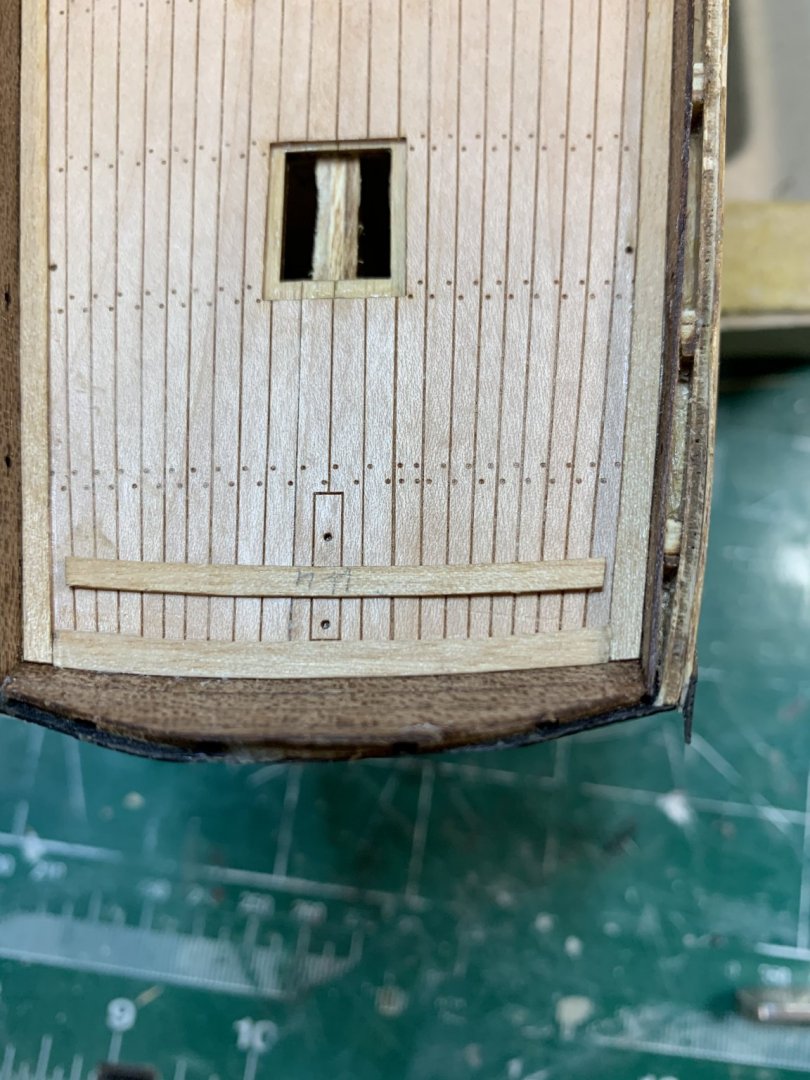
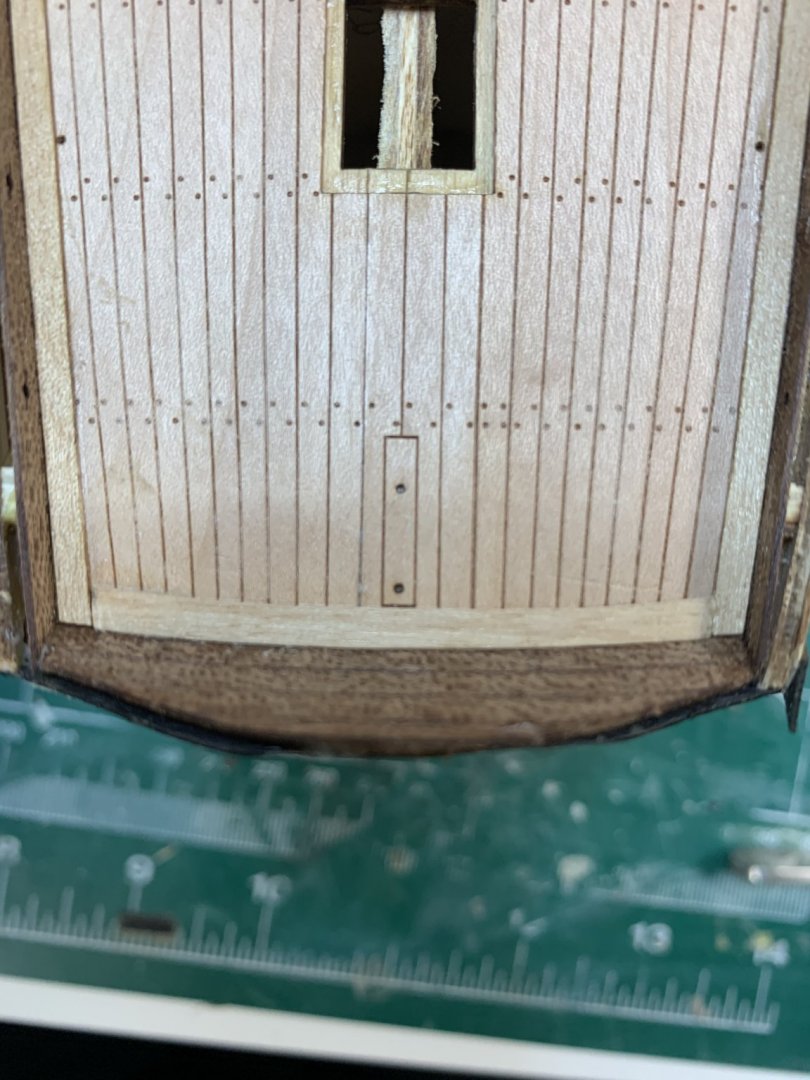
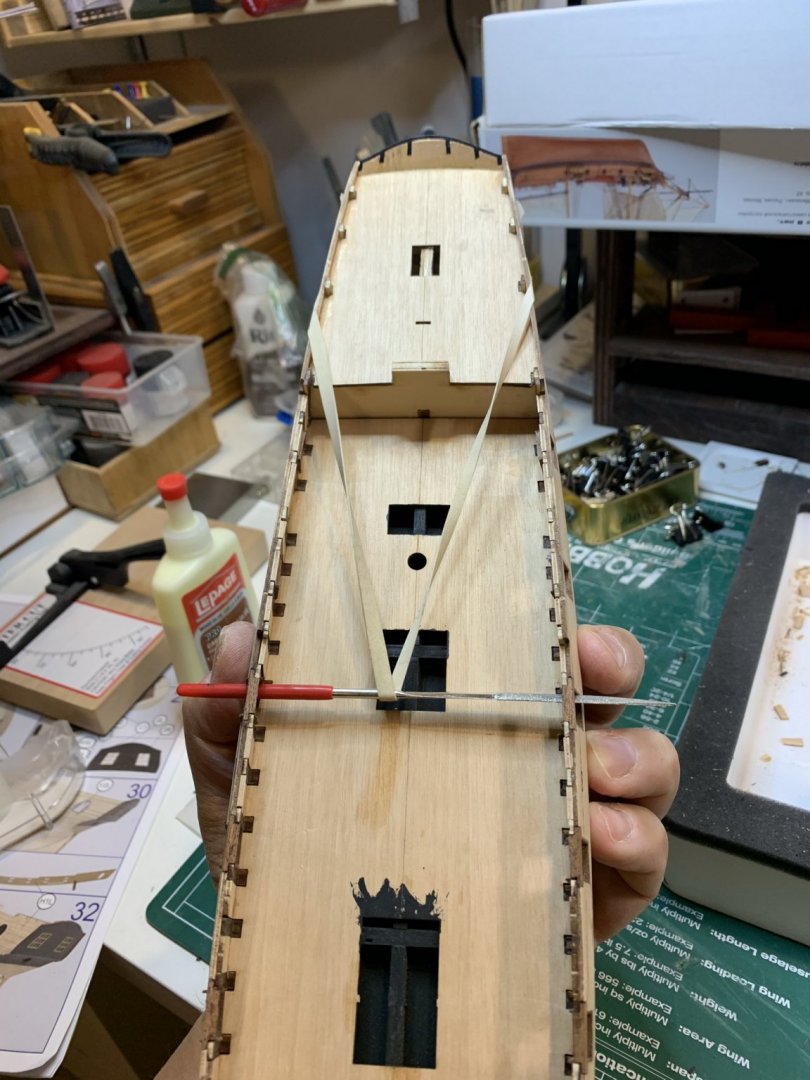
Now the waterways have to be adjusted to fit new stanchion size, no problem there... Continue with waterways on stern... For some reason one waterway plank is not fitting correctly on one side... The other side is fine... So, little bit of surgery will be needed. The new part was made out of the spare wood laying around. There are plenty of left over wood which can be used for various replacement tasks. Really like that 'feature'. It will be very difficult to find correct veneer size/shape if all parts are cut very tight to save some cost, like with some other manufacturers... Traced, cut, shaped, glued... and installed... All good. Then started to work on cap rails... one at a time. Some fitting is required but not a problem... Very pleased with a kit so far... Happy modelling.
- 275 replies
-
- phoenix
- master korabel
-
(and 1 more)
Tagged with:
-
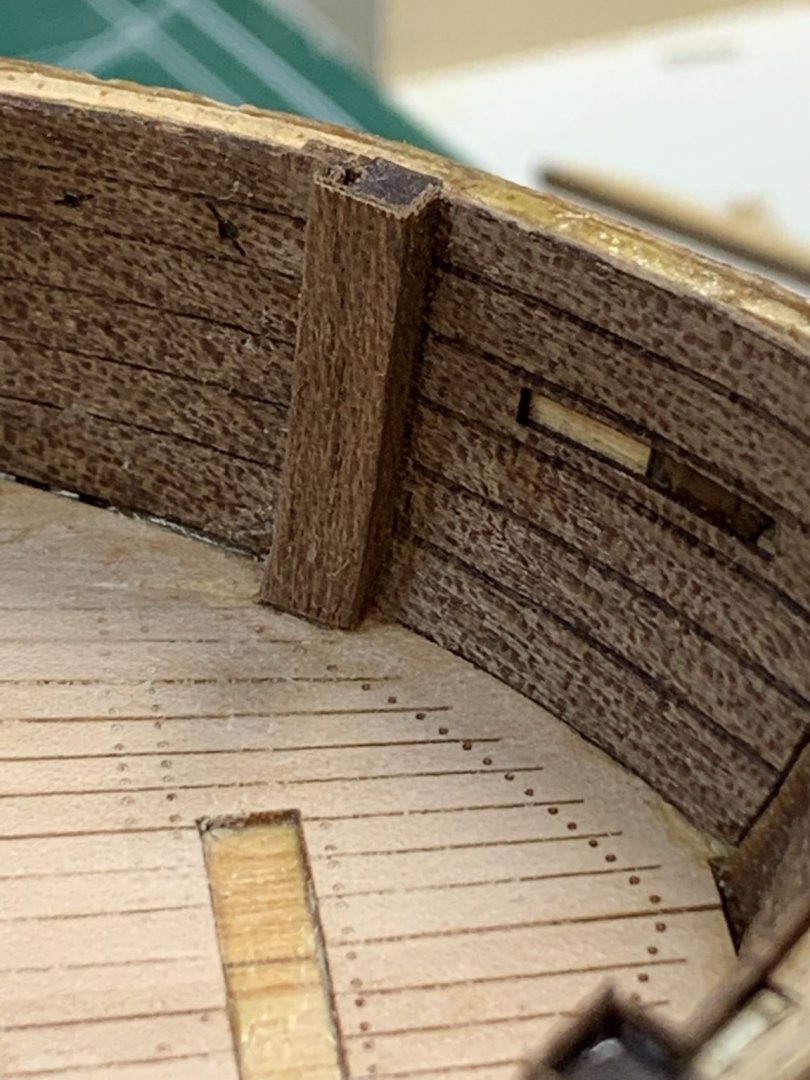
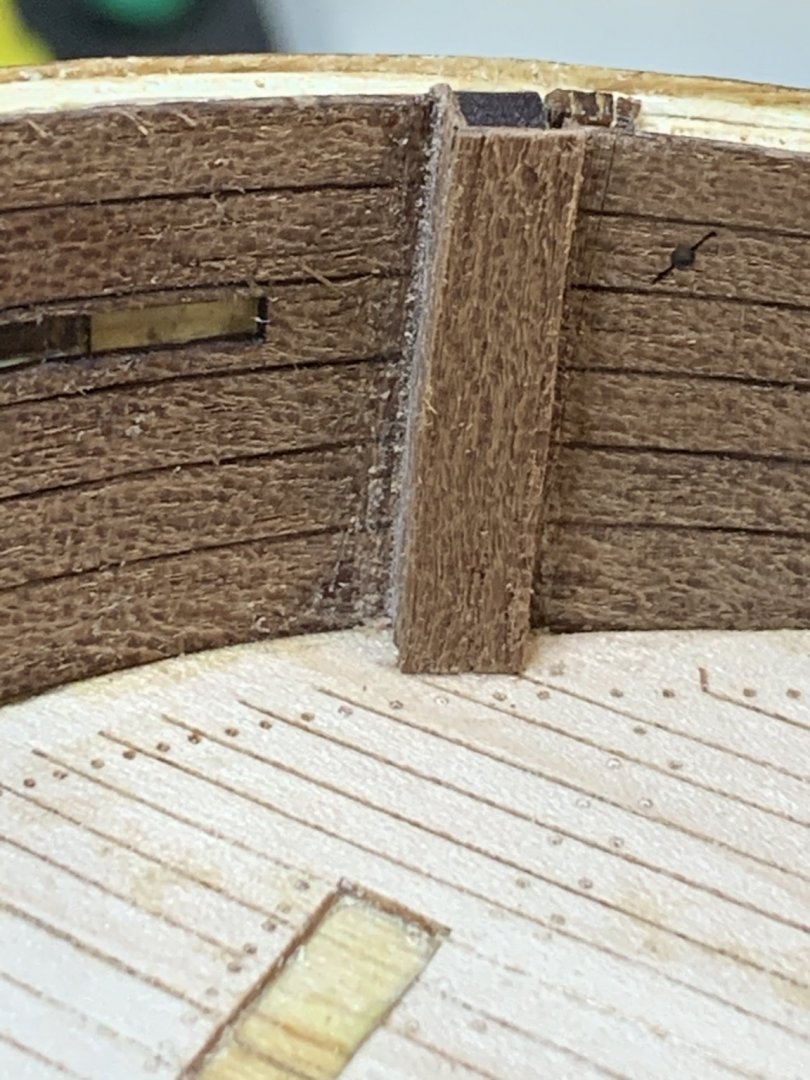
Continuing with planking and work on the deck installing waterways.. All fits perfectly. Then i decided to cover stanchions in veneer that is left from other pieces. For me the end result looks interesting.. Happy modelling.
- 275 replies
-
- phoenix
- master korabel
-
(and 1 more)
Tagged with:
-
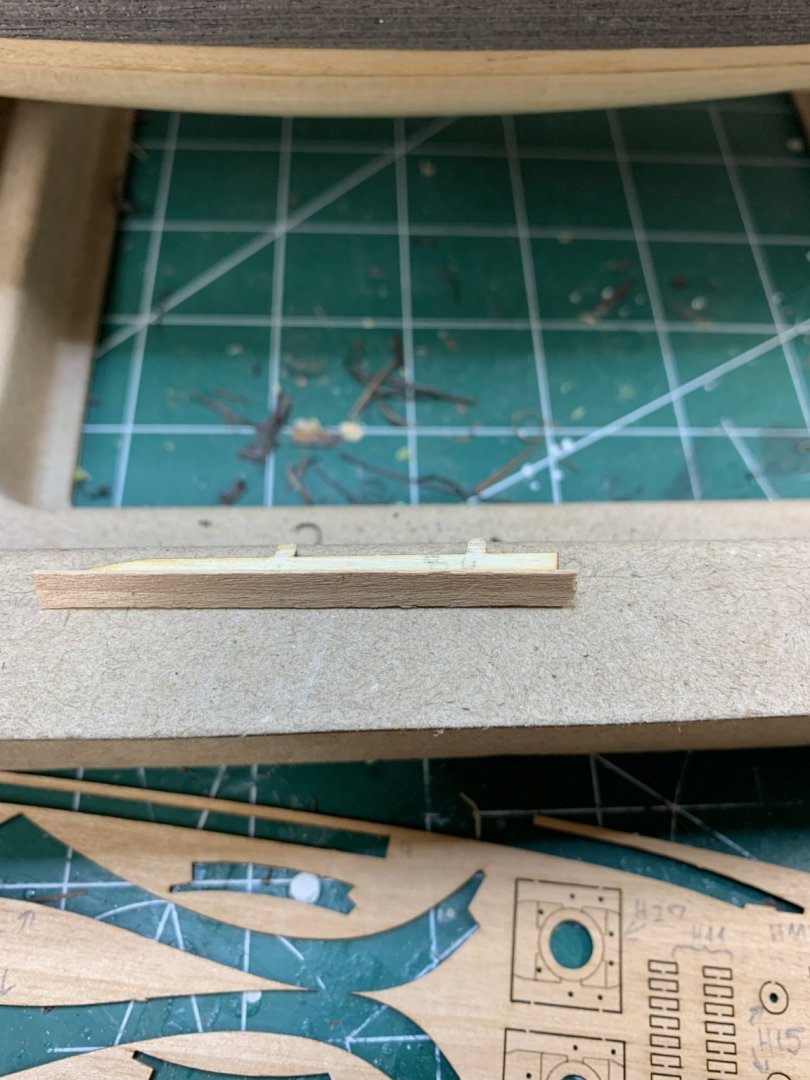
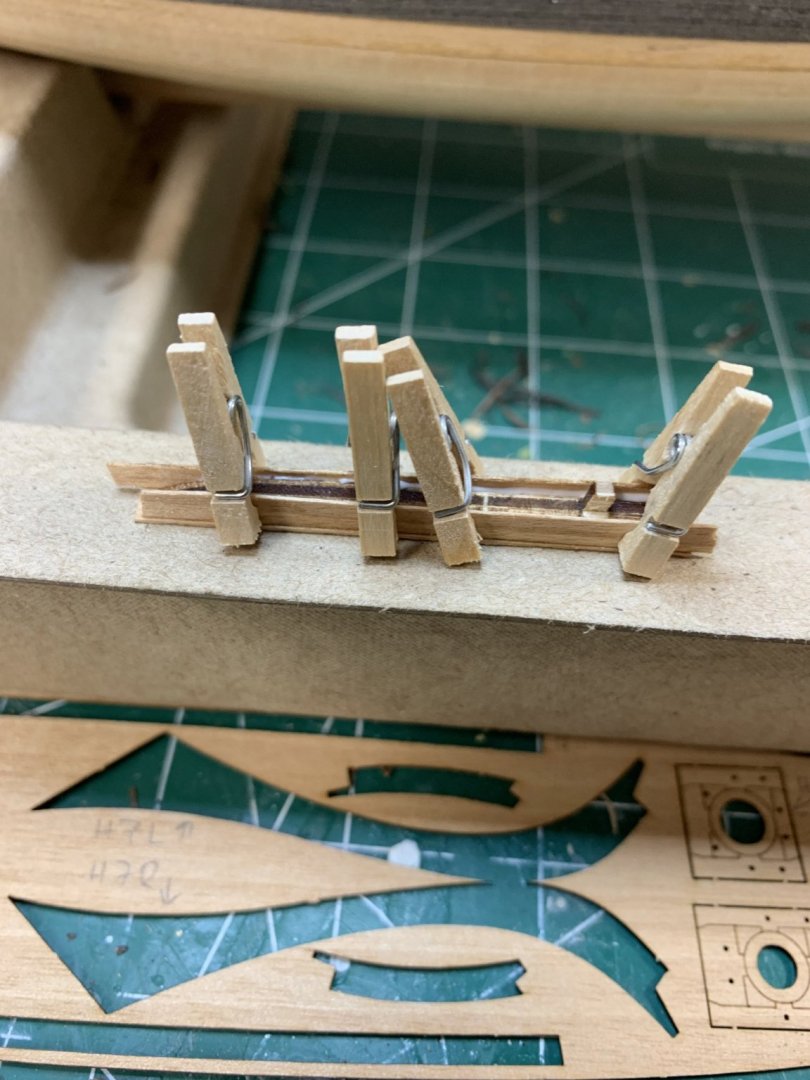
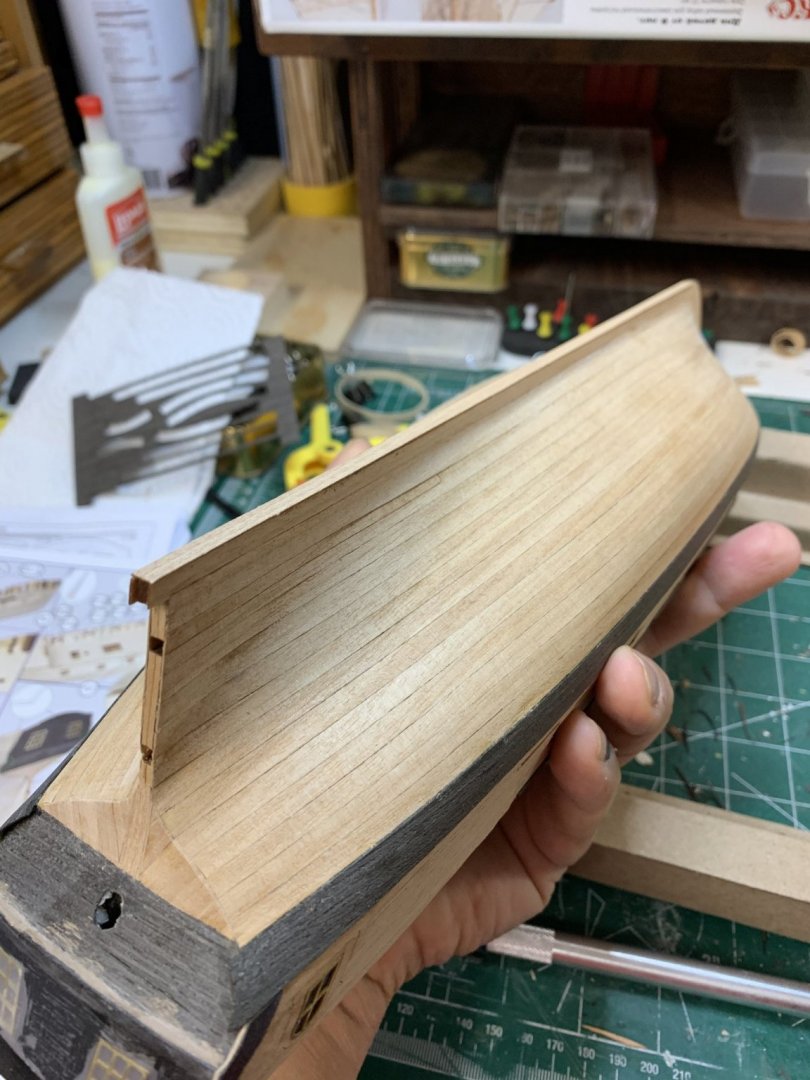
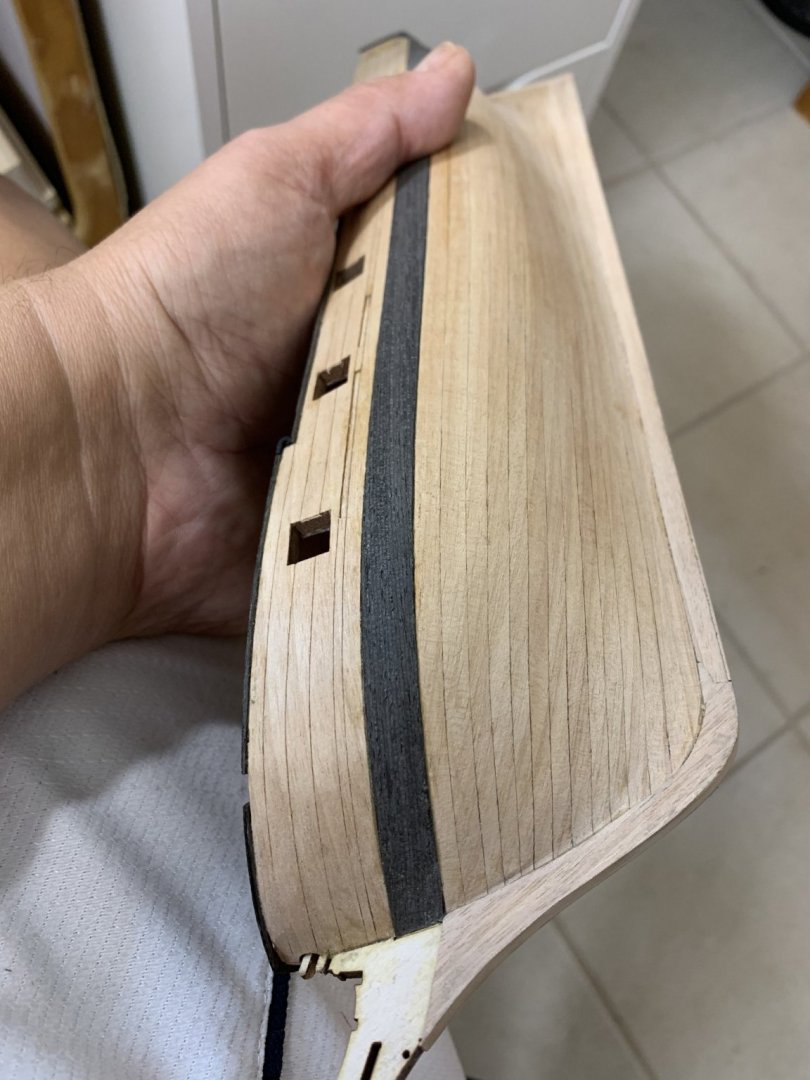
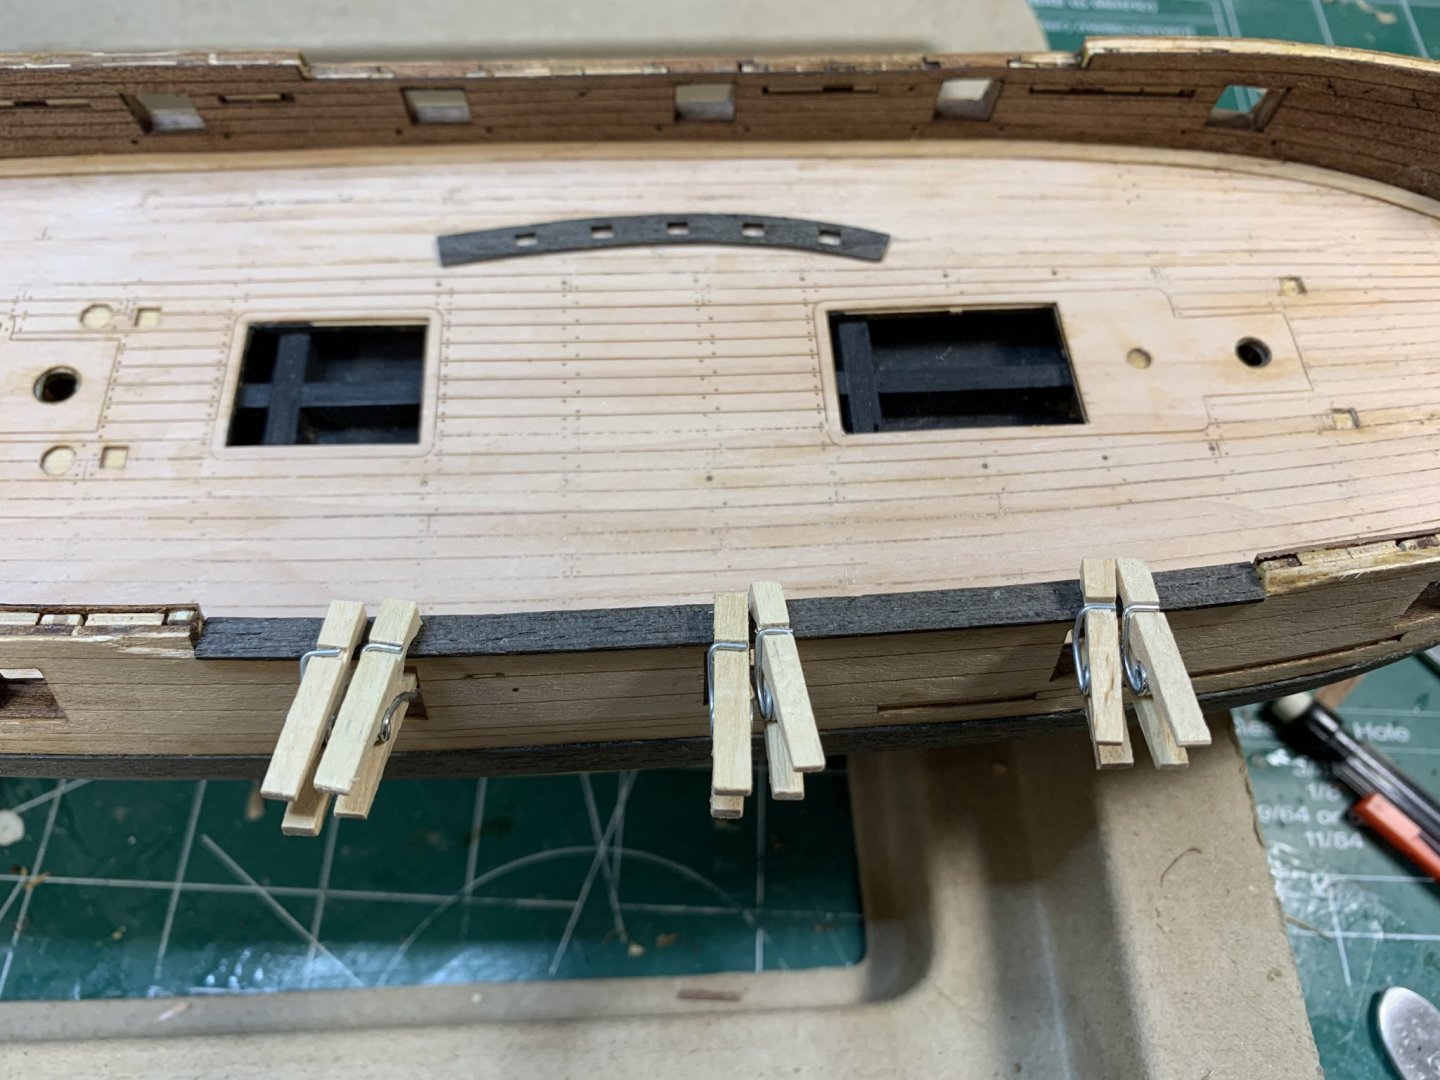
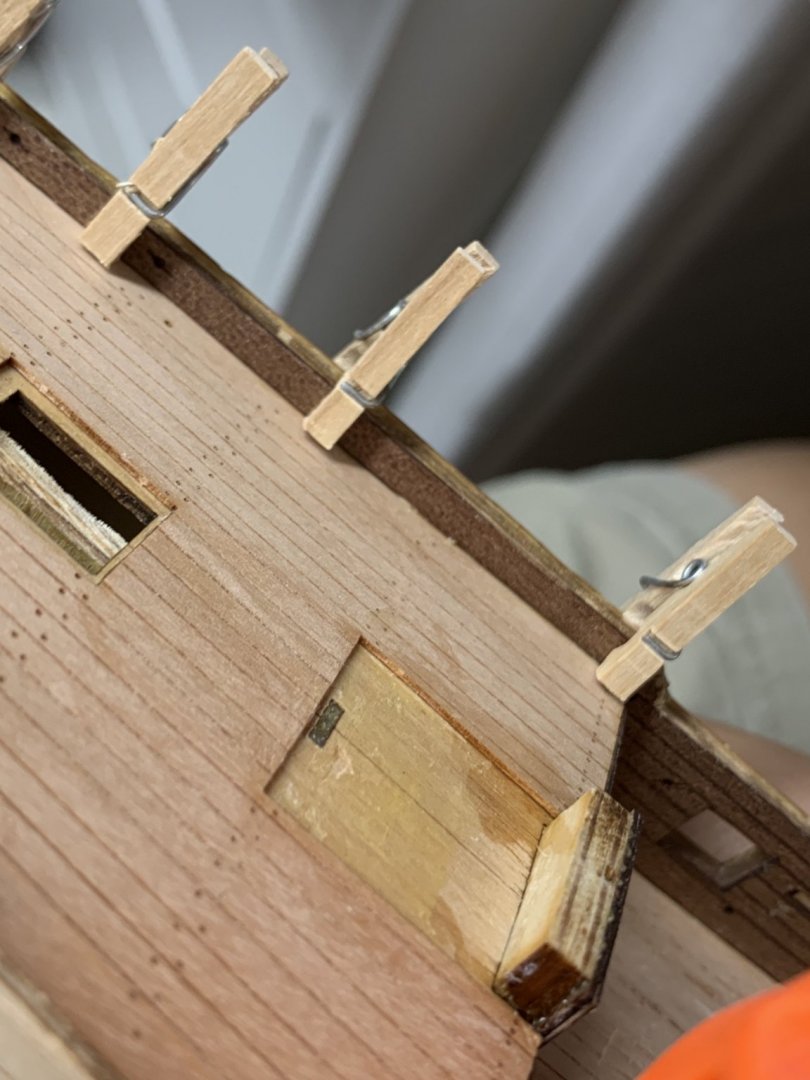
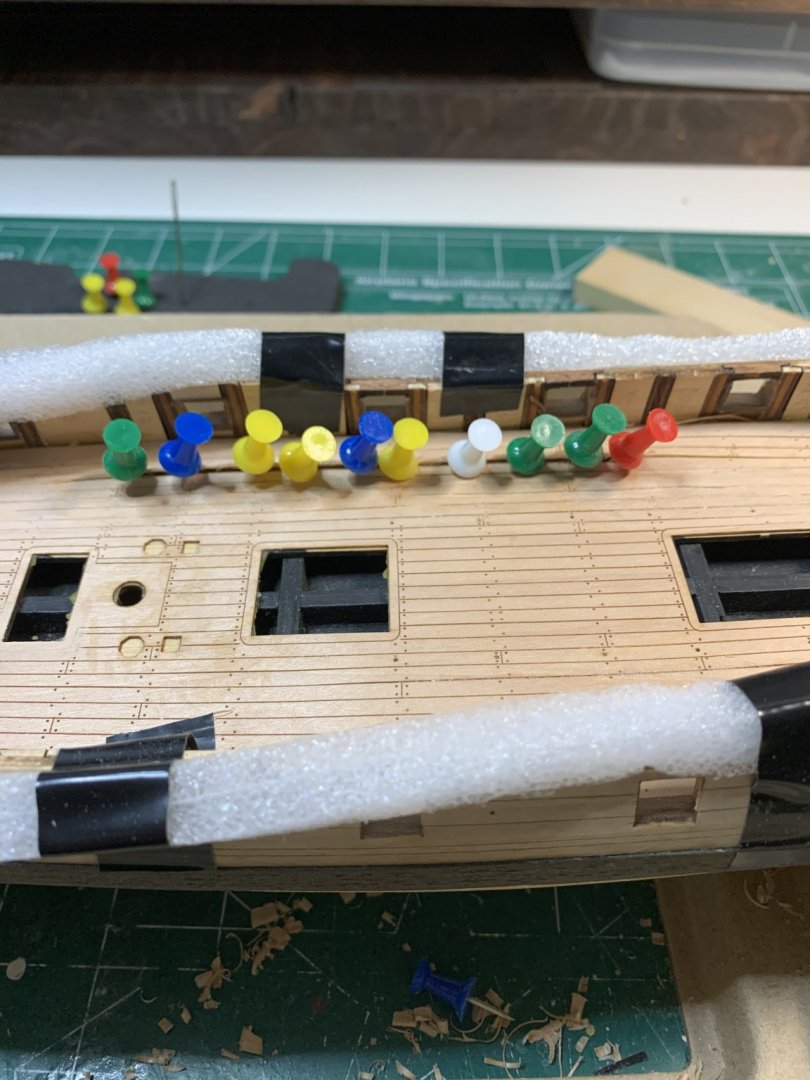
A bit of a work continues with inner bulwark planking, etc... For this i had to adjust my tiny cloth pins so they can grab and hold parts correctly.. Happy modelling..
- 275 replies
-
- phoenix
- master korabel
-
(and 1 more)
Tagged with:
-
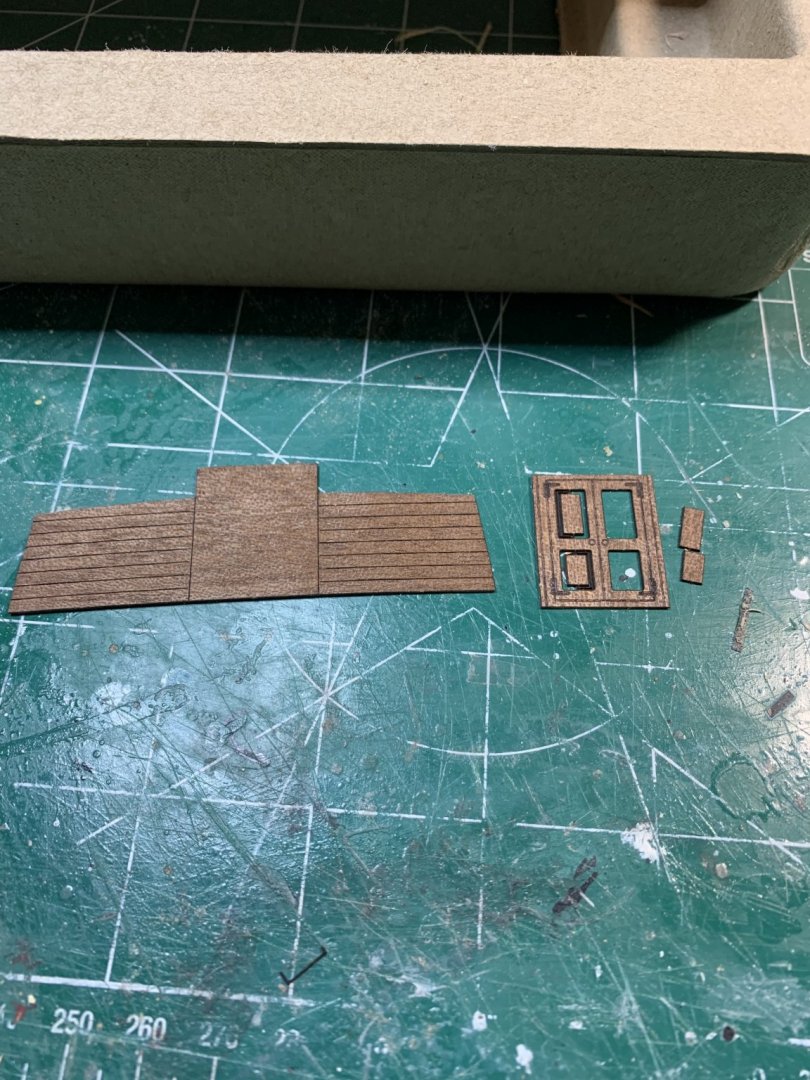
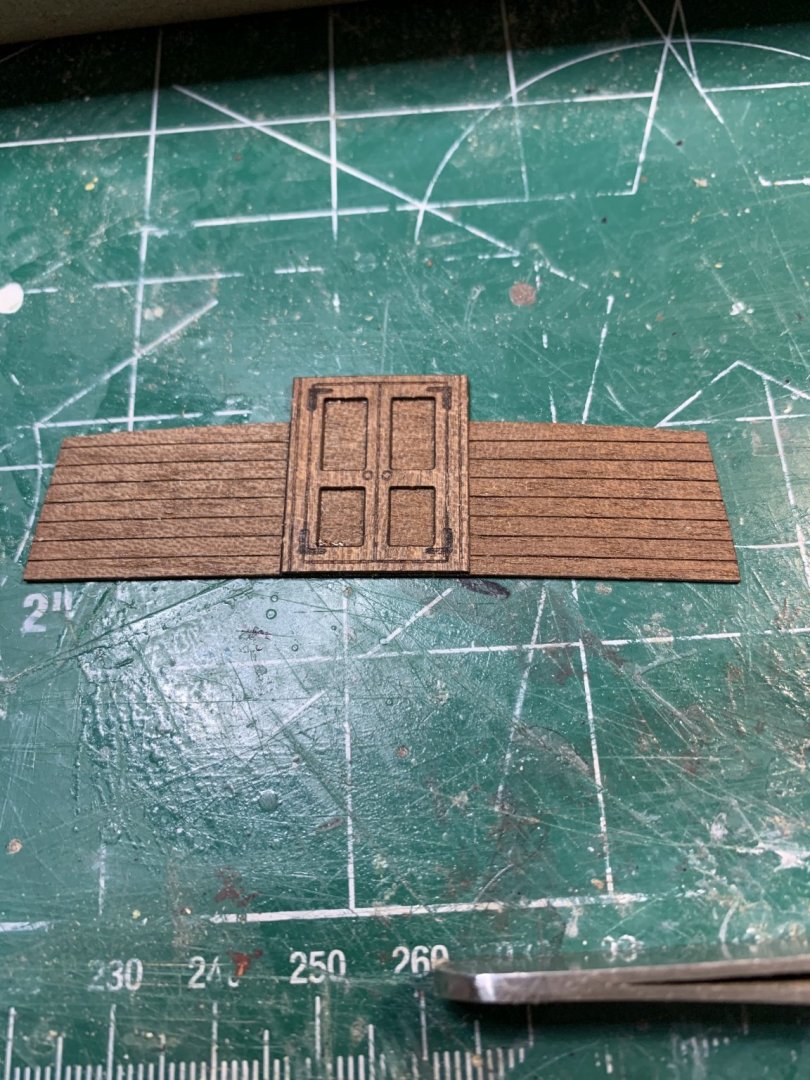
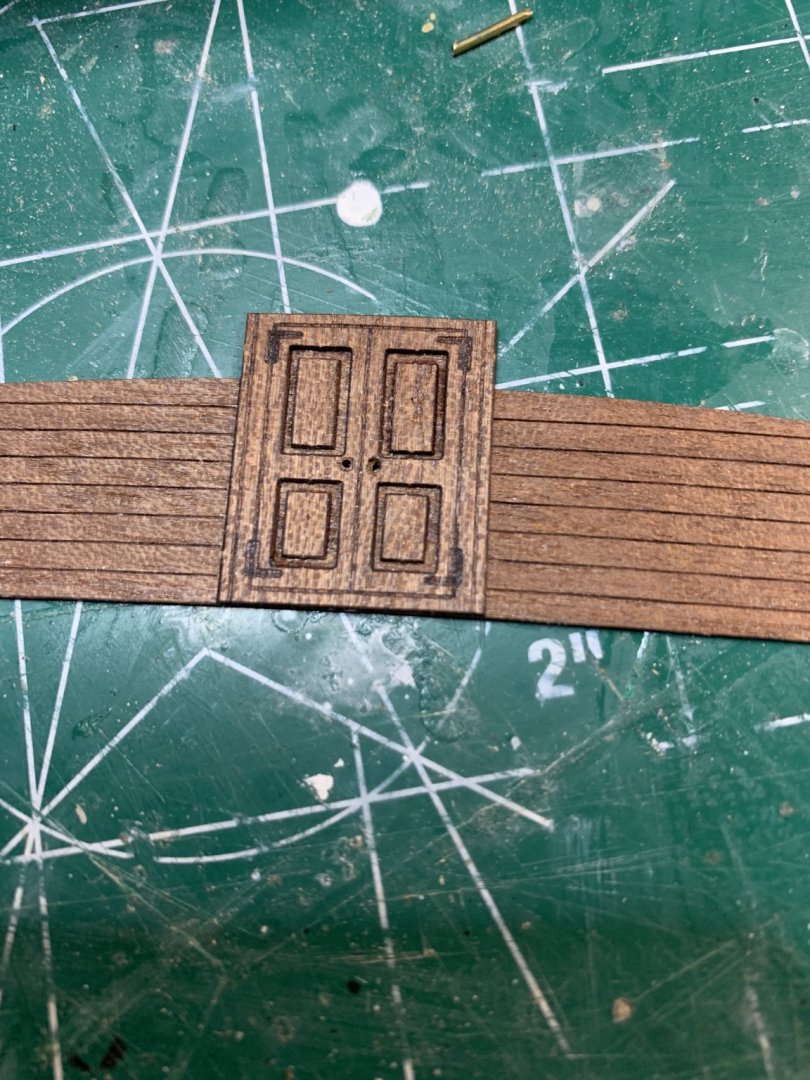
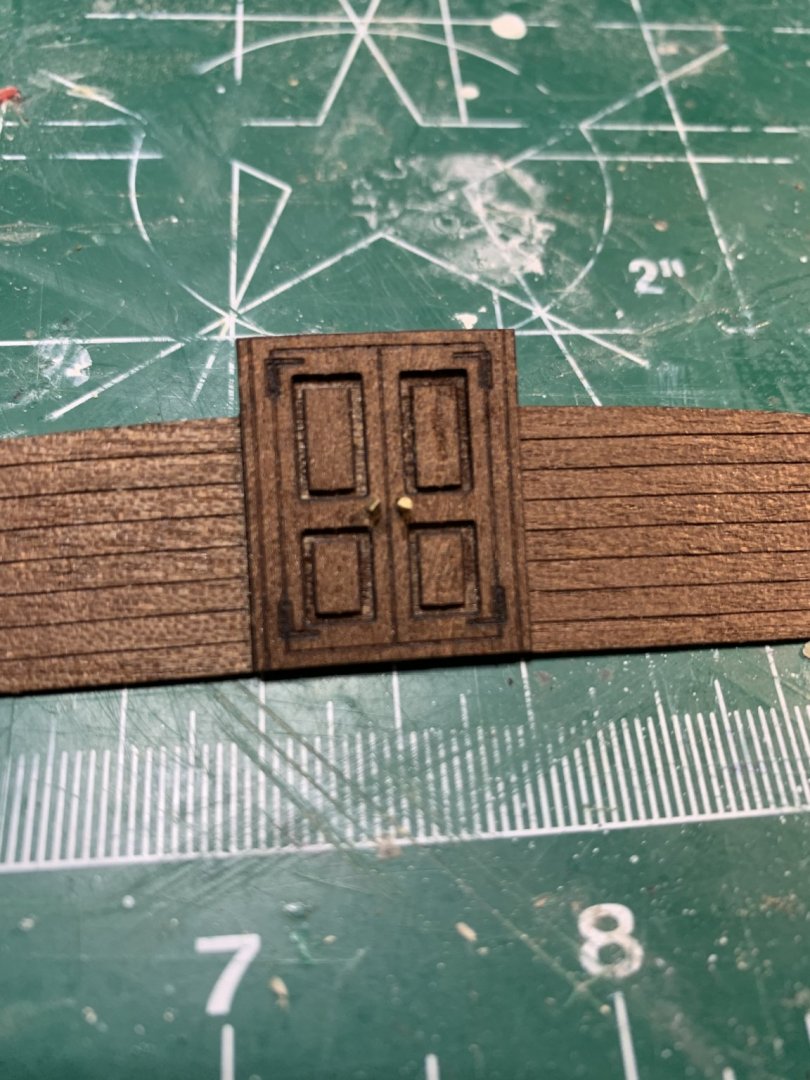
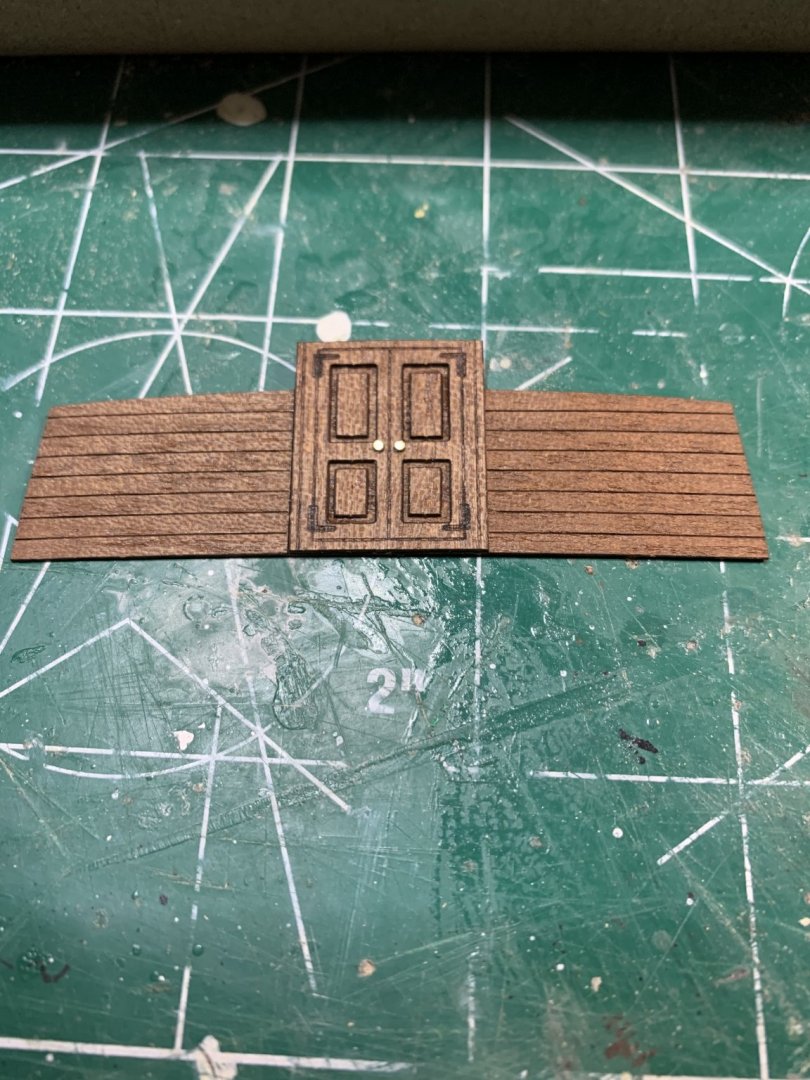
Work continues assembling doors... Cut, sand, glue.... Holes were drilled thru and two pieces of wire inserted, cut and shaped to represent knobs... And planking on inner bulwark area was next.... test fitting few times, just in case .... Happy modelling...
- 275 replies
-
- phoenix
- master korabel
-
(and 1 more)
Tagged with:
-
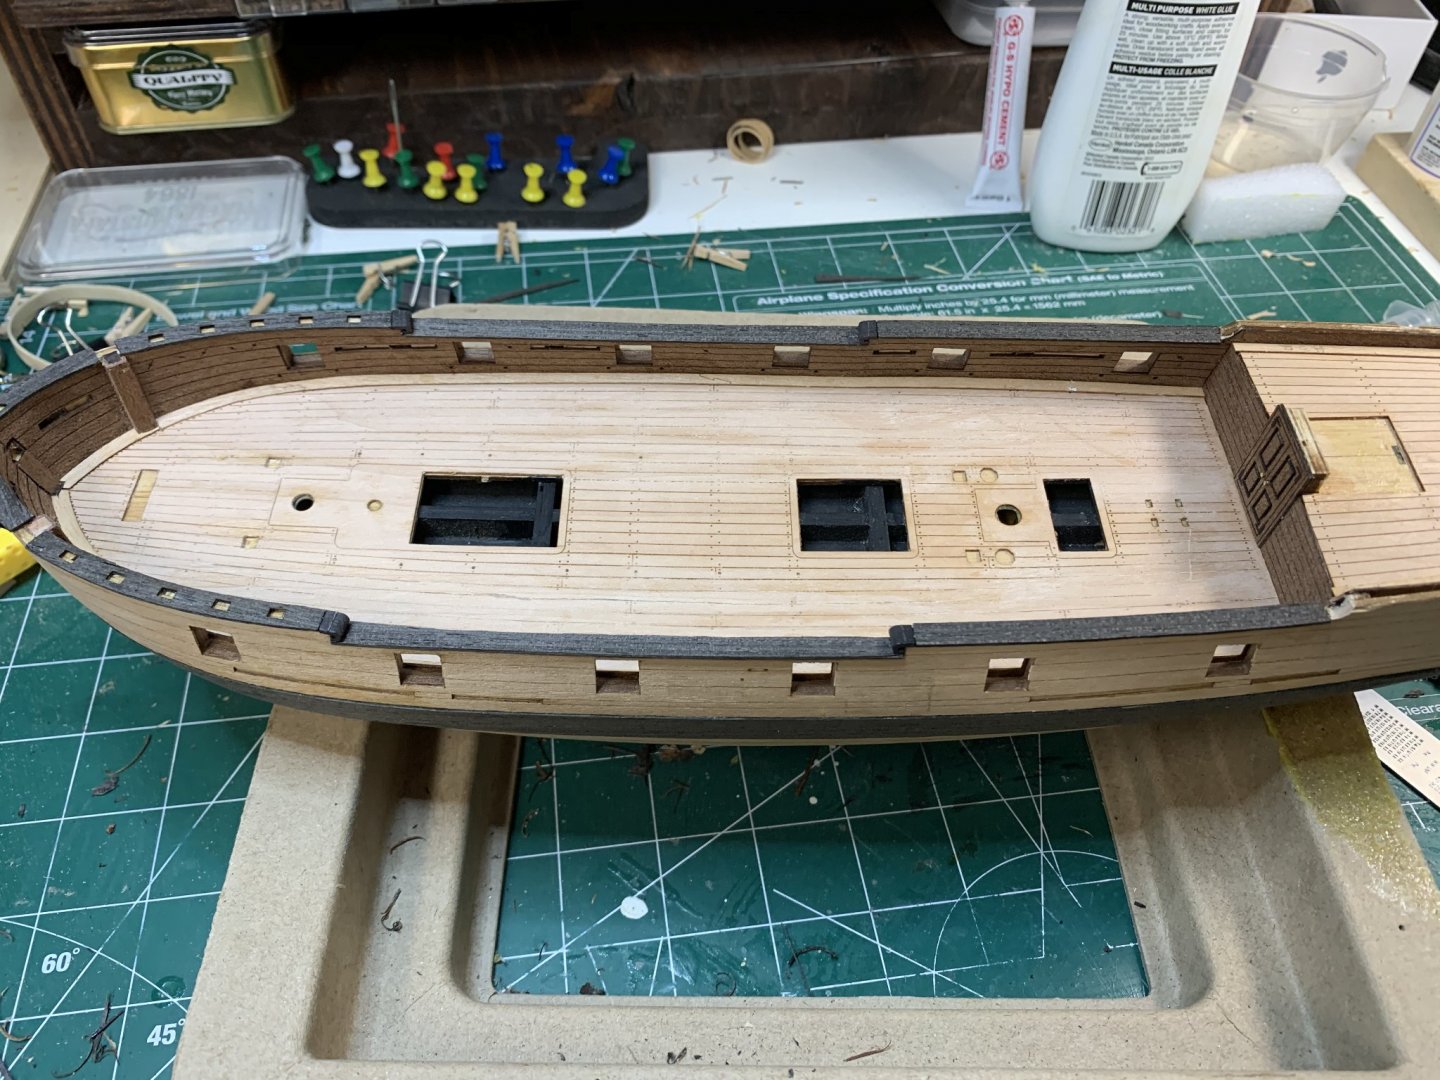
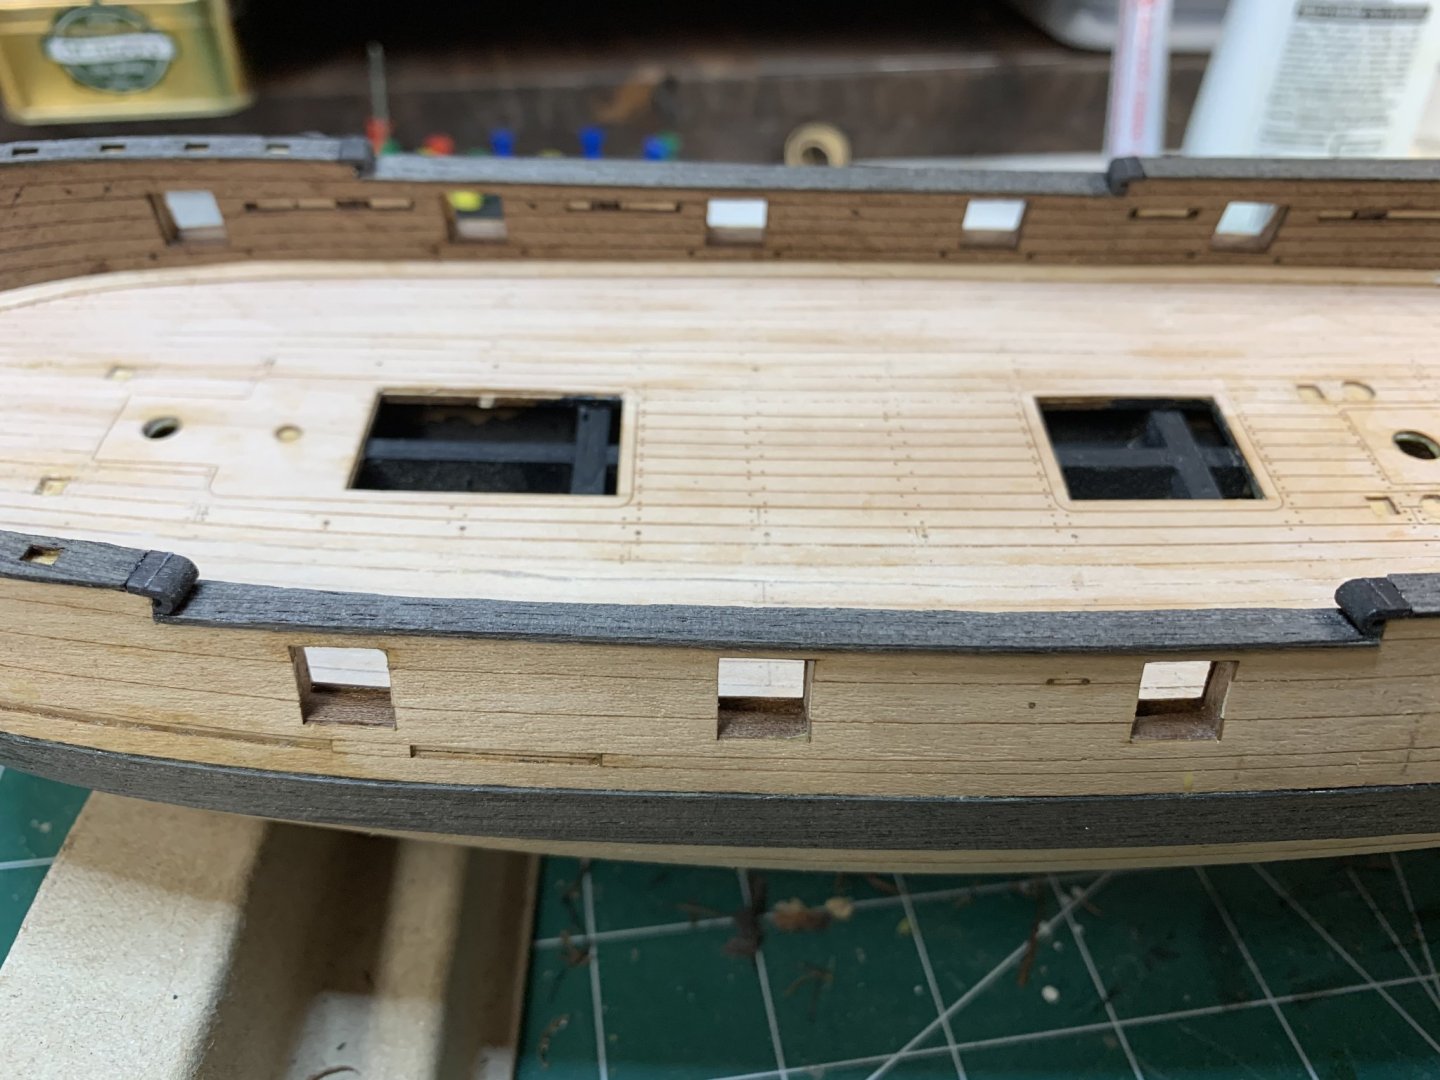
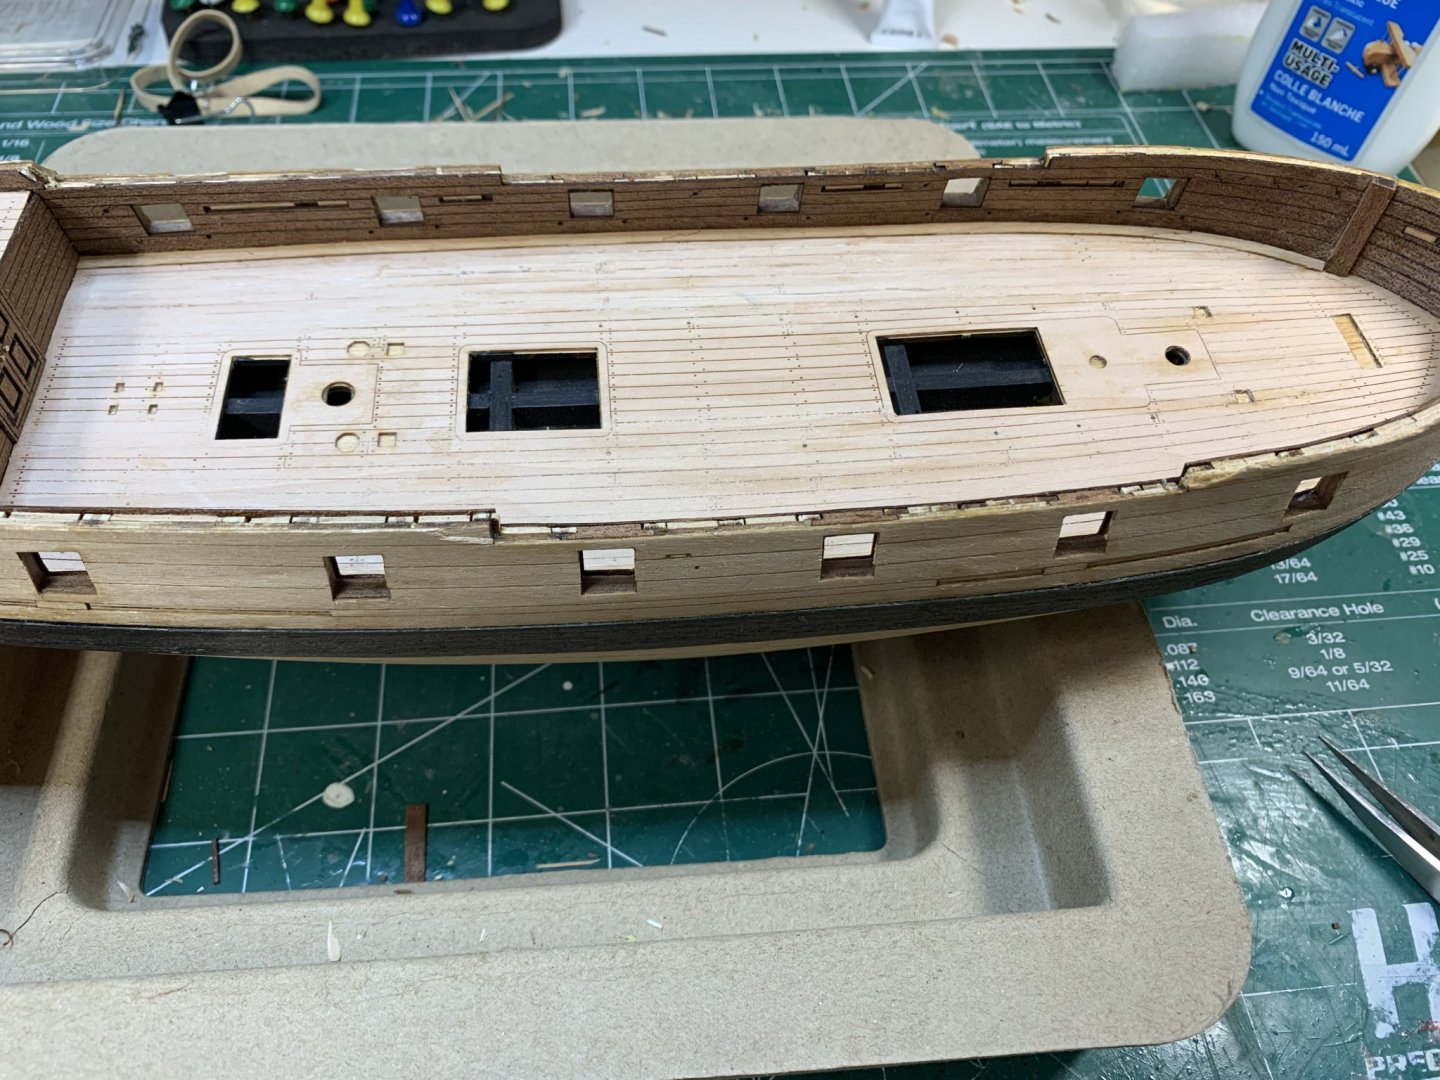
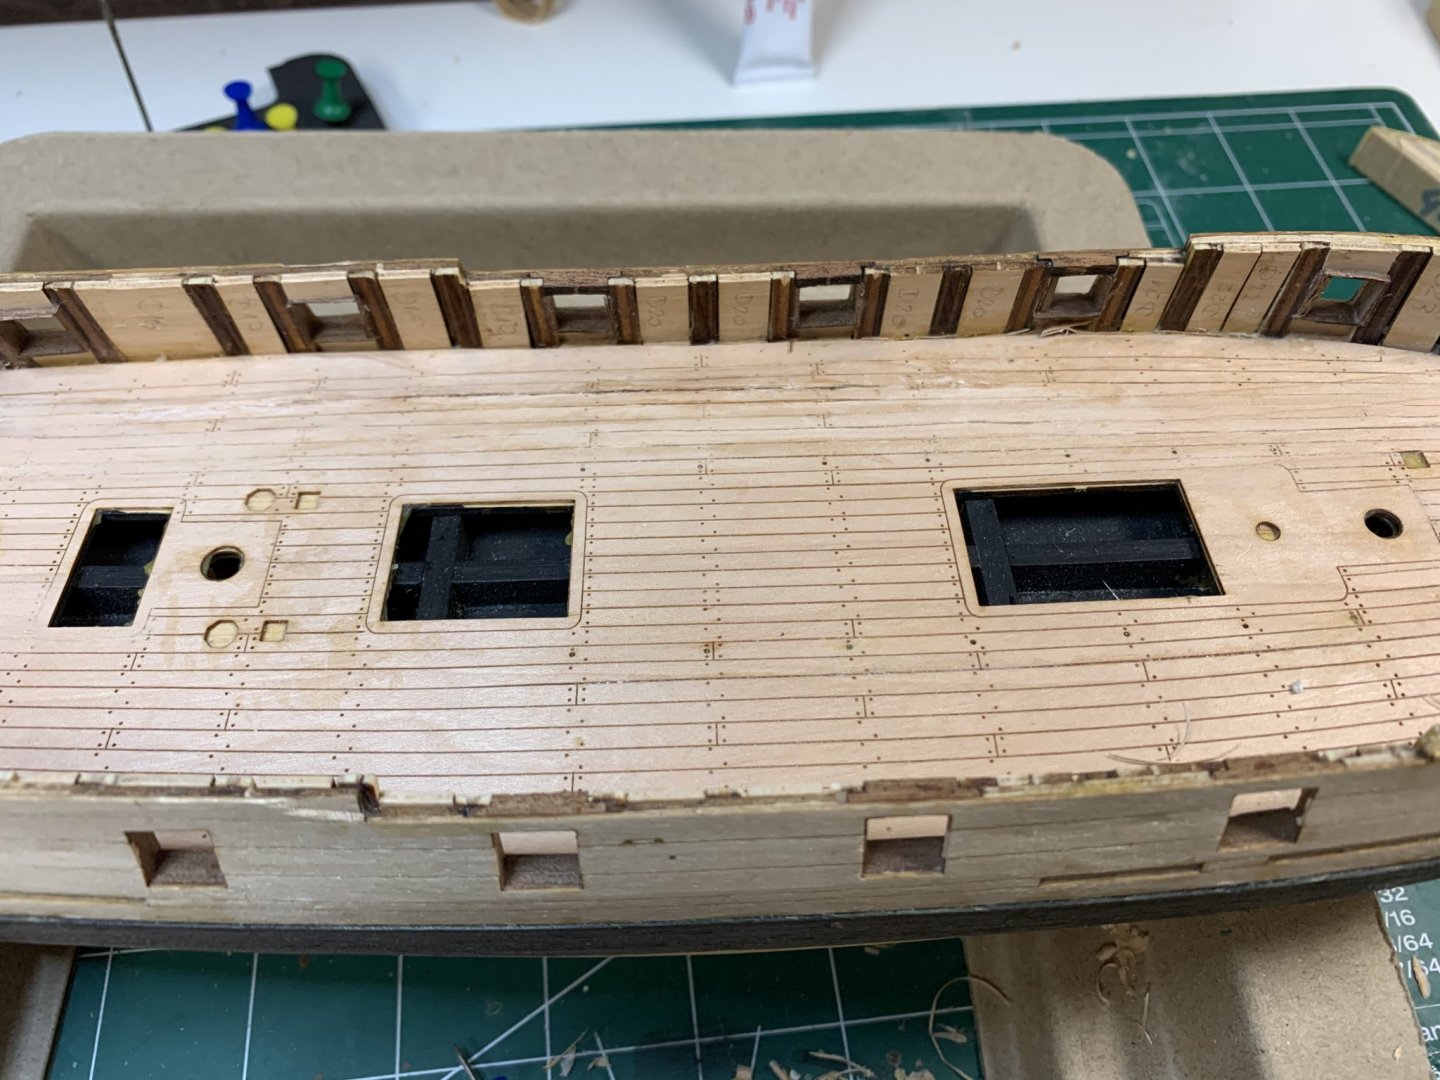
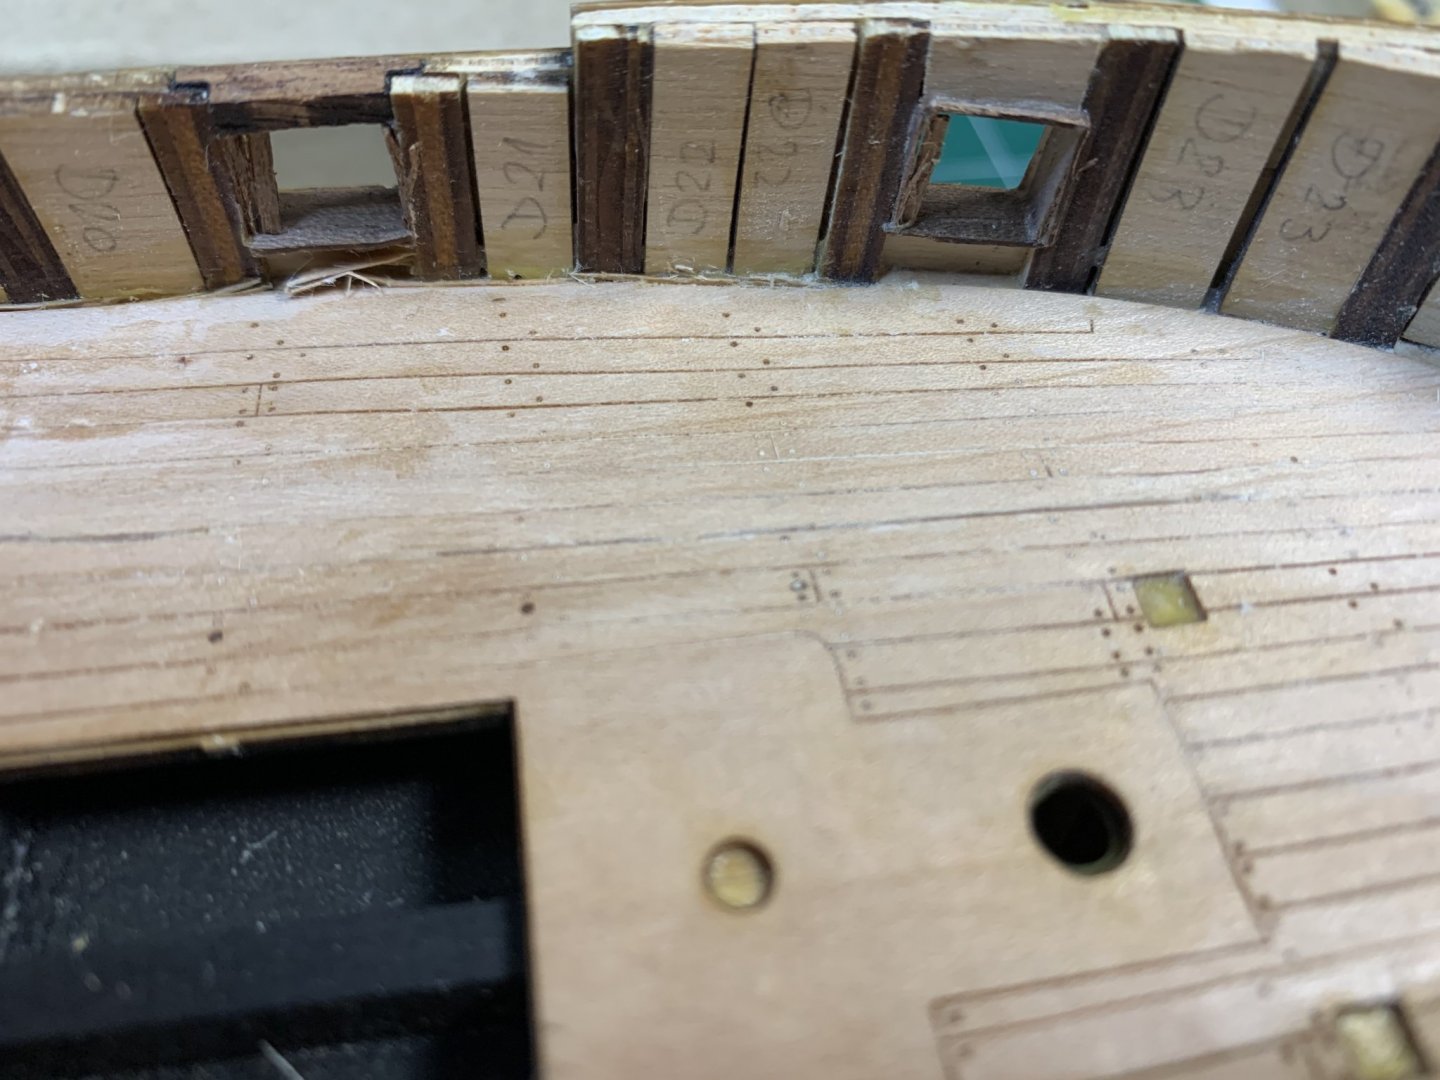
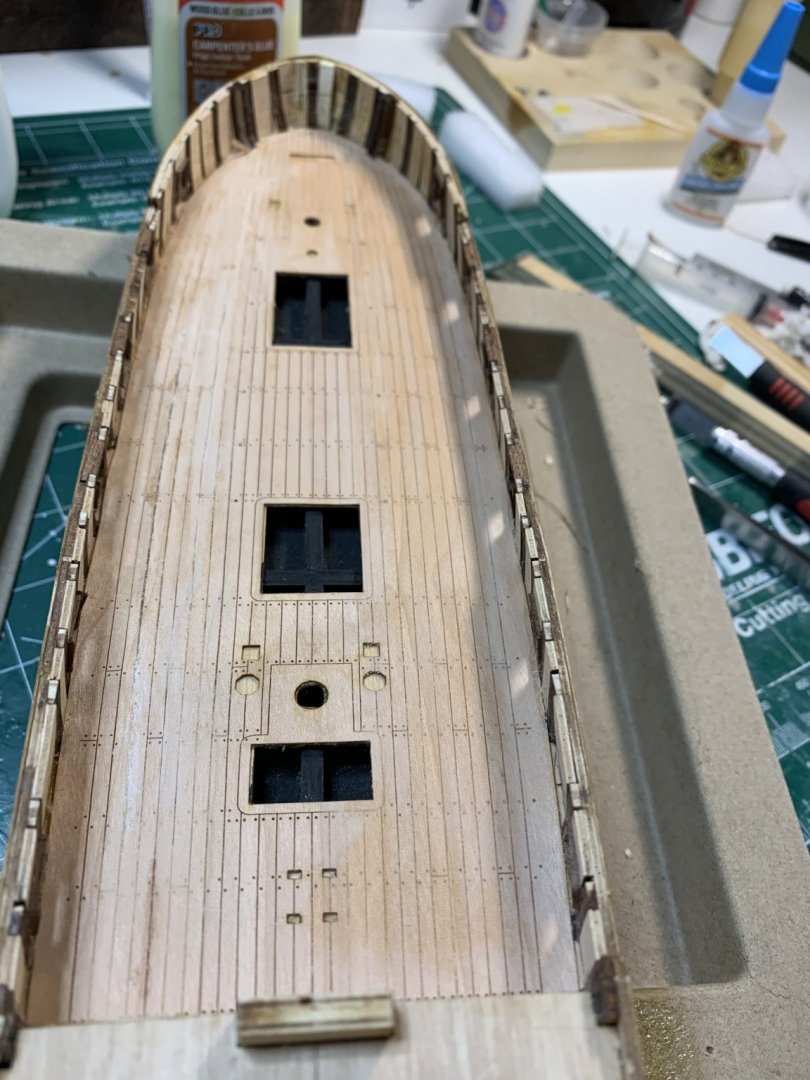
Shhhh, don't tell my boss, this work from home thingy is not that bad after all... I have setup my work (office) desk just on the opposite wall from my hobby desk and one chair is used for both desks. Now when i have some spare time, i just turn my chair around and voila... A small corrective surgery had to be performed to correct the issue with the deck. This is one of the challenges i needed to fix. Was able to redo most of the affected deck areas by lifting it and gluing it back. For some i had to do combination of a different techniques to thin the wood and correct it. Very happy that deck itself is made from thicker wood so there are plenty of wood to work with... Re-gluing was applied to certain parts and there were left to dry.. Starboard side completed; need to do a bit more sanding and to clean it up in prep for layer of protection... Today will work on port side.. Happy modelling..
- 275 replies
-
- phoenix
- master korabel
-
(and 1 more)
Tagged with:
-
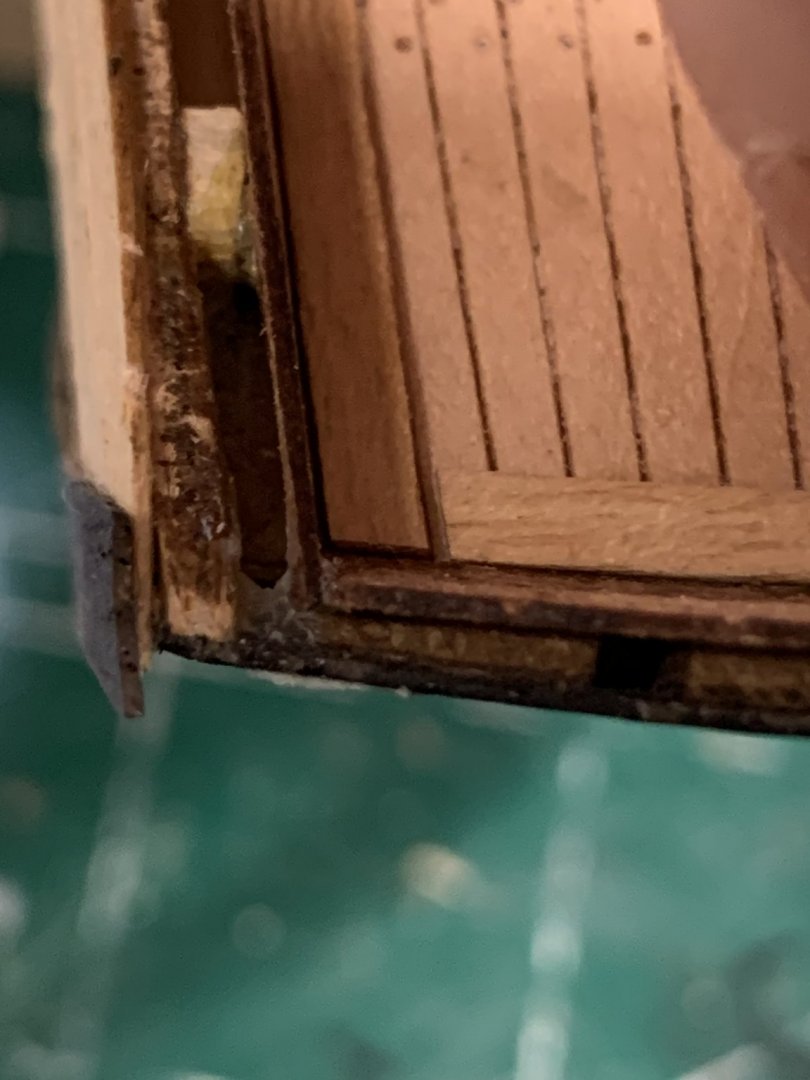
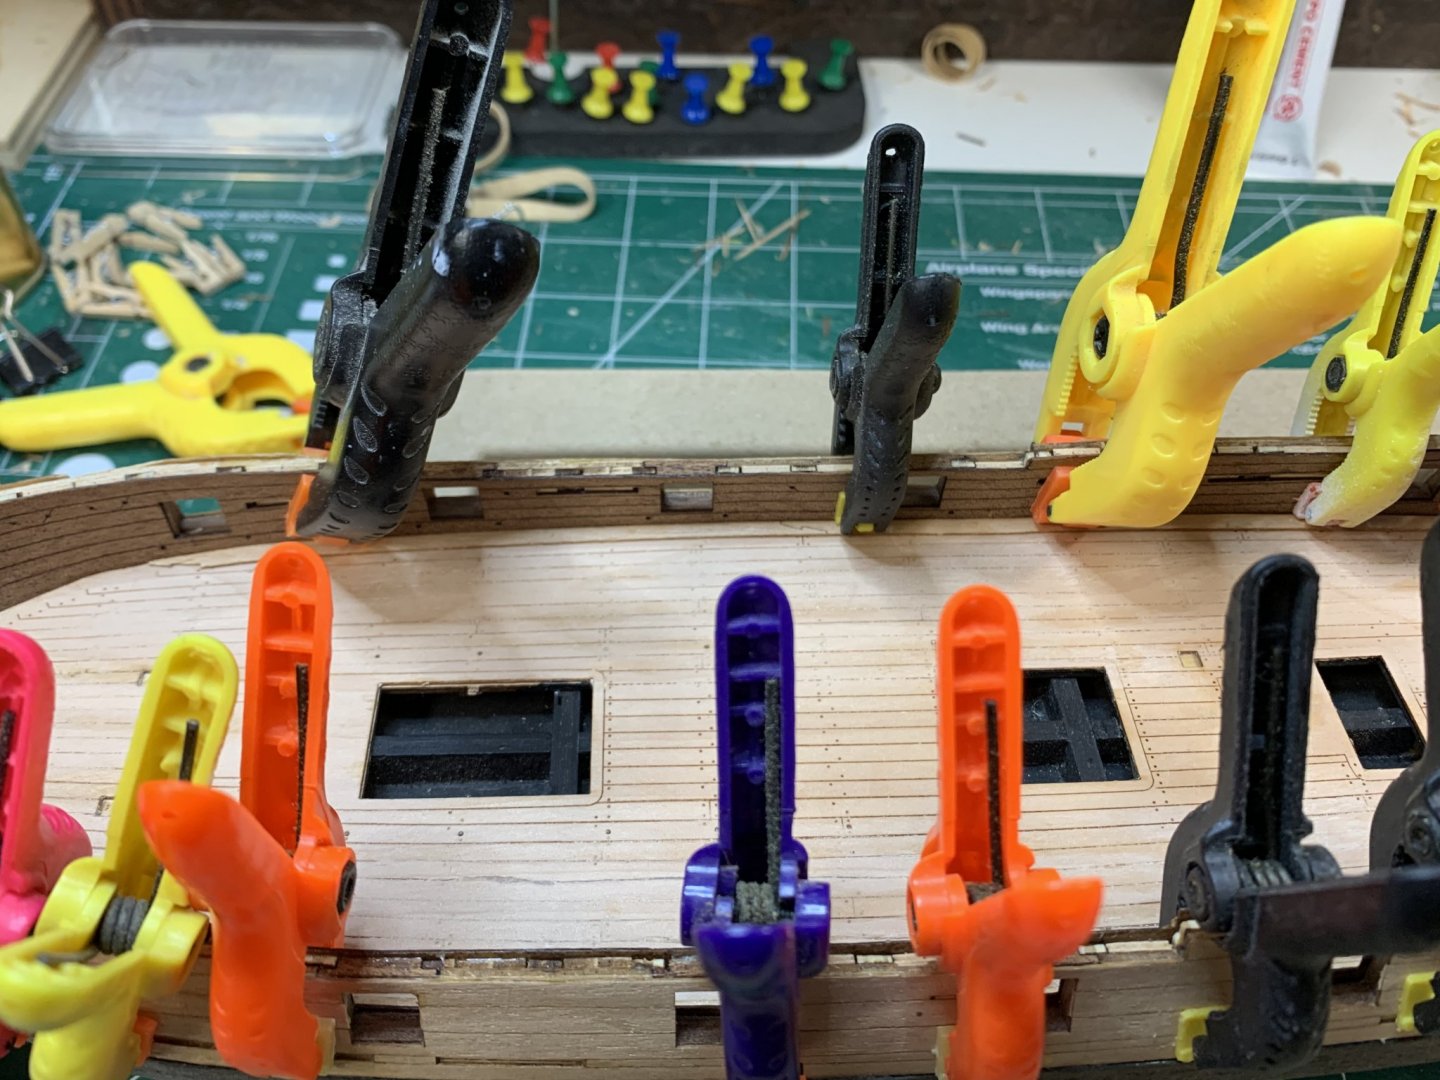
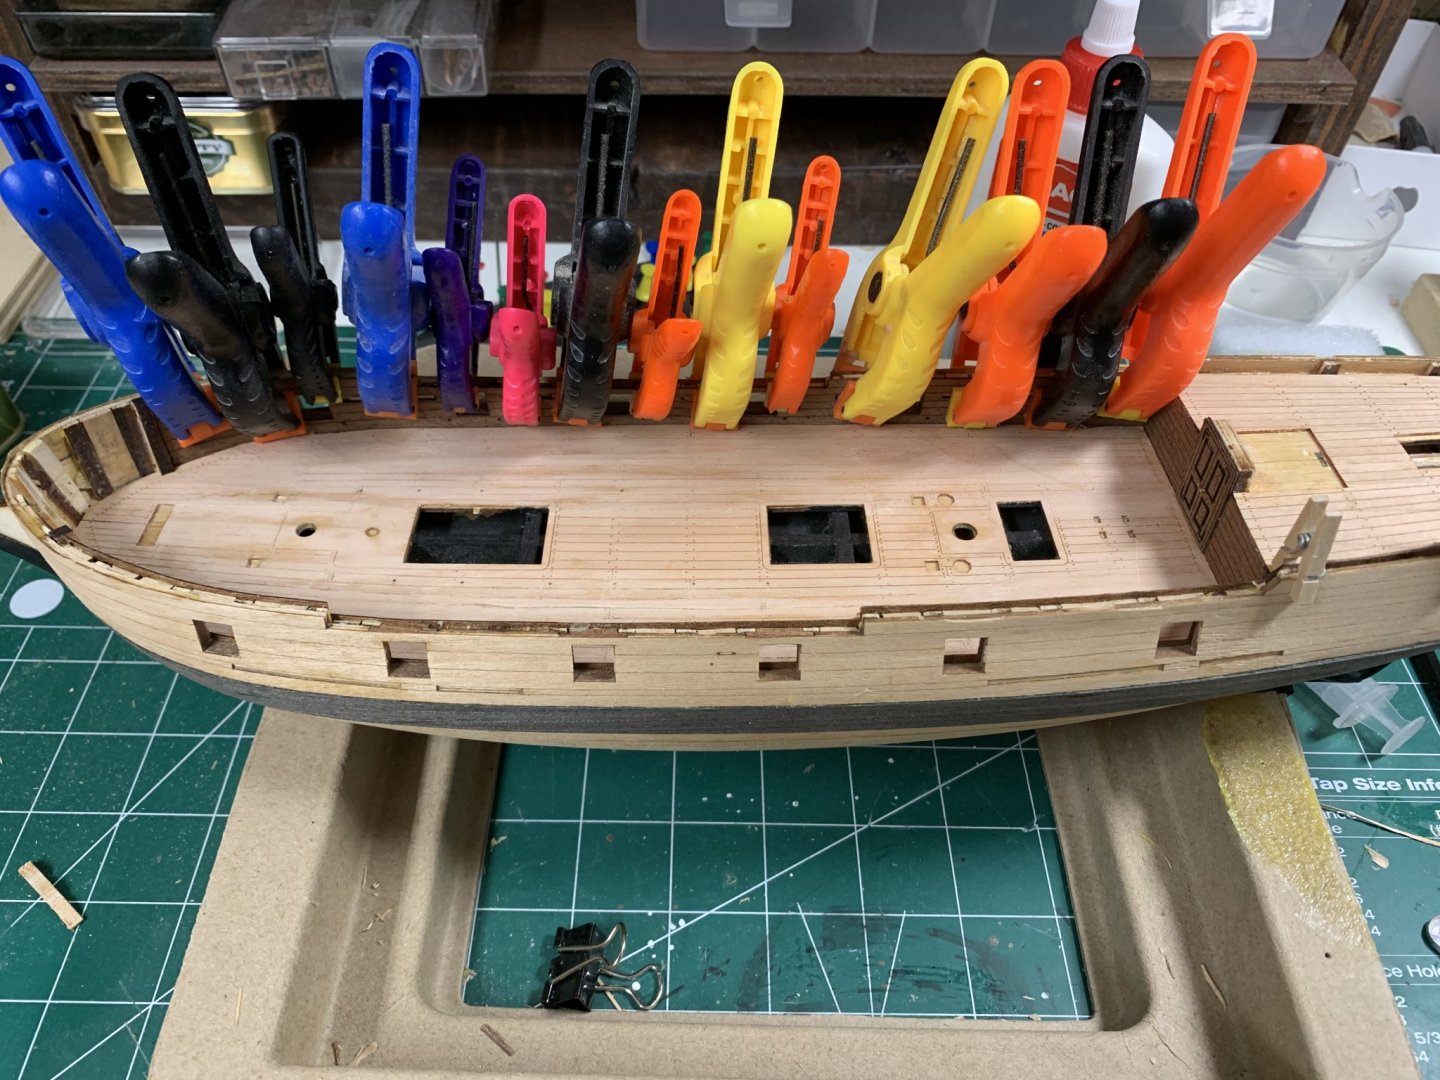
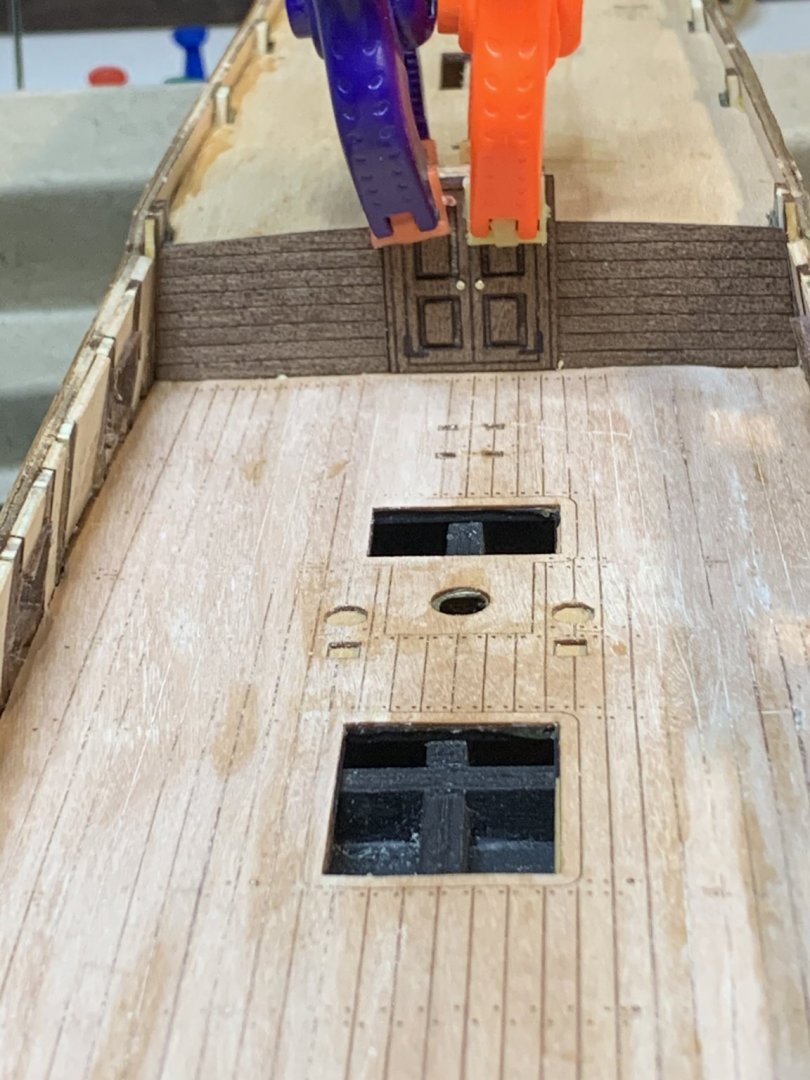
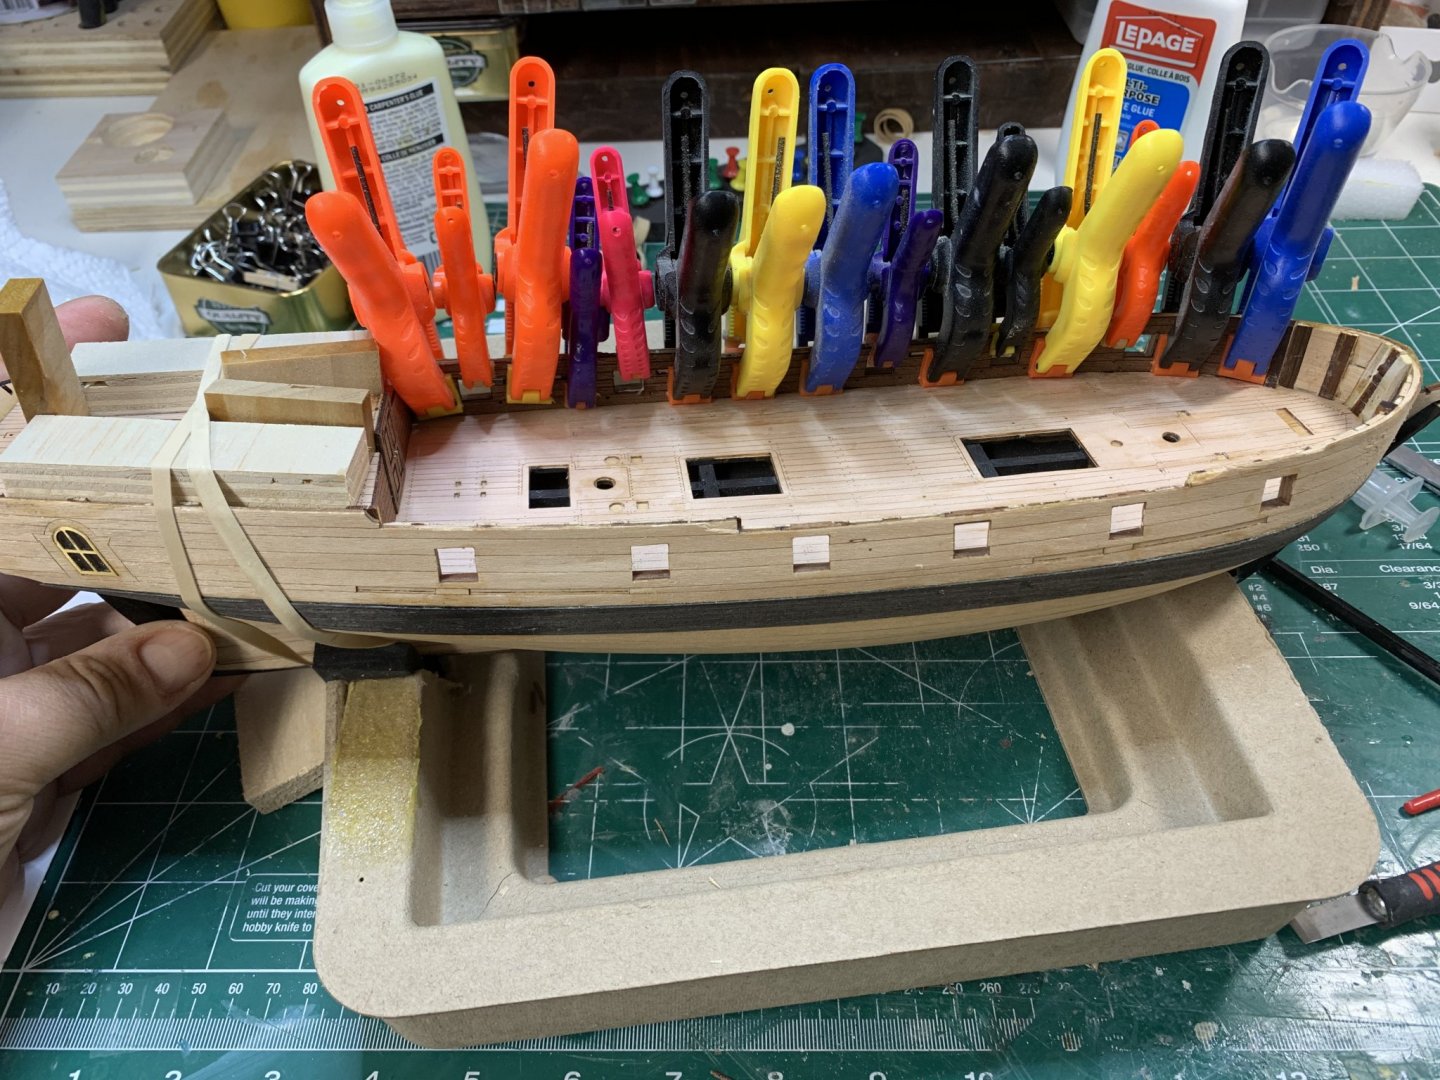
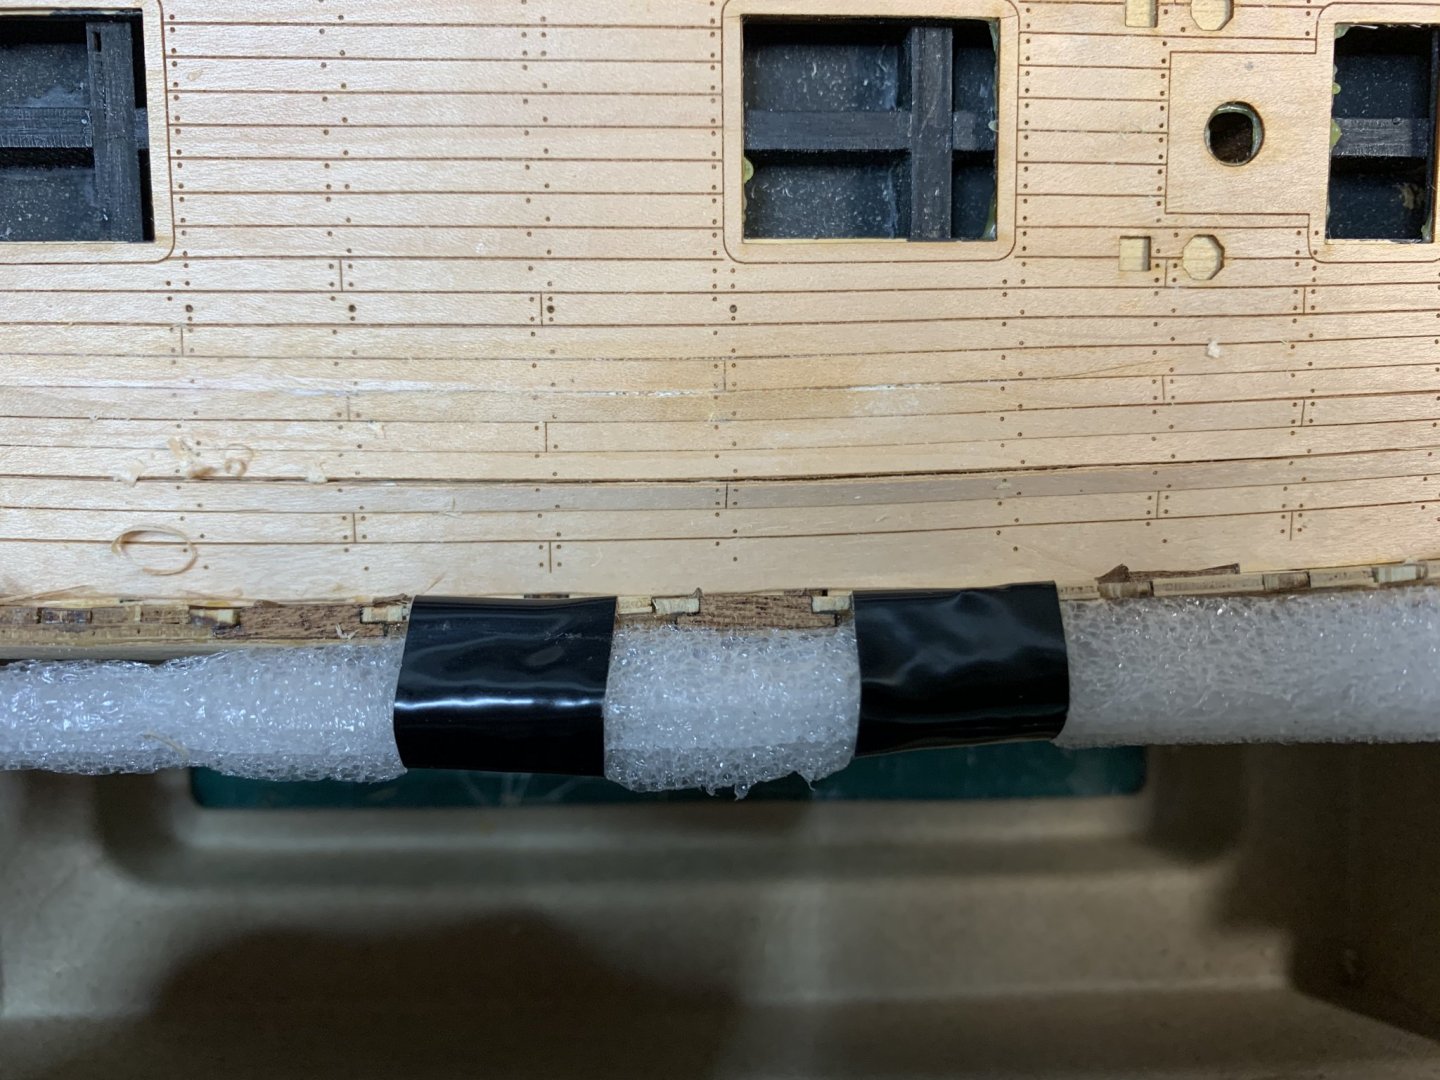
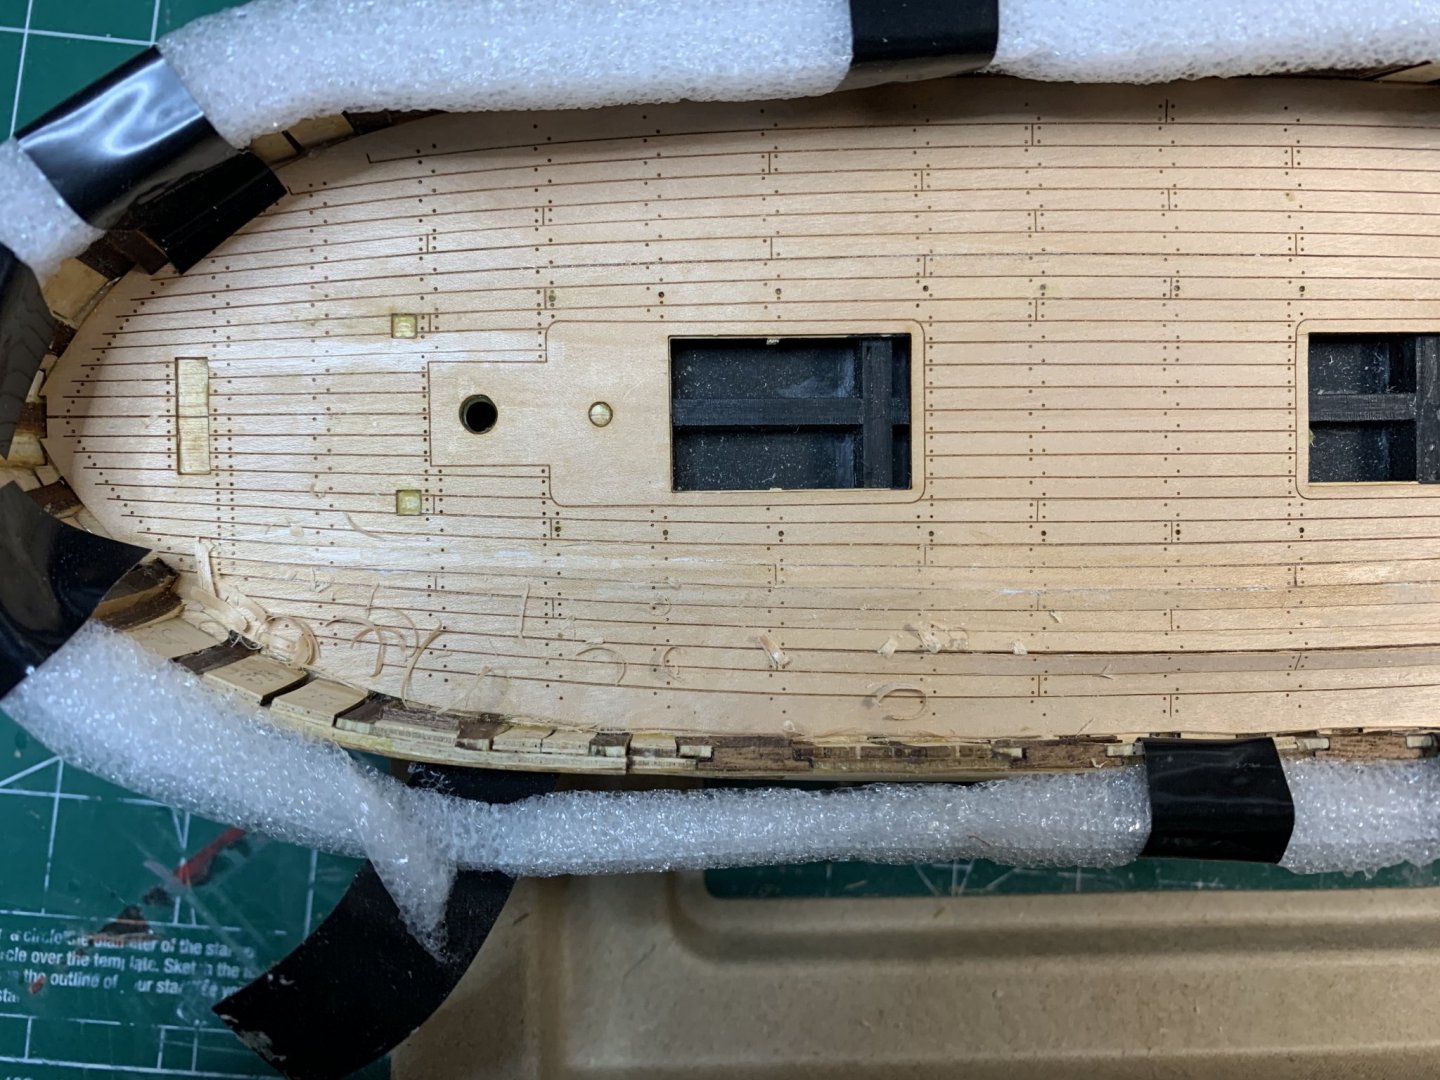
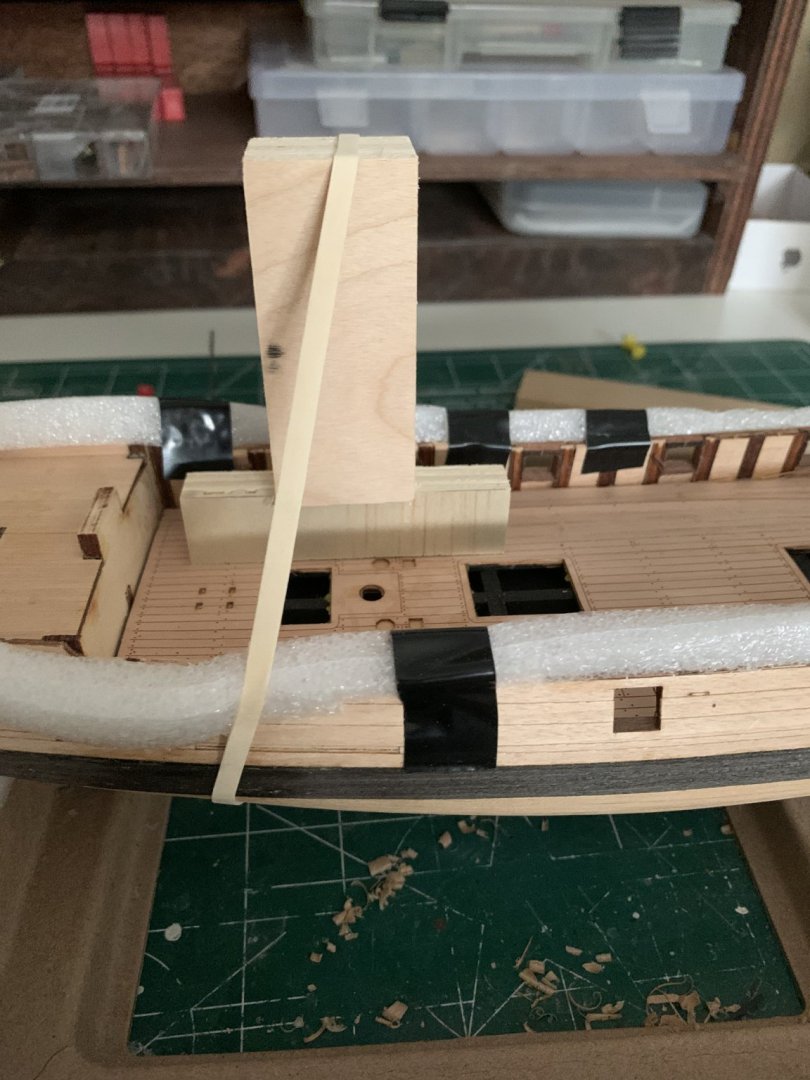
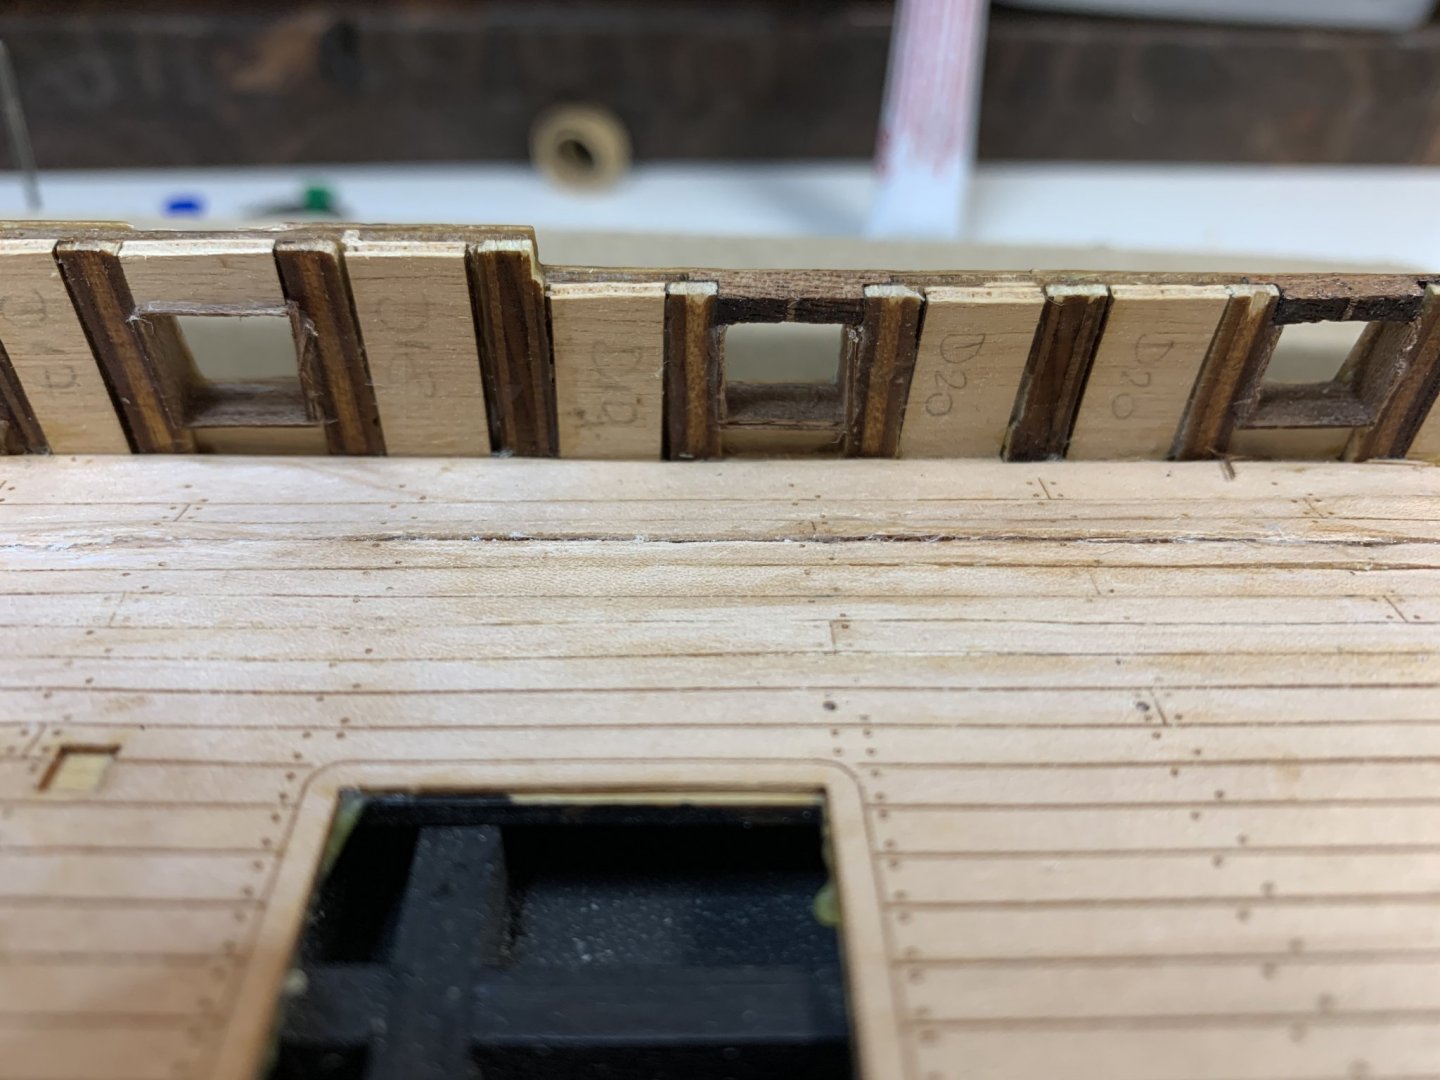
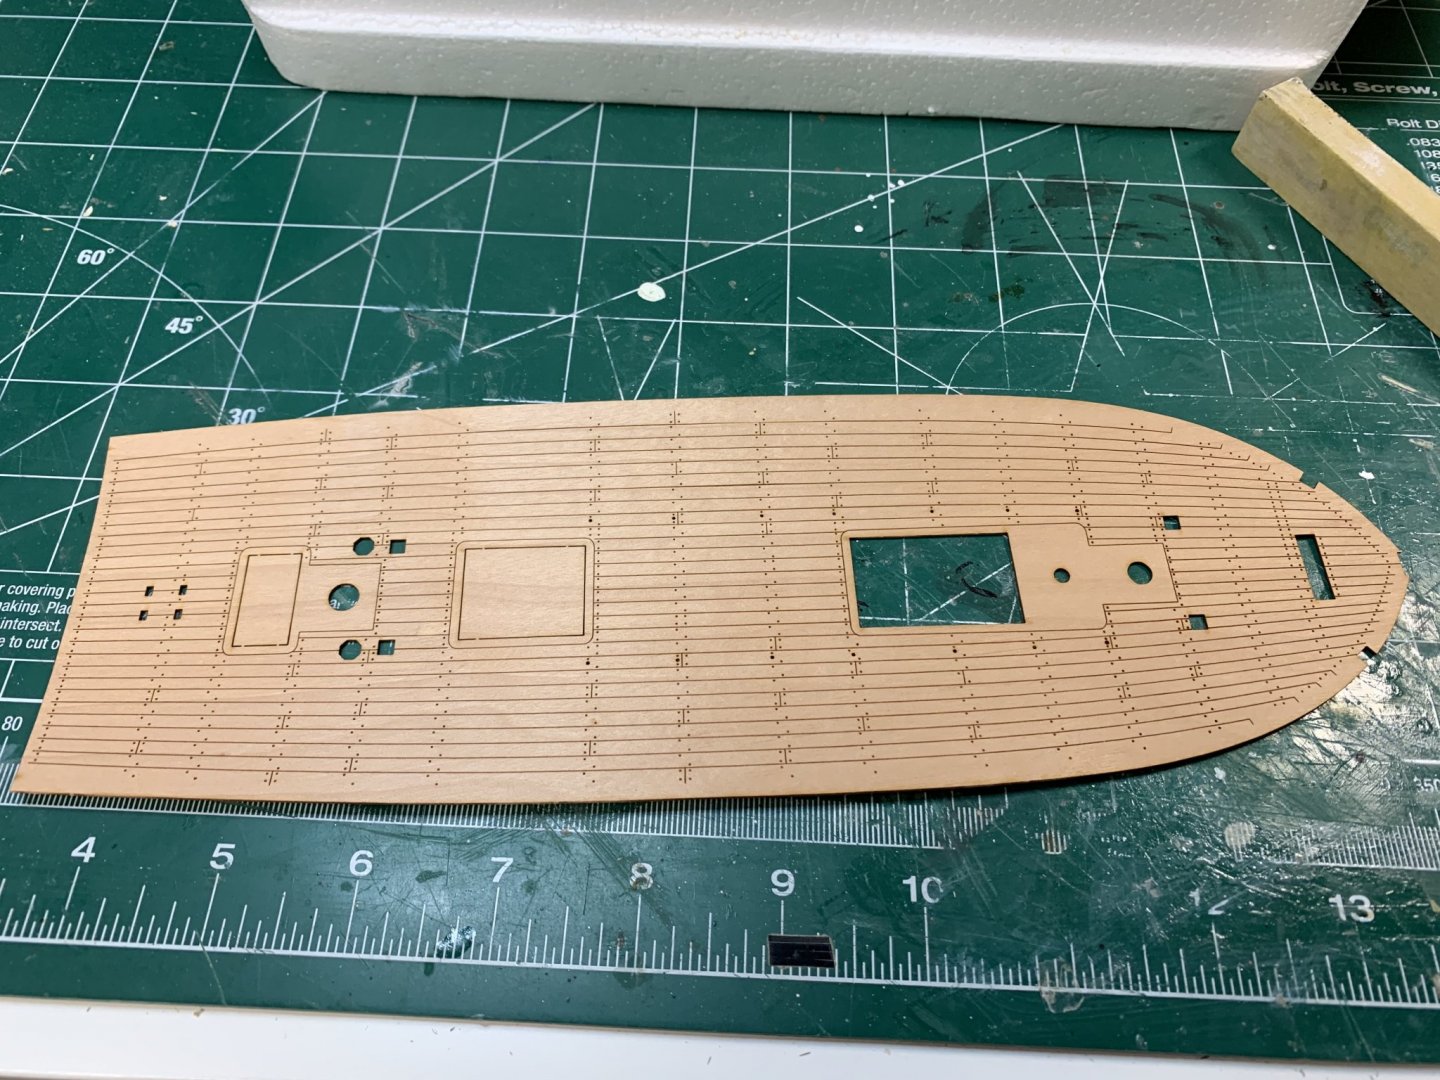
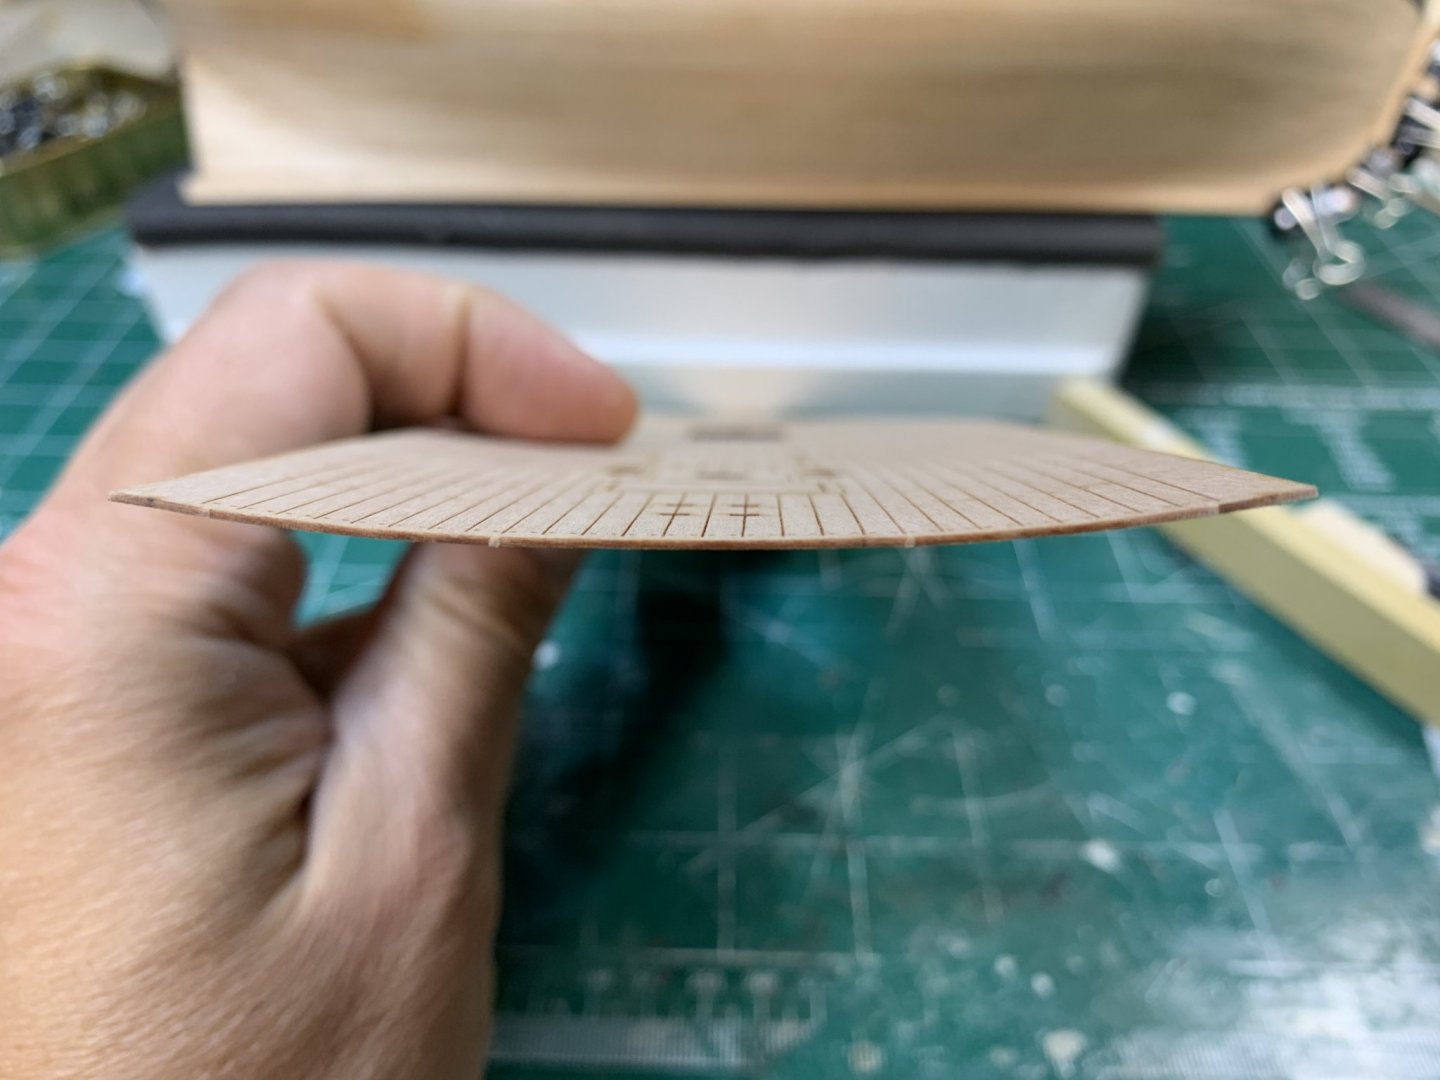
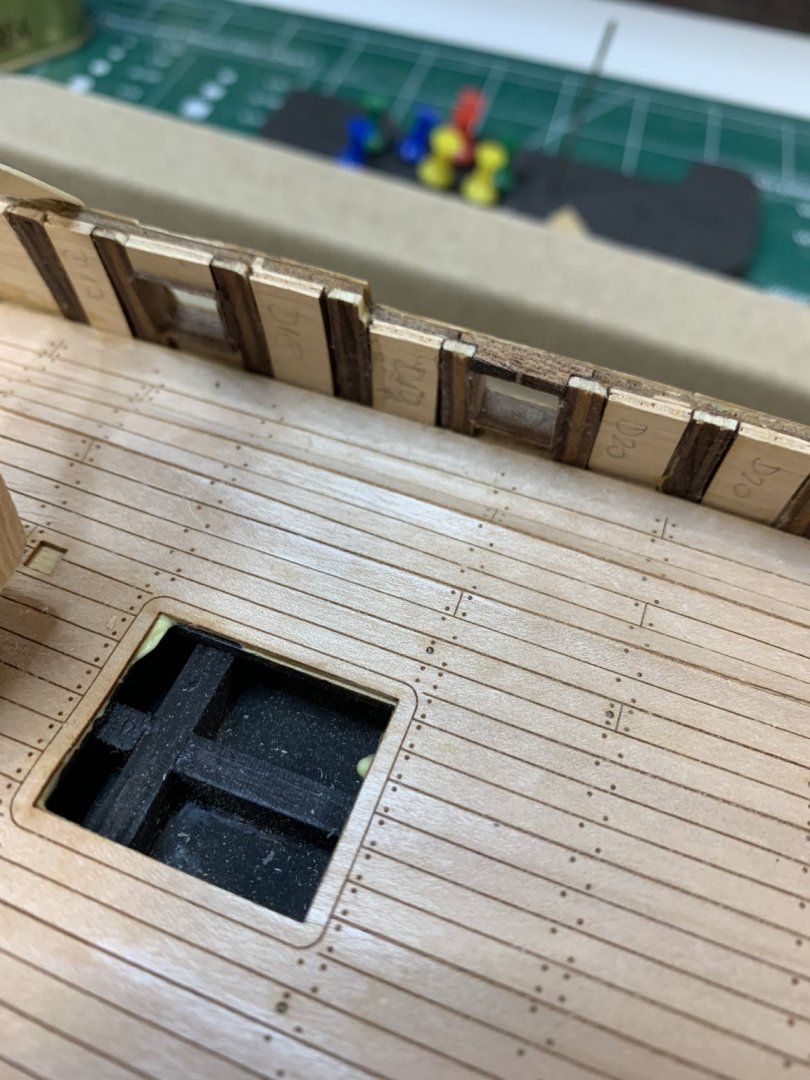
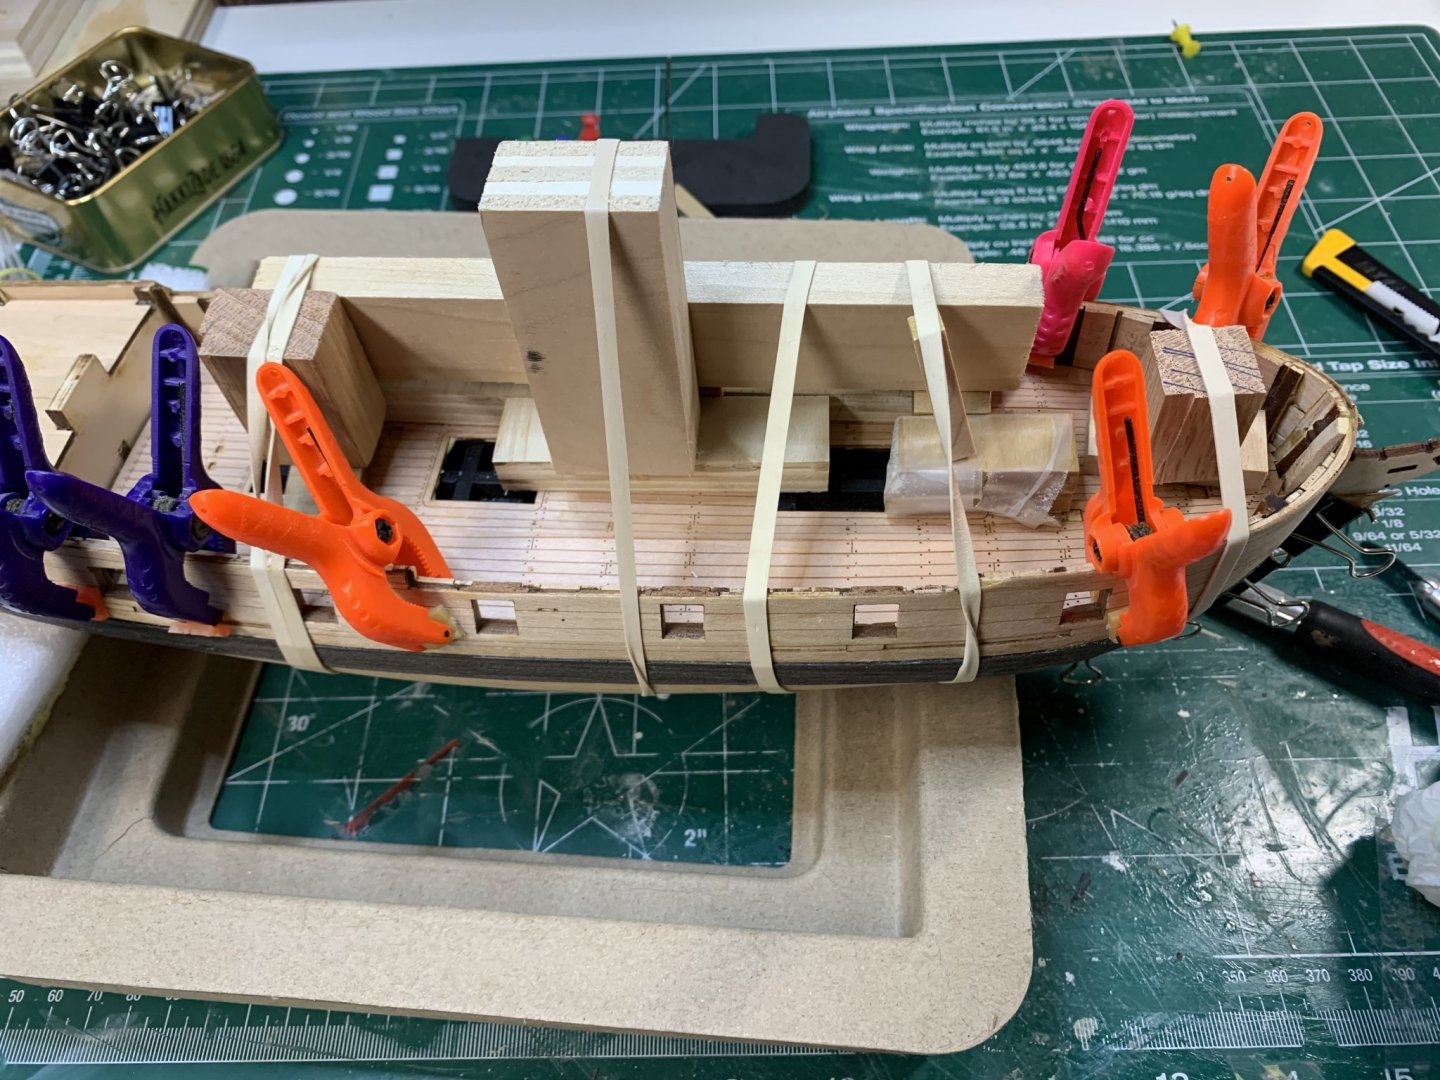
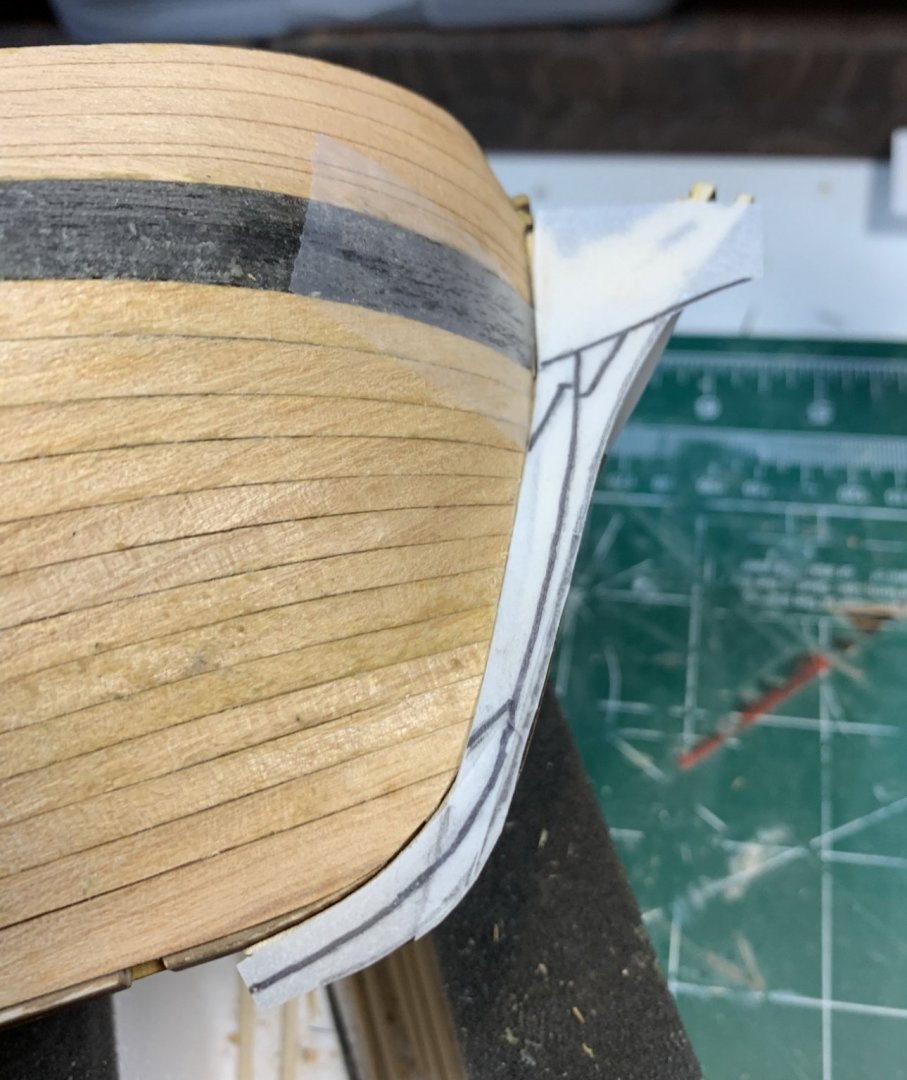
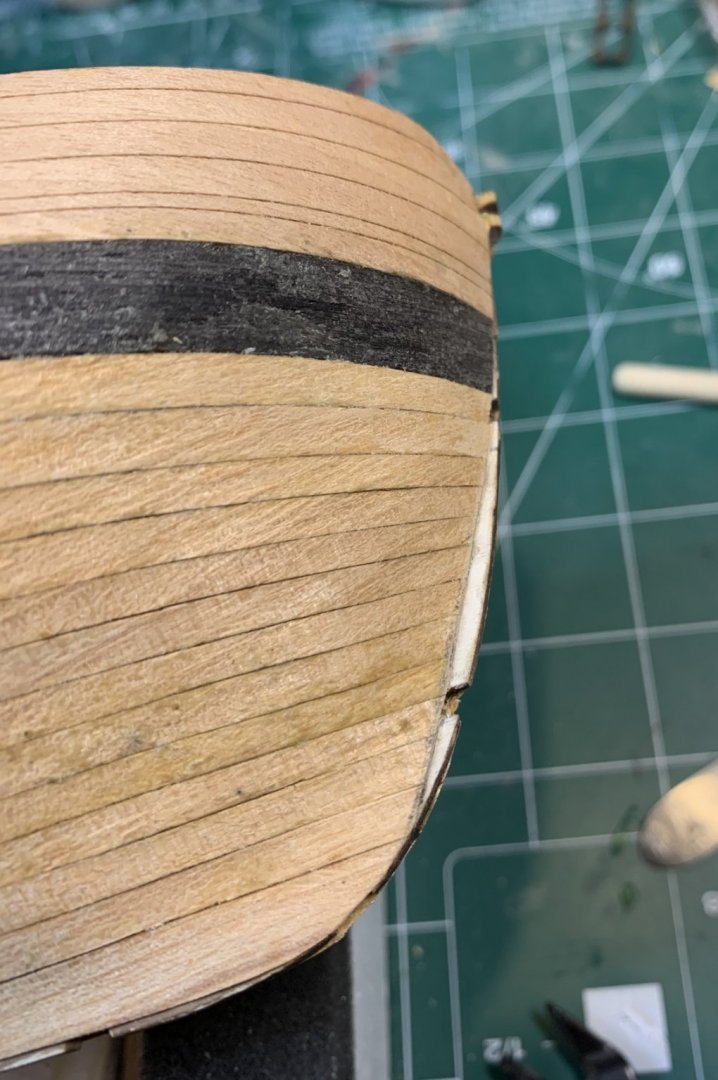
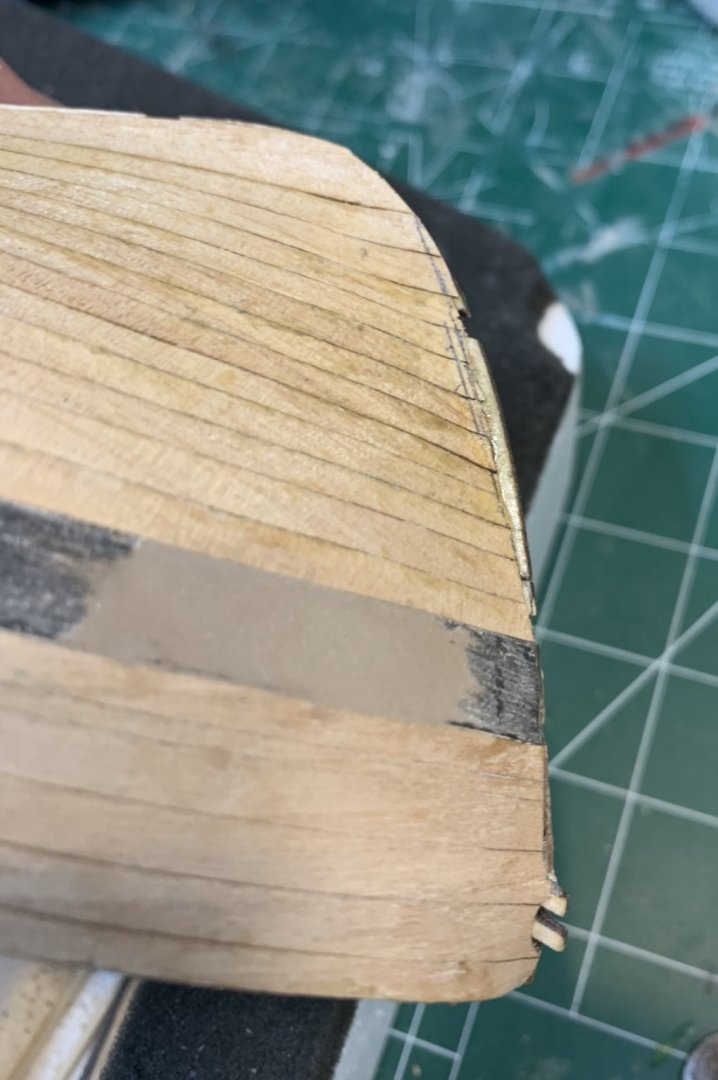
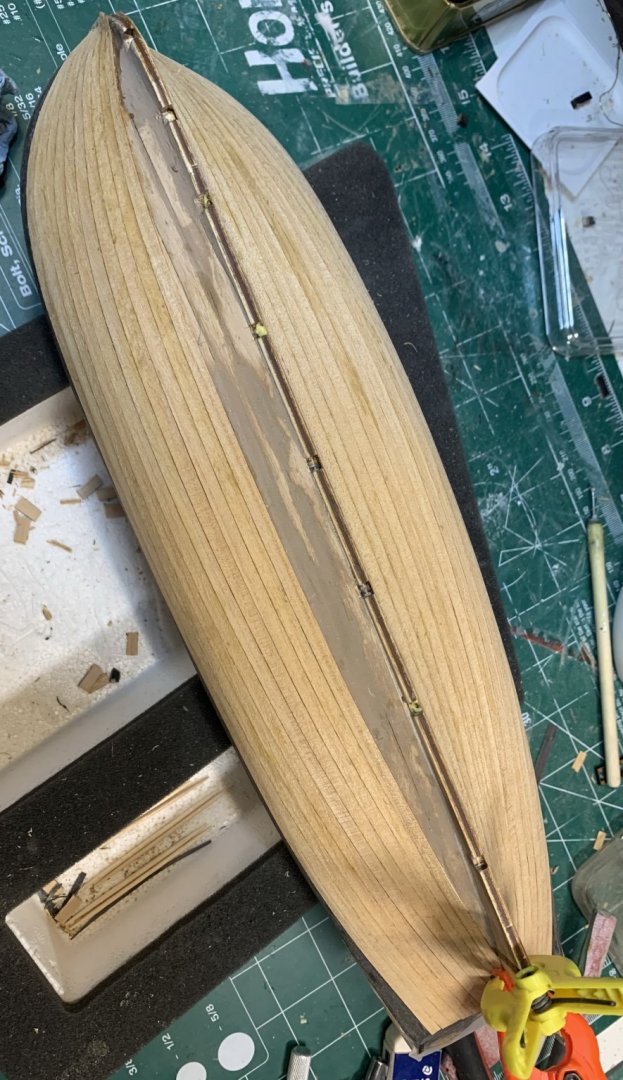
OK, so we are back... now i need to pick up where i left it some months ago... The new stern was build tracing the original part and adding some extra millimetres that will be sanded down after. The process consisted of several short sanding stroke, measure, test, sanding again, measure, fit.... The part was glued and left overnight to completely dry.. Some shaping and sanding will be done next. Then the last plank on the keel was installed... While these parts are drying i start working on the main deck. The main deck planking is done with laser cut part, out of one piece, very precise and neat. Not sure if because of some months in the open box, but the deck was getting out of shape (like myself with limited amount of outdoor activities due to corona)... I tested with dry fitting and all was looking OK. Applied a glue on the whole deck and put so called false deck on the ship.. during fitting process some parts started to dry and deck starts to twist. Not sure if this is related to water in the glue or something else but the end results have some parts (where two planks are connected together) sticking out and creating kind of rotated V shape... So tons of rubber and spare wood pieces are called in to assist pushing those areas down to the deck and help gluing them properly. Then i realized in this case the bulwark edges can be in danger of getting chipped off so i removed rubber bands and put a layer of protection on the bulwark' edges. Today i will continue working on the deck and correcting those "V" issues. Not sure what woudl be the correct procedure to avoid this type of thing; maybe mounting a deck before all bulwarks are in place to allow you to squize the whole deck with one big piece of wood, or some other way of installing it... We will see the results. Happy modelling..
- 275 replies
-
- phoenix
- master korabel
-
(and 1 more)
Tagged with:
-
With all these covid thingy my actual work has been affected and was forced to look for other engagements; fortunately was able to quickly secure another position and now i can go back to ship building... will start working on it shortly...
- 275 replies
-
- phoenix
- master korabel
-
(and 1 more)
Tagged with:
-
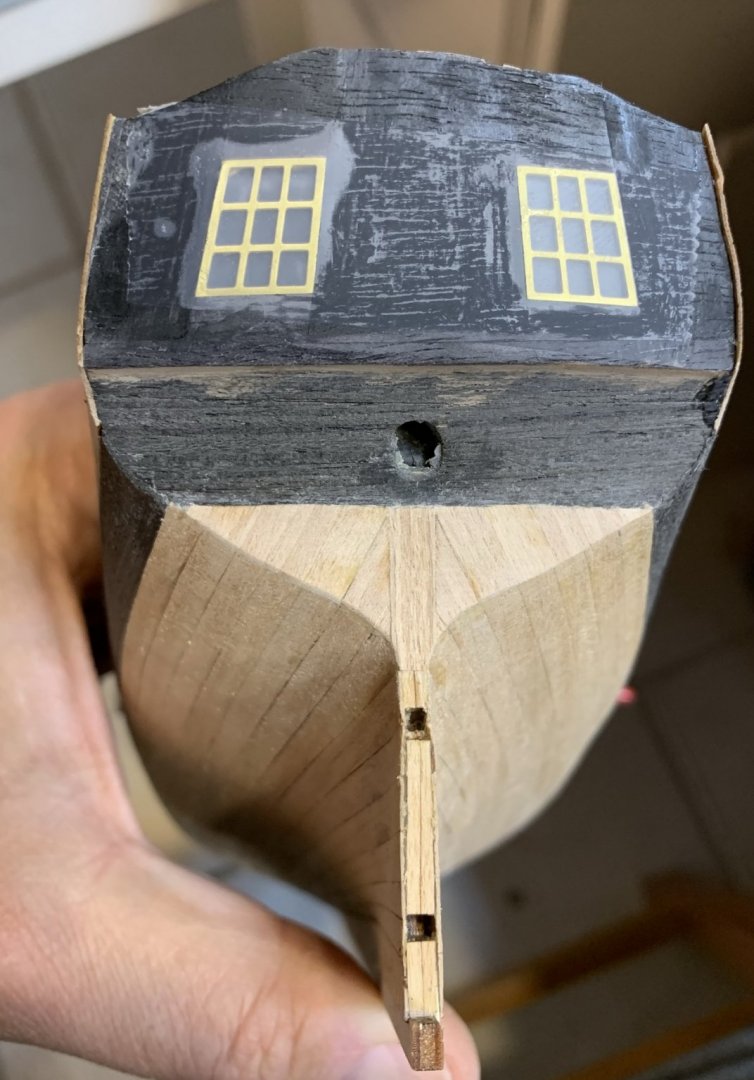
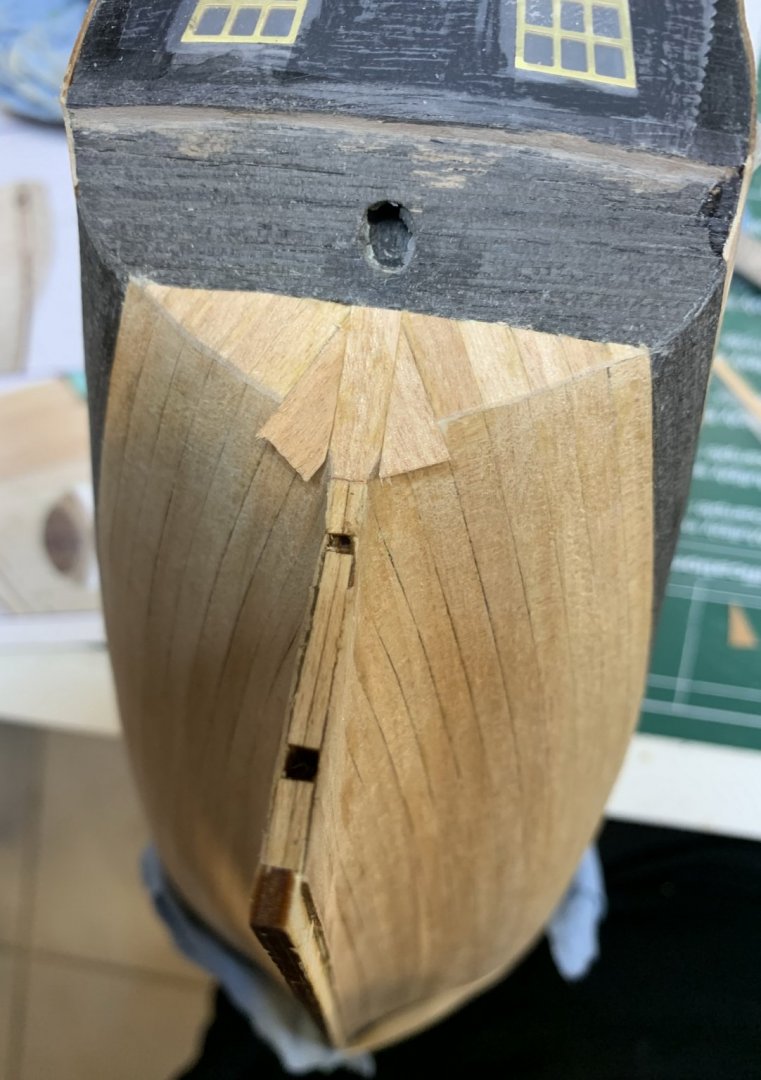
A little bit of progress ... I decided to replace kit provided planks at the stern, just below the black painted area, with a home made from the spare pieces.. This is an idea from the instructional video... I have to reshape the rudder hole as well since i have replaced this part... and opening was not there... Hull has been scraped and lightly sanded.. Few more parts glued and secured... Happy modelling.
- 275 replies
-
- phoenix
- master korabel
-
(and 1 more)
Tagged with:
-
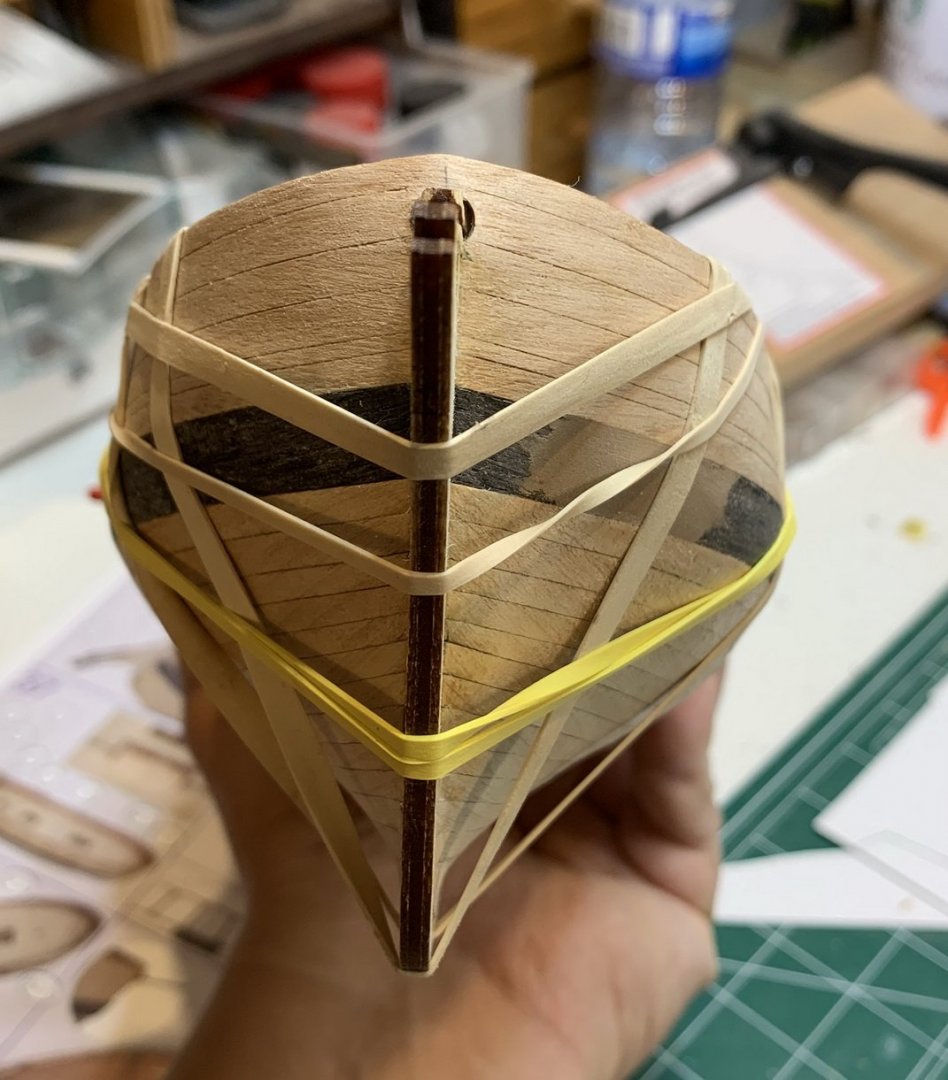
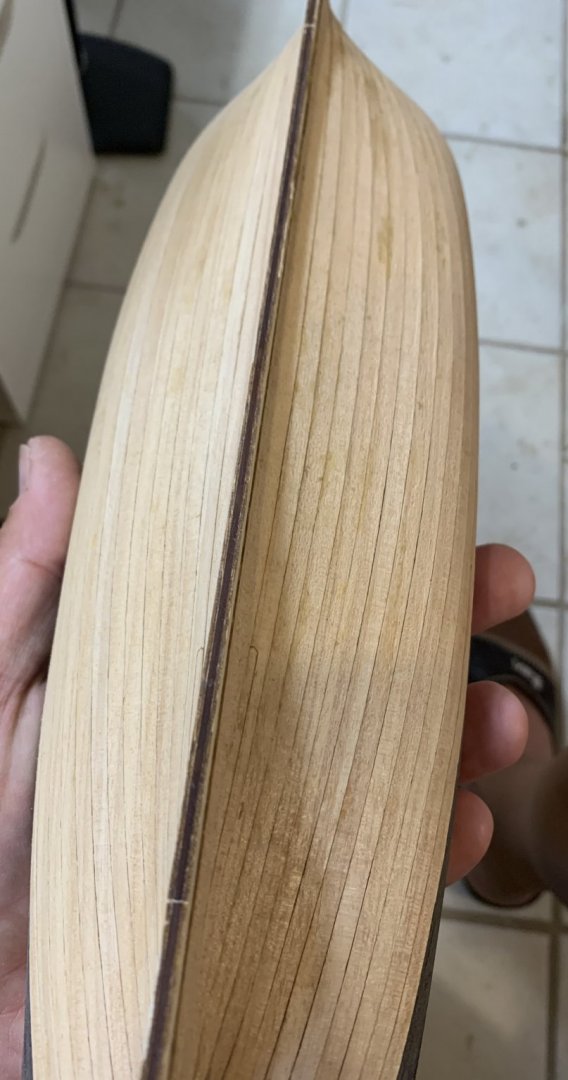
Planking keeps coming along just fine.... with not quite matching planking lines on both side of the ship, which i really do not like.. One of the very nice small details on this kit is a simulated steeler.. During this process i also discovered that i did not put planks properly at the bow. Maybe not reading thru instruction manual thoroughly but all planks have to go slightly over keel. There is very tiny amount of planks that is left on both ends once that plank is installed. Anyhow, this is what i have to deal with.. So i might ended up adding a piece of veneer that will cover this part and ended up on a false keel.... something like this.. Happy modelling..
- 275 replies
-
- phoenix
- master korabel
-
(and 1 more)
Tagged with:
-
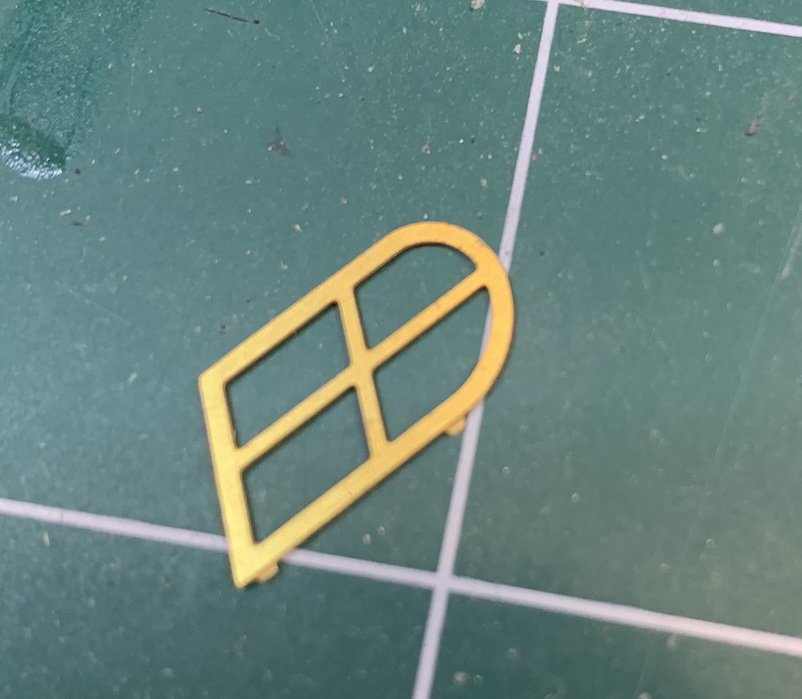
Window has been cut, sanded and installed. It fits perfectly on the top but the bottom end has tiny gap between window frame and planks... Little bit of glue was applied around the frame to keep it in the spot.. and piece of scotch tap was applied over to protect it during work process on other parts of the ship. Few planks were installed... They are long enough to leave some extras for trimming at the stern.. Happy modelling.
- 275 replies
-
- phoenix
- master korabel
-
(and 1 more)
Tagged with:
-
The window frame was cut, sanded and assembled on the model. Window is then protected with a scotch tape.. The wale was next, it consists of two piece of veneer for both ship sides. It is laser cut but still does require very slight sanding on edges which is absolutely not a problem at all. 🙂 Just for fun, first i applied glue on the hull instead of wale.. And wale is attached, no issues here. All fits perfectly... Started from bow and made my way back... And the port side first plank was applied. Tomorrow will continue planking using hot iron technique to see how that does.. Happy modelling.
- 275 replies
-
- phoenix
- master korabel
-
(and 1 more)
Tagged with:
-
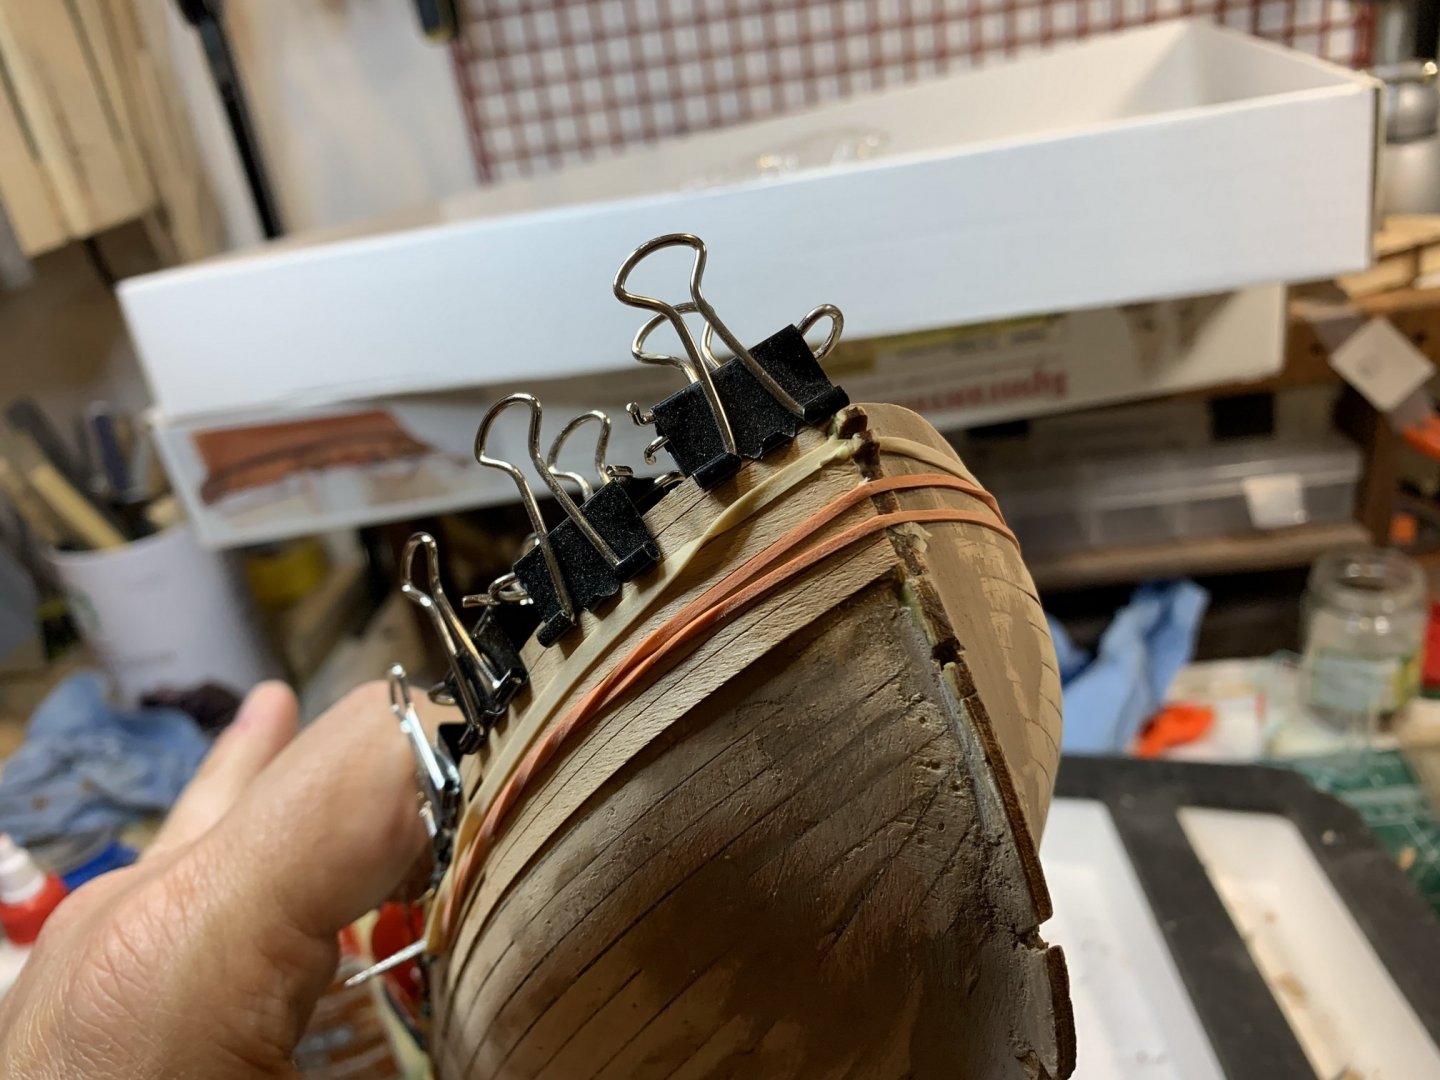
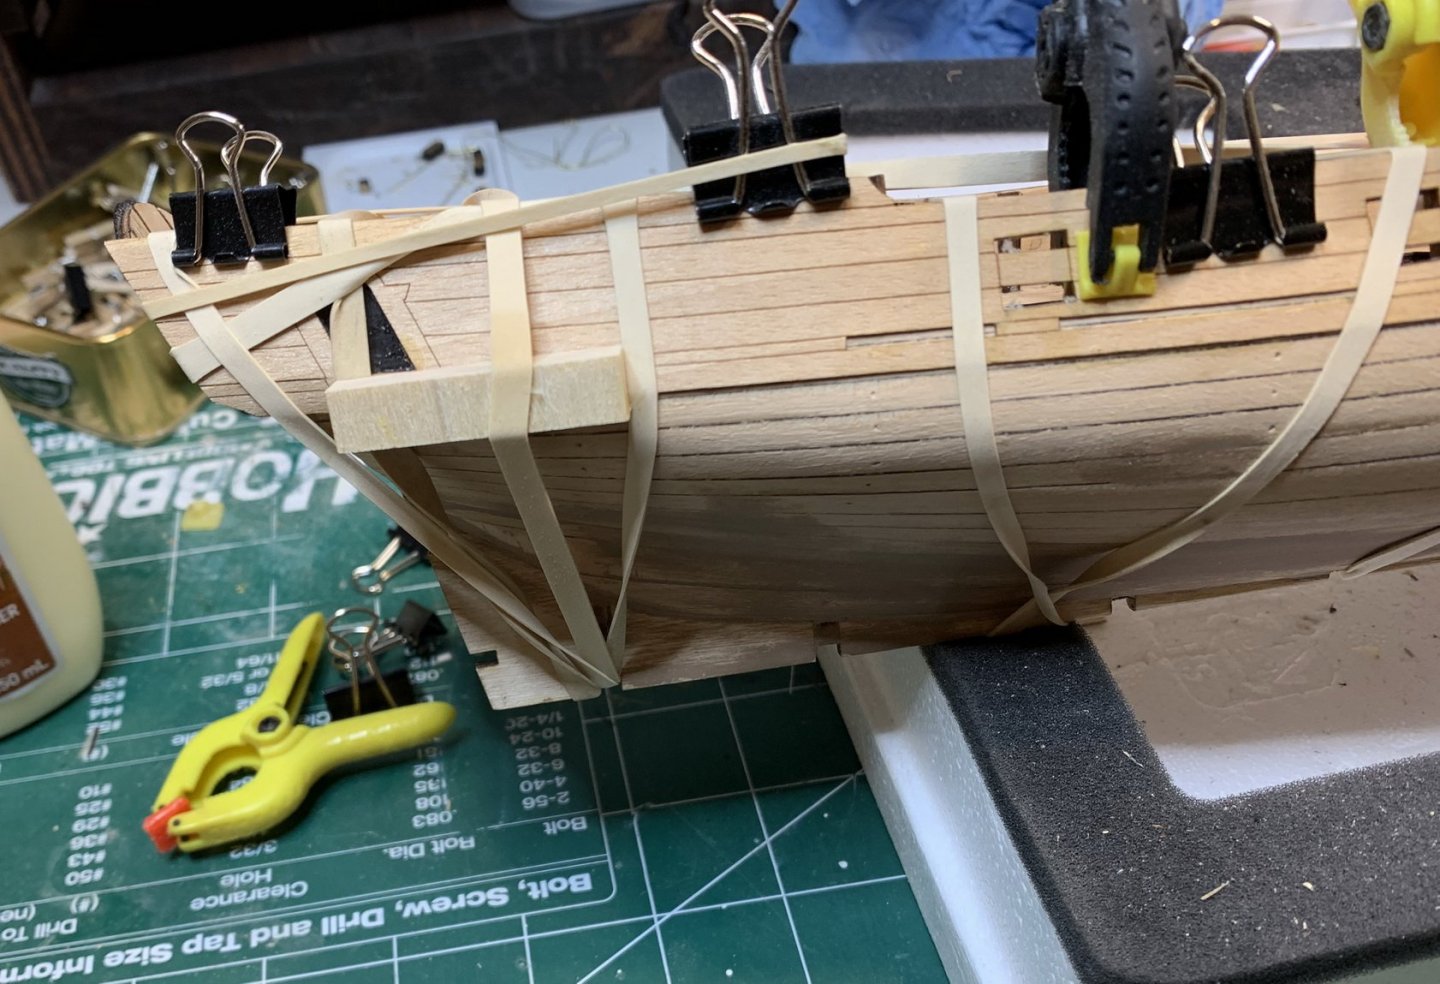
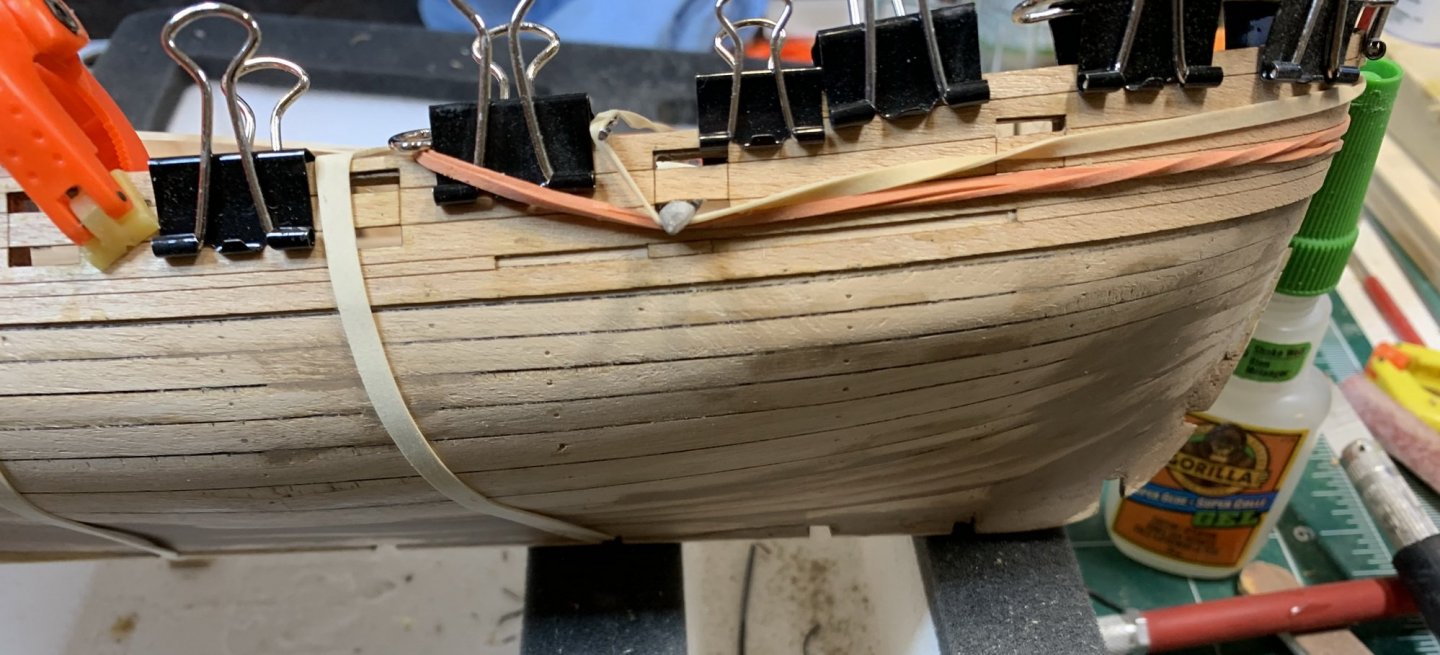
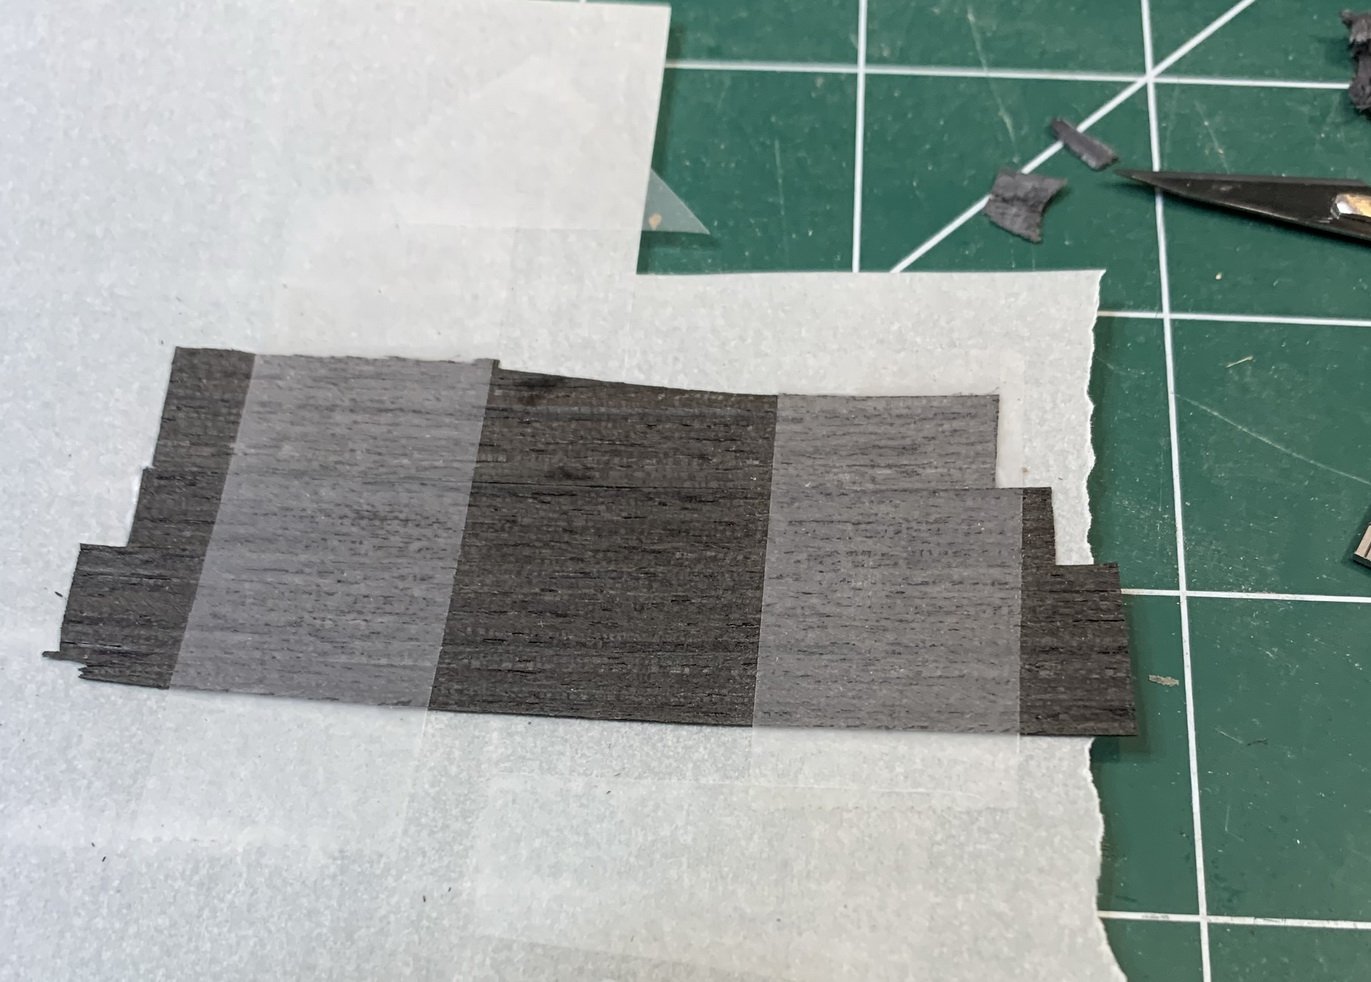
The inside frame of the gun opening was covered by veneer; extra veneer was removed and sanded flush with the hull. Work on stern continues repairing broken piece... several planks were made out of spare veneer, glued to the transparent paper, cut in rough shape, and then, as a whole piece, glued to the ship. I could probably do it gluing individual planks but.. Making sure it stays put... After this the first second plank was installed. It takes a bit of positioning, but if you start from stern, slowly, securing it with either rubber bands or other clamps, it can be done with no issue. Plank at the bow required a bit of extra attention.... Tomorrow.. Happy modelling.
- 275 replies
-
- phoenix
- master korabel
-
(and 1 more)
Tagged with:
-
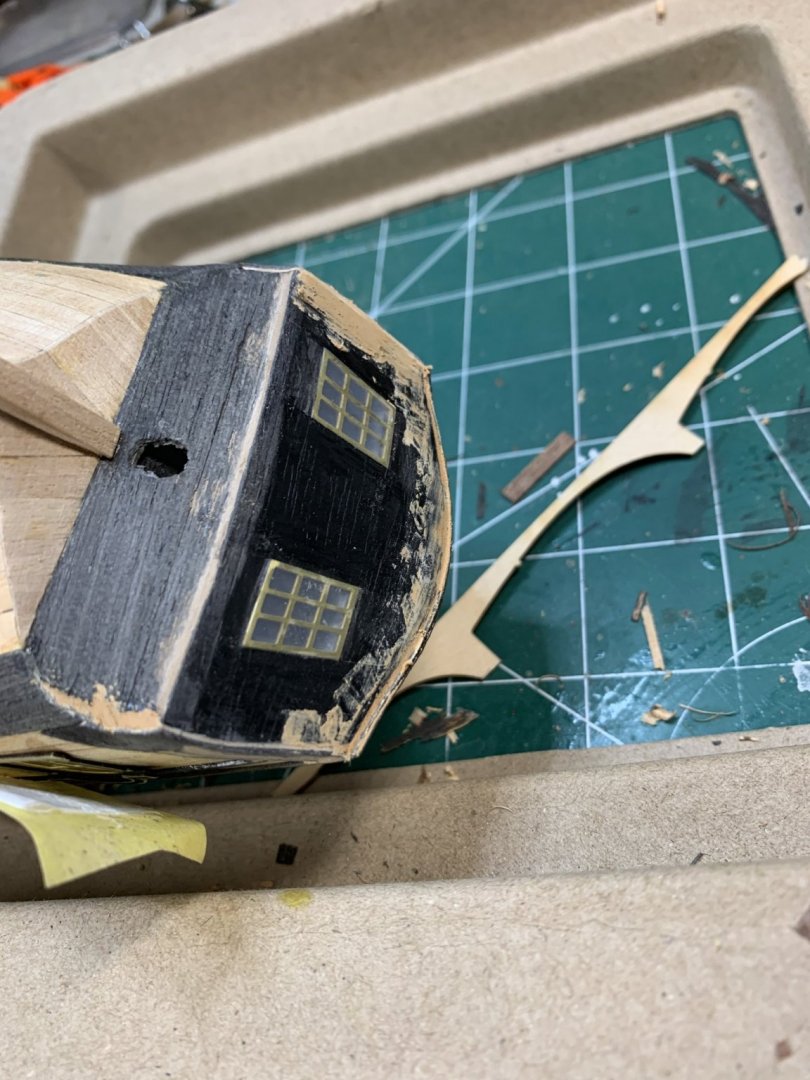
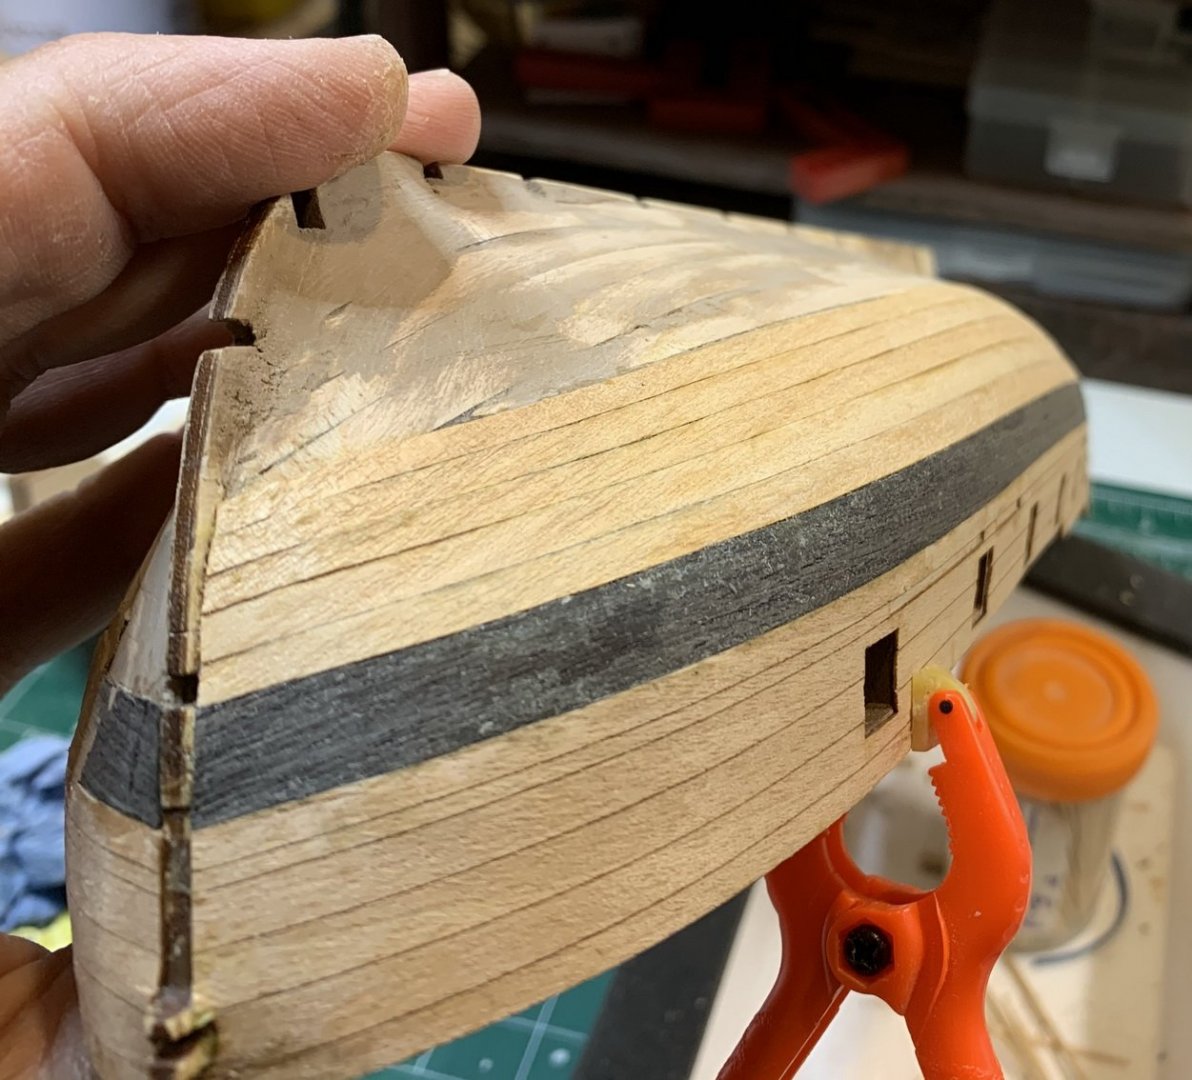
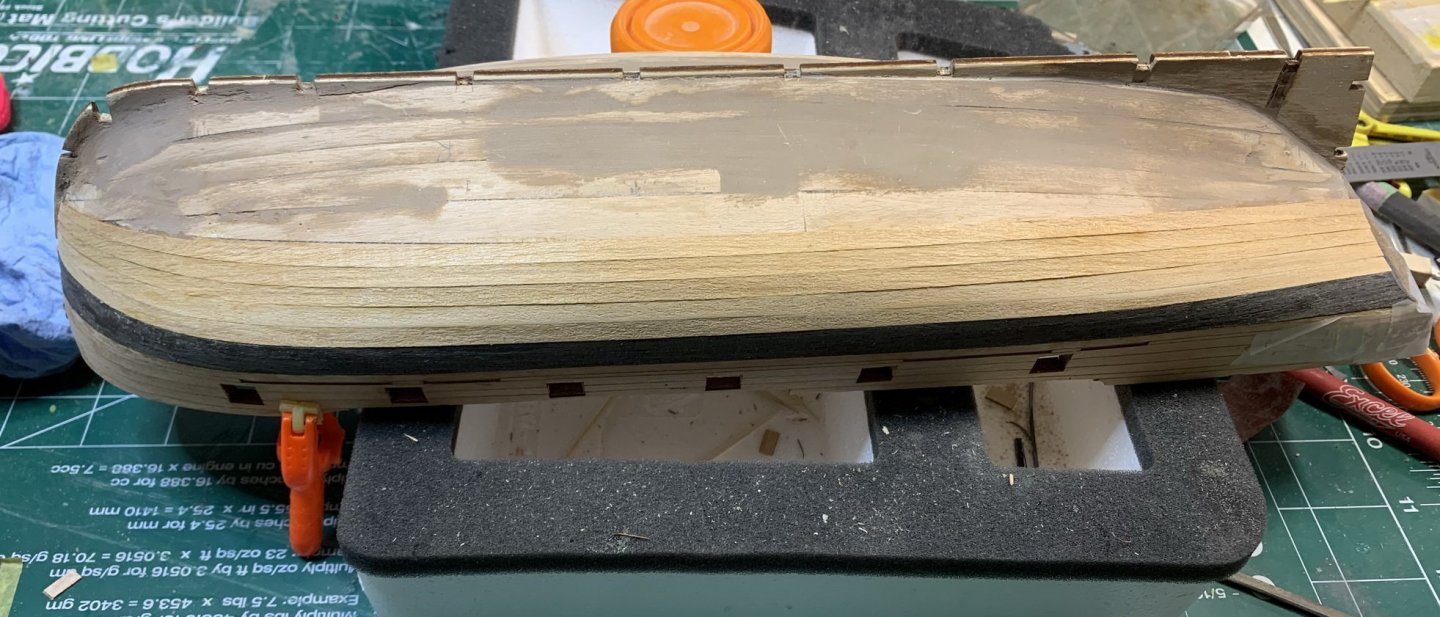
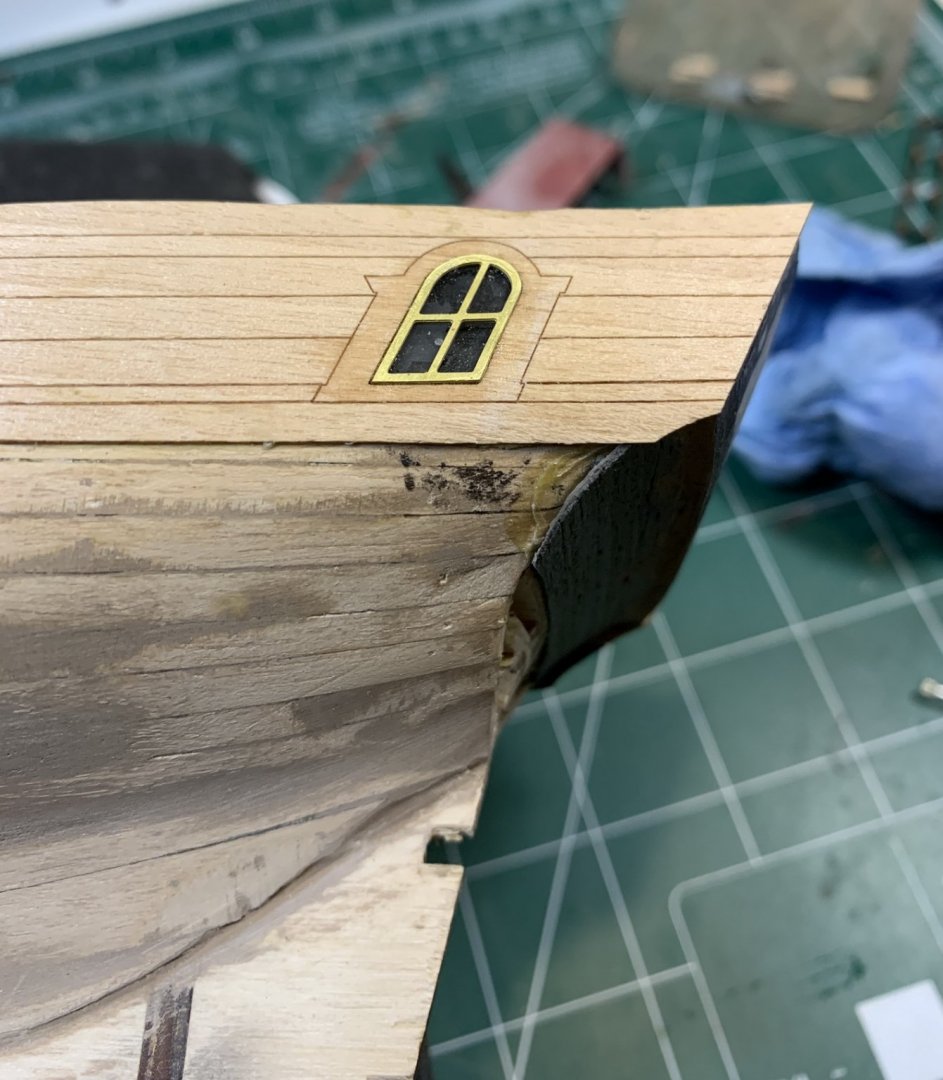
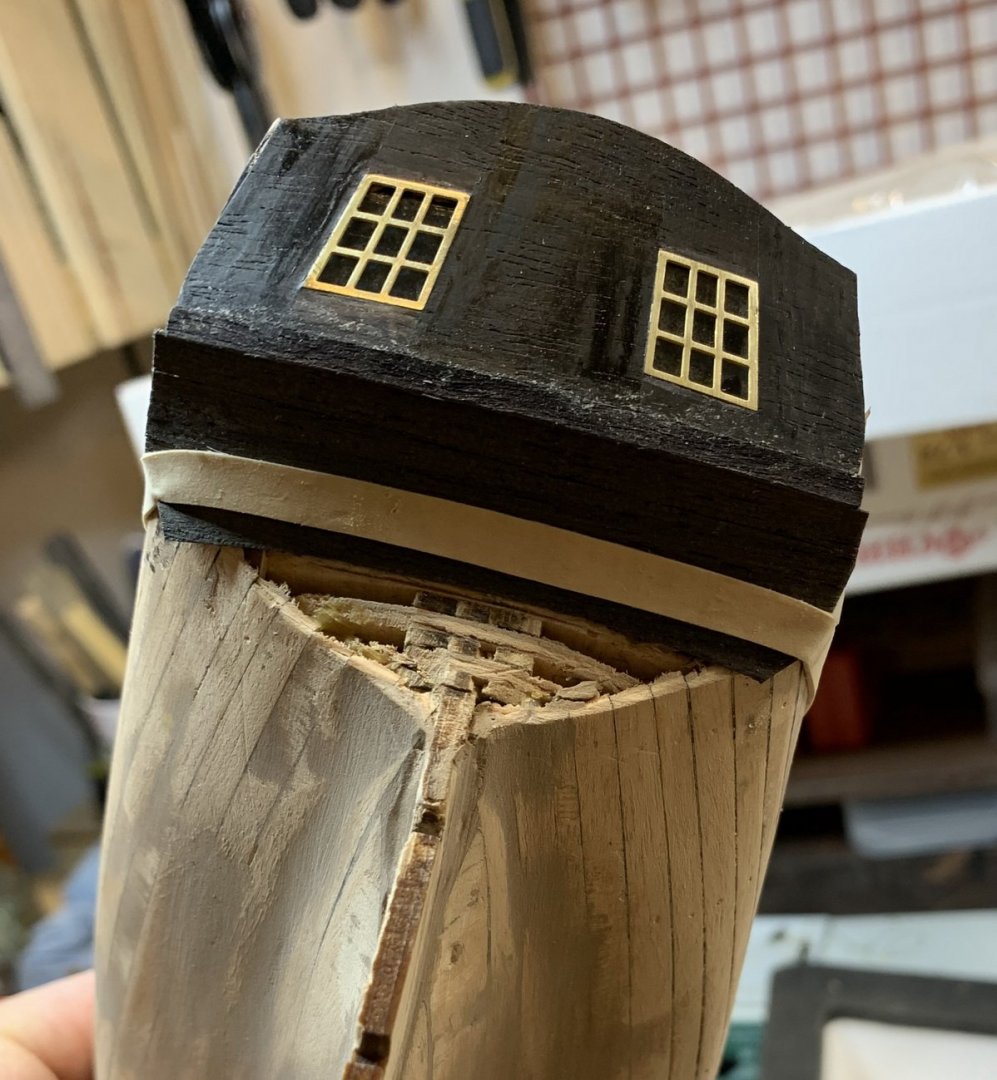
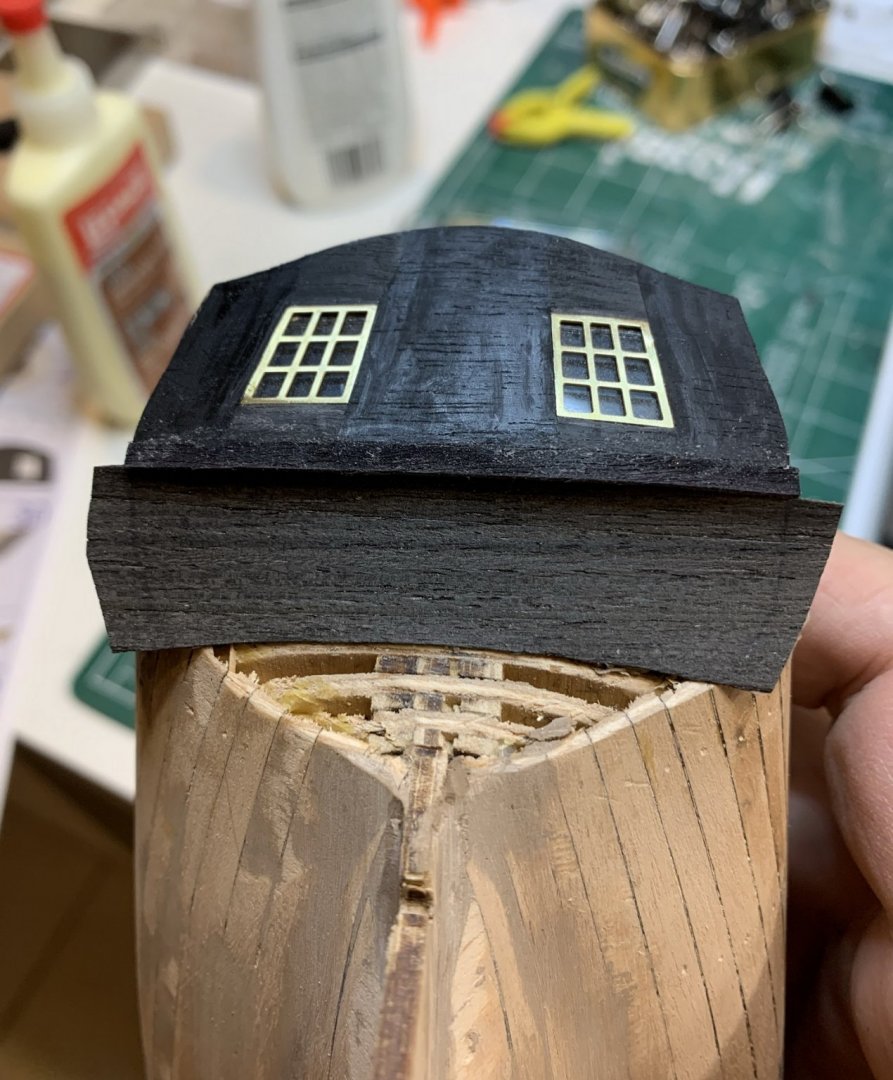
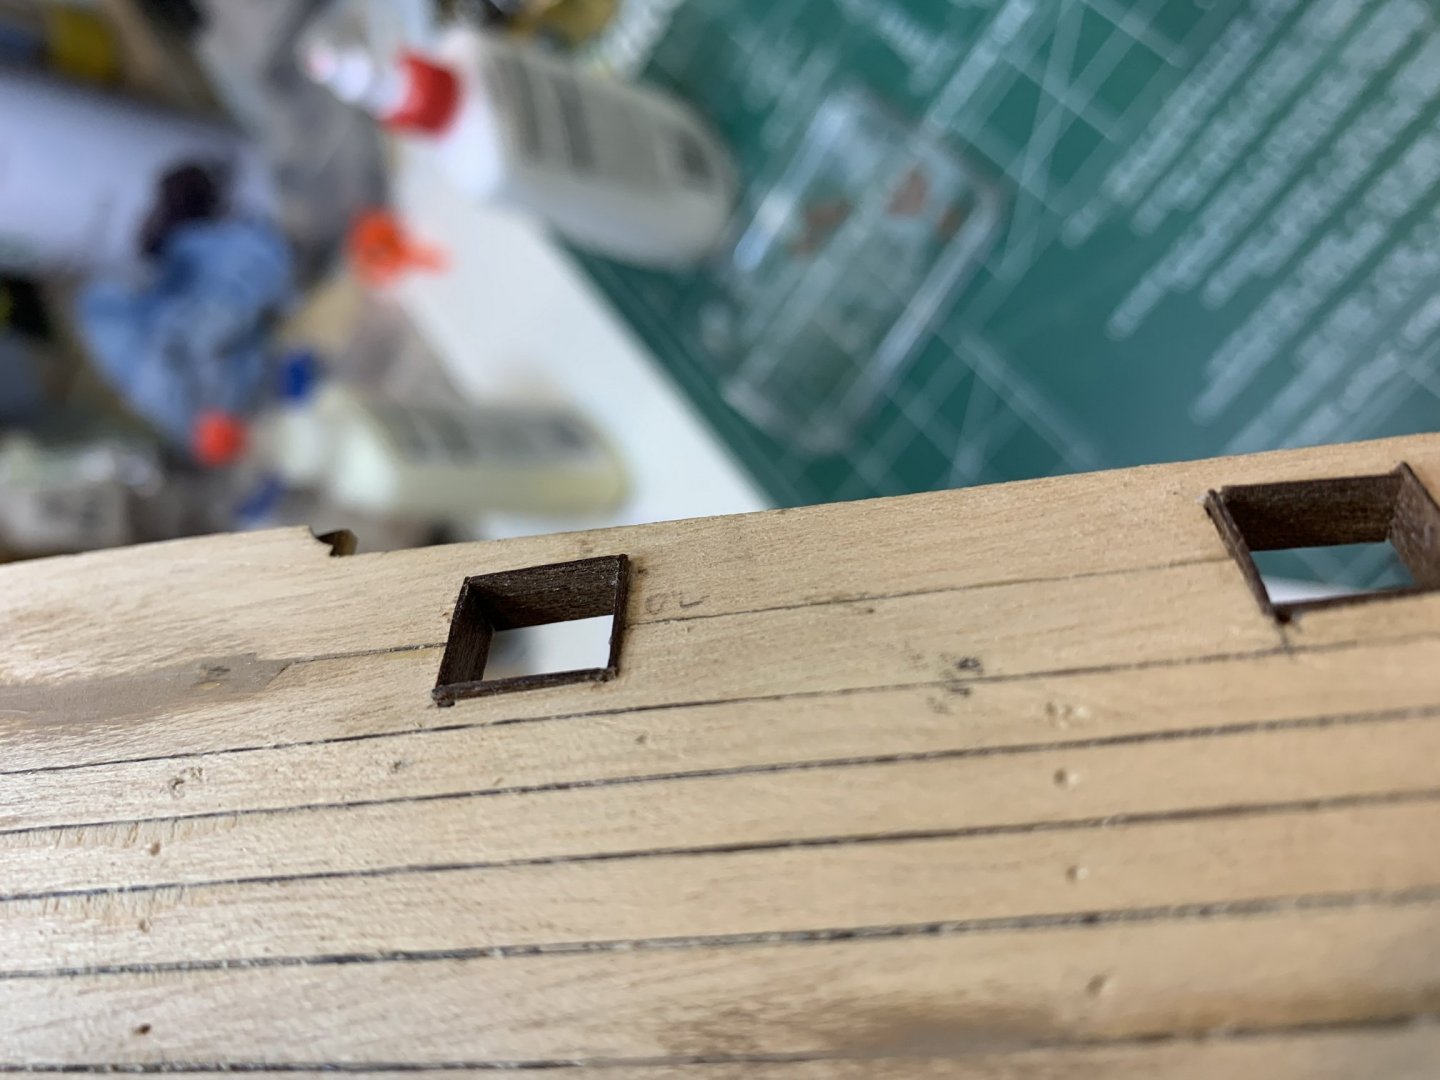
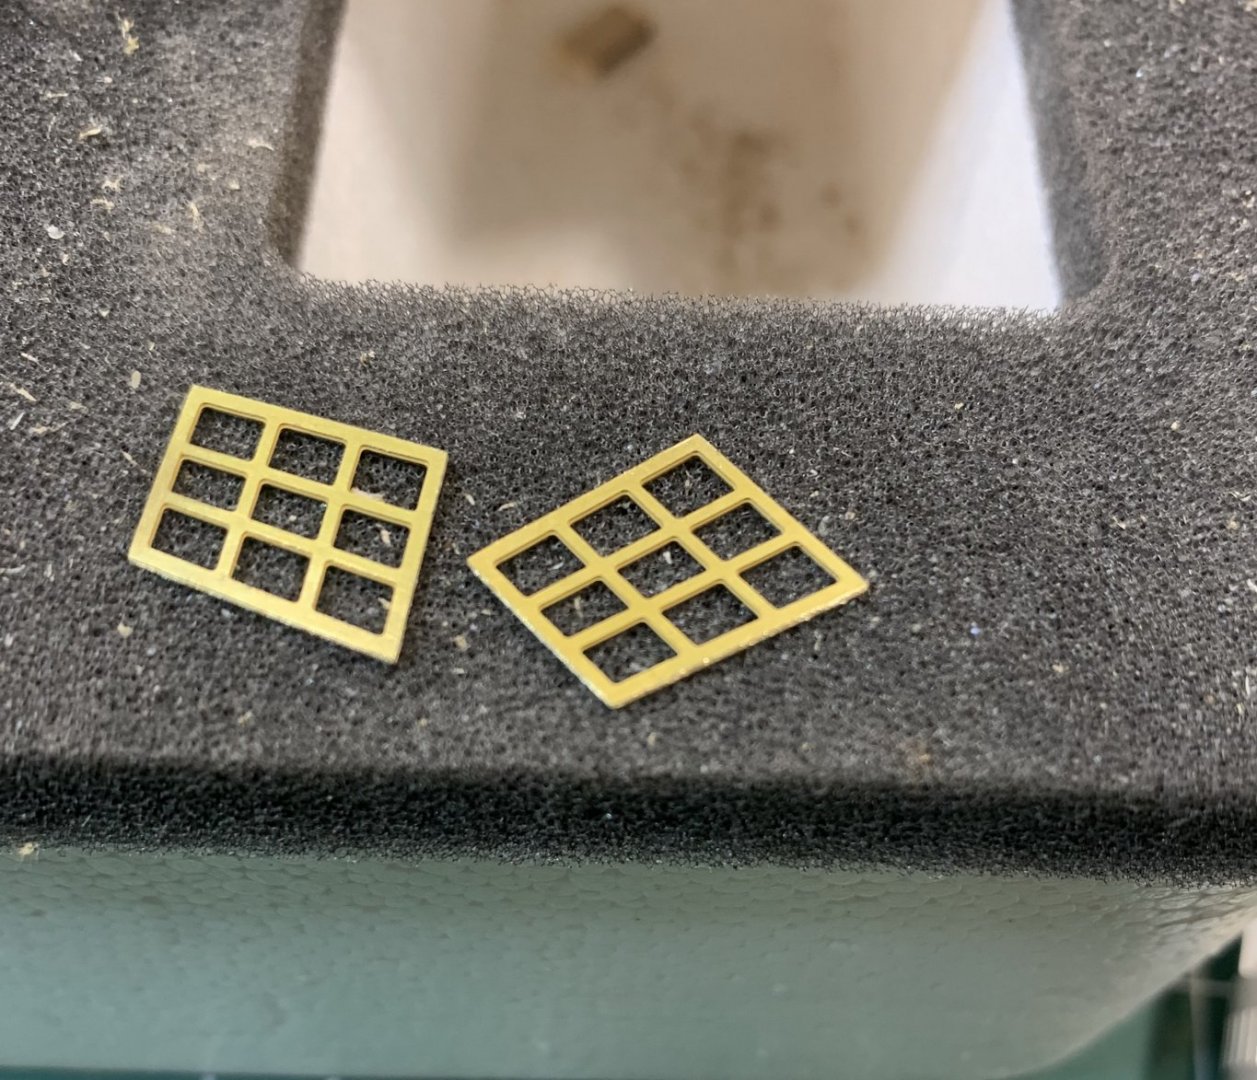
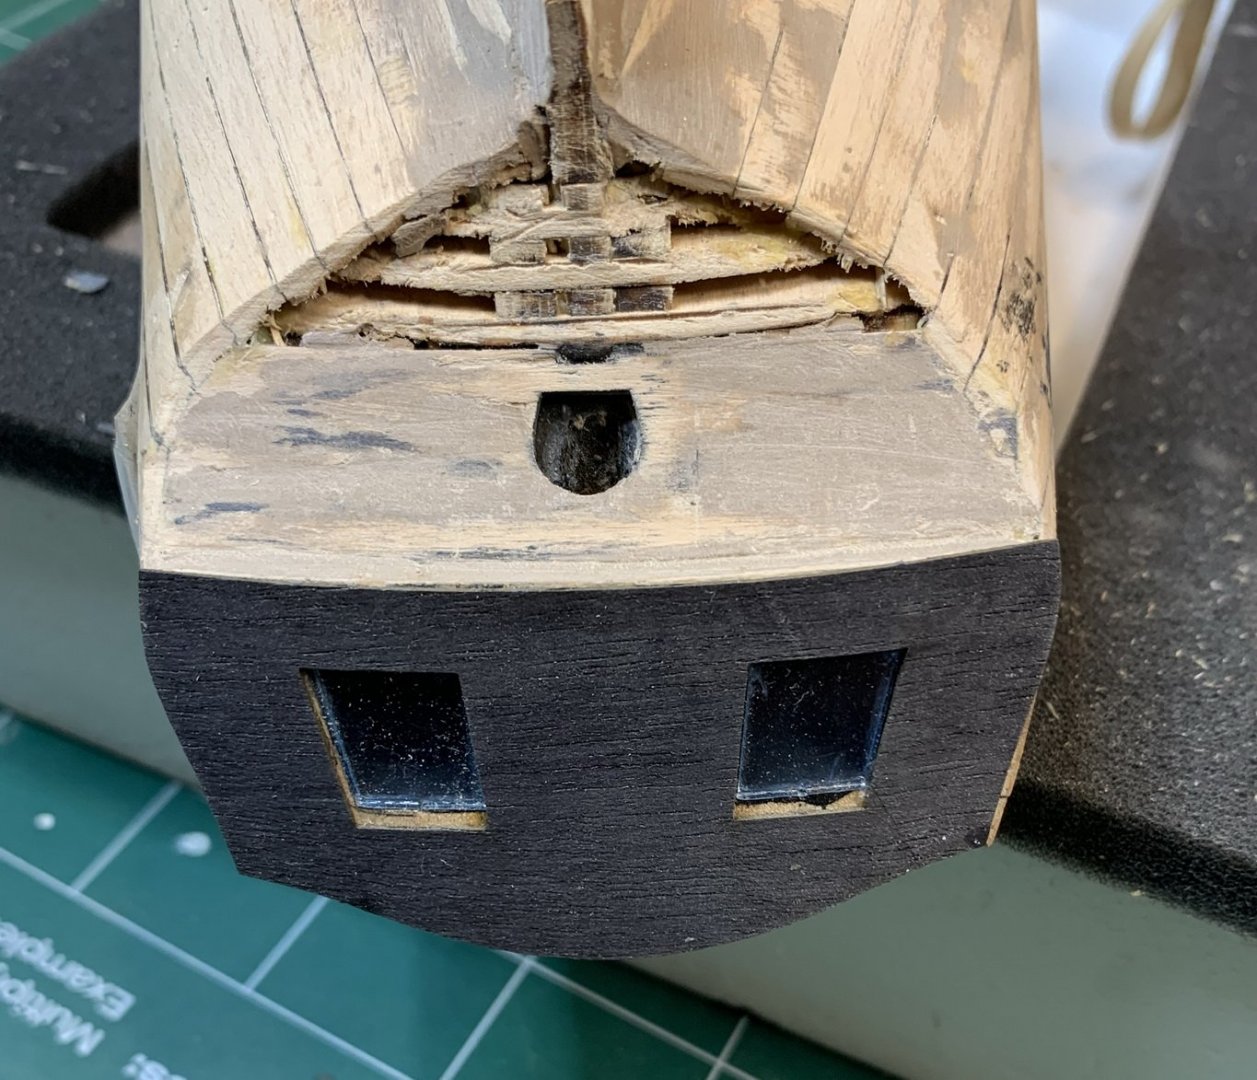
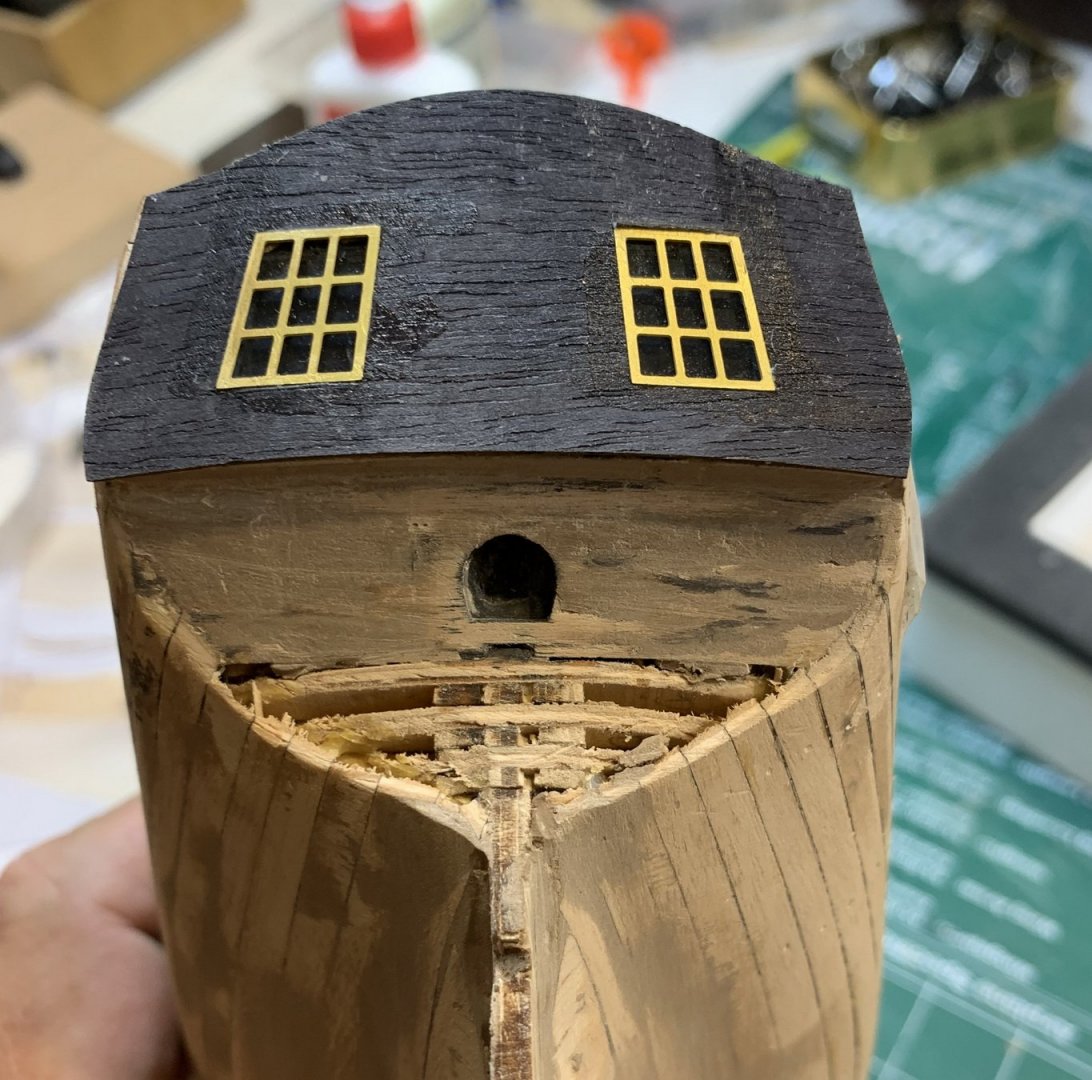
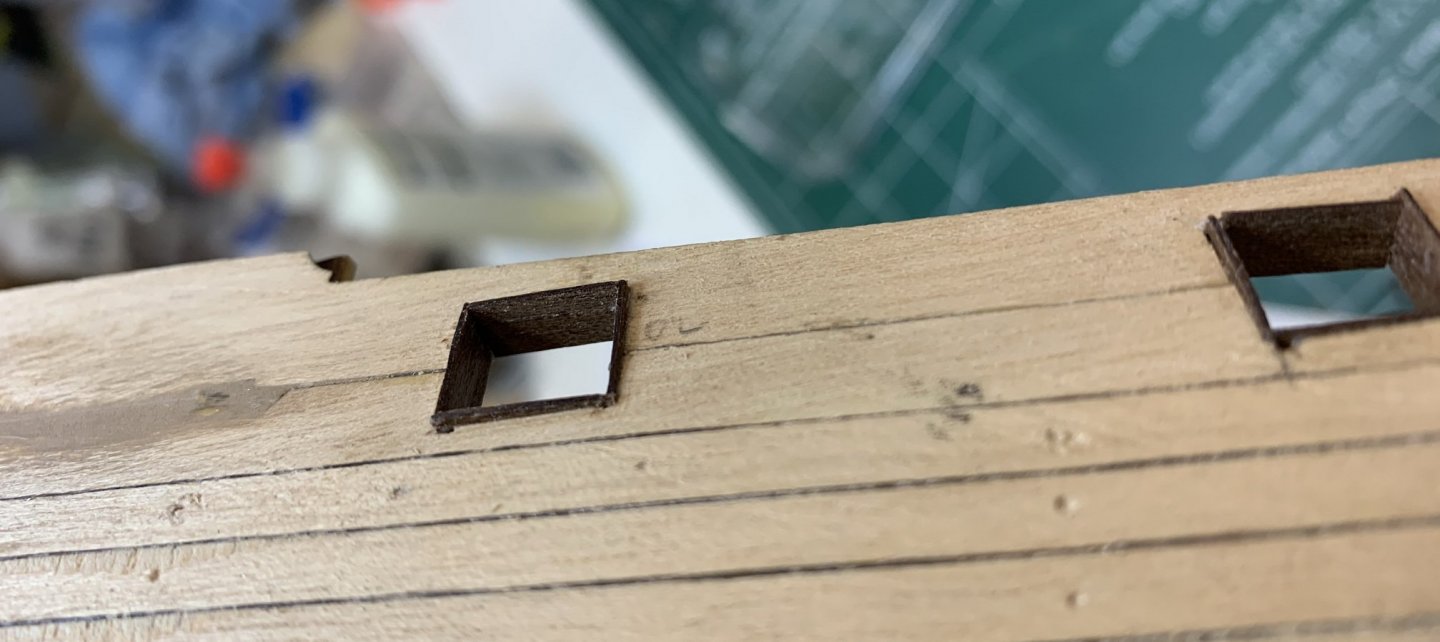
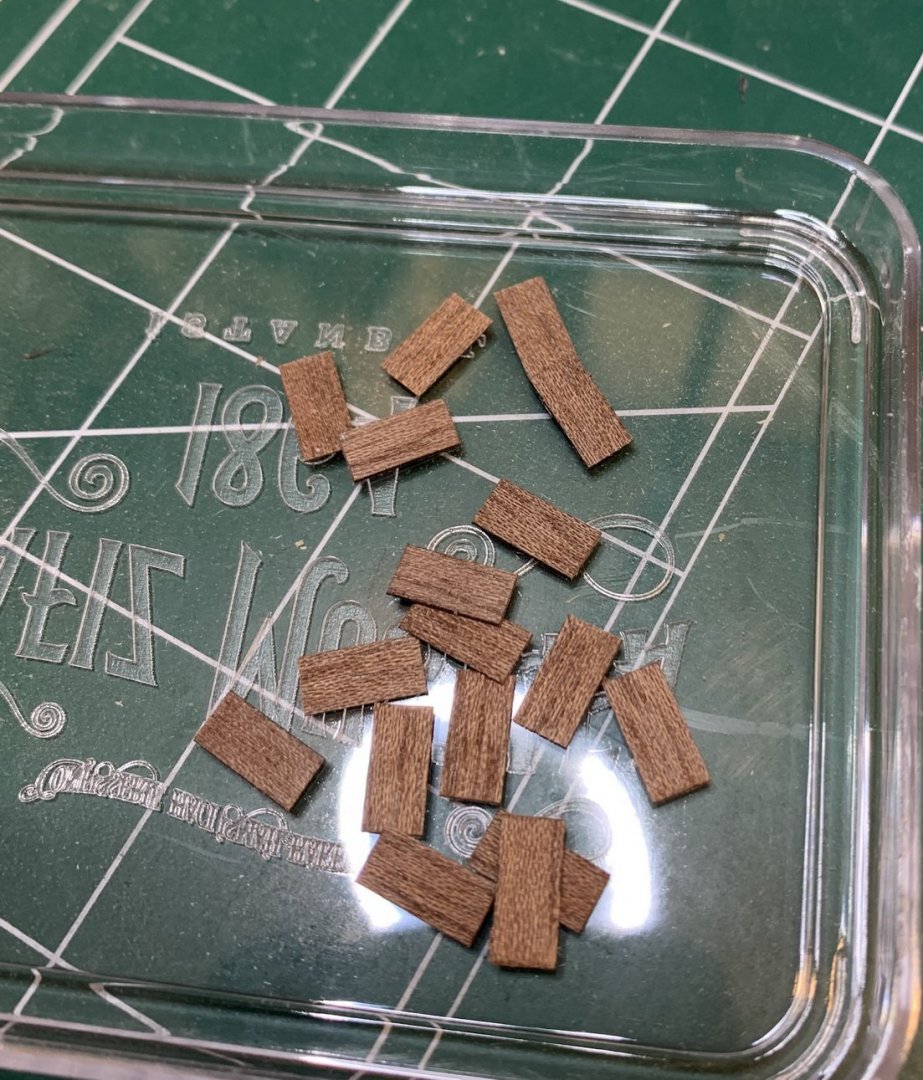
Continuing working on inner frames for gun openings... moulding were cut in 9mm length, glue applied on the frame and veneer piece pushed in. Then i sanded all parts that are sticking out and made them flush with the outside planking. Few more to go... i did not work on inner edges yet.. A bit of a work happened on stern as well.. Area previously filled with wood putty was sanded and ready... Veneer part was sanded lightly and glued on the stern.. Windows were cut of and sanded lightly... .. installed in the window openings.. Even dough i have applied a minimum amount of glue around windows, some glue leaked out and cured showing some discoloration on the veneer. So i run a tiny layer of black paint all over the piece. Still need to protect window frames and finish painting.. this is for today Hopefully this will correct glue issue. Now i will paint all black veneer pieces so they all matches.... Happy modelling.
- 275 replies
-
- phoenix
- master korabel
-
(and 1 more)
Tagged with:
-
Thank you.. Yes, it is very good kit overall, certainly a different approach in ship building area..but still with options to change if needed... I am also looking for bigger kit from them With this work from home stuff i have a bit more time for hobby 😇
- 275 replies
-
- phoenix
- master korabel
-
(and 1 more)
Tagged with:
-
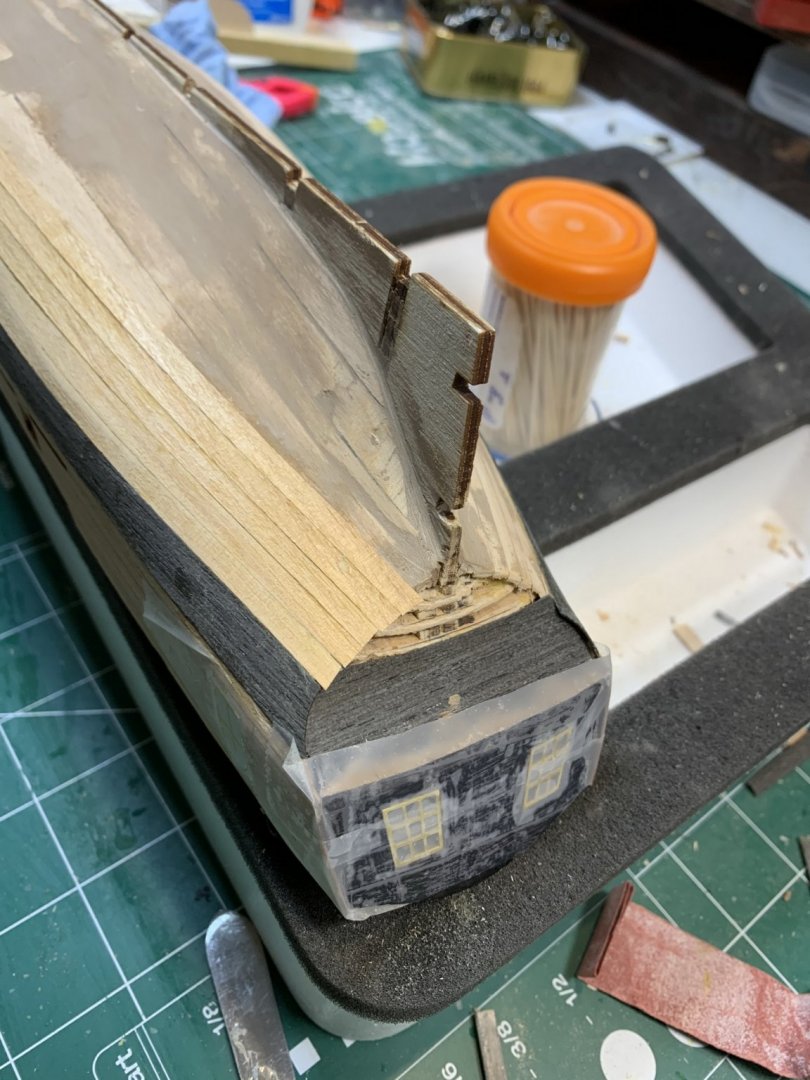
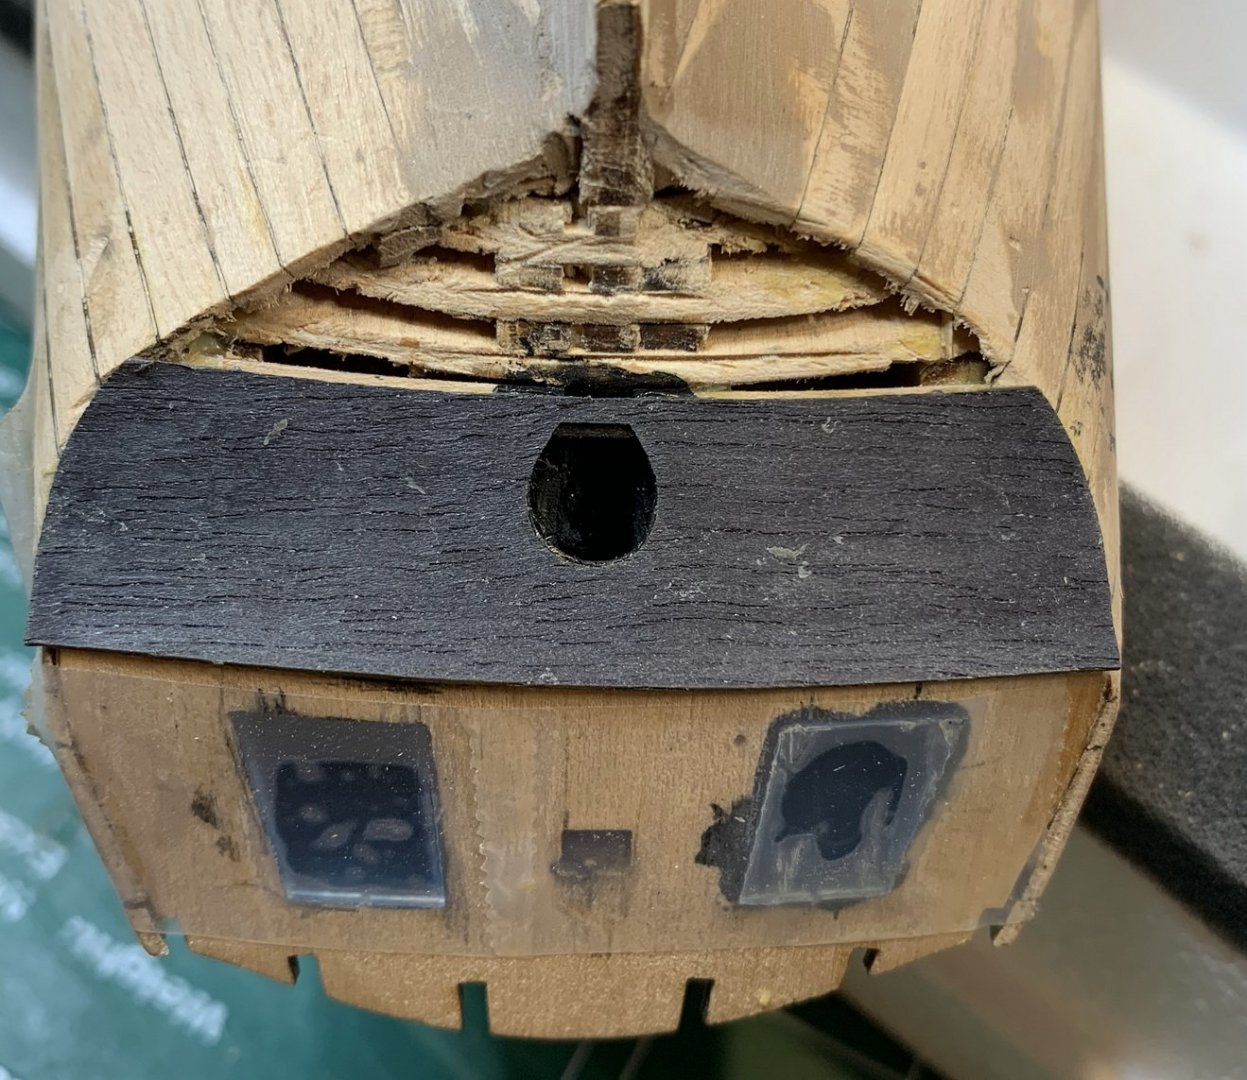
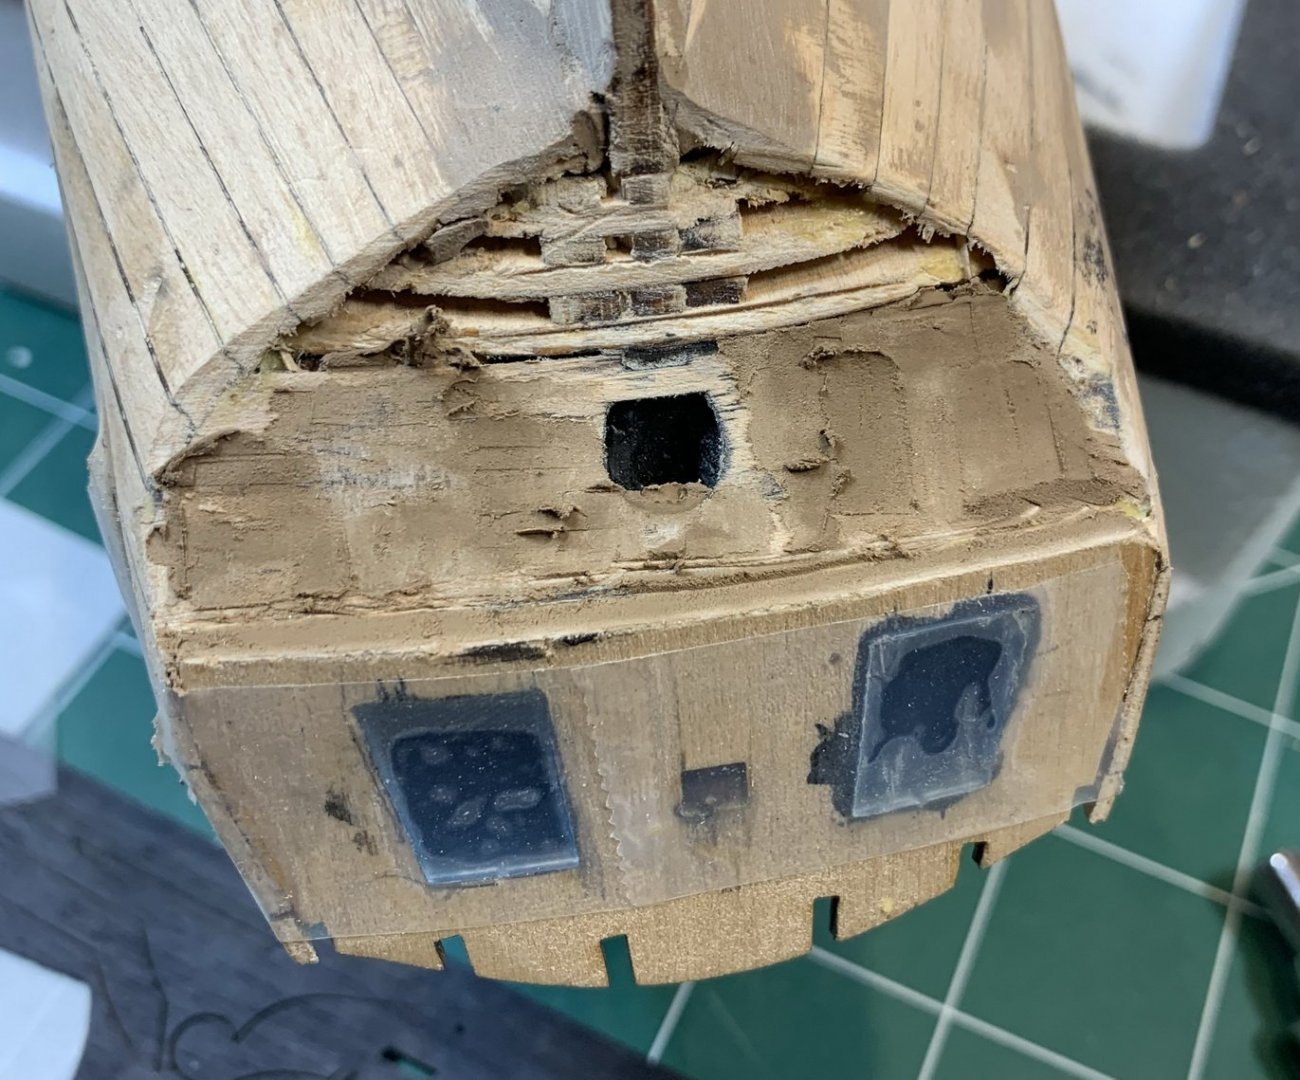
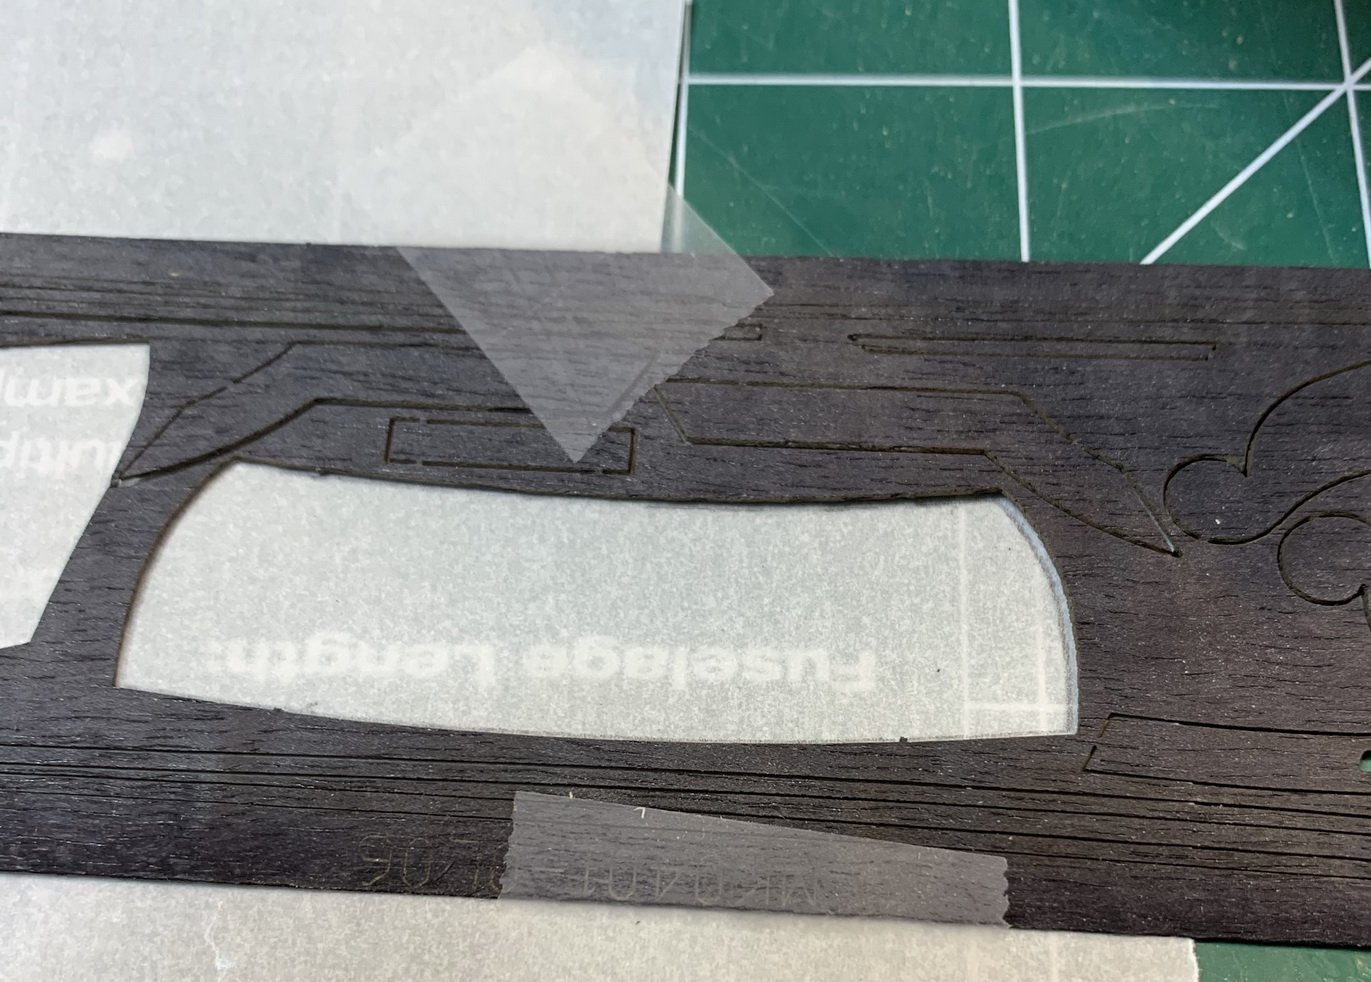
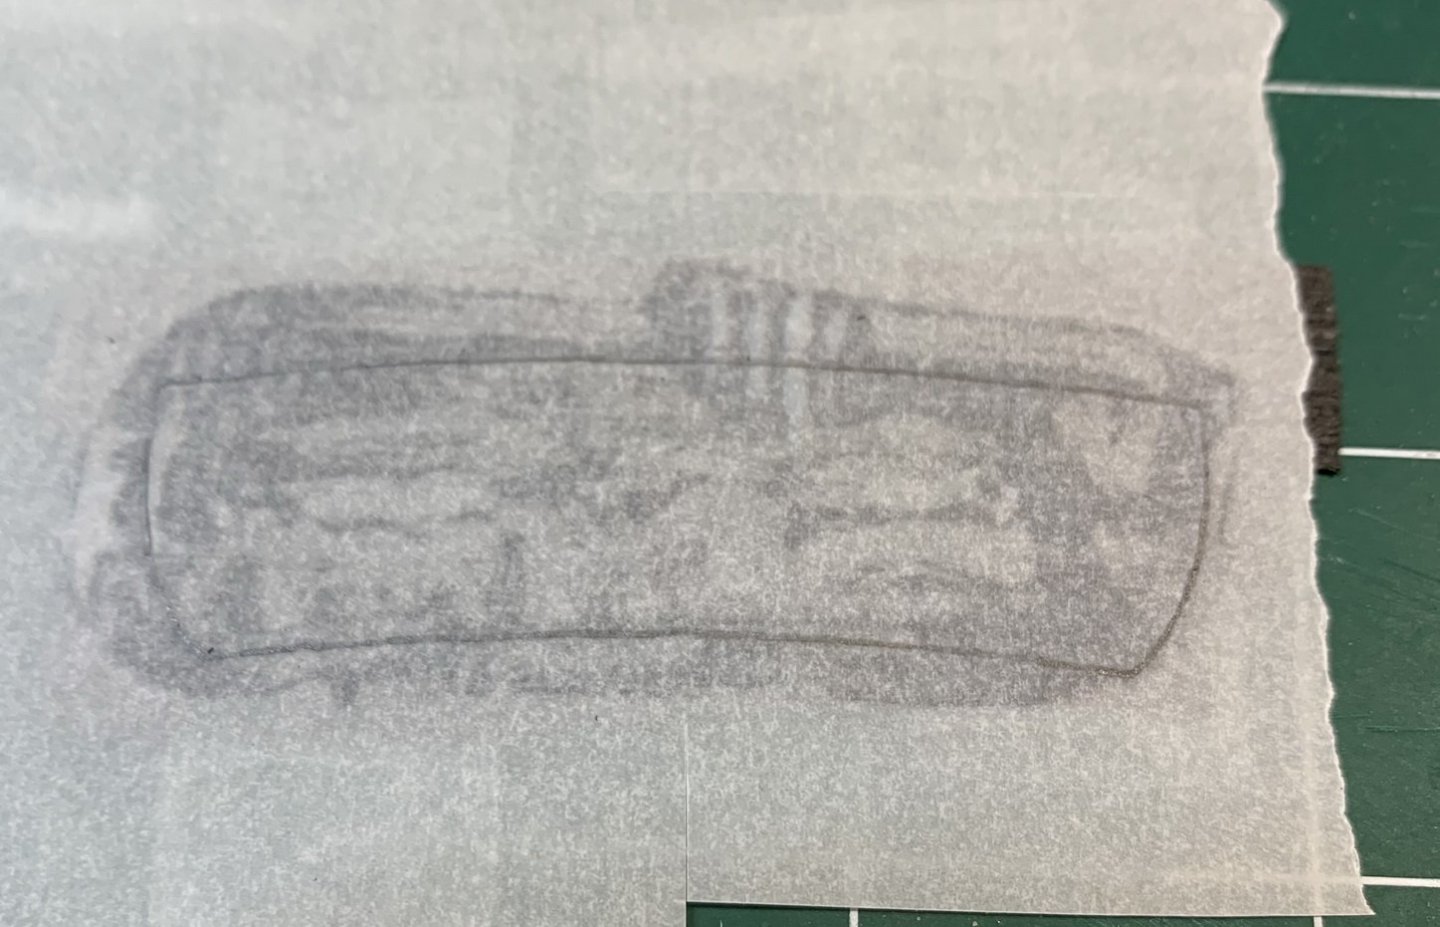
A little bit of a damage was caused by not being careful around ship yard and accidentally broke the black piece planned to install on stern... Testing fitting before gluing while piece was still intact... Veneer sheet is very fragile and now i have to make another one out of a spare part.. First cleaned up area and covered with wood filler. While this is drying i started to make replacement.. Trace it on transparent paper... Glued few spare planks on the paper... Planning to leave a bit of extra wood around tracing lines just in case if i have to adjust fitting. While this is drying i cut several moulding pieces that will fill inner frame of gun openings.. And one glued in... Not much progress today... Happy modelling.
- 275 replies
-
- phoenix
- master korabel
-
(and 1 more)
Tagged with:
About us
Modelshipworld - Advancing Ship Modeling through Research
SSL Secured
Your security is important for us so this Website is SSL-Secured
NRG Mailing Address
Nautical Research Guild
237 South Lincoln Street
Westmont IL, 60559-1917
Model Ship World ® and the MSW logo are Registered Trademarks, and belong to the Nautical Research Guild (United States Patent and Trademark Office: No. 6,929,264 & No. 6,929,274, registered Dec. 20, 2022)
Helpful Links
About the NRG
If you enjoy building ship models that are historically accurate as well as beautiful, then The Nautical Research Guild (NRG) is just right for you.
The Guild is a non-profit educational organization whose mission is to “Advance Ship Modeling Through Research”. We provide support to our members in their efforts to raise the quality of their model ships.
The Nautical Research Guild has published our world-renowned quarterly magazine, The Nautical Research Journal, since 1955. The pages of the Journal are full of articles by accomplished ship modelers who show you how they create those exquisite details on their models, and by maritime historians who show you the correct details to build. The Journal is available in both print and digital editions. Go to the NRG web site (www.thenrg.org) to download a complimentary digital copy of the Journal. The NRG also publishes plan sets, books and compilations of back issues of the Journal and the former Ships in Scale and Model Ship Builder magazines.

