Ferrus Manus
-
Posts
1,407 -
Joined
-
Last visited
Content Type
Profiles
Forums
Gallery
Events
Everything posted by Ferrus Manus
-
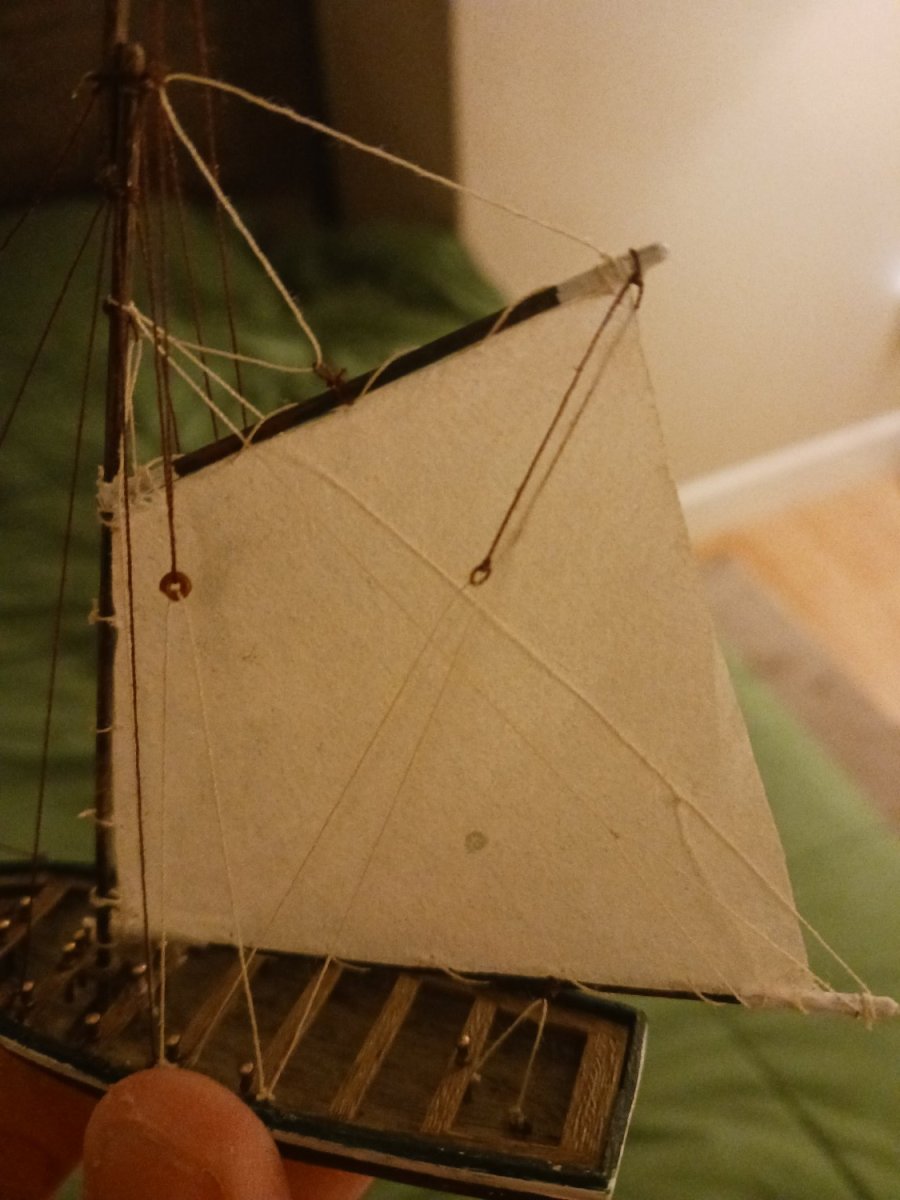
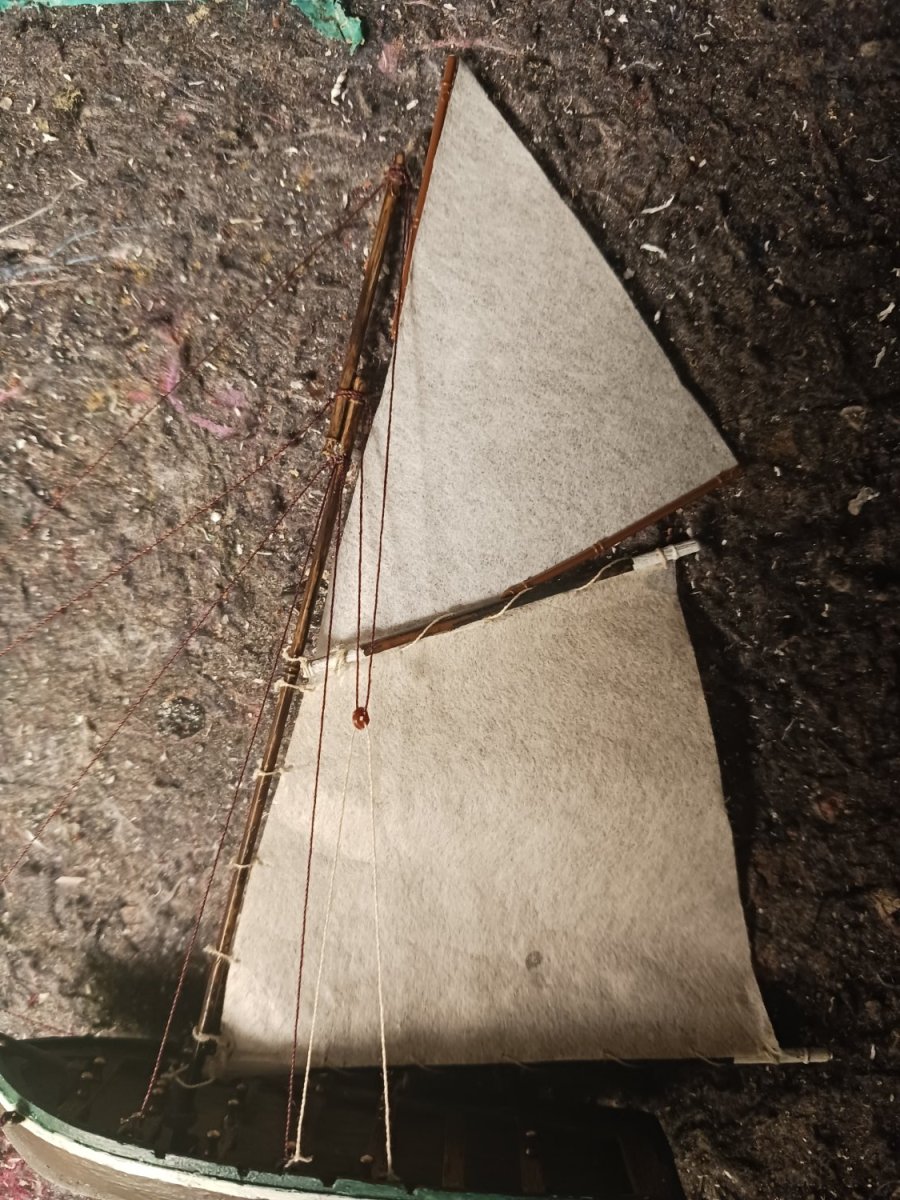
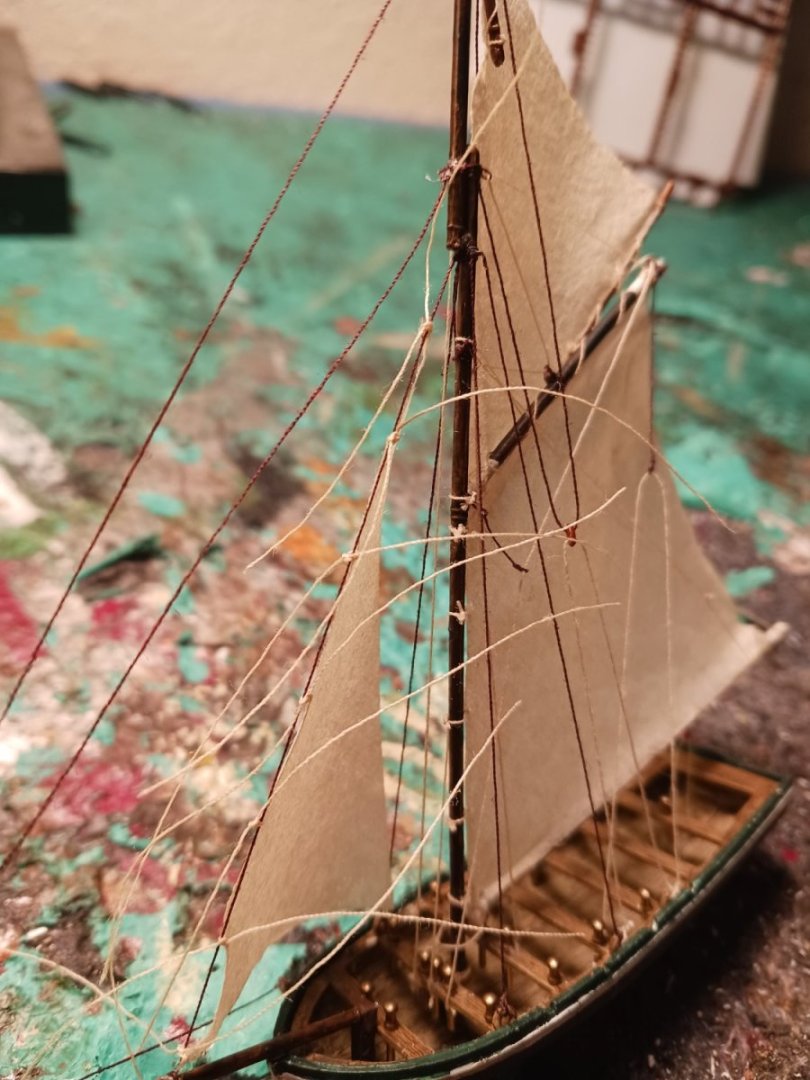
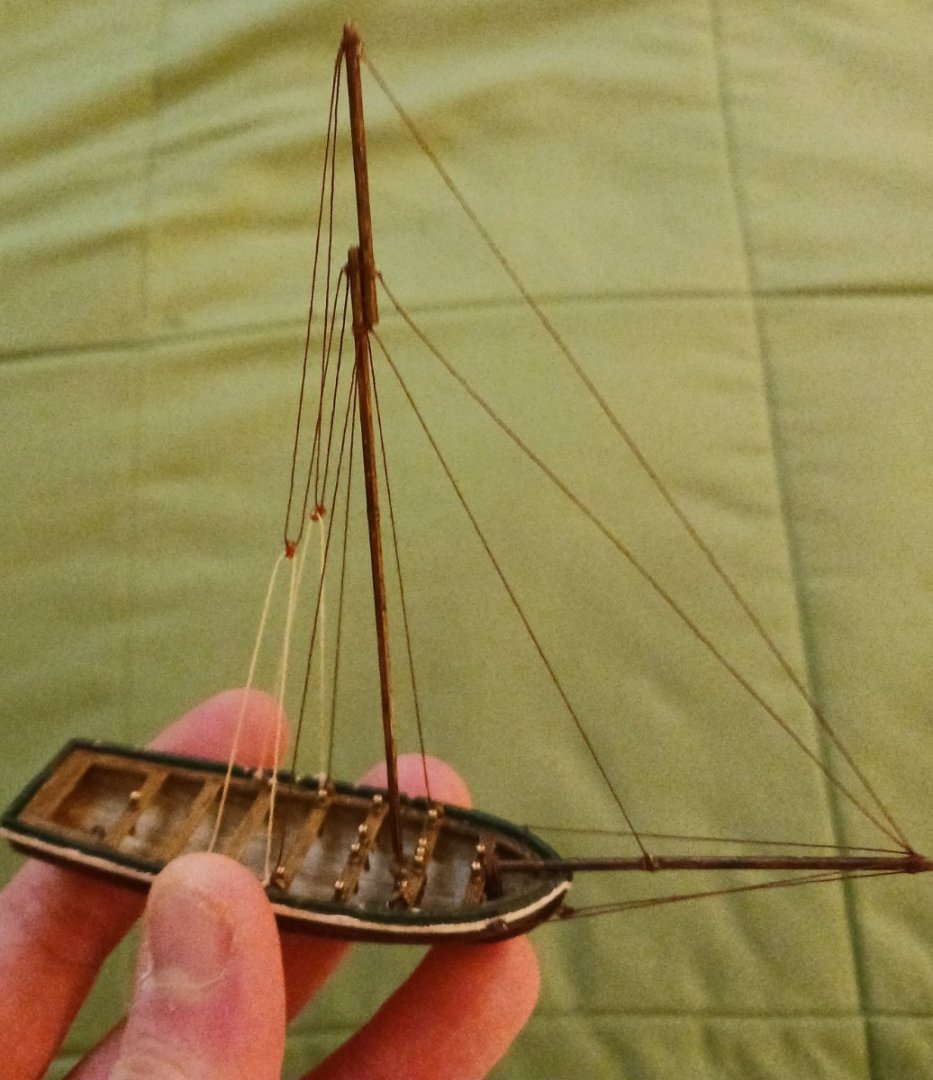
 I rigged the jackyard topsail as i had laid out, then partially rigged the staysail. I used rigging line for the stay hoops. I have yet to rig the sheets, halyard, downhaul, and tack.
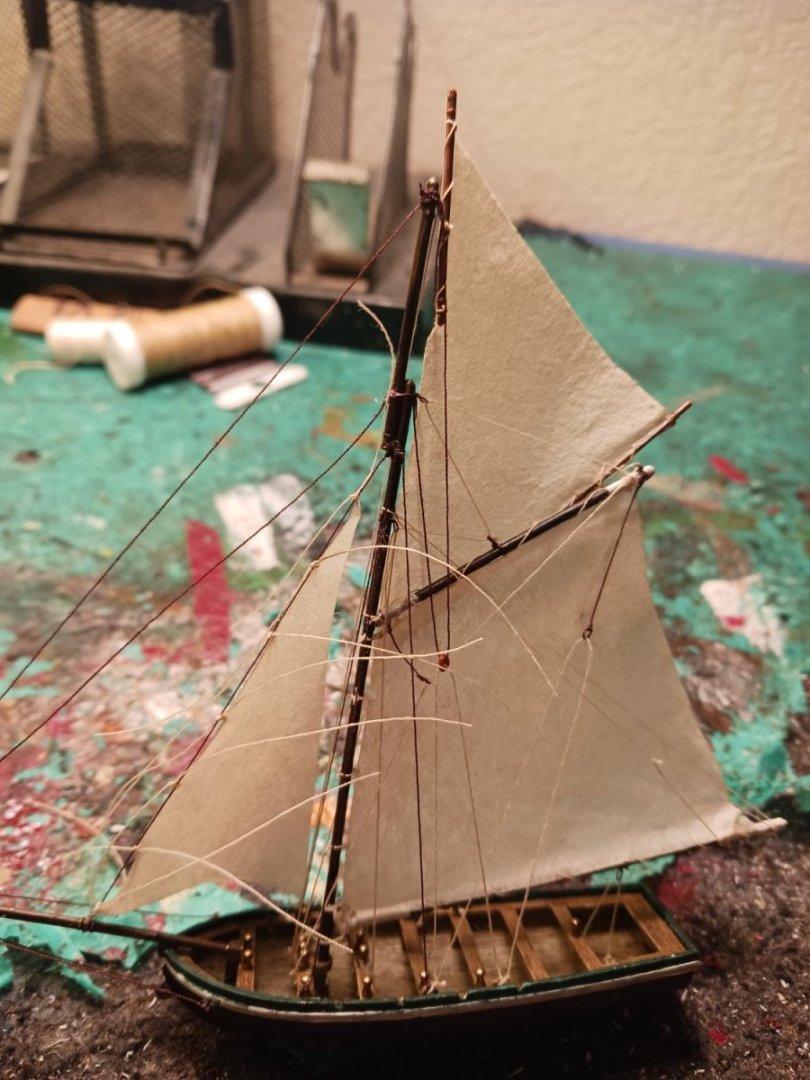

-
It definitely looks like the standing rigging is done. Good job! Now you have an insane amount of blocks to strop.
-
That's a wrap on the main gaff. The peak and throat halyards actually do through the same thimble down to the deck. The boom lifts are standing because there aren't enough pins for them to be running.

-
I have yet to tie the loops that will become the rigging thimbles, so i have to finish that at least for the main gaff before i do anything with the gaff topsail.
-
This is the proposed size and shape of the gaff topsail, laid out on the table. Jackyard topsails were the largest variant of gaff topsail, and often rivaled the size of the main gaff itself. Racing yacht riggers used them to legally increase the sail area of their ships via a loophole in racing rules, hence their prevalence on the racing yachts of the early 20th century.

-
@Knocklouder, have you seen this yet?
-
Are we able to see it on the ship?
-
Today, i got the first sail bent. I cut it out by eye, trimmed it down, and then made a stupid mistake. I lashed the sail to the yard and boom, which i painted yesterday, before i remembered to stain the sail. I went for it anyway because why not. I poured myself a cup of coffee, but the coffee wasn't for me. I dipped the sail, spars and all, into the coffee, not knowing if the hot liquid would strip the paint, which would mean a junk sail and a second paint job. Luckily, the paint didn't strip. For "jaws" for the gaff and boom, i simply tied a rope around the end of both and tied the ends around the mast. I made "mast hoops" by running a line through the head of the sail and tying it around the mast. Here is the finished result, minus gluing and trimming the knots.

-
"The Ship" by Bjorn Landstrom just showed up in the mail, and let me tell you, i would've spent a lot more than 20 bucks on it. Incredible book; I'm currently reading the section on carracks.
-
I'm pretty sure at the angle he had it in the first picture, it would go through the door.
-
I meant that thing that looks like a mast with a sheave in it that's sitting in the far background, up against the back wall of your workspace and partially obscured by the sheet you have protecting your workspace.
-
Will you end up making a calcet (sheave piece on the mast) for the yard's lift? Edit: I JUST realized you're making... another boat? You had two kits?
- 134 replies
-
- 1
-

-
- sea of galilee boat
- SE Miller
- (and 1 more)
-
The mast definitely looks better. I had to compare it to the first photo because my eyes initially failed me. You could probably, if you have a drill, make a custom lathe out of that. Your life would be made way easier.
- 134 replies
-
- 1
-
-
- sea of galilee boat
- SE Miller
- (and 1 more)
-
Remember the fact that typically, boats and ships of this time had pretty spindly masts, that were held in place by thick backstays. It looks like you've turned it to a smaller diameter on a lathe. It looks better than it was, perhaps it's just the angle.
-
Hey, what's the mast sitting against your wall? Is that an alternative mast for the boat?
-
does anyone know if Rweiderrich does small boats, or does he just do clippers? This boat is intended to be from around the same time period (and place of origin!) of his subjects, 1850s/60s/70s eastern American seaboard. If he has experience with small boats, he would be a valuable resource here.
-
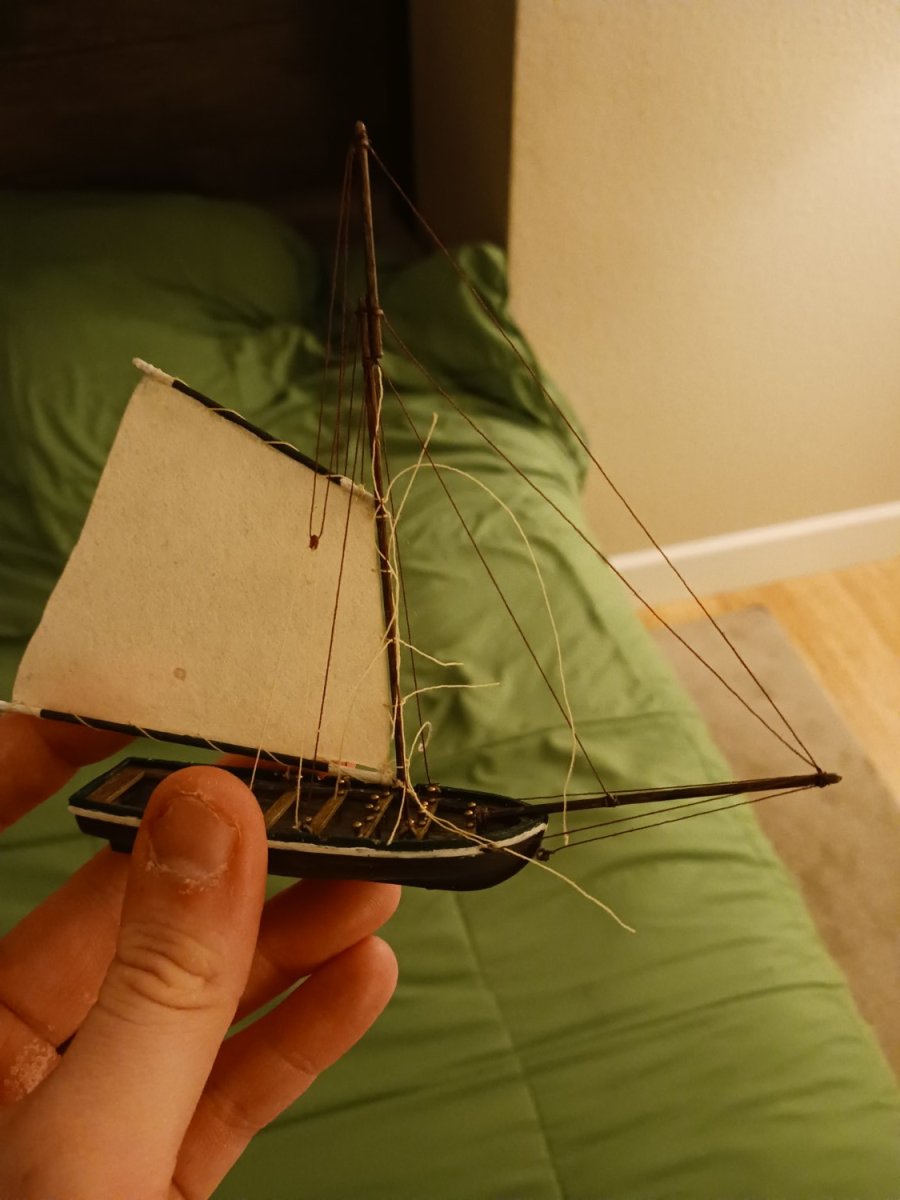
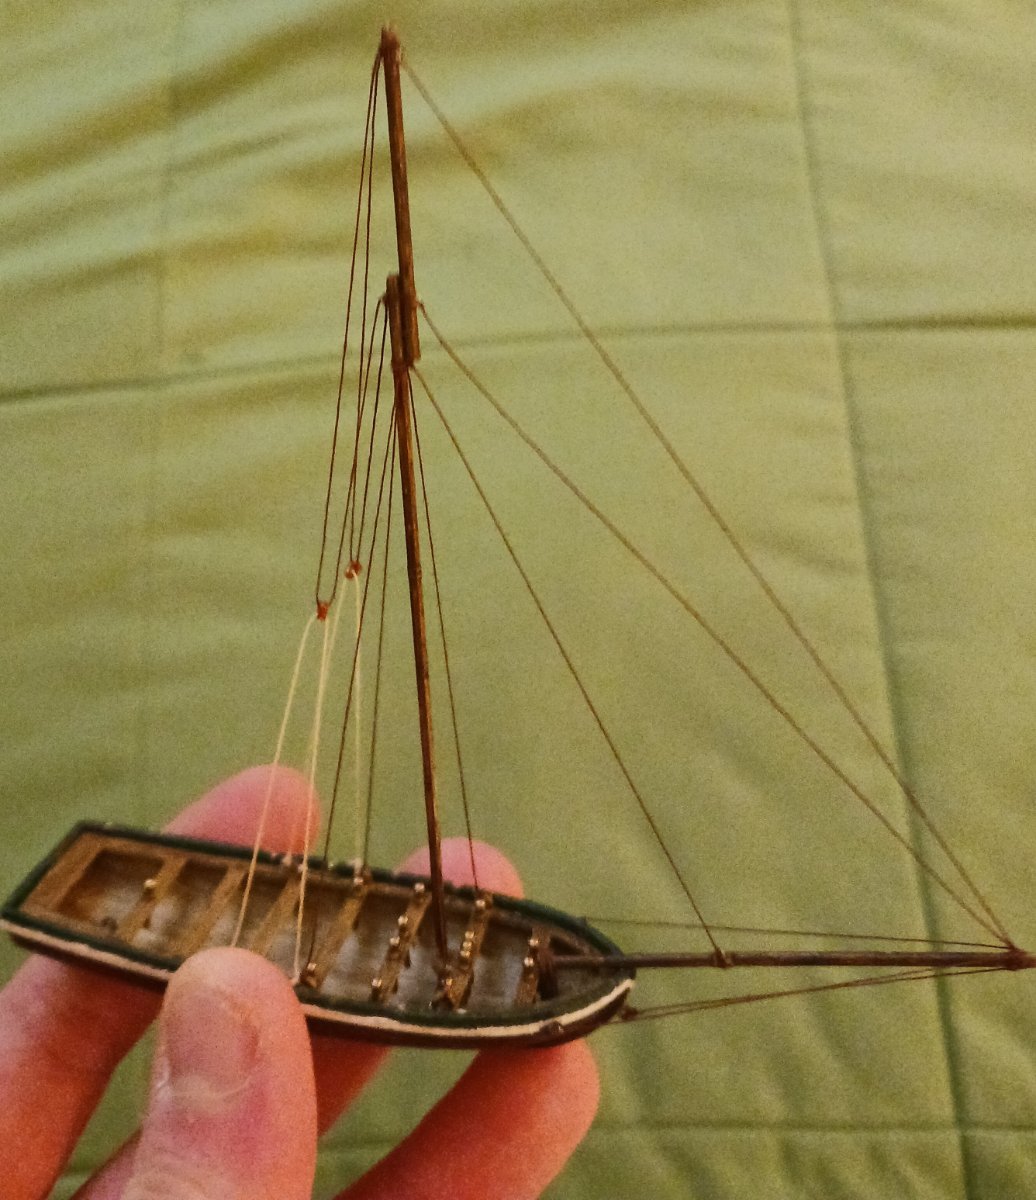
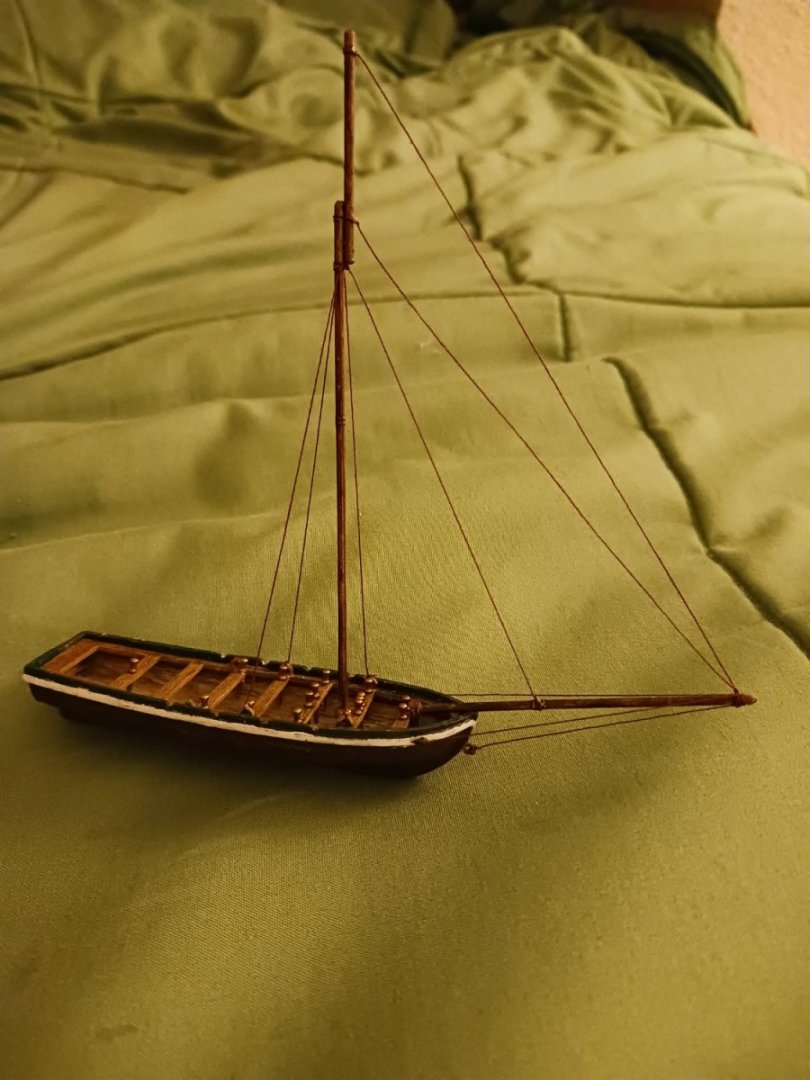
I have done the backstays in the style of a fishing schooner: This will be rigged as a gaff cutter sloop. You could probably see that when i laid out the spars.
-
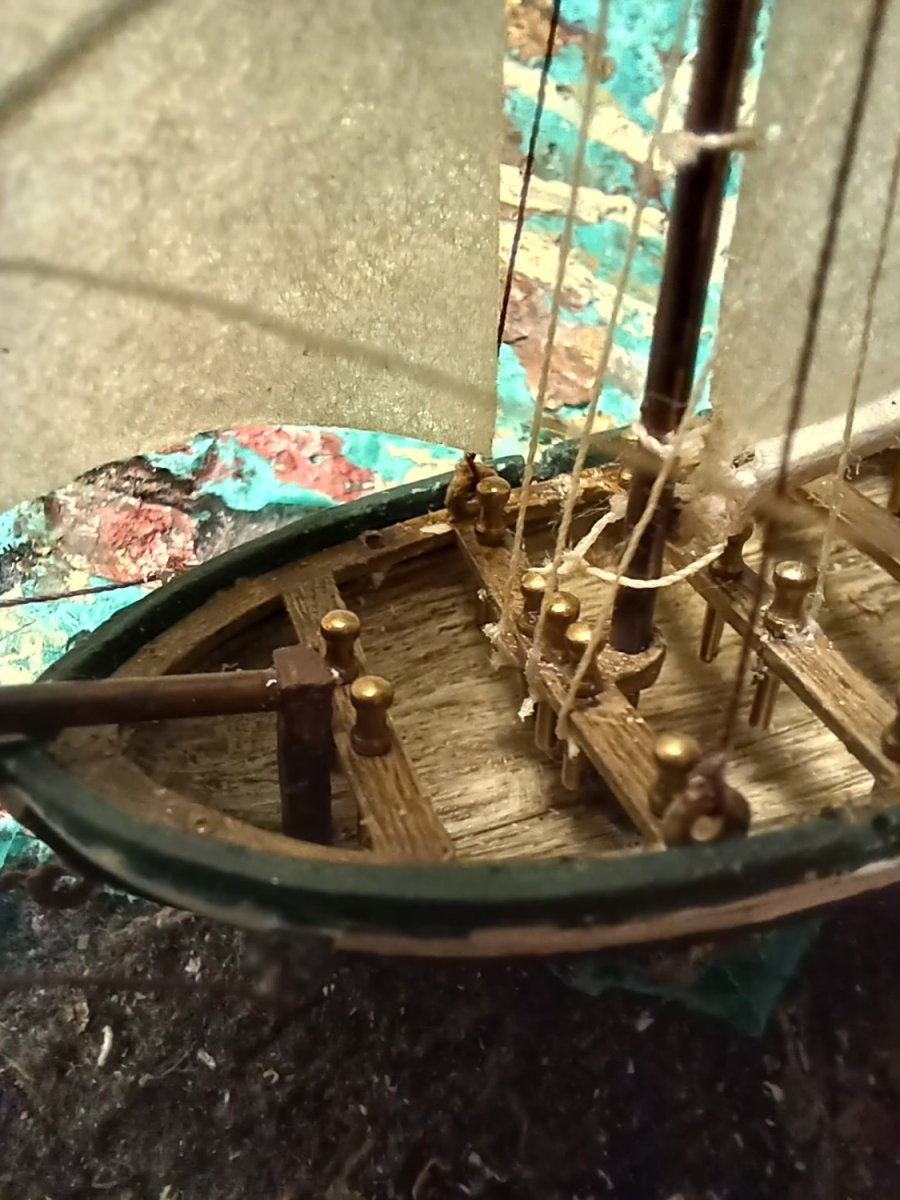
I did the majority of the standing rigging except the backstays. Is there anything i should change, improve on, etc? After this, i will continue with the rope thimbles that will serve as "blocks".
-
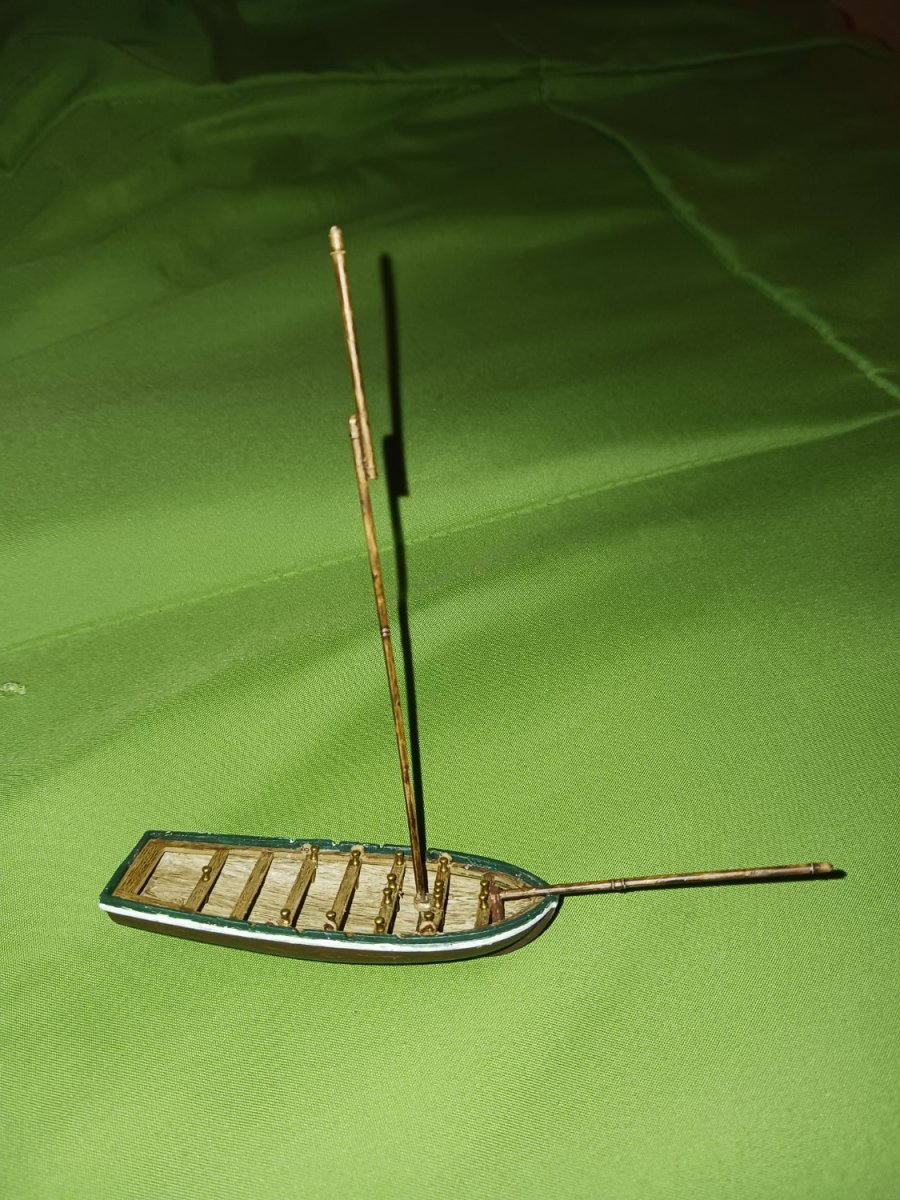
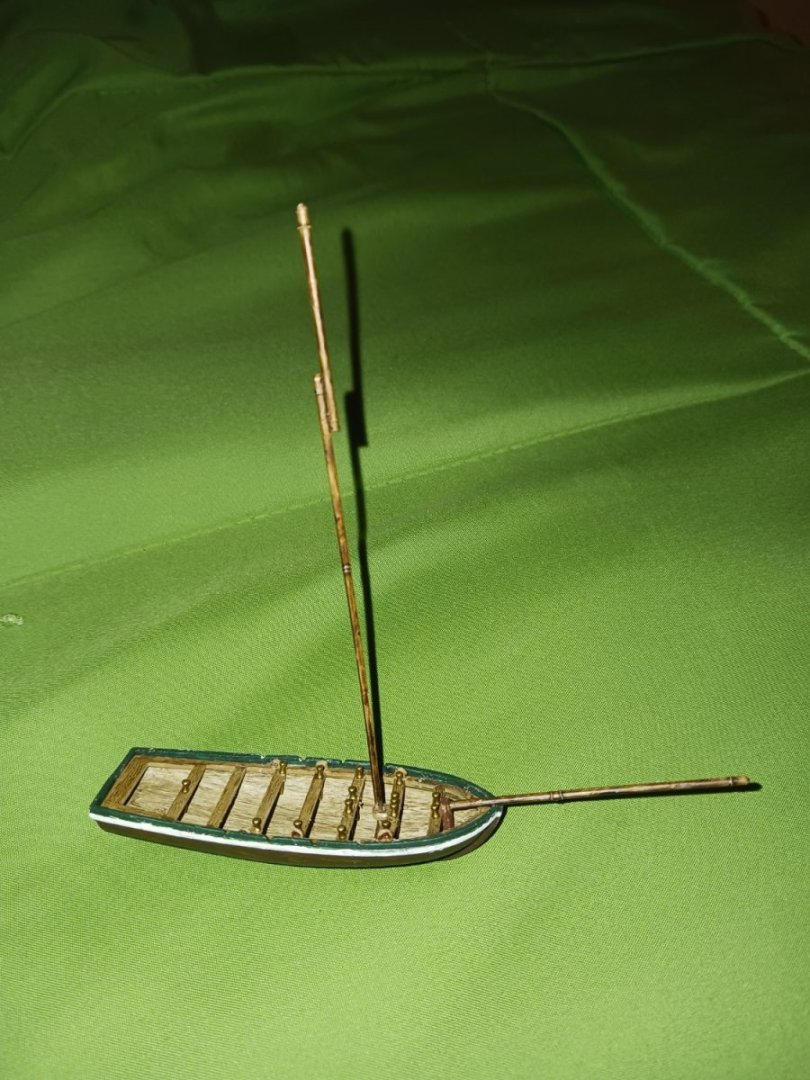
I installed the mast step and bowsprit step, and glued in both structures. This is intended to be one of those boats that looks like it's just spars, with the actual boat being kind of an afterthought. Sort of like this smack, but slightly more extreme. It will have a sloop rig with a jackyard topsail.
-
Mind you, all kinds of fishing vessels existed at that time. Who knows, maybe some were in fact repurposed ships' boats?
-
I was thinking something between a skipjack and its boat. A fully rigged boat, but still a boat and not a ship.
-
That's because it is. This is originally a boat from my HMS Victory kit, i just wanted to turn it into some kind of oyster boat.
-
Steven, if i had to give my input, i would tell you to probably just do what Woodrat did with the rudders on his Nave Rotunda. At least the side structures, and maybe you could plank outside them as shown in the images.
-
Perhaps you could justify the knightheads by belaying the bowlines to them.