Ferrus Manus
-
Posts
1,407 -
Joined
-
Last visited
Content Type
Profiles
Forums
Gallery
Events
Everything posted by Ferrus Manus
-
 Ah! That seems to be your M.O. with theoretical reconstructions, isn't it?
- 30 replies
-
- 2
-

-
- roman
- merchantman
- (and 2 more)
-
I have never been able to rig a galleon and keep the stays perfectly straight, and even some museum models have bent stays. So, don't feel bad.
-
What you could probably do is have the upper wales terminate somewhere forward of the sternpost. Then, you would be able to complete the planking without using drop planks. Check out this example:
-
Ha!! My goal is to help, always. I need more knowledge, though. At least enough so that my answers can be more than one line. Hey, that might be a good job for you!
-
The images with the topsails and topgallants out looks to be accurate. You could model that and have the courses furled.
-
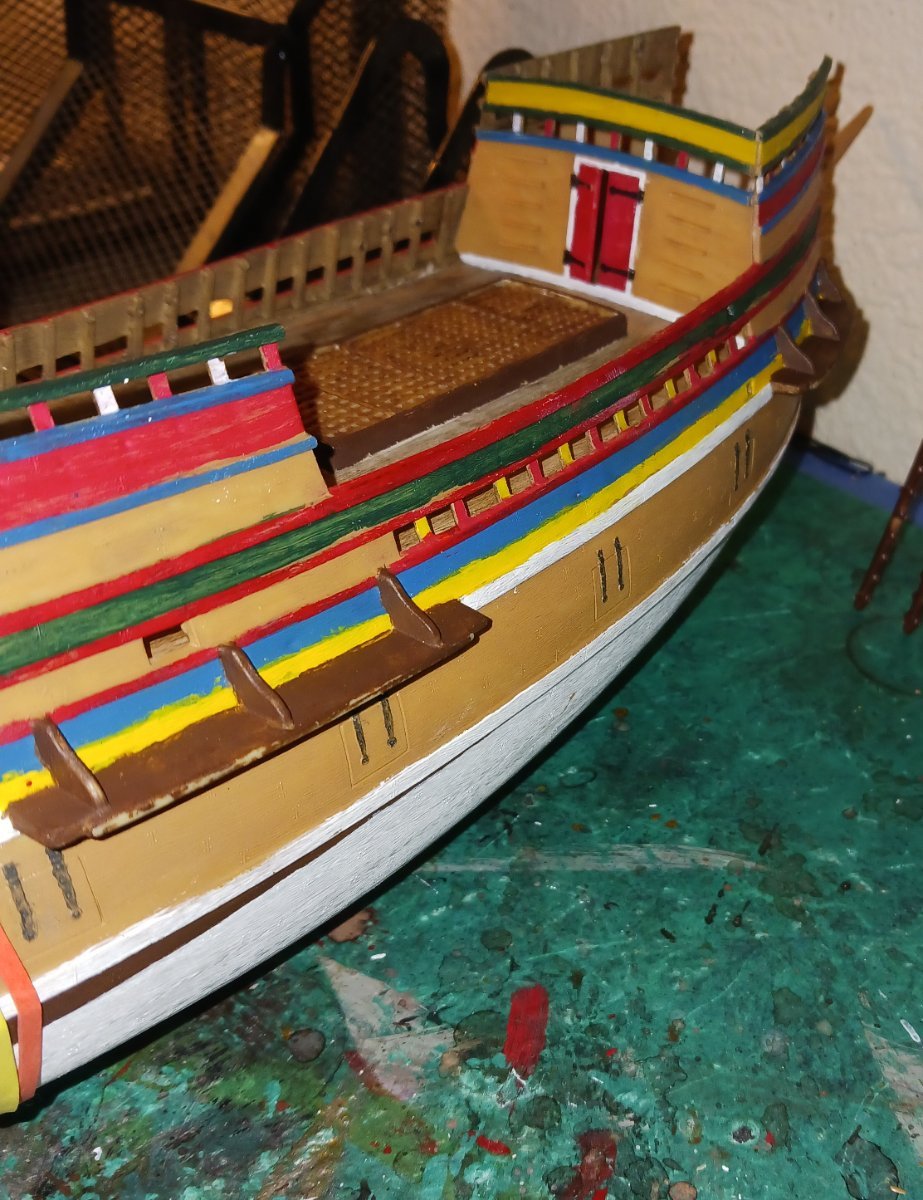
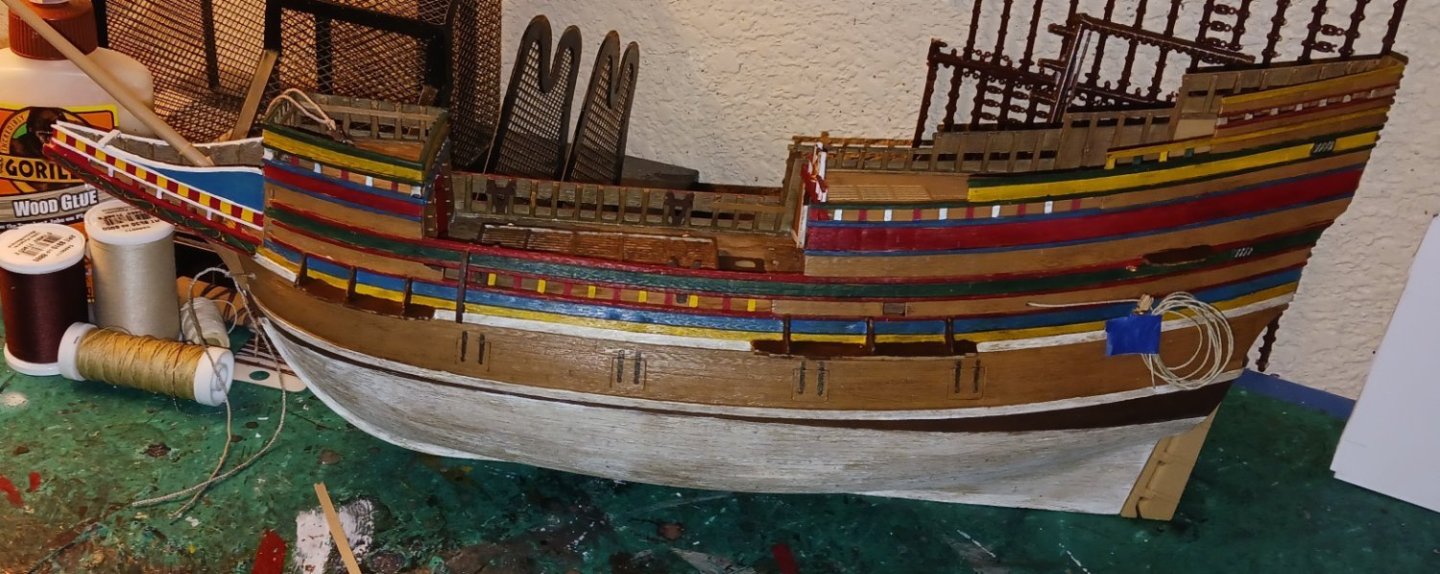
This is the painted and glued in forecastle deck: One thing that really bothered me up to this point was that no one in their depictions of the Mayflower showed just how old and beat the ship was. So, i decided to weather the entire exterior of the hull, as well as the interior bulkheads. I admit it looks much better.
-
You could probably turn new yards out of wood relatively easily.
-
Also, there are multiple tutorials on this site regarding how to furl square sails. You will want to use silkspan for all the sails, as it looks more in scale and is significantly easier to furl.
- 1,508 replies
-
- 1
-
-
- Le Soleil Royal
- Heller
- (and 1 more)
-
If he has rigged the yards correctly, it should be relatively easy to lower them. Or so the theory goes. Personally, i think it would be worth the effort to go back and lower the topgallants.
- 1,508 replies
-
- 1
-
-
- Le Soleil Royal
- Heller
- (and 1 more)
-
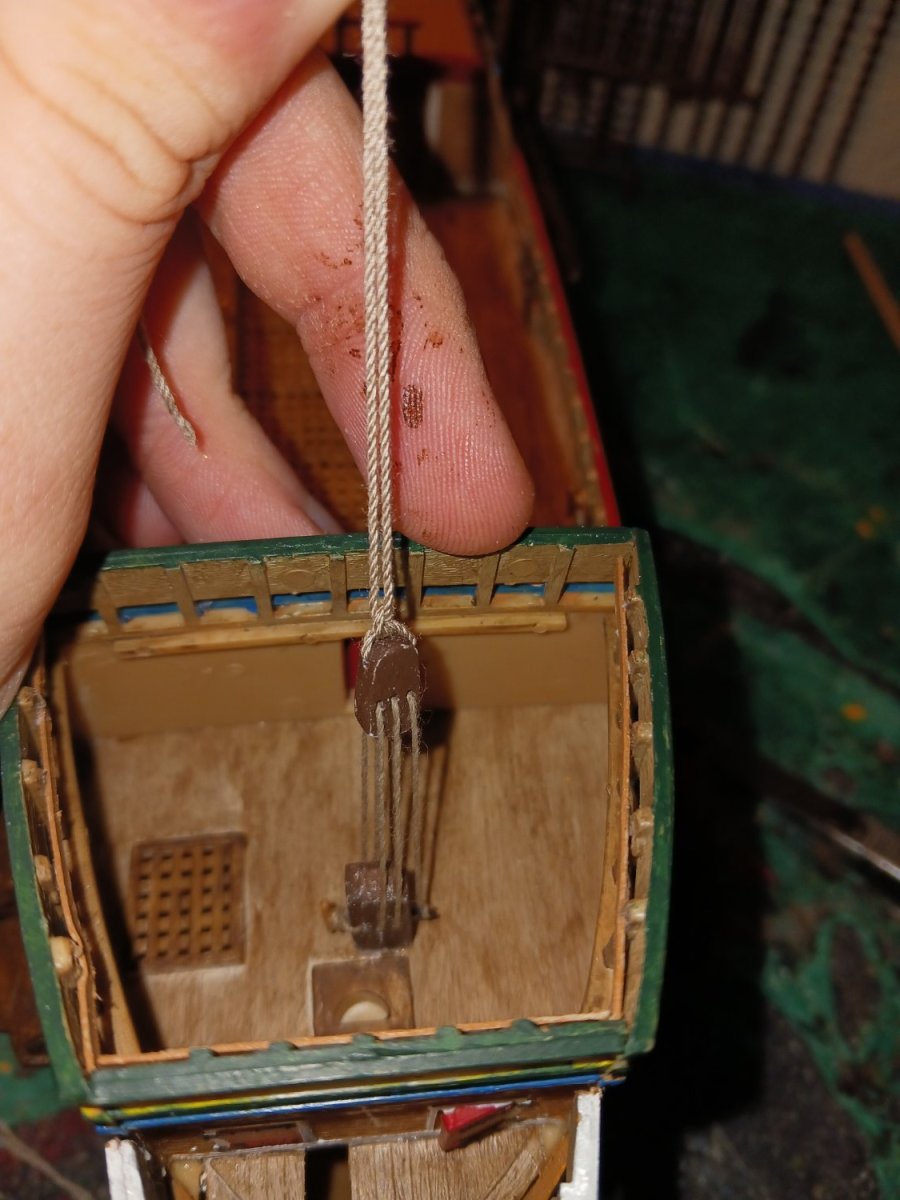
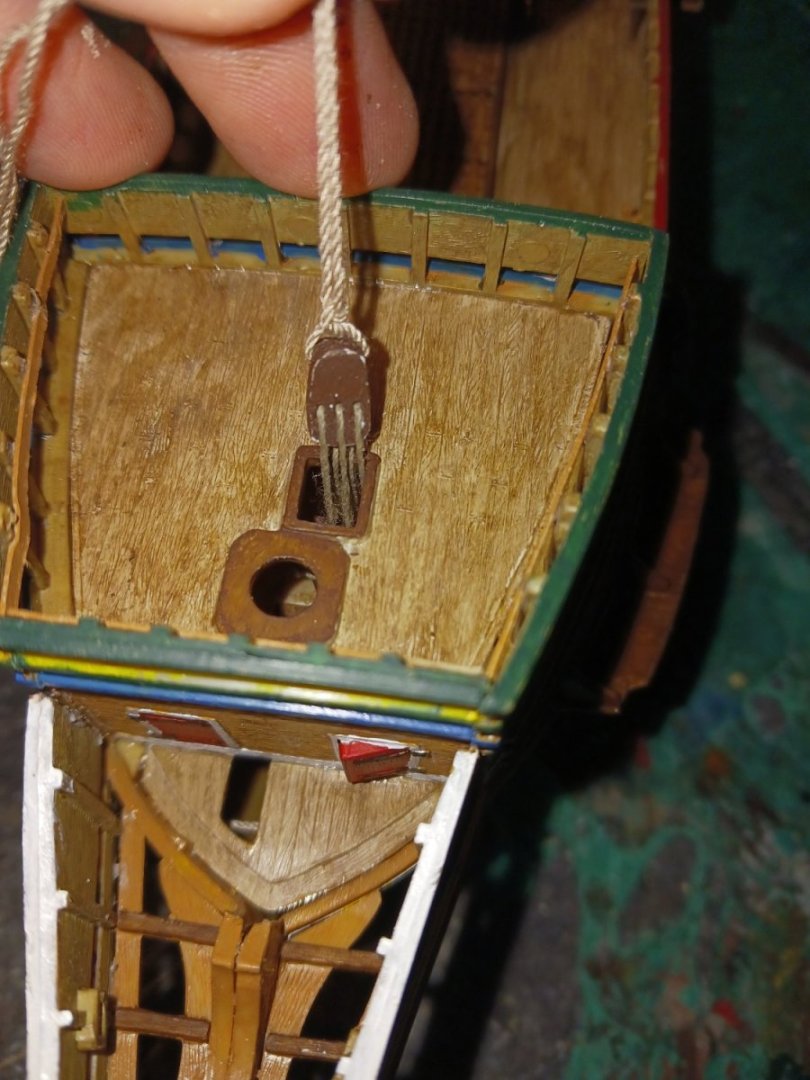
This is the fore knighthead and rigged halyard block glued onto the deck. The block and halyard tackle will go up through a hole in the forecastle deck. I can be even more sure the halyard will not foul on the mainstay because the mainstay bypasses the foremast on the starboard side and goes around the bowsprit.

-
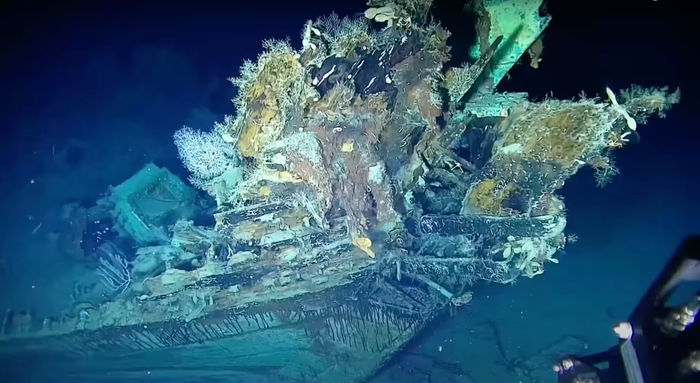
Because it's the media. They always suck. This is a real ROV photo of the galleon:
-
Personally, the legal battle is interesting too. I think the treasure on the ship should stay at the bottom of the sea along with the 600 men who died with it. Every shipwreck is also a mass grave, and should be treated like one. I find it disgusting that all anyone cares about is who the loot belongs to. Not even the historical and research value is considered. I also can't wait for them to find the Flor de la Mar, a Portuguese carrack loaded with billions of dollars of treasure that lies off the coast of Malaysia.
-
When a sail is furled, all the associated rigging stays on the sail.
- 1,508 replies
-
- 1
-
-
- Le Soleil Royal
- Heller
- (and 1 more)
-
I say keep the courses furled, fly the topsails, and partially unfurl the topgallants. That would look really cool. Or perhaps the other way around, with courses partially furled, topsails flown, and topgallants furled.
- 1,508 replies
-
- 1
-
-
- Le Soleil Royal
- Heller
- (and 1 more)
-
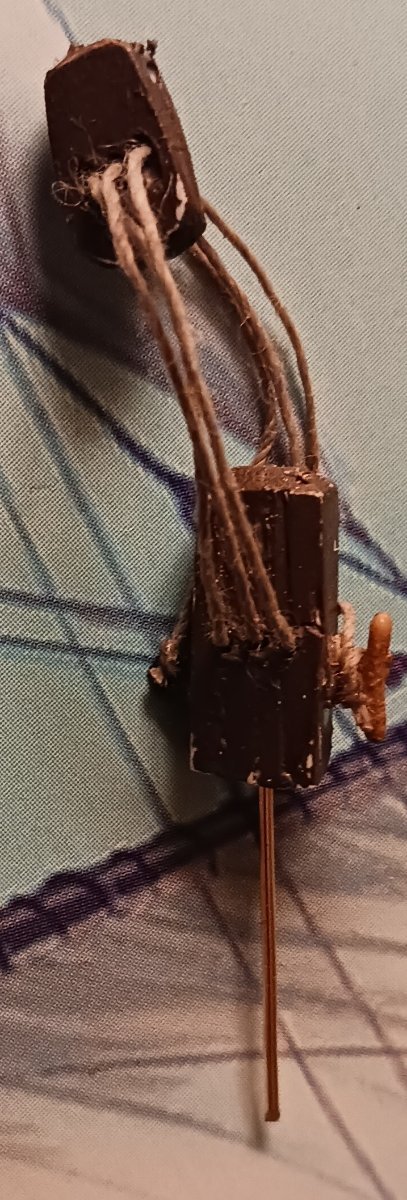
This is the finished fore knighthead and halyard block, with the rigging. The reason for the brass pin is that if this comes loose at any point, there's no way to go in and fix it.

-
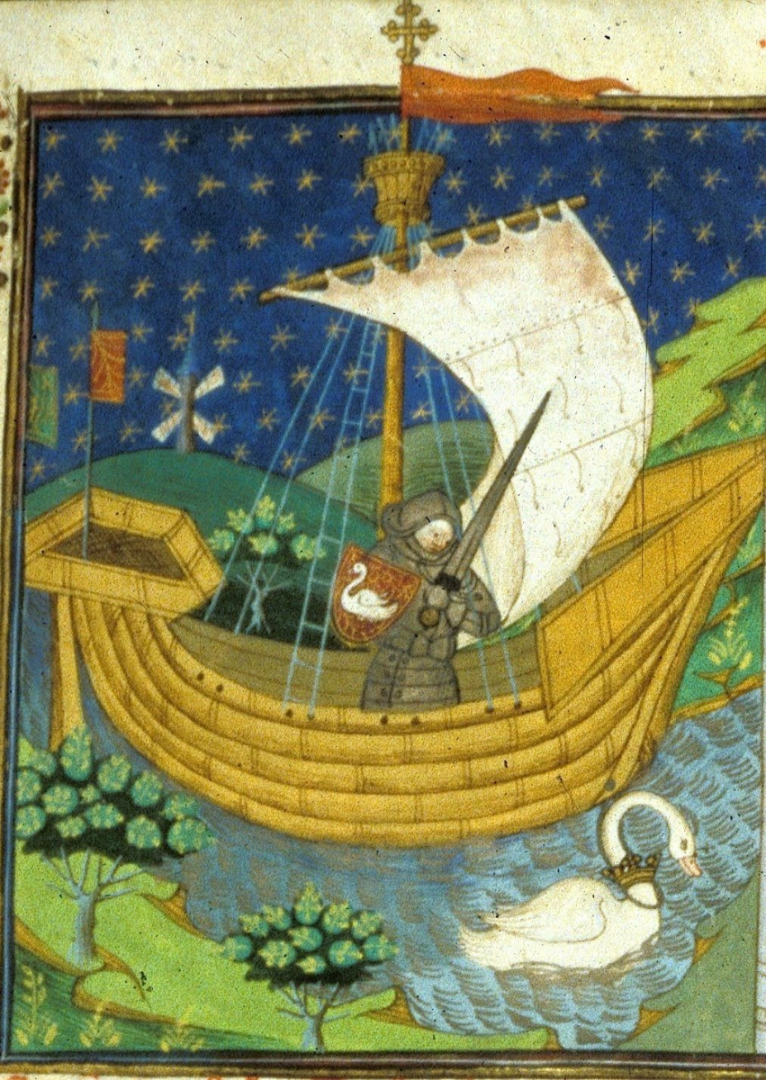
This is a replica of a Dutch galleon, i believe the Halve Maen.
-
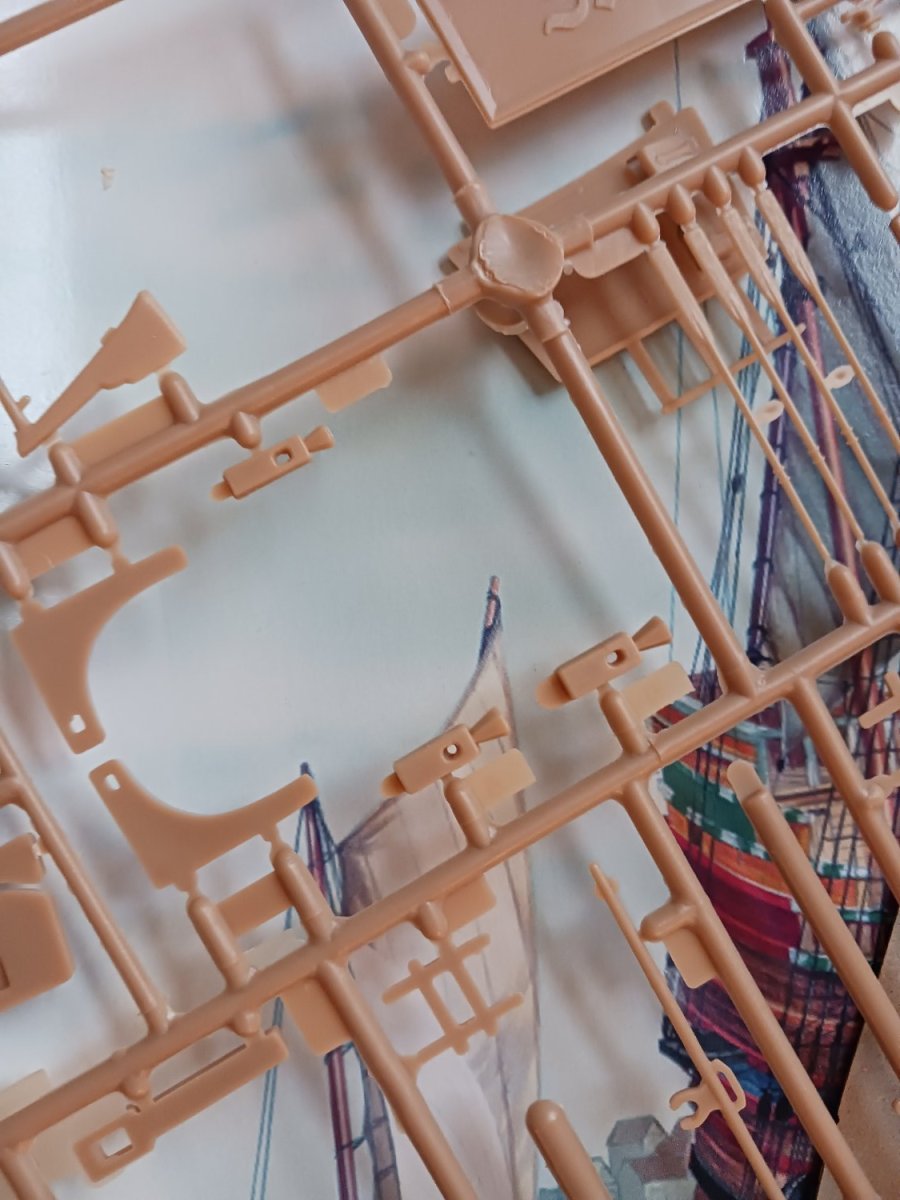
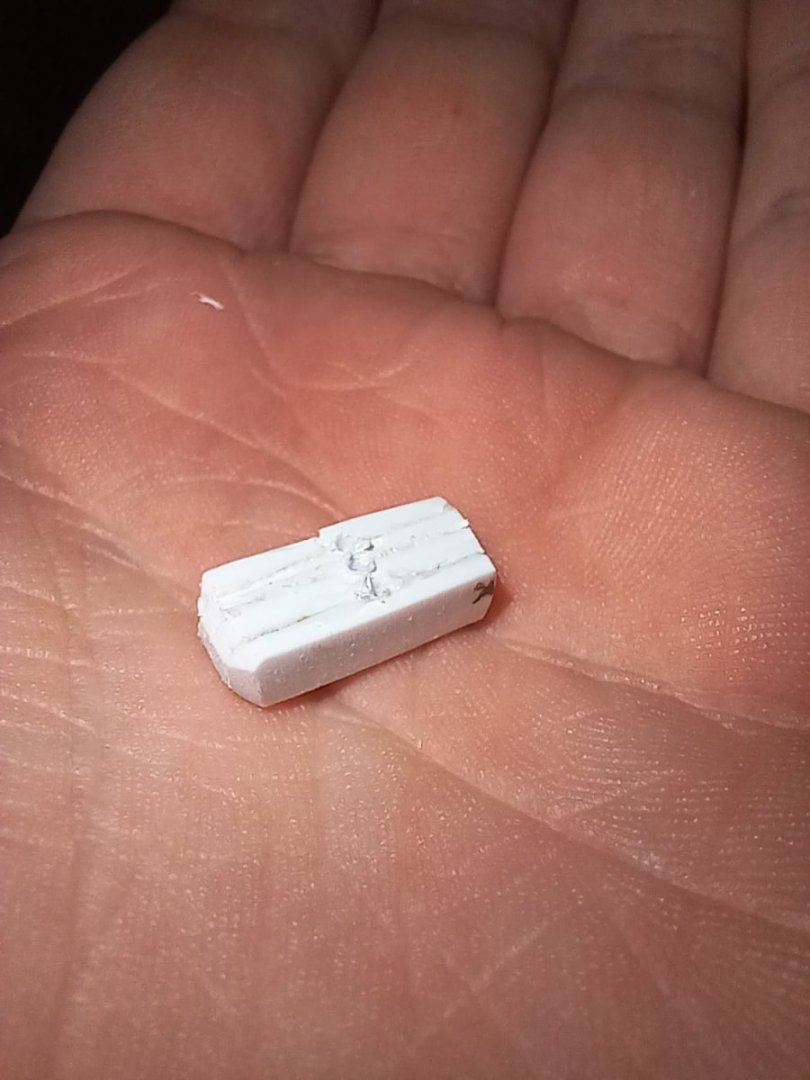
These are the knightheads the kit provided me with. I expected this. These "knightheads" are so worthless i might as well not even take them off the sprue. Remember my Golden Hinde? If not, go check out the build and how i dealt with the knightheads. Anyways, since then my standards have improved greatly, and i dared myself to do better. This is a rough iteration of the new fore knighthead. This will be painted brown and have the excess plastic cleaned off. It has 3 sheaves for the fore halyard.

-
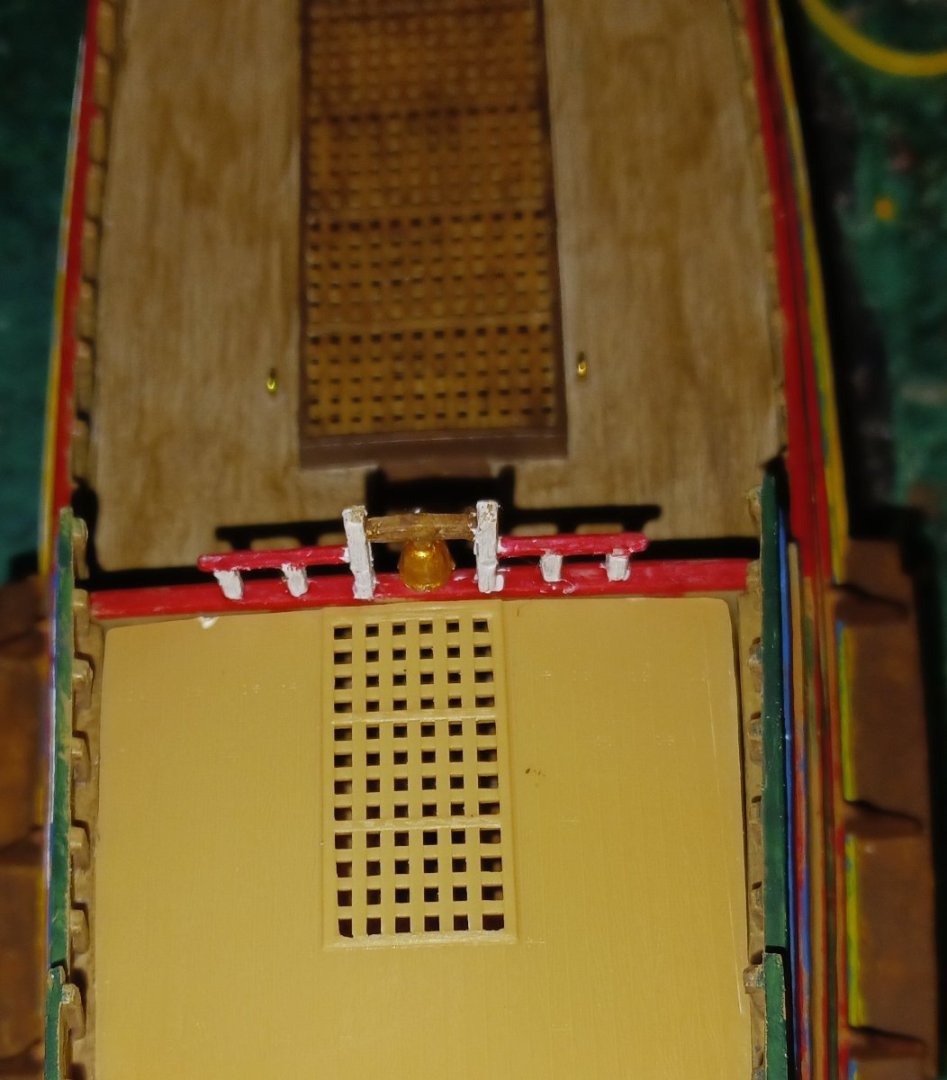
This is the detailed view of the forecastle bulwarks, with the belaying rails glued on. The belaying rails are strips of painted cardboard, and can each reasonably belay about 15 lines apiece.

-
It's also obvious that this kit is based on the Mayflower II replica, which is inaccurate in multiple ways.
-
Awesome job, Bill! Aren't you not doing sails for this one?
-
Yes, the rails will be on the inside of the bulwarks. This is the exact same thing you did on your Great Harry. All we know about the Mayflower is that she existed in 1609, but realistically, she was probably significantly older. I believe it was one of the major supporting timbers that cracked, causing the upper deck to buckle. The voyage was able to continue only because one of the passengers had brought an iron screw with them, and the crew was able to fix the structural damage.
-
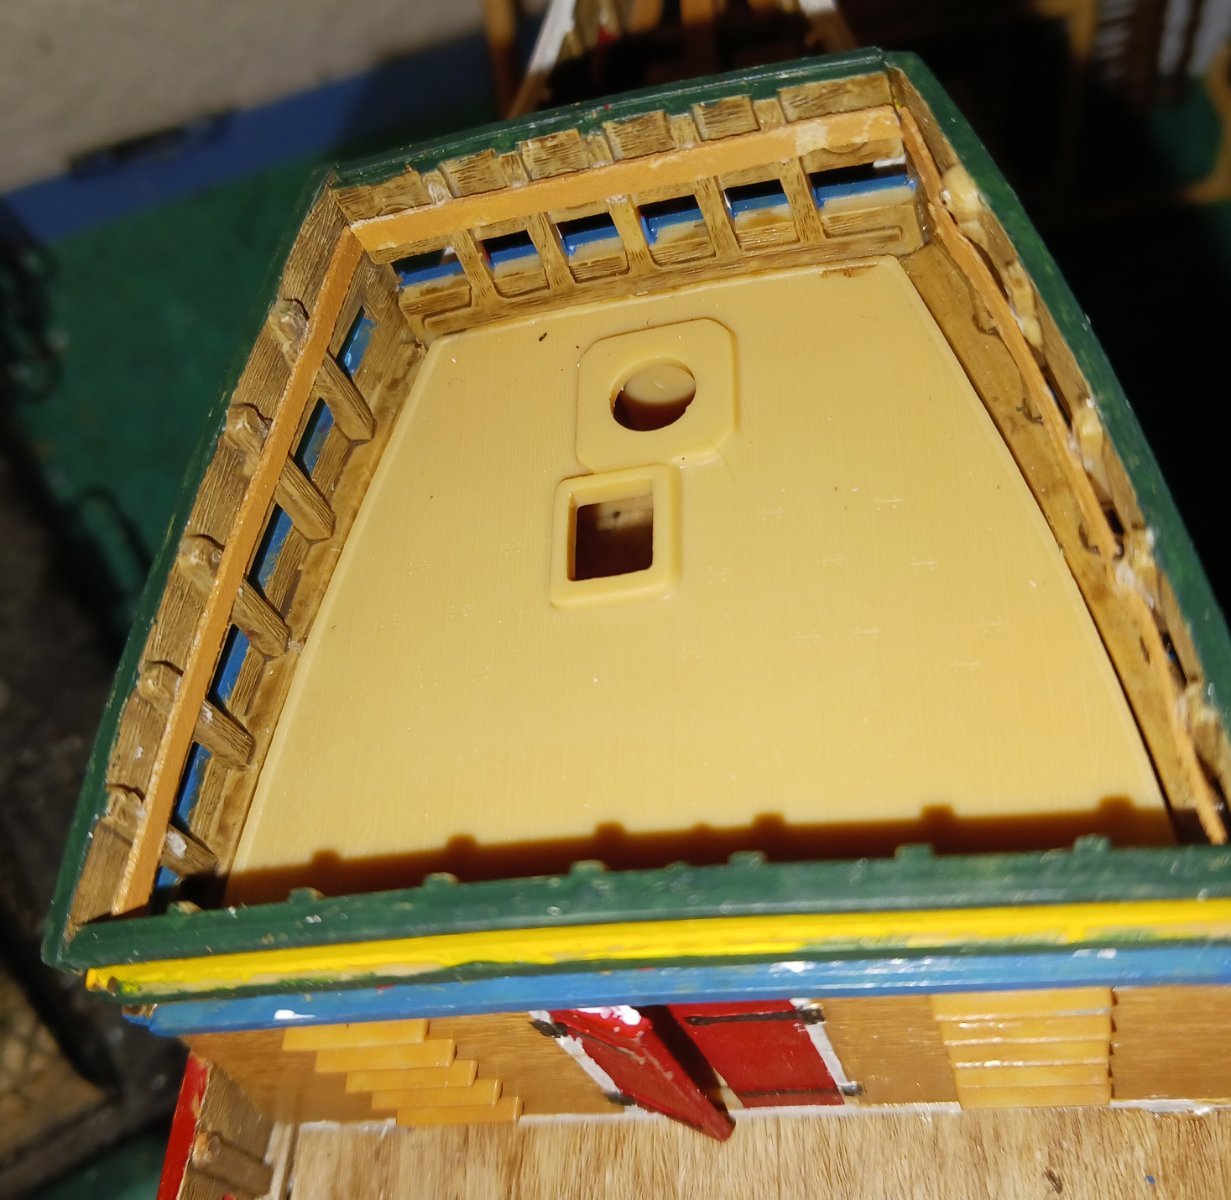
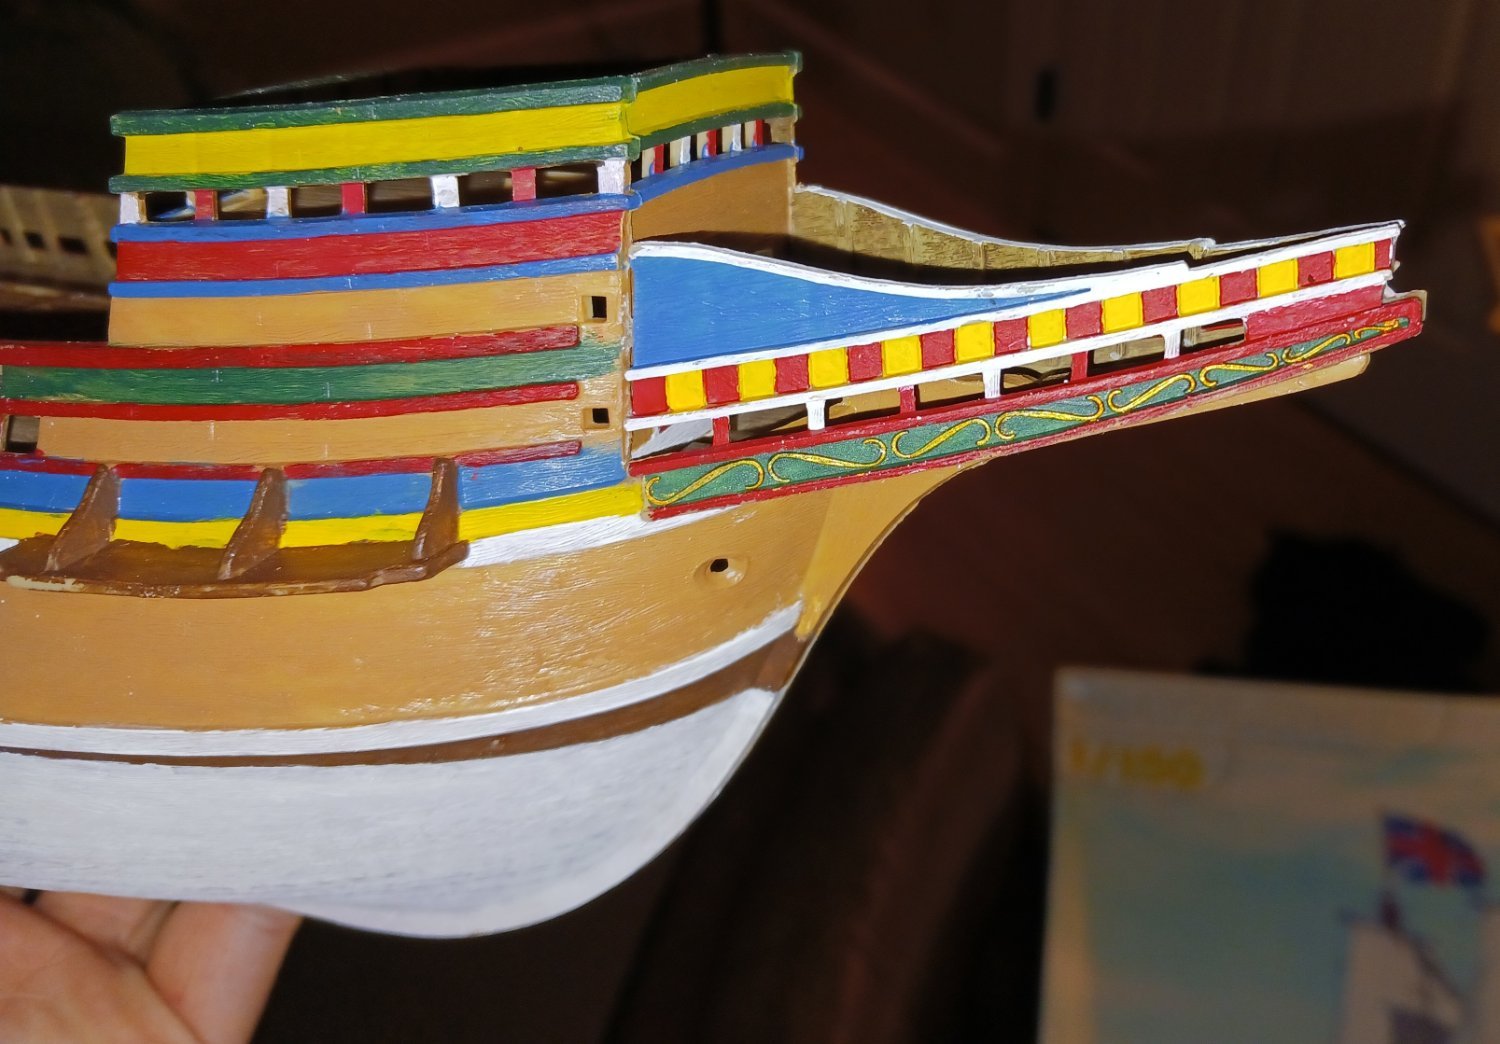
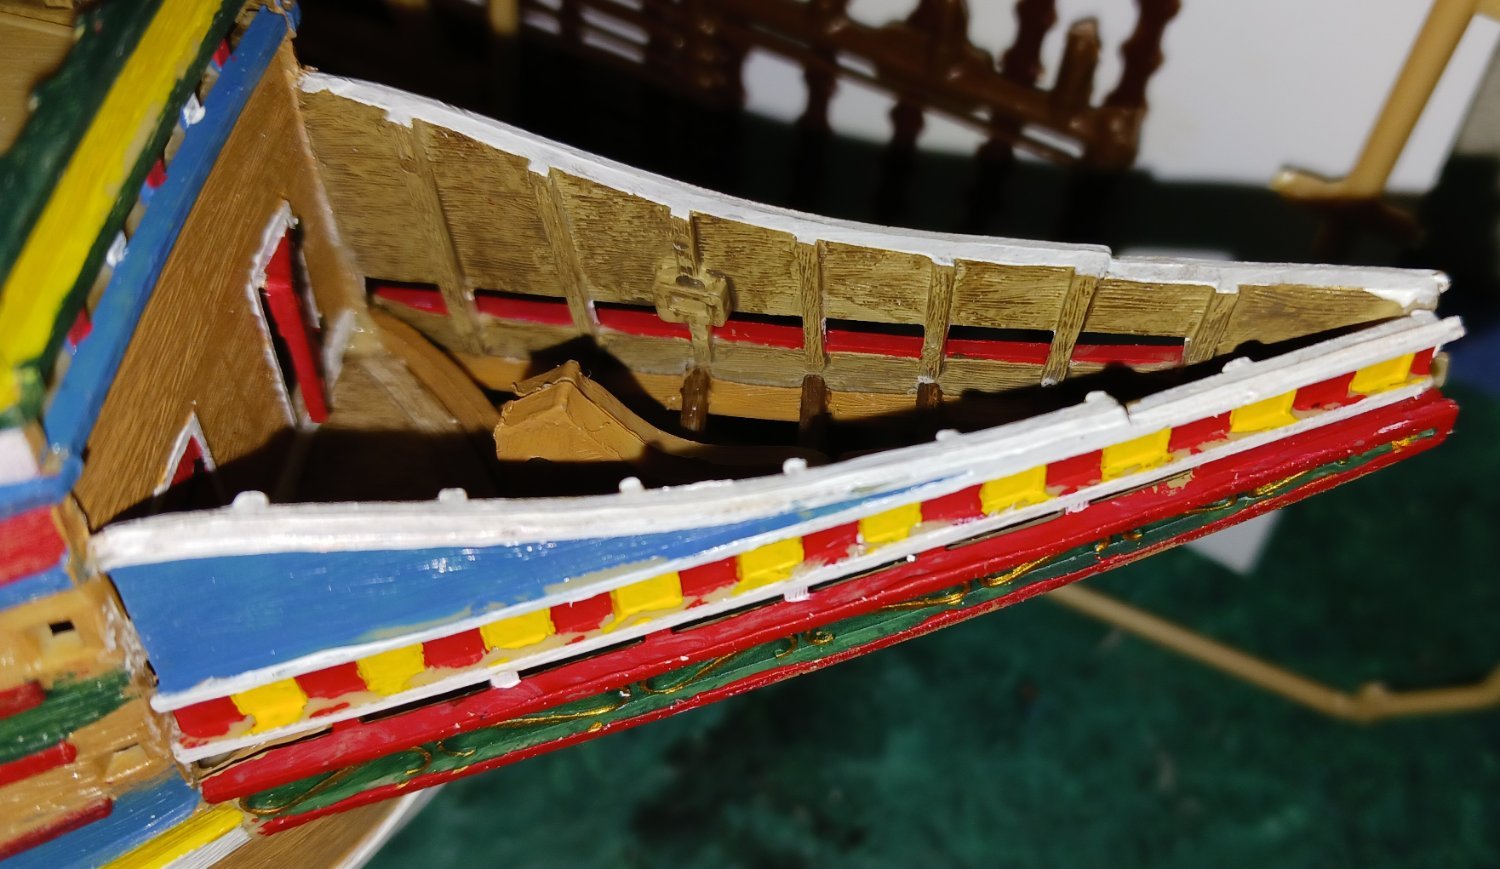
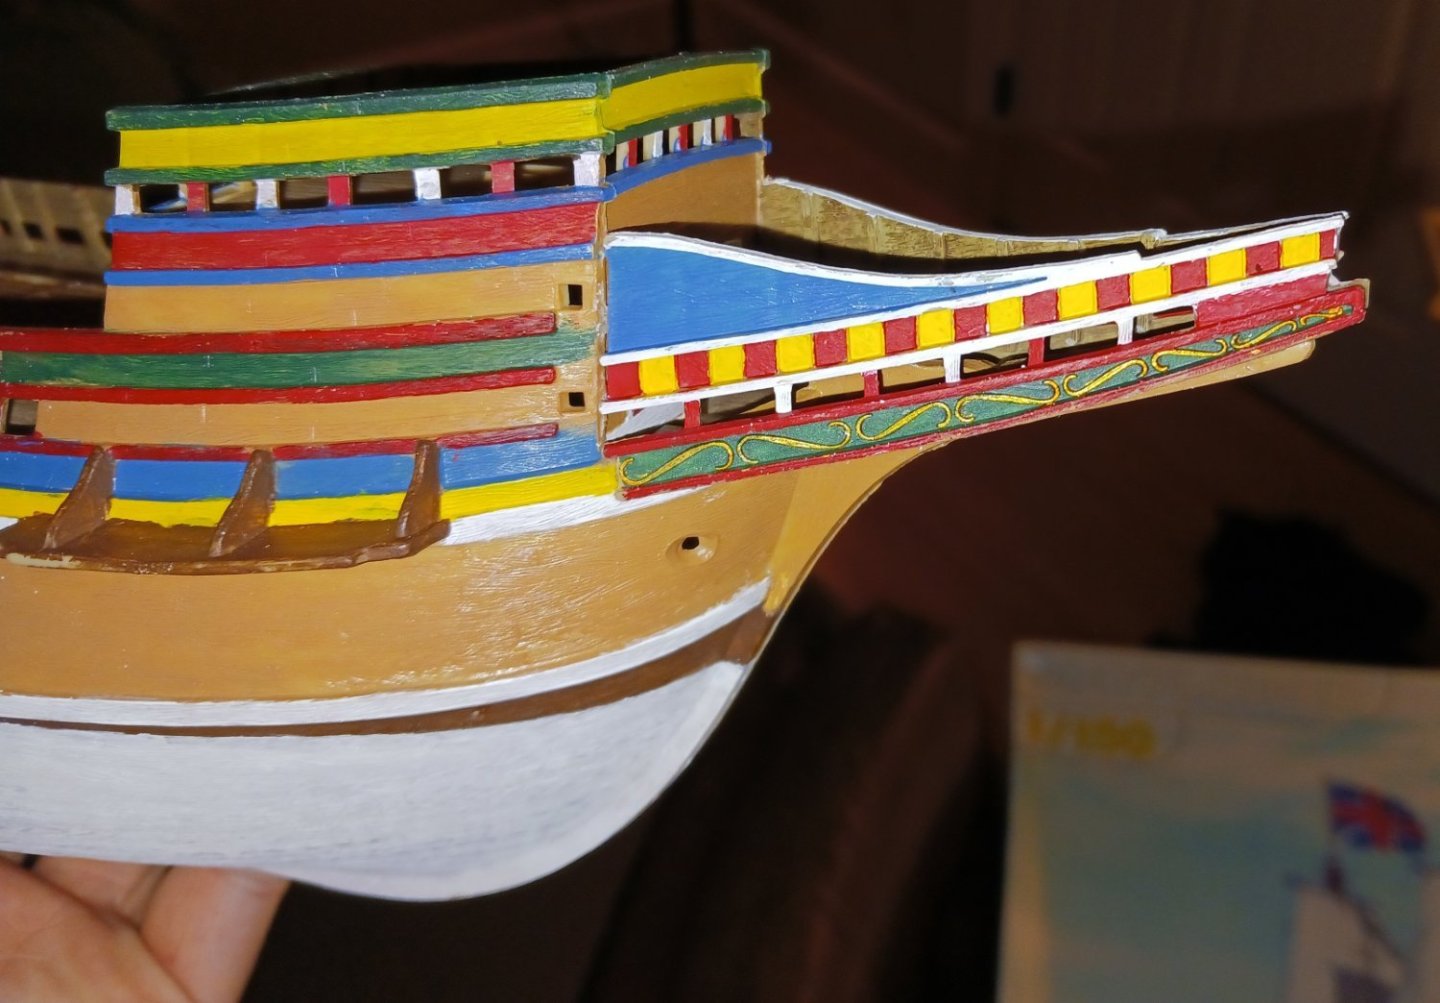
This is the ship's beakhead: Here's a detailed view of the interior of the beakhead area: The uprights that exist on the ship naturally gave me an idea. This is 1620, right? Pins had yet to come into use on English ships. The earliest known use of pins and pinrails is at least a century later, if not more. The idea being that i could simply glue multiple "rails" onto the sides of the ship, solving my belaying problems. For more information and a better explanation of what's happening here, look at Baker's Pelican build.

-
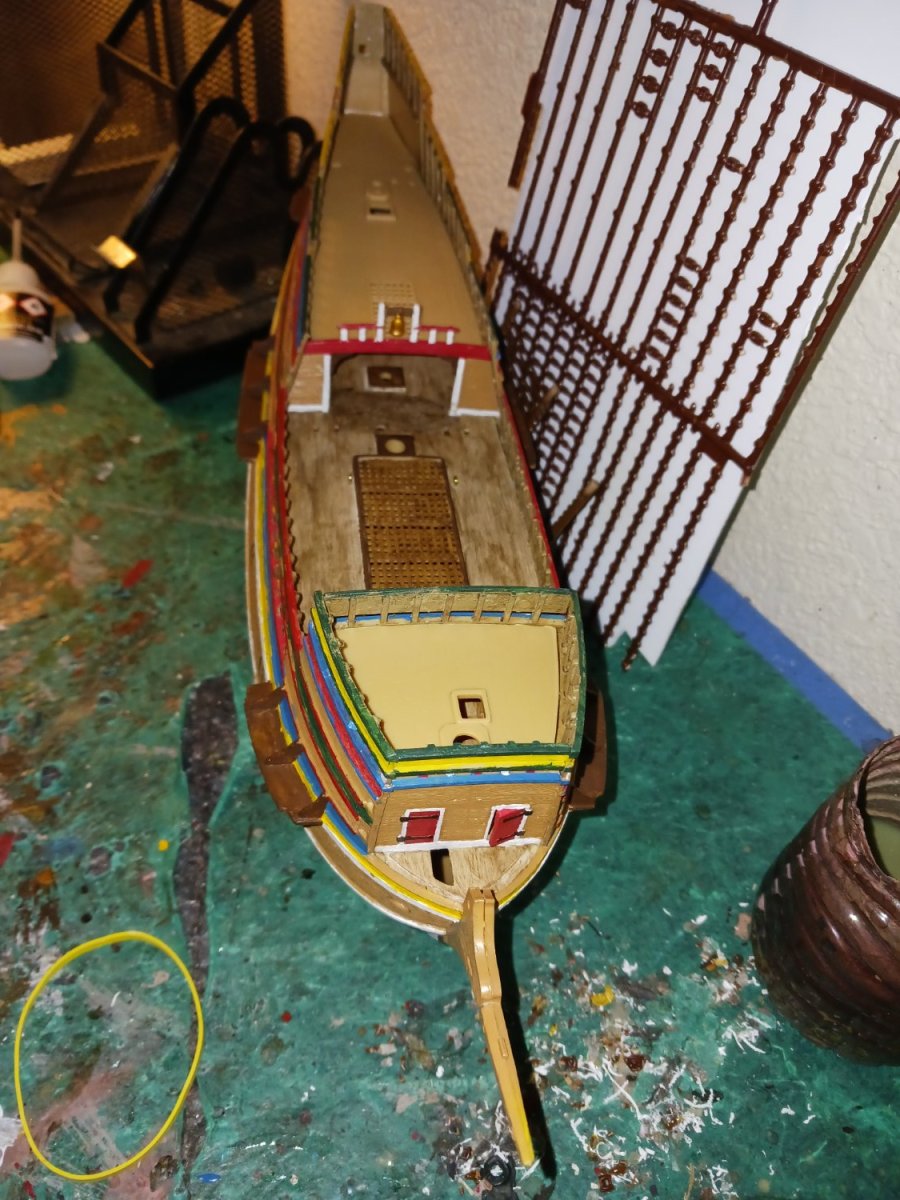
Several more bulkheads are painted, put in place, and the forecastle and quarter decks. That's when i discovered an issue. I know this kit isn't of the best quality, but what the hell!? Both the bulkhead and the deck are perfectly symmetrical and lined up perfectly. SOAB