Ferrus Manus
-
Posts
1,407 -
Joined
-
Last visited
Content Type
Profiles
Forums
Gallery
Events
Everything posted by Ferrus Manus
-
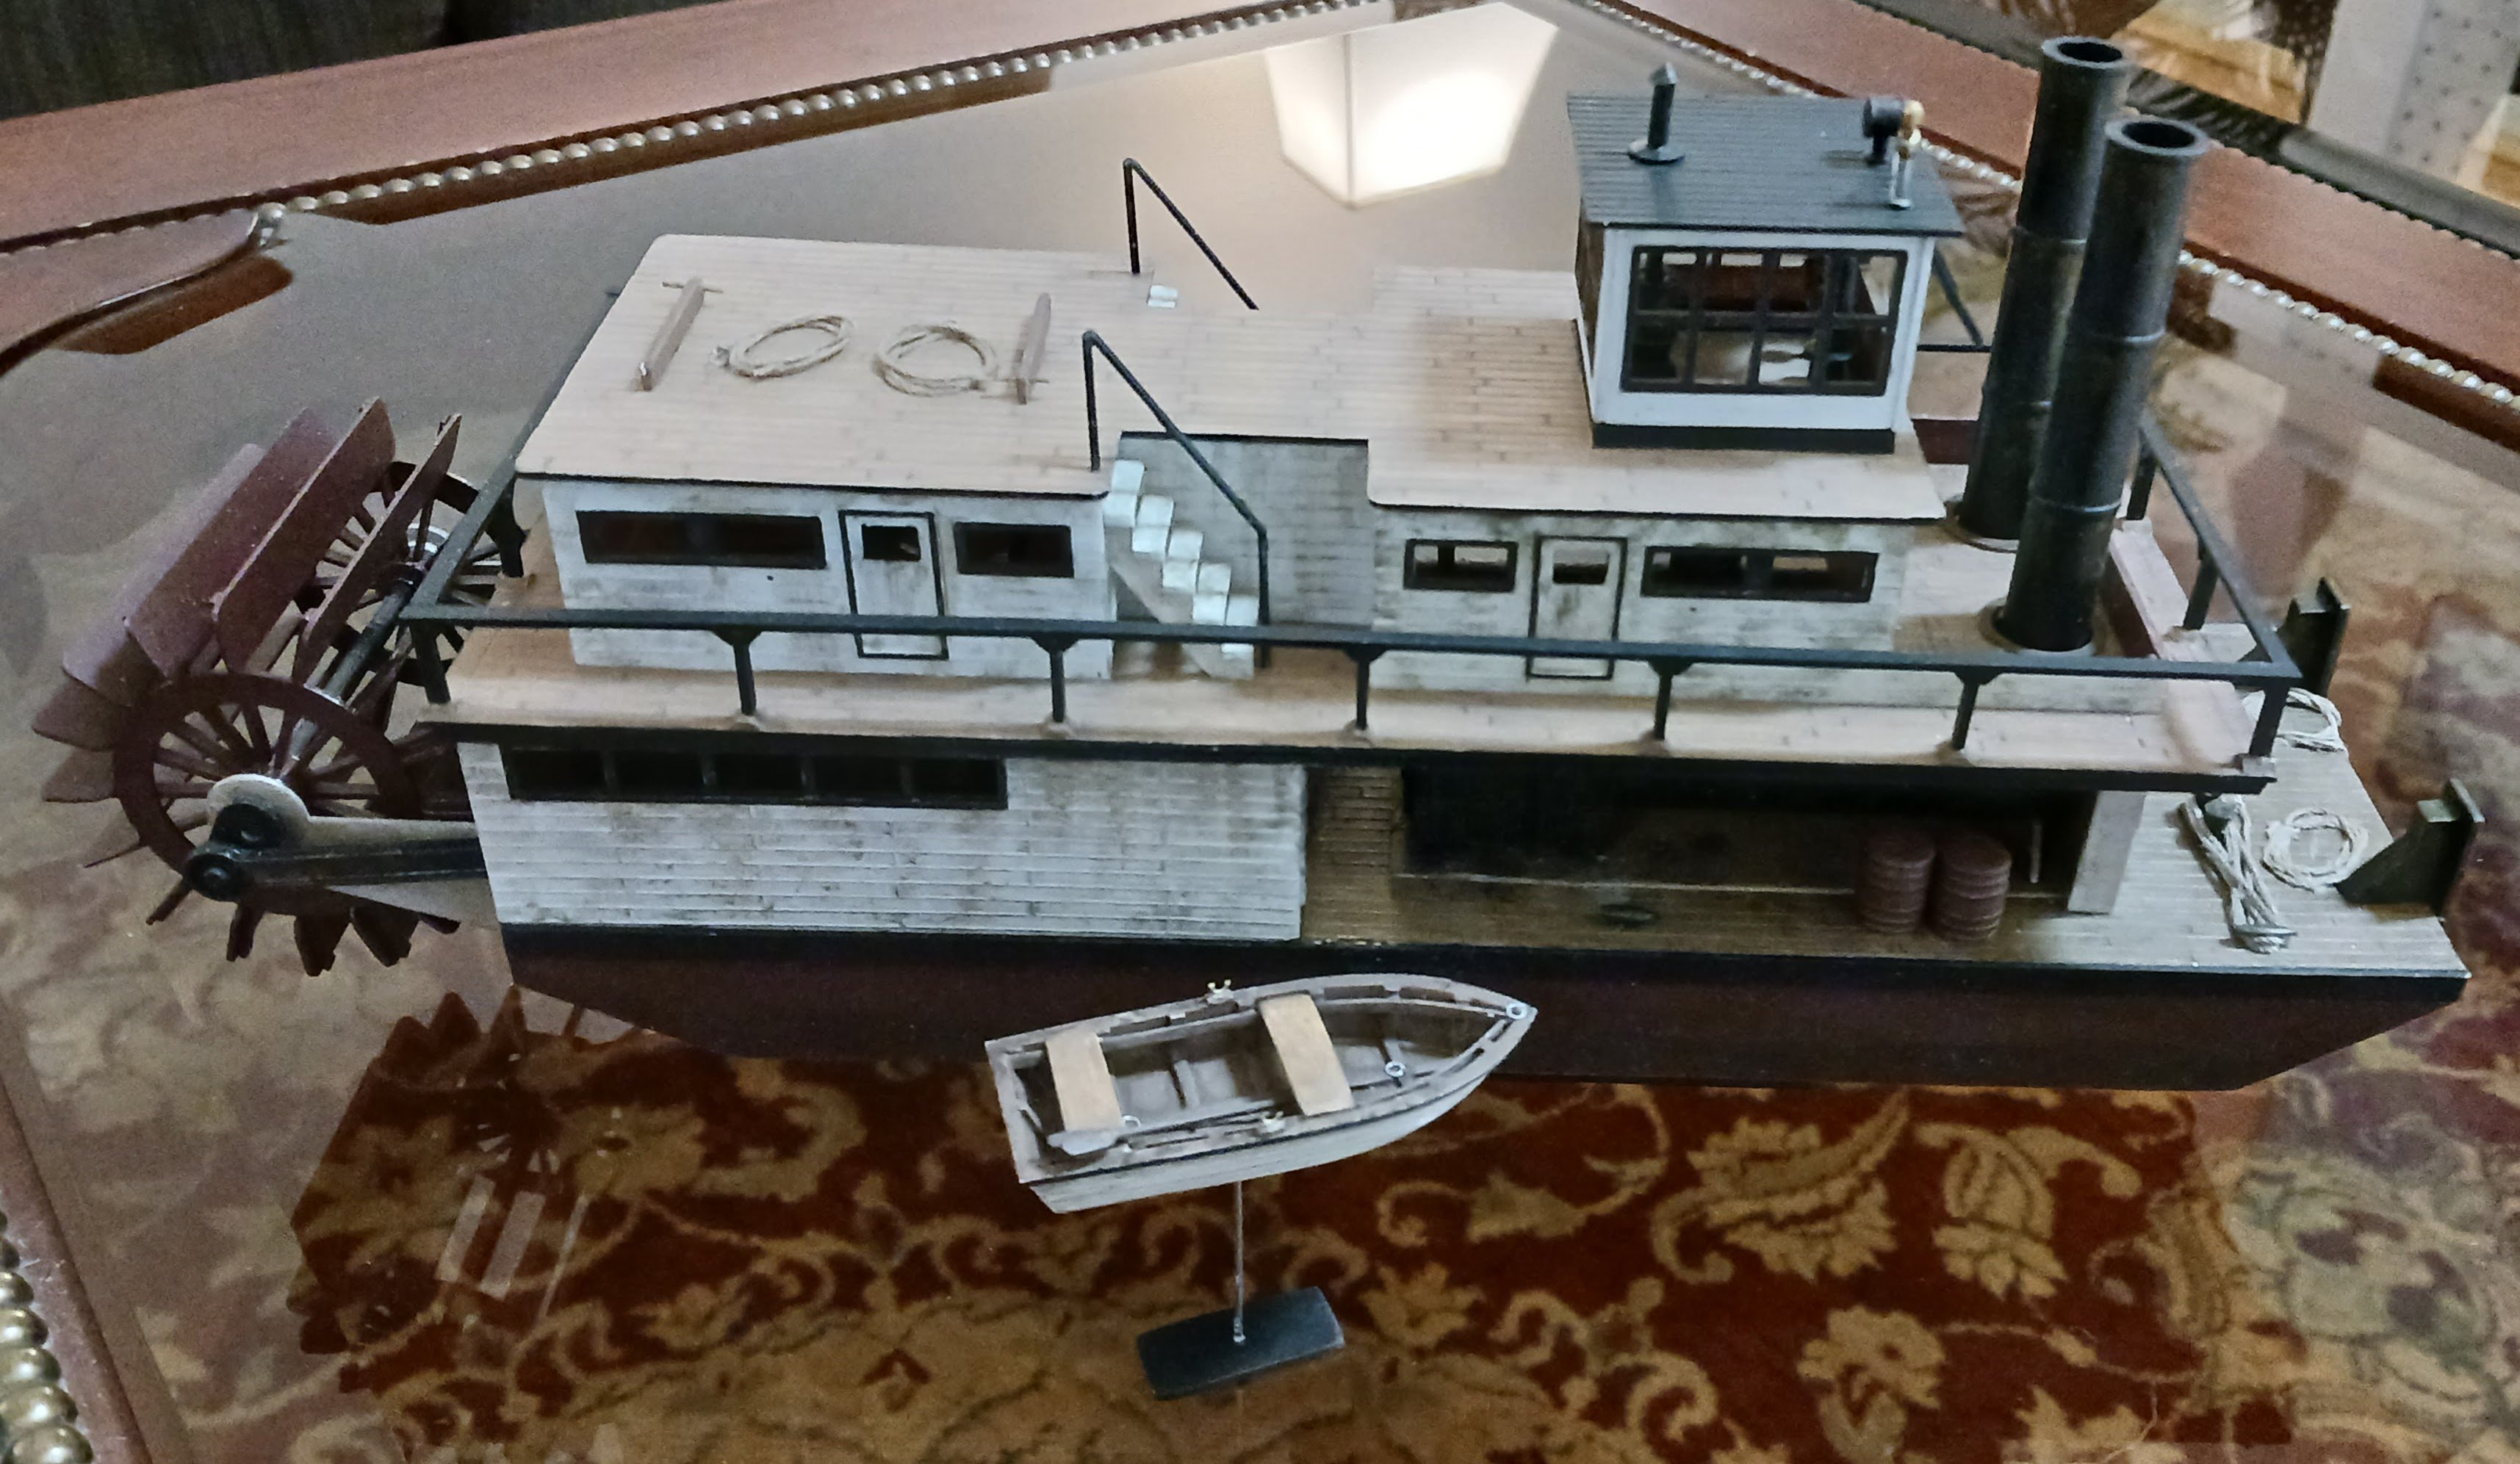
 I'm now calling this build complete. Here are the finished photos:
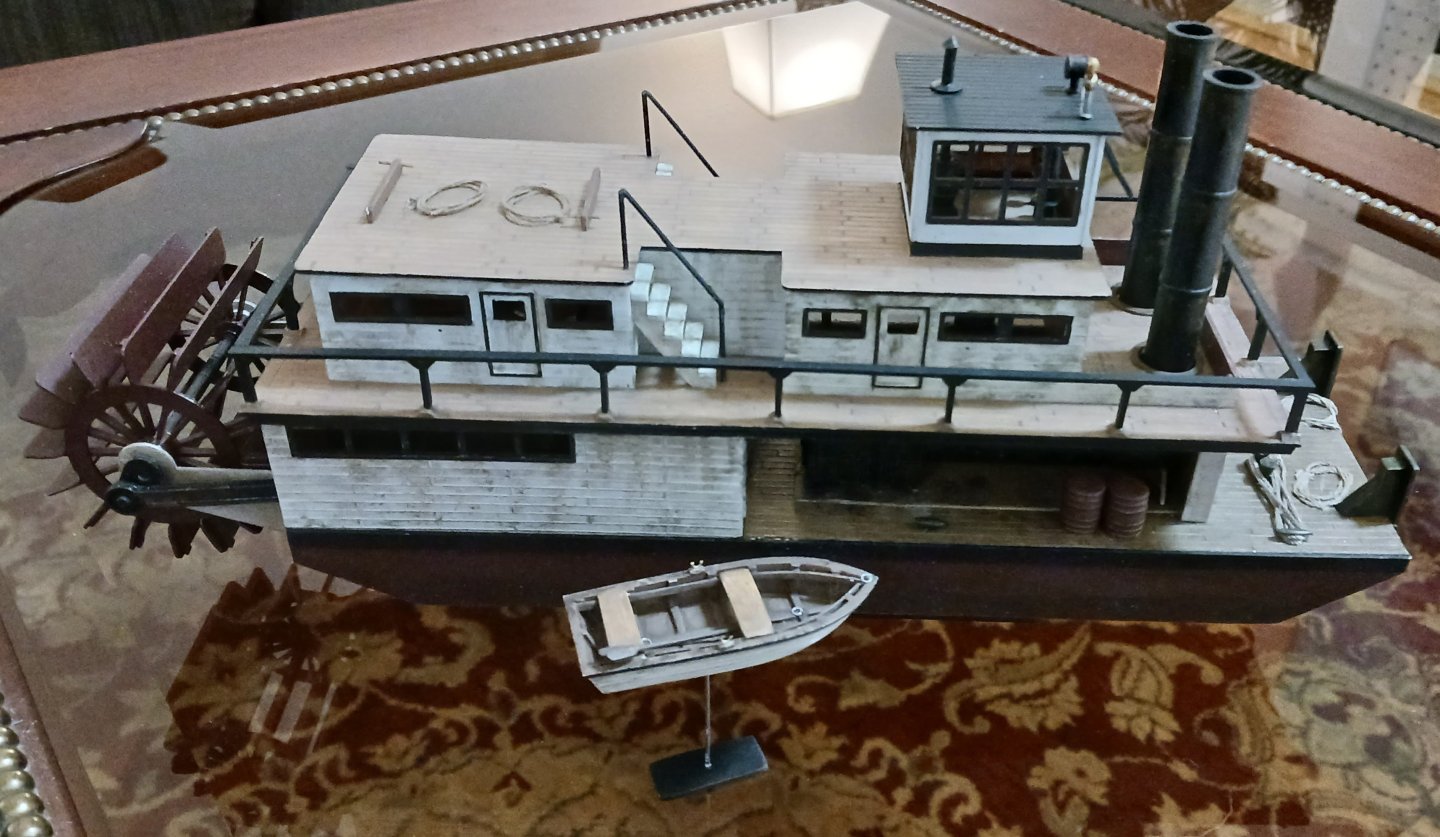


- 56 replies
-
- 6
-

-
- Lindberg
- sternwheeler
- (and 1 more)
-
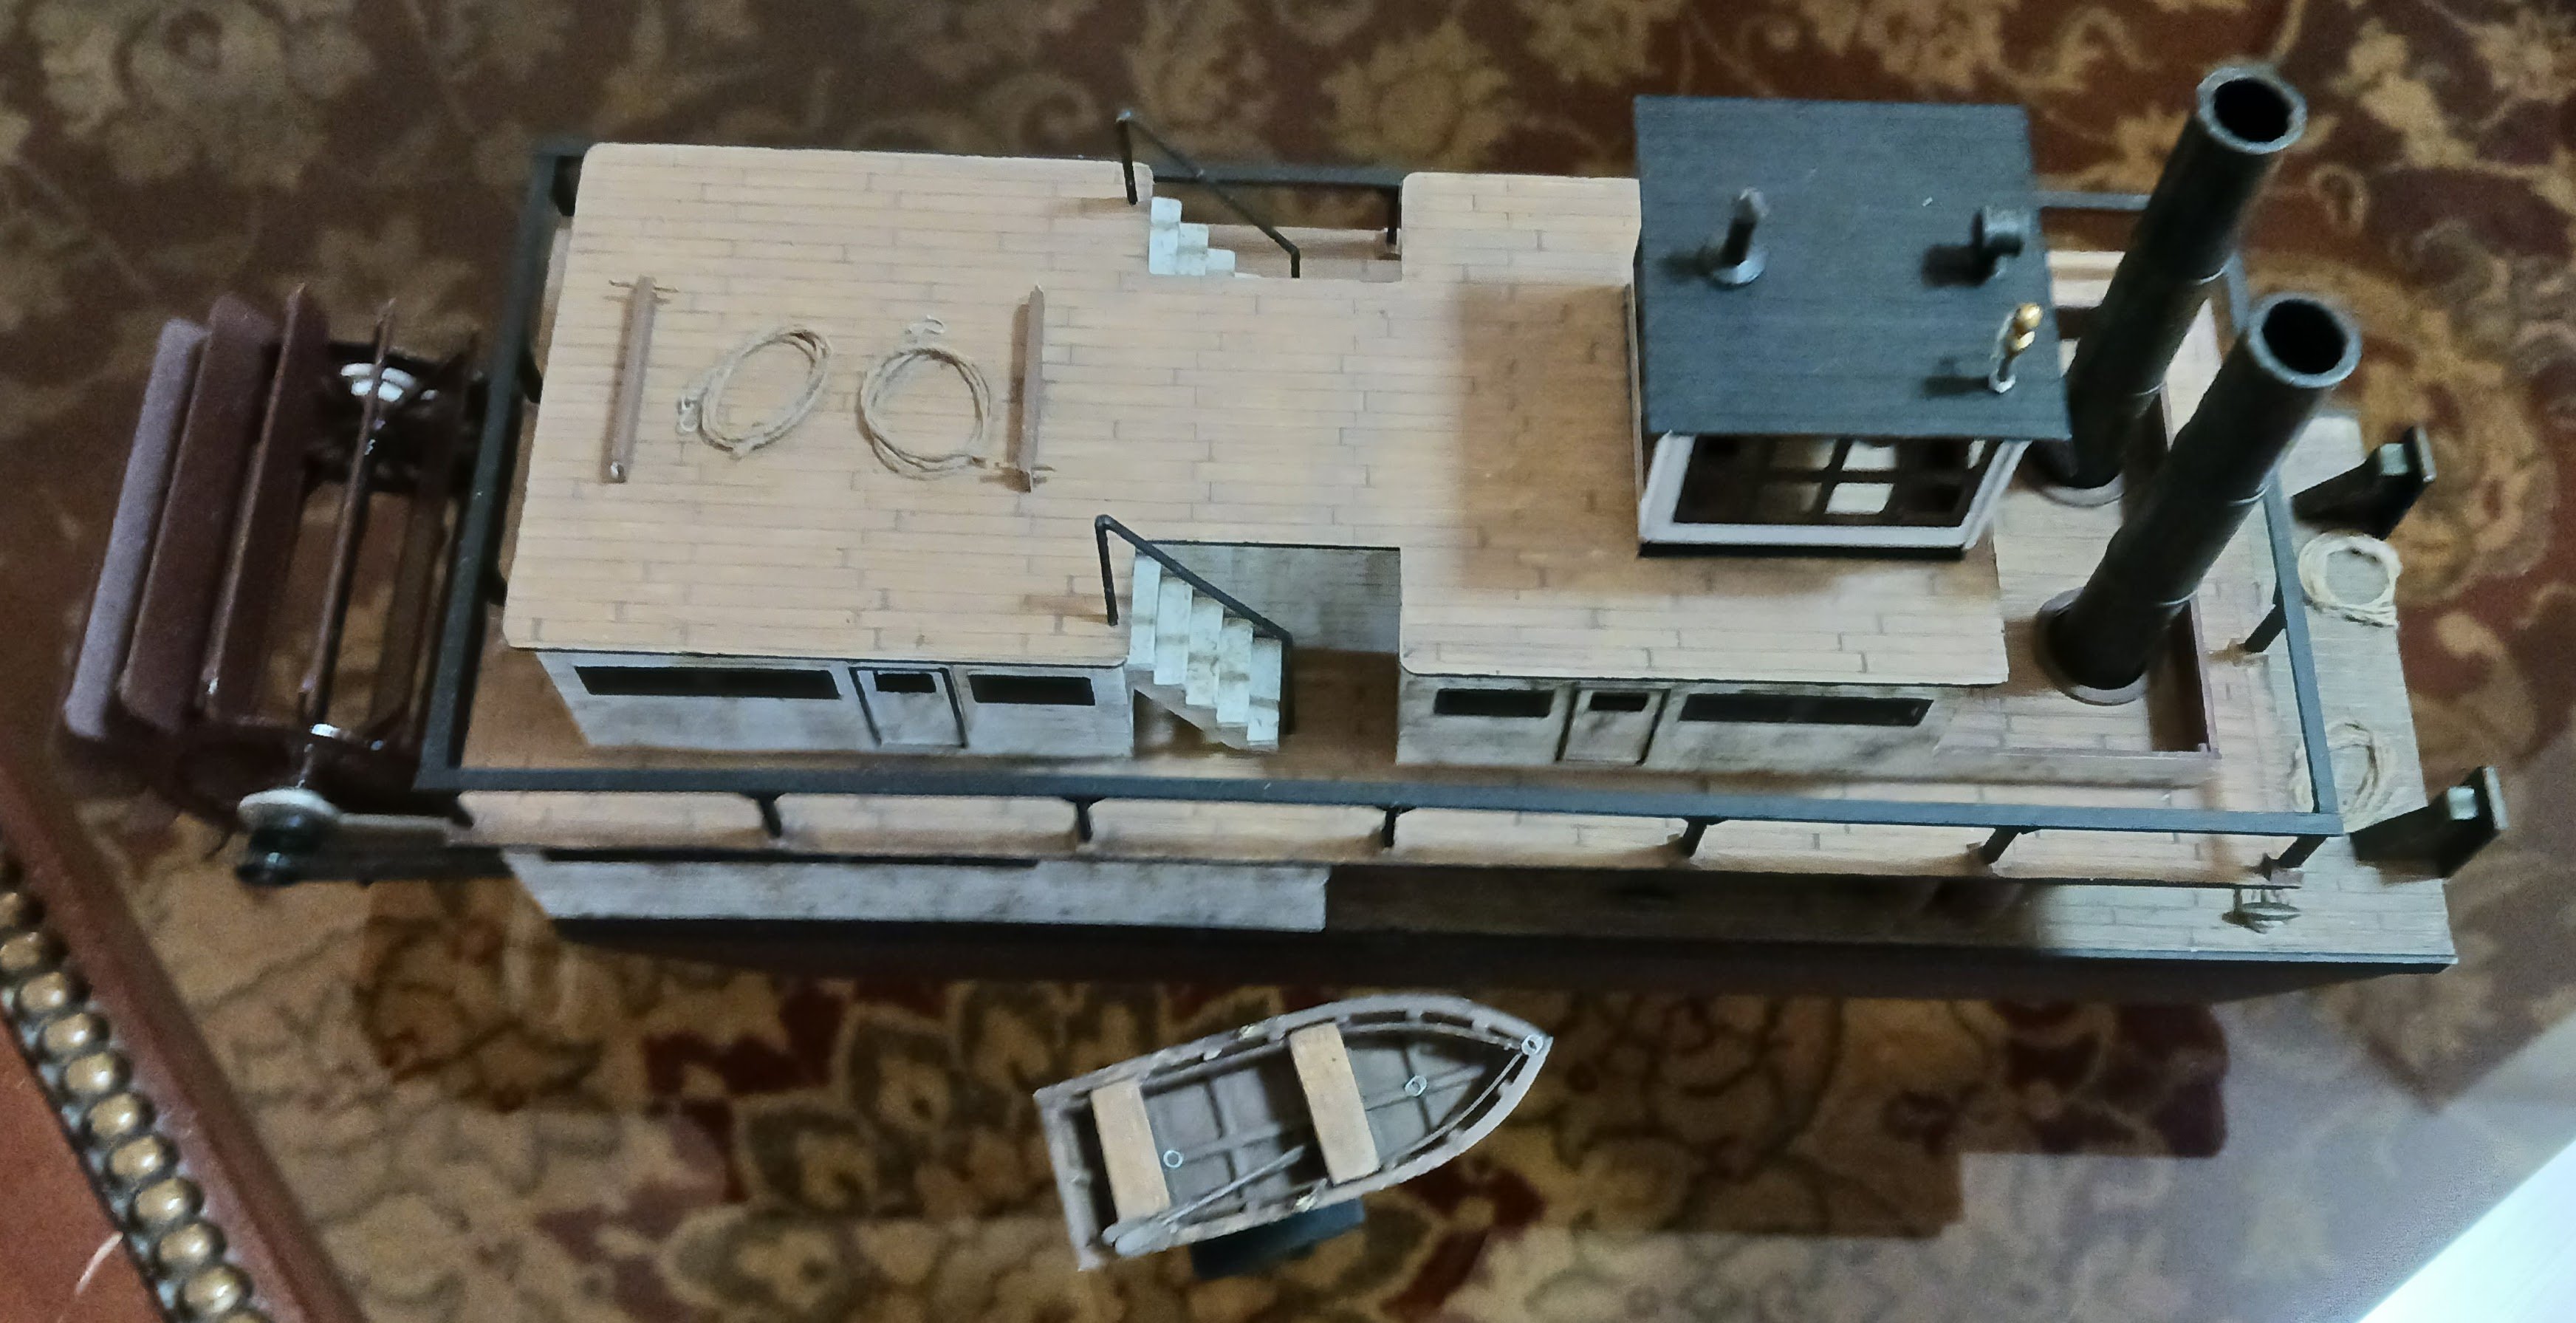
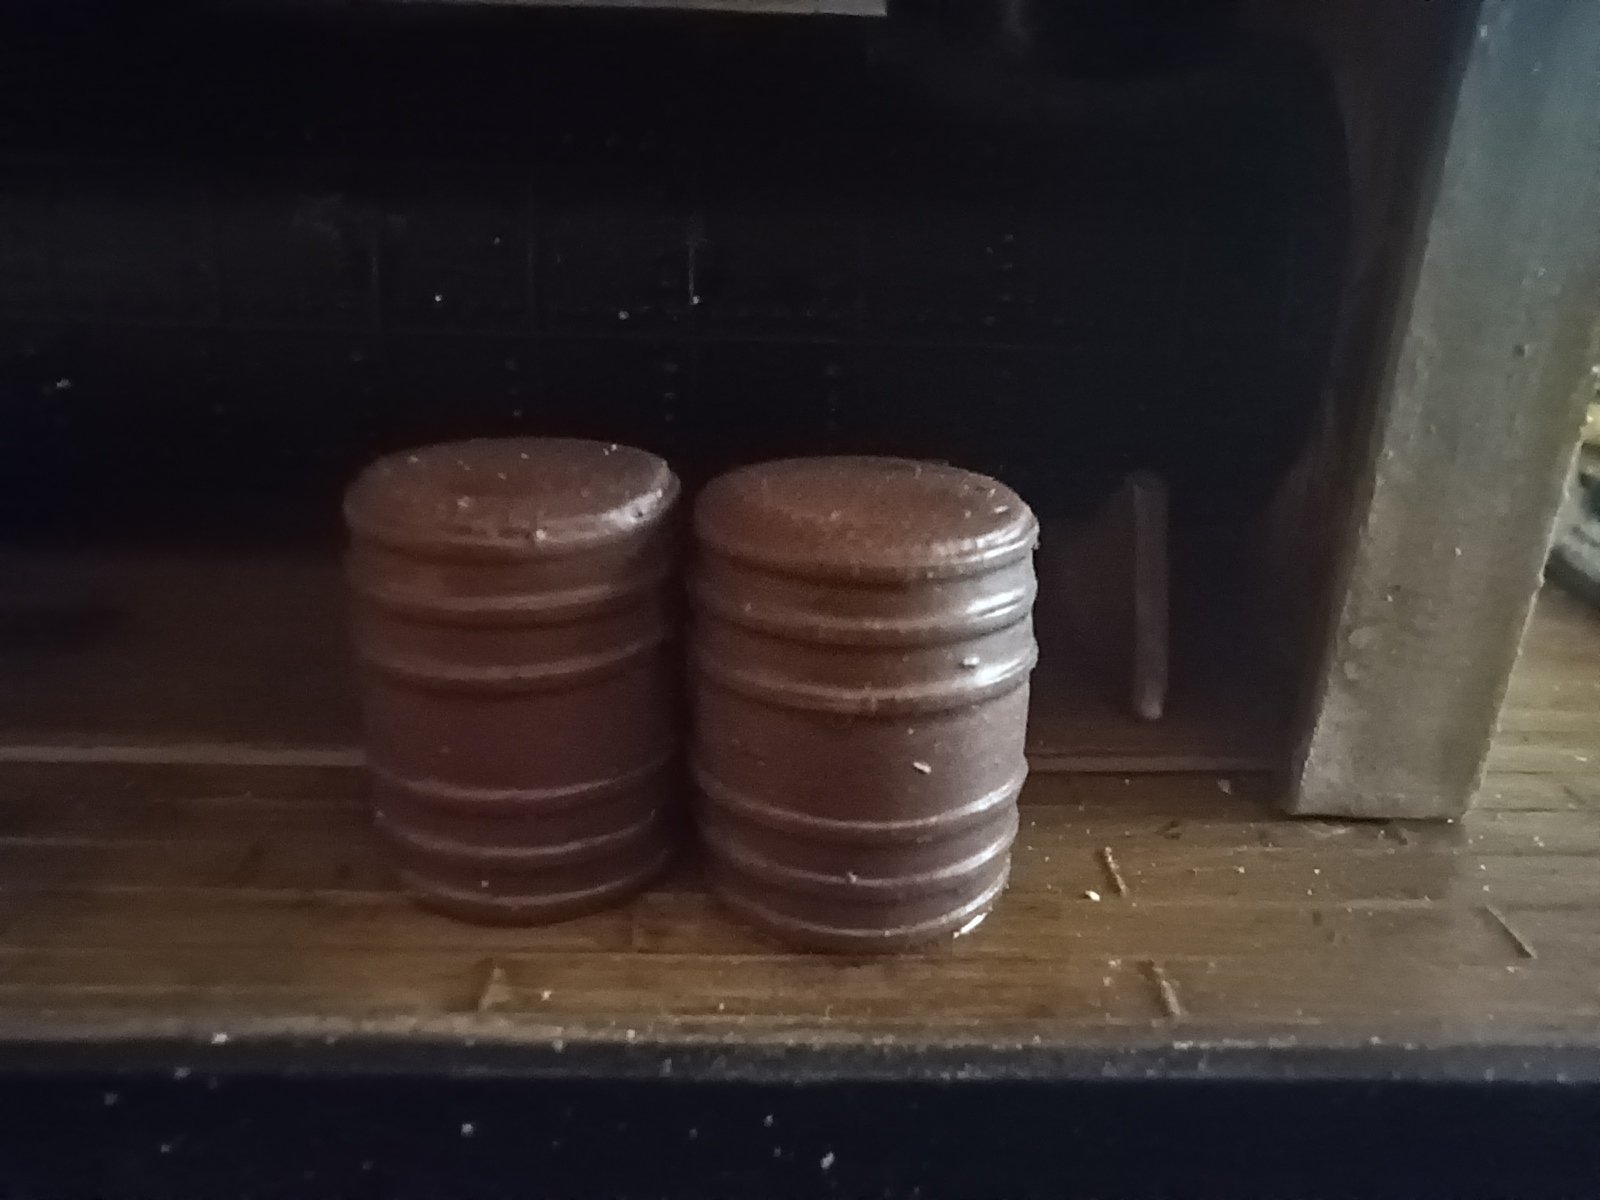
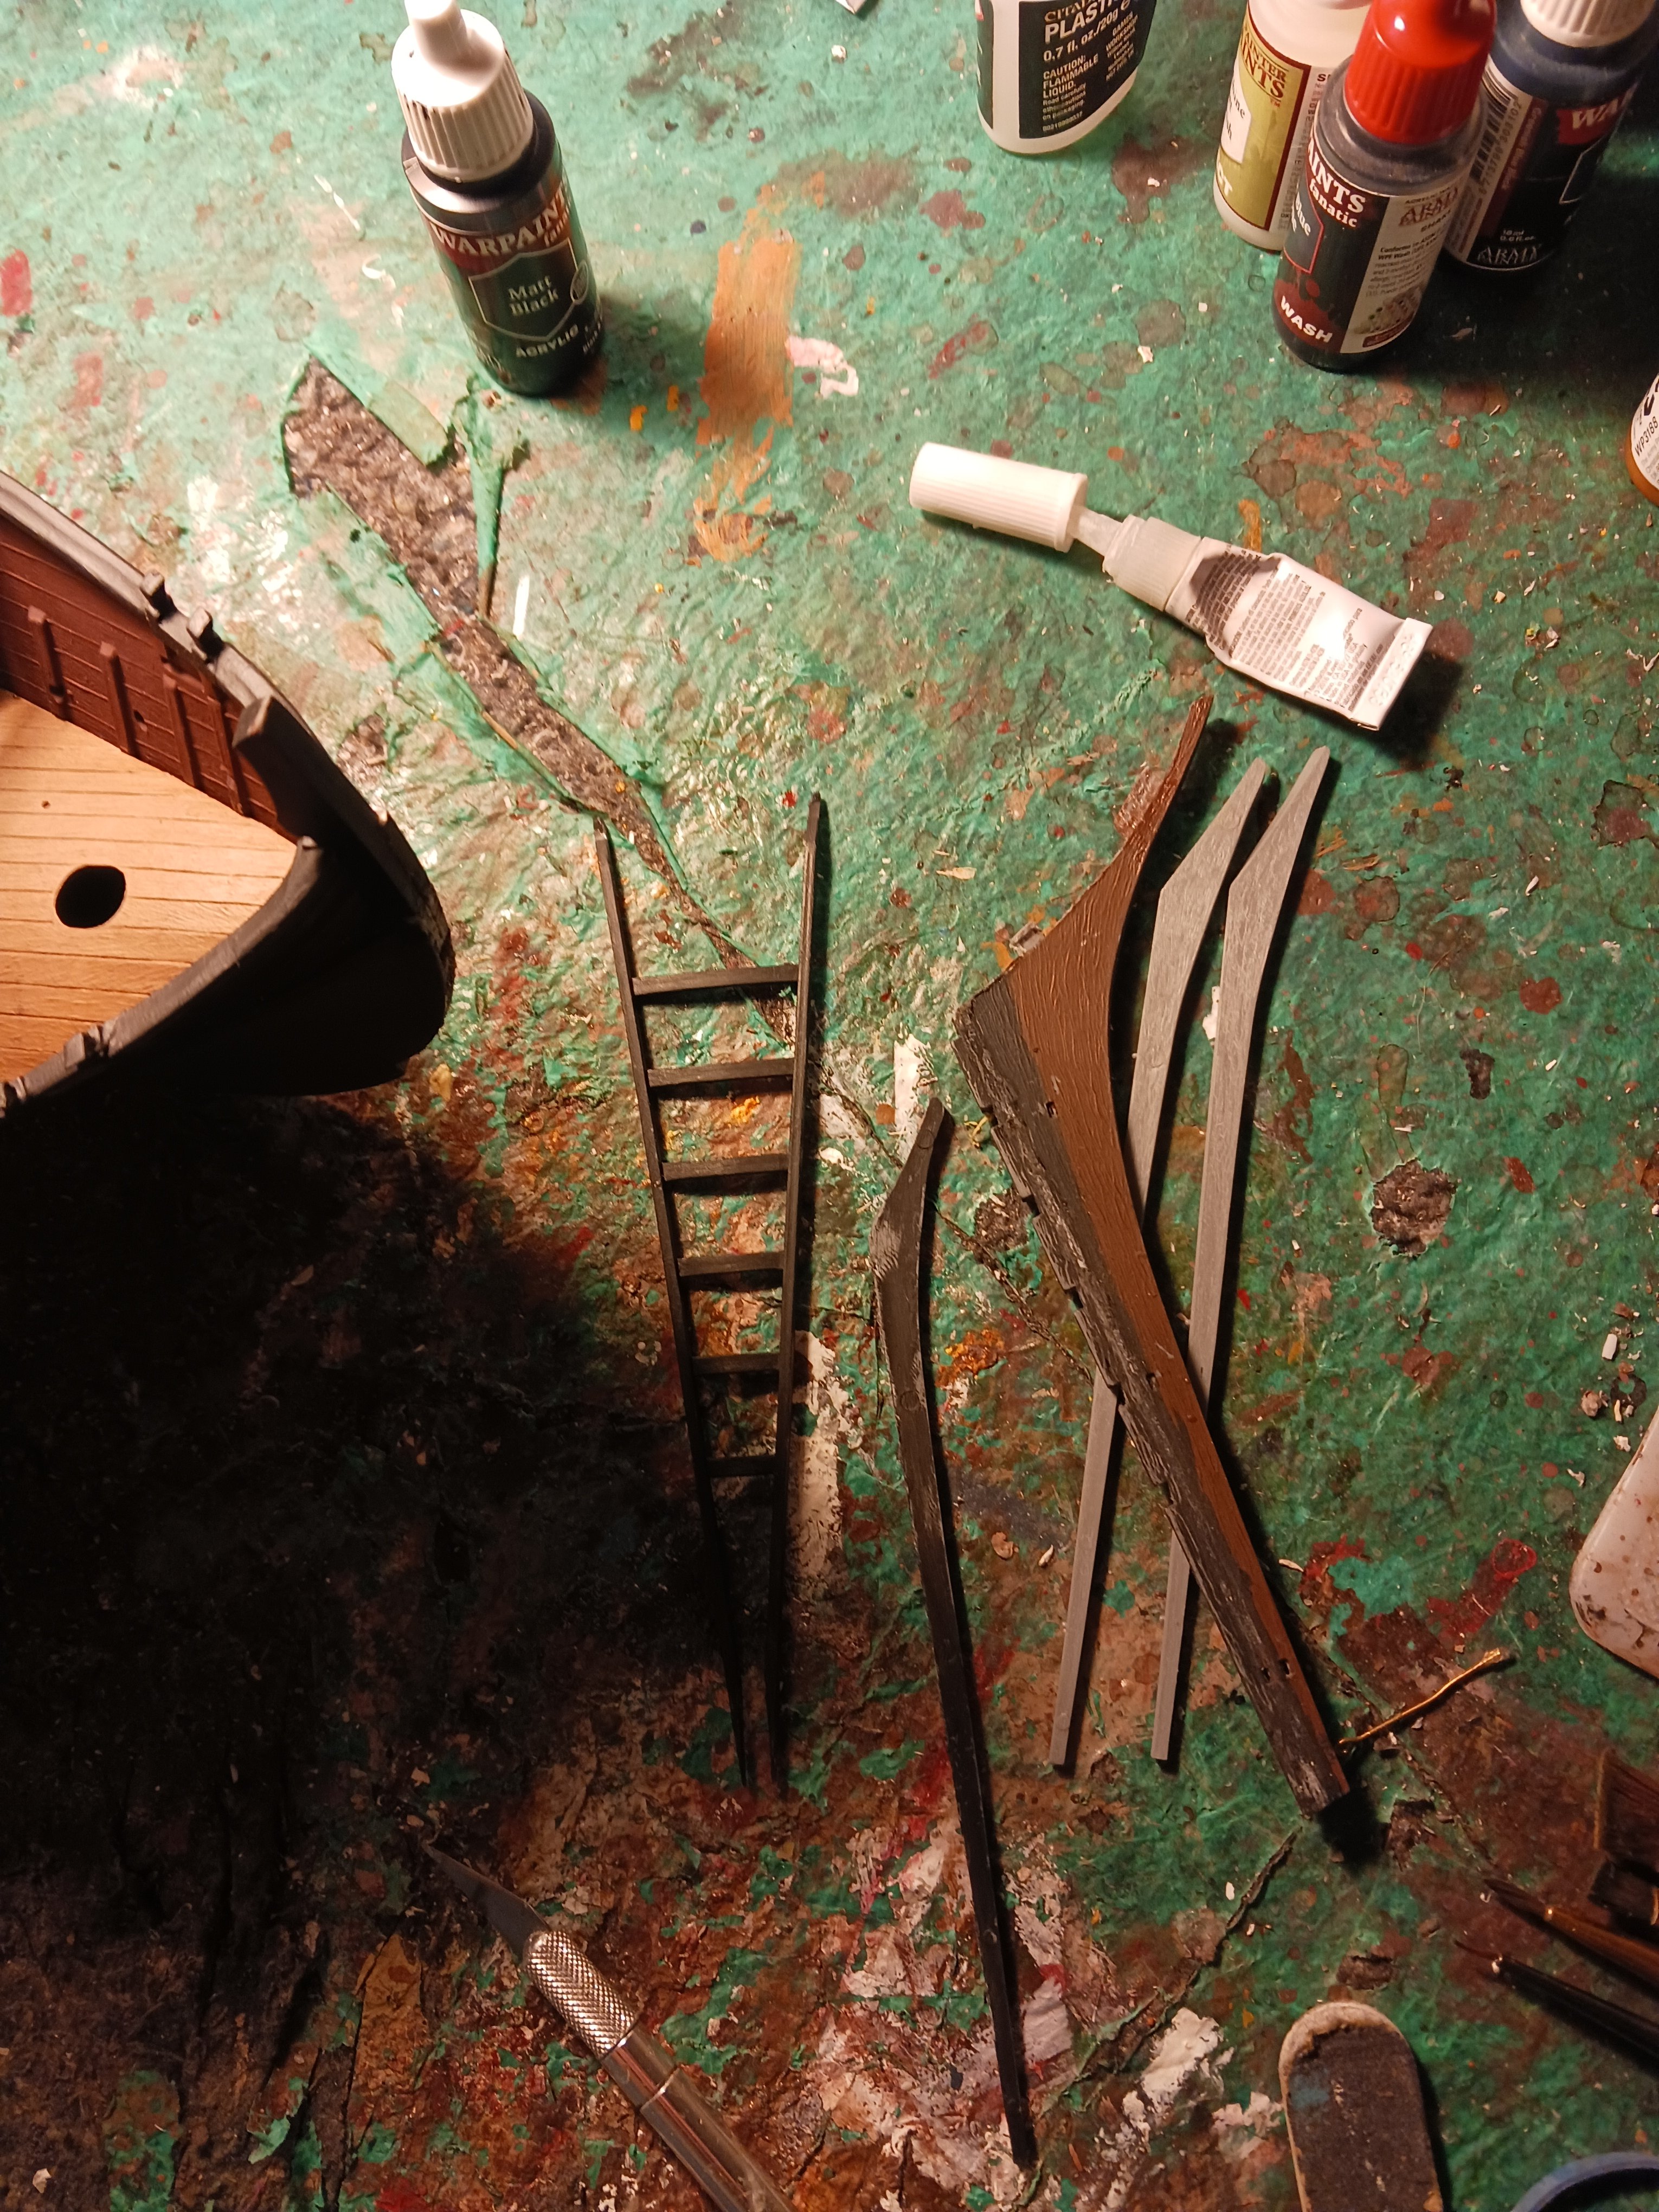
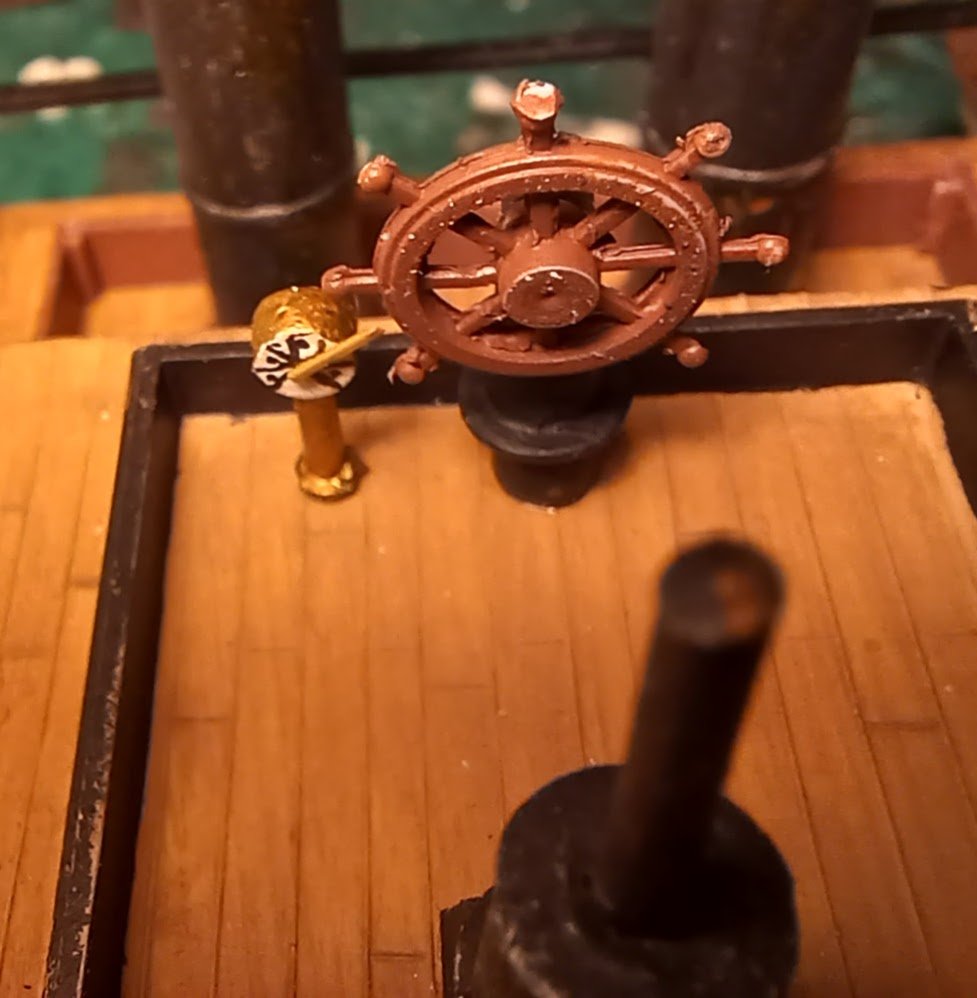
Throughout the previous two days, I have put some barrels on the deck, made and furnished the pilot house, made the stairs and their railings, and made and painted the ship's and boat's stand. I tried to paint a convincing speed gauge, and dealt with the fact that one of the wheel's spokes broke off. All the parts for the pilot house were absolute crap, but I made do.


- 56 replies
-
- 3
-
-
- Lindberg
- sternwheeler
- (and 1 more)
-
@wefalck And safety wouldn't have been the #1 priority for people the likes of which would have crewed Lula. On an ocean-going Man O' War, your logic applies perfectly. However, that logic kind of falls apart when you get into the local working boat scene. Is Lula on a resupply run currently, or is she docked in a quay? Does her crew really care that much about safety, or rather speed?
- 732 replies
-
- 4
-
-
- Lula
- sternwheeler
- (and 1 more)
-
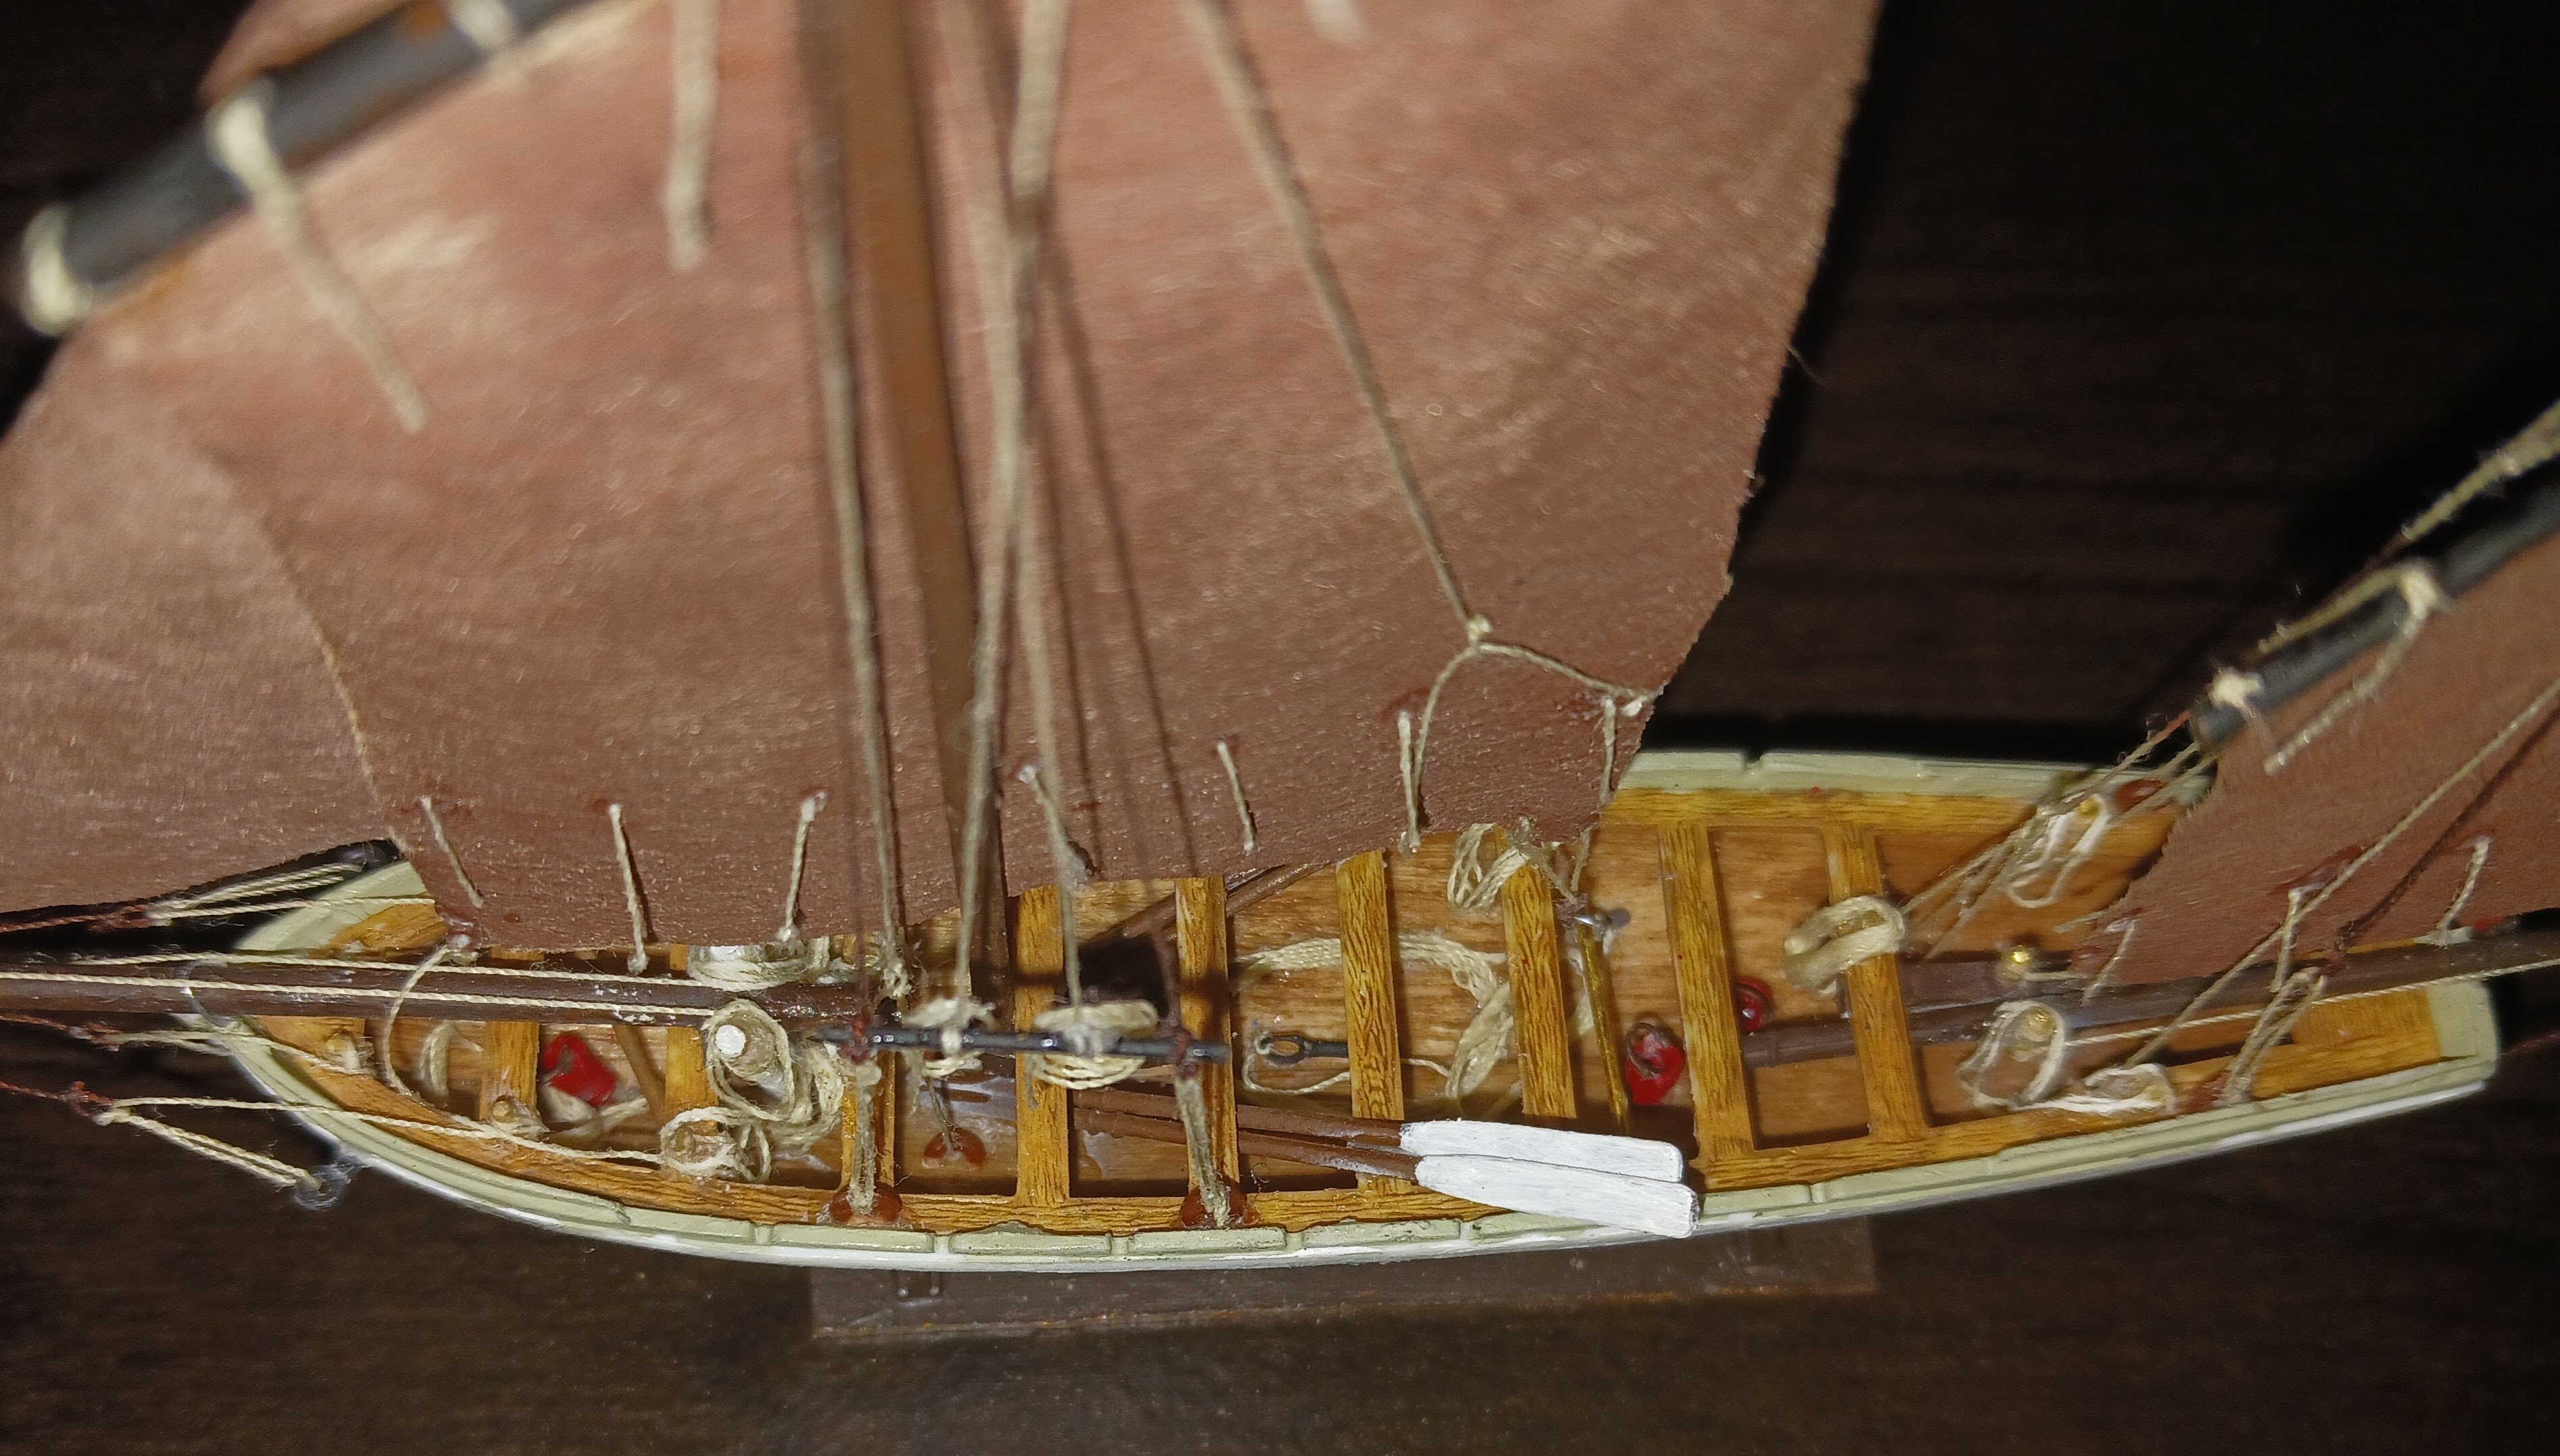
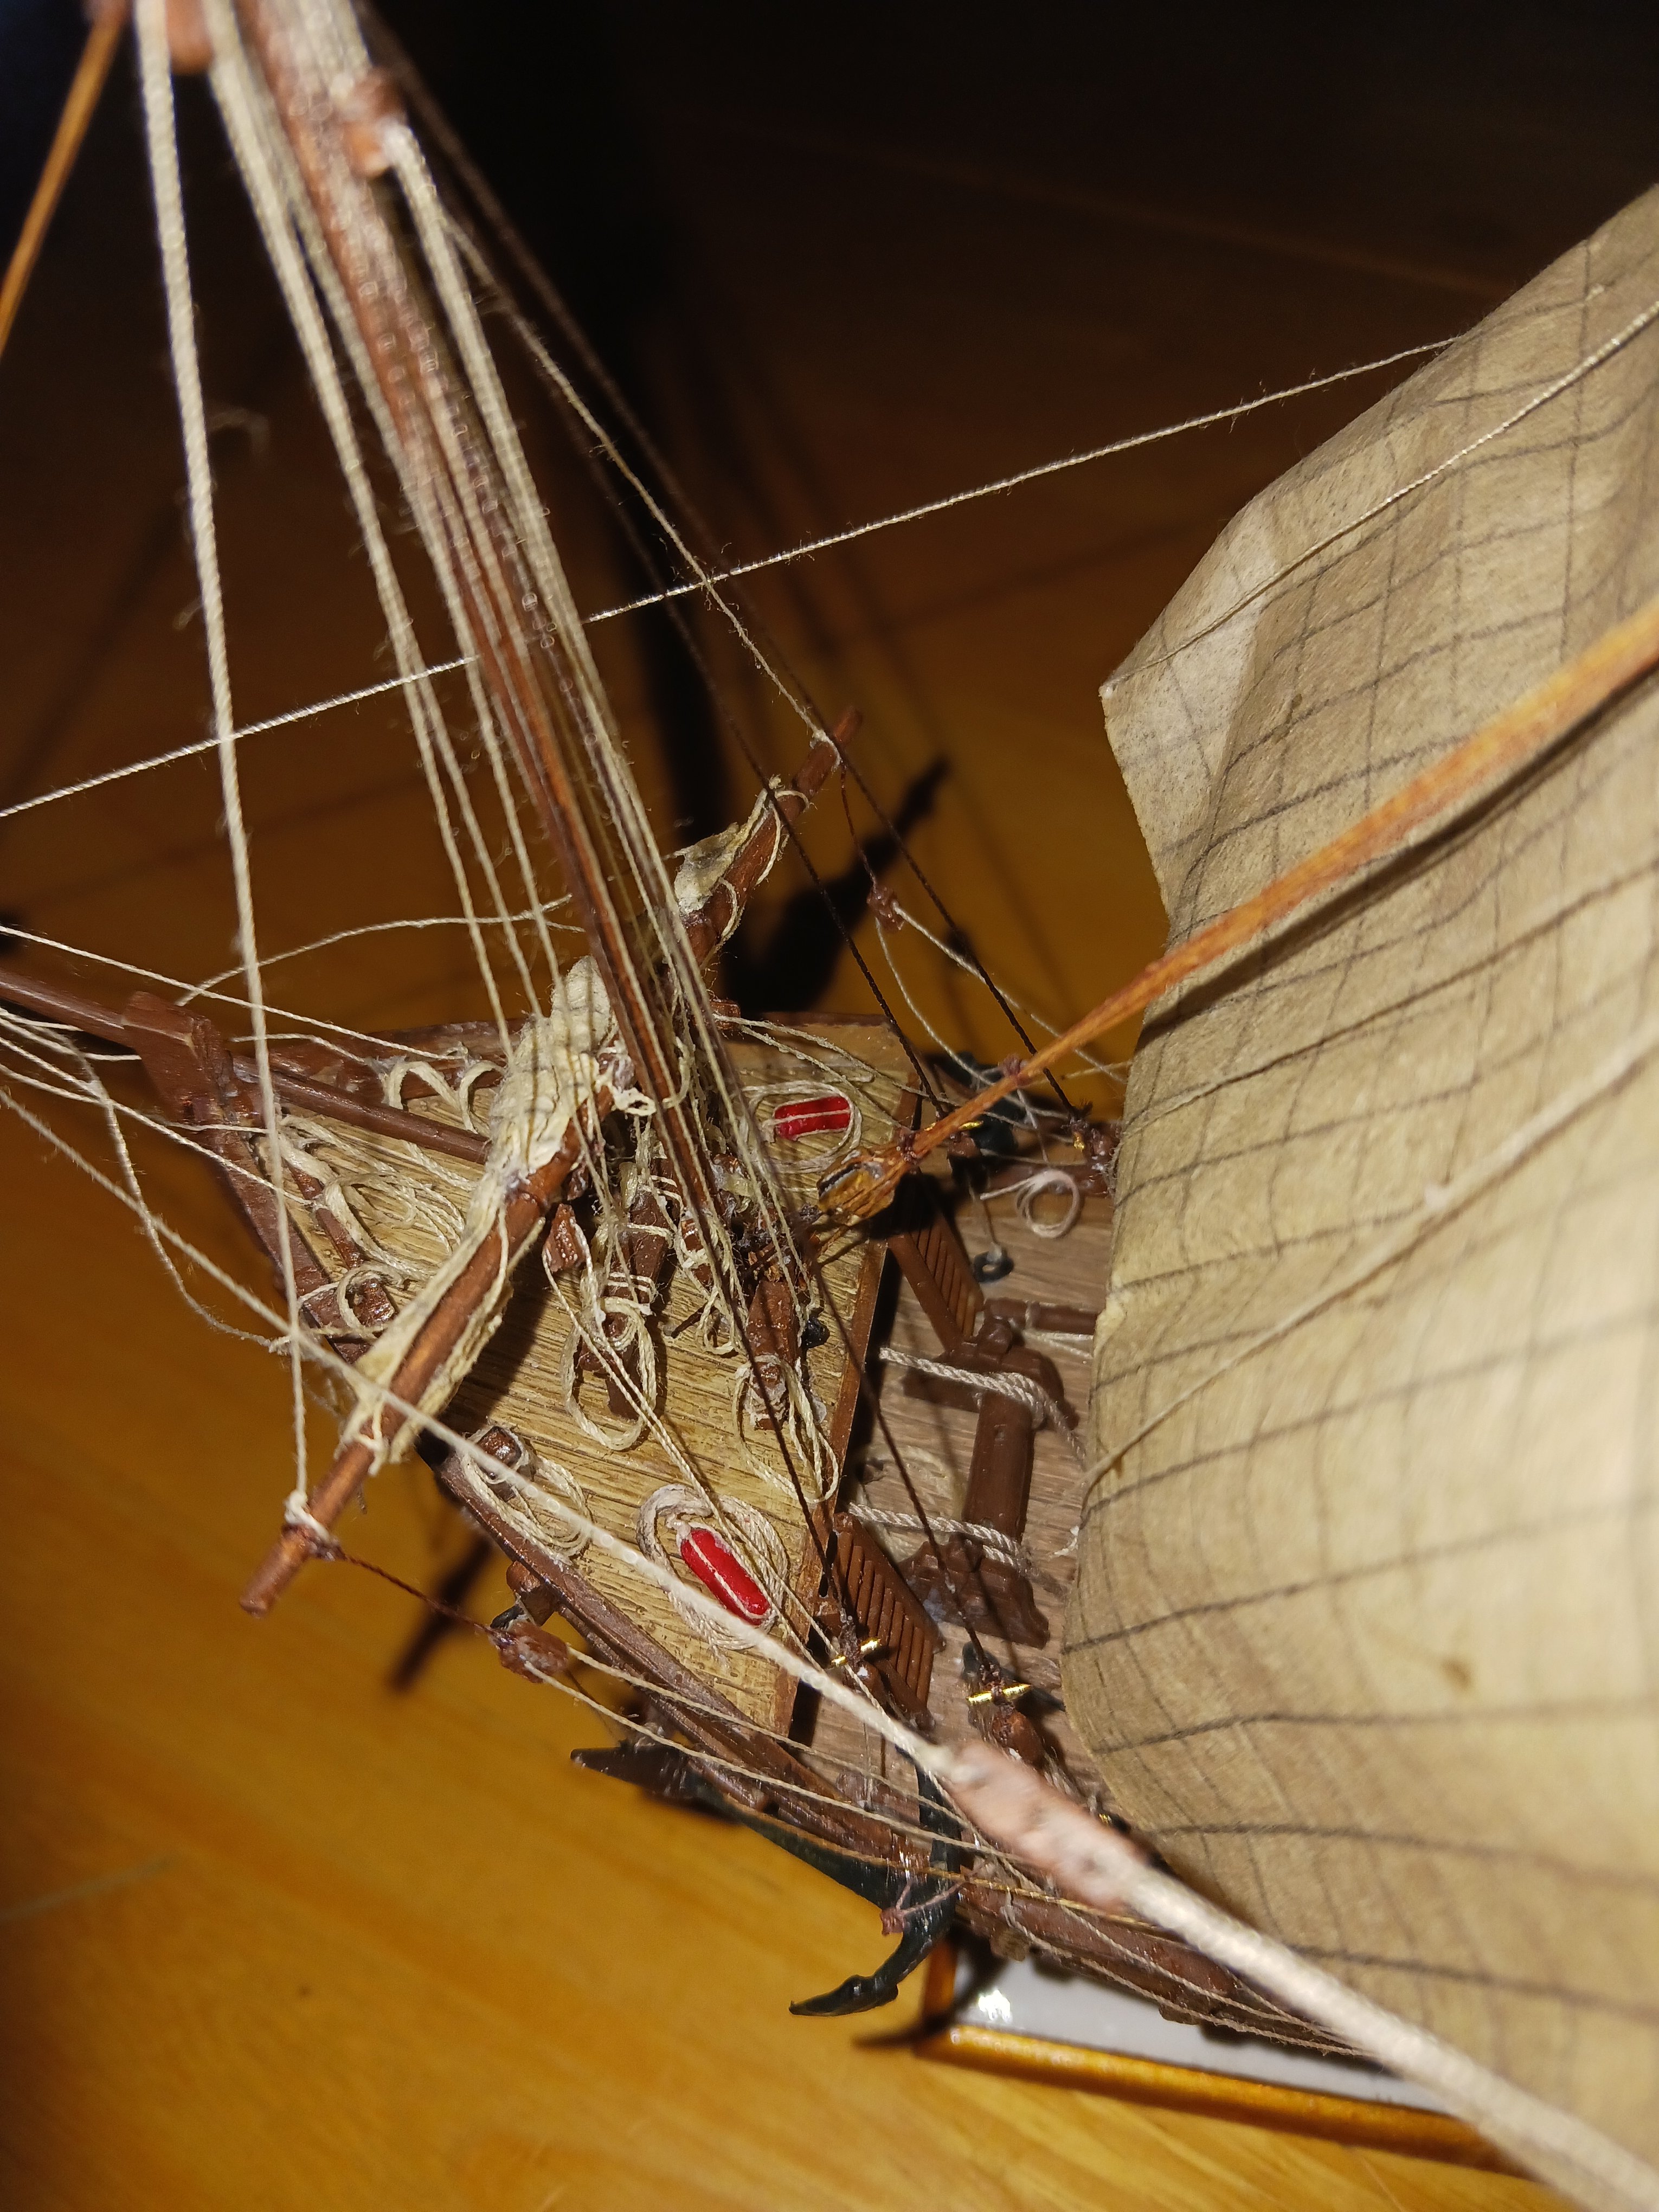
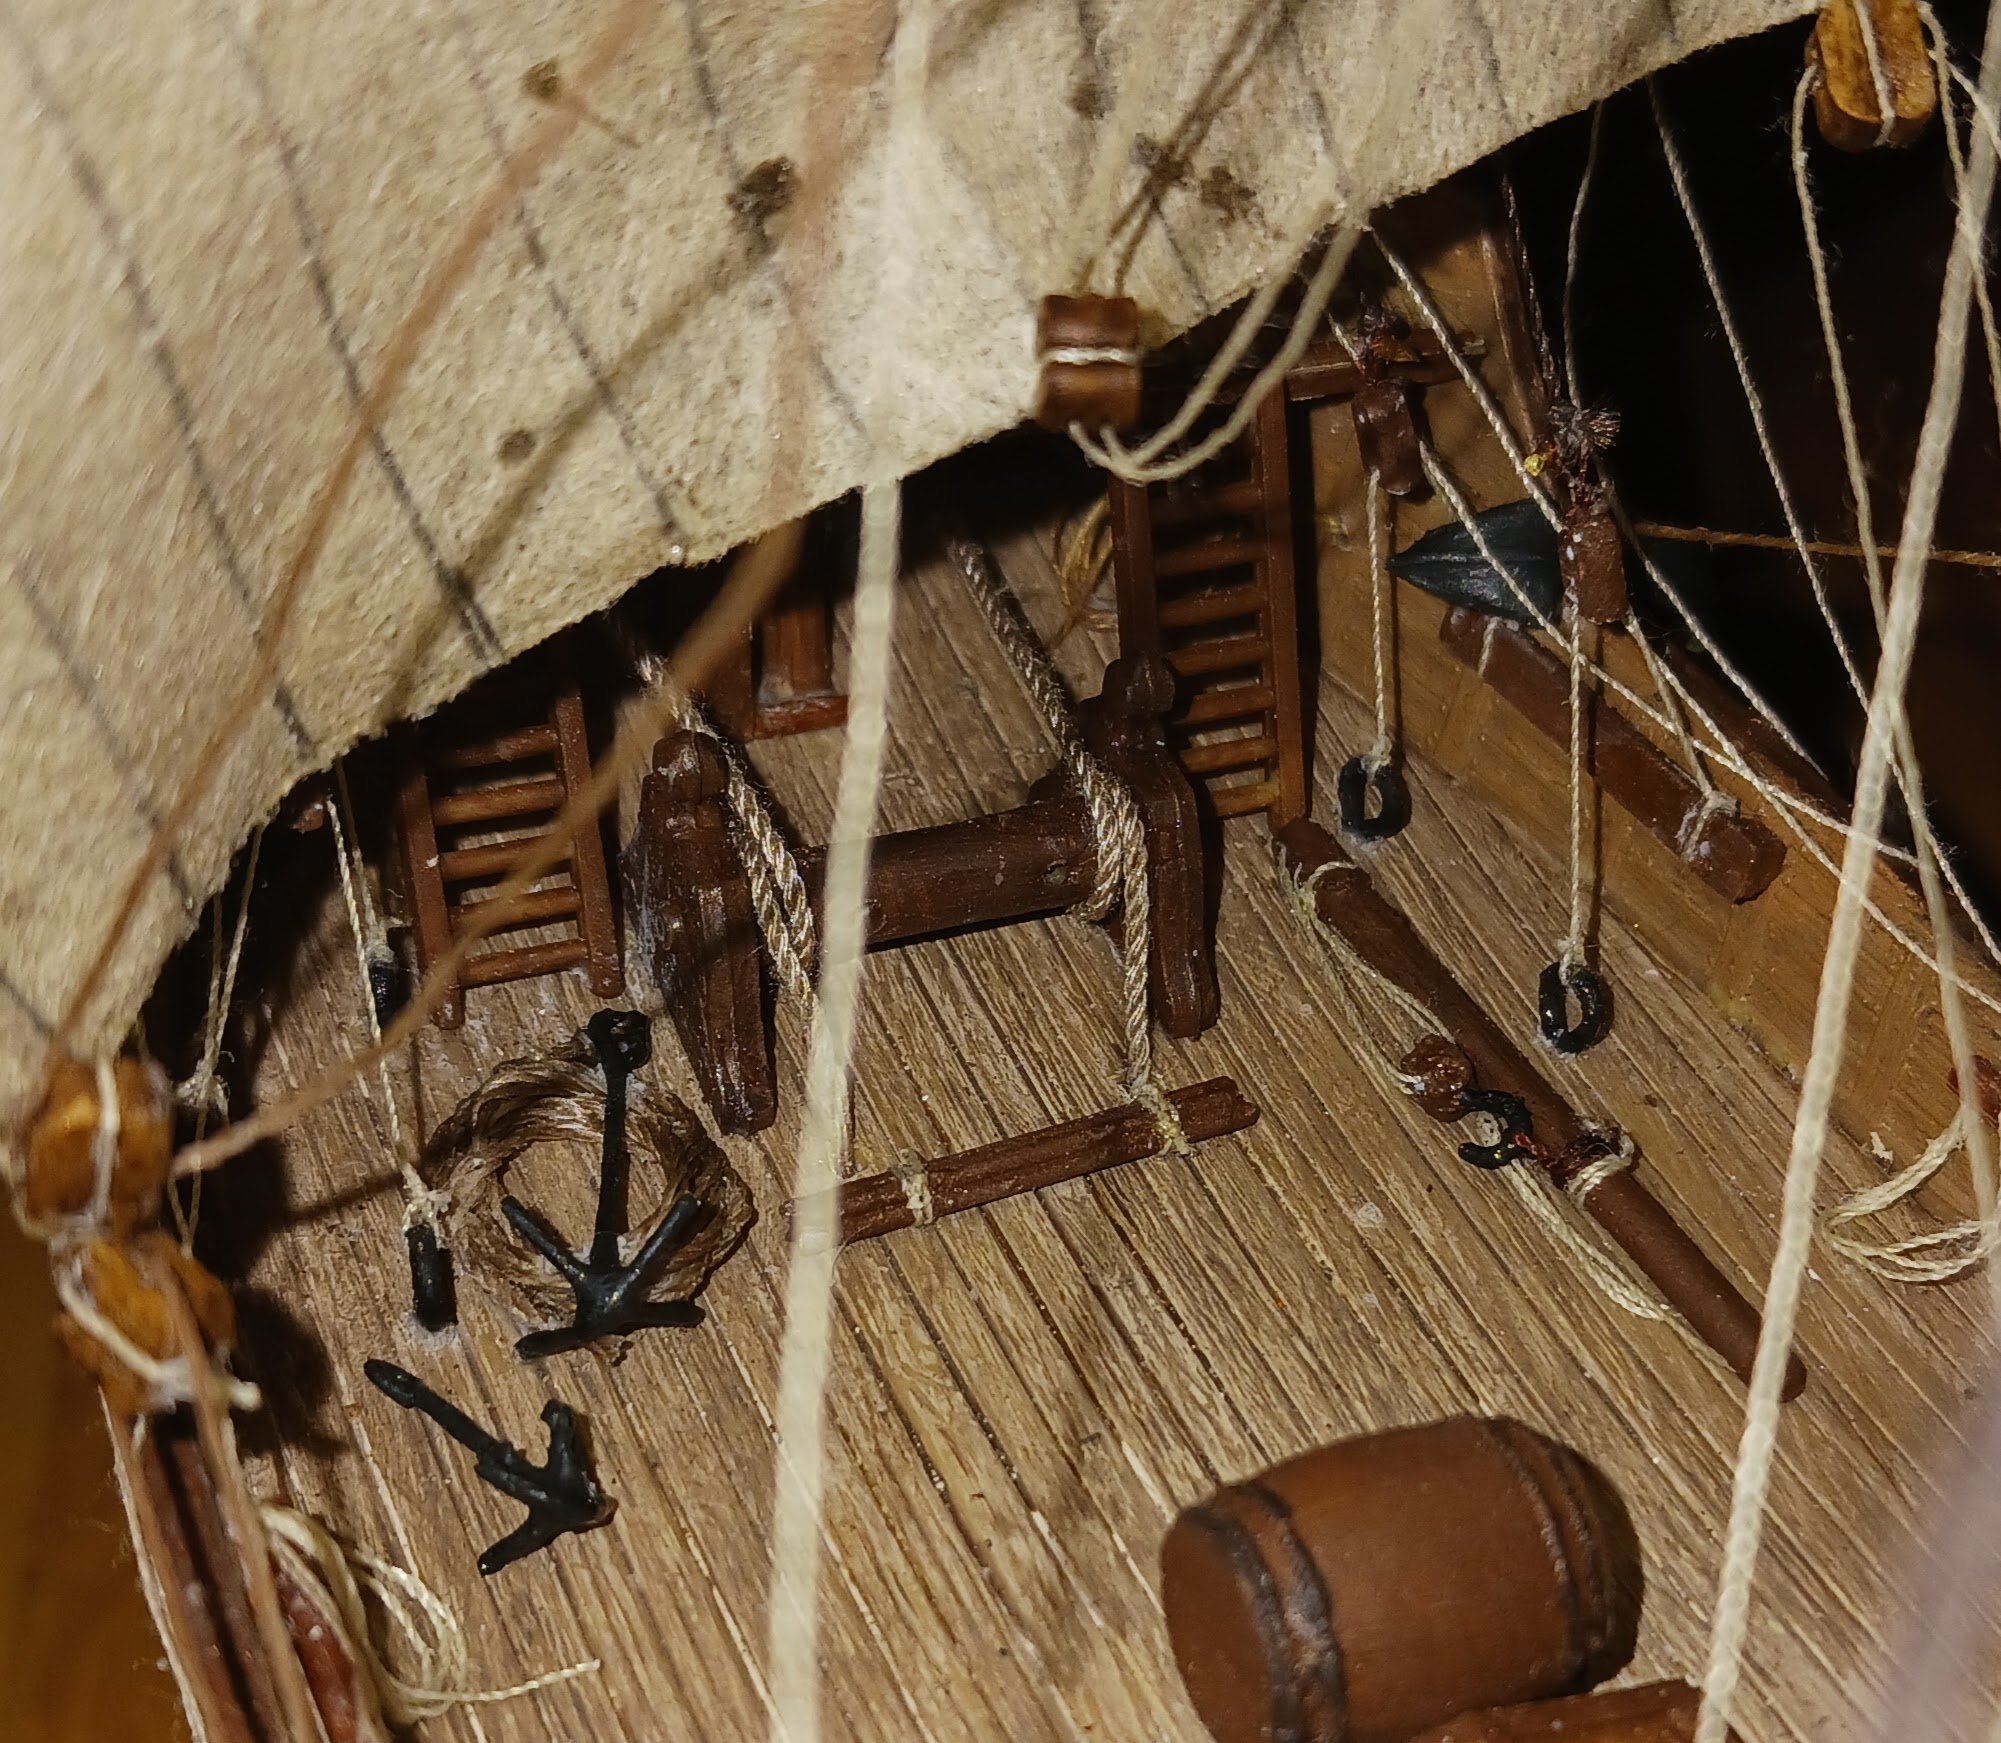
Try making it look a bit like this: Obviously, without the ugly CA stains that appear in flash photography. What I try to do is think of every single little piece of equipment a ship could possibly need, and pile it as haphazardly as possible on the deck.


- 732 replies
-
- 3
-
-
- Lula
- sternwheeler
- (and 1 more)
-
On a related note, this is an Essex work boat from the early 20th Century: I would tell you to add every single thing that comes to mind. Image removed by moderator (image from commercial stock photo site)
- 732 replies
-
- 3
-
-

-
- Lula
- sternwheeler
- (and 1 more)
-
But hey, at least it doesn't give you cancer as well. Oh wait, it might. Quitting the behavior that's killing you is always a smart decision. Just keep up the fight.
- 732 replies
-
- 4
-
-
-
- Lula
- sternwheeler
- (and 1 more)
-
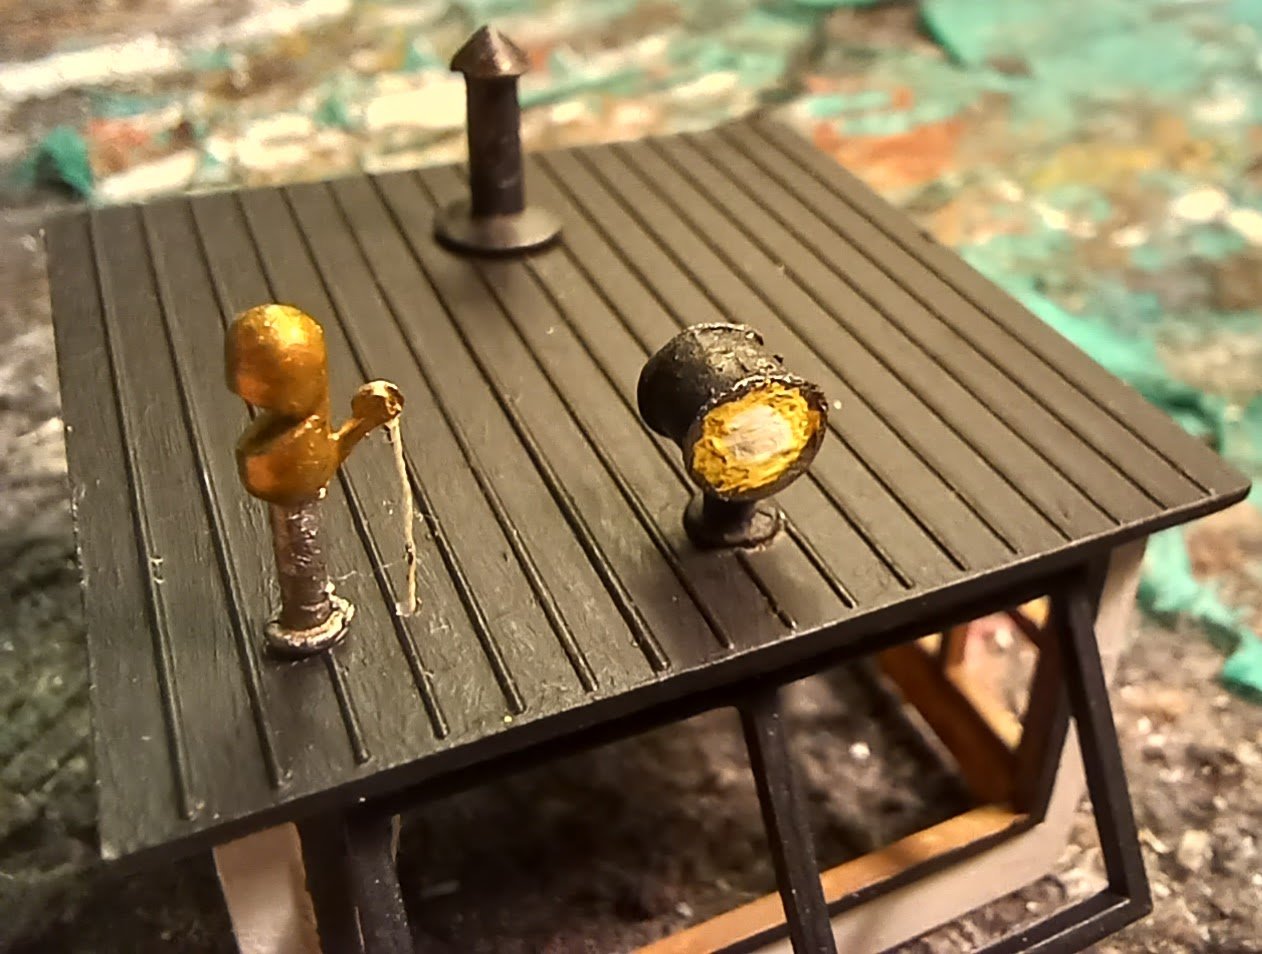
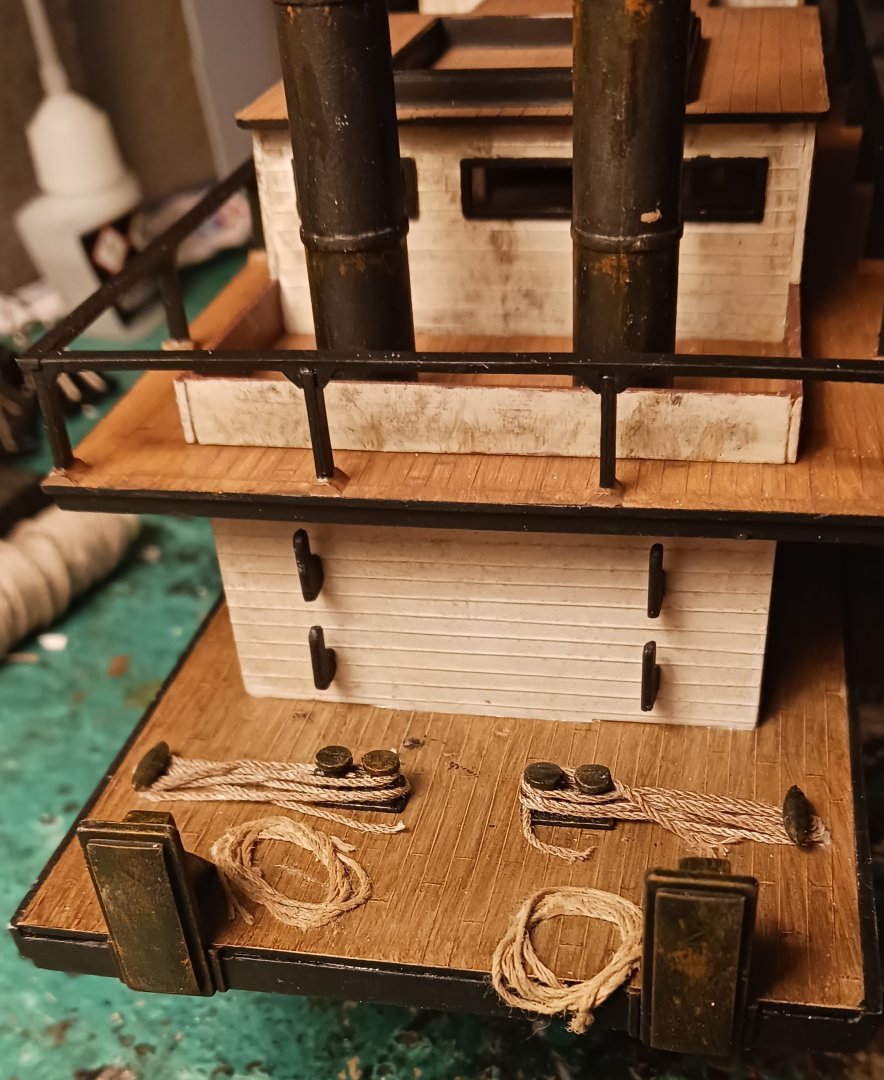
I've gotten all of the deck fittings and rope work done in the past few days.

- 56 replies
-
- 2
-
-
- Lindberg
- sternwheeler
- (and 1 more)
-
Keith, I am immensely proud of you for your decision to give up smoking. It will vastly improve your quality of life and your overall health as well. Keep up the good work.
- 732 replies
-
- 6
-
-
-
- Lula
- sternwheeler
- (and 1 more)
-
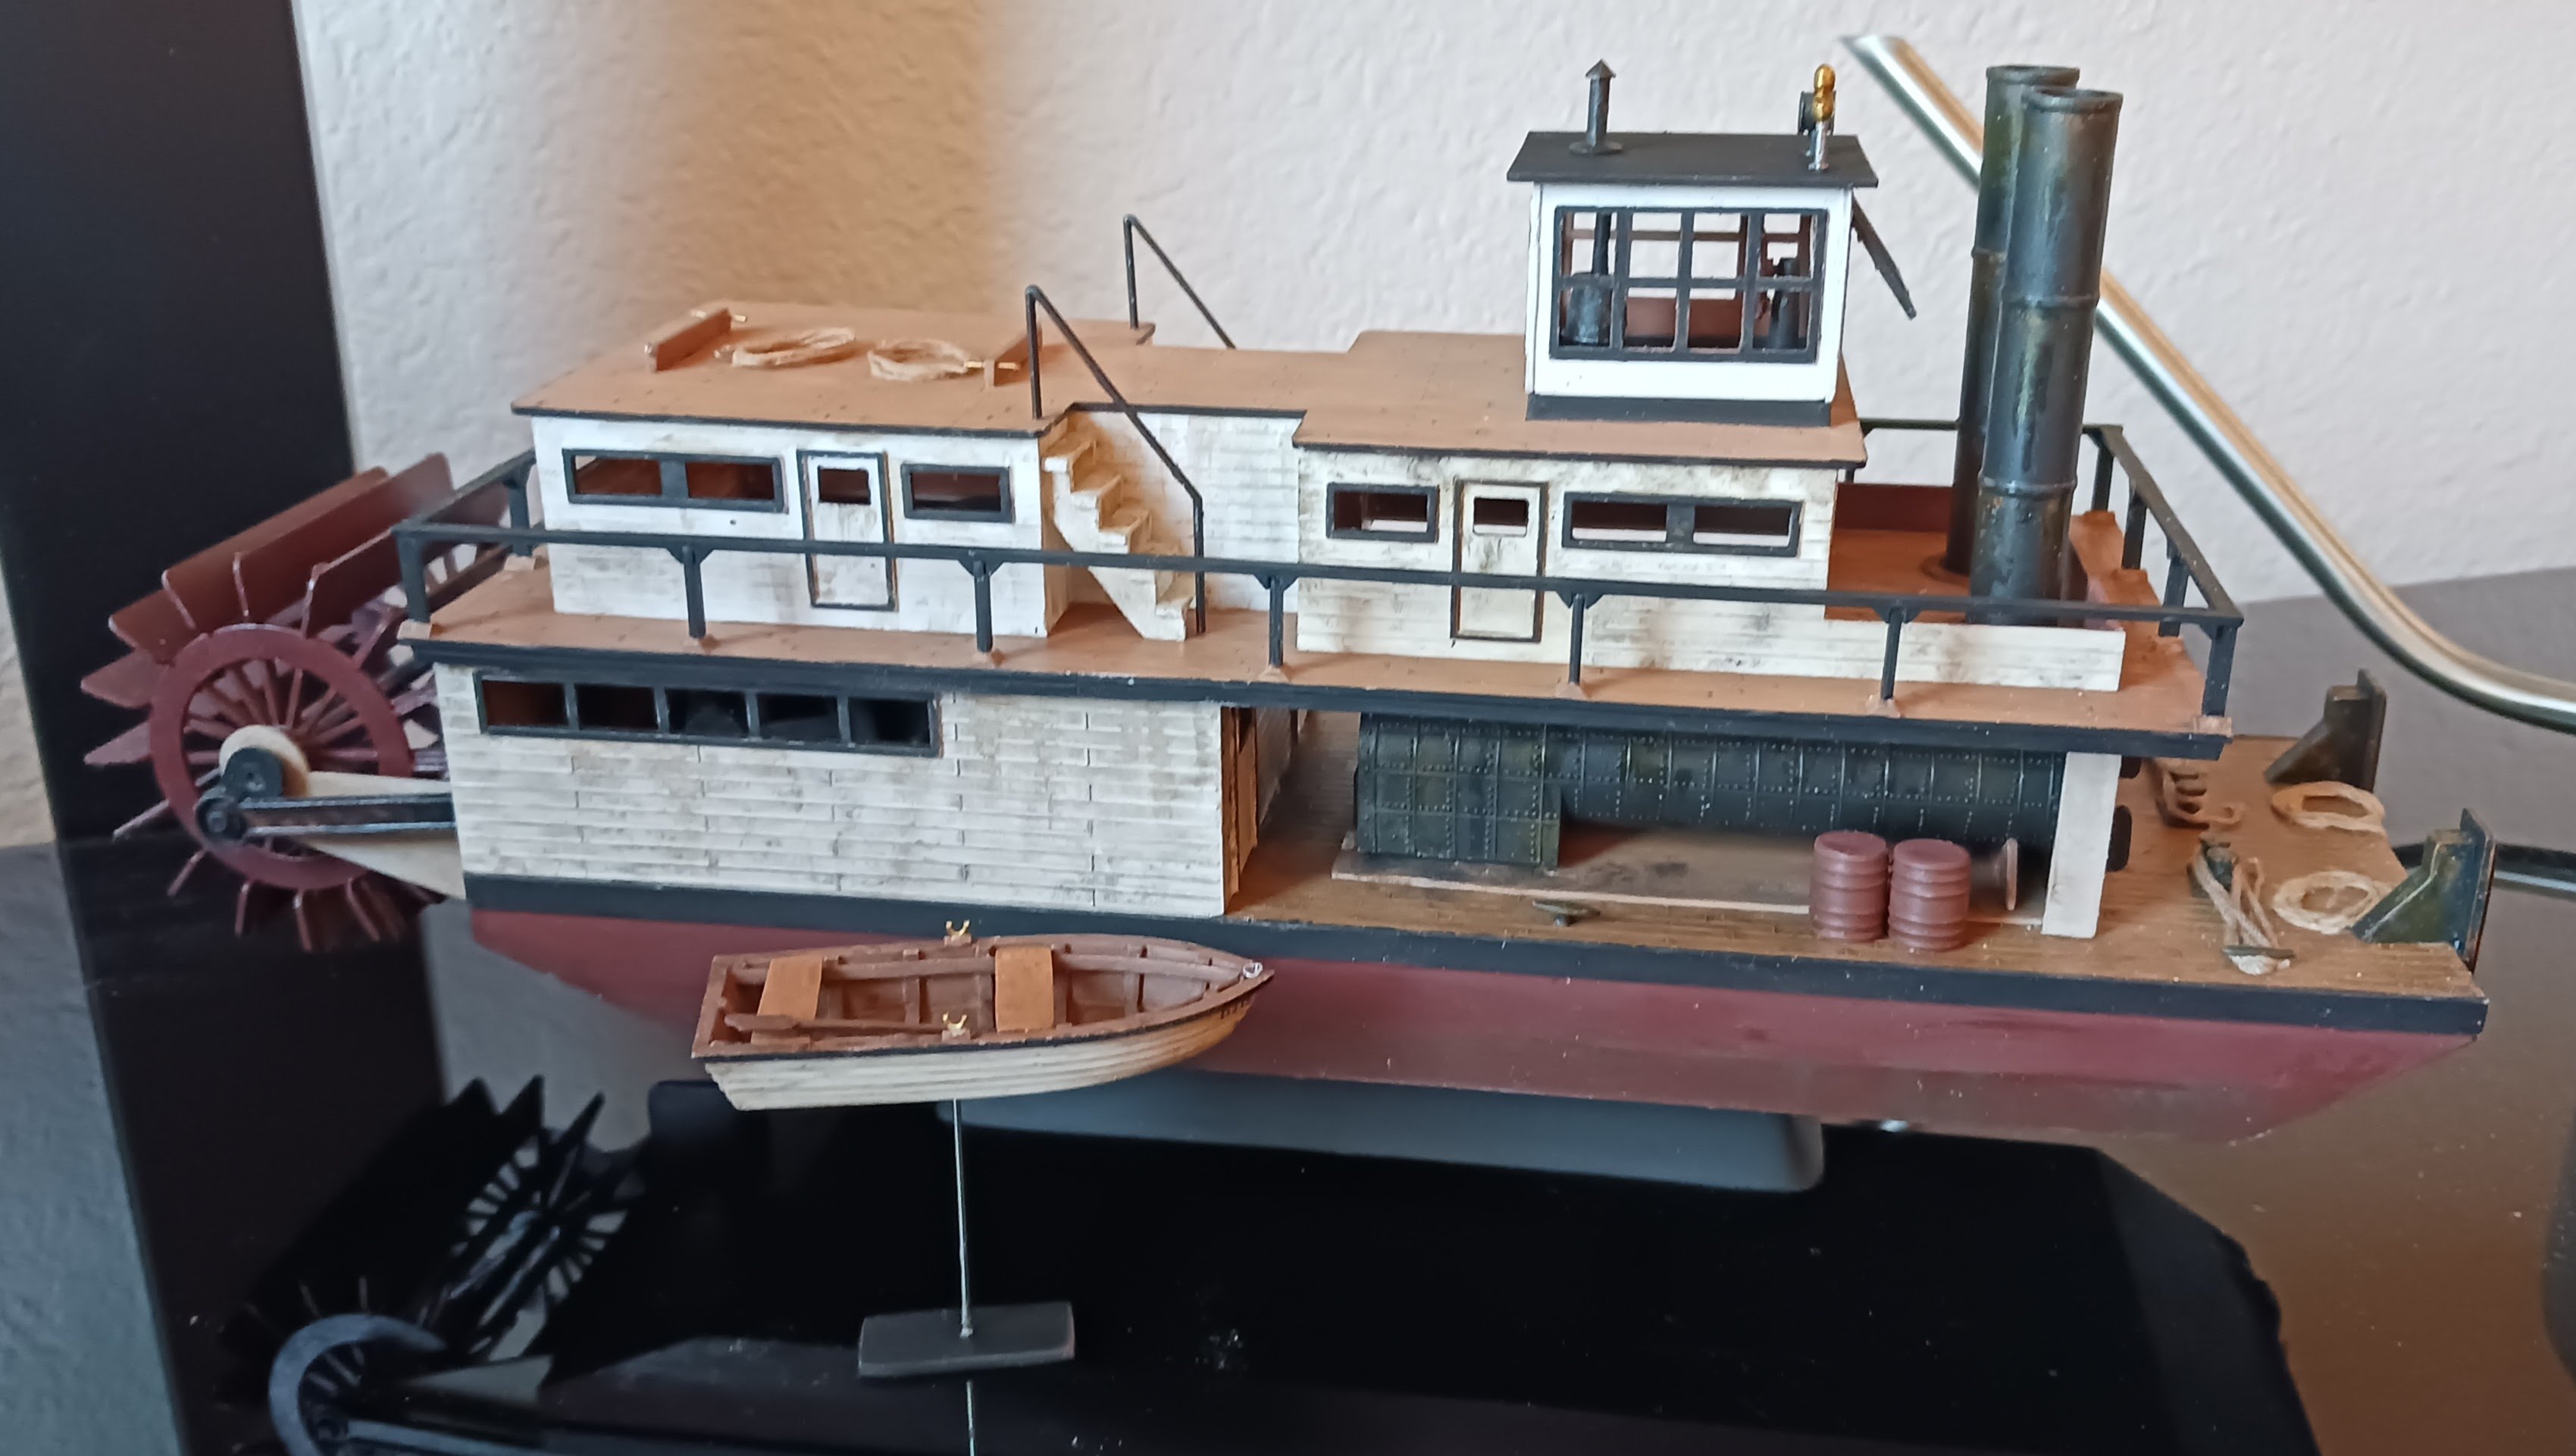
Today, the railings went in. Tomorrow I will work on the miscellaneous fittings. So far, I have been able to keep the "white and black" color scheme pretty spot on for how I wanted it to look. This scheme is based on @Keith Black's Lula.


- 56 replies
-
- 4
-
-
- Lindberg
- sternwheeler
- (and 1 more)
-
Plastic modeling for the complete beginner
Ferrus Manus replied to Ferrus Manus's topic in Plastic model kits
I have found that the wood model ship scene (as a more challenging medium for a total beginner, but easier than advanced-level plastic modeling) has far more and far better beginner kits than the plastic scene. A great example that comes to mind is Model Shipways' beginner set, with the Dory, Pram and Lobster Smack. -
Plastic modeling for the complete beginner
Ferrus Manus replied to Ferrus Manus's topic in Plastic model kits
I wanted to start him off with plastic kits, as that is the skill set I have and can help him with. I am aware of some of Heller's smaller boats, the ones that come to mind right now are the Sinagot and the Kurun. I have never managed to find a place where the Kurun was available online, for one thing. That leaves us with the Sinagot. I have seen several build logs for the Sinagot, and there are multiple listings on eBay. I have also done some research on French working luggers, and I can say that Heller's Sinagot would need a considerable amount of modification/scratchbuilding to look halfway decent. I am searching for something that he could build relatively easily out of the box. I have found that some of the modern-ish cruising yacht models made by Japanese manufacturers like Otaki are available, and they are extremely varied. They seem to be of a decent quality and relatively easy to build. I may at some point buy myself one of the more complex ones for a fun little project, who knows. -
Keith, I am glad that your doctor is not worried about your condition. Moving forward on the steamboat. I have gotten the upper works painted and glued into place, with the painted deck resting atop it. I have taken all of the railing stanchions and dry-fitted them into their supports in the deck. They will be painted and put in place tomorrow. After that will be either the miscellaneous fittings or the wheelhouse, I have not decided.

- 56 replies
-
- 2
-
-
- Lindberg
- sternwheeler
- (and 1 more)
-
Keith, I'm glad your doctor is not worried. Google has a habit of telling you that you have hours to live, regardless of what symptoms may actually be. I hope and pray for your swift and complete recovery.
- 732 replies
-
- 5
-
-
-
- Lula
- sternwheeler
- (and 1 more)
-
I recently had a conversation with a coworker about model ships. I showed him my current and past projects, and he decided he wanted to at least give scale model shipbuilding a try. He has zero experience with scale modeling or anything close to it. I did my best to explain the core tenets of scale model shipbuilding with the time I had. What are some plastic scale model sailboats/sailing ships that would be good for the complete beginner? Preferably a small subject at a large scale. Any information would be useful.
-
I fully expect the unabridged report when it becomes available, as do many of your other shipmates. Take it easy, and rest well.
- 56 replies
-
- 2
-
-
-
- Lindberg
- sternwheeler
- (and 1 more)
-
Keith, another point- I hope your April 30th went well, and no drastic action was needed.
- 56 replies
-
- 2
-
-
-
- Lindberg
- sternwheeler
- (and 1 more)
-
Keith, that thing is the work boat to end all work boats. While my interest lies mostly in the 1890's-1900's British sailing work boats, this is also incredibly interesting. It seems to be made from wood and cast parts. For something not much larger than my steamboat, it seems pretty expensive. I have done some significant work on my steamboat, with the middle deck in and some of the upper works partially painted and dry-fitted into place.

- 56 replies
-
- 3
-
-
- Lindberg
- sternwheeler
- (and 1 more)
-
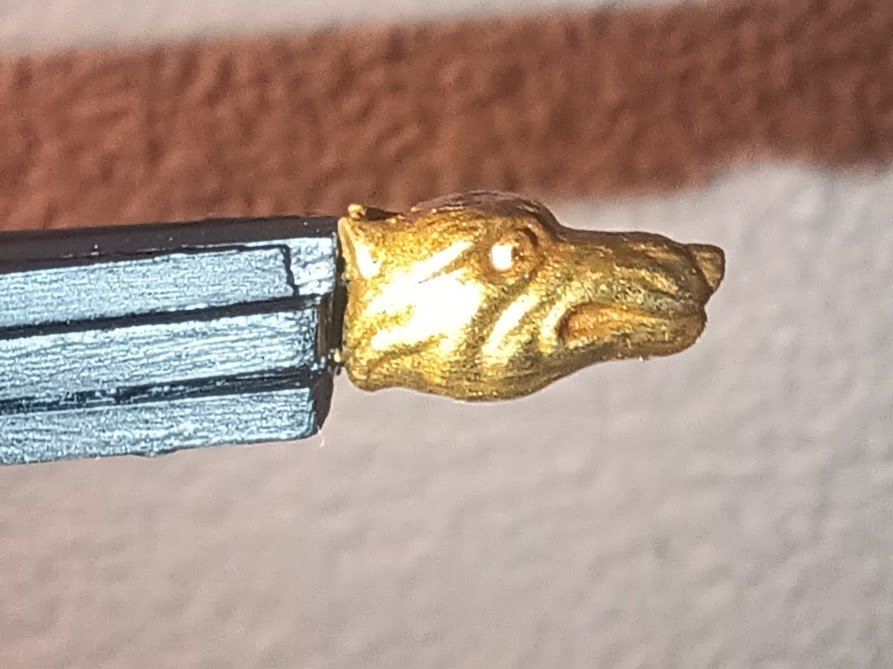
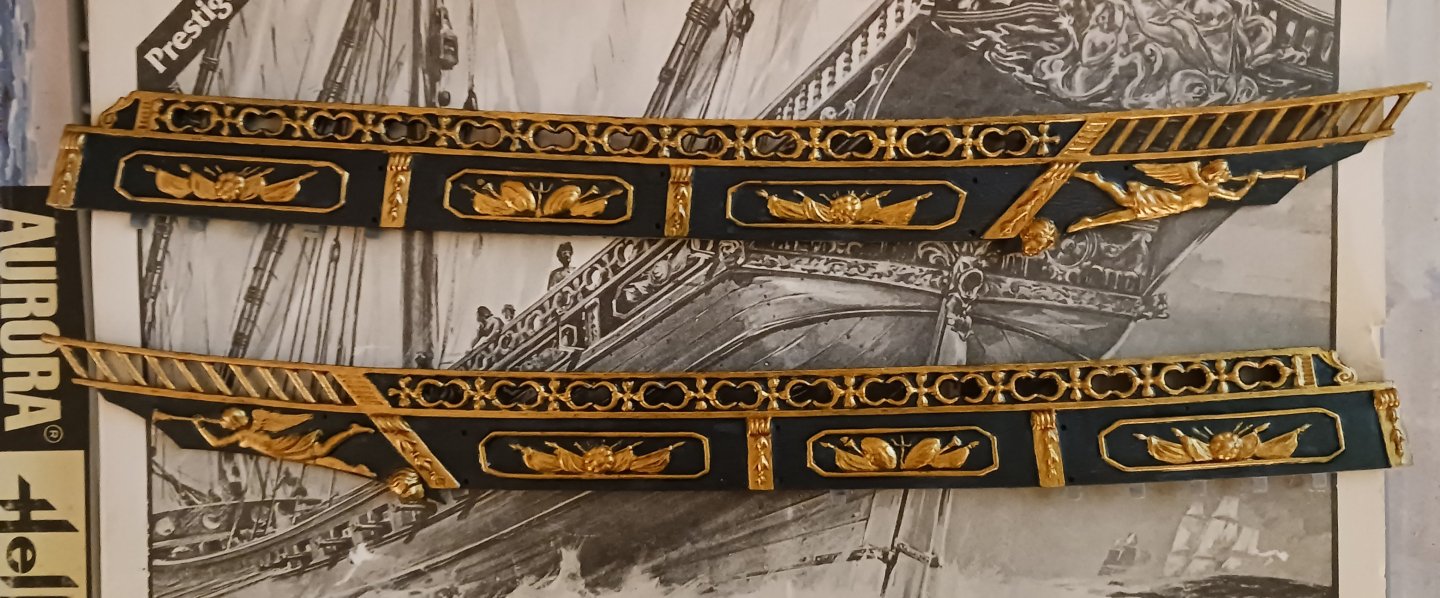
Today, I finished painting the upper works. These are in the characteristic French style of gold-on-blue. It is slightly more subtle than could be expected from French ships of previous decades, but still extremely prominent and would serve a very important purpose. As an anti-piracy vessel, this style of scrollwork and filigree detail would effectively scream "I'm from the French navy, halt in the name of the law!" from large distances. US Coast Guard vessels also have prominent livery for similar reasons.
-
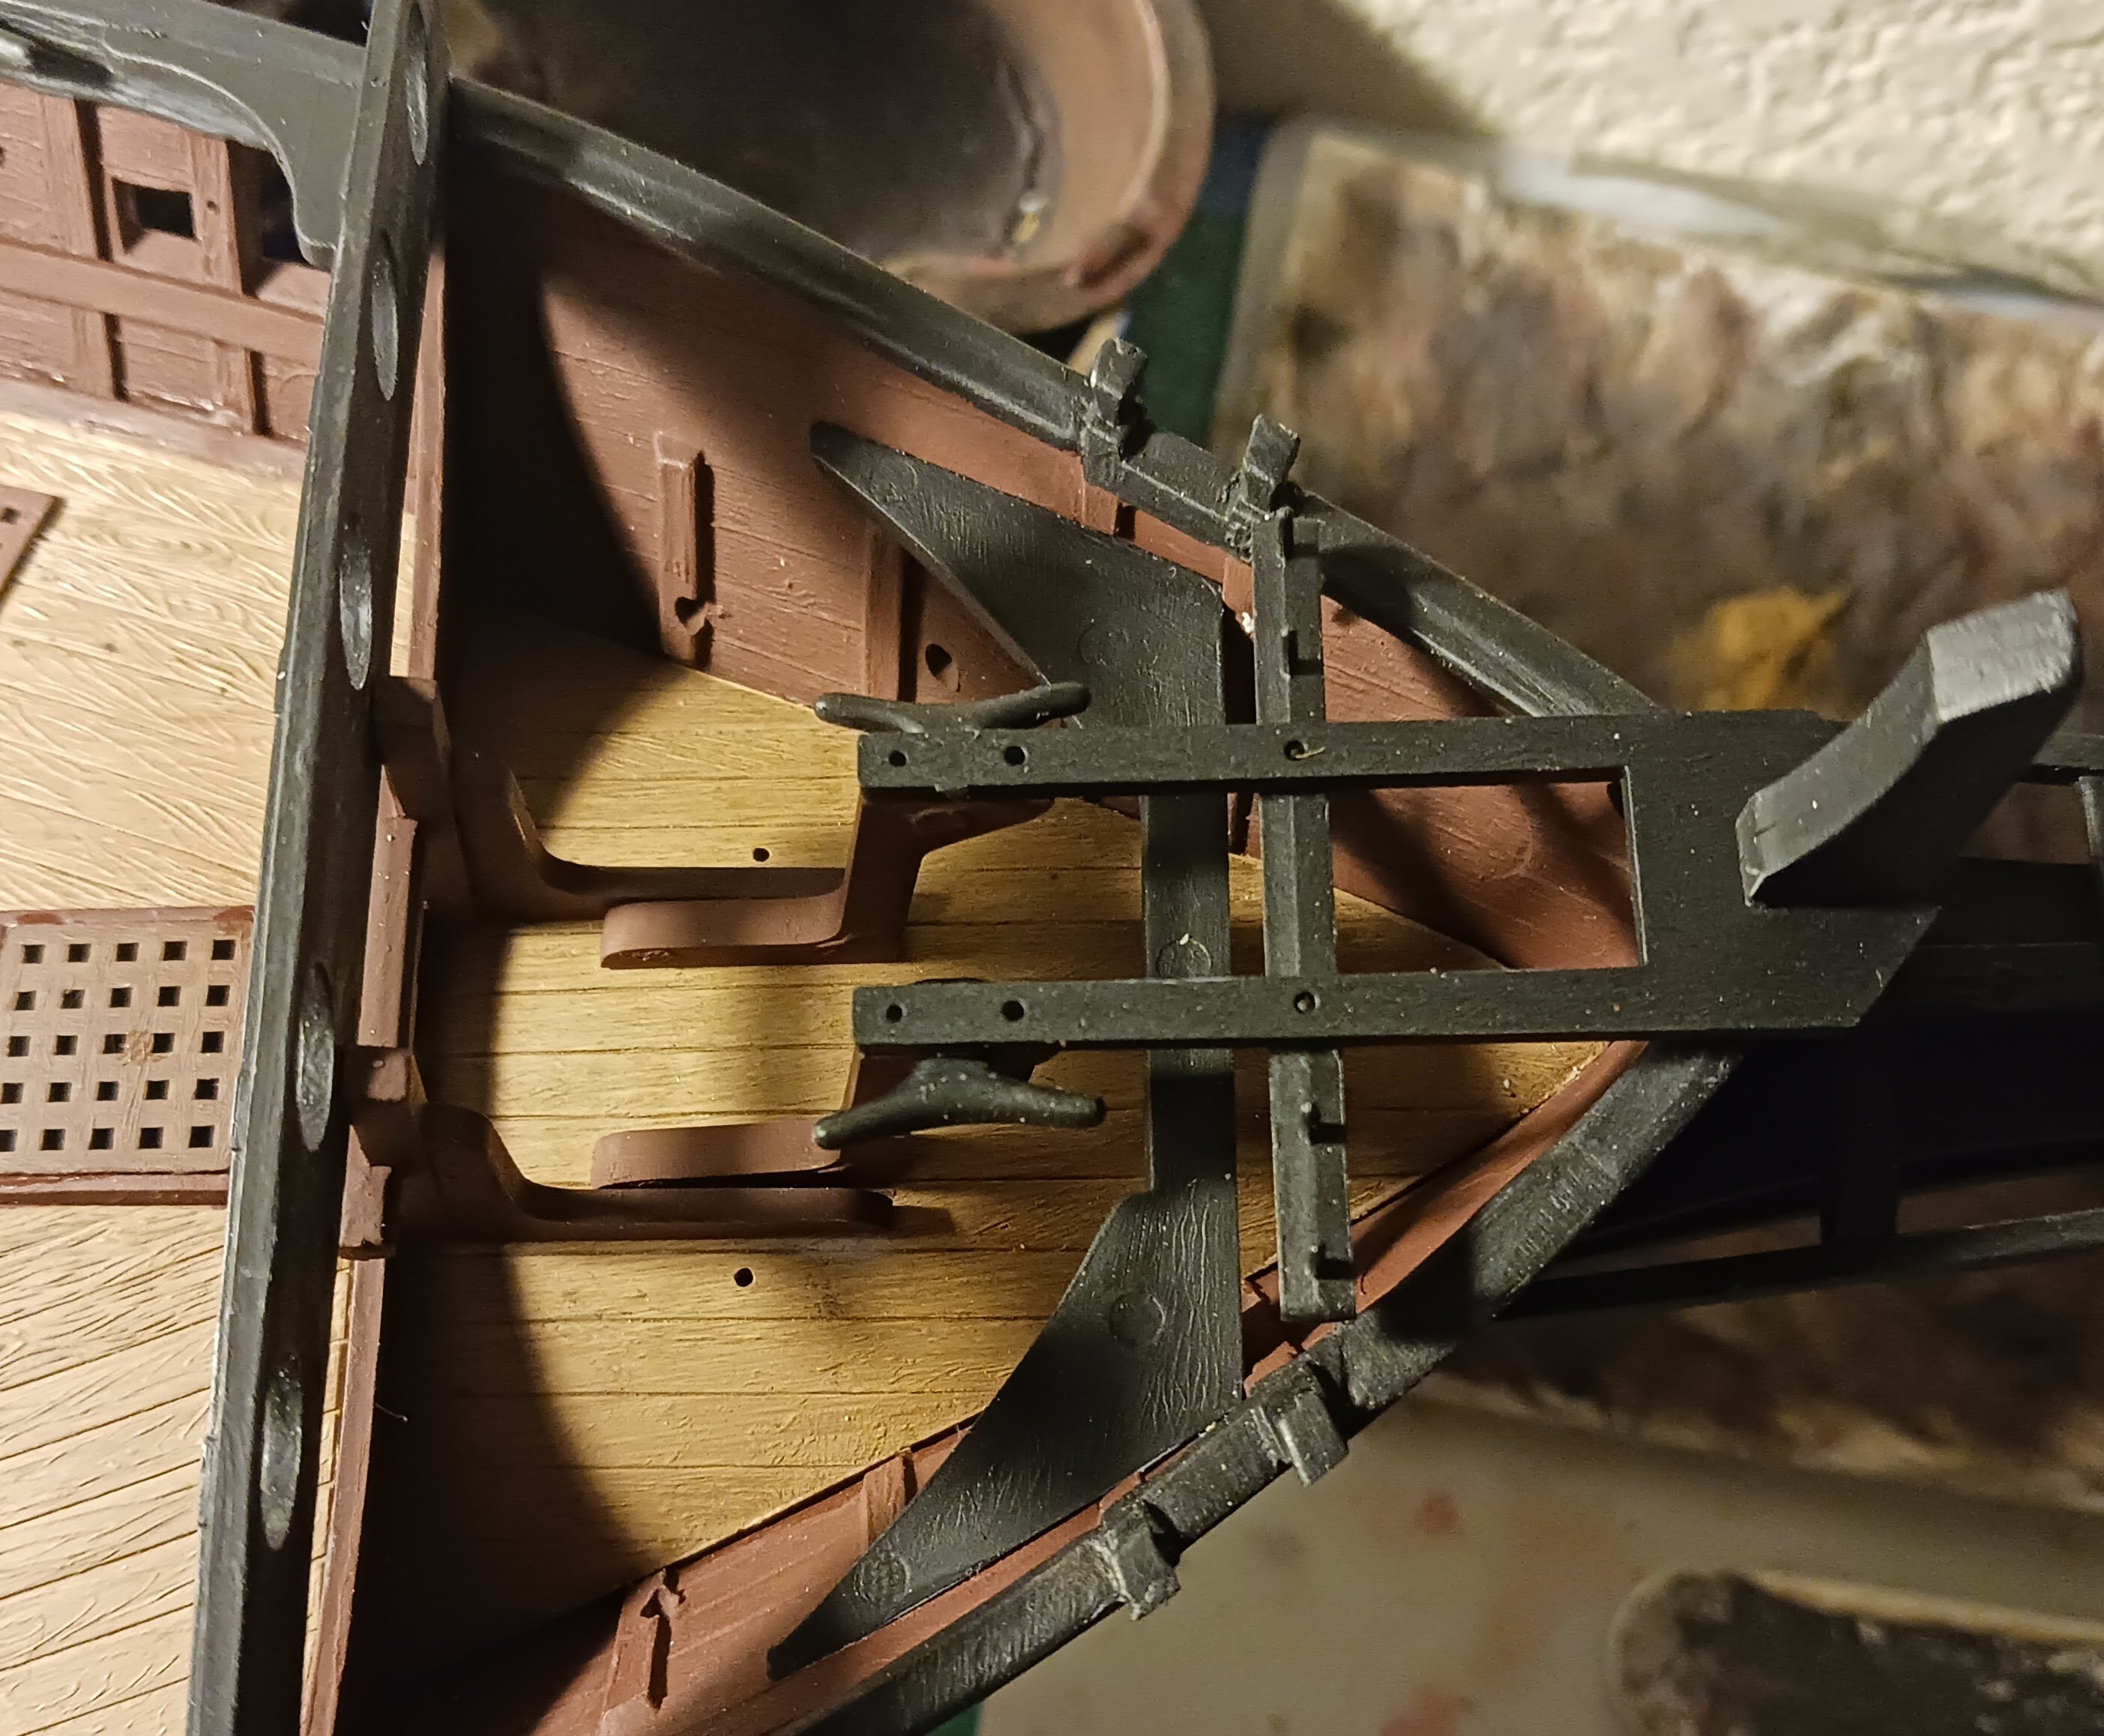
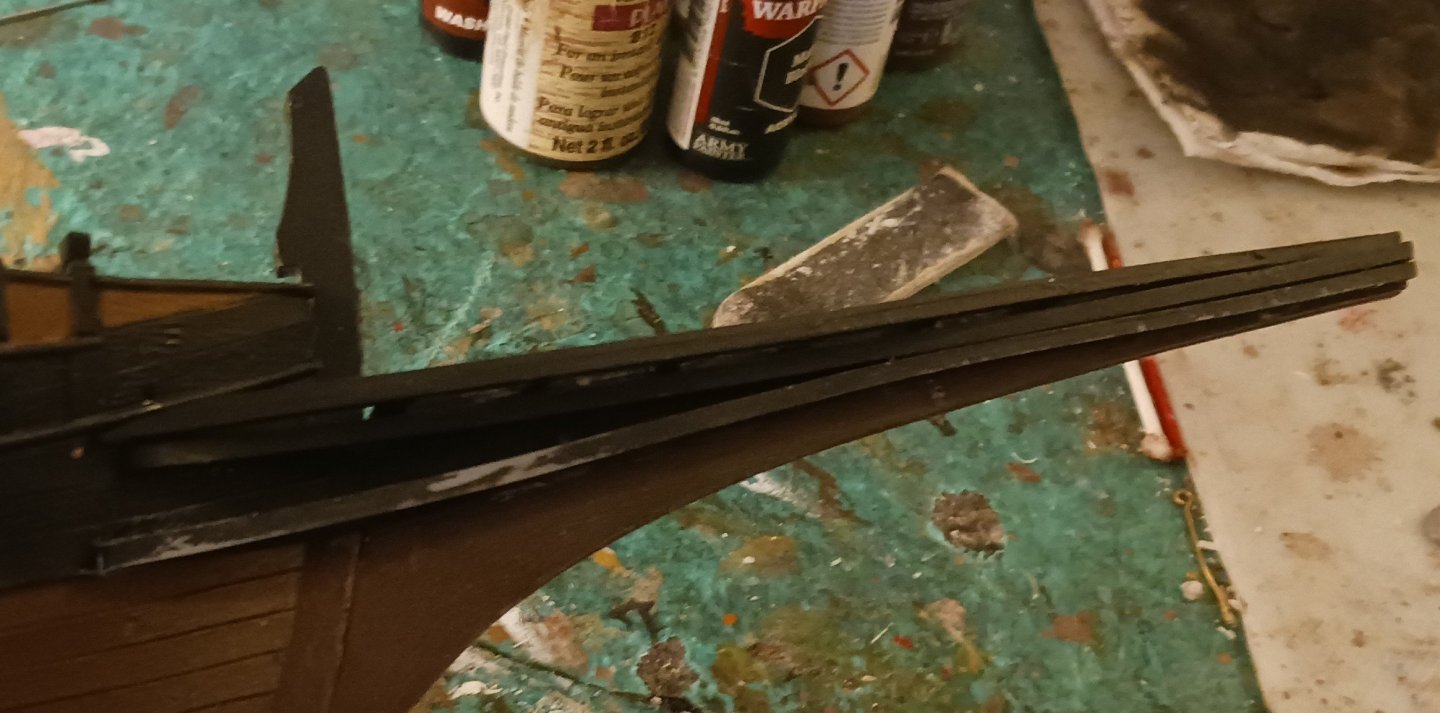
In hindsight, tearing the whole beahkead section of the Requin and starting over was absolutely the right thing to do. After repairing and repainting all of the affected pieces, I reglued them onto the ship and filled, sanded and painted over the joint between the beakhead and the hull. The timbers need to be repainted again as the constant handling of the parts has worn down the paint. The next job will probably be painting the stern transom and fixing some of the paintwork on the hull, perhaps followed by the installation of the bowsprit.
-
One step forward, two steps back. Something many of you probably don't know is that scale modeling, on rare occasions, makes me angry enough to throw things. This time, after about five failed attempts to get the bow timbers mounted onto the beakhead, I tore the whole thing off of the model and threw it across the room. Here is the result: I am currently attempting to glue one of the timbers back onto the beakhead. Once all four timbers are on and painted, and the paint has been sufficiently cleaned up, I will attempt to mount the whole thing back onto the ship. This is probably what I should have done in the first place. The contact surfaces of all parts are caked in glue residue from nearly half a dozen failed attempts.

-
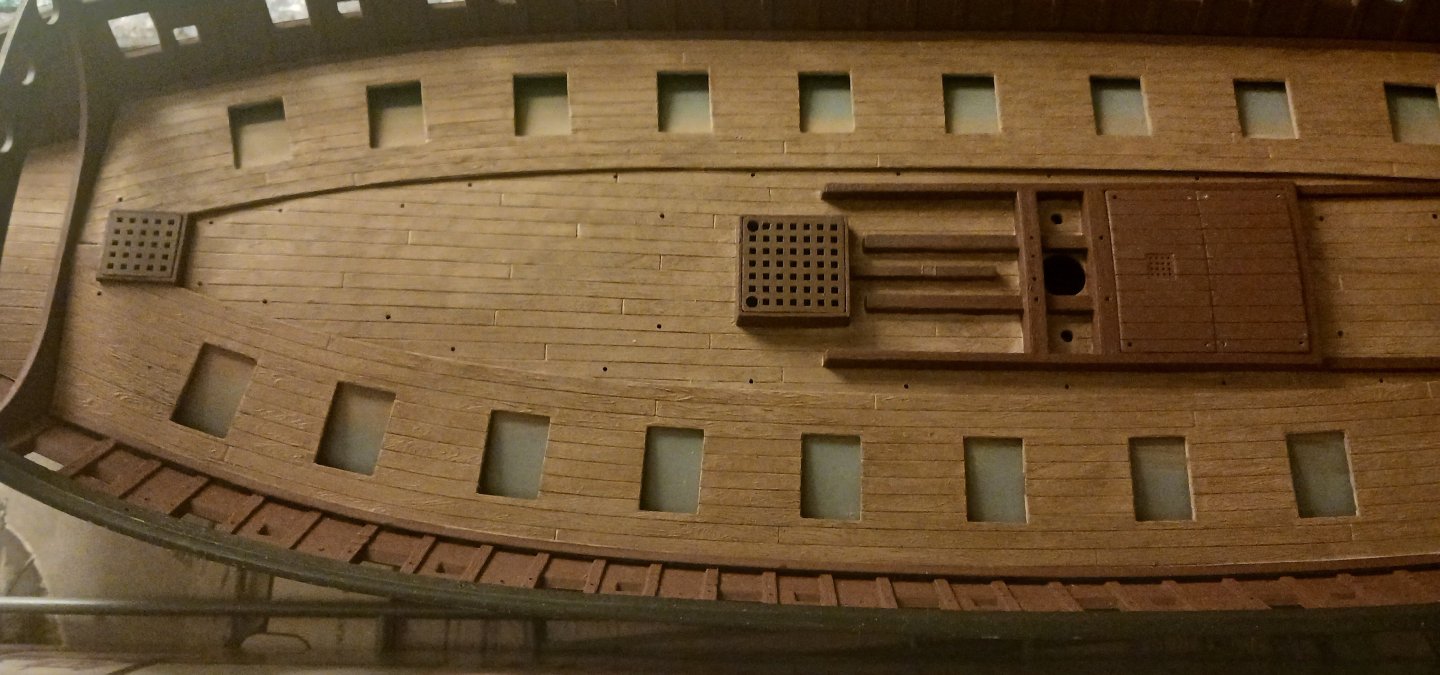
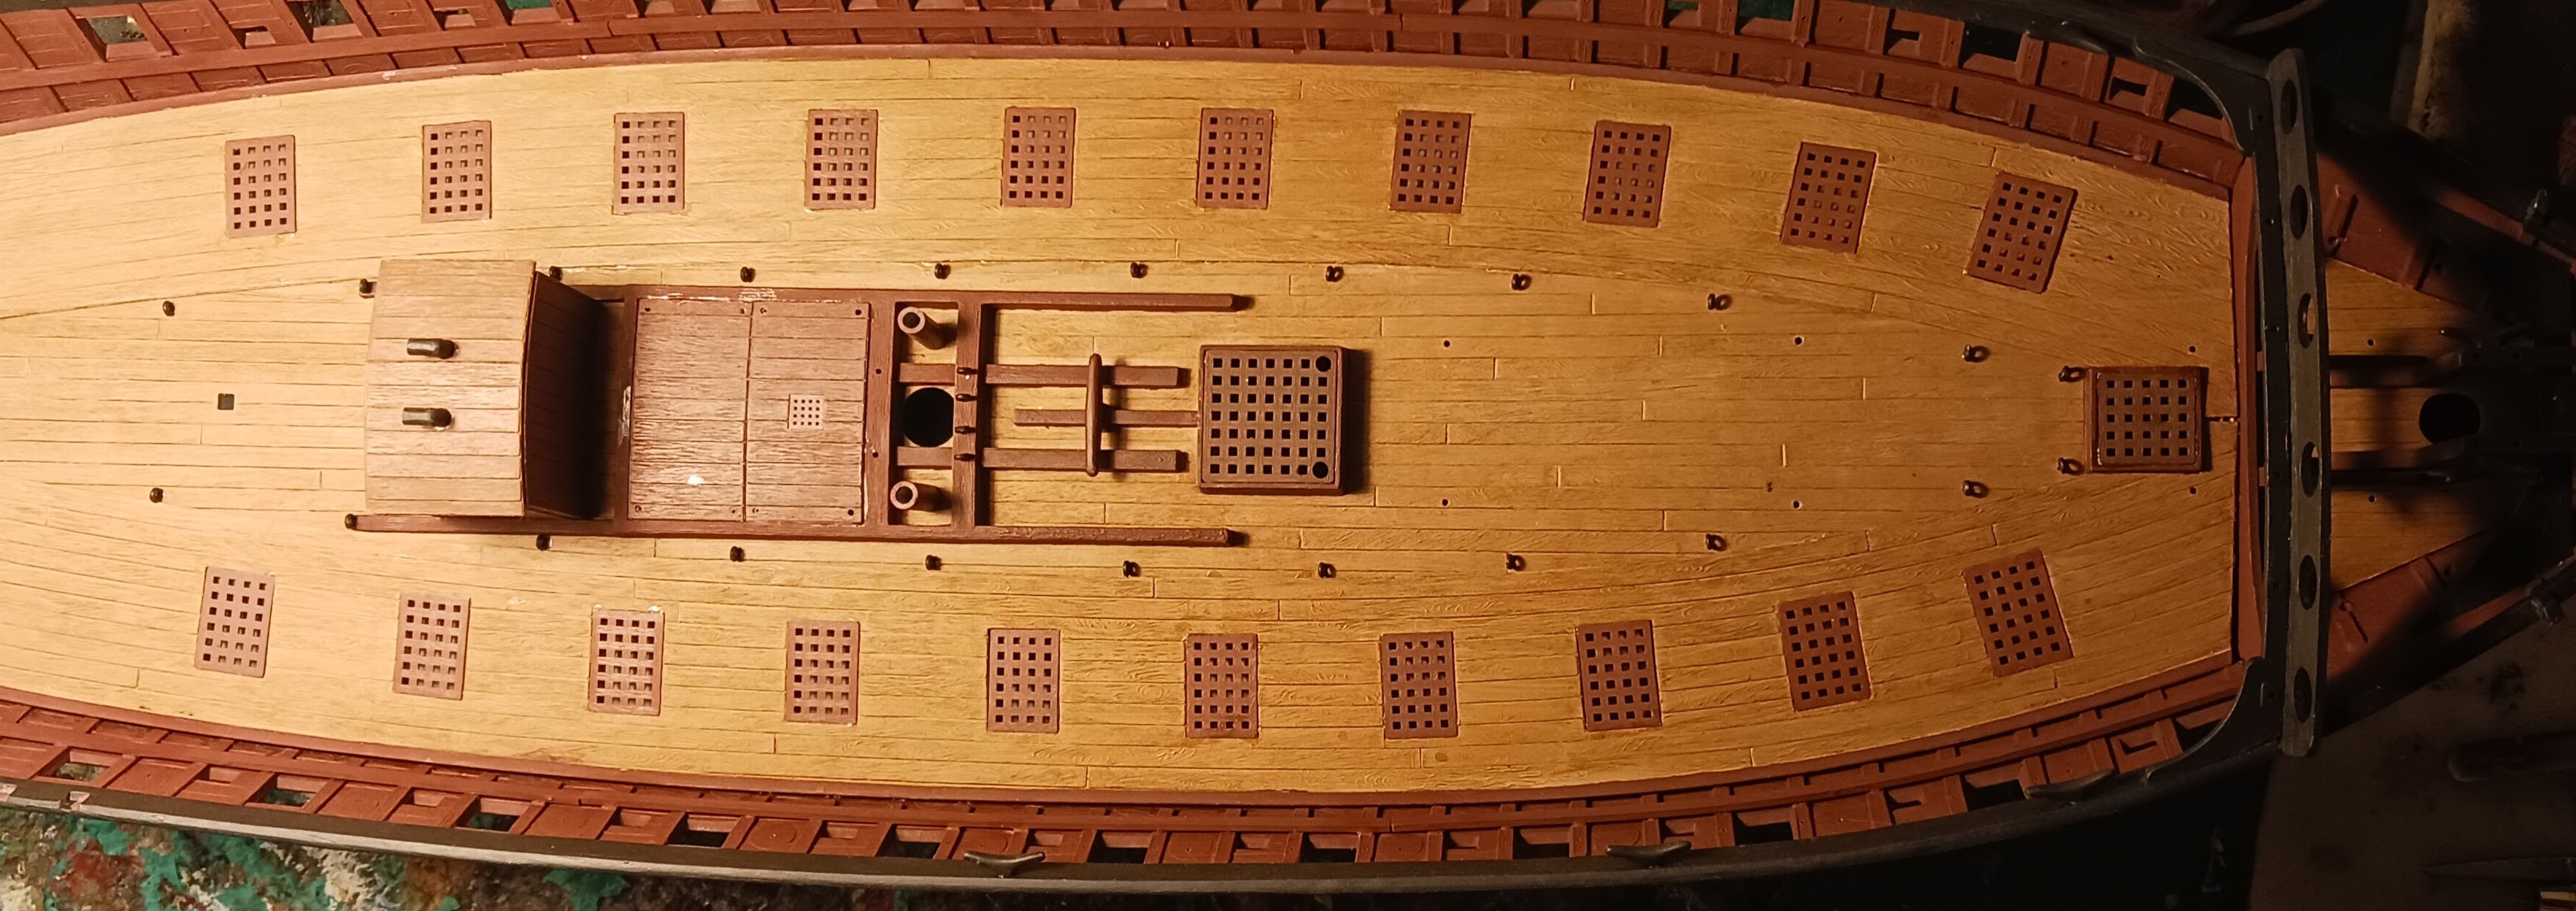
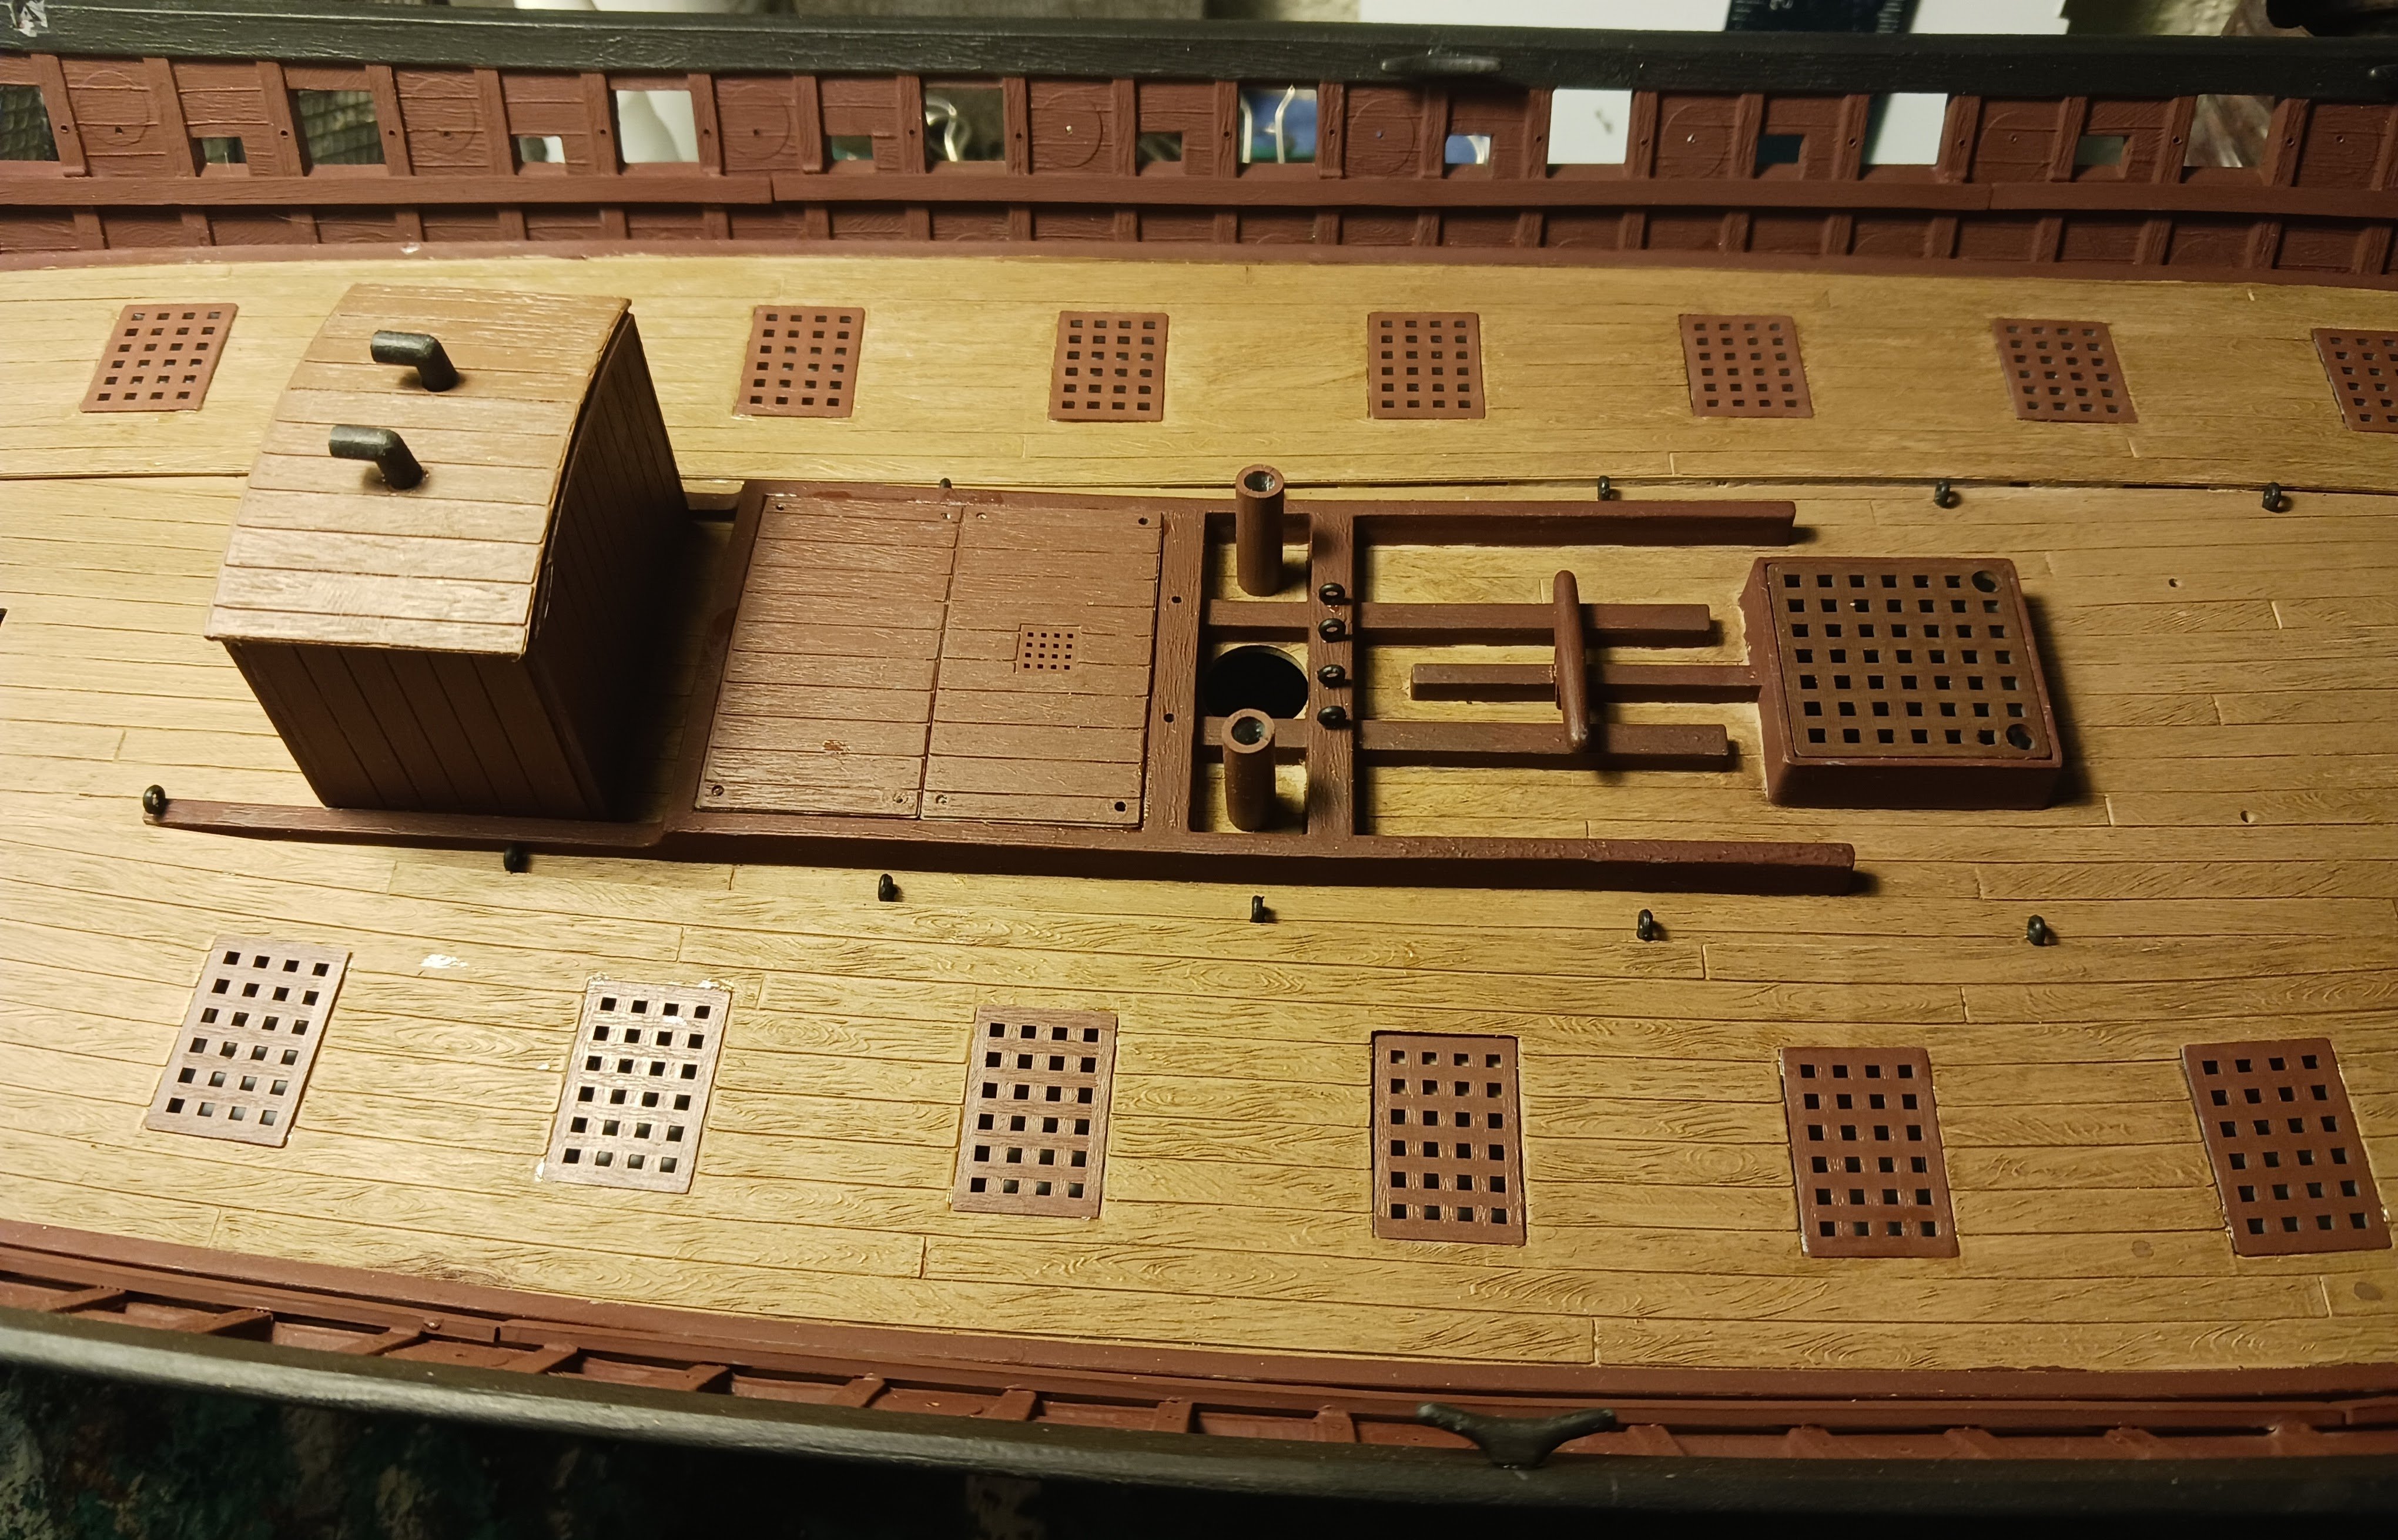
I promise you I haven't given up on this model, I've just temporarily transitioned toward another small model. I have gotten the gratings and hatch painted, with the larger grating modified to accept the anchor cables. Now, I have made an executive decision on this model. This model is being made for and is intended to be viewed by a non-expert. He is a personal friend who is also a college professor. I am a full-time college student (soon to be full-time university student this fall) and I also have a job. Hence, I do not have a ton of time or energy left for modeling. I am well aware of my capabilities as far as scale modeling is concerned. I do not think I will go all out on this model, but instead build it mostly out-of-box until we get to the rigging. That means no (or abridged) gun rigging, no gunport lids outhauls/inhauls, etc. The ship, however, will have a full and complete rig. I know this may come as a shock considering my modus operandi, but I feel like making this model a perfect replica of the real Requin, while possible, is not in the cards this time around. I know fully well that if I wanted to make this Requin a completely accurate model, I could. I choose to be happy with that.