HOLIDAY DONATION DRIVE - SUPPORT MSW - DO YOUR PART TO KEEP THIS GREAT FORUM GOING! (Only 24 donations so far out of 49,000 members - C'mon guys!)
×


Nearshore
-
Posts
188 -
Joined
-
Last visited
Content Type
Profiles
Forums
Gallery
Events
Everything posted by Nearshore
-
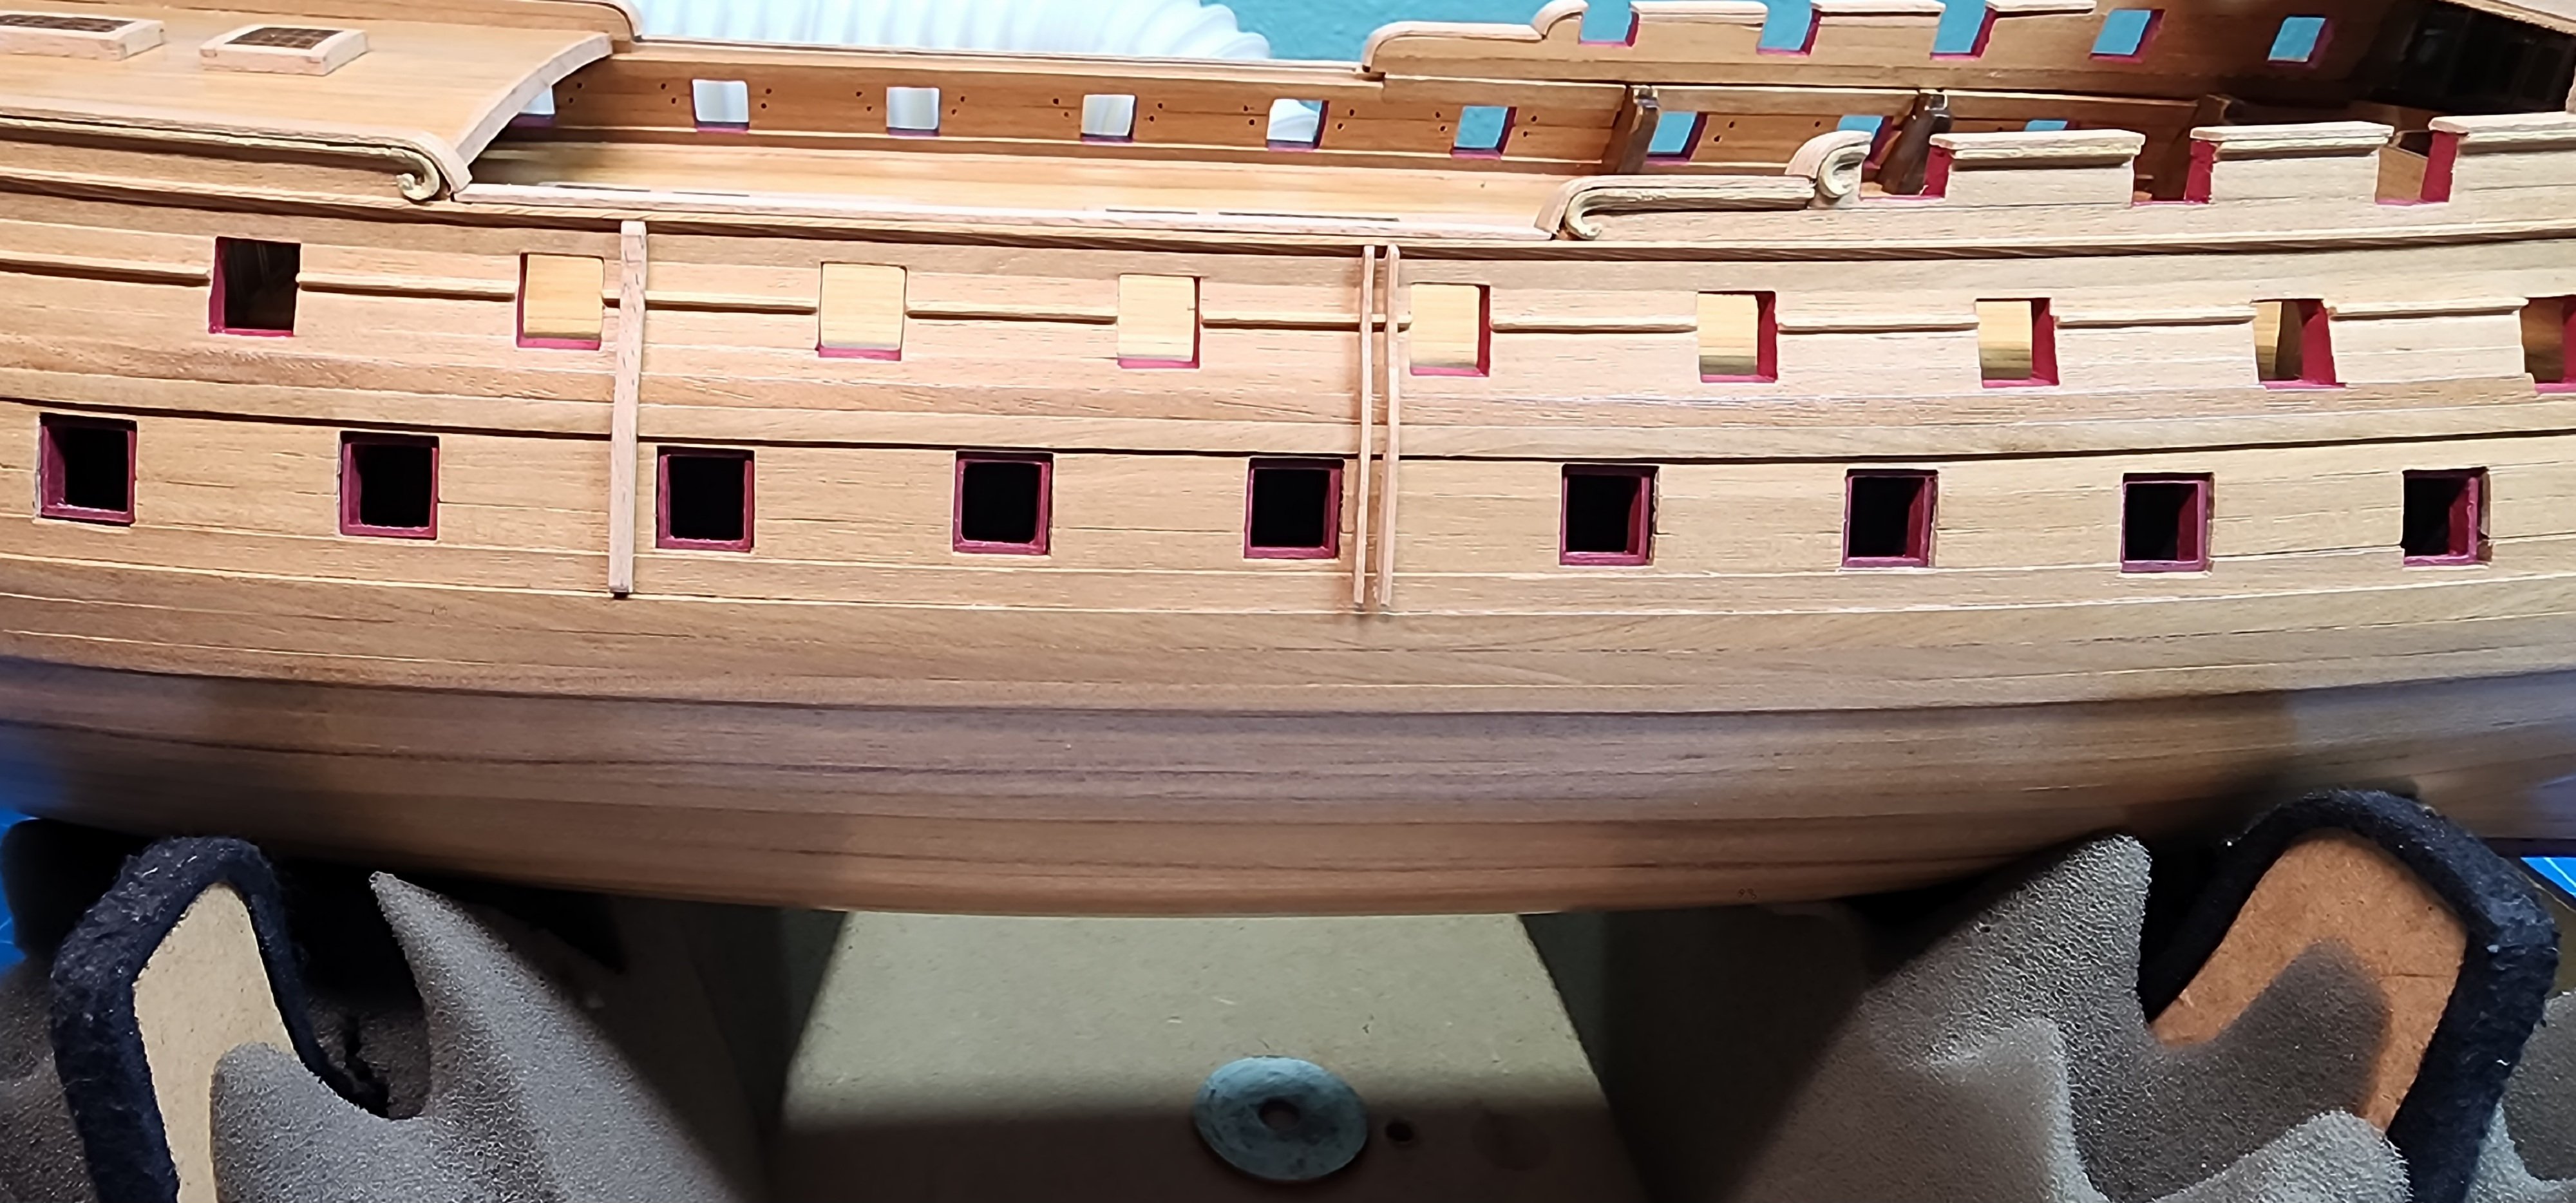
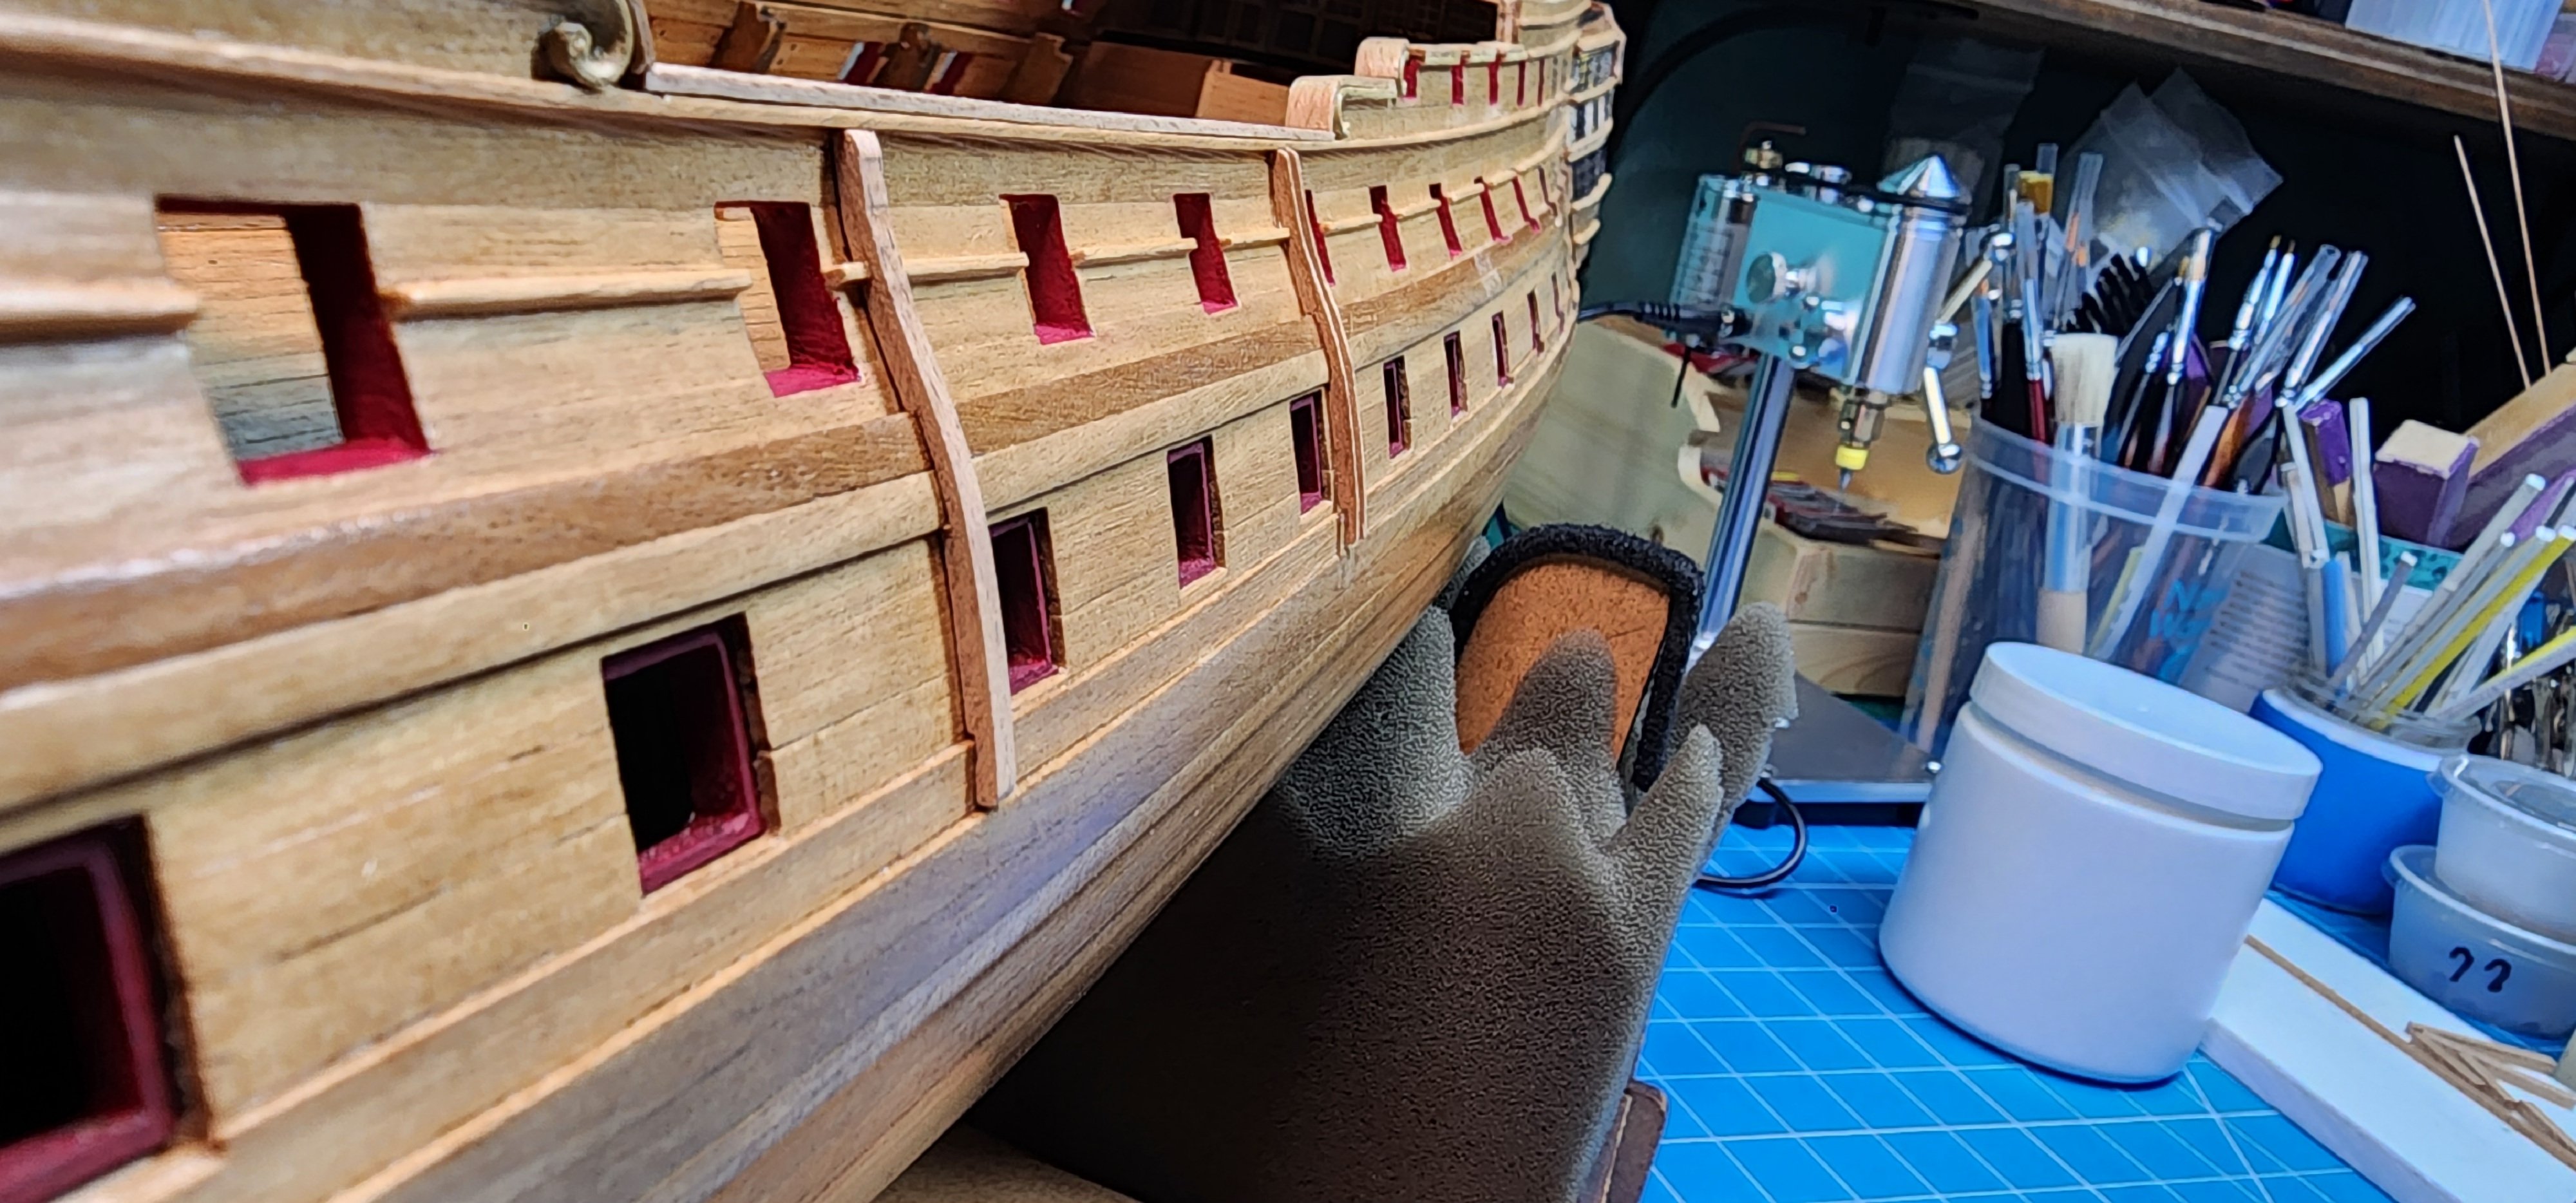
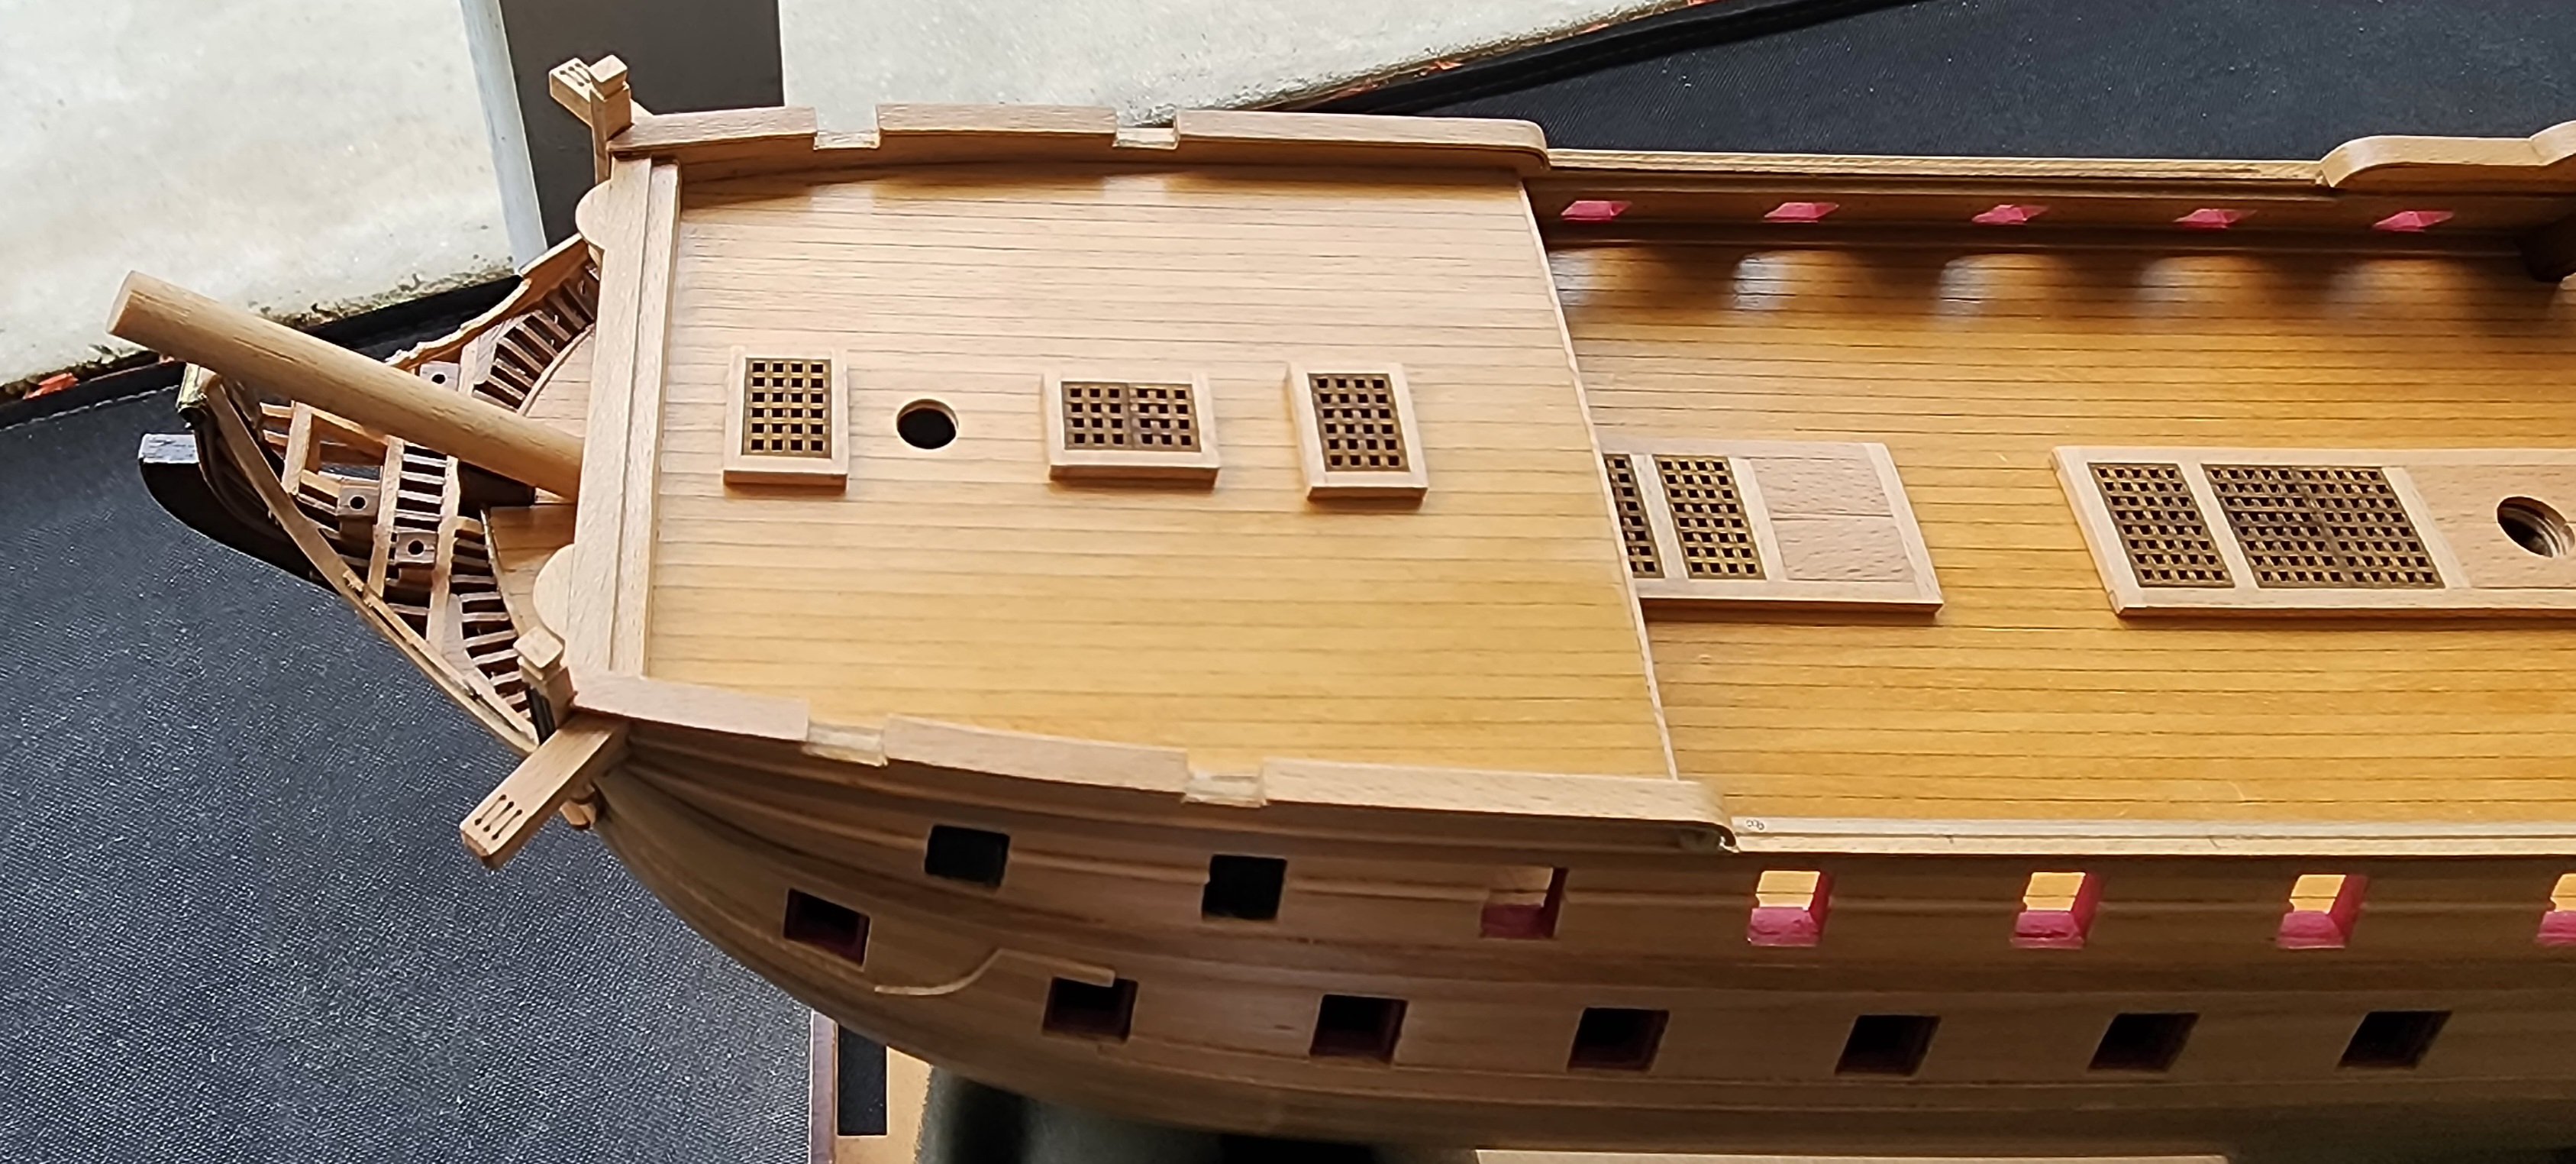
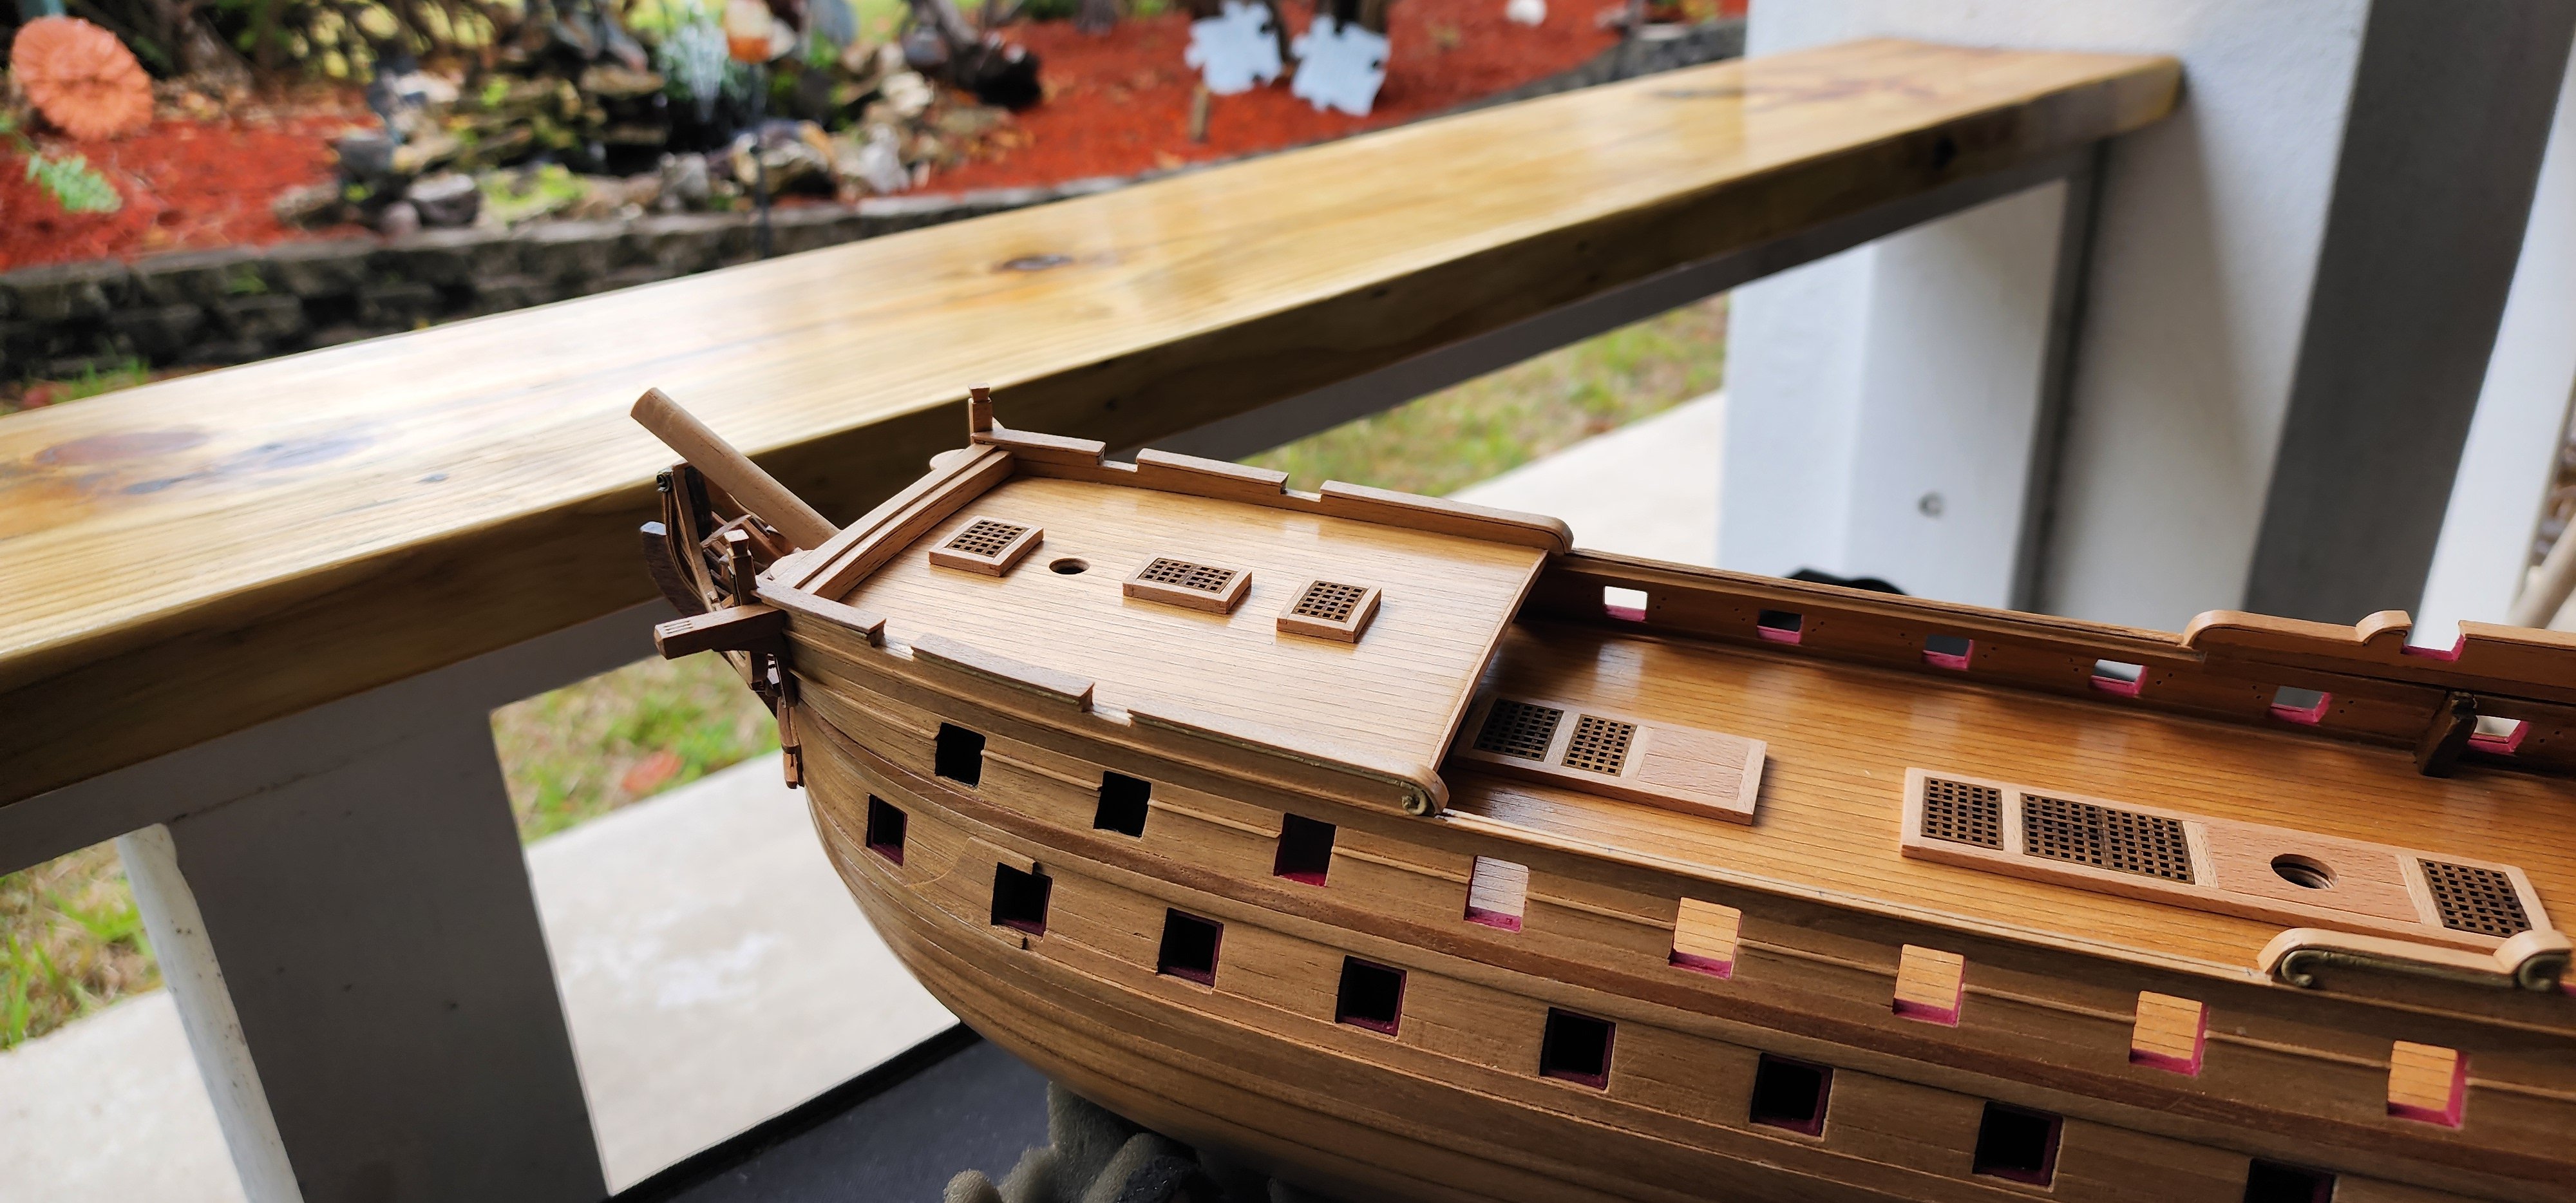
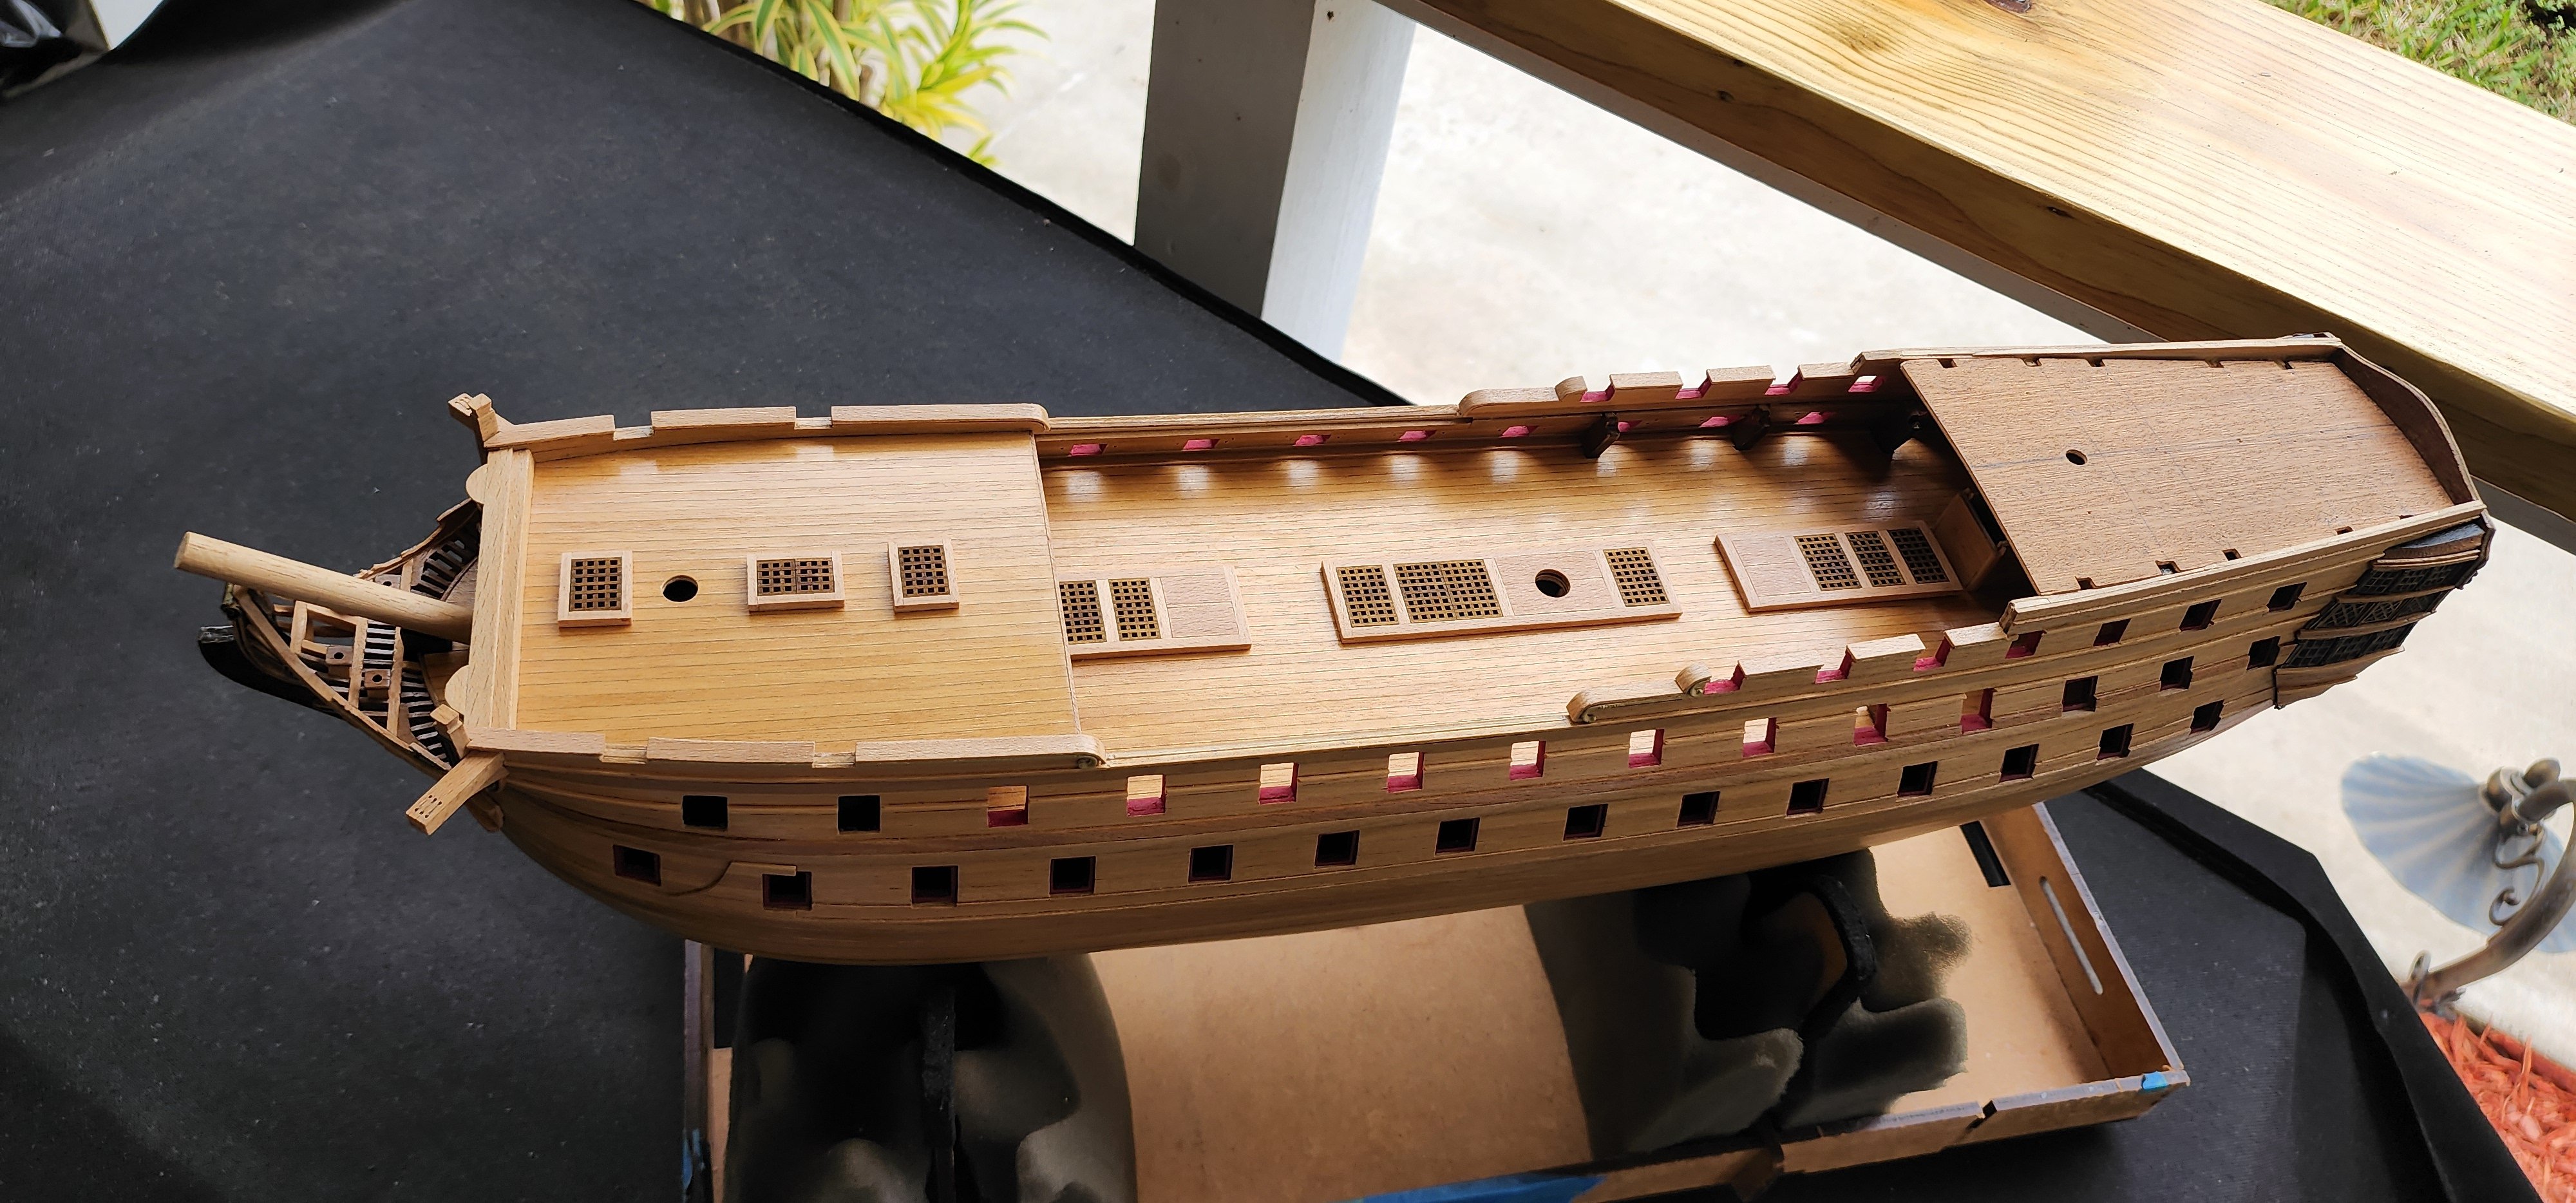
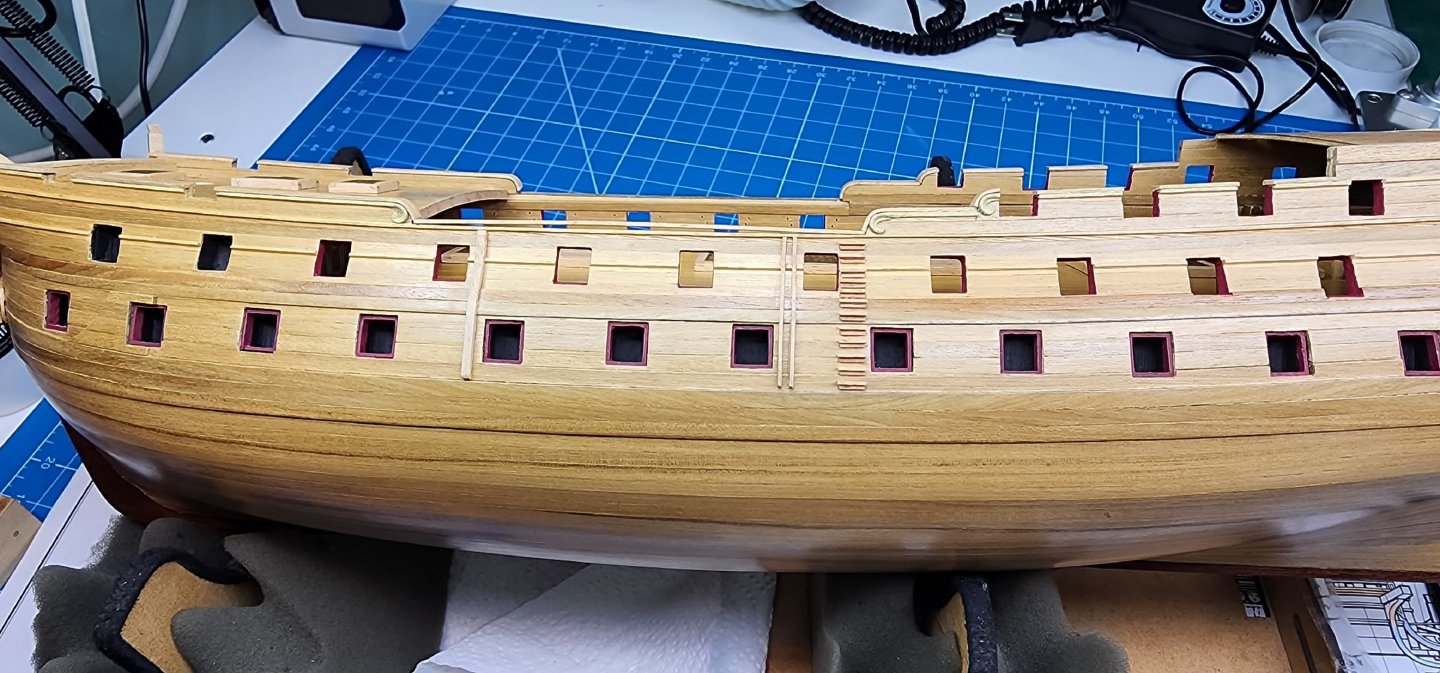
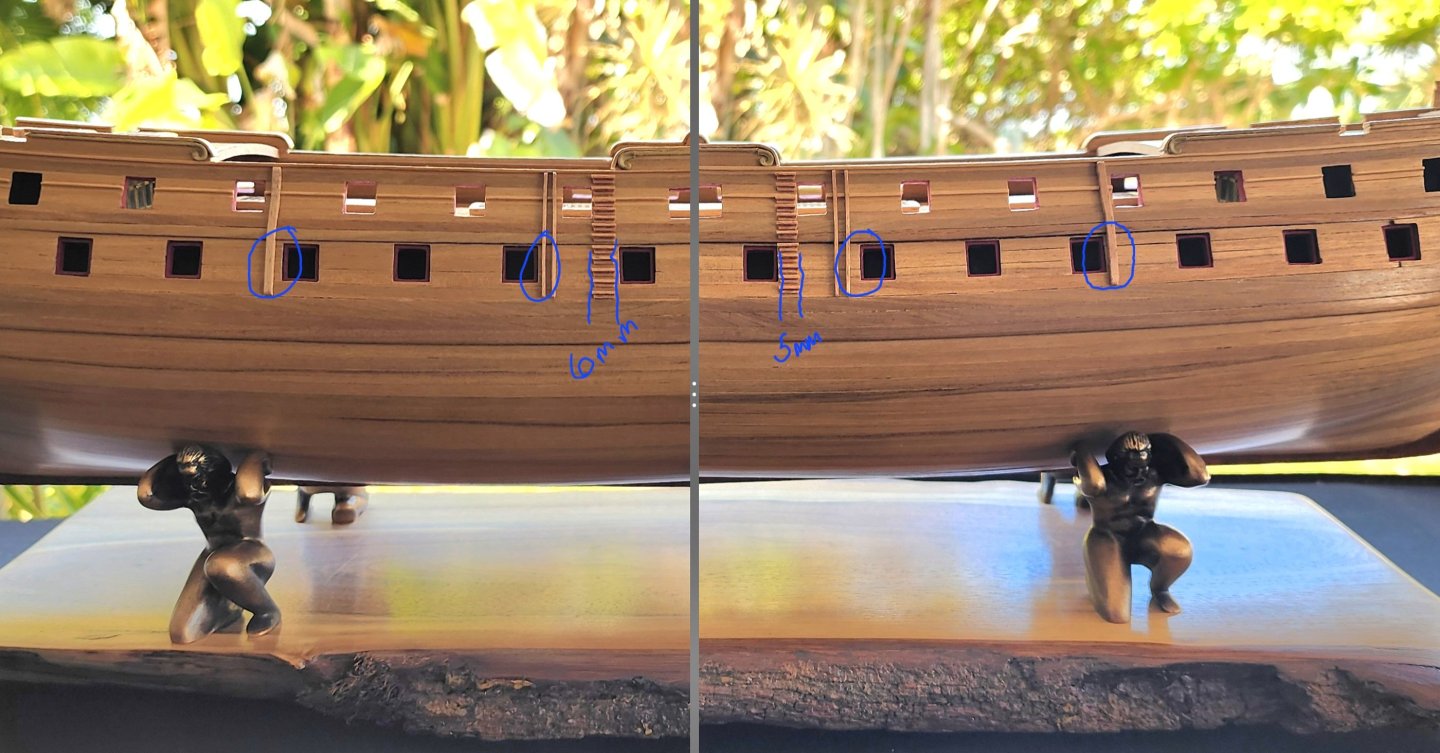
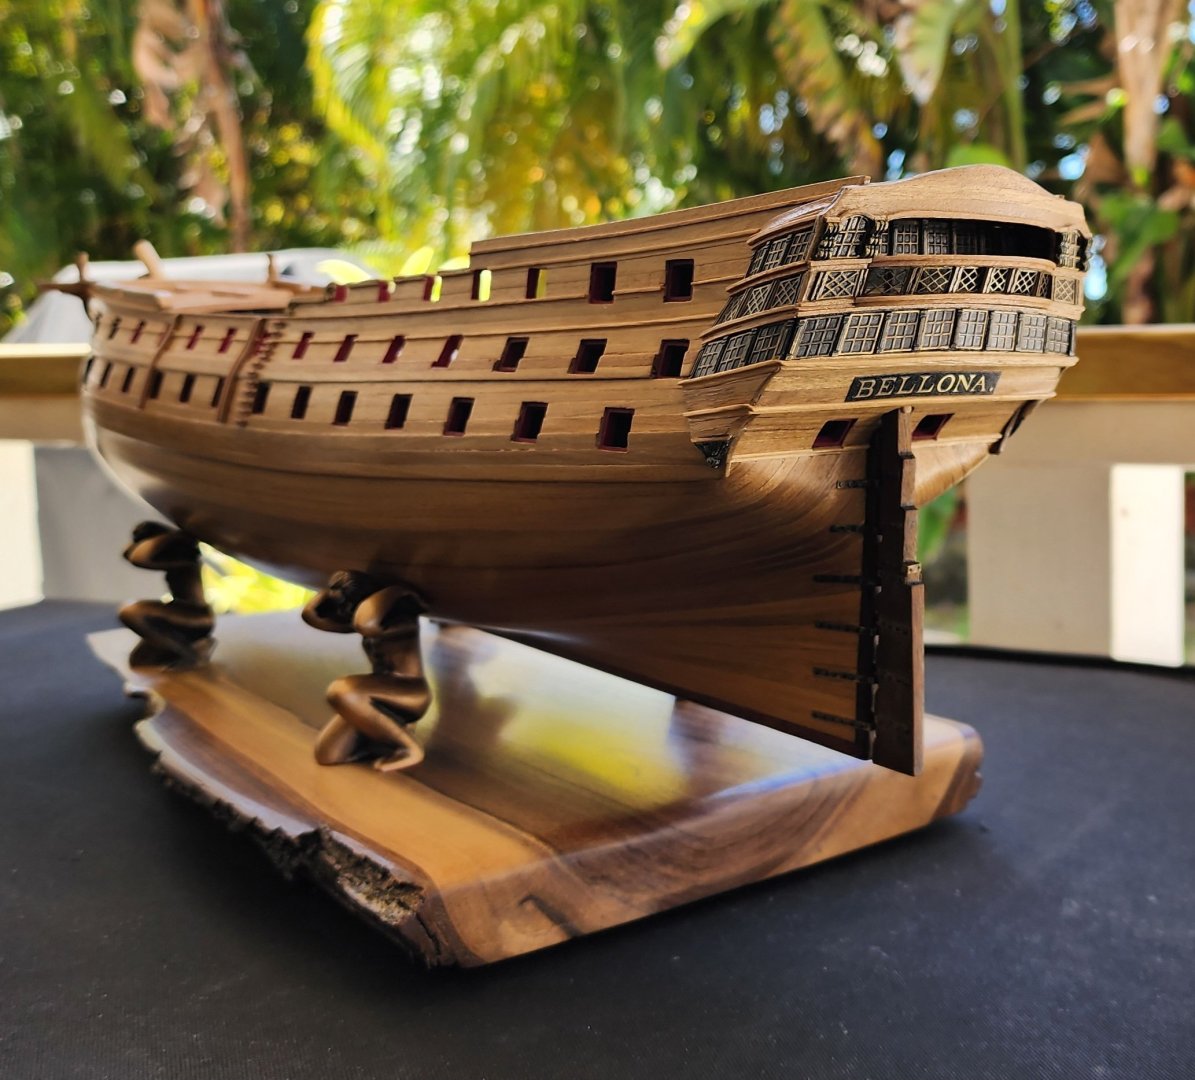
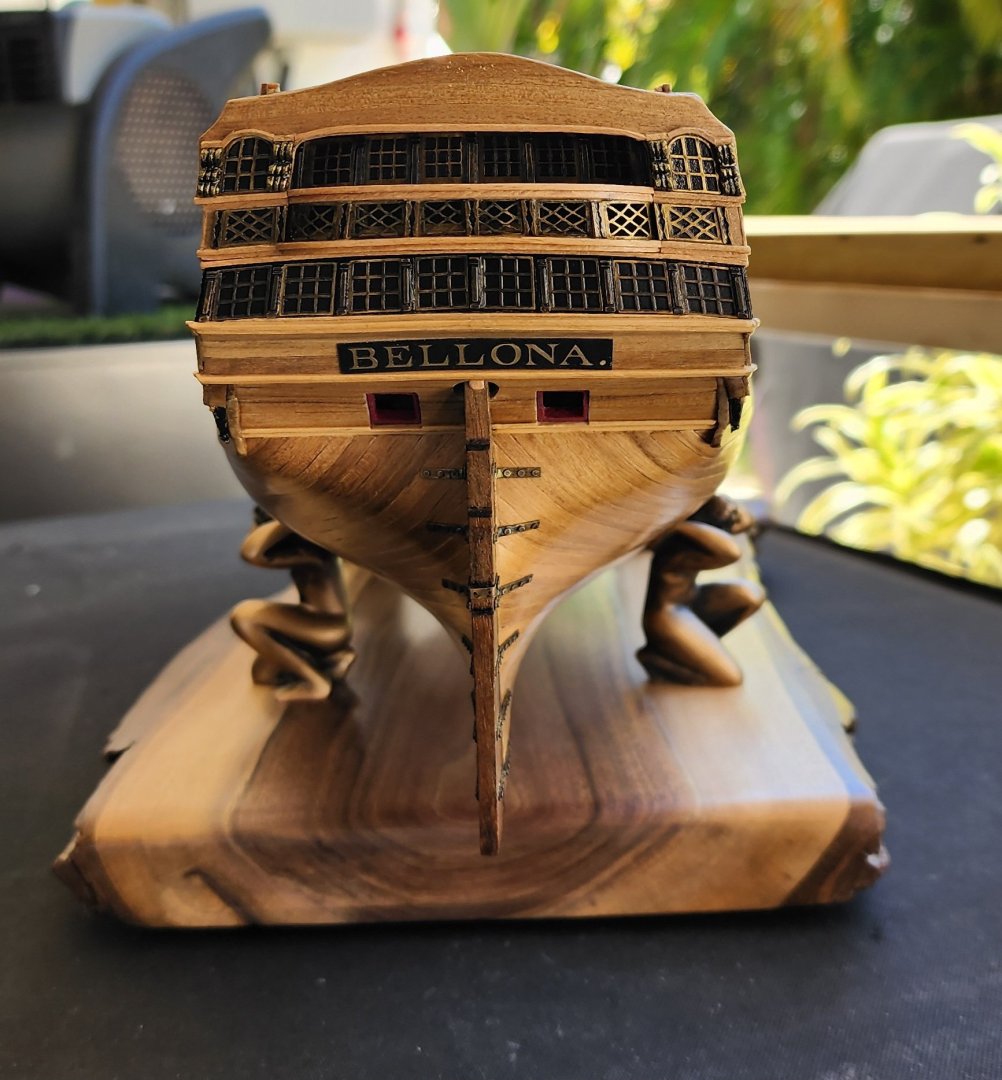
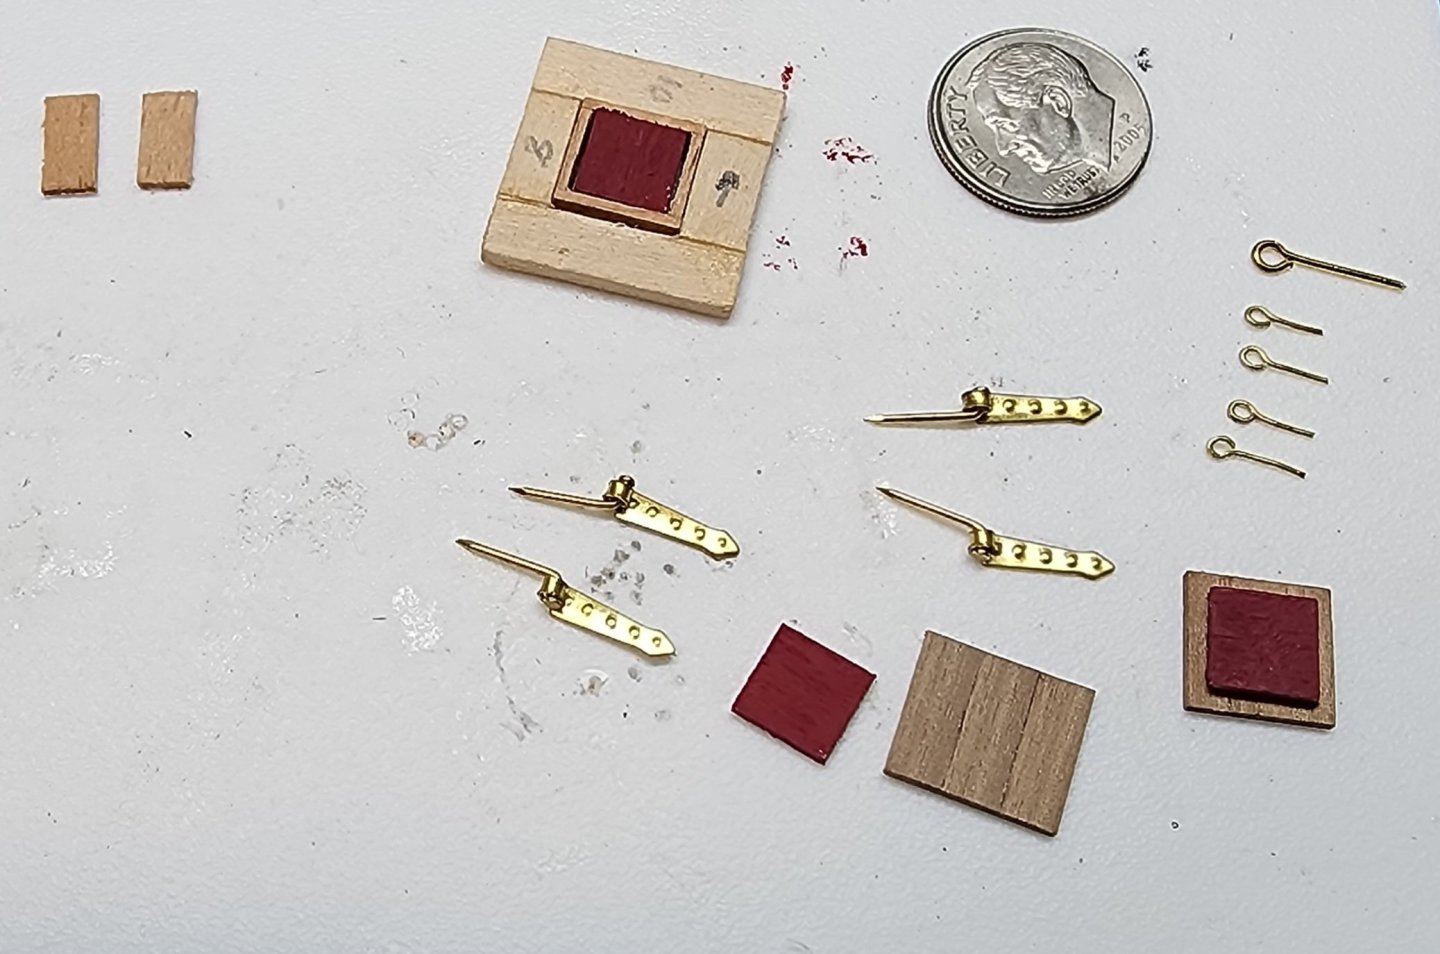
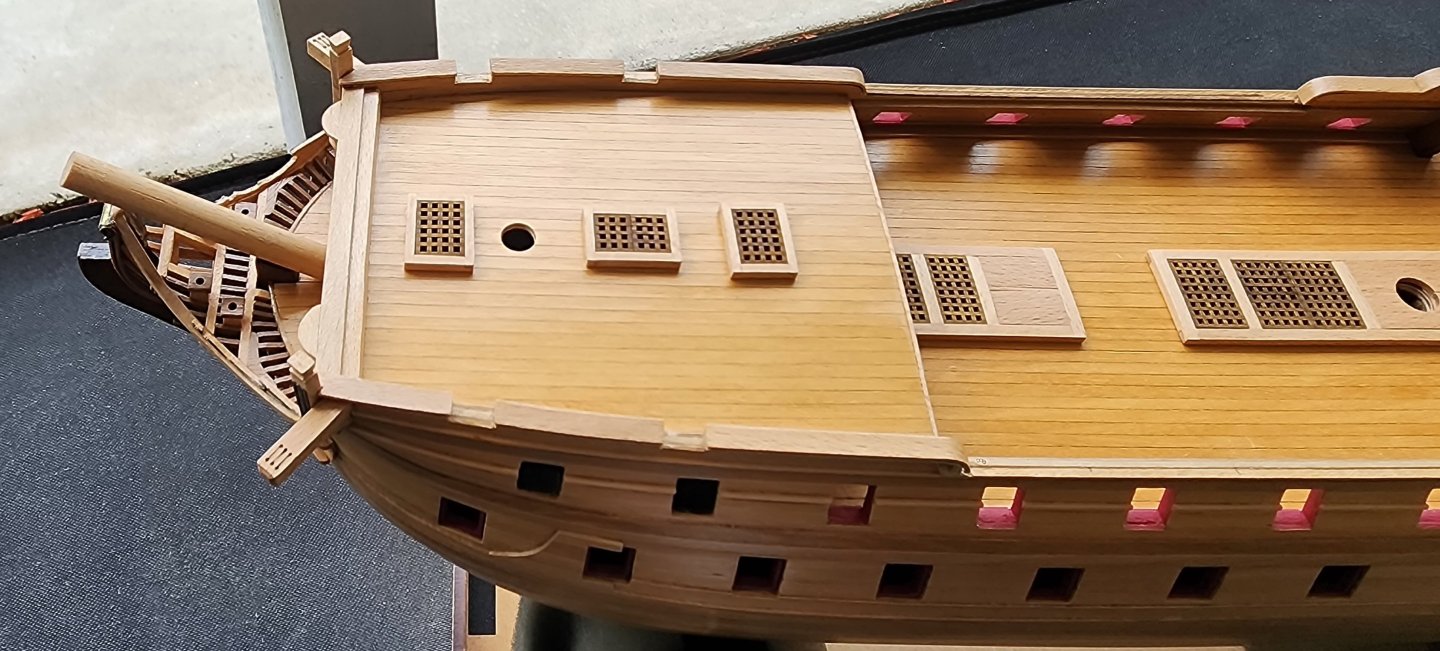
 Hello All, I have a small update on the Bellona. I have moved on to installing the skid beams and stairs on both port and starboard sides of the ship. I notched the beams to fit around the Wales and shaped them to match the contour of the hull. I notched the molding on the ship to allow them to fit snug against the hull. This was a rather easy task, but I ran into a problem that I did not anticipate. When cutting out the false gun ports some time ago, I somehow was off on my measurements by about 1mm. This really tripped me up and I had to adjust the width of the stairs from 6mm on the port side to 5mm on the starboard side. It also messed up the location of the skid beams in relation to the gun ports. Well, I guess I won’t be displaying her with a mirrored back drop so you can see both sides of the ship at the same time. 😊 After the installation of the skid beams and stairs, I decided that it was time to put the name on the ship. I blackened the PE name plate and applied a clear coat of acrylic. After the acrylic dried, I polished the lettering and then applied another coat of acrylic. I glued the name to the ship, its official, she has a name. I have started putting together the stern gun port hatches and will provide another update as I progress. Well, that’s all I have for now, thanks for reading and as always, your comments and guidance are always welcome. Cheers Nearshore


-
Hi Mark, Look forward to following your progress. Good luck on your journey. Nearshore
-
Hi Steve, Welcome aboard. Nearshore
-
Hi Yves, Absolutely stunning so far. You are doing an amazing job! Thank you for the fantastic description on your process. Nearshore
-
Hi Mark, Thanks for the complement. If you make it down this way, maybe we can meet for a pint or two. Cheers Nearshore
-
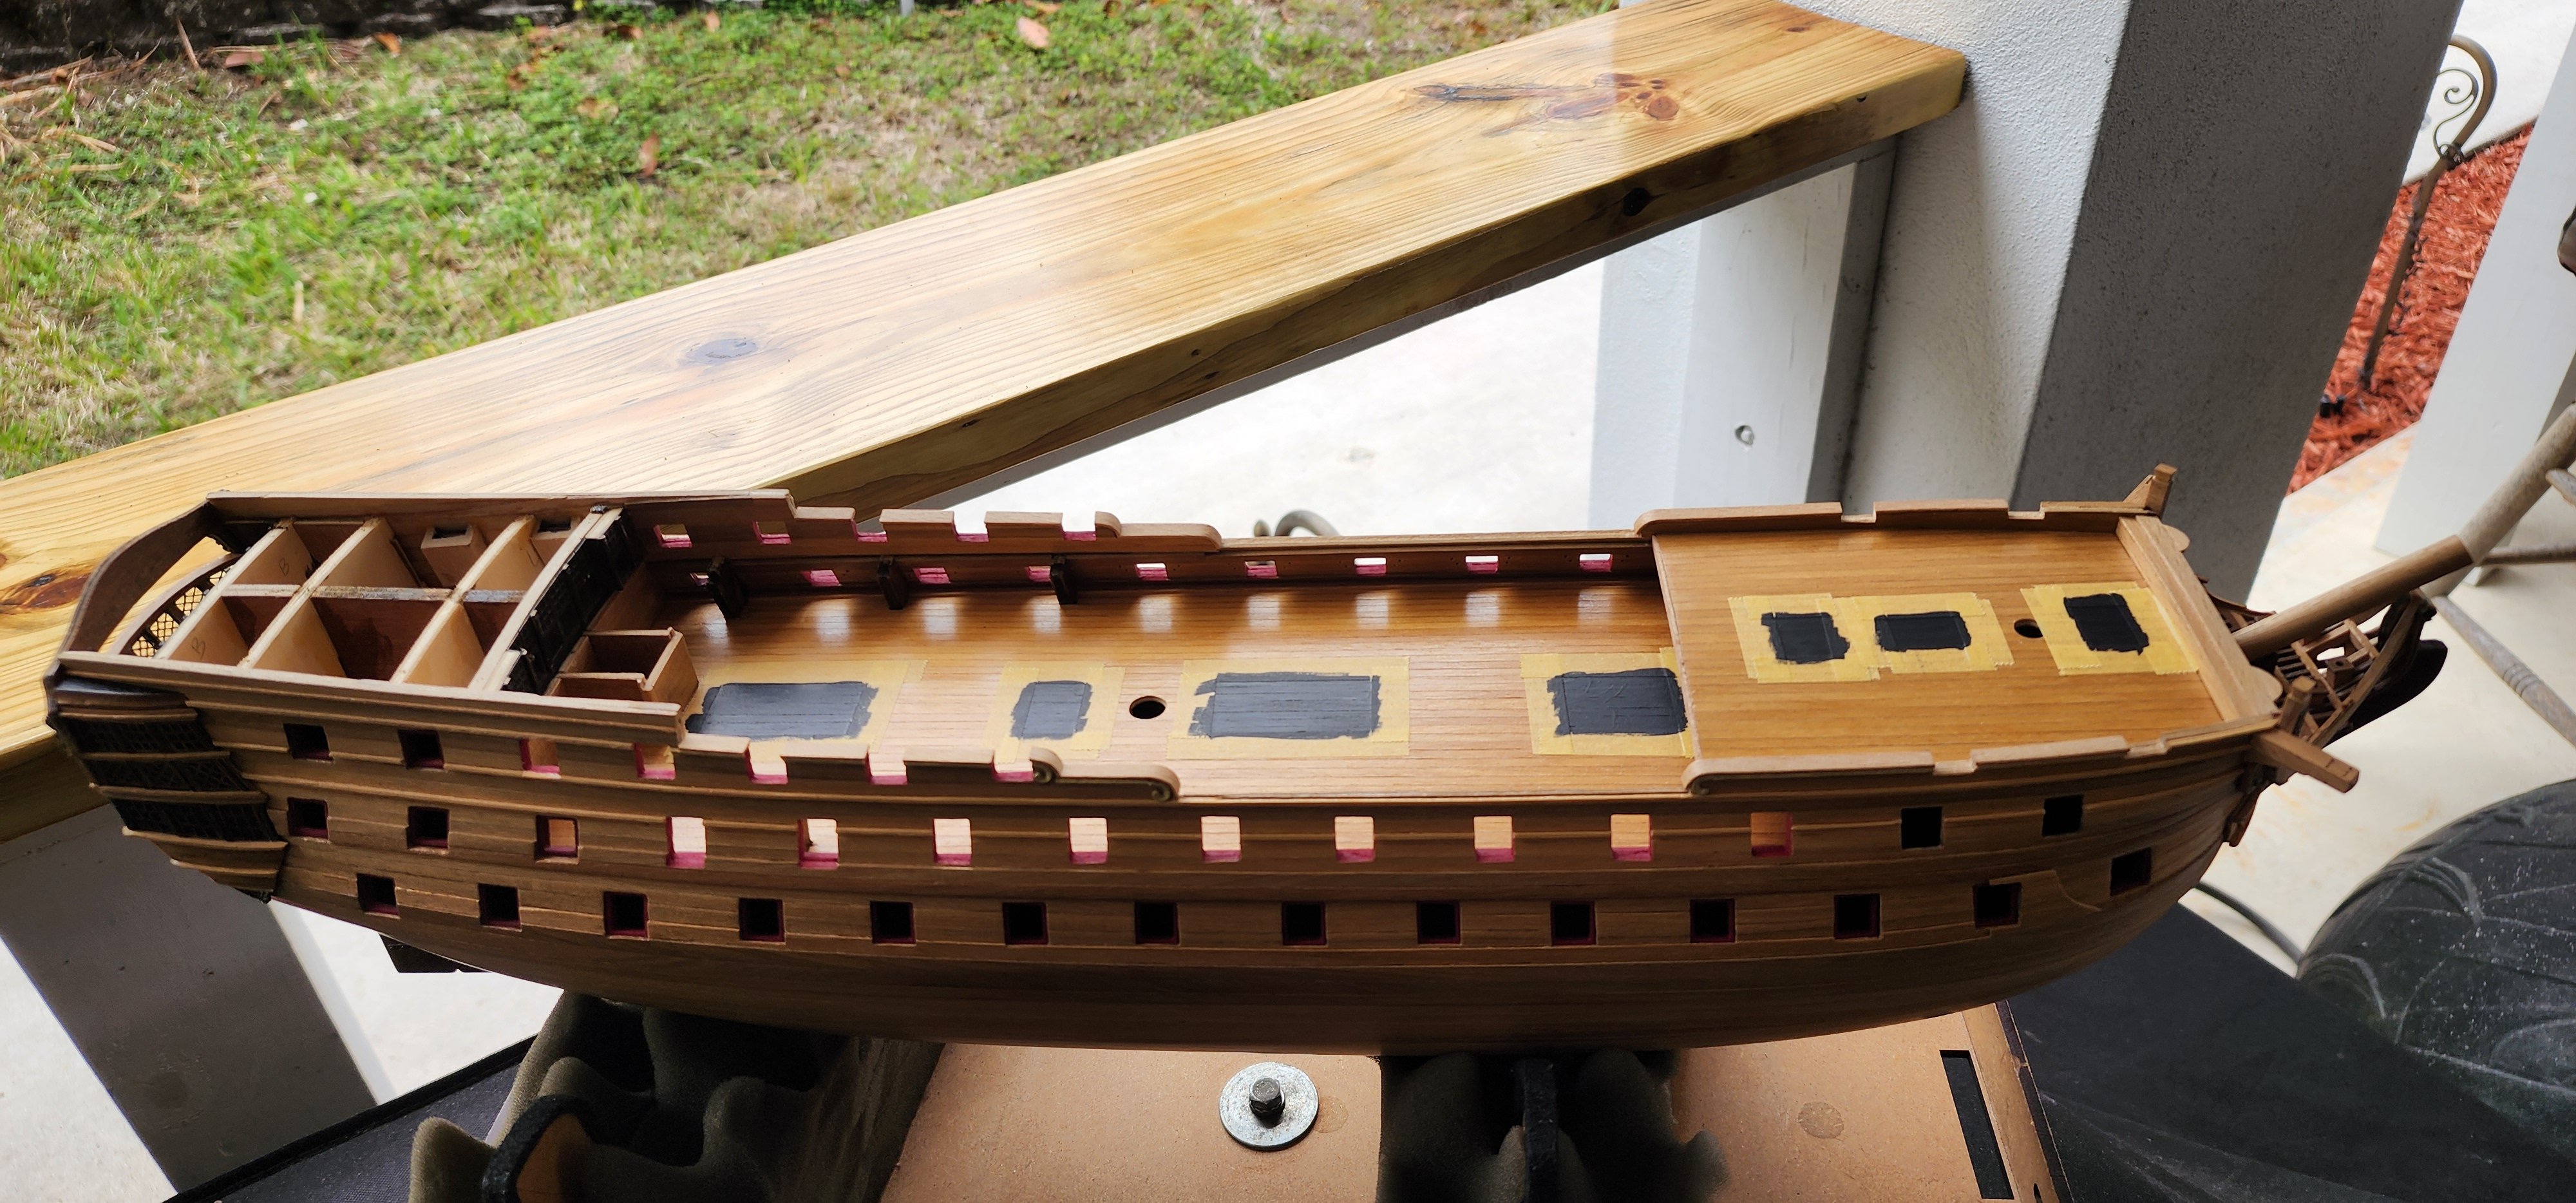
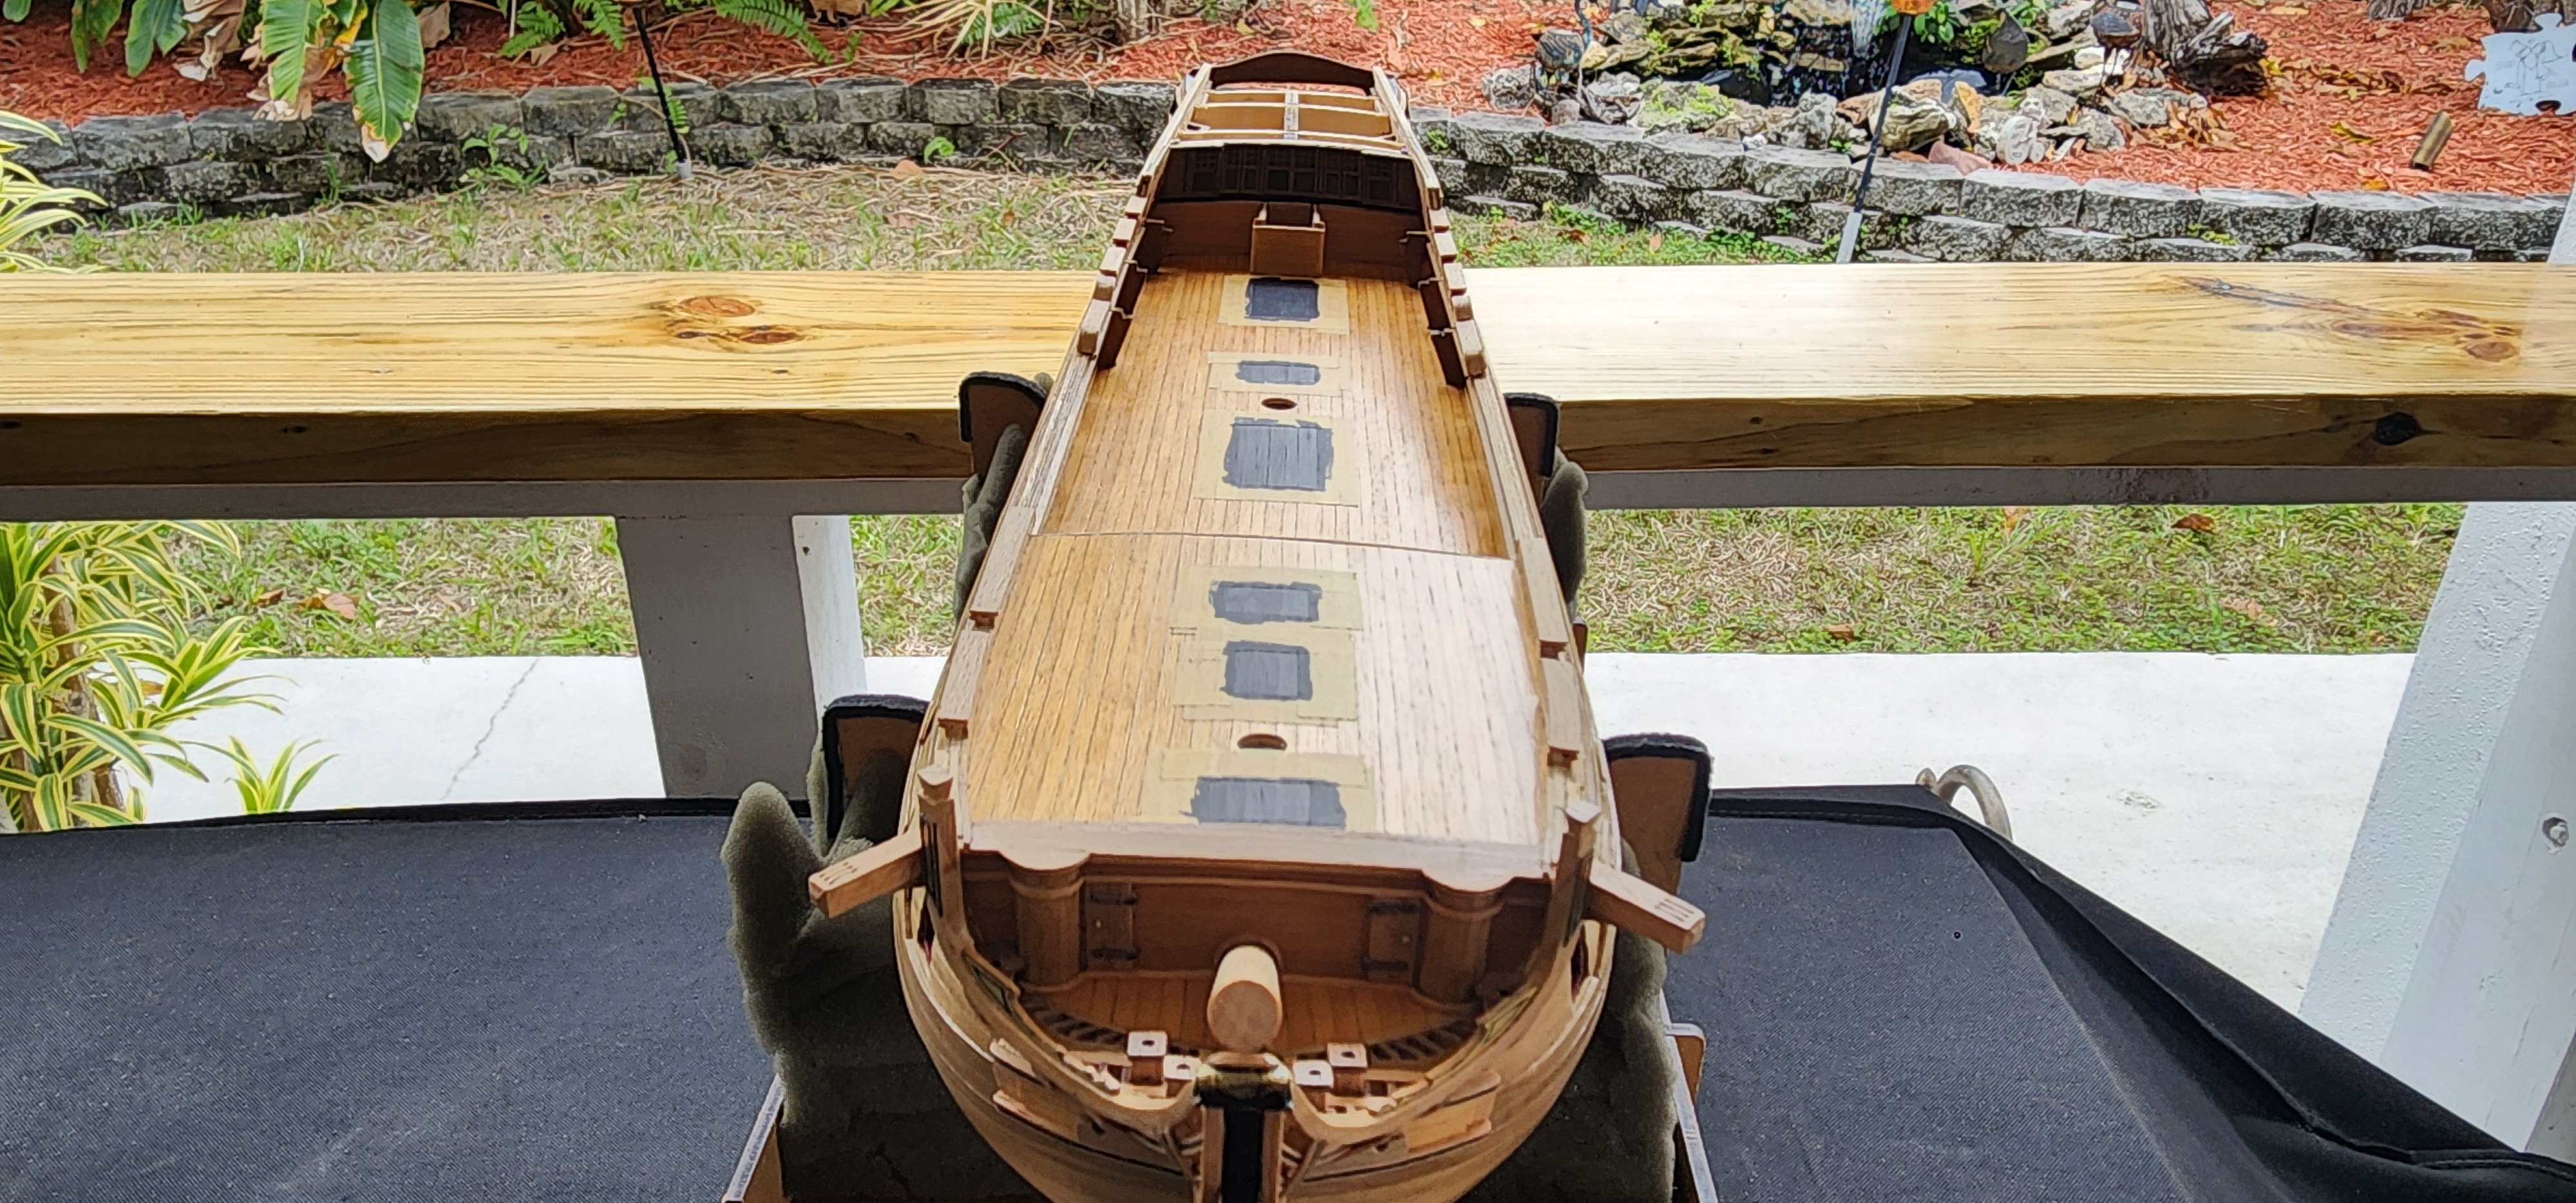
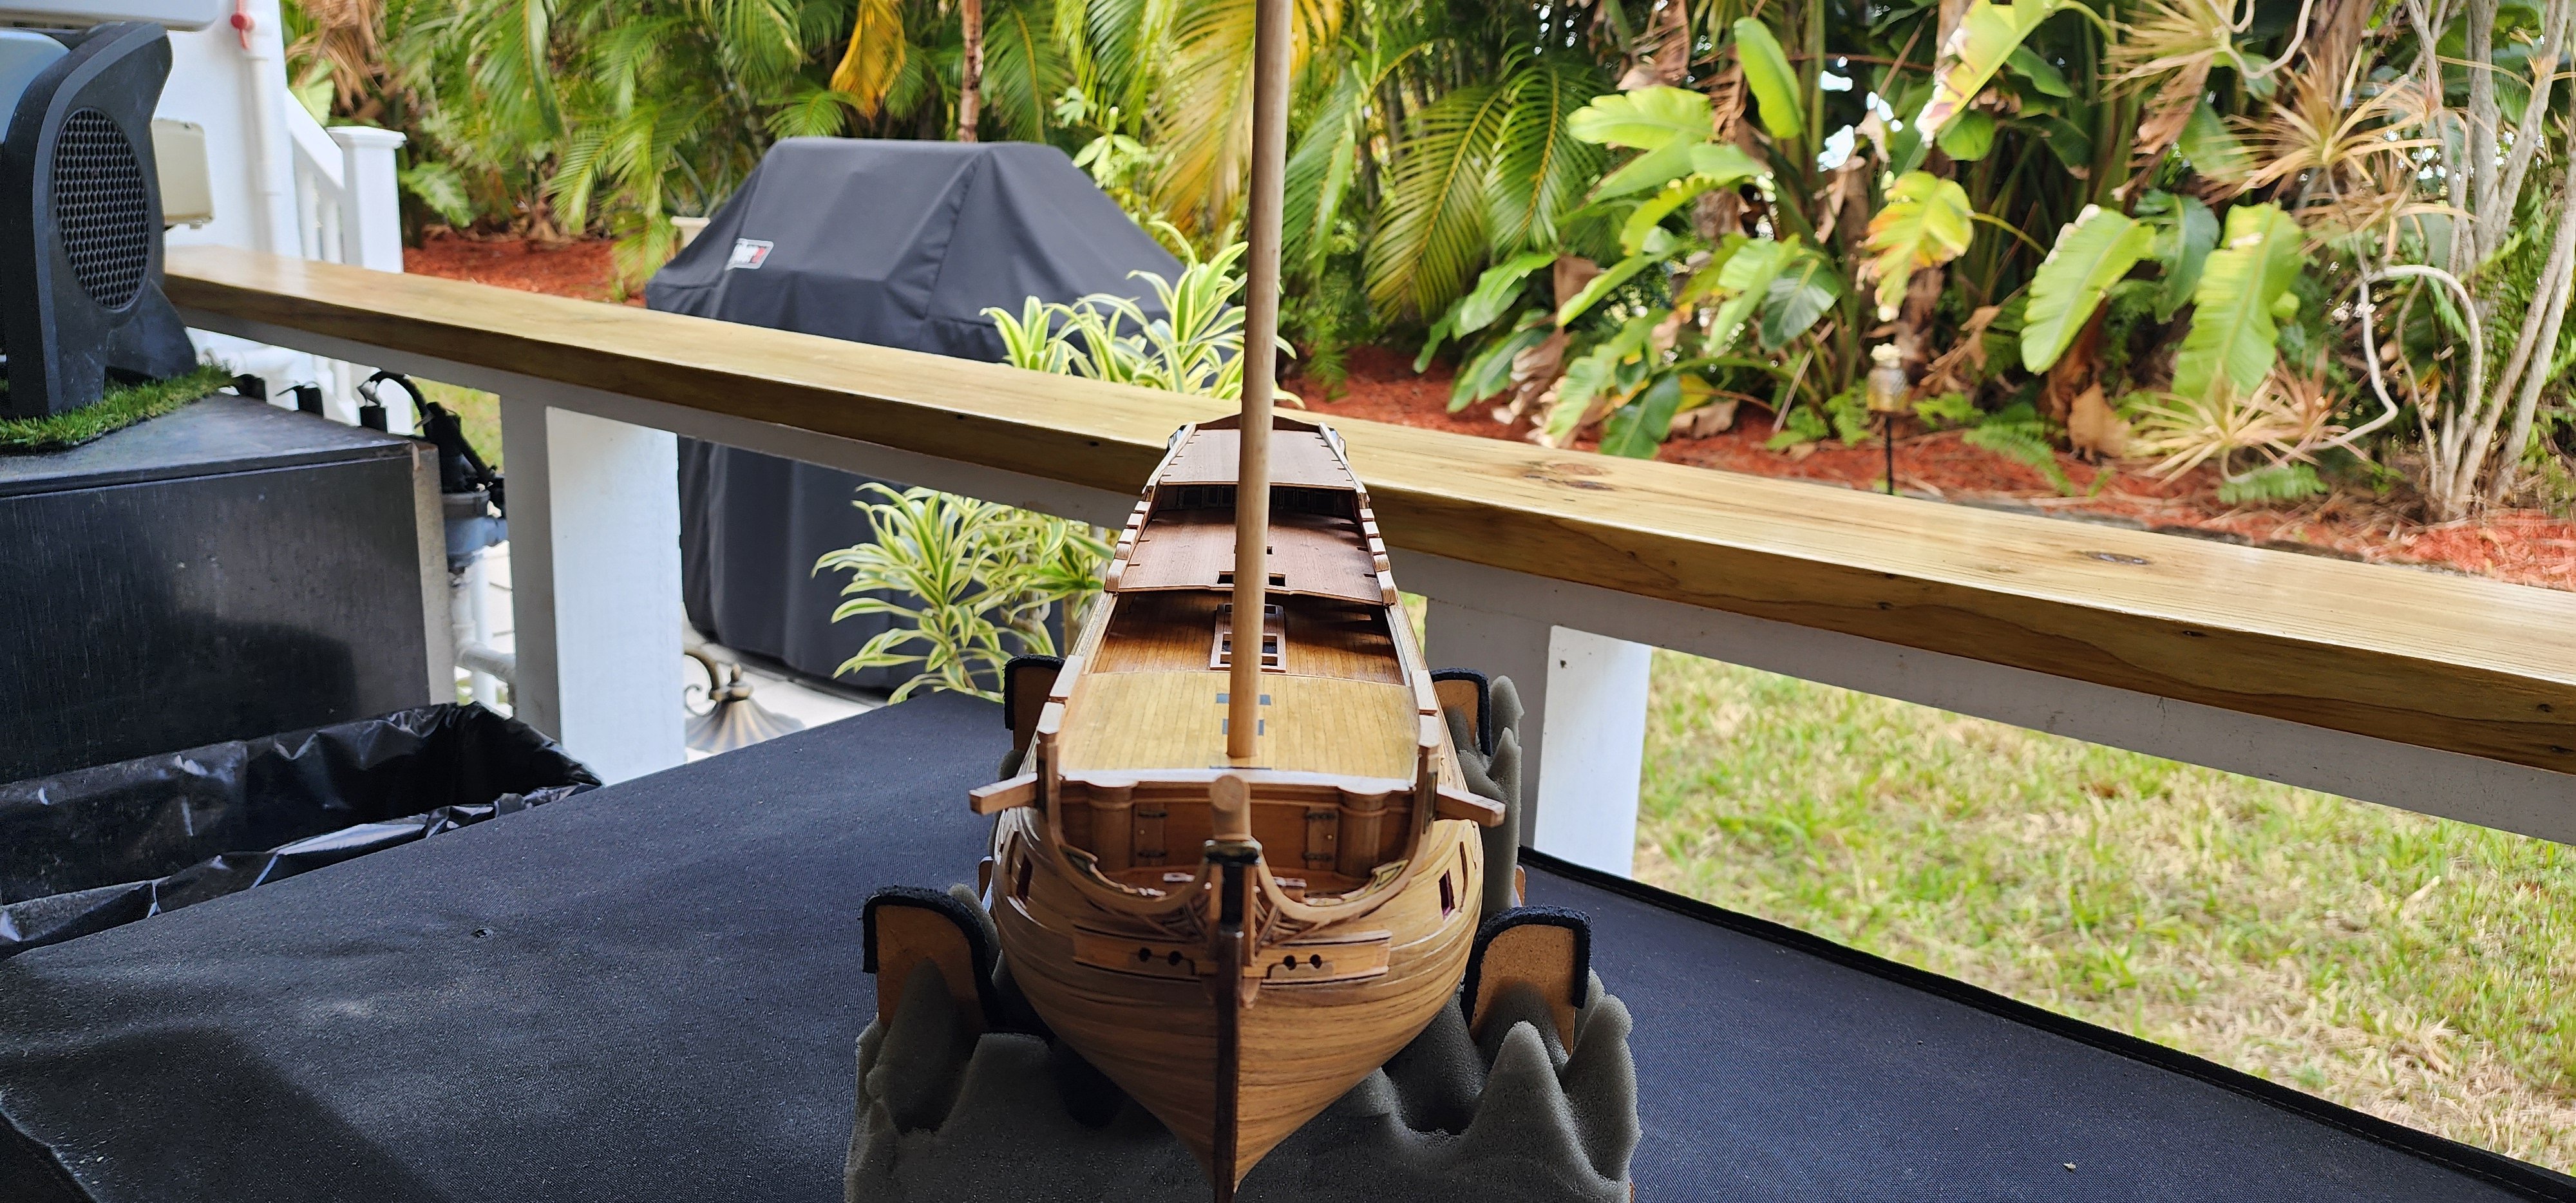
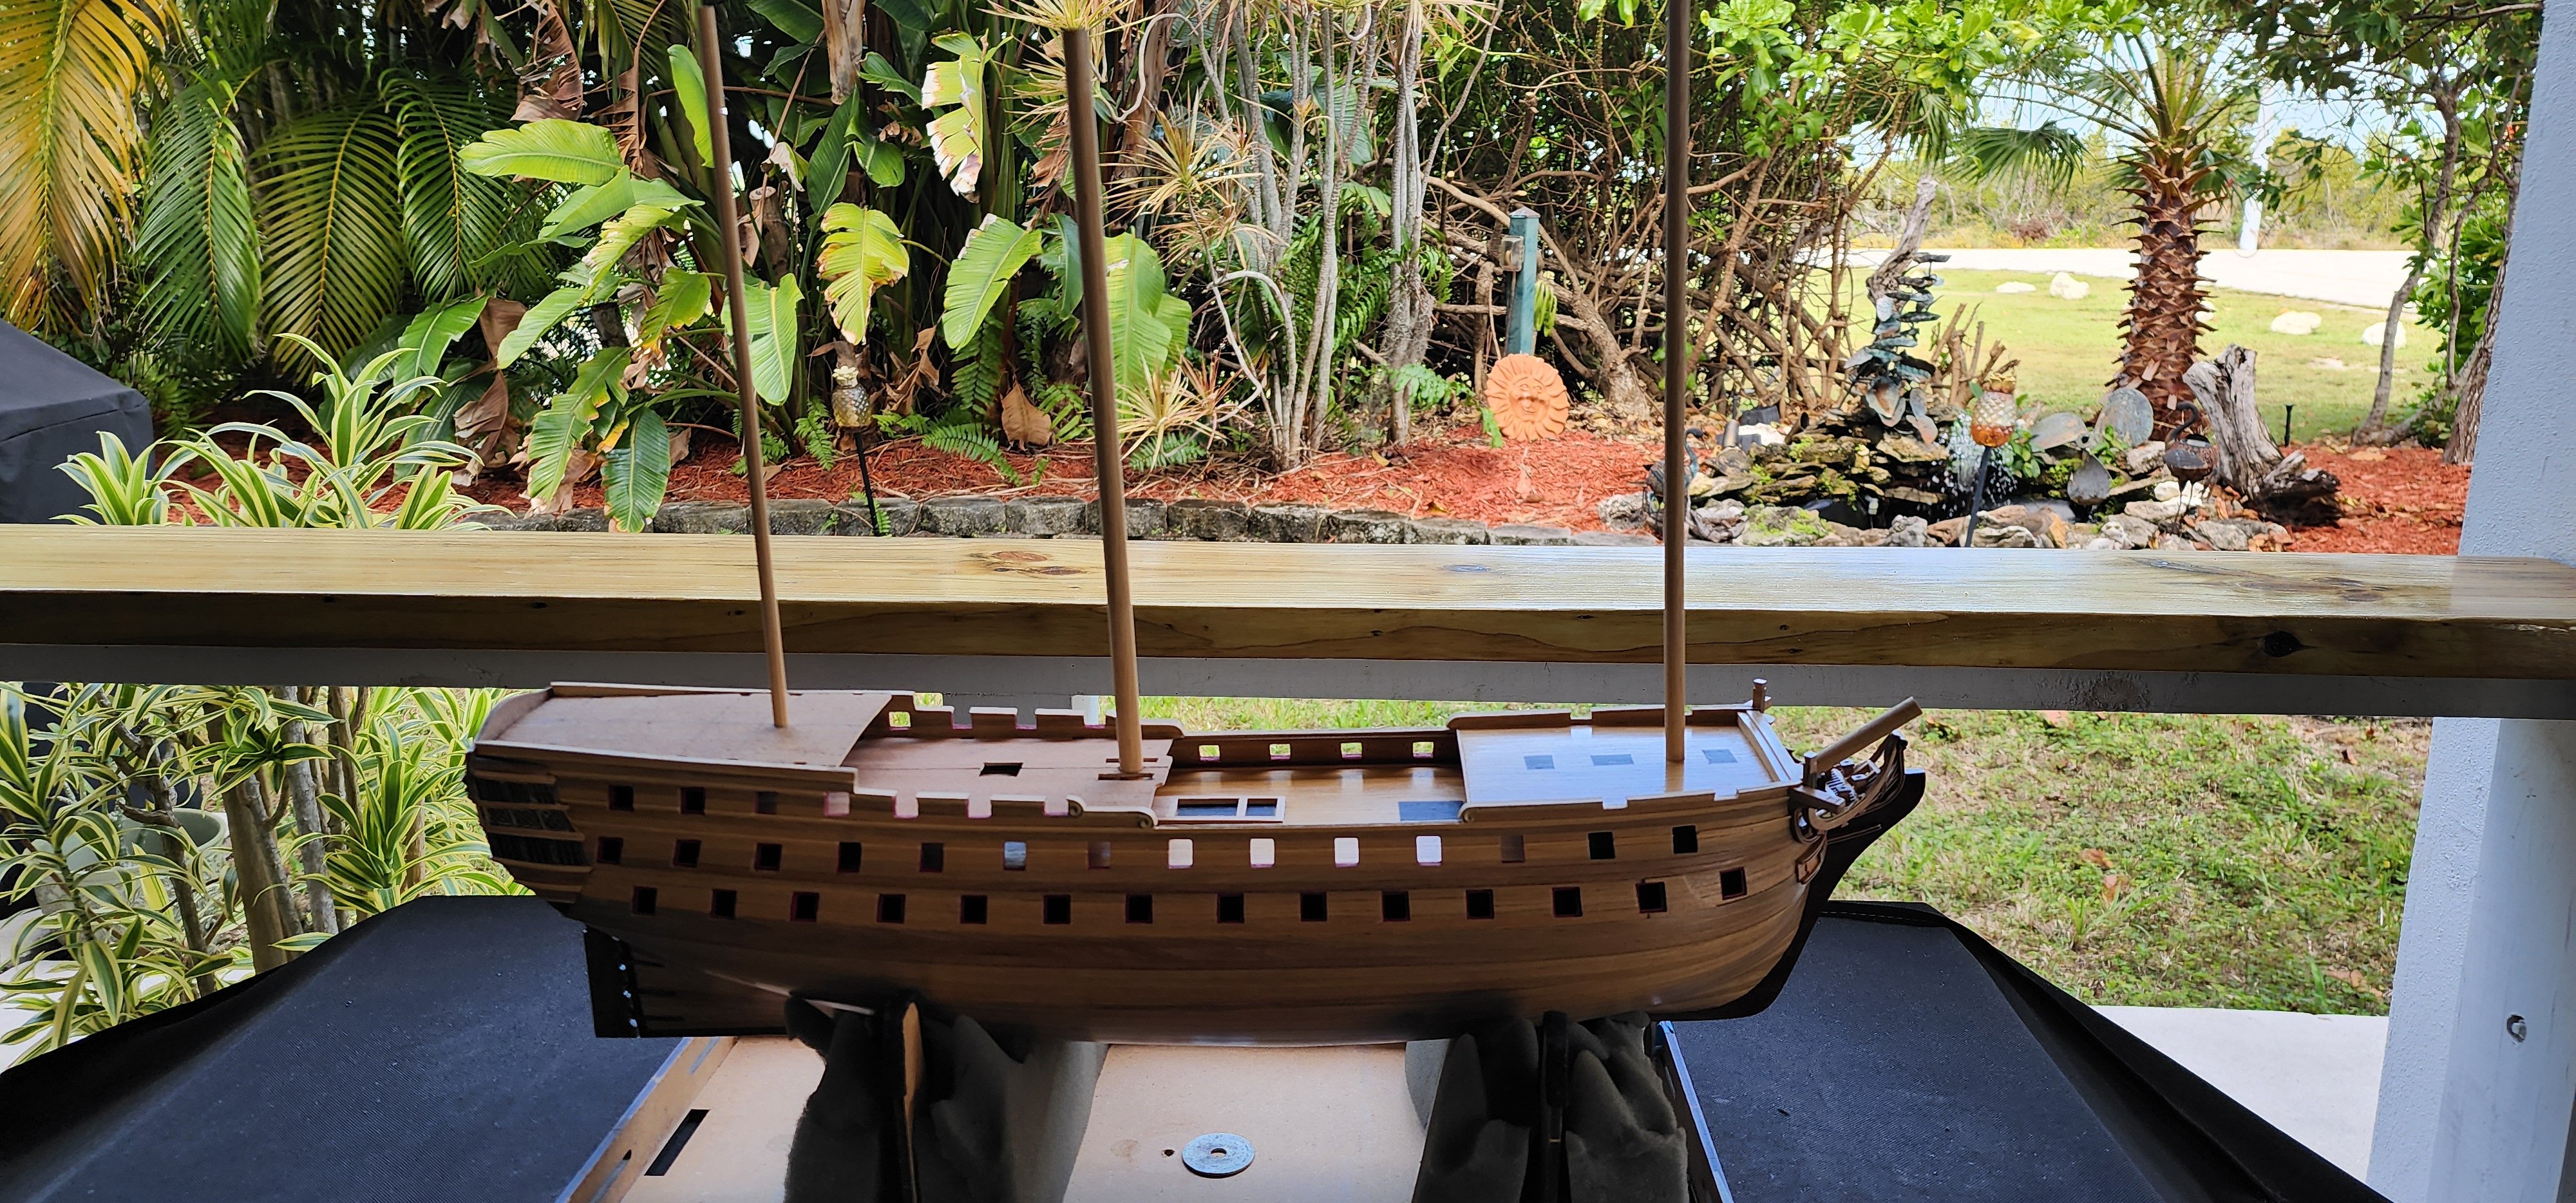
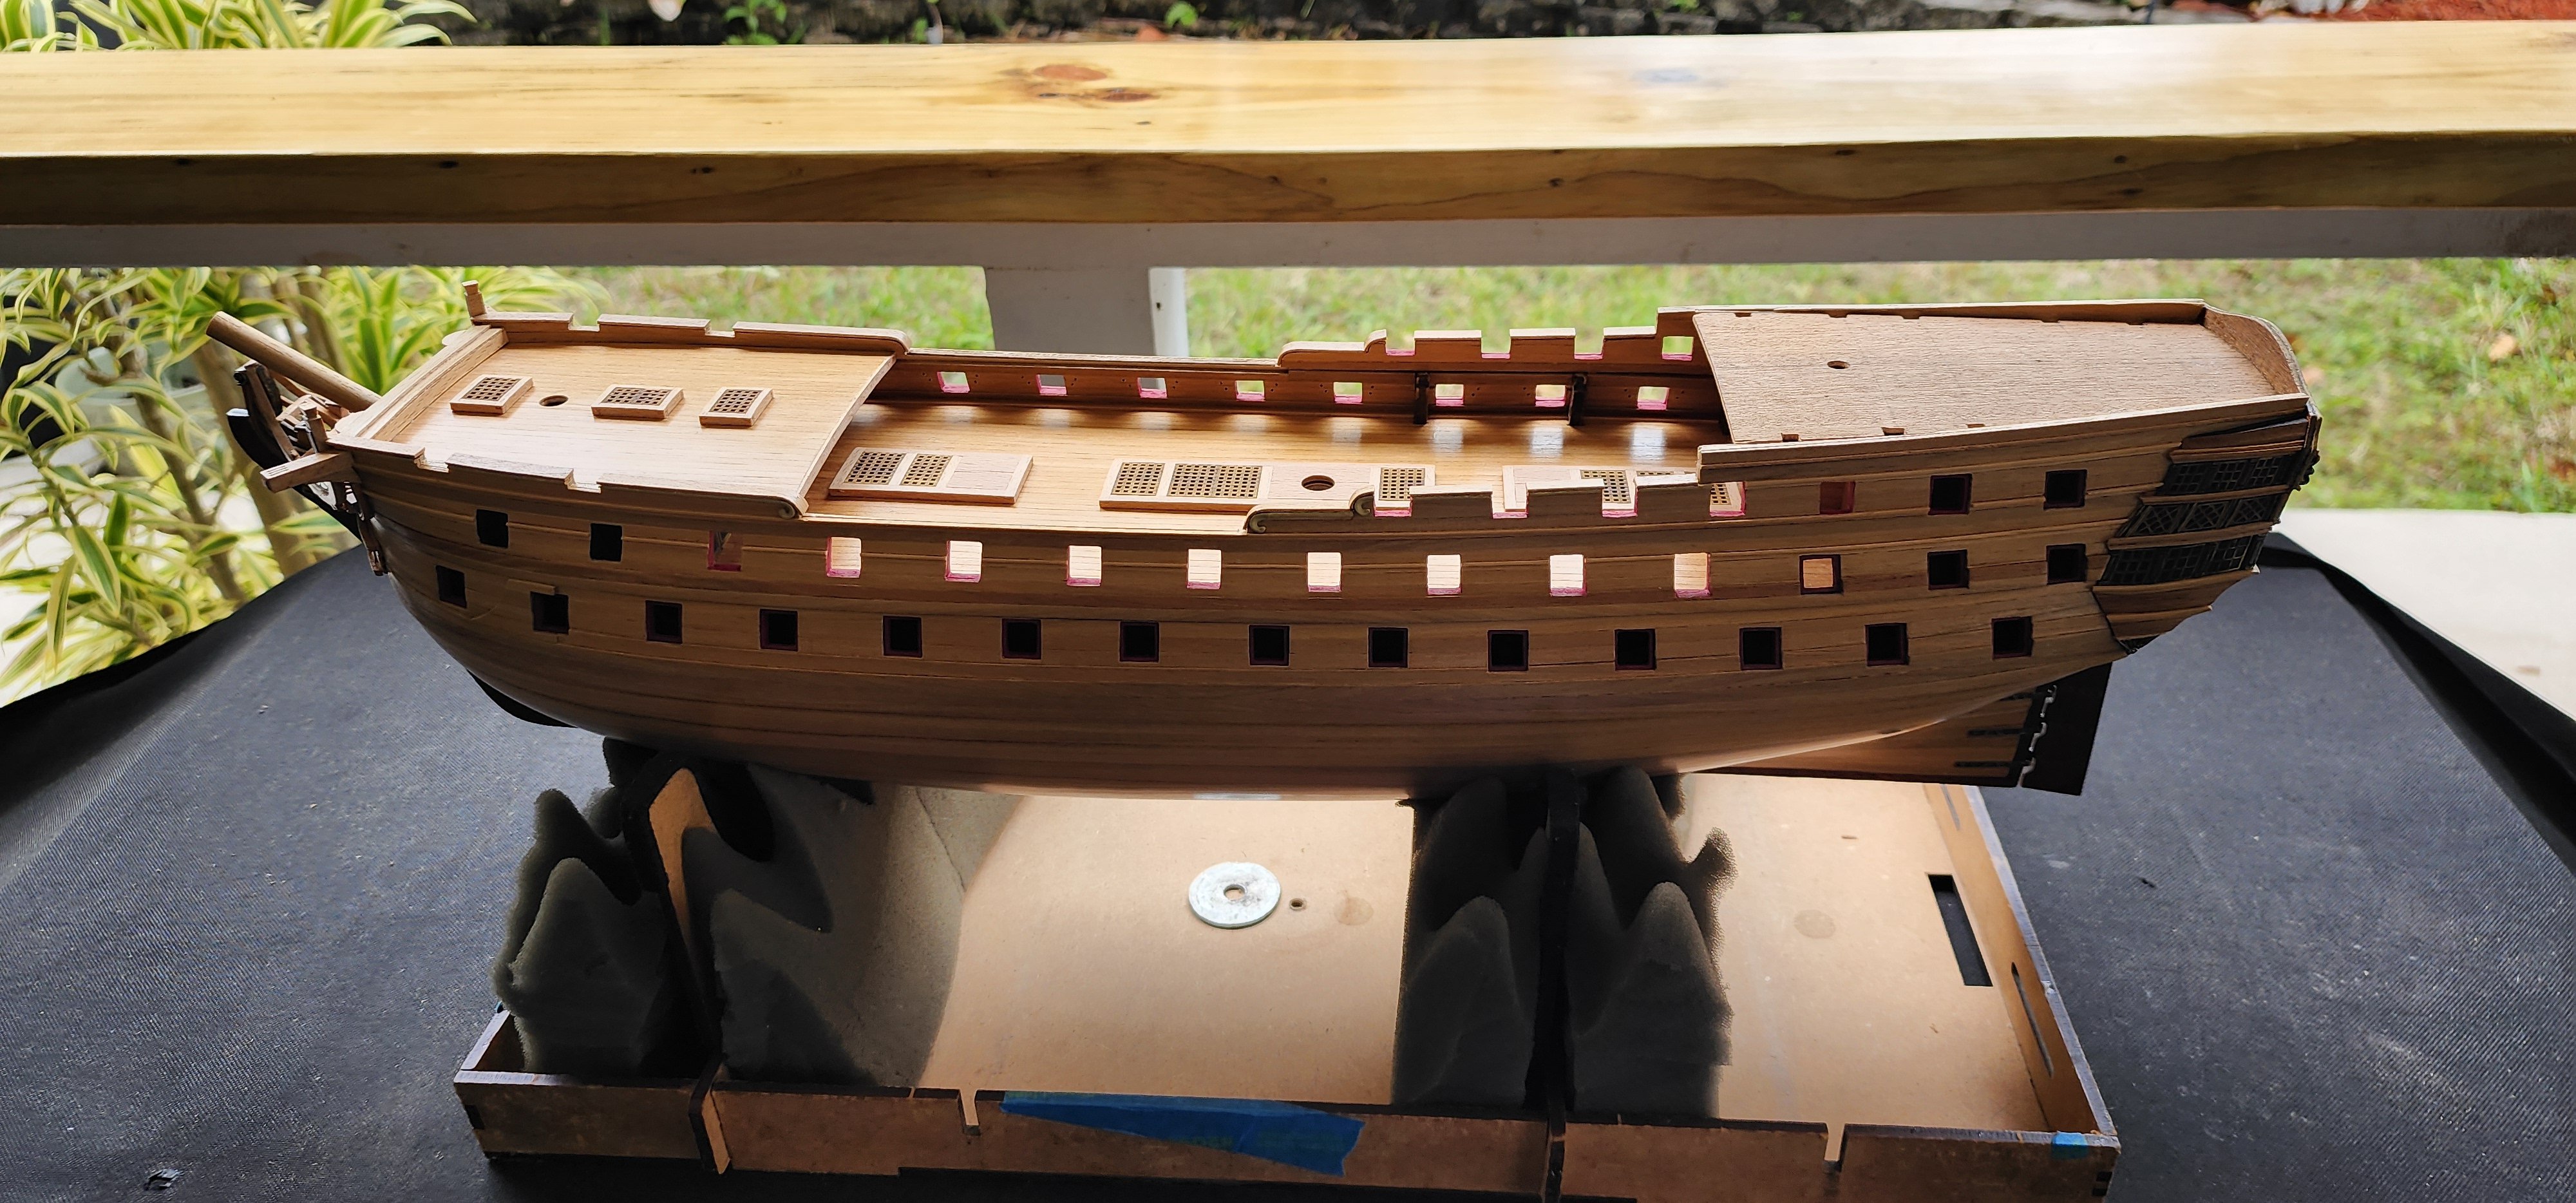
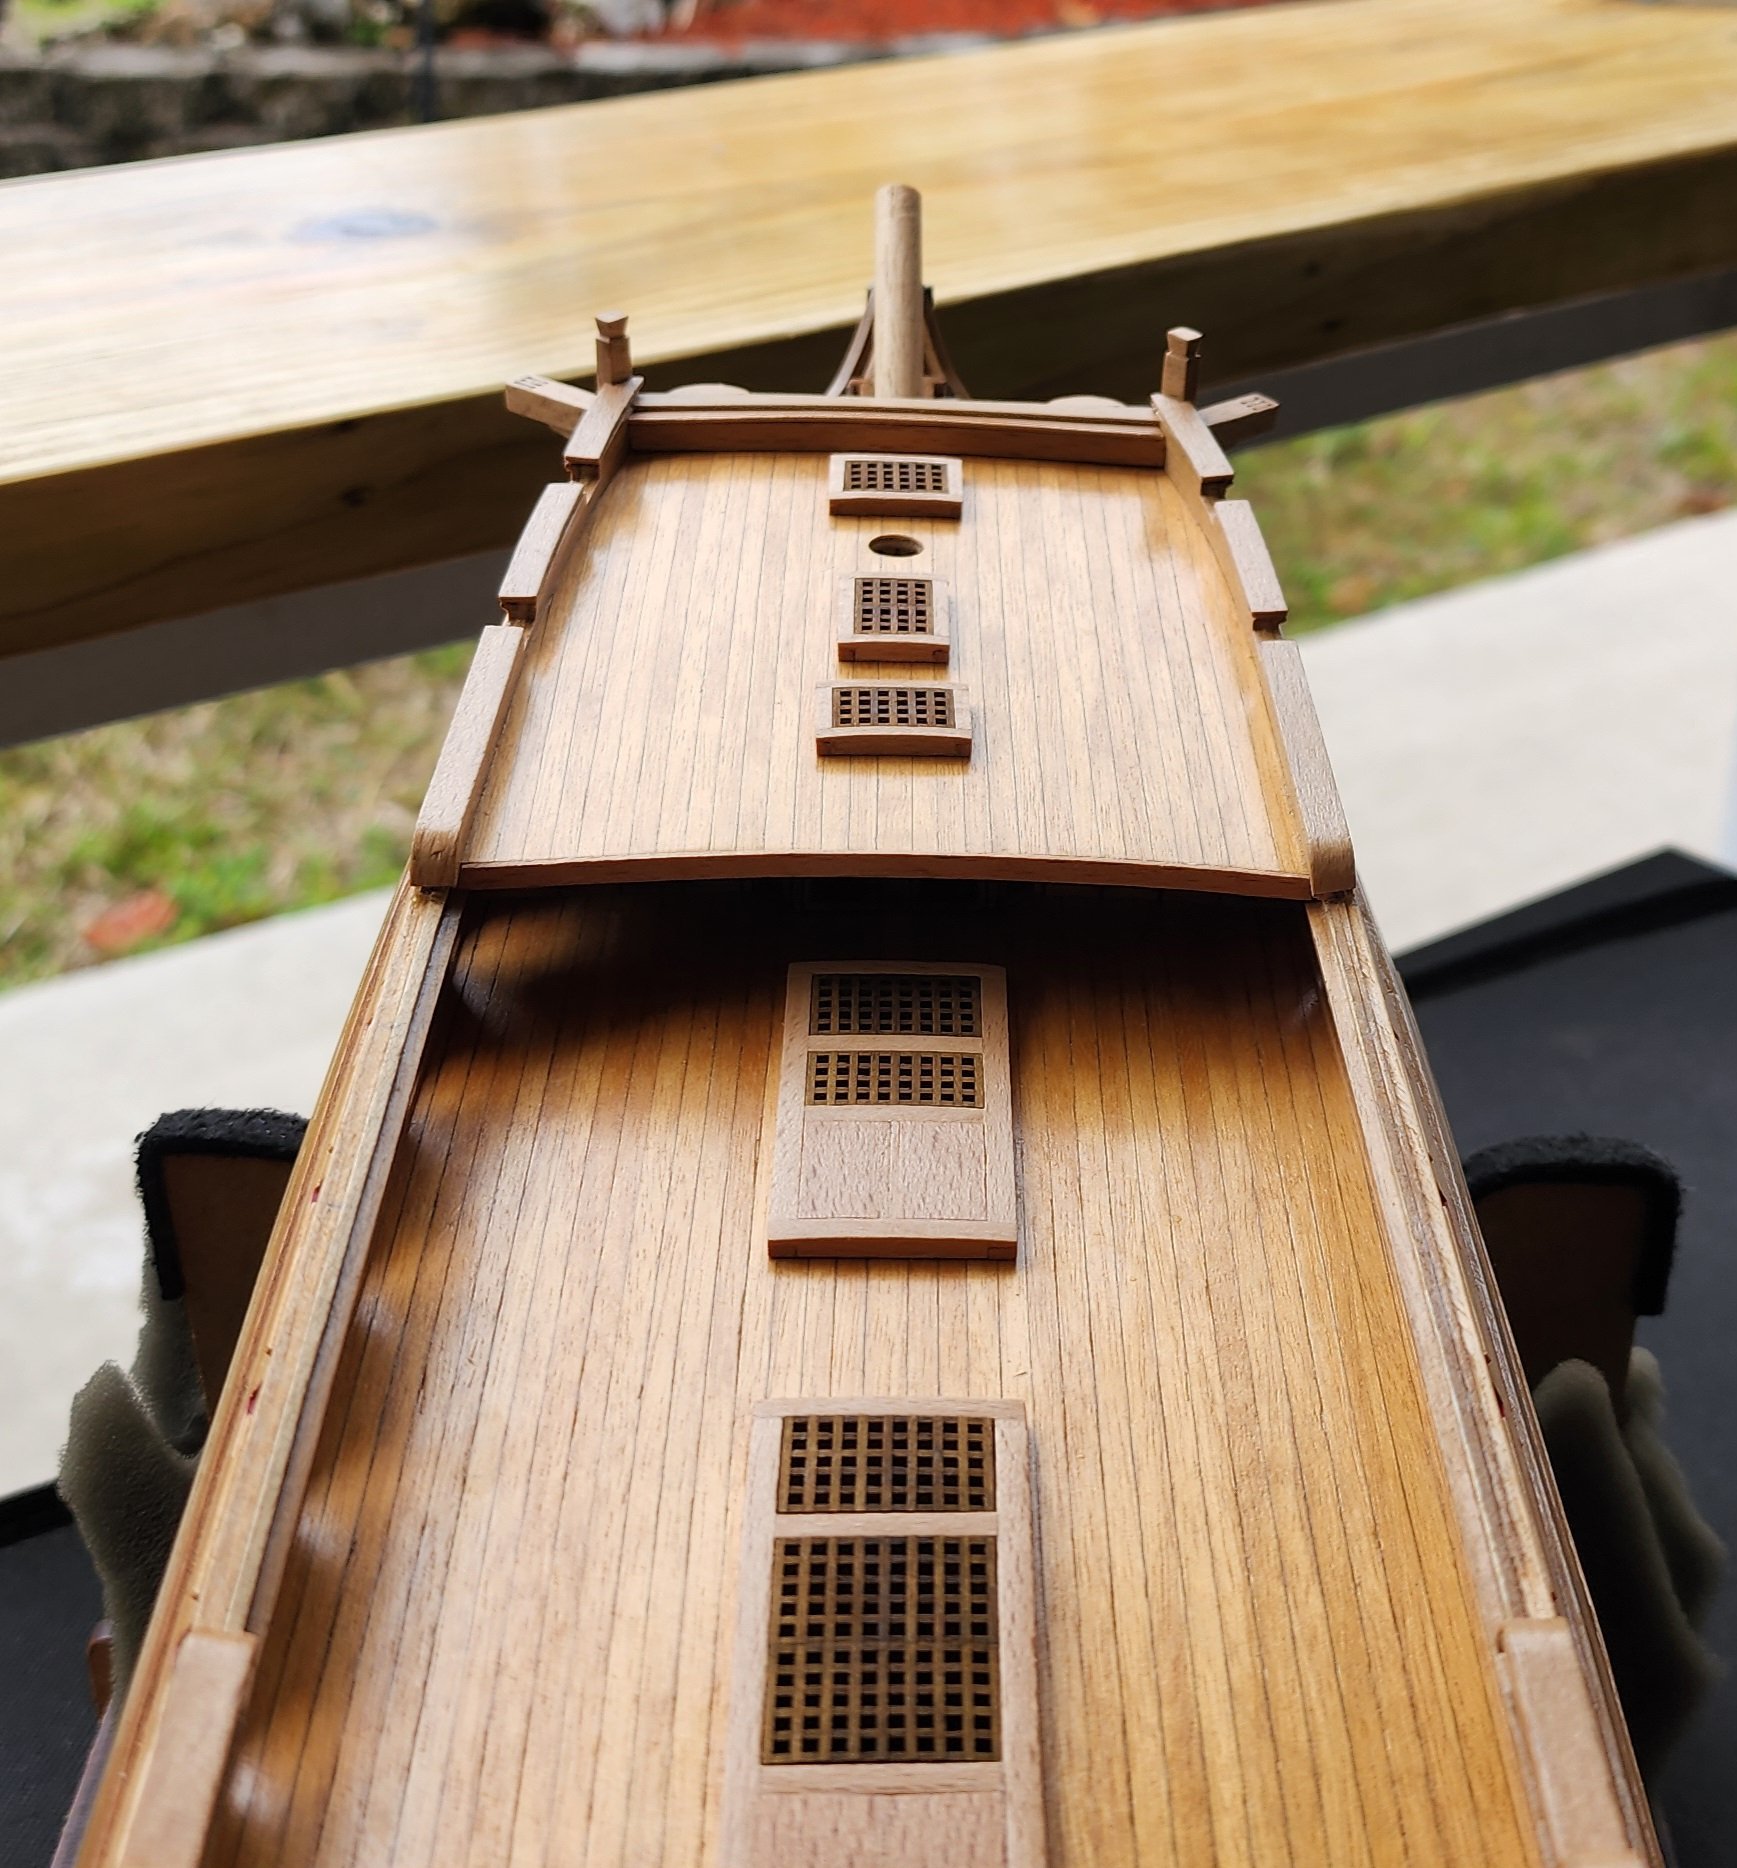
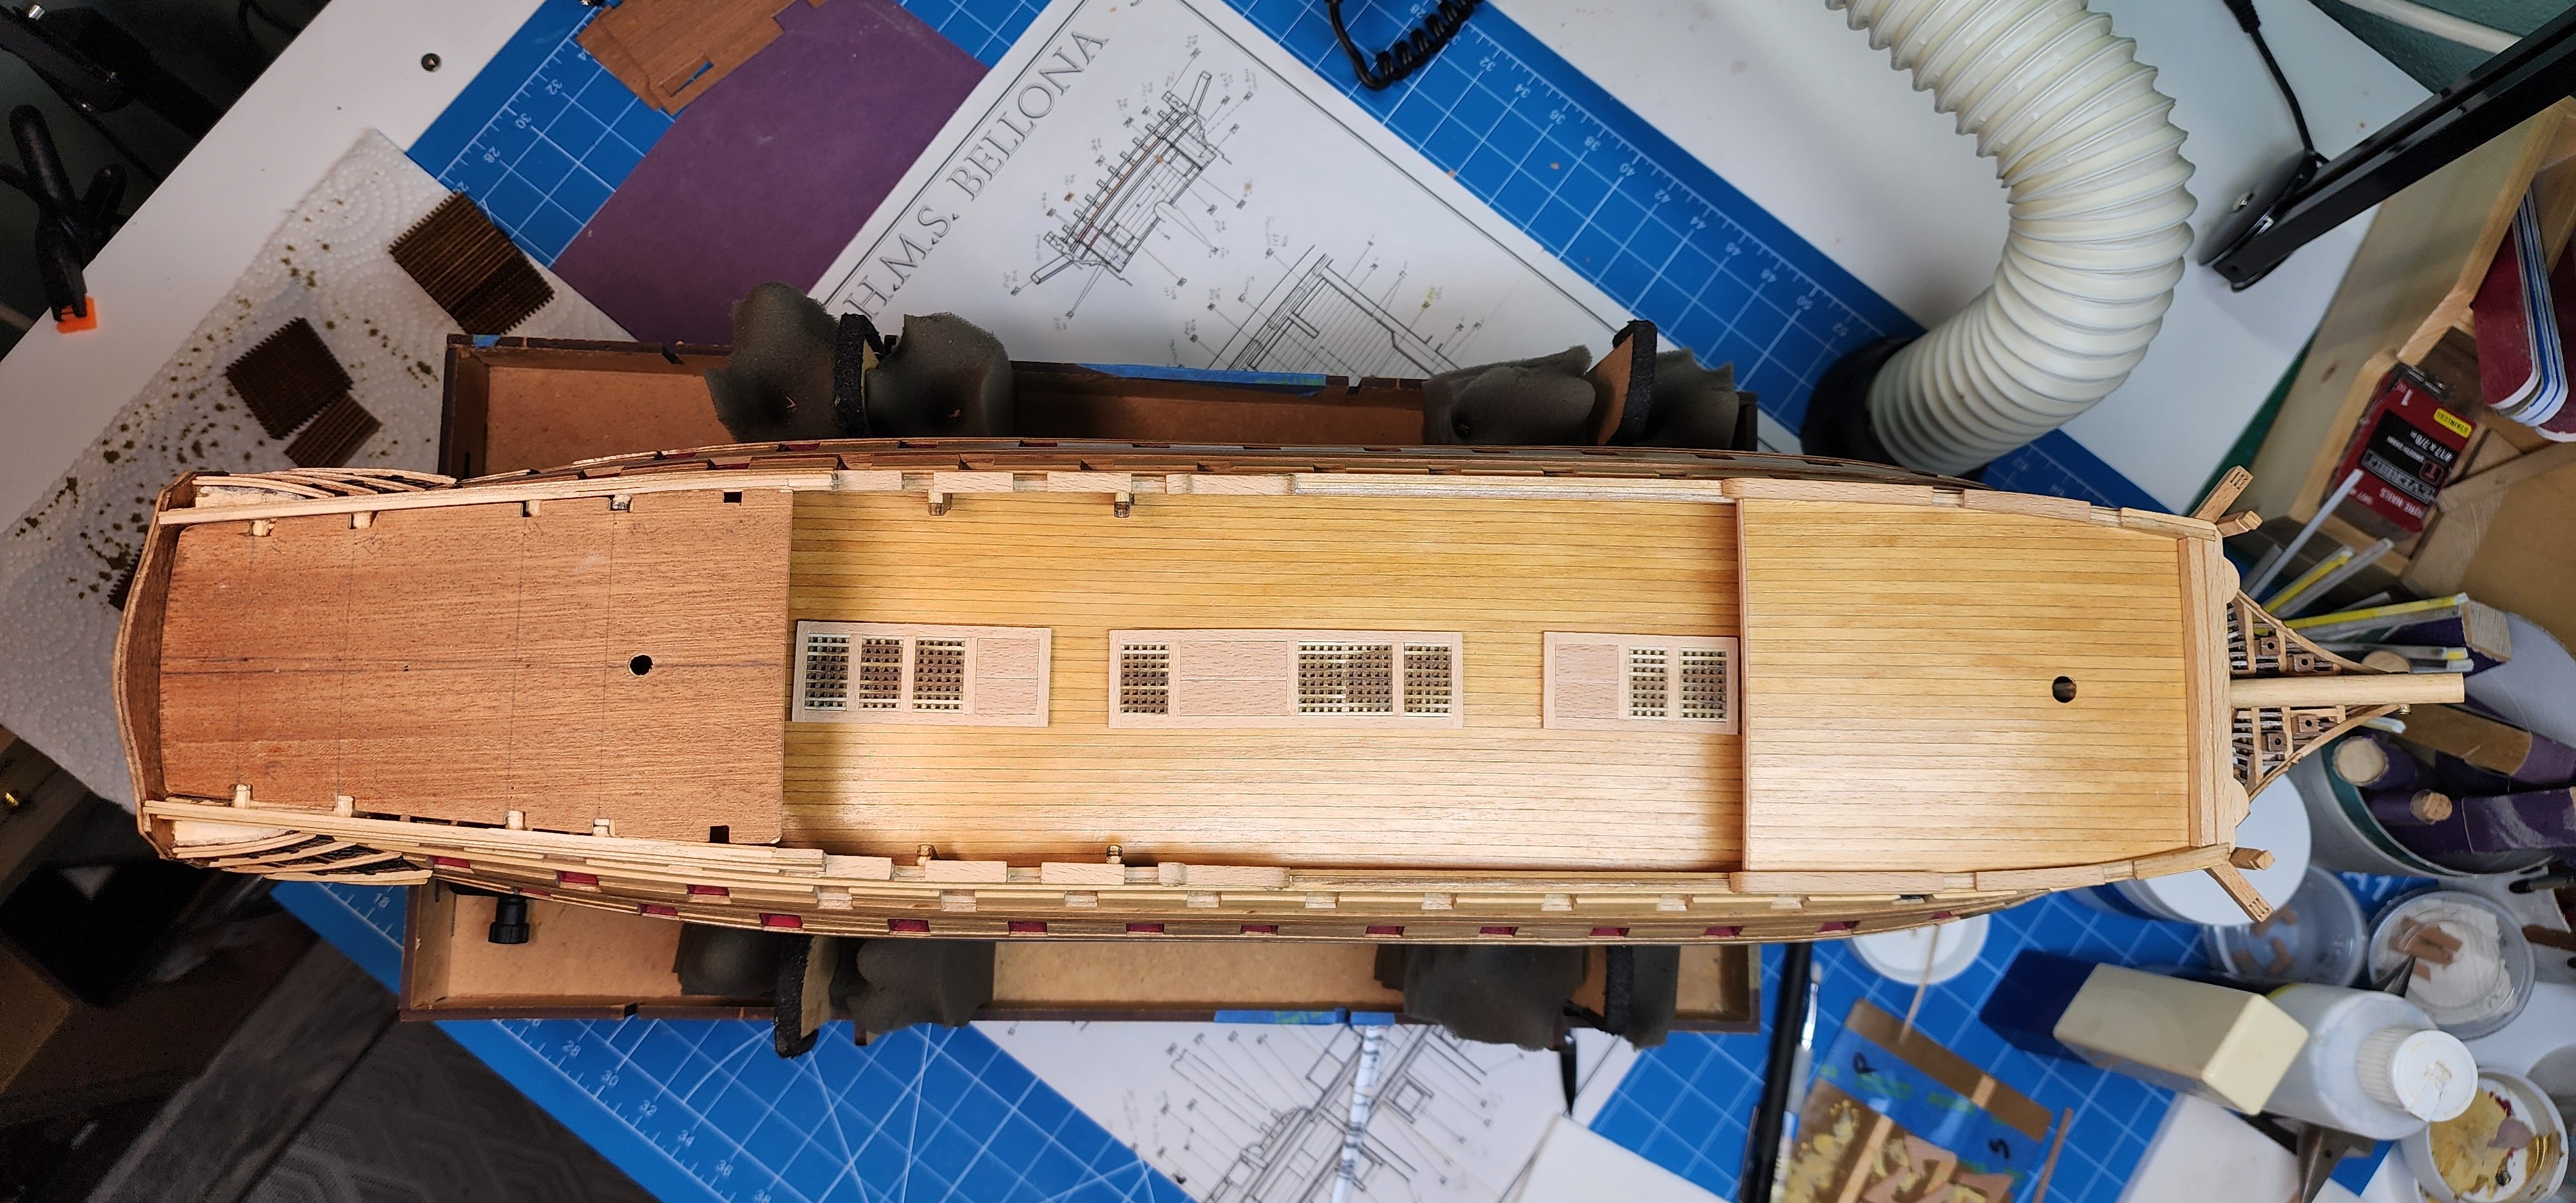
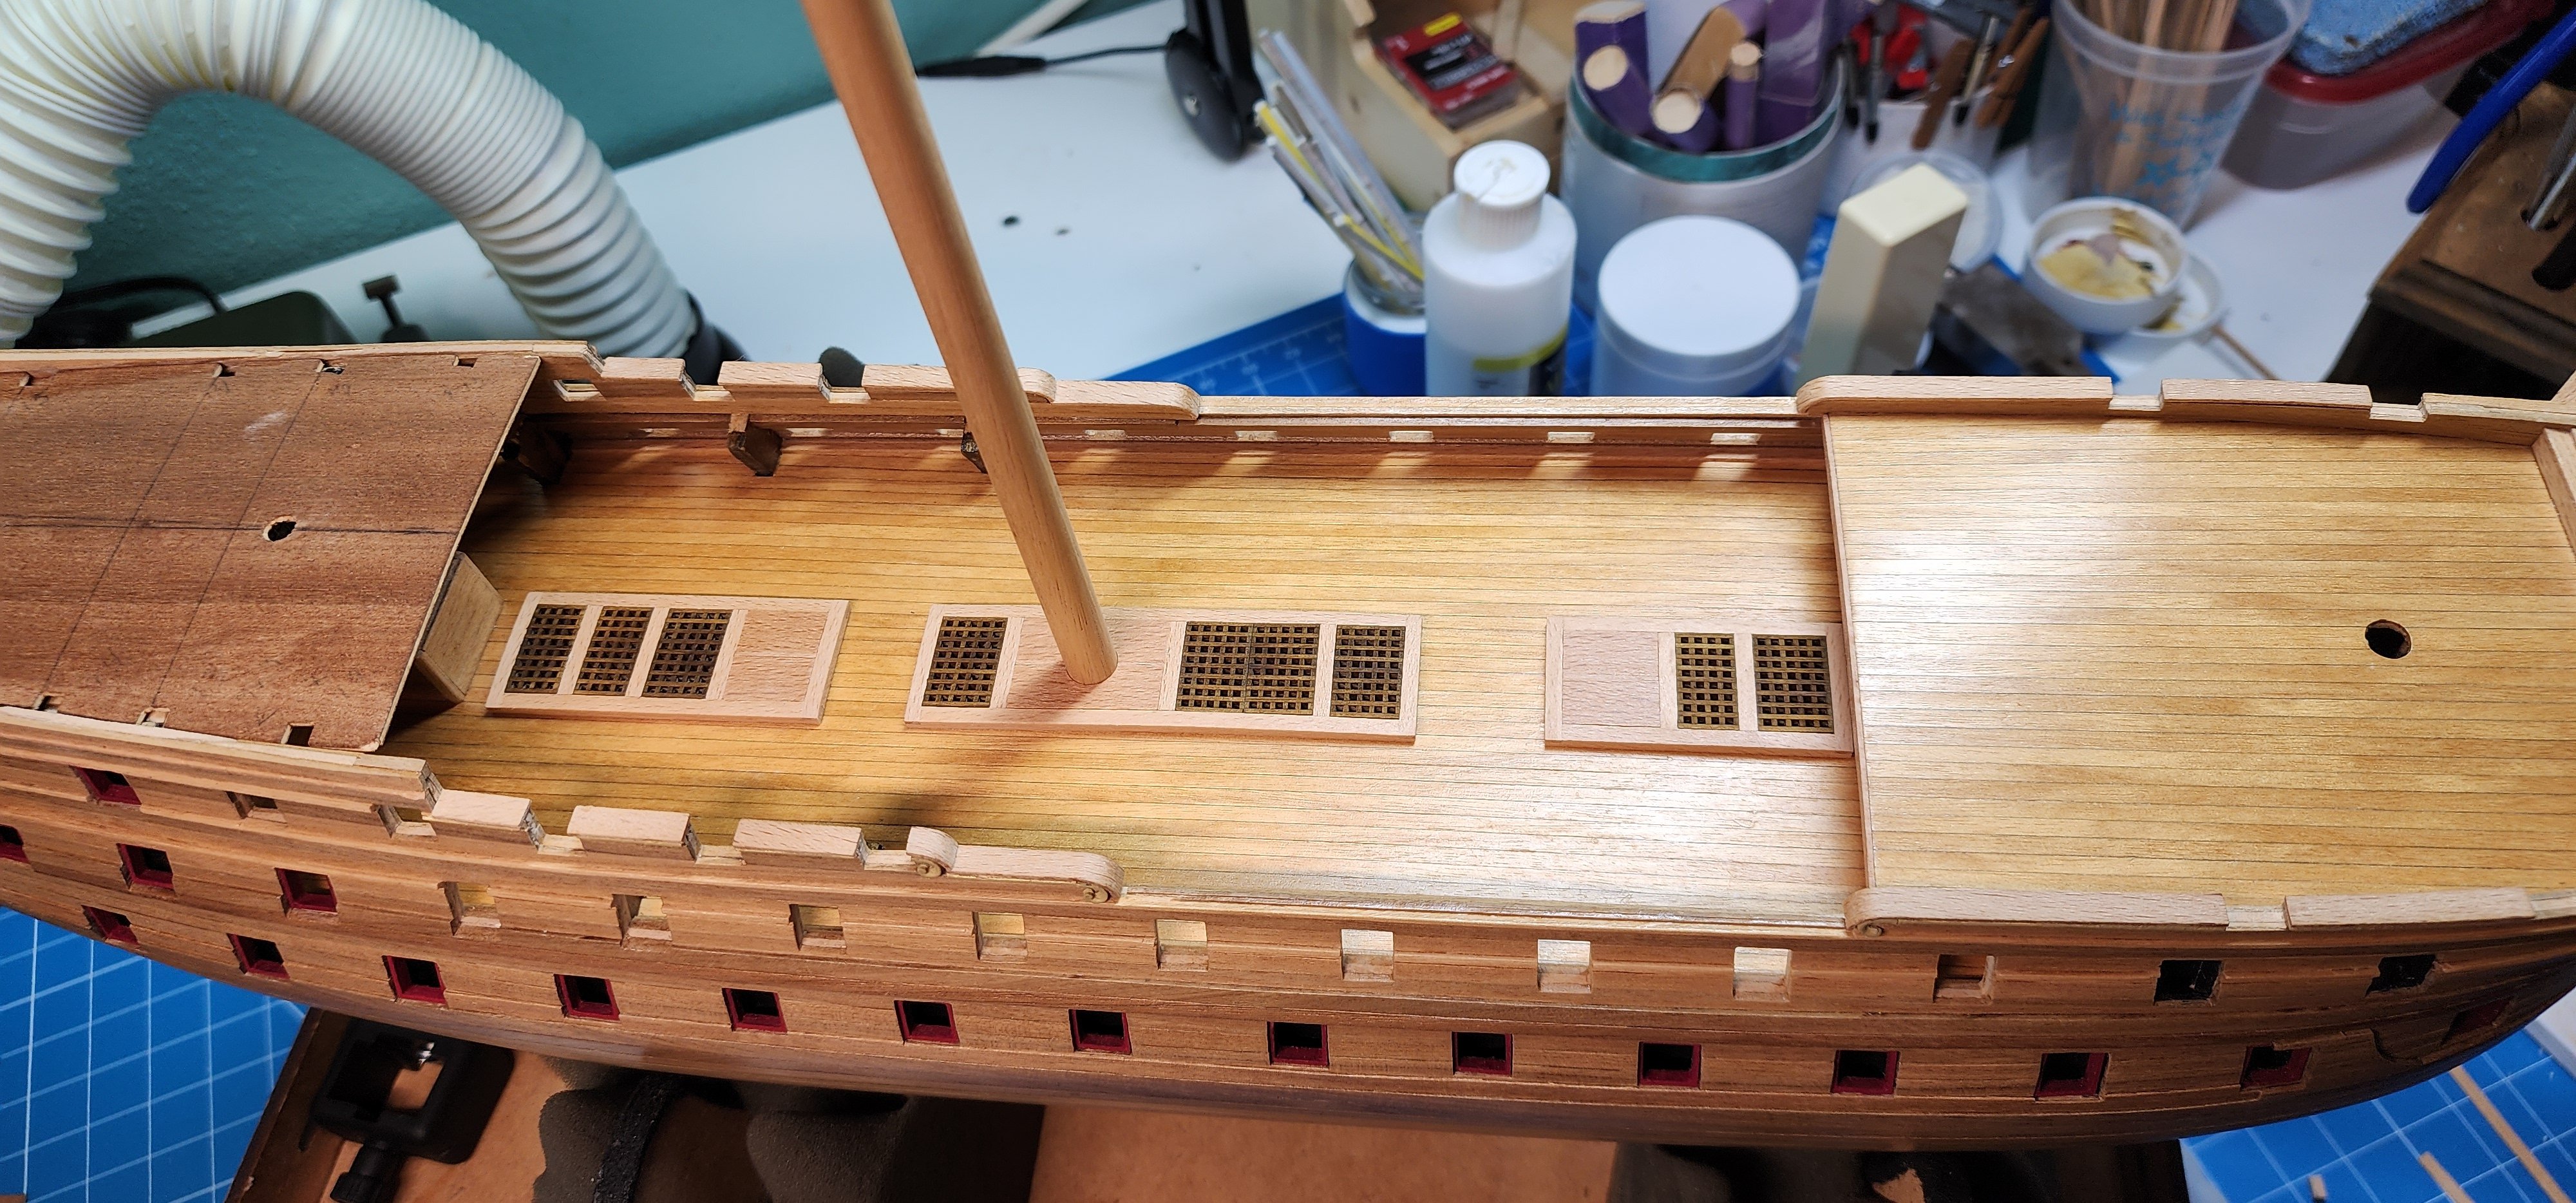
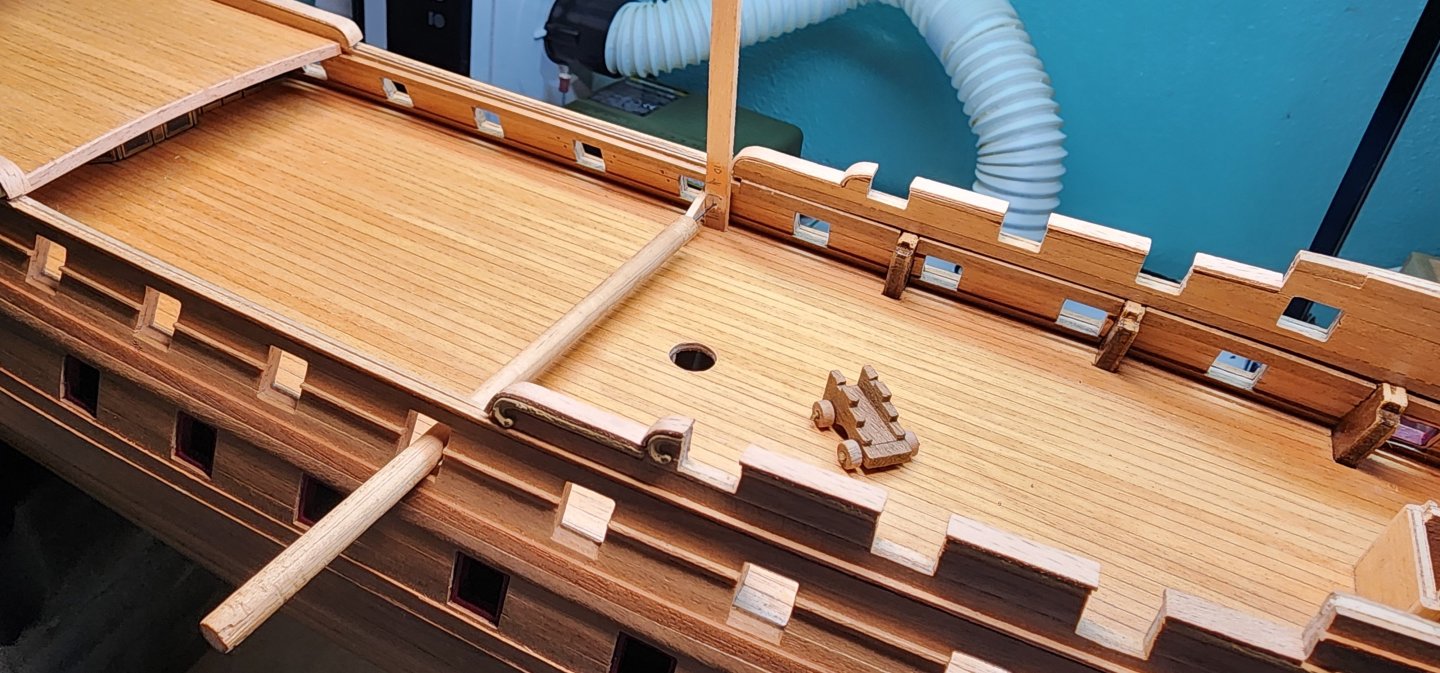
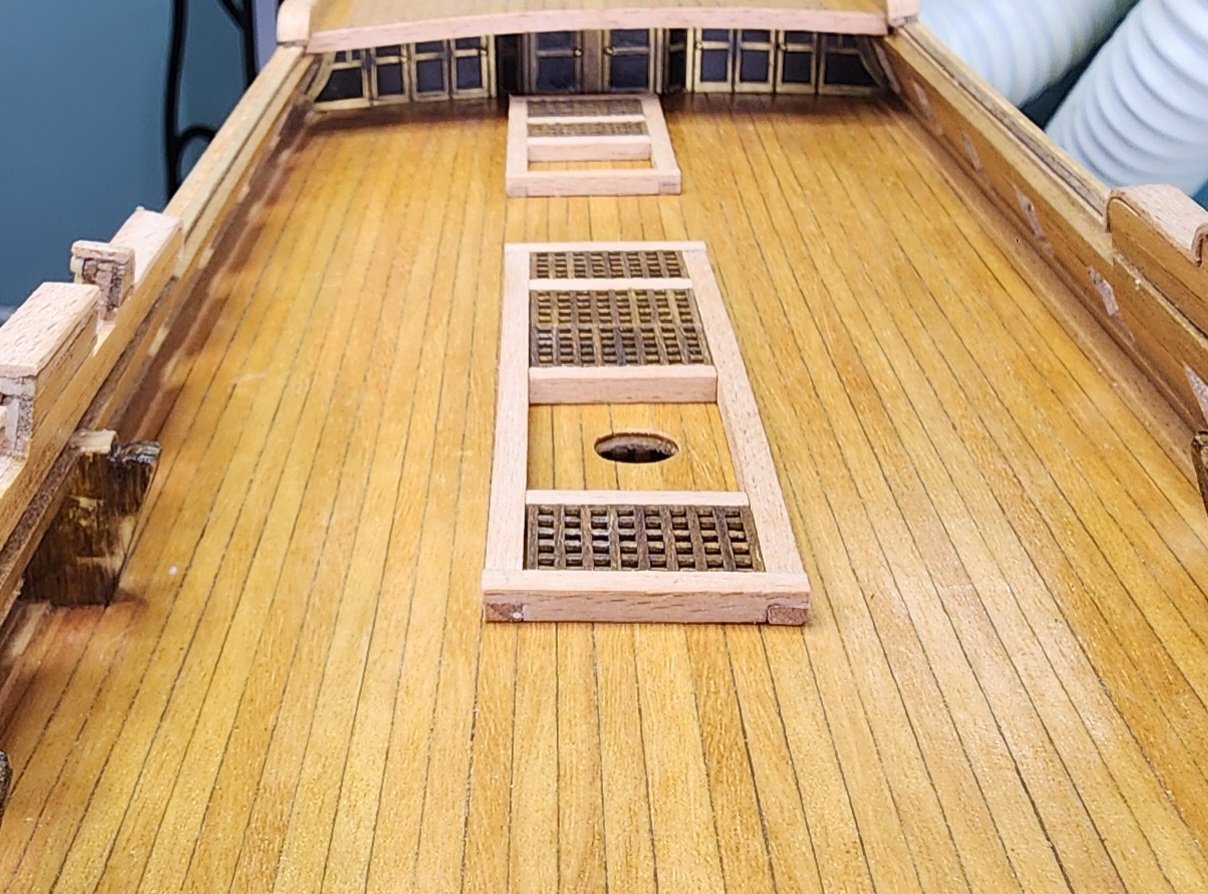
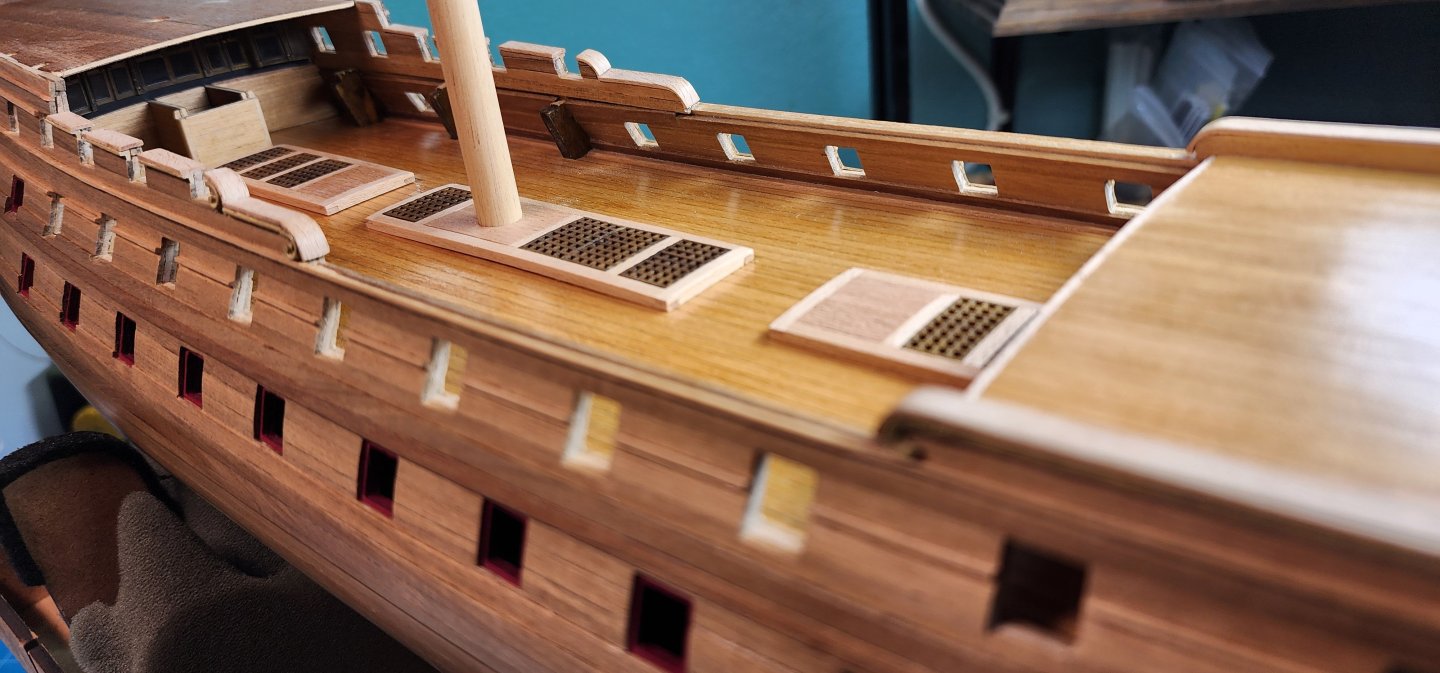
Hi All, Small update on the Bellona progress. I taped off and painted the deck where the grating will be with a matt black paint. Before I glued the grating in place I decided that I should dry fit the Quarter deck and gangways. I made the holes needed for the mast and did a dry fit check of the masts. This is the first time that Bellona has had her mast installed, kind of gives a good impression of the final look. After I was satisfied with the fit of the quarter deck and gangways, I glued the framing in place for the grating. I touched up the black paint that I scratched up during the dry fitting of the quarter deck and then glued the grates in place. I also installed the remaining sheer plank on the forecastle bulwark. Well that’s all I have for now, I will provide another update when I make some more progress. I have been working a little bit on the cannons, but that’s for another post. Thanks for reading and as always, your comments and guidance are always welcome. Cheers Nearshore


-
Hi Valeriy, I look forward to following your progress. You are truly a master of your craft. Thank you for sharing your progress and technics with us. Nearshore
-
Hi John, Welcome aboard. MSW is a fantastic site with an abundance of information. Good luck on your journey!! Nearshore
-
Hi Saltyscot, Thank you for the compliment. Nearshore
-
Hi Fritz, The diminishing of the wales at the stem was brought to my attention early on in my build. There is a forum dedicated to the subject on MSW. It is very informative. Thanks for the compliment!! Nearshore
-
Hi Harlequin, I have studied your build log, and your log has helped me a great deal with the challenges that come with building this model. You did a great job building this ship. I still go back quite often and study the pictures you provided during your build. Nearshore
-
Hi Javelin, Thank you for the compliment. Nearshore
-
Thank you. Nearshore
-
Thank you Chris. Your compliment means a lot. I hope to be able to build one of your quality kits in the future. Nearshore
-
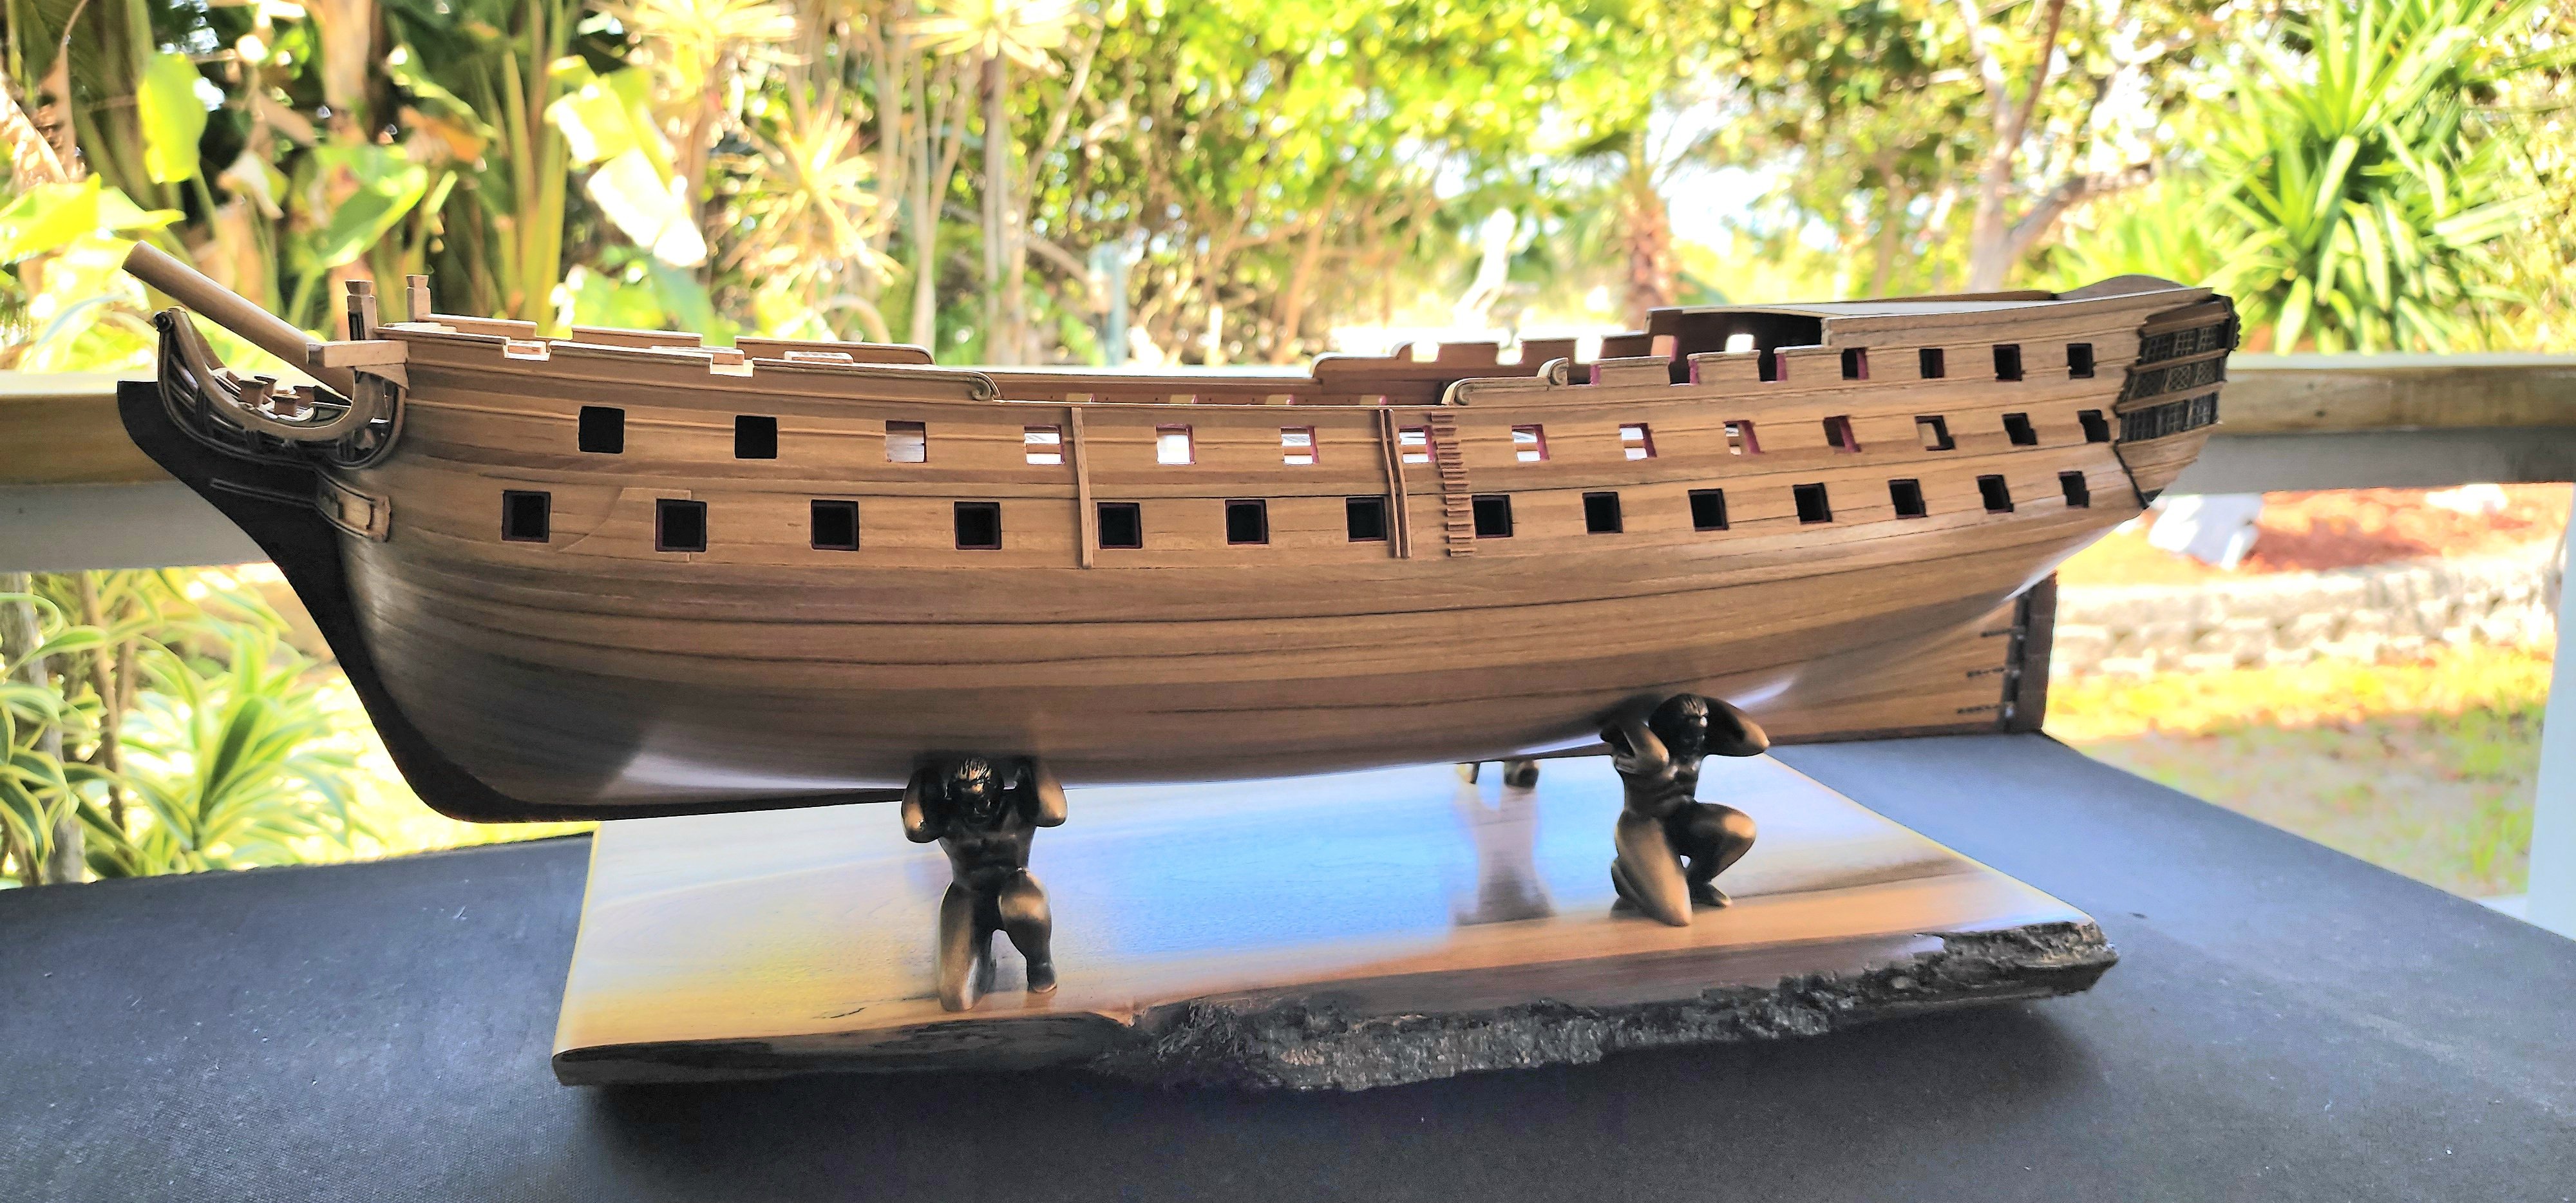
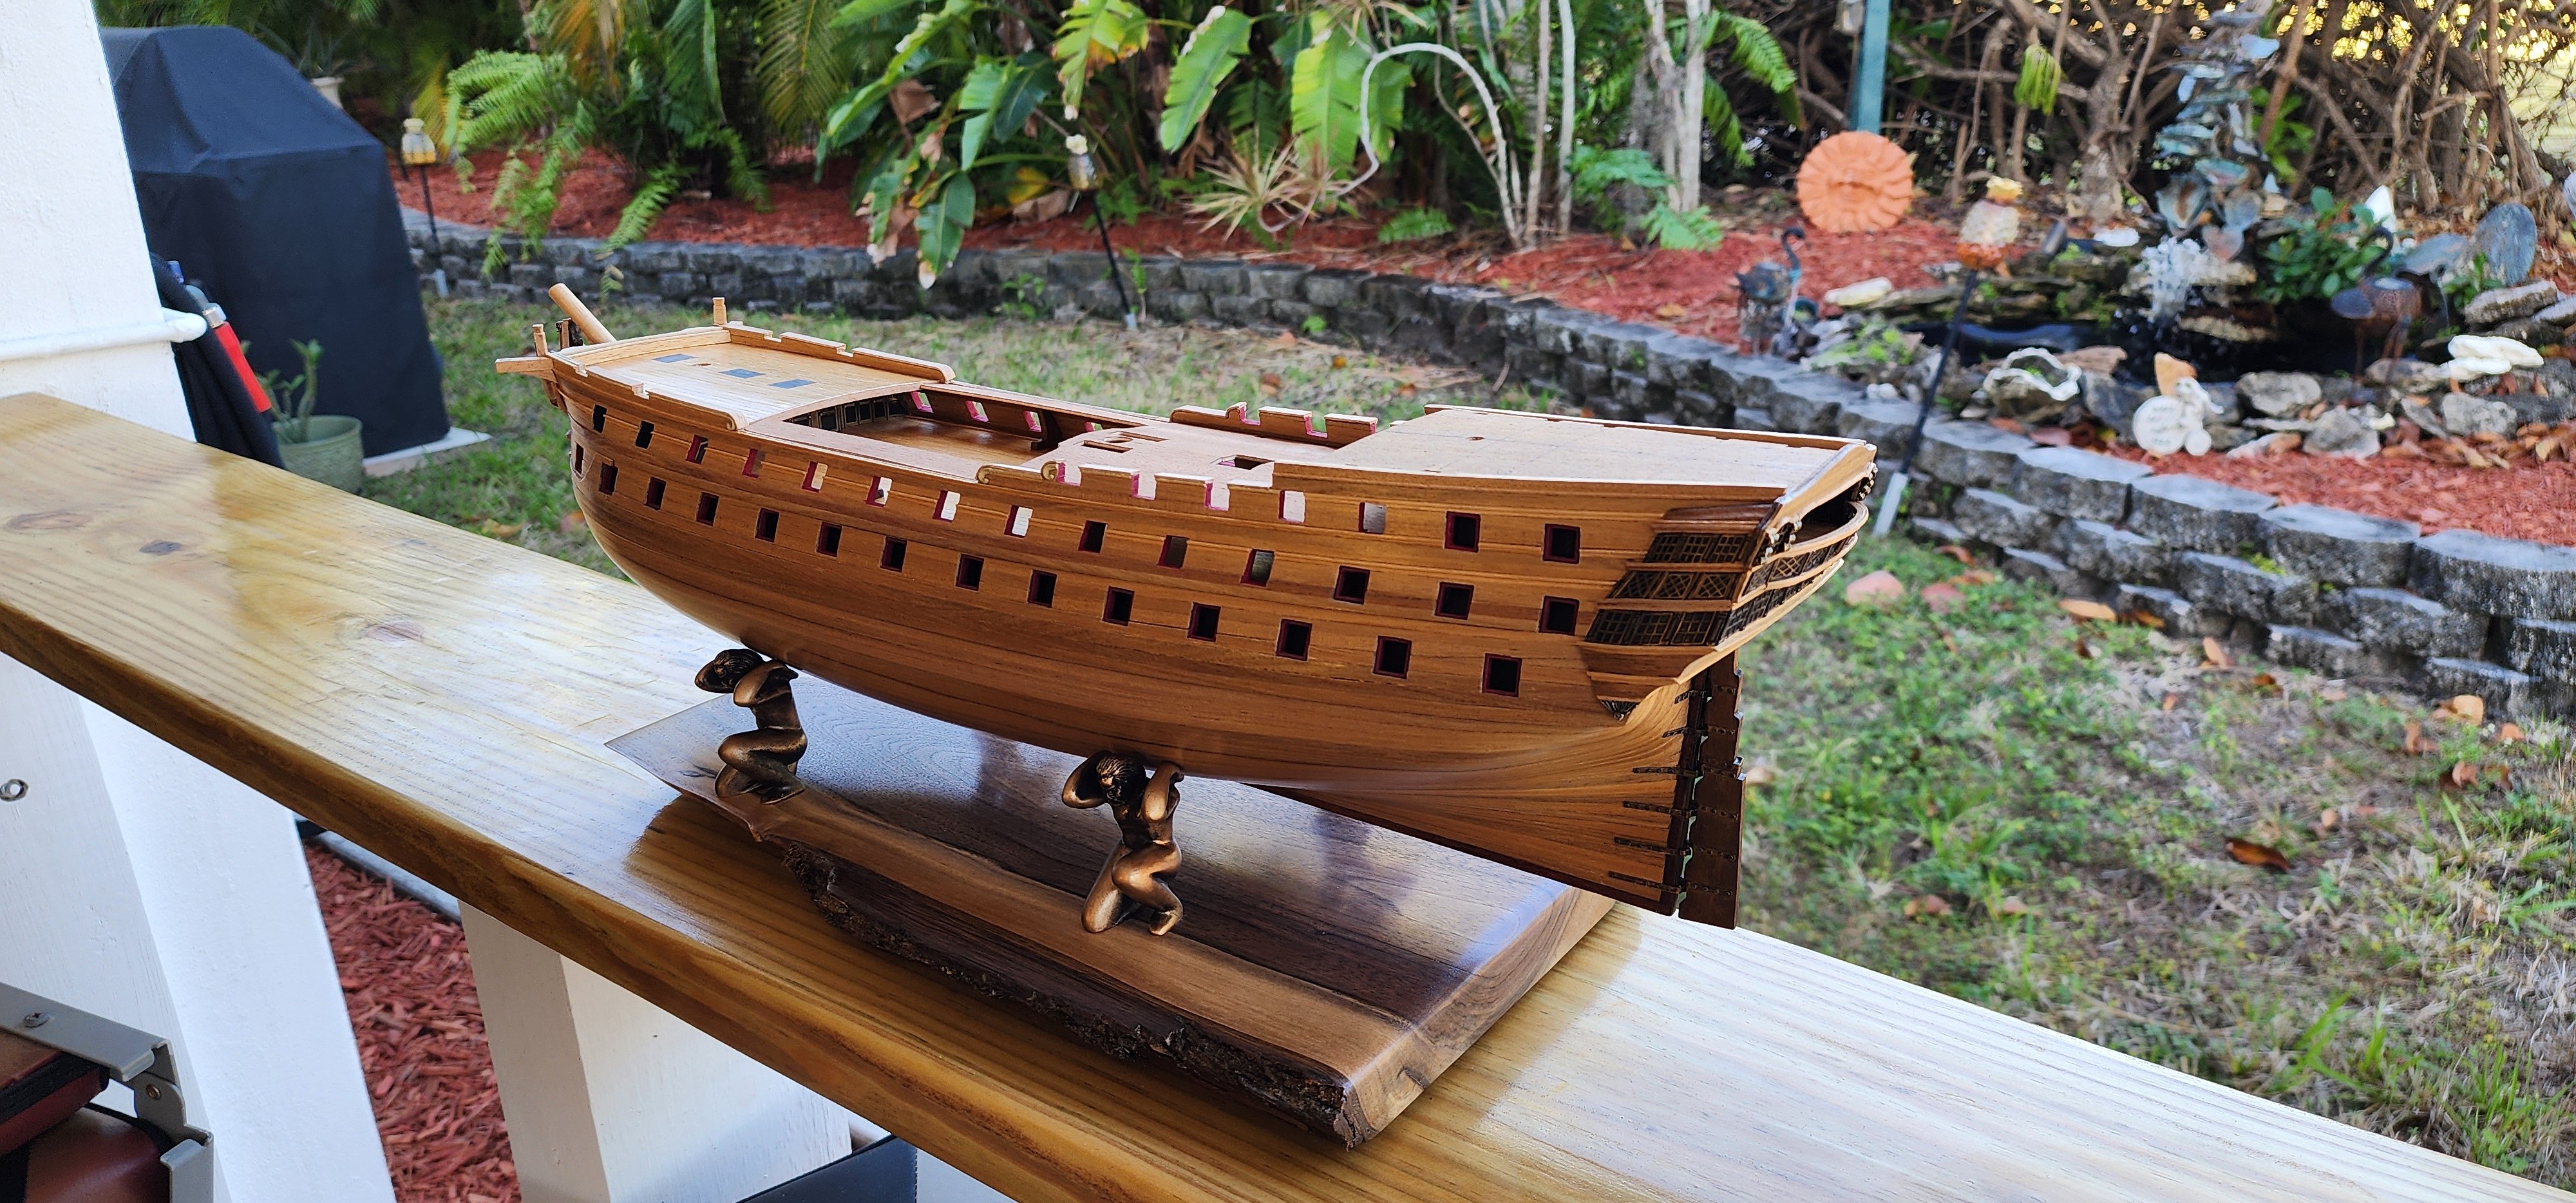
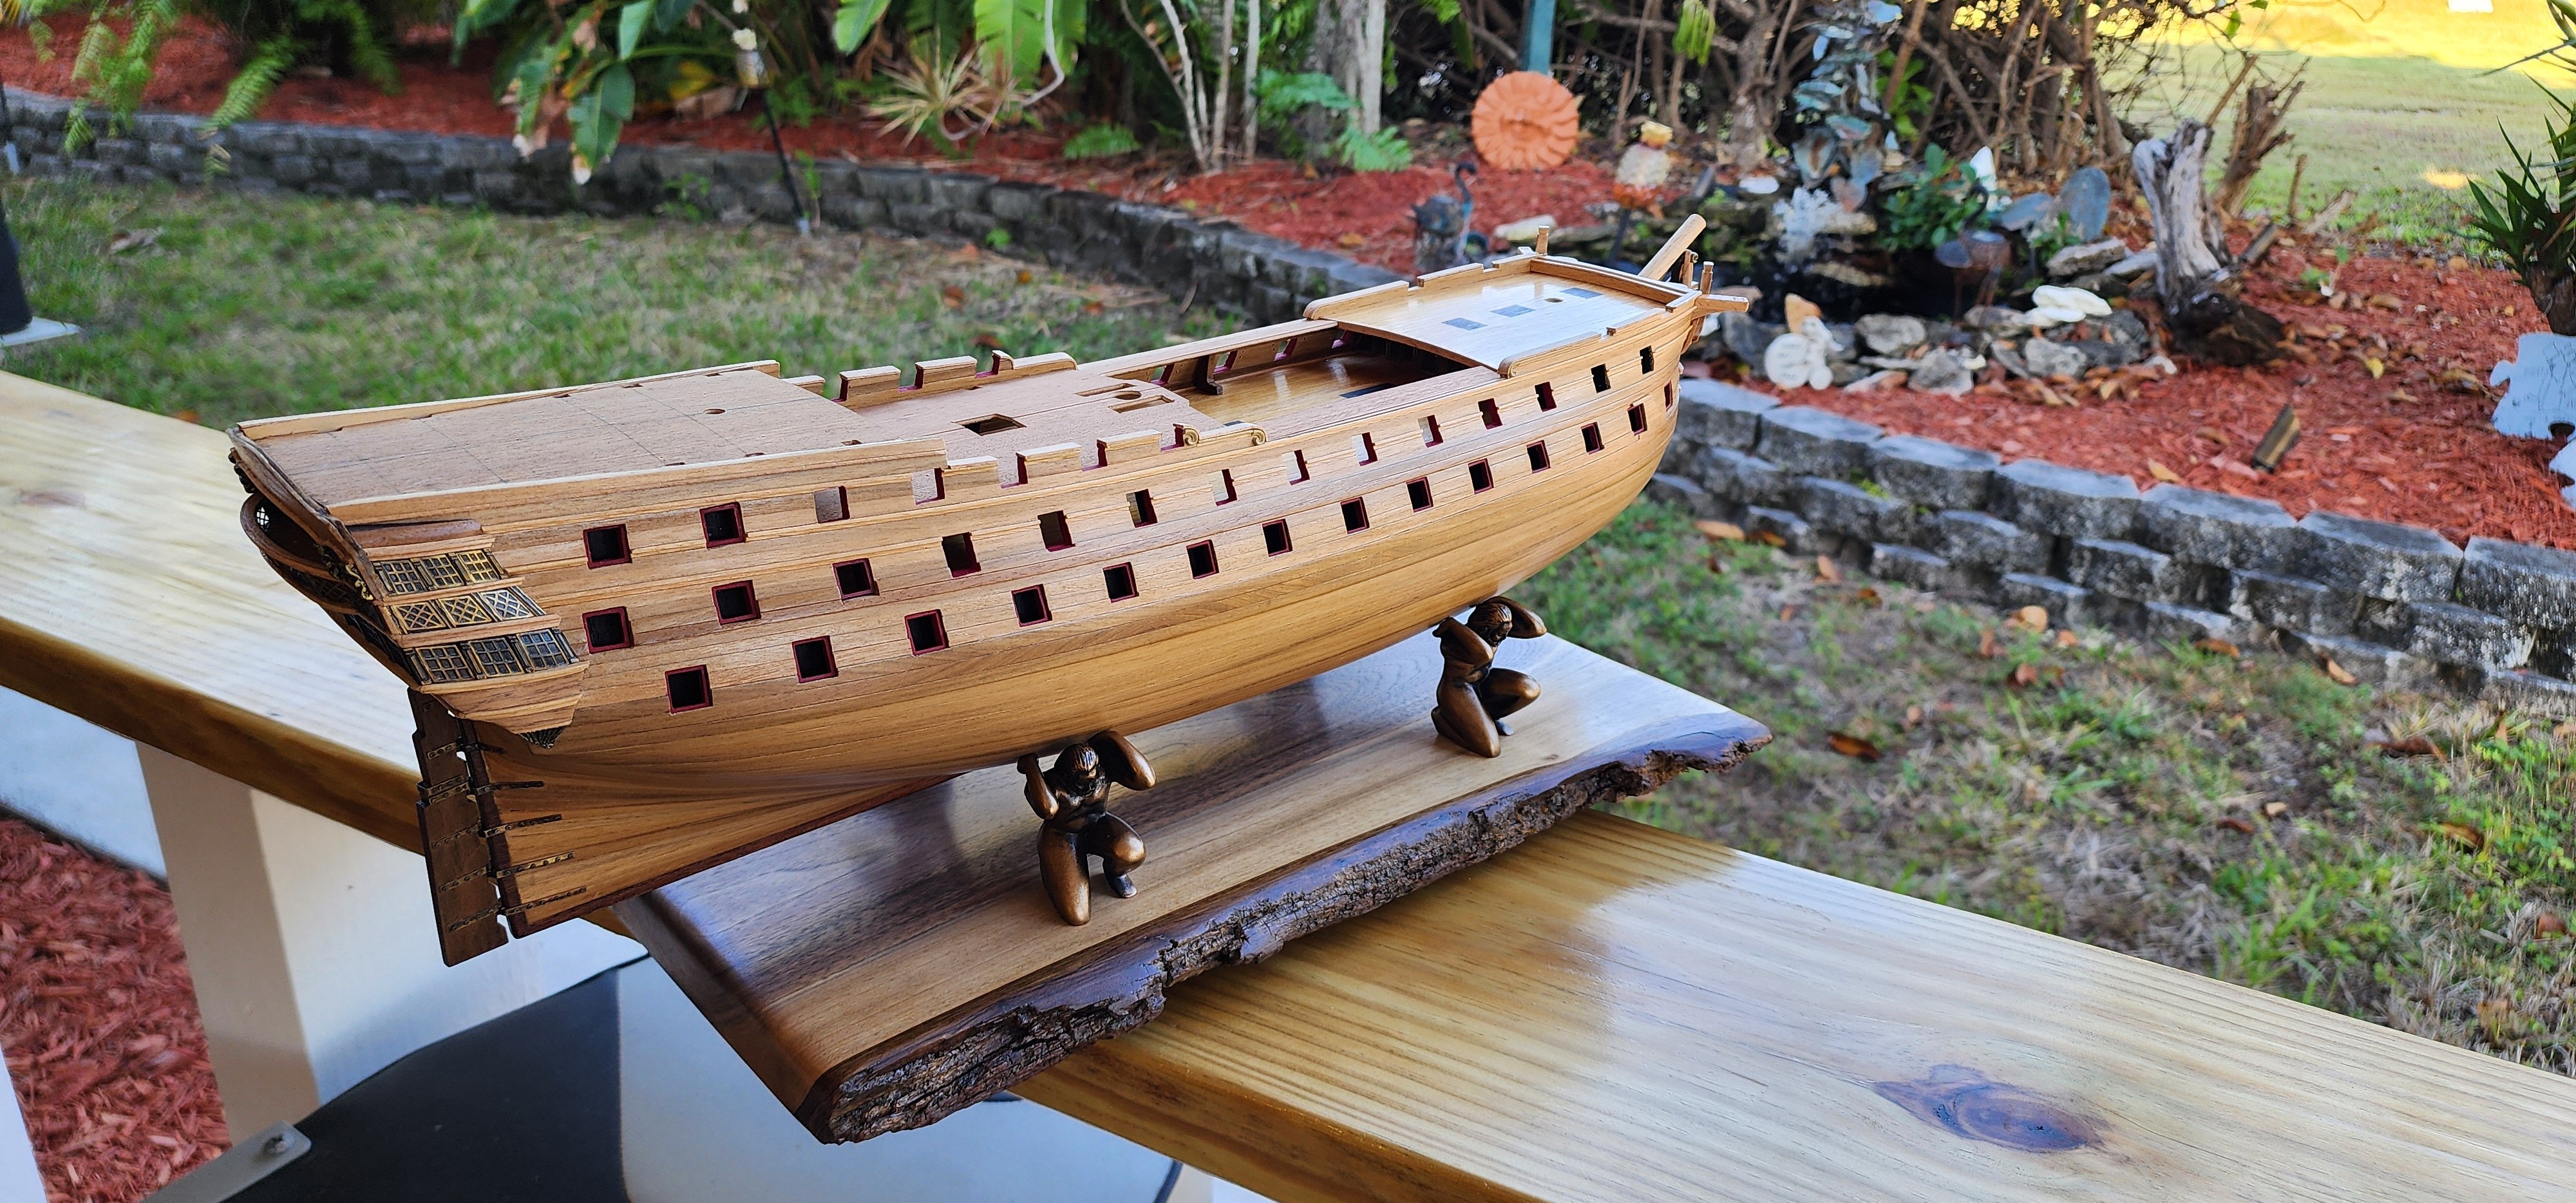
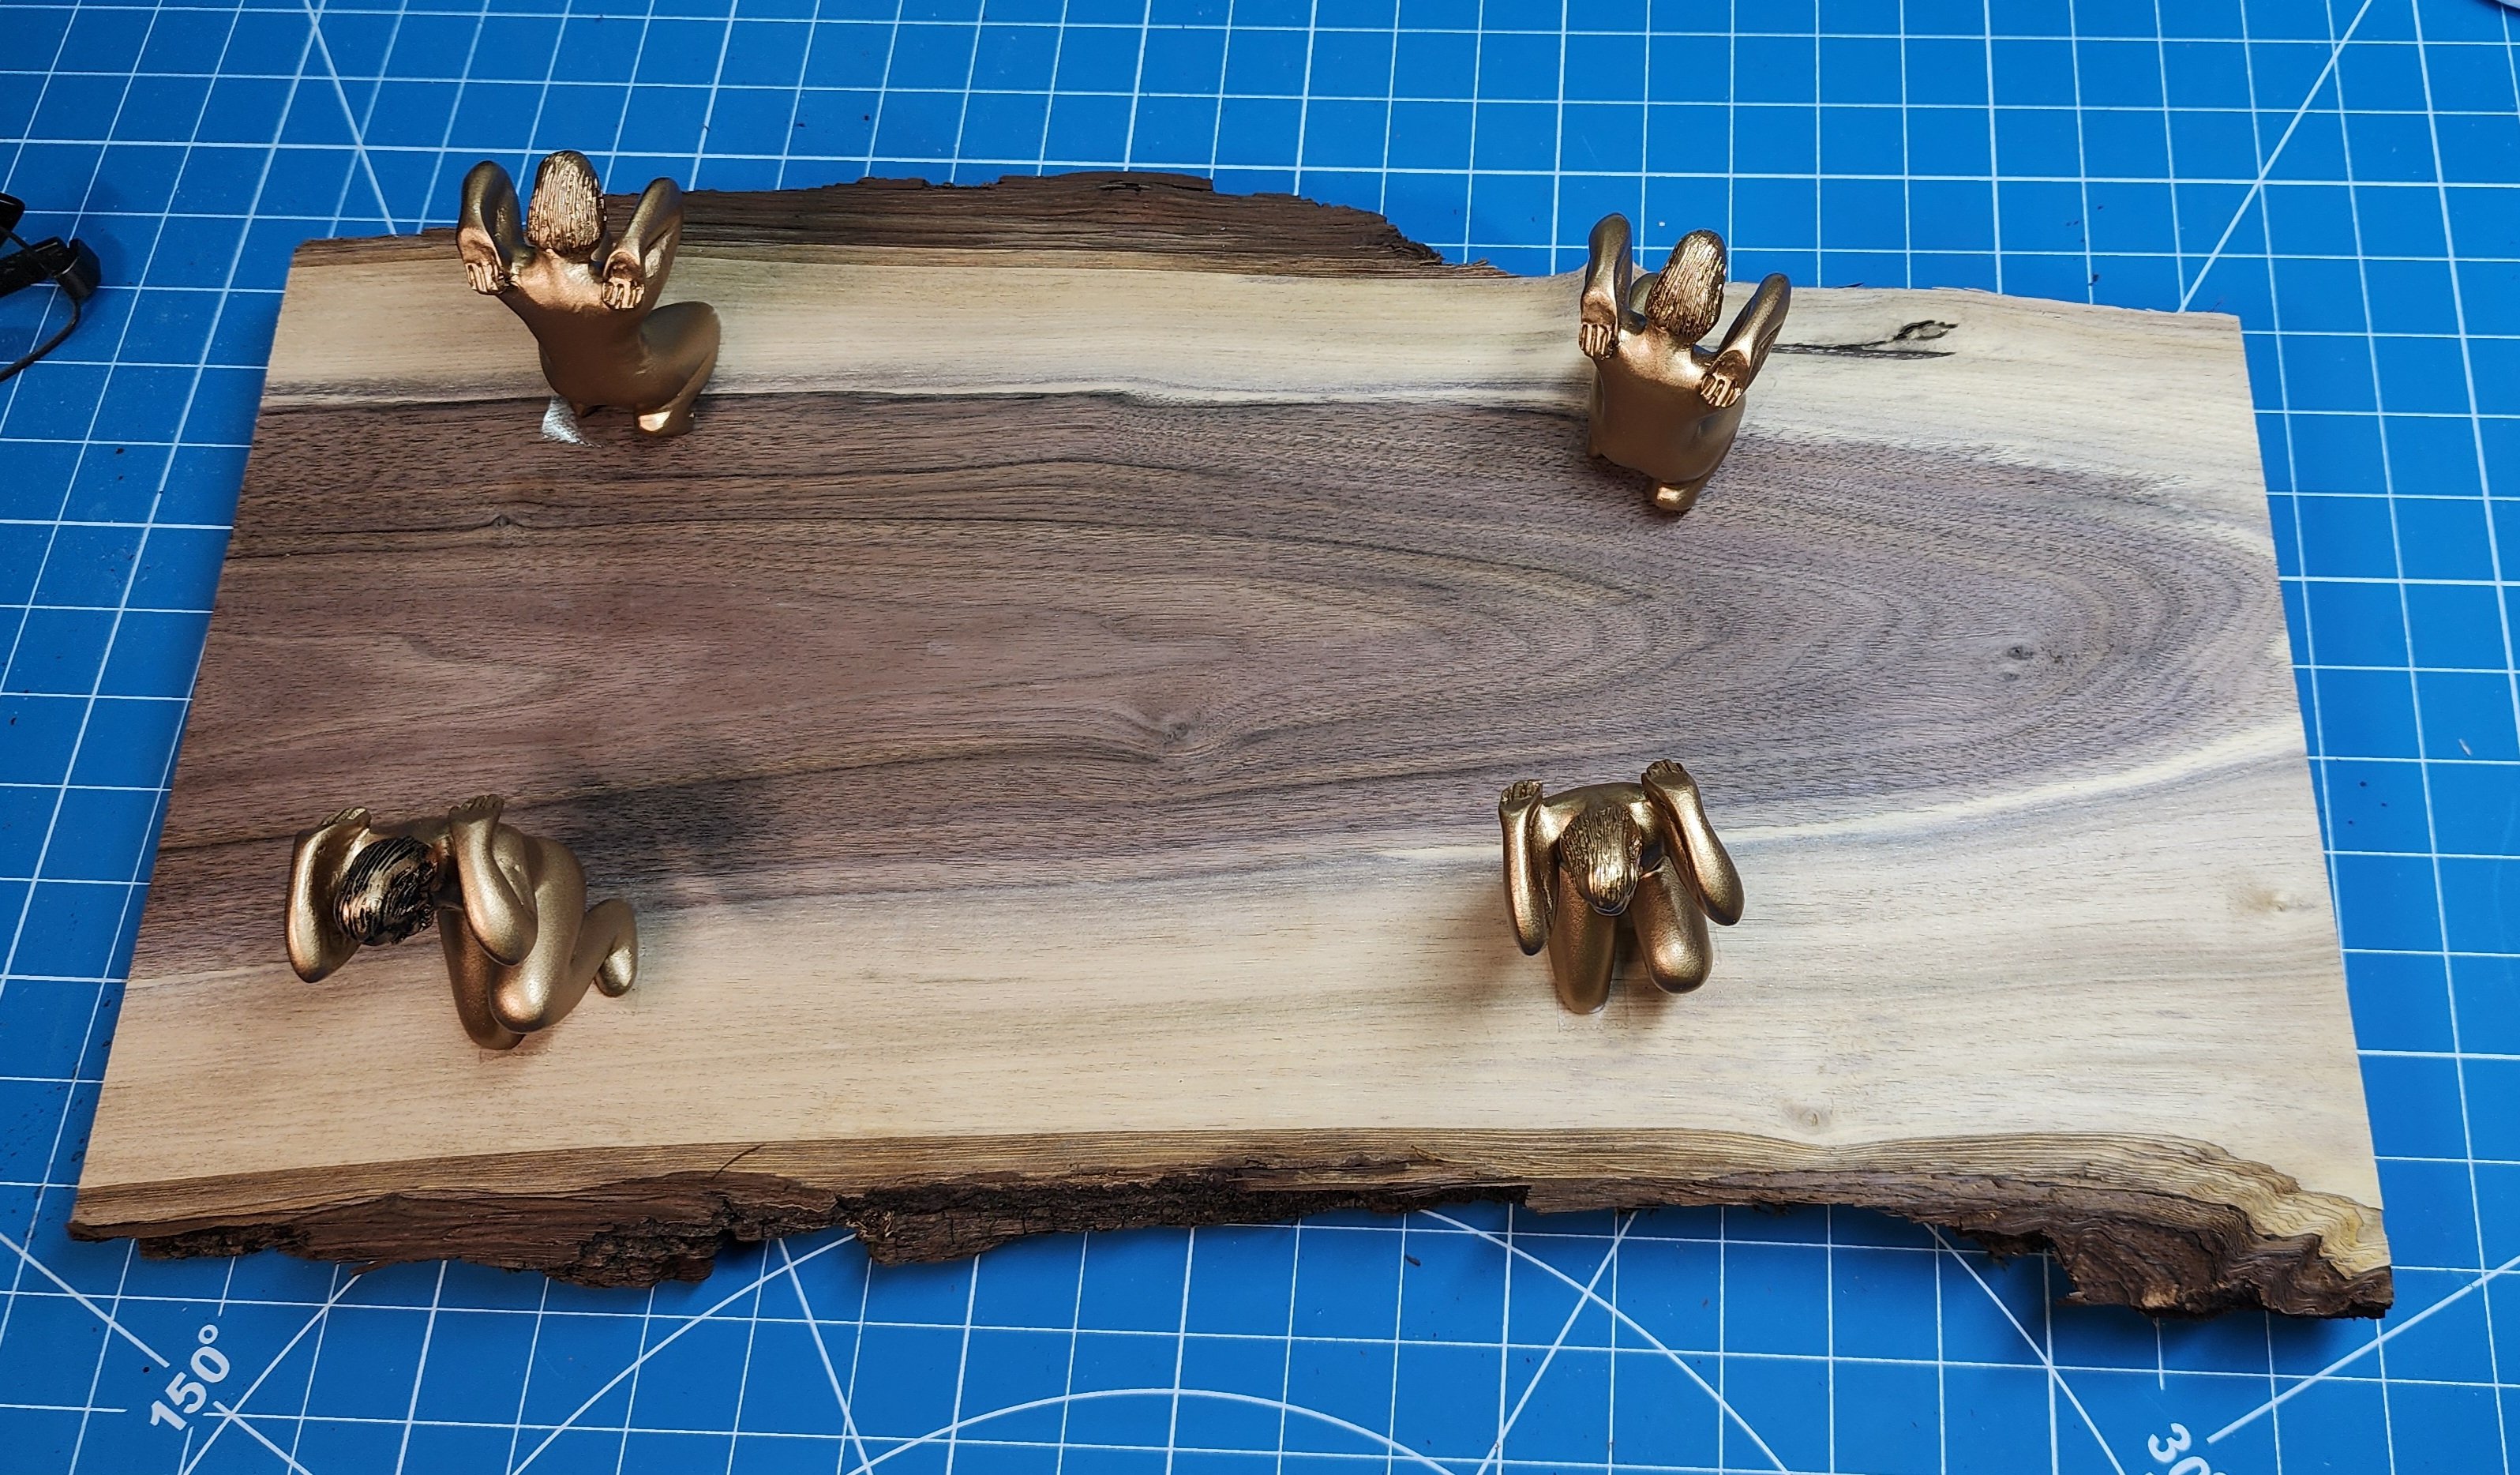
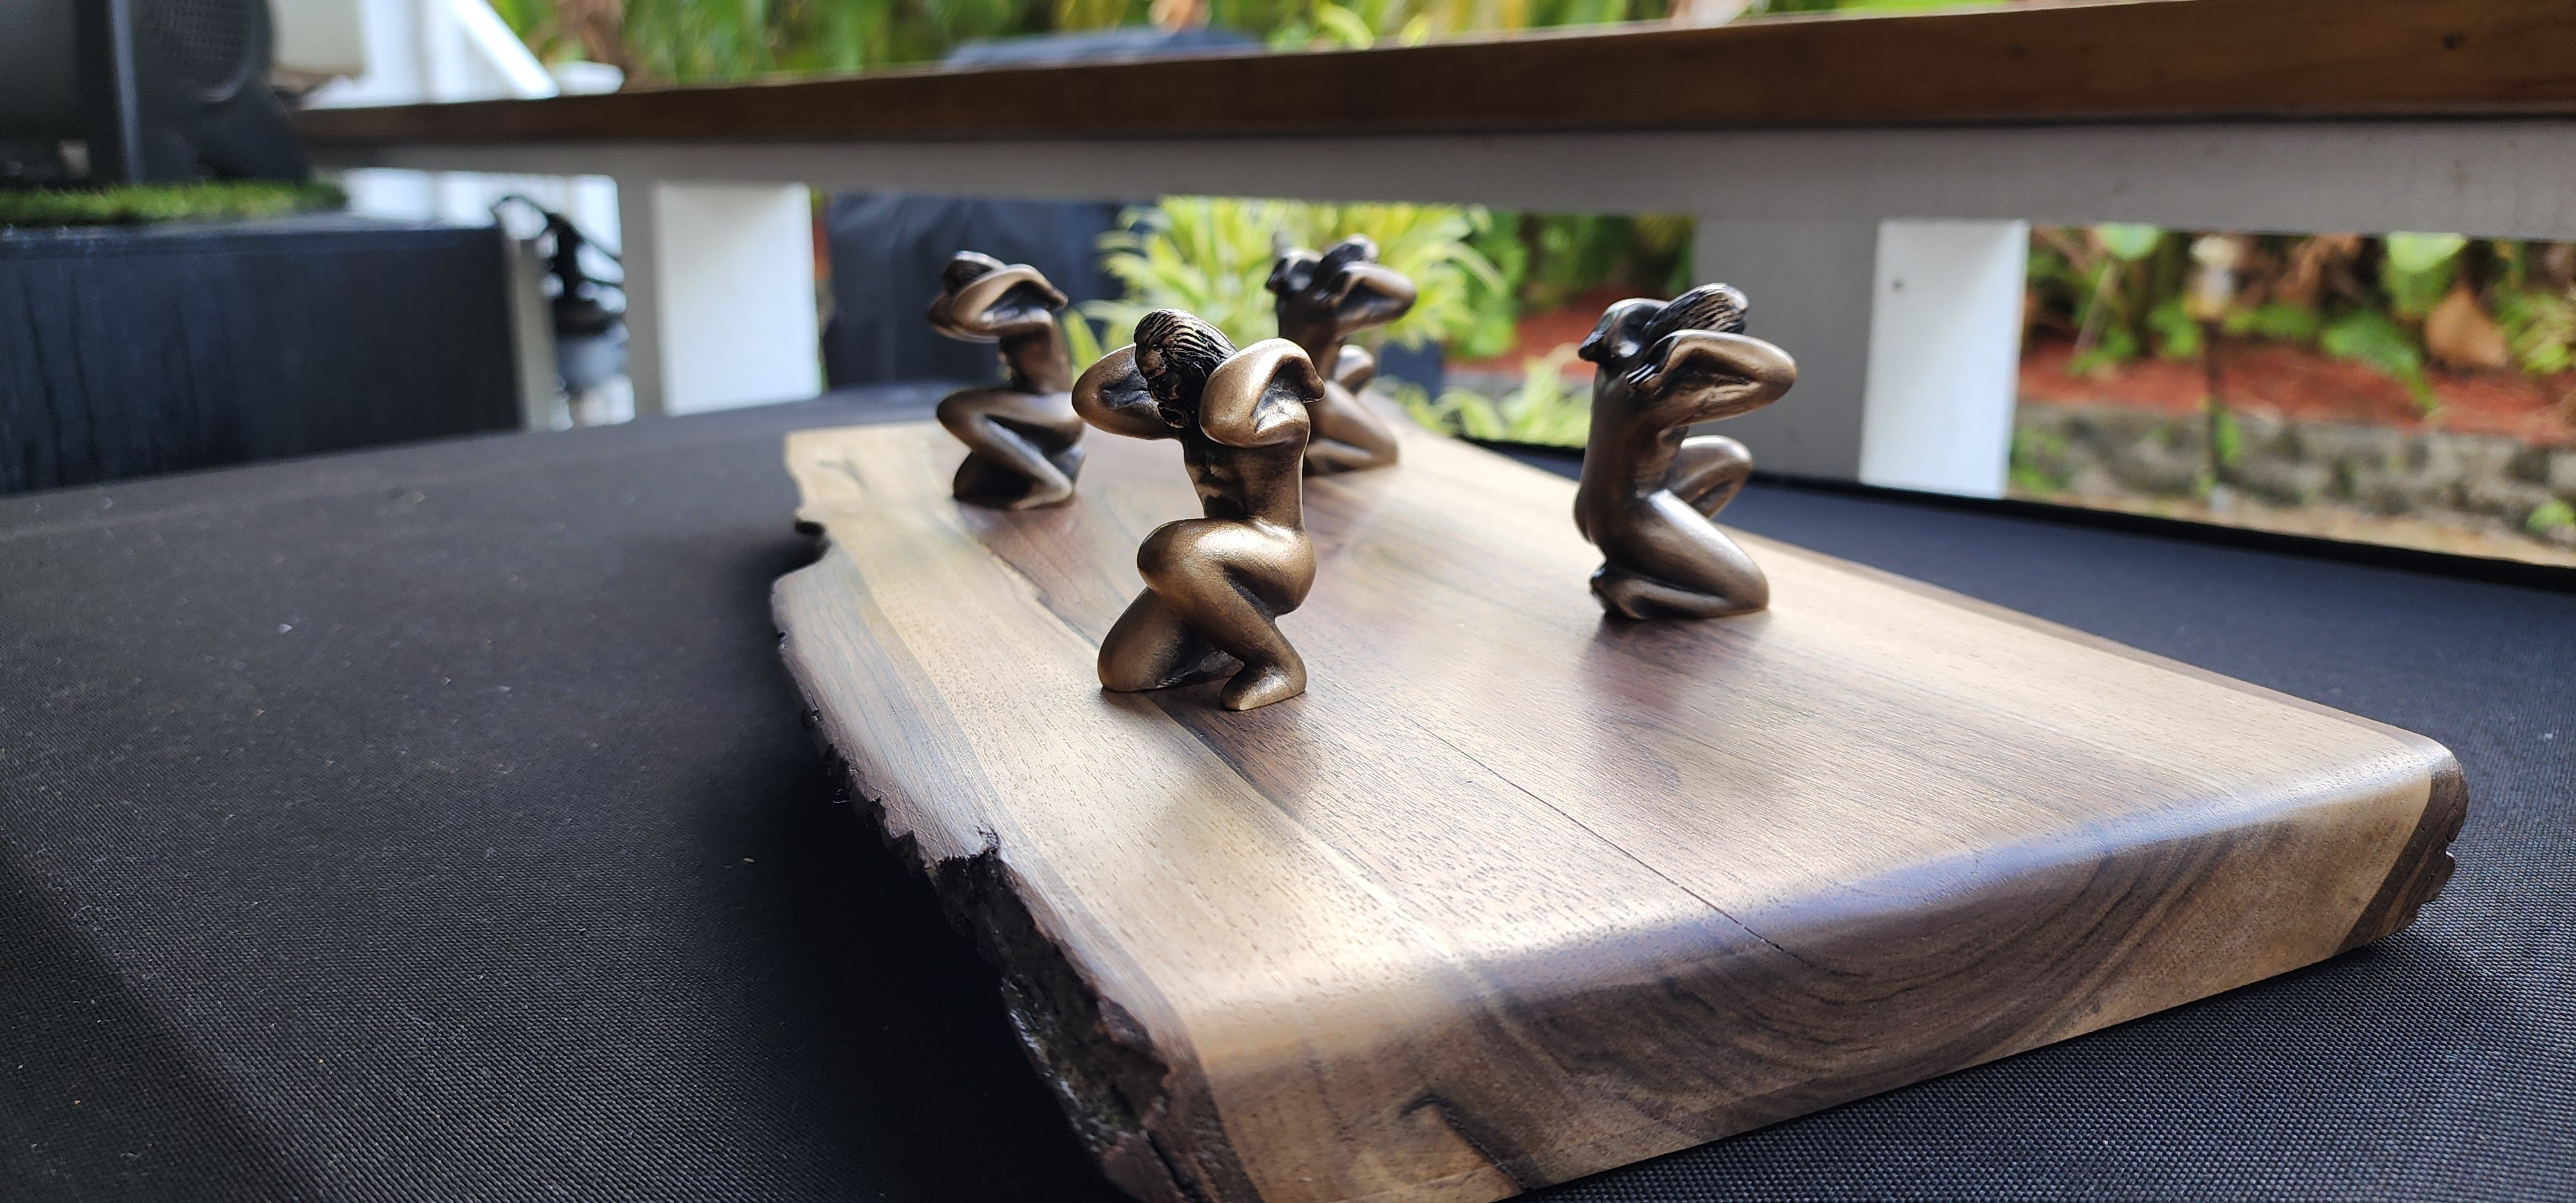
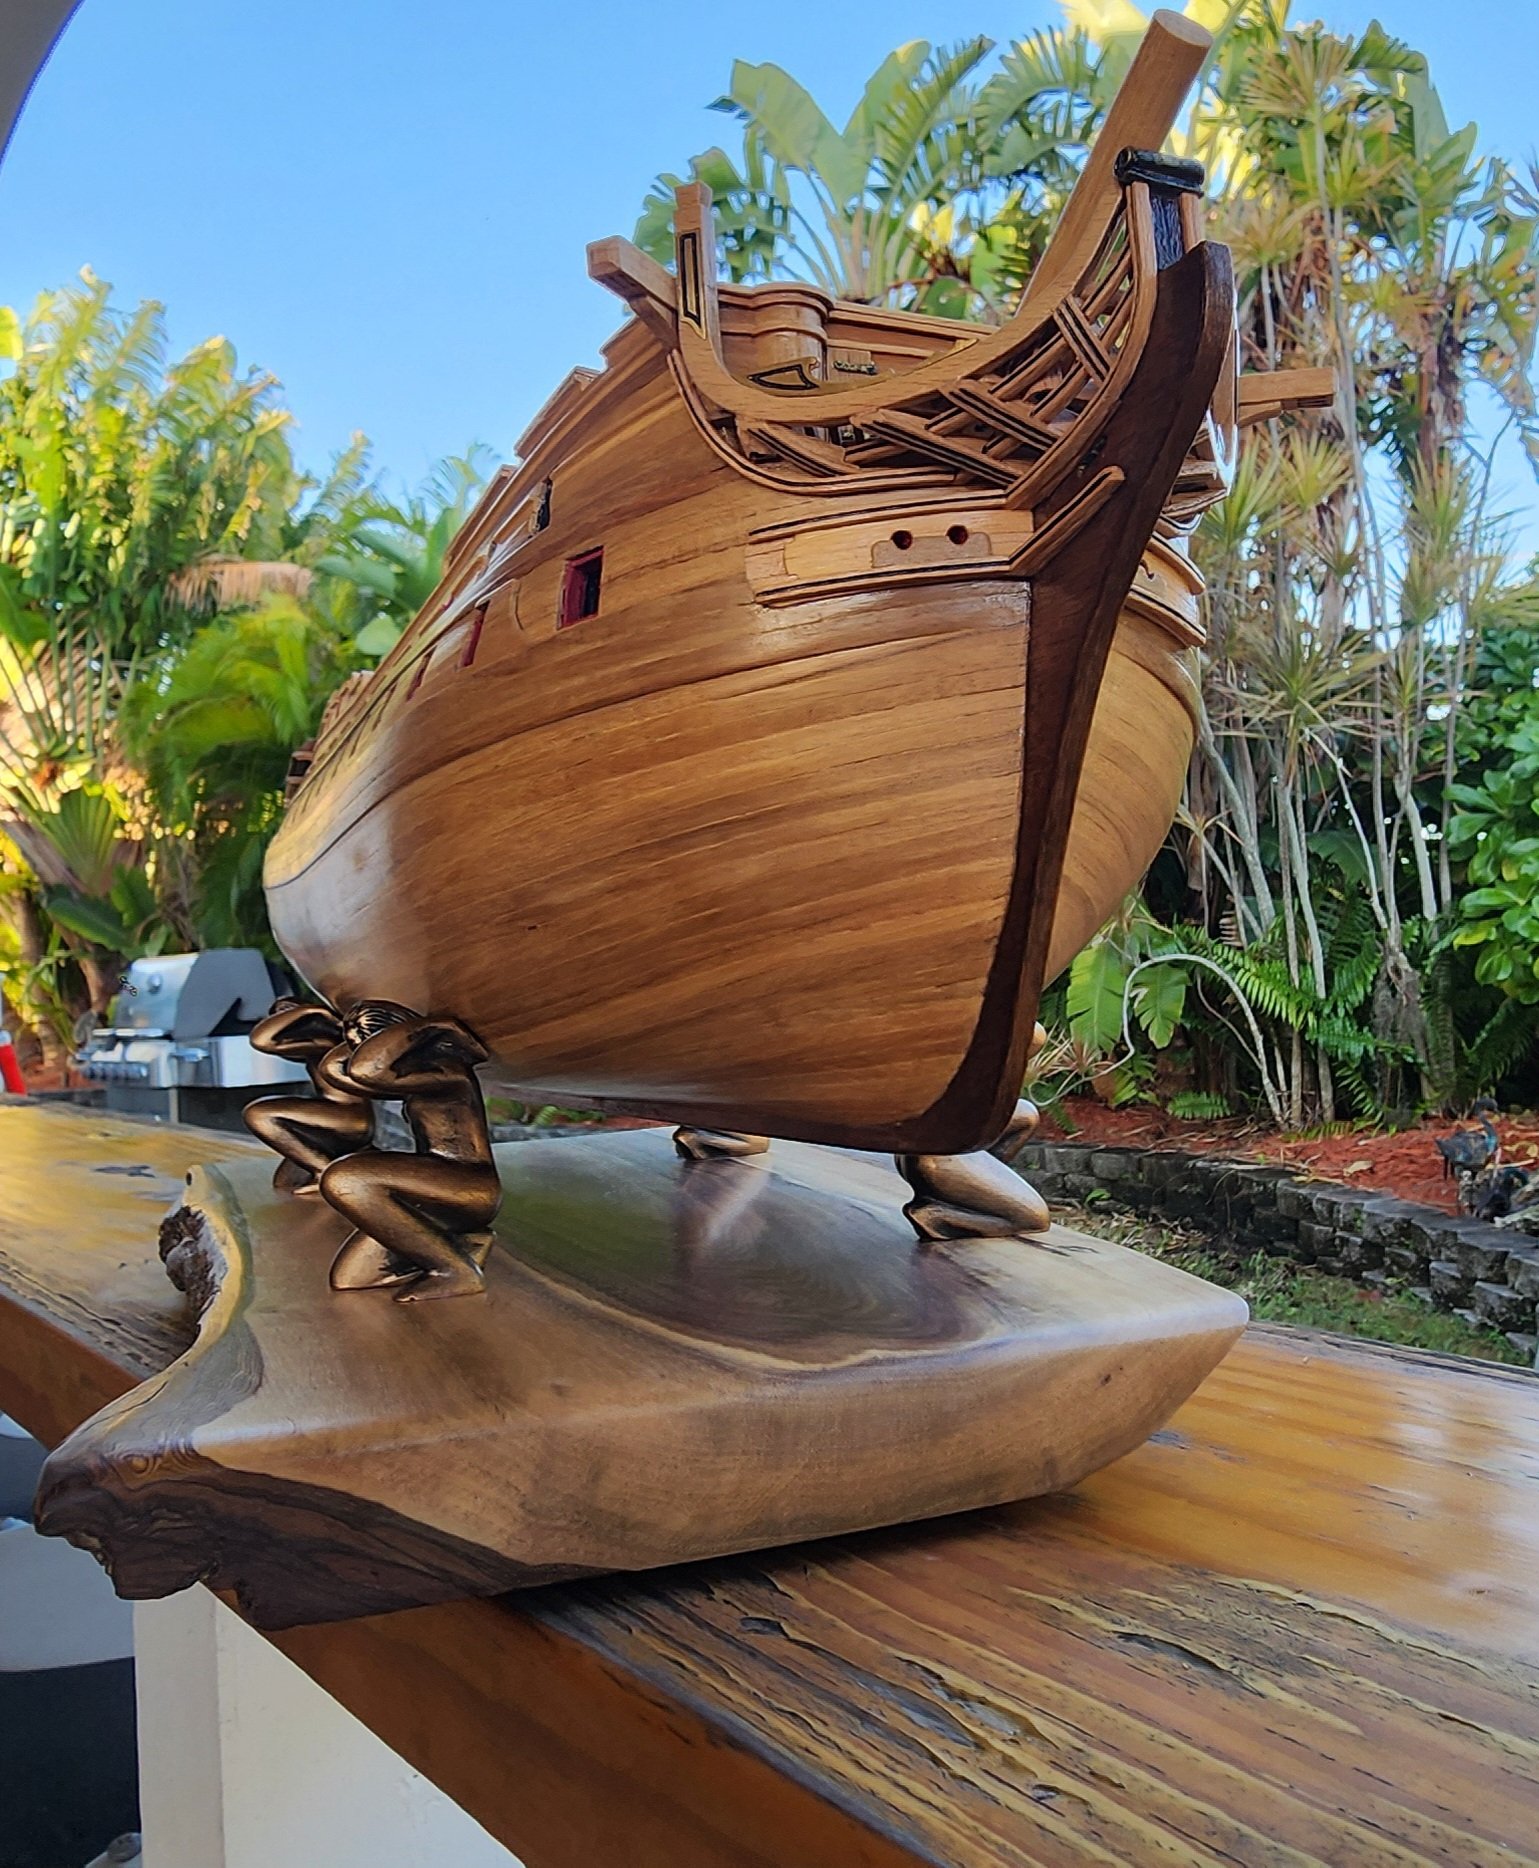
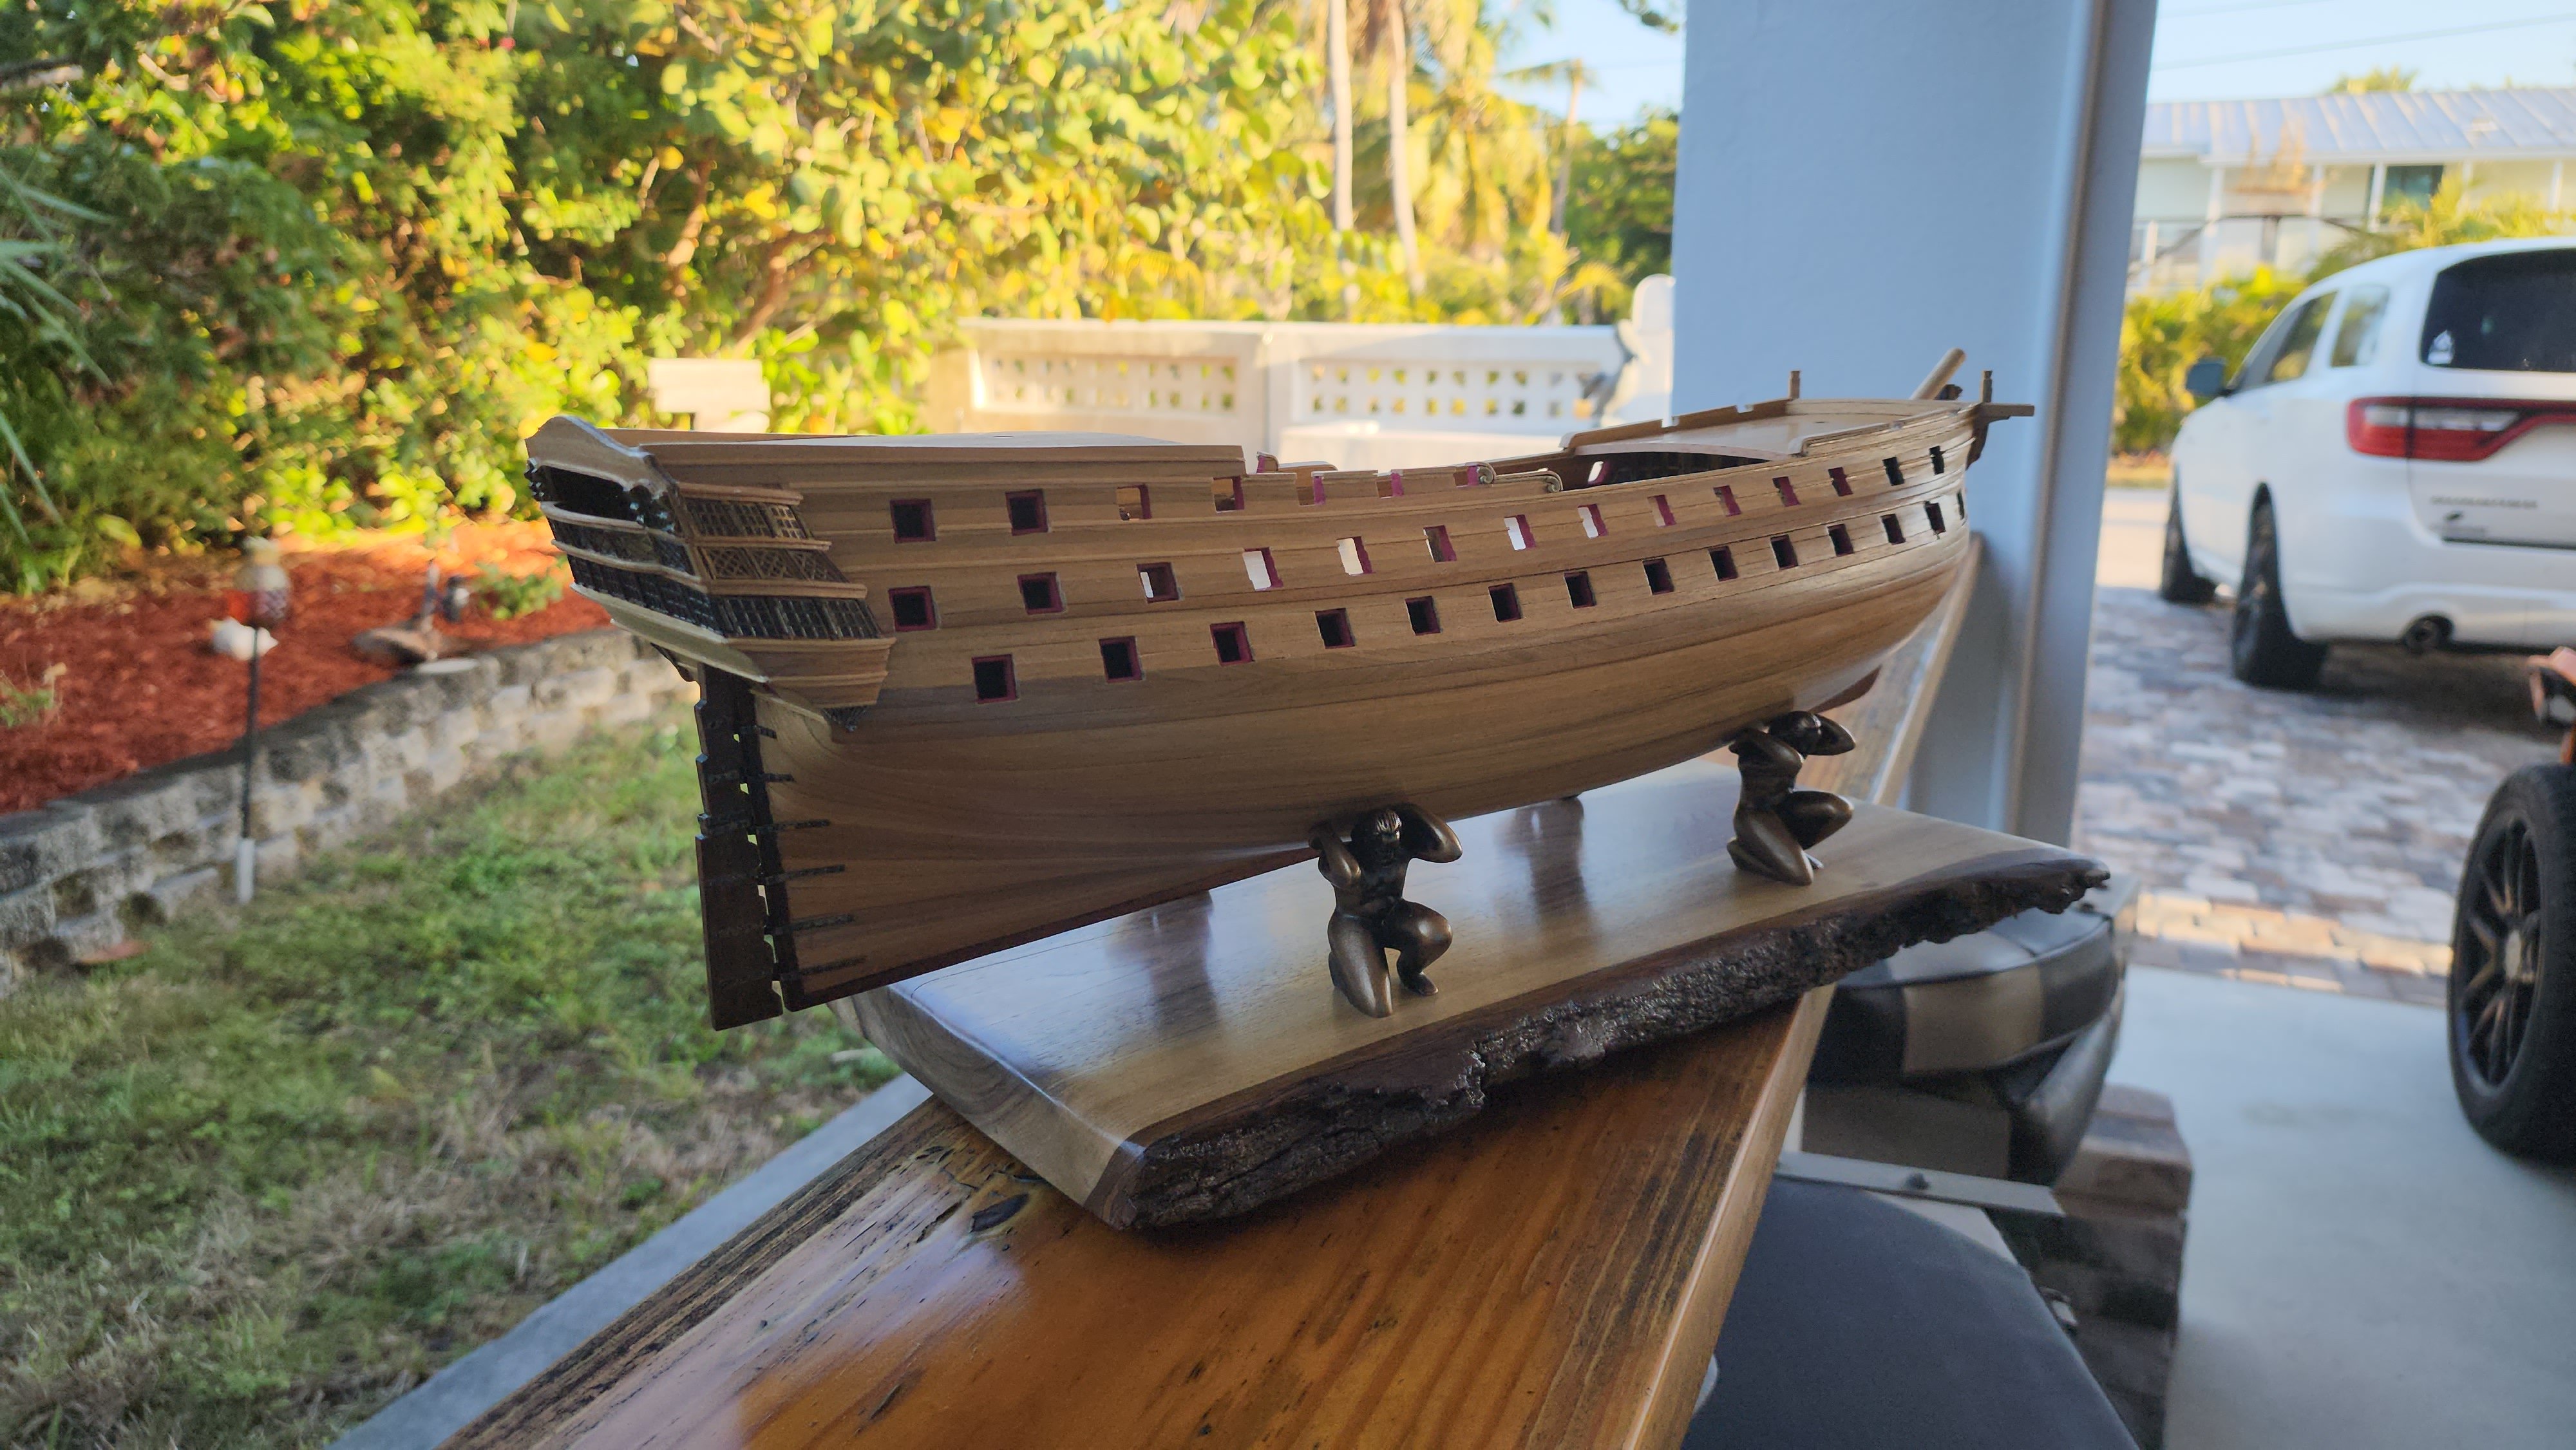
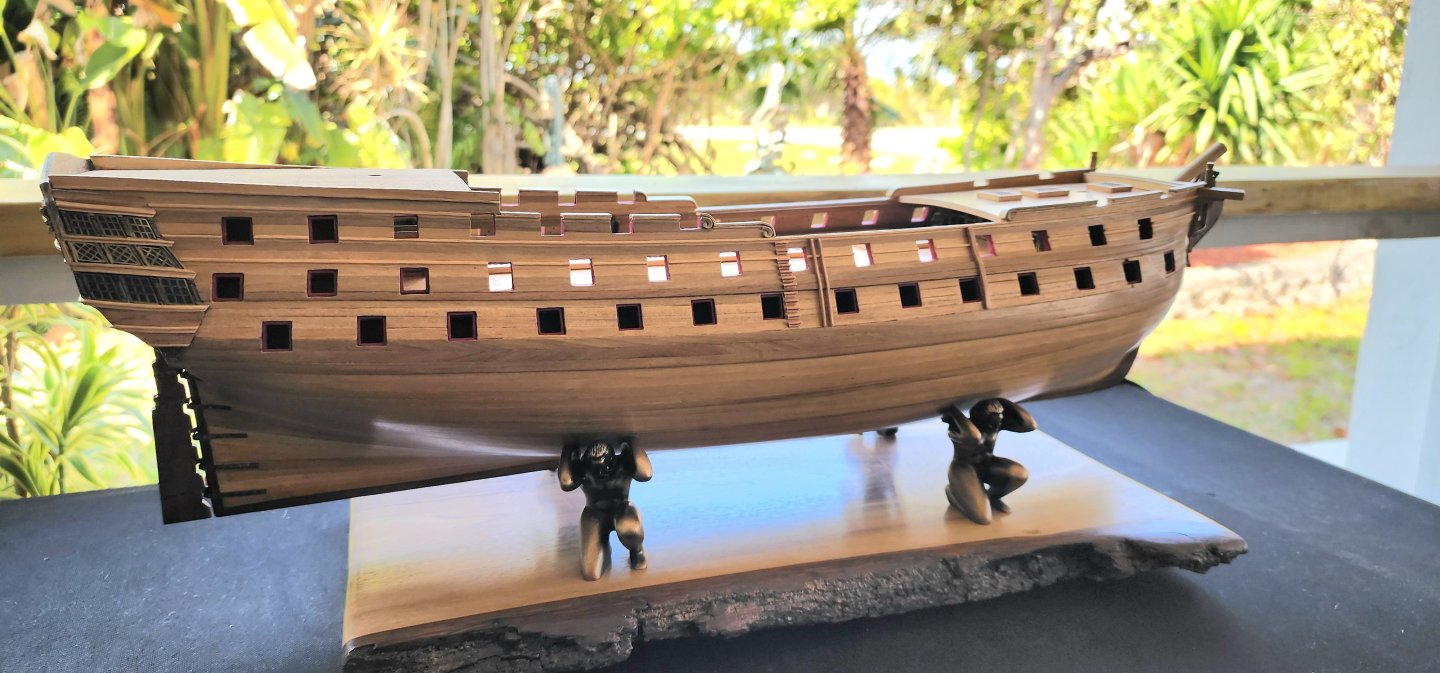
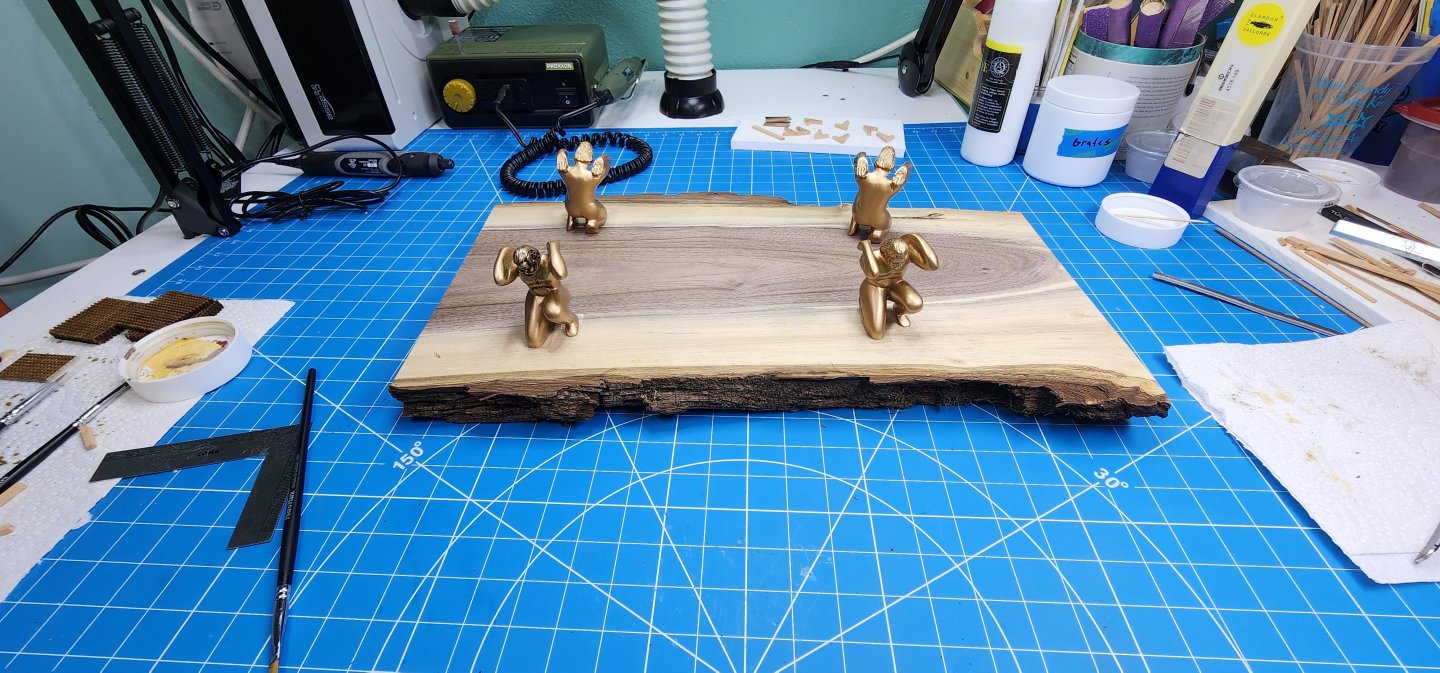
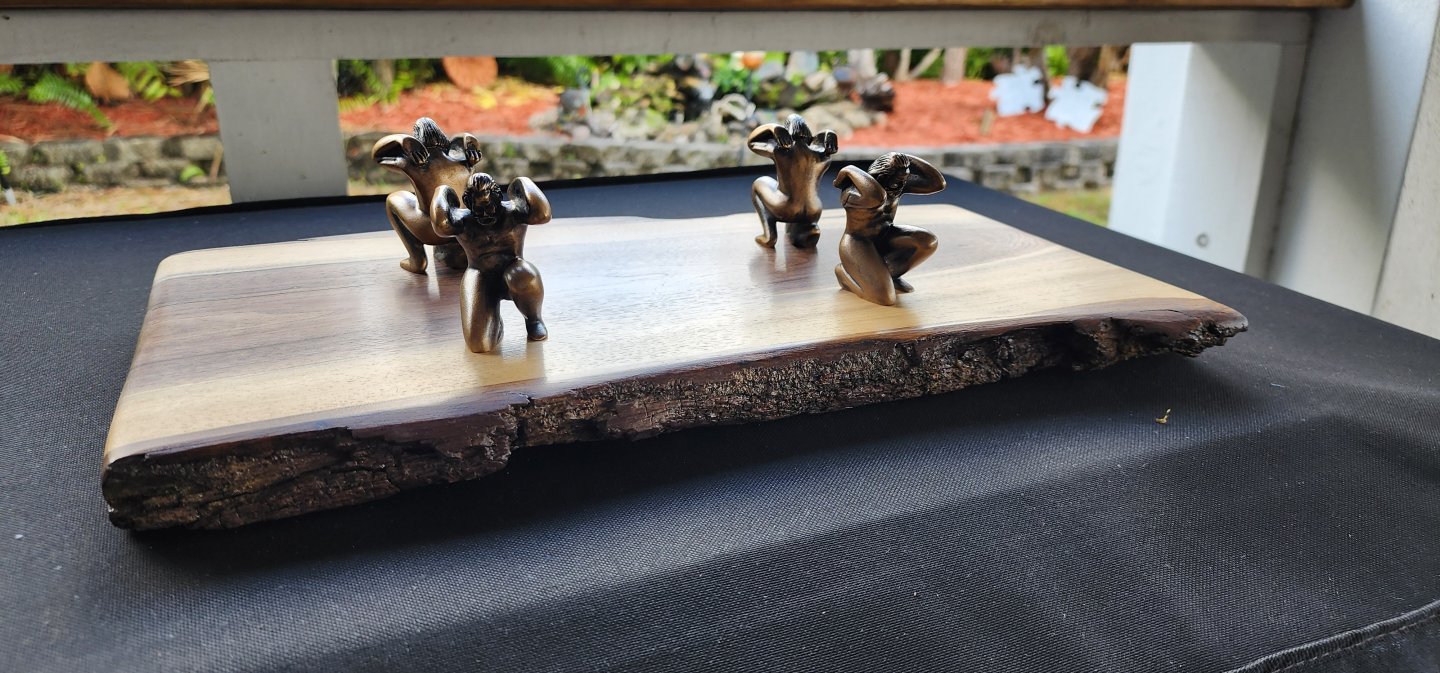
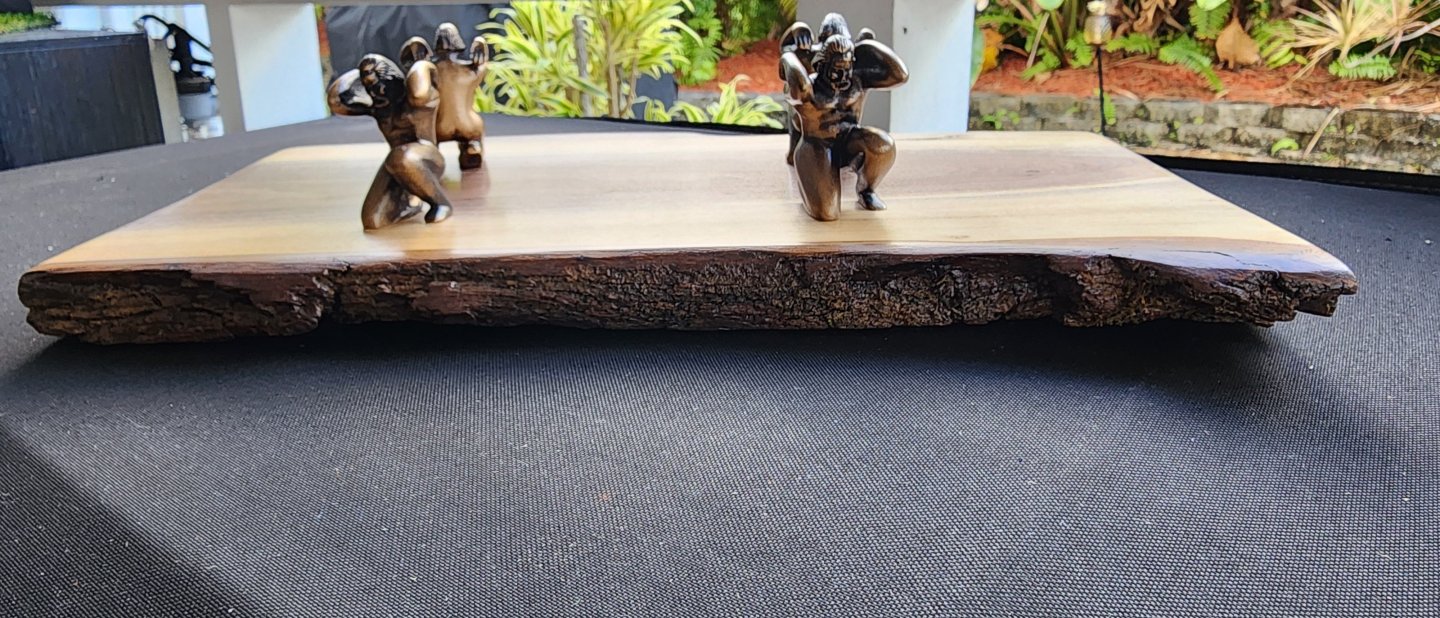
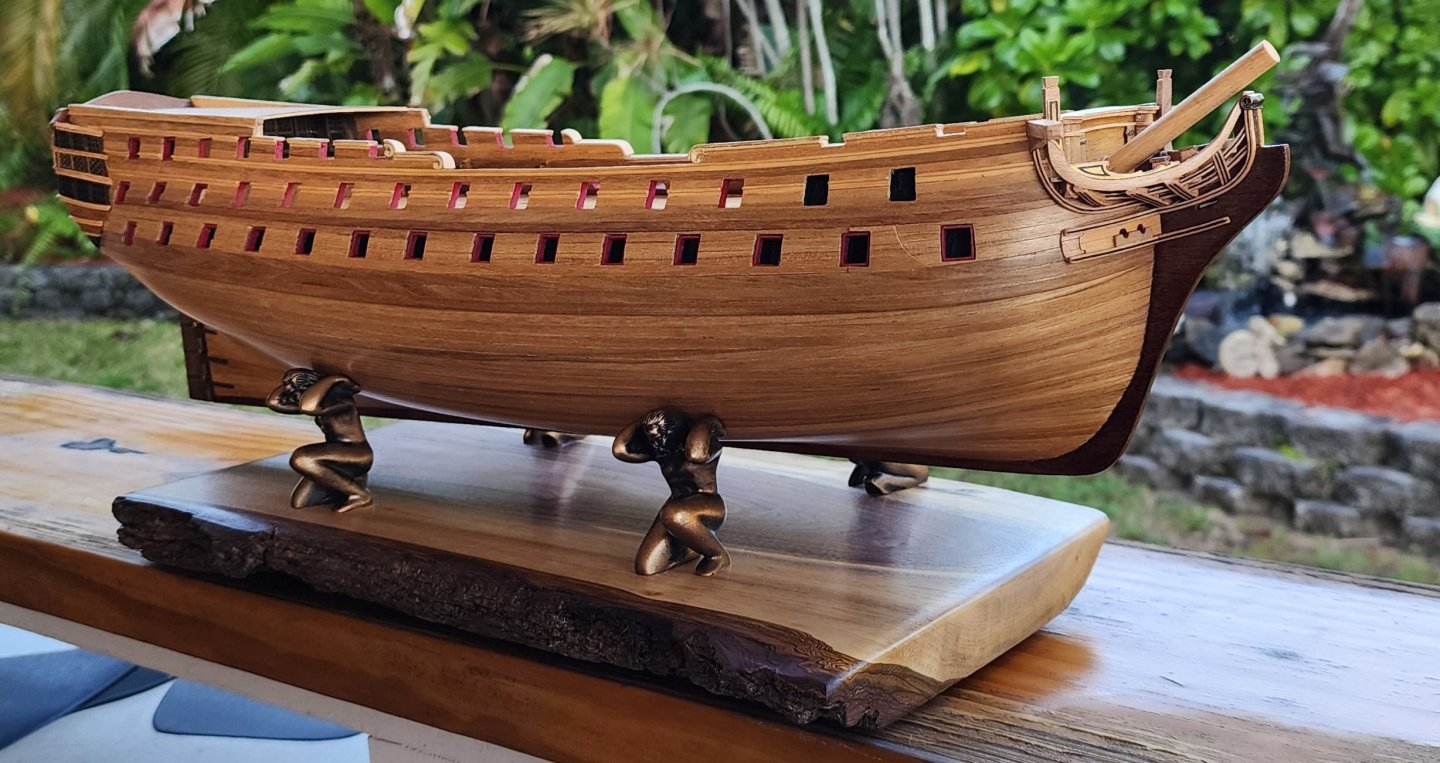
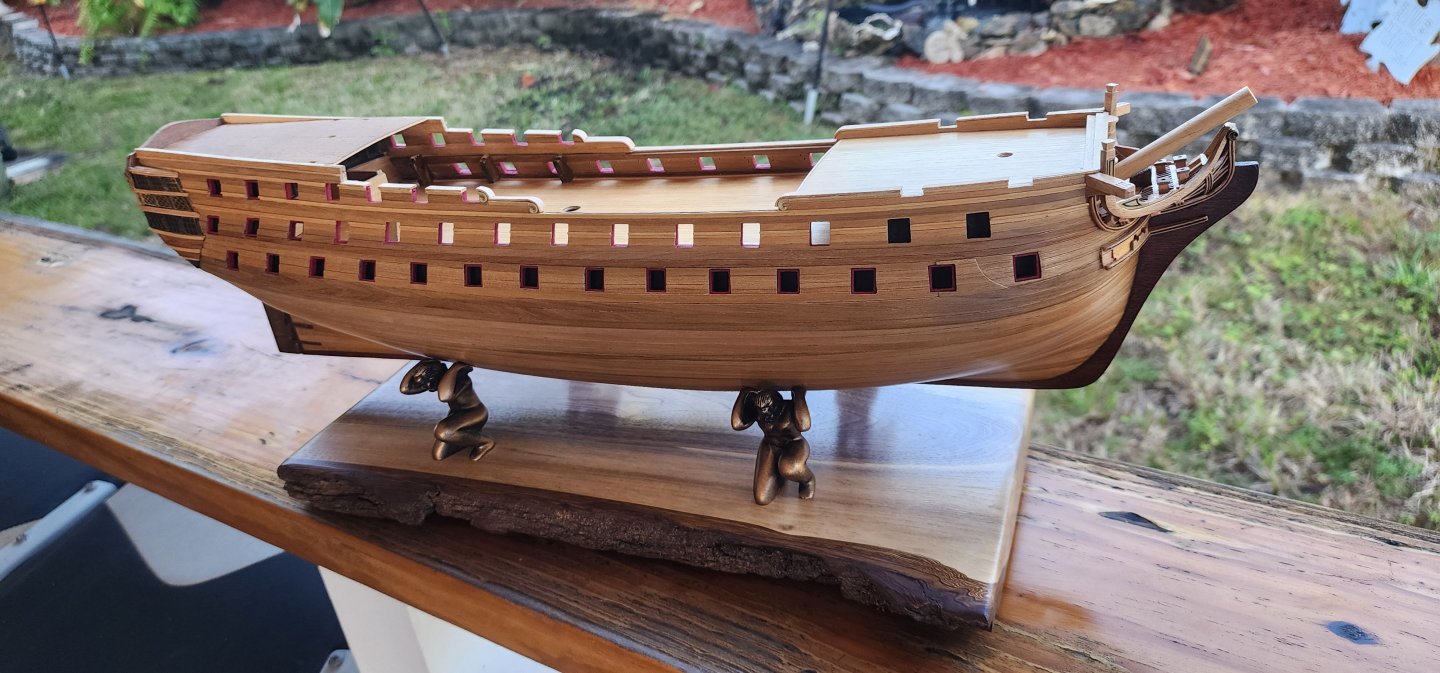
Hello All, I have a small update on Bellona. I know that I am a long way off before Bellona is ready to be placed on her display stand, but I couldn’t resist putting together the stand that I plan to use when the Bellona is completed. The stand that was supplied with the kit is somewhat boring and after all this time and effort I am putting into this model, I wanted something that was going to be subtle but also stand out. I was able to locate a plank of Black Walnut with a live edge for the base. I purchased 4 figures of Hercules that I will use to support the ship. I sanded and applied a finish to the Black Walnut plank and blackened the figurines using rub-n-buff black wax. The grains of the plank and the antiquing of the figurines flow nicely with the walnut hull of the ship. She is a long way off before she is placed in the stand for the last time, but for now, it will be a nice berth for her to be placed on in between sessions of assembly. Well, that’s all I have for now. Enjoy the pictures and as always, your comments and guidance are always welcome. Cheers Nearshore


-
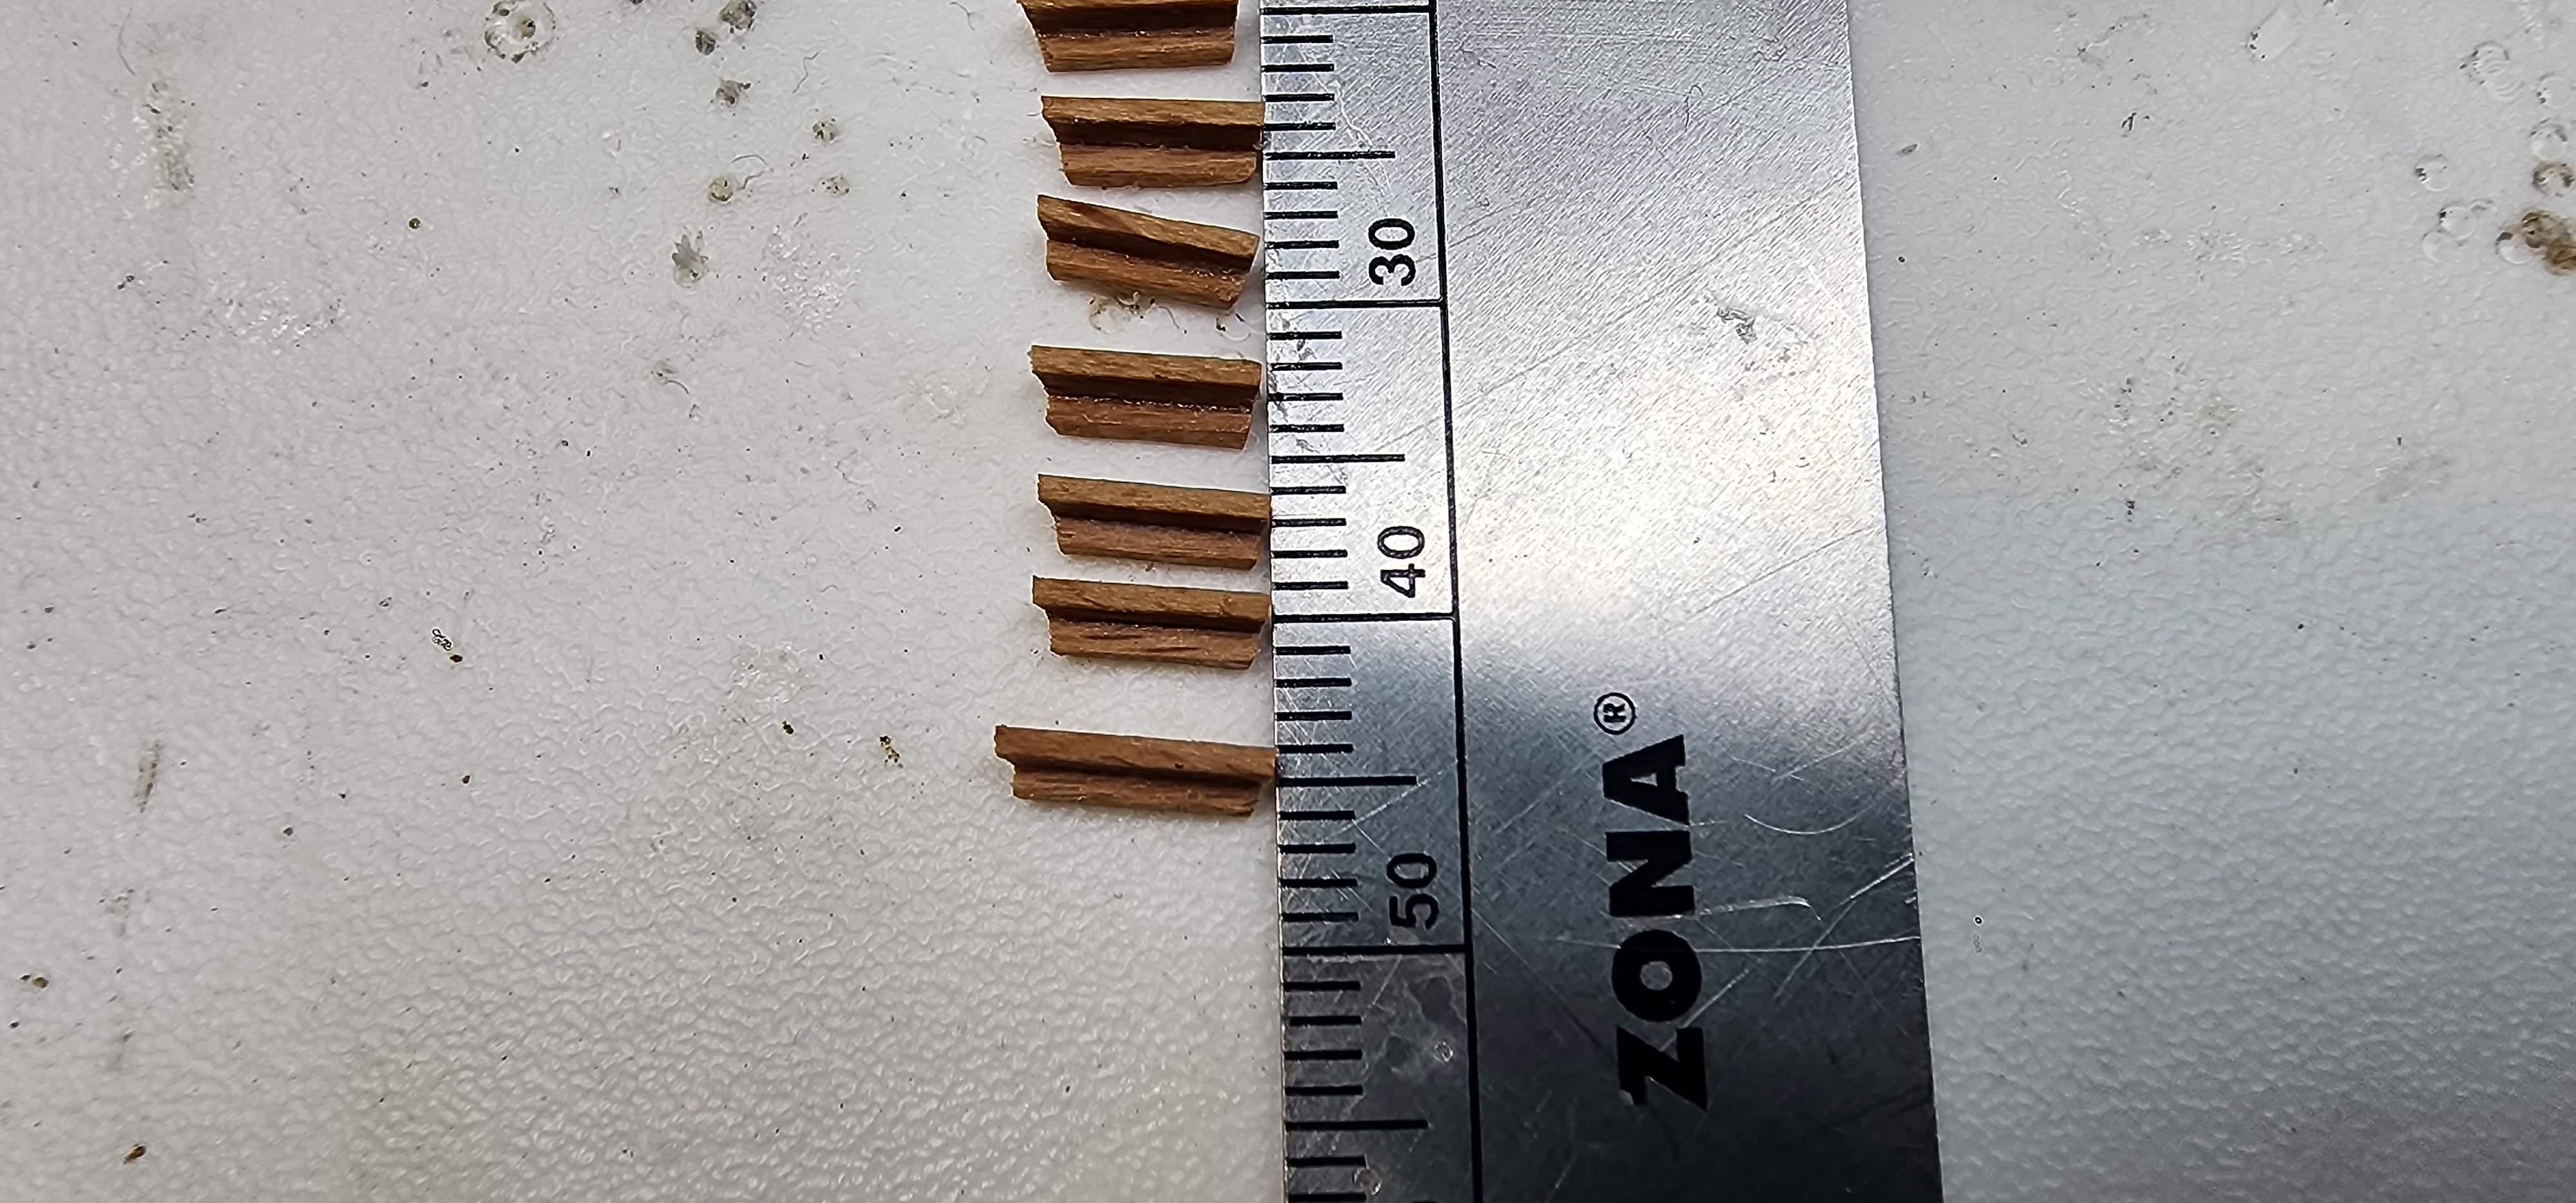
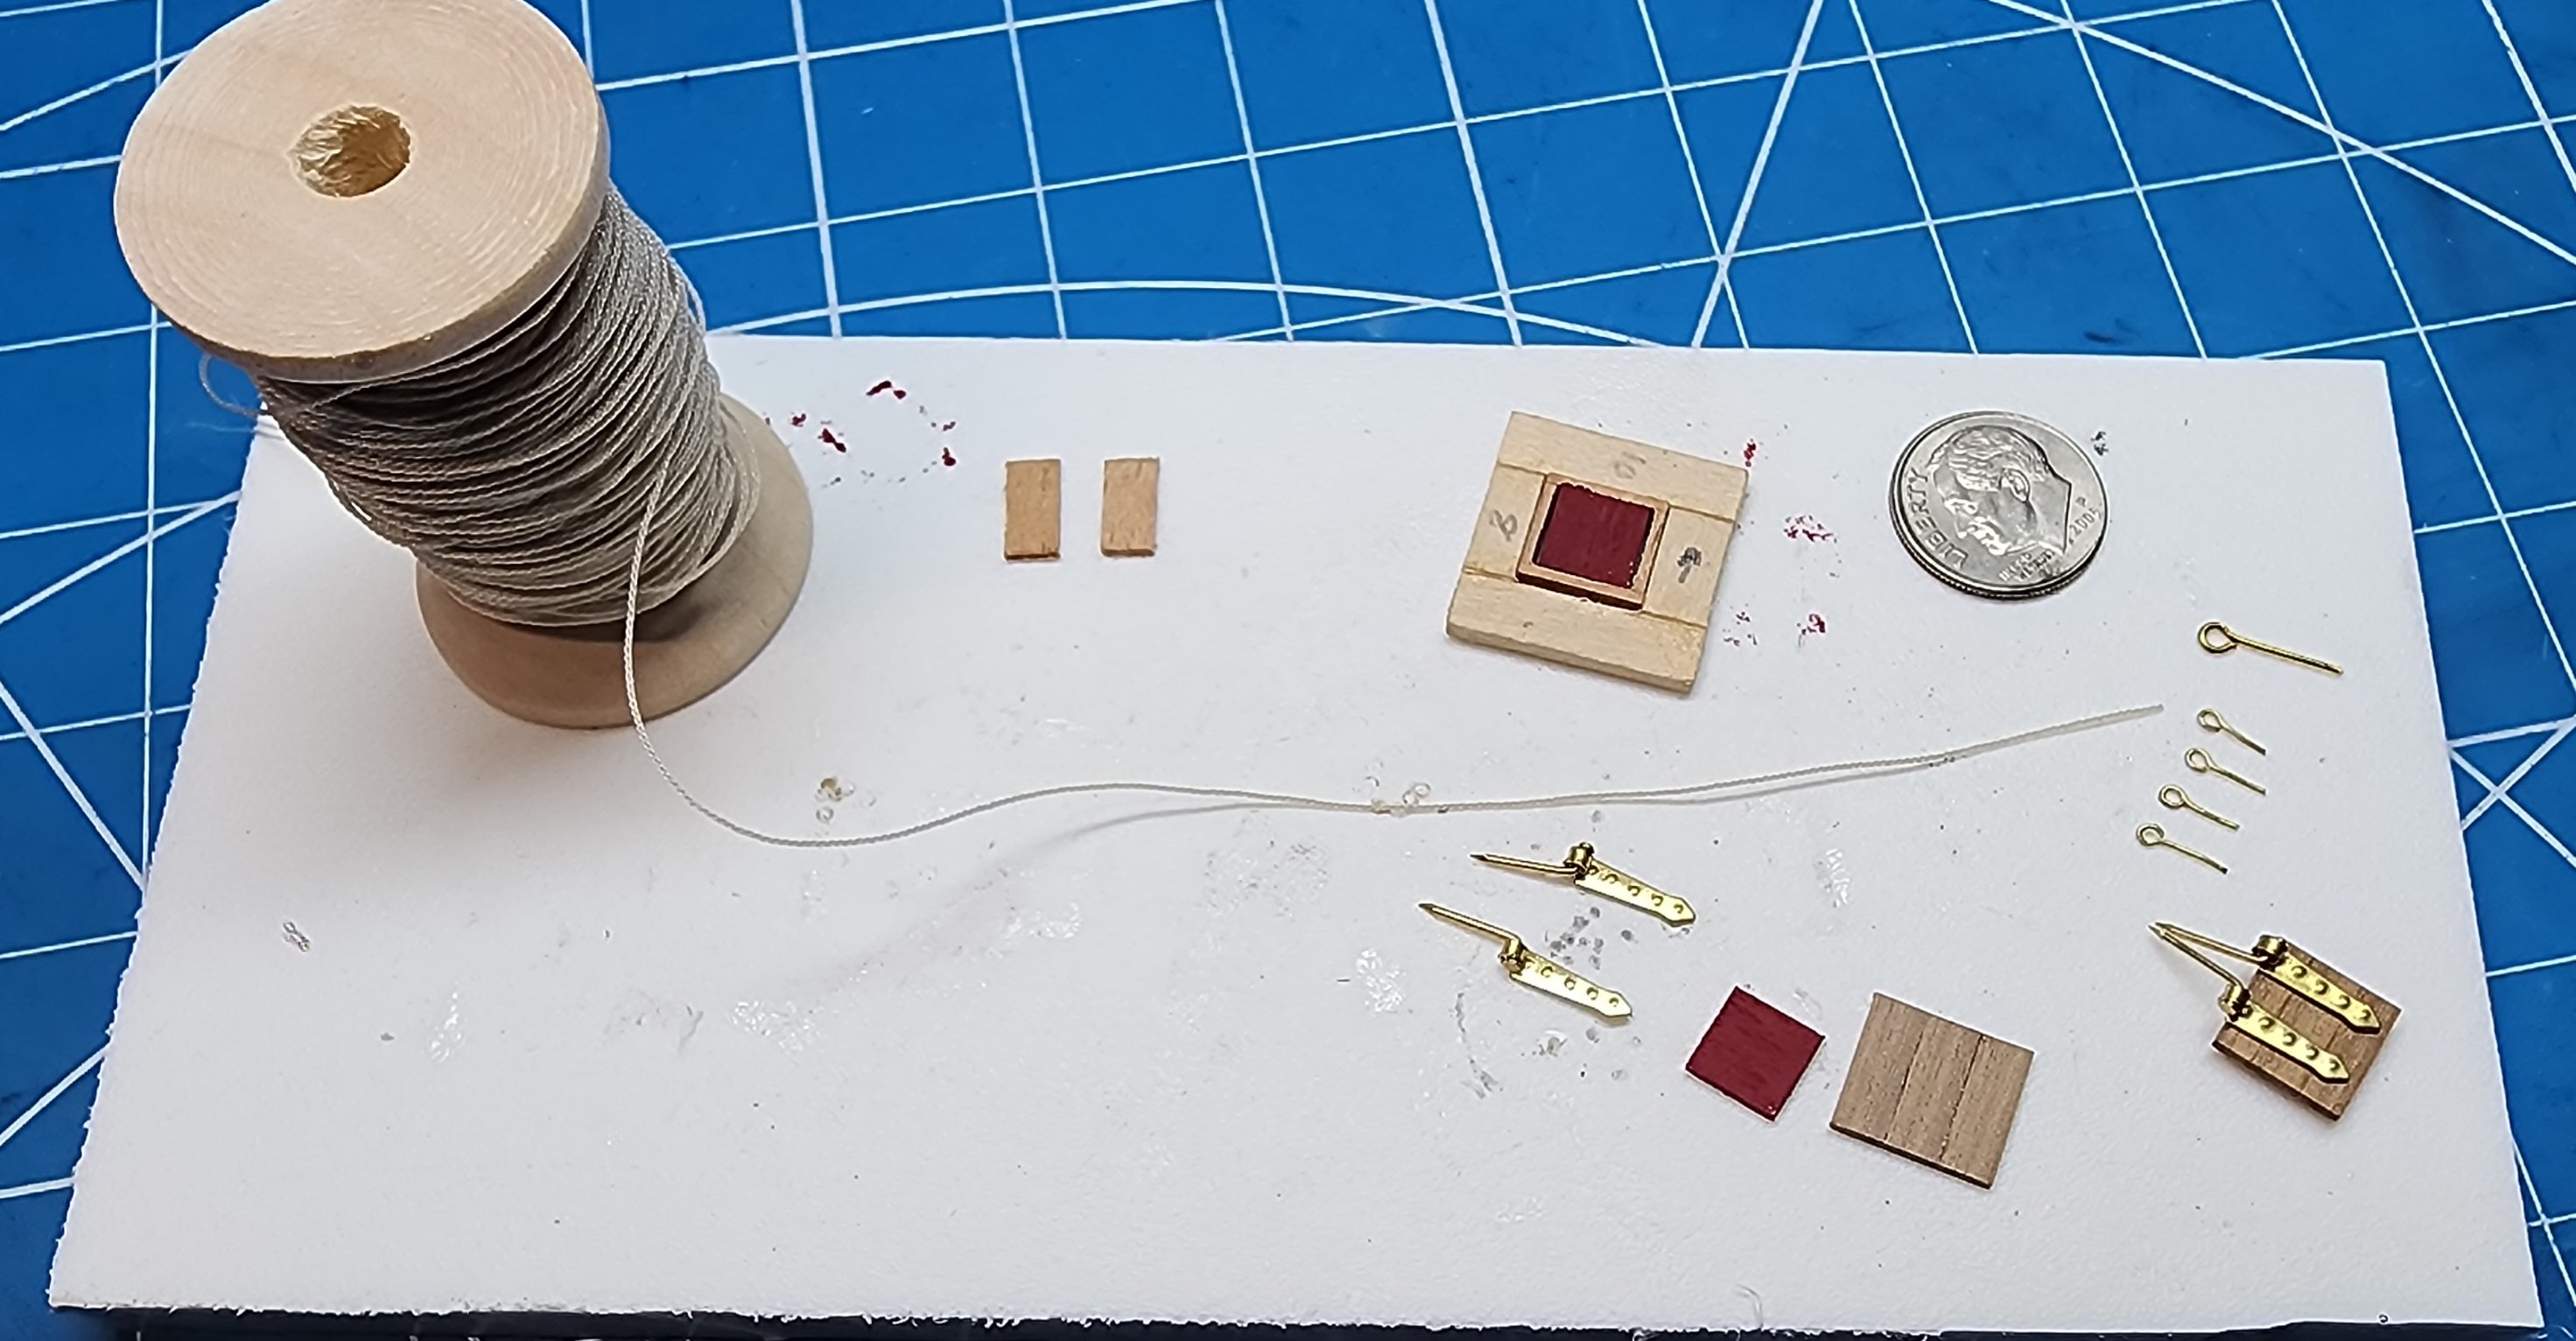
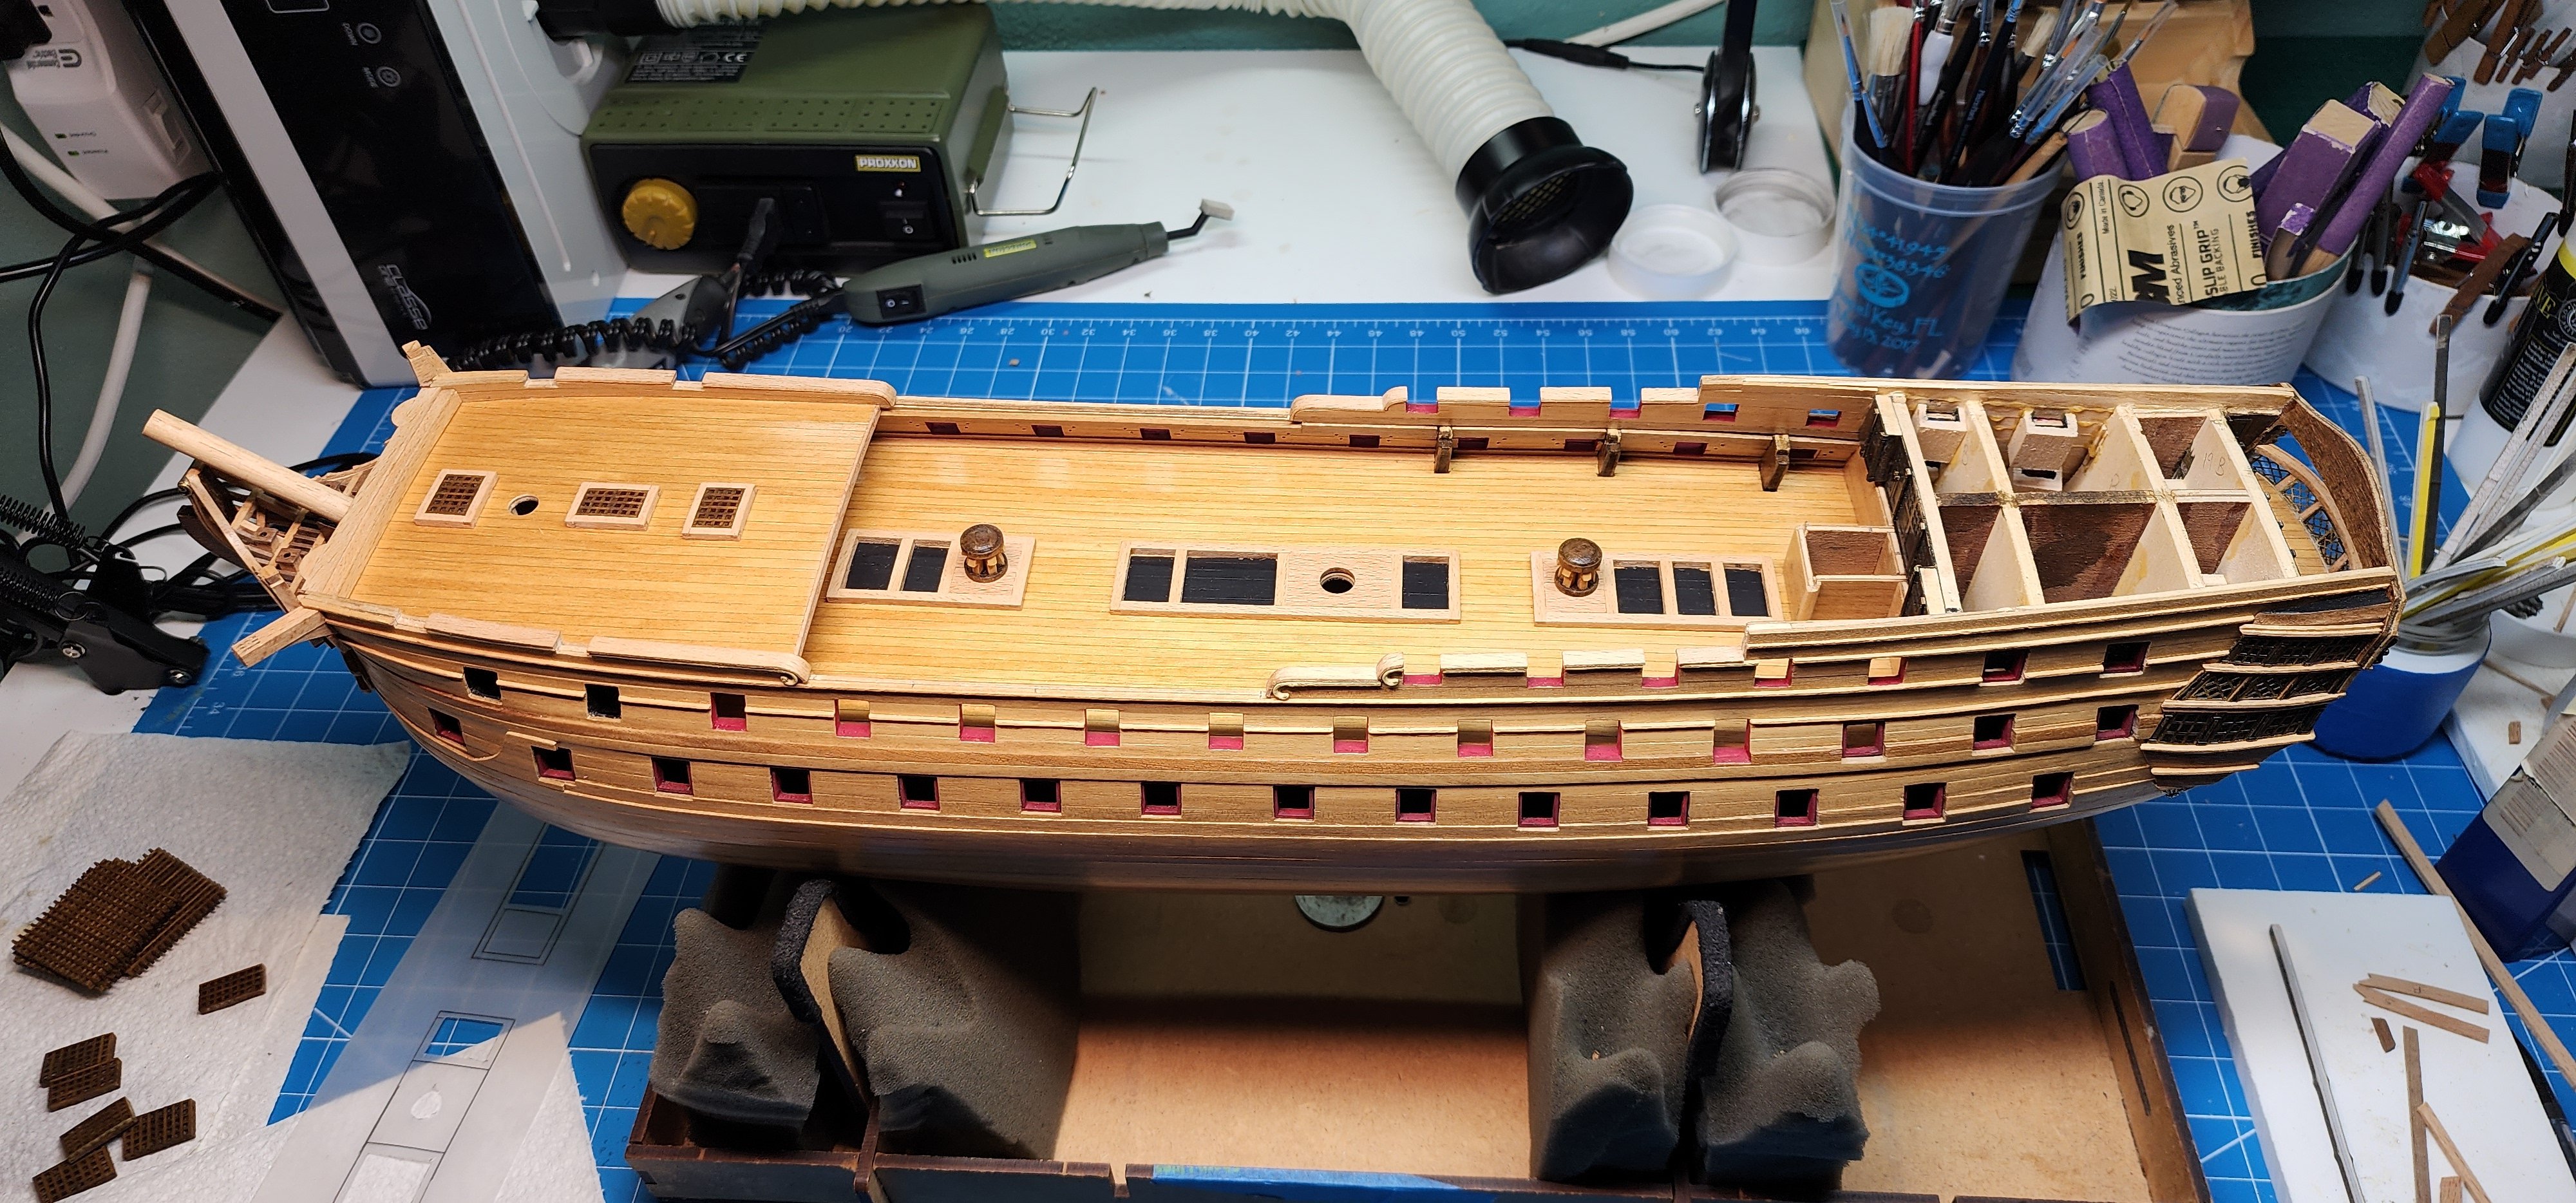
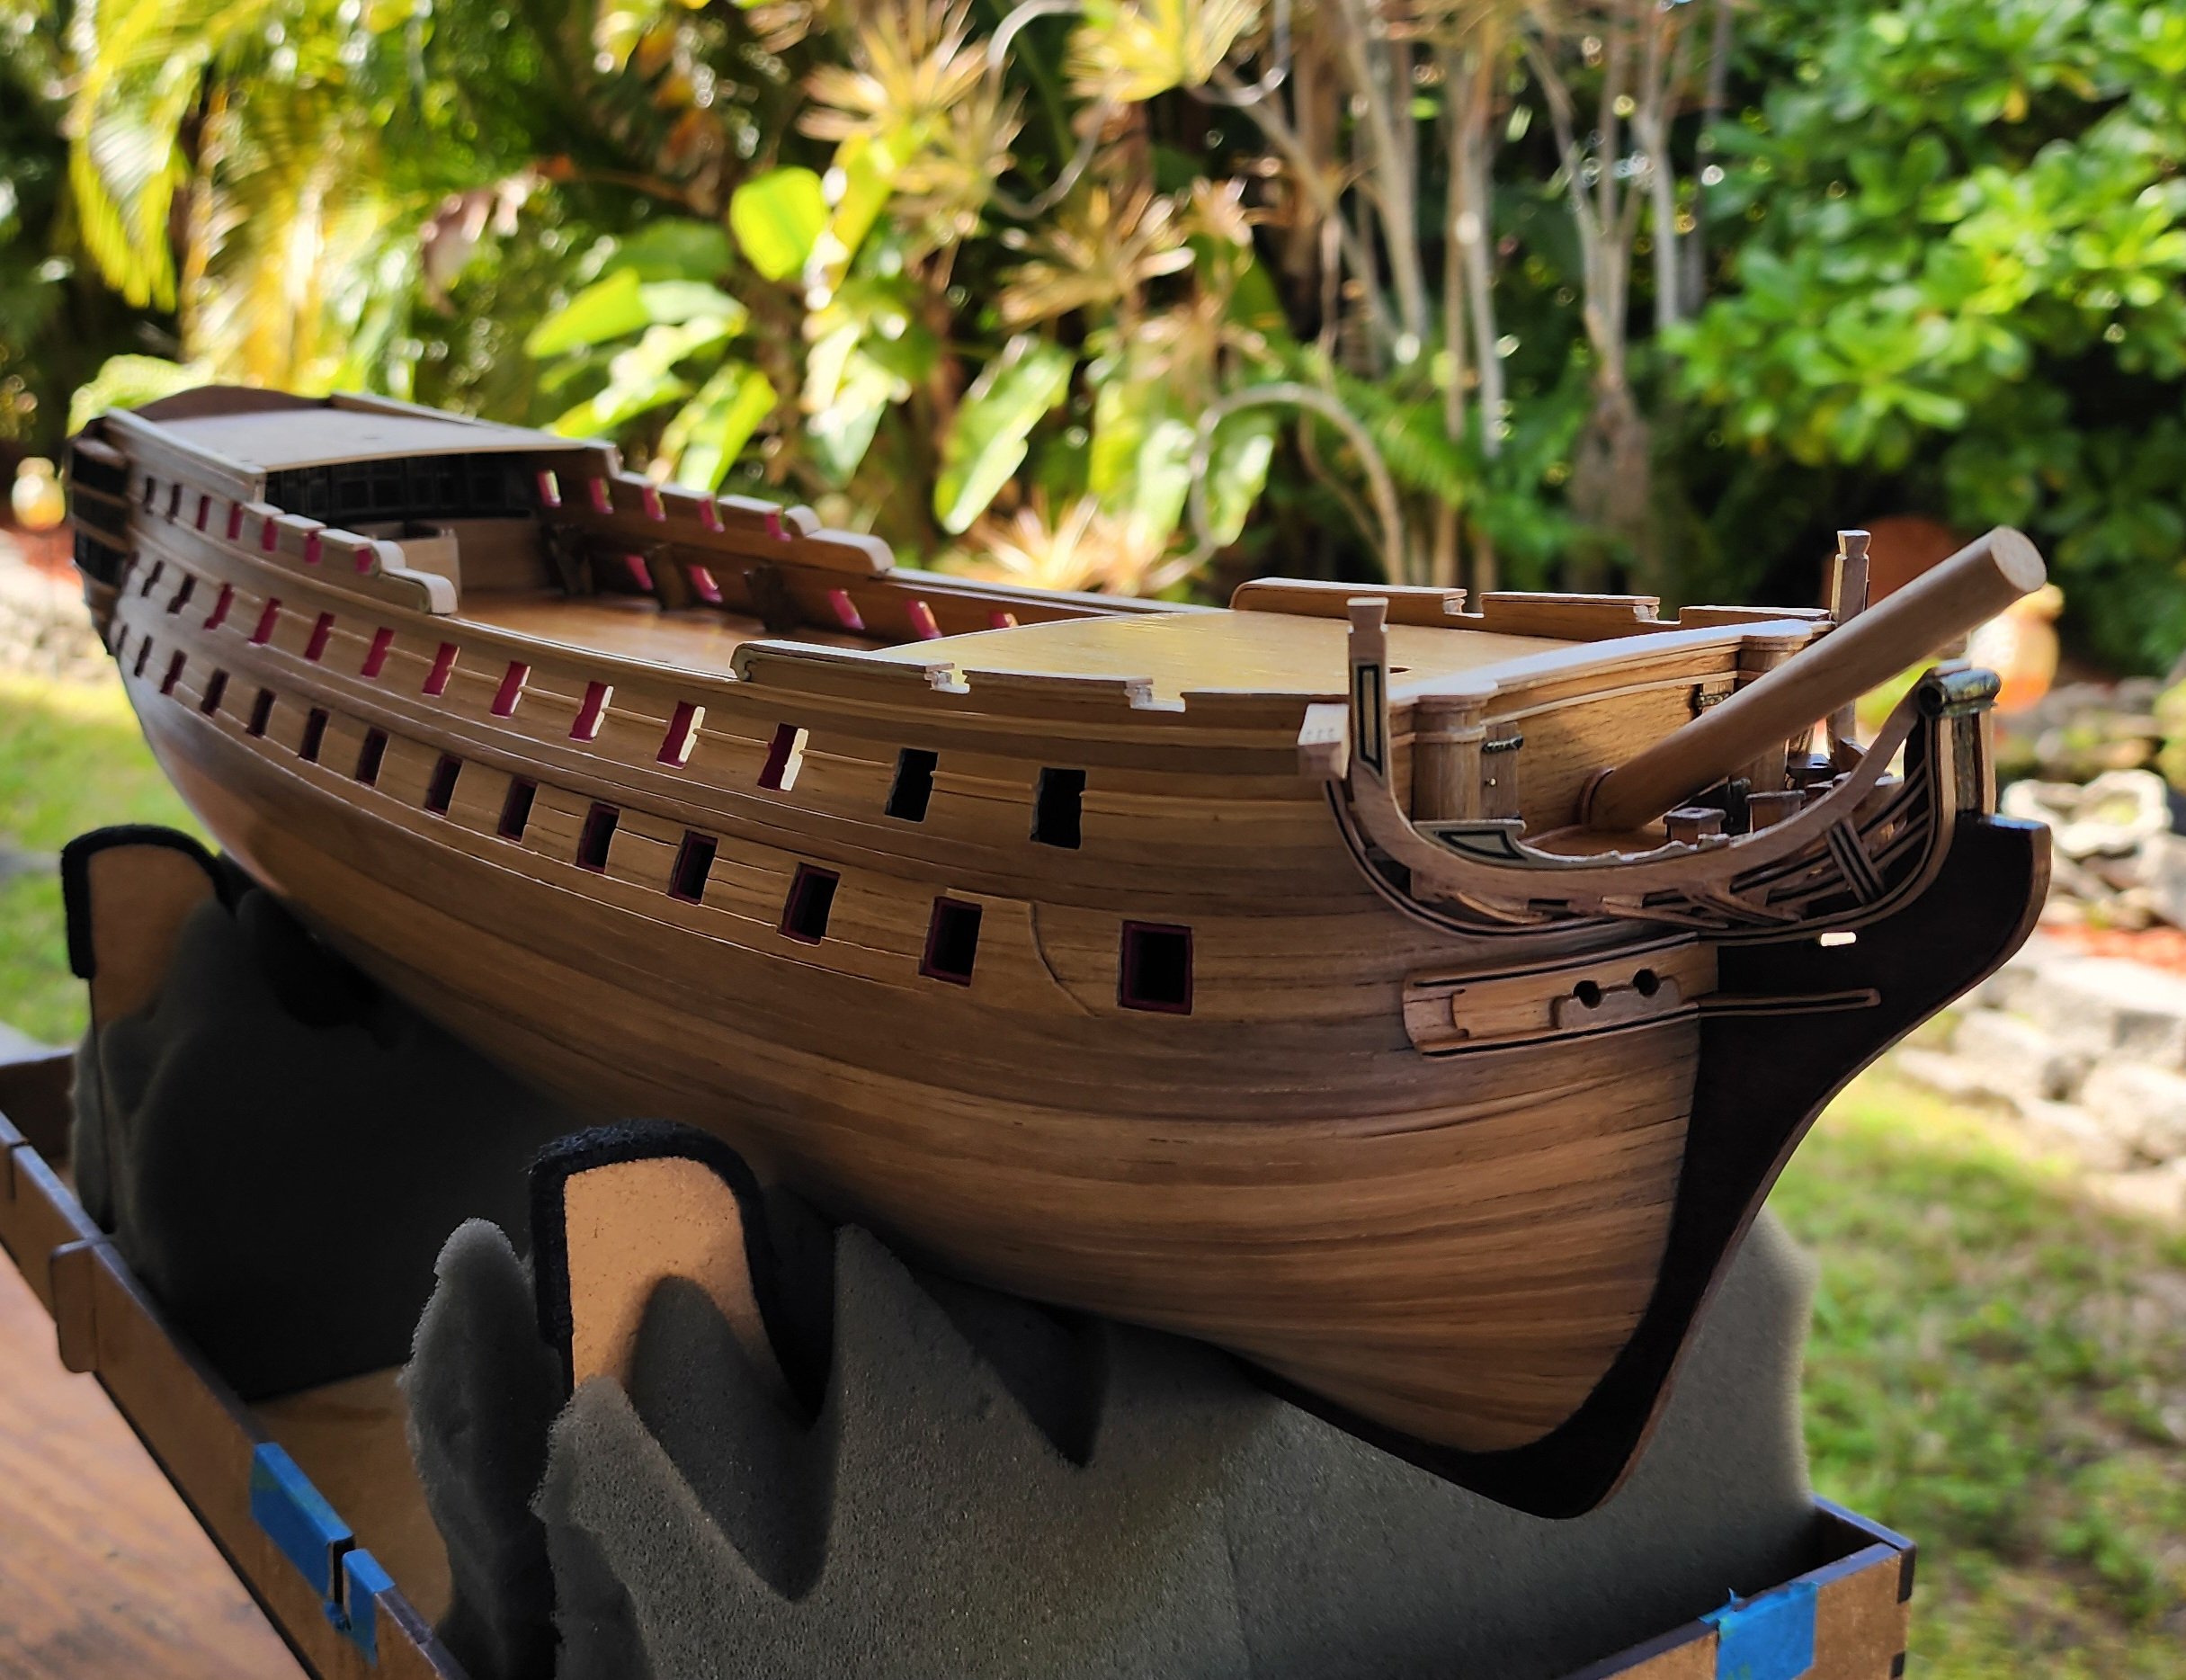
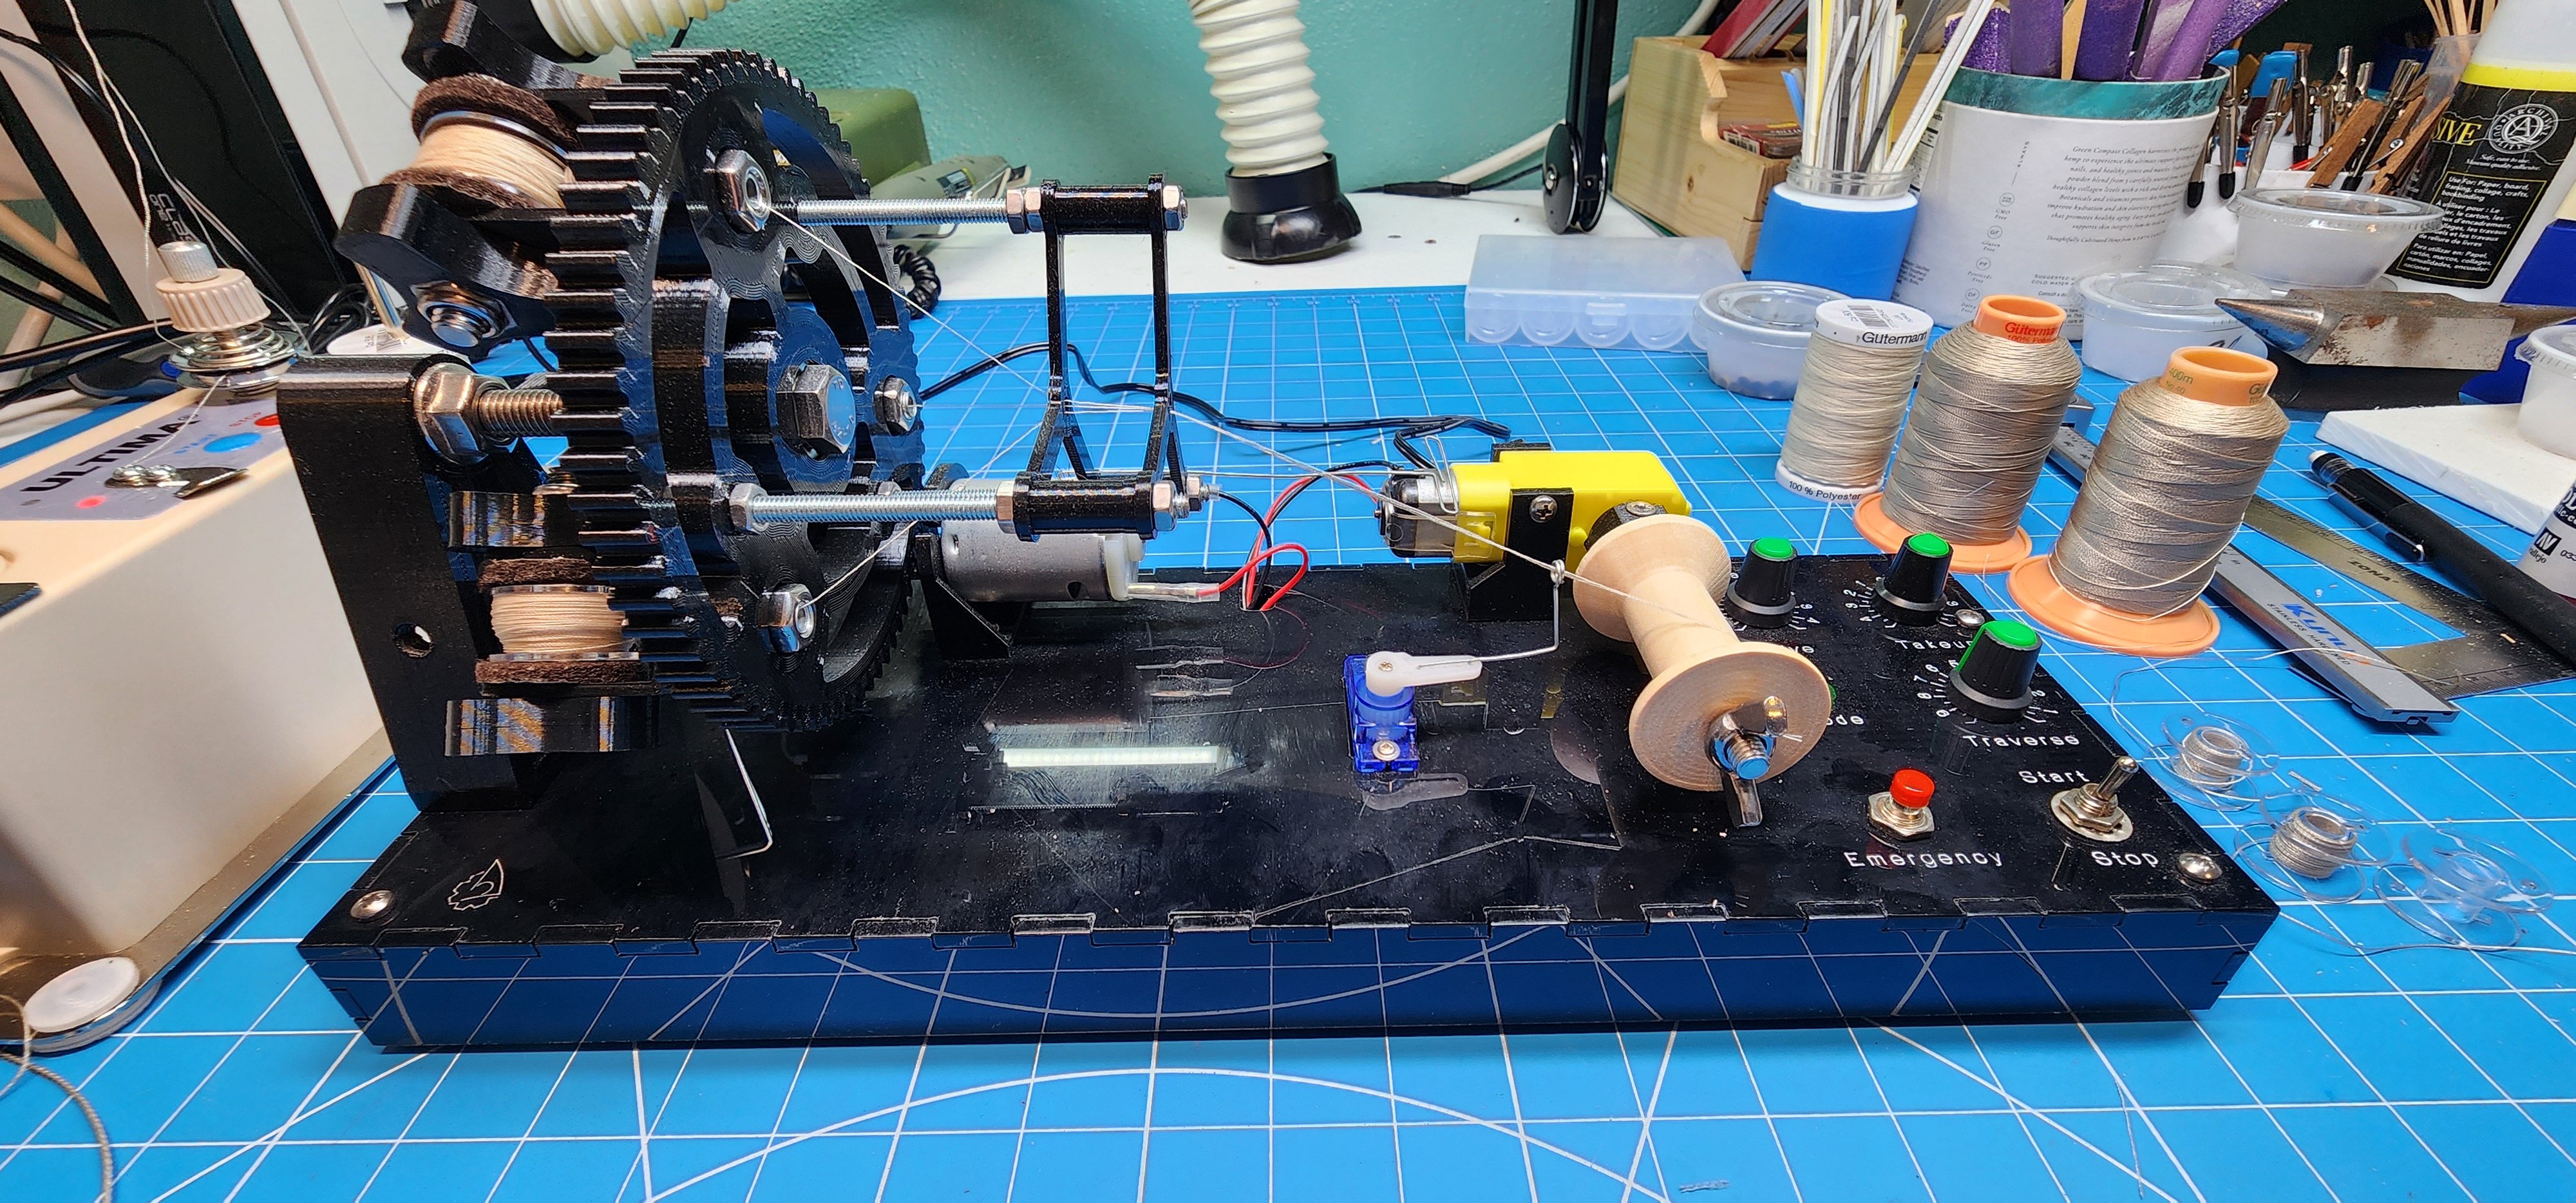
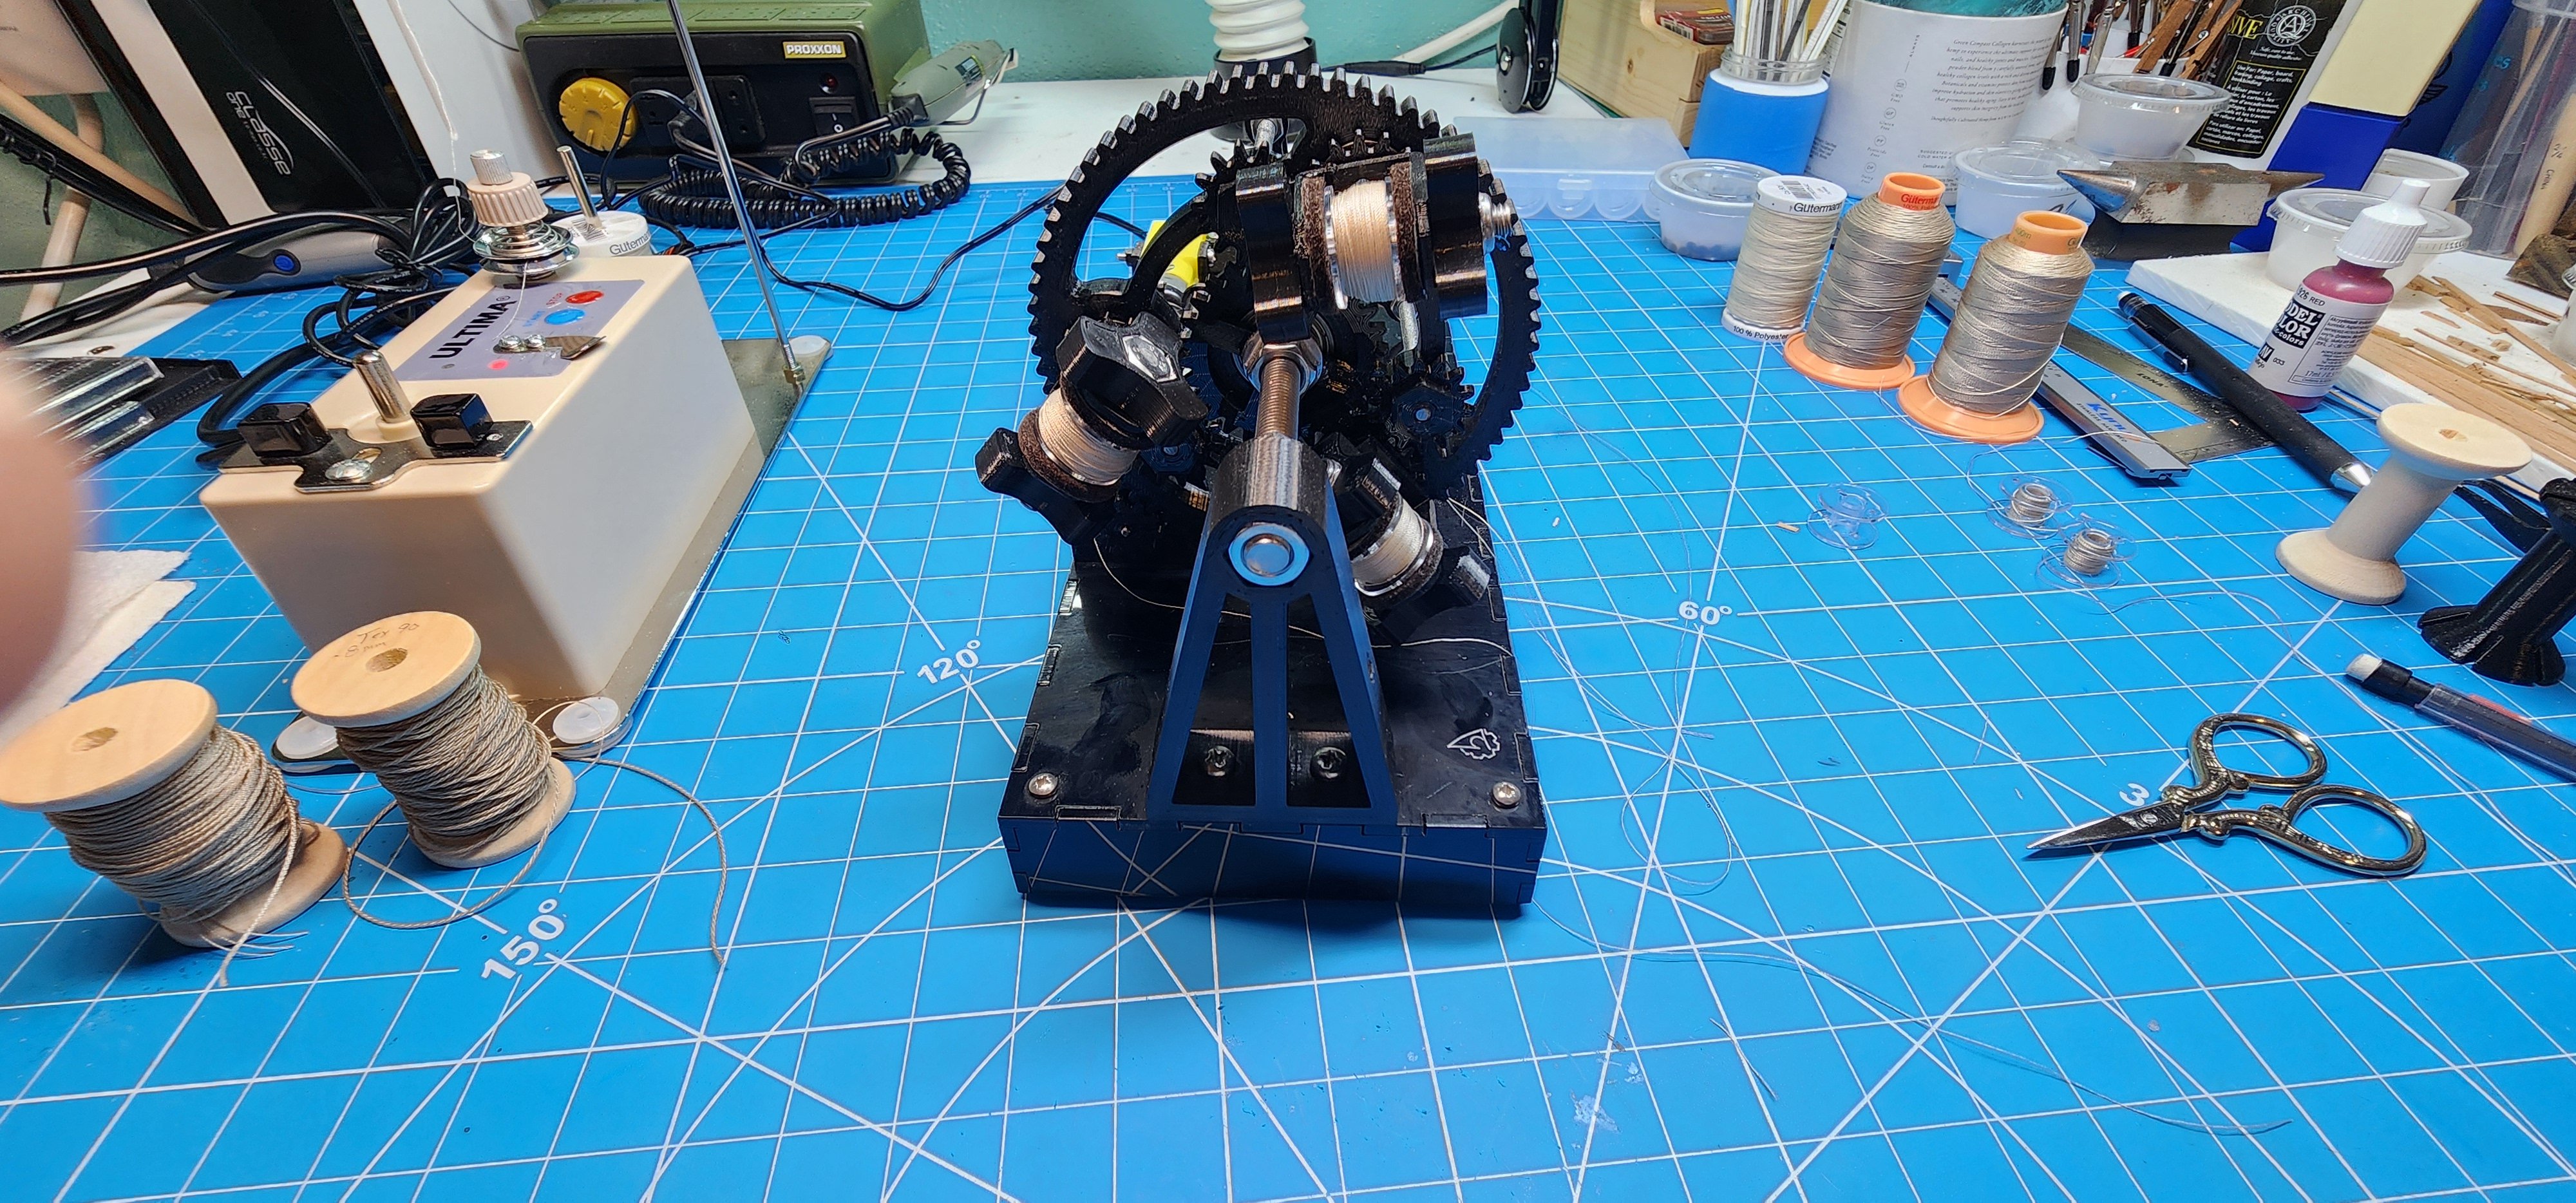
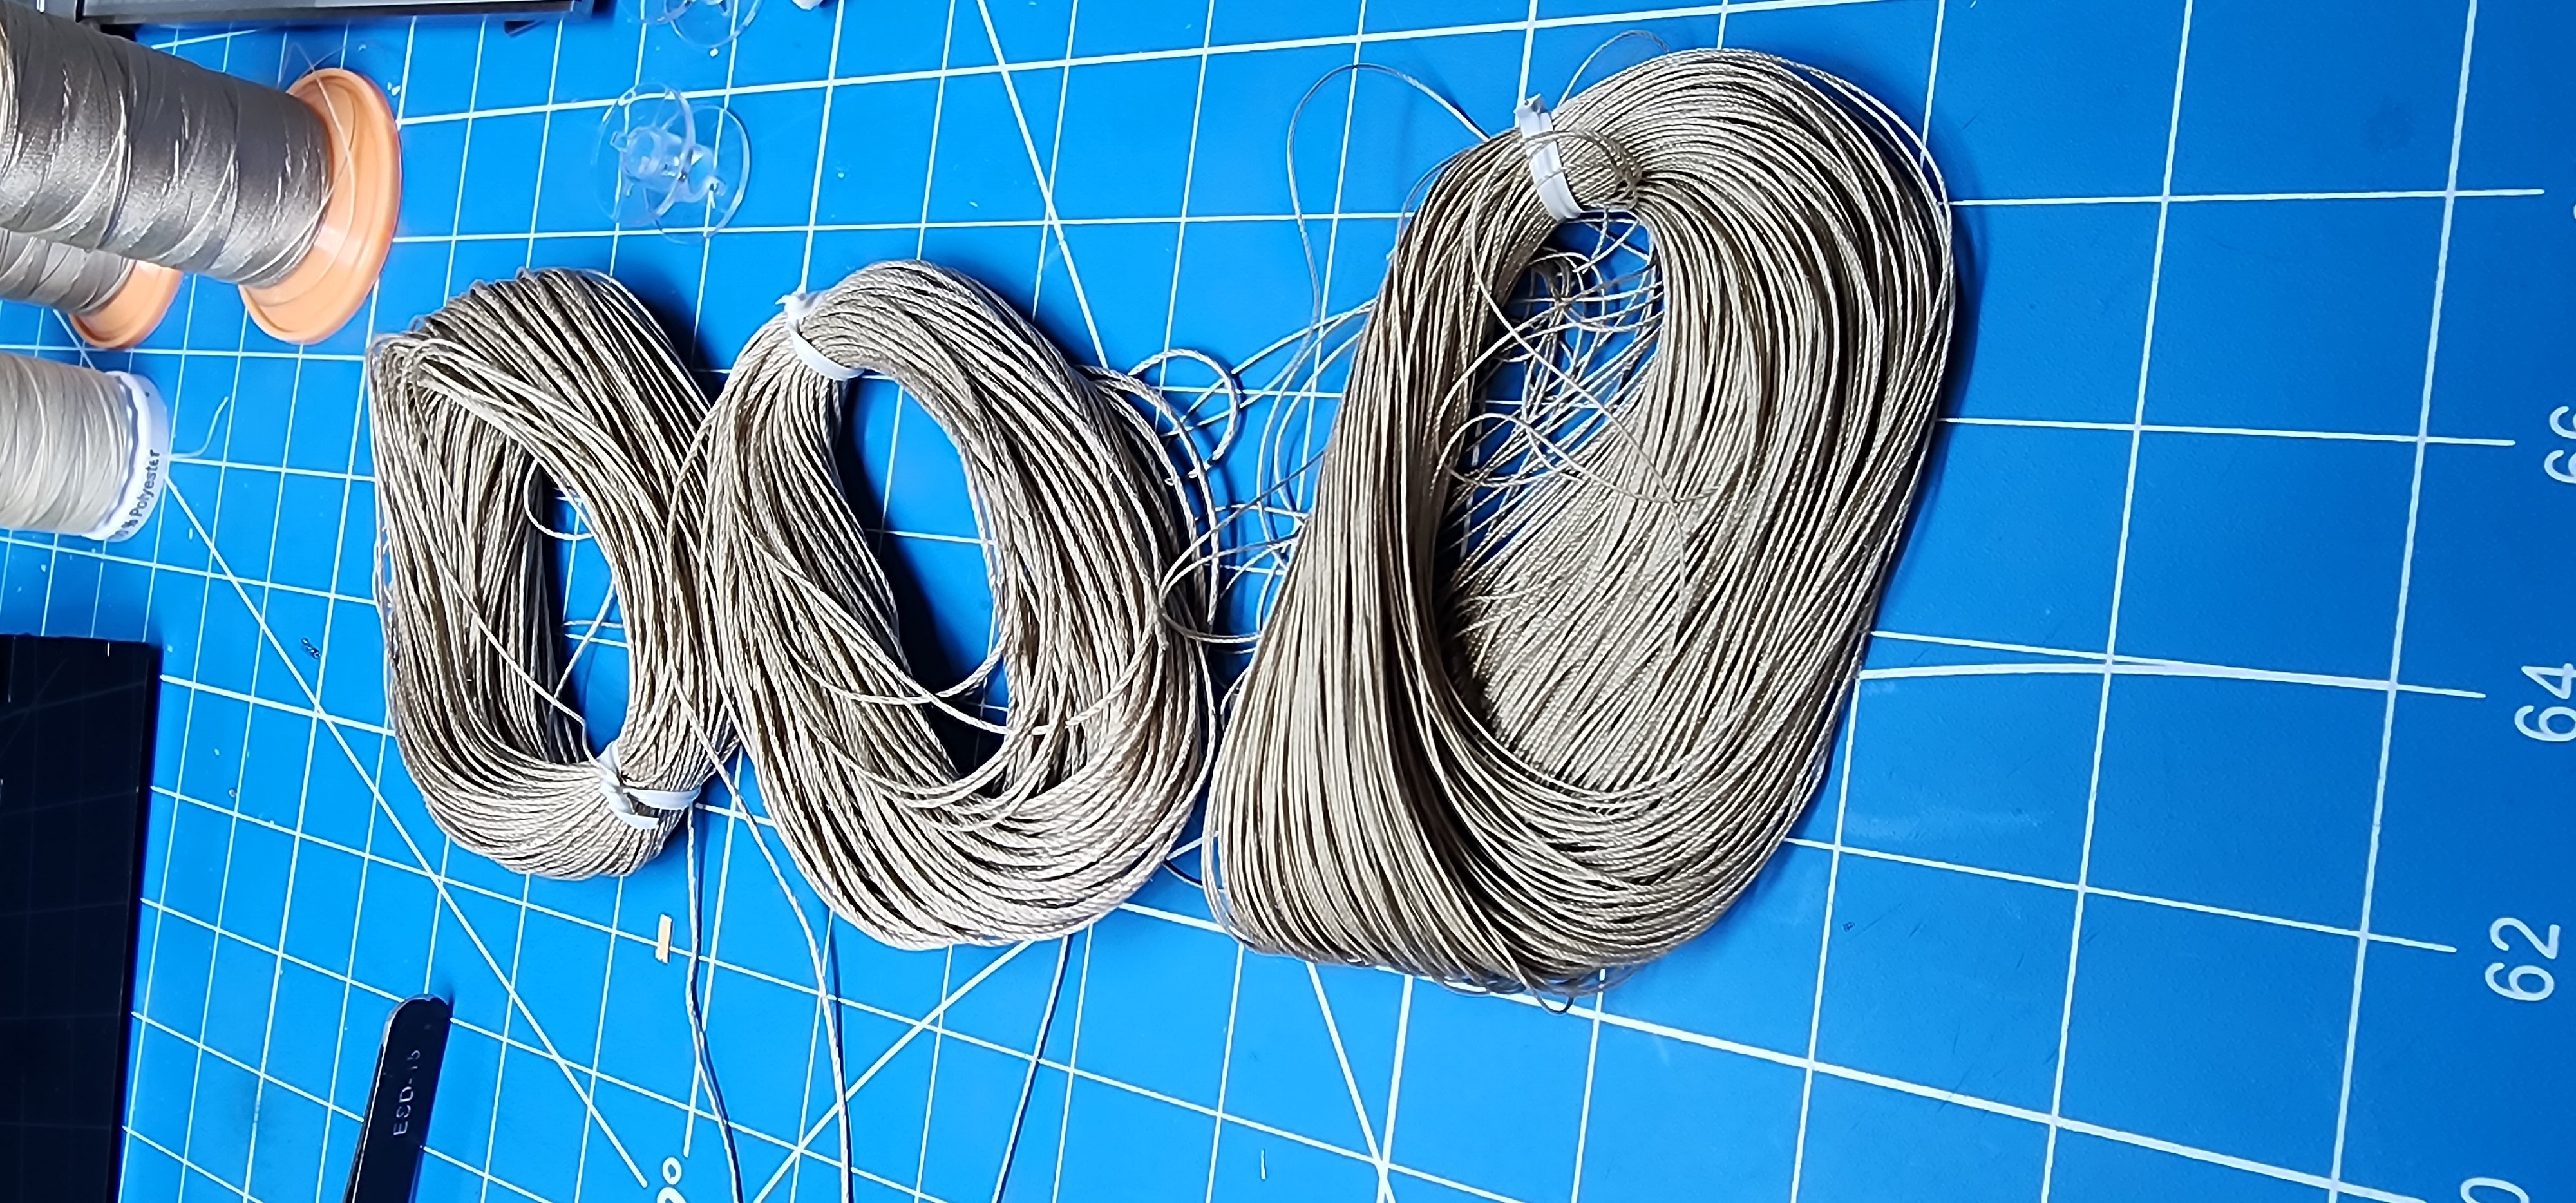
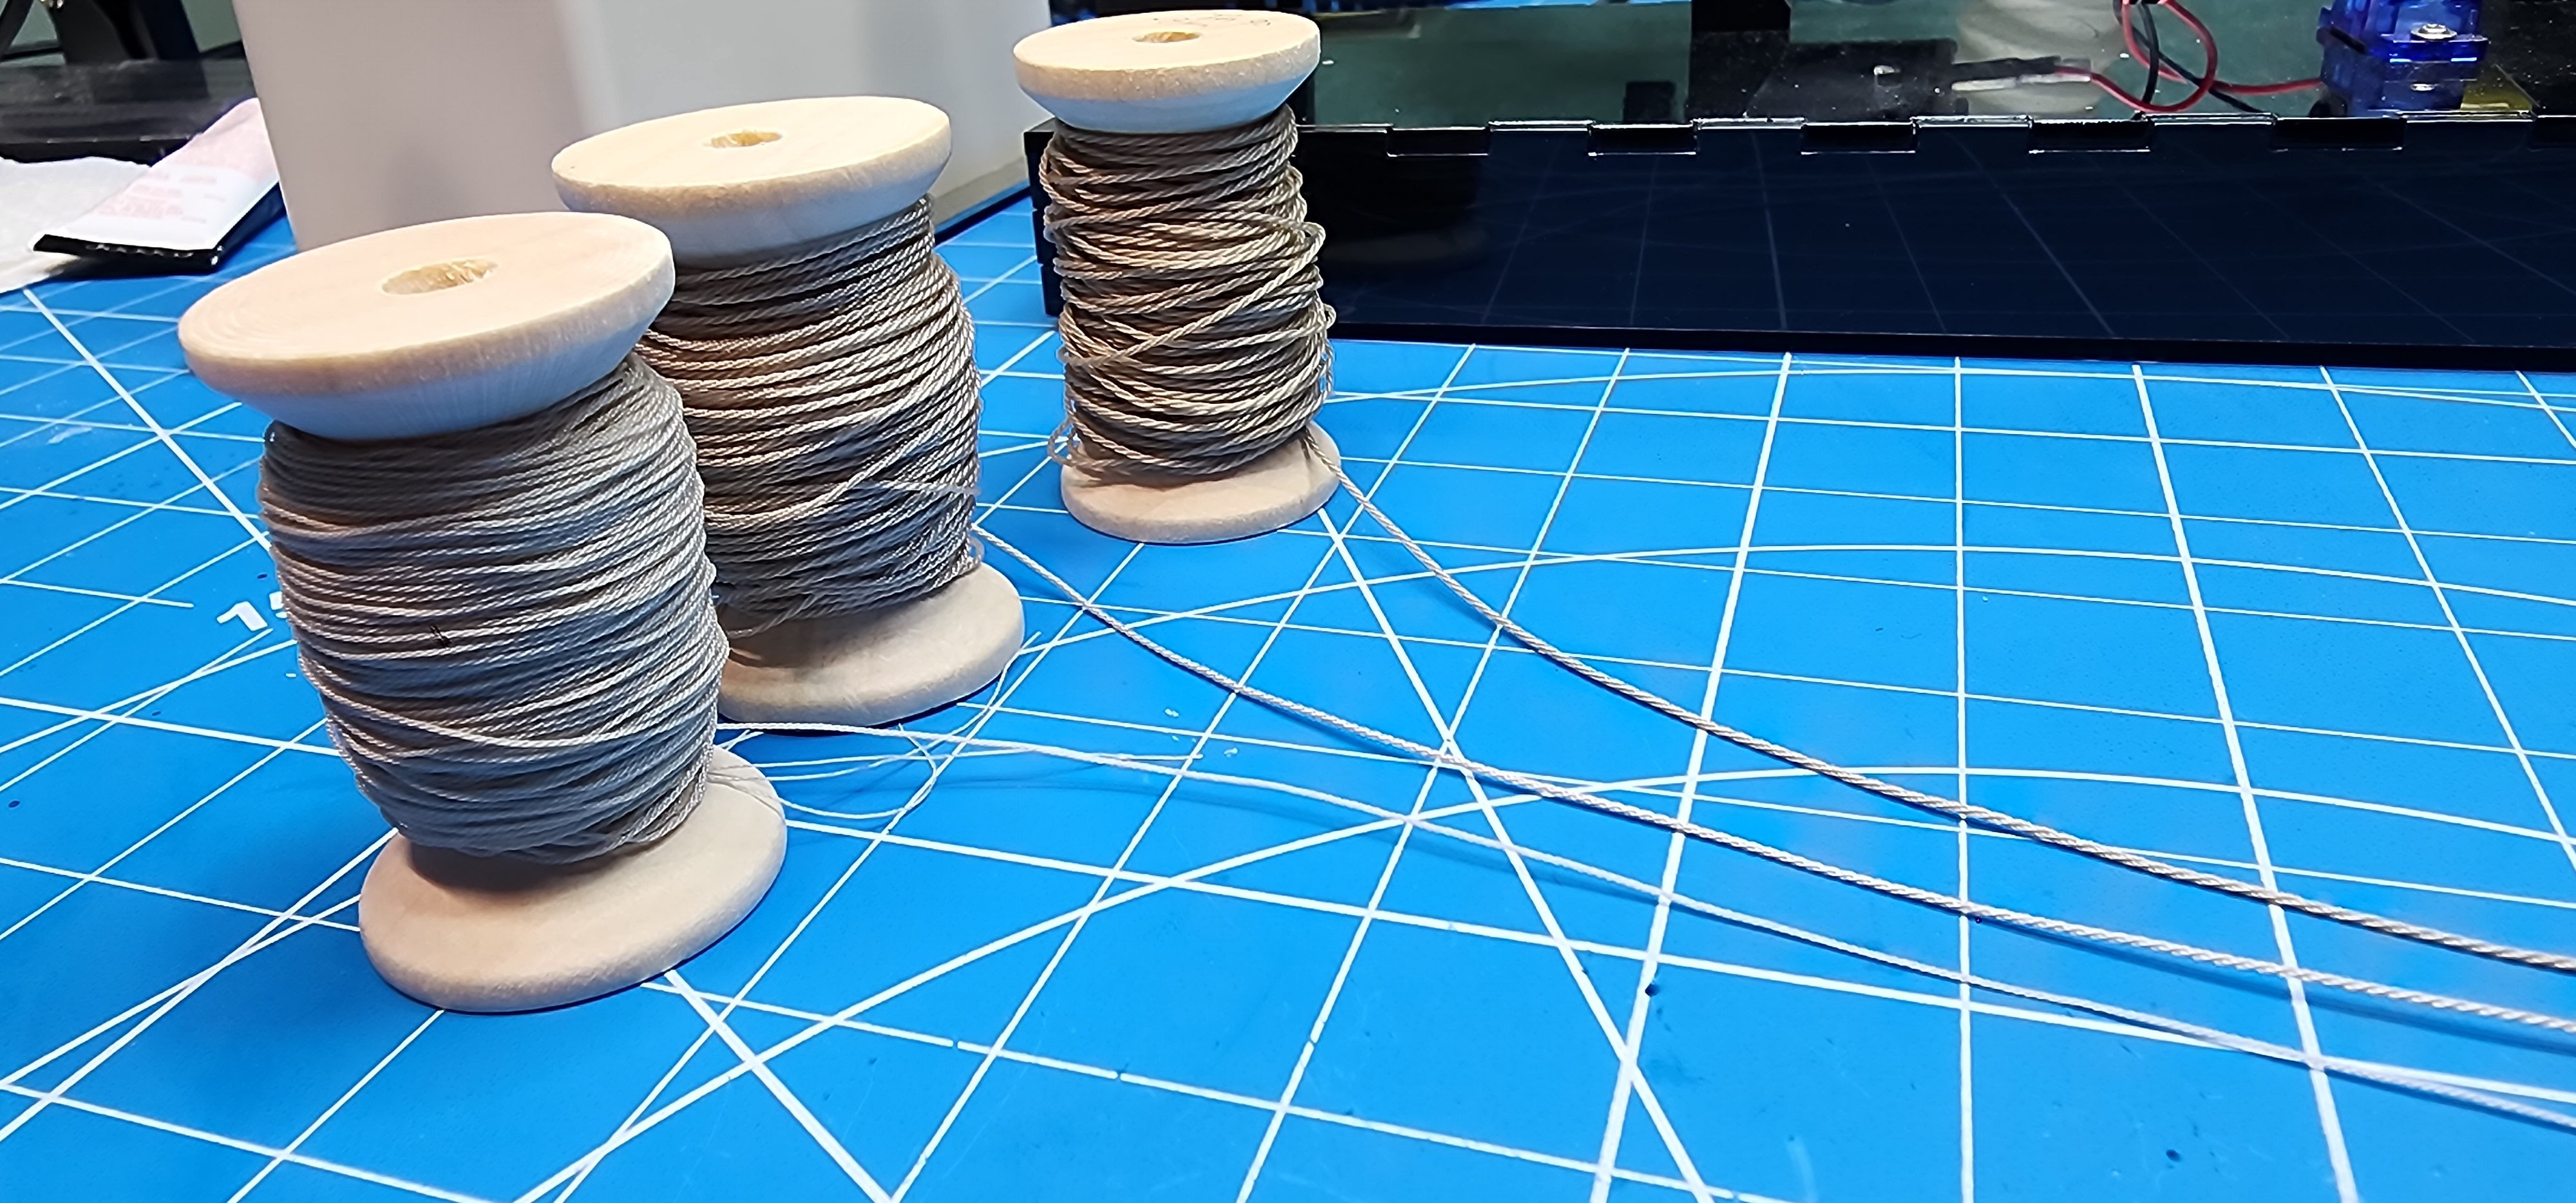
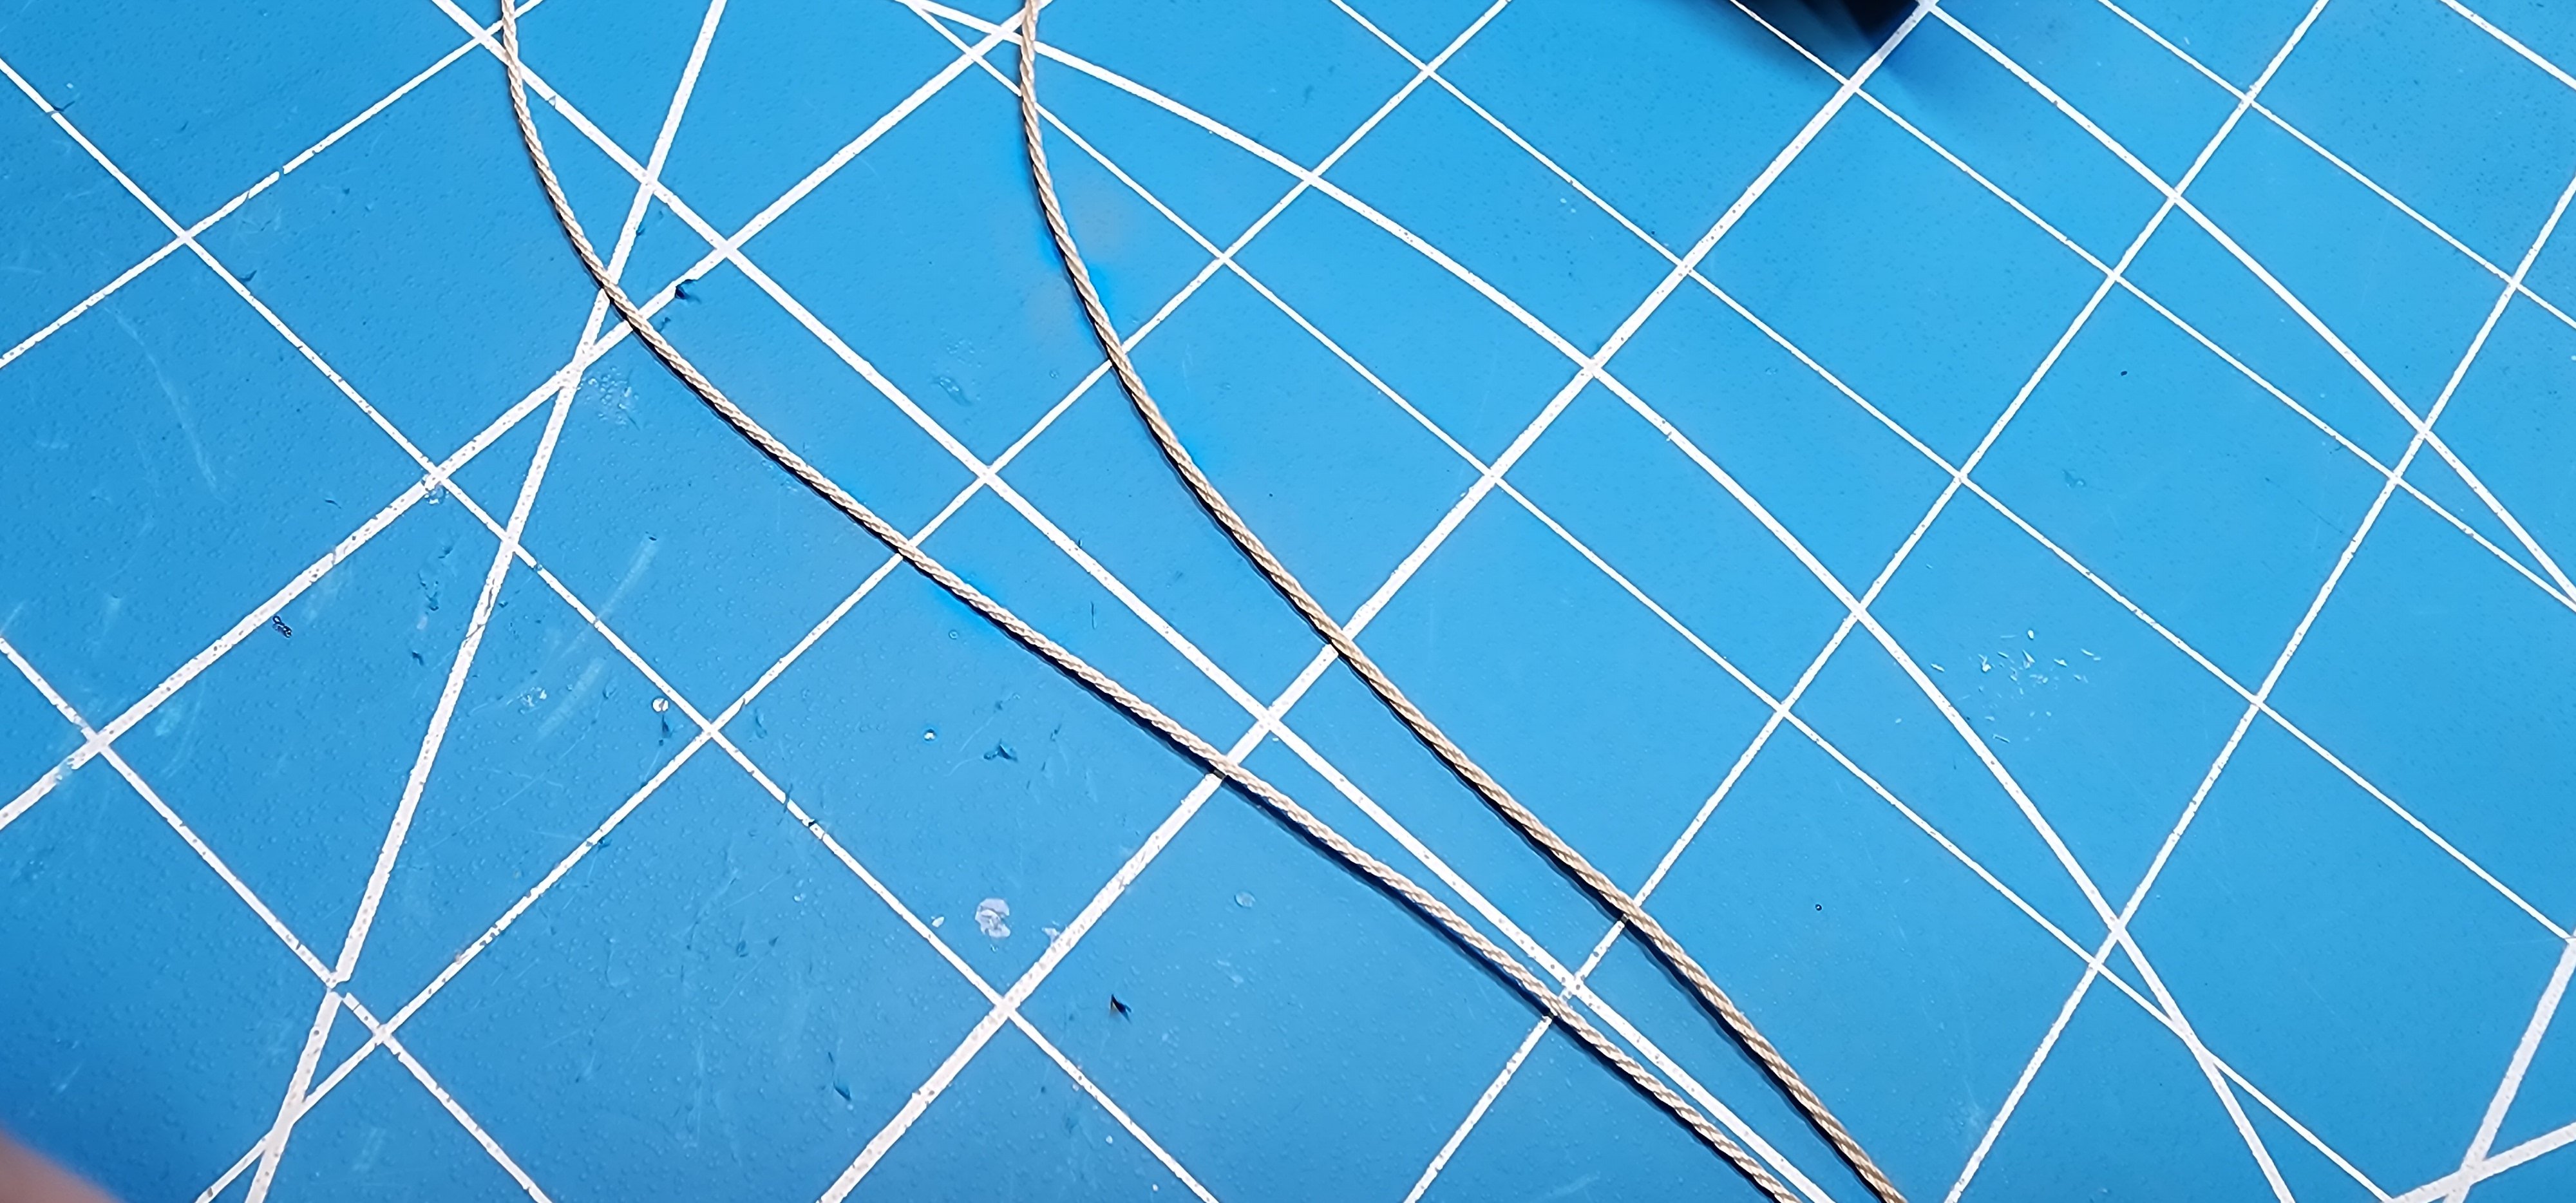
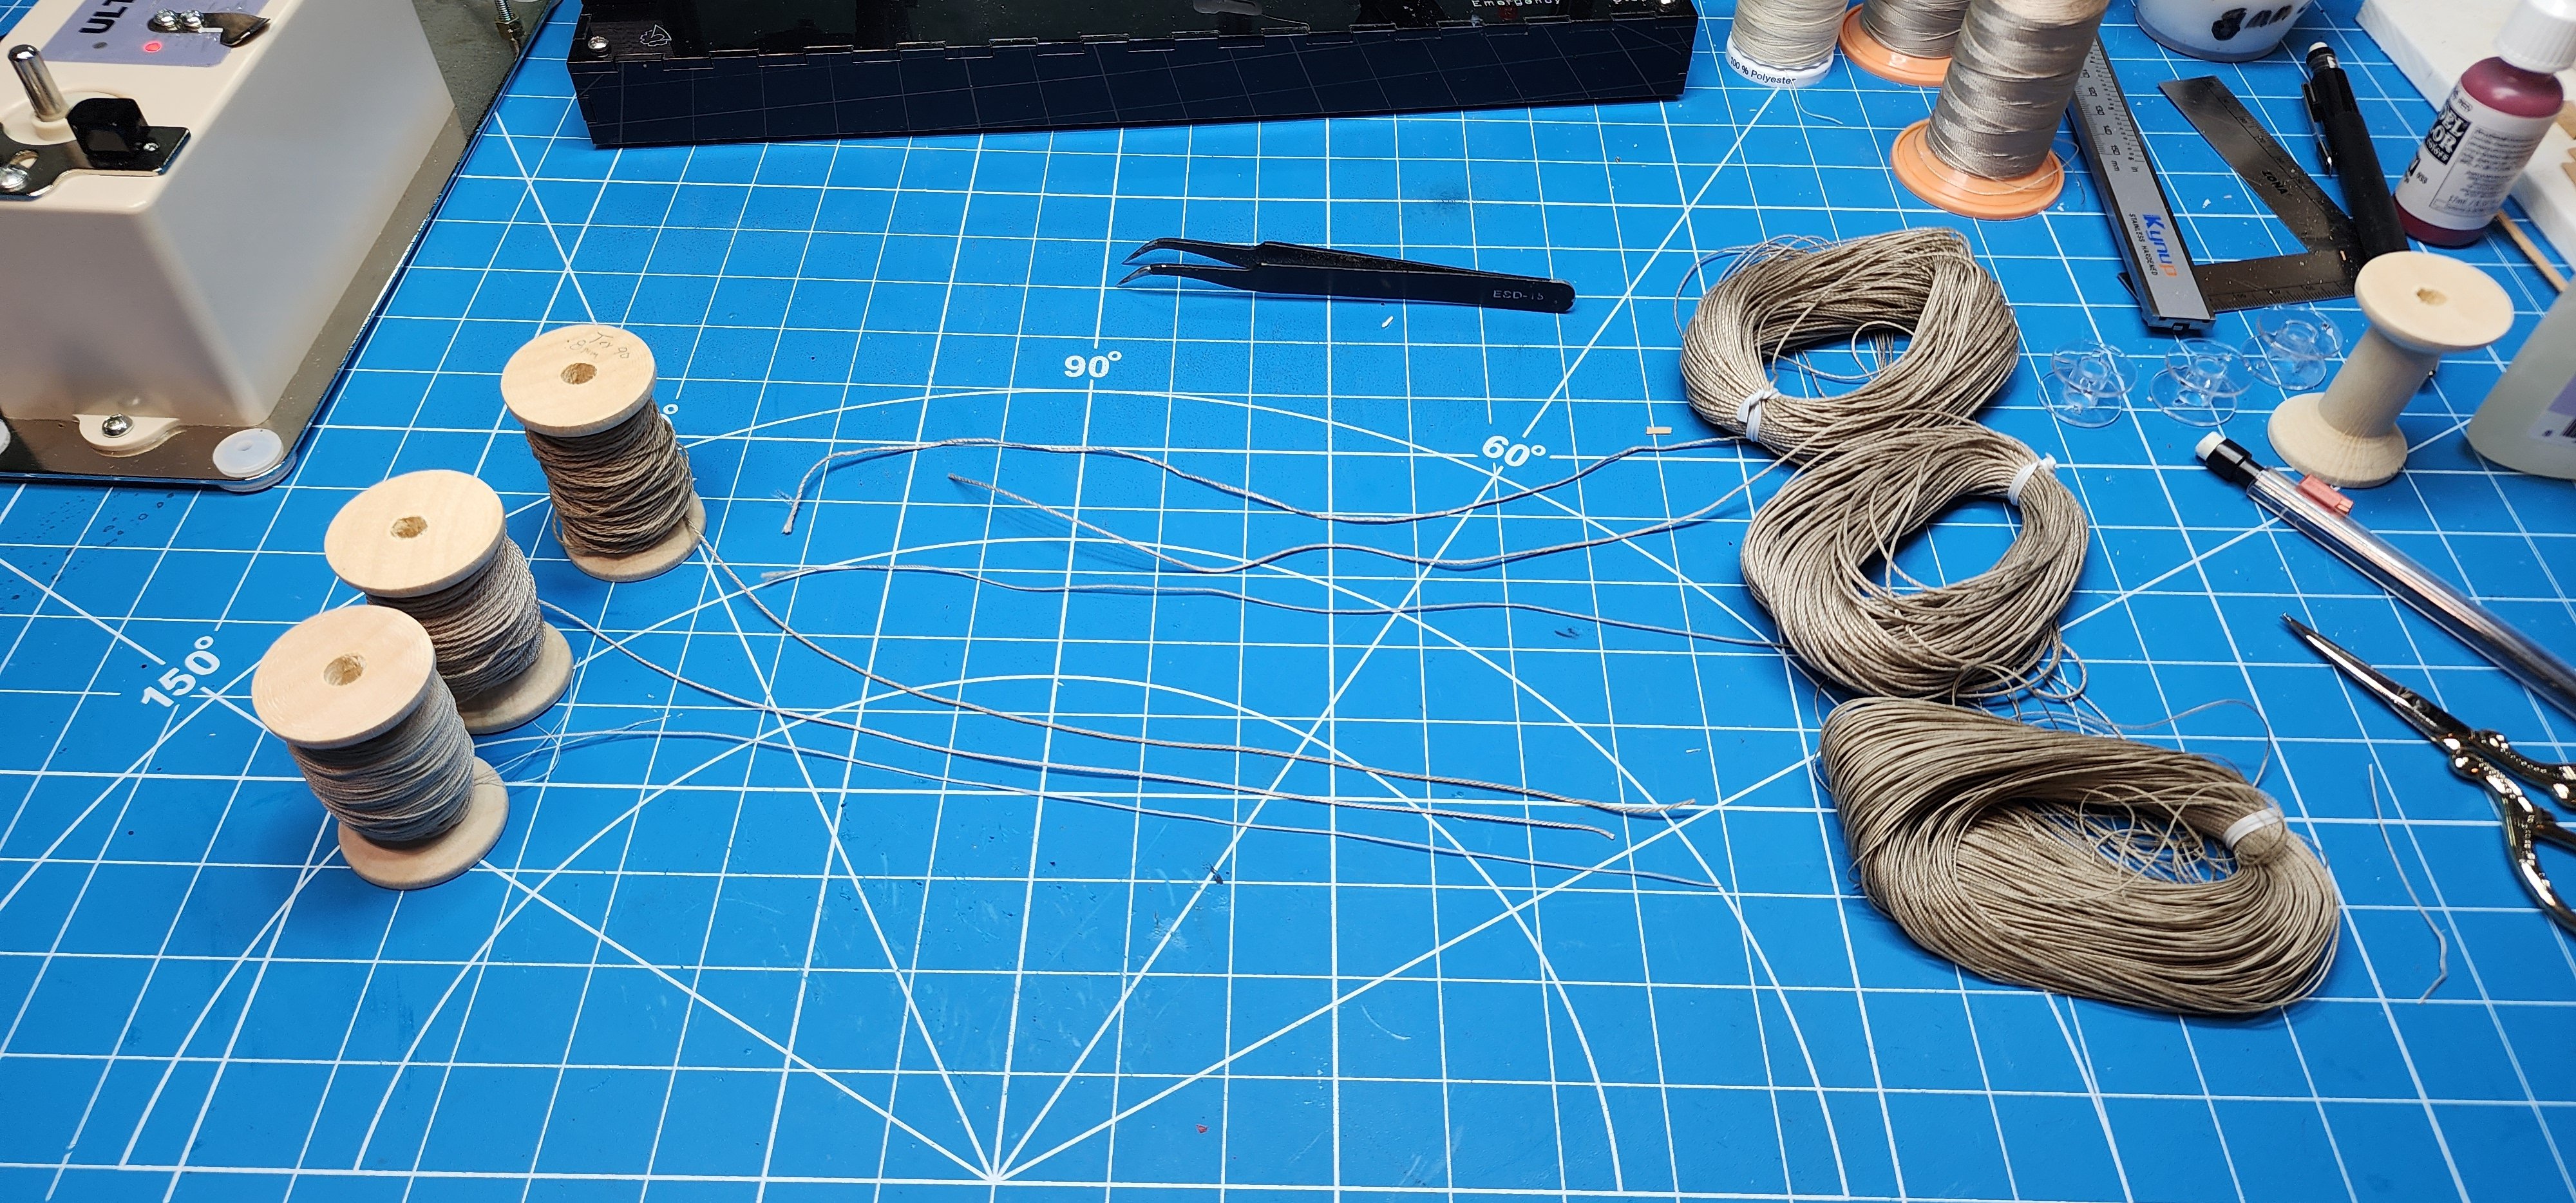
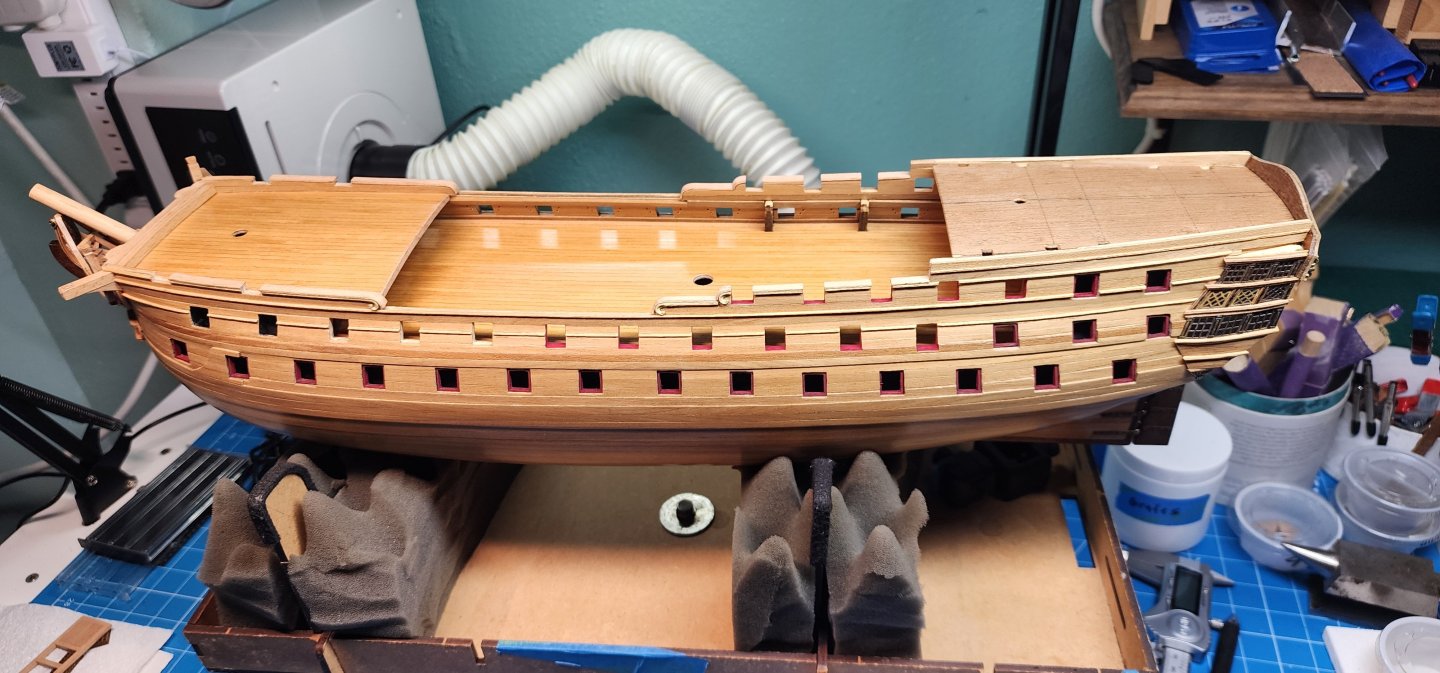
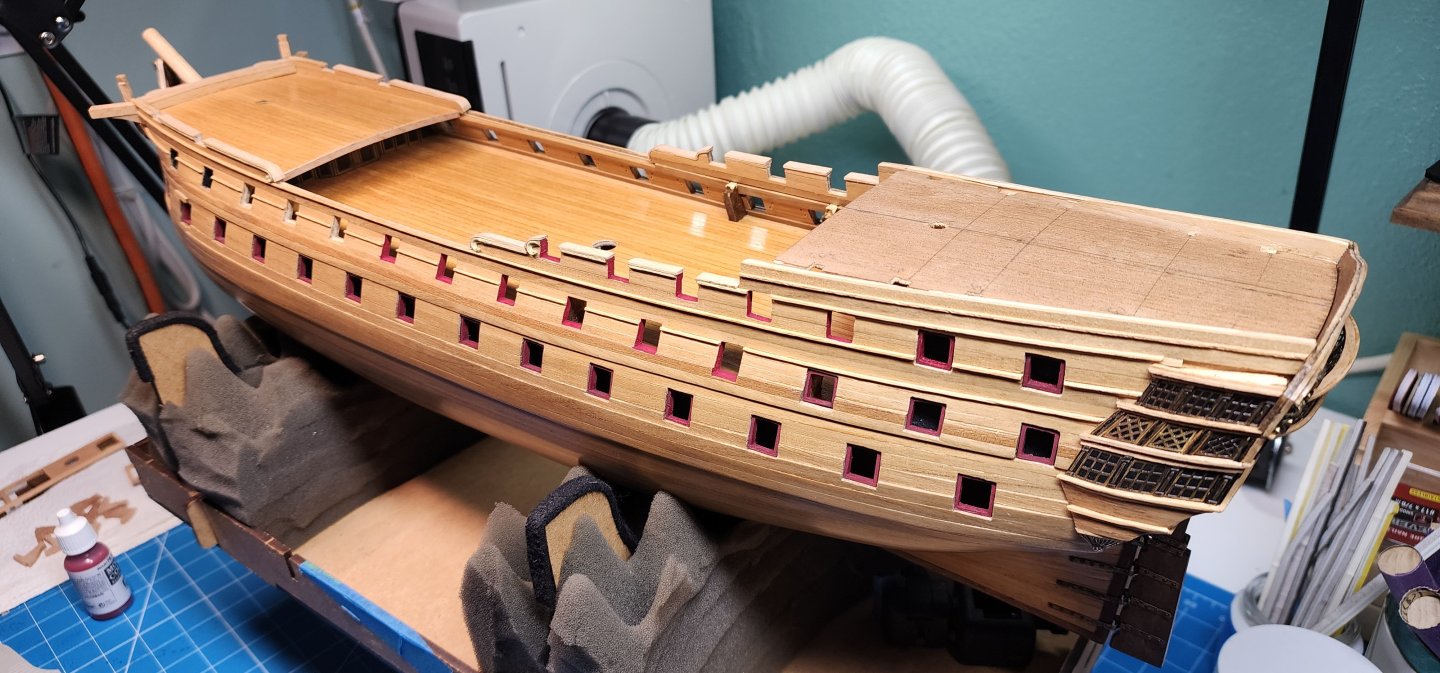
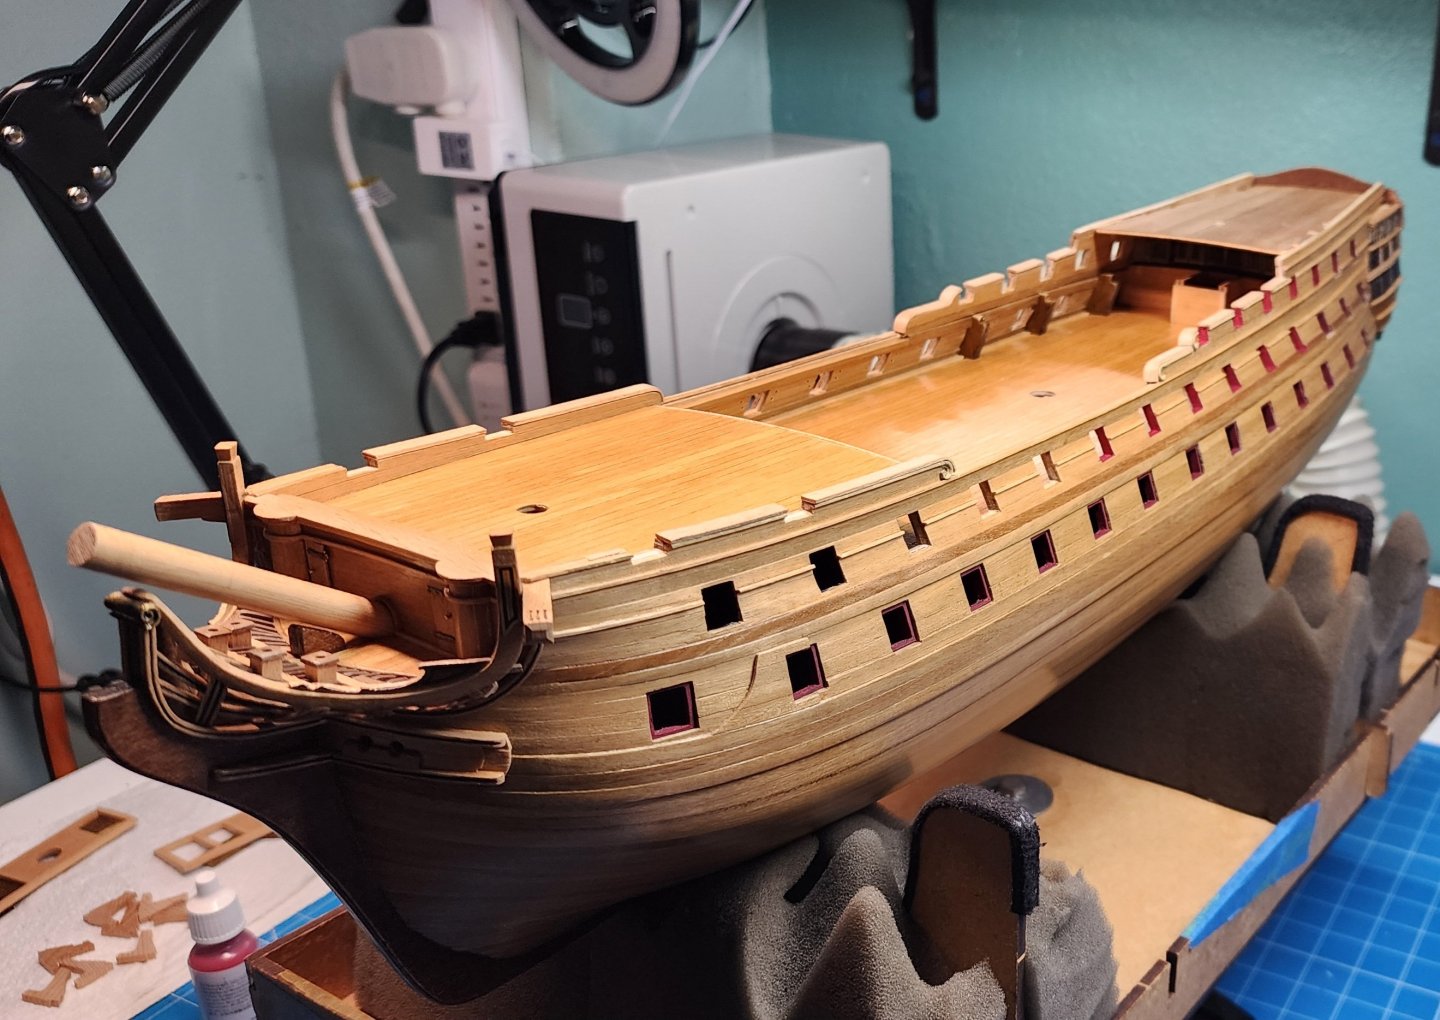
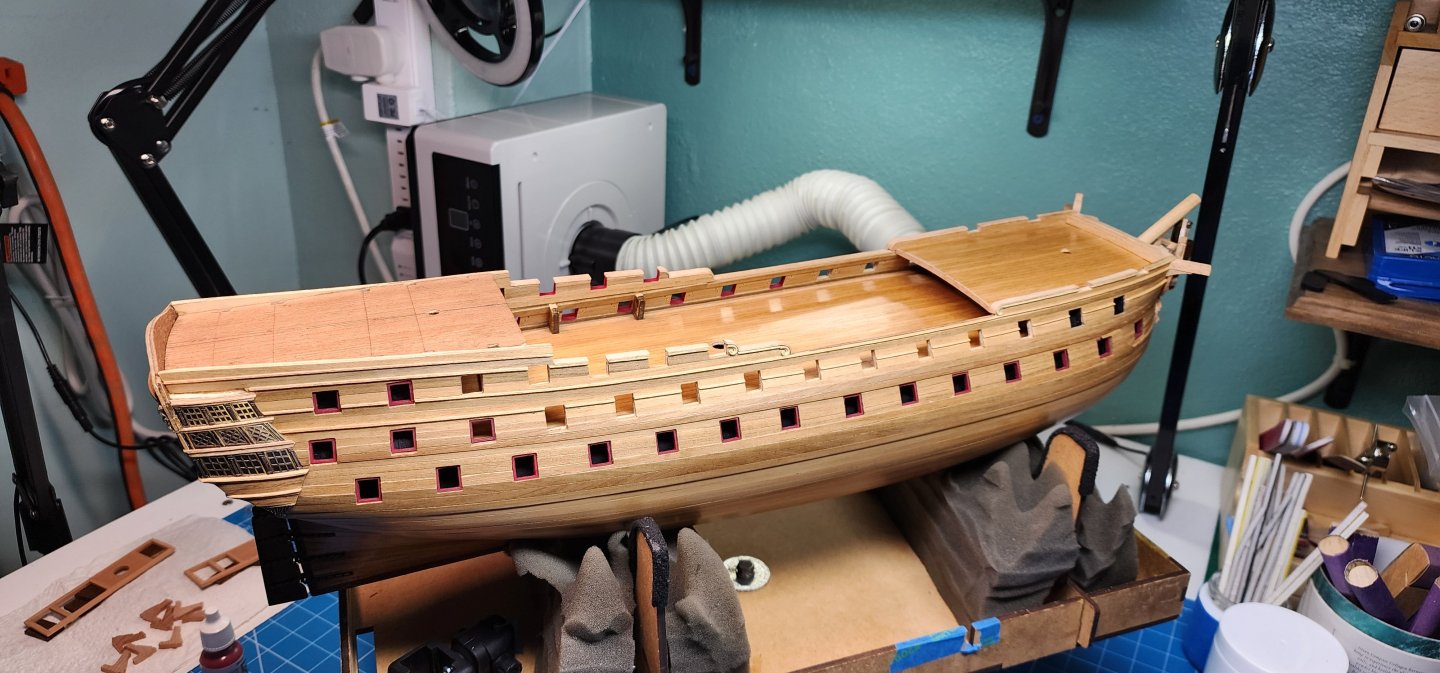
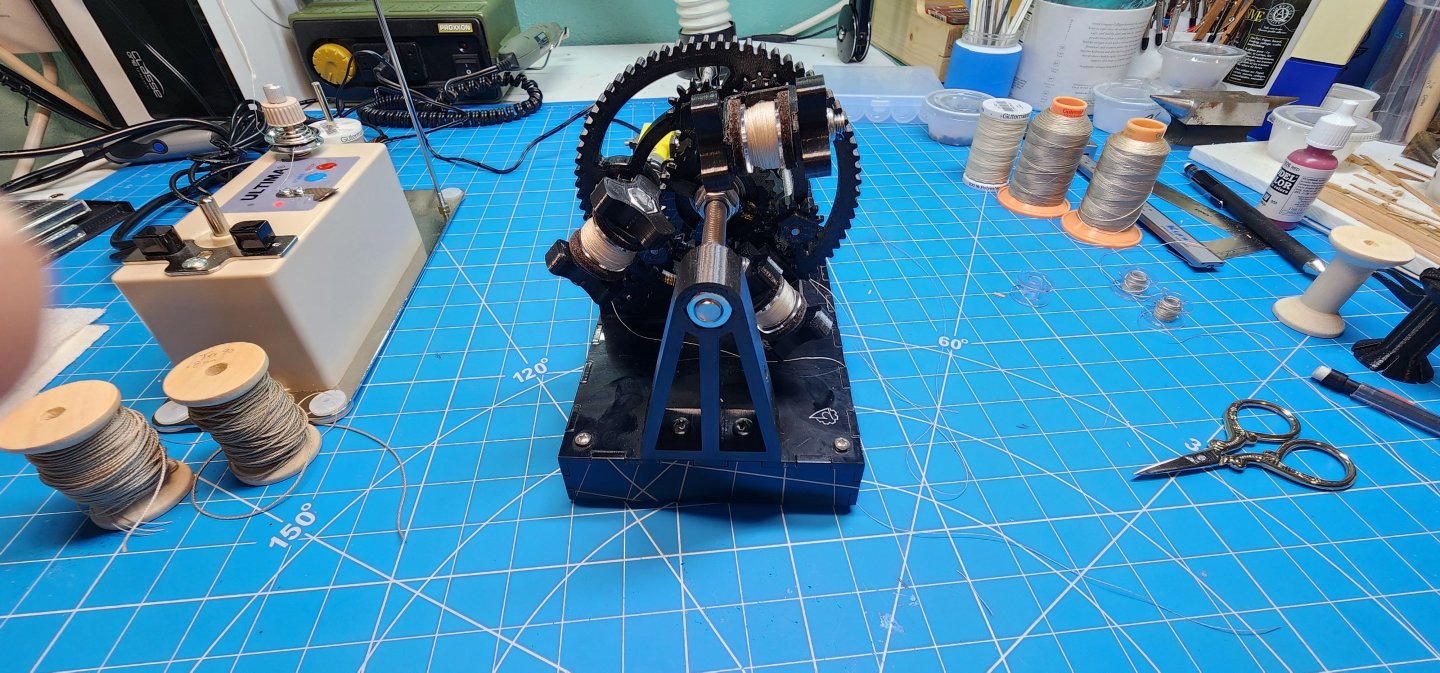
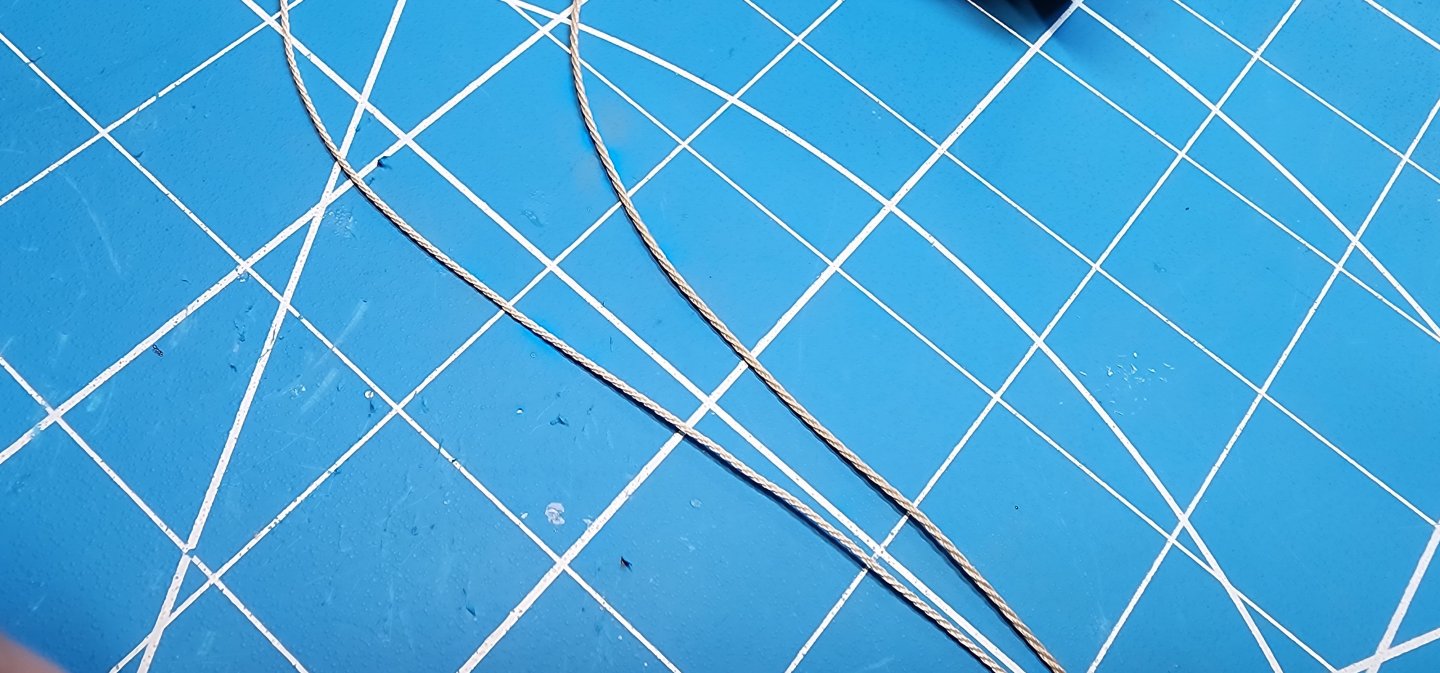
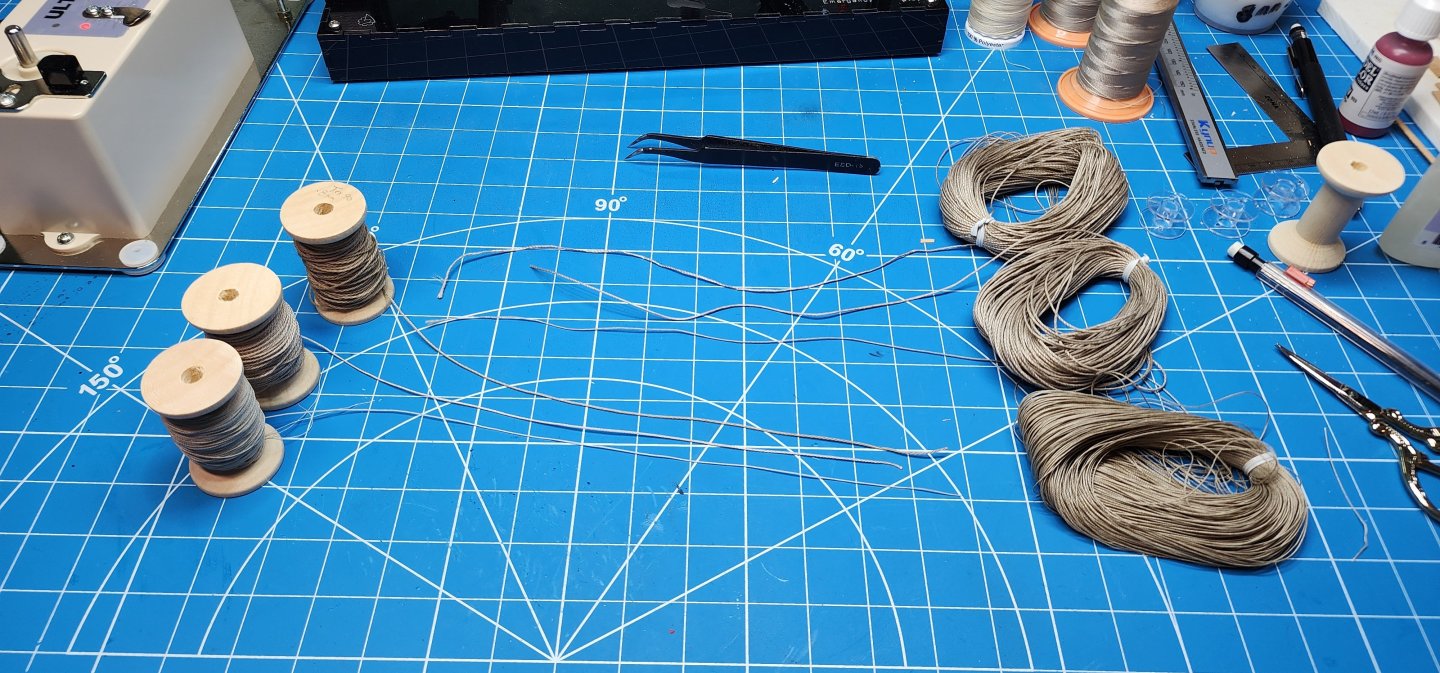
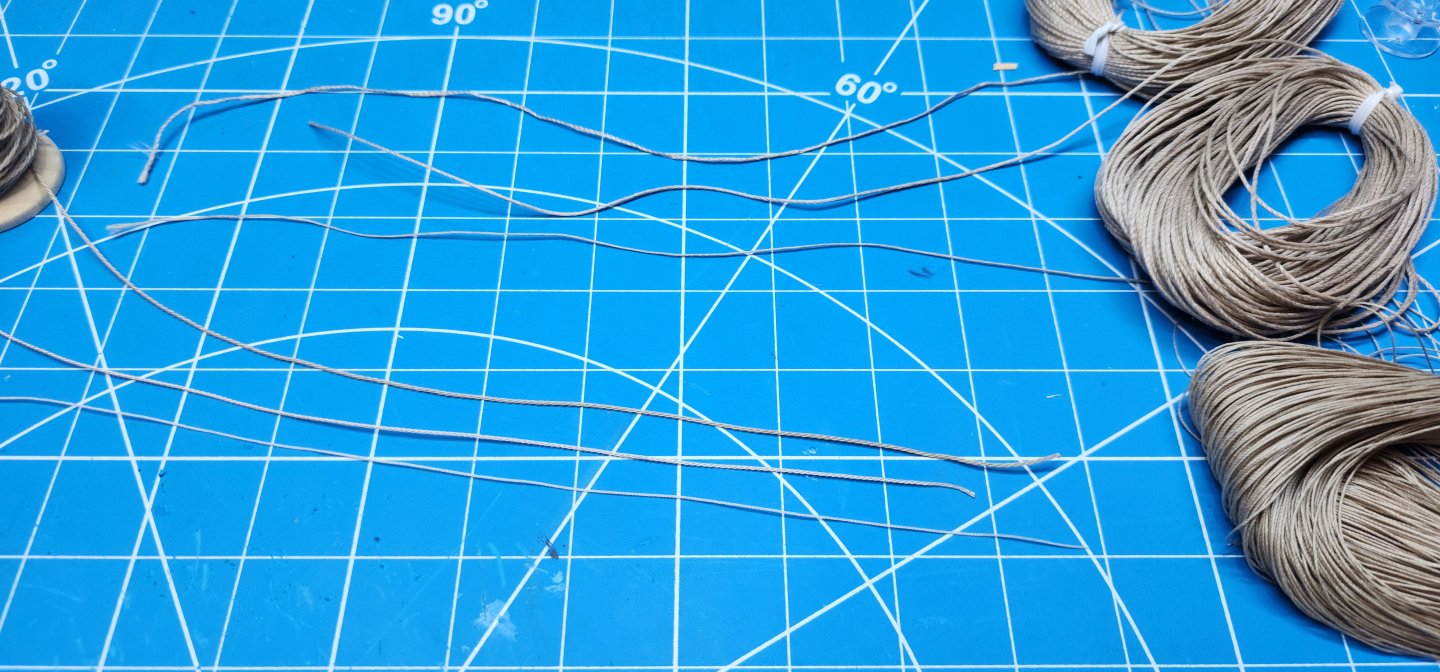
Hello All, I have another small update on Bellona progress. The upper canon ports have been looking pretty rough up to this point. The 3 layers of planking have different color contrasts, and they really have not flowed with the rest of the ports. I decided that I would go ahead and paint them red to match the port post on the false gun ports. This was a fairly easy task to complete, and the results are very satisfying and pleasing to the eye. There are a few of the ports that are going to require some filler to smooth them out. The camera has a way of enhancing the flaws that otherwise look ok in person. I will circle back on this later. Well, I think it’s time to start working on some of the armament. I am planning on preparing the 18 pound shot canons that will be on the upper gun deck. The rigging supply that came with the kit is not of the highest quality in my humble opinion. I have researched quite a bit on making scaled rope over the past couple years and decided that I was going to give it a go and try and make my own rope for the Bellona. I purchased an infinite rope walk a year or so ago and have been practicing for a bit now. I do not have much room in my workshop, so this tool seemed to make sense to me if I were to make my own rope. I am starting with making the breeching and gun tackle for the canons. I have included some pictures of the kit supplied rope and the rope that I made with the rope walk. I think the rope walk did a pretty good job, but it did take quite a bit of trial and error, mostly error, before I started getting good results. I have included some pictures, and a short video of the rope walk in action in case anyone has an interest. Well, I don’t have anything else to add for this post and will provide another update when I make some progress on the armament. As always, your comments and guidance are always welcome. Cheers Nearshore 20250201_071511.mp4


-
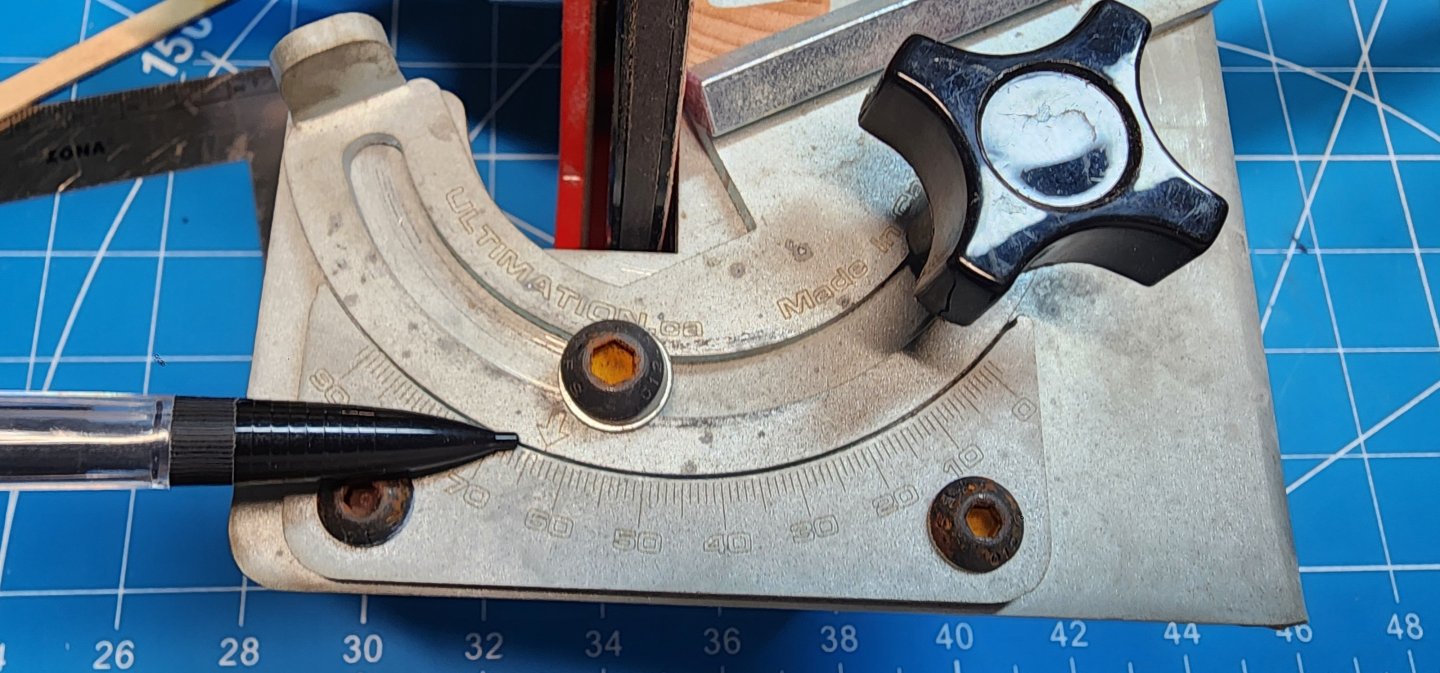
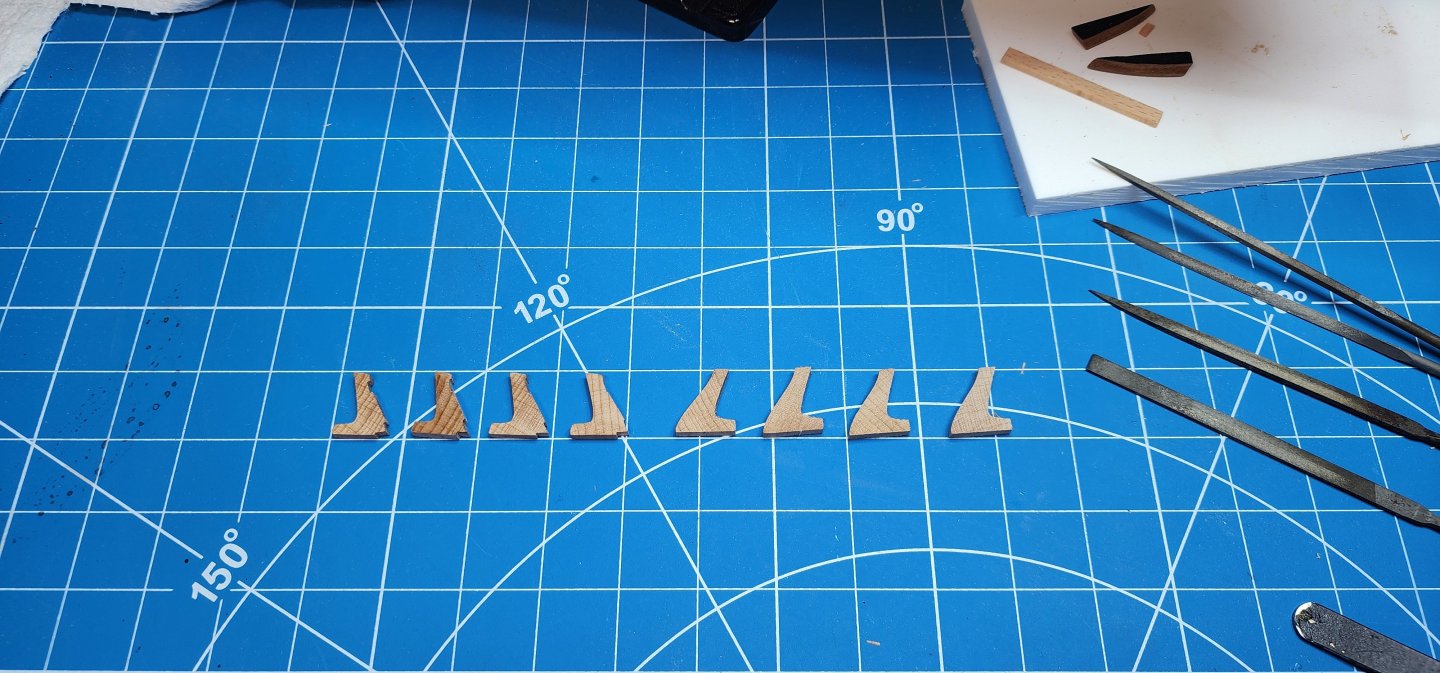
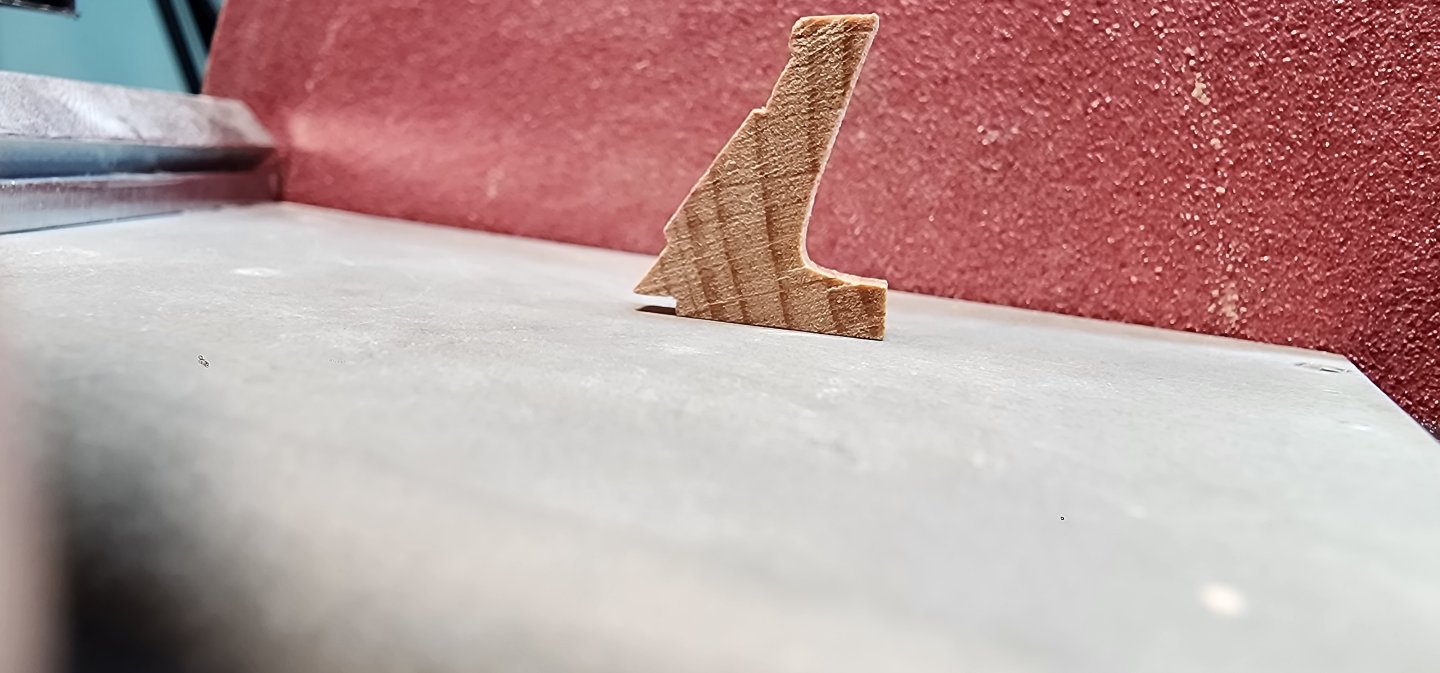
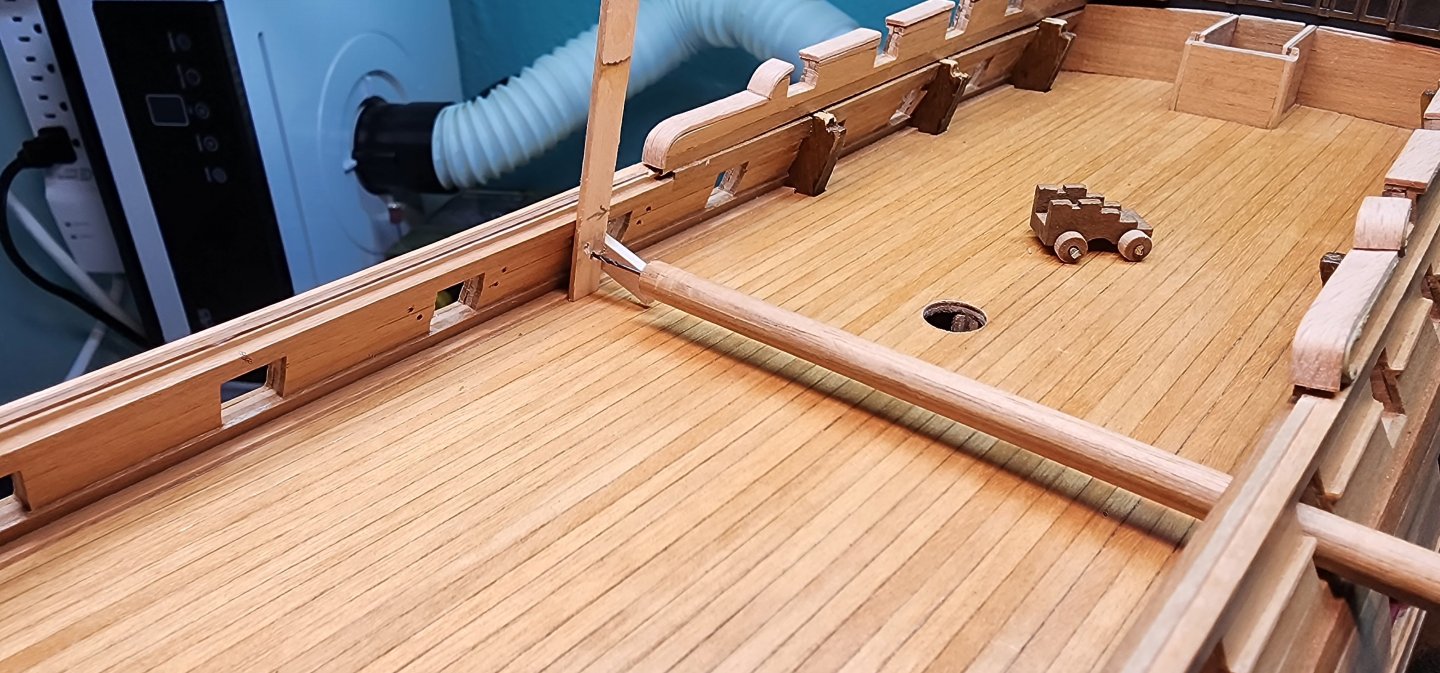
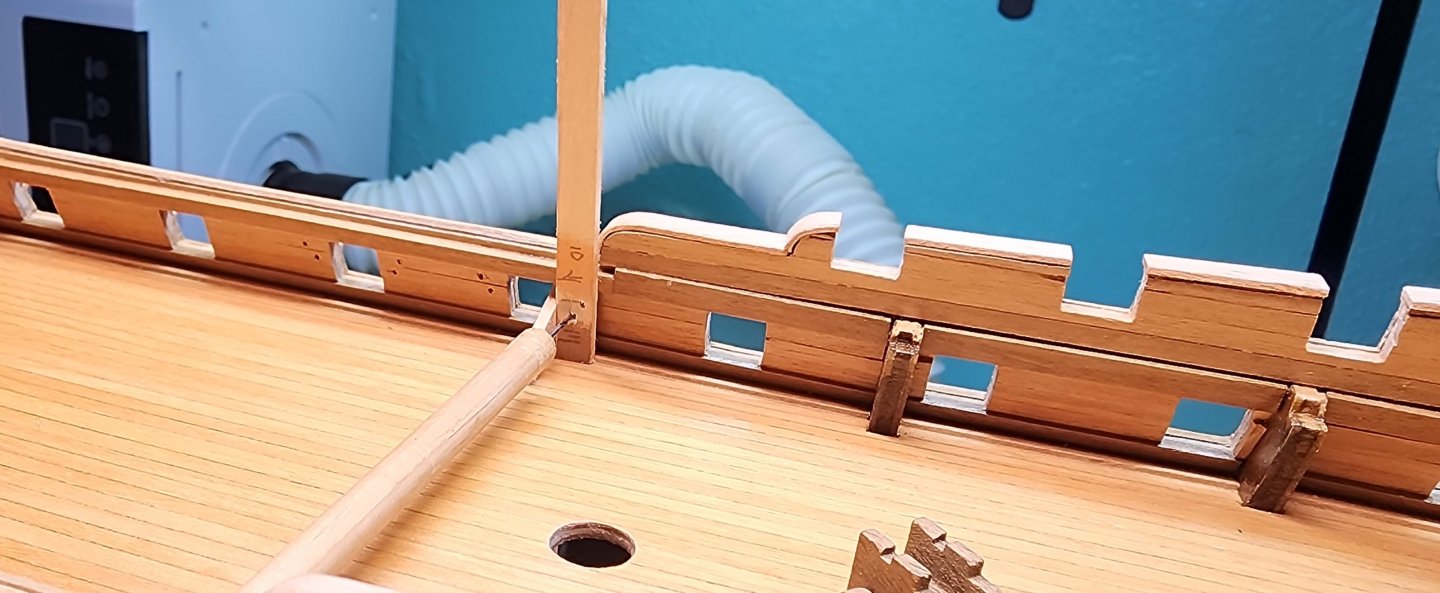
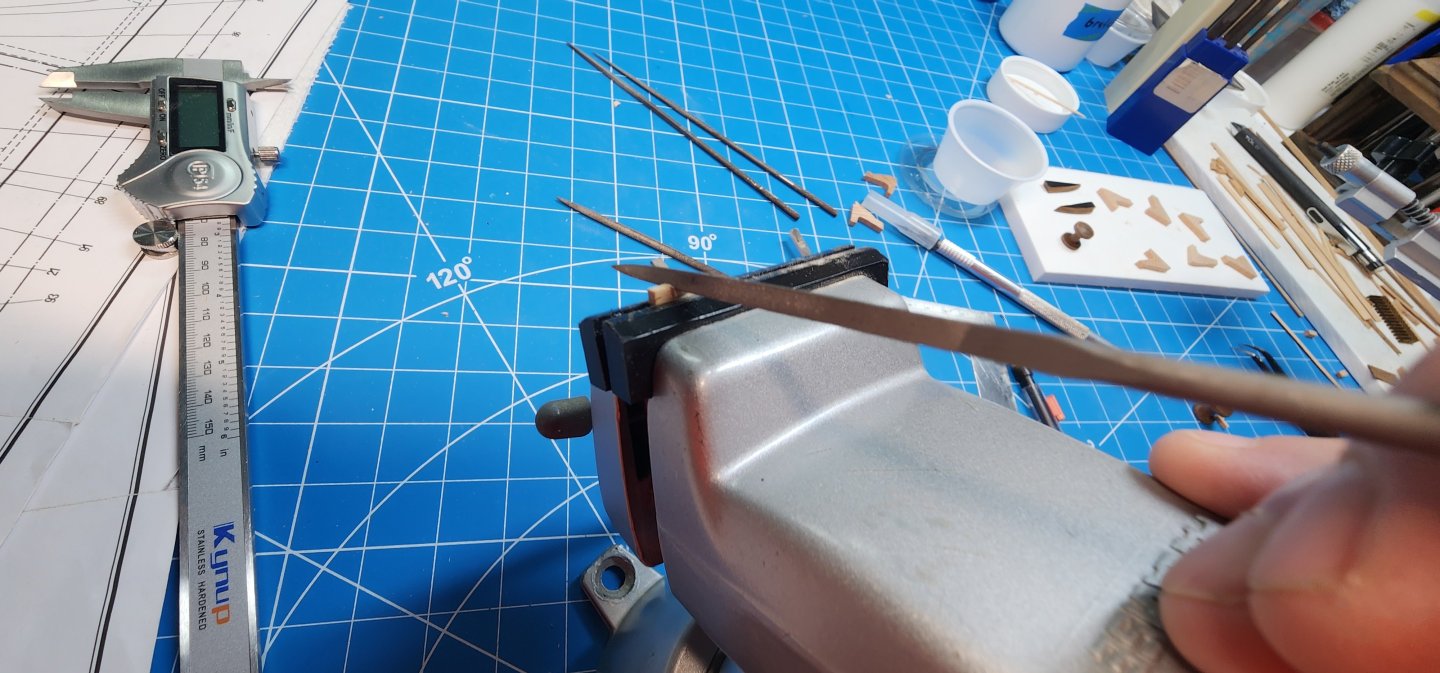
Hello All, I have a few updates on Bellona which I will put in a few posts for clarity. Well, I shaped the bulwark stanchions from the kit supplied beechwood. This is part # 97a if you are building this model. I first started with sanding the bottom of the stanchion so that the angle from the deck and bulwark was 63 degrees. After I was satisfied with how the stanchions matched up with the bulwarks, I filed the notches on them to clear the waterway plank and bulwark planks. I still have a bit of polishing to do on them before I set them in place. I am going to also stain them with walnut stain to match the other stanchions that will be below the quarter deck. After I completed shaping the stanchions, I drilled the holes for the ring bolts for the canon breeching and gun tackle. I was concerned that I was not going to be able to be consistent in their placement, so I made a jig out of some extra boxwood that I had. I drilled the 2 holes that I needed in the boxwood and glued a guide that would butt up against the gun ports. I fabricated a makeshift drill by using a piece of 4mm dowel and drilling the center to fit the drill bit and glueing the drill bit I would be using in the hole that I drilled. I used the jig to mark the locations and then very carefully drilled each hole trying not to drill through the hull. The dowel was long enough to allow me to drill the holes from the opposite gun port. I only messed up once, but I got lucky as the hole I drilled will be covered up by the sea ladder. I used the same jig to drill both the forward and aft side of the gun ports only having to flip the jig around to mark each hole. Well, that’s all I have for now and as always, your comments and guidance are always welcome. Cheers Nearshore


-
Good luck on your journey. Look forward watching your progress. Nearshore
- 61 replies
-
- 2
-

-
- First build
- Cutter
- (and 2 more)
-
A master piece in the making!! Very inspirational Yves. Nearshore
-
Thank you for the response to this topic. I am considering putting the garlands between the gun ports. I now just have to figure out the scaling of the shots which I will research. Nearshore
-
Thank you Yves for the better explanation. Nearshore
-
Hello, I am currenty building the HMS Bellona at a 100 scale from Corel. I can not find any referance of how the cannon balls were stored on deck. The plans do not show any provisions for there storage and none of the books I have explain where or how they were stored. I am hoping that the experts here can explain how they stored the cannon balls on deck or direct me to a resource that can show me how they stored the cannon balls and there positioning on deck. It seems strange to me that they would not of had any storage for the cannon balls on deck. I have seen other builds that have included storage for them on deck, but i don't want to include this on my build if in fact there were no provisions. Any help would be greatly appreciated. Nearshore
-
Hi Robert, Thank you for the compliment. WOP stands for "wipe on polyurethane " Nearshore
-
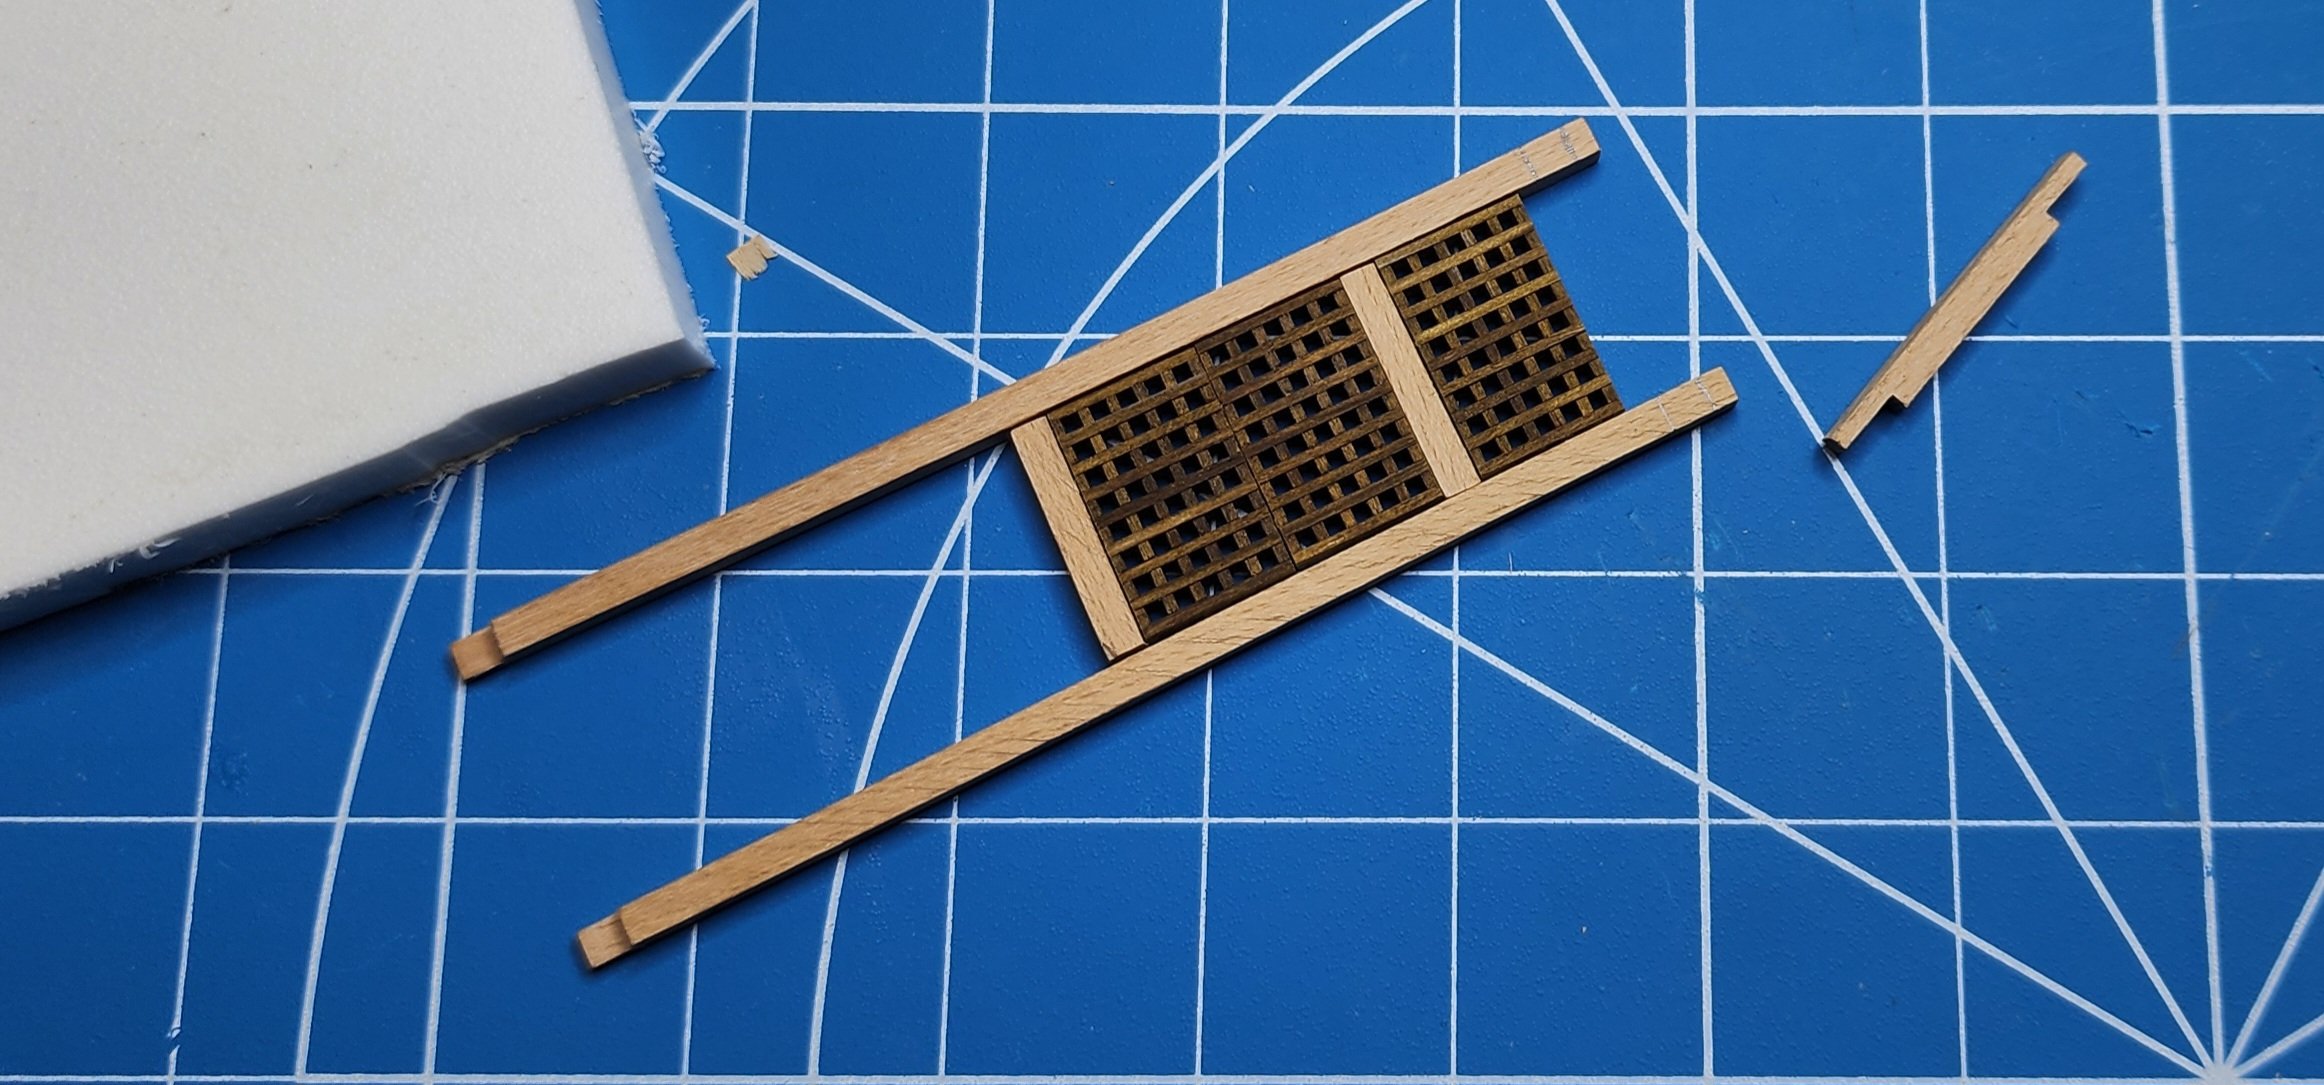
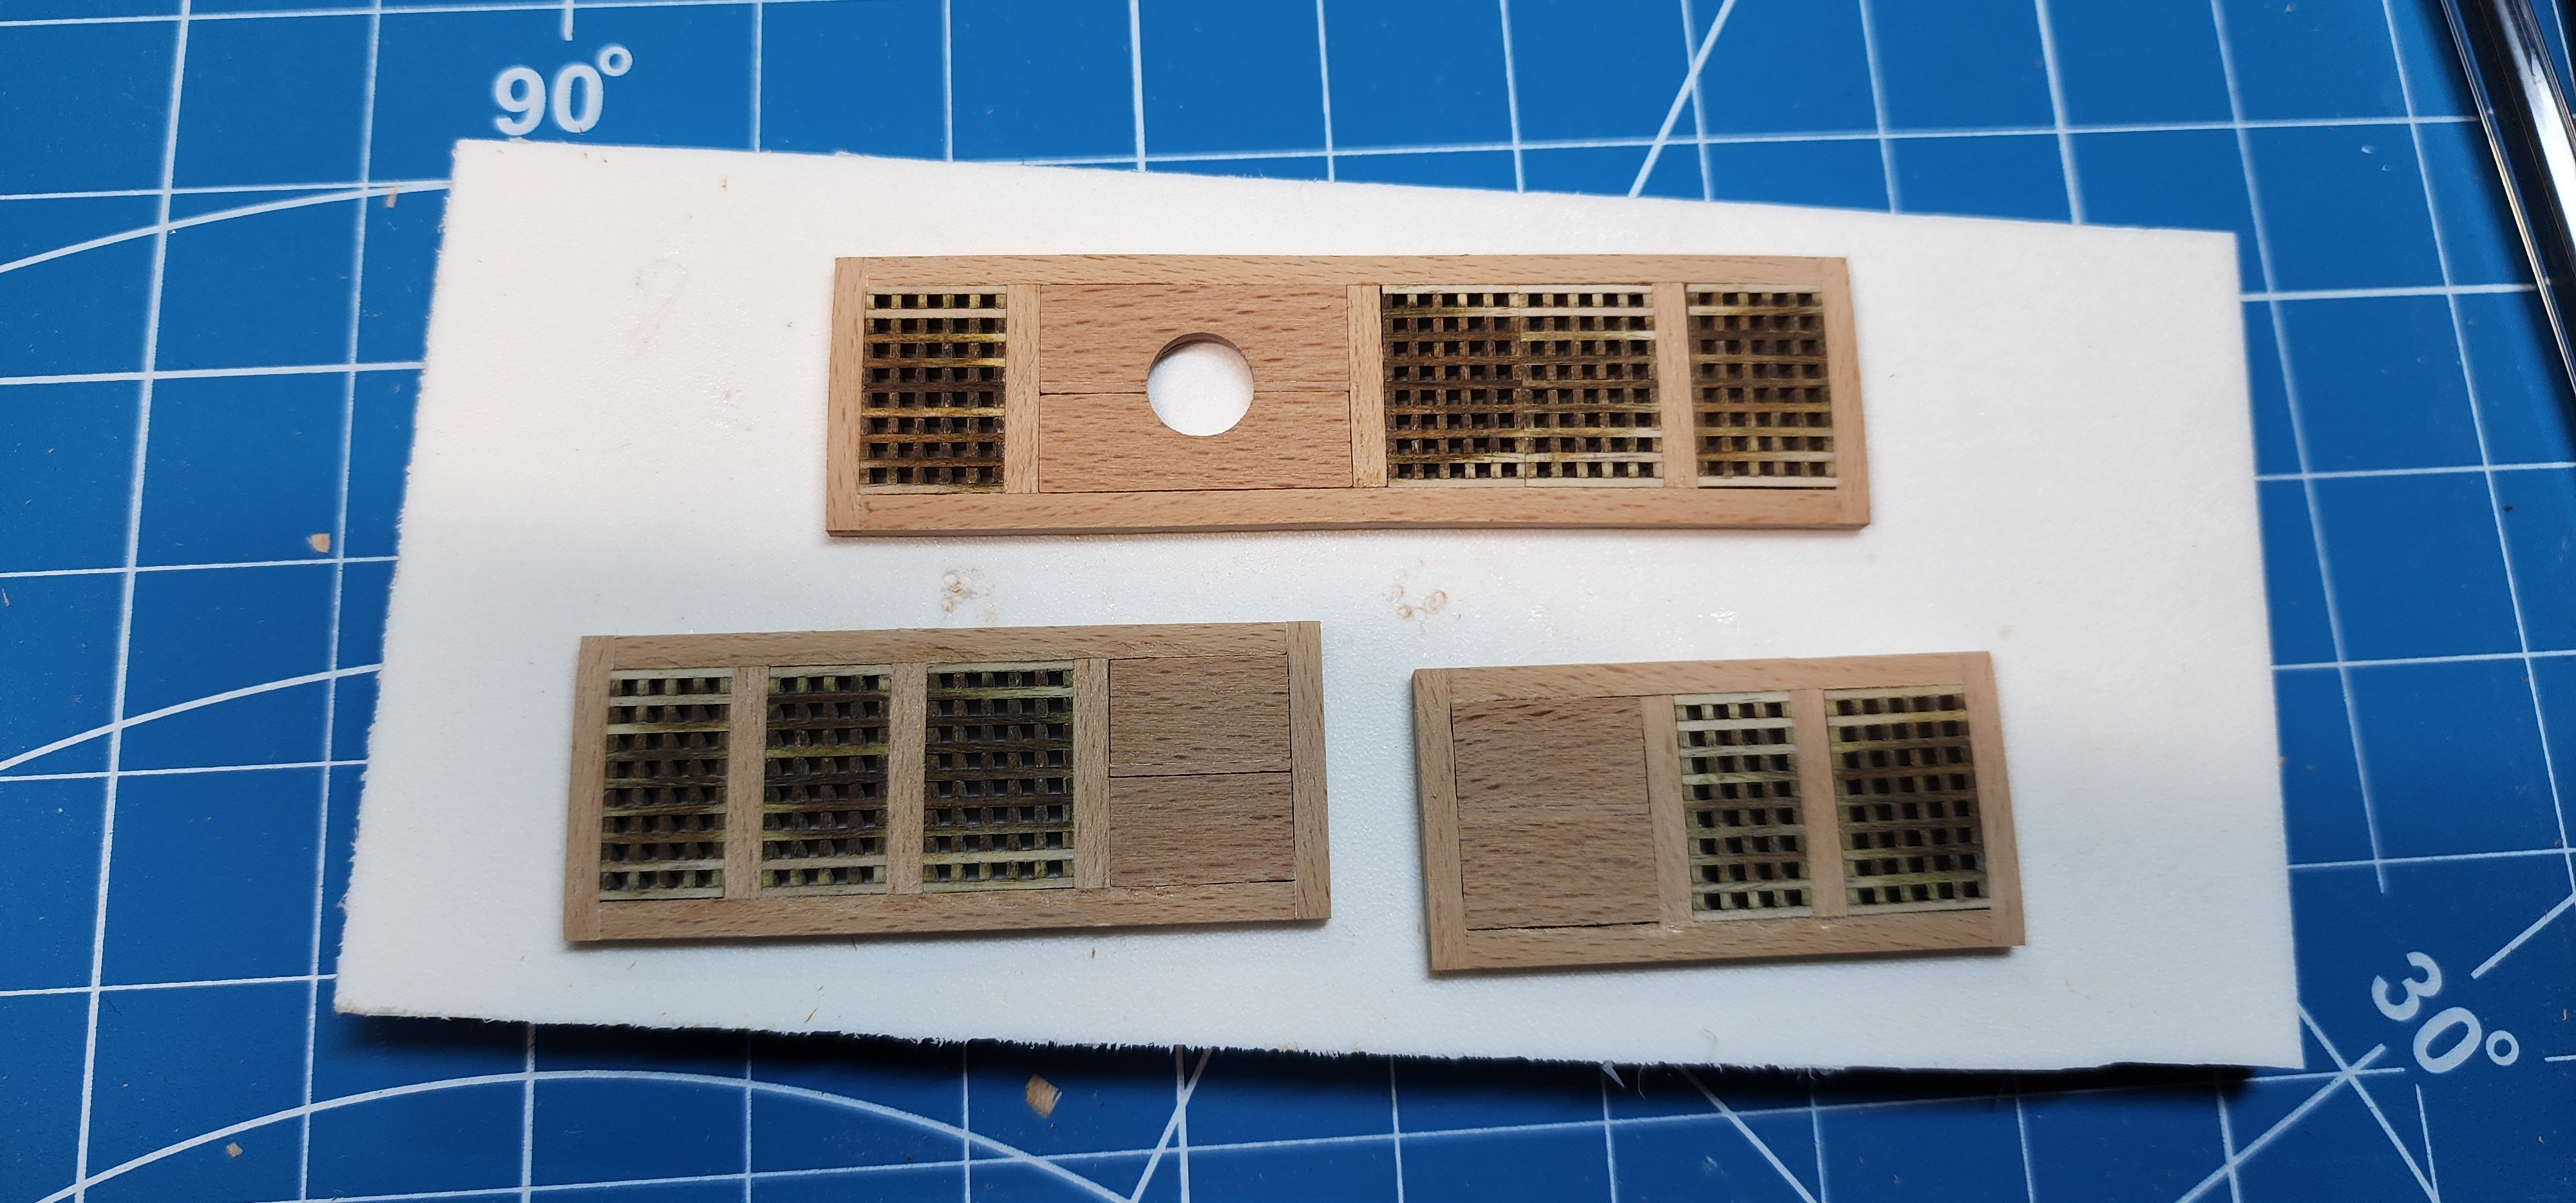
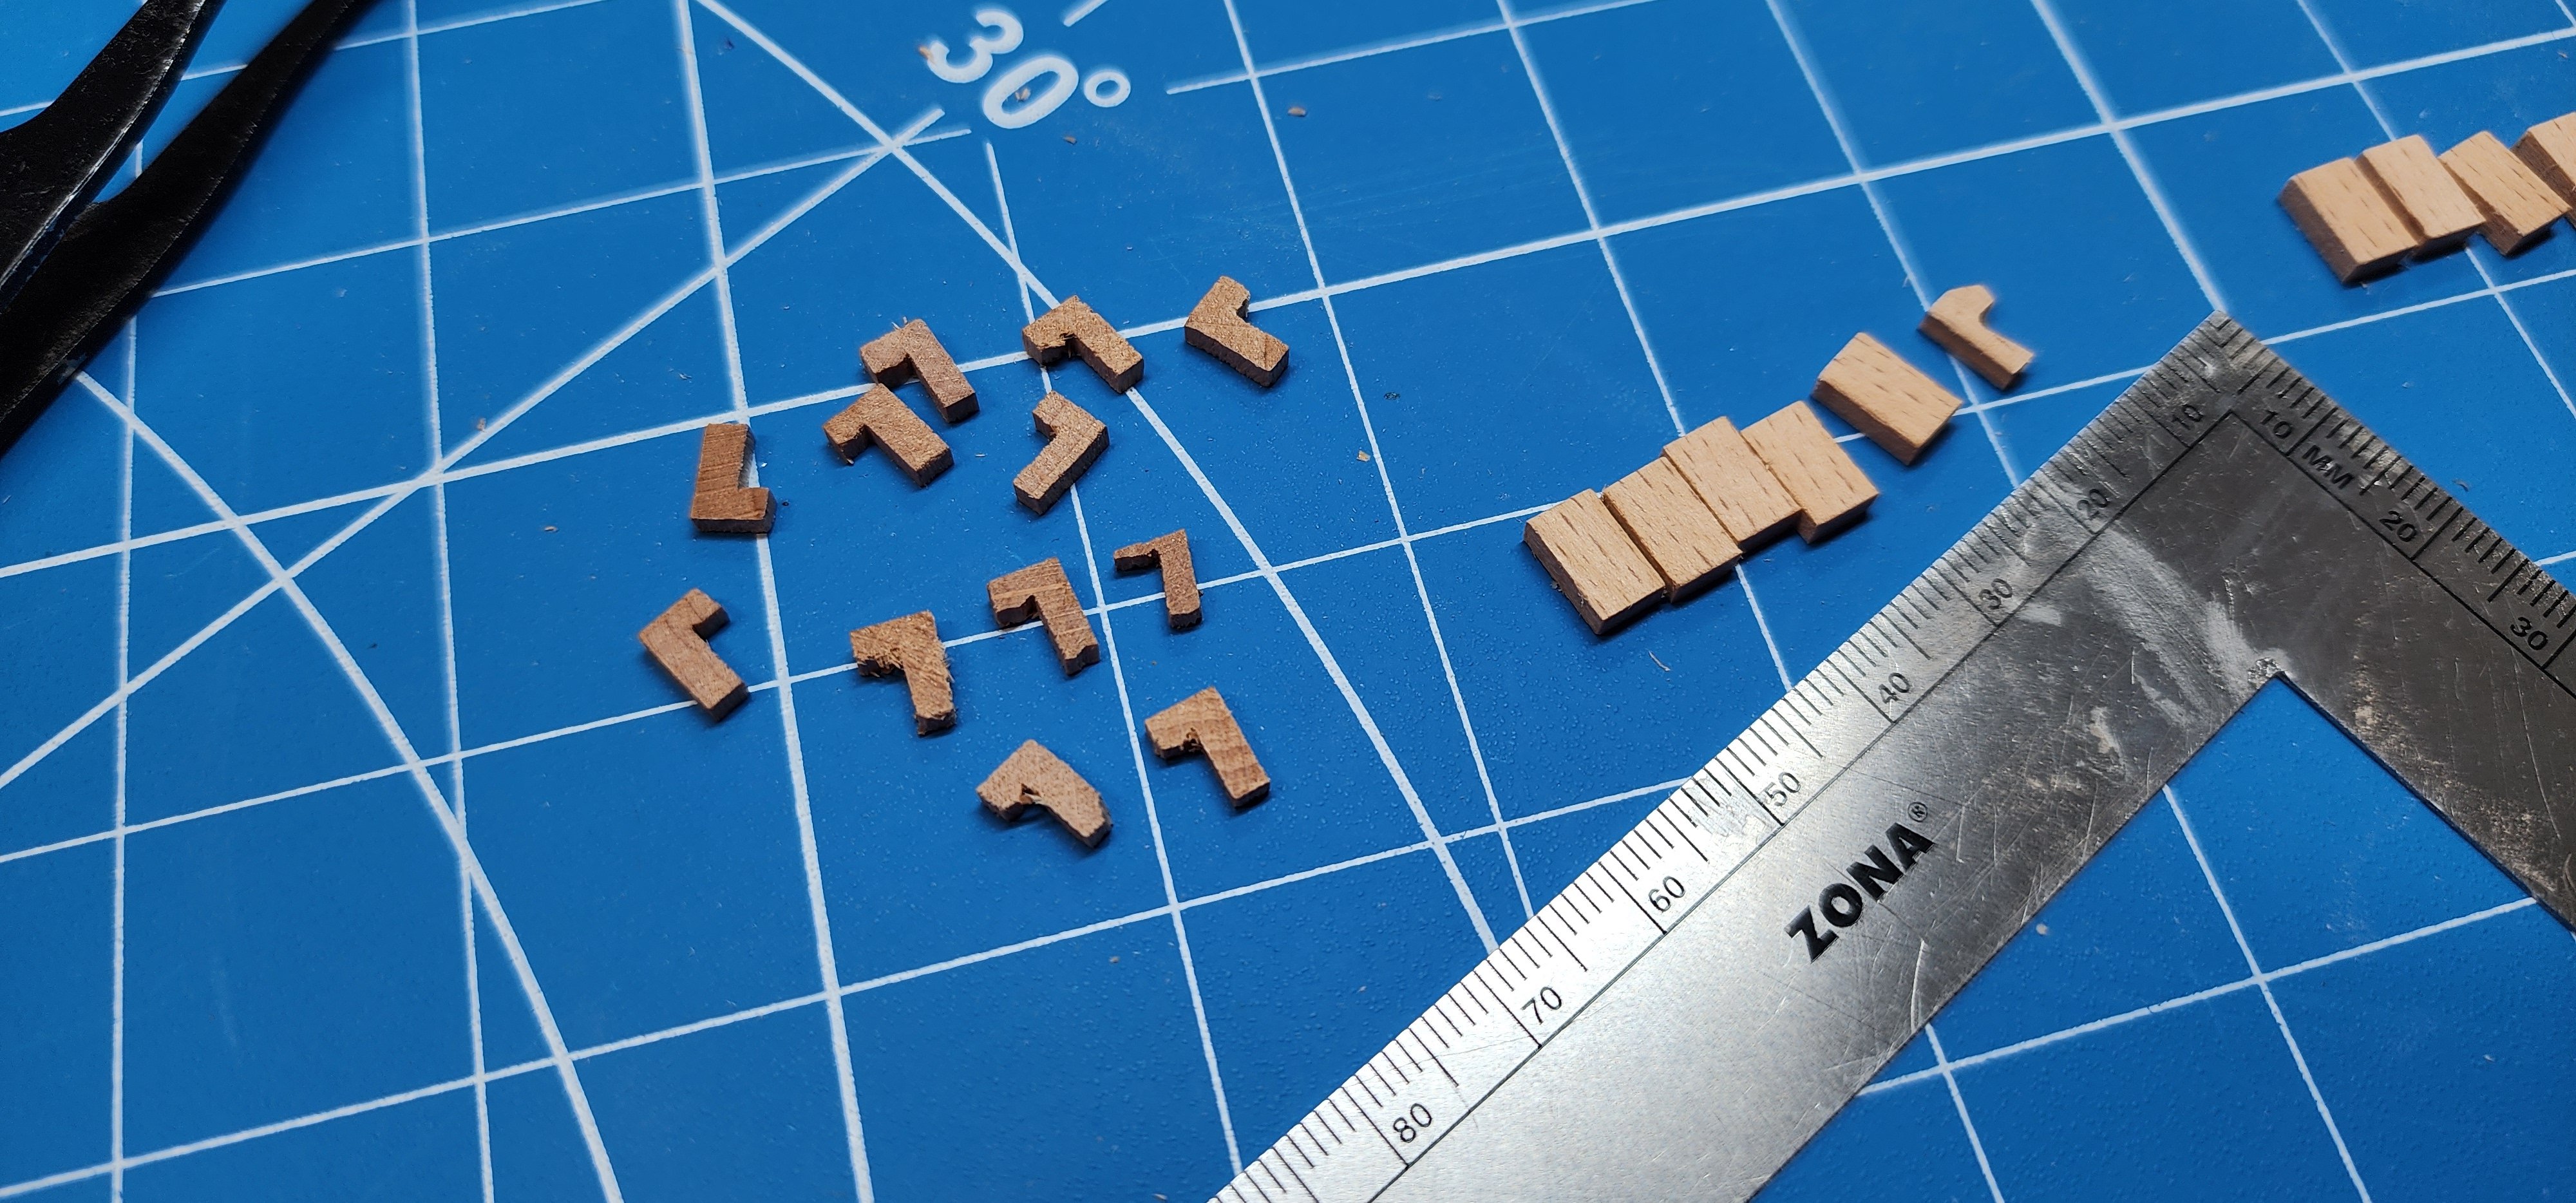
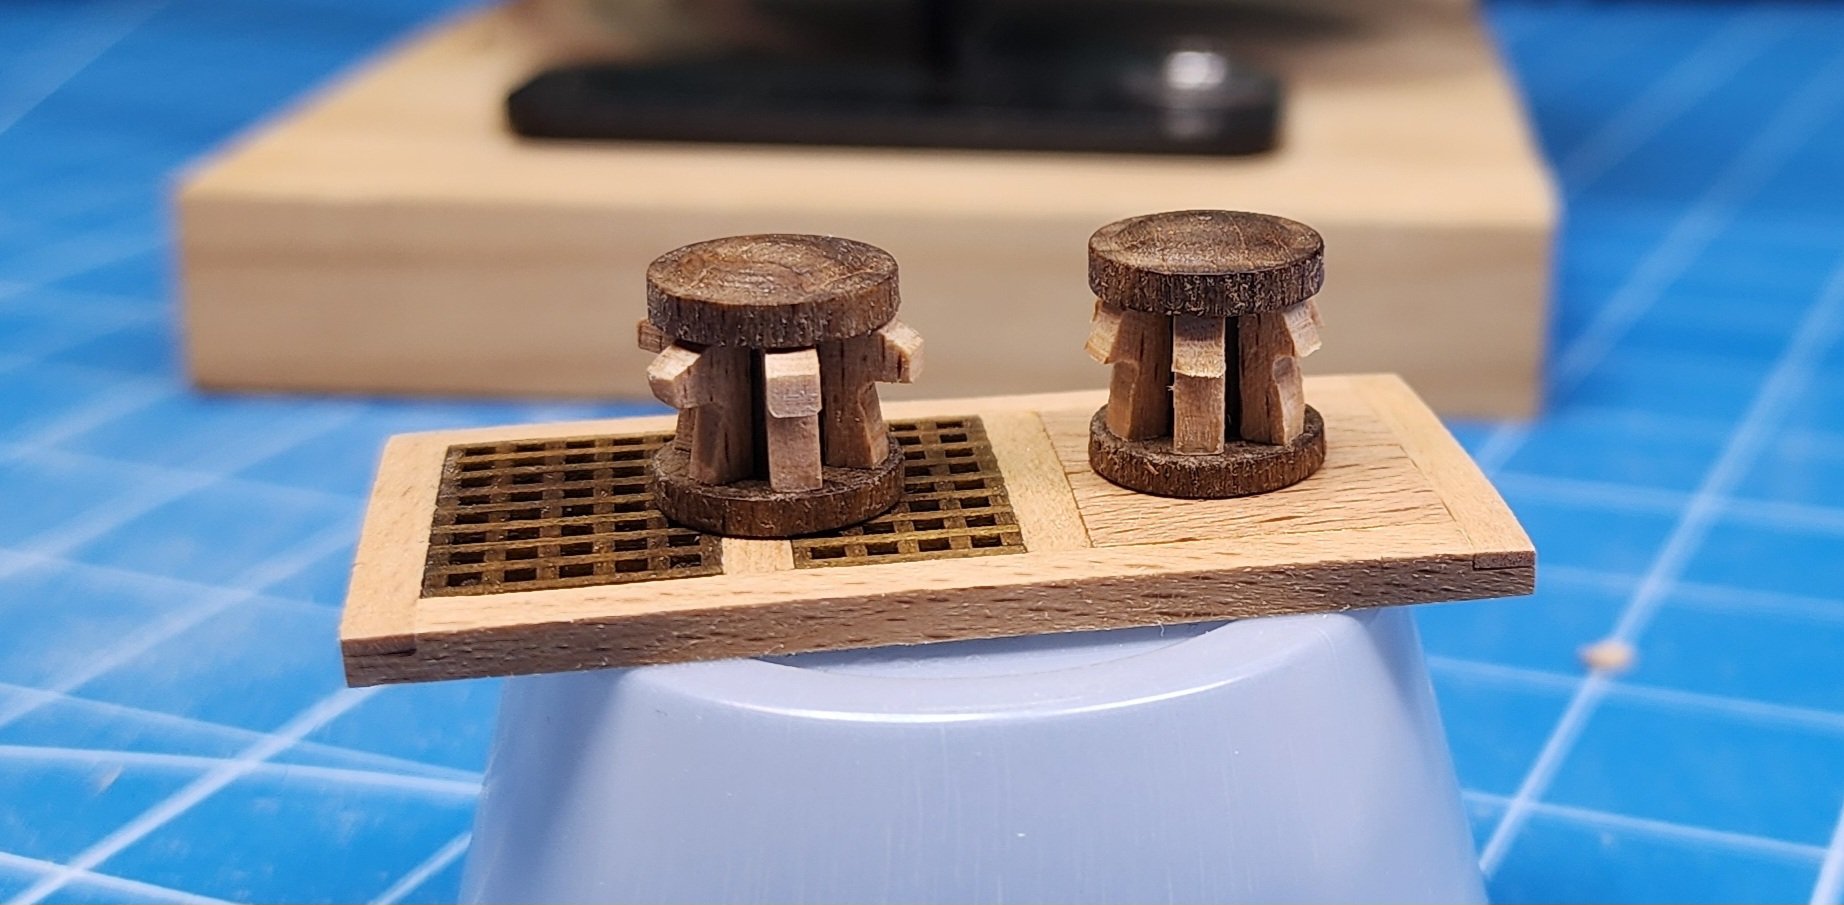
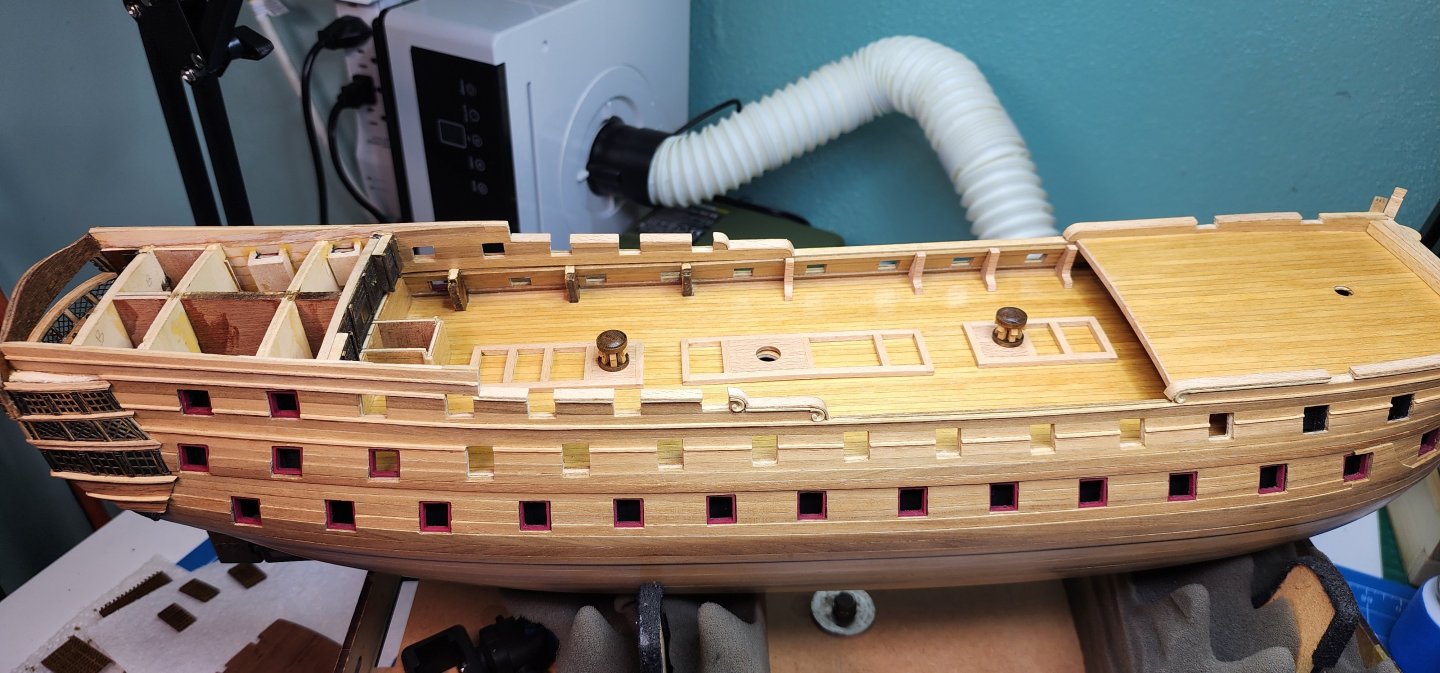
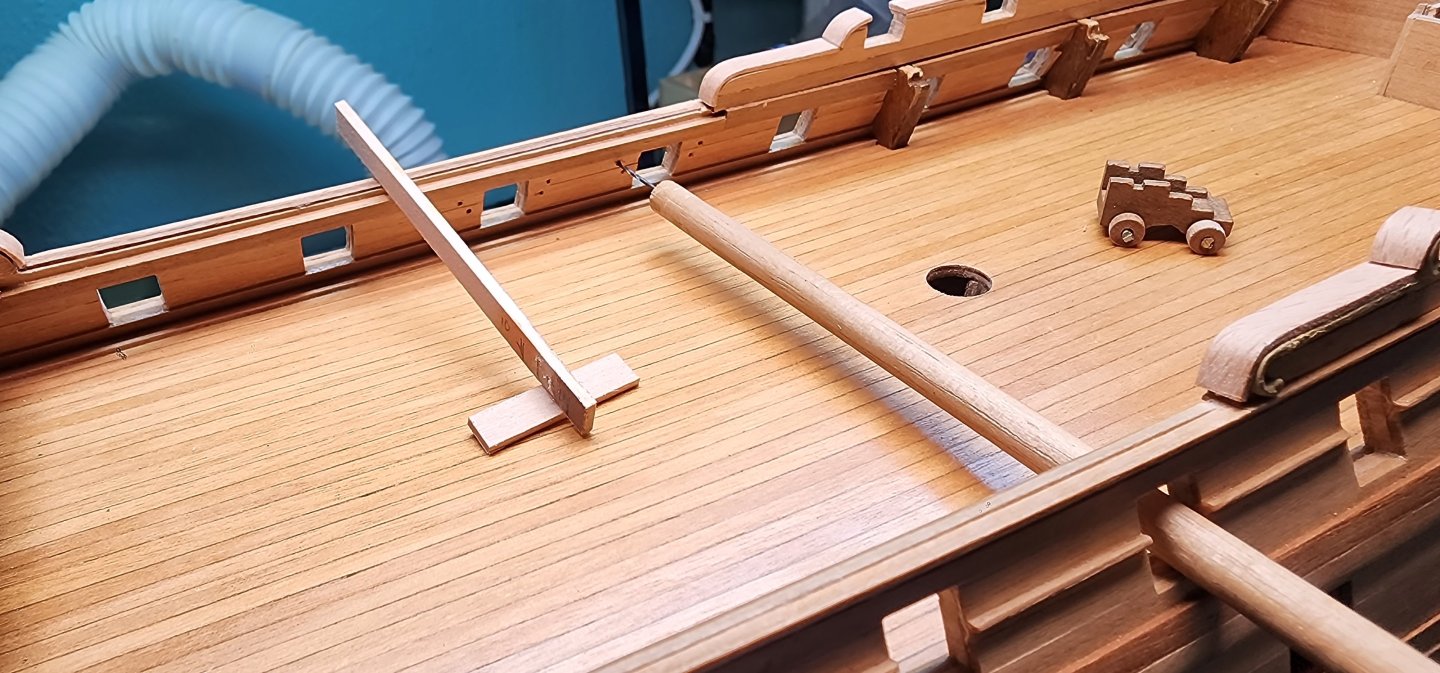
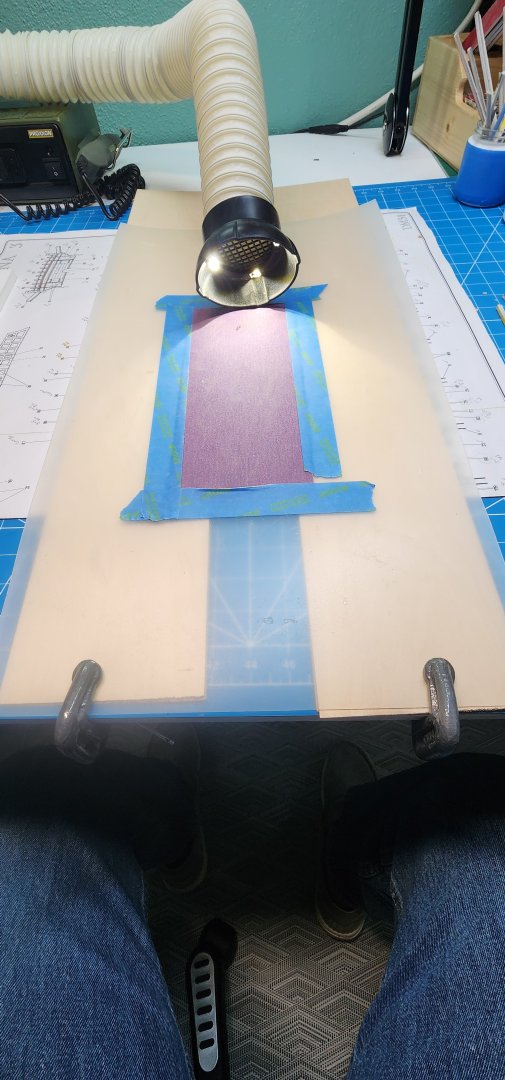
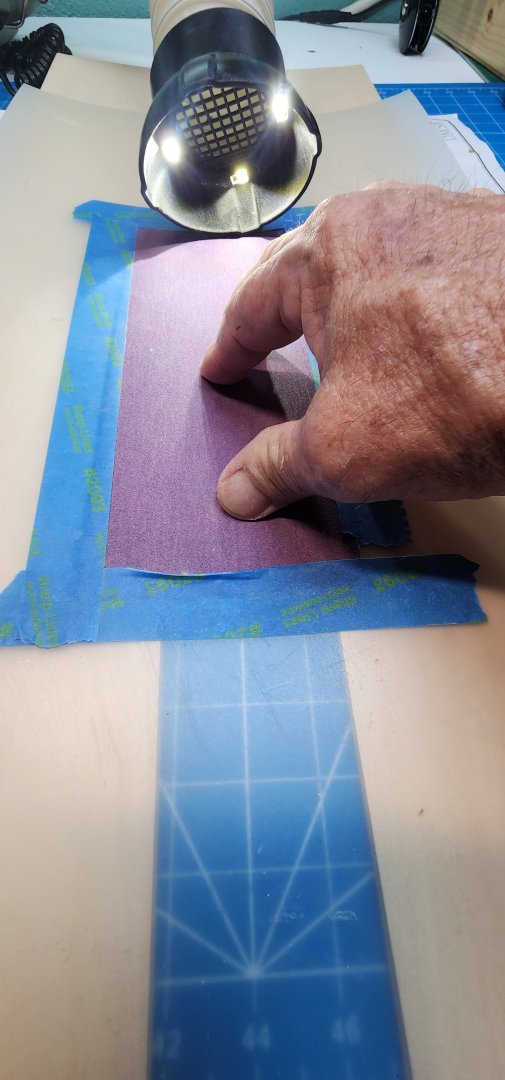
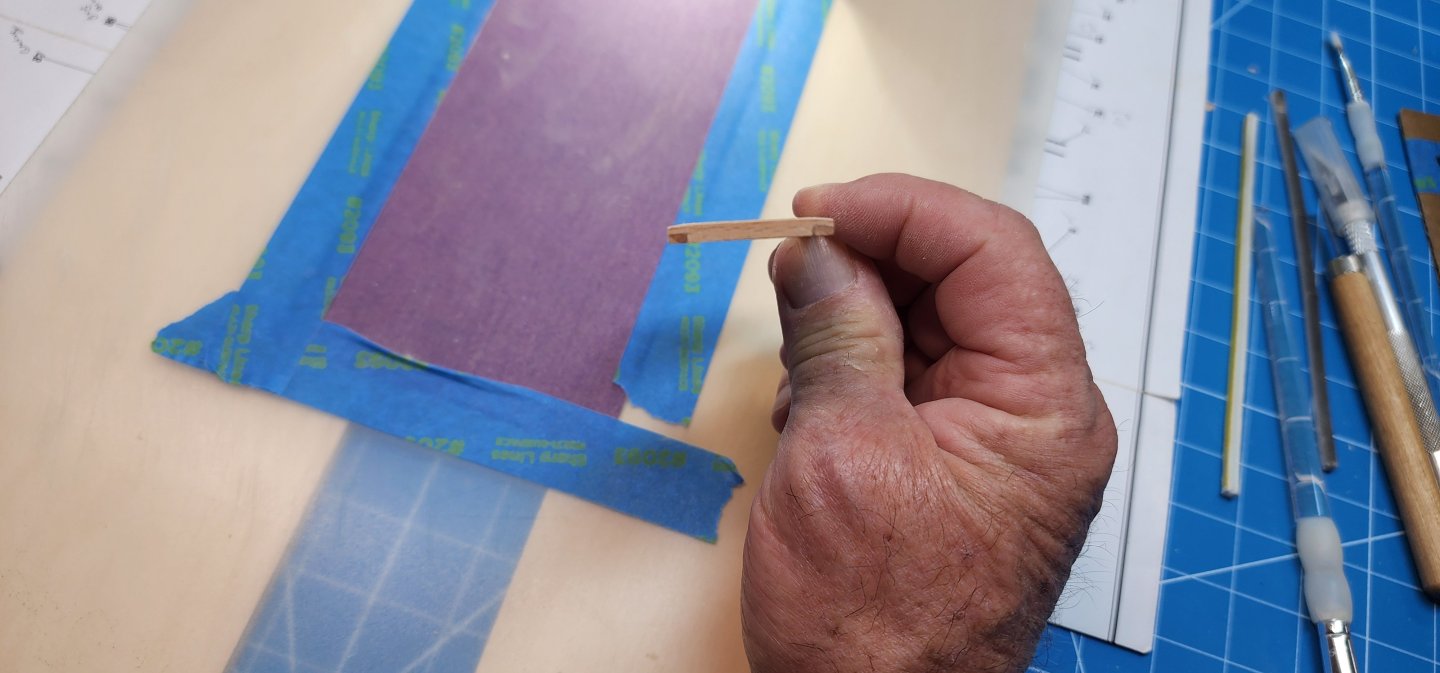
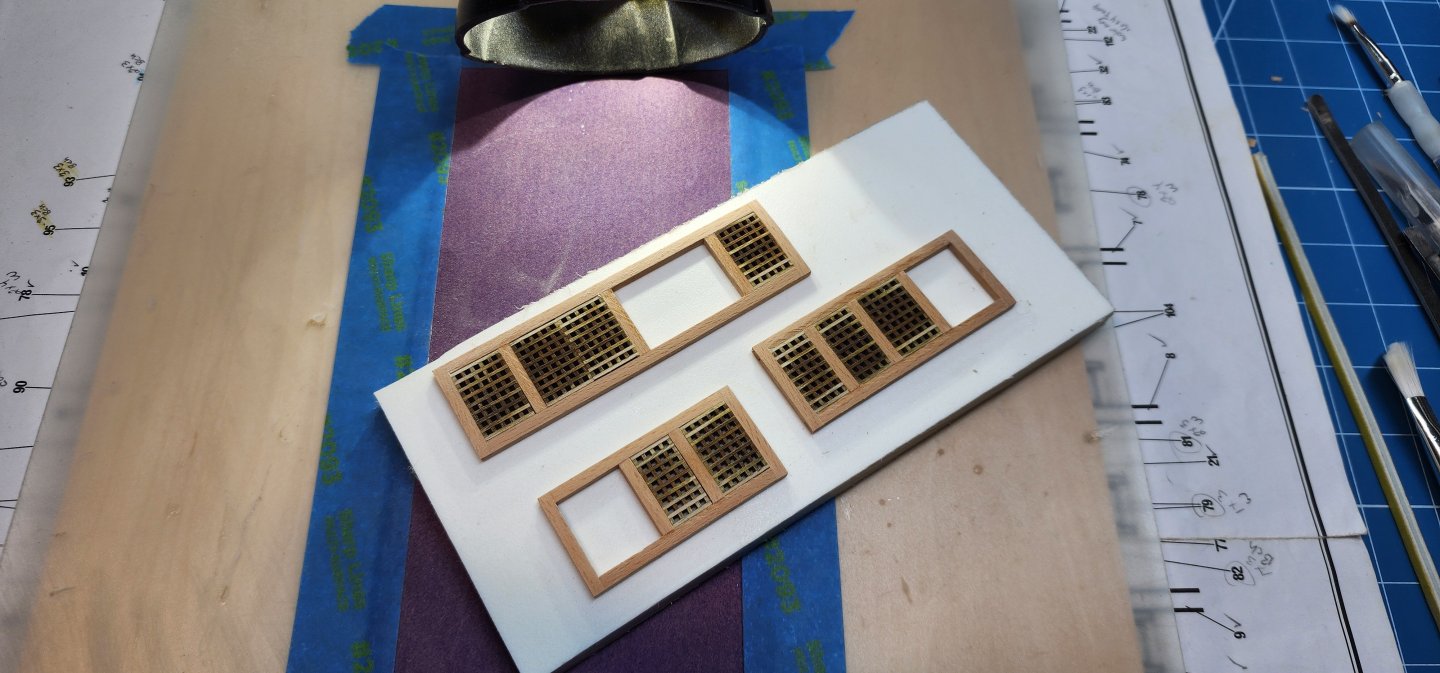
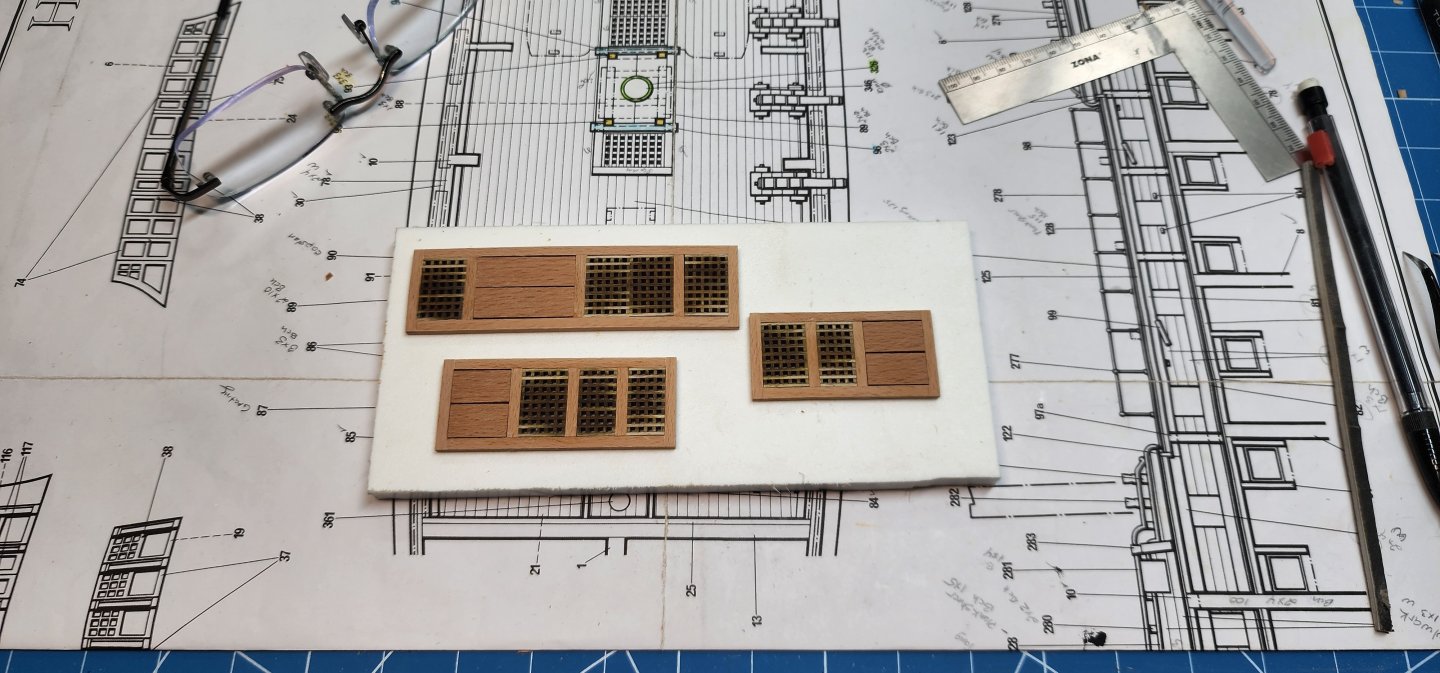
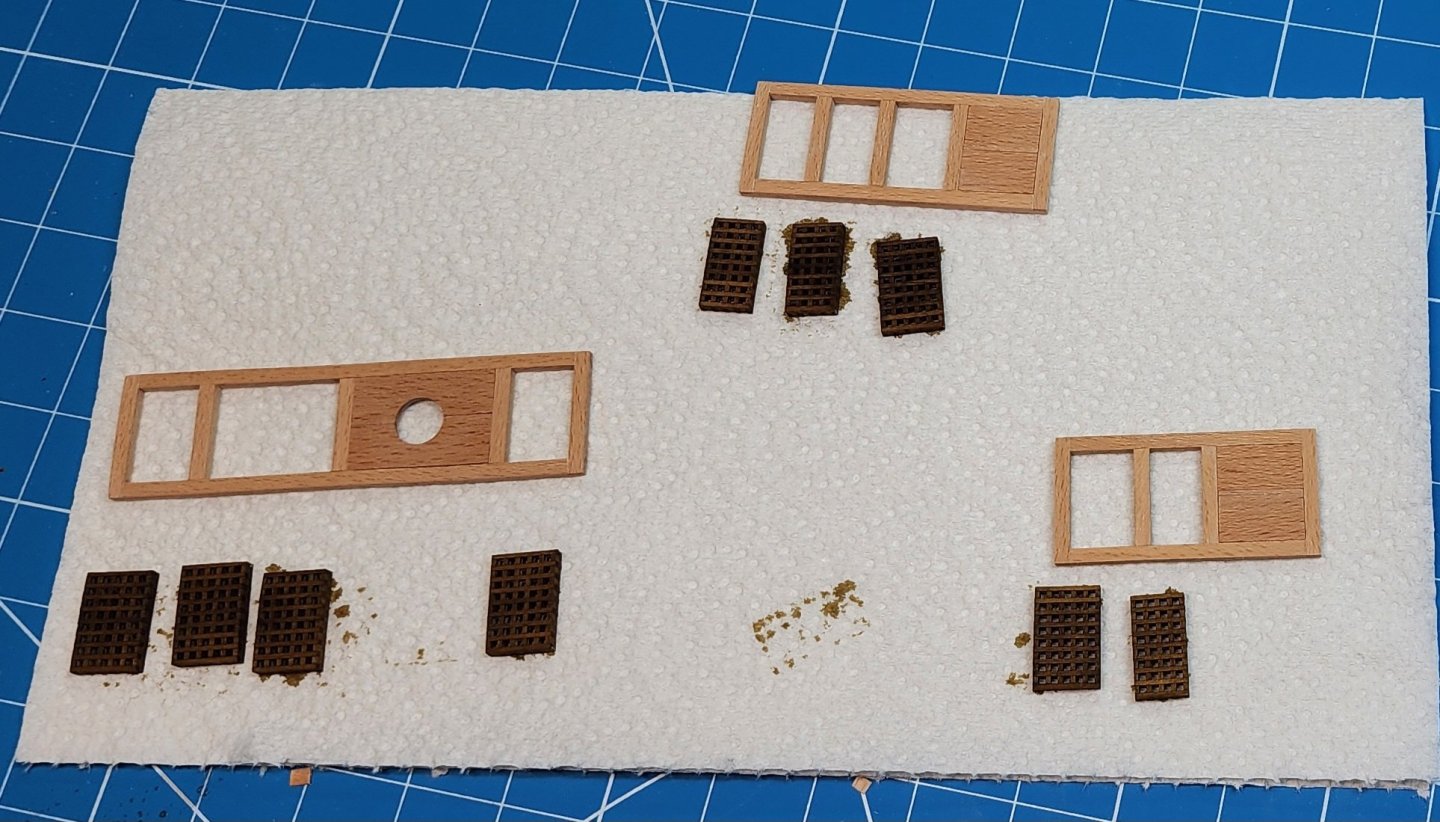
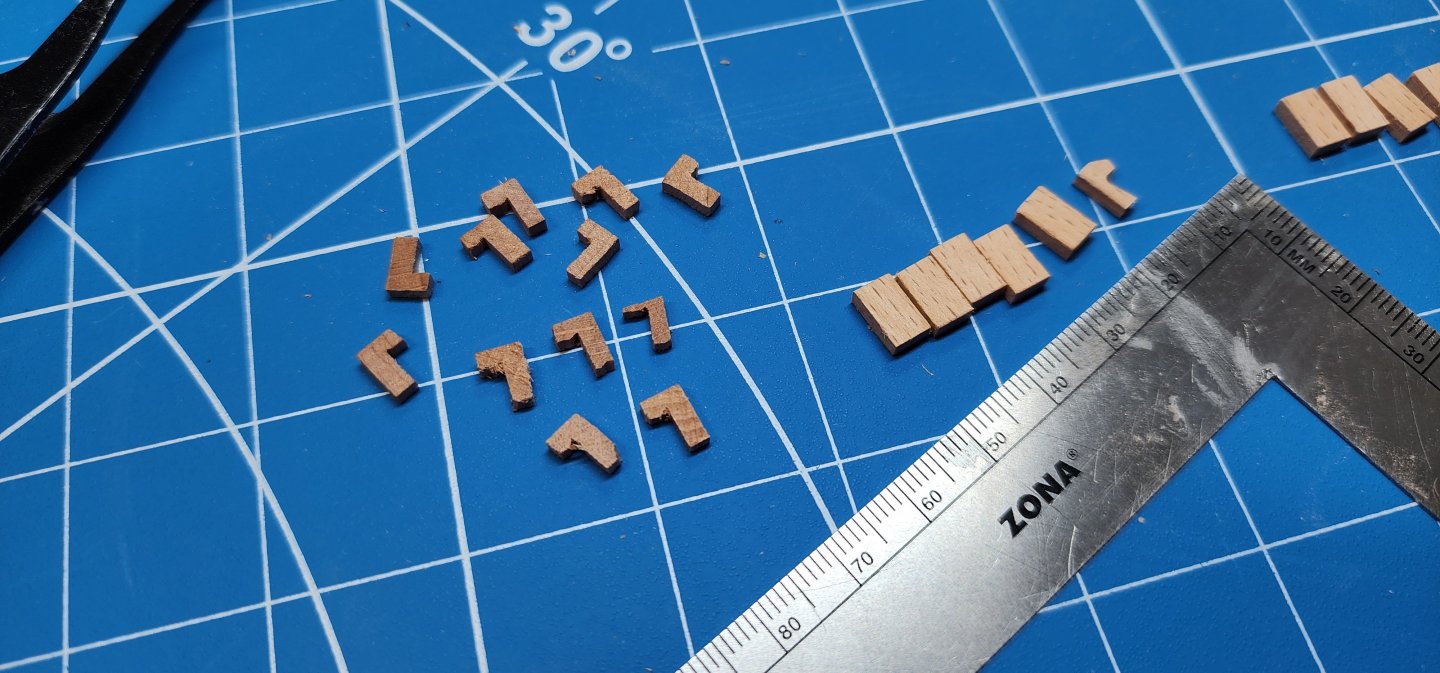
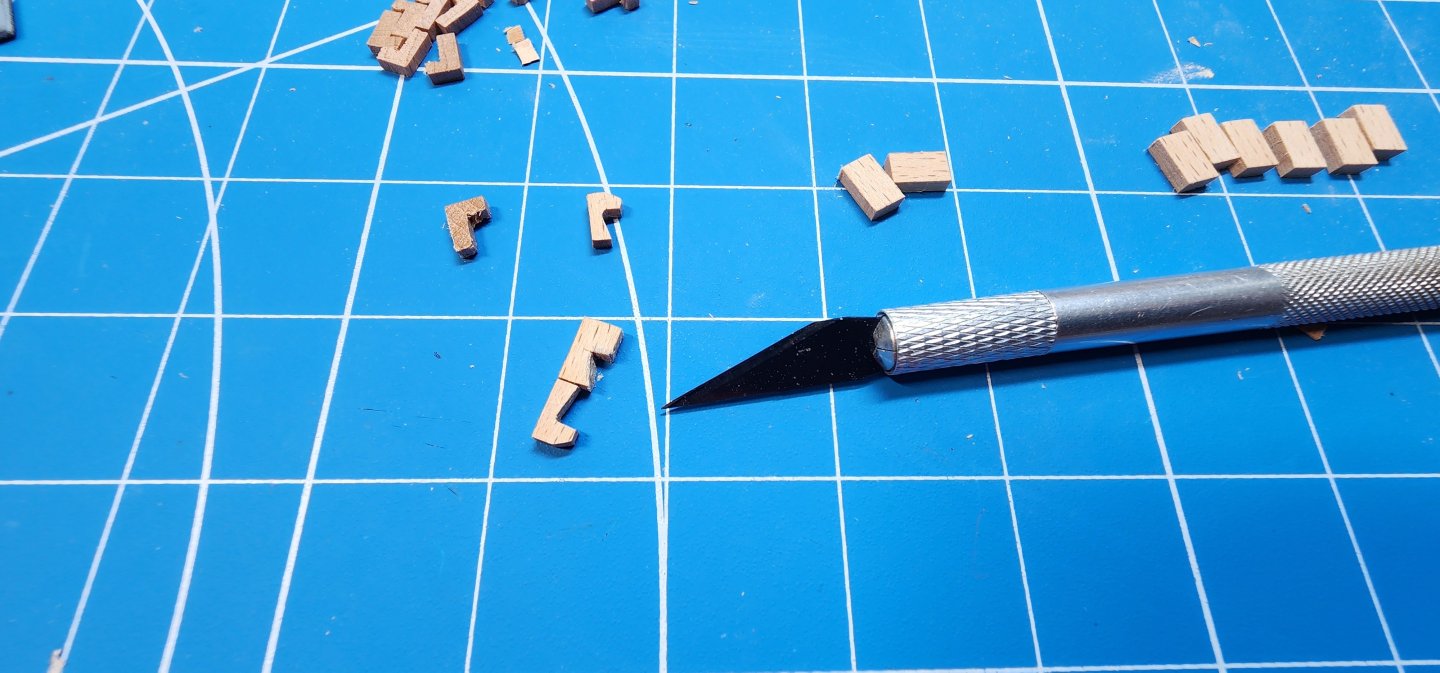
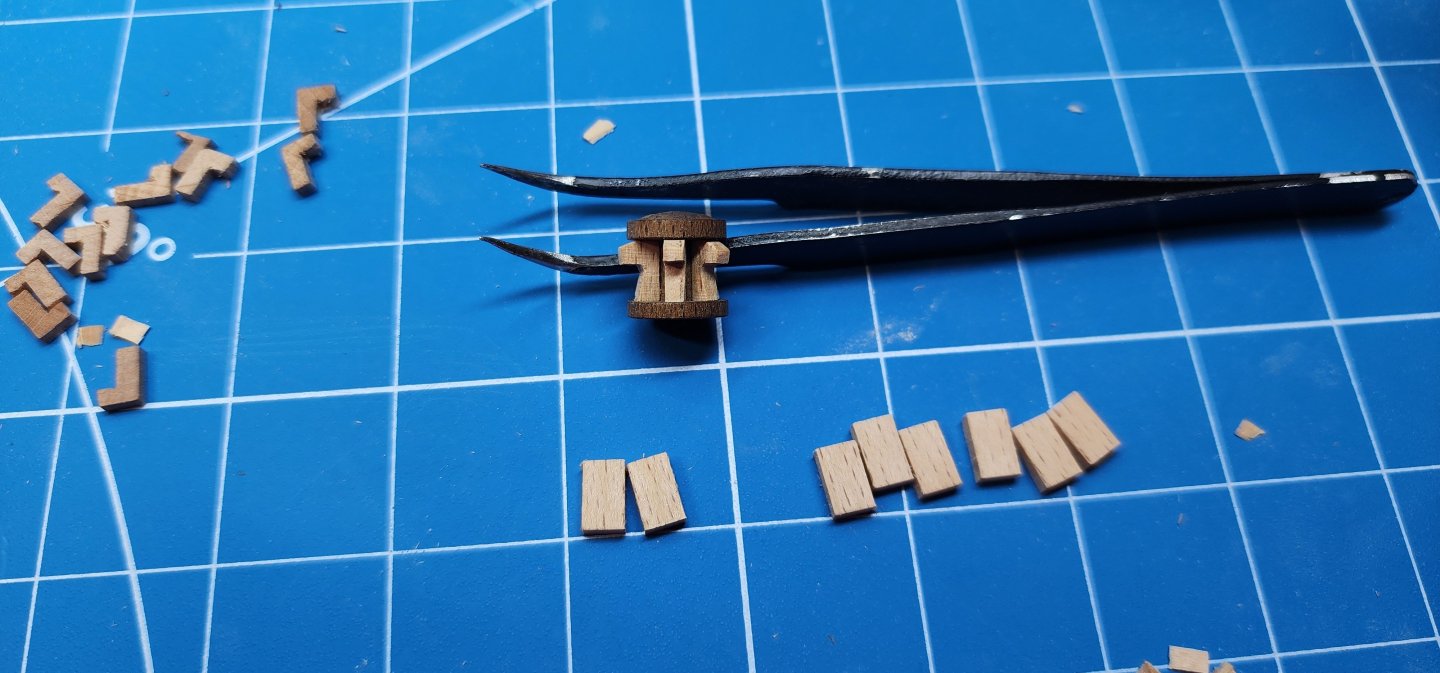
Hello All, Happy New Year. I have a small update on Bellona. I was able to get a little bit of shipyard time in over the holidays. I decided to go after some of the low hanging fruit and assemble the partner and grating coaming. First, I assembled the grating and after assembly I stained them with walnut stain. After I stained the grating, I mixed some PVA glue and water to soak the grating and glue the pieces together. I cut the grating for each section and used the width of the grating to determine the width and length of the coaming frames. Instead of butting the coaming sections together, I notched the ends of each board and glued them together. I think that this would give a bit more strength to the joints. After assembly of the frames and grating, I placed a piece of 220 grit sandpaper on the deck and sanded the bottom of each of the frames and grating to match the contour of the deck. After that was done, I placed a couple of 1mm boxwood planks together with a space in between and sanded the top of the coaming to get a contour on the top. Once this was completed, I cut the 1 x 10mm partners for the capstan and mast. The partners were not wide enough by 1mm. I installed a piece of 1x2mm beechwood to fill void. The problem was that the width of the grating was not equal to the width of the 10mm beechwood. After that was completed, I carved the hole for the mast. I did the final sanding of the coaming and grating and then stained the grating and applied a couple coat of WOP to the coaming boards. I have not yet glued the coamings to the deck yet, I still have to paint the deck black where the grating will be to give the appearance of some depth. I continued with constructing the capstans. The wood for the whelps that came with the kit was not to my liking. I made new whelps out of 1x4 beechwood as this gave the capstan a better contrasting color. The process was fairly easy to make them. I started by first filing a notch and then used a #11 razor to finish it off. After all the whelps were fabricated, I cut off the excess that protruded from the capstan. The capstan on the left is before trimming and the capstan on the right is the final result. I still have a bit of polishing and then apply a few coats of WOP. Well, that’s all I have for now, I will provide another update as I make some more progress. Thanks for reading and as always, your comments and guidance are always welcome. Cheers Nearshore


-
I am sure your build will be just as good if not better. Look forward to seeing your progress. Cheers Nearshore