NavyShooter
-
Posts
693 -
Joined
-
Last visited
Content Type
Profiles
Forums
Gallery
Events
Everything posted by NavyShooter
-
 That's Awesome!!! I have a buddy who's kid is a Tech in the RCAF and works on CF-18s...but is likely to be transitioning training to the F-35's...I see a Christmas Present option for him to buy his kid! NS
 -
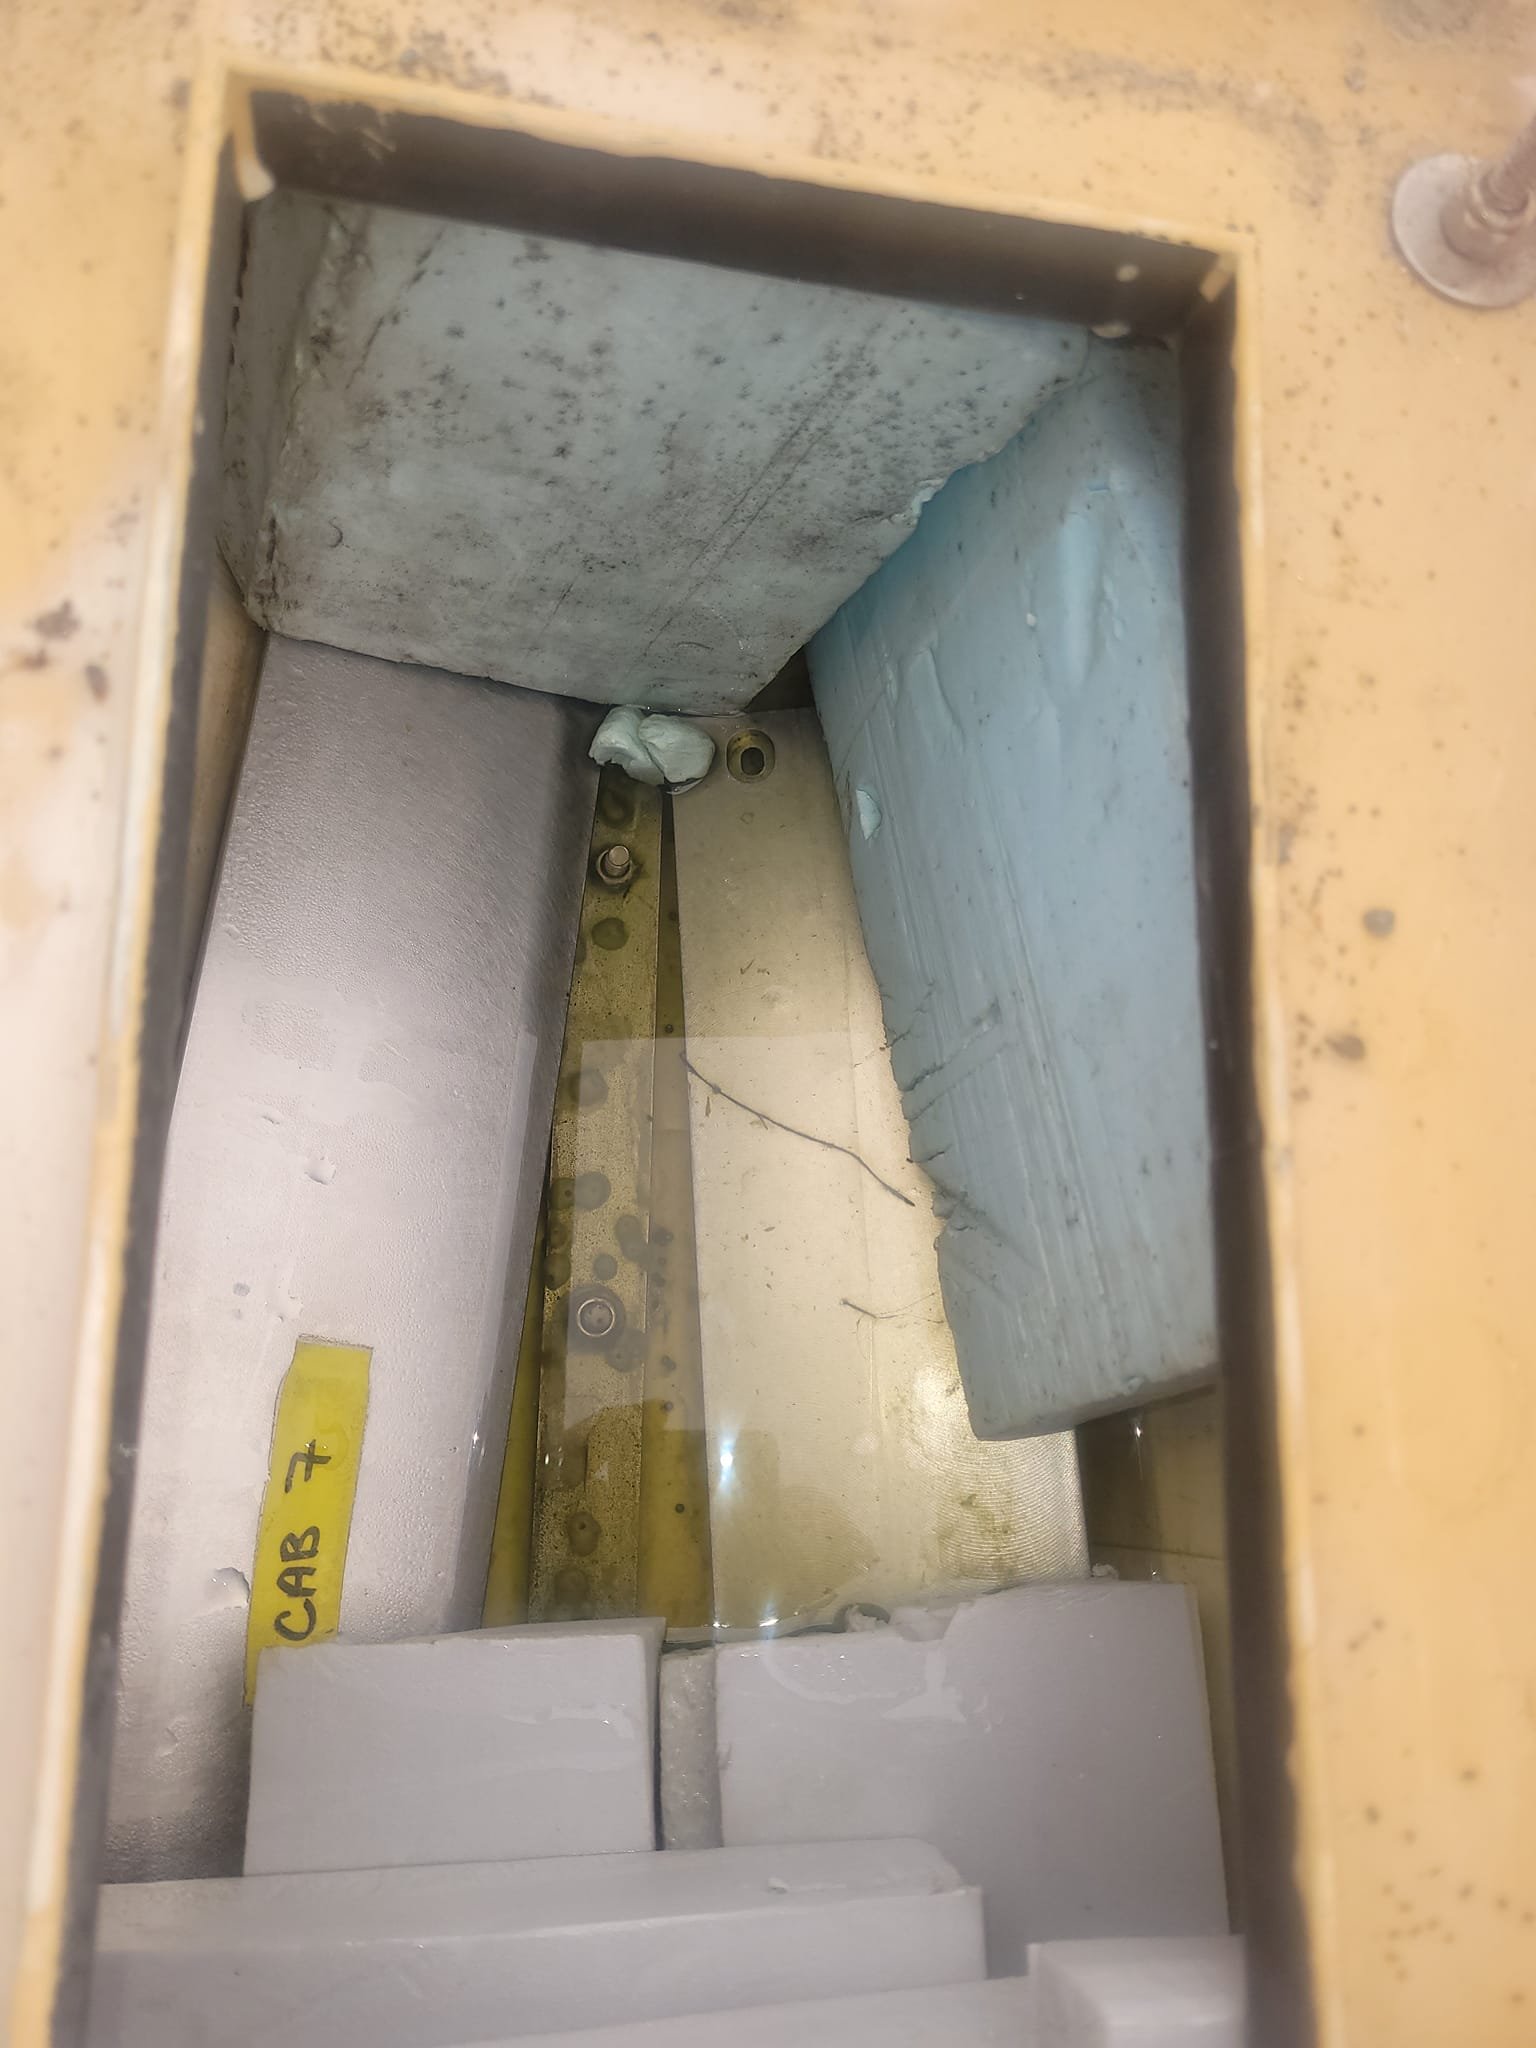
Alignment bars along the sides inside the elevator well.
-
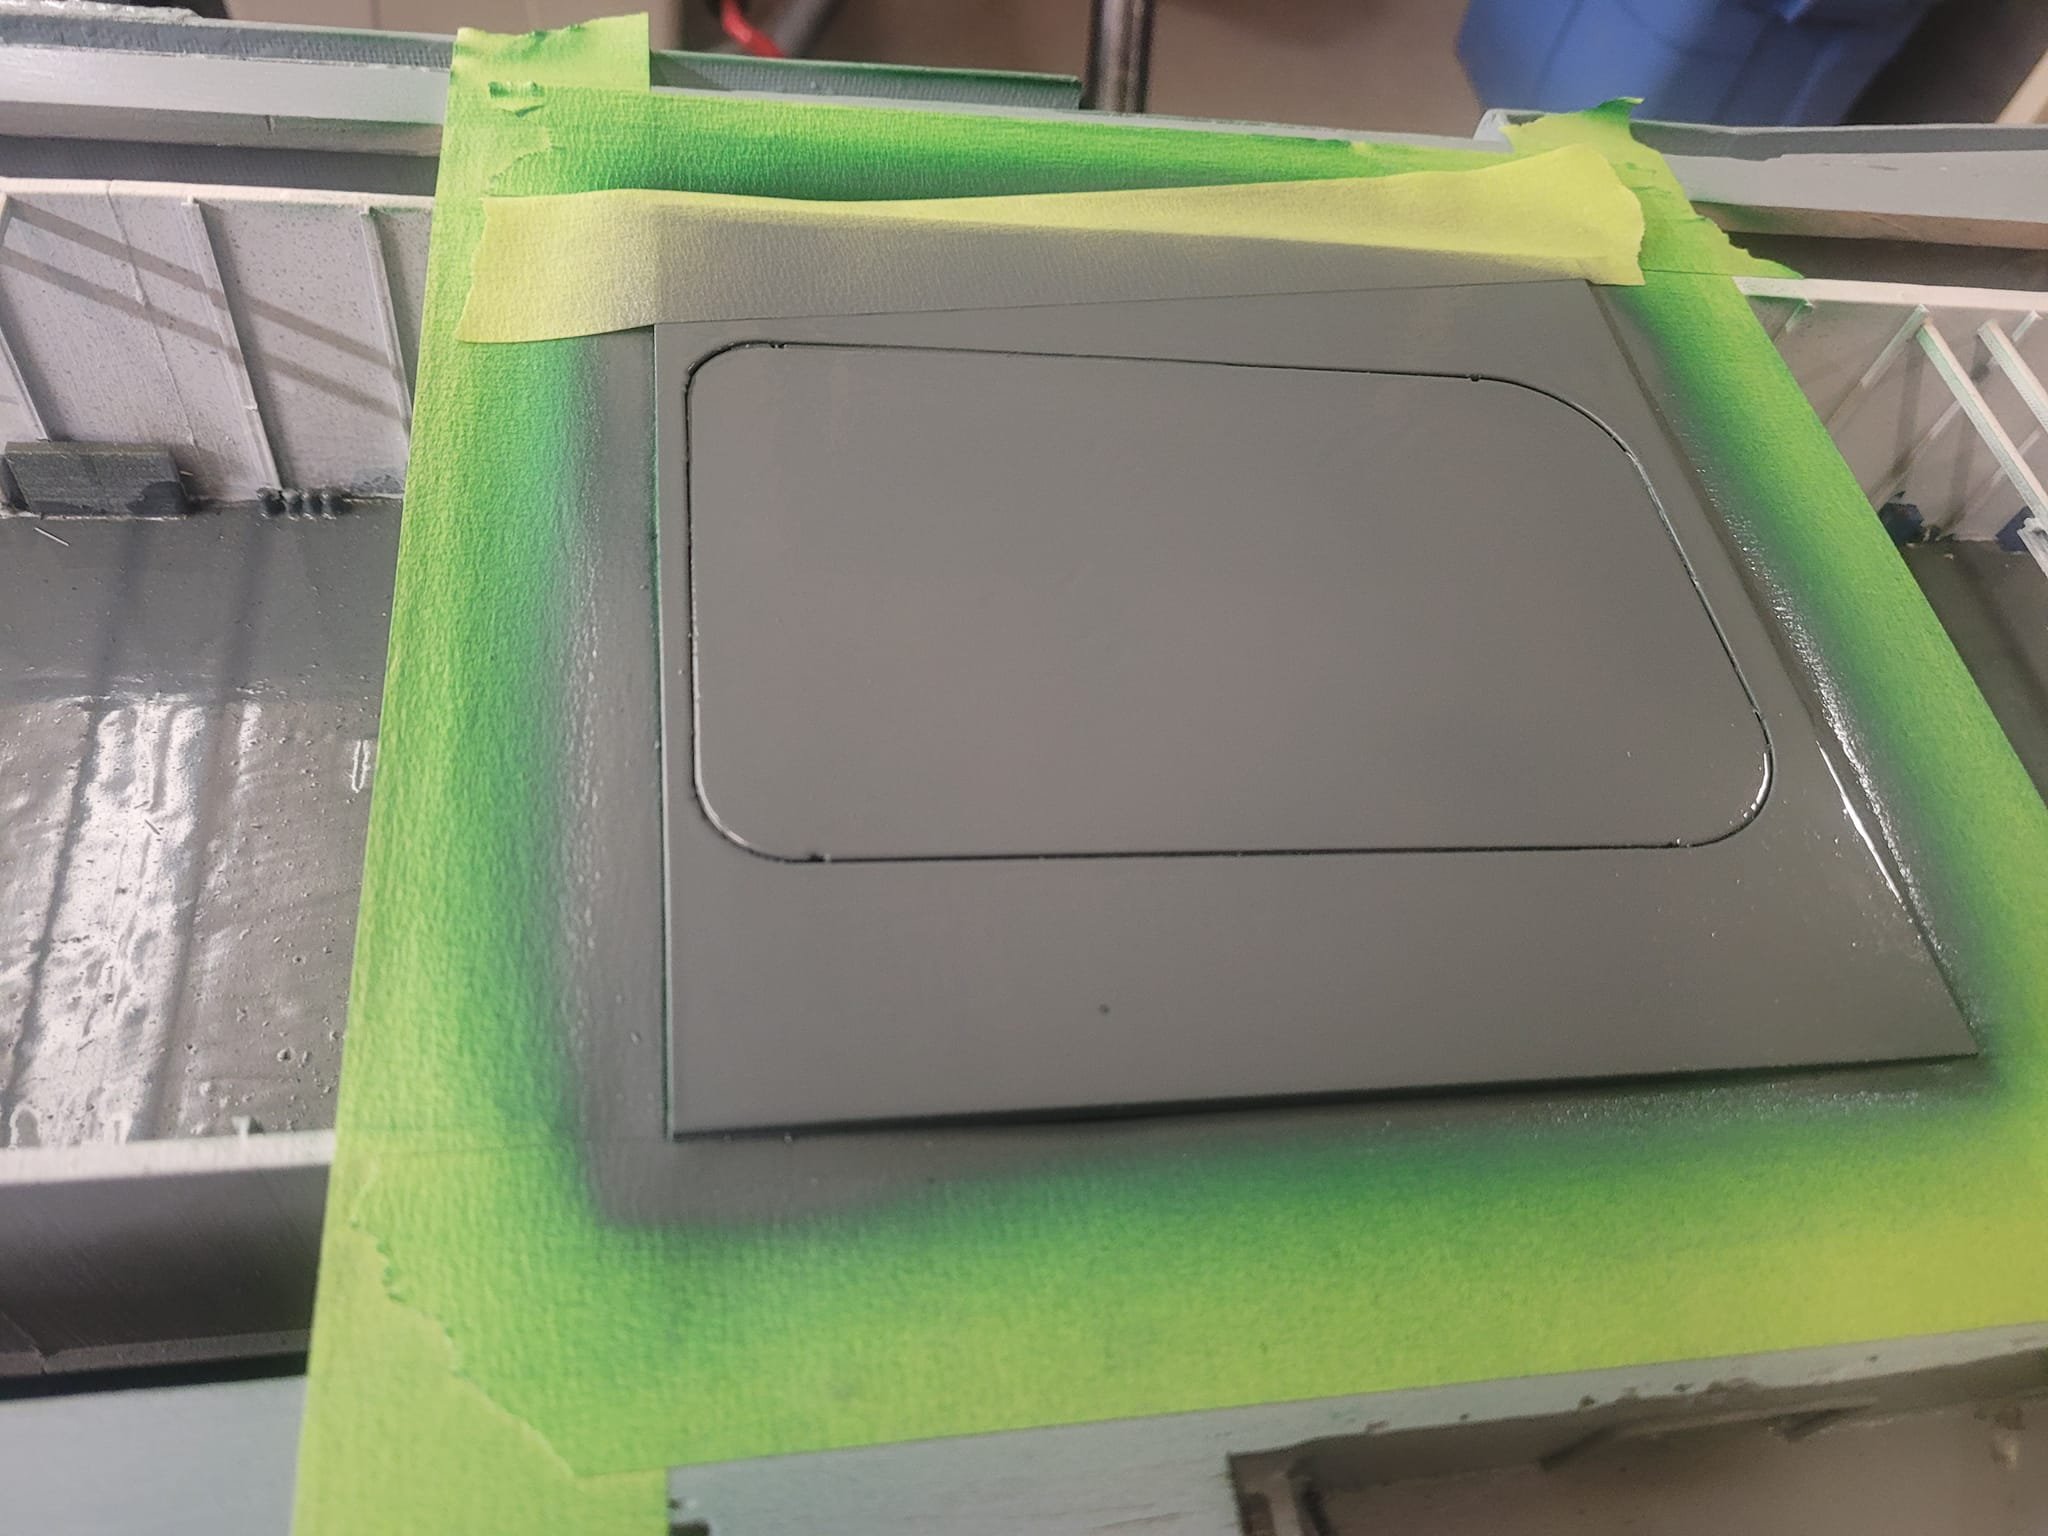
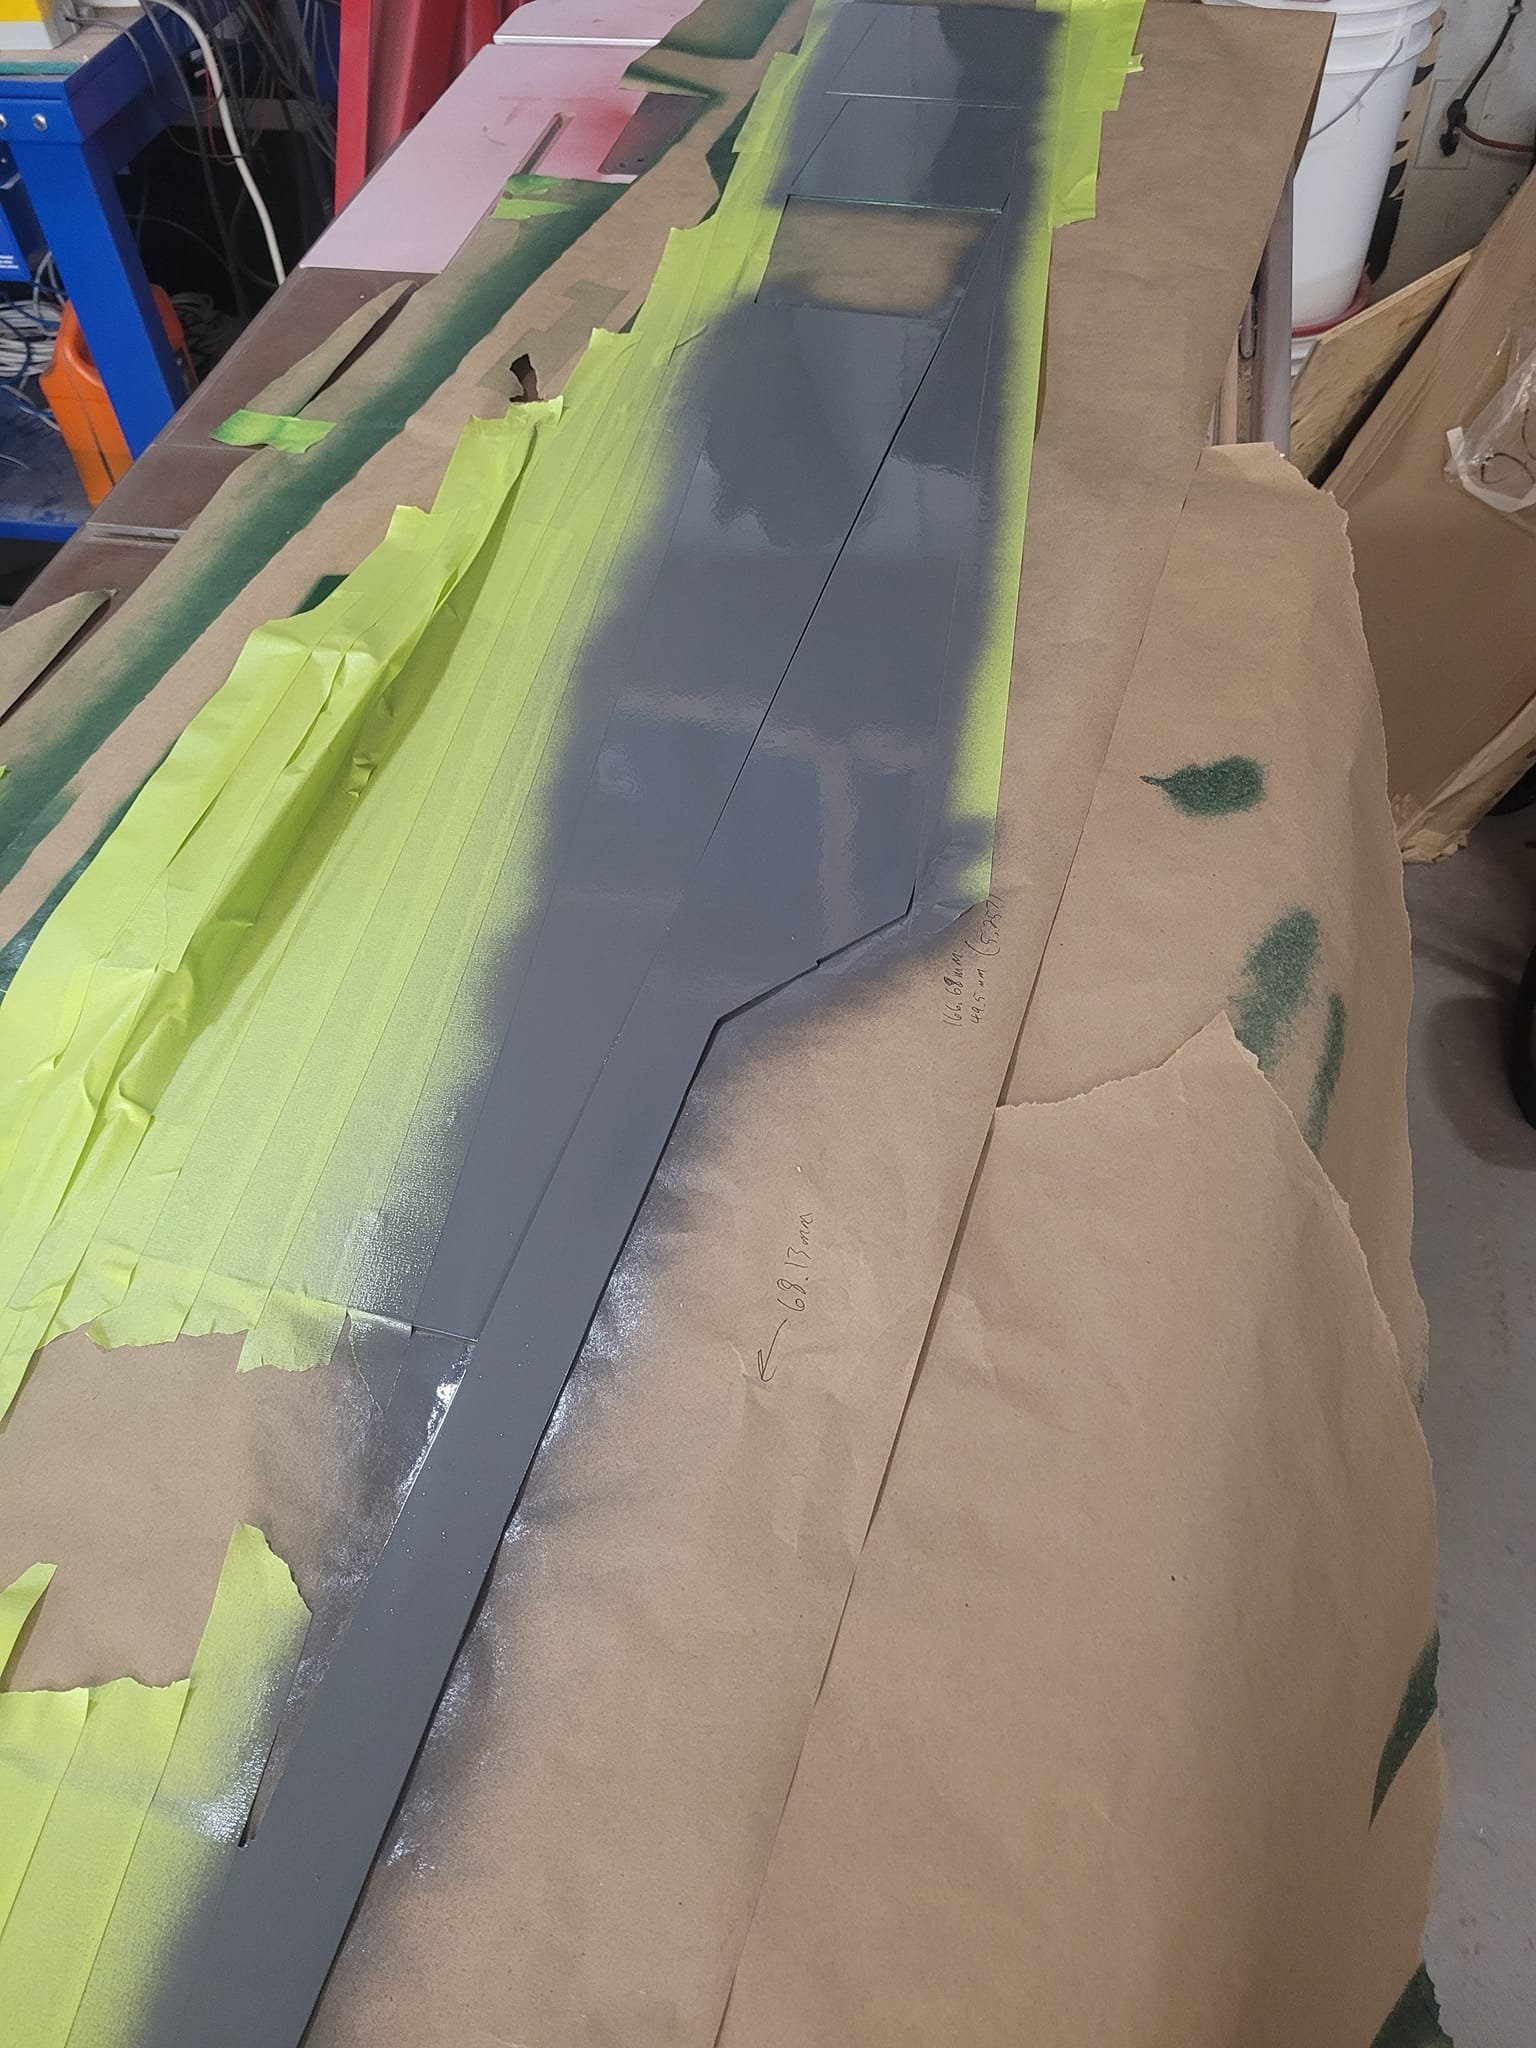
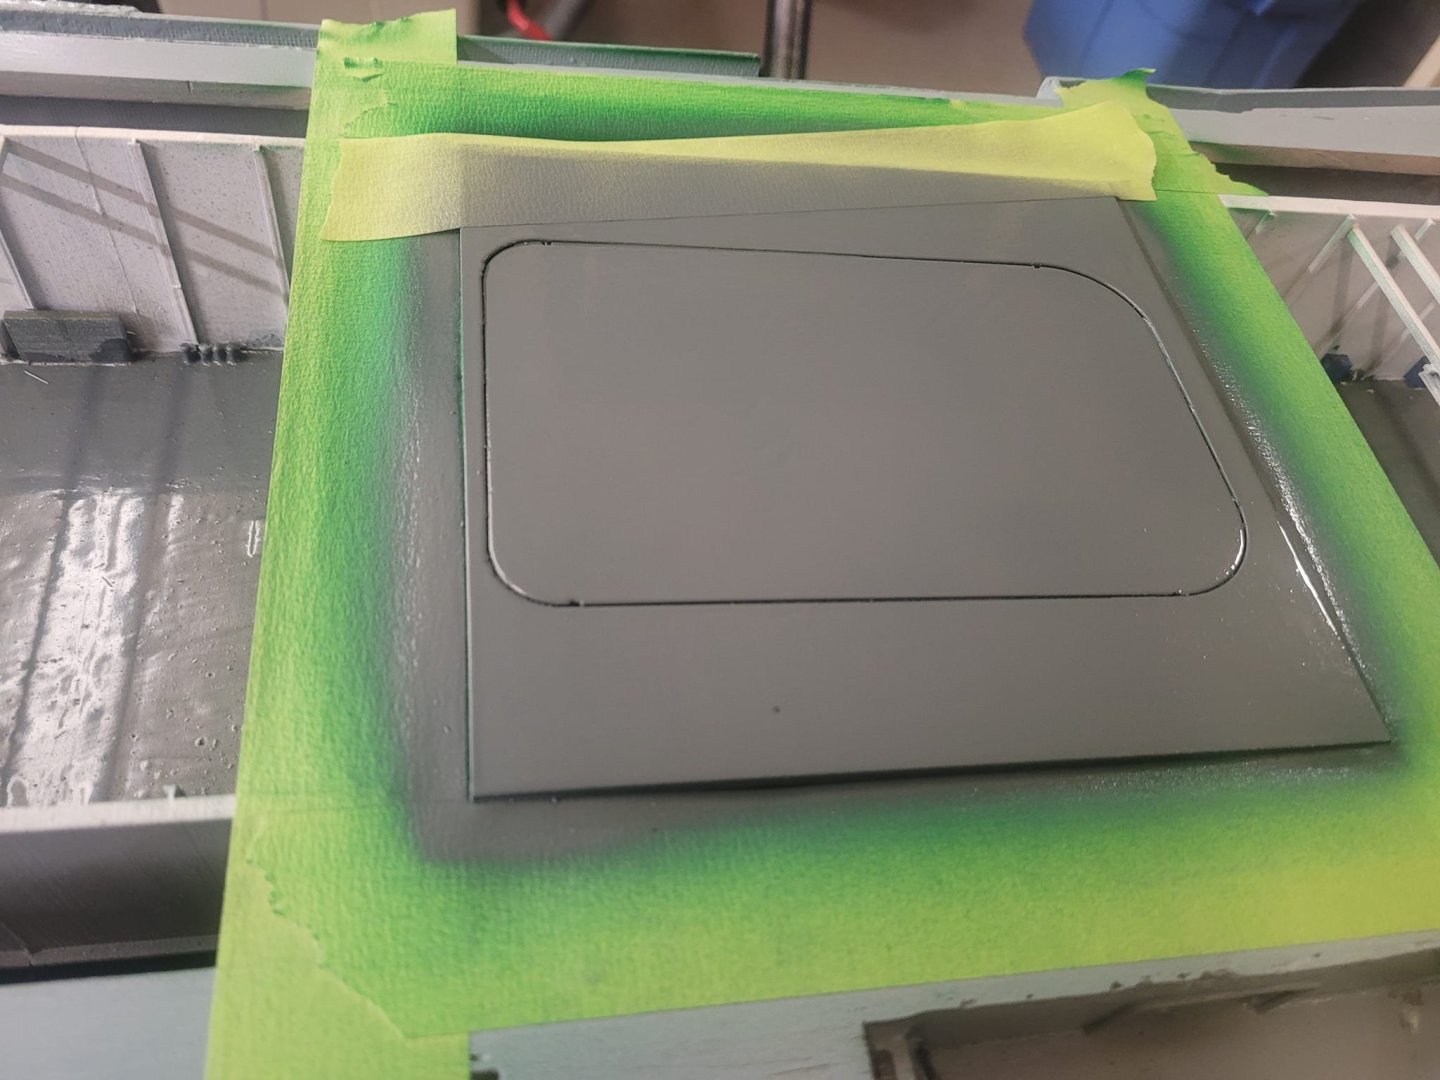
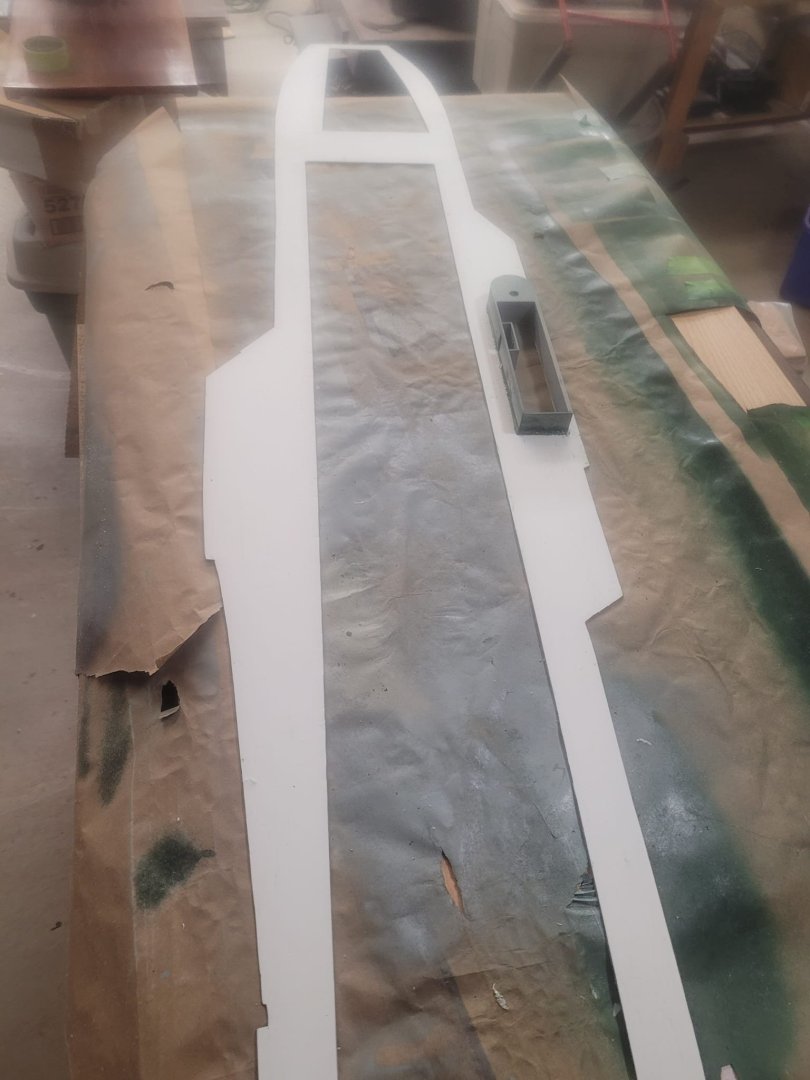
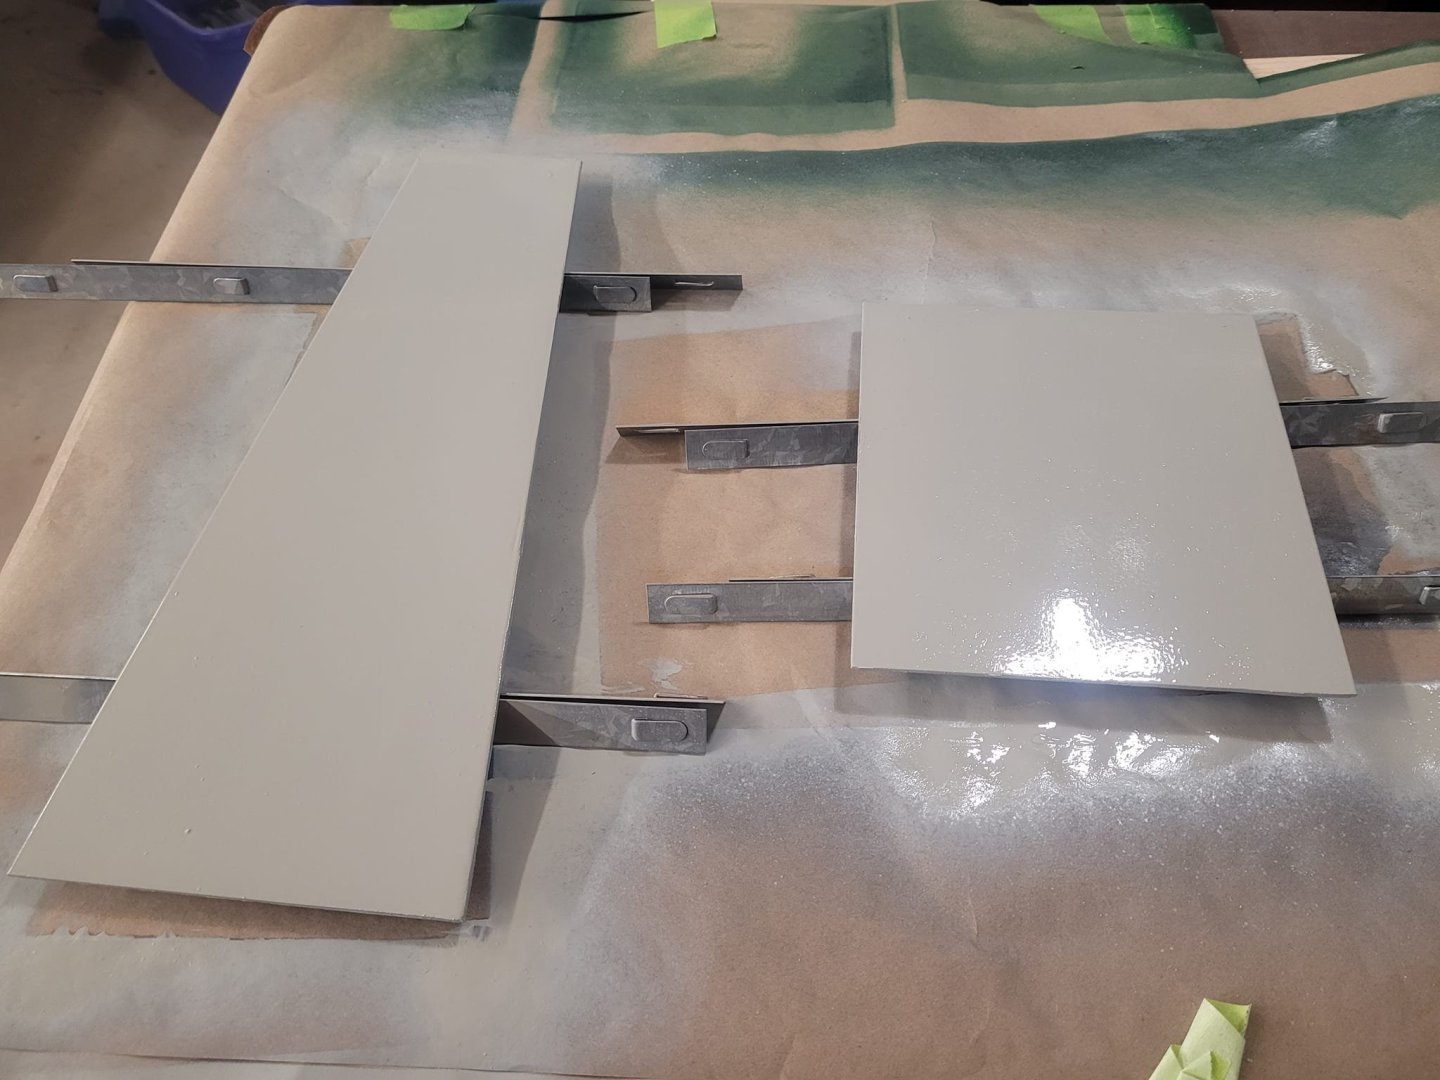
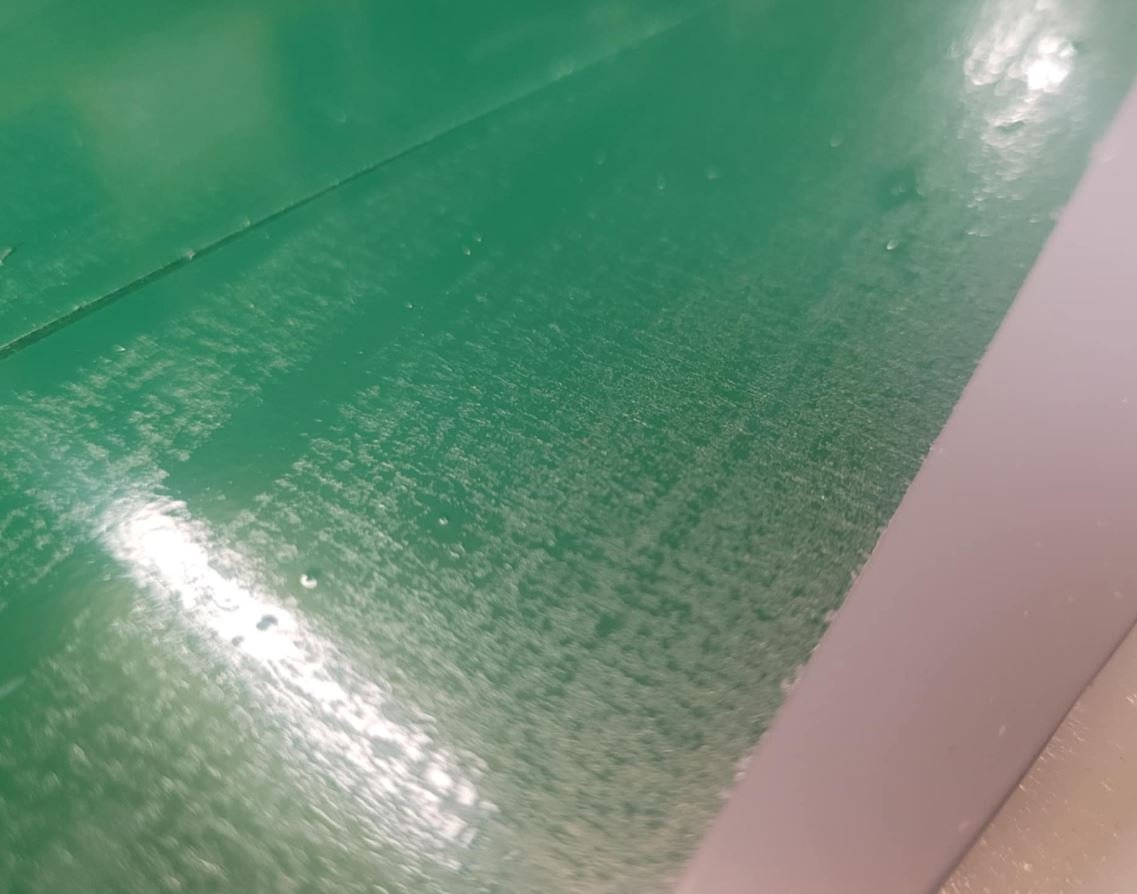
And here we have a layer of gray applied over top of the green - 8-10 days dry time between coats with a different brand of paint used. No visible bubbling. I'll let it dry for a week and a bit and then re-coat.
-
New brand of paint plus a week of drying time between coats is a good solution. Not going to rush this again. This is the 2nd layer of green applied, with a light 400 grit sanding before the 2nd layer. I am pleased.


-
Gotcha. There was a hobby boat show at the old Museum of Science and Tech once upon a time that I was thinking about, but I guess not. All good, and hopefully she turns out well after the refit! NS
-
That's some cool history there - in 1977 I was 4 years old. I wonder if I ever saw that ship in person when I lived in Ottawa...I recall being involved with the RC Boat group that met at the Canoe Club in the 89-91 time-frame as a kid.
-
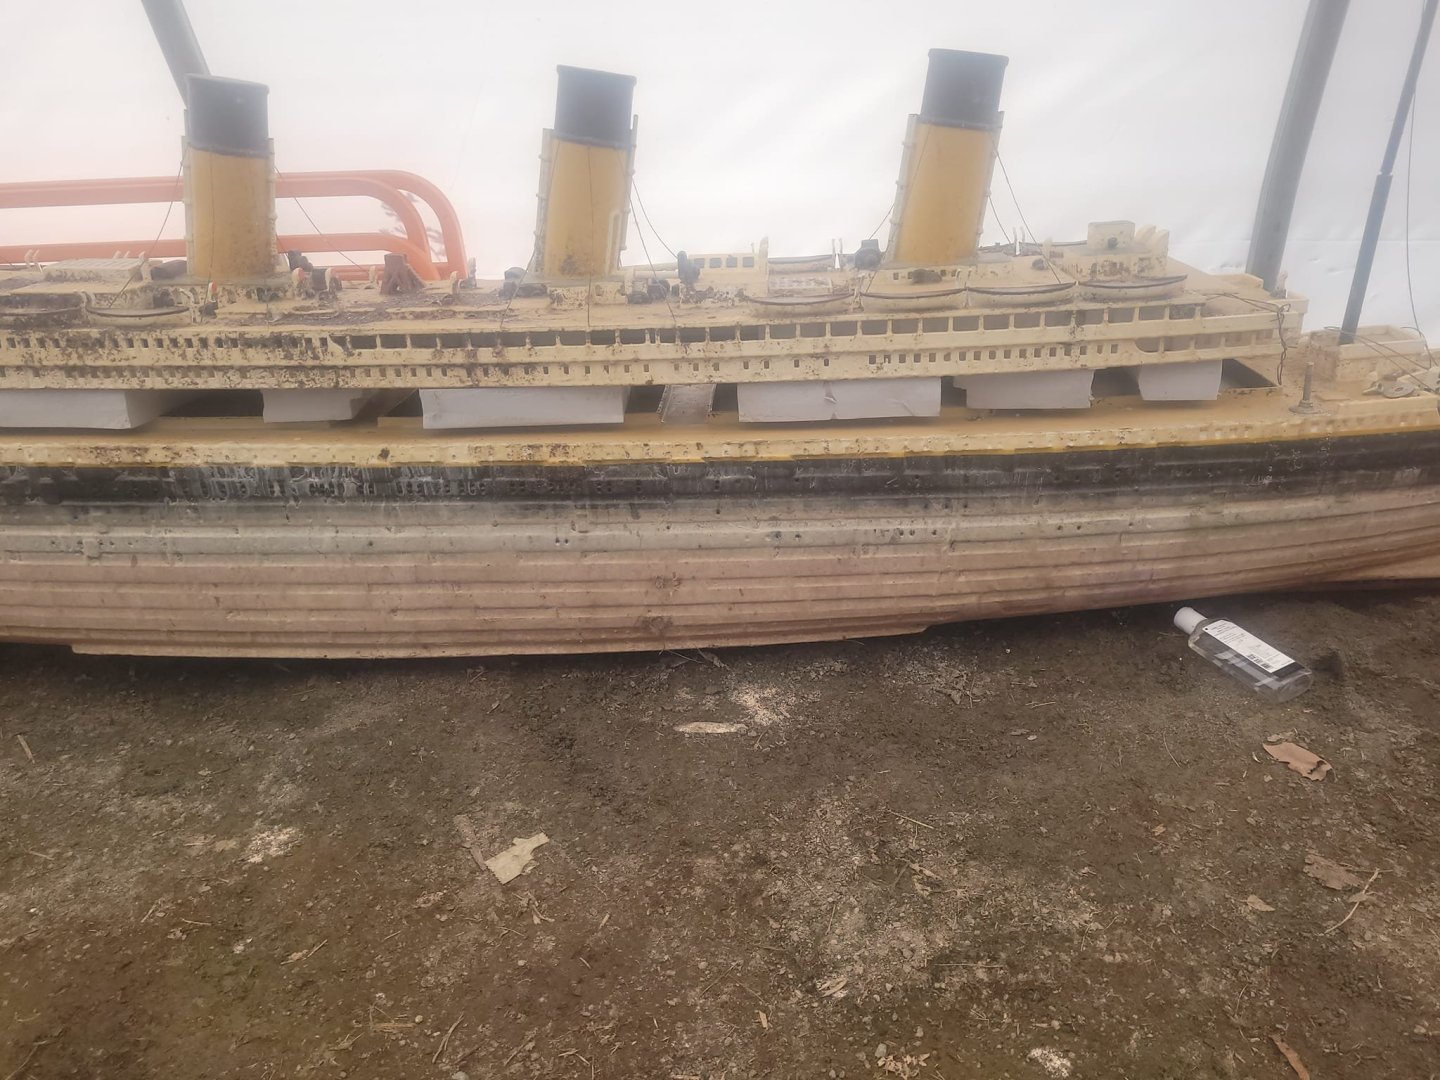
I've got her shifted to the garage next to the dehumidifier for a few weeks to dry out. Once she's dry, I'll worry about repairs. For now, she's clean(ish) and drying(ish) and I'll see if any more cracks show up that need repair. NS
-
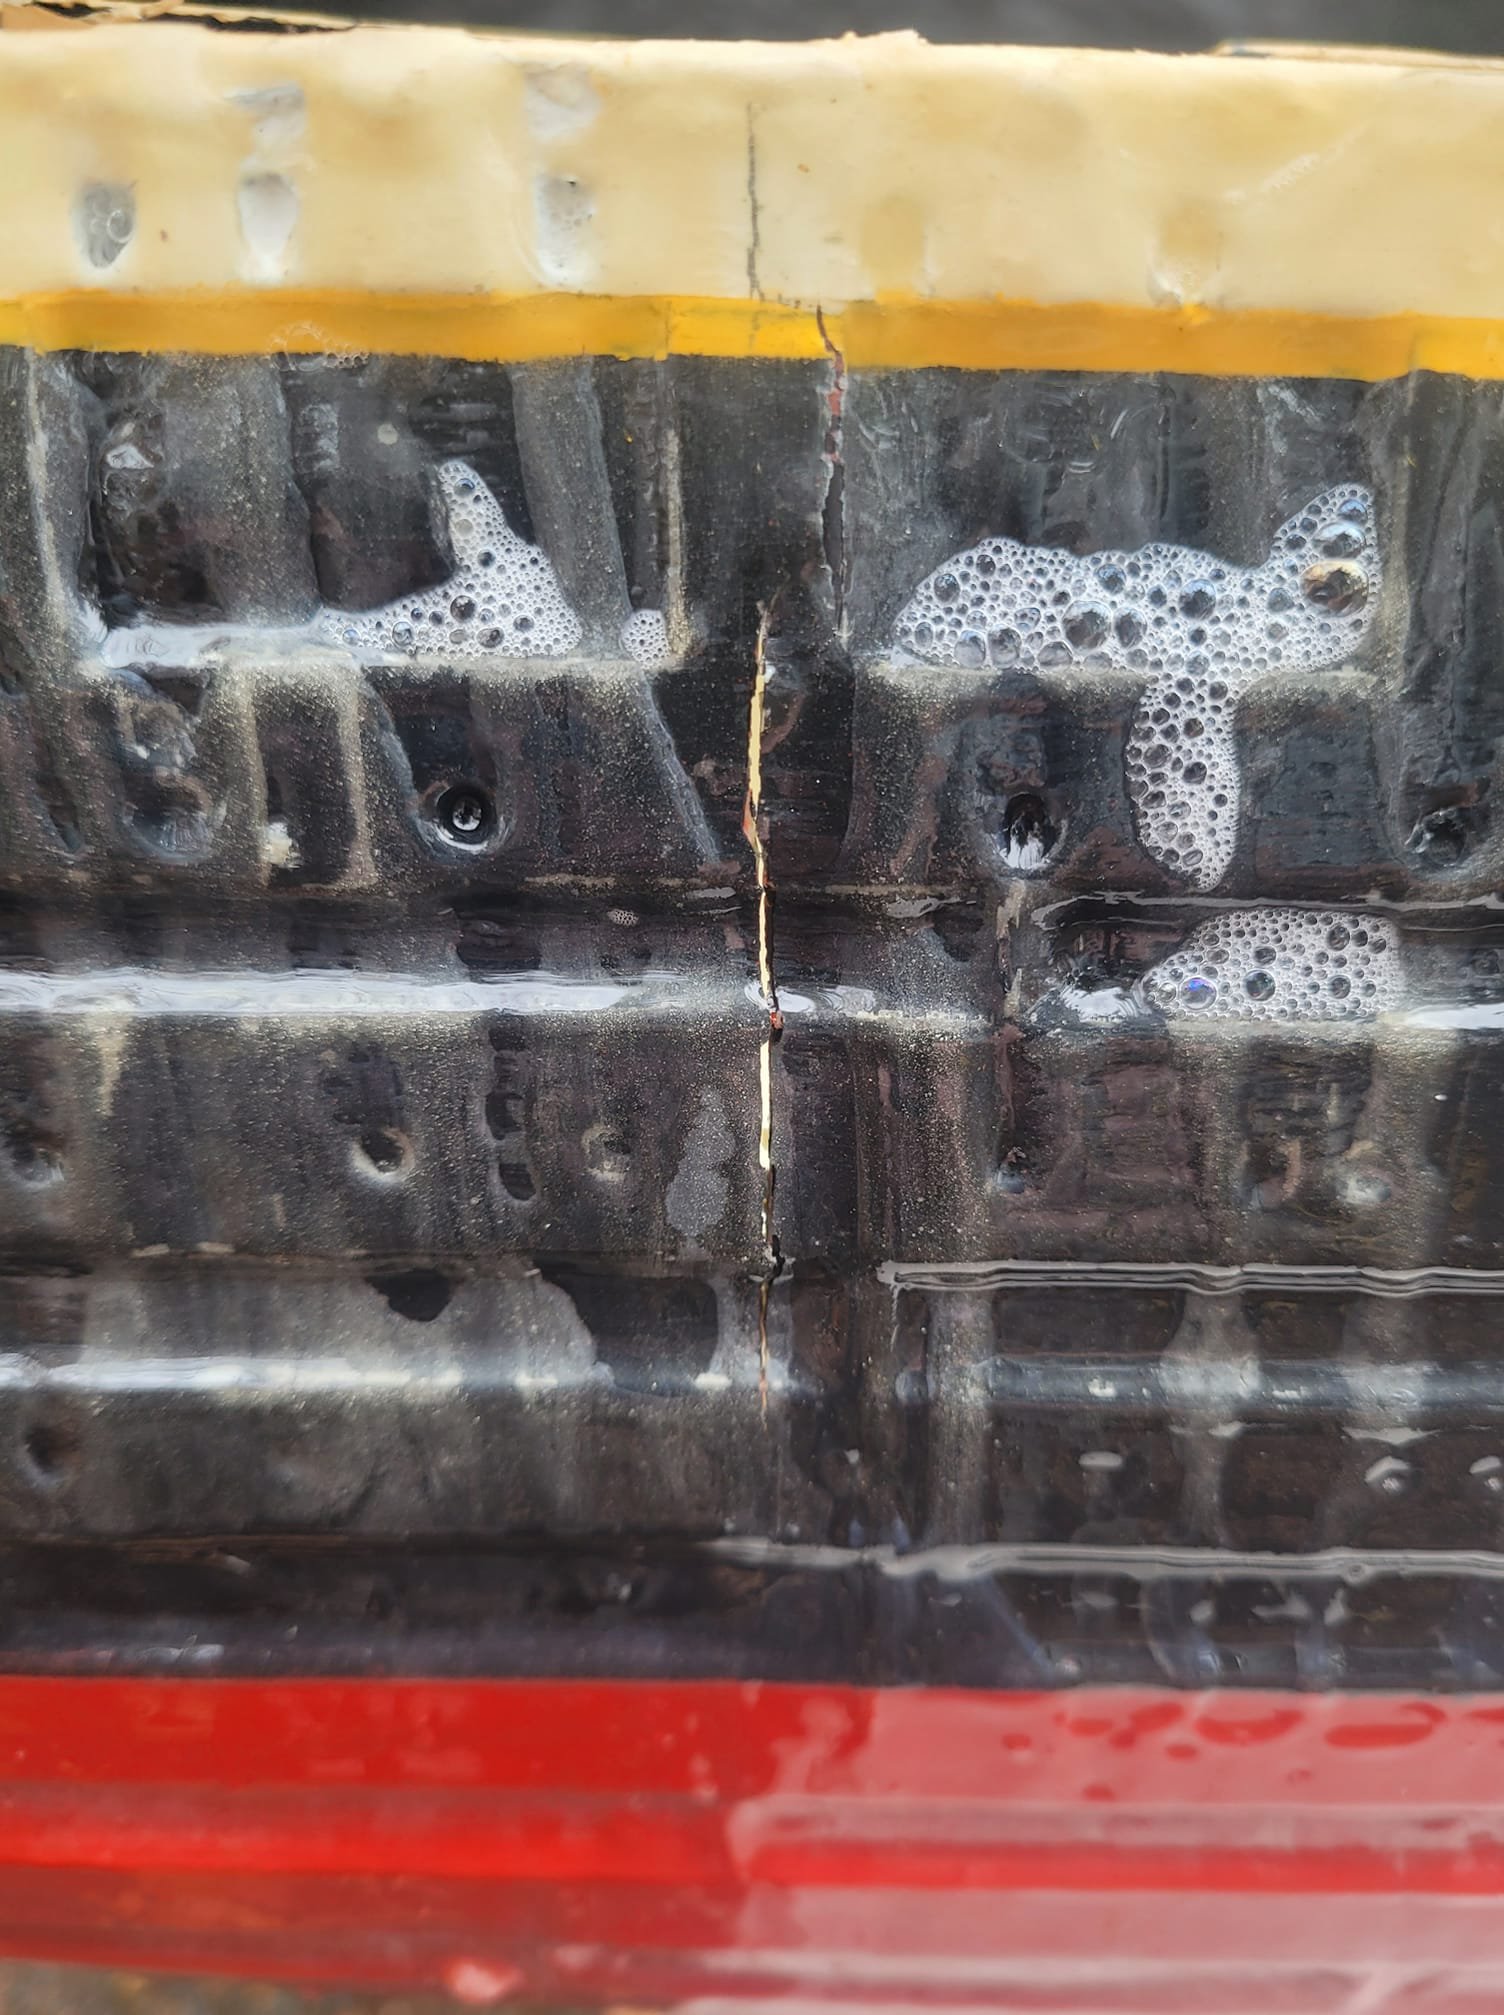
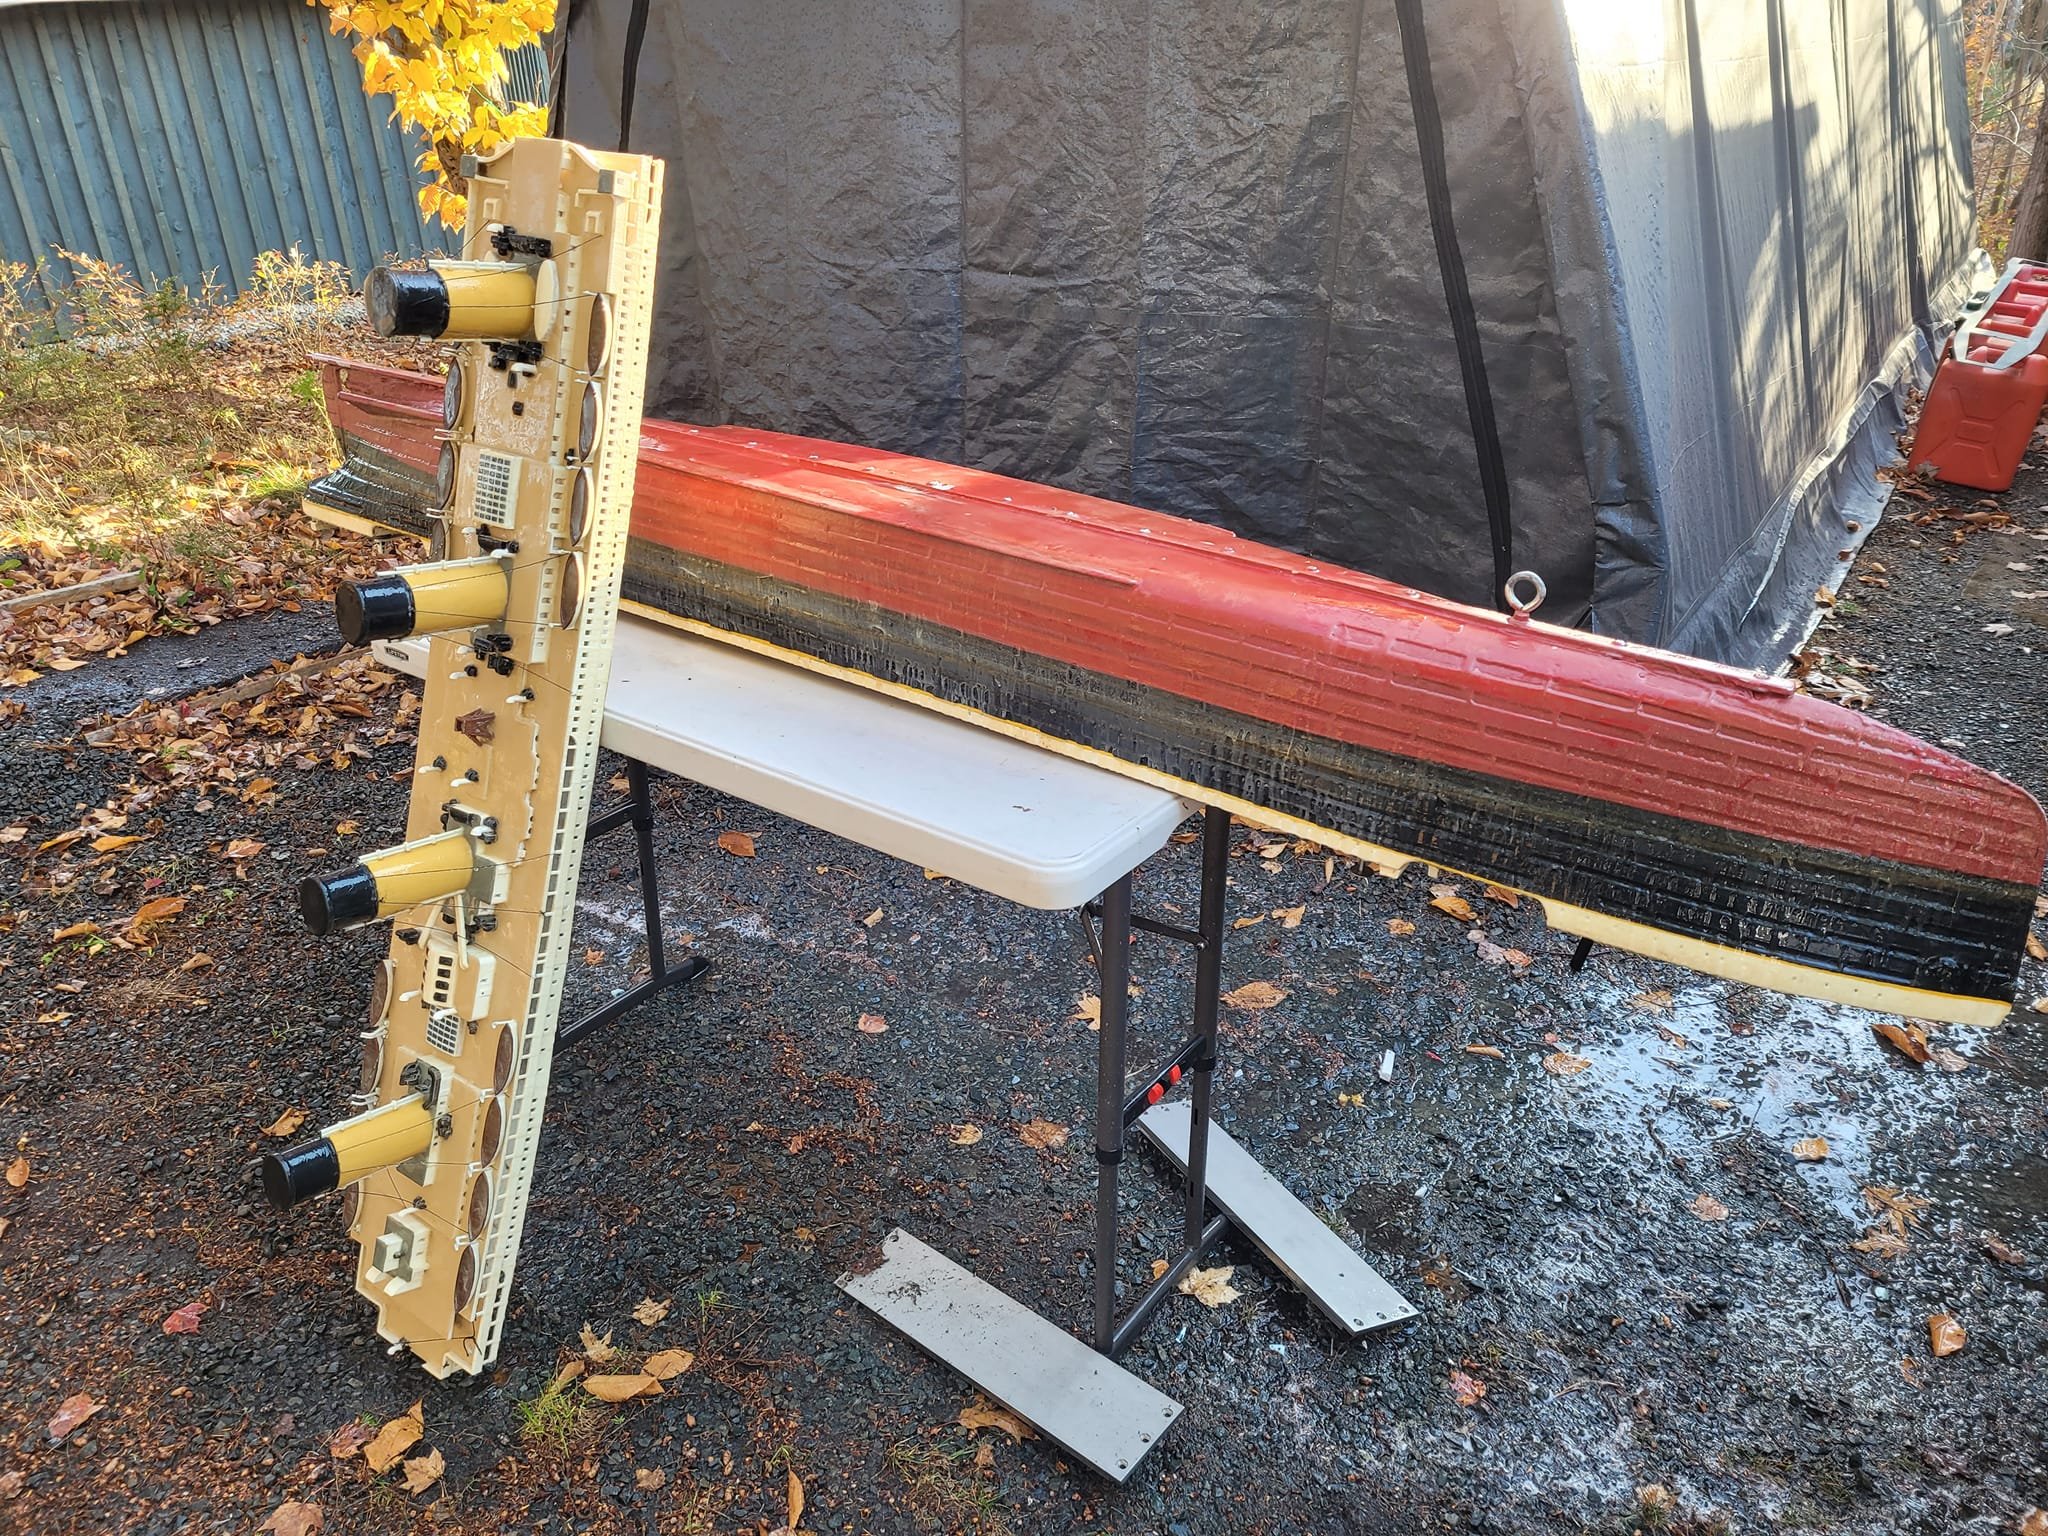
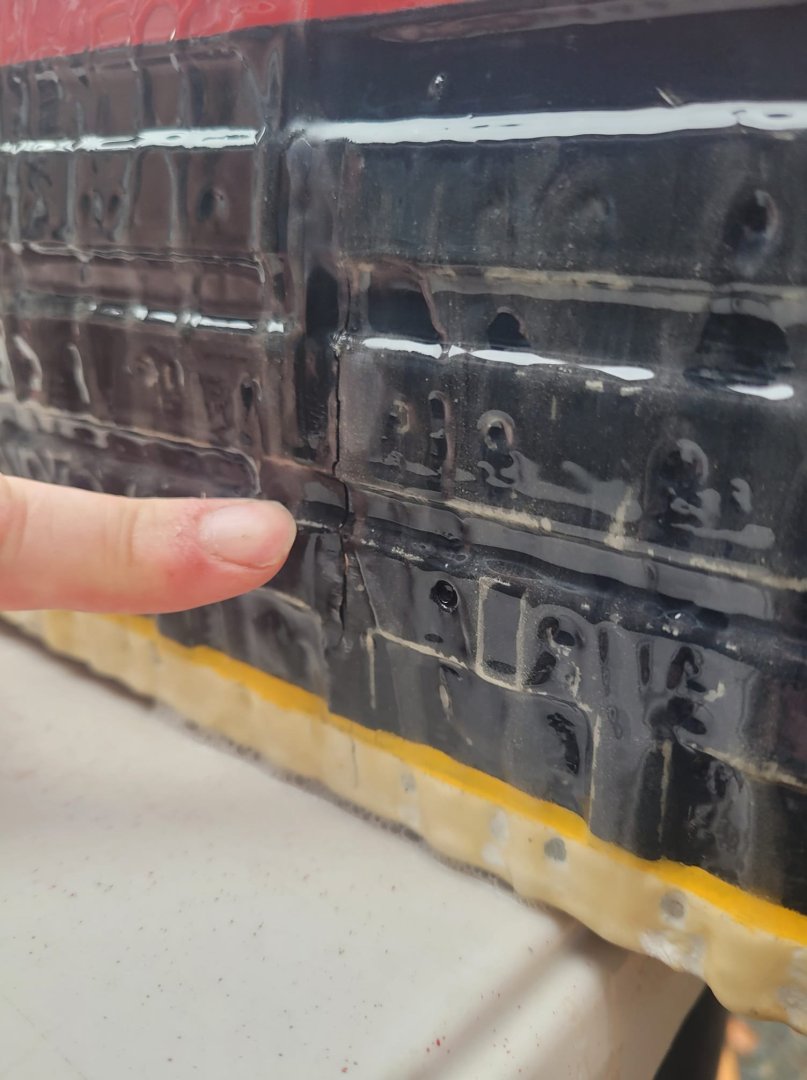
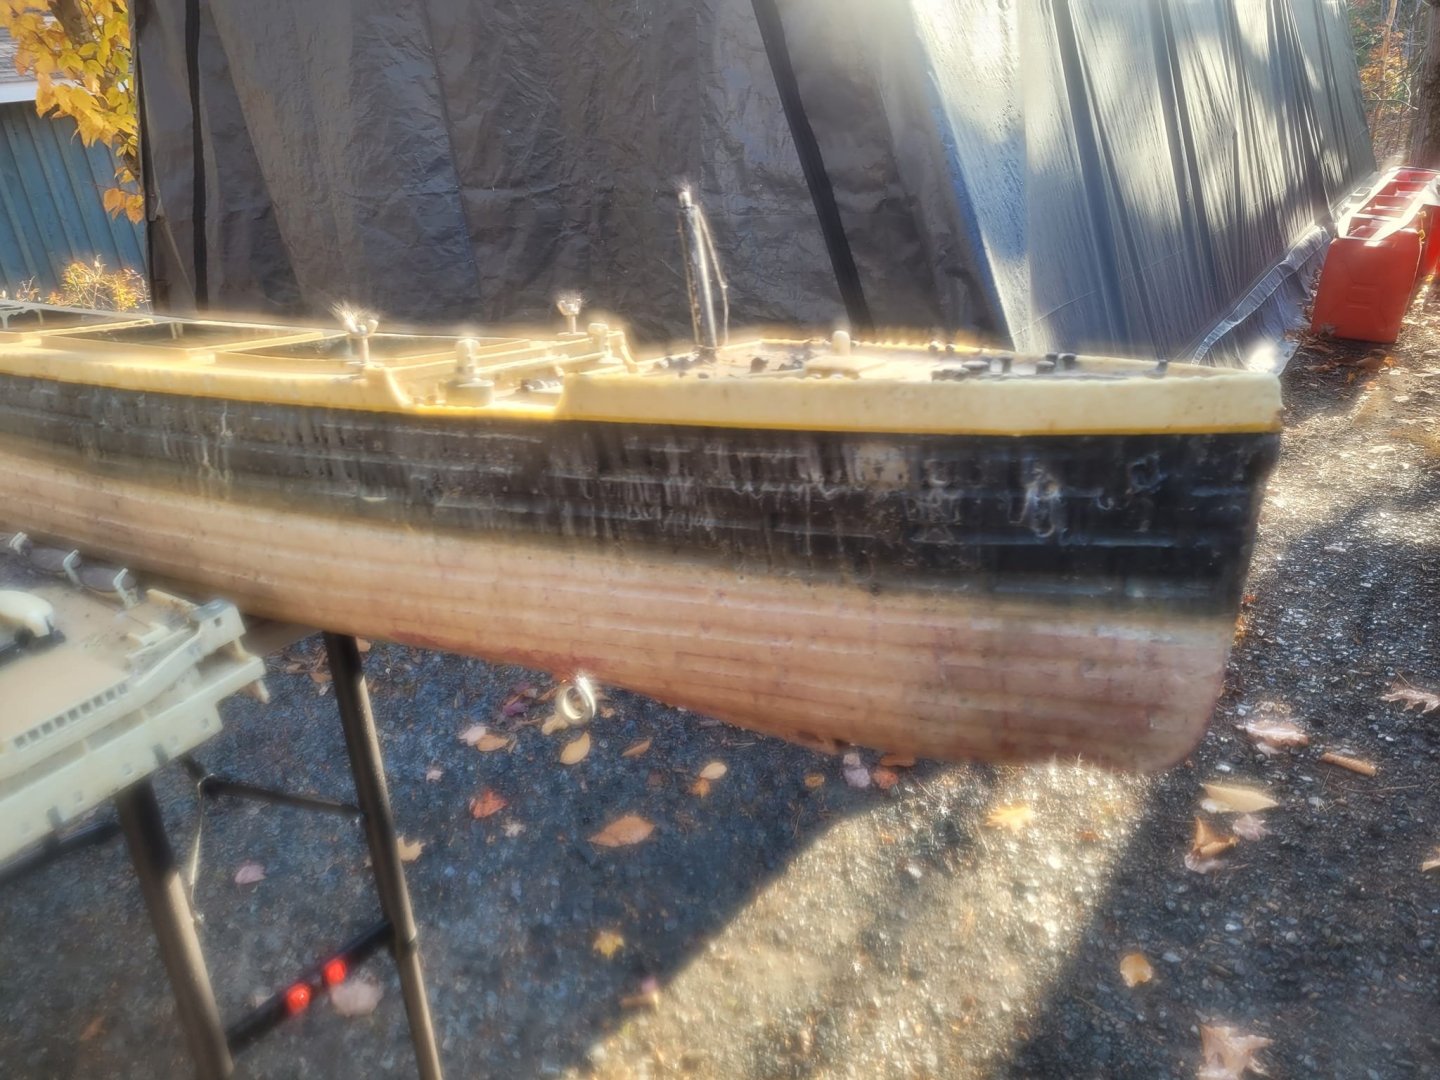
I think I found the source of the leak...and the hull cleaned up fairly well methinks.

-
BZ! This is a beautiful build! Your work with the photo-etch is fascinating to me. That stuff honestly scares me! The crew is only 5mm tall...wow....well done! NS
- 97 replies
-
- 4
-

-

-
- Enterprise
- Tamiya
- (and 2 more)
-
So, something I noted is that the last time I was futzing about with the flight deck paint a couple of years ago, I had a problem with paint bubbling...and I had to strip it (I used a belt sander on the plywood that time.) I recall that I used the same type of paint both times. So. This time around, I'm going to try a different brand. We'll see how it goes.
-
Rattle can. Here's the rest of the deck stripped and primed.
-
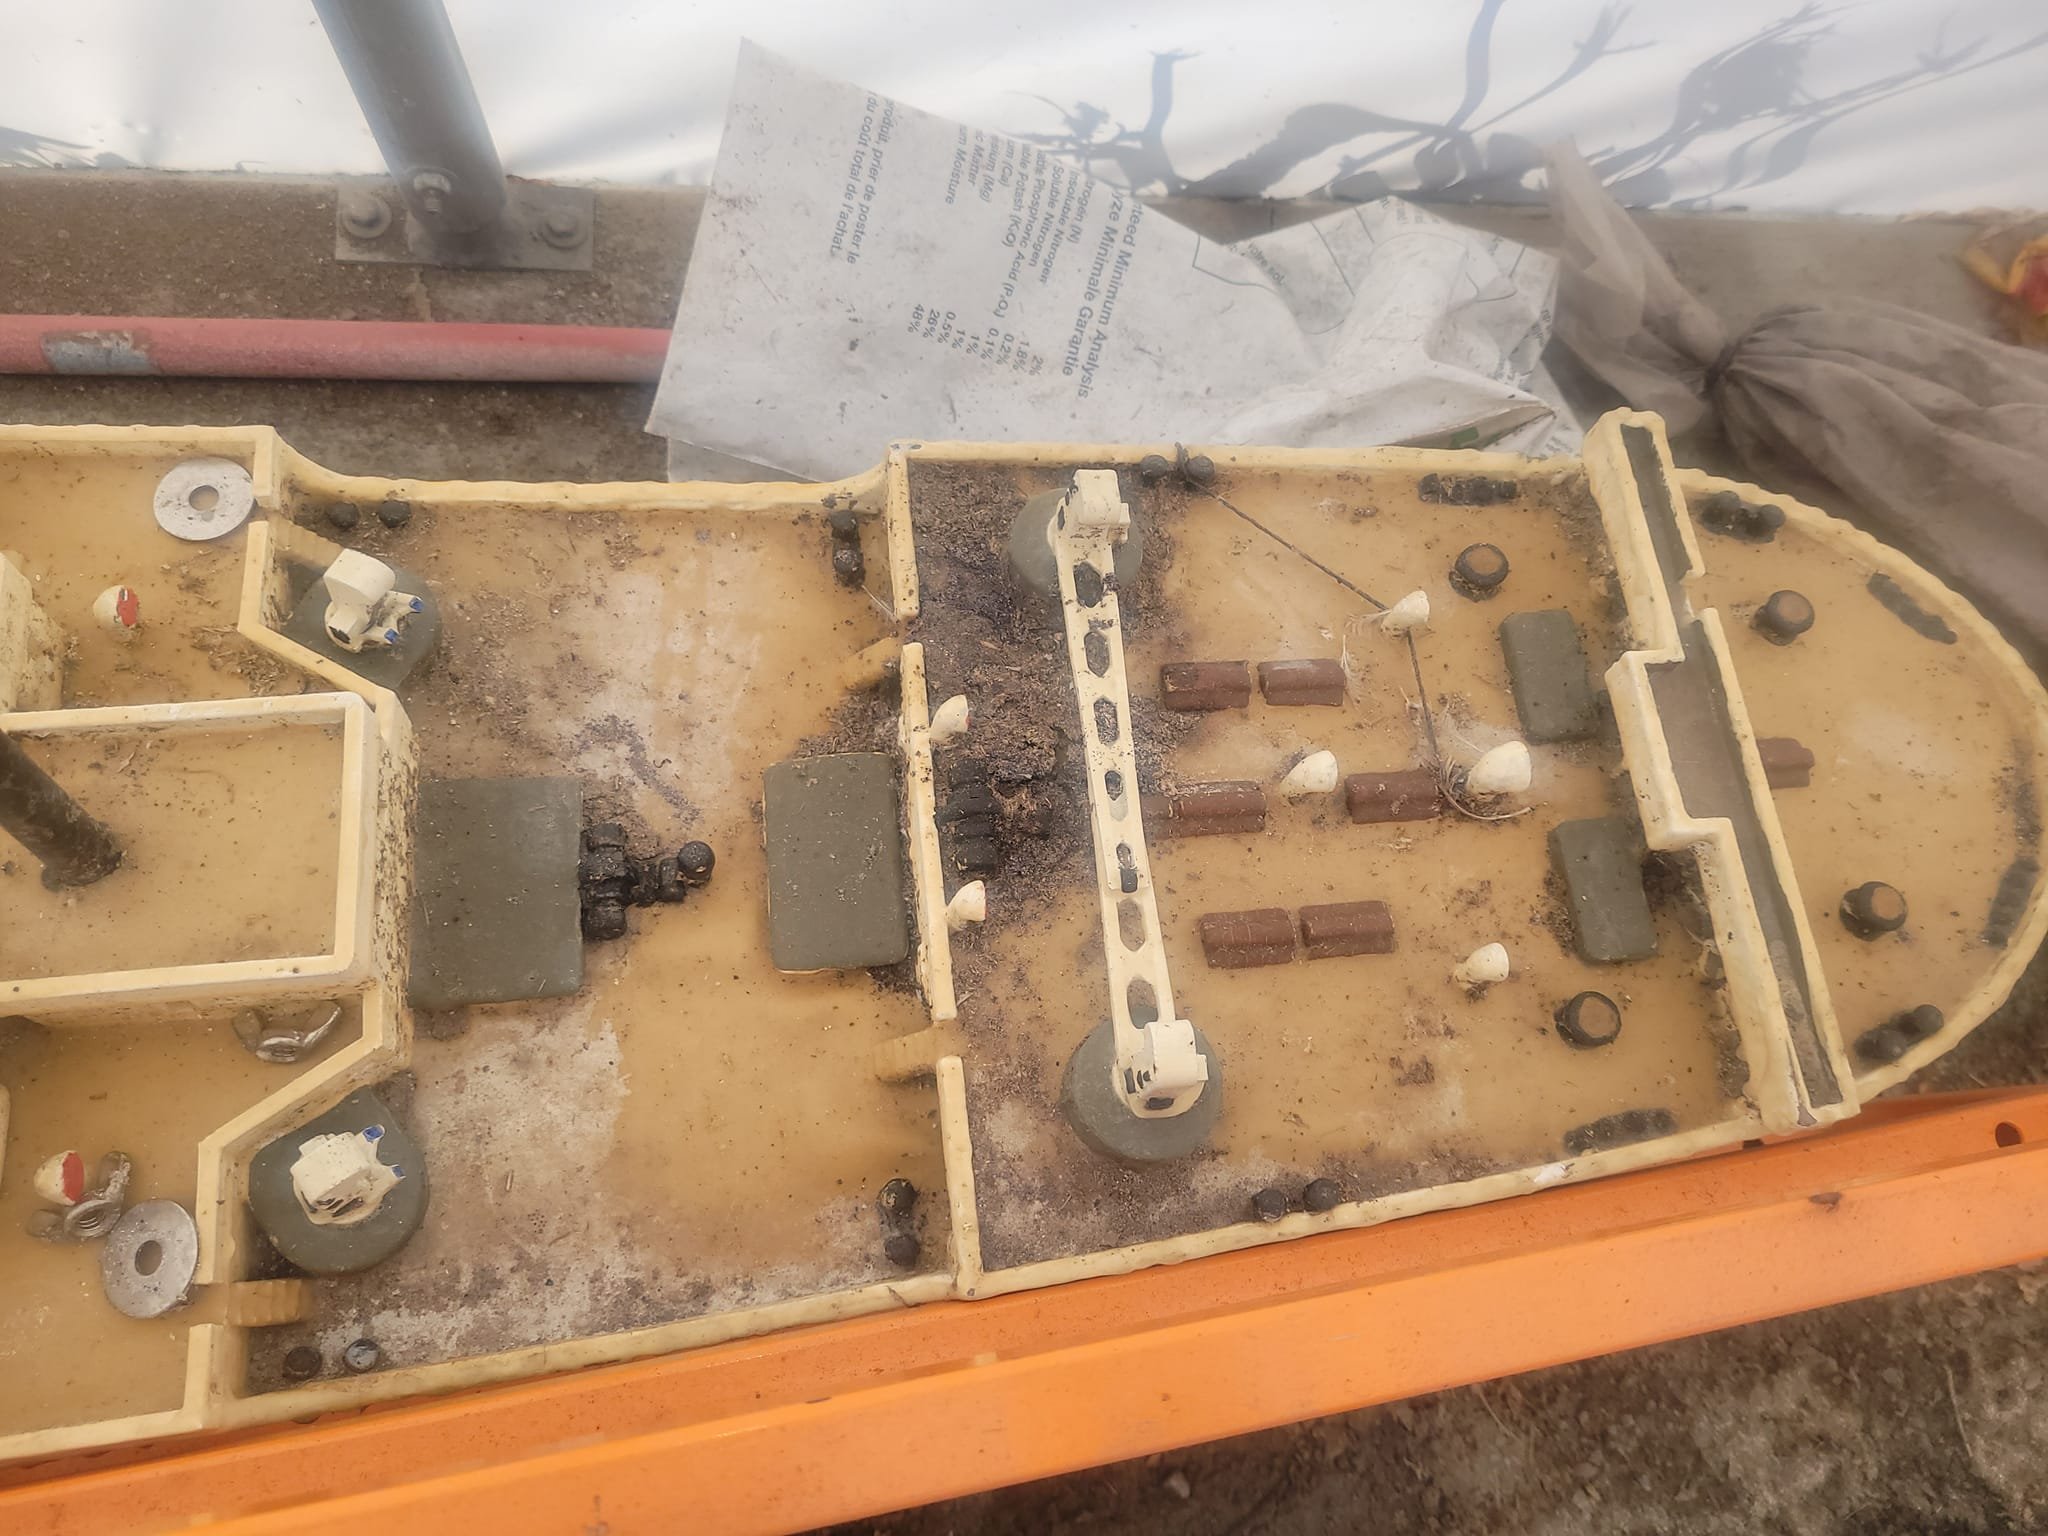
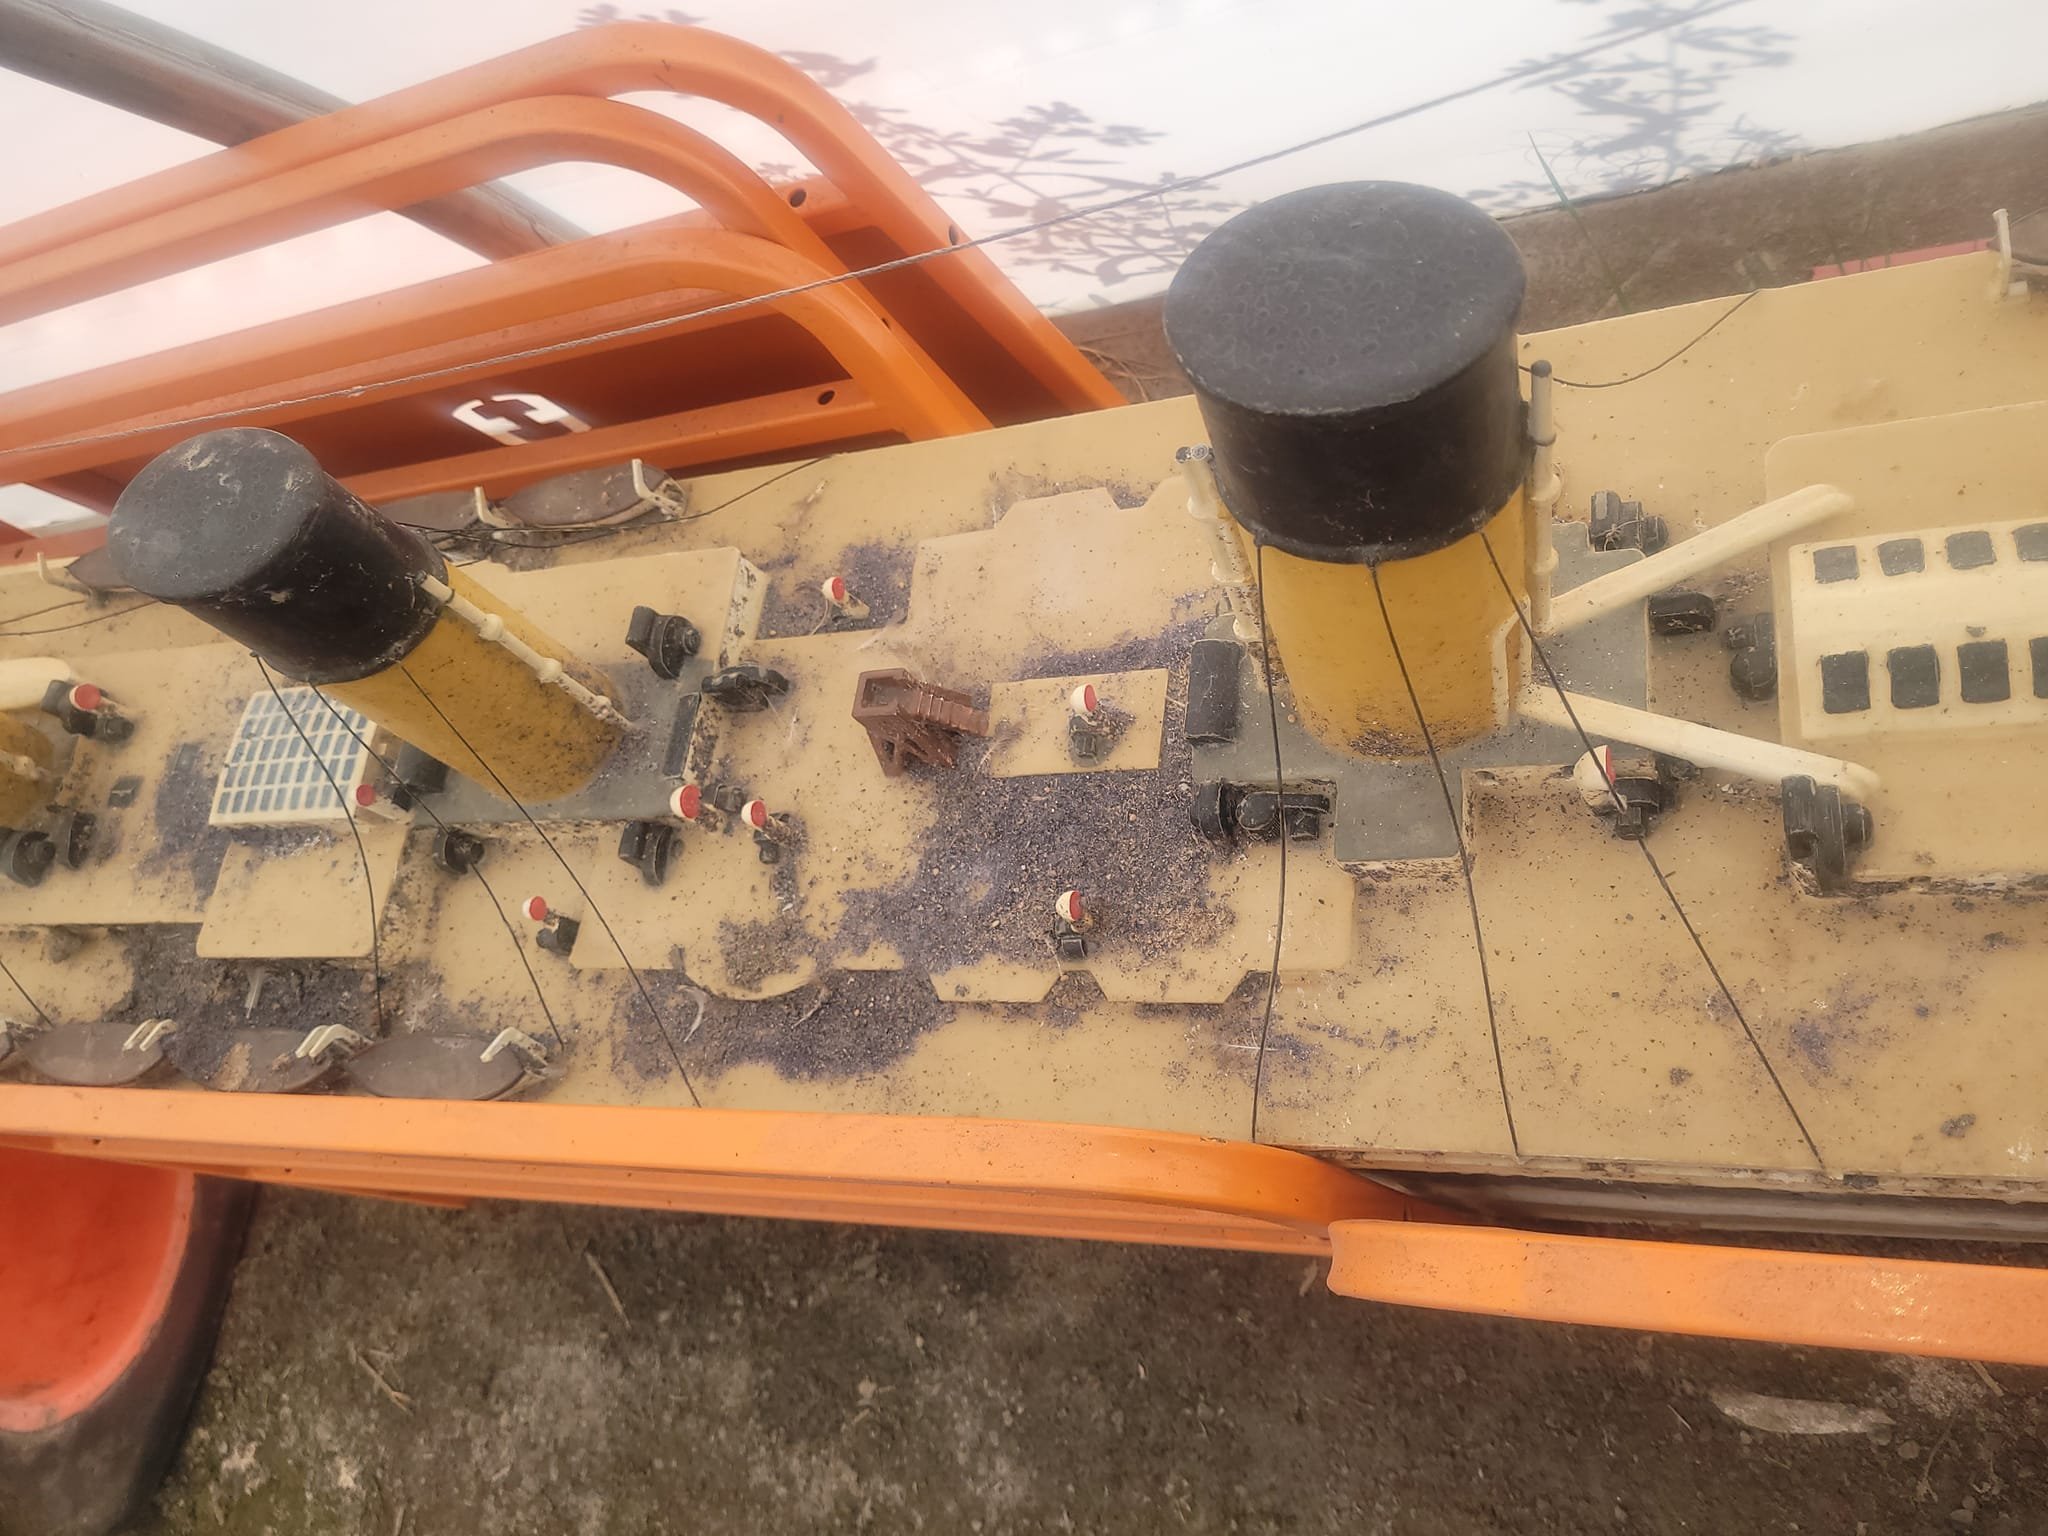
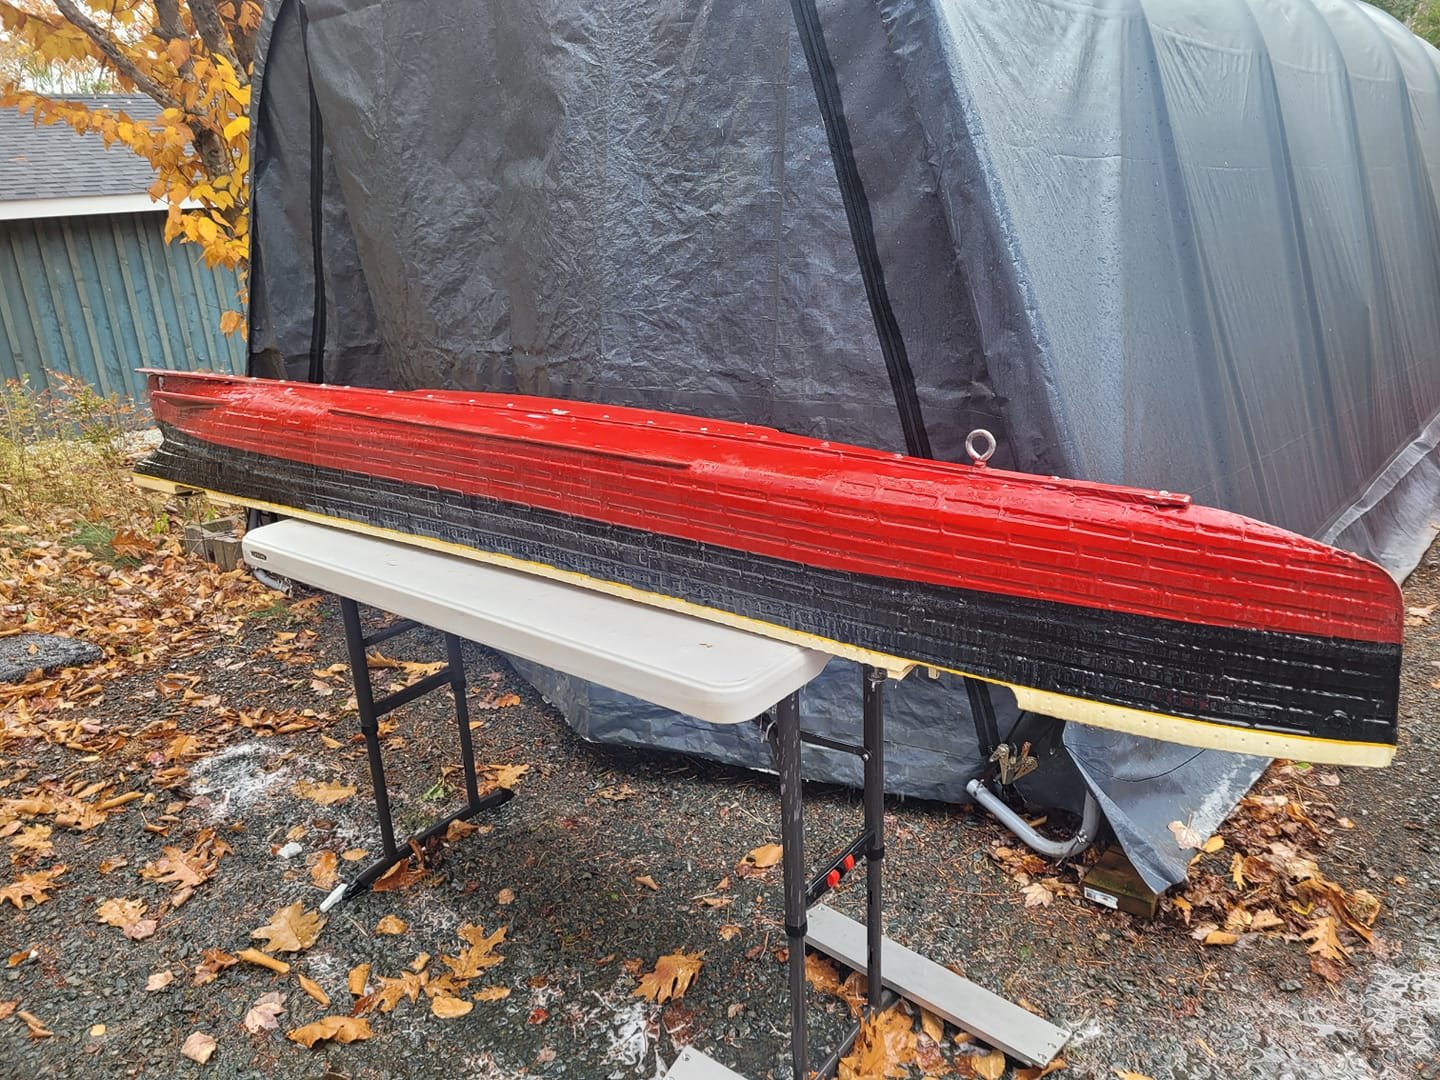
So, the model has been recovered from the pond, and there was a bit of water inside. I cannot see an obvious ingress point, so I'm going to end up having to do a bunch of touchup and resealing before the spring. There is a lot of duck poop....it's a pond model!


-
OK, so it turns out that apparently regular oven cleaner is a good (fairly) non-toxic way to strip paint. Here's how the first two panels look stripped, and re-primed.
-
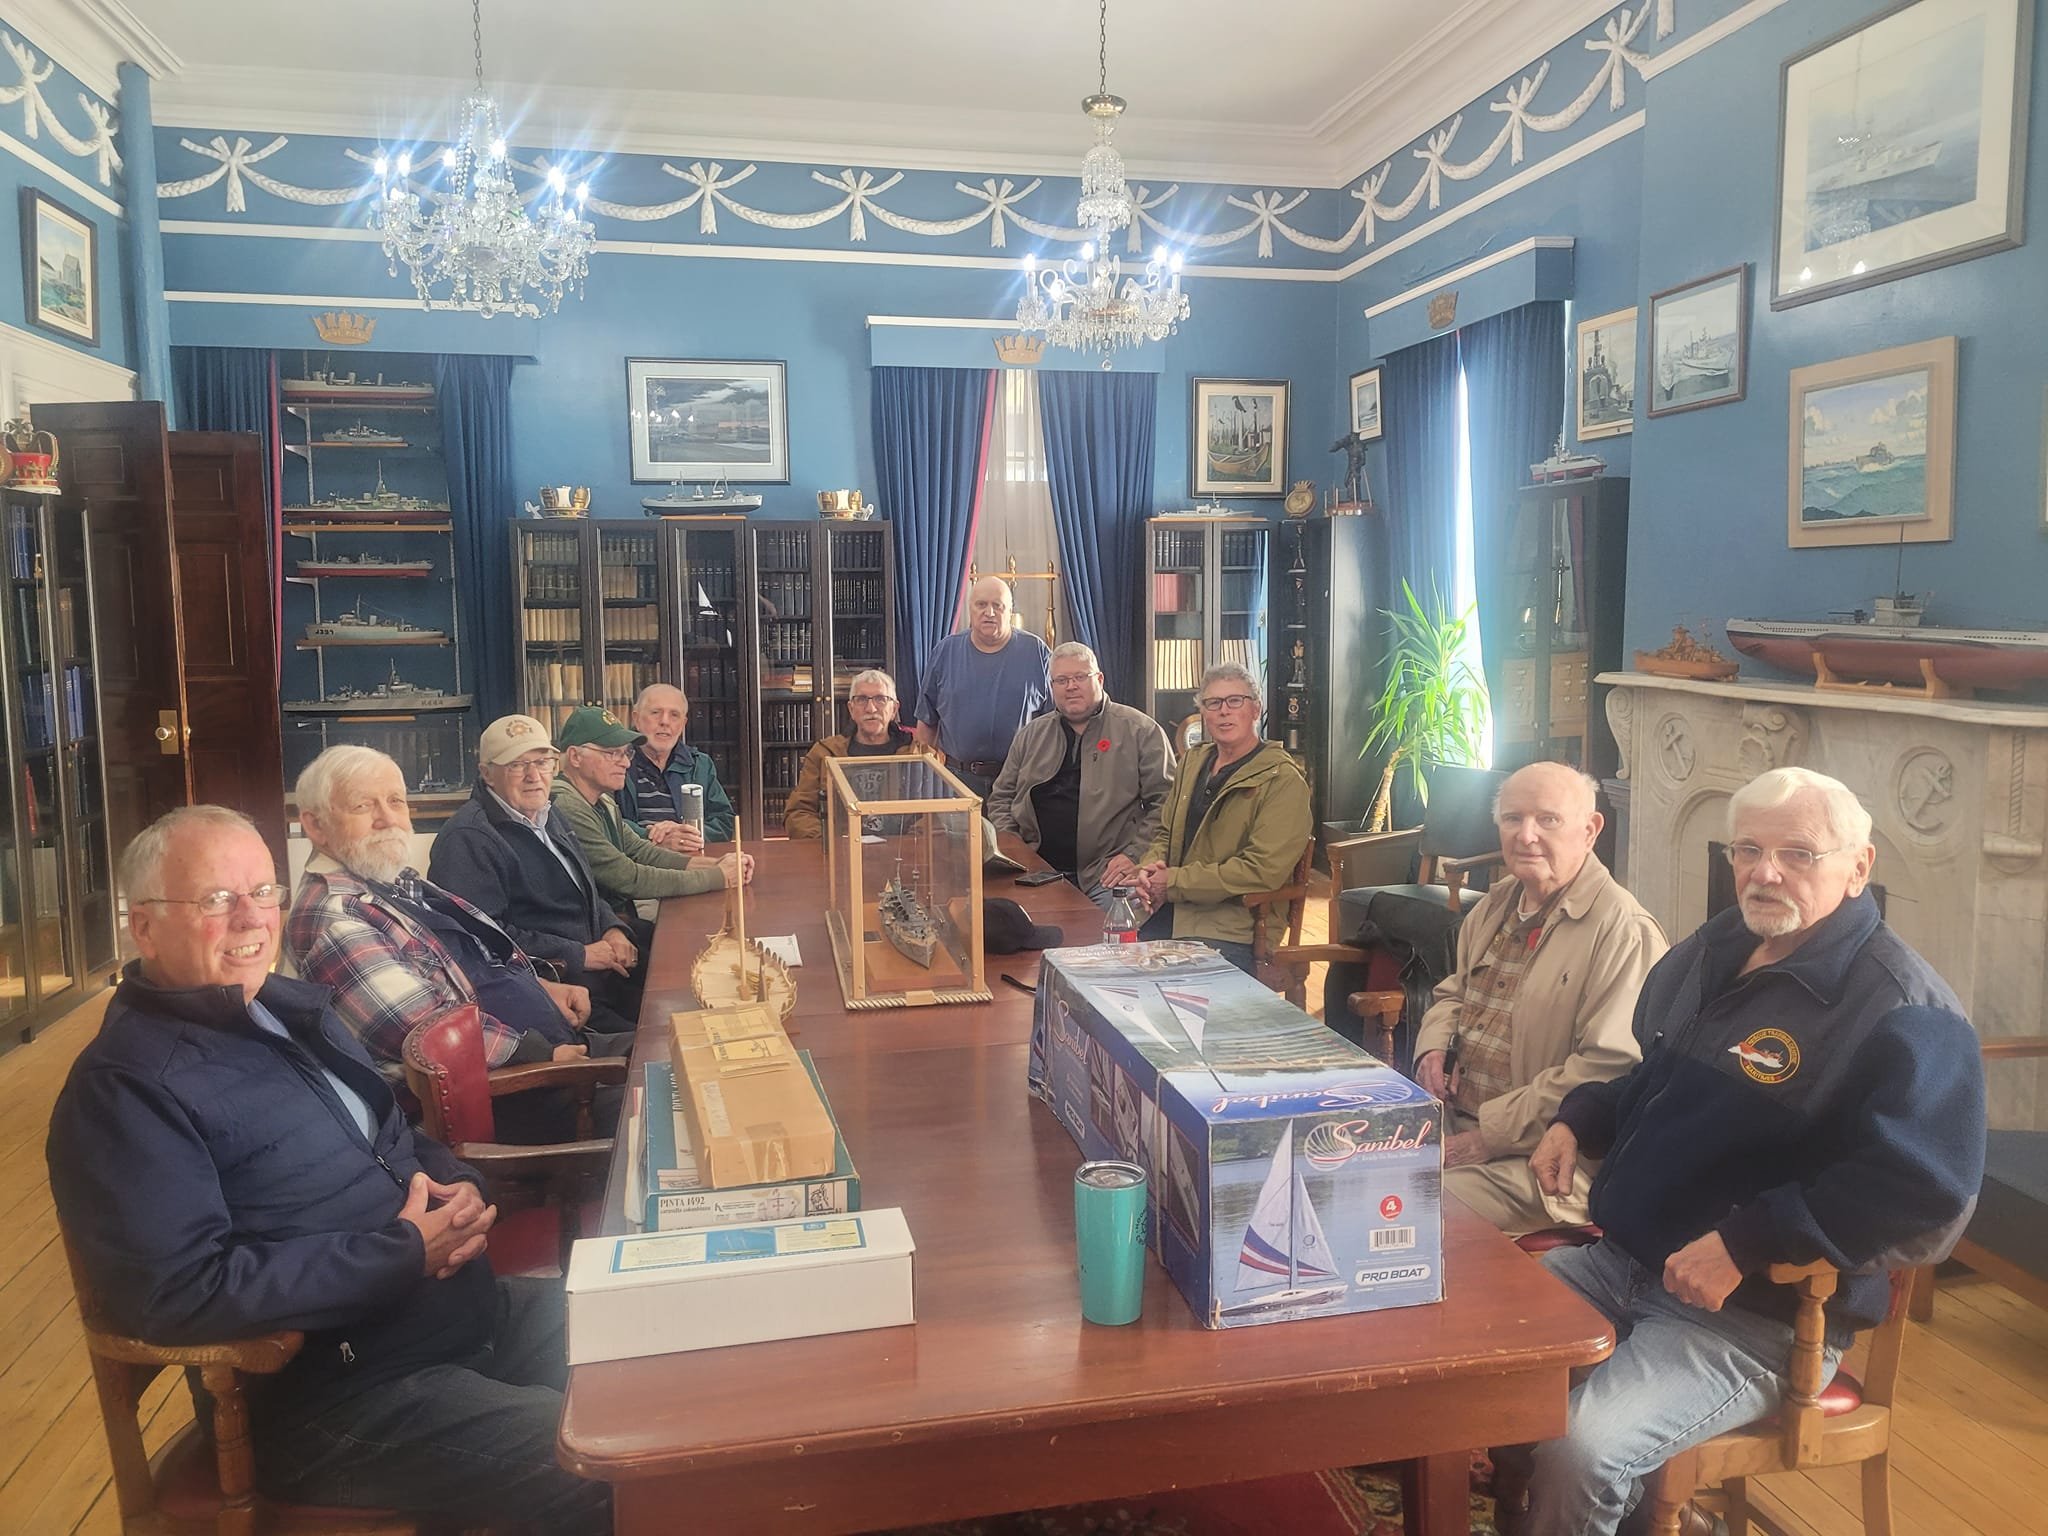
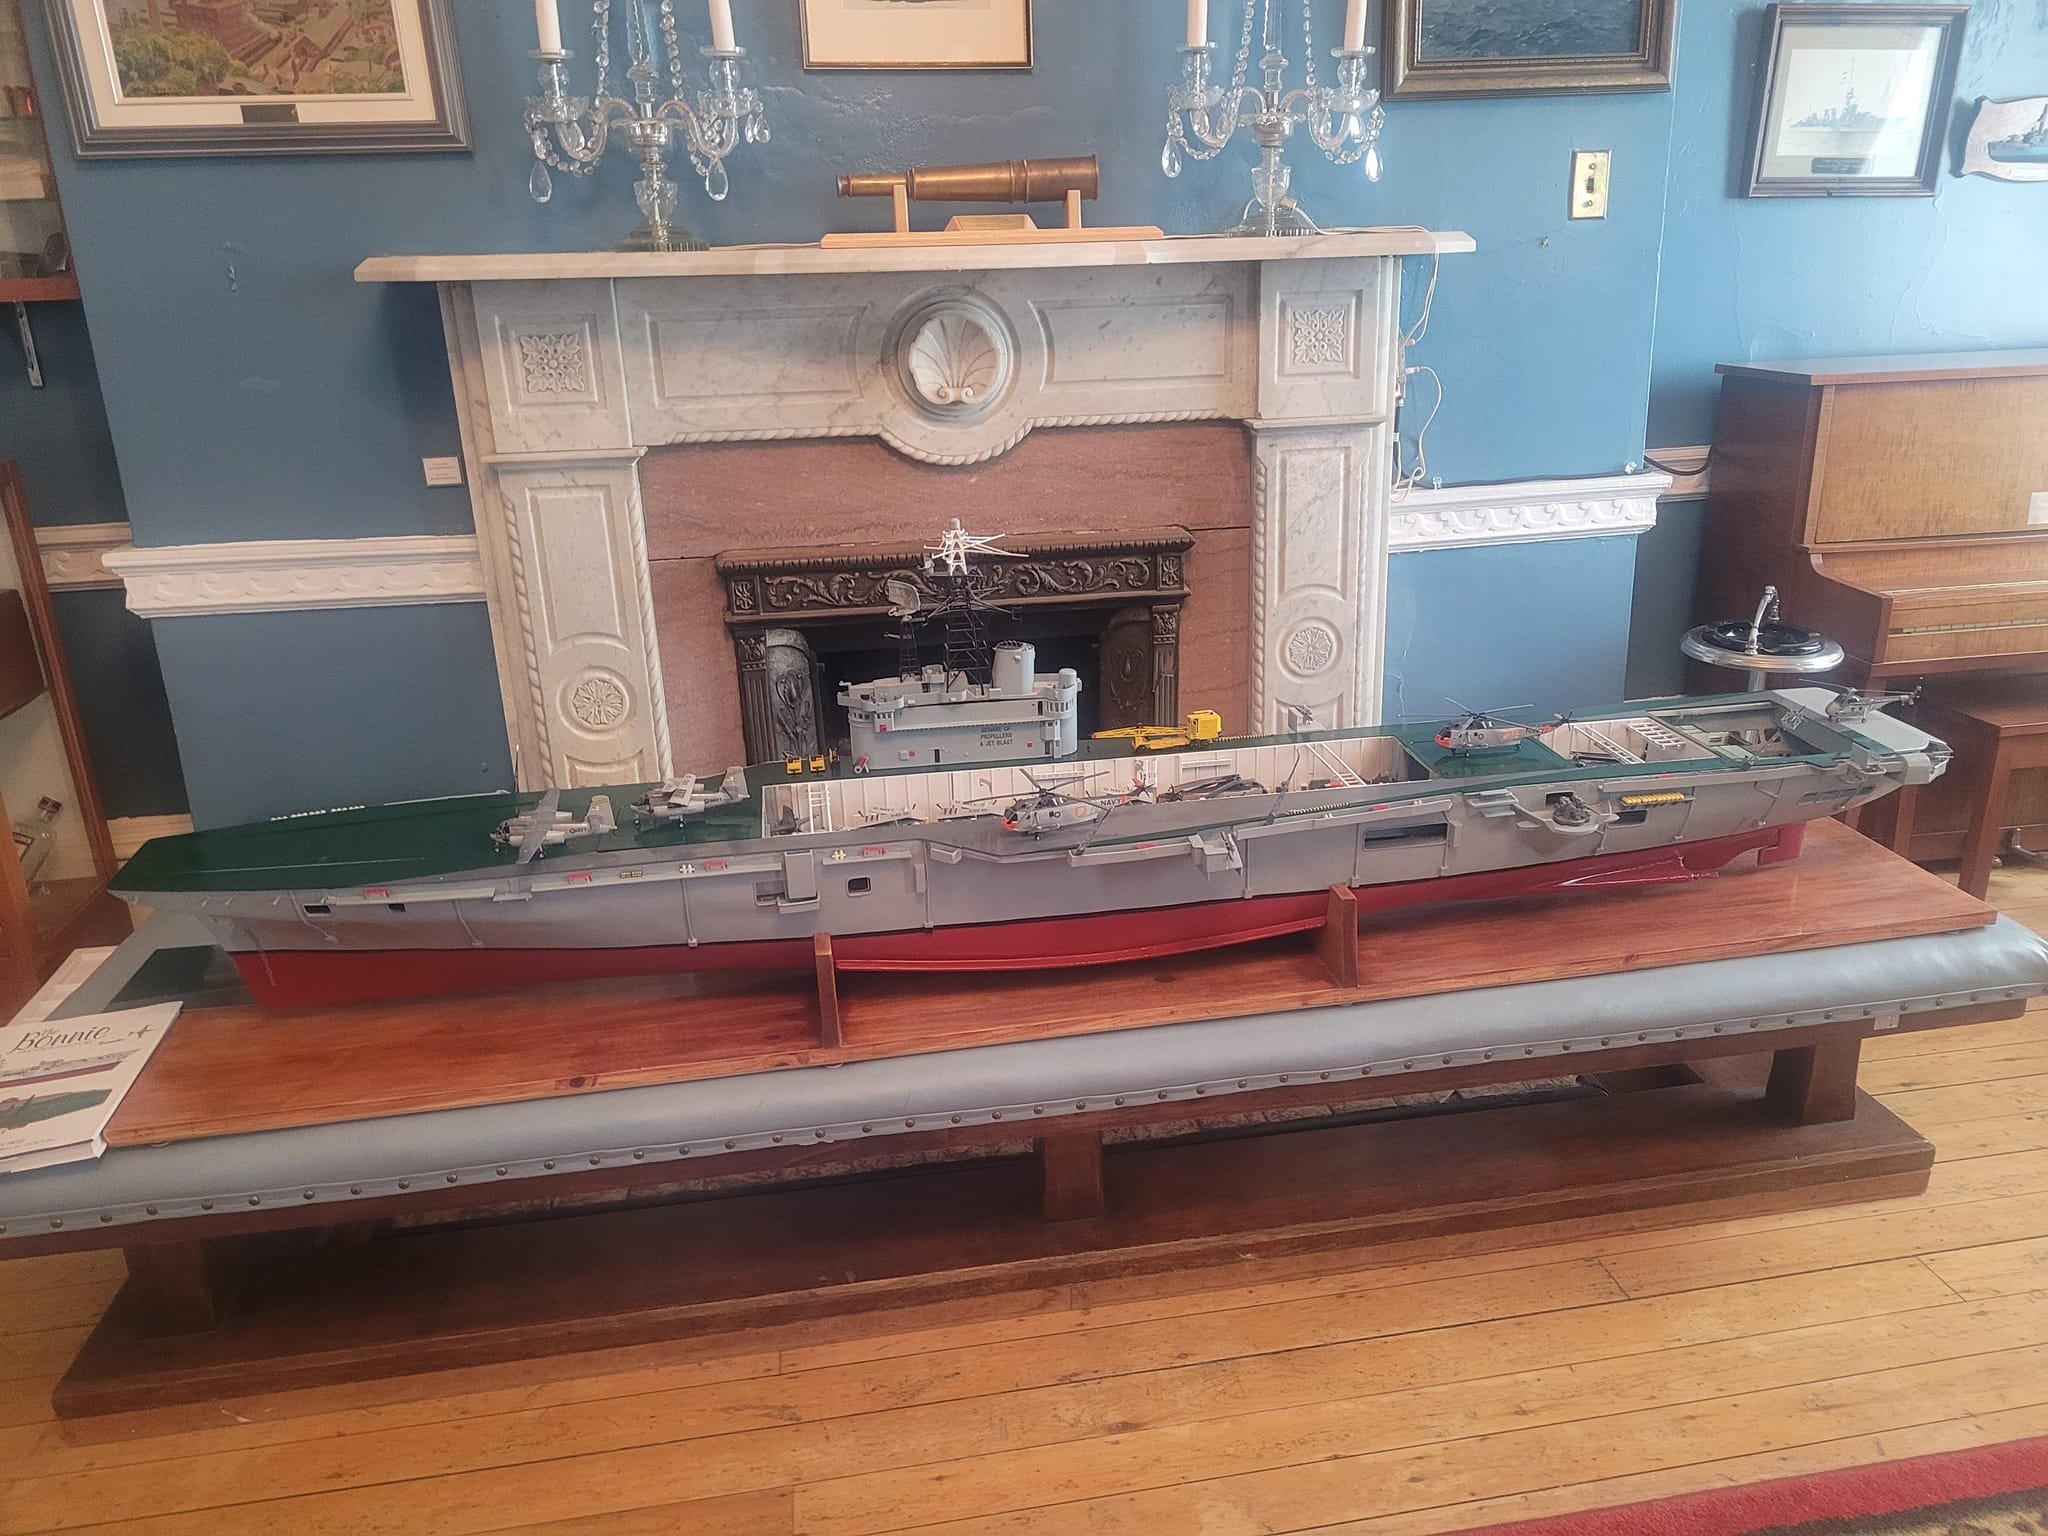
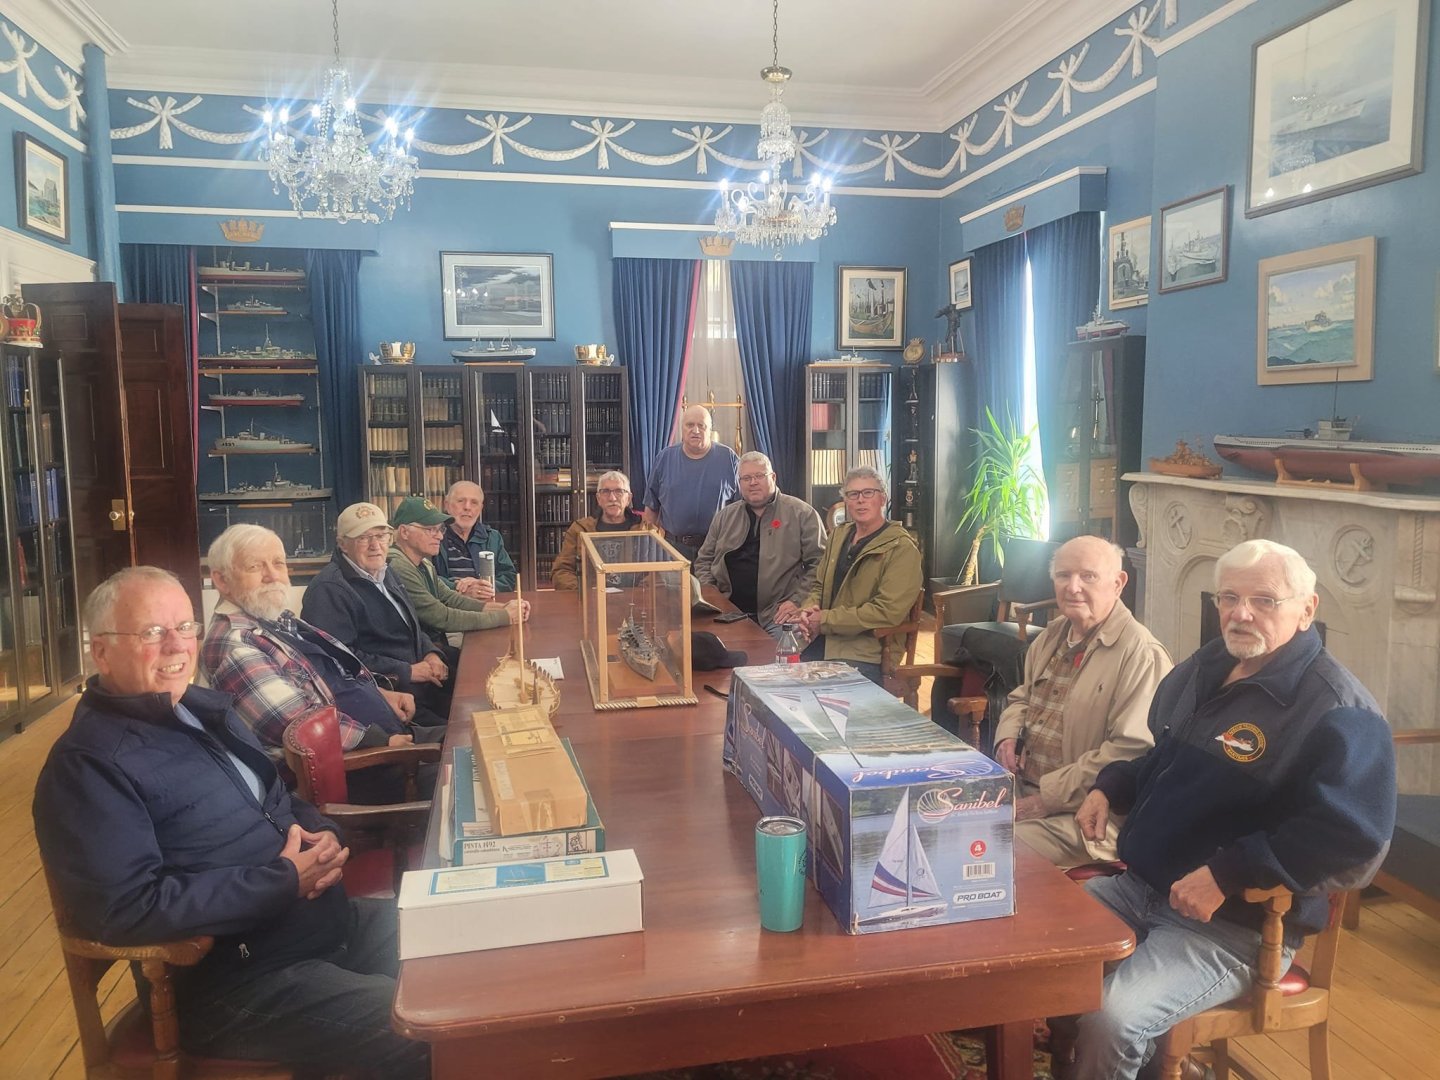
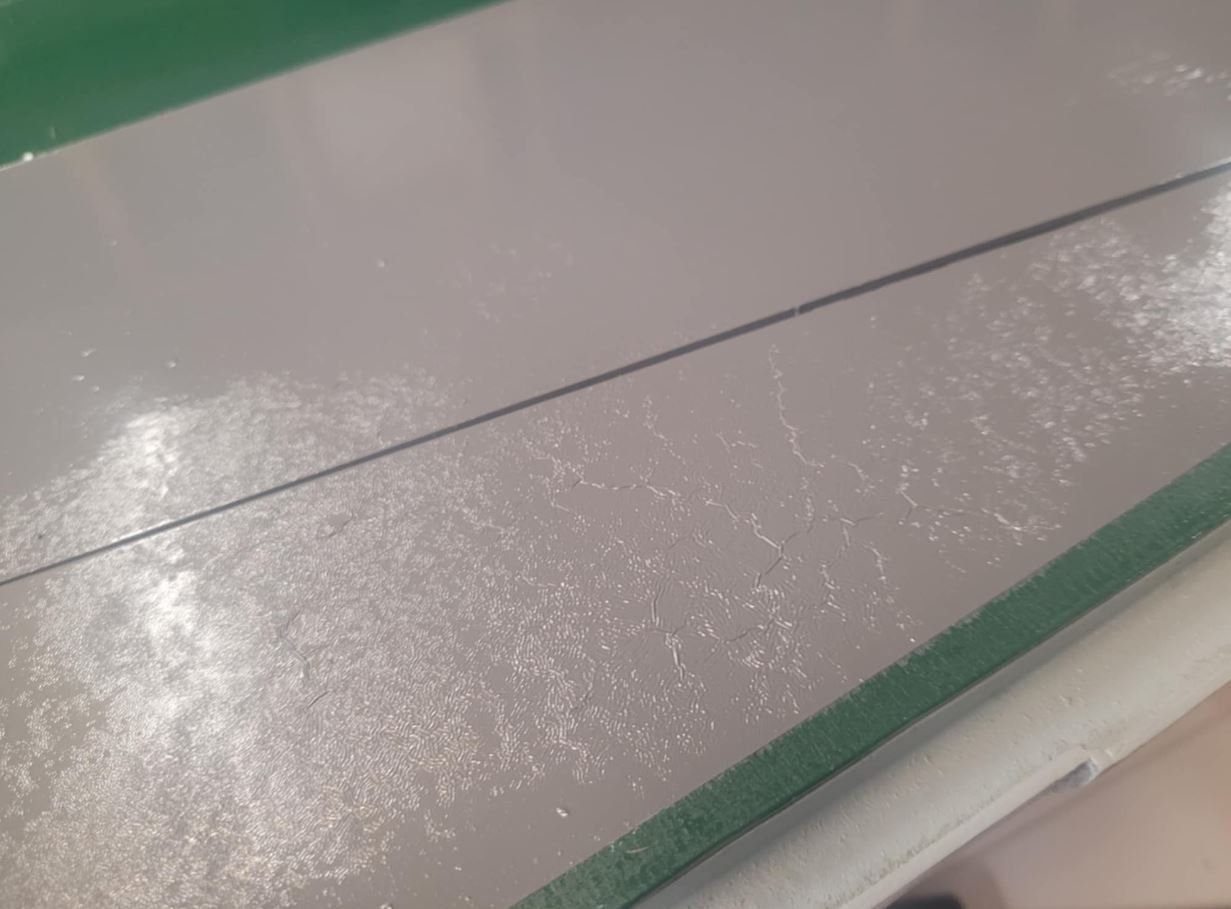
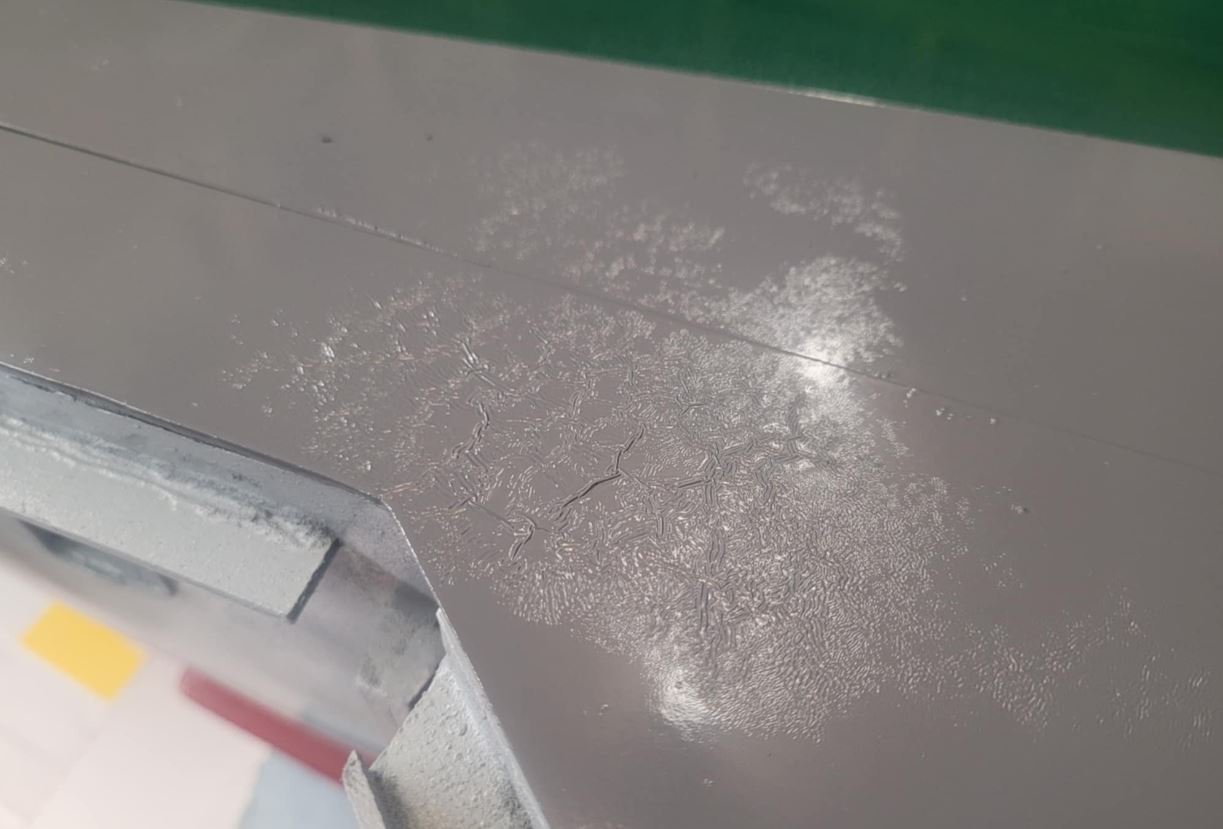
Same exact brand of paint. I didn't let it dry long enough between coats. 😞 In other news, I packed everything into the Naval Museum of Halifax today for our monthly Ship Modellers Guild meeting.


-
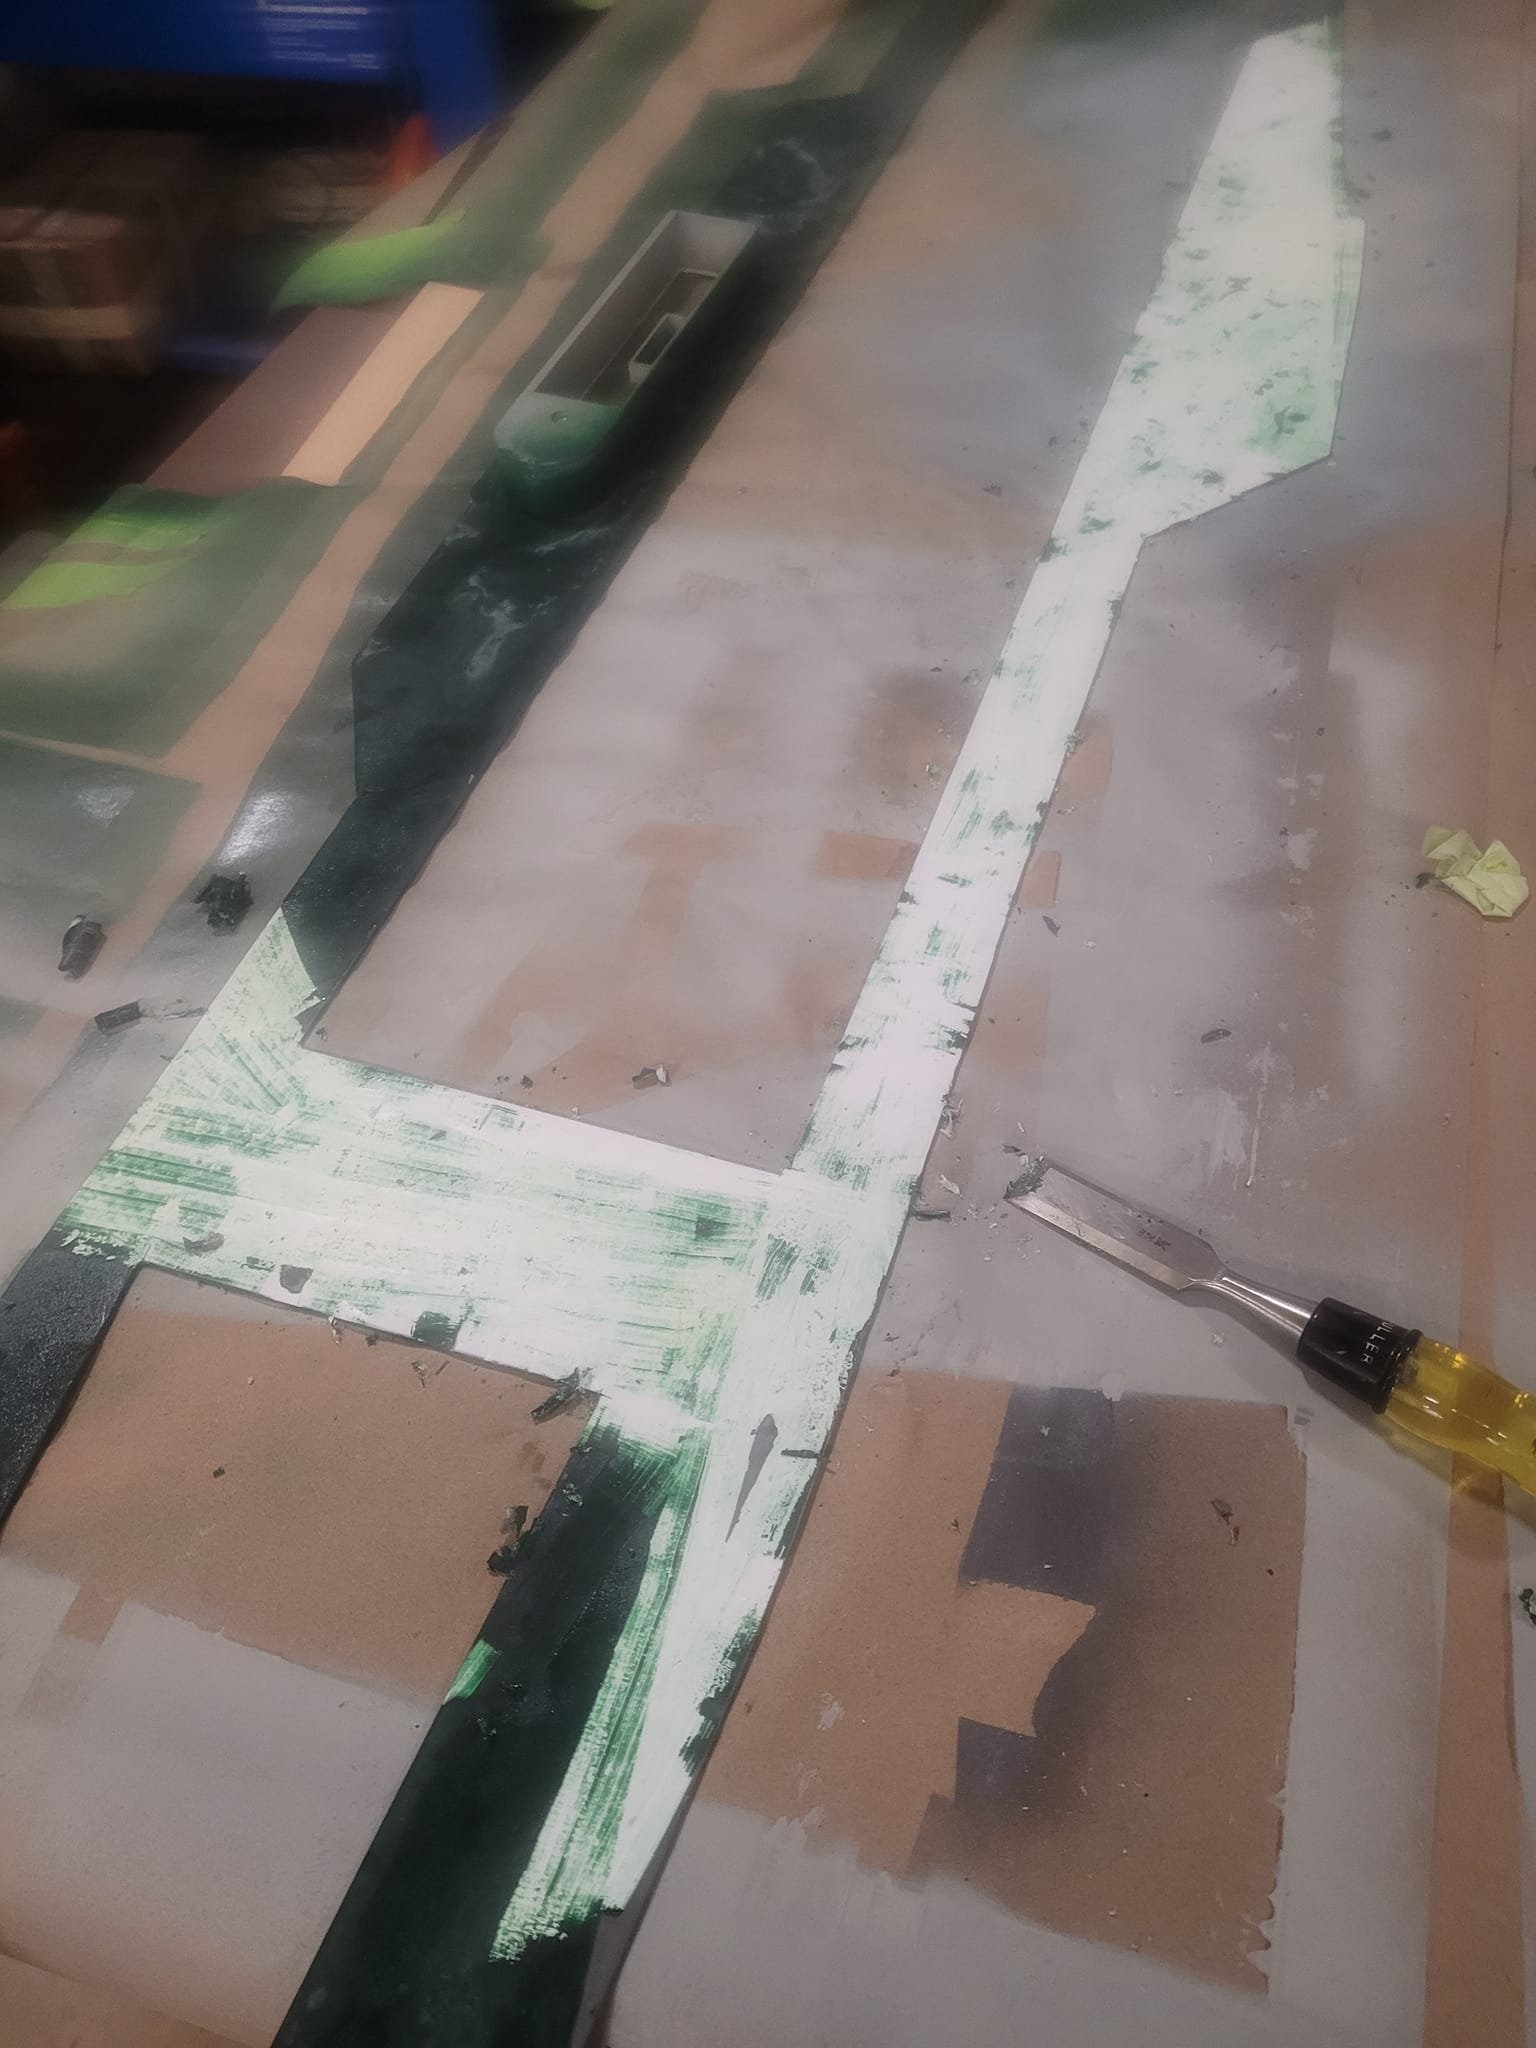
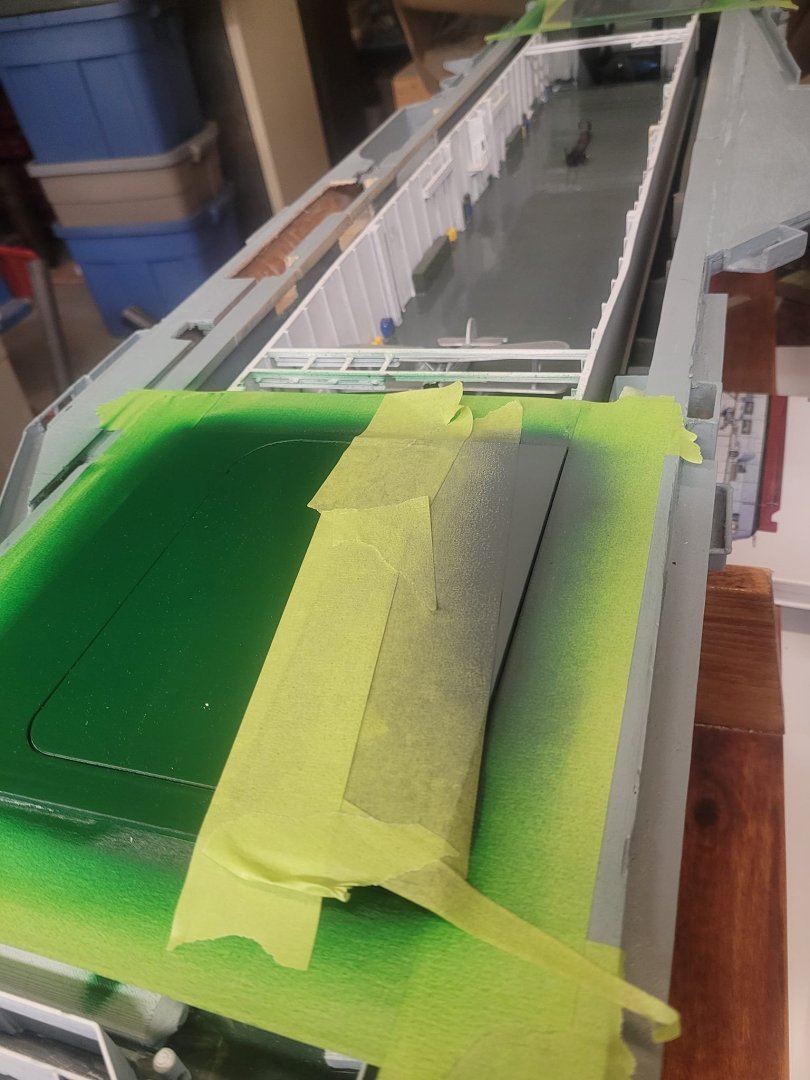
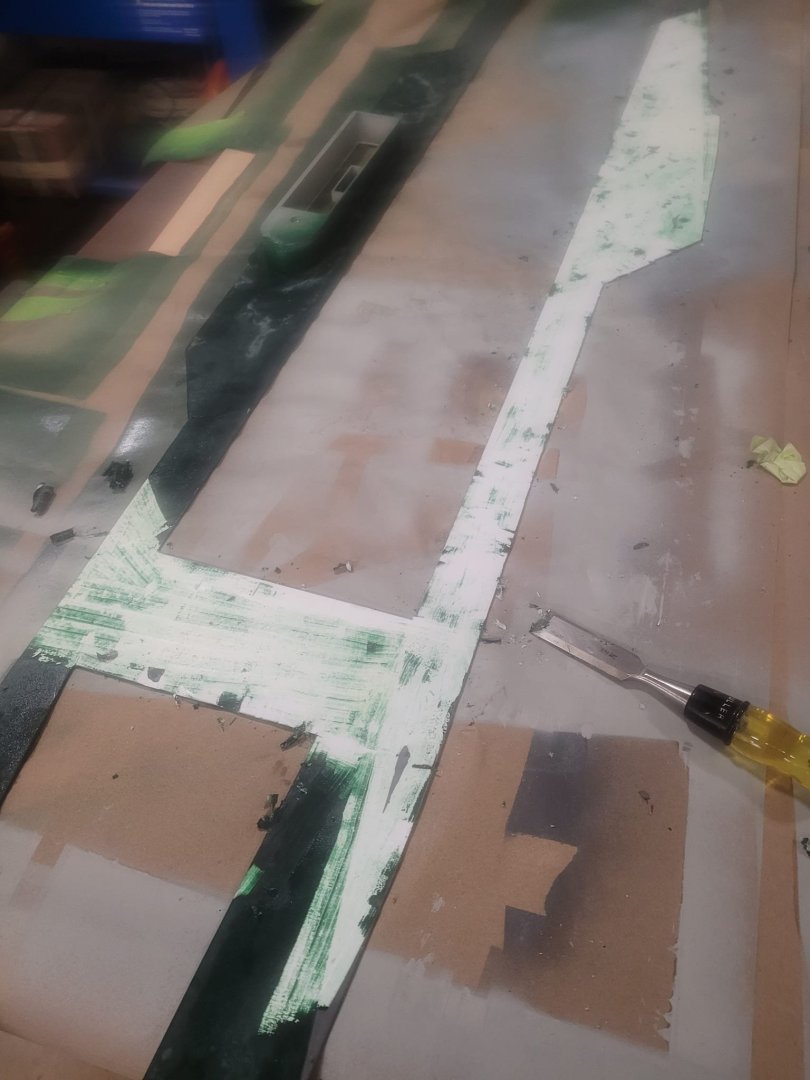
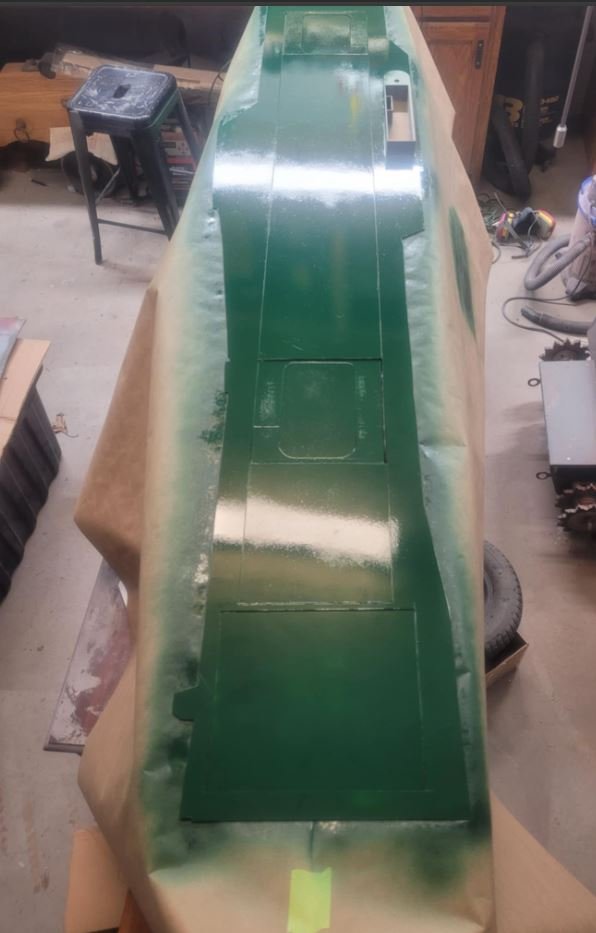
And. The verdict is - I'm an idiot. I rushed the paint job in adding the gray, and didn't wait long enough between coats. The tape stuck to the deck and left behind glue all the way along the green, and the gray paint bubbled in multiple spots. I'm going to have to strip and re-do. Damn damn and triple damn. I'm mad at myself tonight.


-
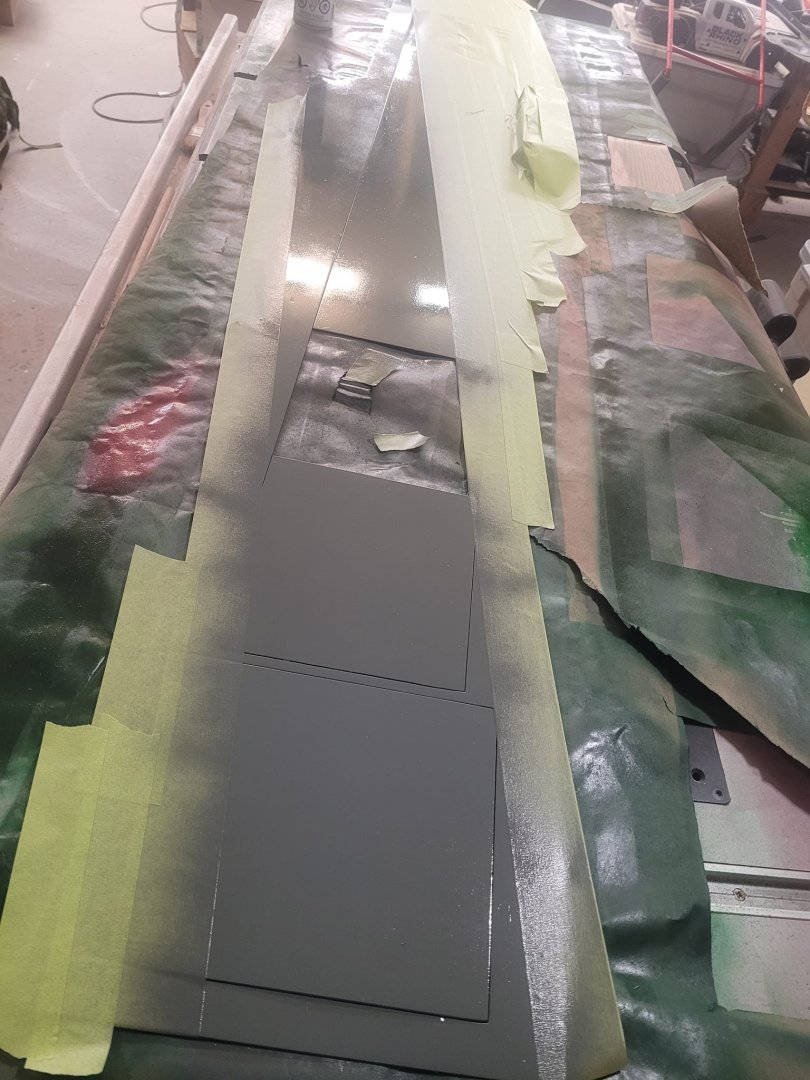
The deck is now partly gray!

-
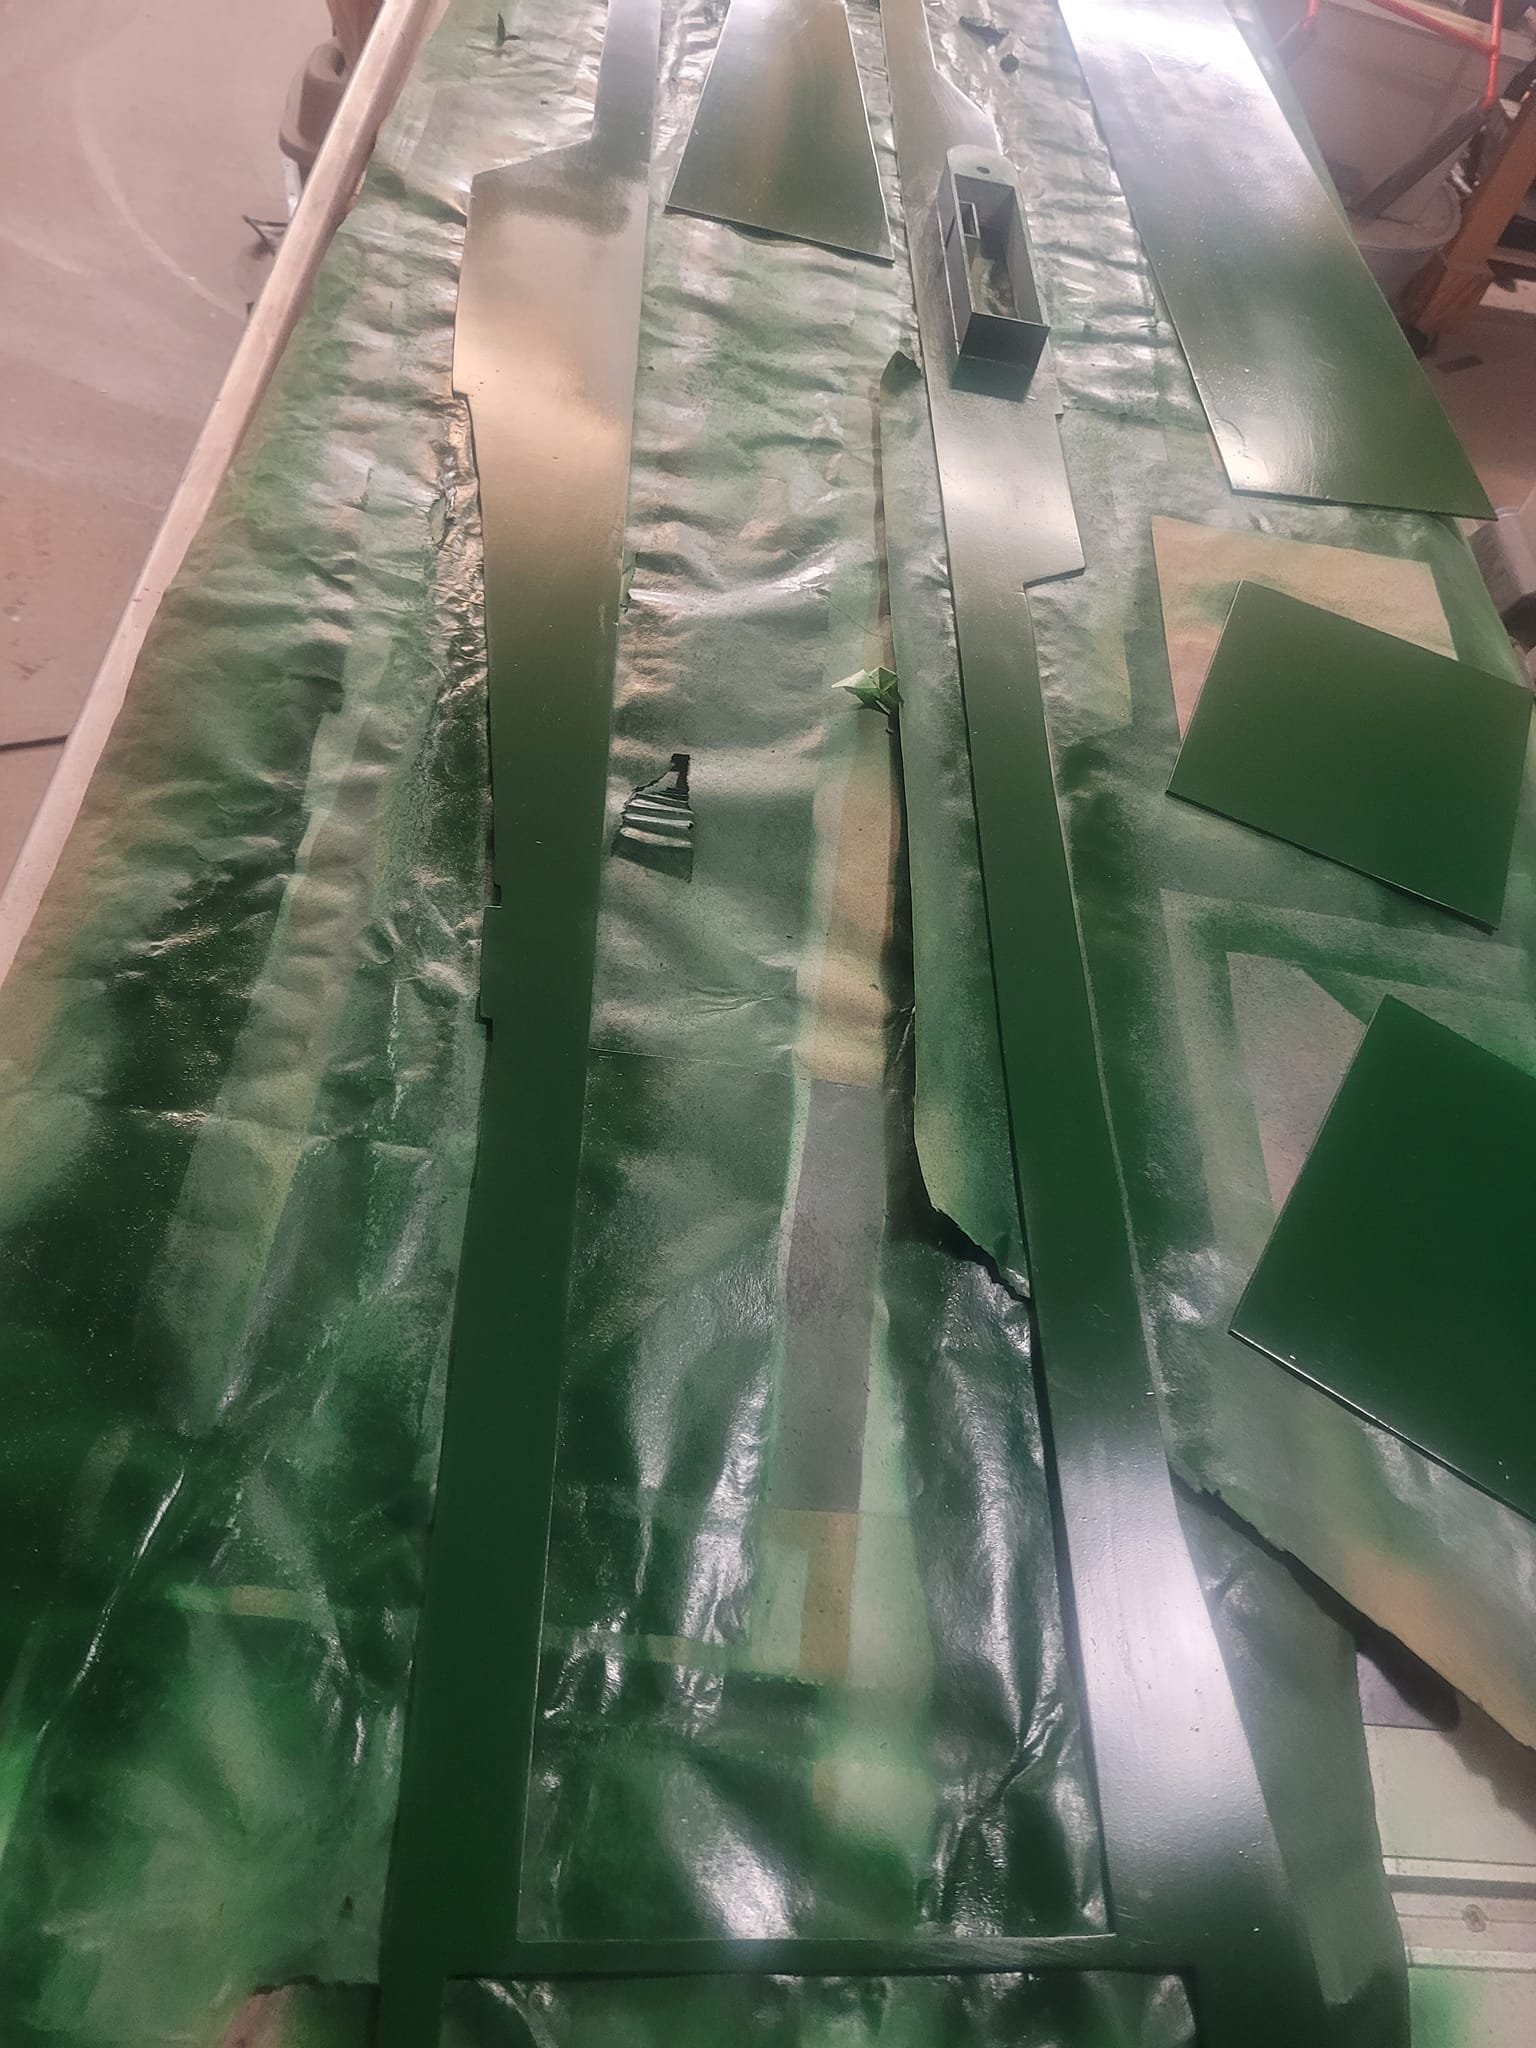
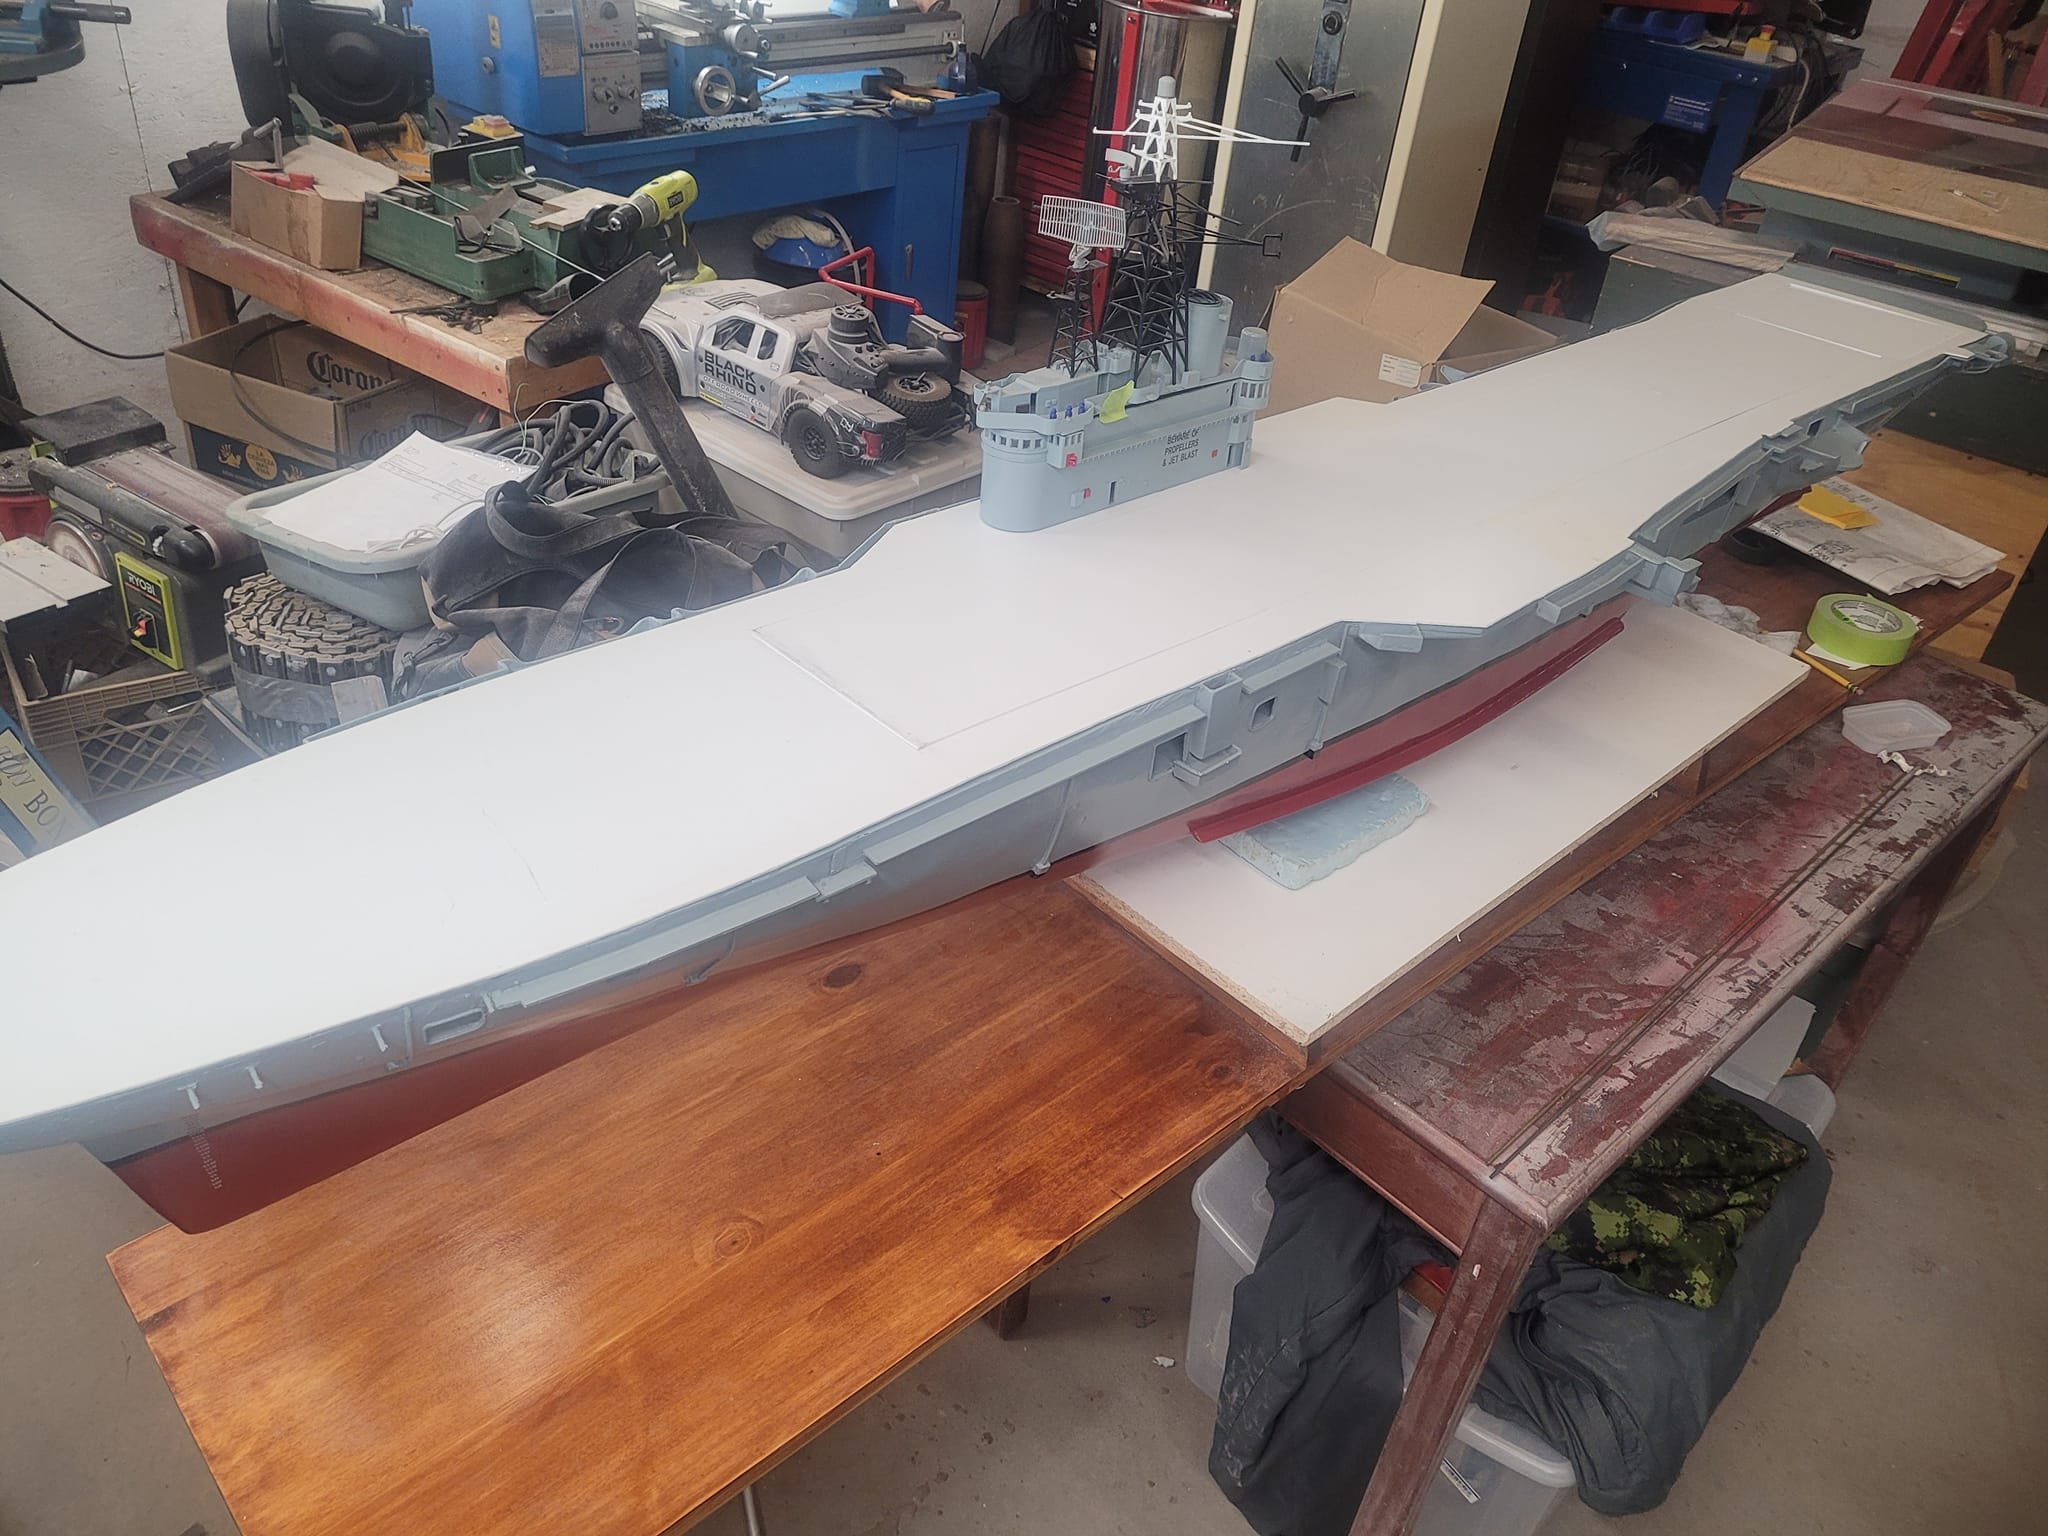
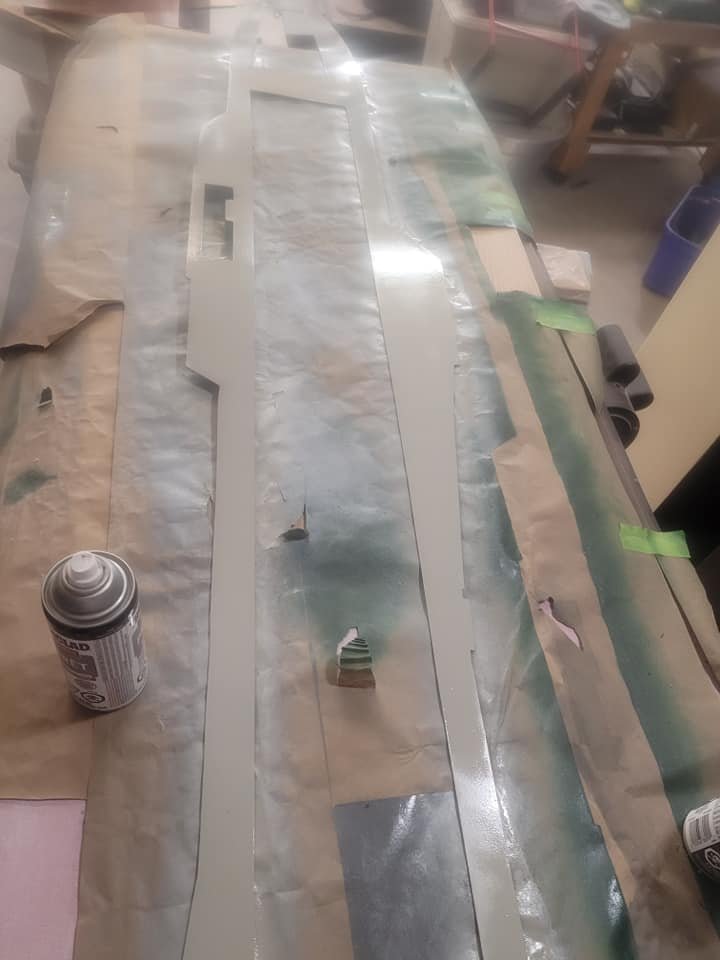
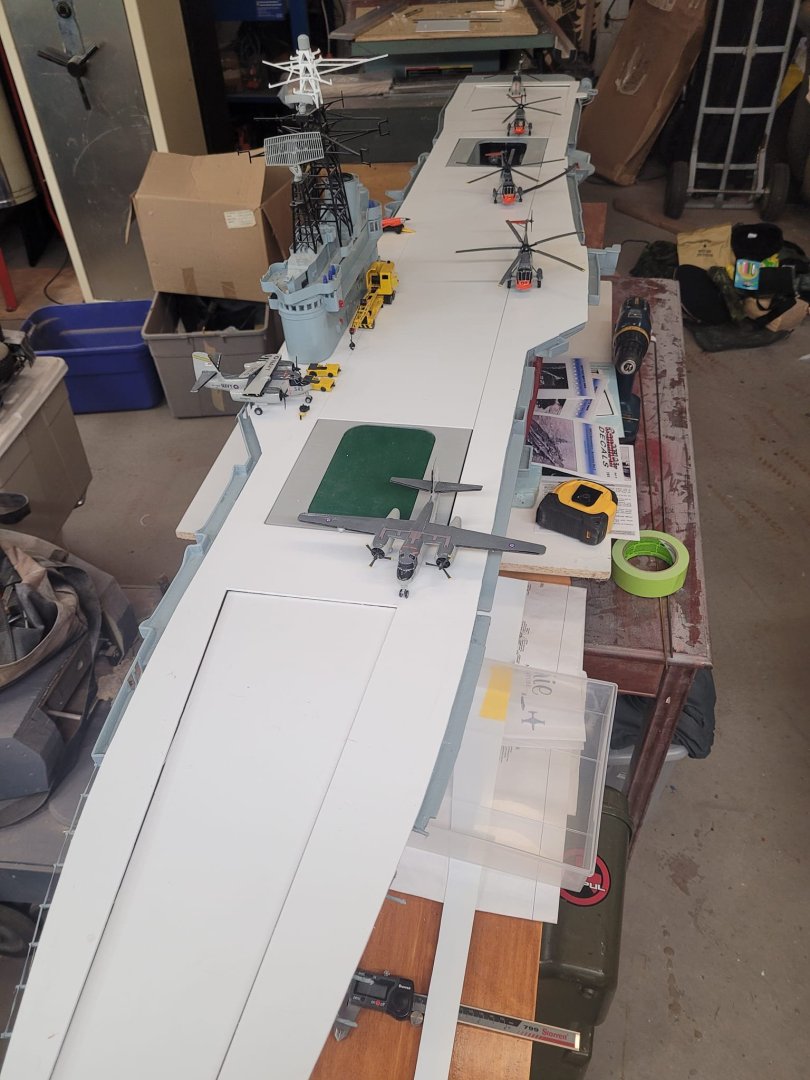
Alrighty! After many steps back, we are now moving forward! Here's the flight deck with a layer of nice fresh green paint applied. I'm going to mask it next and do the gray landing strip, and the various yellow safety lines. Then I'll glue it onto the hull. Getting there!!

-
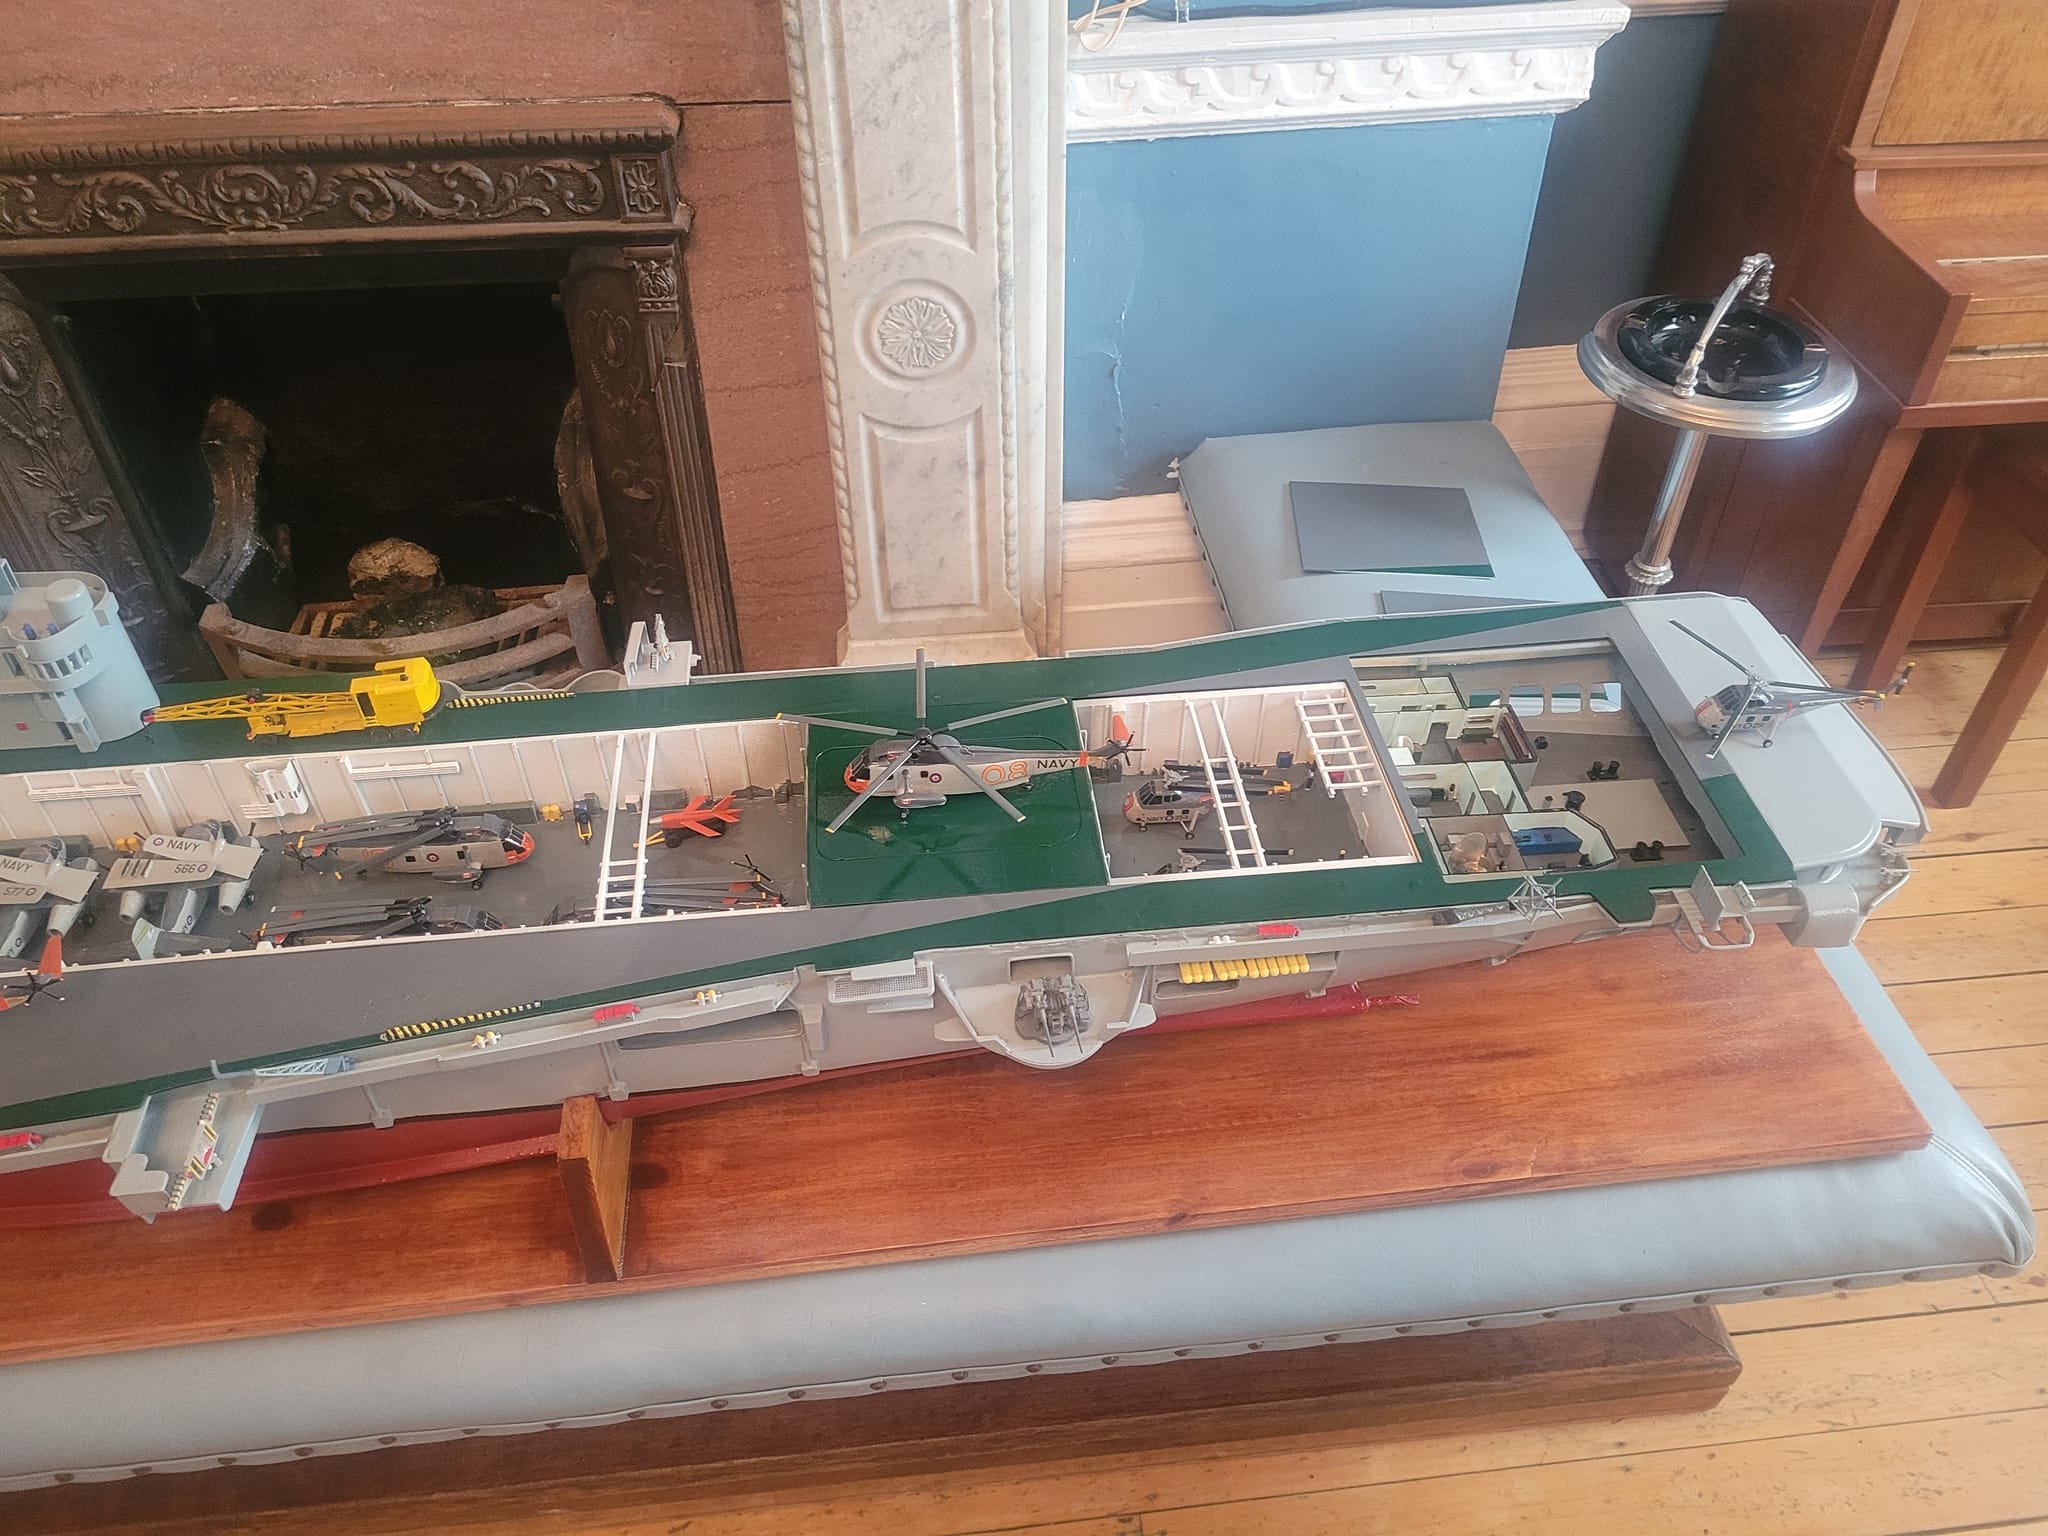
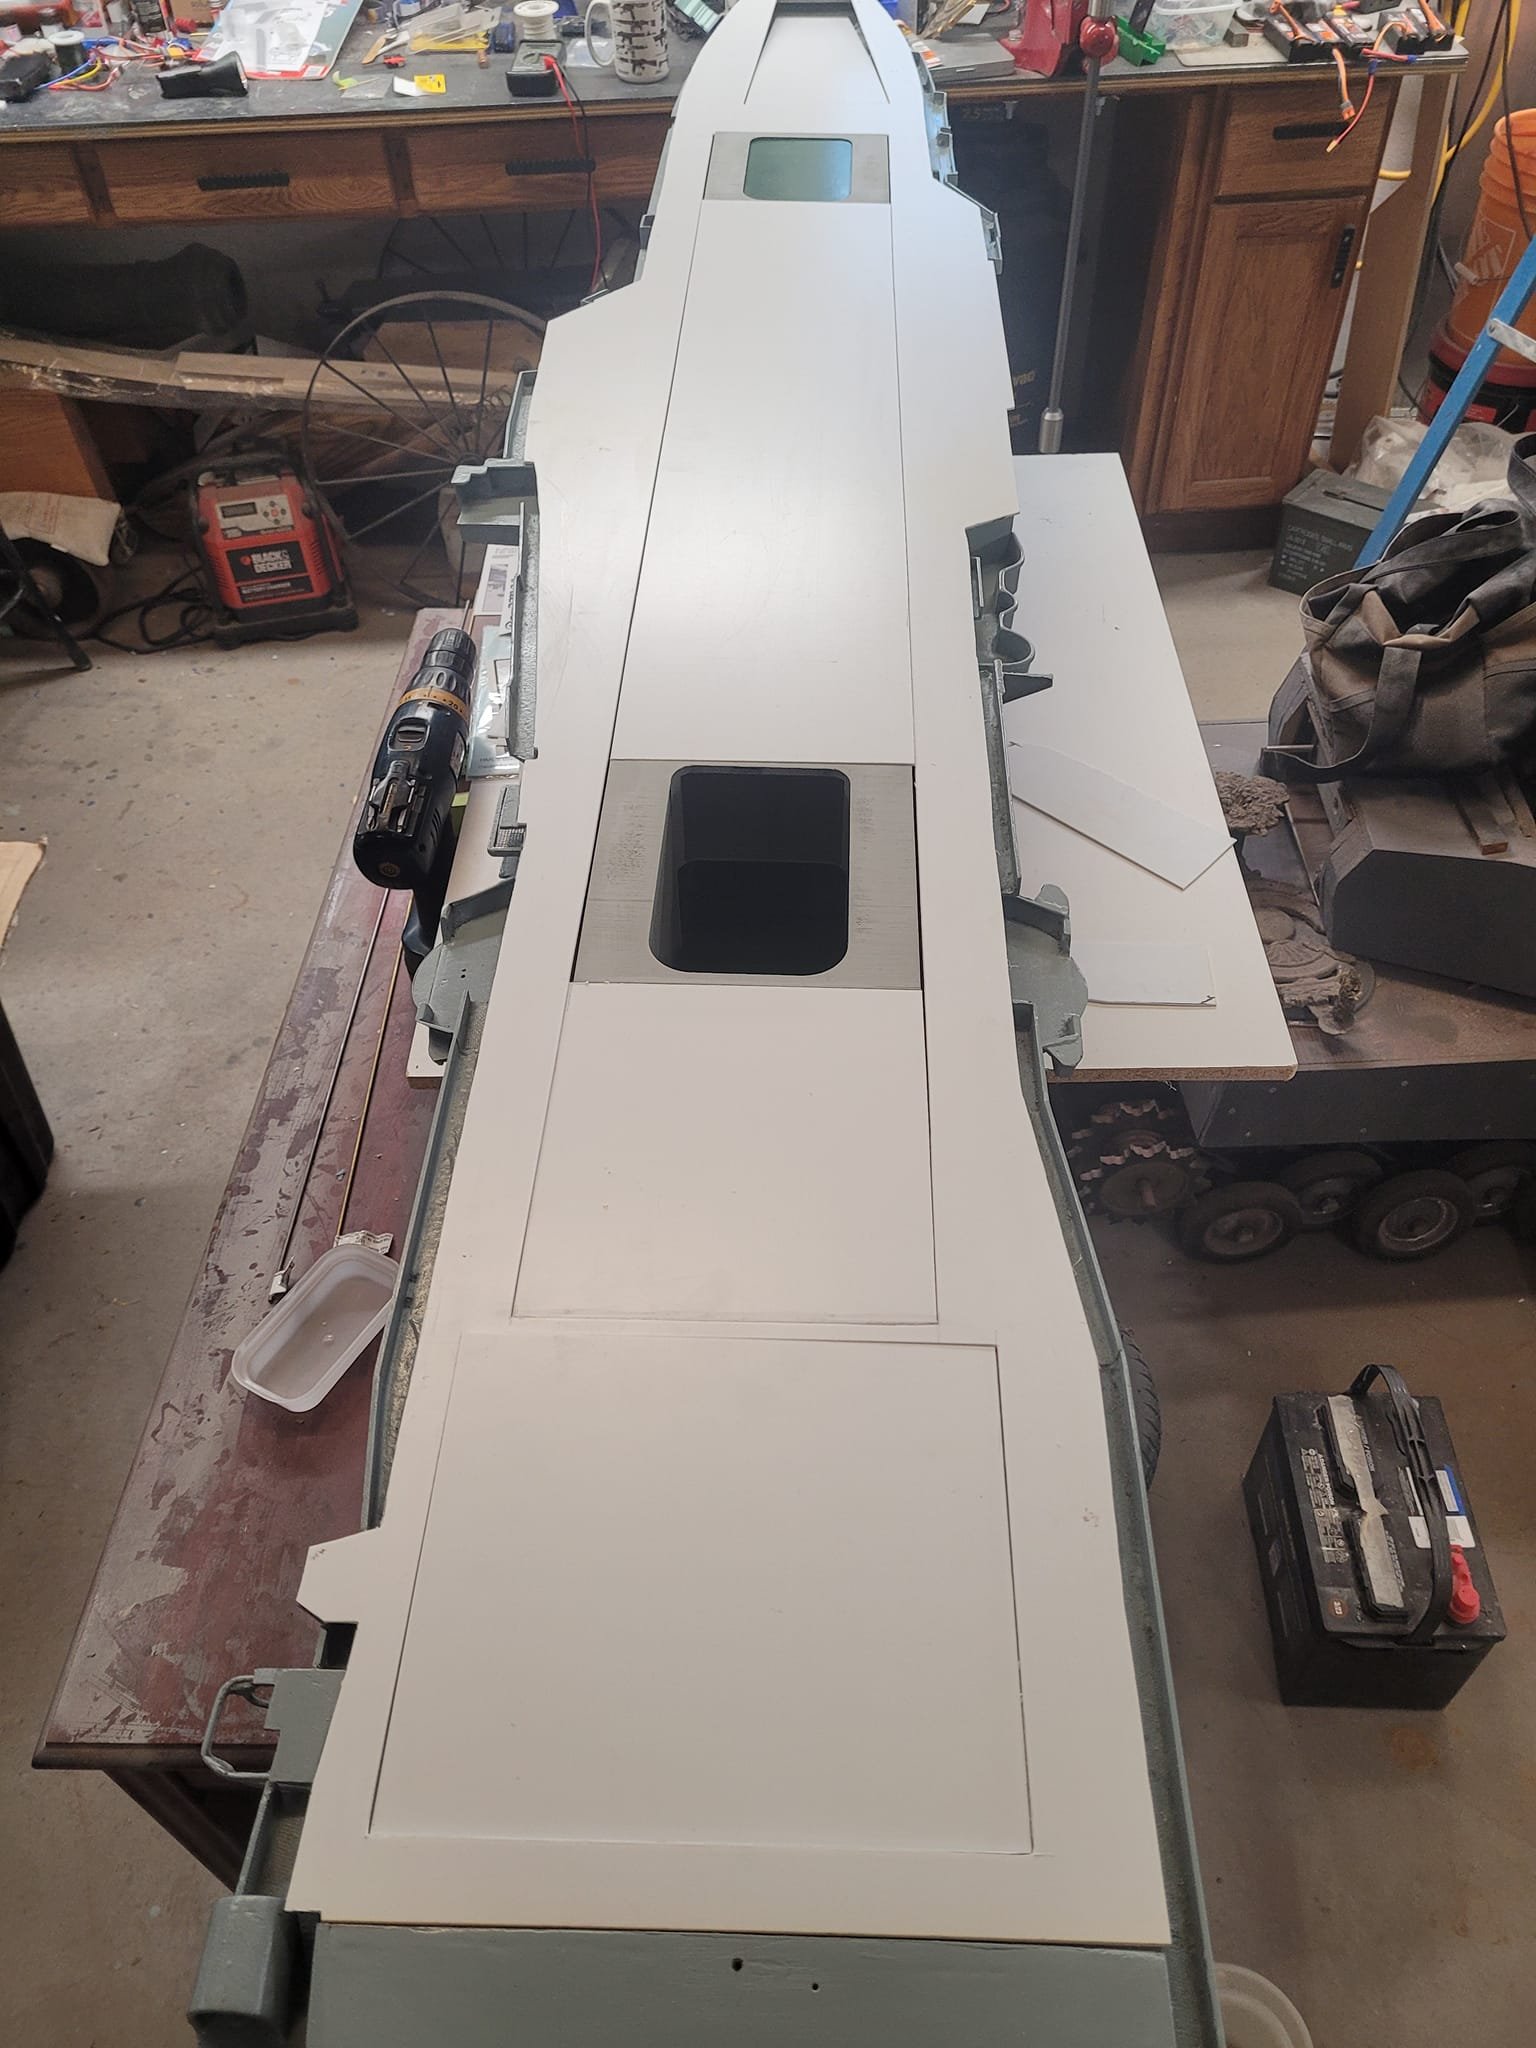
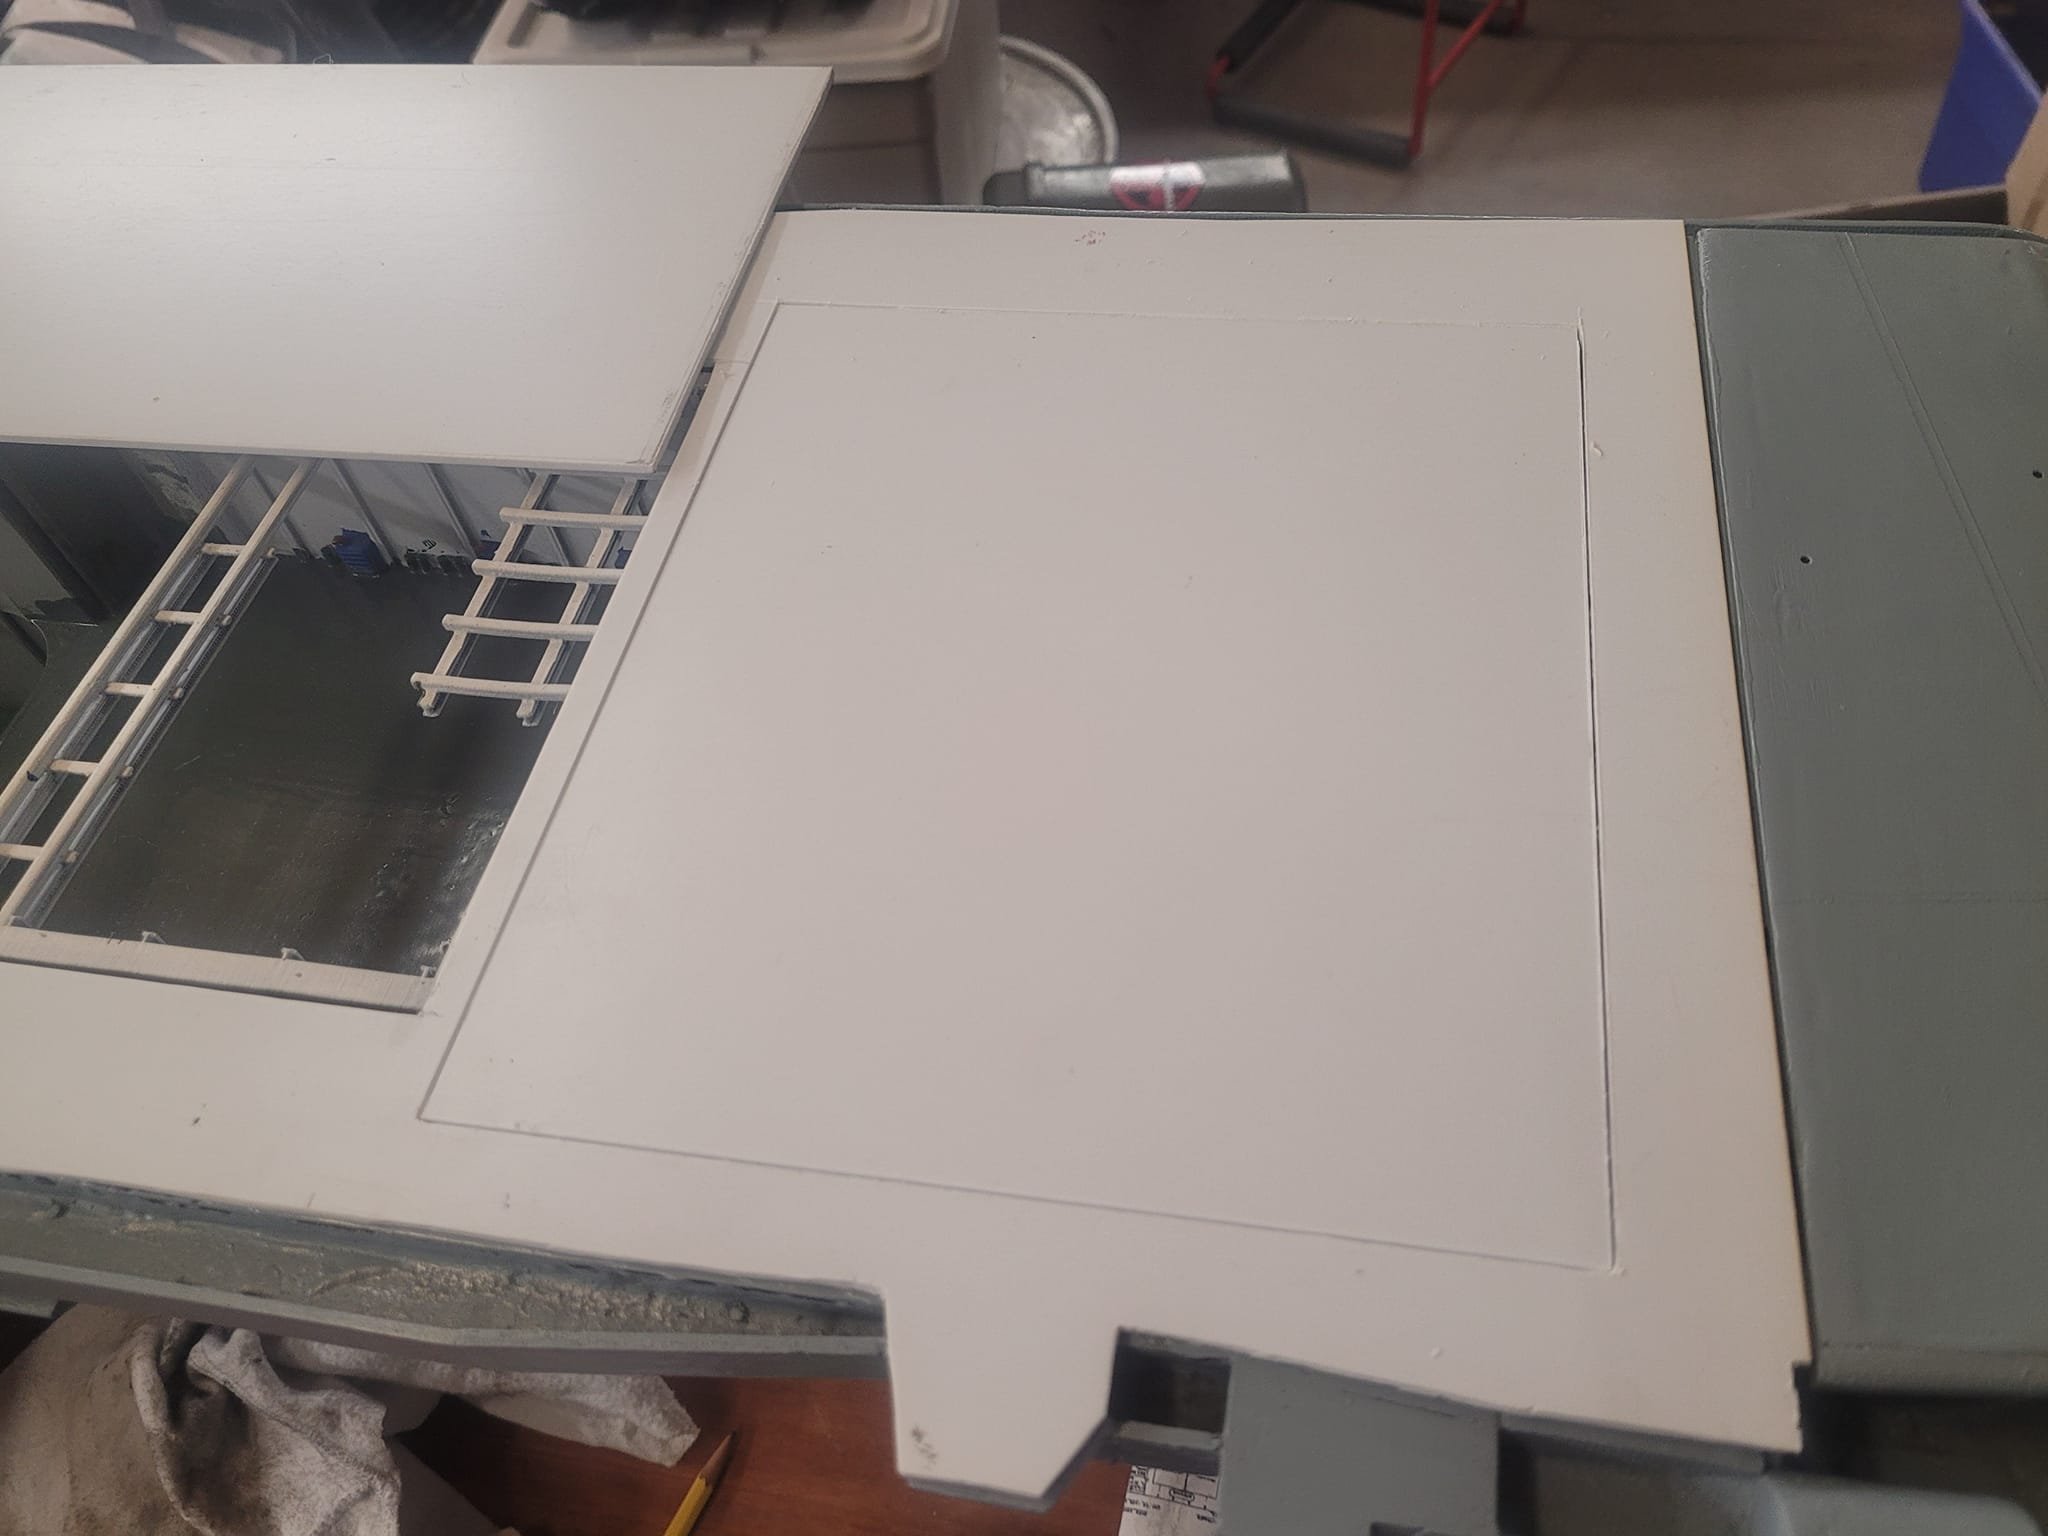
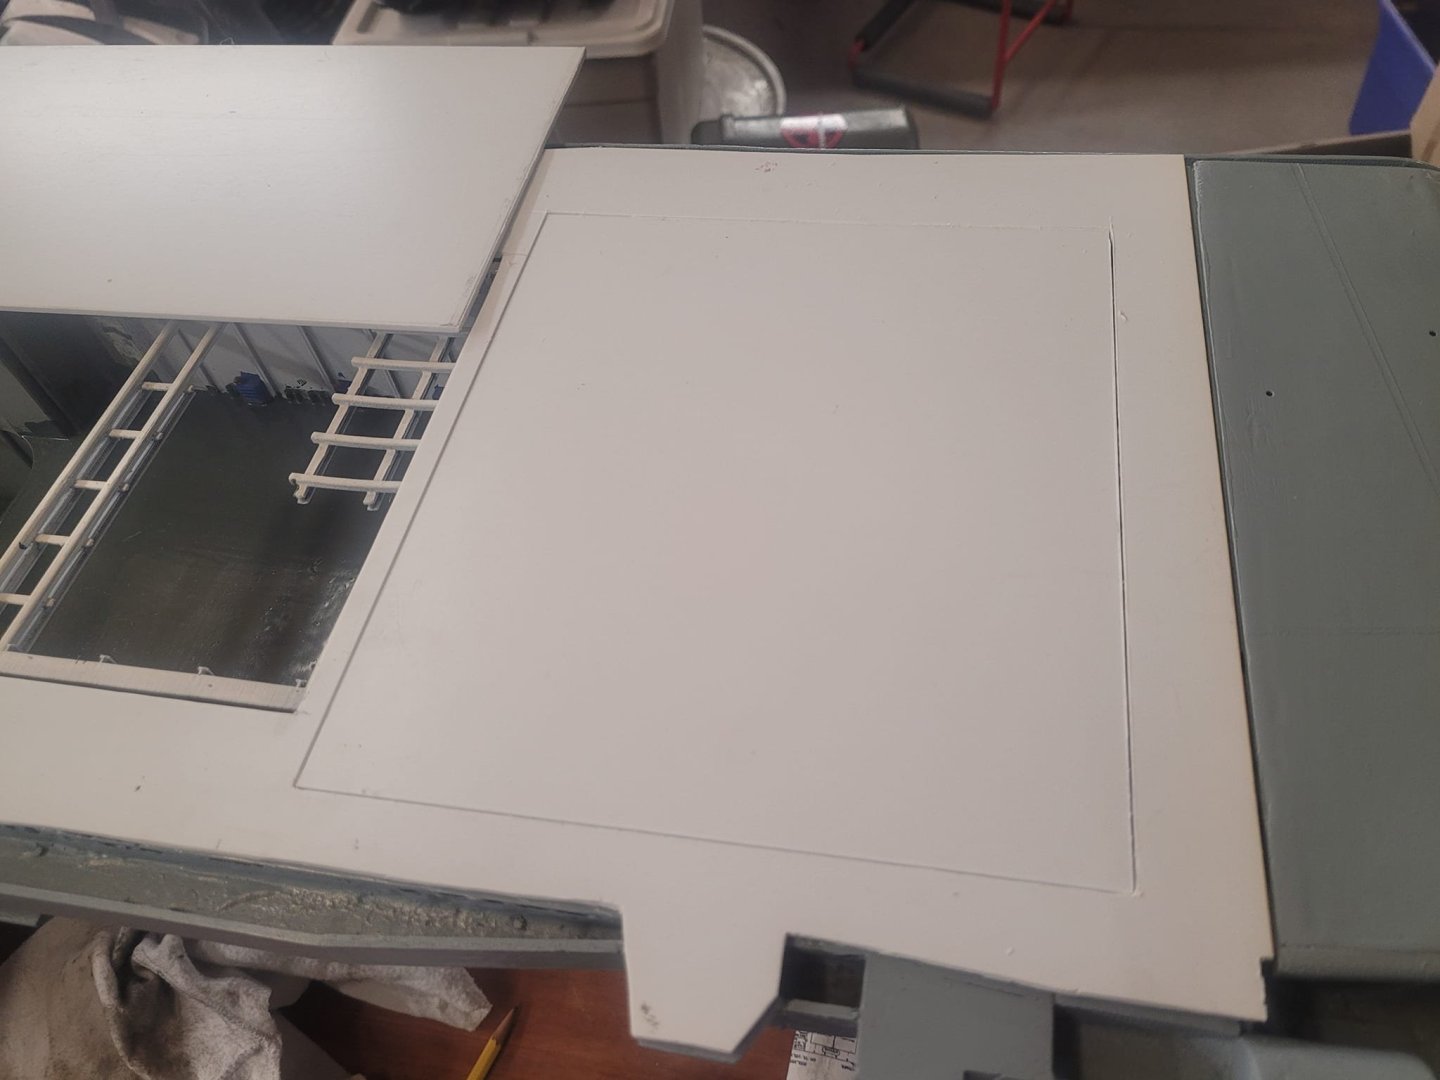
And here we go - this is the interior access hatches all cut out. Now I'm clearing some access space under the island to allow the wiring harness and smoke stack to get up, and then I'll be working on the deck crane.
-
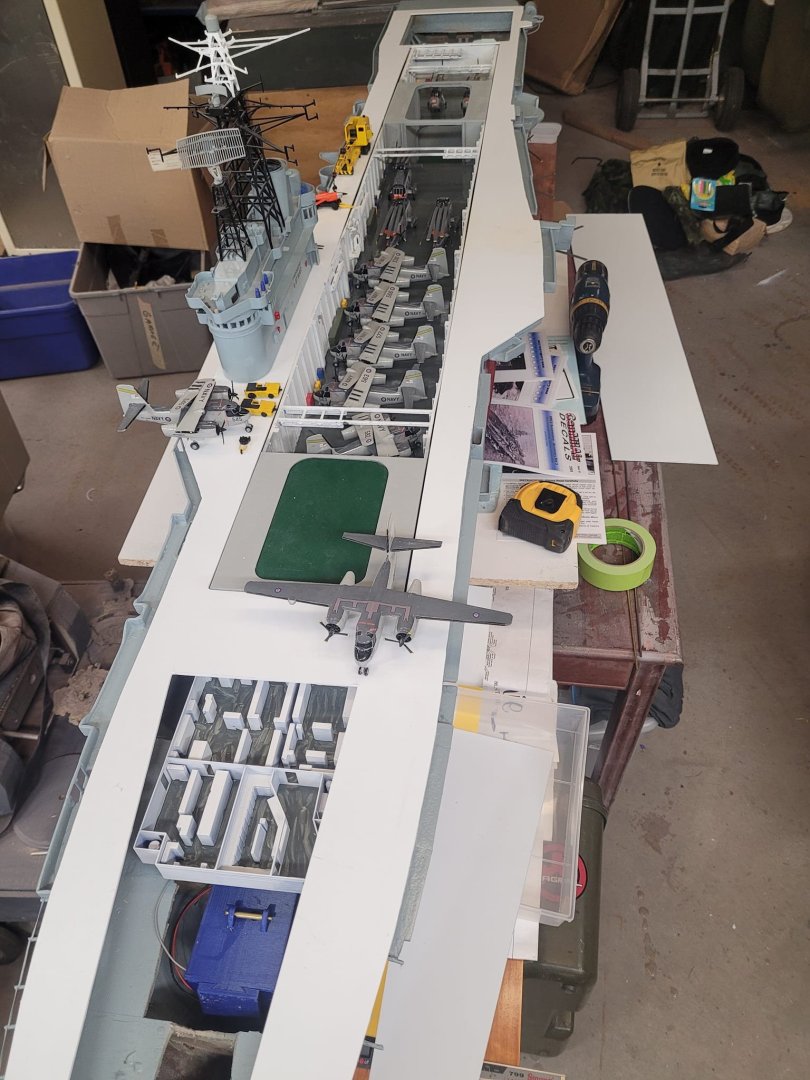
OK, here's how she looks with almost all the holes cut in the flight deck - the island hole is still to be cut in this image.

-
For a tiny little 1/144 model, there's a surprising amount of detail there! Well done!
-
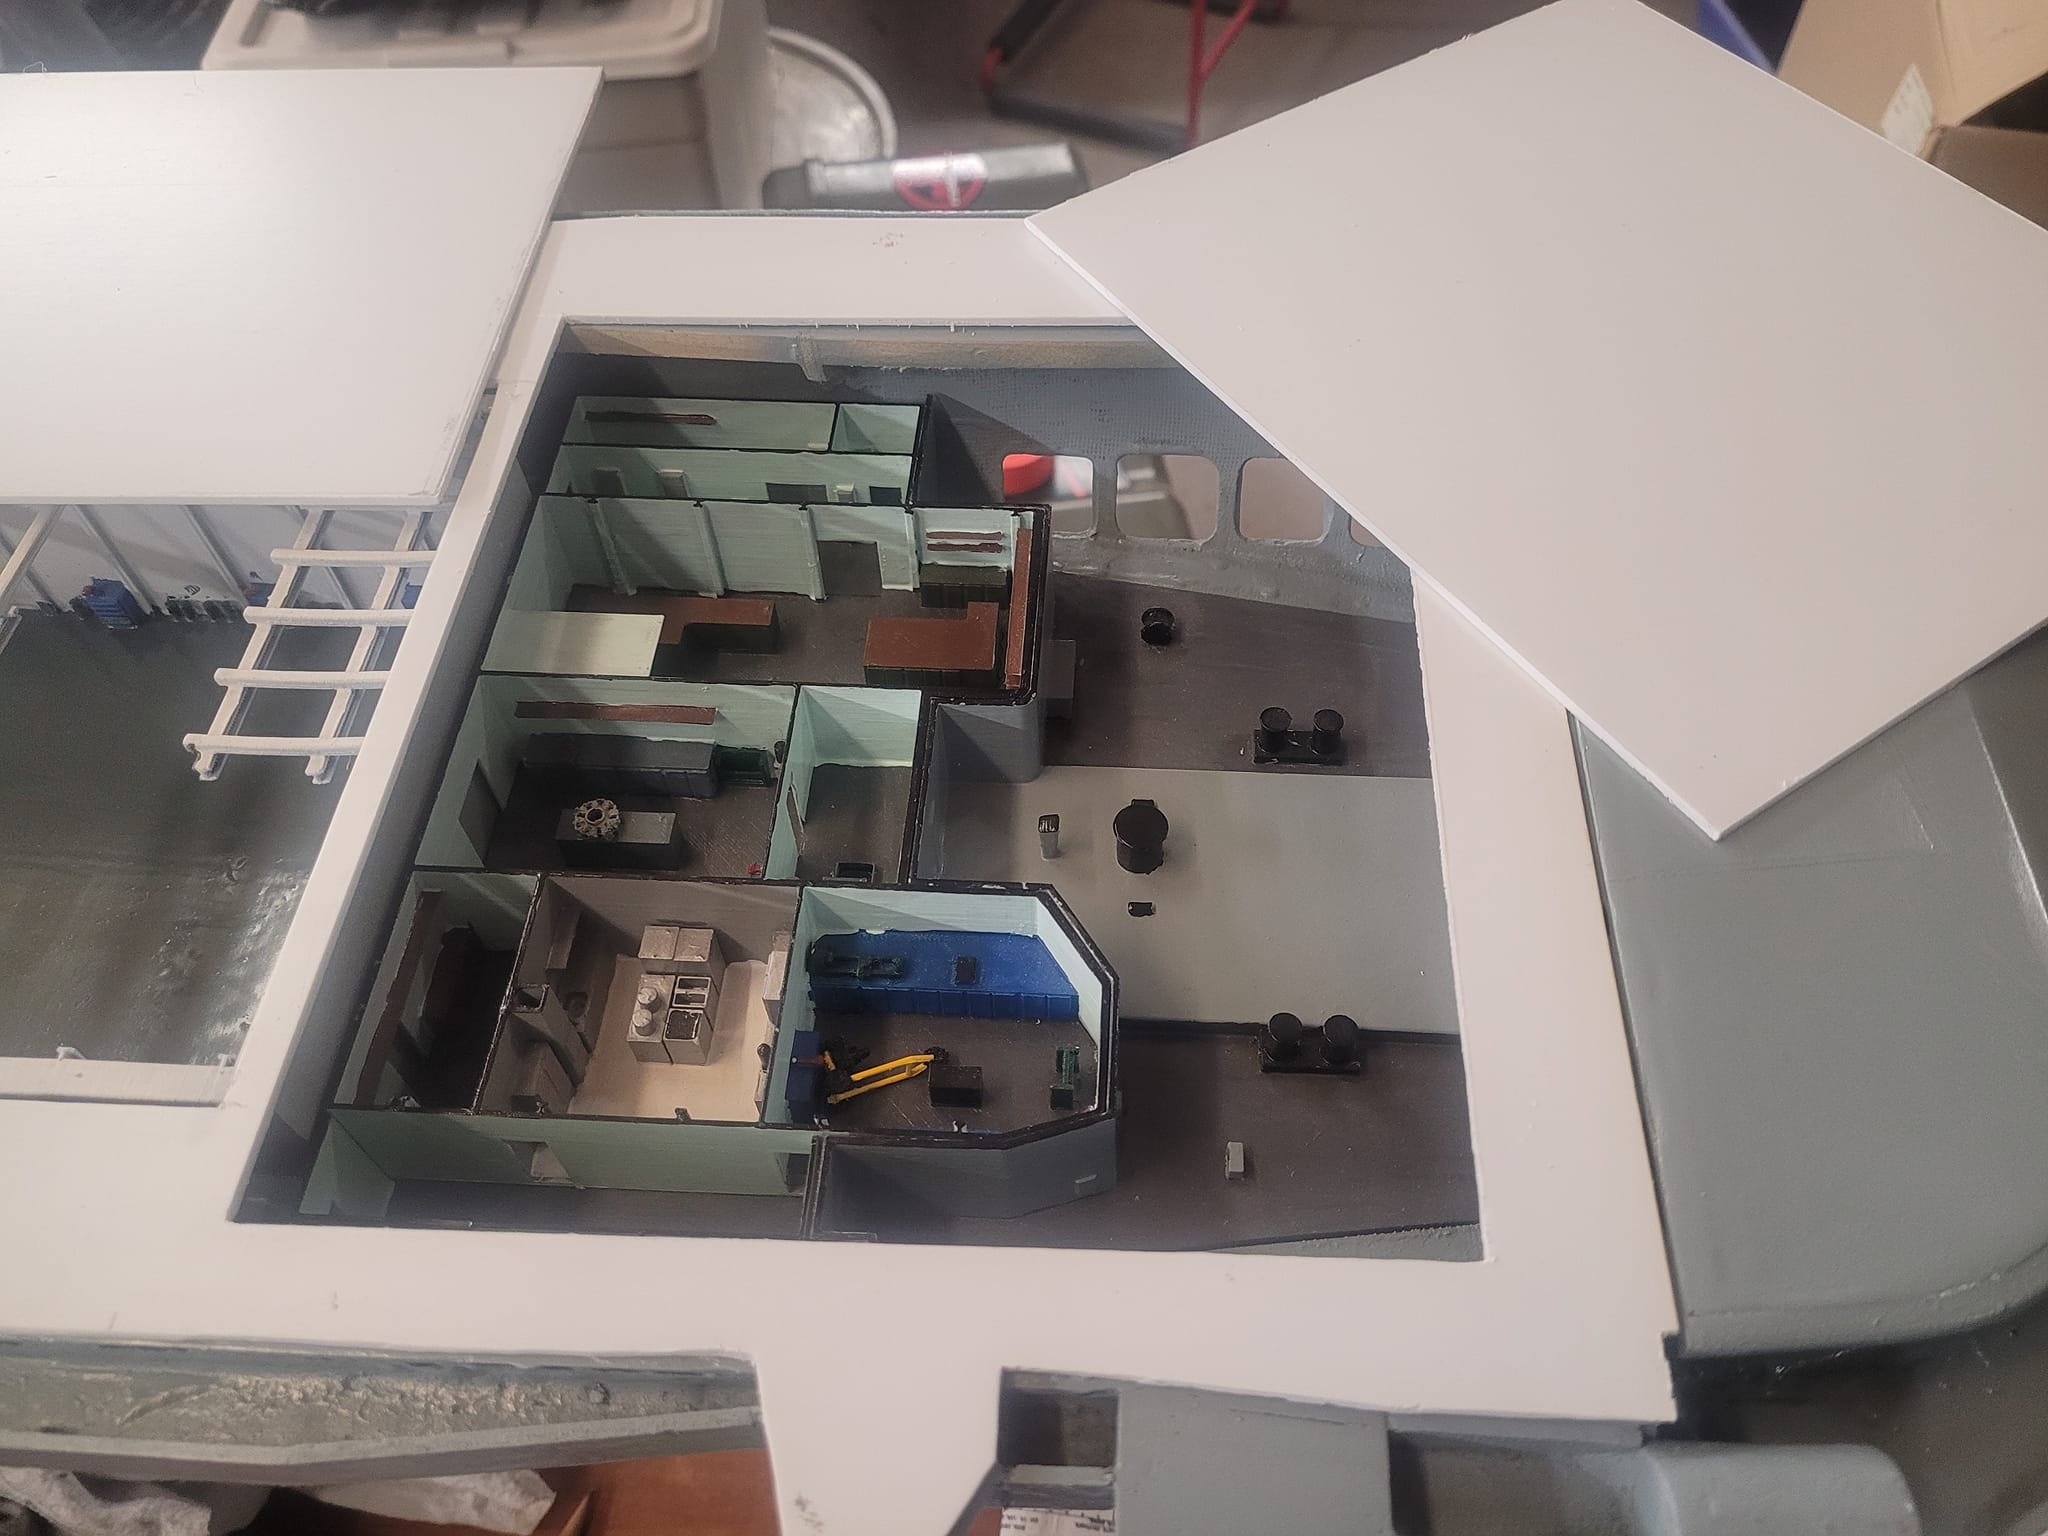
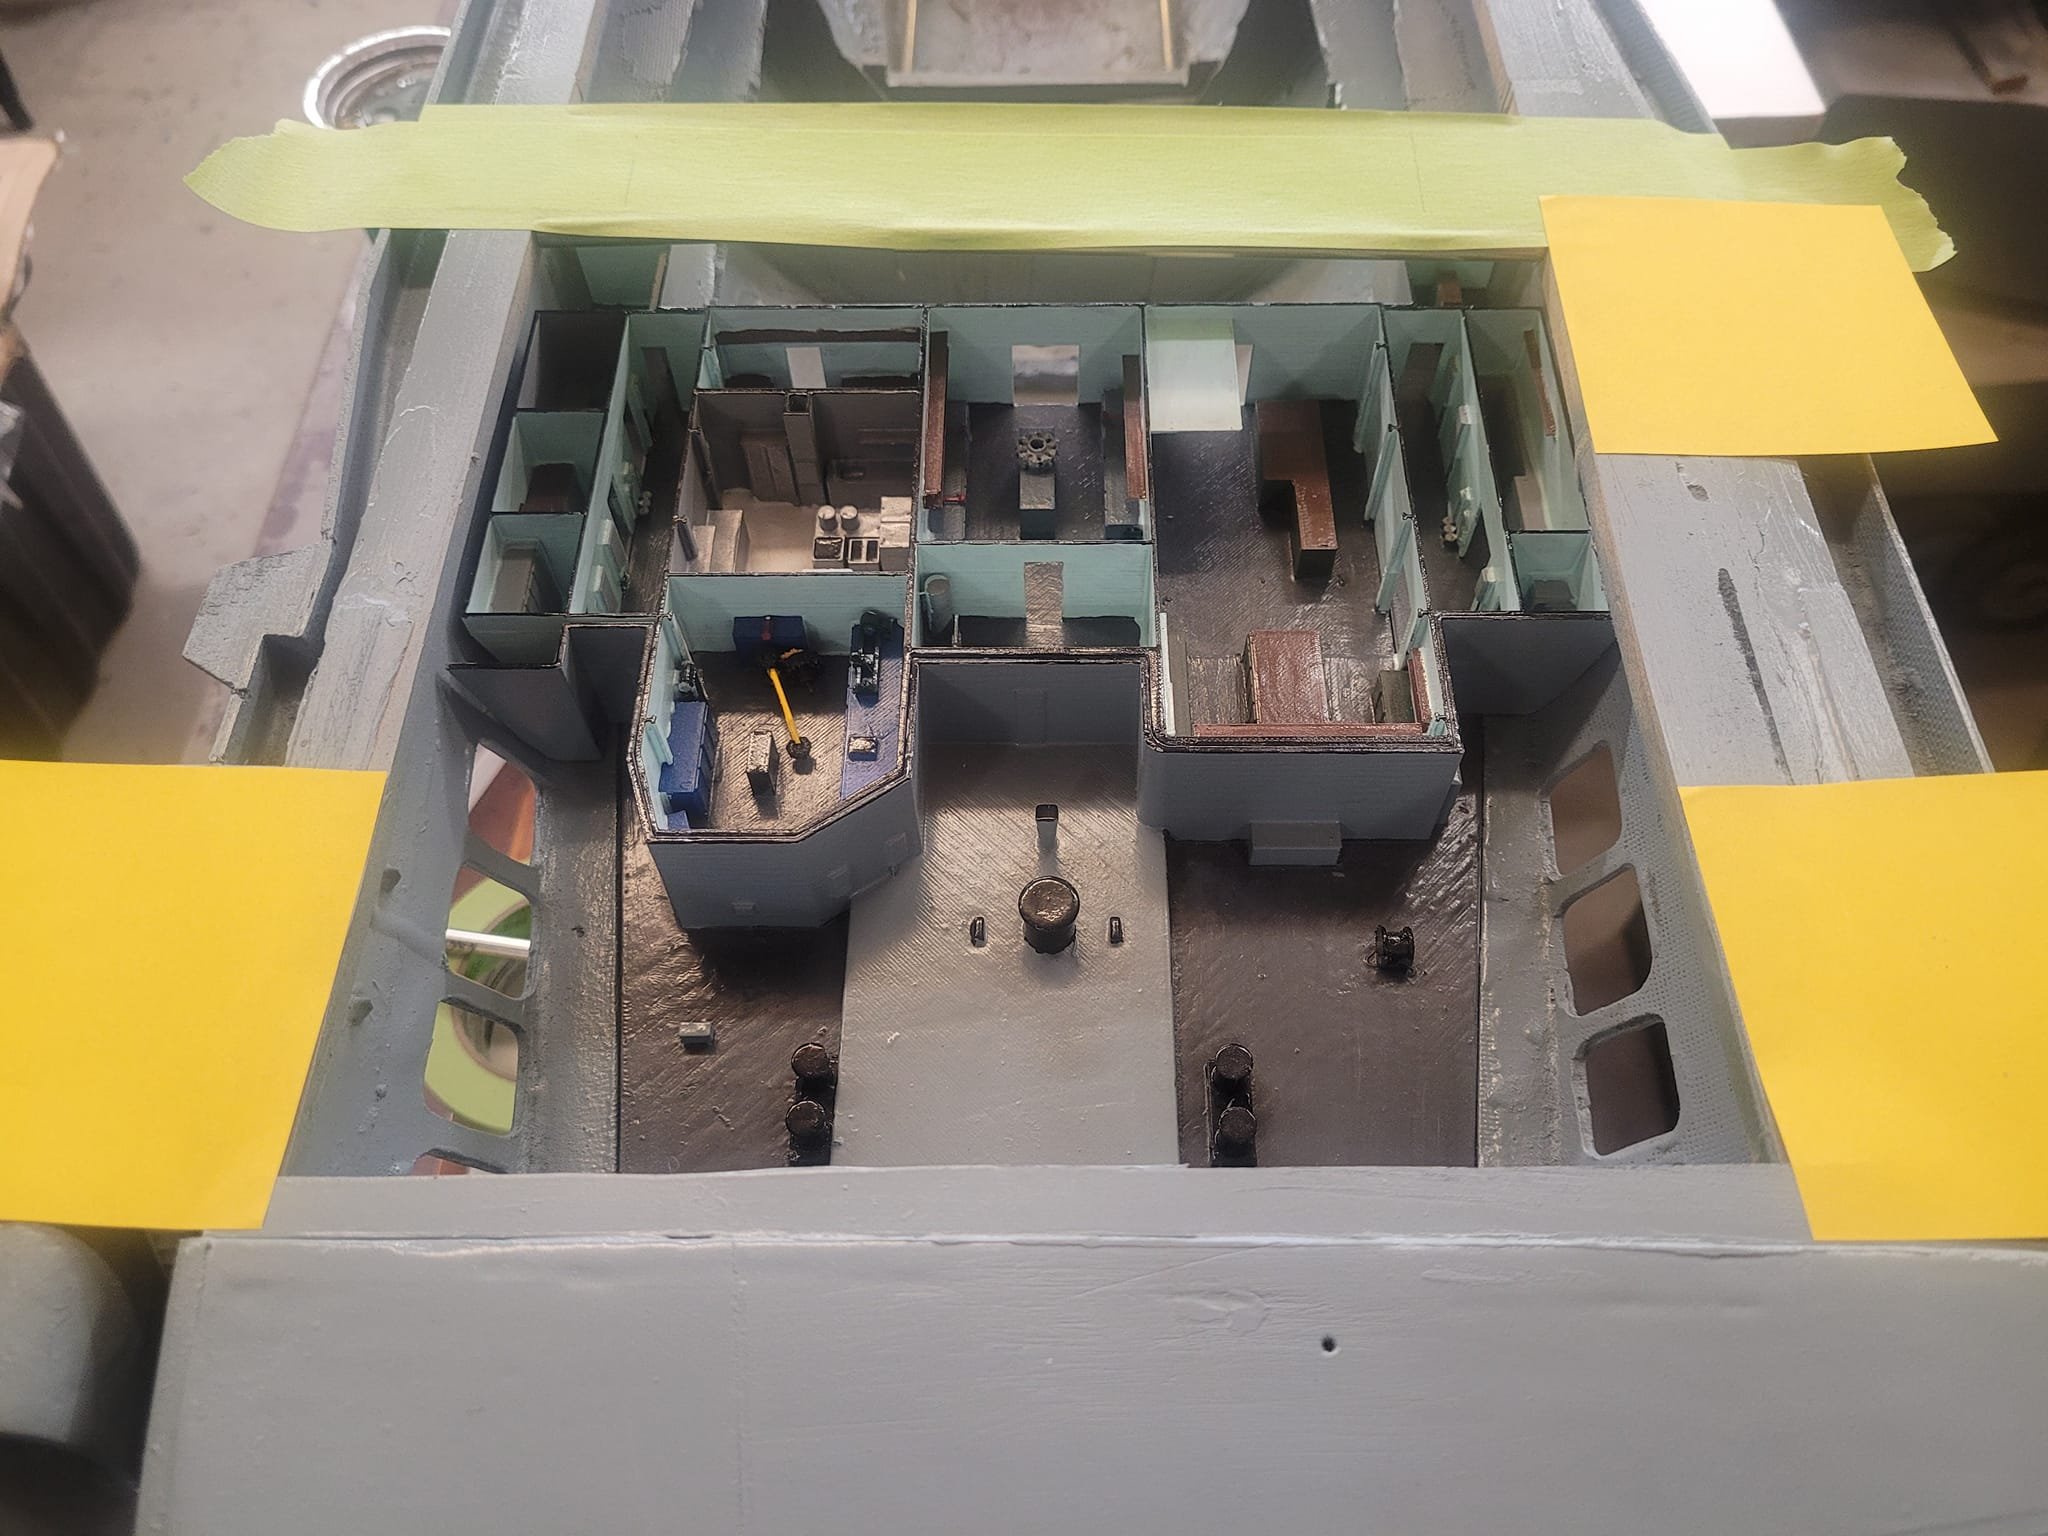
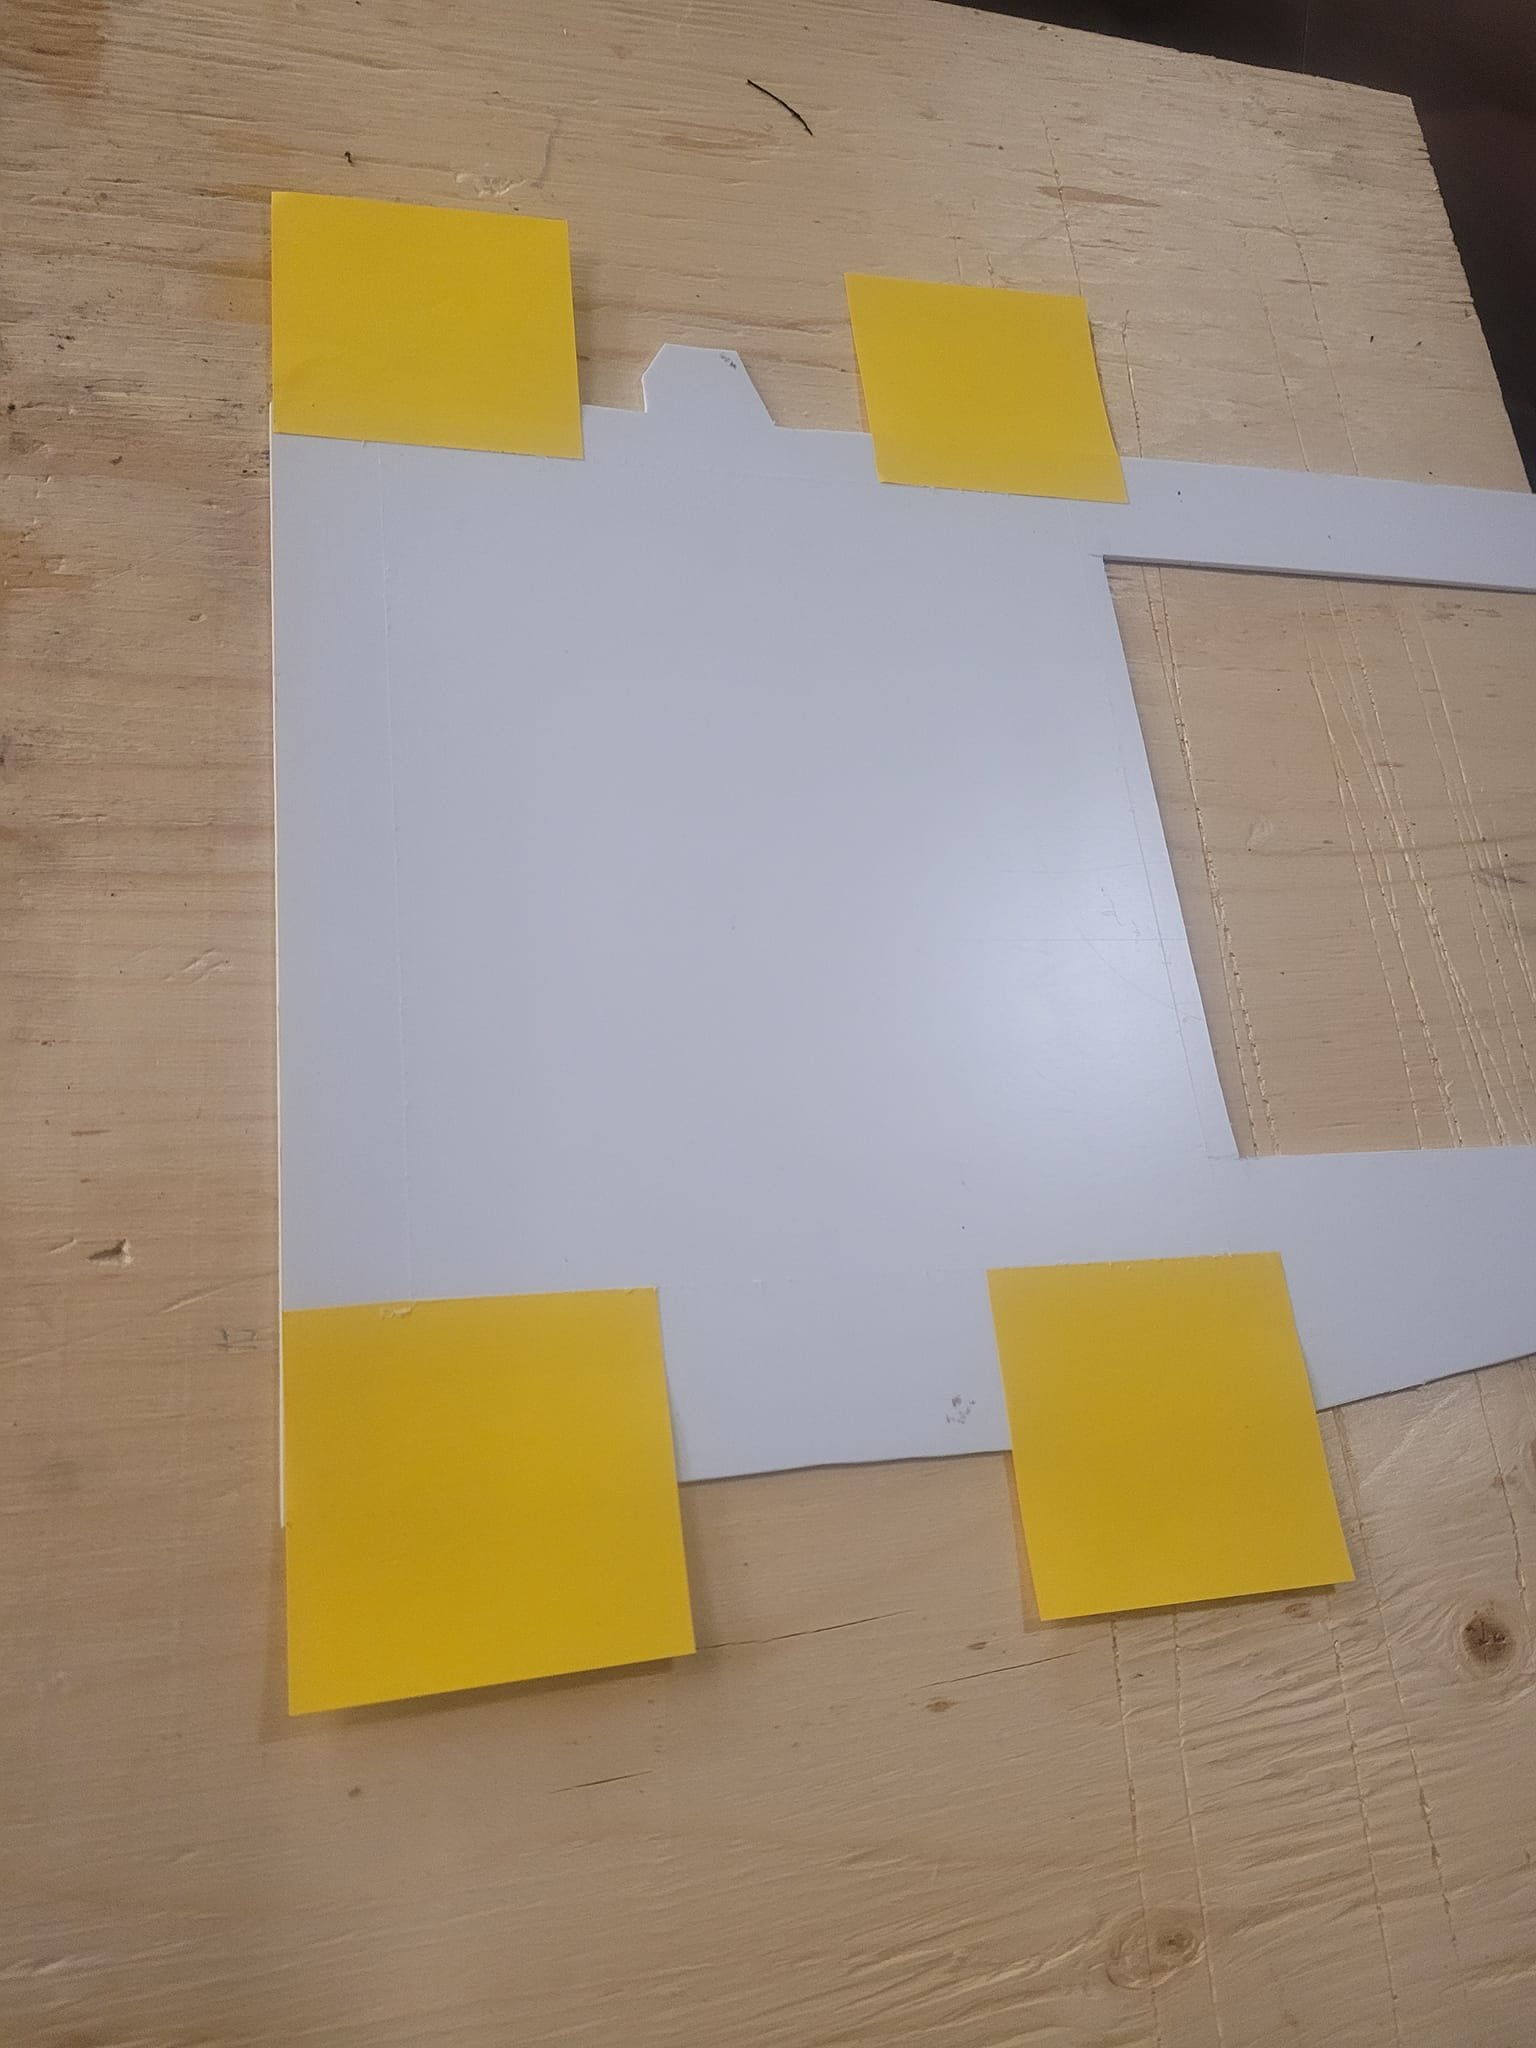
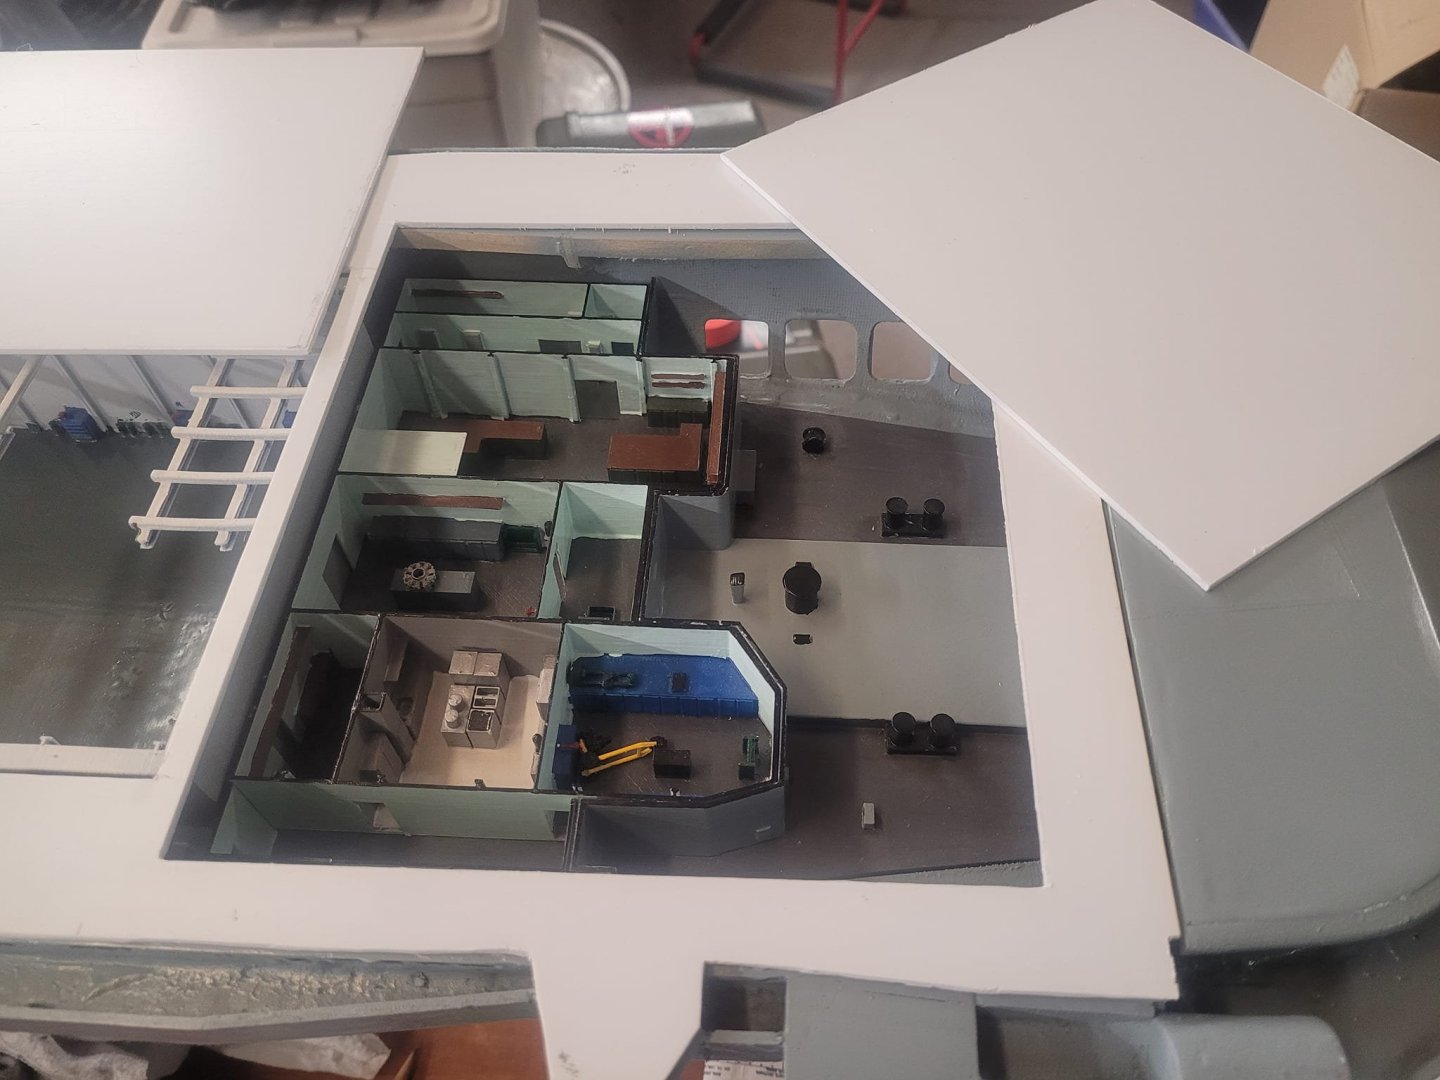
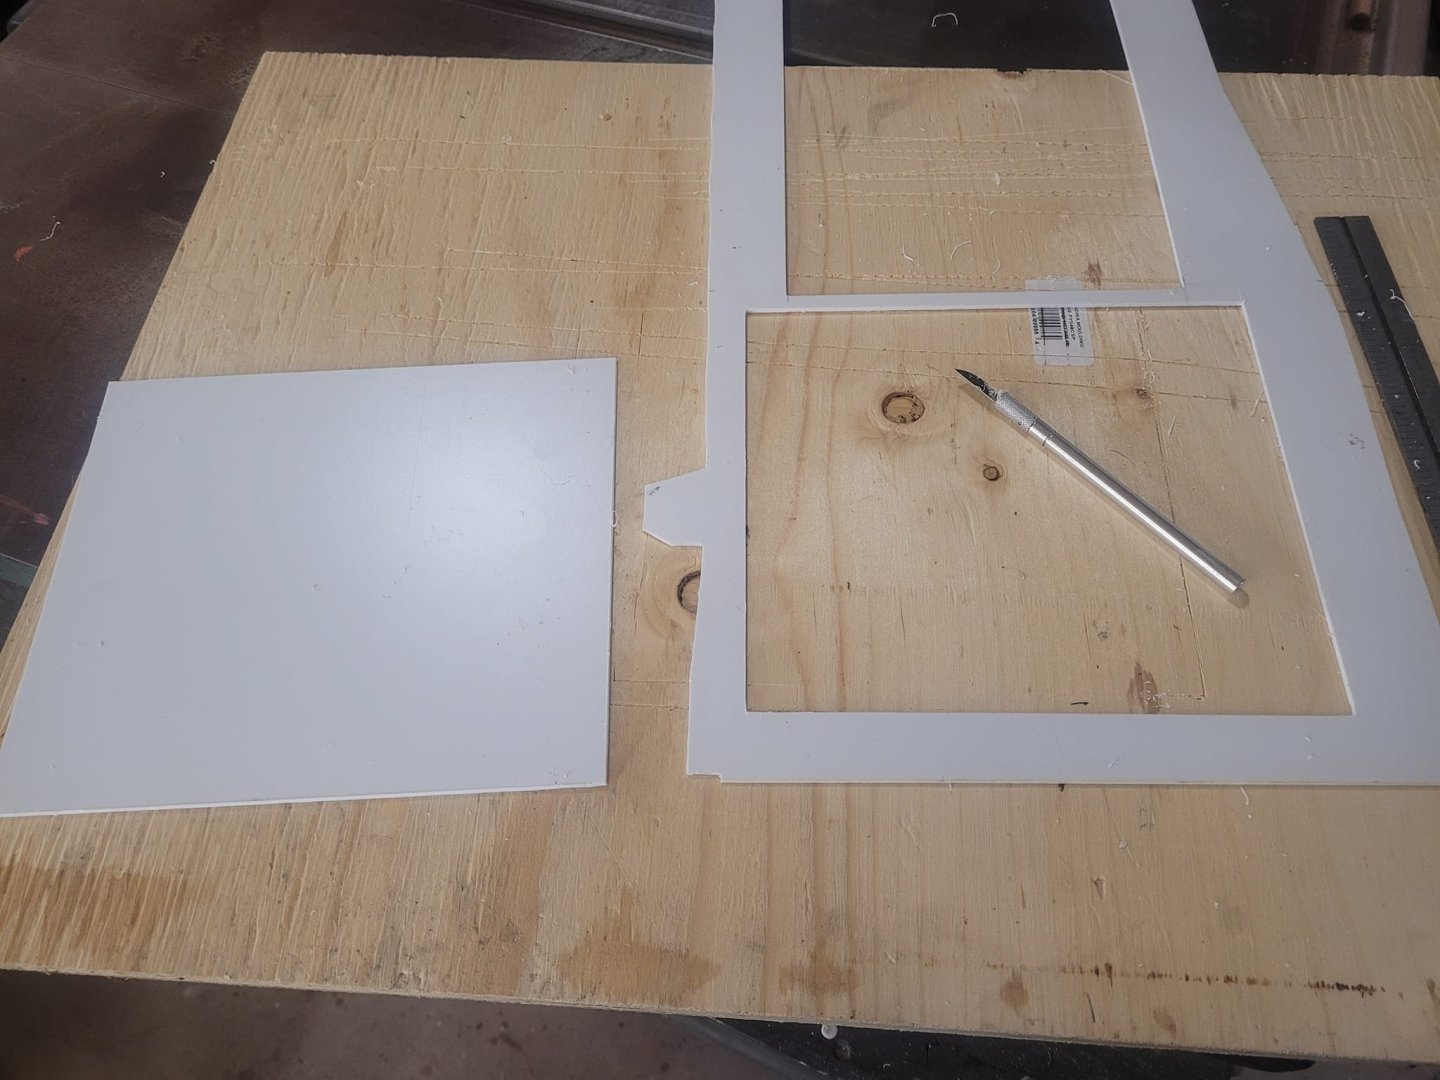
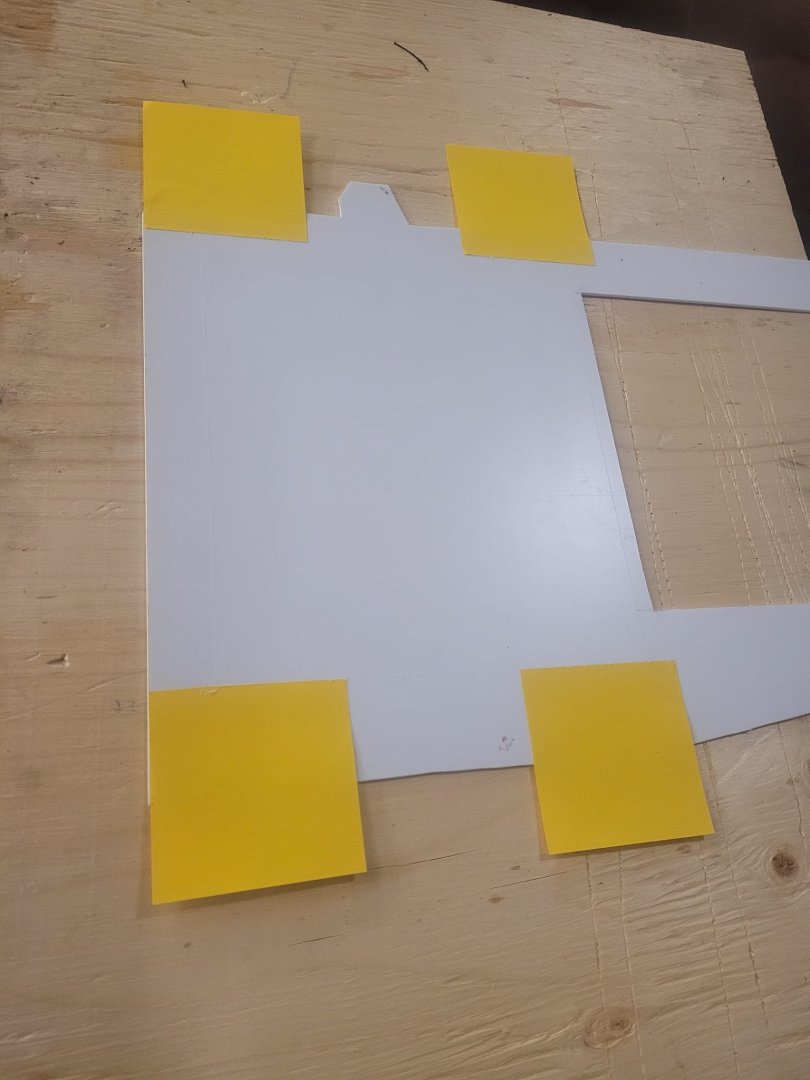
So this afternoon I had a few minutes to invest in working on the Bonnie. I've got the large opening in the flight deck for the hangar module done, now it' s a question of having access to the rest of the interior bits I need to get to. So, here's the entry hole for the rudder post/servo area cut out. It's also the space where I put in the workshop spaces that I 3D printed - so - I have to be able to remove them through this hole. It all fits and works. Observe the use of the post-it notes to setup the edges of the hole for cutting - I put the post it notes on the hull to line up where I wanted the edge to be on the flight deck, and then instead of measuring/transferring the hole dimensionally, I simply put a post-it note over top of the lower one, aligning the edges perfectly. If it looks stupid, but it works...is it really stupid?


-
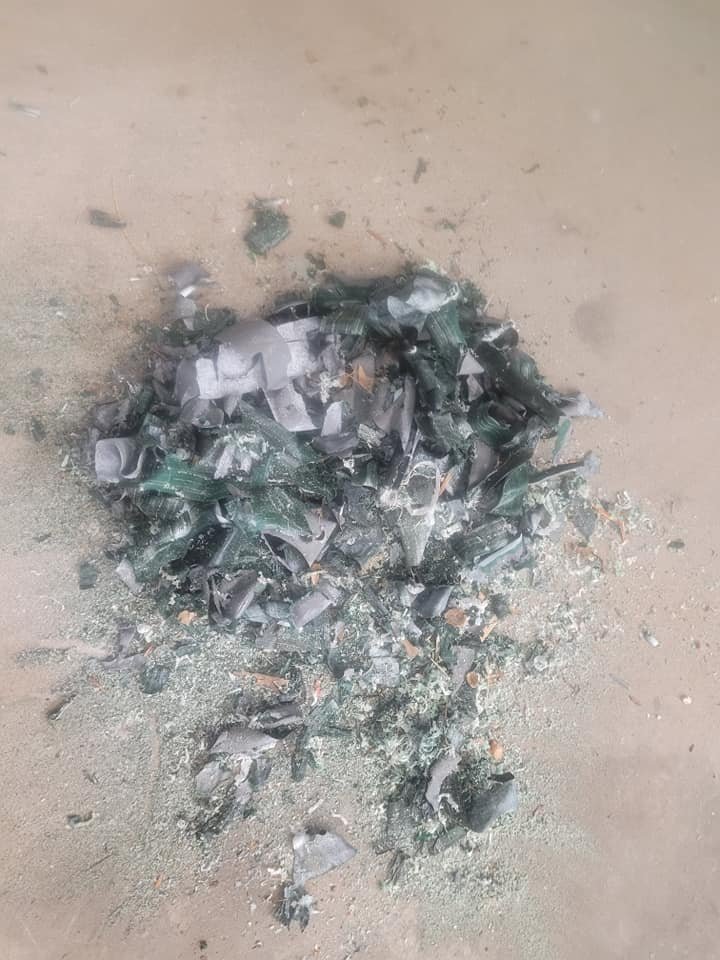
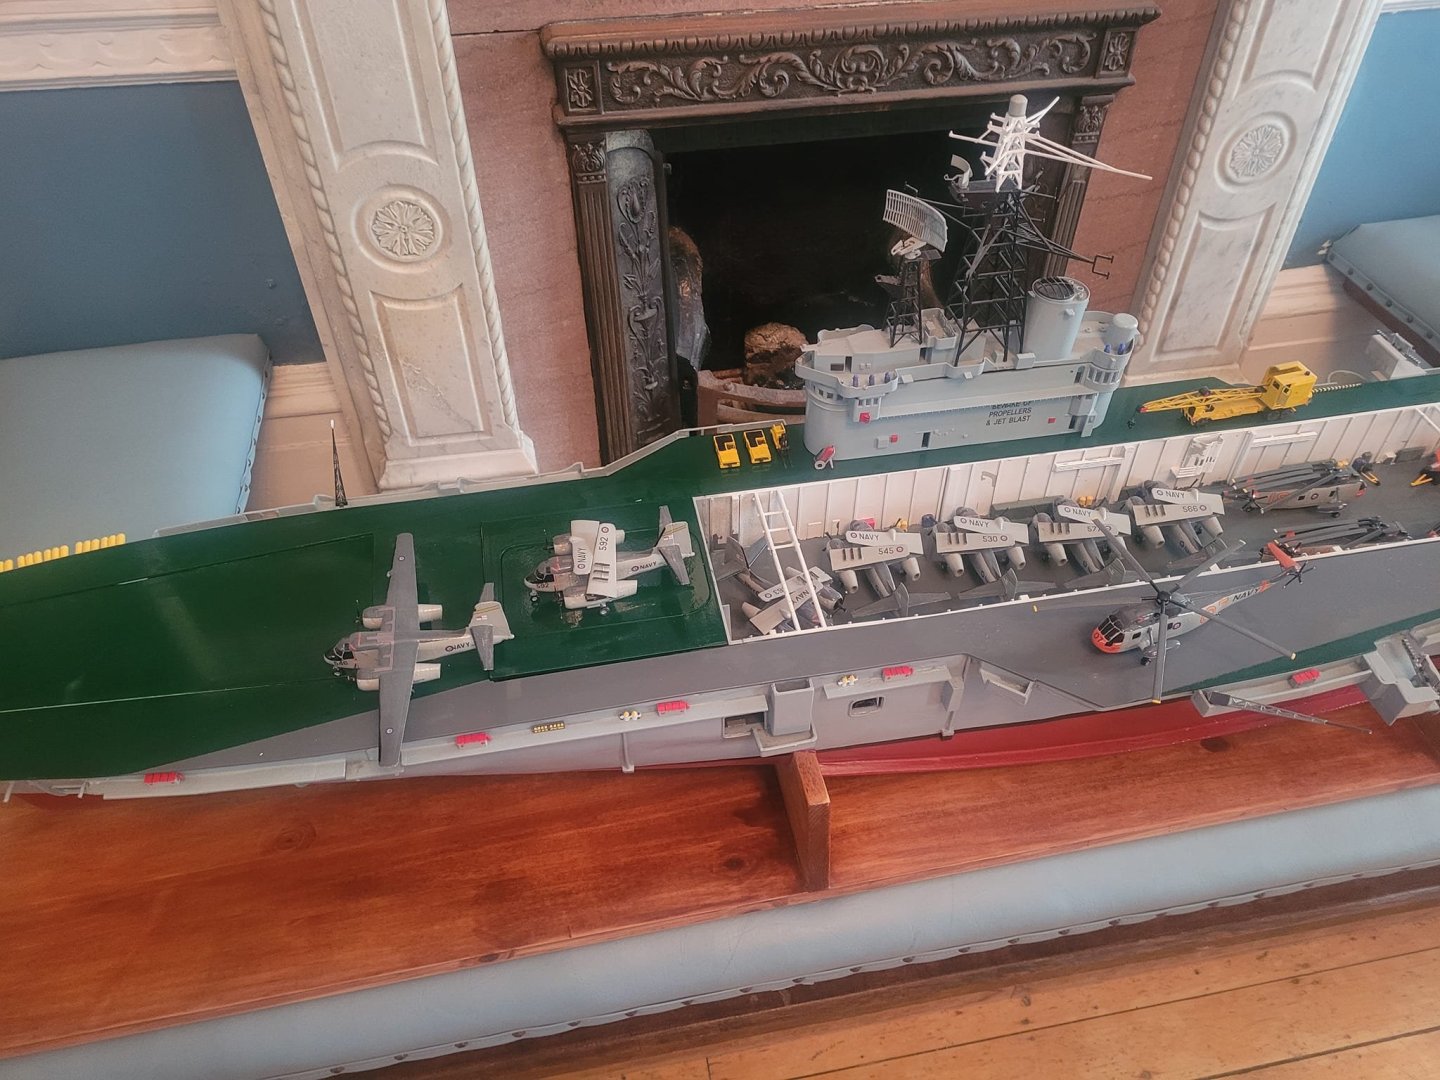
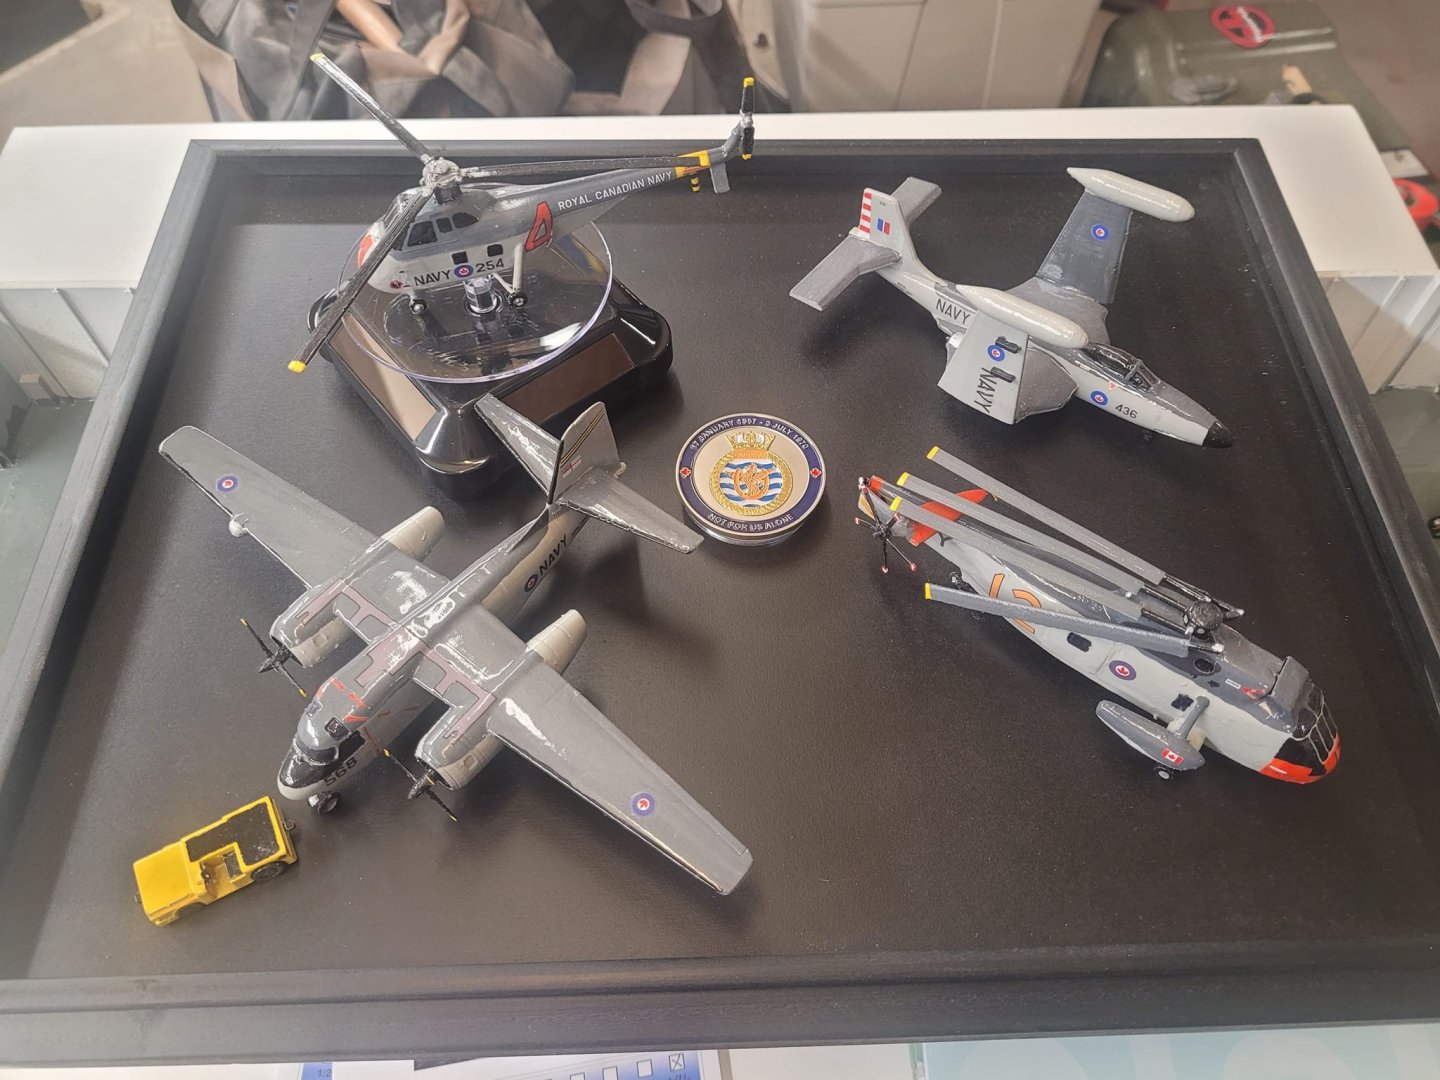
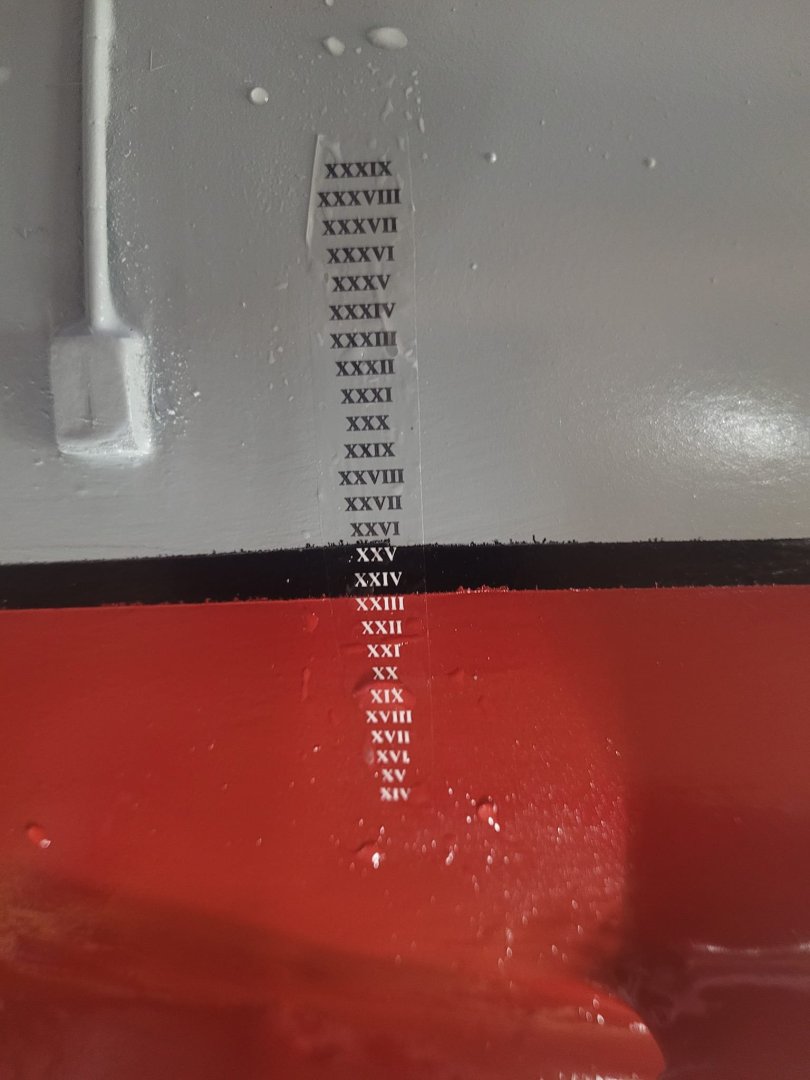
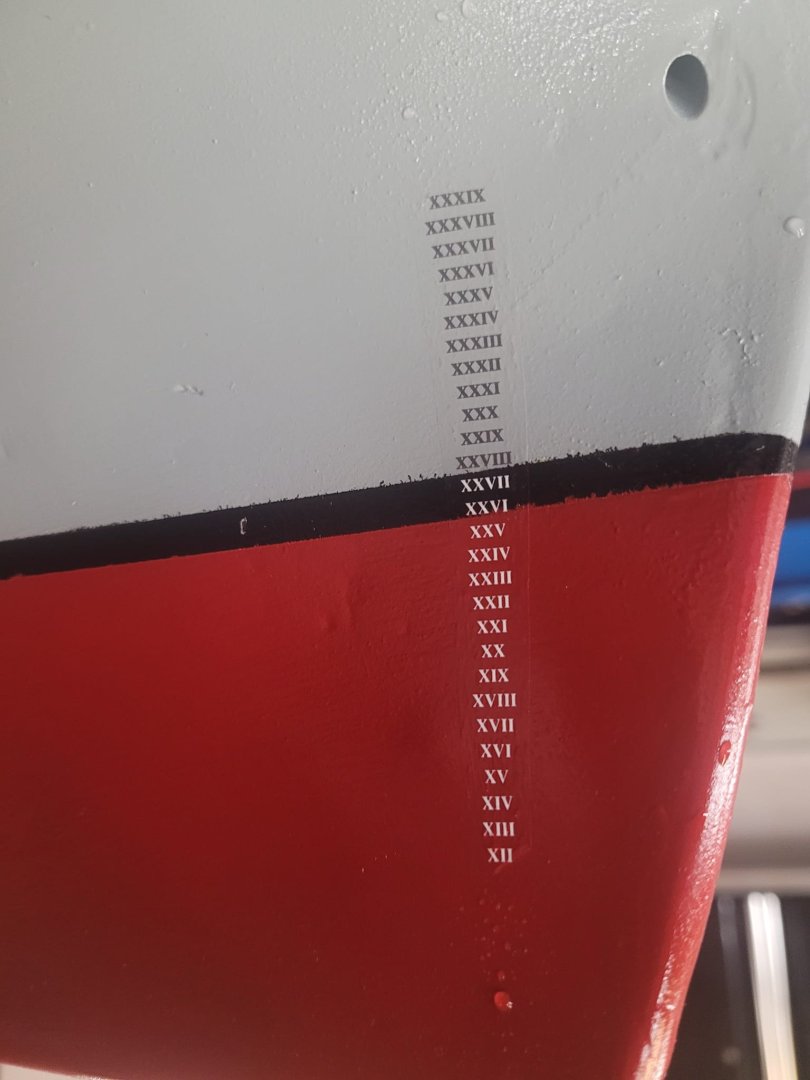
A couple of weeks ago, I came across a gent who has a display setup honouring the sailors from the Bonnie (and other veterans) in a local mall, so on Monday, I'm dropping off a 'mini' air-det to him, with one each Tracker, Banshee, Sea King and Horse. There is a glass cover for the display box, so they'll be protected (which is a good thing.) Also, the hull has now dried a bit, so I've decided to put the draft markings on. I'm quite pleased with how that looks. Let that dry for a few days and I'll add a few layers of clear coat sealant on it to protect them.
-
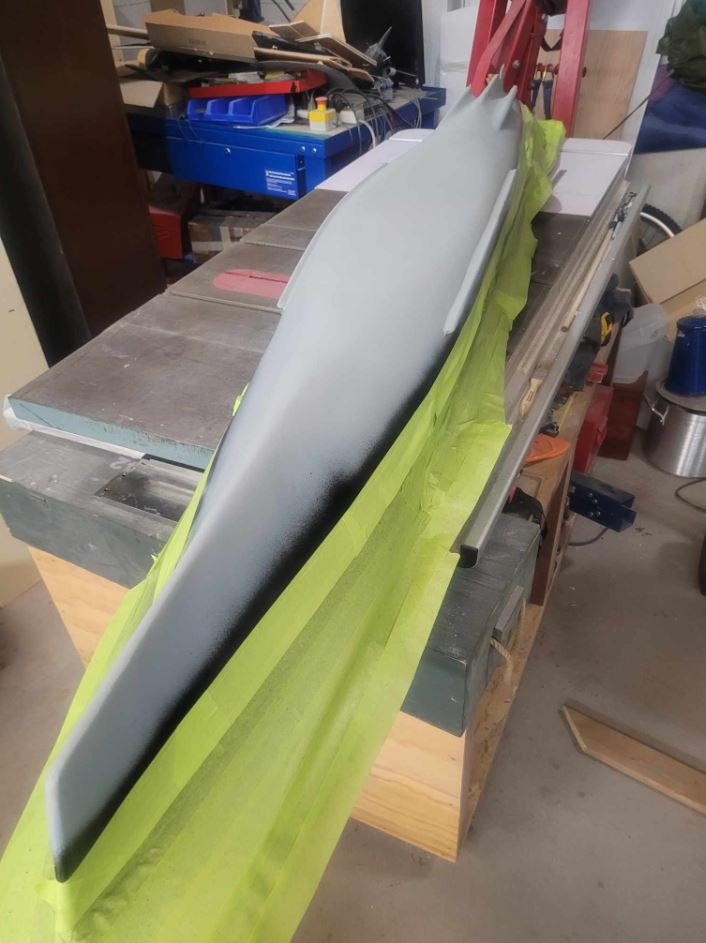
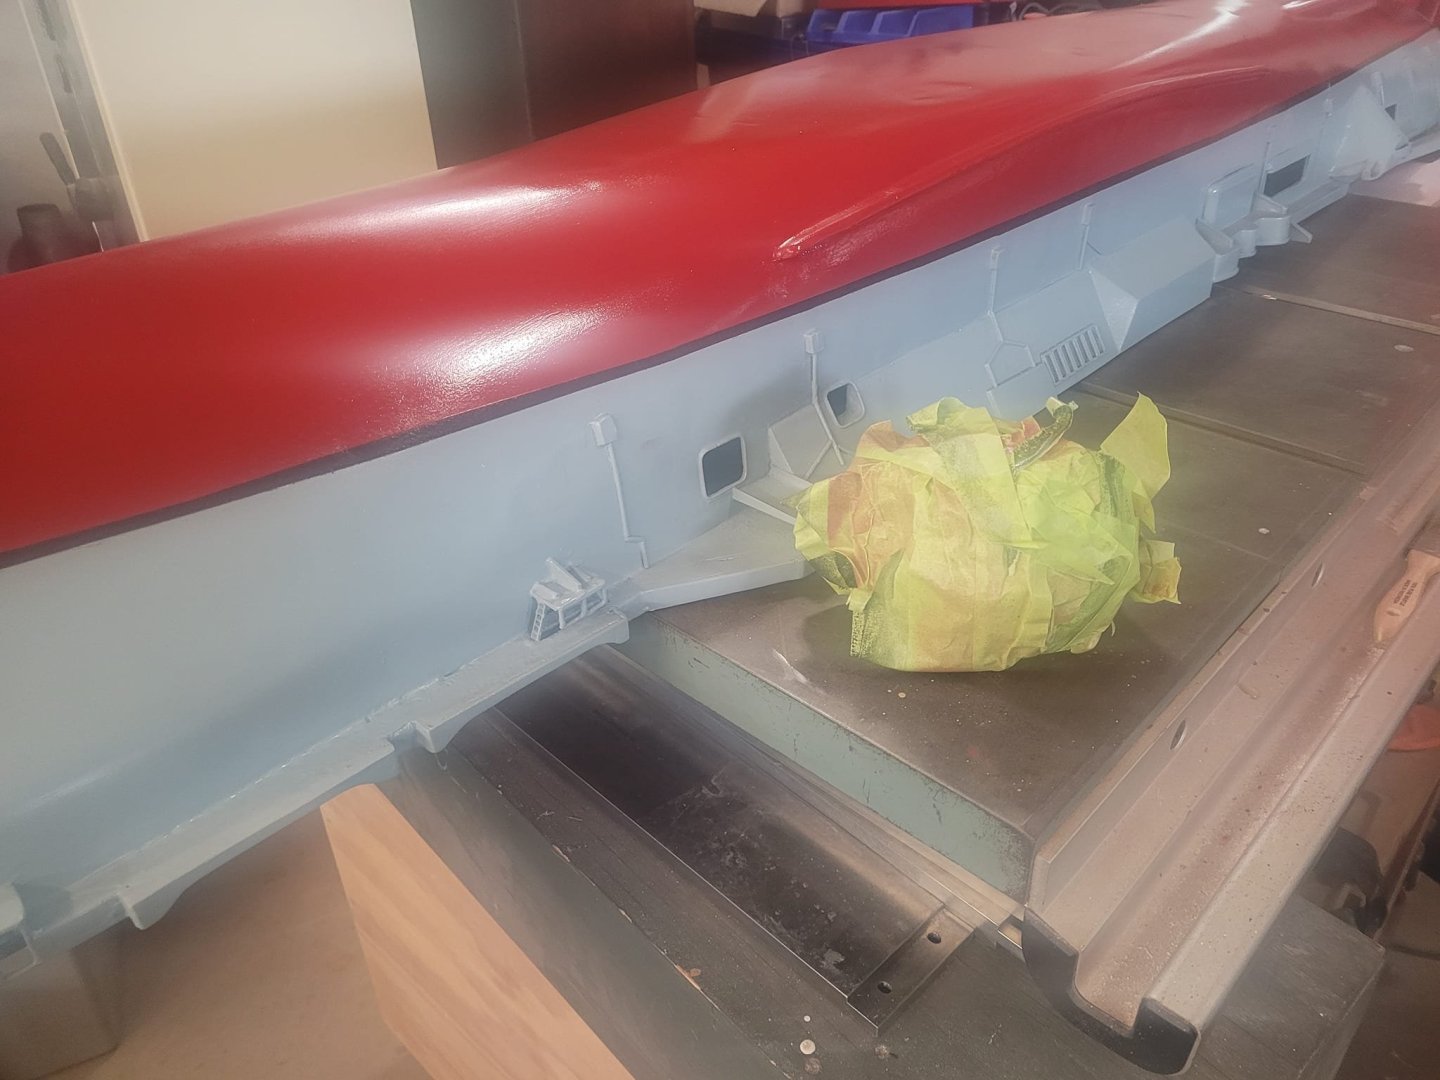
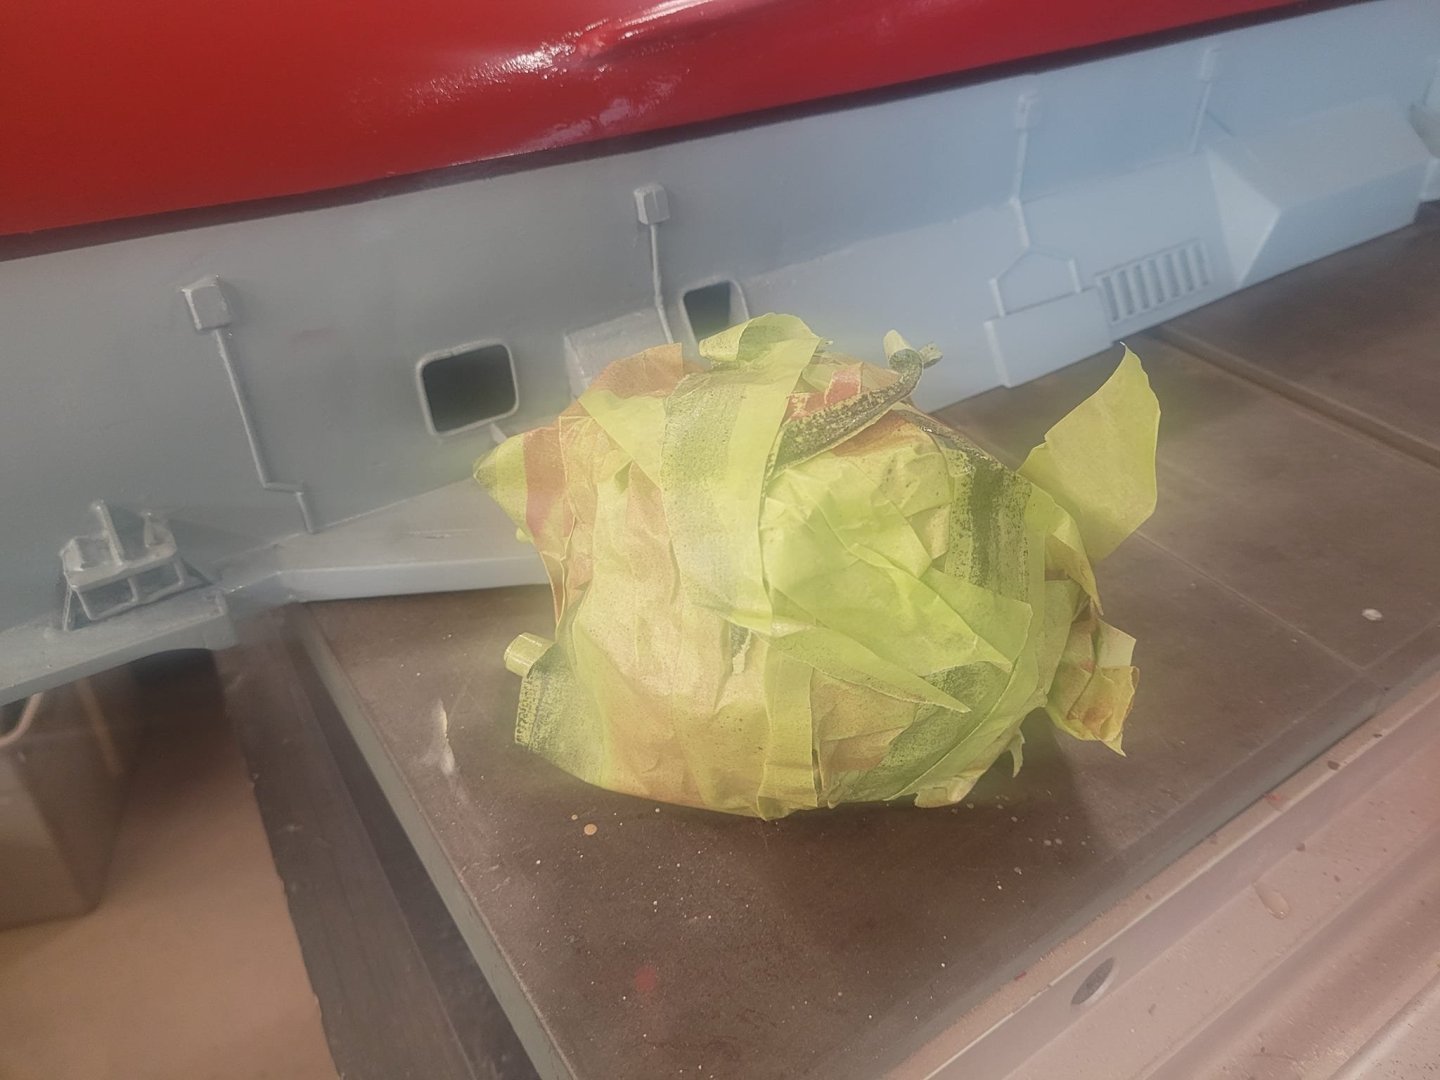
There's something really nice about pulling off that ball of tape...and seeing that nice clean boot topping...
-
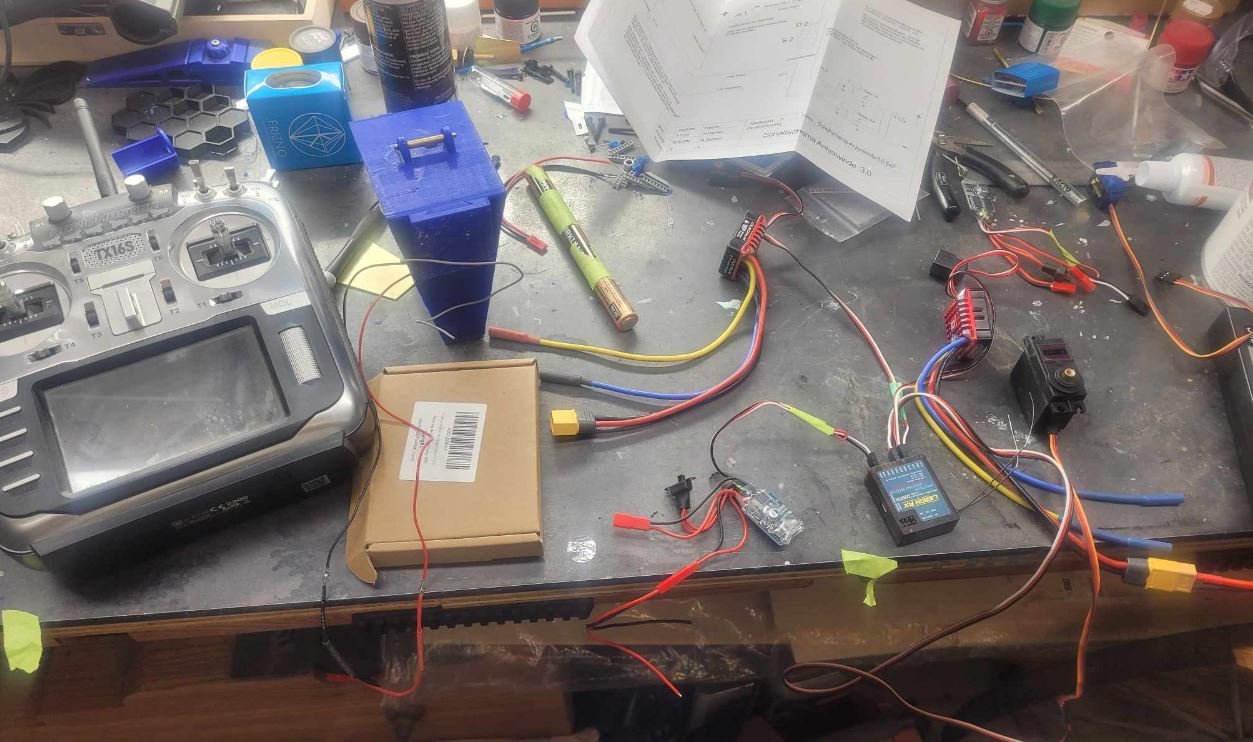
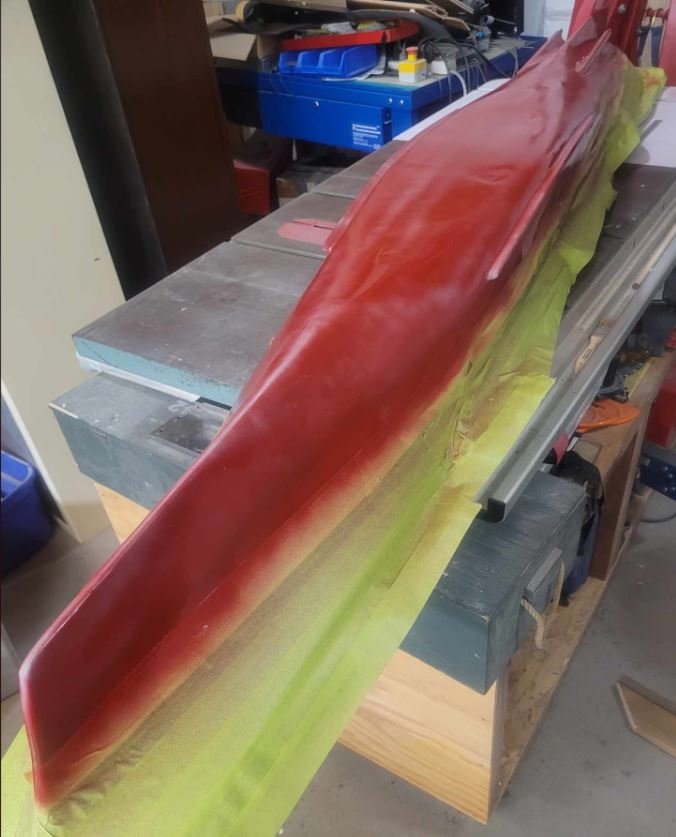
Tonight I was out in the garage puttering away at a few things - I masked up the boot topping, and shot the keel with the first layer of red. I'll let it dry a bit and shoot it again on the weekend probably. I was also puttering away with some electronic bits - once the keel is done and dusted, I'll be able to flip the hull over and start working on the guts...but wanted to get some work done tonight on some of the 'extra' channels on the receiver. I was puttering away at the Anchor Chain hoist system tonight. It's a bit finicky.