-
Posts
693 -
Joined
-
Last visited
Content Type
Profiles
Forums
Gallery
Events
Everything posted by NavyShooter
-
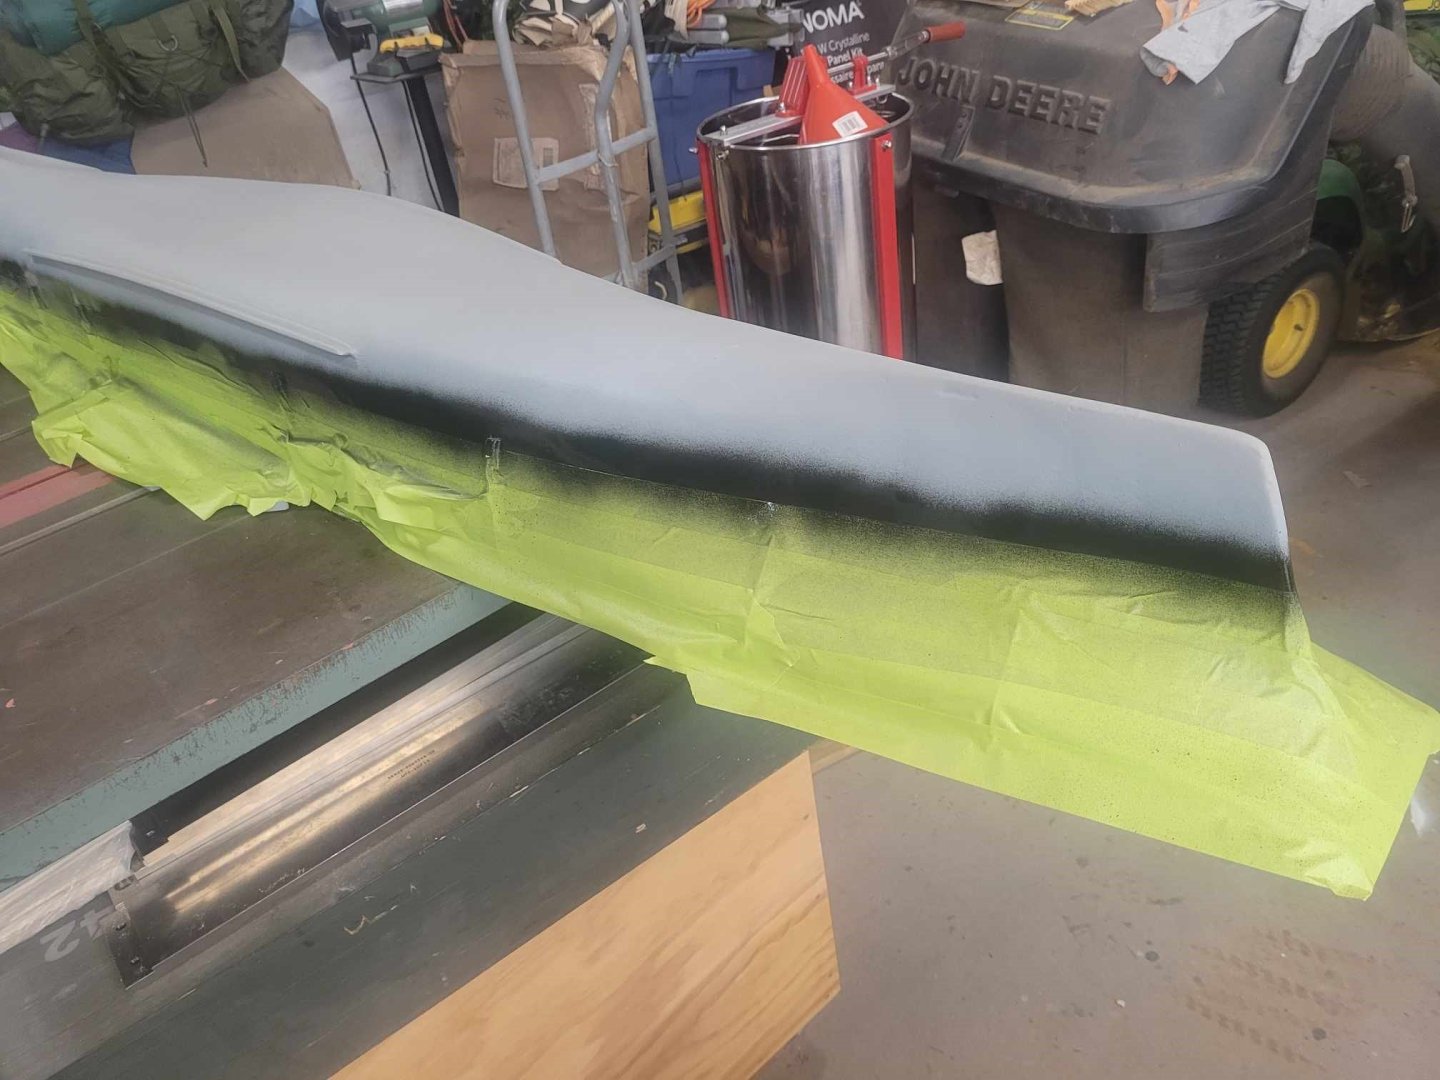
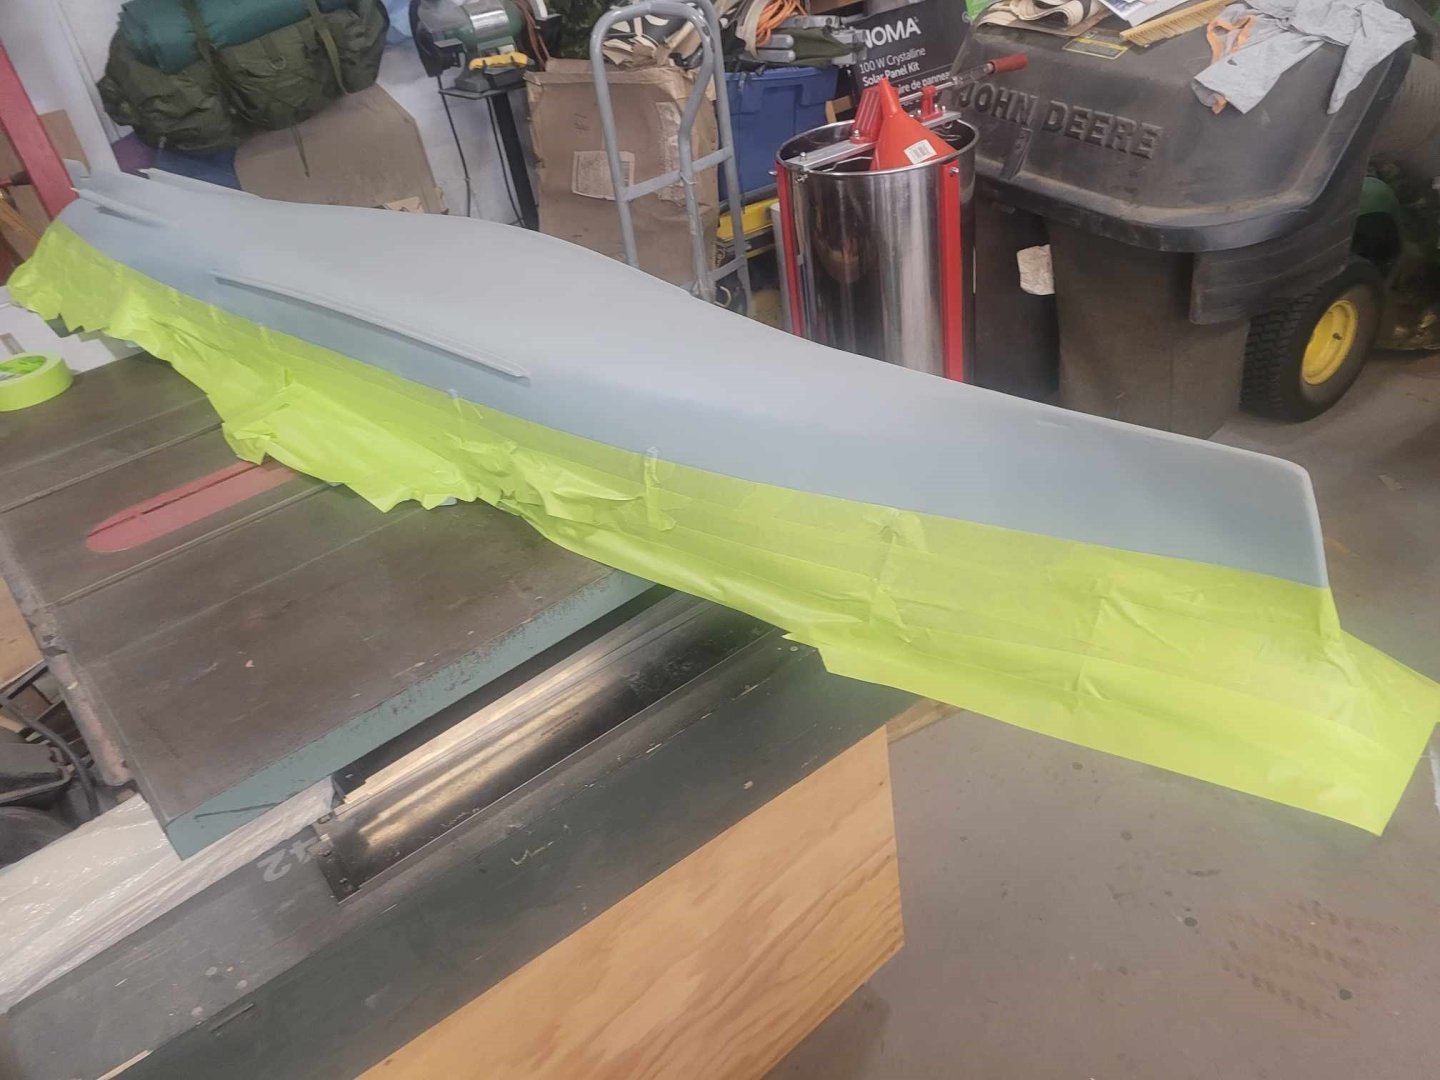
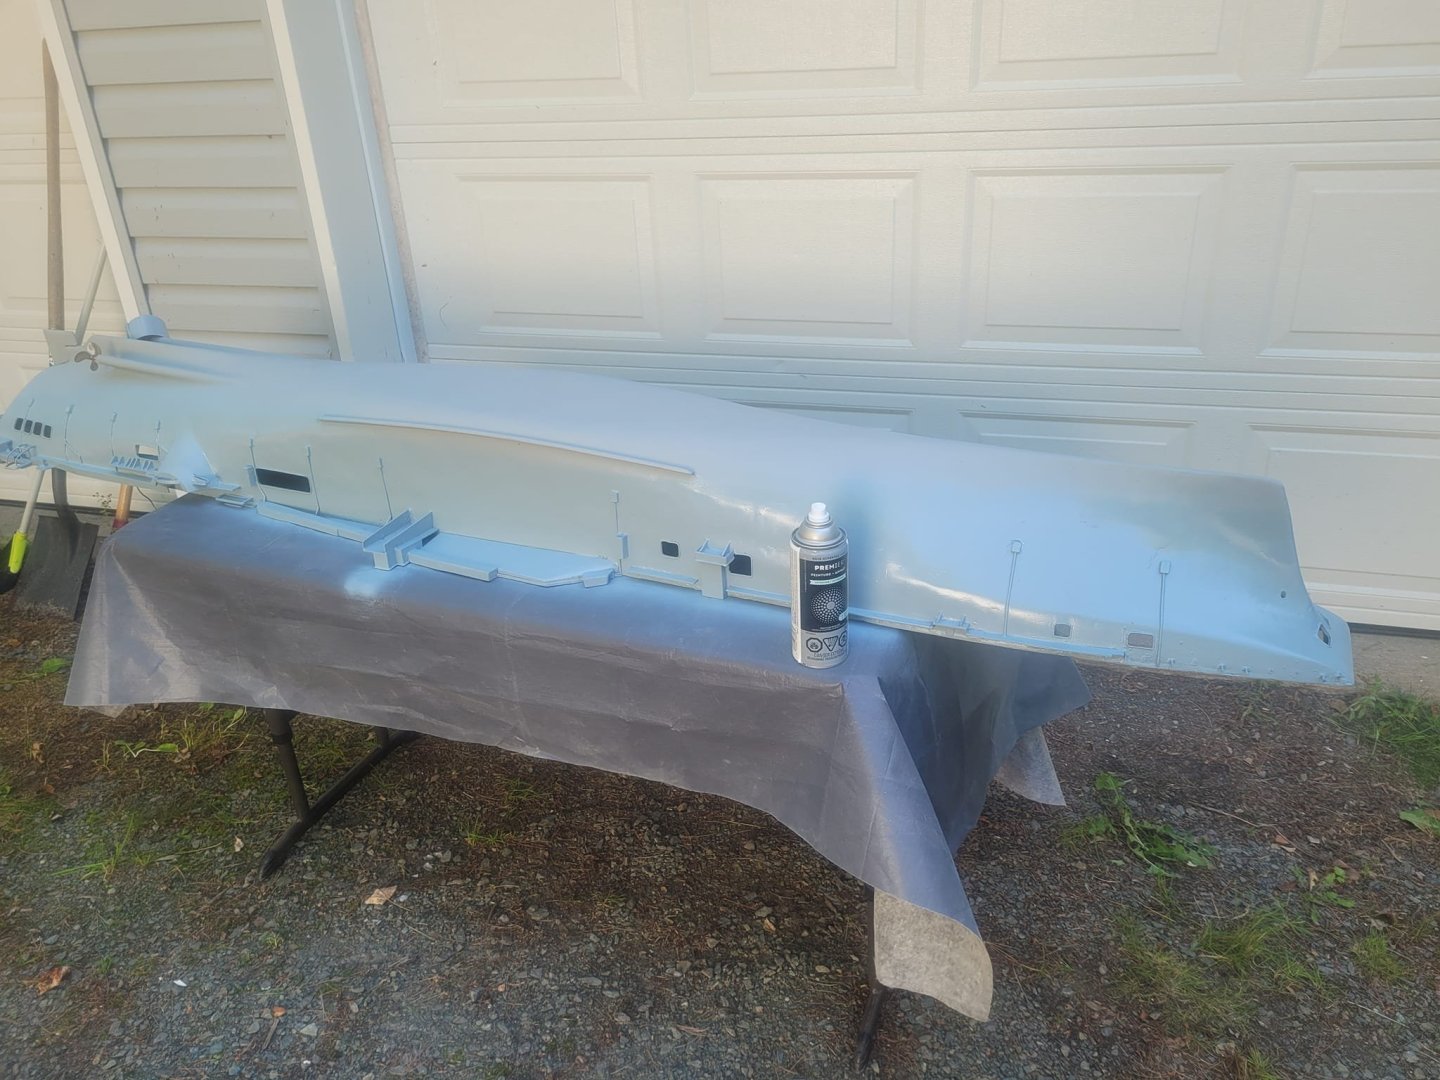
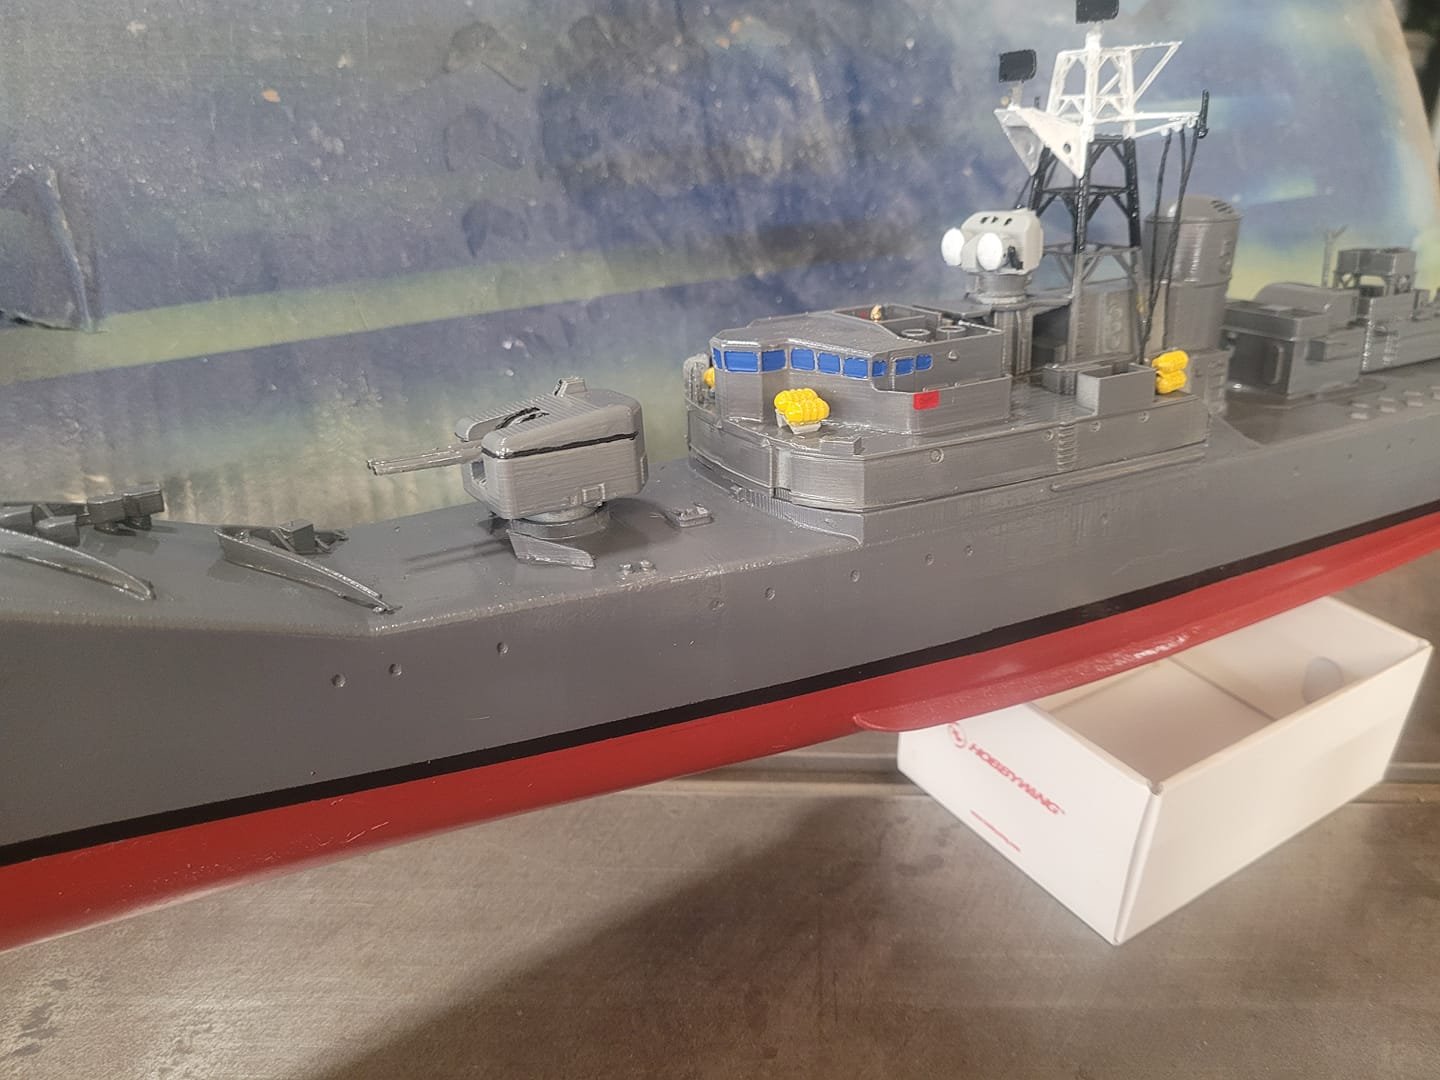
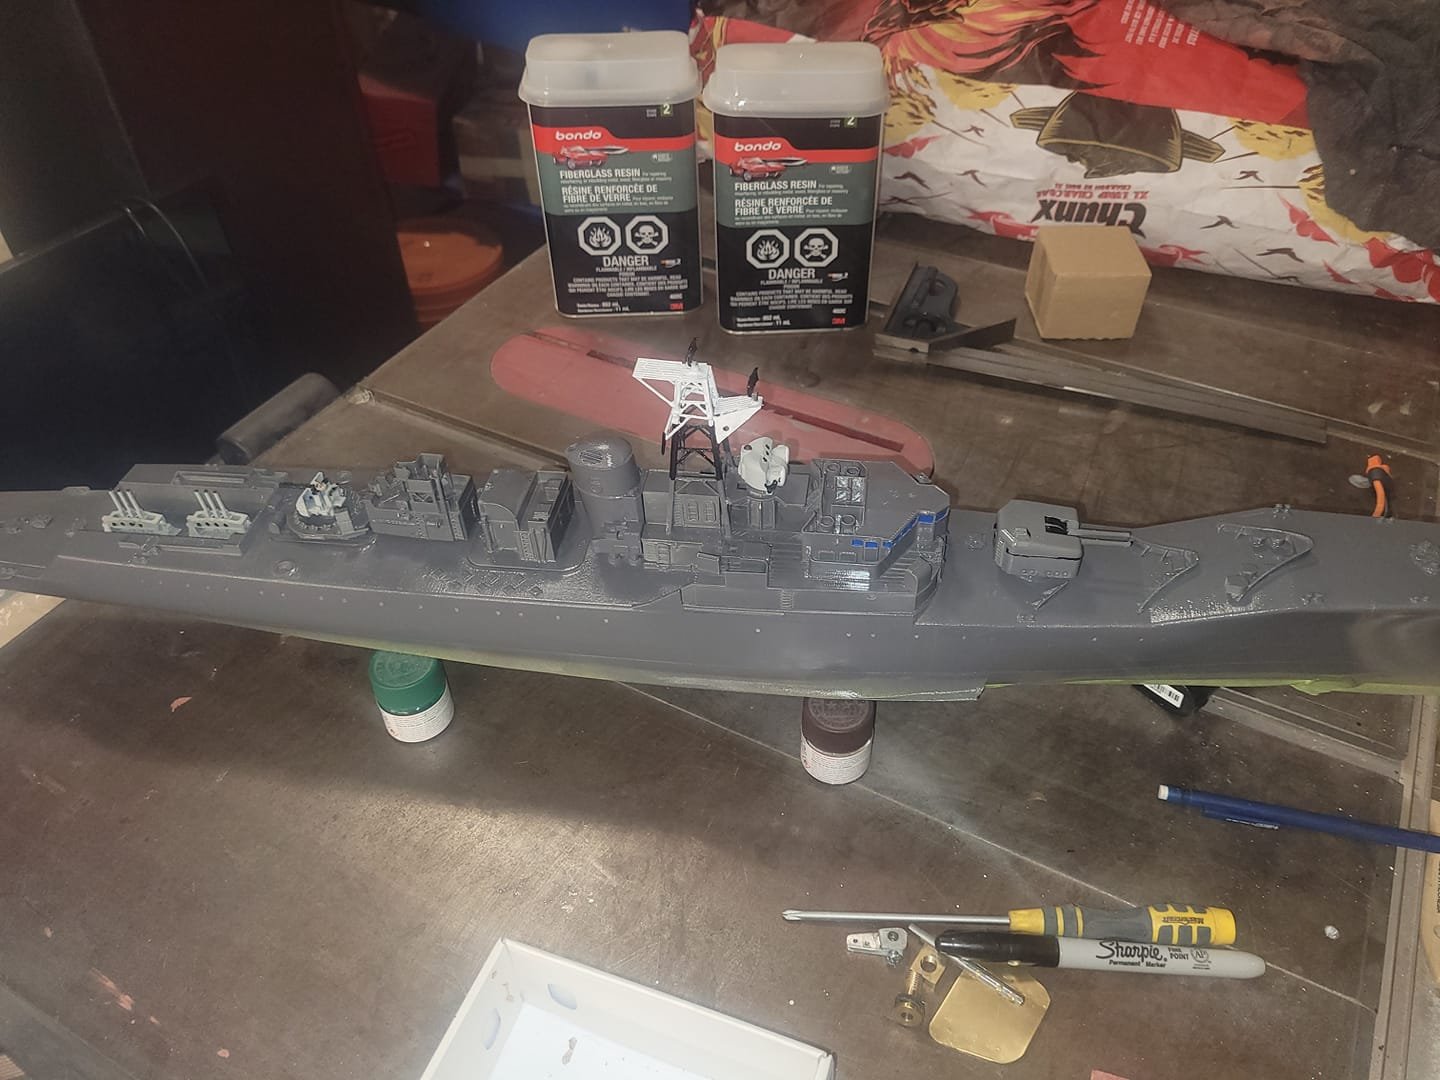
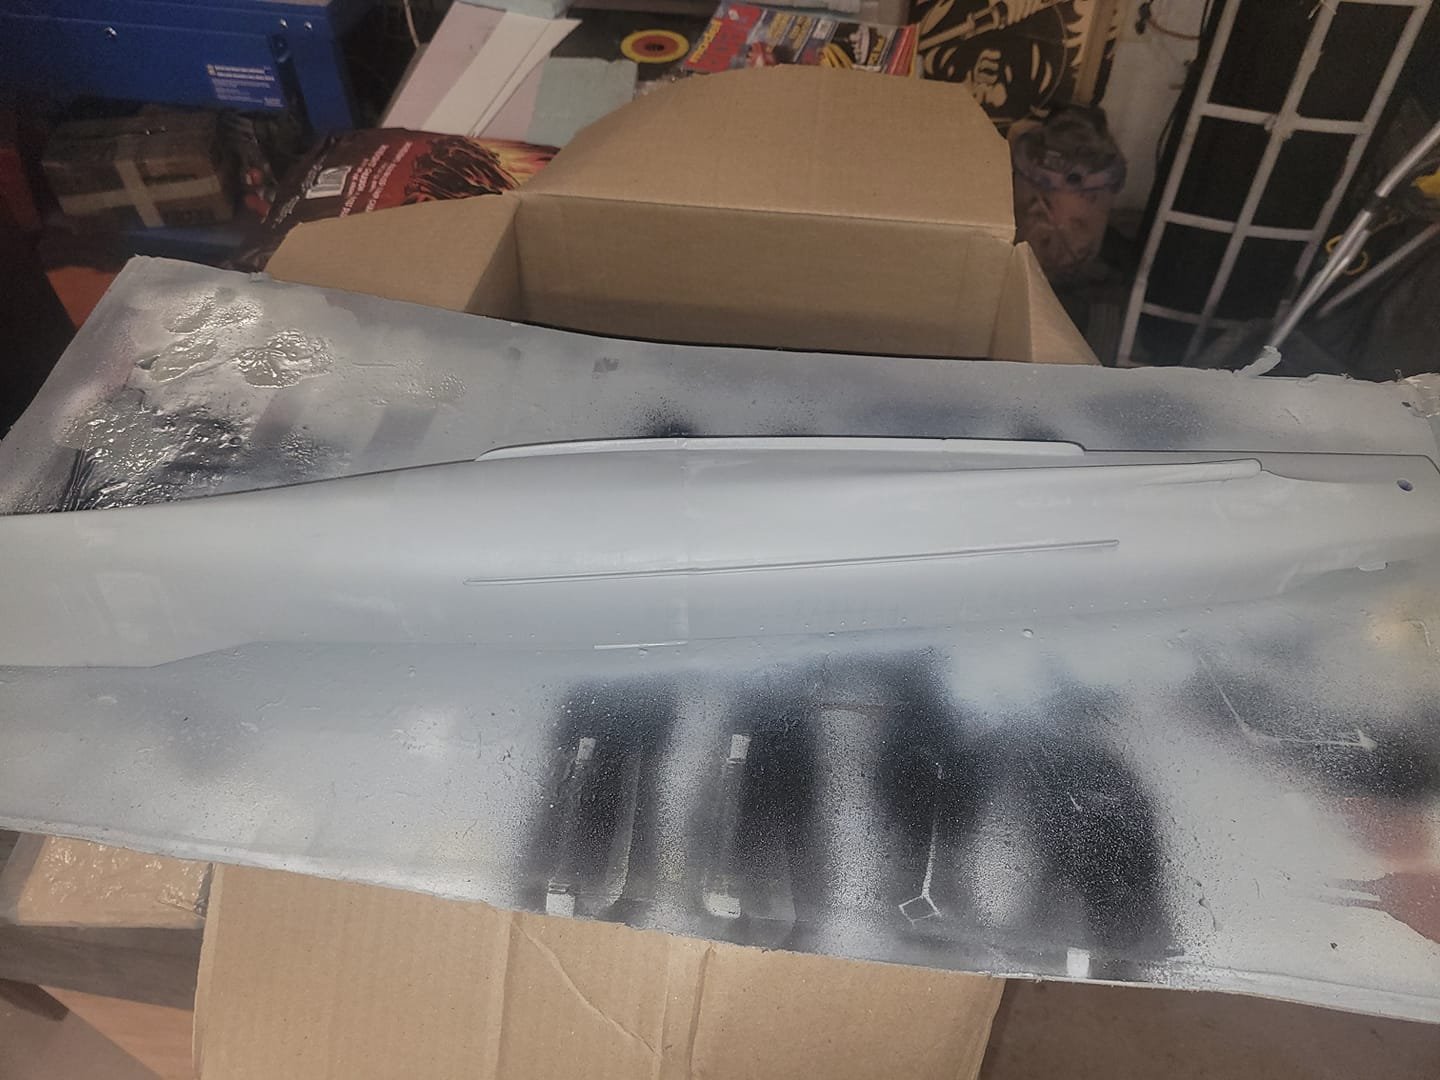
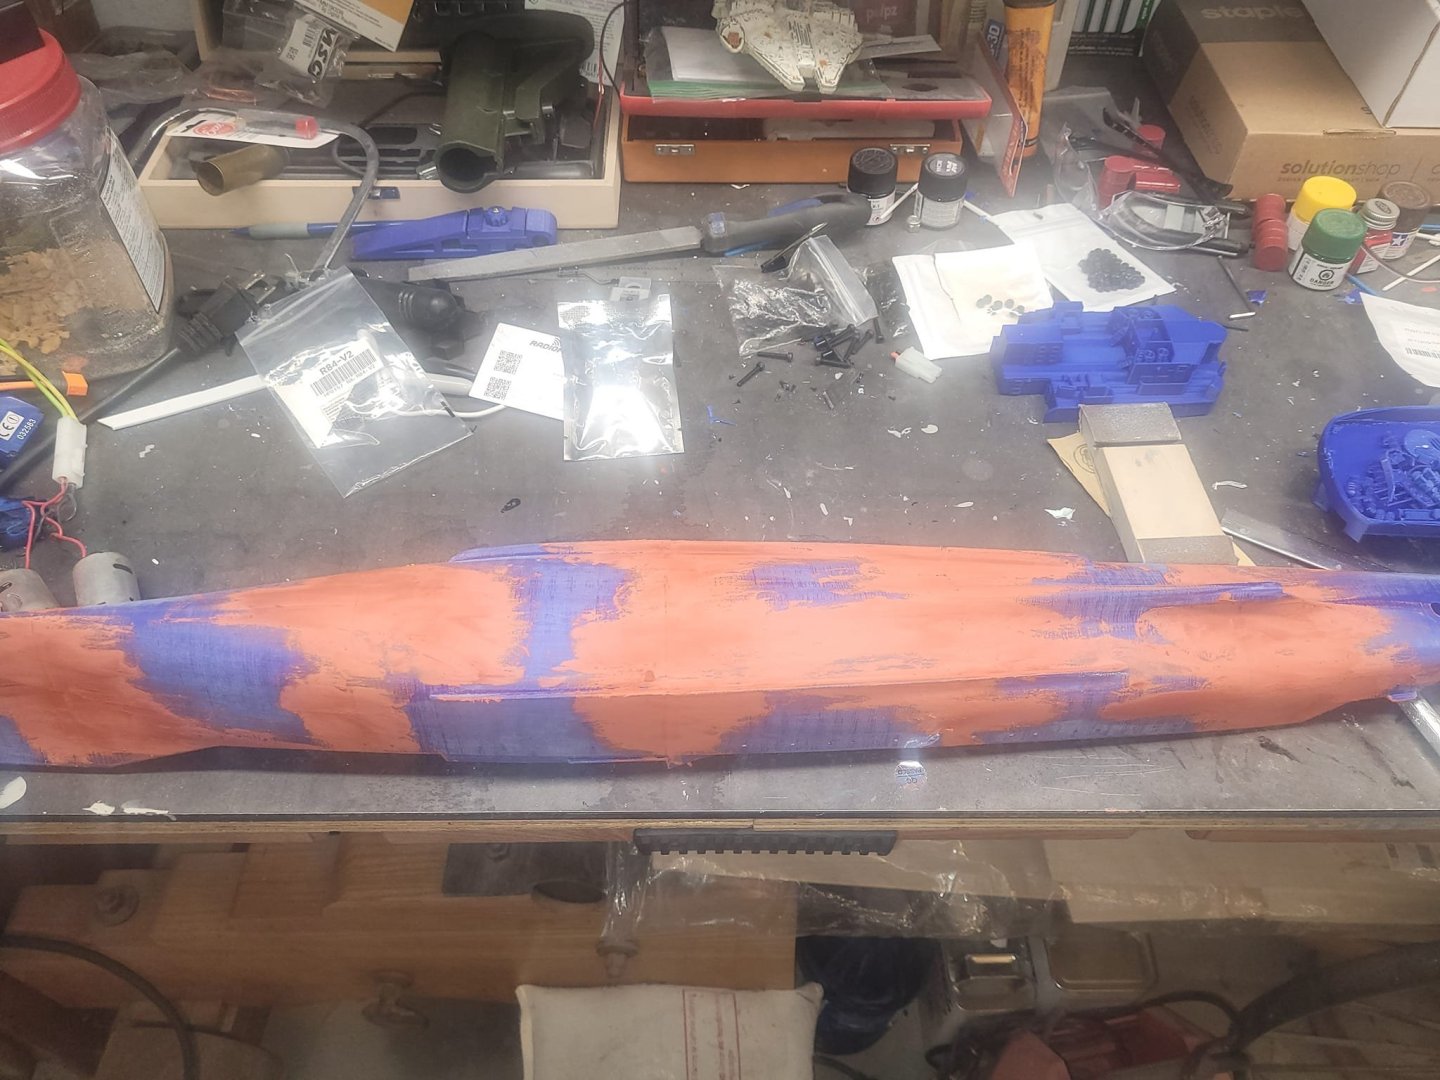
Got caught up on some things last week, and this week I got back to some work on the Bonnie. The HMS Blackpool model is basically complete - just some minor details left to add/finish up, so This week I got the Bonnie out on the paint table, flipped her over and did the upper hull portion in gray paint. Next step will be to scribe the waterline, mask, then do the red. We'll see how that goes!
-
You assume that I have a greater level of skill in 3D design than I actually have...taking someone else's 3D model and adjusting it to delete one shaft, and add 2 in place is not a trivial task. My goal from this was to see if this was a simple workable 3D print that I could use for a 3D printing course as it is. It's mostly OK for that. With the caveat that yeah, one shaft vs 2.
-
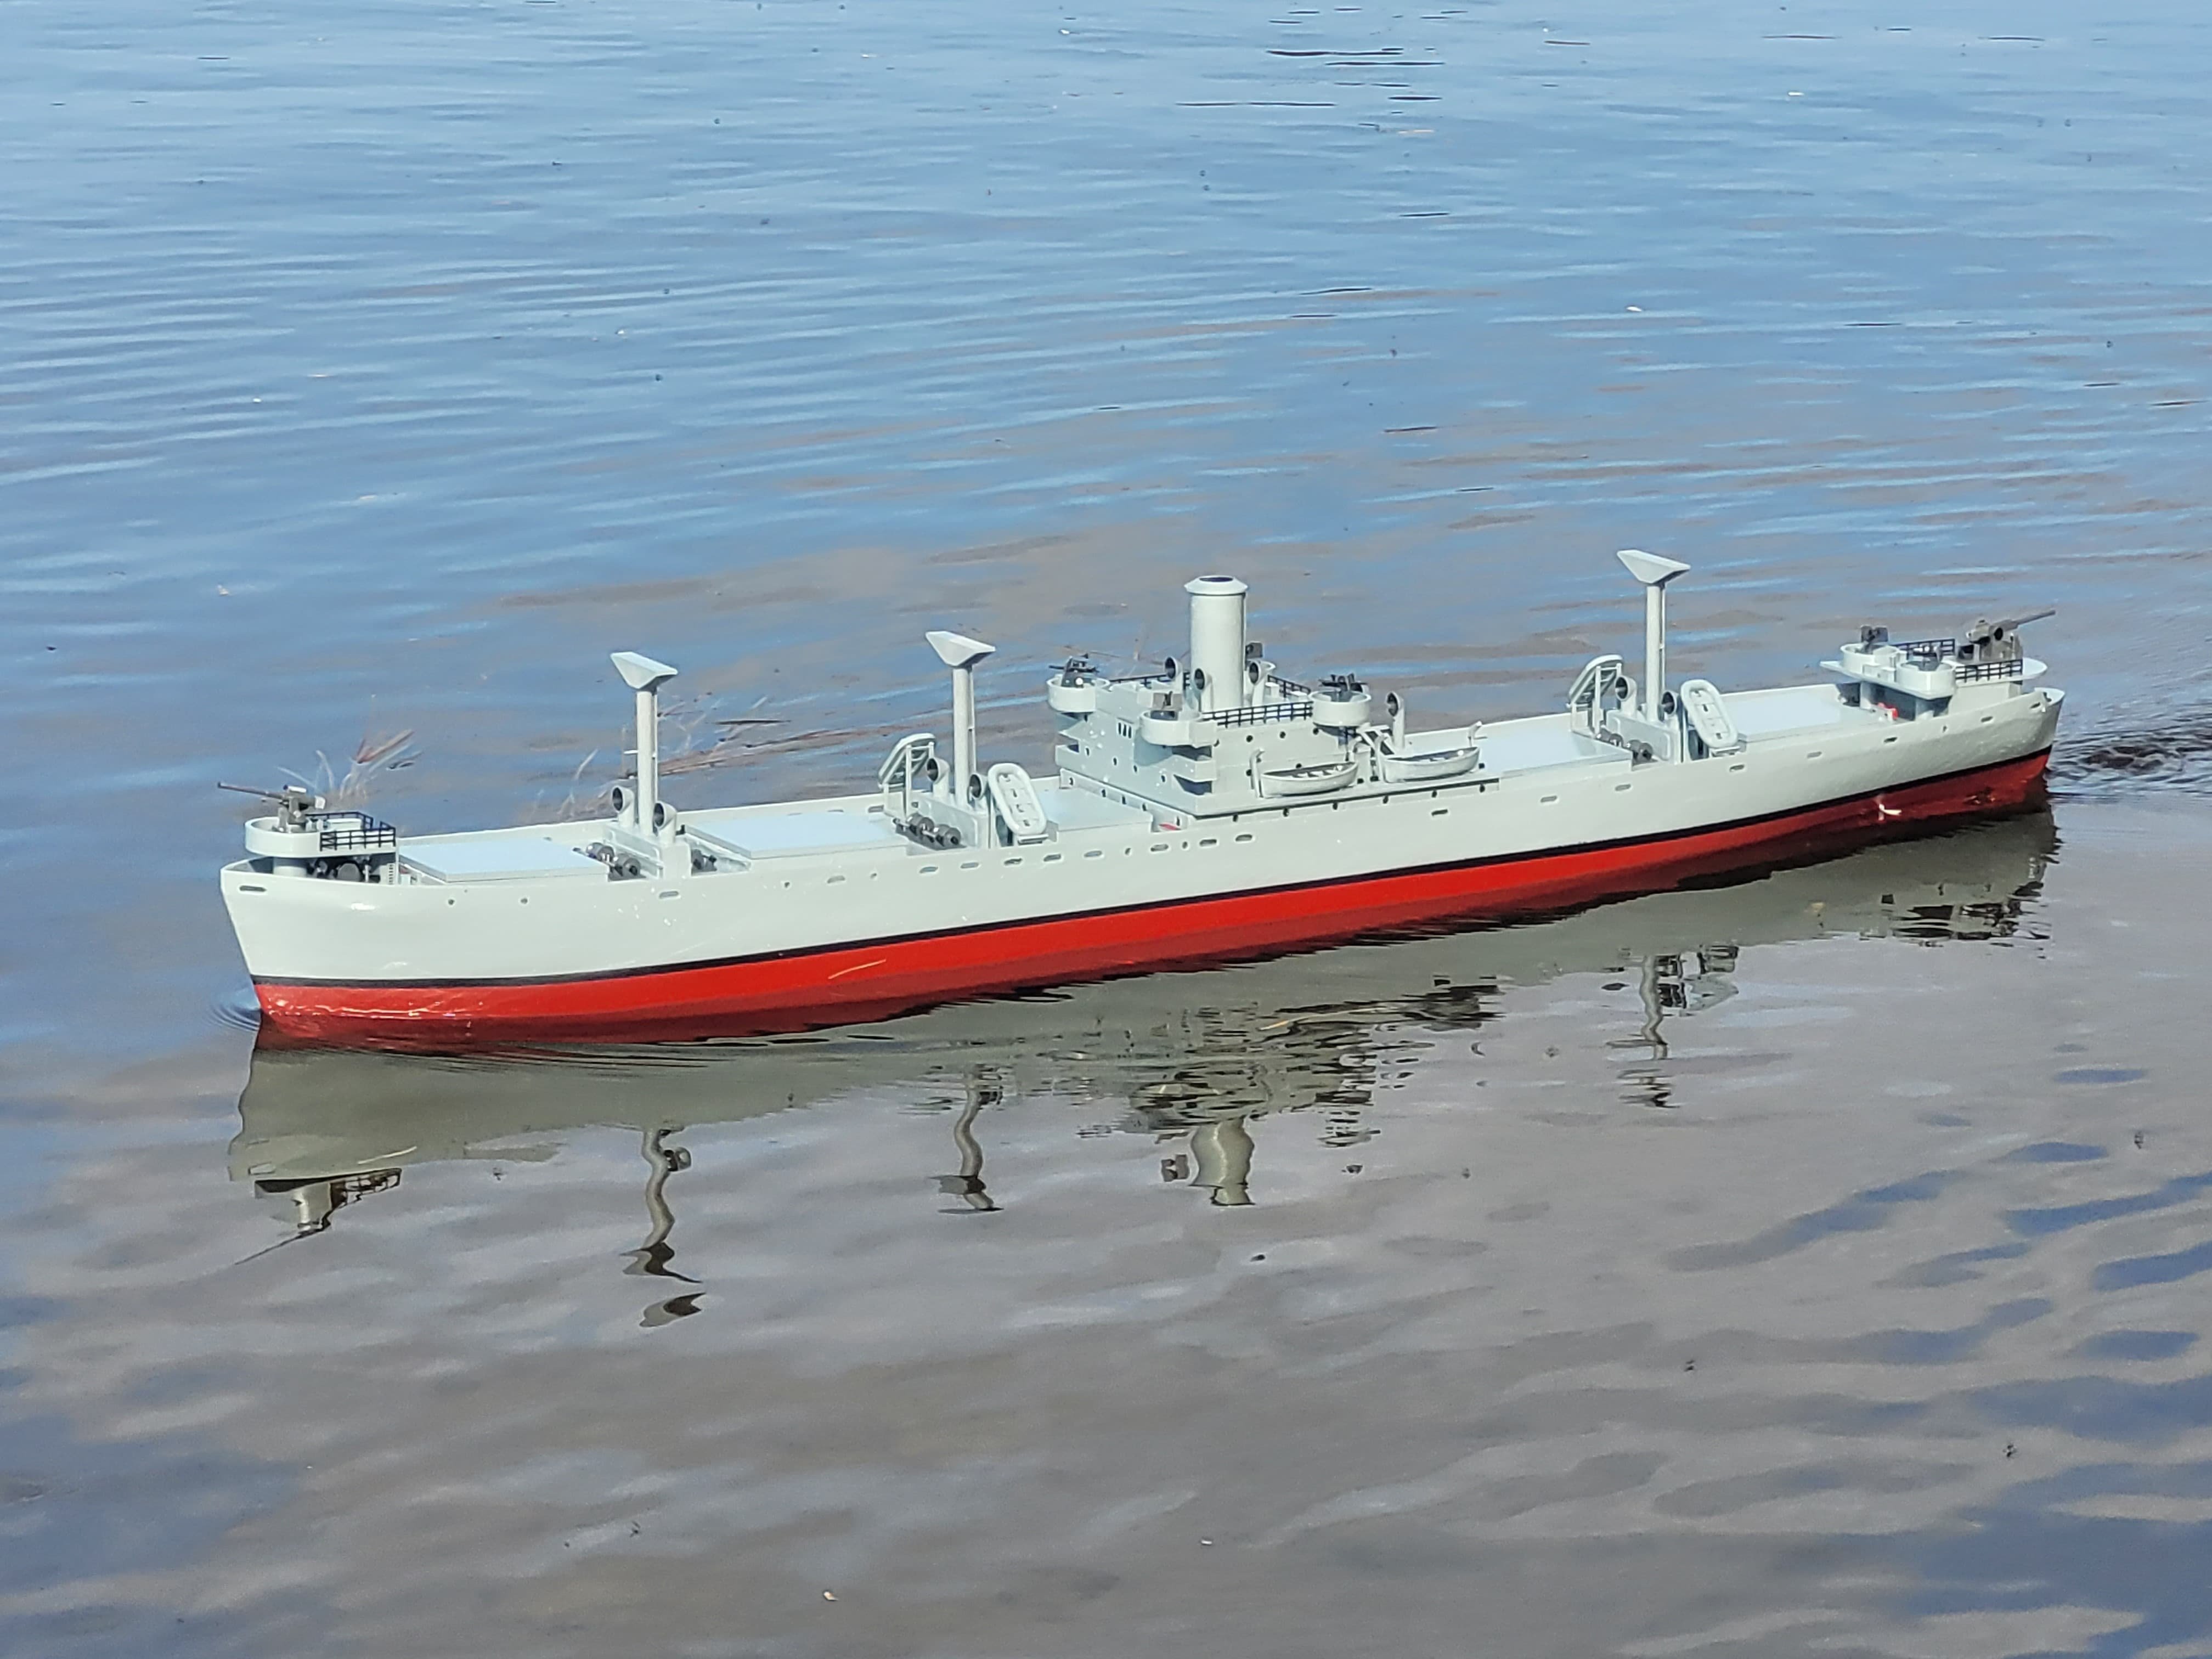
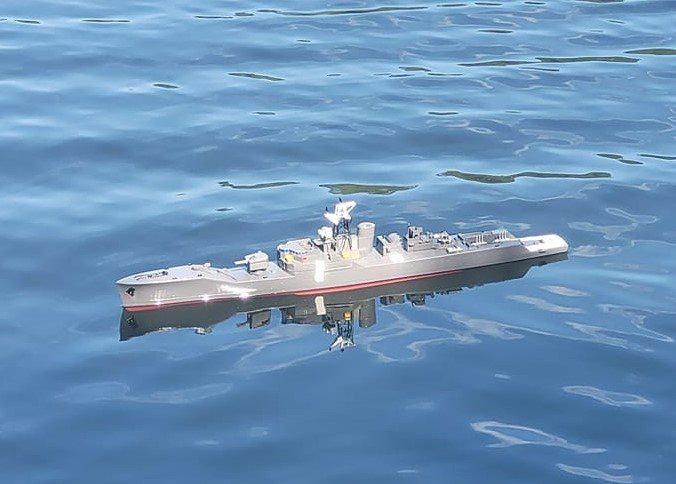
OK! Float test went well! I used some white tape to seal a couple of the upper deck hatches down on a temporary basis, and my 'temporary' prop shaft solution is, truly, only temporary. I was able to get out 20 feet under power, then things stopped working - such is life. Brought her back alongside. The battery pack was all the weight needed to get her ballasted down properly. Generally pleased with the look. We'll see how she performs once I get things fixed up next week.
-
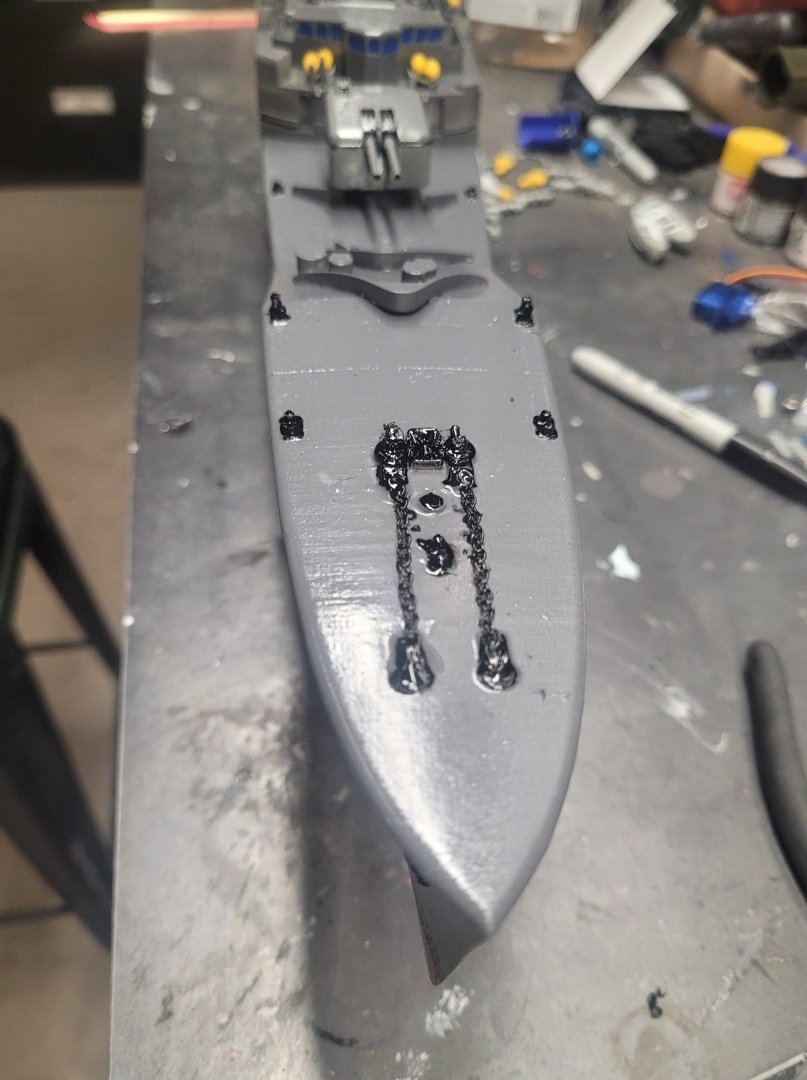
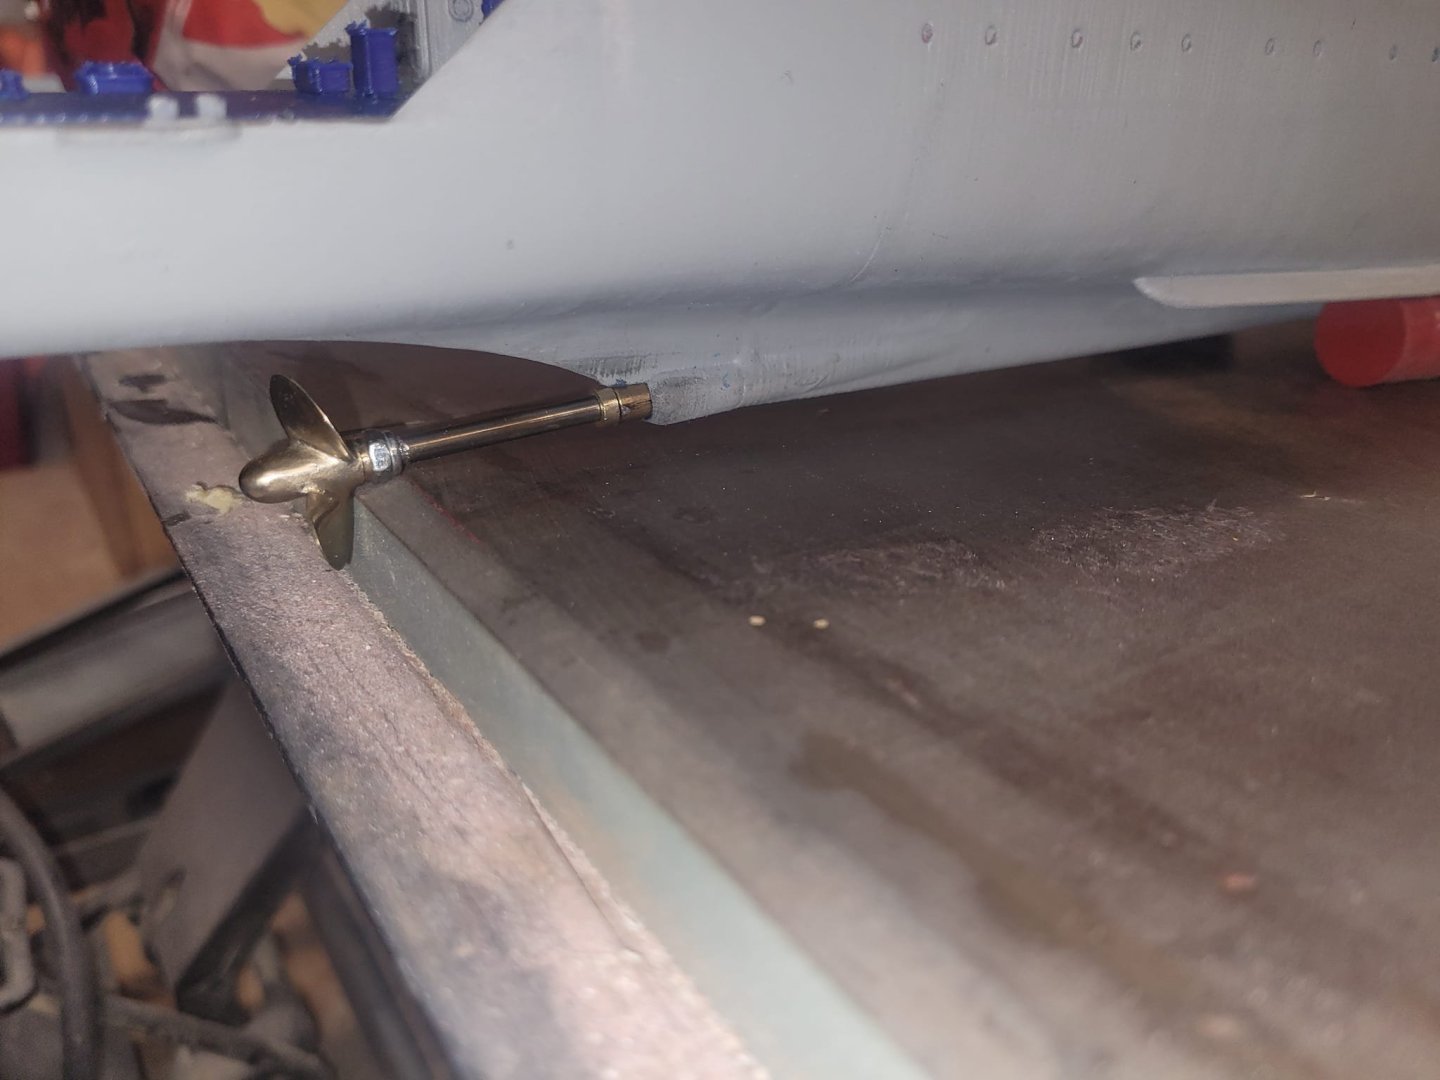
OK, A temporary solution for the prop shaft is in place - the rudder works, prop will spin. Ish. I did a bit of detail painting tonight, added some foam for floatation, charged the batteries up, and I think we'll see how she looks on the pond in the morning. Oh, added a couple sections of Anchor Chain on the foc'sle as well.
-
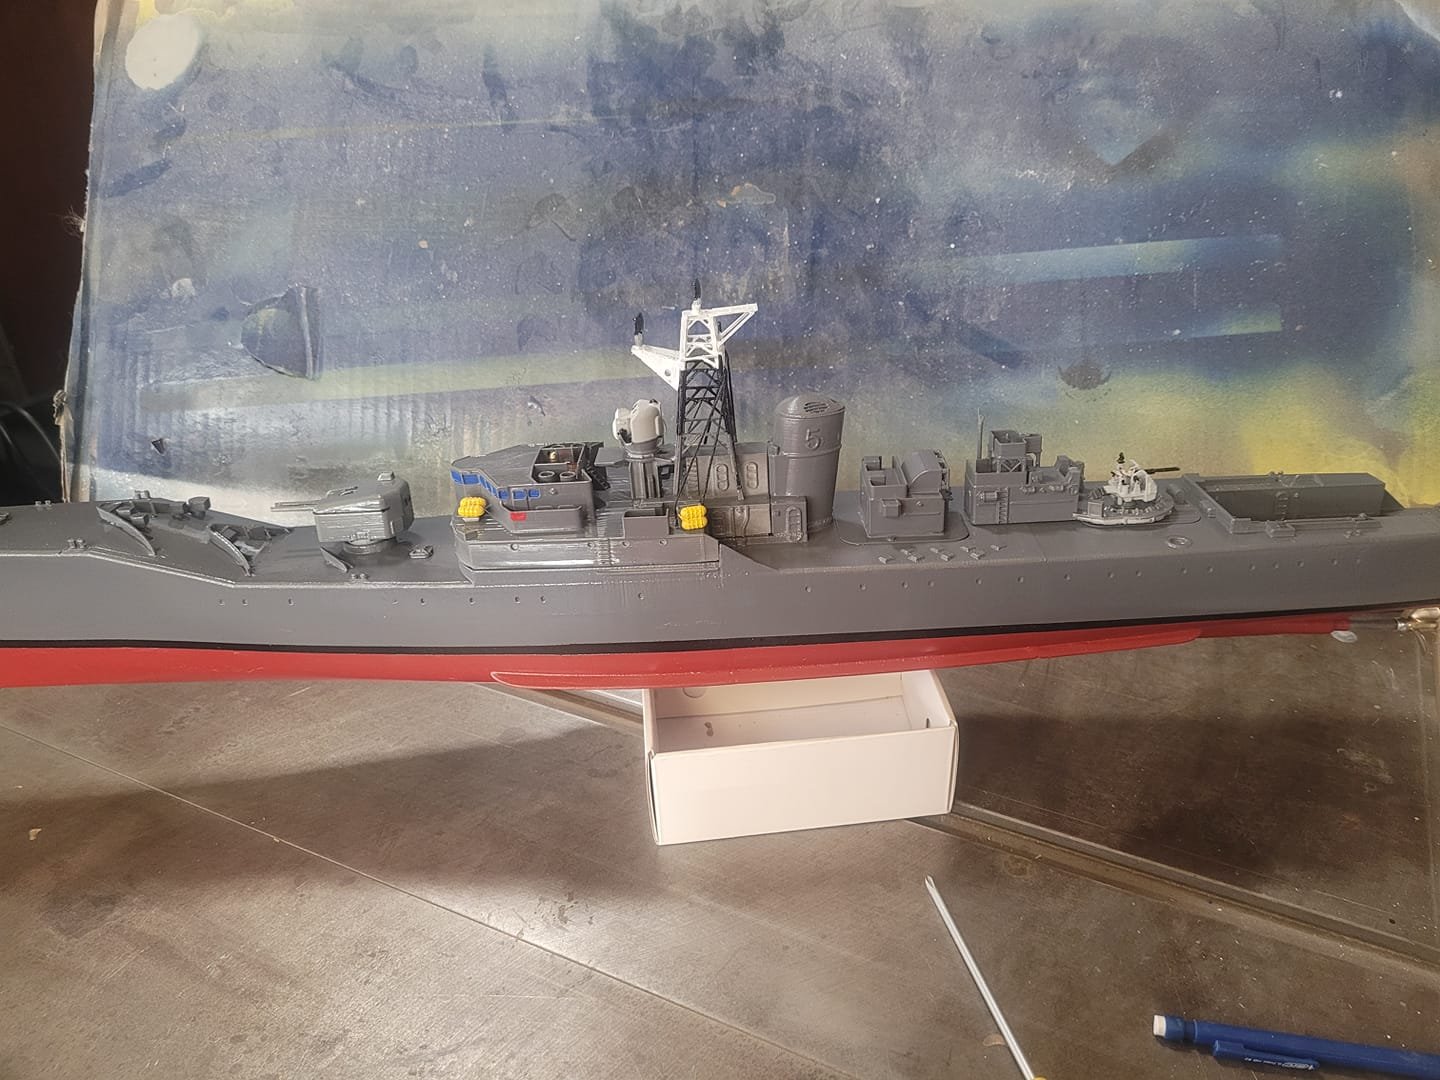
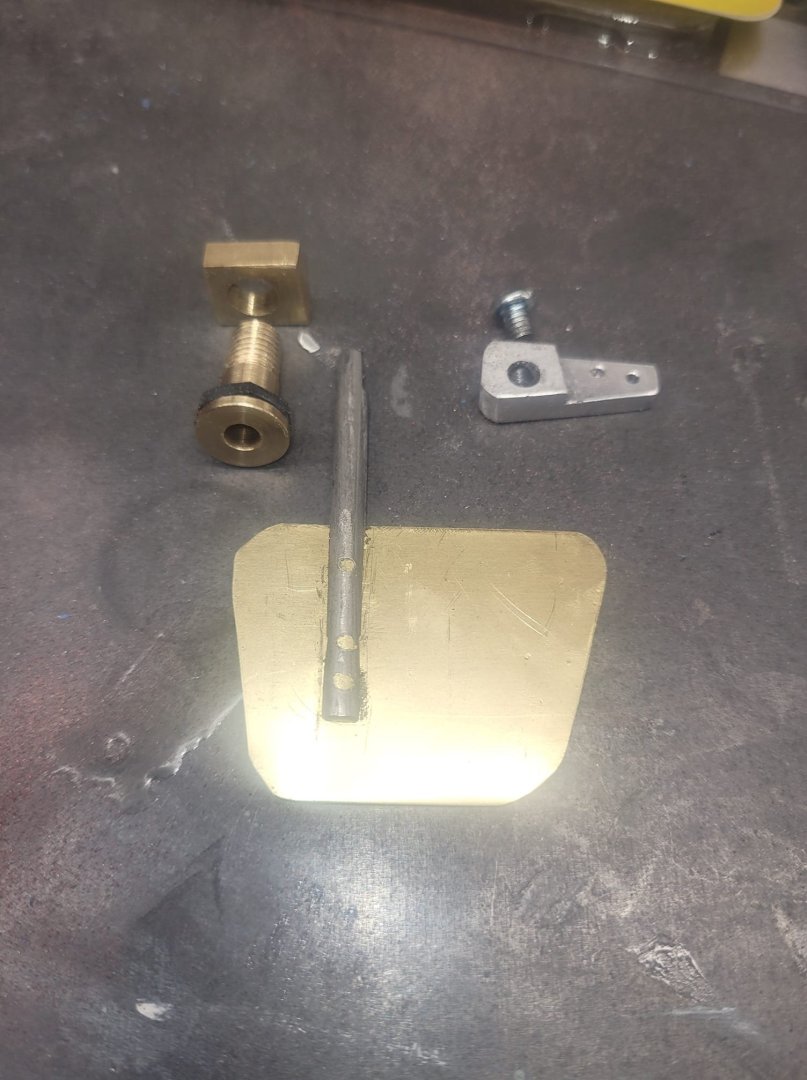
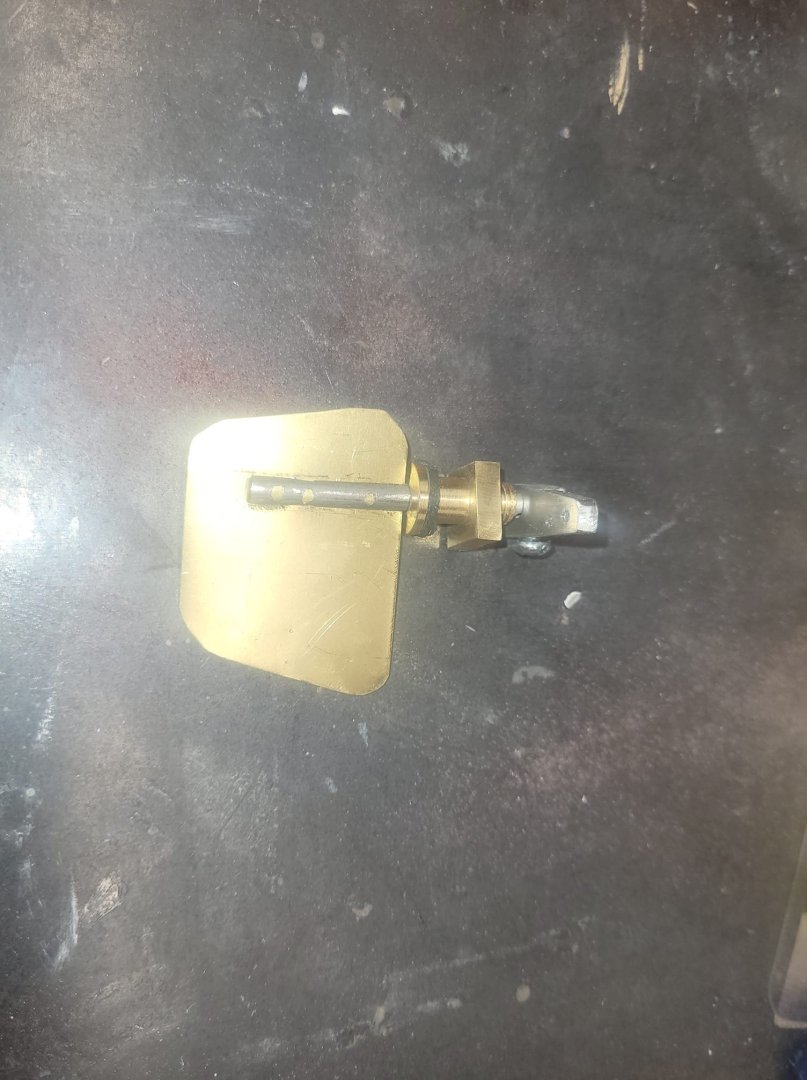
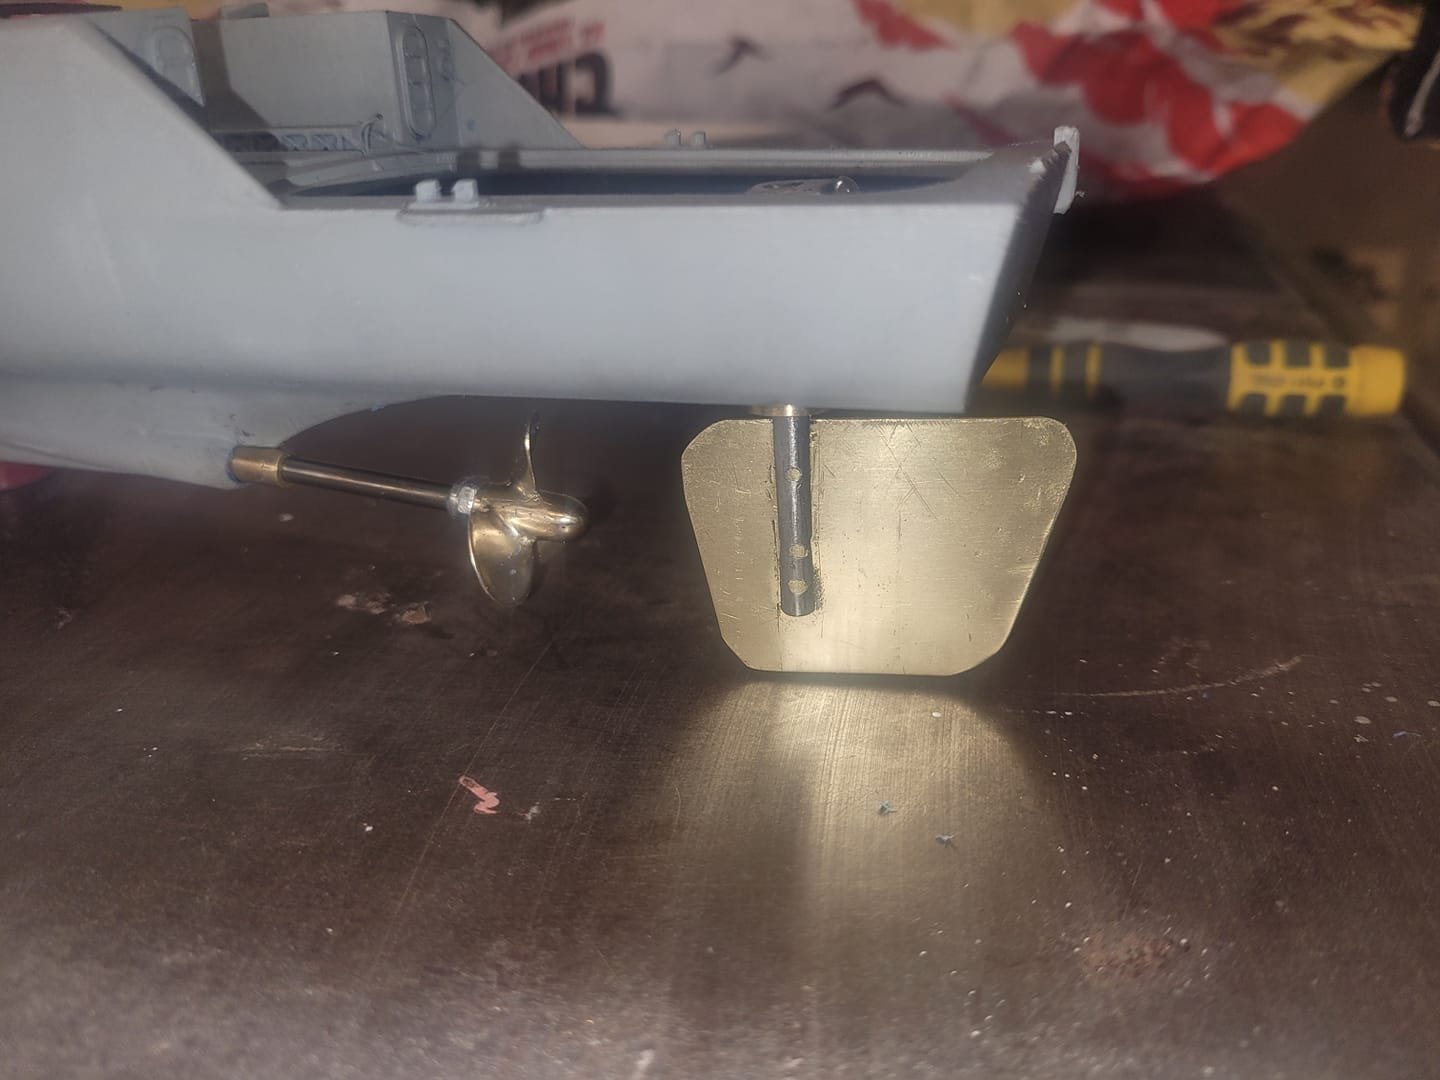
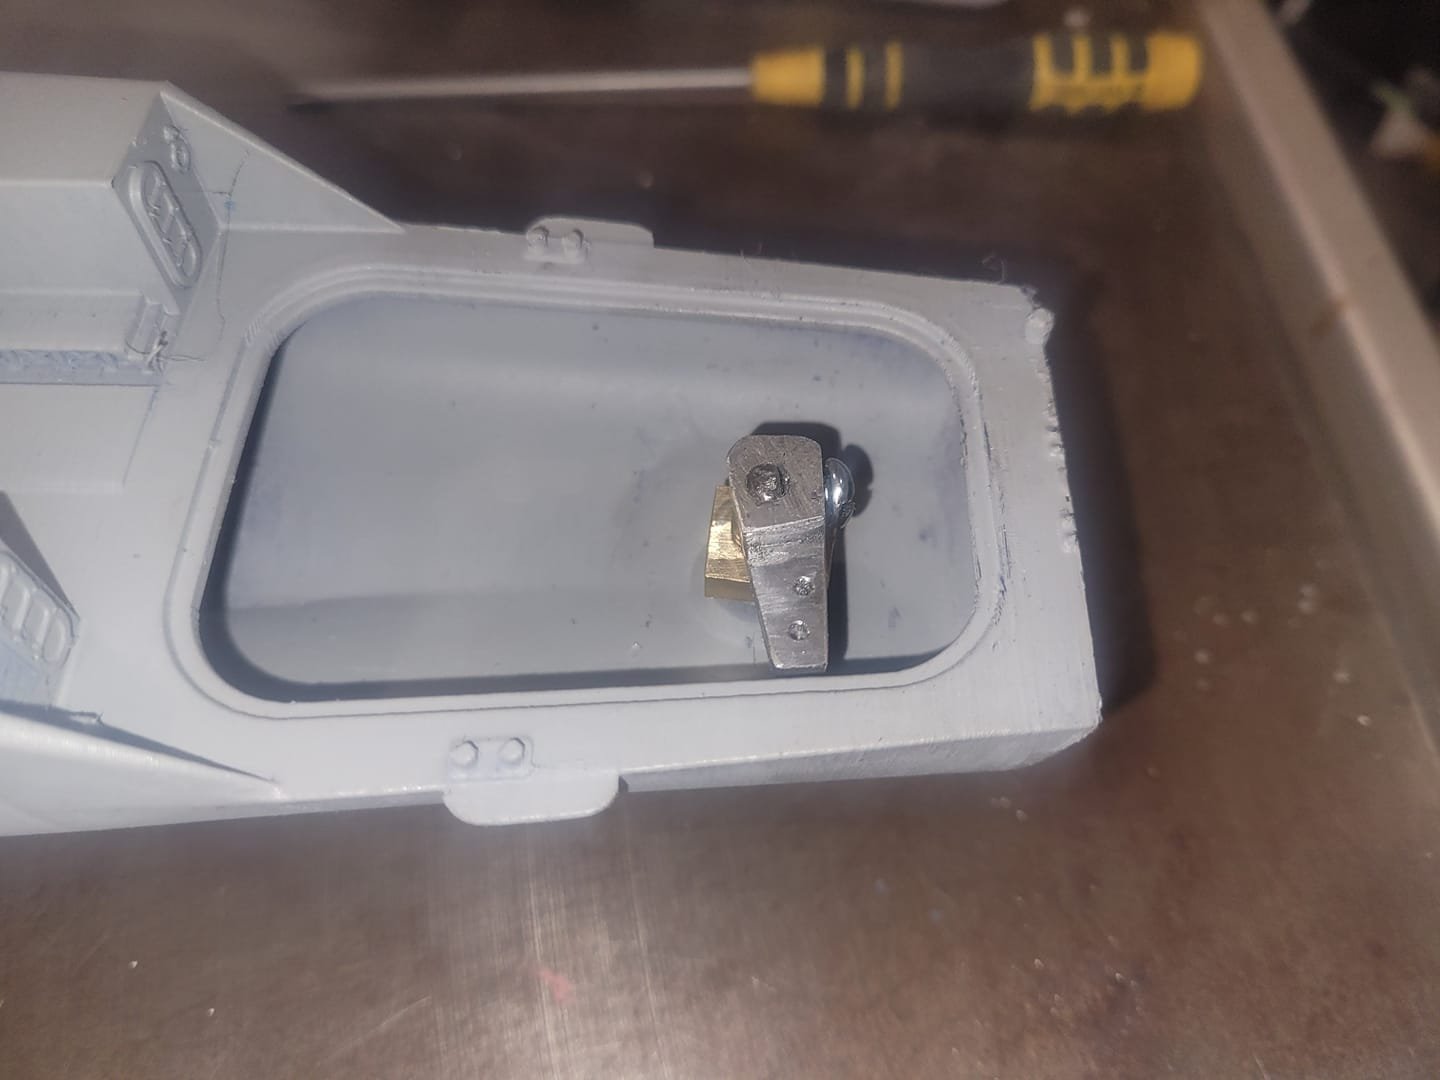
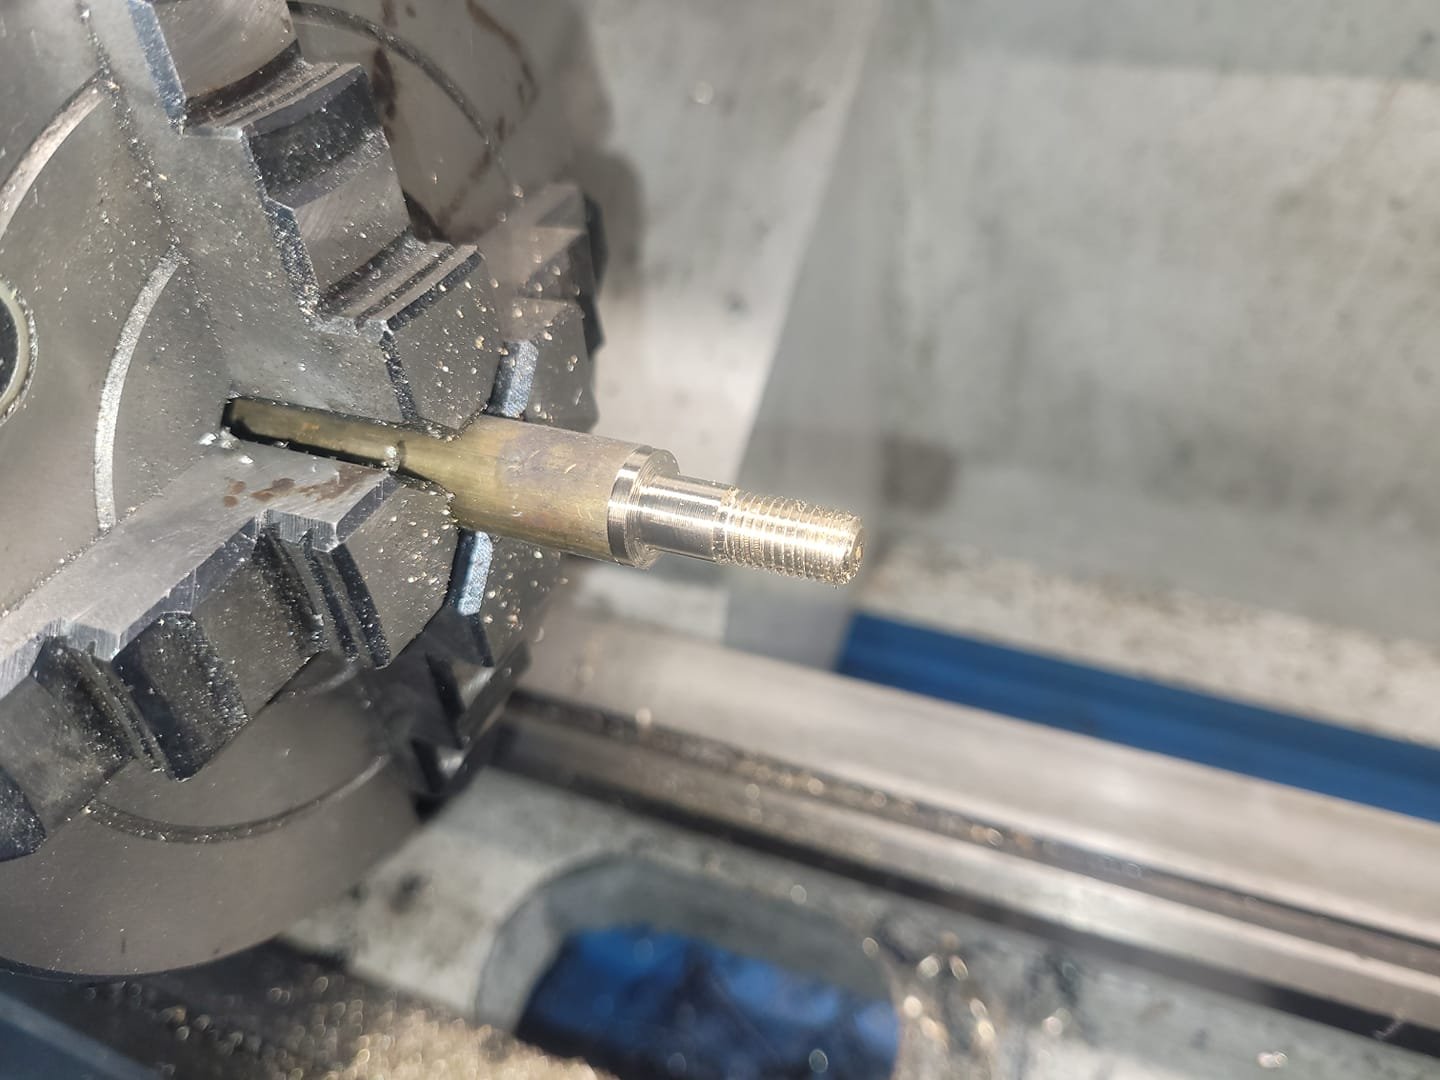
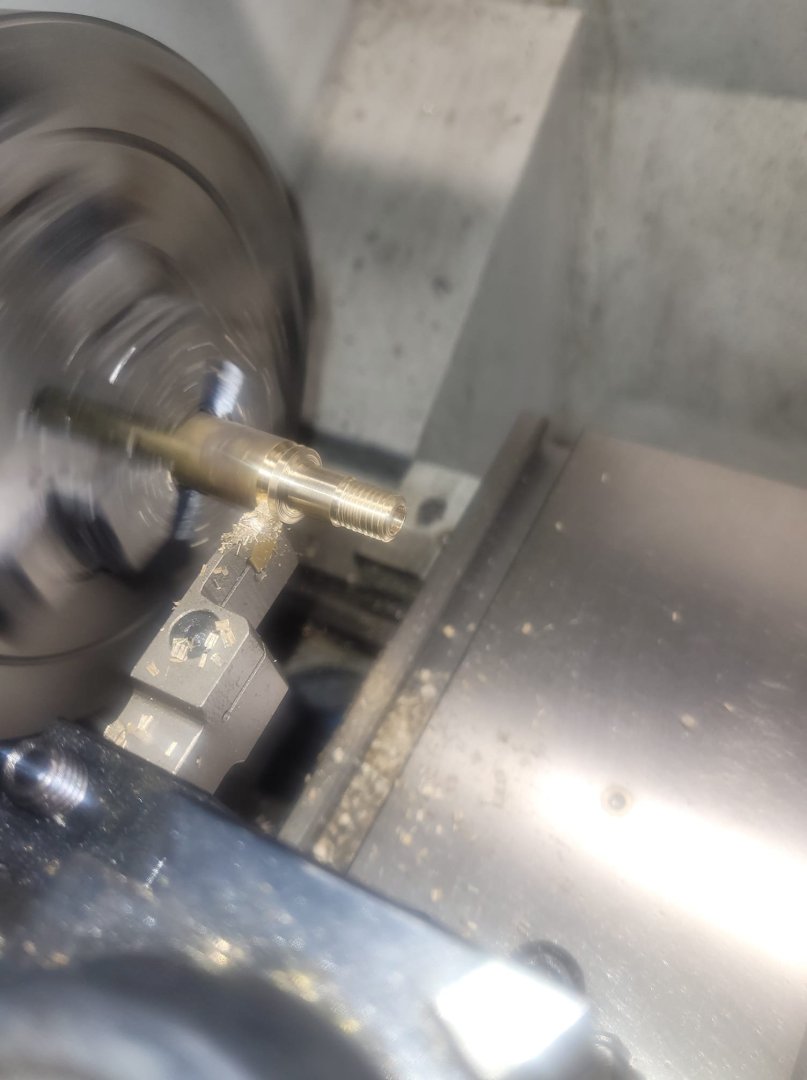
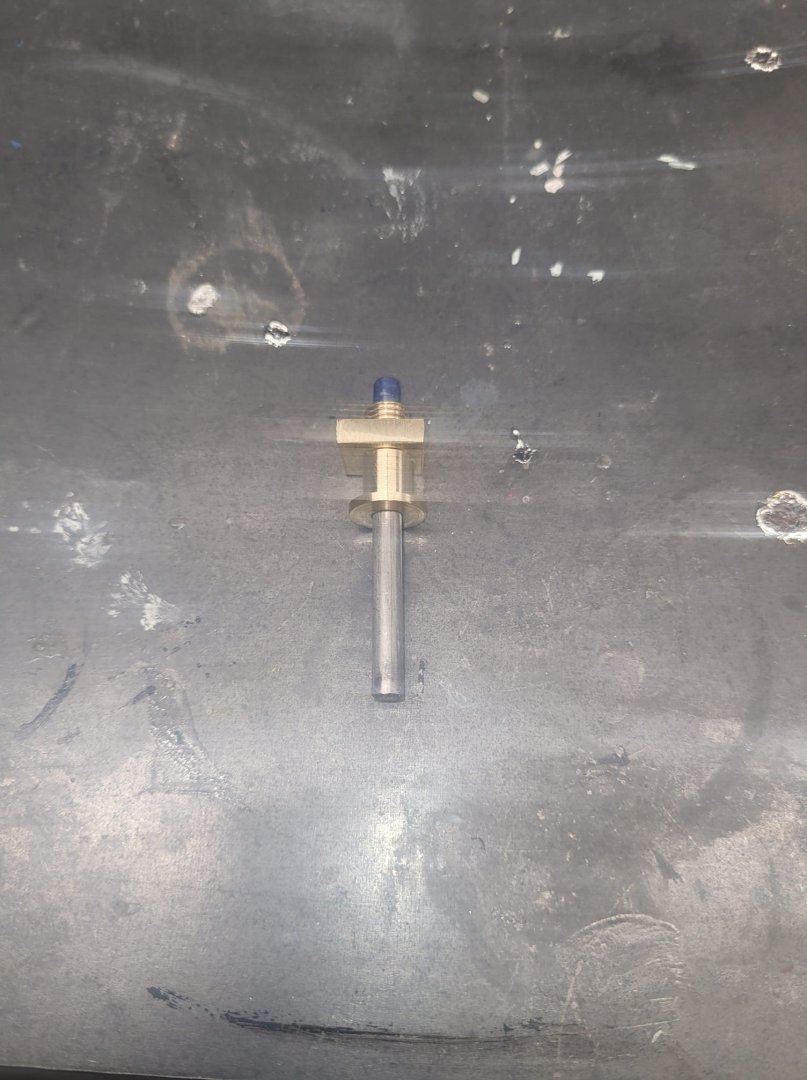
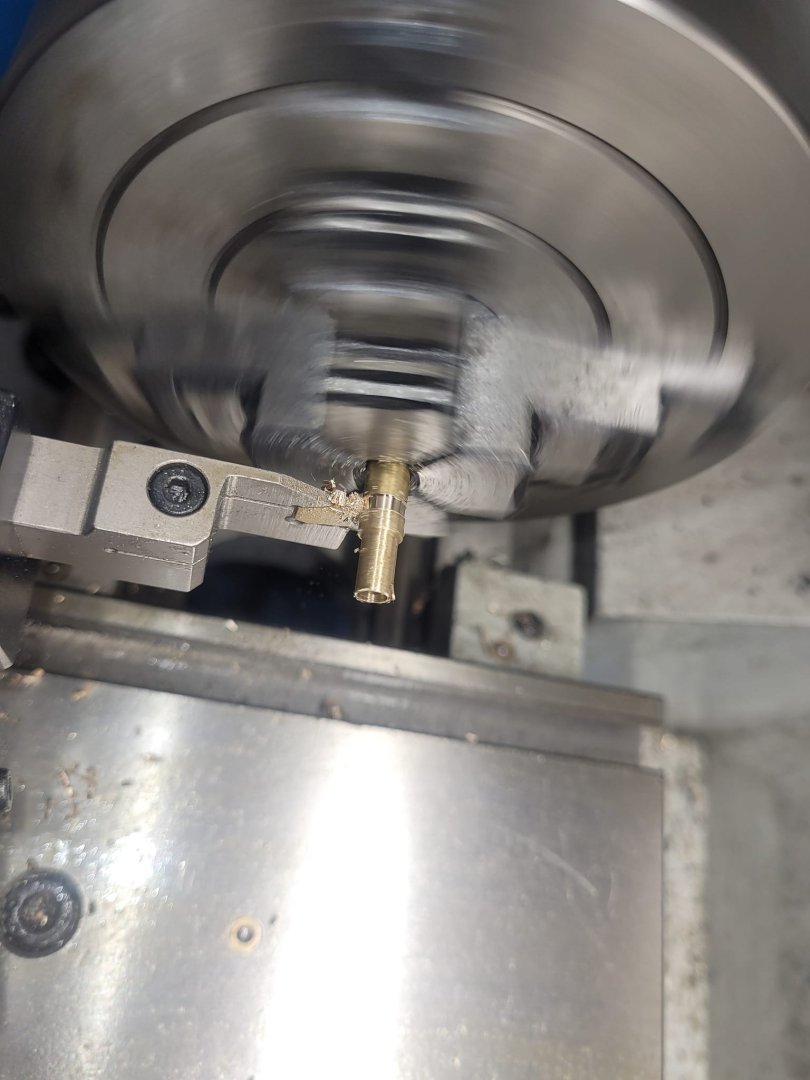
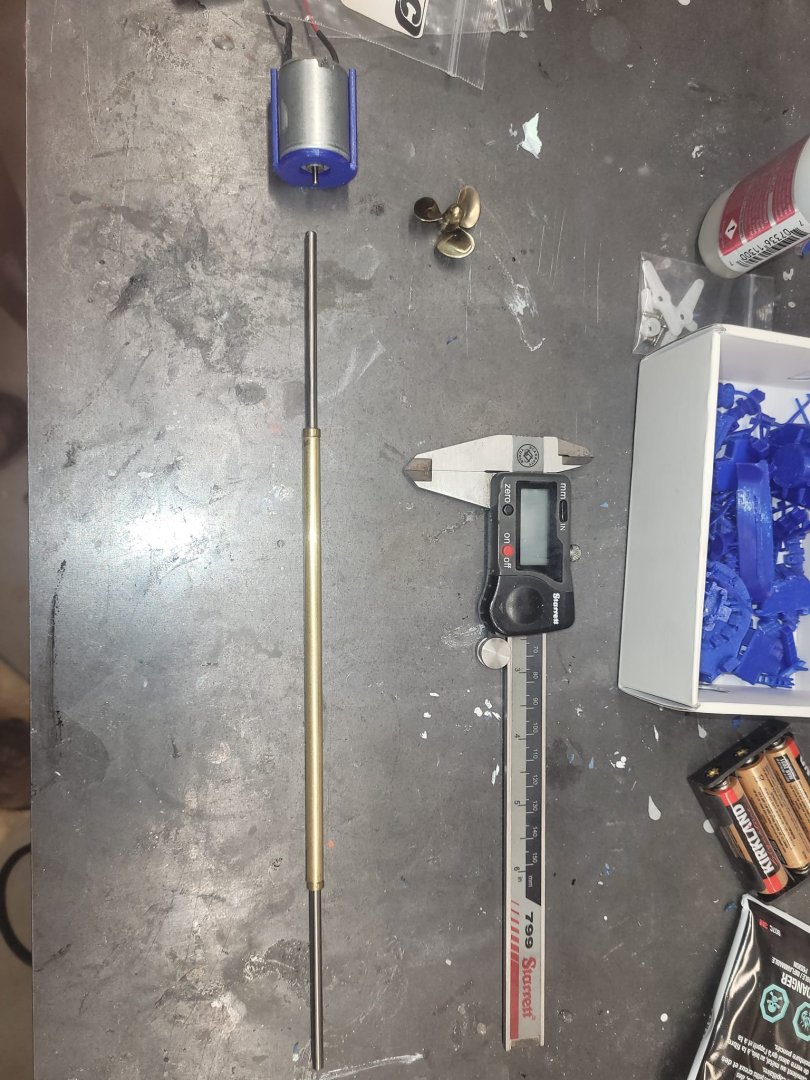
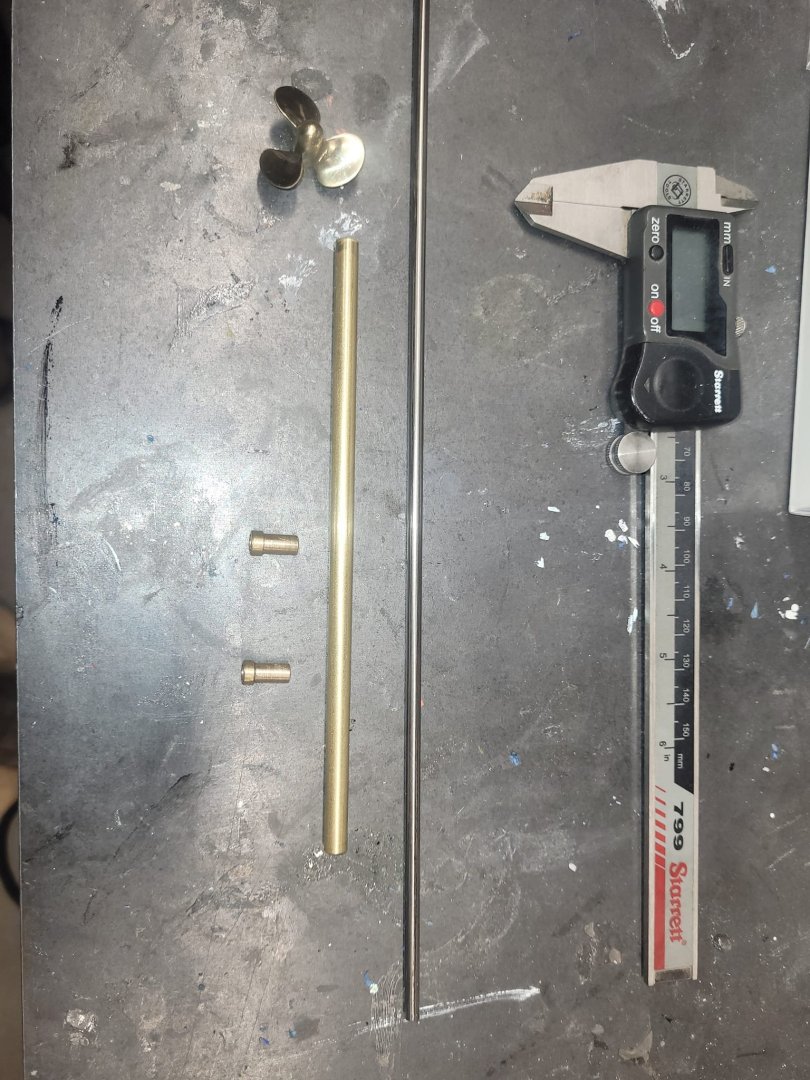
Boot topping added - looks alright! Assembled the RC side of the house - I needed a servo-arm pin/swivel thing and grabbed that at the LHS on the way home from work. Got the rudder setup and functional first. It seems to track OK. Then I decided to try and dial in the shaft line and install the motor - and....well...let me observe that the shaft line piece I had and used isn't perfectly straight it would seem...so while the motor is in, the shaft is too stiff in the stuffing tube to be spun freely. It is VERY Sticky. Good news is that I have a new shaft coming in the mail, and according to the Royal Mail tracking system, it's in Canada...we'll see if I get it tomorrow or not.
-
Got home late last night after doing some enjoyable things on a range with the Army folks I work part-time with, and ended up doing a few minutes of light (220 grit) sanding on the hull, and a light overspray of the dark gray paint again. I think tonight I'll end up putting tape on and spraying on the boot topping, then tomorrow I'll start putting on the last details and getting her assembled and ready for the pond on Saturday.
-
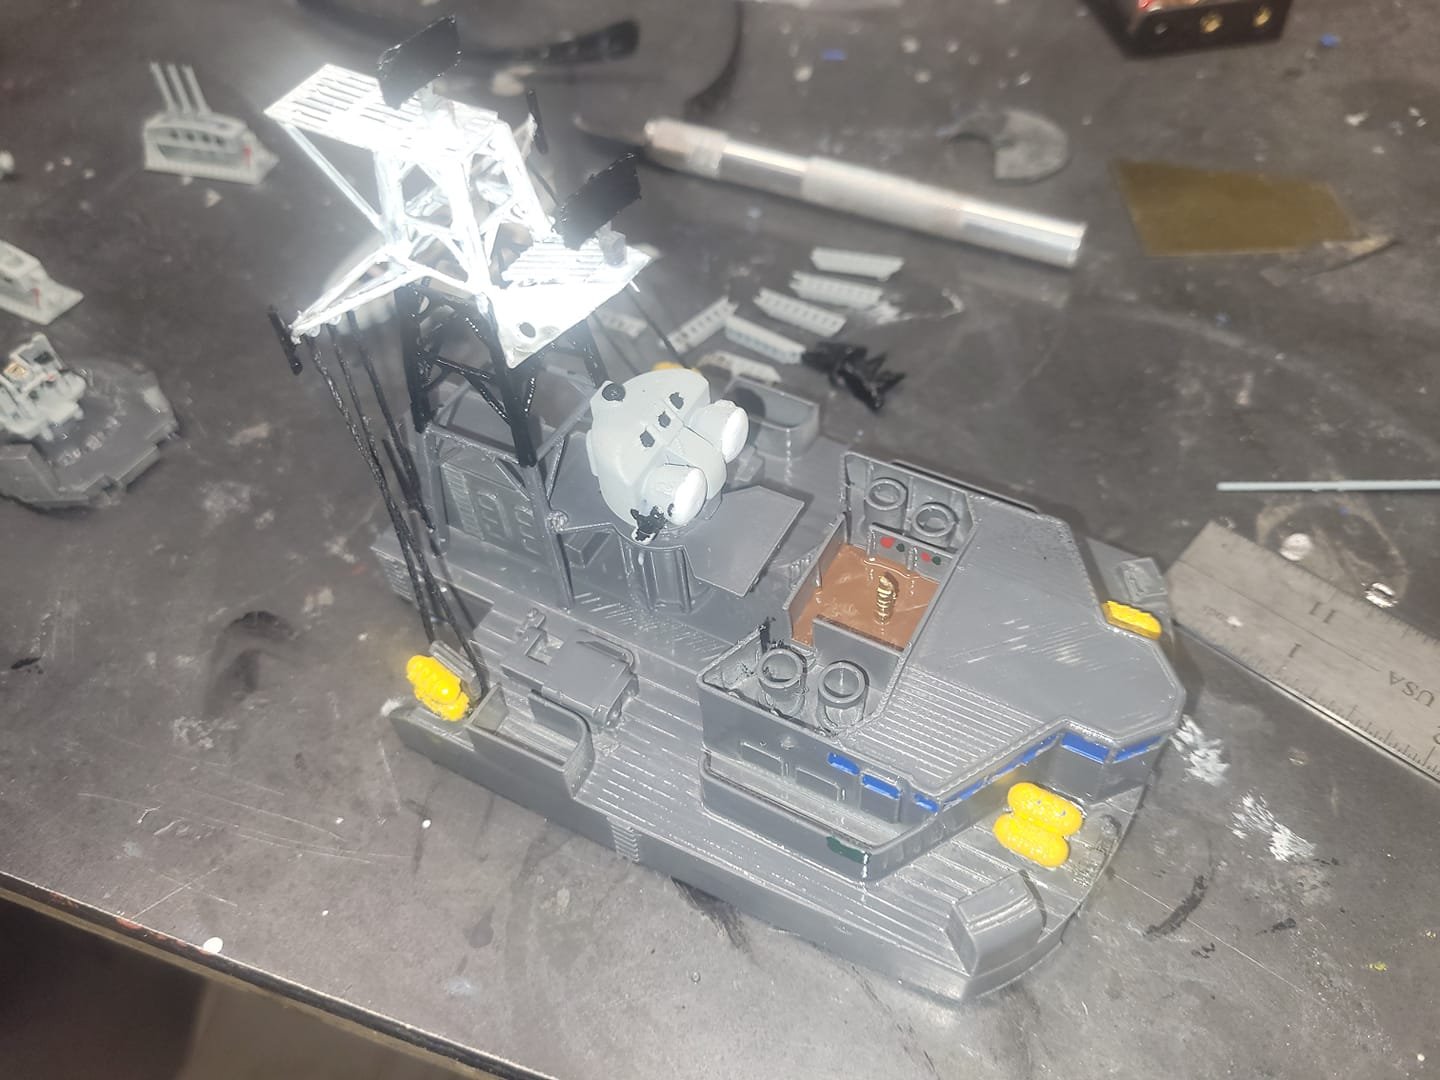
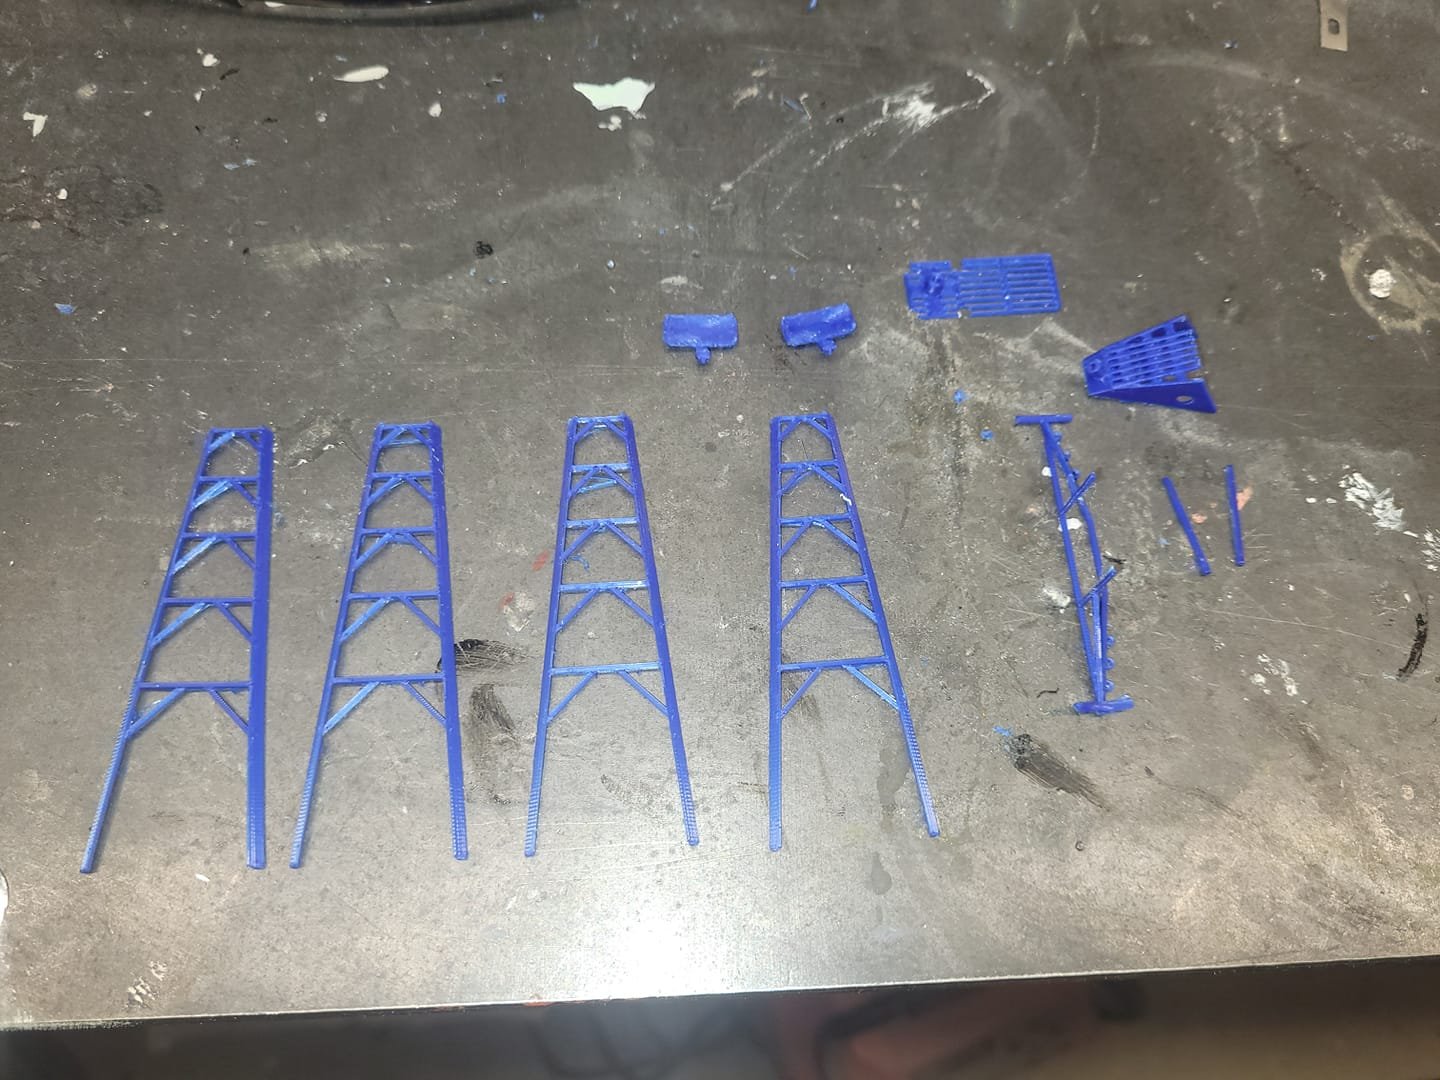
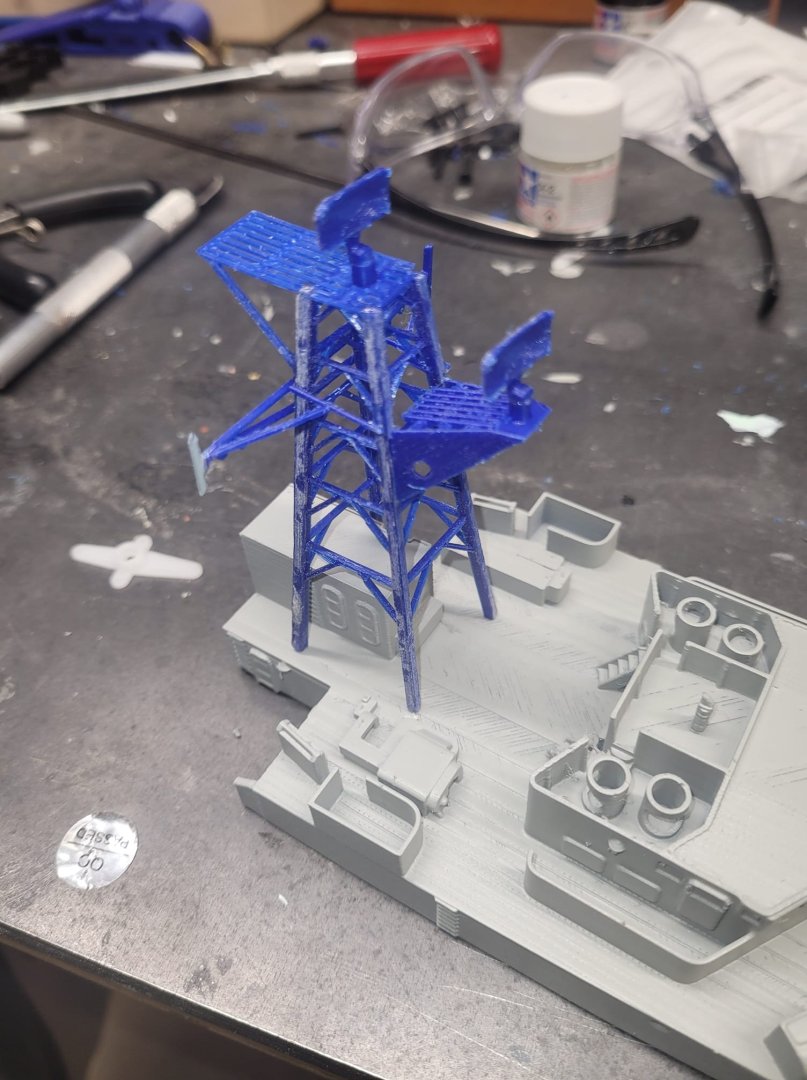
Correct! The print file was setup for a single shaft. Today I built up a 3D printed mast based on the smaller one from my Bonnie model. I added a Yardarm with some full dipole Antennas and used a Radar dish from a Gepard AA tank model. Turned out OK methinks! It is not 100% accurate based on images, but it's close enough for this project. NS
-
I will do my level best to keep upper deck weight low! I've picked up a small battery pack to keep that weight down, and I'm using 9g servos as well. Overall printed weight is quite low. We'll see how things turn out! My plan for the mast will be 3D printing as well - I'm hopeful that will keep the weight down there as well!
-
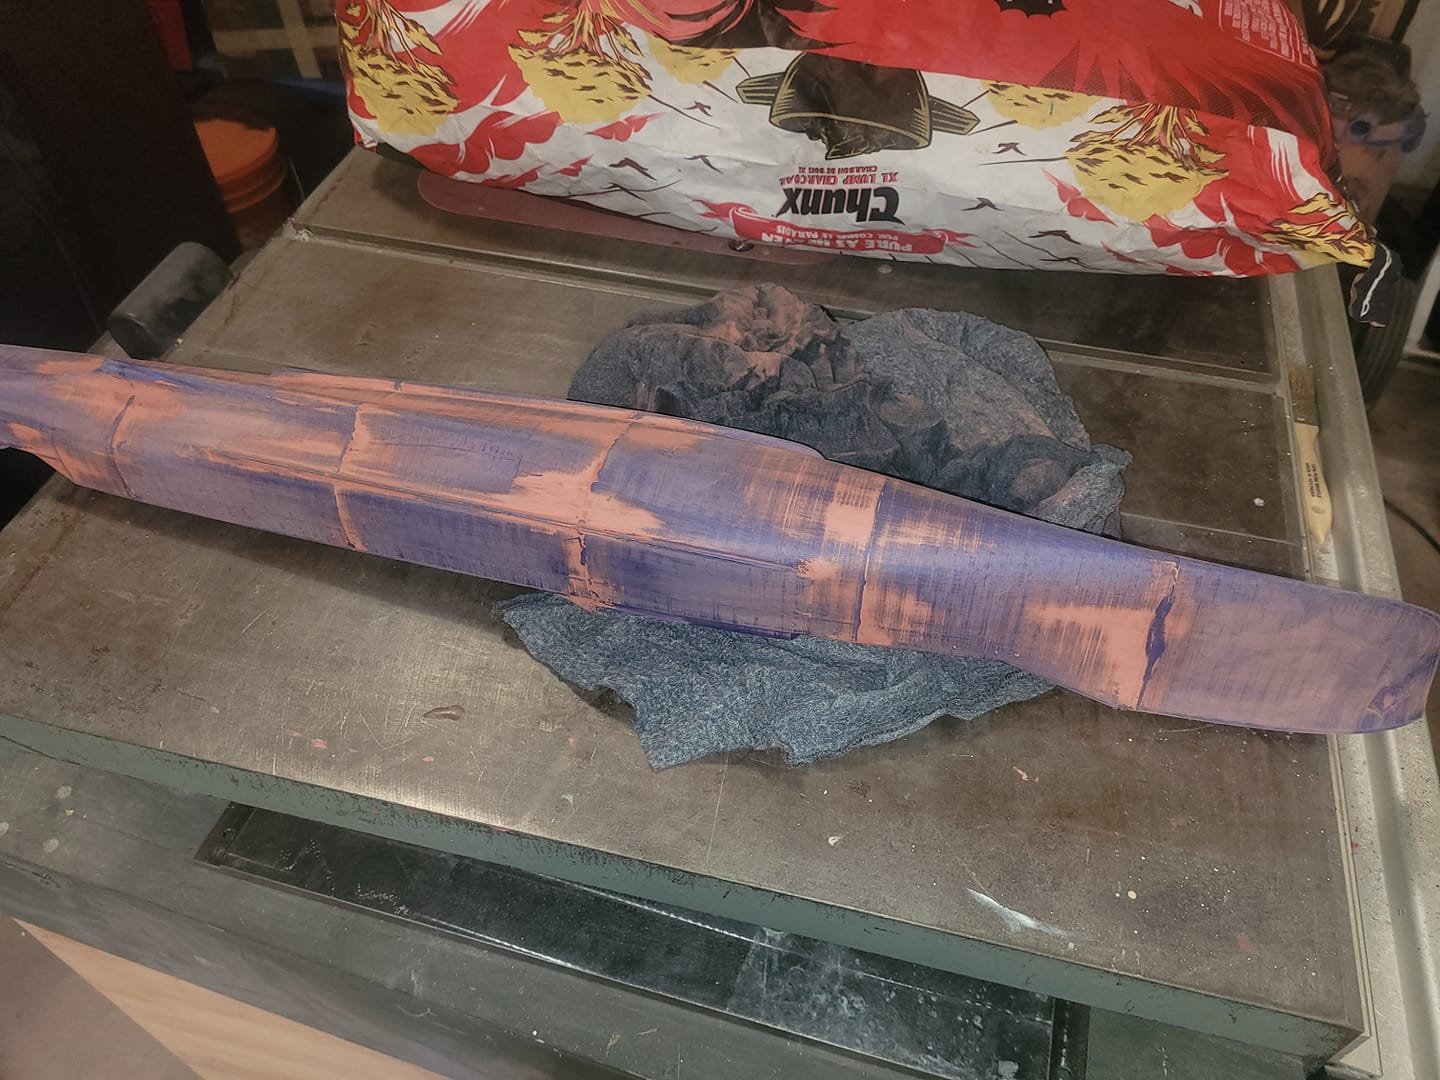
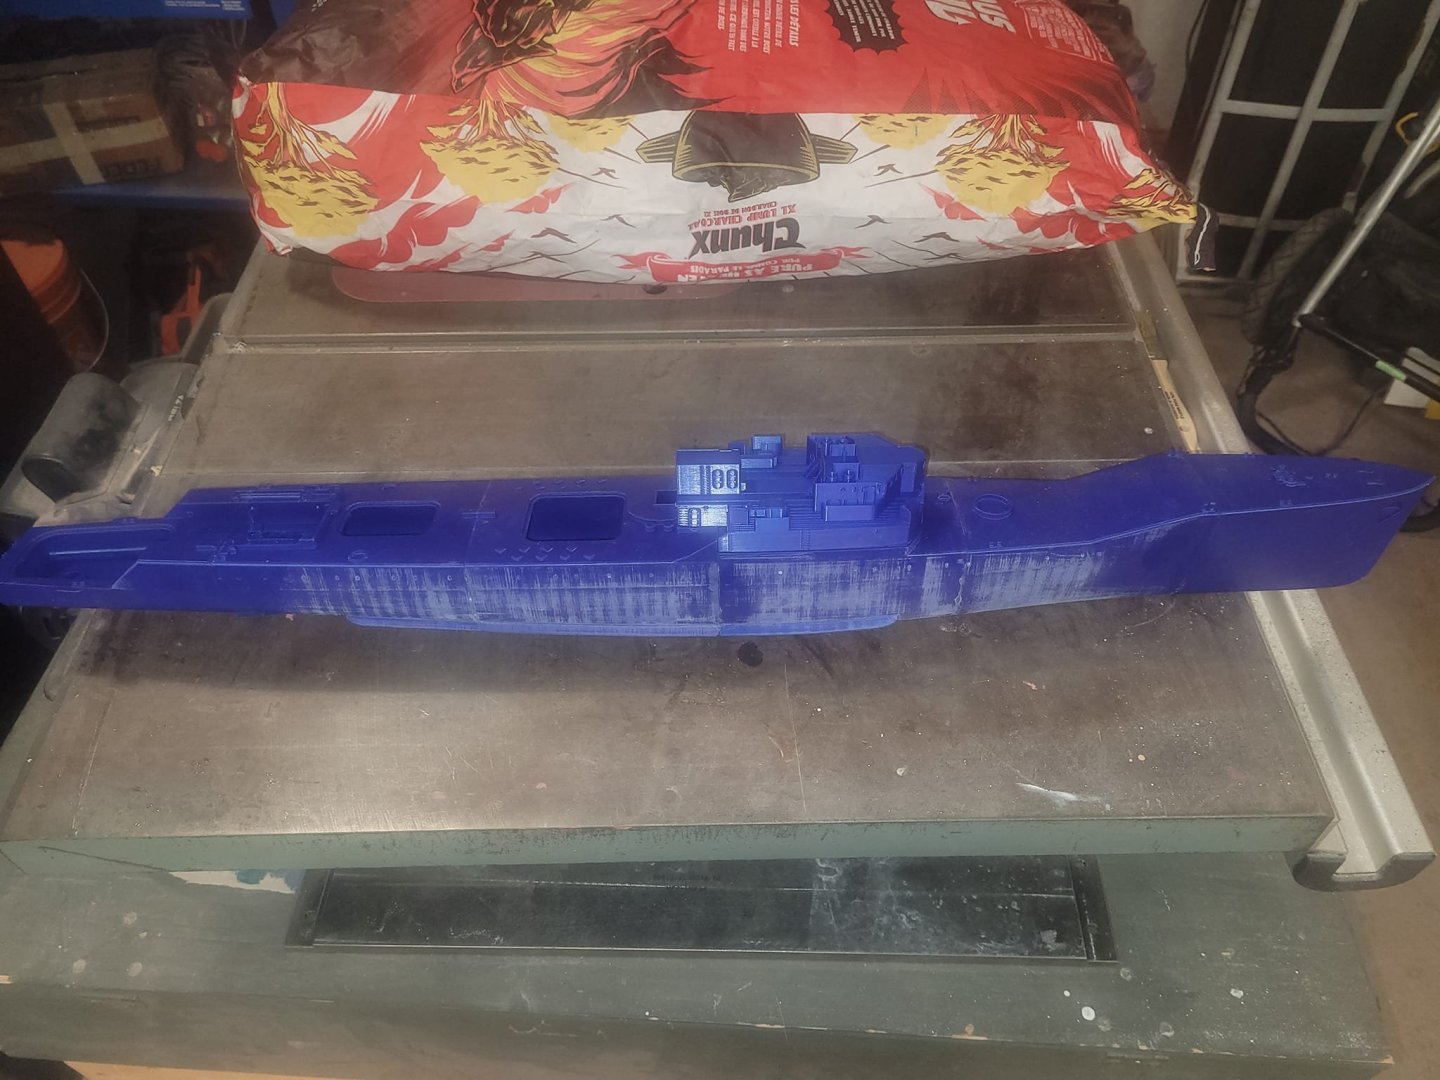
Hull has been glued together, sanded, and a layer of bondo putty has been applied to dry overnight. I'll do another sanding in the morning to tidy her up, and put on a layer of Fiberglass Resin to seal the hull up. This is going fairly quickly! The re-printed superstructure looks good. I also dropped by the LHS and picked up a new 4 channel receiver - added it to a couple of 9g servos and an old ESC, and I've got a functional RC system put together now. - Rudder - Throttle - Gun rotation I am pondering the 4th channel to see what I do with it. Do I get a sound kit? Or. Do I rig it up with a switch for lights and a spinning Radar dish? Hrm. We'll see!
-
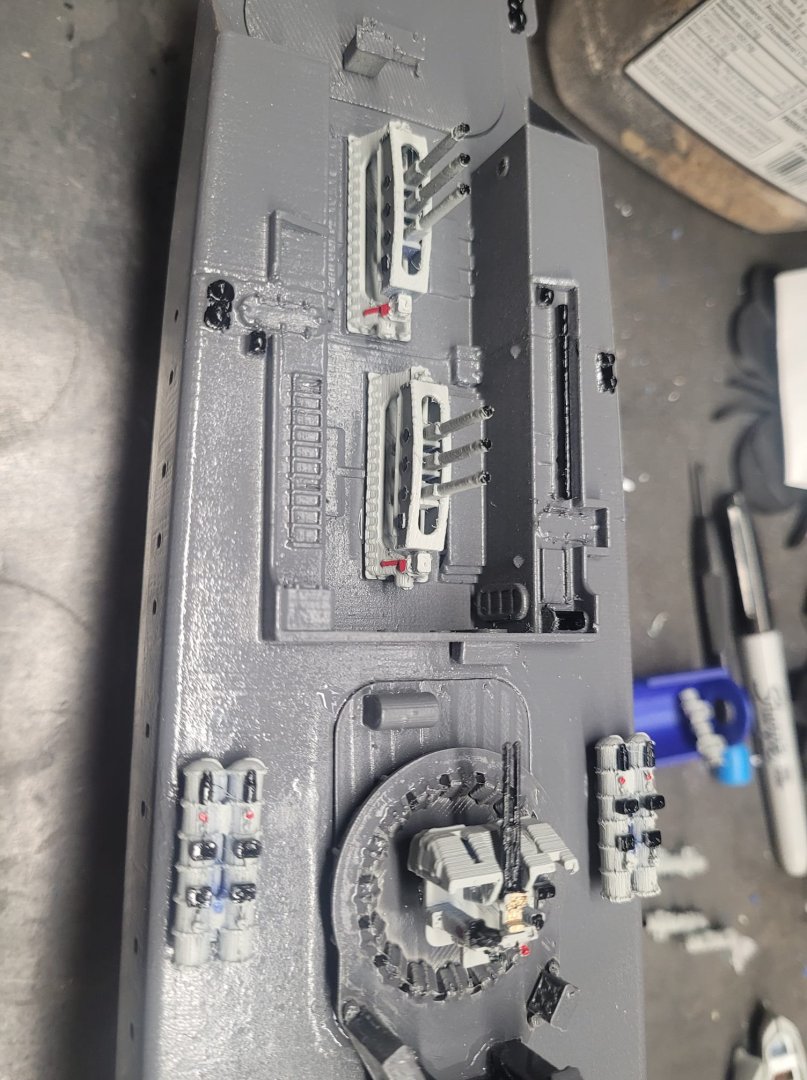
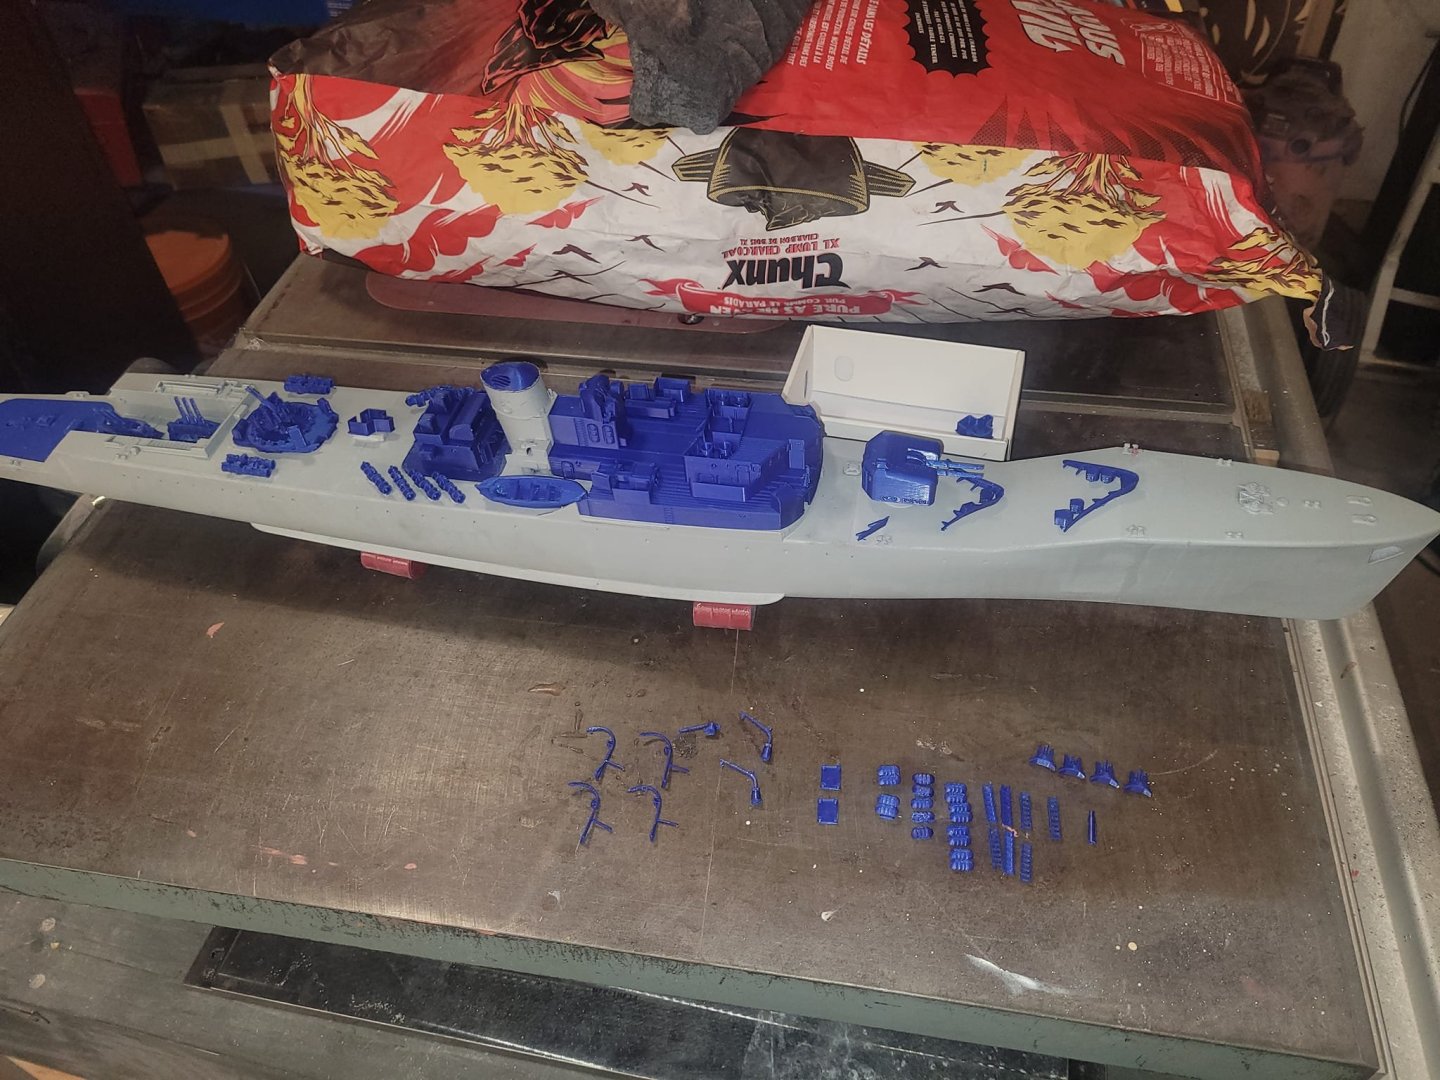
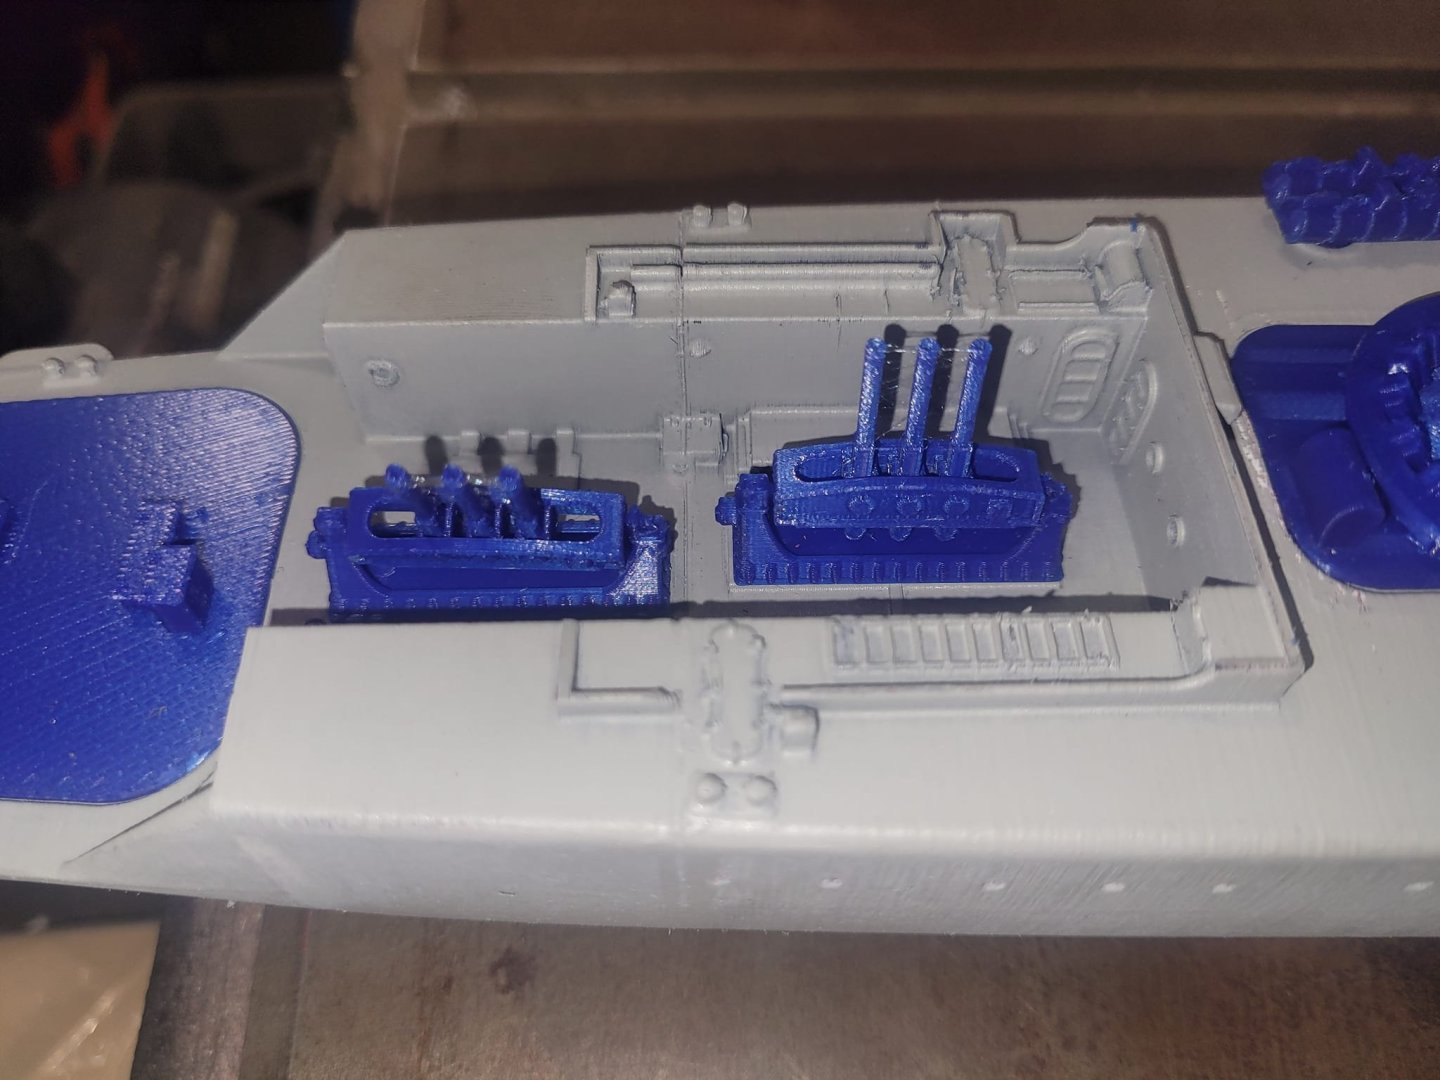
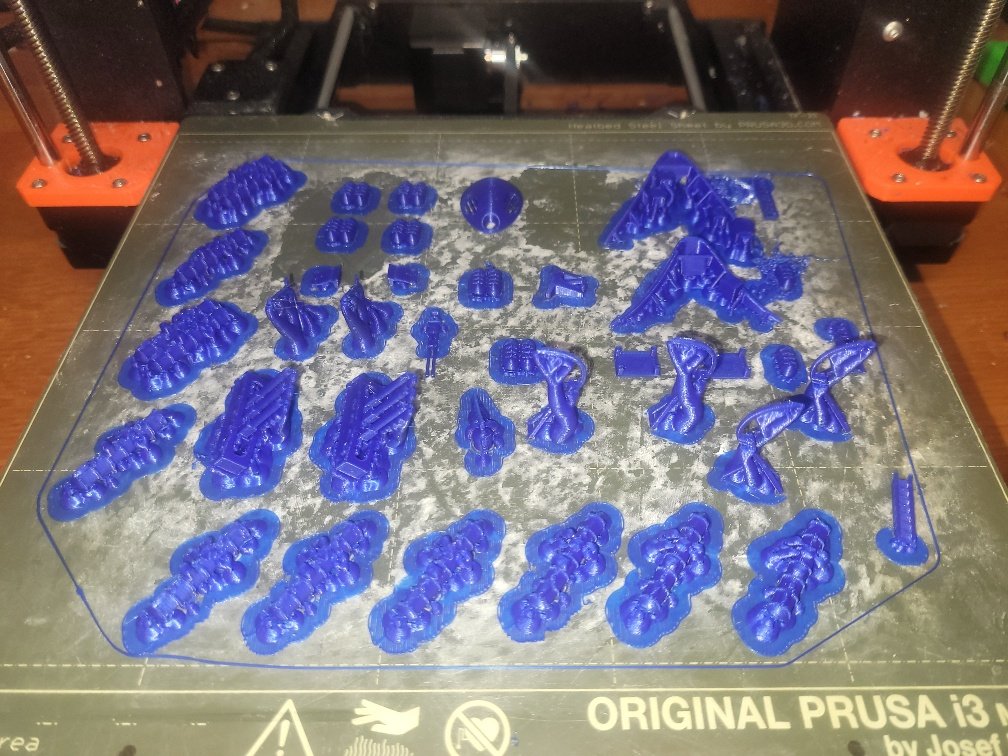
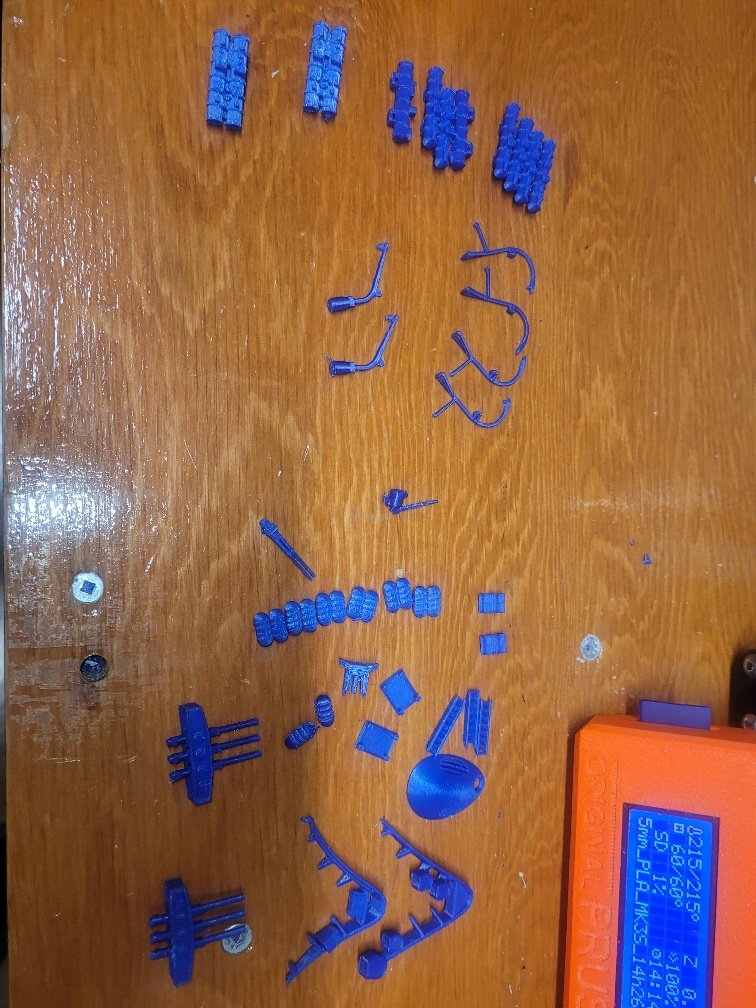
With that problem rectified, I was able to go back to printing, and I got an 8 hour print done last night with a bunch of the 'detail bits'. Life rafts, anchor, gun barrels, ASW Mortars, torpedo tubes, etc. With that done, I was able to re-start the superstructure print (using the new files) and we're off to the races again. That file will be done when I get home from work today, and then I think I have 2 prints left - I should be done by Saturday evening and able to start assembly and painting properly. Note - I expect I'll have a few bits extra to print (more life rafts, another anchor that I somehow forgot to print 2 of, etc) but substantially this print will be complete this weekend and I'll get to assembly and painting. My goal is to have this model finished prior to our next Guild sailing day in August.
-
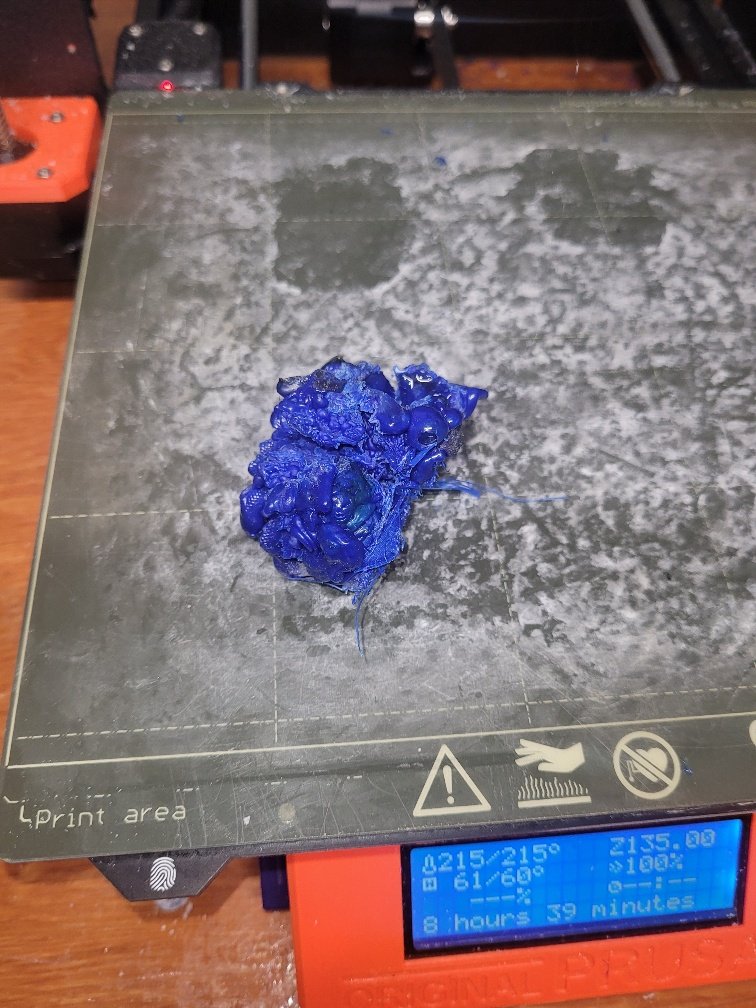
It's honestly not that bad a problem - it took me about 10 minutes to clear out and clean up. I turned the print head back on, that melted it 'loose' and I got the big chunk off, then I had to take off the fans (6 bolts) and one assembly panel (2 bolts) to scrape off a bit of melted plastic, then re-assemble (put the 8 bolts back in) and she was good to go. Here's the 'goop' pile.
-
No pictures of progress today....the superstructure didn't print well yesterday and requires a re-do. As I was considering that, I got an email that the designer has released updated files for this design, so I pulled those last night to have a look at it - additional detail bits, splitting the superstructure apart to make it easier to print (yah!) and some other bits. So, I started another print last evening and awoke this morning to find that the print failed and I've got a puddle of filament wrapped around my print-head. Instead of dealing with that, I went to work. That's a tonight problem. *shrug* Life.
About us
Modelshipworld - Advancing Ship Modeling through Research
SSL Secured
Your security is important for us so this Website is SSL-Secured
NRG Mailing Address
Nautical Research Guild
237 South Lincoln Street
Westmont IL, 60559-1917
Model Ship World ® and the MSW logo are Registered Trademarks, and belong to the Nautical Research Guild (United States Patent and Trademark Office: No. 6,929,264 & No. 6,929,274, registered Dec. 20, 2022)
Helpful Links
About the NRG
If you enjoy building ship models that are historically accurate as well as beautiful, then The Nautical Research Guild (NRG) is just right for you.
The Guild is a non-profit educational organization whose mission is to “Advance Ship Modeling Through Research”. We provide support to our members in their efforts to raise the quality of their model ships.
The Nautical Research Guild has published our world-renowned quarterly magazine, The Nautical Research Journal, since 1955. The pages of the Journal are full of articles by accomplished ship modelers who show you how they create those exquisite details on their models, and by maritime historians who show you the correct details to build. The Journal is available in both print and digital editions. Go to the NRG web site (www.thenrg.org) to download a complimentary digital copy of the Journal. The NRG also publishes plan sets, books and compilations of back issues of the Journal and the former Ships in Scale and Model Ship Builder magazines.

