Rustyj
-
Posts
2,535 -
Joined
-
Last visited
Content Type
Profiles
Forums
Gallery
Events
Everything posted by Rustyj
-
 Hi Ben, I wouldn’t really say I’ve started, let’s call it just some preparation work. Jeff, this scale will really be different. I’ll post some pictures of the plans next to the Triton for some reference. Hey Grant welcome to the club. I too thought about 1:48 and even printed a set at 1:48 but the lure of building large got me. 42rocker, you will definitely start before I finish. With 3 at once the pace will be sloooowwwwww.
 -
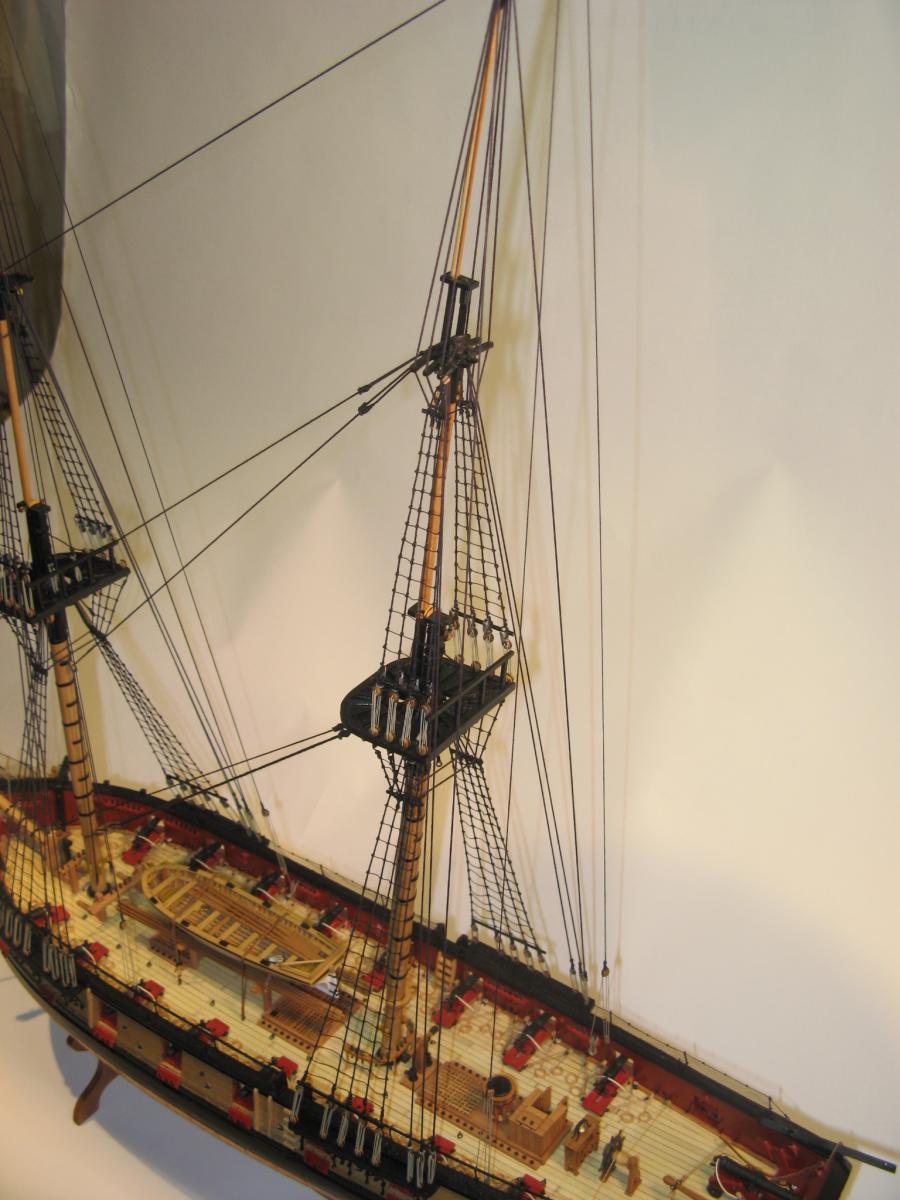
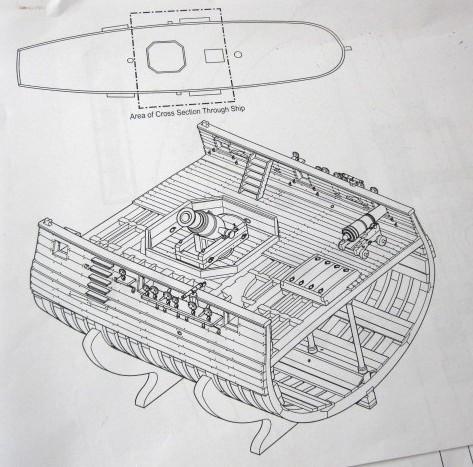
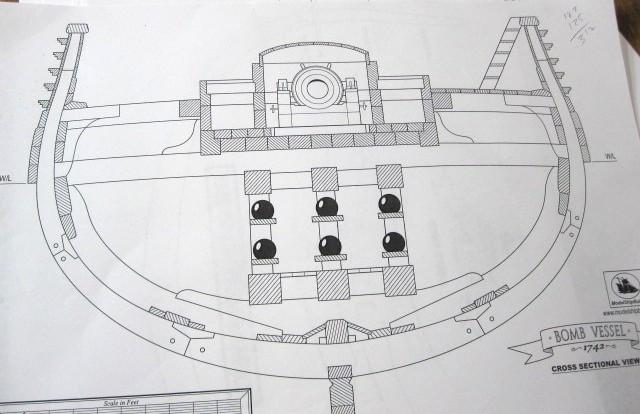
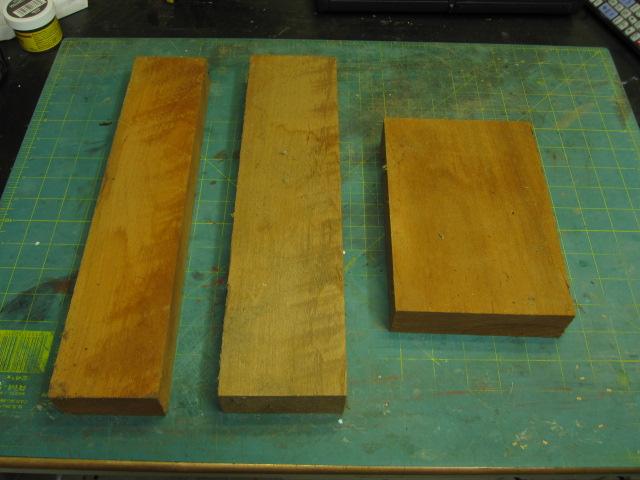
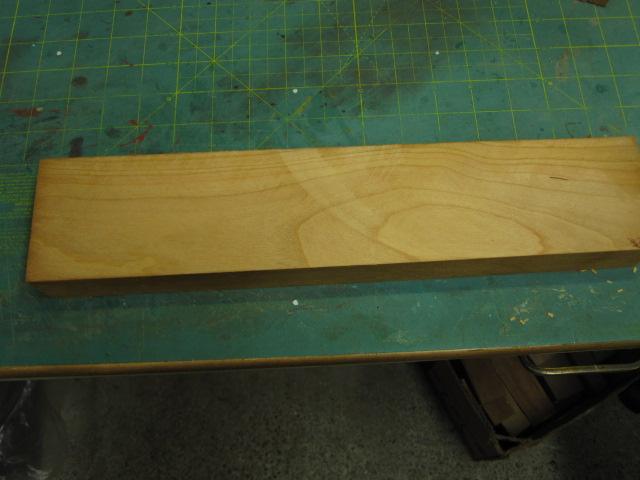
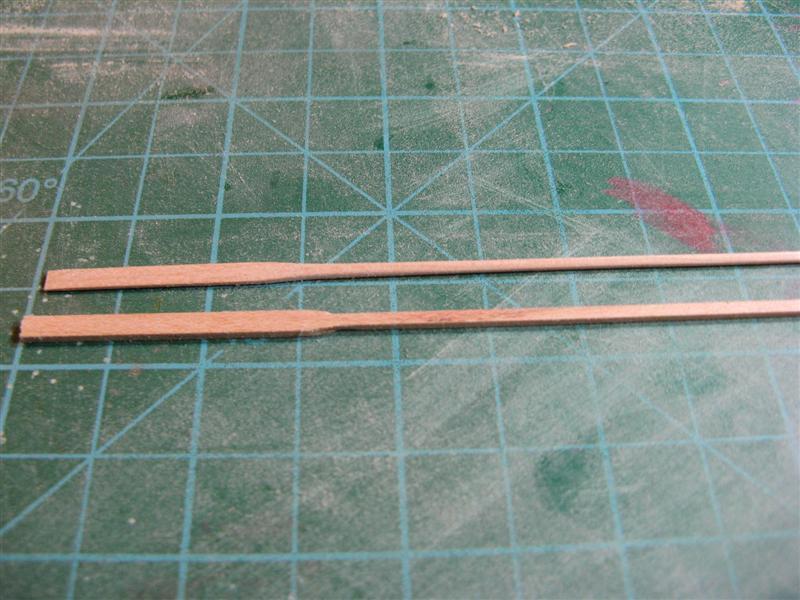
Hi All, Well I’ve come across some interesting plans for a scratch built Bomb Vessel Granado Cross Section over on Model Ship Builders site. Now I’ve never been known to be impulsive, carry on more then one build at a time or unable to resist the urge to start another scratch build. Talk about going to the darkside! It’s so dark on this side I’m not sure I’ll ever see light again! The Bomb Vessel Cross Section has some interesting details both on and below the deck (i.e. mortar pit and shell room) The plans are based on "Anatomy of the Ship - Bomb Vessel Granado" by Peter Goodwin and original drawings by Thomas Slade. All plans were drawn by Jeff Staudt. In total there are 63 pages of drawings in the set and are very well done. The scale for this build is a whopping 1:24 (½” to 1’) so it will be interesting building something at this scale. The single frame pieces are ½” wide and a completed frame is approximately 13 ½’ wide by 9” high. The keel is ½” wide by 14 ½” long and over 1 ¼” high at its highest point. There are some frames that are doubled so they will be 1” wide! I have some Cherry cut offs from a furniture factory and I will be cutting them down to ½” billets for the frames. I’ll decide the other woods as I go. The main problem I see is turning the mortar and cannon as I do not have a lathe or mill. Oh well I’ll cross that bridge when I get there. So here is a look at a couple of sheets of plans to give you an idea of what it will look like. You also can go to www.modelshipbuilder.com to see more information. Here is a sample of some of the rough cut Cherry I have. You can see that the sides are rough cut so to start I shaved the sides on the saw to clean them and then ripped them. The below pictures show I ended up with two pieces of 1/2" x 3" x 14" and one piece at about 1/8" thick. I will have to run them through the thickness sander to get them to their finished size. This should be interesting and will take a good while to complete.

- 421 replies
-
- 5
-

-
- granado
- bomb ketch
- (and 2 more)
-
Thanks Christian, Hi Joss, I will be using holly to plank half of the lower deck.
-
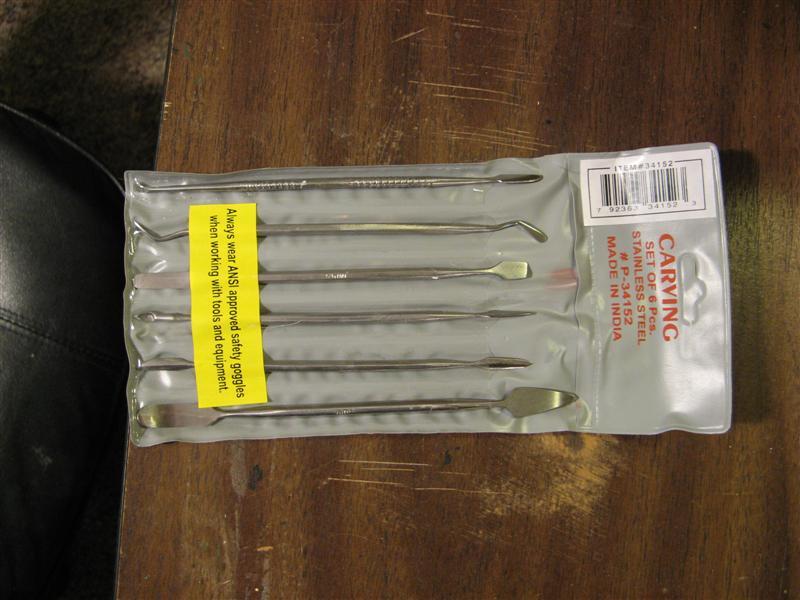
Thanks for the link. Once I use up some of my Olson blades I'll give them a try.
-
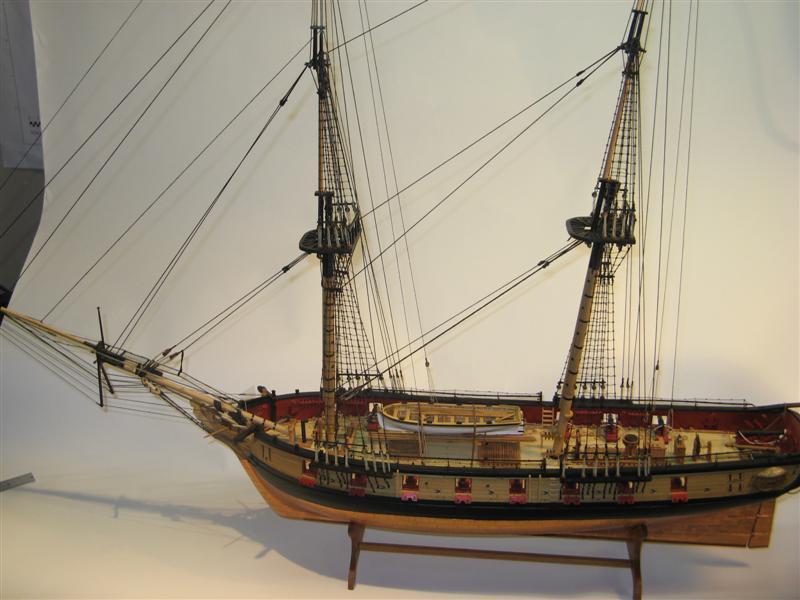
US Brig Syren by Rustyj - FINISHED - 1:64
Rustyj replied to Rustyj's topic in - Build logs for subjects built 1801 - 1850
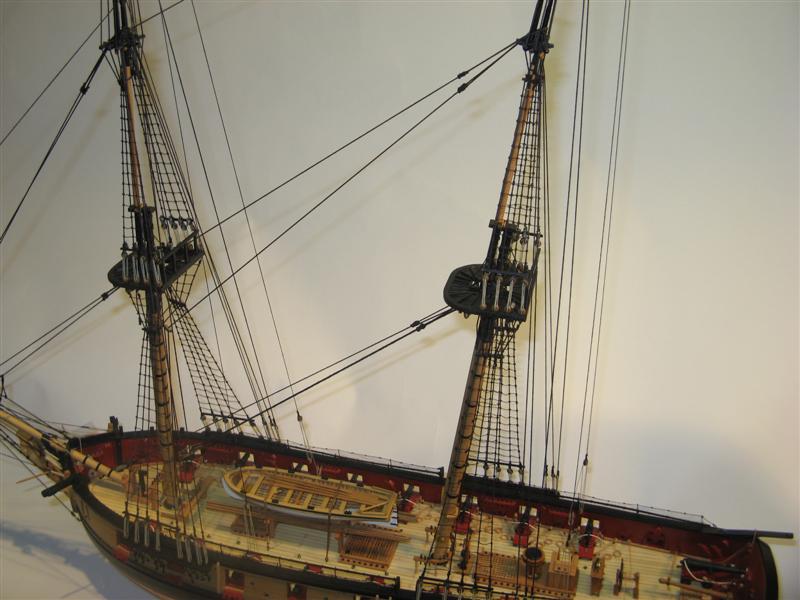
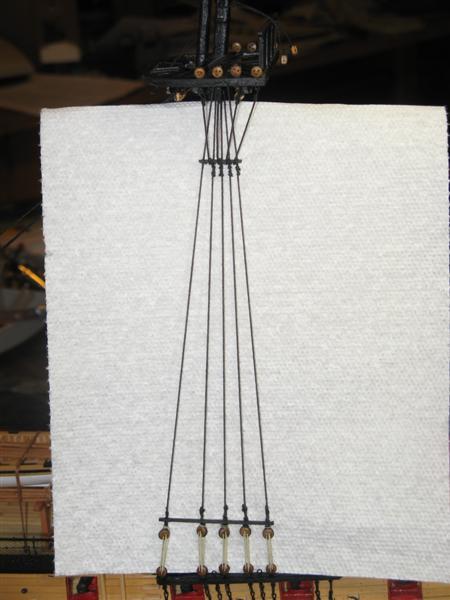
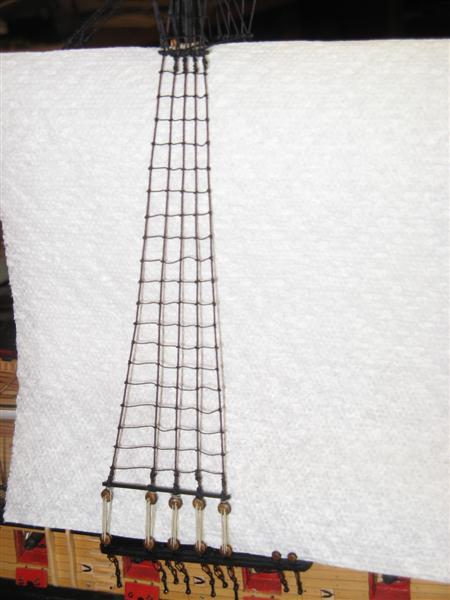
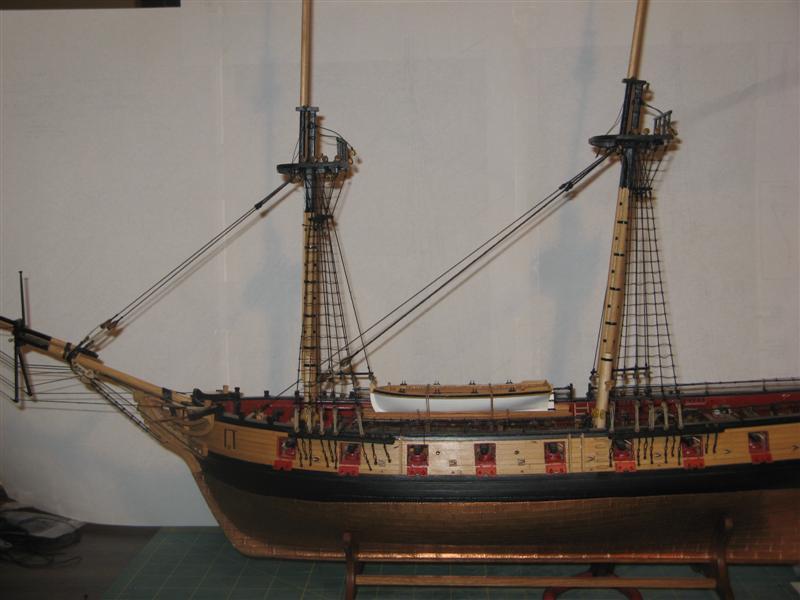
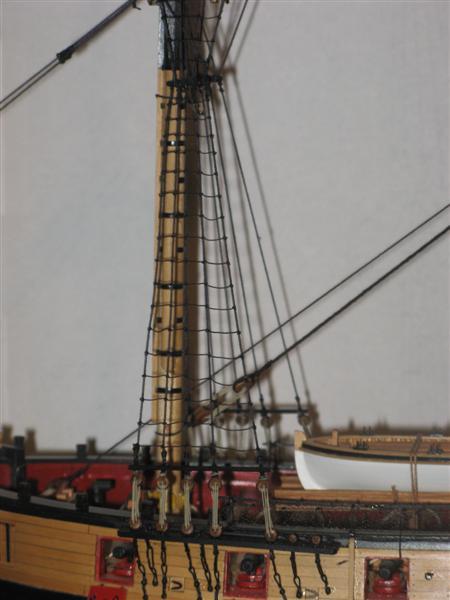
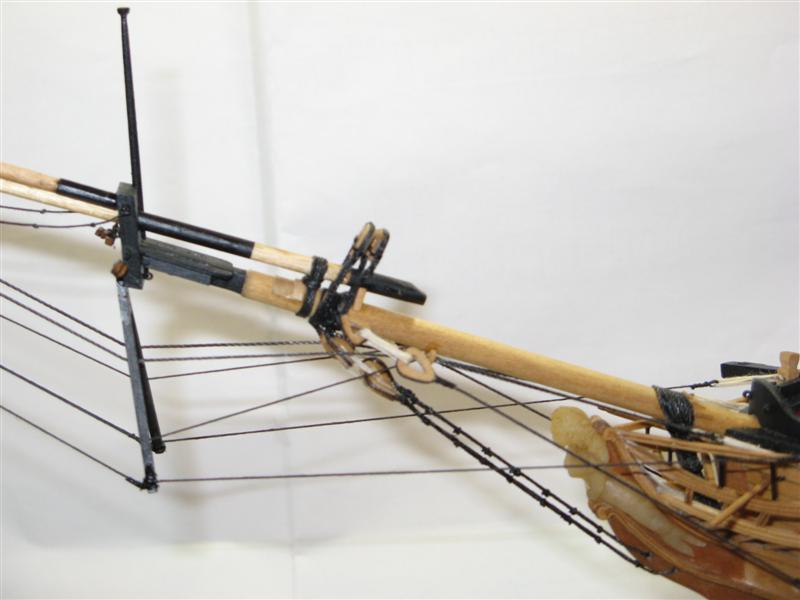
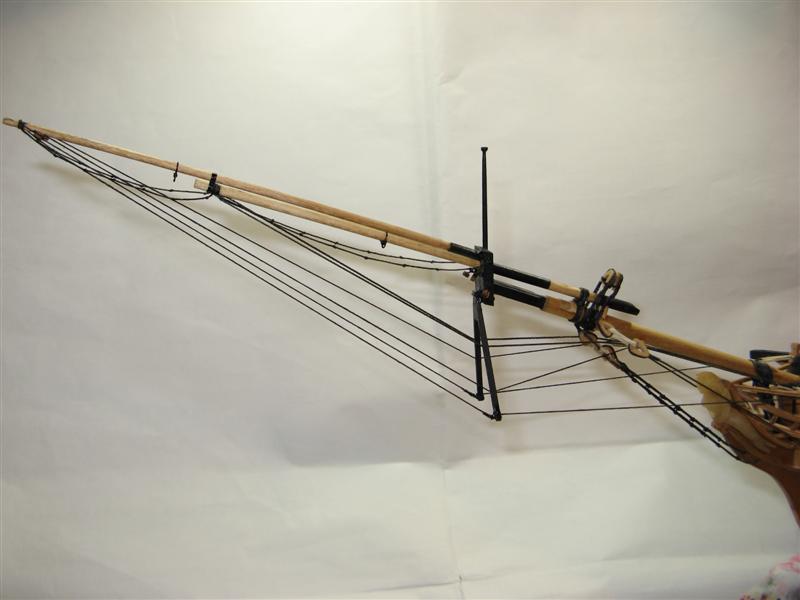
And more standing rigging.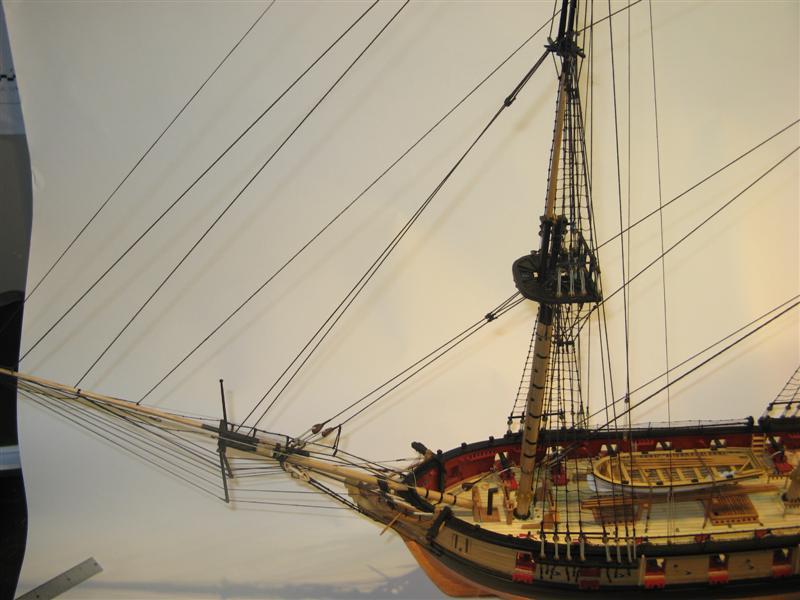

-
US Brig Syren by Rustyj - FINISHED - 1:64
Rustyj replied to Rustyj's topic in - Build logs for subjects built 1801 - 1850
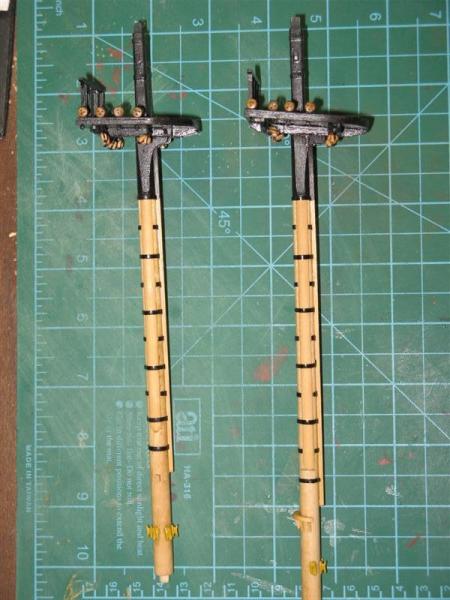
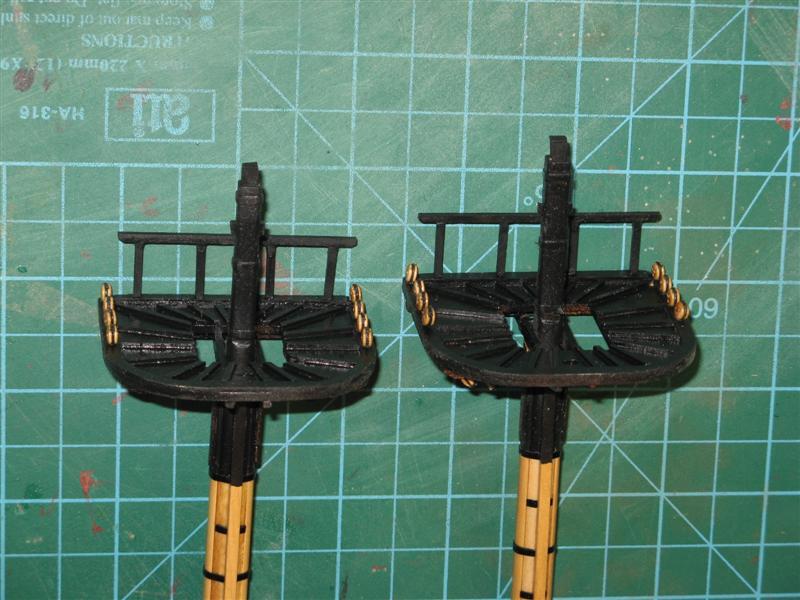
Some more of the mast and rigging.

-
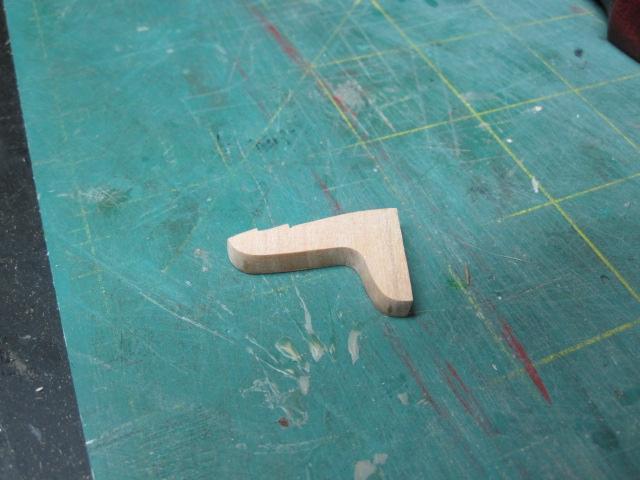
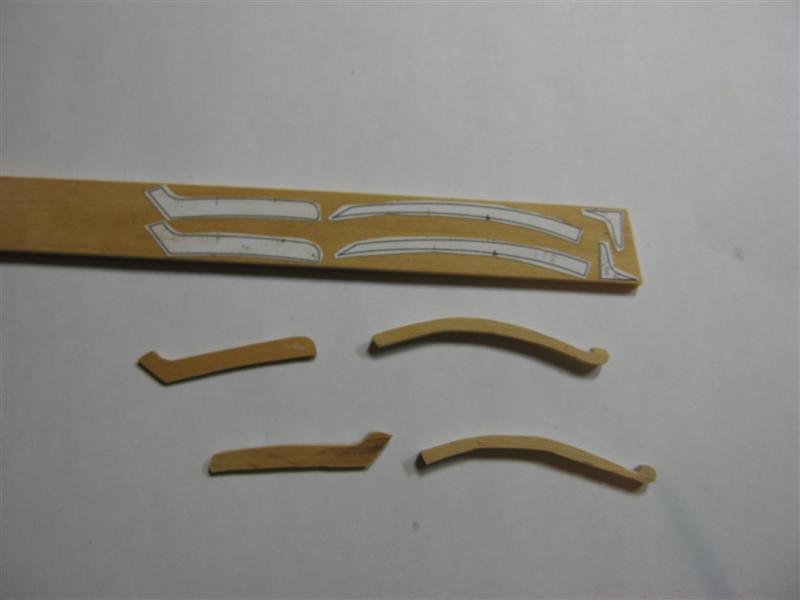
Thanks everyone, The first knee took about 1 hour. I've cut in half so far. 6 more to go so maybe by the last one I can get it down to 15 minutes.
-
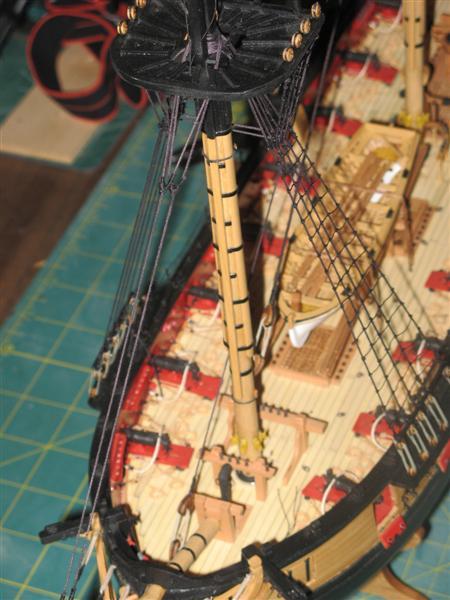
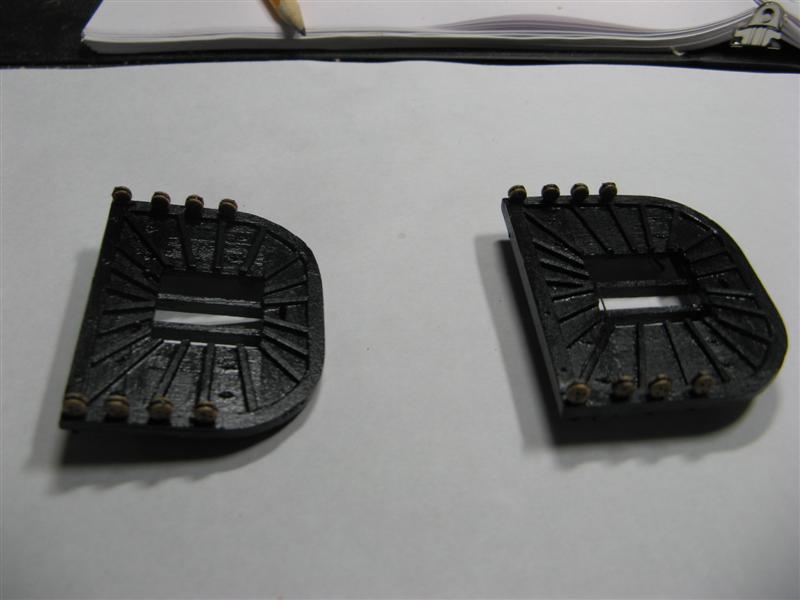
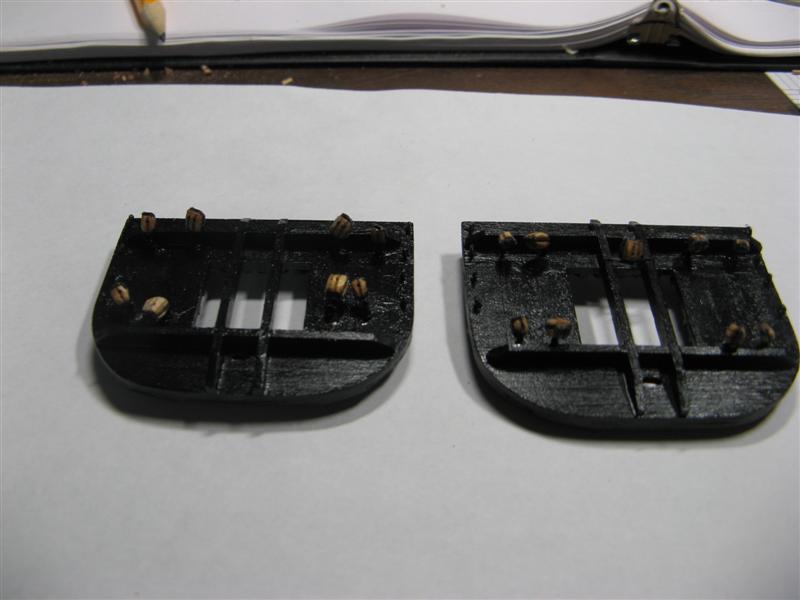
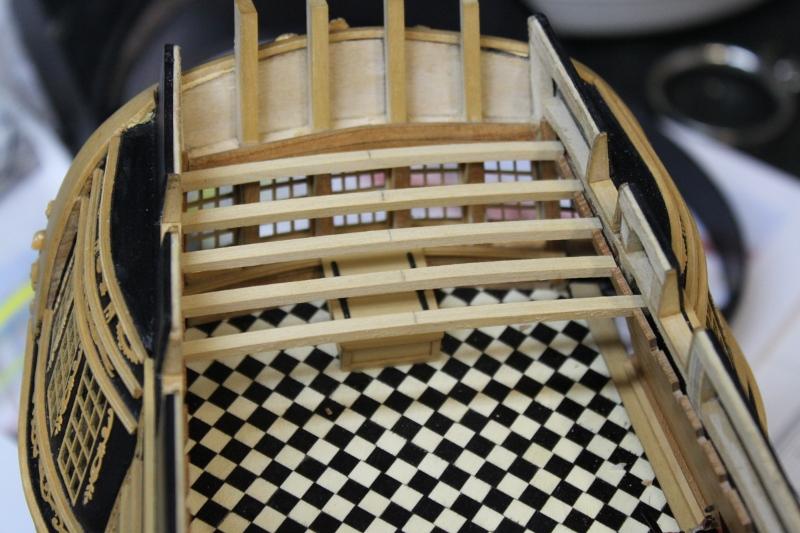
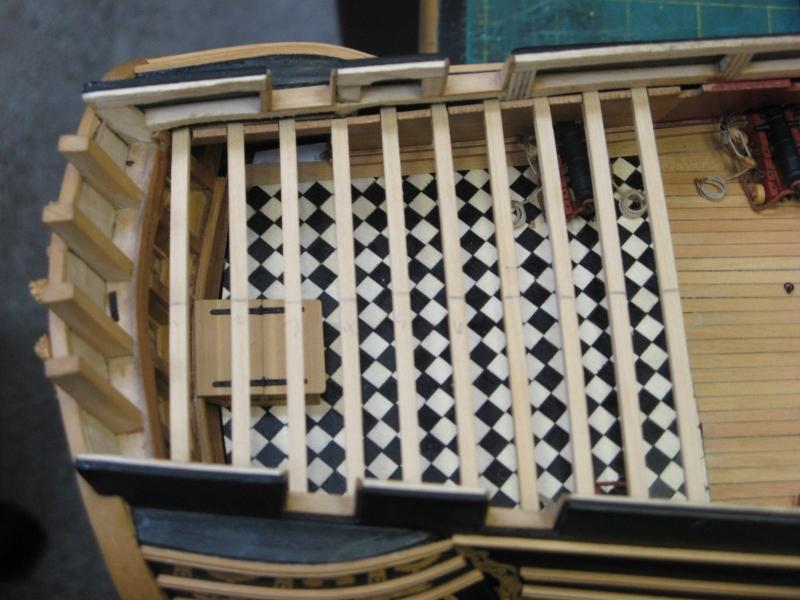
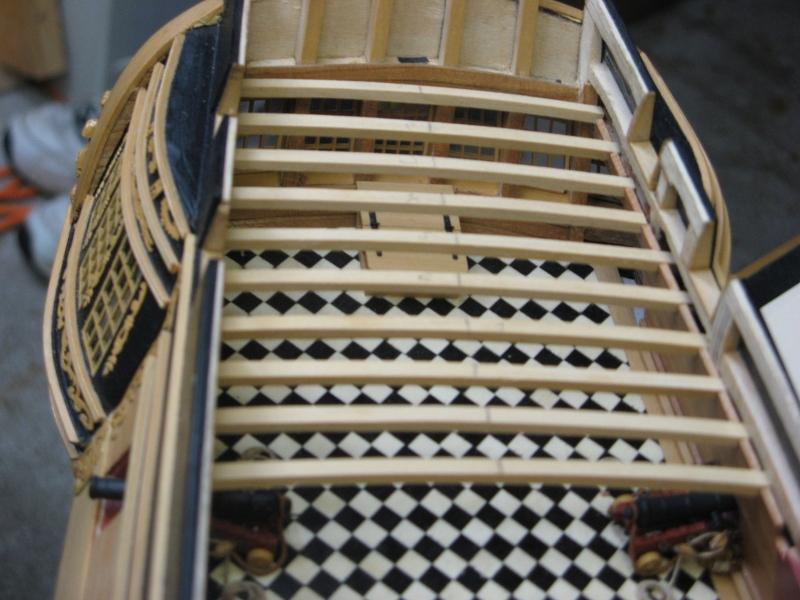
Hi All, I've beeen working my way across the deck here. Slow going but it's coming out ok. Here is one of the knees before I put it in. I hope to finish the deck by the weekend and maybe lay some planks too!

- 332 replies
-
- 1
-
-
- Triton
- cross-section
- (and 1 more)
-
Hi Larry, I glad to hear that it was intentional. Great Idea about adding additional items too.
-
Hi Larry. Your deck looks really nice. Now with that said I really hate to say it but there is not an opening on the lower deck. There should be 3 carlings between the ledges there. The opening like you have is on the upper gun deck. Sorry.
-
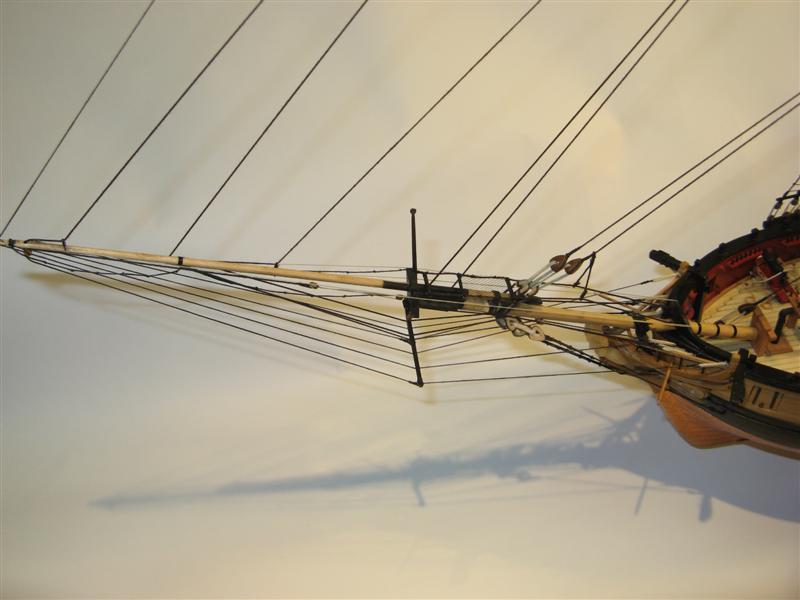
US Brig Syren by Rustyj - FINISHED - 1:64
Rustyj replied to Rustyj's topic in - Build logs for subjects built 1801 - 1850
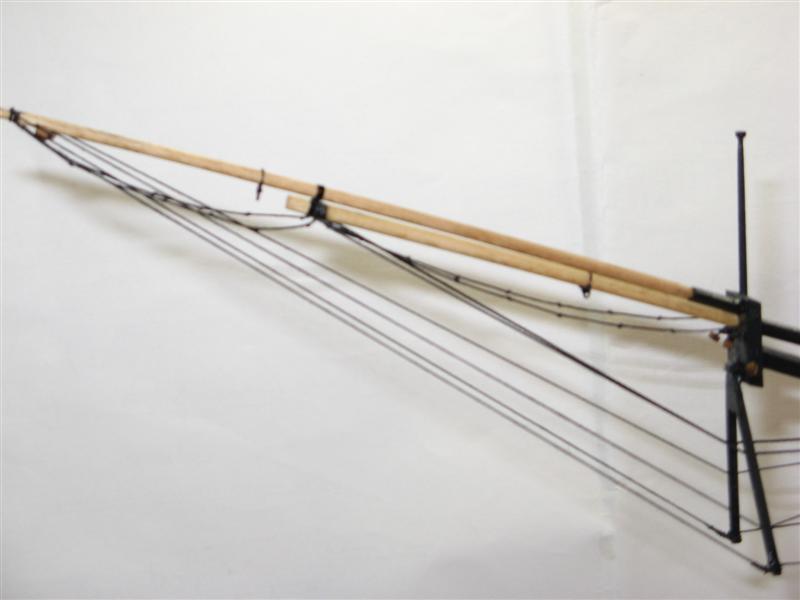
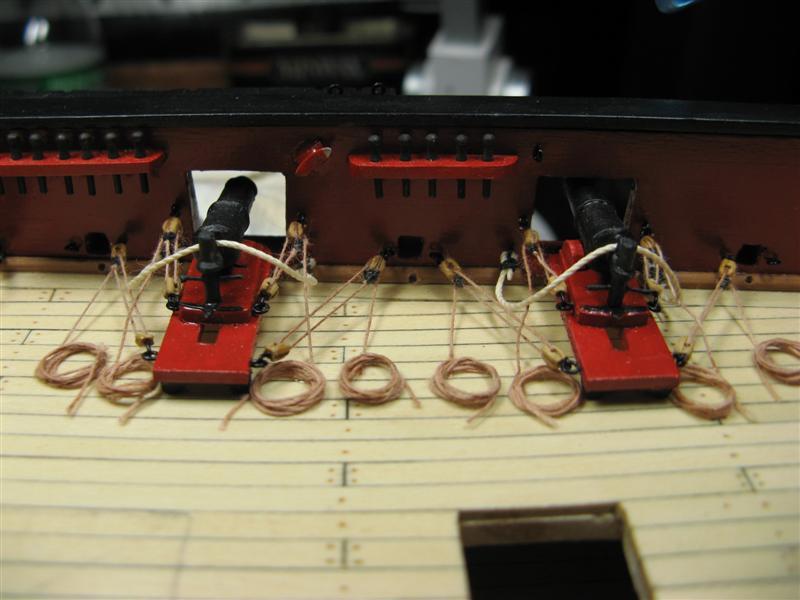
And here is the start of the rigging.

-
Another great job as always. Thanks Remco!
-
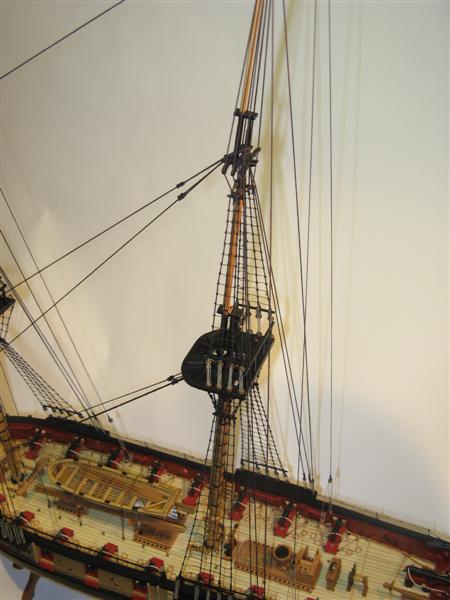
US Brig Syren by Rustyj - FINISHED - 1:64
Rustyj replied to Rustyj's topic in - Build logs for subjects built 1801 - 1850
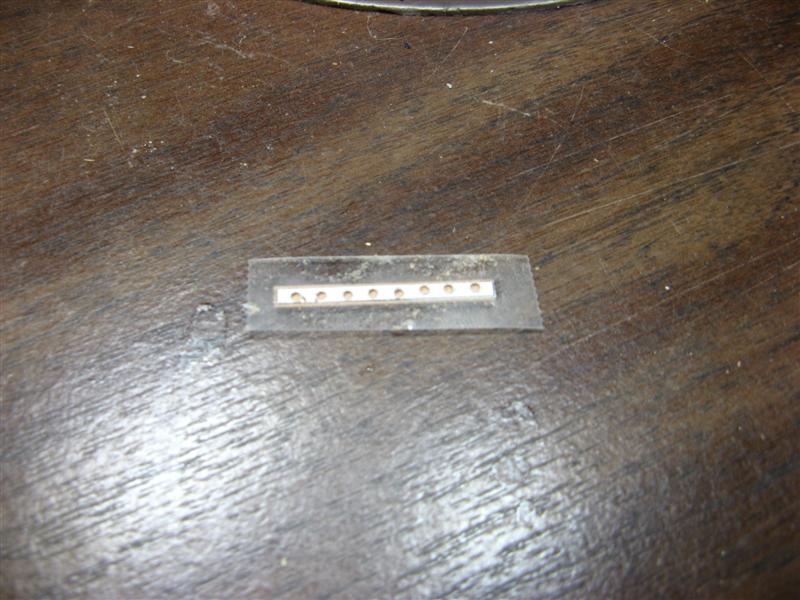
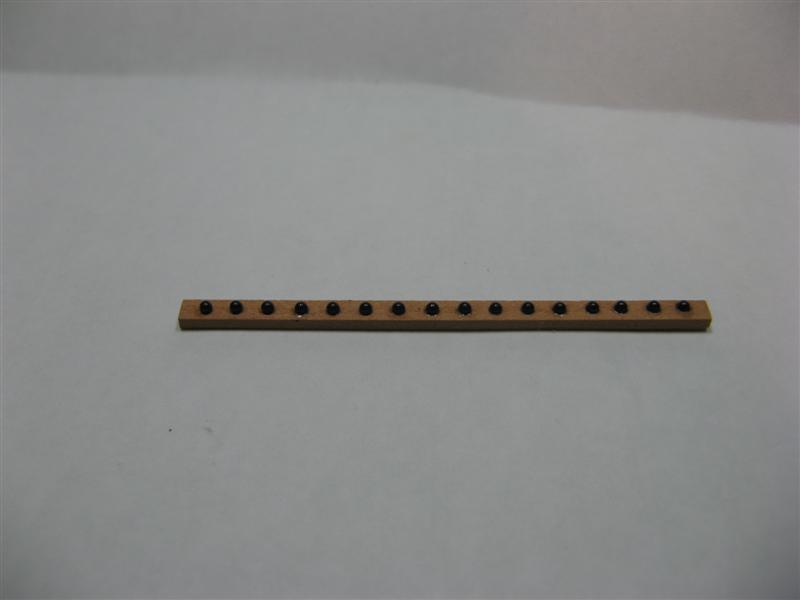
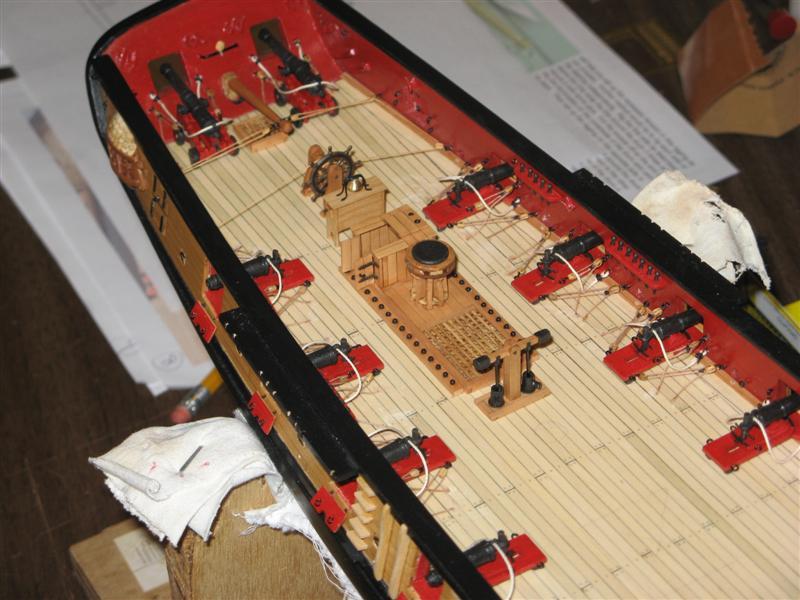
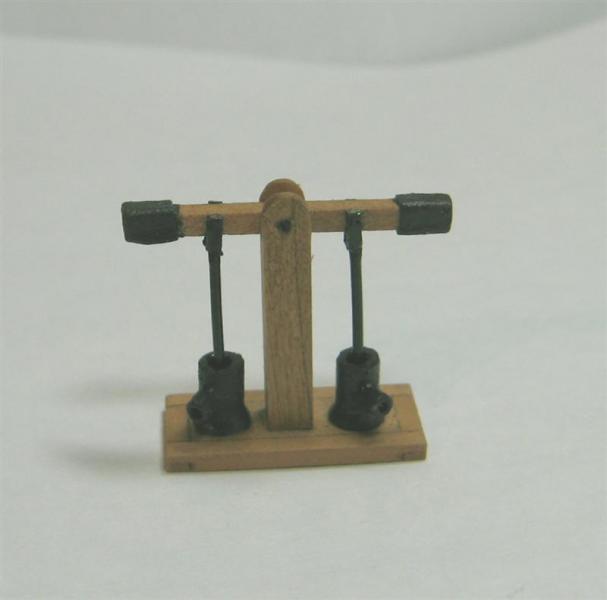
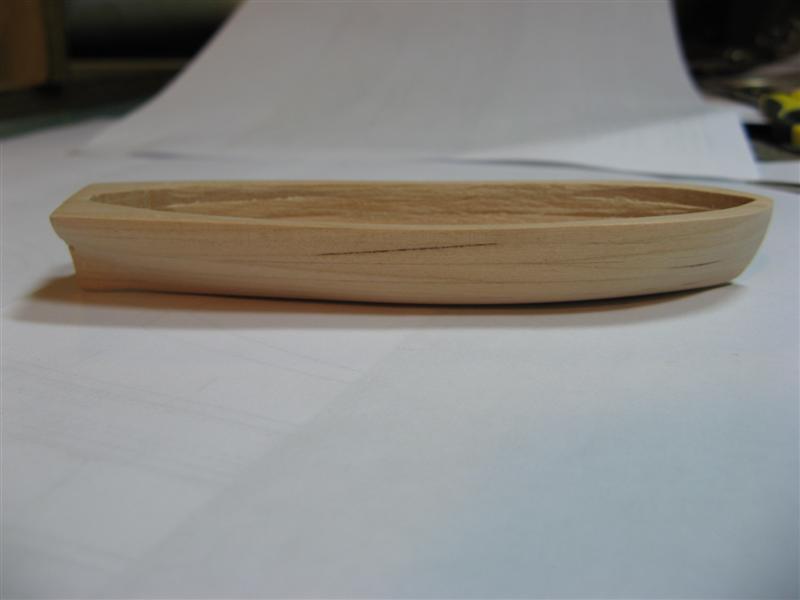
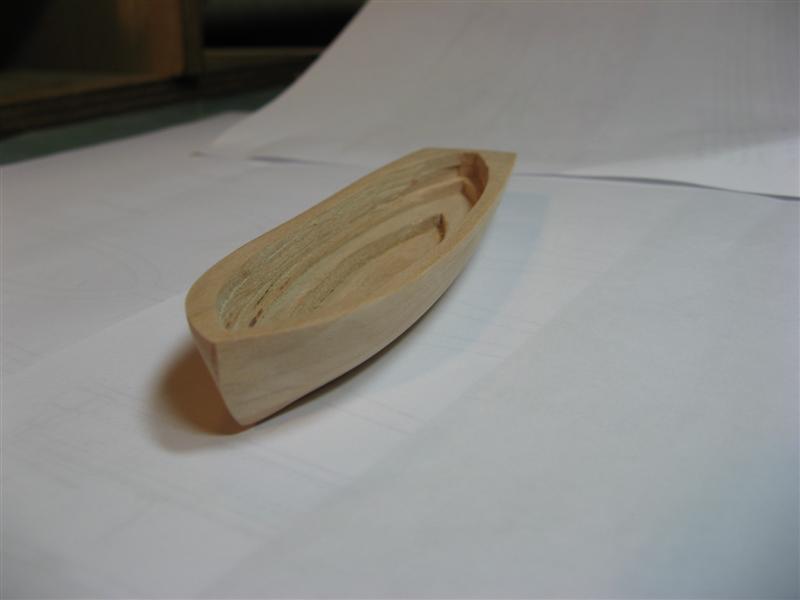
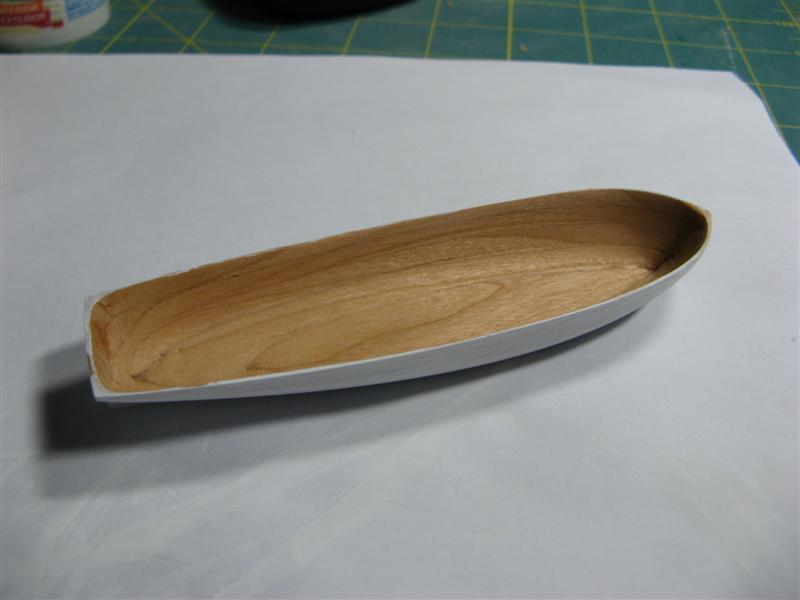
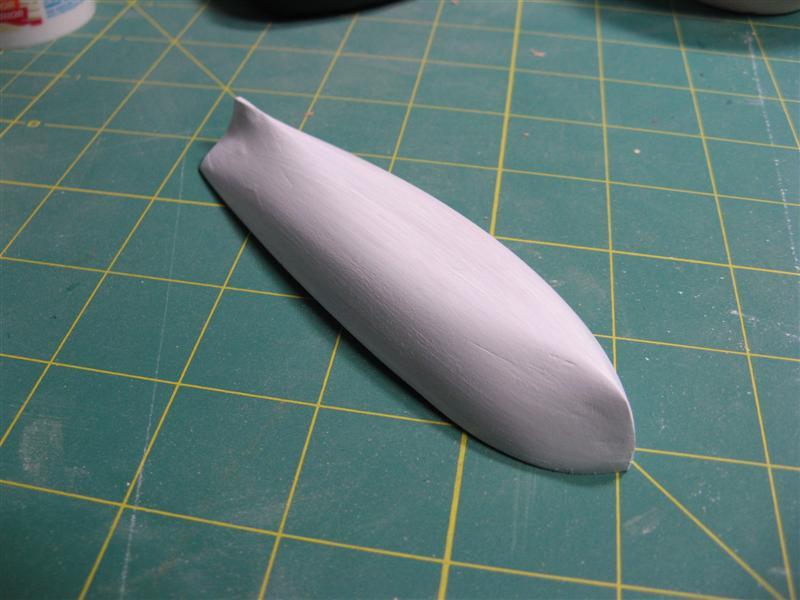
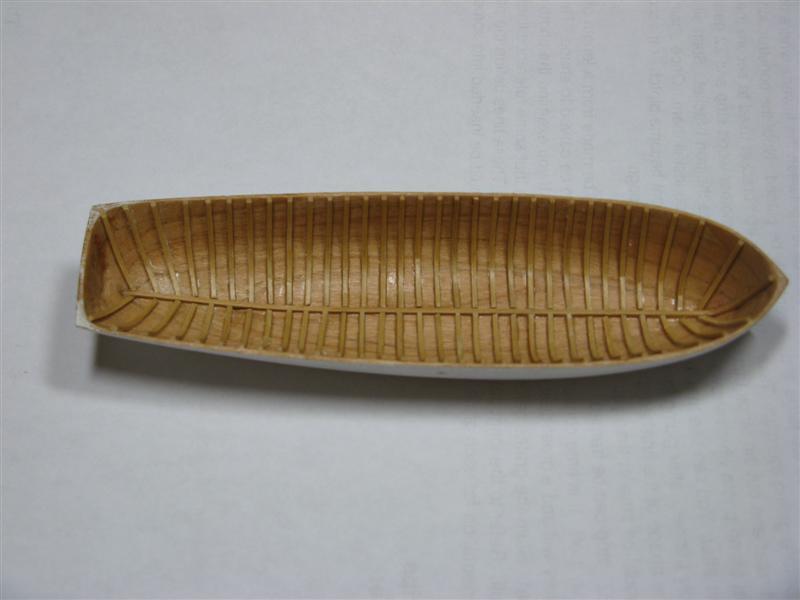
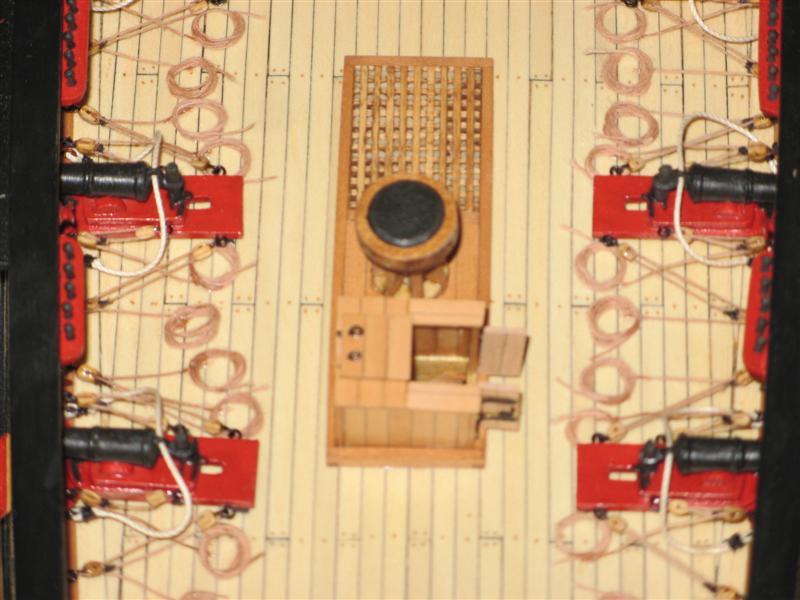
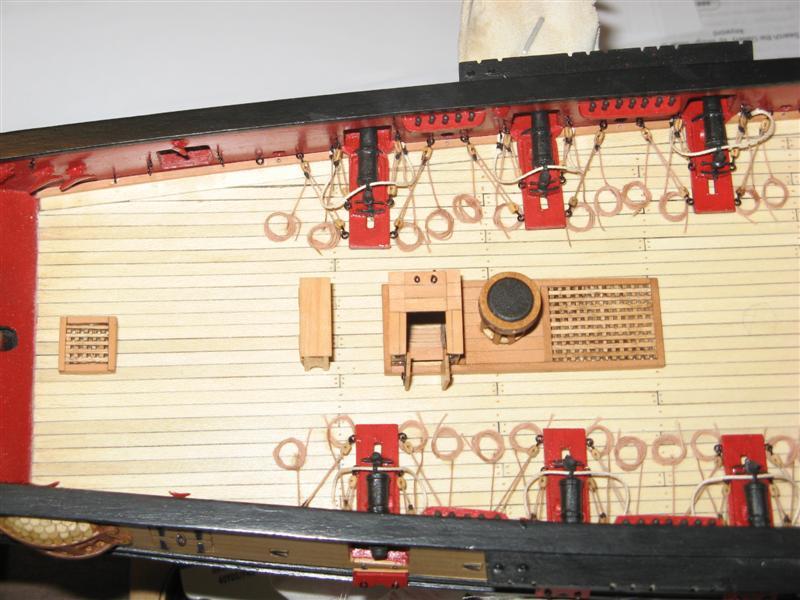
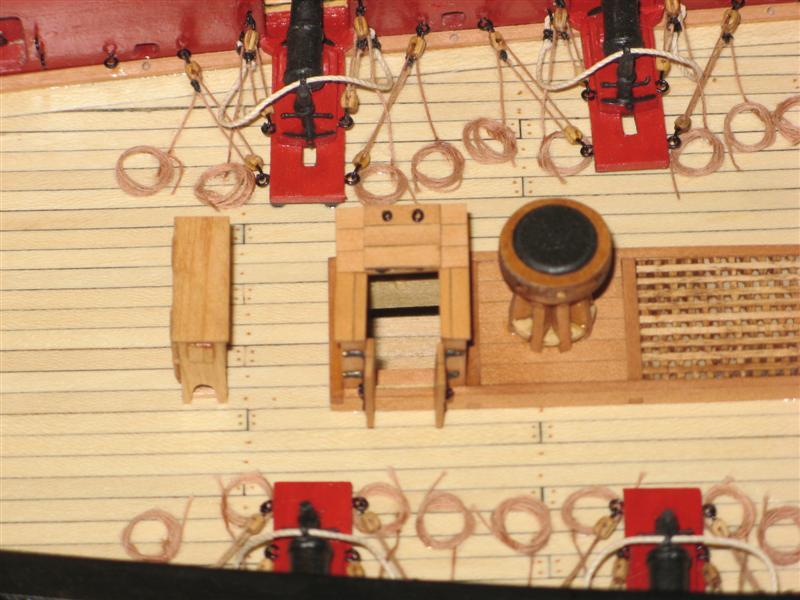
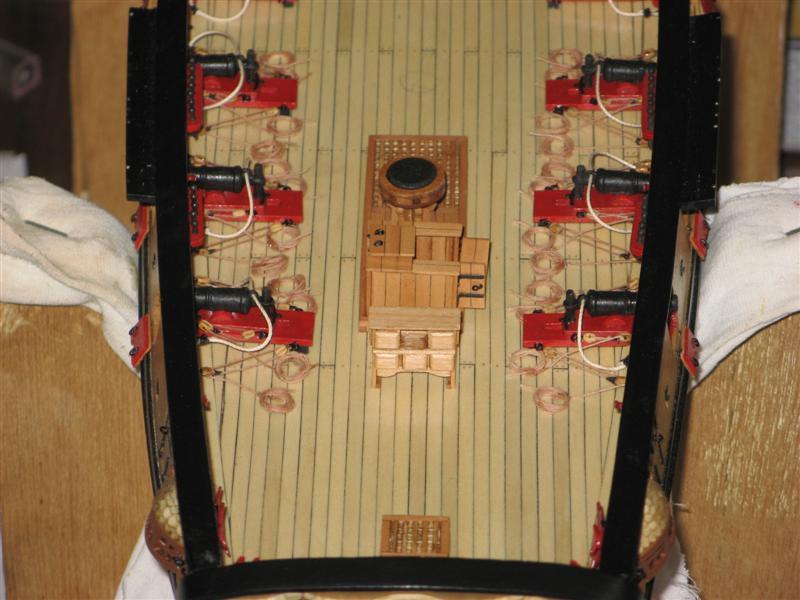
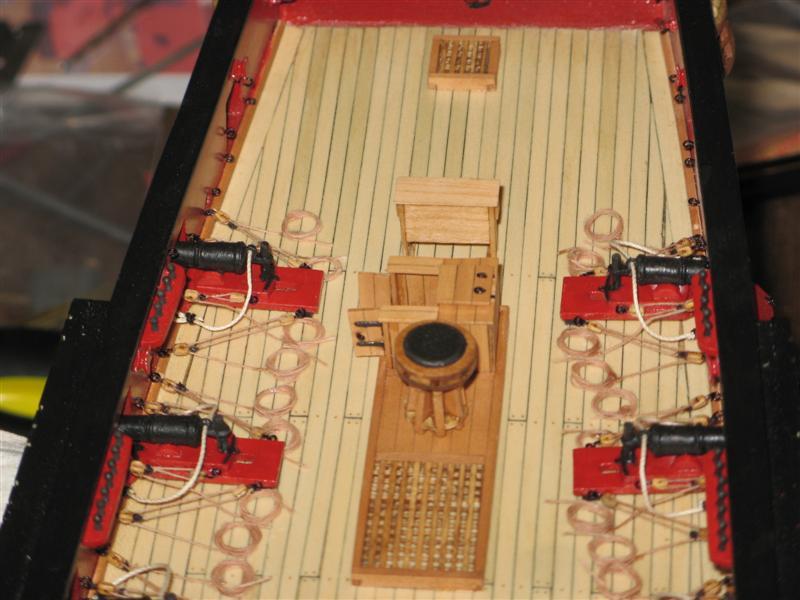
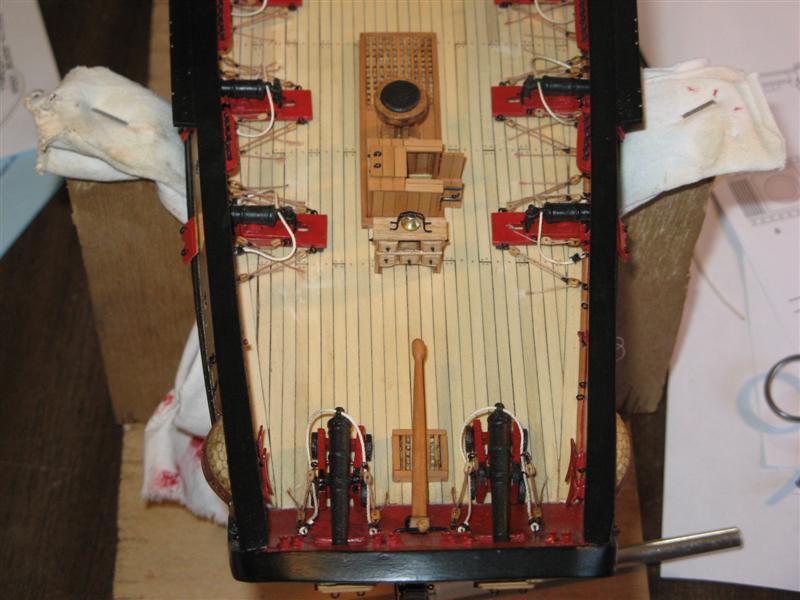
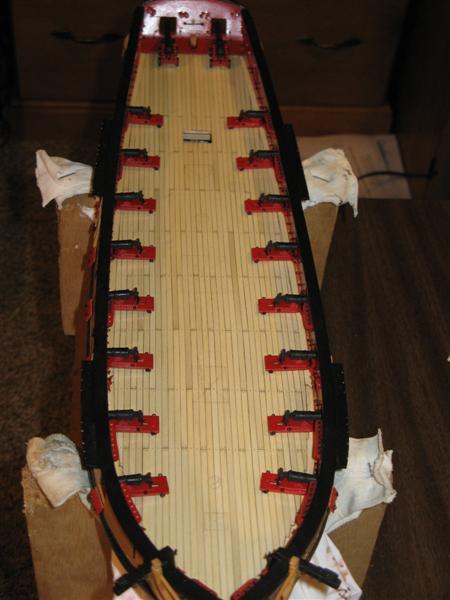
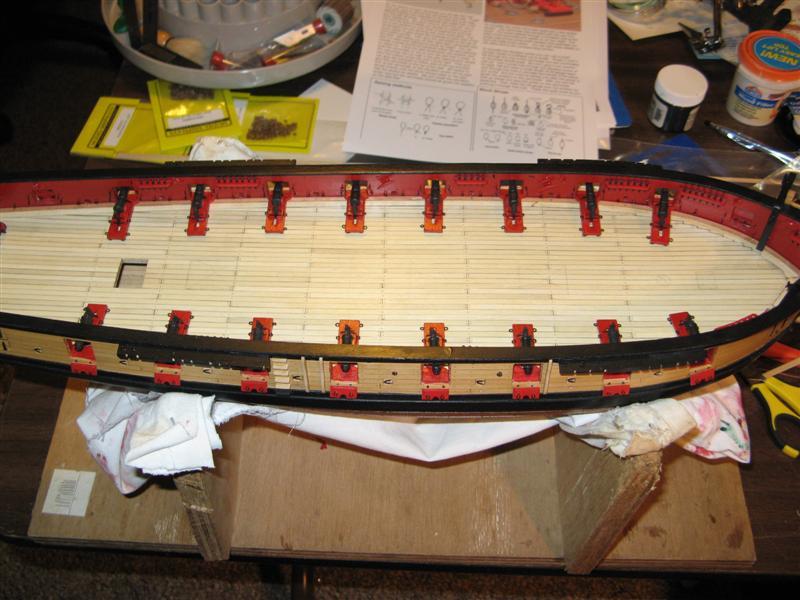
Shot racks, pumps and ships boat.
-
US Brig Syren by Rustyj - FINISHED - 1:64
Rustyj replied to Rustyj's topic in - Build logs for subjects built 1801 - 1850
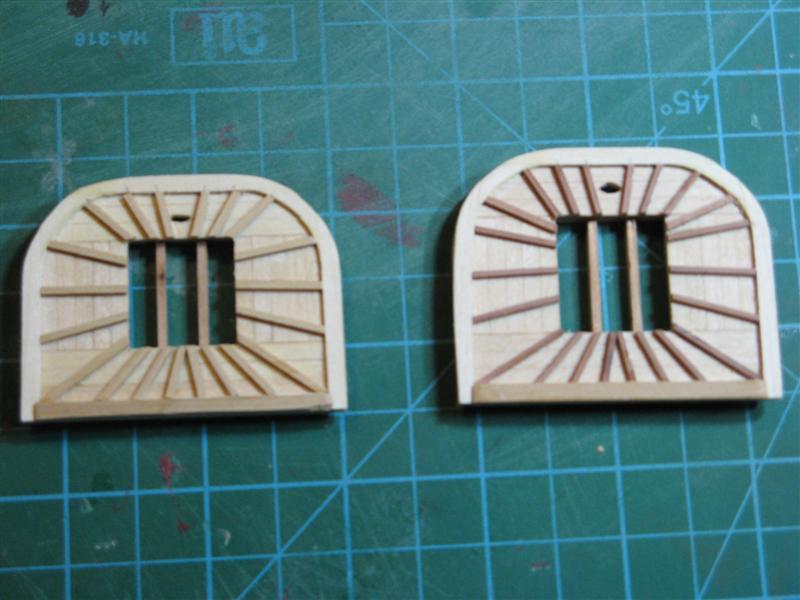
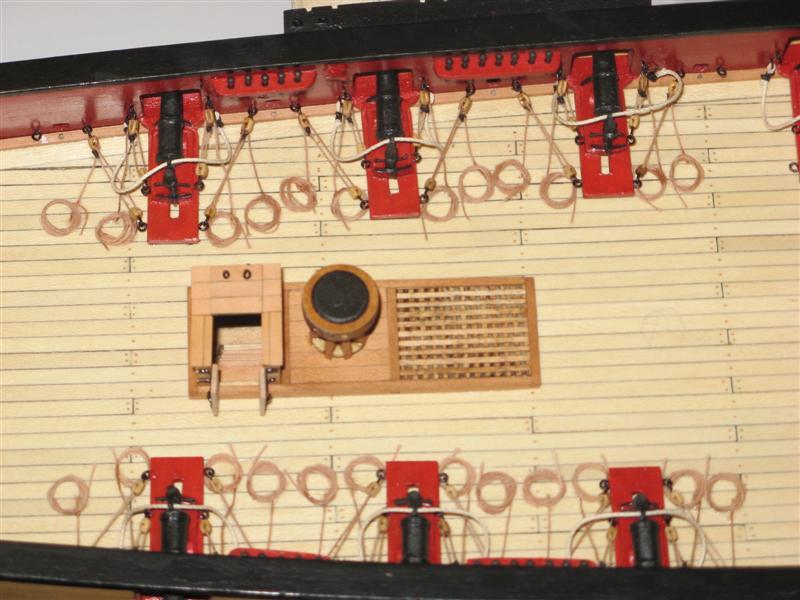
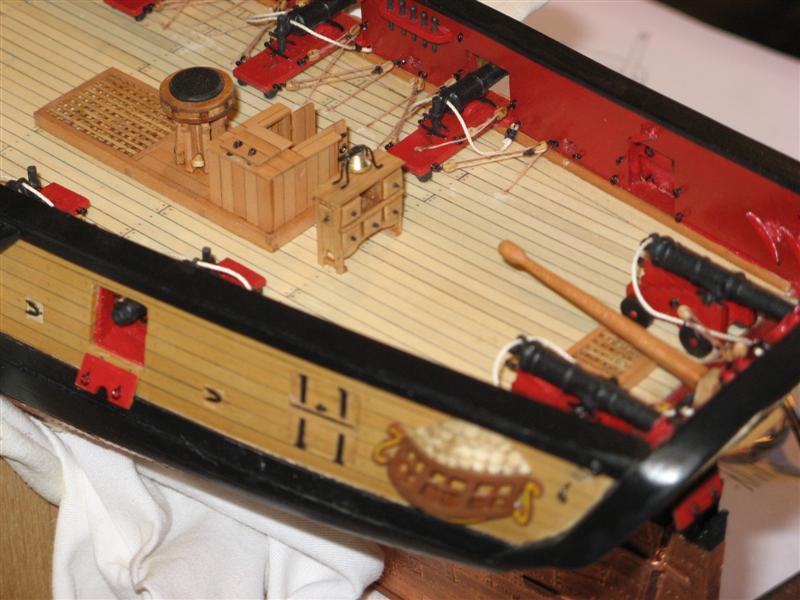
Thanks everyone. As I’m going through the pictures I noticed that with the three computers I went through some pictures didn’t make it. Geoff, the learning curve with the sculpy is not bad. The skill to create with it, for me, was another thing altogether. Some hatches, binicale and rudder.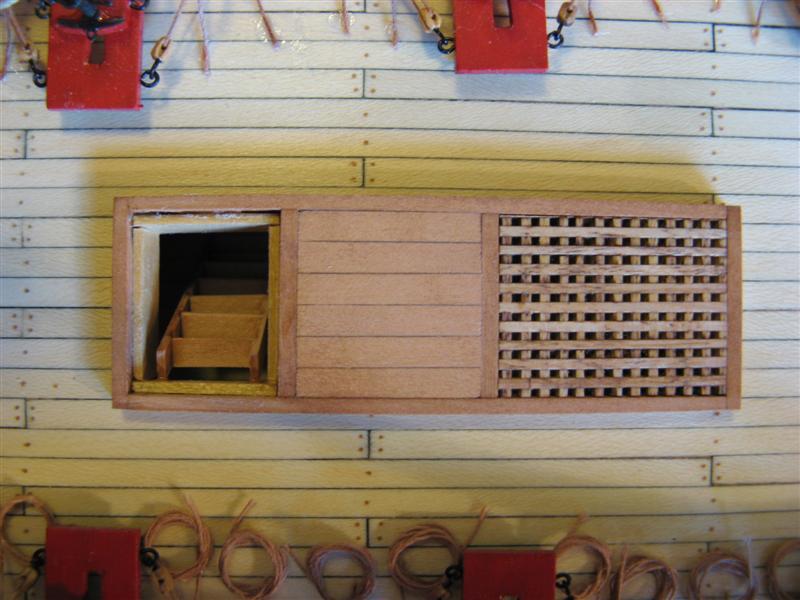

-
US Brig Syren by Rustyj - FINISHED - 1:64
Rustyj replied to Rustyj's topic in - Build logs for subjects built 1801 - 1850
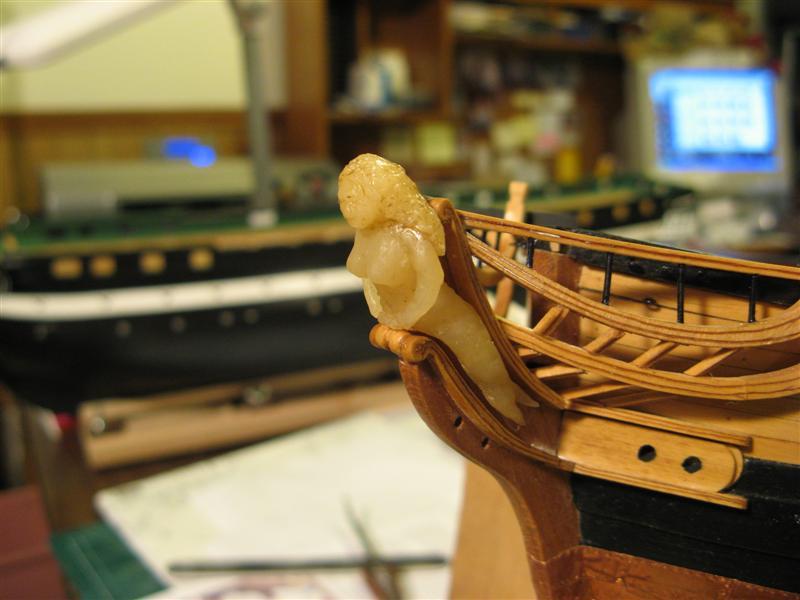
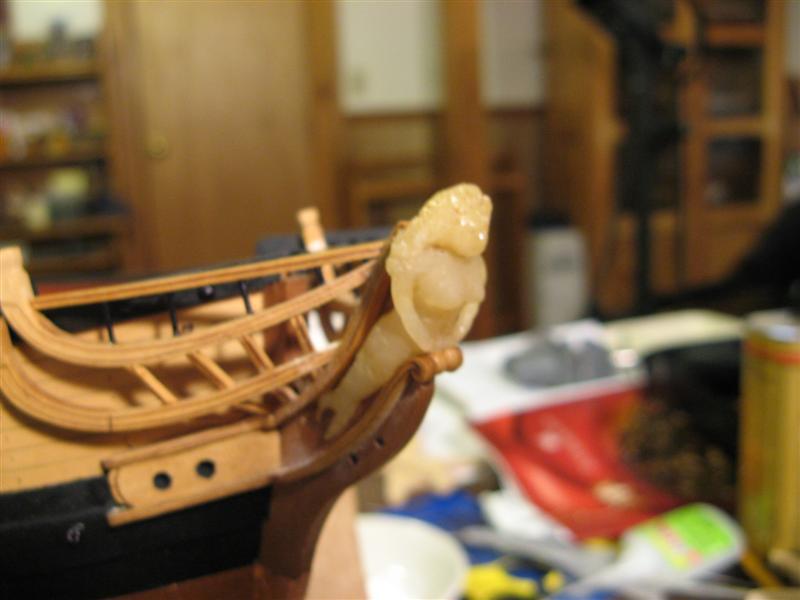
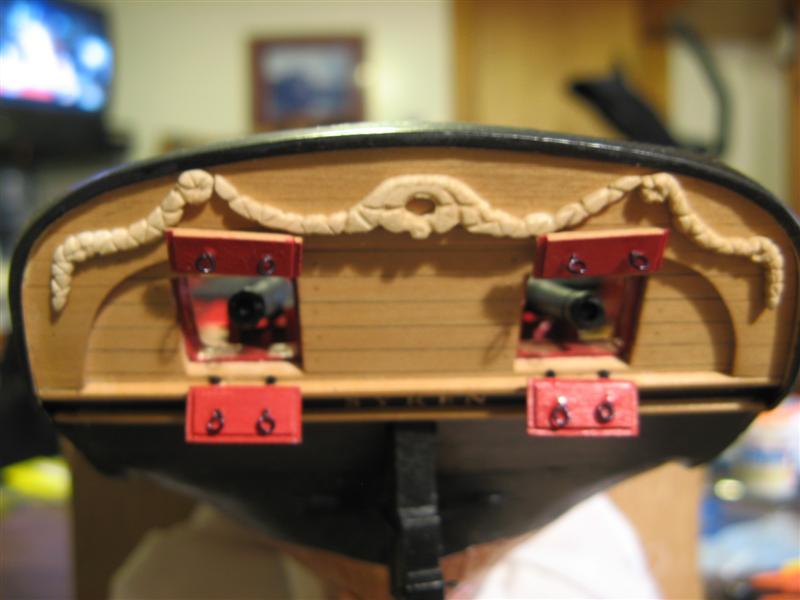
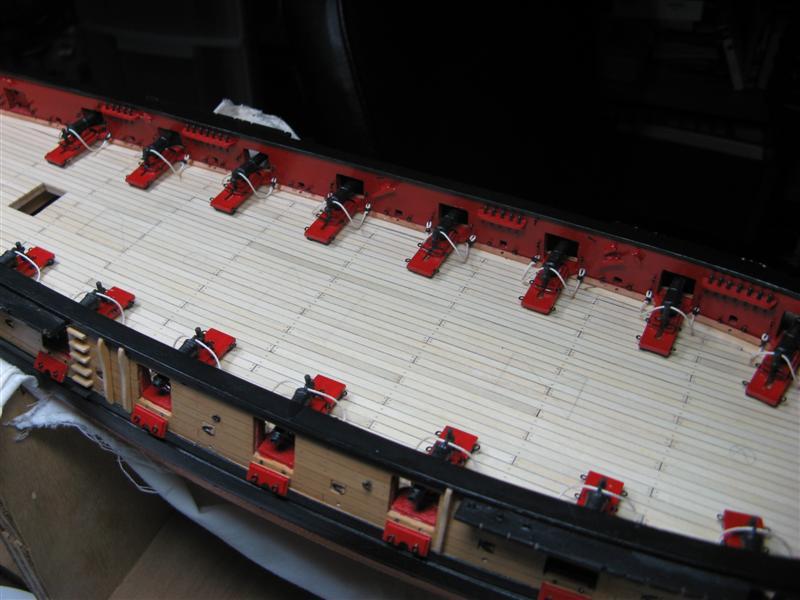
Here was my attempt at using sculpy to create the figurehead. In the first attempt she had a case of Big Hair so I sent her out for a trim and she fit better. Also the carronades made and installed. The barrels were resin cast that I made from a master supplied by Chuck.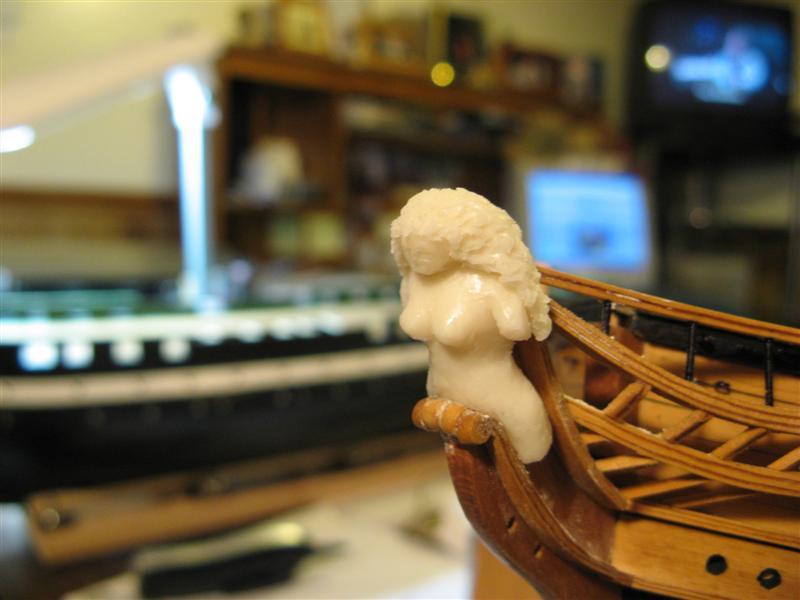
-
US Brig Syren by Rustyj - FINISHED - 1:64
Rustyj replied to Rustyj's topic in - Build logs for subjects built 1801 - 1850
Funny and I thought doing them was horrible to do back then. Now I want to rip them off and redo them but that ain't gonna happen. -
Hi Jeff, Yes thinner thread and larger holes. I used Lloyd's blocks on my Confederacy and they turned out much nicer than my Constitution did.
-
Very Nice Bob. I really like the look of your wood.
-
US Brig Syren by Rustyj - FINISHED - 1:64
Rustyj replied to Rustyj's topic in - Build logs for subjects built 1801 - 1850
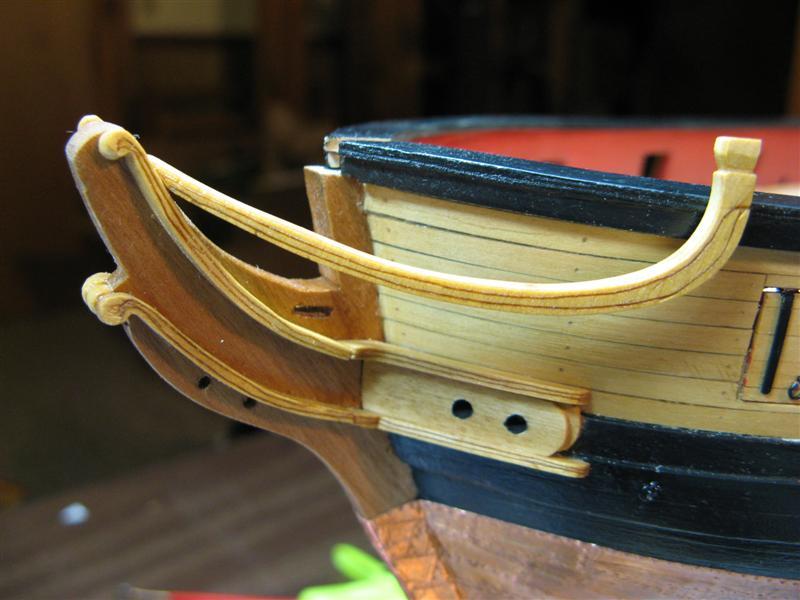
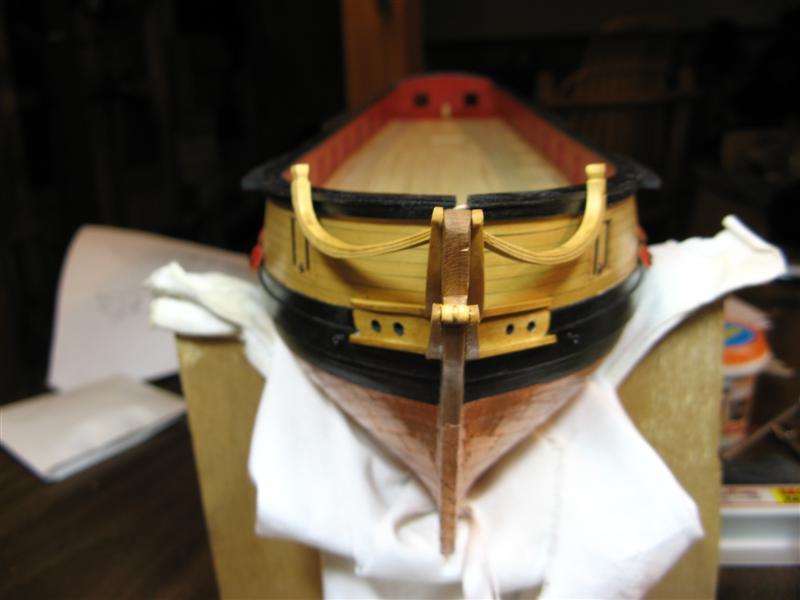
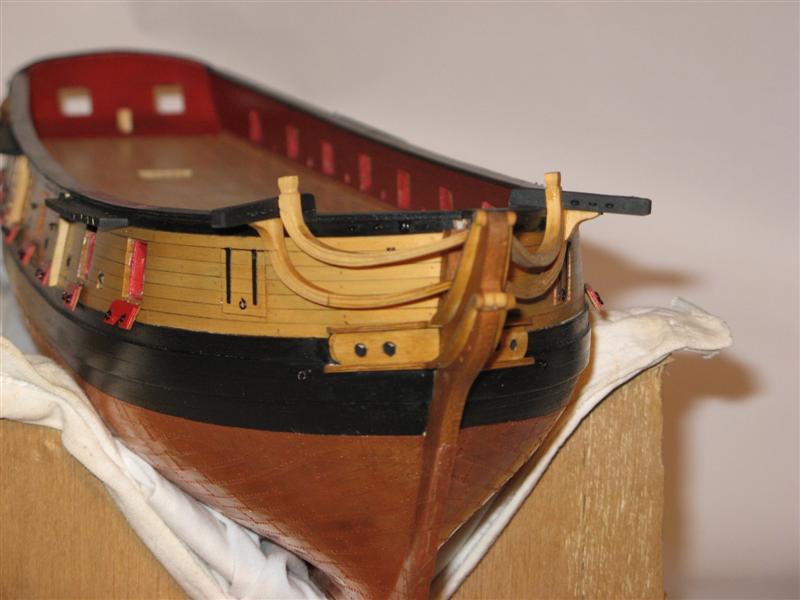
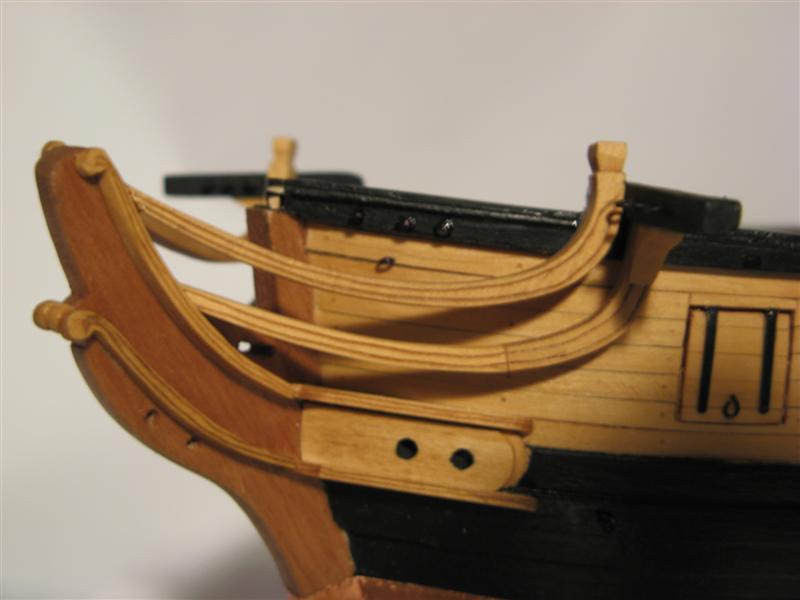
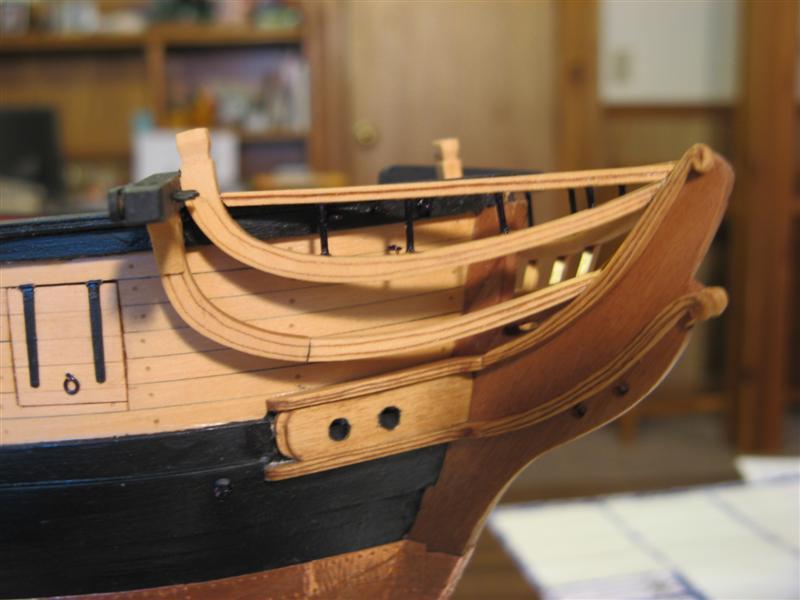
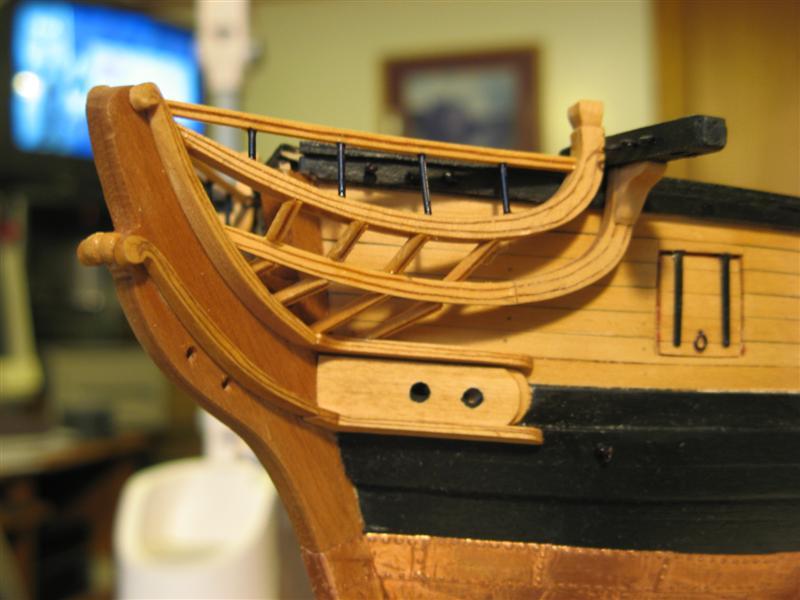
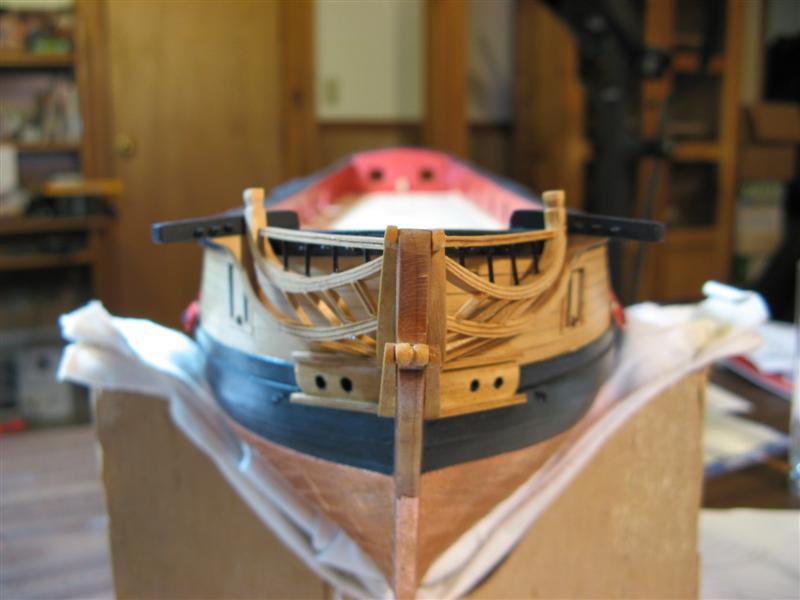
And doing the head rails.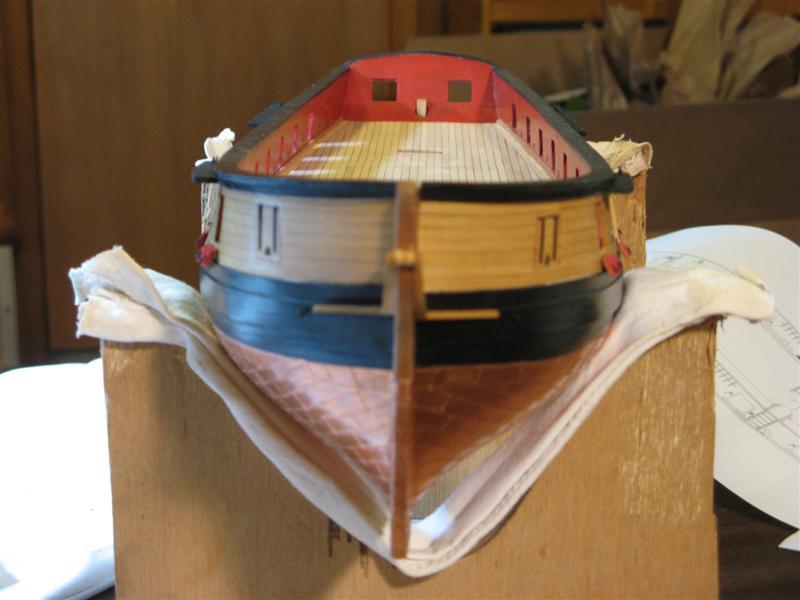
-
US Brig Syren by Rustyj - FINISHED - 1:64
Rustyj replied to Rustyj's topic in - Build logs for subjects built 1801 - 1850
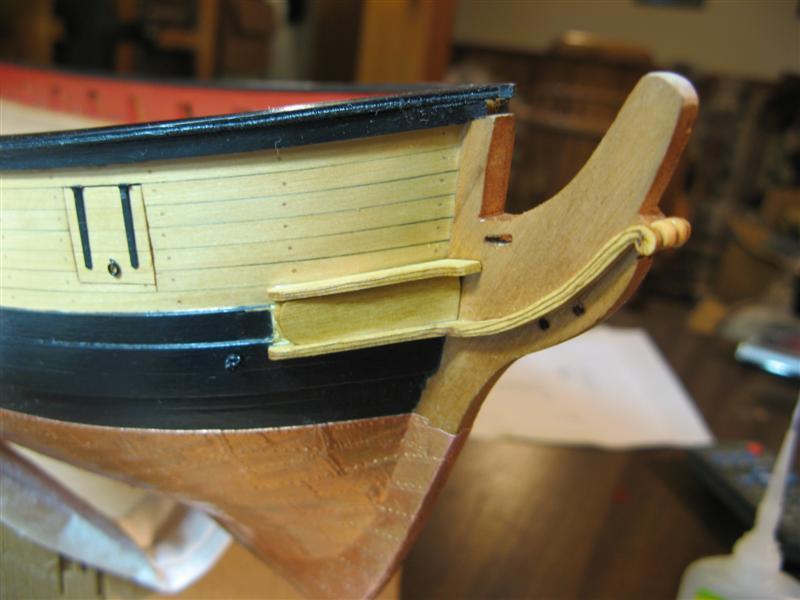
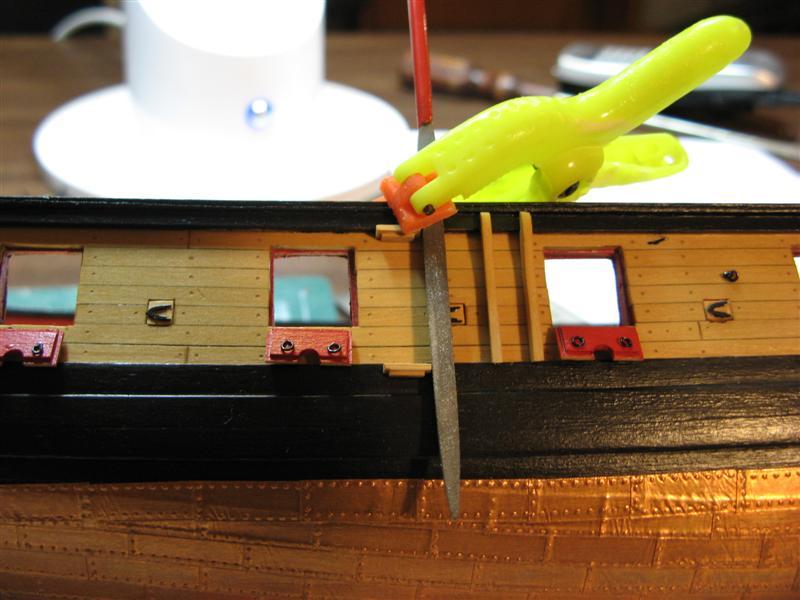
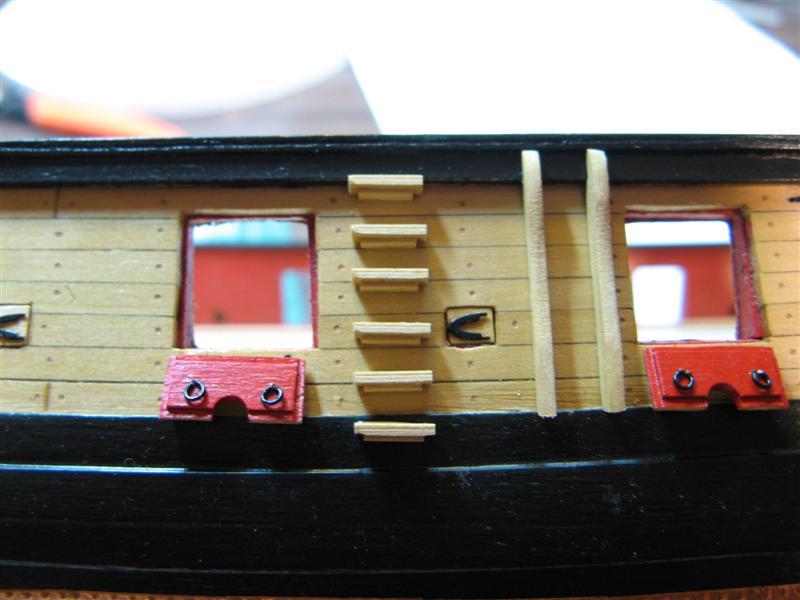
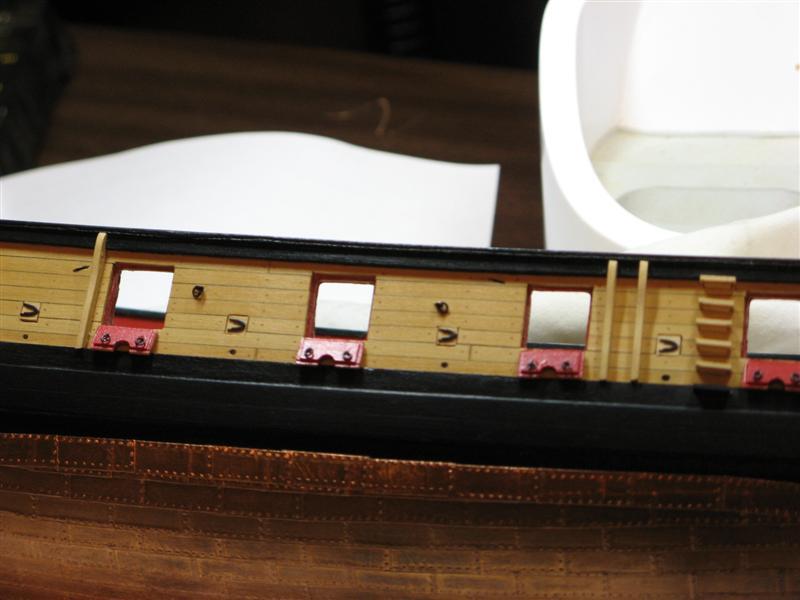
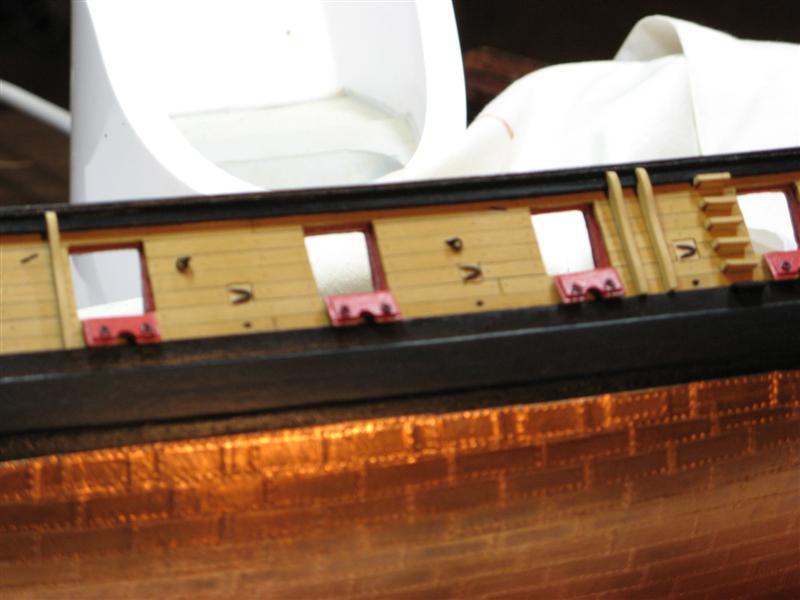
Here are some of the outboard fenders, steps etc.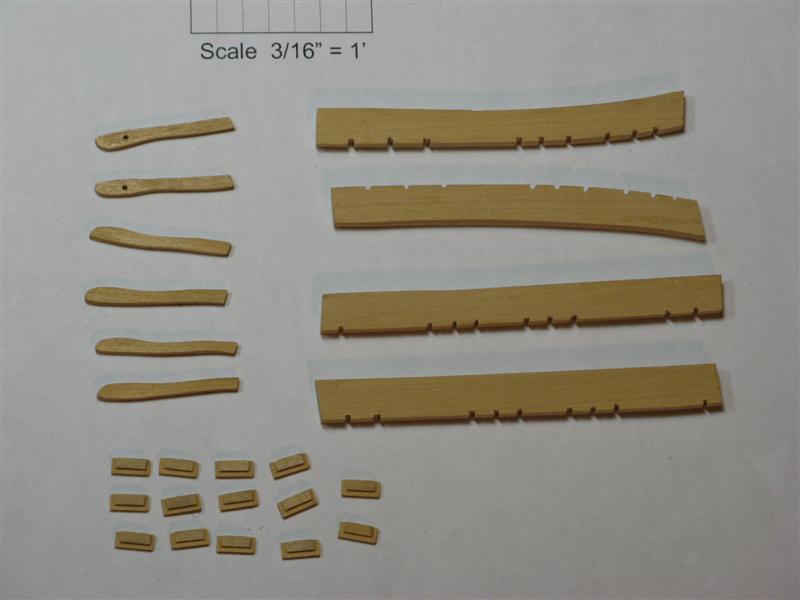
-
Ah Mario, That is just great. It will be a tremendous help. Thanks.
-
Echo by oneslim - cross-section
Rustyj replied to oneslim's topic in - Build logs for subjects built 1751 - 1800
Very Nice Bob, Enjoy the work shop and I look forward to seeing the rest of your work. -
Hi Grant, Thank you for all of this great information. It will help me greatly when I get to this point. Well done!
-
USF Confederacy by Rustyj - FINISHED
Rustyj replied to Rustyj's topic in - Build logs for subjects built 1751 - 1800
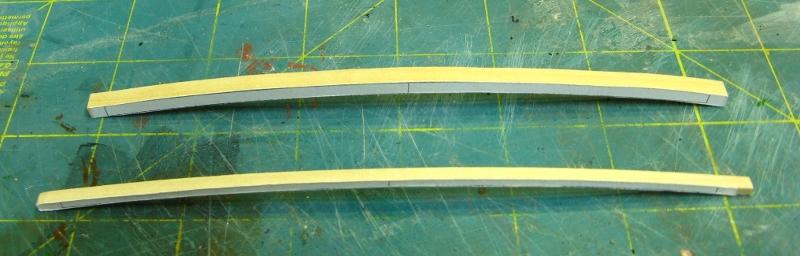
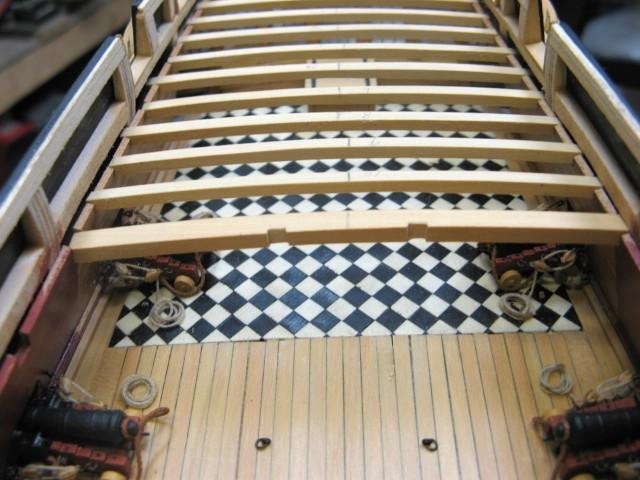
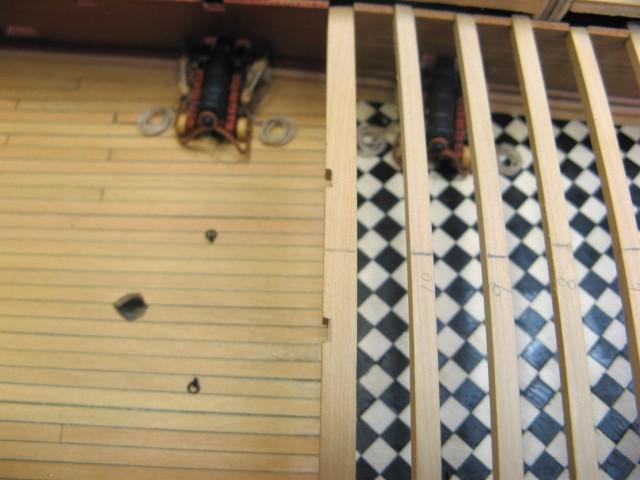
Hi Augie, You had to sleep on it. It kept me awake nights! Also I think you have to special order the tiles! Some day I hope to get there and walk her decks too. Here are deck beams with the camber cut into the instead of bending to shape.
- 149 replies
-
- 3
-
-
- confederacy
- frigate
- (and 1 more)
-
Hi Geoff, Great to see you Constitution build here. It will be a pleasure to continue watching your build. Thanks