-
Posts
2,535 -
Joined
-
Last visited
Content Type
Profiles
Forums
Gallery
Events
Everything posted by Rustyj
-

USF Confederacy by Rustyj - FINISHED
Rustyj replied to Rustyj's topic in - Build logs for subjects built 1751 - 1800
- 149 replies
-
- confederacy
- frigate
-
(and 1 more)
Tagged with:
-
Well done Augie, I know what a bugger they can be and you nailed it!
- 1,668 replies
-
- syren
- model shipways
-
(and 1 more)
Tagged with:
-

Byrnes table saw accessories
Rustyj replied to Neill's topic in Modeling tools and Workshop Equipment
Hi Neill, IMHO the accessories you will need the most are the Extended Rip Fence, Miter Extension and Zero-Clearance Inserts. How many inserts depends on how many types of blades you will be using. I have one insert for each type. Other accessories are nice but these are the ones I use the most. I hope this helps. -

USF Confederacy by Rustyj - FINISHED
Rustyj replied to Rustyj's topic in - Build logs for subjects built 1751 - 1800
- 149 replies
-
- confederacy
- frigate
-
(and 1 more)
Tagged with:
-

USF Confederacy by Rustyj - FINISHED
Rustyj replied to Rustyj's topic in - Build logs for subjects built 1751 - 1800
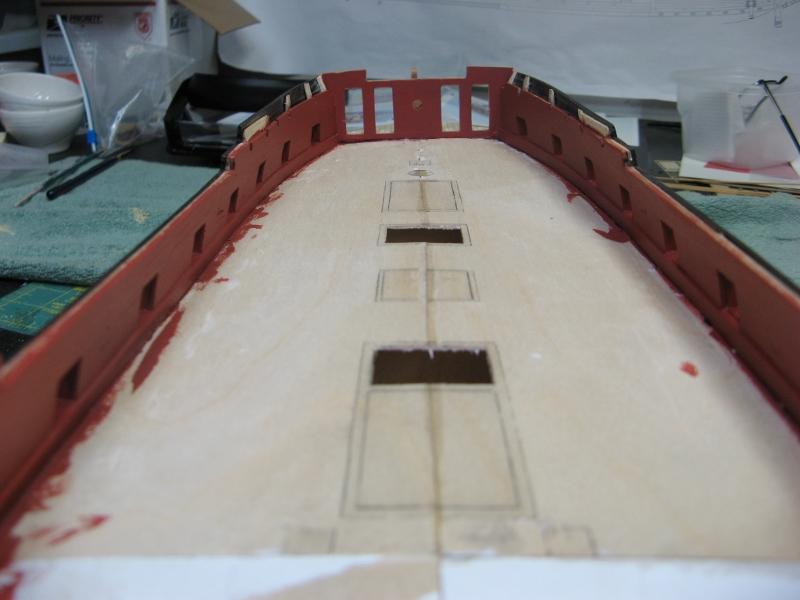
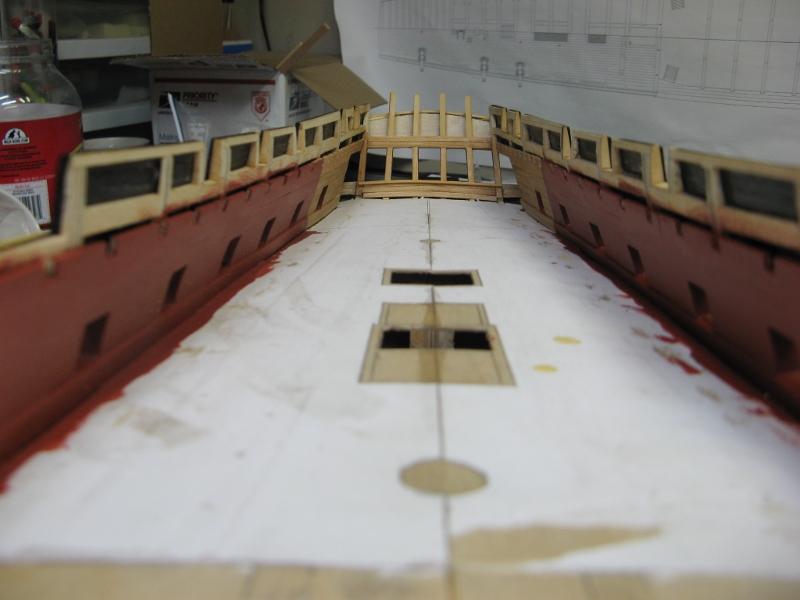
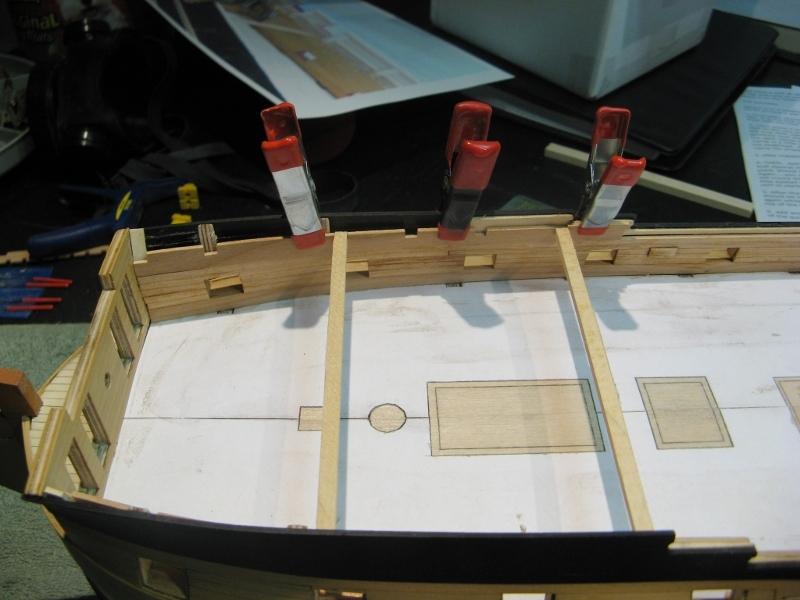
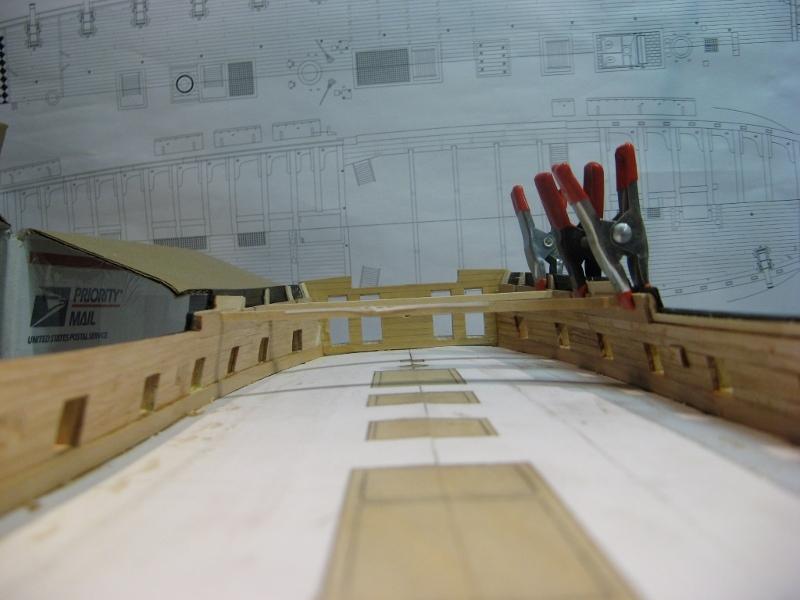
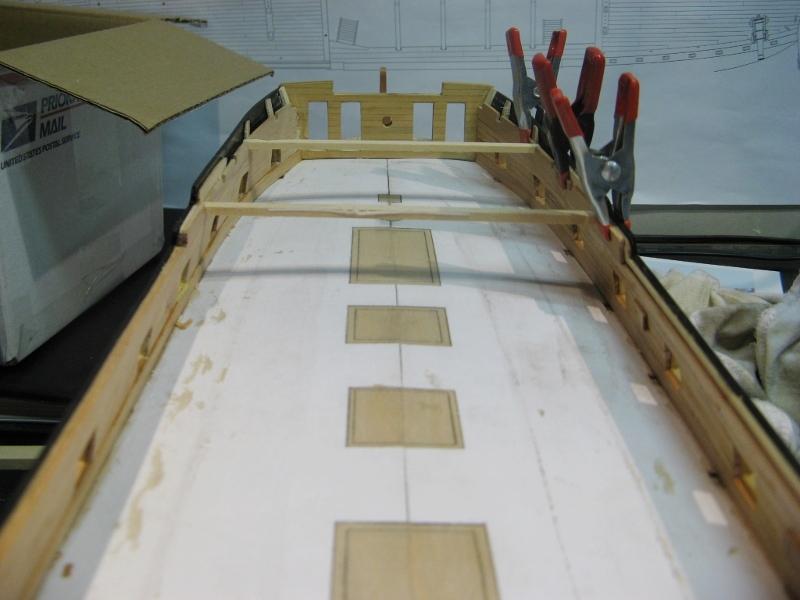
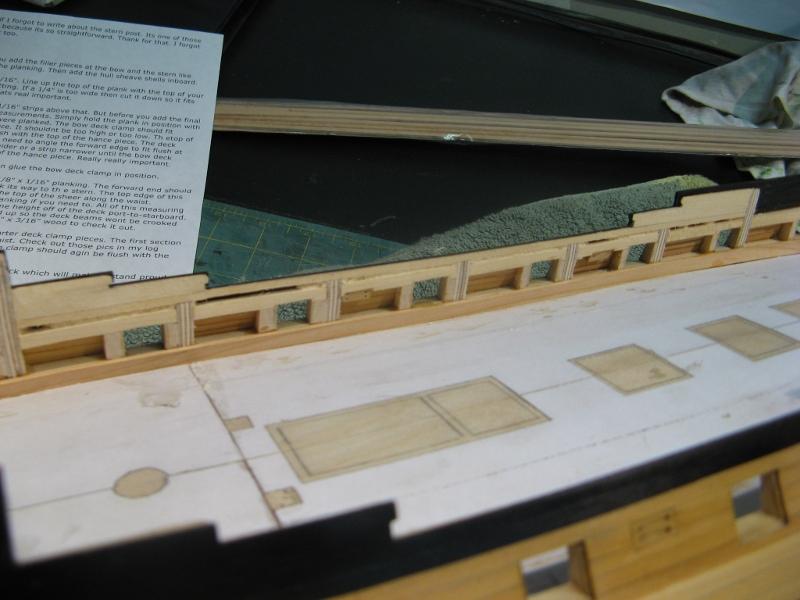
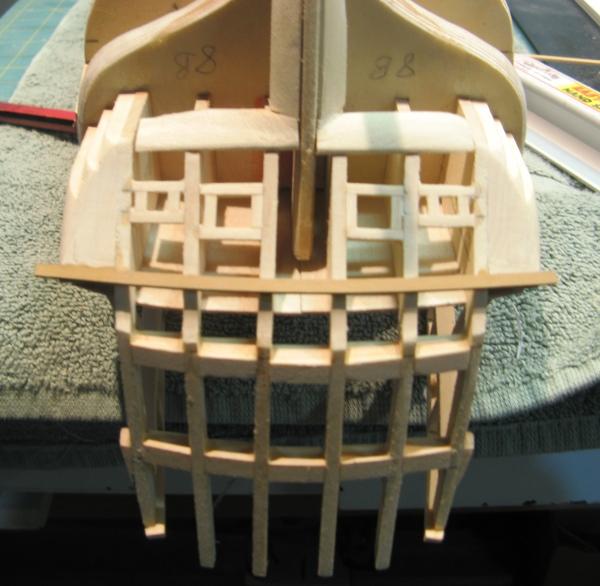
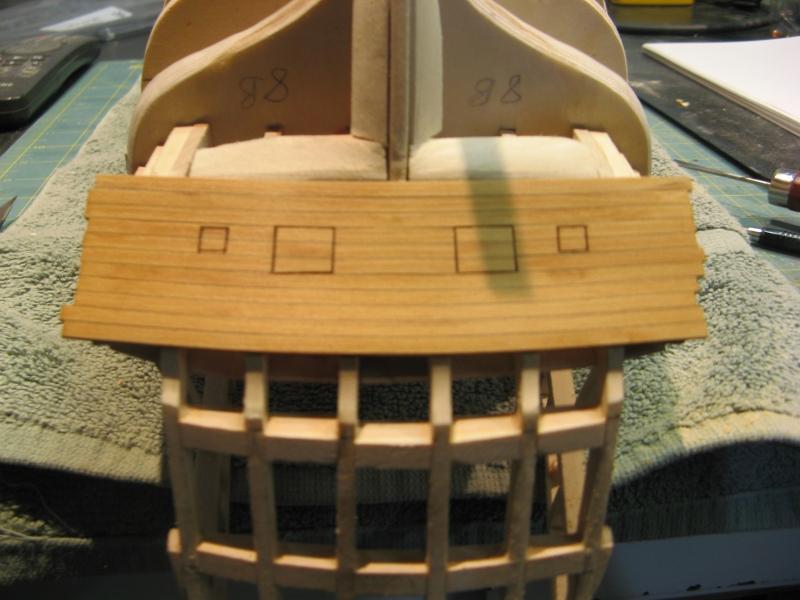
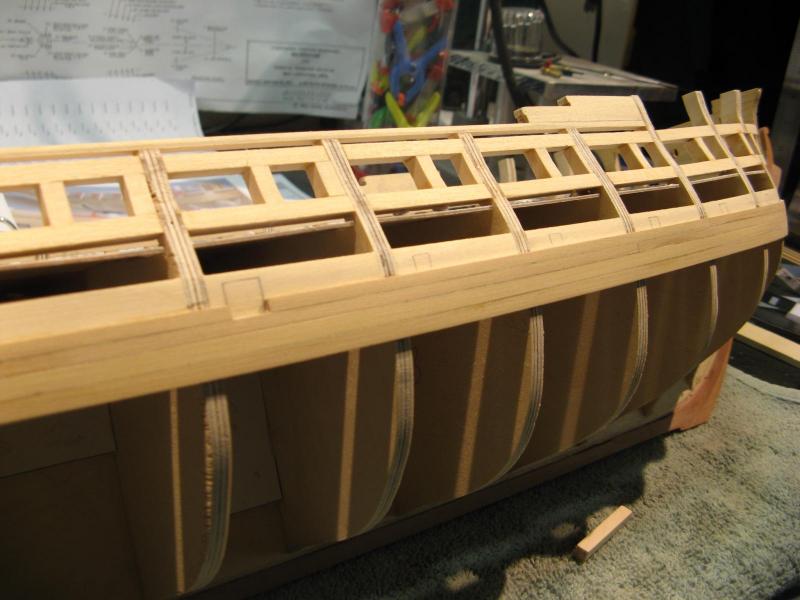
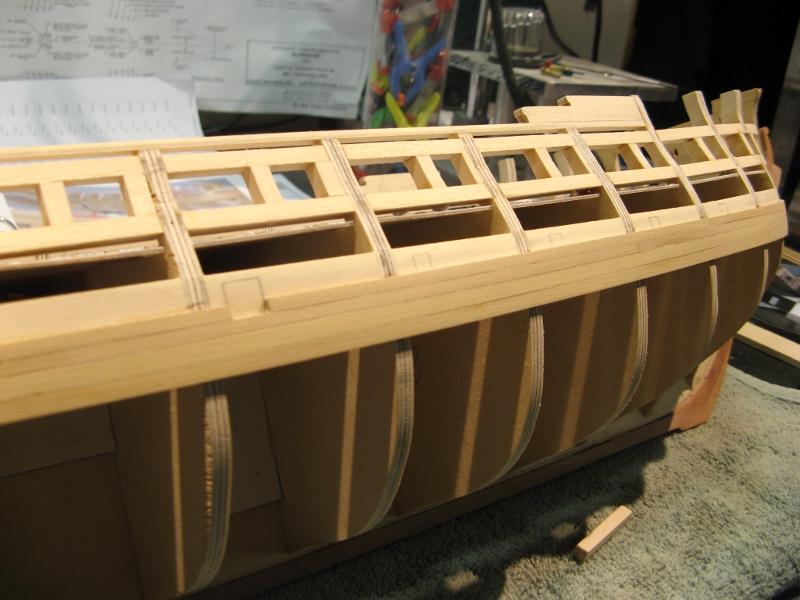
Hi Ben, I have to give you a big “ummmm not sure why”. I would guess it was because I was thinking lets plank the interior before putting the window frames is so I don’t put a plank through them or just cause I wanted to do the planking then and not later. What ever reason it was it was not really important. Just me being me as they say.- 149 replies
-
- confederacy
- frigate
-
(and 1 more)
Tagged with:
-
Thank you very much. I'm glad you enjoyed her again. Just think if we could build that fast!
- 43 replies
-

US Brig Syren by Gahm - Model Shipways
Rustyj replied to Gahm's topic in - Kit build logs for subjects built from 1801 - 1850
Hi Thomas, That is a fantastic job you are doing on your Syren. I'll enjoy following along. -
- 43 replies
-
- 43 replies
-
- 43 replies
-
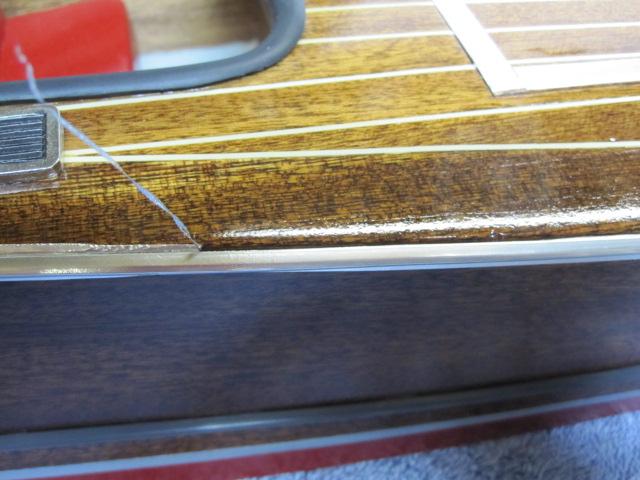
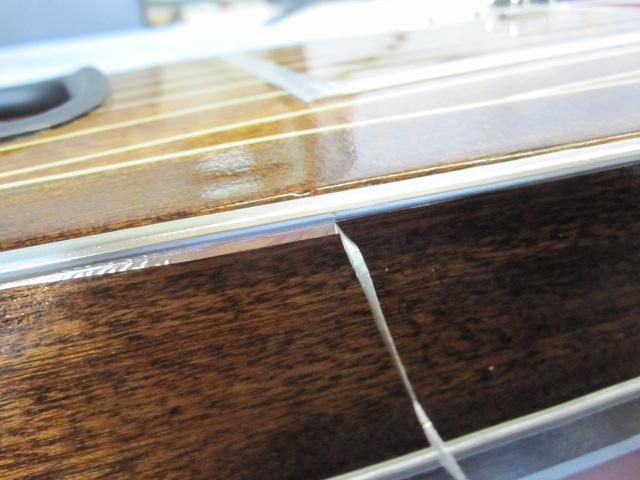
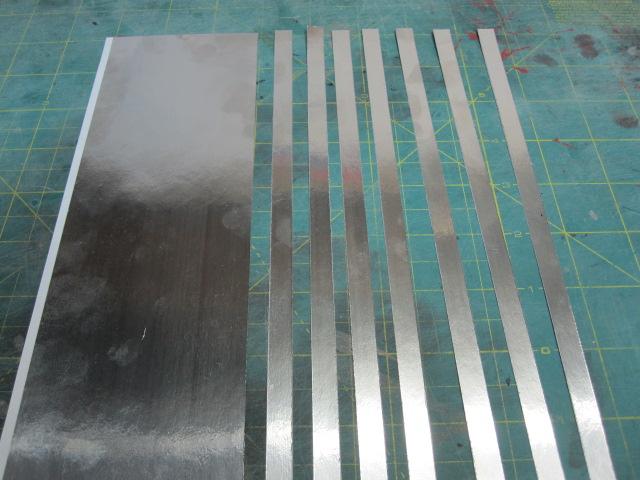
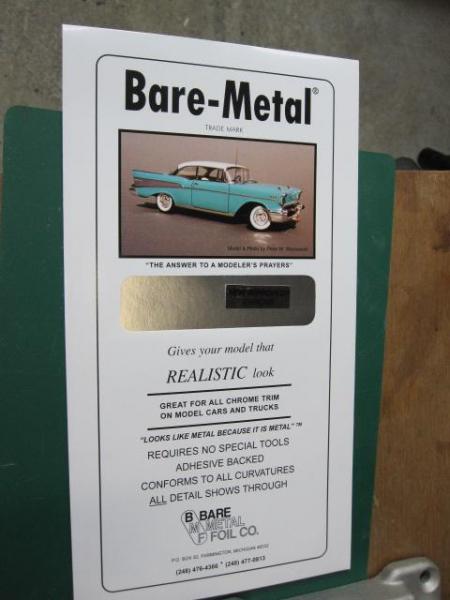
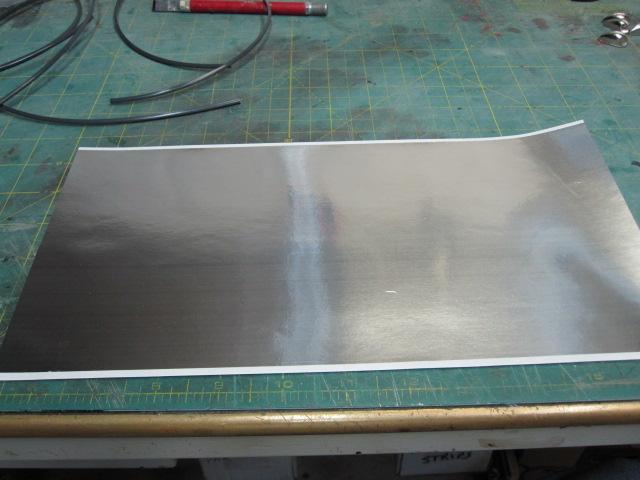
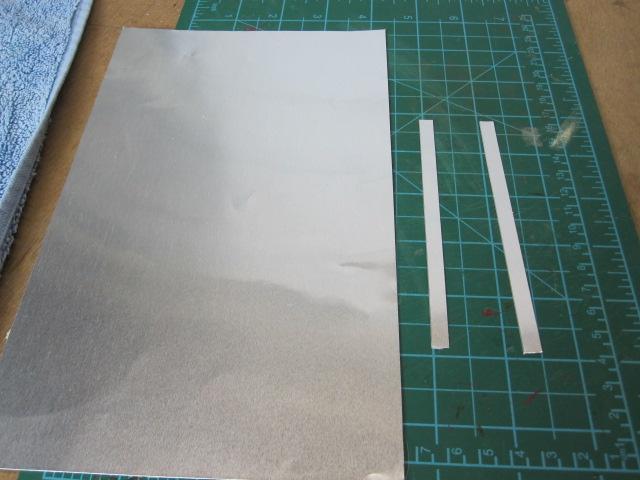
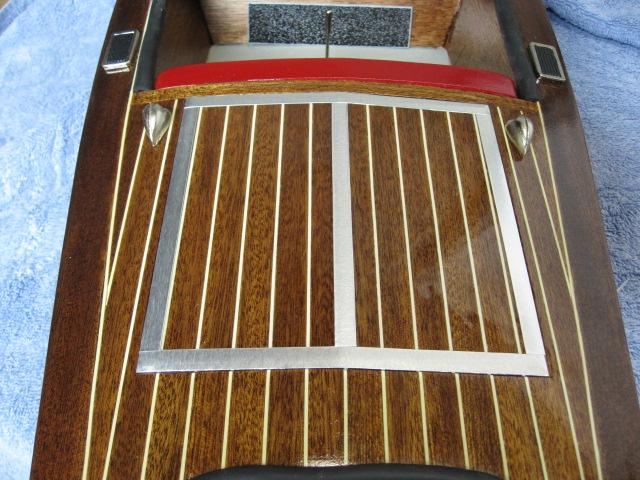
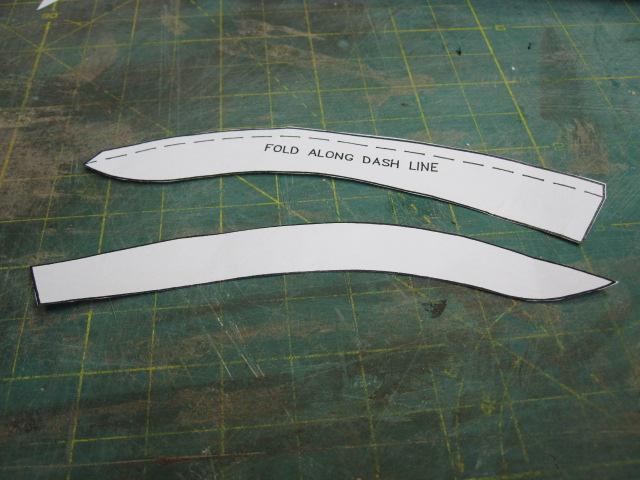
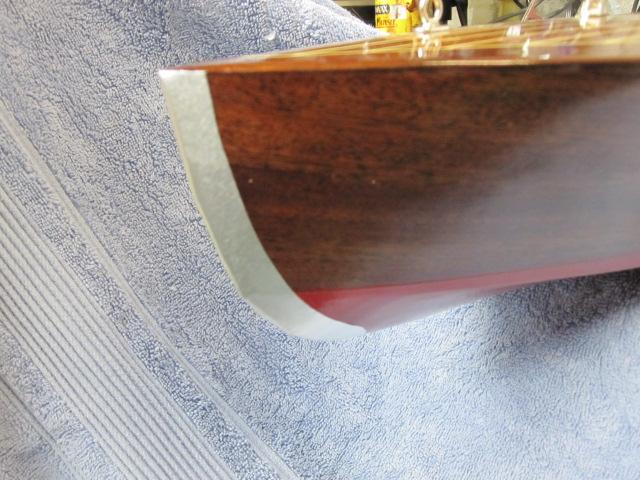
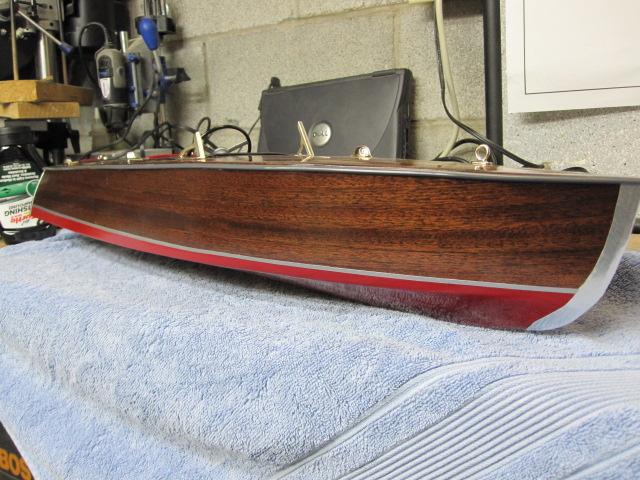
Hi Pat, I just have to find a free space to put it! Here I'm adding the trim that was cut from some bare metal foil.
- 43 replies
-

USF Confederacy by Rustyj - FINISHED
Rustyj replied to Rustyj's topic in - Build logs for subjects built 1751 - 1800
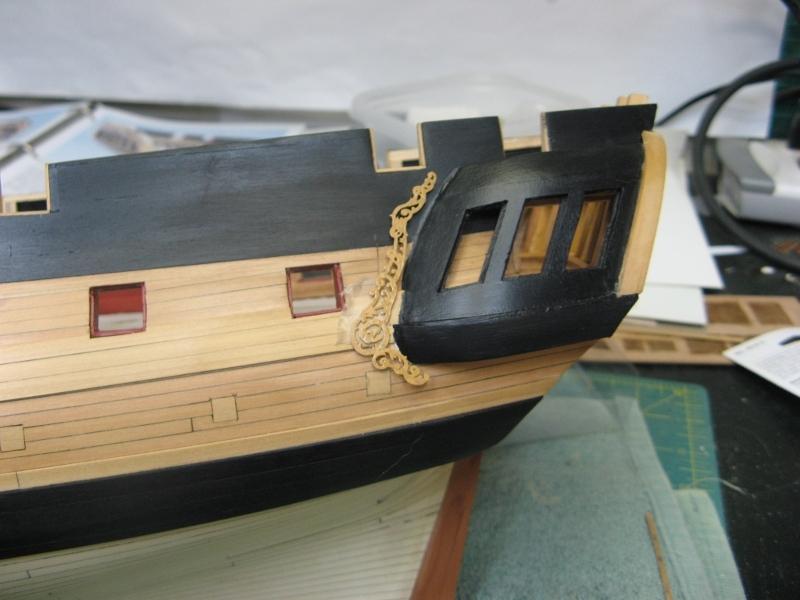
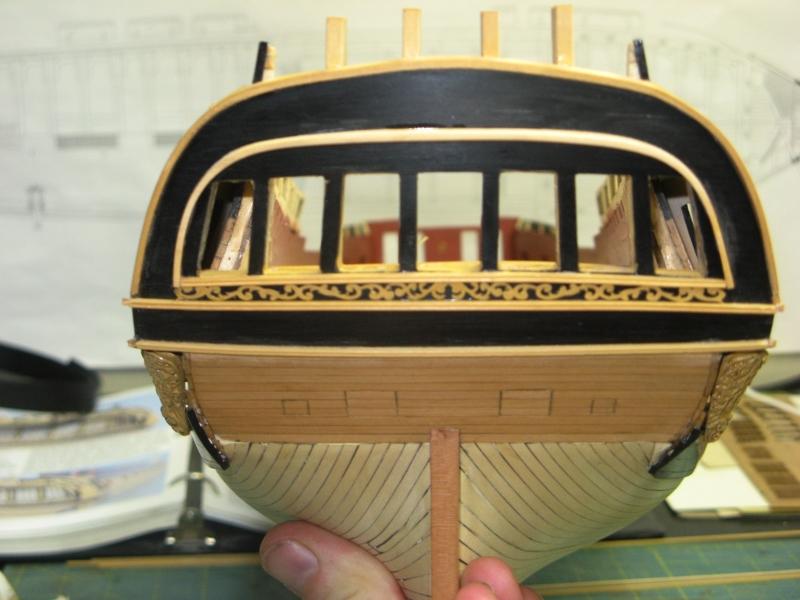
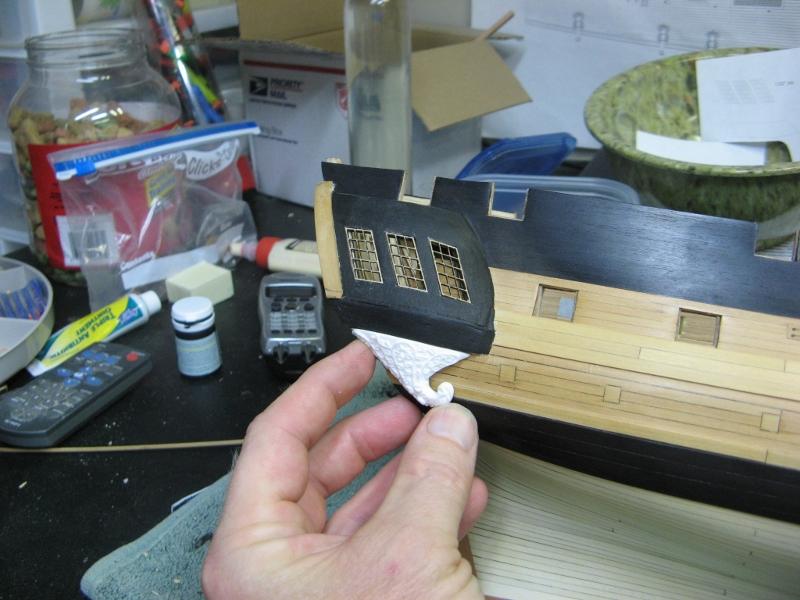
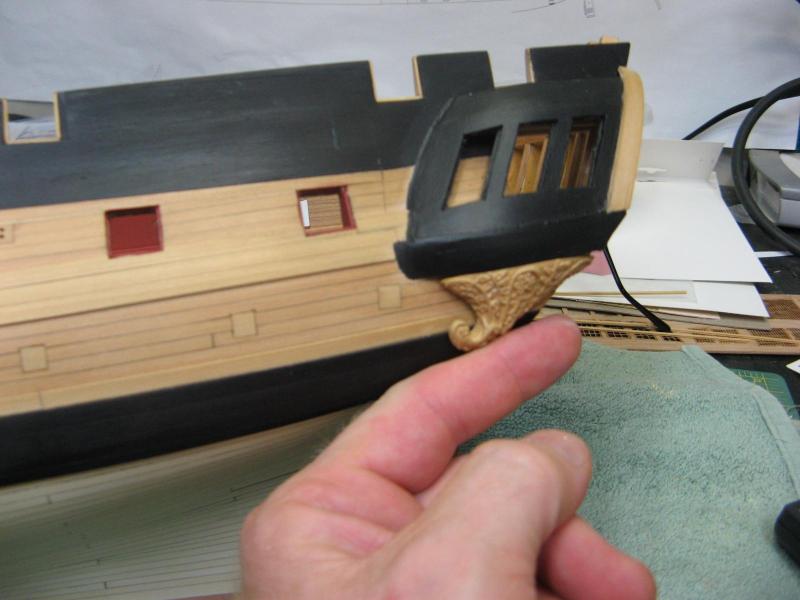
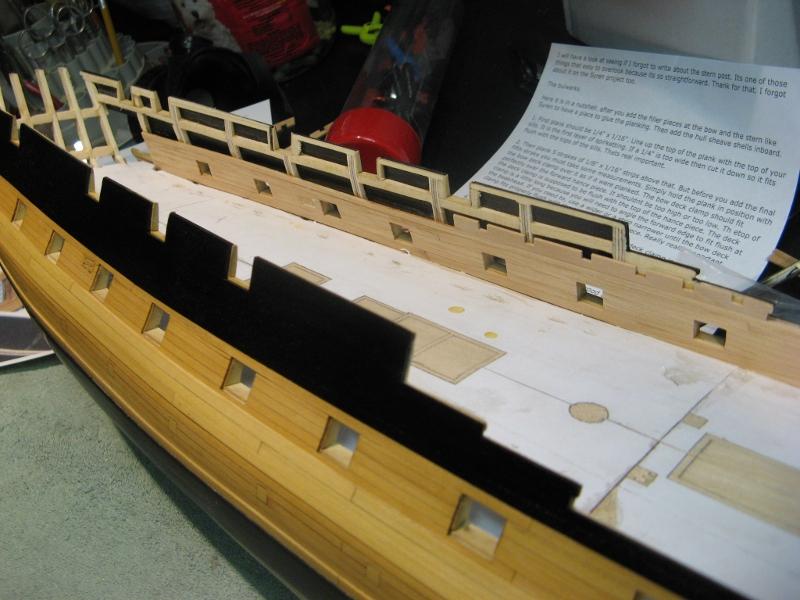
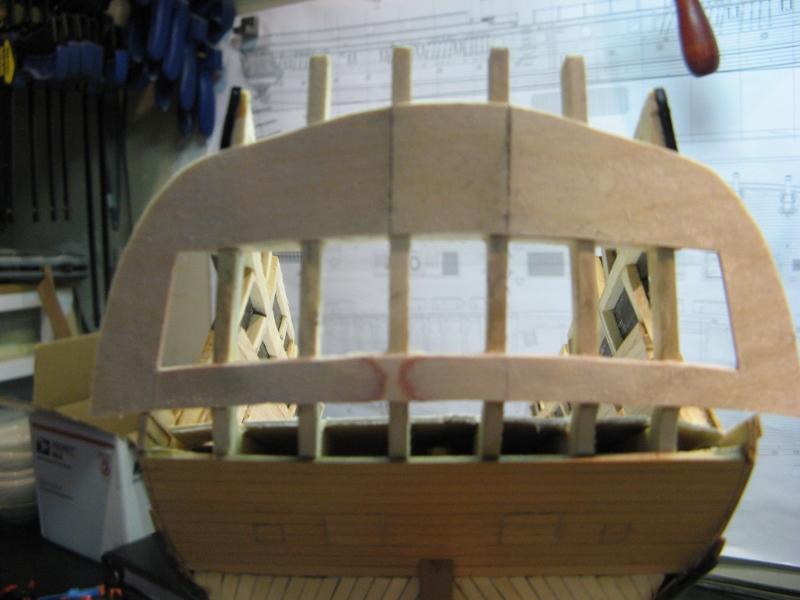
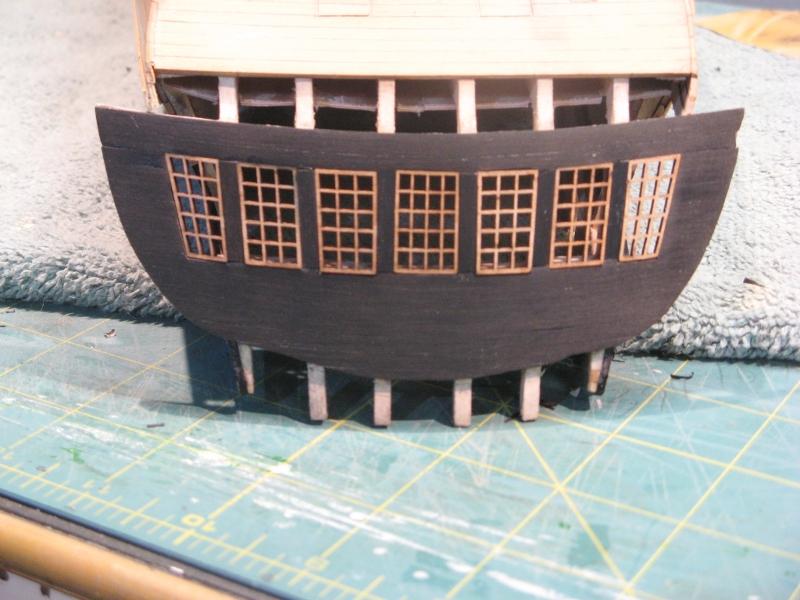
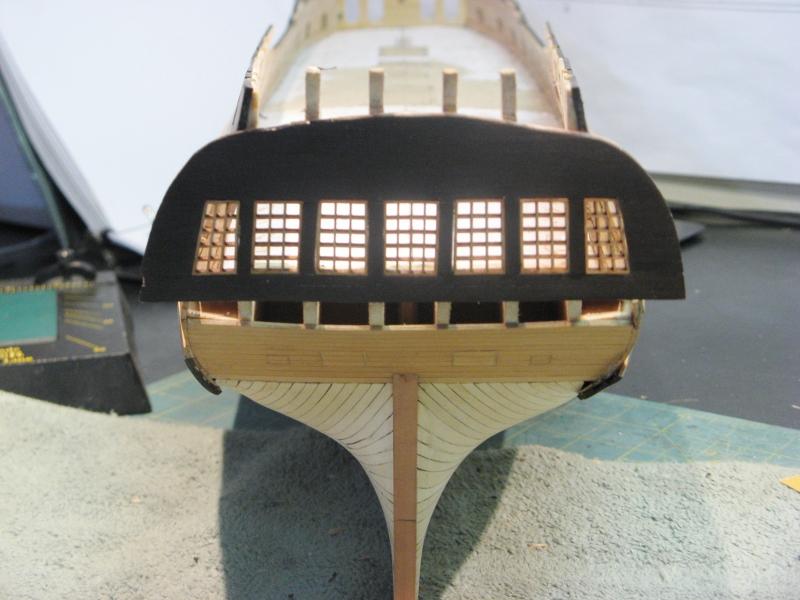
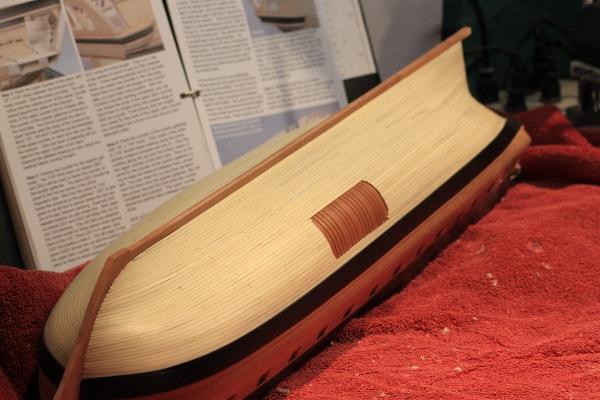
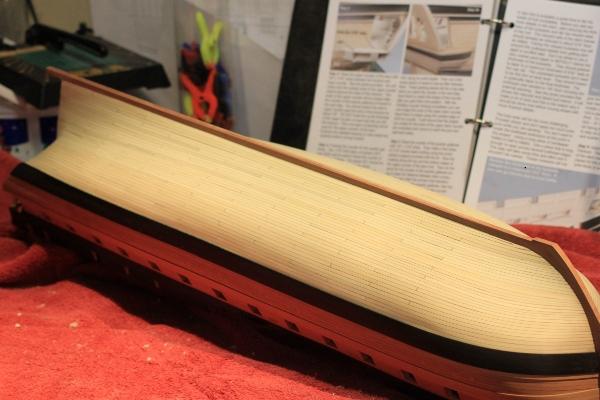
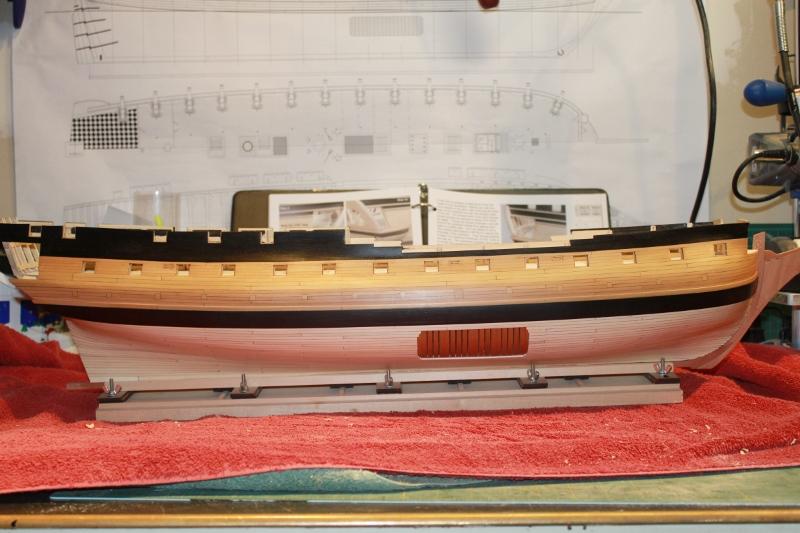
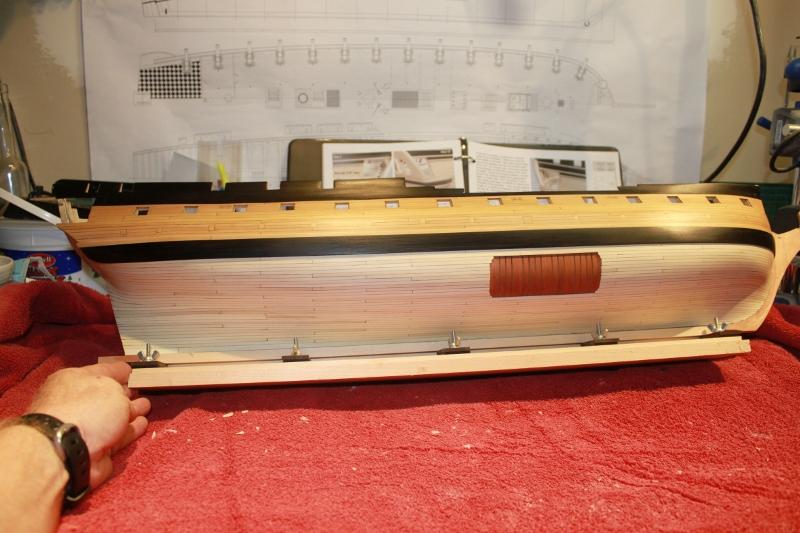
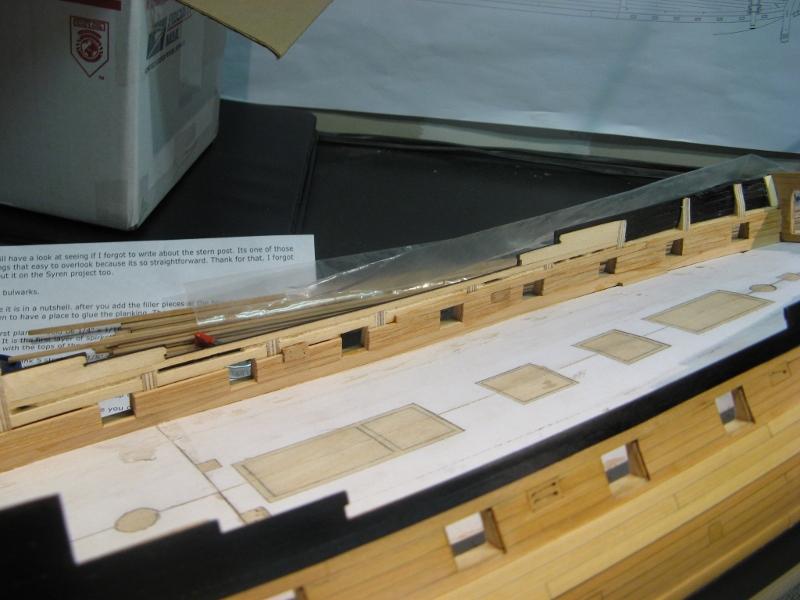
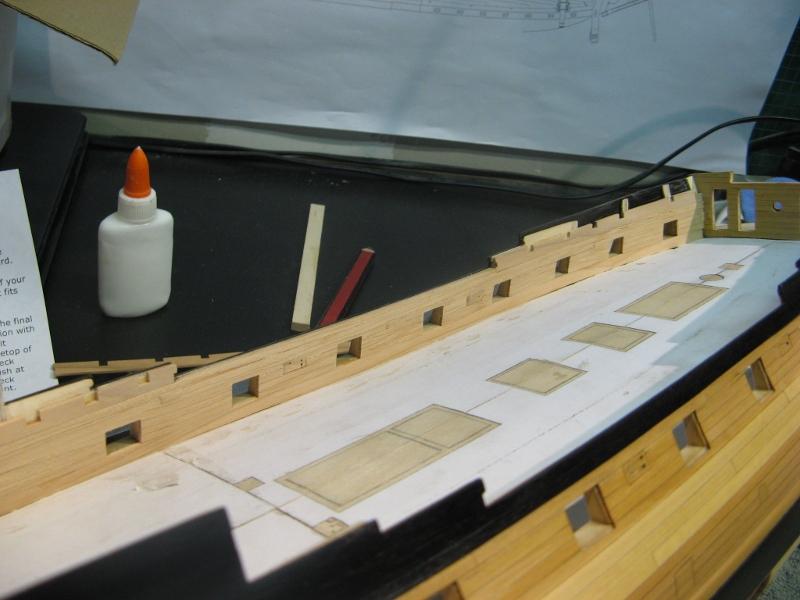
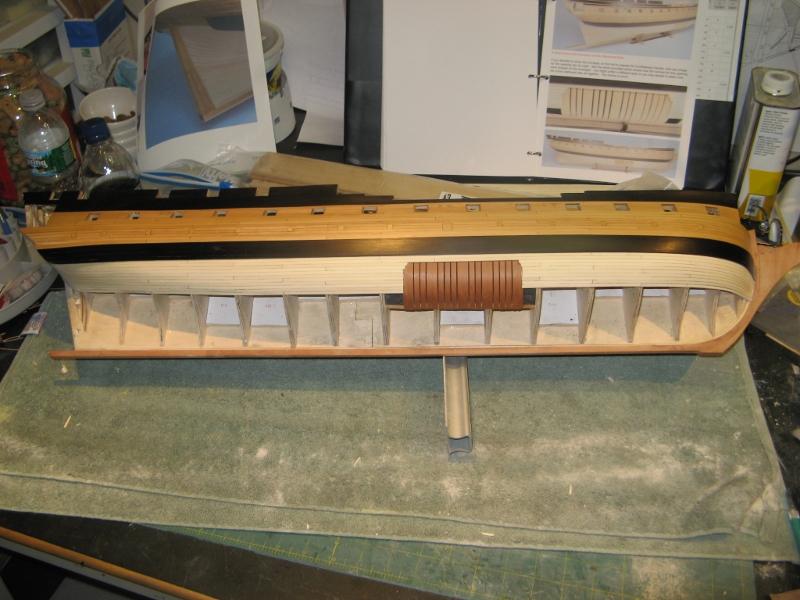
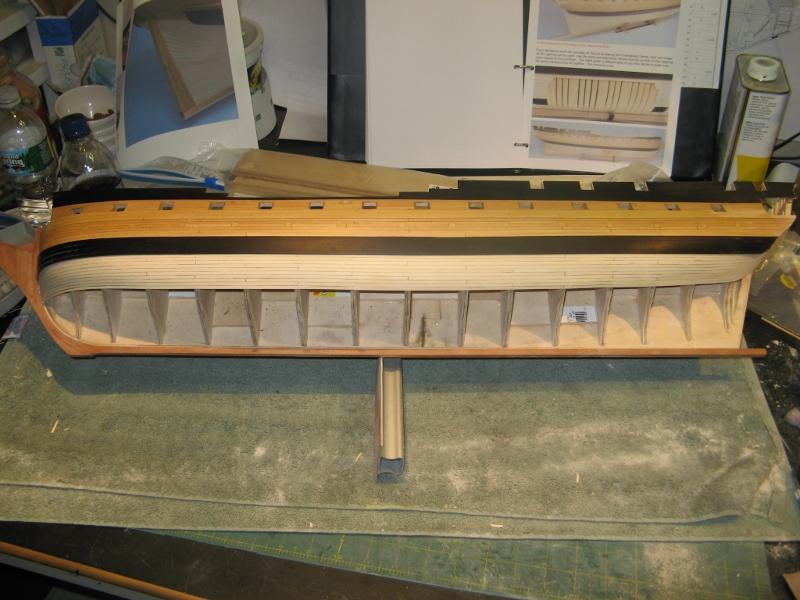
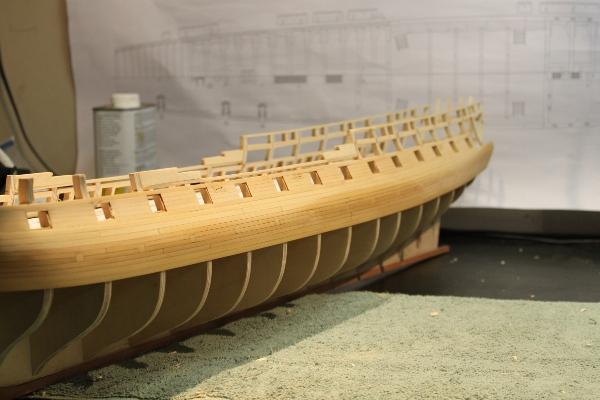
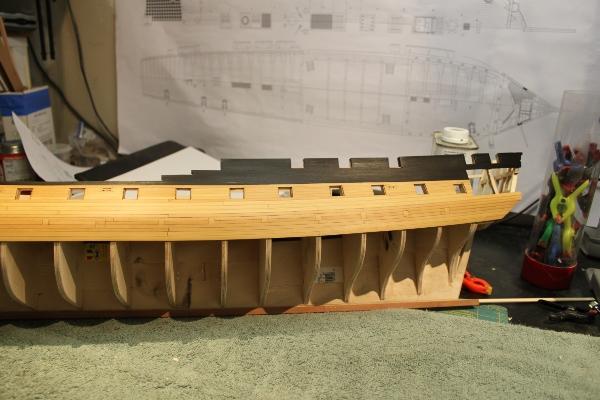
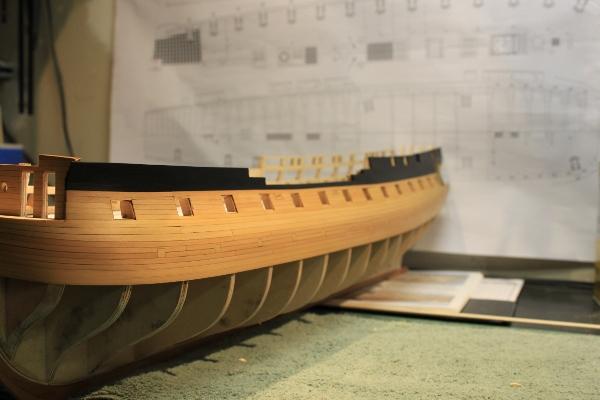
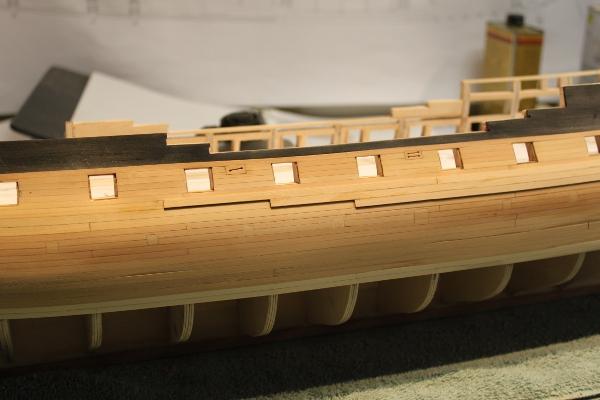
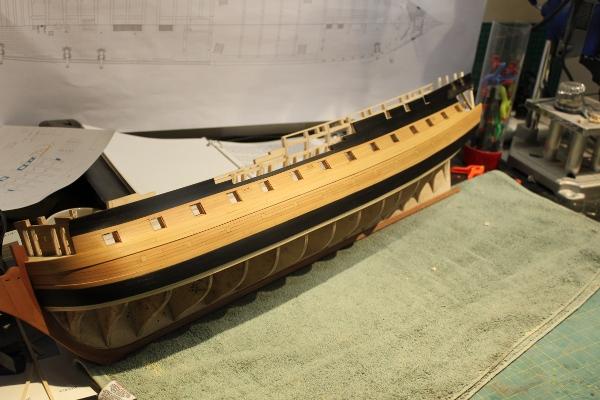
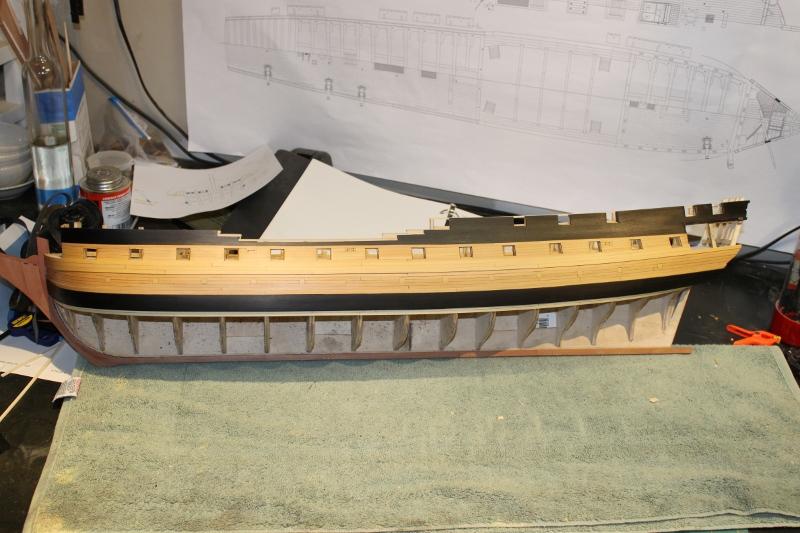
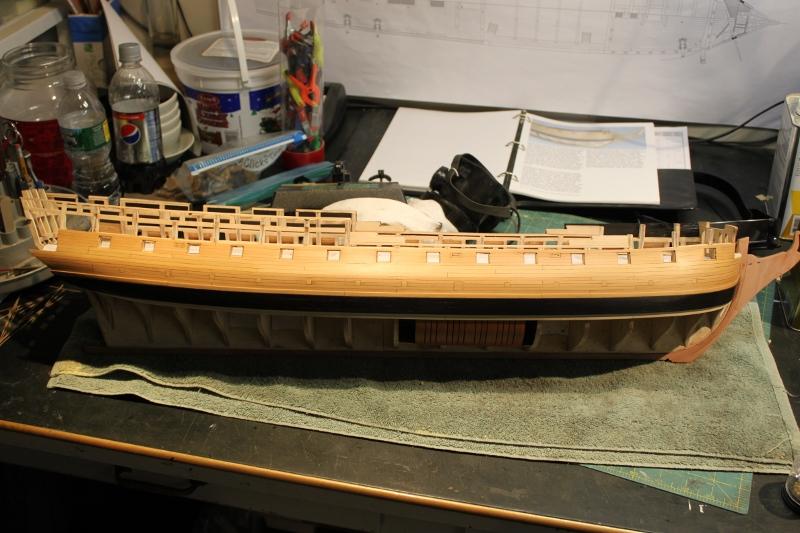
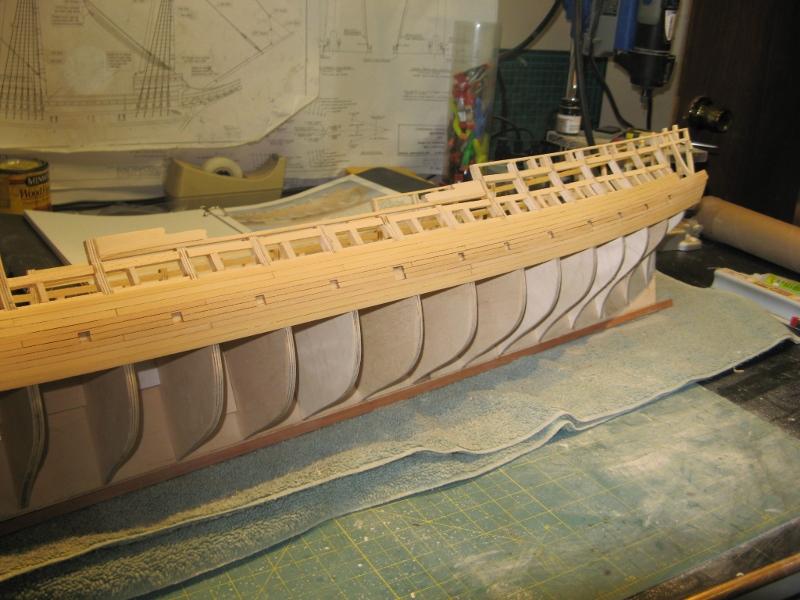
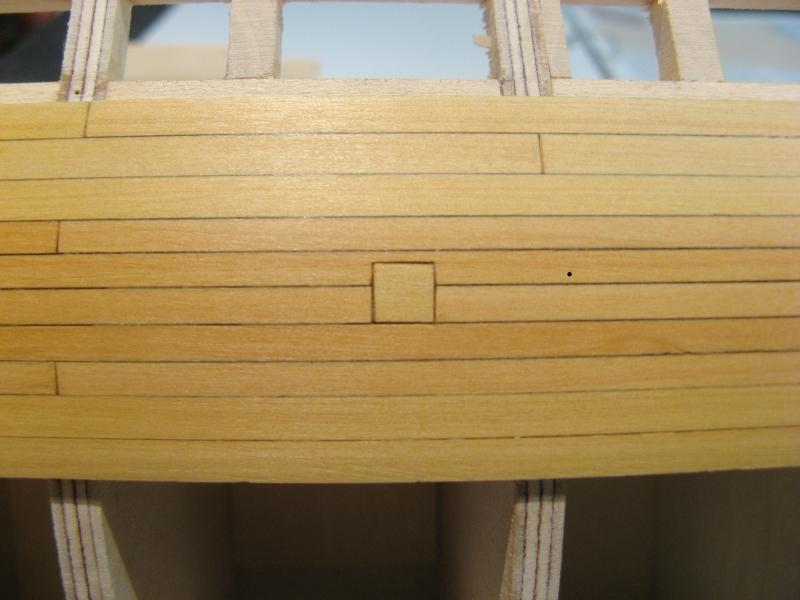
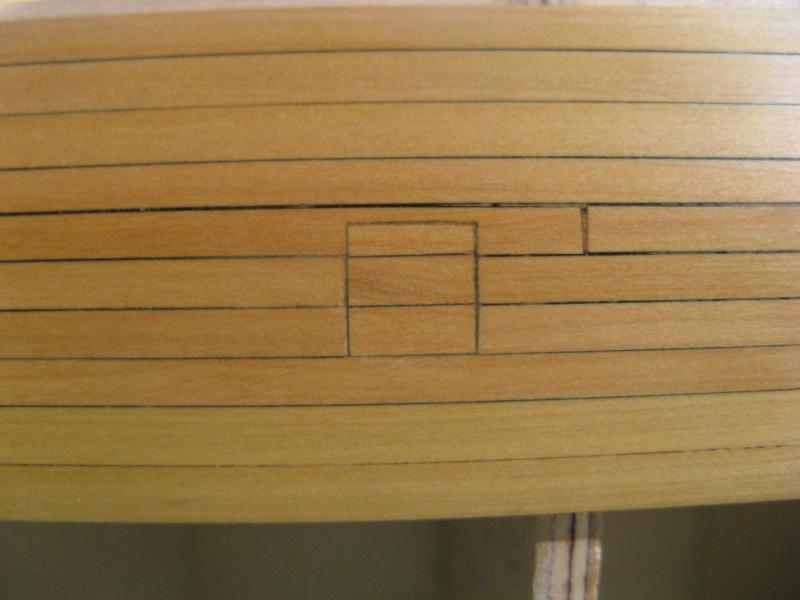
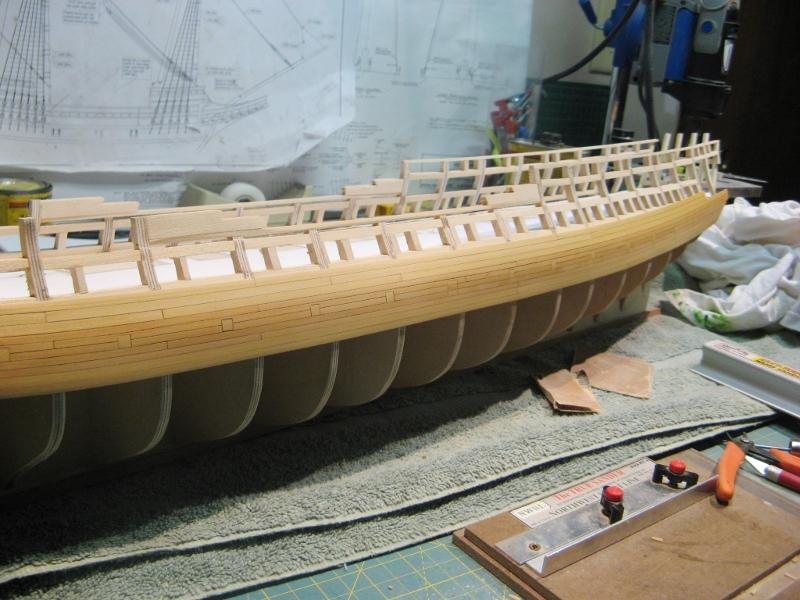
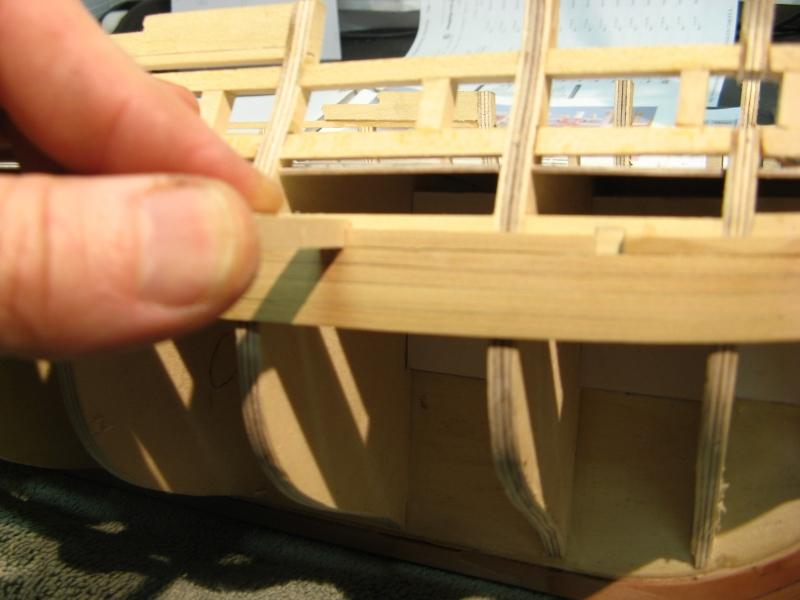
Hull is planked with Holly and the simulated frames are swiss pear. The bulwark planking is boxwood.- 149 replies
-
- confederacy
- frigate
-
(and 1 more)
Tagged with:
-
Thanks Augie. Not really a fan of gloss finishes but it goes really well on these kind of models.
- 43 replies
-
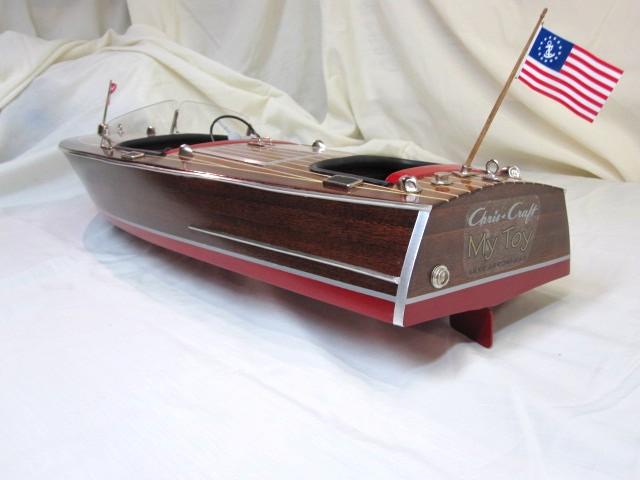
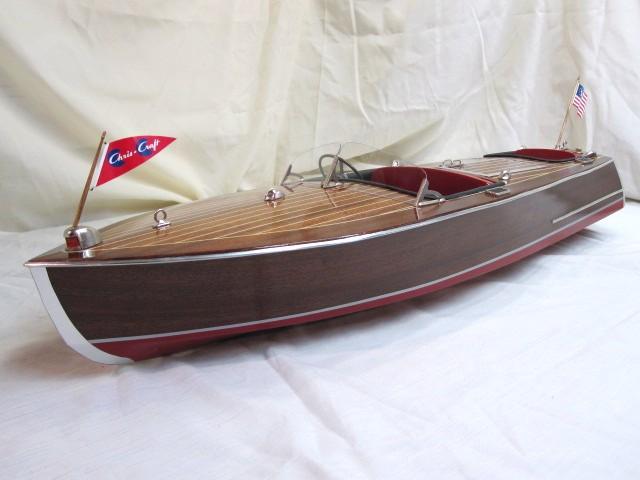
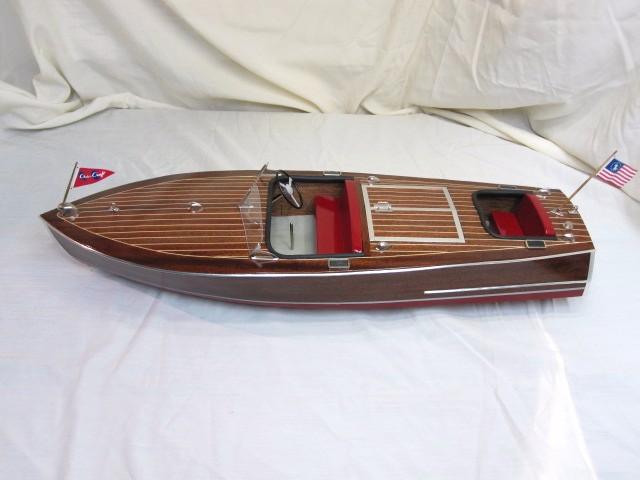
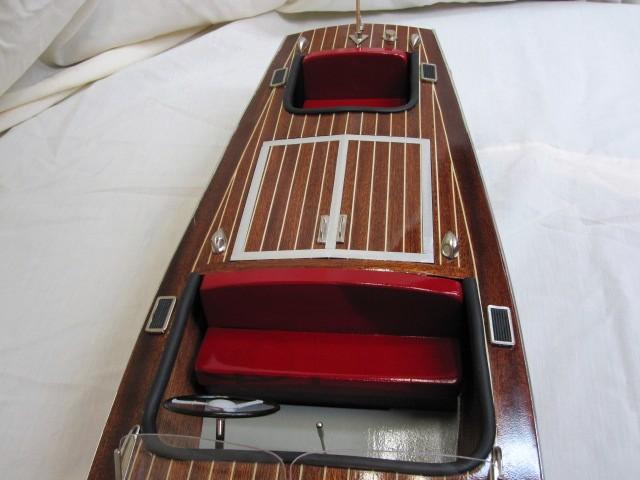
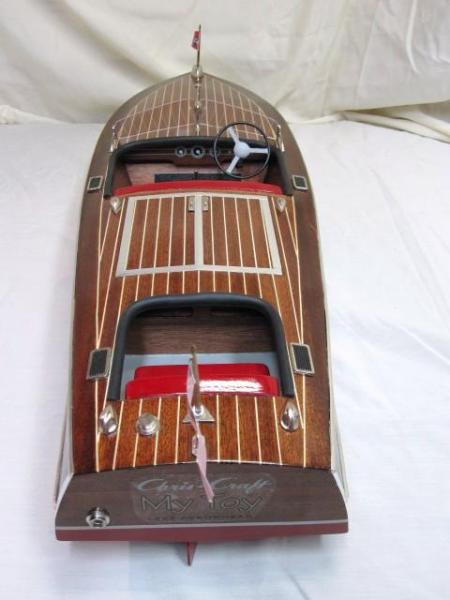
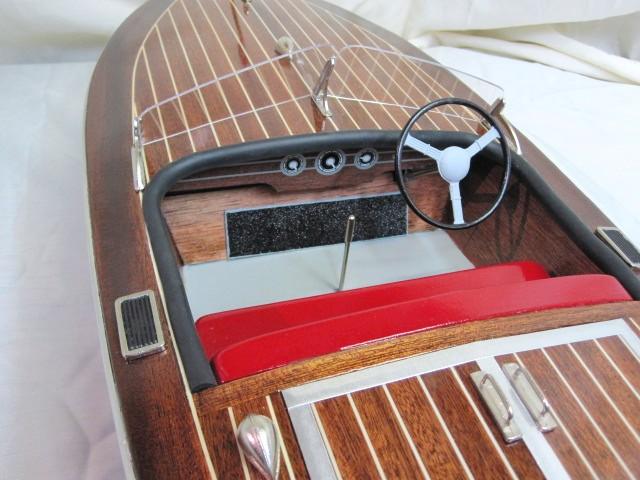
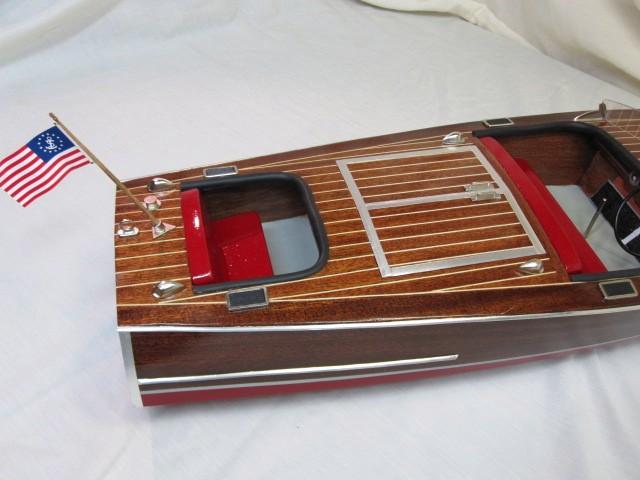
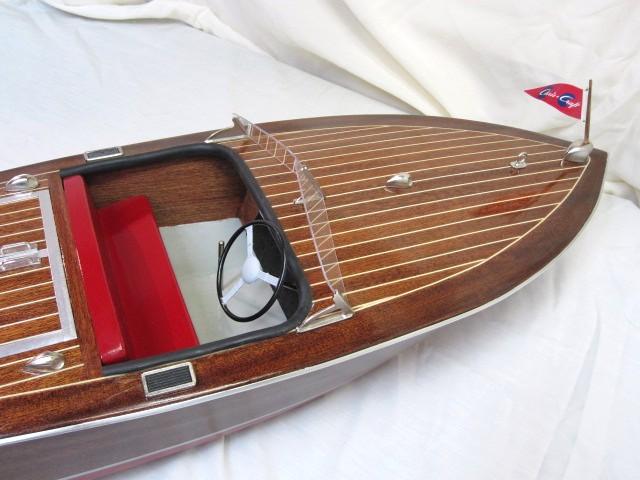
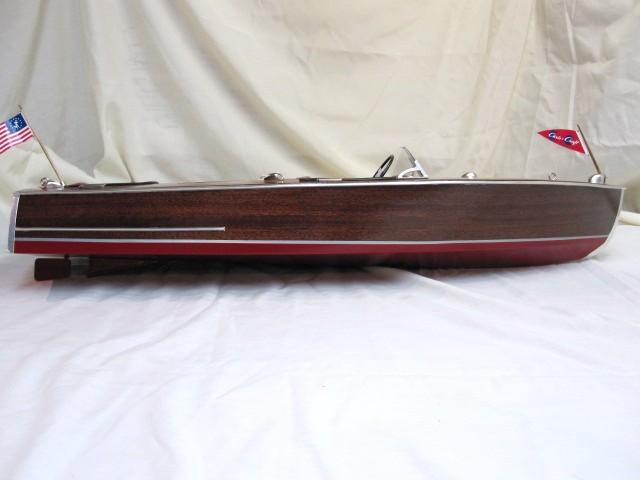
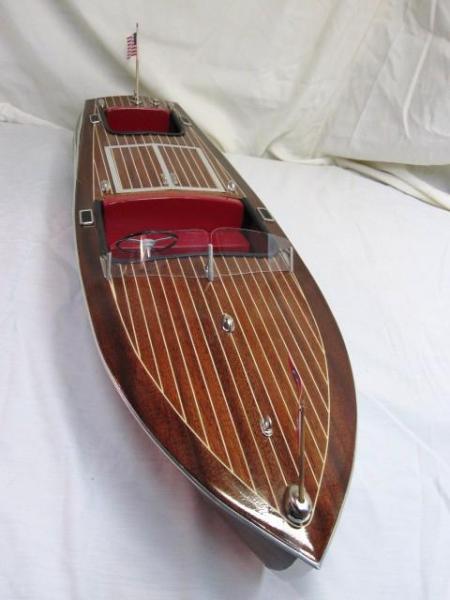
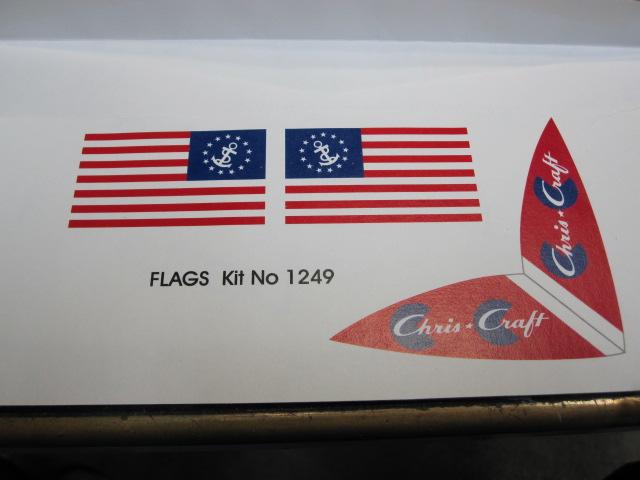
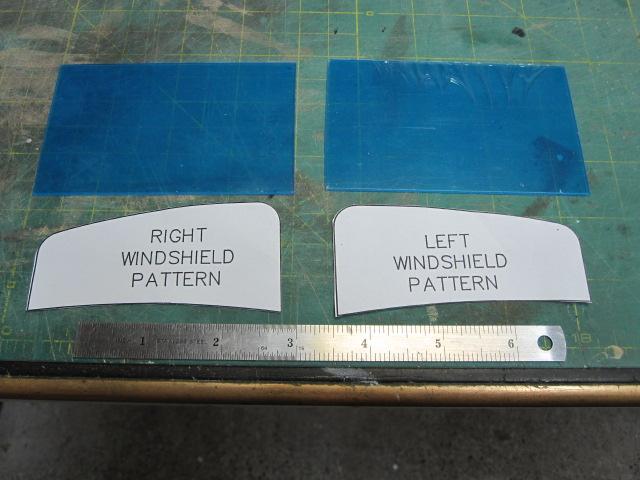
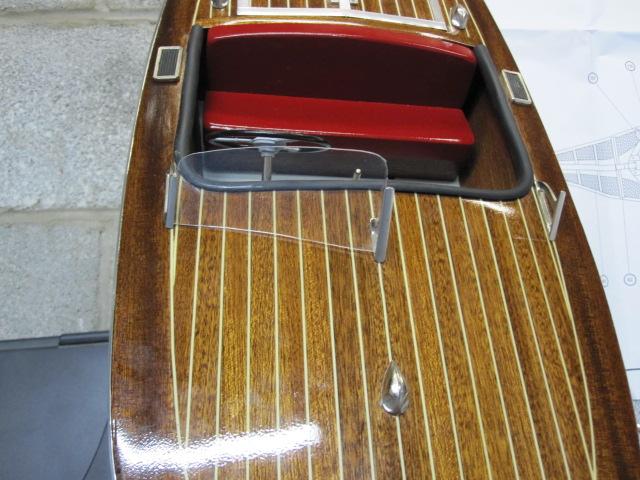
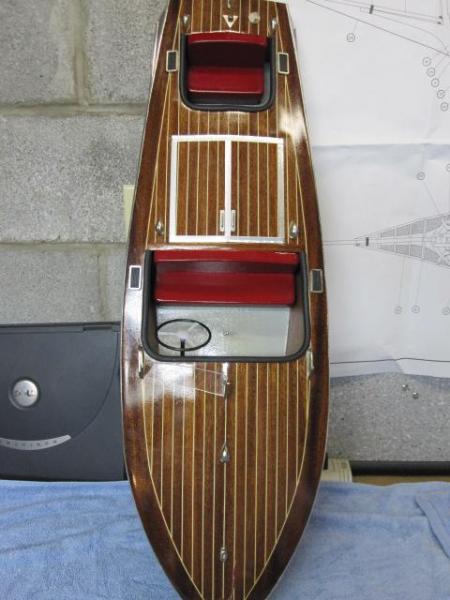
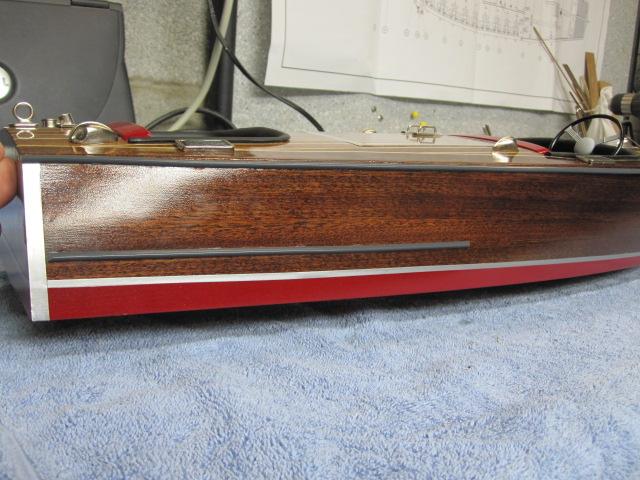
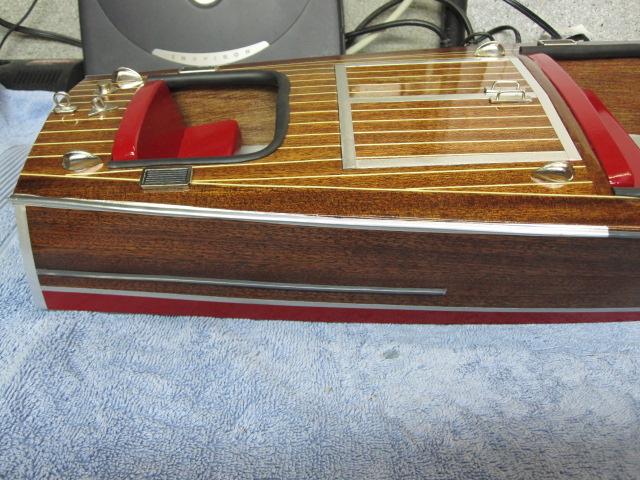
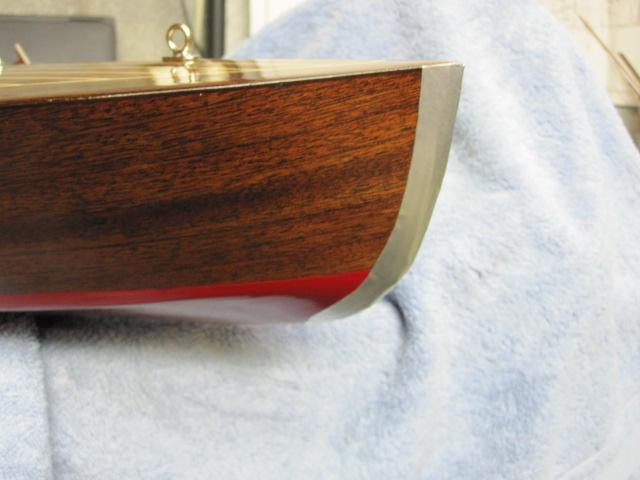
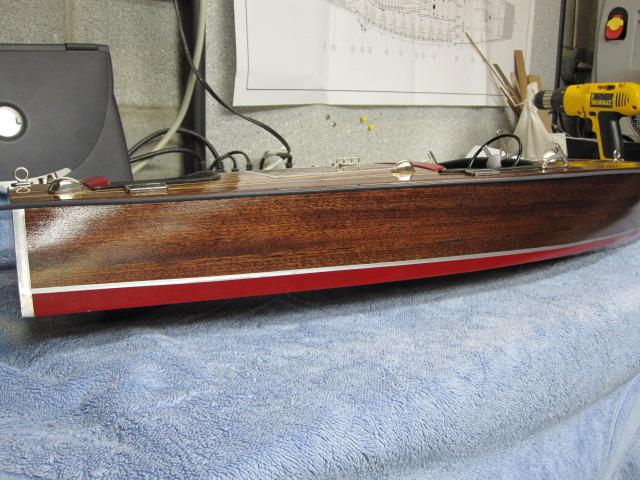
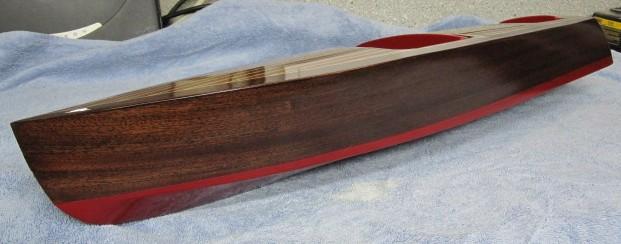
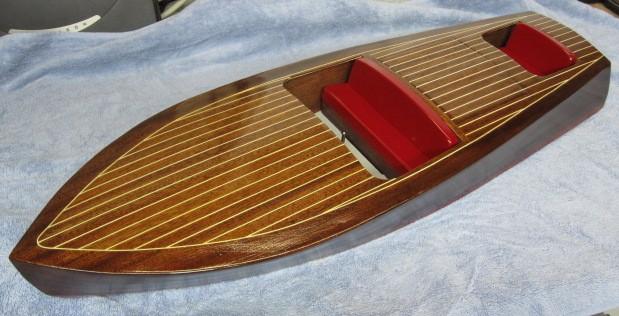
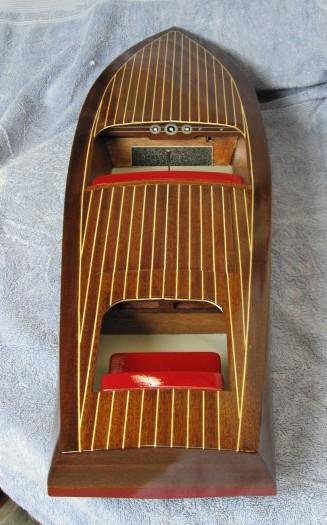
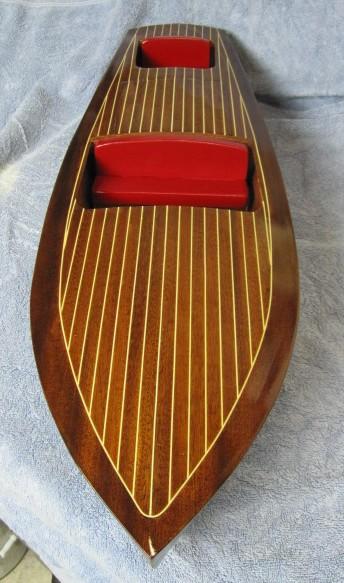
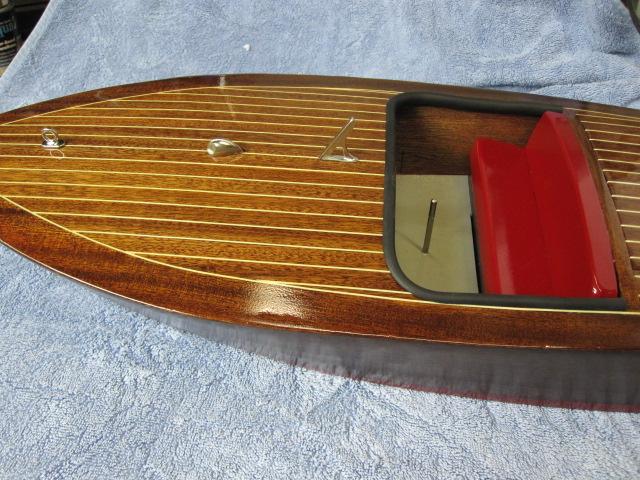
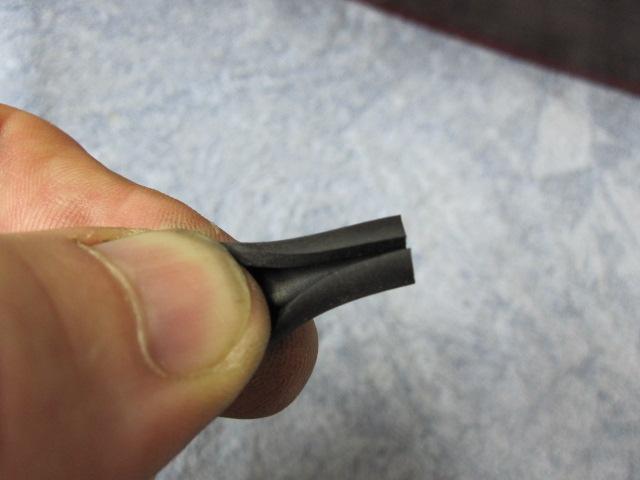
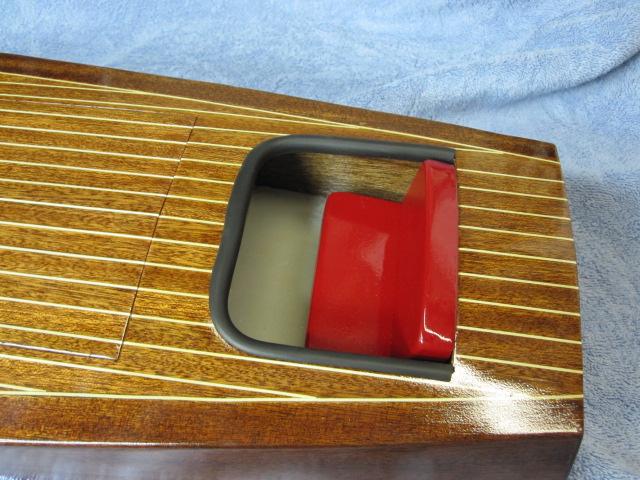
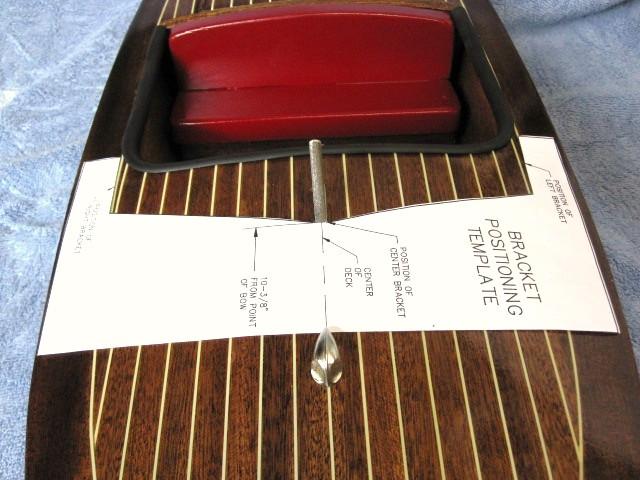
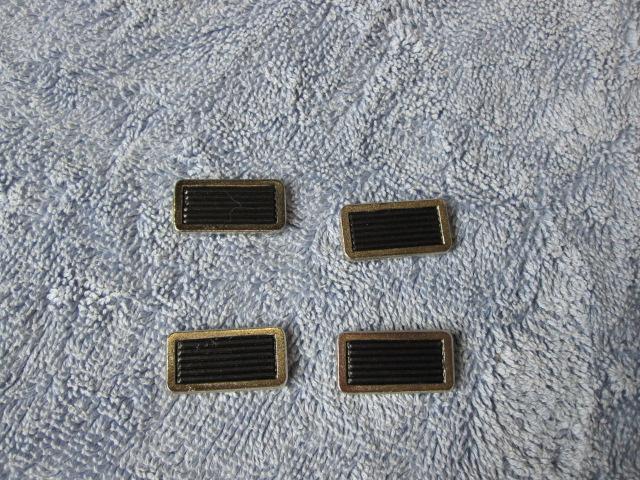
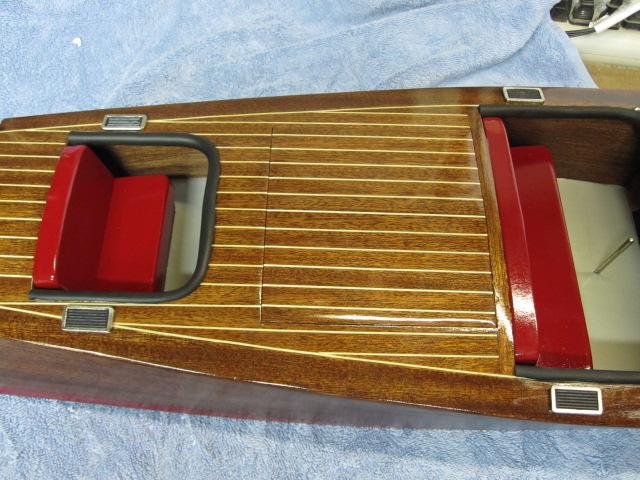
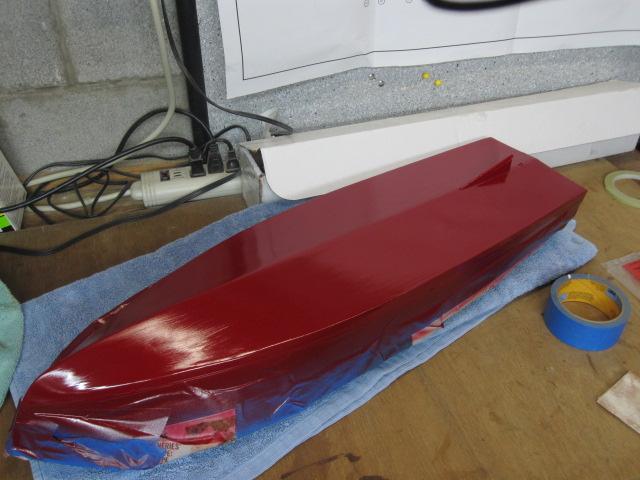
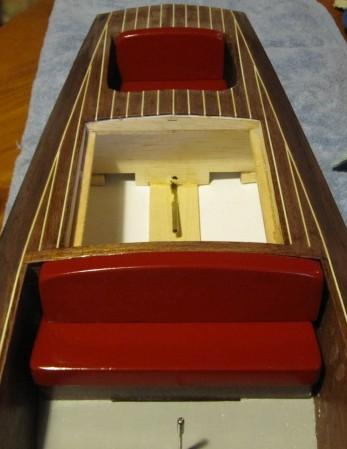
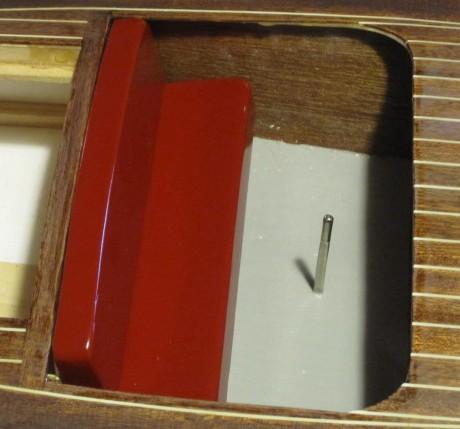
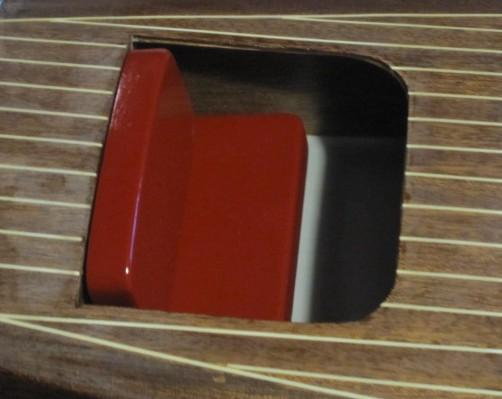
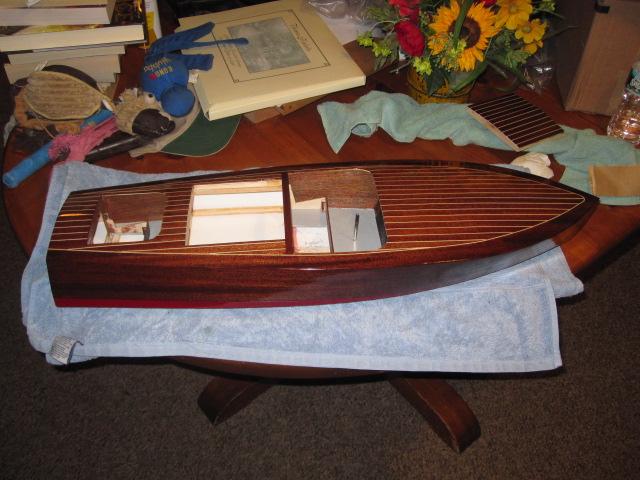
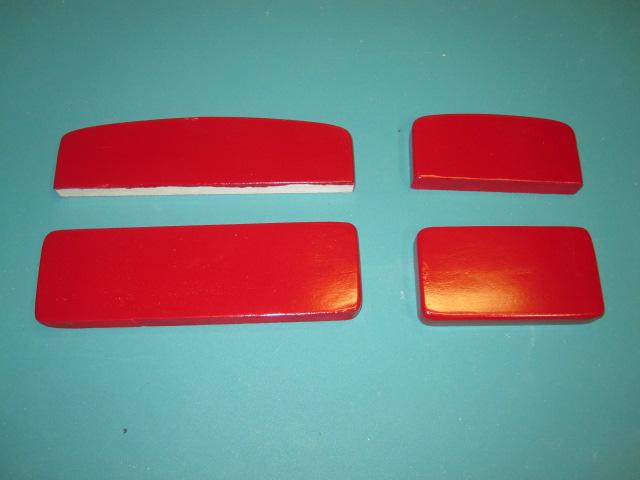
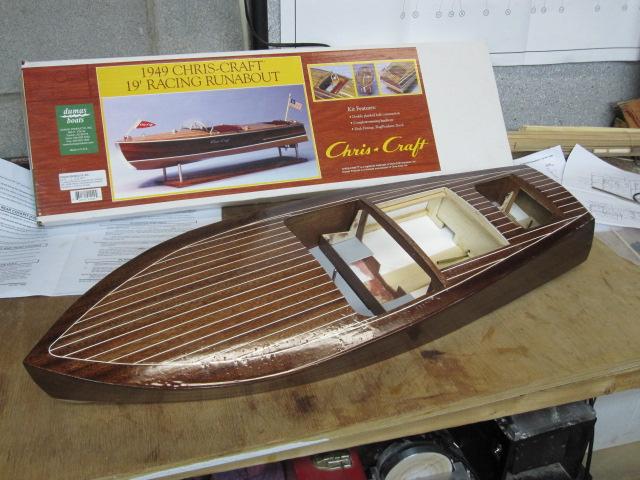
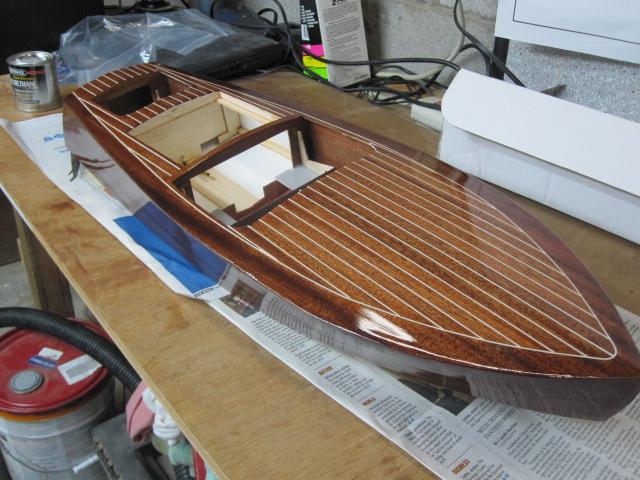
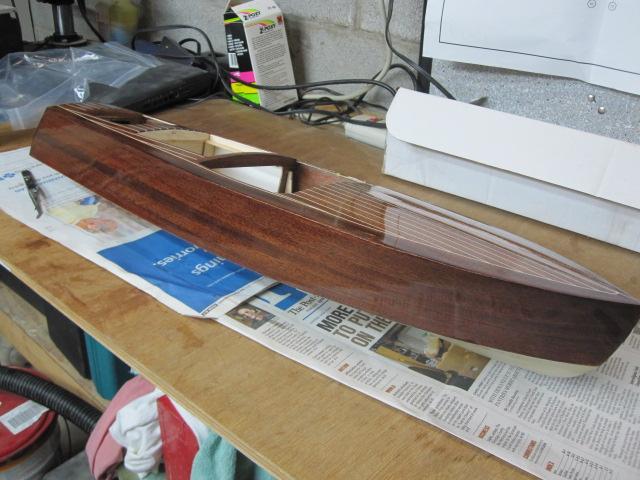
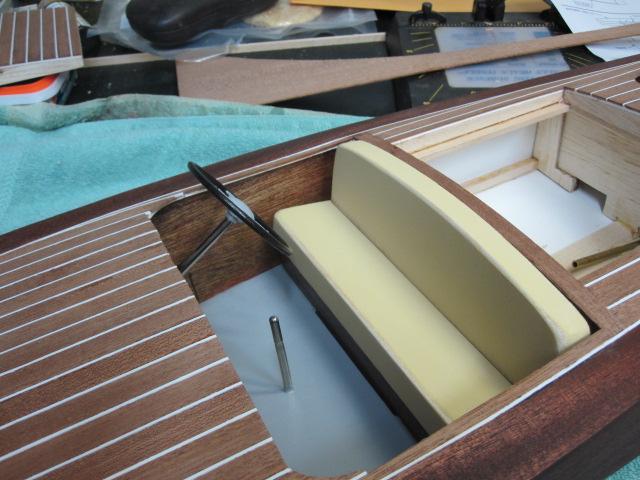
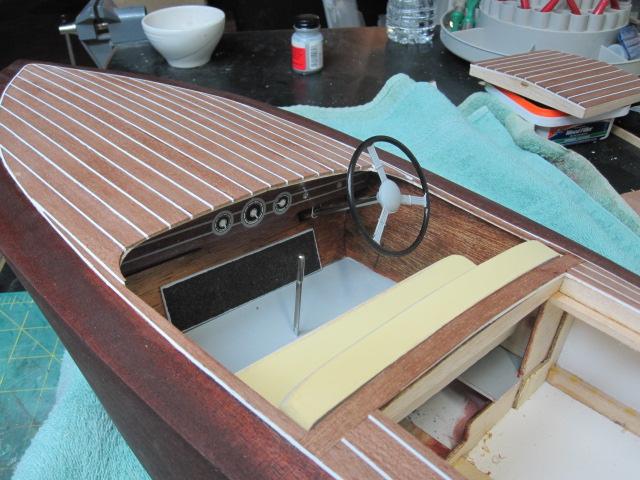
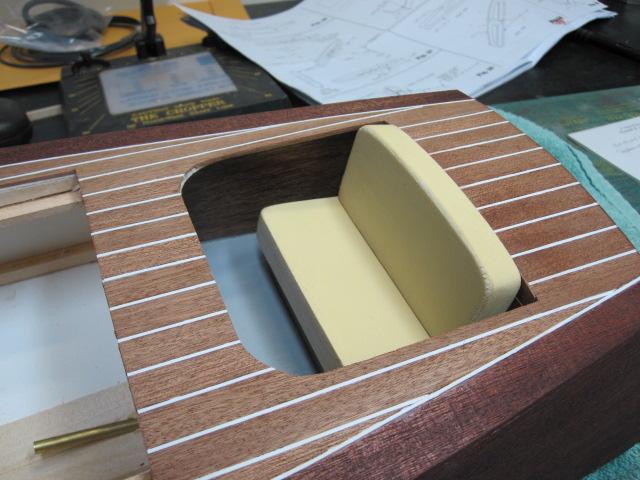
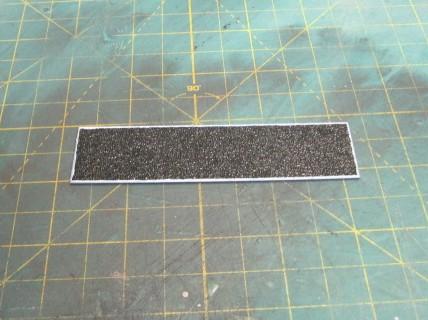
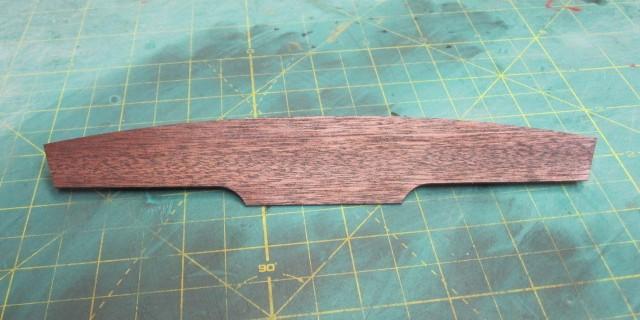
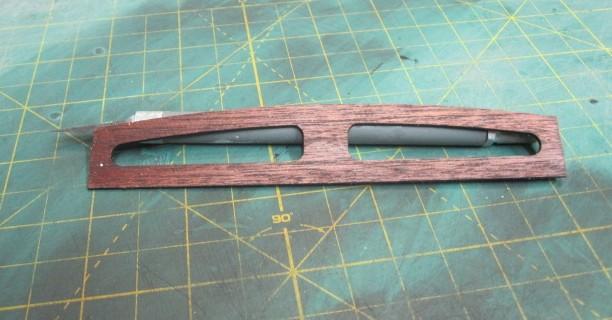
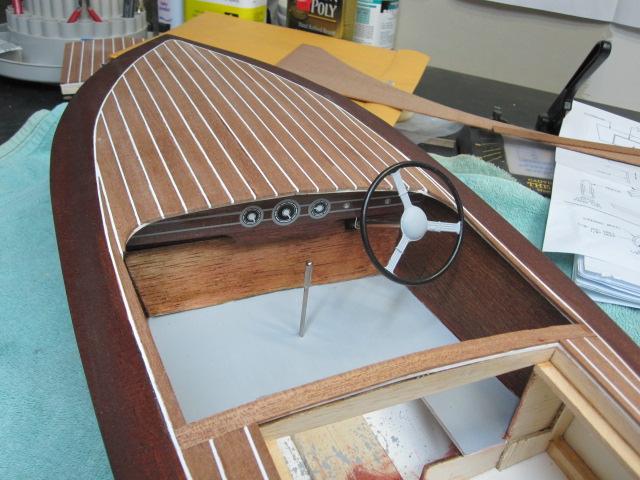
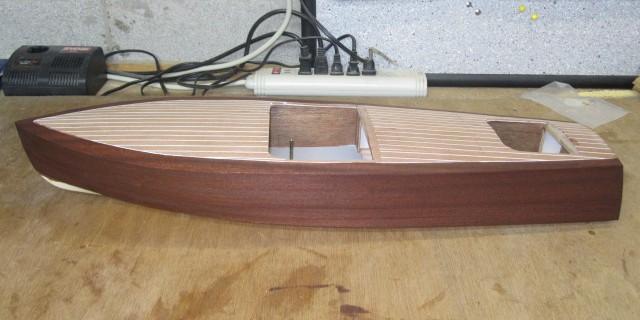
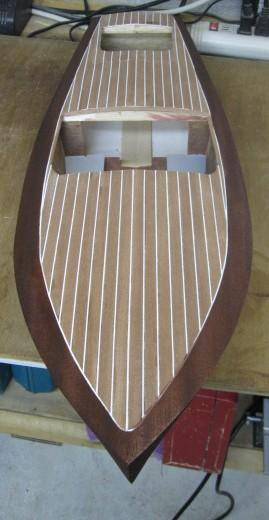
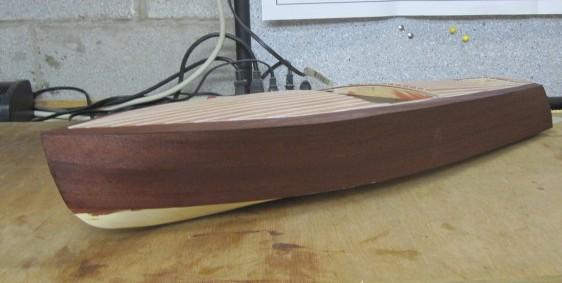
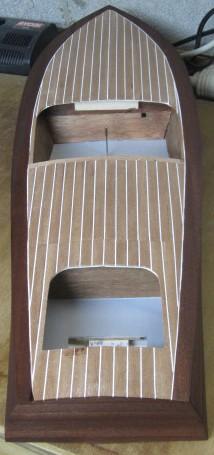
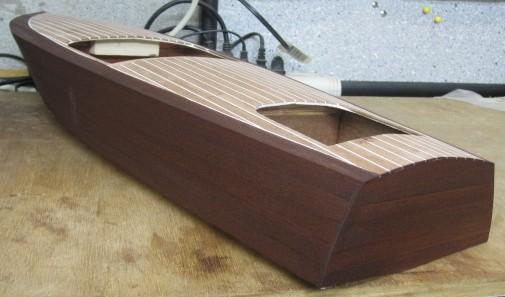
Three coats of gloss poly was apllied to the finishing resin to finish the outer hull. Then the coping was added to the cockpits and various pieces like step pads, lights, windshield brackets etc were also added.
- 43 replies
-
- 43 replies
-
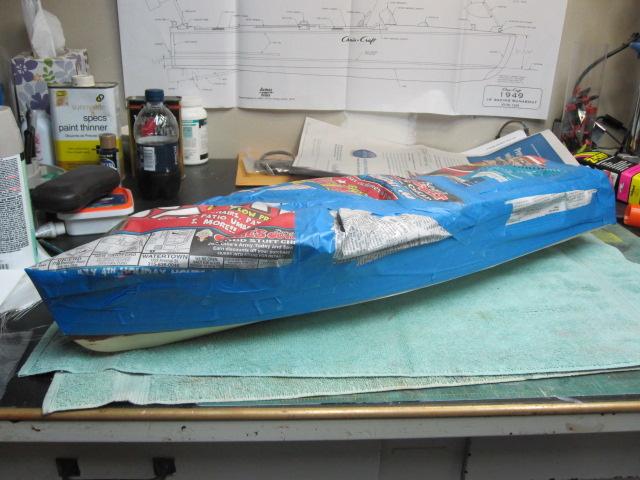
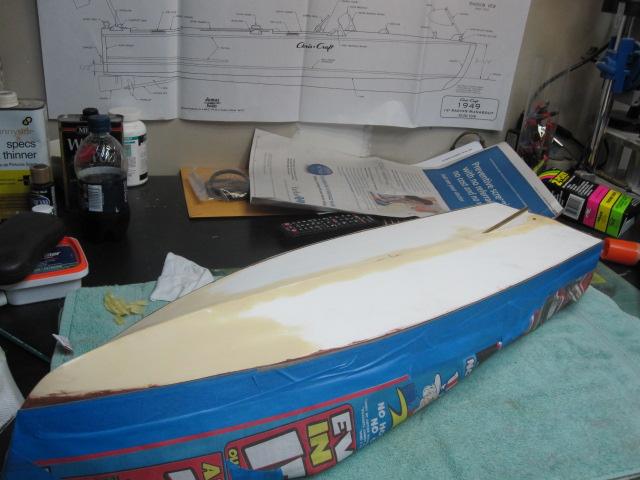
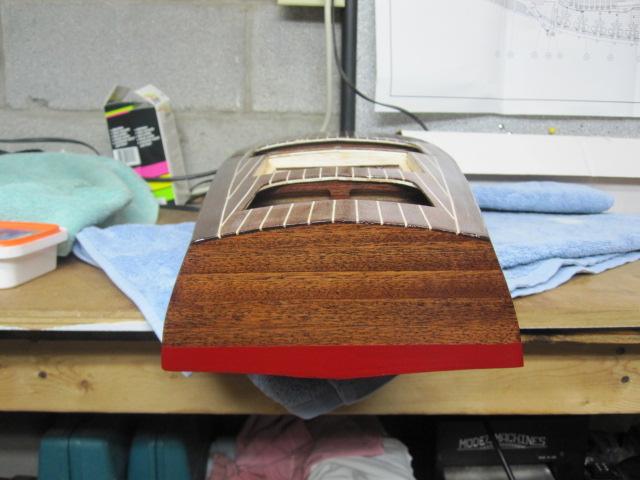
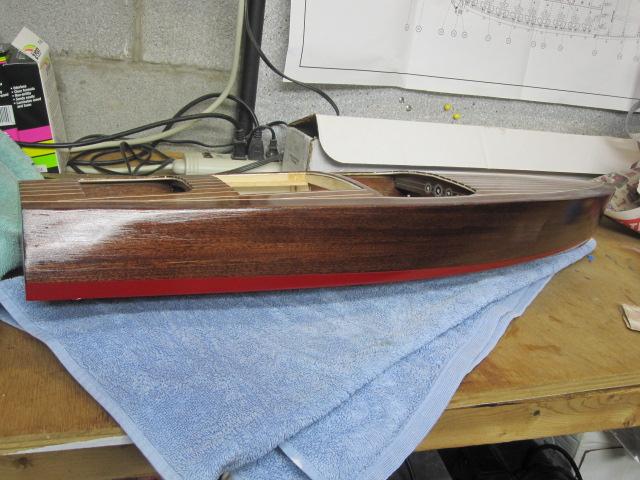
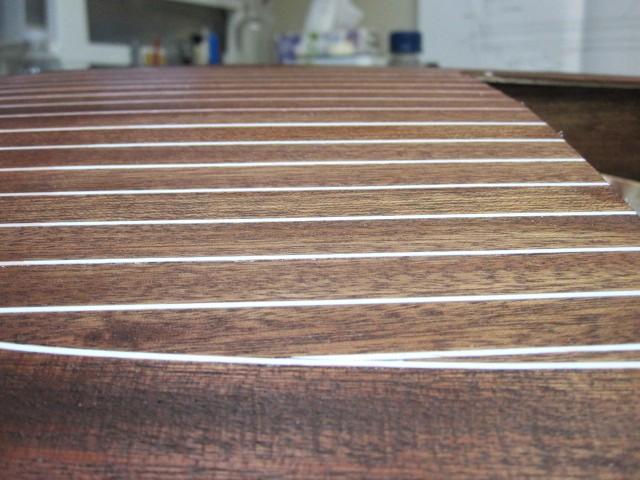
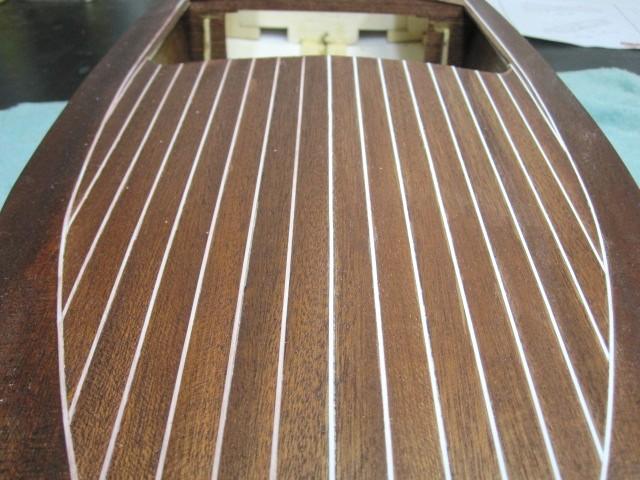
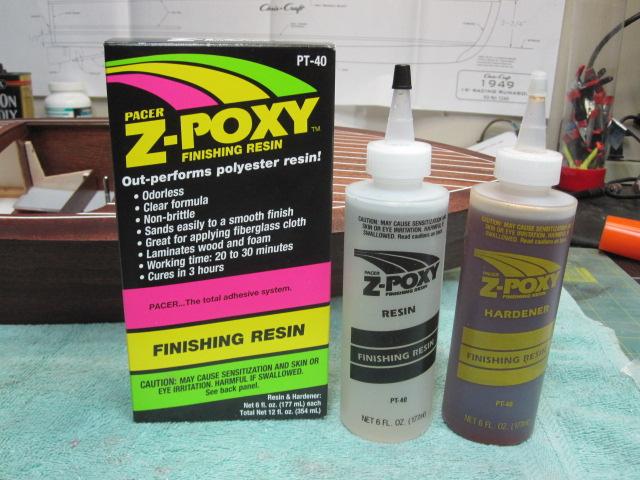
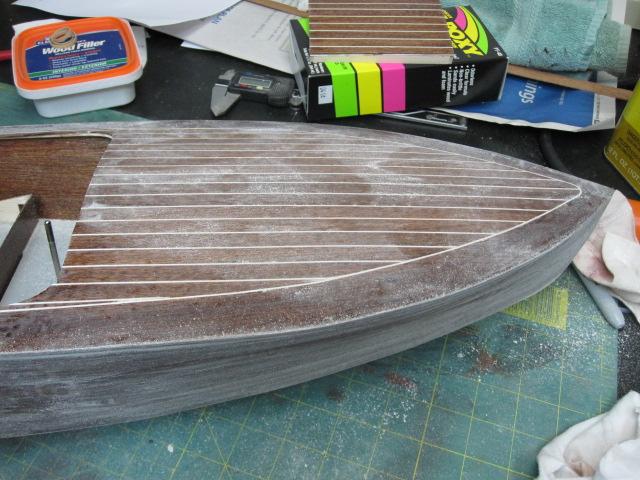
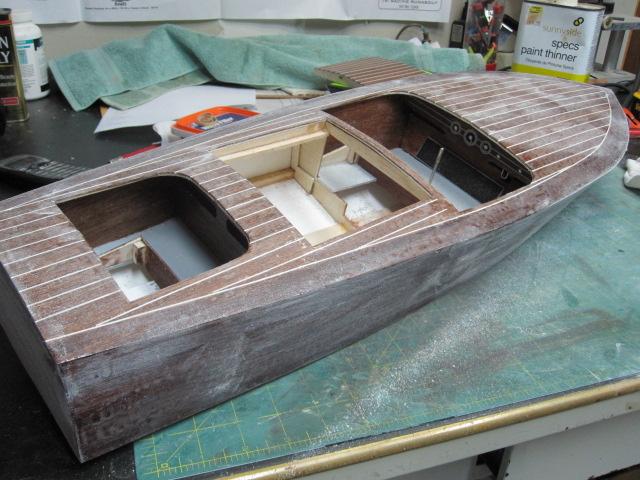
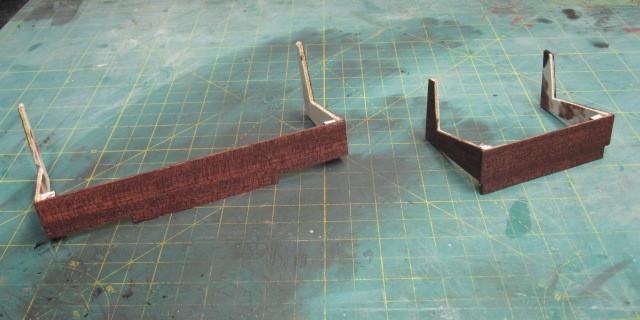
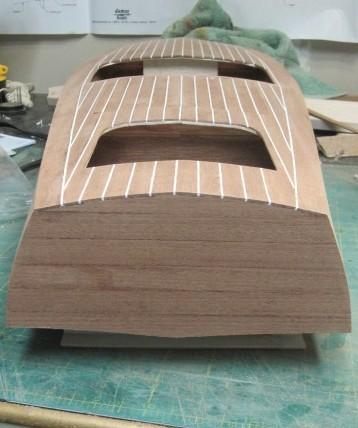
Here's the finished stain and the start of applying the finishing resin. The resin is applied and then sanded between coats. It was really hard to put the sand paper to it but you've gotta do what you've gotta do.
- 43 replies
-

USF Confederacy by Rustyj - FINISHED
Rustyj replied to Rustyj's topic in - Build logs for subjects built 1751 - 1800
- 149 replies
-
- confederacy
- frigate
-
(and 1 more)
Tagged with:
-

USF Confederacy by Rustyj - FINISHED
Rustyj replied to Rustyj's topic in - Build logs for subjects built 1751 - 1800
- 149 replies
-
- confederacy
- frigate
-
(and 1 more)
Tagged with:
-
- 43 replies
-
- 43 replies
-
Thanks Sjors, I think it’s because 2.0 is better! Thanks Bedford, Grant and Jarero. Here is the start of the staining. I used a red mahogany stain that I had instead of the supplied stain. No real reason just liked the color.
- 43 replies
-
Thanks Mark, Bob, Ron and Larry. Daniel, whatever wood I’m using to make my treenails out of I cut to 1/32”x1/32” and then run it through the Byrnes draw plate down to the size I want. I went down to # 26 for these treenails. The Caulking is blackconstruction paper edge glued to each plank prior to placing the on the frames. I want to try the method of leaving a gap and using colored fill to make the caulk sometime. The frames have two very light coats of wipe on poly applied prior to attaching them to the keel. When I sanded to fair the frames it removed the poly from the surfaces where planking would be placed and allowed for good adhesion. Ben, I had the pleasure of meeting Jeff once at a show and he’s every bit as nice as you would think he is. You're so close you could just drive over and pick you wood out!
- 332 replies
-
- Triton
- cross-section
-
(and 1 more)
Tagged with:
-

US Brig Syren by roger
Rustyj replied to roger's topic in - Build logs for subjects built 1801 - 1850
Hi Roger.It's great to see you're able to post some of your pictures. Your build was fantastic.
About us
Modelshipworld - Advancing Ship Modeling through Research
SSL Secured
Your security is important for us so this Website is SSL-Secured
NRG Mailing Address
Nautical Research Guild
237 South Lincoln Street
Westmont IL, 60559-1917
Model Ship World ® and the MSW logo are Registered Trademarks, and belong to the Nautical Research Guild (United States Patent and Trademark Office: No. 6,929,264 & No. 6,929,274, registered Dec. 20, 2022)
Helpful Links
About the NRG
If you enjoy building ship models that are historically accurate as well as beautiful, then The Nautical Research Guild (NRG) is just right for you.
The Guild is a non-profit educational organization whose mission is to “Advance Ship Modeling Through Research”. We provide support to our members in their efforts to raise the quality of their model ships.
The Nautical Research Guild has published our world-renowned quarterly magazine, The Nautical Research Journal, since 1955. The pages of the Journal are full of articles by accomplished ship modelers who show you how they create those exquisite details on their models, and by maritime historians who show you the correct details to build. The Journal is available in both print and digital editions. Go to the NRG web site (www.thenrg.org) to download a complimentary digital copy of the Journal. The NRG also publishes plan sets, books and compilations of back issues of the Journal and the former Ships in Scale and Model Ship Builder magazines.


