chris watton
-
Posts
2,339 -
Joined
-
Last visited
Content Type
Profiles
Forums
Gallery
Events
Everything posted by chris watton
-
 'Siraya Tech Fast ABS-Like 3D Printer Resin' (Navy Grey) The base can be very easily cut or filed/sanded down.
- 488 replies
-
- 6
-

-

-
- Indefatigable
- Vanguard Models
- (and 1 more)
-
Future ones should look even better, as I have an 8k 3-d printer on pre order. I will do 48th and 96th versions at some point.
- 488 replies
-
- 21
-
-
-
- Indefatigable
- Vanguard Models
- (and 1 more)
-
The slot in the prow for the figurehead has since been moved back 2mm, so the figureheads sits much further into the prow. What you see are first offs, the very first time these files have been printed, and using a new resin.
- 488 replies
-
- 13
-
-

-
-
- Indefatigable
- Vanguard Models
- (and 1 more)
-
I think shipping costs are fine now - what we have to remember is that these books are heavy, which ramps up the base shipping costs.
-
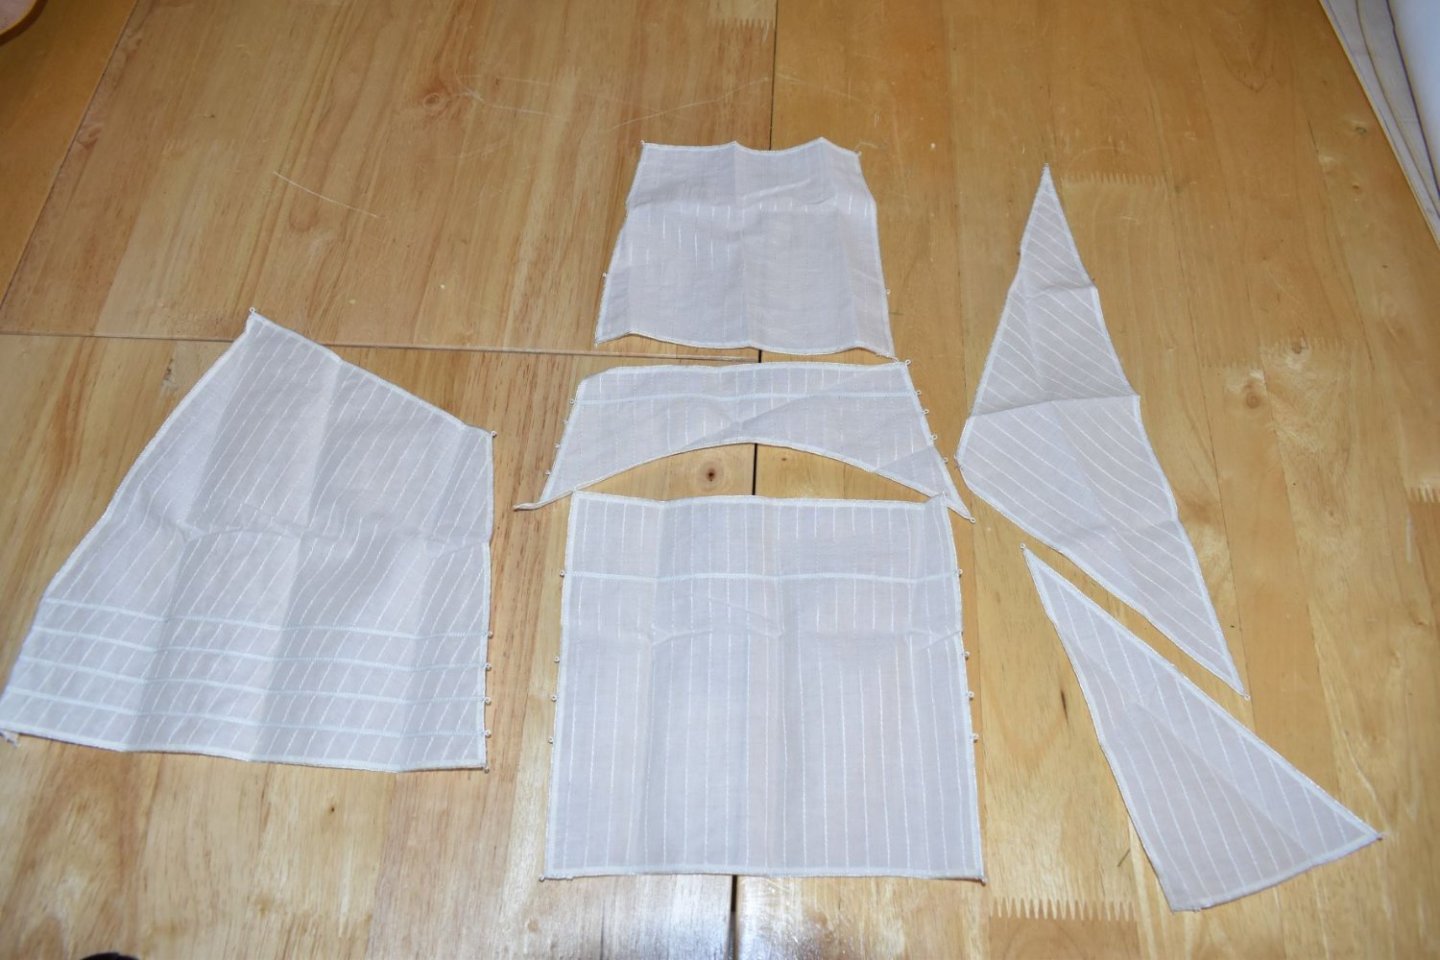
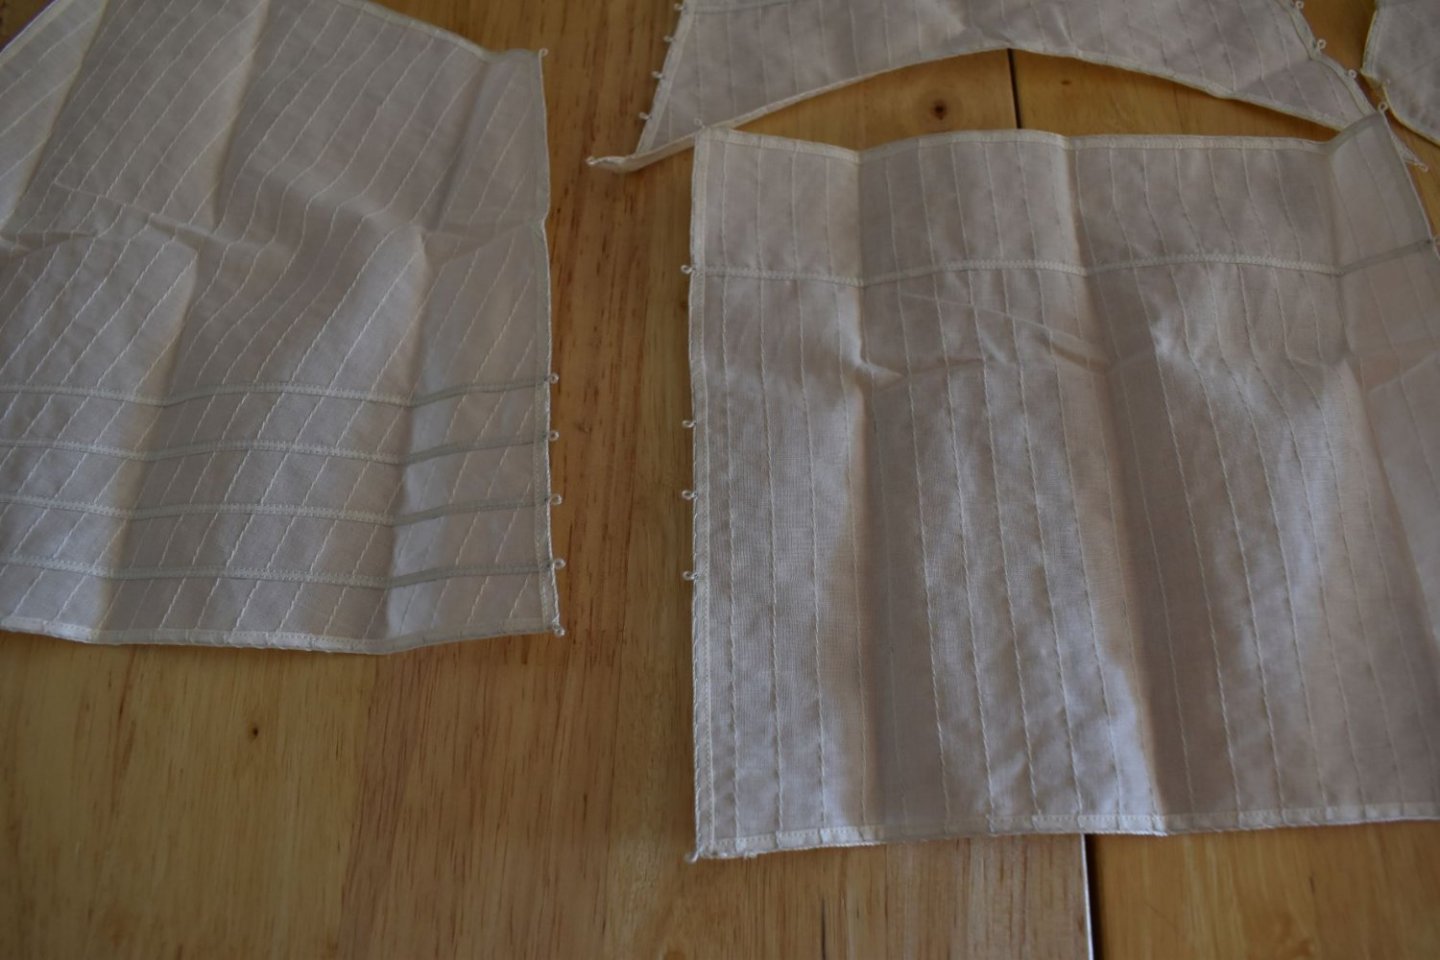
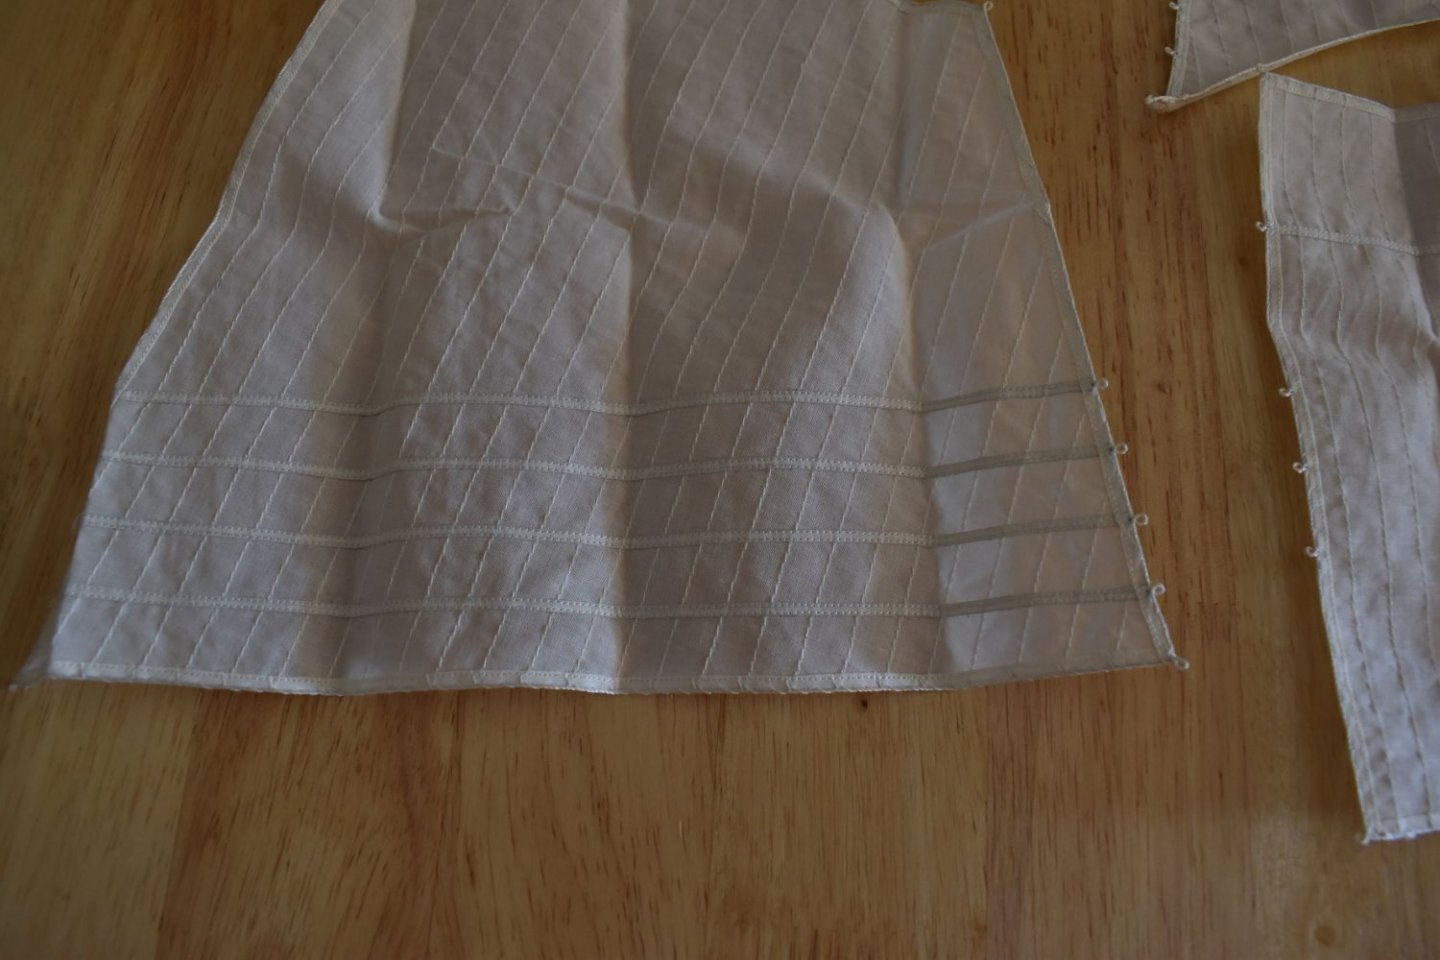
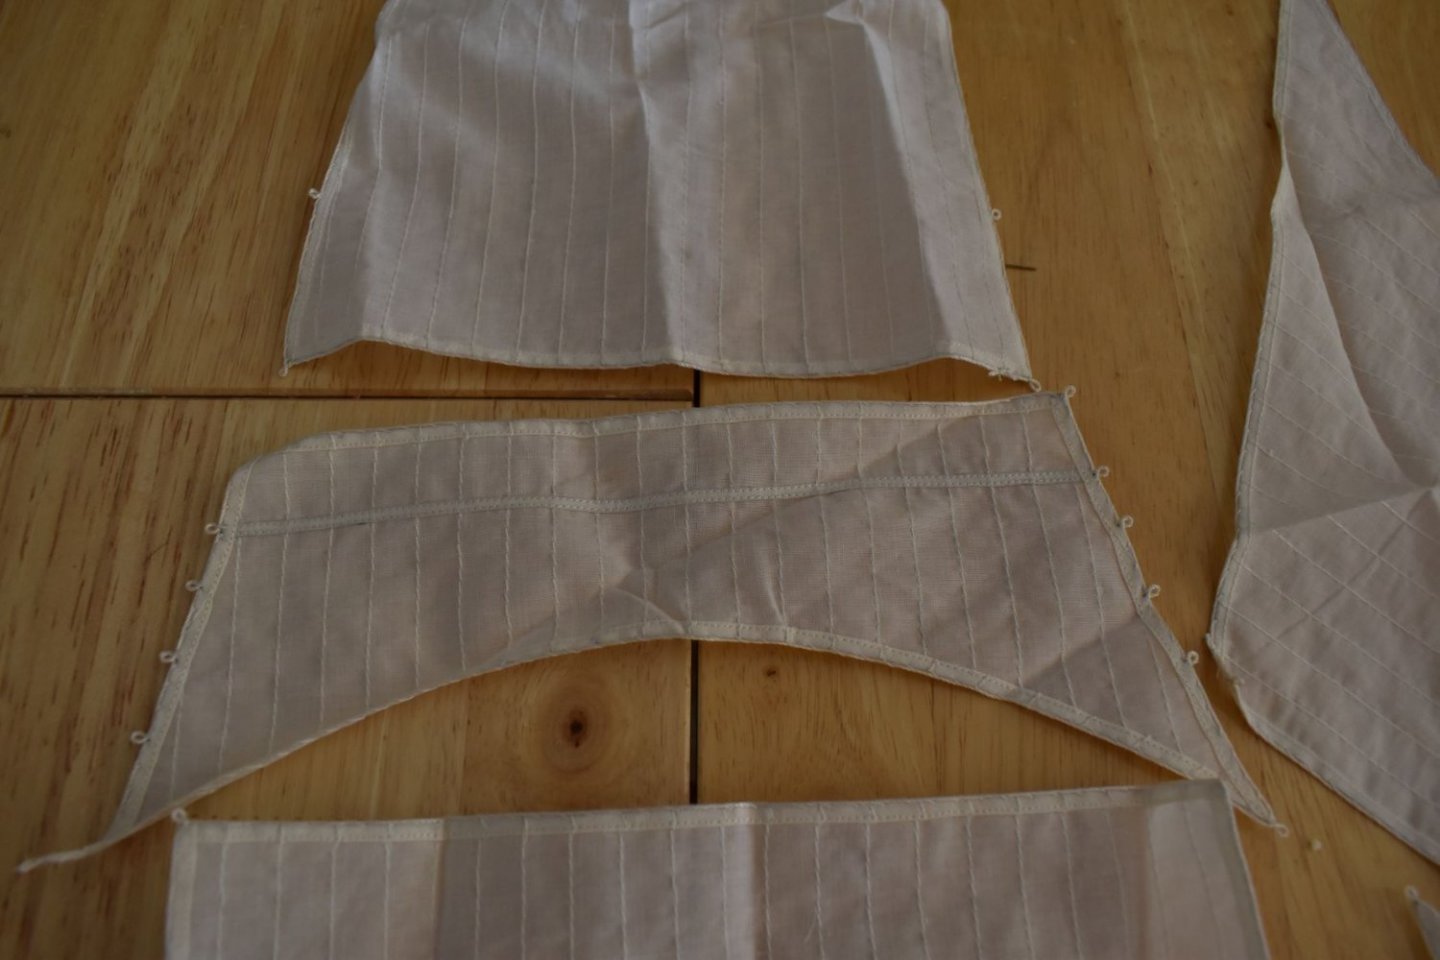
Regarding the differing sizes of the printed parts sheets, I was strongly advised to not keep them scale, due to piracy concerns, unfortunately. The main plans for hull profiles, masts and yards are to scale though. The un numbered triangular parts are jut spare quarter gallery patterns, in case you mess up...
- 426 replies
-
- 6
-
-
- Vanguard Models
- Sphinx
- (and 1 more)
-
I cannot take any credit for the packing of the kits, that honour goes to my wife, Chantelle.
- 426 replies
-
- 8
-
-
- Vanguard Models
- Sphinx
- (and 1 more)
-
That mizzen does seem to have excessive rake. I know the mizzen rakes aft quite a bit, but are you sure the mast is stepped in the hole on the keel correctly? They way everything is designed should ensure the masts are all aligned and angled perfectly. ETA, It may be OK, here is the prototype model:
-
1/200 Trumpeter IJN YAMATO - issued by MRC/Gallery Models
chris watton replied to yvesvidal's topic in REVIEWS: Model kits
We already have Scharnhorst and Titanic boxes, so I would assume it would be Titanic size?- 104 replies
-
- 5
-
-
- MRC/Gallery
- Yamato
- (and 1 more)
-
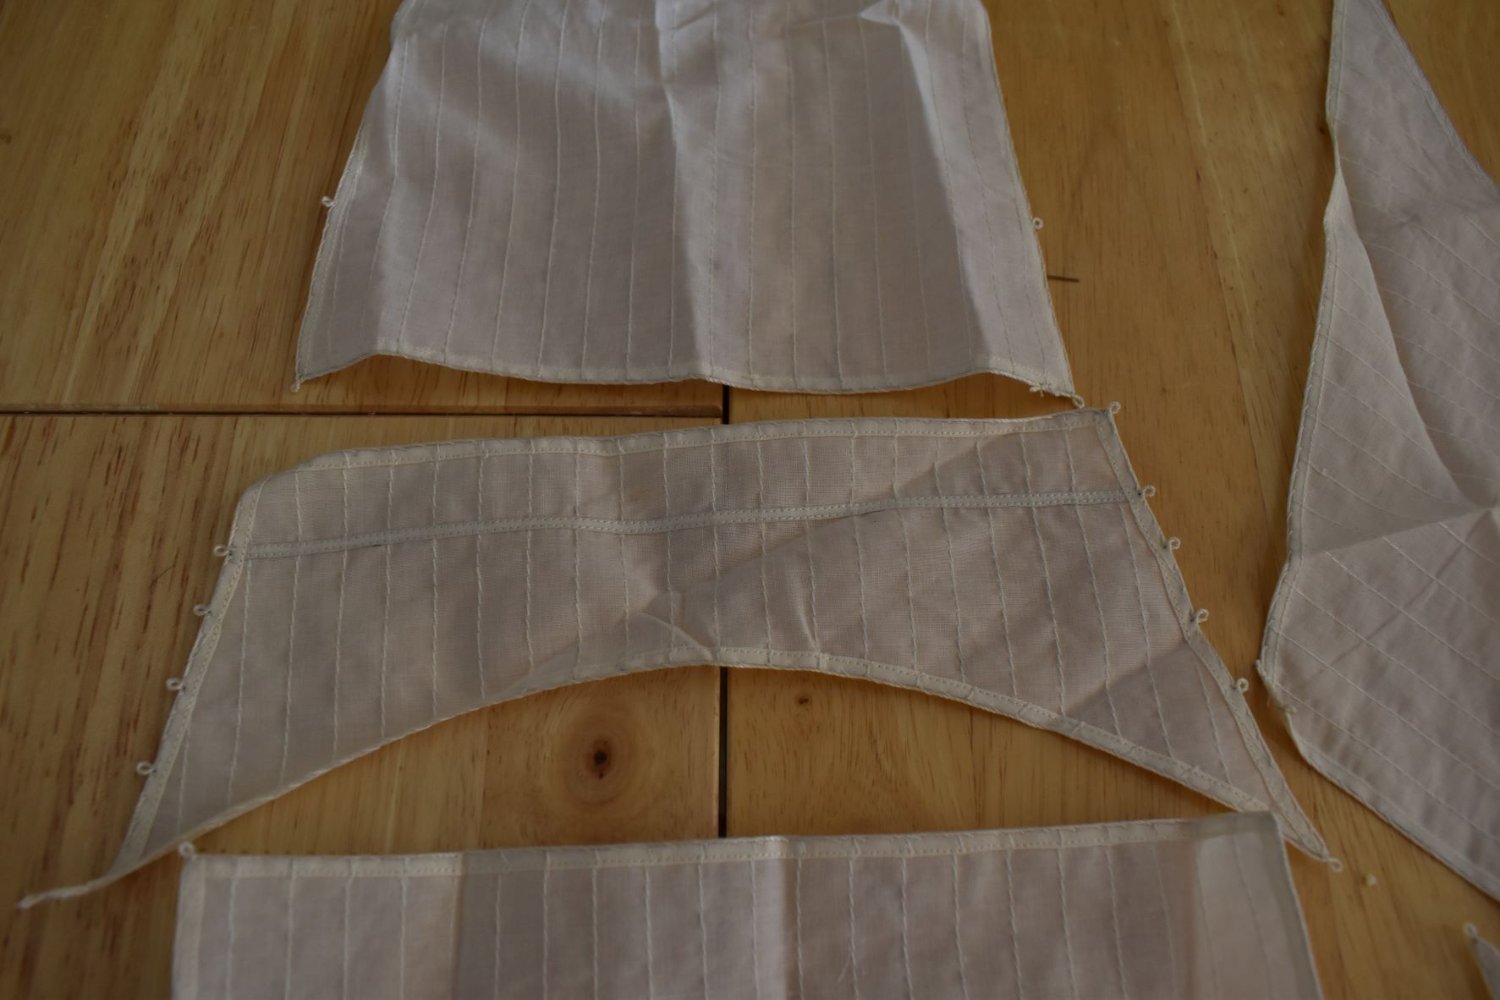
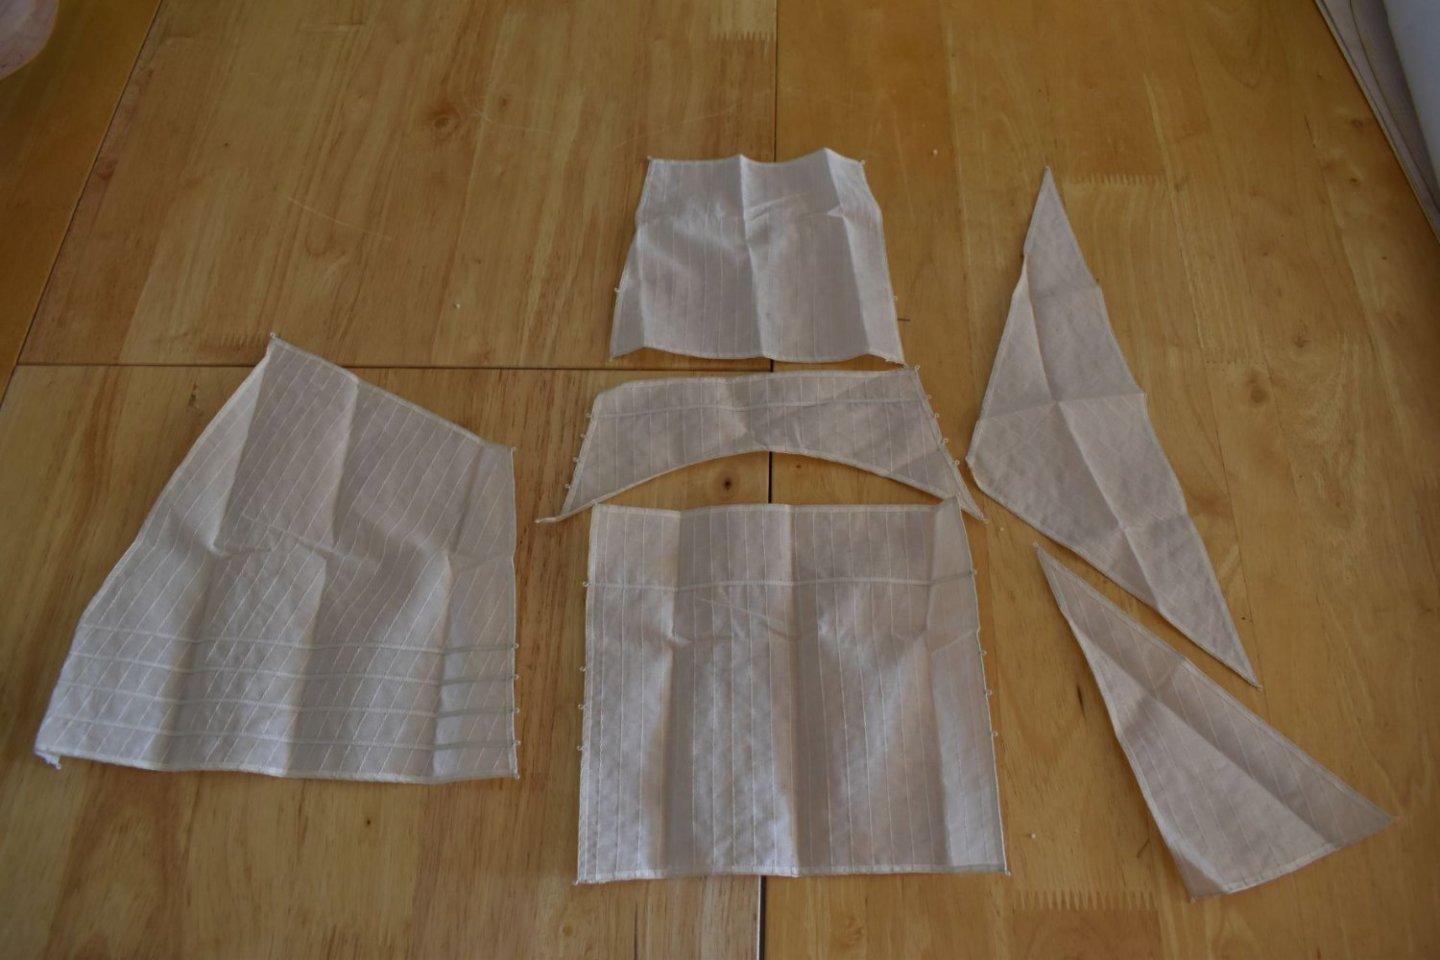
Quick update, I now have Saucy jack sail sets in stock (the premium ones), they finally arrived. Also had another 20 sets each for Nisha and Erycina, with ranger sets being produced now. Also being produced is a small quantity of premium Alert sail sets (only 8 sets due to high cost). I will have one set available soon, the one shown in the pics. Alert sets will be £120 per set, but they are very expensive and very time consuming to produce, with the bolt ropes being hand sewn.
-
1/200 Trumpeter IJN YAMATO - issued by MRC/Gallery Models
chris watton replied to yvesvidal's topic in REVIEWS: Model kits
Damn, yet another cool kit I will have to buy but never find the time to build....- 104 replies
-
- 14
-
-

-
- MRC/Gallery
- Yamato
- (and 1 more)
-
The sail set Jim used is the premium version. I should have my delivery of these sets within the next two weeks.
- 29 replies
-
- 1
-
-
- well smack
- Vanguard Models
- (and 2 more)
-
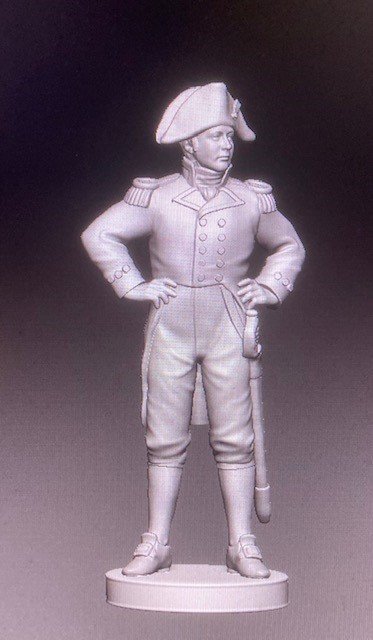
Not me, good Lord! Several Pellew portraits were used, and drawings of contemporary uniform to fill in the blanks.
- 488 replies
-
- 12
-
-
- Indefatigable
- Vanguard Models
- (and 1 more)
-
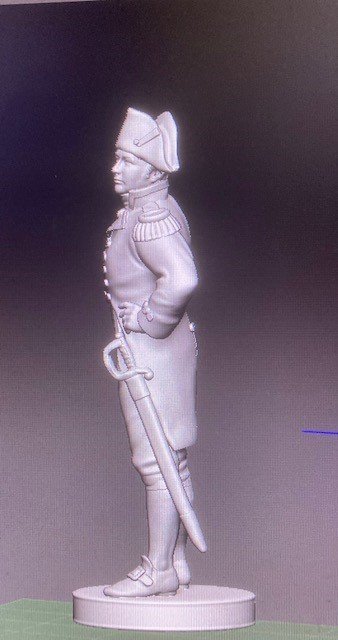
Just had the first render of the 3-d file of the new figure for my approval. This is Pellew, Hornblower is being worked on now, so next week, I will have the two new figures and the Indy figurehead. This will eventually be looking out from the poop on Jim's model! ETA - Pellew is modelled in a captain's outfit, as I will be developing Indy as she most likely appeared between 1795-98ish I will most likely do a 48th and 96th version for this and Hornblower/tall skinny lieutenant...
- 488 replies
-
- 35
-
-
-
- Indefatigable
- Vanguard Models
- (and 1 more)
-
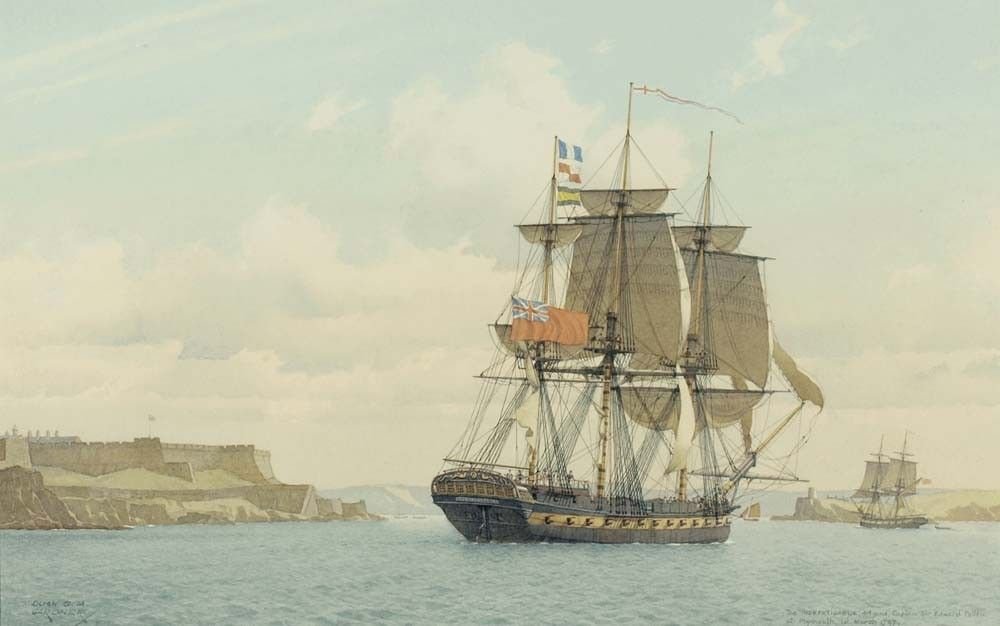
The later razee's were cut down old 74's, Indy is a cut down 64 of the Ardent Class, same class as Agamemnon.
- 488 replies
-
- 9
-
-
- Indefatigable
- Vanguard Models
- (and 1 more)
-
She wasn't called a 'Super Frigate' for nothing! lol (Vic is missing a large chuck of her stern, so the sizes can be deceiving)
- 488 replies
-
- 13
-
-
- Indefatigable
- Vanguard Models
- (and 1 more)
-
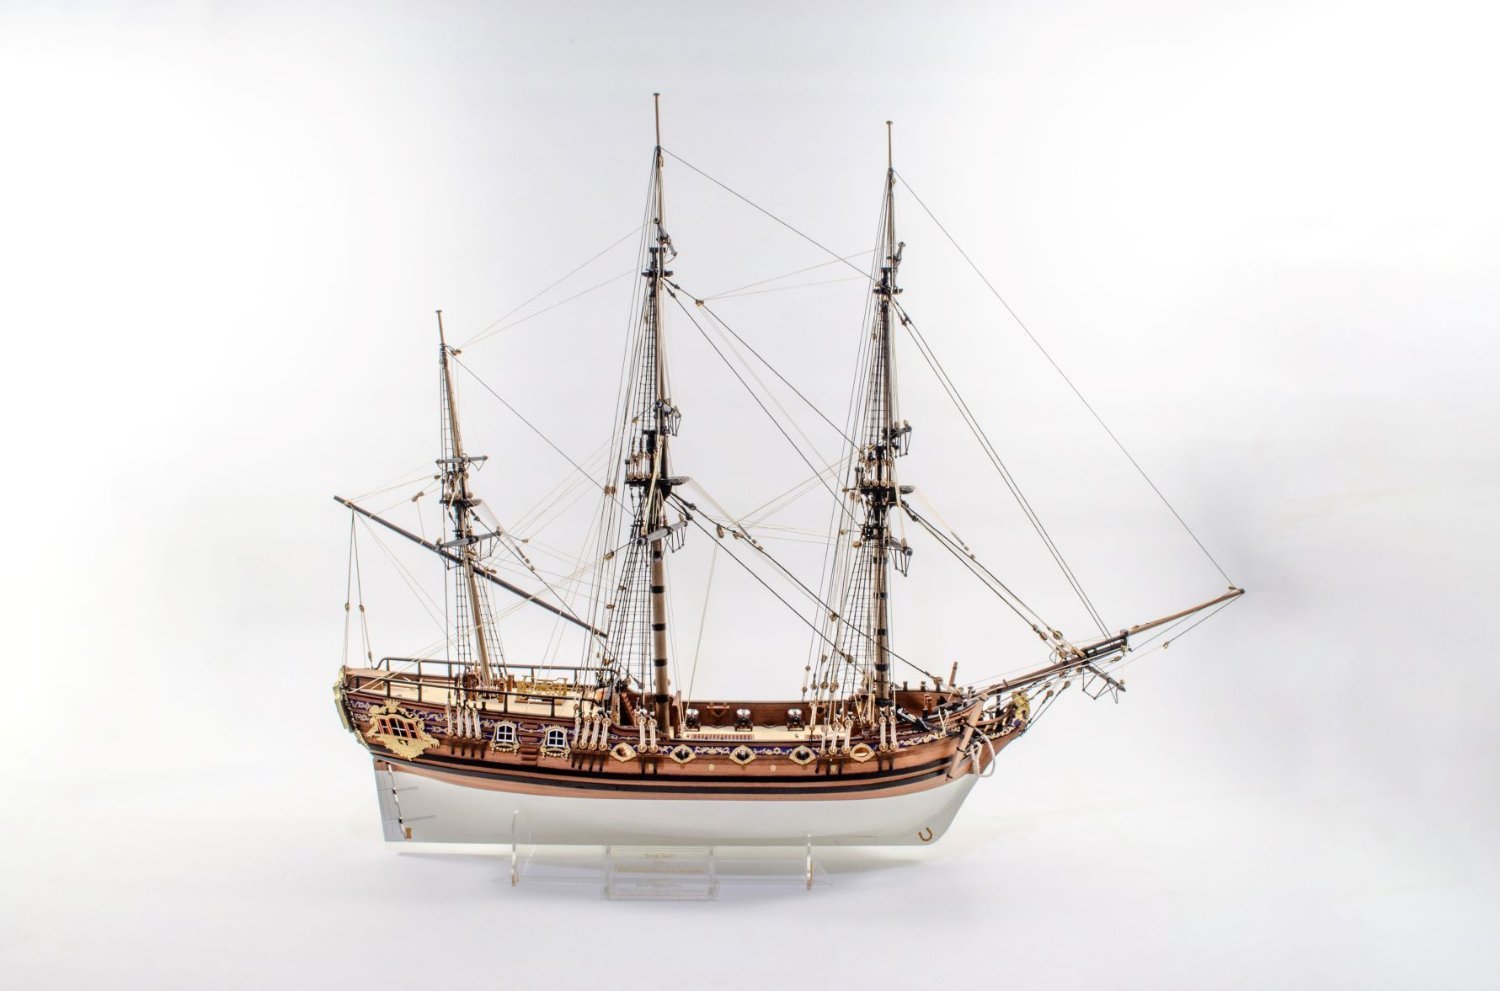
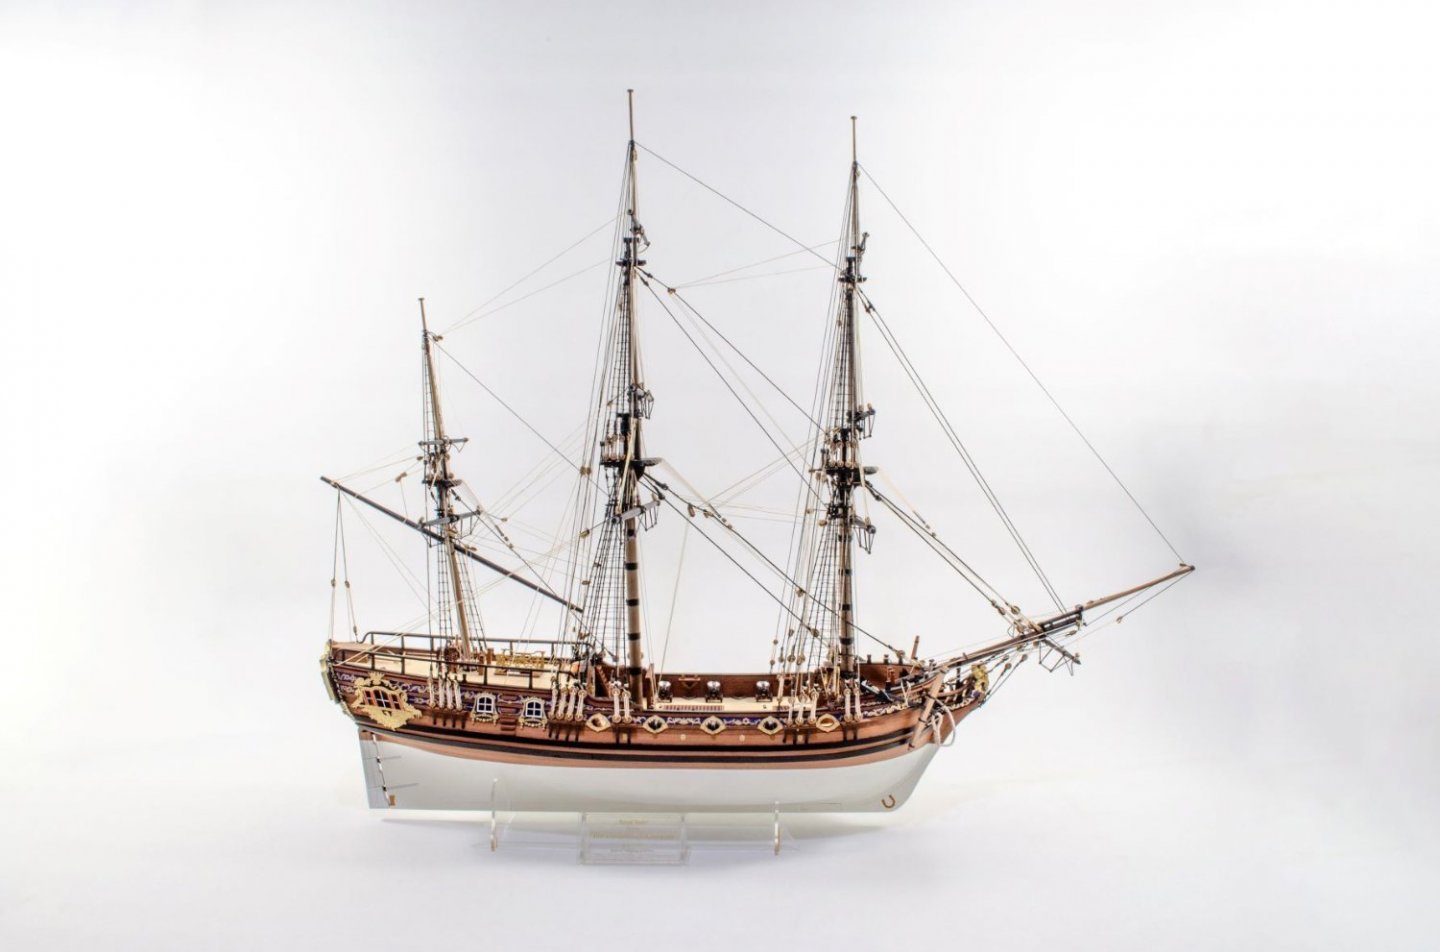
This will be Indy's colour scheme, more or less
- 488 replies
-
- 26
-
-
- Indefatigable
- Vanguard Models
- (and 1 more)
-
My gut instinct told me the ratlines would have spanned all shrouds, so that's how I show them.
- 345 replies
-
- 1
-
-
- Duchess Of Kingston
- Vanguard Models
- (and 1 more)
-
I do use Plastikote, have done for years, but it is James who made the models you see in the manuals - but I did also use it for the Fifie and Zulu hulls, and James did too
-
All my model work is done on our dining room table, and that includes the 1.6 metre long Amati Victory.
- 488 replies
-
- 12
-
-
- Indefatigable
- Vanguard Models
- (and 1 more)
-
Without the flying jibboom, it makes the length a paltry 1245mm - or just mention the hull length only! Or just the deck length...
- 488 replies
-
- 13
-
-
-
- Indefatigable
- Vanguard Models
- (and 1 more)
-
I can now tell you that the overall length of this model will be around 1350mm, with flying jibboom and Mizzen driver taken into account.
- 488 replies
-
- 14
-
-
-
- Indefatigable
- Vanguard Models
- (and 1 more)
-
It is very nicely done indeed, very well done! Regarding the stern resin decoration, I have since halved the thickness, making it much easier to manipulate.
-
There will be no banana shaped keel on this, or any of my new kits. I have said this numerous times before, but I could not have designed these in this way if ply was my only alternative, thickness tolerances are comical, and with MDF, it is kind of 'homogenous', so much easier to sand, with no harder and softer parts to take into account. The problem with ply is that the best stuff is not only very expensive, but also an absolute pig to sand, no fun. Then you get the cheaper crap that is next to useless except for the basest of kits that people start, thinking they got a bargain, and end up never finishing it. I know some still worry and some email about the health aspects when using MDF. I send them all the certificates of conformity. The UK supplier of the MDF also supply that exact same grade MDF to UK schools and universities. There are grades of this material (like ply), and I always make sure I get the safest (as I too sand this stuff, and laser cut it, day in a day out). I cannot wait to see Jim's model in its full livery!
- 488 replies
-
- 23
-
-
-
- Indefatigable
- Vanguard Models
- (and 1 more)