chris watton
-
Posts
2,331 -
Joined
-
Last visited
Content Type
Profiles
Forums
Gallery
Events
Everything posted by chris watton
-
 I doubled the scale for the 24 pounder cannon and carriage to 32nd scale..
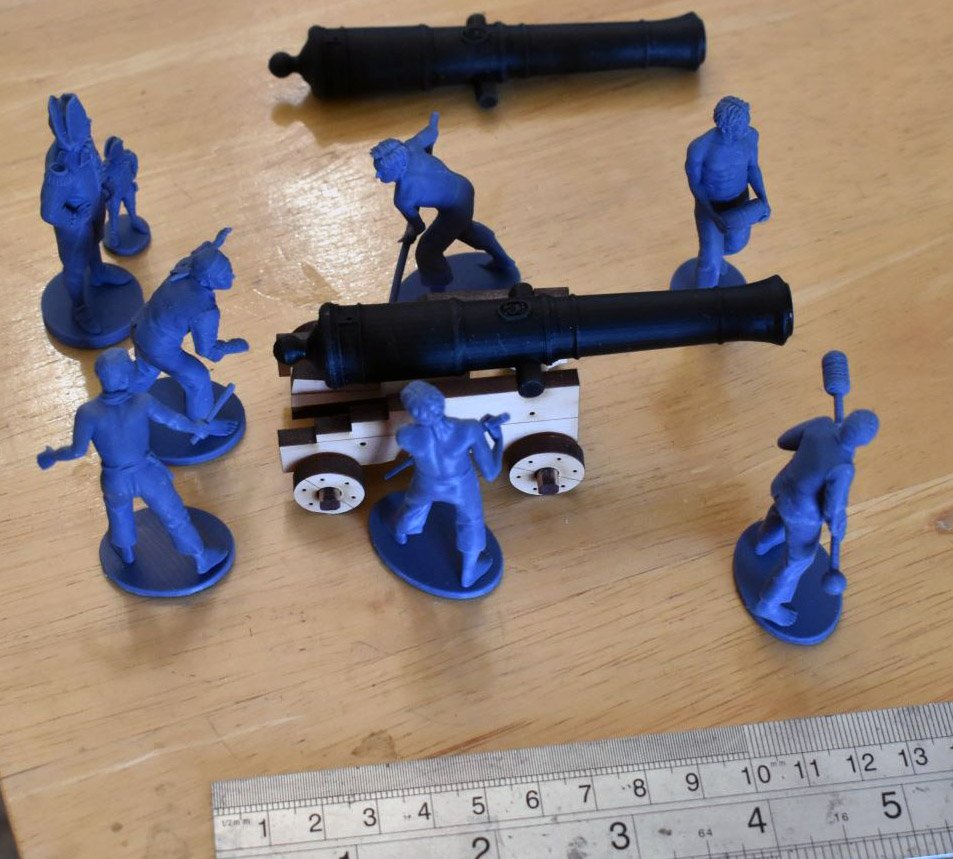

-
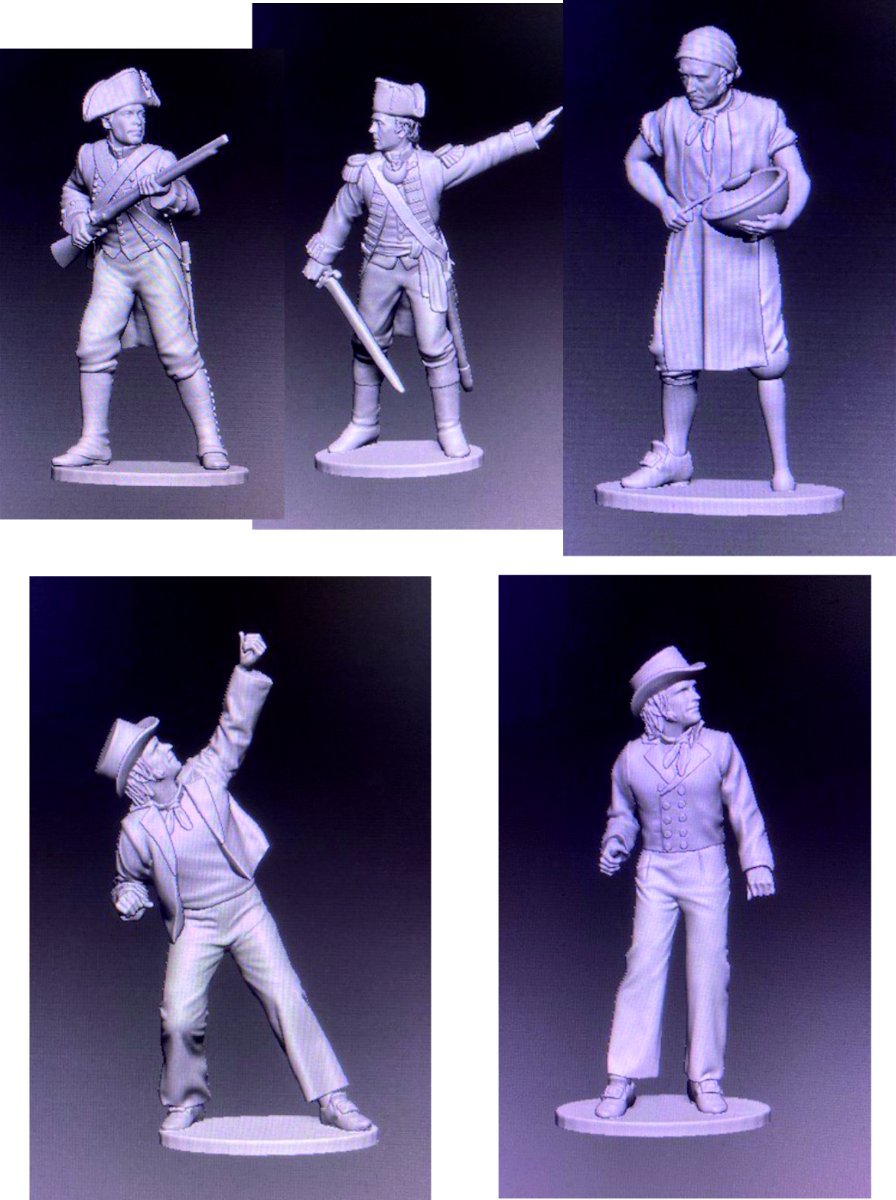
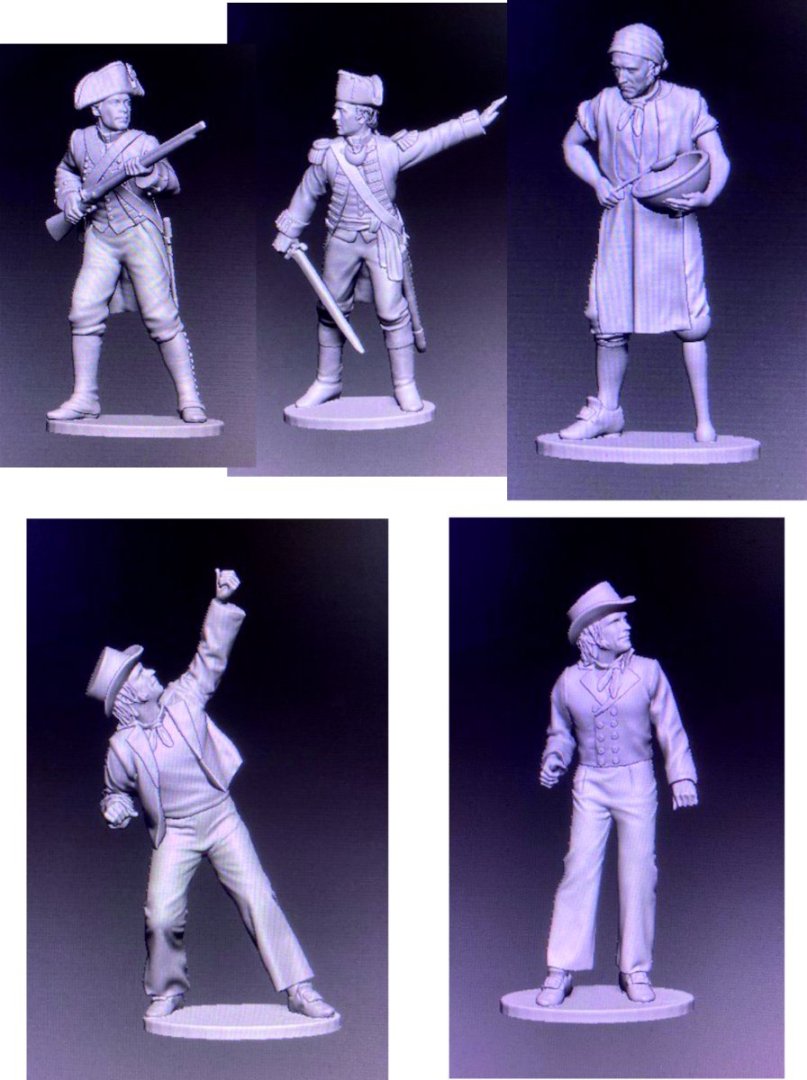
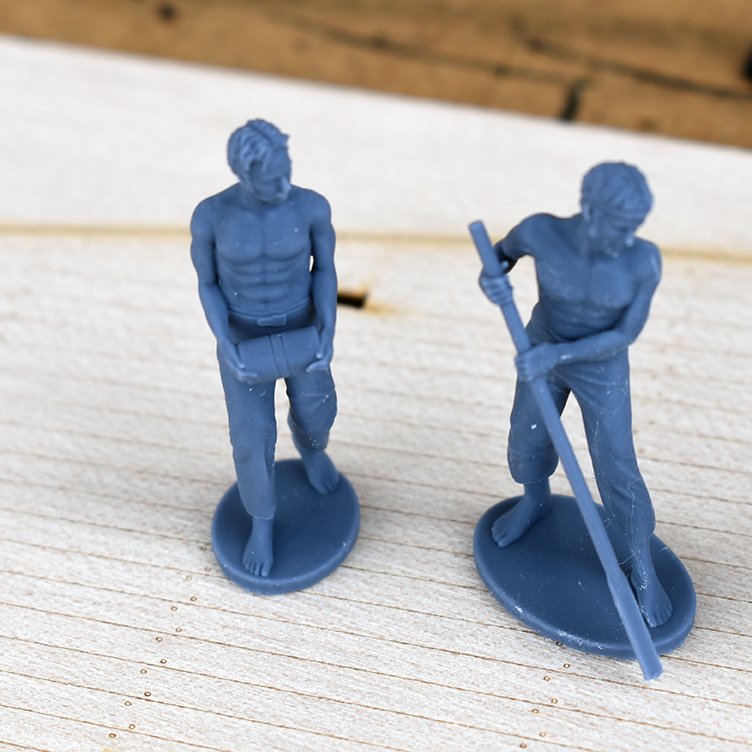
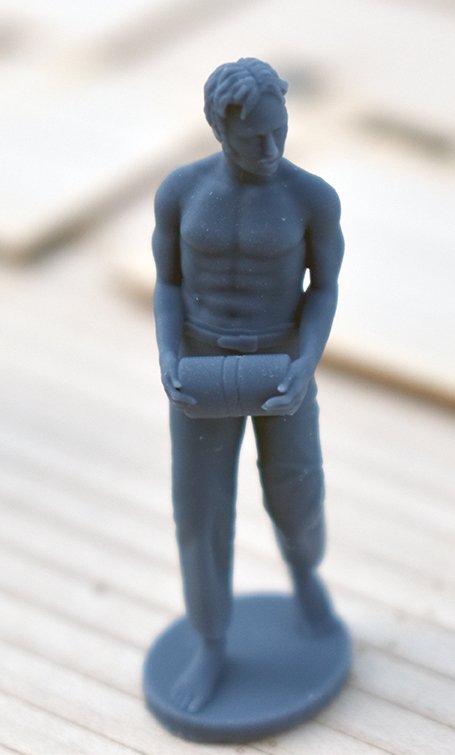
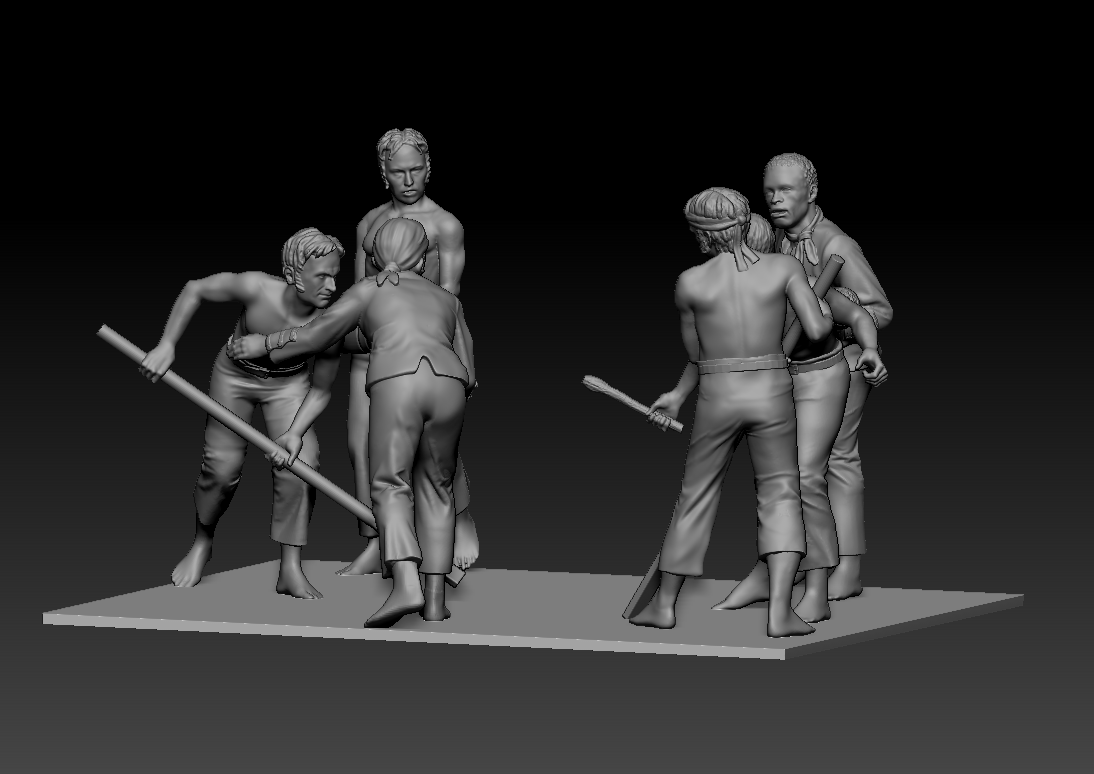
OK, just had these renders of the almost complete second, and final, set of figures. The is a Royal Marine officer and private, a ships cook, and 2 able seamen. I should have these ready within the next two weeks
-
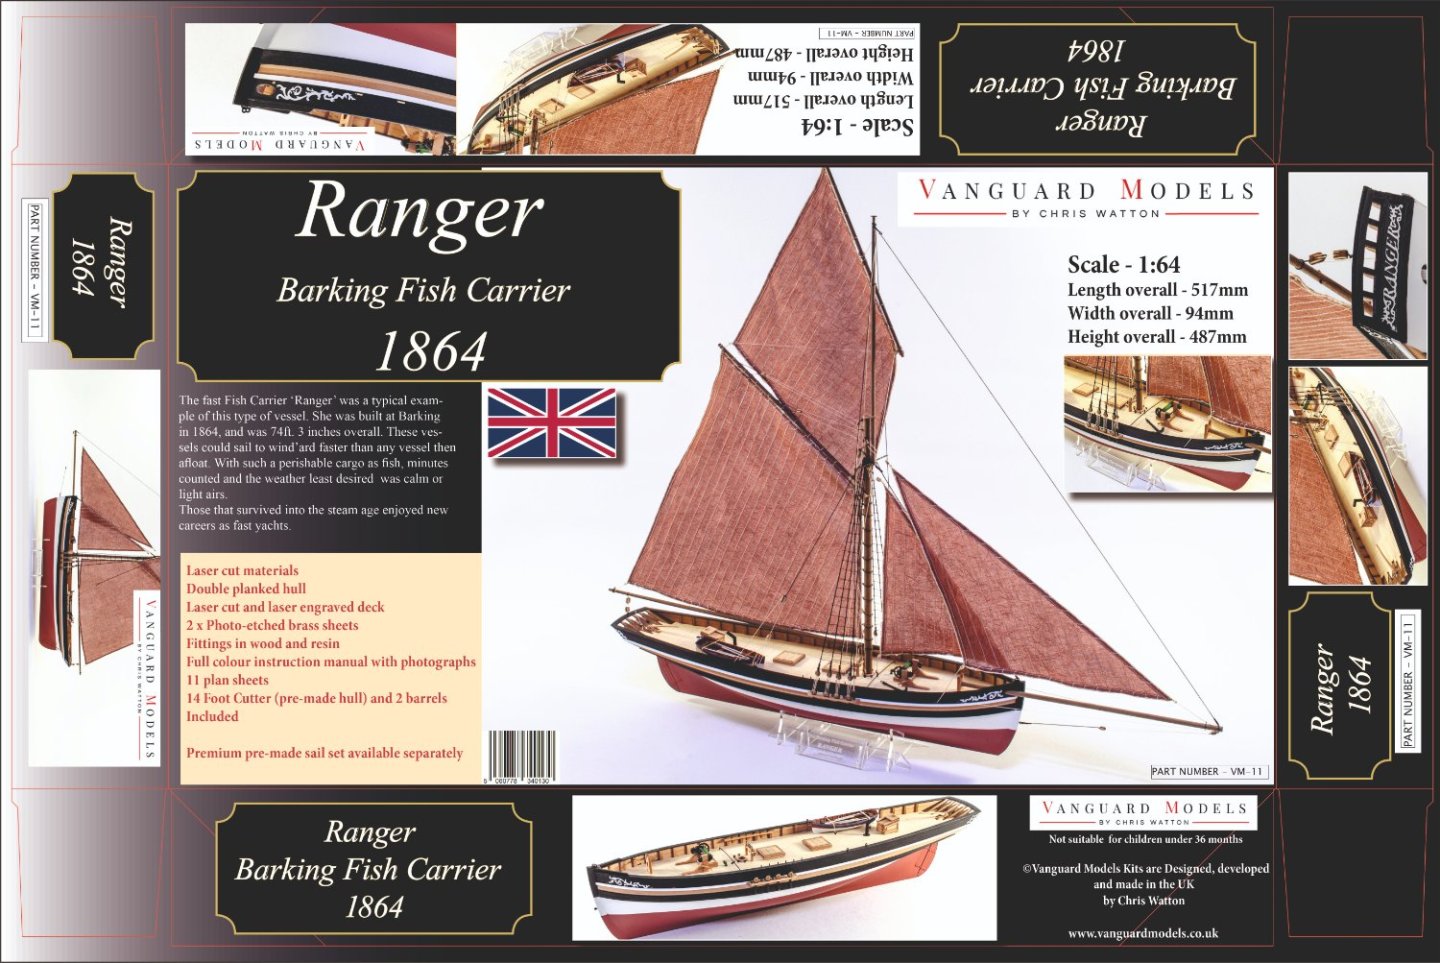
Almost forgot about this one until today, when I finally got word my Ranger premium sail sets are on their way to me. This particular hull shape is one of the easiest to plank. Today I did this box art, I just have the manual to put together now, so this should be for sale in the next 3-4 weeks. This is the last of the historical fishing vessels of the British Isles for quite some time. For the next couple of years, all developments will have cannon...
-
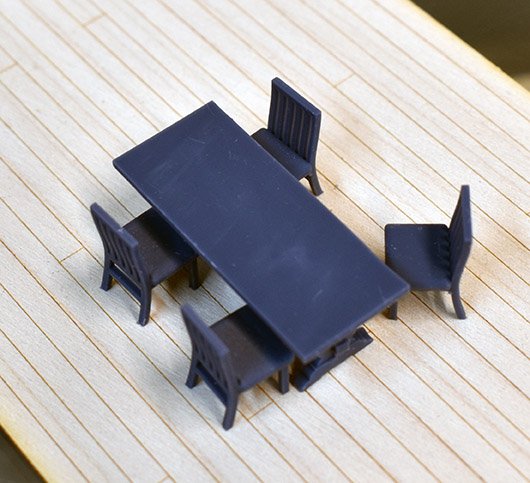
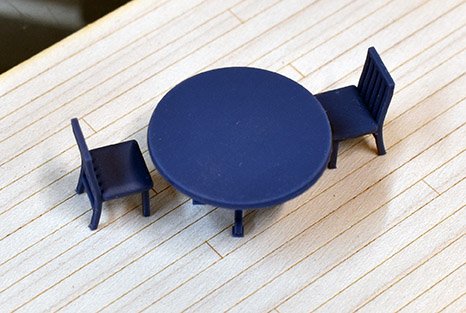
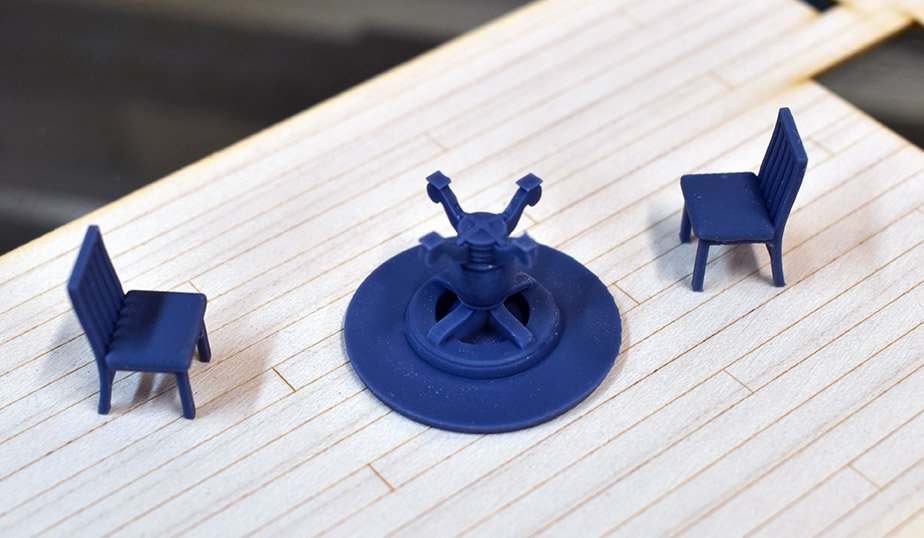
Just a tiny update. I have added another two sets of table and chairs: Cabin furniture – VANGUARD MODELS Also, all Brodie Stoves have been redone in the tougher Navy Grey resin and on the 8k resolution printer.


-
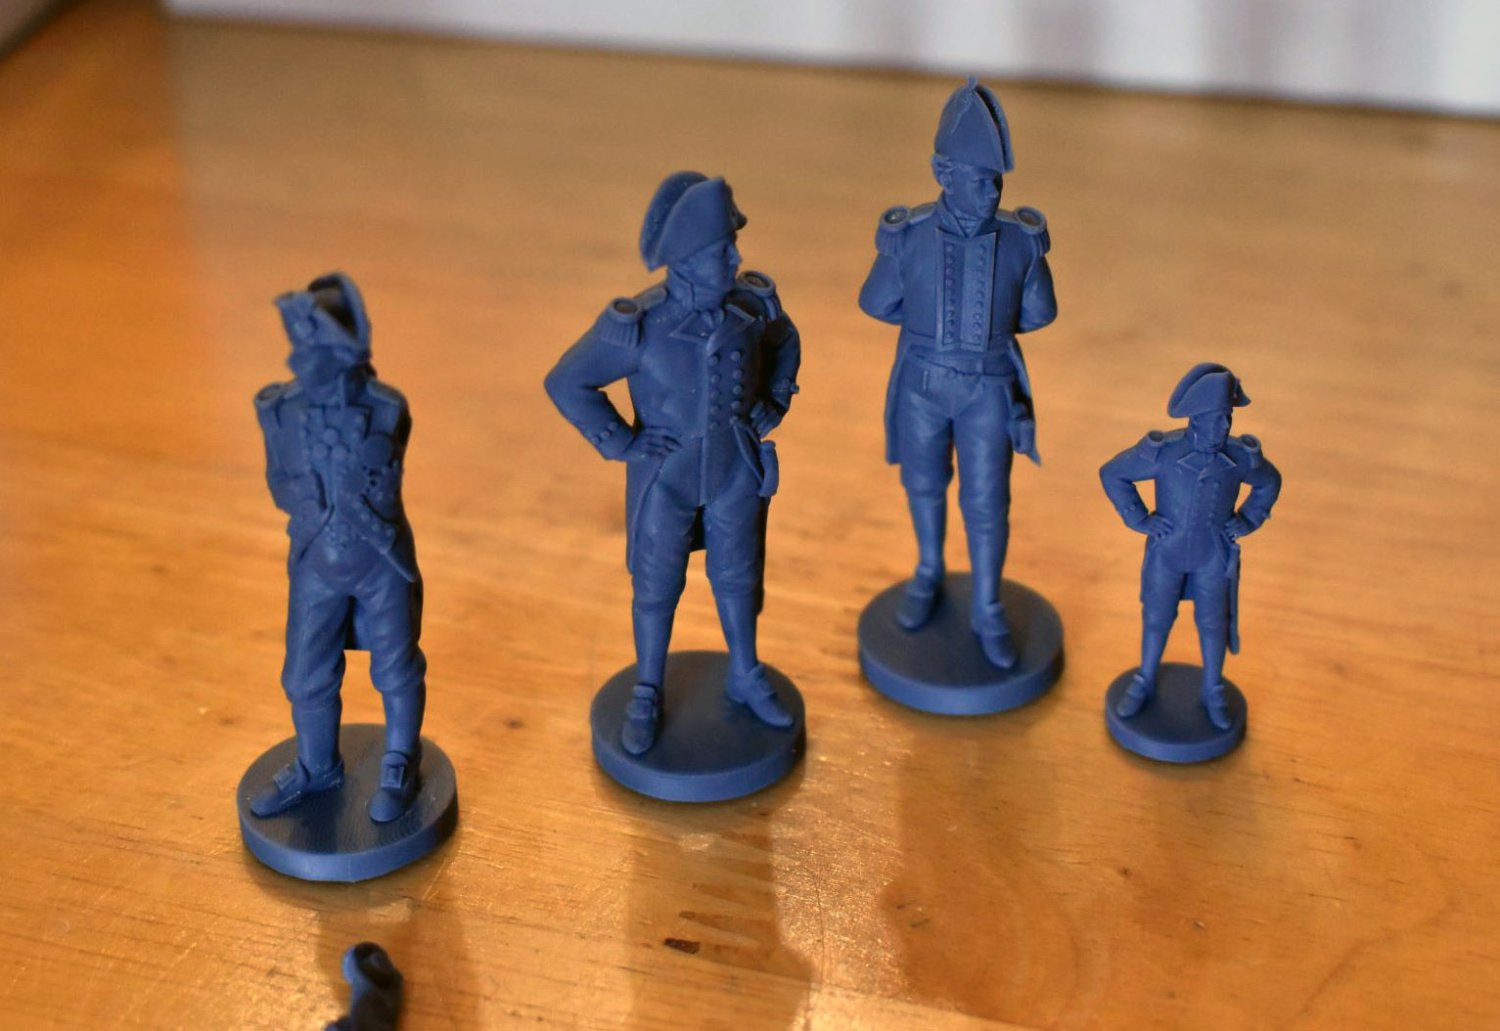
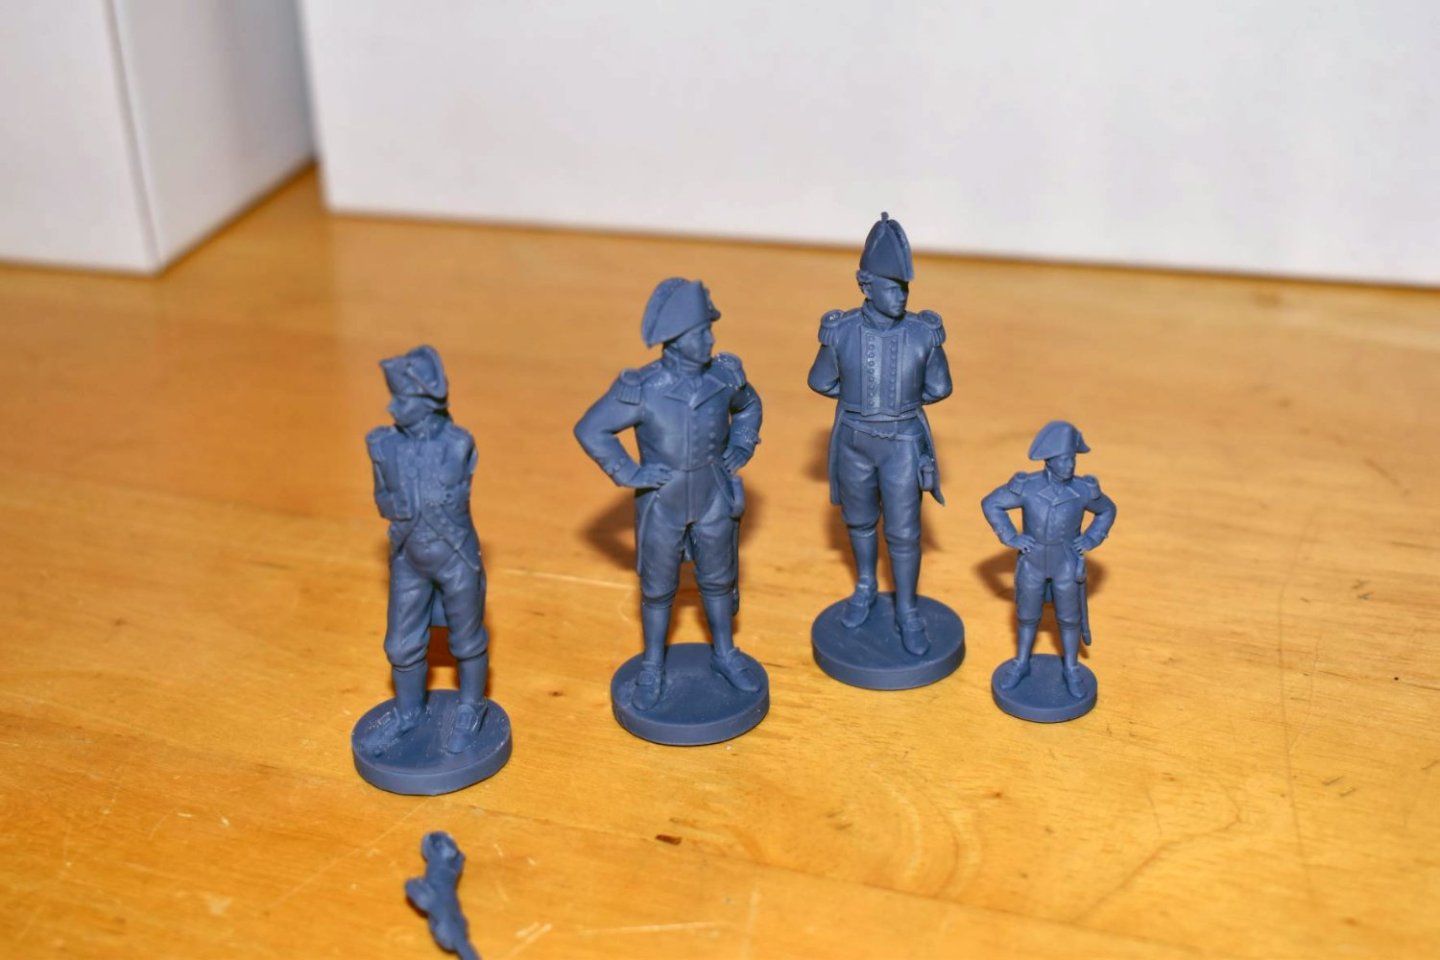
I now have 1:32nd scale figure for Pellew, Nelson and Hornblower. (Pictured with a 48th Pellew to show the scale) In the future, I may do a diorama kit of a 24 or 32 pounder, cannon crew and officers in 32nd scale. ETA - Now have the Cochrane figure in 32nd


-
For the Amati Victory, I actually did three different templates for the stern name, as every painting/drawing seems to show a different size. But it pays not to put too much stock in art, as many paintings/drawings were done years, even decades after the ships/actions depicted, some even showing later/very early 18th/19th Century vessels with fittings and colours in vogue at the time of the painting, rather than the period in which the vessels are depicted. Indy had a (very active) 20-odd year career, and at some points, she would have had her name on the stern, so the name in included in the kit.
-
Allan, the stern name is simply a decal, with no obligation to use it.
-
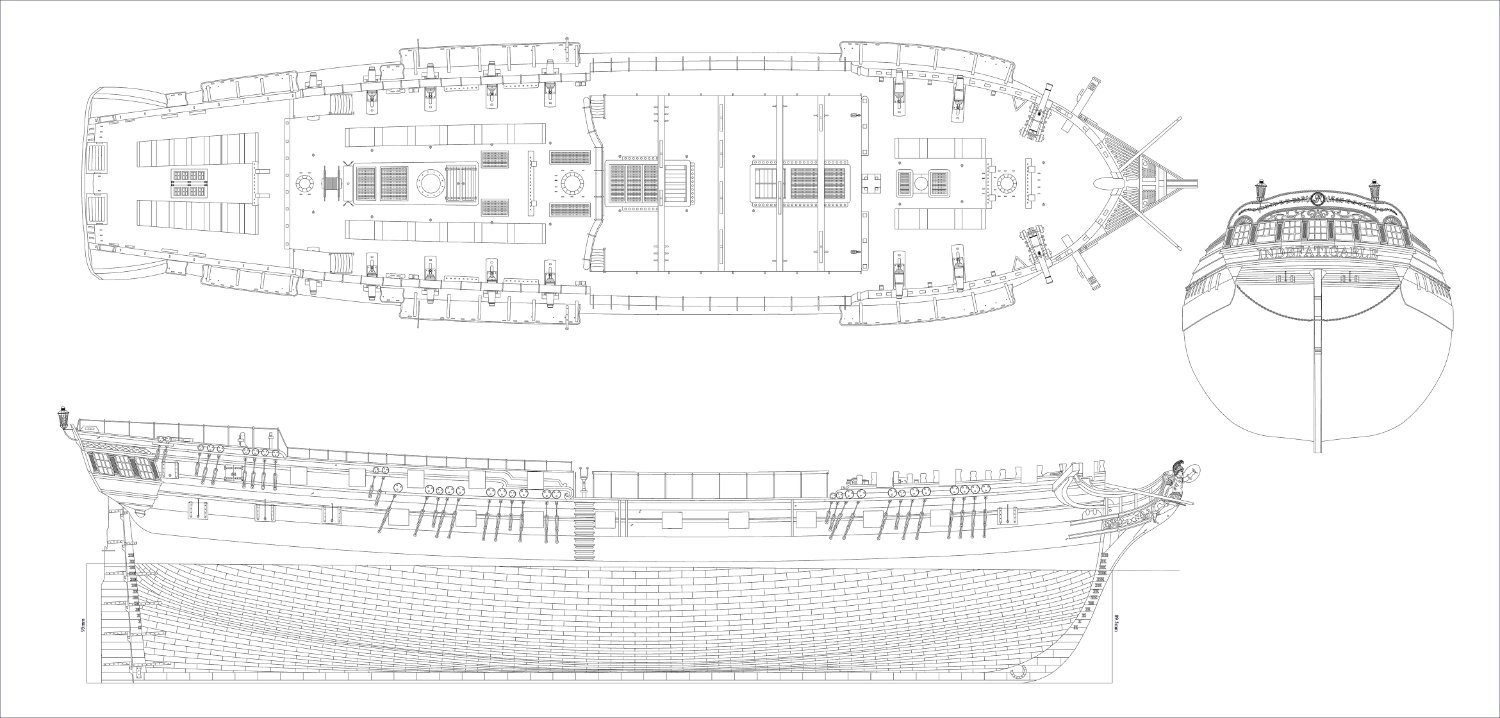
And to what I am working on now - Indy. I have just completed all profile drawings, so now I can arrange them on plans and add part numbers. Also I can now start mast and rig plans (always need hull and deck profile drawings complete before this, as they are used in rigging drawings..) This is my interpretation of Indefatigable, Circa 1796/97

-
Also have a little set of cabin furniture available: Cabin furniture – VANGUARD MODELS Over the next 2 to three weeks, I should also be able to offer a ships cook, two sailors in poses and a Royal Marine officer and private - and that's it!
-
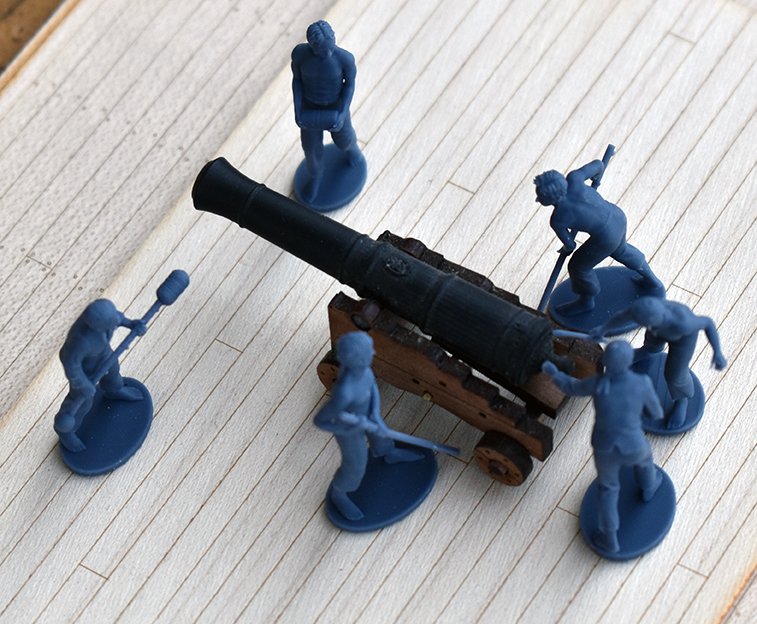
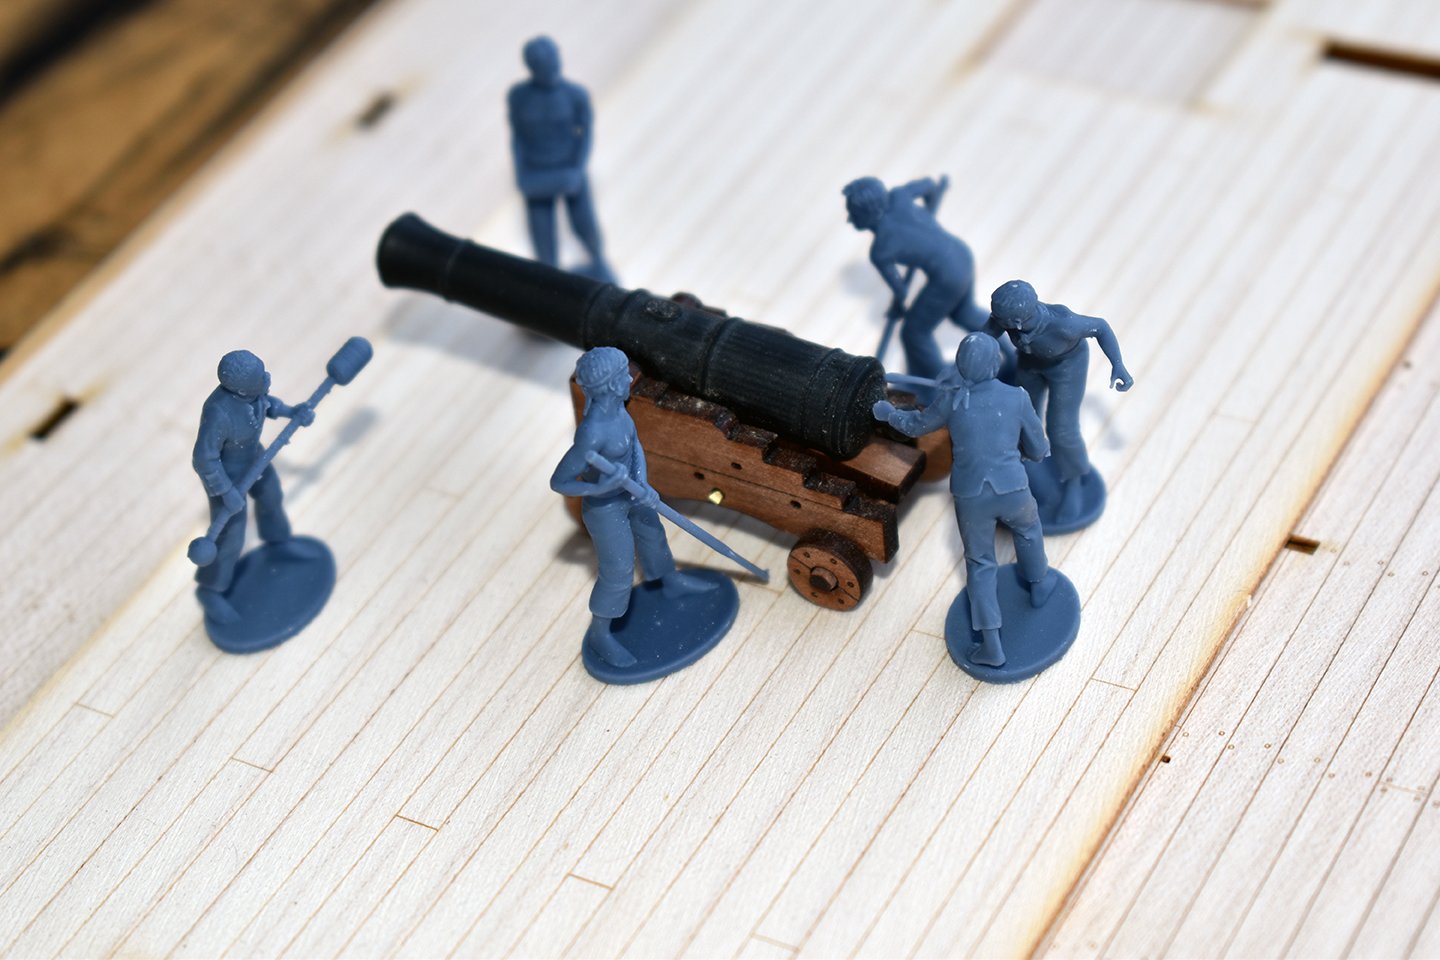
Have the first batch online now Gun crew – VANGUARD MODELS
-
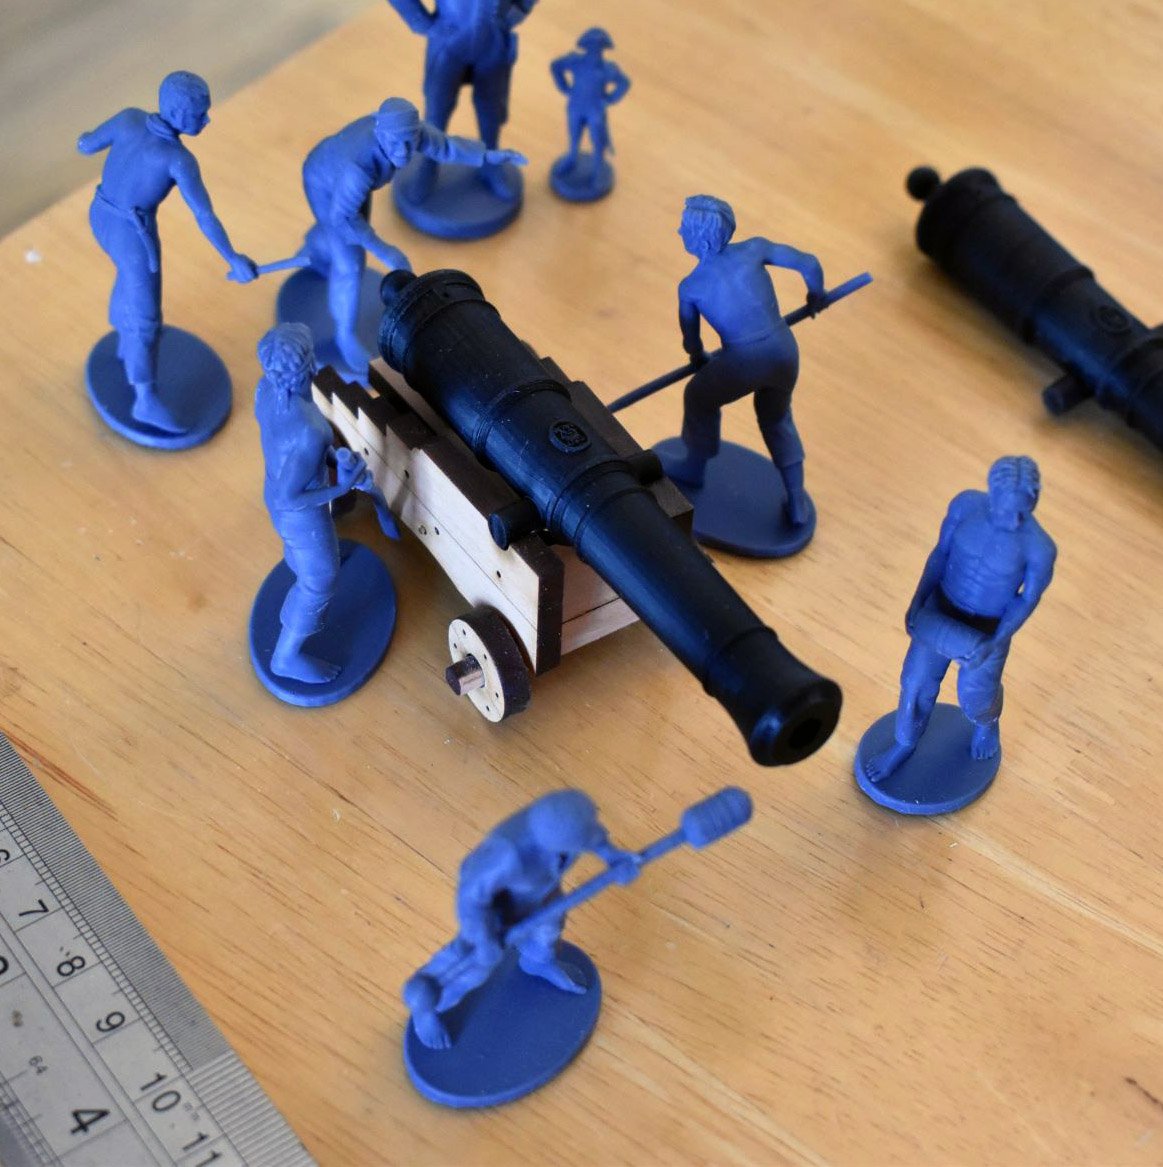
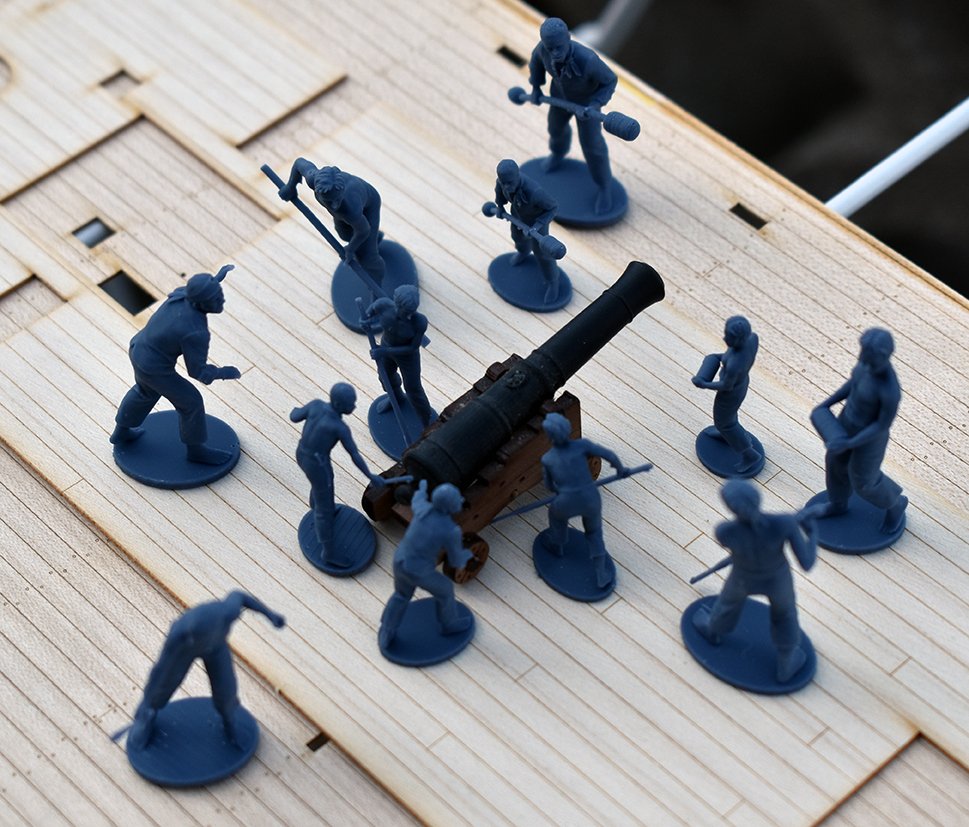
OK, I had my cannon crew print files arrive yesterday, and on Friday, I just so happened to receive my brand new 8k 3d printer (my other two are 4k resolution). These are the first files I printed. The most pics show the 64th scale crew with an Indy 24 pounder gun. There are also shots of the 48th versions. These will be on my website soon. Oh, also, I asked for bases for each as I prefer to attach the majority of the supports to these, rather than the figures themselves, as much as possible.

-
1/200 Trumpeter IJN YAMATO - issued by MRC/Gallery Models
chris watton replied to yvesvidal's topic in REVIEWS: Model kits
I am in very deep trouble when my wife gets home, it is way too big to hide anywhere!
- 104 replies
-
- 18
-

-

-

-
- MRC/Gallery
- Yamato
- (and 1 more)
-
Hi Christian, Yes, I will offer the sets in 72nd, 64th and 48th.
-
Will probably do that for Atalanta, I have more than exhausted my budget for figures this year.. Oh, meant to say, I have 2 Speedy kits left in stock. After these are gone, I have no more main hull photo etched copper plates for the kits. What I will do, once these two kits are gone, is lower the price slightly and include copper tape for the next batch of kits. Thin copper sheet seems nigh on impossible to source right now, which is a real pain...
-
I haven't any plans for that, but I have given the carver portraits of sailors in two poses, plus a Royal Marines private and officer. (Circa 1795).
-
They're just practising, captain's a tight ar*e and didn't allow the use of gunpowder or live rounds. By AO....
-
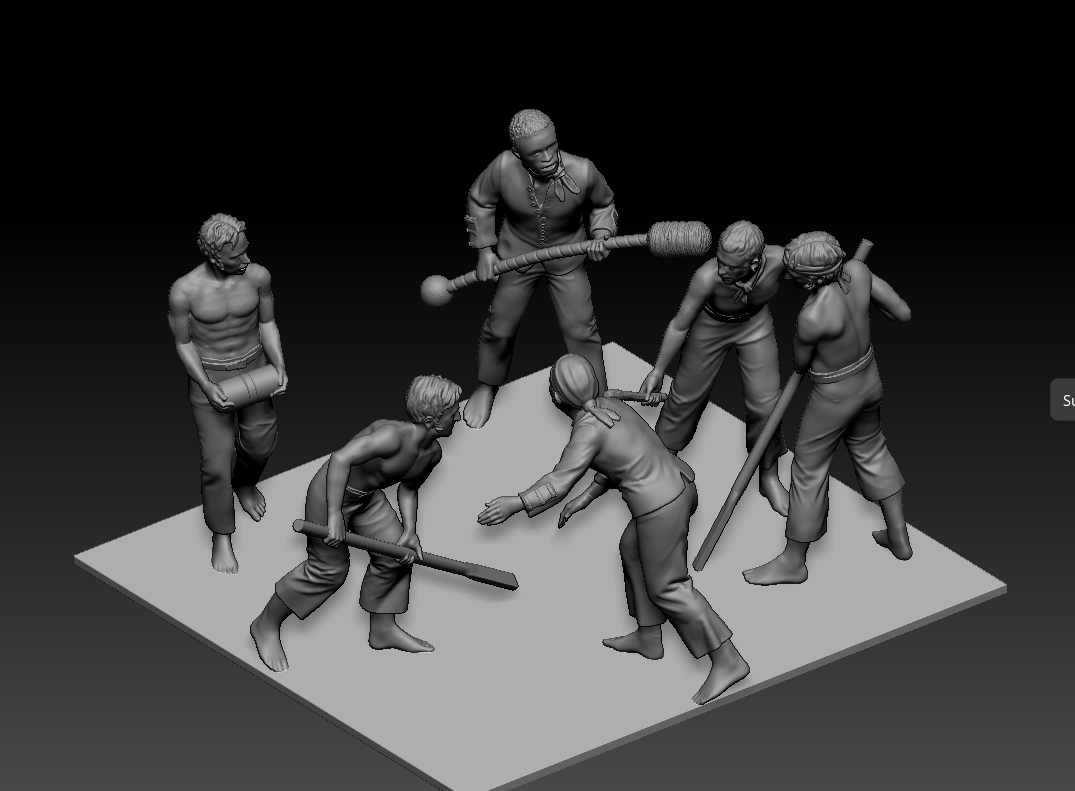
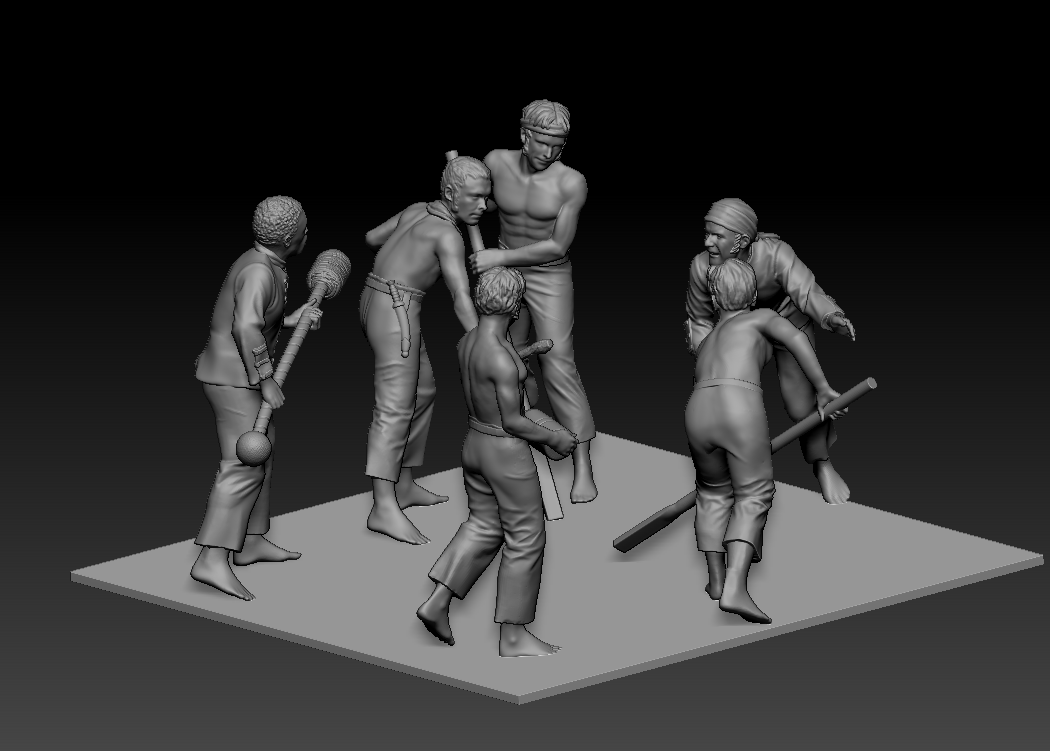
My cannon crew almost ready... Am having some others done soon, too. Still plodding on with Indy...
-
Very nice indeed, well done. This should be another good seller!
- 216 replies
-
- 7
-
-
- masterkorabel
- ships
- (and 3 more)
-
Smoke signals and national TV and newspaper ads should cover all the bases...
-
I have now almost fully recovered from my Covid experience, I had two weeks wasted, couldn't do anything except moan and sleep! Indy is still progressing (although I am now two weeks behind where I wanted to be with the drawings..). For those who may be interested, I have commissioned a set of 6 cannon crew figures, followed by a ship's cook, as I do get asked about expanding the figure range. I should also have cabin chairs and table available to buy soon.
-
Damn, what a week! Had a great day last Monday, working away and even working out in the gym. Tuesday, came down with Covid (had to be, as the only other times I experienced the same symptoms was immediately after having my Covid vax jabs) So, I have been out of it the past week. I could not do anything except lie down and take anti-inflammatories and pain killers, feeling completely helpless, and lazy! My wife seems to have overcome it a lot quicker than me, with my throat hurting so much, with even a small cough feeling like 1000 glass shards in my throat - not my best week! However, I am now over the worst (that or I have been popping too many drugs...), so will try to get back into it next week, as I have now lost a whole week to this....
-
The laser cut gun port openings are deliberately made a little smaller than they should be, to take into account any slight deviations with each build. This is why you need to finish the gun ports with a knife or file. Just file until you each the edges of the MDF frames. Usually with kits, you have a paper template or just one ply pattern with the gun ports on, and then you have to either transfer the paper template to the hull, mark the positions and then cut out each opening from scratch, or with the latter, plank both the inner and outer ply pattern. In both cases, you have a lot more work to do with the gun ports than you do with the Sphinx set up. I have said this before, these are not Tamiya kits where you can just add the parts and forget, you still need to finish most parts, being wood, and not plastic.
- 426 replies
-
- 5
-
-
- Vanguard Models
- Sphinx
- (and 1 more)
-
The gun ports are not exactly square shaped, they will need cutting/filing to the same size as the MDF frames for the gun ports. You have the gun port opening and shape ready made, I do not know why you think you would mess it up?
- 426 replies
-
- 2
-
-
- Vanguard Models
- Sphinx
- (and 1 more)
-
Just stuff I am toying with right now. But it's a good chance they will be for sale at some point soon.