HOLIDAY DONATION DRIVE - SUPPORT MSW - DO YOUR PART TO KEEP THIS GREAT FORUM GOING! (89 donations so far out of 49,000 members - C'mon guys!)
×


chris watton
-
Posts
2,328 -
Joined
-
Last visited
Content Type
Profiles
Forums
Gallery
Events
Everything posted by chris watton
-

kit review 1:48 La Renommée 1744 - CAF Model
chris watton replied to James H's topic in REVIEWS: Model kits
There certainly are plans, and very good ones, too: MONOGRAPHIE DE LA RENOMMEE - Frégate de 8 - 1744 - Ancre- 16 replies
-
- 2
-

-
- cafmodel
- la renommee
- (and 1 more)
-
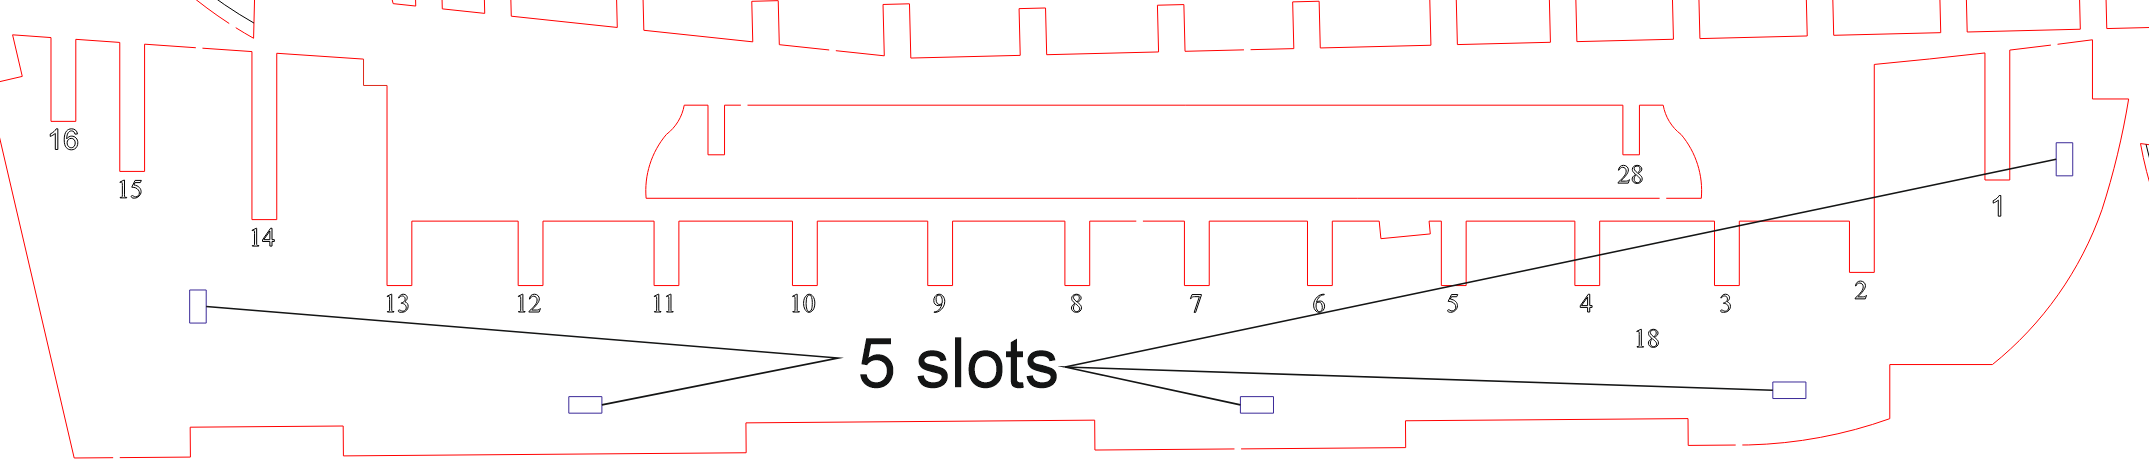
Looking good! I just checked the amount of 'Keys' on the 2mm MDF sheet, and there are a total of 8, with only 5 required, so you should have 3 extra

- 18 replies
-
- 2
-
-
- Sherbourne
- Vanguard Models
- (and 1 more)
-
I never said I was doing a kit of Tourterelle - what I said was that there are 2 figureheads in the kit, one fictional (as seen on my prototype), and the original, which we used the Tourterelle for the detail. So you can build the Tourterelle from the Surprise kit, if you so wish, as they are the same class of vessel.
-
This is the 3-decker I have earmarked for my 'Flagship Kit'
-
There will be only one optional extra for Surprise, the machined walnut blocks. All else will be standard for the kit, PE copper plates, flag set, Aubrey and Maturin figures etc.
-
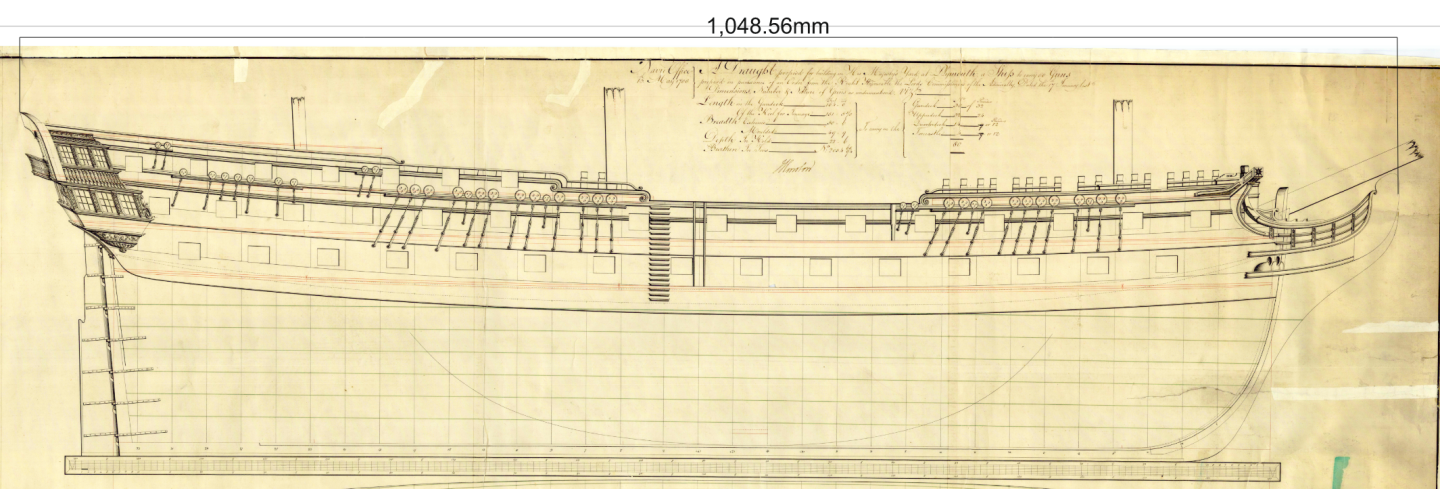
I wonder what people would think of this as a kit in the (distant) future, a behemoth of a 2-decker (for a British made ship) - the Second Rate 80-Gun Foudroyant - just a couple of feet shorter than Victory:
-
I think pre orders will be around March, when the build manual is complete and ready to be sent to the printers. Also, assuming I will have completed all production laser cut parts for the first 100 kits by then...
-
Thank you and Happy New Year to you and everyone on here! Laser machine running today with Surprise production - but have to stop to do more Sherbourne laser cut sheets, keep running out for that one! There will be a pre order window for Surprise. If I can, and if I have the time; for every pre order, like the Indy, I shall try and do a personalised nameplate with the name of the purchaser on each nameplate.
-
Recommended First Machine
chris watton replied to vvvjames's topic in Modeling tools and Workshop Equipment
If it's for mainly period ship modelling, I think a small lathe would be very useful for masts and yards. A Dremel type multi function drill is always useful, as is a belt sander and electril sanding mouse. -
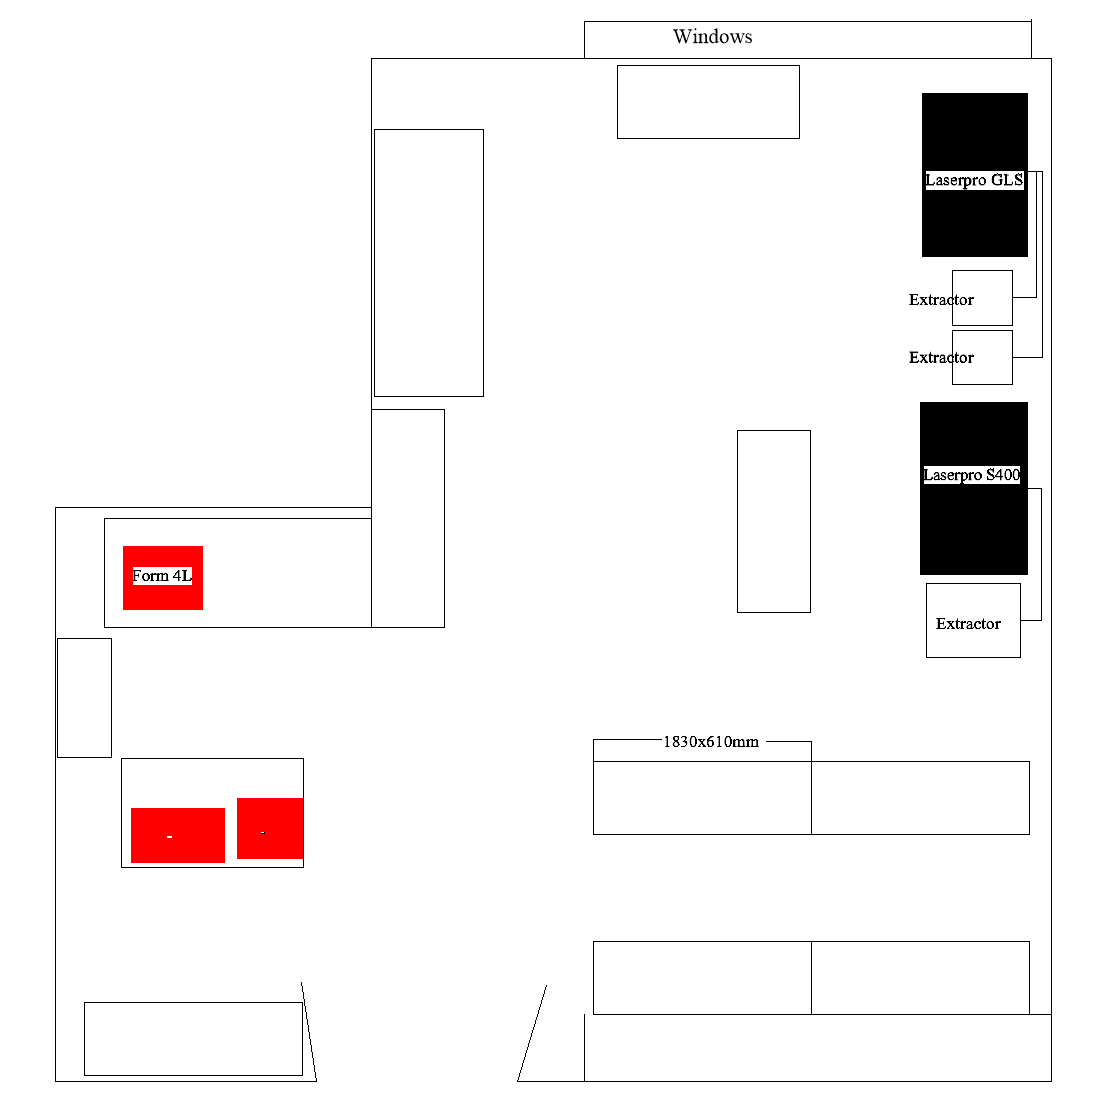
Well, we start moving some stuff into new work unit tomorrow. The laser machines will not be moved until mid January (laser machine engineers are moving them and setting them back up). I did a little floorplan to see what I needed, rack and worktable wise, (which is now all ordered and arriving next week) and this is what I came up with: I am sure that after the year is up, I will need something larger, but for now, it is three times the space I have right now, and I will be able to run both machines in concert for the first time! Hope everyone's having a great Christmas week!

-
Sphinx has the same: In fact, most ships of this period with quarter galleries have this. And here is the one on the original Surprise plan:

- 145 replies
-
- 11
-
-
If the price looks too good to be true... The price of their Victory on the main site is around $1400, the one on that site you bought from is showing $259.99. This huge discrepancy should have set off massive alarm bells with it being over $1k cheaper than the main AL site.
- 11 replies
-
- 10
-
-

-
Merry Christmas!
-
The Krick Alert was the very first model I did that put me on a path to where I am now. My local model shop told me that they were asked by the manufacturer to find someone who could build these models and write the instructions in English, as they were only in German (Alert and Gulnara). This led to my first job in the industry! Alert was a very nice kit at the time (1994), very high-quality parts, from what I remember (no pics unfortunately) It isn't the 1777 large cutter Alert, but more a generic early 19th Century 'Revenue Cutter', the lines of which I have since seen in quite a few other similar kits with different names.
-
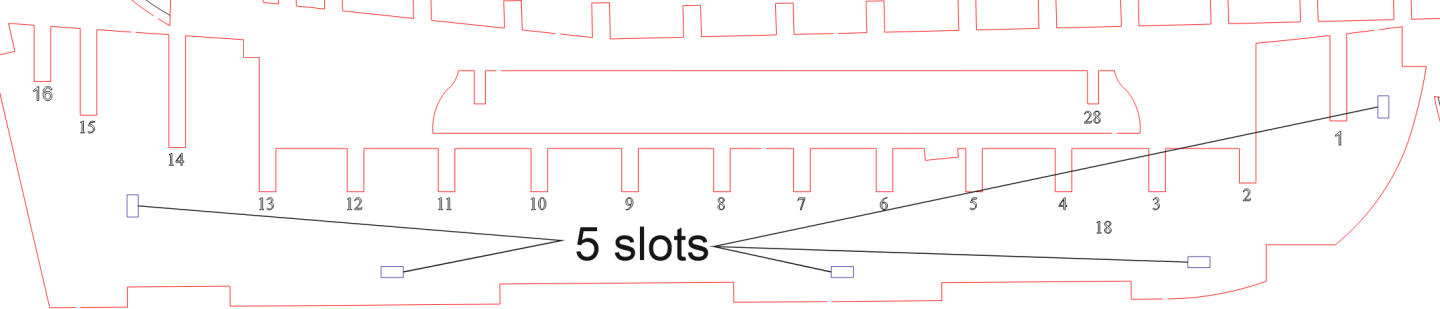
Speedwell will not change at all from Chuck's designs, I will literally be producing what Chuck designed, with only slots changed to take into account the metric rather than imperial sizes - and materials that I use like pear.
-
Thank you for all the good wishes, very much appreciated! It is nice knowing that there are no more restrictions to expand. This is where we shall be based: https://maps.app.goo.gl/BAjBq12Xsvdvwee88

-
This is the issue I have now - I already have the other laser machine (100w), the problem is that I have no room to run both at the same time, due to not being able to fit in another extractor, which is required to run when the machine is working. Now, I will be able to buy another and finally run both in concert.
-
Well, today, we made a huge step (for us) forward. We have been so busy, and right now, I can only run one laser machine at a time, as we have no space for another extractor, which we need to run both simultaneously - so have been drowning under work load, and running out of space for the business. We have totally outgrown the repurposed garage for the workshop. With that in mind, we went to look at some proper business units, and I have just put a deposit down for a nice little unit, over 4 times the space I currently have, which we move into in January. I will be able to run both lasers at full pelt, and have much more space to put stuff! I have added some pics of our modest little new unit – we have an option of having something larger as we grow more. Realistically, we had little choice, as with Surprise imminent, that’s 18 kits we need to find space for, and a 3-bed house and converted garage can no longer cut it….


-


- 40 replies
-
- 12
-
-

-
That was a hundred years' earlier, Elizabethan Period. (The Restoration period in England began in 1660, which marked the return of Charles II to the throne)
-
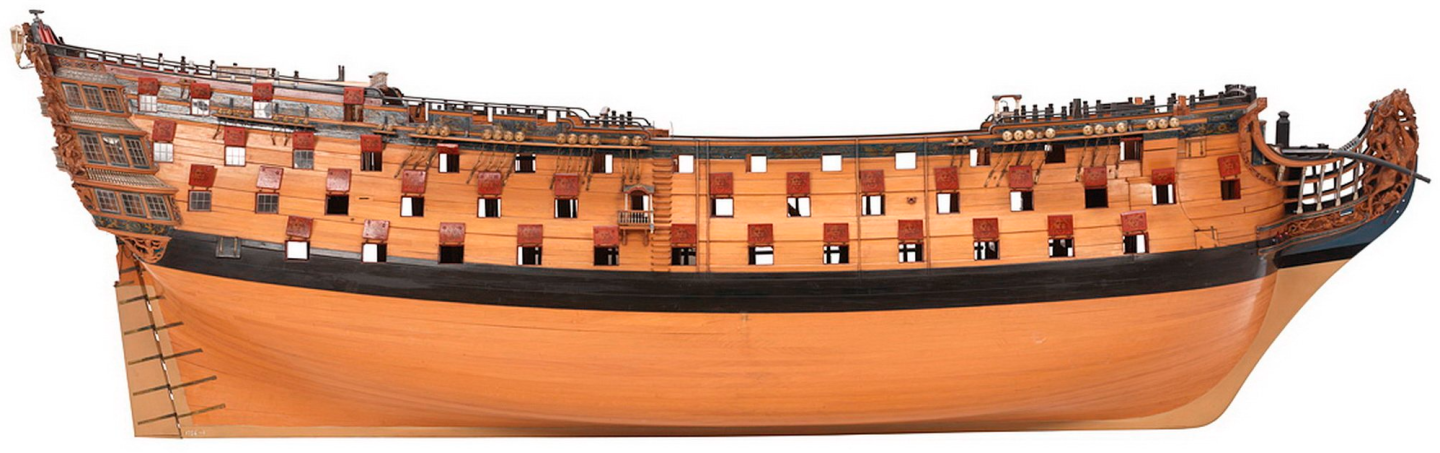
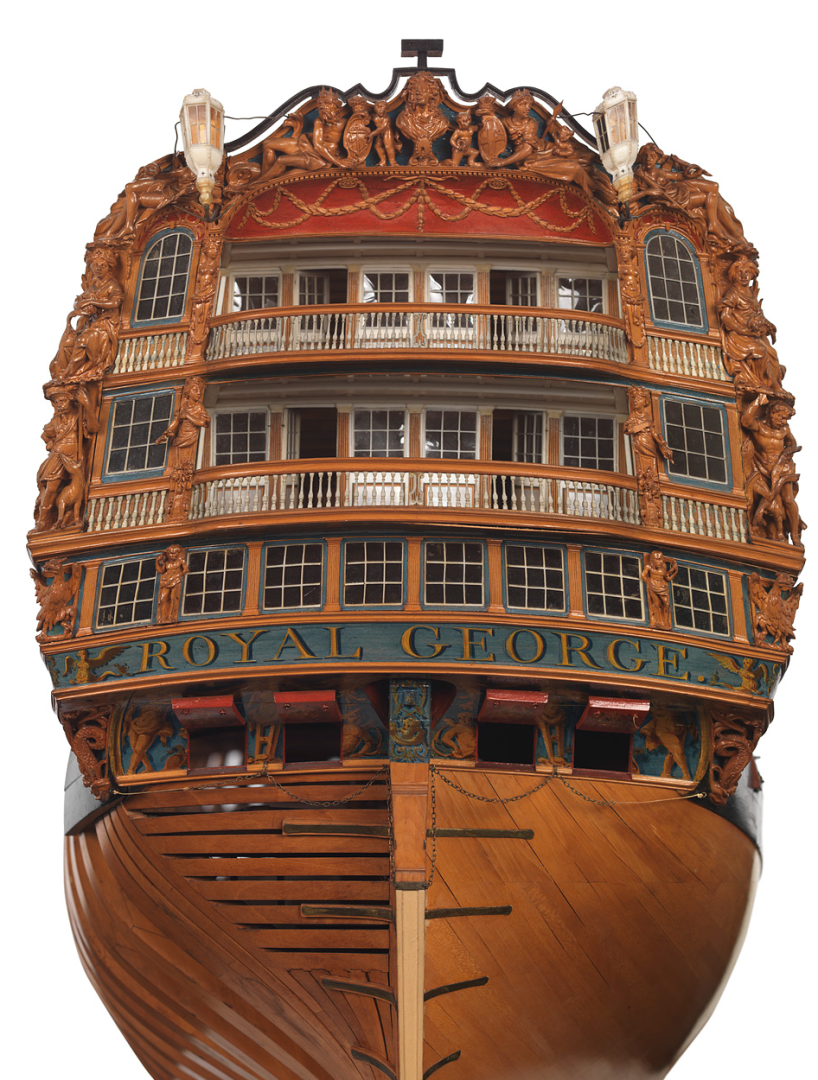
Even before deciding on the name for the model kit range in 2019, Royal George was the first on my list of subjects for the 'Flagship Model'. That huge double equestrian figurehead will look magnificent on the head of the ship. If I am to spend another two plus years on one large development, I will make damned sure it is released once complete - although I suspect it won't be cheap, but what the hell, I spoke to the owner, and he said he doesn't care about the cost, but seeing a completed model of this is more than and know we can give those an opportunity build such a kit is worth the time alone! Not for another couple of years or so, though, as I have Aggy next (not a quick and easy development also) , followed by the Restoration warship...
- 40 replies
-
- 11
-
-
-
I do have a Resoration warship subject in my development folder.
-
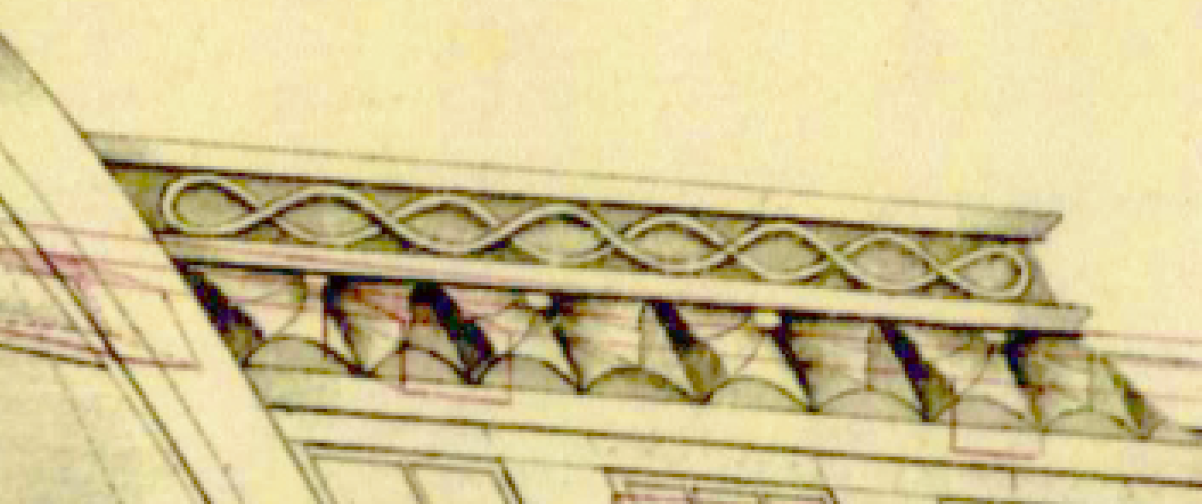
Well, for one thing, it wouldn't have a square tuck.....:)
-
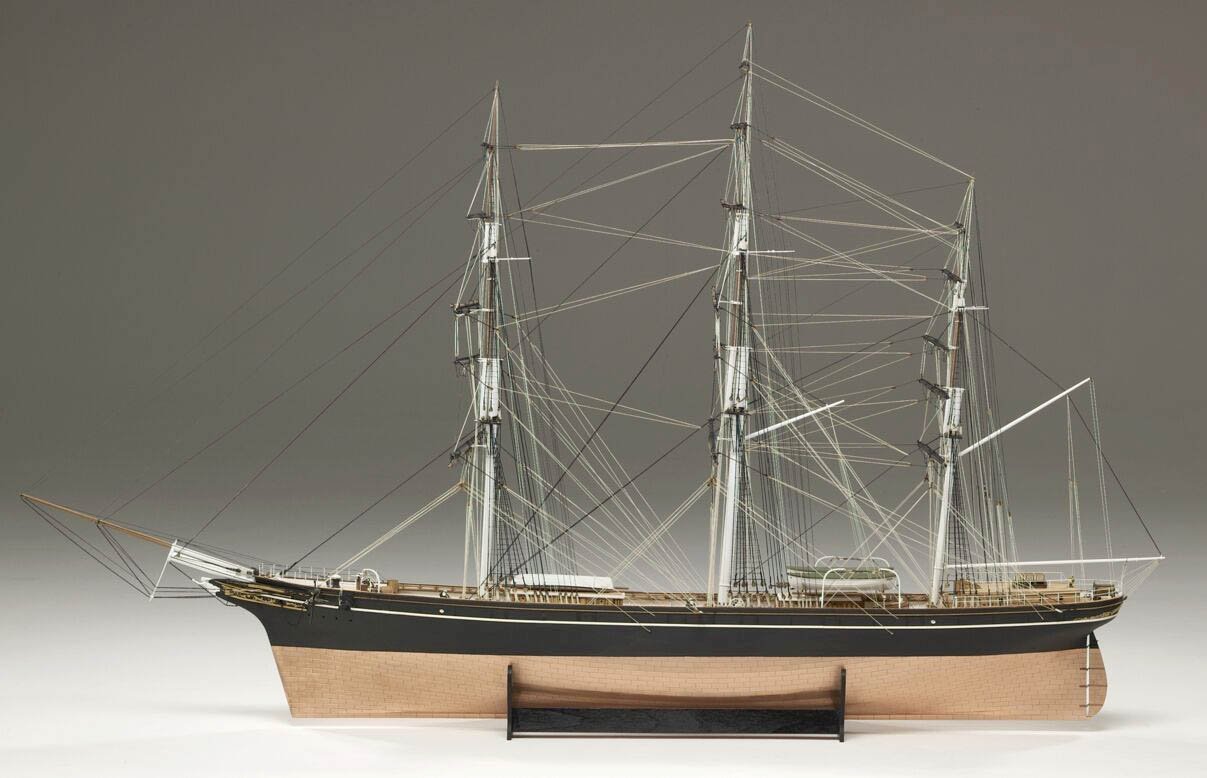
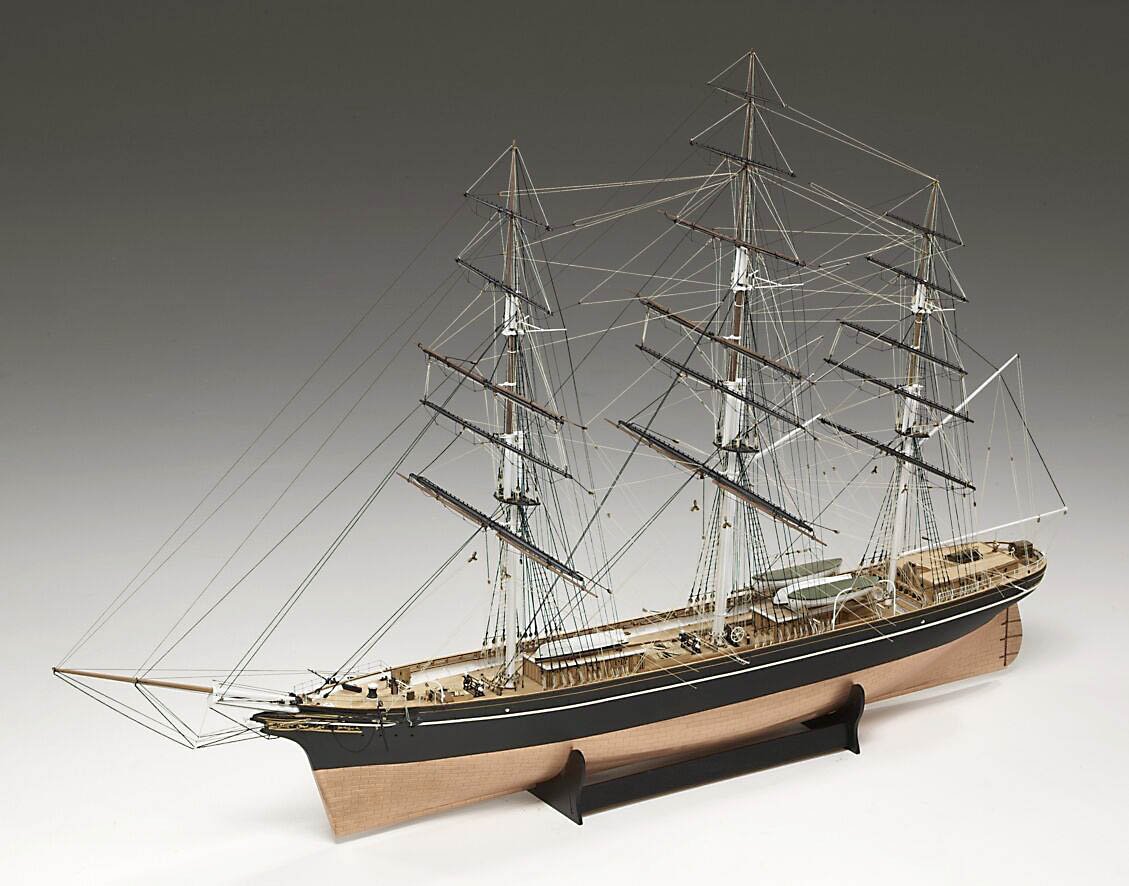
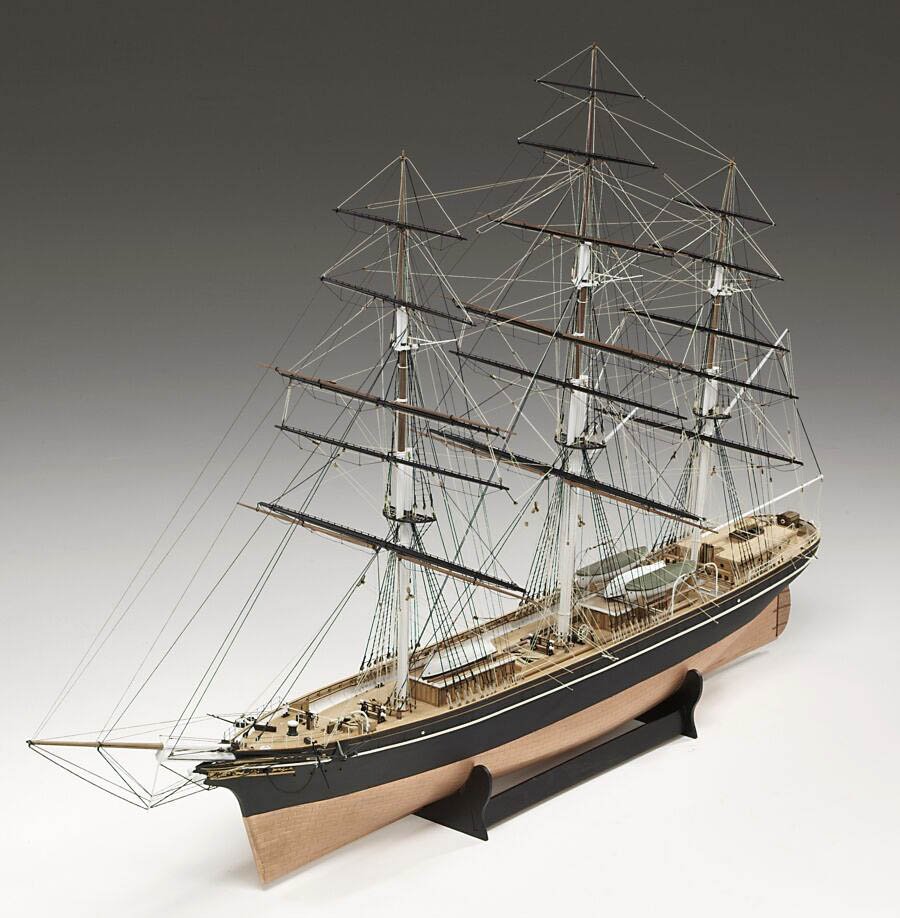
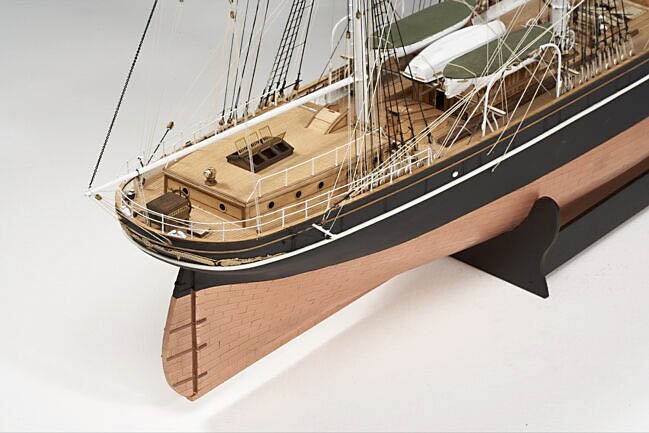
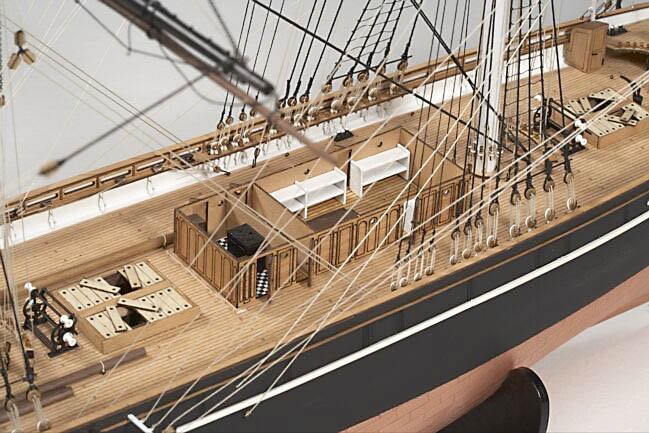
But I have designed a Cutty Sark, a rather large one, too, in 64th. This was back in 2008 (damn, almost 2 decades ago now) - but it was for a part work for Hachette. They did test publications, to see how popular something is, and if they do well, then they follow it through. Cutty Sark clearly didn't sell too well, as nothing become of this design, being in limbo ever since. Shame, as I had all the deck cabin detail in there... Because I had to design these very quickly, and then build the prototype very quickly (always to silly deadlines), no real plans or construction pics were ever done (just speed built as quickly as possible) - these were always done later, if they had the go ahead. Another reason I really hated doing these part works, such a massive waste of time (for my part, at least)
- 40 replies
-
- 18
-
-