HOLIDAY DONATION DRIVE - SUPPORT MSW - DO YOUR PART TO KEEP THIS GREAT FORUM GOING! (Only 13 donations so far - C'mon guys!)
×


willz
-
Posts
98 -
Joined
-
Last visited
Content Type
Profiles
Forums
Gallery
Events
Everything posted by willz
-
just a bit of fun

-
fixing the broken bits is all part of the fun, and the experience makes sure you never make the same mistake
- 144 replies
-
- 1
-

-
- corsair
- bermuda boat
- (and 1 more)
-
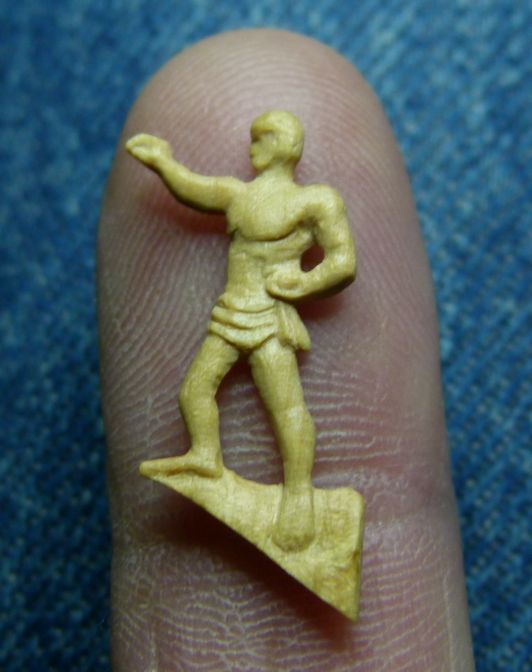
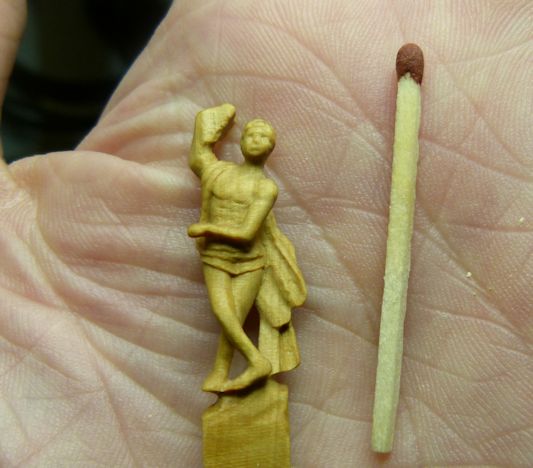
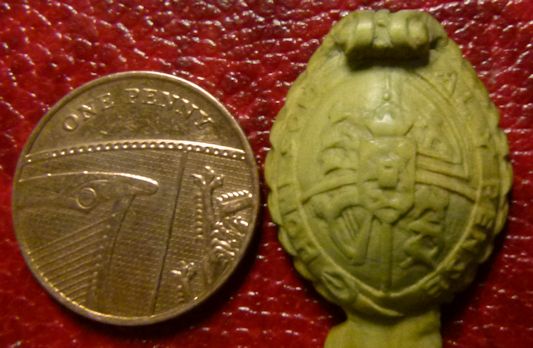
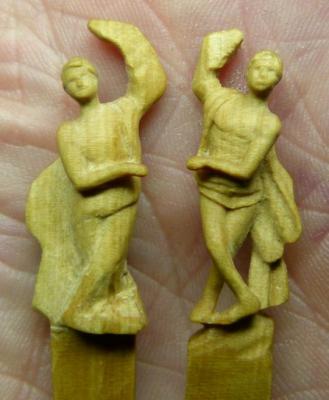
checked out your stern shihawk and its looks fine, commercial parts are nearly always a let down but you have cleaned them up super, as for the carving you must use the correct material, I purchased some boxwood and like you had a go, took a couple of attempts to get the hang of it and although not perfect they look ok, here`s my version of the right hand strong man and the view through a macro lens shows all the errors but when looking with the naked eye he`s acceptable.

-
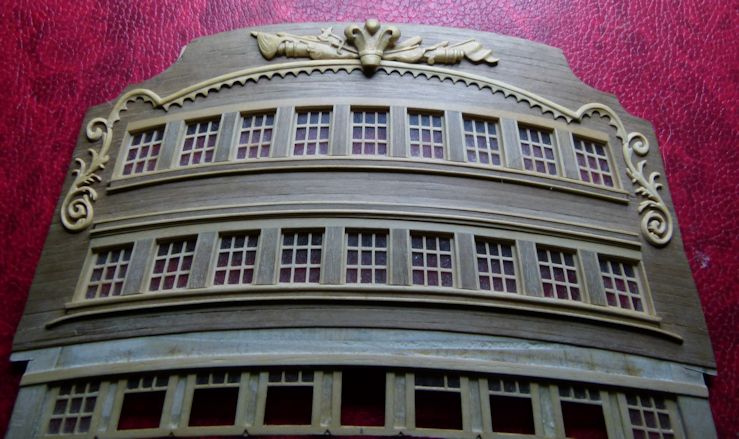
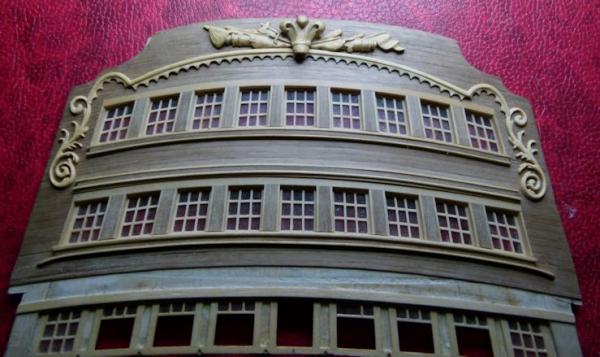
some work on the stern
-
there was never a door for the entry port, simply because the was never an entry port. i cant find one single painting or photo before she was restored in dry dock with one. if anyone can find a painting or photo of victory with a entry port pre dry dock please post it
-
mckays book shows the entry port without a door, and as she is now in dry dock there is no door. having said that i have only ever seen the entry port on the victory in dry dock, every single photo and painting previous to this shows her without an entry port ?? but thats a whole new ball game !!
-
looking good so far, as for the door, there isn`t one, just a opening with a lining.
-
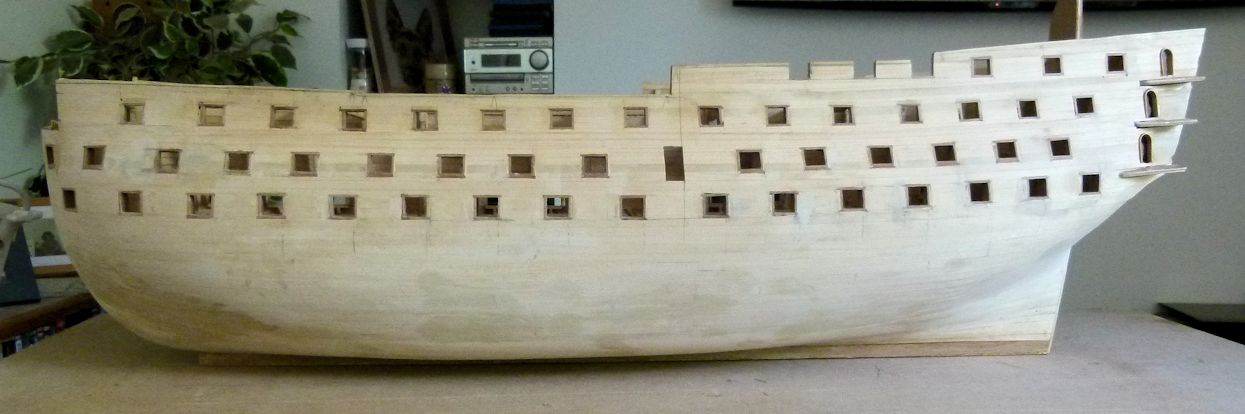
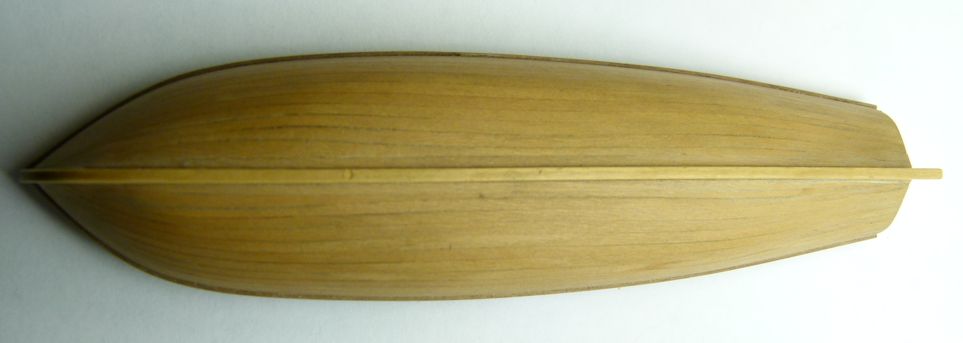
Thanks all for your kind coments, small update, finished the first planking of the hull, cut out all the gun ports inserted the linings and filled in all the gashy bits on the ports side, the quarter galley doors have had the linings inserted and left slightly proud so as to let the second planking butt up and then be sanded flush, all prep work finished on this side, started work on the starboard side but still lots of work to do ,cheers William

-
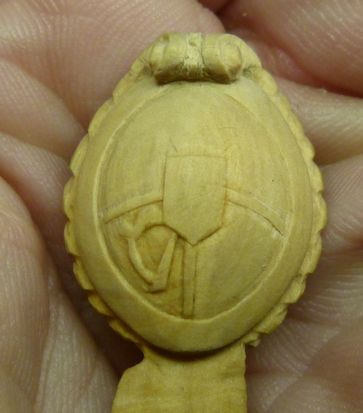
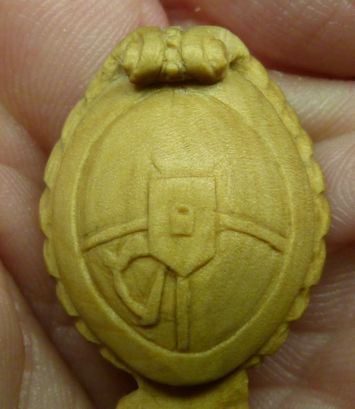
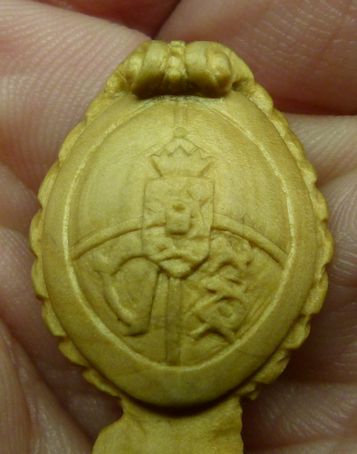
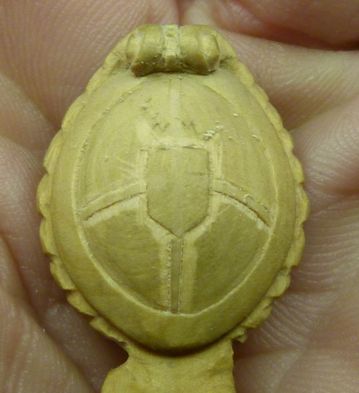
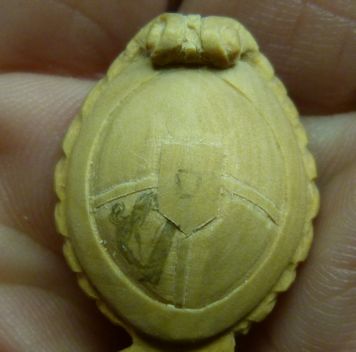
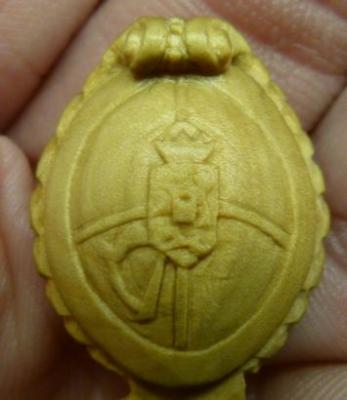
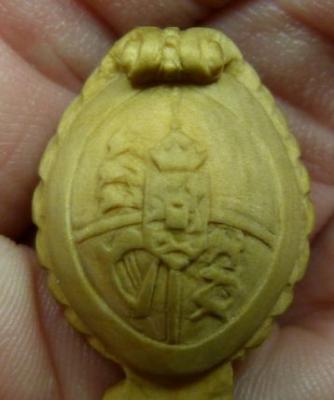
thanks all for your comments, appreciated, managed to finish the shield, here`s the pics


-
thanks for the comments, appreciated. Time to tackle the sheild, complex piece, so will be semi abstract


-
hi, a friend of mine has this kit and the serial number is on the inside cover of manual 1 of three
-
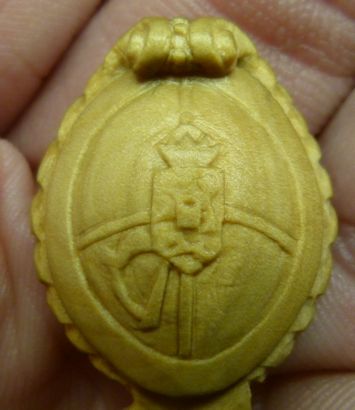
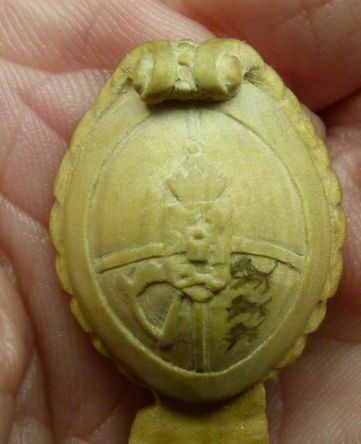
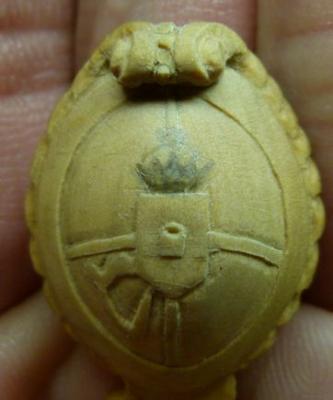
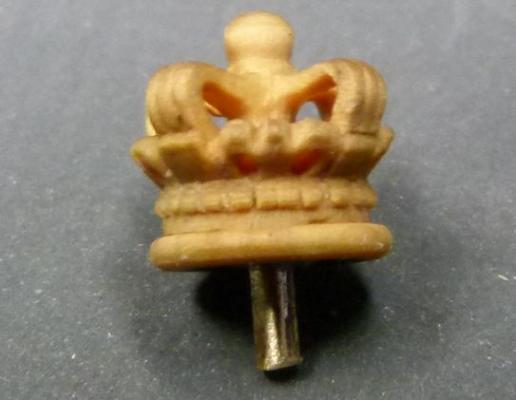
finished the crown, inserted a 1.5 mm brass rod so as to fix it to the shield

-
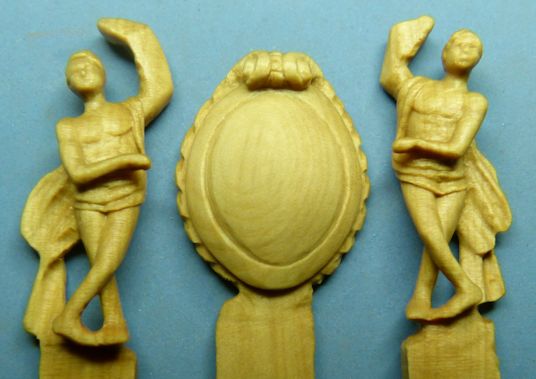
small update, both the small guys are finished for the time being, more work will be needed when fitting them
-
started on the shield and the other small guy

-
had a go at carving one of the small guys on the figurehead, quite pleased with myself even though it looks nothing like the real thing except for the stance, the right arm rests on the figurehead crown and will be carved to fit at that stage, (if I ever get there) !

-
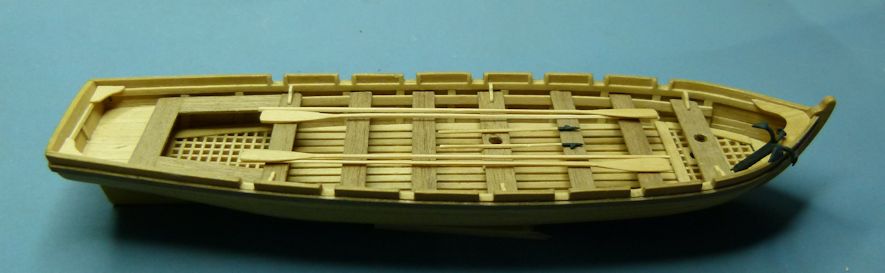
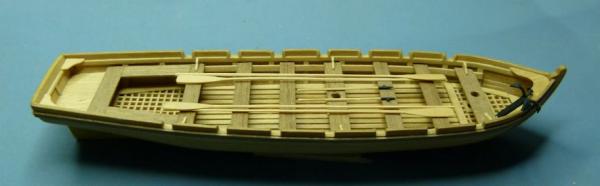
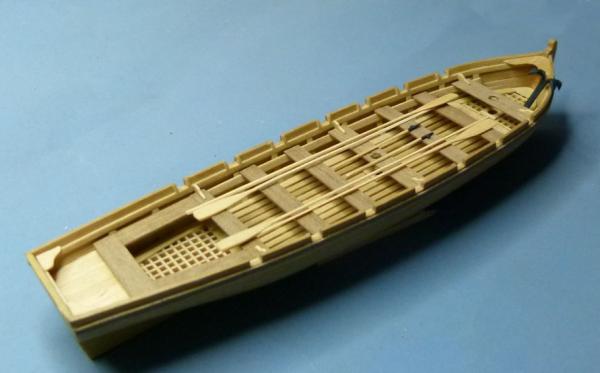
not quite finished yet, rear seat backrest and rudder to do
-
couple of pics of the victory barge, all scratch
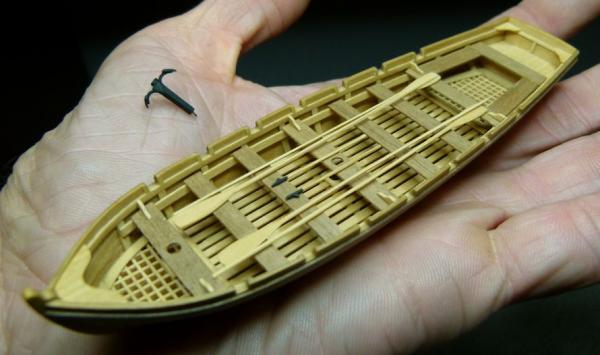
-
Ian, its true the jaws do dent wood, so everything is oversize to start with, so the fininshed product has had the marks turned out of them. cheers William
-
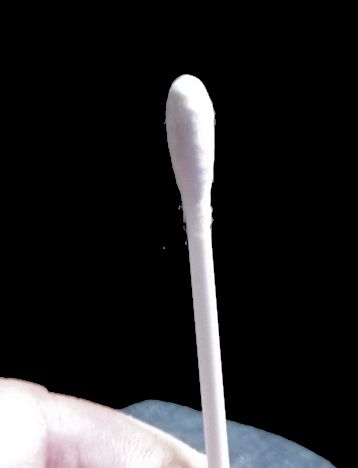
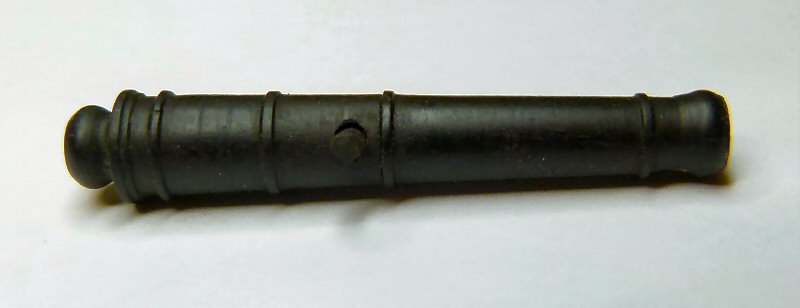
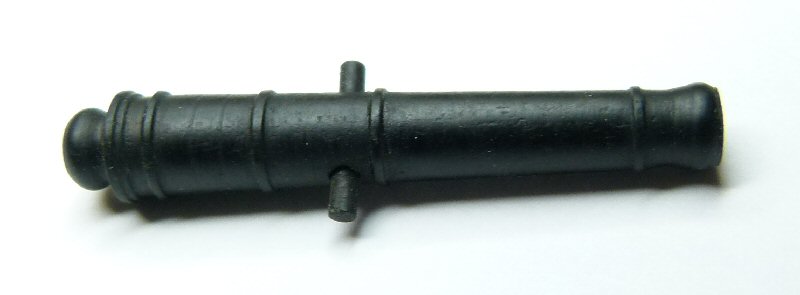
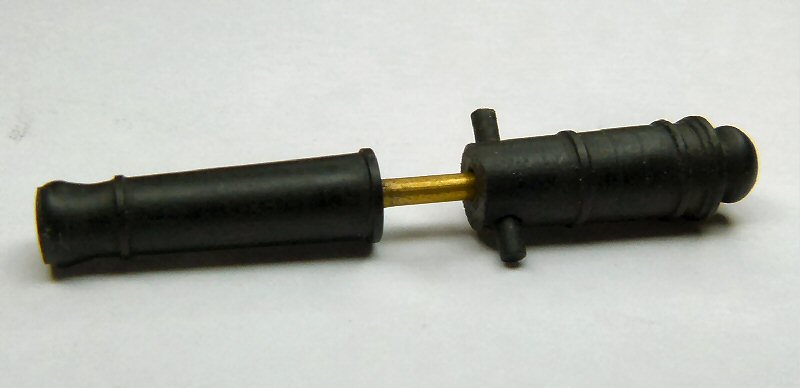
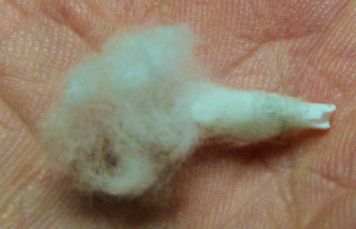
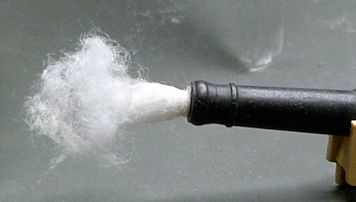
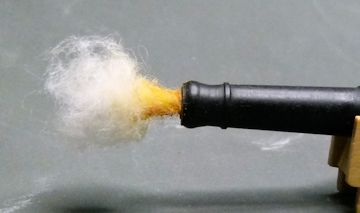
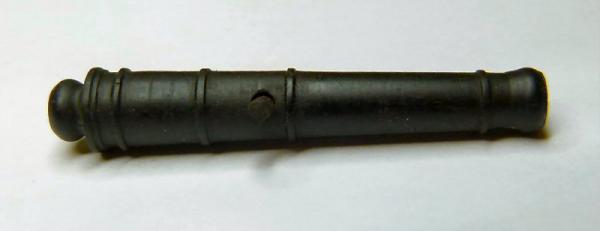
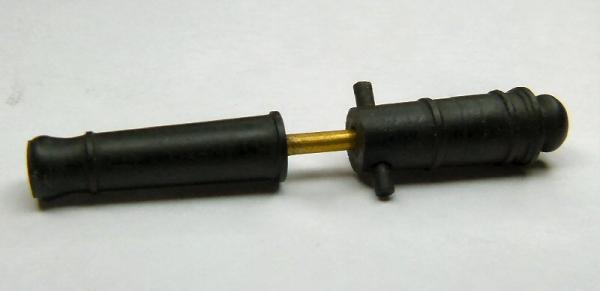
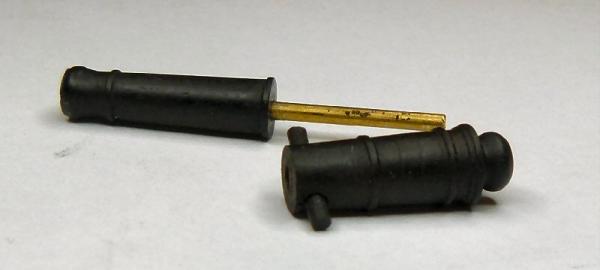
this cannon is made of ebony, nothing new in that, but i think the split cannon is a first, as you can see in the photo you cant see the cut, its hidden behind the cannon ring. cheers
-
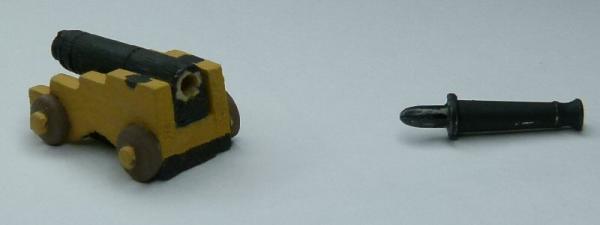
thank you Ian, here`s a few pics of the original 32 pounder for my scratch build
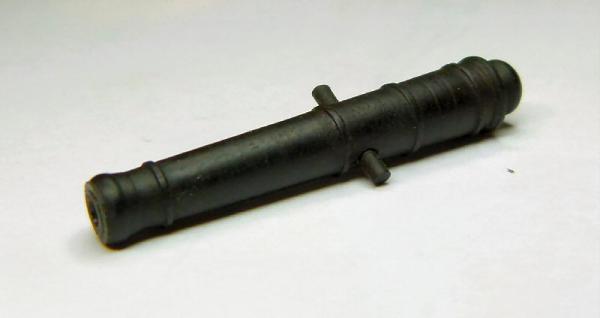

-
hi David, all my plans are from the book The 100-gun ship Victory by John Mckay. cheers
-
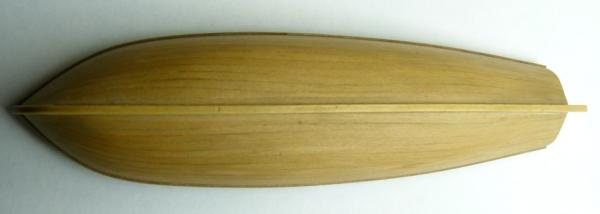
hi Wayne, yes the laser was very helpful, with it being a scratch build, i cut the rib slots slightly wider than the false keel to give me some side to side movement, then with the keel plumb inserted the ribs keeping the centre line of the rib in the middle of the keel and then setting the line on the top strap to the laser, putting in a top strap with a centre line makes sure its bang on, also the top strap gives the ribs much more strength for fairing, planking e.t.c., when the time comes the top strap will be removed. cheers
-
hi Anja, no, didn`t use any filler blocks and already started the planking, although i curved the planks round the bow when fitting i noticed that they later tended to lose the curve and judder round the bow, oh well we live and learn, cheers
-
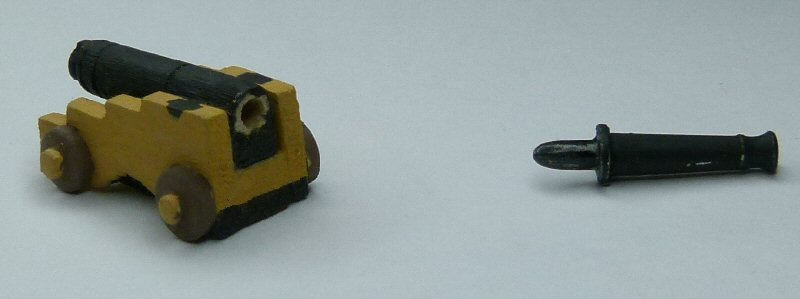
dont forget to remove the dummy end of the cannon when fitted in the ship, then when all the model is completely finished, glue the dummy end back on
-
is this the end of the black wall dummy cannons