willz
-
Posts
98 -
Joined
-
Last visited
Content Type
Profiles
Forums
Gallery
Events
Everything posted by willz
-
HMS Enterprise by AlexBaranov - 1:36
willz replied to AlexBaranov's topic in - Build logs for subjects built 1751 - 1800
wow this is really great,,,looked over the photos and can only find one fault in my opinion ???? instead of the z in enterprize you put s...but it looks like its upside down -
great stuff, and so many. i used to paint pictures years ago but somehow i never really got the bug, i`ve painted about 25 in the last 45 years and none in the last 15 most i gave away. and i dont know why i just got bored, bit similar to my model building now, seem to have the skills but not the drive, of all my paintings only two were of ships, one i gave to an old friend that used to be in the merchant navy and the other i gave to my younger brother and his wife, i have a photo of this one, it was a picture i saw on a book cover in a second hand book store, so i bought the book for a few pence and painted it, the picture was done on a 30" x 20" board in oils, so here it is

- 996 replies
-
- 19
-

-
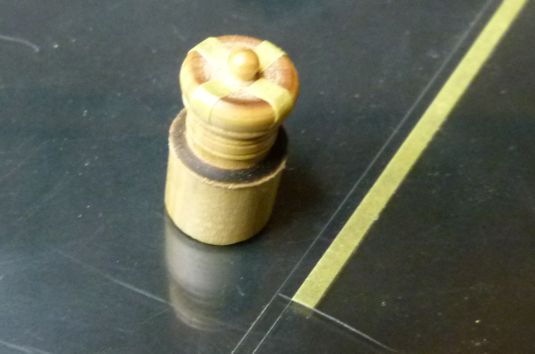
my victory started in 2007, love it hate it and all the bits in between
-
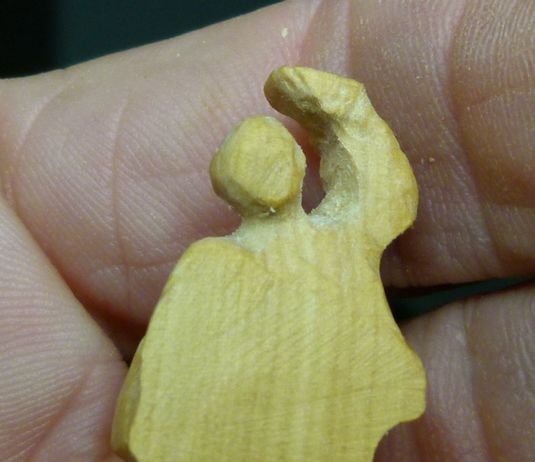
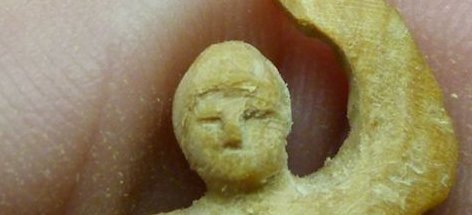
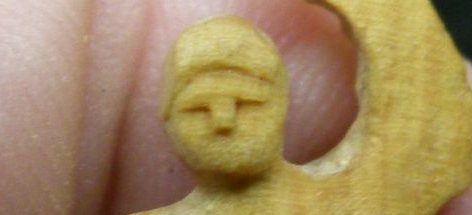
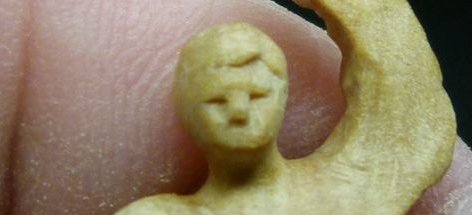
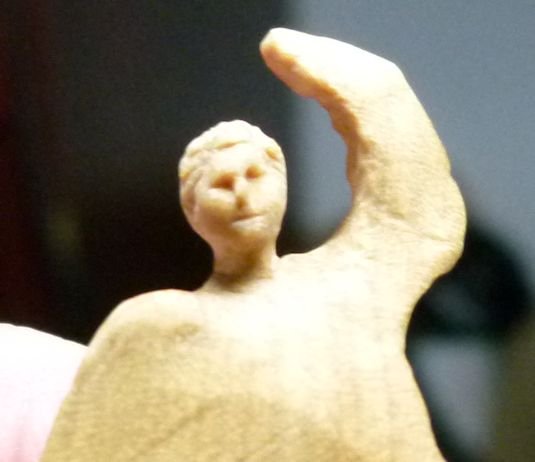
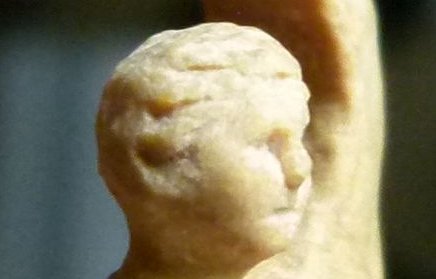
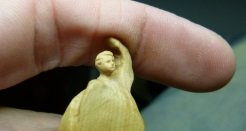
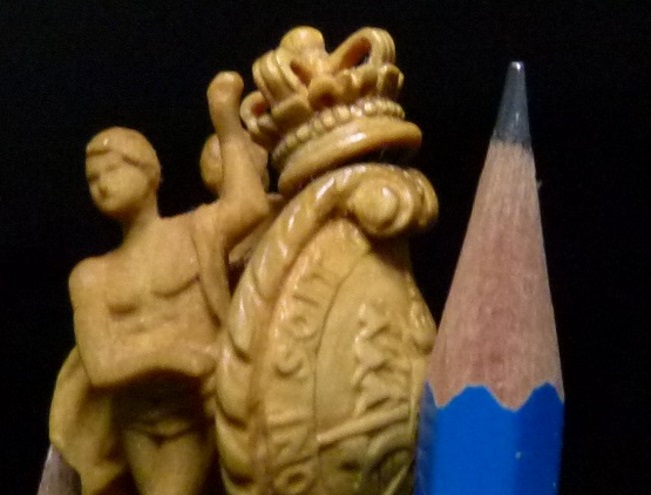
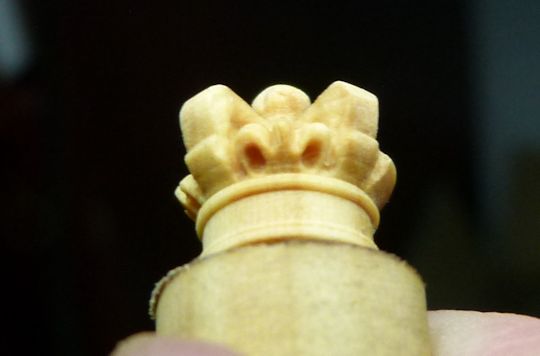
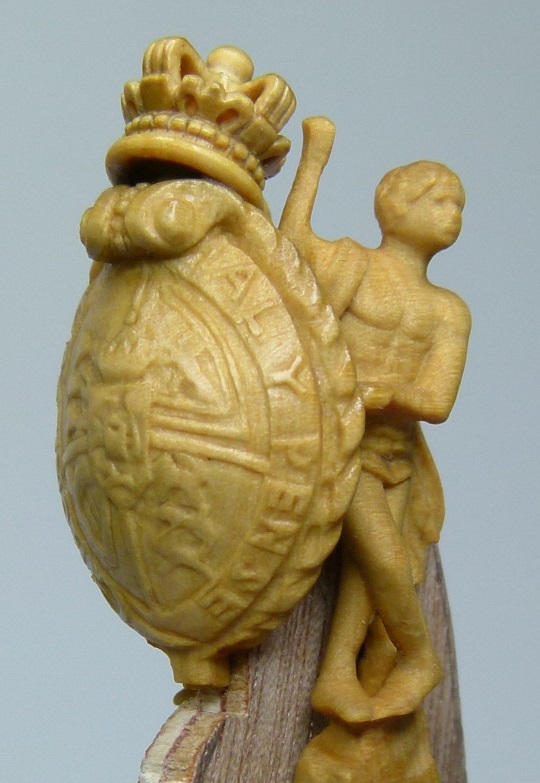
when carving at this small scale you`ve got to know when to stop, its all too easy to carry on for perfection and ruin your piece, my last photo shows the finished head that i am happy with, so now i can carry on with a little more confidence
-
Tools You Can't Live Without
willz replied to Justin P.'s topic in Modeling tools and Workshop Equipment
sorry lads but for the british navy it can only be rum -
when carving a figure always do the head first, this will always be the focal point of the veiwers, its hard to recover from small mistakes with faces.

- 40 replies
-
- 13
-
-
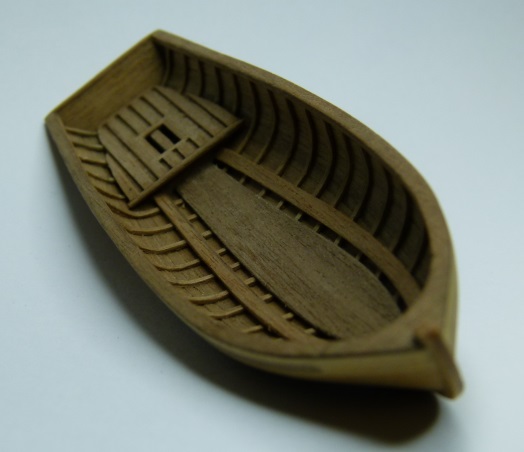
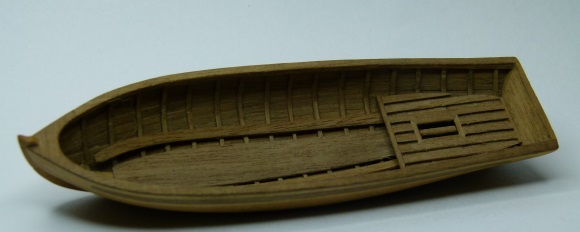
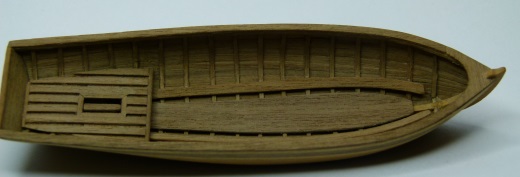
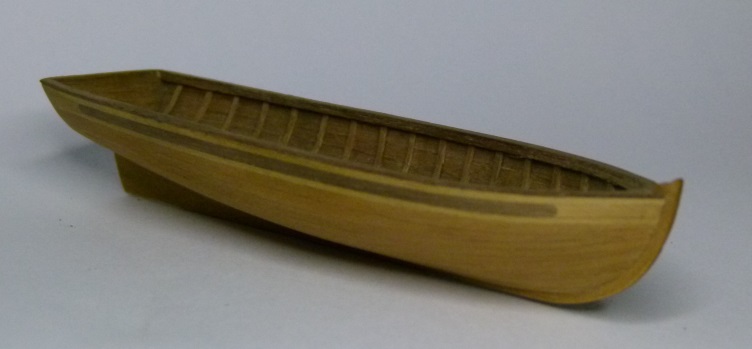
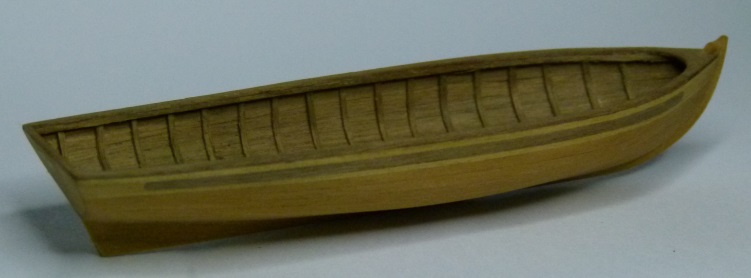
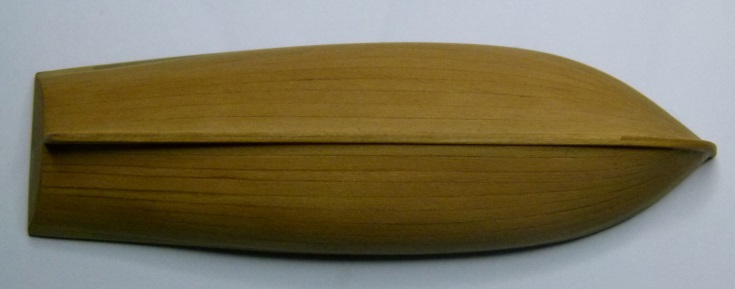
small update on the Bounty launch
-
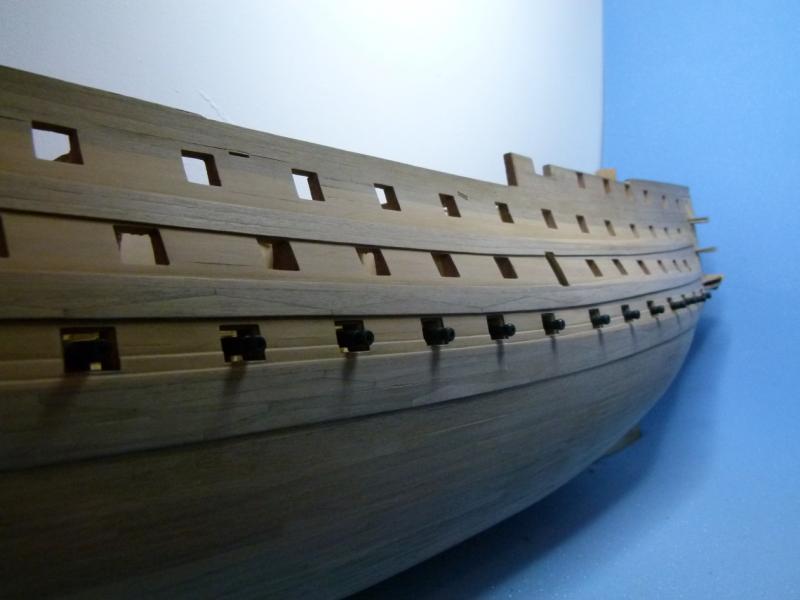
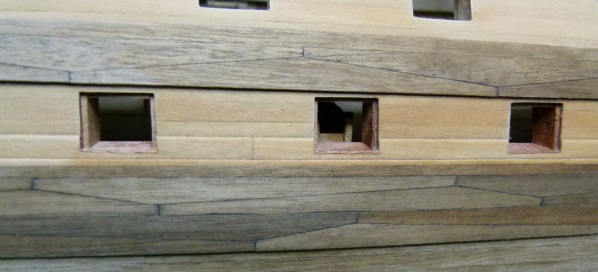
cheers Jason,, i looked at a lot of Victory models and couldn`t find one in natural wood where the stripes split down the wales as they should, so i took it on, its a bit of a pain and only a few that see it will know the accomplishment... whilst building the Victory i`m building bounty`s launch as a break along the way.... here`s a few photos
-
finished the wales on the port side and lower gunports linings, shoved in the cannons
-
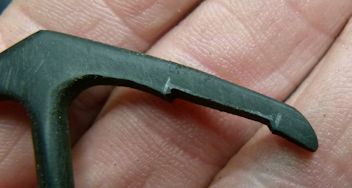
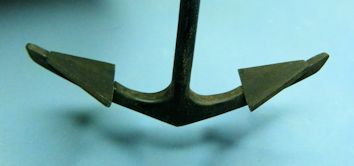
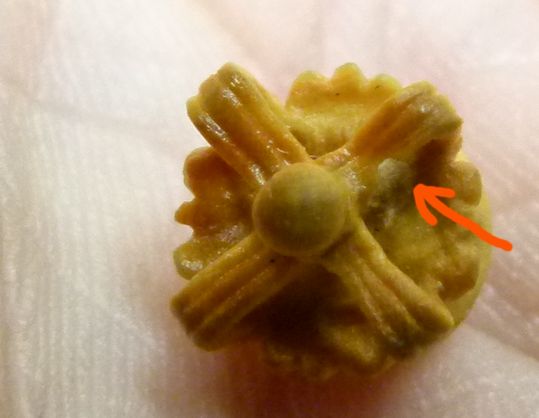
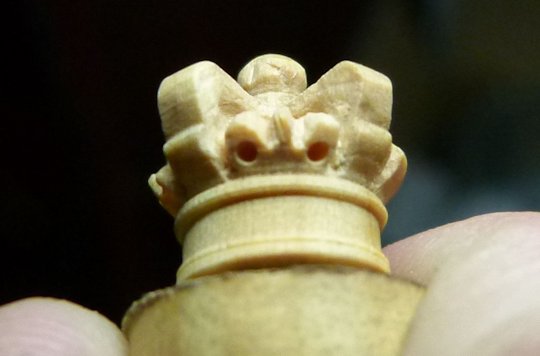
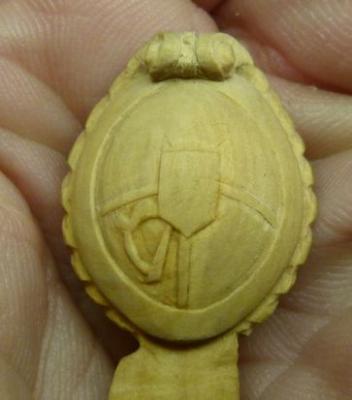
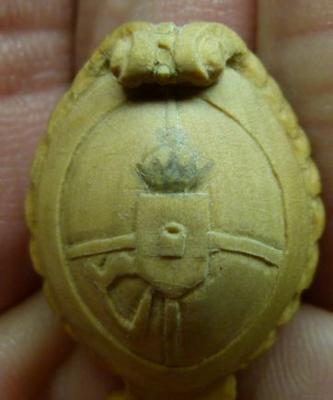
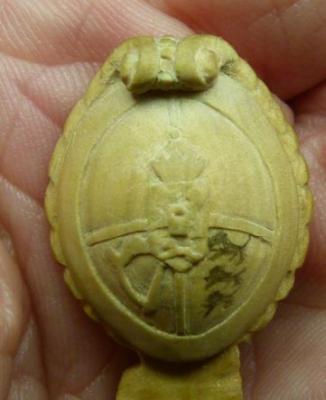
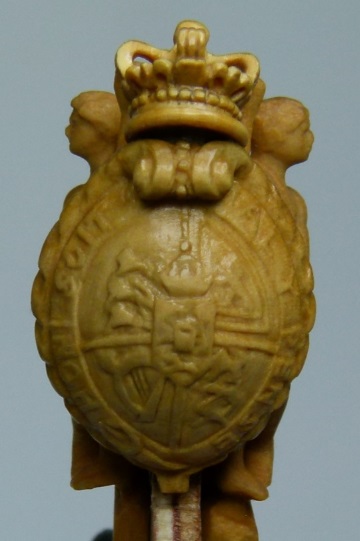
the last picture shows one of the orbs surrounding the crown has also chipped off but even with 20 20 eyesight its hard to spot with the naked eye. I would of liked to make the top bands thinner but I think the risk is too great cheers lads and lasses Willlz
- 40 replies
-
- 16
-
-
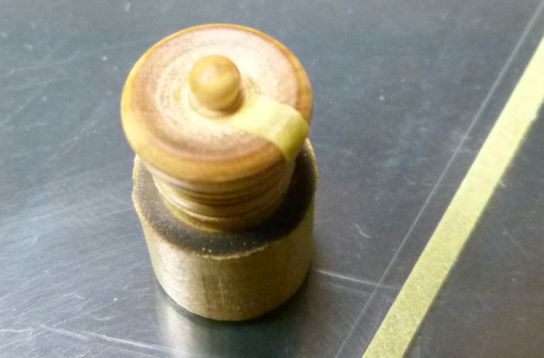
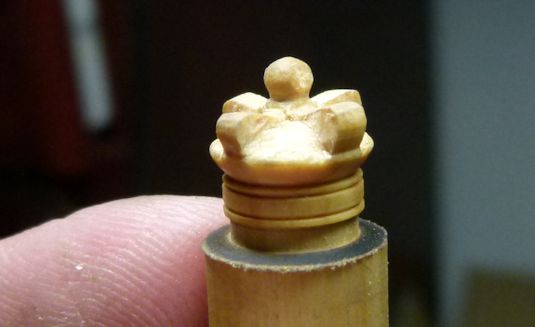
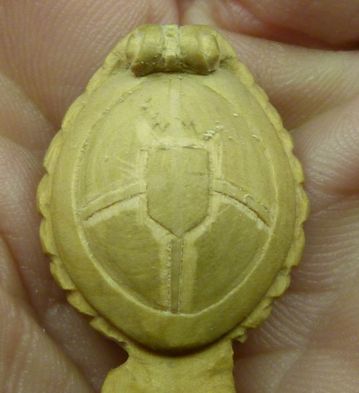
whilst I was carving the two grooves in the bands at the top of the crownd I had a bit of a disaster !! Chipped a small lump out of one of the top bands, bit fed up about it but its not that easy to spot with the naked eye so going to have to live with it. I should have grooved the bands before hollowing them out
-
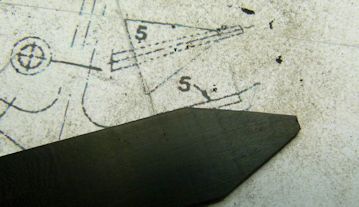
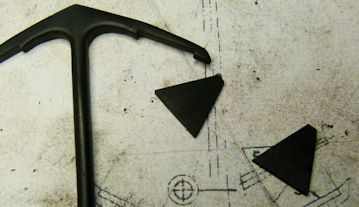
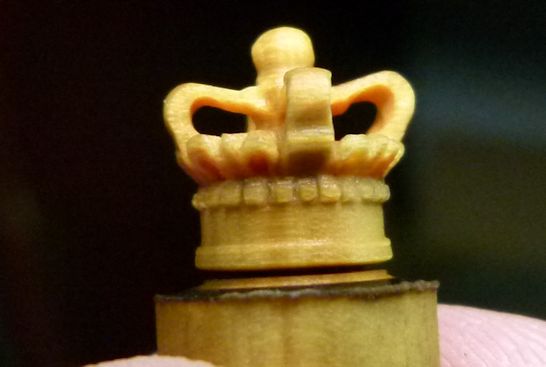
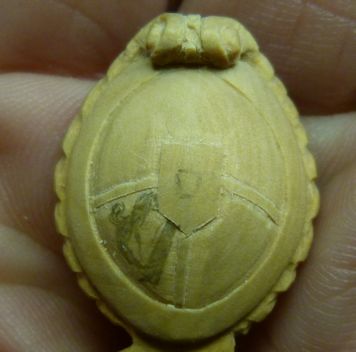
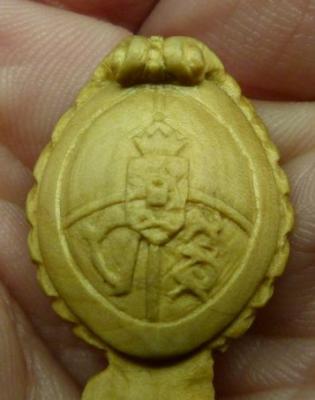
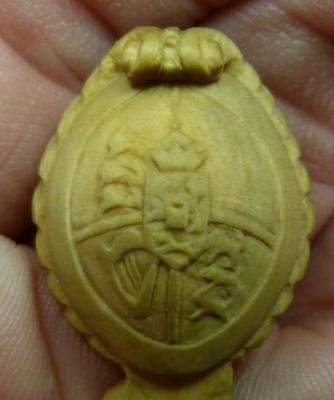
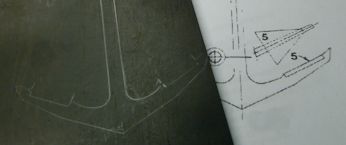
Next I cut some tamiya masking tape to the desired thickness and stuck it on the top to act as a guide for cutting. Then having the basic shape I just carried on with stanley blades and my dremel to get the the stage shown in the last photo, still work in progress but no need to go mad at this scale


- 40 replies
-
- 10
-
-
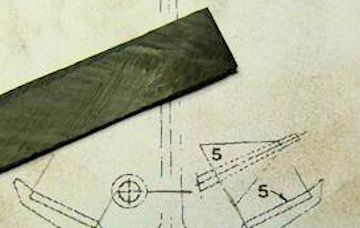
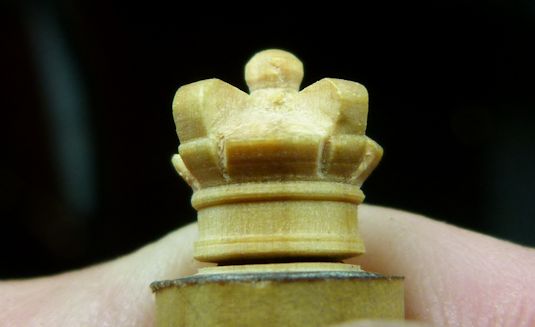
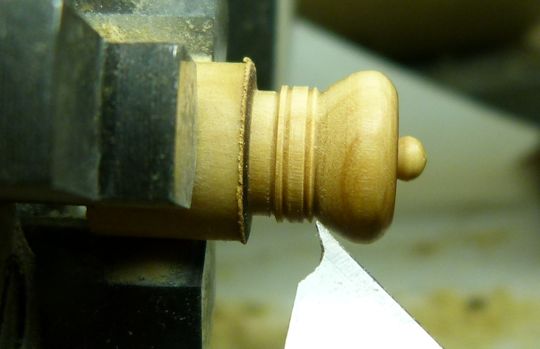
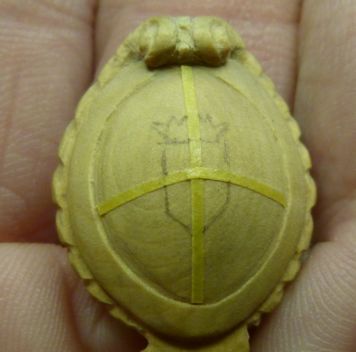
This is how I went about carving the crown, first I shaped it in the lathe, the lathe I use is a metal working lathe, so I dont have a tool steady, so I gently shaped it using stanley blades. i have a lot of experience with this machine but i would not advise anyone to try this method without a tool steady

-
building the hms Victory, there`s good and bad in building this ship. the good is that the ship is still here and in dry dock in portsmouth,, the bad is that the ship is still here and in dry dock in portsmouth?????? do you follow the drawings or the remade ship at portsmouth, follow the drawings and you end up with a different ship?? build it like the one in portsmouth and you end up with a copy of a copy although thats the one everyone knows ??? so your dammed if you do and dammed if you dont. all the same Chris great job
-
cut the wales with the jig, stuck em on,
-
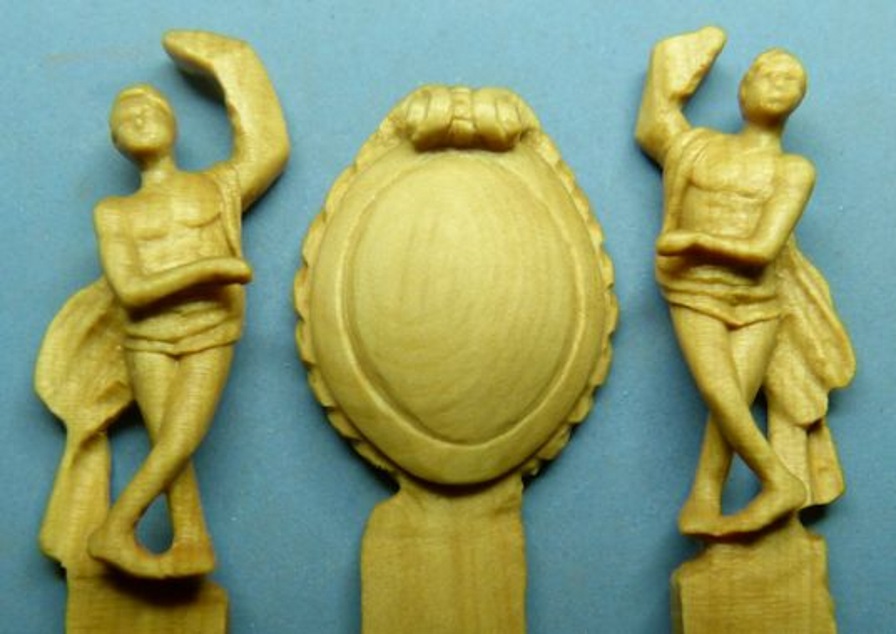
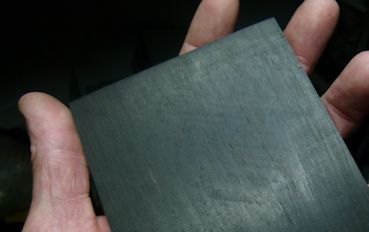
yes Toni, the step by step does show that its possible to complete a complicated piece, as you can see all the different stages dont look that difficult and are quite rough, but when you get to the end and clean the piece up it looks like a master carvers work!!!!! I use two types of blades Cog, the stanley blade (my favourite) and one with the steel back edge, i would like to point out that i do shape my blades to suit the job in hand, heres a couple of pics of my designer blades, I buy them in packs of 100 so I dont feel limited when grinding out new ones, as you can see in the pics i do like a rounded end, depending on what your doing I feel it easier to cut a line by rolling the blade rather than trying to cut into it, this does depend on the cut though. anyhow cheers all rules there is no rules

- 40 replies
-
- 12
-
-
i know this is advanced stuff, but anything is possible. rules there is no rules
-
ok Chuck, dont have much in the line for leaners. but anything i put on my blog can be of help to beginners, they dont and shouldn`t dive in at my level but they can always look in, this is my free advice, and i know when i was learning i searched everywhere for everything on carving and to be honest there wasn`t much!!. So with no further ado here`s the different stages on my HMS Victory sheild
- 40 replies
-
- 21
-
-
i have not been carving very long but long enough to know to start thinking outside the box, heres one example of what i mean

-
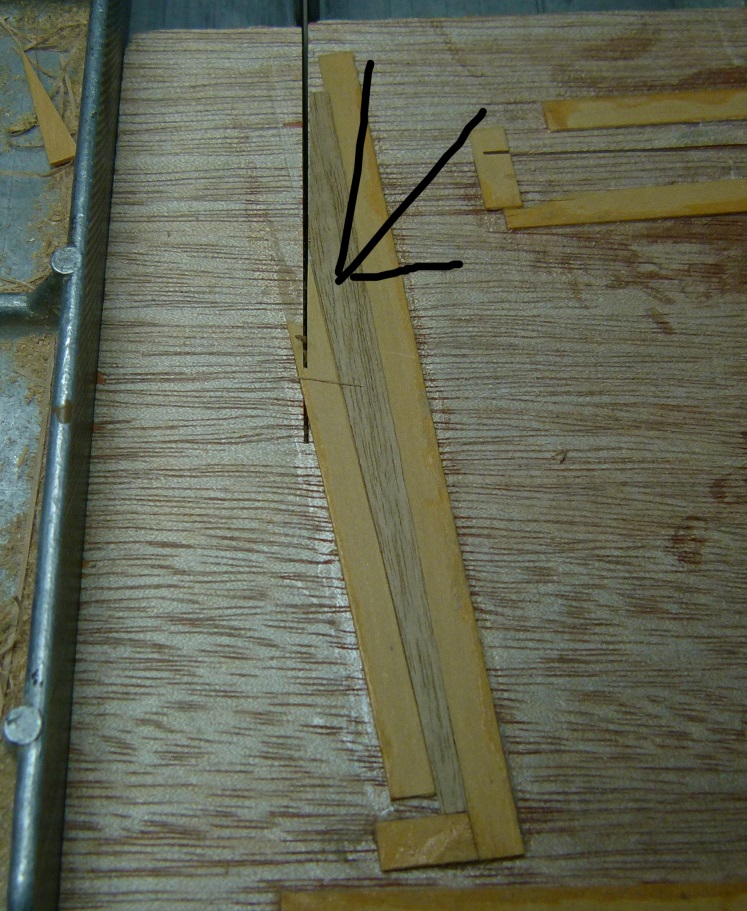
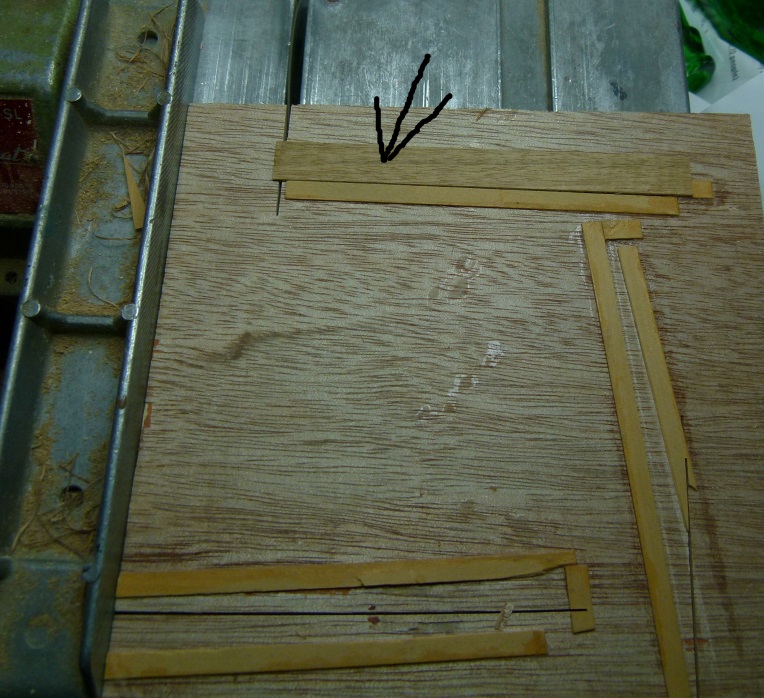
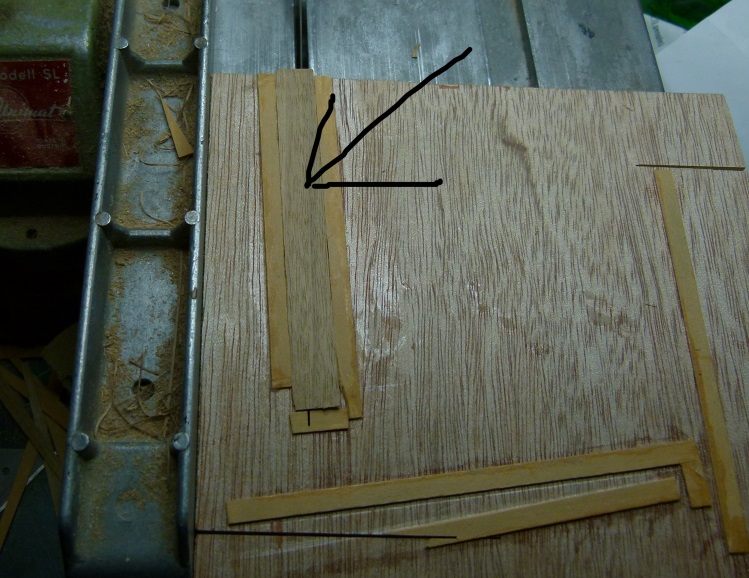
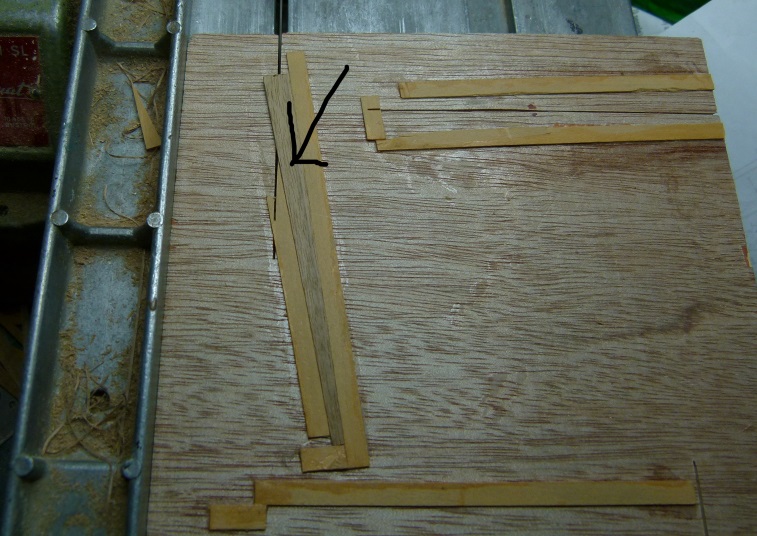
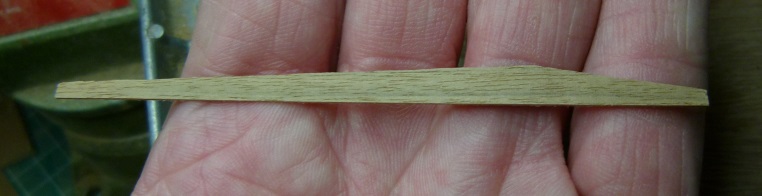
simple tutorial on how i made my stock shape wales, i cut a piece 6mm ply to use for my jig, now this jig is not pretty but its accurate, the ply is something like 6inch square. first i set the jig to cut the length, then i cut the long taper and last the short one. the beauty in this method is that you dont have to reset your saw, you just cut it in order cut one cut two and three, when you check your finish piece you have to make sure that both ends are exactly the same depth, if there not leave the last cut until you finished all the others and then reset the saw for the last cut

-
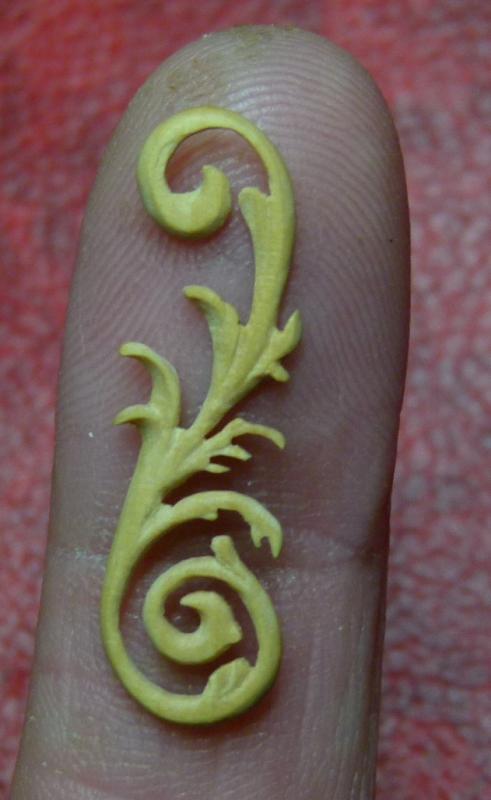
i hold then very gently DavePete, some pieces you leave a tab to hold on to, but the delicate twirls i hold on a small piece of ply and overhang the bit i`m working on, heres a pic of carvings still with there tabs on

- 40 replies
-
- 10
-
-
yes Chuck i totally agree, and only practice makes perfect, and hats off to you for starting this very under practiced skill. i am by no means a master carver and whatever i can give i will but not only that I`m looking in on this great topic to improve my skills.. cheers Chuck..
-
your carvings look fine to me Chuck. but i have no idea how you can finish them whilst still on a mounting board, how can you get the roundness at the edges, as i said on my post i dont use mounting boards, heres a pic of my Vic stern carving, it is slightly less the 1/32 thick but not much, as for the finish i just scrape my blade sideways to smooth it out, when we are dealing with carvings as delicate as these we have to reach a equilibrium to are own satisfaction, and by the way i dont have big fingers rules there is no rules
- 45 replies
-
- 14
-