
N80FTY
-
Posts
86 -
Joined
-
Last visited
Content Type
Profiles
Forums
Gallery
Events
Posts posted by N80FTY
-
-
- GrandpaPhil, iMustBeCrazy, RossR and 2 others
-
 5
5
-
24 minutes ago, allanyed said:
Hi N80fty
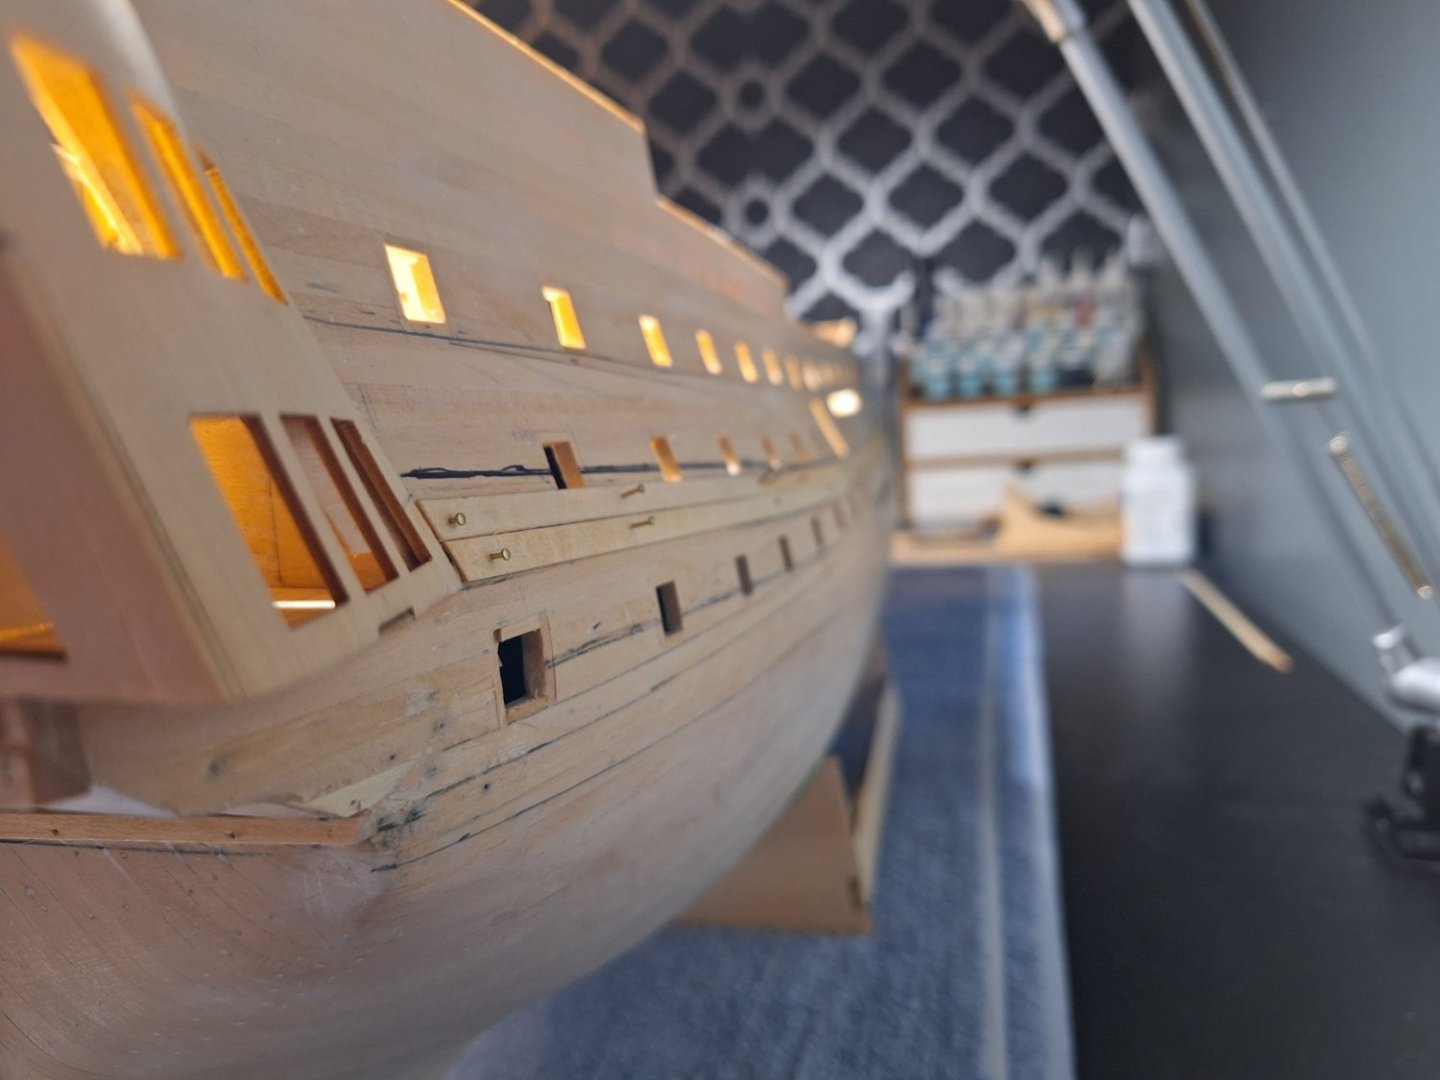
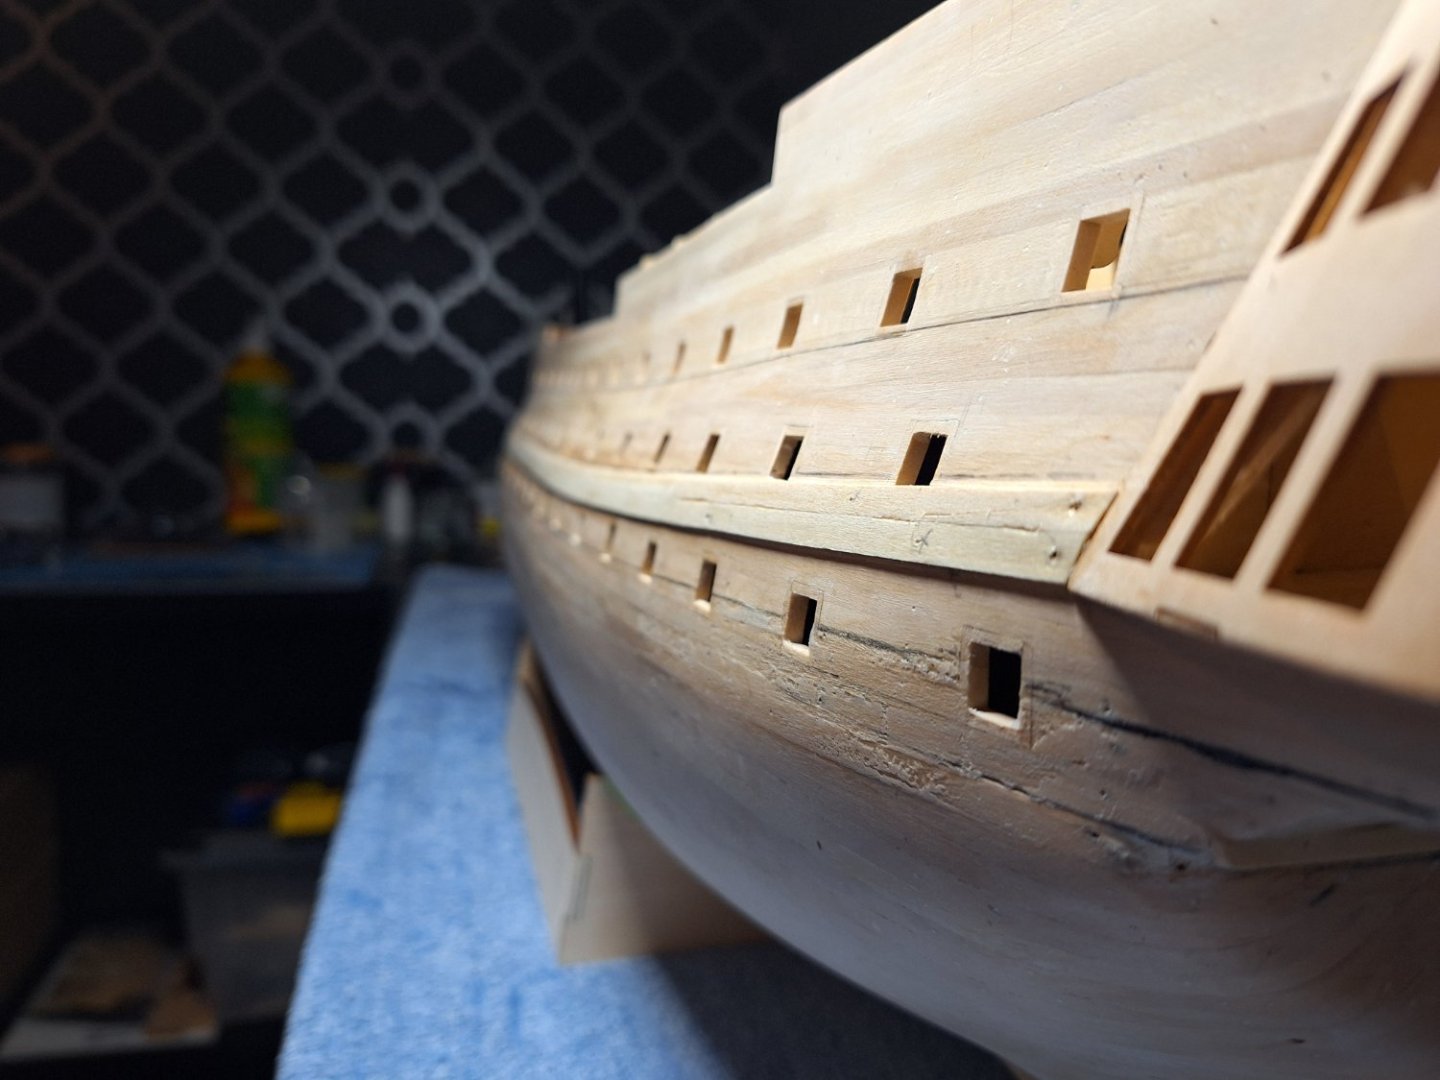
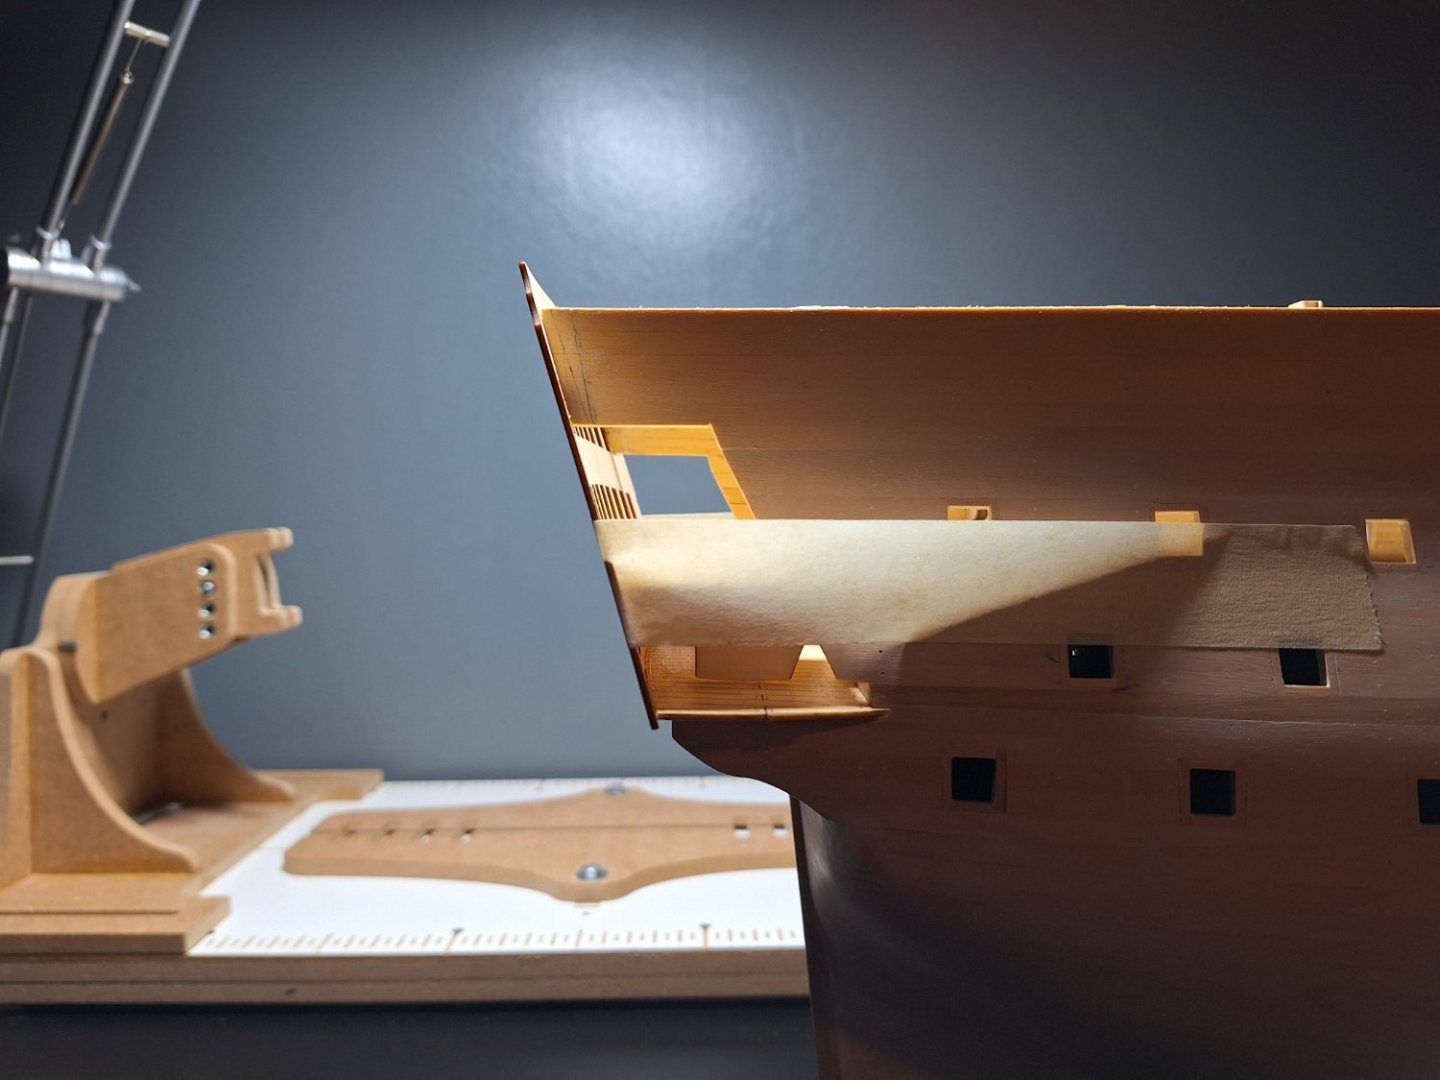
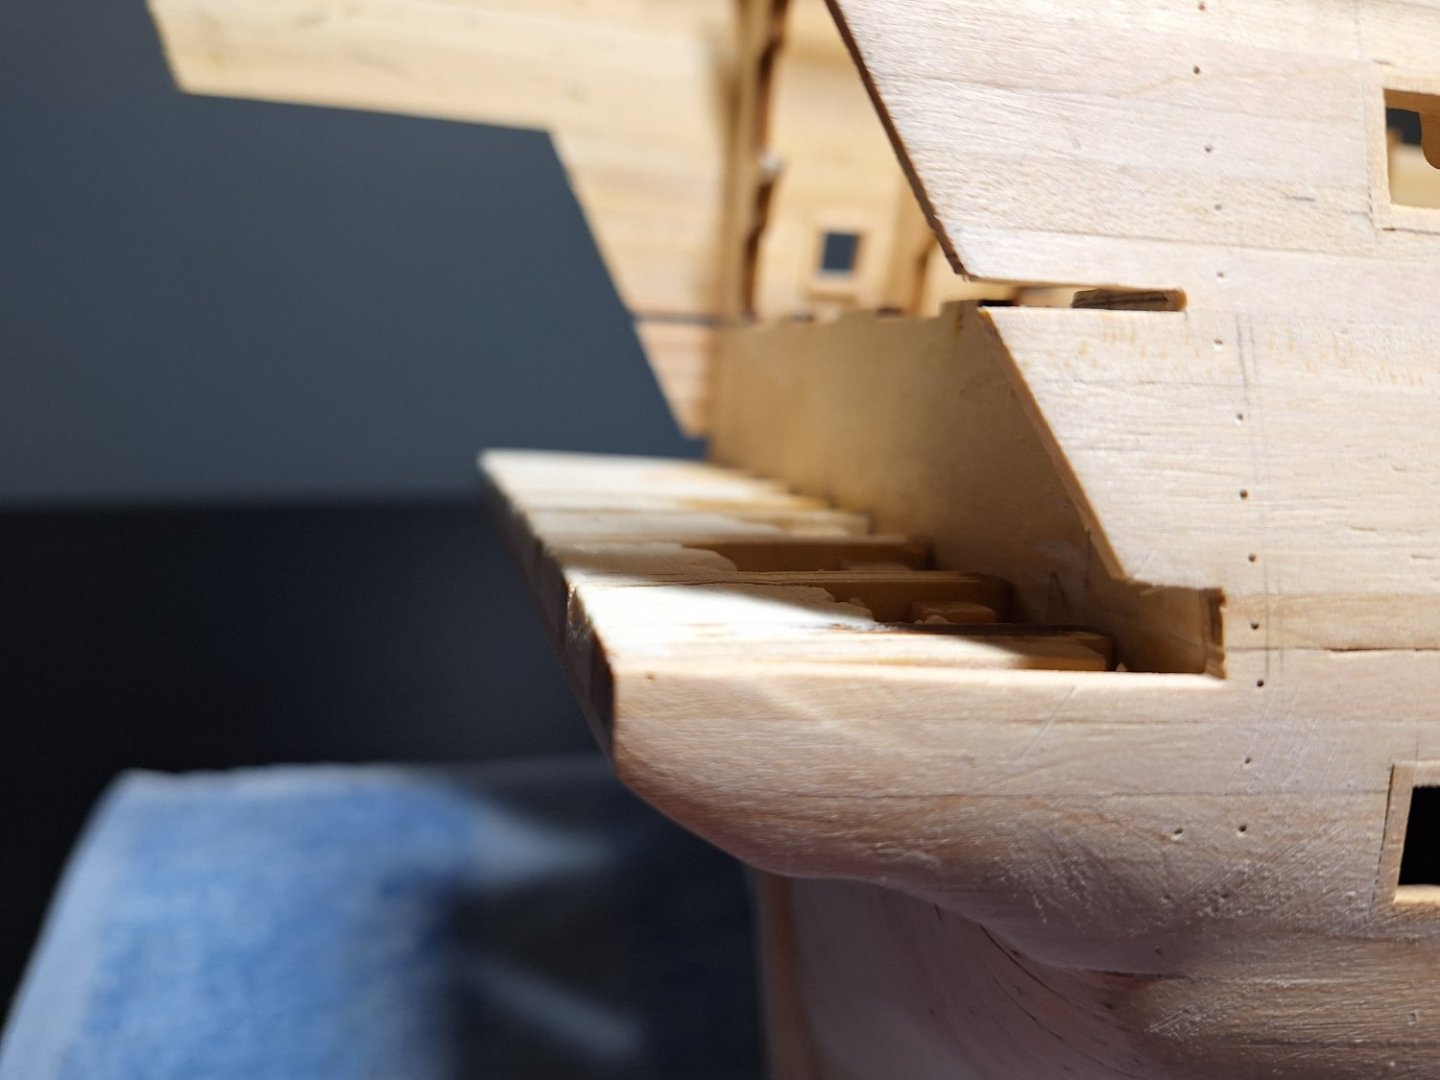
Hard to tell from the photos but the wales look to be a bit too thick. They should stand out above the thickstuff above and below the main wales only about 2 inches (0.02" - .6mm) and about 1.5" for the middle wales. They taper in thickness at the bow to pretty much match the thickness of the strakes of thickstuff above and below the wales so they can seat in the rabbet. The below is a cross section of Boyne, a 98 gun ship circa 1810, but looking at scantlings in Steel, 1805, they match up with a 110 gun first rate as well. Nothing some sanding can't fix if you are so inclined.
Allan
Hi Allan,
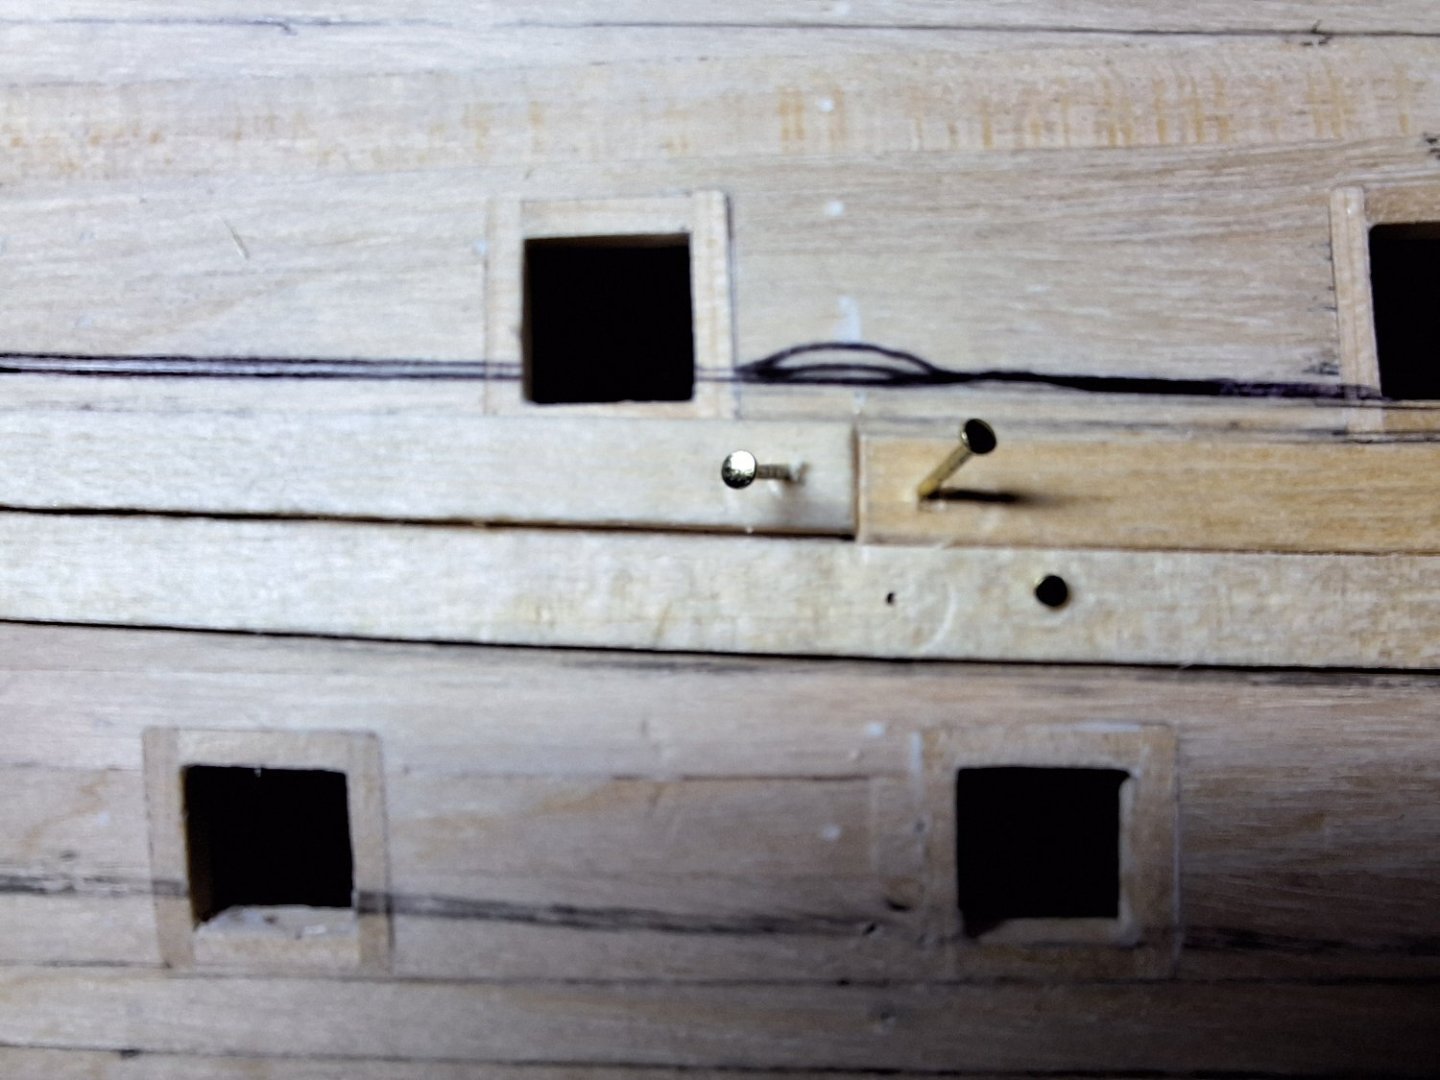
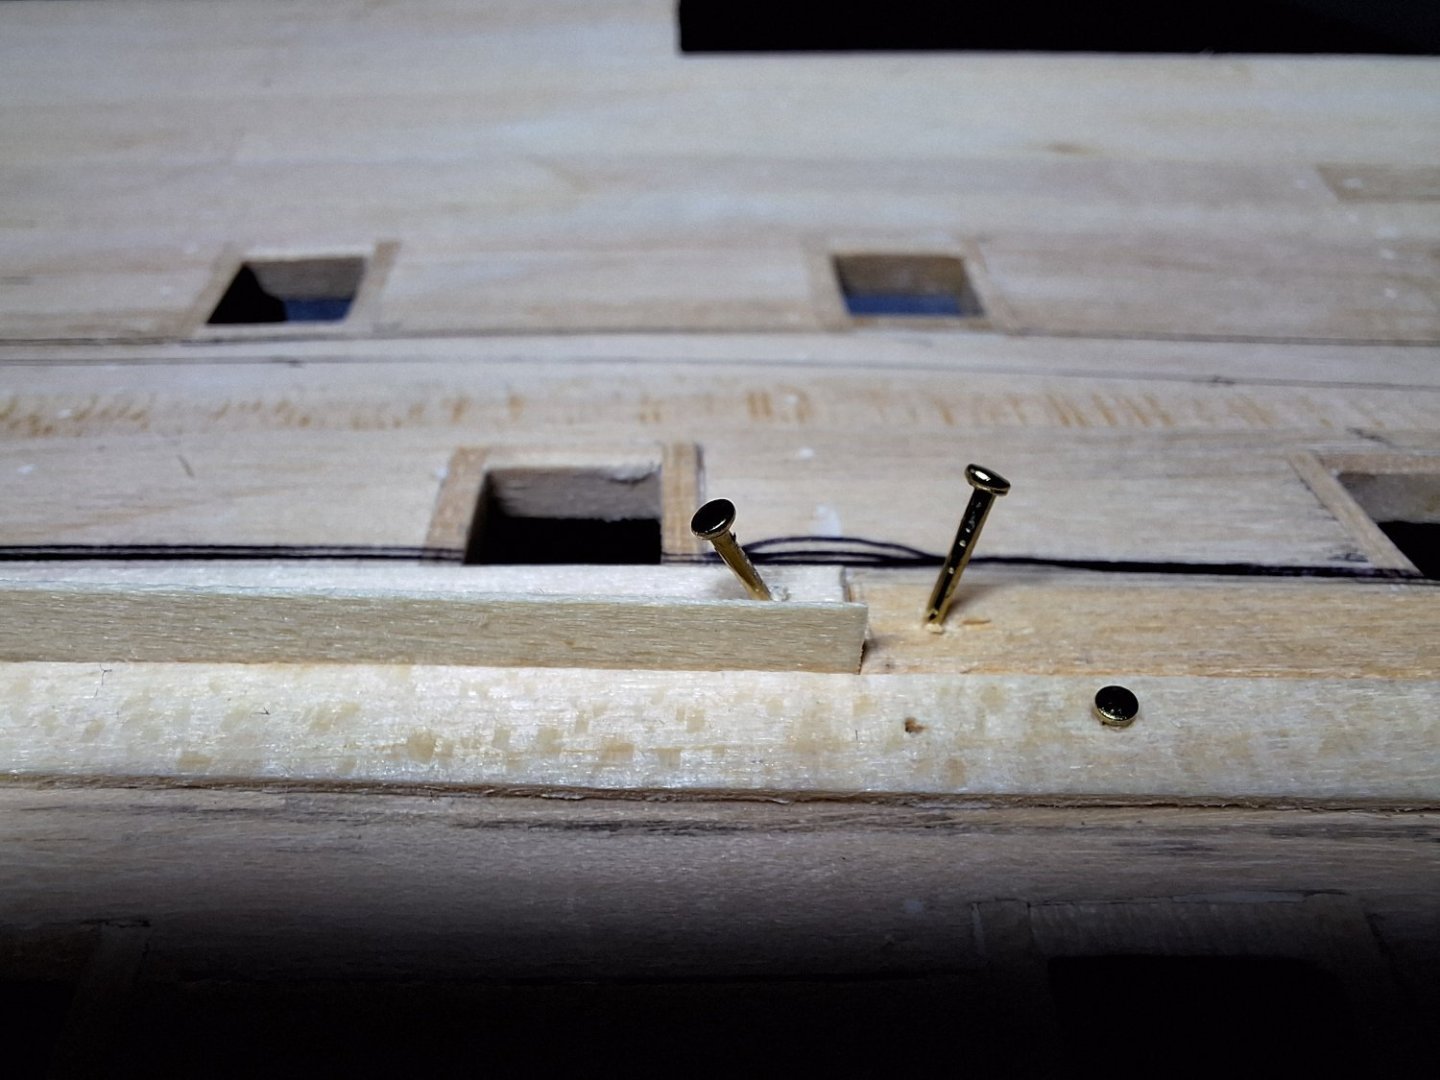
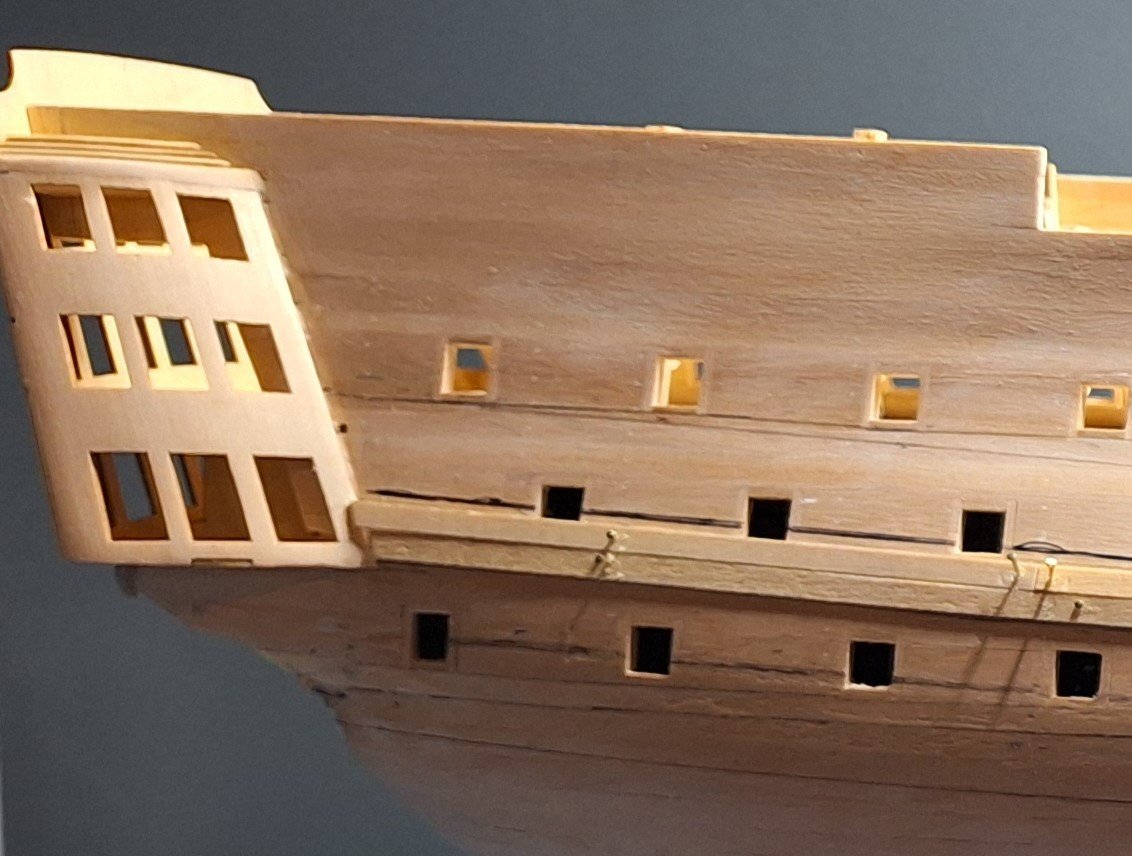
The wales that came with this are 5x1mm for centre and top wales. The Bottom wales are 3x1mm for trim and 5x2mm for the wale.
Not as clear as i thought but you can see the 1mm on the middle wale. Also once i sand it smooth it will educe the thickness slightly
- JeffT, Knocklouder and Old Collingwood
-
 3
3
-
52 minutes ago, N80FTY said:
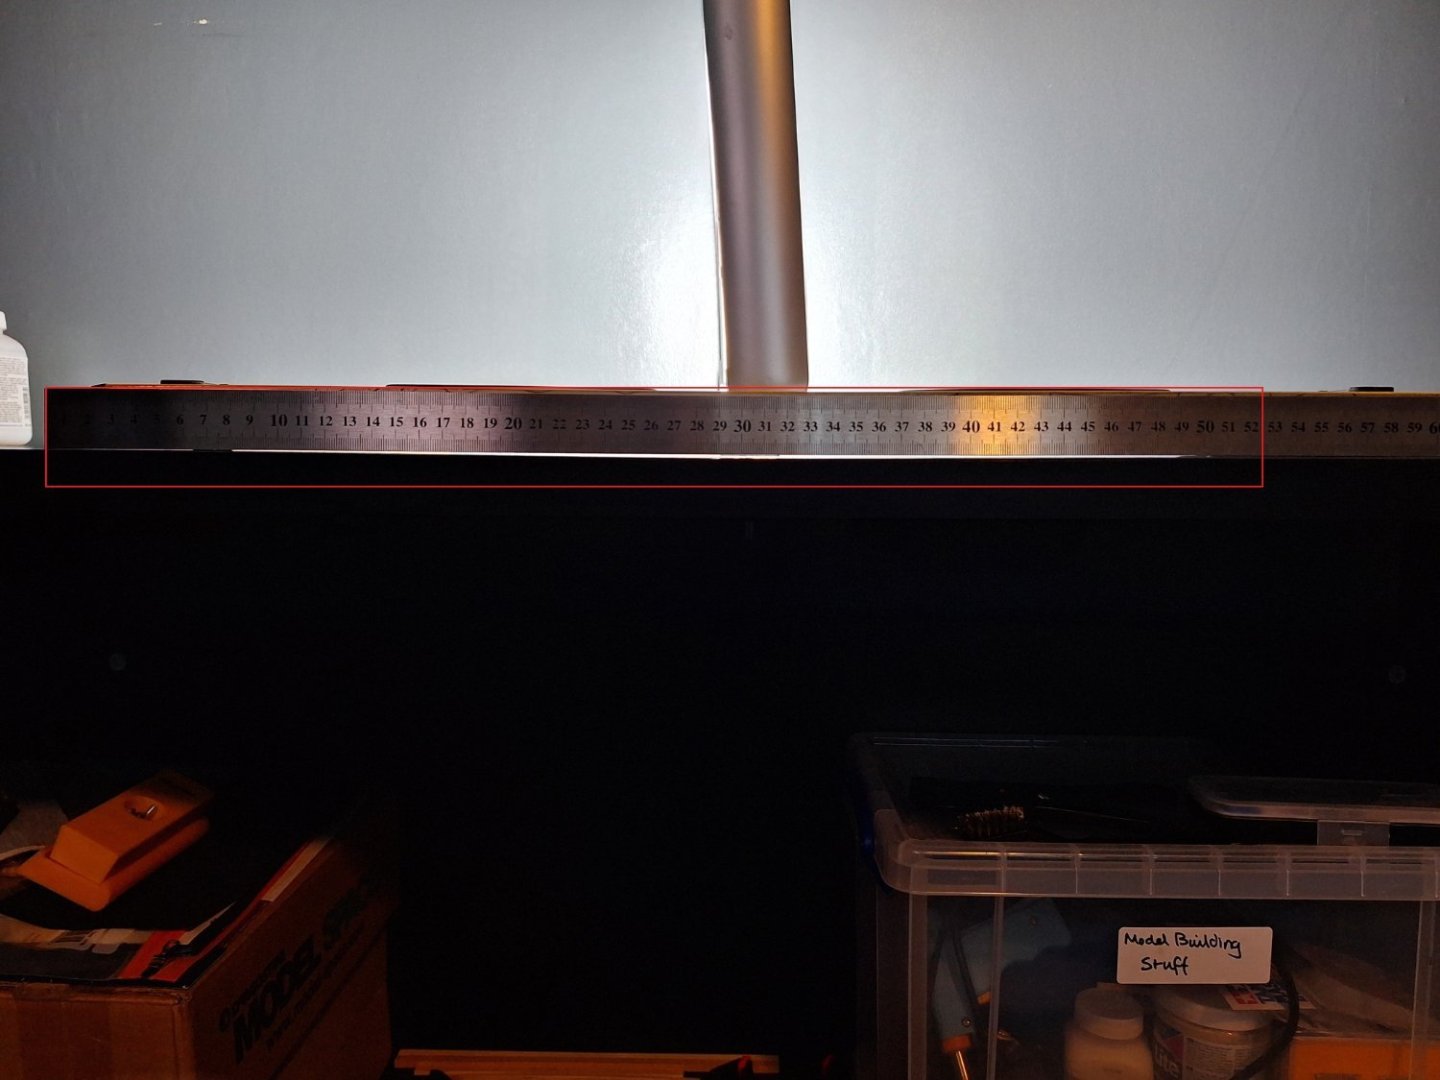
So after checking where the wale covers the last gunport, it looks like this is where the issue was. The internal overlap is now corrected and both have the same measurement. However there is still an issue. its got absaloutly nothing to do with the model. its the point of where im measuring from. Which i never thought about checking as its a 1" industrial work bench. i dont know if you can see it in the picture clearly so i got a straigt edge. What a numpty, (Scottish for idiot) So when rotating the model end to end this dip in the centre was projecting on the model. Not to worry too much though as i use my small portable table for measuring usually. Which is how i just found this issue.
So outcome is simple. Dont forget to check your workstation is level, plum and dip/bow free.
- Old Collingwood, JeffT and GrandpaPhil
-
 3
3
-
- ccoyle, GrandpaPhil, Old Collingwood and 1 other
-
 4
4
-
-
1 hour ago, Old Collingwood said:
This kit was my very first build I attempted in the shape of the monthly part works, I had a build log in here in the pre version of our site before the big collapse, think I was on it for about a year.
Nice work so far.
OC.
I've been on and off it for 8 months. This is all I've done so far. I need to really get the cannons, boats, anchors and so on done as well. But I want to do them as and when I get to a stage they are actually needed and get put in place permanently as I will end up losing them or damaging them.
- GrandpaPhil, Mr Whippy, mtaylor and 1 other
-
 4
4
-
-
-
- JeffT and Old Collingwood
-
 2
2
-
1 minute ago, BrochBoating said:
Ok in that case I definitely would. But I'd consider the final look/finish you're going to use and maybe do some tests with wood samples at different grits to see how they come up. High grit could end up lovely but could also be too 'new' if you see what I mean.
what do you mean by final look, and is it not supposed to look new once built.
-
5 hours ago, BrochBoating said:
I would, but in all honesty I doubt it's needed for a first planking. Looks great.
This model only has this 2mm hull, so this is basically it. The hull will get copper tiles or if I cant get them ill use copper tape and simulate the tiles. I've seen the copper tape looks ok from pictures.
-
On 12/18/2023 at 11:21 PM, BETAQDAVE said:
Hi Dave, The picture looks like its flat wire.
But as you stated its round you can do this in 3 ways I've used in the past.
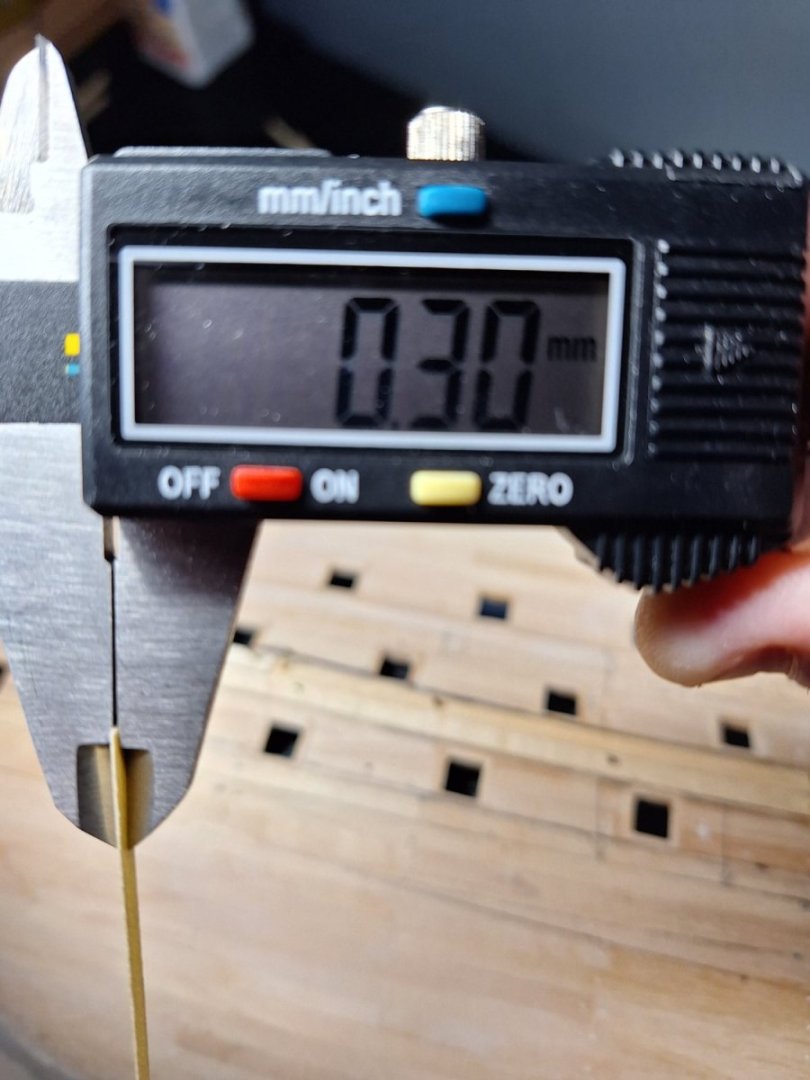
1, you can heat the brass and fatten it, Once flat drill out the hole to 0.60mm. Leave a wooden round dowel hand made to 0.60mm in the hole and reheat and reshape the brass back to a round. The wood will singe and shrink slightly leaving you around 0.54mm of a hole.
2, Do you have a mill. If so you want to run it around 6000rpm and peck at the piece you want to drill at. Think woody woodpecker but very very gently. If you can find a spade bit for brass it wood help a lot as it is a perfect V shape, so you will get the point exactly centre to the wire.
Crazy idea, and I don't know exactly what you will use them for but you get brass needles, you can then solder them or melt them to the brass your needing used with.
Hope this helps.
Andrew
-
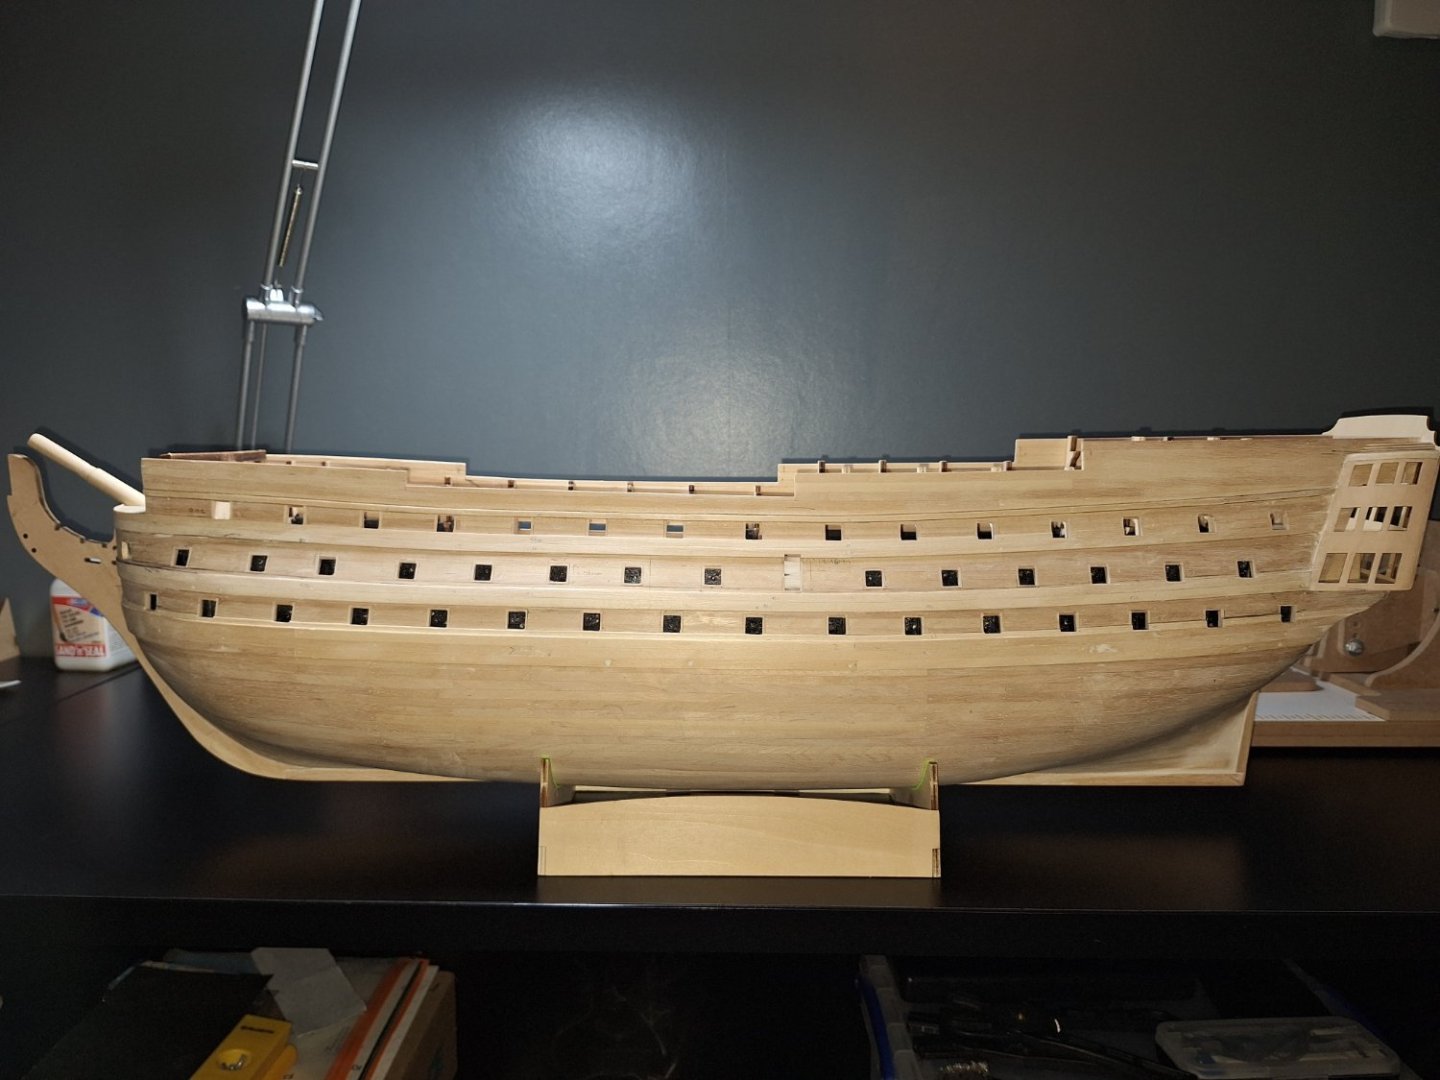
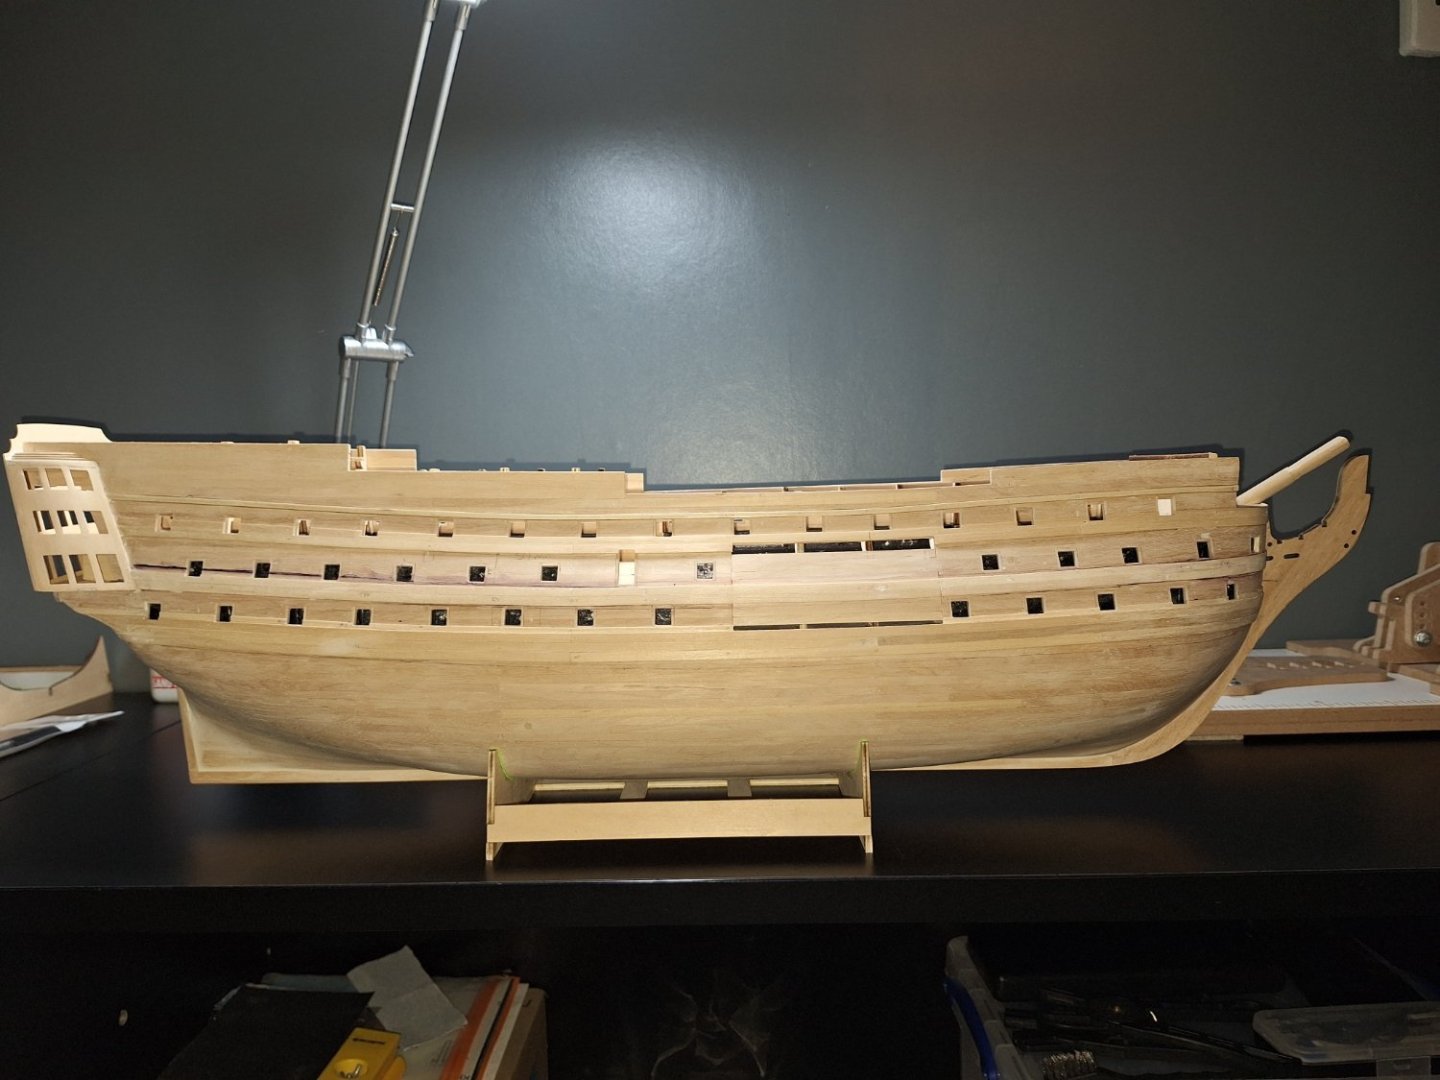
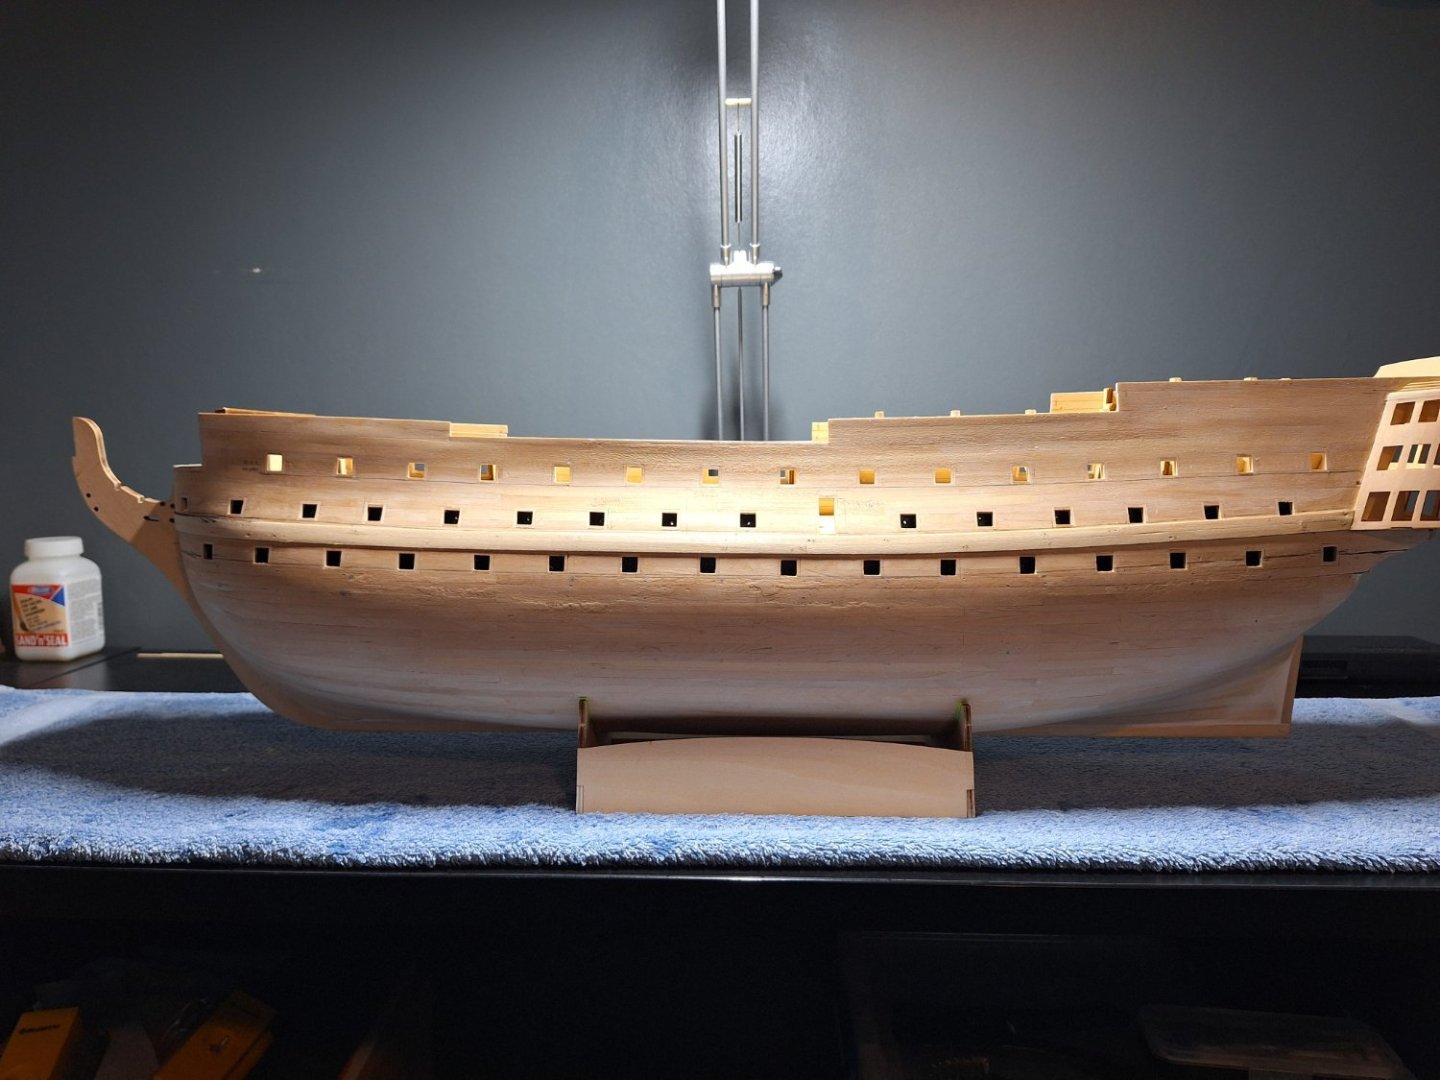
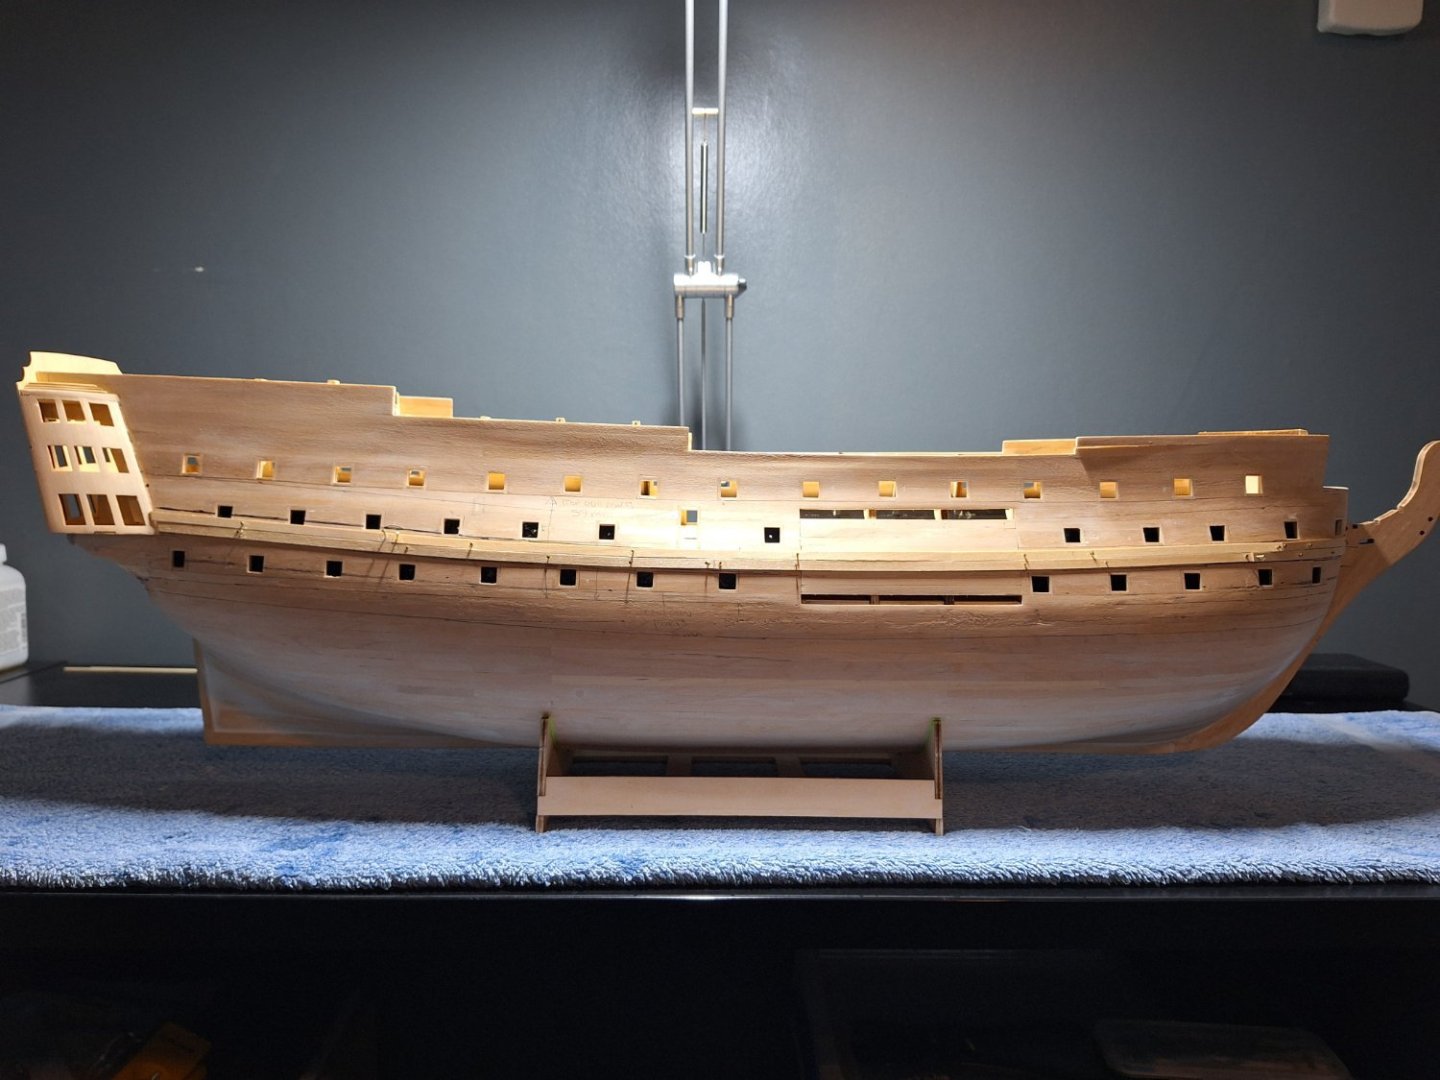
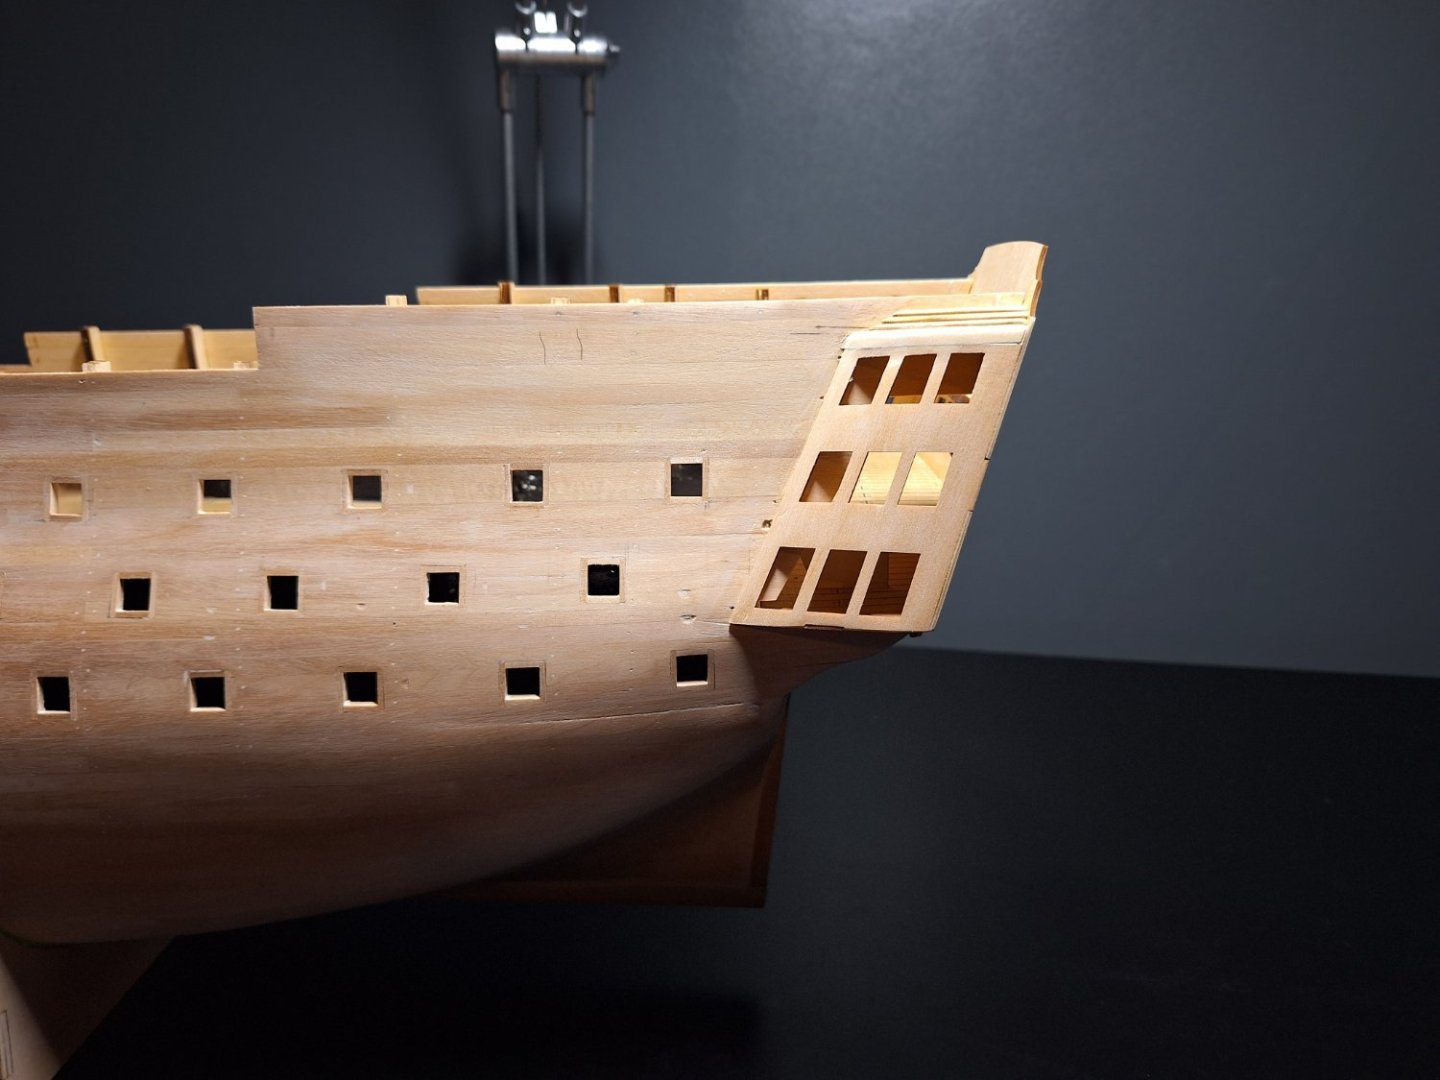
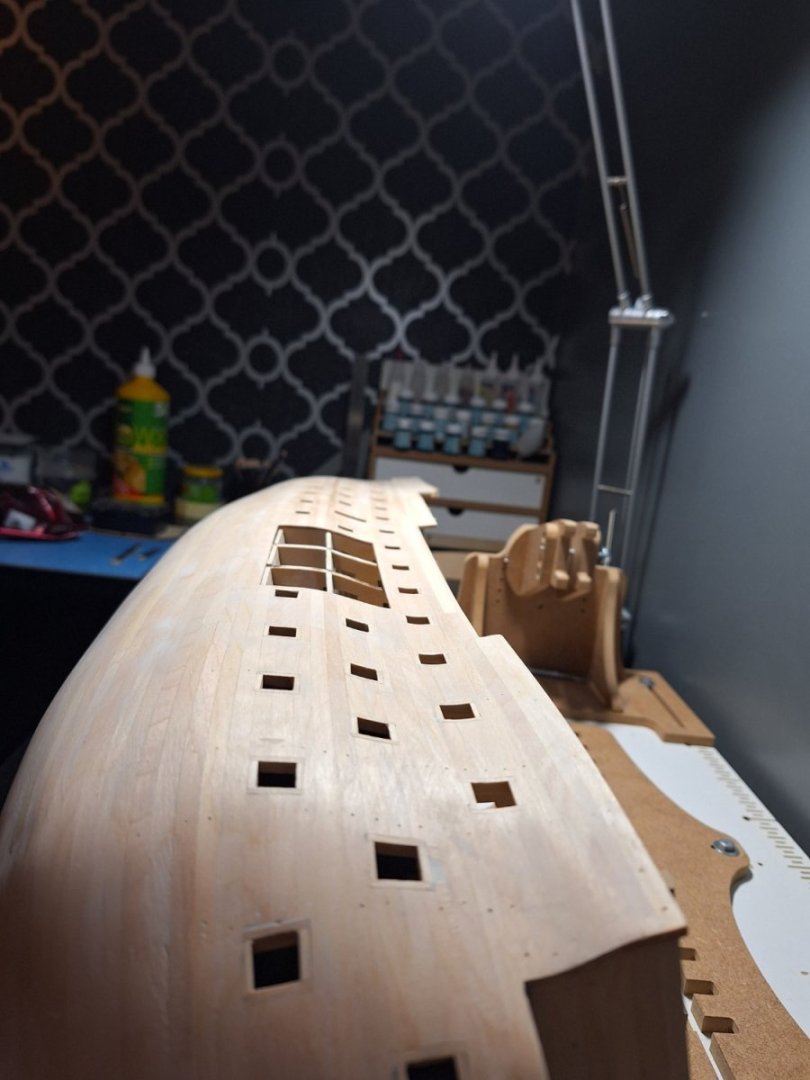
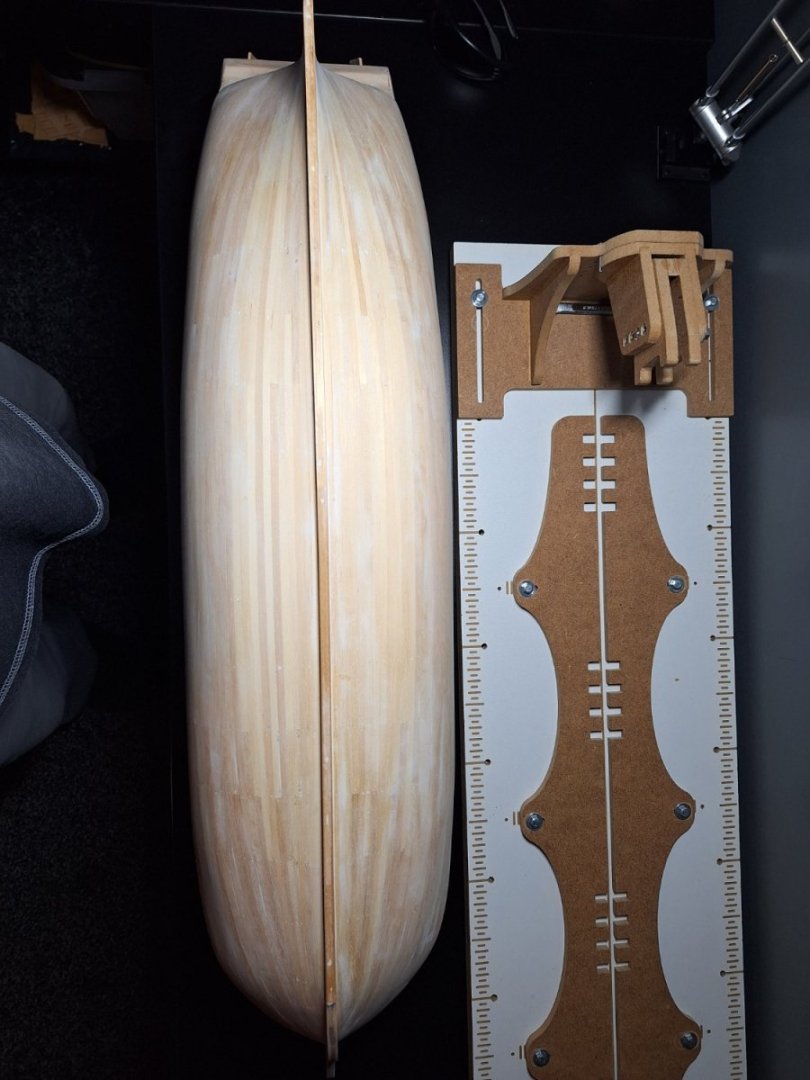
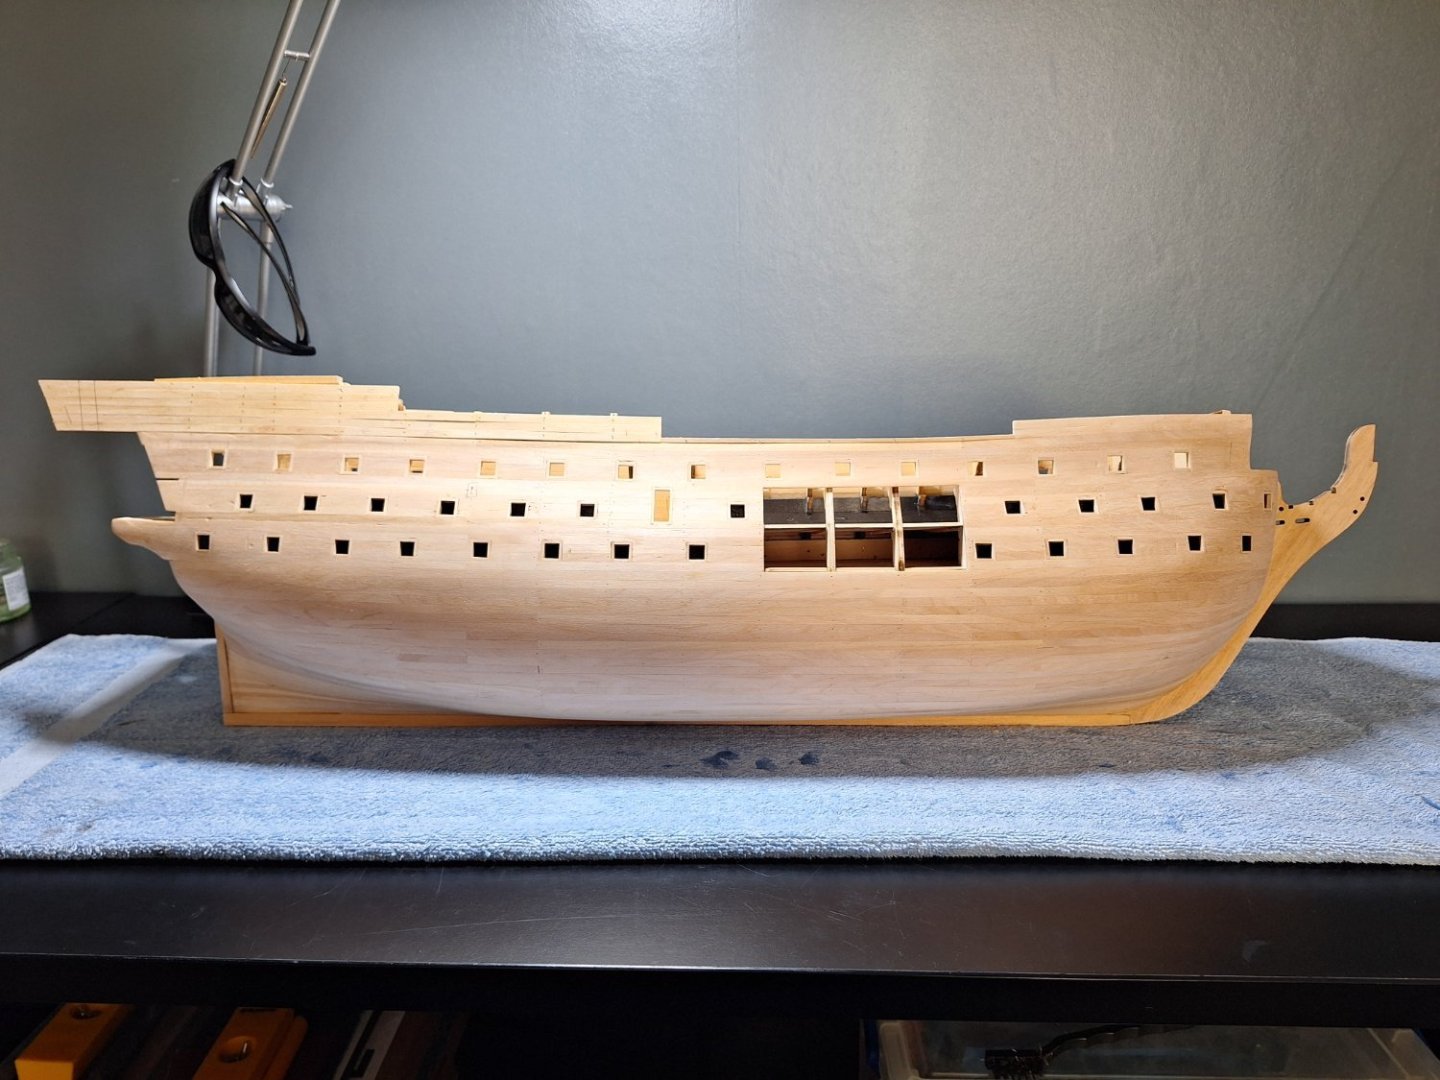
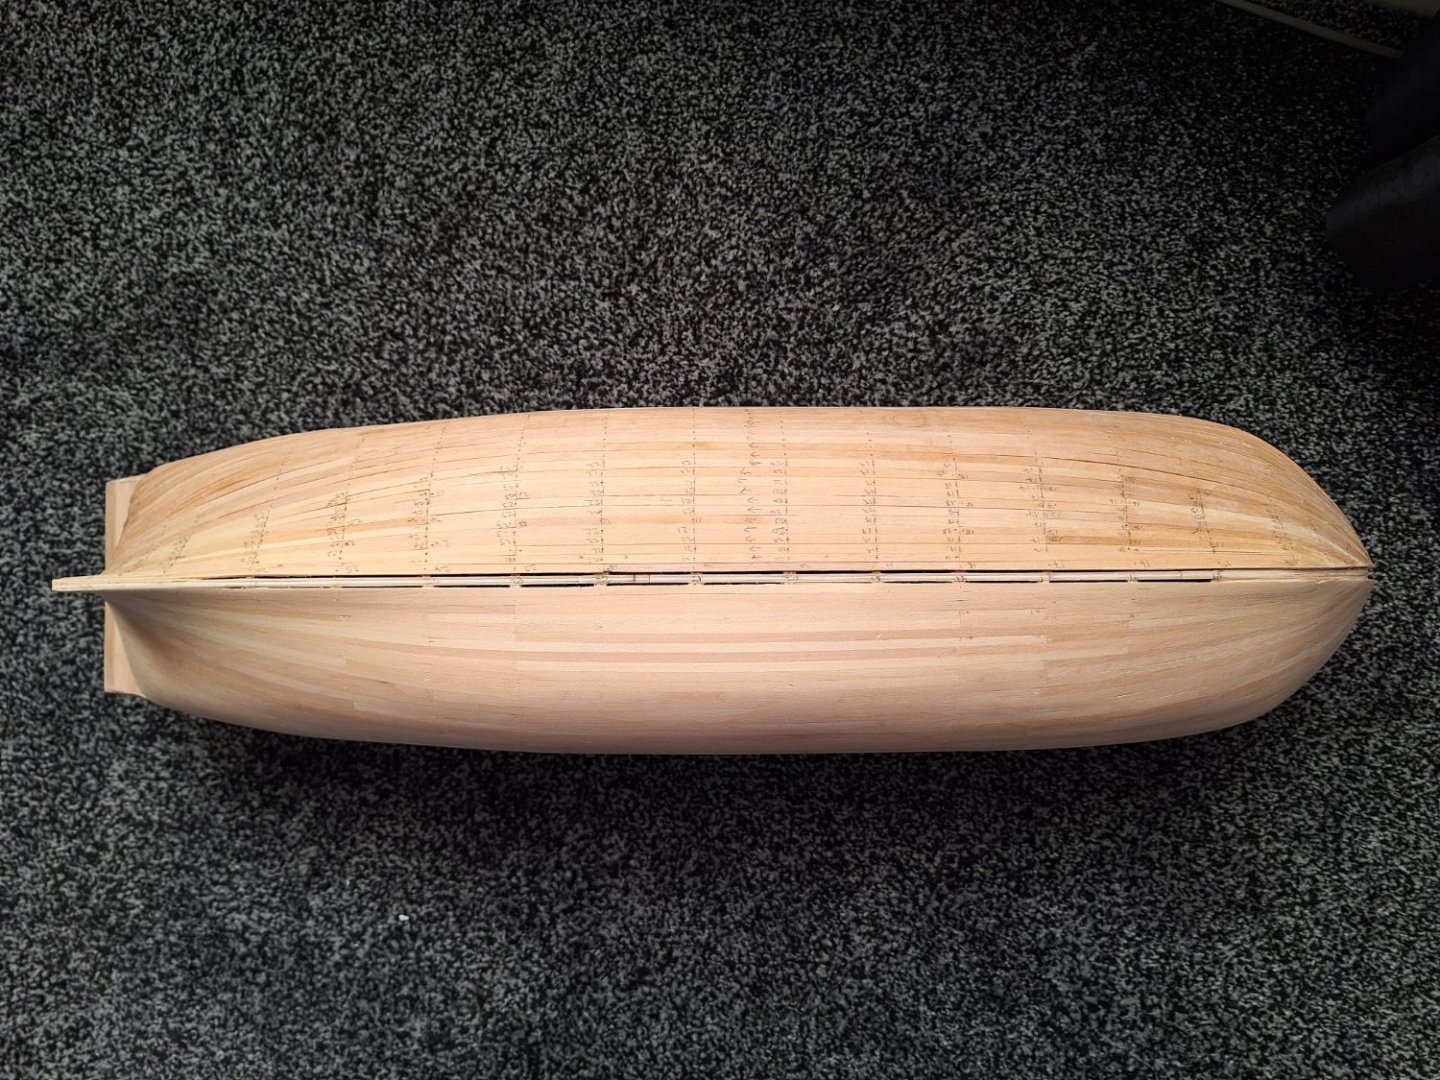
So After another productive day, Here is the model after filling it with model lite filler and giving it a 320 grit sanding.
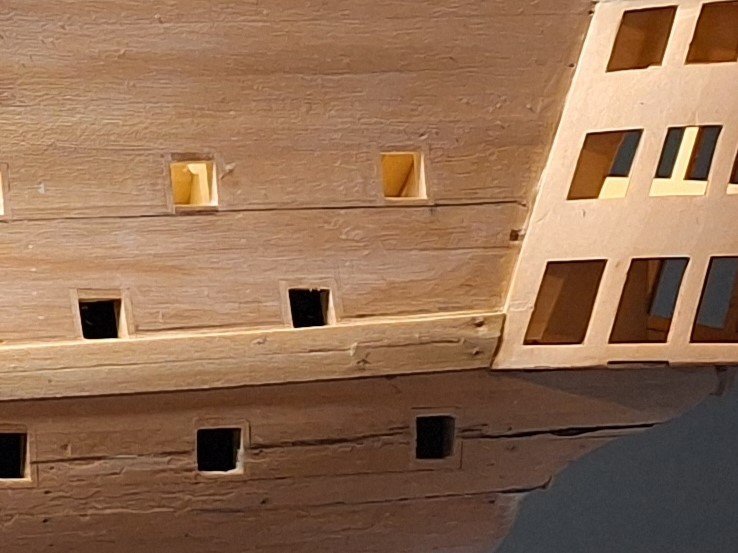
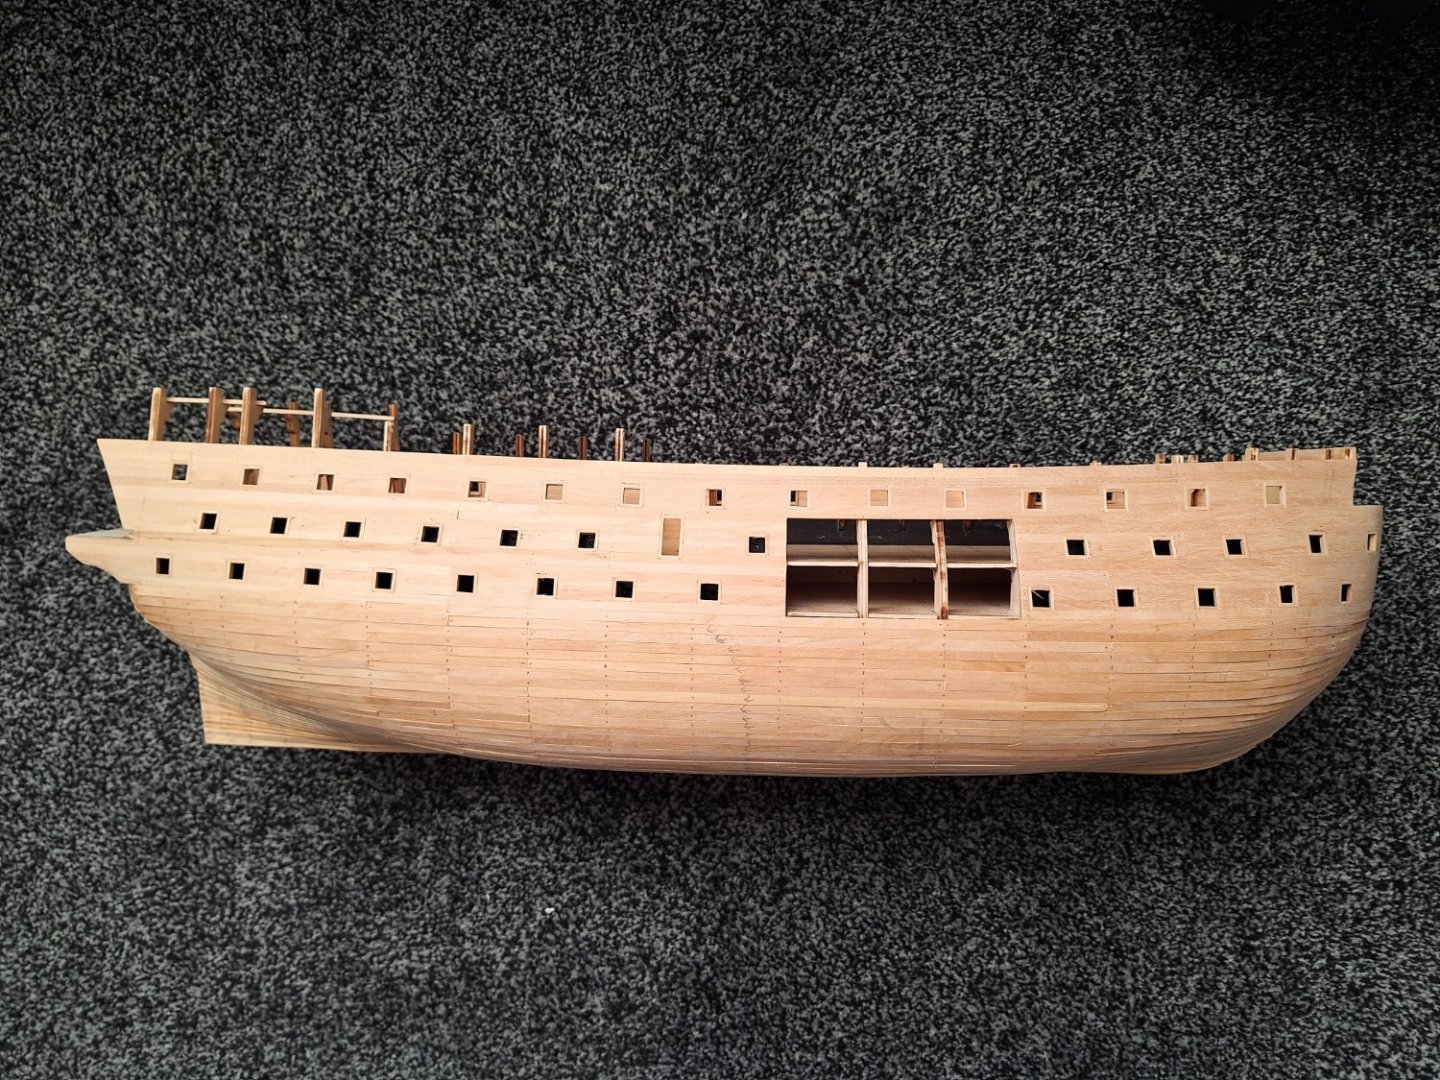
Also if you look at the Port side 2nd top gun port it is 1.3mm or 3/64" taller than the rest which are 8.9mm-9.2mm or 11/32"-23/64" square. So I will fix this with 0.4mm or 1/64" lime as I have this available.
Question. Should i give it a 800 grit sand or should this be ok as it is,
- ccoyle, Mr Whippy, William-Victory and 4 others
-
 7
7
-
- JeffT, GrandpaPhil, Mr Whippy and 1 other
-
 4
4
-
- Old Collingwood, GrandpaPhil, JeffT and 1 other
-
 4
4
-
-
2 hours ago, allanyed said:
This is a no brainer. As there was no commonly available electricity, thus no electric power tools before the late 19th century, the beautiful models we see from the 17th and 18th century were done without electrically operated tools. Team efforts or not, they produced better models than most of us will ever build.
Allan
Hey Allen,
As a first time builder I've tried to do my model all by hand this far. (Until I get my 2nd model, Amati or Caldercraft HMS Victory)
I've not used any electric power tools yet, apart from my plank bender for 2 bends near the gallery, which could have been done with hot water or in the old days a hot steam box and pegs in holes to get the angles needed. But I've only just built the hull so far. and my finger tips are nearly healed from the first sanding. lol. We are lucky this day and age with the advancements since 16-19th century. Until now I never really realised how much work goes into building a model. Tools I've used are, Swann scalpel, zona razor saw, small hammer, snips/side cutters, ruler, pin vice for marking and drilling, sand papers, wood glue, And most importantly a hell of a lot of information from all you guys on here.
- mtaylor, allanyed, Ryland Craze and 2 others
-
 5
5
-
- GrandpaPhil, RossR and Old Collingwood
-
 3
3
-
17 minutes ago, ccoyle said:
That is really not too shabby a planking job, especially for a first model -- and a difficult one as well. A lot of first-timers don't even get this far, so you're doing great!
Thanks Chris.
Its only been sanded with a 60grit so far to get rid of the main discrepancies. Once I've added the top planking, (poop, quarter deck, waist, forecastle) and fitted the keel and ill give it a proper sanding. I was thinking a 320 grit. Would this be good enough or should I go finer. It will be a fully painted version. With either proper copper tiles if I can still get them or 6mm - (1/4") copper tape
Sorry forgot to say ill fill the small imperfections with Deluxe Model Lite Balsa, as I've read its pretty good and wont add too much weight to the model
-
On 6/22/2016 at 6:19 PM, ccoyle said:
Dear prospective ship modeler,
Welcome! If you're reading this, it's probably because you are ready and raring to get started on a first ship model. But before you do, allow me to share the following with you.
We get a lot of first-time builders on this forum. People who are eager to build a first ship model are attracted to the hobby for a variety of reasons. Perhaps you were captivated by a stunning model of the USS Constitution or the HMS Victory. Maybe you have a beloved relative who was a modeler. Or it could be that you just have a love of the sea, even if you've never sailed on anything larger than a rowboat. All of us came to MSW with similar motivations. Those of us who have been at this for a while not only love the hobby, but also love passing along our experience to new builders. It's a special treat to see a new modeler persevere through the joys and sorrows (and often tedium) of building a ship model and arrive successfully at the end of a build with a finished model to be proud of.
Unfortunately, many of those eager new members also turn out to be last-time builders as well. There are lots of reasons why a first-timer might give up. Building a nice ship model requires the learning of many new skills, a not inconsiderable amount of tenacity, and usually a significant time investment. Some new modelers get bored, others get overwhelmed, and some get overtaken by things like career changes, cross-country moves, babies, sudden illnesses -- that life stuff we all have to deal with occasionally. We understand those things happen. We get it.
This post, though, is written for a particular kind of first-time modeler: the modeler who takes on more ship then they can handle. Unfortunately, this kind of modeler is all too common. Bewitched by a clipper ship or sailing man-of-war, this kind of newbie believes that they can jump right in and build something similar.
Allow me to use an analogy. I'm not a pilot, but I love old warbirds. Suppose I go to an airshow and, having been awed by the spectacle, decide to go out and buy a P-51 and take her up for a few high-g maneuvers. All with no flying experience, mind you. I don't have to tell you how that first flight is likely to end up.
Sadly, many of the newcomers to MSW have a similar experience with model ships. They come brimming with pluck and determination, convinced that they can build a Constitution or Victory. In most instances, these bright-eyed neophytes wind up like the over-zealous new P-51 owner -- dead. Well, unlike the pilot, the would-be modelers are probably still alive, but their dreams of nice model ships have certainly gone to a better place.
Now, before I go any further, allow me to make a few things perfectly clear. Am I saying that a new modeler should never attempt a complicated model or that newcomers never finish such models? No, I'm not saying that. There are a few modelers who have attempted such projects and completed them, so it is certainly possible. But those modelers are very few in number. And we don't have any rules about what kind of model you can or can't build around here. If you absolutely, positively have to have a crack at a three-decker or frigate, then have at it. We'll be glad to help you along the way. But just be aware ahead of time how much of a challenge you are getting yourself into.
Let me throw some numbers at you to illustrate my point. One of my jobs here at MSW is to comb through old build logs and edit the titles of completed builds to show that the model has been finished (it makes searching for finished models easier). Obviously, as I sift through the builds I find many unfinished ones. On just one page that I was recently checking, I found twelve unfinished build logs started by first-time builders. In ten of those build logs, the new builder never made it past completing the hull of his ship. In the other two, the builder never started the model at all. Nine of those twelve modelers are no longer active on this site. I did not include among those twelve modelers any who gave a life-got-in-the-way reason for suspending their build. They're simply twelve modelers who eagerly started their project and then, usually quite early on, just gave up and quietly disappeared without giving any reasons why.
Those twelve builds all had one thing in common: each modeler had chosen a model that posed significant challenges for a first-time builder. Some of those models would have been a challenge even for a skilled builder. Simply put, they doomed their attempt at modeling by choosing a model that was over their head.
All of us ship modelers know how real the temptation is to skip an entry-level model and go straight for lots of guns and lots of sails. But here's the whole point I want to make: seriously think twice about caving into that temptation. The evidence speaks for itself - literally hundreds of abandoned build logs begun by modelers who bit off more than they could chew. Many of them not only abandoned their build, they also gave up on the hobby entirely.
It didn't have to be that way. Making a good start by honestly appraising your skill level and deciding to go with a simple first model is one of the surest ways to success in this hobby. Most true beginner models -- those actually designed for beginners and not merely labeled as such -- don't require a lot of money, time, or expensive tools. In a few weeks you'll know if this hobby is for you without having gotten yourself worked up over a model you couldn't realistically complete. And you know, most of us here enjoy watching the progress on a relatively 'easy' model, like a small sailboat, just as much as we enjoy watching the progress on an HMS Victory -- especially when we see those models being finished and proudly displayed.
And you know what? Success breeds further success.
For more information on choosing a first model, check out the NRG modeling resources page.
Choose wisely, enjoy the journey, and I look forward to seeing you complete your first build log.
Respectfully,
Chris
Hey Chris,
Thank you it was a good read. Now I have no excuse for not being warned.
I've nearly completed the hull on my (POF I think you call it) DeAgostini HMS Victory so I'm the unlucky 13th you forgot about I guess. LOL
(Should change my name to "Unlucky Thirteenth" now.)
But I will embarrass myself and admit. I did wait to join and post anything on here just in case I didn't or couldn't build it to start with.
- mtaylor and Scottish Guy
-
 2
2
-
I was looking at getting this. But as far as I know the Caldercraft is the most accurate from what I've read so far. As for the OcCre in my opinion seeing as the hull is open, they should have made it with all the decks and so on in it as its an open plan to view all the insides. I would have bought it then with no problems. It just looks half complete with just part of the hull complete.
I am looking at the Amati too, but I'm not sure how accurate that will be or when it will be released.
- mtaylor, rmccook, Knocklouder and 1 other
-
 4
4
-
Hi All,
This is my first build, I started it in April 2023. This is the stage it is at.
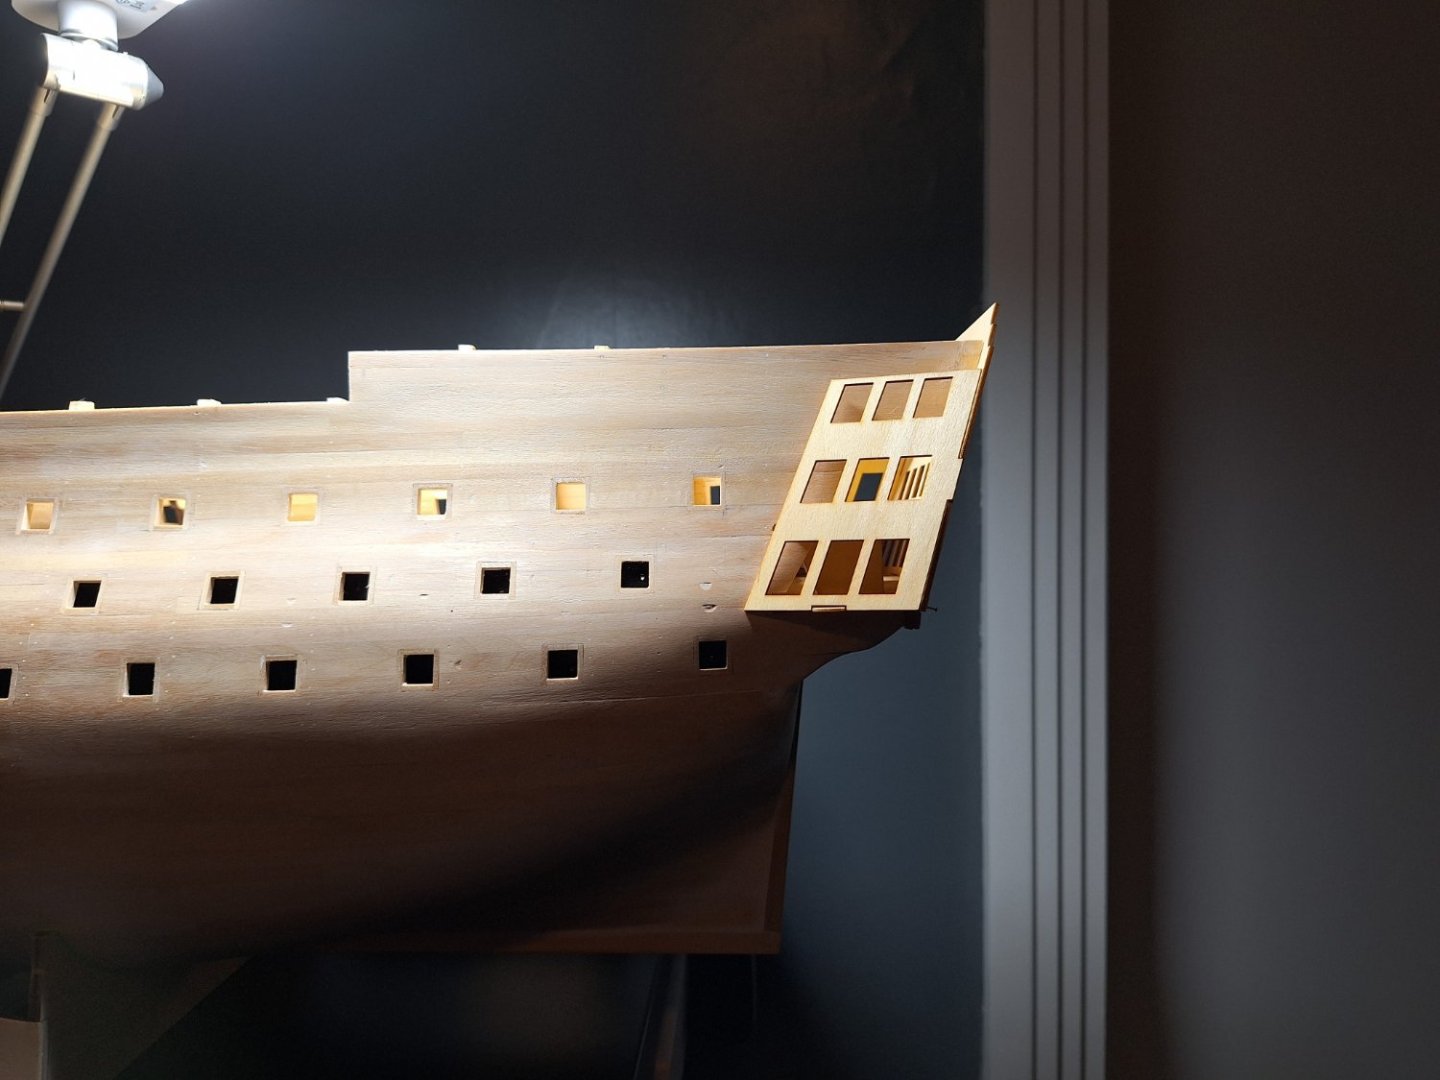
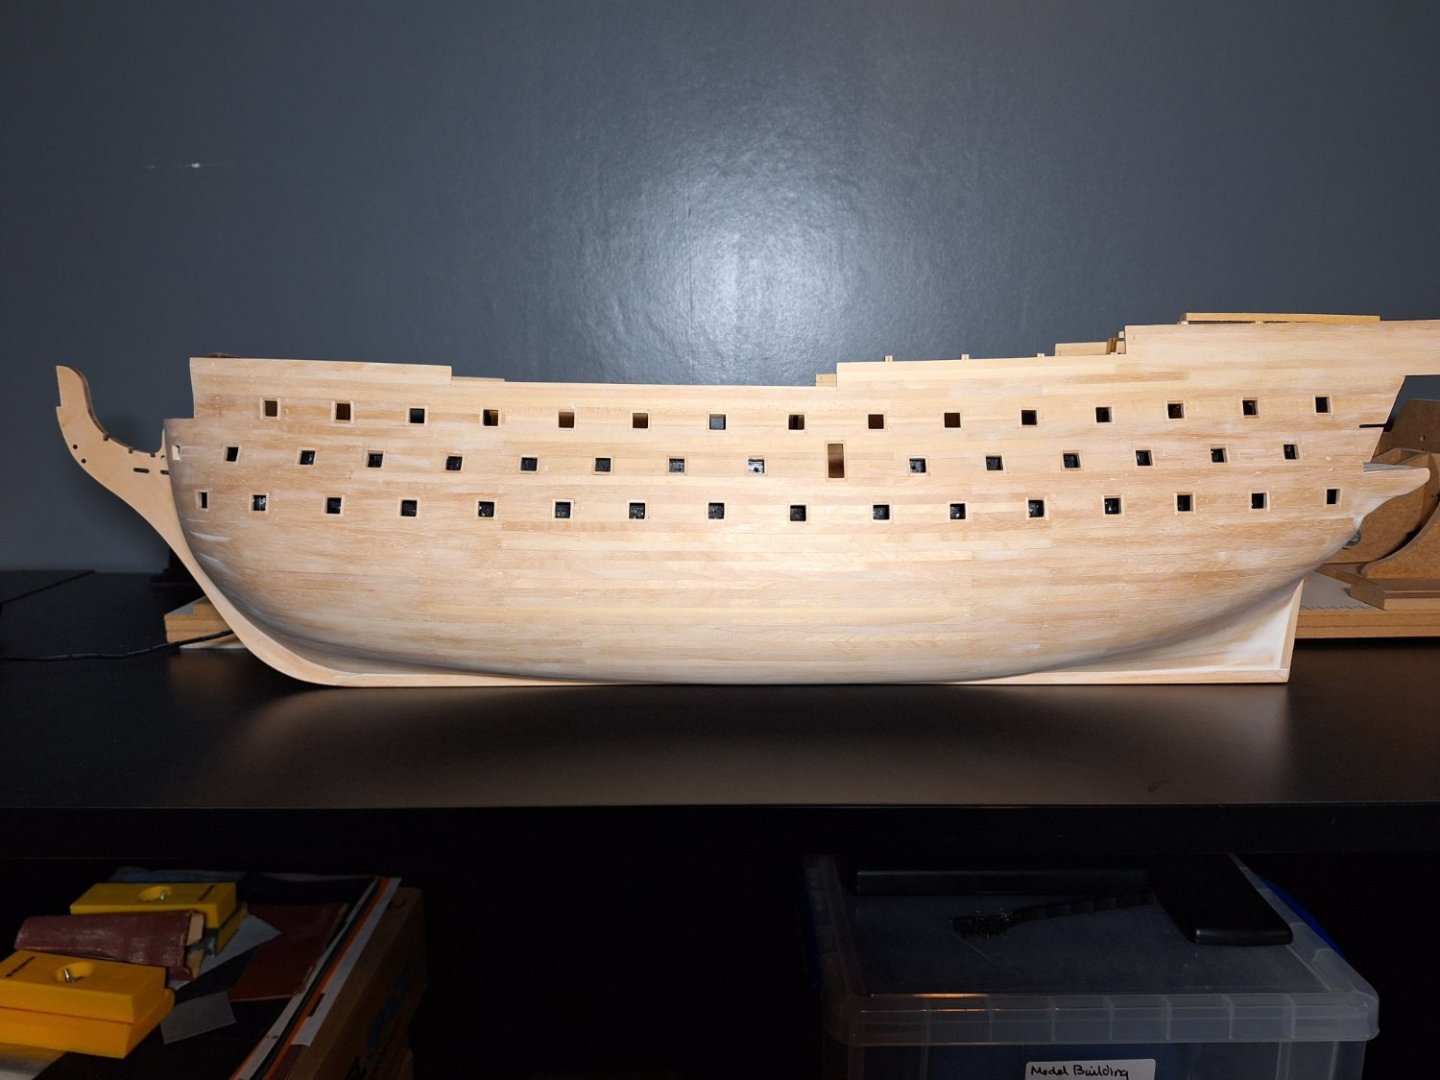
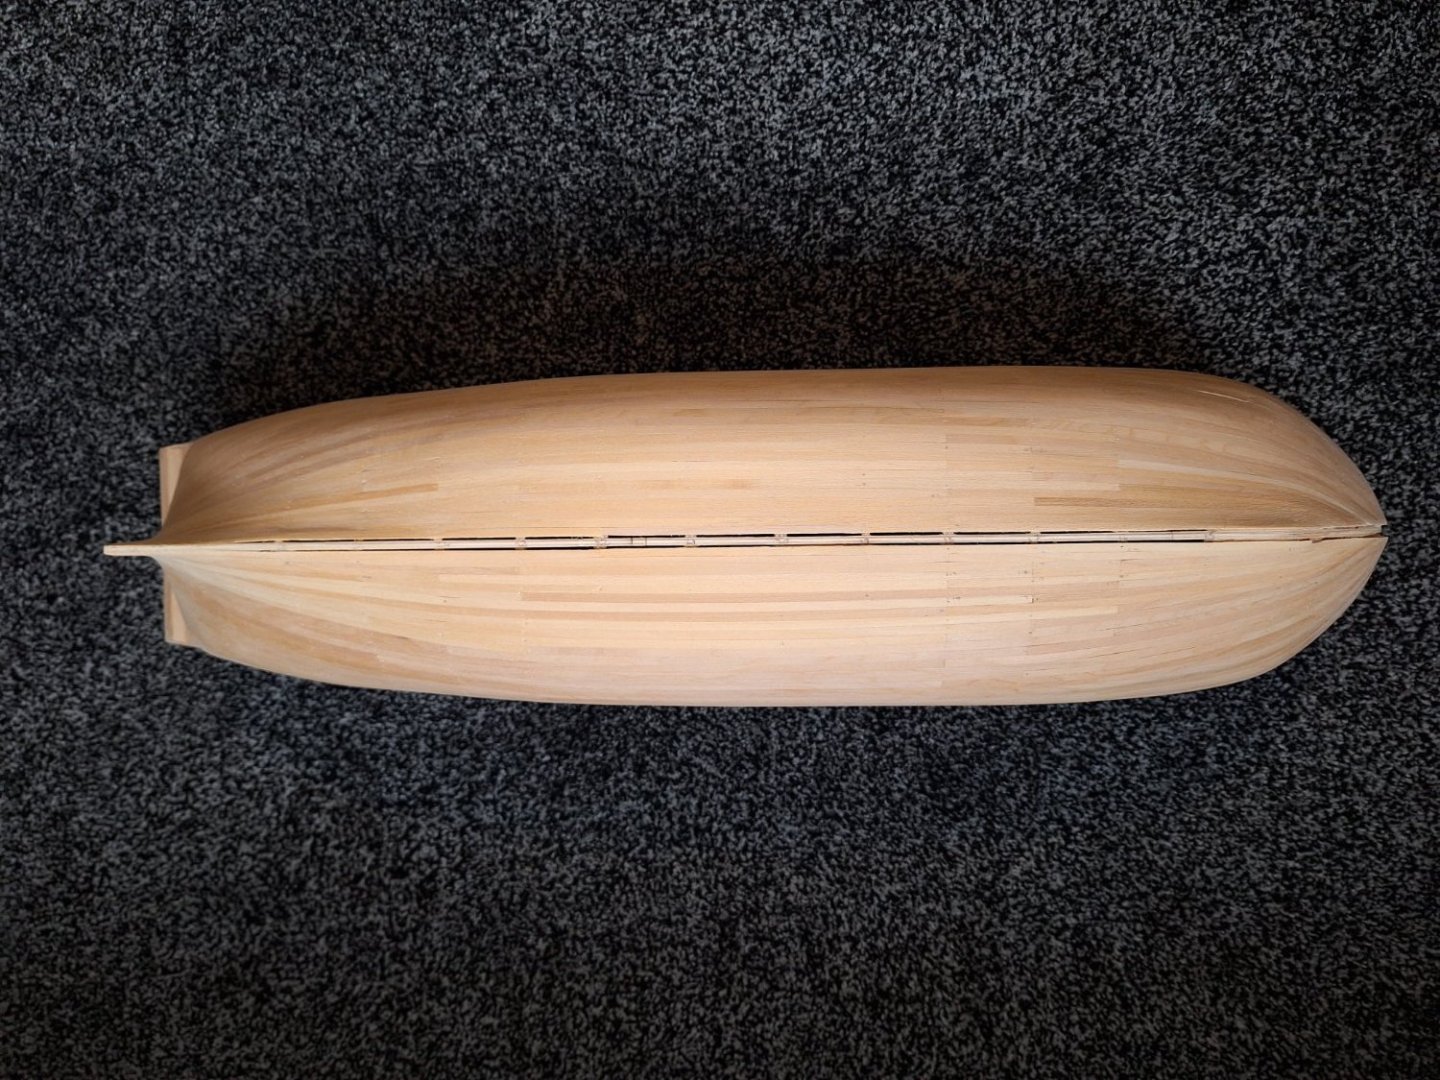
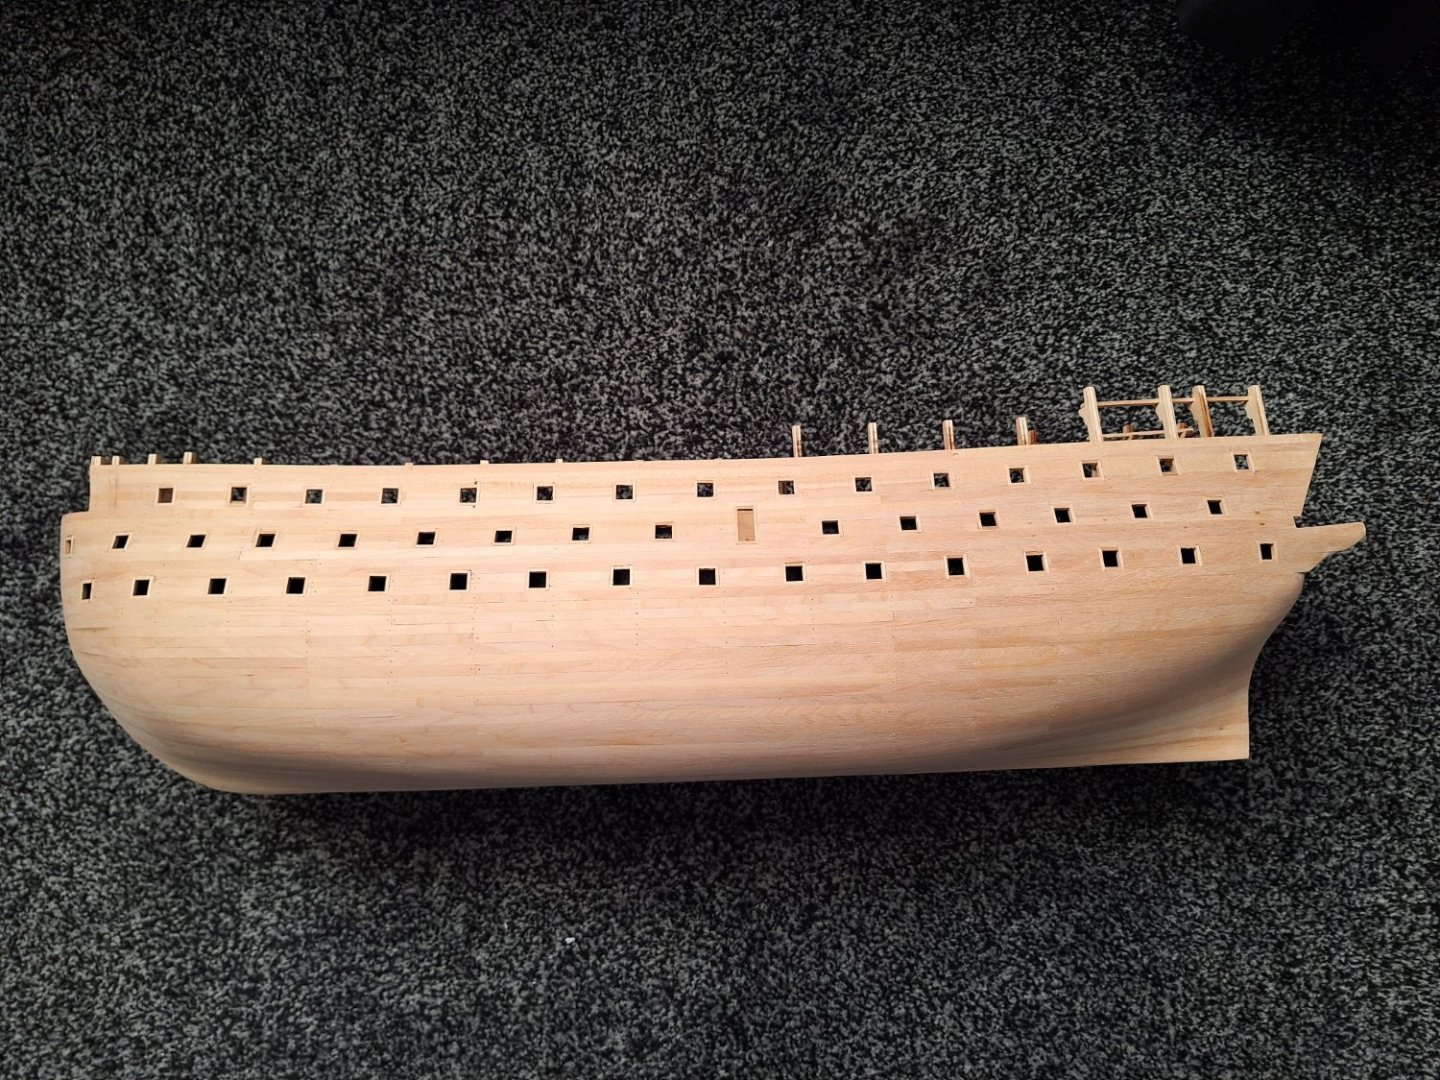
Port side which has had its first sand 24/12/23. Not had any wood fillers applied yet so will need a touch up
Starboard side that still needs its first sanding.
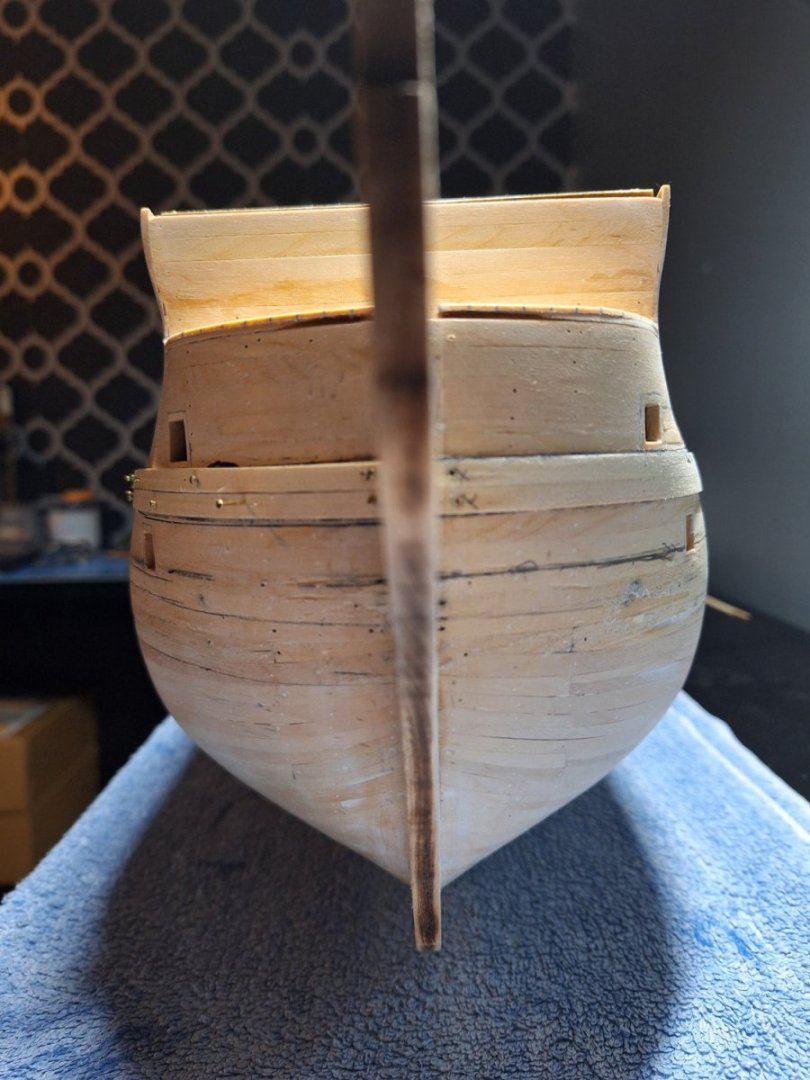
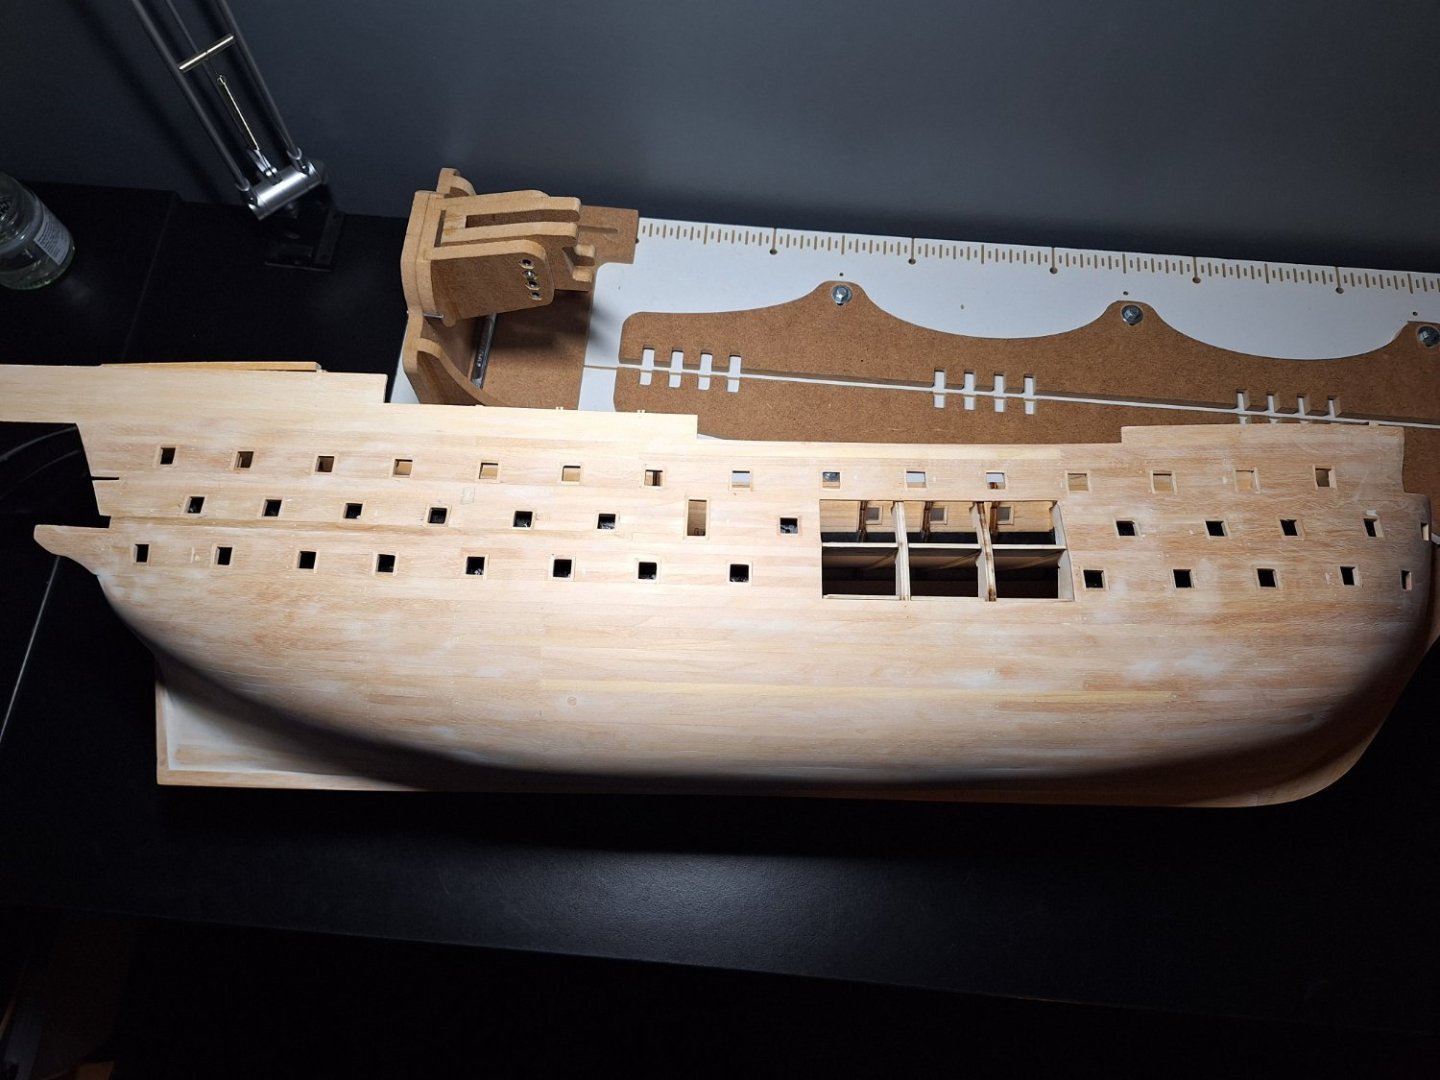
Hull as you can see Port side has had its first sanding.
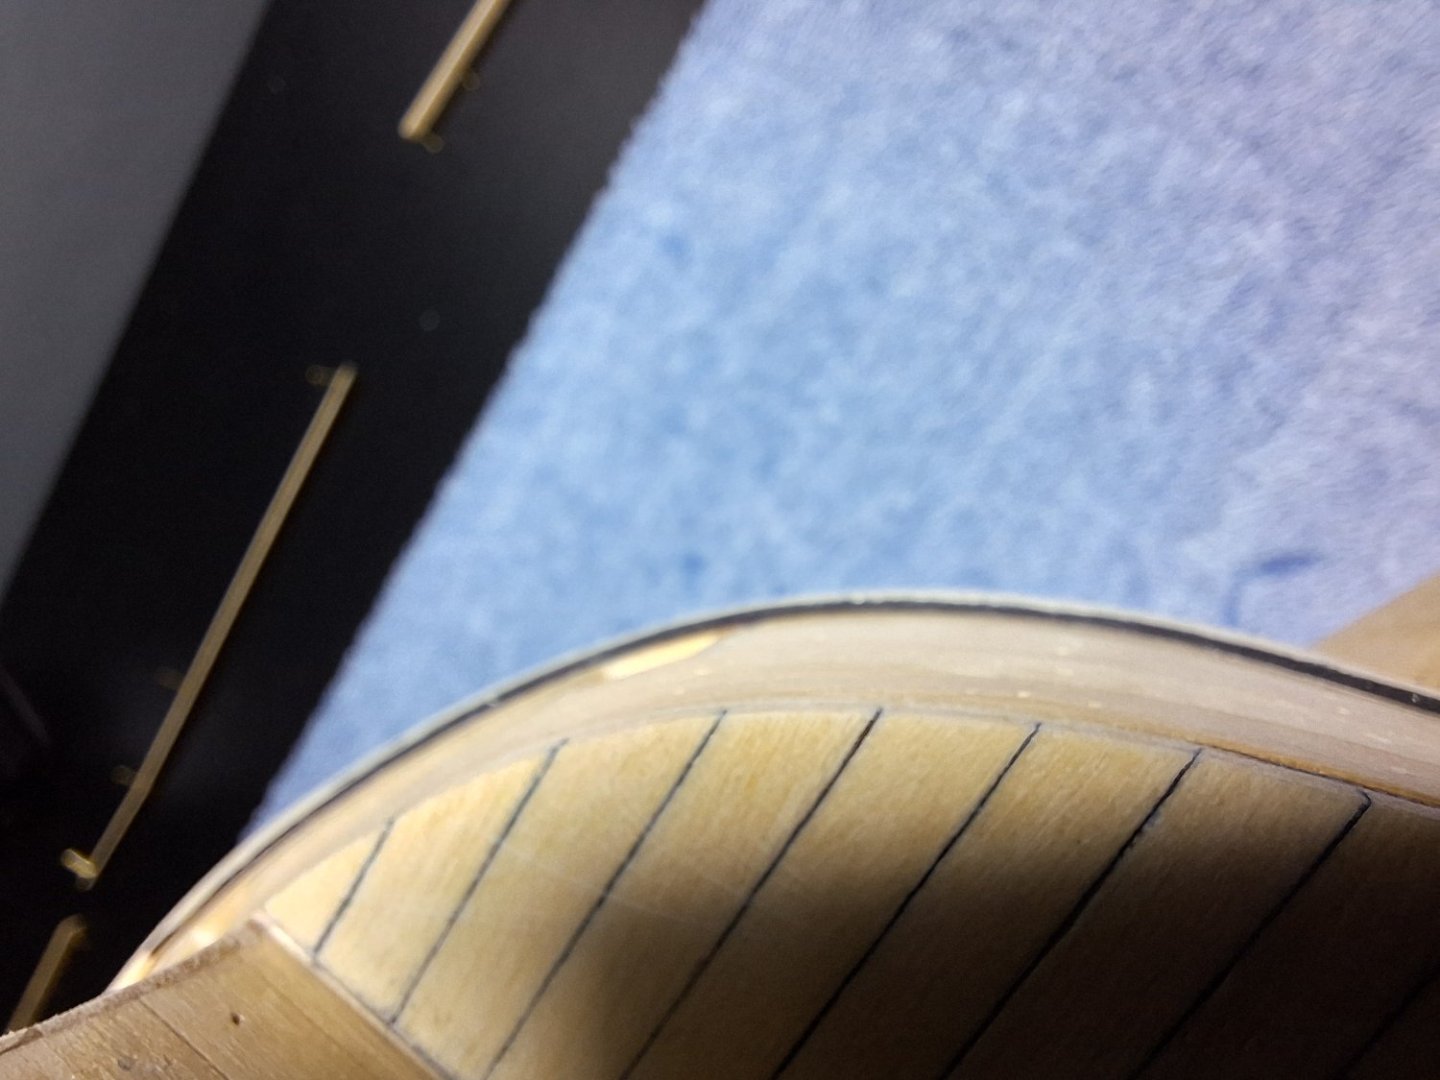
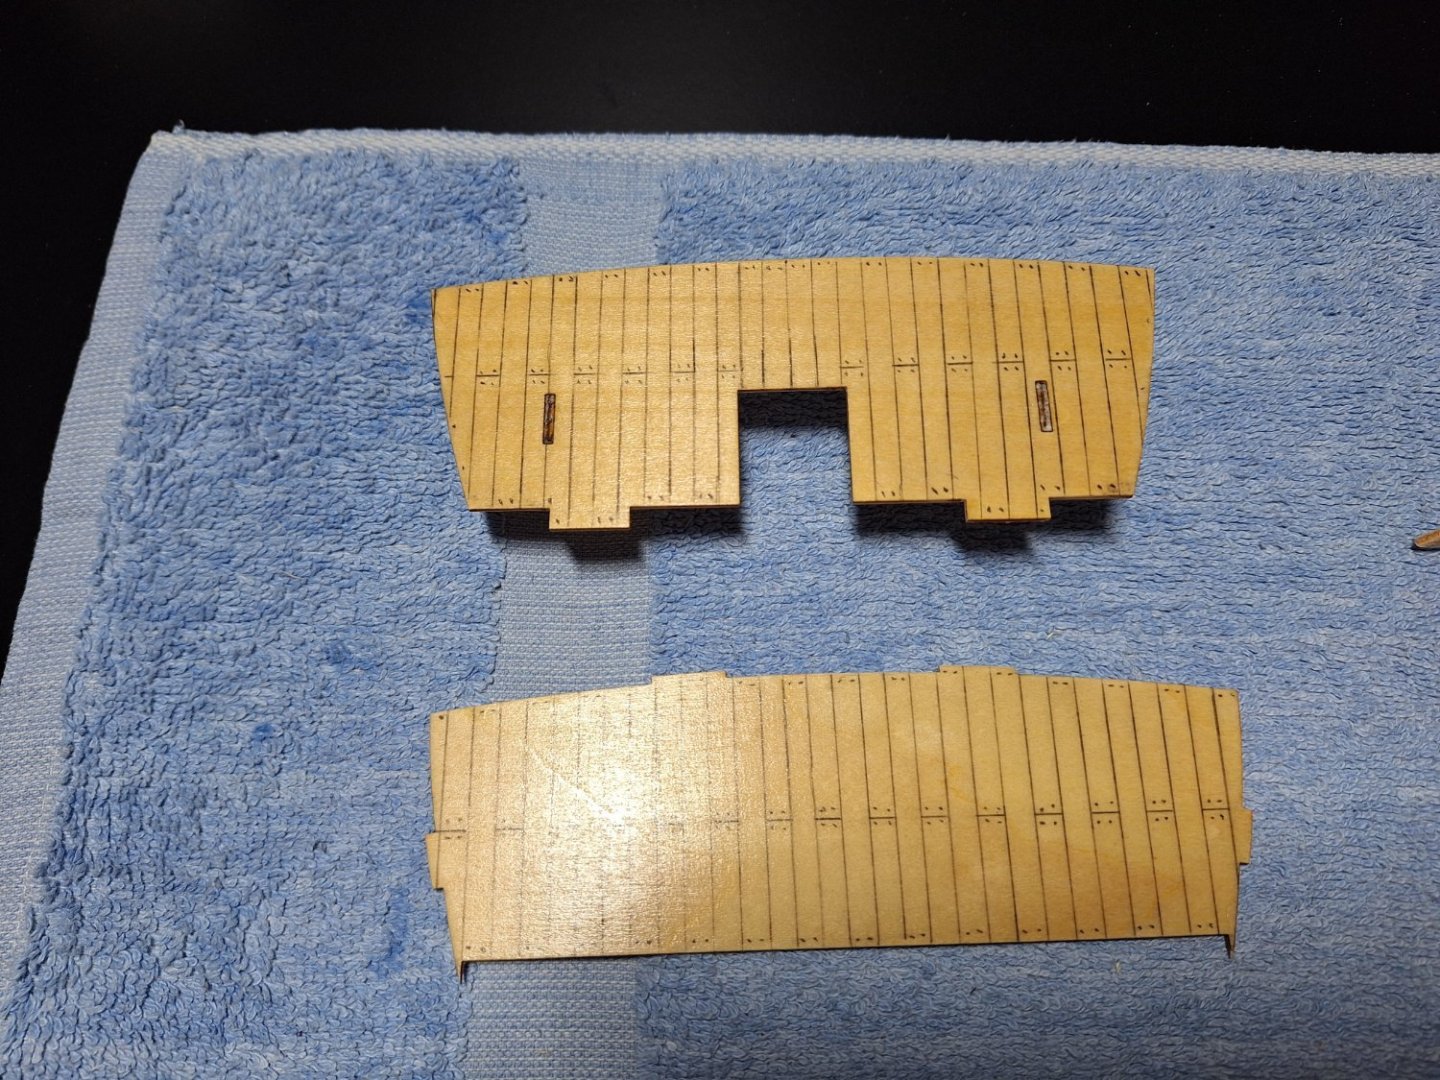
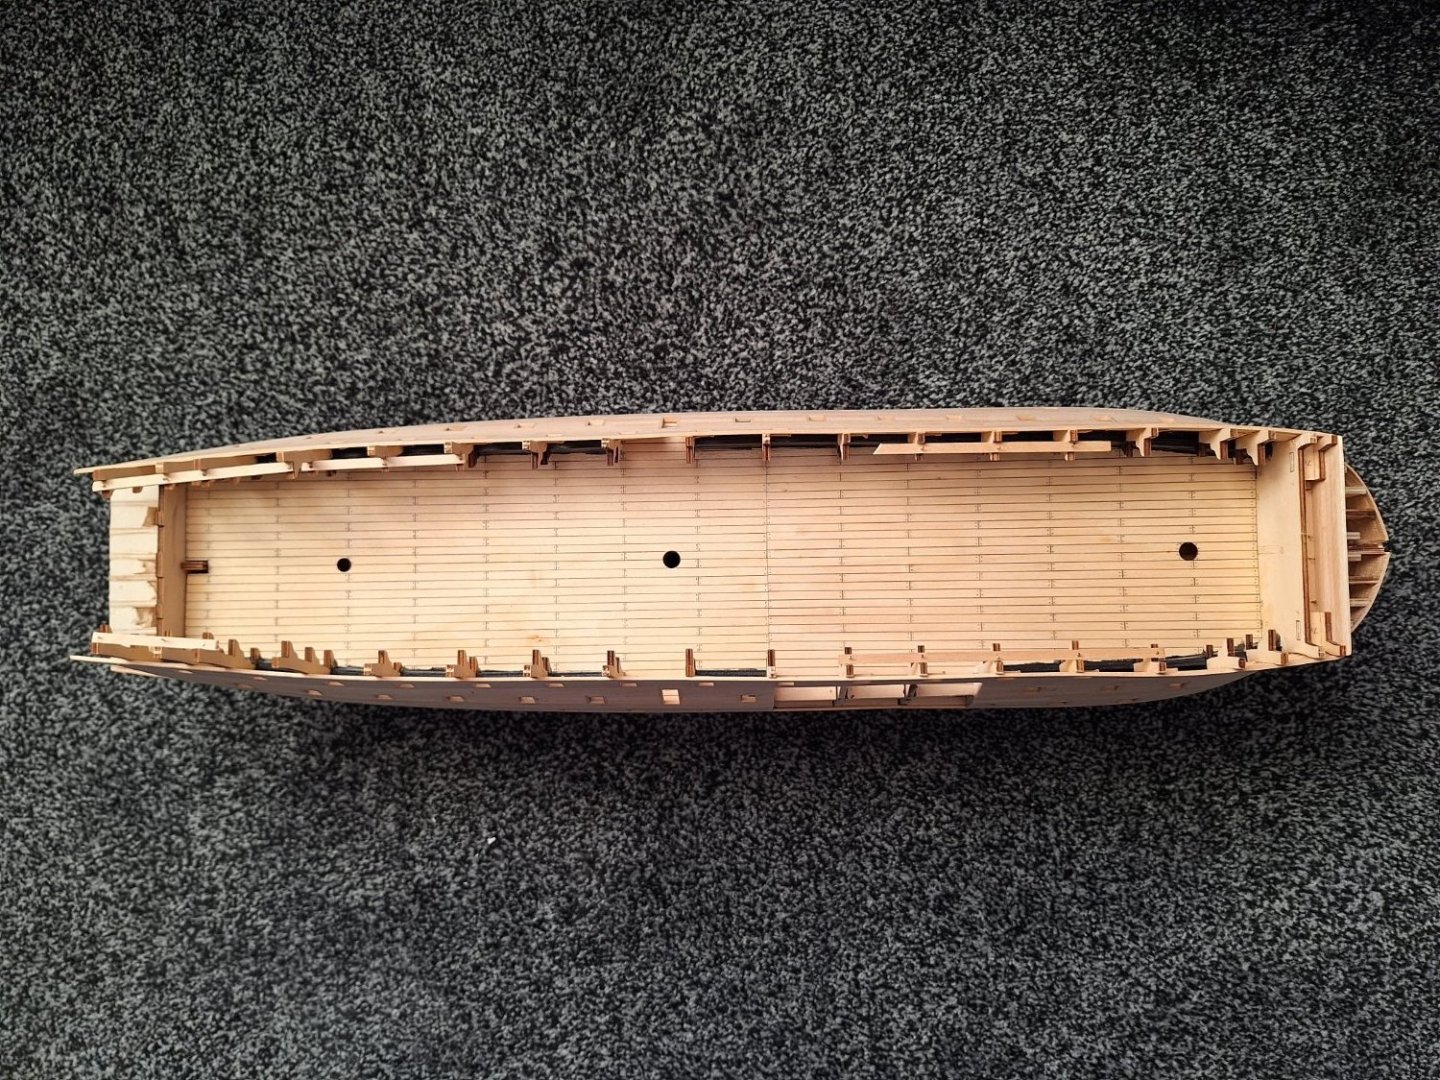
Top View of middle deck which I stencilled all the floor rather than just a section.
-
Thank you Chris
2 minutes ago, ccoyle said:Welcome aboard, Andrew, and good luck on both of your projects!
BTW, the answer to your question that you posted elsewhere is that this should go in the kit build logs section in the 1750-1800 category.
Thank you Chris.
- JeffT, Keith Black and mtaylor
-
 3
3
-
Hi Everyone,
My name is Andrew. I'm building my first ship which is the, DeAgostini, HMS Victory. 1/84
Yes I know this is not really a beginner ship, but please bear with me and let me explain myself so you understand a bit more why.
I have certain mental health issues, Depression, Personality disorder which leads to me not wanting to be here. So instead of constantly thinking on how and which way to leave this place, I decided to try model ship building and it takes my mind off due to the concentration needed. First off don't worry I've lived with this my whole life and have always found ways to deal with this. So NO sympathy please, Just browse help or question away like I'm an ordinary person.
If I write something that is not correct or misunderstood please let me know and I will fix it or rephase it.
I'm only here to enjoy myself and learn from others like I have done since April this year.
Since April I have started building the DeAgostini, HMS Victory. 1/84, and I have turned to this website more often than I will like to admit. So thank you everyone who builds the HMS Victory. Caldercraft included as these are the ones I seem to come across more often. But the information, techniques and individuals input and methods are very similar and useful across all builds. This has helped me so much to the stage I am currently at.
Specifically to John builds iconic military models, as his videos have also helped me out so much. Albeit he upset me this week when he showed the Caldercraft, HMS Victory. 1/72.
So I am now currently trying to save up £1050 to buy the Caldercraft and will likely build both. DeAgostini due to the sails and Caldercraft for better detail and quality. The sails on the DeAgostini is one of the reason that made me go for it as well. I've never seen the Caldercraft with sails yet. (Only the rigging).
Once I have the Caldercraft HMS Victory I will try to get both to the same stage and build them roughly to the same stages.
Anyway, this was a little about me. Feel free to ask whatever you wish, Or give some input.
- JacquesCousteau, ccoyle, JeffT and 3 others
-
 6
6

HMS Victory by N80FTY - DeAgostini - 1:84 - first build
in - Kit build logs for subjects built from 1751 - 1800
Posted
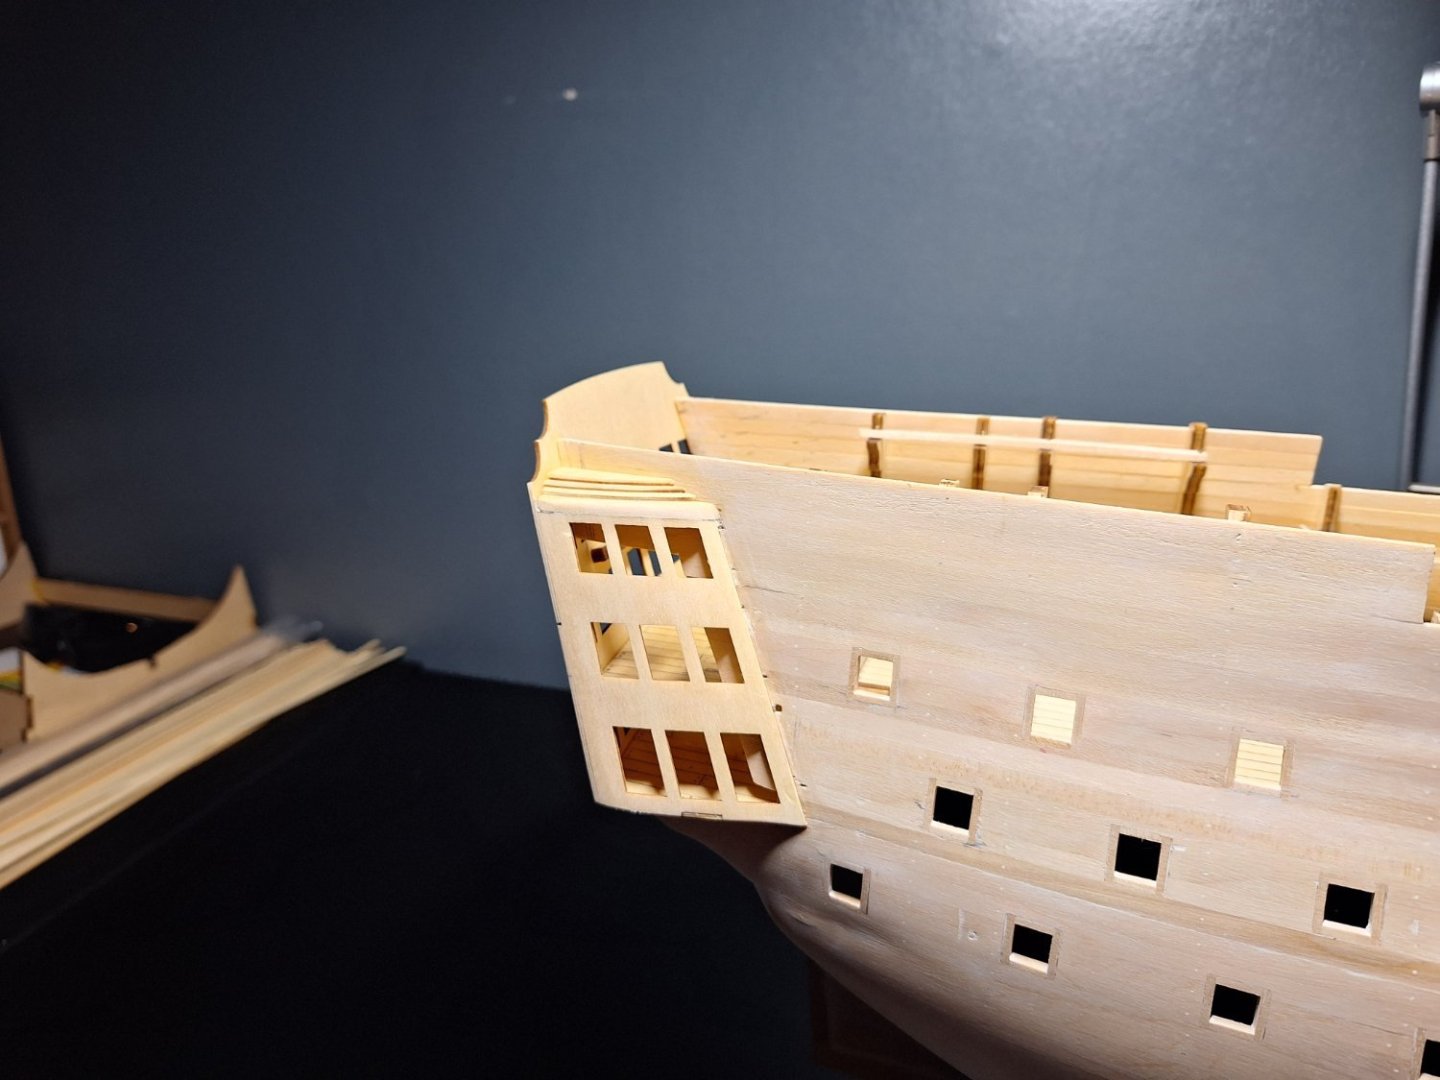
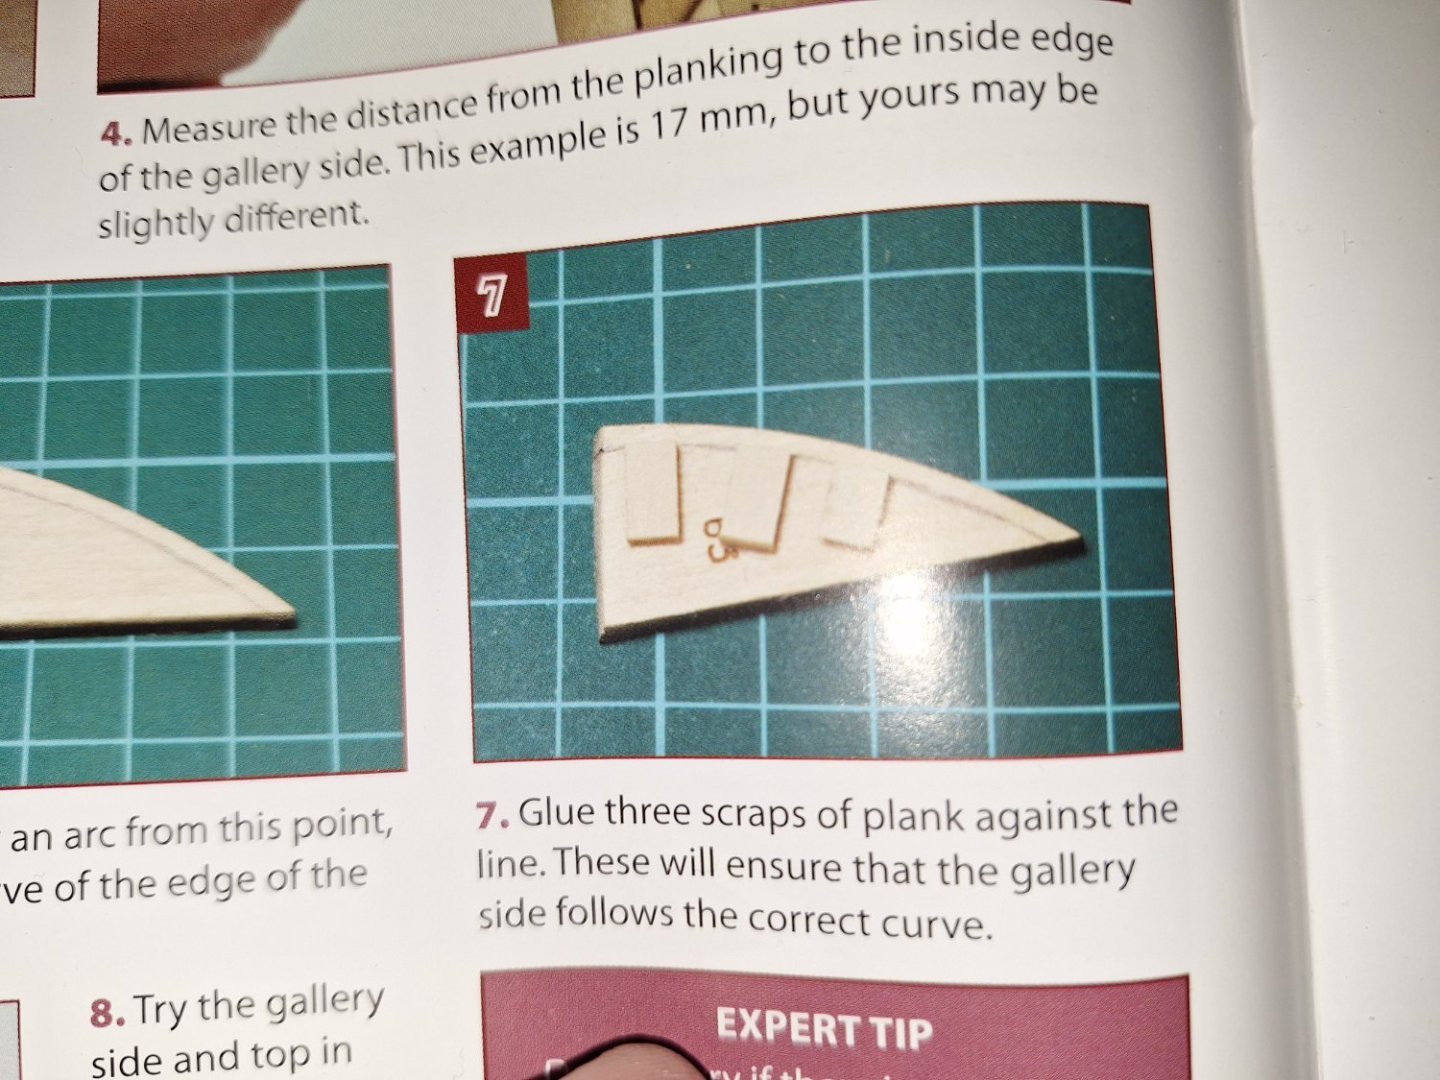
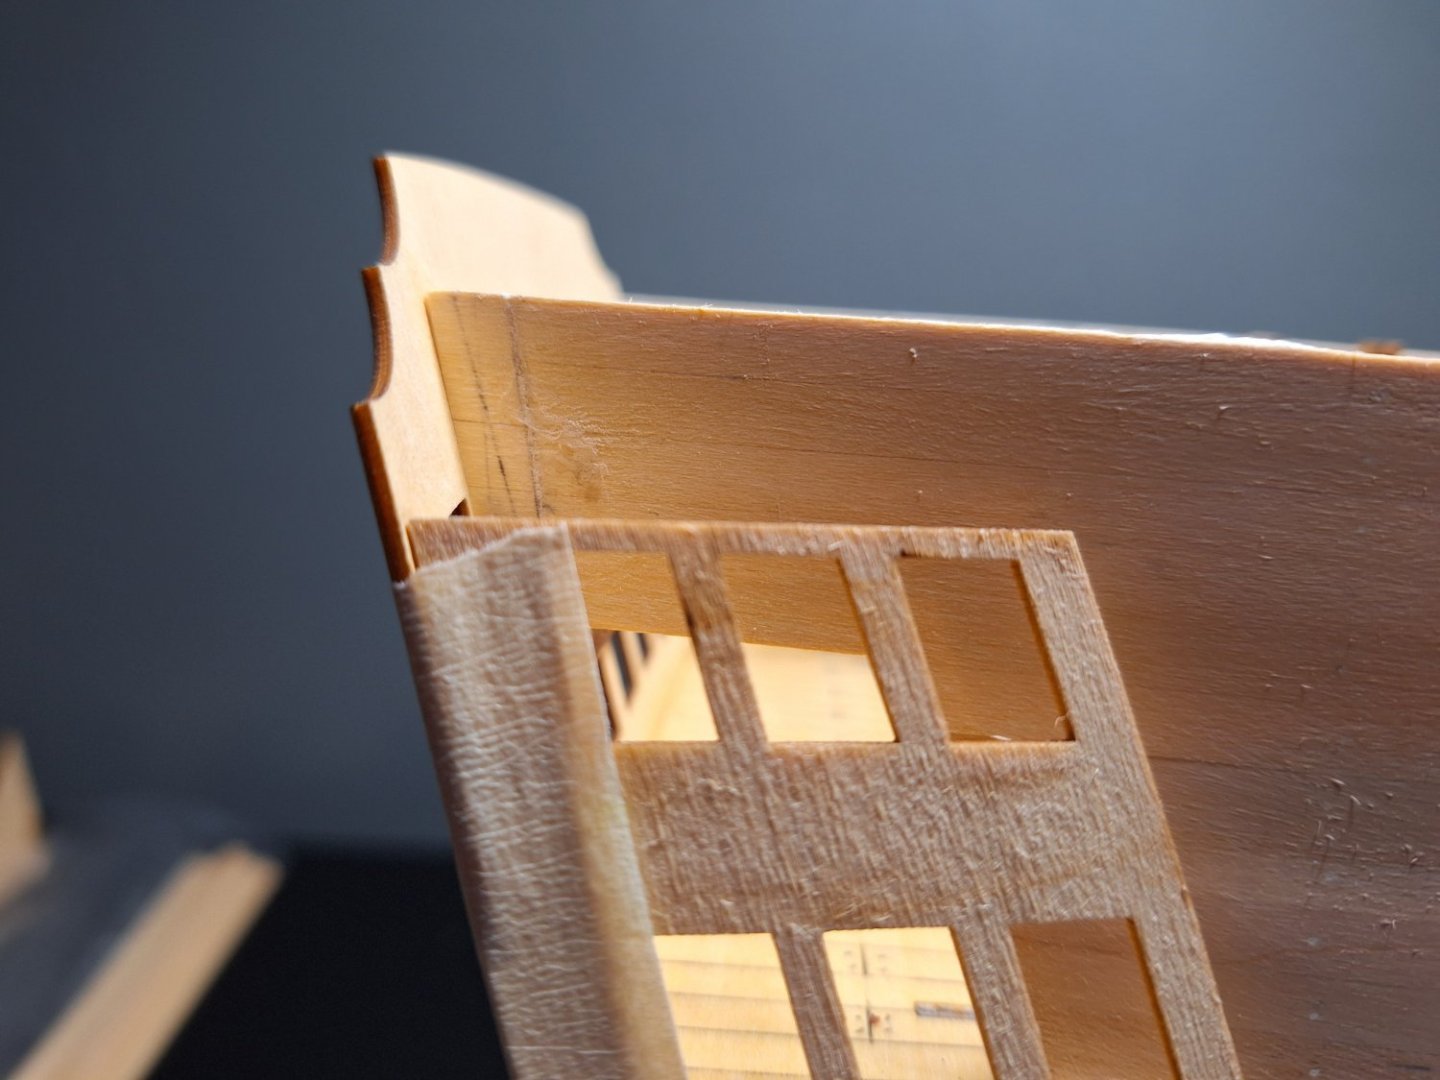
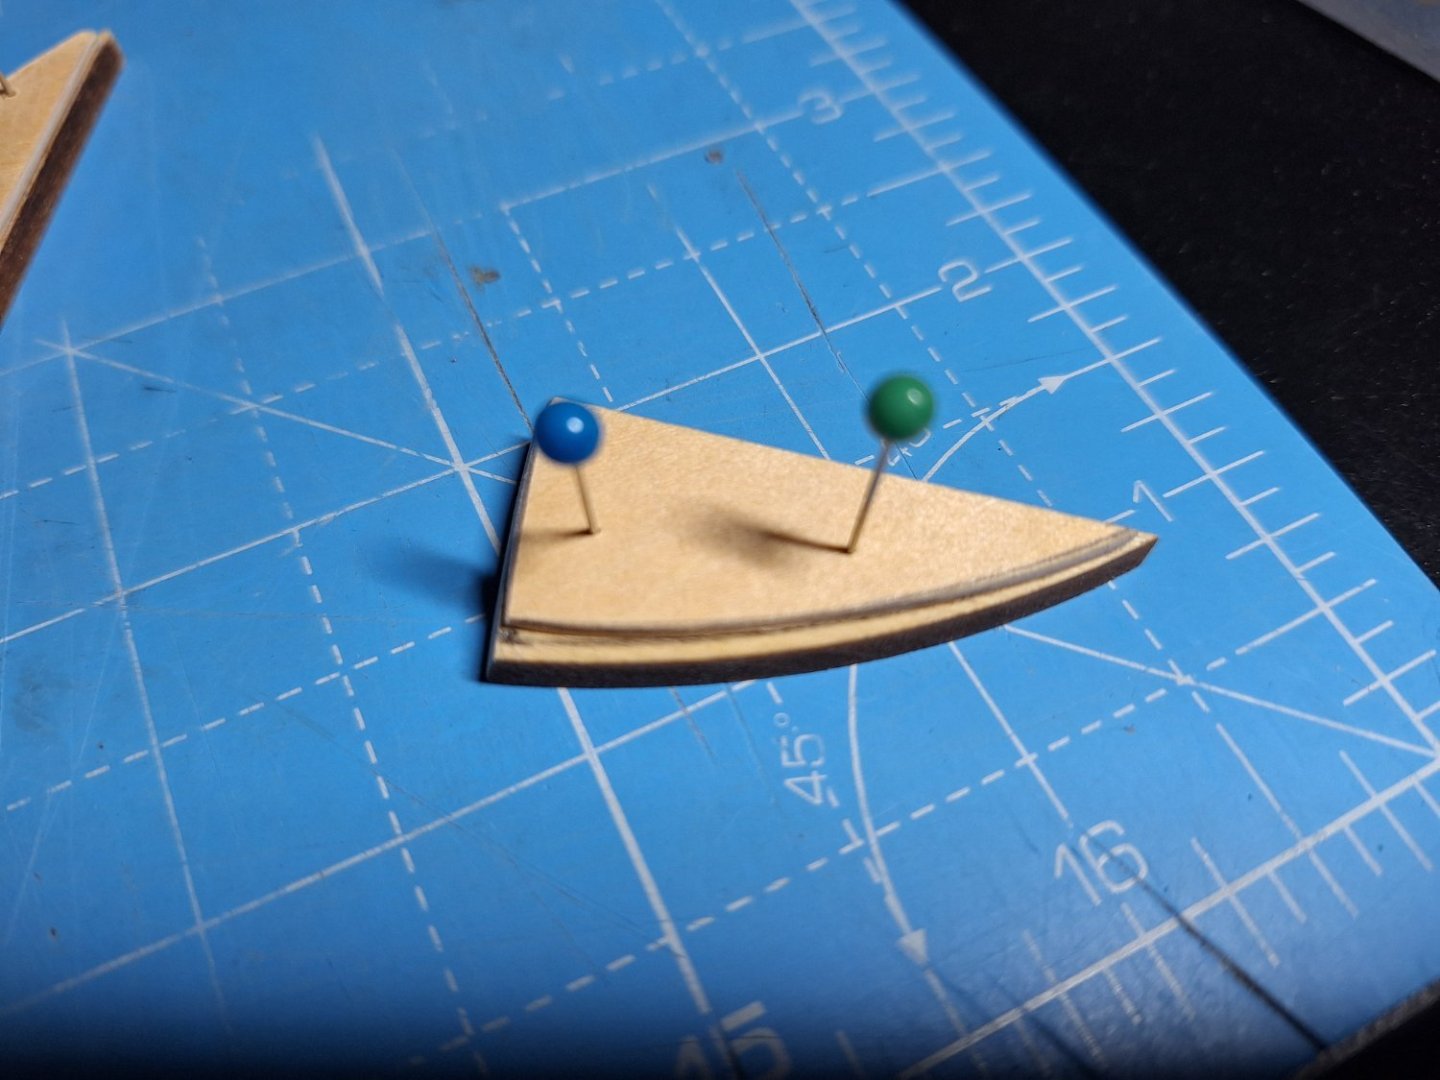
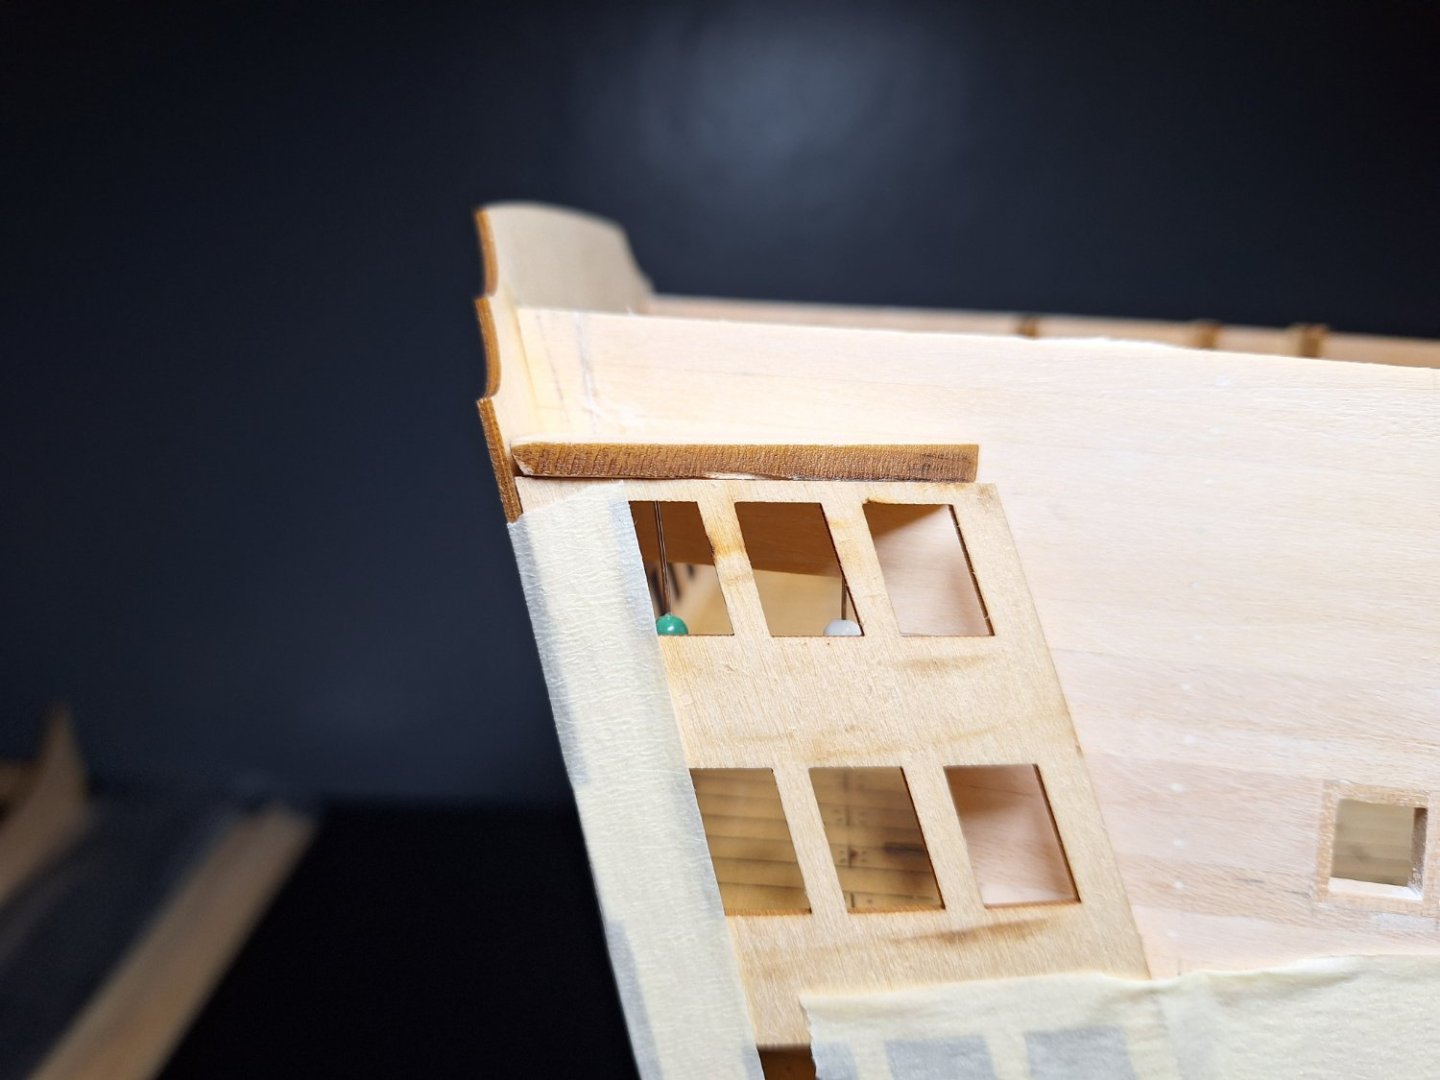
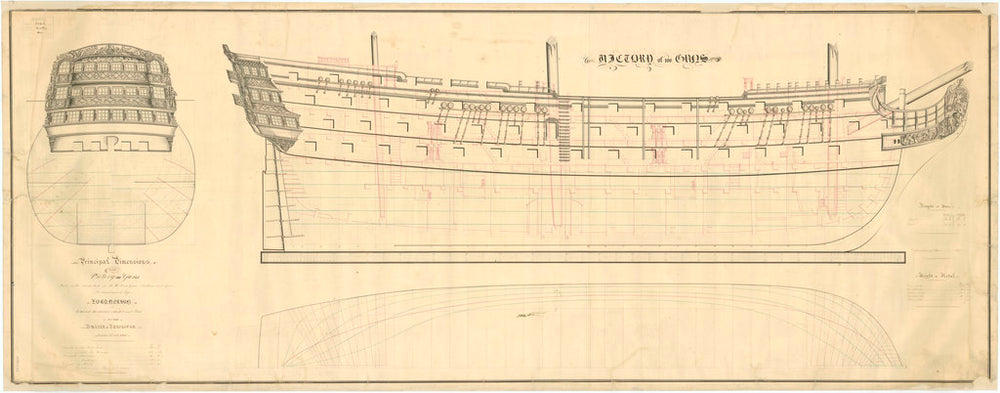
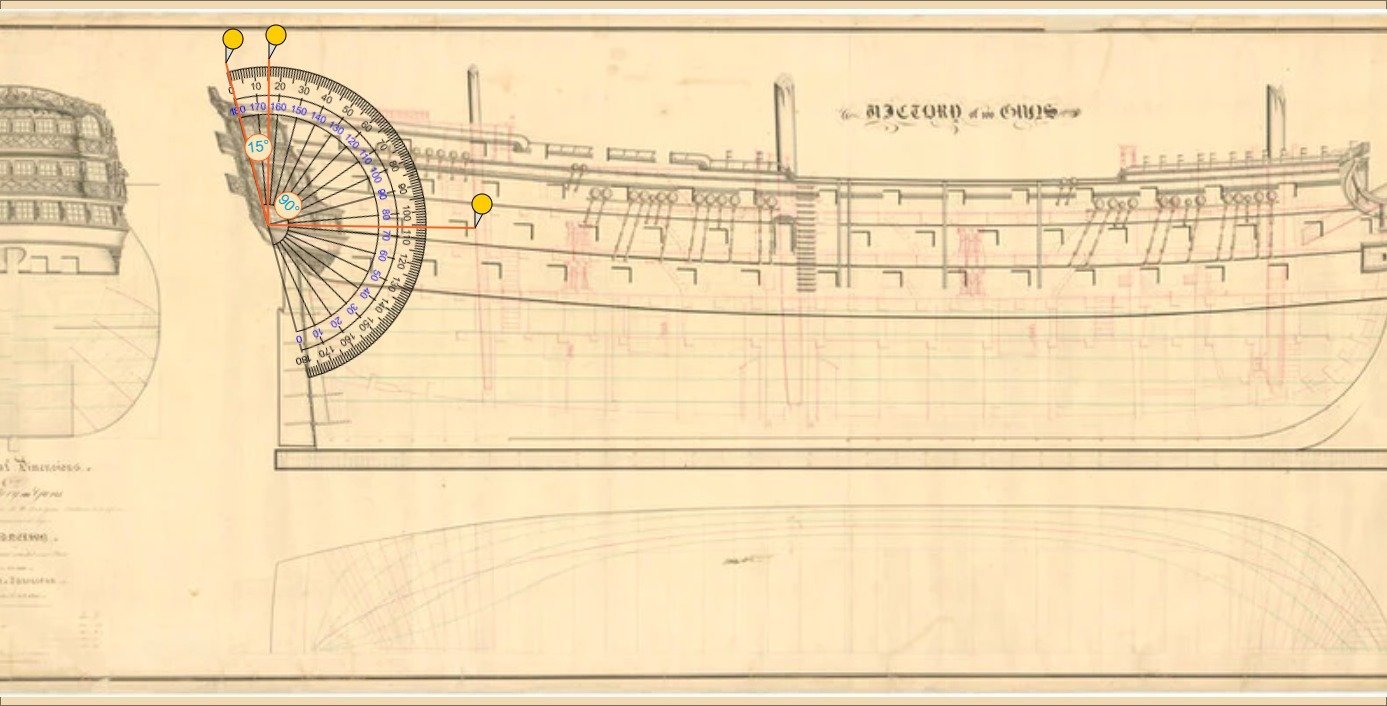
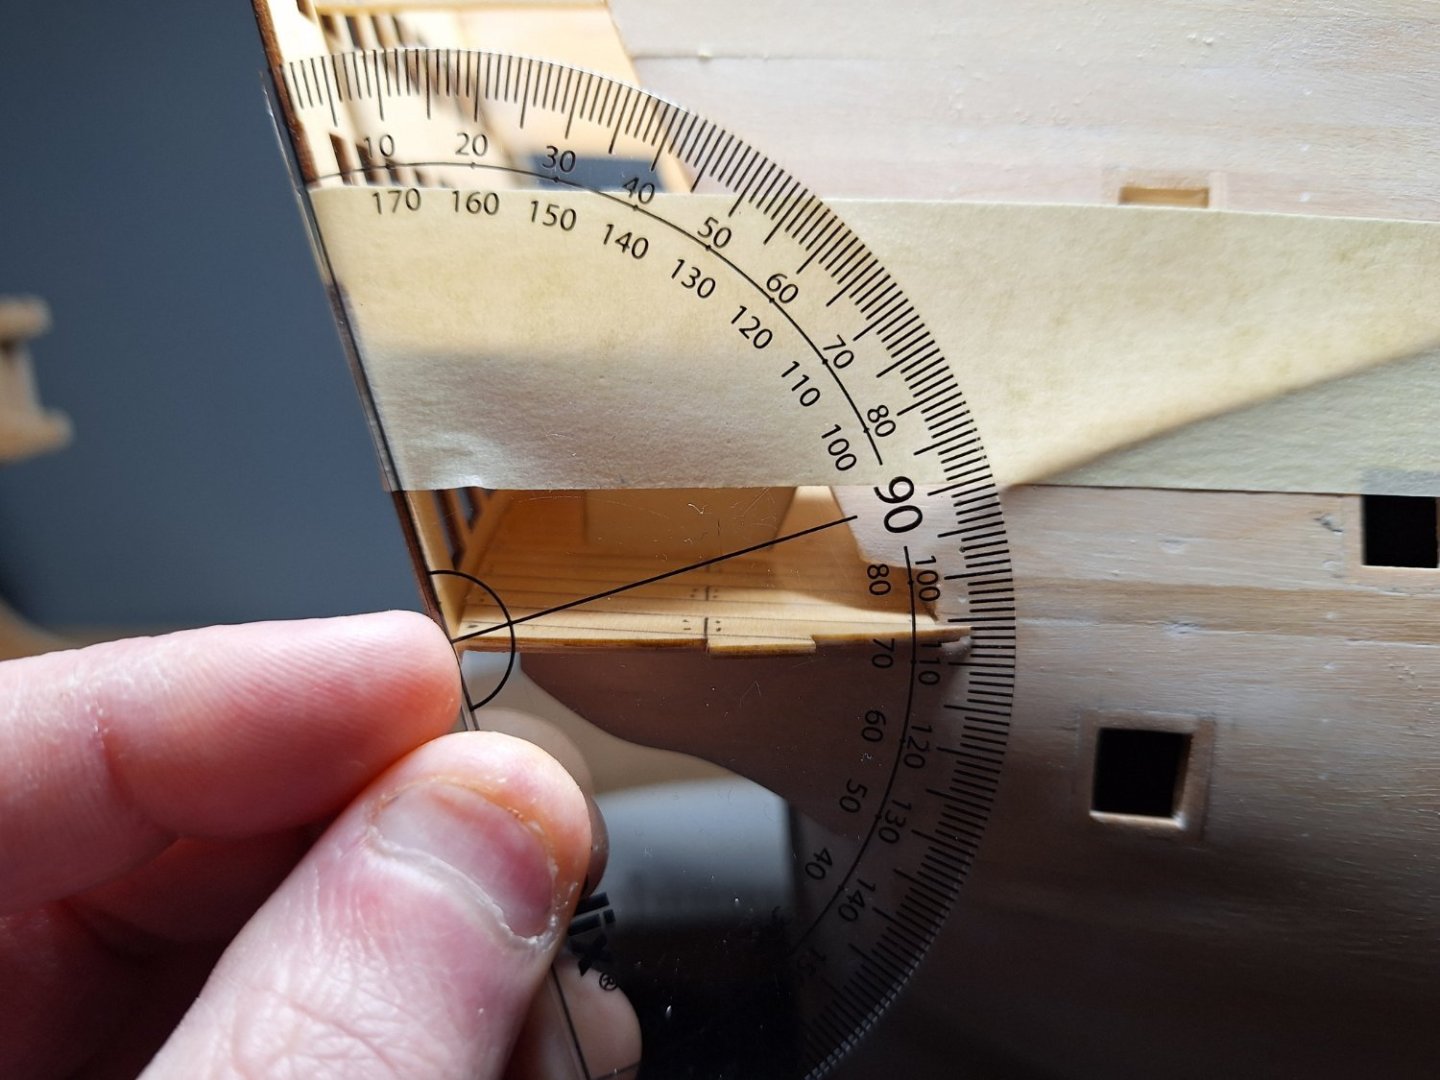
Just finished gluing the upper deck, I still need to put the fake joins in but i will do this when i clear matt varnish it.