


marktiedens
-
Posts
1,737 -
Joined
-
Last visited
Content Type
Profiles
Forums
Gallery
Events
Everything posted by marktiedens
-
Oh my,what a mess. Murphy`s law strikes again. Hope you can get it cleaned up without too much trouble. Mark
-
Ken, my transom fascia was supplied with all the openings laser cut - was yours not pre-cut? Mark
-
Thanks Pete - I am using a run of the mill 100W soldering gun. Just being very careful. My only problem was I crushed a couple of deadeyes while forming the wire around them. I have extras,so no big deal. Mark
- 652 replies
-
- 1
-

-
- royal william
- euromodel
- (and 1 more)
-
Thanks Greg - you are too kind . Mark
-
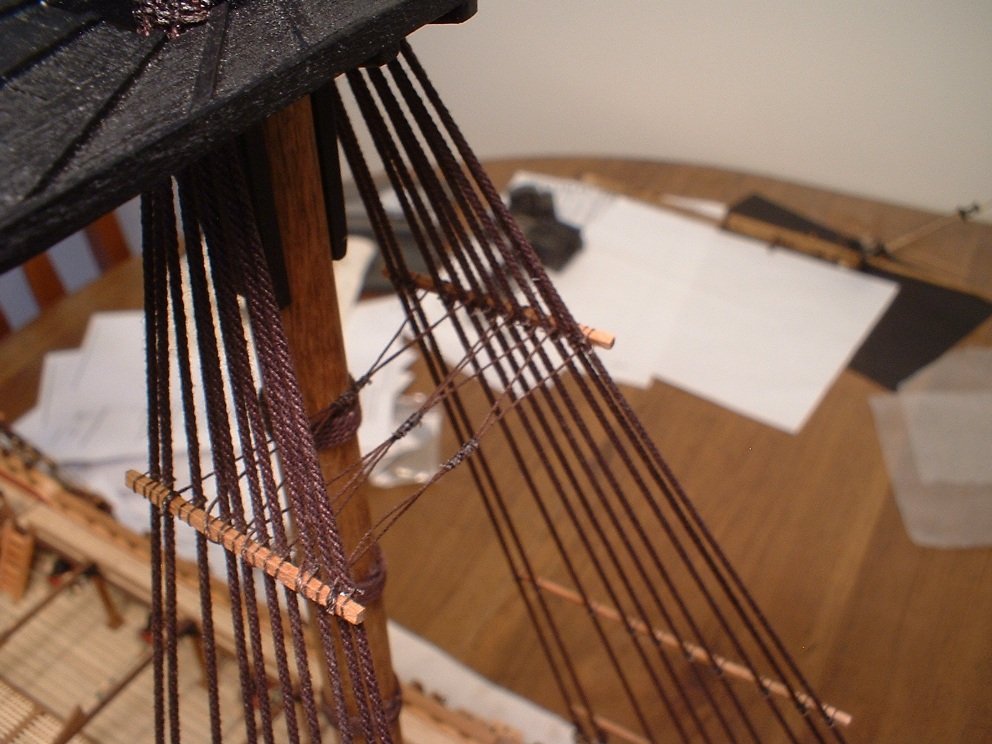
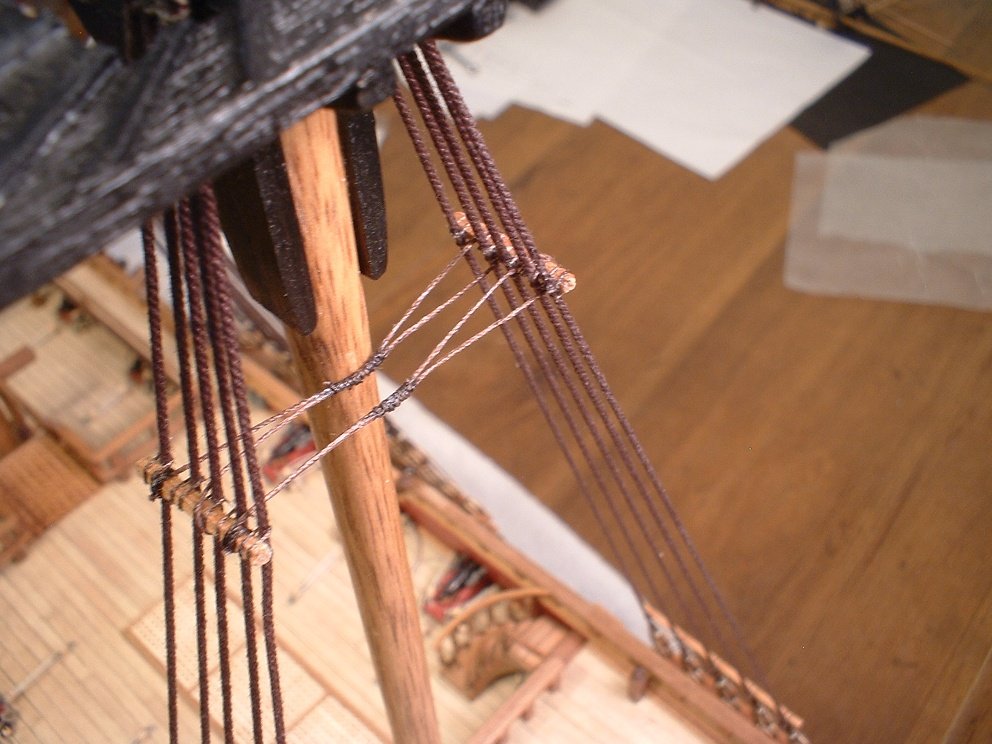
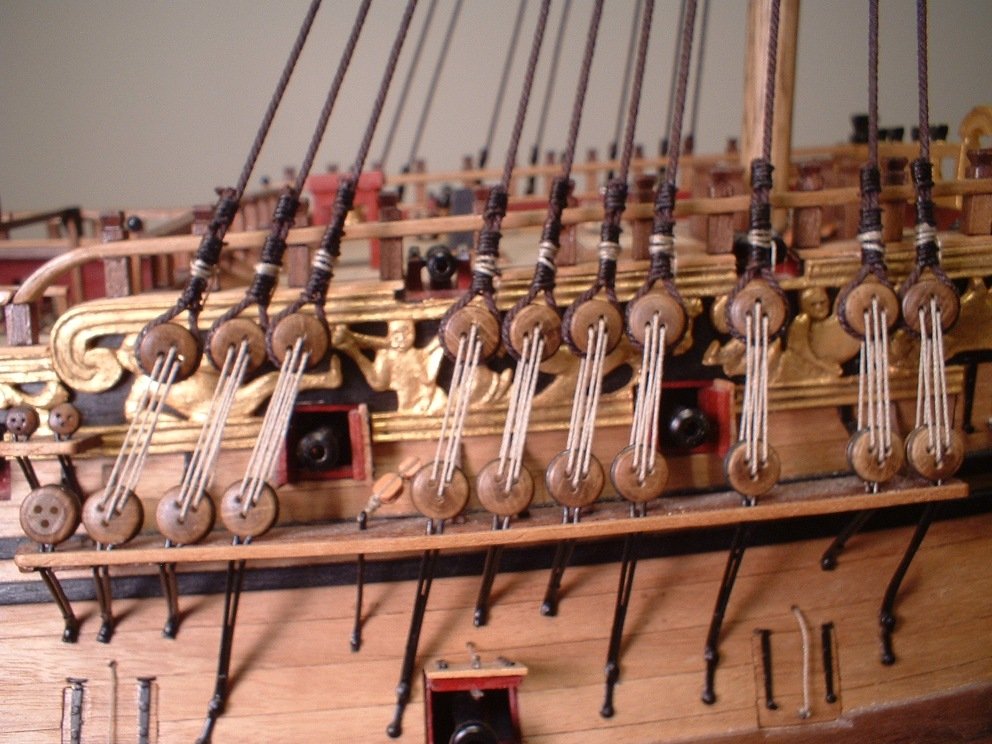
Another small update - futtock shrouds done. The chainplates were made by wrapping the deadeyes with .8mm brass wire & soldering them shut. Then the ends were cut off & flattened by pinching them in a vice. Finally,a hole was drilled in the flattened ends. Hooks left over from a previous build were used to rig the shrouds.Smaller hooks were used on the mizzen shrouds. Mark
- 652 replies
-
- 11
-
-
- royal william
- euromodel
- (and 1 more)
-
You have found what makes this part of the ship the most difficult. What I did was clamp the stern fascia to the rear of the ship,then "adjusted" the side windows & railings to fit - seemed the best way for me. Mark
-
Looks great,Ken - you are moving at a much faster pace than I did. Those windows are the easier part - the next level gets a little more tricky. All the pieces at the next level need to sit just right for everything to fit together. Pay attention to the angle of the plywood side entry arches - they will determine the angle of the recessed windows. you may notice the recessed window panels are arched more than the deck they sit on,but when angled back at the top to rest against the ply arches they should sit with little or no gap across the bottom. Mark
-
Thanks Pete Mark
-
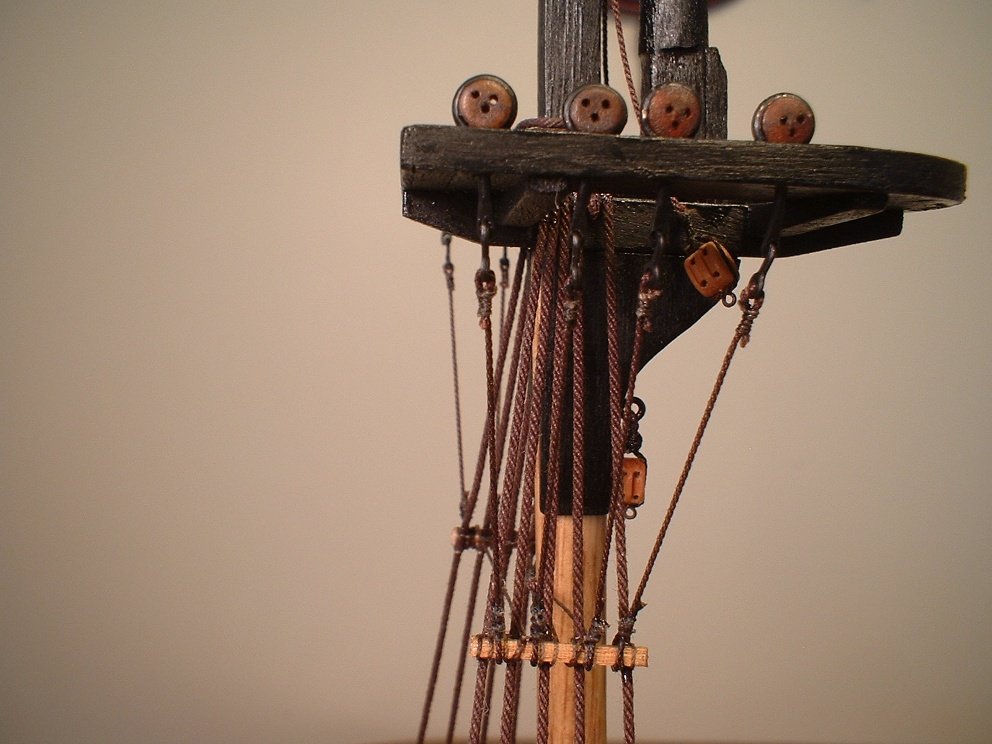
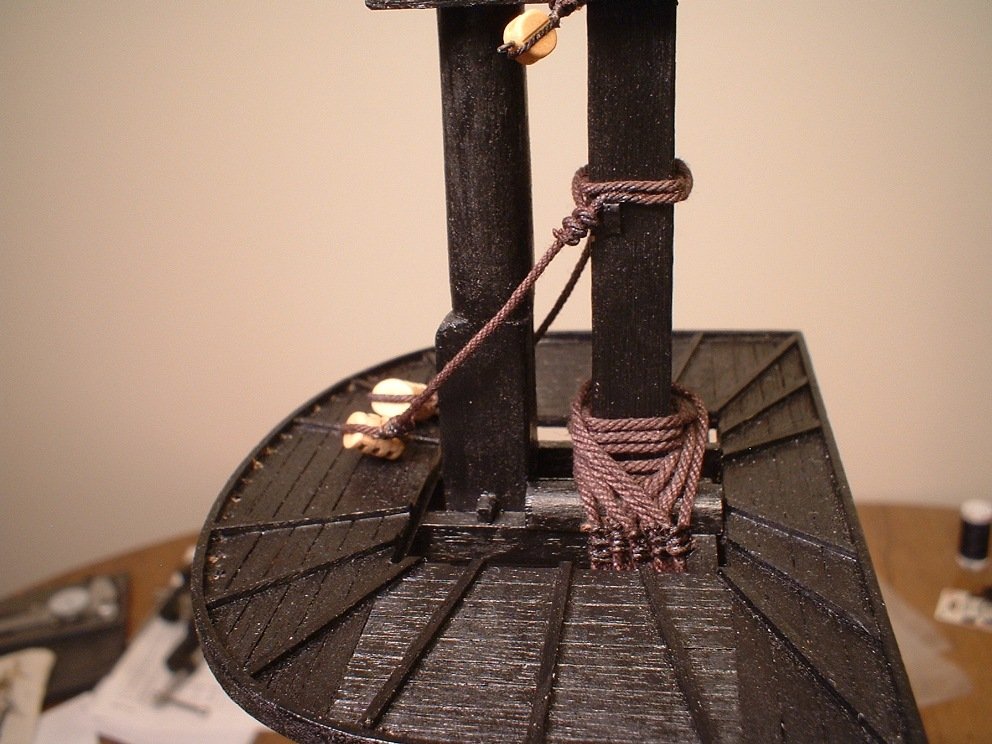
Another small update - catharpins done. They were made by simply weaving a rope between the futtock staves & then they were tied together in small bundles. They will be tighter after the futtock shrouds are on & tensioned. Mark
- 652 replies
-
- 8
-
-
- royal william
- euromodel
- (and 1 more)
-
That is especially true about the metal bands that fit around the transom supports. At first they seem like they are too short,but if the transom supports are shaped right they will fit.After shaping the supports,I actually had to shorten the metal bands a little where they meet the hull. Patience & a lot of test fitting is the key to getting everything to fit. Pete`s info on this area is very helpful. By the way,don`t throw anything away from the kit until the entire ship is finished - you will probably need to make some items from off-cuts & the sheets that the laser cut parts came out of. Mark
-
Hi Ken - I was also pleased by the tone of the wood in the kit,so I didn`t paint mine either. The stern will be quite an adventure,so take your time with it. You will be doing a lot of test fitting,filing,& sanding. It will be the most difficult part of the build. I ended up cutting off all 3 lower decks at the last bulkhead - they did not line up with the transom support blocks & the angles were off too. Also,the lower transom support is the most important piece to get right - how everything above it fits is dependent on getting it as close to the correct shape & position as possible. One more thing - make sure the 2 main support pieces match the plans before you start carving them - mine were cut incorrectly as noted in my log. Euromodel was very apologetic about the error,but I decided to just make new ones. As I understand it,only a few kits had the mis-cut pieces,so you should be ok. Mark
-
Thanks Michael - working on them as I speak. Mark
- 652 replies
-
- 2
-
-
- royal william
- euromodel
- (and 1 more)
-
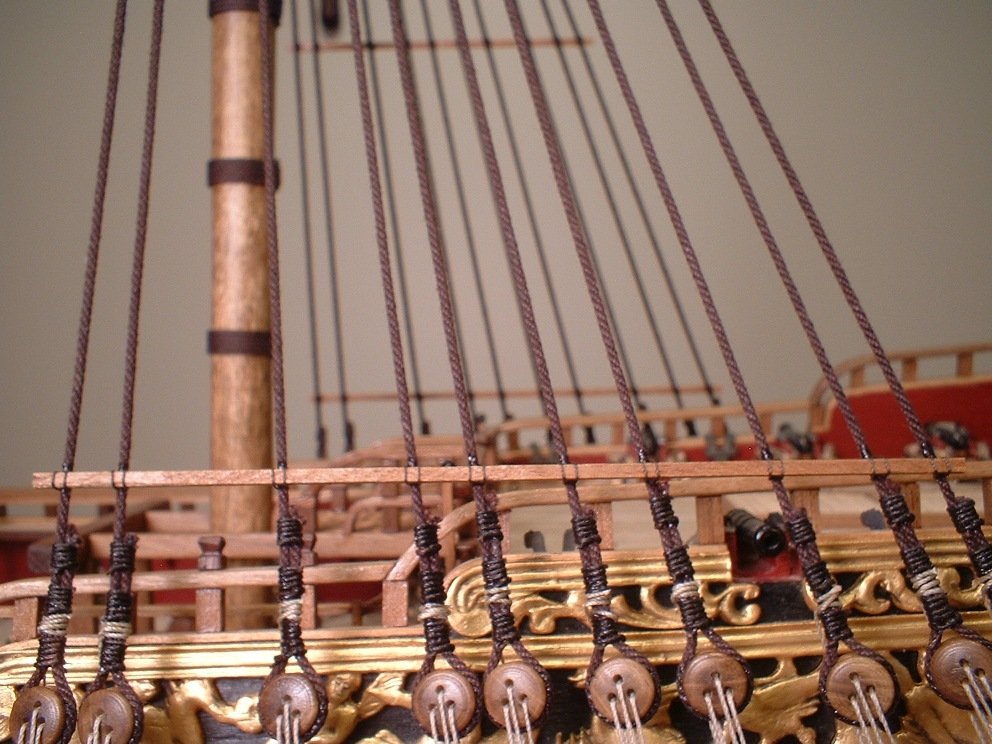
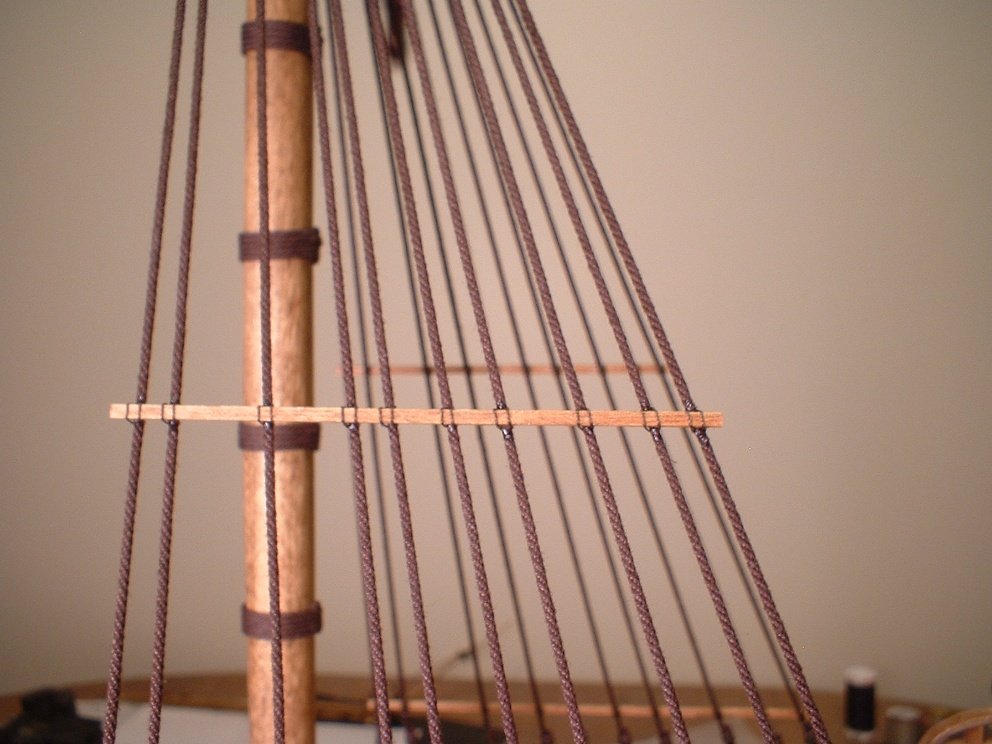
Thanks Pete - the the staves are 1.5mm square. 1mm may have looked a little better,but strips that small are just too fragile for this area. Mark
-
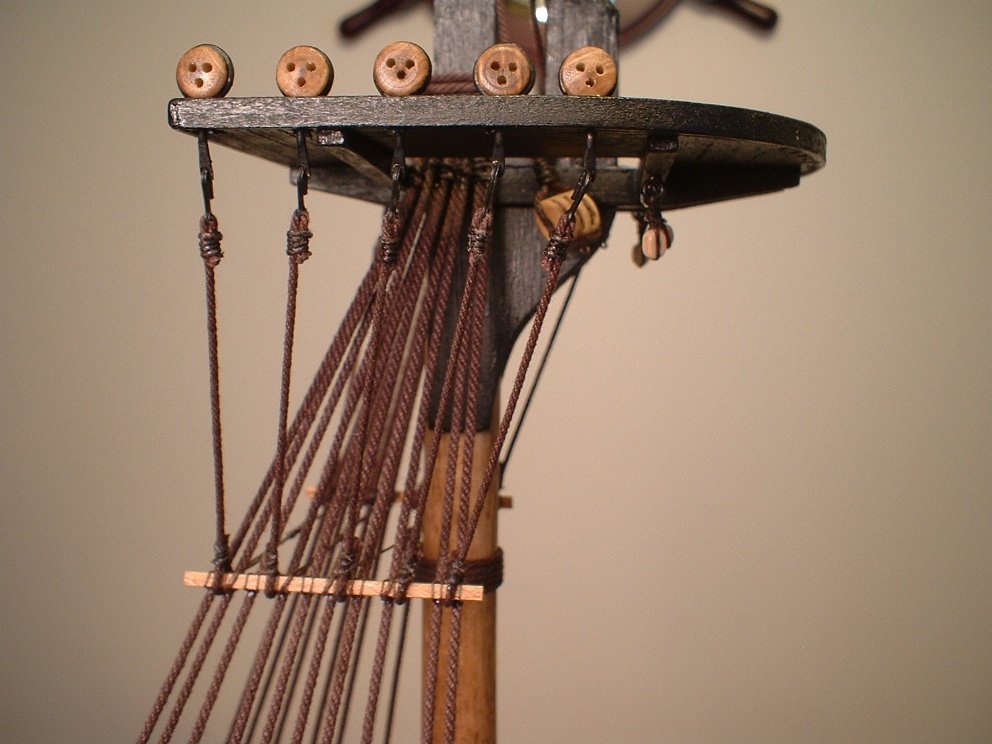
Another little update - all the lower shrouds are now done. Also added all the staves to the shrouds - each one is tied to each shroud rope. Glad to get that fiddly stuff done.Still deciding whether to add catharpins - they are not shown on the plans,but they were in use at that time period. Mark
- 652 replies
-
- 11
-
-
- royal william
- euromodel
- (and 1 more)
-
Another small update - the foremast lower shrouds are done. A bit fiddly to get them even,but they are pretty close. Mark
- 652 replies
-
- 8
-
-
- royal william
- euromodel
- (and 1 more)
-
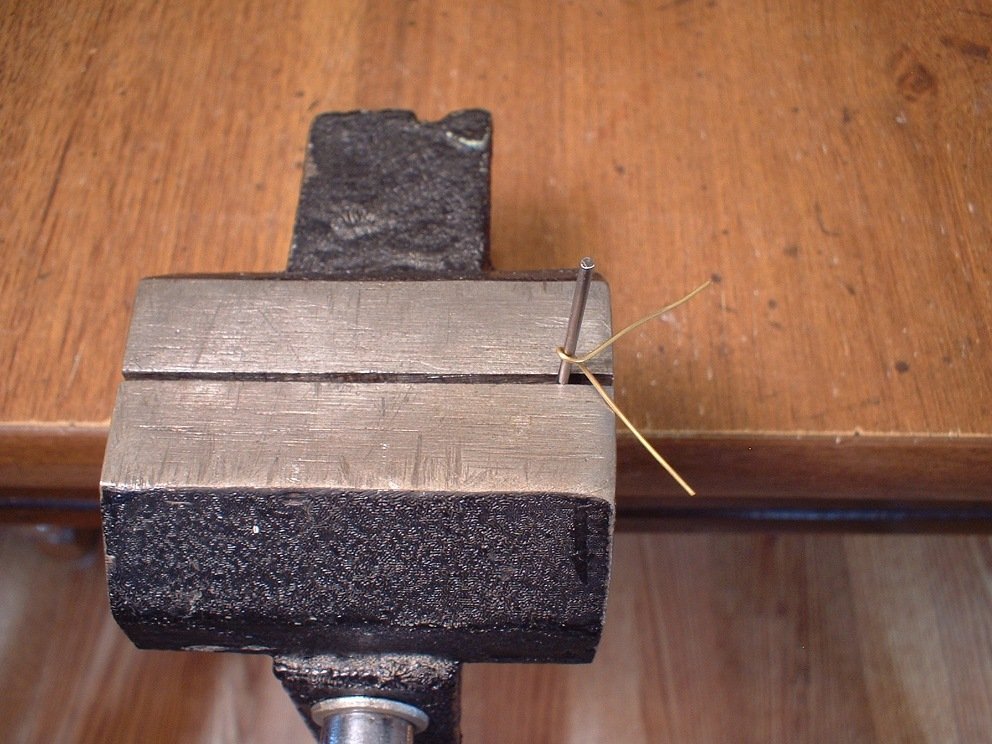
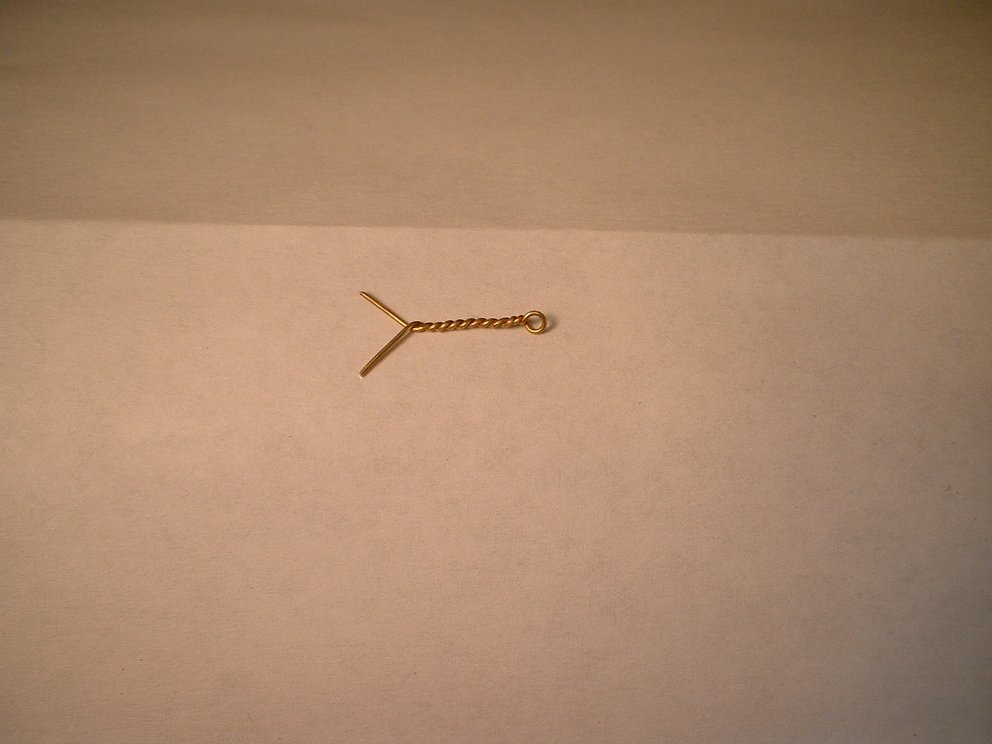
Thanks Pete - it`s so easy it only takes about 20 seconds to make them. Also the twisted stem actually makes them hold better when glued into a hole. Mark
-
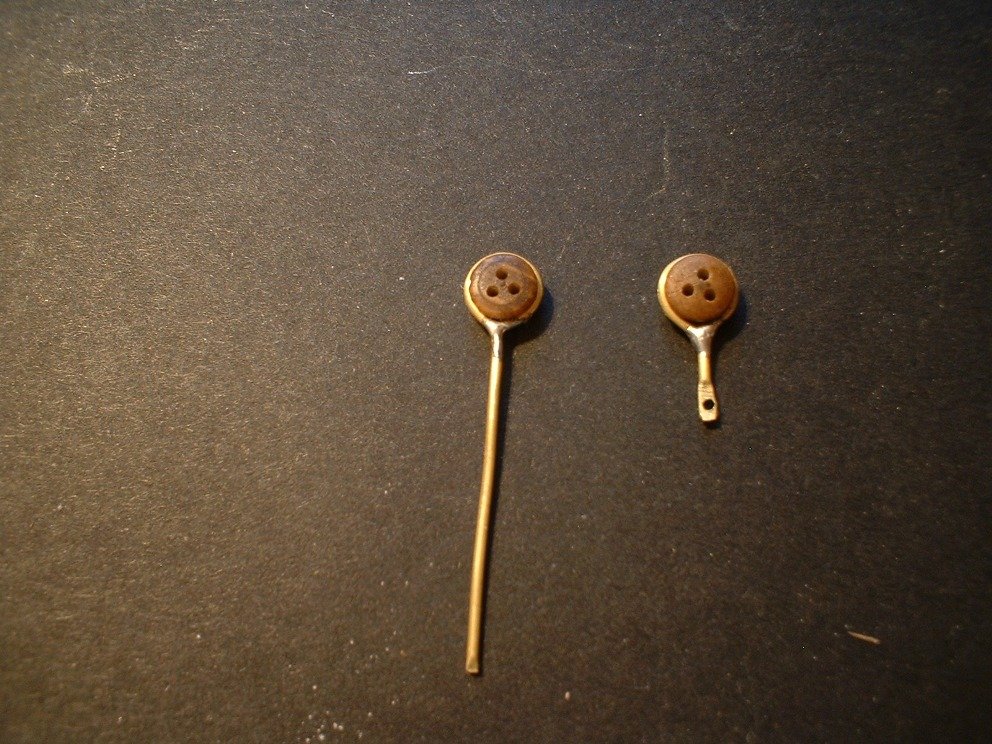
Thanks for your comments & likes,guys. The eyebolts are really easy to make - just put a small drill bit in a vice,wrap the wire around it,then continue to twist it with a pair of pliers. The nice thing is you can make them any size you want depending on the size of drill bit. I made this one with .8mm wire & a #55 drill bit. Mark
- 652 replies
-
- 3
-
-
- royal william
- euromodel
- (and 1 more)
-
Thanks Greg. Mark
-
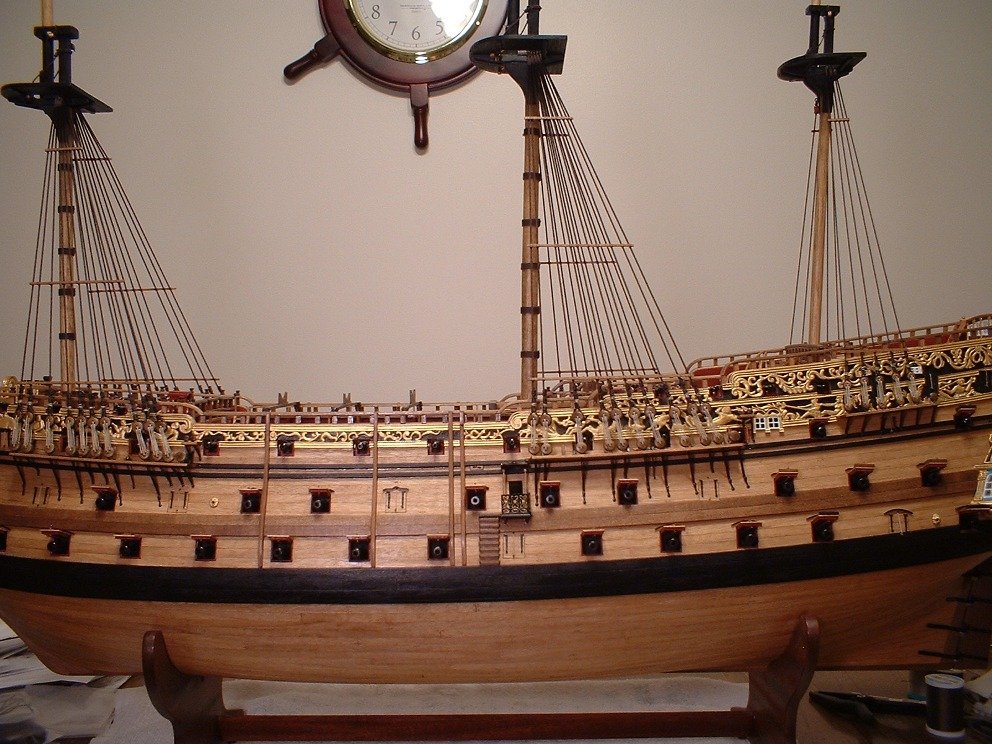
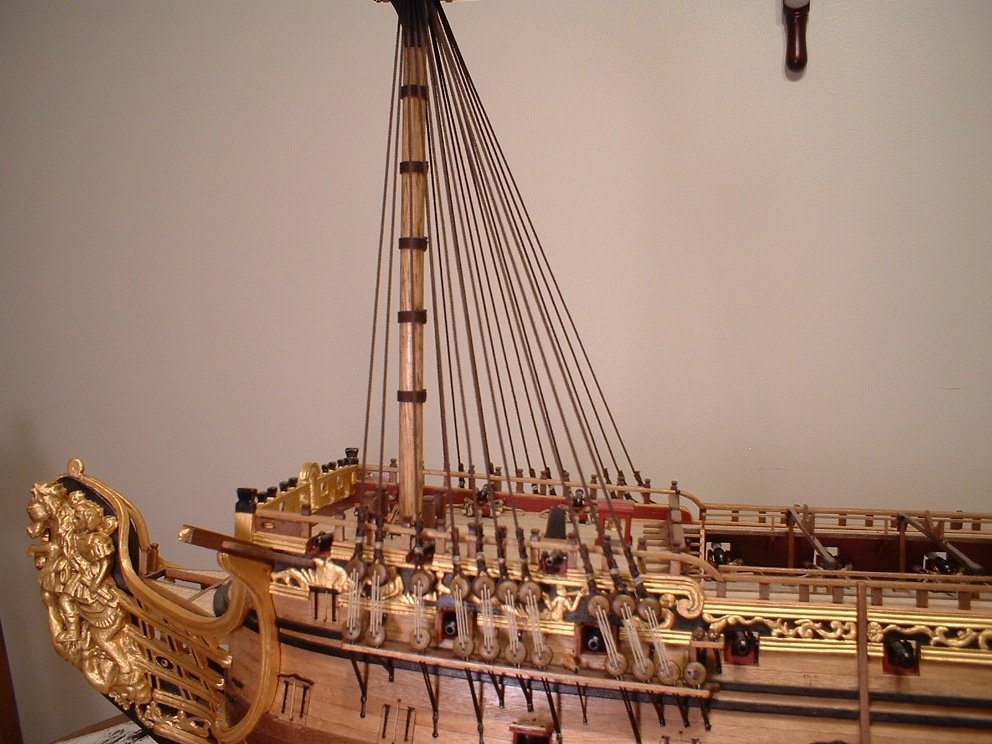
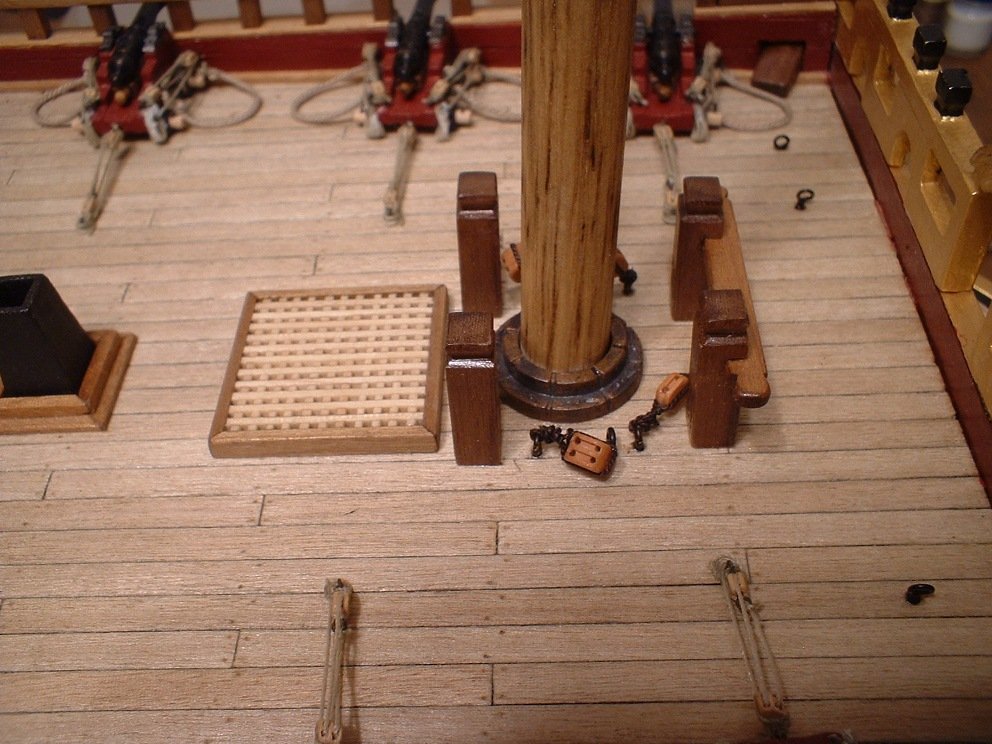
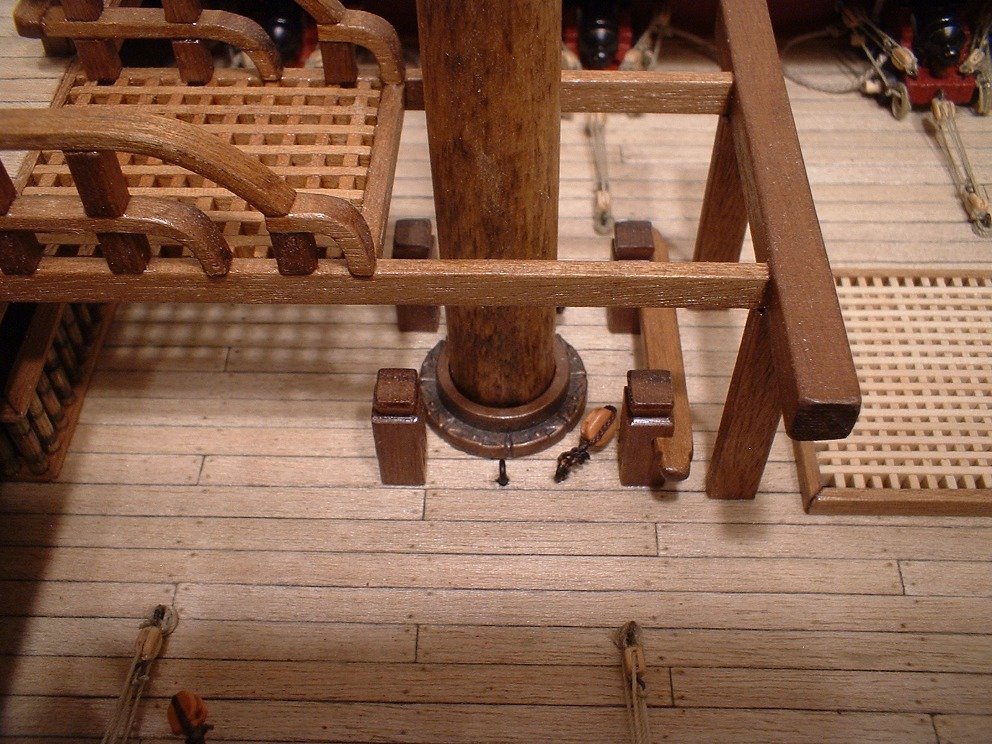
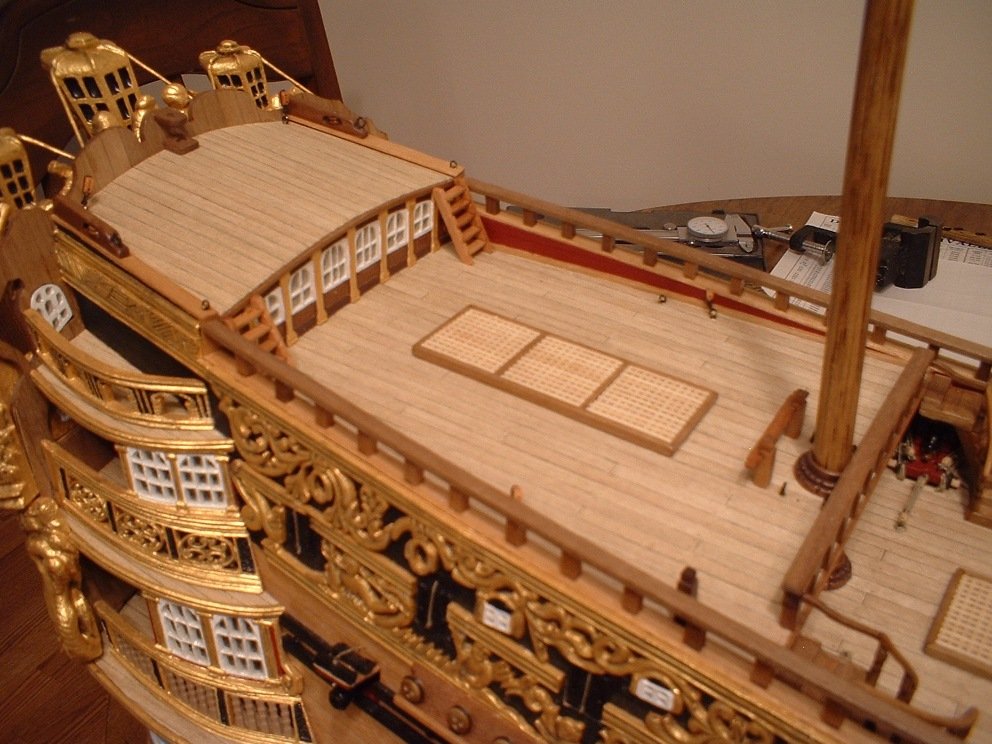
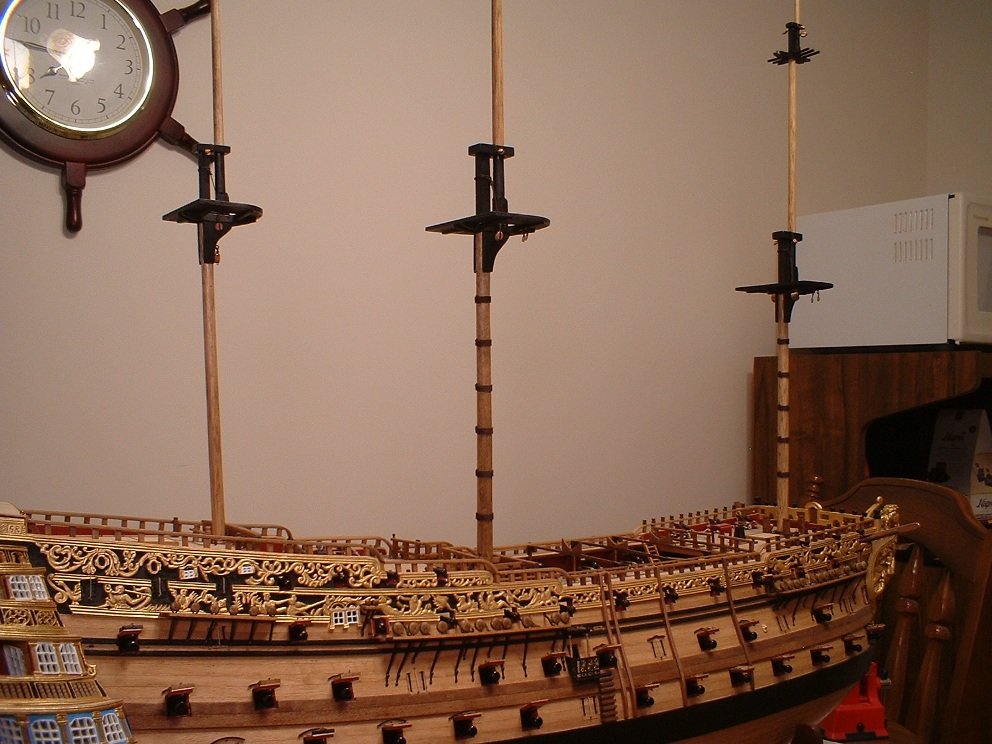
Another small update - all the necessary (I think) blocks & eyebolts have been added to the decks. The masts have also been permanently set in place. The bowsprit will not be installed until the shrouds are done - too easy to snap it off while turning the ship around numerous times. Mark
- 652 replies
-
- 7
-
-
- royal william
- euromodel
- (and 1 more)
-
Hi Popeye - I already have some of those eyepins from Michaels. Unfortunately,the eyes are a bit too large - couldn`t find any that were small enough. I may go back & ask someone in the store if they have any smaller ones rather than try & find them myself. I may also get some more from Model Expo next time they have a sale on supplies. Mark
- 652 replies
-
- 1
-
-
- royal william
- euromodel
- (and 1 more)
-
Hi Ken - how are your fingers holding up? mine got pretty sore trying to hold these while filing them out. I couldn`t put them in a vice to hold them or the soft metal would have been damaged. Mark
-
Thanks Greg & Pete - I should be farther along,but with the weather turning nice progress has slowed.Even with Pete`s guidance it still takes me a while to figure out all this rigging stuff. I am also a little short on eyebolts,so I need to make a few more before moving on. Mark
-
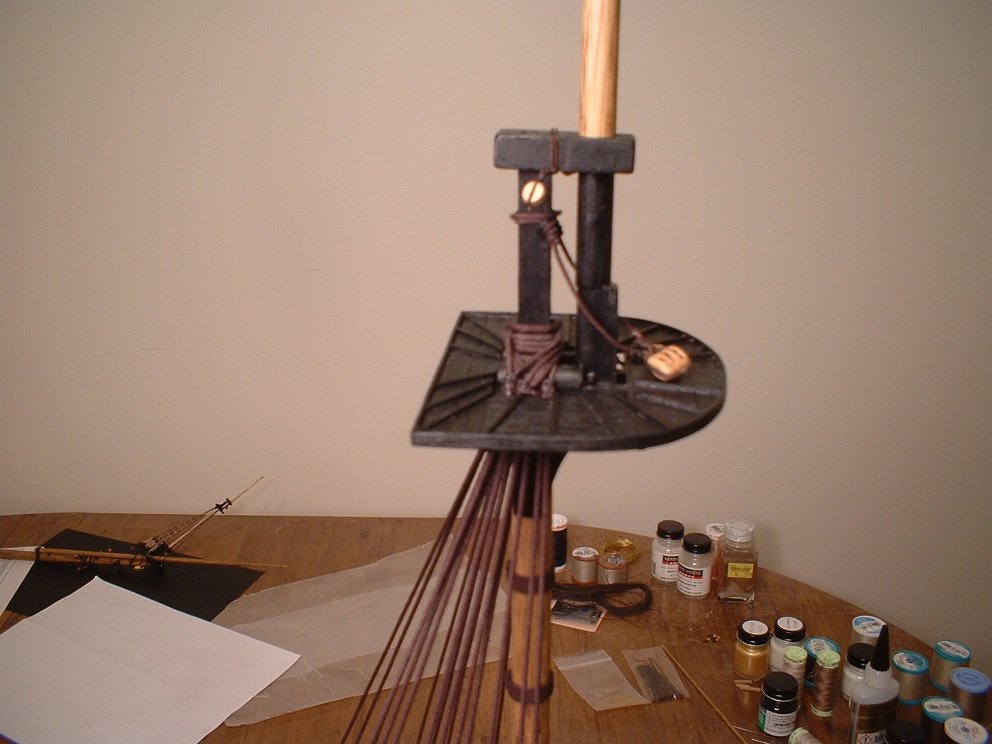
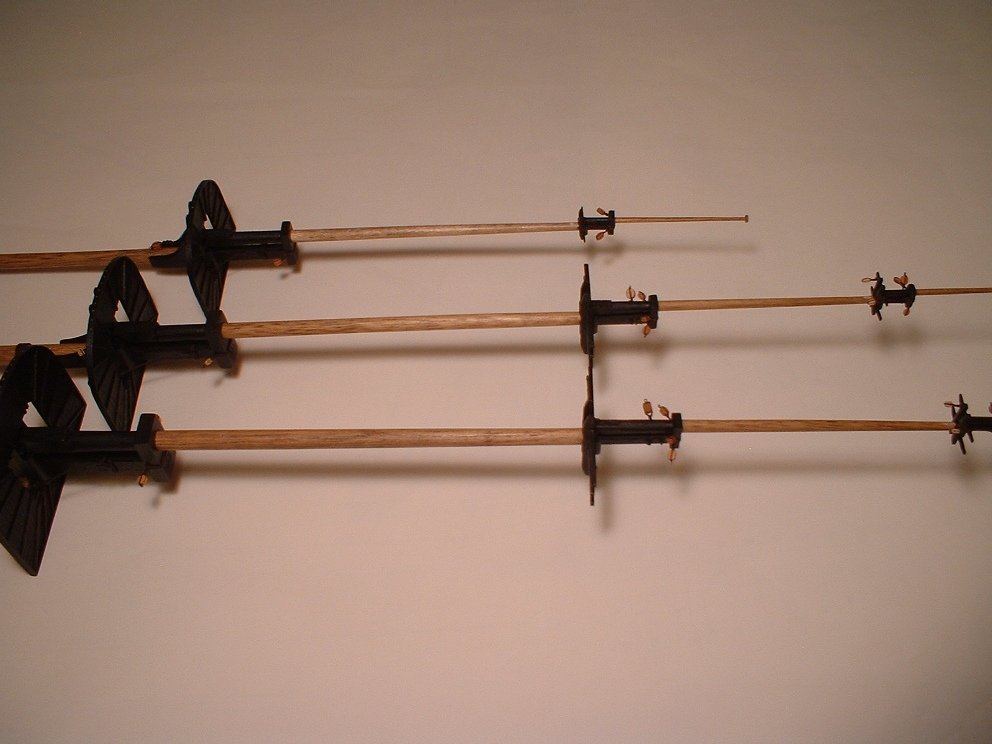
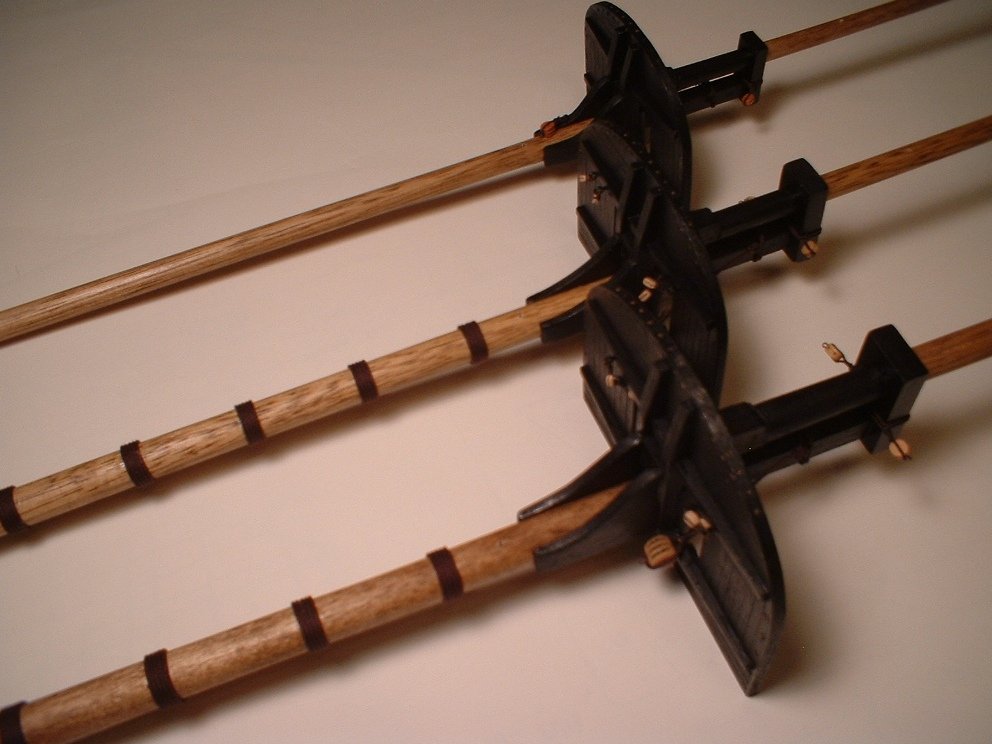
A small update - the necessary blocks & wooldings have been added to the masts. More blocks & eyebolts need to be added to various parts of the decks yet before stepping the masts. Mark
- 652 replies
-
- 9
-
-
- royal william
- euromodel
- (and 1 more)
-
Thanks Michael. Mark