marktiedens
-
Posts
1,737 -
Joined
-
Last visited
Content Type
Profiles
Forums
Gallery
Events
Everything posted by marktiedens
-
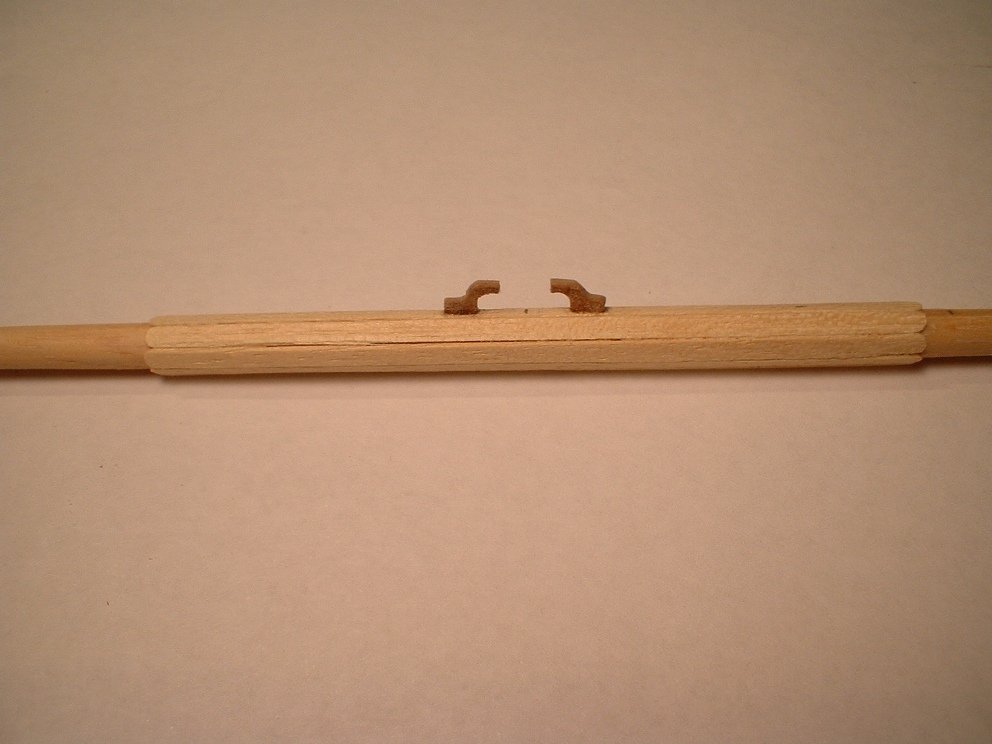
Thanks Greg - the yards will be painted all black. Still have a little fine tuning to do on the sling cleats. The stunsail booms will be stained walnut & not be painted. Mark
- 652 replies
-
- 1
-

-
- royal william
- euromodel
- (and 1 more)
-
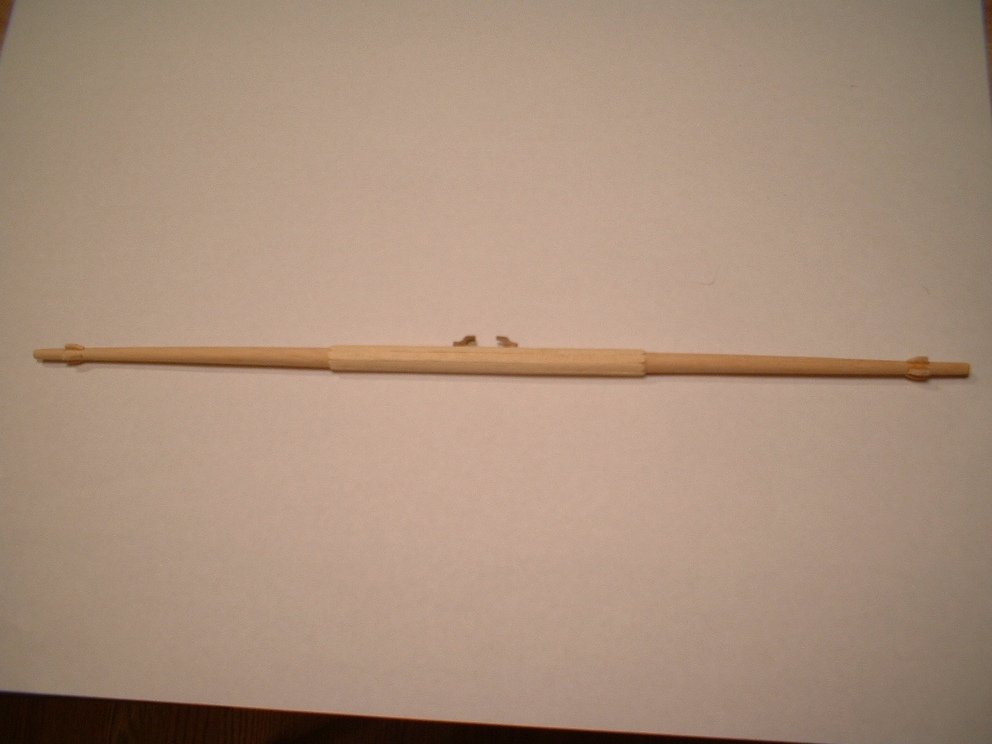
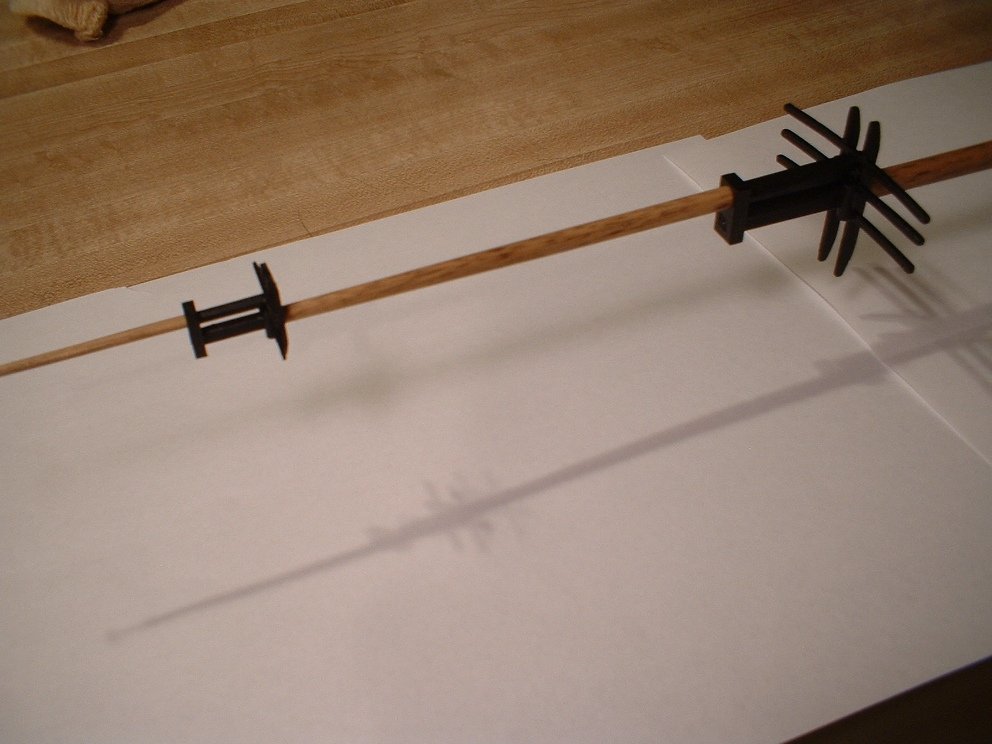
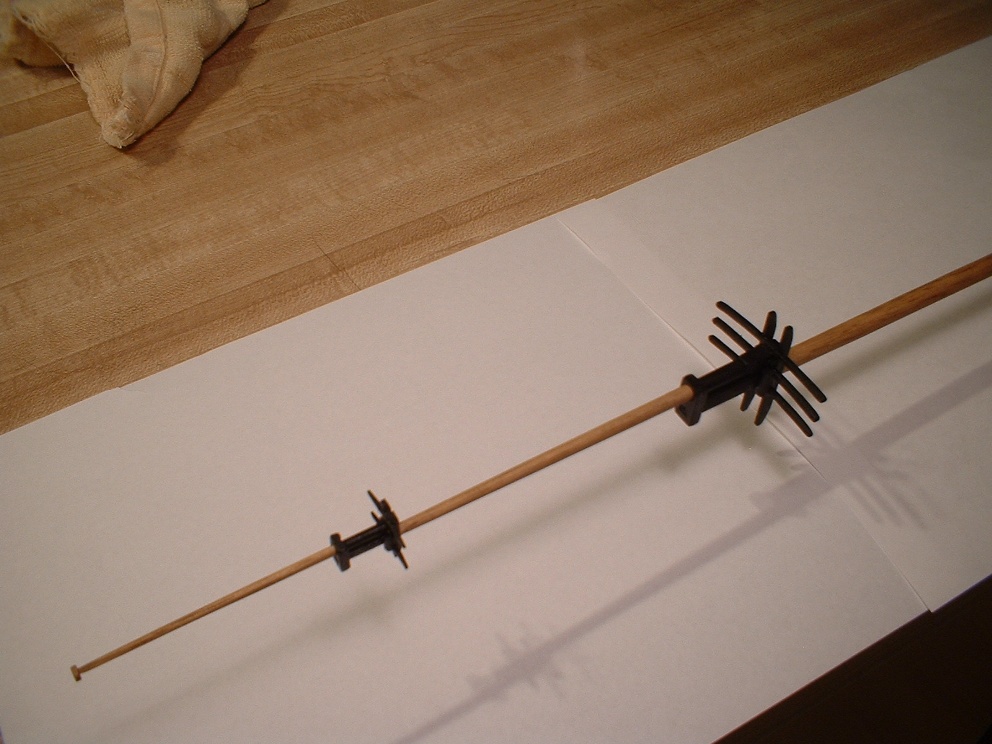
Update - all the yards are now cut & shaped. Battens were added to the center portion of the appropriate yards,along with the cleats at the ends,& the sling cleats where needed. I found one error on the plans - the battens on the fore topmast yard were about 3mm off center,so I had to file off the previously installed battens on that yard & re-do them. All the other drawings were spot on. Mark
- 652 replies
-
- 4
-
-
- royal william
- euromodel
- (and 1 more)
-
Michael - the black painted tops were a normal feature on English ships of this era. Not sure exactly why they were painted black - maybe to slow down wood rot. Those flat tops would most likely have water sitting on them from time to time. All the yards are also painted black. Ahh,yes,the fids - hard to see in the pictures,but they are there. The bolsters are there also. Mark
- 652 replies
-
- 1
-
-
- royal william
- euromodel
- (and 1 more)
-
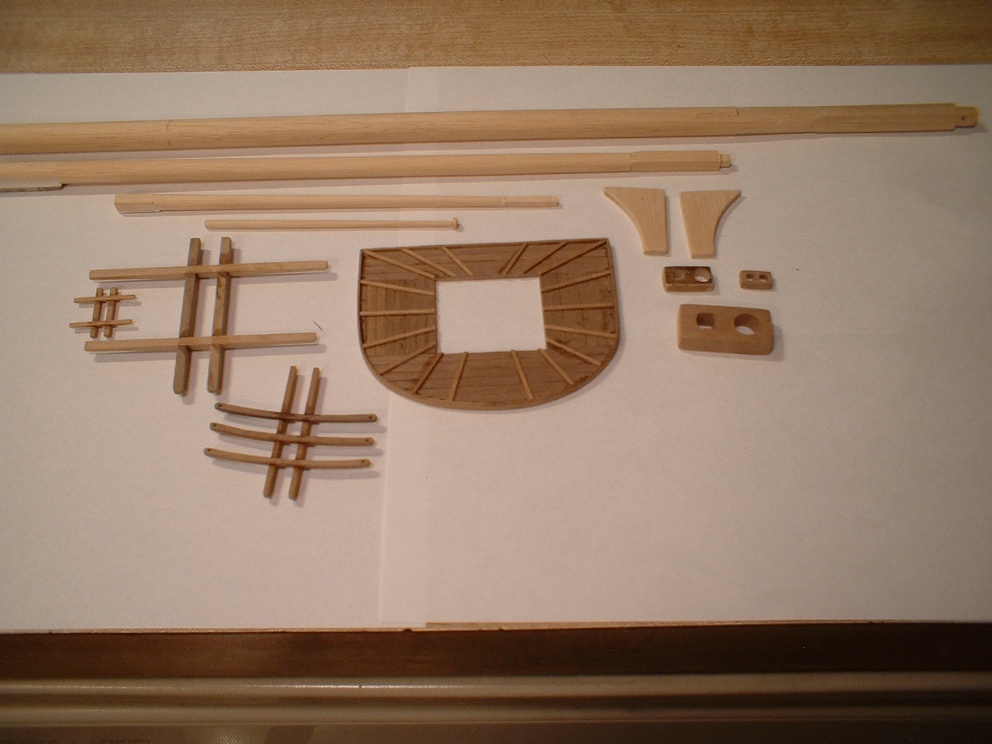
Another update - mizzen mast is now completed. As before,all components were cut & shaped according to the plans. The mizzen mast is angled back a few degrees,so the cheeks were cut at an angle so the top would sit level. Mark

.JPG.021c611693617824ad8212c8fe6ab981.JPG)
- 652 replies
-
- 8
-
-
- royal william
- euromodel
- (and 1 more)
-
I would say you could go either way,but you may want to set the deck in place & mark the extensions at the level of the deck first so you won`t have a dip when you lay the deck planks. In other words, the extensions should be cut off at the same level as the false deck. Hope that helps. Mark
-
I would think that the lateen yard would be semi-permanently mounted since the topsail yard braces run through blocks attached to the upper end. Also,which side of the mast would it normally be attached to - port or starboard side? Mark
-
Thanks guys. Other necessary items such as blocks & wooldings will be added later,before permanently gluing them in place. I might add that the mast sections were stained with Minwax "special walnut". The larger sections were turned down with a lathe,while the smaller sections were shaped with a small hand plane,files,& sandpaper. Mark
-
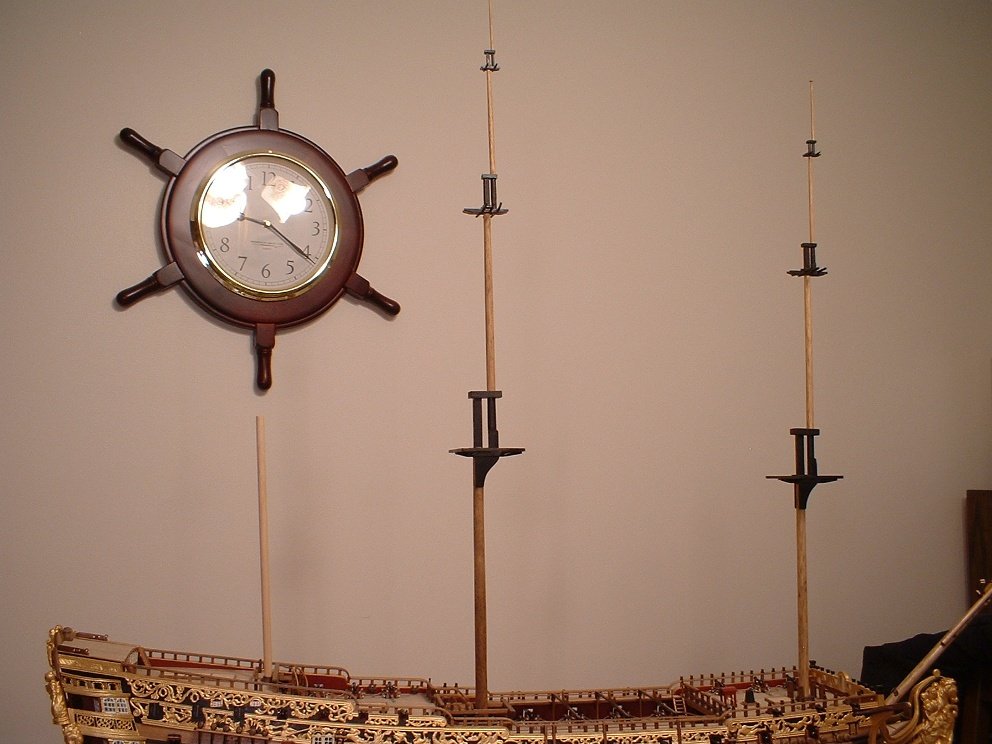
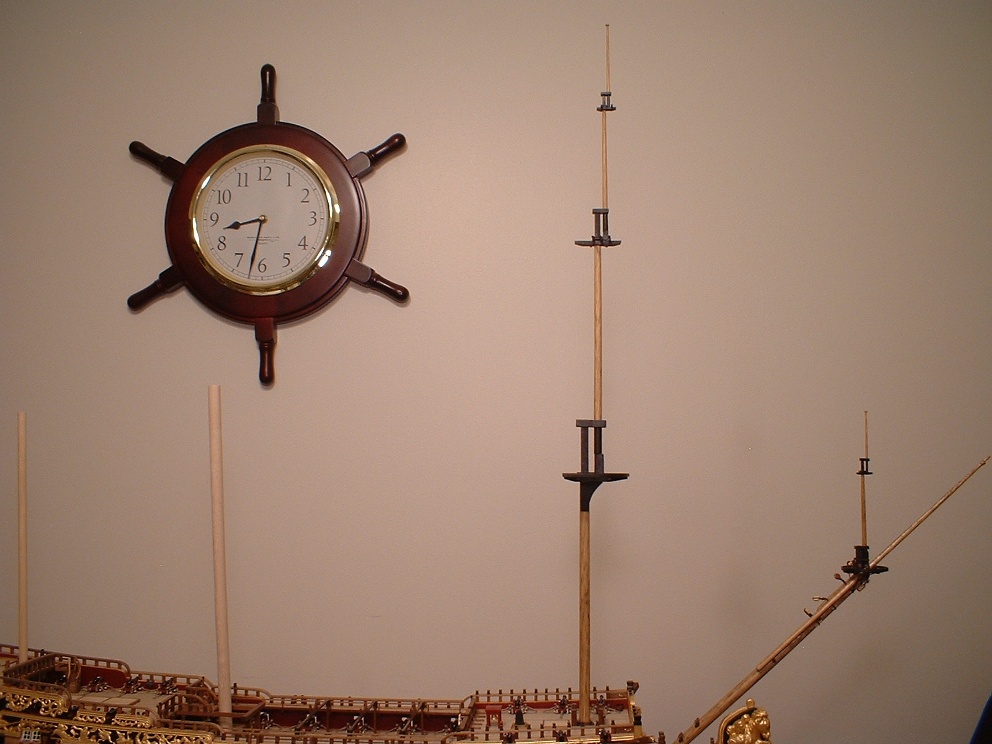
Another update - the main mast was built identical to the fore mast,except larger. Hard to get a good picture of it since the height is about 770mm above deck level. Mark
.JPG.610a40c874cce3756cee50f46ba6a2c7.JPG)
- 652 replies
-
- 12
-
-
- royal william
- euromodel
- (and 1 more)
-
Thanks Lawrence - rigging is not really my favorite thing to do,but I will do my best. Mark
- 652 replies
-
- 1
-
-
- royal william
- euromodel
- (and 1 more)
-
You are right about that,Pete - the main top alone is 83 separate pieces. So nice that the plan sheets are full size so the mast parts can be made directly from the plans without having to do a lot of extra math or measuring. Mark
-
Thanks Greg - The picture issue is probably my fault. I will figure it out eventually(I hope). Mark
-
Update - after a lot of cutting,shaping,filing,& sanding the foremast has been assembled & painted. Mark For some reason,all the pictures are in reverse order.
.JPG.d952c0b8f1ad77f1c9ad6232e6eb9e7f.JPG)

- 652 replies
-
- 12
-
-
- royal william
- euromodel
- (and 1 more)
-
Thanks Greg . All the mast parts need to be scratch built from the supplied wood,so it`s a little slow going anyway. Mark
-
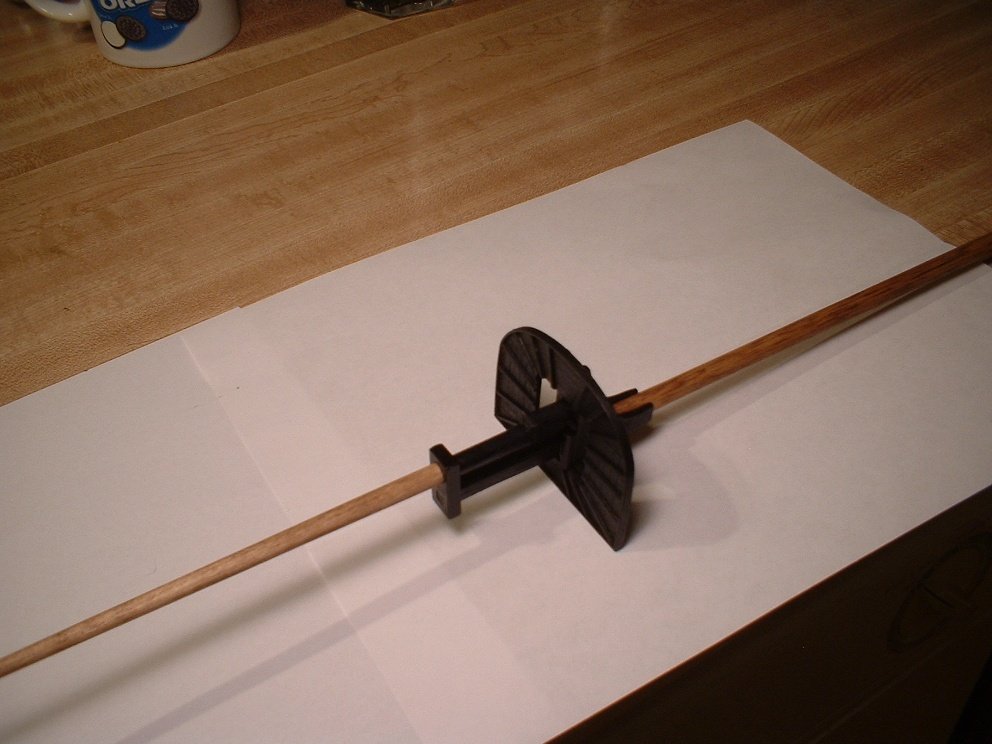
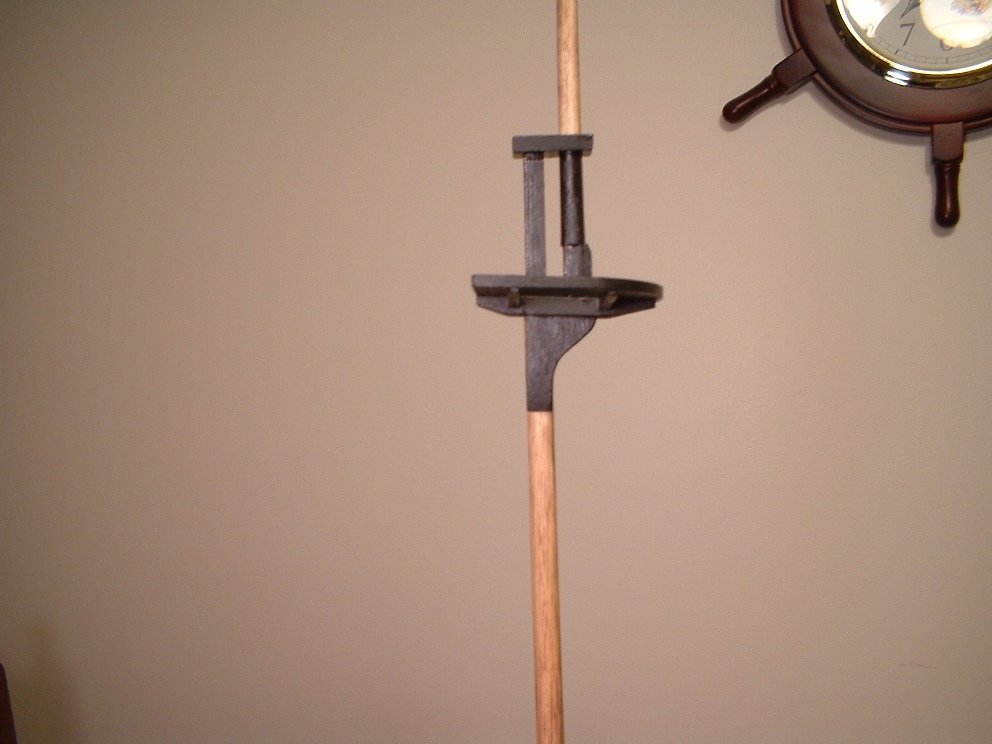
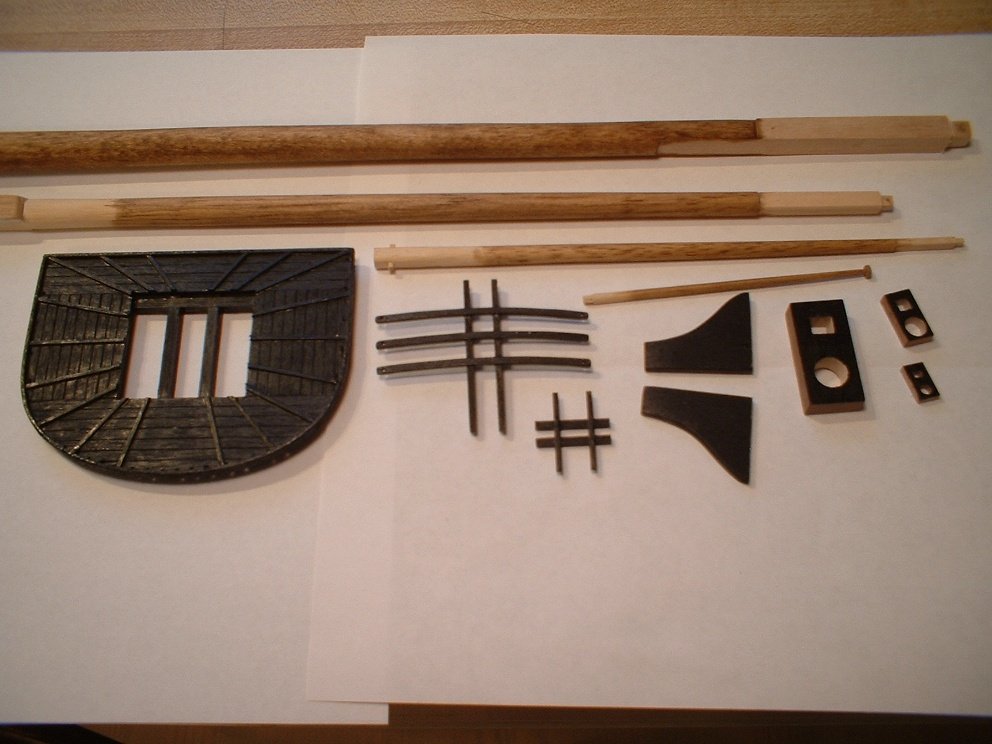
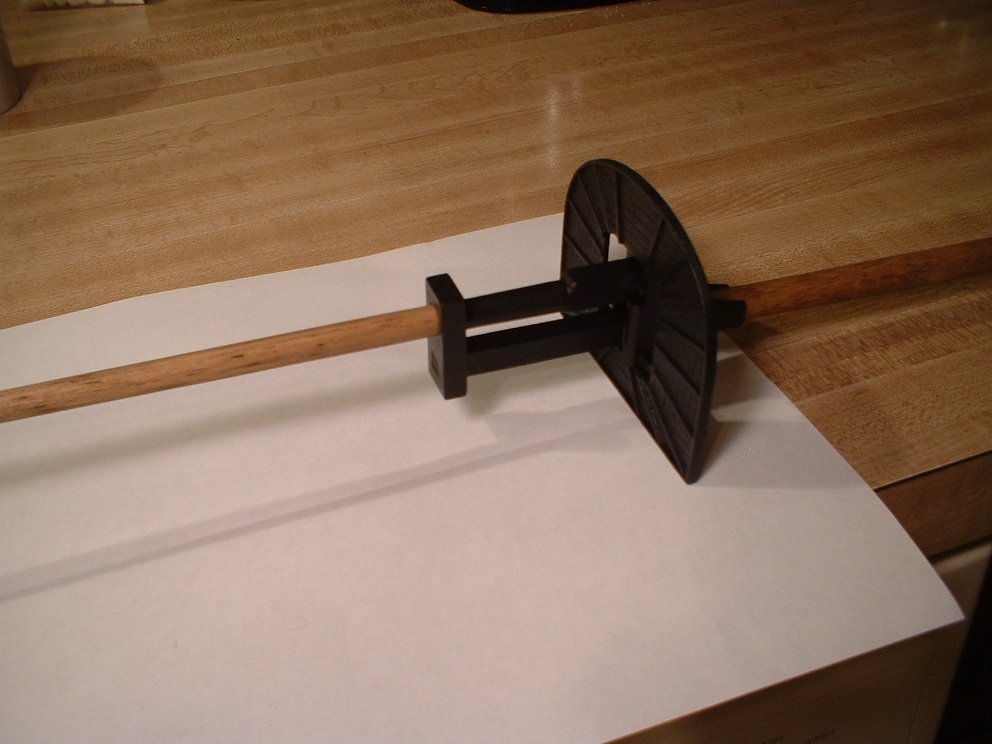
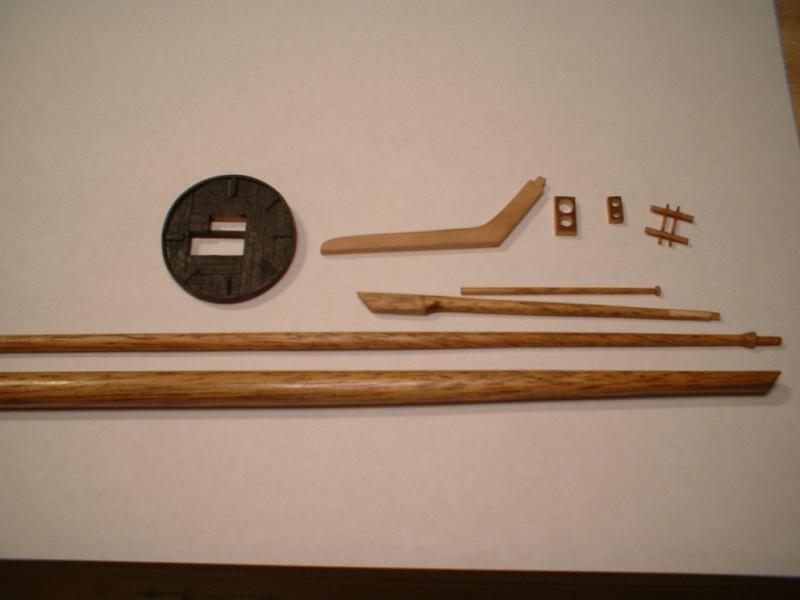
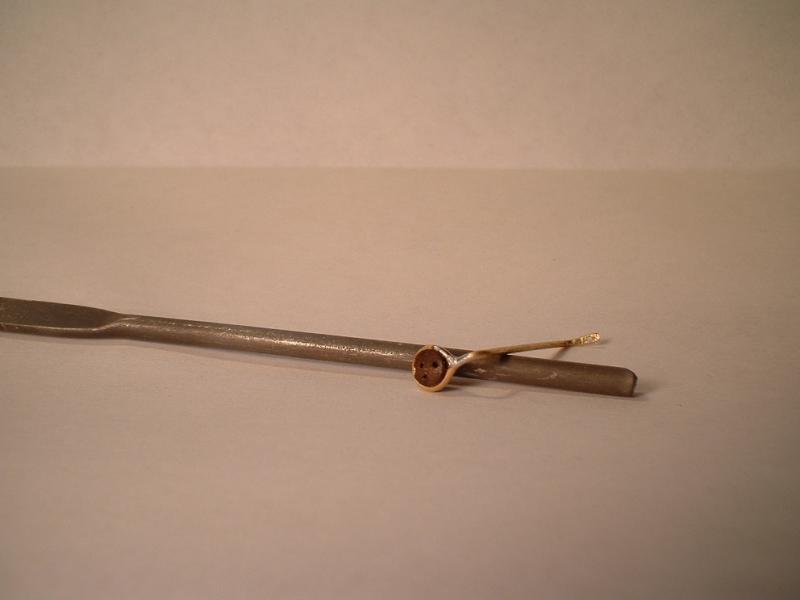
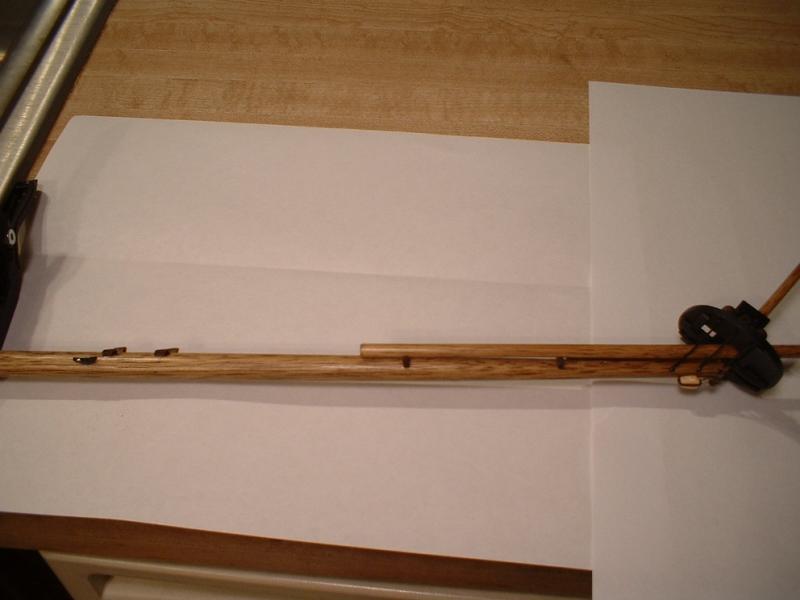
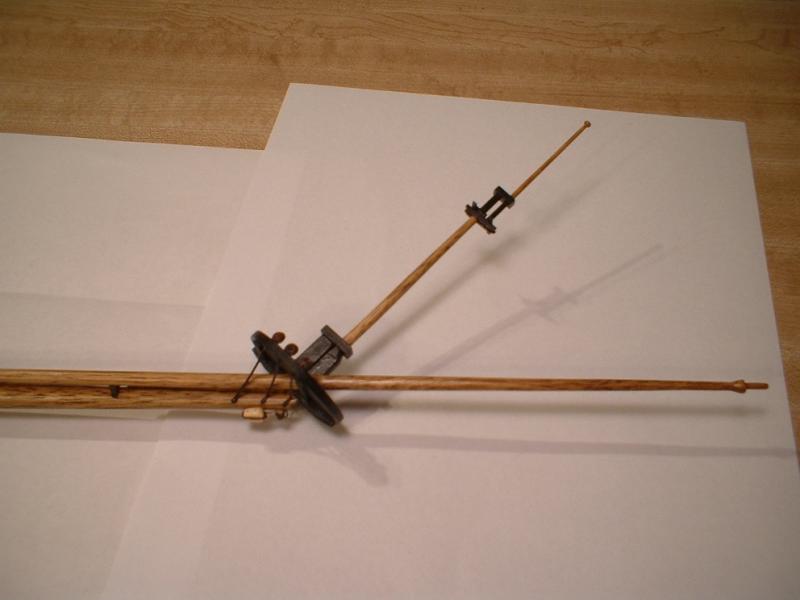
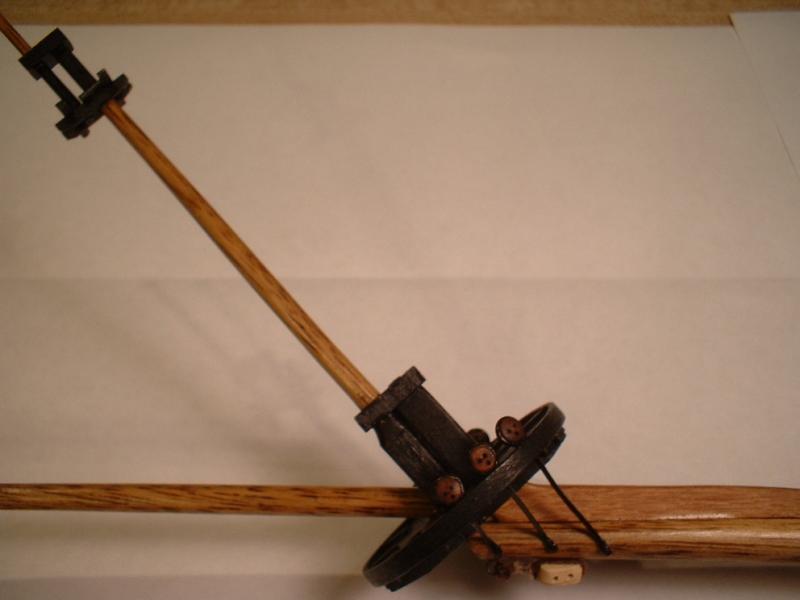
Hi Greg - I have taken a bit of a break due to catching a cold a couple of weeks ago & feeling lousy. I am much better now & should be up to speed soon. I have made a little progress on the bowsprit. The dowels were tapered & shaped according to the plans,then the top was cut from the supplied 1mm plywood & planked on both sides with a 1x3mm strip glued around the outside edge.The trestle trees & cross trees were then cut & shaped to fit & glued in place. The whole top assy. was then painted black. The chainplates were made by bending some .8mm brass wire around the deadeyes & soldered shut. The lower end was flattened in a vice & holes were drilled for nails. The design of the bowsprit is a little different than I have seen before - the top is offset to one side & the jibboom goes through the top rather than under it. Mark
- 652 replies
-
- 10
-
-
- royal william
- euromodel
- (and 1 more)
-
I have one of those & it is great for plank bending. It was made by Aeropiccola,which is no longer in business. I wouldn`t give mine up for anything. As far as getting one,keep searching ebay or maybe a site called Craigslist. It`s a great tool - I sometimes wonder why no one has continued to make one like it. Maybe the patent for the design is still in effect. Mark
-
It will be a while before I start mine - I am in the middle of another build right now. Mark
-
Thanks Frank . Mark
-
Pete - thanks so much. I could not have gotten to this point without your guidance & encouragement. Bill - from the pictures you posted yours should end up every bit as good as anyone else`s. Mark
- 652 replies
-
- 2
-
-
- royal william
- euromodel
- (and 1 more)
-
Thanks Rick - the hinges you provided to me came out pretty good. Mark
-
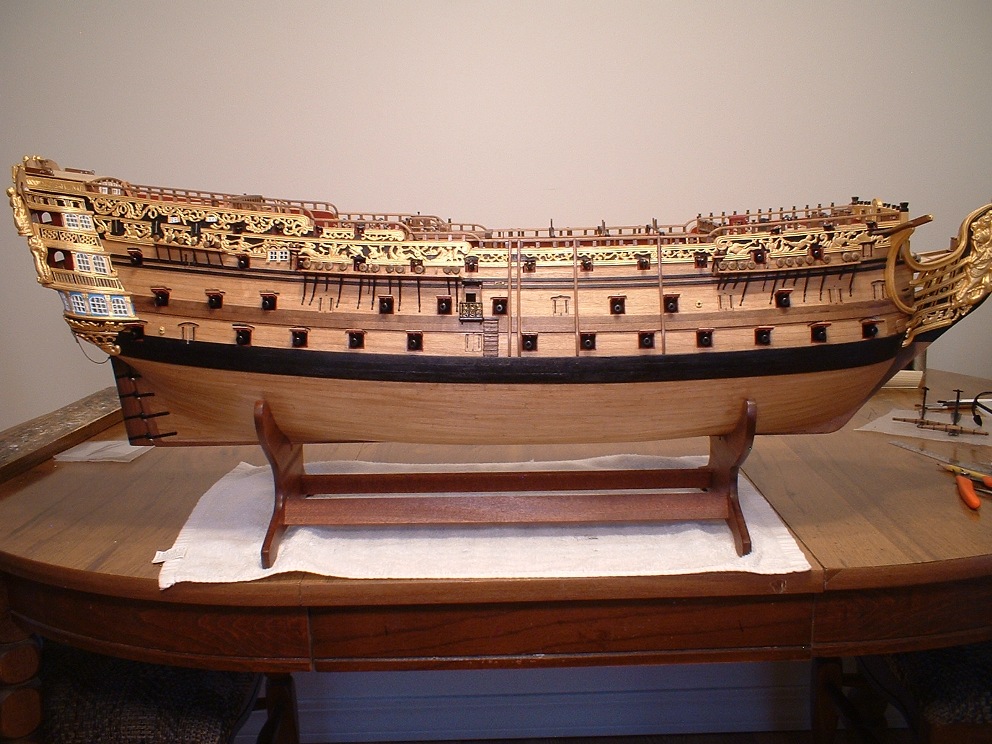
Thank you all for your nice comments & likes . As far as weight,all I have is one of those old step-on scales,but it shows about 11 pounds,which is quite heavy for a model this size. After picking it up & moving it around many times,I would say it is at least that heavy. That converts to about 5KG if my conversion chart is right. Mark
-
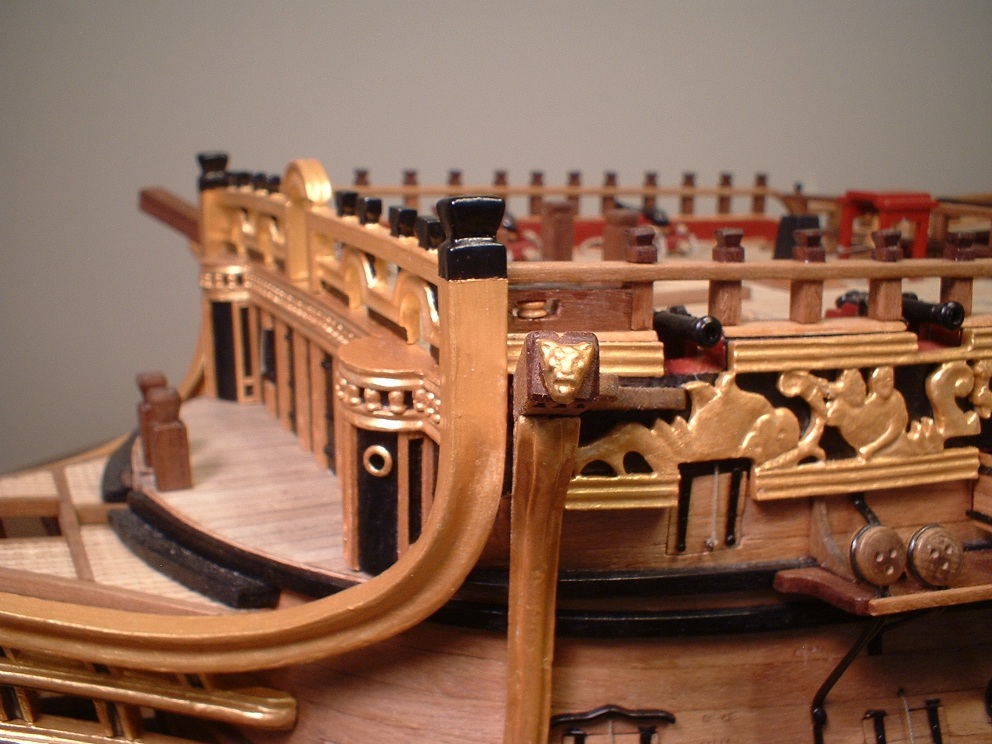
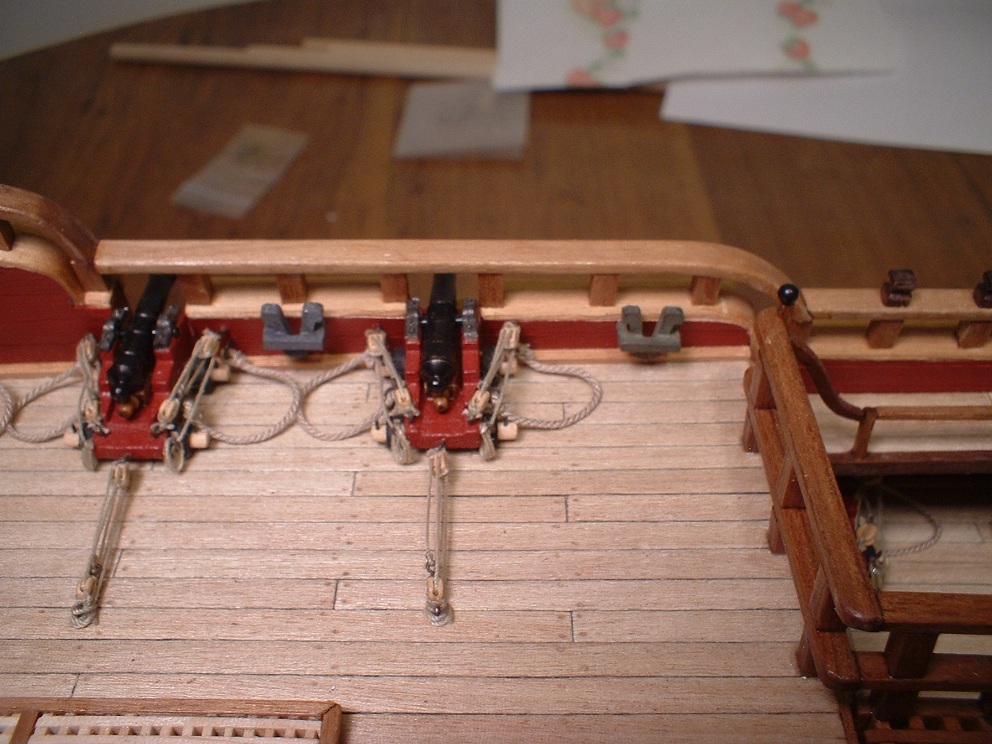
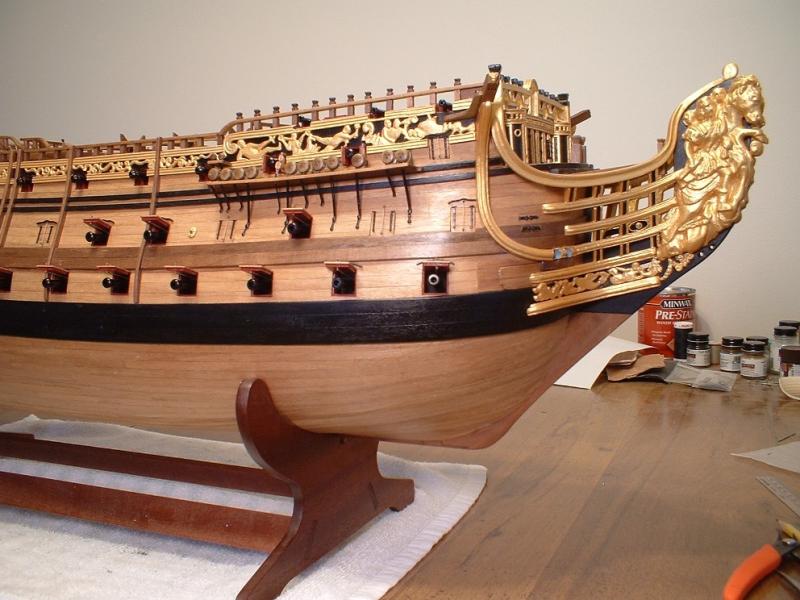
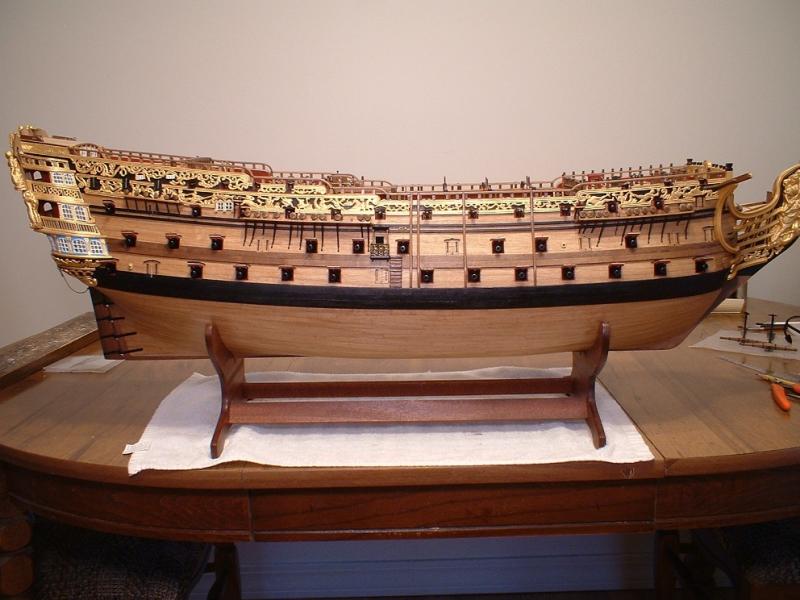
Update - moving right along,I added some cat heads to the catheads . Then I added the staghorn cleats to the quarterdeck bulwarks. I am pretty sure the hull is now complete except for the stern lanterns,which will be installed later . Mark


- 652 replies
-
- 13
-
-
- royal william
- euromodel
- (and 1 more)
-
Bill,your Royal William looks really nice . Mark
-
Thanks Greg - I got the heat shrink idea from someone else on the forum,but I don`t remember where I saw it,so thanks to that person for the idea. i`ve used a lot of heat shrink on automotive wiring repairs & have never seen it go bad,so it should be just fine for my little ship . Mark
-
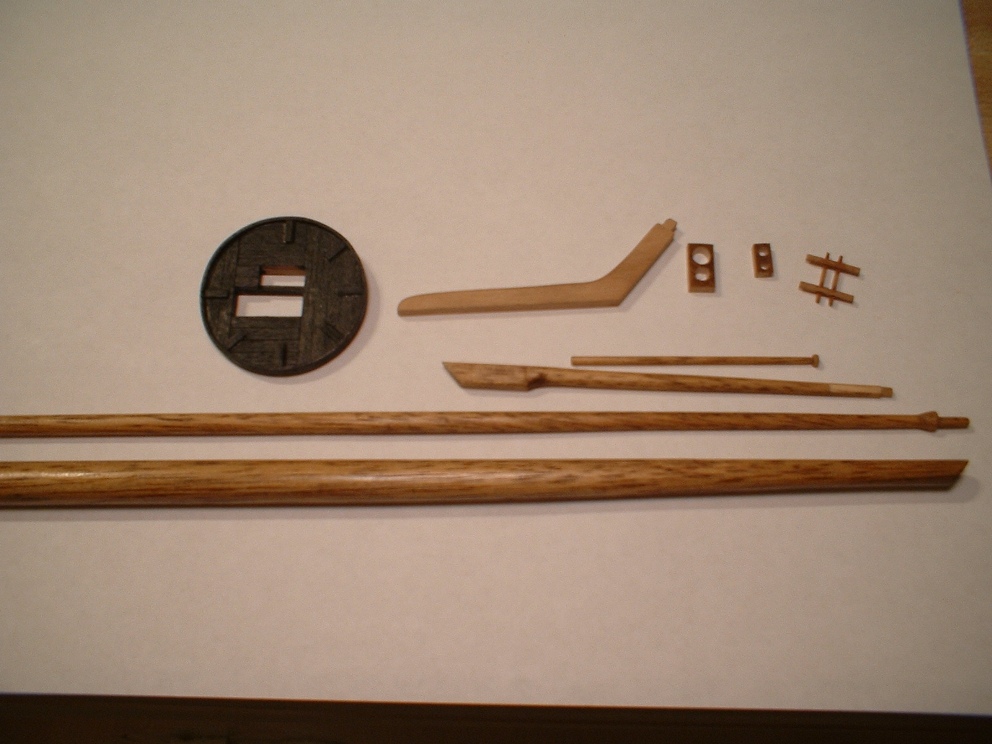
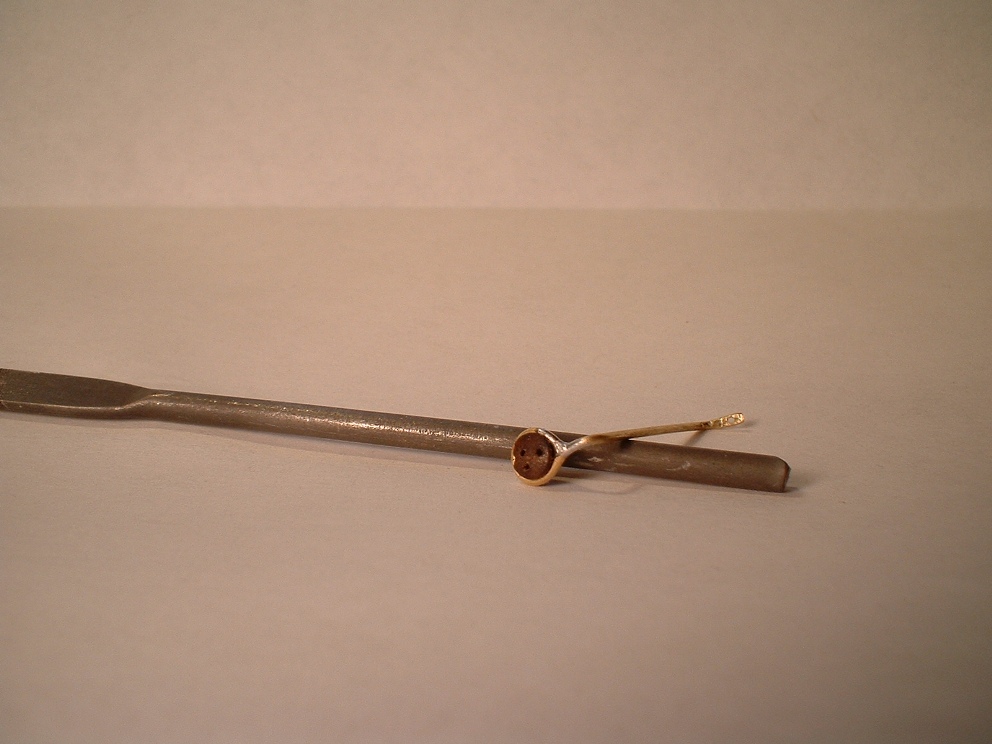
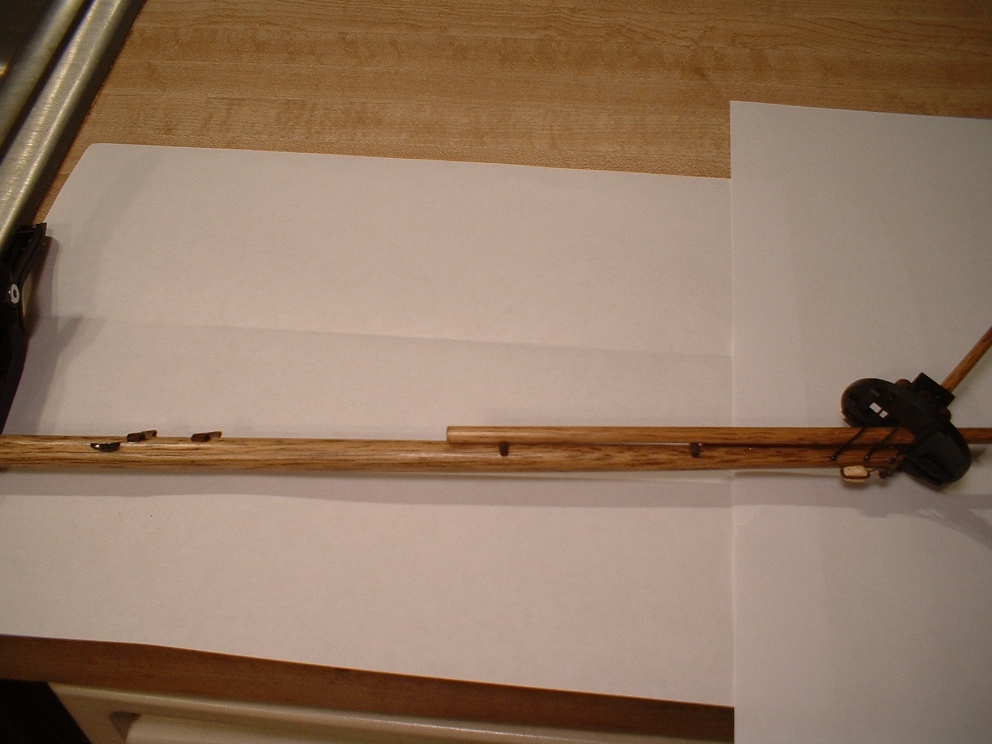
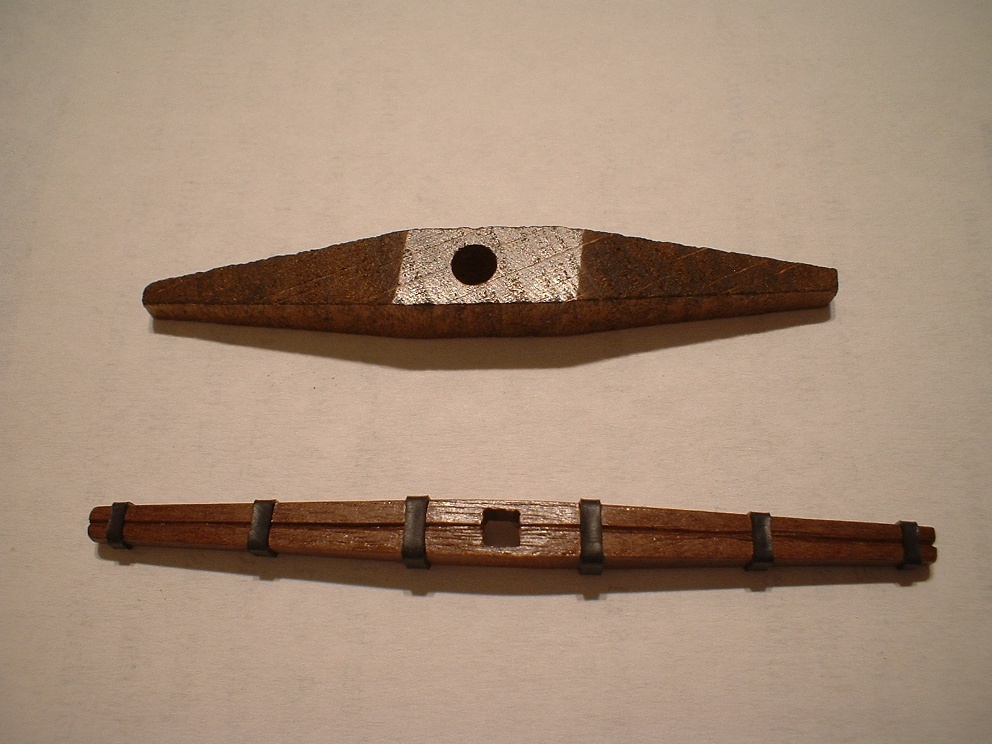
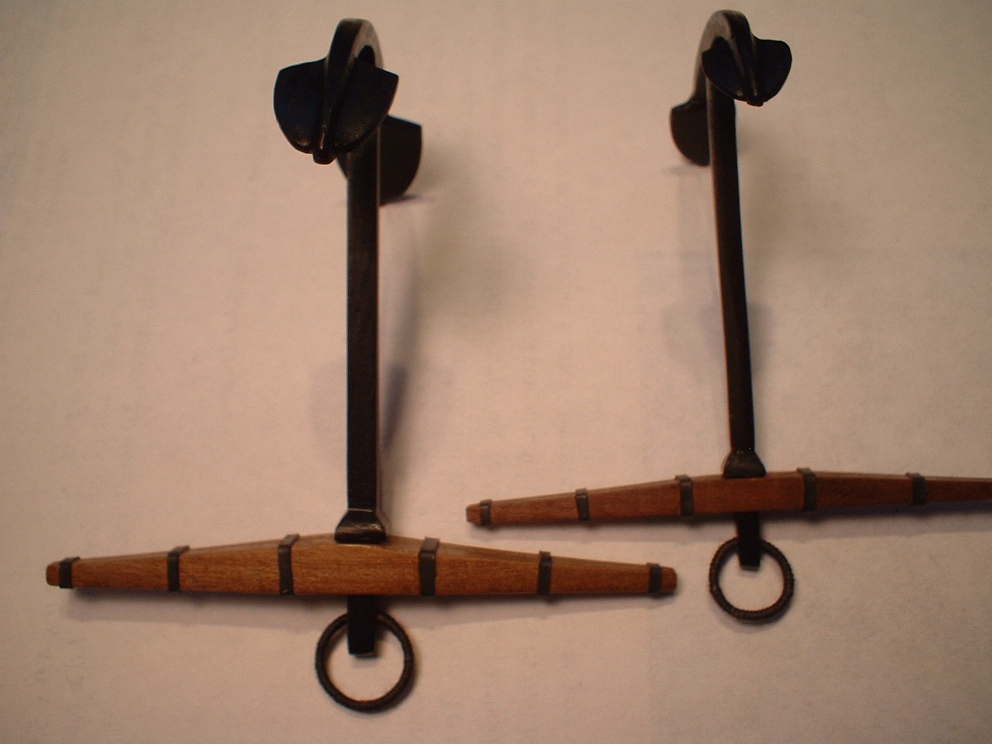
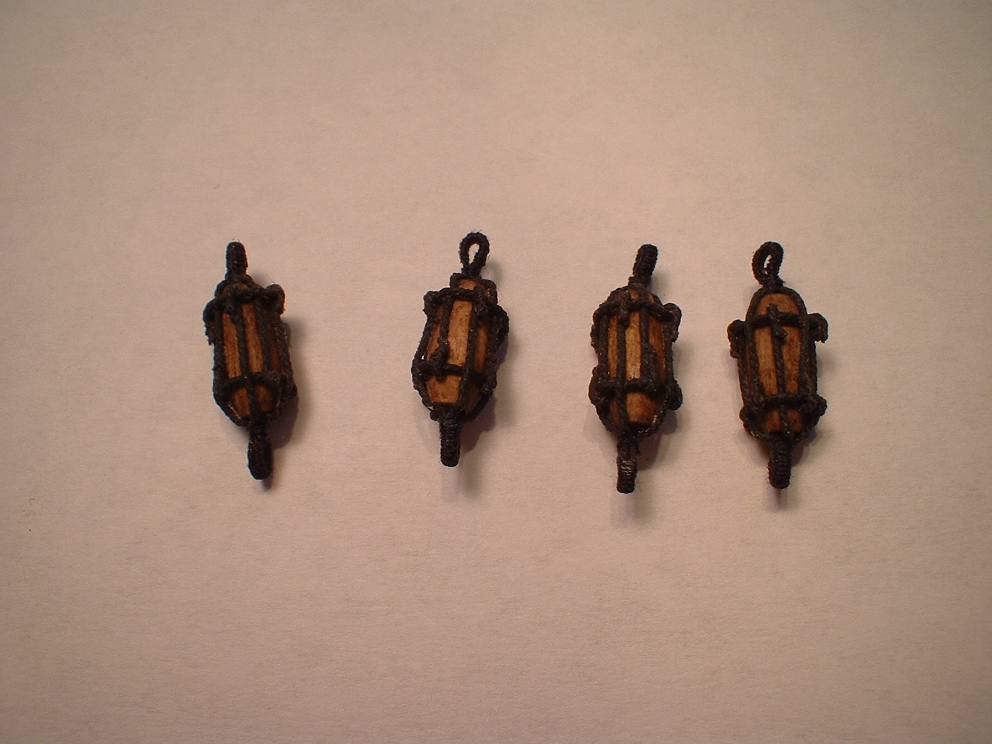
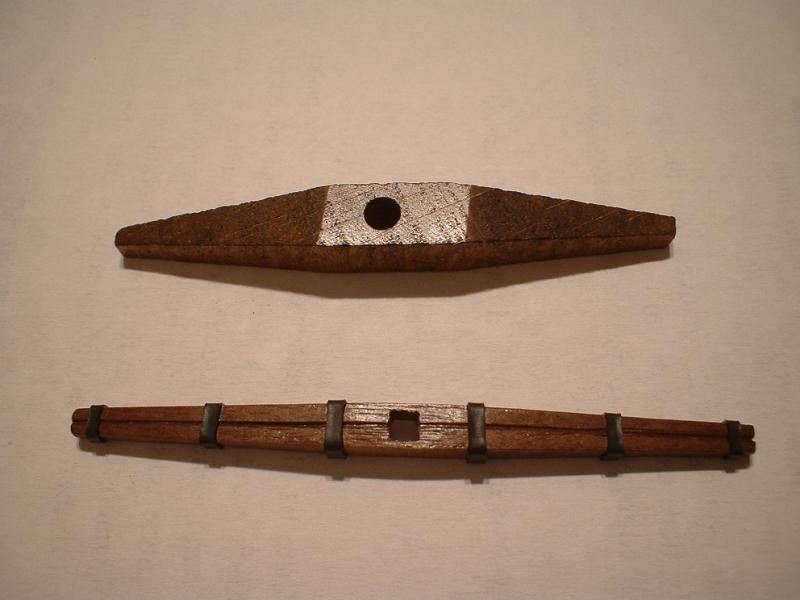
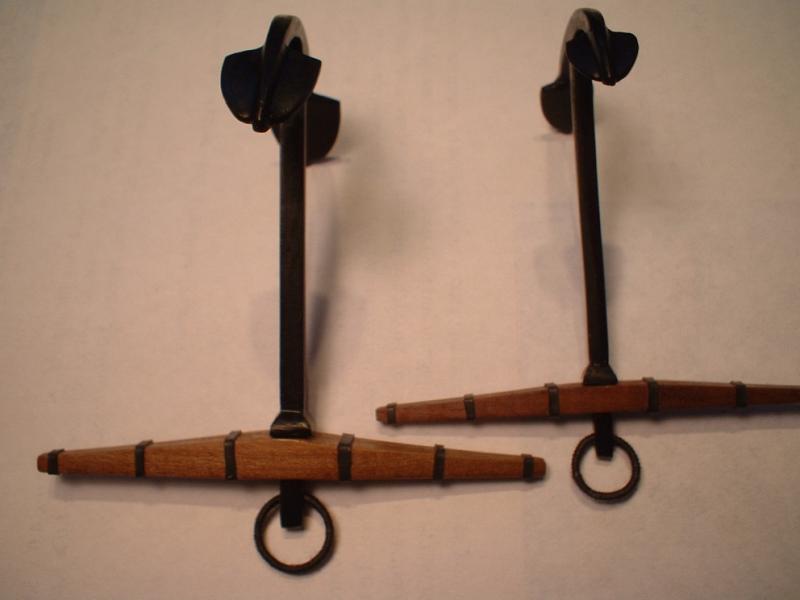
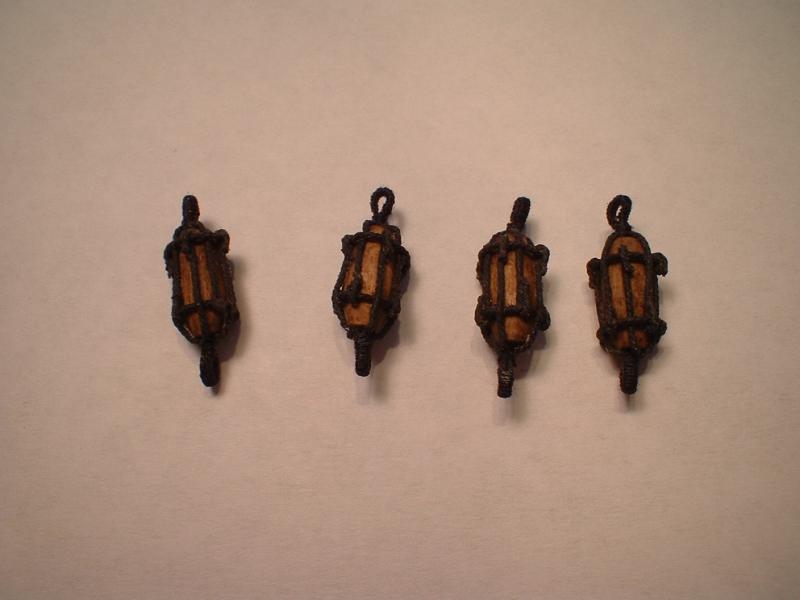
Update - The next thing I did was make up the anchors. The kit provides 4 anchors of 2 different sizes. The flukes were a little too wide so I narrowed them down & filed down the mold lines. The stocks were of the generic kind & way too fat & short,so I made some new ones with the correct dimensions. a groove was filed around them to look like 2 pieces & the iron bands were simulated by using some heat shrink tubing. New rings were made from some .8mm brass wire & wrapped with black thread for the puddening. Next,the anchor buoys are provided in the kit as barrel shaped wood pieces,which I made slings for with some .6mm black rope. They don`t look the best,but they were difficult to hold & get all the ropes tied on. Mark
- 652 replies
-
- 9
-
-
- royal william
- euromodel
- (and 1 more)