FifeModels
-
Posts
528 -
Joined
-
Last visited
Content Type
Profiles
Forums
Gallery
Events
Everything posted by FifeModels
-
 I think they would both be ok for models upto the 600-700mm range, but I think anything larger I would be worried about it being able to support it. This one is over 1000mm in length when built. Not seen that Dremel one before, might take a gander thanks
 -
I have the desk mounted version of this, the one that is designed to be adjustable each end independantly for angled strips etc. I was going to order the keel clamp when I ordered the kit but finances wouldn't allow an additional £50 on top
-
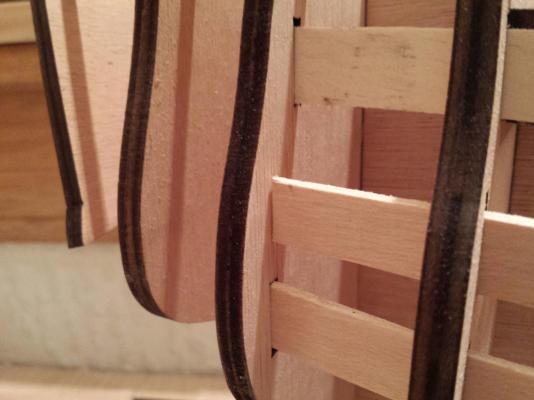
In between housework, kids, school runs, nappy changes I've been plodding along with this. I've been able to get the next deck's dummy cannon beams fitted and have adjusted/sprayed and fitted the next false deck. I've also begun planking that deck. Will add some photo's later. On another note, I've dug out the prince of wales feathers from my older AL version of this, with the hope of being able to use it instead of the horrible PE part supplied with this, but the difference in scale is a lot greater than I first thought. Initially I just held it up against the stern of the keel/frames and size wise it didn't look too bad, but then later when I opened the PE bag and compared them, there was quite a difference...makes me wonder if the supplied part is infact too small anyway. I'll put some photo's up later for some opinions...
-
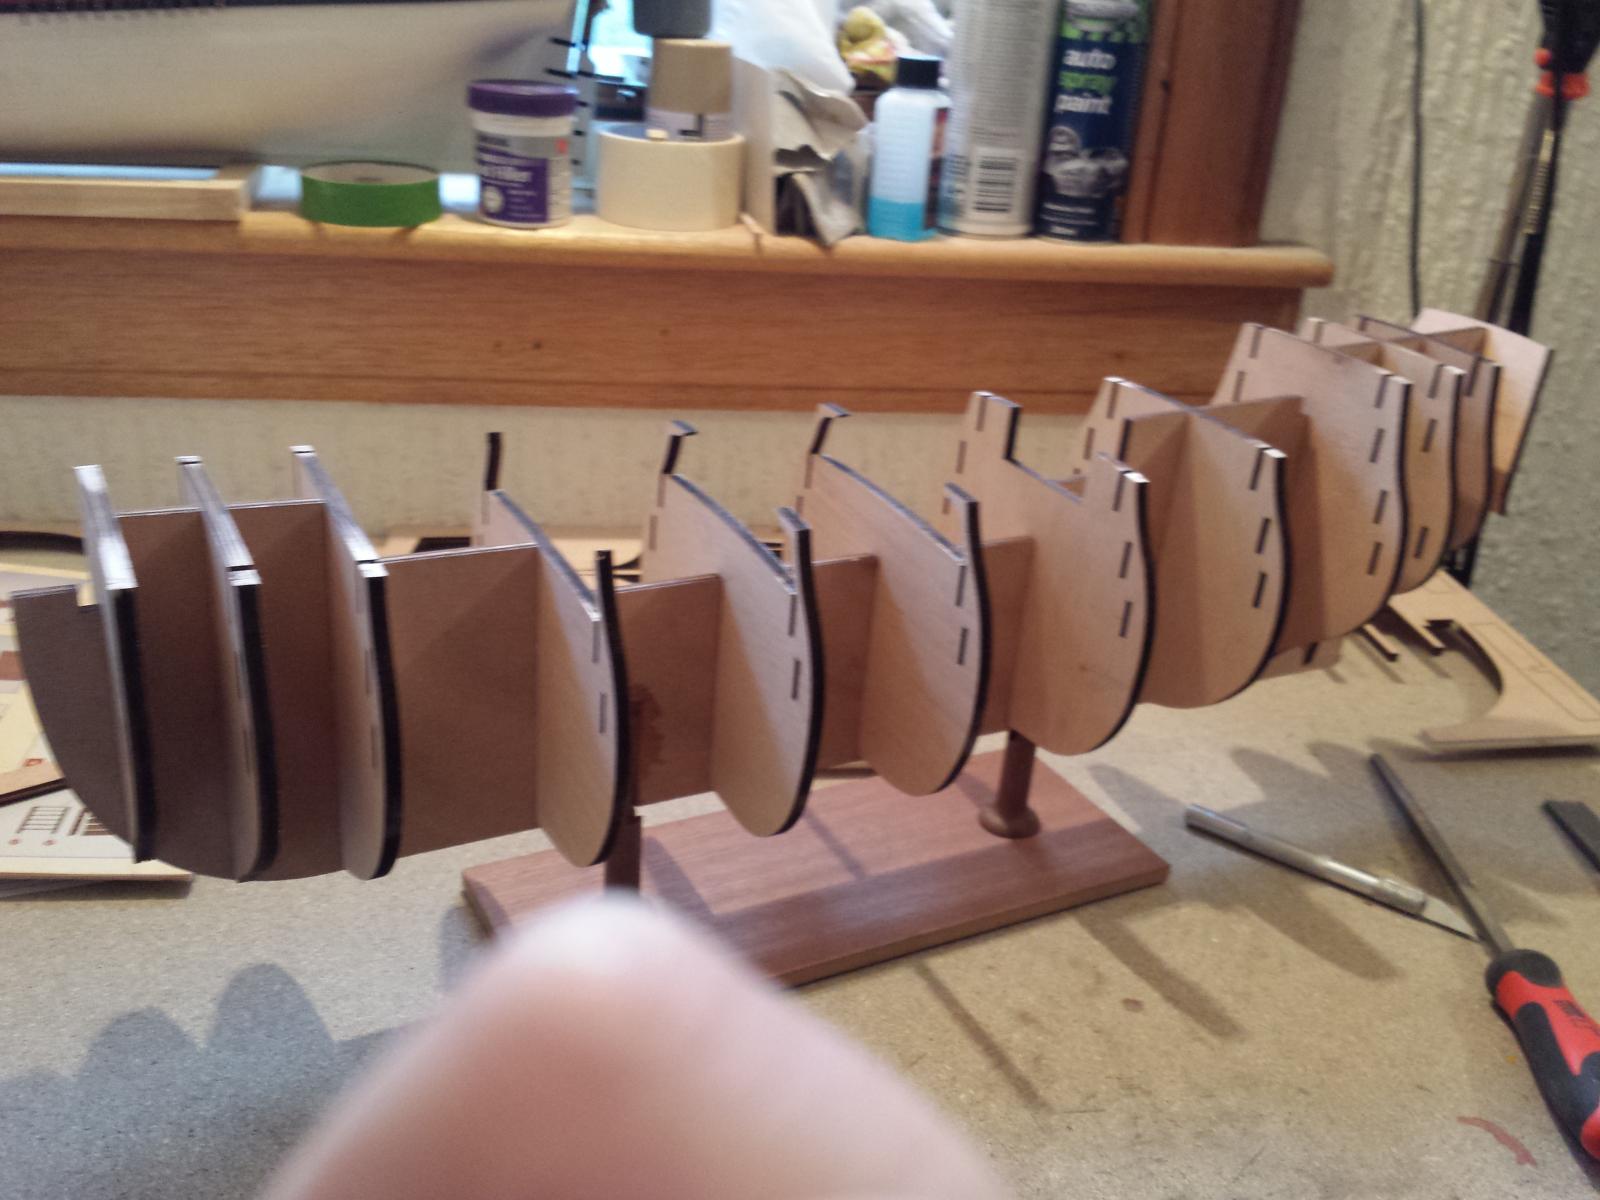
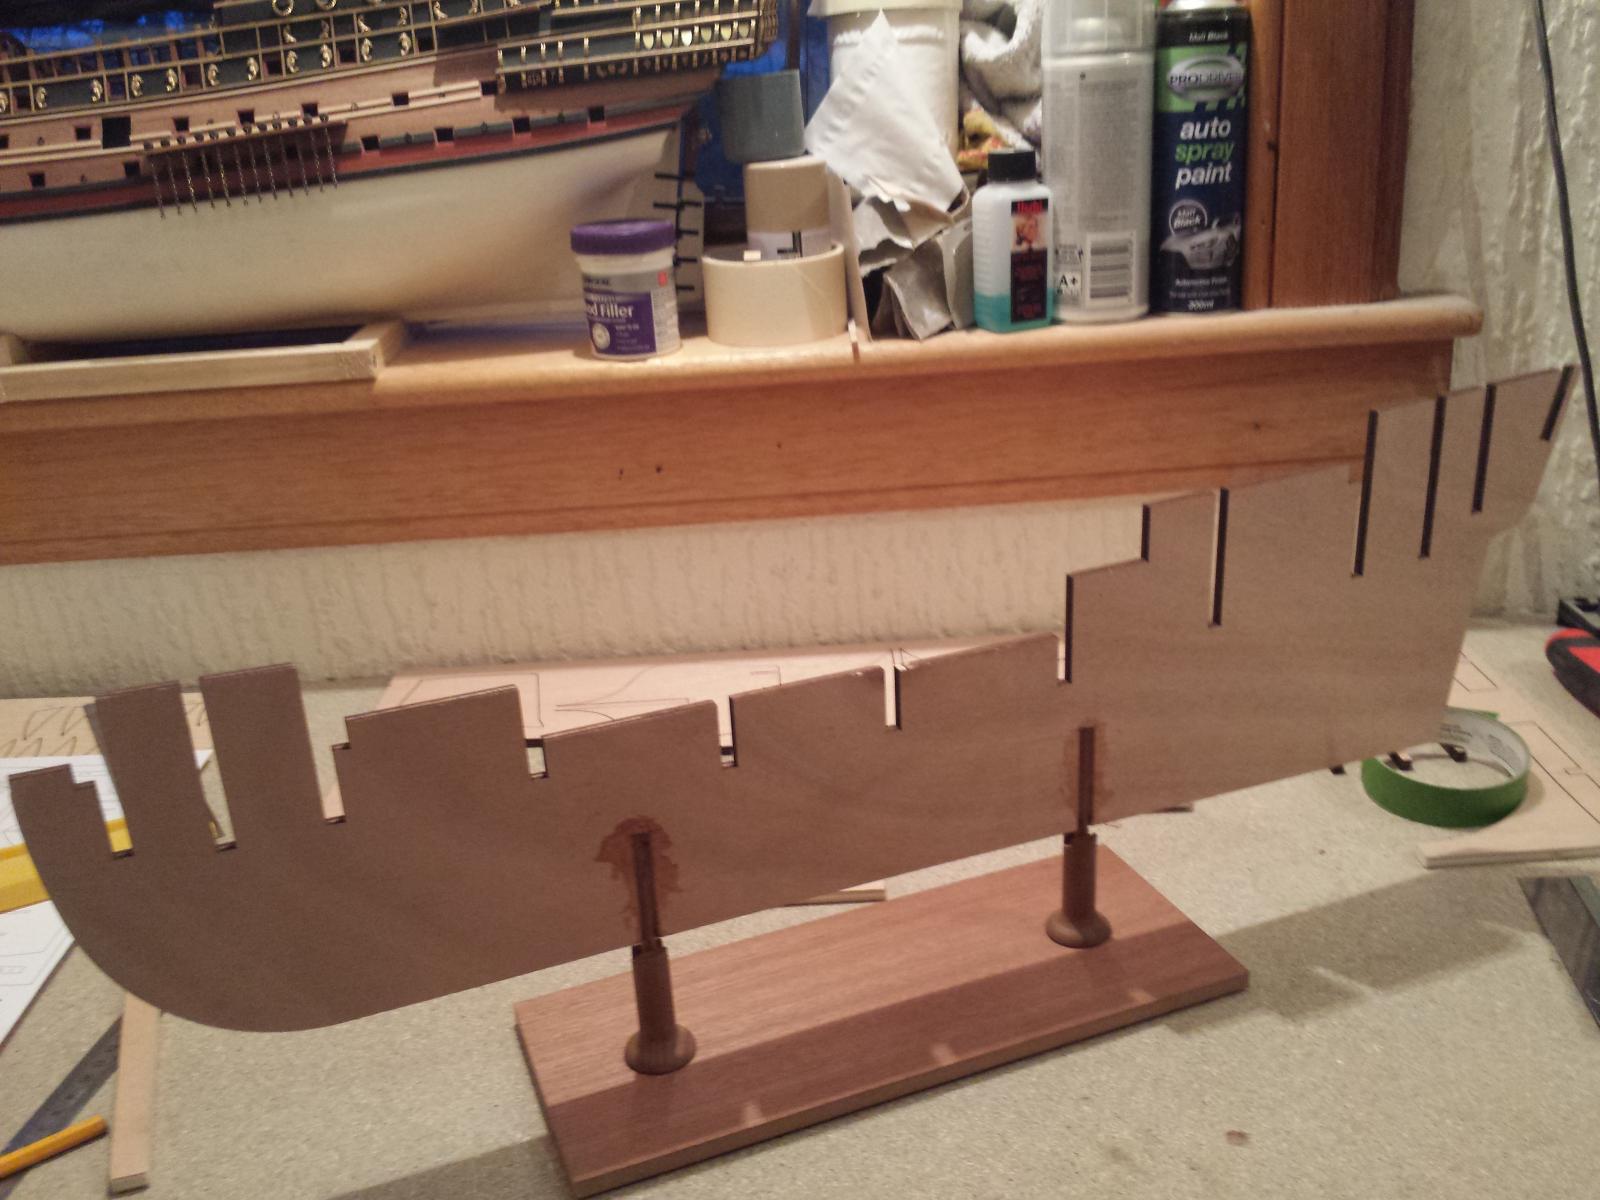
Hi monkeyman. Yes, most of it will be done as is on the stand, though obviously not all. It's not yet fixed on the stand, just the support beams are fixed in place. It will need to come off for the lower planking/sanding/coppering and painting etc. But the finer detail work it will be on the stand. Planking especially it will come off the stand. I may create a reverse stand for the planking though, using the mast holes to slide some beams into, although I've noticed early on on this kit the masts don't go as deep into the hull, so that may or may not be an option. I've lost count of how many rib tops I've broken having a hull upside down whilst planking Just through experience I've found it should make things easier. Up until now, like you, my hulls used to be in my hands, or laid on sponge on my desk, or even just sat loosely in a temporary cradle. I've found that my once nicely finished hulls get battered a bit during the course of the build though, so I am hoping that doing things this way will help prevent that. Once complete, that base/columns will be replaced for something a little more fancy. As my build log progresses, you will probably notice I rarely follow convention. I have come up with my own variations on methods that suit my style, they work for me so I go with them
-
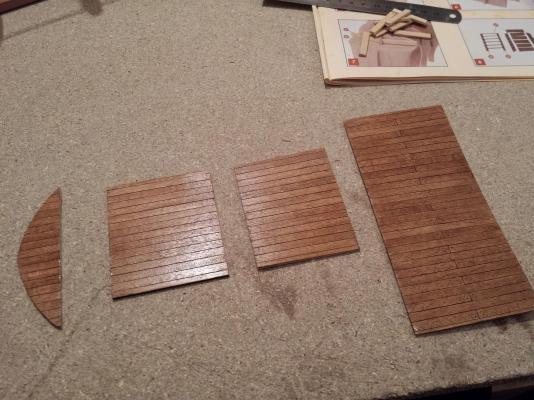
Thanks Jim. I finished planking the lower decks and stained them with dark oak, followed by a coat of clear gloss spray varnish. I like my decks to have a nice rich orangey colour to them, purely personal preference and artistic licence. Fitting them, I had noticed that the forward two had no supports, they were literally meant to be balanced along the central keel. This I felt was asking for trouble, so I quickly made some small supports out of some spare stock, and fitted these to the bulkheads prior to fitting the decks, then fixed the decks in place and allowed to dry.


-
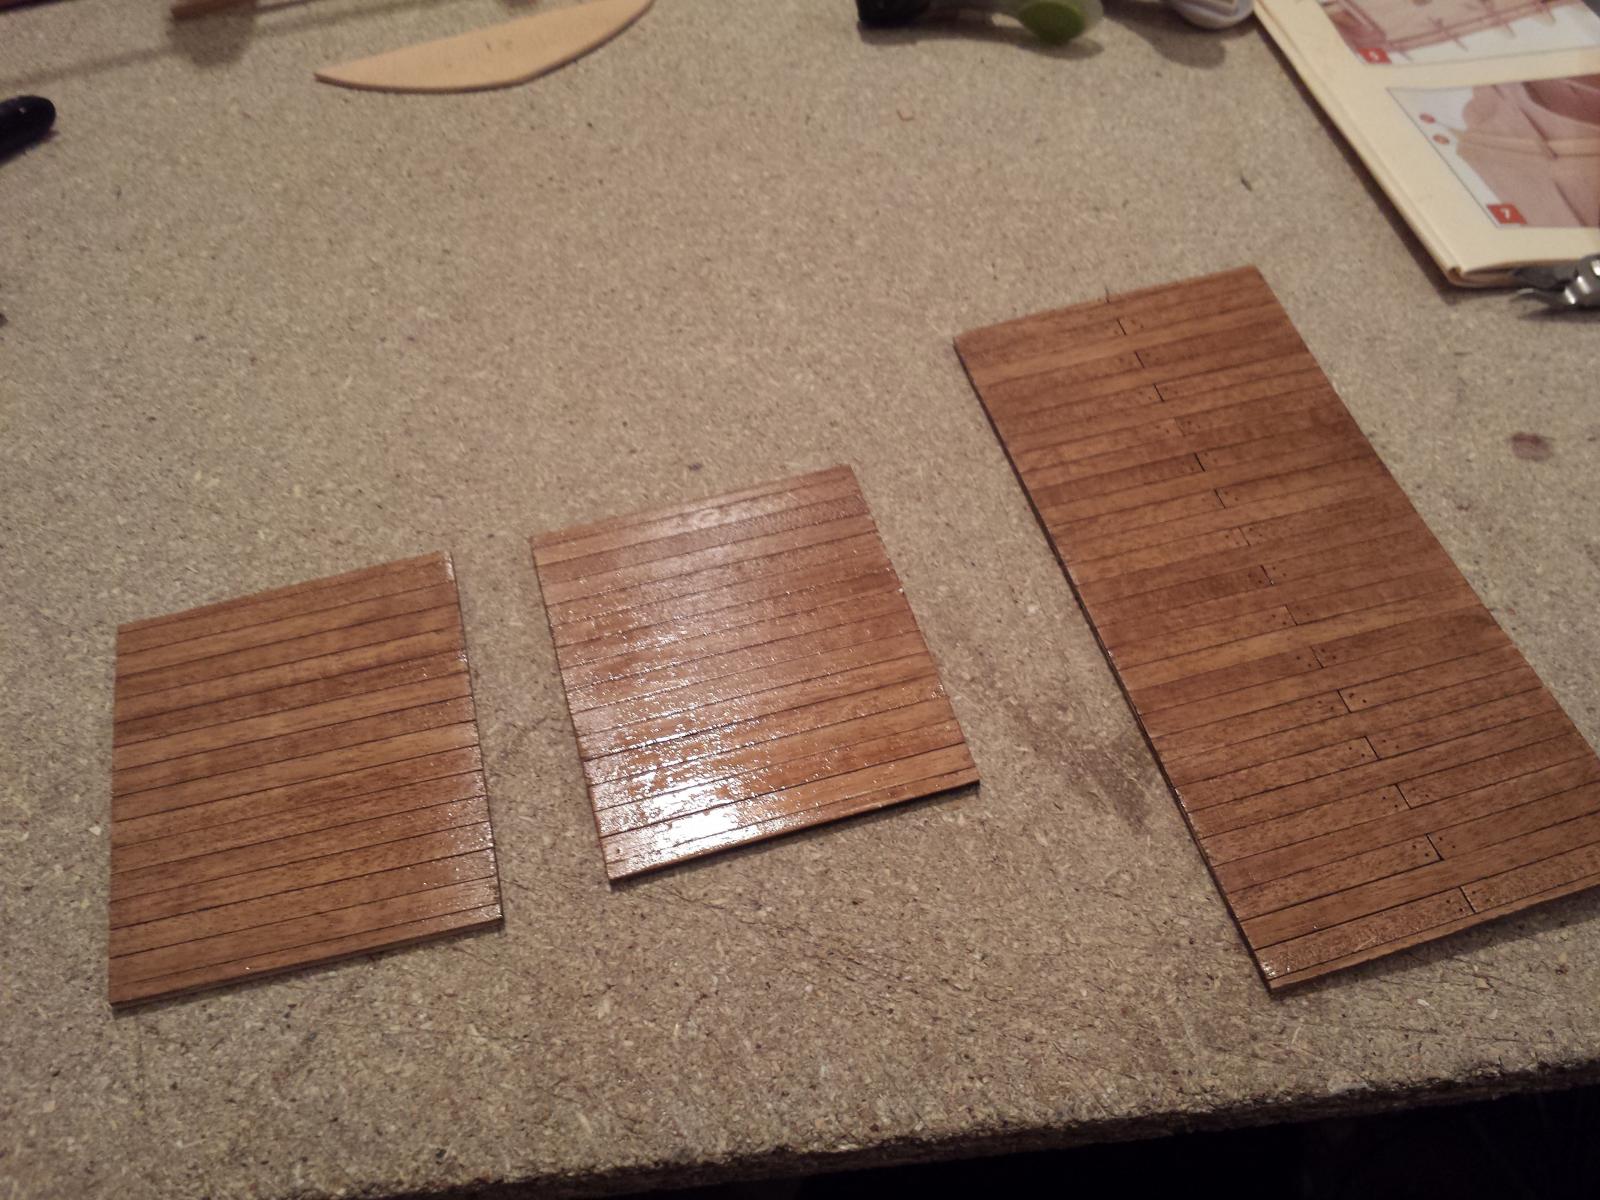
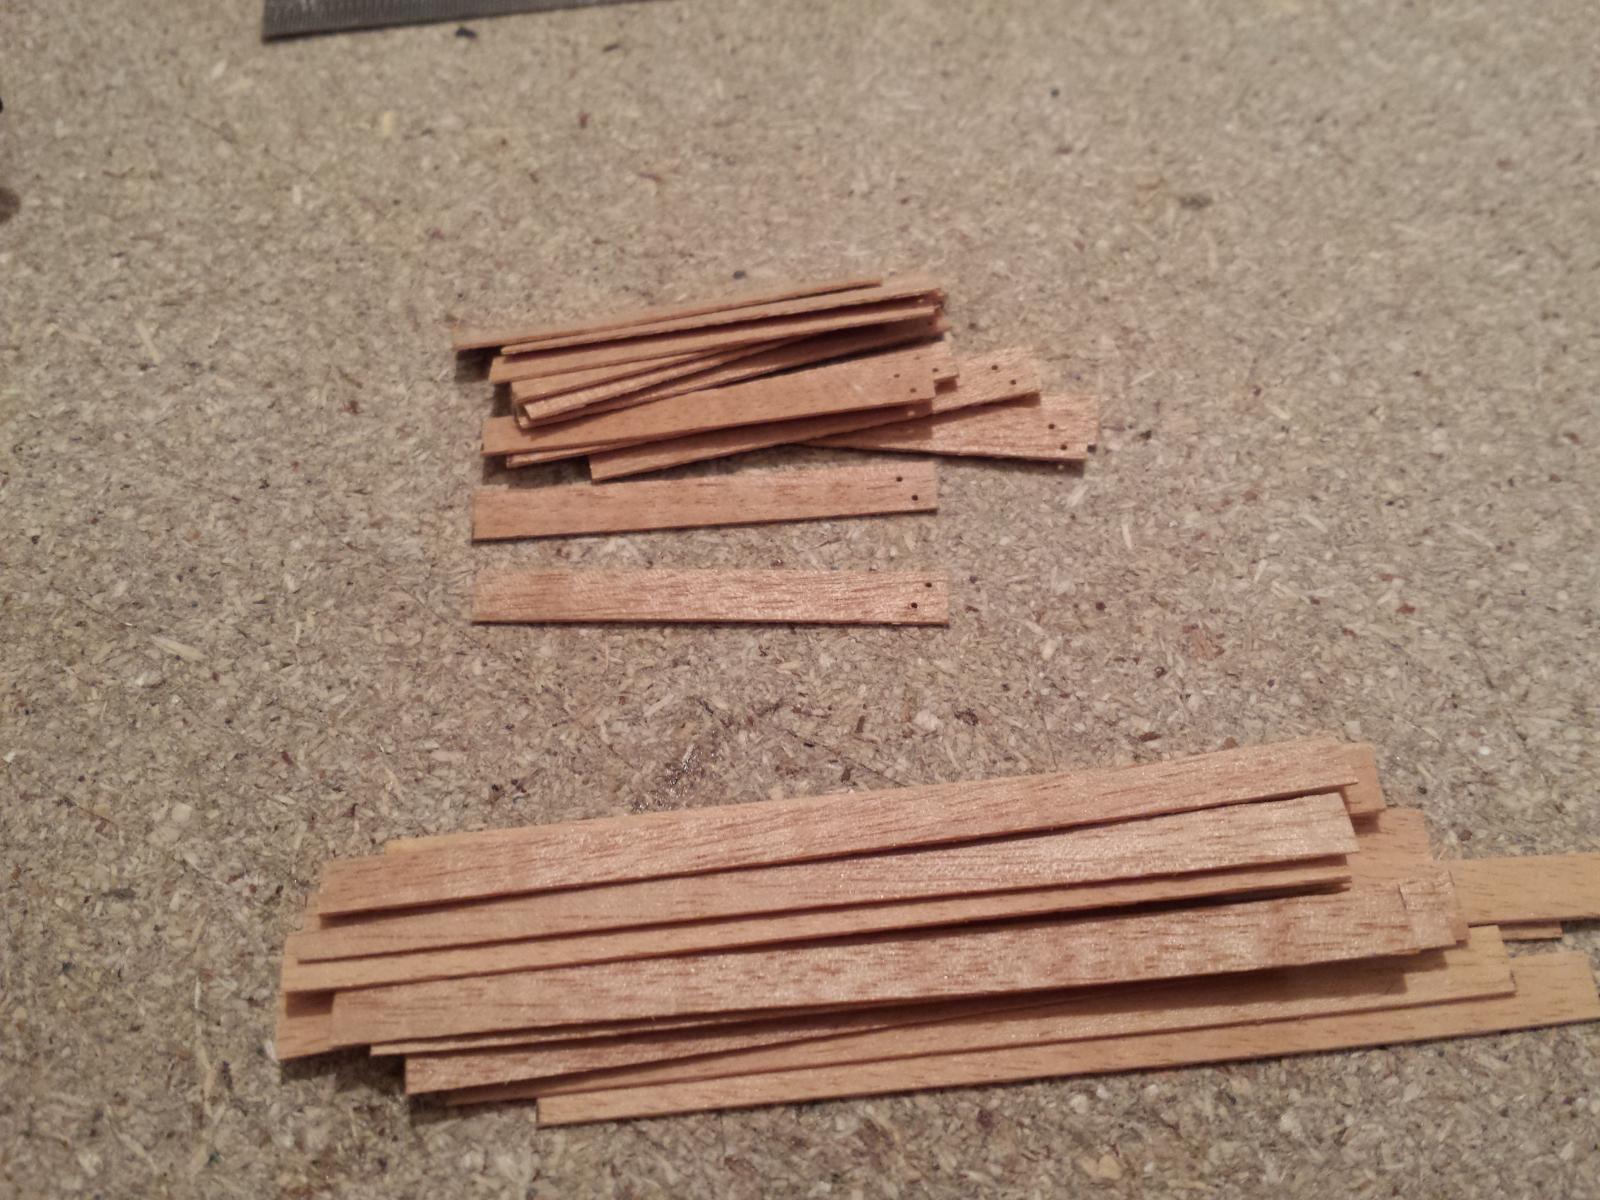
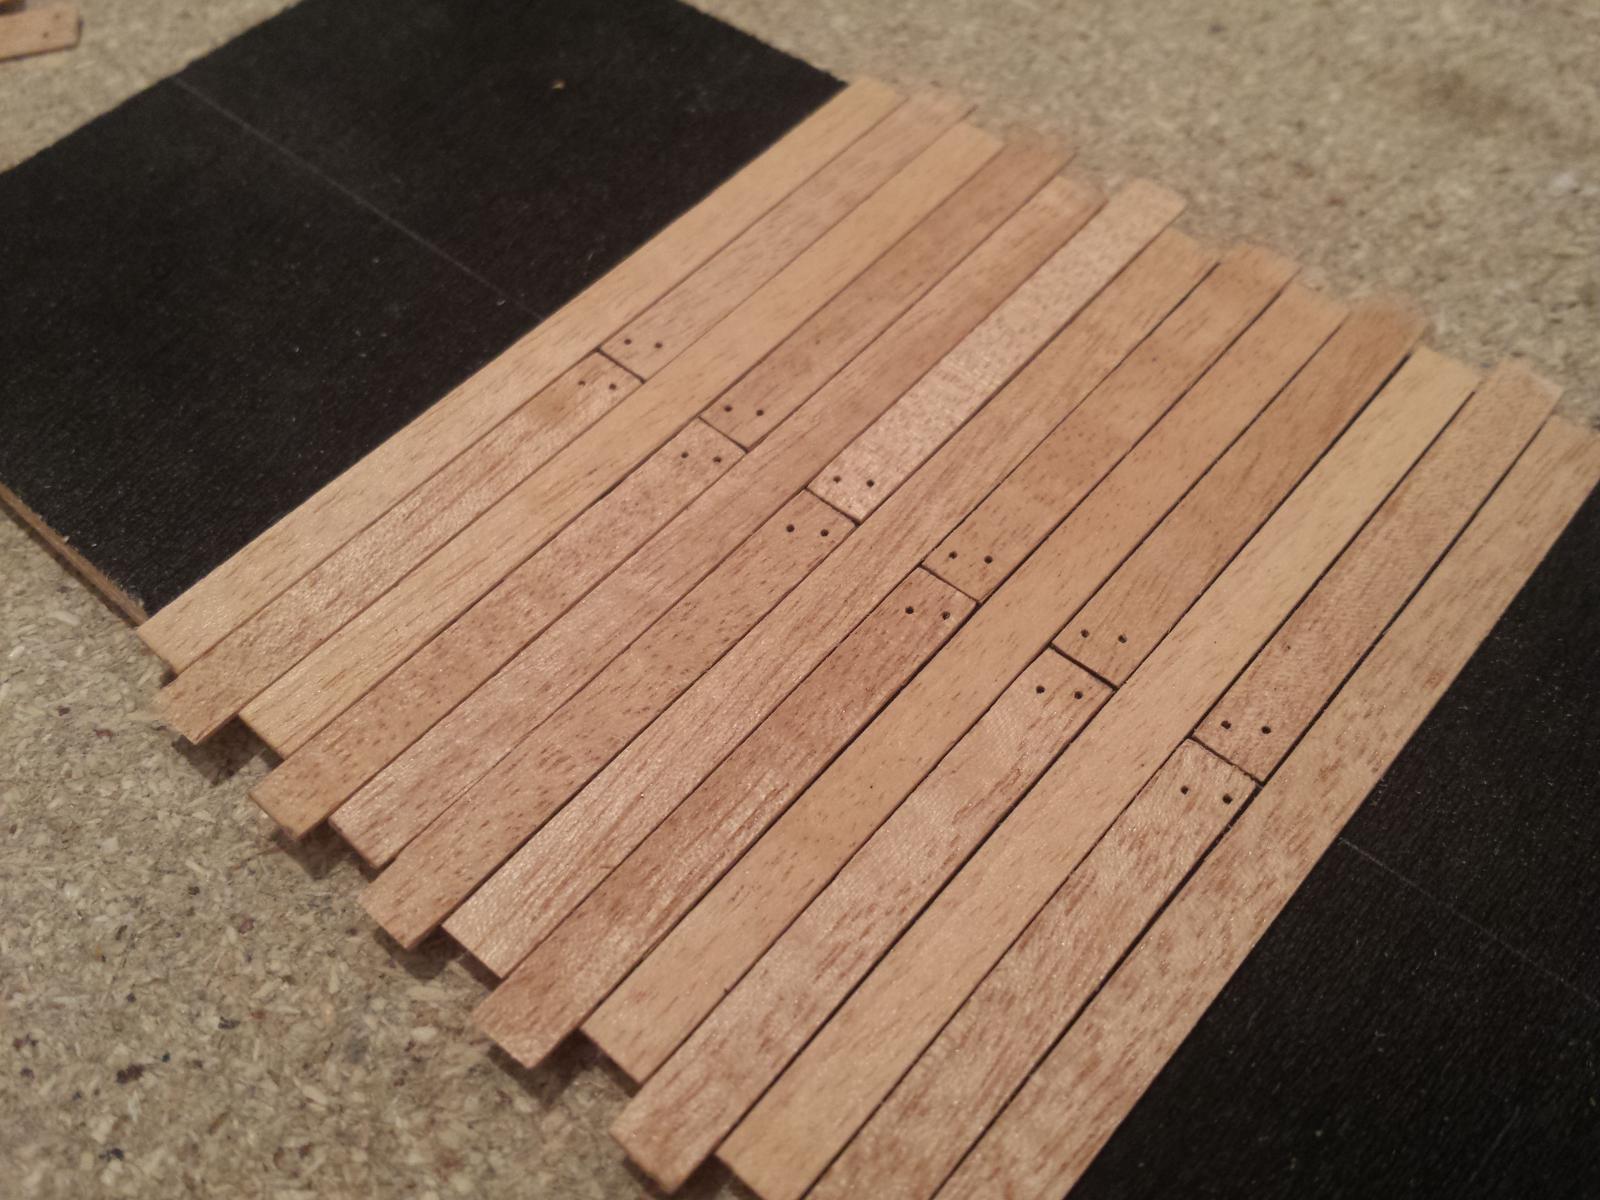
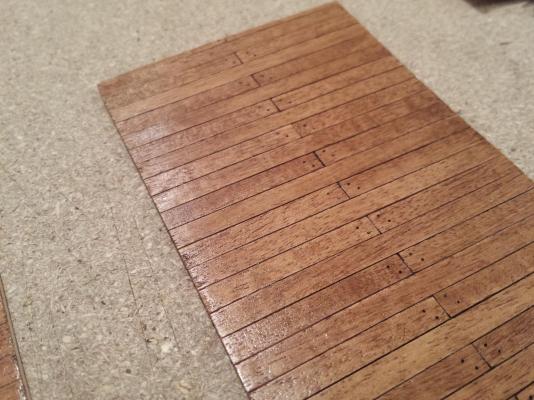
Morning. Had a busy day yesterday. Finally got some glueing done. I've faired the forward and aft bulkheads, I did the bulk of this "off keel" and finished off after the frames were fixed in place. Still got some finishing off to do but will do that once the lower decks are inplace. Next up was planking the lower internal decks. I've tried many different methods of simulating deck planking, caulking etc, and one of them have really worked for me, so I've come up with my own method. I first tried this on my model of Hermione and it turned out really well. It's not 100% accurate, as far as the layout of the planks go, I will look into saving that for the more visible exterior decks, but for the interior decks it will look fine. I pre-cut the planks I need to length, and in bundles I wrap strips of tape around them to prevent splitting, and drill the treenail holes. The false deck gets sprayed flat black, and the planks get very carefully laid down with a slight gap between them. Takes a bit of patience and a good eye, but the result is pretty good, I'm happy enough with it anyway.


-
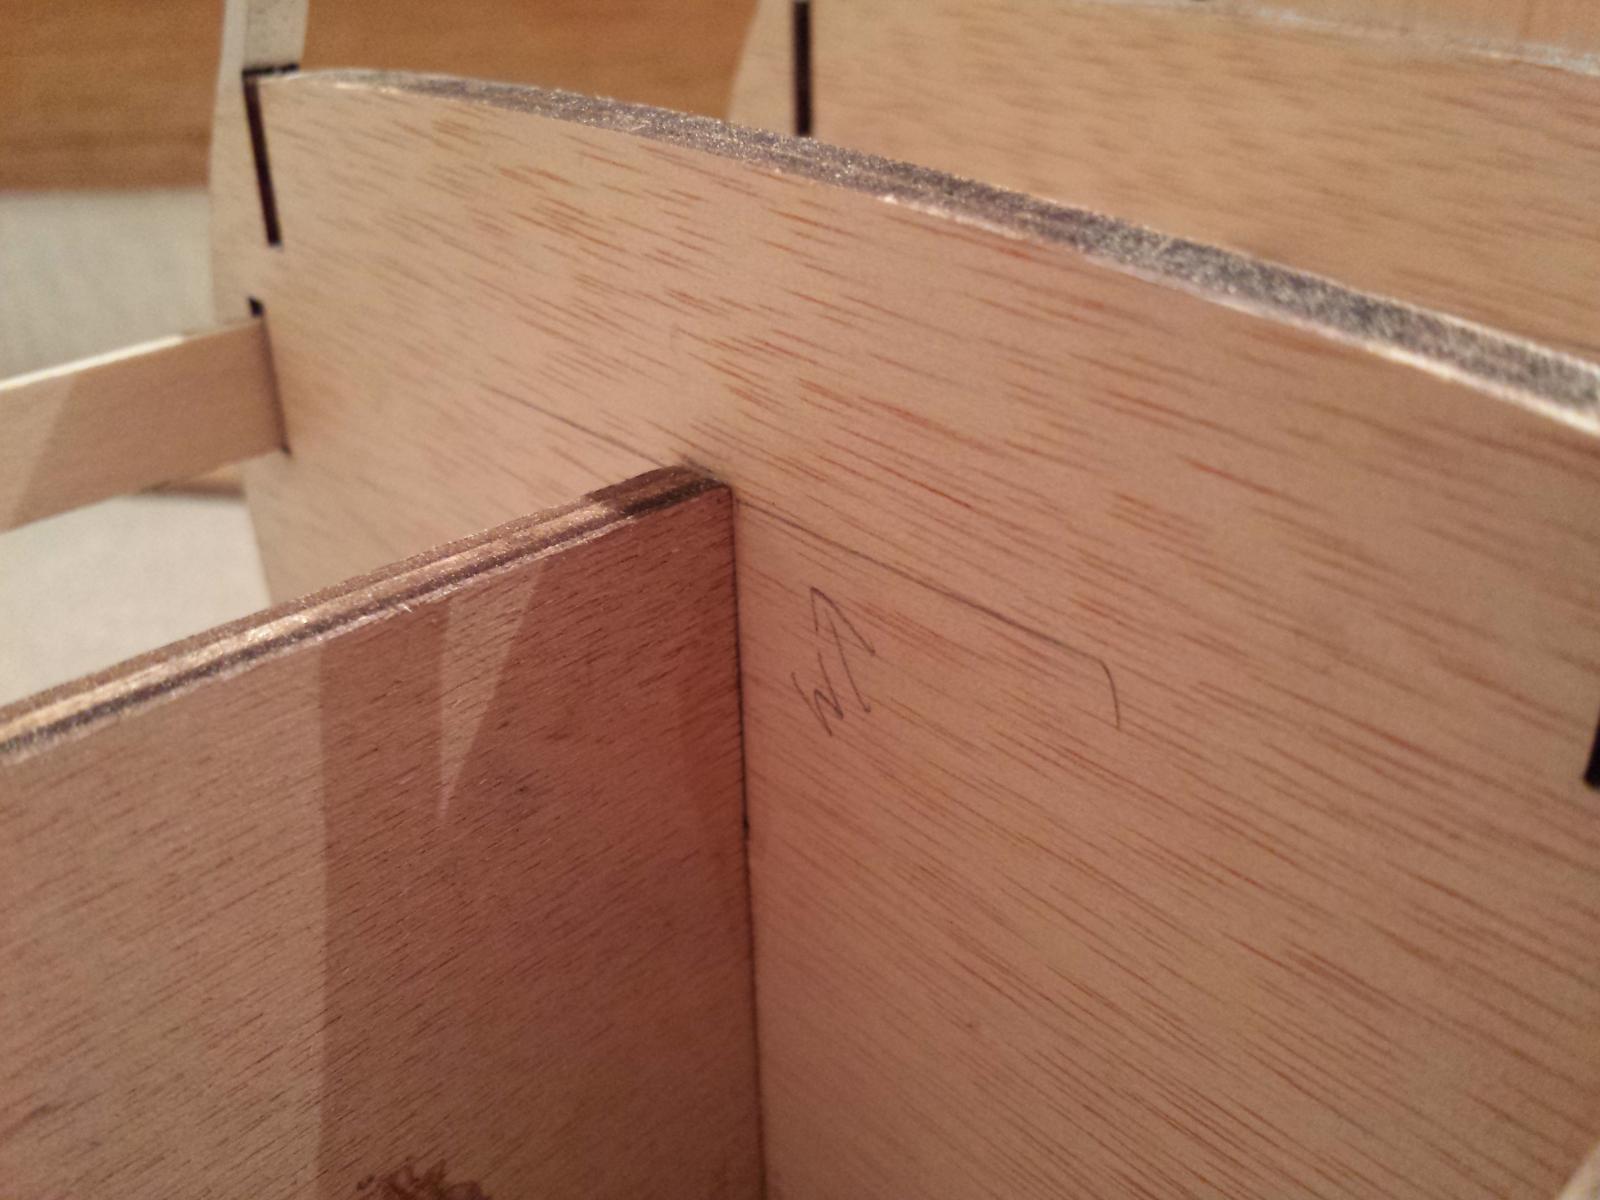
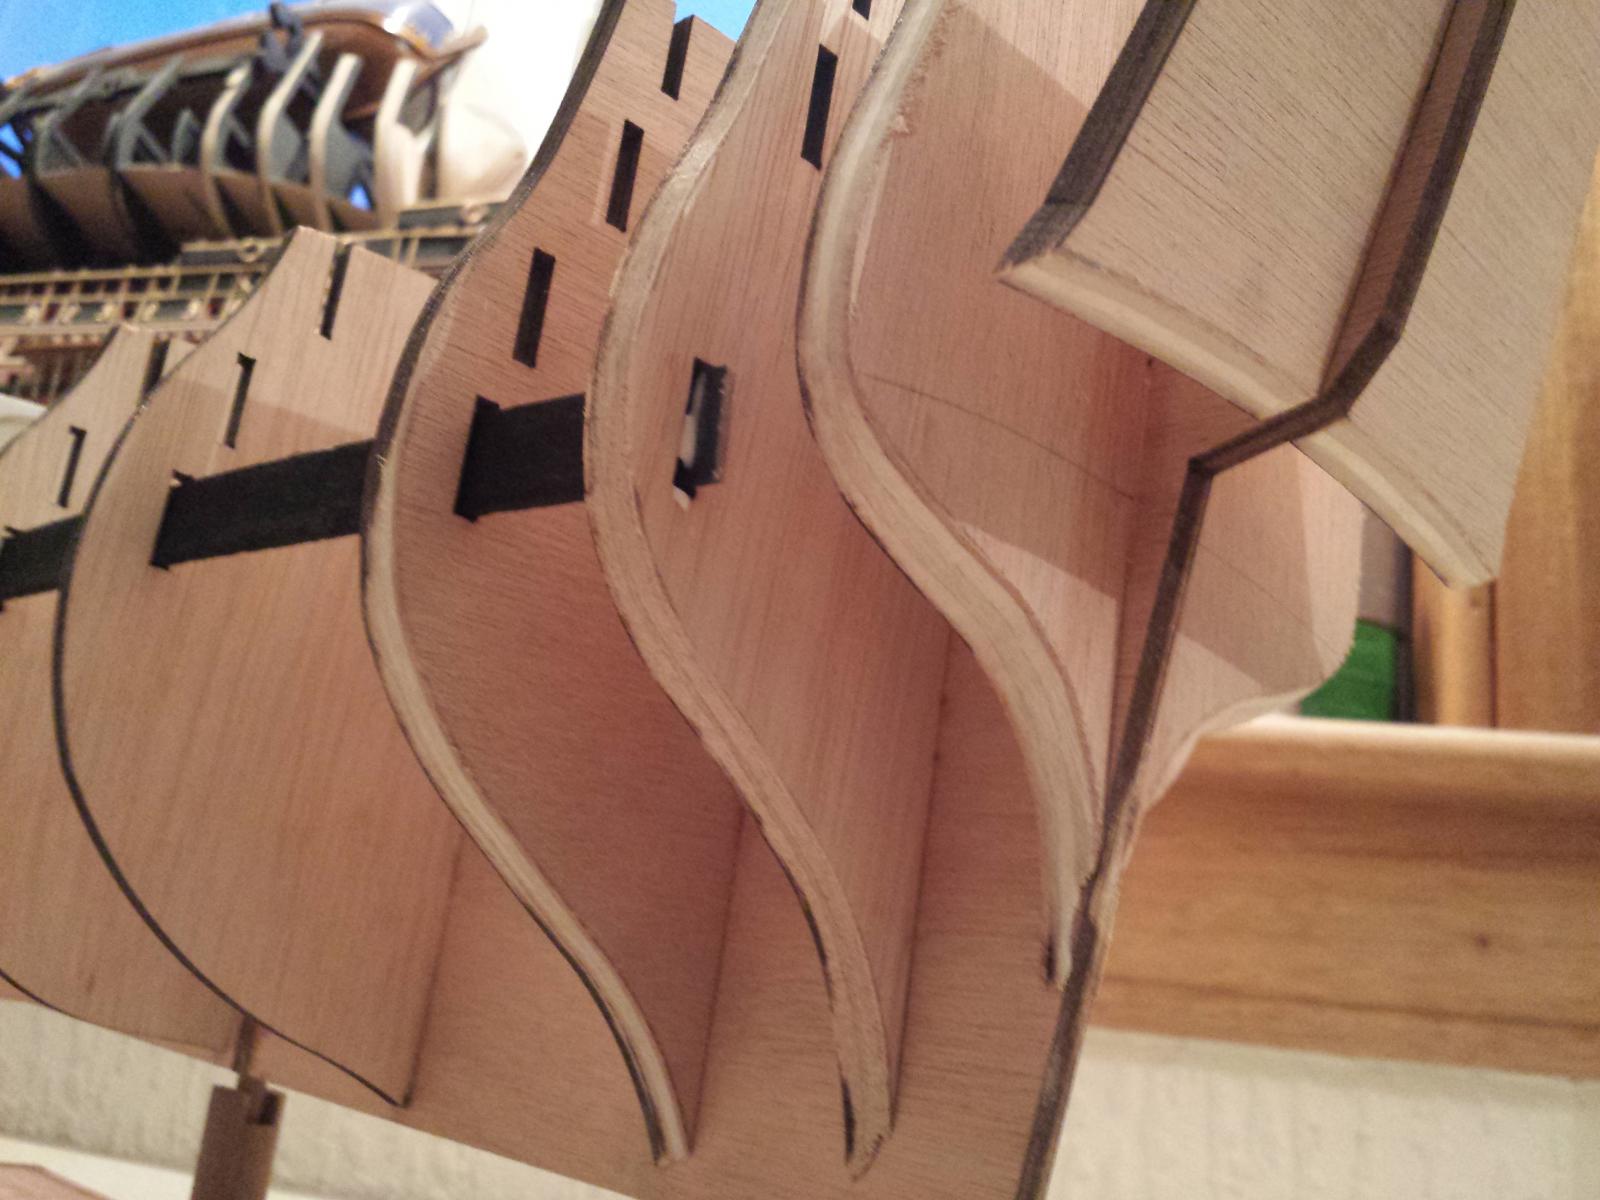
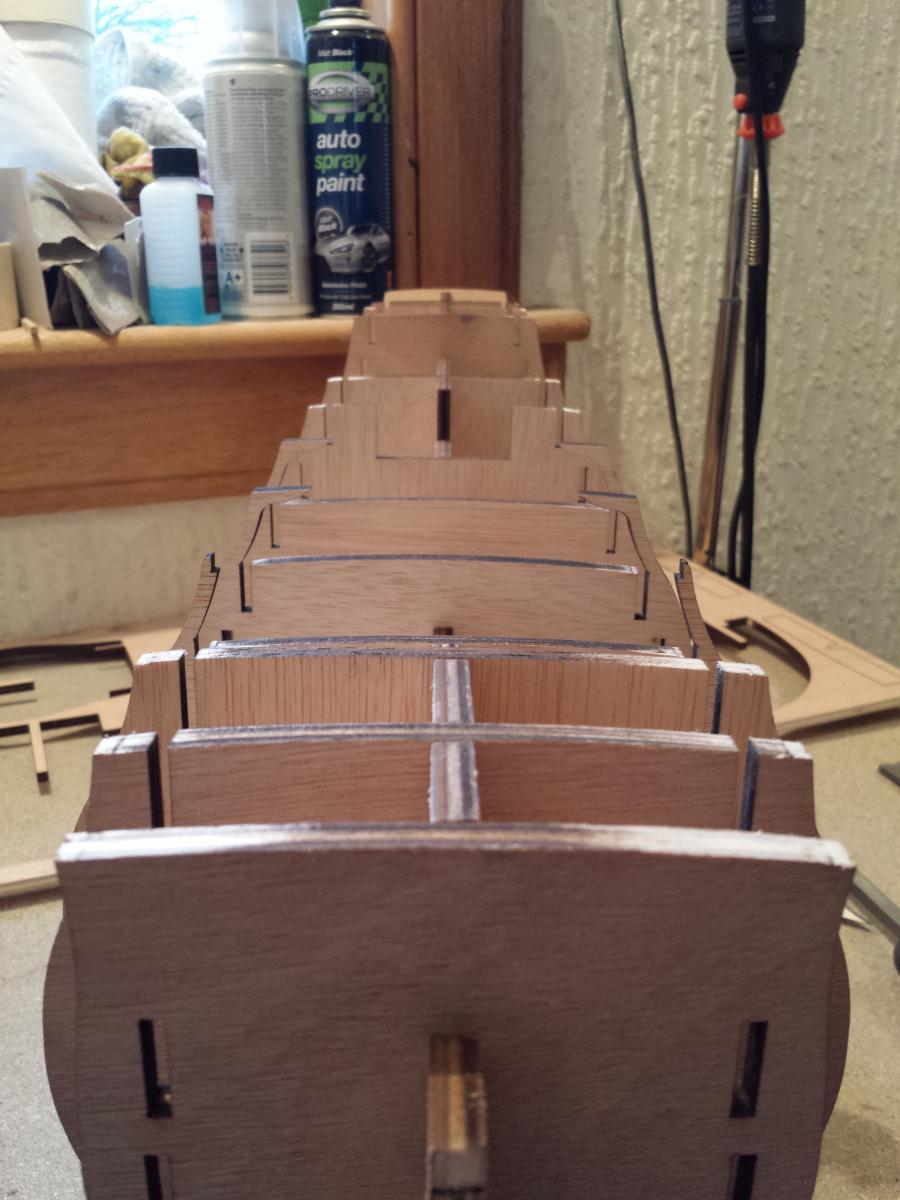
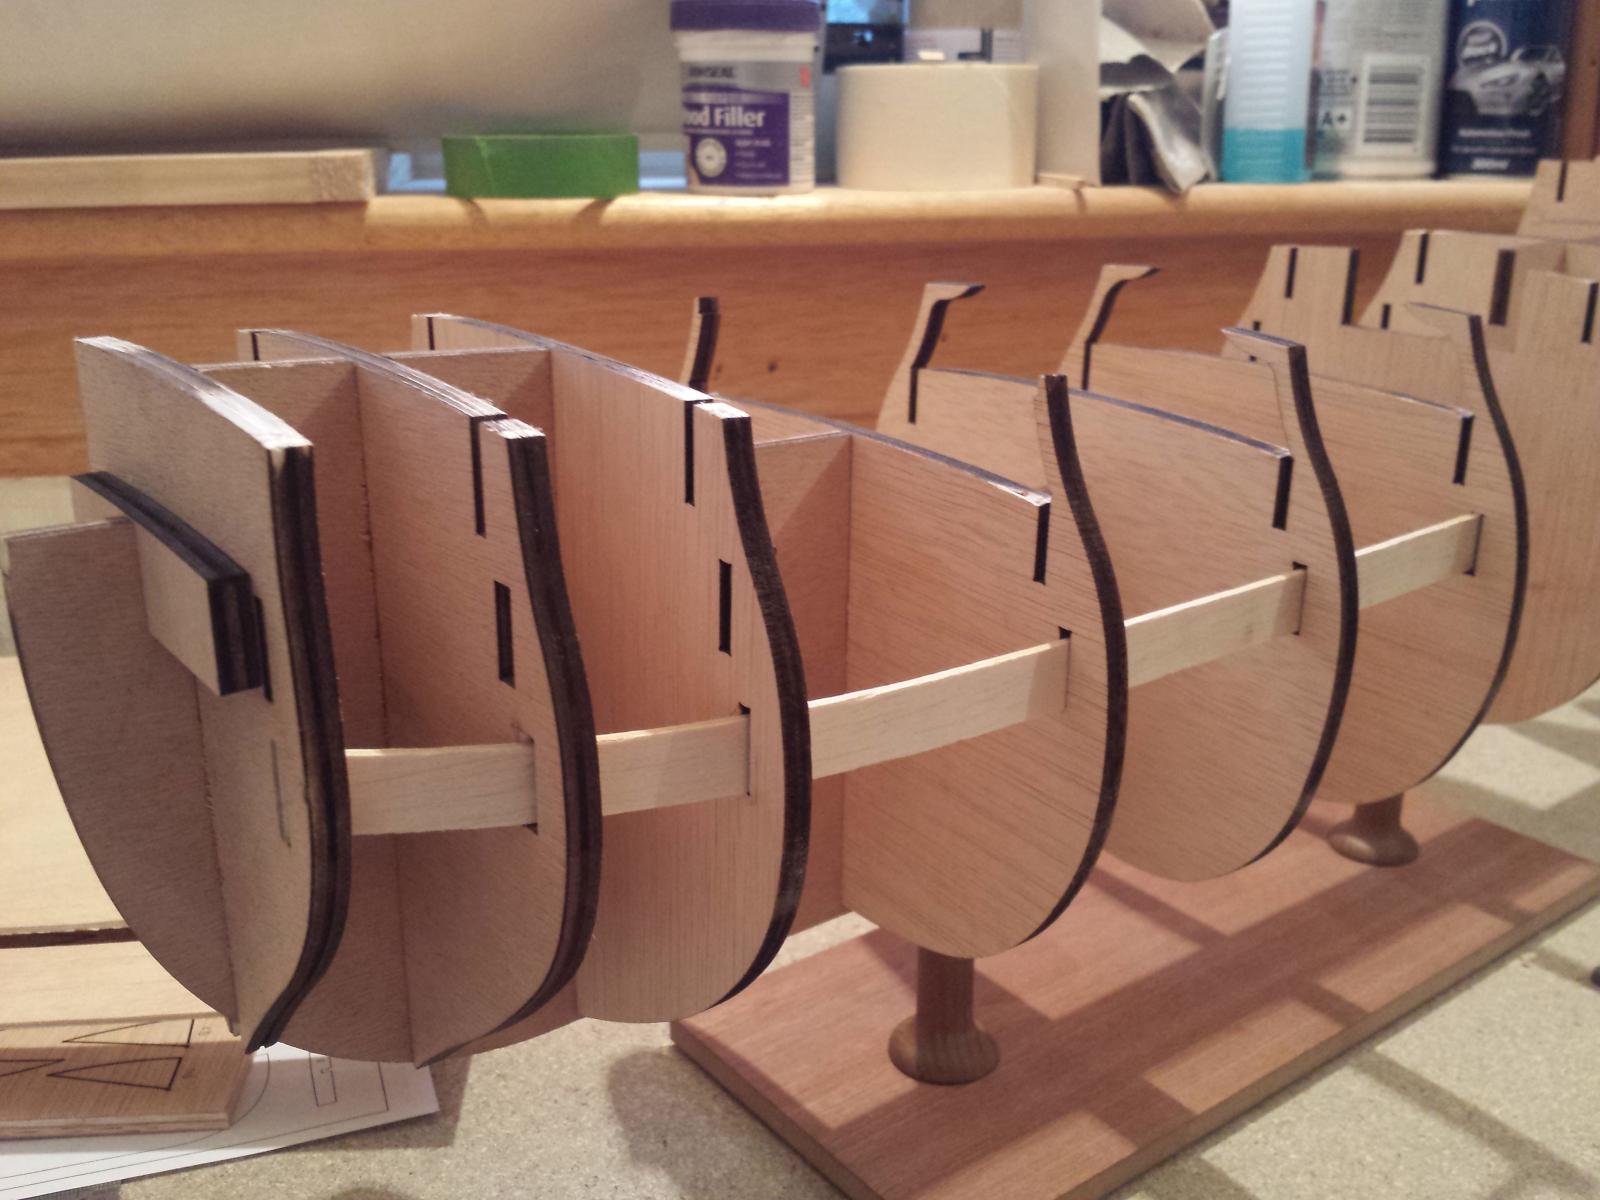
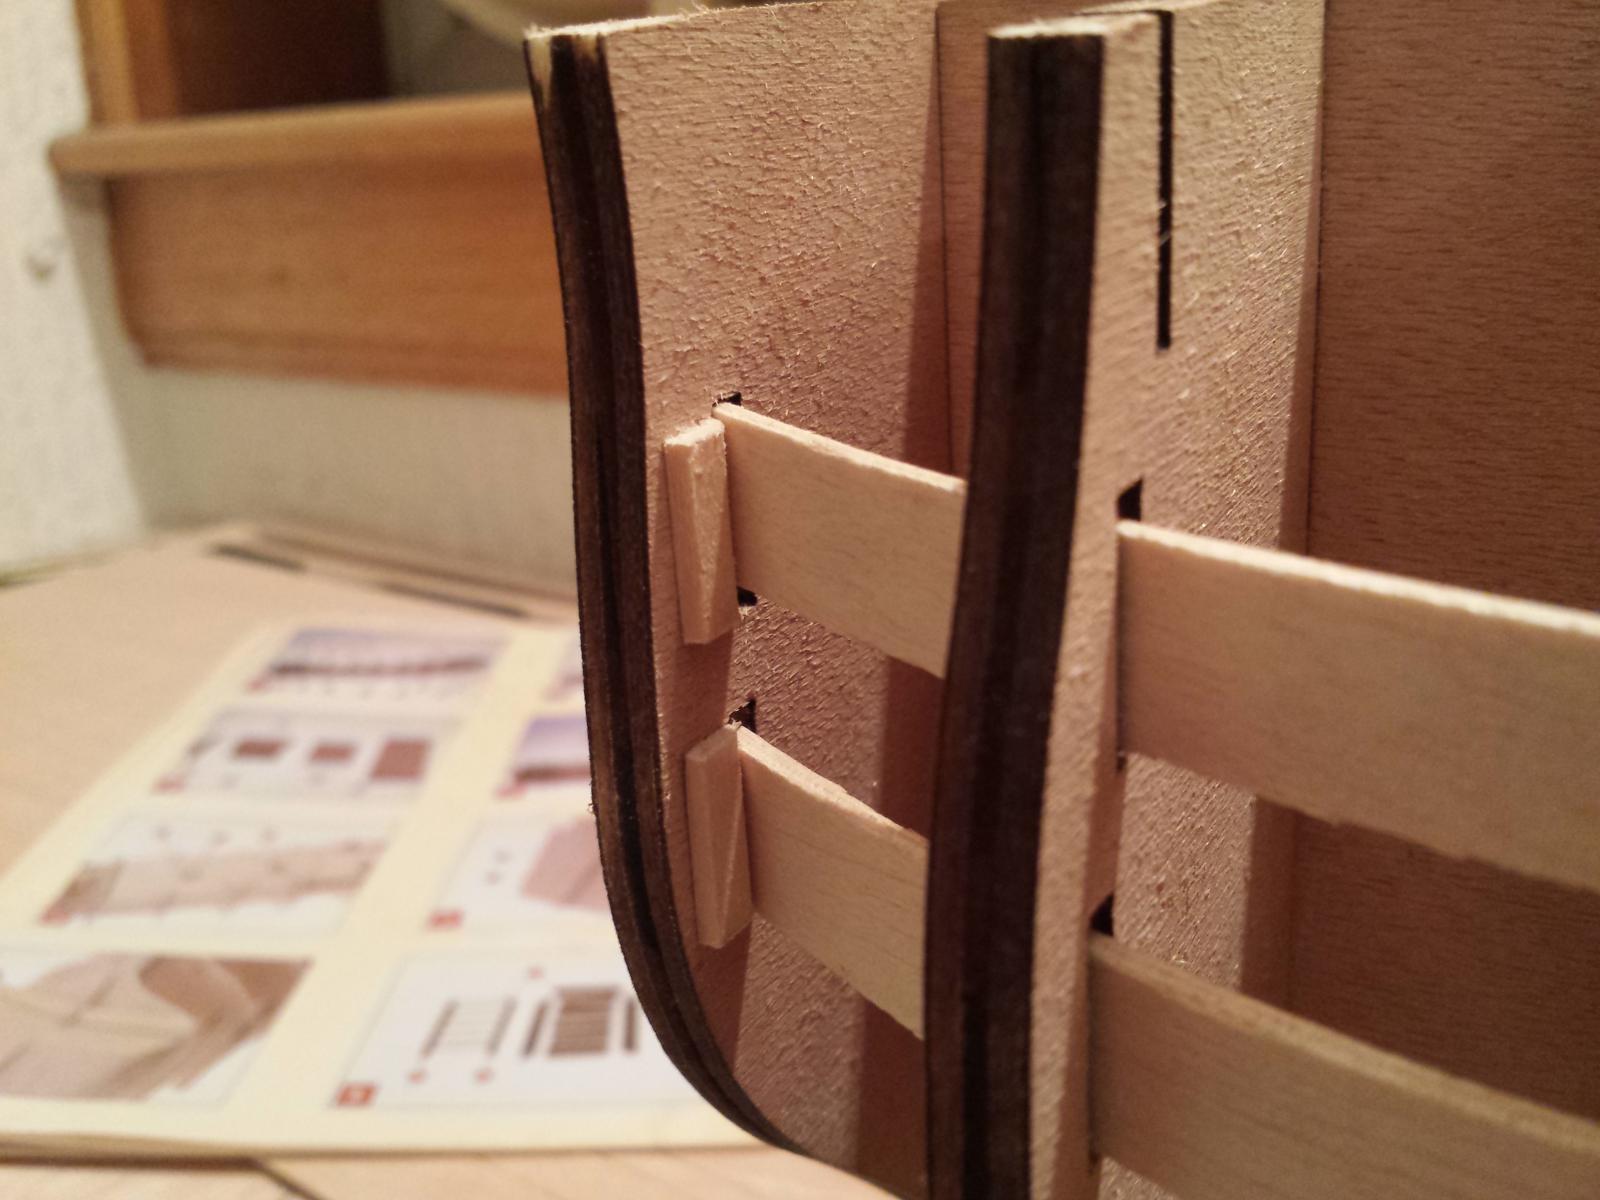
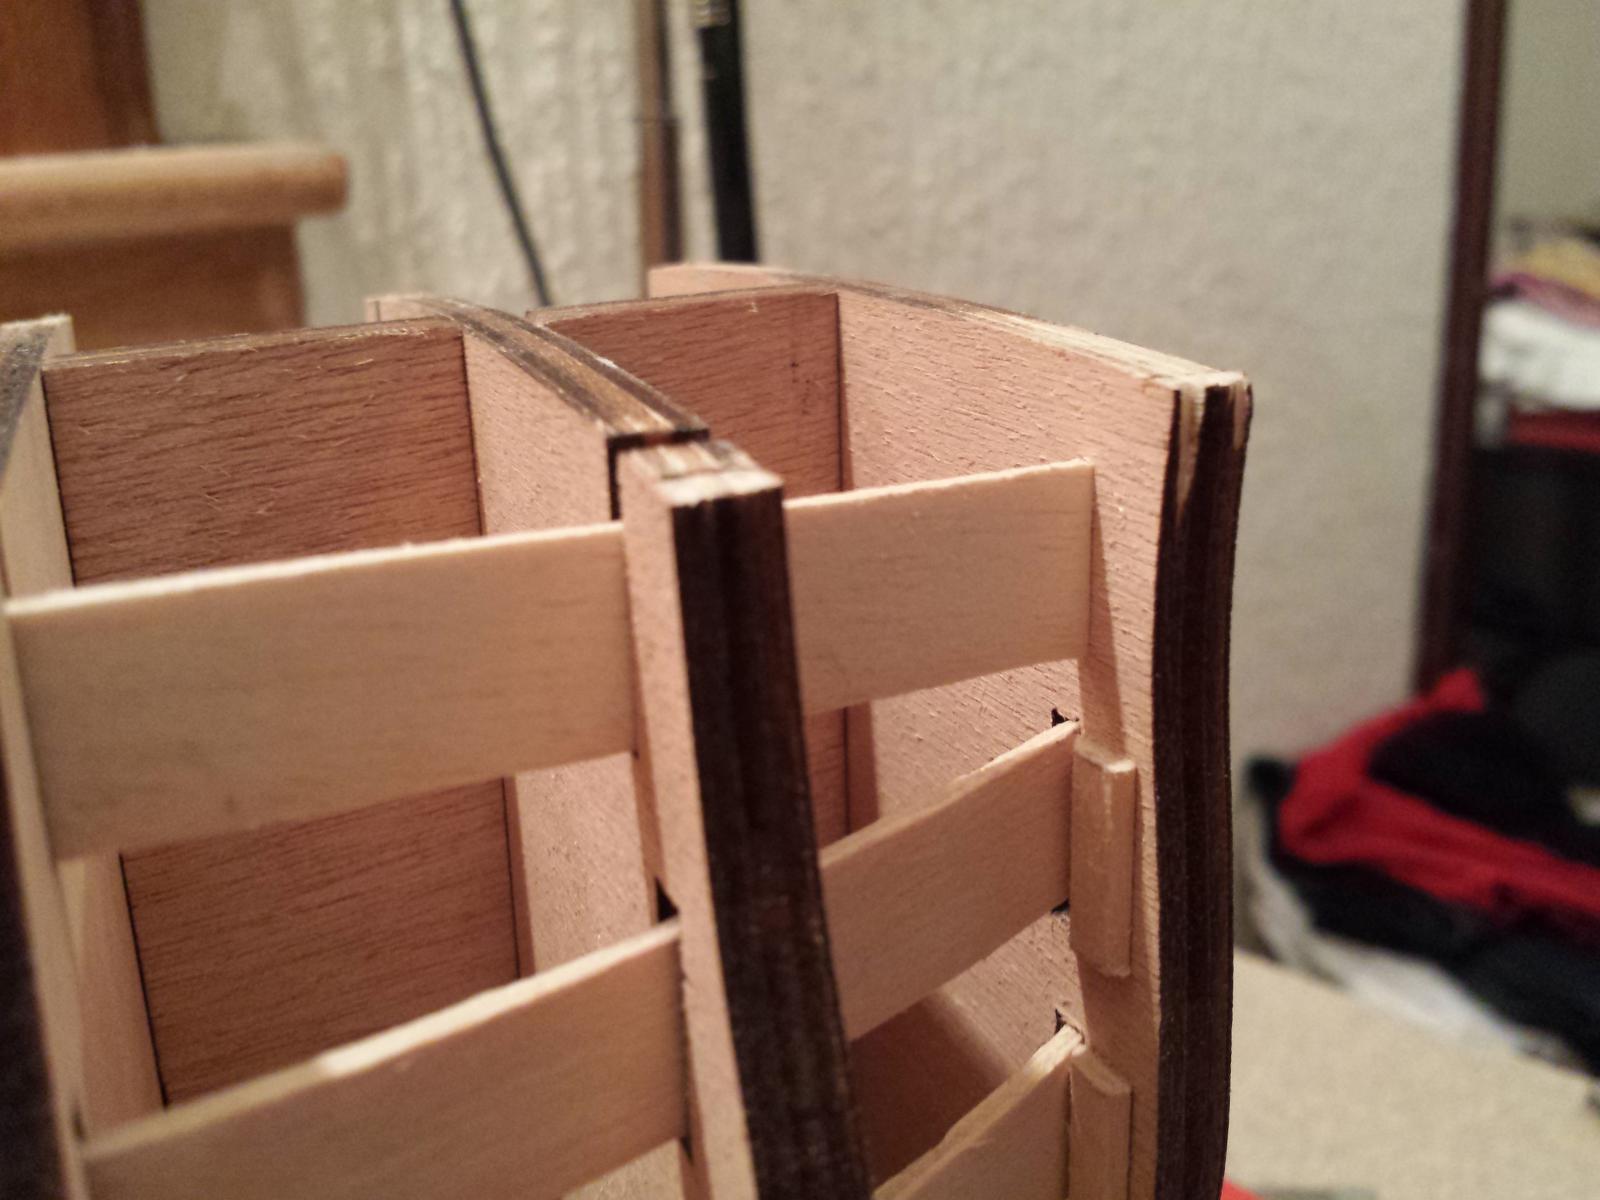
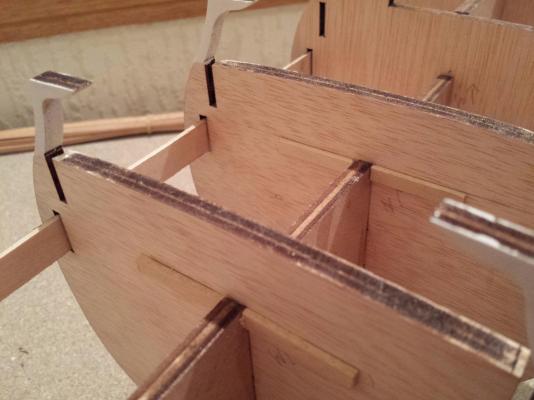
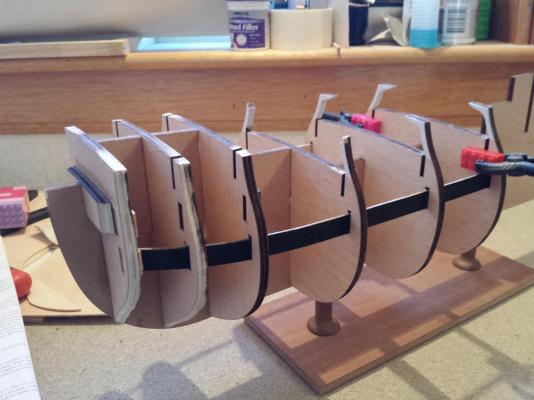
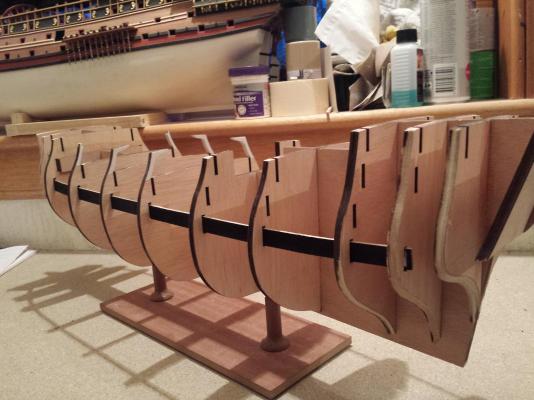
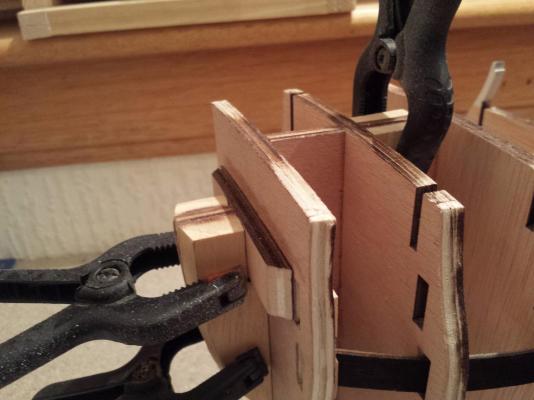
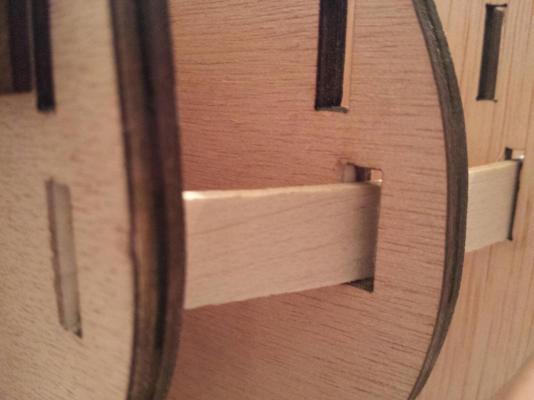
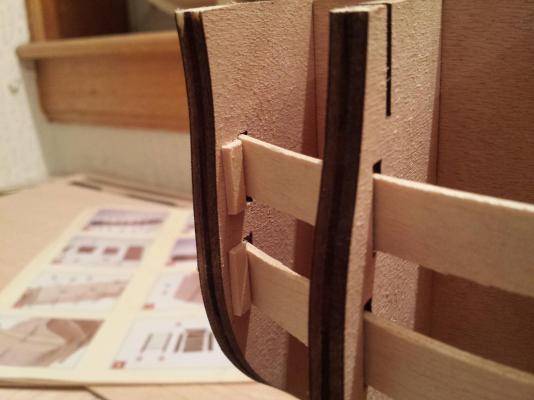
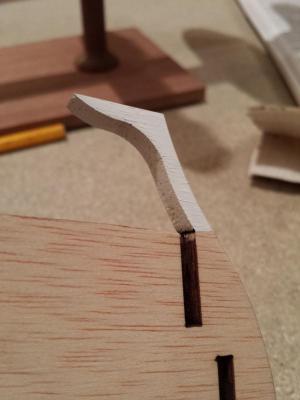
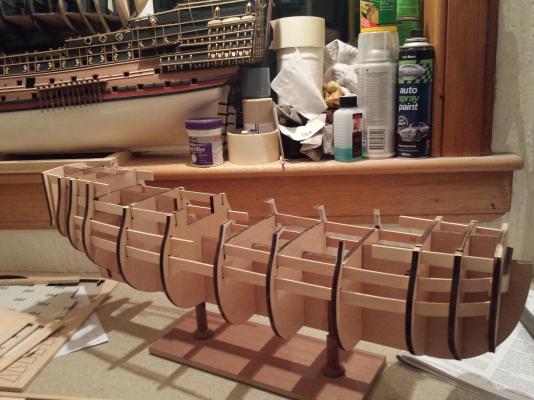
Thanks Gundorph. Today mainly I have been doing a lot of prep work, dry fitting etc. Not actually glued anything together as yet, well aside from the mounts. I've removed, numbered and dry fitted all of the frames, along with the dummy cannon support beams. I had to sand the slots at the very fore to account for the angle, and I didn't notice until after I had removed the support beams that on the forward ones there is a length issue. To compencate for this, I've added a few scraps of wood to provide a wider surface than just the width of the forward bulkhead. There are still a few areas I am uncertain of for strength, with the upper ones fore and aft, the ends of the beams have no slot, so I will need to have a look at the plans to see if adding some more supports there is going to foul anything else further down the line/and check if there is even a cannon in these weak areas. (If not, then it doesn't really matter). I've also painted white the upper knees, which will be partly visible on the finished model.


-
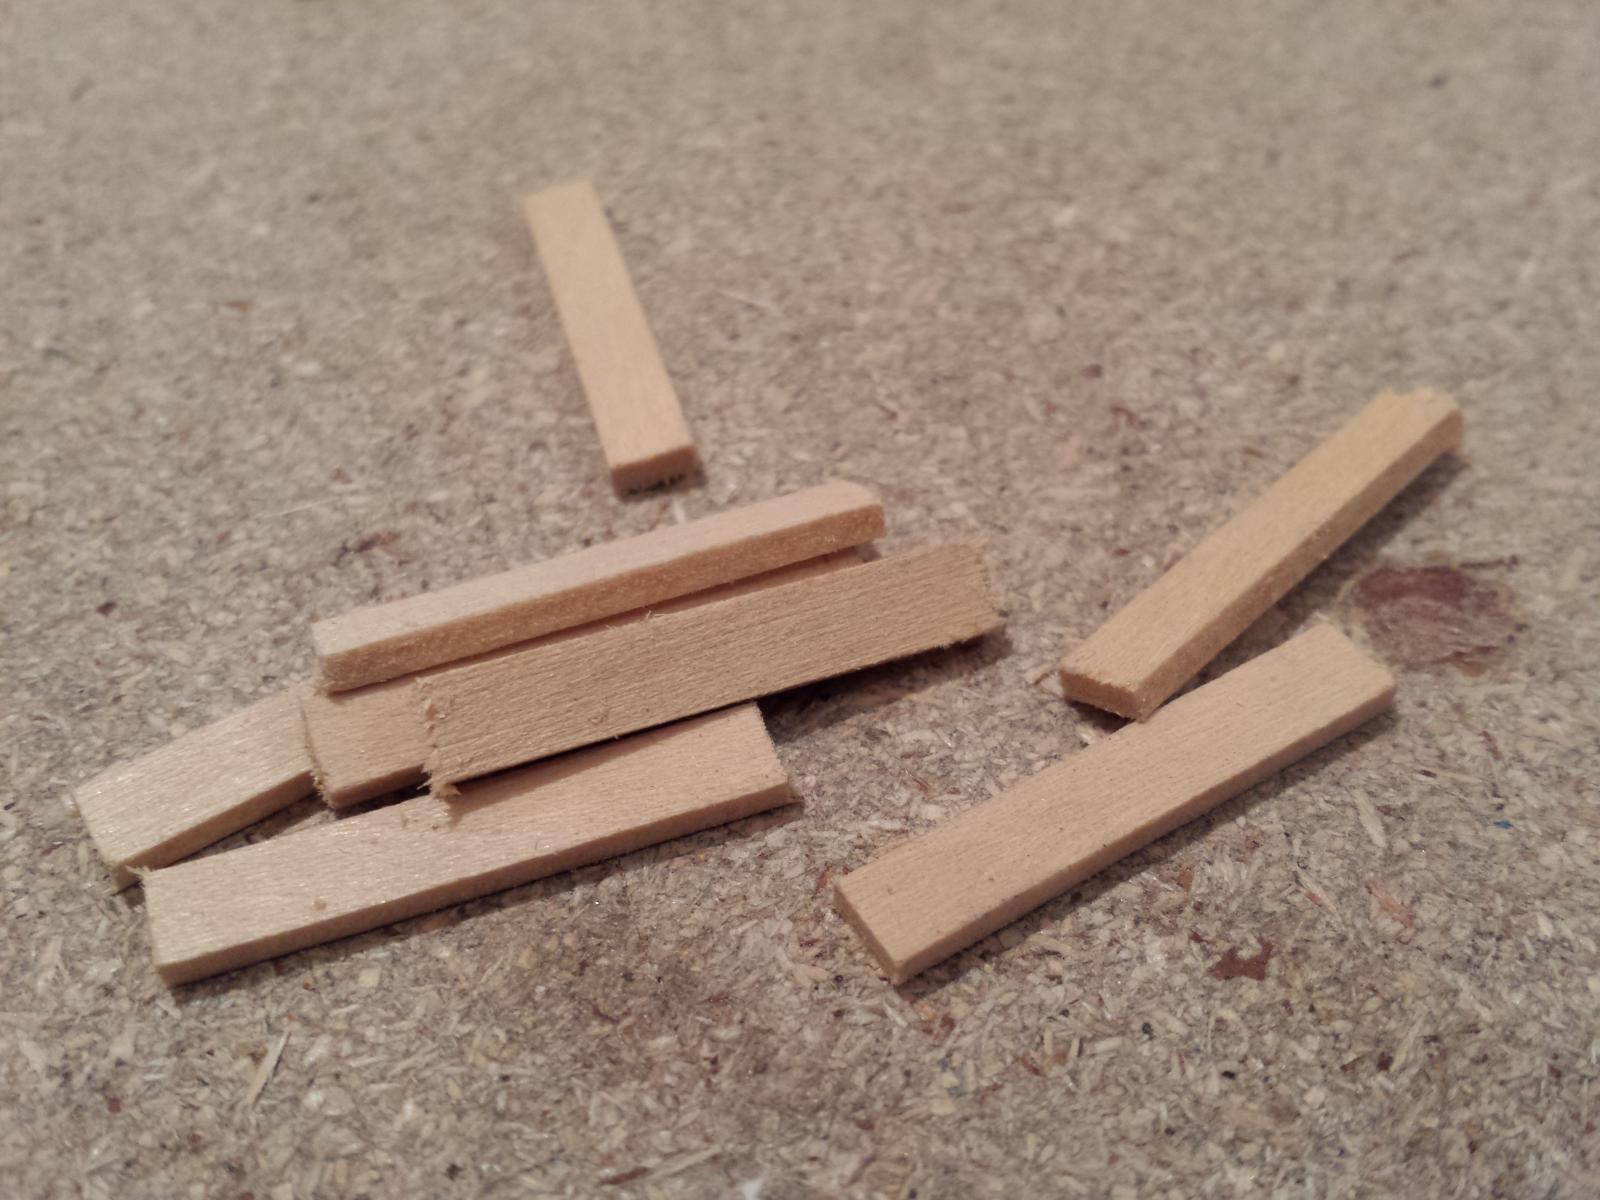
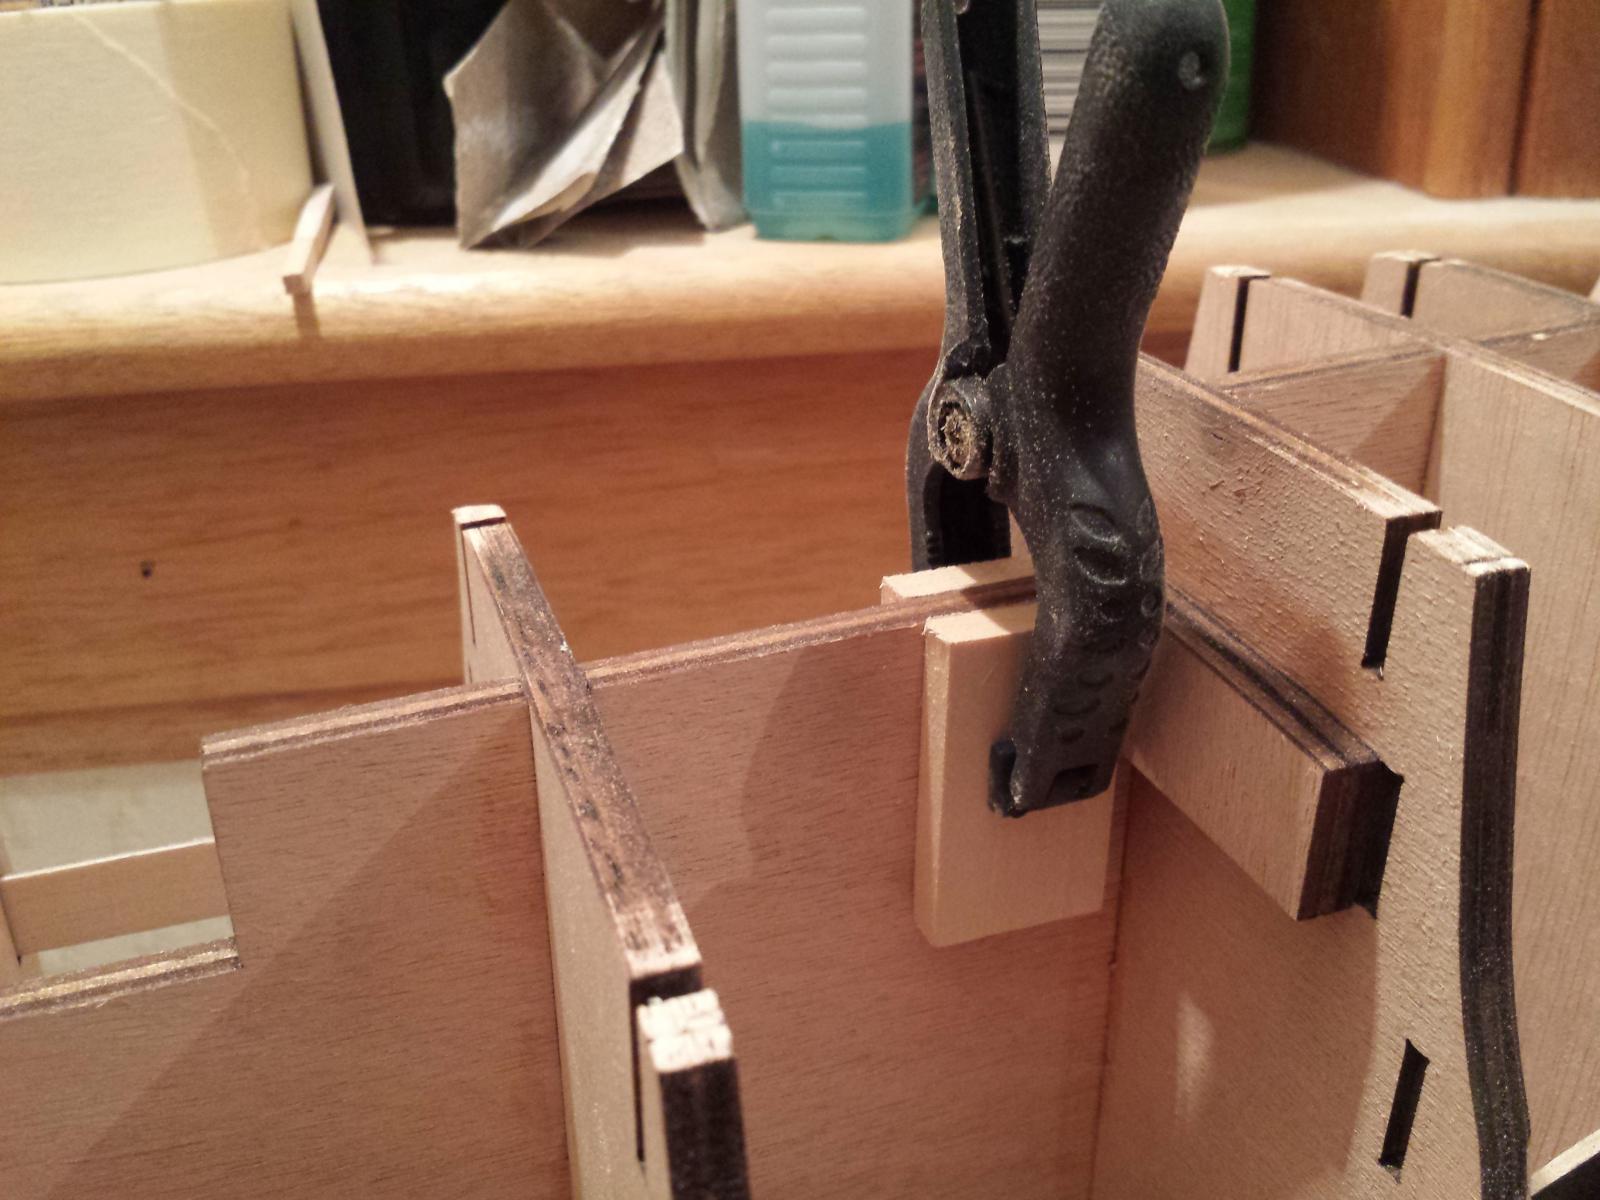
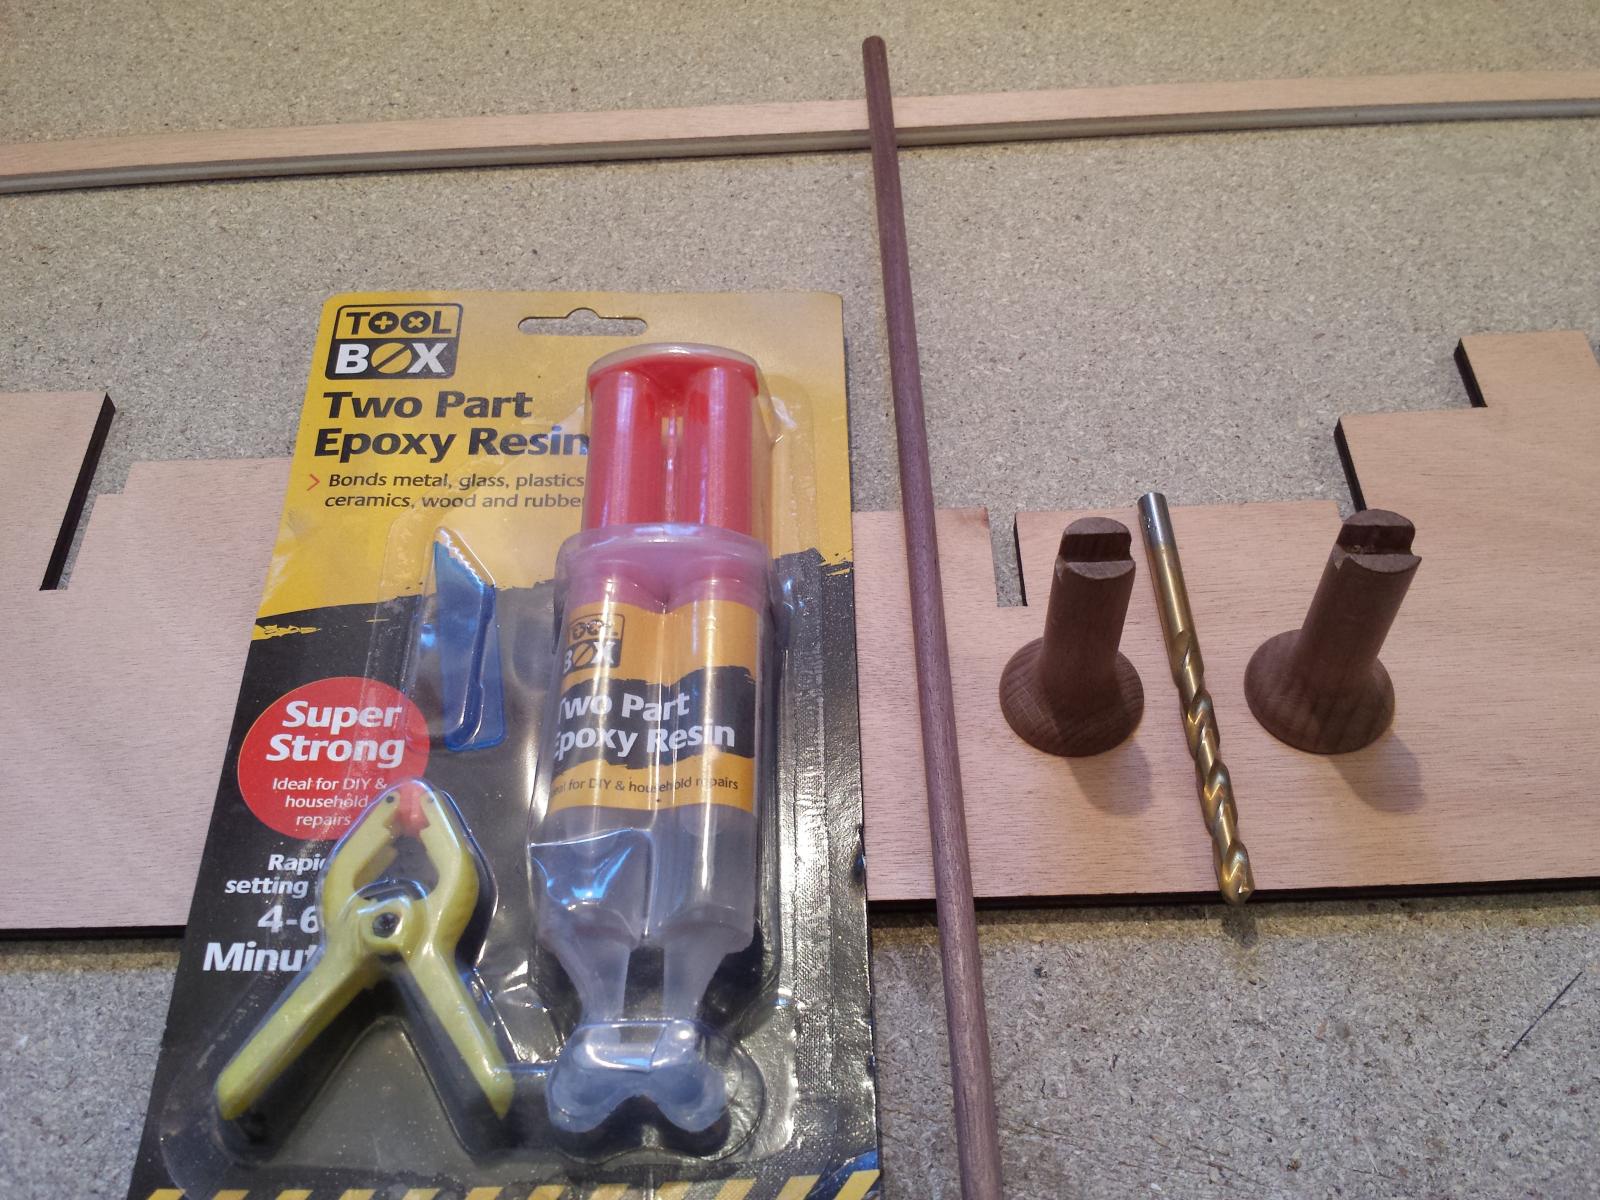
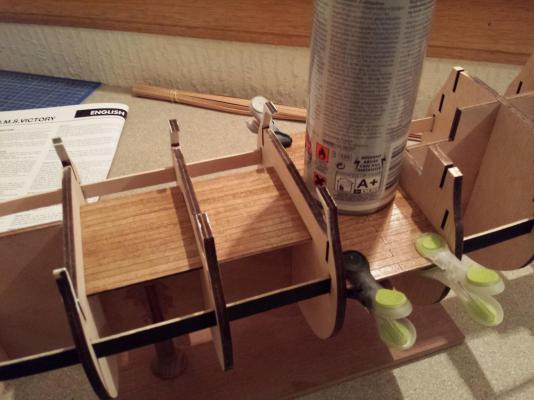
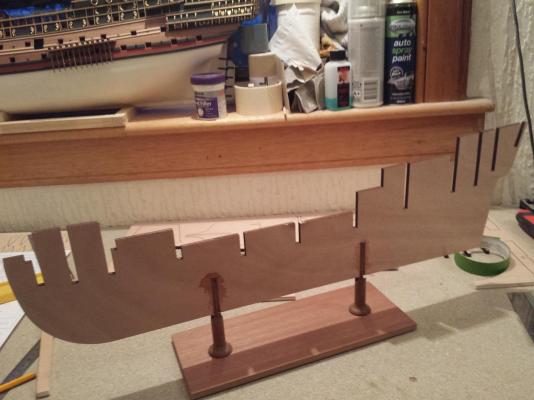
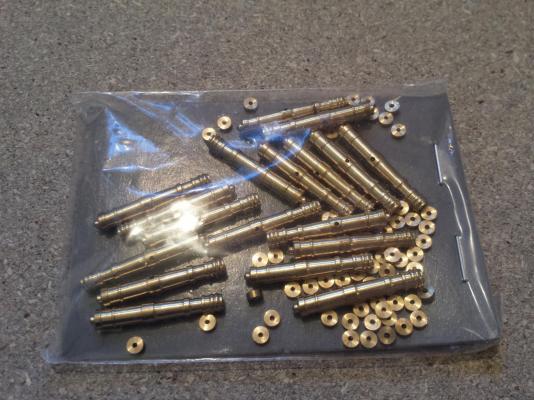
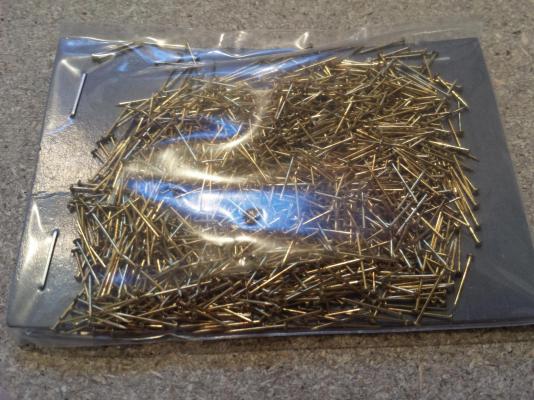
Hi. The first thing I wanted to get out of the way, was fitting some mounts now, while it is still easy to do so. Should have been in the form of bolts really, but I have some stock of dowel from manzonia, which is quite a hard tough wood, so elected to use those instead. Should they prove too weak to support her when finished I will simply remove the protrusions. I plan on coppering the hull so they wont be visible at the end, and just use a traditional cradle. Was basically a case of cutting two slots in the keel, being aware not to foul the ribs, and fixing the rods in place with a two-part expoxy. (Once complete thise will slot into turned columns fixed to the display base, at the moment, I am making use of my temporary base.)


-
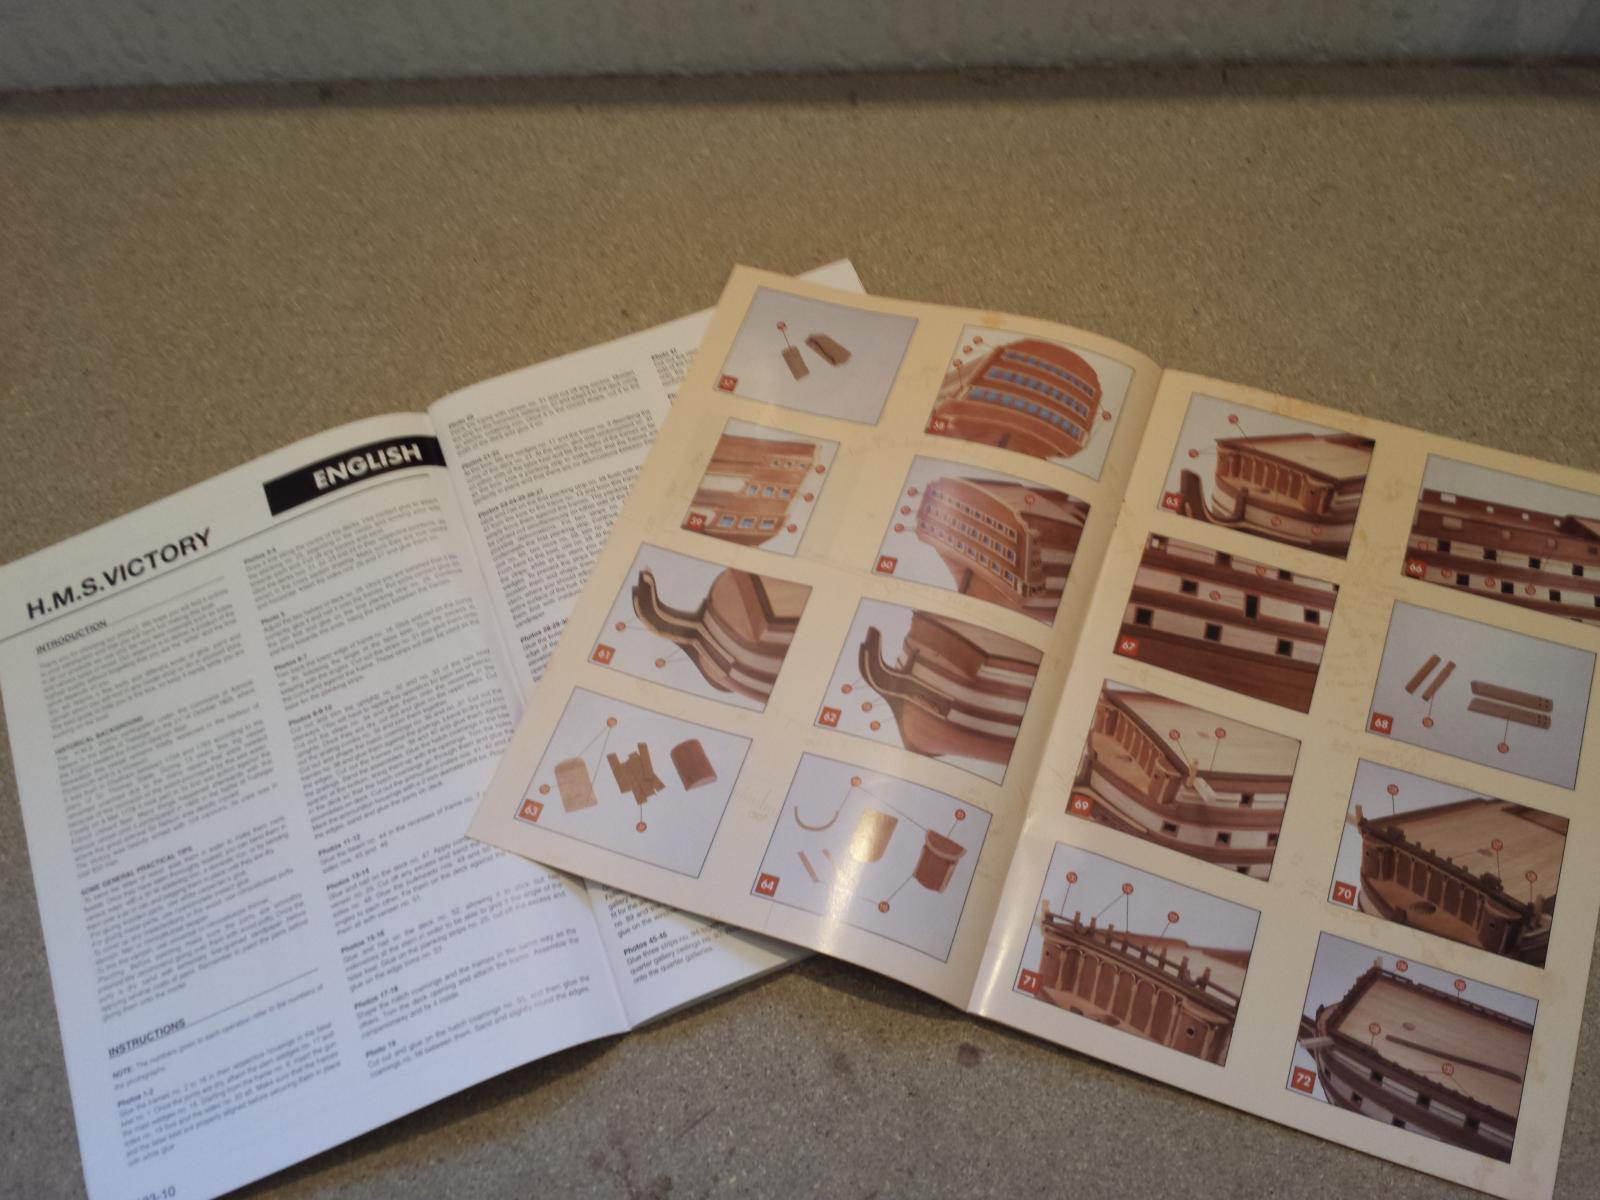
Hi Mike. Thanks for the comments. Personally I've found, from flicking through them, the instructions not too bad, I've seen worse anyway. You do have to read a line twice sometimes as the translation hasn't been fantastic, but with this one the inclusion of the colour photo book comes in handy. I agree on replacing some parts, the helm for example, I will replace for wood. It's a personal bane of mine having a cast helm instead of wood. Same witht he cannon hatches, they will be getting scratch built from wood, as the ones included are cast. It also annoys me a little that there isn't a full compliment on auxiliary craft. Only two, which go on the rear davits. I believe she had 5. My other gripe with this is the rear prince of wales feathers. It's brass PE instead of cast, yet the figure head is cast. Why? What where they thinking? Trying to find a casting at this scale to replace that with has so far proven fruitless, but I have plenty of time before I reach that point.
-
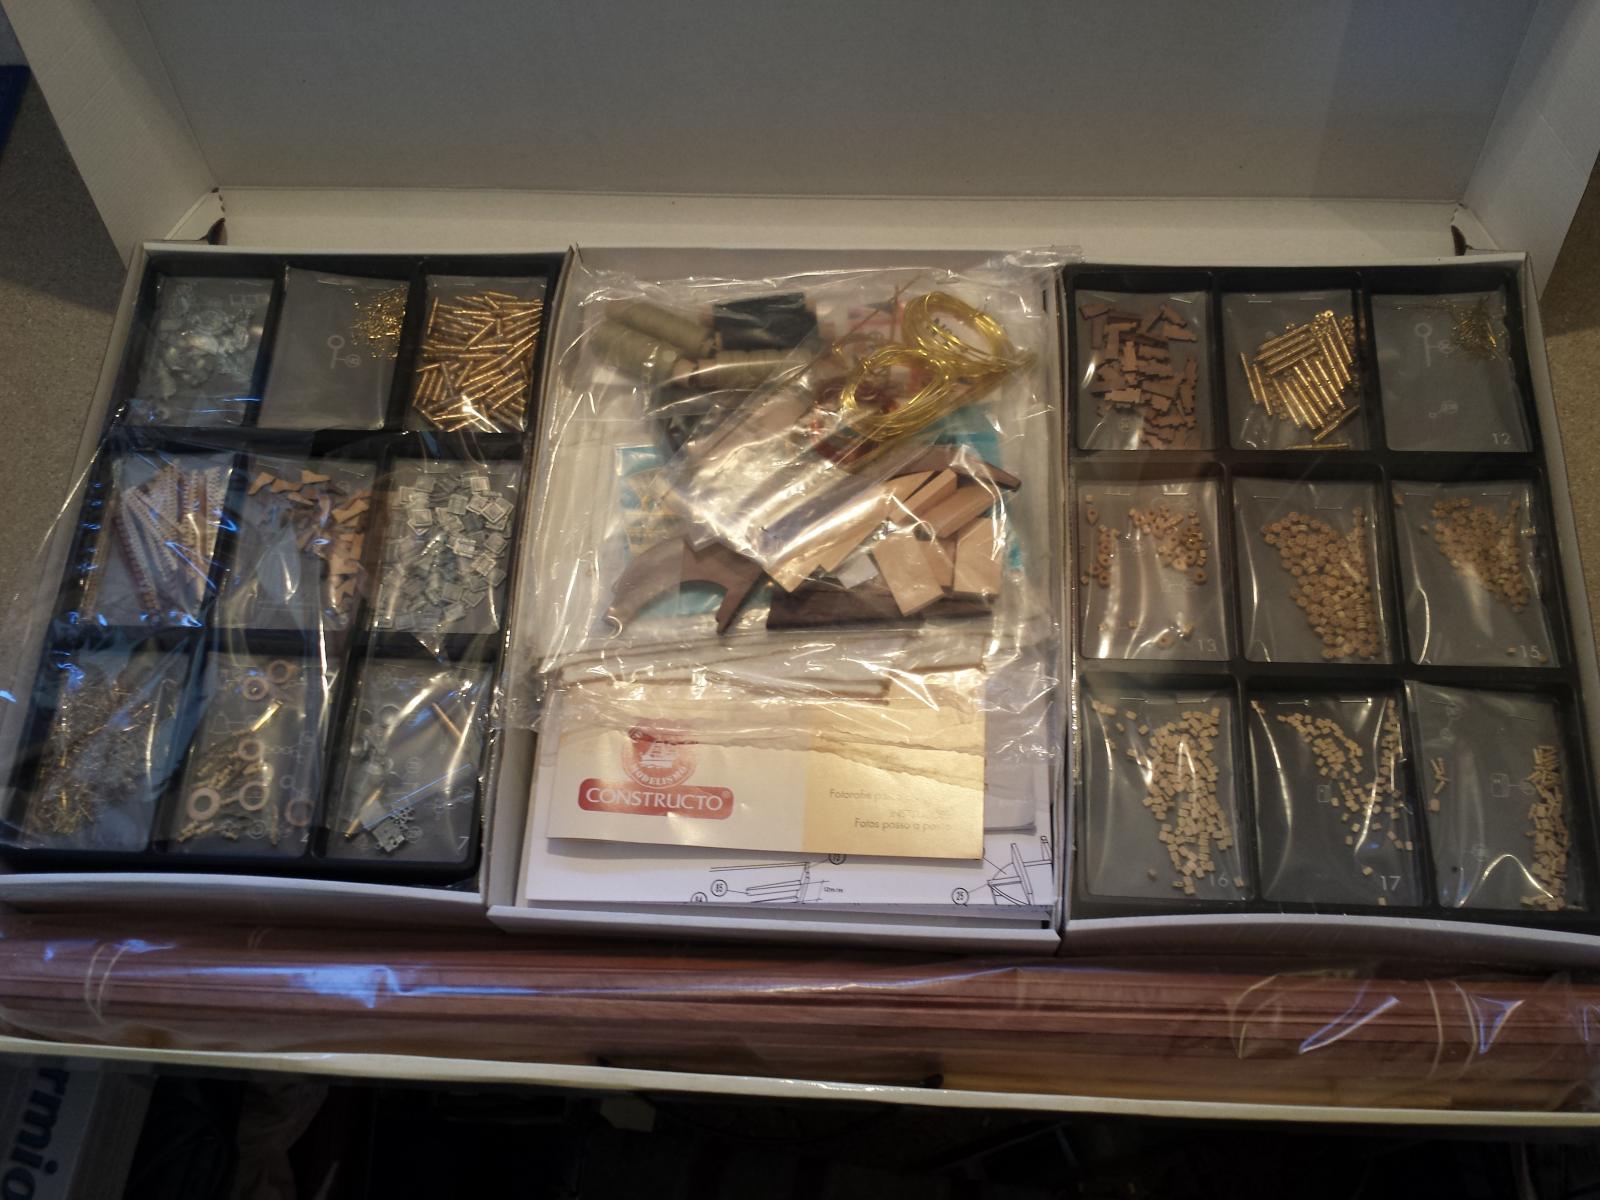
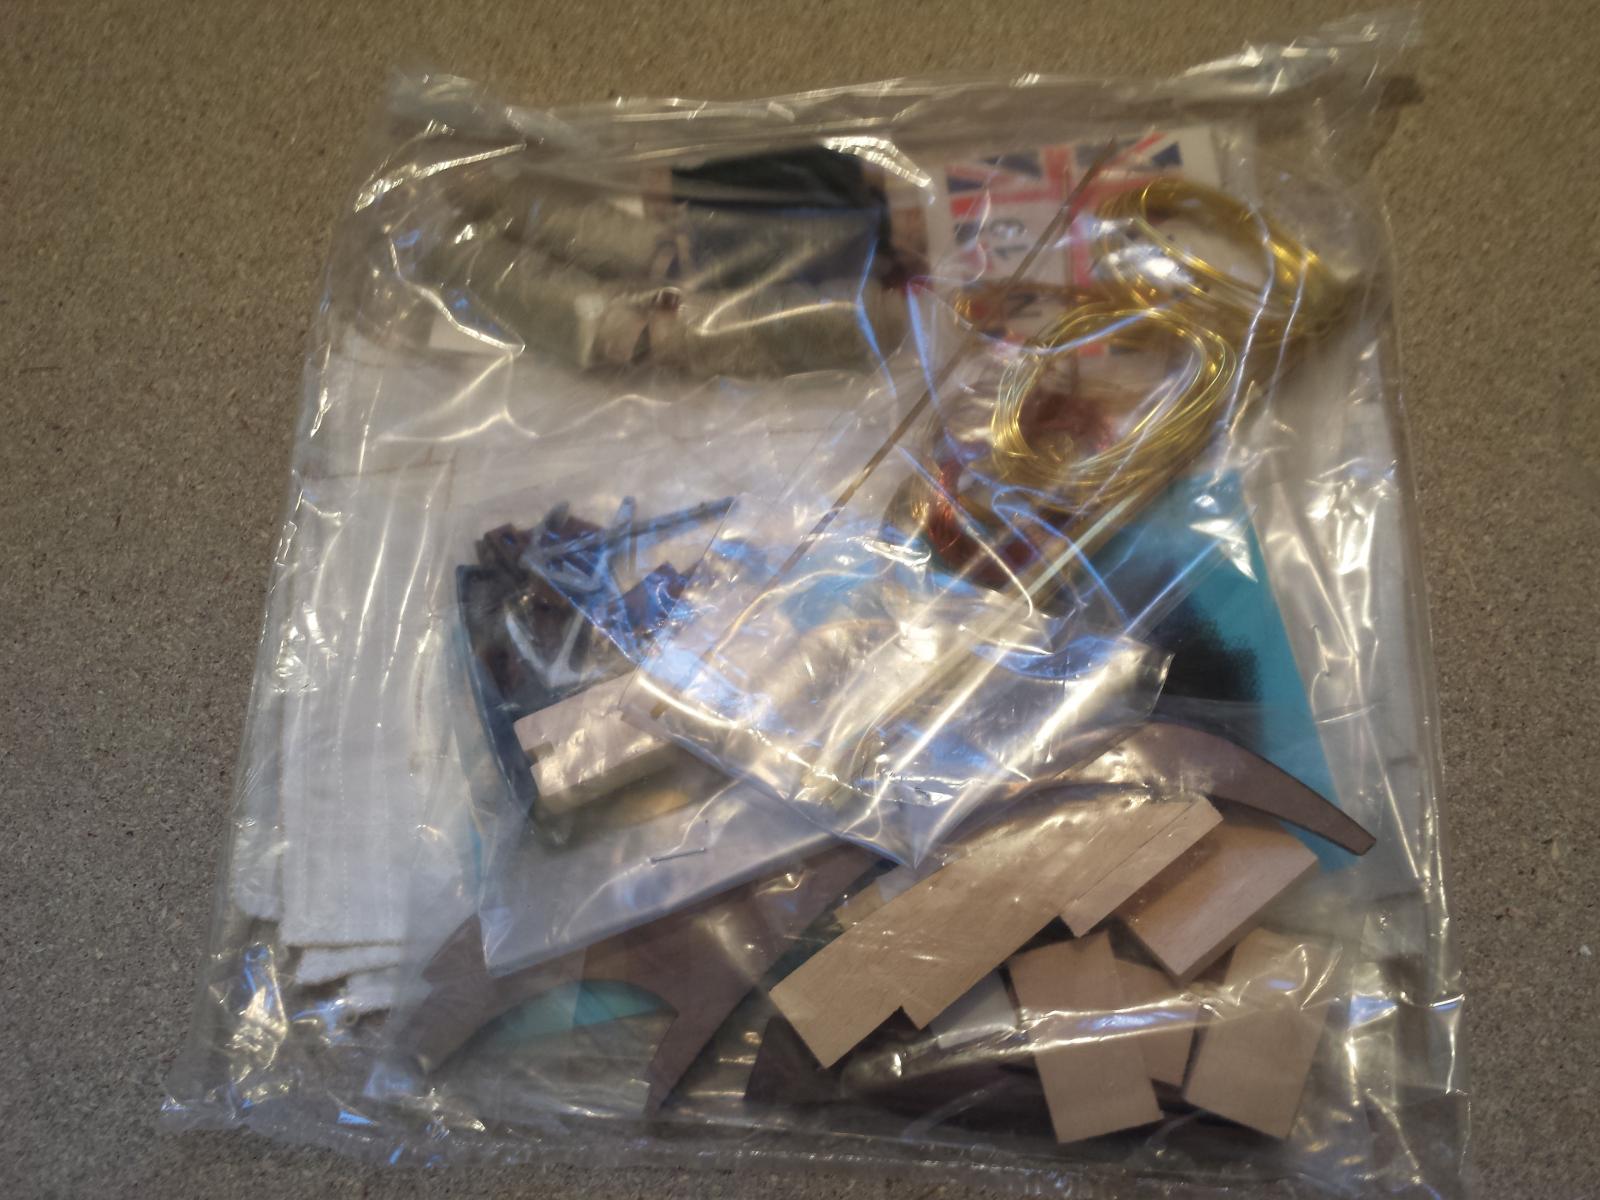
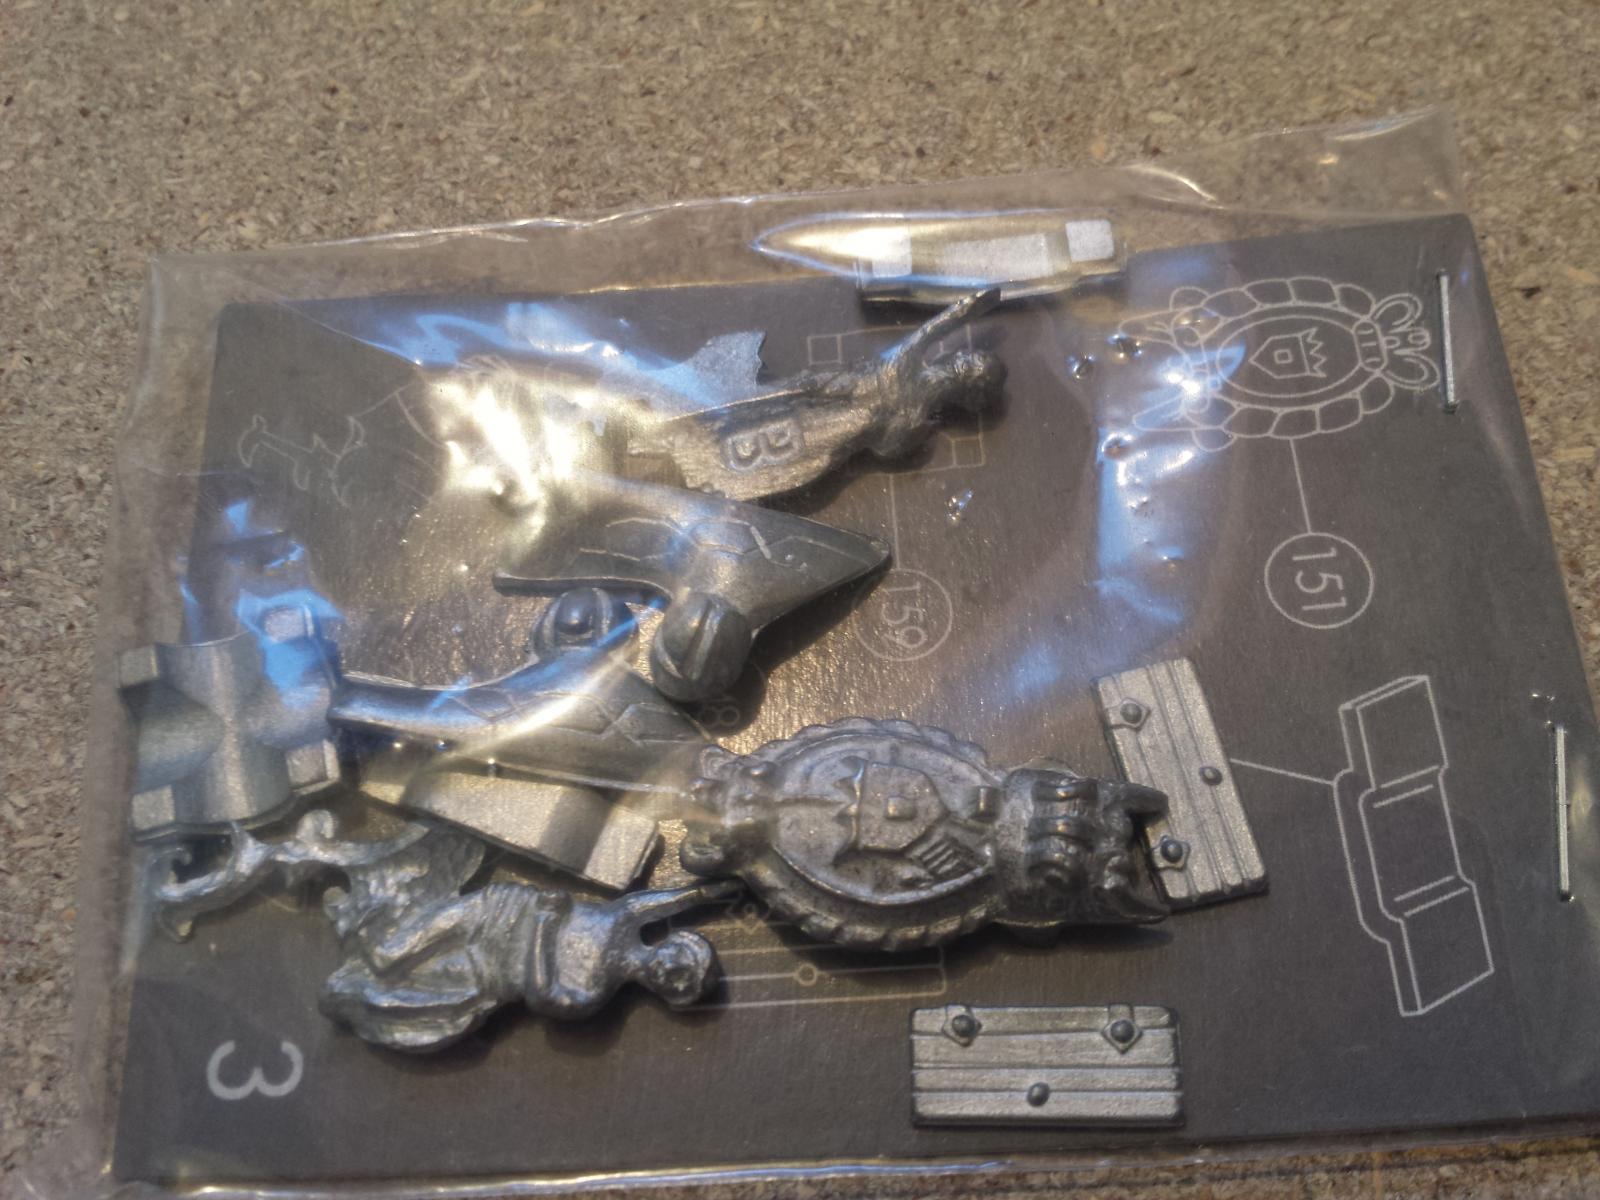
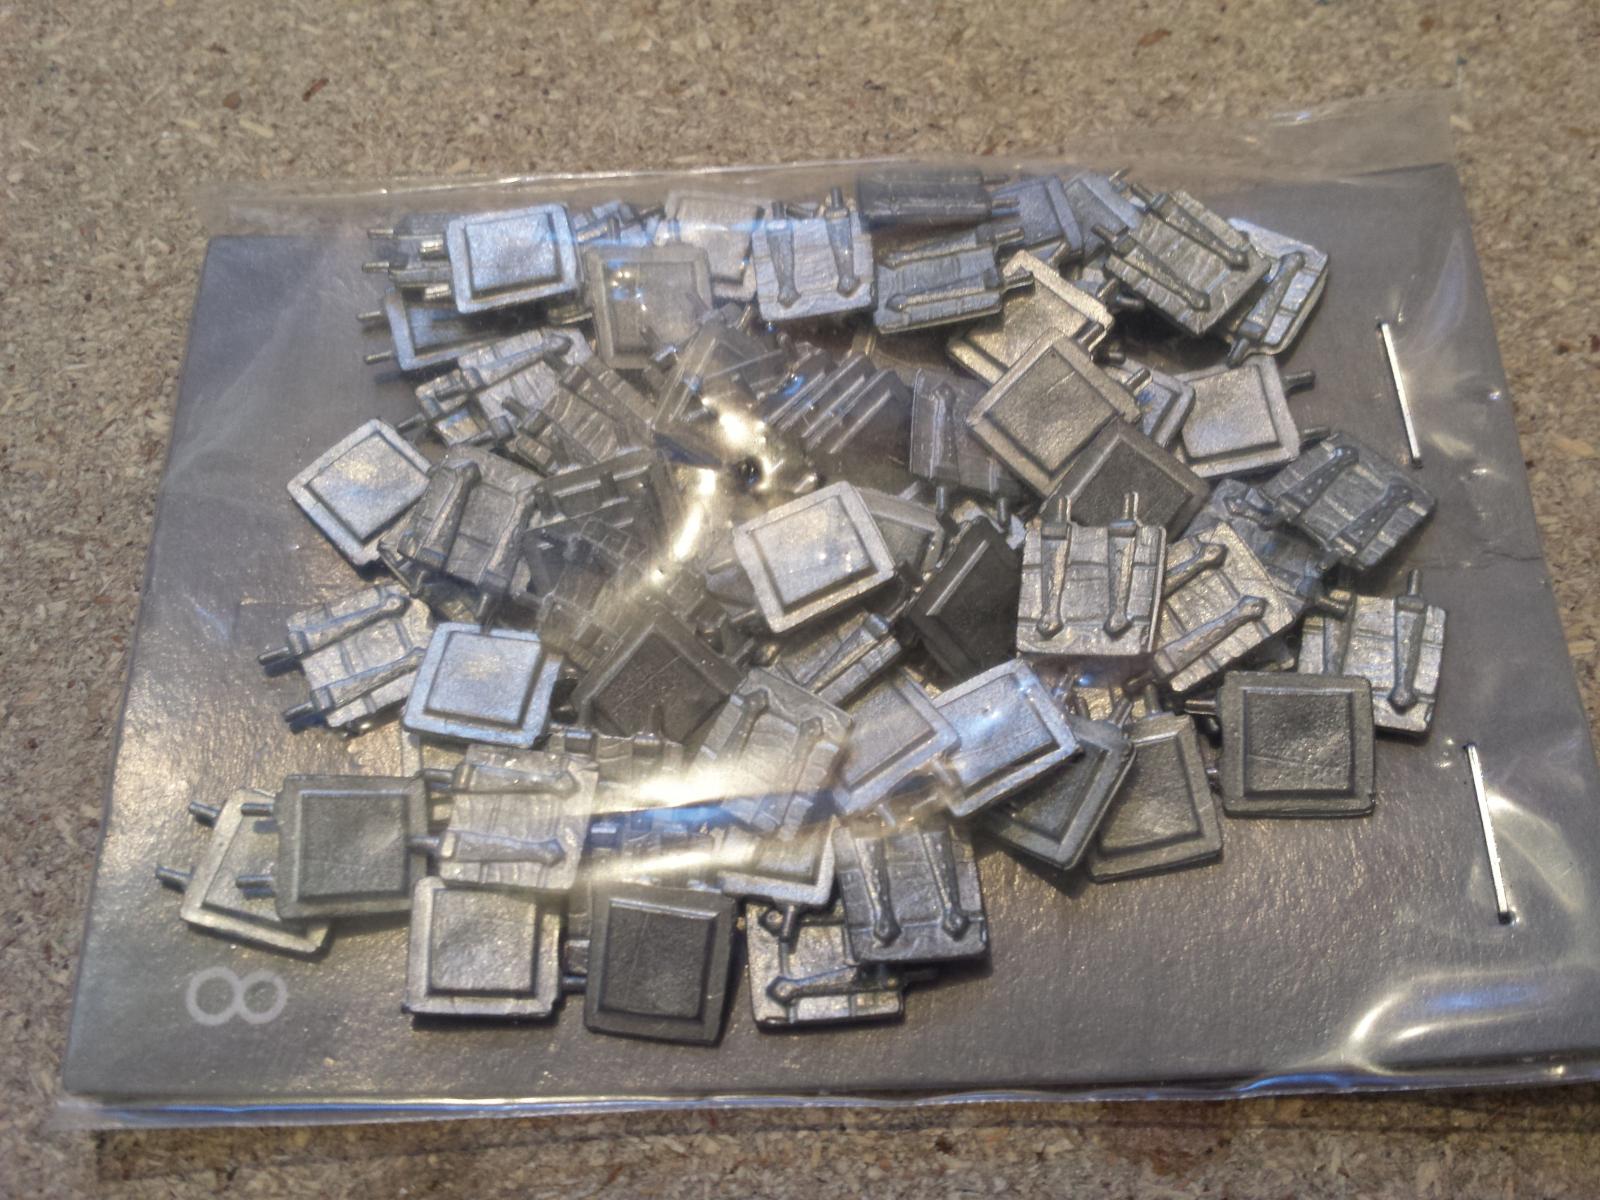
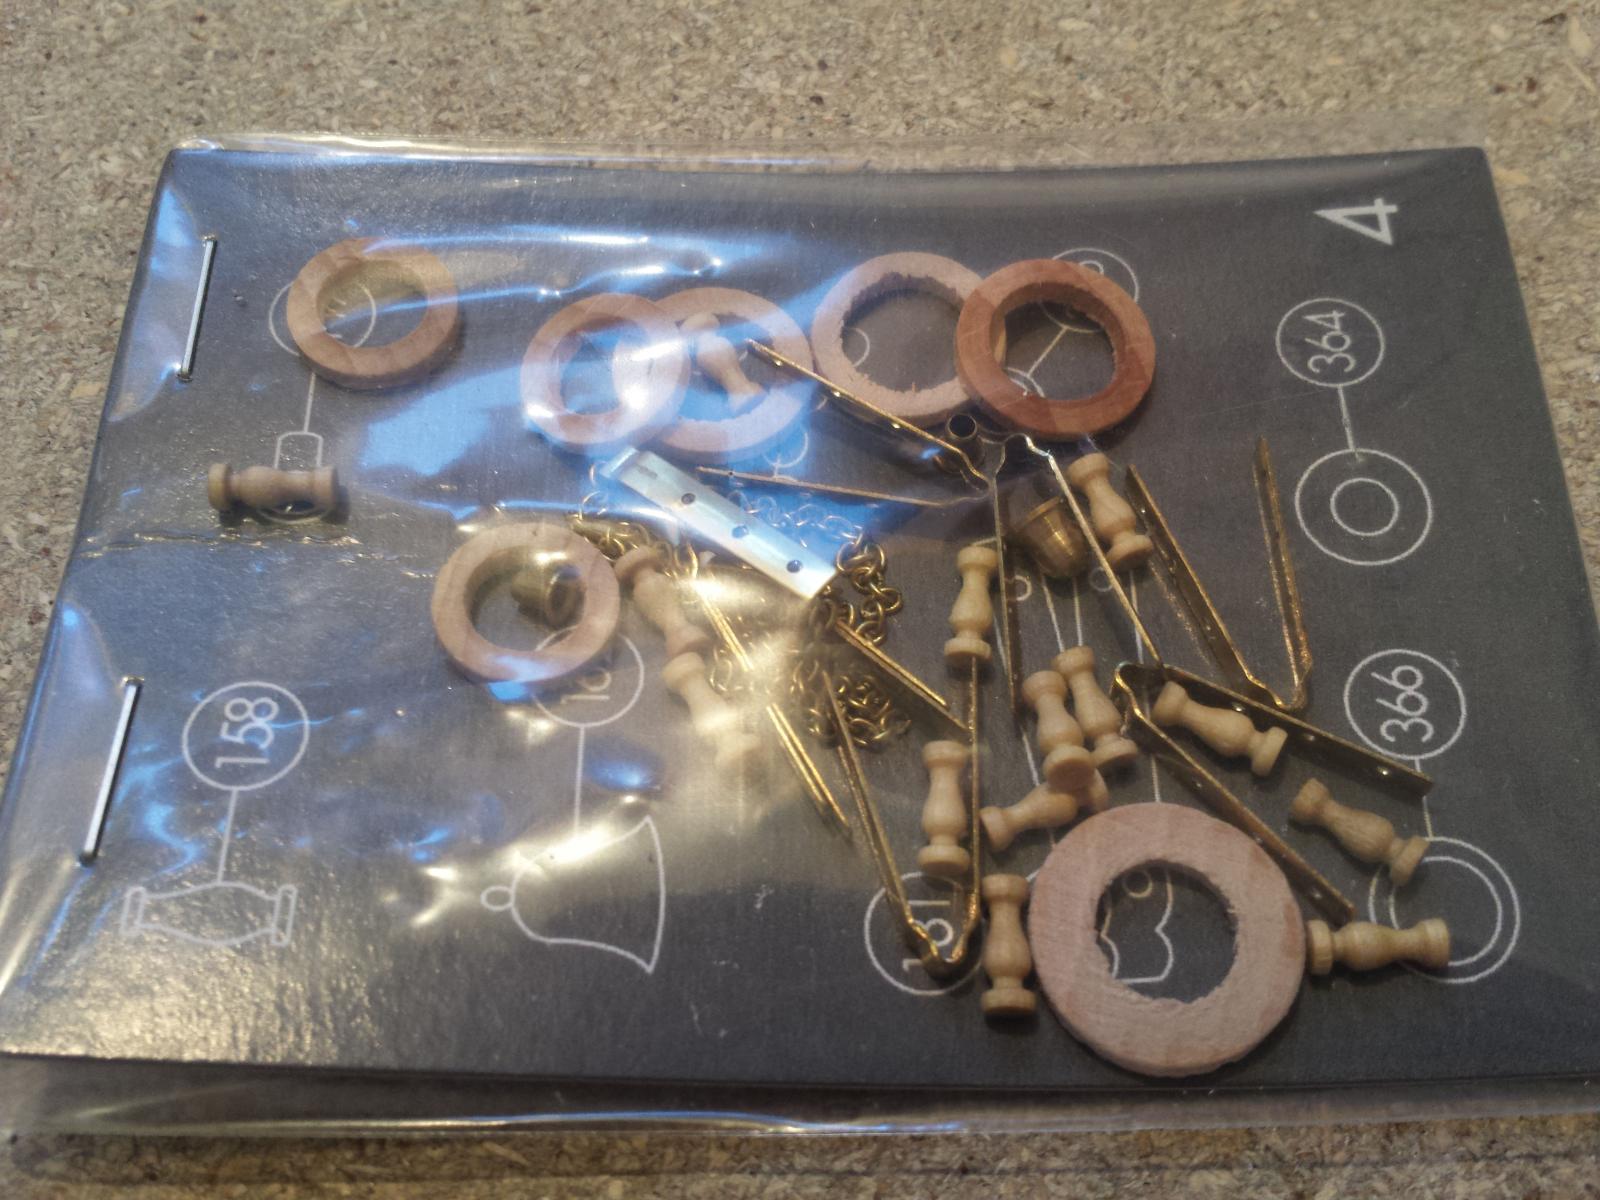
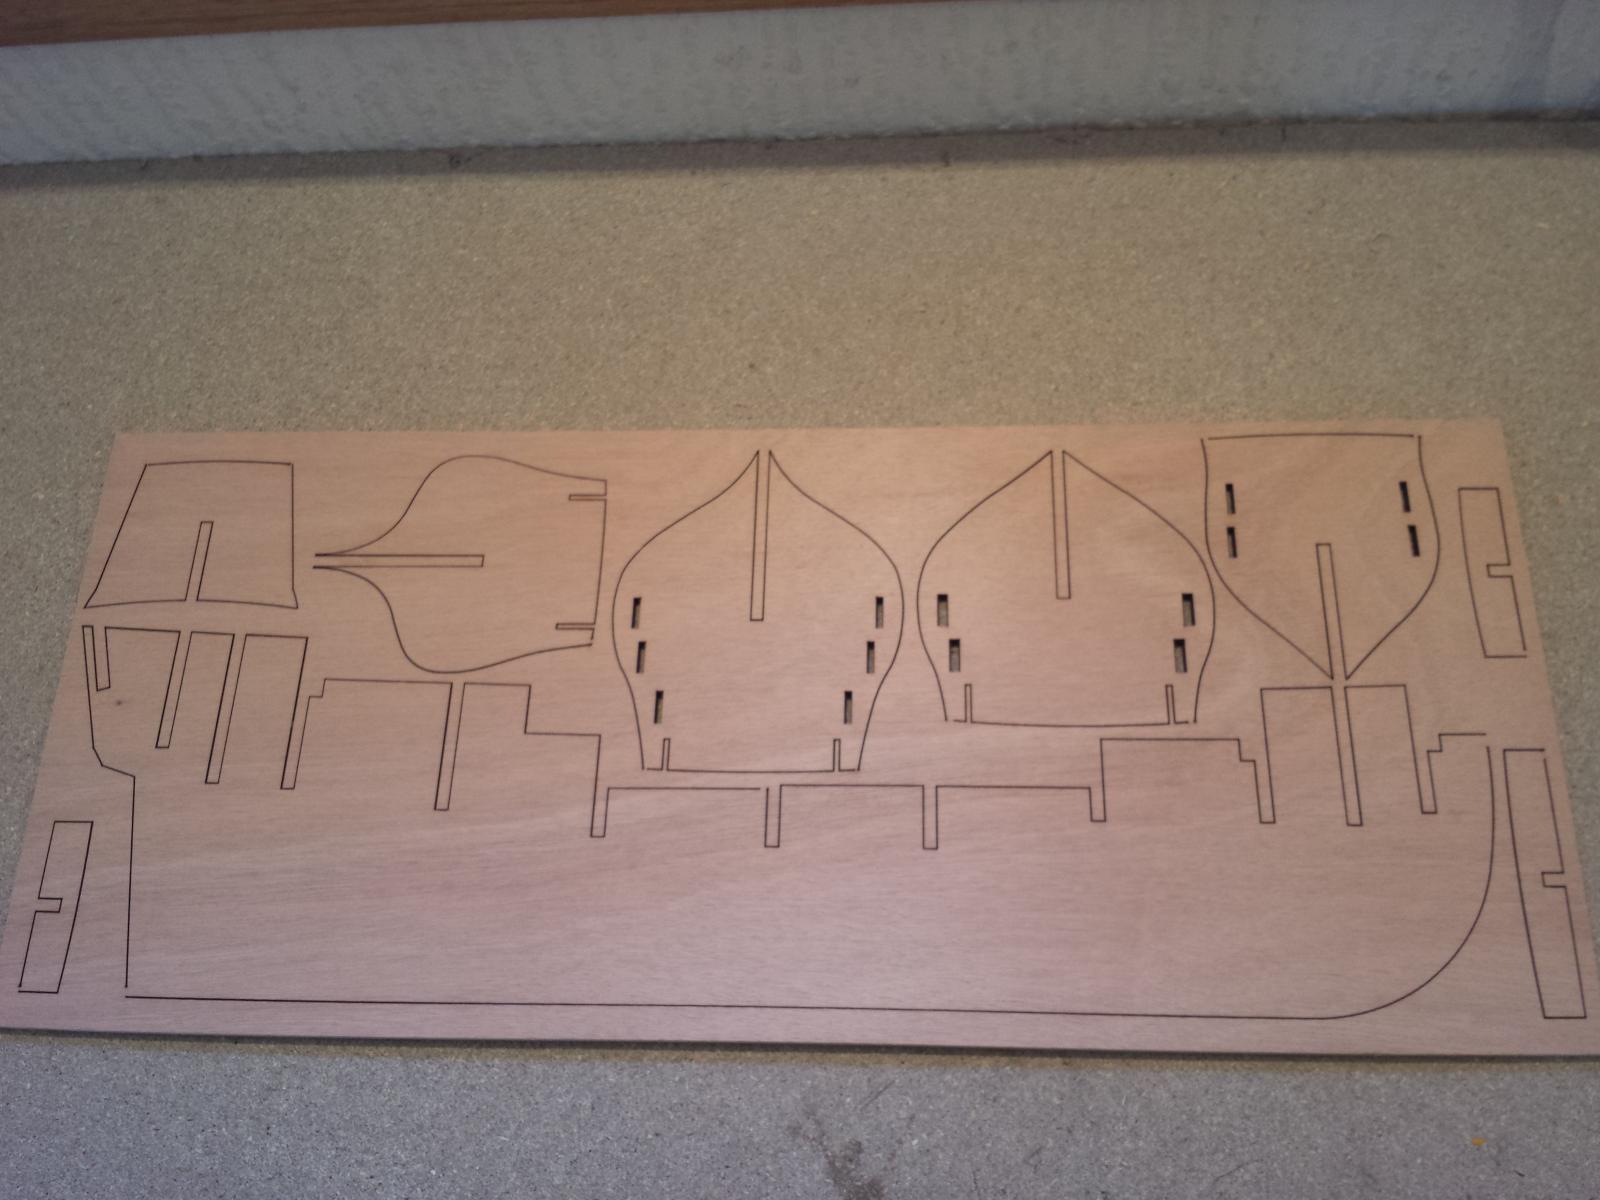
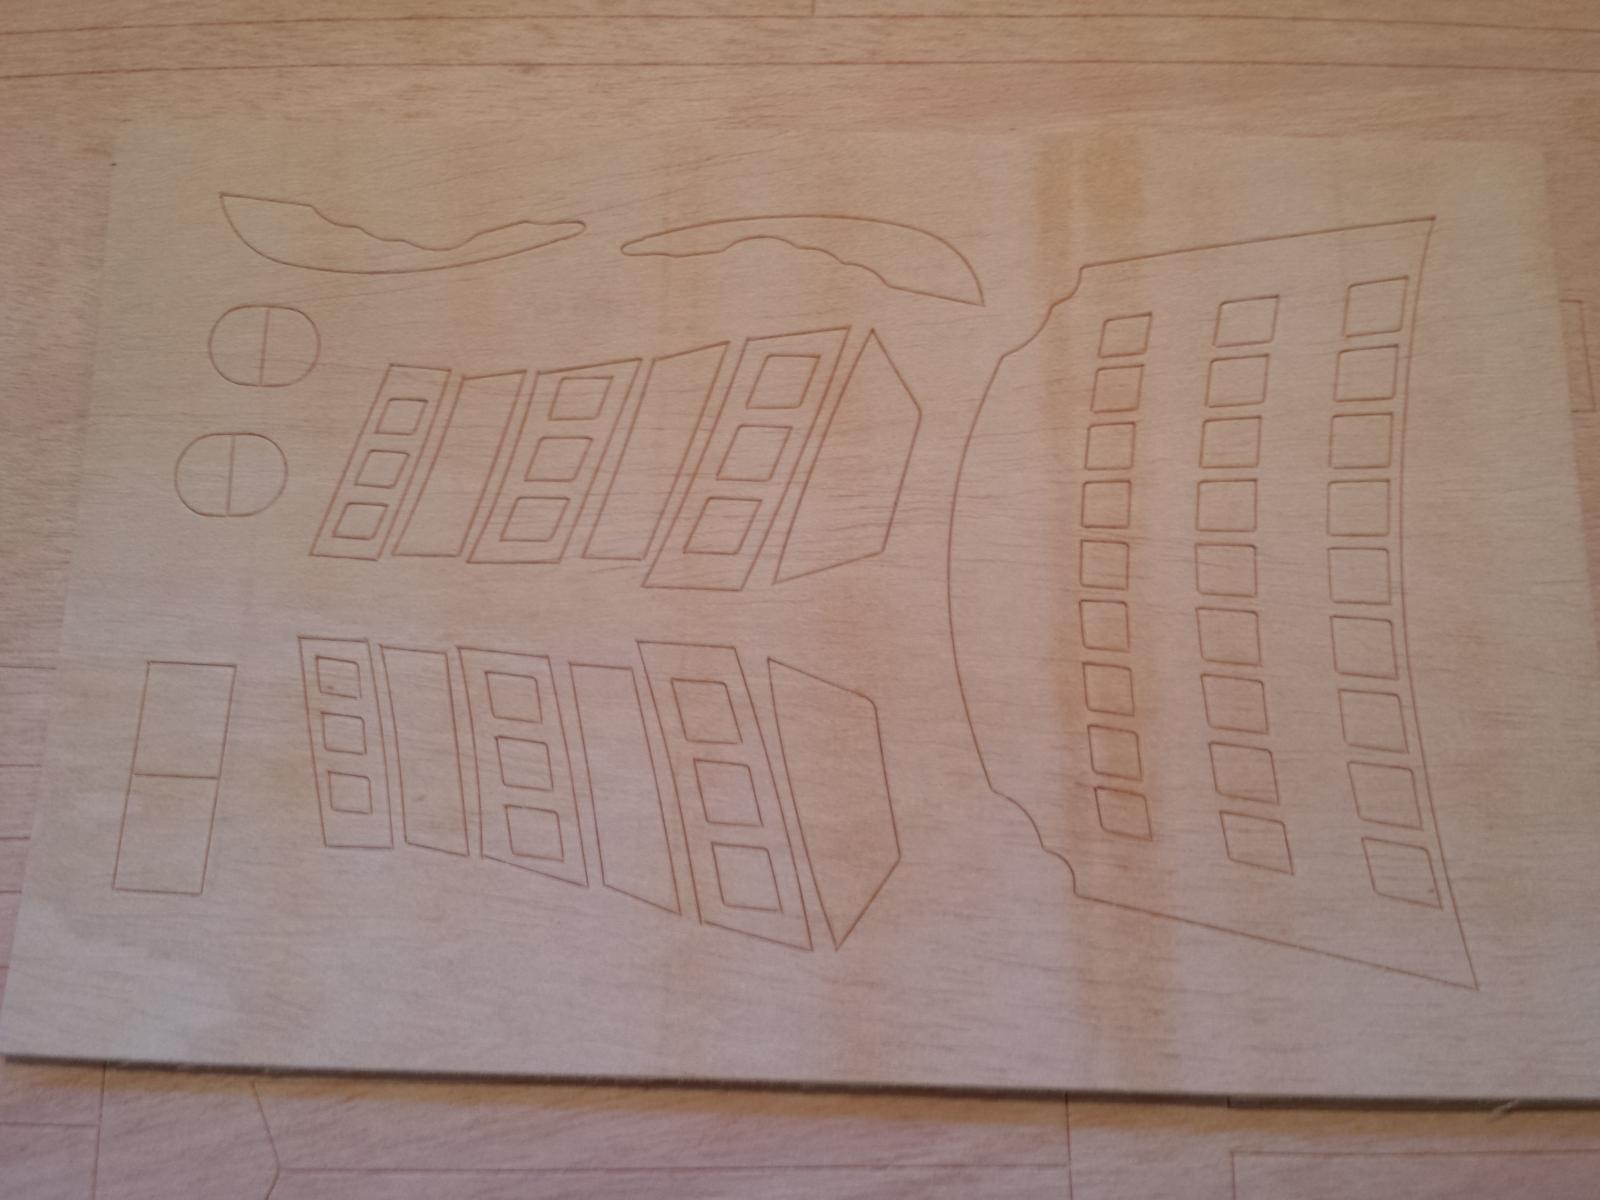
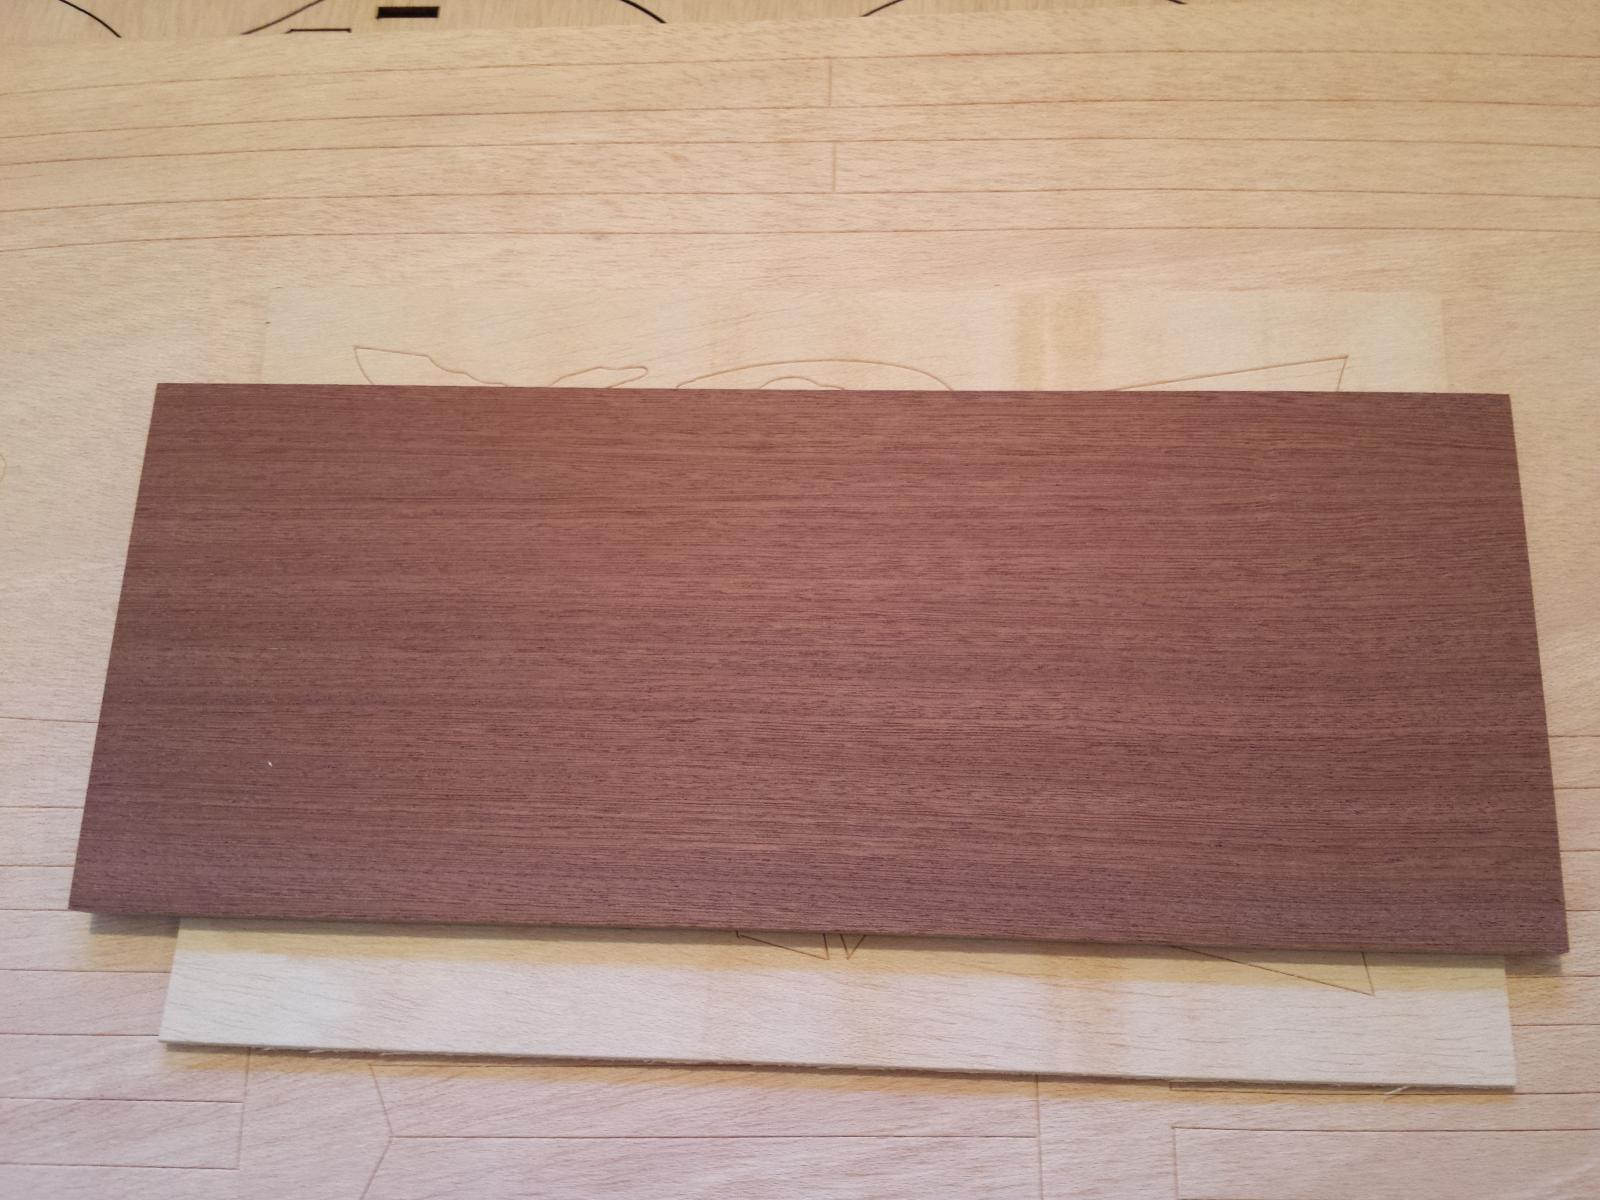
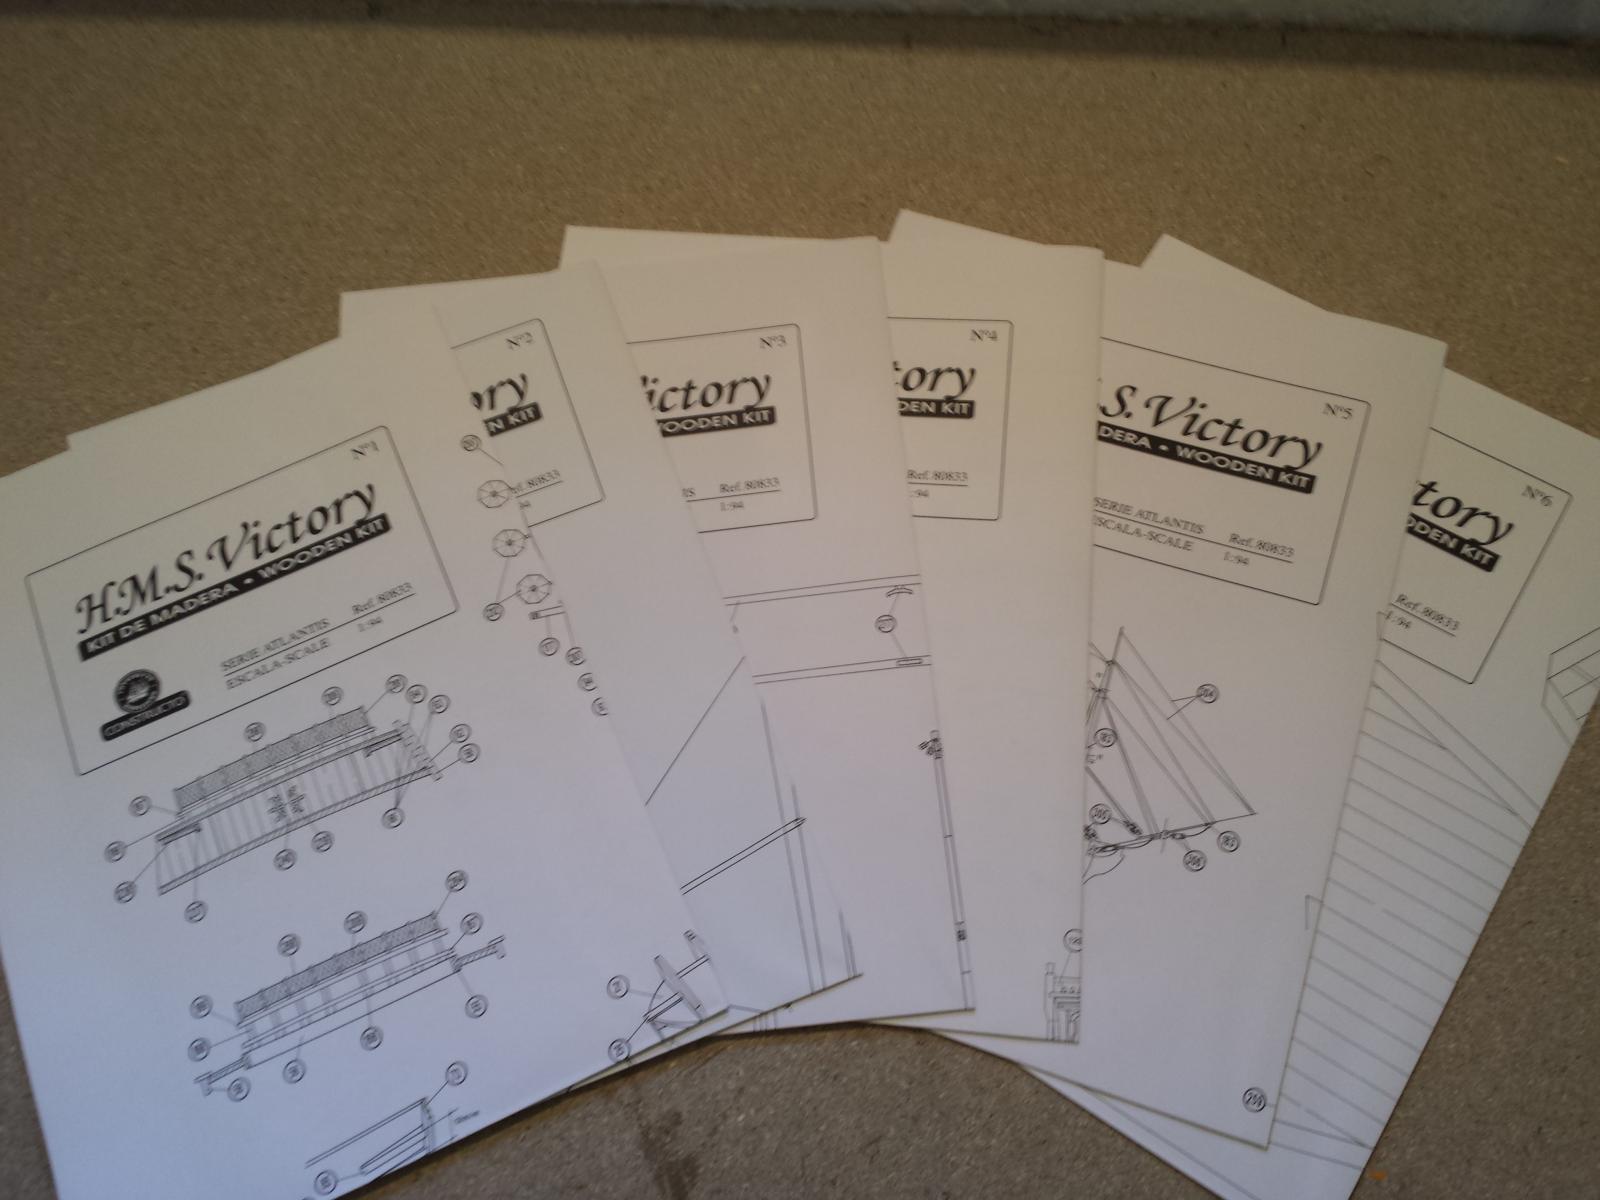
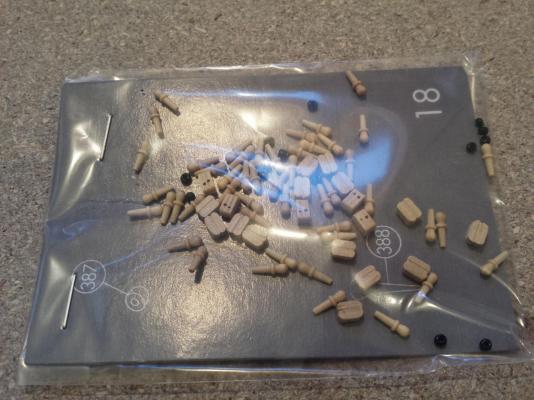
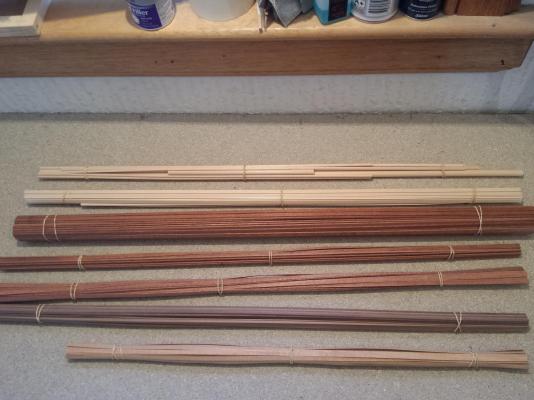
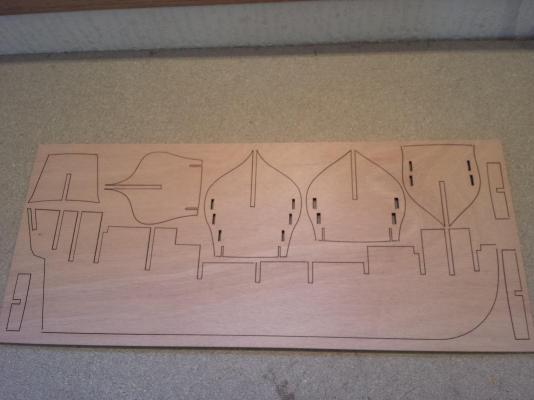
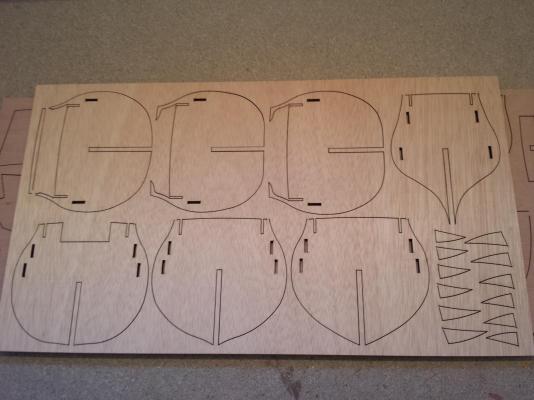
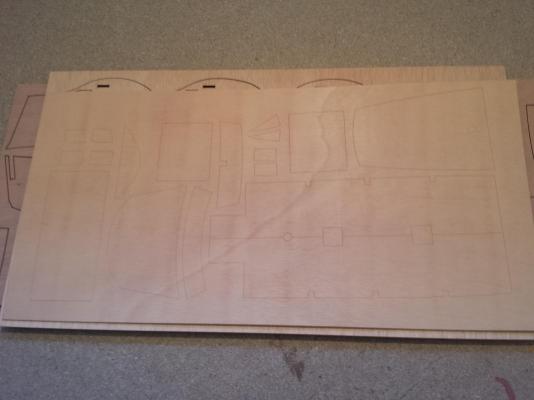
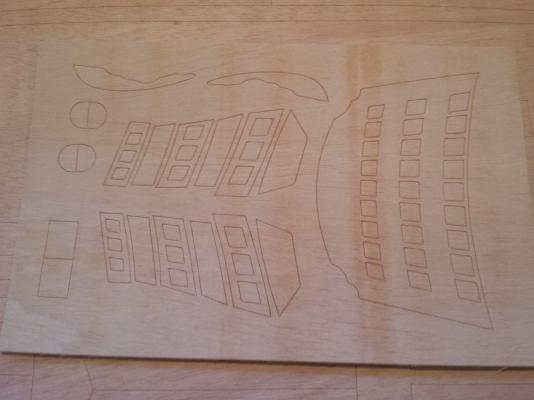
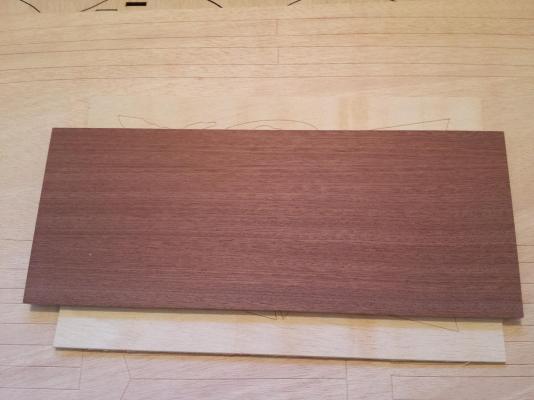
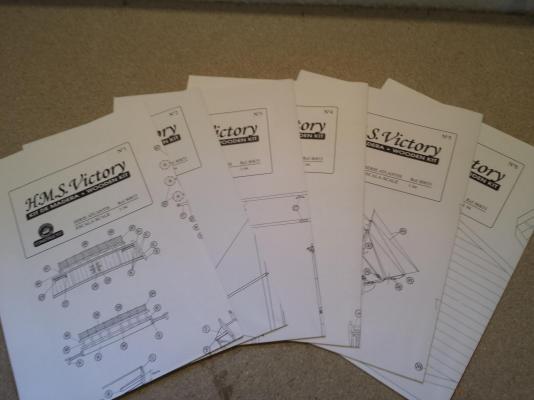
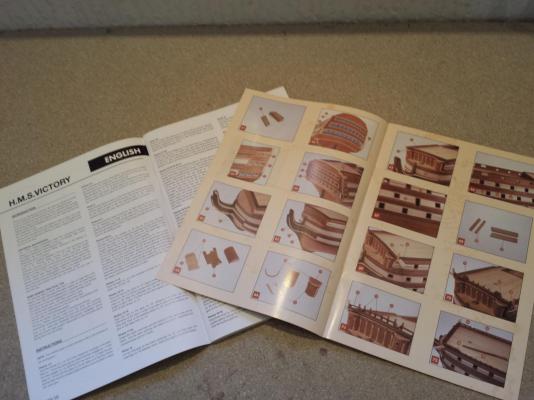
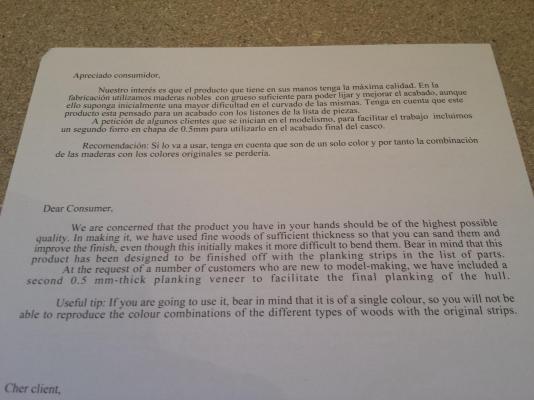
Good morning from the UK. Been a while since I have been on here, and I was persuaded to return so here I am with a new project/new log. I found this as a bit of a bargain on Ebay, almost £90 off and just couldn't resist. Constructo's HMS Victory 1/96. I've been looking through Paul's log of the same ship, and I could only hope to come anywhere near the workmanship he has put into his, although I will be making a few modifications to mine along the way, and detailing her in the colours she now stands in at Portsmouth. Having seen this beast up close, I've been wanting a crack at a decent model of her for some time. I did start AL's version a number of years ago, but abandonded it due to lack of skill, as stupidly it was only my second kit. I've since built/currently building several others and my skills have improved a lot compared to what they were, so having another go. I'd just like to point out though, my skills, compared to some on here, are pretty weak, and I also build for what looks good, not for what is historically accurate. So if something isn't perfect to as it would be on the real thing, please bare with me, planking for example. I'll start the way I usually do, and post photo's of what comes in the box. There are a few things I have reservations about and will note them where needed. The one thing that I like about this kit is the quality of the pre-fabricated wooden parts; blocks, deadyes etc. Especially the deadeyes, the holes have been drilled quite well. In AL kits a lot of them are off centre or uneven. Also, this is the first kit I have come across than includes a base. It's crude, and in this case will serve me as a temporary stand, but at least they included one. As can be seen in the last photo, and I believe it was noted on Paul's log, was the inclusion of optional veneer for a 2nd planking. I will plank with the intention of not using it, and be left with some spare stock, but at least I know it is there if the first planking doesn't go to plan. They note that you won't be able to replicate the alternate colours which in my case is niether here nor there as I plan on painting anyway. Back soon with an update, thanks for reading!


-
Thanks. She arrived today, and have to say from what I have seen so far I agree with you. Seems nicely packaged together, dry and upon quick examination, zero warpage. Just the Hermione to finish first... *sigh* Look forward to seeing some more progress on yours
- 708 replies
-
- 1
-

-
- victory
- constructo
- (and 1 more)
-
Your craftsmanship is stunning, well done! I have ordered this kit as well just waiting on it being delivered. Will be painting her in trafalger colours but will be referencing to your build. Nice work
-
Hiya, forgive the lateness in my reply. I don't think there is a way to straighten without taking apart, if is at that point. And depending on what was used as adhesive may dictate on how you can take it apart. If it was just ordinary PVA, the easiest way is to soak in hot water for a few minutes and it should come apart quite easily. Be sure though the keep the parts flat whilst they dry as you could end up with a worse problem than when you started. Forgive if you already know all this, it can be hard to gauge a persons experience unless you already know. Good luck.
-
I don't have a bounty to build...already finished mine
-
I've fitted the knees for the 1/4 deck and it's fascia. I am now working on the external rubbing strakes. Starting with the main deck strake I soaked and clamped the strips so that they dry to the correct shape then stained and fitted them, fitting the two upper strakes following that. These ones didn't require pre-shaping first so was stain/dry/fit.
-
Last night I was rubbing down the rubbing strakes, (see what I did there?), as I wasn't happy with the gap that had formed between the outer strakes and the veneer that I added. So after rubbing the stain off I ran a tiny bead of cyano gel into the gap and sanded lightly with a coarse paper allowing the dust to settle into the groove. Then smoothed over with a fine grade and re-stained. Looks much better in my opinion. Next up I started on the main deck waterways. The fore waterway had to be bevelled on the inside to sit flush on the deck/fore wall. The port/star waterways needed some shaping first. There was enough flex in the wood latitudinally to allow it to fit but I decided to soak/clamp and allow to dry to shape first. Then sanded, stained and fitted in place. Currently I am working on adding the timberheads: More later.
-
Thanks guys. I will take it all on board as compliments...as if the only critique is lack of accuracy...well I can live with that! :P
-
Thank you. For this build I am sticking to the instructions, no mitring strangely enough... As for tarring or tallowed...really? It is a model after all. Sorry I just feel that there is a limit when it comes to accuracy...the way some of you guys talk you may as well just build the real thing
-
I've continued work on the Santa Maria this last week. Finished the second planking and trimmed out the gun ports. Sanded the entire hull with gradually finer grades of sandpaper and finally applied two coats of varnish. I don't think my unorthodox planking turned out too bad. Next I've started fitting out the decks, starting with the hatch combing and poopdeck edging. I decided to use some spare veneer to edge the poopdeck before adding the rubbing strakes.
-
Thanks for all the comments guys. I must come across as a right stroppy diva! Really not the case. I think I may have over-reacted slightly for the reason that when you have done something you are really happy with and someone comes along and dismantles it with just a few words...it's kind of like a smack in the chops Yes I know it's not the accepted method of planking. On a real ship that bow would have simply exploded outwards but I was concentrating, perhaps in hindsight too much, on surface quality. My camera doesn't help either. It's too good at highlighting things, in this case the rather, I believe the word used was unorthodox, Aztec planking, which isn't that visible with the naked eye. I was also playing the long game, as once sanded and varnished and then had all the ribbing added on, would barely be visible anyway. I do think perhaps I had become complacent...as each new build I think, should I do it the right way this time...and I always convince myself no, get a bit more practice in first...my intention now with starting the Bounty Launch is that will require at least a few corrective planks, that will be my test bed.
-
It's not that I am unsure of the process. I understand the process of planking using the correct type of stealers and drop planks etc, not tapering to more than 50% overall width and so on. I try to balance learning with results as well. On one of my earlier models, even just basic tapering, (not following the rules), was a challenge to get the planks to fit snugly with no gaps. I ended up with a hull that had an unacceptable number of gaps in. Ok I had the luxury of the hull being white, so I was able to correct with filler and cover the evidence with paint. I don't have that luxury this time, and yes whilst the work will be even more visible, it's preferable to a hull full of gaps. I won't be stripping back and re-doing though, mainly due to my method of fixing the second planking in place using cyano gel. (Yes feel free to tell me that is wrong too), and Isopropyl won't work on the gel, I've tried Don't get me wrong, I am not against taking advice, tips, things I've not thought of or even know etc...but sometimes it does feel that this forum isn't a good place for someone who doesn't have 10 15 20+ years of experience who can build museum quality models, the way that advice or information is delivered doesn't fill someone with the confidence to try to do something better...just makes them feel like they've not done a good enough job. The delivery, like my planking, needs work No offence is intended of course.
-
Thanks Viking. lol no Steve I've not got many issues stocked up yet. I've got a wee OcCre kit of the Bounty's jolly boat so am gonna give that a go for now. Gonna get on my soap box a bit now...I know my planking isn't historically accurate. But must remember when it comes to modelling in wood I have but 2 years experience in doing it. I wanted to get to the point where I can plank to a standard that I am happy with, and I am just about there, before trying to make it akin to the real thing. Had I tried to learn to plank 100% accurate as well as to a high standard, I'd have given up a long time ago. I had got to a point where I was confident when it came to the planking phase of a model...note emphasis on the "had". Doesn't take much to take the wind out of my sails, so to speak. Two days ago I would look at the job I was doing and was really pleased with it...now I look and just think "but it's not right"...pointless continuing on something now my heart isn't in it, so better to leave and come back to it.
-
I've finished the lower planking, just the upper section needs doing before a good sand and varnish. Sorry no photo's this time. Think I may put this project on hold though.