


Mike Y
-
Posts
1,437 -
Joined
-
Last visited
Content Type
Profiles
Forums
Gallery
Events
Posts posted by Mike Y
-
-
132 USD in http://www.aliexpress.com/item/24V-500mm-stroke-lift-column-Telescopic-Pillars/1580588570.html, for example.
Plus shipping, that could be organized through various resellers.
And lots of lots in a 300 USD range.
But you are right, it's definitely not a cheap solution.
-
Tables are expensive, but the lifting mechanism itself is not expensive and could be ordered from China easilly.
-
AON, have you looked on a lifting mechanisms for office tables? Much better solution then a system of pulleys.
Google "office lifting table", you can buy the "legs" with motors and controller separately from the table itself.
I have one of those in the office, quite a handy thing. Handles a big weight, even if the weight is located on one side of the table.
-
Thanks Erik, Nils and Robin!
Stuntflyer, thanks, will try that cloth.
-
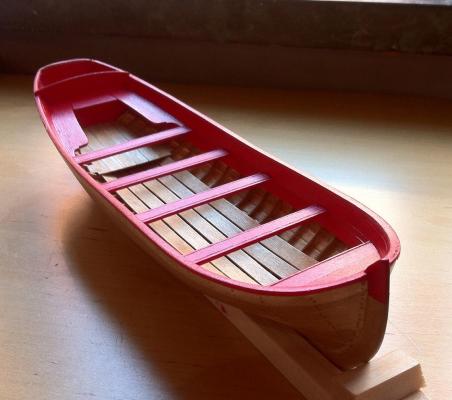
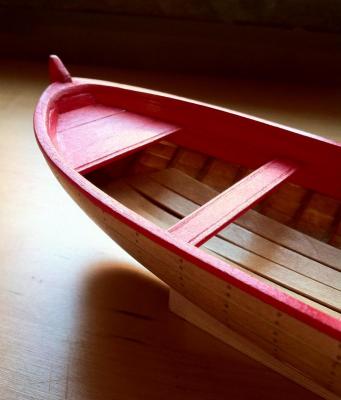
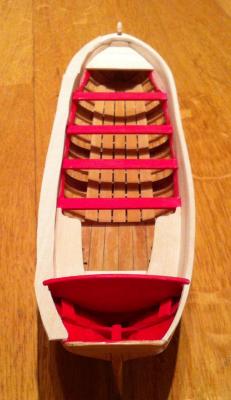
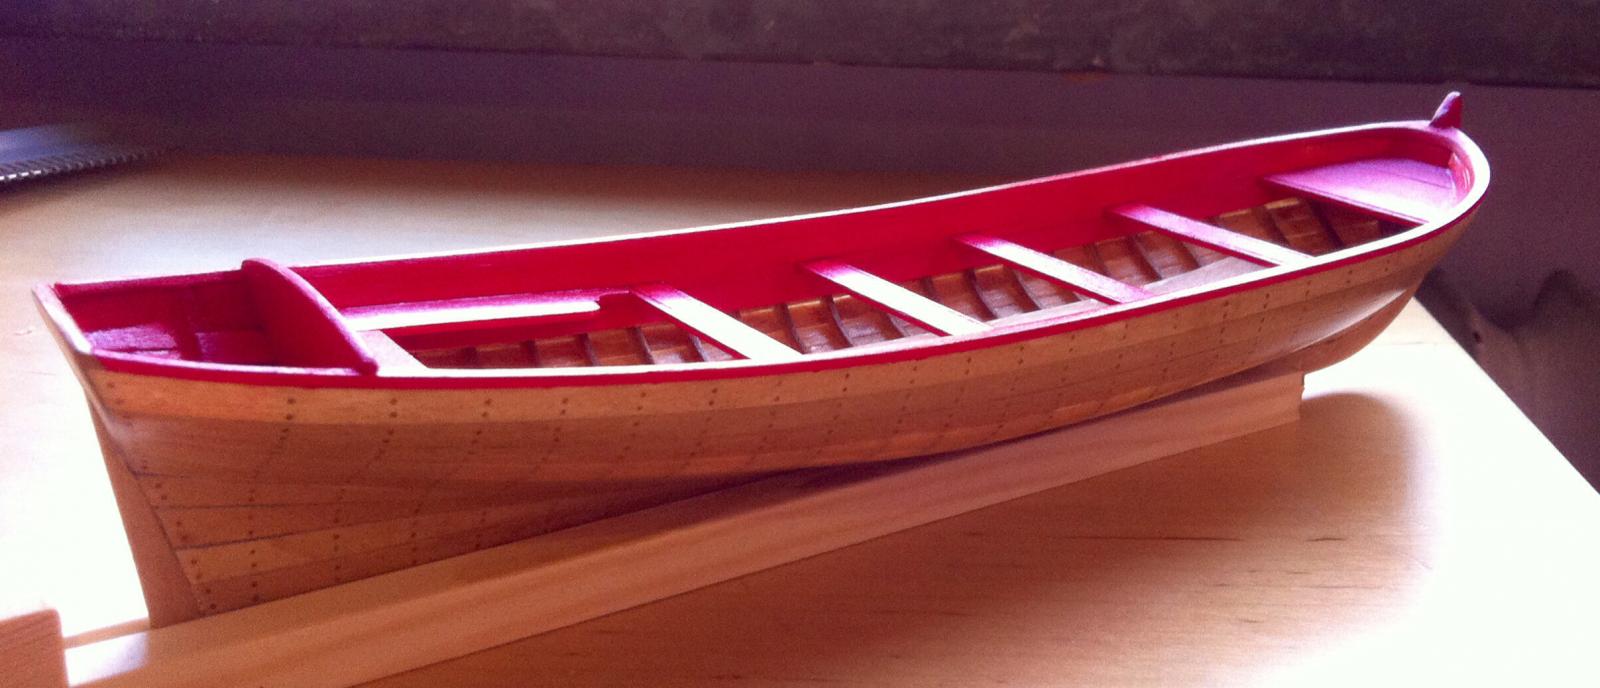
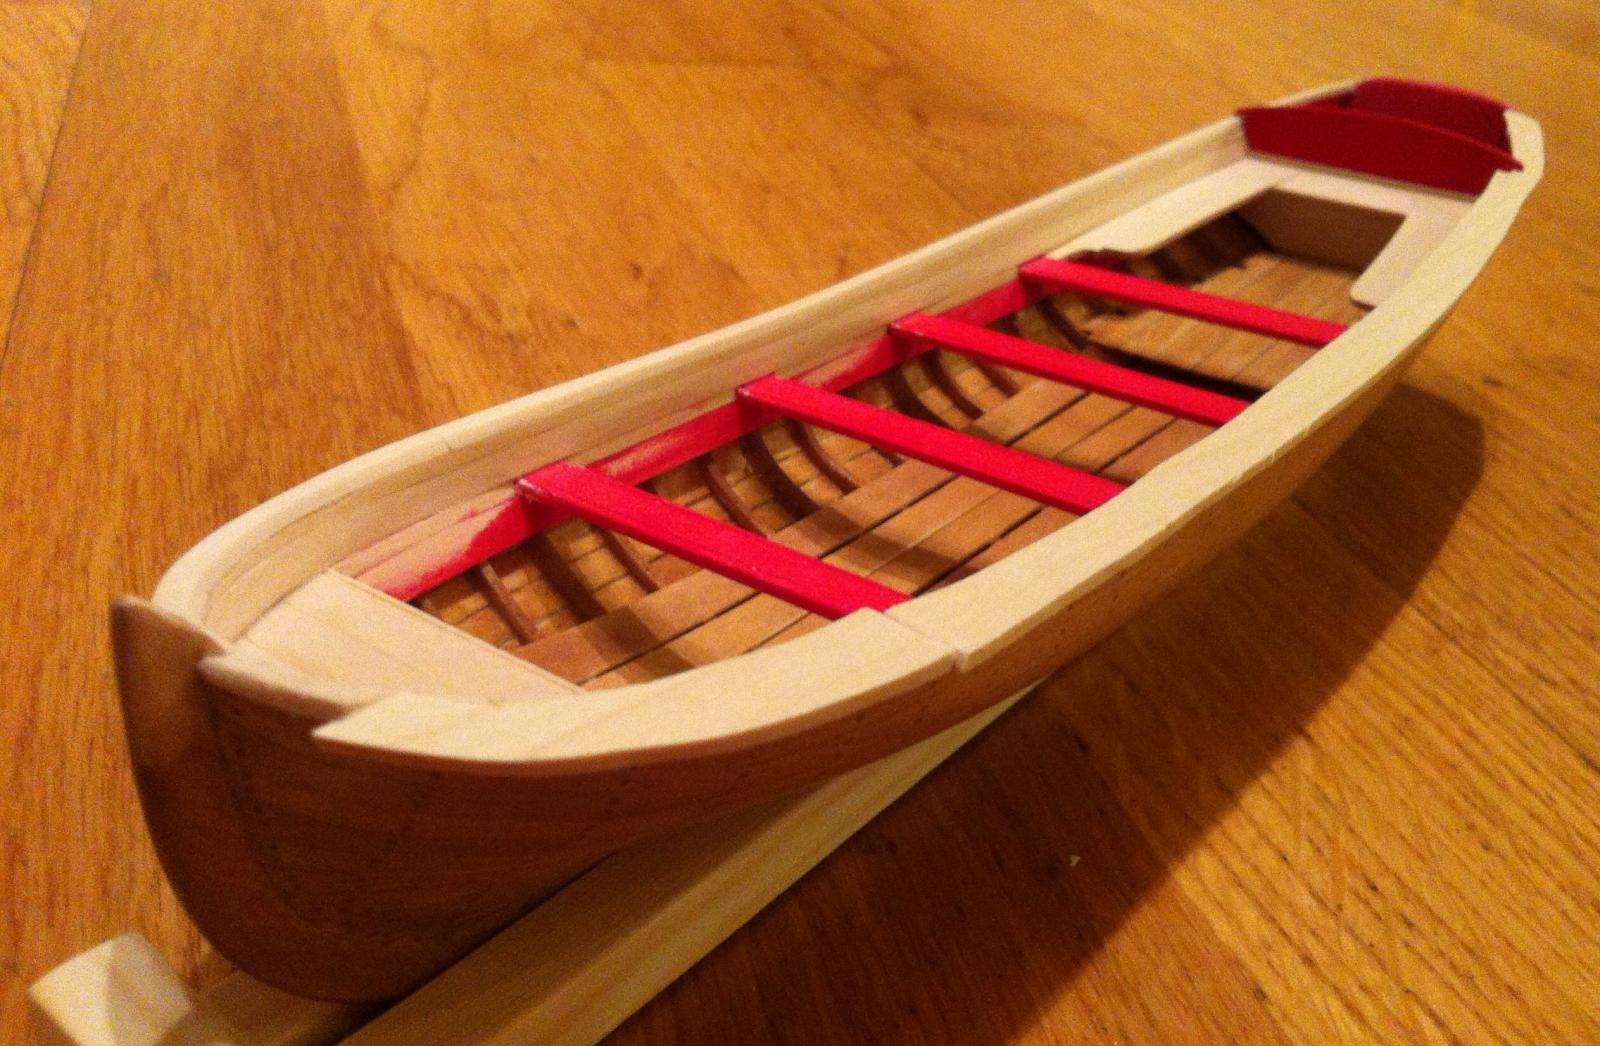
Poly dried overnight, and I got back home early enough to make a few photos with a natural light. Looks so much better!
Good effect of a poly, it is now a bit glossy, but not too much. Just enough!
Plus it mechanically protects paint layer.
But I wonder how to apply it properly, without a cloth that leaves a fibre particles that are stuck in a sticky poly. Or maybe a proper poly is not that sticky?
Sorry for lots of photos. But hey, good build log should have more photos then words, right?


- gjdale, ianmajor, fnkershner and 9 others
-
 12
12
-
-
Applied wipe-on poly. I used an optic cleaning microfiber cloth to apply the poly. But still got lots of small particles from that cloth, poly is very very sticky.
Is there some special cloth for wipe-on poly, or minwax poly that everybody use is not so sticky?
-
That looks like a weights from the knitting machine!

Instead of clamping, it's better to bevel frames, to have a proper contact between deck and the frame.
Also, the frame in the middle of your photo is significantly lower then the one on right side of the photo, if you clamp it down, deck would be bent. Is it desired? Or maybe it's just an effect on a photo?
-
-
Thanks Chuck!
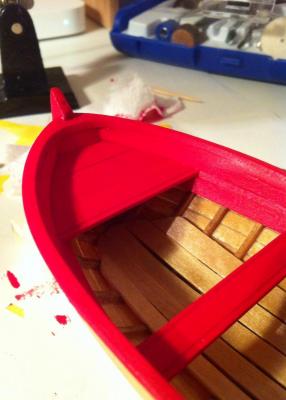
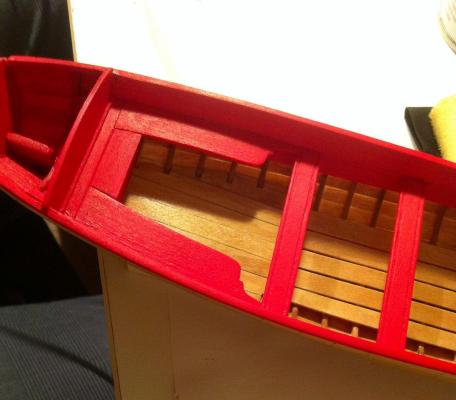
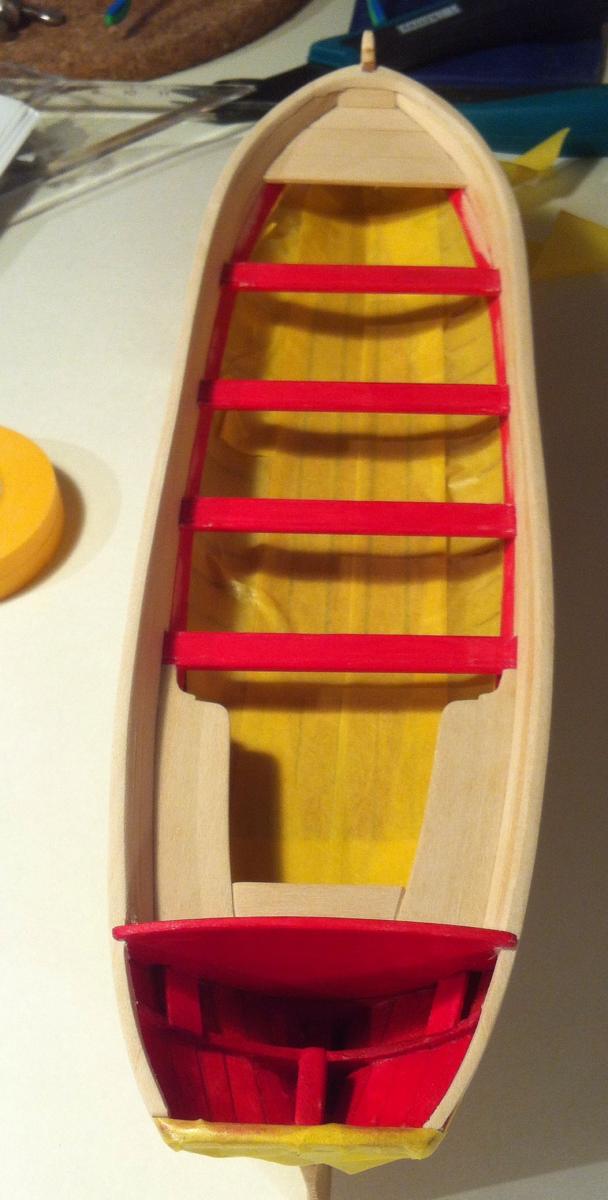
Finished caprails, and finally painted everything. This time I mixed the paint with a bit of water, so it was more liquid.
I was very very paranoid to avoid the paint stains, so covered everything that should not be painted with a masking tape:

Next lesson - instead of smoothing the surface, paint highlight all imperfections and a wood grains. Since on a basswood I could not remove the hairy wood fibers even with scratching or 1200grit paper - now I see lots of them
And turned out that I did a poor sanding job on internal planking, it is far from being sanded flush. Shame, truly a shame, but to fix it - will need to remove lots of paint, and it would turn the model into a messy thing. So - next time, on a next model. Better sand more then less.
Tomorrow, when paint would be completely dry, will add a layer of wipe-on poly, maybe that will hide some nasty wood fibers.
- fnkershner, fatih79, mtaylor and 1 other
-
4
-
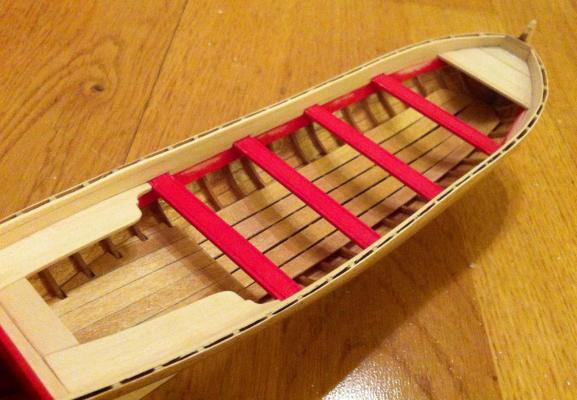
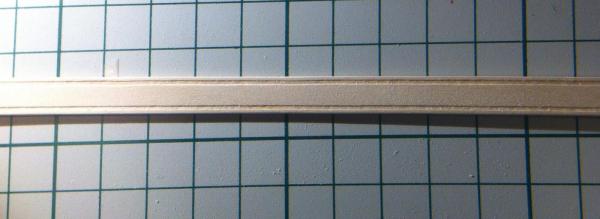
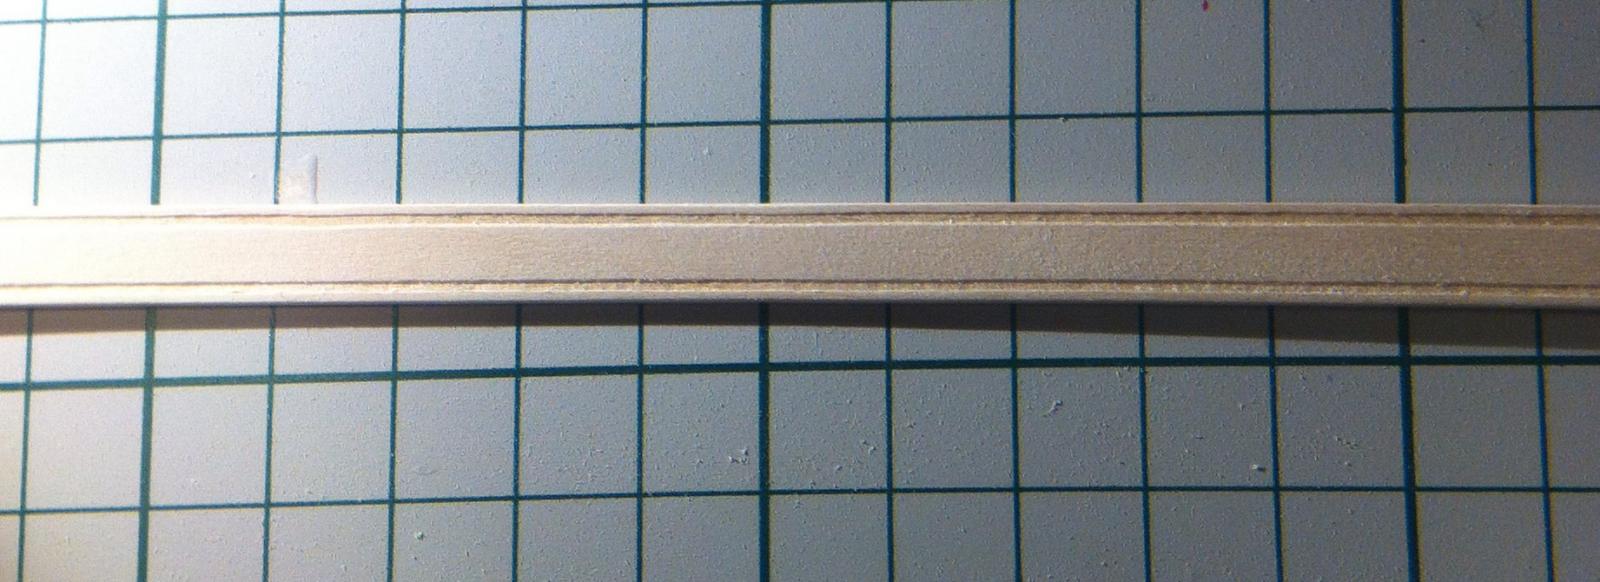
Finished one caprail. Turned out to be unexpectedly tricky to make a proper templates, so I just glued a Big Ugly Something and then sanded it down to name it a caprail. As you can see, right caprail looks legit, left one is just a piece of wood:
Remined me of a childhood, when I was locked up in a summer house for a month, and was so bored that made a solid hull ship about 25cm long, carved from a single piece of wood using one chisel and a sharp knife (that were the only tools available, apart from the garden shovel and a hammer). It is just a matter of time required to sand...
Speaking of mistakes, now a bit incorrectly aligned frame is very visible, one side of the hull have a wrong shape. Unfixable on a current phase of the build. Always always align your frames perfectly! Lesson learnt.
Chuck, do you recommend to cover a panted parts with a wipe-on poly? Is poly compatible with acrylic paints like Galeria that I use on your advice?
-
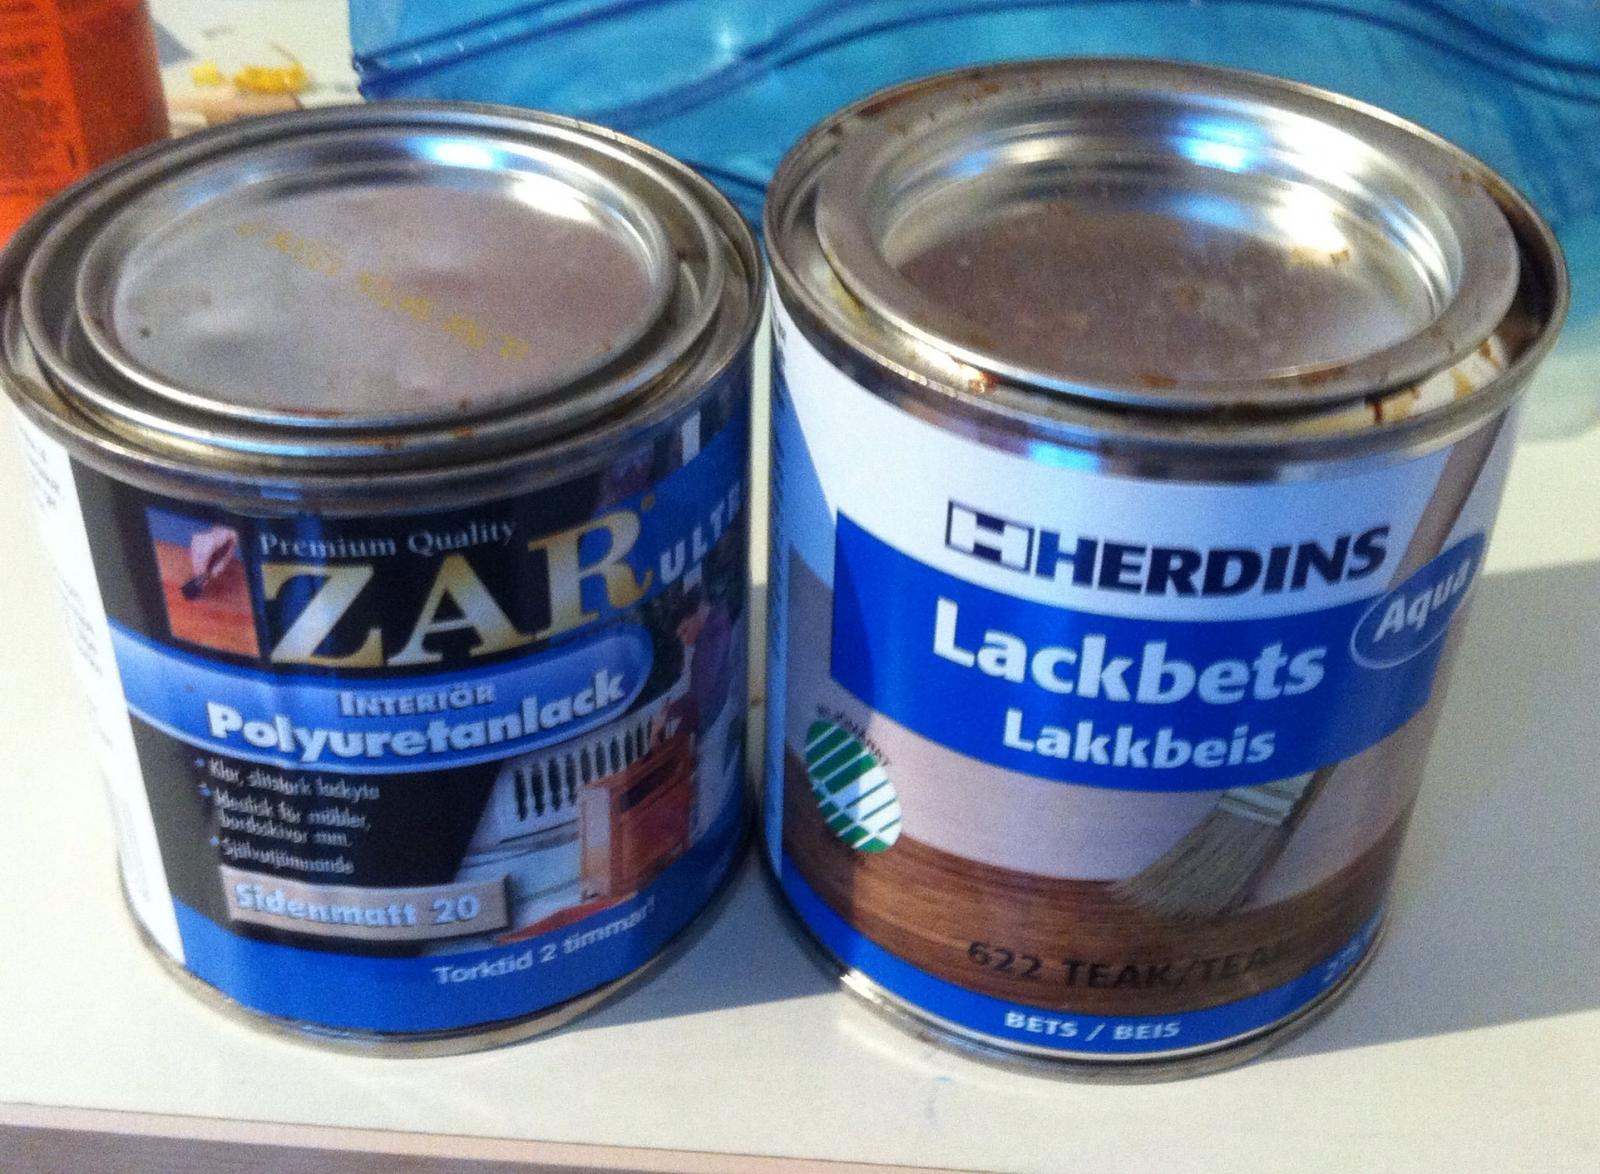
Swedish follower asked about paint and polish brands, here is what I used:

Stain was mixed with water, 2 parts of stain for 3 parts of water.
Poly was used as is, one coat, applied with micro fiber cloth (same as used to clean the glasses, it do not leave any fibers)
-
Wow, it is actually possible to COMPLETE THE VASA???!
Congratulations!
-
Thanks Frank, that sounds interesting!
-
But thinning PVA with water will increase the glue activation time and reduce the strength of the glued joint, right?
-
Hi
Try a croche hook's for a glue aplicator. They come in very small hook sizes. They work great for either Ca or PVA glues. Also can be used on glues for plastic models.
I use a number 13 for small areas.
Keith
Thanks for advice! But maybe I'm missing something, but how exactly you do use it? It looks like just another toothpic/needle, "some thin object". The problem is that you can't have a lot of glue on it, otherwise the glue drop would be very big and messy.
Robert, my PVA dries quite quickly, so if I put it on a disk or plate - it lasts for a few minutes..
-
Trying to find a way to carefully apply a tiny bit of PVA-based carpenter glue. Tried to use a small stick, needle, toothpic, results are not that good. It's hard to control the size of a glue drop, and if you need to apply glue in lots of places - it takes quite some time if you do it drop by drop.
Tried to use a syringe, but even in a special glue syringe the needle is not wide enough to let the PVA flow.
What is the trick? How do you carefully apply a PVA, which is not as liquid as a CA-based glue?
-
Hi Ian,
Thanks for info, yes, that boat was exactly the clinker boat!
-
That is an interesting model! Where did you found that kit? Don't see it on the Lauck St. website..
-
Thanks Michael! Hope you will enjoy that little delicate kit
Are you going to build it with a stock basswood, or with a wood upgrade from HobbyMill?
-
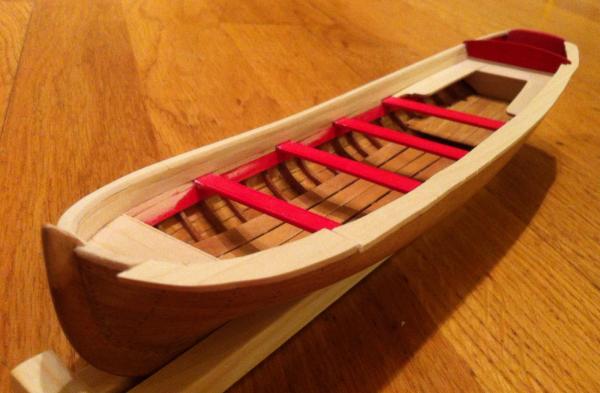
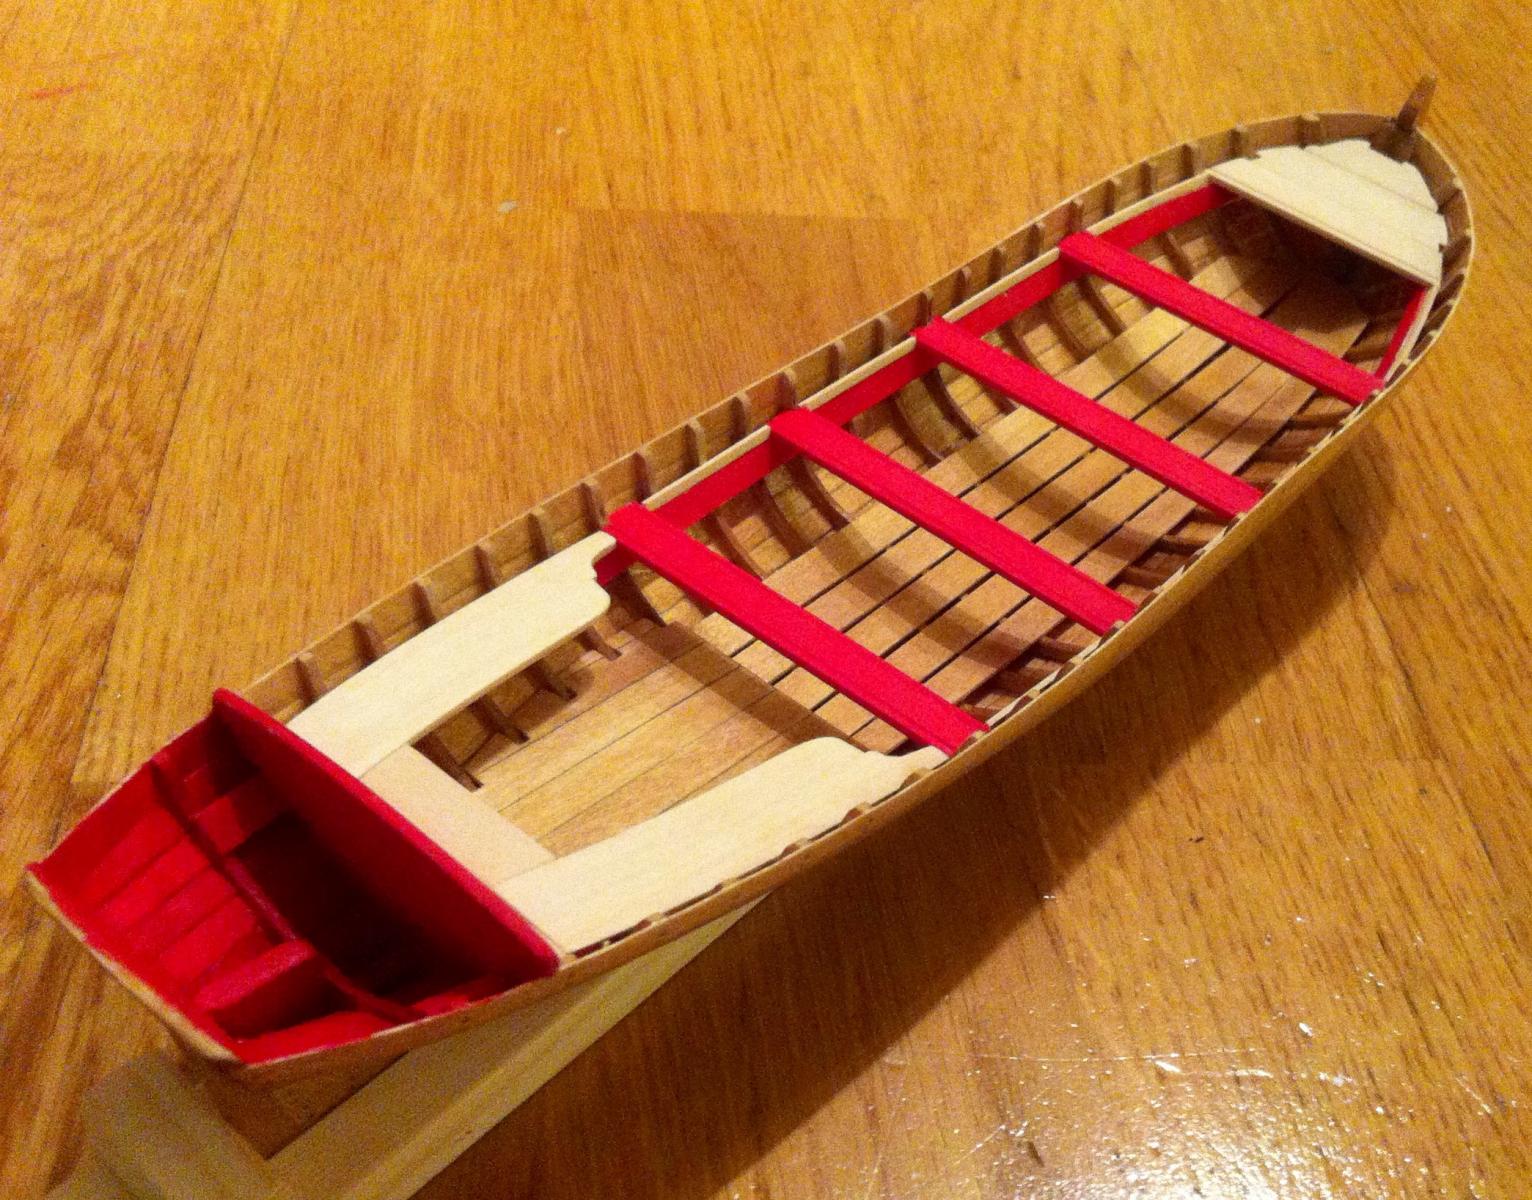
Internal planking completed:
Now - the caprails!
Chuck recommends to make them flush with internal planking, but let them hang on external side.
But I'm thinking maybe it would look nicer make a caprail symmetrical, evenly hanging a bit from both sides? Will try and see. Luckily there is enough wood in the kit for experimenting with different shapes of caprails
-
Now the progress is really fast!

- Aussie048, fatih79, Stuntflyer and 1 other
-
4
-
To be honest, proxxon accessories for a rotary tool are cheaper and there is a bigger variety, then for Dremel. And they are not compatible (different shaft size).
P.S.: I use Dremel, but can't say that I'm very happy with it, mostly due to a price of accessories.
-
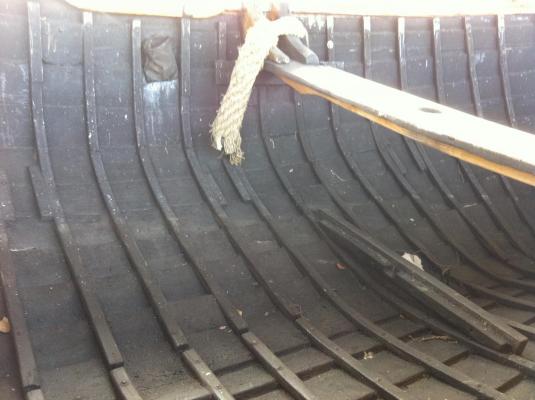
Also found an old boat (real boat) that is being restored, look how thin the frames are! I didn't know that they could be that thin. It's just some sticks!


what is the ideal modelling table?
in Modeling tools and Workshop Equipment
Posted
Be careful though, lots of fraud there... Make sure you can rollback the transaction if you will receive fake junk instead of ordered item.