


augie
-
Posts
4,669 -
Joined
-
Last visited
Content Type
Profiles
Forums
Gallery
Events
Posts posted by augie
-
-
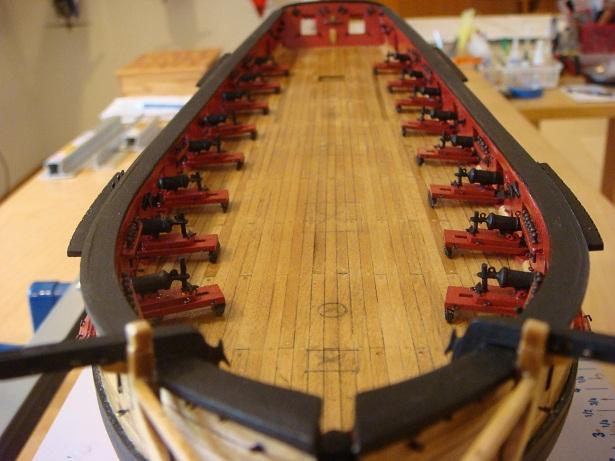
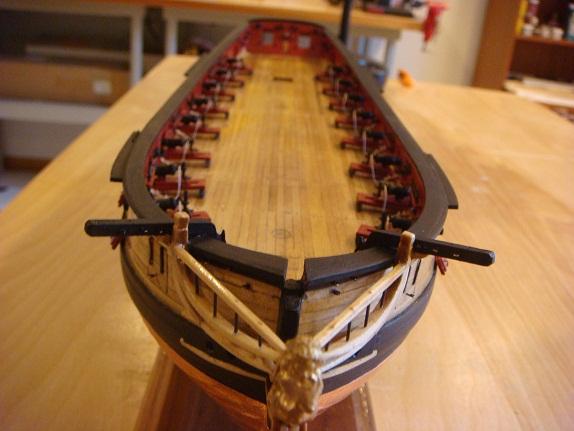
The carronades were mounted on the sleds and set on the deck temporarily.
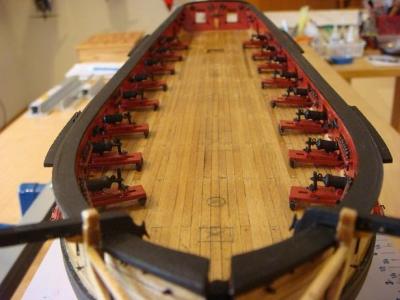
Once satisfied, the carronades were permanently mounted and the breech ropes attached. I could not manage the gun tackles this time around.

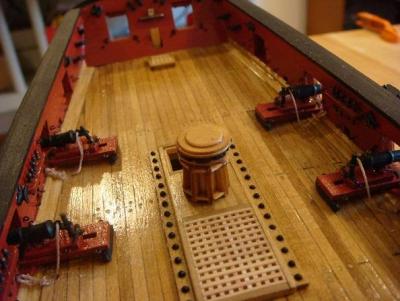
Deck fitting were begun with hatches, shot racks and the capstan.
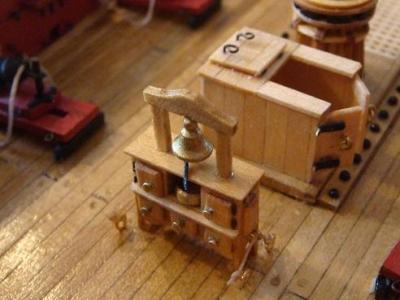
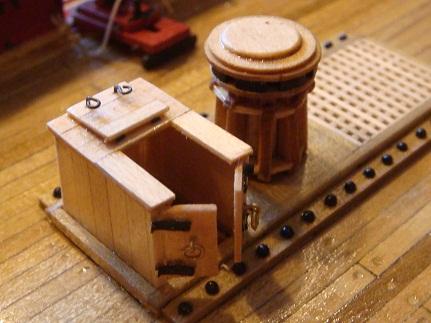
This was followed by the companionway and the binnacle/belfry.

- avsjerome2003, chris watton, BANYAN and 6 others
-
 9
9
-
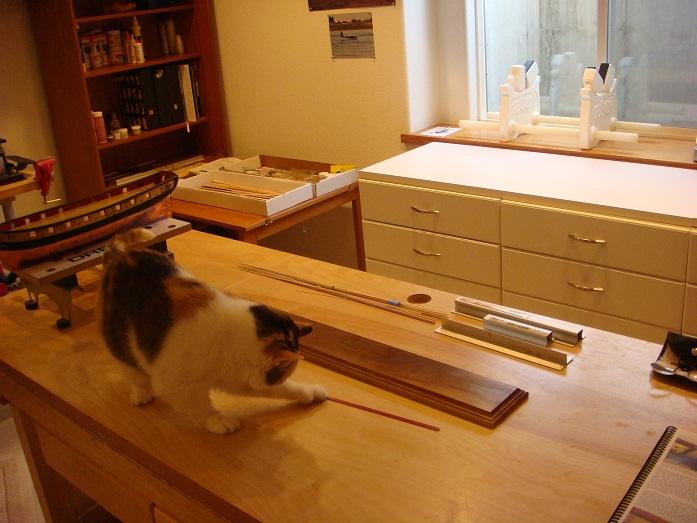
The ship's cat paid a visit. All important activities are done under her watchful eye ---- at least until rigging begins!!!!

The inner bulwark details such as cleats and belaying pin racks were added.


- Burroak, Duanelaker, Script and 5 others
-
8
-
-
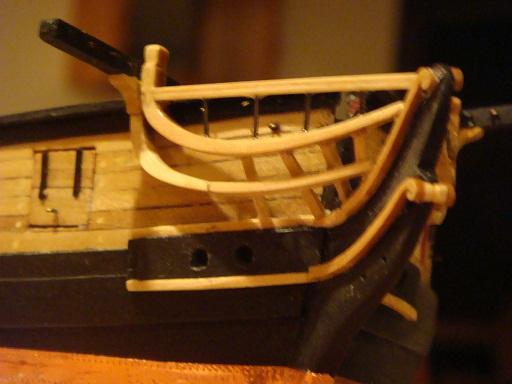
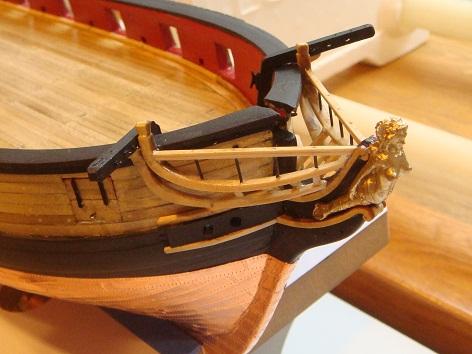
Hull details such as carvings, sweep port hinges, quarter galleries and bridle stern ports were added. The carvings are painted metal as supplied.

Channels, fenders and chesstrees are completed and the gun ports (lower half) hinged and put in place. On Syren, the upper half, or buckler, were stored below unless running in heavy seas.
- HIPEXEC, avsjerome2003, Script and 2 others
-
5
-
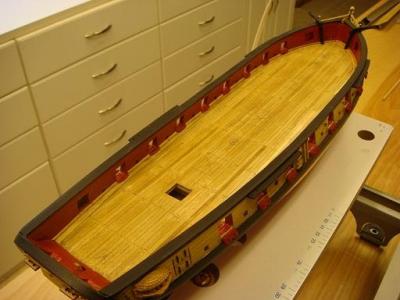
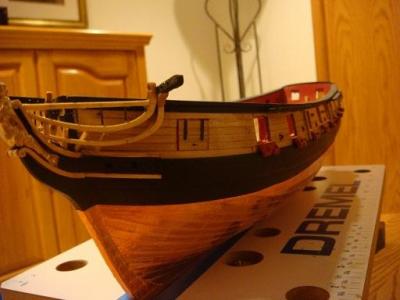
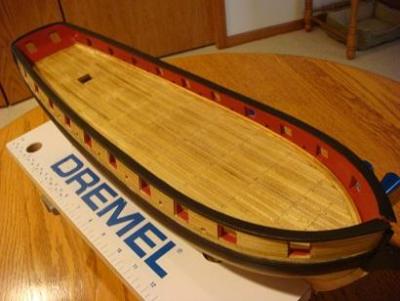
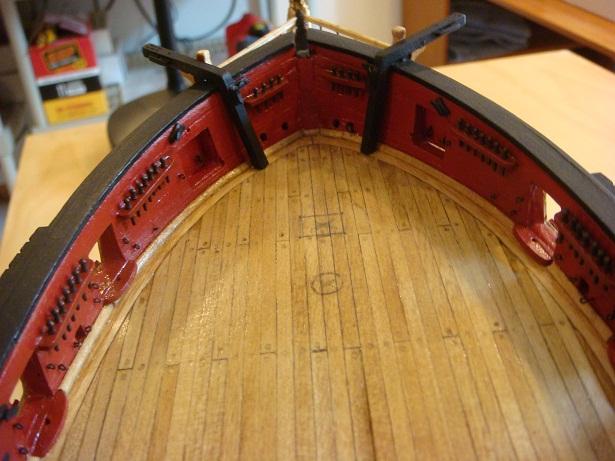
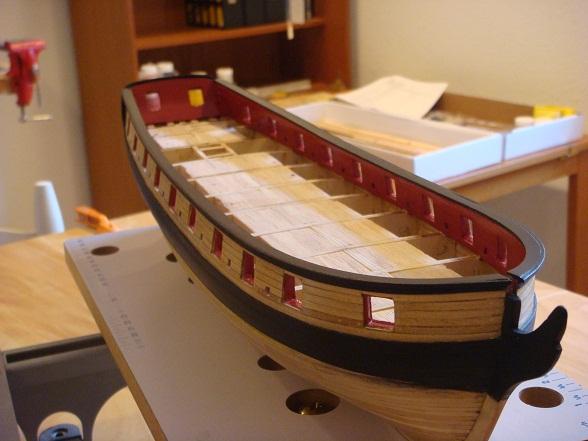
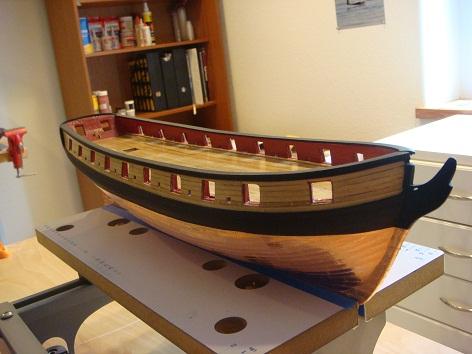
The bulwarks were thinned down to 5/32" and then painted red. The cap rail was added and also painted.

The deck was then completed, treenailed and stained.
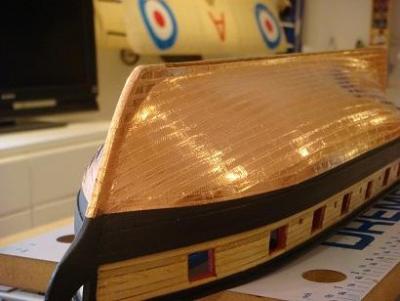
The bottom was coppered using the supplied tape and the fine tutorial presented here on MSW by Gene Bodnar.

- fatih79, hamilton, avsjerome2003 and 2 others
-
5
-
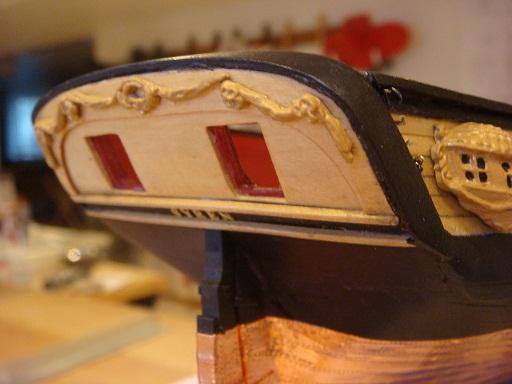
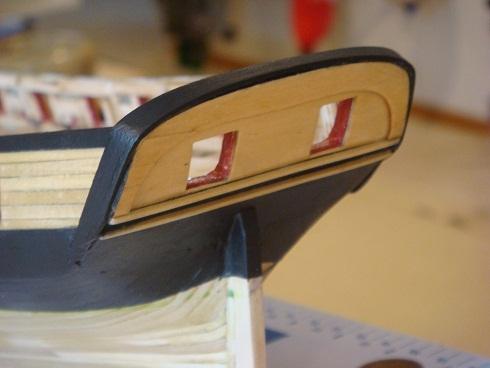
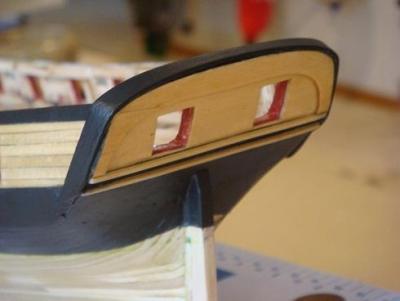 The fashion pieces and moldings were added to the stern and the inner side planked and stained. The stern cap rail was added (in one piece) using the soaking/brute force technique. Finally the transom was painted.
- avsjerome2003, Script, Ken Bartley and 1 other
-
4
-
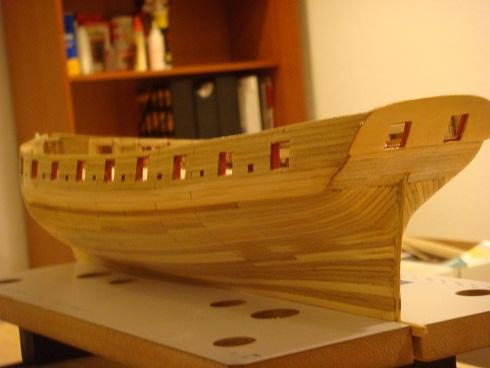
After vigorous sanding of the hull, the entire thing was given 2 coats of stain using the 40/60 mixture of Minwax. The wales were also painted flat black.
- jdbradford, fatih79, prodas and 1 other
-
4
-
-
-
-

 Treenails were added from the wales on up. I used the method of drilling out the holes and filling them with wood filler which I had dyed to the desired shade. Once the filler was set everything was sanded. I found this gave a pleasing appearance without the need for drawing actual treenails (which is beyond me).
The hull had been faired previously so it was time to plank the rest of the hull. Trying to understand the concept of spiling, drop planks, stealers and voodoo all at the same time proved daunting. But we got through it with a planked hull that was smooth and, although not 'museum quality', a fairly neat job.
Before proceeding, I gave the inside of the hull 2 coats of diluted PVA to seal things from the inside. It's surprising how much rigidity this adds to the structure.
- fatih79, Script and jdbradford
-
3
-
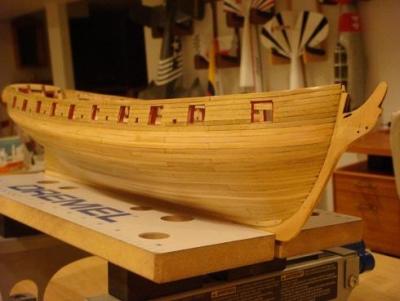
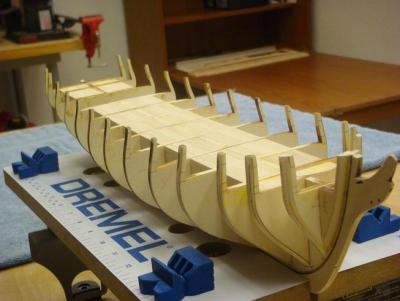
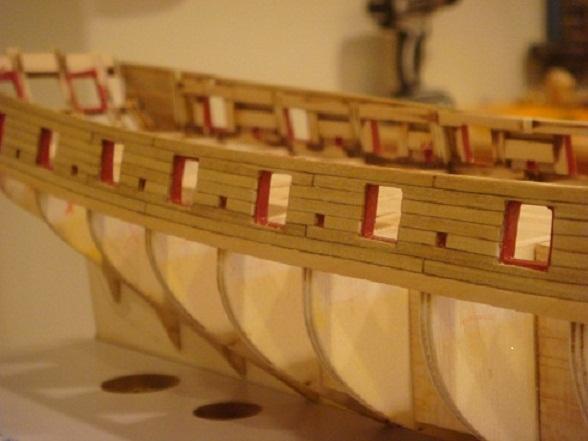
 After painting the gunports, hull planking began began with the wales, moving upward. The model is single planked primarily with 1/8 x 1/16" basswood. Chuck provided suggestions for making a planking jig which proved invaluable. I could have spent more time dressing the edges of the planks but hey, I'm learning ---- this is my first fully rigged POB ship.
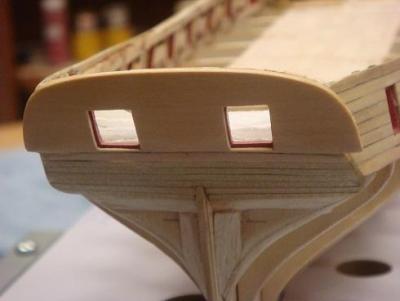
Continuing on, the counter at the stern and transom were added.
-
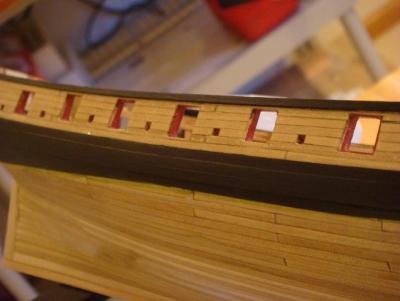
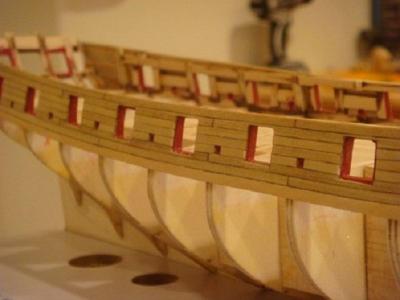
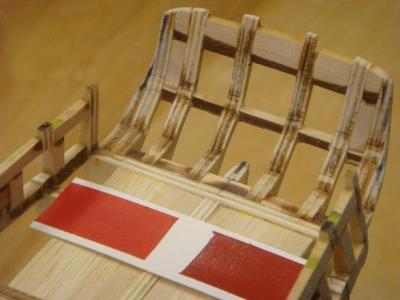
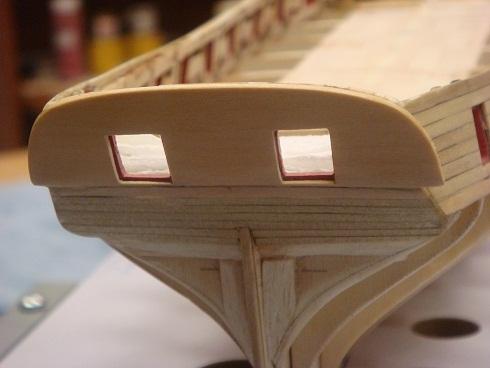
 The gunport sills and lintels were added using the templates provided in the kit (as well as measurements from the plans). This was followed by adding the stern frames making sure the 12 lb. cannon fit properly in the stern ports. A paper template was thoughtfully provided of the completed gun to accomplish this.
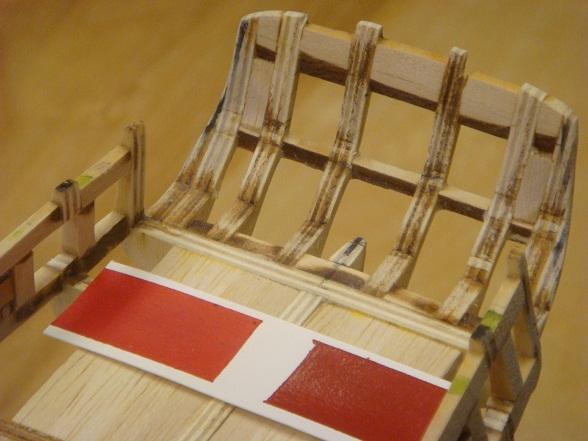
At this point, painting the gunport frames was required so it was time to decide on the red color to be used for the build. I concocted a few colors and settled on what I felt came closest to a deep, blood red (it's the color on the right side of the photo).
-
 I purchased the Model Shipways Syren kit from Model Expo in 2010. Due to some extended health issues, I didn't begin construction until December, 2011.
Having only minimal experience with ship models (I am an experienced R/C aircraft builder), I chose Syren due to what I had read on the old MSW site and the overall positive reputation of both Model Expo and Model Shipways. A particularly stong influence was what I had read about the designer, Chuck Passaro, the description of his Practicum supplied with the kit and the build logs on Syren in the old Forum. I figured I needed all the help I could get
 !!!
!!!Unfortunately, I did not take the 'mandatory' Kit Box/Contents photo. But it came beautifully packaged and an inventory of the contents proved everything was contained therein. I was particularly impressed by the full-color, 130 page Practicum which seemed to describe everything except how to tie your own shoes.
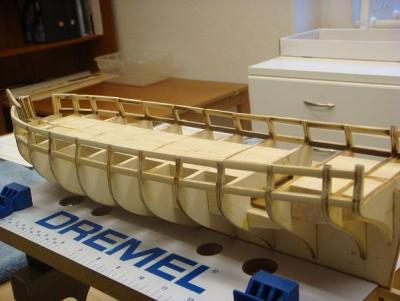
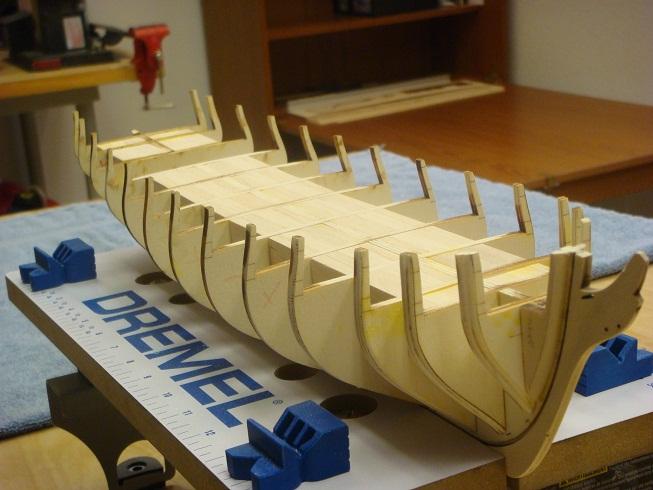
Deciding to 'Let the Games Begin', the bulkhead former way placed on the ways on Thanksgiving Day (11/24/2011) and construction was underway.
The rabbet was created, stem knee and sternpost added along with the keel. The bulkheads were put in place and beveled and then filler blocks added between the bulkheads. I made these from balsa block and their installation provided both strength and amazing stiffness to the structure at this point. The lower deck platform was created and I experimented with staining the lower deck to get the finish I wanted ultimately on the main deck. I settled on a mixture of 40% Minwax Golden Oak stain mixed with 60% Minwax Natural stain applied after using Minwax Pre-Conditioner. Two coats of Floquil Natural Glaze was applied over the stain to give a protective coat with a very, very slight gloss.
-
With the re-starting of the MSW site on 2/15/2013, it has become necessary to re-construct this build log. I have most of the photos but, of course, lack the narrative.
I plan to post the past progress in sections that make sense. It will take a while but I'll do my best.
- freewheelinguy, rummy, texxn5 and 4 others
-
7


US Brig Syren by Augie - FINISHED - Model Shipways - 1:64
in - Kit build logs for subjects built from 1801 - 1850
Posted · Edited by Augie
The 12 lb. stern cannon, ships wheel, tiller and steering tackle were added. As were the pumps.
Moving forward, the fife rail, gallows and riding bits, fore bitts and galley stack were added.