HOLIDAY DONATION DRIVE - SUPPORT MSW - DO YOUR PART TO KEEP THIS GREAT FORUM GOING! (Only 13 donations so far - C'mon guys!)
×


Craigie65
-
Posts
480 -
Joined
-
Last visited
Content Type
Profiles
Forums
Gallery
Events
Everything posted by Craigie65
-
 Looking good Andrew. Interested in your use of the proportional dividers. How well do the proportional dividers handle the curve of the hull? Or can you only use them on relatively flat areas?
- 35 replies
-
- 1
-

-
- vanguard models
- Adder
- (and 2 more)
-
Hi Robin, Sorry I have not looked in for a while, life eh? You are making great progress, you should find the rest of the build straight forward. I am sure you will have learned a lot from persevering with this build. Looking forward to the next update?
- 129 replies
-
- 2
-

-
- vanguard models
- Sherbourne
- (and 1 more)
-
Andrew, What a good job you have done on the first planking, as Ronald has pointed out those are pretty tight curves! Will you use CA for the second planking?
- 35 replies
-
- 4
-

-
-
-
- vanguard models
- Adder
- (and 2 more)
-
Might be known as methylated spirits, or even just meths. Hardware stores and even amazon will sell it. I use isopropyl alcohol rubbing alcohol. It works well on PVA but can strip acrylic paint!
- 129 replies
-
- 2
-
-
-
- vanguard models
- Sherbourne
- (and 1 more)
-
Hi Robin, I think you have a bit more sanding to do, fun eh? Run your finger down the hull, if it feels a bump, catch or a depression you need to fix it, otherwise the second planking will show every imperfection.
- 129 replies
-
- 3
-
-
- vanguard models
- Sherbourne
- (and 1 more)
-
Robin, I would not use pins for the second planking if at all possible. You don’t want pin holes to fill! Sorry should have said earlier. Some use thick CA for the second planking, but I find it too unforgiving! I use Titebond PVA and a bit of patience👨🏼🦳

- 129 replies
-
- 2
-
-
- vanguard models
- Sherbourne
- (and 1 more)
-
Hey Robin, That is great progress! Sanding and filling will get you a good base for the second planking. The pear planks are slightly thinner and I found these a bit easier to work with. As you say most of it will be under a coat of paint but still good practice! It is a great feeling to finish the hull and start kiting her out. For the nails have you thought about a pin pusher? Vanguard sells this one.
- 129 replies
-
- 3
-
-
-
- vanguard models
- Sherbourne
- (and 1 more)
-
Depends if biggest means heaviest or the longest. The Iowa class is lighter but longer than the Yamato class😉
-
Just wonderful Andrew! Can’t wait to see what you do with “Sparkler”. Hope you recovery is going well.
-
If I recall these pedestals come in different heights. I can see 35mm, 29mm and 26mm on sale in the UK. Although the last is narrower than the first 2. Would the 6mm difference in the first two work for your build?
- 39 replies
-
- 1
-
-
- Amati
- Victory Models
- (and 1 more)
-
Andrew, You have taken this kit to a whole new level, bravo! figures look pretty damn good to me.
-
Just one? Being an empty nester doesn’t make it any easier. Nothing gets by my admiral! Don’t know how I will sneak this one in. Mind you that jolly chap in the red outfit might help🎅
- 76 replies
-
- 6
-

-
-
- Harpy
- Vanguard Models
- (and 1 more)
-
Yes it does look as if you will need a stealer. I can see 2 on the model in the manual, although one is pretty small. You might get away with just one.
- 129 replies
-
- 1
-
-
- vanguard models
- Sherbourne
- (and 1 more)
-
Morning Stuka, Feather - sorry I keep forgetting English is not your first language - yes that is right thinning down as you say to blend into the stern post. The manual has the first 4 or 5 planks tapered at the rear, then they look to be full width for the rest. I would follow that.
- 129 replies
-
- 1
-
-
- vanguard models
- Sherbourne
- (and 1 more)
-
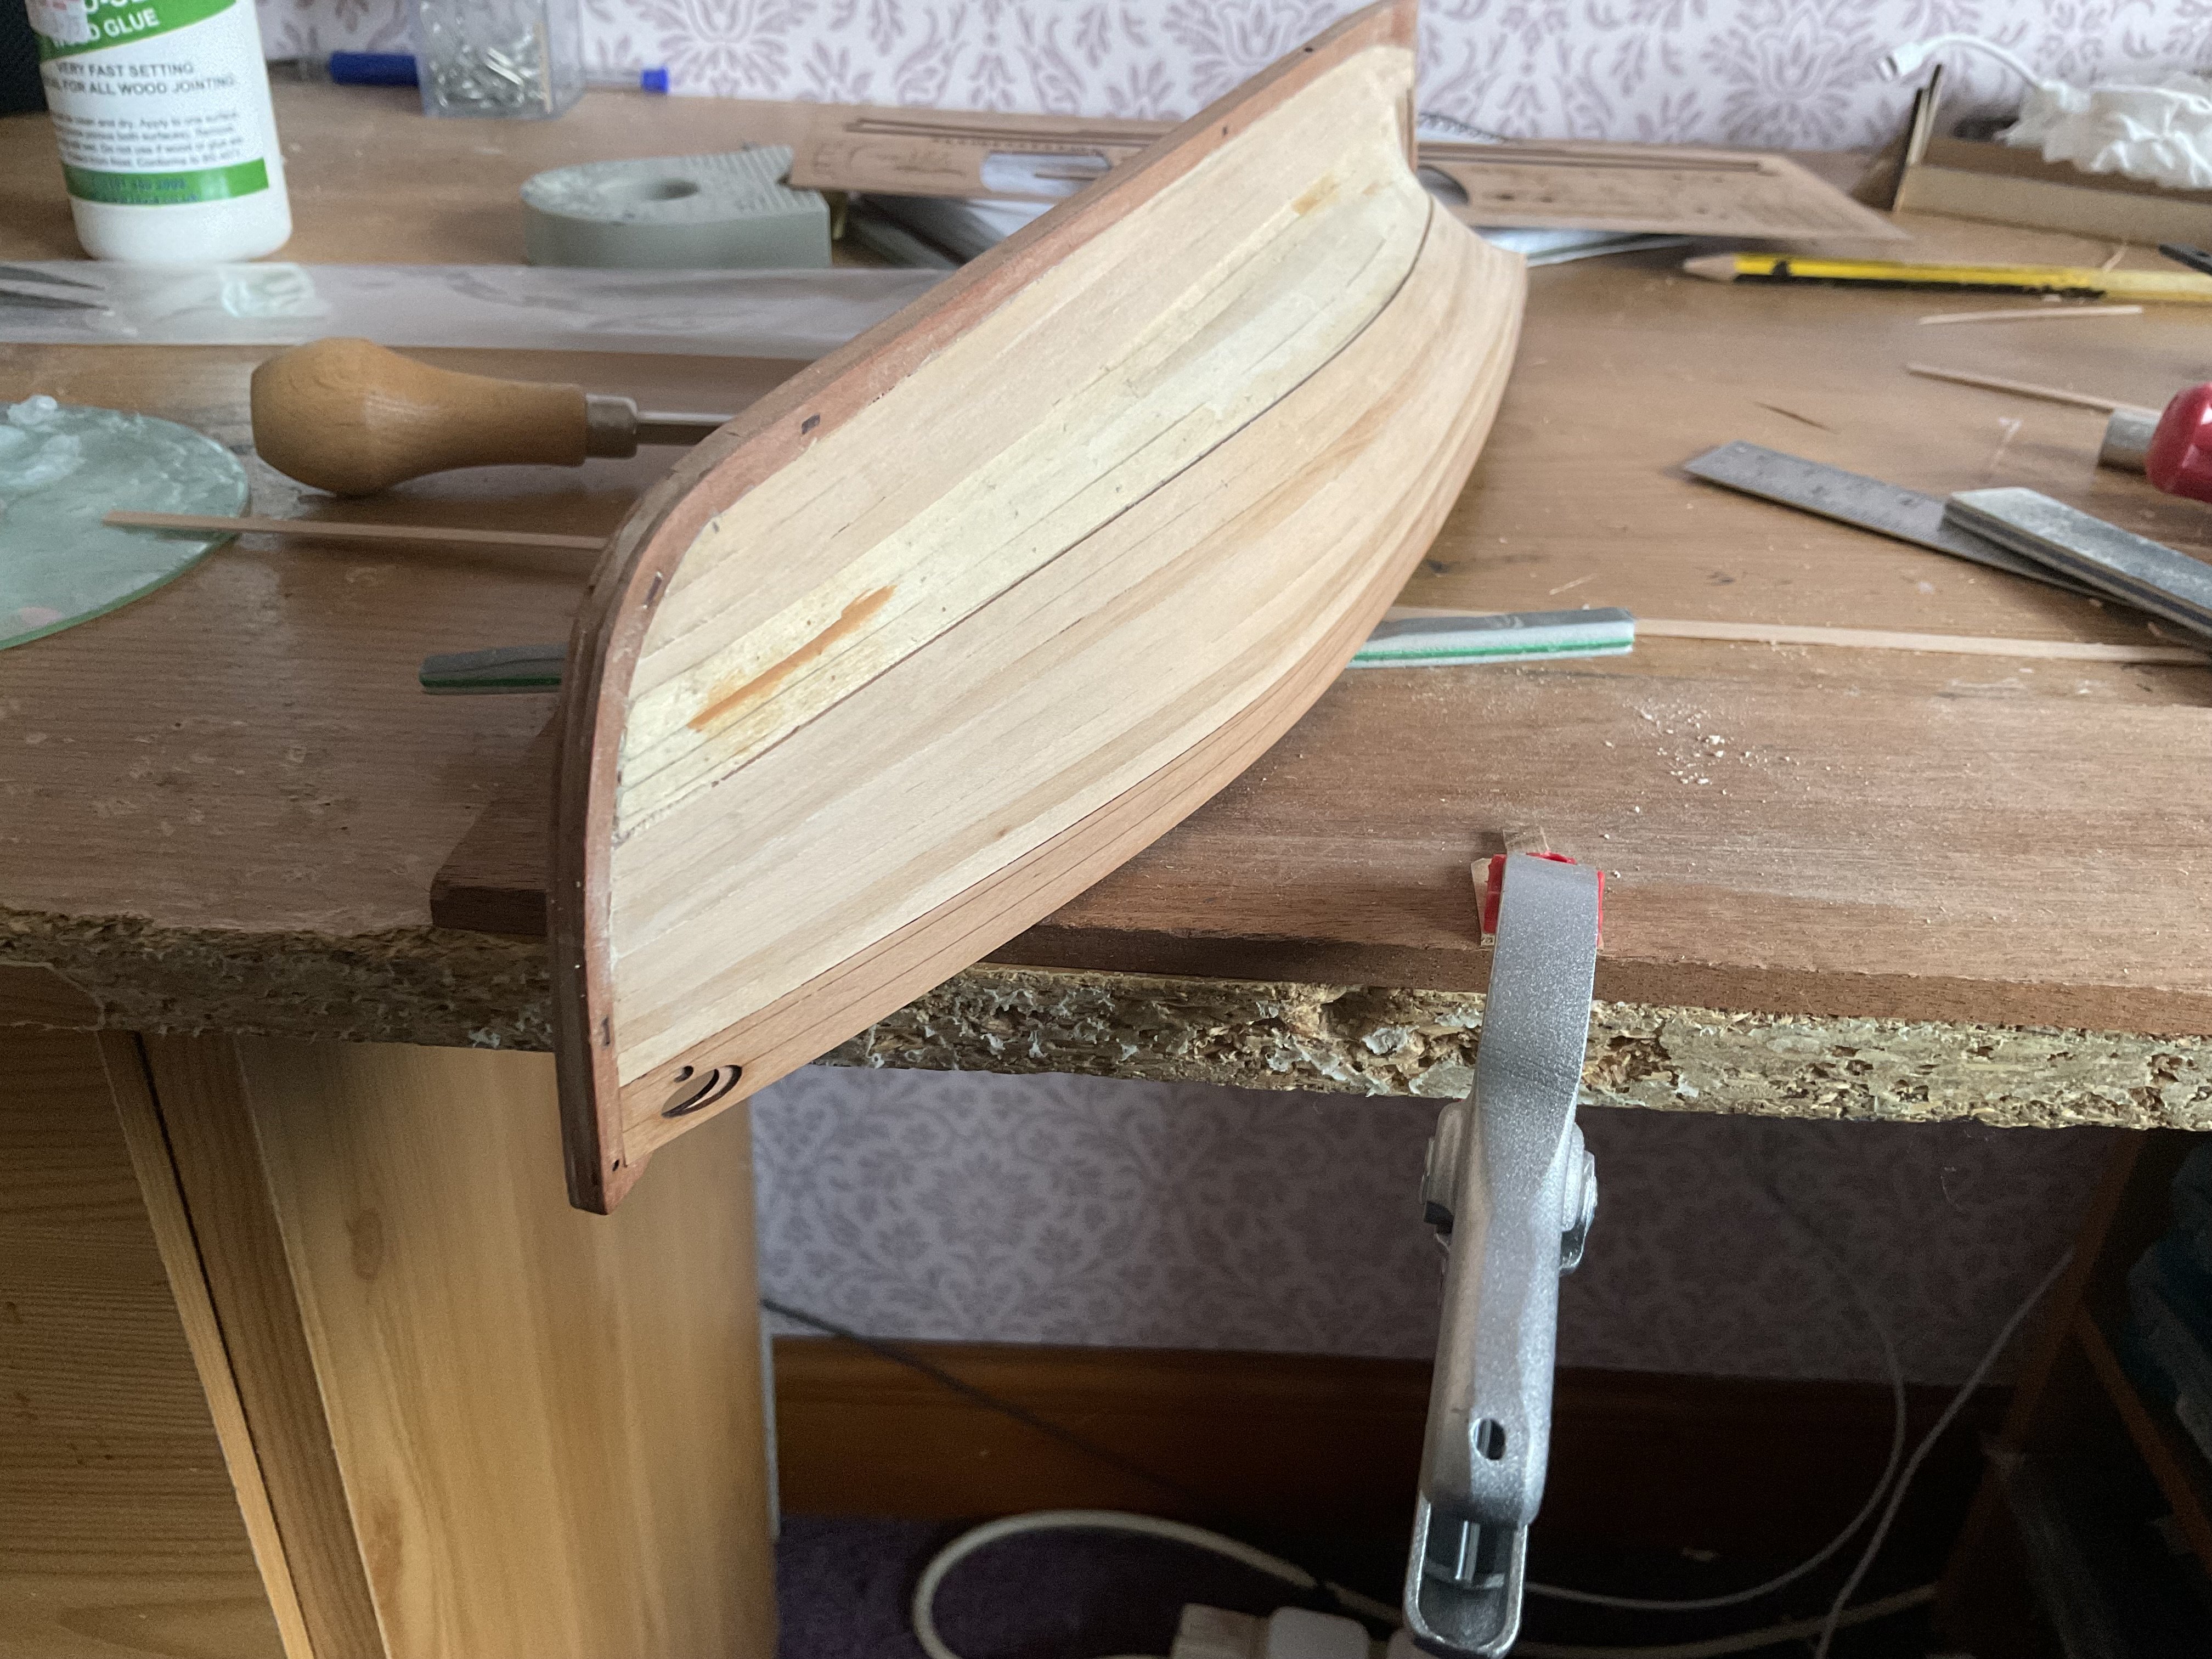
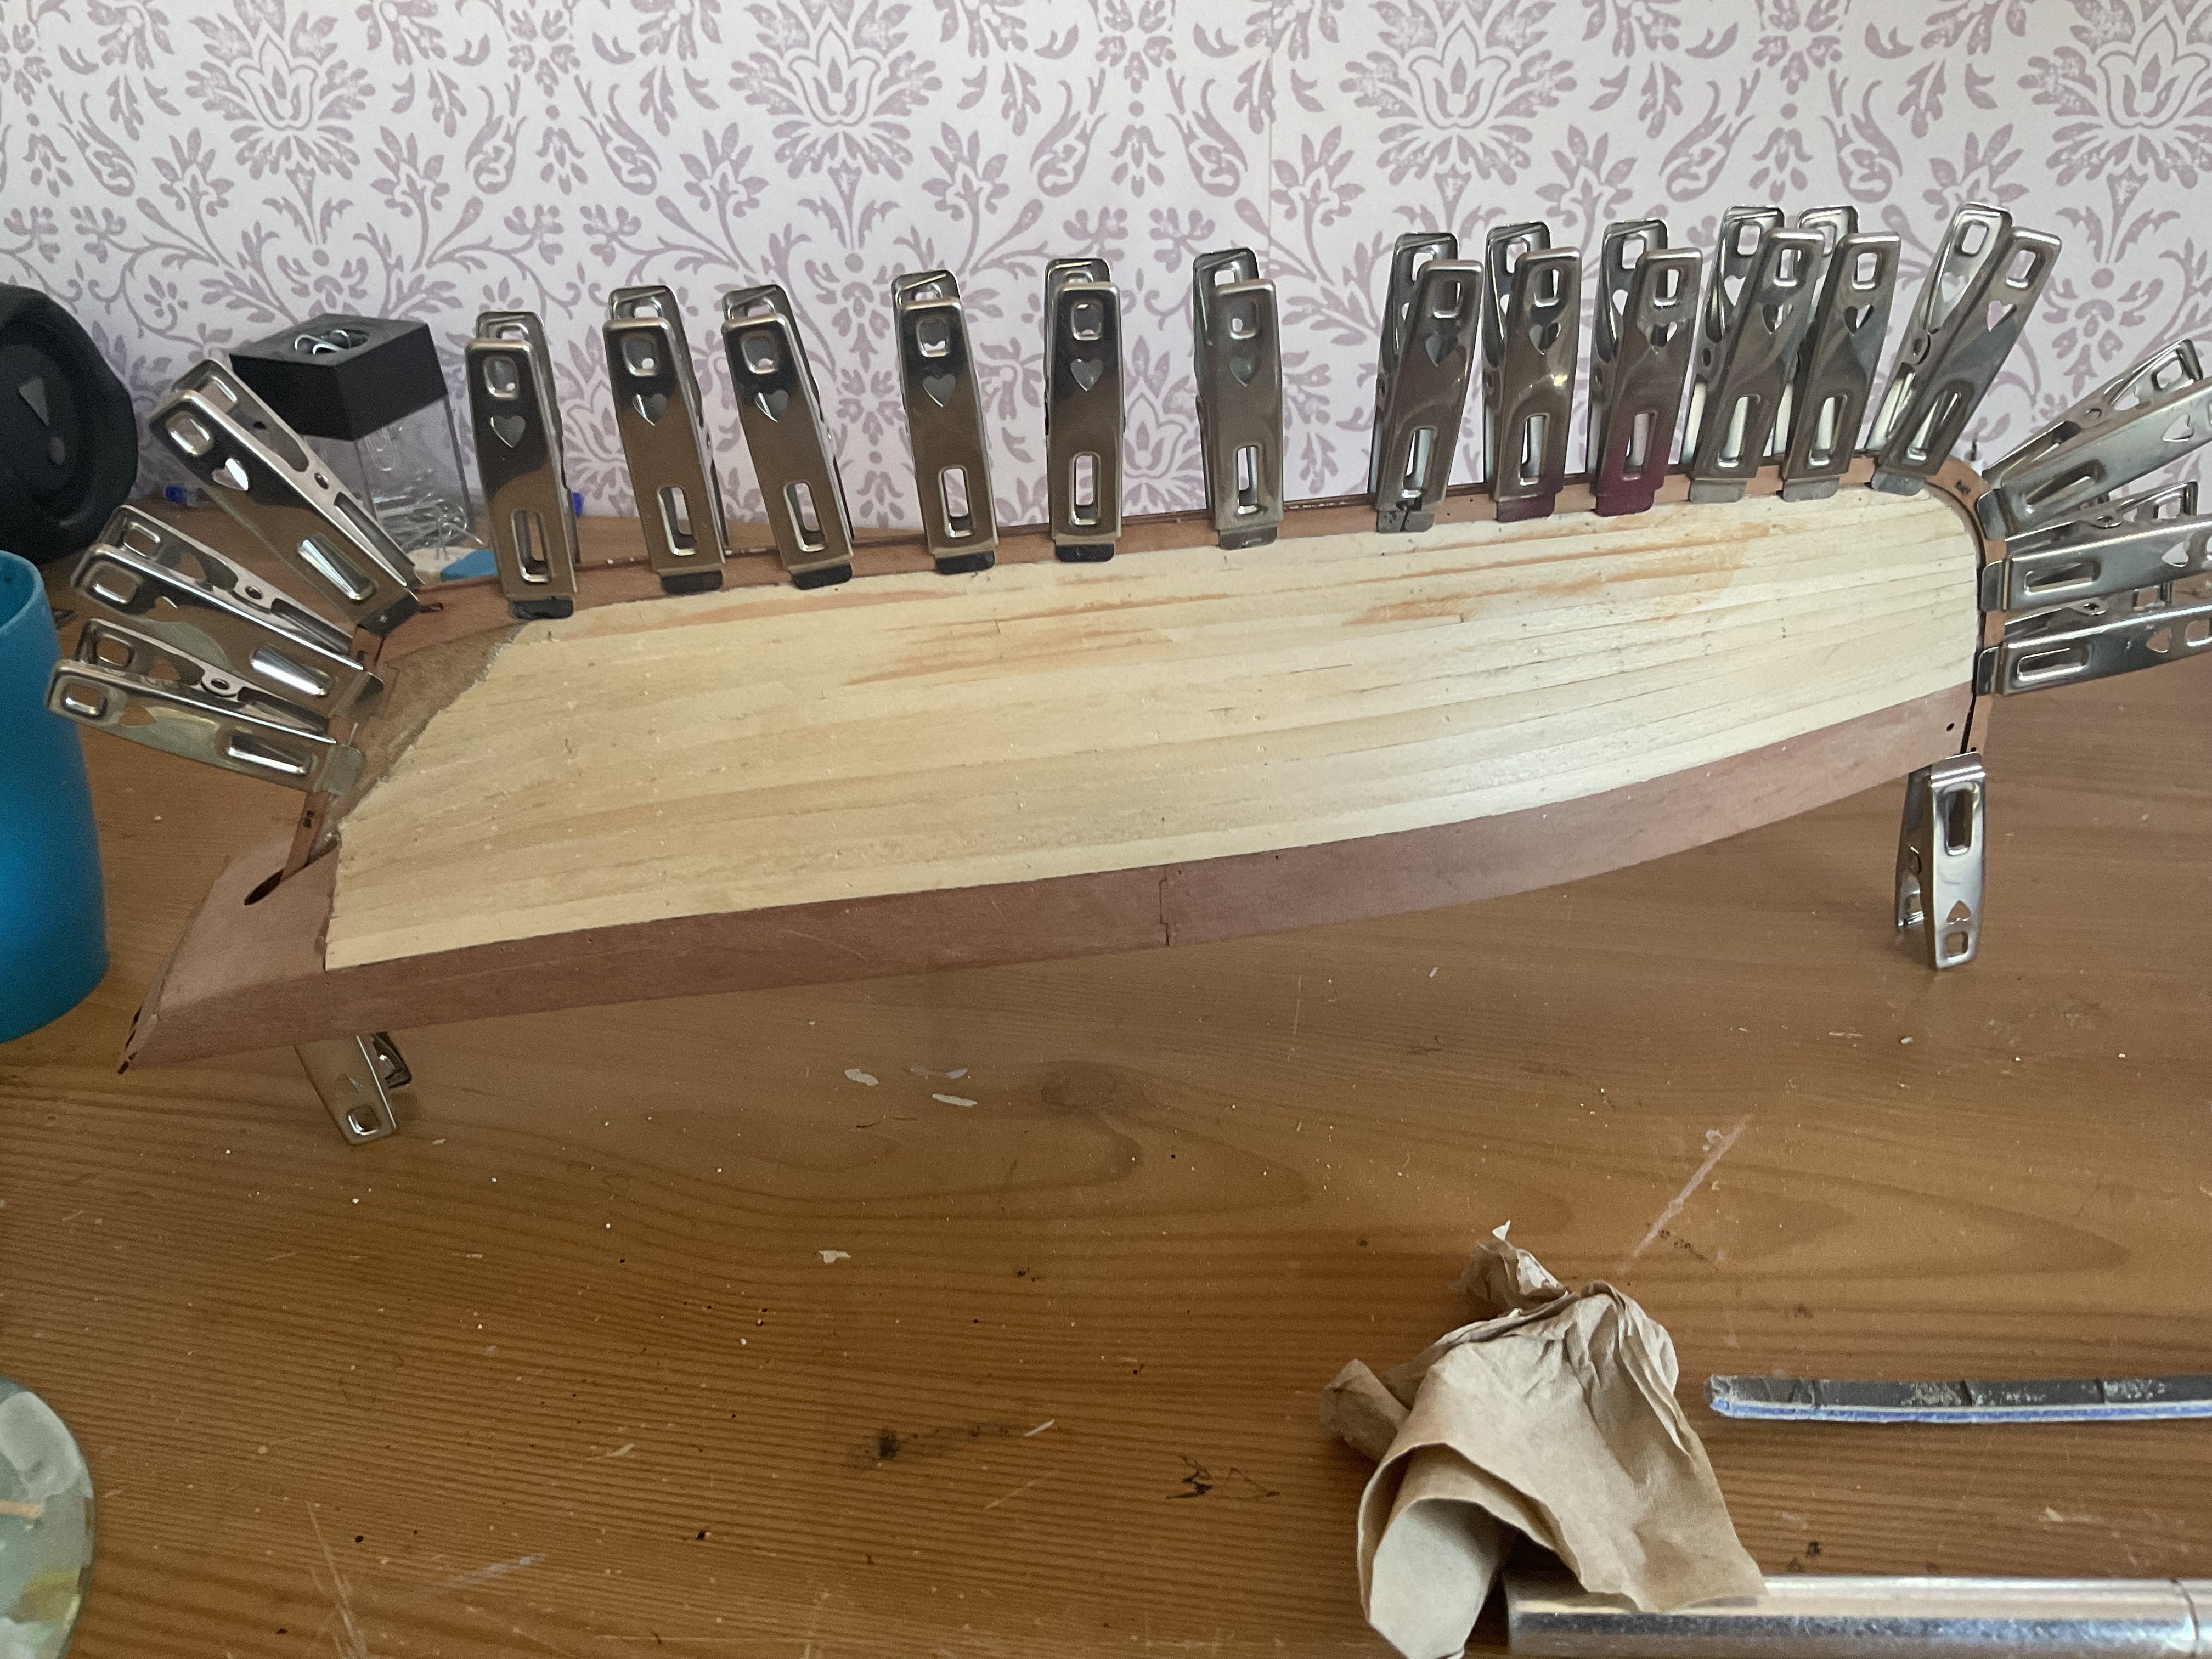
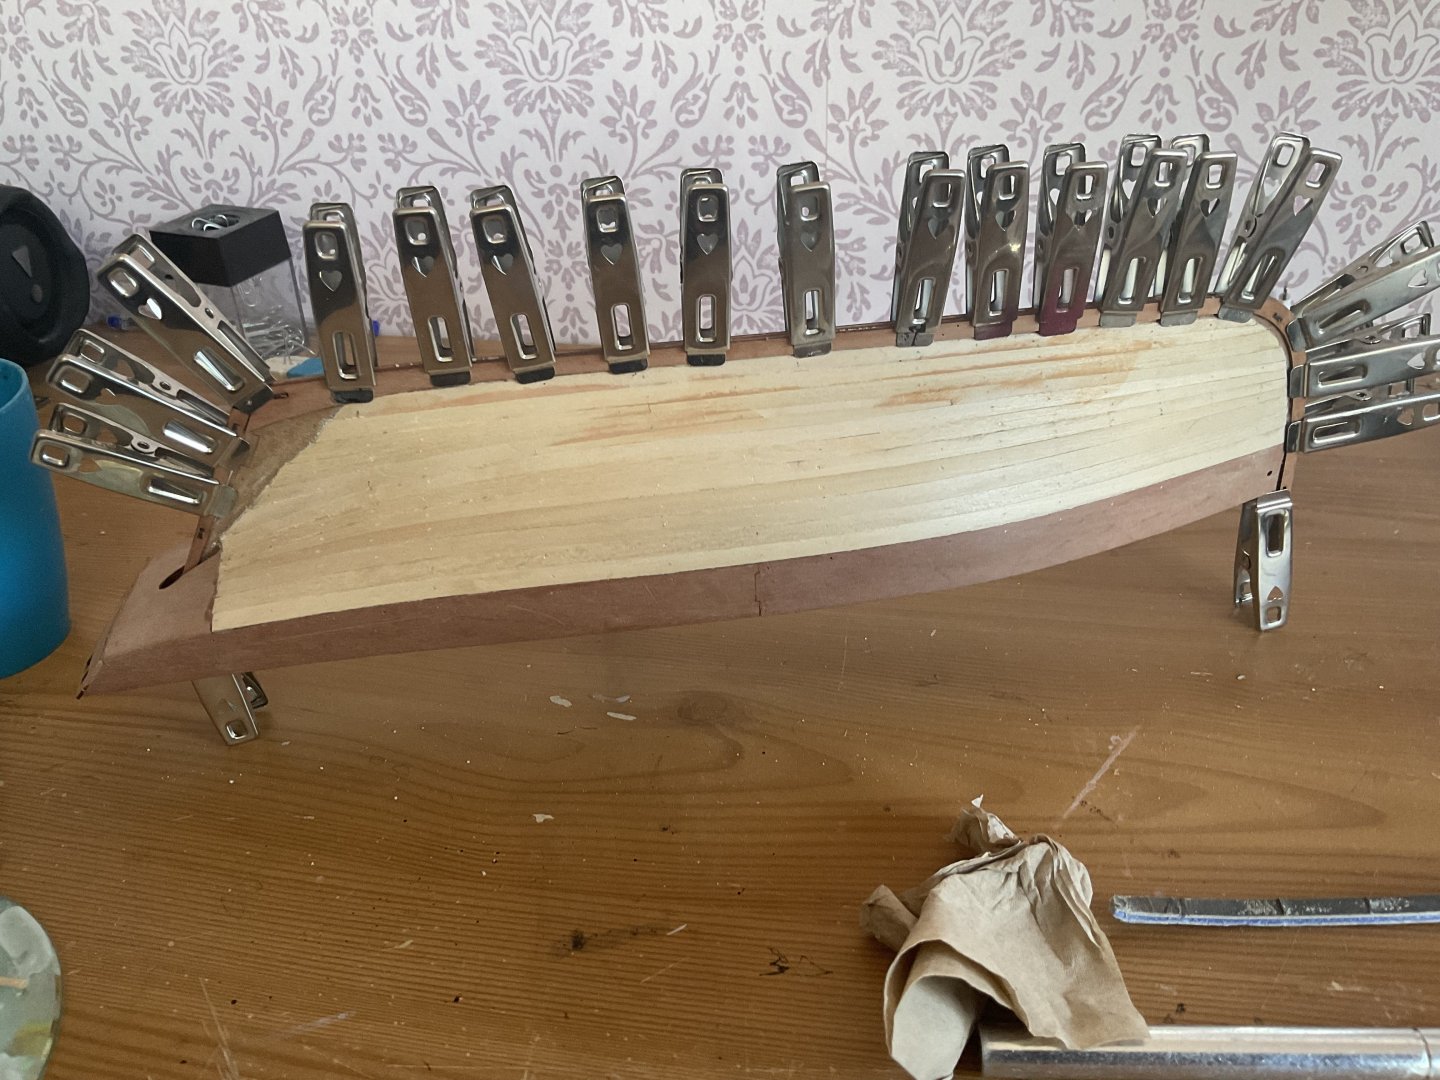
Hi Stuka, As you say the planks will run down to the keel at the rear. look at step 32 and you can see that. Now it also looks as if there is some tapering to the first few planks in that picture. I would keep going and adjust as you go. You can run the planks to the stern but you will need top feather them down so that they are no thicker then the sternpost, otherwise your second planking will be above the sternpost facing. Look at the bottom left picture on page 18 of the manual, you can see that that is what has been done. You may find it easier to stop the planks a little before the stern post and feather them in as I did with this hull. Ignore the clamps they are holding the stem, keel and sternpost facings for the second planking while the glue dries!
- 129 replies
-
- 2
-
-
-
- vanguard models
- Sherbourne
- (and 1 more)
-
Yes, that is right. It is always a bit trail and error to find the right spot , for me atleast!
- 129 replies
-
- 1
-
-
- vanguard models
- Sherbourne
- (and 1 more)
-
Hi Stuka, Don’t worry about asking questions. That is the beauty of this forum! I would have the apex of the bend at the “?” As for the stop, use part 56 and draw a line along the inside of this part onto the stem. You want to be a mm or so in side that line with your first planking. You can just see the pencil line on the front of this model. Also shown is my rig for edge bending, the plank is the first for the starboard side. This boat had a taper from around frame 7.

- 129 replies
-
- 4
-
-
-
- vanguard models
- Sherbourne
- (and 1 more)
-
Hi Stuka, Usually at the bow a plank will curve up away from the keel without edge bending. Step 31 shows that and hence why I cut from the top, i.e. planking from the top down to the keel. The edge bend is down towards the keel, you can see it in the picture in the top left of page 13. See page 16 in this planking guide Here, as to why I have always cut from the top. Andrew’s post #34 has a couple of pics of the tapering and bending of what I believe is the first plank on the port side, pictures 12 and 13. @AJohnson can correct me but it looks as if the cut is to the top of the plank. Perhaps you could post a couple of photos of the problem? good luck and keep posting!
- 129 replies
-
- 3
-
-
-
- vanguard models
- Sherbourne
- (and 1 more)
-
Hey Stuka, paper or thin card is good enough for transferring tick marks. taper your planks on the upper side. The angle of cut is dictated by the measurements you transferred to your plank.
- 129 replies
-
- 4
-
-
-
- vanguard models
- Sherbourne
- (and 1 more)
-
Good outcome OC. you will be back to your napoleonic miniatures soon.
-
OC, I had something like that. The specialist called it a migraine without headache, and often happens to gentlemen of a certain maturity👨🏼🦳. Fortunately only had it 2 or three times, it was a bit disorientating when it happened. It was a few years ago but I think the specialist said it was not serious and could be controlled through medication. Hopefully that is the same outcome for you and you can get back to your miniatures.
-
Yes, that’s right Yes - at the widest if you get say 58mm, then 11 full width and one at 3mm will be easier to work with than taking a little off each. on bending, its a bit trial and error to get the right point to bend from, but it will be closer to the point where the plank starts to rise. You can give it a little bend and if that is not enough bend it a bit more. Stealers are very common across most builds, it’s not just this model. As for tools, I use a travel iron for edge bending. I have read others suggest a mini heat gun, but we had an unused travel iron and requisitioned it for modelling purposes 😉. I find the electric plank bender is rarely used, more for very tight bends which you don’t have on this model.
- 129 replies
-
- 3
-
-
-
- vanguard models
- Sherbourne
- (and 1 more)
-
Hi Stuka, This can seem daunting, but remember this is a double plank model. The first layer is a base so you can get away with it not being perfect. The issue new builders find is there are lot of different methods and you try and reconcile them and well, fail. Find one method that works for you and stick with it. Looking at the manual suggests that the planking on each side is composed of 12 planks. Given they are 5mm wide you have 60mm which is probably the distance on the bulkheads in the middle - I am guessing frames 5 through 10. You can run a bit of paper or masking tape along the curve and measure if you want. As you move forward the distance on each frame reduces. For example if frame 4 is only 54mm then you need to taper each plank to 4.5mm at frame 4. You then repeat this at frames 3 , 2 and 1. At frame 1 it may be say 30mm and thus the taper is 2.5mm. Try not to reduce the plank to less than half its width. You get a series of points on your plank from which you hopefully get a reasonably straight line through. The manual suggests that frame 4 or 5 is the last full frame and that you need to taper from one of these points. Use a steel rule and craft knife to cut the plank. As you work down the hull you may need to adjust the taper as it is easy to get out of kilter when working with fractions of mm! Looking at the rear of the model you might not need to taper, indeed you will have triangular gaps to fill - these are called stealers. For the first planking you can get away with the sharp point. There is a “correct” way of adding stealers but for now just fill those gaps! You may find that the plank wants to rise up, that is where edge bending comes in. Look for Chuck’s video tutorial on those, here is the link Planking. Post 2 has the videos. I use a travel iron to heat the planks. I would recommend bevelling the back of the top edge of each plank. You are planking on a curve and you will get a small gap between each plank if you don’t. As Chuck’s videos show the plank needs to have full contact with the bulkhead, otherwise you get a clinkering effect. You may get away with a small amount of clinkering that can be sanded out per the manual, but aim to get as much of the plank on the bulkhead as you can. You will learn a lot from your first planking. It will act as a guide for the second planking, remembering that quite a bit of the hull will be under a coat of paint! you will not get each plank right so don’t be afraid of redoing
- 129 replies
-
- 4
-
-
-
- vanguard models
- Sherbourne
- (and 1 more)
-
Perfect! That looks spot on. Looking forward to the next instalment.
- 129 replies
-
- 3
-
-
-
- vanguard models
- Sherbourne
- (and 1 more)