MORE HANDBOOKS ARE ON THEIR WAY! We will let you know when they get here.
×


piratepete007
-
Posts
513 -
Joined
-
Last visited
Content Type
Profiles
Forums
Gallery
Events
Everything posted by piratepete007
-
Finally cracked the terminology by digging deep into a book ' The Art of Rigging' by Art, George Briddlecomb, 1847 where he describes various cleats including the following text ..... .".. belaying pins with the usual two arms or horns and are nailed through the middle to the ship's sides, or elsewhere, to belay ropes to. Range cleats are shaped like belaying cleats, but are much larger, and bolted through their middle. .... " Typically used for belaying sheet and tack lines. Not attempting to be too pedantic but came across the term 'range cleat' when doing some research on early rigging methods. Pete
-
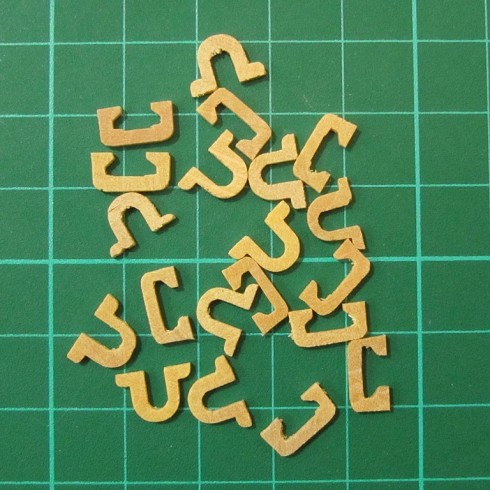
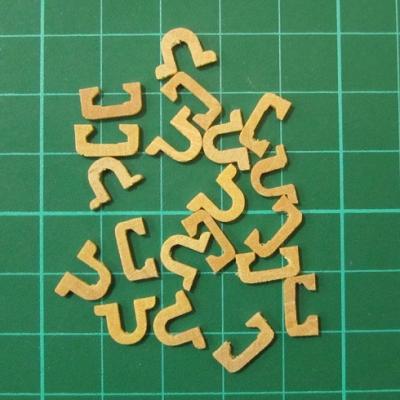
Thanks for that popeye2sea ! As I understand the terminology - and I get confused - the kevel cleat has two arms or branches that 'arc' upwards in a curve and the traditional cleat is also one with two arms but they extend outwards horizontally. This latter one apparently was called a 'staghorn' cleat albeit in a larger size. So where do we draw the distinction between 'cleats' and 'staghorn' cleats ? Now, getting back to the 'range cleat', I just came across this pic showing Amati-made range cleats. So I am looking for some further help !!! Pete
-
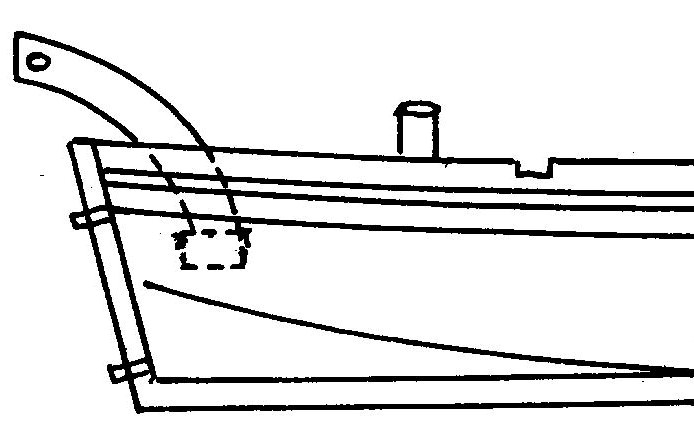
Doing some general reading and came across the term 'range cleat' .... "the braces of the lower yards ran from a ring bolt on the ship's side and reeved through the brace block and usually belayed to a range cleat" Anybody explain that term to me ? Maybe a pic ? Pete
-
 Hello All, I am attempting a build of ALL the Euromodel ships on a rotating, crazy, nightmare journey. I post my build logs on their website as I complete a section so if anybody wants to download the pdf files, go for it. They are there just for that reason - and no need to ask. No, I get no remuneration for doing it. it's just fun. Pete
 -
Hi Mark, I am following your build with great interest but I do get 'depressed'. My interpretive files were only ever intended as a guide to others and it is clearly obvious that your build and others such as Keith, Vince, etc, etc will be on a far higher plateau than mine. For that fact I am actually delighted !!! I wish I had constructed the window panes as you did. Ah well, next time. The point is often overlooked by many people but the Euromodel philosophy has always been that all builders of their products will be more guided by what is in the excellent drawings than what is in the kit itself. That intentional concept leads every builder into a quasi-scratch build rather than a straight kit build. No two builds will ever look the same ! Don't get me wrong, there is plenty of material in the kit but you just can't stop trying to go that one step further. Hint: that white plastic resin ship's boat has actually proved to be the basis of an excellent product - took some work but the end result I think is great ! So hang on to it. I have almost finished constructing boats for their entire fleet. Seasonal greetings to all that sail on our seas ! Pete
- 652 replies
-
- 3
-

-
- royal william
- euromodel
- (and 1 more)
-
Mark & Janos Thanks for taking the time to reply so quickly. I also heard from Crown Timberyard this morning and the costs are within what I anticipated. Your comments and links much appreciated but pardon my sheer ignorance - what is 'gingerbread decoration' ? I assume that that is where a thin piece is glued on to a backing board ? Pete
-
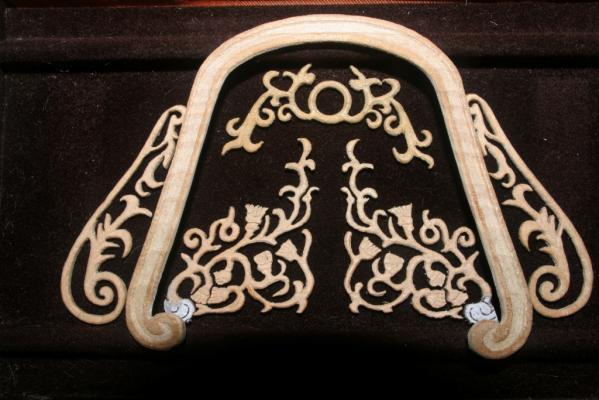
Brian, Thanks for your kind offer and I will keep that in mind ! Janos, I went to your posting on Maritime Carvings and both impressed and bewildered. What great works of art you have created but where do I really start on my little project (above photo) ? The timber I can get and the necessary expertise and experience I can acquire over time BUT where do I start ? Obviously I need a range of basic tools and a text or two to start browsing in for some hints. Can you please give me some suggestions or at the very least give me some links to get me started ? Anything would be appreciated. Pete
-
Brian, Thanks for the suggestions. Huon pine I have had some experience with. Easy to carve but a little open grained and soft ? Silky oak I am guessing would be of a much harder texture and close-grained ? Have you (or anybody else reading this) ever used that for fine carving ? Pete
-
Mark, thanks for the advice re PVA glue. I am keen to try the transom carving for the Euromodel 'Derfflinger' so I followed your link to Crown Timber and European Boxwood. Have just asked for a quote to Australia and I suspect the shipping will outweigh the cost of timber !!! Photo is attached. Overall dimensions are 45 x 50 mm. Pete
-
Mark, I have not really tried any serious carving before but would like to. In your earlier comment about sacrificial wood as a supporting base for the carving and then removed by soaking in alcohol, what glue would you use ? Pete
-
Looked at the data base and it is impressive to say the least BUT not all manufacturers are represented. How do they add their products ? Pete
-
Denis, I experienced the same thing with the Euromodel Friederich Wilhelm zu Pferde (FW for short !) and then made a vow that besides using instant glue, I would also pass a fine nail through each carriage into the deck before adding the cannon in any future builds. Maybe not totally authentic but hey, the use of glue isn't either. Pete
-
Vince, I have waited so long (years in fact) for somebody to put pen to paper and explain the incredible excitement I too experience with Euromodel ship building. You show an appreciation of the material costs of such kits and the value is there but one just needs to start constructing a Euromodel kit to see this. Apart from building them, I am involved in writing about my constructions in great depth and I too have disturbed sleeps caused by evolving ideas, challenges and solutions. I could never go back to a standard kit build and quite rightly you say this is virtually a scratch build. However, this is not to suggest that the kits are beyond the average ship builder - far from it. It just needs patience and thinking 'outside the square' that too many of us get caught up in. Sorry to hijack your build but I just had to say that. As an experienced builder, your comments should be valued and not refuted. By the way, I greatly enjoy watching your build and wish that I had seen your magnificent work before starting mine. Pete
- 593 replies
-
- 4
-
-
- royal william
- euromodels
- (and 1 more)
-
JP - I cut out the Gun Deck positions through the first planking (well, a little roughly so as to allow for a fine bit of trimming after the second planking) and then used them to determine the wale positioning, fix that and then on with the second planking. So many do a complete second planking and THEN add the wales over the top. The provided timbers allow for my method which is historically correct and anyway helps with the second planking positioning. Pete
-
Hey, thanks to JerseyCity Frankie, I have learnt something new .... anchor kedging ! [ the link is provided above but it is the lost art of moving an engineless ship out of a tight harbor, narrow estuary or off a mudbank, etc where sailors in a long boat or cutter would carry a ship's anchor out in a direction they want the ship to go, drop the anchor, go back to the ship, use the ship's windlass/ capstan to wind the rope connected to the anchor back on board thus pulling the ship in the desired direction. The carrying of the anchor out in the first place looks like a particularly dangerous, slow and arduous task !!!! ] I have attached a diagram of another ship's boat from Euromodel, this time the French frigate La Renommee (the stern structure relates to Fig. 467 in JerseyCity Frankie's link). Now I can sail further on in peace. Pete

-
John, Finally received your answer as that firewall problem prevented me getting into this post when I typed in the posting heading ! So thanks for your quick answer. Now I have another query for a ship's boat on a Mediterranean Ligurian navy ship (Euromodel Pinco Genovese). There are two timbers - one forward and one towards the stern that are athwartships BUT project through to the outside. Do I assume that they were employed to lift the boat up to the ship and if so, any idea of the terminology used to describe these timbers ? Pete
-
Securi firewall a problem.
-
JP - thanks for that correction. Like you, I am currently building this ship and often struggle with various aspects but revel in the delightful challenge that such a build presents. None of this standard kit stuff - the Euromodel La Renommee sticks its nose out and shows what a slight excursion into scratch building is like. Thankfully there are companies like Euromodel that offer such kits. Their builds are not necessarily difficult but they do make you think and so different builders come up with different approaches... and yes, there will be criticisms because of that very fact of opening up the mind. So let's not hijack this wonderful build - on with the work JP (and again thanks for that honorable correction) Pete
-
JP, just looking through your impressive log. Taking great care and much thought going into it. However, I must question your comments re the rudder. Check yours again because the top of mine is 7 mm. wide as per the drawings. Pete
-
JP, if you haven't cut the stern post yet, my advice is to leave it until the stem post and false keel are in position. Pete
-
Yep, a big country 'town'. I am building the French frigate La Renommee. Pete
-
Bindy, I am 'just around the corner' in Adelaide and am wondering what French ship it is that you are building ? Pete
-
Royal William by luc - scale 1:72 - RADIO
piratepete007 replied to luc's topic in - Build logs for subjects built 1501 - 1750
This looks like another fascinating project for the MSW and I am happy you found my Resource file for the RW. Anything I can do to assist, please contact me through the Euromodel Helpdesk or in this build log. Pete -
That is a recipe for disaster (read my previous post). You MUST ADD THE CONCENTRATED ACID to the water to achieve a safe dilution. Pete
-
From a retired chemistry teacher - ALWAYS add a concentrated acid to water. The other way around releases a large amount of heat, evaporating the water quickly and 'woosh' , out sprays the acid !!! However, diluting hydrochloric acid / mariatic acid (HCl) - which is used by brickies to clean masonary surfaces and sulfuric acid (H2SO4) - used in car batteries, both need to be handled OUTSIDE due to the fumes and please use protective glasses and gloves. The same acid cleaning effect is generally still achieved by using acetic acid/ vinegar but just takes a little longer, so for safety, stick with that acid. It is cheap and easy to obtain. If this does not work, then as above. Pete