Wintergreen
-
Posts
1,002 -
Joined
-
Last visited
Content Type
Profiles
Forums
Gallery
Events
Everything posted by Wintergreen
-
Yep, its been lurking in my mind for over 20 years, and feels really good to finally get it out in 3D.
-
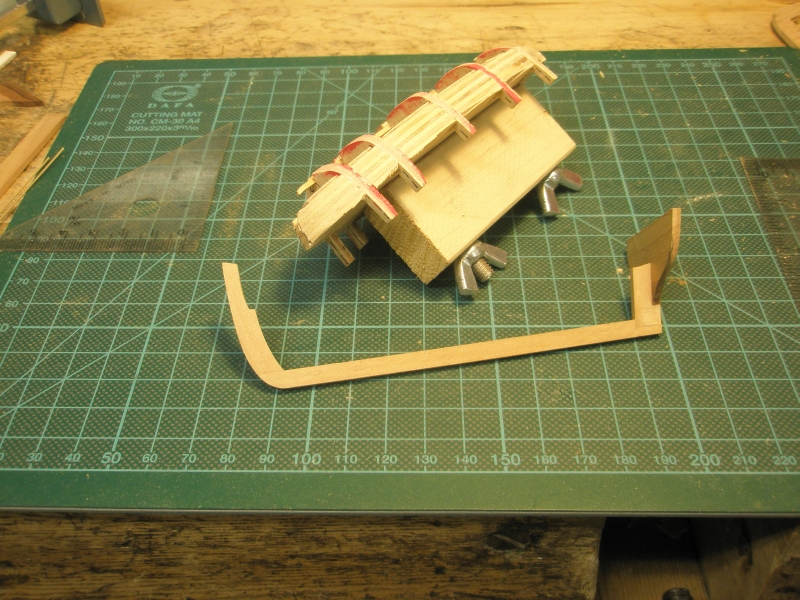
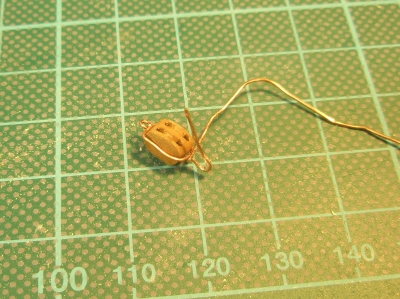
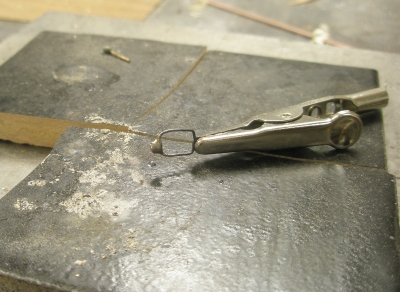
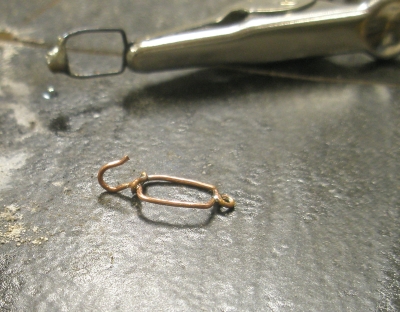
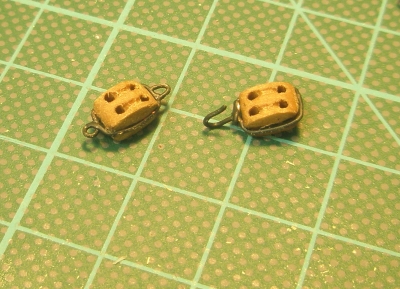
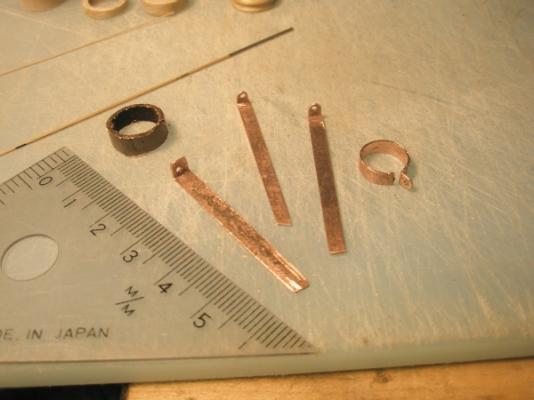
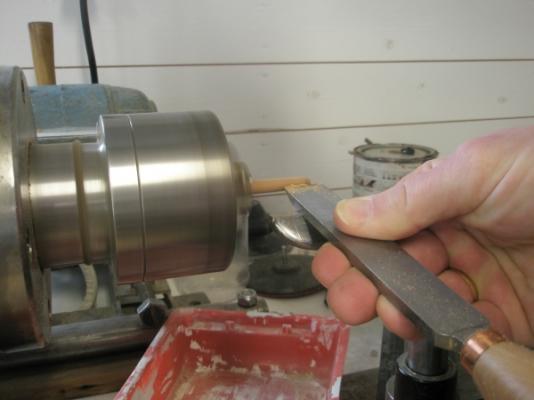
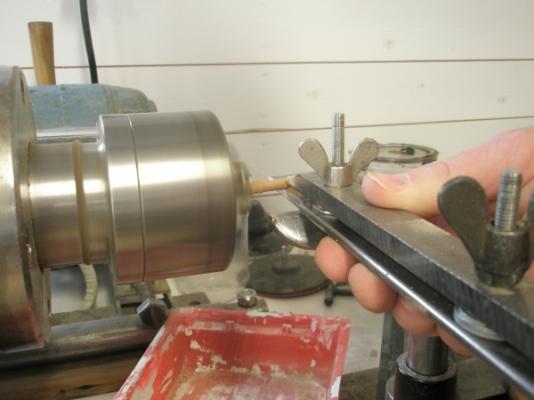
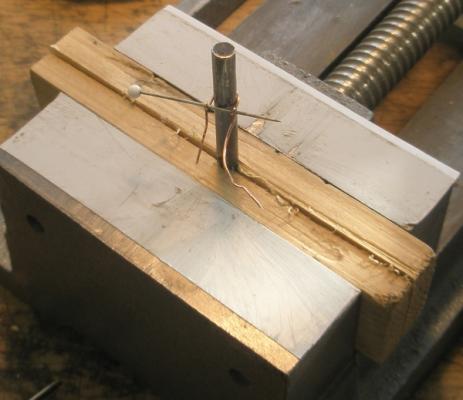
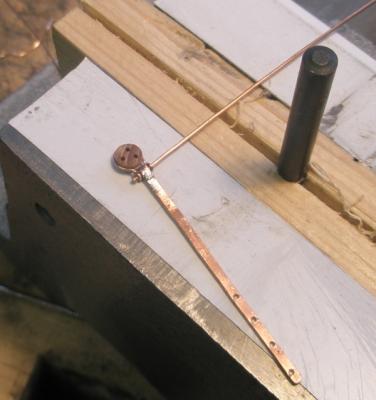
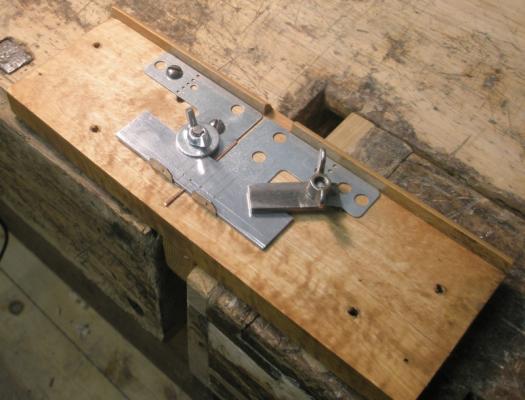
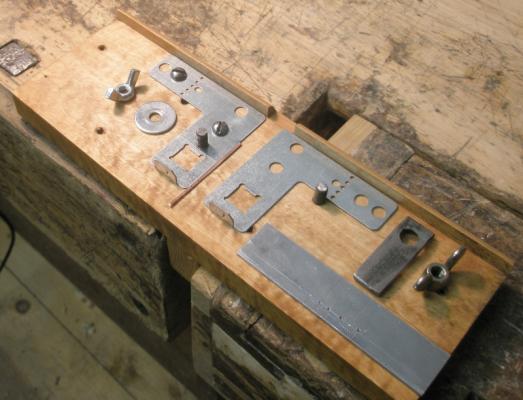
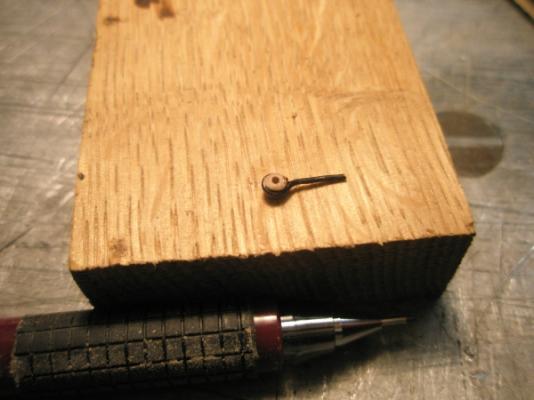
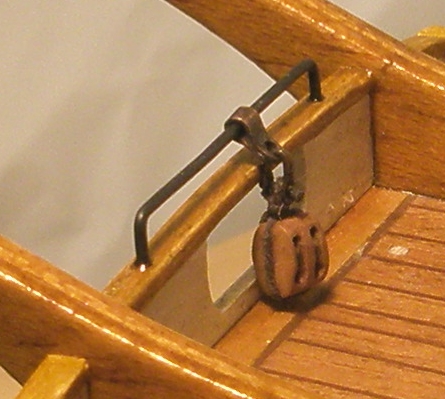
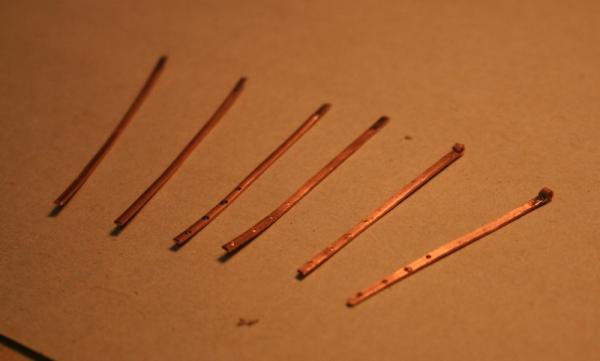
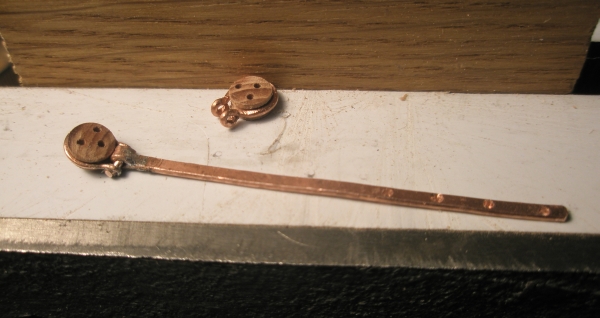
Here are some photos of how I made the iron strapped blocks for the anchor tackle. Usual copper wire. In pic #2 I was a bit to slow with the torch. "well, lets just make another one shall we?" Here is the #2 try. Soft soldered since I don't have any hard soldering paste (yet). In the last picture the copper is painted because the soft solder did not take the blackening. And finally, the work with the dingy. The provided plywood sheets were warped and of very soft material. I will use them as templates only. Here is the keel assembly with stem and stern glued and dowelled. Behind lays the plug that I will use for planking. The red paint on the frames is an idea that I will credit Dafi (Daniel) for. It makes it so much easier to see when it is time to sanding...

-
Lads - Thank You! Its good to be back in business.
-
Ron, I agreee with Remco! Takes some nerve to pick up the chisel and plunge it into the model...but the result, you cant tell the difference from the lower part, looks like it's been that way all along. (and now I'll receive notifications of the progress, yes!)
-
Hi Kats and "Welcome back"...I too will sit back and follow as you go (slowly) for the completion.
- 237 replies
-
- 1
-

-
- cutty sark
- revell
- (and 2 more)
-
And from your on saying, its now the fun begins, eyh?! (read Rigging) Good to have you back!
-
Your work is so precise it is scary...
-
Yepper, we all newbies ones again as Anja said. Glad that your log is back and that you again will share your very precise work with us.
-
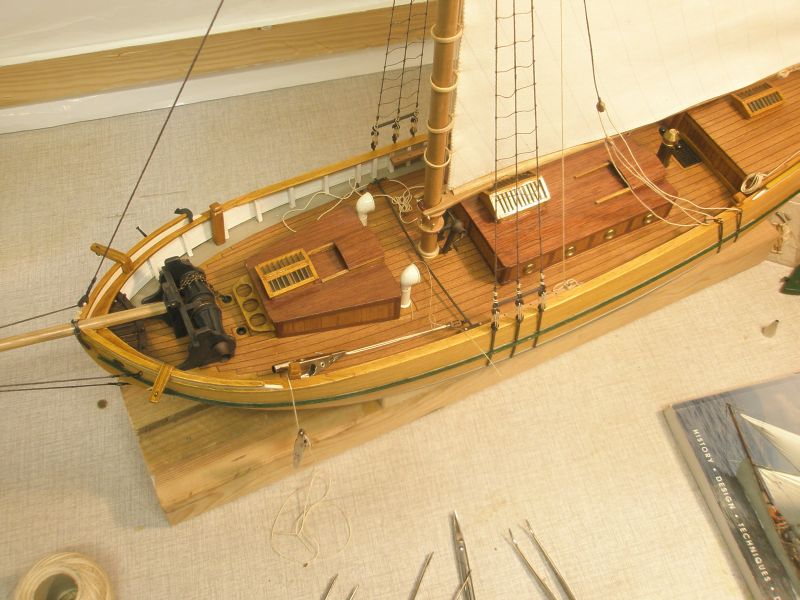
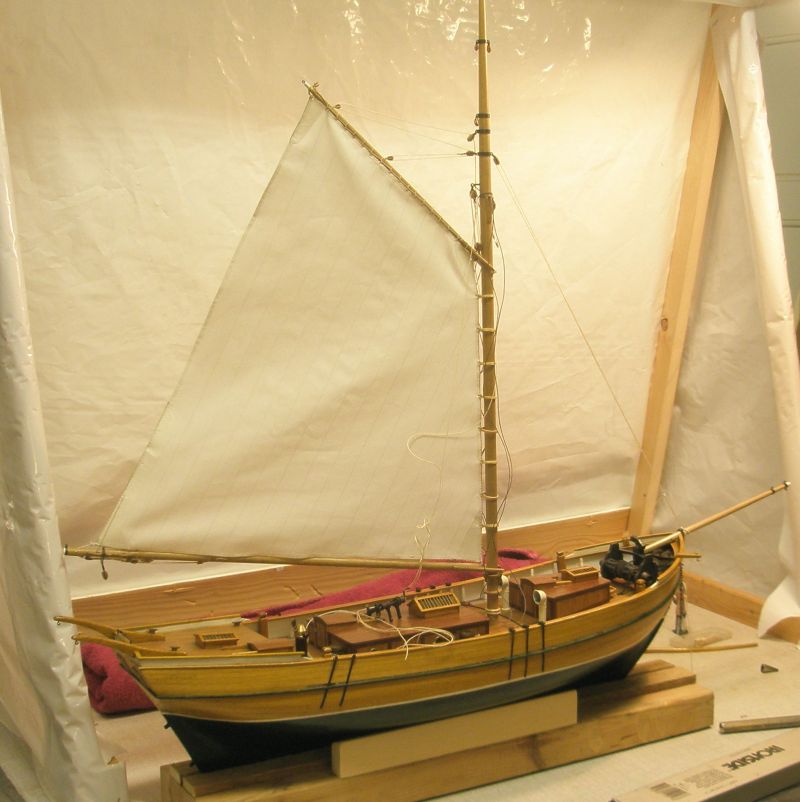
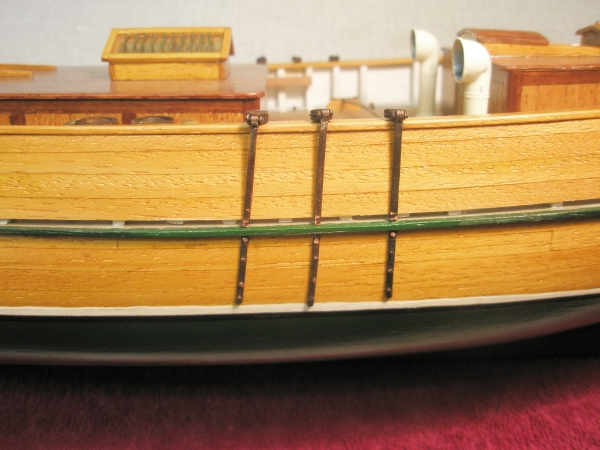
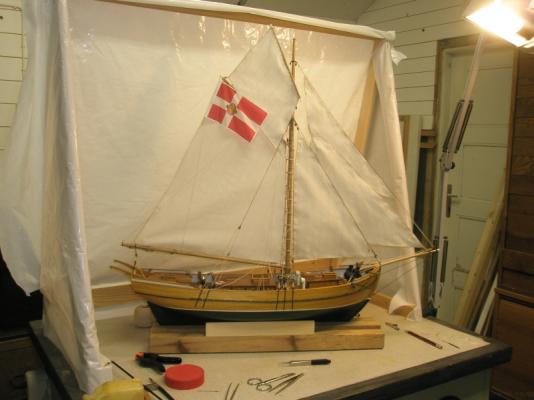
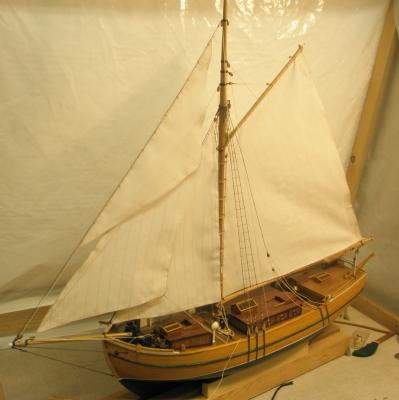
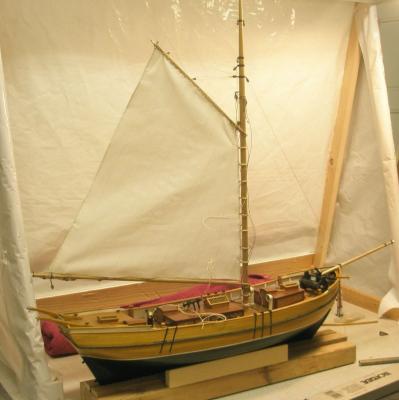
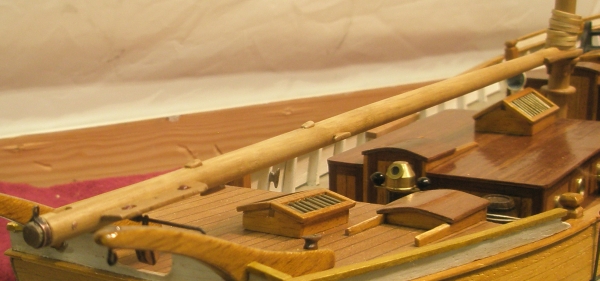
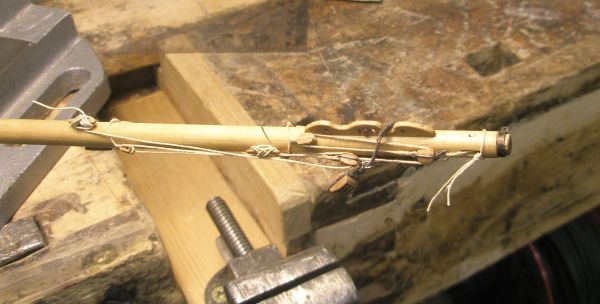
The above picture was the last in the old log. From here on I am up to date. The boat is mainly finished (pics will come later) and work has started with the stern boat. The final picture for now is below. Remco was teased to do a proper splice for his mast pendant and that triggered me too. It WAS fiddly but in no means impossible to splice the thread.
-
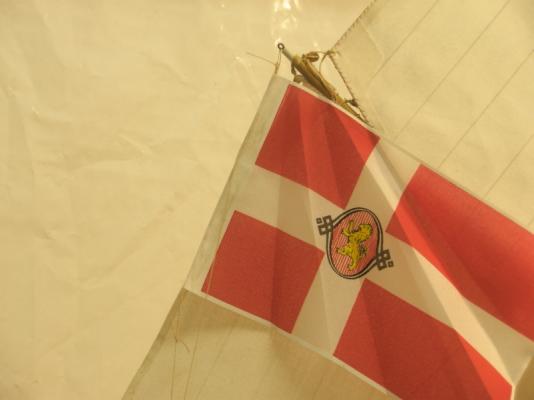
The Danish Ensign hoisted "Dannebrogen"
-
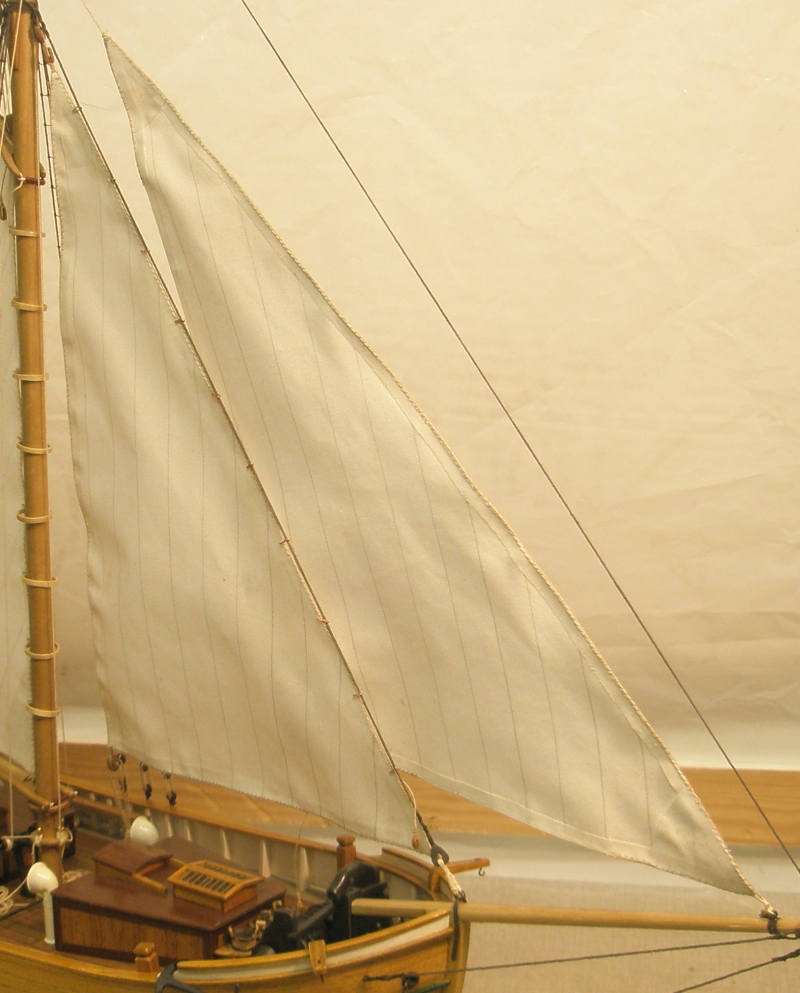
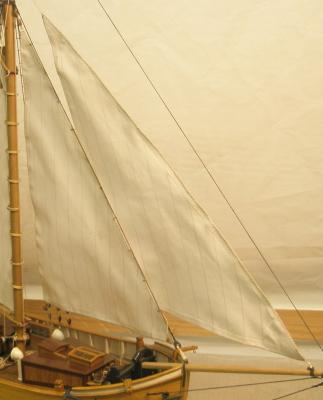
More sails.
-
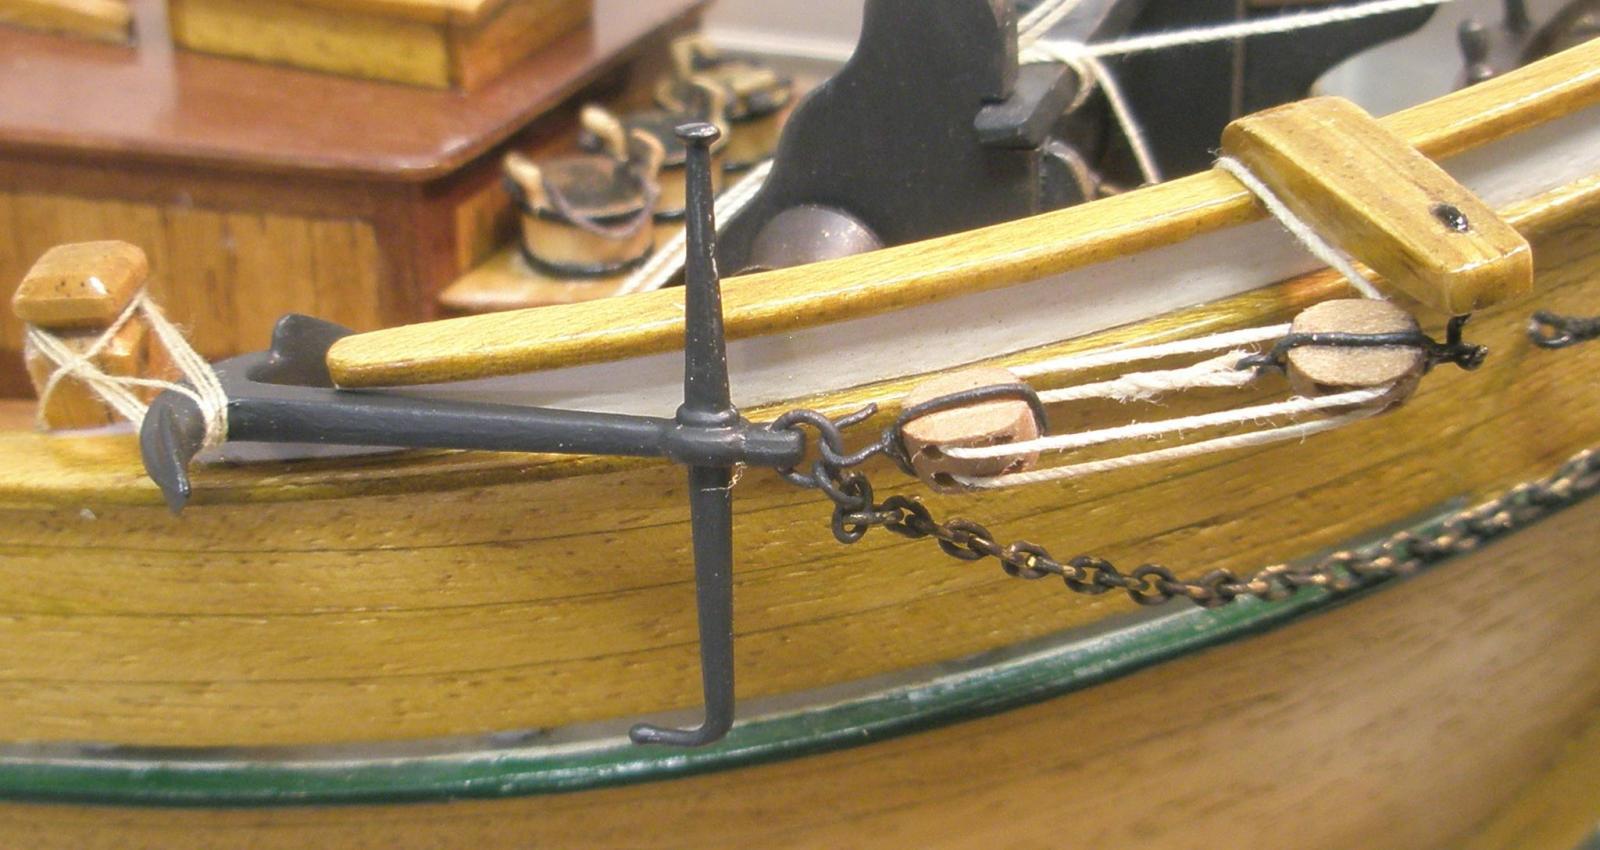
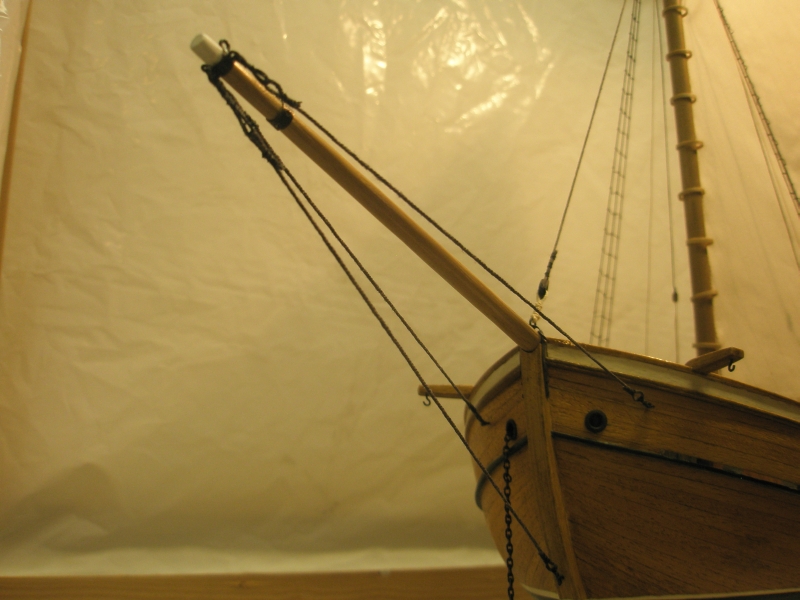
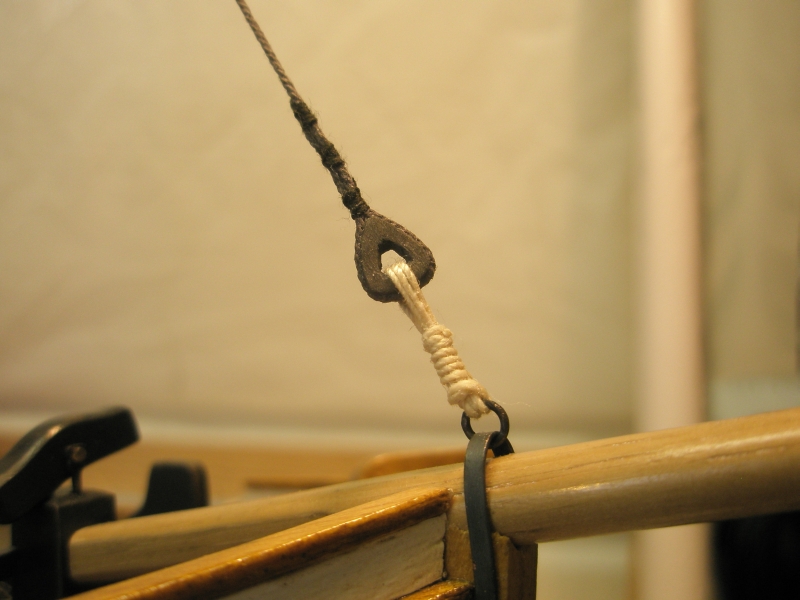
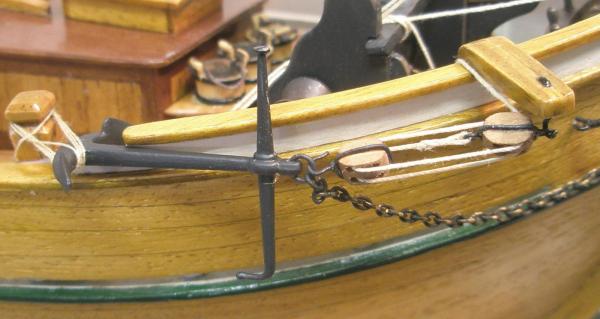
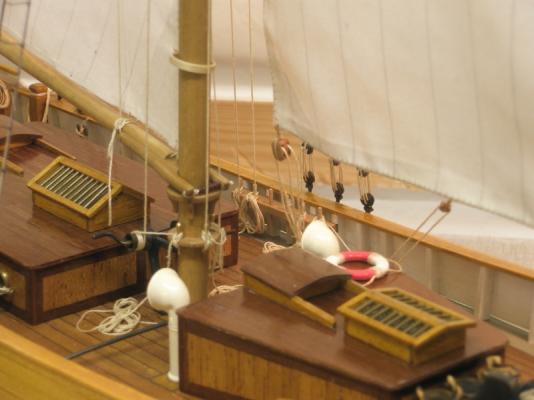
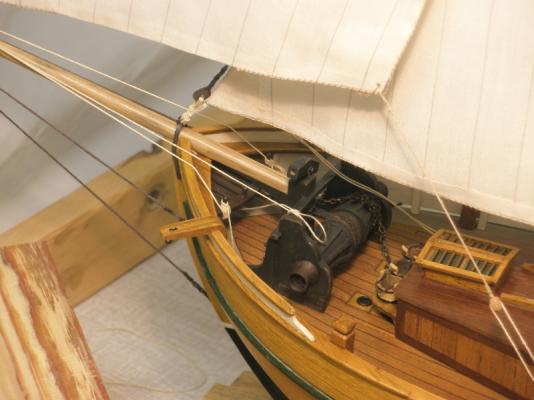
Bowsprit rigging.


-
Over to standing rigging.
-
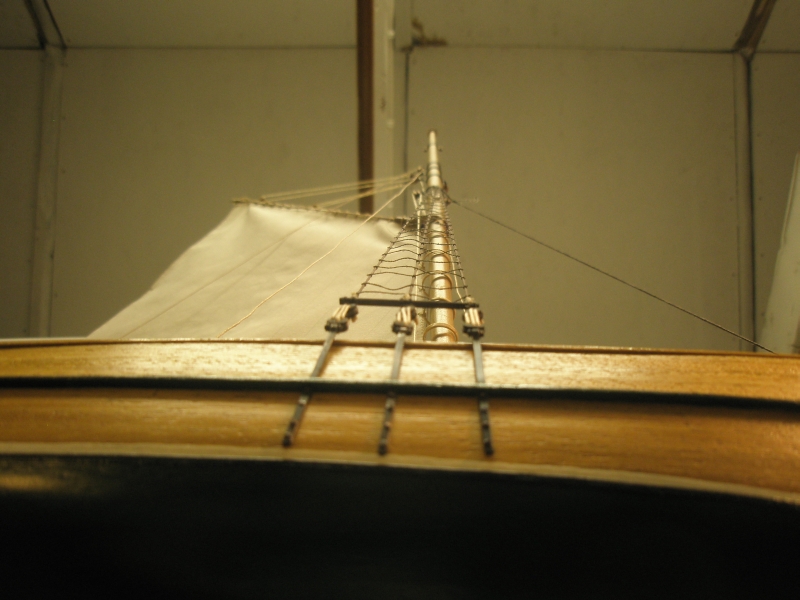
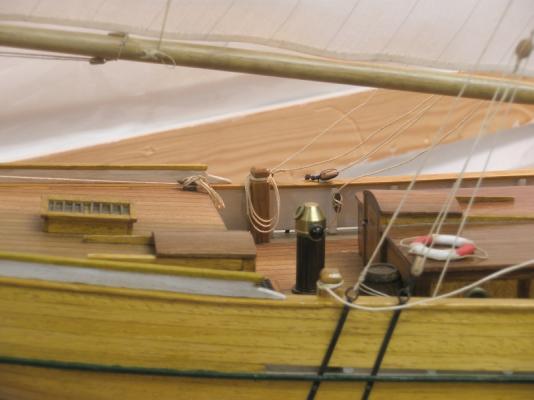
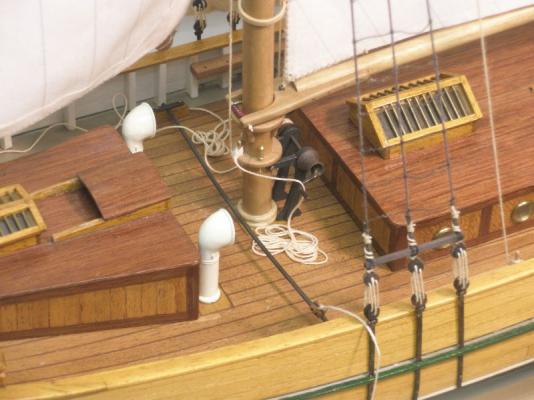
Here is this gaff finished and the mast winches.

-
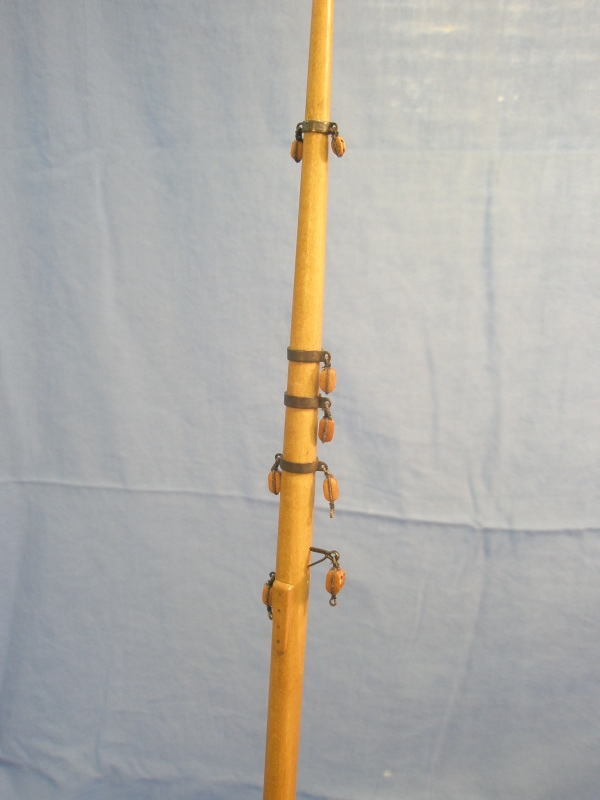
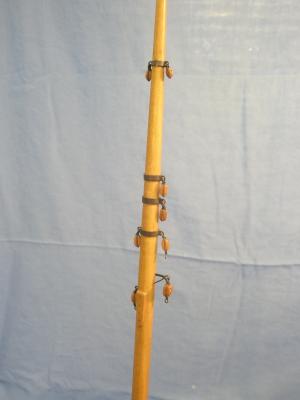
The boom dry fitted and a bit naked. I later trimmed down the reeve boards at the end. Here a bit more crowded with tackles of various functions.
-
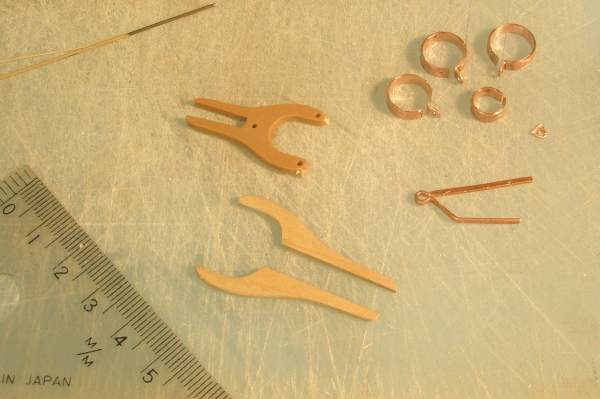
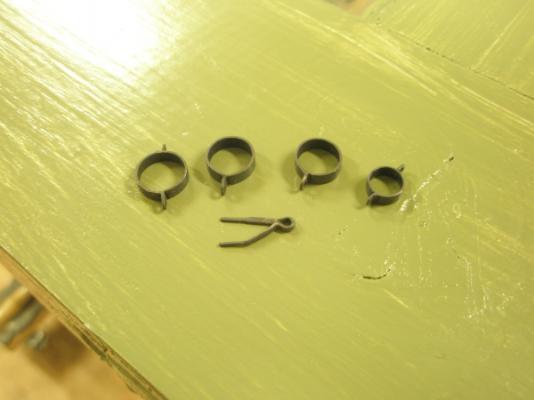
Ironwork for the mast. Comparison between suppliend and scratch made jaws.. Soldered, blackened and waiting to be installed. Dressed with blocks also.
-
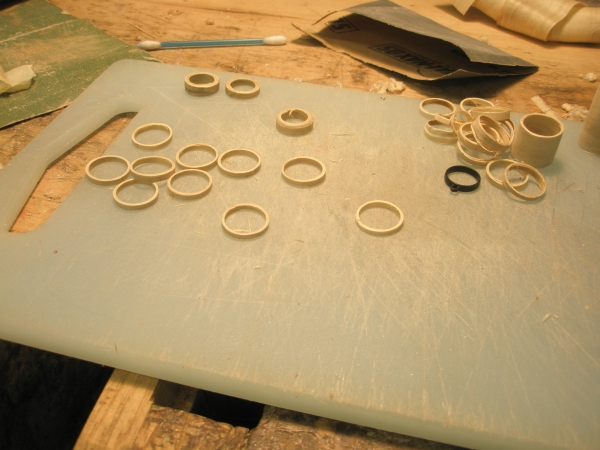
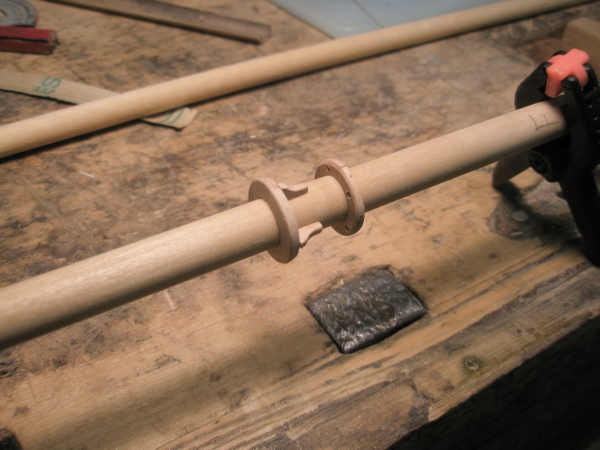
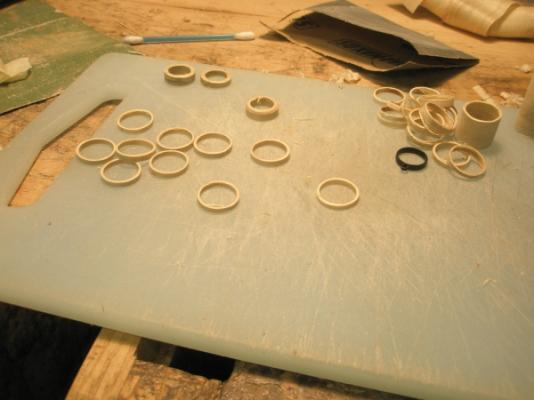
Over to mast and spar making. The supplied rod for the boom was too thin so I made my own. Provided mast hoops was of plastic, replaced. Other mast rings and boom rests also plastic, needed replacement. And yes, the mast had the shape of an bow that would make Robin Hood happy...replaced.


-
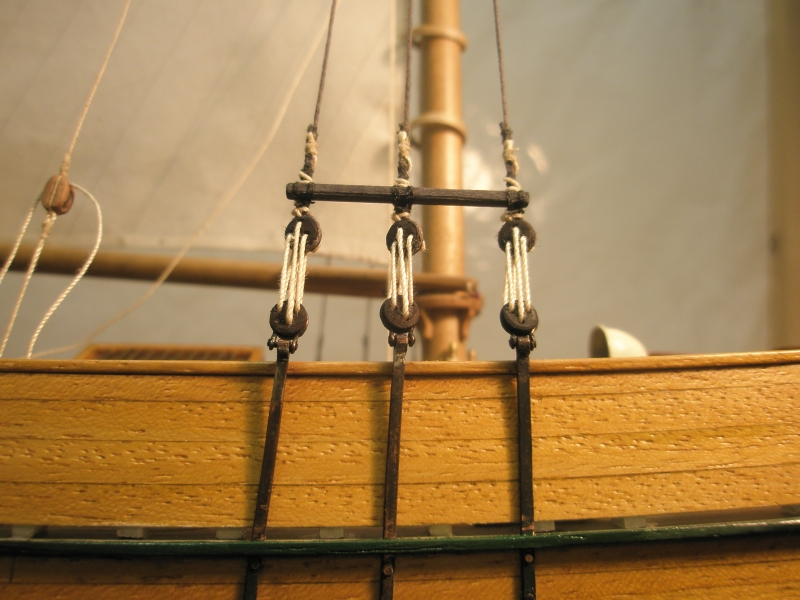
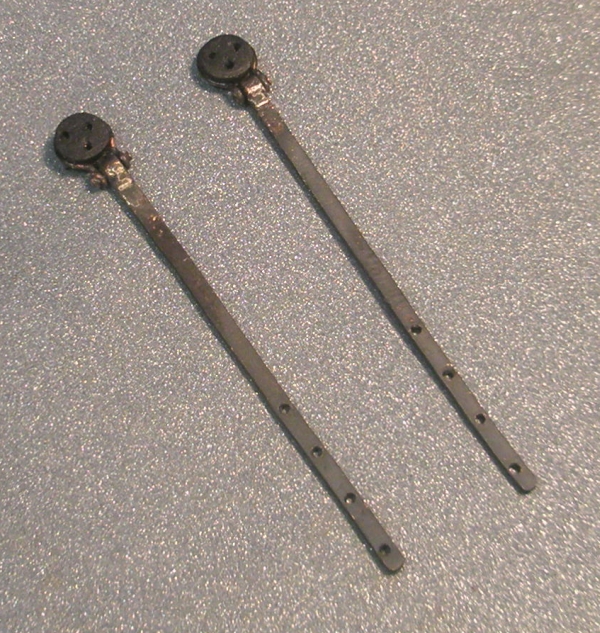
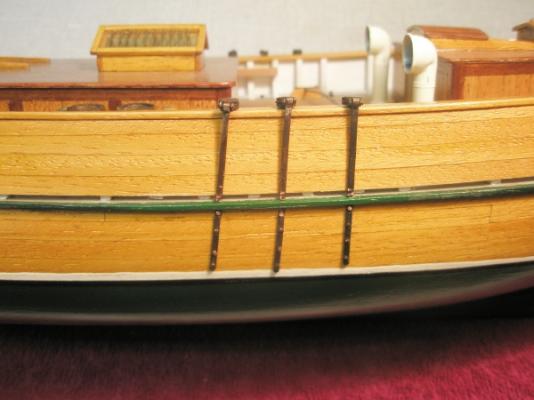
Chainplates installed.

-
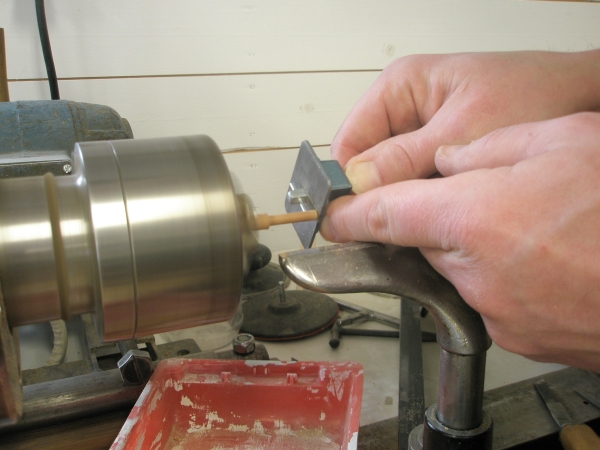
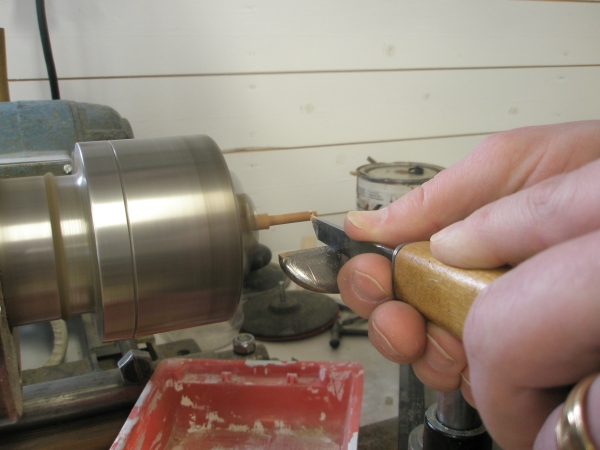
ok, I guess the sw has the limit at 25 posts a page. The old one had 10 so this is better. Need to keep the posts a little shorter though. A quick "how to" I turned the dead eyes. There are various ways of setting the diameter. Since I only have a wood lathe, this is what I use. Mark the thickness of the eye.


-
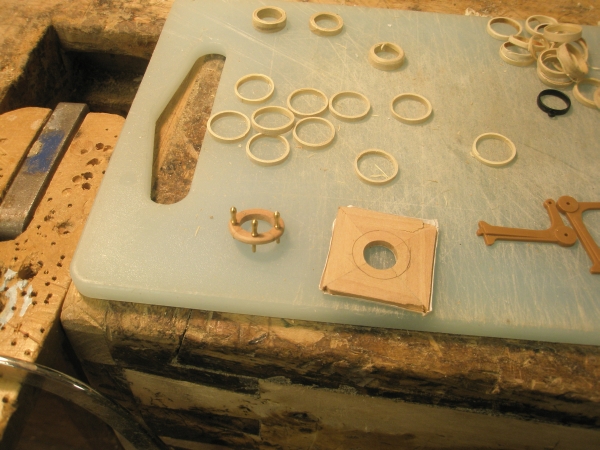
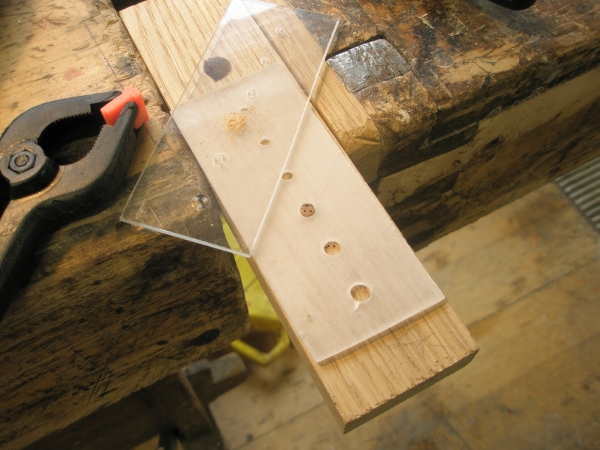
I would assume that the sw wanted to change page now, but not. Interesting. Next was produce the dead eye strops. To drill holes in dead eyes this is a fairly common setup (with variations)

-
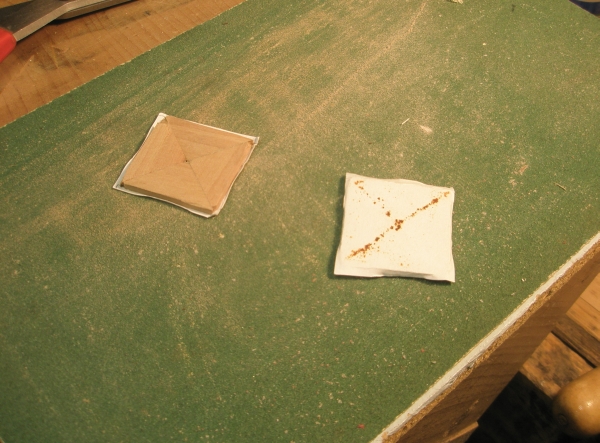
I tried my luck at some jigs also. First a jig to aid drilling on narrow strips.
-
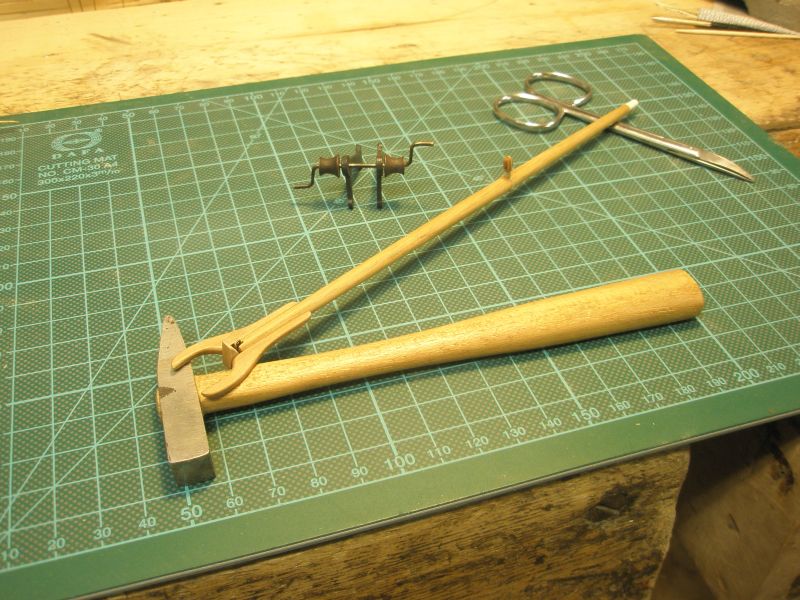
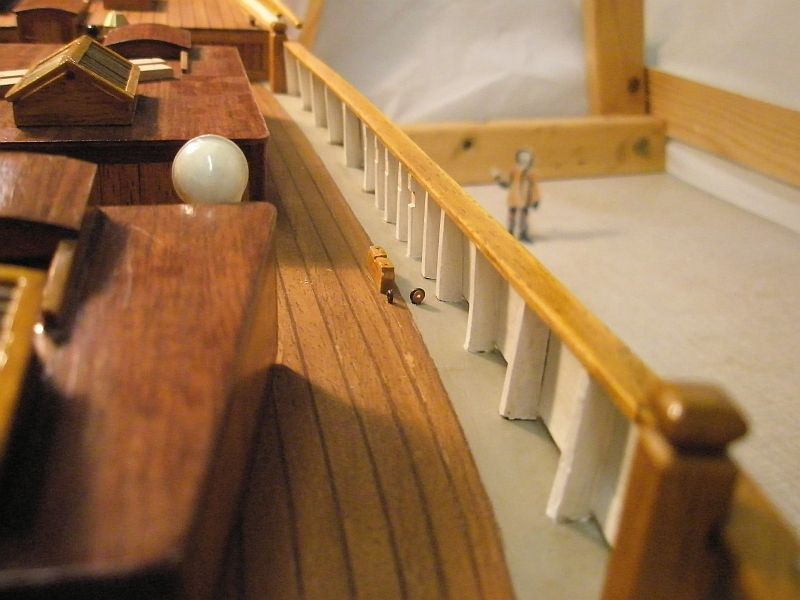
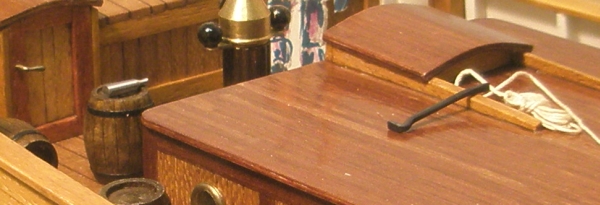
Other small stuff that I did apart from cleats, were blocks and bulls eyes. For the bullseye I used a rod of suitable diameter, drilled out the centre and squeezed into an eye bolt. The main sheet horse and block All of a sudden it appeared that I had a visitor in my yard... The crowbar was a bit worrying I thought... Next up was chain-plates and deadeyes.. After blackening.


-
Hi Steffen, and good to see you back with your log. I'll follow along to guide you if I can (no promise, just an offer )
-
Another Rope Walk
Wintergreen replied to michael mott's topic in Rope Making/Ropewalks's Rope Materials and parts resources
Ah, ok, now its clearer to me. Thx!