Wintergreen
-
Posts
1,002 -
Joined
-
Last visited
Content Type
Profiles
Forums
Gallery
Events
Everything posted by Wintergreen
-
"Controlled violence" - I liked that and as all Billings builders, you've noticed their sparse manuals. But I think you master it with your trial and trial again approach.
-
Very subtle difference...good tip though, to start the line at keel, to get a more natural curve.
-
HMS Sussex by mij - Scale 1:48
Wintergreen replied to mij's topic in - Build logs for subjects built 1501 - 1750
Then of course Dan, you could build something for yourself in between and not always on commission... then you could enjoy the journey as well as the final result. Mij, I too know the feeling of putting a lot of hours in the scrap bin...just to remake and be happy. You have our support anyway! -
I was thinking the same, but you beat me to it Bob
-
uhm, that car looks really...vintage...and in desperate need of TLC (time, labour, cash)... How is the Vic going? Funny-thing, went past Dal-Rostock last weekend, had a very good meal at the Asian diner in Mellerud
-
That is excellent Rob! Congratulations for a job very, very well done! Just wow, amazing...just amazing.
-
Found this 15 min documentary from 1936. Unfortunately it is in swedish, but the sail handling is general. I must say, it adds another dimension, seeing the lads running up the rigging (rig-rats, perfectly appropriate term). And also hoisting the anchor...team-work allover. The ship in question is af Chapman which was static already then. (servers as a youth hostel since many years). Najaden and Jarramas, both sail training vessels. Najaden is now also static in Halmstad, since many years, and Jarramas is undergoing re-rigging in Karlskrona. Enjoy! http://www.svtplay.se/klipp/164957/marinens-skolskepp-najaden-och-af-chapman-1936
-
Dang, first row already taken...2nd row for me then I agree about the profile, looks a bit unusual with that rounded stem, but what do I know about that, really (I feel the elbow in my waist John...yes, I will get on with it )
-
Excellent clarity in your work Joss. Am glad to follow as it progresses.
-
John - armed and dangerous....happens to all of us I think....one moment of unawareness...but you're so handy with the rigging so it did not pose a problem, which we are glad to notice Lovely little ship, John!
-
Excellent model Peter (Dan)! Boom vang is correct, over here it is also known as kicking strap or rod kick. I've seen pictures of the NYYC model room...that is some confirmation of your work to have it on display there! (but then someone told us you were good )
-
That's the thing with a great tutor. Even if you read it yourself a couple of times it's not until someone puts it into reference that you fully understand. (just got the whole width of stopwaters myself...).
- 3,618 replies
-
- 2
-

-
- young america
- clipper
- (and 1 more)
-
On this page http://www.batsidan.com/ostindiefararen-till-kina-och-hem-igen/ you can get an idea what a authentic deck looks like. 2nd picture down and also in the movie trailer. The ship is of course Ostindiefararen Götheborg, launched in 2005. At last it is your call Freddy (as all decisions are regarding your build )
-
NIce save on the deck, Freddy. That will not be visible, once you get some finishing on it. And also, the area around the mast at the deck are usually very crowded so no harm done
-
Freddy, seems like we started the builds at the same time (mid 80's), difference though that I finished Wasa around the 1990's. We'll see what I remember... In twenty years, you say, that'll be fine, I'll be almost a retiree by then... lol. Brian, I think BB have switched to wooden blocks and deadeyes by now. At least in my most recent purchase (Dana some three years back) they were of wood, and they even supplied planks for the deck, even though the super structure is plastic on that one.
-
John, don't forget that Ed started with a 1:96 of Victory...so he is going up if you take the magnificent Naiad as a side step... Ed, I am just glad to follow along! Had to read your previous post twice in order to pick up why you drilled the holes before gluing, but got it in the end. (kind of slow sometimes...don't ask the Admiral...). And, of course, a splendid choice!
- 3,618 replies
-
- 1
-
-
- young america
- clipper
- (and 1 more)
-
Hi Freddy and and a warm Welcome to MSW! About staining...I have built the Billings Wasa and there they also suggested staining with mahogany...think twice! Decks were of oak, nothing else. If I'd so it again I'd go for some dark oak staining, that's for sure. Oak staining is a lot lighter (color-wise) than mahogany, and therefore less prone to be seen if it ends up in wrong places. Anyway, I really like the looks of this kit and I am sure you will do here justice! Just keep asking if unsure about anything, and wait for the reply. For a reply you'll very likely to get (all the time). And as some state it, the dumbest question, is the question never asked... Keep it up, and have fun!
-
Very neat and tidy work there John! Thx for the update
-
It seems like I've just jumped in at the end now. Not being very active lately it is a pleasure to see your build nearing completion Ed. Stunning work and a joy to have followed since the very beginning on the old MSW! Cheers!
-
Thanks for your discussion Josh! My own drafting and building has come to a grinding halt so it is a pleasure to follow you along. I cant really get in to talk about your details and findings, just thinking "hm.. yup, ah, yeah that's right" and so
-
Hi John! If I may chime in here (great work buddy), about the running back stays. It is really in the name... "running".. The running back stay on the leeward side is eased off because 1. It don't support the mast when the wind is from the other side, but the more important 2. If it were to be hauled tight it would chafe not only the boom but more the sail. How do I know? Well, after reading Magz of classic boats for some years now, I've seen it enough times in pictures of old smacks and their alike to be sure. Also, in my own younger days I owned a skerry cruiser with running back stays... Upright? Can it be in the nature of the craft, beamy as they were/are. And then of course, about good seamanship...not to carry more sail than the weather permits... There might be several more answers, this was my 2 cents only!
-
Joss, I know exactly that feeling of not being satisfied with the status of the work and to many deviations from what one wanted it to be... (I'm in the same mental state with my Wasa, although I haven't hit the delete-button yet...) Edit; And of course we anticipate some great work from your drawing table in the near (?) future Take your time!
-
I know John, there are shows on the telly about that "Border control Australia" and such No more rabbits or rats, that's for sure, which is a good thing of course.
-
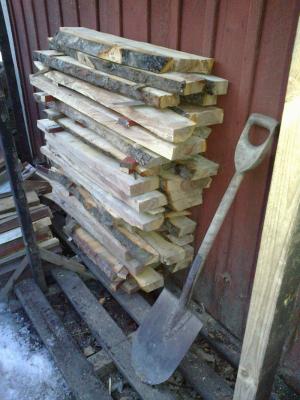
John you are more than Welcome! It bugs me still that I was in Holland that particular weekend you were here.. About the wood, I have equally much in my garage, dry and ready to use....(so what am I waiting for...I know, I know) but on the other hand John, you might get problem with customs...need to de-bark it first..
- 89 replies
-
- 1
-
-
- billing boats
- regina
- (and 1 more)
-
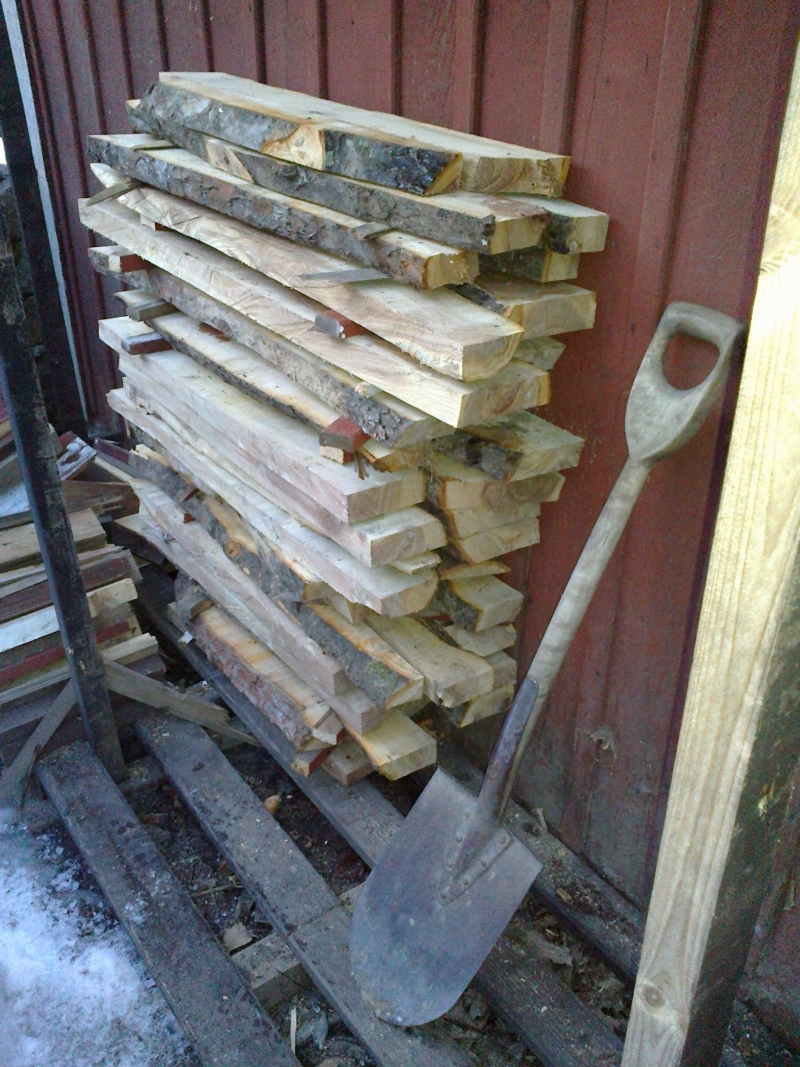
Thank you all! Yes Mark, it is strangely roomy now...so I took the opportunity to mill some apple... In a couple of years I'll have more than enough for any future build