


keelhauled
-
Posts
778 -
Joined
-
Last visited
Content Type
Profiles
Forums
Gallery
Events
Posts posted by keelhauled
-
-
-
shrouds look much better with shorter space between deadeyes.
I agree about the waxing. I wax the lines of the ship. Don't know how you would go about waxing rigged lines. Might actually cause damage if you try to do something with them rigged.
-
-
-
Use an index twist drill and drill from the outside of the hull so that you don't get a burr with the plastic. Take the ends of the line and touch CA (super) glue to the tips so that it is stiff and thread it through. As Joel said, you can just knot on the inside of each one individually.
good luck,
Marc
-
I built this model in college with rigging it from scratch. Can you post a photo of what you are asking about.
-
Hi,
What year did you purchase the kit? It looks improved since the one that I purchased in 2003.
Thanks
marc
-
Sounds like a good Saturday to me!
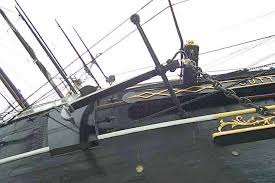
The eyebolt on the top of the tip of the cat is for the "fore tack." A block is fastened to it for the fore course tack when the yard is hard braced over such that the sheet can't be used.
- NenadM and popeye the sailor
-
 2
2
-
There was a master builder, Bill Evans, who recommended balsa fillers in his articles in Model Shipways magazine (I think). He said that it prevented deformations that he observed that occurred in planked hulls over time, especially if there weren't enough bulkheads or frames.
-
-
amazing! Can't wait to see the spoons!
- CaptainSteve, Canute and GLakie
-
3
-
-
Gyula,
Thanks for the comments!
George,
As always, thanks for the likes and keeping up with my progress!
Marc
- juleslucas and GLakie
-
2
-
Don't throw out the colored plates, you might be able to blend those plates with the rest. Place the plates that are already colored in something air tight, while the others are turning color and eventually they will be the same color as the rest.
good luck!
Marc
-
looking good! If you think that coppering will take you more than a week (it takes at least as long as planking the hull- it took me much longer) you might want to take all of the copper plates out and spread them so that they all get oxidized by the air. Otherwise you will get bands of copper oxidized differently.
Just a suggestion.
Marc
-
Jay,
that is by far the best lighting effect that I've ever seen in a ship model. Incredible!!!.
It looks amazing - very life like. Hard to believe it isn't photo shop!
Keep it up!
Marc
- CaptainSteve, mtaylor, Modeler12 and 1 other
-
4
-
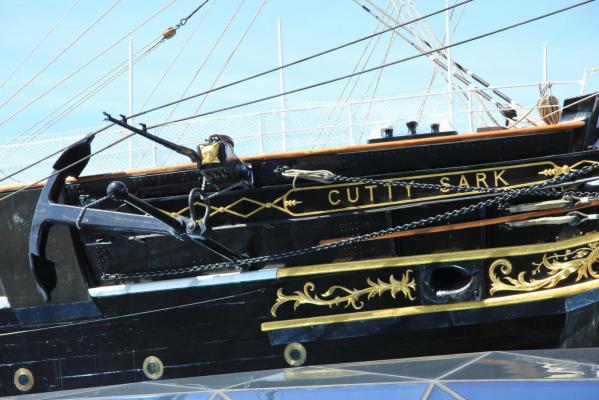
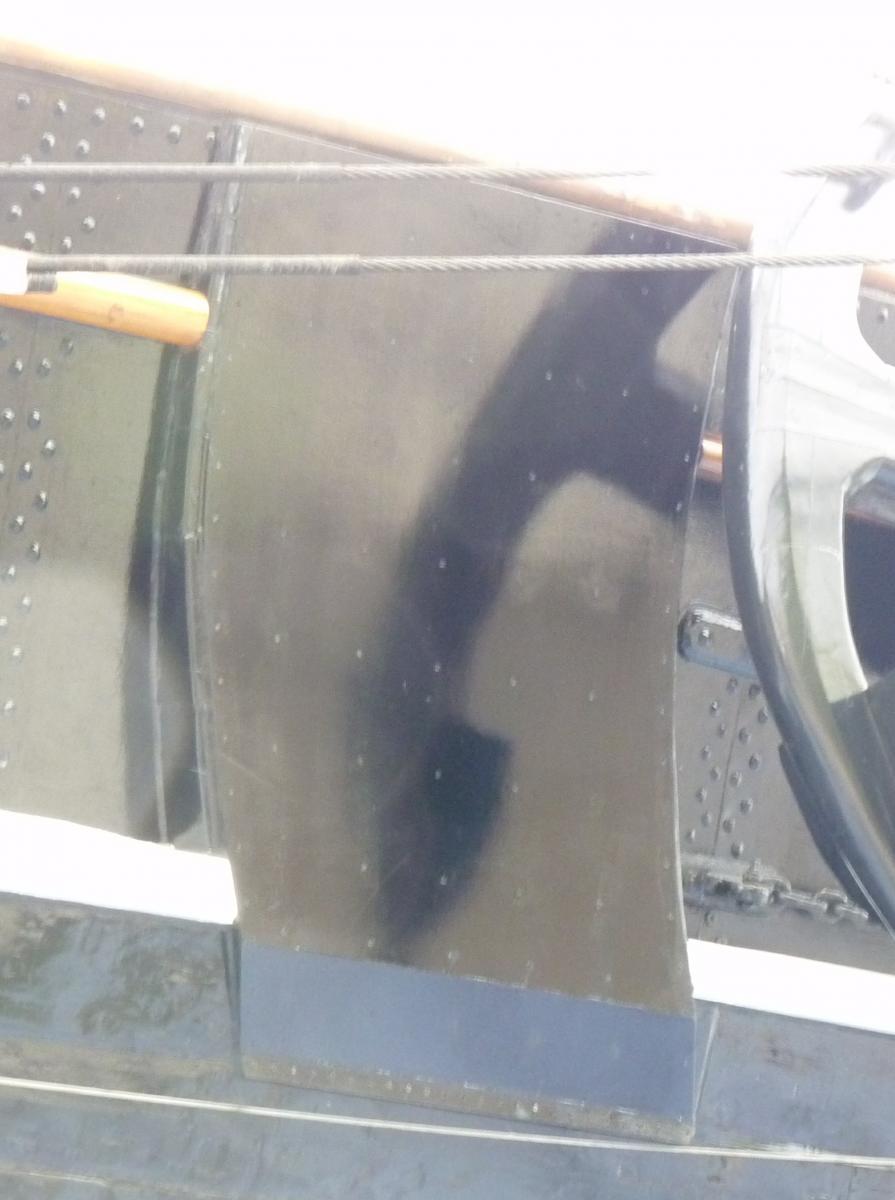
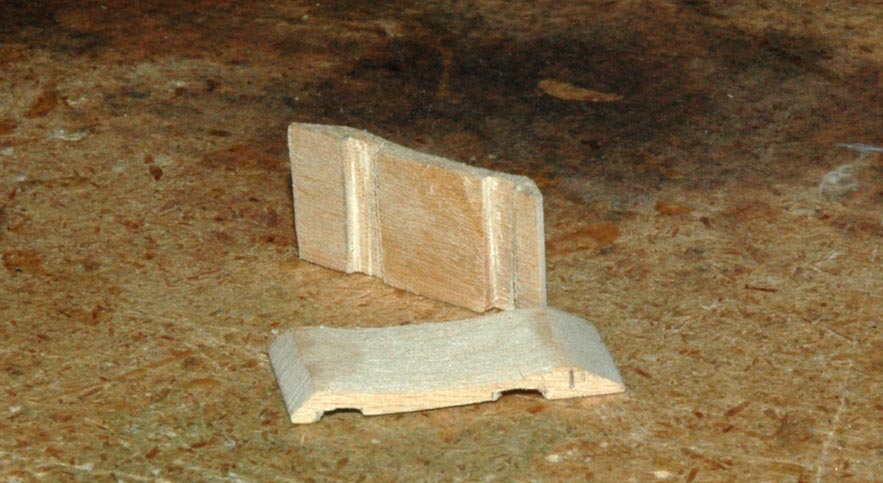
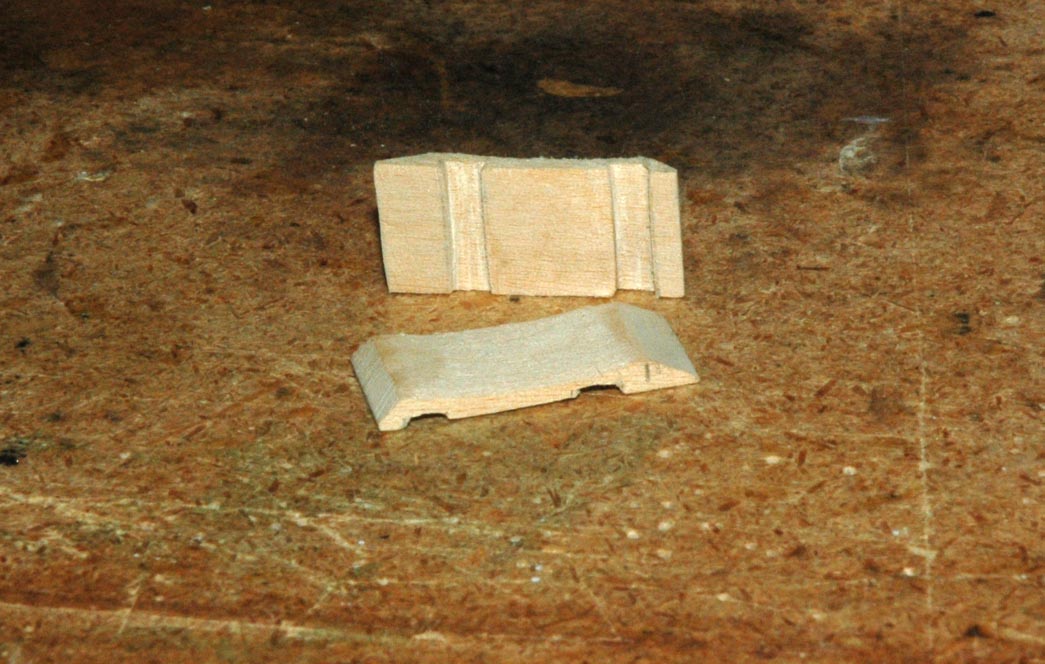
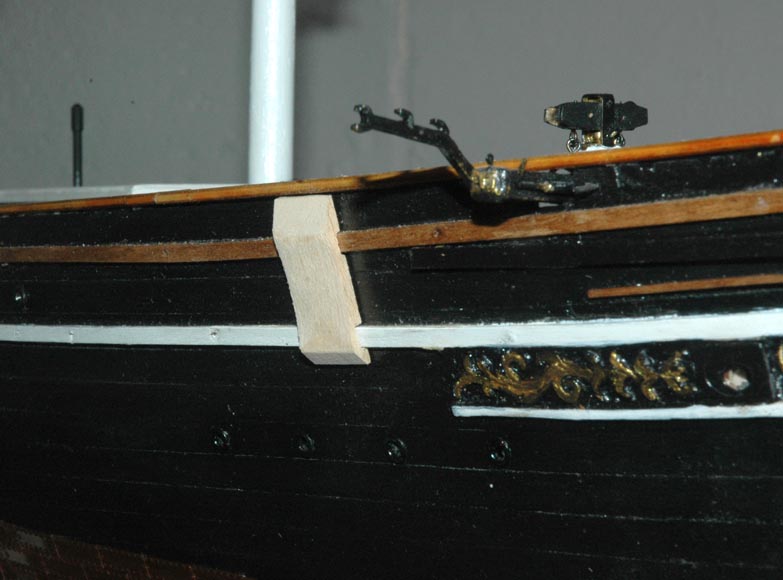
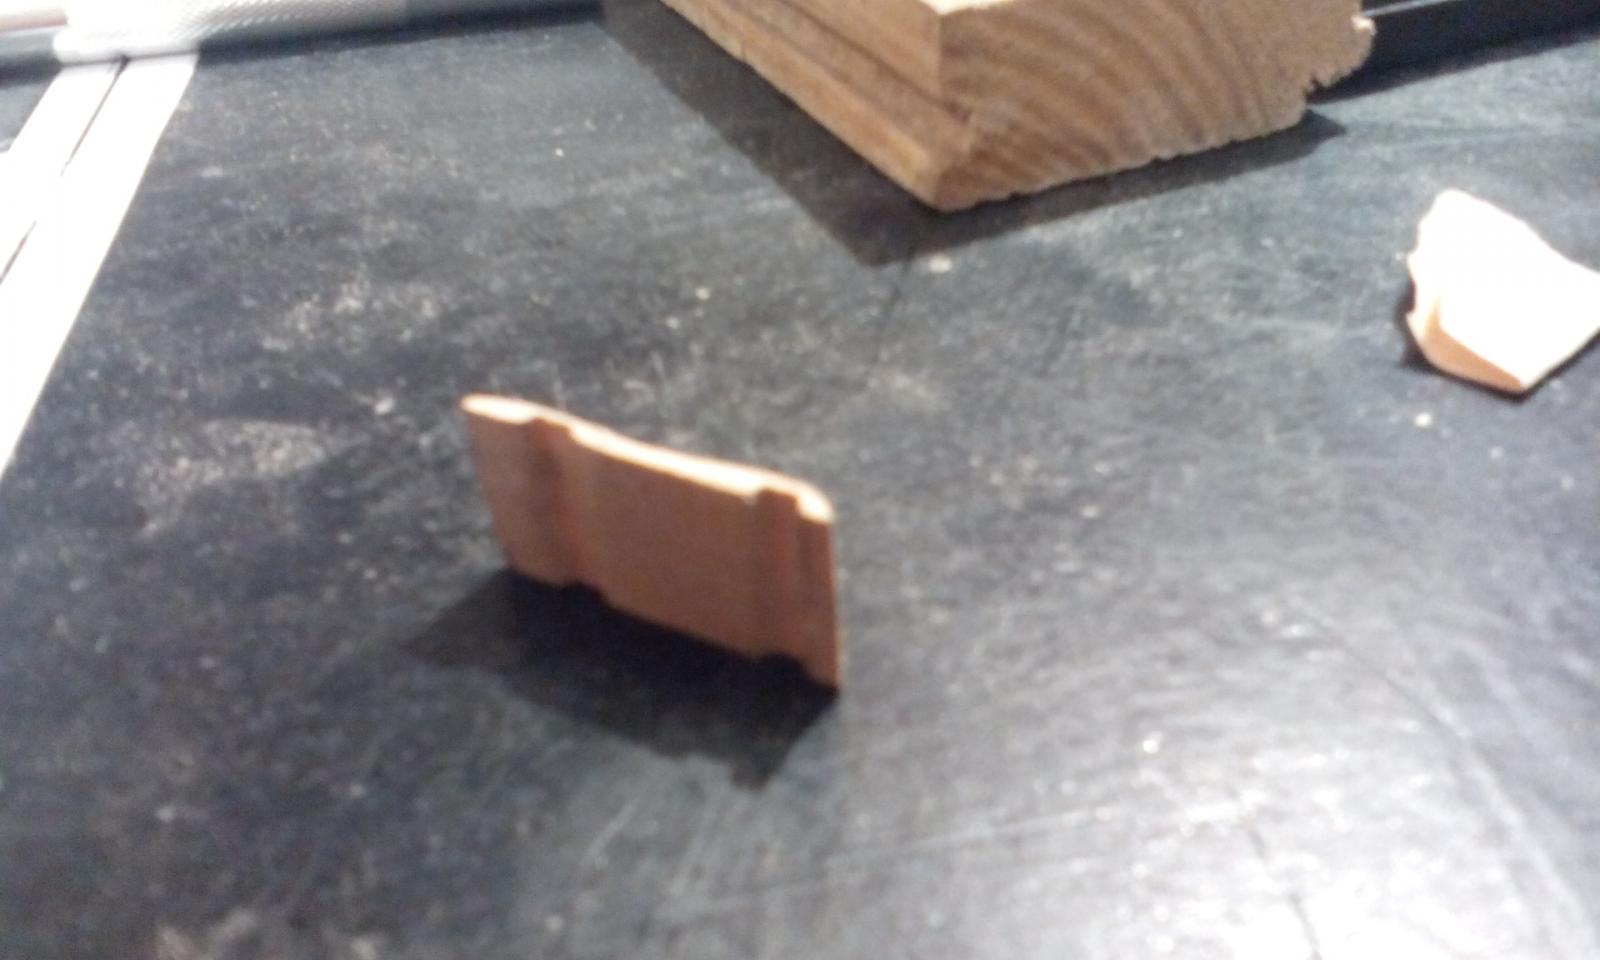
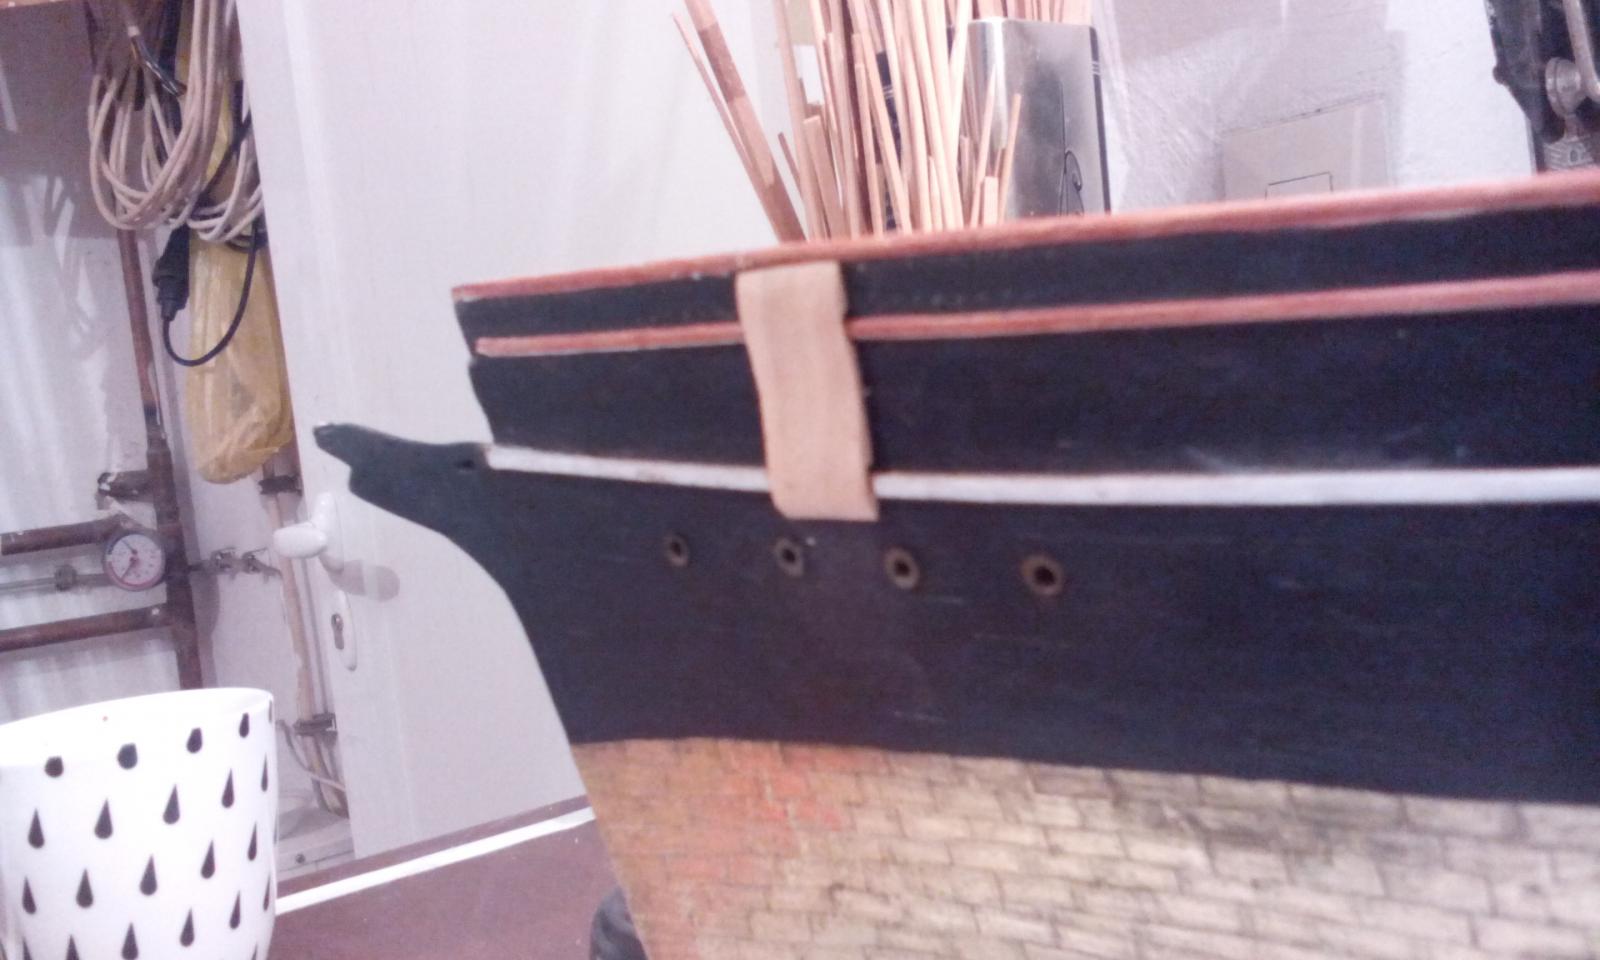
I'm Looking at the photos posted for the anchor boards.
It is interesting how much perspective changes the appearance of how wide the boards are. The model is taken from Campbell's plans and looks correct dead on when compared to photos taken dead on. but in this post the model's boards looks narrow. Maybe they will look wider when they are painted black.
-
I worked on the Cutty's anchor boards. So, like so many objects on this ship, there are numerous versions and paint jobs. Some photos have white strips painted across the boards carrying on the whales. Their shape seem to be somewhat different in various photos.
Before the restoration, the shape was more flat vertically,
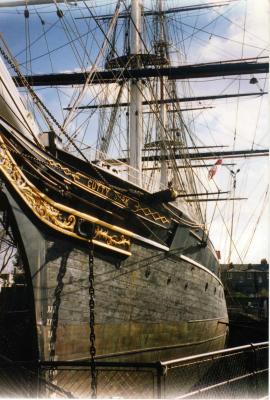
now after the restoration they curve as they go up the ship.
In the end, I decided to curve them...


Interestingly they look like Nenad's.
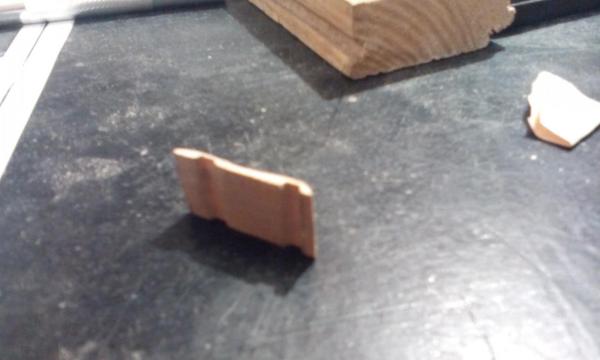

I guess I shouldn't be surprised since we are modeling the same piece for the same ship.
I think I need to shave a little of the thickness near the top.
Marc

-
-
-
-
-
Keith,
Thanks for the pics. You may have tried this already, but you may want to reverse your cut by cutting the back of the carriages first. The tear out usually occurs on the backside of the piece so instead of having the fuzzies on the stepped edges it would be on the more consistent front edge. Also adding some masking tape to the backside of the cut will help too. It's a common carpenter's trick.
Couldn't tell from the pics if you have a stop setup on the fence ahead of your cut. If not, you may be experiencing kickback. Typically you should not use the miter and the fence on a cut without a stop. Pick up a book on tablesaws at your local library as there should be some good tips regarding setup.
Finer pitched blade may help a little, but mostly changing the orientation and adding the tape should get you most of the way home. Also going slowly when the blade exits the wood on the backside will help too.
Good luck!
Jeff
As Jeff points out that "you should not use the miter and fence on a cut without a stop." Hopefully you're not using the fence to setup the thickness of your cut. On larger pieces and a saw this is a serious issue and could create kickback that could end up with severe injuries and loss of fingers.
Just wanted to comment on the safety aspect.
-


How would you improve your Byrnes tools?
in Modeling tools and Workshop Equipment
Posted
Very nice work on the modifications and sled!