


glbarlow
-
Posts
4,125 -
Joined
-
Last visited
Content Type
Profiles
Forums
Gallery
Events
Everything posted by glbarlow
-
 Did I buy the first version of the rope hank too soon
 -
WOP is a great finish I always use. Homemade WOP even better Fun video.
-
Can I be a remote member of your club😂🤣 Better than the brass rod and board tool I made.
-
I didn’t see it listed on your website, but then it also closed for maintenance. 😊
-
kit review 1:48 La Renommée 1744 - CAF Model
glbarlow replied to James H's topic in REVIEWS: Model kits
Soooo many parts. Look forward to following the build.- 16 replies
-
- 1
-

-
- cafmodel
- la renommee
- (and 1 more)
-
Very impressive carvings.
-
I’ll add another half layer to howser openings, I like how it looks on Winchelsea. The design details are impressive as always.
-
That’s all we need. Better blocks is such a major upgrade to any model. Anyone can scratch from there as they choose.
-
Nothing that big for me.
-
I’m in for the pre-order, when does that start? Although it may be cheaper for me to fly there and pick it up given tariffs and shipping. Happy New Year!
-
That ‘gap’ is pretty standard, it is also on my Winchelsea. On my Surprise I’ll defer adding that rail until most everything else around the stern is finished. While building Winchelsea I became very good at knocking it off multiple times. I’ll also paint that top to match either the trim or the shingles before adding the rail, me having less nimble fingers than James. I like how it’s coming together.
-
Wow Frank, those are excellent.
-
Looking great!
-
Very fine work! The head rails and grating were the hardest part for me on Winchelsea, yours here are nicely done. Nice workspace you have as well.
-
Fund raising
glbarlow replied to Russ2025's topic in Using the MSW forum - **NO MODELING CONTENT IN THIS SUB-FORUM**
Just donated via PayPal following the Donate button on top right of page, not the banner, no problem. Let’s hope this post doesn’t scare anyone off donating. Simple, safe process. The multiple banners are a bit of a distraction but the Donate button is where it’s always been year round. -
Welcome aboard. Looking forward to your log, I haven’t seen many 1:25 models. It will be fun to see.
-
Nice work on a tricky part!
-
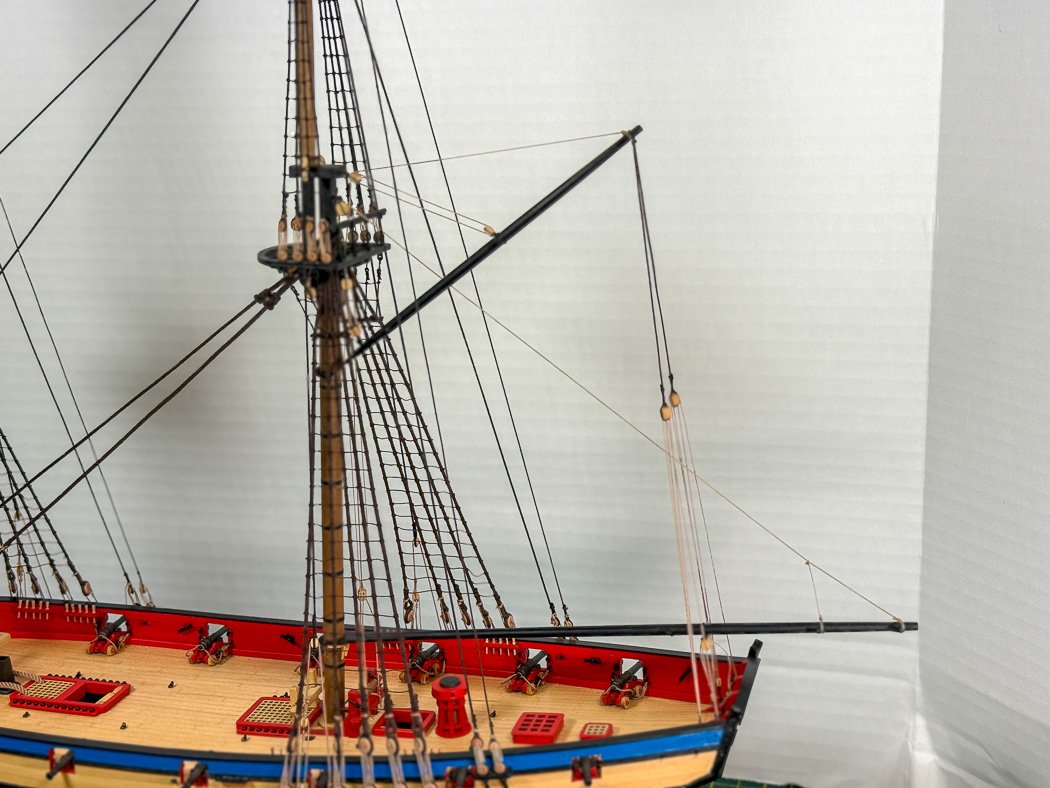
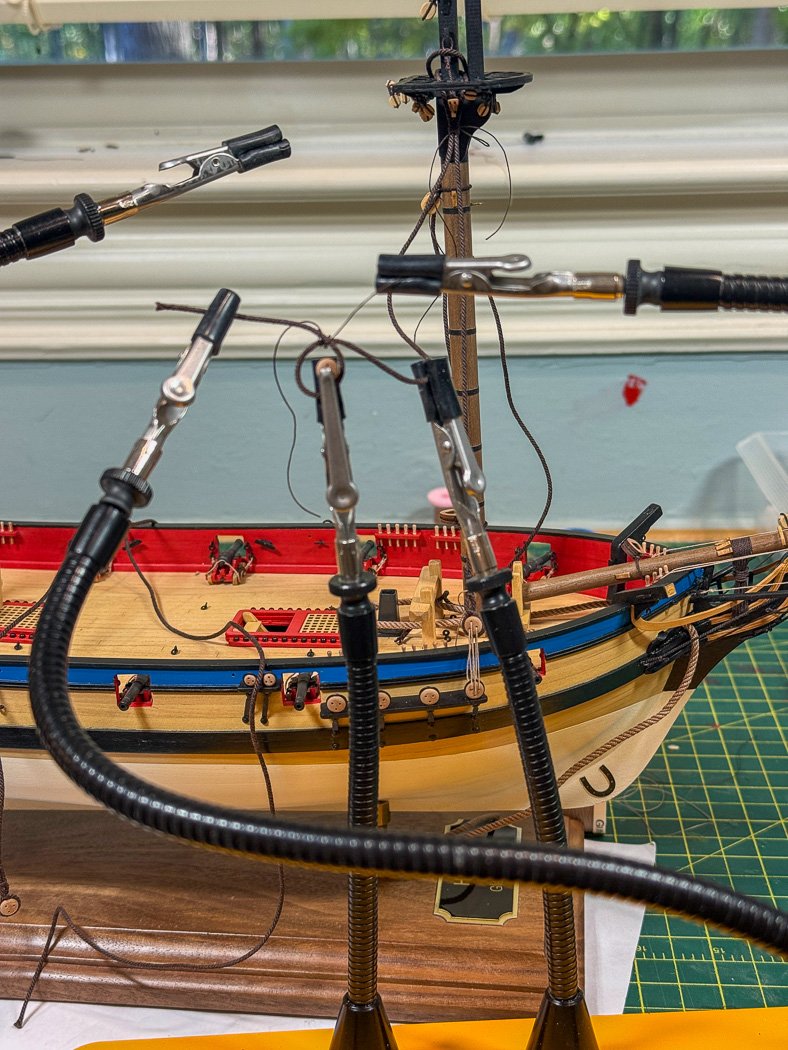
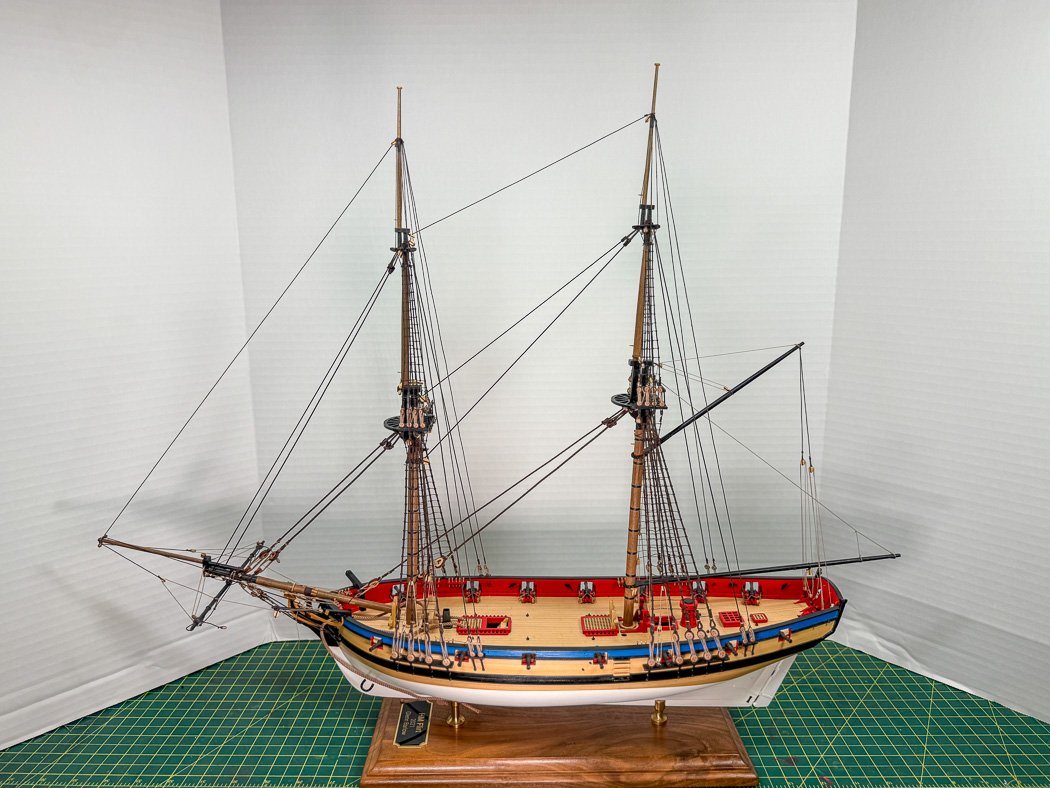
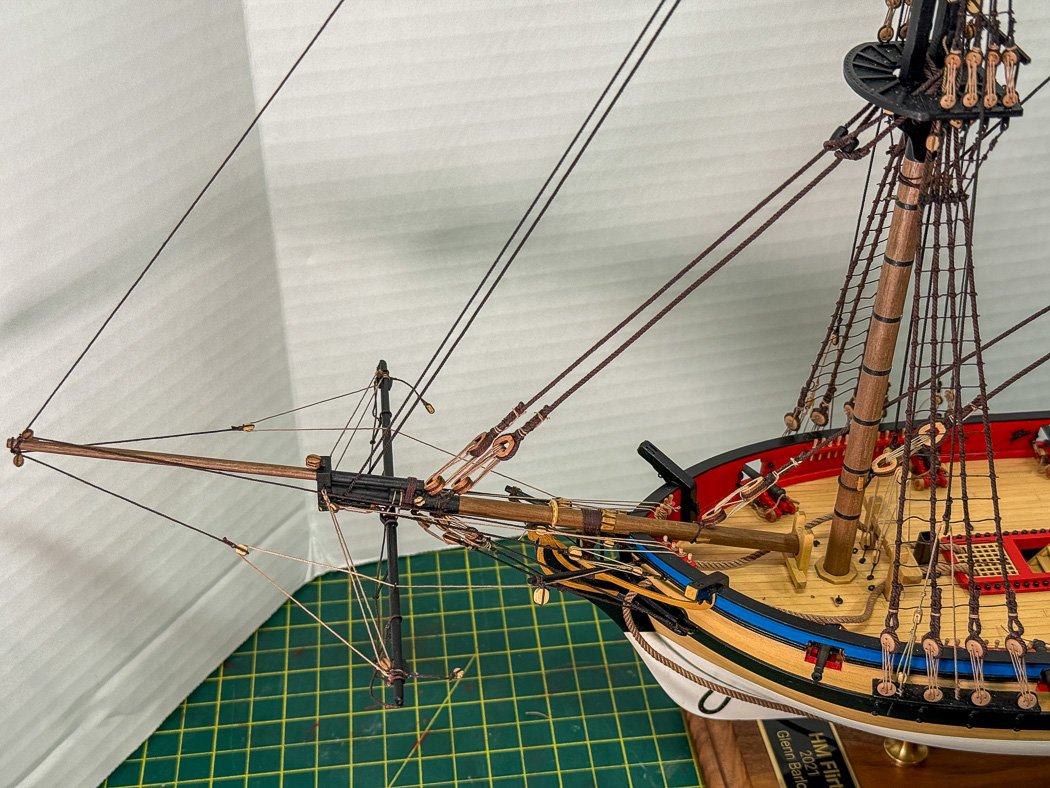
t’s been a long while since I posted. Mostly because there isn’t much new I can offer on rigging. However I didn’t want to abandon a log on such a nice Vanguard model, so here’s a bit of an update: The standing rigging is complete other than the crows feet, not sure I’m going to add them. Once again, I do like my quad hands, really not sure what I’d do without them. All sorts of angles and height I can reach, not to mention a steady platform for tying the endless amount of block and rope combinations. I’m using all Syren rope, great stuff. I’m also using my leftover actual wood Syren blocks, hopefully I have enough to finish. Nothing as exciting as the meditative peace achieved by the tying of clove hitch after clove hitch. Long ago I adopted the method of both using scaled grid templates (easily made with Excel) behind the shrouds each marked for every 10th and 5th lines. I tie the 10 marks first then the 5 then alternating the remainder in between. All finished off with watered down PVA brushed lightly over each knot. I sorta like the rigging process one minute and want to toss the whole model the next. It is a challenge to work in ever tighter space, especially at 1:64, keeping the run of the lines straight and not crossing each other incorrectly. Didn’t take any photos of the process, so here’s Flirt with the standing rigging complete, against the most basic of backdrops. As I’ve said earlier in this log and others,Vanguard makes a great model including this one. In my opining there is no better 1:64 model on the market than Vanguard, everything else is a distant second. Thanks for stoping by. Merry Christmas to all.


-
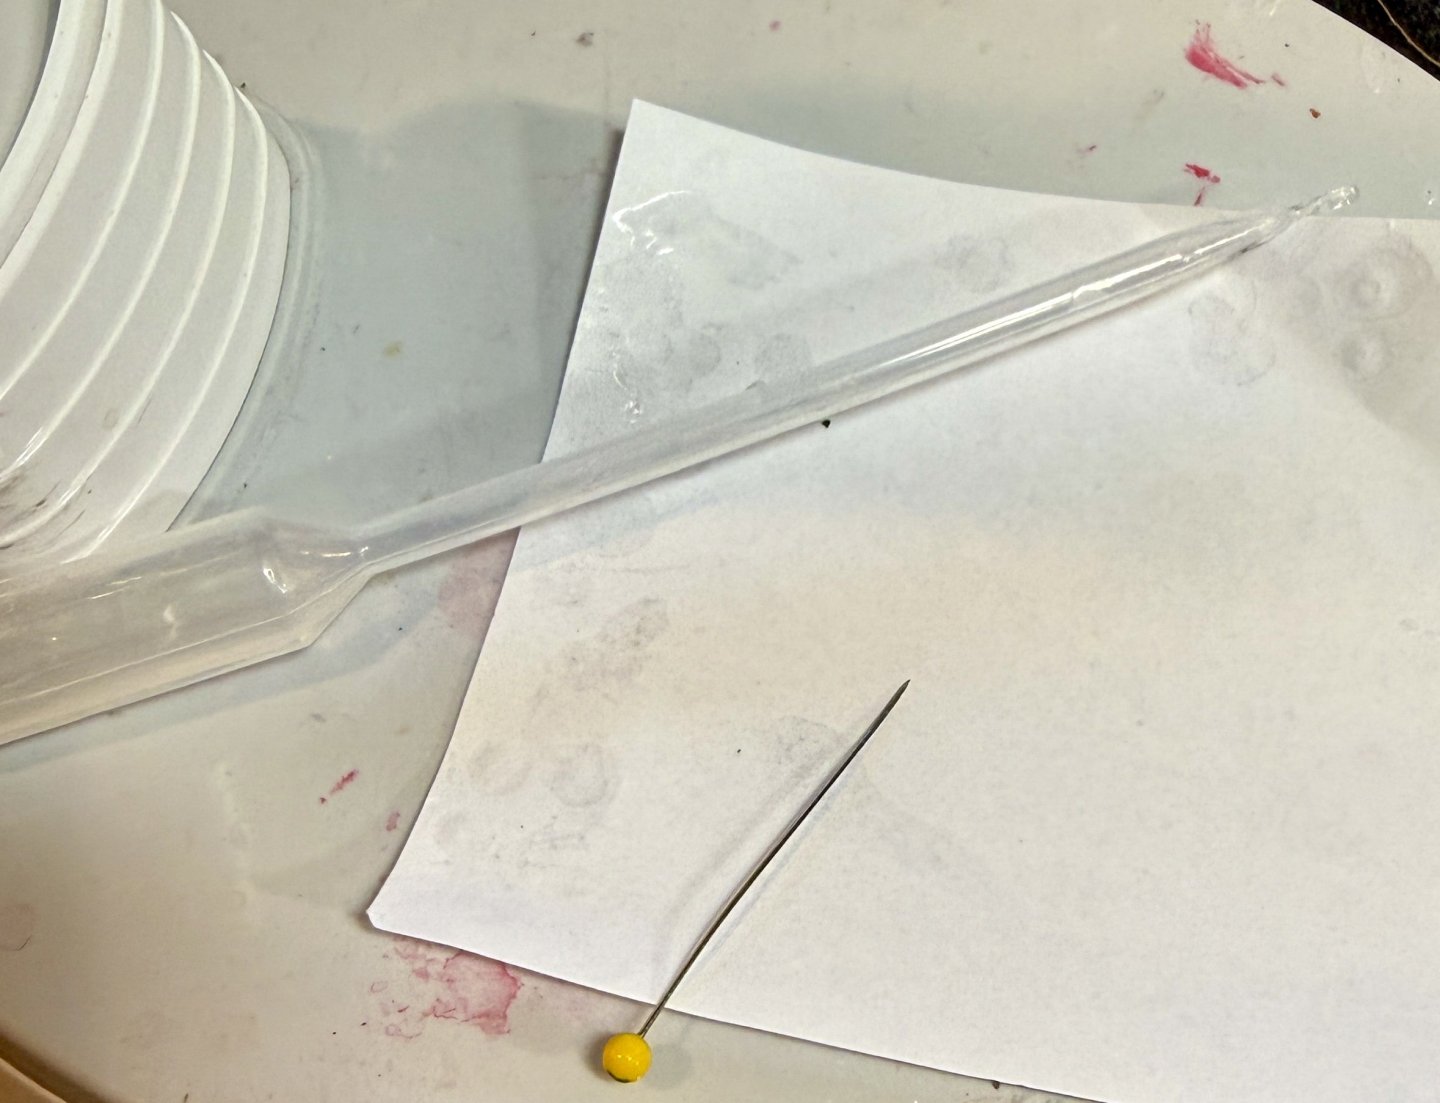
More methods and practices. Other than planking when I use just the applicator 90% of the time I need no more CA than I apply with a straight pin lifting the glue from a little puddle on the paper.
-
My oldest model (20 years) and several after it are planked with walnut using CA, they are fine. Again I think this an issue of quality and viscosity of the glue used in your tests.
-
This doesn’t happen.
-
Just for balance, many experienced modelers will recommend using it. It’s all about experience, practice, and the use of a quality product. I agree with James, those so against using it are old school, more power to them. I appreciate your effort testing it but as Greg noted I wonder if you were using an inferior grade (all CA is not the same), a thin viscosity, or both in your tests. If one is over applying it that much they probably shouldn’t use it. As others noted acetone, not isopropyl alcohol, releases the bond.
-
Glad to see so many using the medium CA from Bob Smith Industries as I have for years now. My oldest model is 2008, the CA is just as strong now as it was then, there are zero issues, it was done almost exclusively with CA. While I now do use Tite-bond and PVA for certain applications I am more than confident using CA. All my models are planked with CA, including my single planked, unpainted, Cheerful and Winchelsea with no visible glue stain. I’ve never had the problems with running, cracking, or discoloring described by some. I also have no issue with oder, perhaps because I keep it in a syringe applicator, never an open bottle. One application I use it exclusively is with rigging. As Chuck noted it takes very little. I apply it by dipping the tip of a common straight pin in a little puddle I place on a piece of standard printer paper cut into 4 inch squares (I create new tiny puddles frequently and replace the paper when it’s covered). It takes no more than placing the tip of that pin to lock a seizing or knot in place. Base on my current experience it will still be there for at least the next 20 years. There are so MANY MANY strings in this forum on this topic, funny thing is it’s a lot of the same people commenting, including me. Bottom line as always is use what you’re comfortable using. My comfort is using CA. I do wonder though, is there a string that questions the use of PVA…
-
Those headrails sure were fun.


