


Adrieke
-
Posts
1,625 -
Joined
-
Last visited
Content Type
Profiles
Forums
Gallery
Events
Posts posted by Adrieke
-
-
I agree it shows they are customer focused and I will send them an email to see if I can get mine

-
-
-
that boat looks like the same one in my endeavour kit . atleast the idea there is to plank it completly lol
-
-
i doubt it David . i am pretty sure the post was showing but no biggy sbut Sjors was so eager for piictures
-
hmm i might try that David thank you .
is that a picture on the box as i dont see anythign about this on their website and i dont think i haev seen it on my box
-
hello John.
could you post those pics here so i can have a look myself ?
i am hoping she wont be in too long in maintenace so by the time i a have done her hull planking i can visit and take pics of the deck and rigging
i am now waiting on the paints . un the mean time i am drawing up plans of the decks on how i wil plank her using the photos i have so when i am ready for that i just have to follow the plan
mena thing i am really pondering is on how to make the deck planks look like on the real thing . i havent ever doen any weathering and stuff so i this wil be a challenge for me
-
very nice progress Sjors
-
dont worry David . i can tell you are determined and together with patience thats is the most important in building
pateintly
 waiting for the pics
with OcCre you hope you have to ask them to send missing/damaged parts as you get the nice plaque (wish i had known that before i asked for my replacement parts through the hobby store instead of OcCre direct
 )
) -
hmm my post from last night seems to be gone

sorry
will post it again tonight
-
thank you Keith
feels good when the extra work pays off also thnak you for the murals they do look beautiful
-
dont worry Sjors i stil have years of kits to build
and i ll get some pictures tonight
thank you Mick. they are general lights yes Mick
thank you Anja .
. i ll be ok my admiral is also a nurse and she is taking care of me (if i want to or not ) -
thanks Crackers
I am always interested in expanding my library
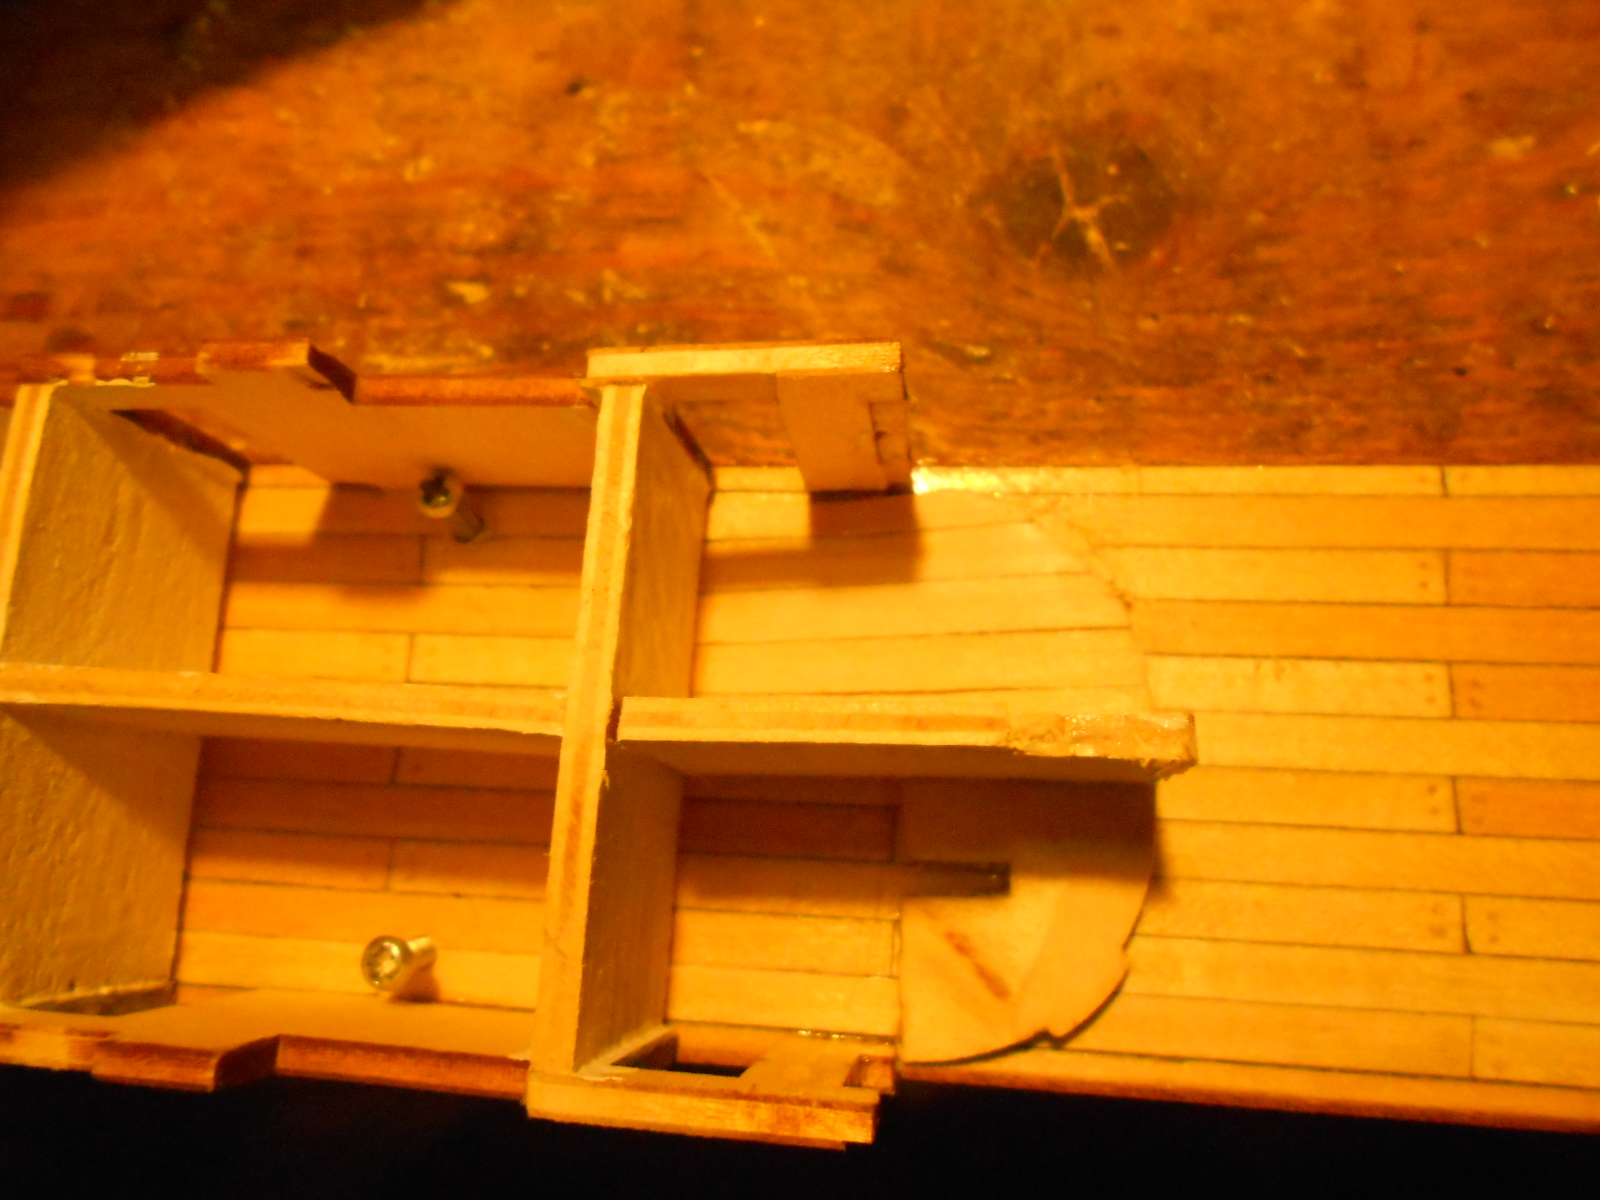
. one day I might scratch build one in more detail not much progress. the part that I broke and fixed is a weak spot and makes the paddle wheel dip down and hit the sides. I am hoping with the help of the rigging I can lift it in the right position and add a strip of wood underneath for more strength
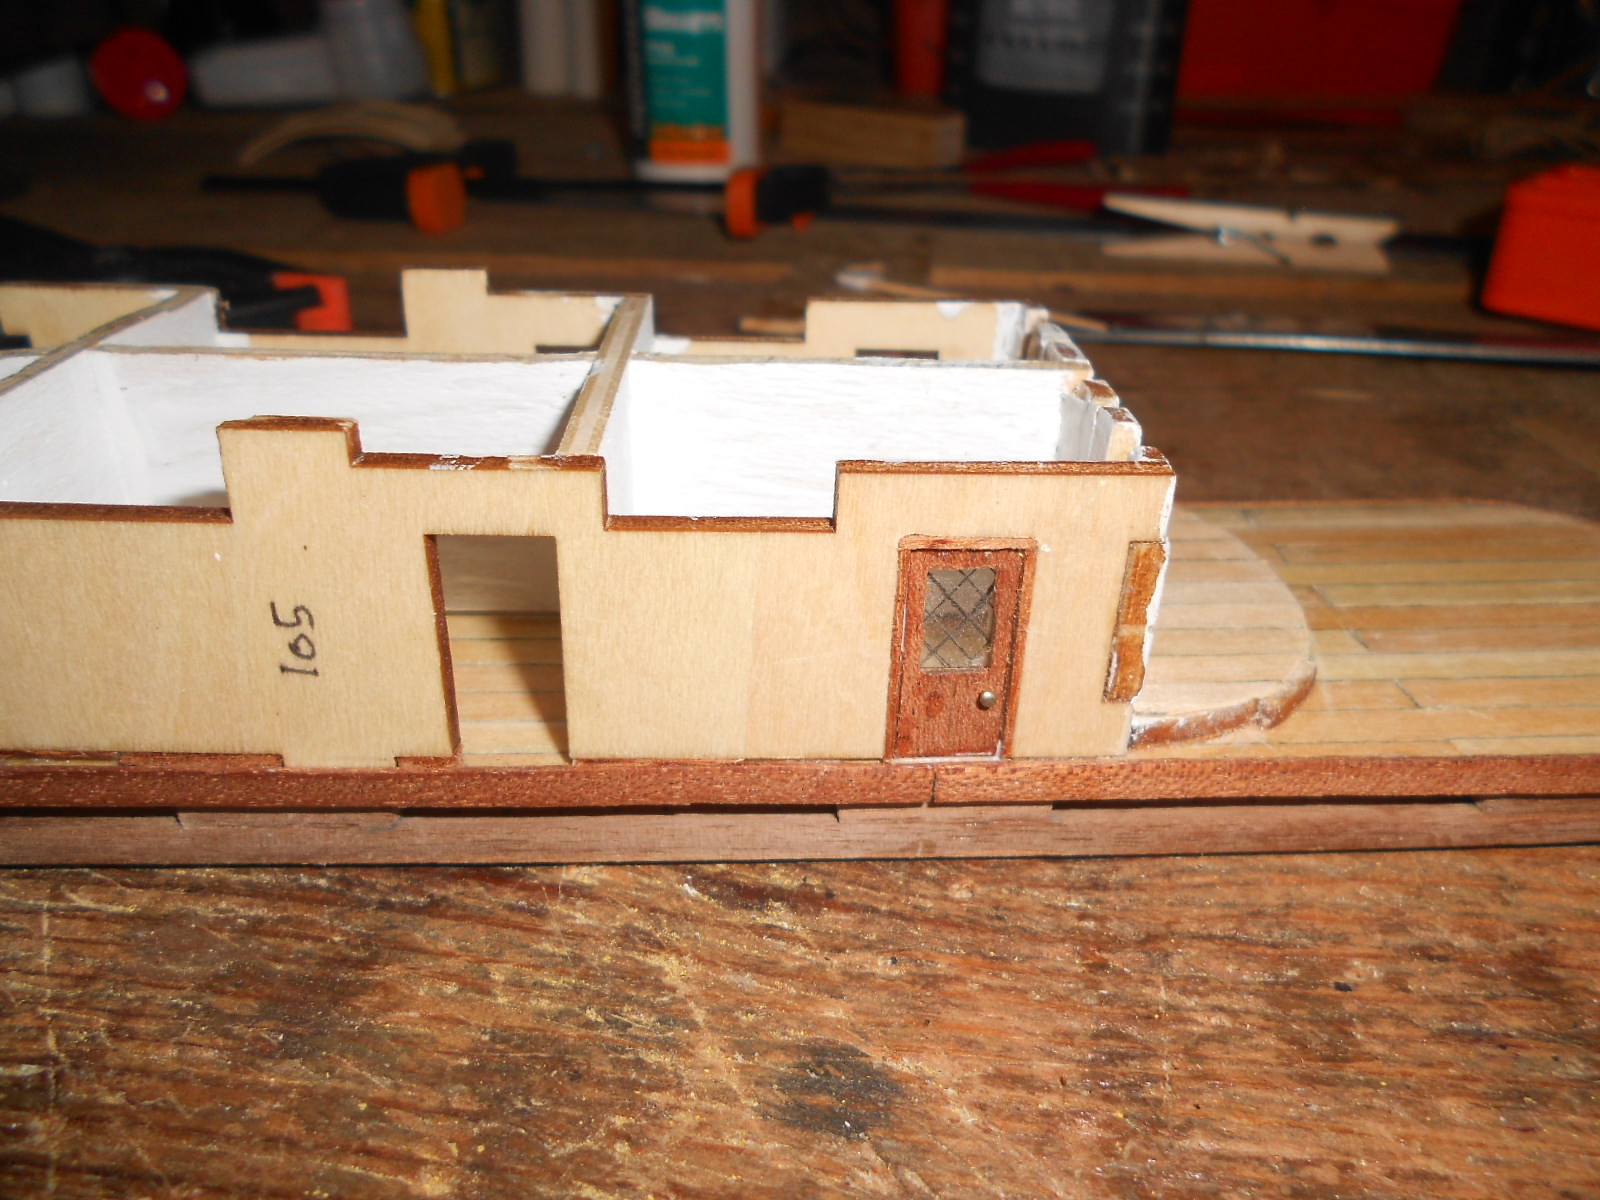
I have also started planking the 2 curved room floors as they will be visible through the windows
progress will be slow this week as it is cold at night and I am still in a bit of discomfort (saw the Doctor and got 5 more weeks of medication prescribed
) -
thank you JIm. no need to worry its a high bench so i cant jump off mu chiar its more like sliding of it
thank you Anja. the sunshine has arrived much better day today
had some difficulties with the paddle wheel in how to get it in properly so it cna still spin but it hink i have got it. just add the 2 arms and i am done
-
wow Piet
not much bugger then the eye of a needle . dont know how yuo do it
-
you must admire Anja
building a beautiful ship
being a moderator on here
keeping Sjors in reign at home
and you guys on here

- popeye the sailor, cpt. Tom, mtaylor and 1 other
-
 4
4
-
looking great with or without cotton balls
-
thanks Sjors I will try my best
hi John.
I did not notice the curving on the fore deck I ll have to re examine the pictures to make sure.
the planks provided are 5 mm but I also have some 7 mm planks that I think I can use from my Gorch Fock kit . these are for the second hull planking but there should be plenty to sneak a few of them
I was going to visit the replica but unfortunately she ll be in maintenance from this Monday. I didn't think to check with the museum if the plans for the replica would be available or not.
I doubt the ventilation openings are original. I considered researching the Endeavour to how she looked in real but as with all these vessels its not easy as lots of information is unknown and some things are assumed. I am a perfectionist ( my mind that is not my clumsy hands lol ) and I would probably get frustrated with finding out everything. So instead of trying to figure out the real endeavour I chose to make the replica
the ventilation openings is my way of finding out if I am ready to do some scratch building . if it doesn't work out I ll leave them out
will you be posting a build log ?
-
I just ordered the admiralty paint set for the endeavour (9 bottles in total)
while I am waiting my first "little" change
one of the pictures shows some ventilation openings.
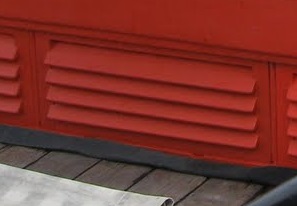
I ll try to create these as they are shown. there is 8 of these next to each other in 3 different sizes (11,14 and 16mm wide)
this is my first real try at scratch building a part
-
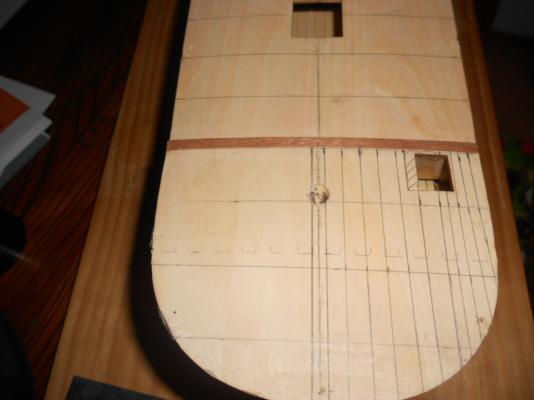
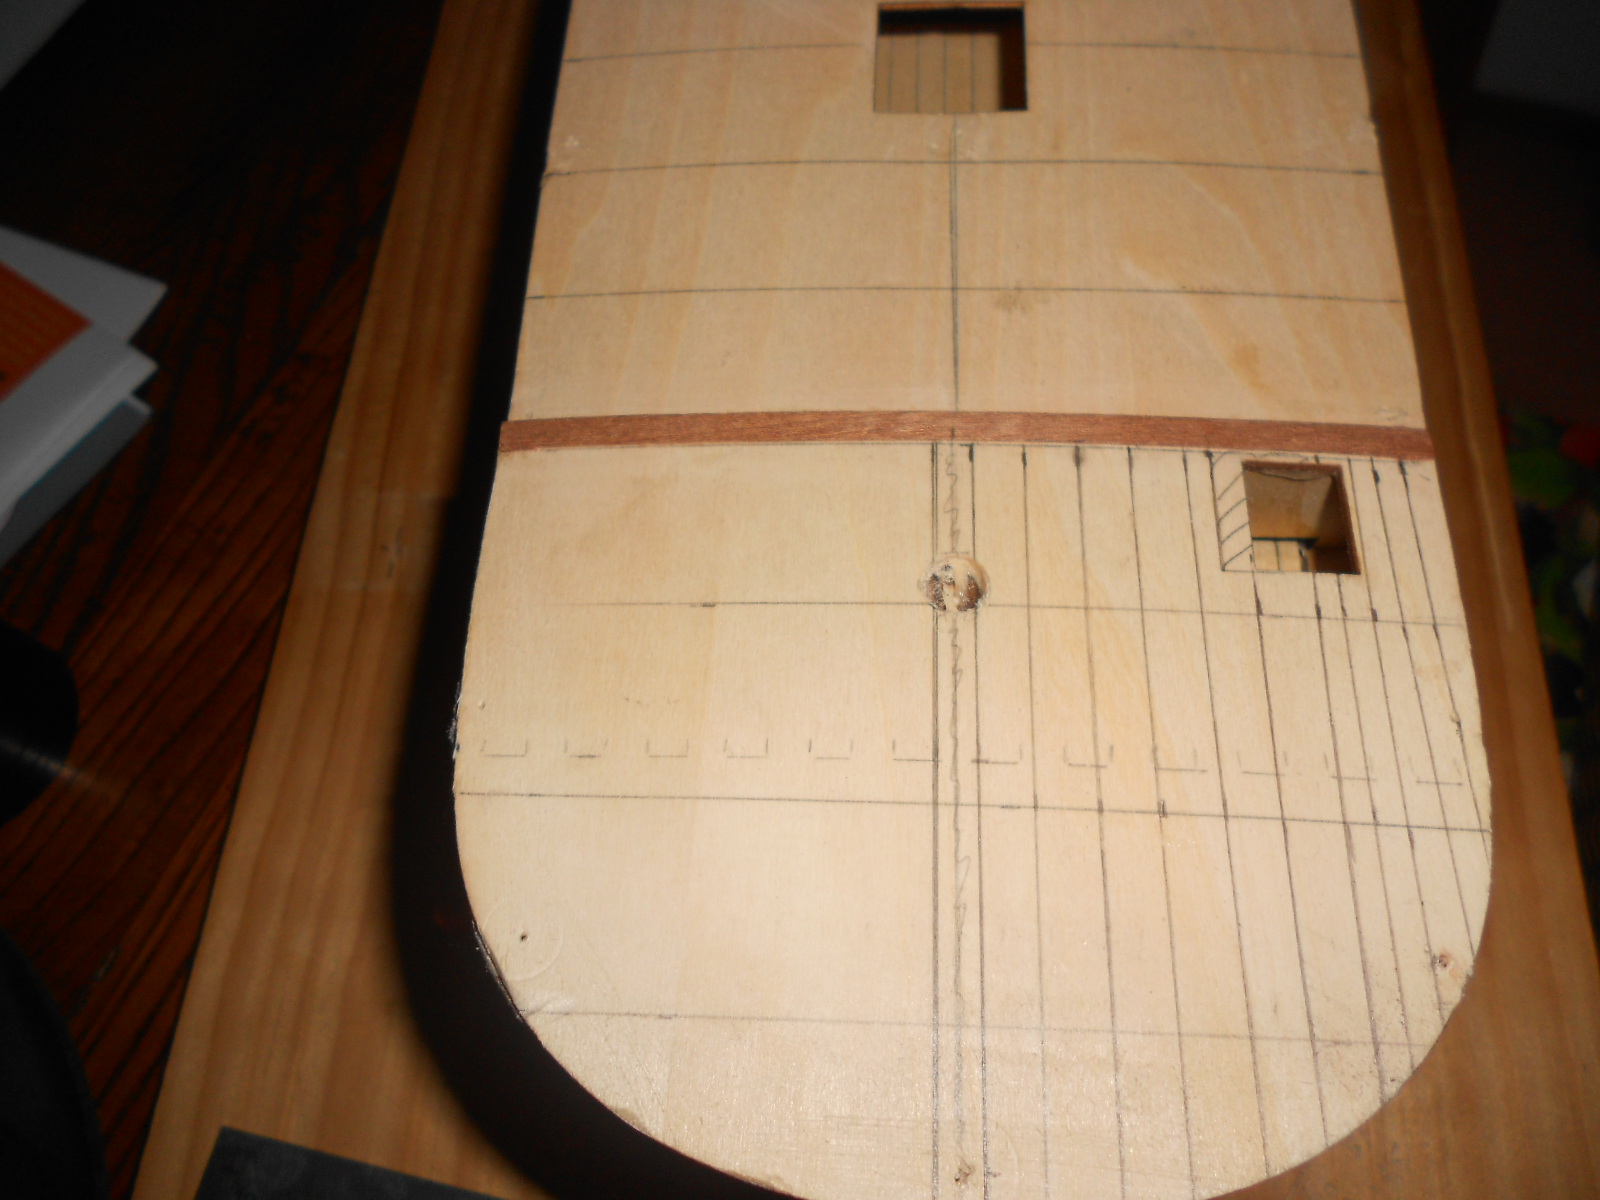
not sure where my mind was yesterday but the scale is 1/60 not 1/80 still the correct width of the planks is 3.5 mm
for instance the width at the bow end is 128 minus the 2 wales and the king plank which I leave at 5 mm thats 113mm left
there are 15 rows of planks on each side plus the waterway which Is about the same width as the planks makes :
113 / 32 = 3.53125
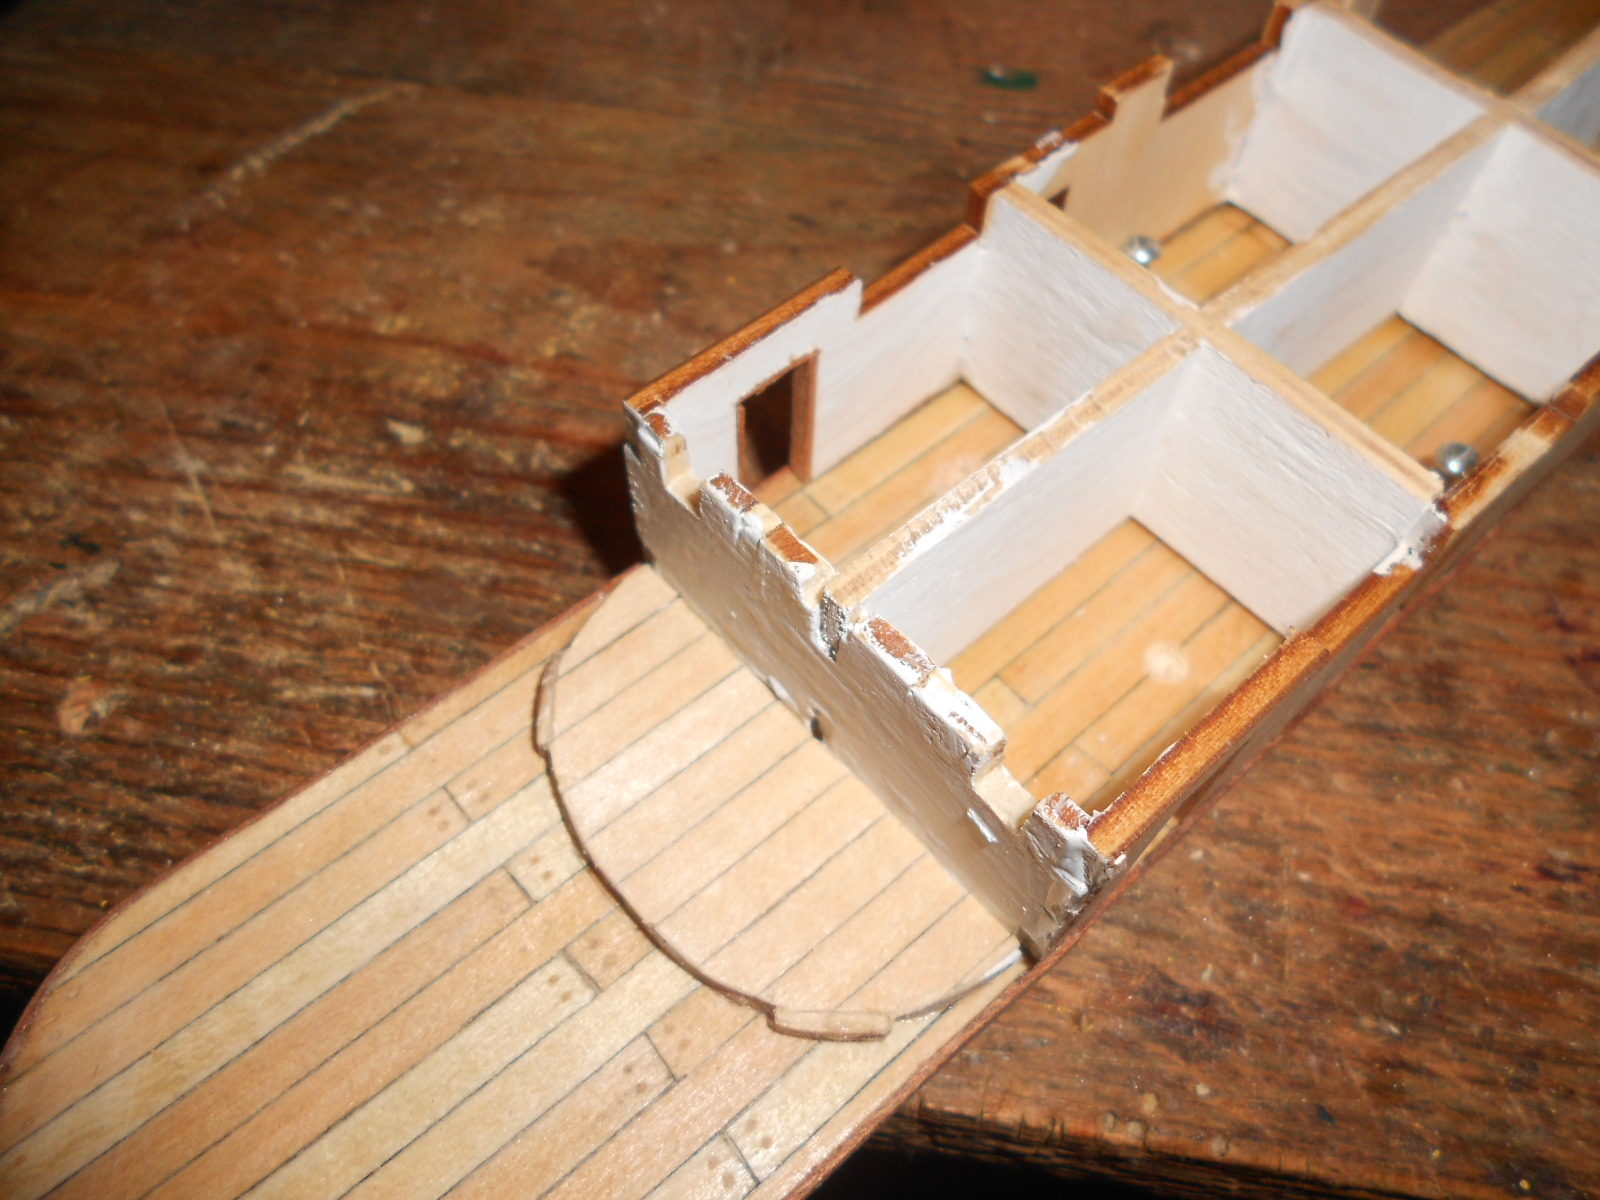
I marked some lines out on the bow (they are not accurate but just to give me an idea ). the hatch opening will need to be moved to the middle a bit. also on the replica this hatch is a square not a rectangle
-
schol Sjors
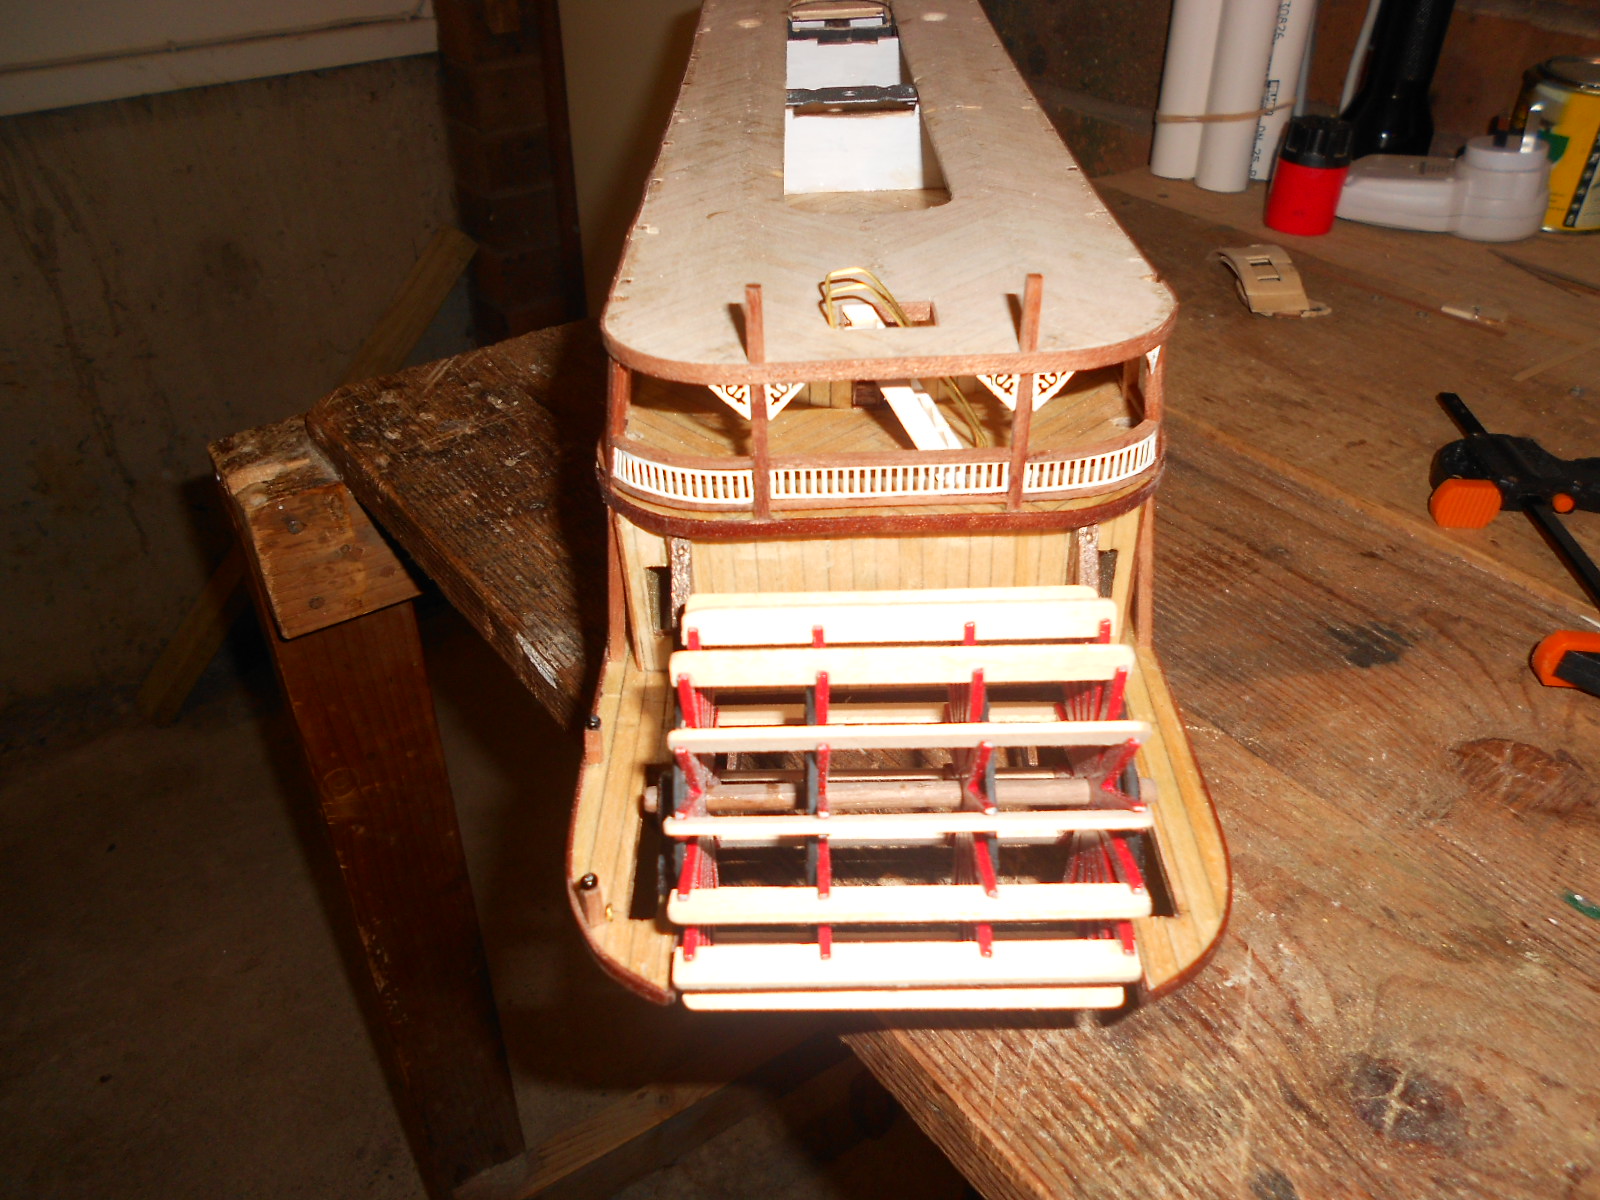
working a lot on the wiring construction and on the paddle wheel. the 2 parts of the arms that drive it are supposed to be hold together with a piece of brass rod but I am having difficulty flattening the ends so they stay on. am now trying with a toothpick.
also added some rings on each side of the paddlewheel so it wont hit against the sides when it spins.
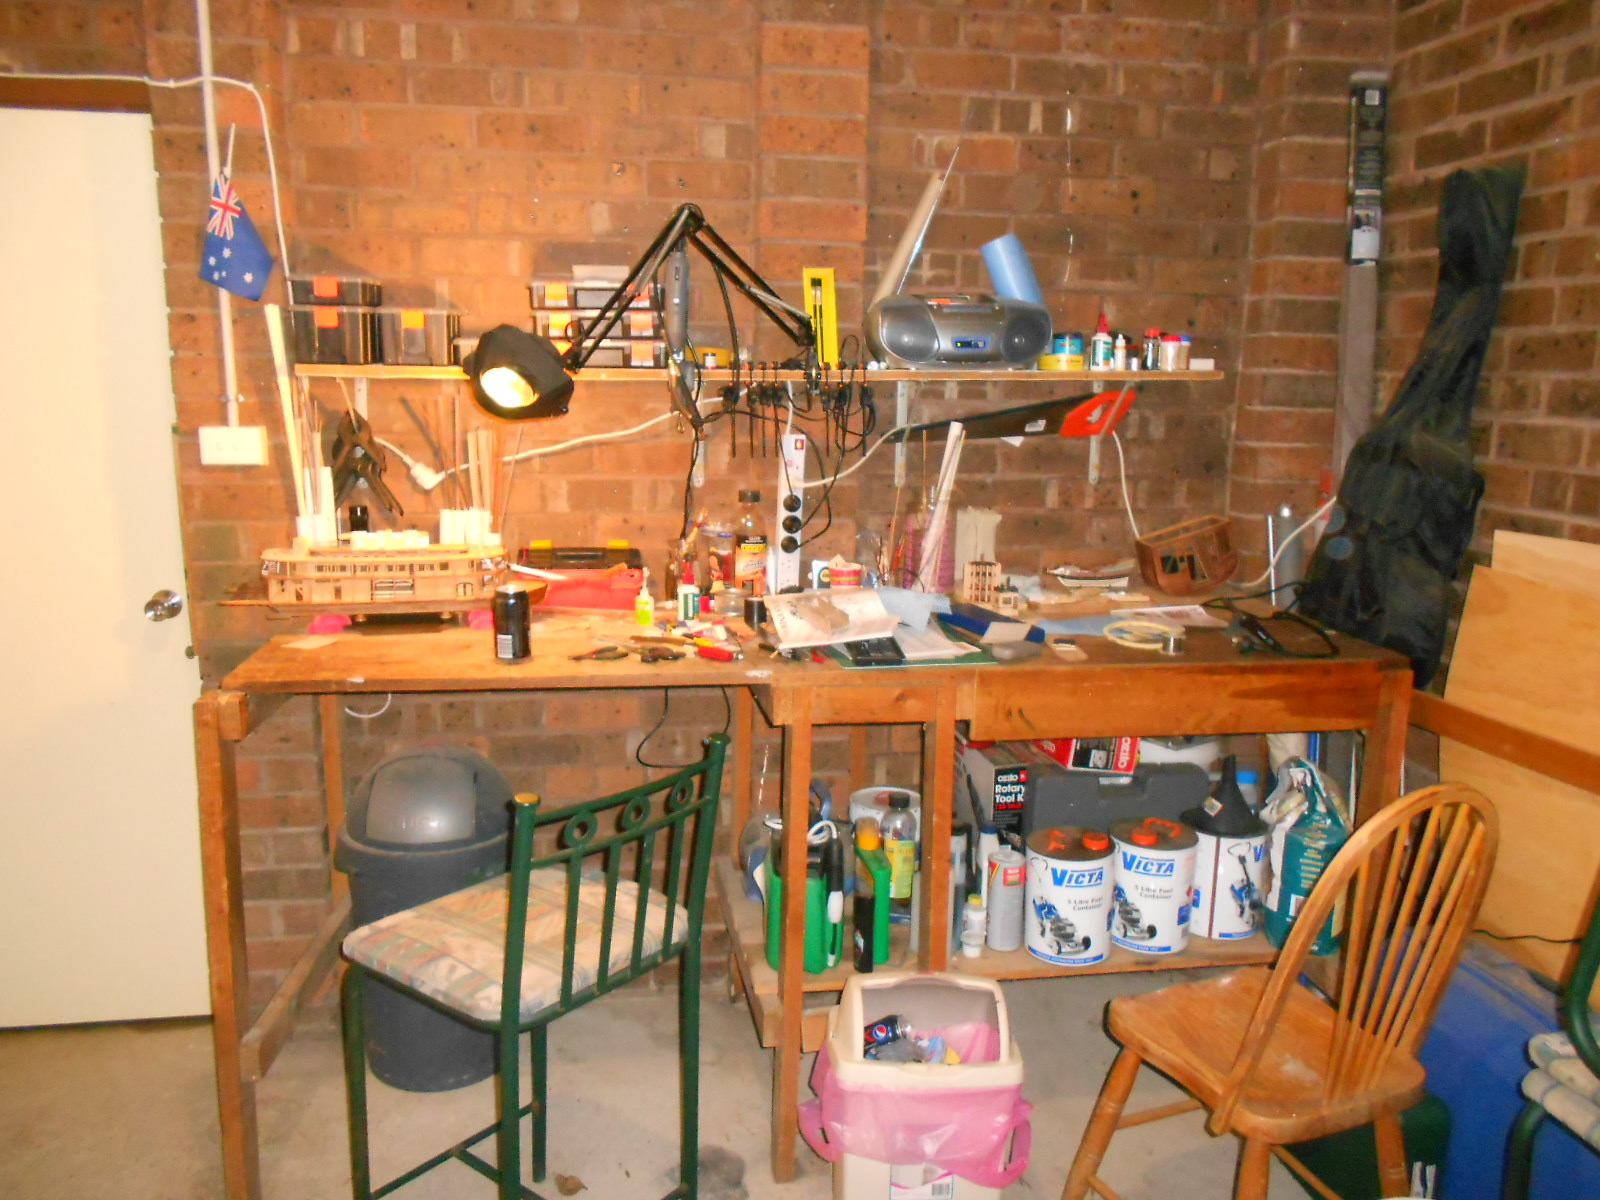
its a pretty miserable day here in Sydney . rain and cold but have a little heater and a radio in my little workshop to cheer me up

-
Adrieke, that's the same pic I eventually found after a rather merry chase around the Internet. First I had to find out who Duncan McLean was, then .....
 .
.Here's my next. Good luck on this one :
 Danny
DannyI hope you had fun . even with knowing the name I couldn't find too much about the ship
-
thank you Sjors
well the beer is always cold in the bar on the KOM see when your shift is over come around
yes it is a good feeling to see it come together and I don't have to worry about getting bored as I have plenty more build on the endeavour and the GF
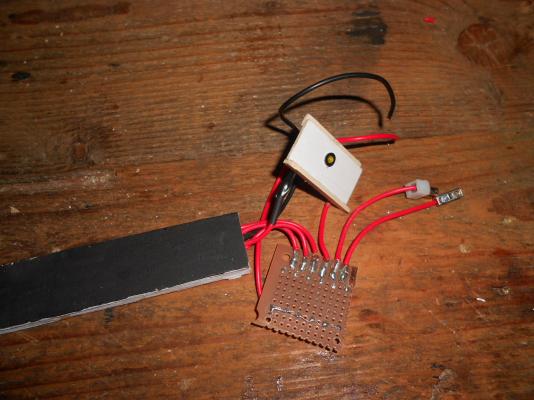
today I purchased some stuff :
a set of 6 small files some electrical parts and more storage boxes. I also got some epoxy glue but after reading instructions realised that the nozzles need to be replaced after each use and there are only 2 of them.
first thing I did was put the DC connector in the display base and tested it out.
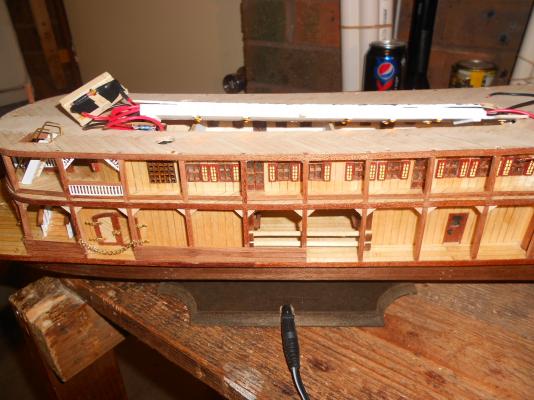
soldered 2 last two wires on to the board for the 8 led's on the 3rd deck stateroom and the steering house
the idea is that the 3rd deck will fit into the connectors when placing it on top
I have added the metal plate to hold the 3rd deck on unfortunately one of the nuts didn't stick and am having a hard time adding it as it needs to be underneath and the metal plate is pretty much stuck to the ship
hopefully I get it sorted out tomorrow and will be able to add the lights for second deck again and have the 3rd deck in place for finishing off

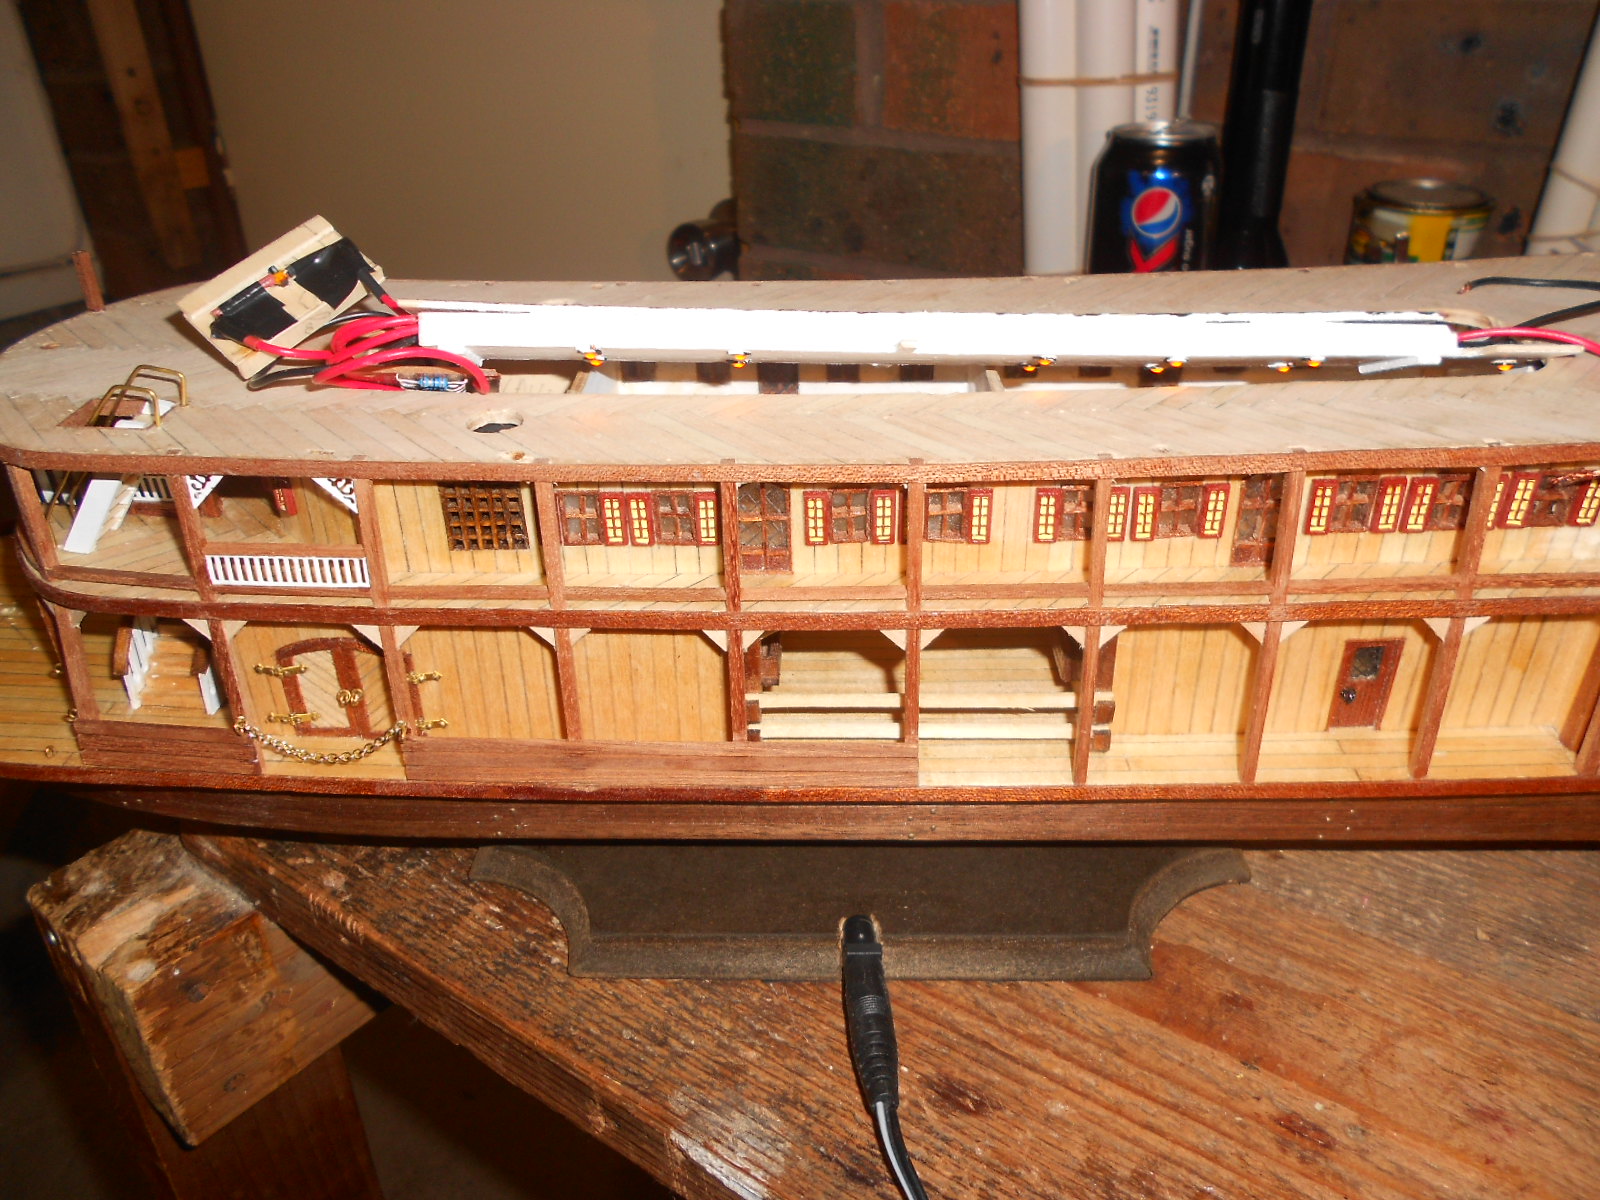

King of the Mississippi by Adrieke - FINISHED - Artesania Latina - Scale 1:80 - with LED lighting
in - Kit build logs for subjects built from 1851 - 1900
Posted
thanks David
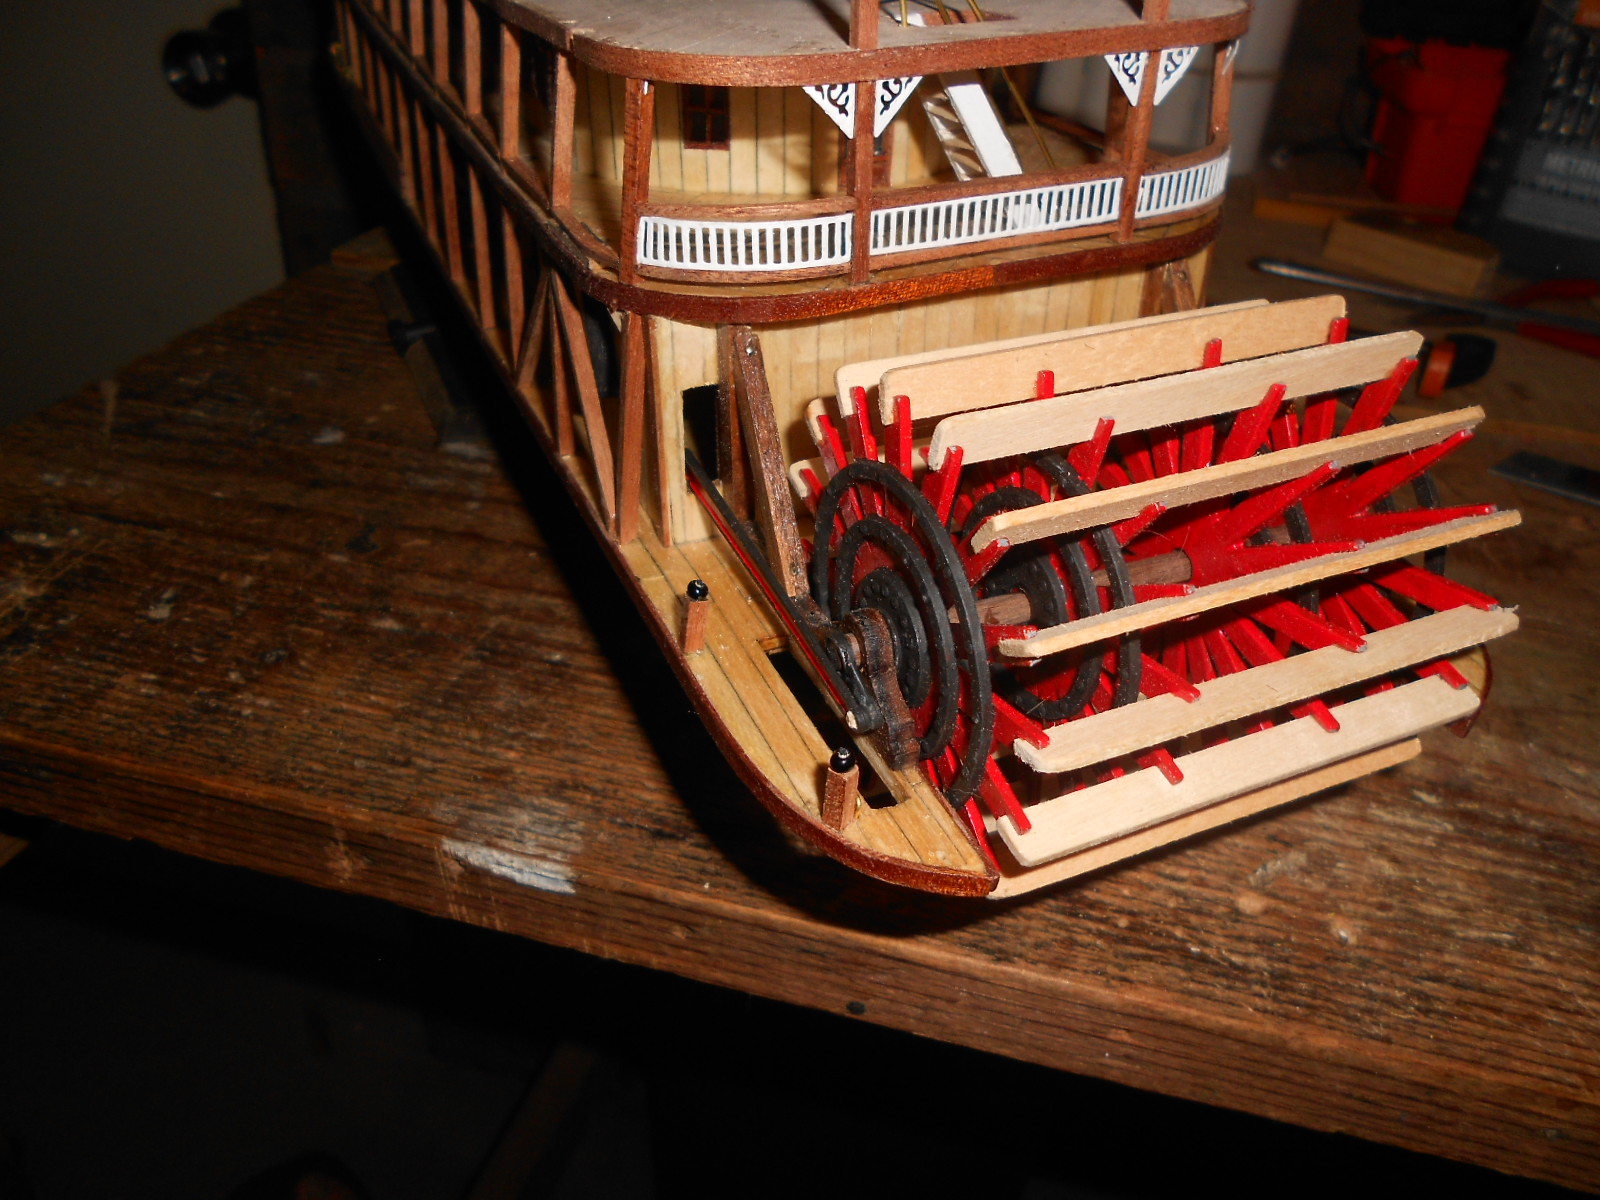
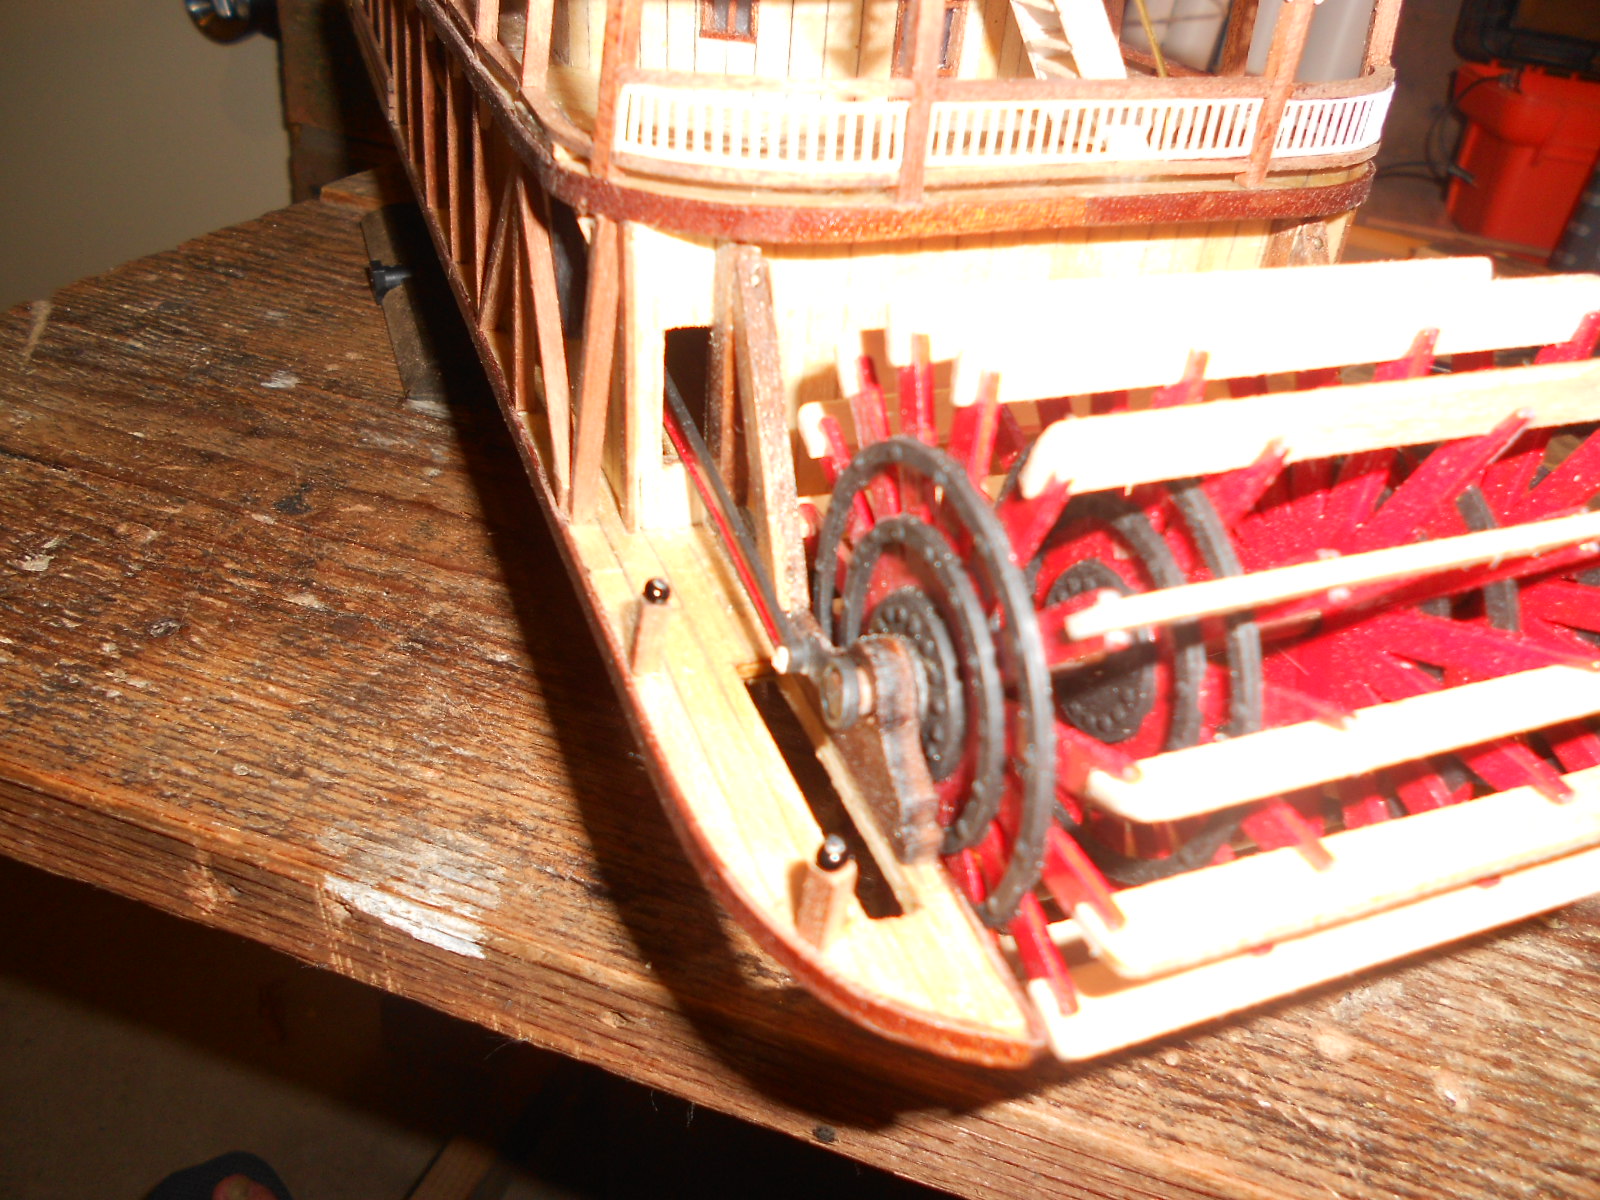
@ Keith yup thats why the door is locked for now dont want anyone falling in especialy after a few beers
and yes it would be driven like that . i ll get some side pictures that will show it better i actualy tought oif putting an electrical motor in wiht a crankshaft to make it work but they are all 3V and i would need to figure out how to slow it down enough so not this time. would be cool making one of these with a reall working steam engine
i suppose these things dont need to be that agile and stuck on sandbanks proabaly meant getting help from another ship
thanks Sjors i am happy with it