Adrieke
-
Posts
1,625 -
Joined
-
Last visited
Content Type
Profiles
Forums
Gallery
Events
Everything posted by Adrieke
-
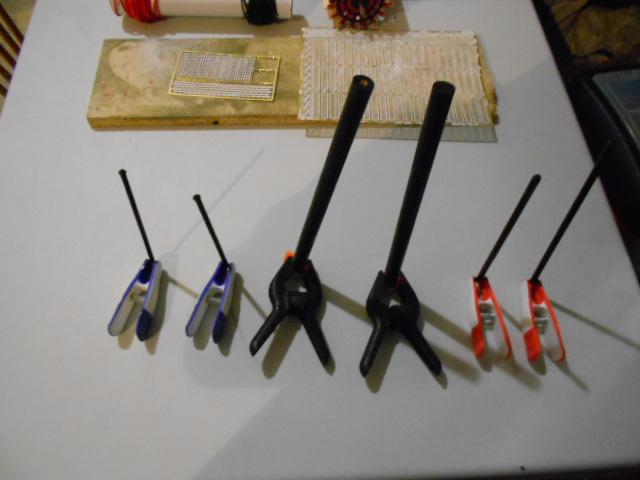
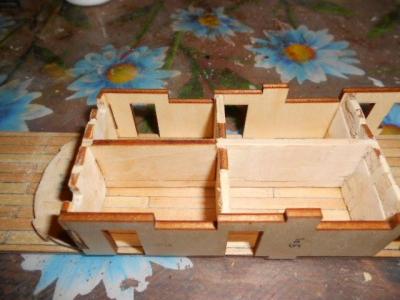
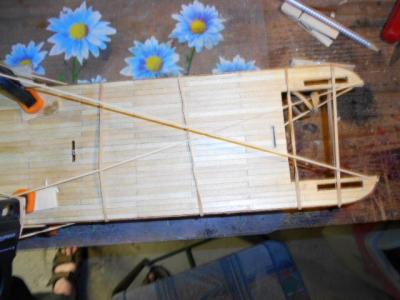
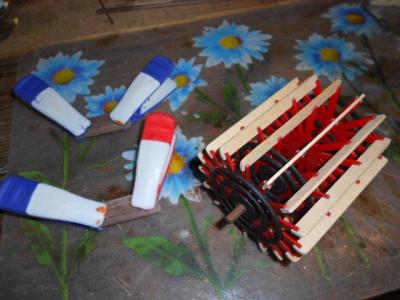
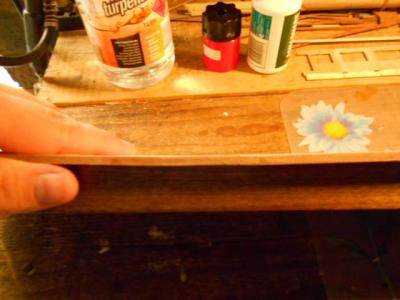
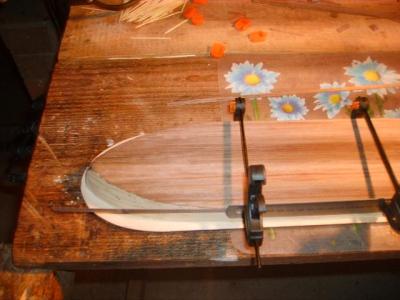
 i am finaly getting somthing done again first i cleaned up the small workbench i have because it was getting cluttered with all the tools an dbits of left over wood i am painting the last parts of the paddle wheel assembly also glued some strips of wood aginst the ceilign of the first deck. this should prevent any light escaping i will need some more clamps before i cna glue it on properly
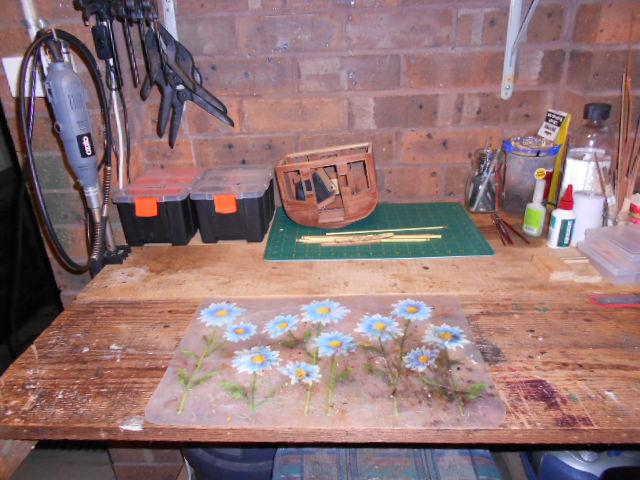
-
wow what a beautiful model
-
jarero there is a link to the finished model pictures in my signature i am not sure if i will rebuild the log of her. it was my first build and posting it helped me a lot . not sure if it would be any good for anyone else now
-
Andy she is relaling starting too look awesome with her rigging on. i am really happy your build log is back because it wil be of great help once i restart my build of her
-
looks very good i do have one question since the decs are made of several seperate pieces whcihc are planked seperately isnt th ejoin going to show up ? you could leave the planks that cross over until both deck pieces are fit together and then add them this would make th ejoin totaly invisible
-
your deck planking came out pretty good. i had a similar experience when i stained the hull of my virginia but after some sanding it gave that old used look . its cool that you both are in to the same hobby
-
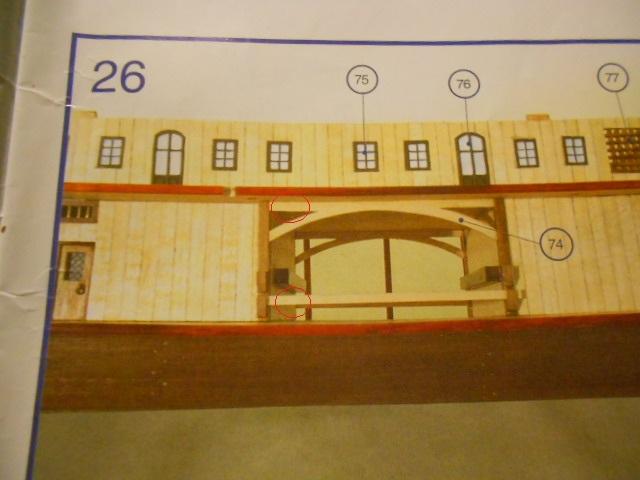
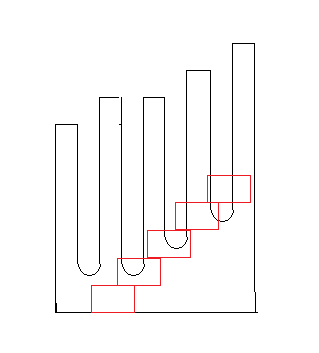
hey Wim your riverboat looks fantastic. hoping i will get her looking like that yesterday night i did a bit of painting on the paddlewheel .just need to finish that assembly before i will finaly glue on the second deck. afterwards i though t il have a bit of a start on the main stairways after a bit of measuring i came to the conclusion that the side parts are not completly correct. the gaps are way to deep so that the side of the steps are visible through it. i had a look at the builds on here and could see this fact in one of them i made a little drawing to show what i mean
-
looking great John
-
i must say this is certainly a special ship wil be following to see how it turns out
-
thanks John its a 30 to 40 hour trip depending on how good the connections are and have done it about 6 times now he is recovering and i am in contact with him daily and trying to get him a laptop so we can talk and see eachother through skype for now that wil have to do but i am planing to go in a few months and see him and maybe even bring my wife as he has never seen her in real.
-
hi Carl sorry havent been on too much and this week i haven t done anything also my dad is in hospital (in belgium). not in a good shape but stable and seemingly on his way to a recovery that can take a few months i havent been back to belgium in five years so i probably will visit him somewhere in the next few months when i can
-
going well John you are steaming ahead of me now lol
-
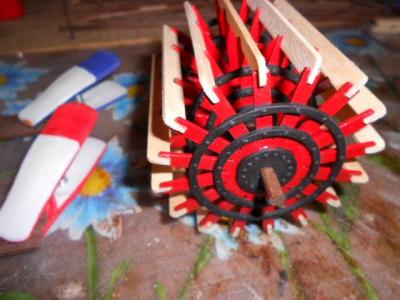
hello John your paddle wheel assembly looks great
-
glad you uploaded all you pictures. I have this kit ready to build after my current one. you have done some excelent additions to the kit. i hope yuo wont mind if i use some of those on my own build will be following your progress
-
hello John yup this is where i am at i felt adding the comments would give viewers a bit more insight in the build
-
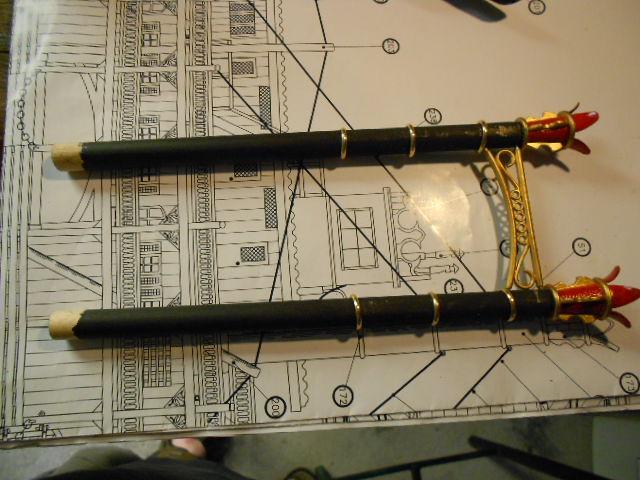
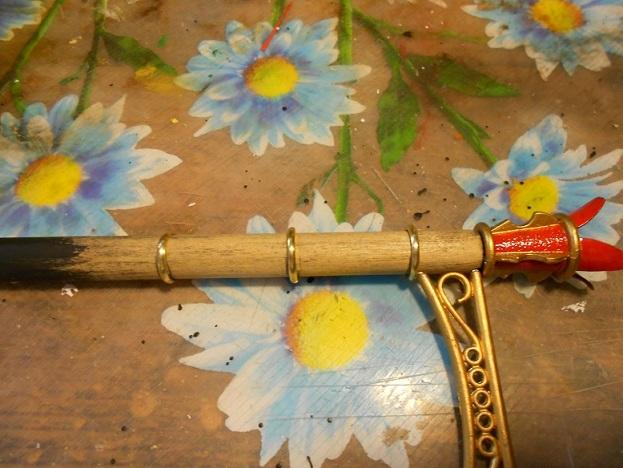
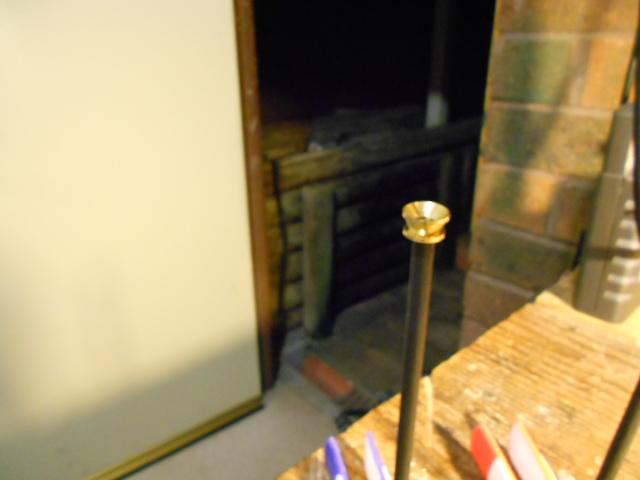
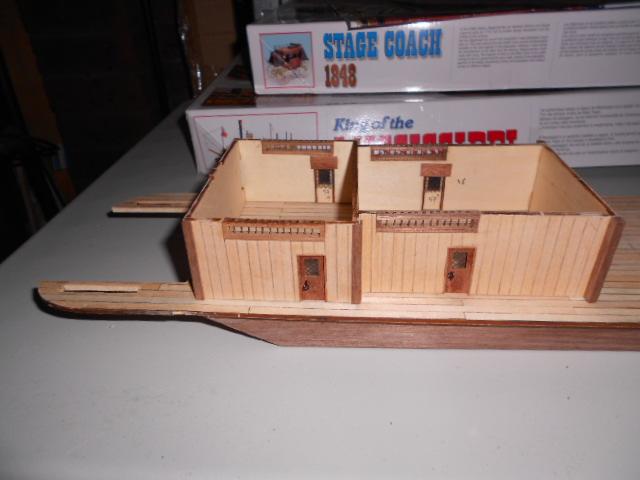
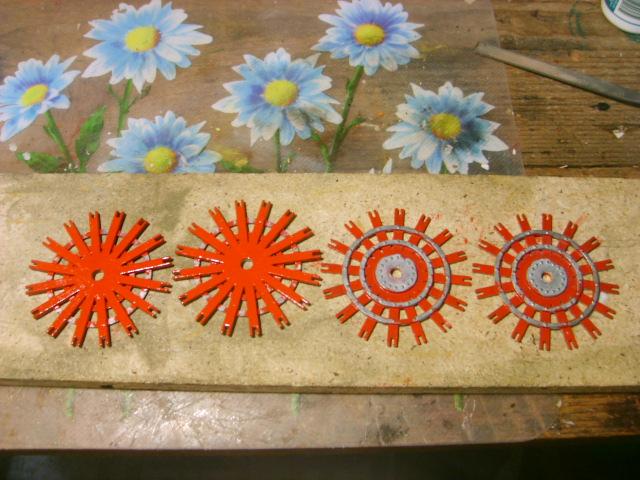
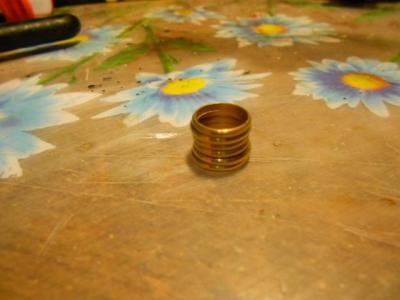
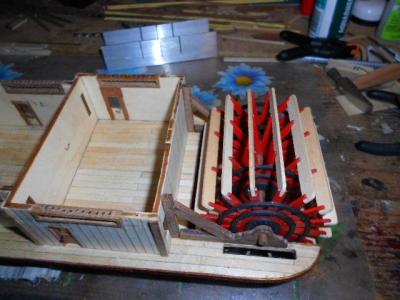
i have repainted the smoke stacks and all rings fit now i havent glued anything on yet and will store these parts for when they cna be added to the ship also added the rubbing strake on the next deck am now ready to glue the second deck on to the engine /boiler room


-
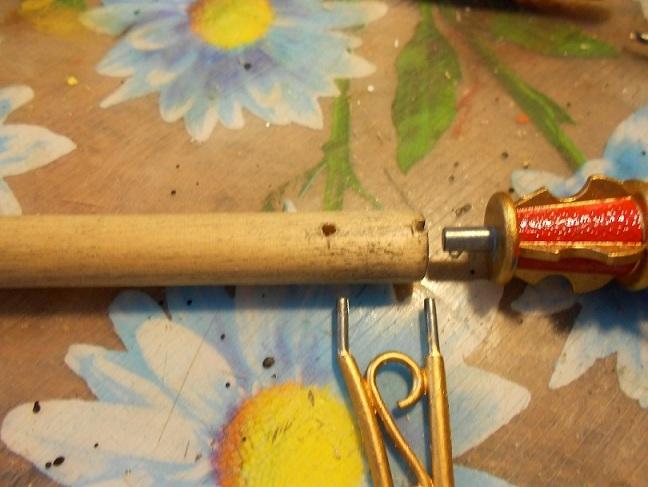
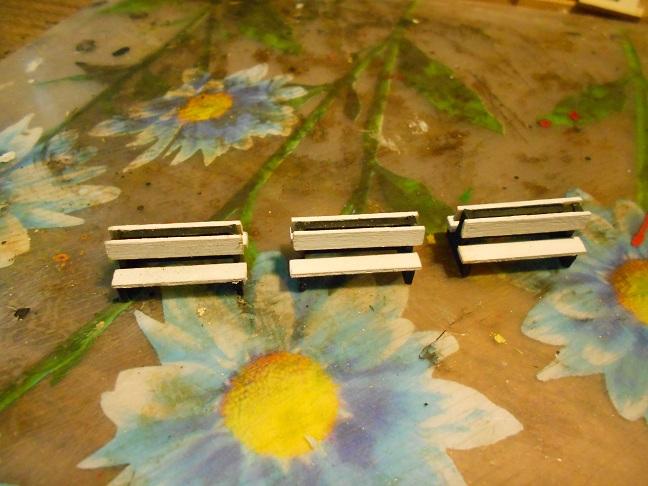
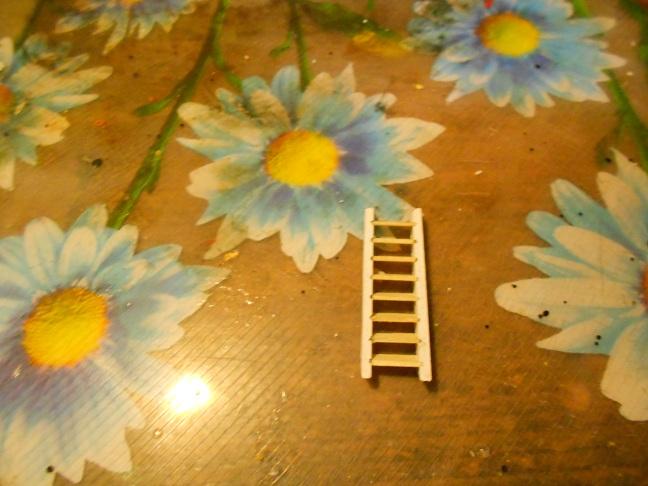
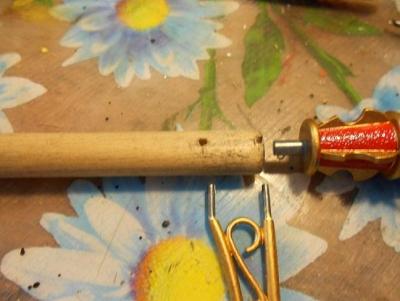
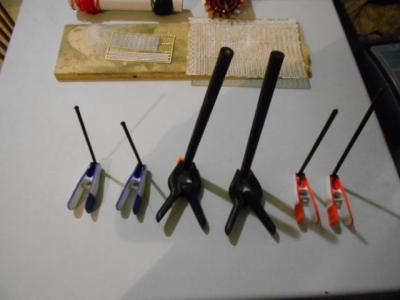
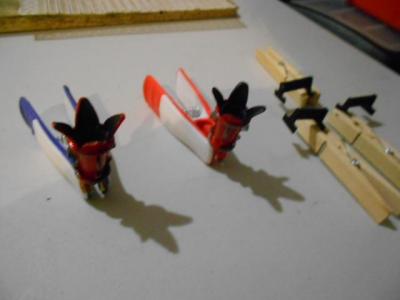
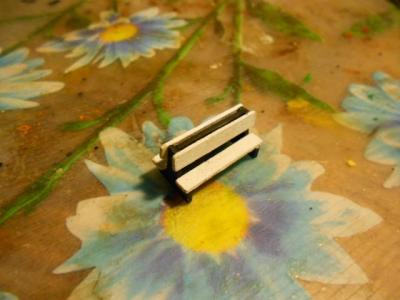
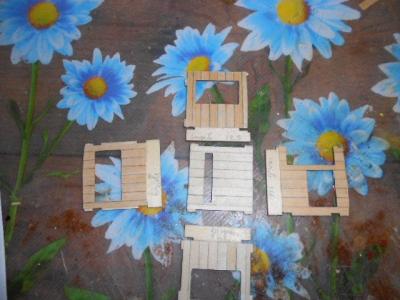
had to sand smoke stacks til the rings fitted then started on driling the holes for the connection between the 2 stacks also all 3 benches are done had a very dificult time getting the ladder assembled. as i need a few more of these i am going to have ot find a better way


- 1,038 replies
-
- 2
-

-
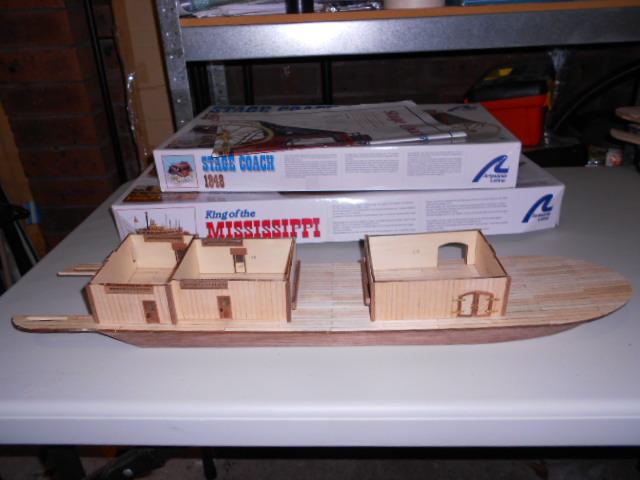
- King of the Mississippi
- Artesania Latina
- (and 1 more)
-
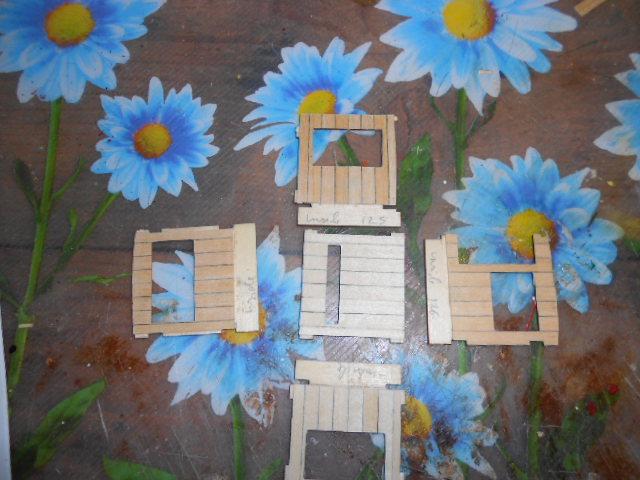
another mistake the closing bars are way to wide so i cut and sanded them to the correct size also the parts that hold up the bars is not correct and should have been made from 3x4 instead of 4x5 wood started painting the smoke stacks and benches afterwards noticed that the brass rings didnt fit on the smoke stacks as they are around 11.7 instead of 12 mm in diameter


- 1,038 replies
-
- 1
-
-
- King of the Mississippi
- Artesania Latina
- (and 1 more)
-
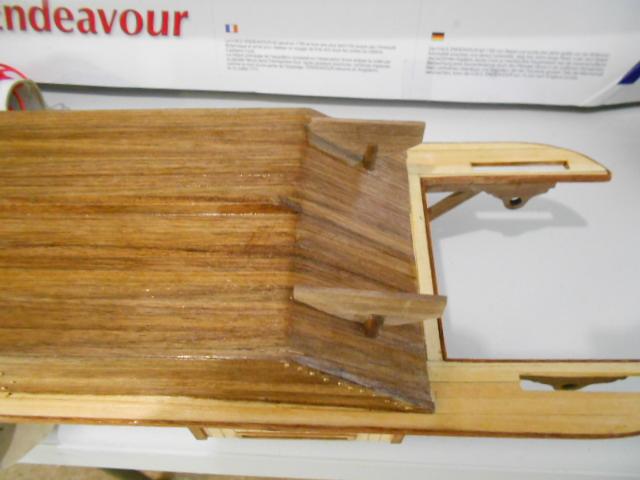
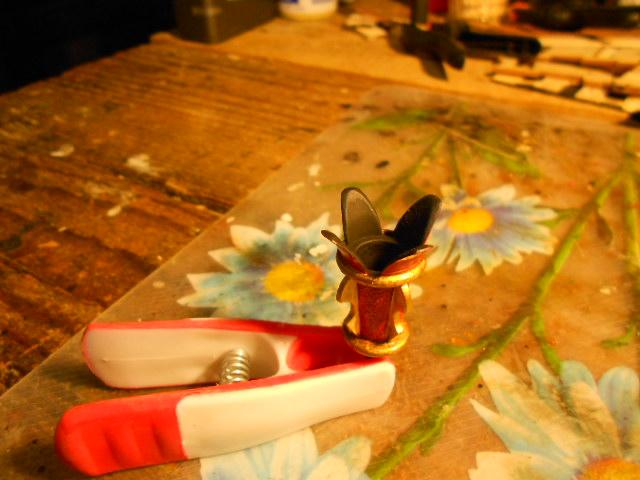
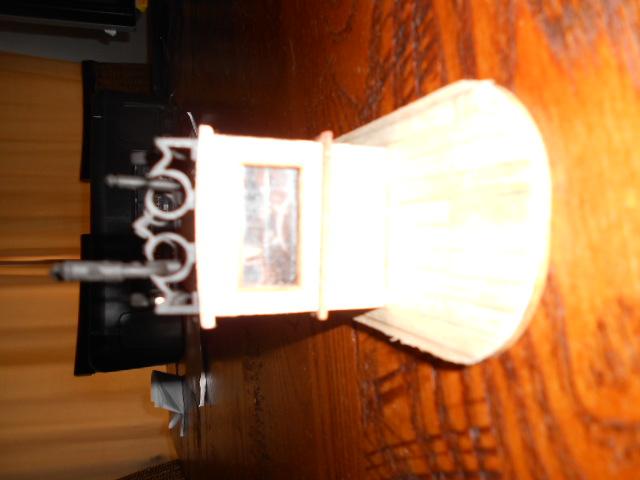
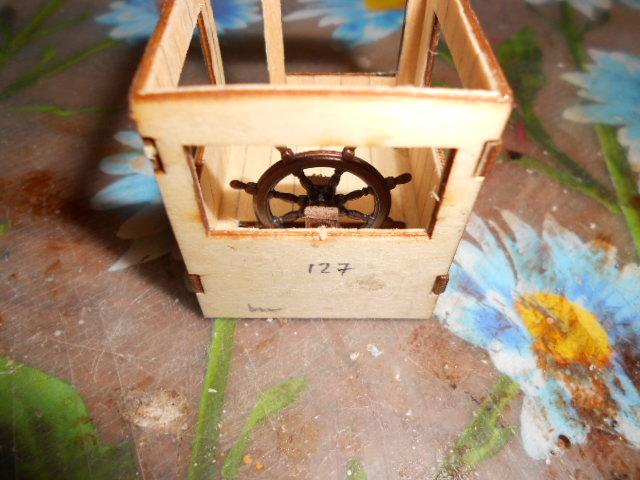
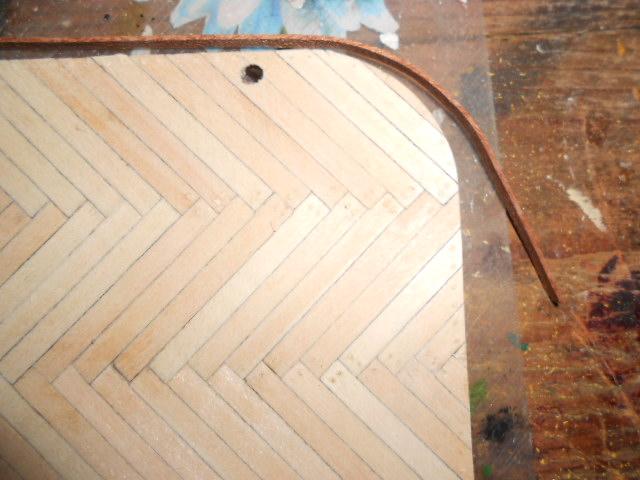
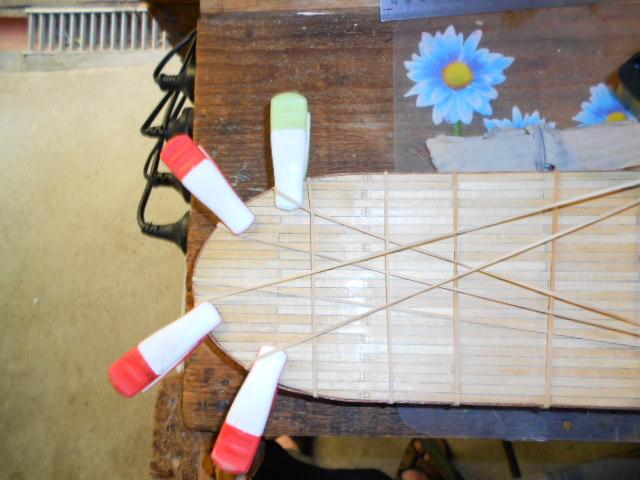
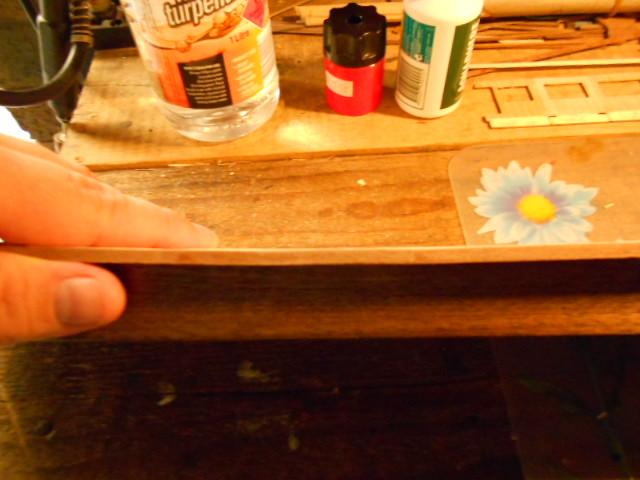
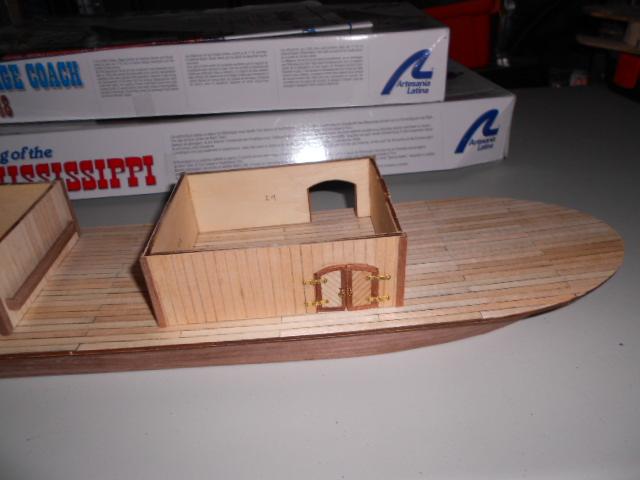
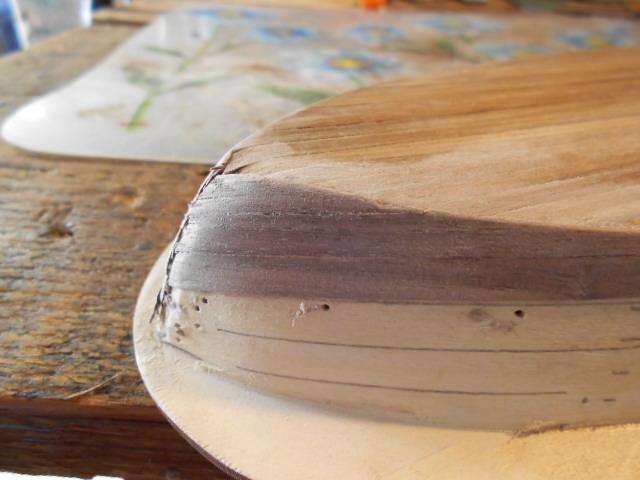
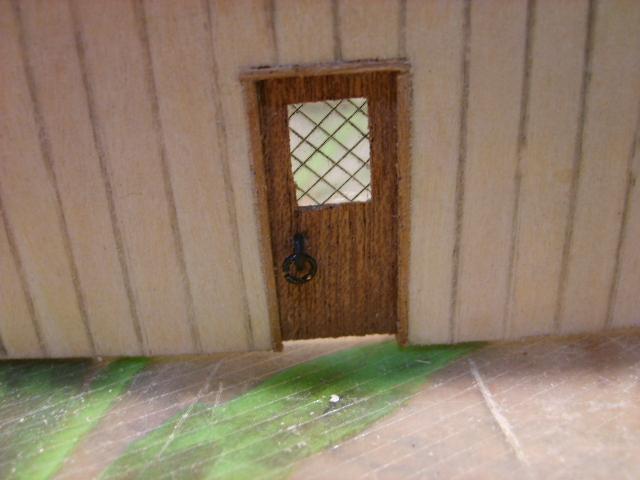
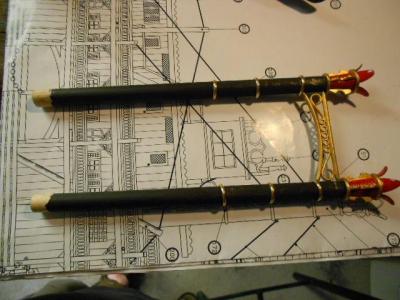
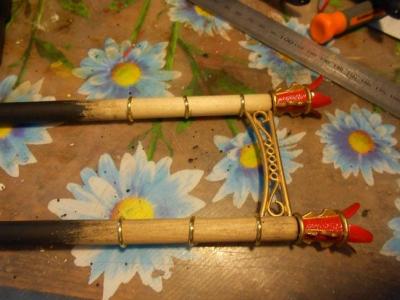
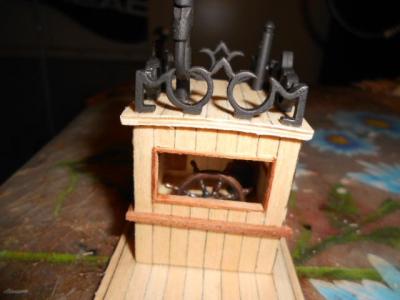
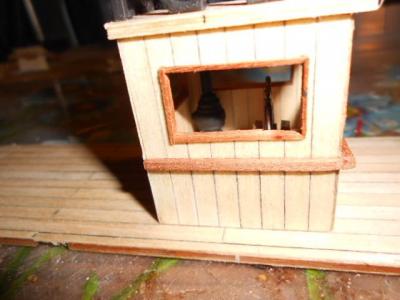
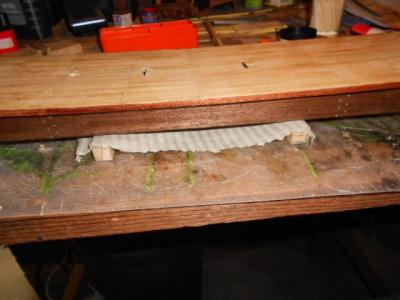
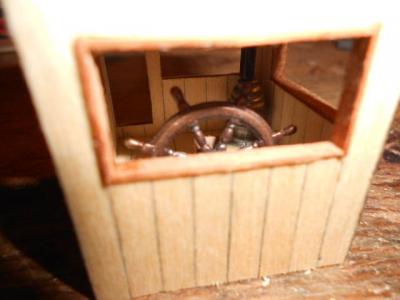
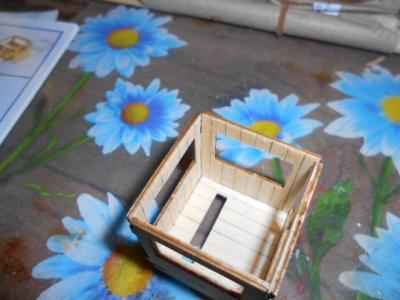
more work on the steering hut unfortunately i broke the wave catcher so i had to remake one out of boxwood and stained it. pretty close to the right colour. the photo enhances the difference wiht normal eye unless pointed out yo uwoudlnt notice it


- 1,038 replies
-
- 1
-
-
- King of the Mississippi
- Artesania Latina
- (and 1 more)
-
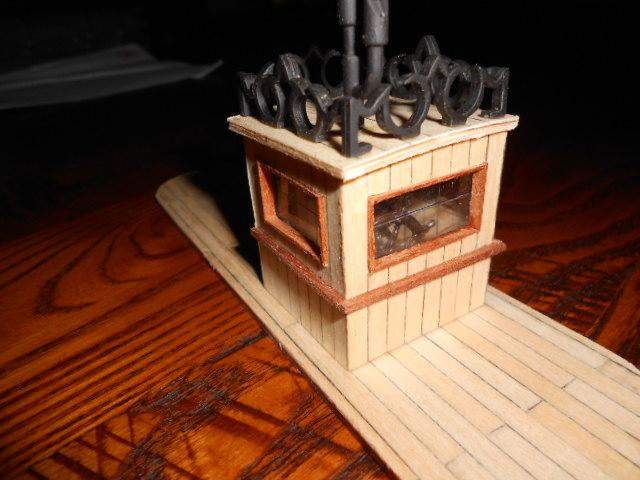
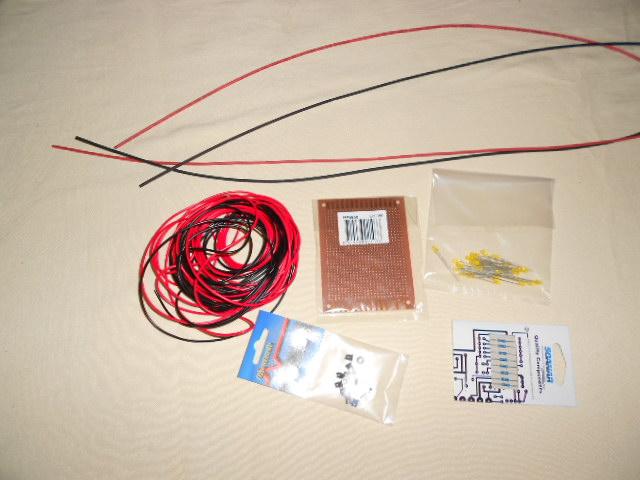
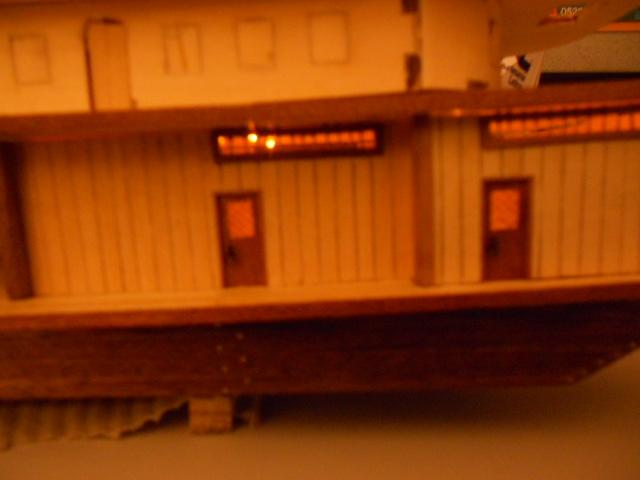
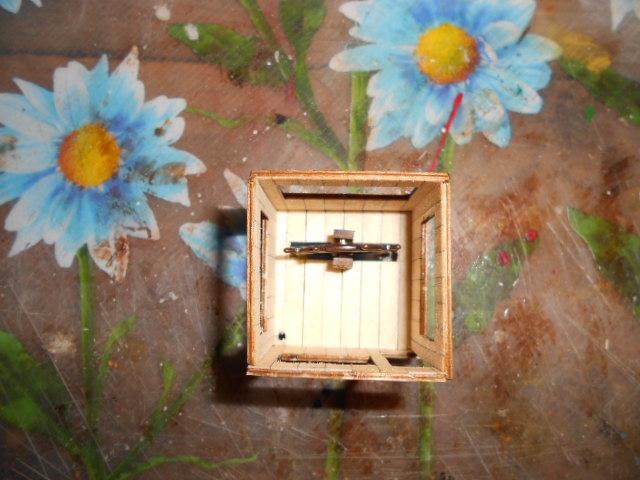
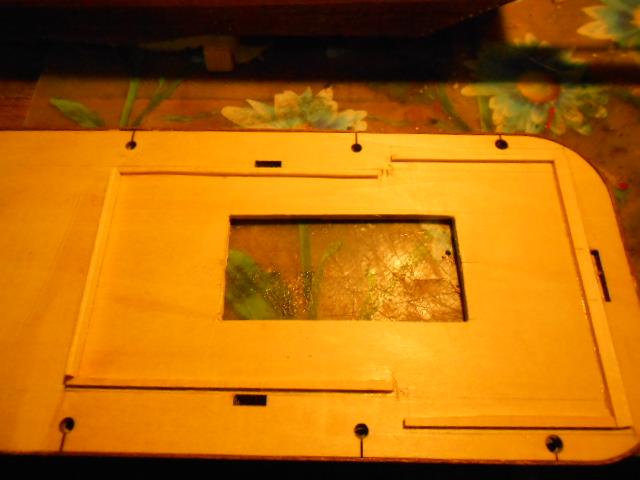
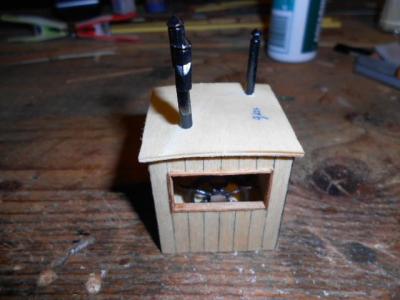
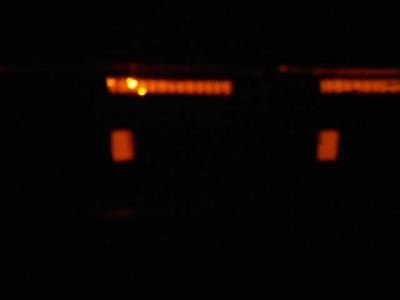
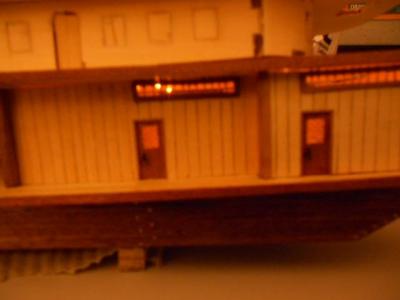
more work on the steering hut by now i had decided to light her up and i bought al lthe neccessary leds, resistors and wiring trying out the light in the engine room and it looks good


- 1,038 replies
-
- 2
-
-
- King of the Mississippi
- Artesania Latina
- (and 1 more)
-
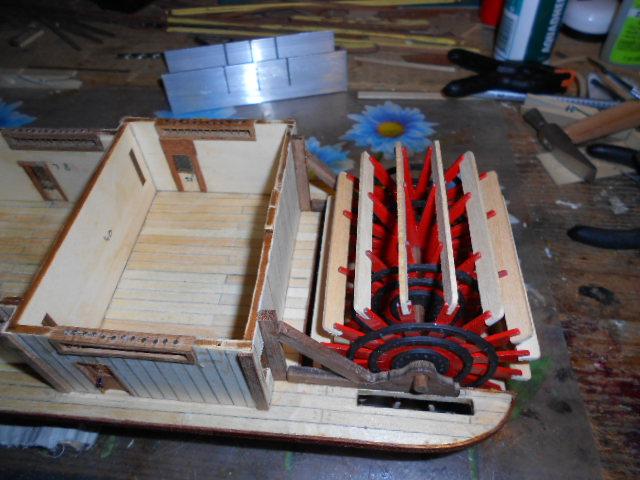
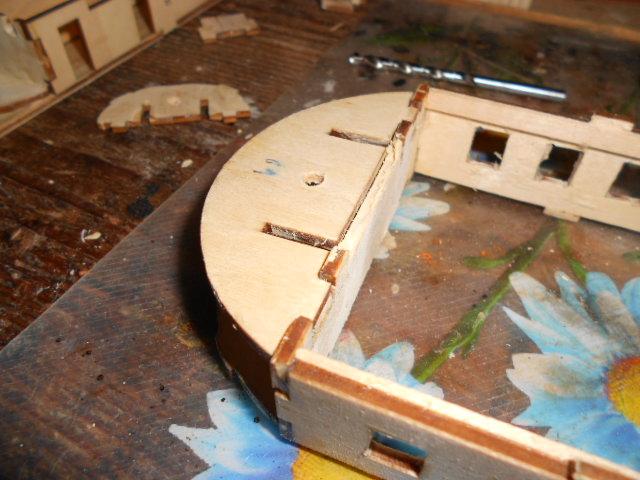
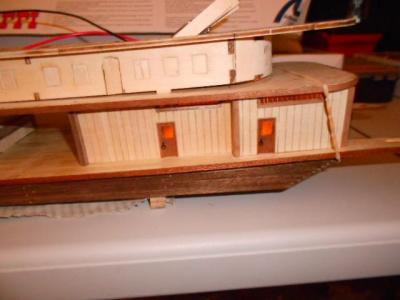
finshied the rubbing strakes assembled the paddlewheel started building the steering house

- 1,038 replies
-
- 1
-
-
- King of the Mississippi
- Artesania Latina
- (and 1 more)
-
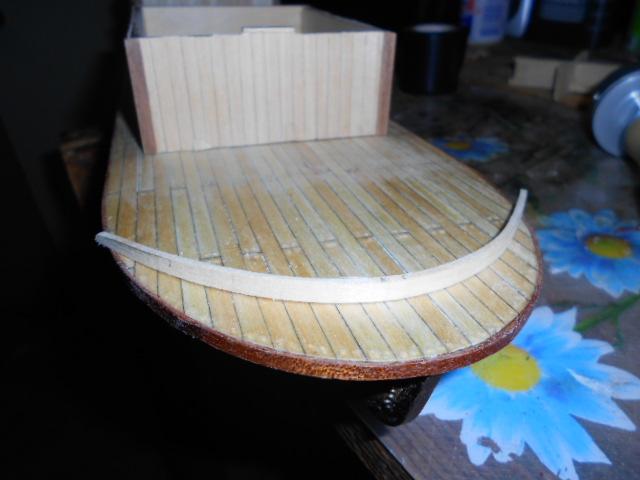
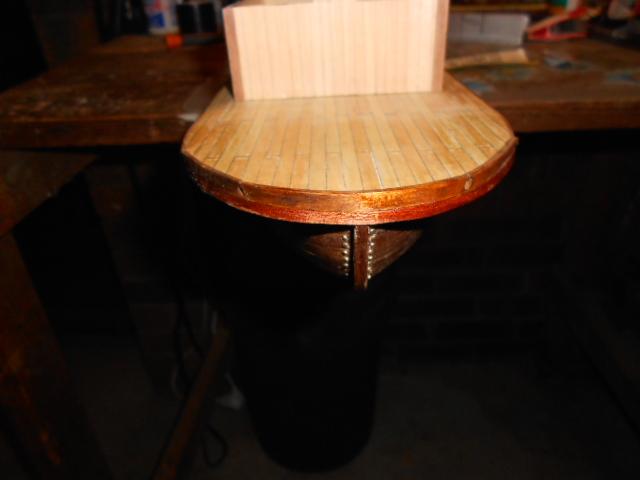
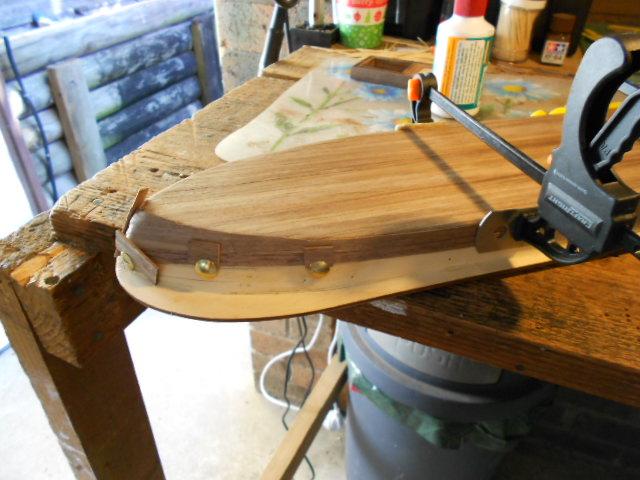
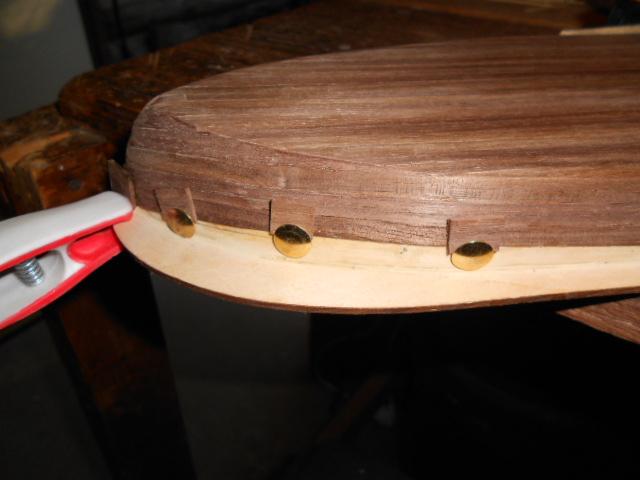
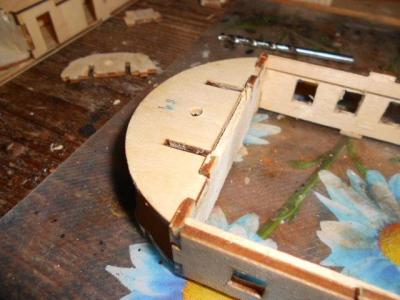
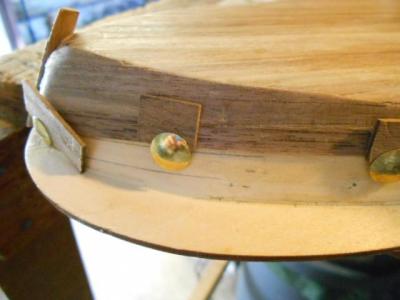
finished planking first deck and started adding the rubbing strake the keel was added too


- 1,038 replies
-
- 1
-
-
- King of the Mississippi
- Artesania Latina
- (and 1 more)
-
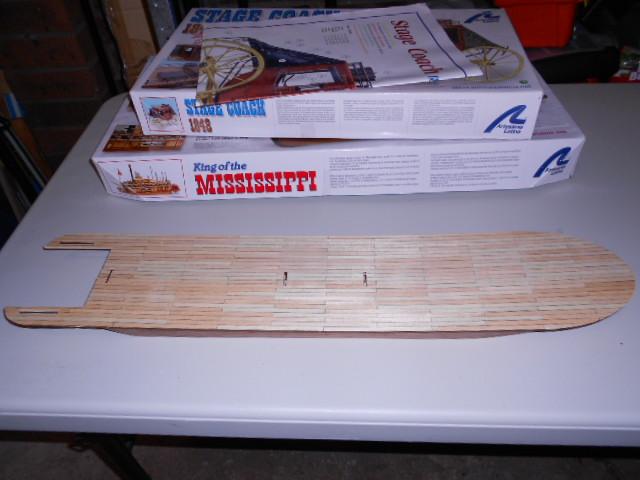
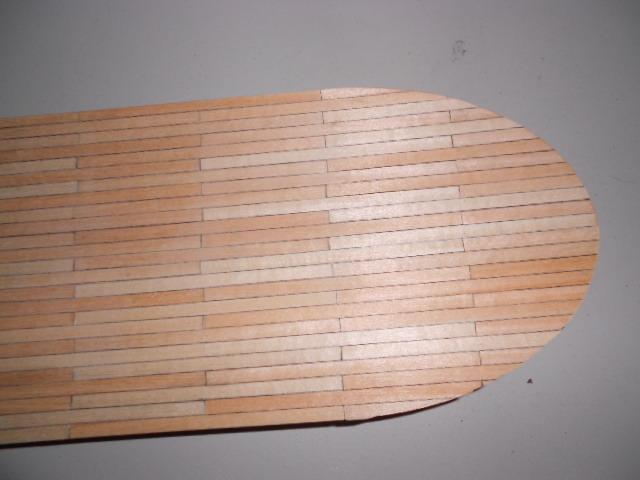
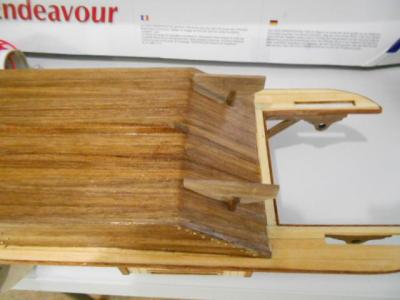
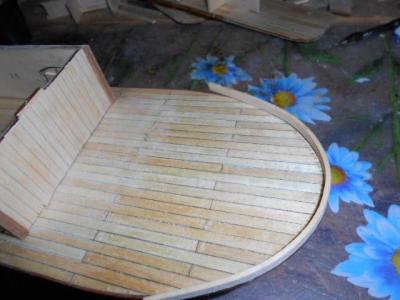
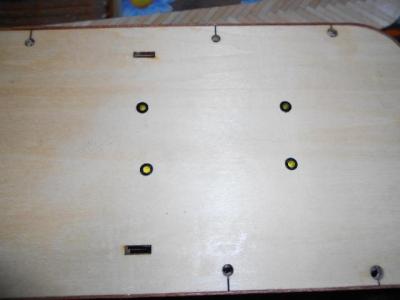
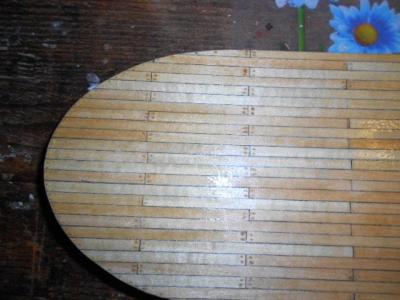
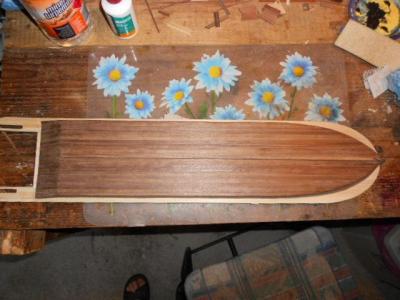
my missing planks arrived finaly and i could get back to work on the hull with the hul plankign done i could now started planking her first deck .
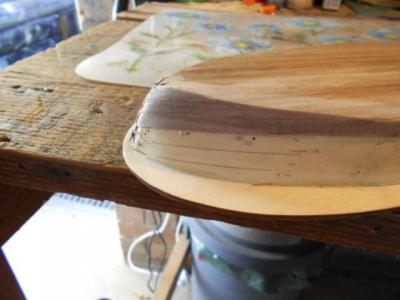


-
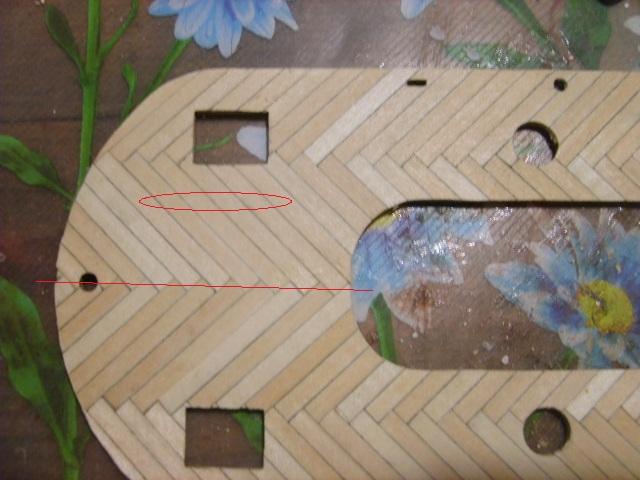
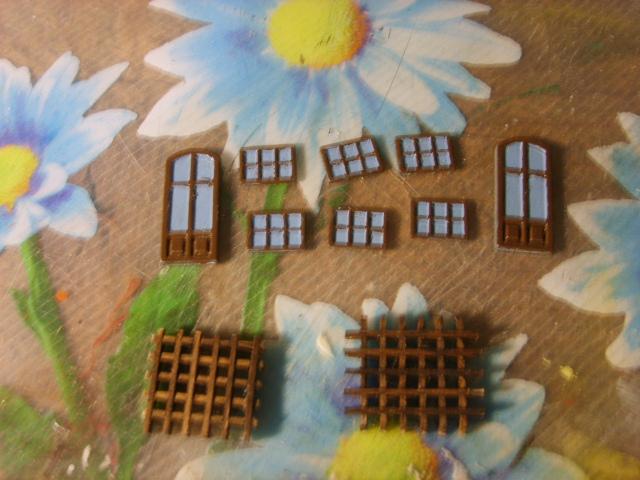
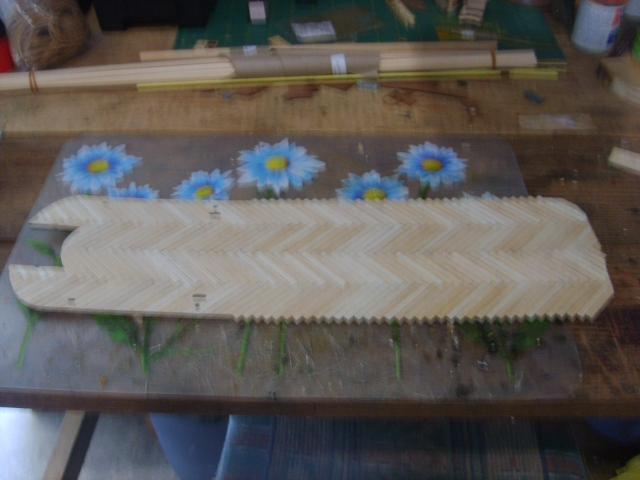
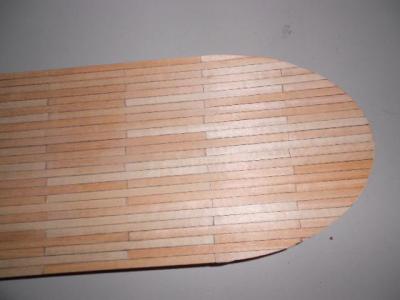
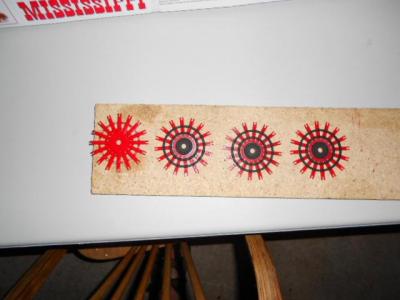
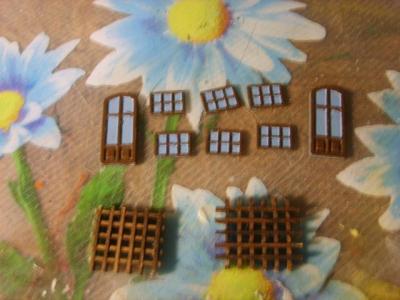
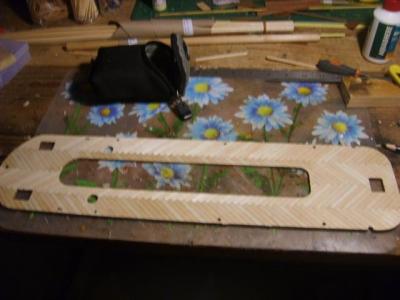
pictures showing the planks that i had to make longer to cover up the mistake . since no one could find it i guess i was pretty succesful. althoug someone pointed out that th epattern was not completly in the middle and he was right ( only 1 mm off so p[retty good for him to spot it ) planking and trenailing on deck 3 where done too also did some painting of the paddle wheels and the doors and windows which are now obsolete


-
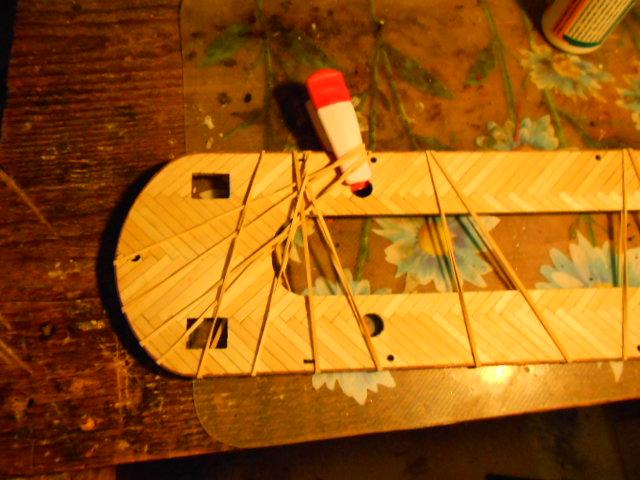
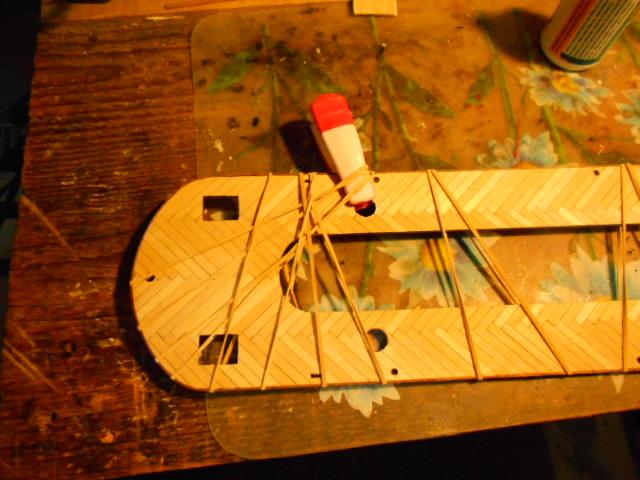
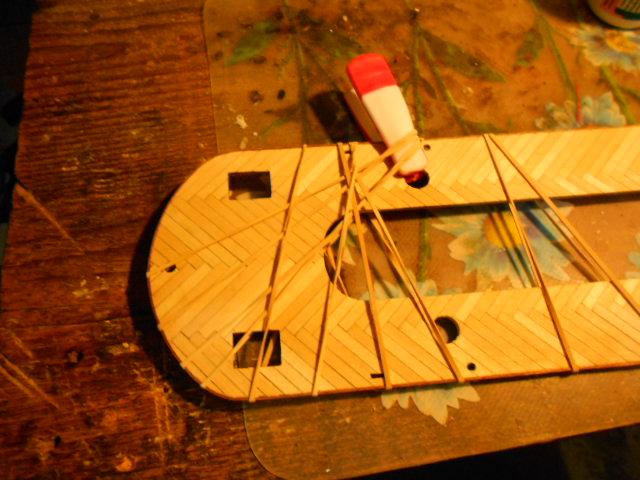
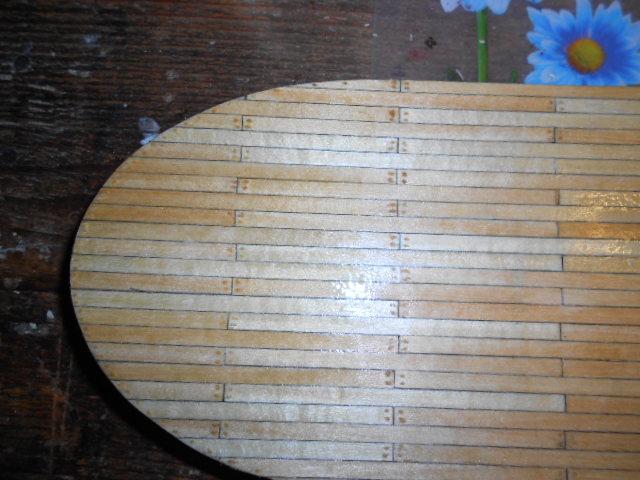
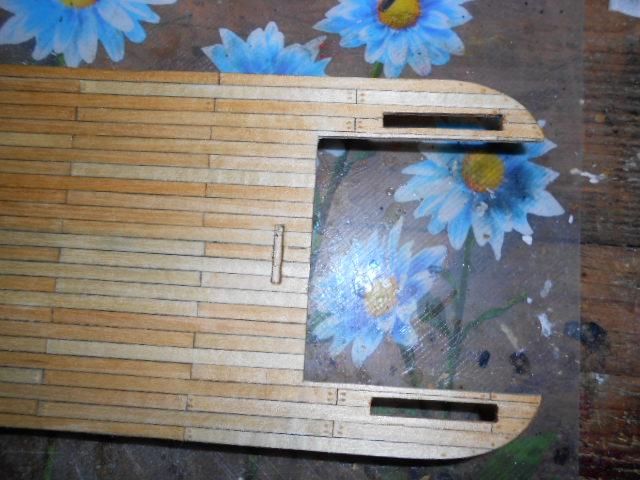
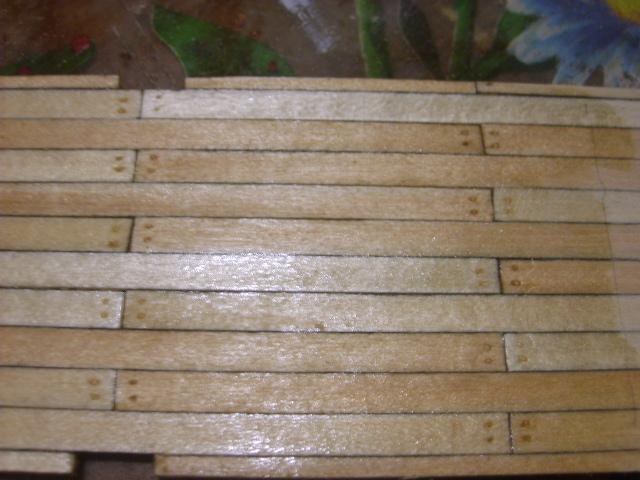
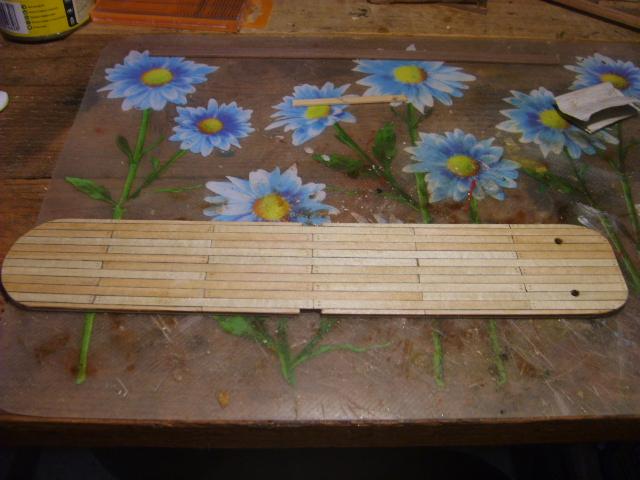
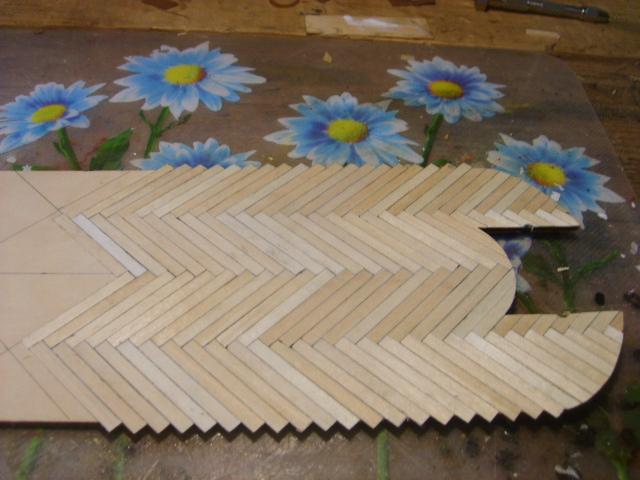
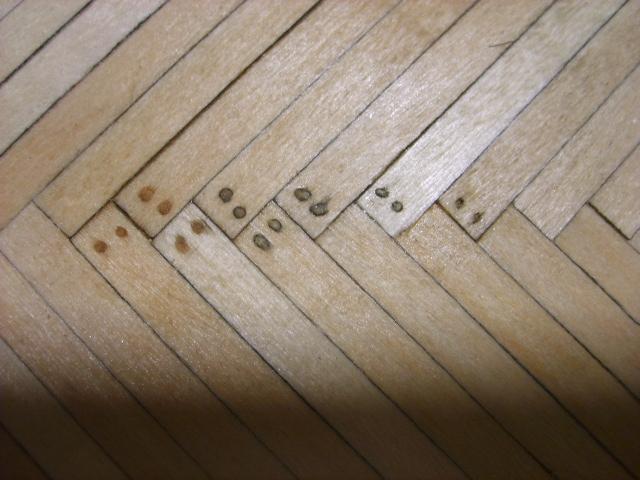
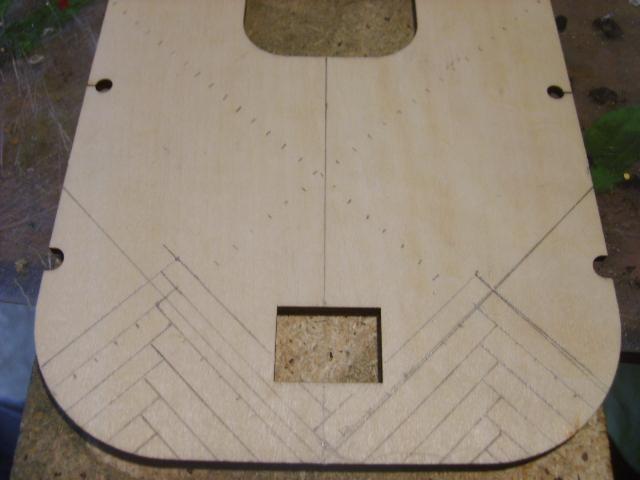
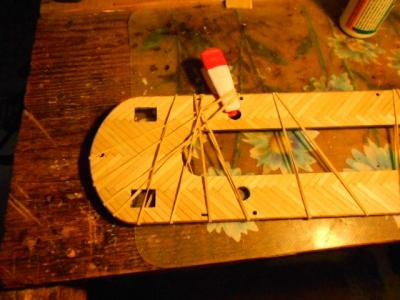
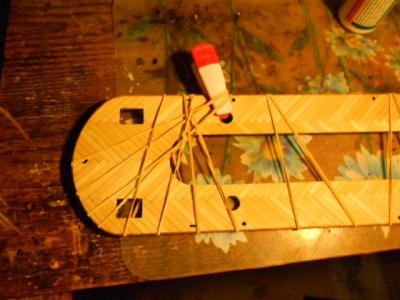
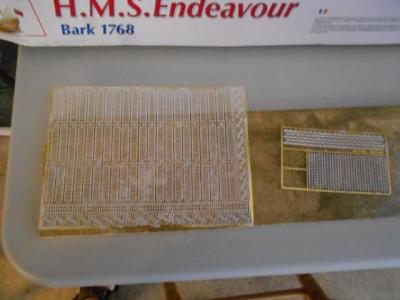
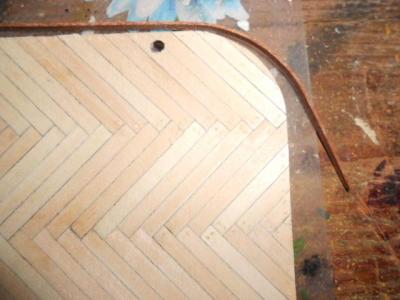
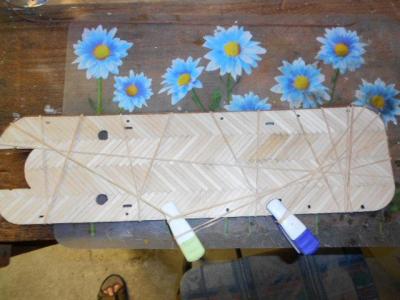
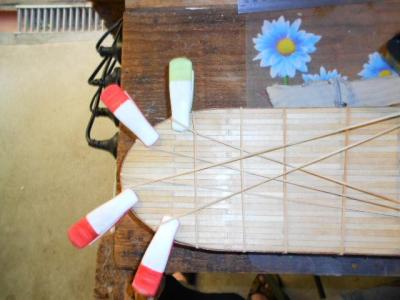
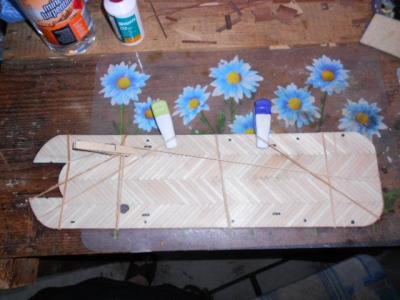
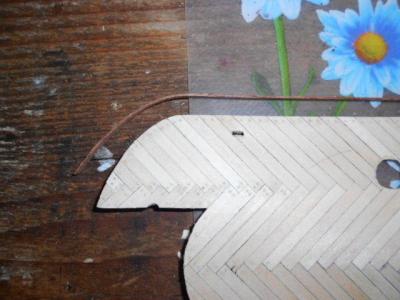
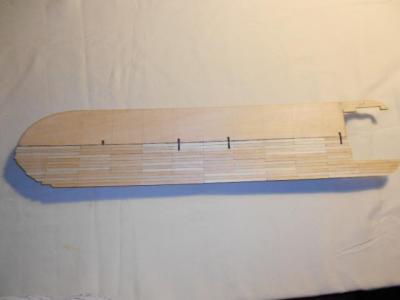
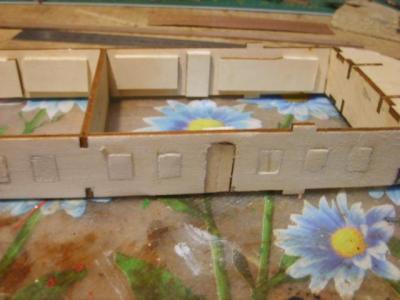
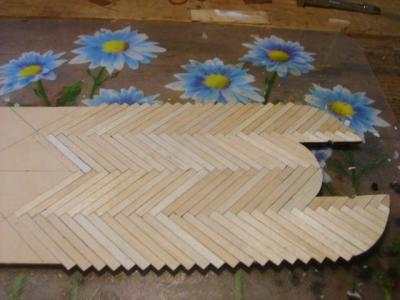
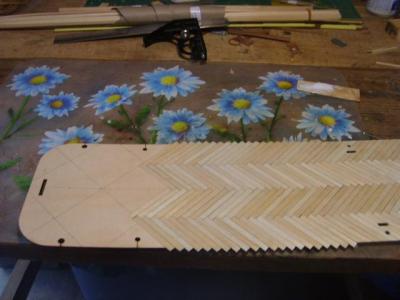
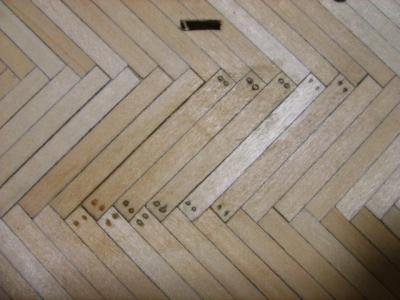
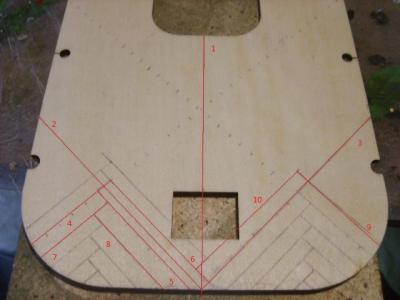
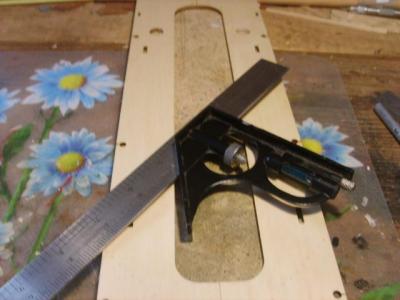
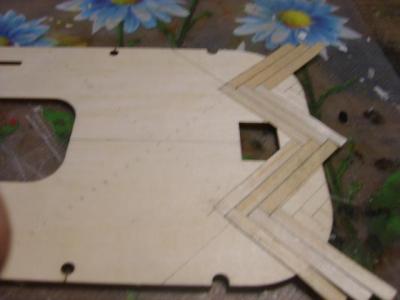
trying out some methods of trenailing also some pictures on how i crested the fishborne patter one picture shows the lines i drew. They are numbered in order but anyone wanting more info just give me a pm and ill write it all out again finished the decond deck planking but noticed that i made an error. due to the hole in the middle the left and right side was 5mm off


- 1,038 replies
-
- 1
-
-
- King of the Mississippi
- Artesania Latina
- (and 1 more)