HOLIDAY DONATION DRIVE - SUPPORT MSW - DO YOUR PART TO KEEP THIS GREAT FORUM GOING! (Only 36 donations so far out of 49,000 members - C'mon guys!)
×


CaptainSteve
-
Posts
1,858 -
Joined
-
Last visited
Content Type
Profiles
Forums
Gallery
Events
Everything posted by CaptainSteve
-
USS Constitution ??
-
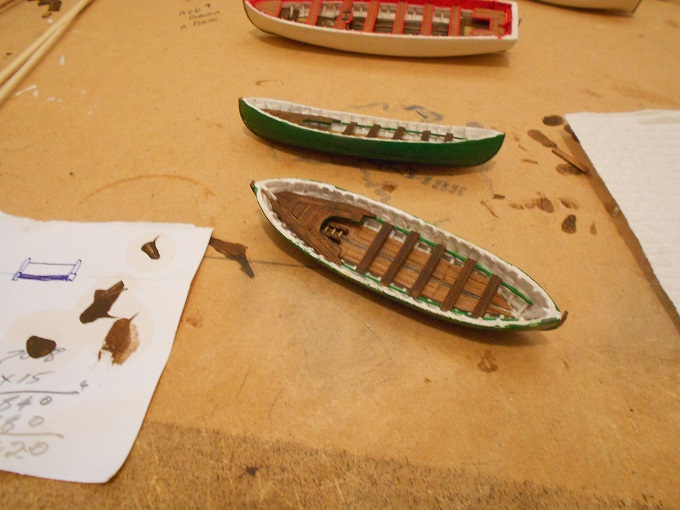
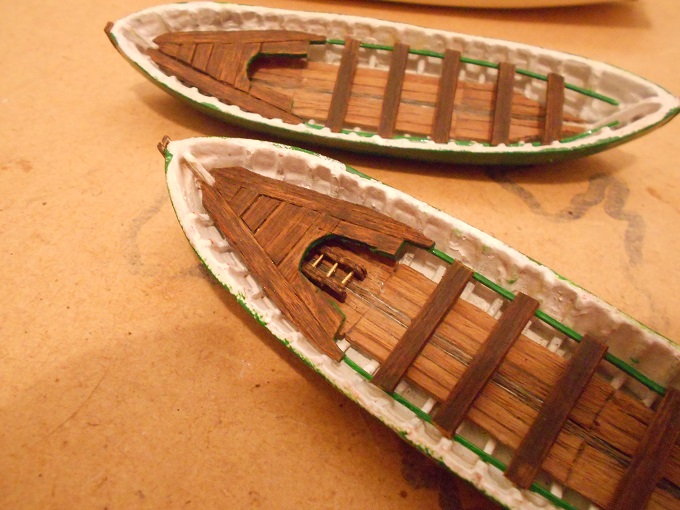
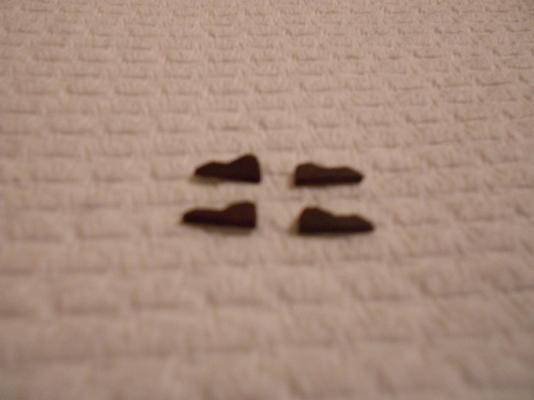
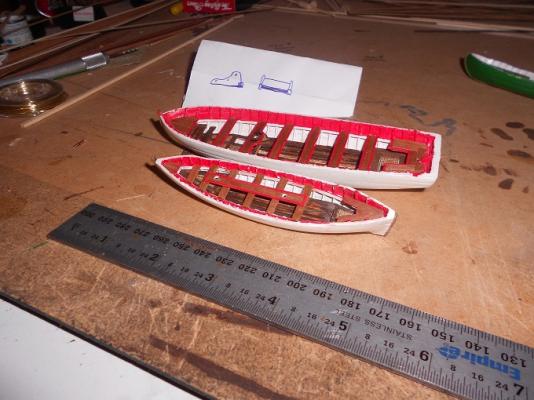
 Just a quick post-weekend note to say that MrCritic dropped by today. A lengthy debate ensued between he and I (which may or may not have involved razor knives). The end result being that the middle benches of each whale-boat have been removed. To replace them, will be what I currently refer to as "trundle-posts" ?? Please, someone, what are those octagonal posts positioned amid-ships called ?? They are tapered towards the ends, and had holes for long rods which, I assume, allowed for additional force to be applied in rotating them. I imagine their purpose was for hauling in harpoon/anchor lines ?? Also, one brass-rod step failed to pass inspection and has been removed. A reconstruction is looking doubful, so a complete rebuild may be necessary. (The other passed inspection. But only because you would need to look from an impossible angle to spot the minor mis-alignment.)
 -
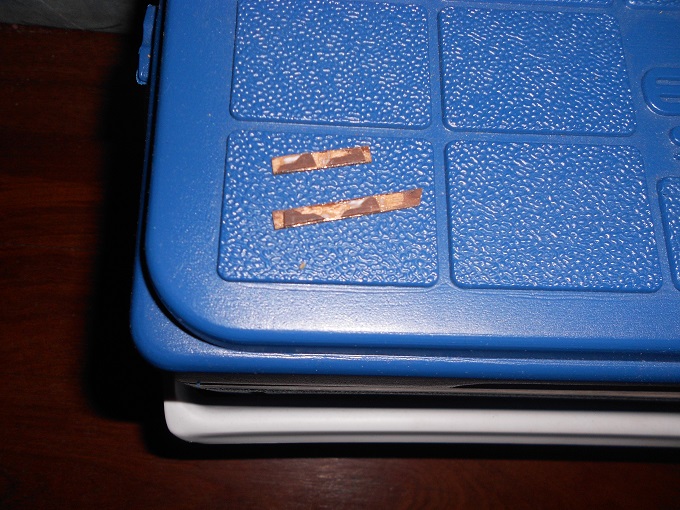
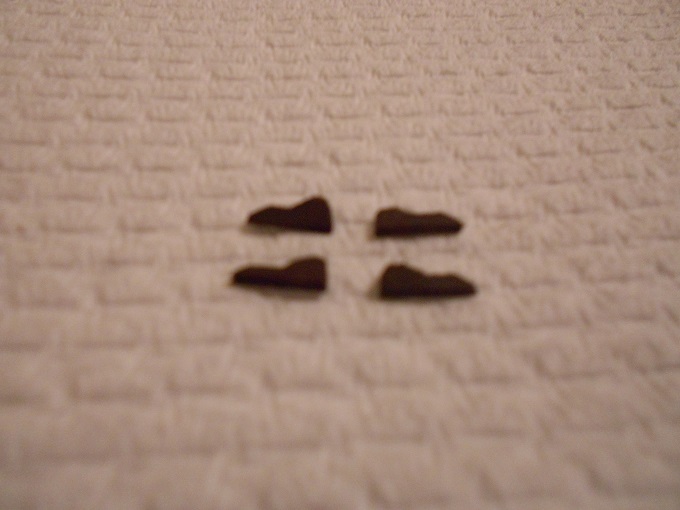
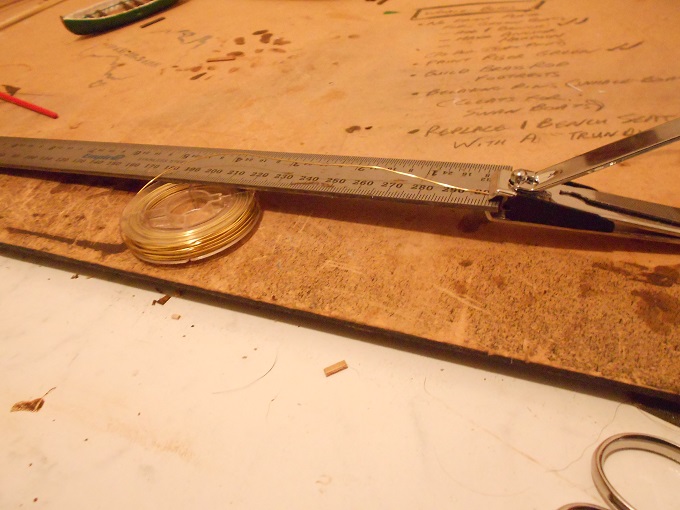
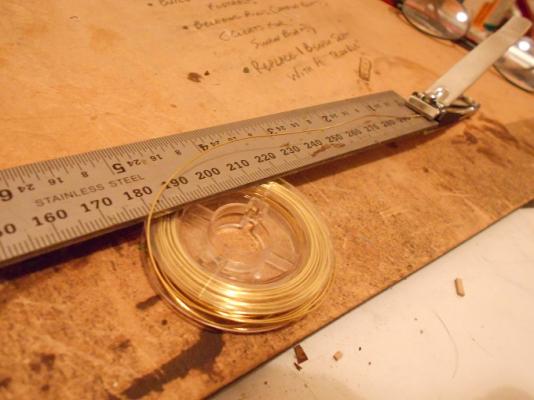
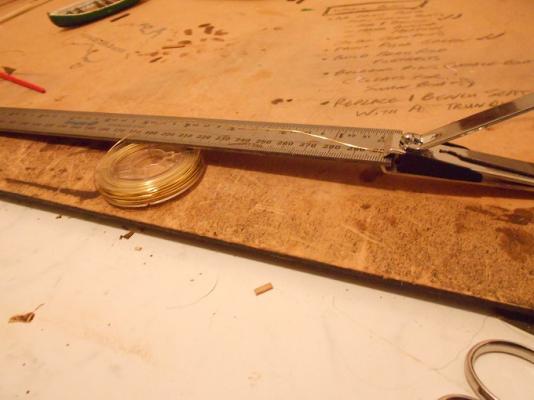
Building the foot-rests proved to be a whole lot fiddlier than I'd imagined. As they all had to be the same, I started by pinning four pieces of card together to make replica templates. These were cut-out and glued to a spare strip of walnut veneer (the kind used commonly for the outer layer in double-planked kits). Partly because the trimmed step-supports weren't thick enough, but mostly because my wood-stain would not adhere to the playing cards I use for templates, I elected to glue another strip of veneer to the backs. These were trimmed up again and then drilled with my hand-powered drill using the smallest bit (approx 0.25mm). Drill through to the card layer (middle). Oh, and remember to have holes drilled on matching sides (ie port/starboard) of each pair. Cutting the brass rods to exact equal lengths was easier. All six had to be precisely 6mm. Using a steel ruler with markings to the very edge and a set of large toe-nail clippers (the straight-edged ones), just clip as required. Care needs to be taken as to where they end up. Arrr !!! Then the fun part begins. The step-supports are 8mm x 4mm, with three 0.25mm holes drilled. Add three 6mm brass rods into the mix. Noting that PVA won't work with brass, I originally tried to slot the brass-rods into one piece and then fit the opposing step-support piece onto the protruding (unglued) rods. After having the whole thing fall apart numerous times before I could get it positioned in the whale-boat, I elected to use CA glue to fix the rods into one step-support. This worked a whole lot easier (Hmm ... mebbe I could've tried that in the first place). The only problem remaining was that my holes were not perfectly aligned. To avoid this, I imagine I could drill the holes directly thru both side pieces For now, one step-support is fitted, with one to be reconstructed.


-
Some beautiful, clean rigging work there. Your pics will be very helpful to me in approx 3 years from now. I reckon I'll be keeping my one good eye on your work here, Jim.
-
I have built this kit and was thinking exactly the same thing as Canada Steve suggests.
-
Seriously, Geoff, it really took your pics to help me start to envision these boats. From my original intention to copy yours, they seem to be growing into ever-evolving monsters that just demand more and more detail. All I can say is, Arrrrrrrrrrrr !!!
-
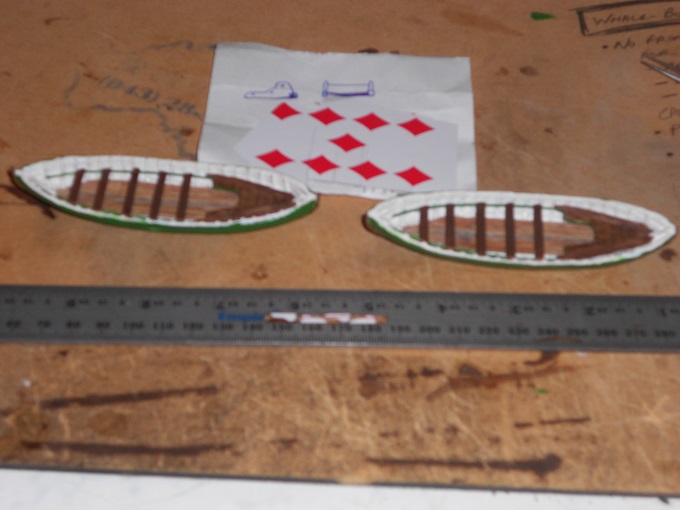
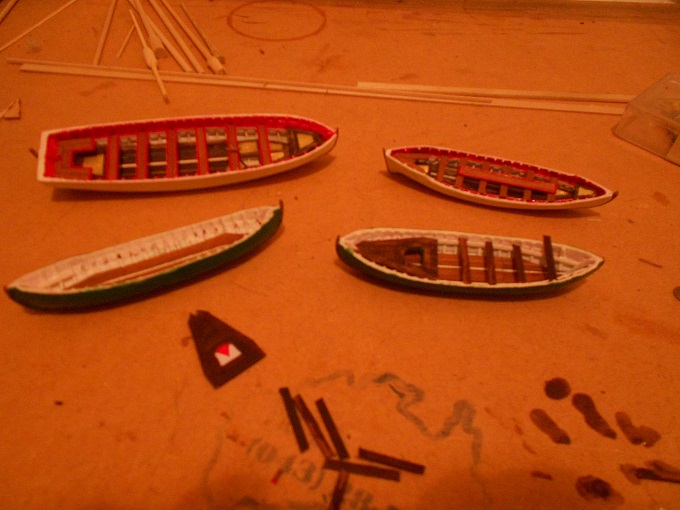
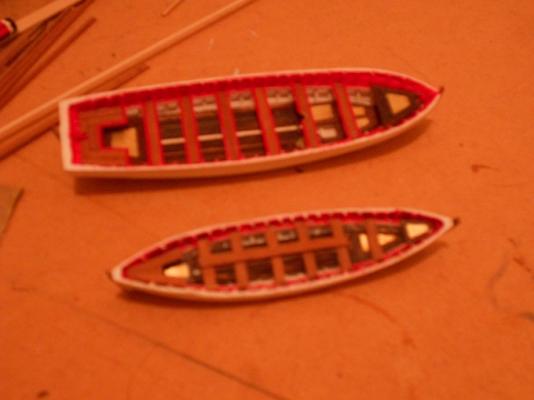
The new "swan-boats" !!! The sketch at back of the boats is a rough draft for the brass-rod foot-rests which are next on my agenda.


-
One last post before the weekly rat-race recommences ... The latter part of Sunday saw ALL benches on both the Captain's gig and the pinnace removed. Note in previous pics the white keelson piece running down the middle of both these boats ... Some work with the engraving tool w/ wire attachment ensued to cut the white paint away. Then a little walnut stain ... let it dry ... a touch up with the wire brush again. Voila!! Annoying white strip becomes a matching floor plank. Benches were then trimmed of old glue and re-fitted. Minor accidents saw two of the red styrene cap-pieces being lost, thus necessitating a whole new re-paint/dry cycle for a single, tiny 1cm strip. But they are done now ... and, yeah, I'm chuffed (again) !! As for the twin whale-boats, work has begun on two brass-rod foot-rests ... (Pics pending)
-
Mad, "Chuffed" is a good thing. I have no idea where the word came from, but it means that I am pleased with how they look. As for the whole OCD thing, well, I think this will be the reason Connie is going to take me a looong time.
-
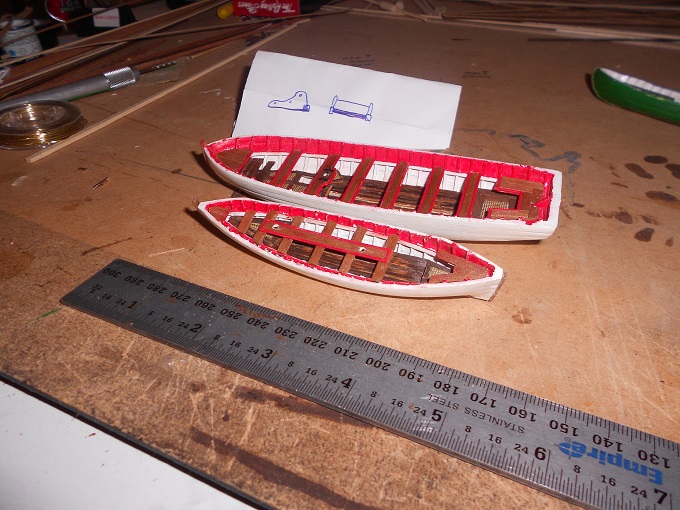
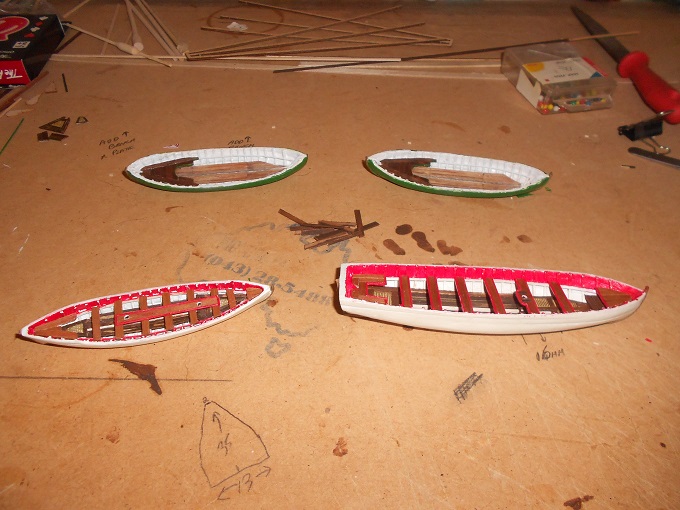
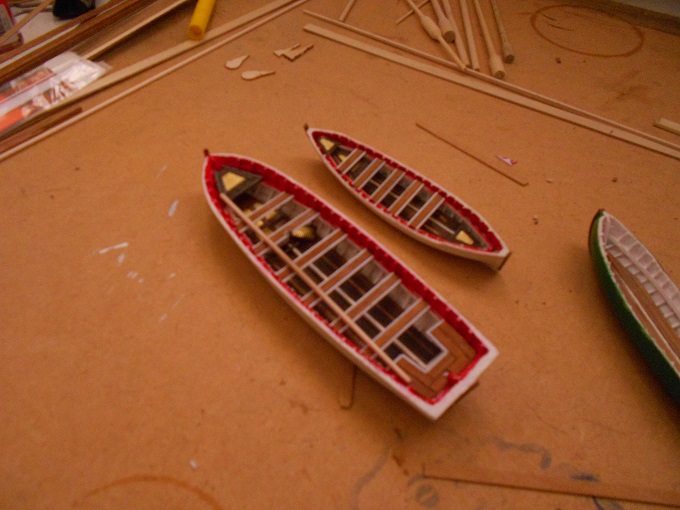
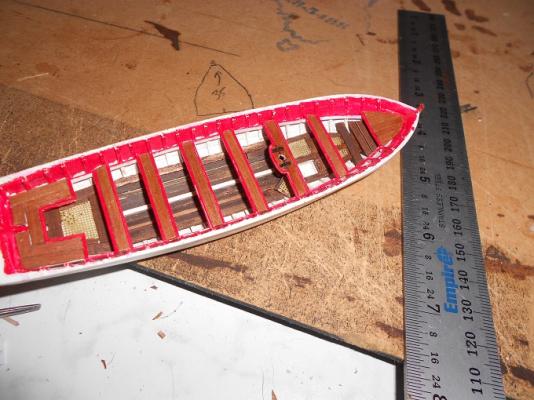
The bench plates built for the whale-boats (at top of pic) have been trimmed down somewhat, and new, slimmer, risers fitted. Currently, indecision reigns as to how these two boats will eventually look ...
-
One more step was added and then, as if the straps on the mast-clamp weren't OCD enough for you, a HB pencil added the final touch.
-
Despite the football season, some progress was made today ... First to go was the old mast-clamp. Two re-builds later, and I gotta say, I'm chuffed. Shaping the painted styrene strips around this piece turned out to be easier than I thought. Just clasp with the needle-nose tweezers and bend around the tip. The shape holds long enough for super-glue to set. The locking straps are simply thin strips of wet'n'dry sandpaper trimmed and glued in place. Following this, the bow grating plates were removed in favour of step boards.
-
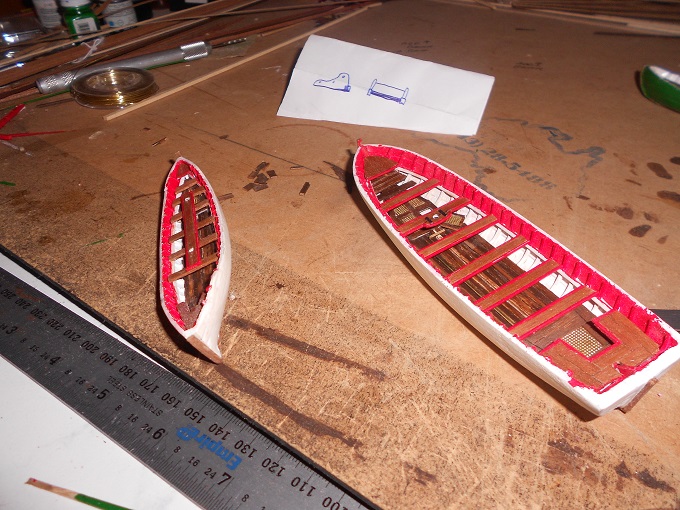
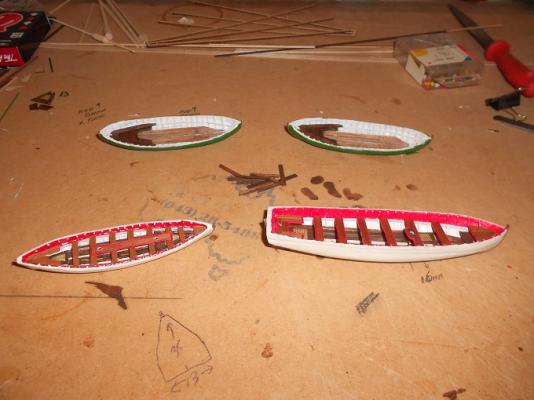
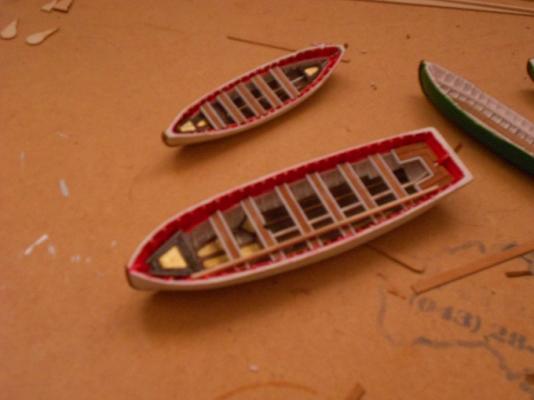
Momentum was more backward rather than forward this week ... At last posting, MrCritic was just about to remove the risers from the pair of whale-boats. Whilst he had his knife handy, he took to the fore gratings in the two "swan" boats. This pic is prior to the surgery ...

-
Jeff, You have done a fantastic job on shaping those boat hulls. Enjoy fitting them out !! BTW, I wouldn't mind a copy of the Warner Woods order form if possible (will PM my e-mail).
-
Damn fine work there, Harvey !!
-
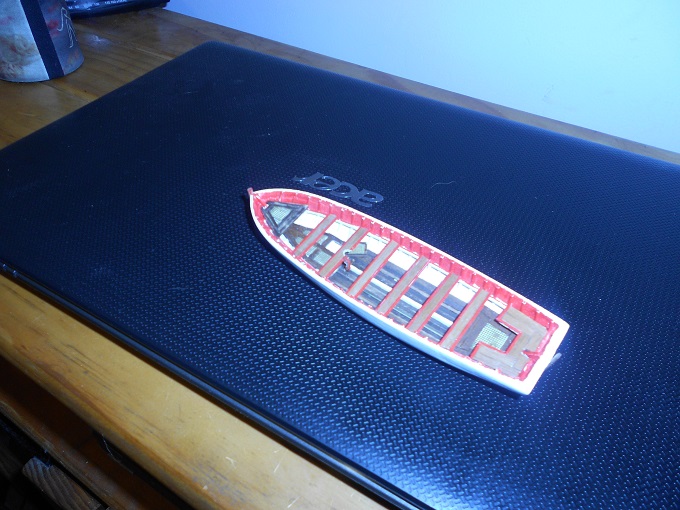
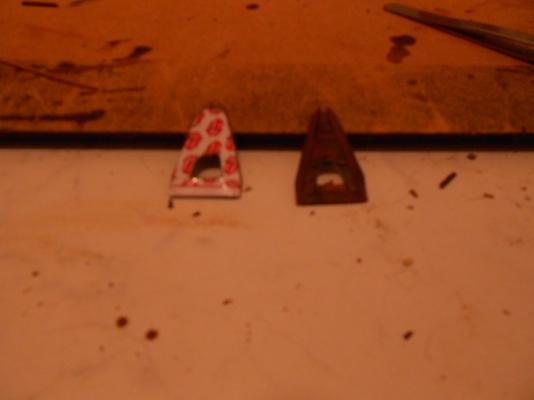
Unfortunately, not a whole lot of progress so far this weekend - although it is only Sunday morning. Last night saw numerous (well, three) failed whale-boat plates, until I ended up with the two in the above picture. The gangway board on the Gig has been trimmed with red styrene, but I chose not to line that boat's benches like the pinnace, as the effect is just too much red. Mast holes drilled and painted and fitted (no pic at the mo'). I also went a little OCD (Obsessive/Compulsive) early this morning and rigged up a mast thwart clamp for the deck pinnace. It's the tiny red-lined semi-circular piece of wood hanging down from the second bench ... just in front of the 'loose' grating panel. It's rather hard to see properly in this pic (seriously have to work out the settings on my camera), but I'm kinda chuffed with it - and it only took 2 hours to make !! Work continues on the whale-boats to get them the way I want. This may involve stripping out the riser rails and replacing with slightly thinner styrene strips.

-
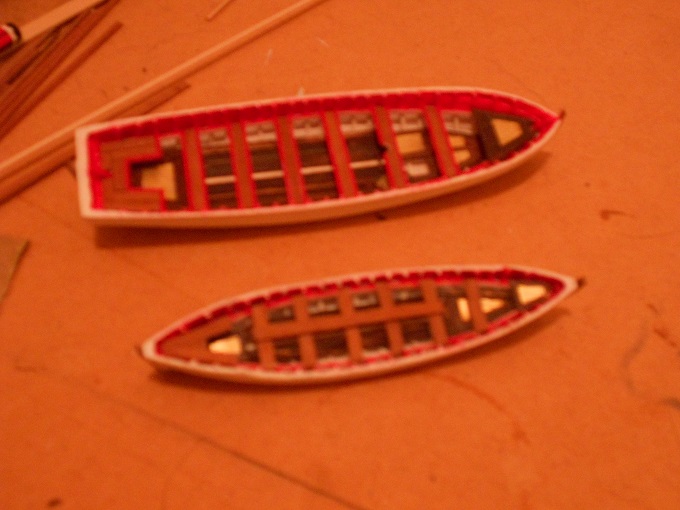
I use playing cards for the templates, as I find the card is stronger and cuts fairly clean with a razor knife. The planks are 1/8" wide strips of ayous, darkened with a Walnut stain. Let the glue dry properly after planking, then create a 'distressed timber' look using the wire brush attachment. Here's a couple of pics taken during one of many attempts at making platings for the whale-boats ....

-
(Late shift this week, so I'm on the work computer again) Thanks for the support, Guys. Jay, I use a variety of woods, but for the very dark pieces used on the boats, I have used a wood-stain. After the stain has dried, I use the steel-brush attachment on my engraving tool to rough them up a bit ... it makes the wood effect look more natural. I have tried a number of businesses in Perth to source the small woods that we ship-modellers need, and have drawn a blank. The story is always the same ... "... we can't get a reliable supplier". I'm kinda lucky in that I have one and a half kits from Davy Jones' Locker that I use for salvage, but am seriously considering sending away when the time comes that I need a particular wood. Following your build, I figure I am going to have to do this for the smaller blocks etc that I have seen you list ... By the way, the boats ARE a lot of fun !! PS: Nice Nativity scene ... pity it wasn't a little closer to Christmas time (Arrrr !!)
-
Jay, Even if you aren't 100% happy with your sails, I believe they will still looking brilliant on your over-all model. To me, at least, they appear to be flapping in the breeze ...
-
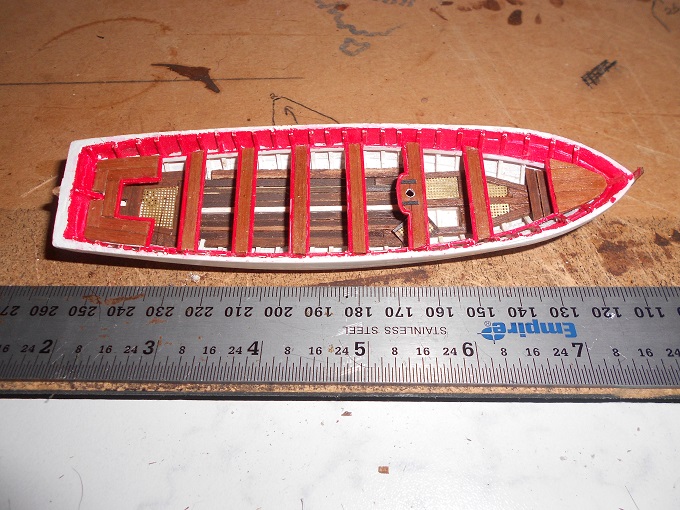
Jeez ... sure hope the boss doesn't read that last post. (cough)(cough) Anyway, back home now. Personally, I prefer the red capping. Here's the latest pic.
-
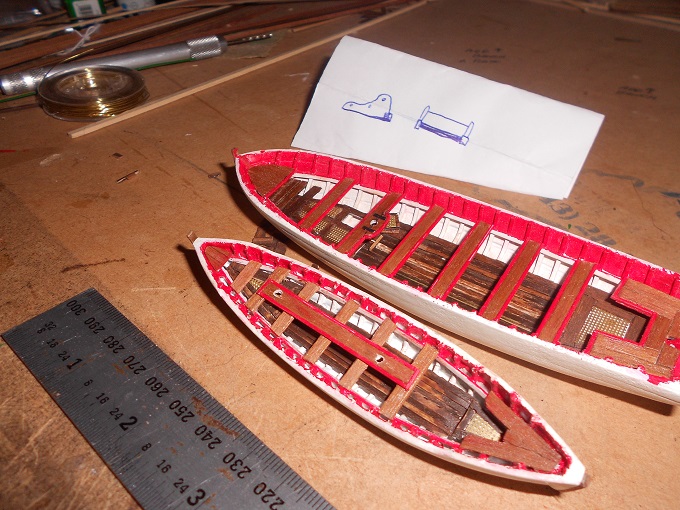
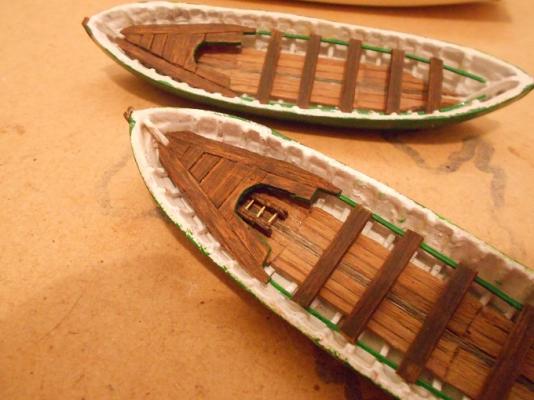
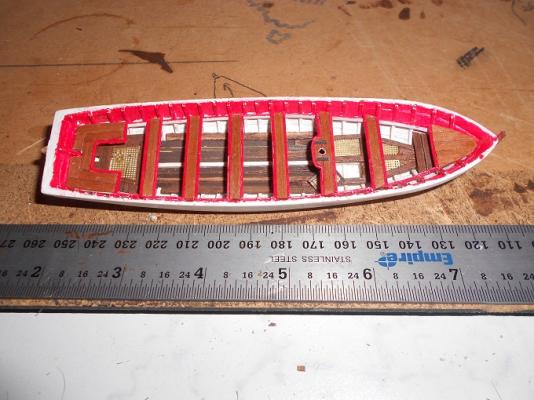
They are coming along nicely, Geoff. I was actually working towards having not only the two whale-boats looking identical, but also having the pinnace and captain's gig stick to a pattern/colour scheme. Floorboards for the whaleboats are to be light-coloured wood, the benches will be dark, and the cap-rails will be the same light wood used for the flooring. With the pinnace and gig, the flooring is dark, the benches light wood, with the capping to be dark. Also, I have made three gratings for each of these two (pinnace and gig). Essentially, these accentuate the flooring, with one plate at the back of each, another floor-plate at the bow, and one also at the front, but higher up just under the cap-rail level. Pics to come when I get home (snuck onto a work computer for the last half-hour of my work day) ...
-
Arrr !!! Tonight was a perfect example of what I was saying about being my own worst critic. Too late to stop me. The white bench-trim has gone from the Captain's gig. It was too over-powering. As well, the pinnace benches have been stripped out. The capping on these will, however, be replaced with the same sized strips, but painted red. Pics to come.
-
You should get an award for Shortest Sail-Making Practicum Ever !! Very much looking forward to seeing how your fitted sails look. Have you thought about billowing them ??
- 39 replies
-
- 1
-

-
- santa maria
- mantua
- (and 1 more)
-
A question from a couple of weeks back came to mind today ... What would I do different with the boats if I were starting over ?? Definitely one thing I would do differently would be to NOT paint the outer hulls until much later. The main problem being that you will do a lot of handling of the boats with all the detail work. And, no matter how careful you are with hygiene 'n' cleanliness, scuff marks do appear ... especially on white hulls. Aside from that, over the weekend (actually, from about 2am when I got home this morning), the next layer has been installed on the pinnace and captain's gig (not quite finished). Styrene-capping for the benches seemed like a good idea at the time ... BTW, when I say "layer", I mean that I have come to look at constructing my boats in layers. First, the floorboards ... Second, benches ... Third, cap-rails/spray-rails/bulwarks ... Fourth, furniture (rope coils, oars etc), rudders. In the second pic, the open hatchway is visible. More work needed to finish the bench at back of the gig and also the two whale-boats.

-
Mad, I'm actually considering marking panels on the the whale-boat floorboards to simulate storage areas. I guess I could try hiding my rum under there, but, Jeez, dude, at 1/76 scale, it's gunna be an awfully small bottle !! (Hardly seems worth all the effort)